

kjohan
-
Posts
172 -
Joined
-
Last visited
Content Type
Profiles
Forums
Events
Gallery
Posts posted by kjohan
-
-
Sometimes I do not paint the outside, just polish
if the plastic is of good finish,
no sink marks or "weld lines" from the material flow.
This to avoid problems with dust and brushmarks
In those cases I paint the inside in the approximately same colour as the outside ,
this to avoid the "shine through" discusses above.
Particularlily neccessary on bonnets with thin sections for making cut outs for hood scoops.
Also the bonnets can have major variations in material thickness
due to the inner structure.
If one paints the inside dark grey or black to emulate either painting or sound dampening
that will be visible from the outside
if not painted as example white if the exterior is planned to be white.
The same goes for the roof:
if the inner headliner is supposed to be dark ,
first paint a couple of layers of the exterior color
before applying the dark colour.
What is then gained by this:
You get a tidy model exteriorwise,
with a not as high gloss as with paint but which can be of quite realistic gloss,
i.e for older cars , especially race cars.
The painting of the inside does not require the same wotk on the finish
as on the exterior = is simpler.
Laziness ? Perhaps ....
On cars with decals on I put a layer of clear.
-
 1
1
-
-
The Bizzarini 5300 or the Iso Rivolta wouls certainly be tempting ...
-
Thanks for kind comments / G
-
From the AMT double kitBox stock + a few wires

-
6
-
-
Would be nice if they in the future released a GTZ / Tubolare , aka "Mini GTO". The body and most of the chassis are of course different, but probably some components could be common with the GTA.
-
1
-
-
Agree with Richard on the Karmann Ghia
Also the Morgan
And the 50's jaguars
-
Re wkipedia: in 1915 Erwin "Cannon ball" Baker drove from NYC to the West Coast in or perhaps rather "on" a Bearcat in 11 days 7 hrs and 15 min
Imagine driving across the continent sitting w/o practically any protection and on the roads as they were at that time.
Required some determination.
-
Thank you all for kind comments
-
32 minutes ago, thatz4u said:
MPC = 1/25th
Ooops Sorry It is 1/25
/ Gunnar
-
Re question above: It is 1/24
-
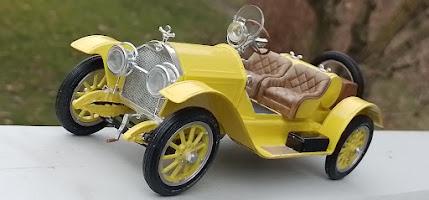
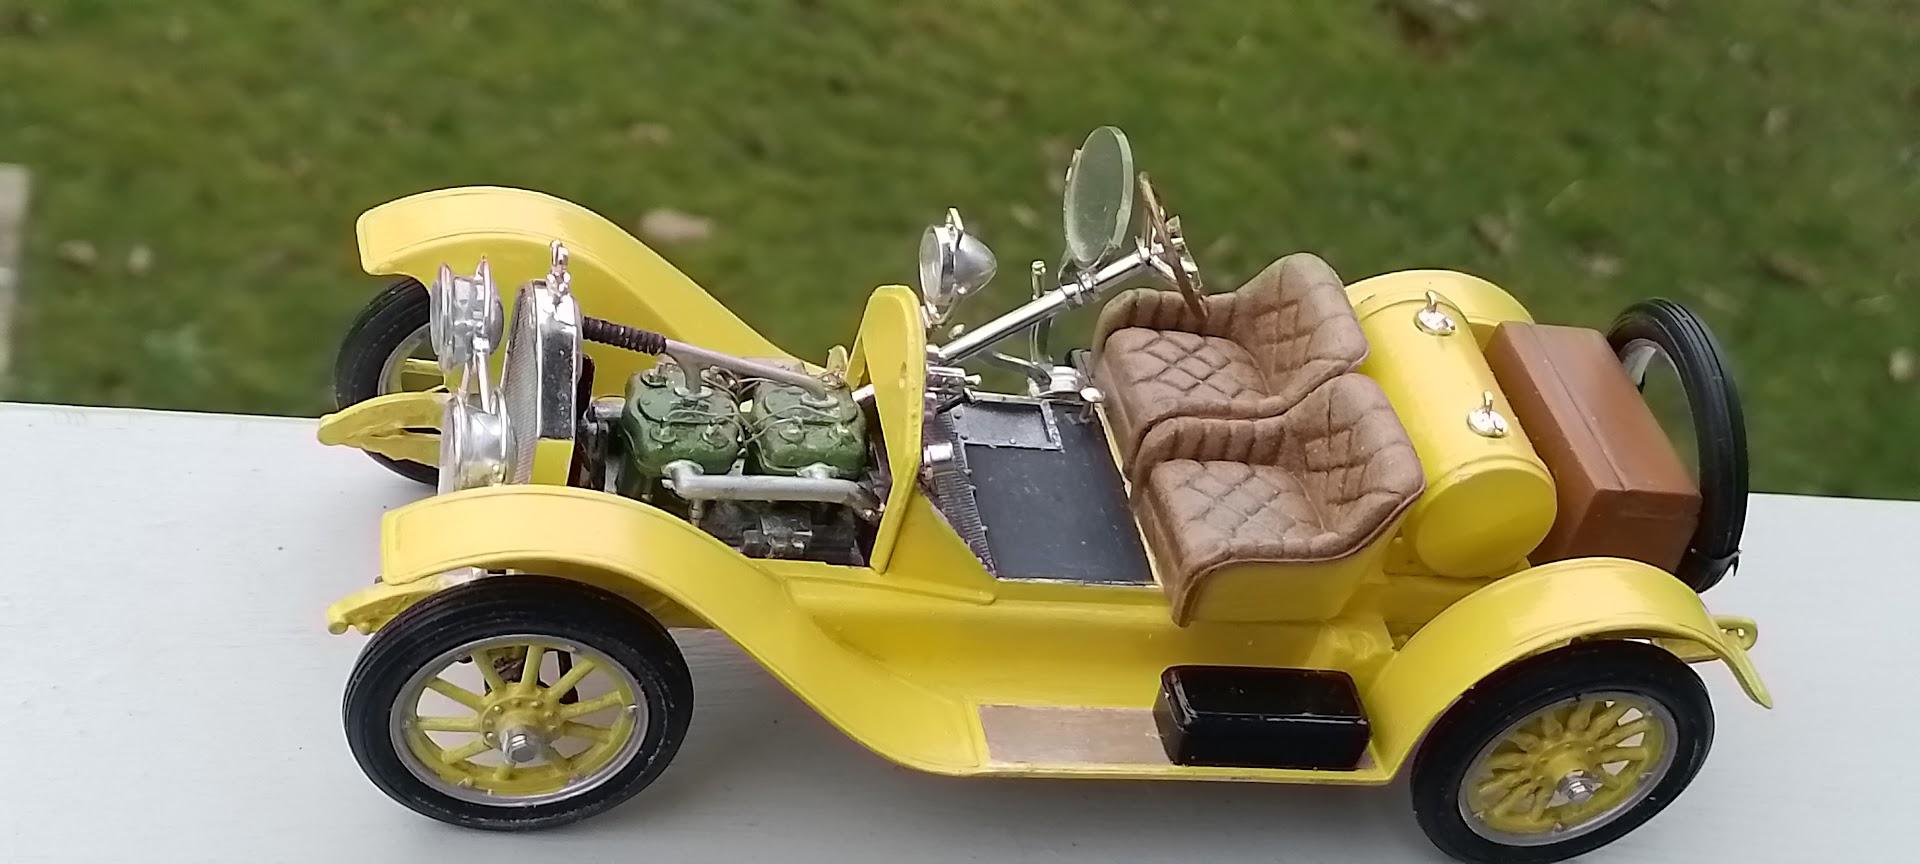
The MPC model, an old one
The decals of the pinstriping wwere not possible to use, so it is plain yellow,
the left front wheel somewhat distorted including one of the spokes broken,
but managed to push backto position. Almost.
The right front fender was also distorted downward/inwards.
Again some determined pressure etc.... AlmostAnyway a nice kit to build
EDIT : apparently something strange in the first post, despite looking ok in my computer when posting
The photos apparently were transferred to some long text files /"links"afterwards,
though i found it was actually possible to see the photos by clicking on a small symbol which appeared after clicking on the long text files.
Did it in another way now, hopefully it works now but the first photo is small for some reason / can´t enlarge itAnyway...
-
4
-
-
Soooo beautiful
How did you create the upholstery pattern ?
-
Nice!
-
The 1959 Ferrai 250 GT coupe by Pinin Farina
The first Ferrari built in a regular production process, though still in small volumes.
A very beautiful car in a restained way, no flash , just very elegant, a design with nothing to add , nothing to take away.
-
The best. Enough said.
-
Beautiful
-
1
-
-
Beautiful build
-
1
-
-
Lovely build
-
Quite a project = full of admiration for the outcome
-
1
-
-
Beautiful build of a beautiful car. which is a bit under the radar of classics
-
@e30lover Agree with you, the front right reservour must be the overflow tank
Thanks for clarification
-
Concerning the two reservoirs, checked on the net.
Seems the "washer bottle" could be installed in either position, left or right.
= Revell have in the kit implemented both. Would certainly result in considerable milage before they would have been empty, probably lasted half a winter.
-
Beautiful Rolls posted by Richard, have never seen.
The Pocher Rolls posted by Jo equally attractive, though in a quite different category.
Thanks both.
-
Agree with all the comments above:
Superb
Question : in the engine bay there are two rerservoirs (light coloured)
One on the left side near the battery
One in the front right corner
One of them is the for the windshield wash system (assume the one to right)
If so, what is the other one ?
Reason for question: am now building the same kit , but white (And on a different level)


1955 Mille Miglia Mercedes Benz 300SLR #658
in Other Racing: Road Racing, Salt Flat Racers
Posted
All possible compliments (and a few more x 2)