

Pierre Rivard
-
Posts
2,552 -
Joined
-
Last visited
Content Type
Profiles
Forums
Events
Gallery
Posts posted by Pierre Rivard
-
-
11 hours ago, oldcarfan said:
I came across a few of these a while back and started planning a similar project. I did find that the body is a little shallow for a 1/24th engines to fit cleanly. I think a 1/25th flathead or similar should work nicely if that helps. If I ever remember where I put them, I want to put two together to make a longer version. I also found some 1 inch tall r/c aircraft wheels that looked about right. Can't remember the brand, but they were at Hobbytown and had machined aluminum centers.
Excellent info Gary, thanks. Indeed the body is a bit shallow, thinking of extending the lower body sides. Lots to think about, should be a fun project.
-
1 hour ago, Straightliner59 said:
Nothing wrong with that!
Technical question Daniel. Do you make the straps before... or after drinking the bottle of wine?
-
 2
2
-
-
Exciting project for sure. This will be fun to follow!
-
 1
1
-
-
I use the iPhone, photograph vertically, then crop top and bottom, then email it to myself choosing the large (vs original full size) format. This way I end up with a 400-500 Kb file size rather than a bigger than needed 2.5-3.0 Gb. I save these smaller file pics on my Mac (with cloud backup) and use these for posting on the forum. I think this is a reasonable file size/accuracy tradeoff. Example:

-
 2
2
-
-
She is looking mighty fine Mark. I love the idea of a curbside (gluing the hood shut) from time to time. Some engines are unique and deserve the pain of fabrication and detailing, some do not seem worth the effort. I like your call on this one. Decal day is coming. I love decal day!
-
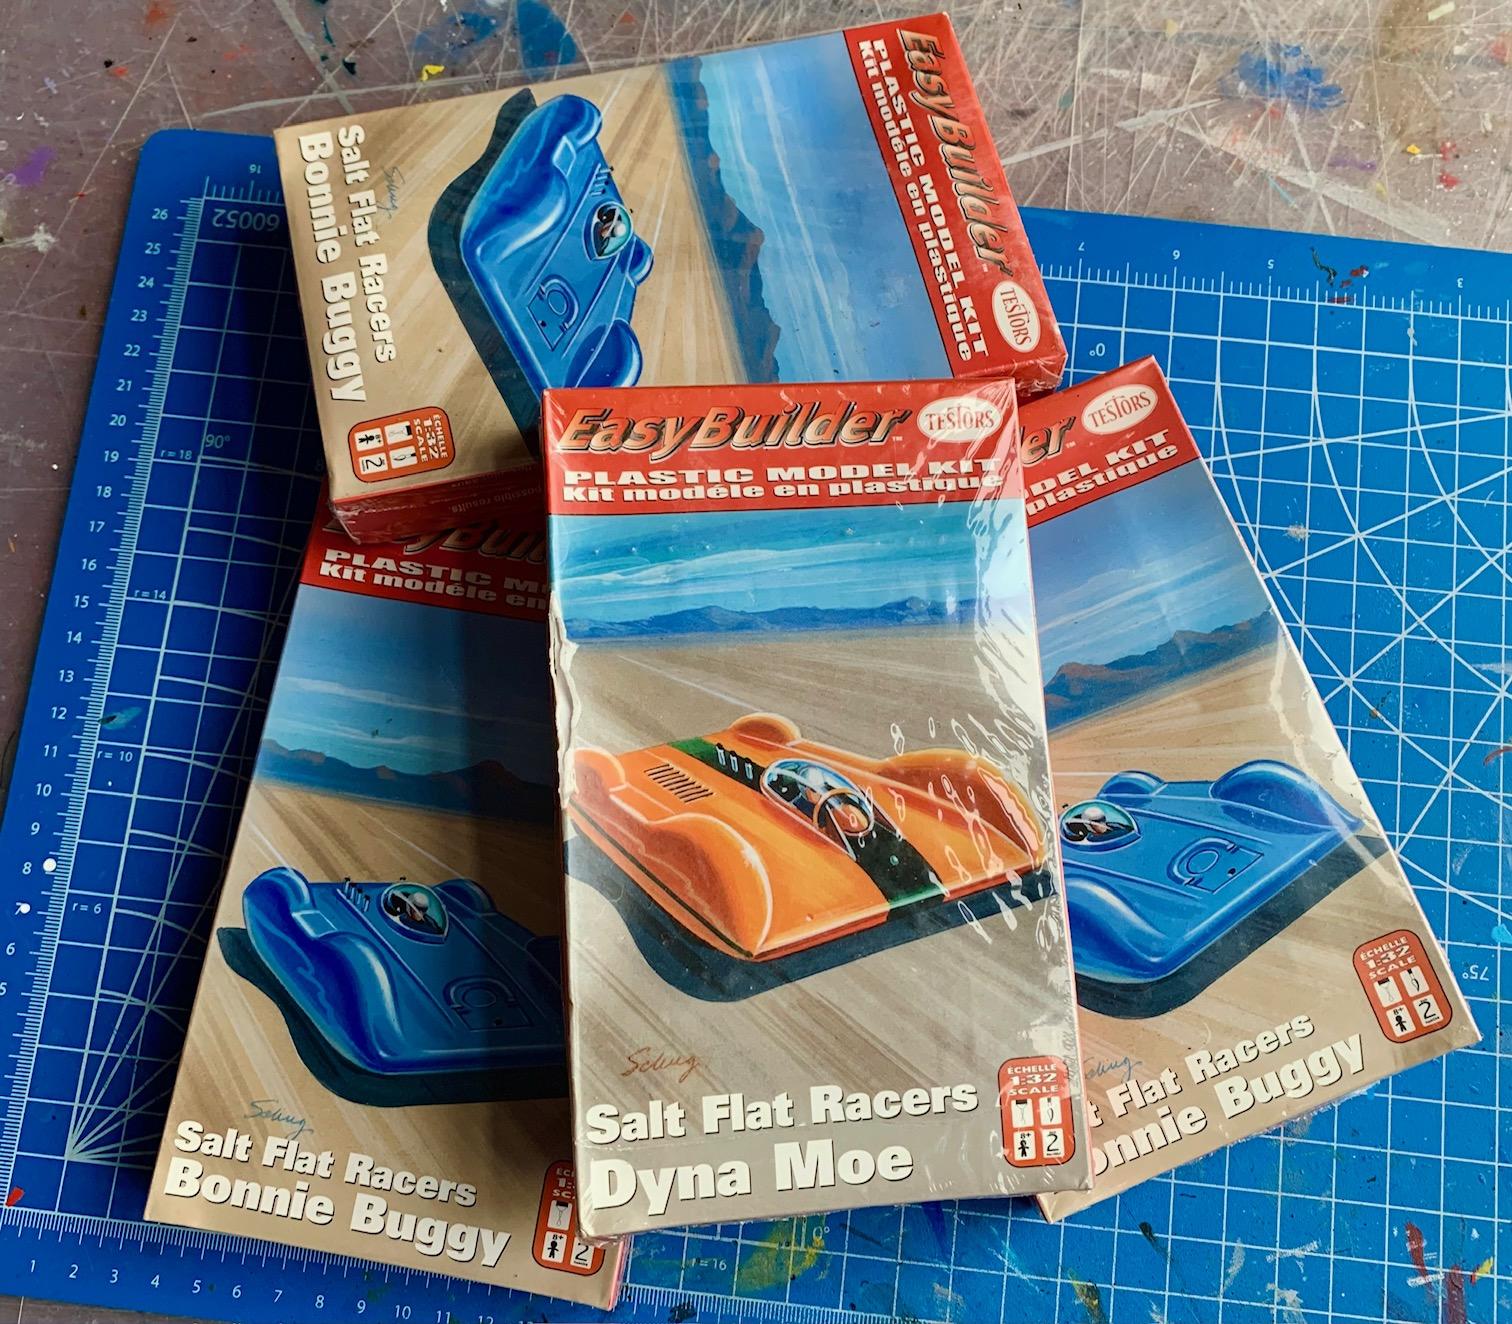
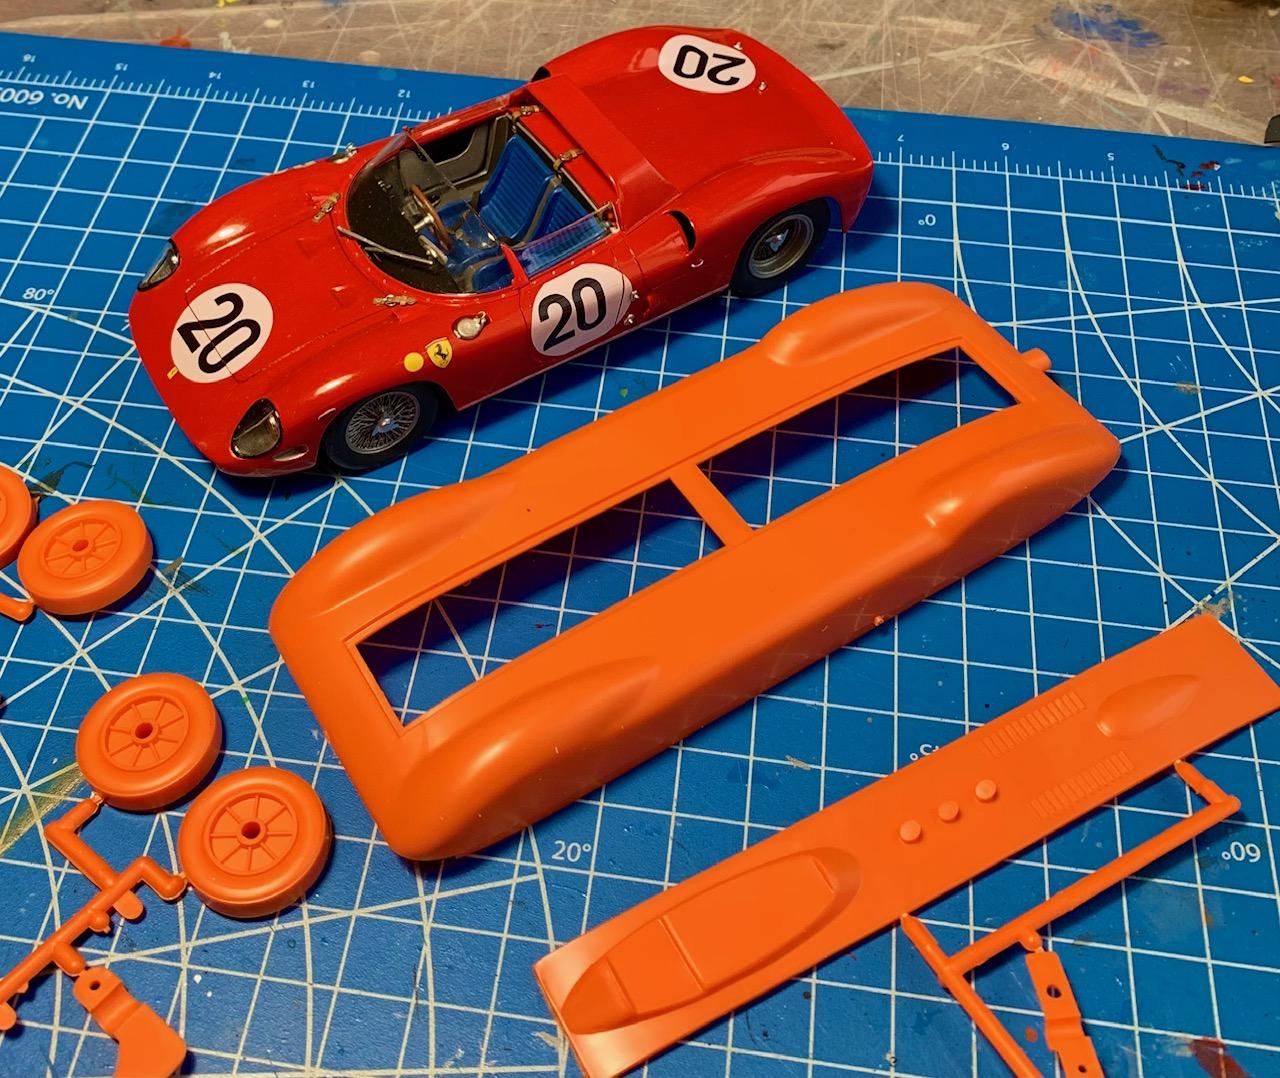
Developing a passion for LSR. Found these 4 Hawk/Testors sealed streamliner kits on eBay, CAD$80 for the lot including shipping from GB. These are very simple toys (rubber band powered) and sold as 1/32 but they are a good fit for 1/25 1950's style streamliners (see size comparison to Ferrari 275P). Essentially these are only body shells and absolutely everything underneath needs to be fabricated. My kind of project!
-
5
-
-
Call me the voice of dissension but my vote goes to LED. Their compactness enable more styling freedom, they provide excellent lighting performance and they should last the life of the car. No more idiots driving around with burnt lamps, no matter how cheap the replacement cost is. Sometimes progress is a good thing.
-
Roll up windows Charlie? Amazing!
What's next, cranking up the engine?
Seriously, this is all extraordinary craftsmanship. It's not just the skills, but the vision, dedication and persistence. You must be drained.
-
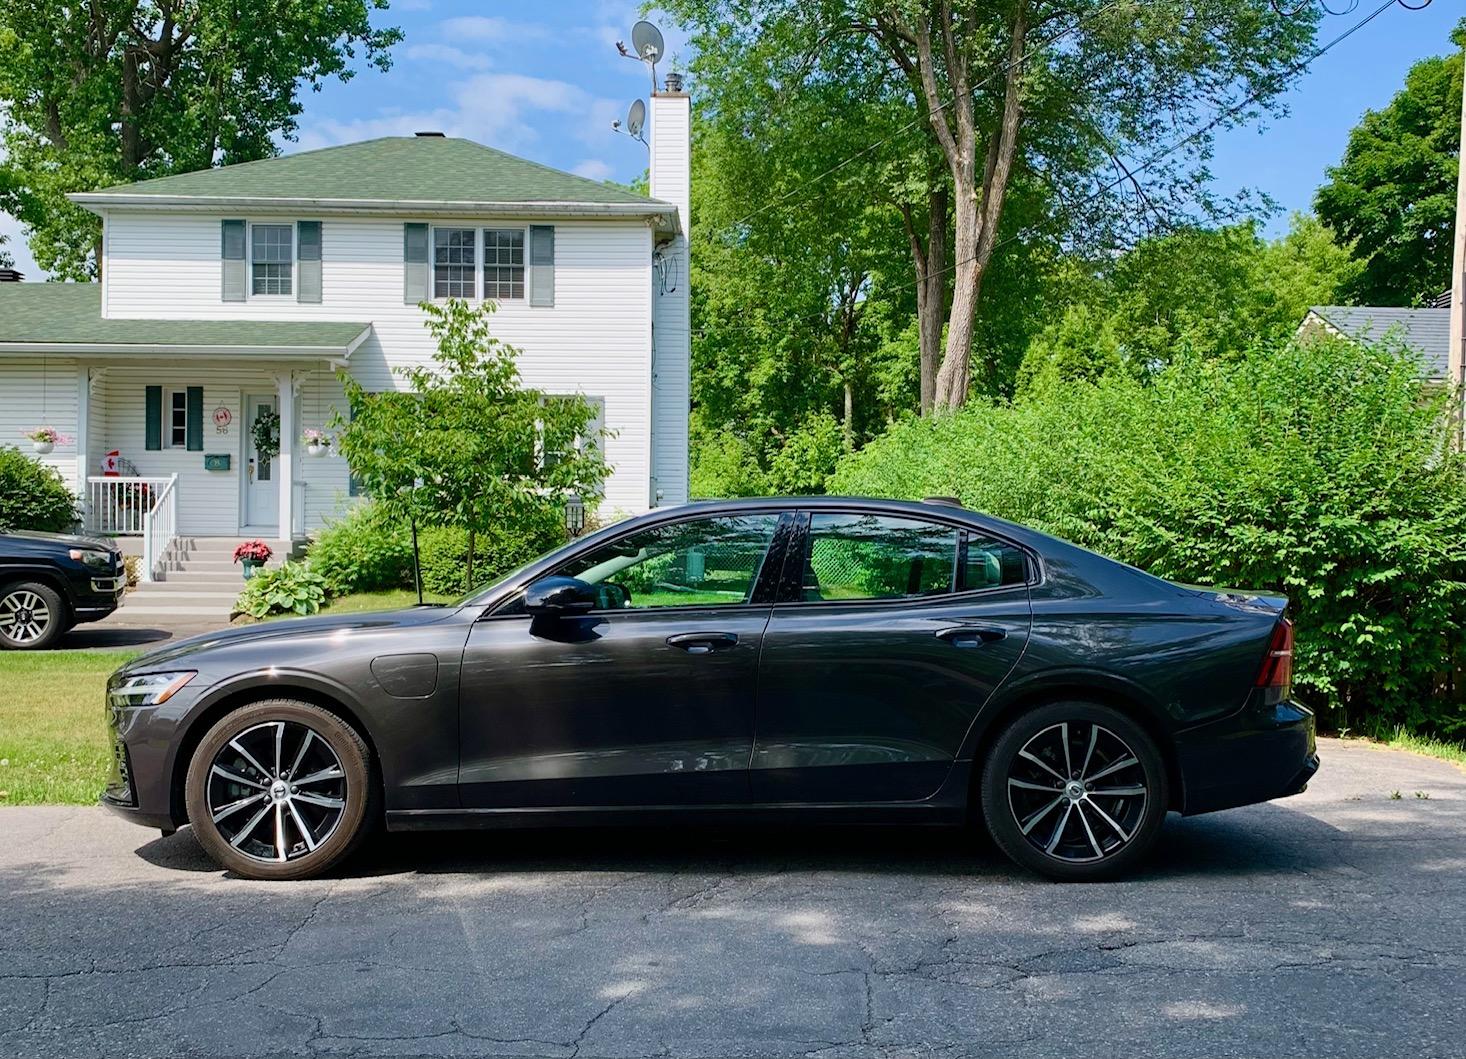
Most people prefer SUV's but I'll stick to sedans while there are still a few of them being produced. My daily driver is a 2024 Volvo S60 T8 PHEV. Sadly Volvo just announced it will no longer sell it in North America. Another sedan bites the dust. I can drive 70km on battery (I rarely exceed that on a daily basis) before it turns into a hybrid. Sport mode produces a nice 455hp/525lb.ft
-
3
-
-
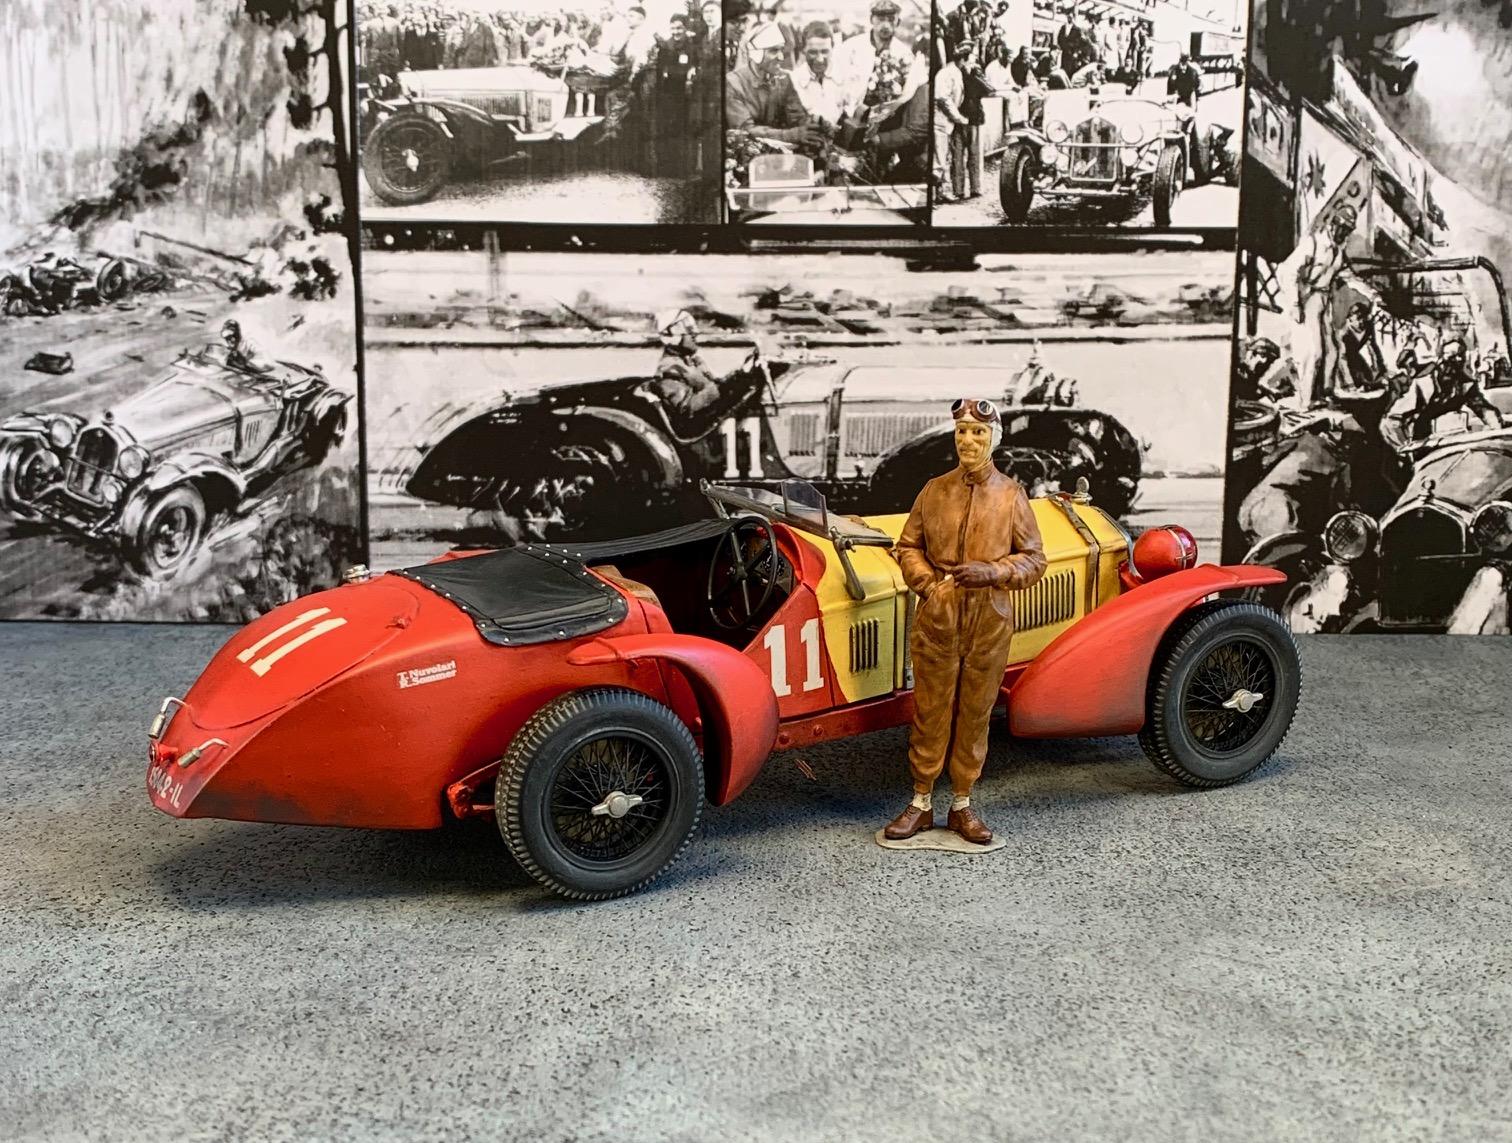
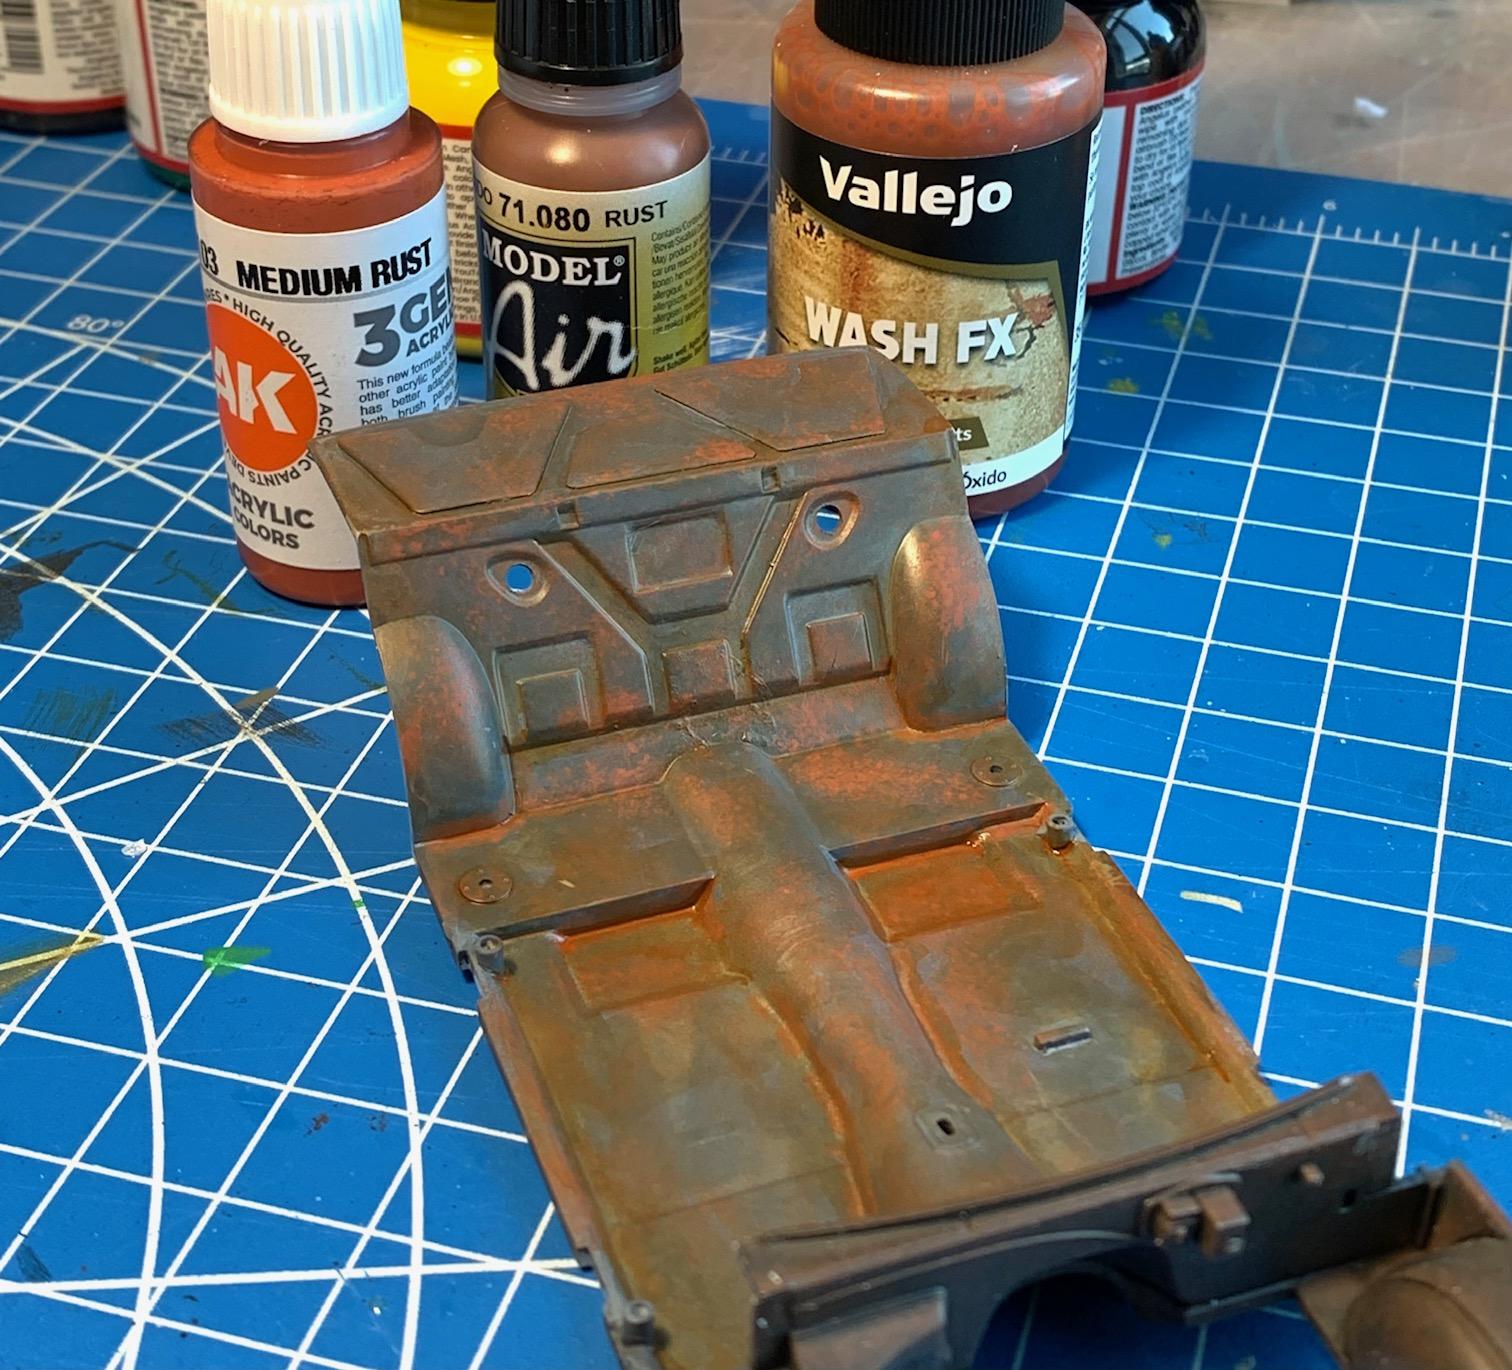
Hi Jerry, there are many methods for weathering and some of them spectacular but difficult to achieve. I am moderately skilled and I love weathering but keeping it simple is a must for me. I use Vallejo washes (rust and oiled earth colors), acrylic paints and Vallejo pigments (Light yellow ochre, dark steel)
I find weathering works best over a non glossy finish so I first apply a flat clear. On the Alfa (and the figurine) I used an oiled earth wash and then dry brushed dark pigments in areas to show racing grime and the lighter pigments on the tires. On the rusty floor pan I started with a gray foundation, then dabbed rust colored acrylics with a small sponge, there a rust wash.
The materials I use dry fast and are easy to use.
-
5
-
-
3 hours ago, StevenGuthmiller said:
I'm slightly amazed at how closely this all parallels my building philosophies!!
Are you sure we're not the same guy?

Steve
Oh man that's a dangerous proposition. You don't make notes cause you're really really good at this. I don't make notes cause I just wing it. Both of us being the same guy... could go either way... 🤪
-
Chapman knew how to pamper his drivers. A fuel tank blanket. Reassuring... even cozy.
-
First time I see this build, and so glad I finally did. Wonderful, creative, ugly yet beautiful. Different is always so much fun right?
-
19 minutes ago, Ace-Garageguy said:
When I had a Lotus 7, a sub-1000 pound car, I took my new girlfriend for a fast ride. Her ex had a Kawasaki 900, and she wasn't worried.
BUT...her additional exquisitely arranged 120 pounds threw the tiny car's handling off so much I ended up spinning it on a road I was intimately familiar with.
Exceed the coefficient of friction of the tire contact patches and find out. Physics, ya know?
Yeah physics.... or you were not quite as focused on your driving? 😉
-
3
-
-
Definitely not, despite the fact that most of my projects involve a good bit of scratch building.
My rationale for not keeping notes:
A- I am focused on one project at a time. I always finish what I start
B- I never build the same kit twice, bores me to death, so notes would not be of much use
C - I like to stay in a creative spirit, re-discover how to scratch build something every time. Memory serves me well but I tend to try new ways all the time.
I do post w.i.p. for most of my builds, which is a form of note taking, but I have yet to revisit any of these to remind myself of how I built something.
-
Looks to be top quality. What a beauty that engine is.
-
17 hours ago, charlie libby said:
Great car,awesome work.one of my favorites. Your pictures really show it off.
Thank you Charlie. Your appreciation means a lot. I'm such a huge fan of your craftsmanship.
-
Engine? Who cares about the engine? Look at this thing! The face only a mother could love...
And don't get me started on the Fiero. I worked for the company back then and the bean counters ran the place. The 84 was an absolute dog. Who else would be dumb enough to invest in a mid engine chassis... then equip it with an Iron Duke engine, X-car suspension, undersized brakes and a 4 speed Muncie. Then the engineers went into the typical slow remediation process, fighting with the bean counters for every little fix the car so badly needed. By the time the car accumulated a decent V6 + 5 sp Getrag + revised suspension + vented discs it was 1988, and it was then time to kill the program. I hate the GM bean counters...
-
5
-
-
I love your choice of paint for the gold. It looks deep and vibrant. Now please unmask the body so that we can see that beautiful color combo?
-
Wonderful thread, great stories and so many great cars featured as the main characters. It got me to revisit my relationships with sports (or sporty) cars. I grew up in Quebec in the late fifties and sixties. Most people owned American cars but there was a growing market for imported cars. As a teen I definitely leaned towards the lighter imports (MG, Triumph, Alfa Romeo etc) and my first nice car was a used Ford Capri 2.8 4 speed. I loved that car.
I then went to work for GM so light small sports cars were not on the catalog. I eventually bought a 86 z28 with a 5.0/manual transmission. A good car but in all honesty I much preferred driving my friend's VW GTI with the new 16v engine. I did own a few Camaros/Firebirds in the next 30 years and enjoyed them all. My job allowed me to occasionally take pool Corvettes for weekend drives and as much as I marveled at the technology and power I always found them too big and heavy feeling for me. Fast but disconnected is how it felt to me, and definitely too much power for my driving skills.
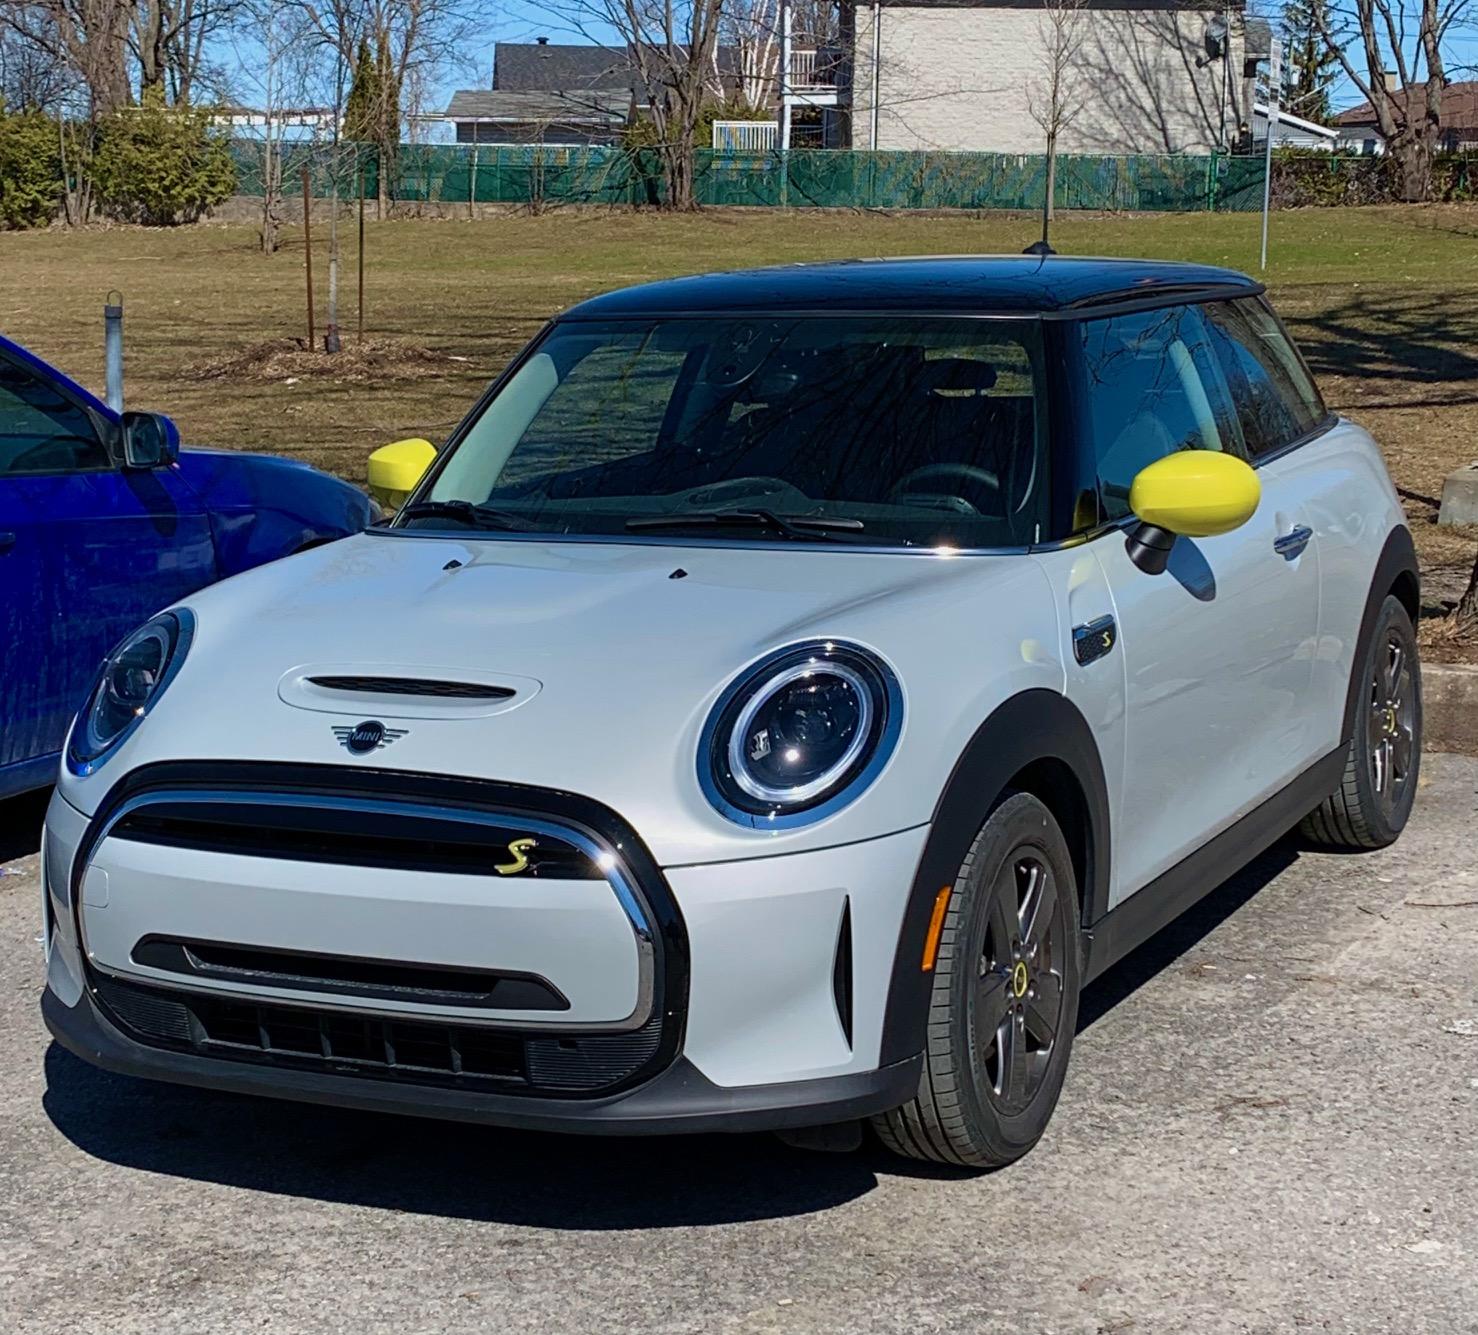
My wife and I both enjoy driving and as we retired we decided to keep 2 cars. A regular everyday car (currently a Volvo S60 T8) and the second car to be something small and sporty. We had for a few years a Mazda MX5 (Miata). The Miata eventually was replaced by a Mini Cooper SE. A combination of going back to our roots with a small agile car while embracing electrification. A pure delight to drive!
-
3
-
-
I have 27 in the stash. My wife has at least 50 pairs of shoes and still buying...
I'm safe!
-
3
-
2
-
-
10 hours ago, MarkJ said:
I wonder if a home improvement center would sell screen material small enough to pass for a grille on a 1/25 scale model. If this screen wasn't brass or whatever it is. it would work.
Perhaps. I got mine on Amazon. search as Angeliox 80 mesh screen. Sold in pack of 2 rolls (12x45 inch each) for about $20. Quite inexpensive compared with PE mesh but I am satisfied with the appearance it provides
-
2 hours ago, MarkJ said:
Thanks, Pierre. I got outside late yesterday after the rain finally stopped and painted all the black items on the car. Will post pictures later. I have been having trouble painting the mesh screen. I can't keep the tiny holes from clogging up. Do you have any suggestions how to paint the screen aluminum without clogging up the screen holes. I want the black background to show through. Thanks for any suggestions you might have.
Hi Mark, I just painted the background styrene part flat black but the screen I used was 304 stainless steel and I left it unpainted.
-
Your "coach built" body looks very cohesive and refined. This Cord looks so much better as a coupe than a convertible. Beautiful flowing lines.


What is your favorite sports car?
in General Automotive Talk (Trucks and Cars)
Posted
Pantera... before the ruined it with fender flares and spoilers...