

Tony Bryan
-
Posts
367 -
Joined
-
Last visited
Content Type
Profiles
Forums
Events
Gallery
Posts posted by Tony Bryan
-
-
Great Job, any plans for trailers?
-
Research is the key to any build, find photos or take them yourself, and replicate what you see, and generally if it looks right then it is right, so keep referencing your pics
just remember when you plumb or wire something, it should stay in scale to what the real truck is, for example 1mm (0.40) wire x 25th scale = 25mm or 1" not many if any brake lines or suzie cords are 1"
so what you can do is strip the cover off it, which is getting closer to the true scale of what it should be, or use nylon fishing line for things like air lines, detail nuts etc can be cut from hex rod, lots of photo etch stuff is available, as well as manufactured nuts bolts washers, rivets and the list goes on
also ink is a good thing to use for oil stains on engines
Dont be scared to take as many reference pics as you can

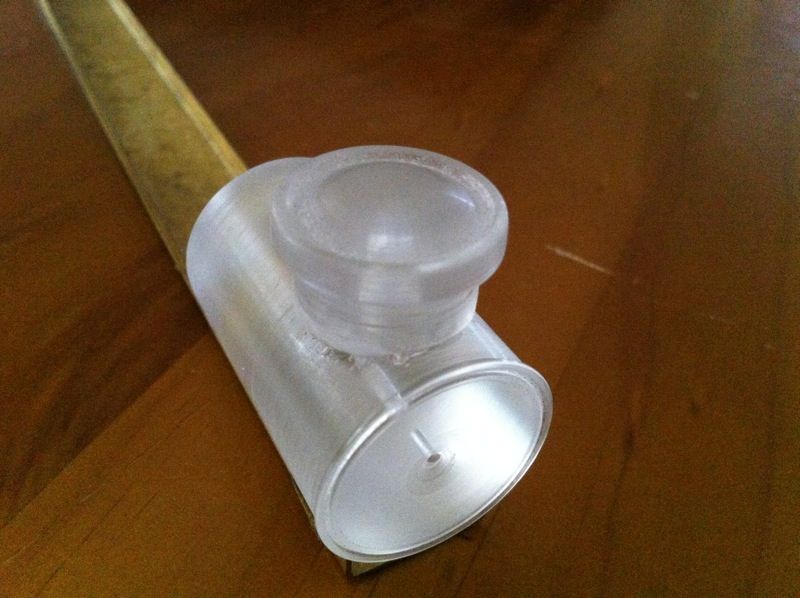
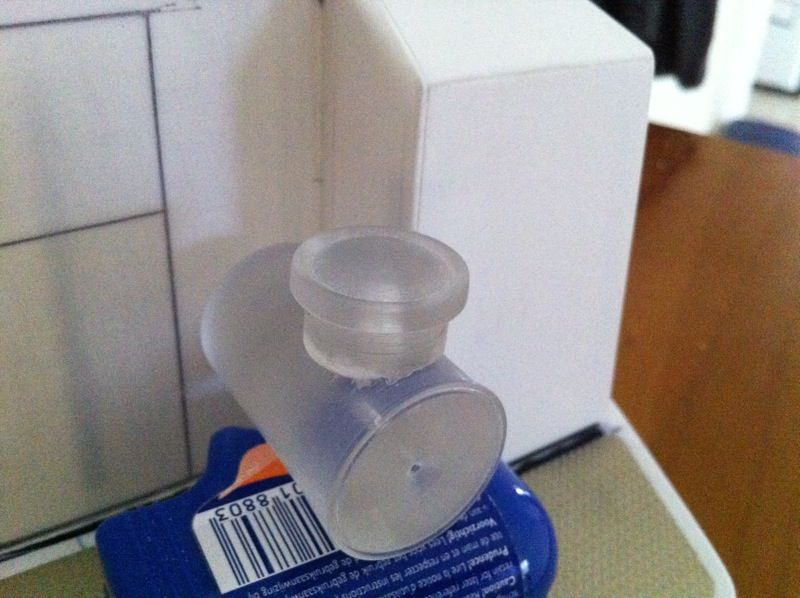
You can build anything you want if you break it down into parts, or pieces
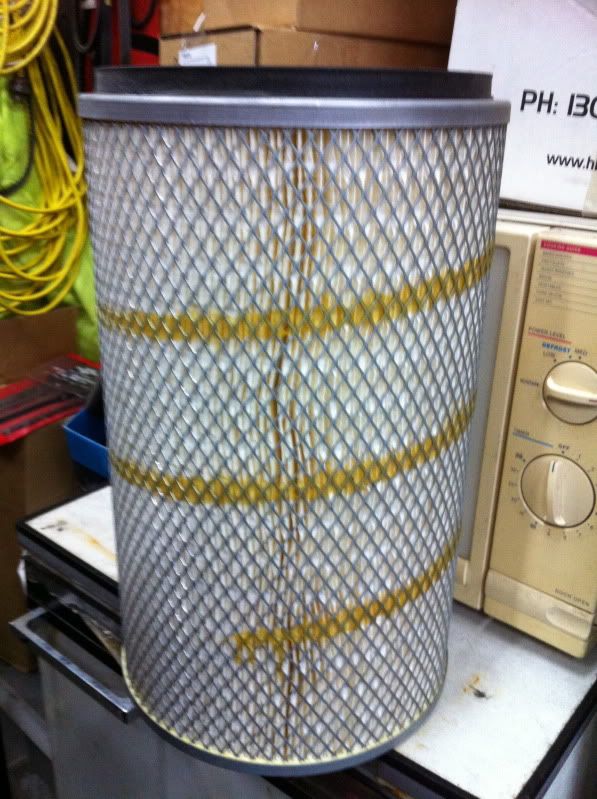
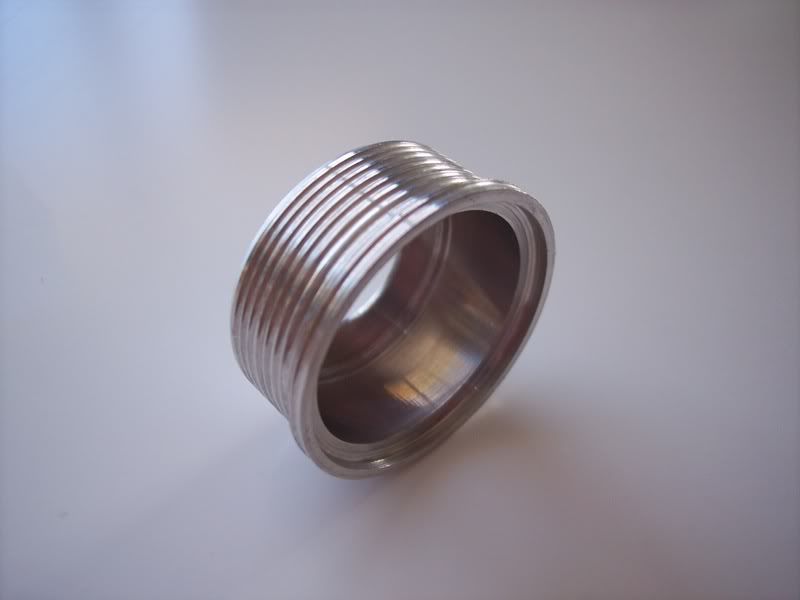
real air cleaner
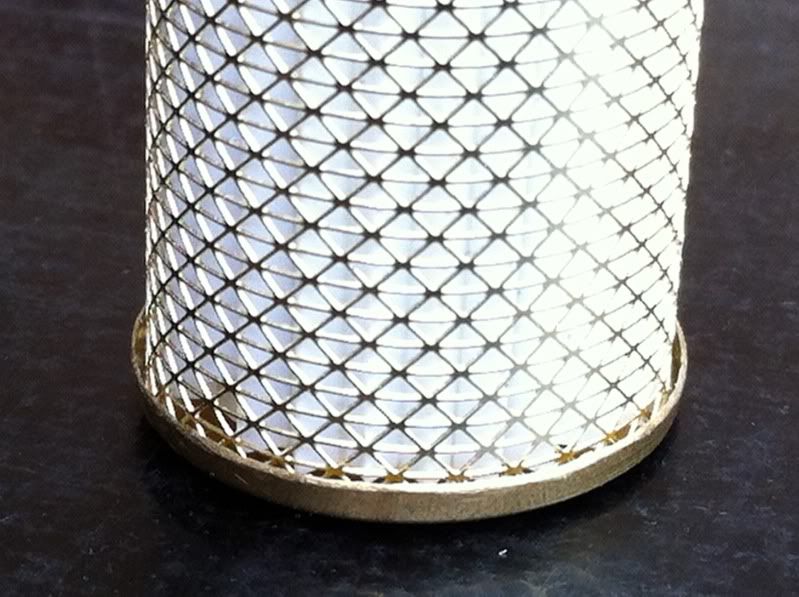
one I am playing with
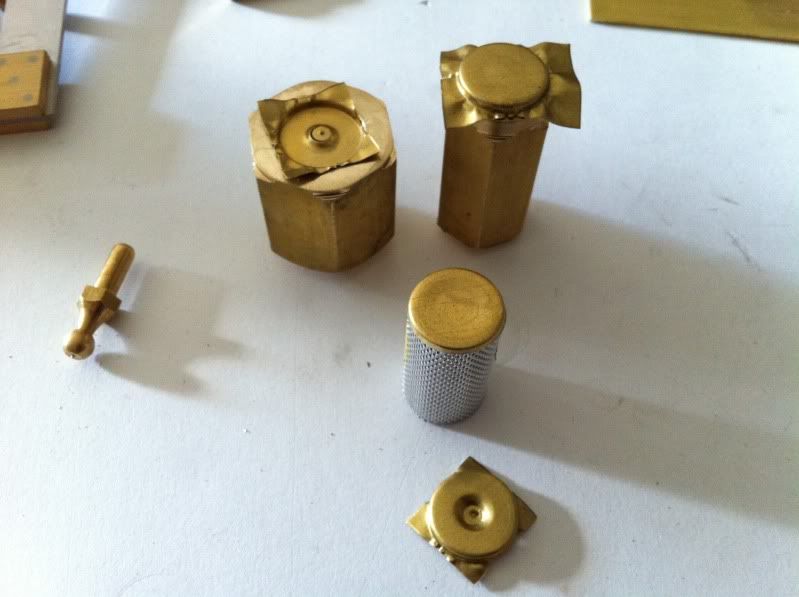
and the tooling to make it
and you can use most materials
Aluminium
Plastic
Brass
Certainly the key is to have a go, do be afraid to try things, and if it doesn't work, try something else,
Yes by all means post your builds, I am sure a few here will be willing to help
-
Great scratch building, you sure know how to put a cab together,
-
Great job so far
-
Great job on your first truck, I do hope you build a few more
-
That would be cool,but how about if I make it functional? Look great Tony,small updates are good,getting closer to be done.That grill looks great..........
Terry
Terry
To be honest with you, if you are going to make one part work, then you would have to make the rest function as well, which as experience tells me, it takes a very long time, why??? because to make things work, it requires research, tooling, making, then remaking parts that you are not happy with,I'm at the 5 year mark in another build that has consumed a lot of hours, which can take 6-10 hours to make tooling for just one part that takes 20 minutes to make, then multiply that by 2000 parts
To make a paddle wheel work is relatively easy, but do you really want to see it working all the time?, bear in mind, the more it is running the more it can break, it has to be lubricated etc, to stop it breaking,to over come friction then since you have a working paddle, but why stop there????
-
This is a great build, and really suits the KW, This would be a great kit instead of the Can do wrecker,
-
Thats what i had in mind is to use the motor out of the KW kit. I havent made my mind up if I want to build a opeon bull or a paddle wheel ..
Terry
Go the paddle scraper, haven't seen one of these built for awhile, and certainly not in 1/16th
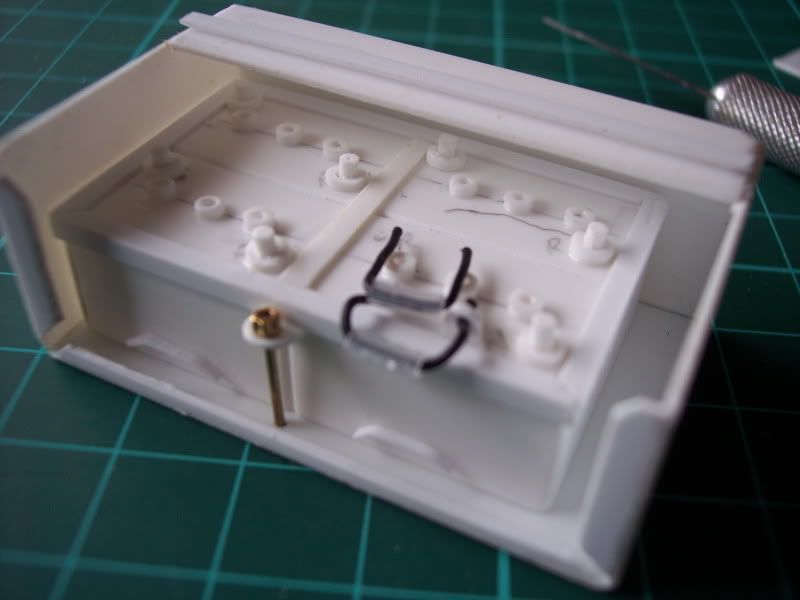
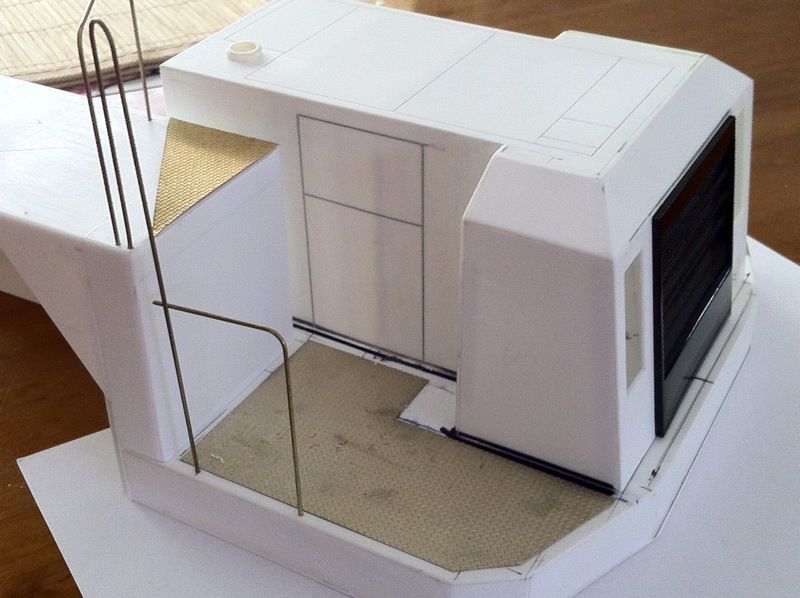
Small update
Engine cover has been scribed, and check plate fitted, hand rails started
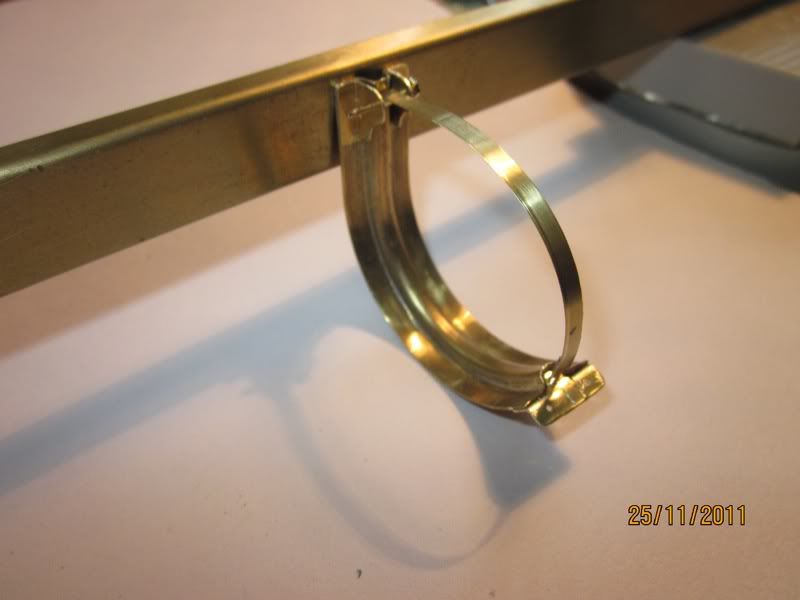
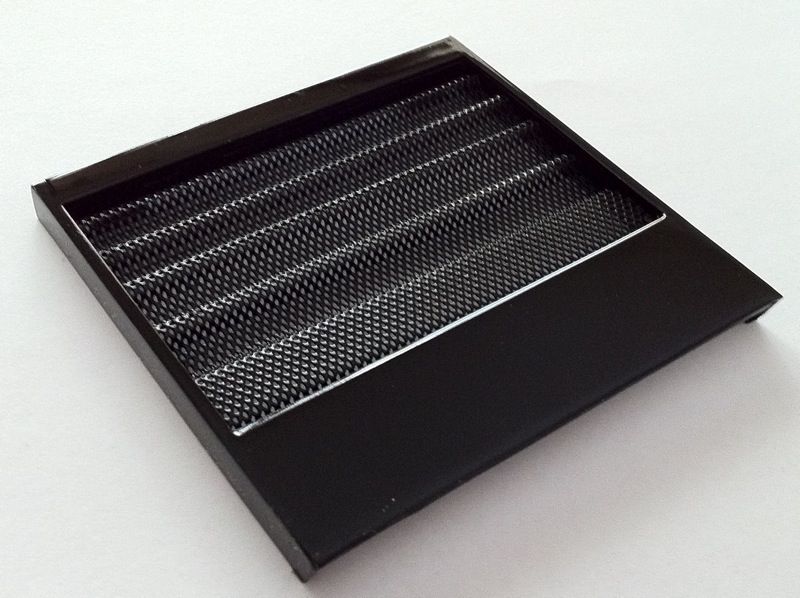
Air cleaner machined from acrylic, ready for mounting hardware
Front grill painted, ready for it's decal
-
I dont know whats going on but photobucket is being a pain in the butt still!...still broken links?
There is nothing wrong with the links, but try these
Clear out your browser's cache and cookies and make sure you have the most current versions of Flash and Java Also, check to see if Javascript is enabled (Javascript is different from Java)
in other words make sure your computer is up to date with all updates current
Hopefully this will help
-
If your wife can use nail polish inside during winter, I can't see any problem painting a model inside where it is warm also,
and the bathroom is the best place to do it, my wife has a few stories she could tell you hahahahaha -
Matt from Monkey Claw can sort out some wheels for you, he does some 2 hole buds that may suit, not sure if he does others
As for the working lights, well in my opinion, they never seem scale enough to give out the correct light without some major work, and by that I mean work on the lenses and electronics, as generally they are far to bright for the right look, which is a comon mistake people make for stop lights, which they only have to light up the lenses not 2 kilometres behind the truck
With regards to the trailer, there is really no need to go extreme with the engineering, if the trailer is built the same way as the original, then sheet plastic is more than enough strength, and would recommend 1 to 1.5 mm sheet (1.5mm max)
1 mm sheet stock equals 16mm plate, not many trailers use bigger than that, for the body, I would only use 0.75mm
You would be surprised how strong sheet stock can be when assembled correctly, i.e., gussets, bracing, infills etc like a real trailer would have,
Building out of plastic is better as it does keep the weight down, adding sheet metal and wood, increases the weight therefore needs more strength in certain parts
Look forward to seeing your progress
-
Hello ,its going to look great when al done.I like CAT ...Is that 1/16 or 1/12? Im going to scratch build a CAT 631 in 1/16 for a low boy that im going too build also.Do you have CAT engines for it ?
Terry
If you are going to scratch a 631, you can use the 3408 out of the monogram truck kit, as they where fitted with these,
The 657G is fitted with a C18 and a C16,
-
When the owner of Kangaroo died ...... must be close to 10 years back, the leftover stuff was sold, and most of the art work disappeared when the family where working out what to do with it
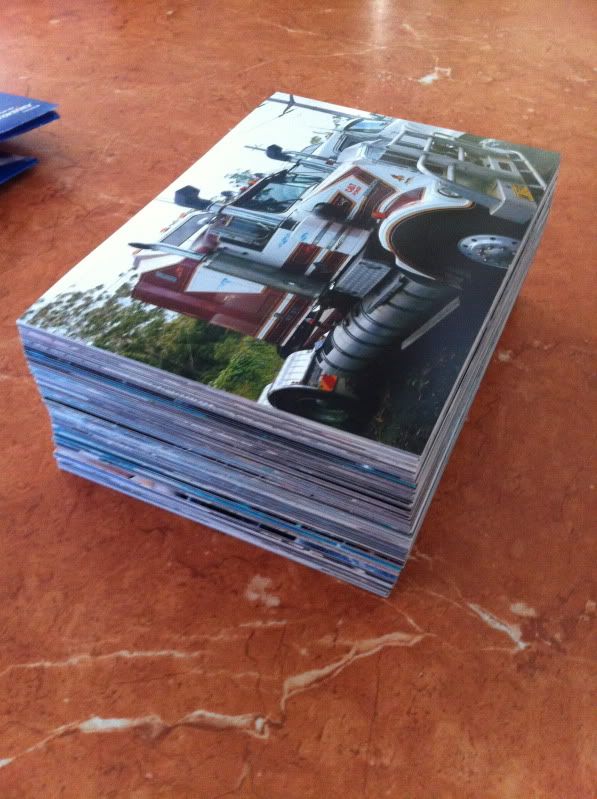
Kangaroo had the best decals, they where screen printed, and where quality,
This website has what is left of the Kangaroo range, and there is not much left, a lot of decals where destroyed in a flood recently
http://www.grdecals.com.au/page8.html
-
Looks great, love the for sale sign in the window, nice touch
-
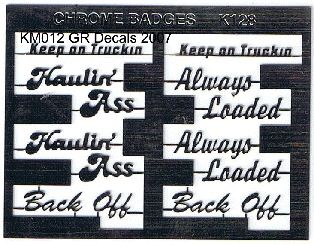
my friend that started Detail Master did them for me years ago..they are all brass..no stainless back in the day..i did all the art work ..he also did me a few up in 1/16 scale..i let him keep the art work and that is how Detail Master ended up with the women and weights...i have no idea why he didn't do the hauling A*~ ones....so i'm the only guy in the world that i know has these..
Nice logger, love the detail you have gone to,
Kangaroo decals here in Australia years ago, done Hauling Ass photo etch, on the same fret they had keep on trucking and a couple of others I think, will dig mine out and post a pic for you
-
That is a real nice job
-
Sergey
It's all in the detail, and wow, it has some detail, and is slowly coming together nicely
-
Tony, your wasting time talking to this - er - ah - (person), he seems to have a "major problem" with learning anything, no-matter what you, or anybody else might tell him.
He seems to know it all, so it might be better to just leave him alone, it's like poking a snake with a stick, each time you do it, he rears his ugly head again with more terrible photo's. Please, please ------------ NO MORE.
randy d , before criticising anybody, how about you stir what-ever grey cells you got left into action, and at least check out the other persons capabilities, before opening your silly gob.
Mardtrp
But appears I was the only one ready to offer any help.......
Hi Jim, One of the unpleasant things about posting your work on these forums is having to waste modelling time when dealing with somebody like that.
So for the many peolple who are enjoying your build, carry on
Randy
Randy
I find it pretty offensive that you make a lame comment like this, when the only object of my posts is to offer advise from what I have learnt, cause as Jim has stated "he is learning"
A person with your talent, one would have thought you may have offered some as well, but appears you are to happy stroking your ego, and wasting modelling time.........
-
Nice one Ben, looks great so far,
What colours are you planning?
A little tip for you, check the exhaust out before committing to paint, the roof fowls a little with the exhaust pipe, and you may need to mod it a little
-
Like I said before my friend has alot of money tied up into the parts that he had bought and I don't want to see the fame fall apart at all. So I'm going over kill on it to make sure it has it's very very best max secure holds.
Now about the axle housing, if you would look more close, you would have noyice something, and I even posted photos of it as well afew photos of it up and yet you speak about it as well. I did use square tubing! then round tubing inside it, it's shown in the photos all the way down through the photos. At all the photos of how the stuff was made.
Going over kill on the solder WILL NOT make the joint stronger, the correct prep and technique makes the bond stronger, if you wanted a strong bond that will NOT break, then it should have been silver soldered
I can see exactly how the diff has been made, it is just not the way I would have done it, but your build, and your friends money, to get a show truck finish is going to require a huge amount of work on the frame cleaning it up for paint that more than likely wont stick
-
Tony....you did an awesome job on this one...Kurt
Thanks Kurt,
-
http://rmrresin.webs.com/nf125.htm
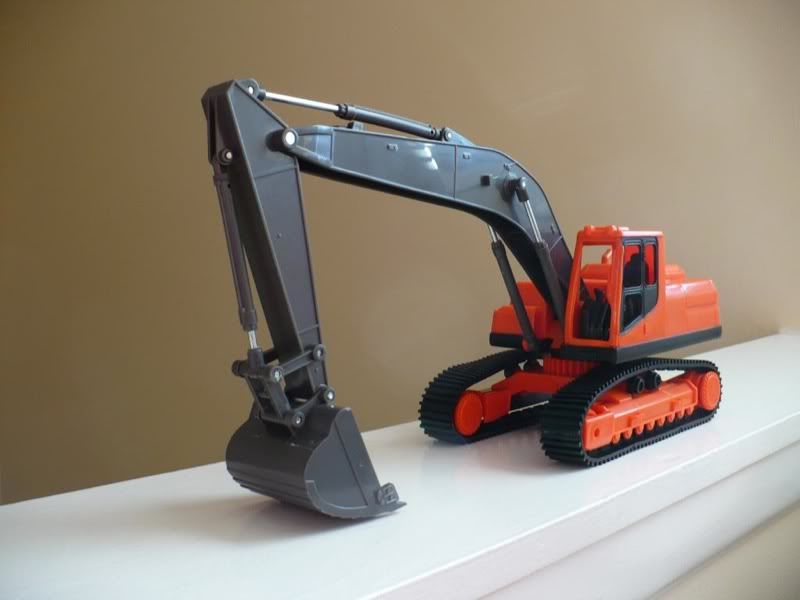
Keep one thing in mind, the differences between the KFS machine and the RMR are night and day. It's like trying to compare apples to oranges. The RMR is good for 2 things, sitting on the deck of a lowboy because it's hollow and weighs nothing and for collecting dust while it's sitting on the lowboy. The selling price is $95 but should be half of that considering the master was a toy. I can show you plenty of pictures of the RMR "elsewhere" if you want.
Anthony, I totally agree, it is cast from a toy, which in fact you can buy for less than $30, so why buy a resin one....
yes, when it did come out a lot of people did jump on it, including me, but when it was realised it was just a toy....
here is what the machine was cast from
This is the KFS kit
and like Anthony said, apples and oranges, the KFS kit has many white metal parts, great photo etch , great decals, and is quality castings, no flash, bubbles or problems assembling it,
I would rather spend the extra buying this kit (KFS) as you get what you pay for........ quality
-
Thanks guys for all to kind words
Ben
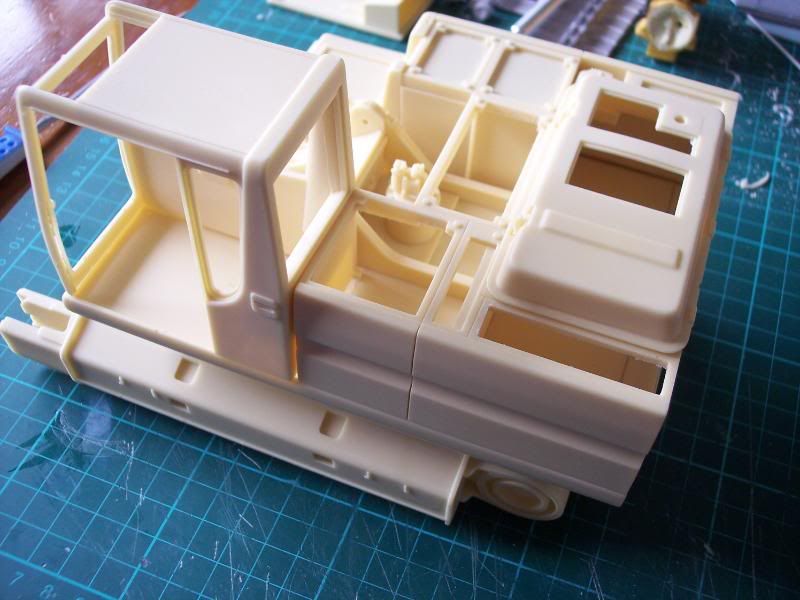
If you are going to full hydraulic, then it is much better to rebuild the whole top section, so you can open all the doors, the frame is to thick to use, so best to rebuild the lot, and vac form all the doors to suit, I have started a 1/16th version but different brand which I am scratch building the whole thing doing the same, so many projects so little time, when it is over half done I will post some pics
When you cast some of the michigan parts let me know, I have the same kit to build, but not for awhile yet
Very nice Tony!!!!! I'm saving mine for an upgrade kit of the full engine and hydraulic system. A good friend that is a master at building scale diesel engines was supposed to make everything so it could be cast. Were doing the same thing for the Michigan loader as well.
-
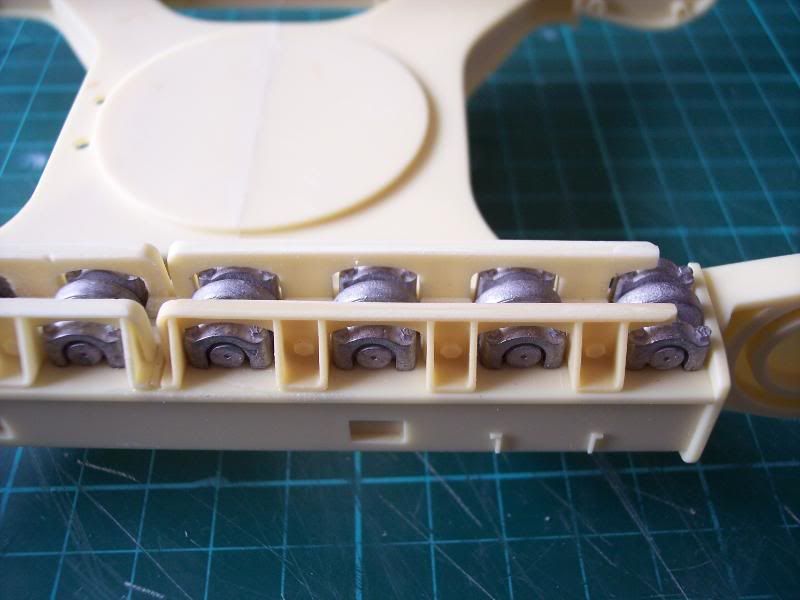
This is a very interesting project and such a large scale to. It certainly will be quite a weight when its finished. Maybe think about making the fulcrum pivot point out of metal? Just a thought. Good luck with the rest of the project and keep us posted on progress.
Thanks Dave, I have thought about the fulcrum points, will no doubt cast them in white metal, and machine all the pins for it, thinking about all the rams in brass as well


 and the bathroom is the best place to do it, my wife has a few stories she could tell you hahahahaha
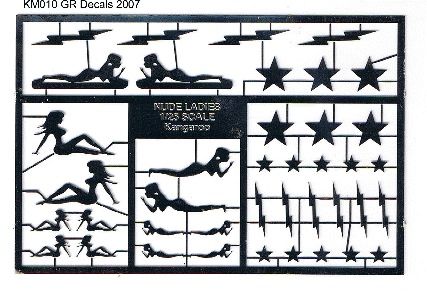

Autocar Honey Wagon
in Model Trucks: Big Rigs and Heavy Equipment
Posted
Now that is a real nice build