-
Posts
1,541 -
Joined
-
Last visited
Content Type
Profiles
Forums
Events
Gallery
Posts posted by BigBad
-
-
Yep, you need lots or room to have a 1:18 collection, so I just buy the ones I really like, or have/had in 1:1 scale. And I already have too many. The resin bodied cars are nice, but resin isn't as strong as zamac (pot metal) and as such, they can't have opening doors or hood, because the hinges wouldn't take any stress, and the roof pillars are more susceptible to damage. They are marketed as high-end collectibles and sold at a higher price, which may be a bad move for sales; as it can't cost more to produce a resin curbside car than a full-detail diecast car.
Auto Art makes opening cars with a type of resin. I have 5 of them and I'm pretty happy with this 'compromise' as these models are very nice, the details are crisp with a nice finish and the opening parts seem sturdy enough to be opened and closed more than just a couple times. So if instead the manufacturers would go this way, I'd continue collecting, if the regular full featured diecast (metal or plastic) disappear I'll stop collecting because I really dislike featureless static resin models.
-
Man this is one super nice 67! The white paint and rally wheels makes it different from all the red and black cars, very nice! So excuse my ignorance on the topic of big scale cars, but I'm trying to figure out how to make red line tires. I'm planning to build a Monogram 'Vette similar to this one and one of the focal points on the outside will be the tires. if i could pull this off it would look so much better than a plain black tire.
-
-
After buying this kit in 2015 for a good price, about a month ago I finally decided to take on this big boy to see what I could do of it. I usually build 1/24 big rigs and thought I'd do something different this time.When I first opened the box, I was taken aback and closed it up again telling myself "What am I getting into!" You know what? it wasn't bad at all, after you get used to the sheer size of the parts i was ok with it. Just follow the instruction and use your common sense and everything will work just fine. I was amazed at how most things went together so nicely. The kit could be built right out of the box to a really nice result as the body is already painted from the factory a nice semi-gloss pearl white. Some of the plastic parts had mold swirl marks especially the dashboard and decided to paint the interior "hard" parts Tamiya flat black. I added some photo etched parts from a Tremonia fret that included disc brake faces, some engine parts like the throttle body grilles and some clamps. I also painted the suspension springs and brake calipers Tamiya bright red. I added carpeting to the interior by cutting and sticking self adhesive black velour. If I had to do it over I'd use flocking instead. This kit has 814 parts and all are well molded and fit together quite nicely. I'm happy with the result!
-
Have I seen this correctly ? This GMC had an independent suspension up front??? Holy Moly, that's the first time I see this, I was flabbergasted when I saw Volvo trucks were using an independent setup. You're telling me GMC used that in the 60's with air ride?! Unreal!
-
Very classy!
-
Thanks for your nice comments guys! it's always appreciated. I like it and I'm happy you like it too!
-
Man.....This is beautiful....Just beautiful.....I, too, remember when these trucks first came out.....I was thinking the same thing....."Total Breakthrough"....Always liked these rigs.....I don't think I've ever seen a "Day and Ross" truck down in these parts, but it sure does look good in that orange.....Love it, love it, love it.....Just too cool....I think I'll have to do a little more research on this company.....As you may know, I'm a big fan of the orange.....
 I know....Big shocker, huh.....Anyways....I'm totally diggin' this model.....SWEET !!!!!!!
I was waiting for this comment! I knew this would catch your eye! Thanks man, it's appreciated!
-
That was a major project! Nice rigs, clean builds with bound loads too. Job well done!
-
Such a cute little truck! Your build is quite clean, I like the color, it makes the truck stand out! Very nice! Now when are these kits coming out, I want to build this!
-
Very clean build! Nice work! You actually foiled the grill or you shot it with chrome paint? Very good work any way you look at it for sure!
-
Hi guys, this is my annual build, an Italeri FLD120 with a Moebius 53 foot Great Dane roll up door dry van. I have seen these D&R rigs go up and down the highways since I was a kid. In the early 90's I was struck by the styling of the FLD as being a breakthrough at the time, being very good looking for a fleet truck. So, since I'm familiar with the Day & Ross "Ship The Big Orange" paint scheme and still liking the FLD so much, I decided to make one of my own! So here is the breakdown, I started with the Italeri kit that has the silver truck box art with the cab side exhausts. The truck is box stock except for shortened rear hubs, "baby moon" button hub covers, Michelin drive tires from SIA A&N and a replaced the roof air deflector with a unit from a Revell of G Pete 359. Air brake hoses are on the truck and trailer too. The Moebius smoothside is also almost bone stock, except for the scratch built wheel hubs and KFS 1/24 scale wheels and Italeri tires to match. All wheels roll on the rig, that's just something I have to keep. No I don't play with them, it's just that I need to keep the "functionality" on all my builds. The decals are from Jerry at Modeltruckin'. I still have to go through some last details like the connecting hoses and wires to get the whole package finished though. Here are the pictures...


-
I had that poster when I was a teen too! You hit this one right on the head, it's looking very much like the poster! Now all you need is the stainless reefer behind it! Brought me way back when for a minute! Thanks for sharing!
-
looking really good up tp now! Ford sure made good looking big trucks at the day. Nice job Jac, you've outdone yourself with this one.
-
I think the Revell snap trucks are some of the best kits to hack up! They're inexpensive to start with, they fit nicely, you don't have to fiddle with the hoods and cabs to align, they have pretty good parts (save the rear wheels and all tires...), that can be used on many other trucks... Good castings for the bodies and straight frames. Ok, i'll admit they have their shortcomings, no brake air chambers and no sunvisors... But man, look at what the guys here can do with 'em! Impressive!
-
Just like the real one! I like everything about it, I'm surprised about the 2 piece Italeri tires in the back, they look at home on this truck!! Interesting build and a nice piece!
-
Pretty good! I like it!
-
I like your style... I like that Kenworth and the trailers, I already said good things about that Volvo...
-
That red really makes it pop! Very nice! The grill and headlights are nicely trimmed in black, good detailing behind the cab... A good one!
-
You could use some aluminum tubing as a sleeve to fit over the metal axle in the hub... I did that before and works nicely. You can find those at the hobby shop.
-
You've outdone yourself with this paint job Jac! Nice!
-
Very nice build! The Lonestar looks great as a rotator wrecker!
-
Good start to this one!
-
this week i put the newway-airride under the chassis that i make already 3.5cm shorter
and i mock-up how it looks
and now doing the engine and a little plumbing
jacobus
Hi Jacobus, nice start to your project! I like your rear suspension setup! I also have this kit, so I'm very interested in your build. I see you might mount the fuel tanks right in front of the rear wheels. The cutouts at the bottom rear of the cab are there for fuel filler neck clearance. You might want to fill these cut outs on the cab if you want to install the fuel tanks like you want them, unless you want to use 4 fuel tanks... Or just leave it the way it is. This is a picture of a CL9000 which has the fuel tanks in the stock locations, if you can blow up the picture you will see the fuel cap is aligned with the cutout in the cab skirt:

Another pic:


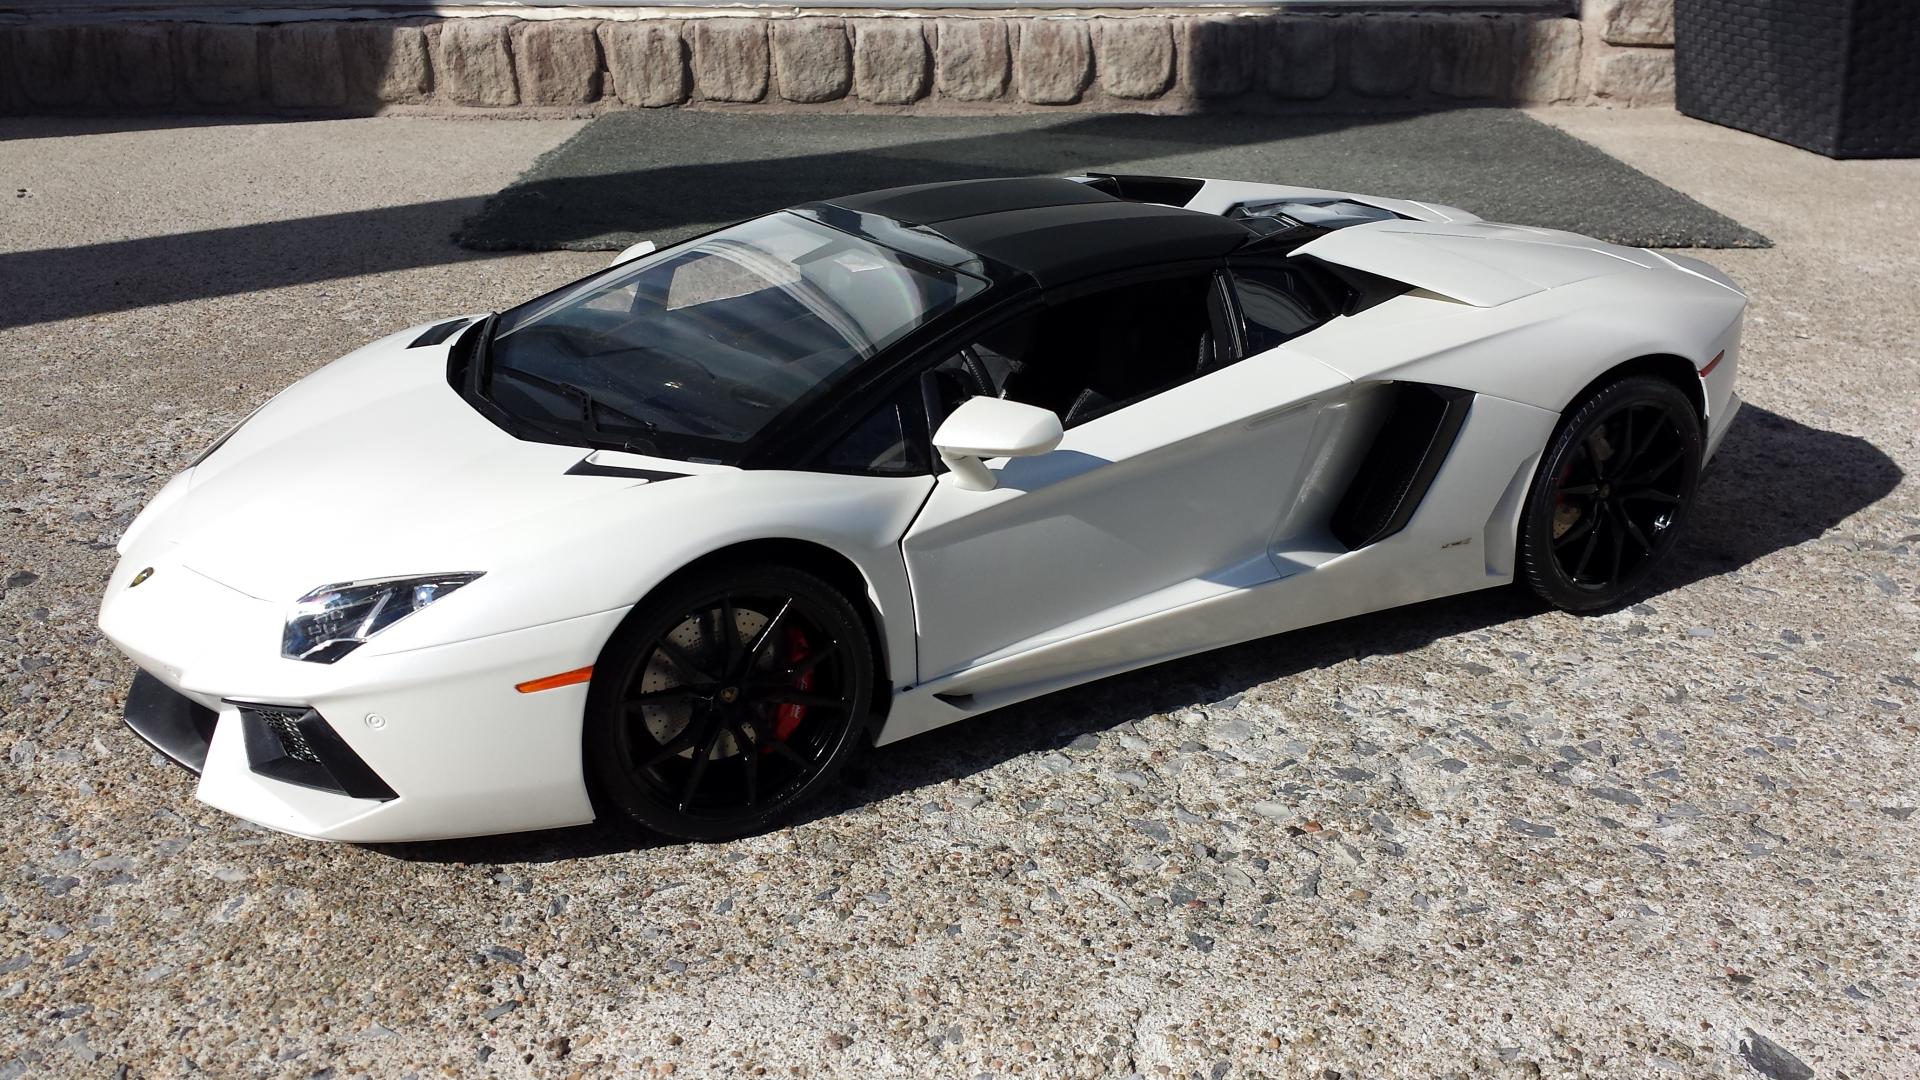
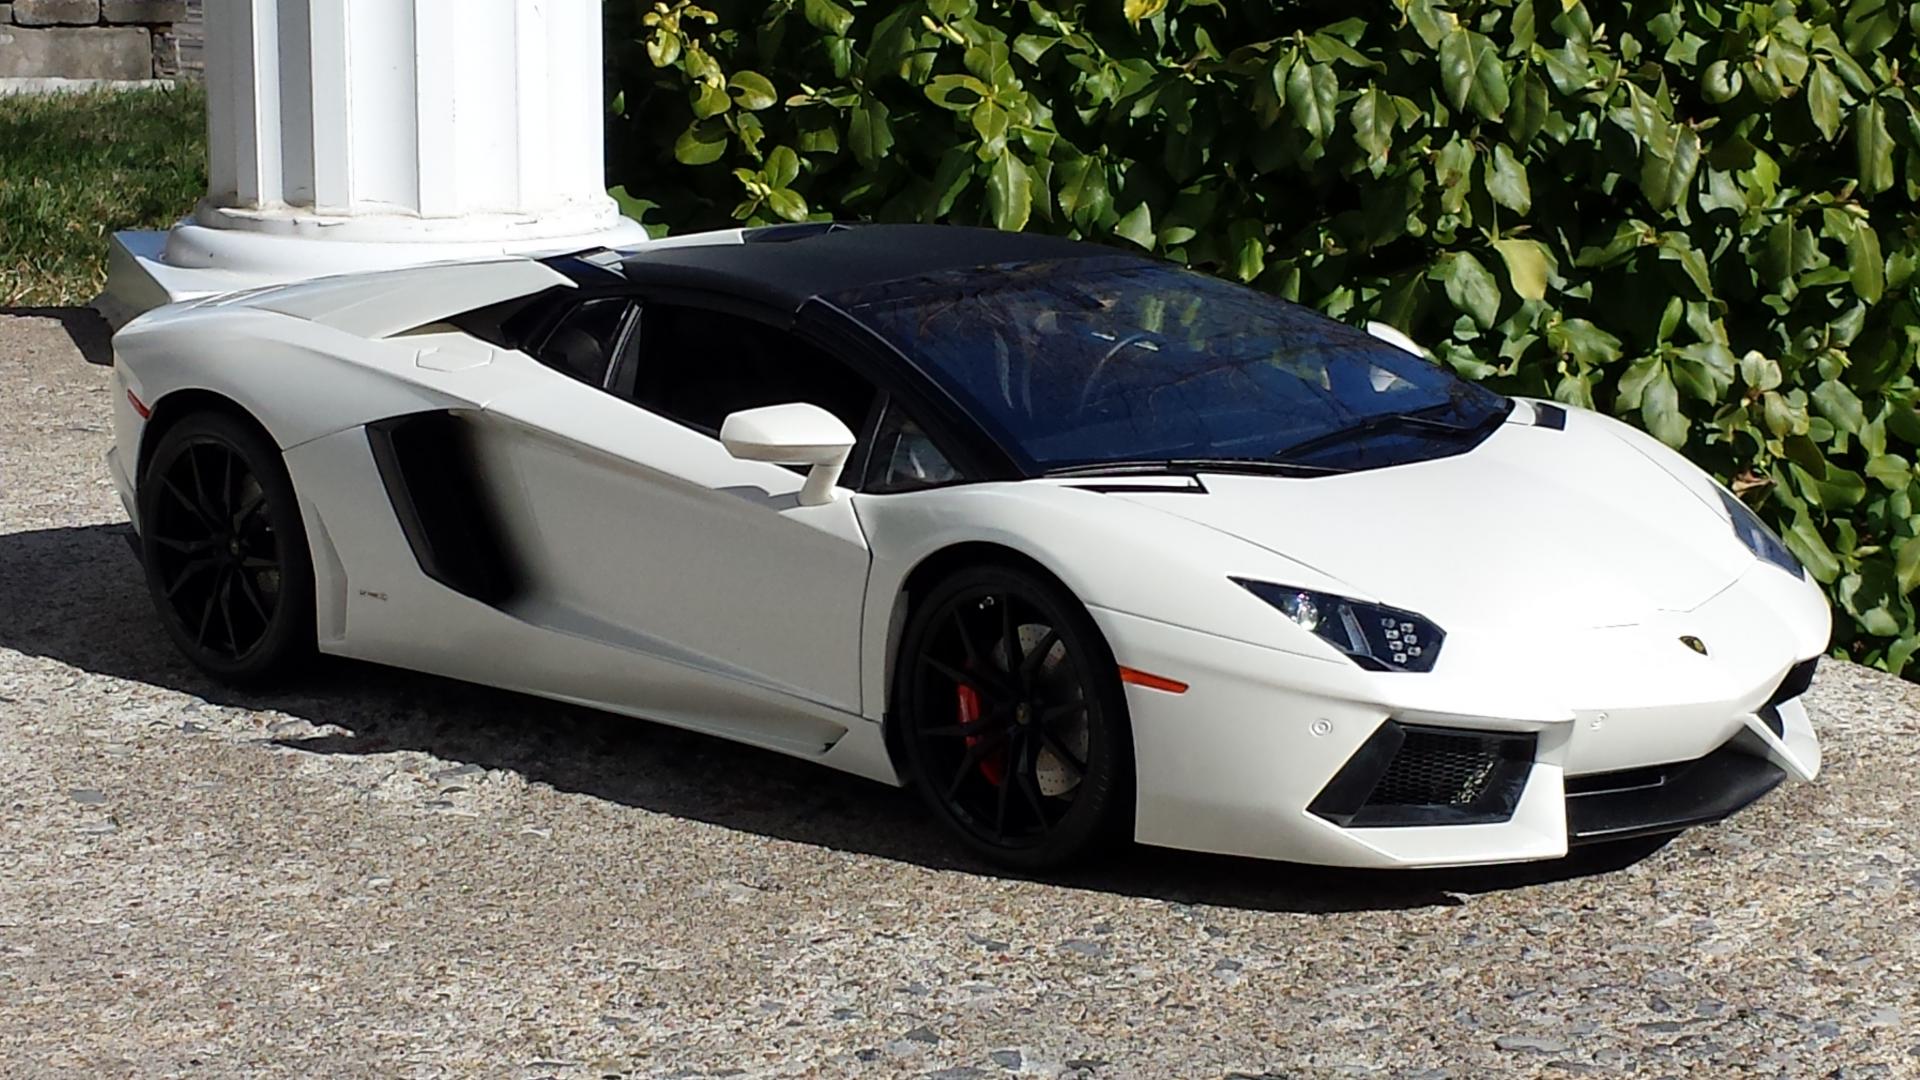
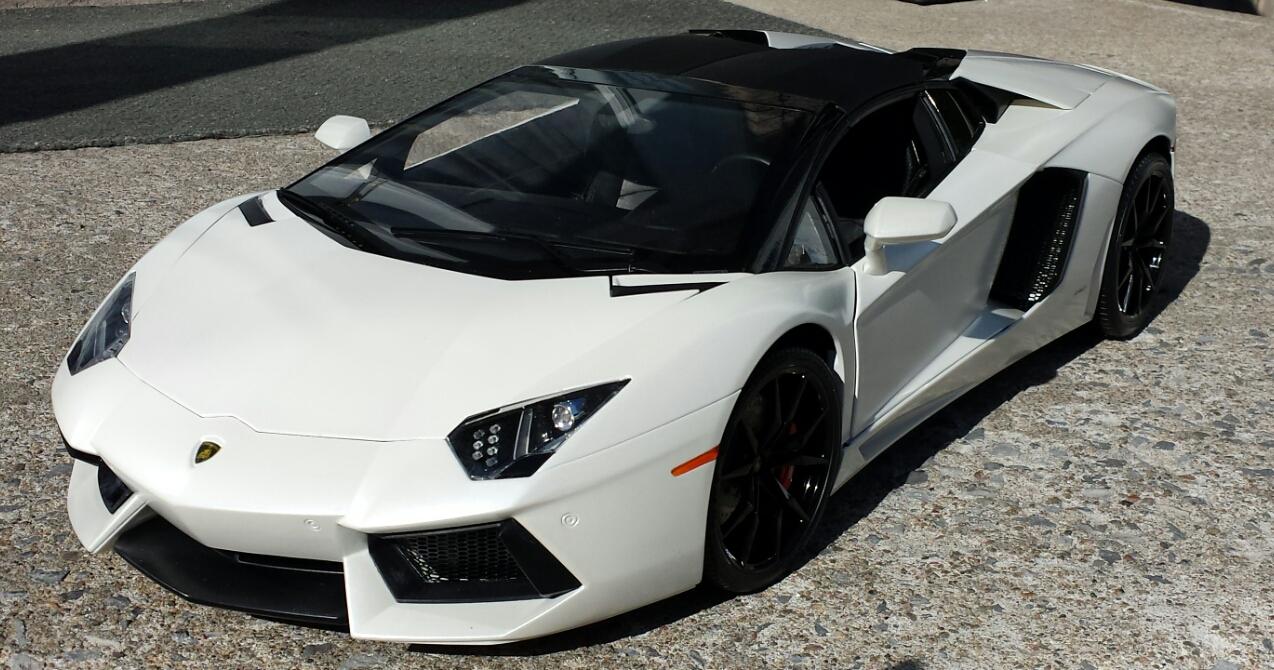
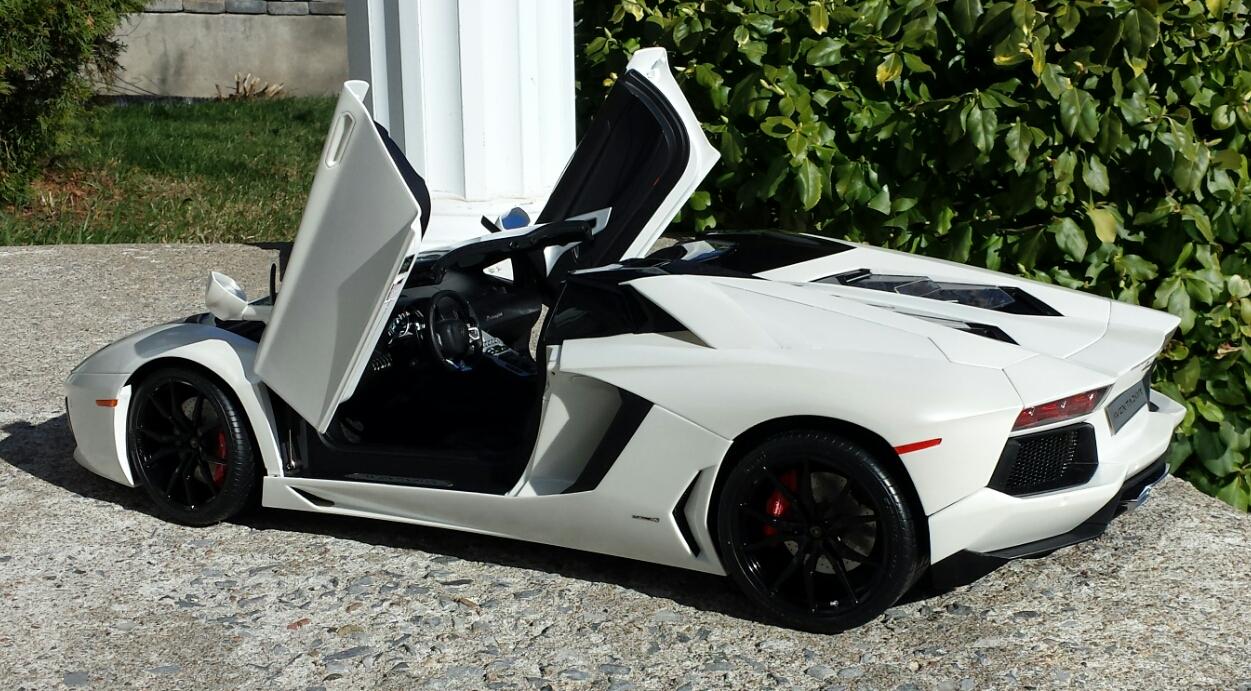


1/8 Pocher Aventador Roadster
in Model Cars
Posted
Thank you!