

'70 Grande
-
Posts
1,548 -
Joined
-
Last visited
Content Type
Profiles
Forums
Events
Gallery
Posts posted by '70 Grande
-
-
PM sent to you
-
I am looking to trade for all the stock Flathead V8 engine pieces from the AMT 1/25 1949 Mercury kit, (any release/reissue of this kit). They can be fresh from the tree or from a built-up if in good restoreable condition, (not interested in a complete kit). I have a fairly deep parts box to trade from. I am in Illinois.

-
I've often wondered how those drivers back then wrestled one of these race cars with manual shifting, steering and brakes for a couple of 100-miles around a shoddy dirt track and lived to do it again a week or two later!
This build is awesome, especially with the added details like the straps holding the doors shut... well done Model Guy!
-
On its own, I think the box art on this one is a masterpiece!
-
 2
2
-
-
Great work so far! Good color choices, too... I'll be watching your progress!
-
Funny, the first project that came to my mind when seeing this '64 Mercury Comet upcoming kit post was building one of the '64 East Africa rally cars that came outta Bill Stroppe's shop.
Doubtful that Moebius would issue such a kit but wouldn't that be a delightful surprise if they did!
-
1
-
-
With your modern wheel and tire combo, I think the cross ram feels more appropriate for your build... the shorty's are good but have a more vintage vibe in my mind.
-
Sidebar story mikemodeler:
Yes, I'm a Ford Mustang guy, but one of my favorite 1:1 cars I owned for over 7 years was this 1970 Camaro with the 250-inline 6-cylinder and automatic transmission... old out-of-focus pic below! The car had an interesting back story too long to get into here, but at age 16, my parents wouldn't let me buy a V8 Camaro so this is what I got instead!
-
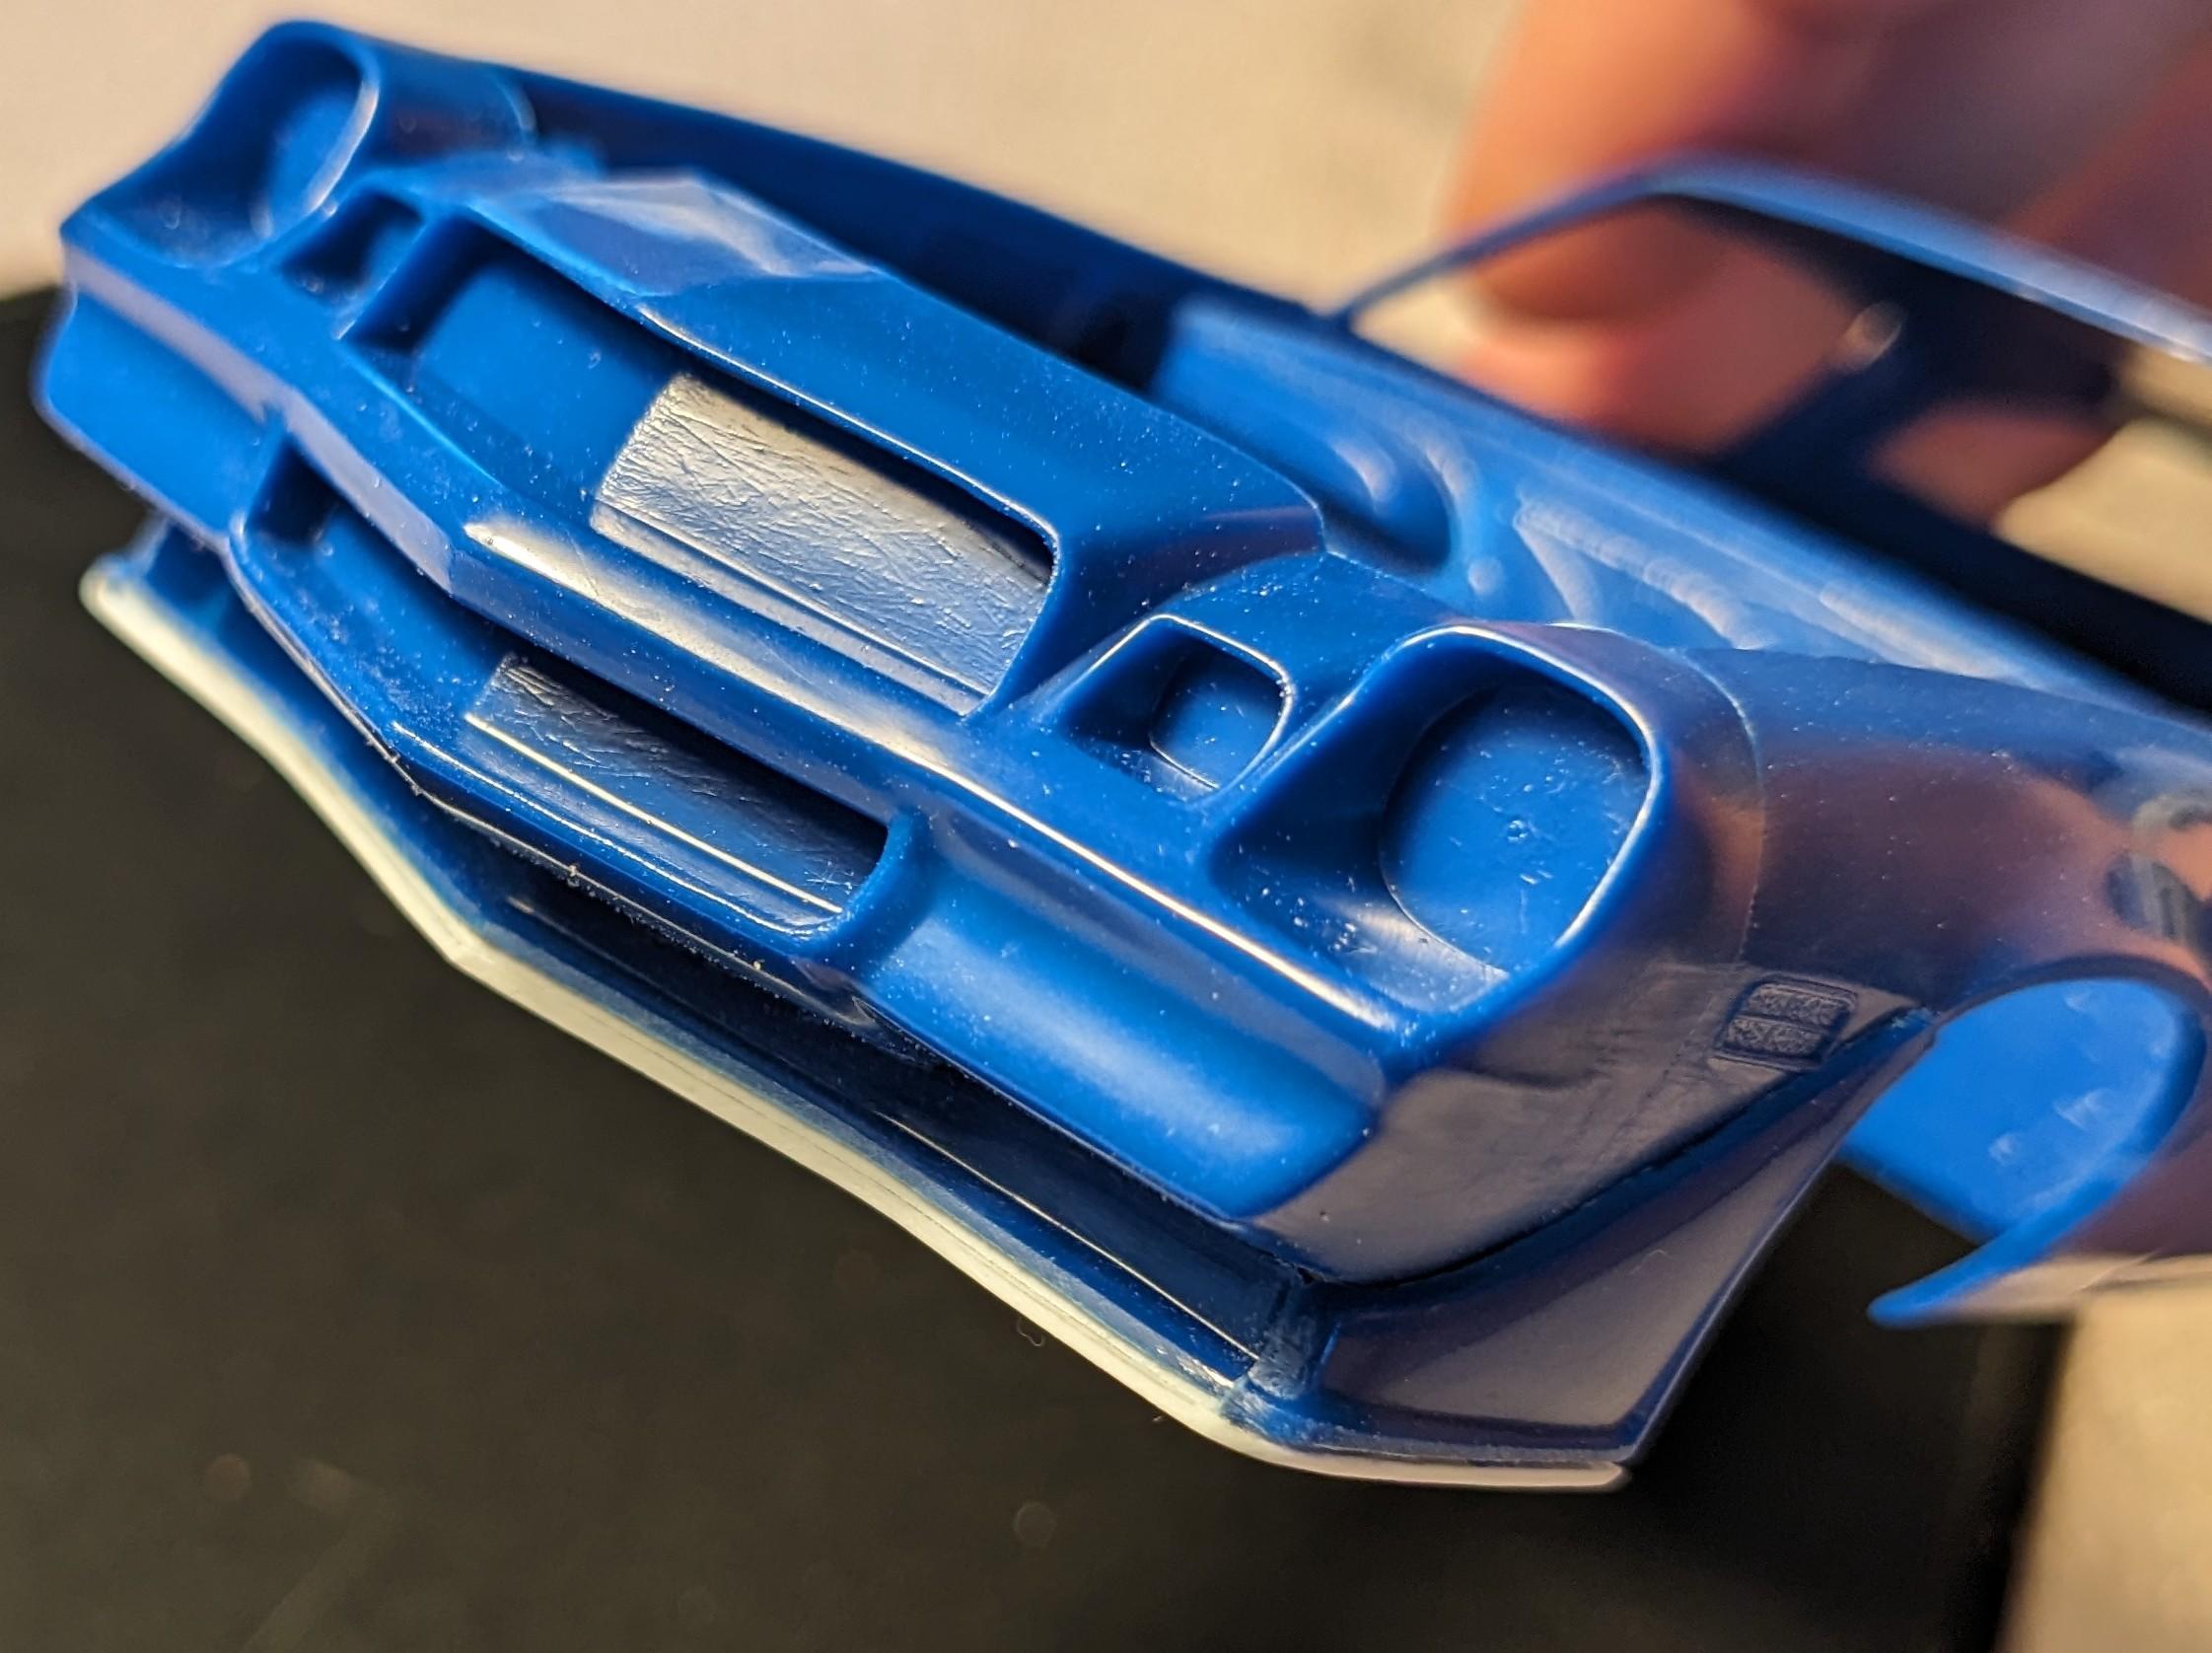
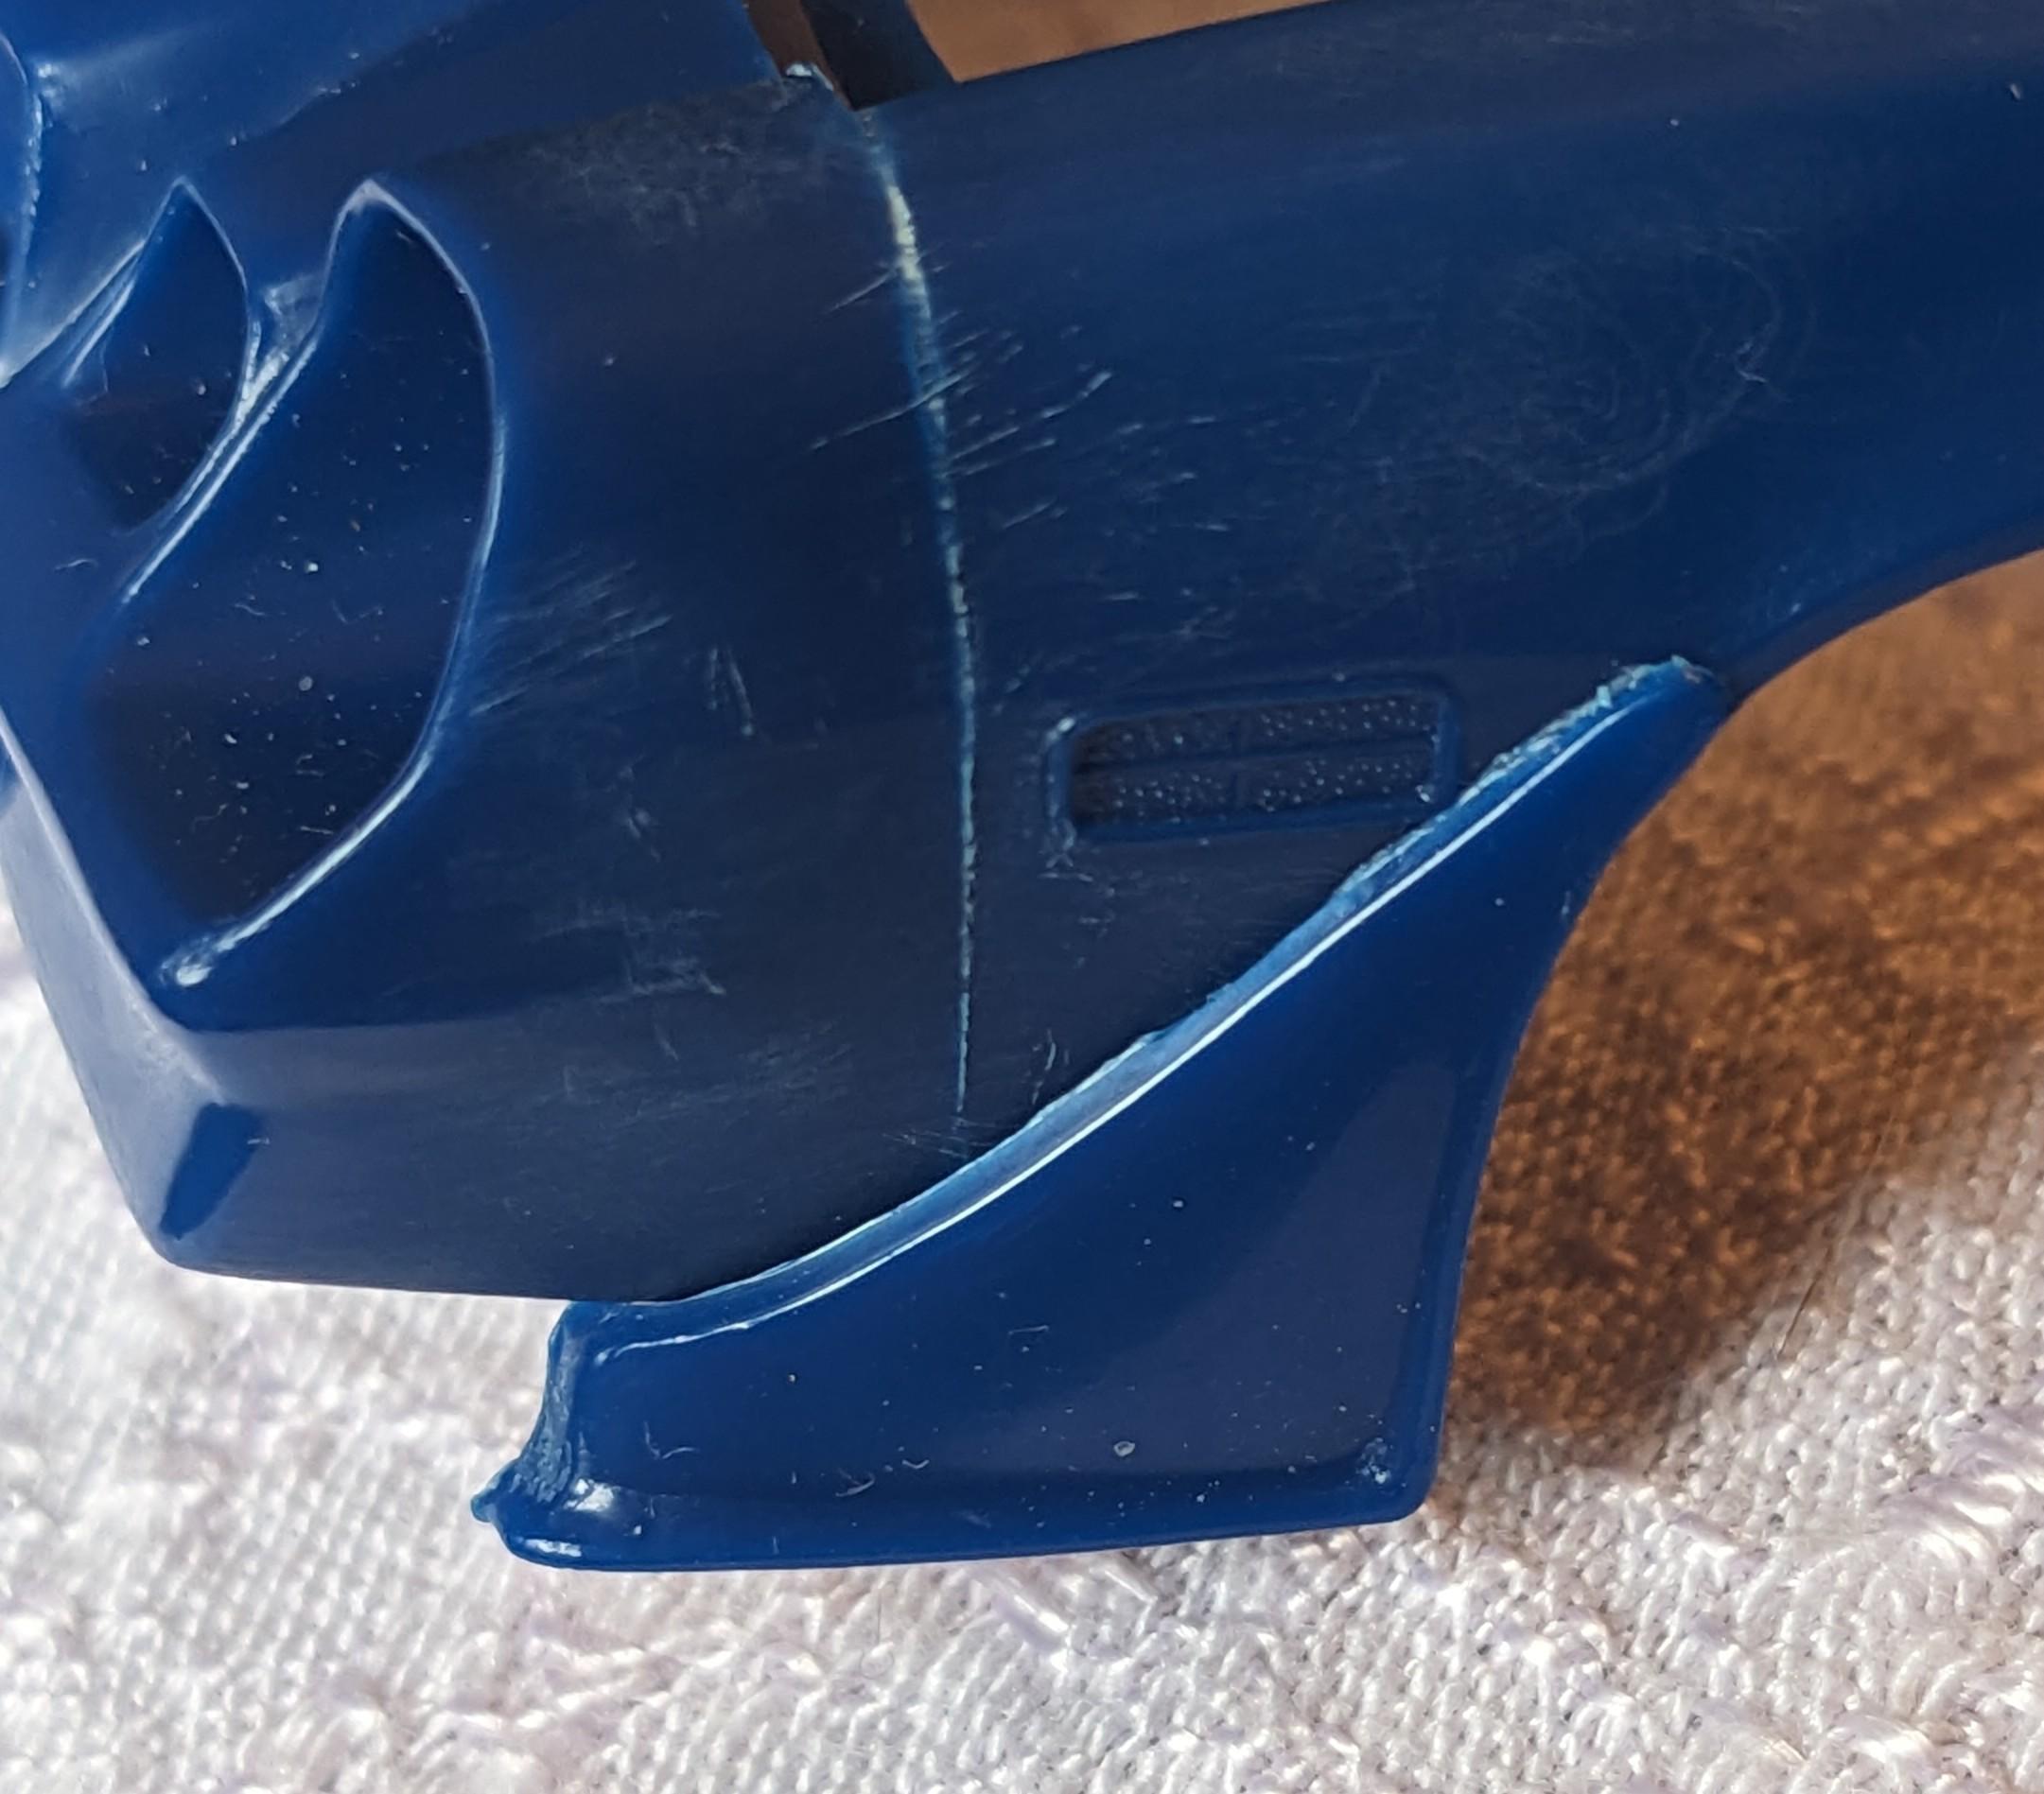
I was a bit surprised by the poor fit of the kit's front spoiler center piece. Once the front fender flares were in place, I expected the front spoiler center piece to basically drop into place.
Turns out the pieces don't line up very well and end up not being flush across their bottoms once all together.
I decided to add some styrene to correct this as much as I could. The first added piece of styrene brought the bottle edge of the center piece more flush with the bottom edges of the fender flares.
The second styrene piece I added covers the entire area as shown in the 2nd pic.
It doesn't bother me that this additional styrene makes the entire front spoiler a bit deeper/closer to the ground as I'm doubtful that will be noticeable when my build is completed.

-
1
-
-
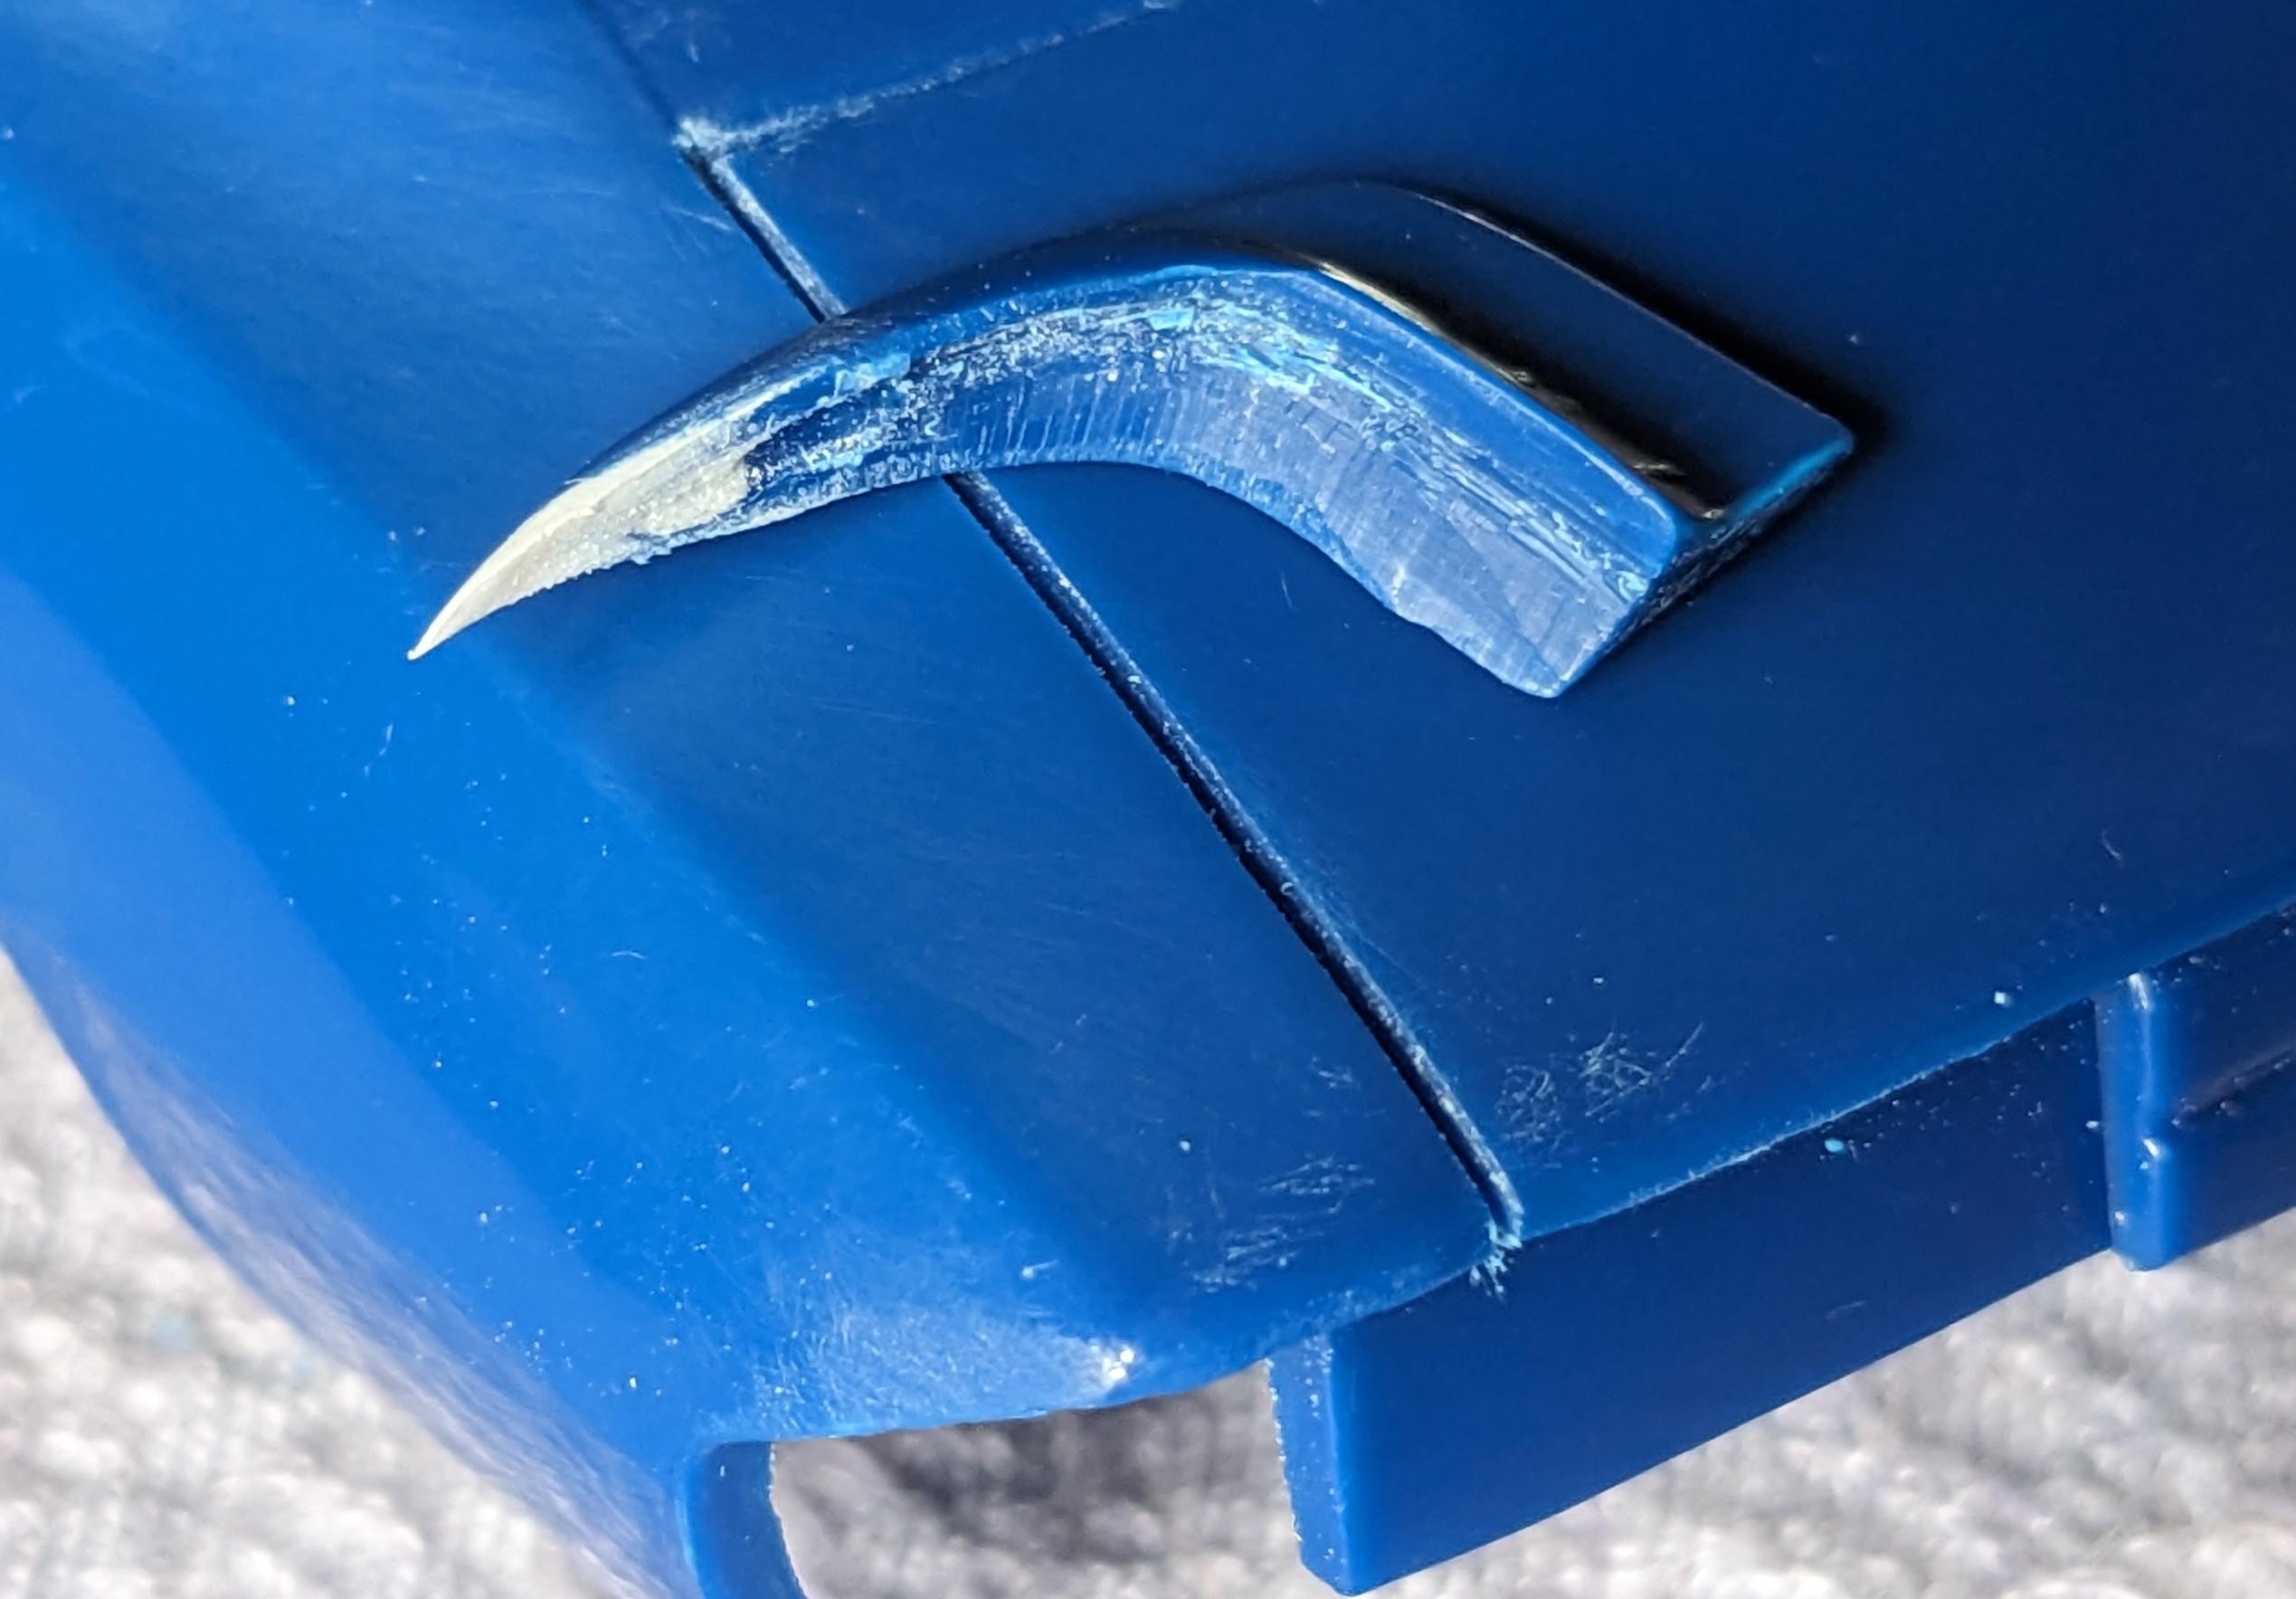
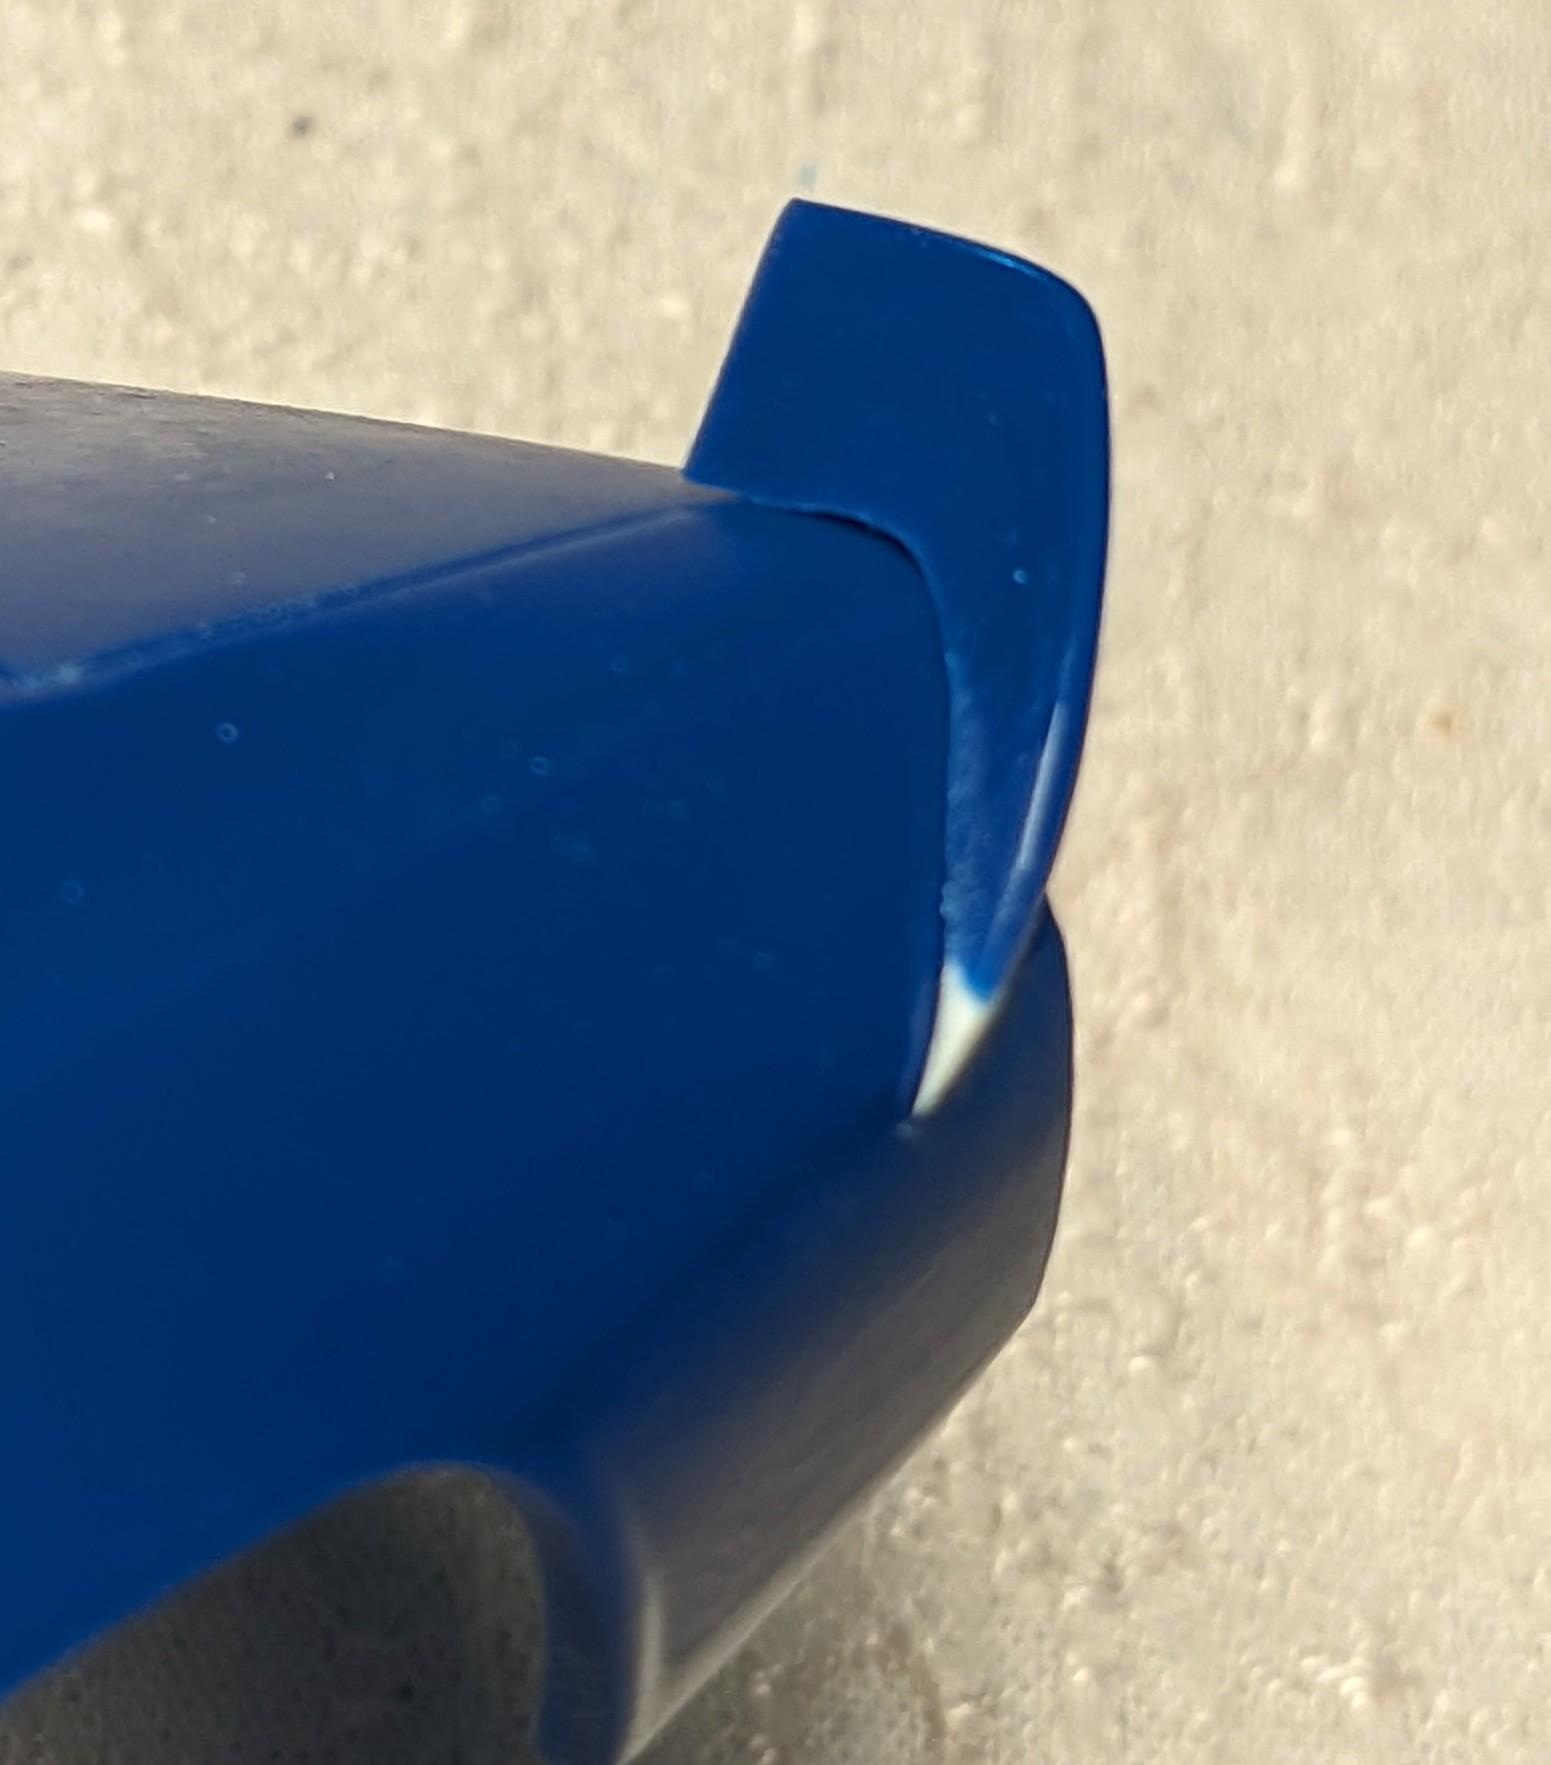
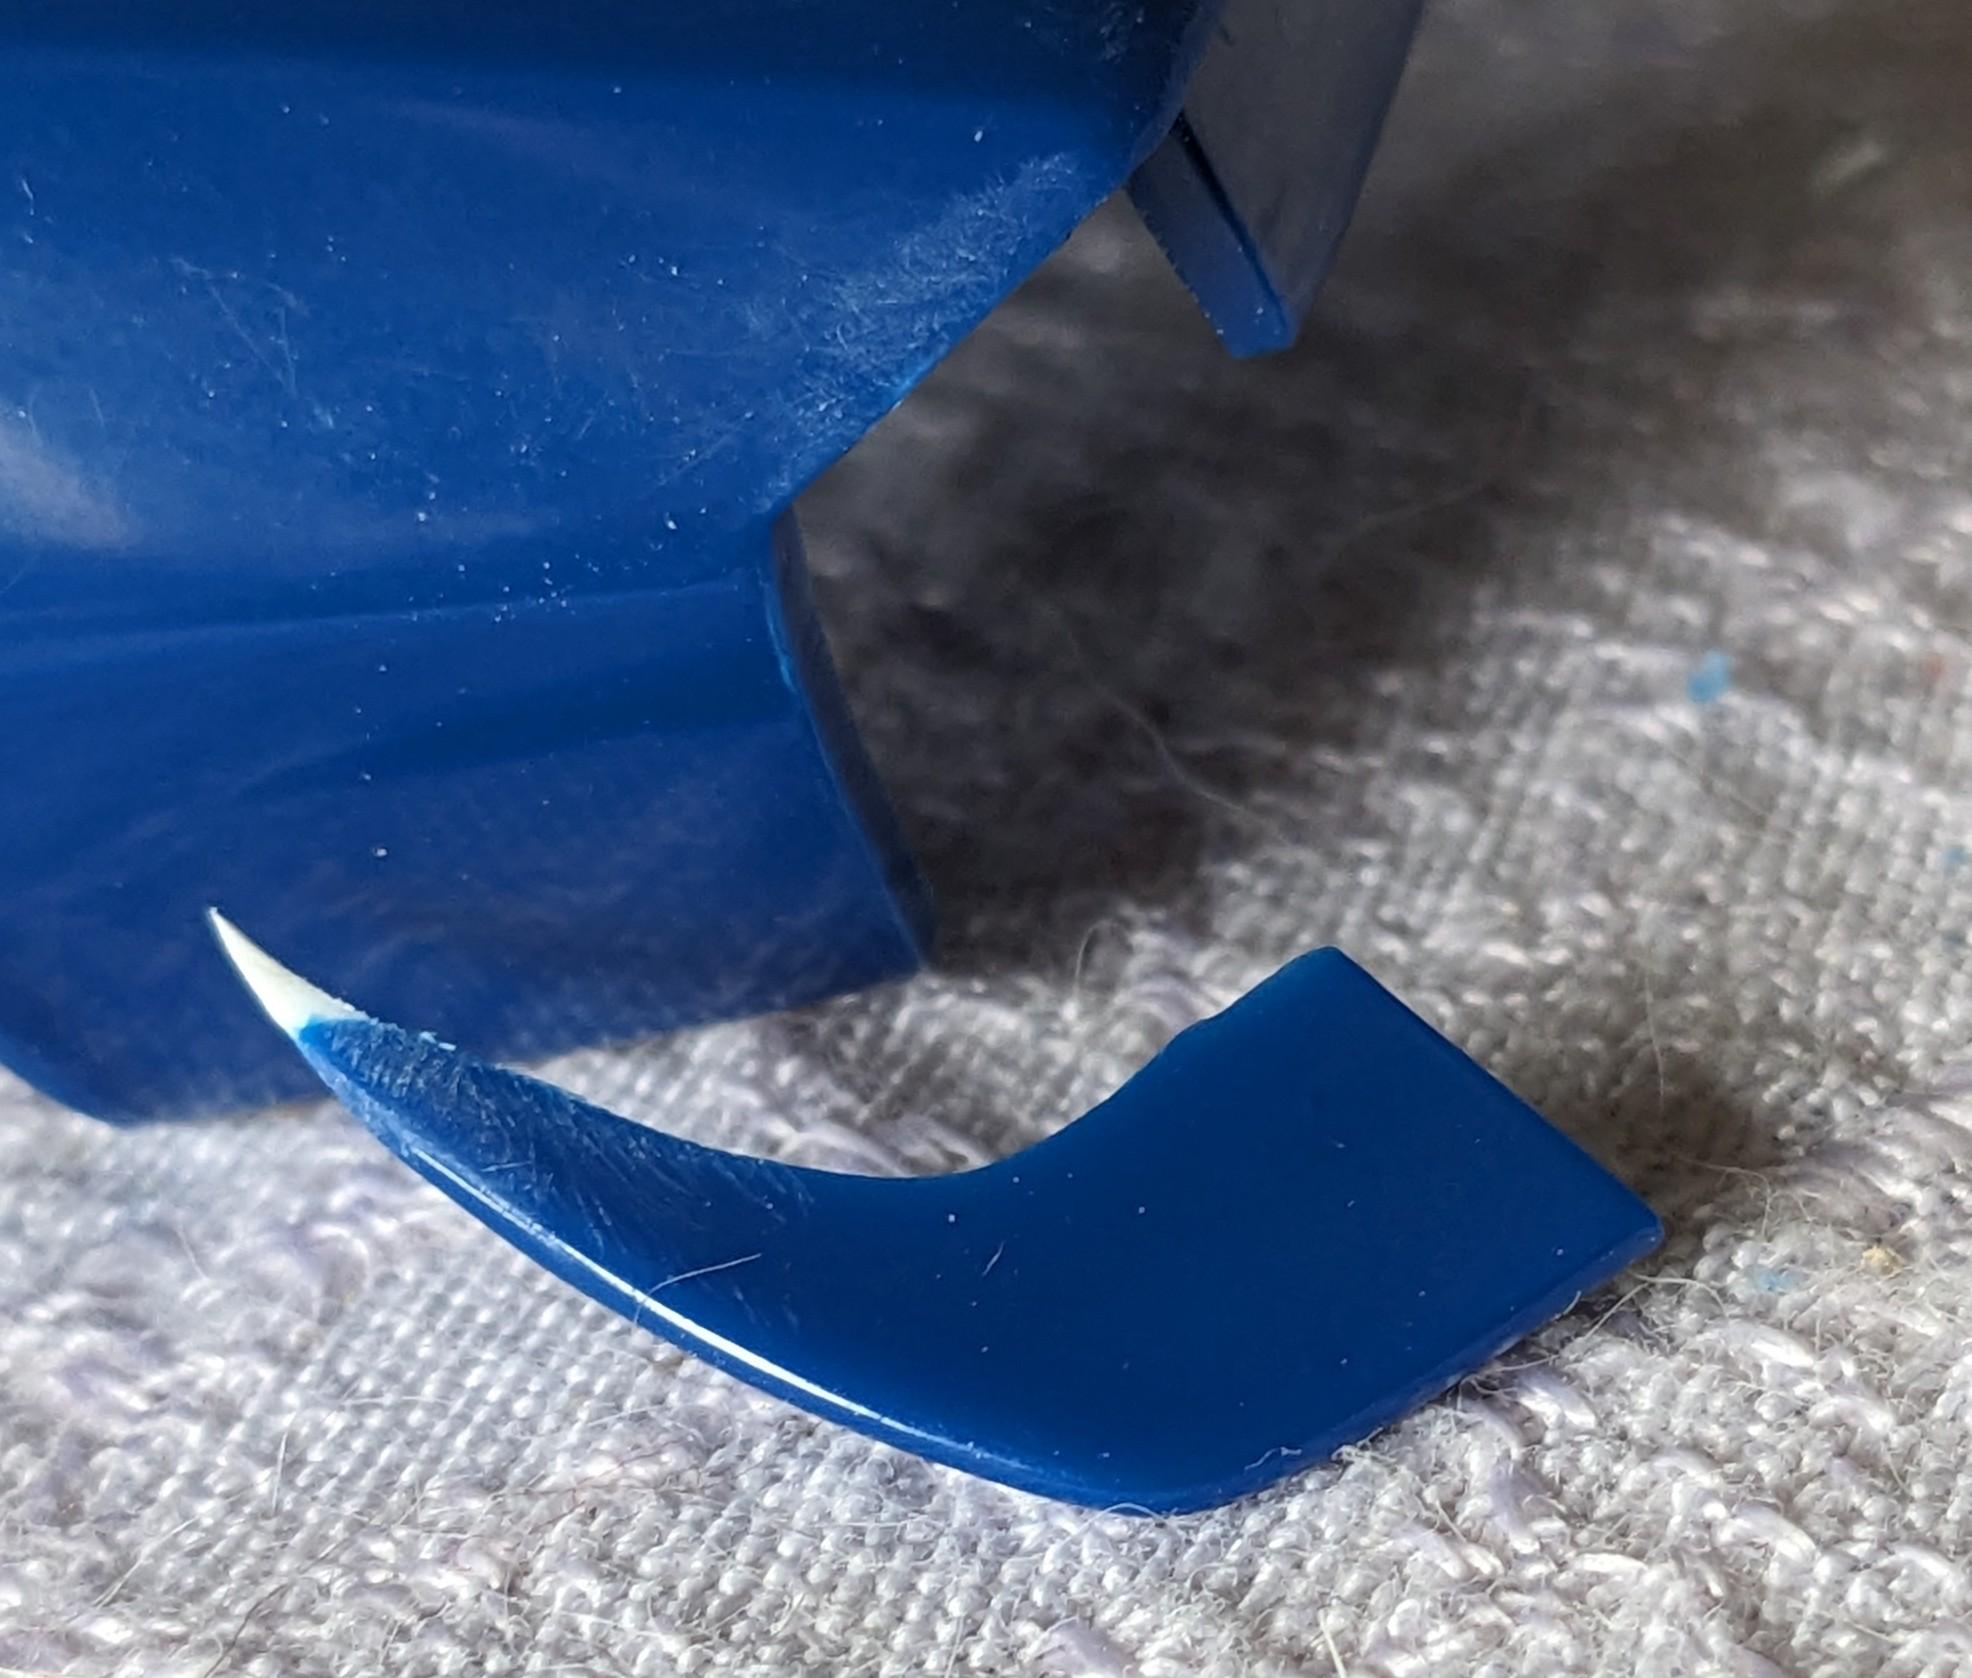
And some more pics of my end result. You may notice in the last 2 pics here that the cut-line on this rear spoiler/corner piece doesn't line-up anymore with the trunk's panel line, but now overlaps it a bit. This was a result of me taking some material away from the bottom side of that rear spoiler/corner piece to minimize how much length would be added when the point was attached... I didn't want the tip of that point going below the side-body-line on the rear fender per the 1:1. (I hope this makes sense).
I'll be removing that excess when I install the center section of the rear spoiler. I kept it here for now as a reference piece as a duplicate this same rear spoiler corner piece work for the passenger side piece.
-
2
-
-
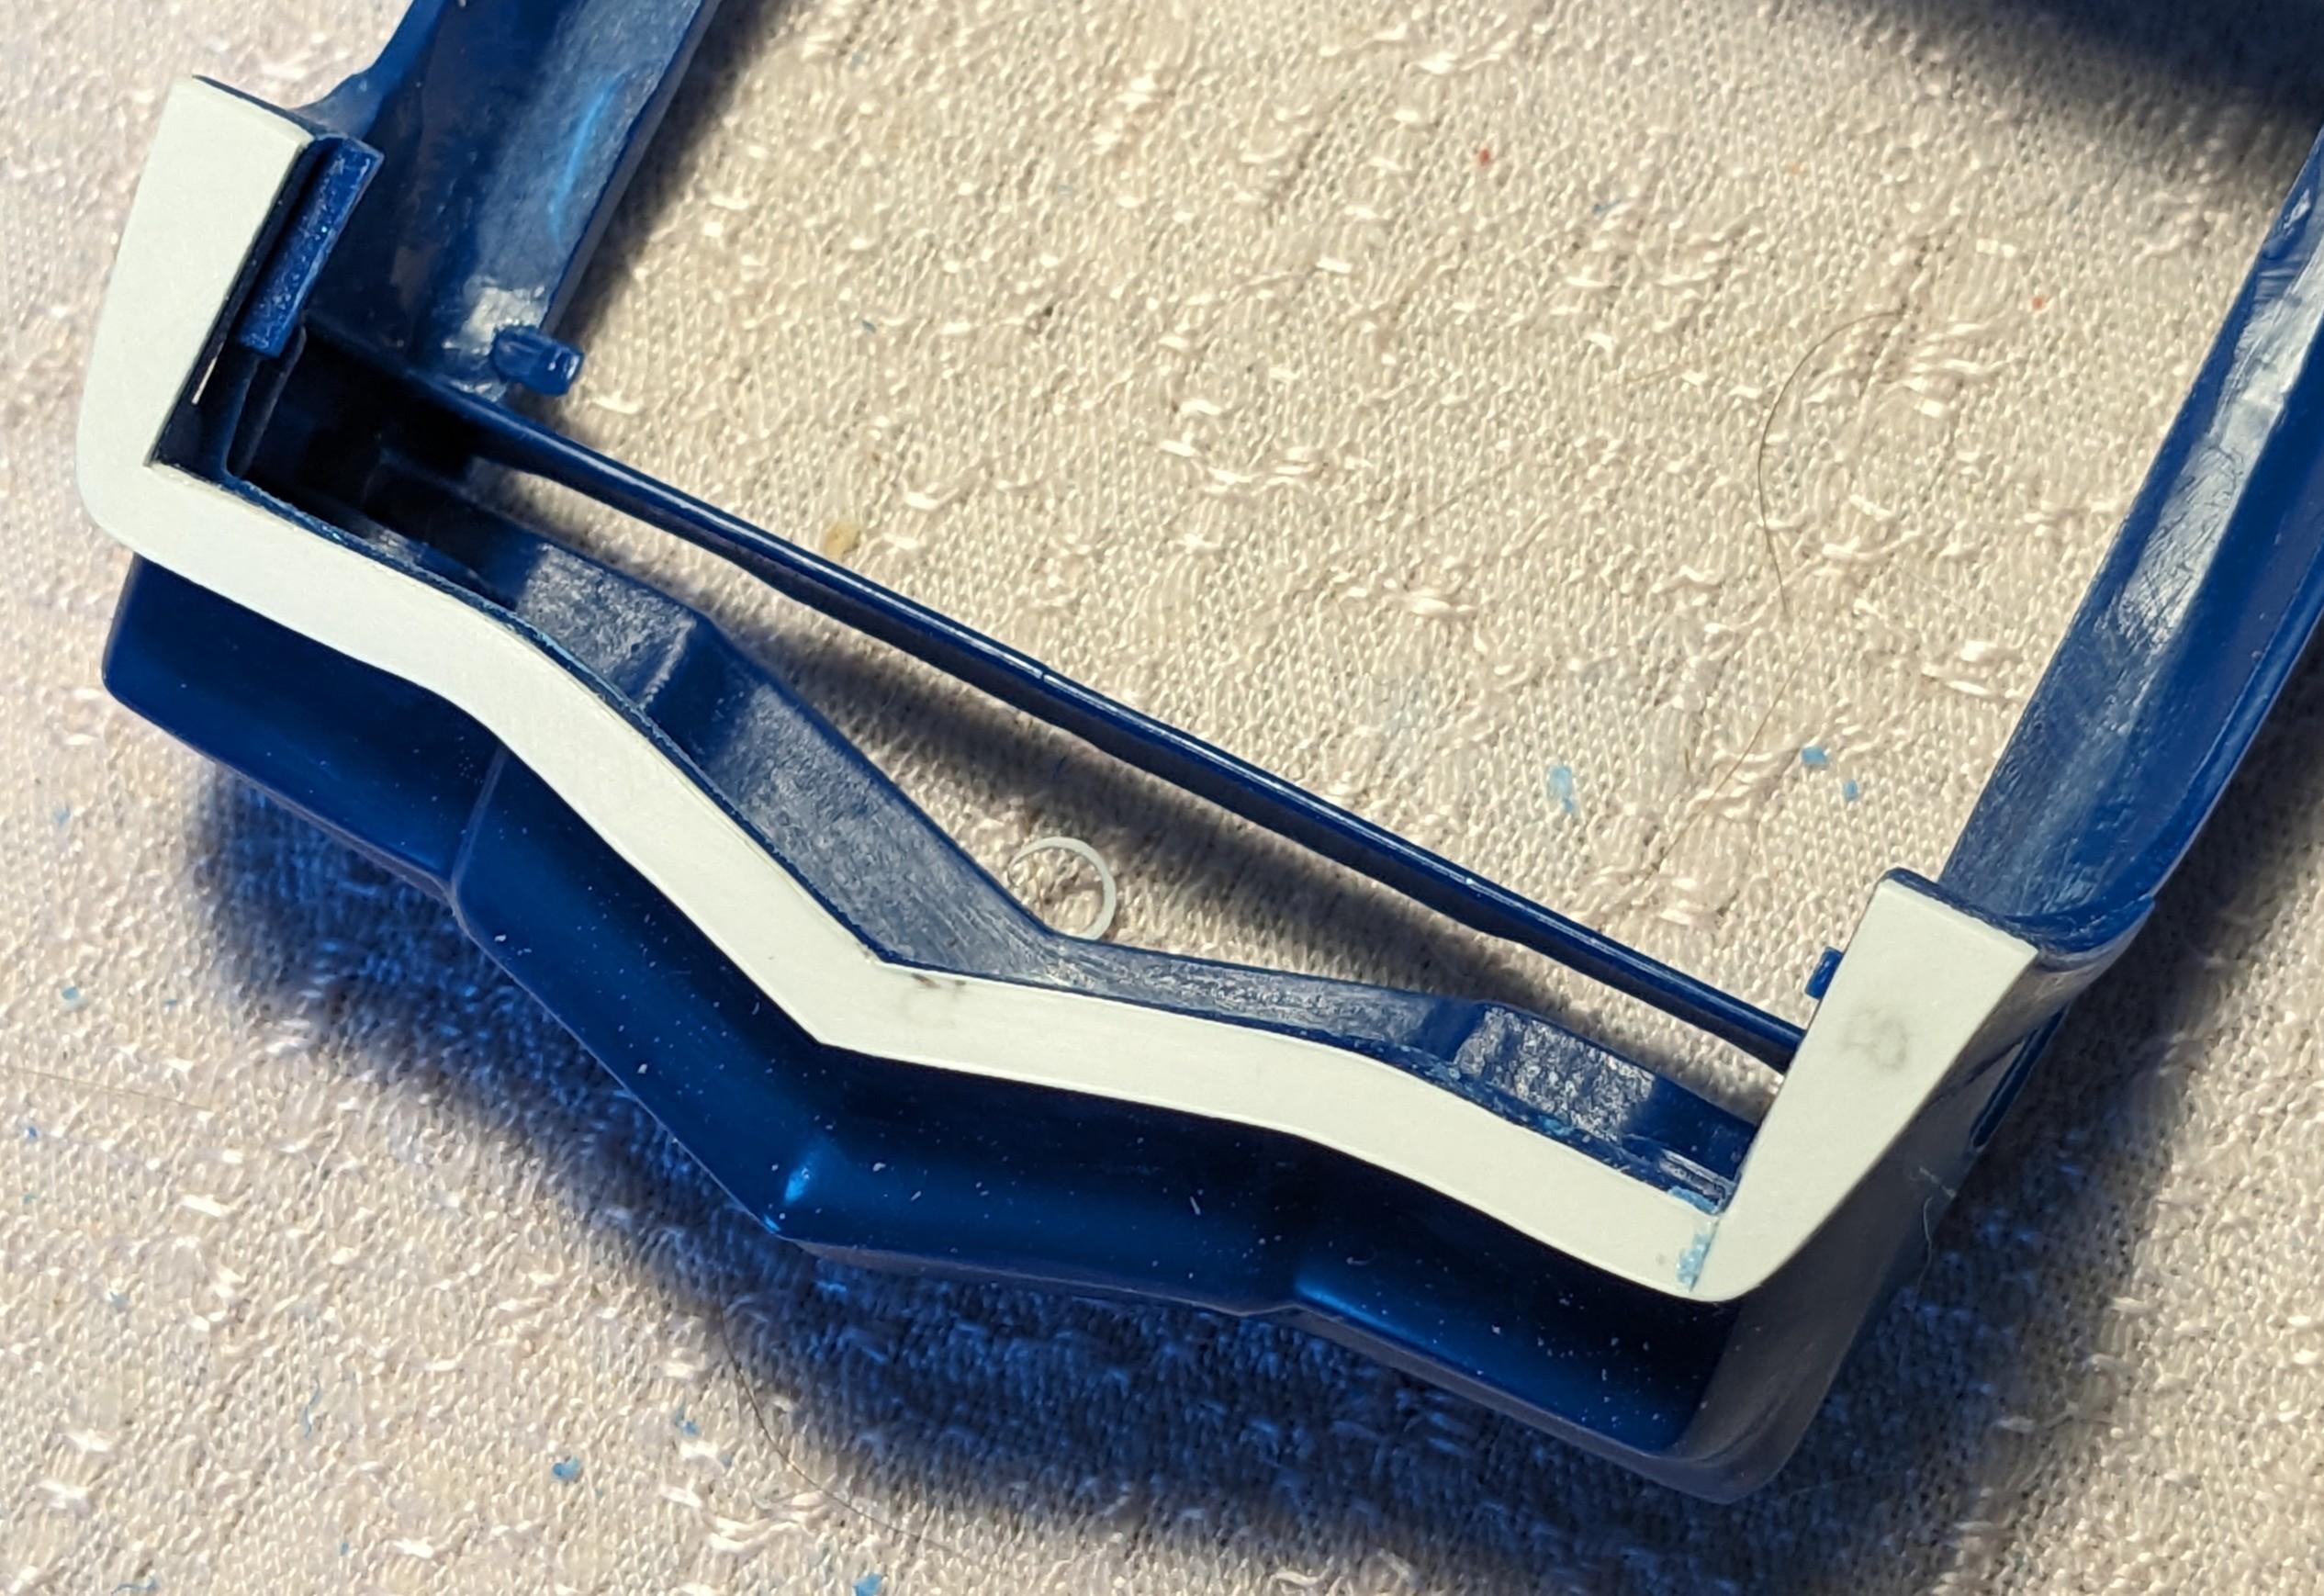
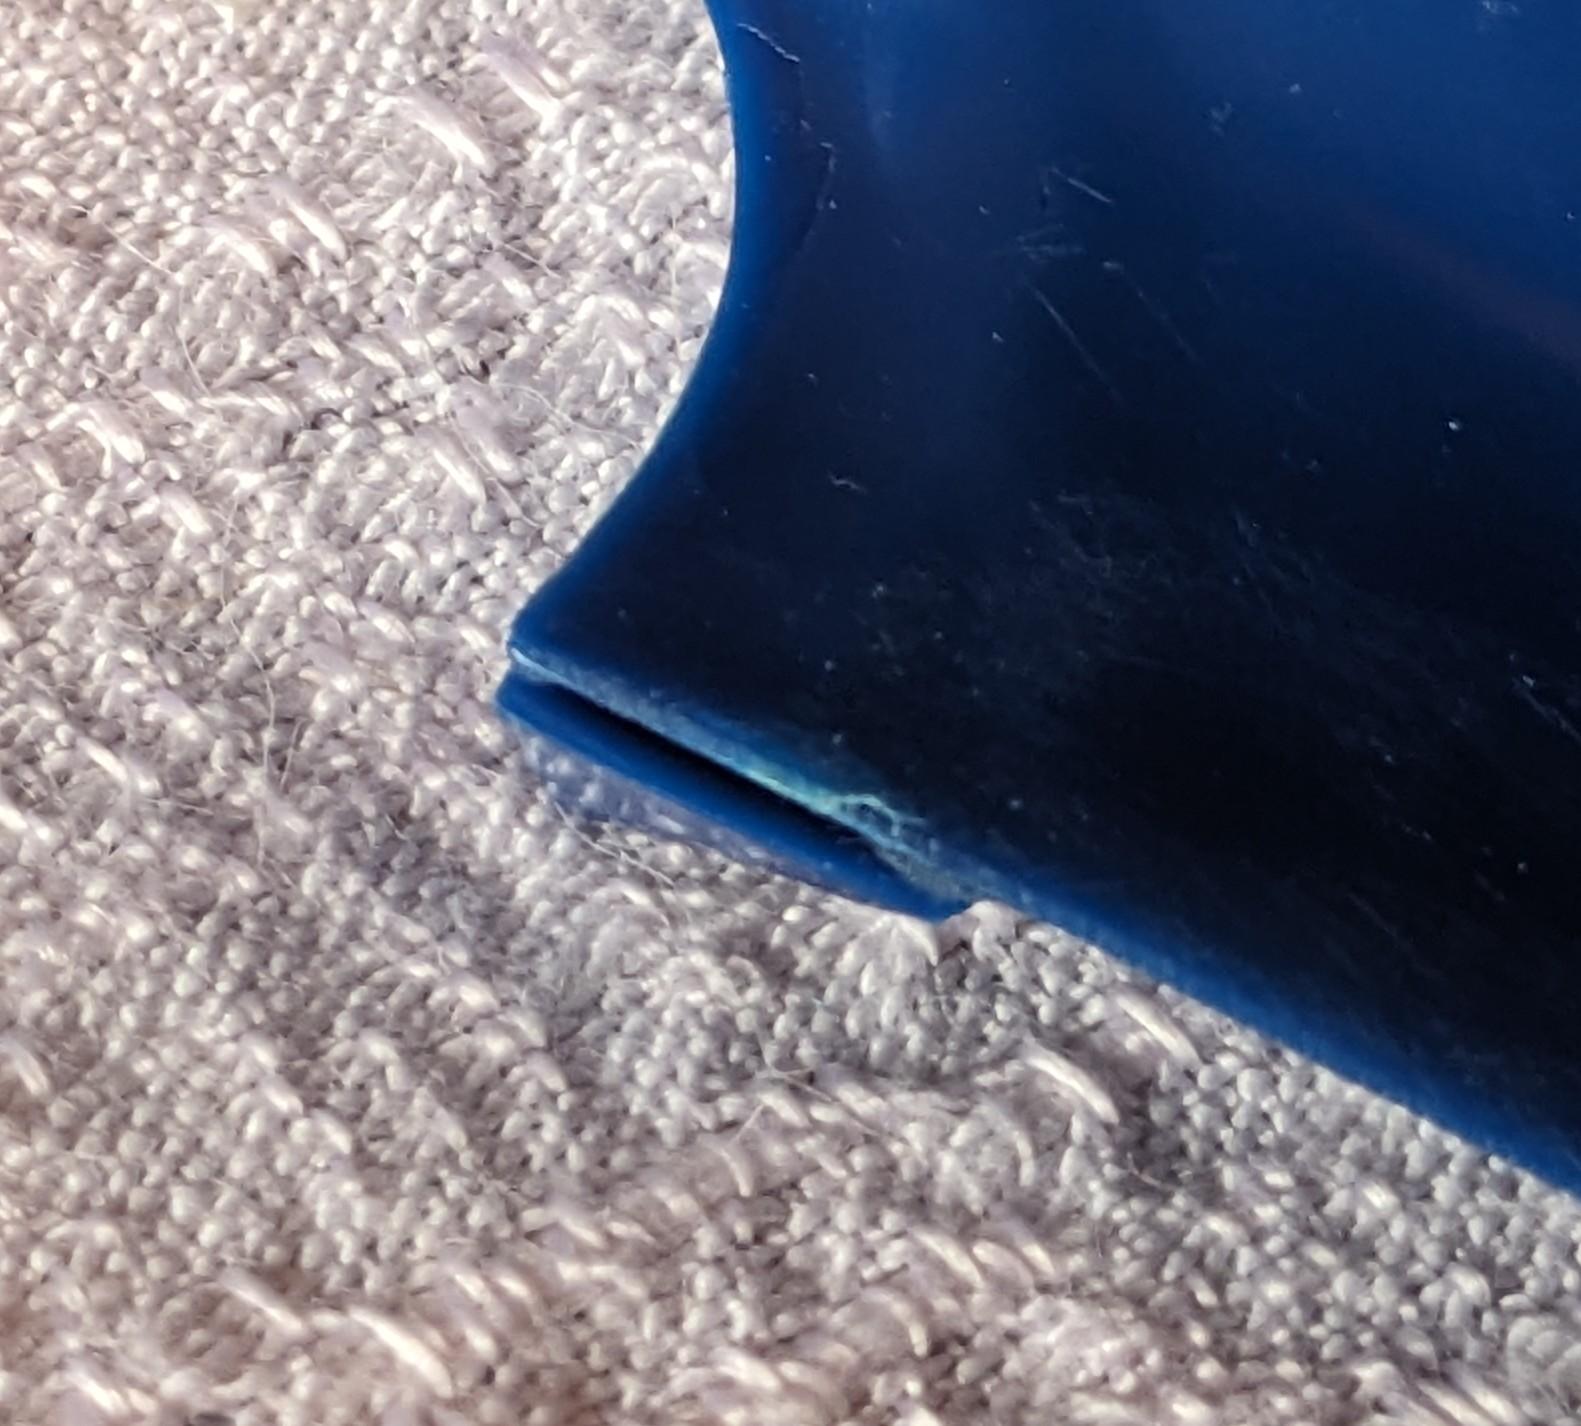
The rear spoiler work that I started on this Camaro project became more complicated and intimidating than I thought. Reshaping pieces that are complex-curves in all directions and then getting those curves to properly line-up with an area on the body that's also nothing but complex-curves means slow and patient work.
My main issue with the kit's rear spoiler piece is that it's bottom edge doesn't come to a point on the rear fender per the 1:1... (see previously posted 1:1 reference pic).
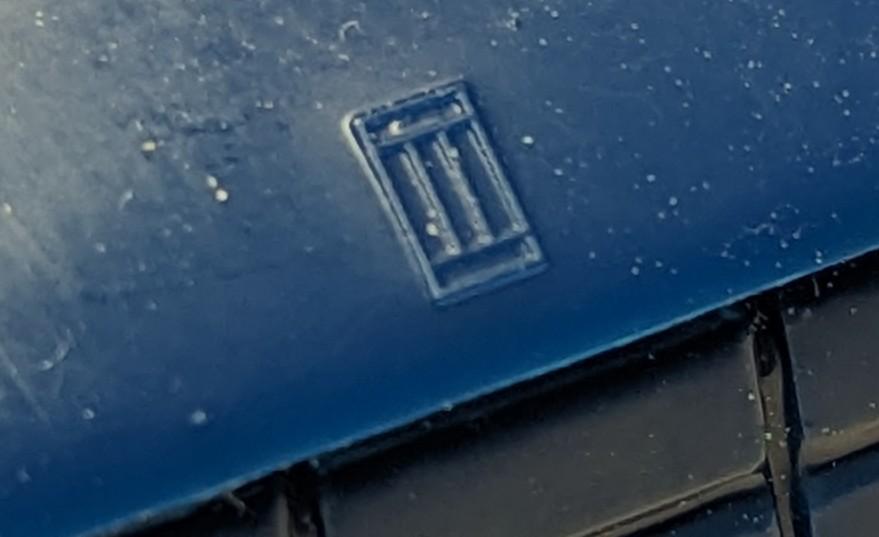
In the first pic below you can see a nicely molded trunk emblem that sadly needs to be removed as the rear spoiler piece will cover most of it.
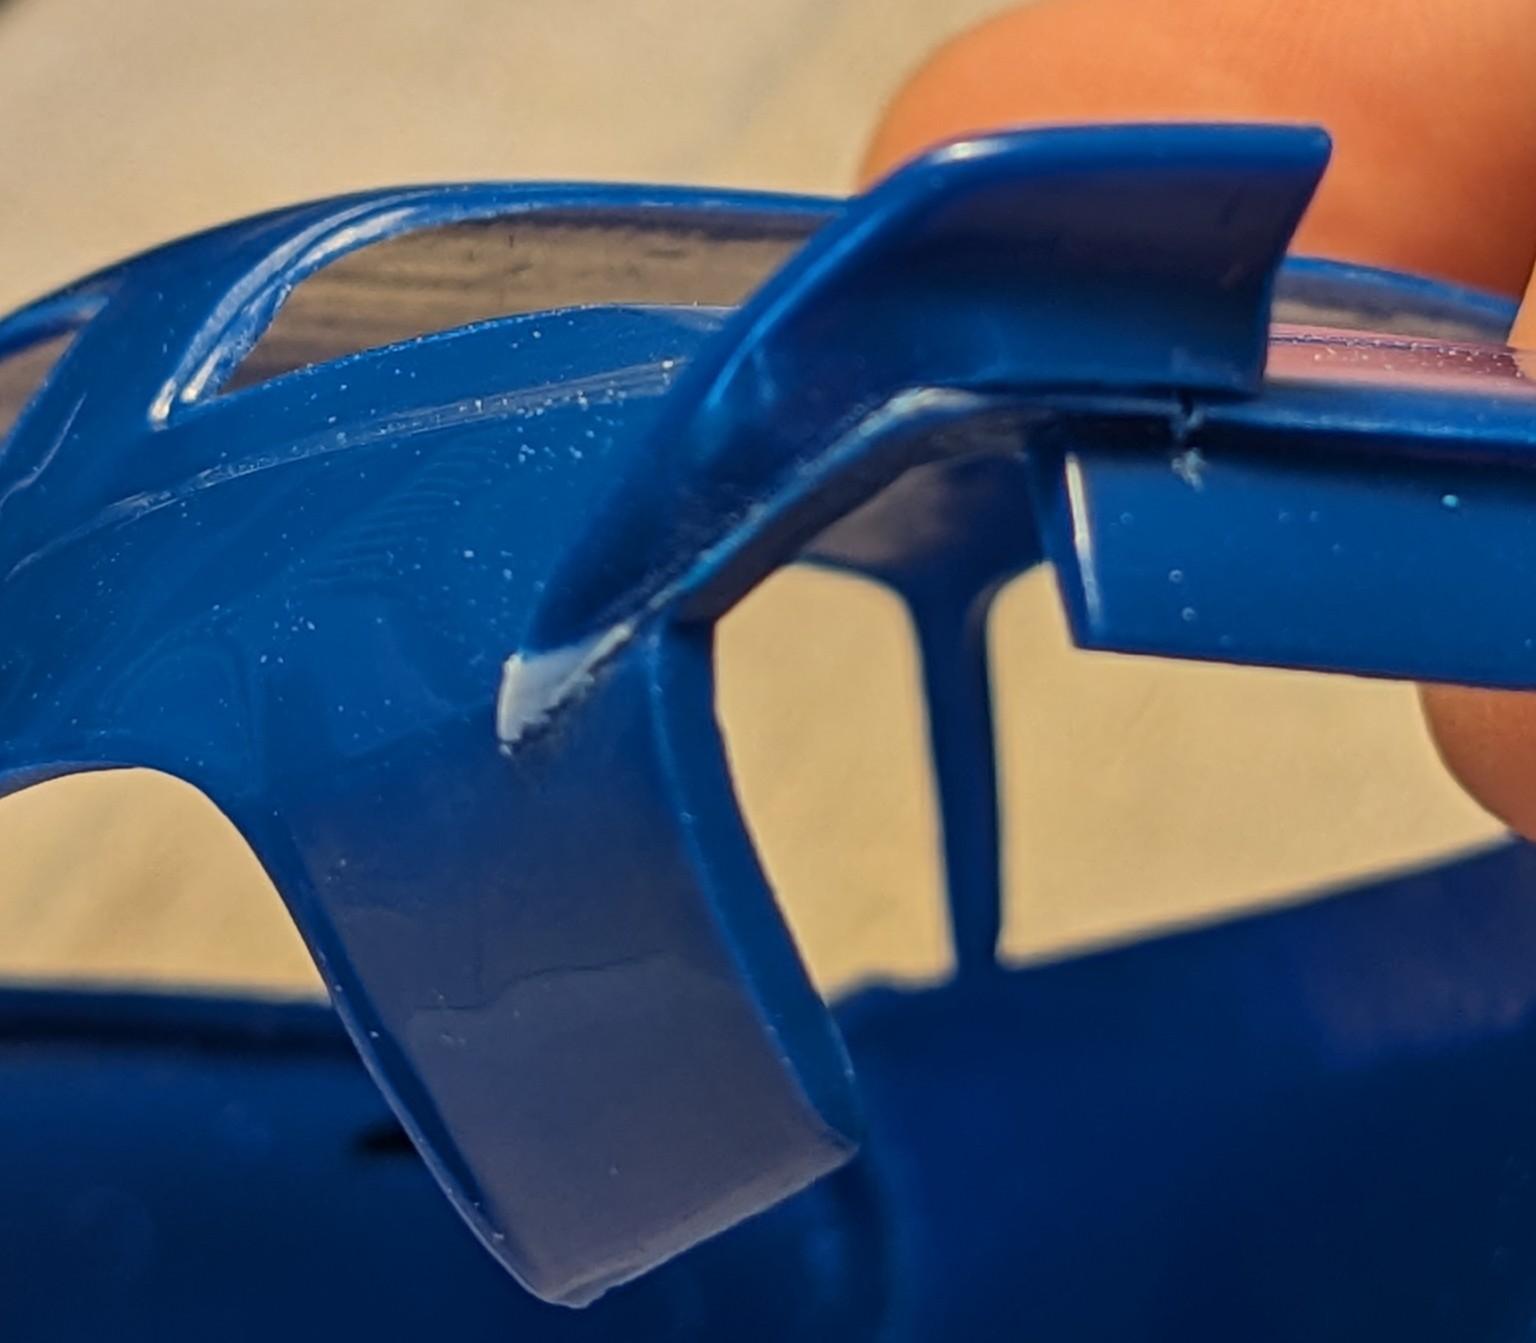
The second pic shows additional styrene I added to the driver's side spoiler piece to build it up for a pointed-tip.
The 3rd pic shows my end result.
-
1
-
-
Mel,
I thought I might have this Cyclone rear spoiler for you but turns out I don't.
Anybody out there got one for Mel?
-
Can-Con
After explaining and posting about the rear spoiler, narrowing that rear bumper, (with 1:1 reference pics), will be the next thing I post about.
Your White Z28 looks excellent and will provide me with some inspiration!
-
1
-
-
espo: that's my exact plan... just gotta breakout my razor saw and start posting pics!
One wacky thing about the kit spoiler piece is those molded trunk lines are raised, (not cut-in), so using those for making the needed cuts solves that problem.
-
2
-
-
I might have the 71 Cyclone's rear spoiler from a previously built body; let me do some digging and I'll get back to you... might not be until tomorrow tho.
-
Next, the rear spoiler piece.
As with the many releases of these AMT and MPC mid-70s to early-80s Camaro kits, the rear spoiler piece can be a tricky fit.
I attached a few 1:1 reference pics to show you how this spoiler piece should look.
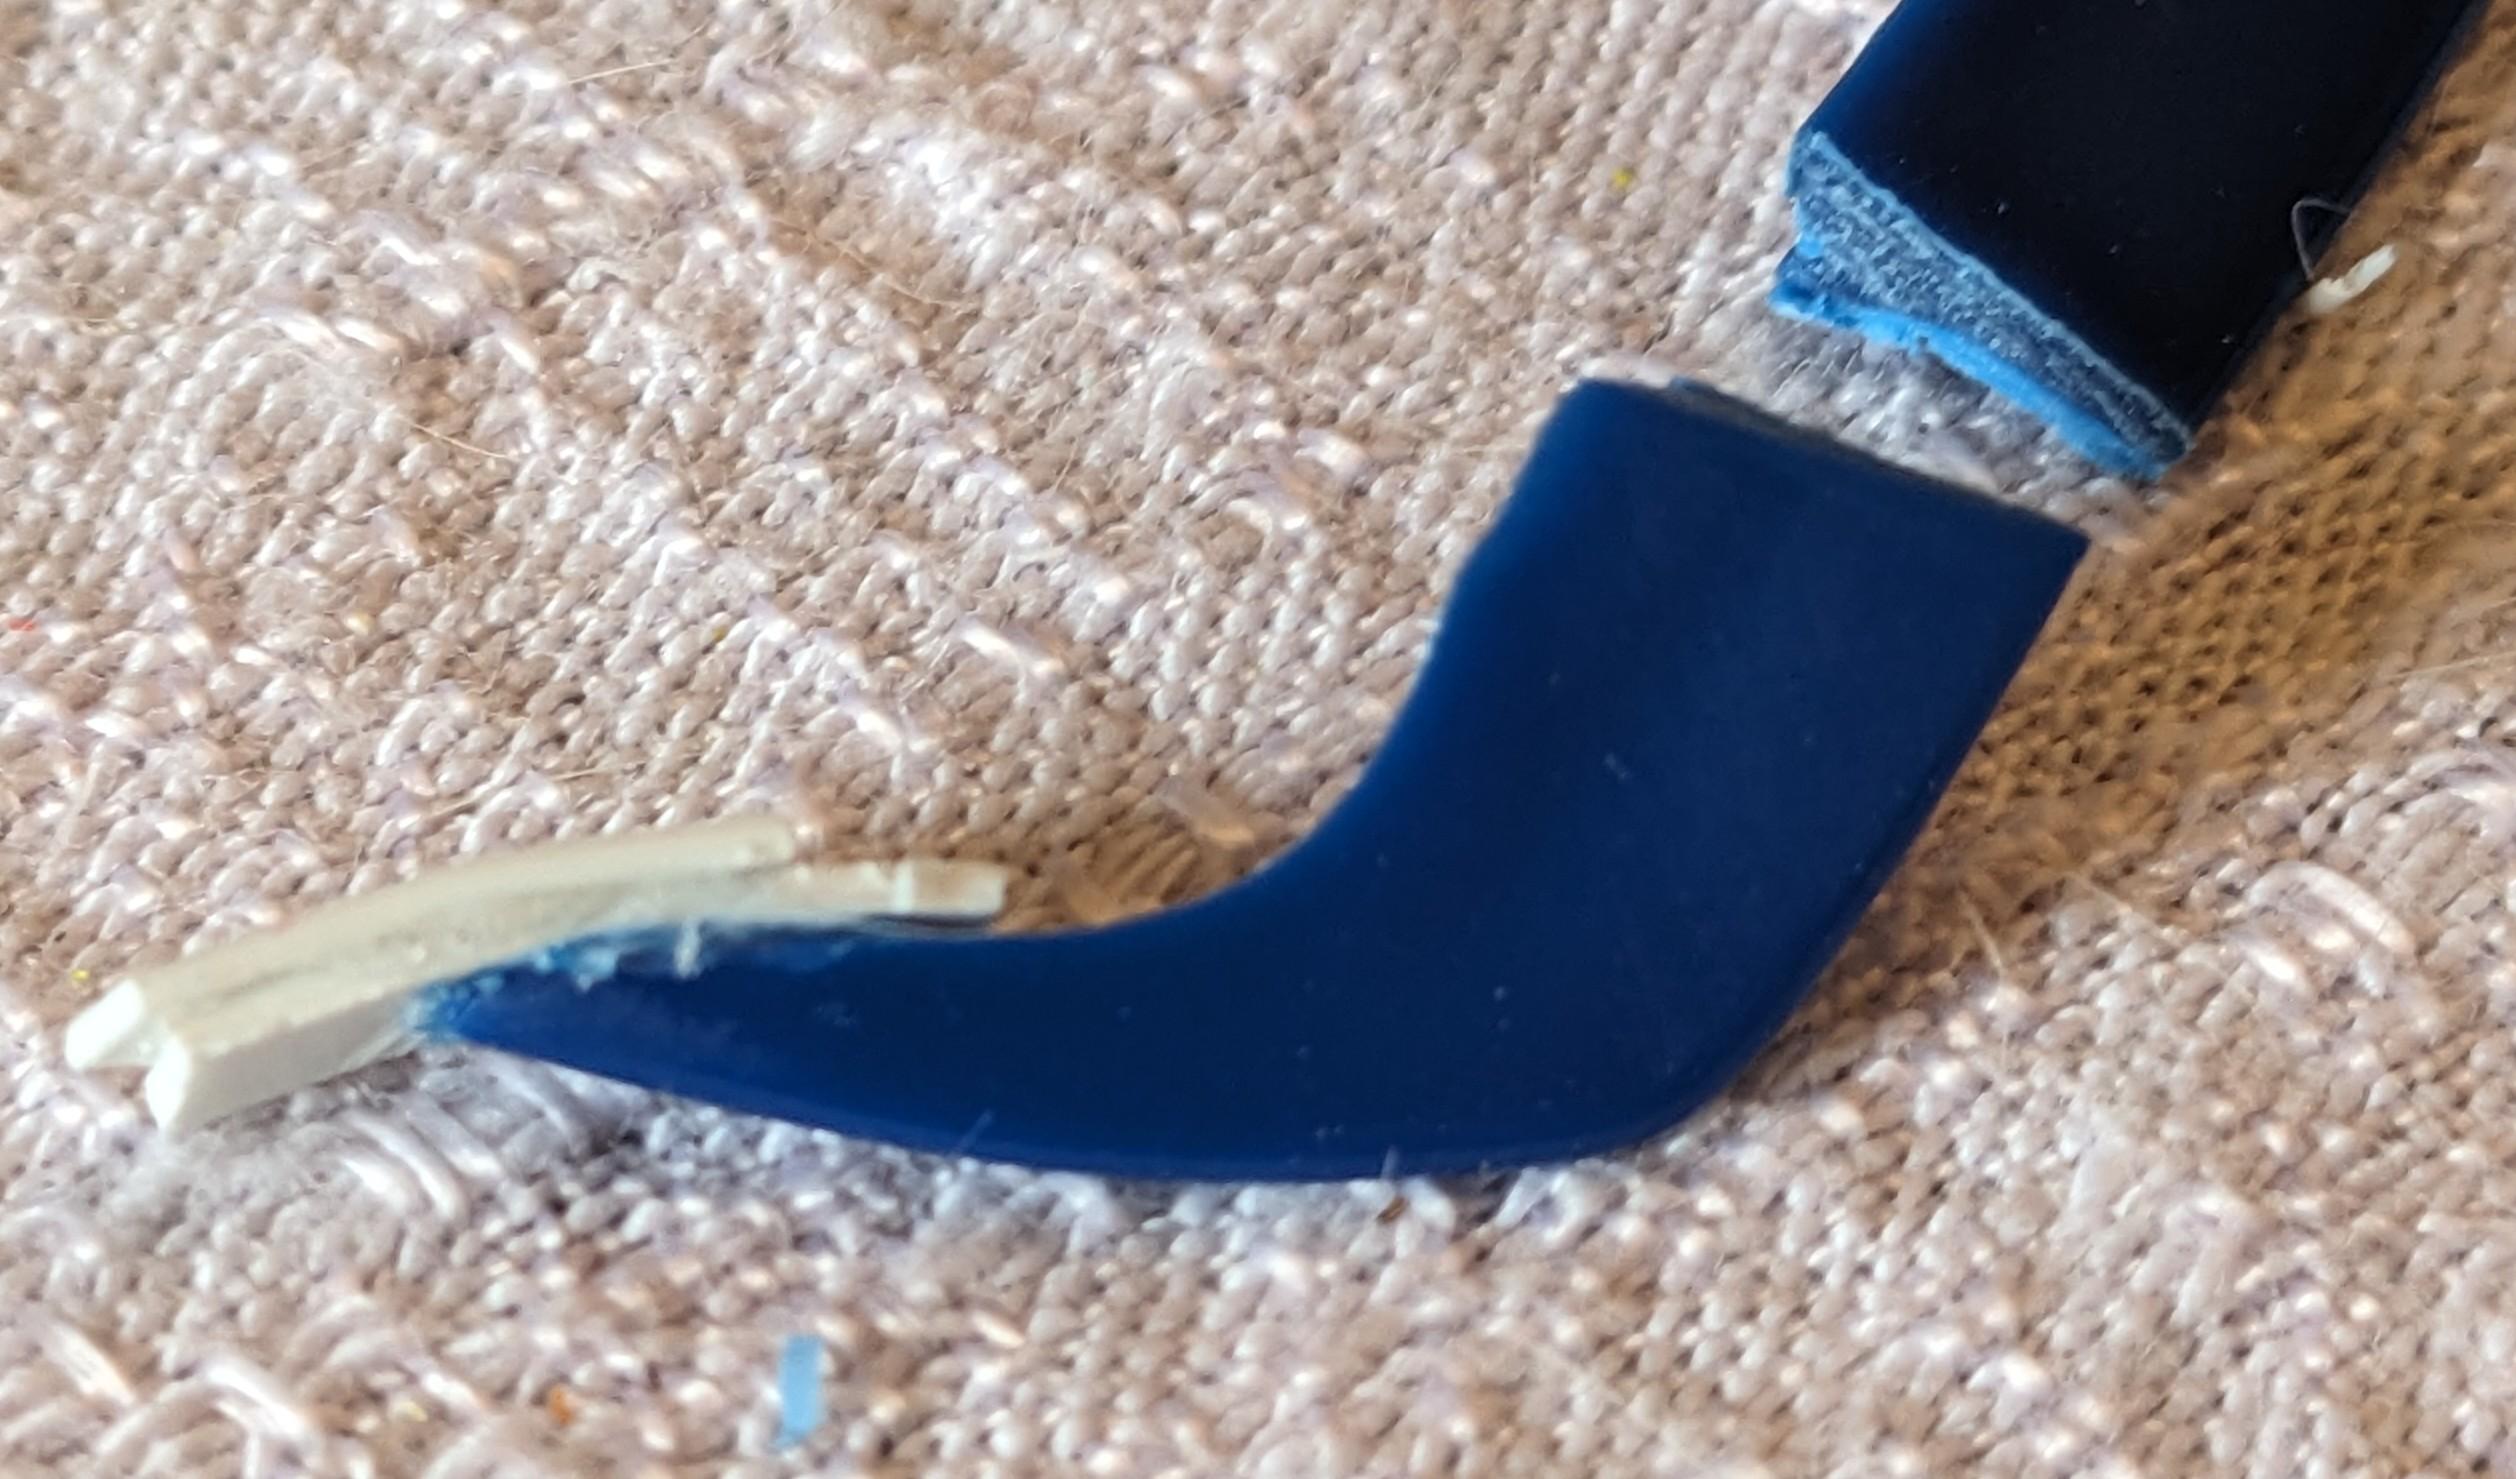
The 4th picture shows the underside of my kit's piece; it has several places where there is excess plastic that pushes the spoiler away from fitting flush on the trunk lid and down the sides of the rear fenders. The light areas in this pic show you places where I removed excess plastic.
The last pic here shows you that the rear spoiler piece is actually too wide to properly fit the kit body... more to come on how I'll attempt to correct this.
-
If you spotted the #7 handwritten over the hood on my kit's box lid, then you know what I paid for this kit at a swap meet in Chicago back in the mid-1990s... $7.00!
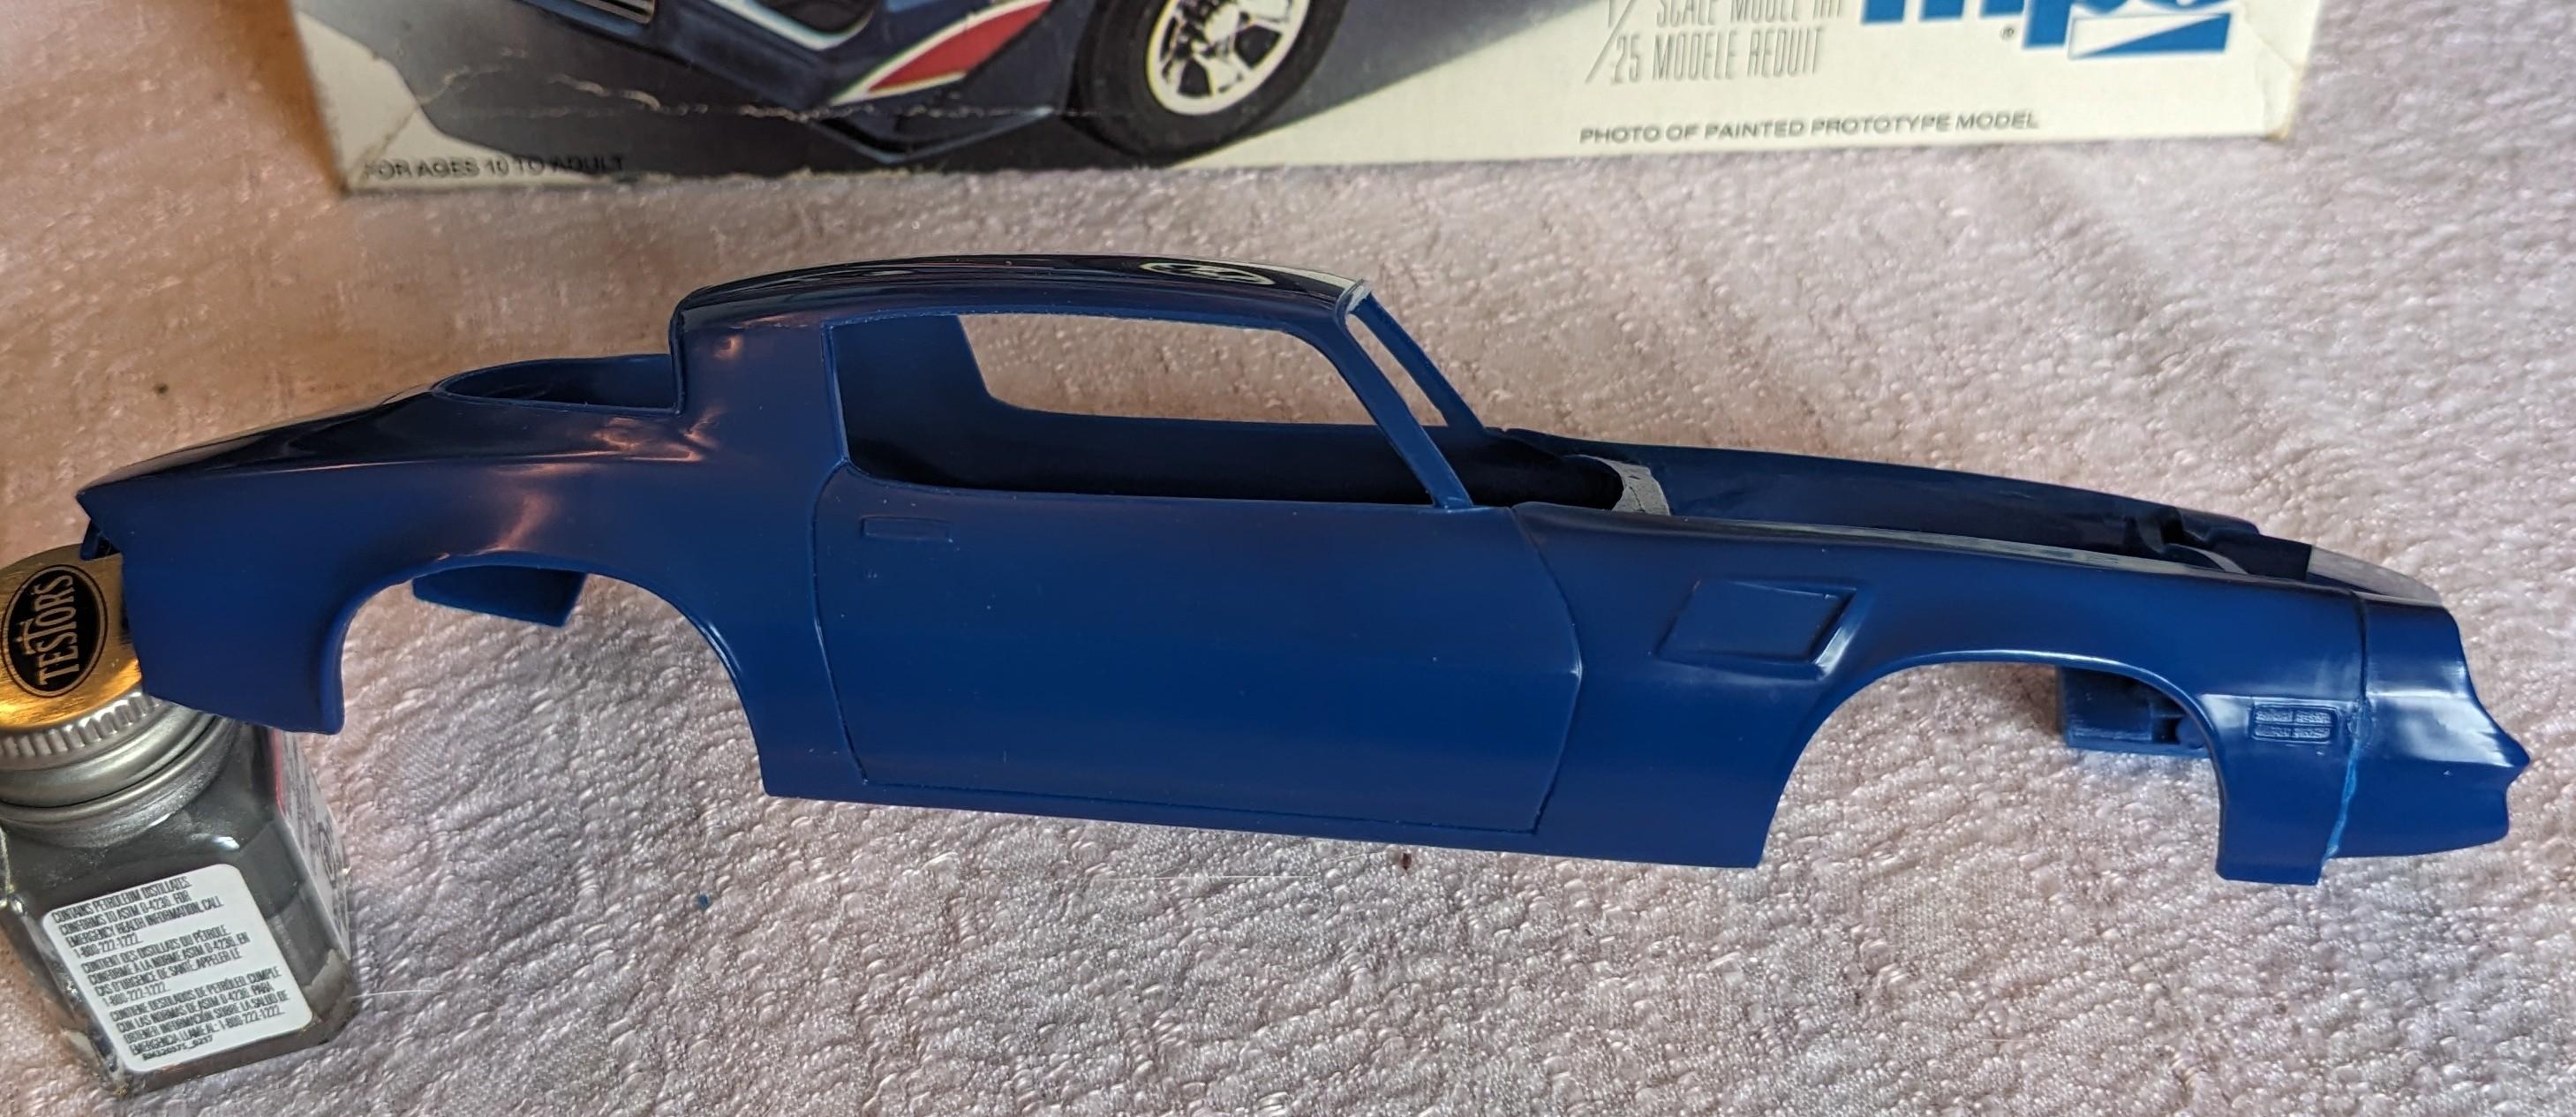
I want to start this process by posting about the kit's body.
Overall I think the body is a really good representation of the 1:1. I'll start with the challenges that come when fitting all of the separate pieces to the body.
First pic shows the passenger side with just the front end piece glued in place. The front end piece fits pretty well but getting a good, strong joint means that glue joint needs cleanup work.
The 2nd pic shows the driver's side front and rear fender flare pieces glued in place. It is sorta unclear exactly how these flare pieces should be fitted, but following 1:1 reference pics, I positioned them as shown in the 3rd and 5th pics; hanging below the bottom edge of the front and rear fenders. This also allows these front flares to lineup properly with the flare piece that extends underneath the front end piece so these pieces are all flush across their bottom edge with each other.
The 4th pic shows the attached flare; it has a rounded edge at its top but that is actually true for the 1:1 as well, (although it's a bit exaggerated in 1/25)!
The 5th pic shows how I positioned the rear flare piece slightly below the bottom edge of the body, per 1:1 reference.
-
1
-
-
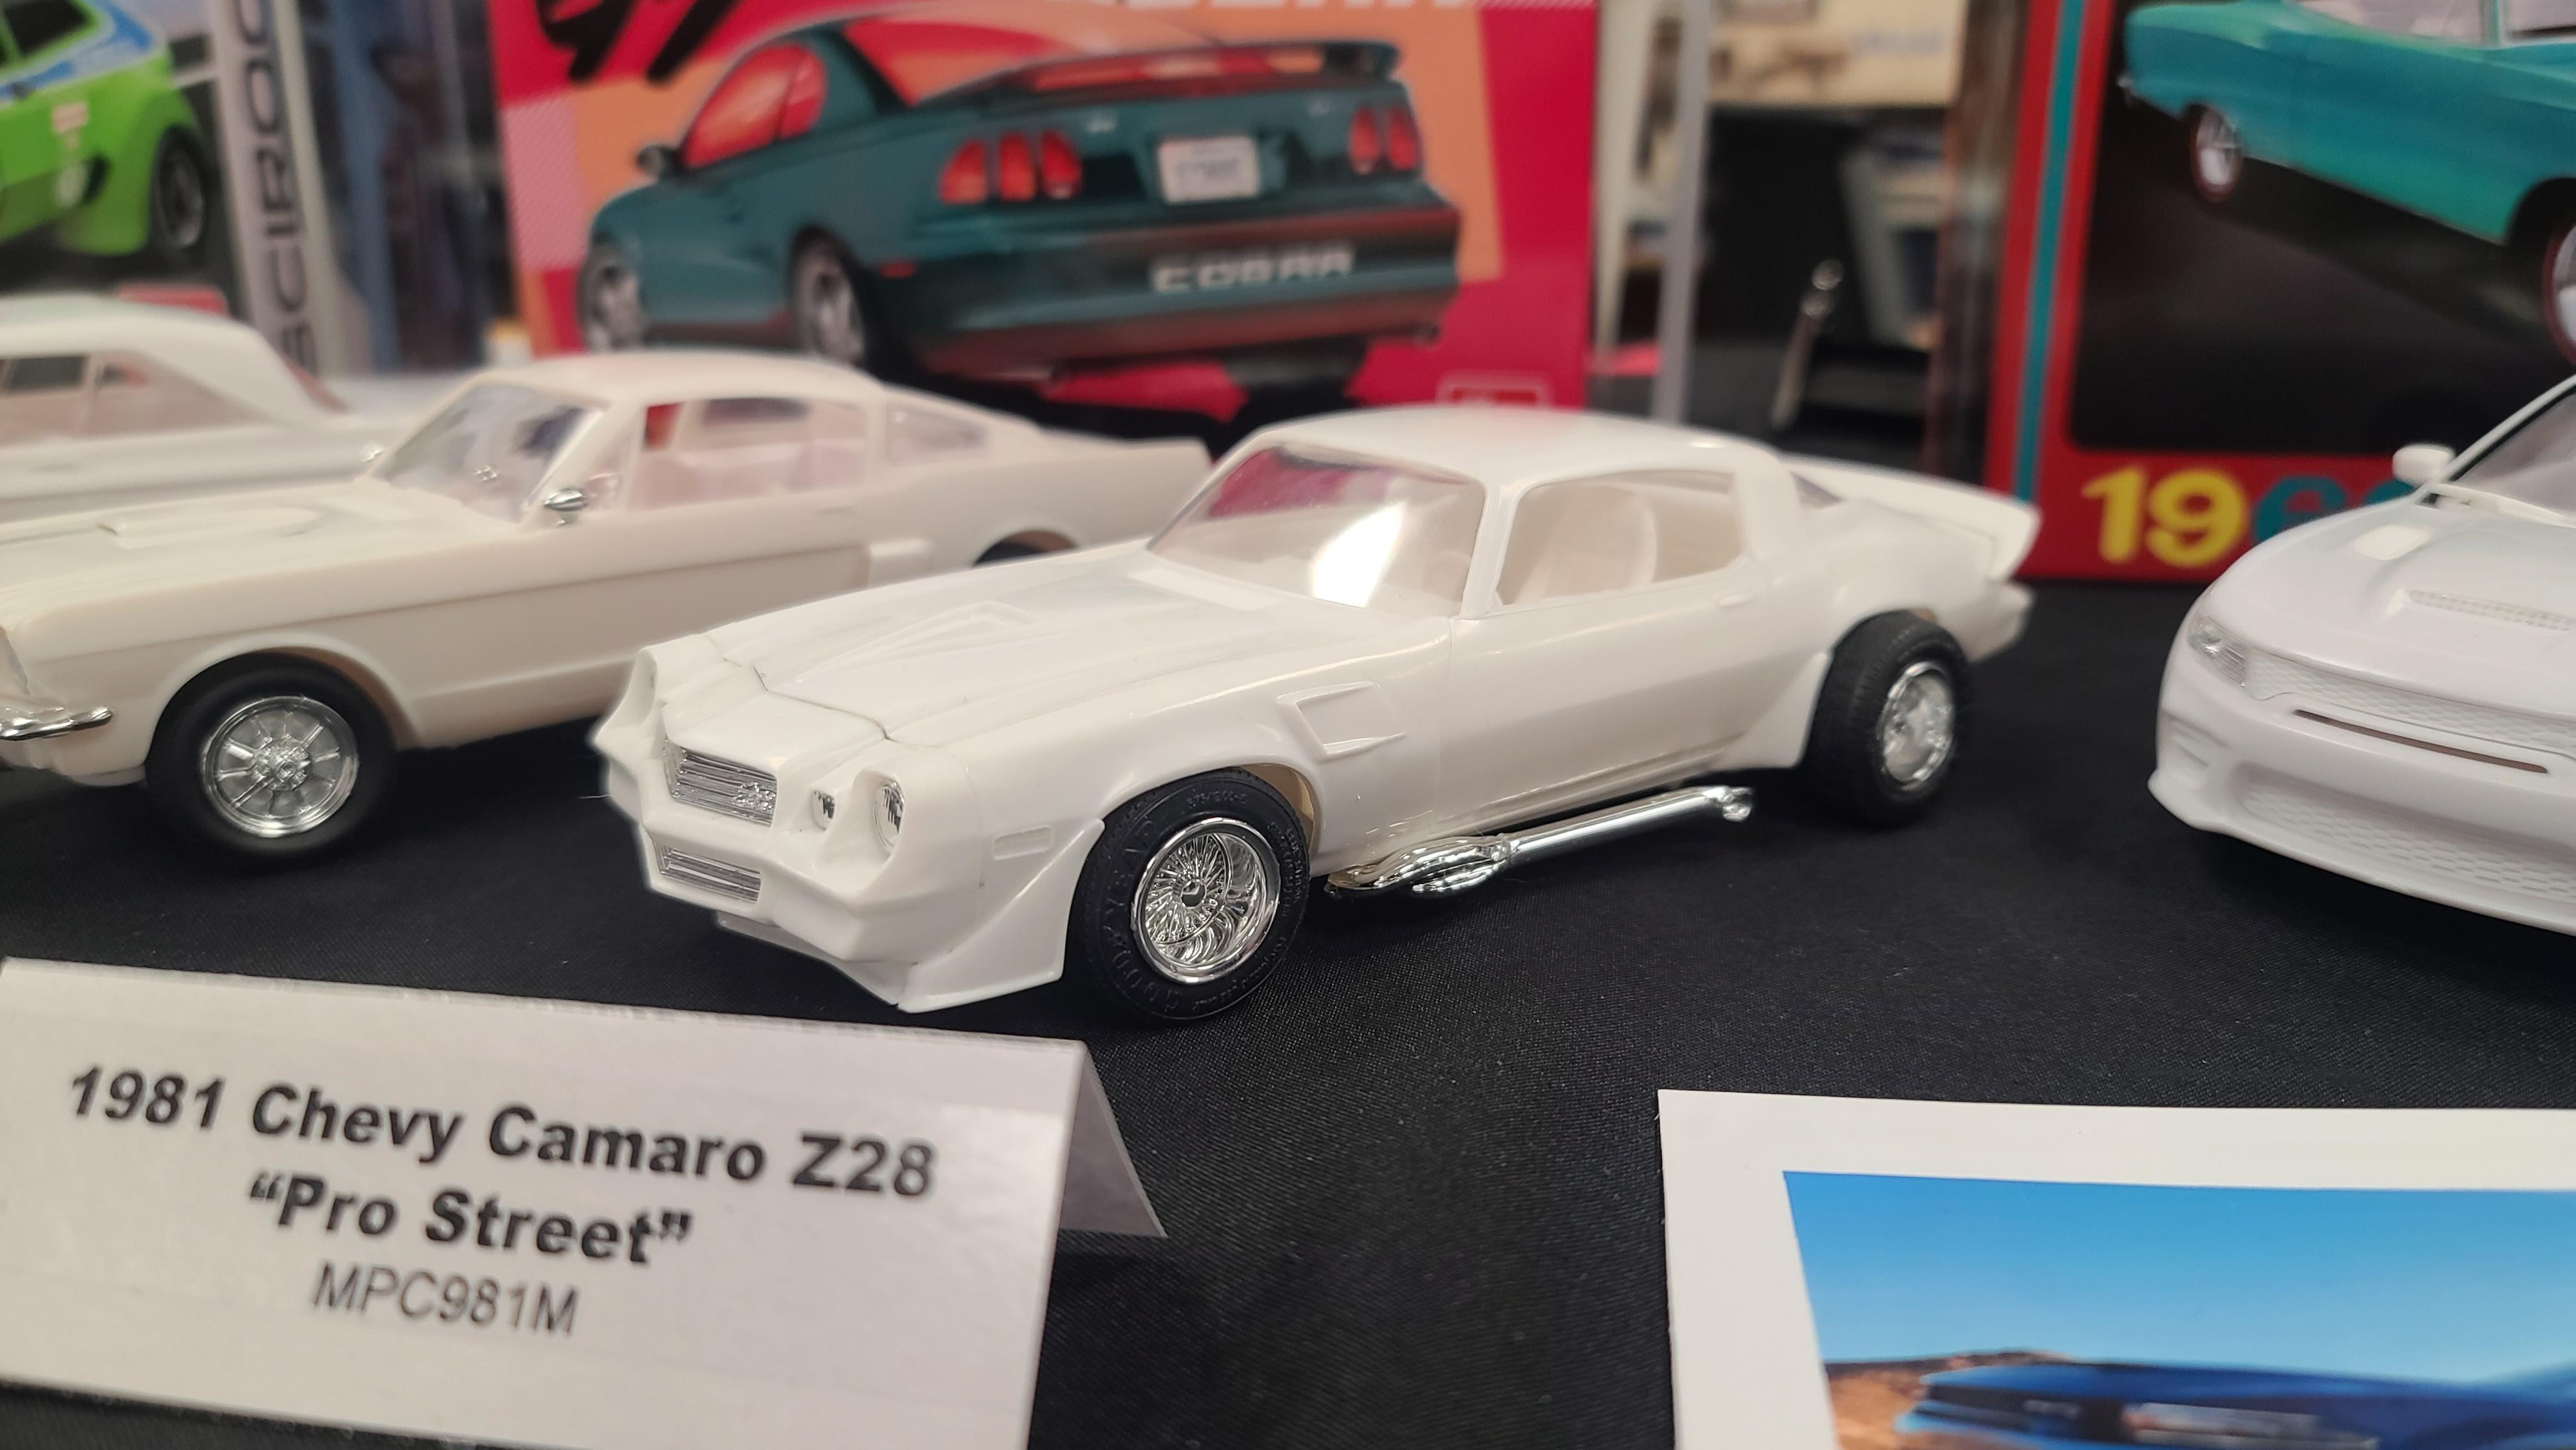
With Round-2's announcement of releasing the 1/25 1981 Camaro Z28 kit, I thought I'd go into my kit vault and pull out this MPC-version of what I believe is essentially a previous issue of the same kit.
I thought I'd restart my build of this kit and pass along my thoughts as I go through the process, thinking some of the things that I point out here might be useful to others that purchase the upcoming Round-2 reissue.
First, some reference pics.
-
1
-
-
Great looking build! Everything looks right for a Ryder fleet unit. I'm curious if you know what paint color you used for the Detroit Diesel... that color looks spot-on to me.
-
1
-
-
Also have this 1/16 or maybe 1/20(?) racing seat... I'm done posting stuff here now!
-
I'm just throwing them out there Alan in case someone sees anything they could use!
I'm only looking for random small pieces and parts in-trade so thought I'd see if there's any interest!
-
1
-
-
More to trade:
Q = unbuilt/incomplete AMT '66 Ford Mustang 289 V8 (I think it's just missing the air cleaner piece).
-
More up for trade:
I = built/incomplete Turbo Inline-6
J = unbuilt/incomplete mid-60's Buick? V8
K = built/incomplete mid-60's Mercury Big-block V8
L = built/incomplete Ford Flathead V8 engine block
M = built/incomplete Big-block V8
P = unbuilt/complete AMT '69 Buick Opel Inline-4 (with 2 cam covers for some reason?)
-
More up for trade:
E = built/incomplete AMT 390 Ford Thunderbird V8
F = built/incomplete Roush Racing Ford V6
G = built/incomplete SBC V8
H = built/incomplete MPC '69 Dodge Charger 426 Hemi
O = unbuilt/complete Revell '69 Dodge Charger 440 Big-block V8
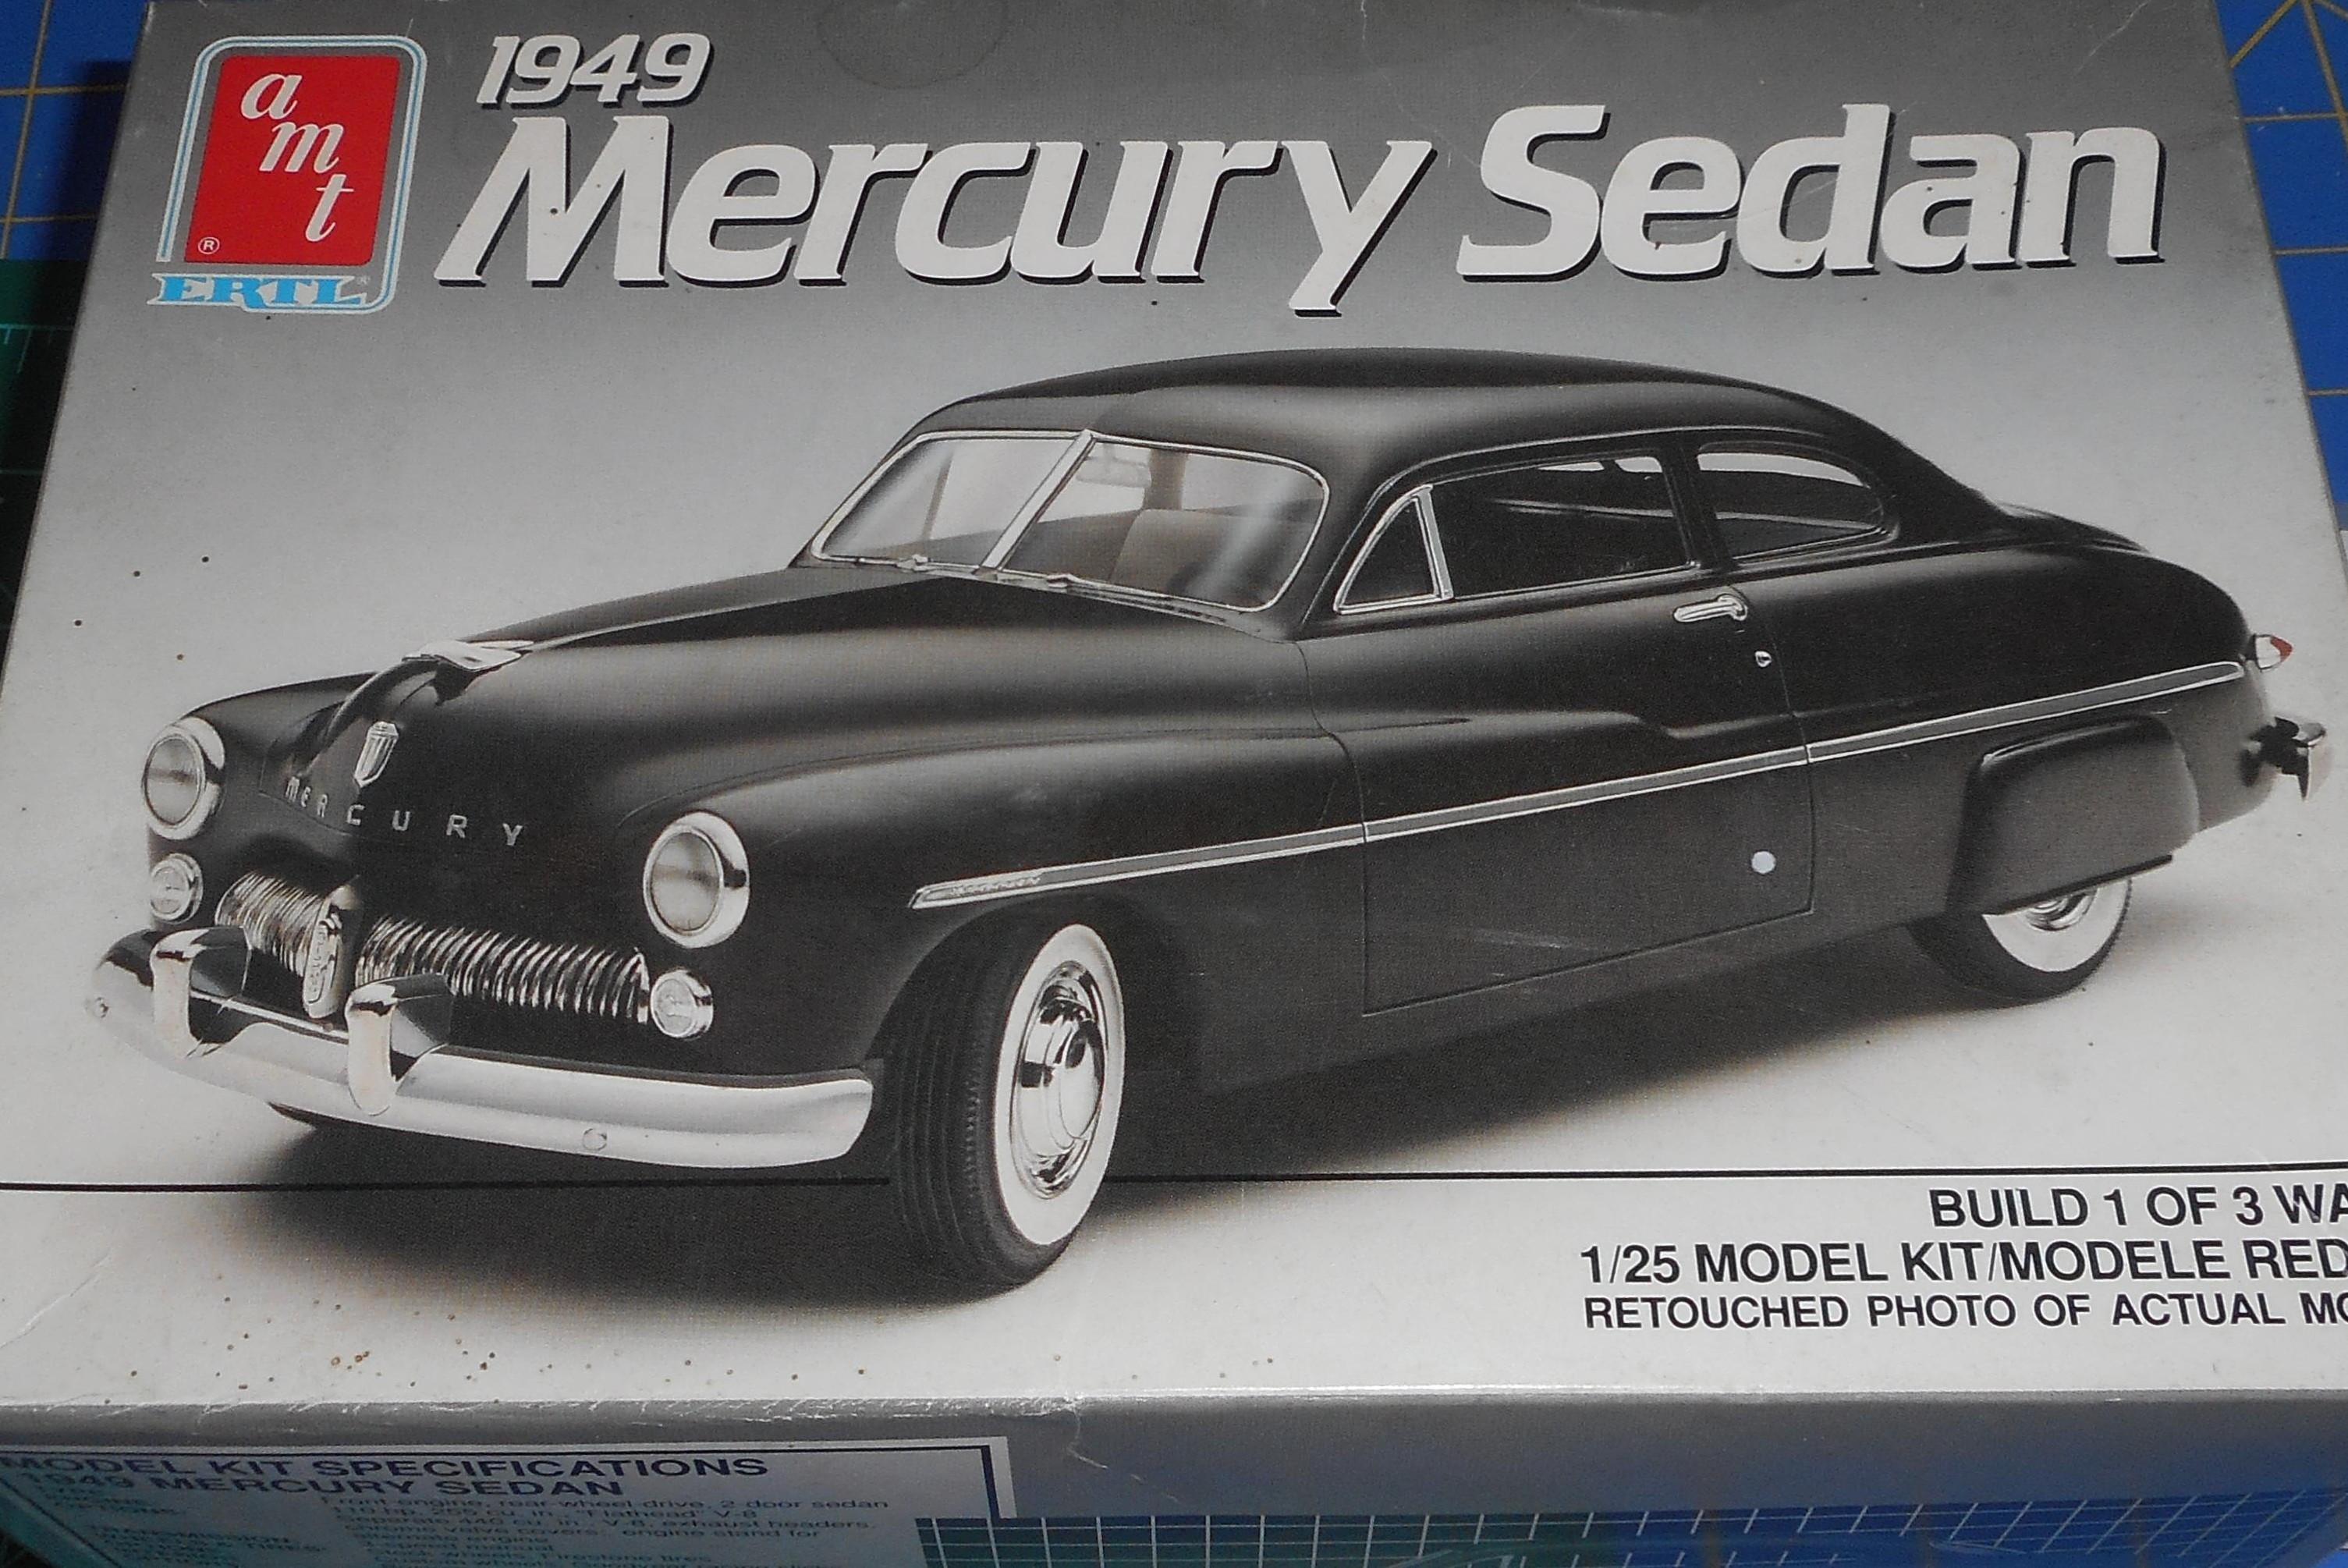


1/25 AMT 49 Mercury Flathead V8
in Wanted!
Posted
Lei,
The '53 would be my first choice.
Thanks