Vetteman15
-
Posts
24 -
Joined
-
Last visited
Content Type
Profiles
Forums
Events
Gallery
Everything posted by Vetteman15
-
I have used Meguires Hi-Tech yellow wax 26 paste (in a can) with good results. Have also used Meguires NXT Tech Wax 2.0 with good results. Meguires scratch X2.0 is iffy and can pull the future off if not fully cured. I have to try Zymol at some point, having a coconut smell would be awesome in my man cave.
-
Just to follow up, I did sand the primer worth 1500 grit before adding the testors acrylic the second time.
-
I am having issues with testors model master acrylic paint sticking to the primer. Had the body painted and started to mask off the side trim to Alclad it chrome and the tamiya masking tape pulled the paint right off. Stripped the car and tried again with the same results. It seems the testors paint is the problem. Have others had this issue? I was also thinking of reducing the tackiness of the tape as a means to keep going. Anyone have suggestions on this idea?
-
Removing Alclad chrome with Super Clean
Vetteman15 replied to Vetteman15's topic in Model Building Questions and Answers
So the Windex trick worked and now I can try again. Thanks everyone for helping me out. -
Removing Alclad chrome with Super Clean
Vetteman15 replied to Vetteman15's topic in Model Building Questions and Answers
Interesting, I thought it was a lacquer paint? But if it is not I can see how Windex would work just like removing the factory chrome. Thanks for the suggestion. -
Hi folks, looks like I over did the coats of Alclad chrome and now have a dull finish. I am learning and did not realize Alclad needs to be misted using very light coats. I kind of used the same rule of thumb for a regular color application and sprayed too much on the parts. So with that, I want to strip the parts and start over. Has anyone used Super Clean to strip Alclad chrome? I thought I would ask before trying it. If it is a problem I can finish the model as is and try my Alclad skills on the next build. Thanks for the help.
-
Nice job! Love the red!
-
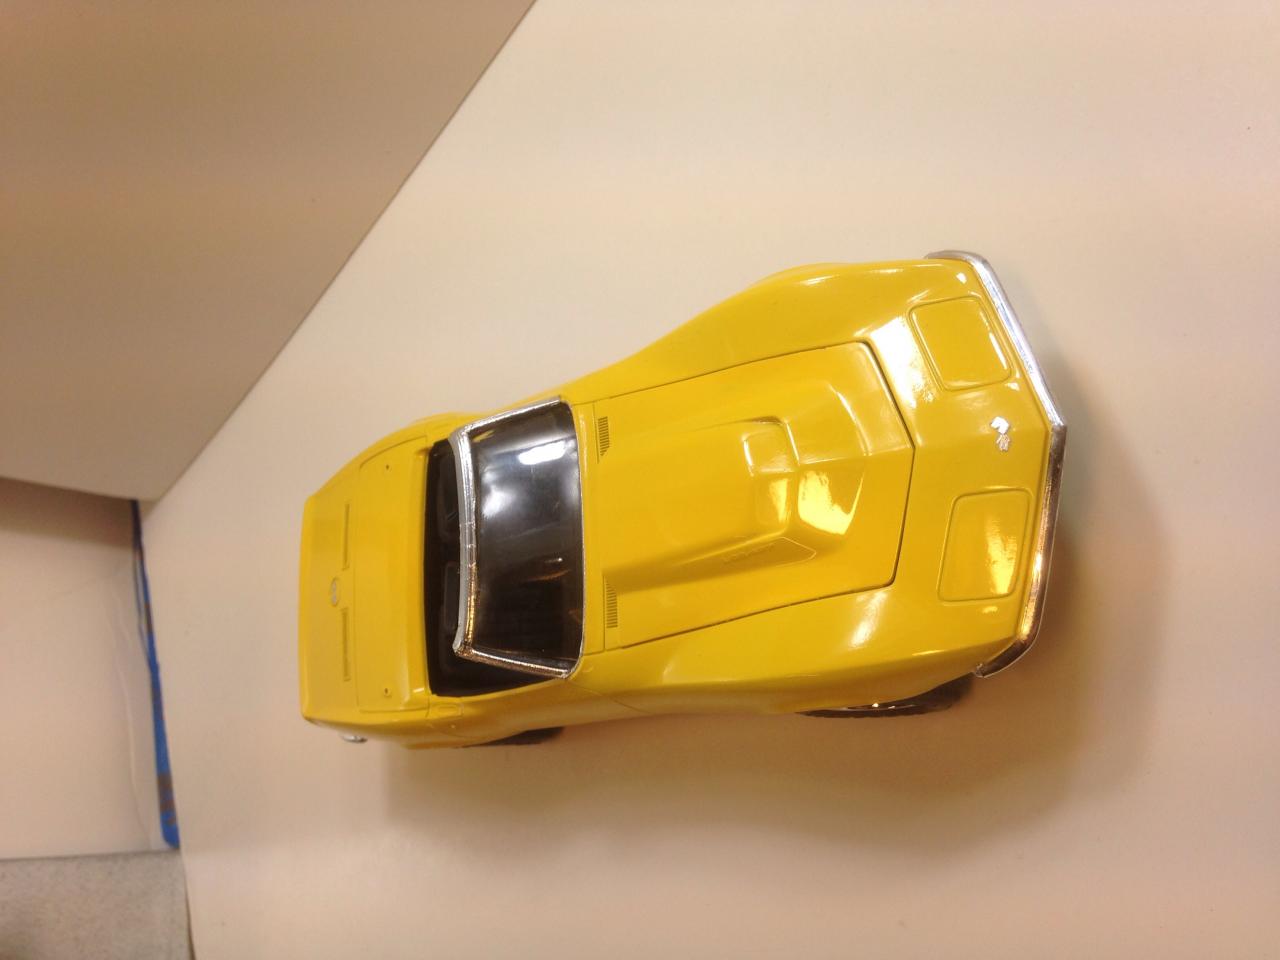
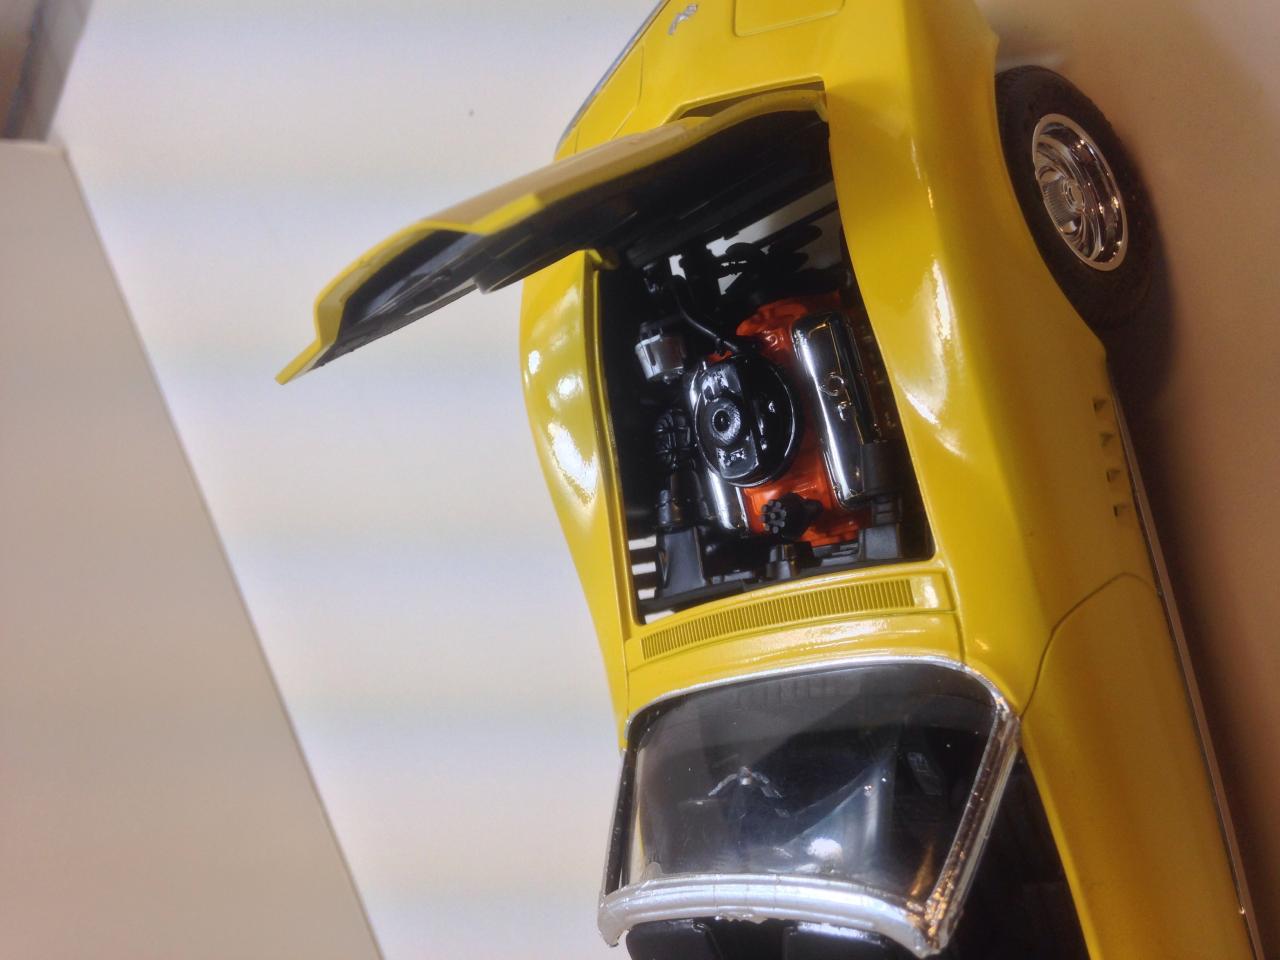
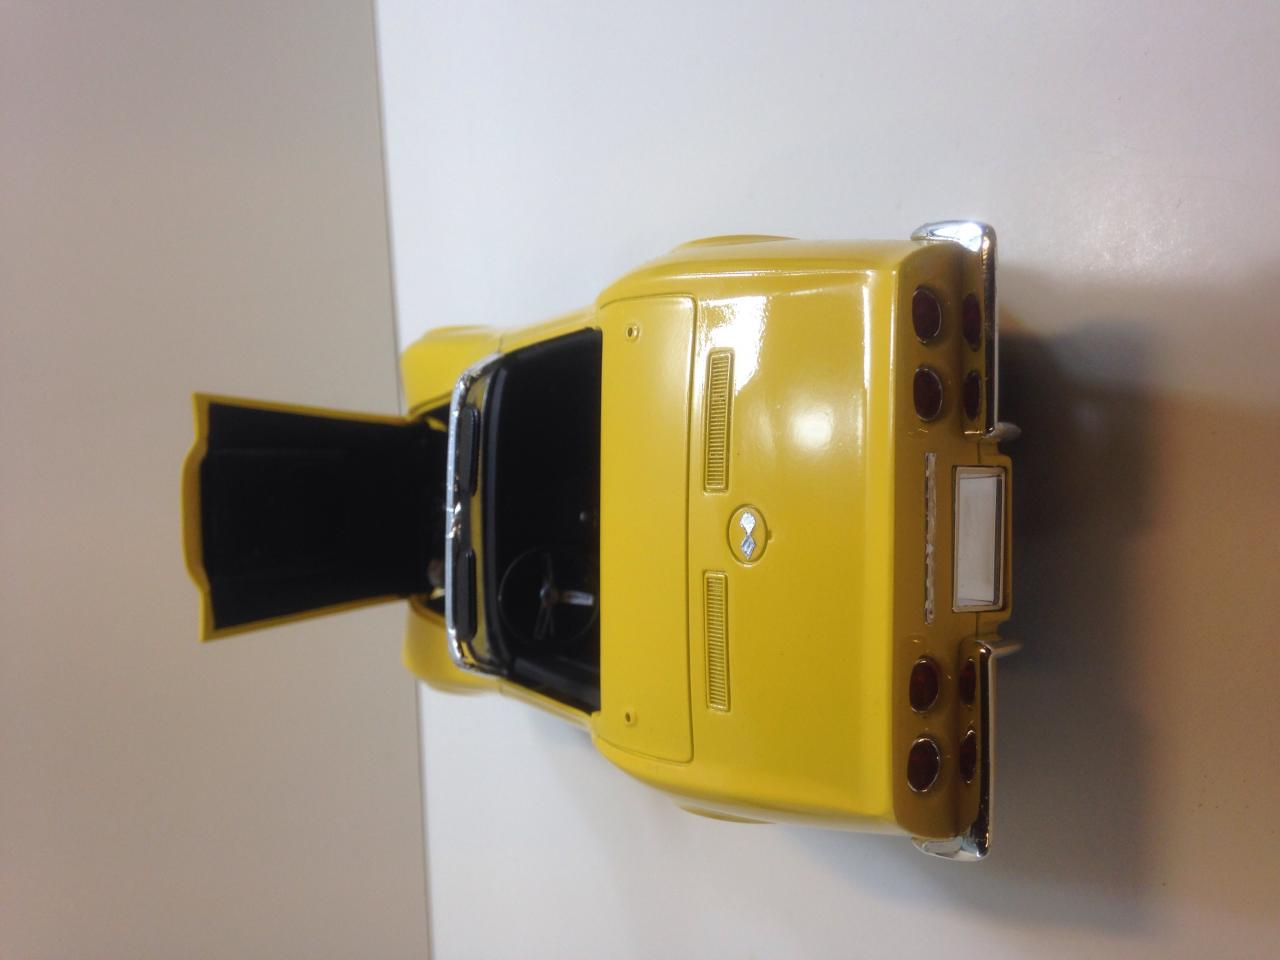
Thanks everyone. I know the pictures need to be corrected. First time posting pictures. The problems I had was painting the body using a rattle can. I am good with an airbrush and wanted to try another method. First body ended up with tons of runs and I melted the plastic by using the wrong lacquer thinner. I mostly use arcylics so lacqure was a new medium for me. Second try worked better and I was happy with the paint. Next problem was fitting the windshield to the body. It is not molded correctly to the windshield frame and the white glue could not hold it in place. Had to move to a more aggressive CA glue to get it to stay. Then attaching the chassis to the body was very difficult and required removal of the inner fender well and a reposition to allow the radiator to clear when joining the chassis to the body. There were no marks or pins that showed the correct alignment of the inner fender wells which also hold the hood in place. The chrome parts were also not in great shape as many parts were blemished and wrinkled in spots. By the time I got,to this point, I was kind of done with the kit and finished as best I could. If this car was sitting in my driveway it would not be street legal because it is missing the exhaust, but would be really loud. LOL.
-
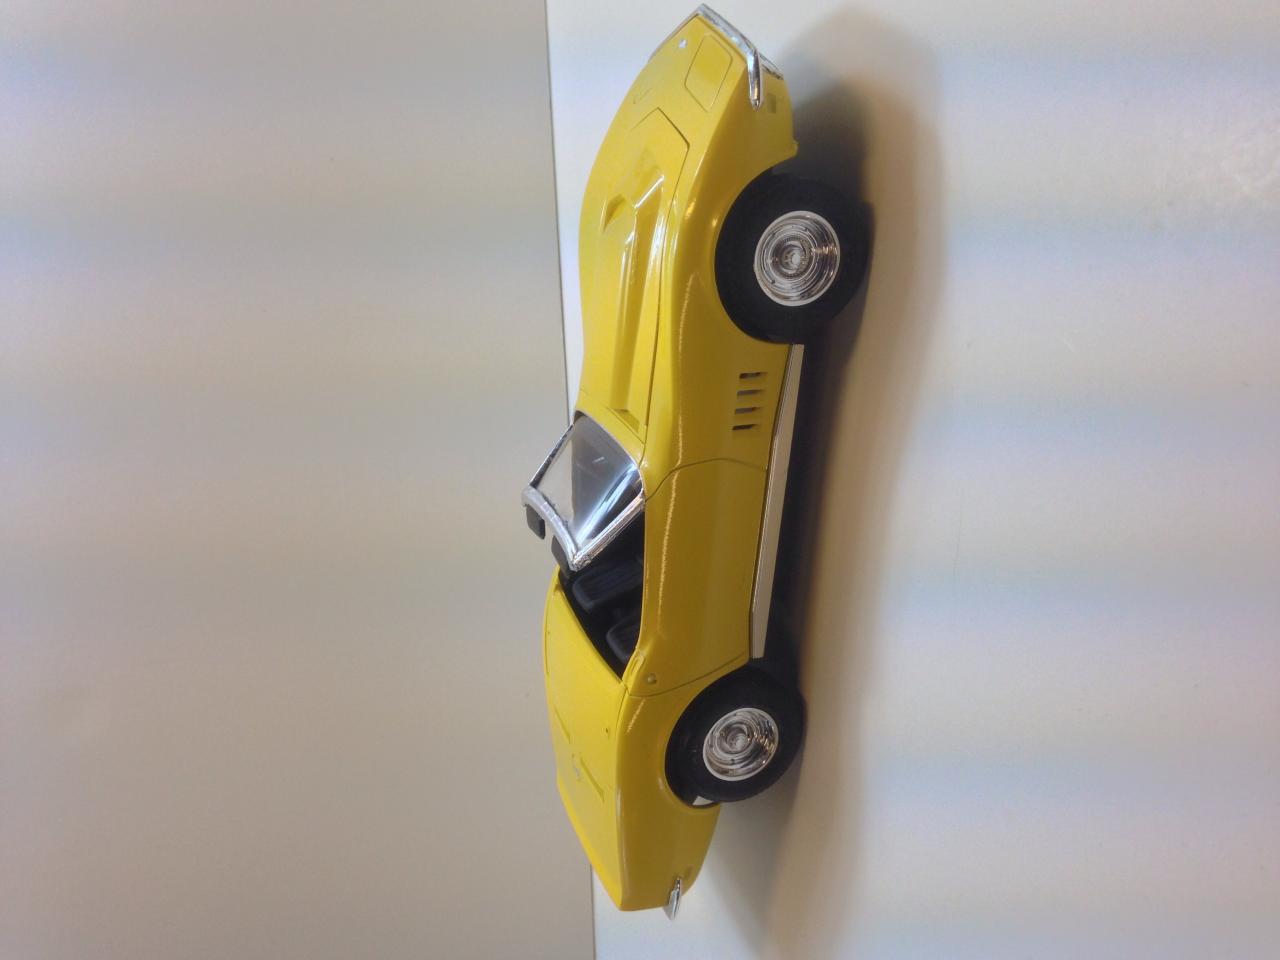
Finished this kit tonight. This is a Revell kit that gave me fits for several months. The first body I ruined however Revell came through and sent me a replacement body and hood. Kudos to them as they did not charge me for the replacement. The body was painted with Tamiya yellow from a rattle can. Clear coat is airbrushed Future floor polish and polished out with Meguires Hitech yellow wax number 26. Interior was airbrushed with craft paint from my local hobby store. Tried my hand at Bare Metal Foil and found it to be harder then I thought. All part of the learning experience. Enjoy the pictures.

-
Removing lint from a Future clear coat
Vetteman15 replied to Vetteman15's topic in Model Building Questions and Answers
Hi Dale, thanks for the tip. I will give it a try. -
Removing lint from a Future clear coat
Vetteman15 replied to Vetteman15's topic in Model Building Questions and Answers
Bill the dry sanding tip worked. I will have to recoat as the future was not as thick as I thought. That's ok since I planned on another coat anyway. Now to find a dry box to keep the dust Bunnies away. ;-) -
Removing lint from a Future clear coat
Vetteman15 replied to Vetteman15's topic in Model Building Questions and Answers
Hi Bill. Thanks for the suggestion. I will give it a try. I had wet sanded before which probably is what caused the problem. I am working to find a place to store it to dry. -
Last night I sprayed the first gloss coat of future on my 68 vette. I noticed a few lint particles ended up in the finish. In the past I tried wet sanding with 6000 micro mesh and found it pulled the future off in beads. Also found some things like scratch remover reacts and removes the future too. Anyone have a suggestion to quickly remove the lint particle with the plans to apply additional coats of future? Lastly in case anyone is wondering I use future and acrylics because of the kids in the house. Trying to keep things safe.
-
Chris, went to hobby lobby and picked up several bottles of Anita's acrylic craft paint. Thinned it as you suggested and started airbrushing. All I can say is WOW. Paint goes on smooth and easy. Thanks for sharing. Really appreciate it.
-
Thanks Chris! I am going to try this for sure. Sounds very simple and knowing the methods are the same for the Tamiya paints makes it easier to jump in.
-
Thanks Chris for this. I see those bottles all the time and wondered about using them and saving some money. Never thought about using windshield fluid, that is a great idea. I do have a question on mixing. I am used to using Tamiya acrylic paints and usually just pour a little in the airbrush bowl and add some Tamiya acrylic thinner. I use the airbrush air pressure (by placing my finger over the nozzle) to mix the two in the bowl and then spray. Would that same process work here or should I change my method for these types of paints?
-
acrylic base coat for alclad
Vetteman15 replied to majel's topic in Model Building Questions and Answers
I have used Tamiya acrylic gloss black as the base coat for allclad and it worked well. -
Airbrush- Which one for a beginner?
Vetteman15 replied to DailyGrindCustoms's topic in Model Building Questions and Answers
I have been using the Iwata Revolution dual action air brushes for awhile and love them. Also have the new Neo dual action and it is worth the money. Bought it off of Amazon for $59.00. I started with a testors Aztec when I got back into the hobby but found that the Iwatas were easier to clean and use with the many different types of paints. Haven't used the Badger or Pasch brands but they seem to always be well regarded. As said above quality is important and if you can spend a bit more for a good air brush it will last you a long time with proper care. -
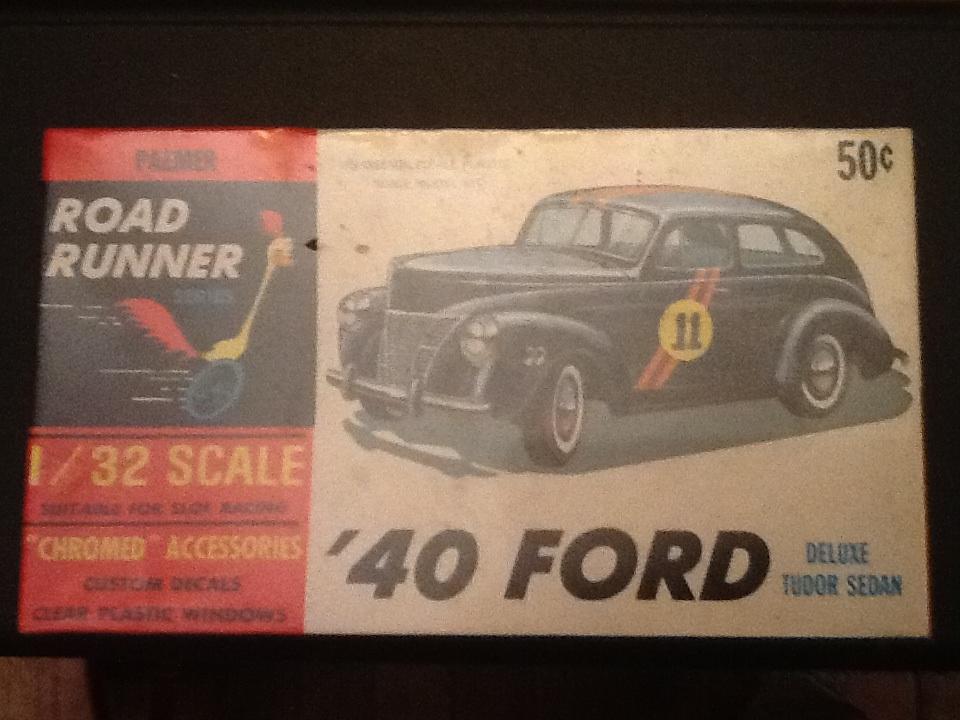
Palmer 1/32 '40 Ford Sedan - Has anyone built this?
Vetteman15 replied to Vetteman15's topic in Car Kit News & Reviews
Hi Mike, thanks for the description of the kit. Since I have not opened it I was not sure what to expect. Looks like I will be keeping this one for a future build. Scott -
Palmer 1/32 '40 Ford Sedan - Has anyone built this?
Vetteman15 replied to Vetteman15's topic in Car Kit News & Reviews
George and Daniel, thanks for the info. Yes I do recall reading that the 60's and 79's cars were not as good. Glad to hear this kit has potential and this kit does not fall into the same category. -
Going through my collection and came across this old kit. I think I purchased it about 10 years ago from a antique store. The kit is still in the original shrink wrap and is made by Palmer Plastics. I have read where these kits were not very accurate, and I was wondering if anyone has built this kit and would be willing to share pictures of the build?
-
Photo etch question
Vetteman15 replied to Vetteman15's topic in Model Building Questions and Answers
Joe, I totally agree. I find my self scratching my head at times wondering what to do next. Thank goodness for forums, many of us would be lost without this resource. Scott -
Photo etch question
Vetteman15 replied to Vetteman15's topic in Model Building Questions and Answers
Bill, thanks so much for the tip. I had a suspicion that would be the case and your tip to locate the part is great! Thanks I now know what to do. Scott -
Hi everyone, I have been building models for years but my skills continue to improve. I have found many of the tips in the forums to be great. Here is my question, I am building a Revell 68 Corvette roadster and see that there is a photo etch detail kit that I can purchase online. I have not used photo etch parts before so I am wondering if I was to use the photo etch parts would I sand down the plastic details on the car body, I.e., front and rear corvette emblems and the lettering on the hood, or keep the details and lettering and apply the etched part on top. I am just starting to prep the body for primer and thought I should ask the experts on this forum. Thanks Scott