Riley Customs
-
Posts
63 -
Joined
-
Last visited
Content Type
Profiles
Forums
Events
Gallery
Everything posted by Riley Customs
-
Largest garage diorama I've done....WIP !
Riley Customs replied to Riley Customs's topic in WIP: Dioramas
Did a little work in the shop. Made a small cleaning station out of a 55 gallon drum. Also am working on a couple shop heaters.
-
Largest garage diorama I've done....WIP !
Riley Customs replied to Riley Customs's topic in WIP: Dioramas
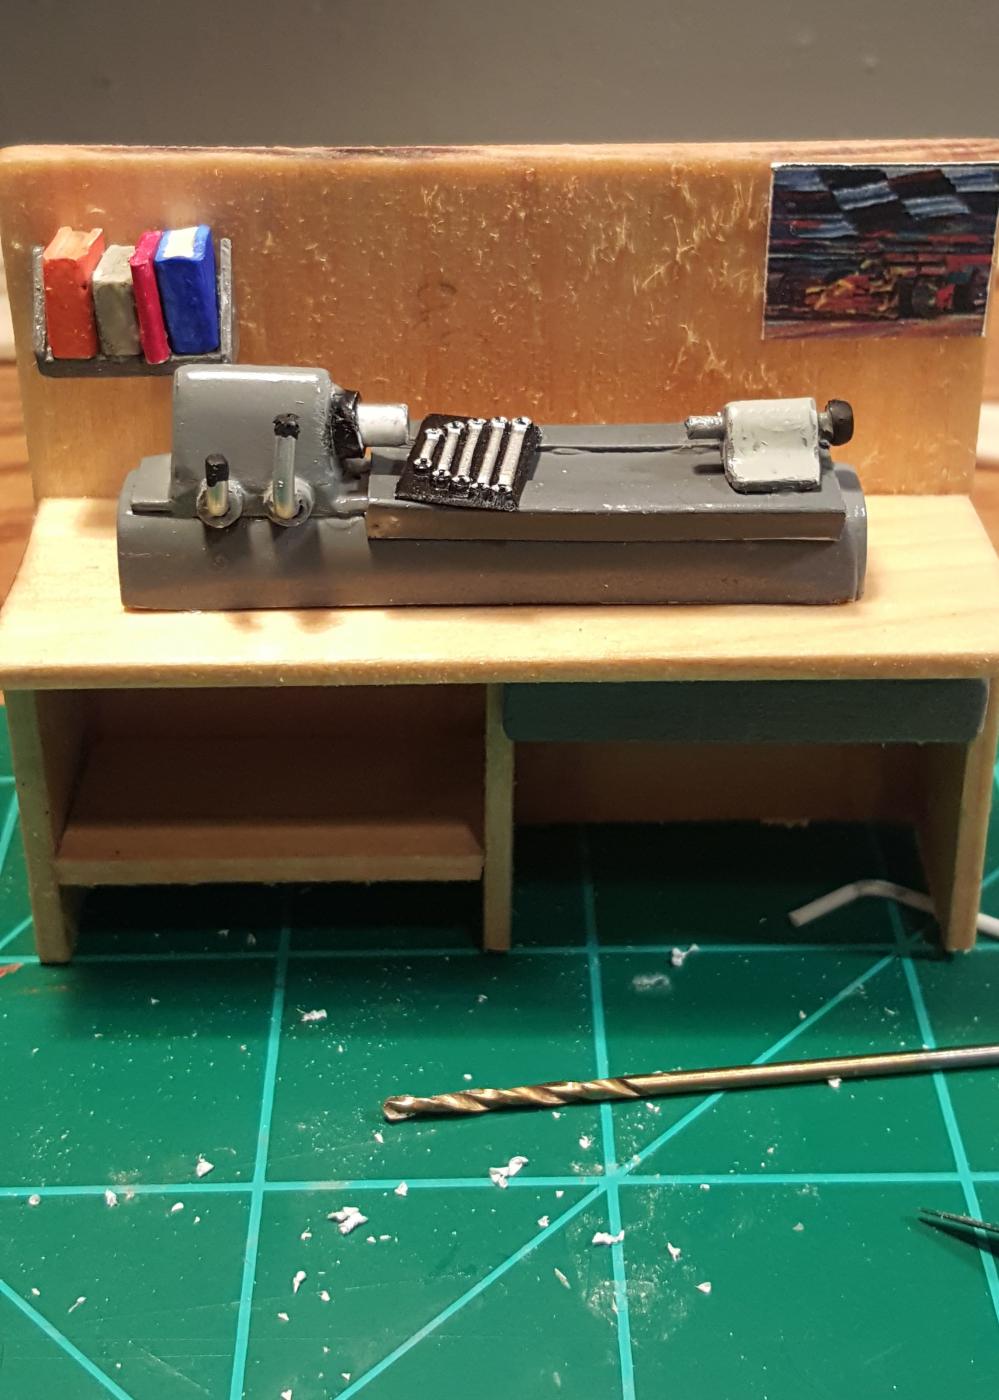
went a head and finished up the lathe workbench. Not sure if this is the final resting place for it but it fits pretty good. If I leave it here I will need to run the electric to it and also make a 55 gallon waste barrel for all the metal chips and garbage.
-
Largest garage diorama I've done....WIP !
Riley Customs replied to Riley Customs's topic in WIP: Dioramas
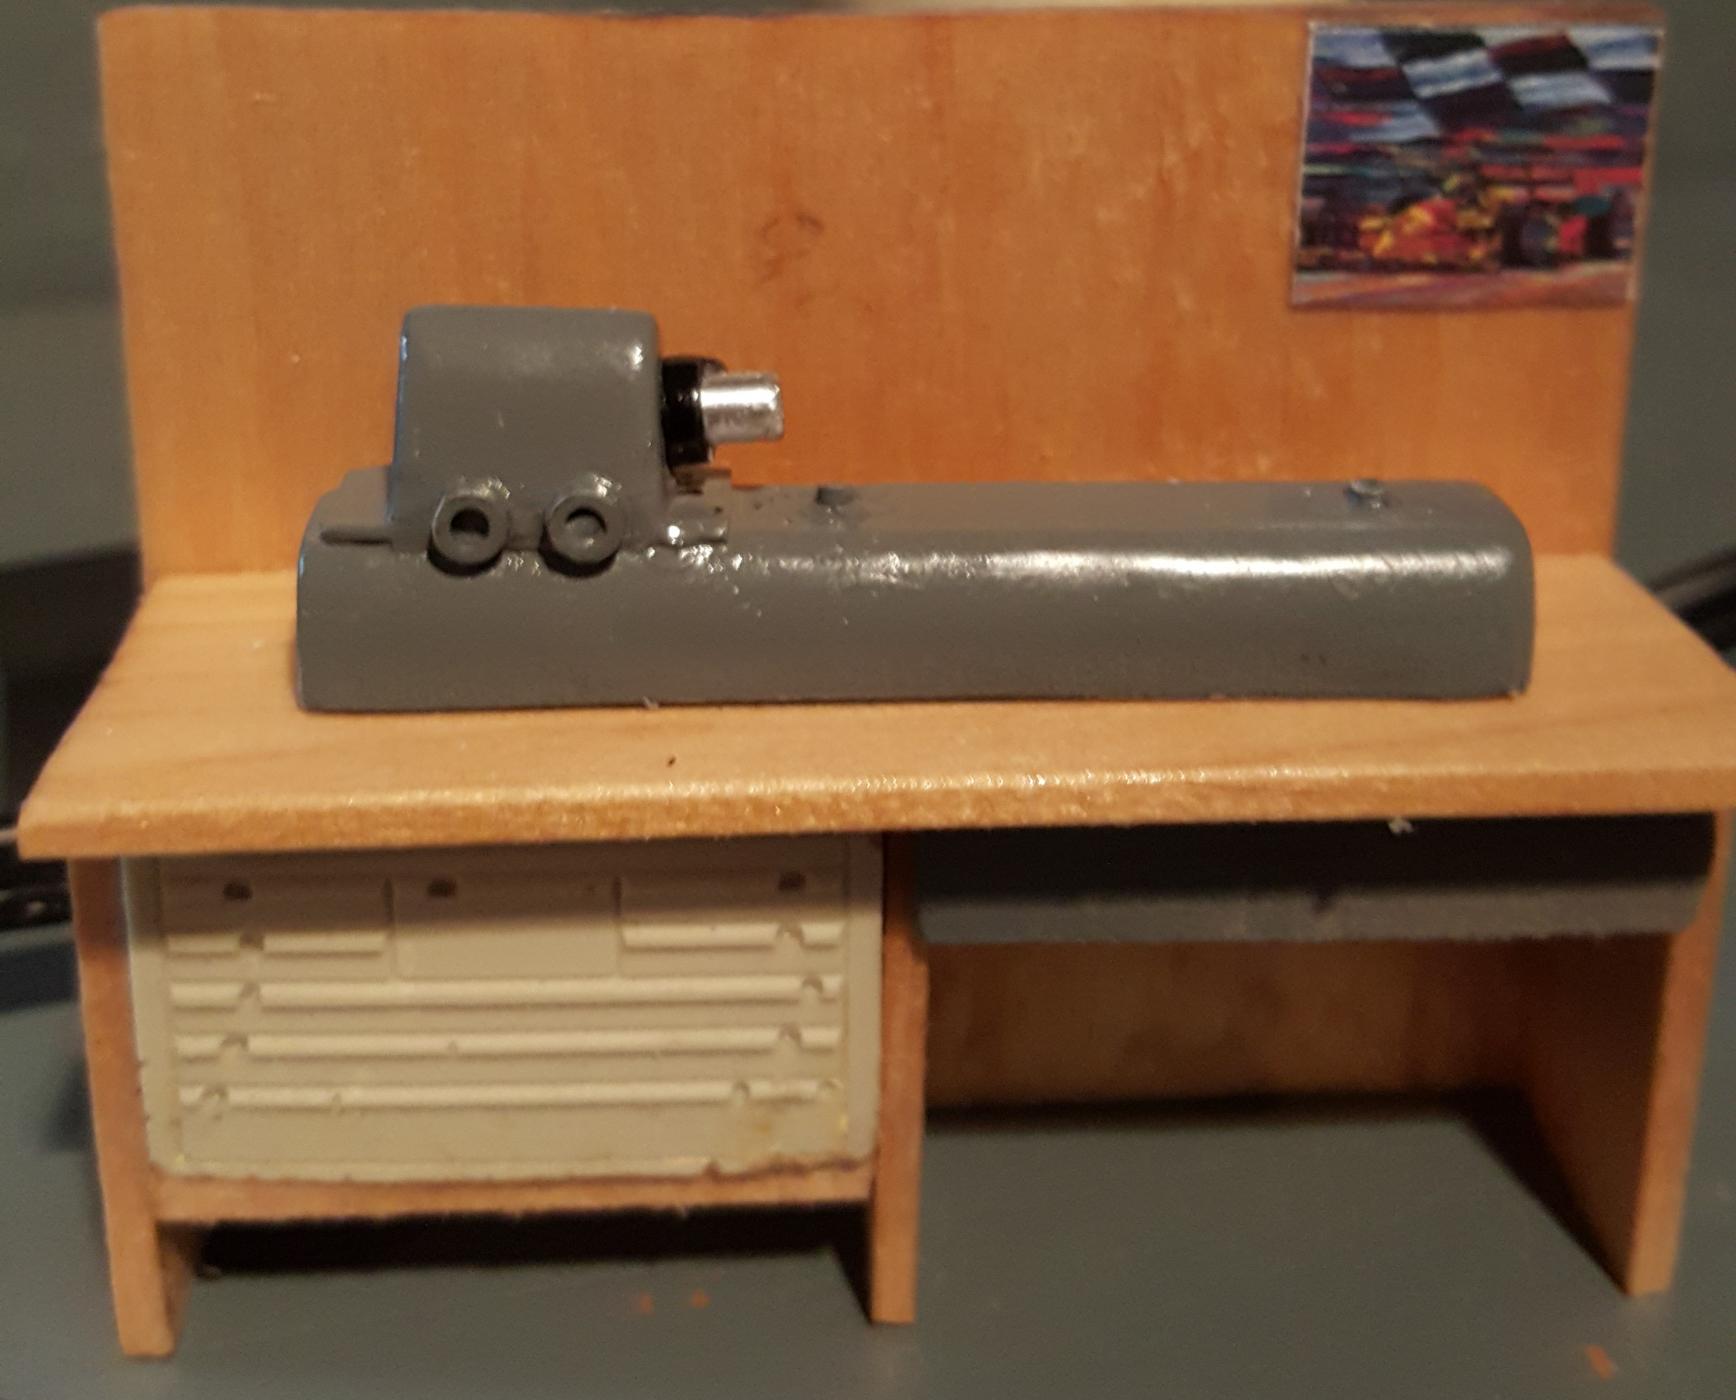
Still working on the lathe and workbench. Lathe is almost done just gotta cast a better tool box for the shelf.
-
Largest garage diorama I've done....WIP !
Riley Customs replied to Riley Customs's topic in WIP: Dioramas
and a little more. The bed and compound are still in the molding phase.
-
Largest garage diorama I've done....WIP !
Riley Customs replied to Riley Customs's topic in WIP: Dioramas
Thanks to the both of you. I did get alittle done today.
-
Largest garage diorama I've done....WIP !
Riley Customs replied to Riley Customs's topic in WIP: Dioramas
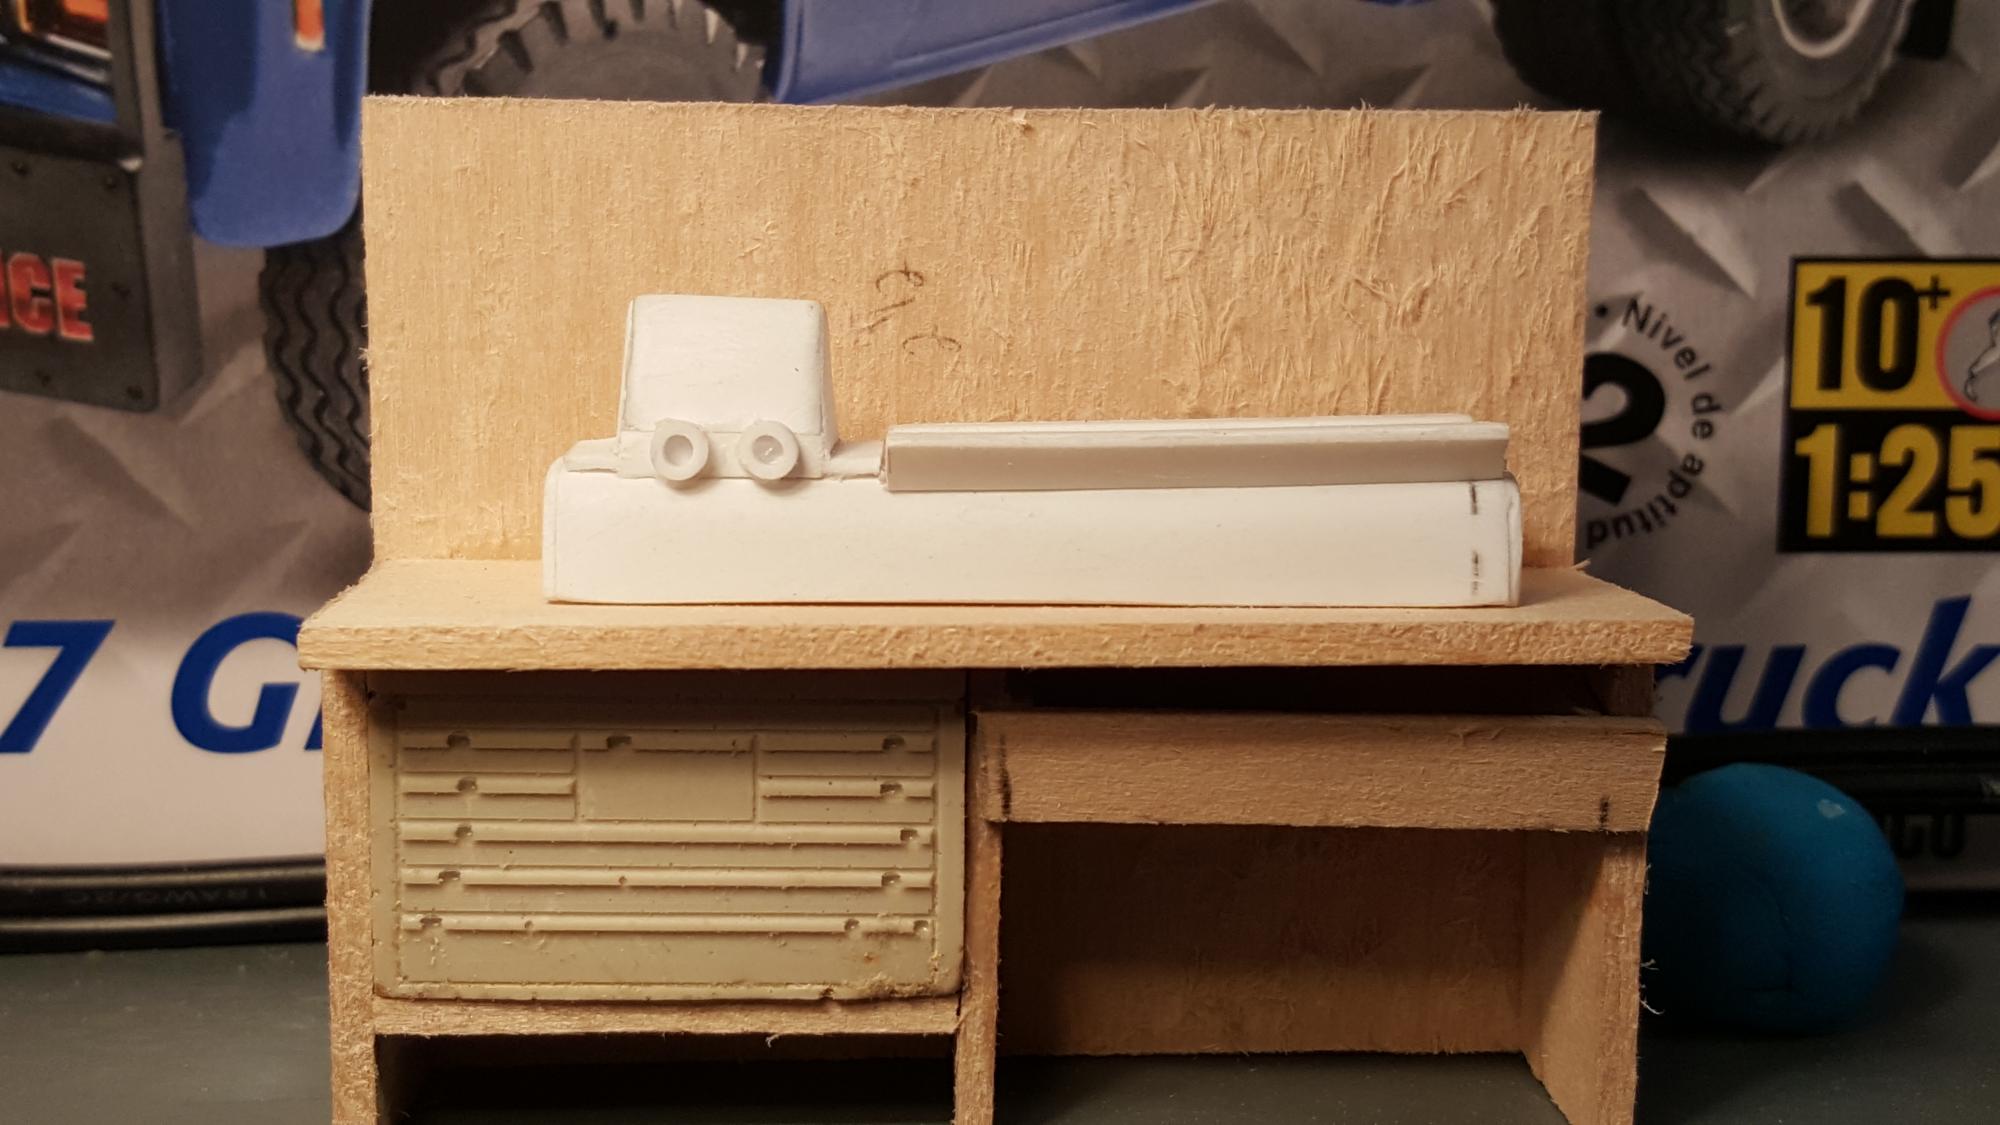
Well it has been awhile.....with work, moving twice, work and family I am finally getting back to this shop. Finally have a place for all my stuff so I can get back to work. Here is a new project I have started for the shop. I needed to start building some work benches for the mechanics. This one is just roughed in. Still need to sand it down. The tool box mold had some air bubbles in it ( hate when that happens ) so it is just for mock up purposes. I will mold and paint a new one later. On top of the bench is the starts of a machinist lathe. Did alittle bit more work to the lathe. Sanded down some edges and built the bed to sit on top of the lathe and started the handles for speed and direction. placed a couple of positioning holes and pegs. Needs more sanding and some filler. Reasoning behind the positioning pegs is to be able to take the table off to sand, fill, built the compound, paint and to make a mold of the finish lathe so to be casted in resin. You know how it is, you build something it is very hard to make another exactly the same.
-
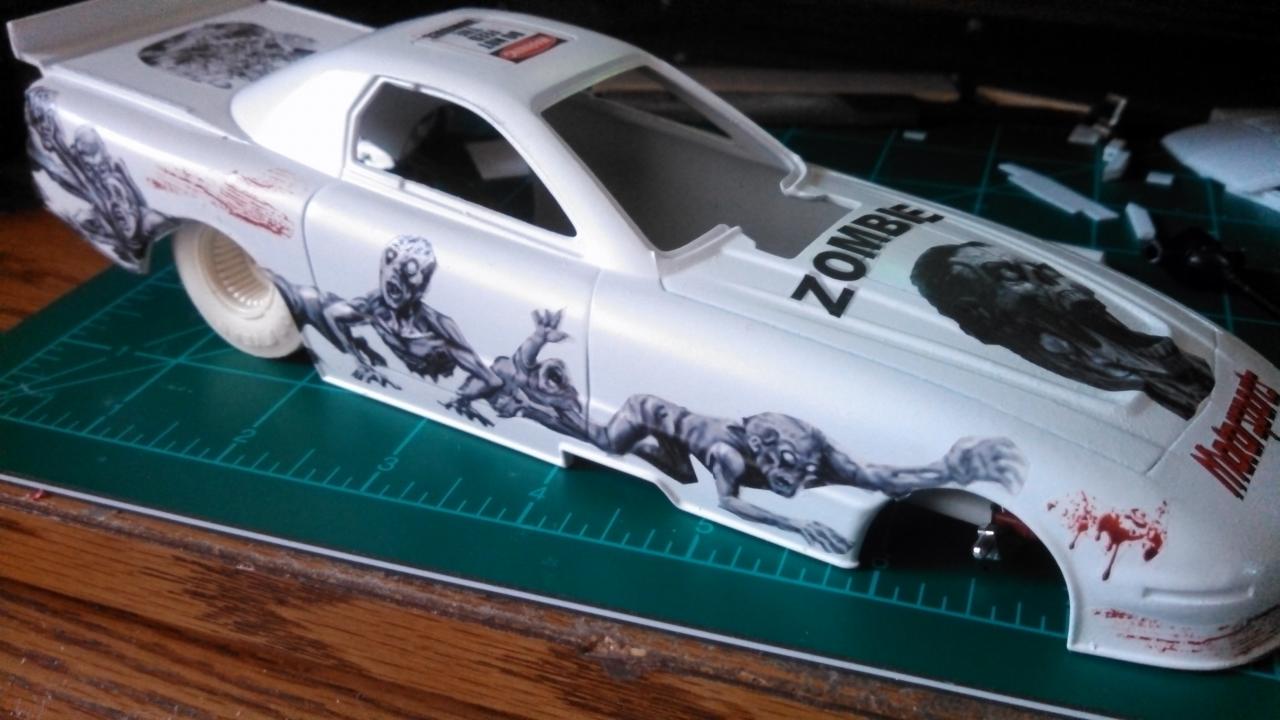
Thanks I just got lucky on the graphics, sometimes you think something will work and most of the time it doesn't. As I said before I work extra hard on my decal making to make up for lack in my other skills as a modeler. Next I am gonna try to do a zombie Voodoo car. Hope it turns out as good.
-
Thanks DrKerry ! I really think the blacked out windows and black wing really set it off. Now onto some frame and motor work.
-
Ok getting closer now. Got the back wing painted and installed. Also installed the black glass. I have to do the front glass, but I'm thinking it was a good idea. Really makes it stand out.
-
thanks Slusher !
-
actually I used the frame from the Mad Mag. funny car for another build. I had cut it down and put it under a 1970 Mustang. So then I ended up with the extra body and an extra frame from the 2 dragster kit and modified it to fit the Firebird body. Yeah I know kinda back wards thinking but hey sometimes I do things that way. Drives the wife crazy some times with all the partial kits. I'm gonna be building a few cars and trucks up with the partials to try and use them up. The tires I am casting are the original wheels from the body kit. Just trying to work on my scratch building ability.
-
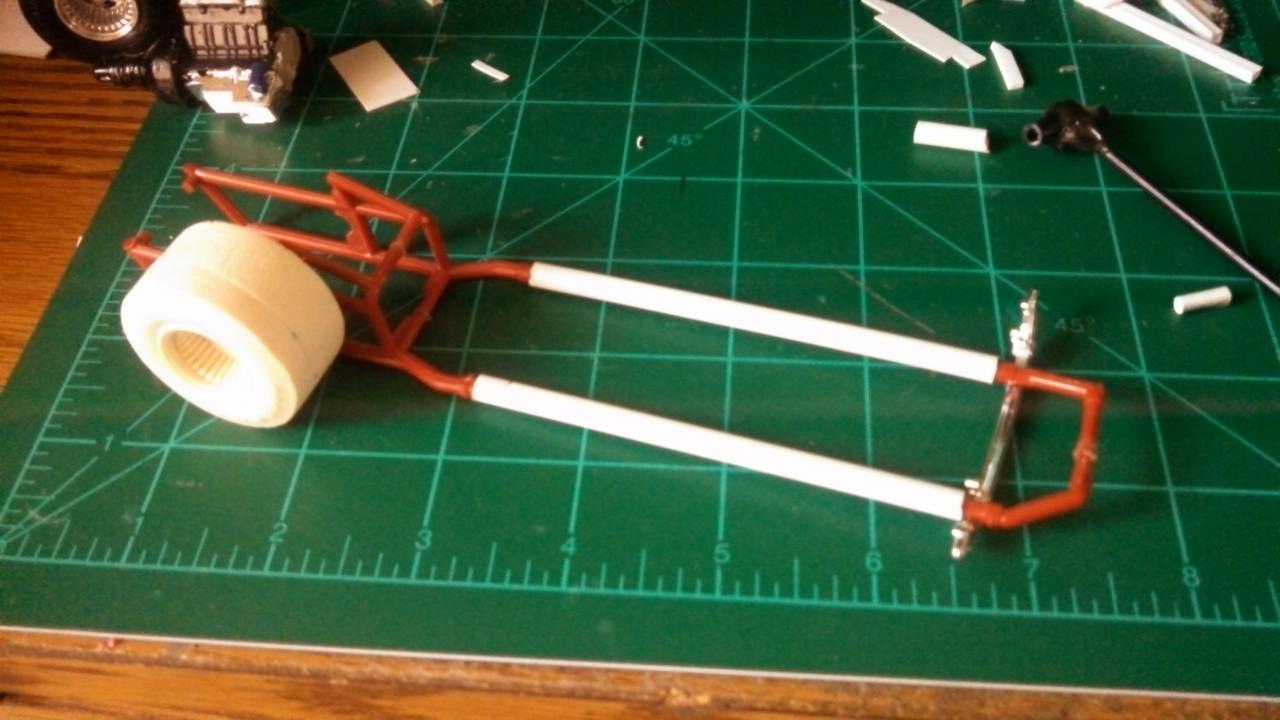
Did some frame work today. Added a front axel and some tires that I will also mold once I get the front the way I want. Once I checked BUT didn't double check I found out the front axel was to wide just enough that the body sits on the wheels So I went ahead and split the front axel and moved it up further on the frame and reattached the axel to the front. I will have to do some work to blend everything to clean it up some. Then I had to shorten the frame to fit back under the body. Originally when I did the mock up the axel was back further so I had to do some cutting again. Well it looks as if I have the stance the way I want it . Like they said in the A-team " I love it when a plan comes together " It's getting pretty close to the look I am after. No to mold the front wheels tomorrow
-
stingray......I am assuming this is French ? and you are asking about the decals or the design on the side of the car ?
-
found this old frame in a parts box I forgot I even had until my daughter found it in the back room. Not sure if it will work or not but I am gonna mess around with it to see what I can make of it. It's to short so I cut it and added a couple of pieces to stretch it out to fit under the body. Here are a couple pics with the frame and the tires mocked up under the body. I think it may work . What do you all think ?
-
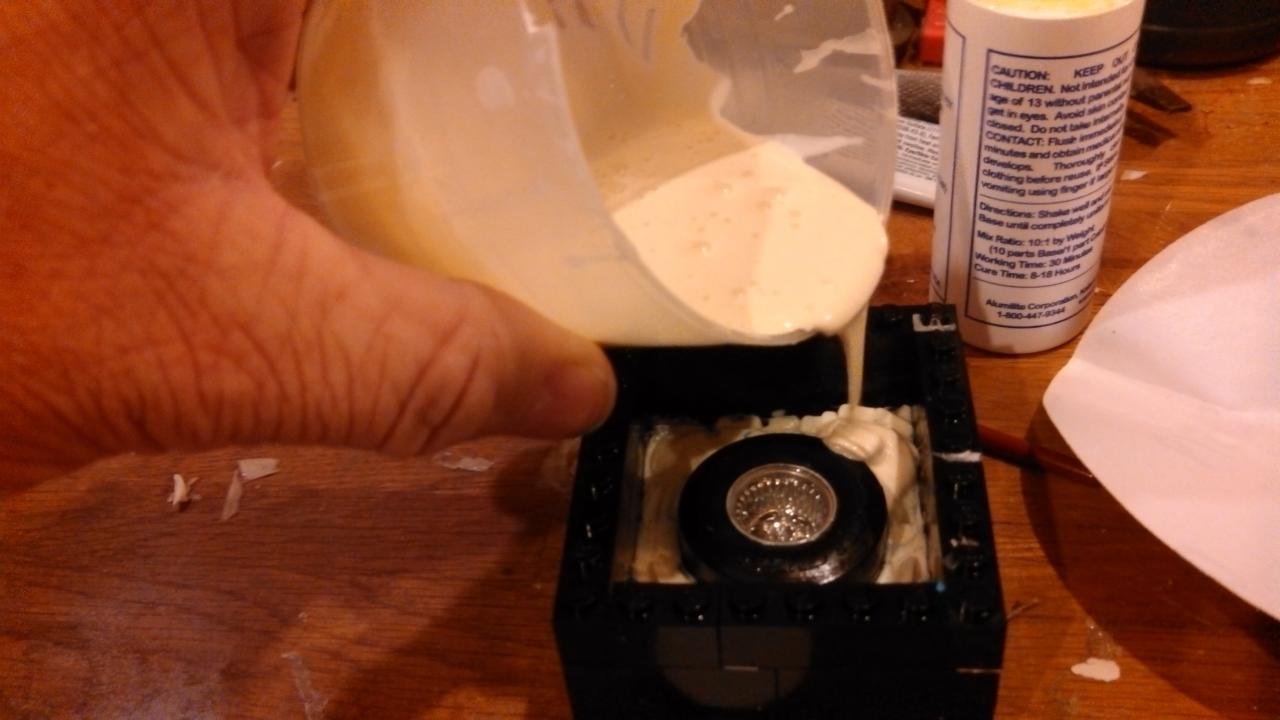
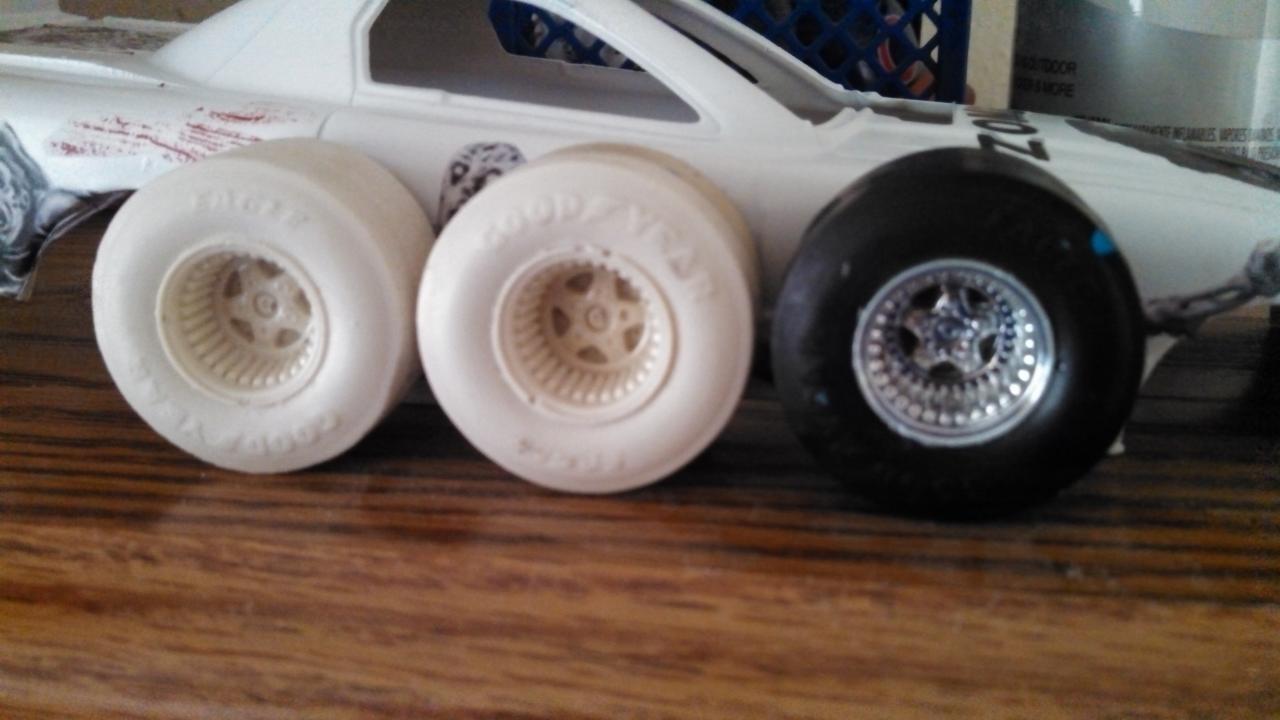
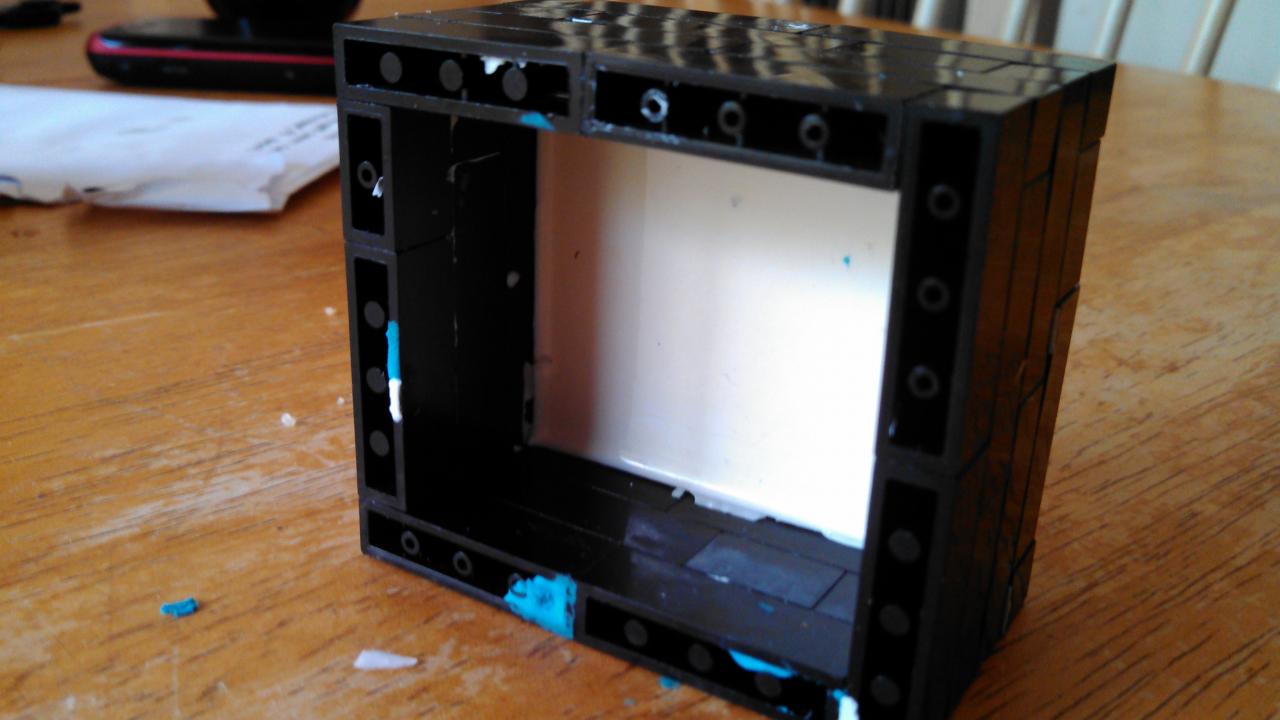
started pouring the second part of the mold today after the bottom sat for 15 hrs. Slowly poured it the mold mixture hoping not to have to manly bubbles. here it is after taking the lego box apart and cleaning up the over flow. I cut angles on each half so I would remember how to line it up. Then cut the mold into two pieces . Here is what the mold looks like after cutting it open. I then filled the side with the rim on it with resin. Let it harden then poured resin into the second one and closed them up to make this Don't look to bad......need to paint them and scuff them up alittle. Now I have to make a mold of the skinny front tires. hopefully it works out also.
-
Showboat Redux / Quarter Master...Update 11/23/13
Riley Customs replied to Nitrozilla's topic in WIP: Drag Racing Models
this looks as if it will be the beast of all beast ! -
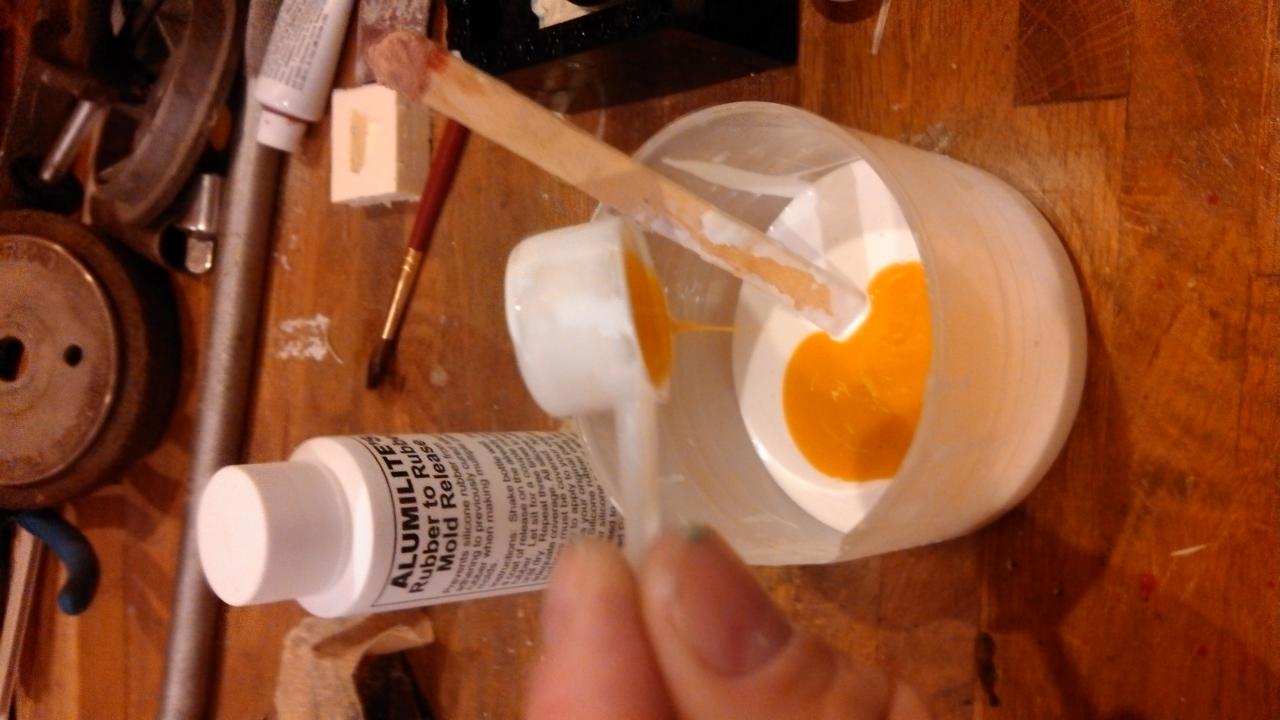
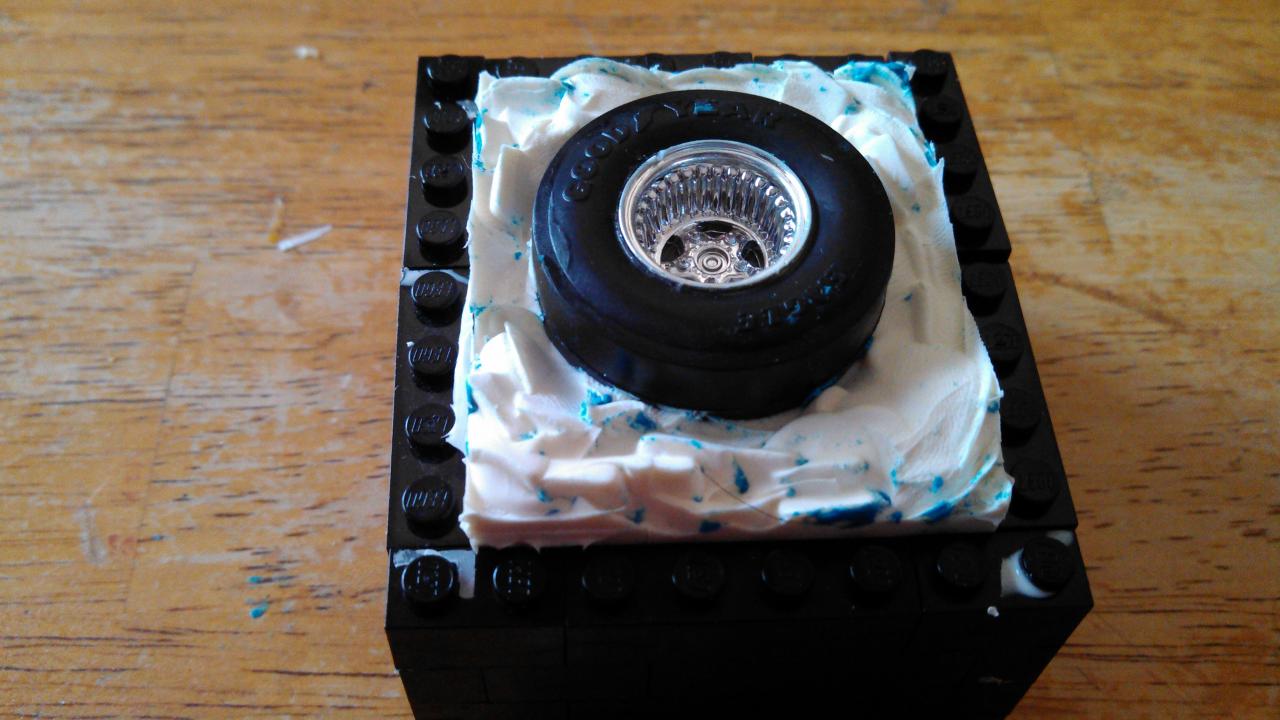
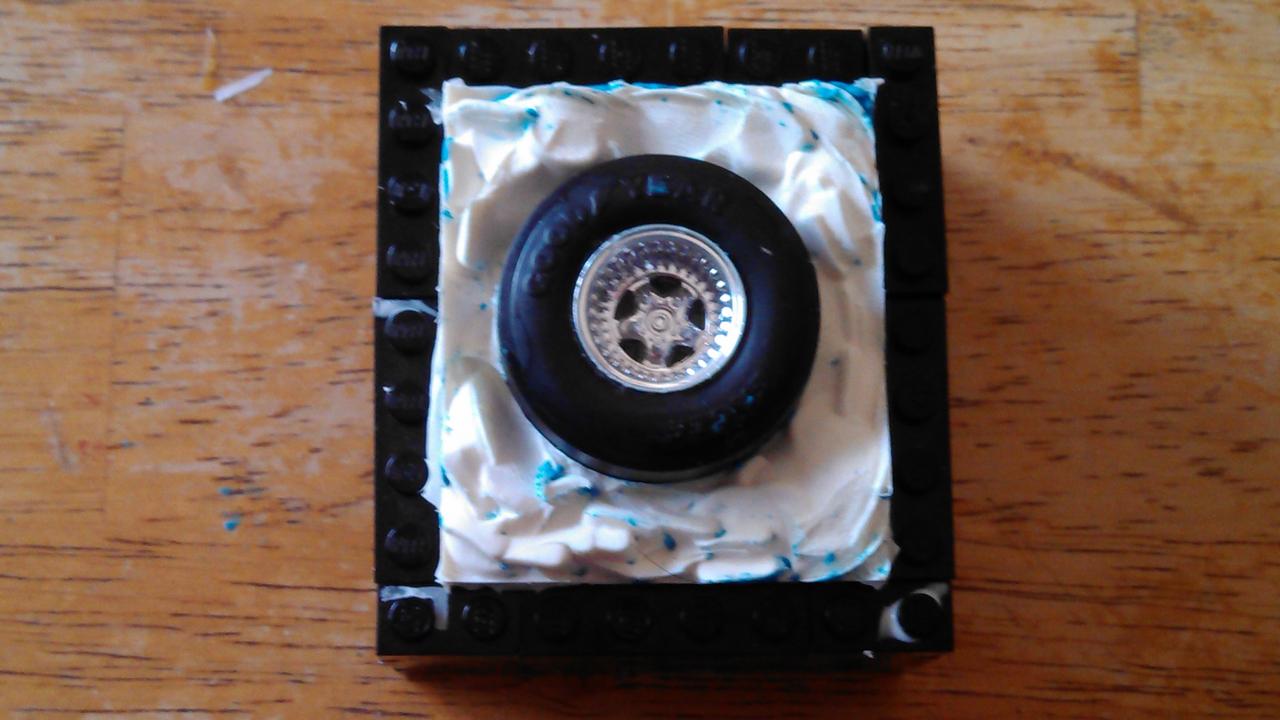
While I try to decide on the decals for the hood I needed to make a new set of back tires to fit under this beast. I took a set that I had laying around and decided to mold them so I don't have to keep spending money on tires and rims. I have a huge box of tires but none of the big slick ones so this way if I cast them I can use them over and over. Sorry didn't take any pictures of it before this one but I built the bottom half already. I took some legos and made a box just alittle bit bigger than the wheel to give it enough of a side wall. I placed the tire inside the box and then filled it in with molding clay. As you can see by the pic I didn't smooth the clay out ( mistake on my part ) making a very nice mold. I then took the box apart, cleaned out the clay and then rebuilt the box. Flipping it over I laid a good coat of mold release so the two molds will not glue themselves together when I pour the top half. Now I pushed the partial mold back down into the box and added more legos to construct the top half of the mold. Now it is ready to be moved to the lab ( garage ) for mixing and pour the top half. It's alittle warm out there right now so I will wait til later in the evening after grilling out to mix and pour it and by morning it should be ready to be pulled apart and to pour the resin in and hope for the best. I will post more pics later of the process and show you the results, good or bad. I am hopping for the good !
-
Awesome build
-
well finished up with the decals. Not sure if I like the hood ones. Don't know if I am gonna stick with these or make maybe one huge blood splatter going up the hood. Make it look as if I hit one and it was thrown over the top of the car. Can't move on with the clear coat until I decide which way I am gonna go. So I will start working on the frame. I have two resin molds made of slicks and smaller front wheels so I guess I will get them poured and ready to paint.
-
Thanks pharr..... At first I didn't like it but found a lot of info on Youtube that really helped. Fun to play with in the winter time.
-
Yep that is the way I go up to see my daughter and I also have in laws in Elcorn ( spelling ? )
-
Correct DrKelly....not far at all and isn't Mukwonago closer to Milwaukee Wi. ? I have a daughter going to school up there and I think I pass through there on my way to see her. Thanks for the compliments on the decals. I am always trying to get the WOW factor since my modeling ability isn't as good as my decal ability LOL
-
Thanks outragis.... I wish I had the ability and capability to be able to print out decals like an ALP (spelling) printer does, but I don't think mine come out to bad. I just don't care for the idea of having to use light colors for the clear paper or having to trim almost perfect for the white paper. Well we do what we can with what we have right guys ?
-
thanks Brett ! I am always looking for cool ideas to make decals from. I have even thought about making up a data base on my computer of all the ones I have made.
-
Thanks Cobraman. Any comments are welcomed. I know most people on here do accurate models of 1:1 cars but sometimes I like to build outside of the box and this is one of them. Kinda like freestyling model building LOL