

Riley Customs
-
Posts
63 -
Joined
-
Last visited
Content Type
Profiles
Forums
Events
Gallery
Posts posted by Riley Customs
-
-
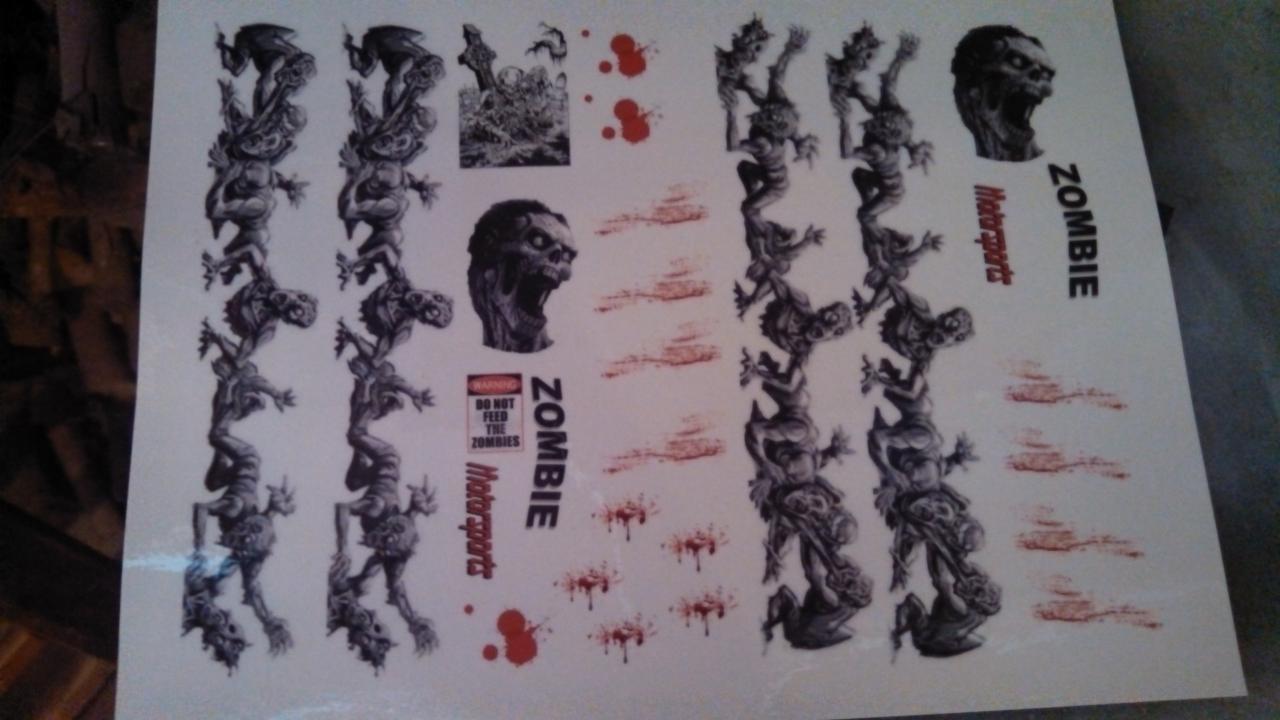
 Instead of sitting there watching the paint dry ( which really is a talent you know ) I went in and started working on the decals for the car. I first printed them out on paper so I could make sure I had the sizes right. Then I laid them out a couple of time to make sure they were what I wanted. I taped them on another body which was the same to see how they would look. Once I got them just the way I wanted I grabbed a sheet of clear waterslide paper and printed them off. They came out great, just a little darker than I wanted them but the blood splatter ones came out just like on the computer. I used GIMP brushes to make the blood splatter look as real as I could. Trial and error is how I learn most things much like the rest of us. Once I was sure the ink had dried I coated the paper with a Matte clear coat. I found that if I do it with a Matte clear they don't come out as shinny as if I would have used the Crystal clear once I clear coat the car at finish.
 -
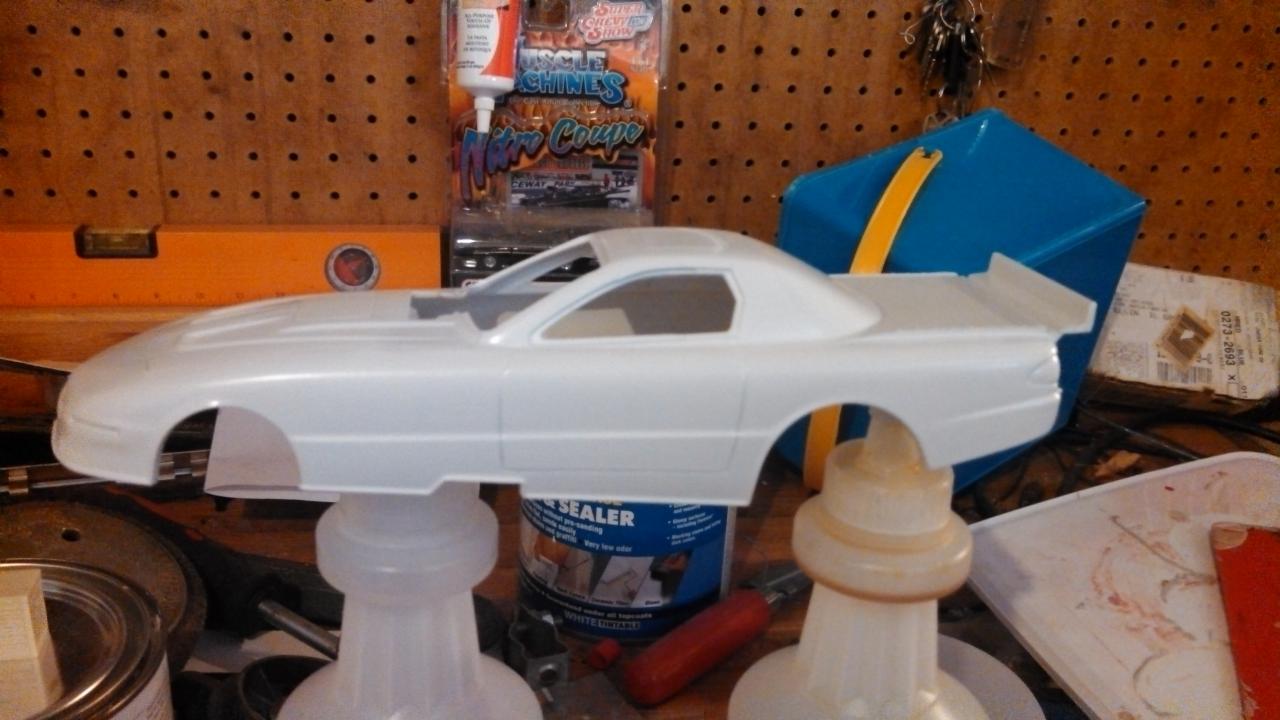
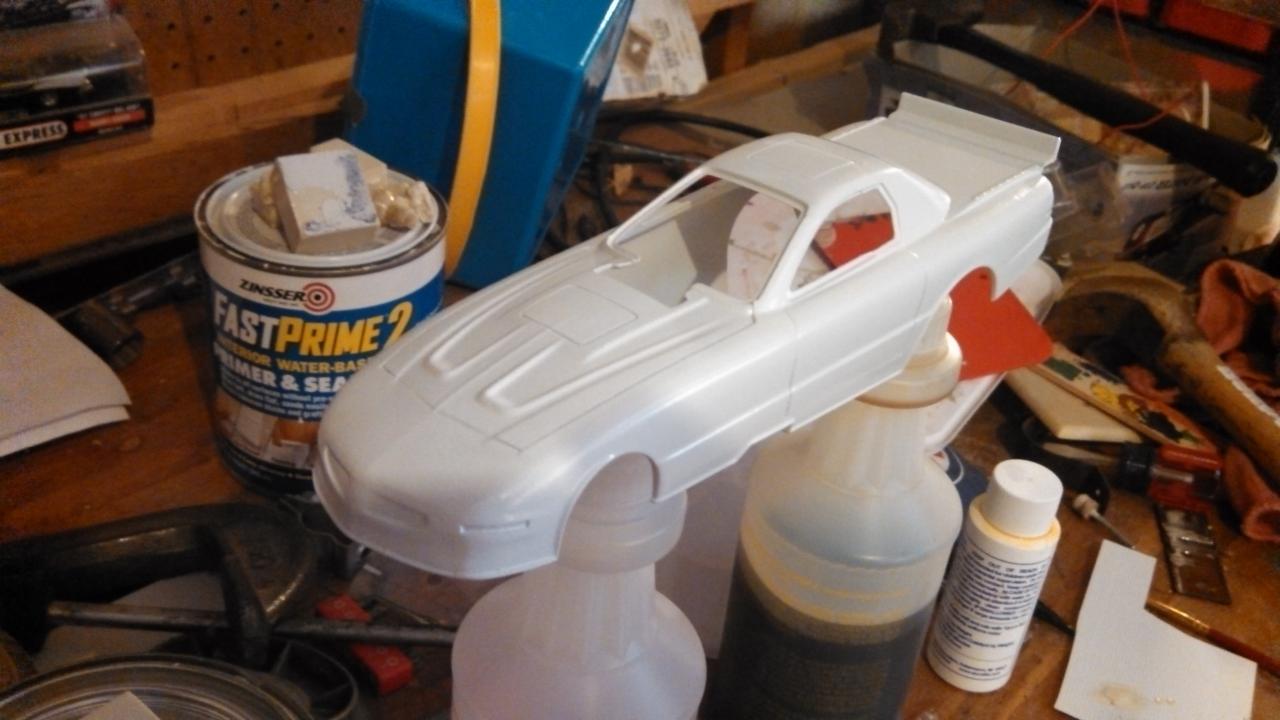
Well I am starting my own racing group this week. Zombie Motorsports is getting involved in all fields of racing...... Ok not really but I am starting a new project with left over parts from many model kits I have. Right now I am starting with the body. I sanded down any unnecessary body and mold lines, primed the body and put a couple coats of white on it.
-
Hey there , I was wondering if anyone had any plans or if anyone knows where I can get plans on building pro mod or tube chassis frames for my models. I have never built one and don't really know where to start. I have tried a couple of different ideas but nothing really seems to work. Any tips or ideas would be a huge weight lifted from me. Thanks for any help.
-
I have made my own decals for years. I made them for Die cast cars , model kits and for dioramas. I usually order 5 pages of both white and clear since I never know what I will be using them for in the future. As Cobraman stated , if you use the white paper you have to trim them very close so the white won't show on a colored car. The only problem with using the clear is that most colors of the cars will bleed through the decals if you use an inkjet printer. That is what I use so I kinda have to plan my car color and decal paper accordingly to resolve this issue.
-
I know ! after only looking at a couple it really gets ya going.
-
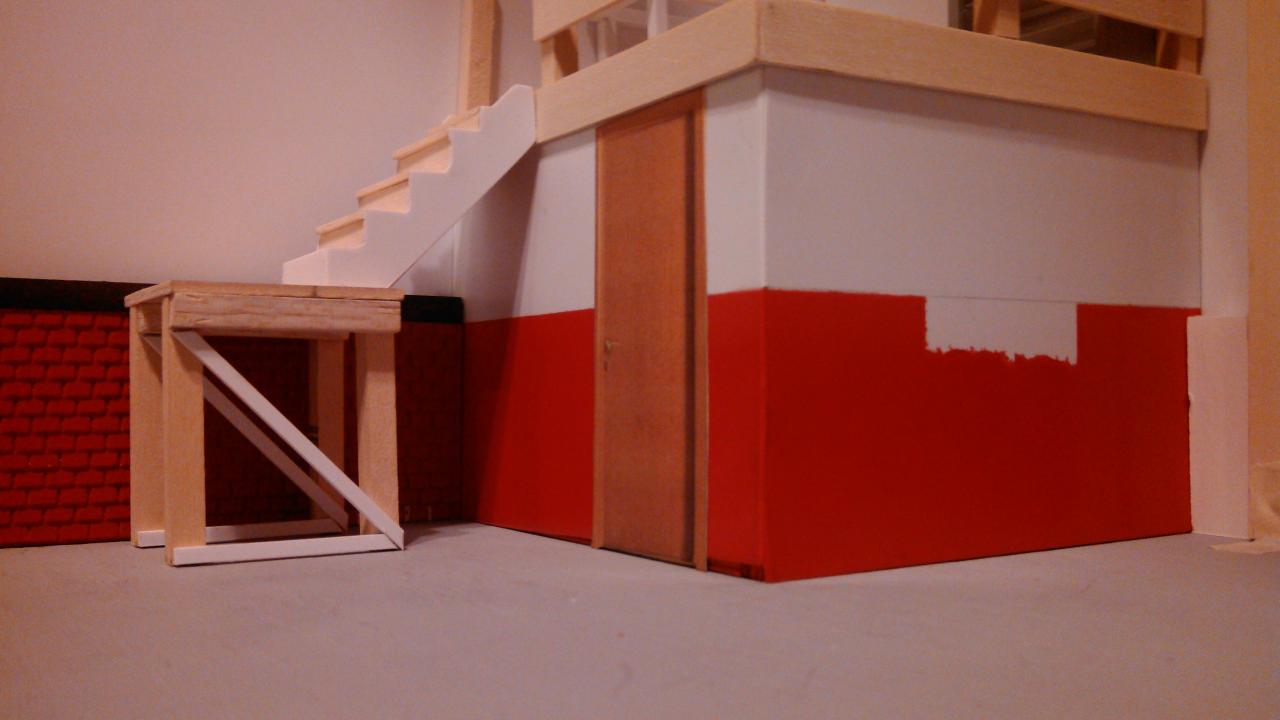
Well after some time away working on other garages for people I finally got some ME time ! After looking at Crazy Richard's 1/24-25 hotrod garage post I really got the urge to work on mine again. Since the last post I have worked on the office, lunch room on top of the office, some pillars and a few other things. I started the brick walls along with the wooden pillars but this is where I am stuck at. I am not sure on which way to go with them. First I was thinking of doing half with brick , black stripe and white. Then I thought to just stain them or maybe just paint them black. For now I am going to stop with them until I figure it out. OH of course any ideas are welcome.
-
Thanks Sam !
-
got the office built and the storage up top. now have to make the steps. Thinking I am gonna have to make a two stage stairs.
-
Here is the start of one of the largest dioramas that I have done. Most of them are about 11 X 11 but this one is going to be about 19 X 11. Here is what I've done so far. The wall frames are up and some foam boards have been cut. They are for a brick wall about 4 feet tall. Then going to simulate dry wall rest of the way up. Not sure what I am going to do with the floor so I will leave that til later when I have a better idea. In the corner there is going to be an office with storage on top for parts and what nots. This will be my first attempt at making stairs. Any ideas or tips on how to do that ?
-
WOW Randy that is awesome ! about how long did it take you to make it and design it ?
-
That was my thinking also Jim and thanks for the compliments.
-
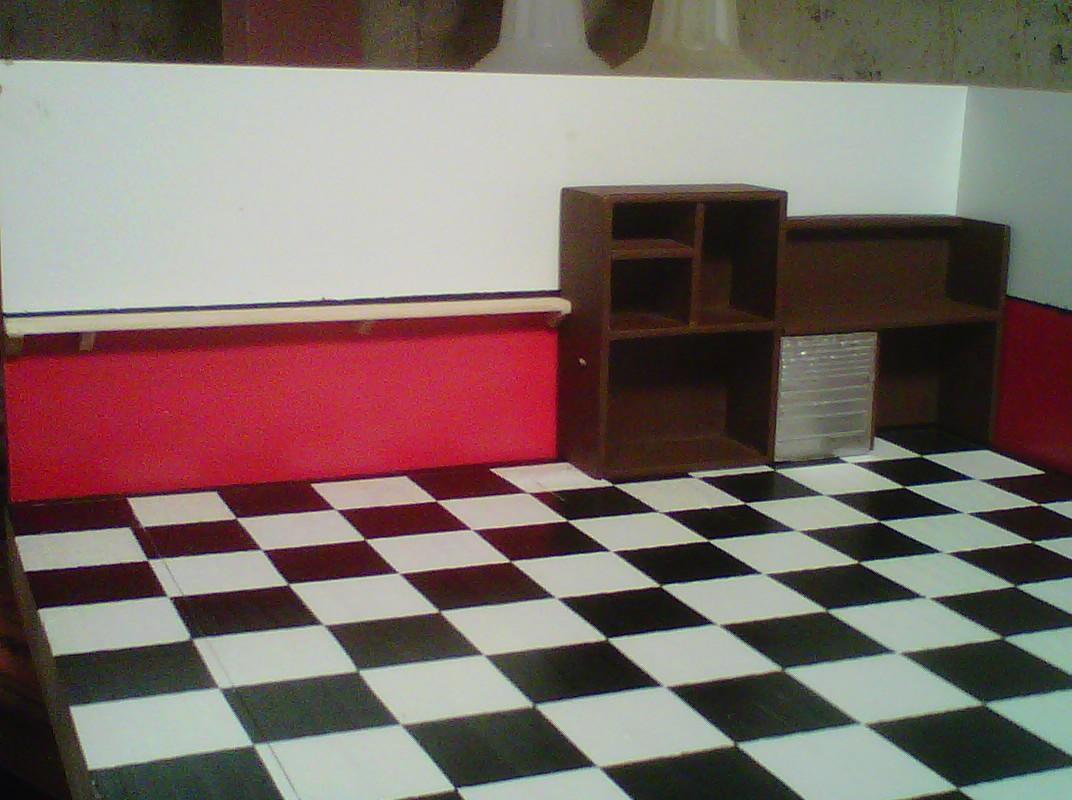
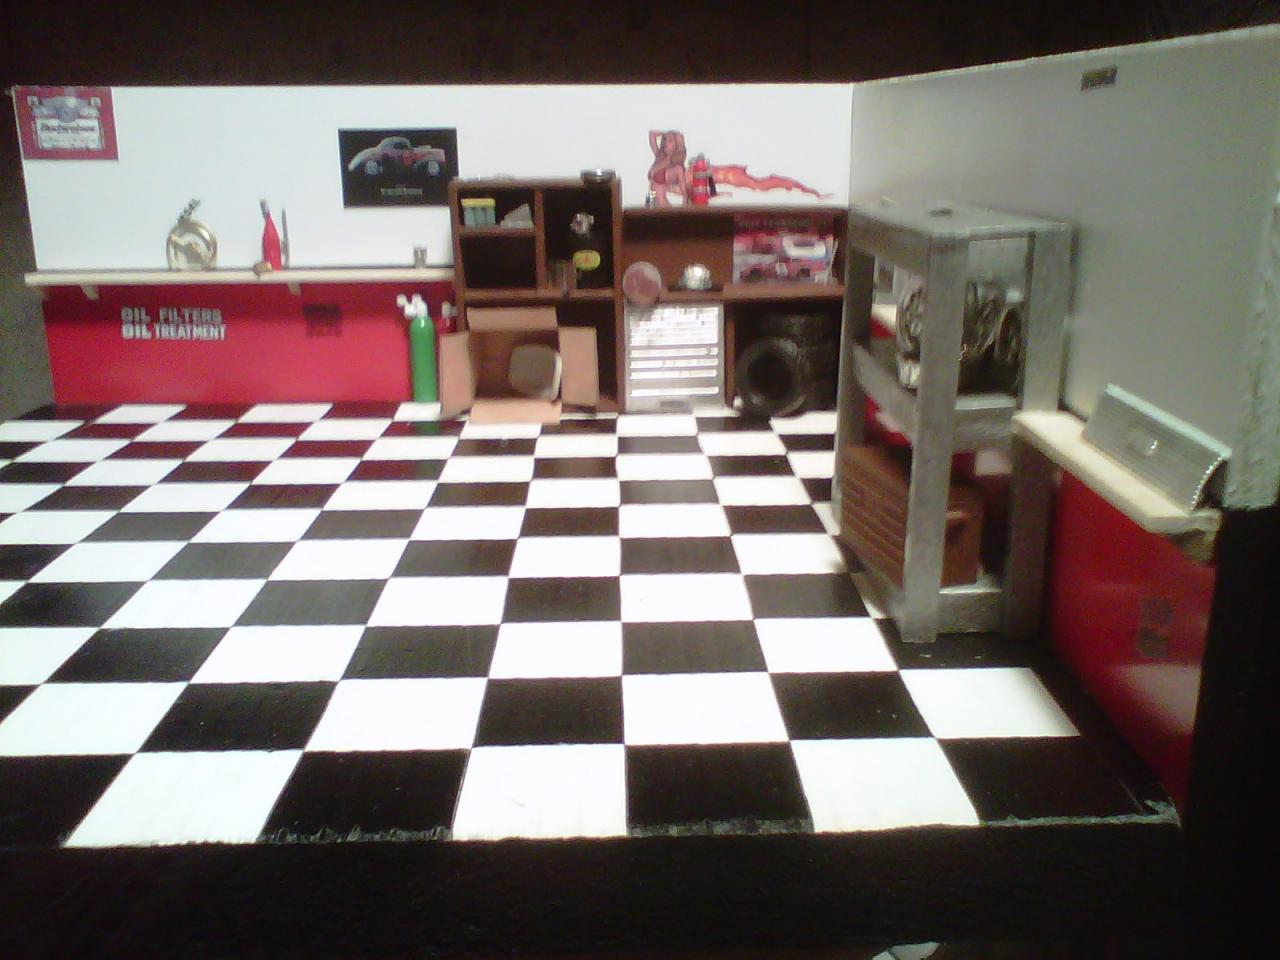
Here is a garage diorama I put together for a friend. Not one of the best I have ever done but he was happy with it. I am looking forward to doing one with more detail for myself soon.


Zombie Motorsports......
in WIP: Drag Racing Models
Posted
well everything seems to be dried so here I go with the decals. Once I have sprayed the decals I usually wait an hour or so to make sure they are really sealed but this build is really calling me so I started early. 30 mins after spraying I started cutting them exactly as my paper ones are that I used for the mock up. I only did one side for now. Don't want to put to many on at once risking the possibility or messing them up before they are dried.