

dieseldoc
-
Posts
40 -
Joined
-
Last visited
Content Type
Profiles
Forums
Events
Gallery
Posts posted by dieseldoc
-
-
I have to agree, some modern kits would be really nice. It does't matter to me what make or model.I wouldn't care about the order they were listed in either. Just some modern equipment.
-
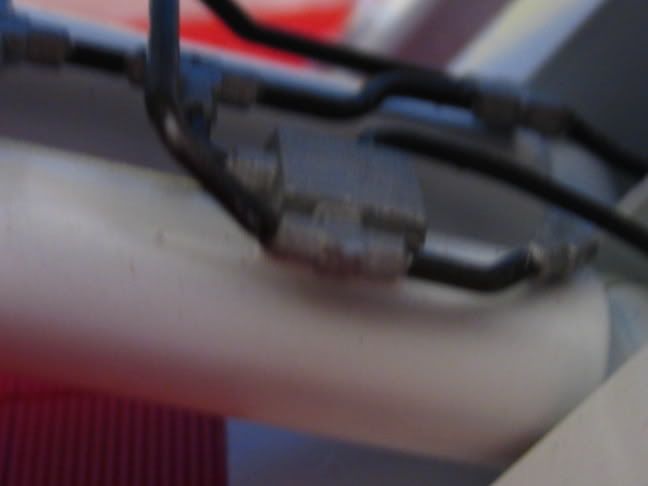
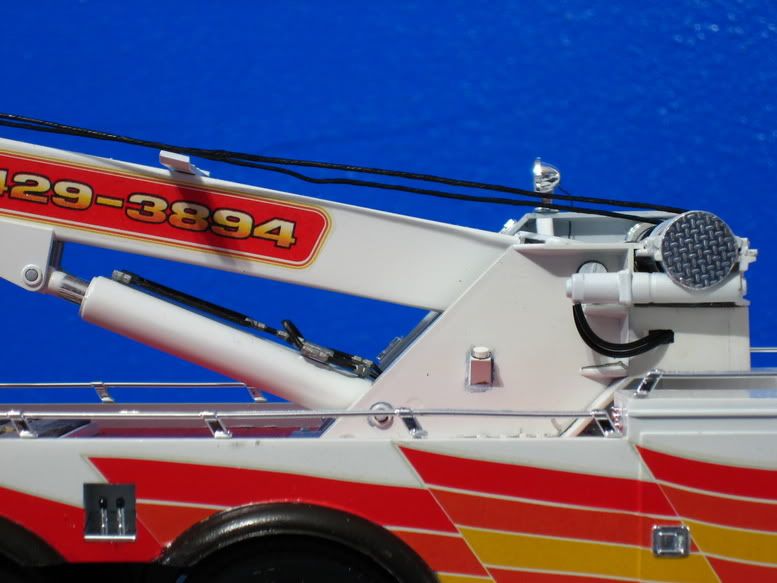
Here are some pics of the hydraulics on a twin cylinder wrecker boom.

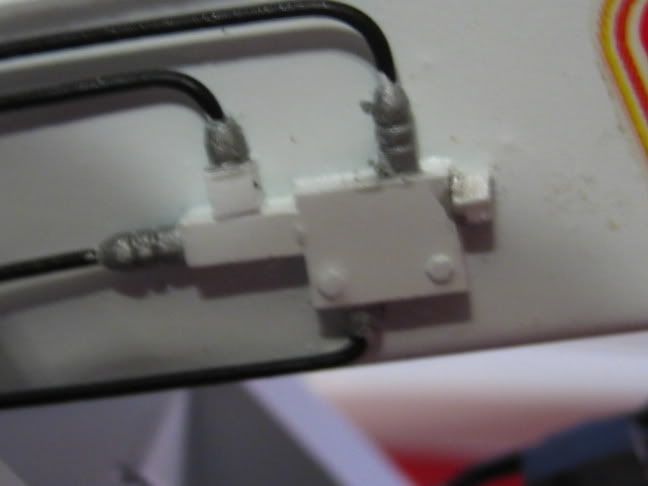
This next pic is a scratch built boom extension cylinder valve
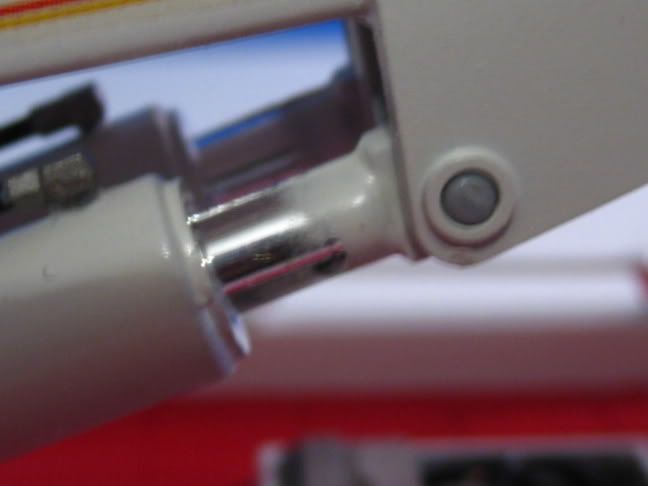
Here is a pic of the cylinder and rod end painted. The chrome rod is a kit supplied part.
Hope this helps
-
Thank you for this series and your reply to my question. The putty section was the biggest help to me. Guess I can toss out my white putty now that I'll have something that will work better.
-
In the body filler section of your tutorial you refer to Evercoat Euroglaze and in the General putty info you mention Evercoat Everglaze are these the same product? I checked Evercoats web site and all I come up with is the Ever-glaze and this appears to be a one part putty that comes in a tube and I could not locate on there site the Euro glaze. Could you please clarify which putty from Evercoat I would want to use for filling with a product number.
Thanks
-
nice lookin truck
-
The paint was not hard to do at all. The frame is from a tamyia spray bomb, and the yellow was air brushed. Keep in mind that when doing yellow prime the model with white primer.
-
The current plan (subject to change) is to paint it to mach the cab. My intentions are that the yellow/gold stripe and the decals will be enough to make it look good with out looking gawdy.
-
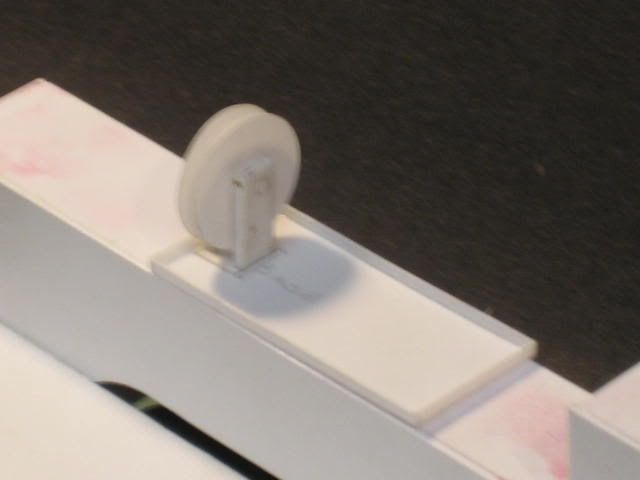
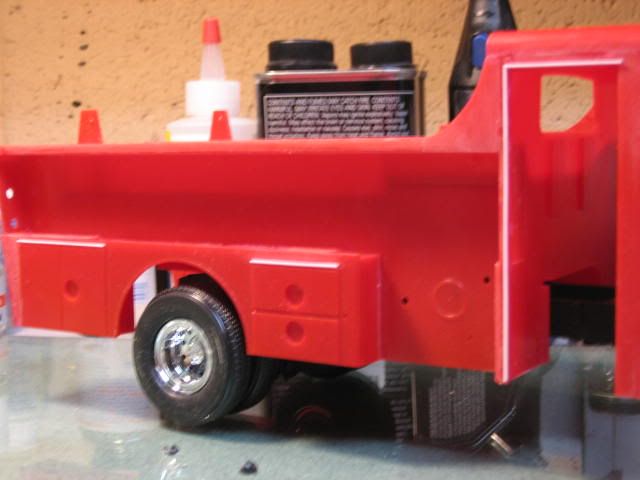
I made some progress on this tonight. I have the 1st of at least 5 hose reels almost built. On this one all I have to do is build the hose guide. I also built the drip pan that these will sit in when mounted to the truck. I have included another pic from the rear of the truck show where these will be mounted.
-
Got bored waiting for the paint to dry on my fire truck, it take a few days for it to dry in the basement because it so cool down there.
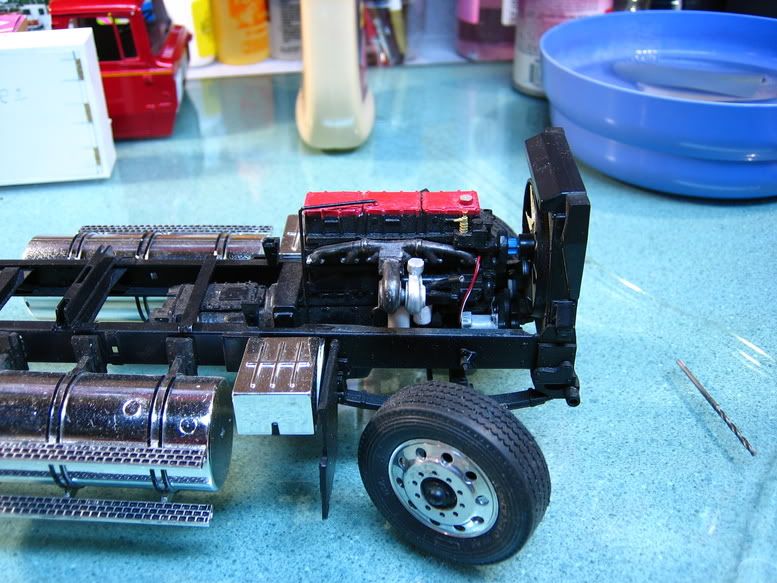
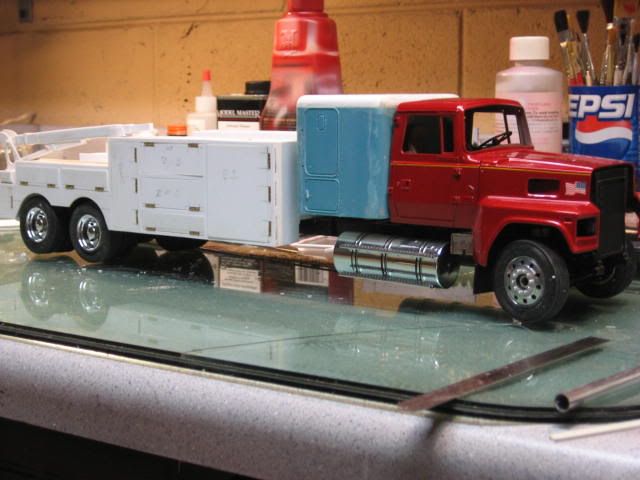
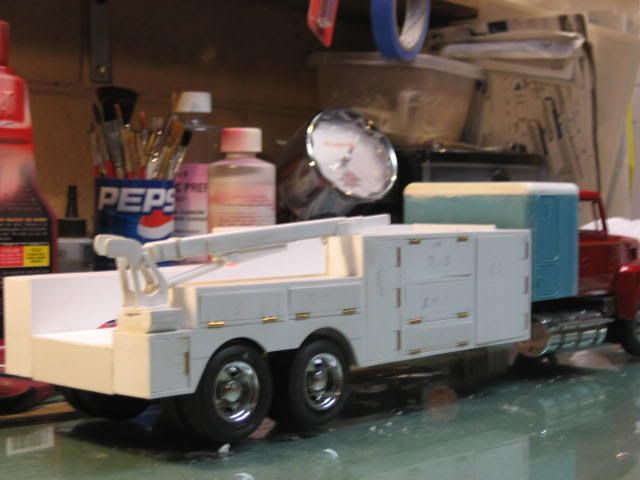
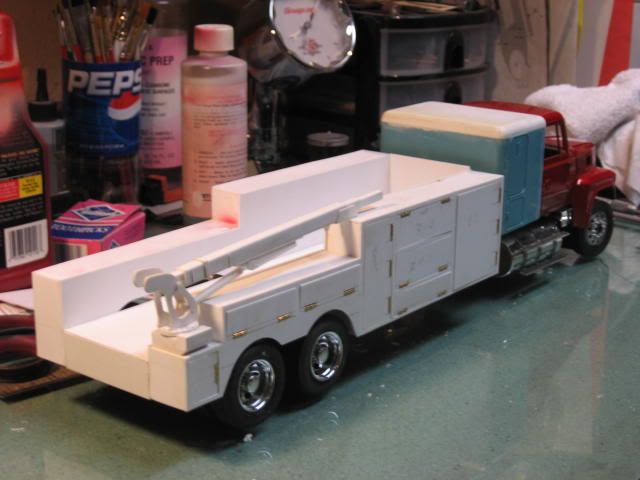
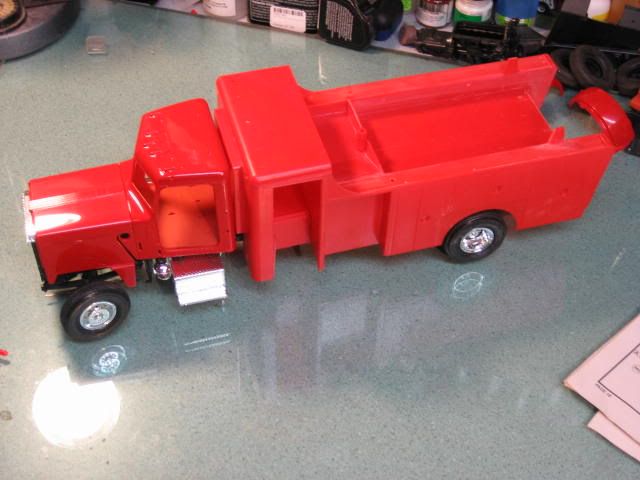
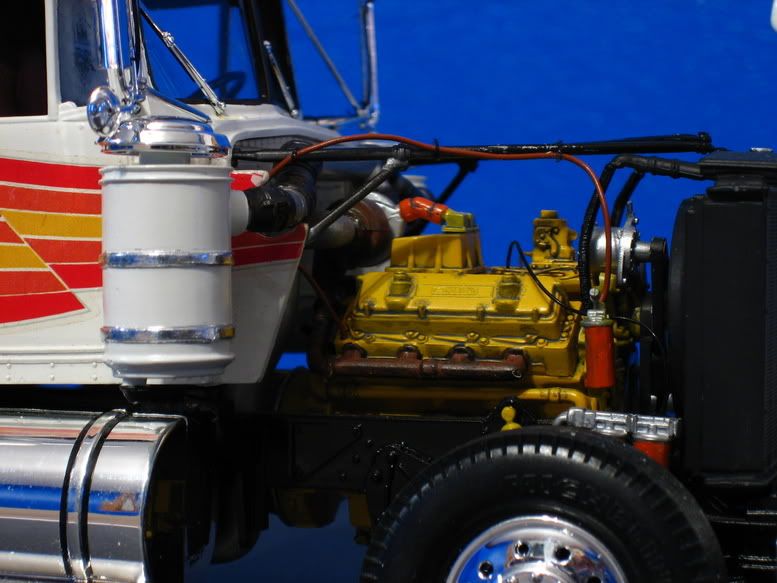
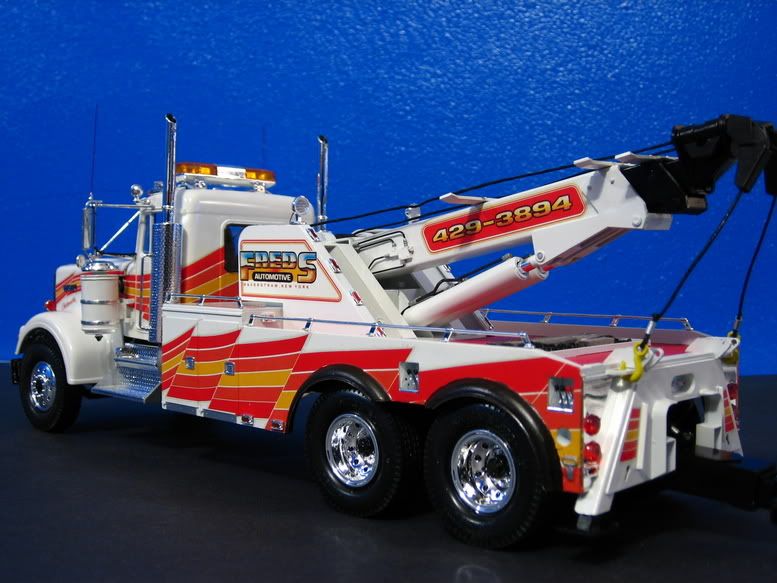
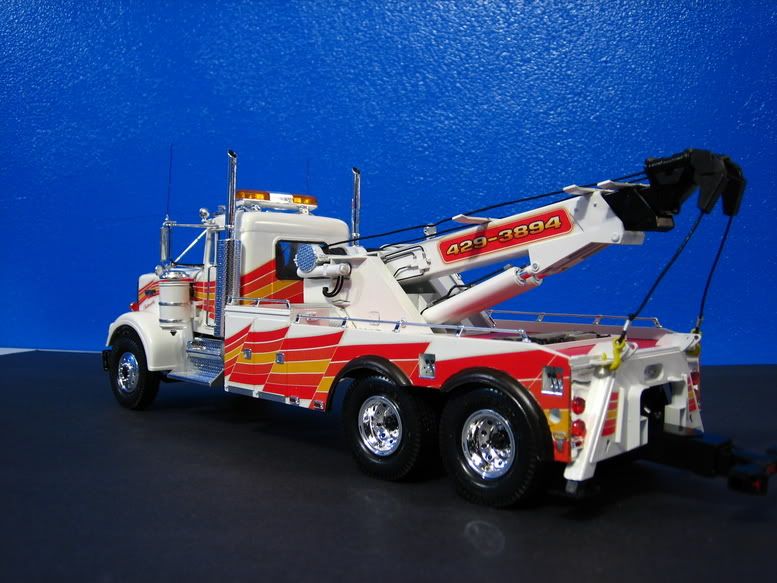
But anyways here are pics of my service truck that I have been working on, on and off for about 2 years. This truck will be for servicing semi's that have broken down on the road.
I am using Italeri's Lone Wolf kit for the base less the kit sleeper roof, sourced a flat one from the parts box. The frame has one serious stretch to it. the kit engine was replaced with a CFC Cummins 525hp N14. The front wheels are turned aluminum from Bill Drennan (no longer made). The rear wheels are from the Wild cat western star. Every thing behind the sleeper has been scratch built, the tool box doors are hinged and open, the crane is modeled after an IMT 5020.
Enjoy
-
That is one sweeeeeet lookin work truck.
-
I saw a 1:1 truck going down the highway with this scheme. It actually looks rather good. Also on the sleeper of this truck it said "Dads Pad when Mom gets Mad". So I would assume the drivers wife had a lot of input on the color the 1:1 was painted.
-
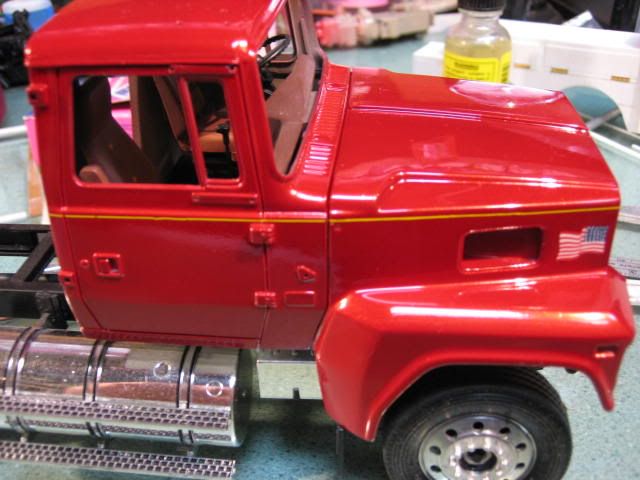
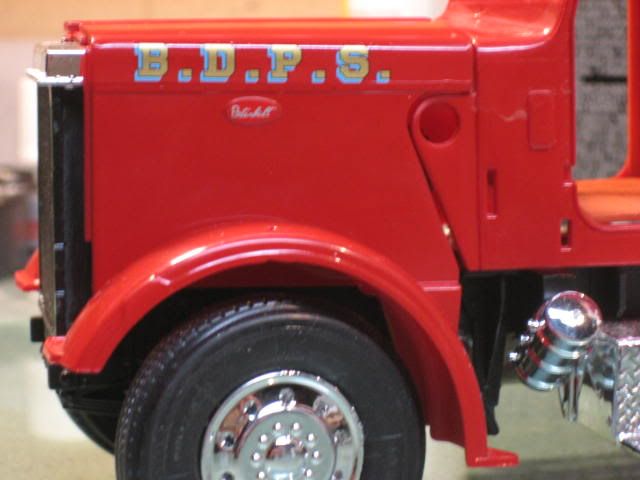
With all the talk about the new ALF fire truck and having one on order I decided to get this one done. I originally planned to do this one box stock :roll: but stuff happens and I had to make some changes
. Currently the cab, hood and fenders are painted dupli-color Cherry red and polished out. Hood decals are applied and are drying prior to the clear coat. Enjoy
-
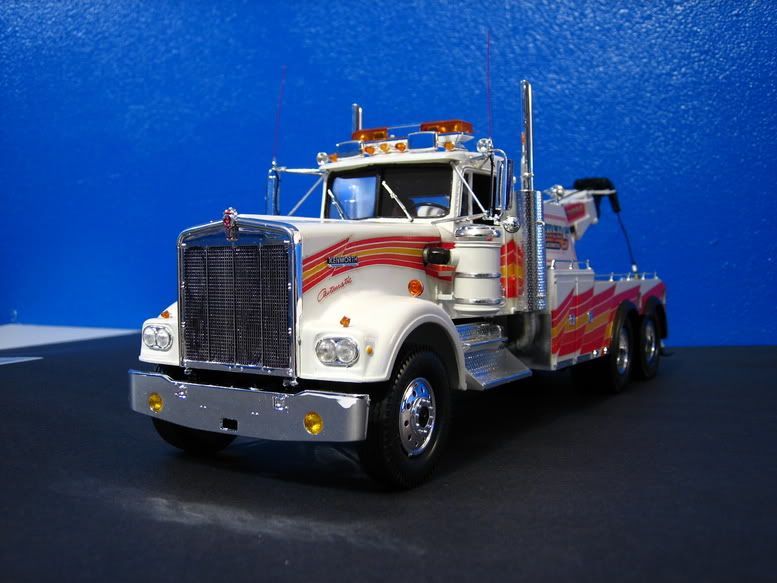
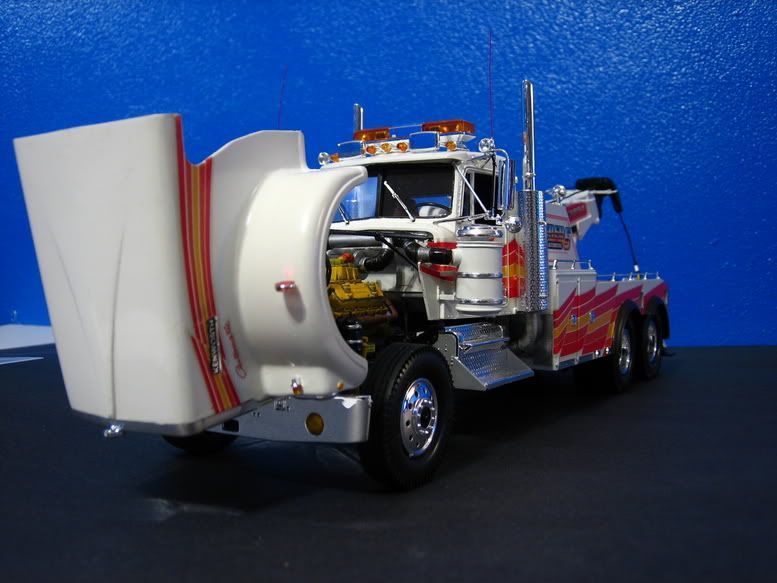
This is the Revell AG KW wrecker. I finished this truck last November. I have over a year in this build. The engine is detailed and weathered. I researched the business end of the truck at miller industries website and corrected kit errors along with adding missing details. I also scratch built the correct wheel lift for this wrecker body.
-
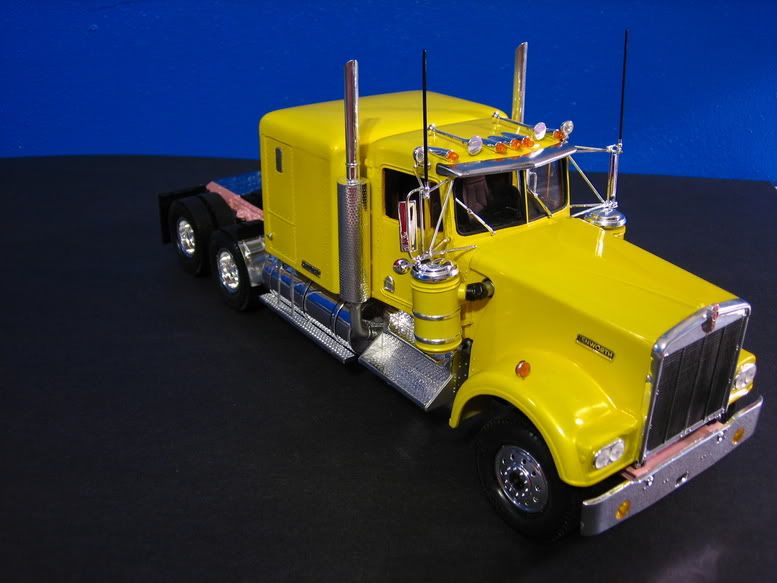
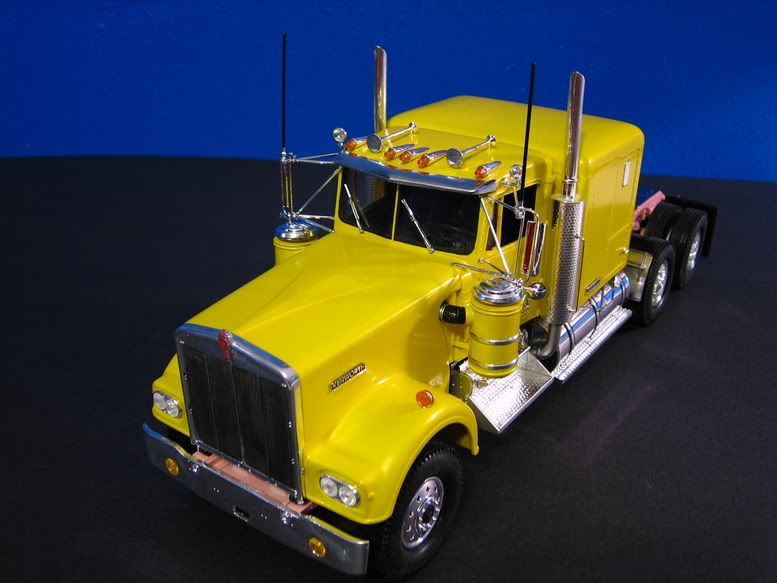
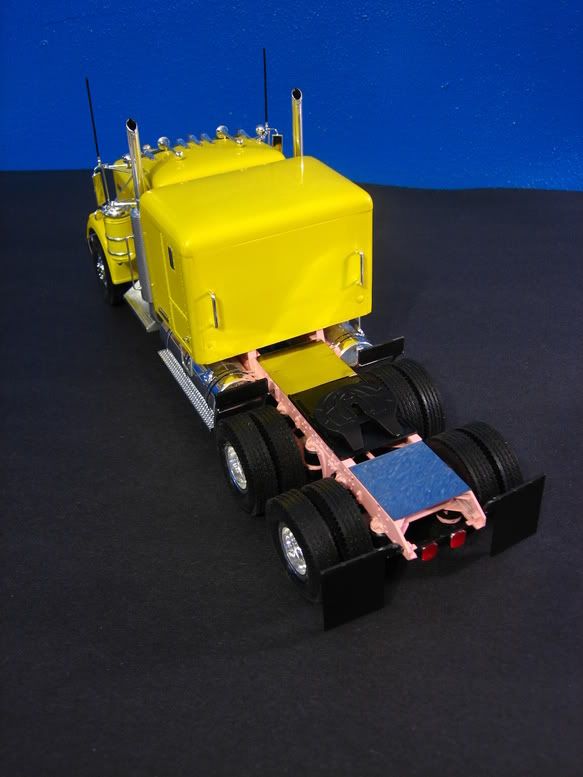
I finished this Revel AG Kenworth back in january. This is the Aussie KW built American style. It is frame is painted tamyia pink and the cab is Model Masters chrome yellow. I added K&S polished stainless to the rear frame rails.
Enjoy
Mark


 . Currently the cab, hood and fenders are painted dupli-color Cherry red and polished out. Hood decals are applied and are drying prior to the clear coat.
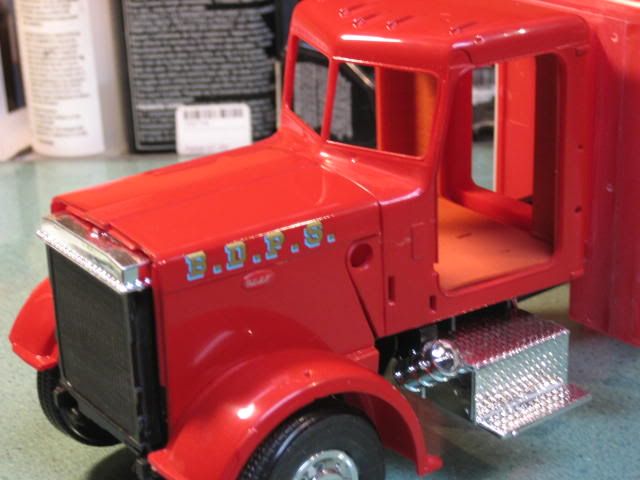


Just got the Trumpeter Firetruck, some questions
in WIP: Model Trucks: Big Rigs and Heavy Equipment
Posted
In one of the plastic bags there is a short clear piece of plastic tubing approimately 5/16" diameter.