

JPS_Lotus
-
Posts
71 -
Joined
-
Last visited
Content Type
Profiles
Forums
Events
Gallery
Posts posted by JPS_Lotus
-
-
Is there something causing interference with the underside of the cover? If it fit fine before, that might be the problem now. Maybe start by looking at parts that were added since you did the test fitting to make sure they aren't hitting the cover and not allowing it to sit down all the way.
Trying to snug up the fits is a good idea, but that's probably going to be tough to get to work well. Could you maybe fit some small magnets to help keep it in place?
Magnets might be a good idea, hadn't thought of that, thanks!
@Rick, in that picture, on the left side of the area you circled, there are two parts that are black, I took them out real quick because the other part I can't do anything with right at the moment, I used CA glue to keep them in place. The fit is better now on one side, but the right side simply isn't catching. I think there is an issue with the cover itself from the molding process that I didn't pick up on. I don't think there's a whole heck of a lot I'm going to be able to do if that is the case. I added some more putty to the slot just to see if maybe a build up in there might force it to catch. I'll see when it dries.
-
Ok, thanks guys, I'll try Rick's suggestion first since I don't have any clay around here at the moment.
It might be what Rick mentions Don, I was trying to look through the opening from the rear to see if there was something that I was missing with those parts on the side, but I couldn't pick up on anything....however it might be just a small enough bit of contact that's causing the problems.
-
I'm in the middle of building Fujimi's Ferrari 126 C2 1/20 scale model. I'm near the end of the build, but I've run into a problem with the engine cover fitting snug.
It's leaving a gap. When I had done a dry fit, it was fitting snug in the slots, now it won't even do that. I'm at a loss with how to get the fit short of using CA glue and sealing it shut for good. I would like to be able to remove the cover to see the inside details. I tried adding some Tamiya putty to the catch areas to see if building it up might allow for a snug fit, but that hasn't been going as well as I liked. I've attached some pictures of the tab on the engine cover and slot it needs to catch into. Towards the front there is no catch per say other than the edge of the radiator. Anyone have any ideas on what to do?

-
The thing I've always loved about Jay's collection is he actually drives what he has in it.
Instead of opting to be the collector who has the money to accumulate tons of cars that sit in perpetuity, he is an active user of his collection. A shame so many car collections become nothing more than high-priced museum sets that rarely see any use.
-
Great job! After seeing this, I definitely want to do this kit now. Love the decals on it.
-
Incredible build! Great job with the detail.
-
Great looking build!
How much prep did you have to put into getting those parts ready?
Compared to the 2014 cars, I really miss the 2008 and earlier F1 cars.
-
This hobby is one long learning experience for all of us...
Truer words have never been spoken!
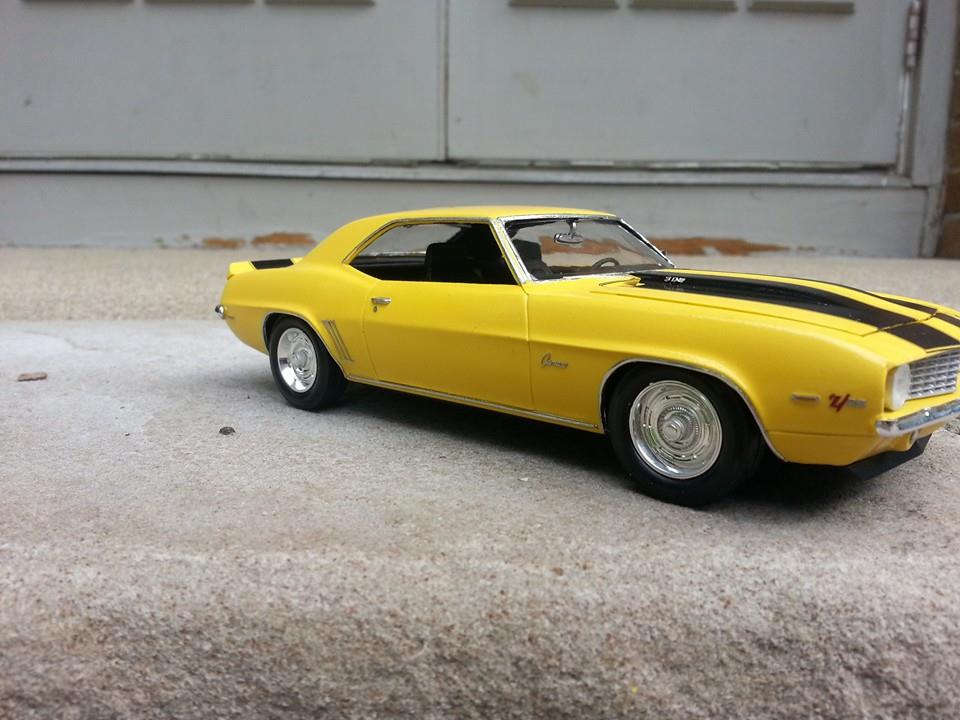
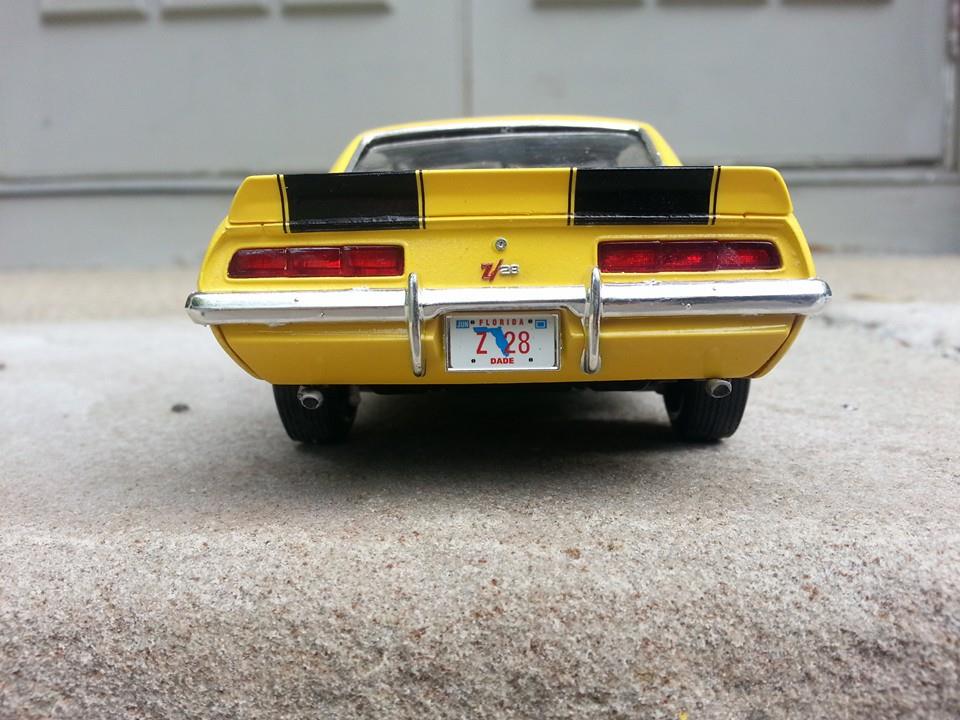
Having the rear stripes going down past the spoiler onto the trunk lid isn't necessarily wrong, it just means that the spoiler had been added on by the dealer, rather than at the factory. Excellent build altogether! The yellow and black is my favorite color combo, which is also how I'm doing my 1/12 model. All of these tips are spot on and I look forward to seeing your next rendition of this kit
When I was looking at the pictures of the Daytona Yellow Z/28 my dad sent me, I realized I didn't pay attention to where the trunk stripes stopped, something about it ending at the bottom of the spoiler "feels right" to me. Of course it could also be because when I saw that Carolina Blue Z/28 that was up for auction at Mecum not too long ago, the stripes extending all the way down to the bumper was bizarre to see. The 1/12 scale kit sounds fantastic, I can't wait to see how yours comes out in that size, it's one I definitely want to do at some point!
-
The engine detail is sharp looking! I love the exhaust piping coloring that you did with this.
-
Great looking car!
-
Thank you so much for all of the constructive comments guys!
I'll definitely be redoing this kit down the road now.
I was trying to get everything close as I could, but I made mistakes even when looking at the pictures Harry.
When I get the wheels finished I'll toss up redone pictures.
I did manage to fix the length of the stripes on the rear spoiler just now, trimmed it so it wasn't going down past the edge of the spoiler. The gap between them is unfortunately going to have to say as is for now unless I go buy another set of stripes which I'm debating doing so I can just redo them altogether. Might not be the worst idea now that I think about it since the hood stripes aren't going over and under as Brett mentioned, and I'm not sure if it is going to bug me down the road or not. .
-
Thanks Harry!
I tried the Tamiya flat aluminum, as that's a dull silver, on one wheel. It looks better, but I think it's a bit late to be doing this as I am going cross-eyed trying to distinguish between the chrome plate and the flat aluminum. Sort of a silver overkill on my vision at the moment. I will look at it again tomorrow and see.
Thanks for the bit about the rear bumper and the taillights. I left the taillights as I was unsure of whether Bare Metal Foil would be the best way to go on that. Thoughts?
-
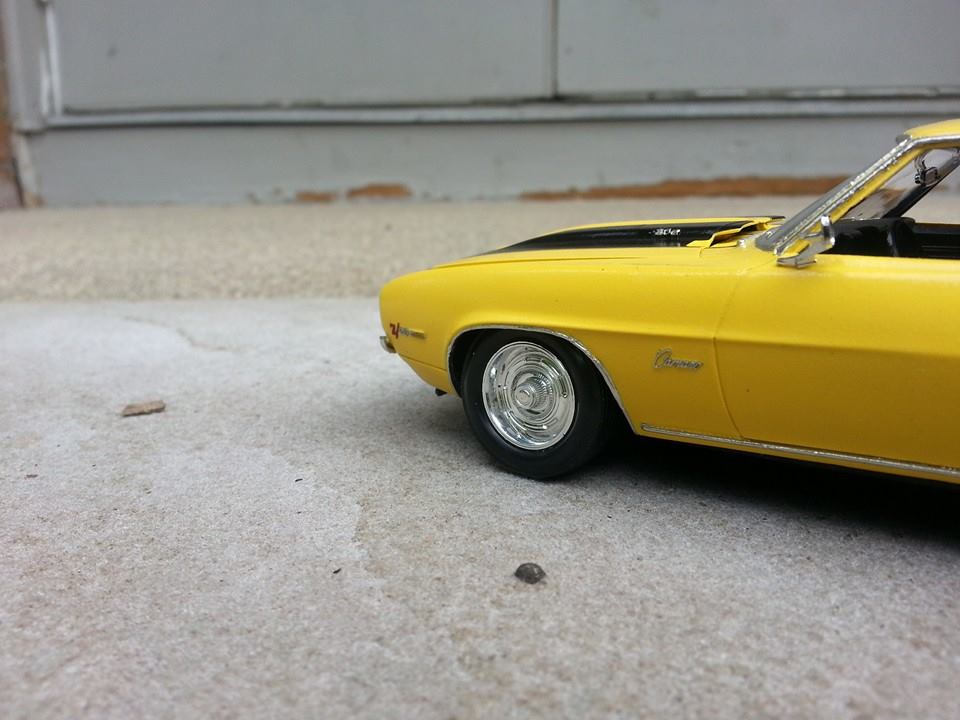
Very nice but I agree with Lee about the wheels. It would make a big difference and it's not too late to do it.
What color and where on the wheels would you guys recommend doing it?
-
Fantastic build!
I still remember the first time I saw the Hugger Orange COPO years ago...my first thought was, "It looks like a base model Camaro." That was before I found out what was under the hood. LOL
-
Looks good!
-
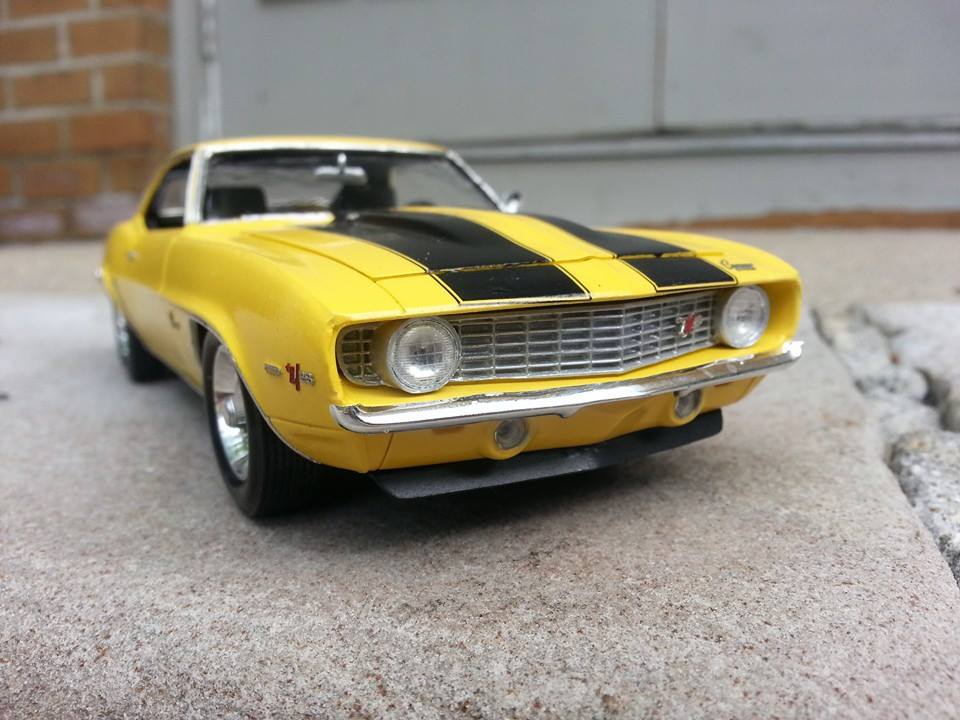
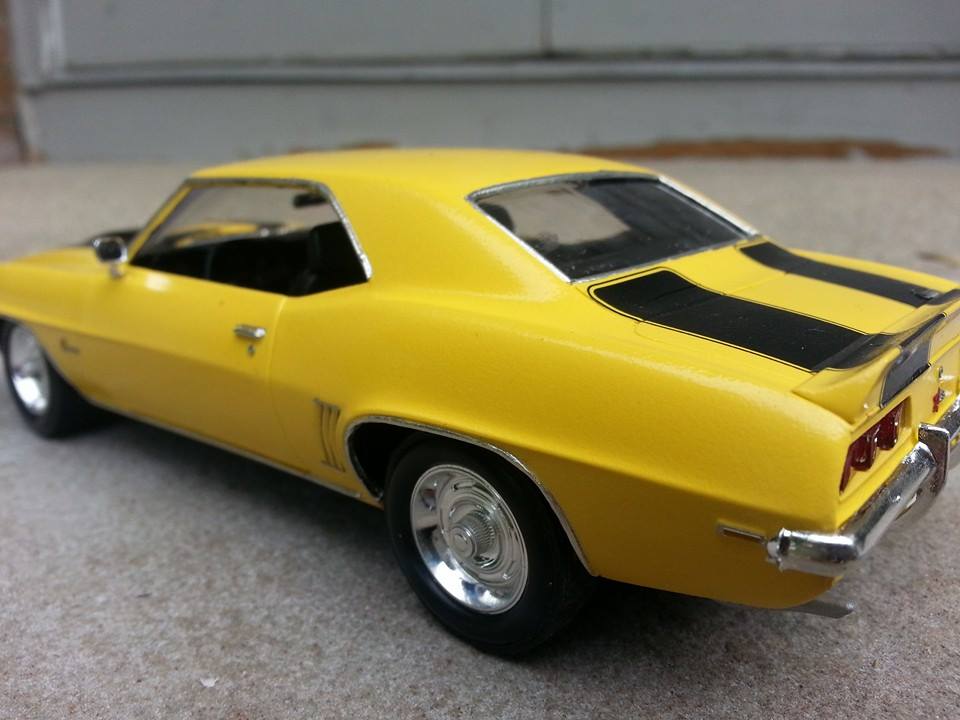
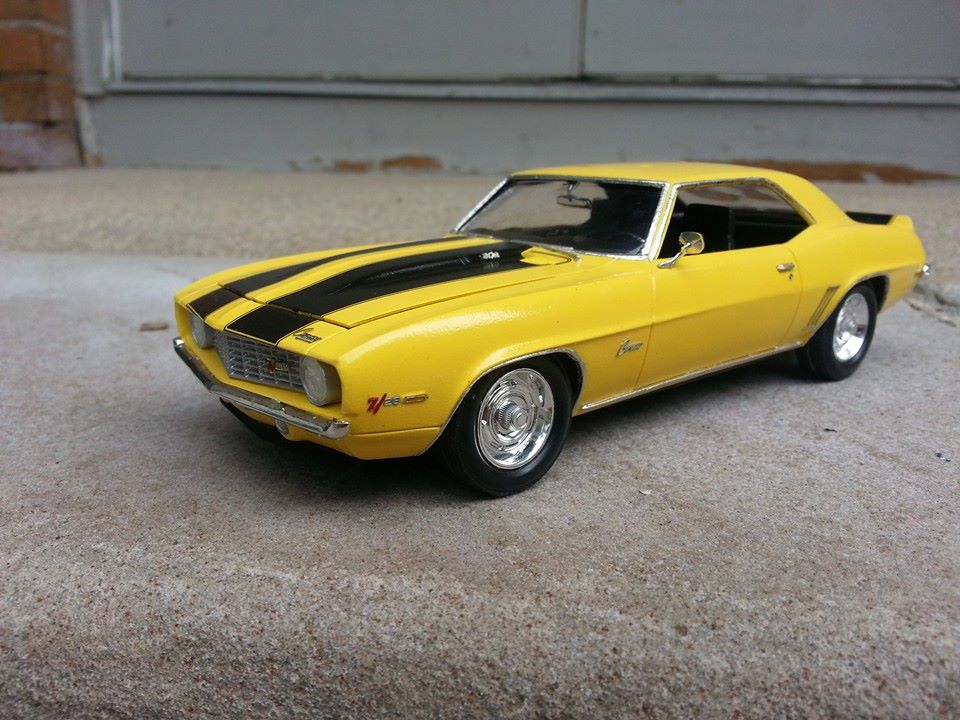
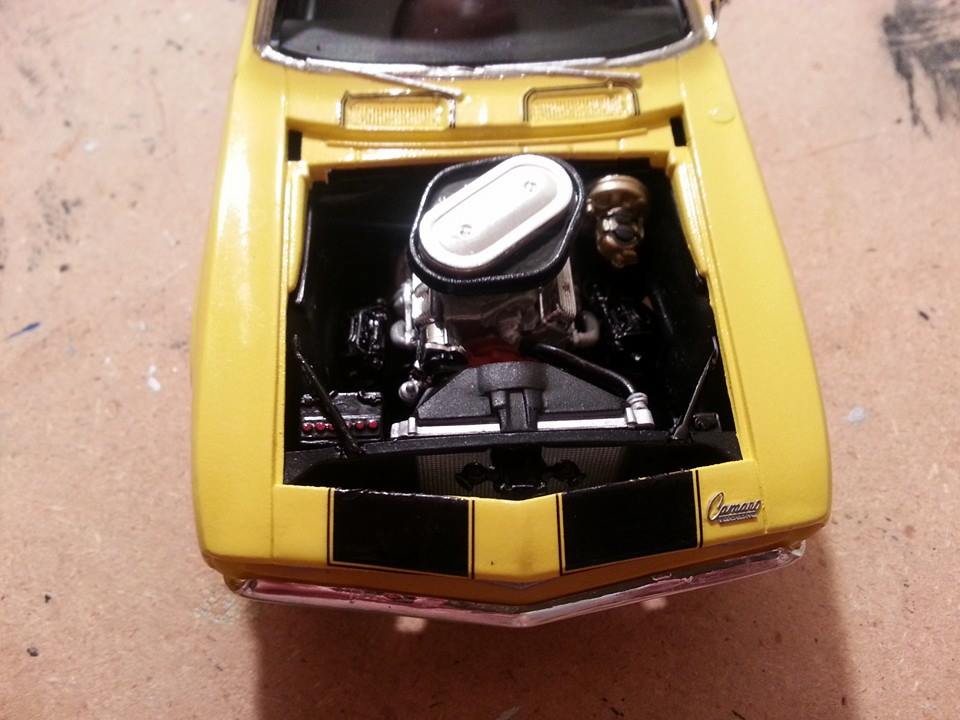
Finally finished this one up last night/this morning. 4th model finished. The goal with this kit was to work some more with photo-etch parts. I wasn't able to get the burrs trimmed off as well as I would have liked, and I didn't feel comfortable trying to use a file while holding them with tweezers since they were prone to bending very easily, and getting marks. Still working on getting the spray painting down better, but it's slowly getting better with each model.
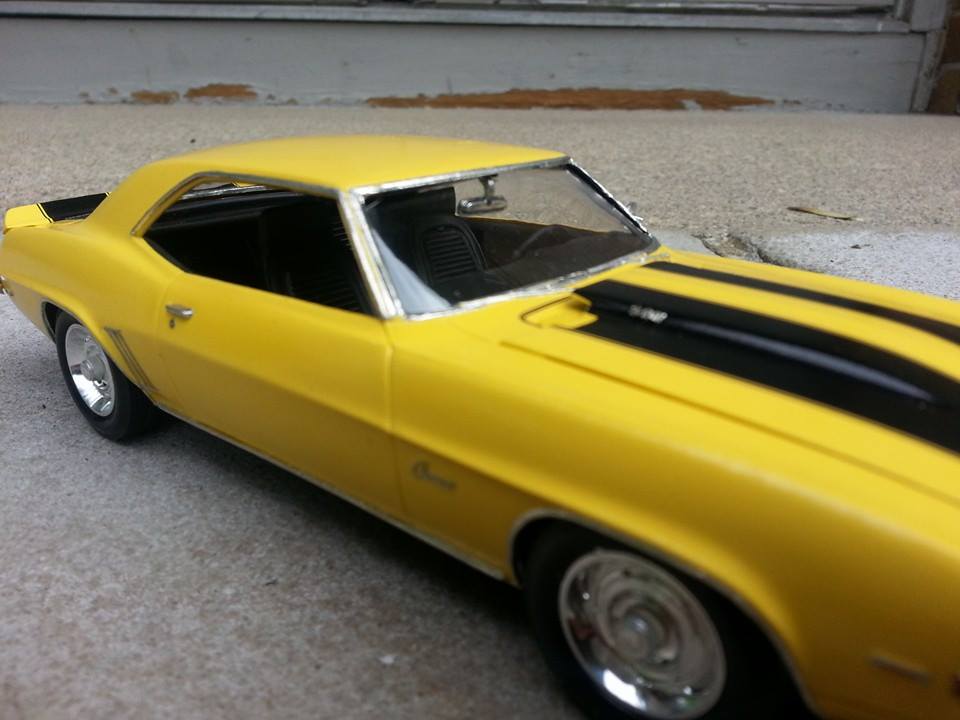
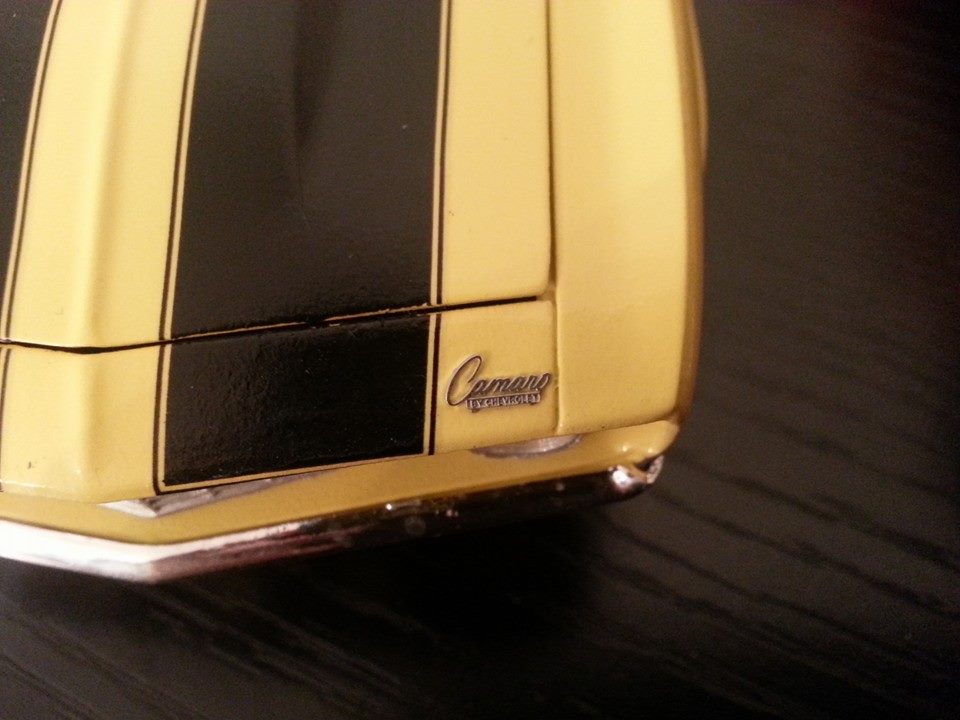
1969 Camaro Z/28 in Daytona Yellow (Model Master Custom Lacquer hit with Ultra Gloss Clear) with black stripes I used Model Car Garage photo-etch parts for all of the badges on the exterior. I went with the non-Rallysport build as I am a bigger fan of non-RS first gens personally.
The photo-etched parts I bought had 327 and 350 badges. I chopped them up as best as I could to get the 302 badge. Some minor screw-ups that can't really be seen (thank god!
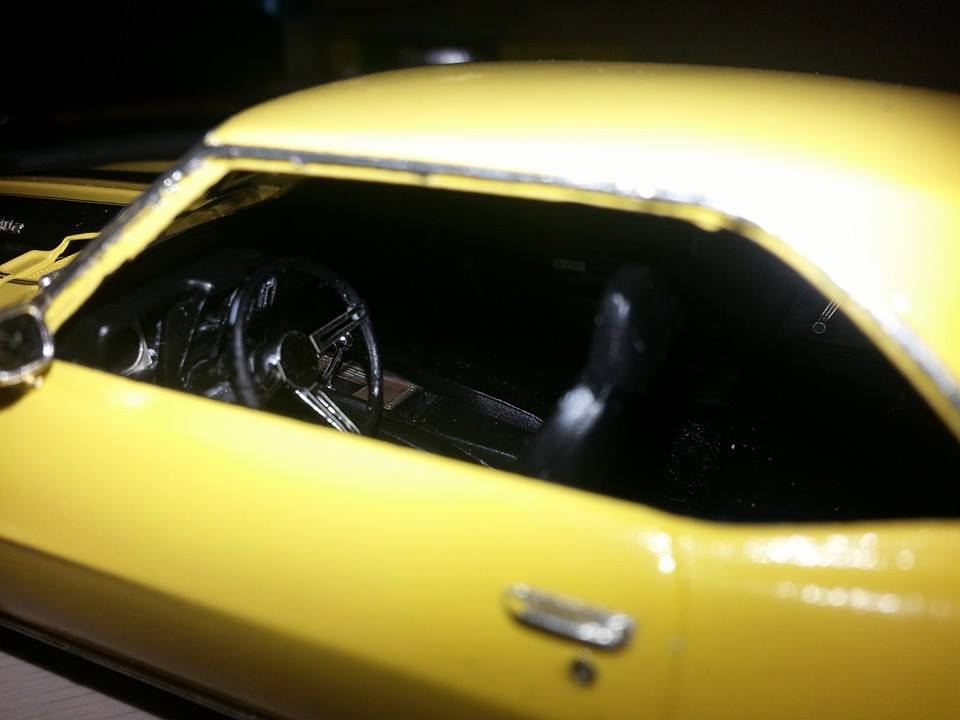
) but overall it came out pretty well. Was the first model I was able to complete start to finish with minimal problems, and it can only get better from here!Tried to take a pic of the interior but couldn't really get the lighting for that. But there are a lot of photo-etch parts in there that can't be seen. If I can figure out a way to get the lighting better, I'll definitely try and get a better picture. You can just make out the shifter plate next to the shifter in the one picture to give an idea of where I went with that.
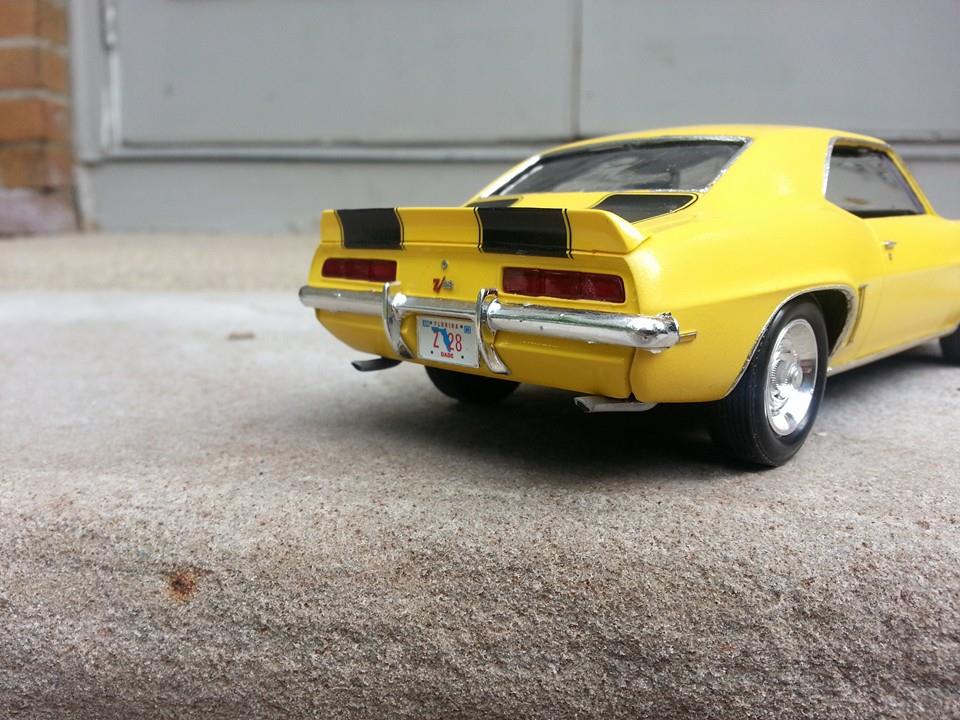
This may go unnoticed, but the stripes on the rear are spaced properly. The Revell instructions call for them being closer together, but the proper spacing was apart as I have it. I suspect the Revell kit did it because it was the only way to keep the "Camaro by Chevrolet" badge visible...the benefit of the photo-etch parts is you can make it visible in the middle of the stripe!
Thanks for looking.
-
I hafta agree with you Dave that the "stoplight drags" of the 60's & early 70's was a great adrenaline rush and an awesome feeling. Of course like you, I wouldn't do it now either, or so I hope as like you said, the world has changed tremendously since then.
I should probably clarify that I was not yet alive back then.
But I did my fair share of stop light racing a few decades later.
It's one of those things that when you're young, you have little understanding of what the potential consequences are of the whole thing. I think back to when I was 17 and 18, and can only think about how dumb some of the things I did were. I'm just very glad that they turned out to be ok. -
The other night heading home from work I was stopped at a light. I heard a very loud exhaust, and a black Lamborghini Gallardo went flying through the intersection. That V10...
-
Thanks very much for the info Randy!
-
I envy you that you live over in the UK as I wish we could get the Zero Paints here.
-
Great looking Boss 302!
I definitely want to get this kit at some point.
What paint specifically did you use for the body color?
My friend has a white Boss 302 that I went for a ride in a few weeks ago. He has an engine tune and headers currently. The car is putting out about 440HP to the wheels...an amazing car. We got in a little race with a new Camaro SS, and all I can say is the Camaro SS seemed a bit slow.
-
On 4th of July in the Chicagoland area at the famous Duke's Drive In there was supposedly a Camaro and a silver car racing on Harlem Ave. The driver of the Camaro lost control 'bout 90mph and hit a pickup truck head on. I heard the driver and two passengers in the Camaro were killed along with the driver of the truck. Com' on guys, this isn't the 60's anymore, it's a LOT different nowadays.
I was talking with my dad about that on the weekend. The world has changed tremendously from the 1960s and 1970s where in NJ, people would take off to Route 21 and places in Newark to do all their street racing. It was one thing to be doing this stuff back in 1971 when liability issues weren't so omnipresent as they are nowadays. While it was just as dangerous then, it was a different world back then, Forget it now. You get caught street racing by the cops, you'll be in jail and without a license once the court date rolls around.
The feeling of drag racing from a stop light on the street is one of the coolest experiences I have ever had driving a car, but I wouldn't be caught dead doing it anymore. The risks so far outweigh the rewards, and I would never want to be responsible for killing someone else for maybe 15 seconds worth of fun.
Drag strips and road courses are the only places I would ever go to do wild driving anymore because I do not want to worry about other cars on the road and pedestrians.
-
Holy god that is an amazing job you did!!!
-
the other thing I forgot to mention above was also touched on by others: Tamiya seems to have the spray nozzle design down to a T. Testors nozzles tend to clog real easy even when I try to clear them but Tamiya nozzles seem to last the life of the paint in the can.
I have used the Testors lacquer system and my luck with it was pretty good too, but it seems it was nearly as expensive as Tamiya and again the nozzle just wasn't up to the task. I know its not a big deal for those who decant and airbrush, but if all nozzles were like Tamiya's, there kind of wouldn't be much need for an airbrush.
jb
I agree about the Tamiya nozzles...actually I'd stretch it to the entire can design.
Not sure how Tamiya does it, but their cans have to be the most predictable and comfortable spraying cans out there. It's a shame there are colors I need that they don't have in spray can form. Guess I will be getting an airbrush soon.


Another local shop closes it's doors
in General Automotive Talk (Trucks and Cars)
Posted
Only thing I buy from LHS is paint supplies, everything else I buy online save for Revell and AMT kits. One LHS near me moved to another town which made it difficult for me to now since it's a 25 minute ride, and it's not a town I go to for anything. But he does carry Mr. Color paints which no one else in northern NJ does.
I buy predominantly Japanese manufacturers for model kits, so there is absolutely no way I will pay whatever the LHS will charge for them. The same kits they might charge $50 or $60 for, I get for $25-$30 from HLJ. Yes I've got to pay shipping which will be usually around $20 for EMS from Japan. But I buy a few kits and other items to maximize the cost value of shipping. Still far better than paying $50-$60 a pop. I do like to support local businesses where I can, but not at my own expense.