-
Posts
63 -
Joined
-
Last visited
Content Type
Profiles
Forums
Events
Gallery
Posts posted by Tinky
-
-
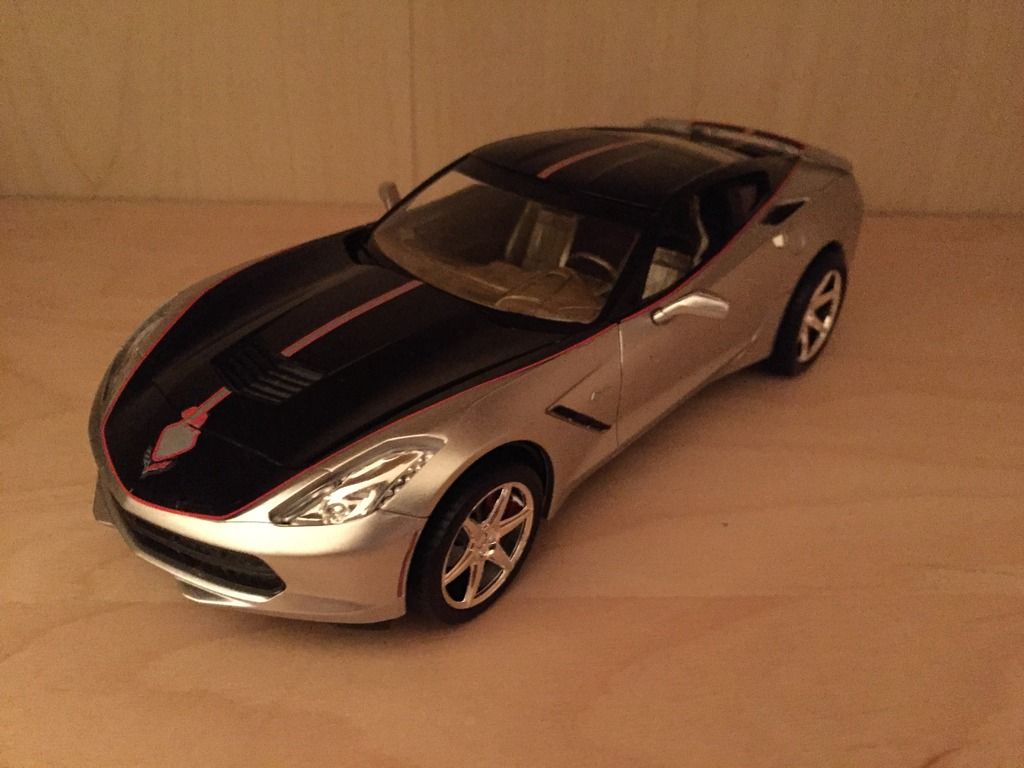
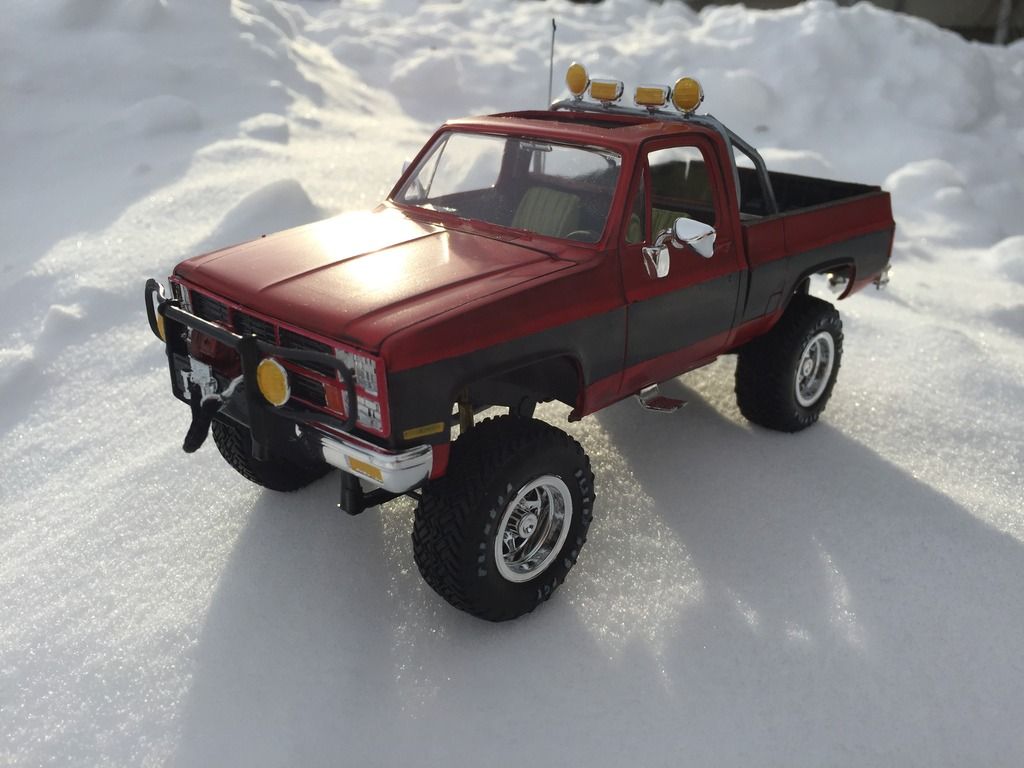
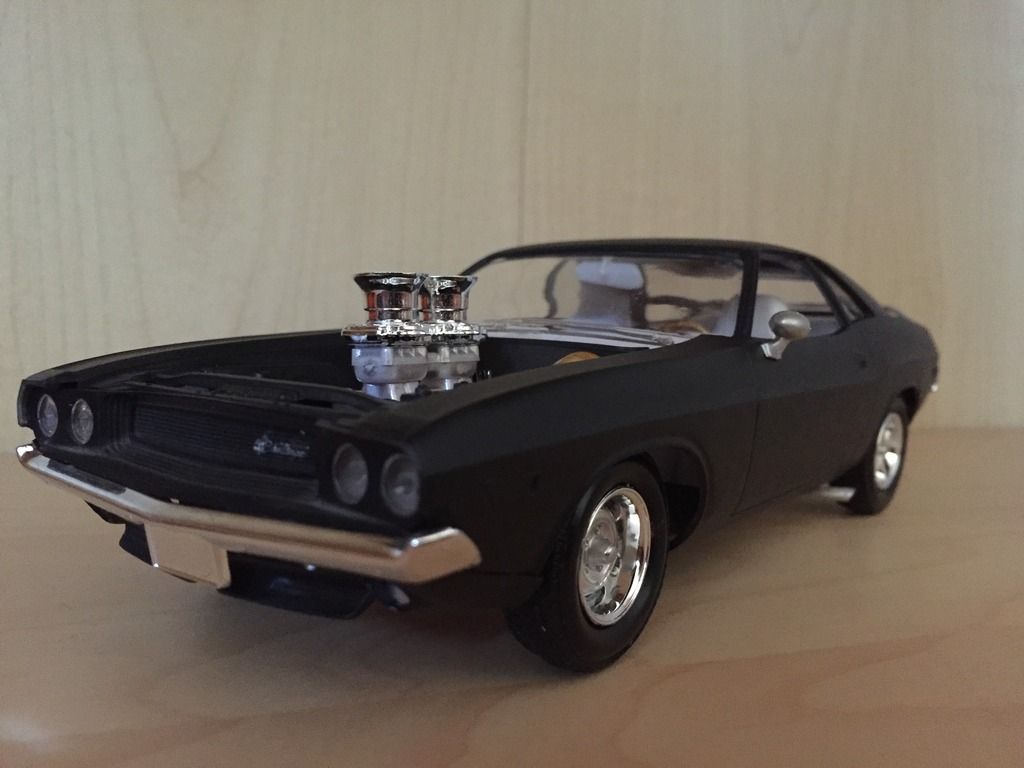
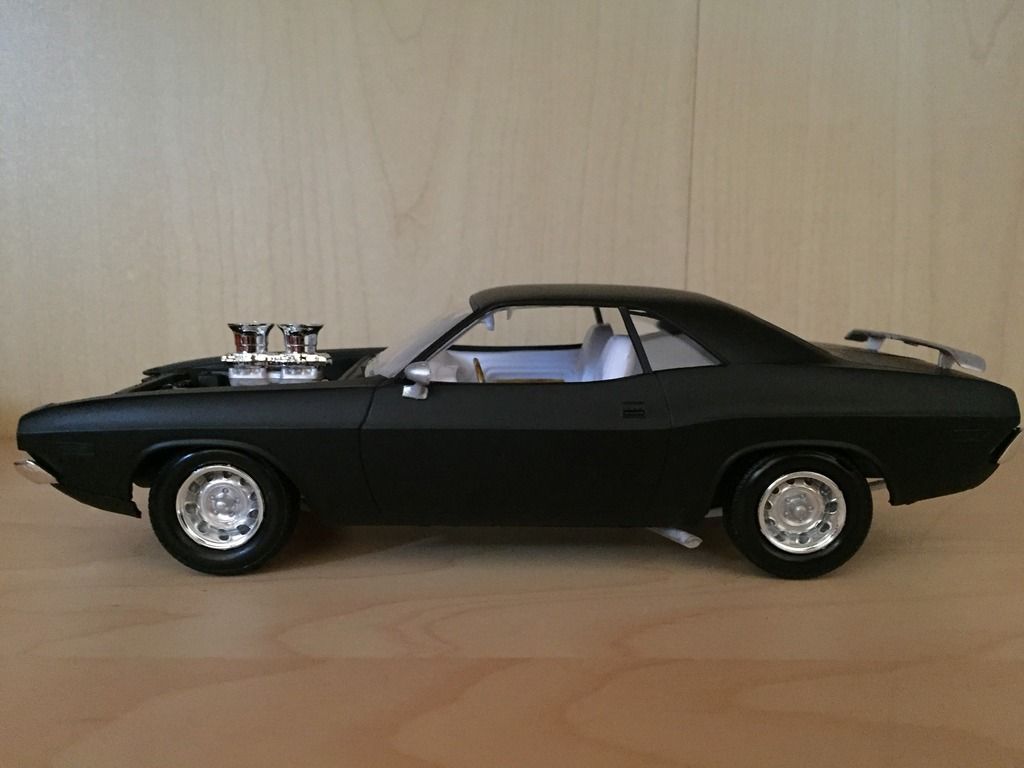
All very cool stuff! I like the orange ? on the Mustang. The Ford and GMC pickups are really tough looking.
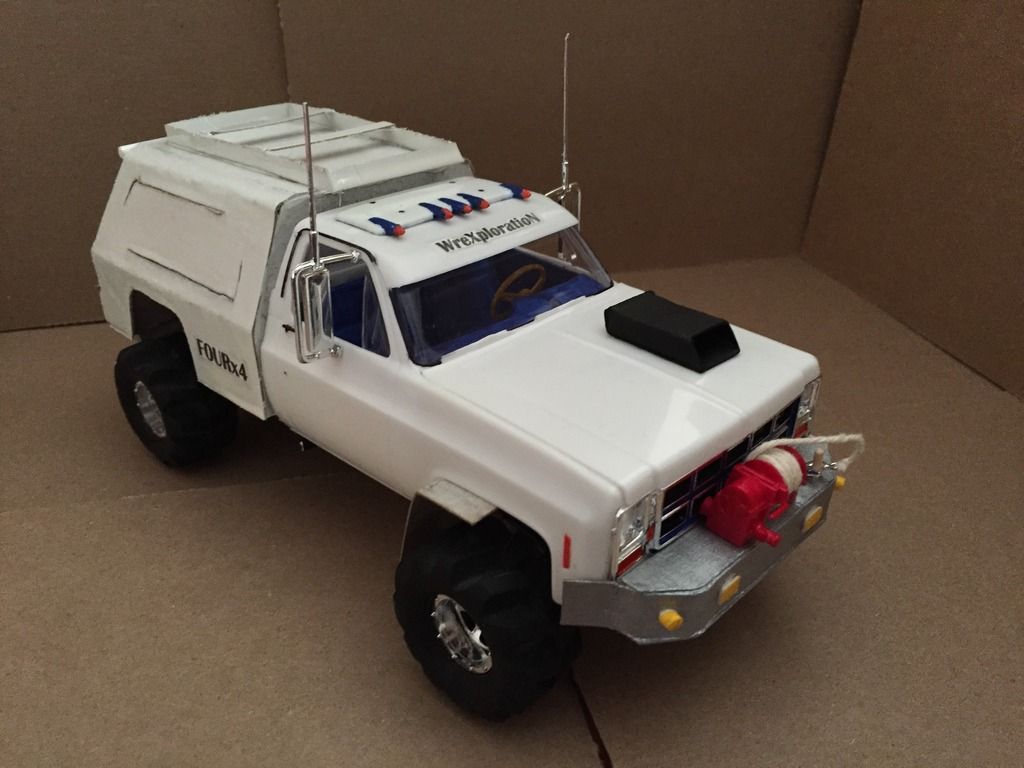
I really like the last one. Sweet looking truck.
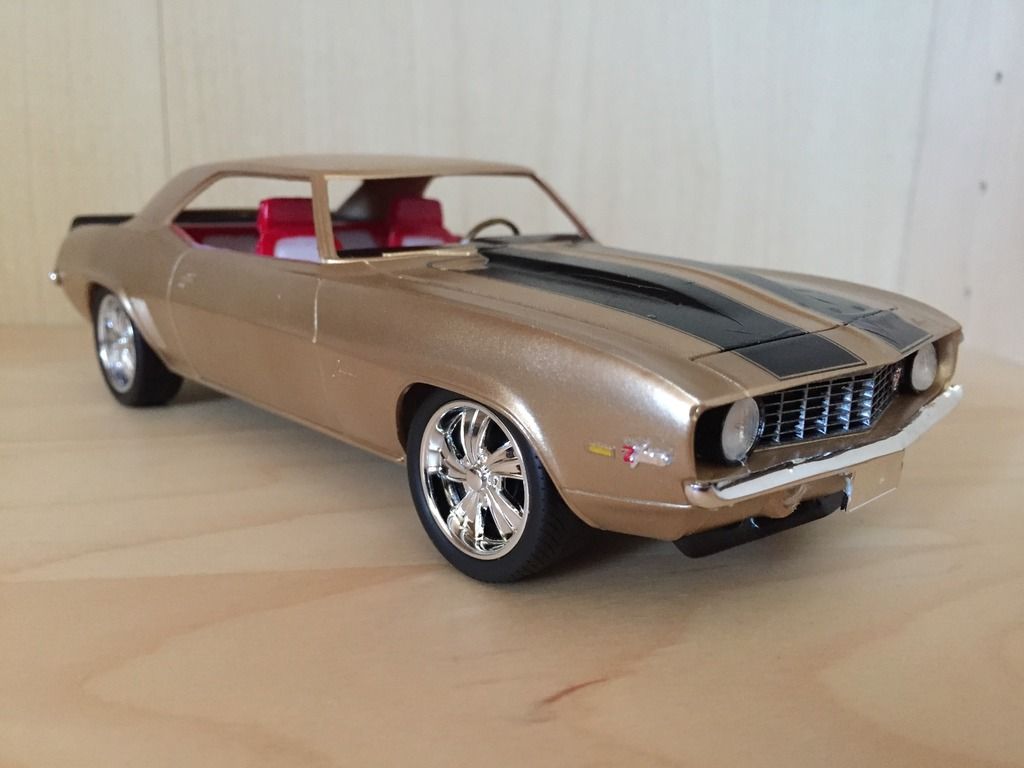
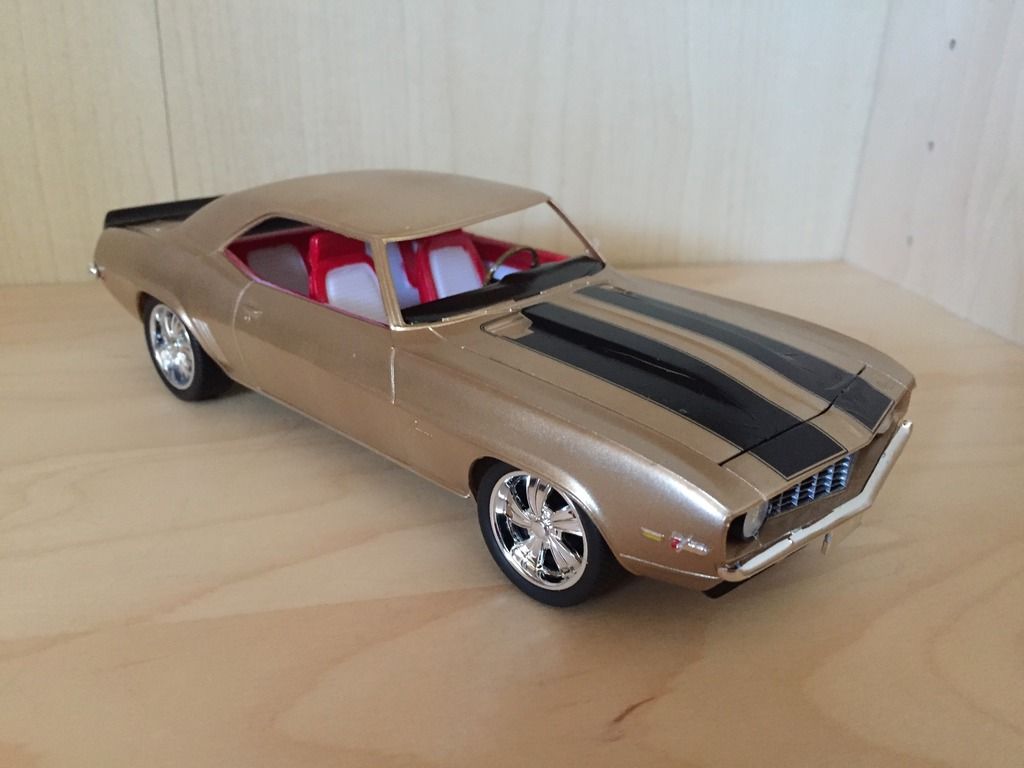
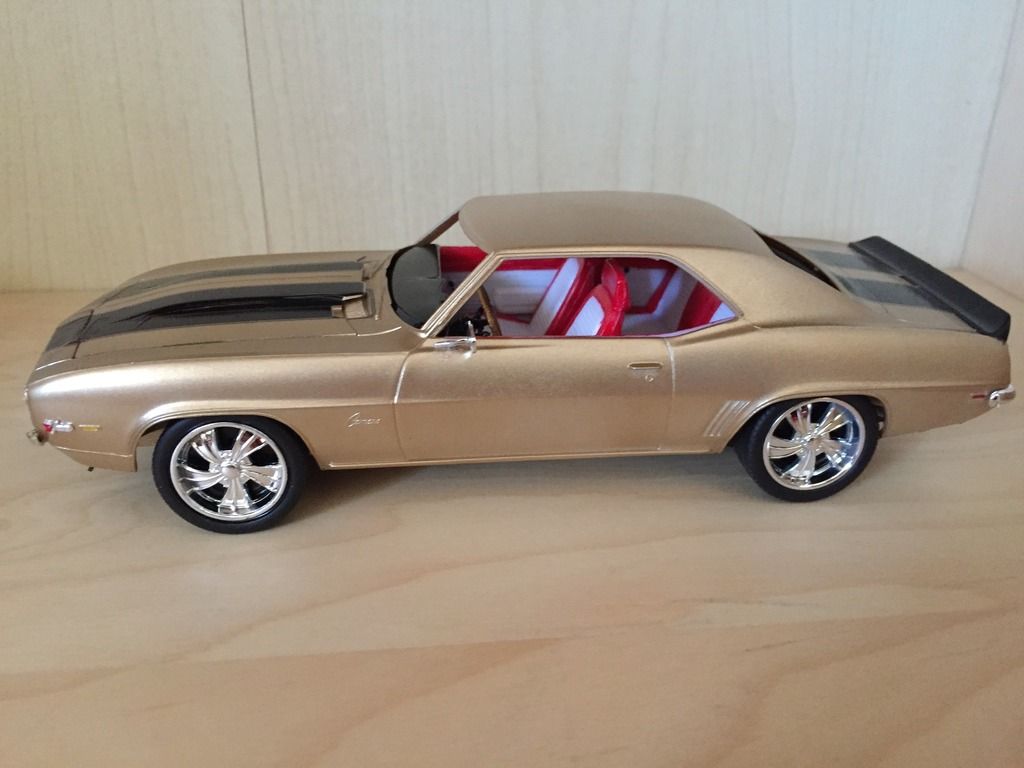
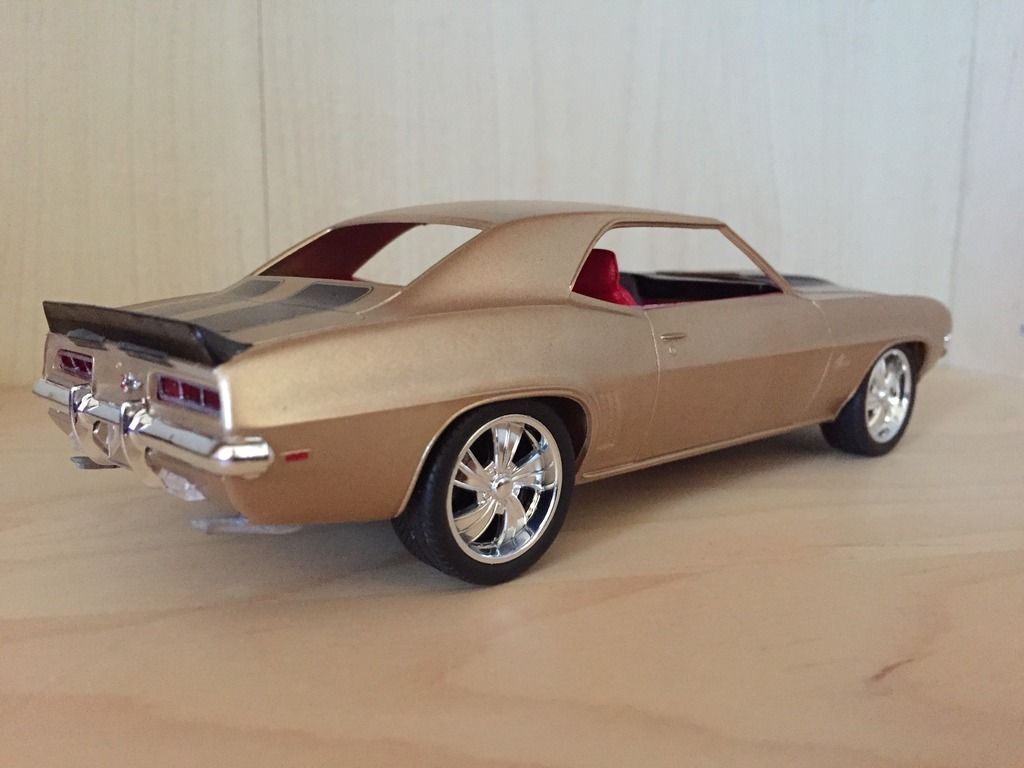
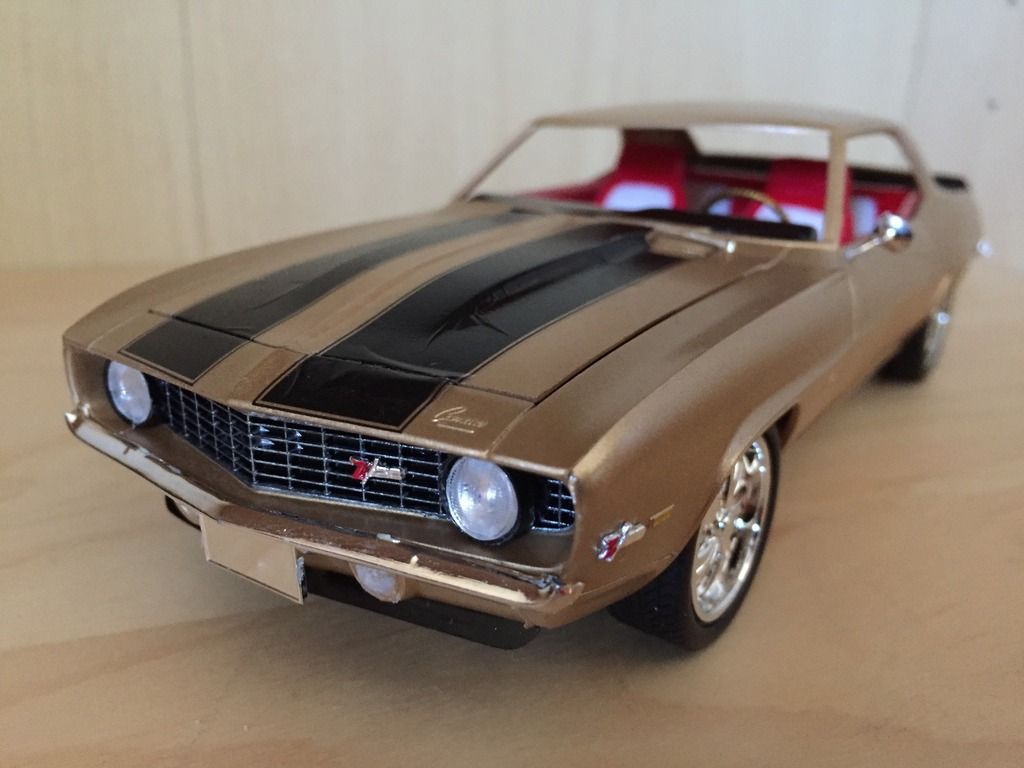
Nice! I like the Camaro and Corvette best.
I really liked watching your progression in these photos. Happy new year!
Thank you very much Kevin, Andre, Donald and Michael! I really appreciate your comments!
-
-
-
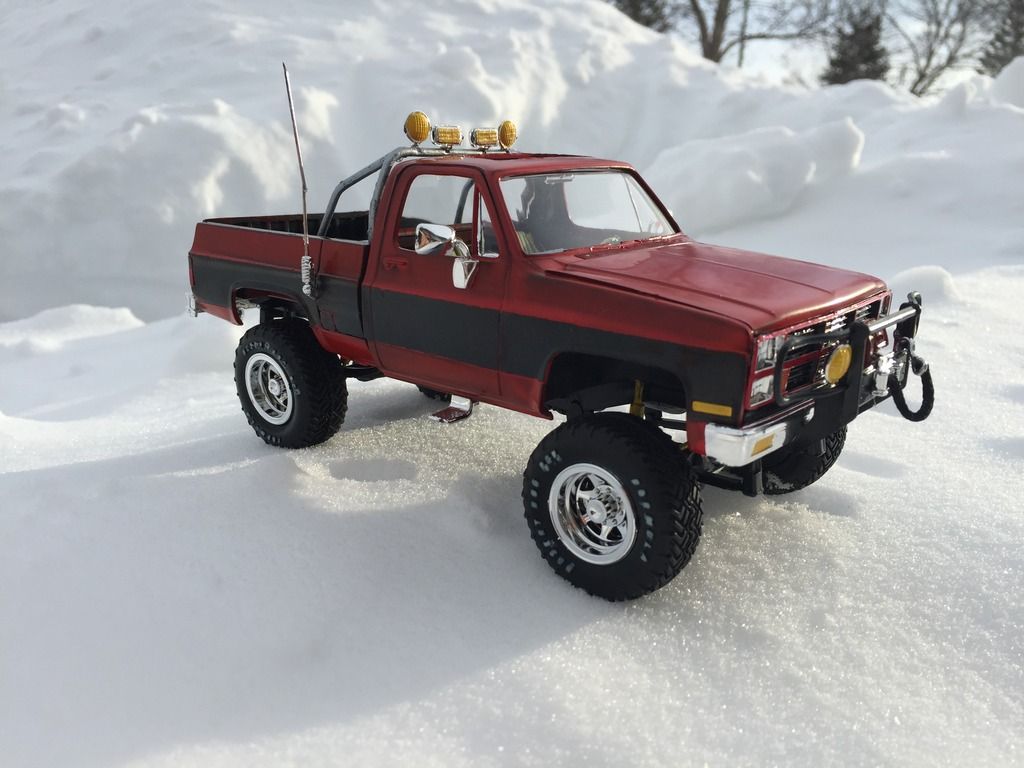
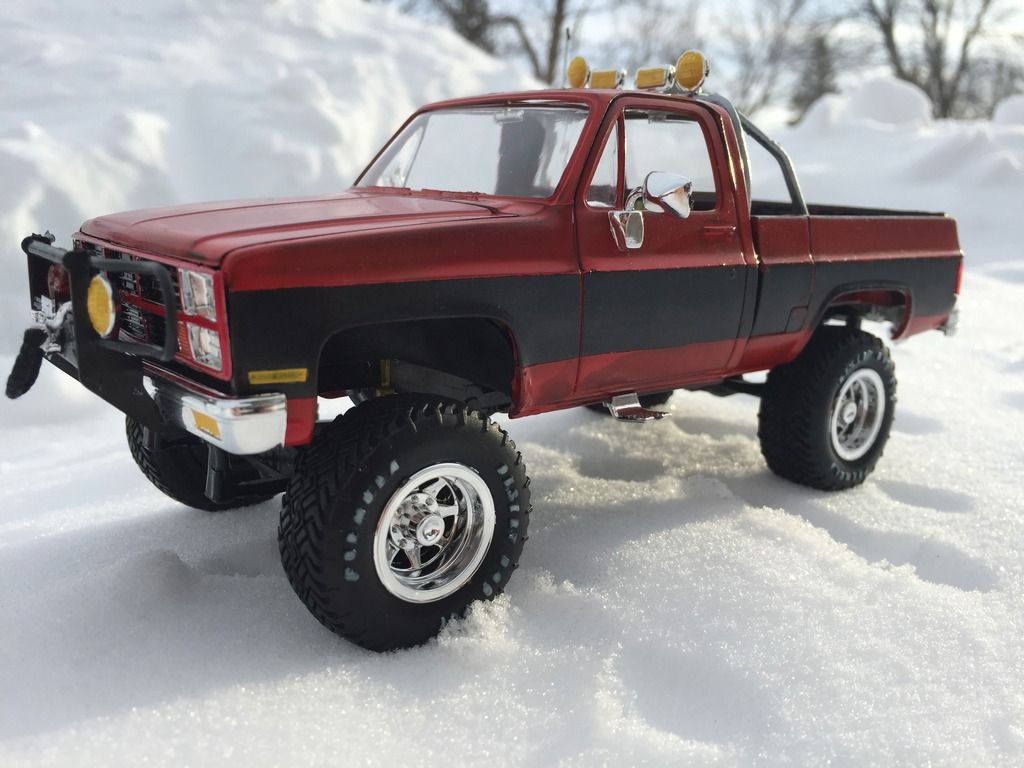
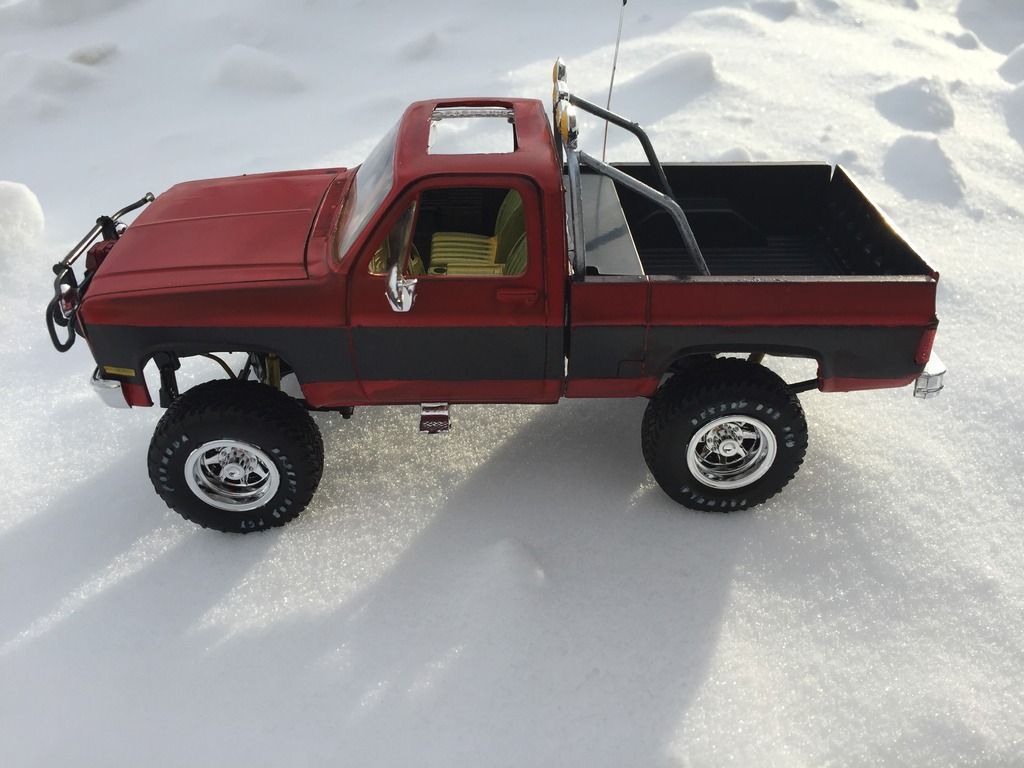
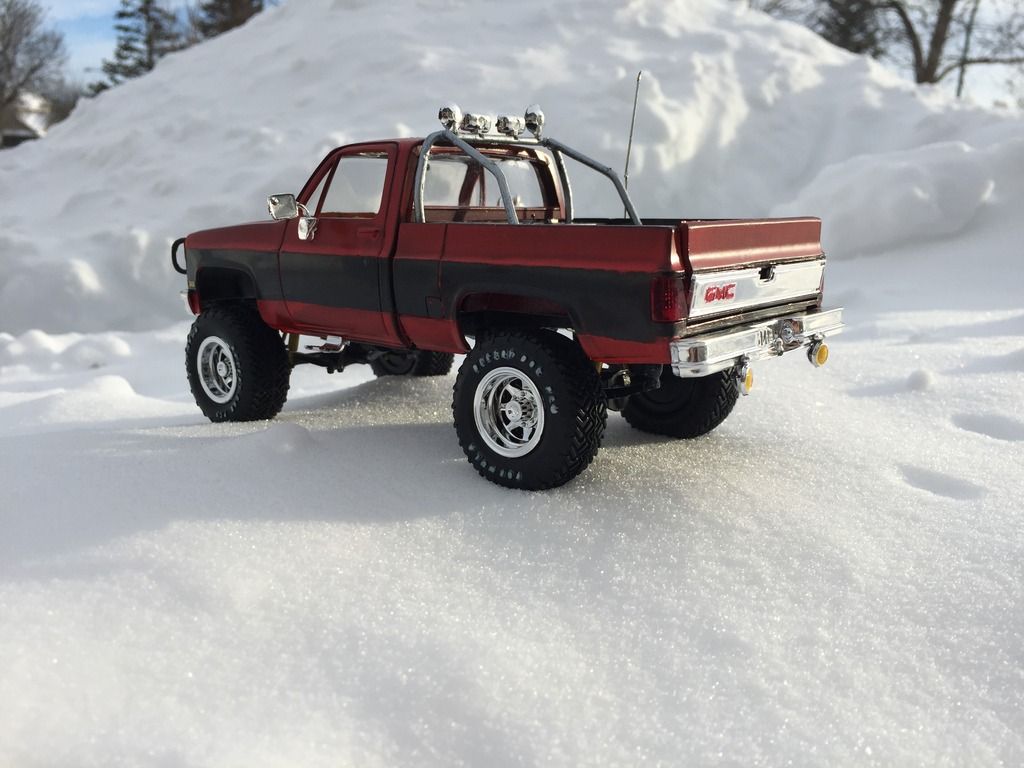
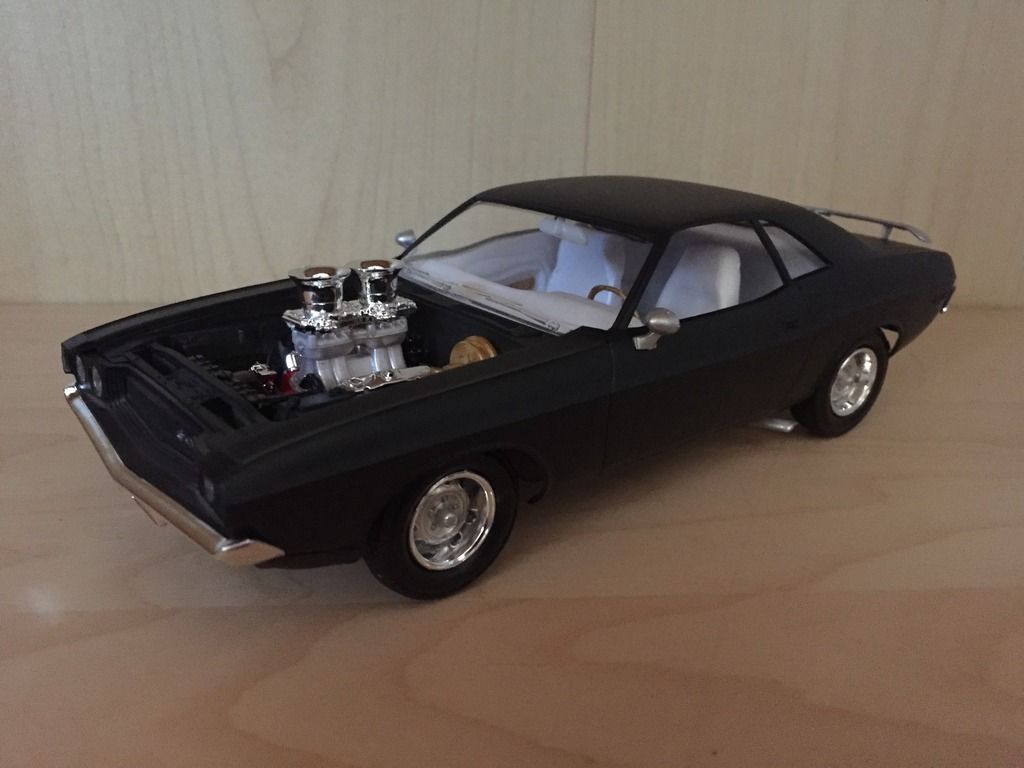
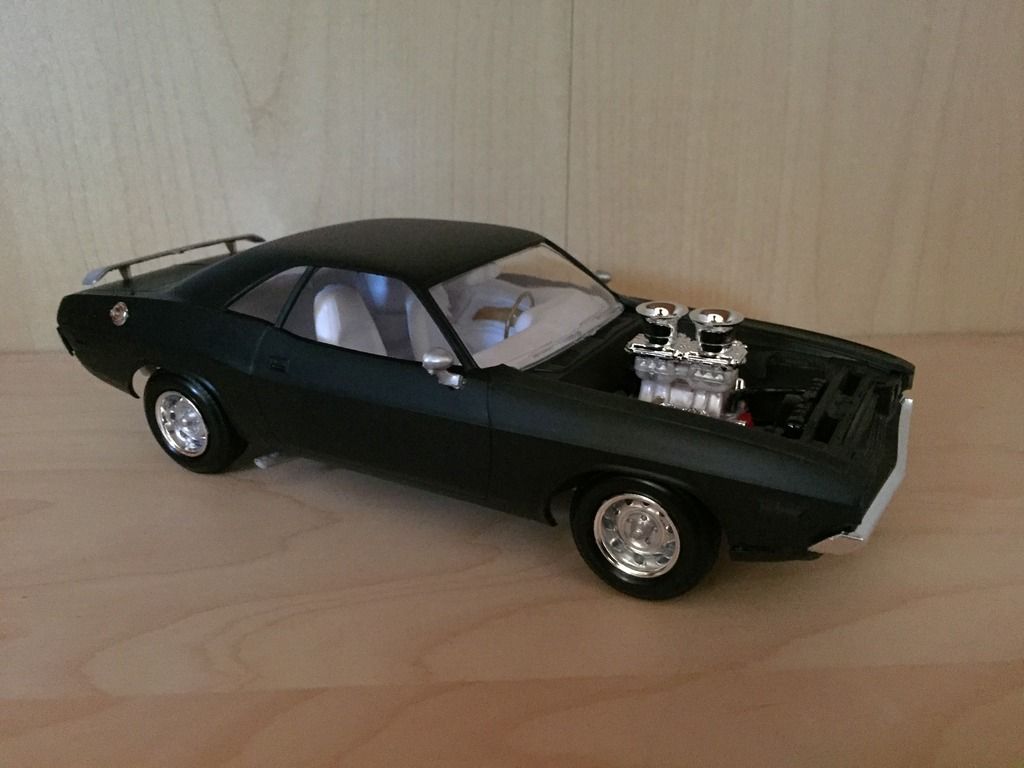
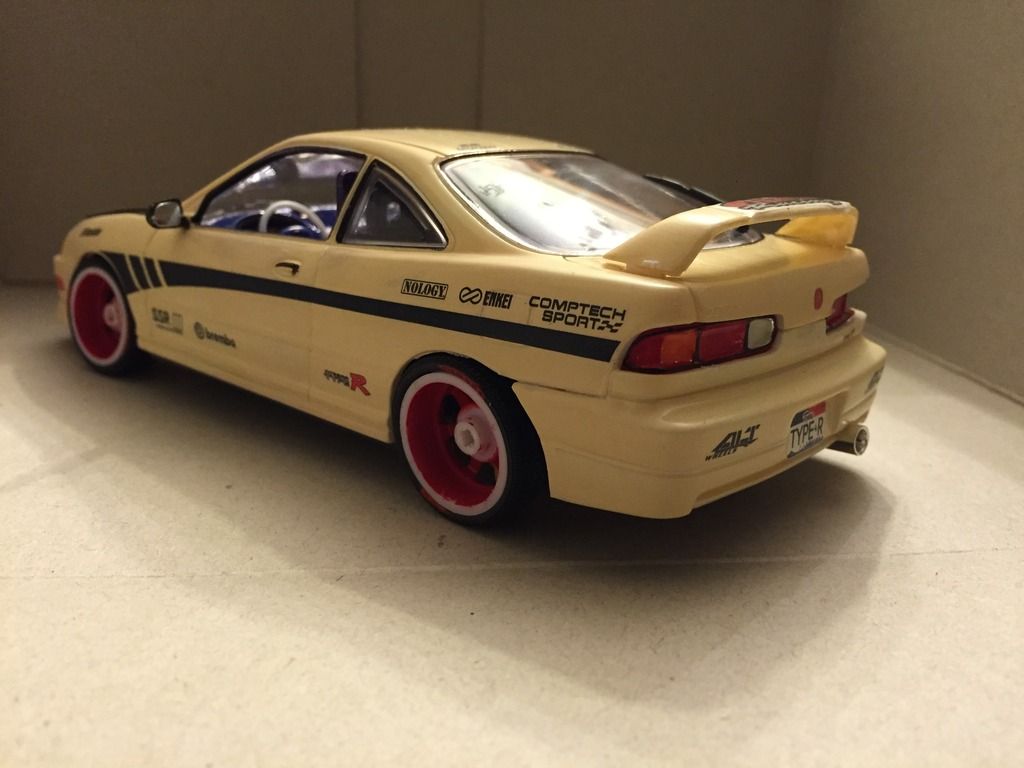
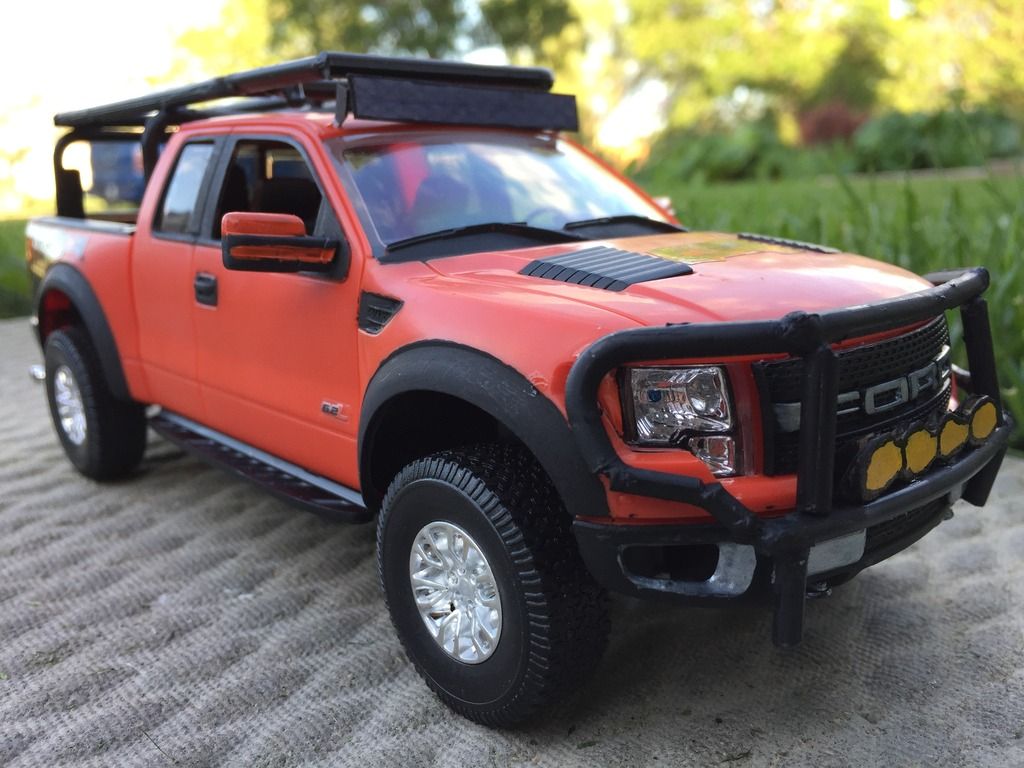
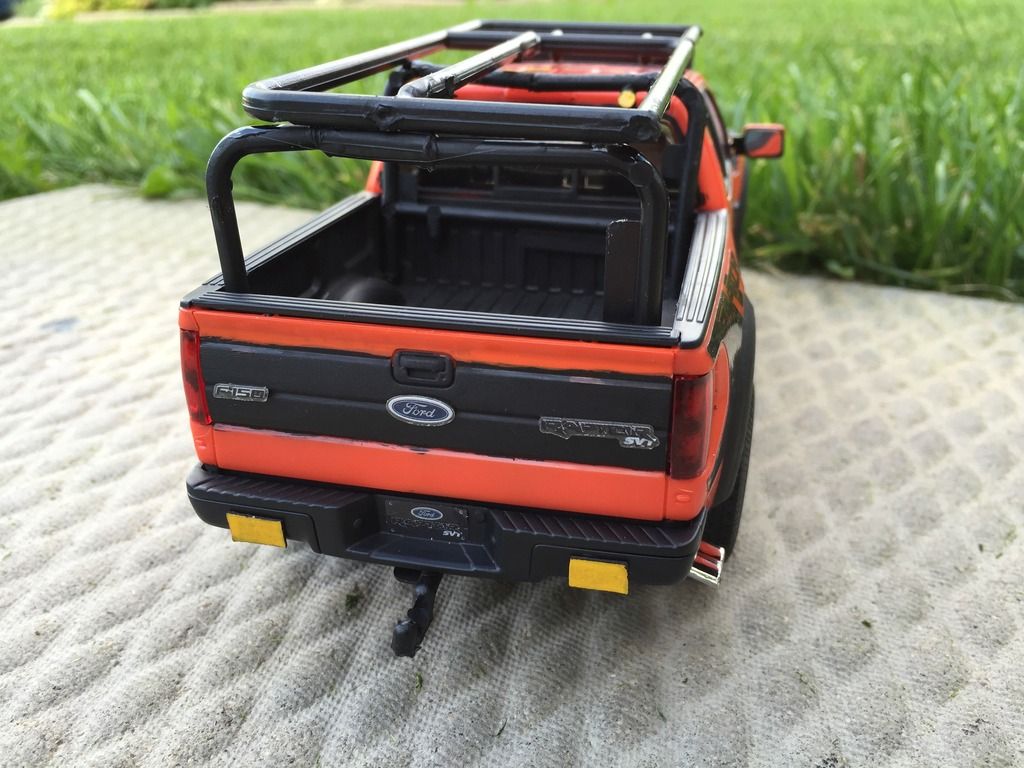
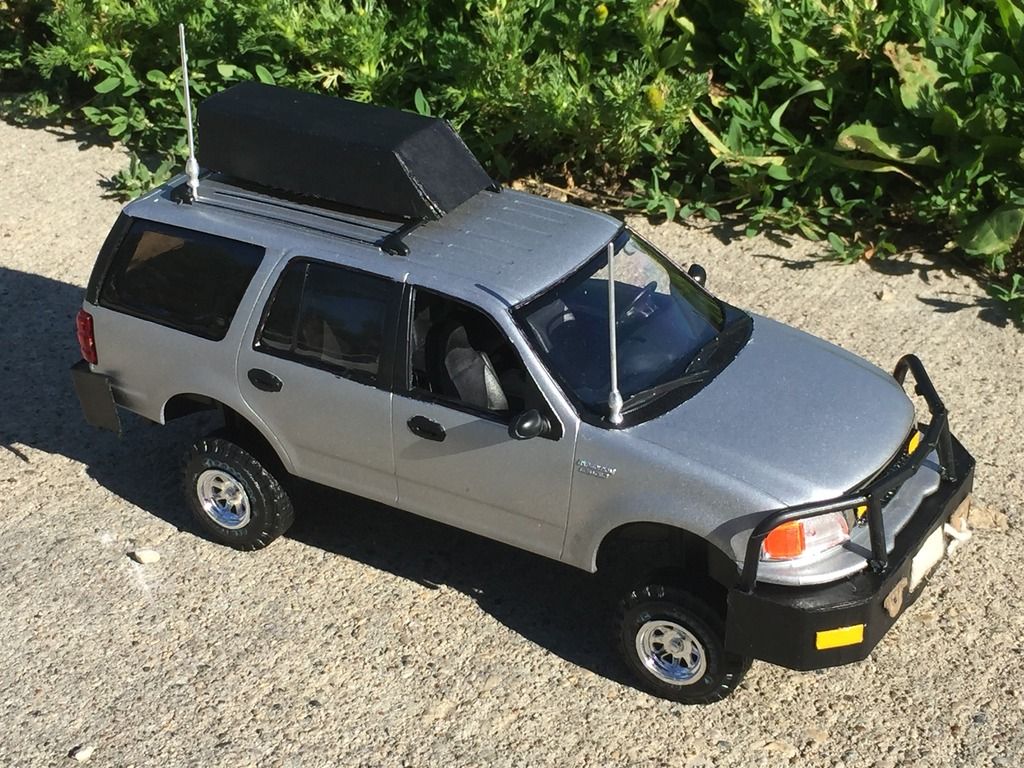
Hello! I had a very productive year and completed 11 models in 2016 which almost tripled my model collection. Here are some pictures (in order of completion):
1977 GMC Pick-Up "WreXploratioN"
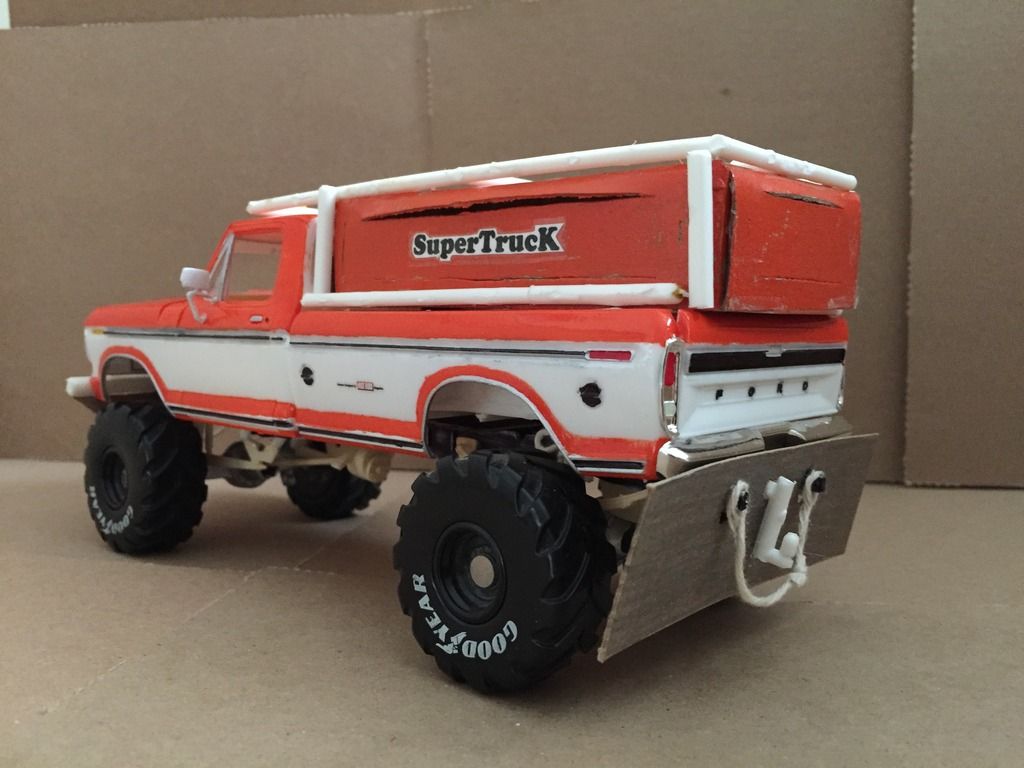
1978 Ford Pick-Up "SuperTrucK"
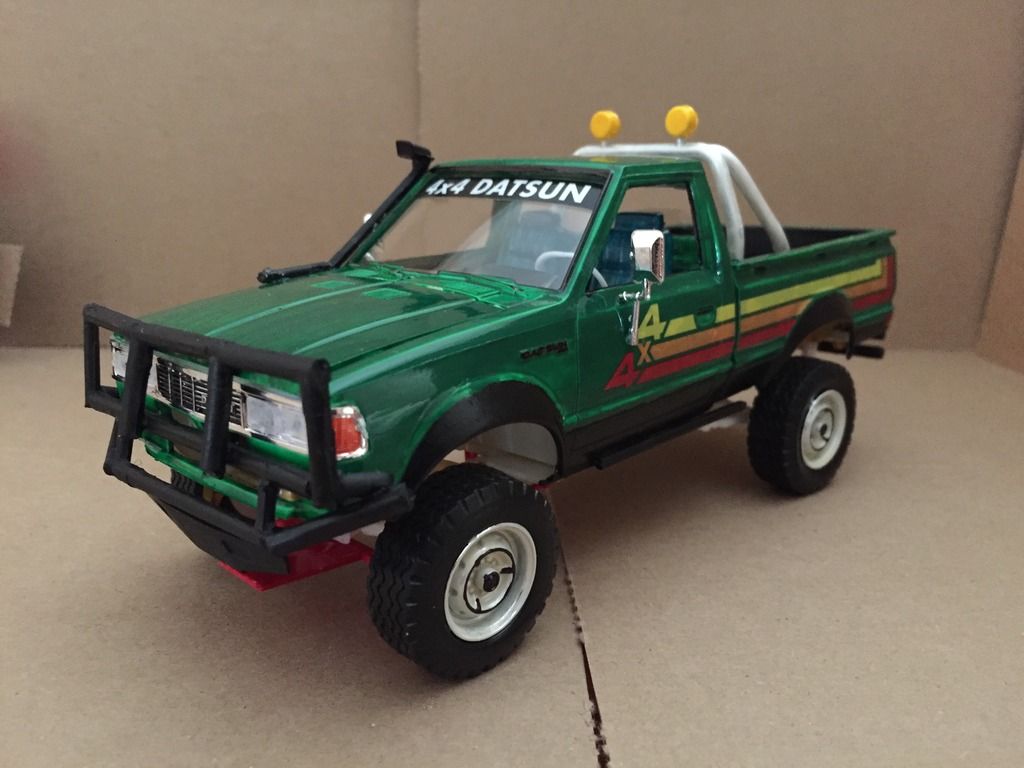
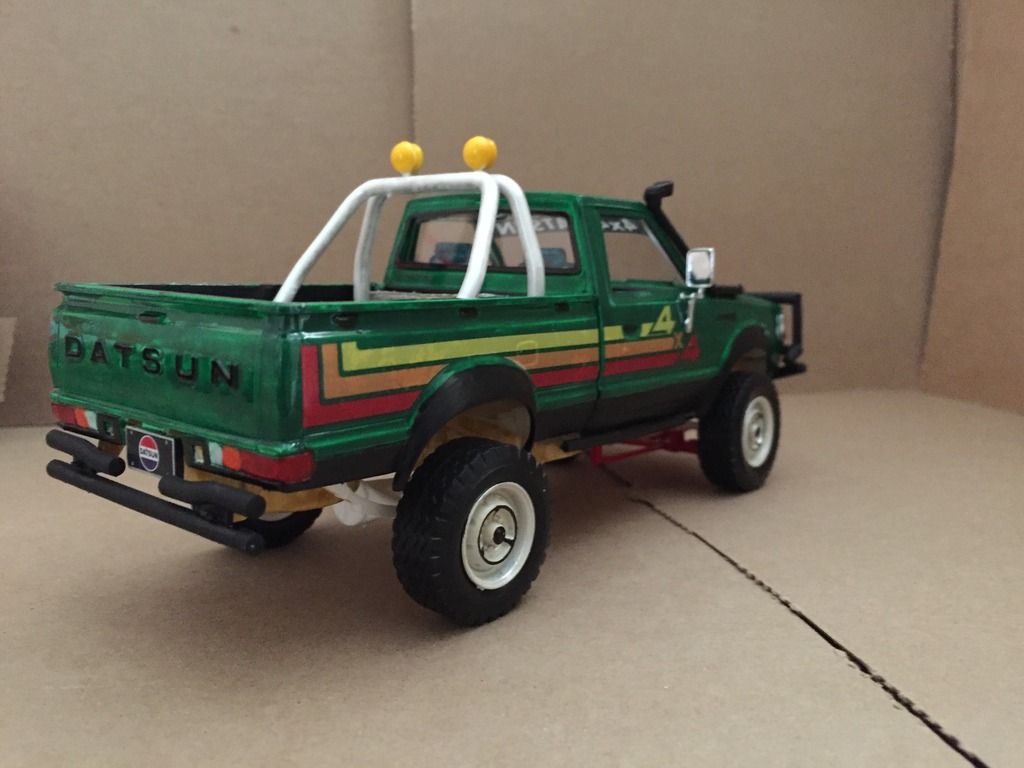
1980 Datsun 720 Off-Road
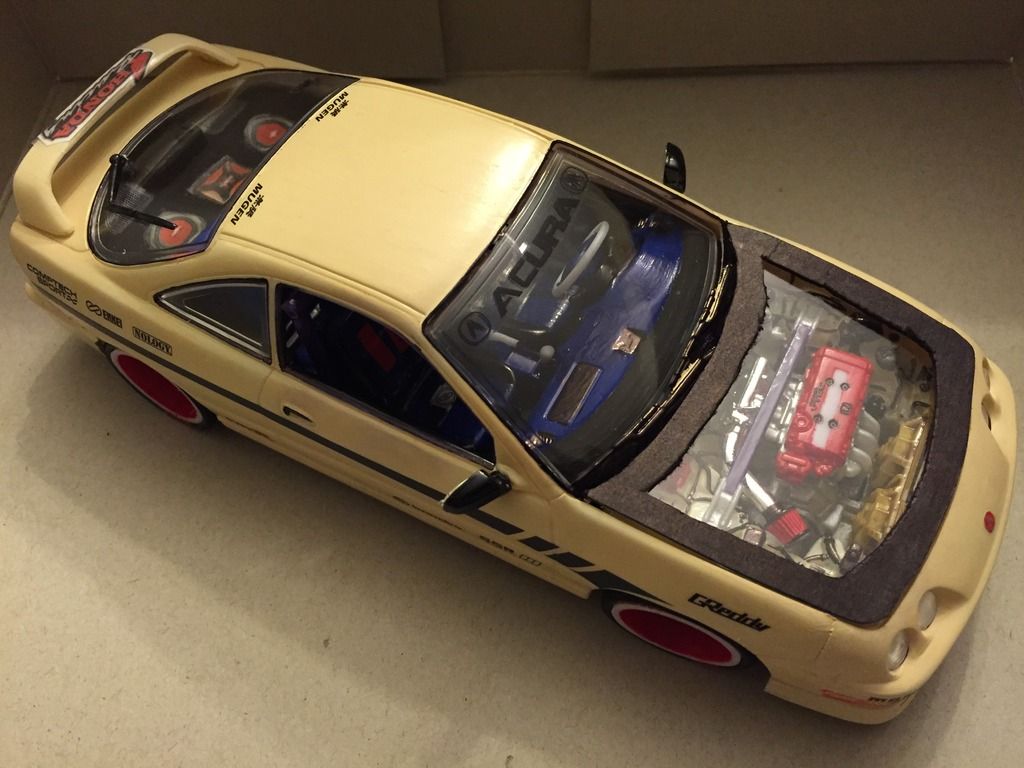
1994 Acura Integra Type R
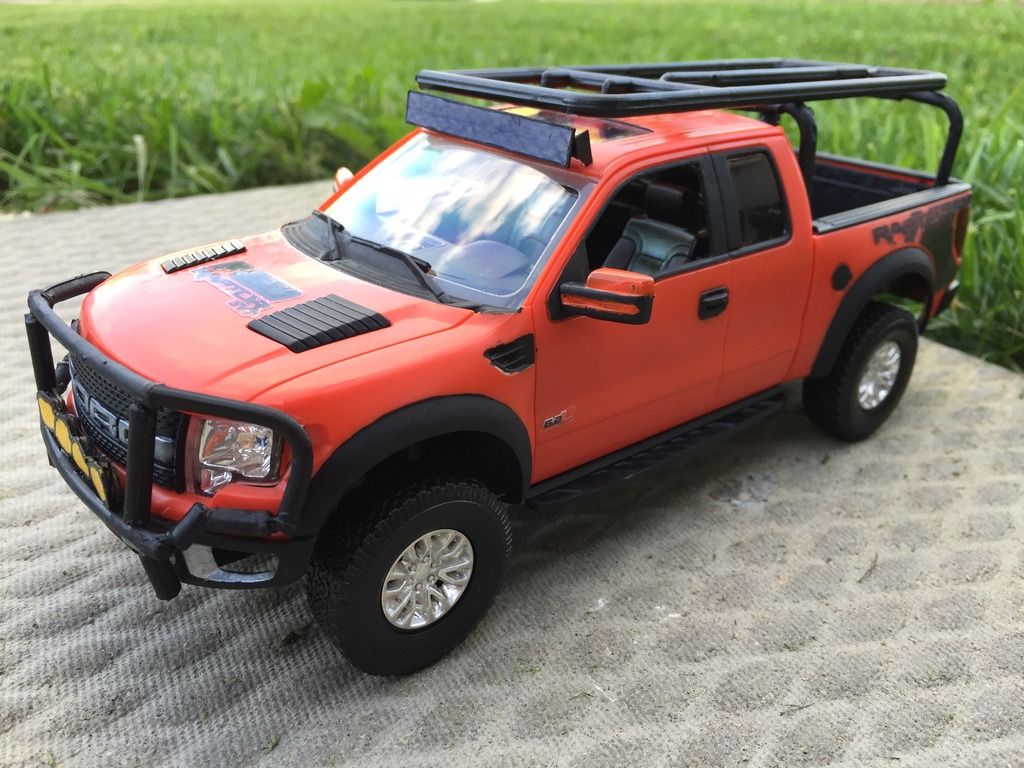
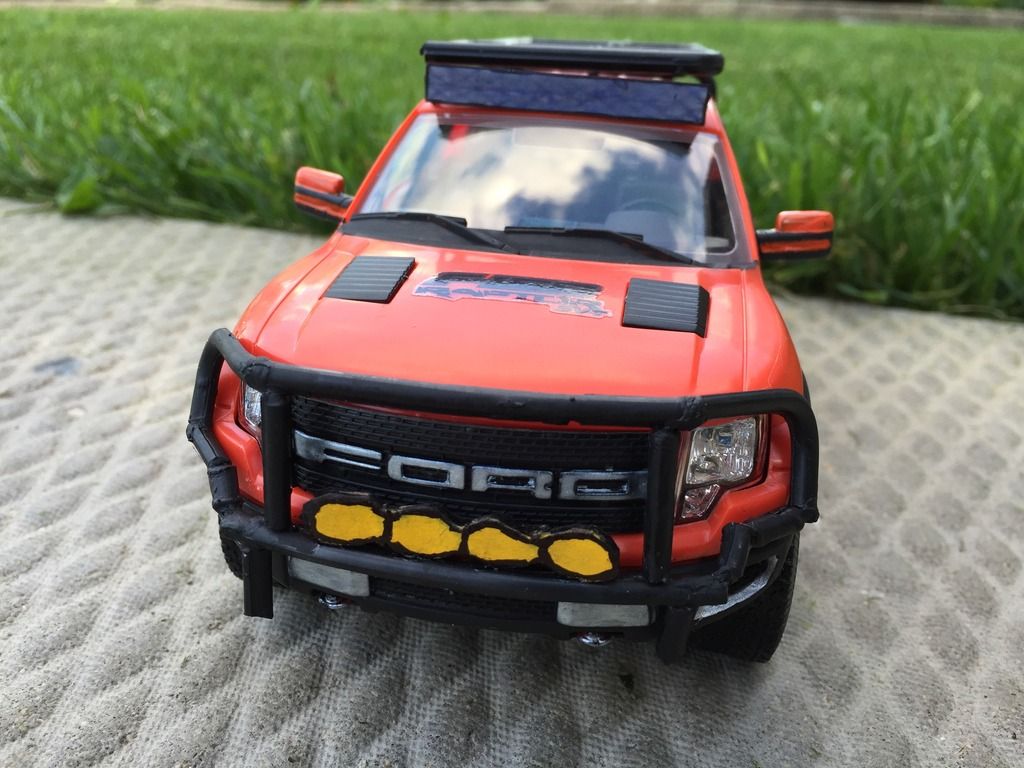
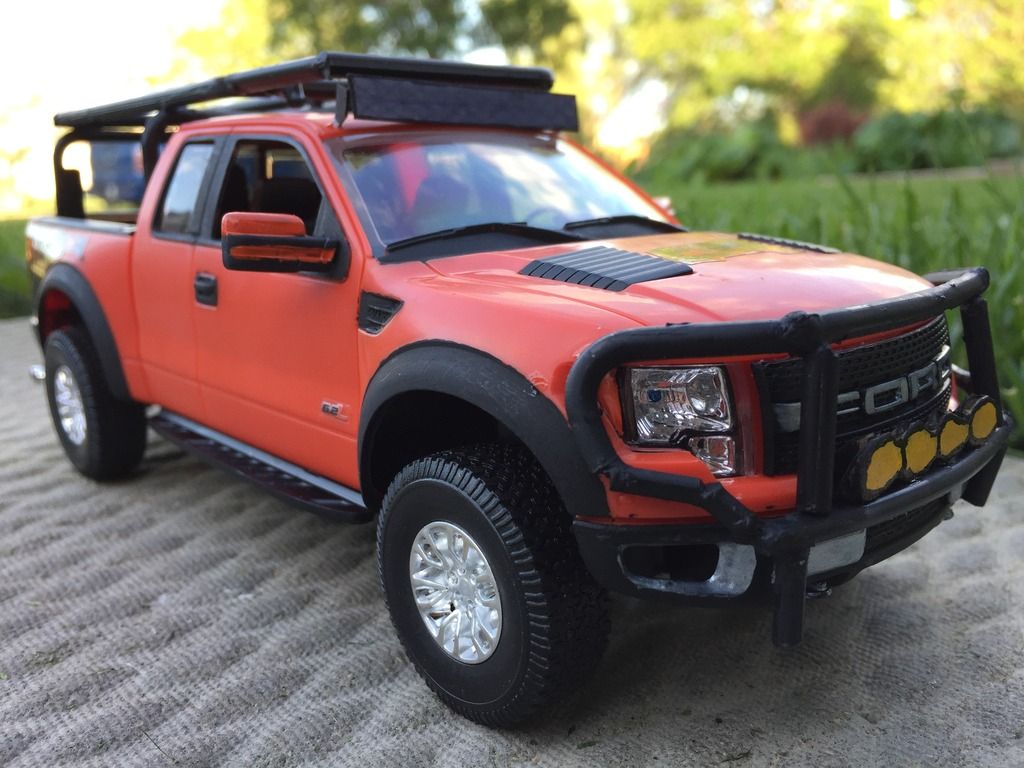
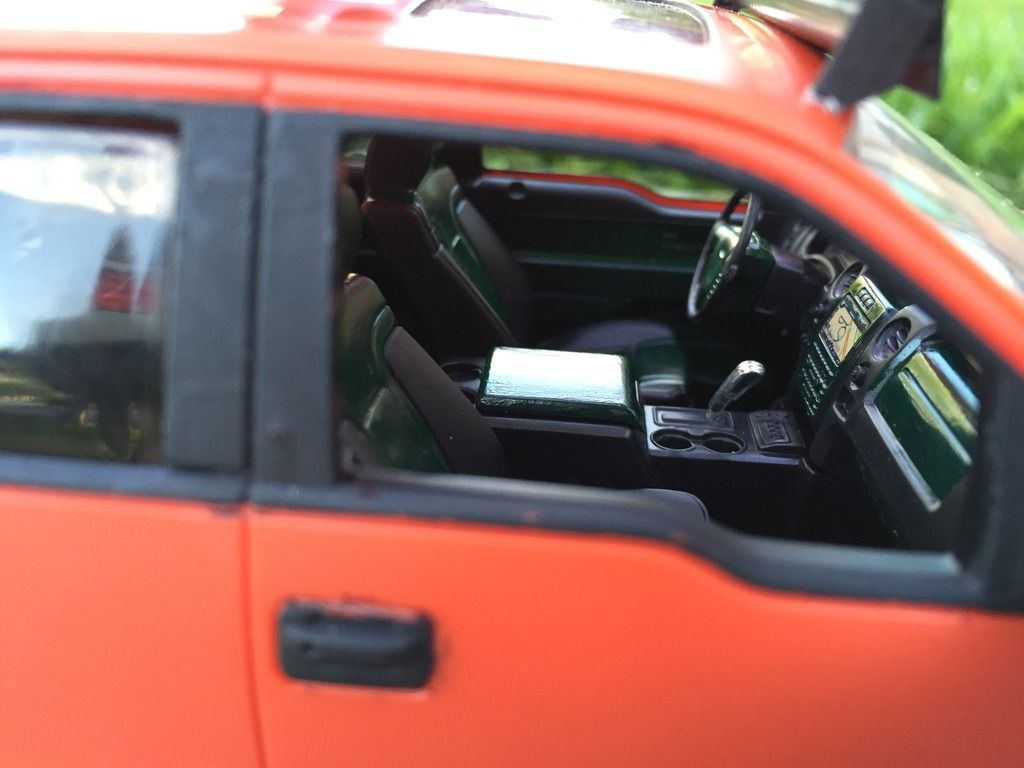
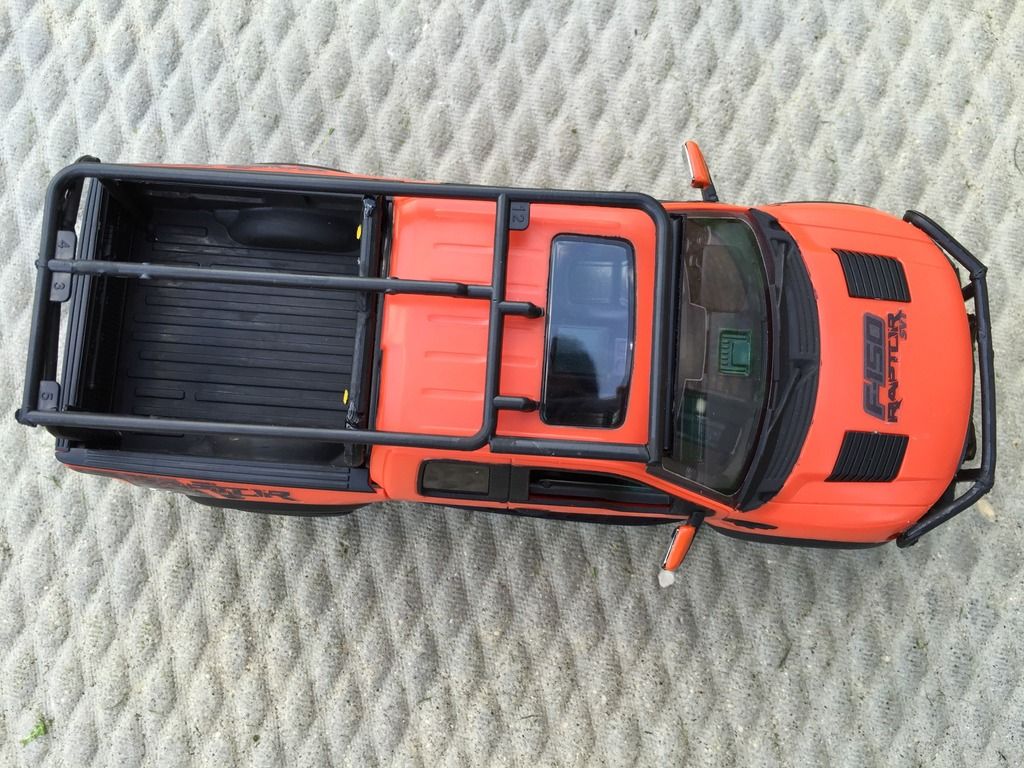
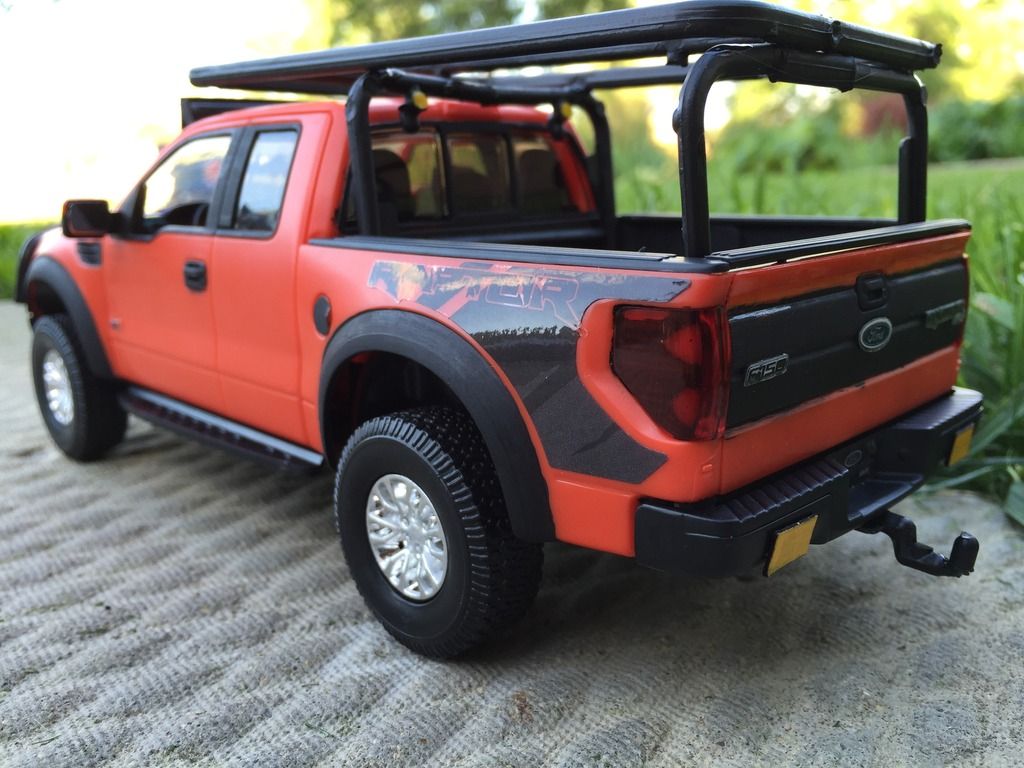
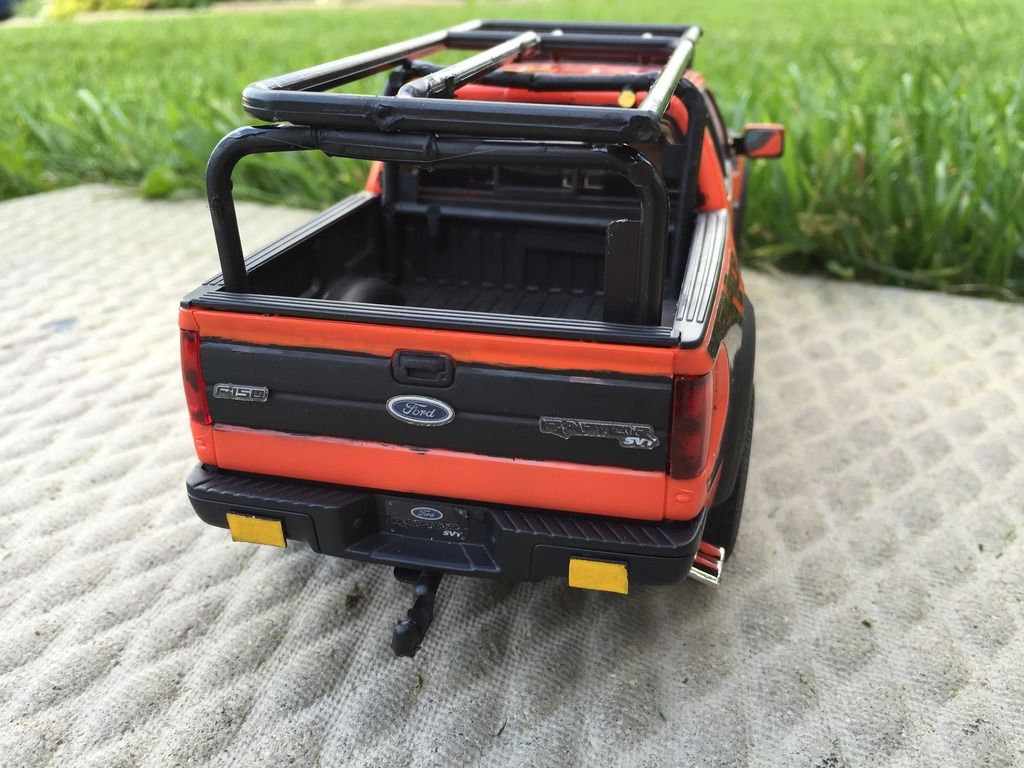
2014 Ford F-150 SVT Raptor
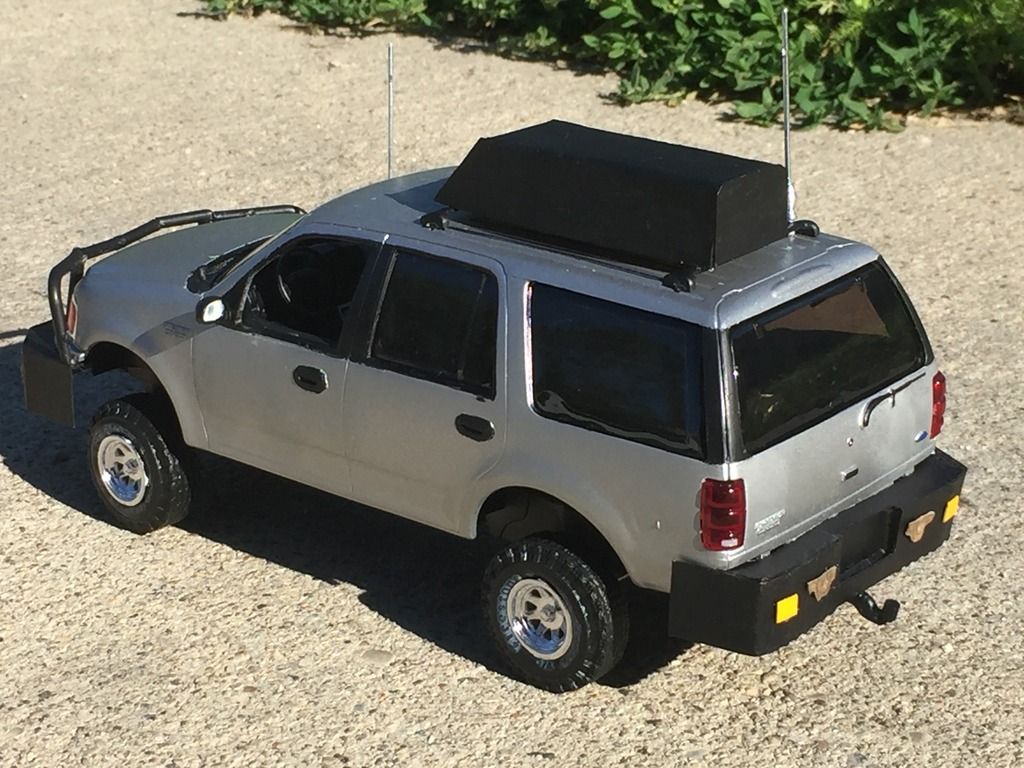
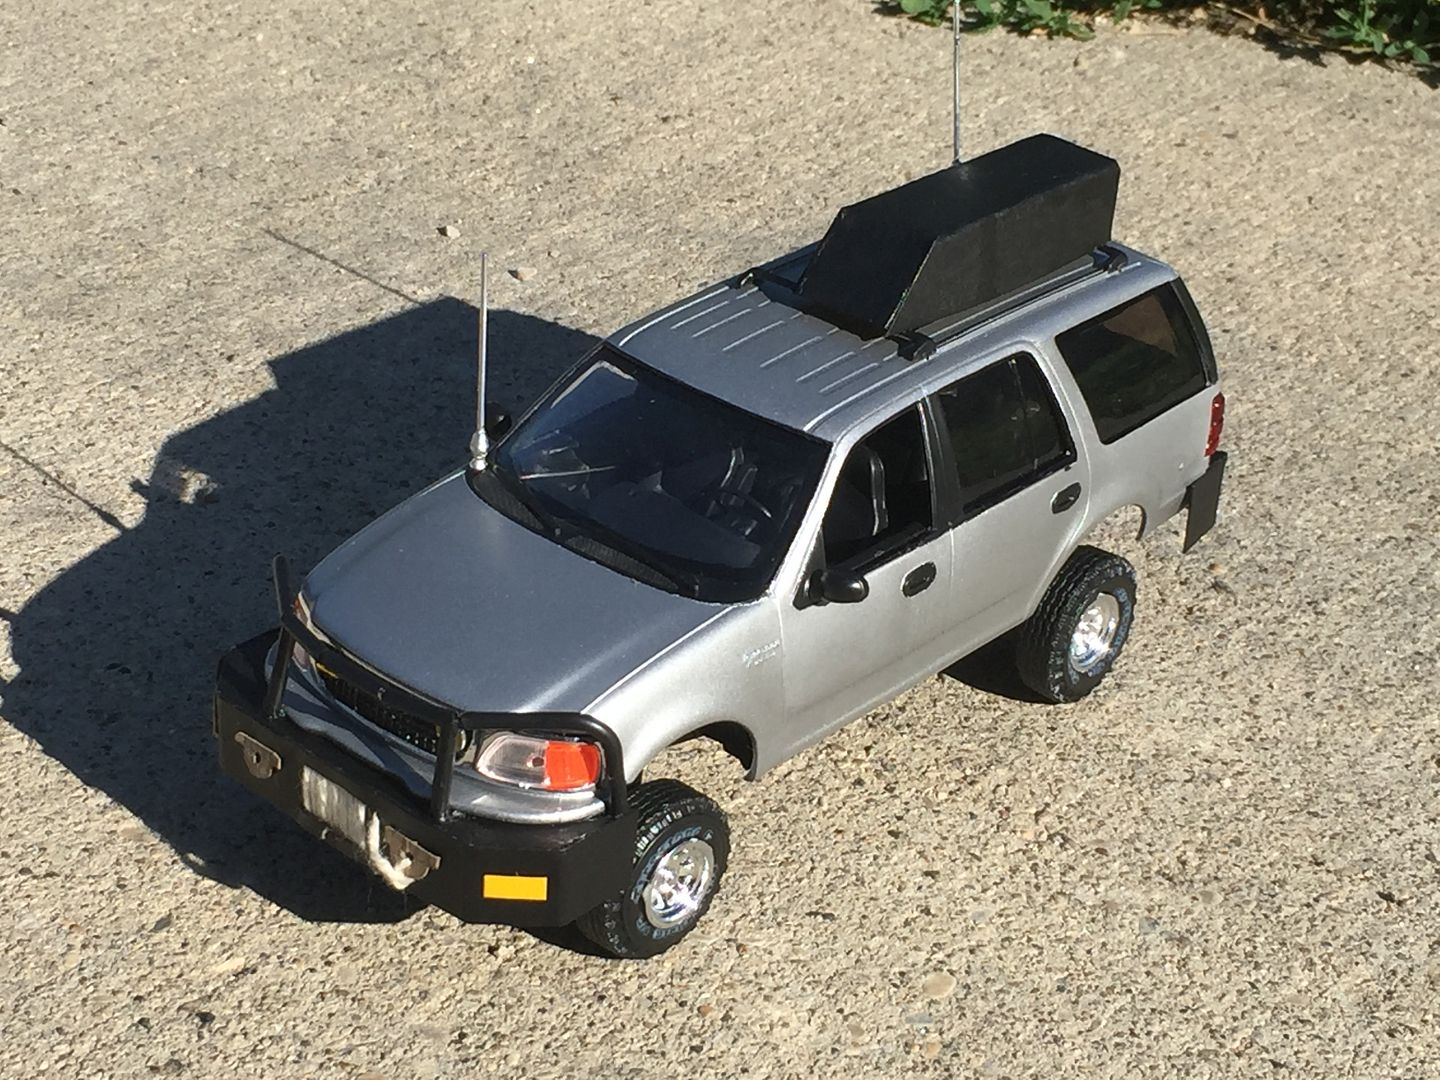
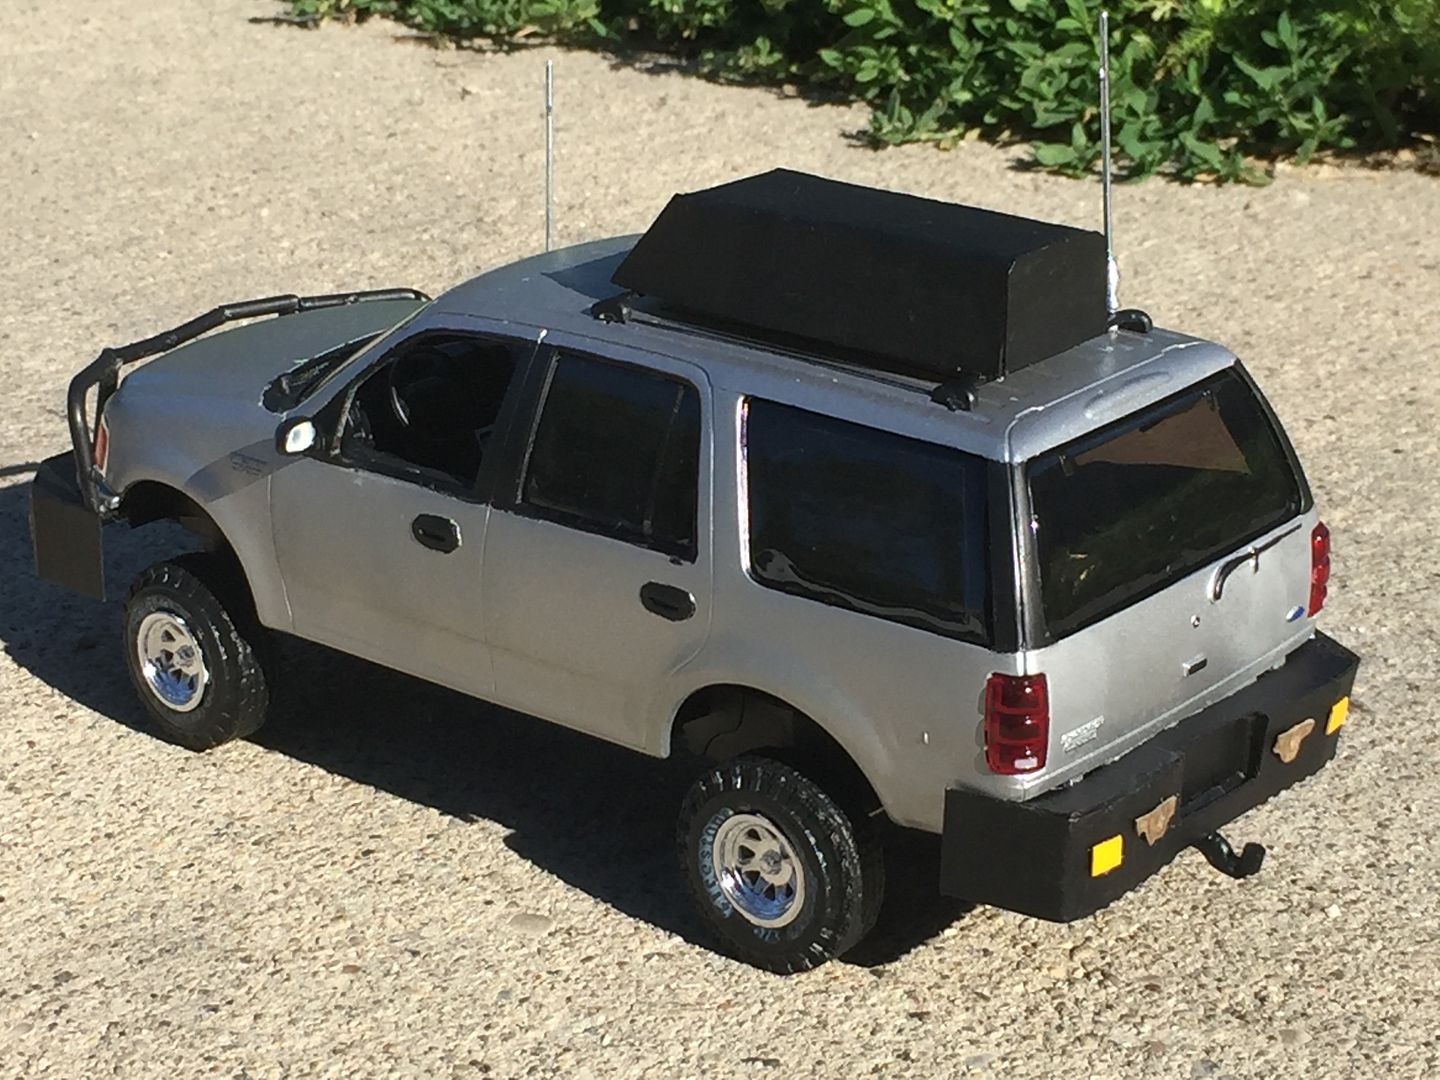
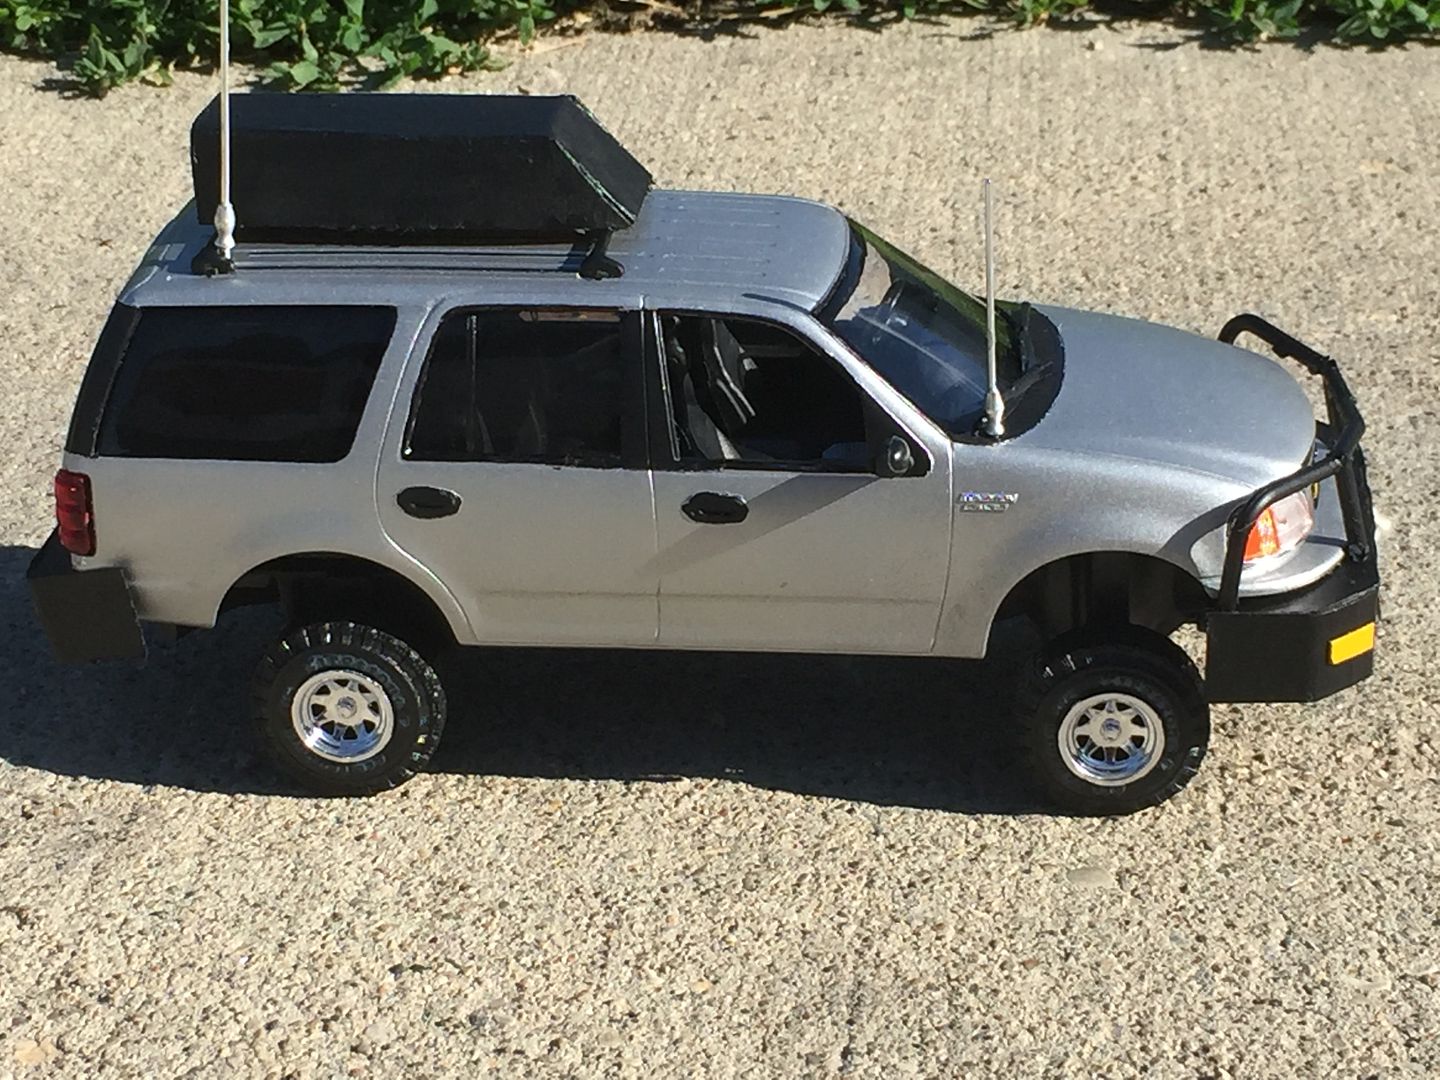
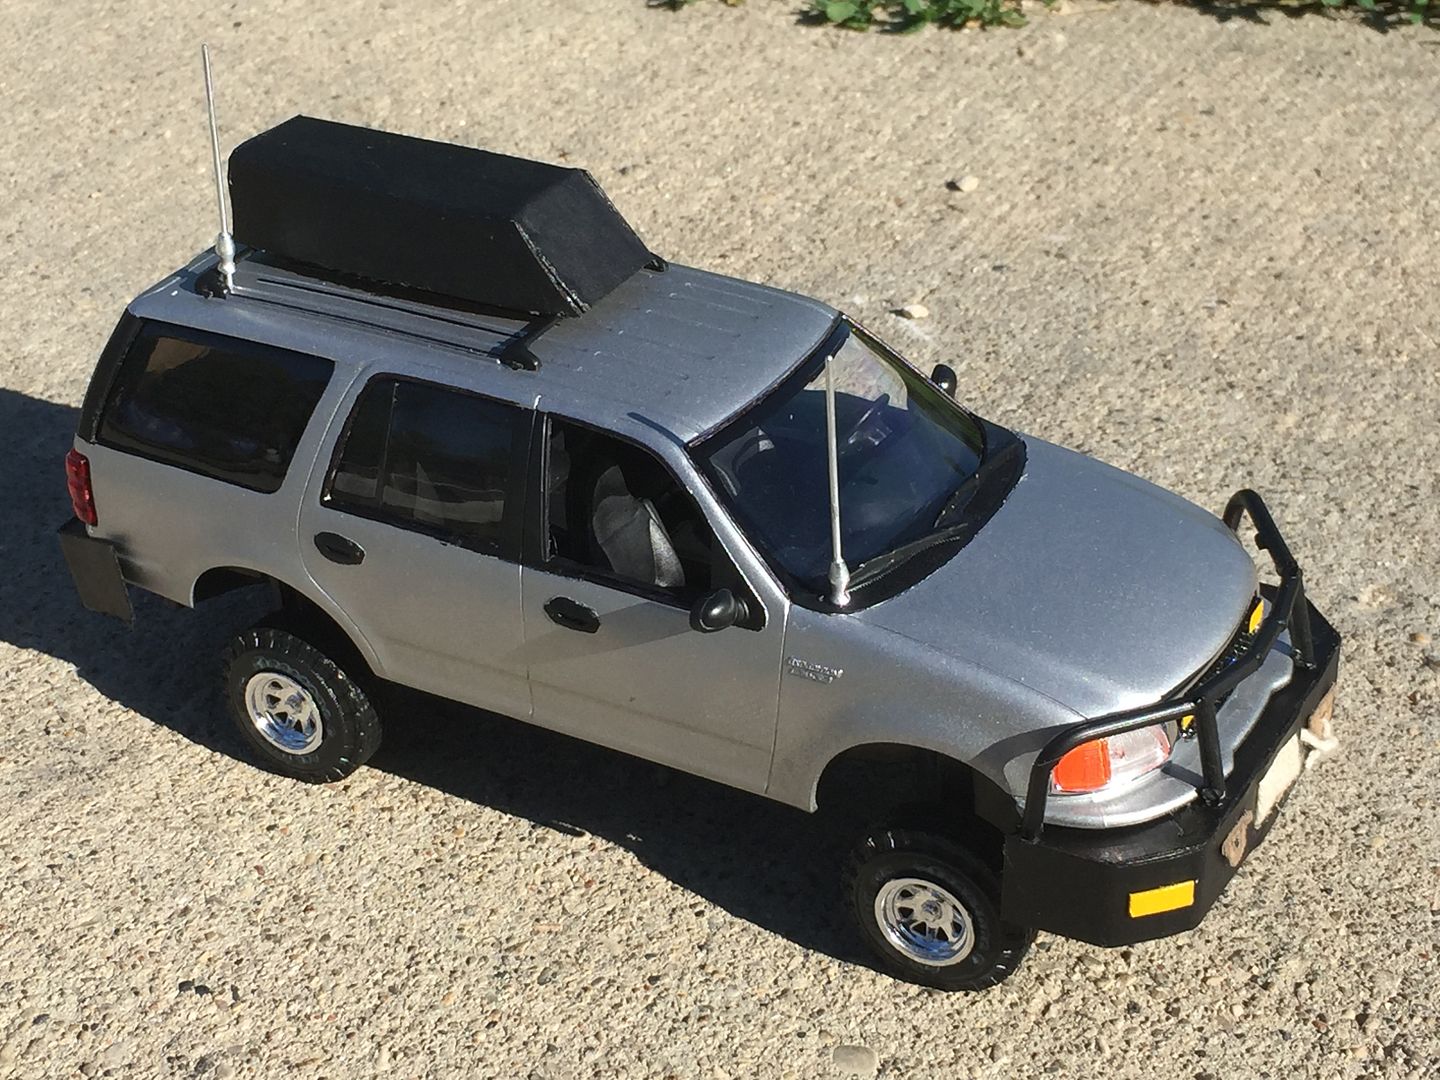
1997 Ford Expedition XLT
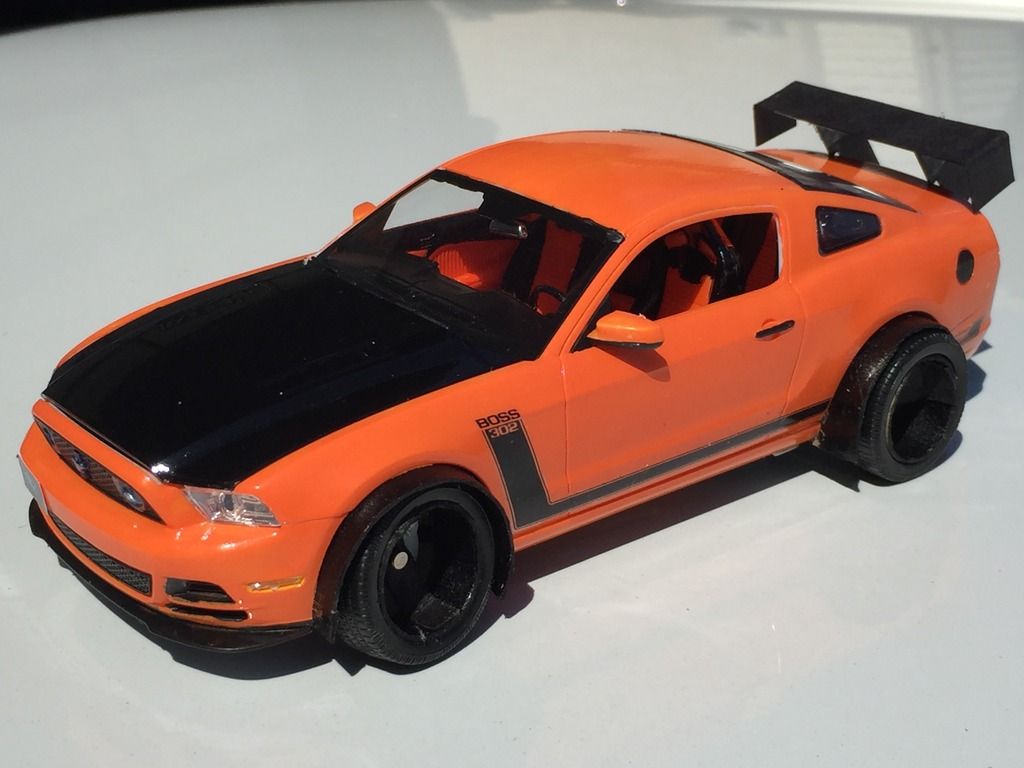
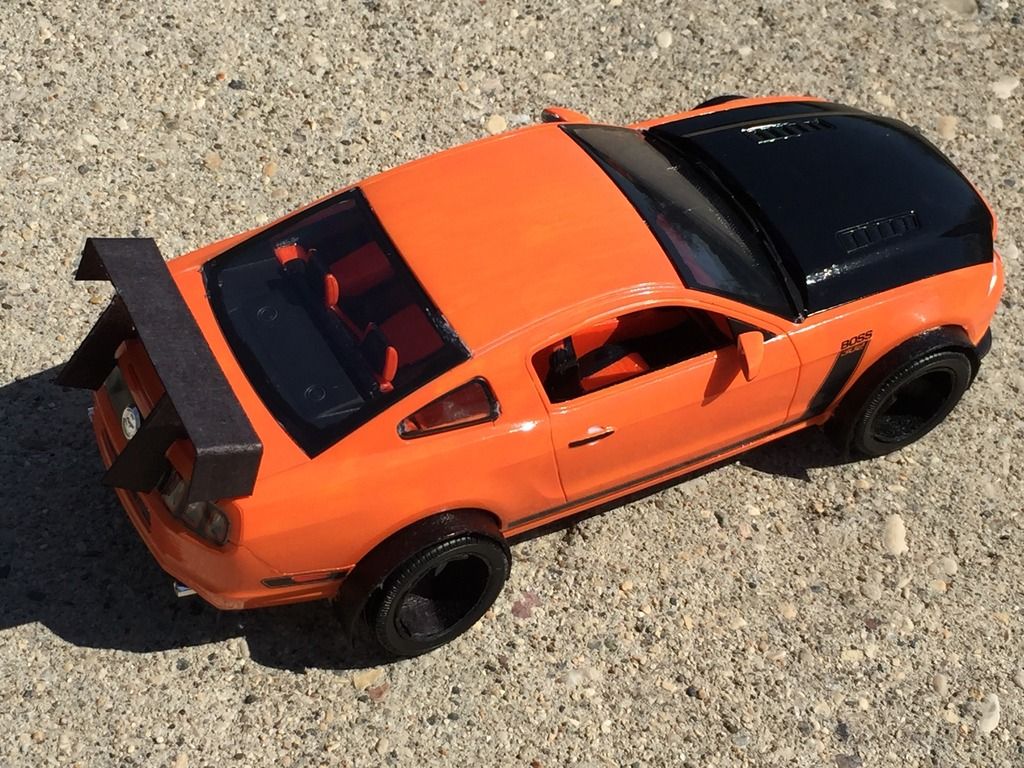
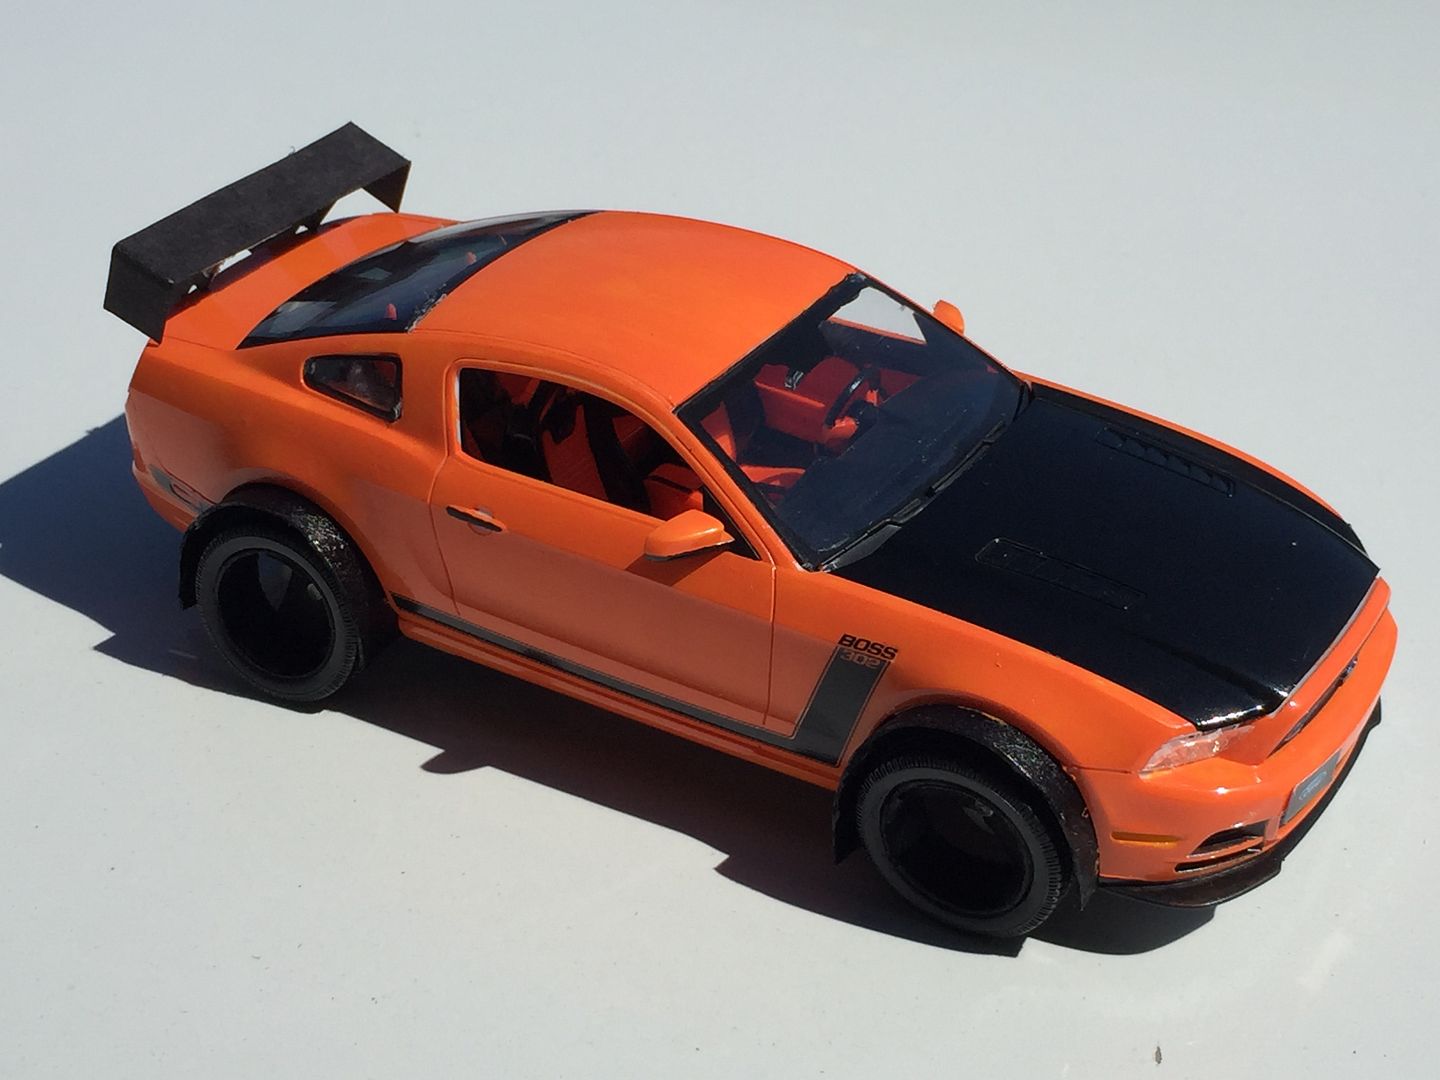
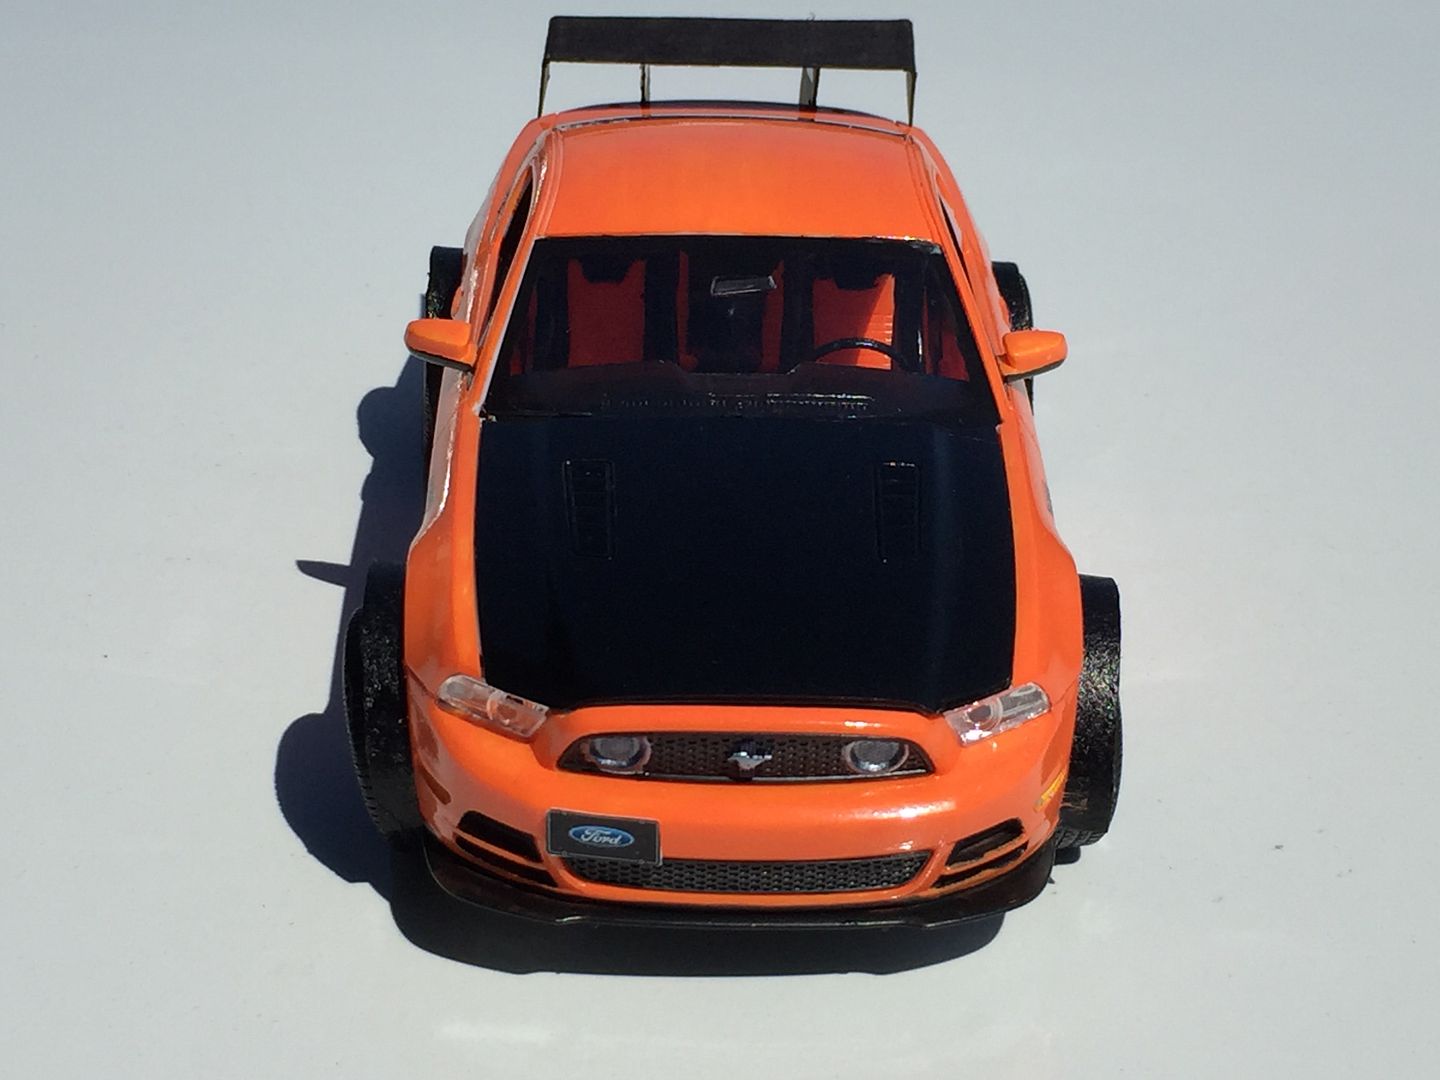
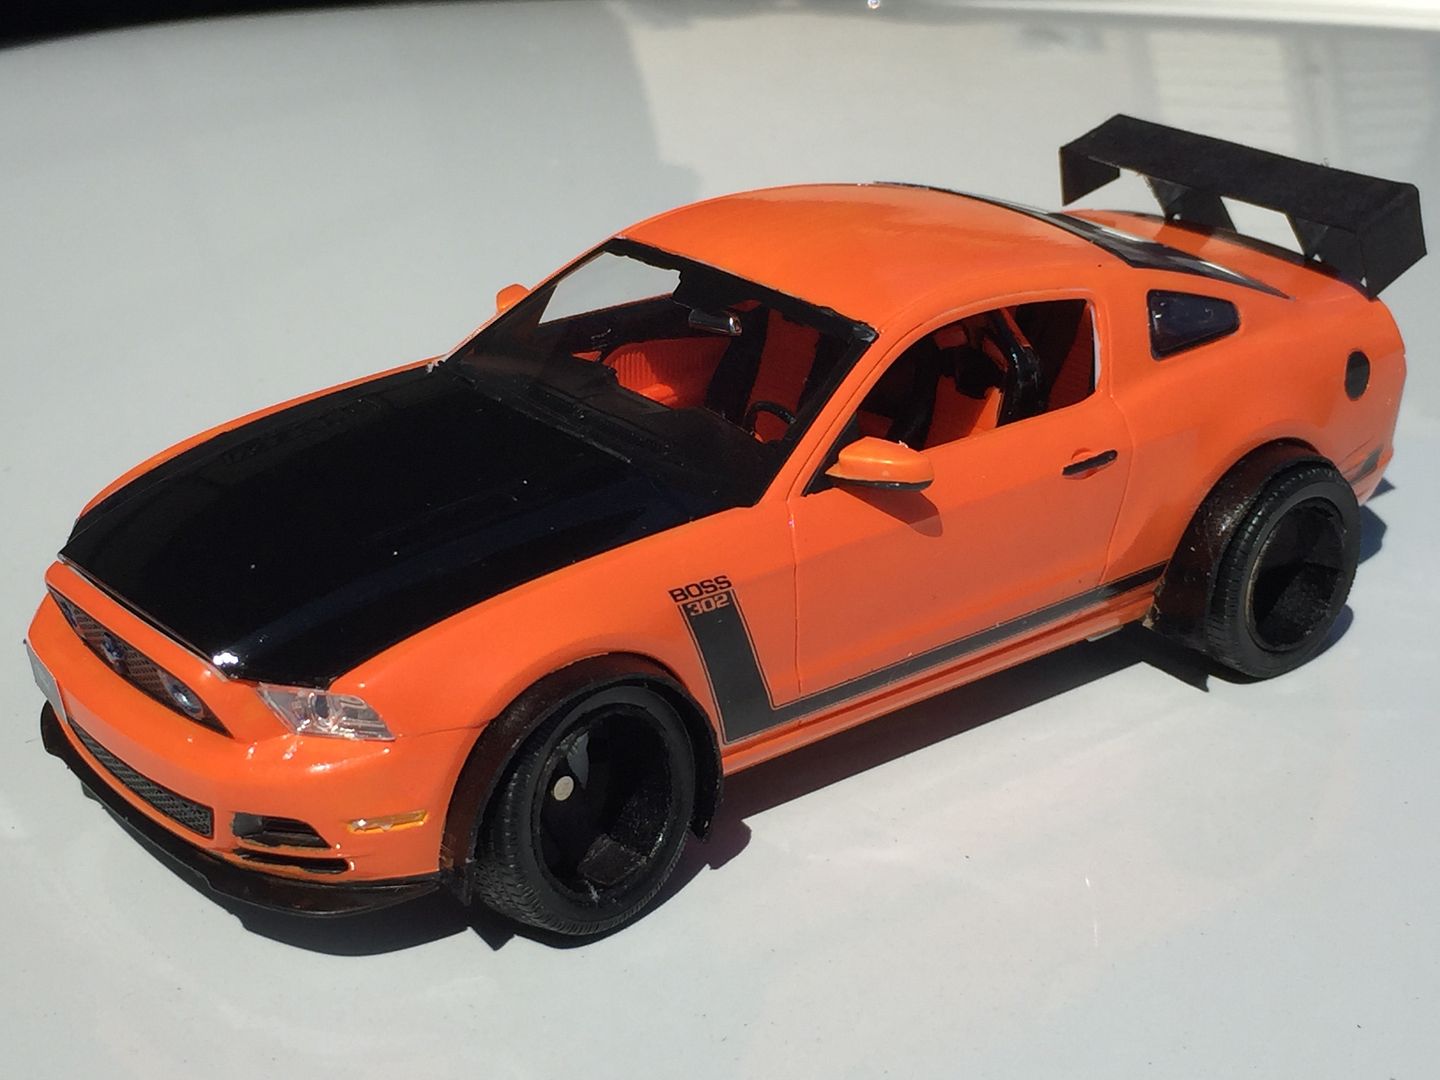
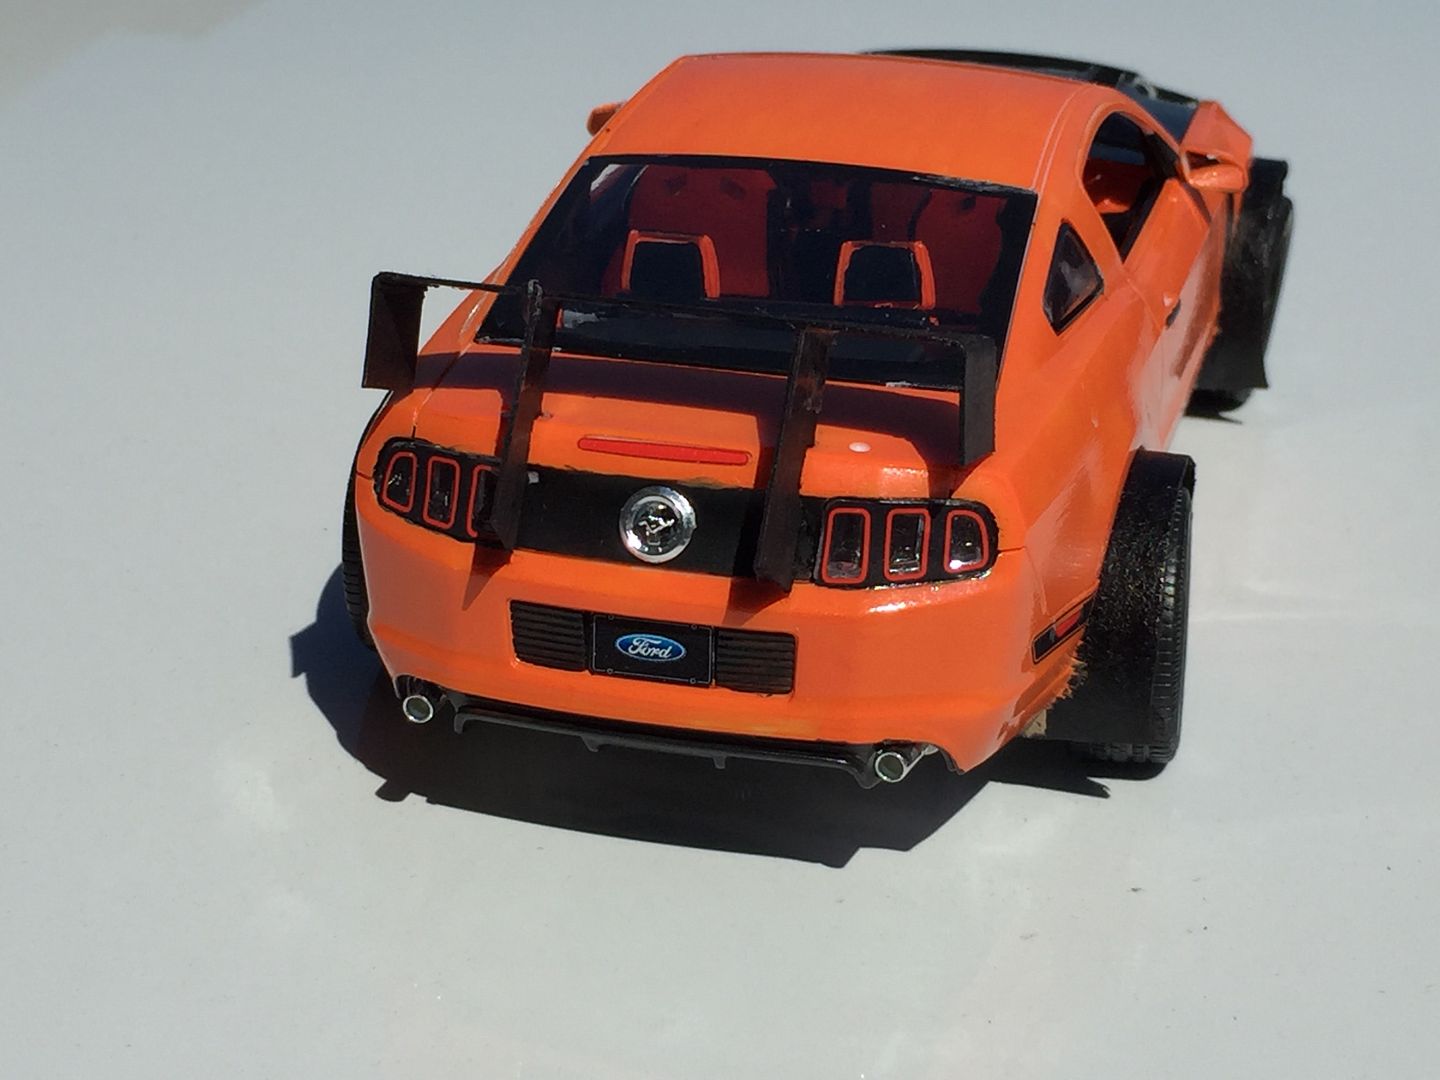
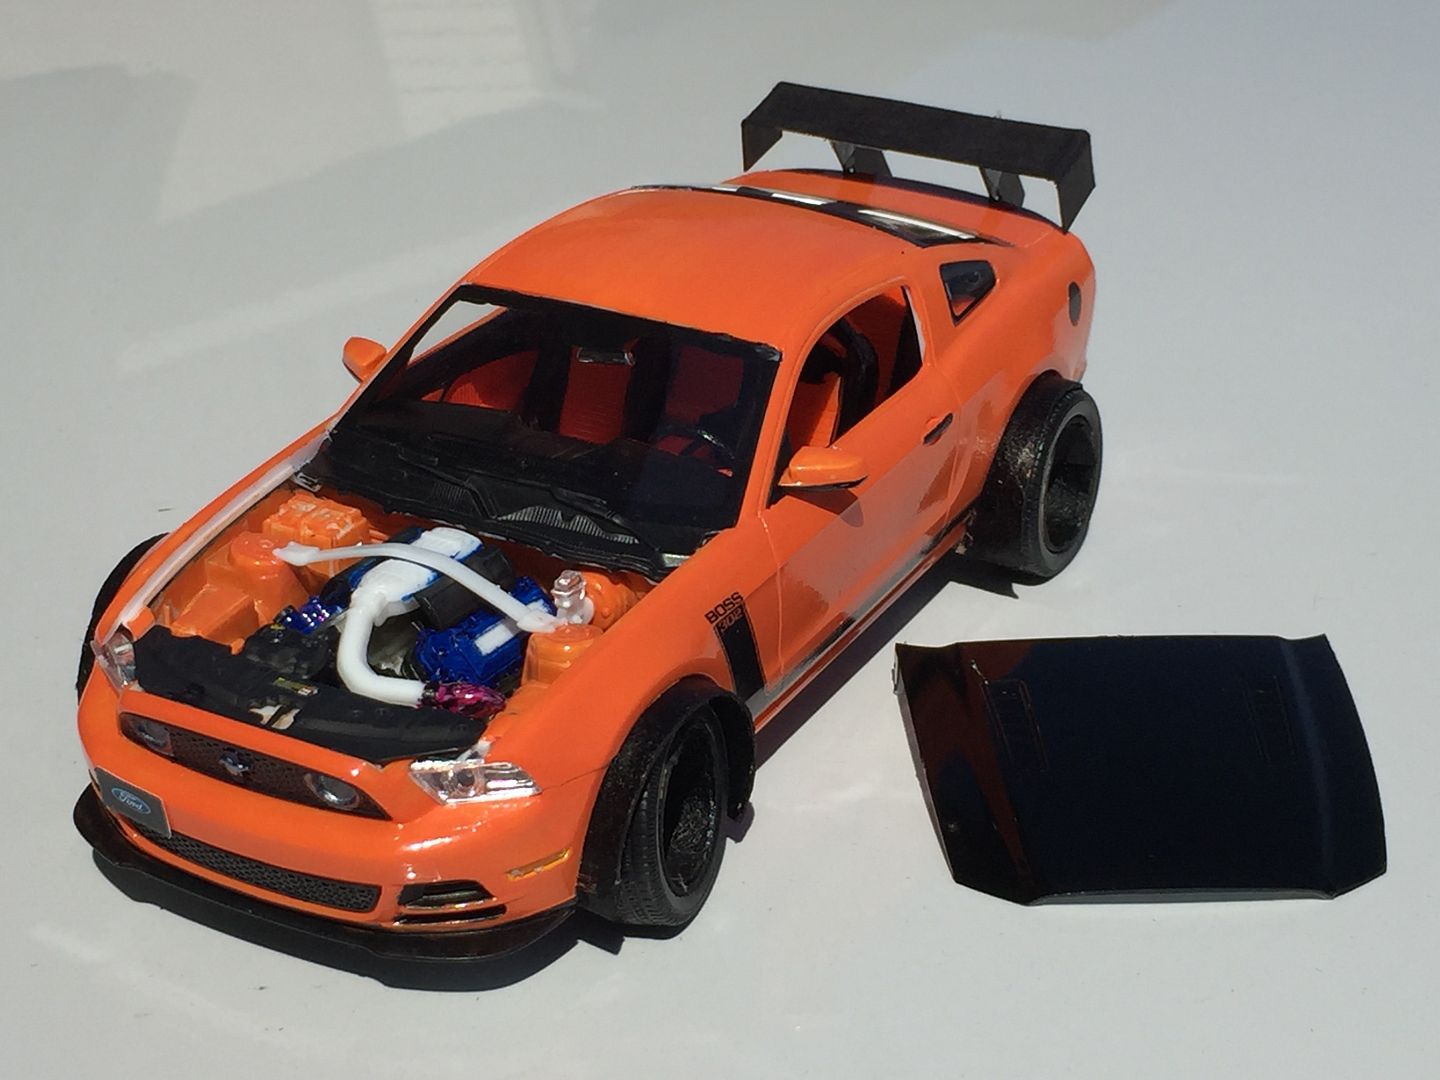
2013 Ford Mustang BOSS 302
-
Nice job on this one. The roof rack looks great as does the bull bar. But where is the winch ??
Be Well
Gator
Thanks Gator! I did make a winch in this truck by cutting some slits into the bumper and wrapping cotton twine around it. It is supposed to look like the winch is inside the bumper and all that sticks out is the "cable" and hook. I should probably work on making it more realistic though by painting it silver and adding a winch roller fairlead.
Looks great!
Thanks Chris!
-
Looks like it's ready for a bug out adventure. Cool stuff
Thanks Jesse!
-
Great work on this one.....The bull bar looks cool....Nice job....
Thank you very much JT!
-
Hey All,
I just completed this build of the Revell kit. I added some custom touches such as fender flares, unique one-off rims, a large spolier and a cold air intake. Exterior paint is Testor's Sherbert Gloss (acrylic). Although not the best, it certainly is different and I am really happy with how it turned out.
Thank you for looking, comments and criticisms are welcome!
-
Hey All,
It has been a while since I last posted and in that time I managed to complete two builds. This one was completed back in July of this year and is built from the Revell SnapTite kit with a few modifications (bumpers and roof carrier). The wheels are from the AMT Firestones 1978 Ford Pick-Up Kit. Paint is Dupli-Color Automotive Silver. As with all my builds I experimented and tried some new stuff (first time masking) and I think that although it may not be perfect (the tow hooks will eventually be reworked), the overall look/style turned out pretty close to what I was aiming for.
Thank you for looking, comments and criticisms are welcome!
-
Very great work on this model! I have a LaFerrari (Revell kit) on the to-do list, and would like to use your build as reference if that is alright with you. Your skills are far better than mine and am excited seeing this one built!
-
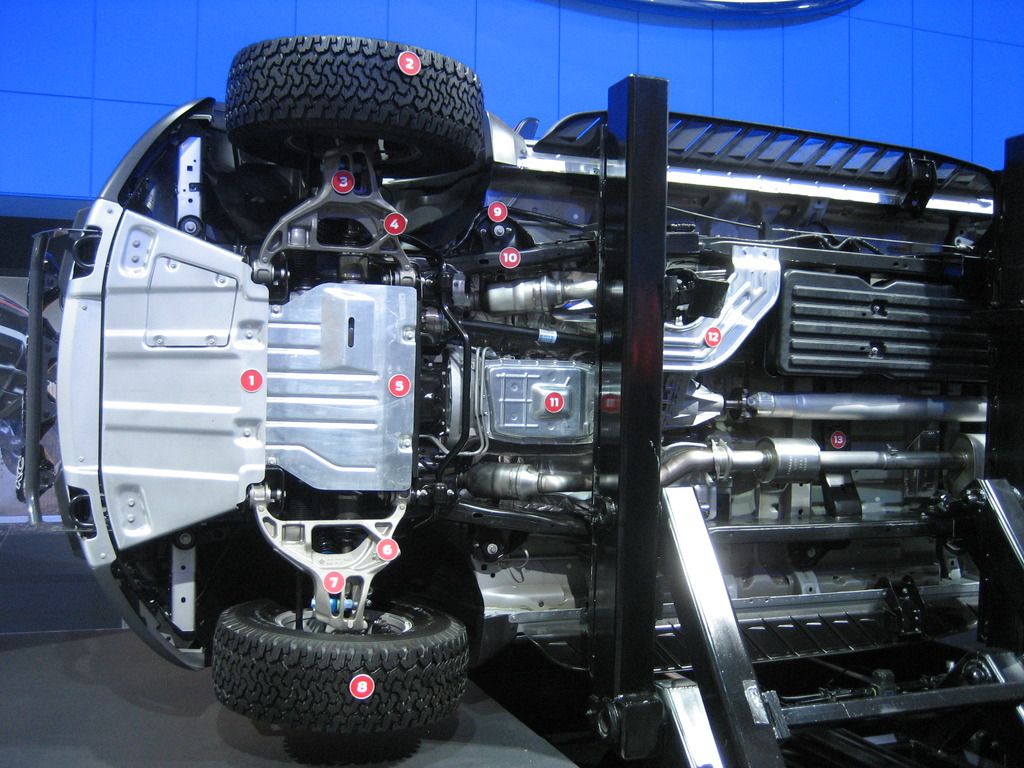
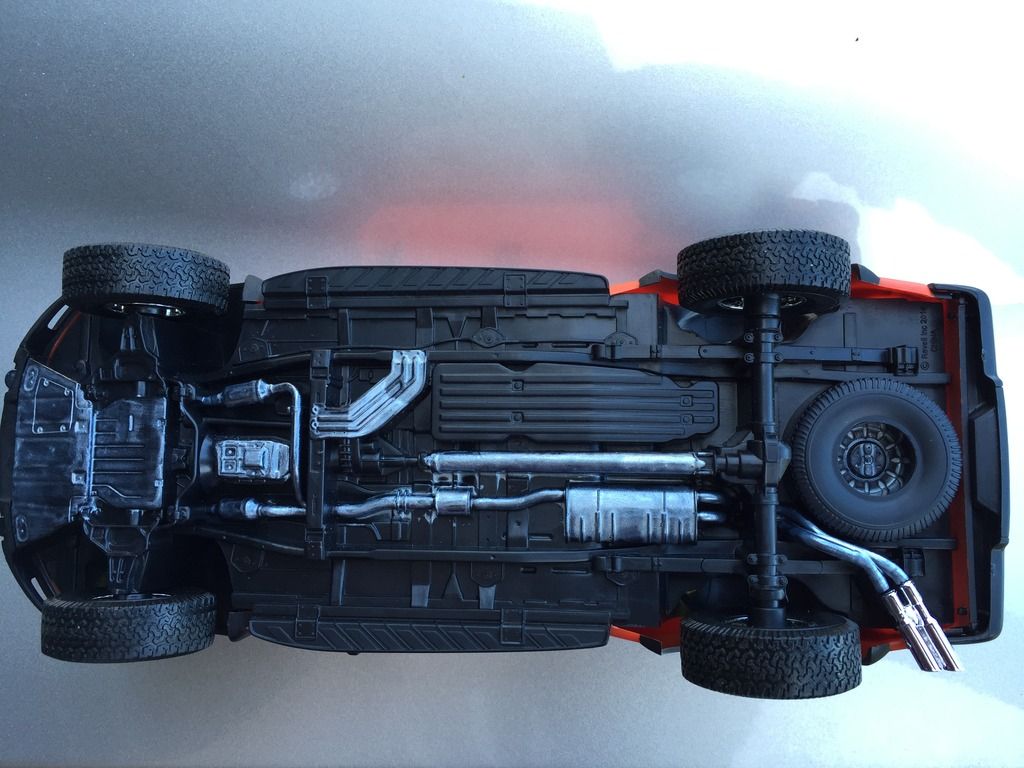
What is that chrome thingy on the chassis right behind the front crossmember?
I am not too sure, it might be the transmission. The whole chassis was molded in black so I painted certain parts with Testor's silver gloss to give it some depth, using the pictures I found on the Ford Raptor's Wikipedia page as a reference guide, link found here:
https://en.wikipedia.org/wiki/Ford_F-Series_twelfth_generation#Ford_SVT_Raptor
and the picture if you do not want to click on the link:
-
Nice work on the engine and drive train conversion, very cleanly done! I also completed one of these kits earlier this year. Very good job on this one!
-
Hi All,
Built this as a stress reliever and slump buster. Far from perfect but looks alright. Modifications were a push bar with lights, LED light bar, bed rack with lights, rear off-road lights, and a trailer hitch which were all made from sprue and cardboard.
Simple and fun kit to put together. Thank you for looking.
-
Looks like a nice start to me!
Thank you Jonathan!
Edit: Did not get any progress done on the LaFerrari this weekend as I just got back from a very long trip, actually not too sure when I will have time to build as University summer courses are starting but hopefully soon

-
Coming along nicely..did you handbrush ALL pieces?..is any sprayed?
Thanks Brettly! I hand painted all of these pieces with Testor's Acrylic bottle paints and used their paintbrushes. However, I do plan on spray painting primer on all future parts (before hand painting with Testor's) and using spray paint for the chassis and body. I do not own an airbrush.
-
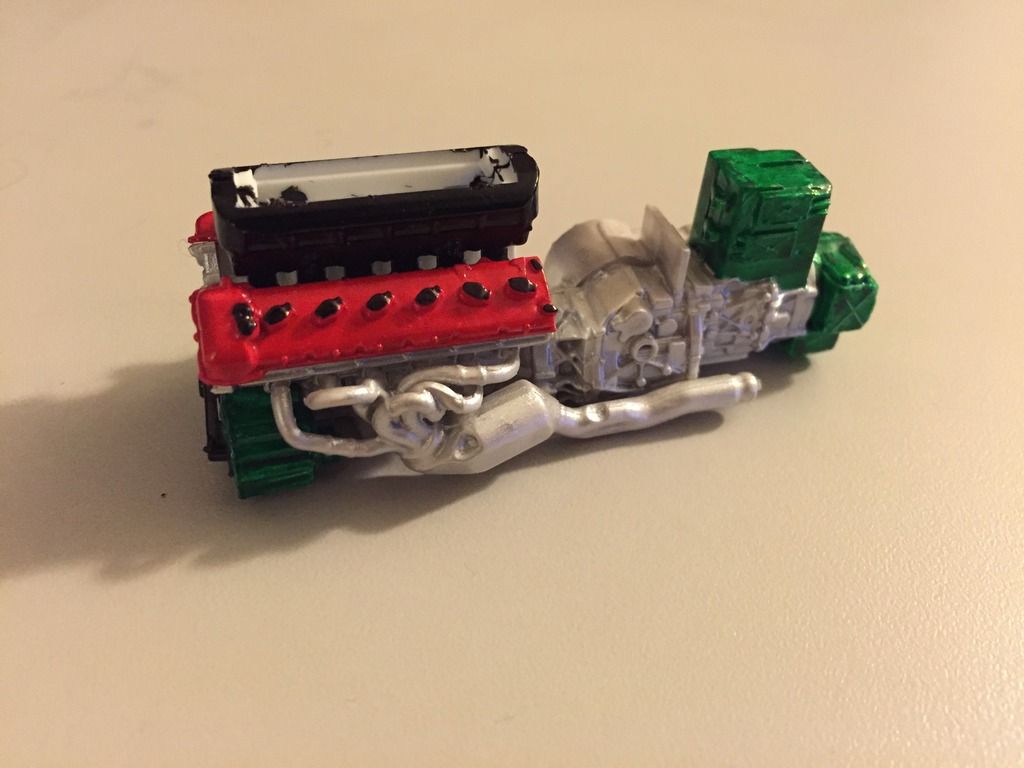
Update: Friday, April 29, 2016 - Basic Engine Assembly
Hello again! How is everybody doing? I had a very long week, and did not get very much time to build, but I did manage to get the basic engine assembled. Here it is (the inside of the injectors will be covered by the intake so it will not need to be painted)
 :
:Thank you!
-
Nice start. I usually primer all the parts before applying colour, not sure if you did, but I find it helps the paint adhere.
I have the Tamiya version of this kit in my stash, with the carbon fibre decals and photoetch extras - haven't had the courage to start it yet, but you may inspire me with your build
 .
.Thank you Paul for the advice! I did not primer these parts but will do so on all the rest of the parts, just have to go find some
 . Good luck with your LaFerrari when you do start making it!
Cool build. I'll be watching. If I might make a suggestion? You'll get an overall better finish if you remove all of the parts from the trees before painting. I would glue together things like engine block halves, exhaust pipes, seat fronts and backs then attach them to some popsicle sticks with some two sided tape or, what I use most often, bbq skewers with some blue tack ( or whatever its called in your area). All of these items are easily available at dollar stores and for about $10 you can buy yourself enough supplies for more than a couple years as you can reuse the sticks over and over. After gluing the parts together sand out the mold/glue lines then prime or paint, you'll be much happier with the result.
David
Thank you David! I will try this method out of assembling before painting, I guess this way paint will also be saved since I would not be over-painting the areas that will be covered/glued, much appreciated! I have plenty of toothpicks at home and will see if they work.

Just got the same kit over the weekend, looking forward to your build. But if your wanting to superdetail it, Id suggest you pick up Tamiyas Version. Its much better than Revells & the doors open too.
Paul Scadden - If you come along to our next meeting hopefully there will be my LaFerrari for your inspiration sitting on the table...
Thanks Ash! The hobby store that I went to (Michael's) did not have the Tamiya version, but will make do and detail as much as possible. Best of luck with your LaFerrari, you will most likely finish before me
 .
. -
I agree that what you did combines the best of both styles. Converting to a '98 front end was a very popular modification, so your model is in no way an inaccurate representation. A lot of people who owned '98s also went the other way and installed the '94 style tail lights. My first car was a '98 RS in Cypress Green and boy I loved driving it! I just recently got an '07 Civic simply because I couldn't pass up the deal, but I will soon be giving the Integra to my sister just so I know it will still be in good hands.
I can't help you with the LaFerrari, but my first suggestion would be to see if there is a copyright date molded or printed somewhere on the chassis or on another large piece.
Thanks again Andrew! There is a copyright 2014 date molded into the chassis of the LaFerrari, so I guess that it really is a 2014 model after all.
-
Any particular reason you're calling this a '94? This Revell model is of the '98-'01 front end style, though I noticed you painted the rear turn signals amber as they were from '94-'97. I suppose it could be a '94 with a '98 front end conversion?
Oh, thank you very much Andrew for pointing this out. I was unsure about what exact year this model was intended to represent as the box and instructions do not explicitly say (a small bummer for me as I really want to know), so I tentatively used the year 1994 because it is mentioned out in the instruction description of the model. As for the rear taillights, I painted them that way because I like the way it looks on the 1:1 car and also did not install the clear lenses as the indents did not quite match up with the backings. I really like your suggestion of calling this car a 1994 with a converted 1998 front end, as it more accurately describes what this car actually is and combines the best of both body styles this car has so that is it what it will be
 . Thanks again for clarifying the model year differences, I am not very good when it comes to this stuff (even having a little trouble finitely determining the year of my LaFerrari kit - is it a 2013, 2014 or 2015? ...calling it a 2014 for now...
 ).
). -
Update: Sunday, April 24, 2016 - Basic Engine Paint
I should also mention that the theme song for this build is "Give Your Heart A Break" by Demi Lovato

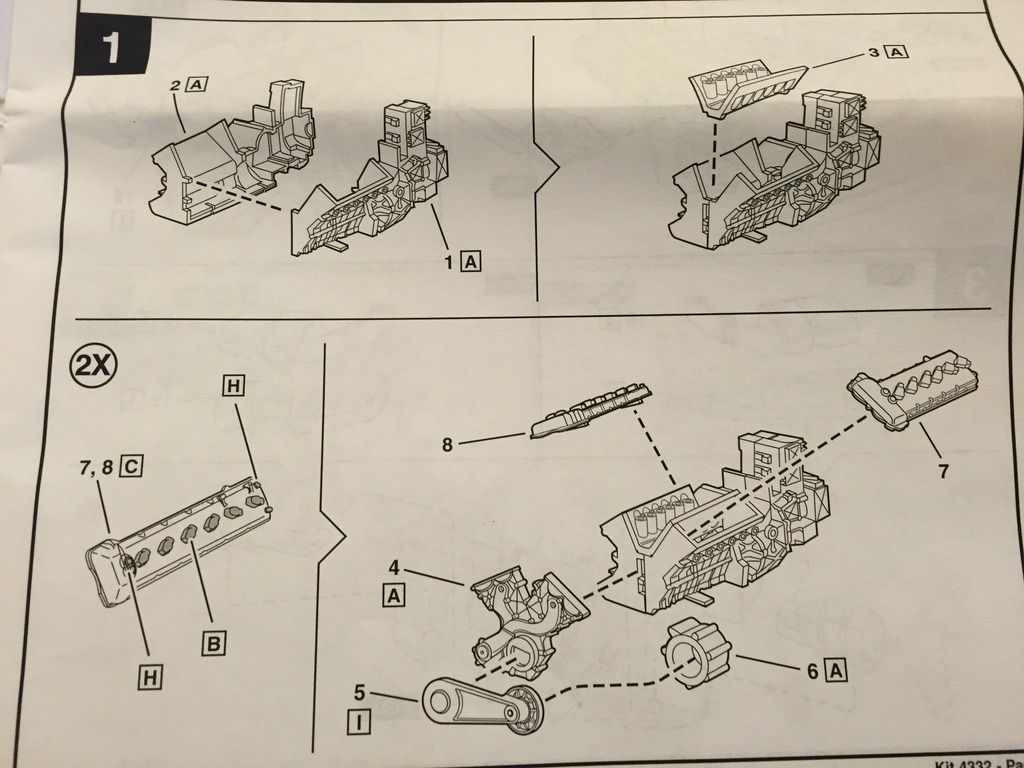
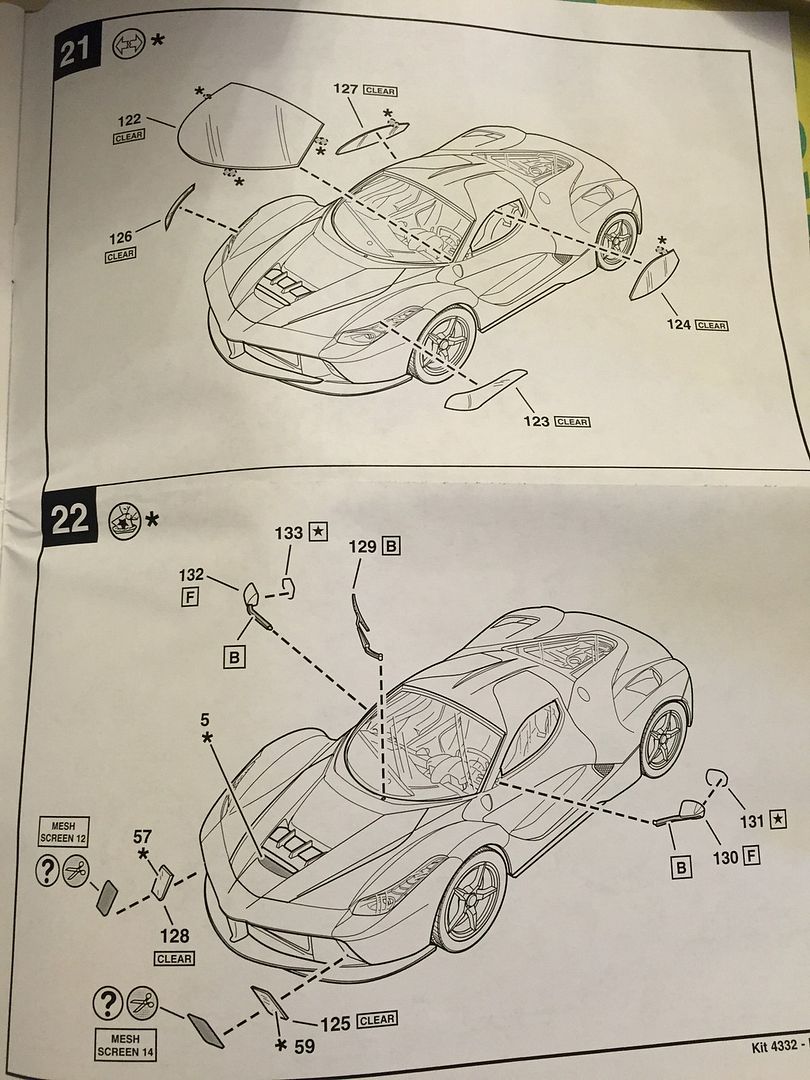
Looked over the instructions and it is quite interesting, written like a story book...
Here is the soft introduction to ease into the build:
Then there's the highly-eventful climax (look at all those decals...good thing I got practice in through the over 30 decals I put on the Integra build...):
And like a good love story, there's the happy ending where it all comes to life!

As for progress, I painted the basic engine components on the sprue tree (Steps 1 and 2 in the book), which will need to be touched up after I take it off but at least this way I get most of the parts painted without worrying about fingerprints, awkward handling during paint, and above all losing them.
That's all for now, feel free to let me know what you think. Thanks!
-
nice good luck and have fun . i hope you can make your deadline .
Thanks John, appreciate the well wishes!
-
Nicely done!

Thank you Stephen!
-
Welcome! This will be my first documented build on this forum as I plan on making this a long-term project that will be highly detailed, and I would like to show how I build my models so that everyone can help me along the way with comments, suggestions, and criticisms as I want this particular build to be done as best as possible. I am tentatively naming this model the:
2014 Ferrari LaFerrari FXKR
Backstory: This is my 12th build since coming back to the hobby, and starting it will put a final end to the largest amount of unbuilt and unfinished kits I have had at one time (which is 5 unbuilt and 2 unfinished). I stalled out way back in late 2014 when my Pontiac GTO build became too much (everything about that build was weird and I could not decide whether or not to keep the funky paint job that came out), which I then started my Baldwin Motion Camaro build and bought my GMC Pick-Up kit, but then life got real intense in 2015 and I had almost no time to build. When life started to calm back down I came back to the hobby and bought 4 more kits through November - December 2015 (the Ford and Datsun Pick-Up builds, the recently completed Acura Integra build, and this LaFerrari). I managed to finish the 2 partially started ones during the last two weeks of December and completed 4/5 unbuilts this year averaging one completion a month, and this Ferrari is the 5th. I bought this kit because I wanted to add something that was sleek and fast to my model collection, and this was the closest the store had to it. I did not really think much of the kit when purchasing it, but when I got home and opened the box I was shocked. I did not realize that it was a skill level 3 and the mesh inserts looked very daunting, but hey, you can turn almost any challenge/difficulty into a fun-filled adventure so that is why I am going to stick with the kit and document it. I plan on taking two years to complete this kit due to its difficulty and I want it to be as detailed as possible, so the key here is to take it slow and steady. I do not have any other unbuilt/unfinished kits at this time but I do plan on buying new kits/projects when this project becomes overwhelming and I need to take a break from it. I chose to name it FXKR because of the Ferrari FXX-K (an even more powerful version of the LaFerrari!), the R is for "revised" as in my version, and the letter combination sounds good together. So here we go!

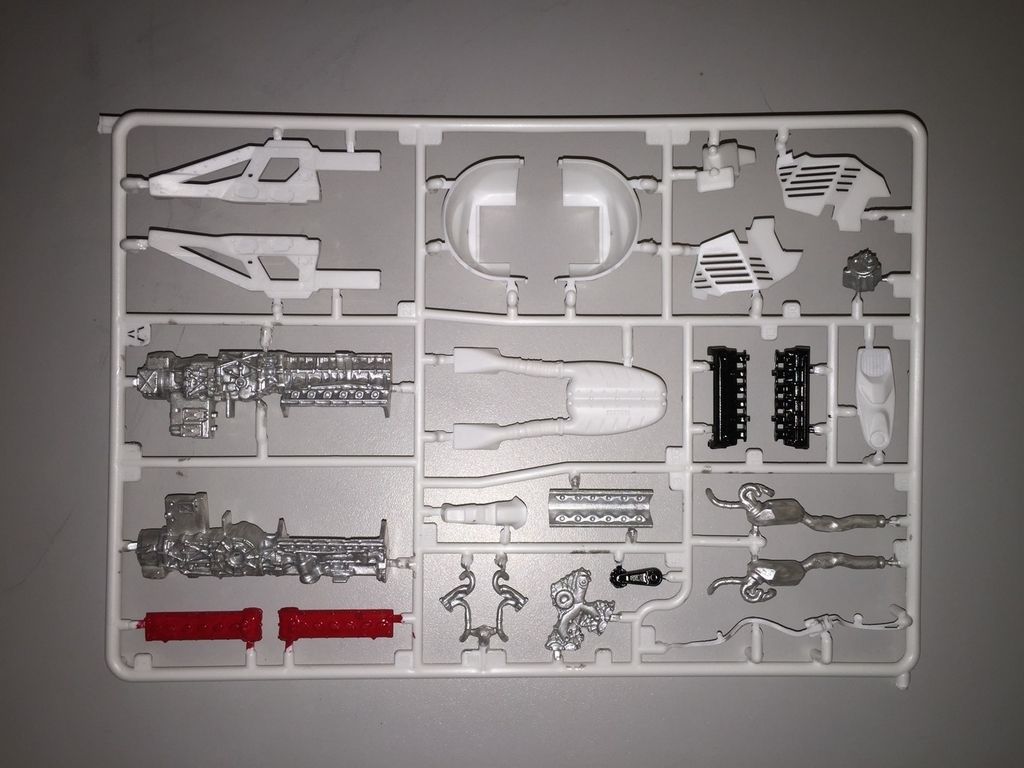
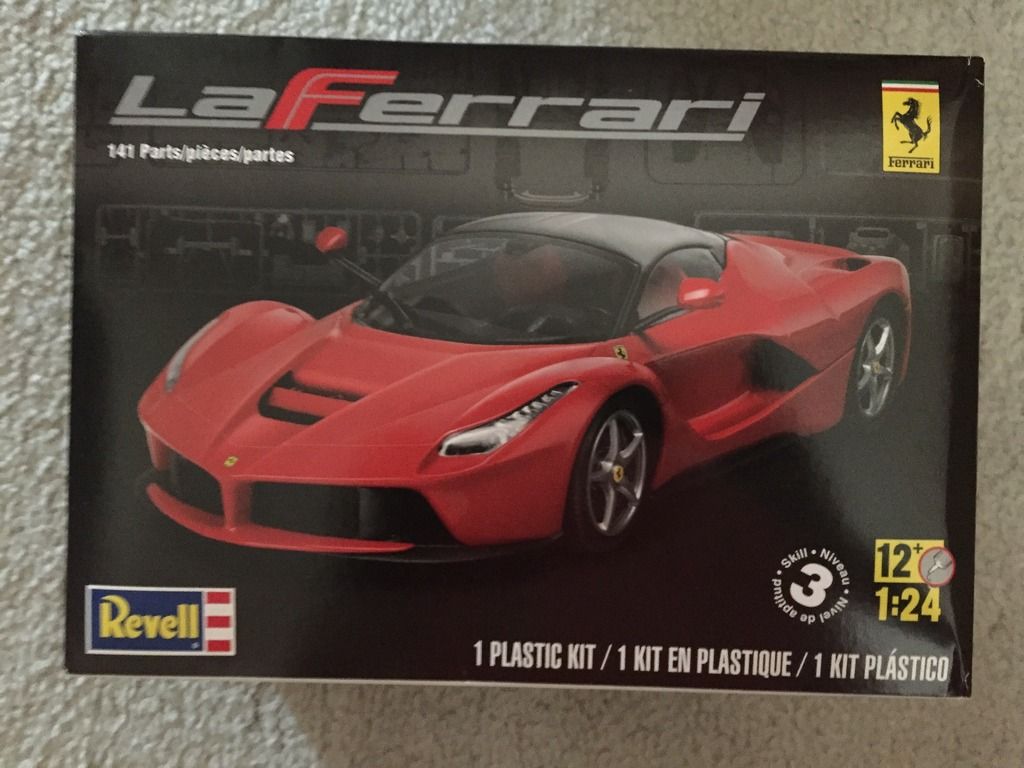
Kit: Revell's LaFerrari (Skill Level 3, 141 parts)
Purchase Date: December 2015
Build Start Date: April 24, 2016
Planned Completion Date: April 25, 2018 (2 years)
Build Plan Ideas: Fully detailed White and Gold Interior, Highly detailed engine (red and tan intake covers) and engine bay, Black chassis pan
Undecided: Exterior body colors, suspension color, rim color, Roll cage/bar?, Cut off the roof so that it is a convertible/cabriolet??

Box Art:
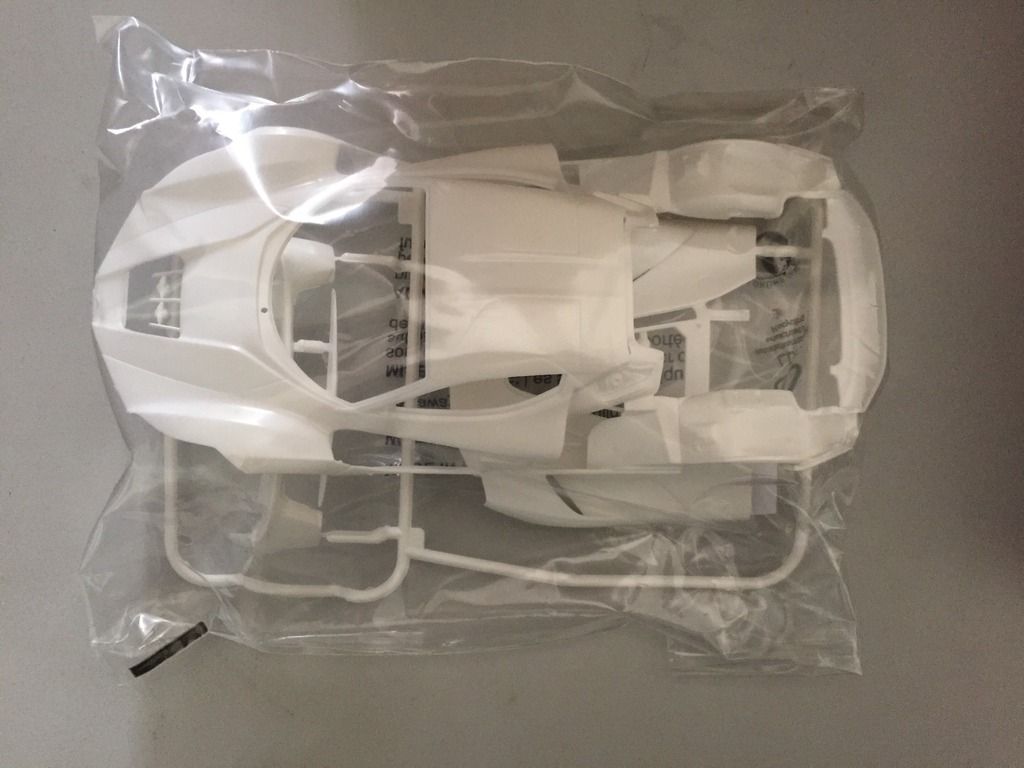
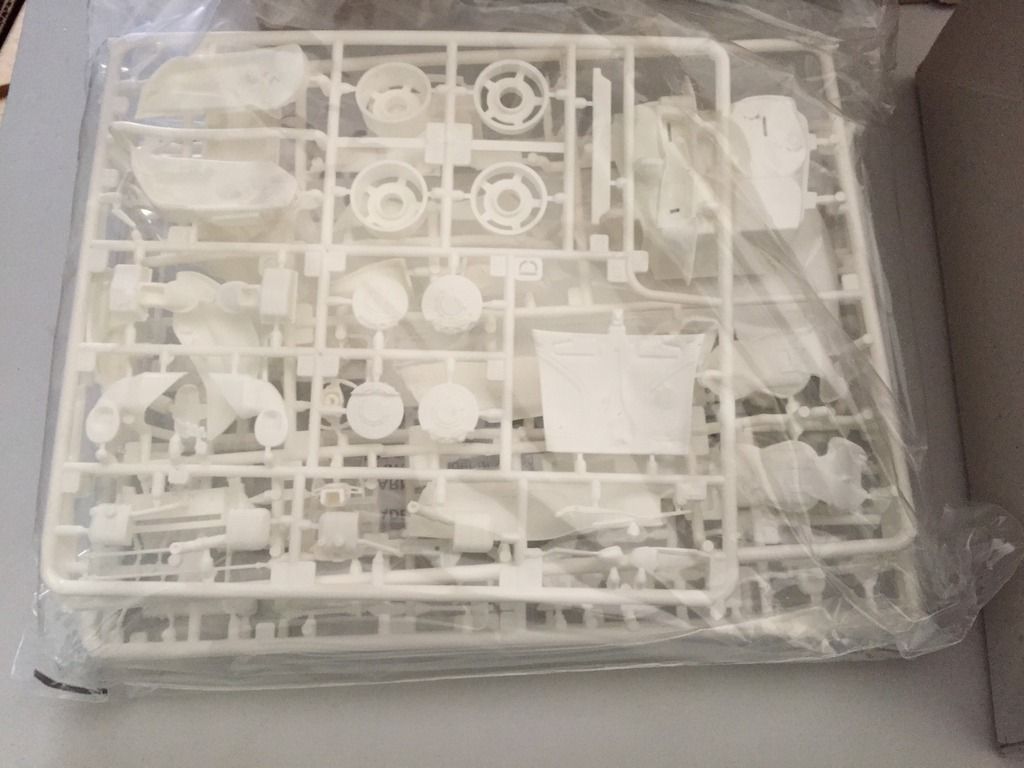
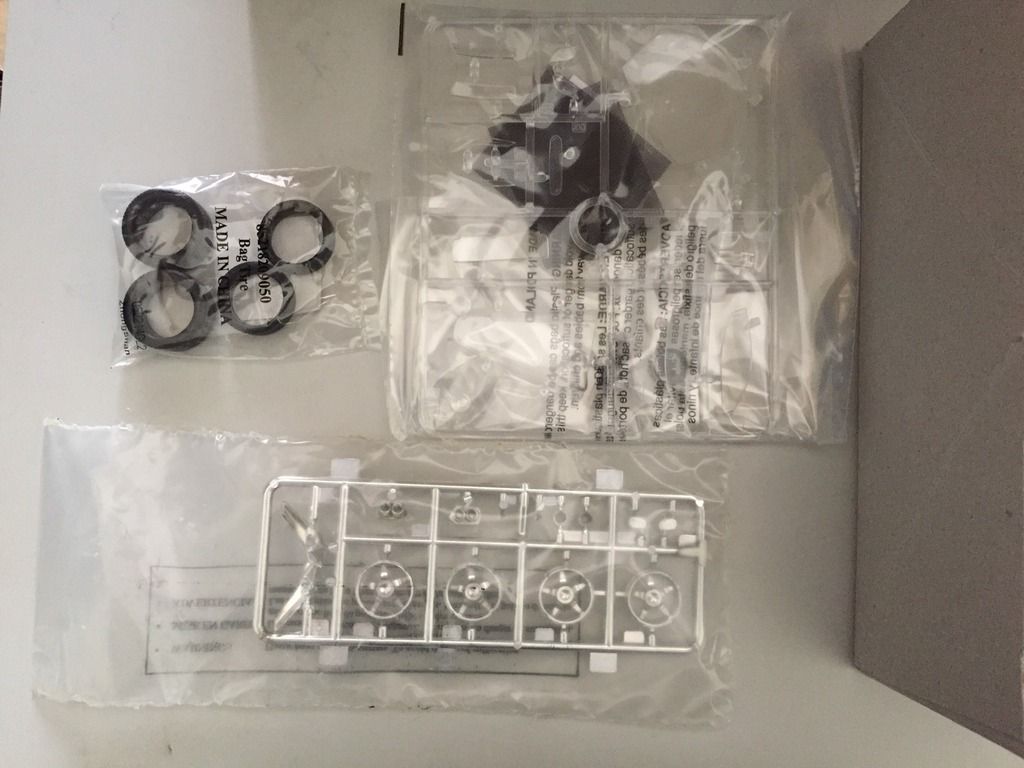
What is in the box:
This marks the start of the build. Hope you enjoyed reading and learning a little more about me and my projects. I genuinely appreciate any and all comments that you provide. Feel free to post your LaFerrari's if you want to and any tips/advice as well.
Thank you for looking.
DV
-
Looks good! I like the color- it's a fun build!
Nice work.
Thank you very much Ethan and Tony!

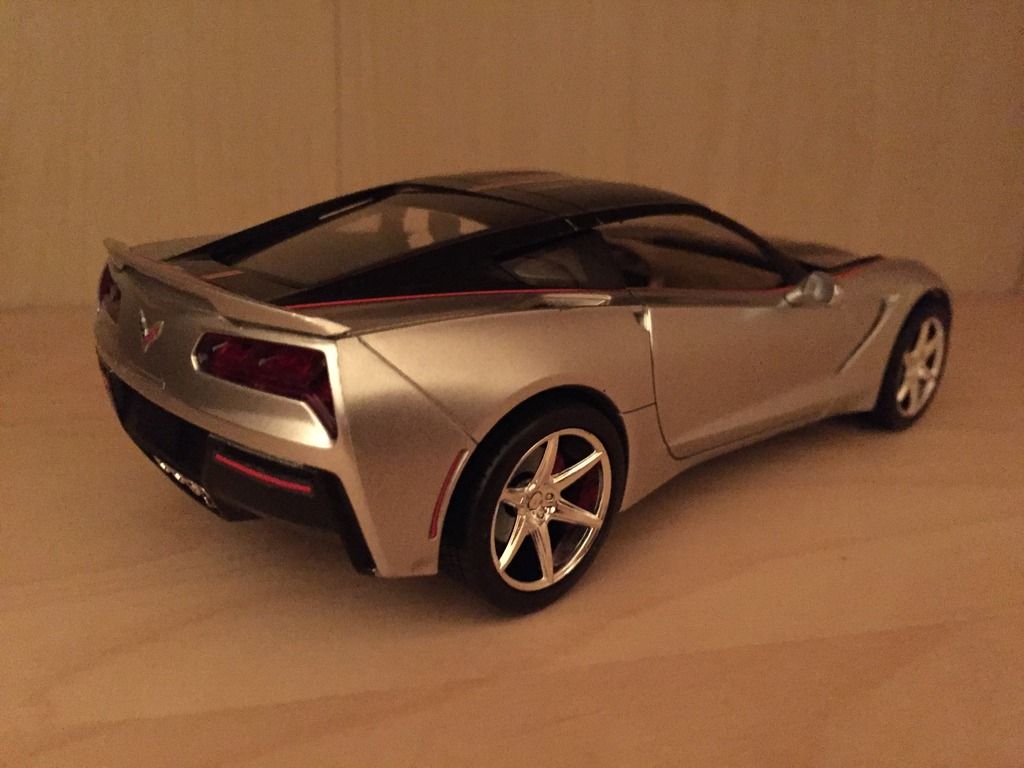
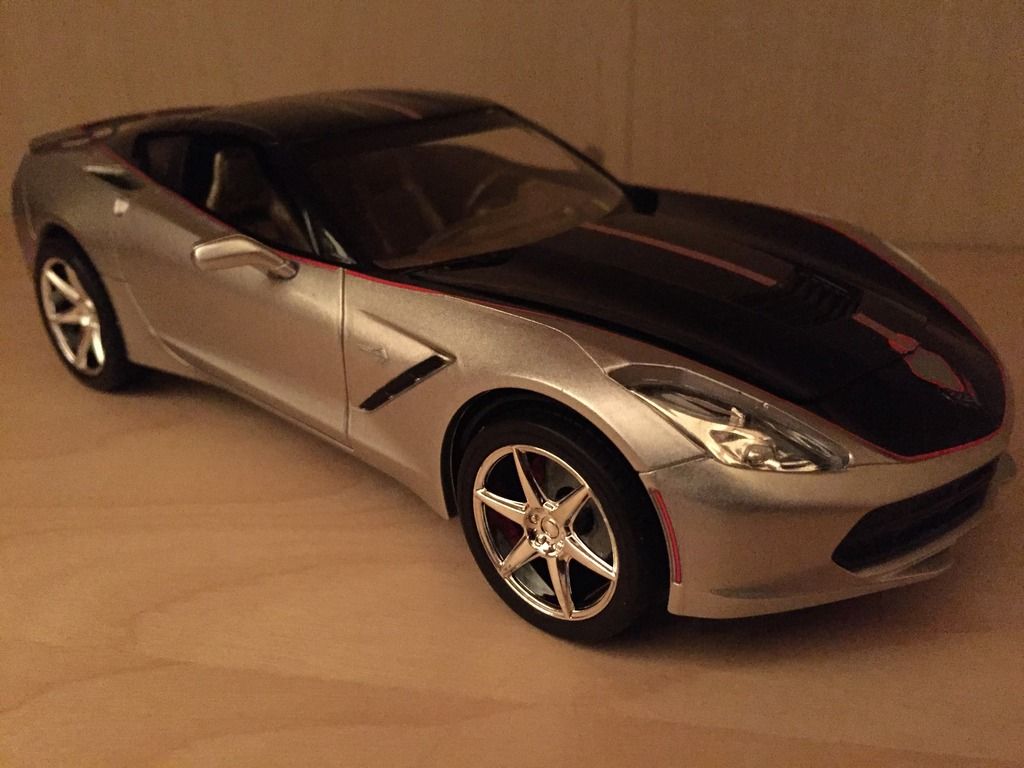
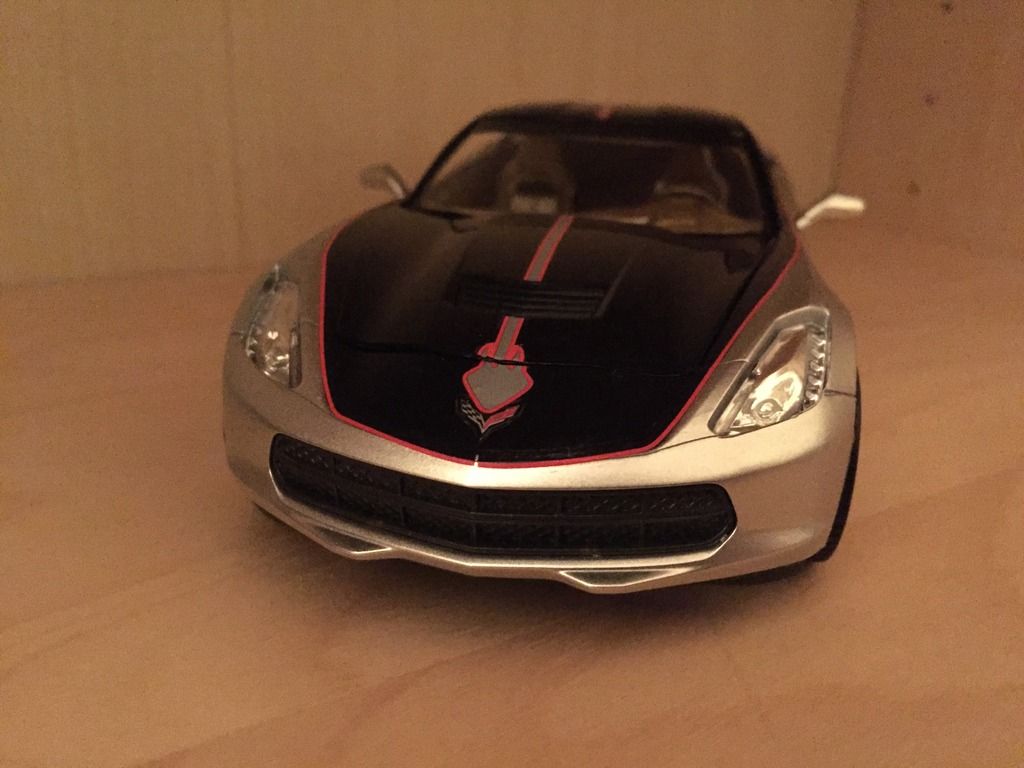







2016 BuildUp (Tinky's Class of 2016)
in Model Cars
Posted
Thank you very much Dan, Stephen and Bruce!