

ve safari
-
Posts
72 -
Joined
-
Last visited
Content Type
Profiles
Forums
Events
Gallery
Posts posted by ve safari
-
-
Just wow. Very impressive build, for many reasons - subject, colour, stance, execution. You nailed it.
-
Great thread, I love the many minor changes that combine to turn a basic kit into something far more precise and impressive. Following!
-
Two thumbs up!
-
 1
1
-
-
On 9/10/2021 at 8:58 PM, David G. said:
Thank you Eyman, I'm glad you like it.
Here's a quick shot of the model in my display case. It's a bit overexposed to capture the meeting of the dashboard and body work. I don't recall there being any problem with the fit of the interior tub into the body.

The inner fenders are another story entirely. I do remember building some fillers with sheet styrene. If you're interested, here is a link to the short build thread I posted back in 2017.
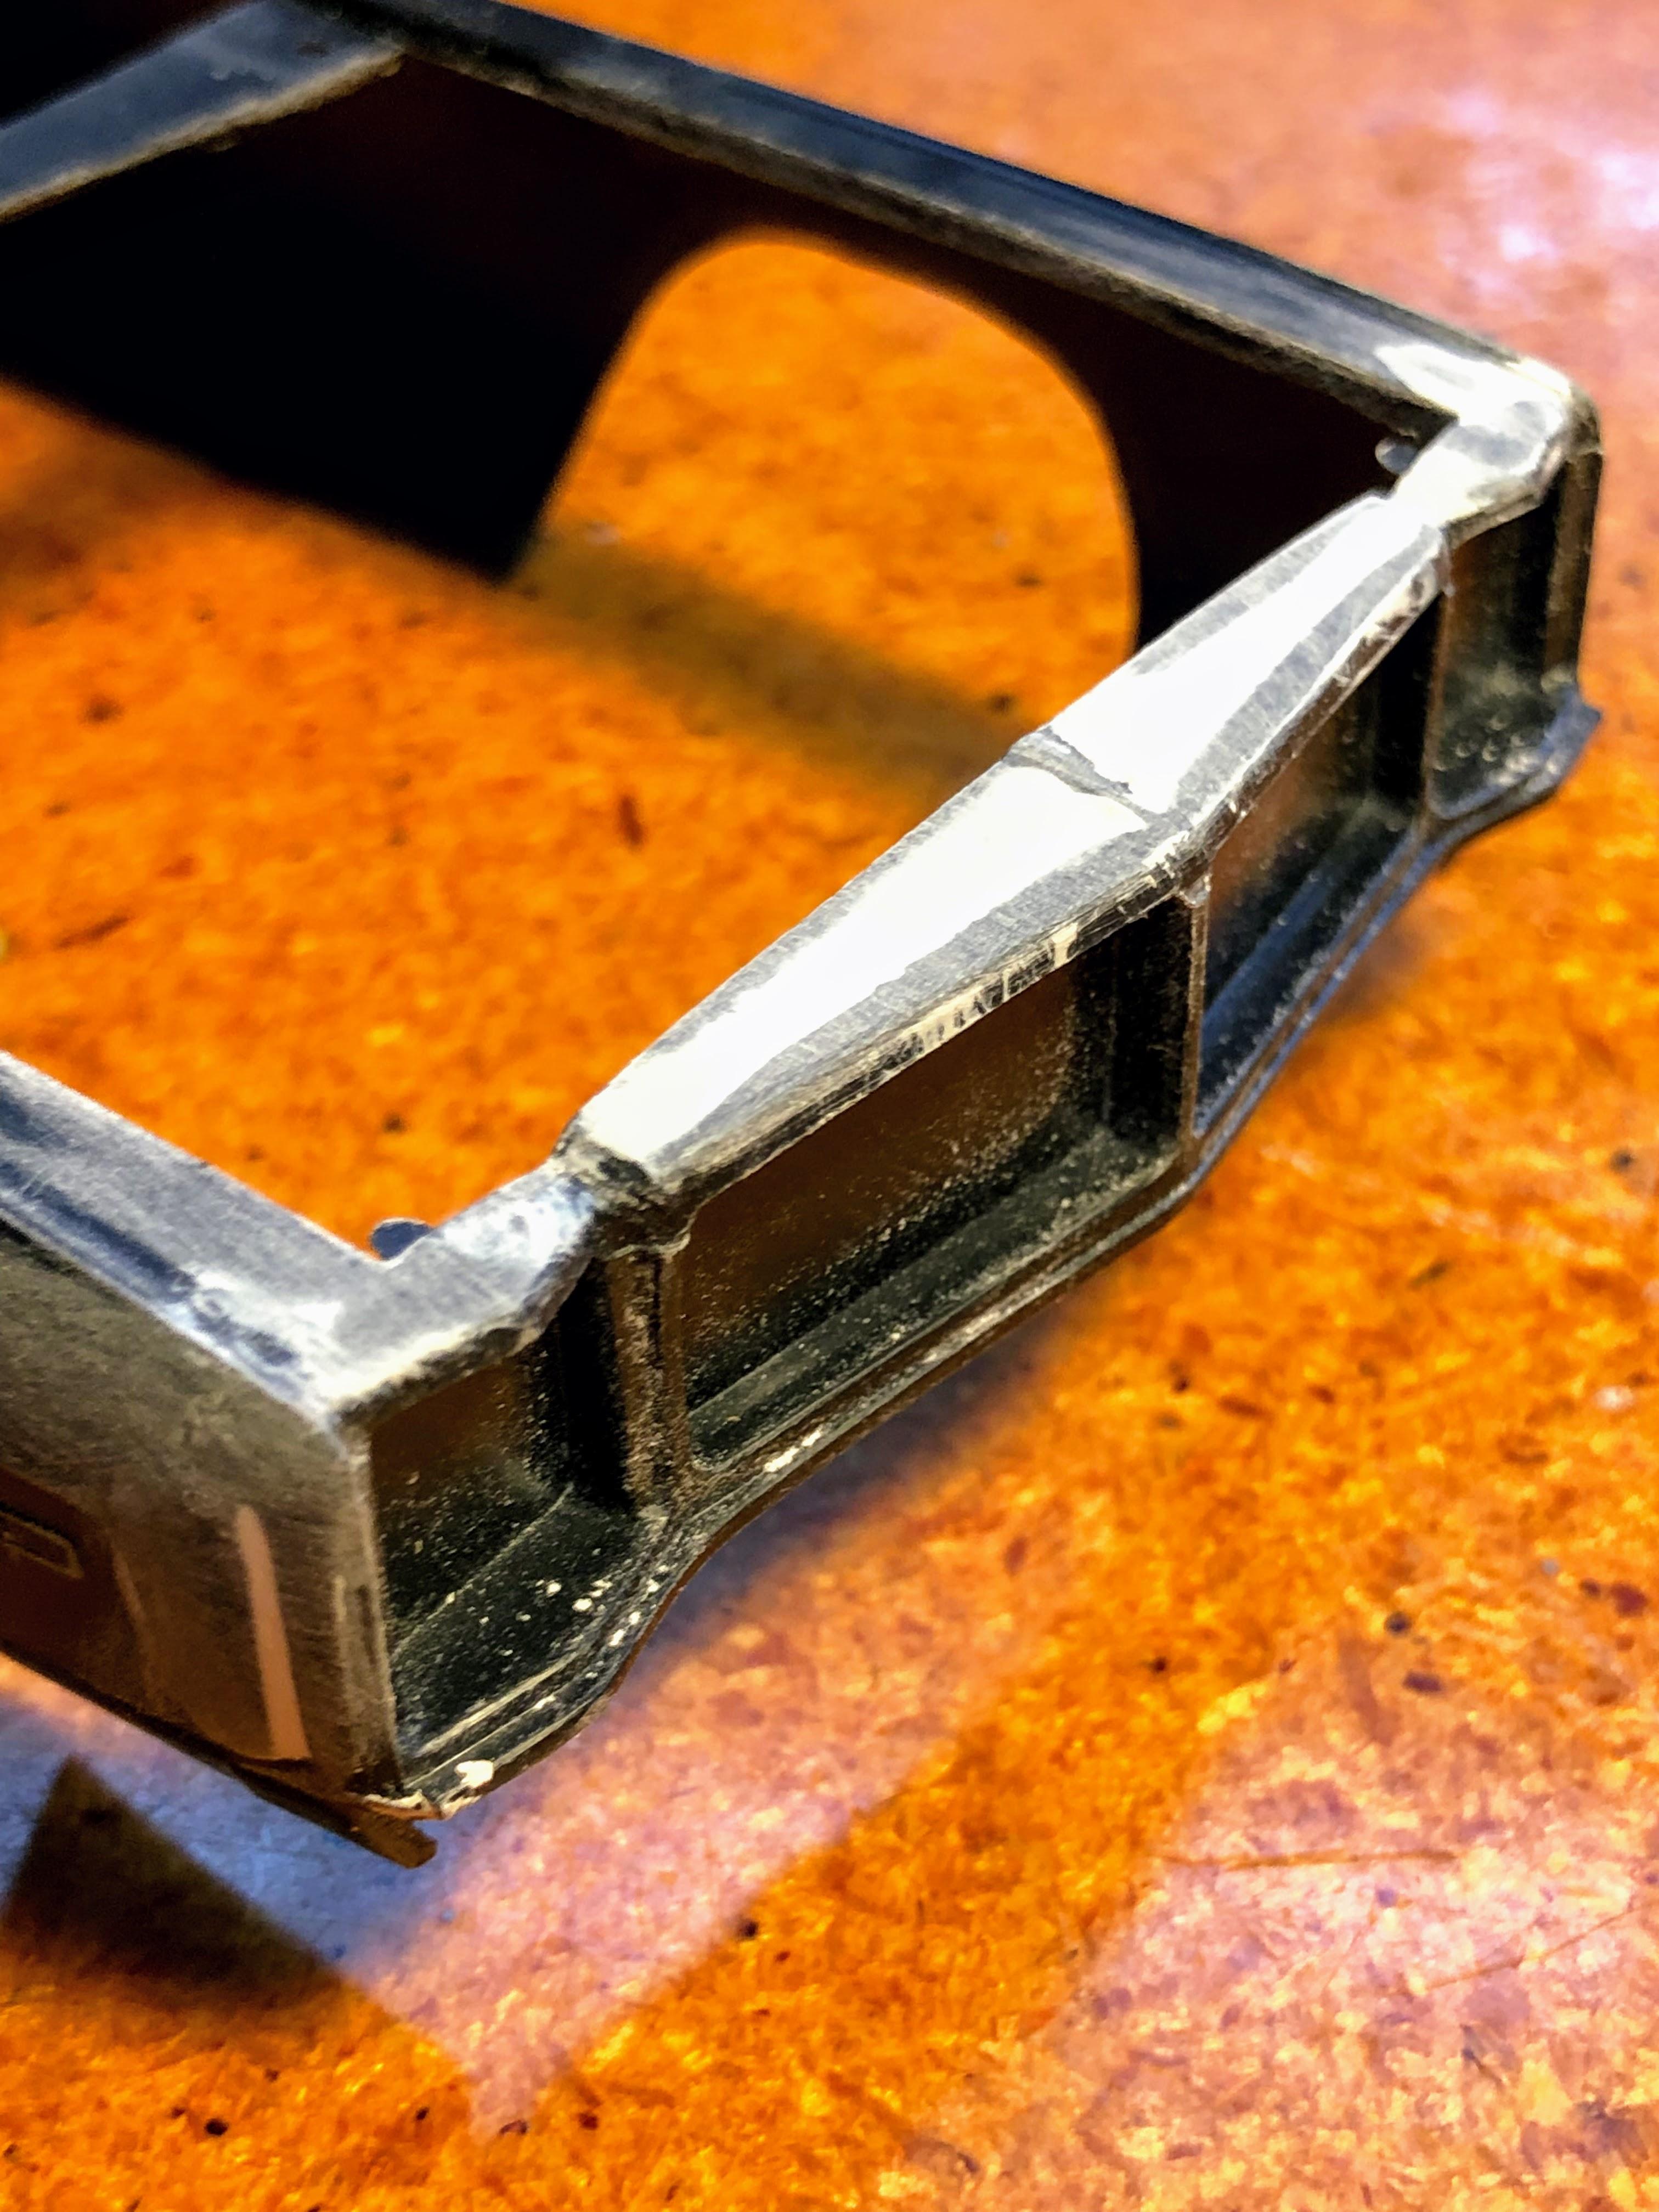
I also remember some fit issues with the rear bumper.
It must be very exciting to have the resin kit in your possession, I can't wait to see more.
David G.
Thanks for sharing your build link David, it's given me some ideas. I'm kind of torn about how deep into this hole I want to get. Keen to improve on what came in the box, but don't really want to spend a whole lot of time making things better. I will build on the fenderwalls similar to what you did, and I do want to tie them to the body as my front end seems so floppy - it can deflect 2-3mm without much force at all, which doesn't seem right. ANyway, will see where it goes.
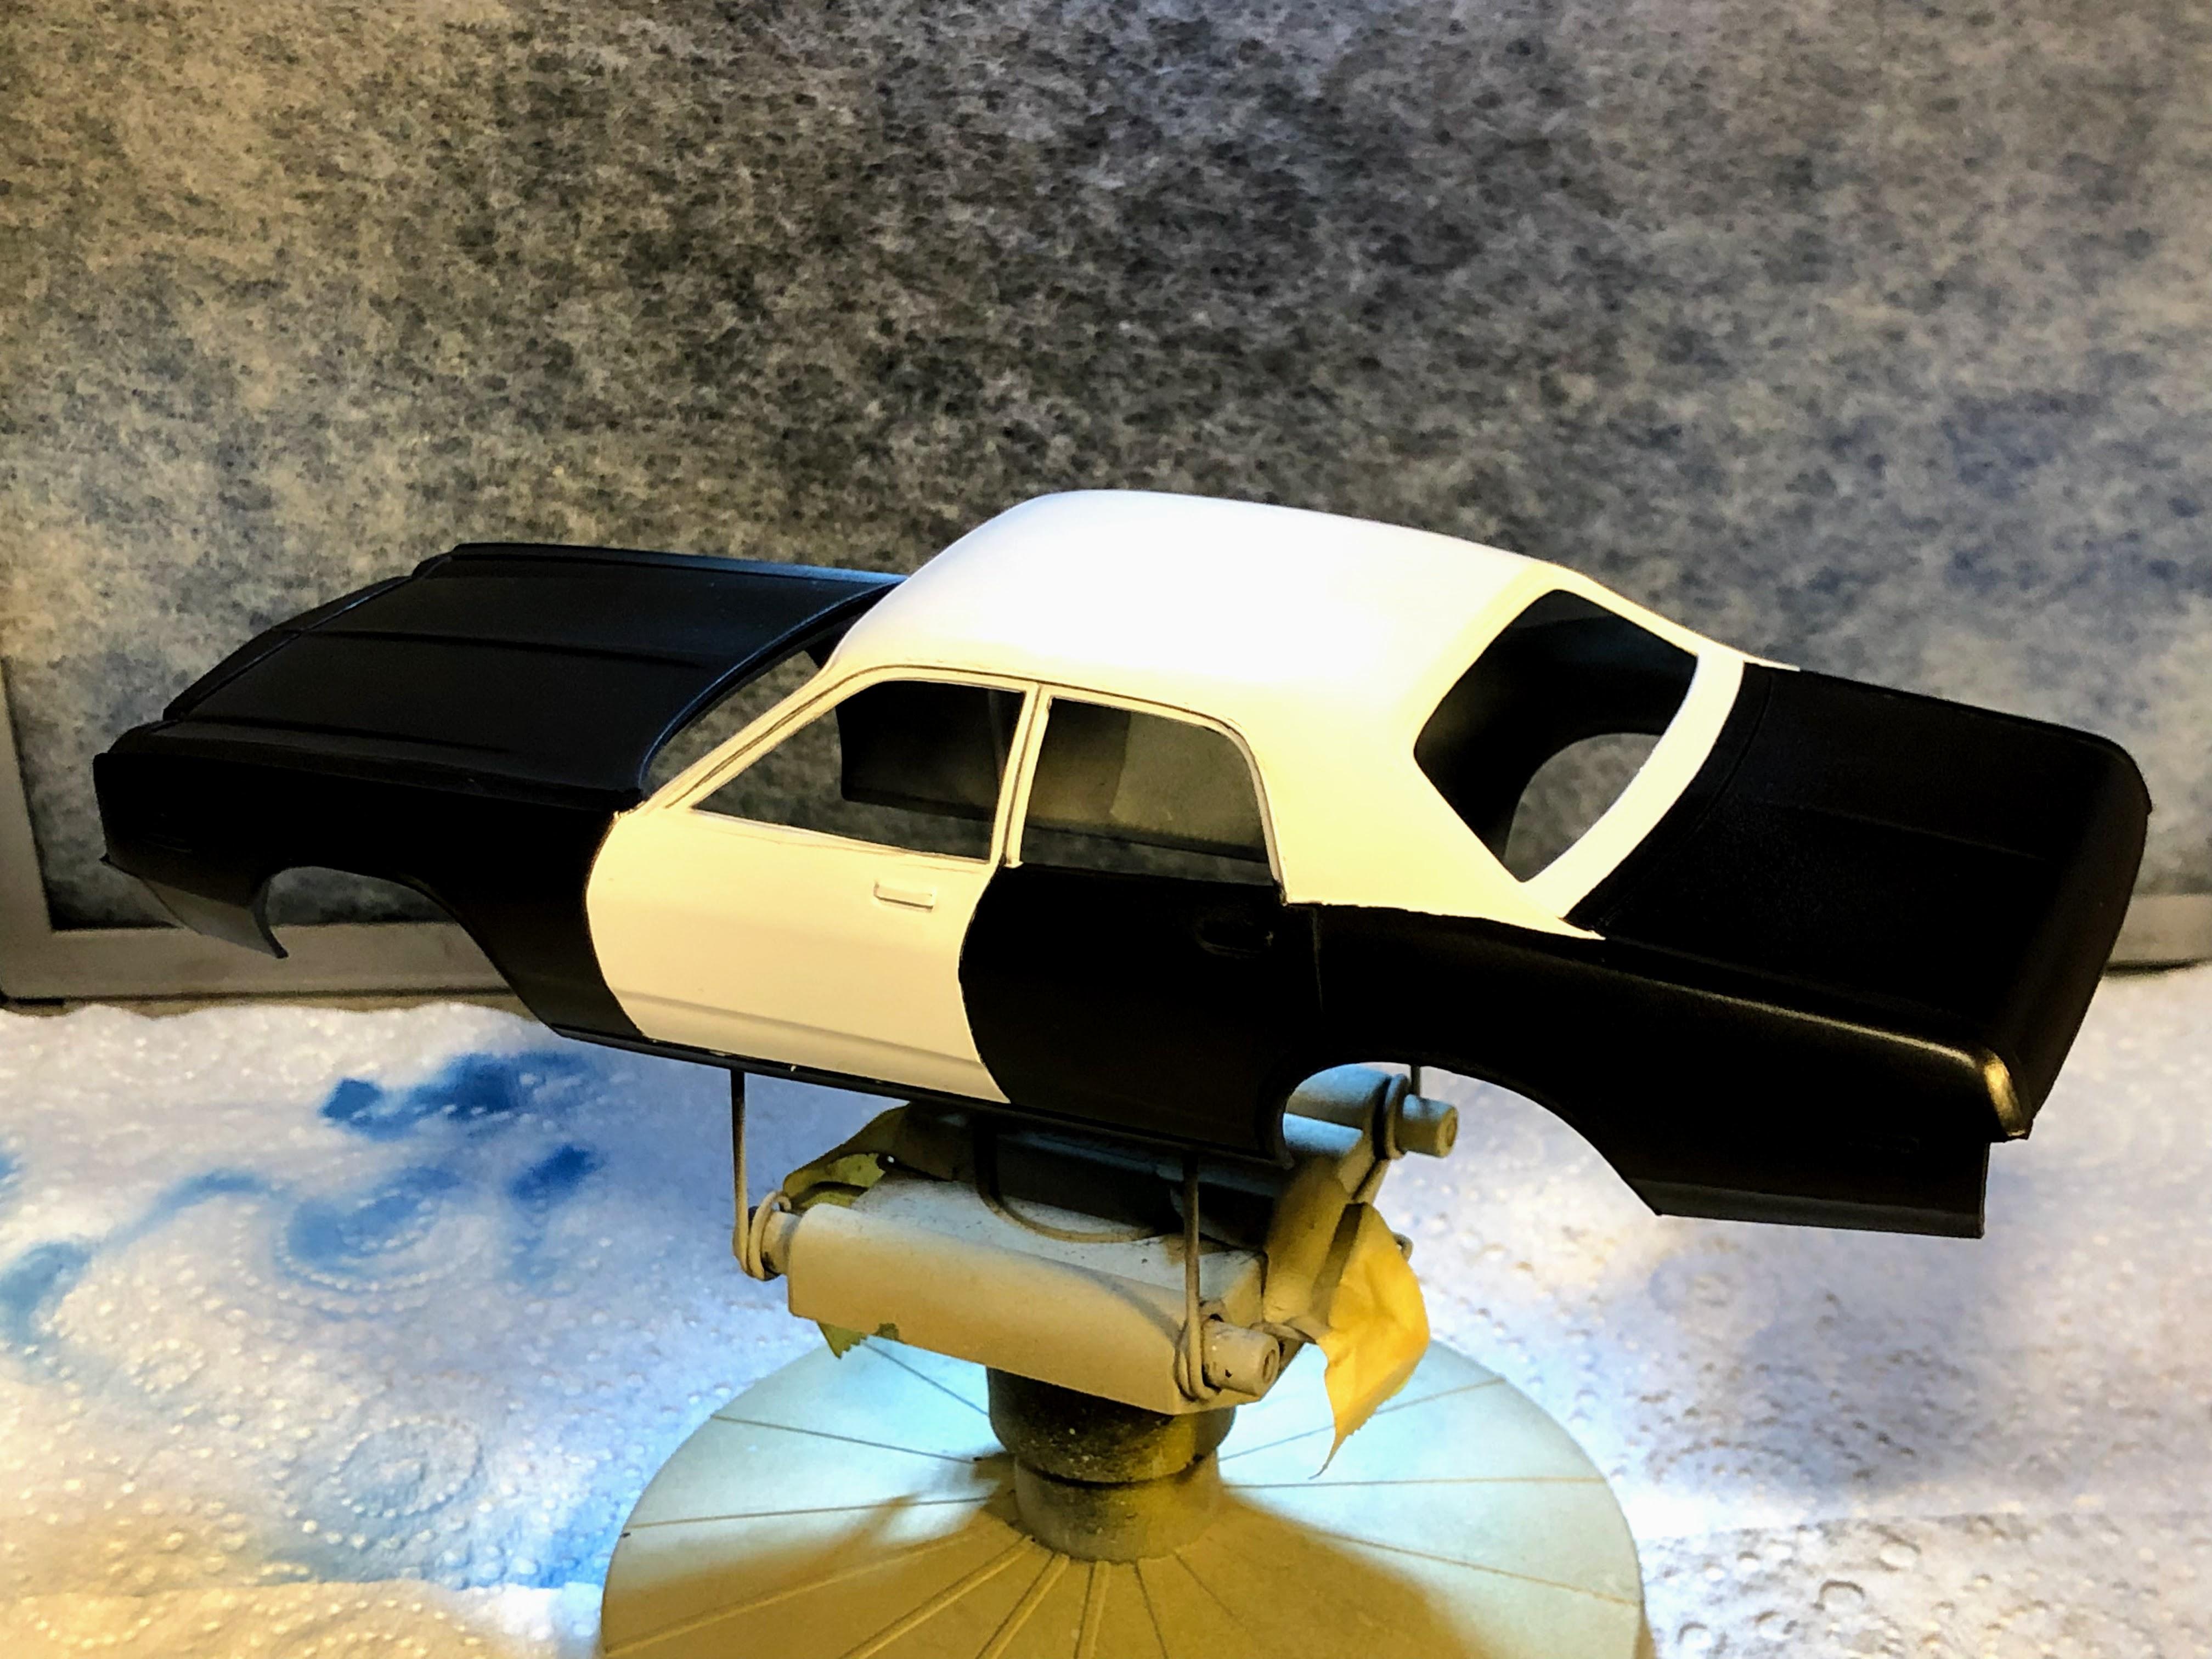
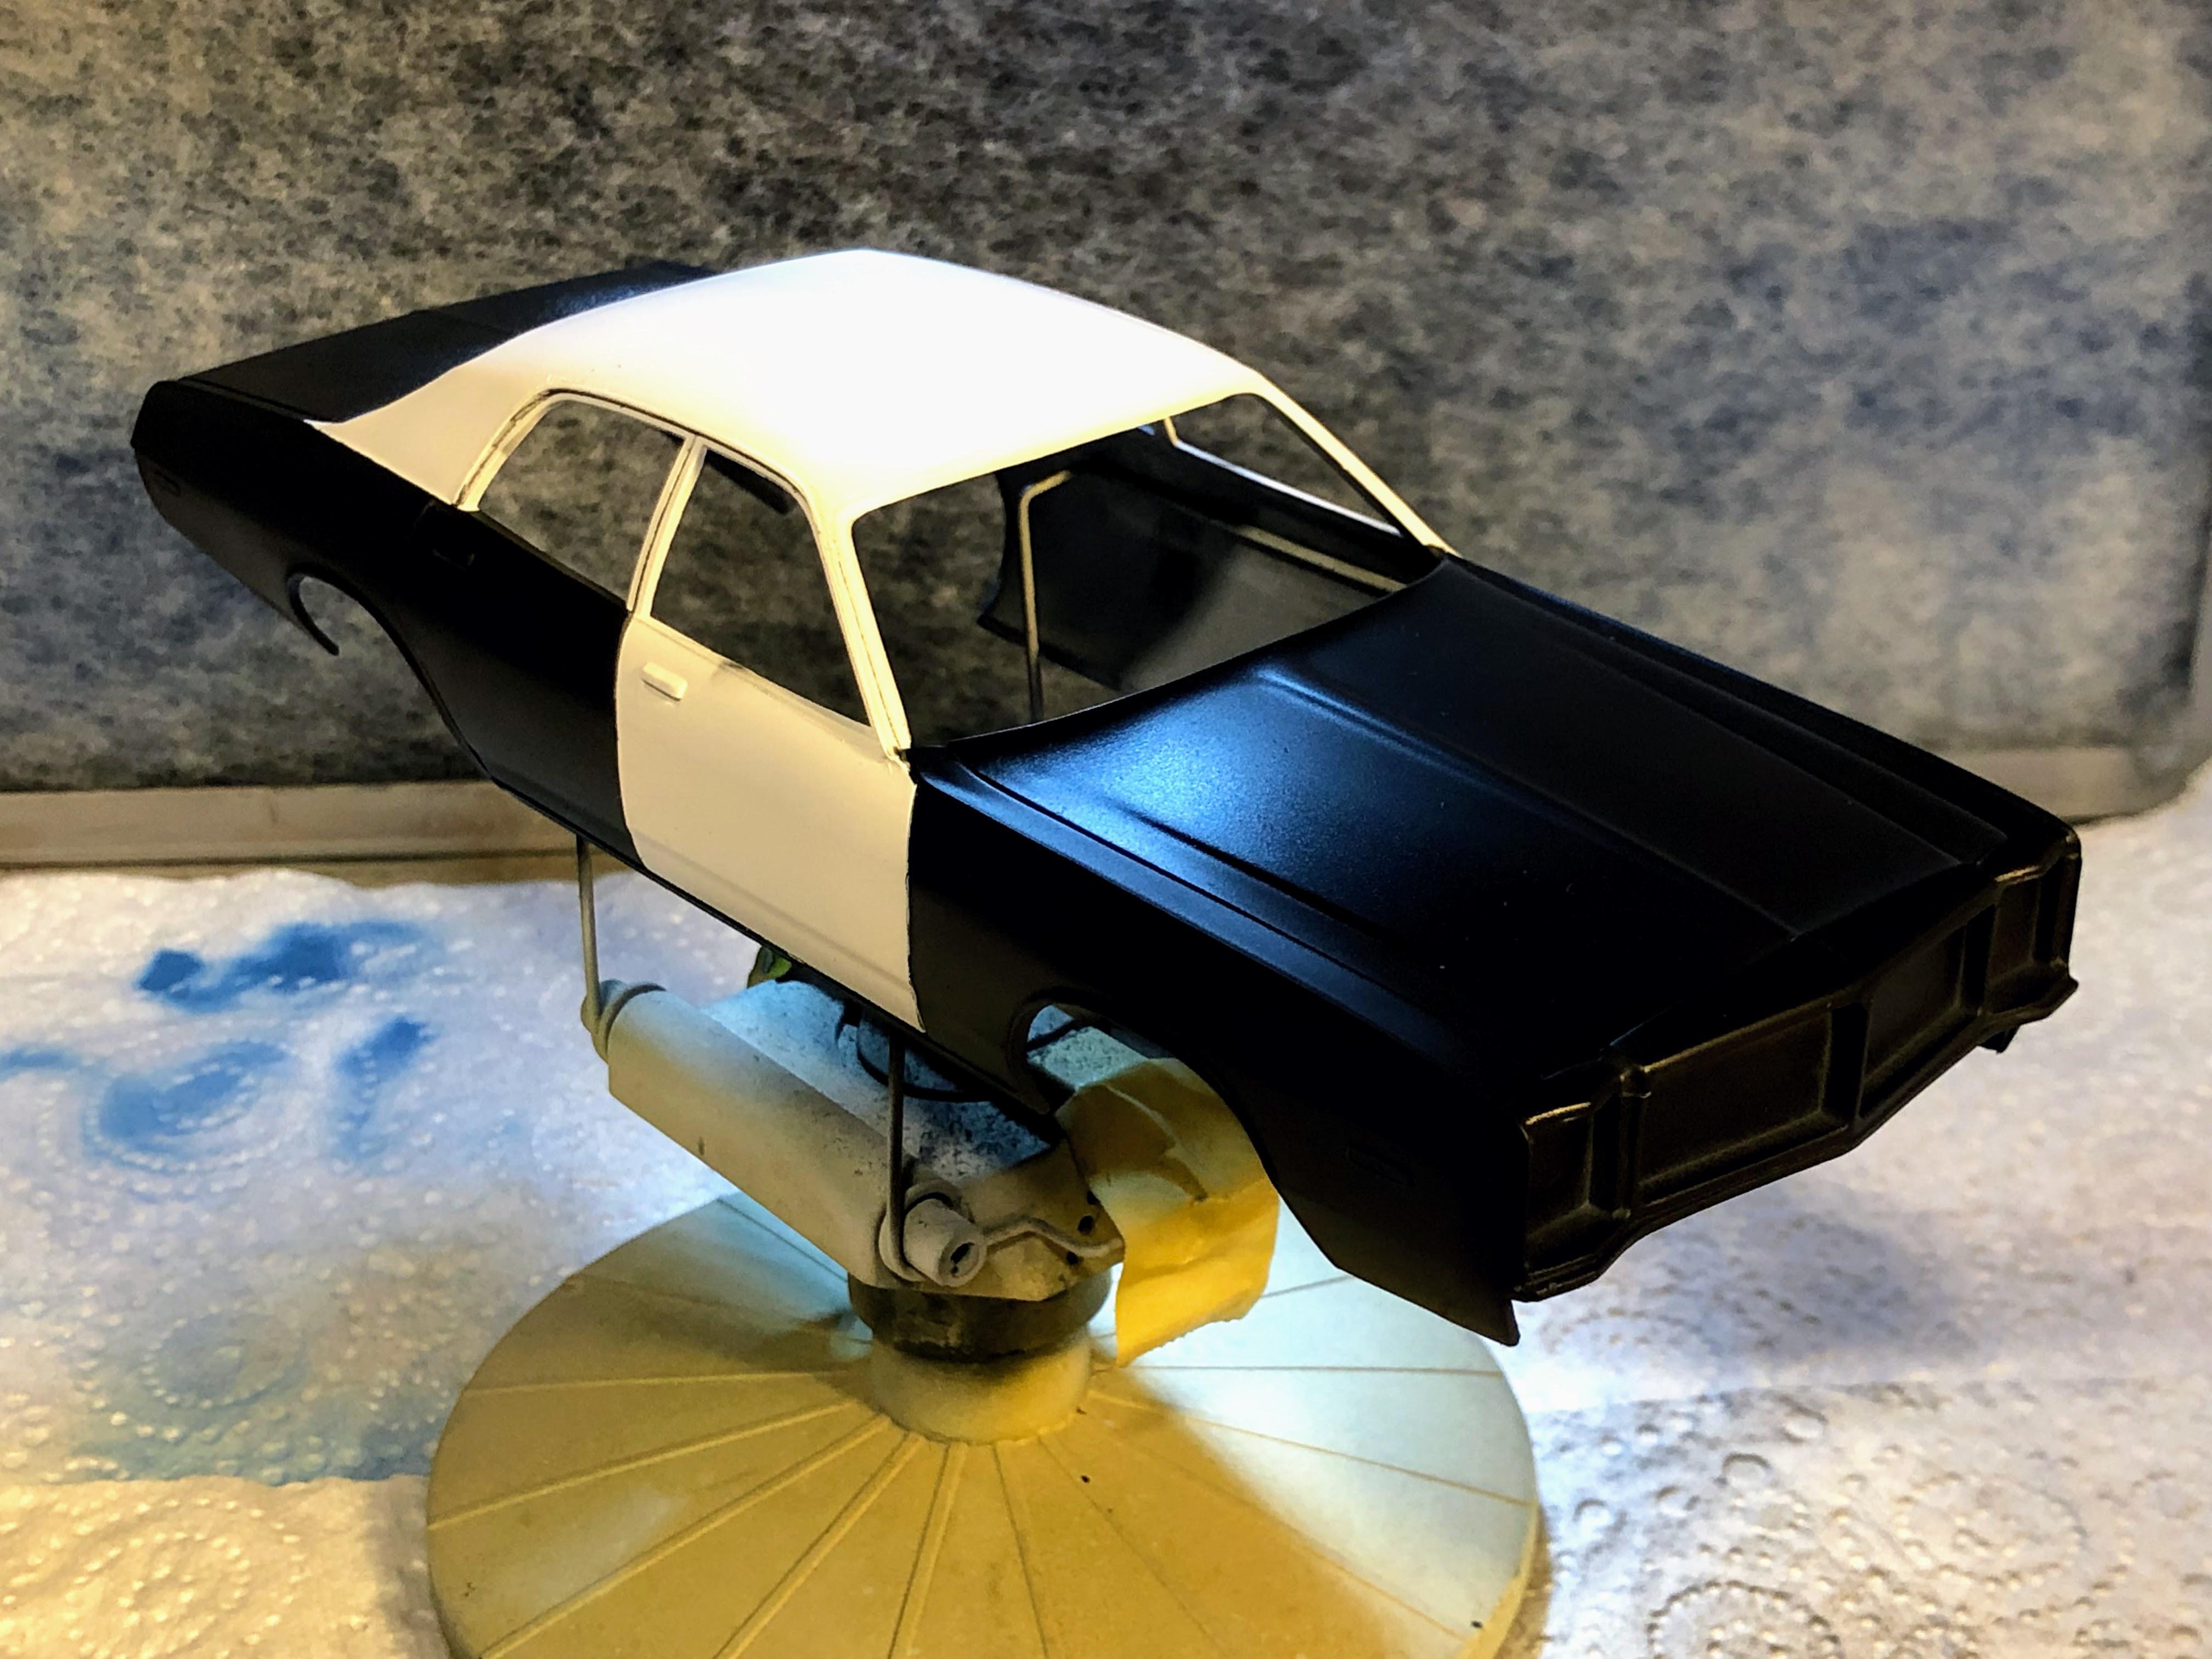
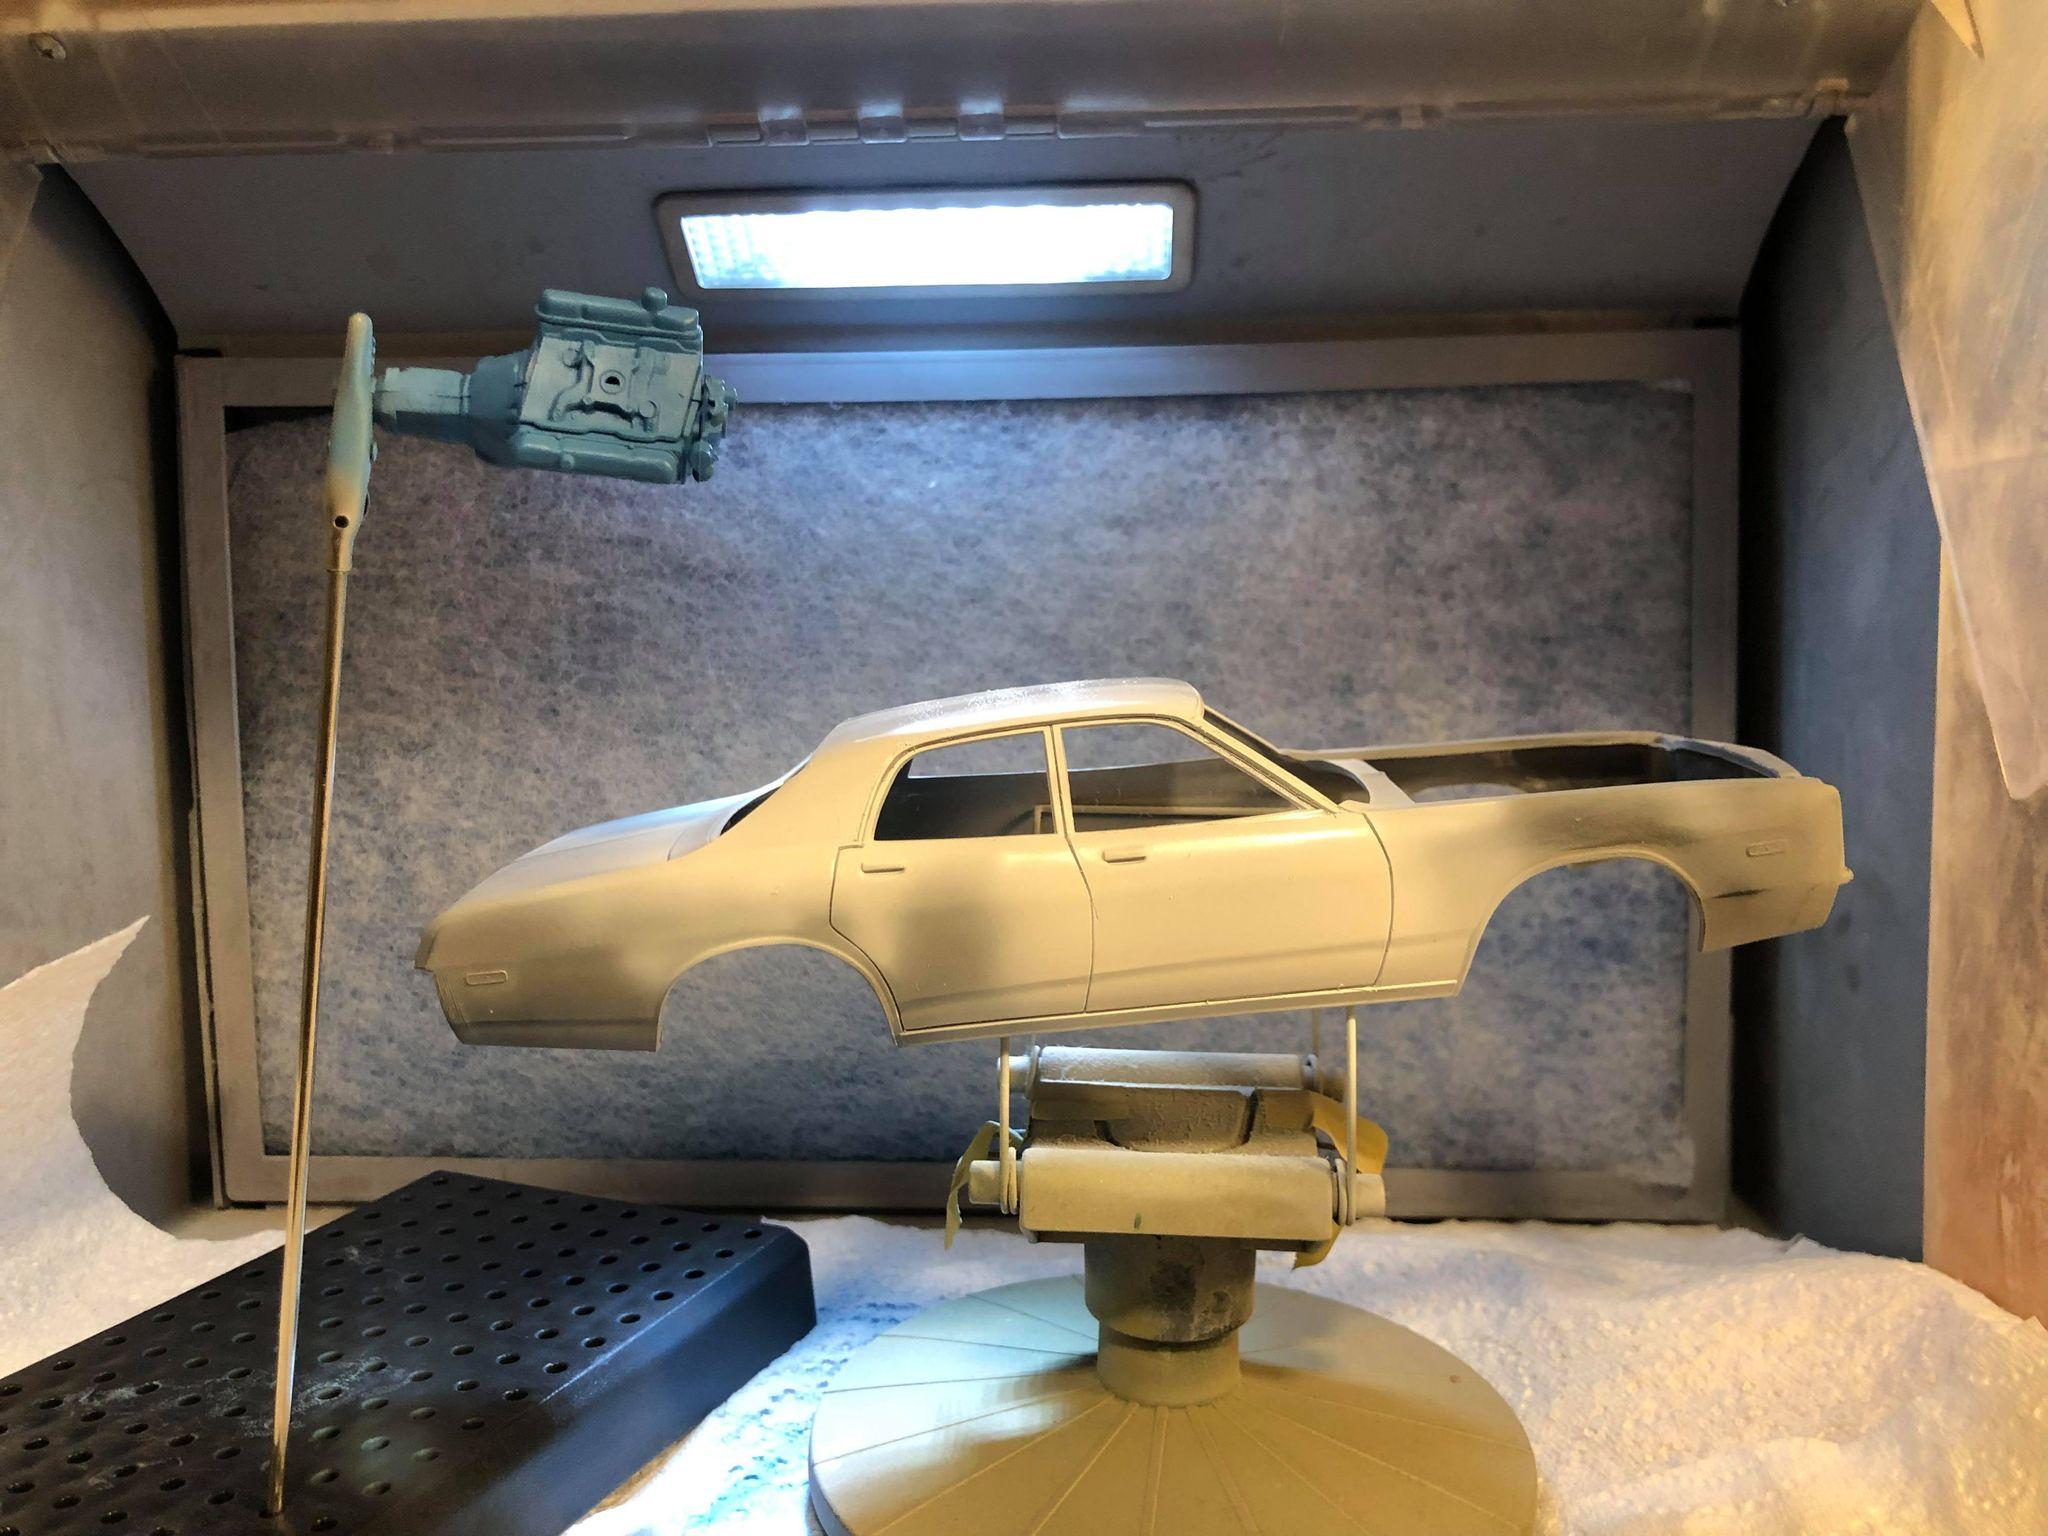
On the build front - I wasn't happy with my masking work and finish so repainted the black. Settled on the wheel and tyre combo I want to run with, and did a bit of weathering on the engine and interior. Spent a chunk of time on her, but doesn't feel like a whole lot of progress - very annoying but I guess that's what this hobby is sometimes! Thanks for your interest, and here's some pics I hope you might find interesting.

-
Fantastic, looks great. Also that green streamliner in the background looks interesting. Have you a thread on that you can point me to?
-
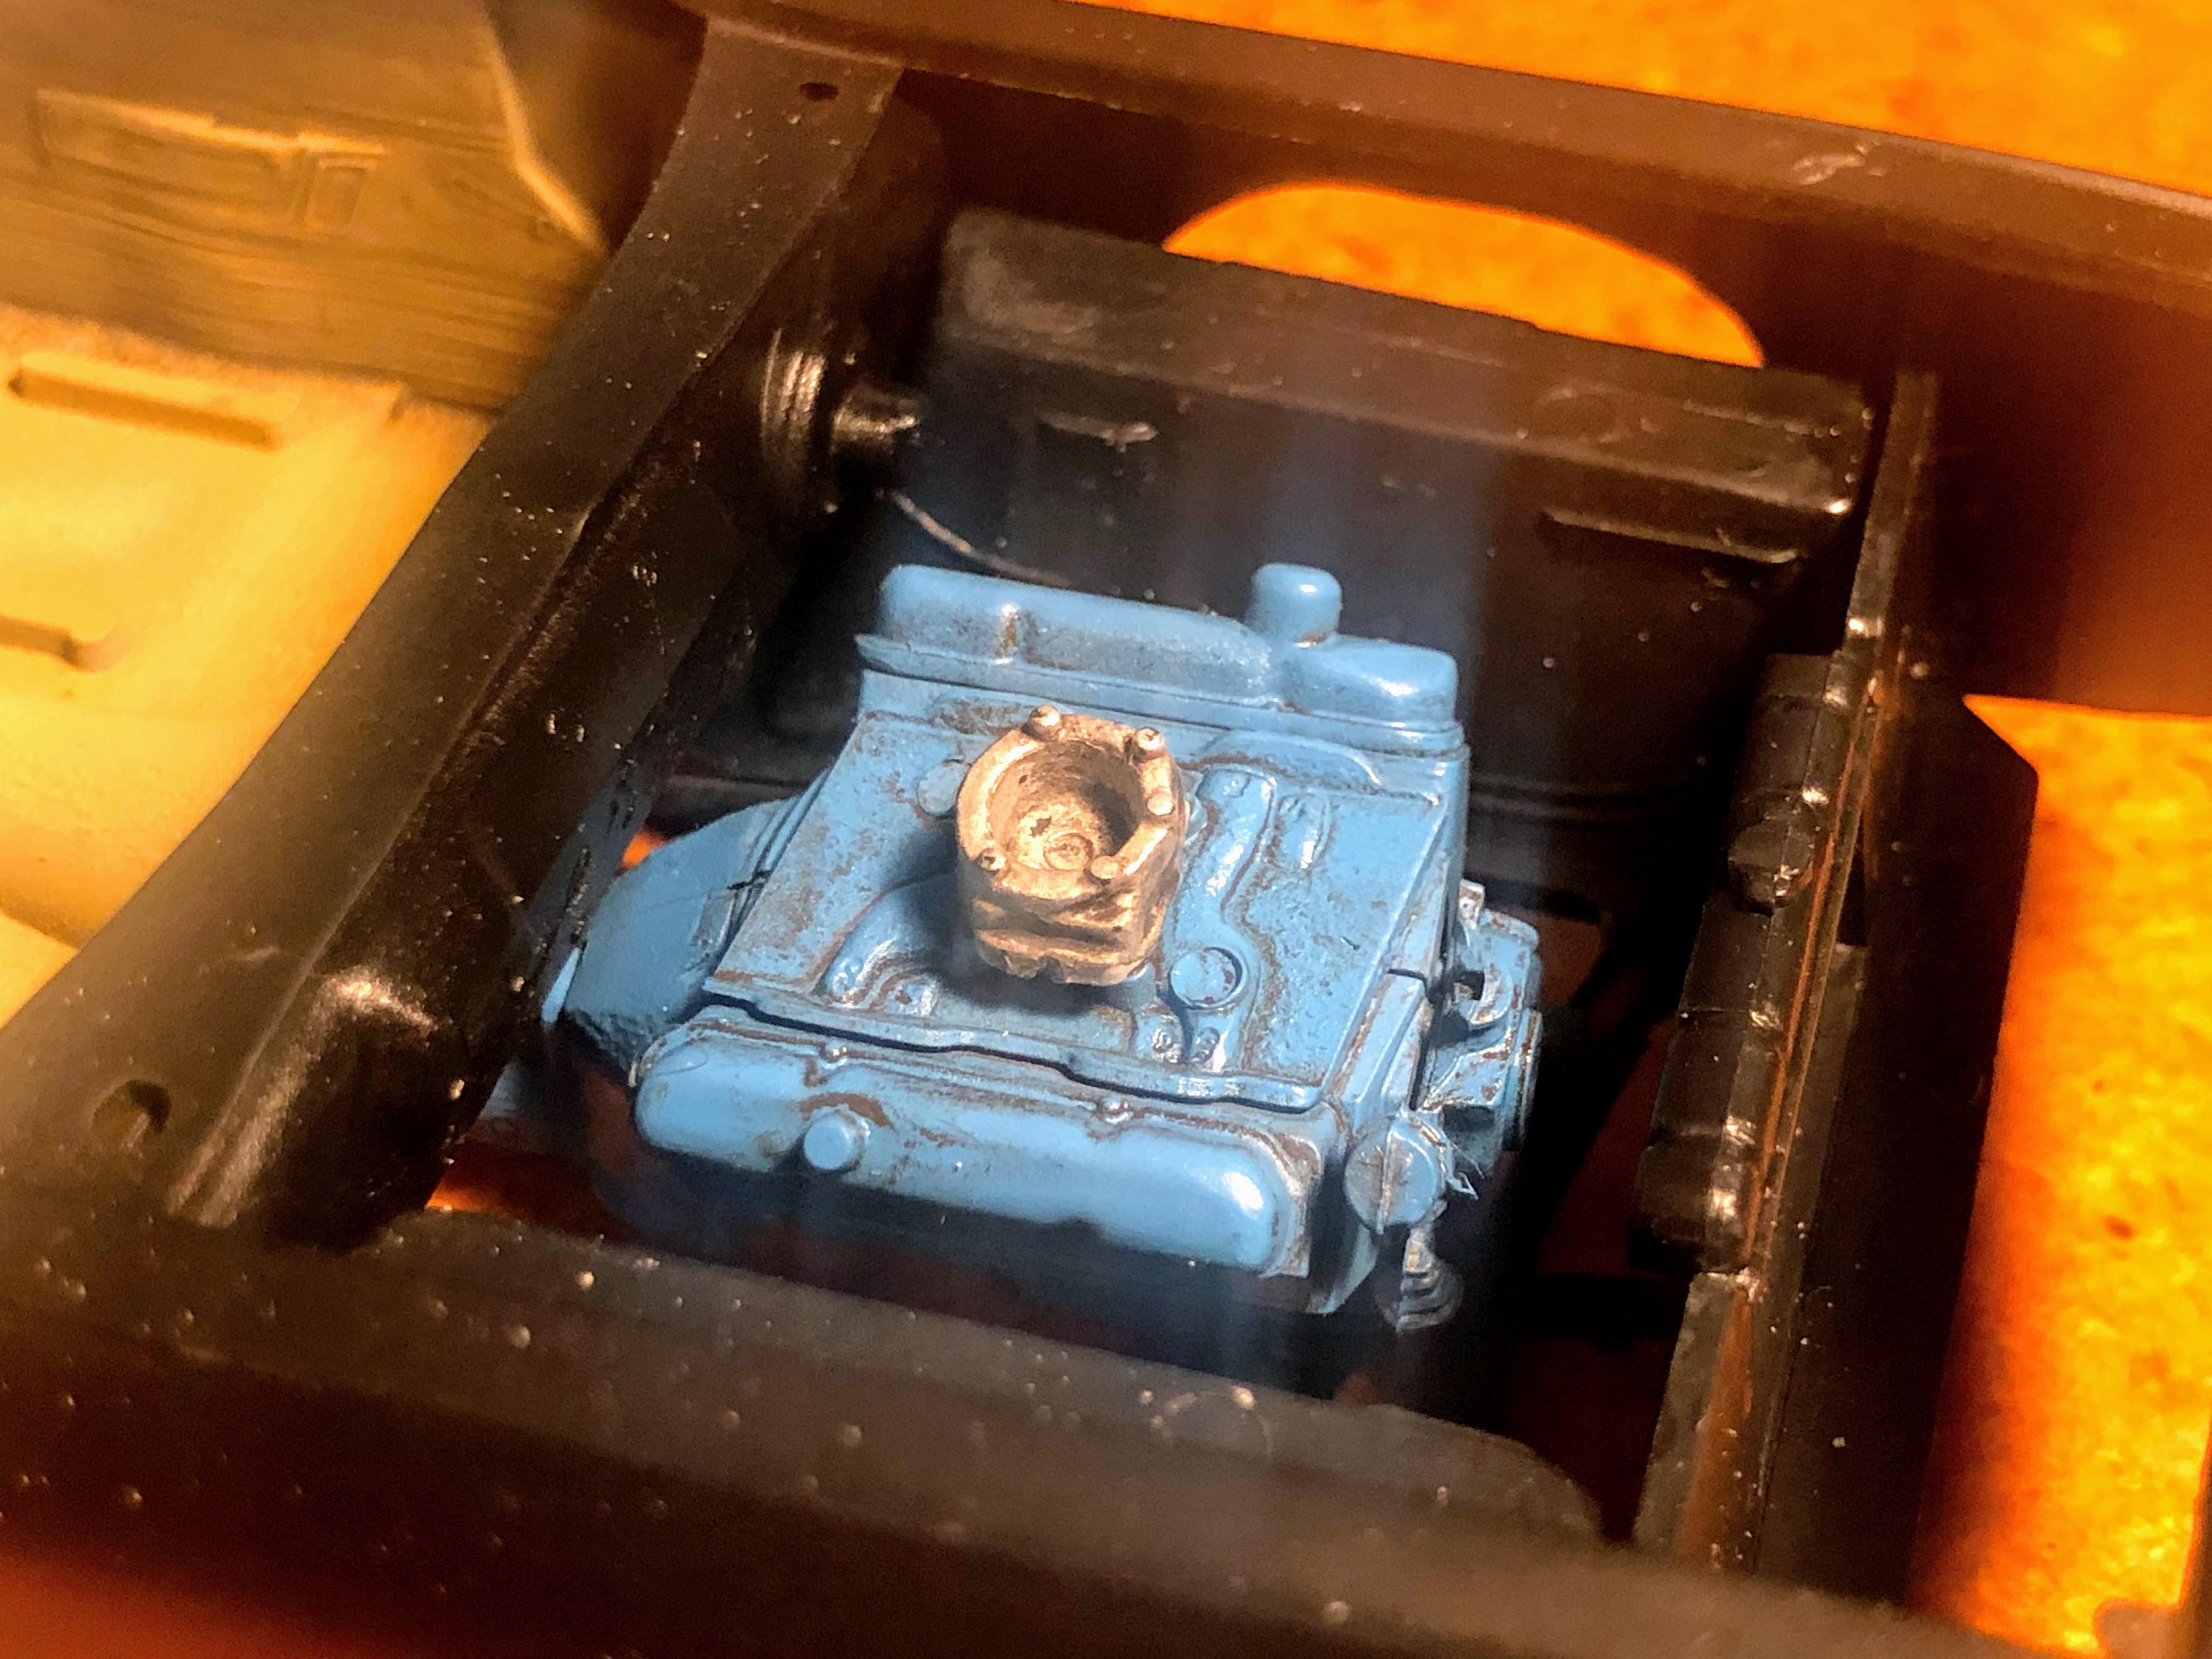
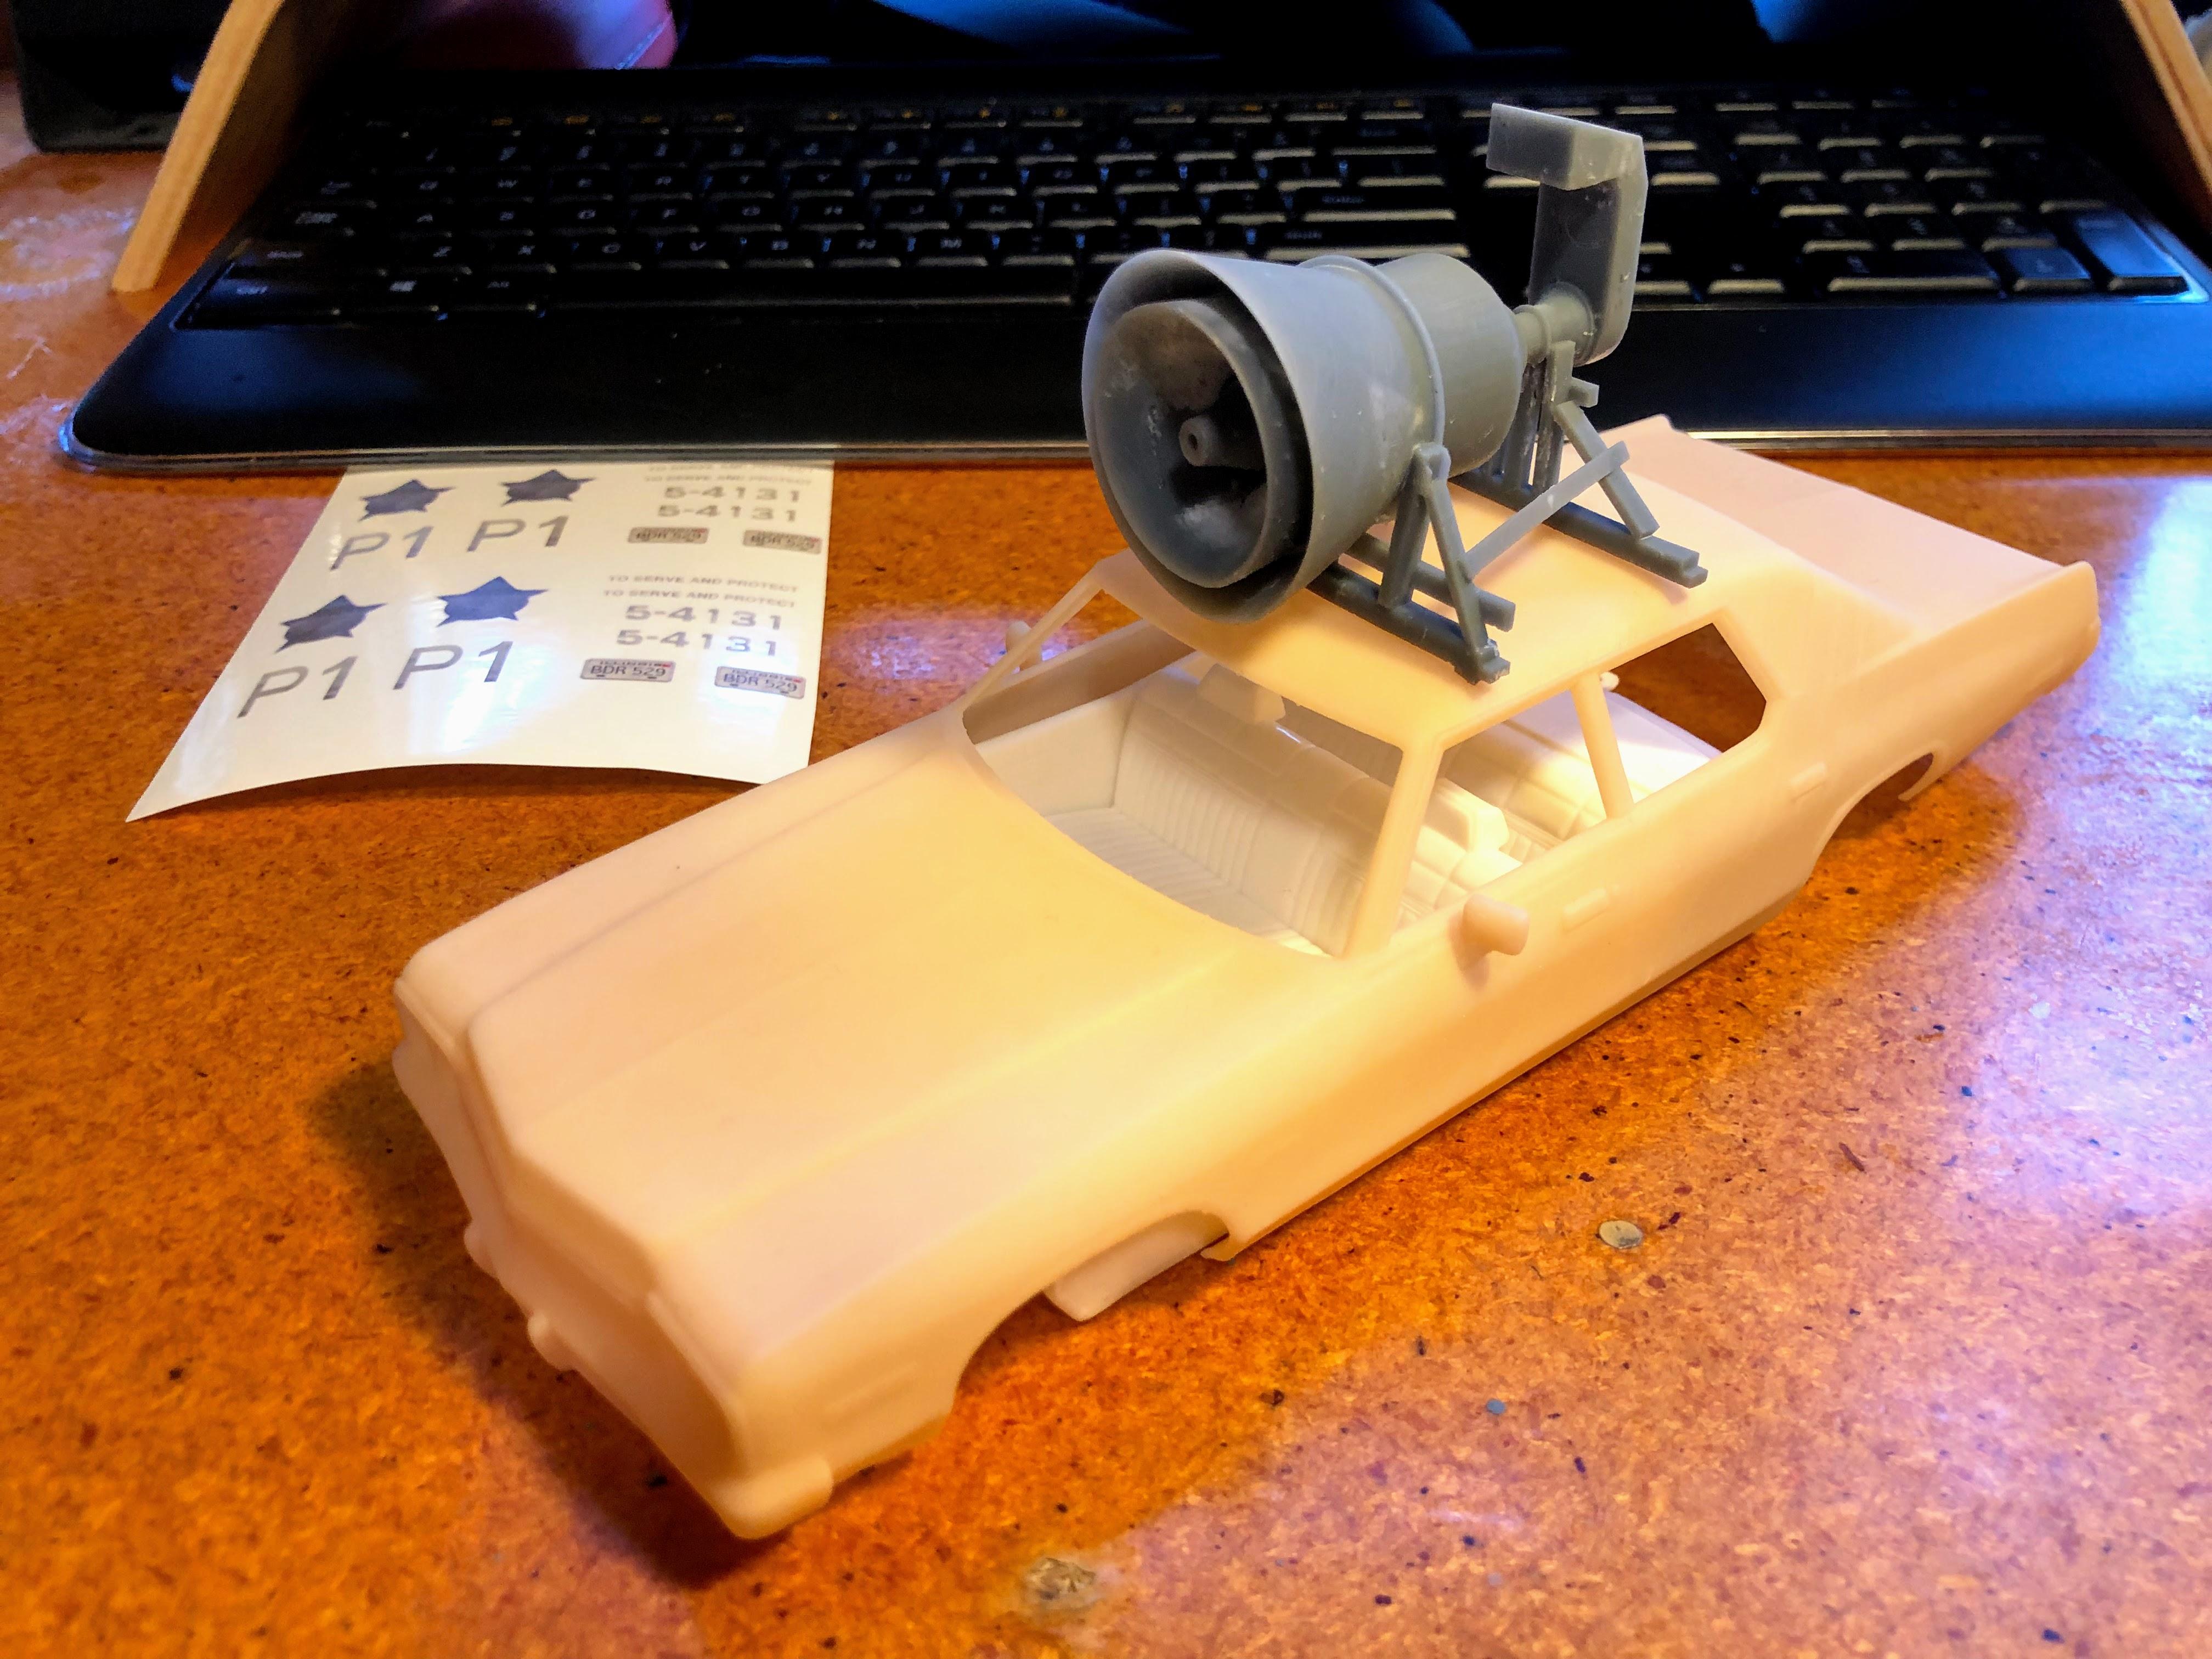
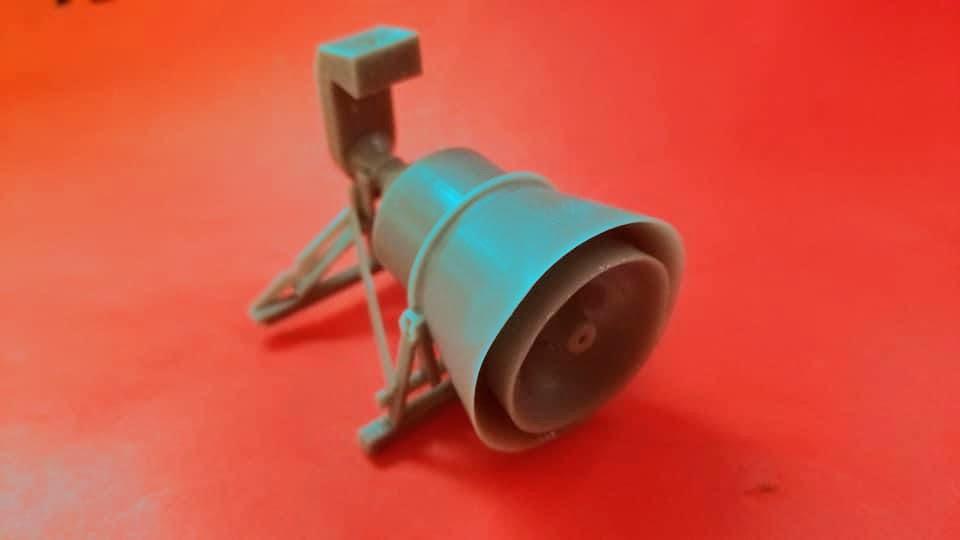
Speaker will eventually reside on this
-
Thanks again for the kind words fellas.
David G - your Monaco looks awesome! Tell me please, how is the dash-to-windscreen fit? Is there a gap on the build, or does it come together nicely? Same with the inner-guards/fenderwalls?
The postie bought me some goodies today...
")
I love it when a plan comes together.
-
HIghlight of the day - a buddy sent me pics of the speaker he modeled and printed for the project. It turned out awesome.
-
1
-
-
23 hours ago, espo said:
You're off to a great start.
Thanks fellas.
A little progress made tonight. I hate masking...
-
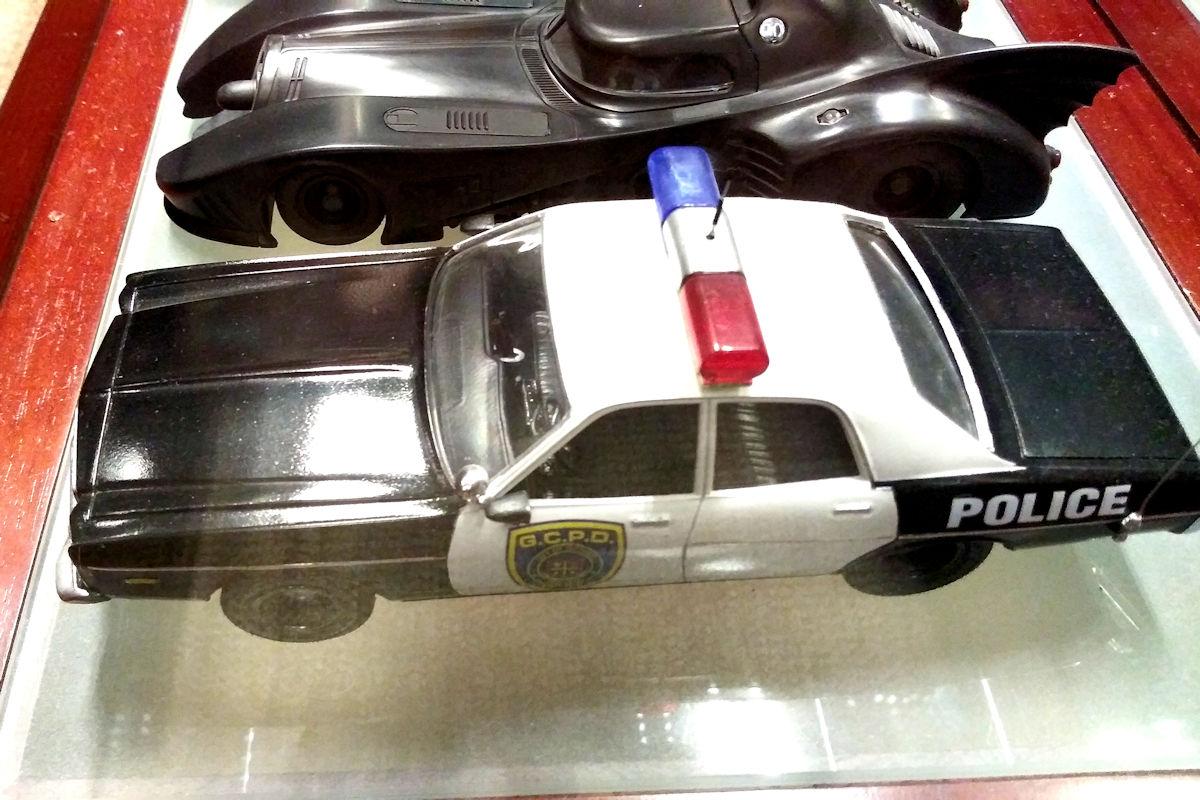
One of my favourite movies is the Blues Brothers, and I've long wanted to make a Bluesmobile. With the advent of 3D printing and some creative thinking, this is now possible. But before I tackle the 3D printed '74 Monaco I have, I thought I'd do a trial run on a Joker Goon Car to get the painting and weathering right and learn along the along the way. Here's my WIP
Start with a kit I've had in my stash since it first came out.
Remove door trim in preparation for Random CHP decal, tidy up seams.
I discover that I can get a full Blues Brothers decal kit, so quickly ditch the CHP idea and remove the side body trims in preparation for the decals on rear door and quarter panel.
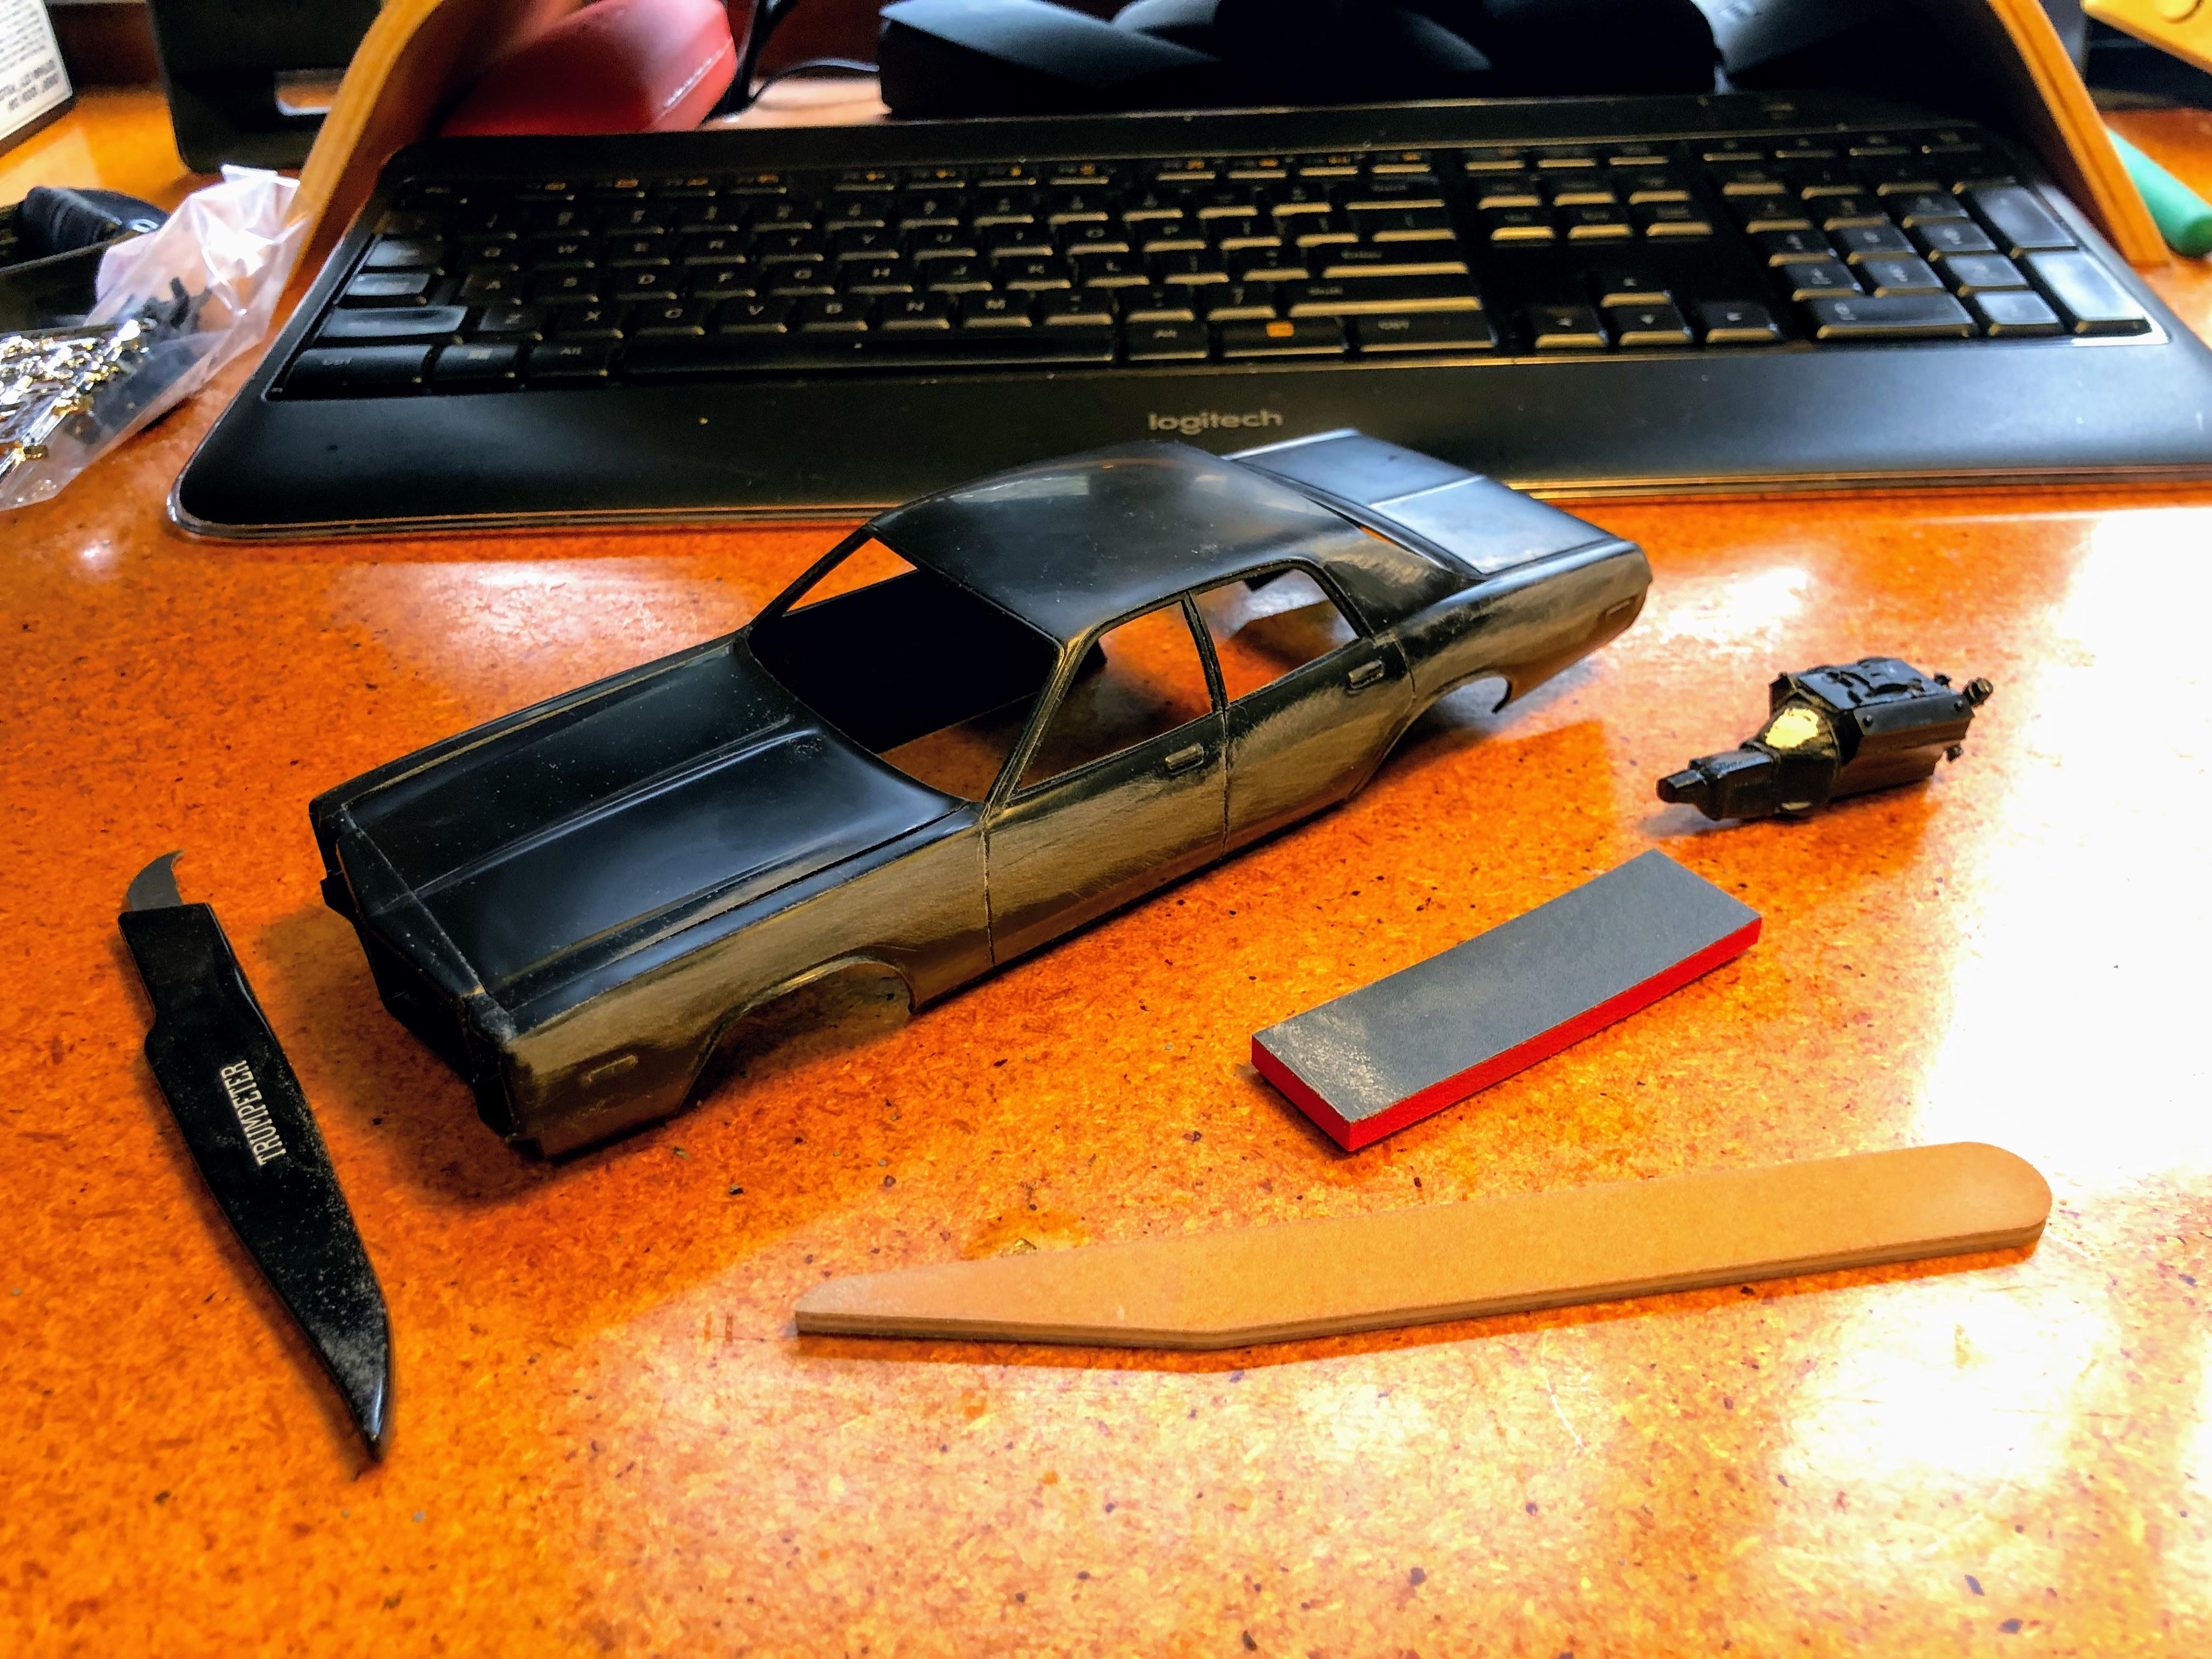
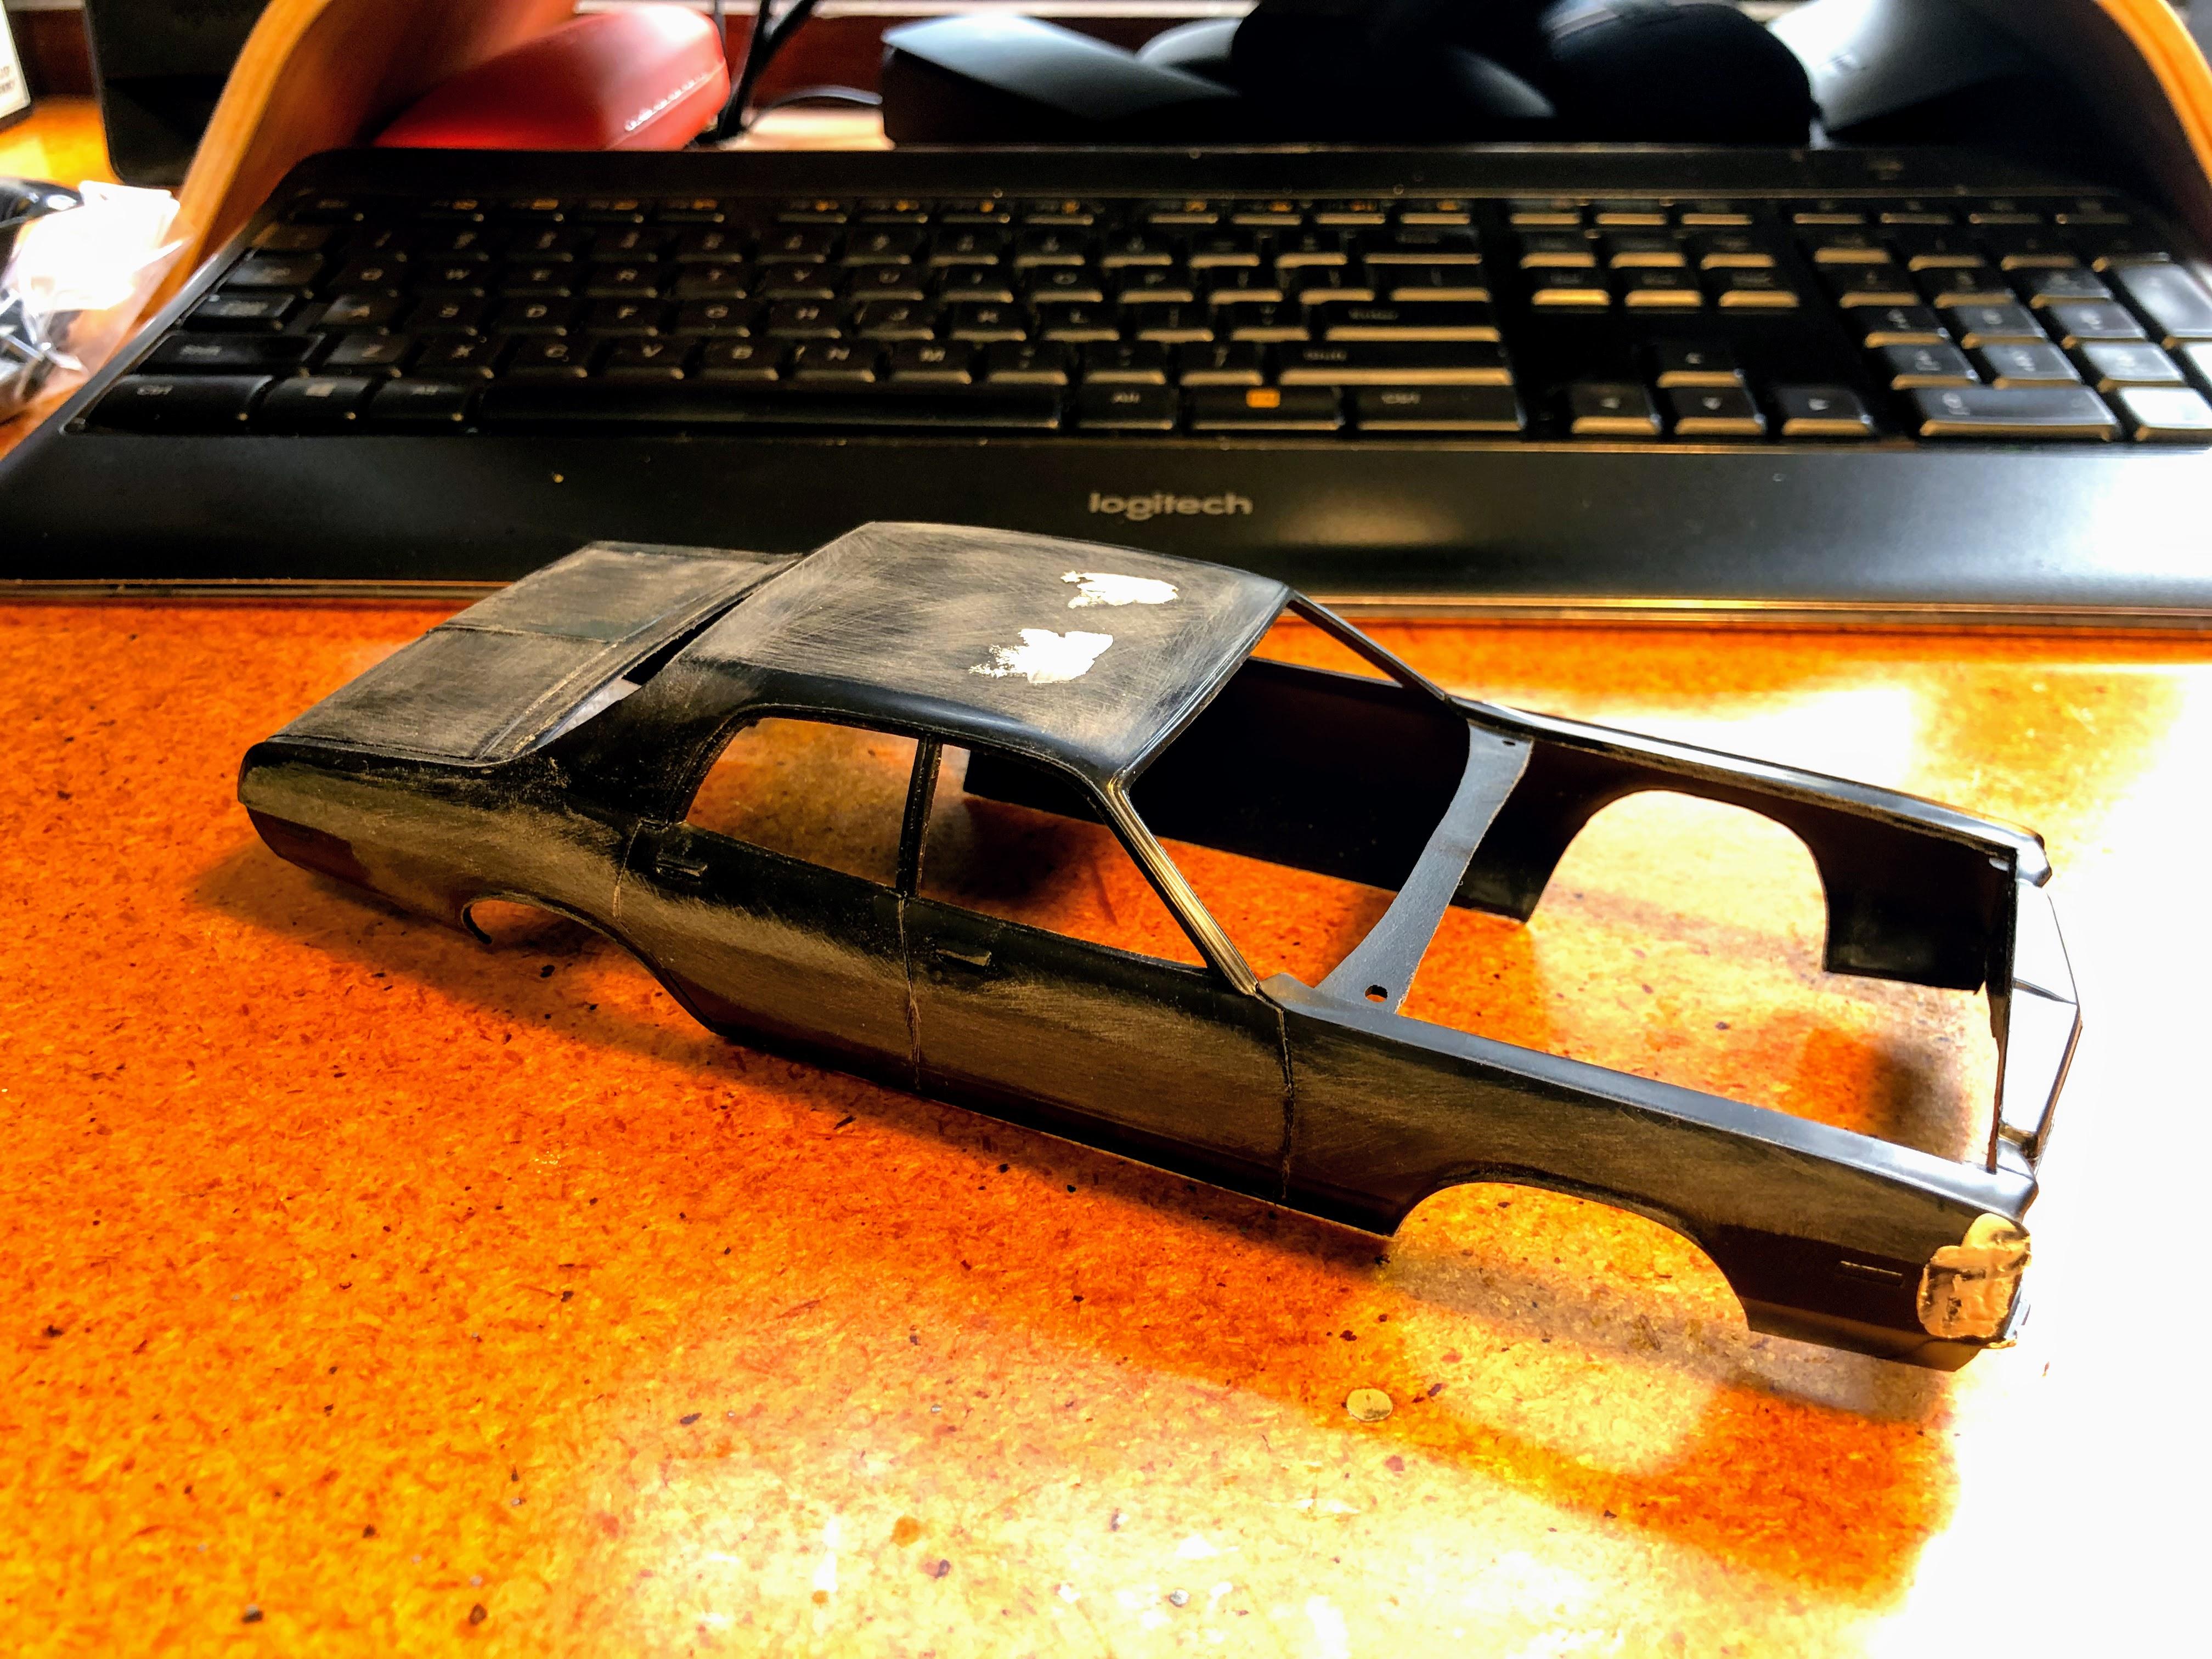
Scuffing the body down revealed some sink marks in roof/fender/nose cone - they've got to go.
That sinking feeling...
Tamiya White to the rescue
I botched the tub to firewall join - the old eyesight isn't what it used to be. Tamiya filler saves me again.
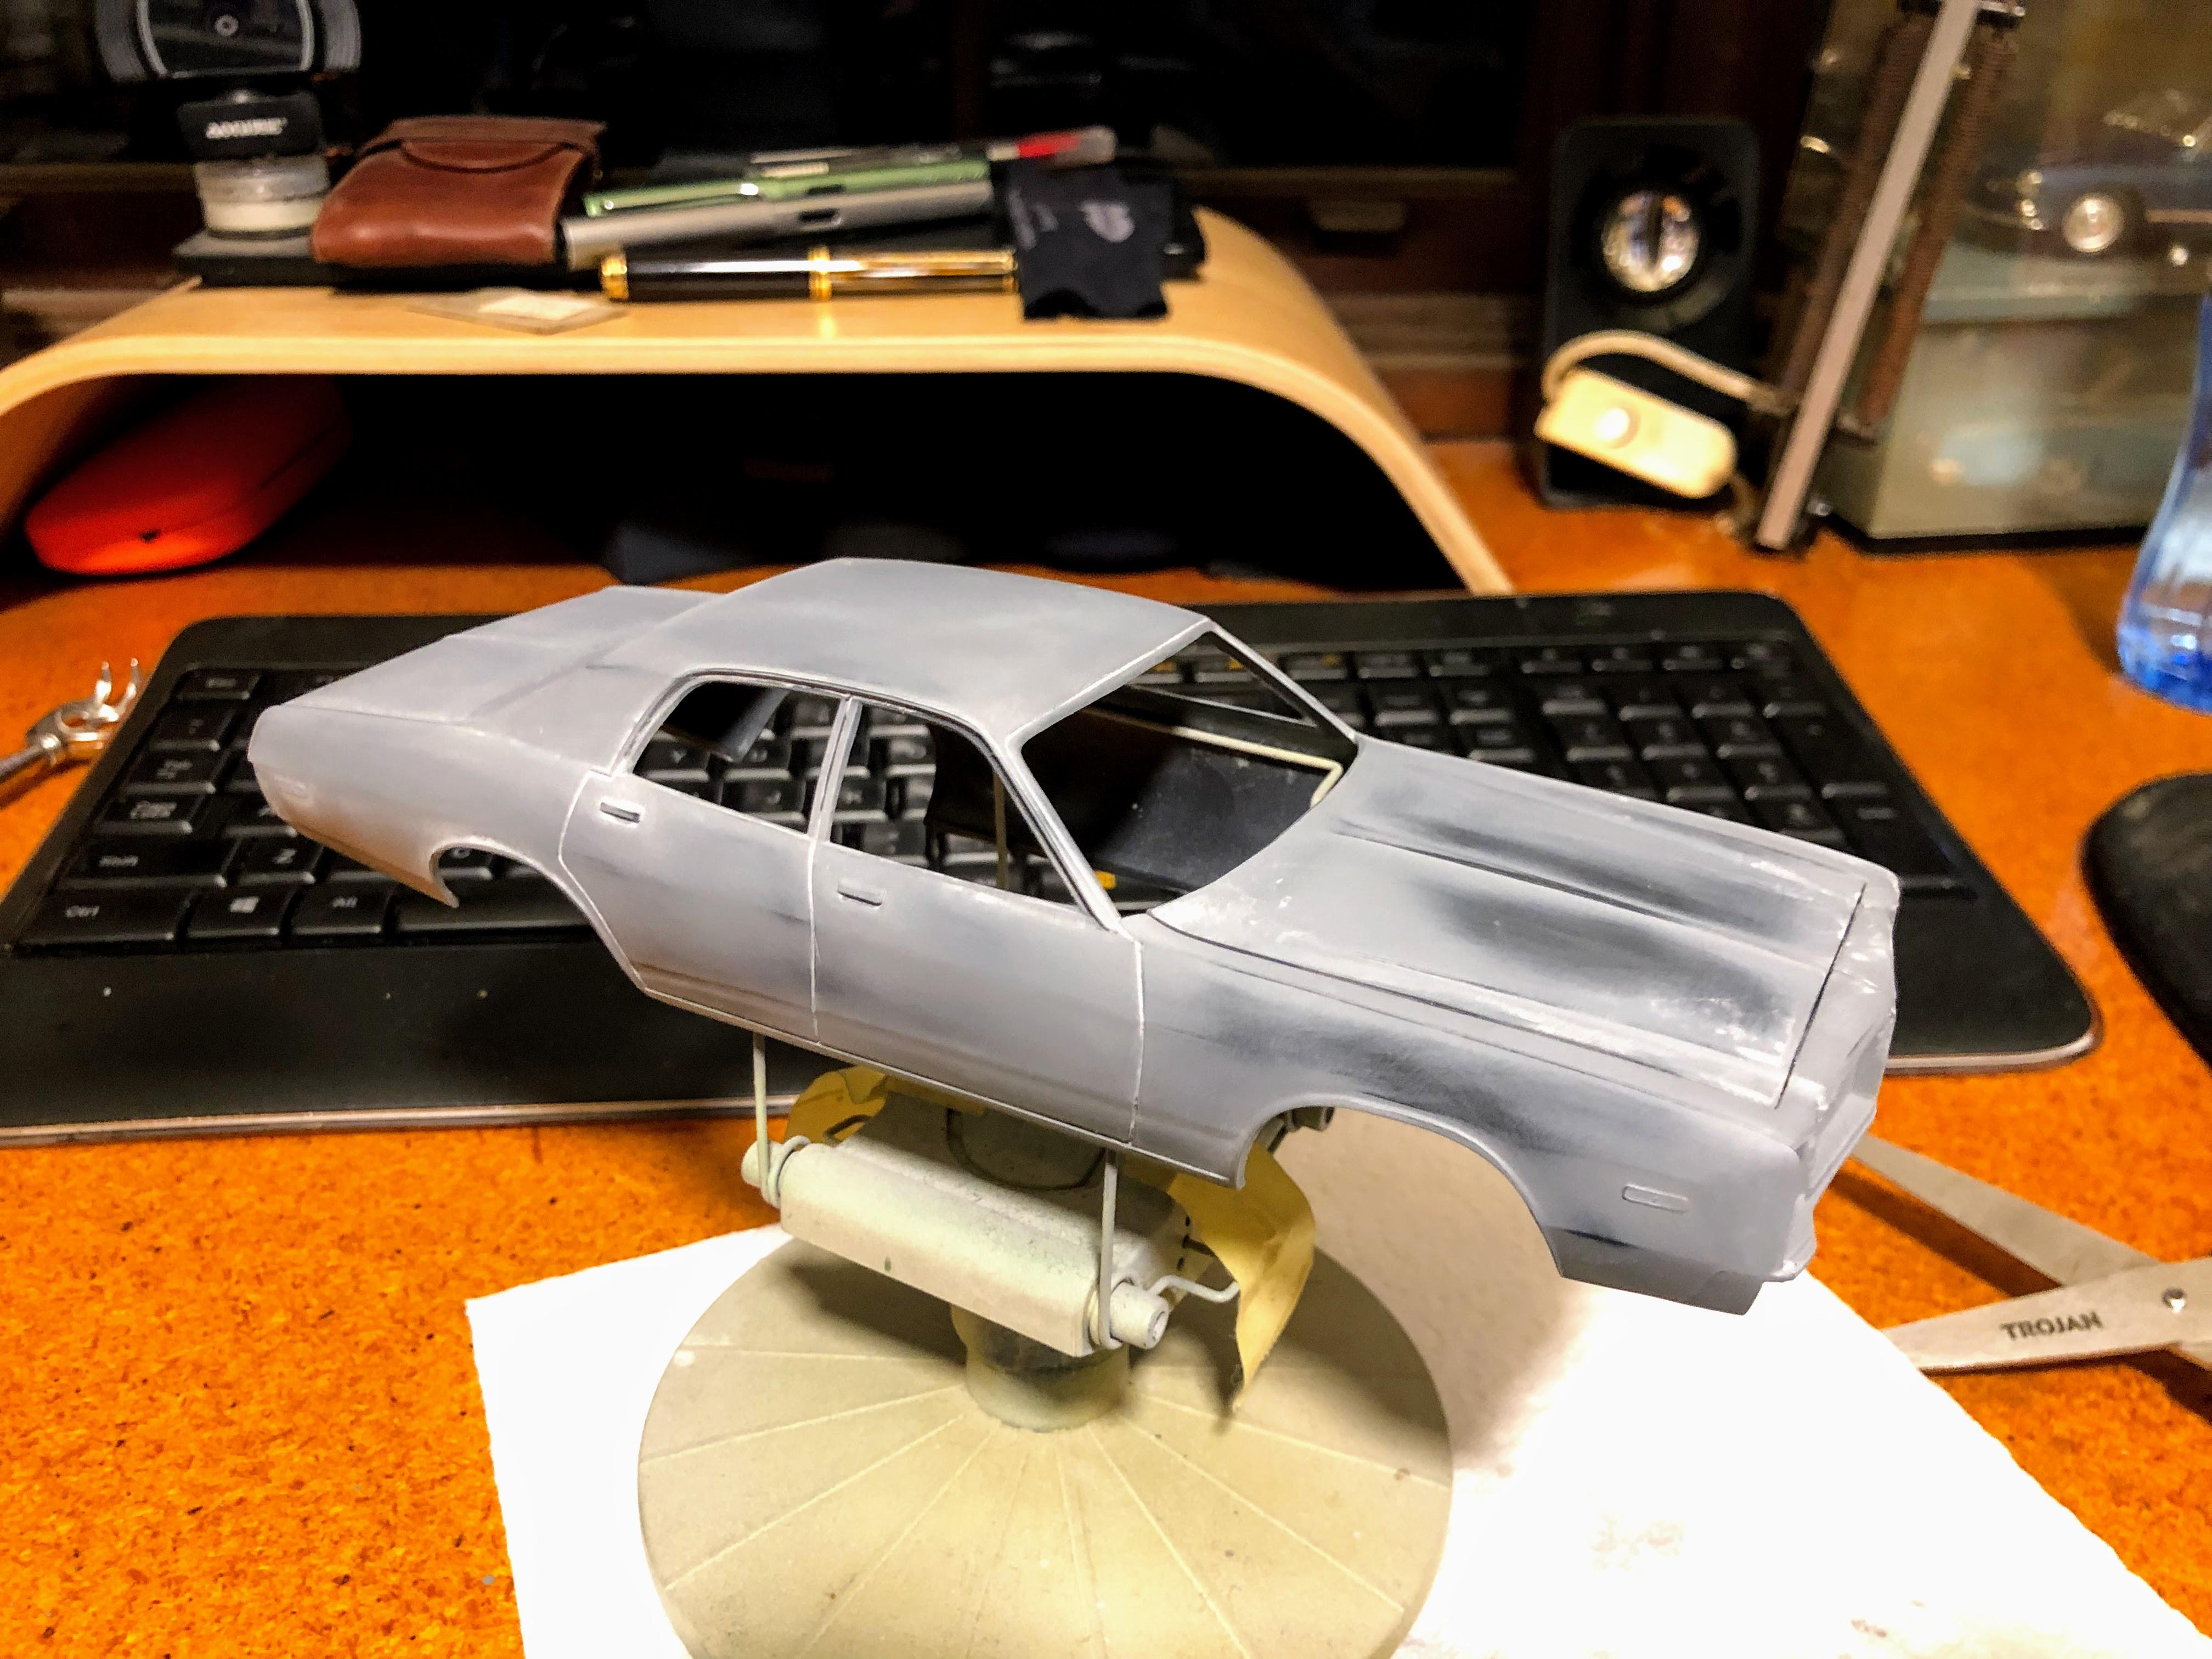
Cleaned up and ready for primer
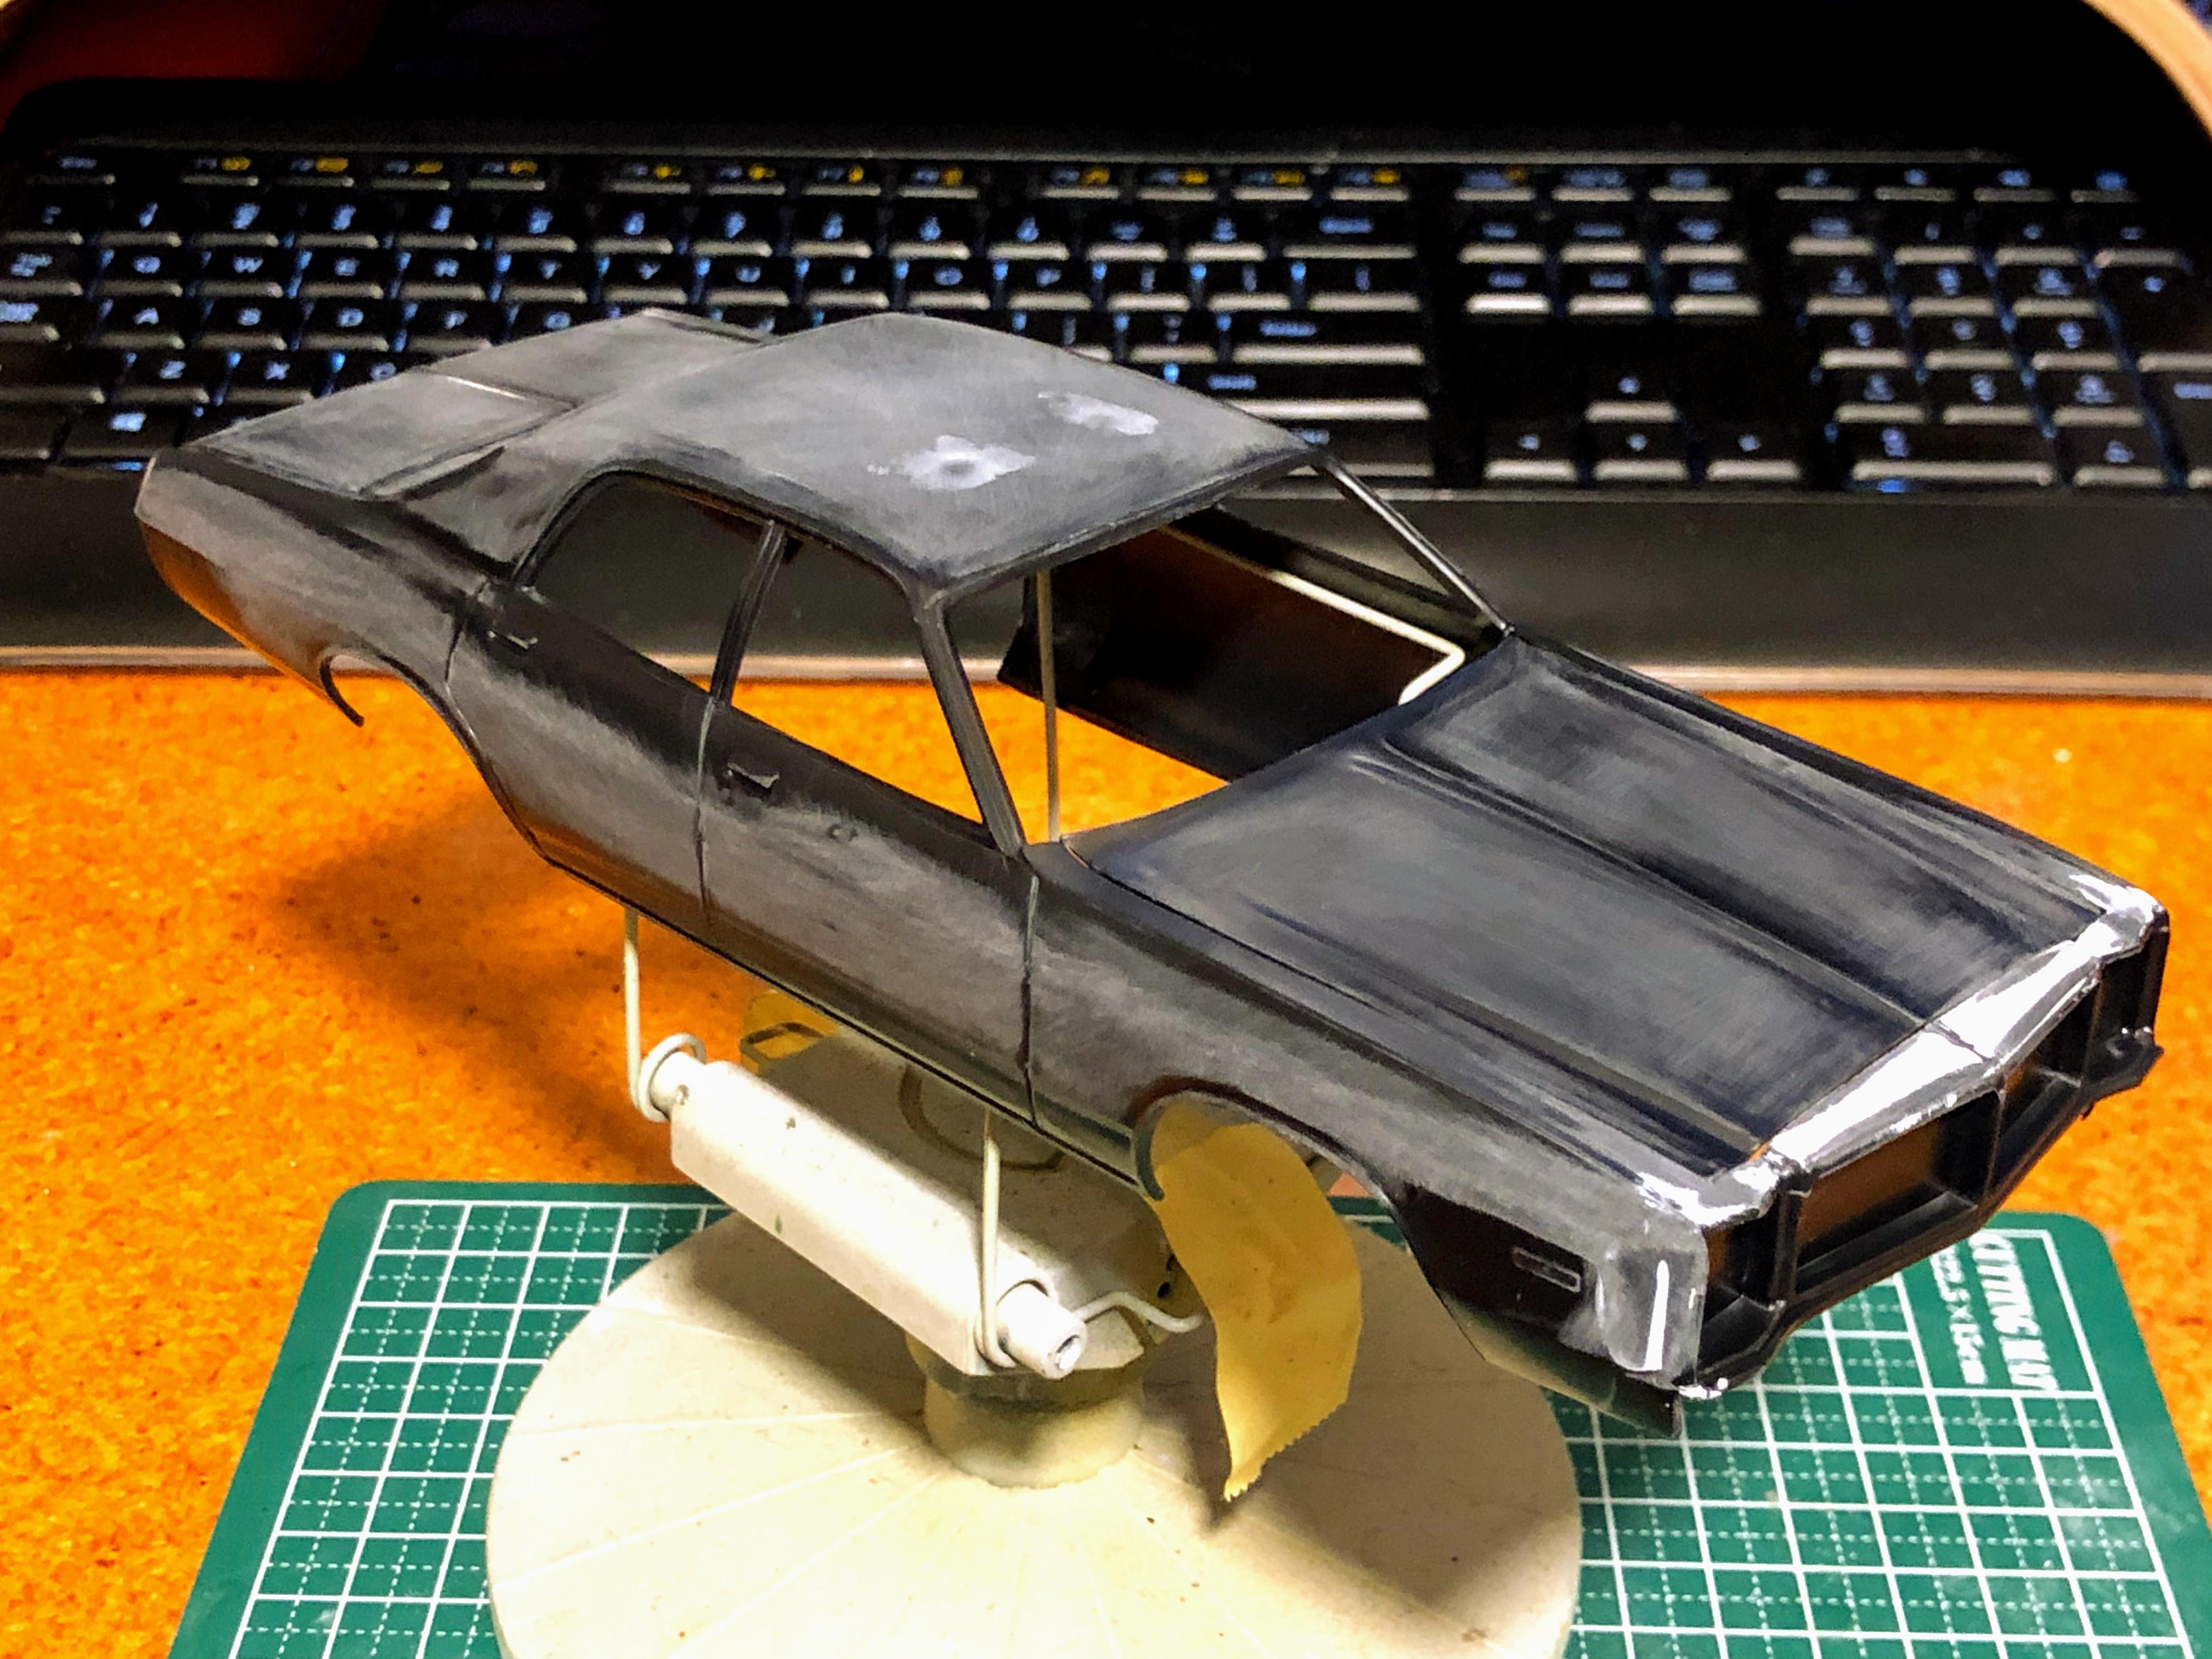
Doesn't look bad in primer grey...add a little chrome, some black steelies and call her done?
Flatten the primer a bit. If I was going for a deep gloss finish I would have reshot her in primer again. For my purpose of replicating a beaten up and patina'd cruiser, it will be fine.
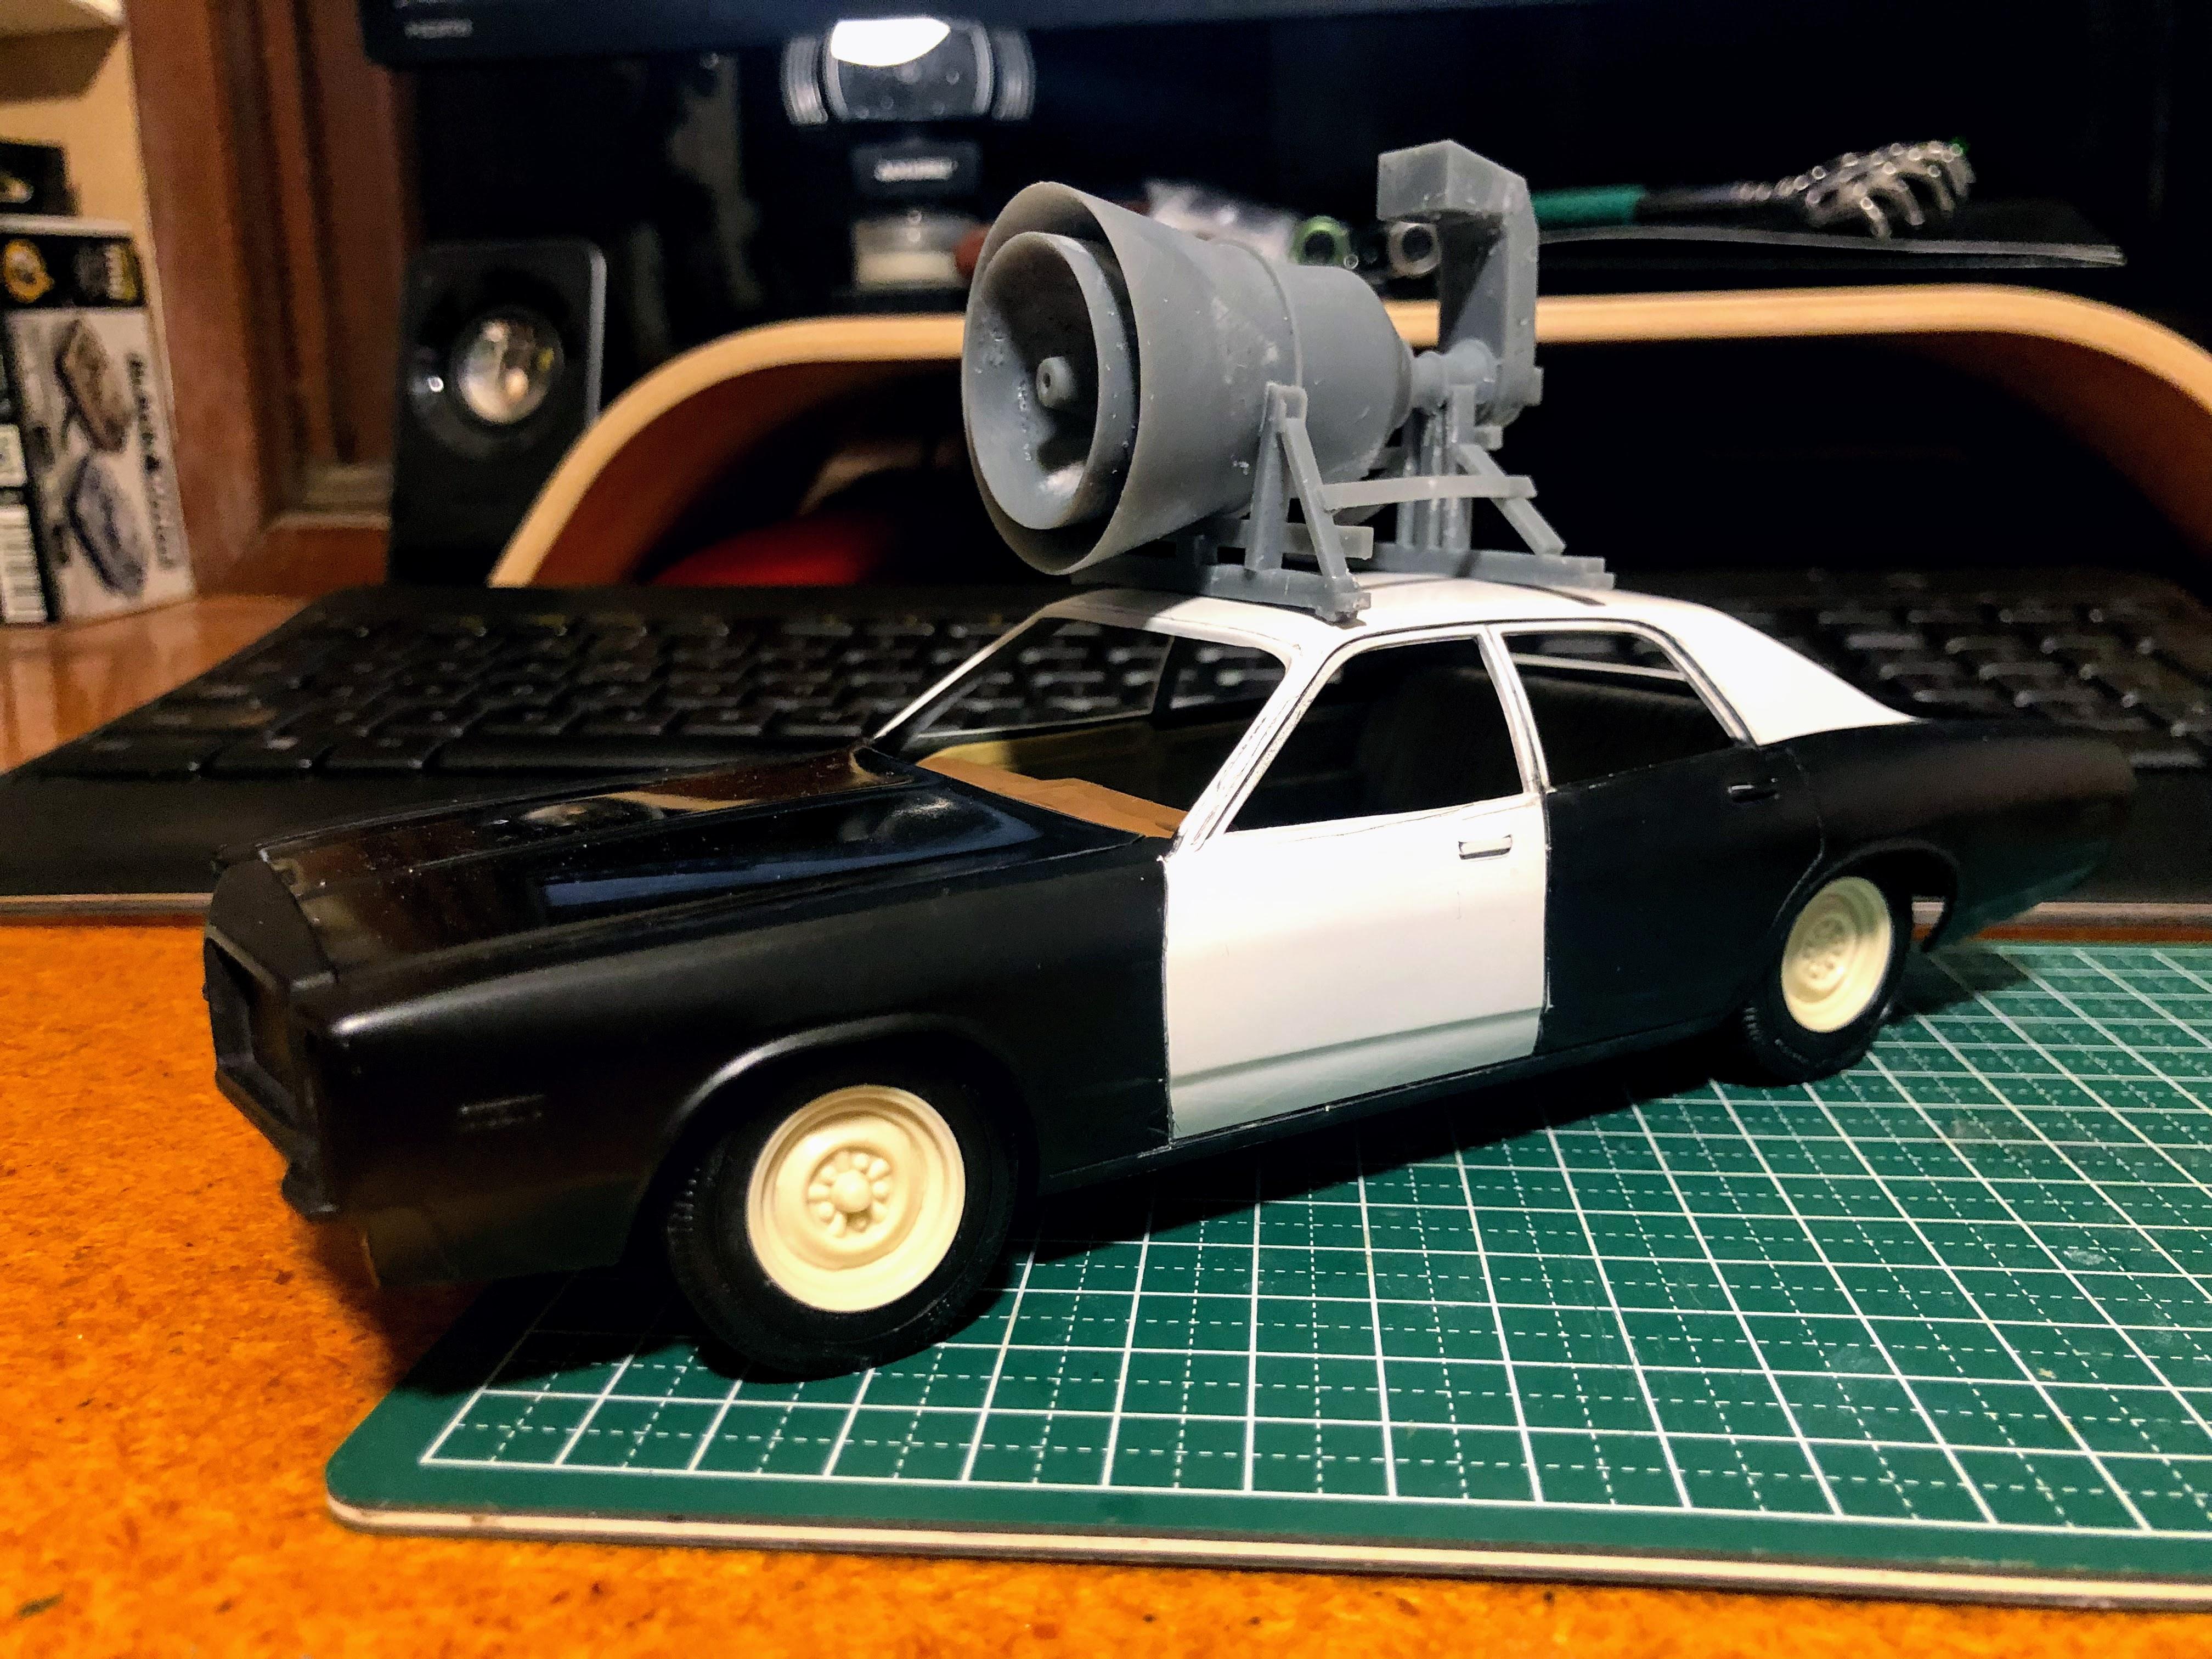
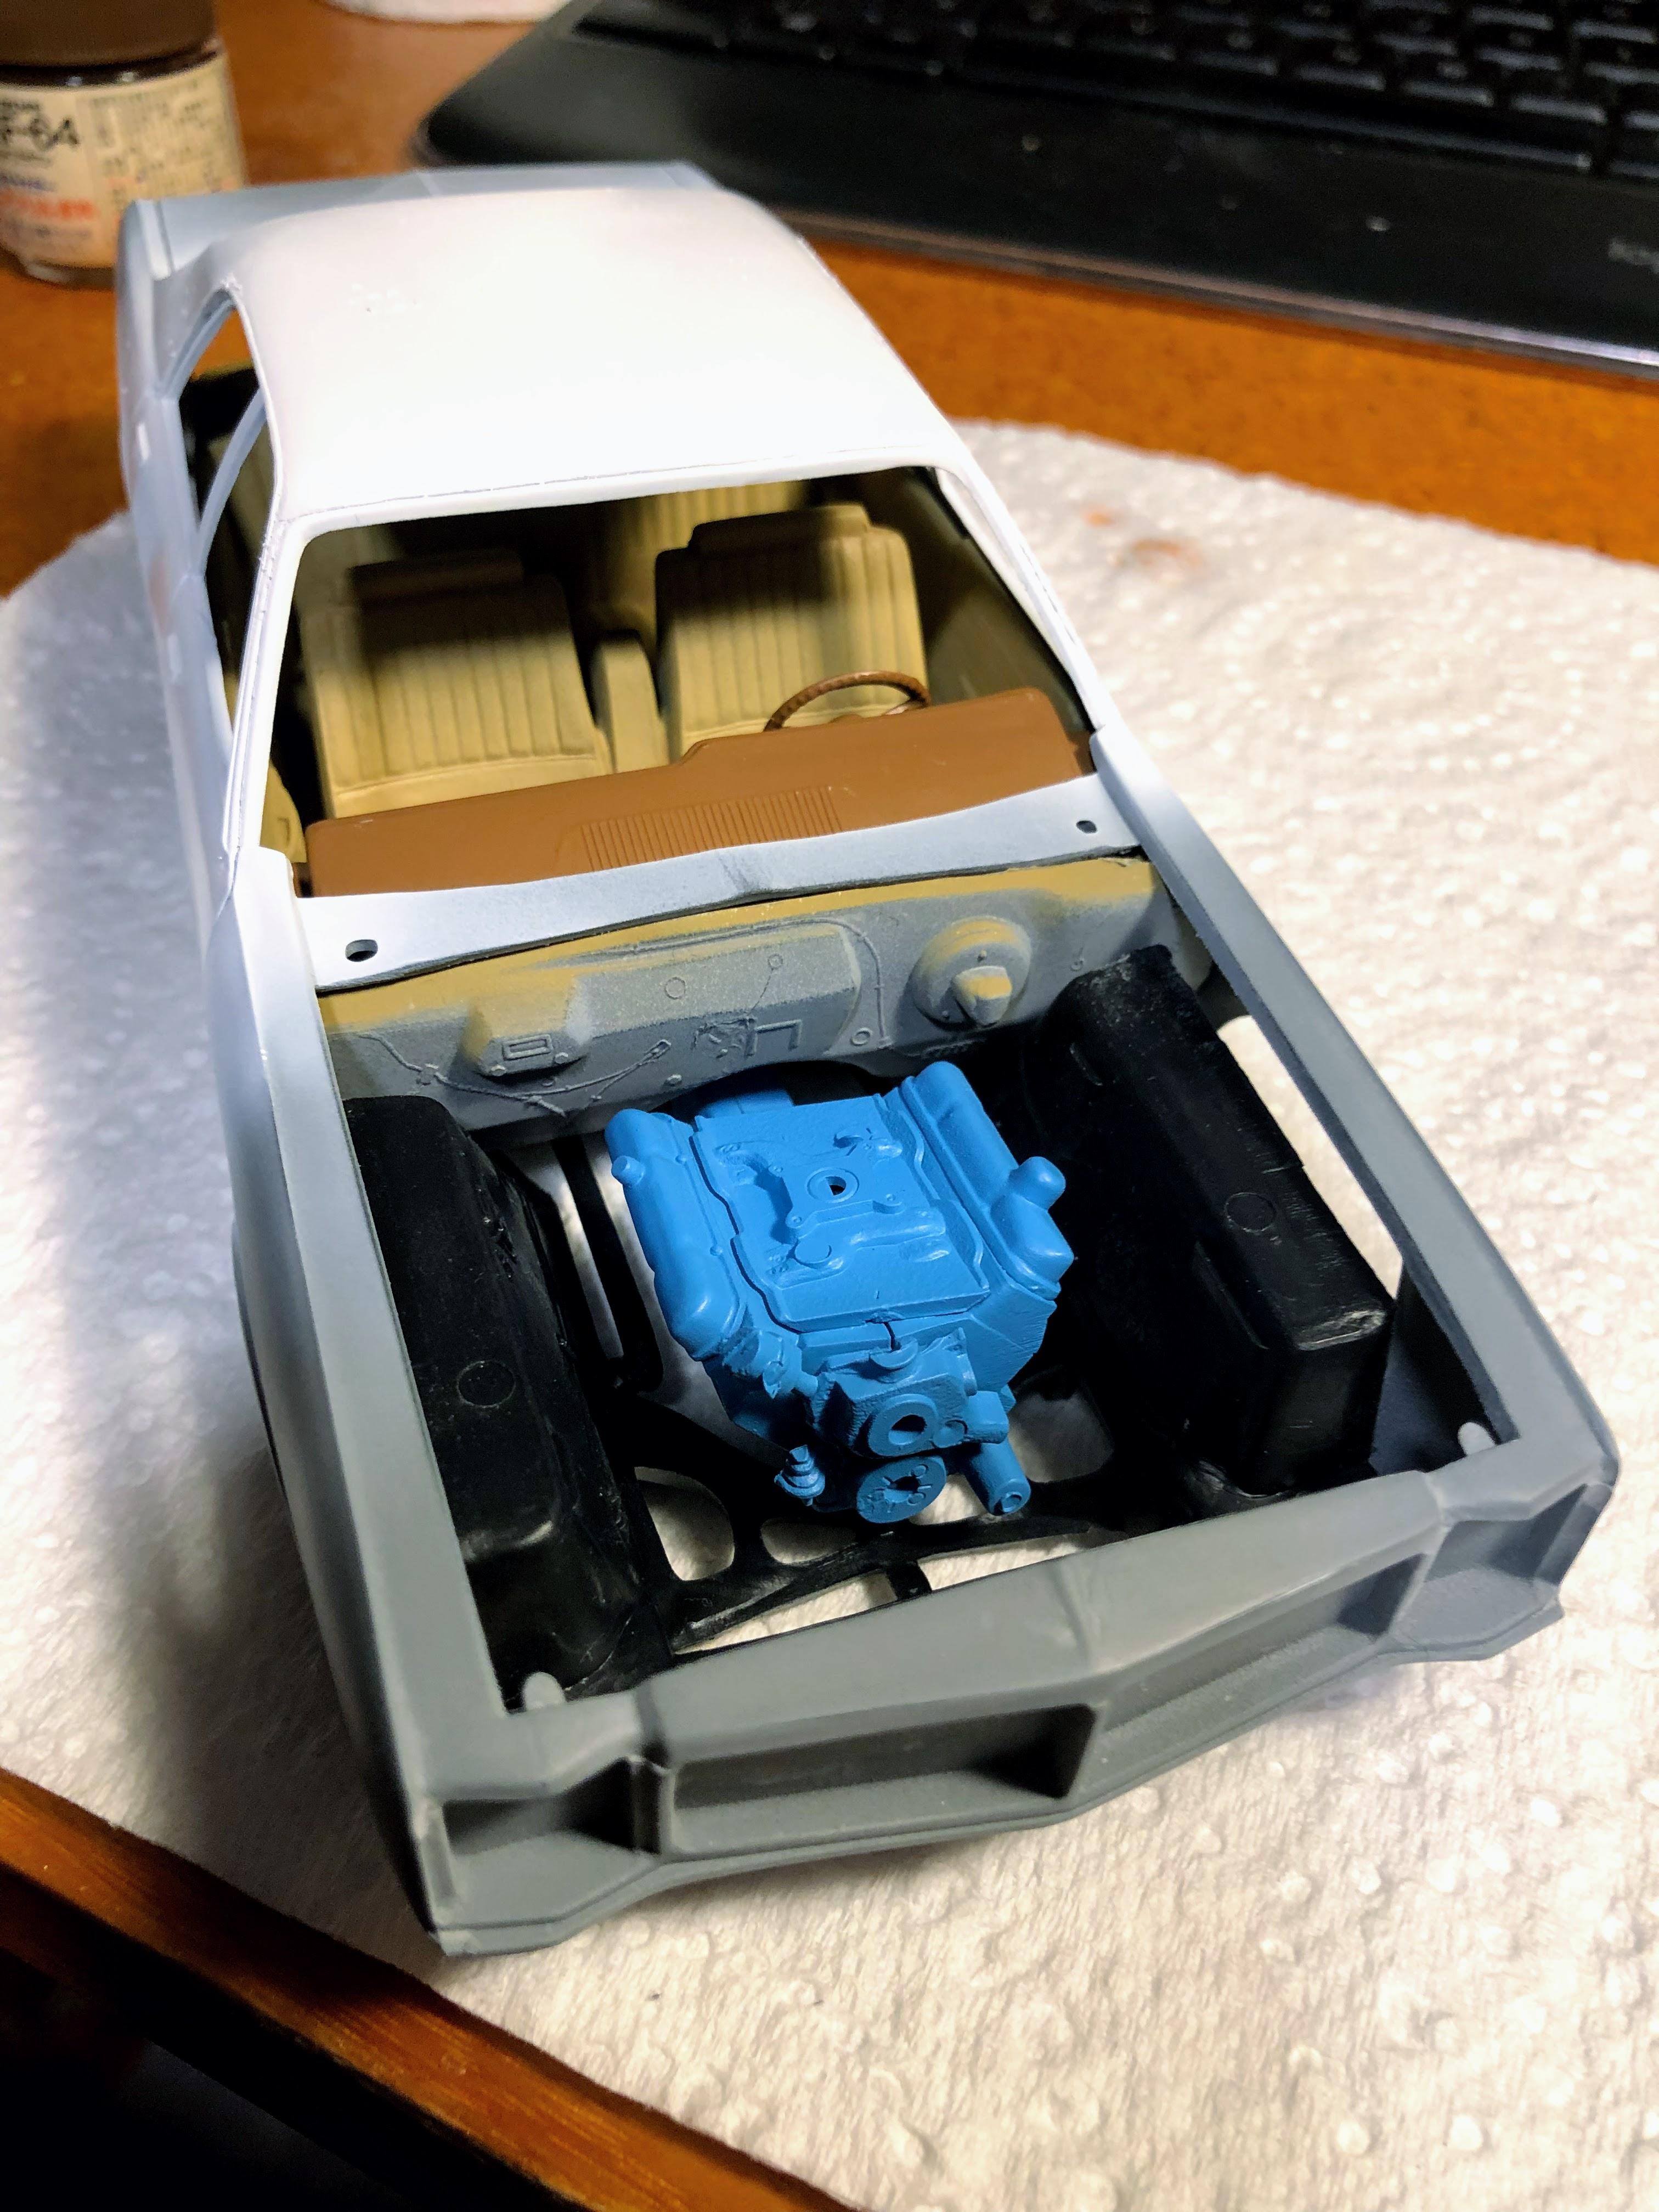
Engine, roof and front doors shot with acrylic lacquer.
Interior shot with plain acrylics.
And here's where I am at. I'll add some basic detail to the engine but will be subdued about it. Having looked at a smog-era 440, there is no chance of even trying to make it look realistic - it's nuts. Besides, this is primarily an exercise in weathering the body, and I'm keen to crack on with that.
Still to come is detailing the interior, obviously painting the body, replacing the awful kit wheels and rubber with something more appropriate, stripping the toy-like chrome and making it look a little more realistic - a fair bit to do. I'm sure that many of you have built this kit or a variation of it over the years, so any hints and tips you pass on will be gratefully received.
Thanks for looking, and please let me know if you have any questions.
Cheers!
-
Simply gorgeous, well done.
-
Lovely build and great thread resurrection!


.jpg.c877f09747d11a8d607f4e4e7e39ab71.jpg)
I'm on a mission...
in WIP: Model Cars
Posted
Cheers David, I have seen the Greenlight models - to be honest they were the trigger for me to look into building my own
Thanks Dennis, I appreciate it.
A little bit of progress - had a go at weathering the interior. Might be a bit overboard, but I can re-do it quick enough. Base colours were painted with an AMMO/Mig acrylics and then a wash applied. I used a different wash between front and back to see which colour worked better. Wiped the wash off with a damp paper towel, then did a little dry brushing with a lighter colour to highlight for depth. What do you think? Too ratty?