-
Posts
35 -
Joined
-
Last visited
Previous Fields
-
Are You Human?
yes
-
Scale I Build
1:18
Profile Information
-
Full Name
Ahmed Hembel
Contact Methods
-
Facebook
facebook.com/dosimeter
Recent Profile Visitors
The recent visitors block is disabled and is not being shown to other users.
dosimeter's Achievements

MCM Regular (3/6)
-
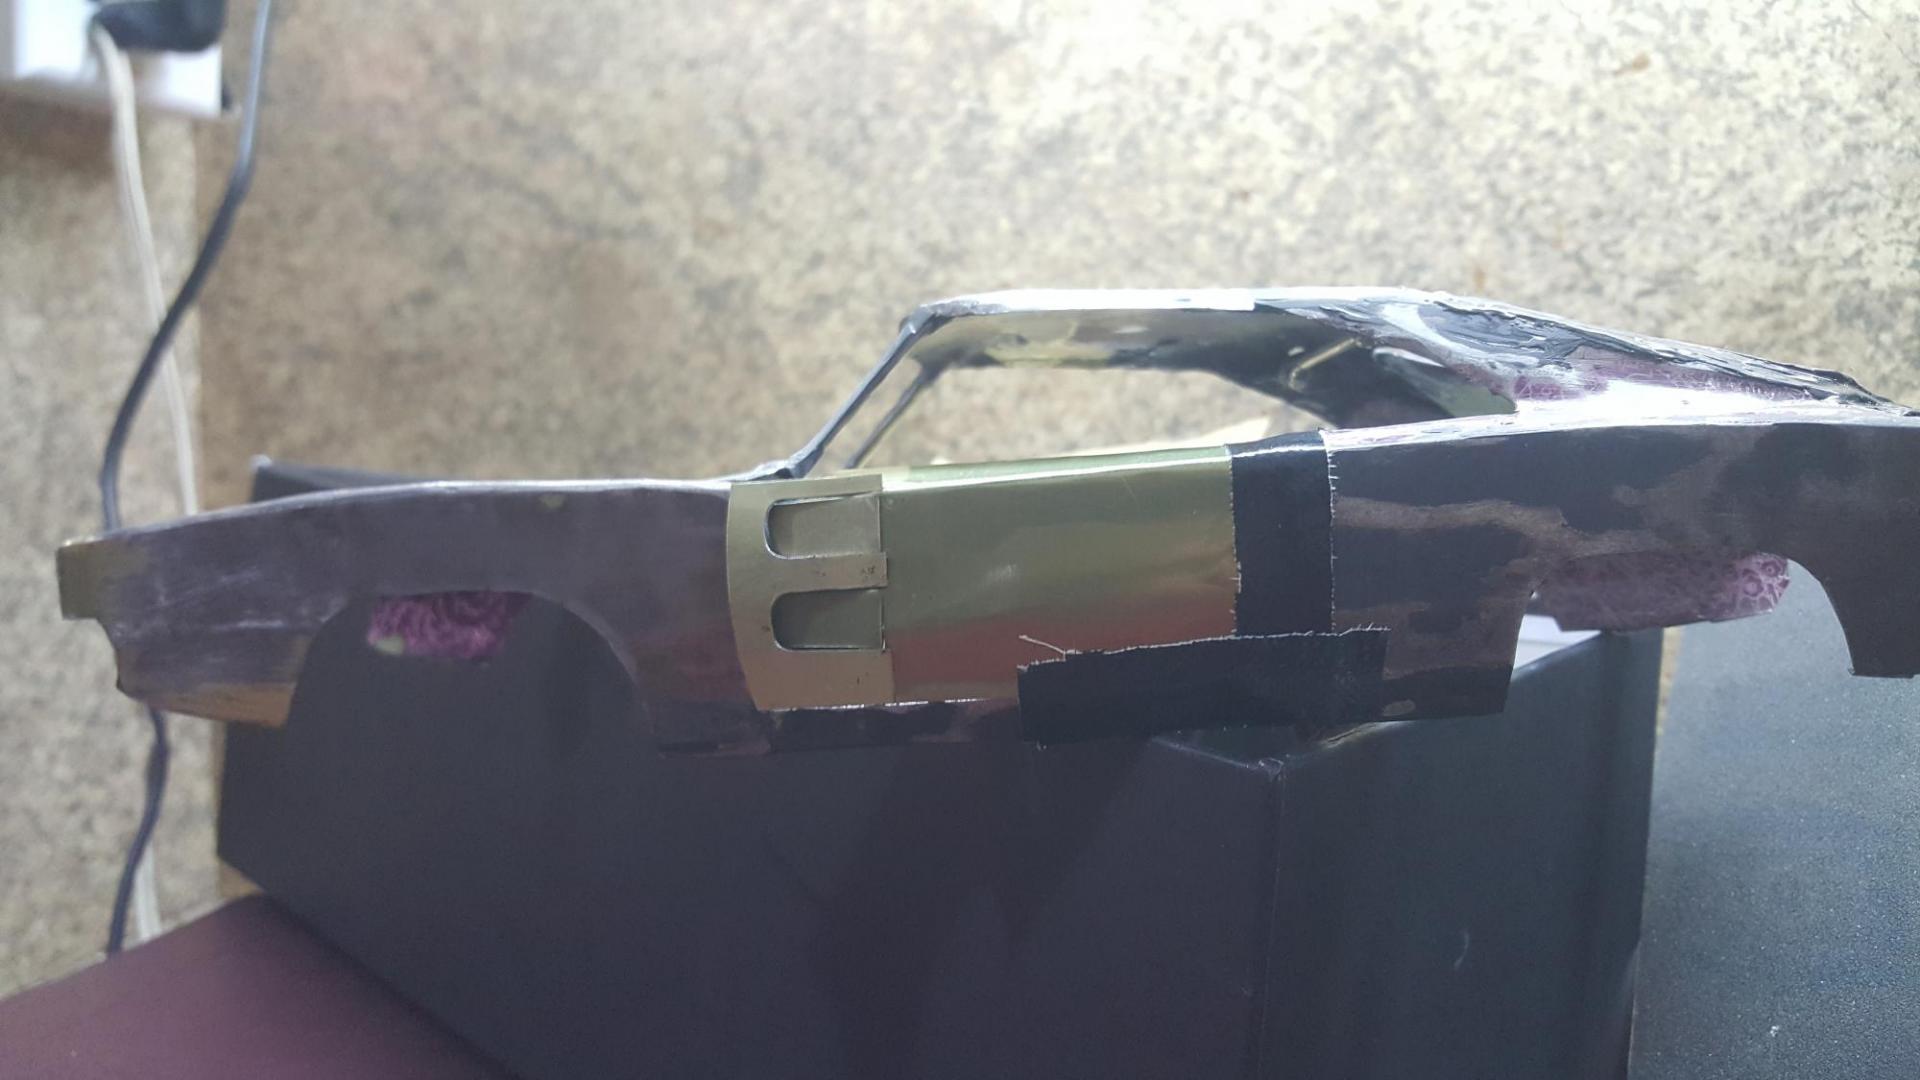
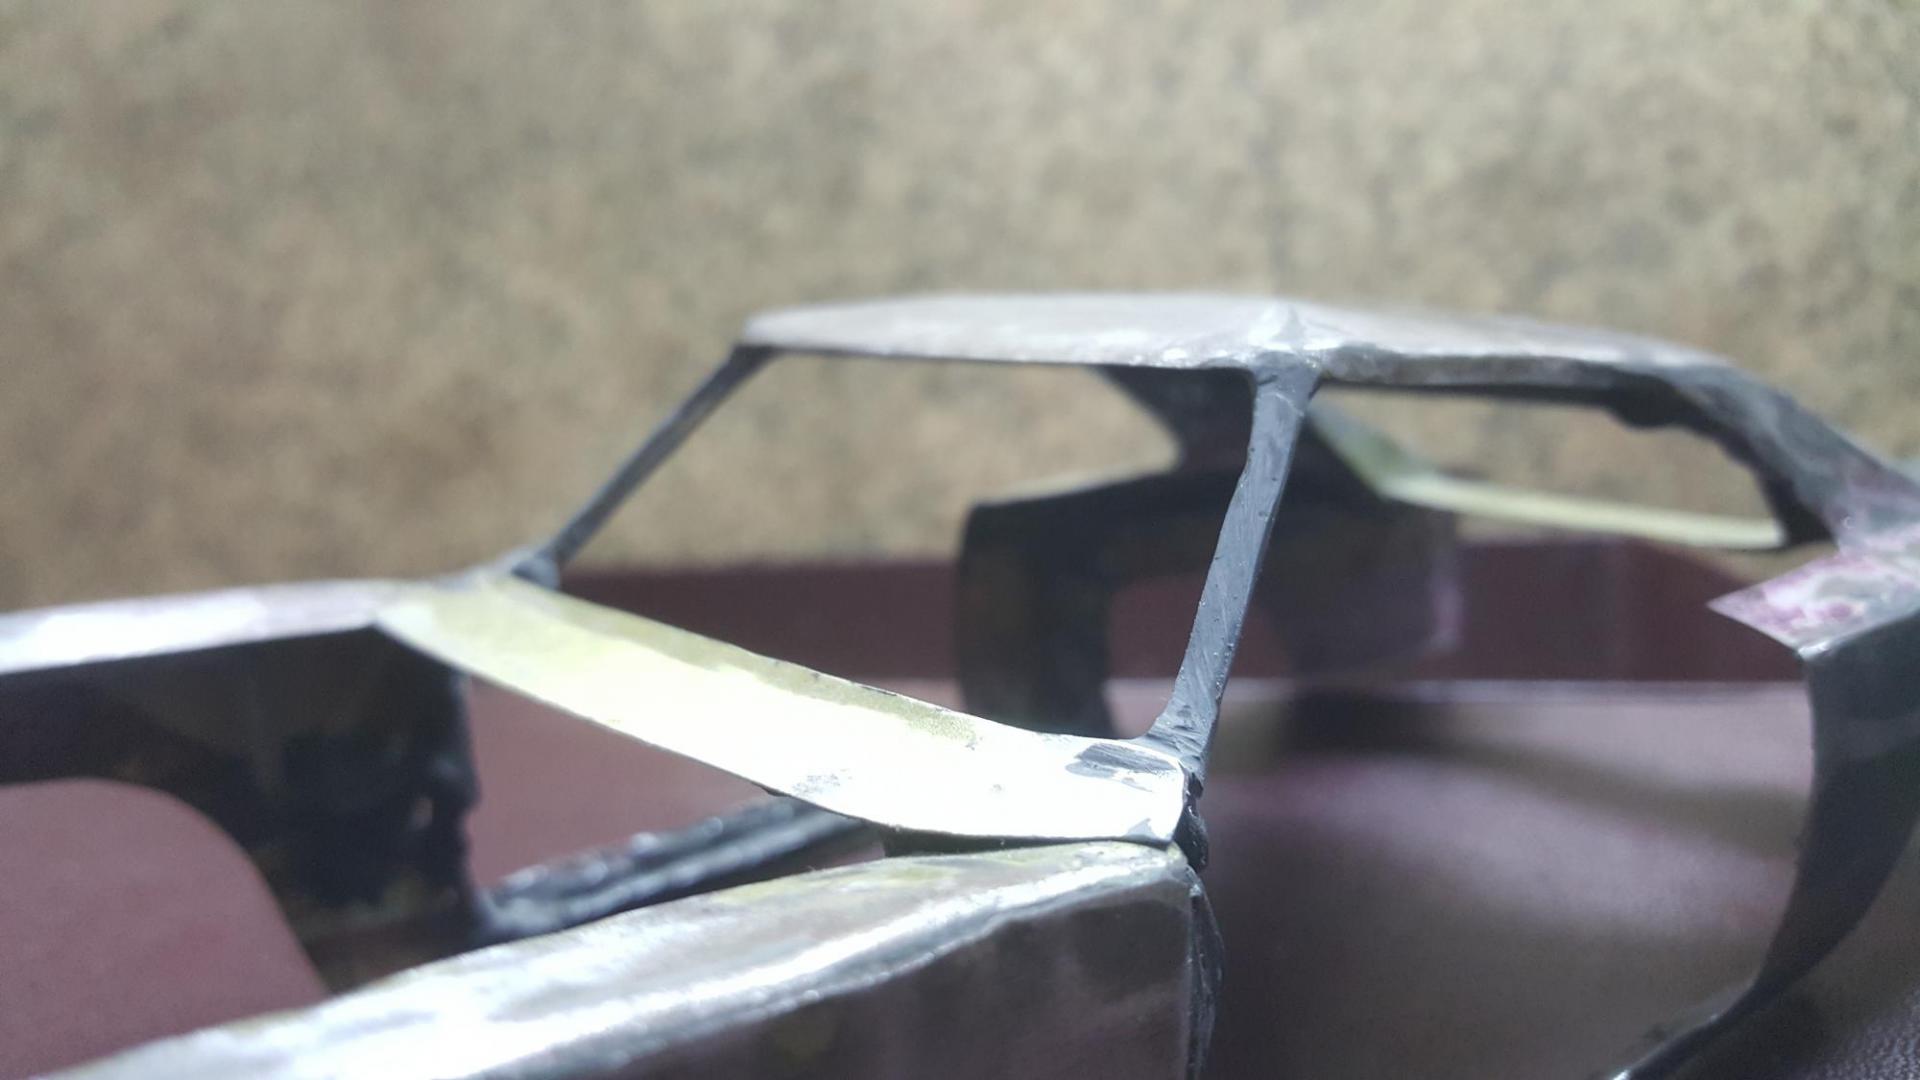
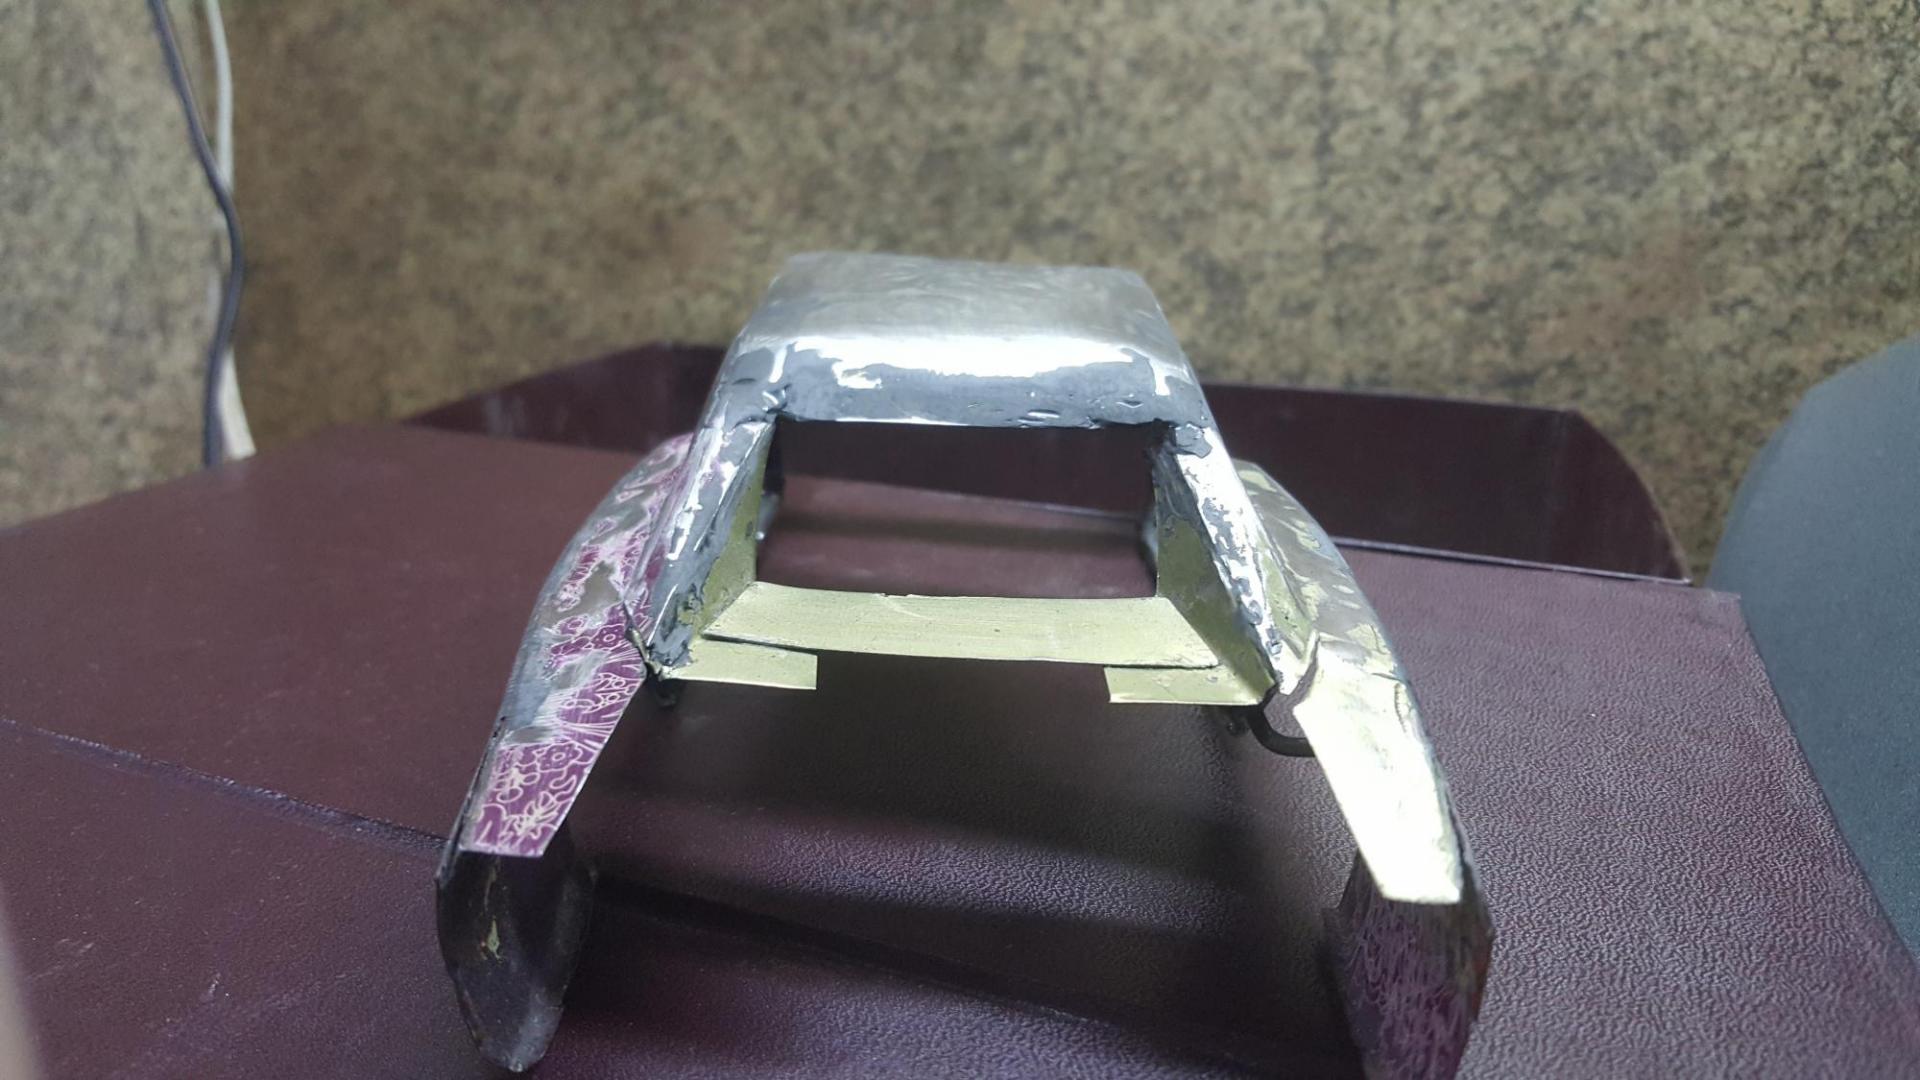
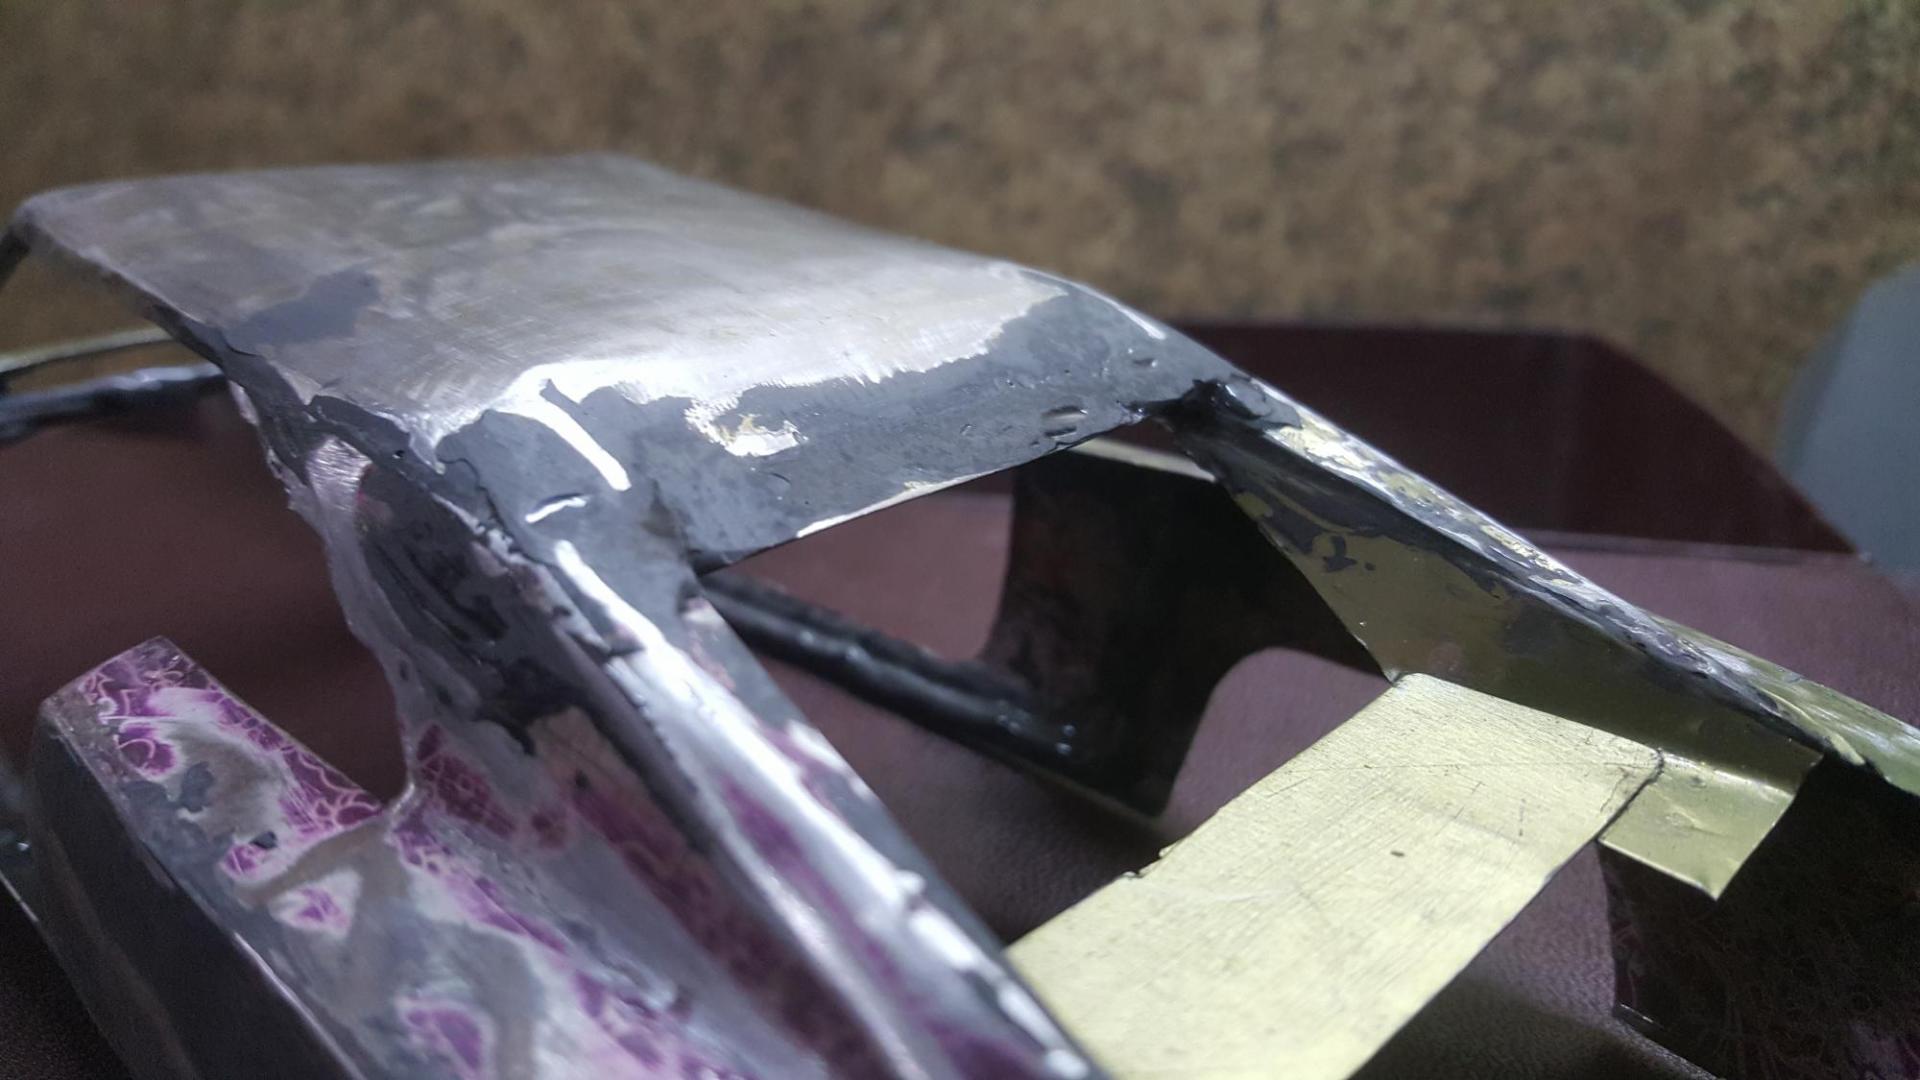
Update: A lot of work on rear end. Specially the pillars. They do look quite symmetric now but still require some fine work. I think I filled and sanded more than 5 times.And still filled, will sand them later. The rear window is taking good shape! The current status. Cut the hood earlier today. But it's very raw as of now. The doors have been sanded and filled about 3 times already, some more of it to do. I tried to get that contour on the upper edge in the picture, it looks pretty satisfying in to naked eye. A bit clearer in this one And yes, the opening boot! I also checked my inventory today, found four designs that were complete sets. The second one from left (black 5 spoke) is a bit bigger for this but I think giving it a little stance will look cool. Whichever I choose, I'll have to repaint. With flash to highlight the spokes Painted one to check the results with my chrome paint. This is single coat. I applied another one after the picture. Lets see how that works out. And now the windows. I got a mobile phone glass protector for and tried to cut it with a mini saw blade that I made myself (attached to my 12V drill). Tried hard to cut it but it always cracks. Then I tried sanding it and it worked. Since it is very thin glass, sanding it is very easy and quick. I'll have to get at least one more protector to complete the rear and side windows. Still looking for things to go with front windshield.
-
Thanks mike. I am still trying to contact them. Will try again tomorrow. Anyways I got this very cheap chrome paint from a local paint shop, I think the paint is local made too. Tried it, doesn't give a good shine. It looks more like refined silver than chrome. If I couldn't get a better one I would go with it...
-
Update: Made both doors, sanded too but no pictures of that right now. Separated the front section, made it reattachable with 2 mechano pieces! I was nervous of messing it up but it went fine. Had to take fenders off and reattach. Done the boot. It opens too. Still some gap left that I will cover later. The two B pillars aren't symmetric when seen from rear, I am filing and sanding them, hope that does the job. Just beware when working with lots of superglue. I got glued so bad I thought my skin was gonna come off!
-
I will try to get my hands on one. The only problem I have is that I don't have an air compressor setup for painting so I need spray cans to paint. It is almost impossible to find fine quality paint spray cans. I found the contact of a Tamiya distributor here and I am waiting for the reply. Does Tamiya make the etch primer too? If yes then can you please give me the link to there website for the code/number of the product.
-
Yeah I just remembered that RC paints go on the inside of the transparent body. If I can get both enamel or lacquer, which should I use? I've heard enamel takes longer time to dry but is more durable than lacquer??
-
Hey thanks Richard. Have done some more work. Made both doors, working on the raised lines. Also I have installed the boot. My diecast model's boot did not open but I made this one to open too. Will share pictures later!
-
Thanks. Will look for this.
-
One more thing, what do you guys do for chrome parts? How do I paint the bumpers in chrome? Silver paint does not give that look.
-
Thanks Michael. I have found contact of a Tamiya distributor in Pakistan. Will be contacting them shortly!
-
What paint should I go for? I was searching for tamiya paints and turns out there's several types like acrylic, enamel, lacquer, polycarbonate. Which would be good for metal? And are primers different for different paints or same?
-
-
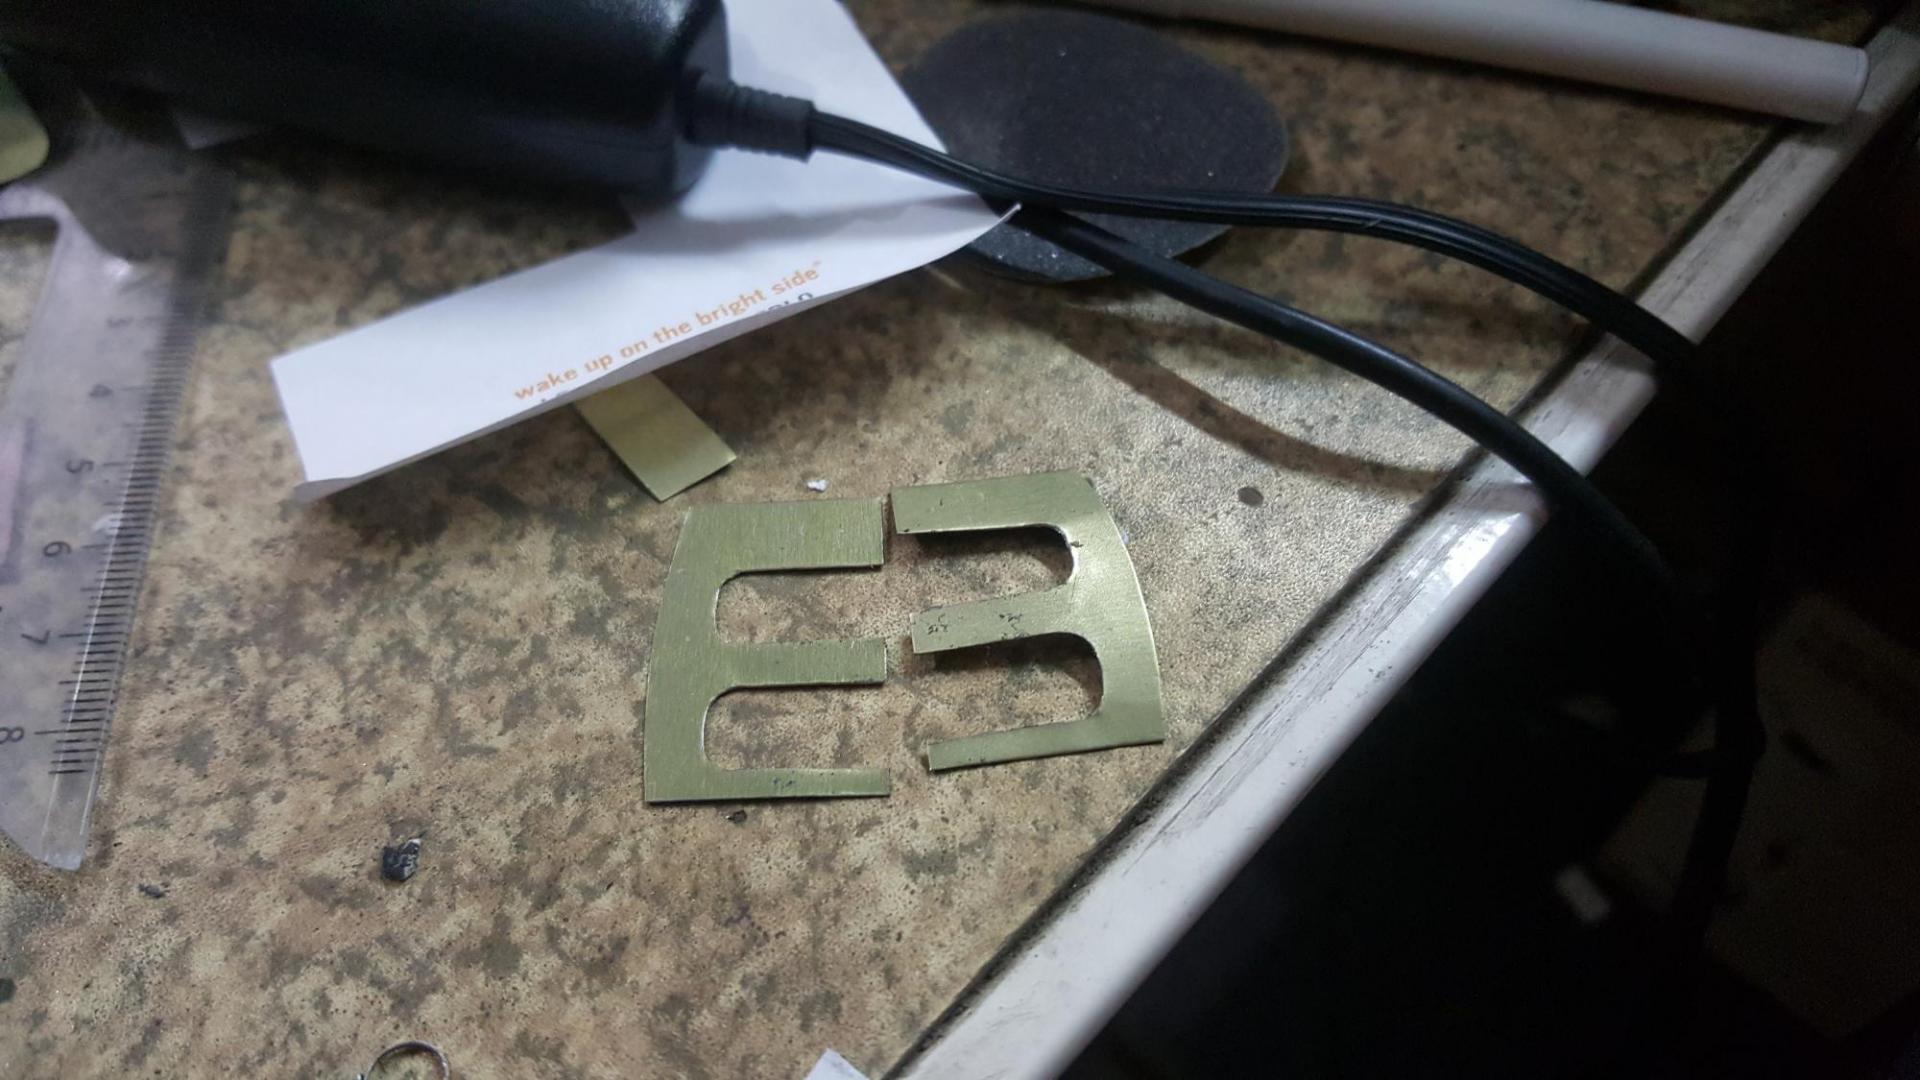
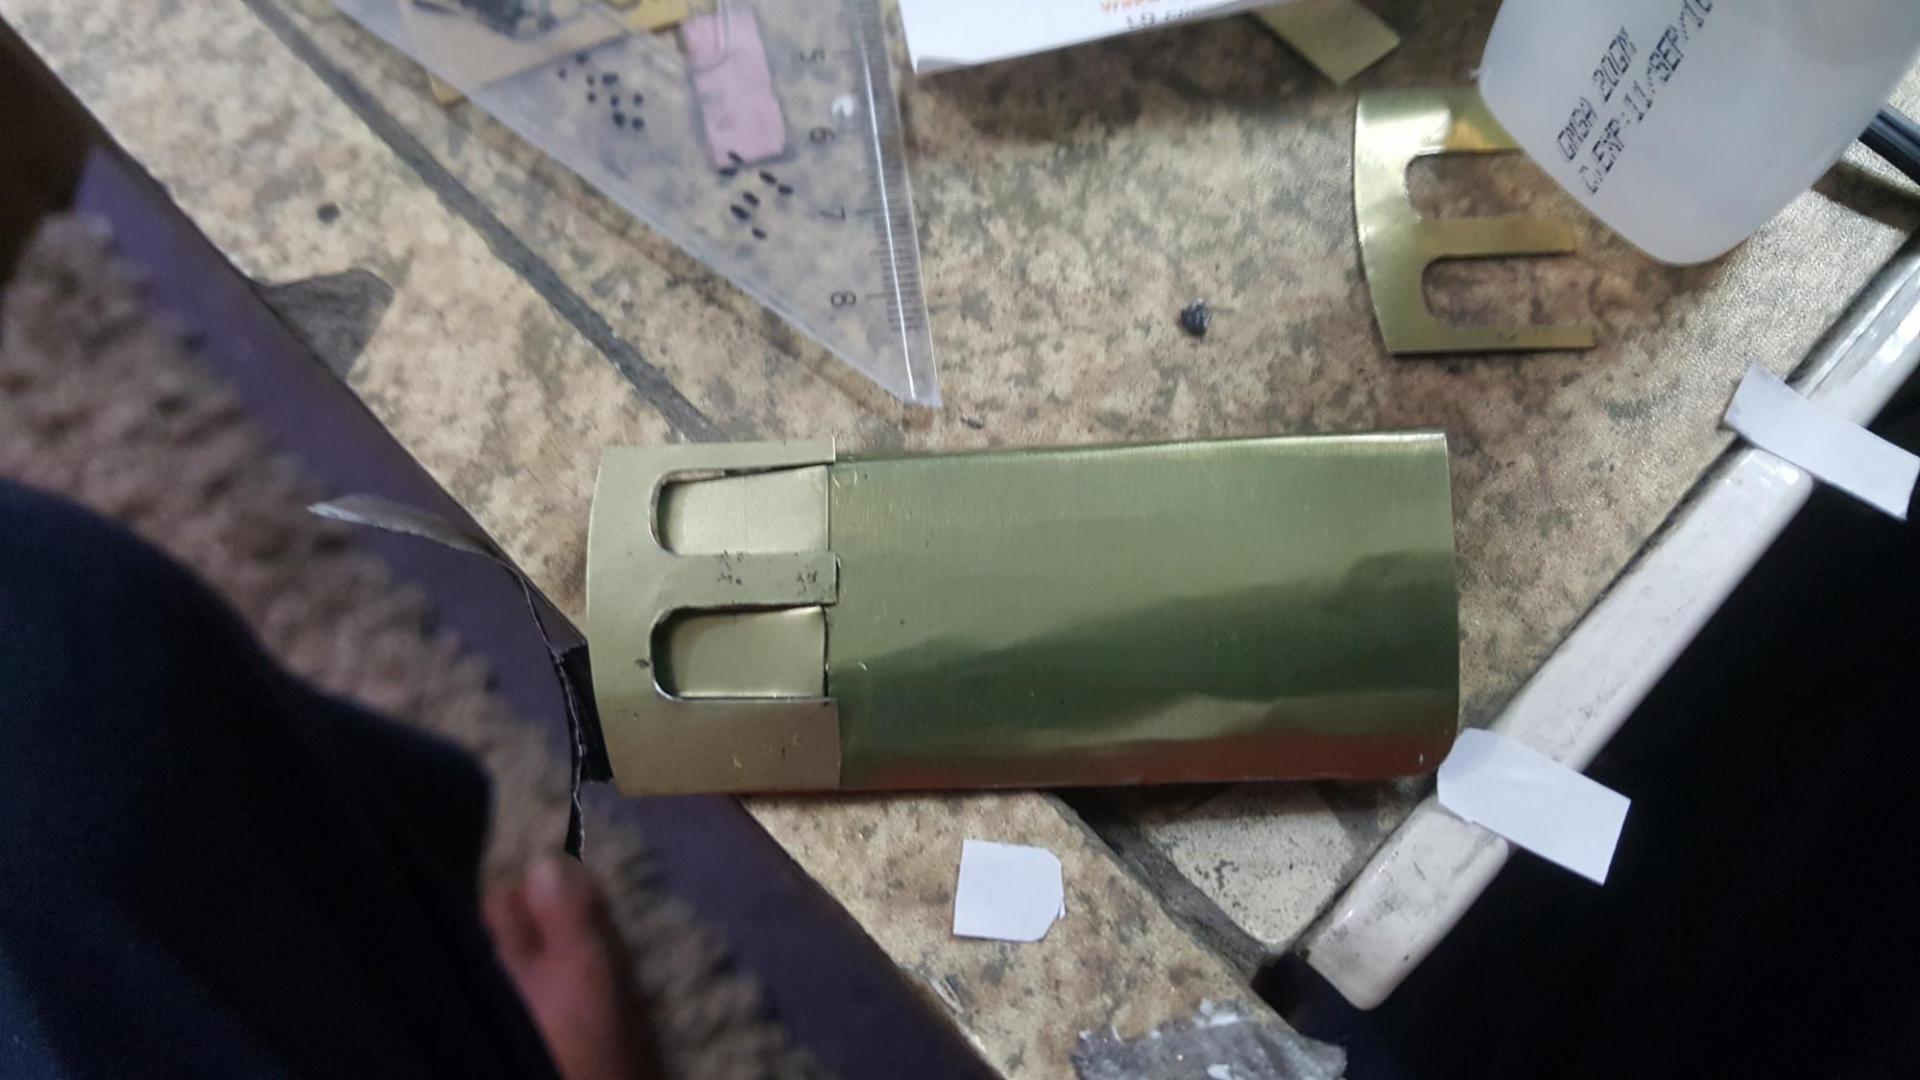
Started making doors today. As it has slits on them, I decided to make a plain door and then added this E shaped bit to make the slits. Now all relies on sanding. Any idea how can I file/sand inside the depressions? It will take a lot of time!
-
Could someone please answer these? 1) What sandpaper should I be using for final sanding? Currently I am using 120 and 220 grit. This works well with metal but when it comes to filler, I think I should be using a finer grit because it leaves it rough. 2) Wet sanding or dry sanding? I haven't tried wet. Is it preferred? If so then why and when? 3) Can I use Plaster of Paris as filler?
-
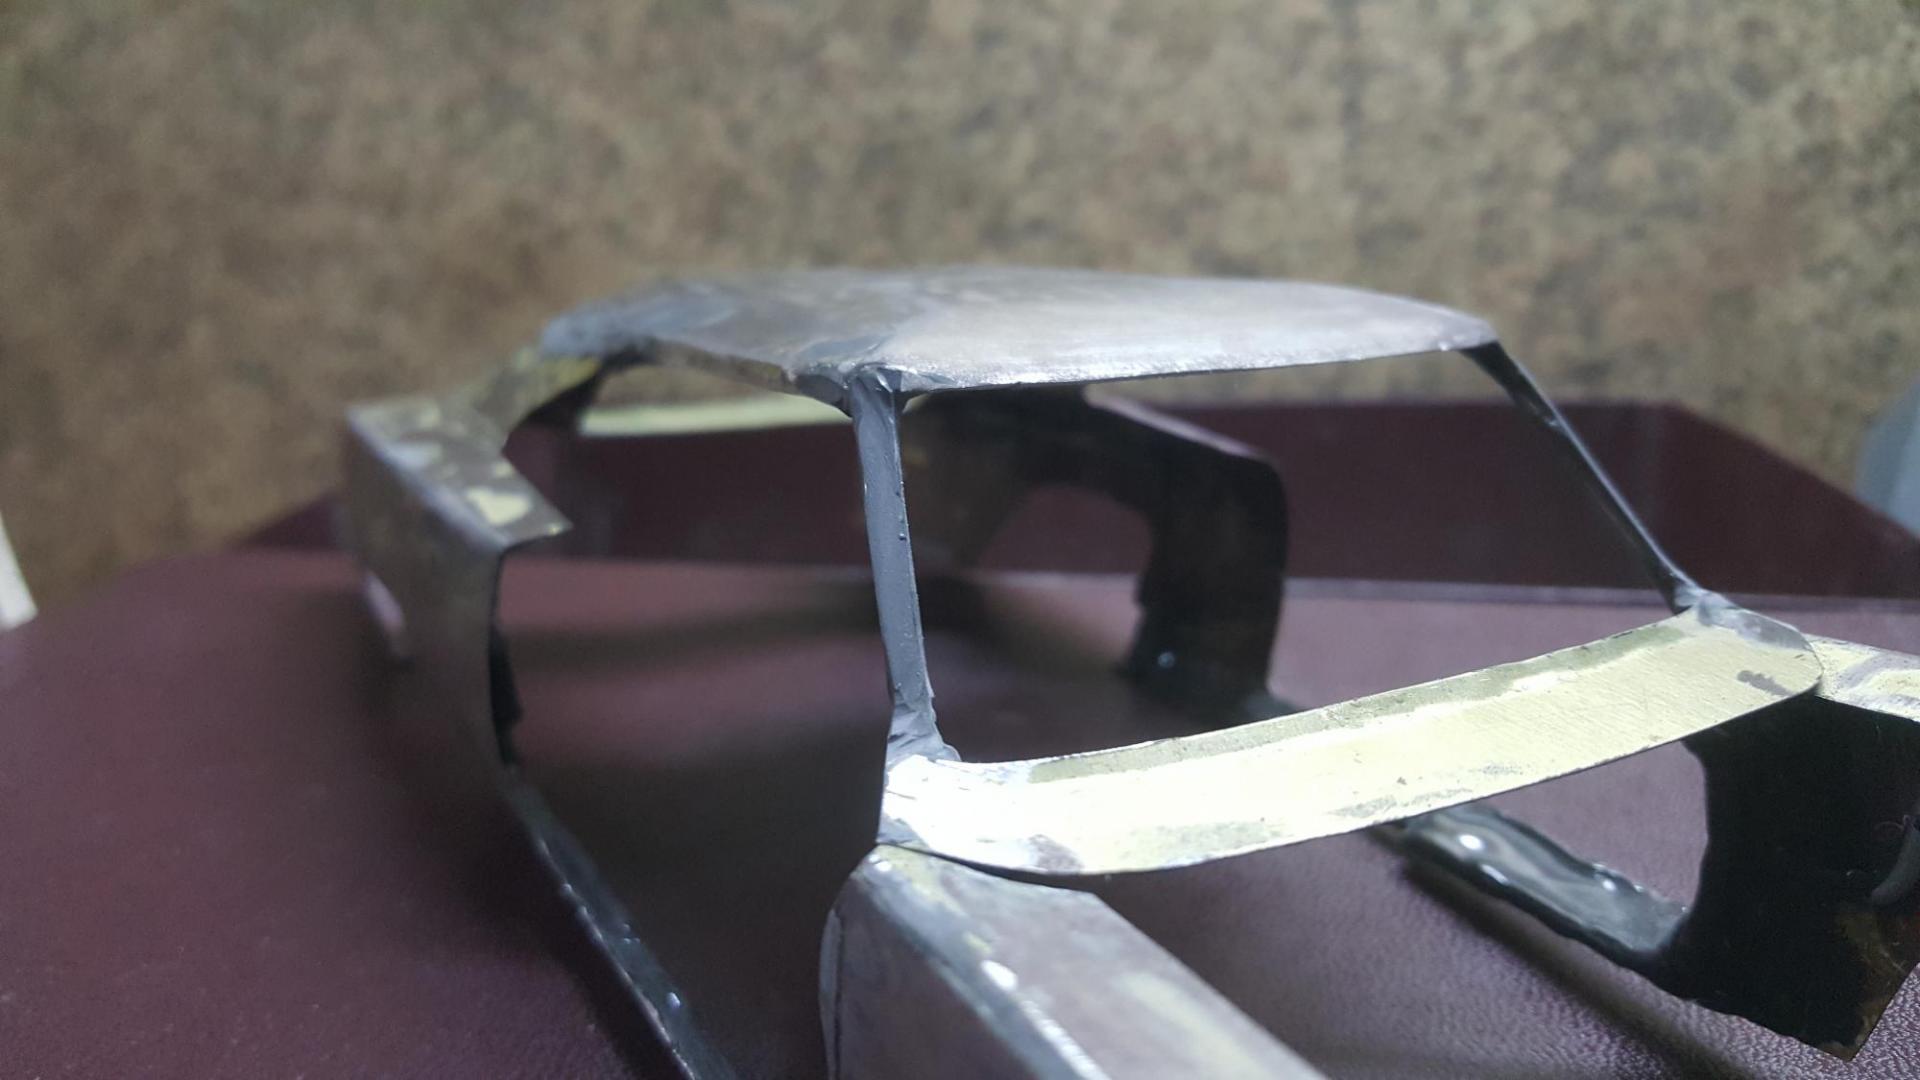
Sanded A pillars today. They do look symmetrical but there is still some fine sanding to be done. Also the rear is taking shape very well. Sanded that too. Still needs some filling but I ran out of depoxi. The part where the roof ends is a little more curved downwards when I compared to the original pictures and other models. I am thinking of leaving it as is though I can change it by filling. Also, can I use plaster of paris for filling?
-
Thanks Richard. I actually cut paper parts when it came to matching the complicated shapes like fenders. Others are very simple for this car as it turns out. The window idea is great. I think a copper or brass wire will be quite easy to sand than steel. Will try that for sure. Did you tape the windows while painting or put them afterwards? Heating and molding came to my mind earlier but that is way too out of the things I can do


