Ben269
-
Posts
276 -
Joined
-
Last visited
1 Follower

Ben269's Achievements
MCM Avid Poster (5/6)
-
A better buick
Ben269 replied to Kevinjr26's topic in WIP: Stock Cars (NASCAR, Super Stock, Late Model, etc.)
Nice job, that looks a lot better than the original kit was. A big improvement! -
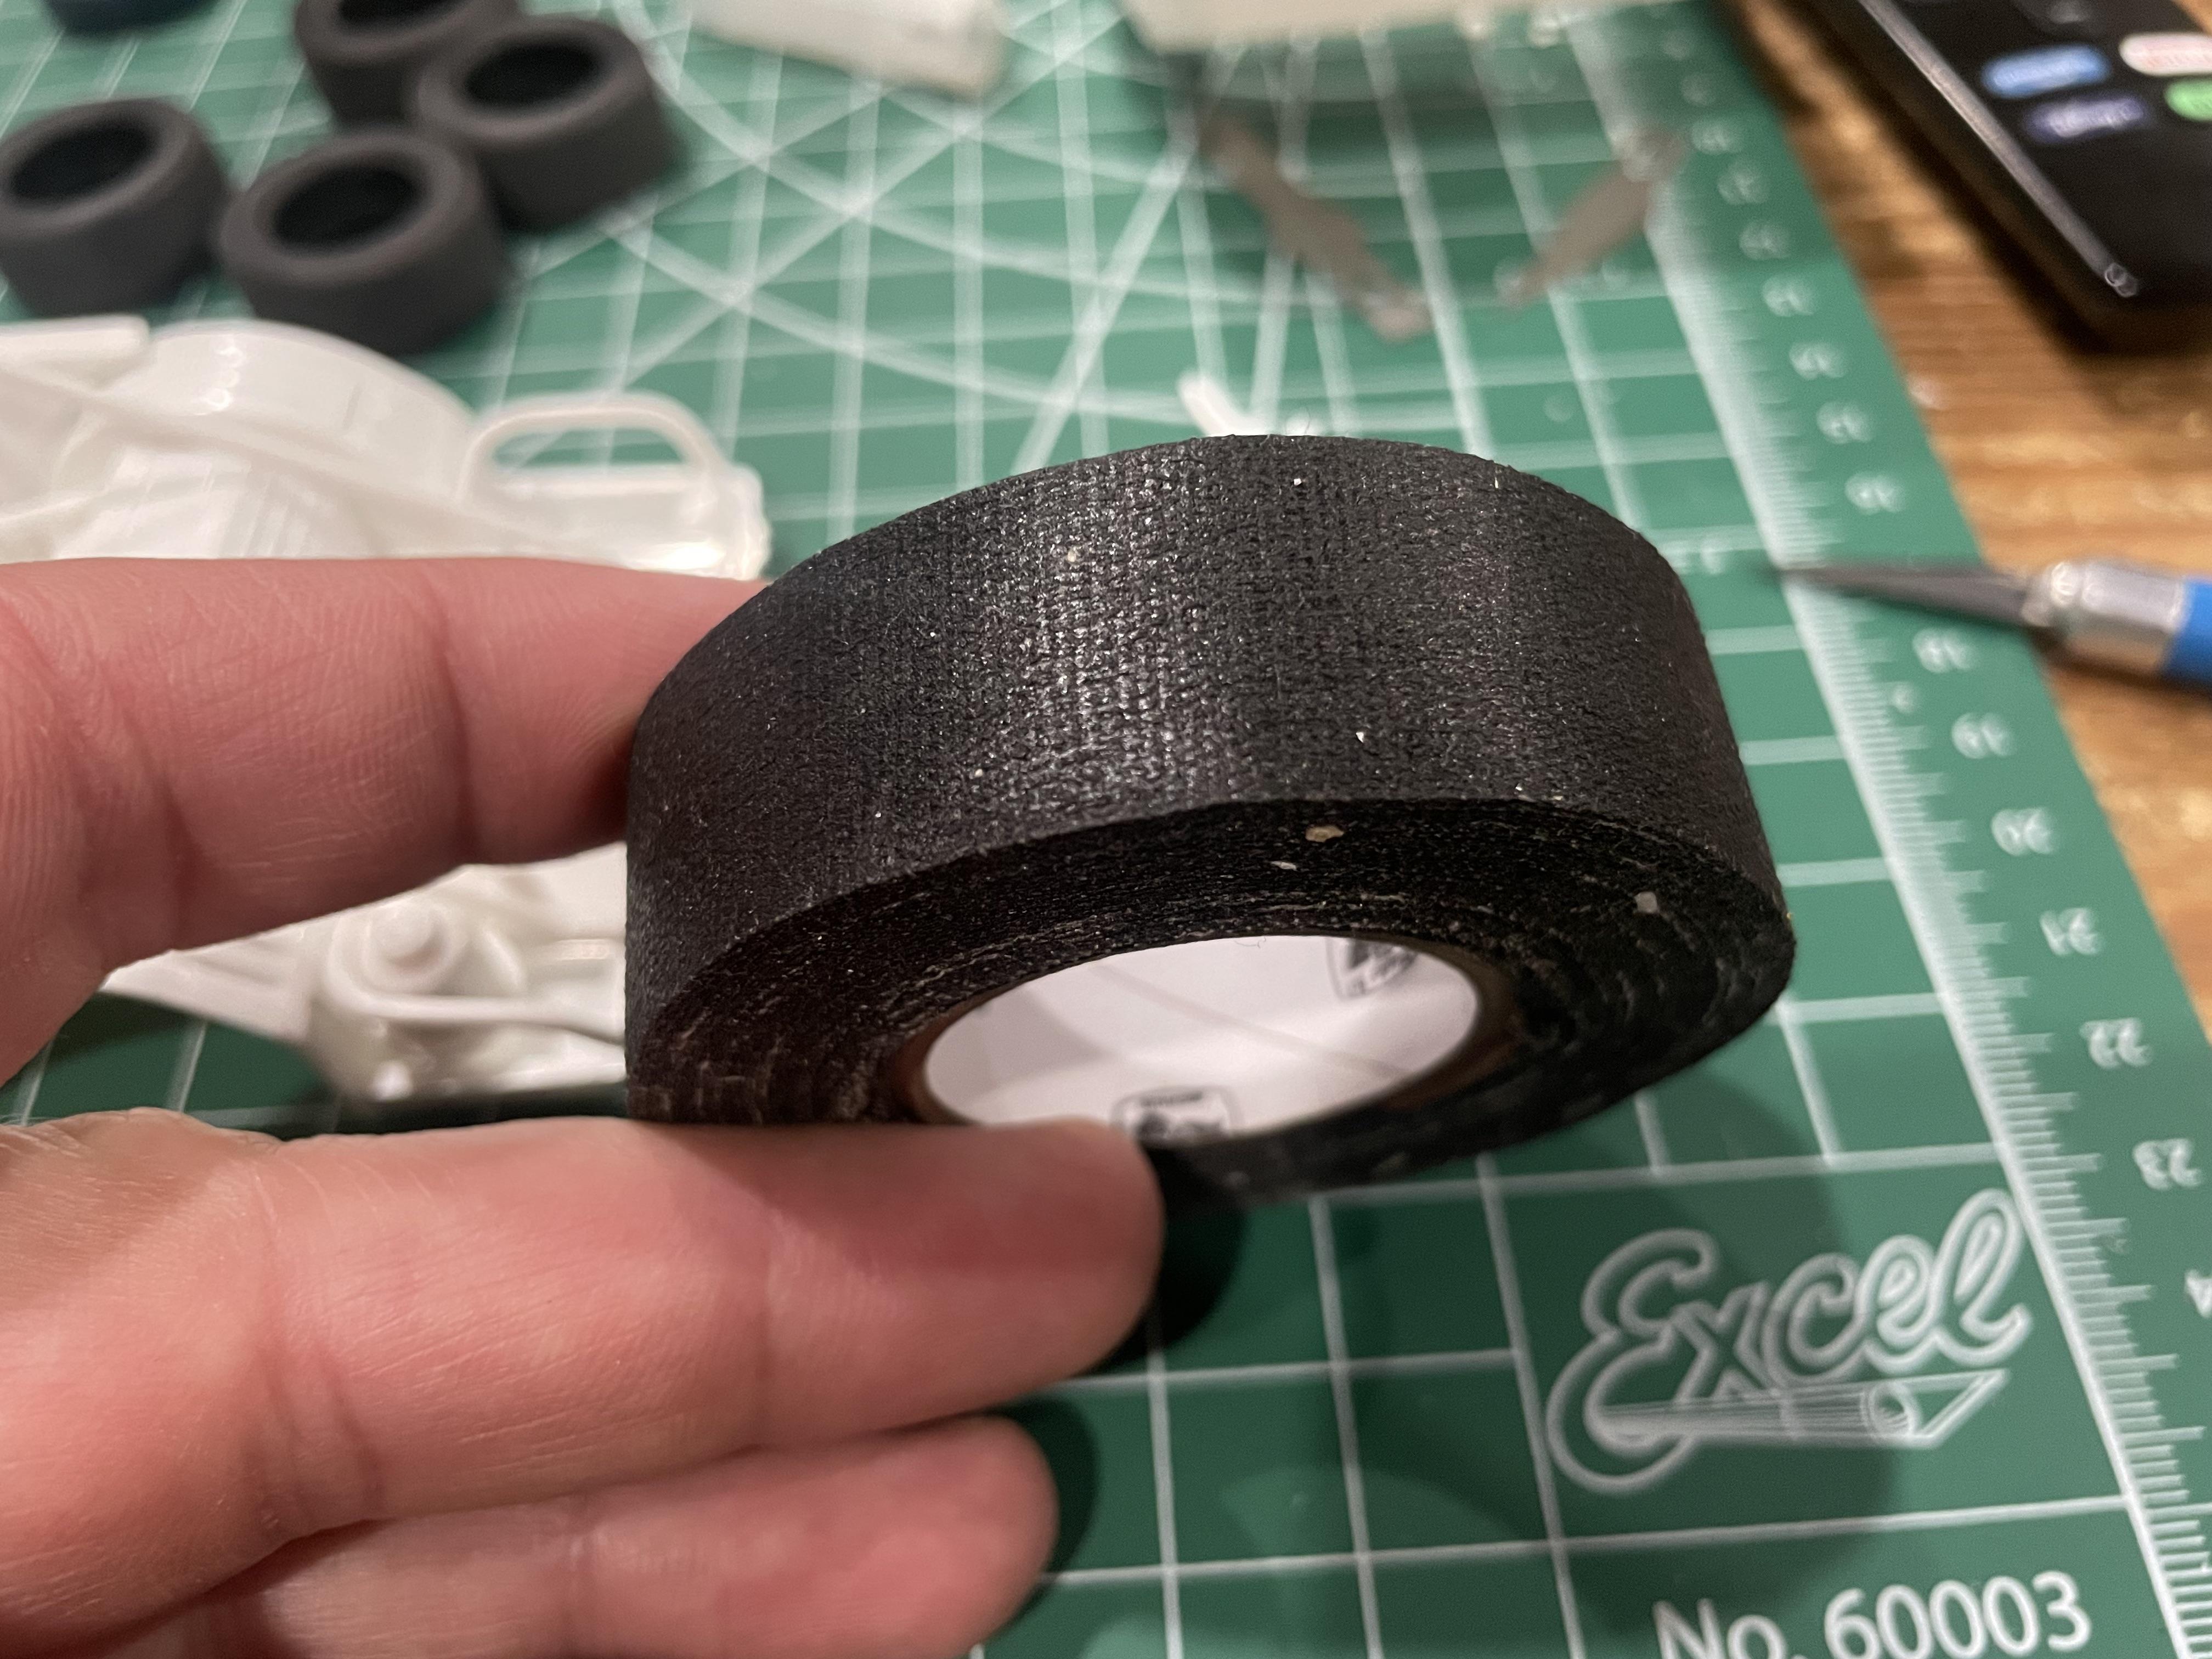
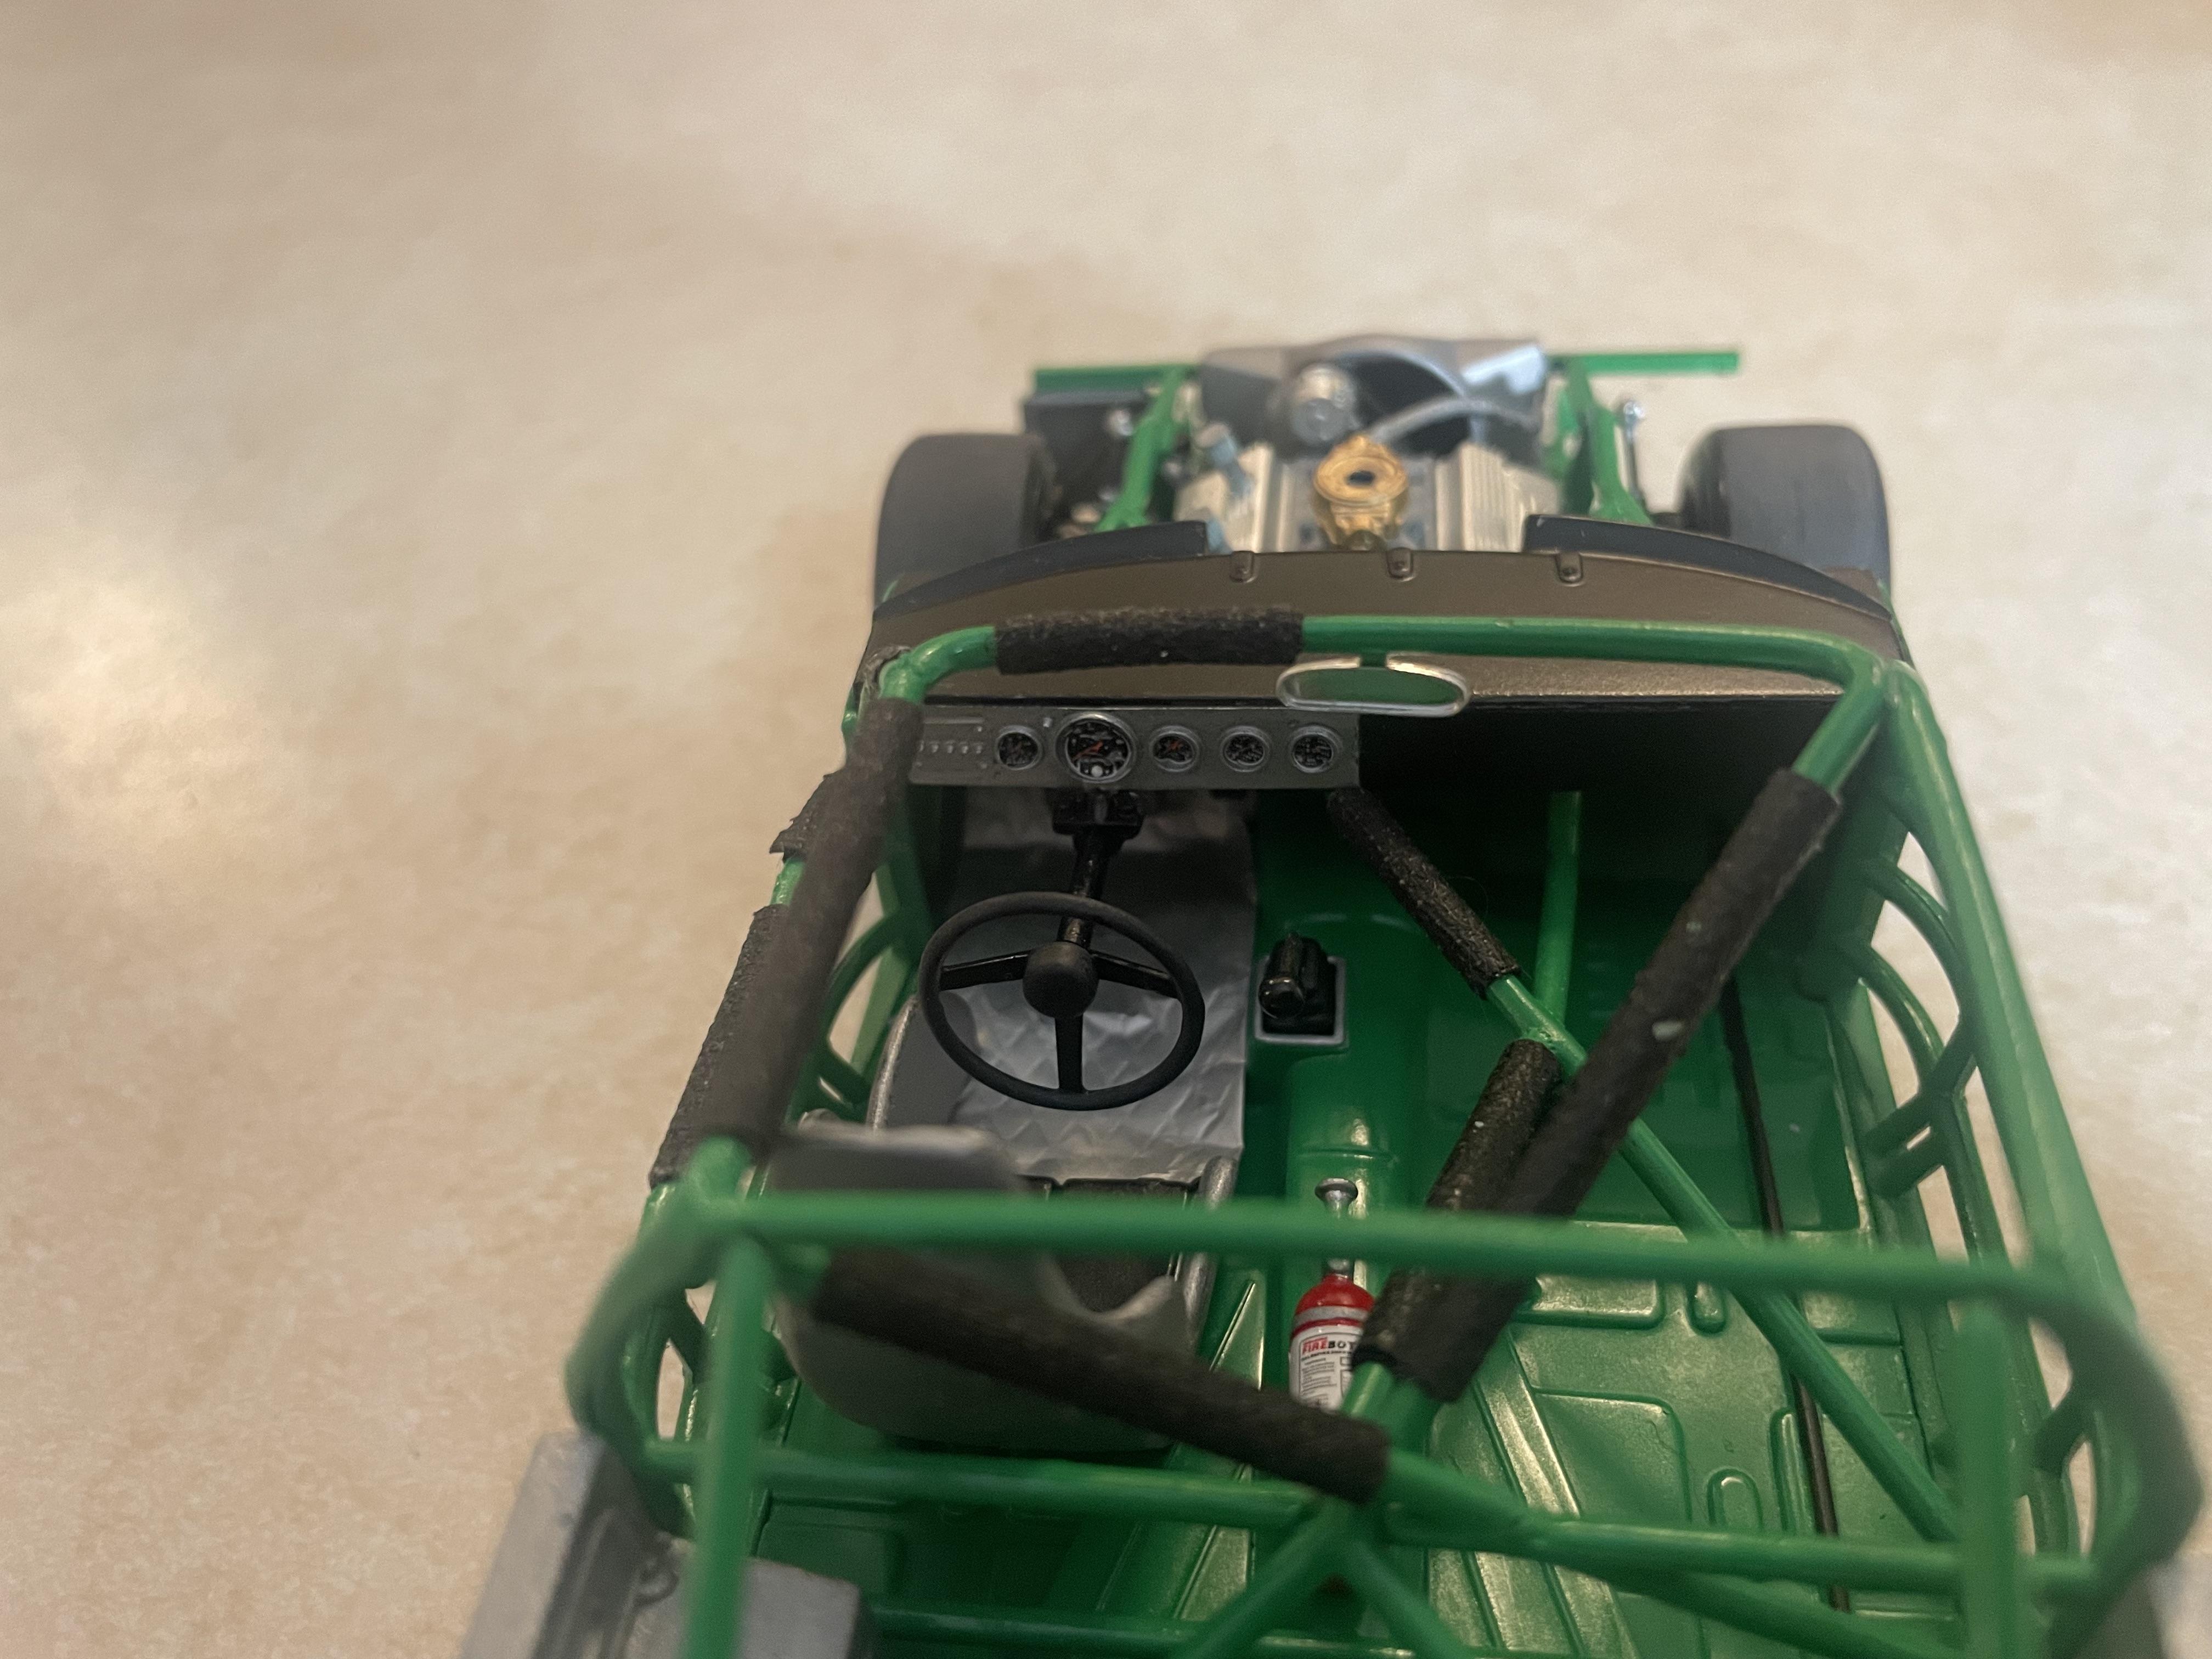
Thanks, Mark, I am trying to get better on every one. This is the tape I use for the roll cage padding, and some of the window nets, if I'm making a black net. I think I got it at AutoZone, or one of the other auto parts store. I think its called wiring loom harness tape?

-
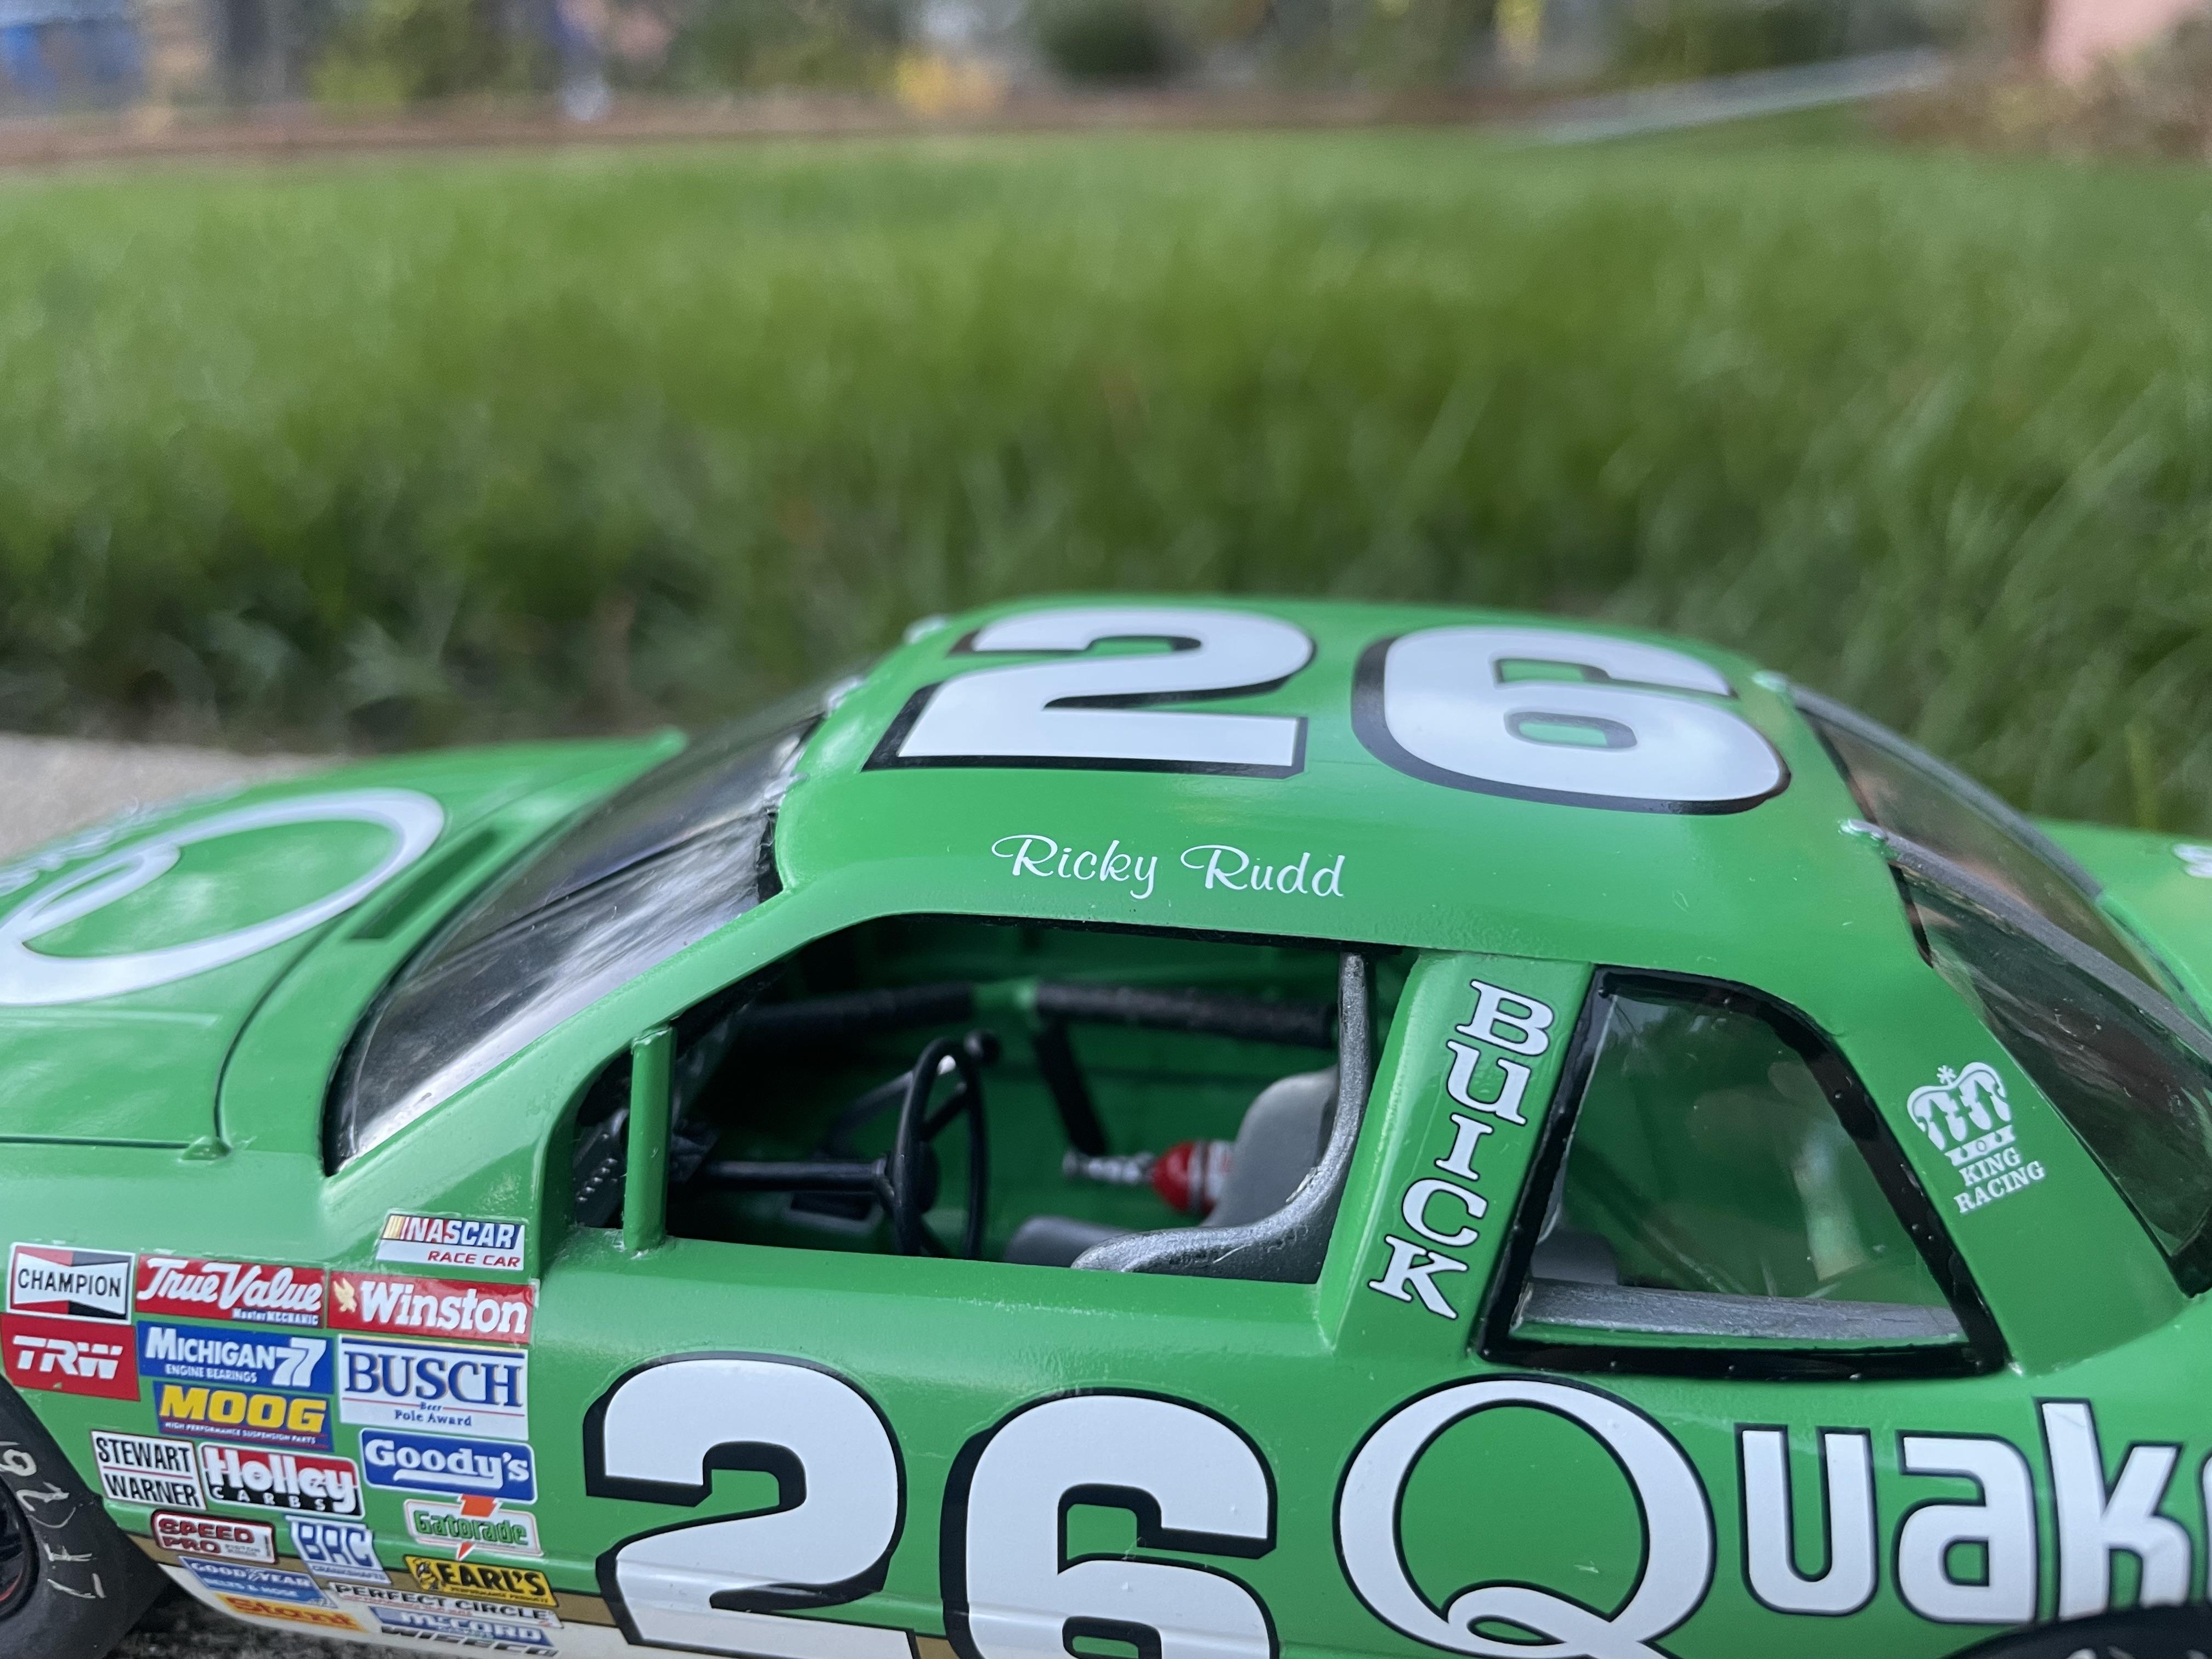
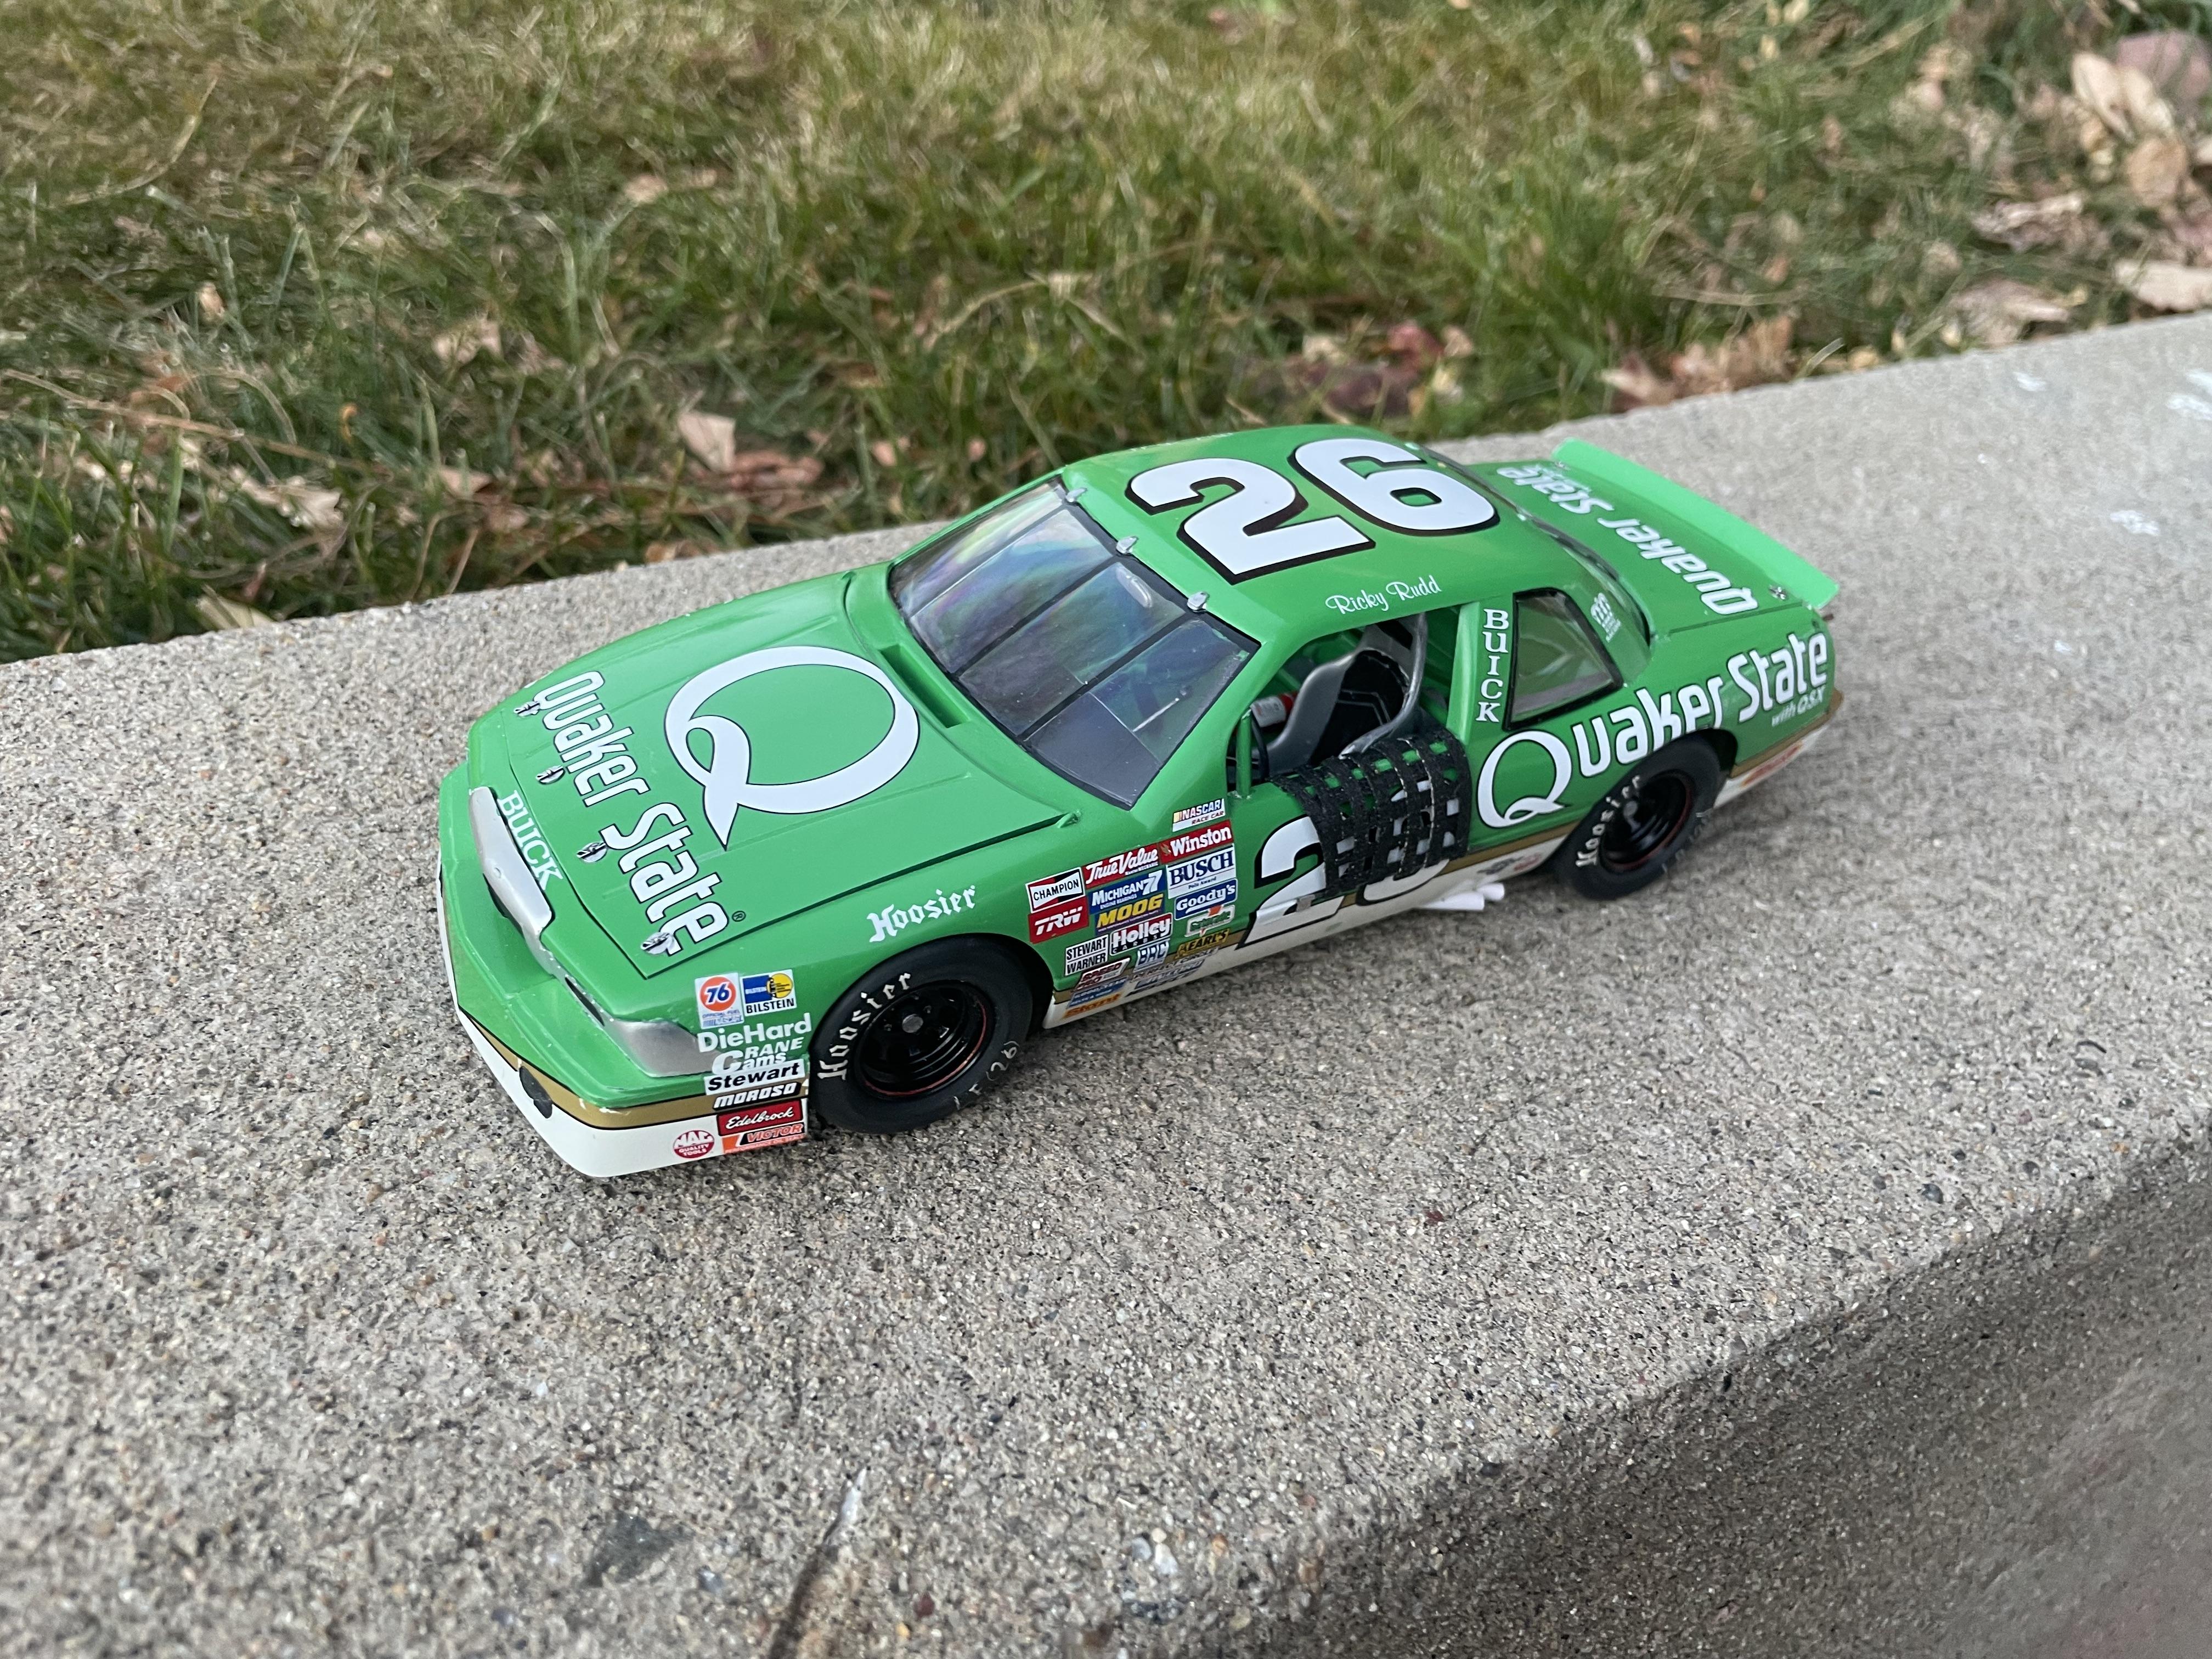
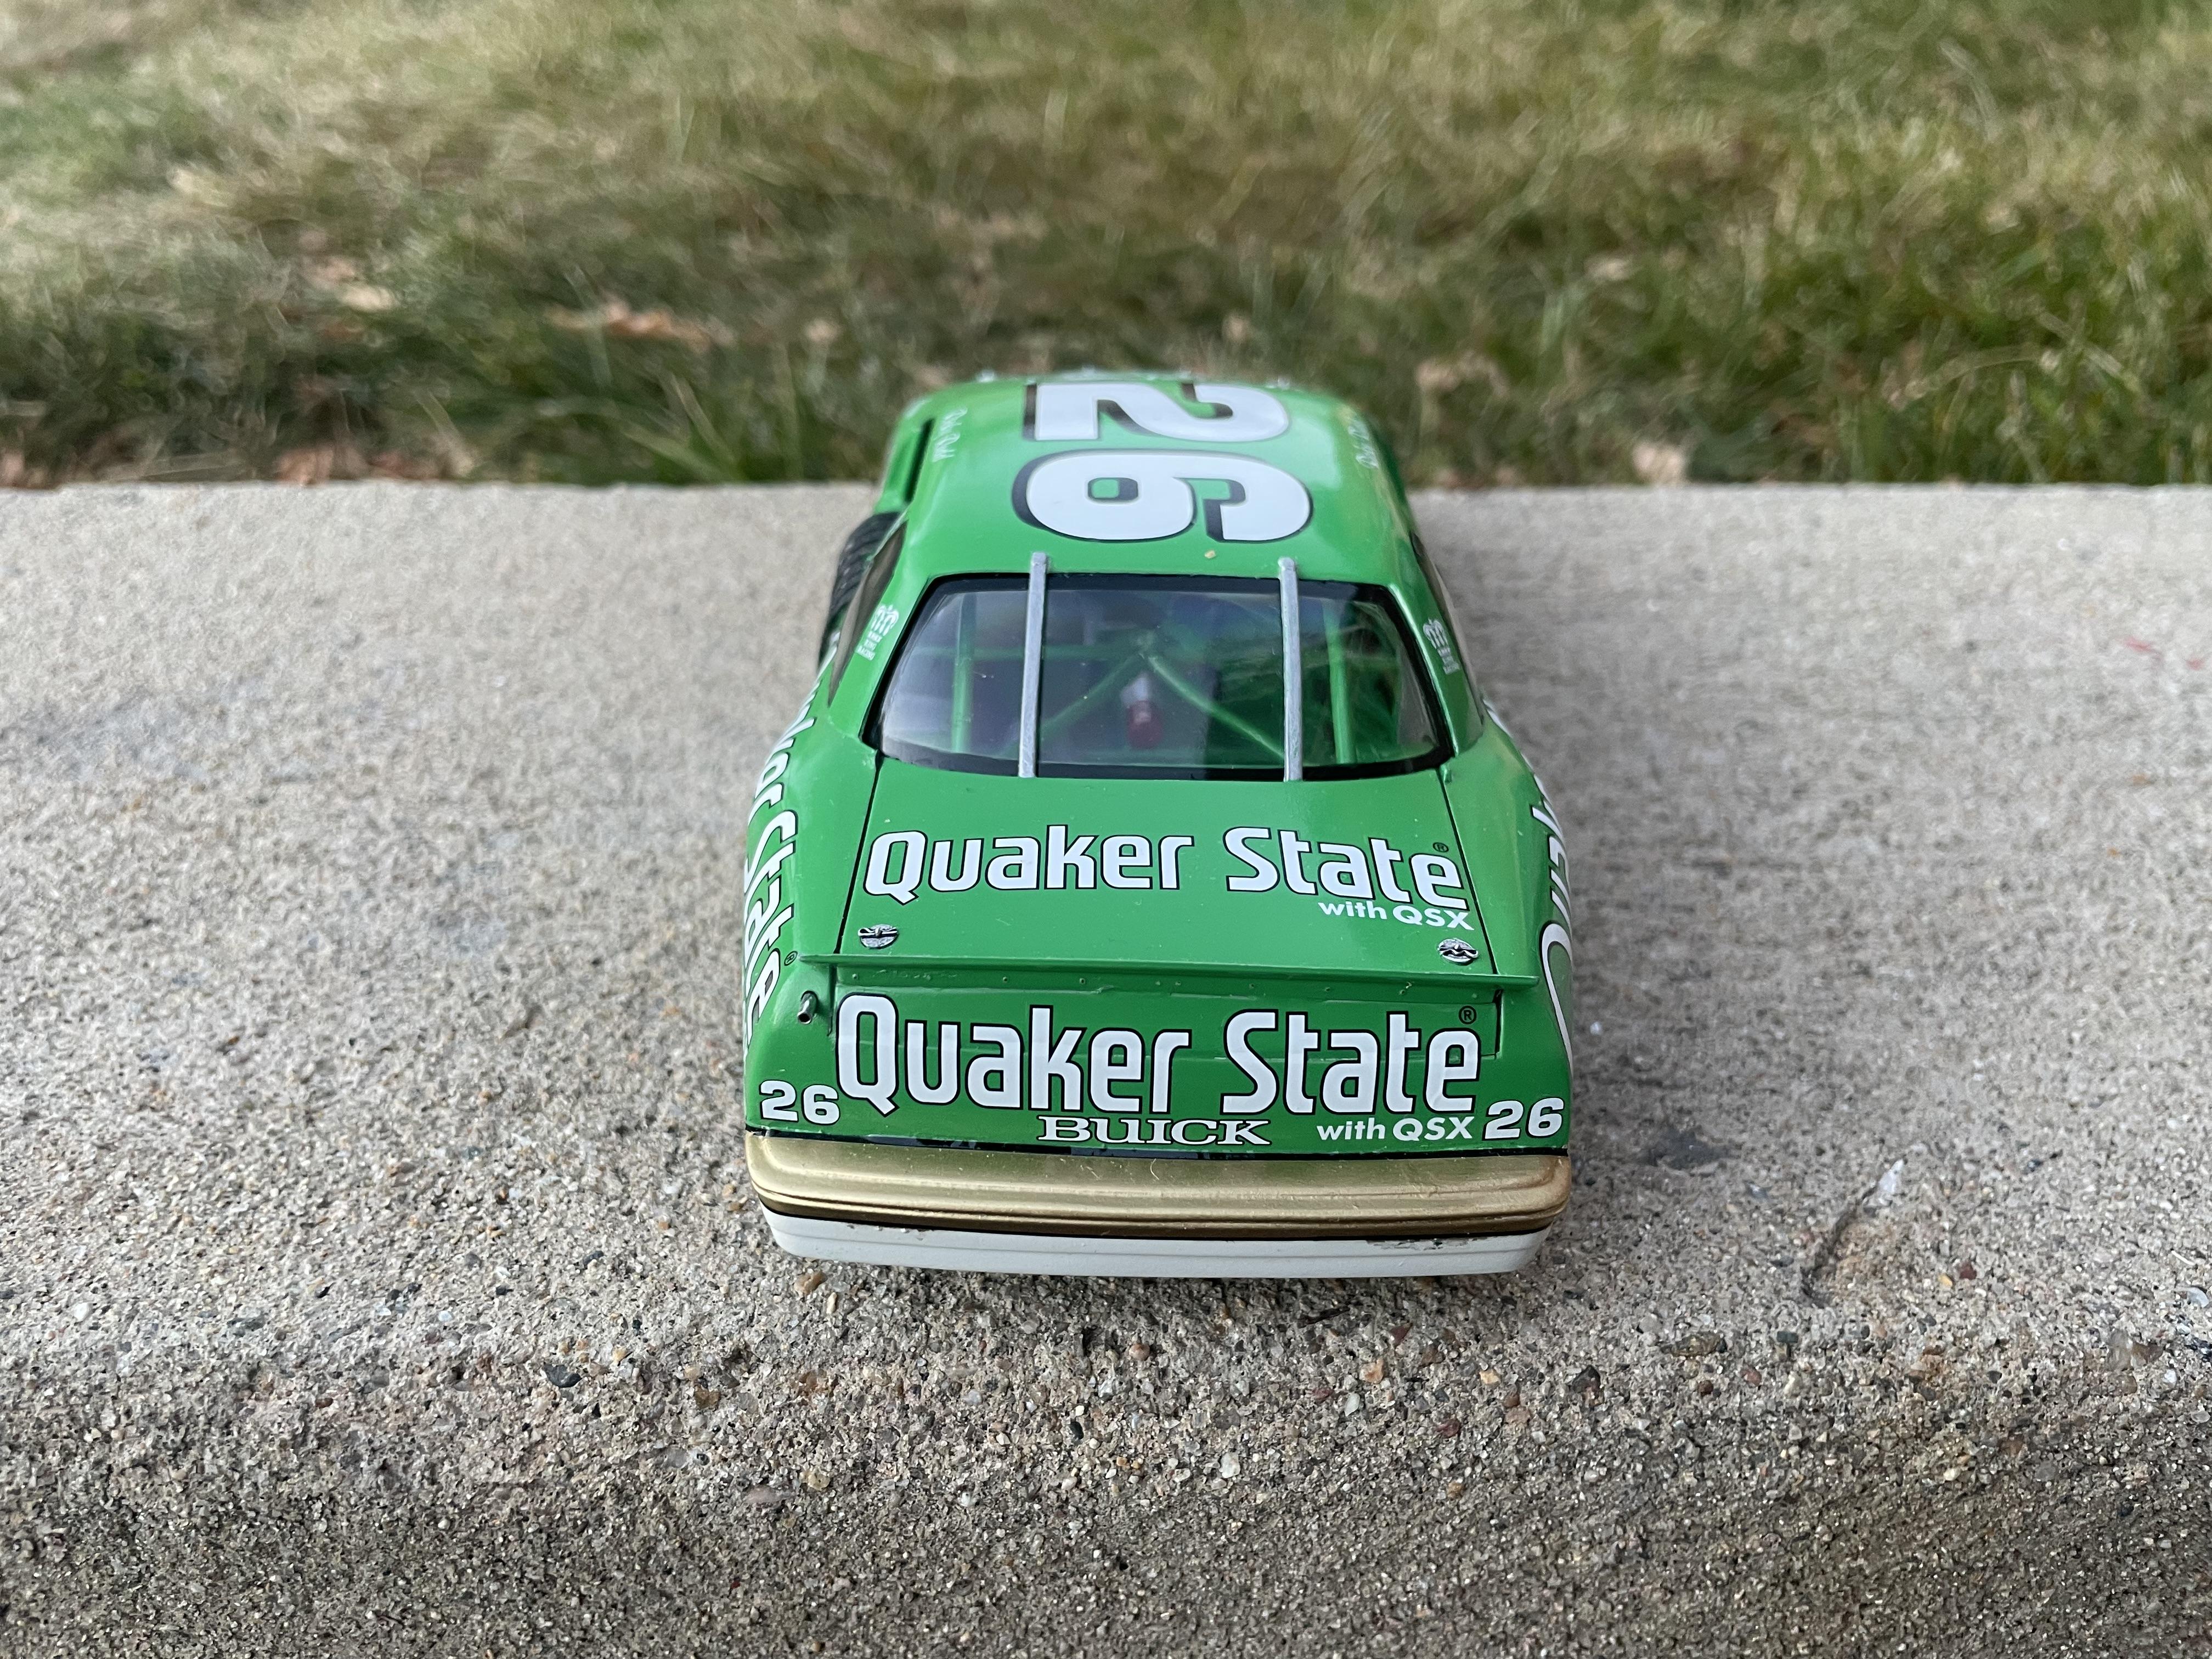
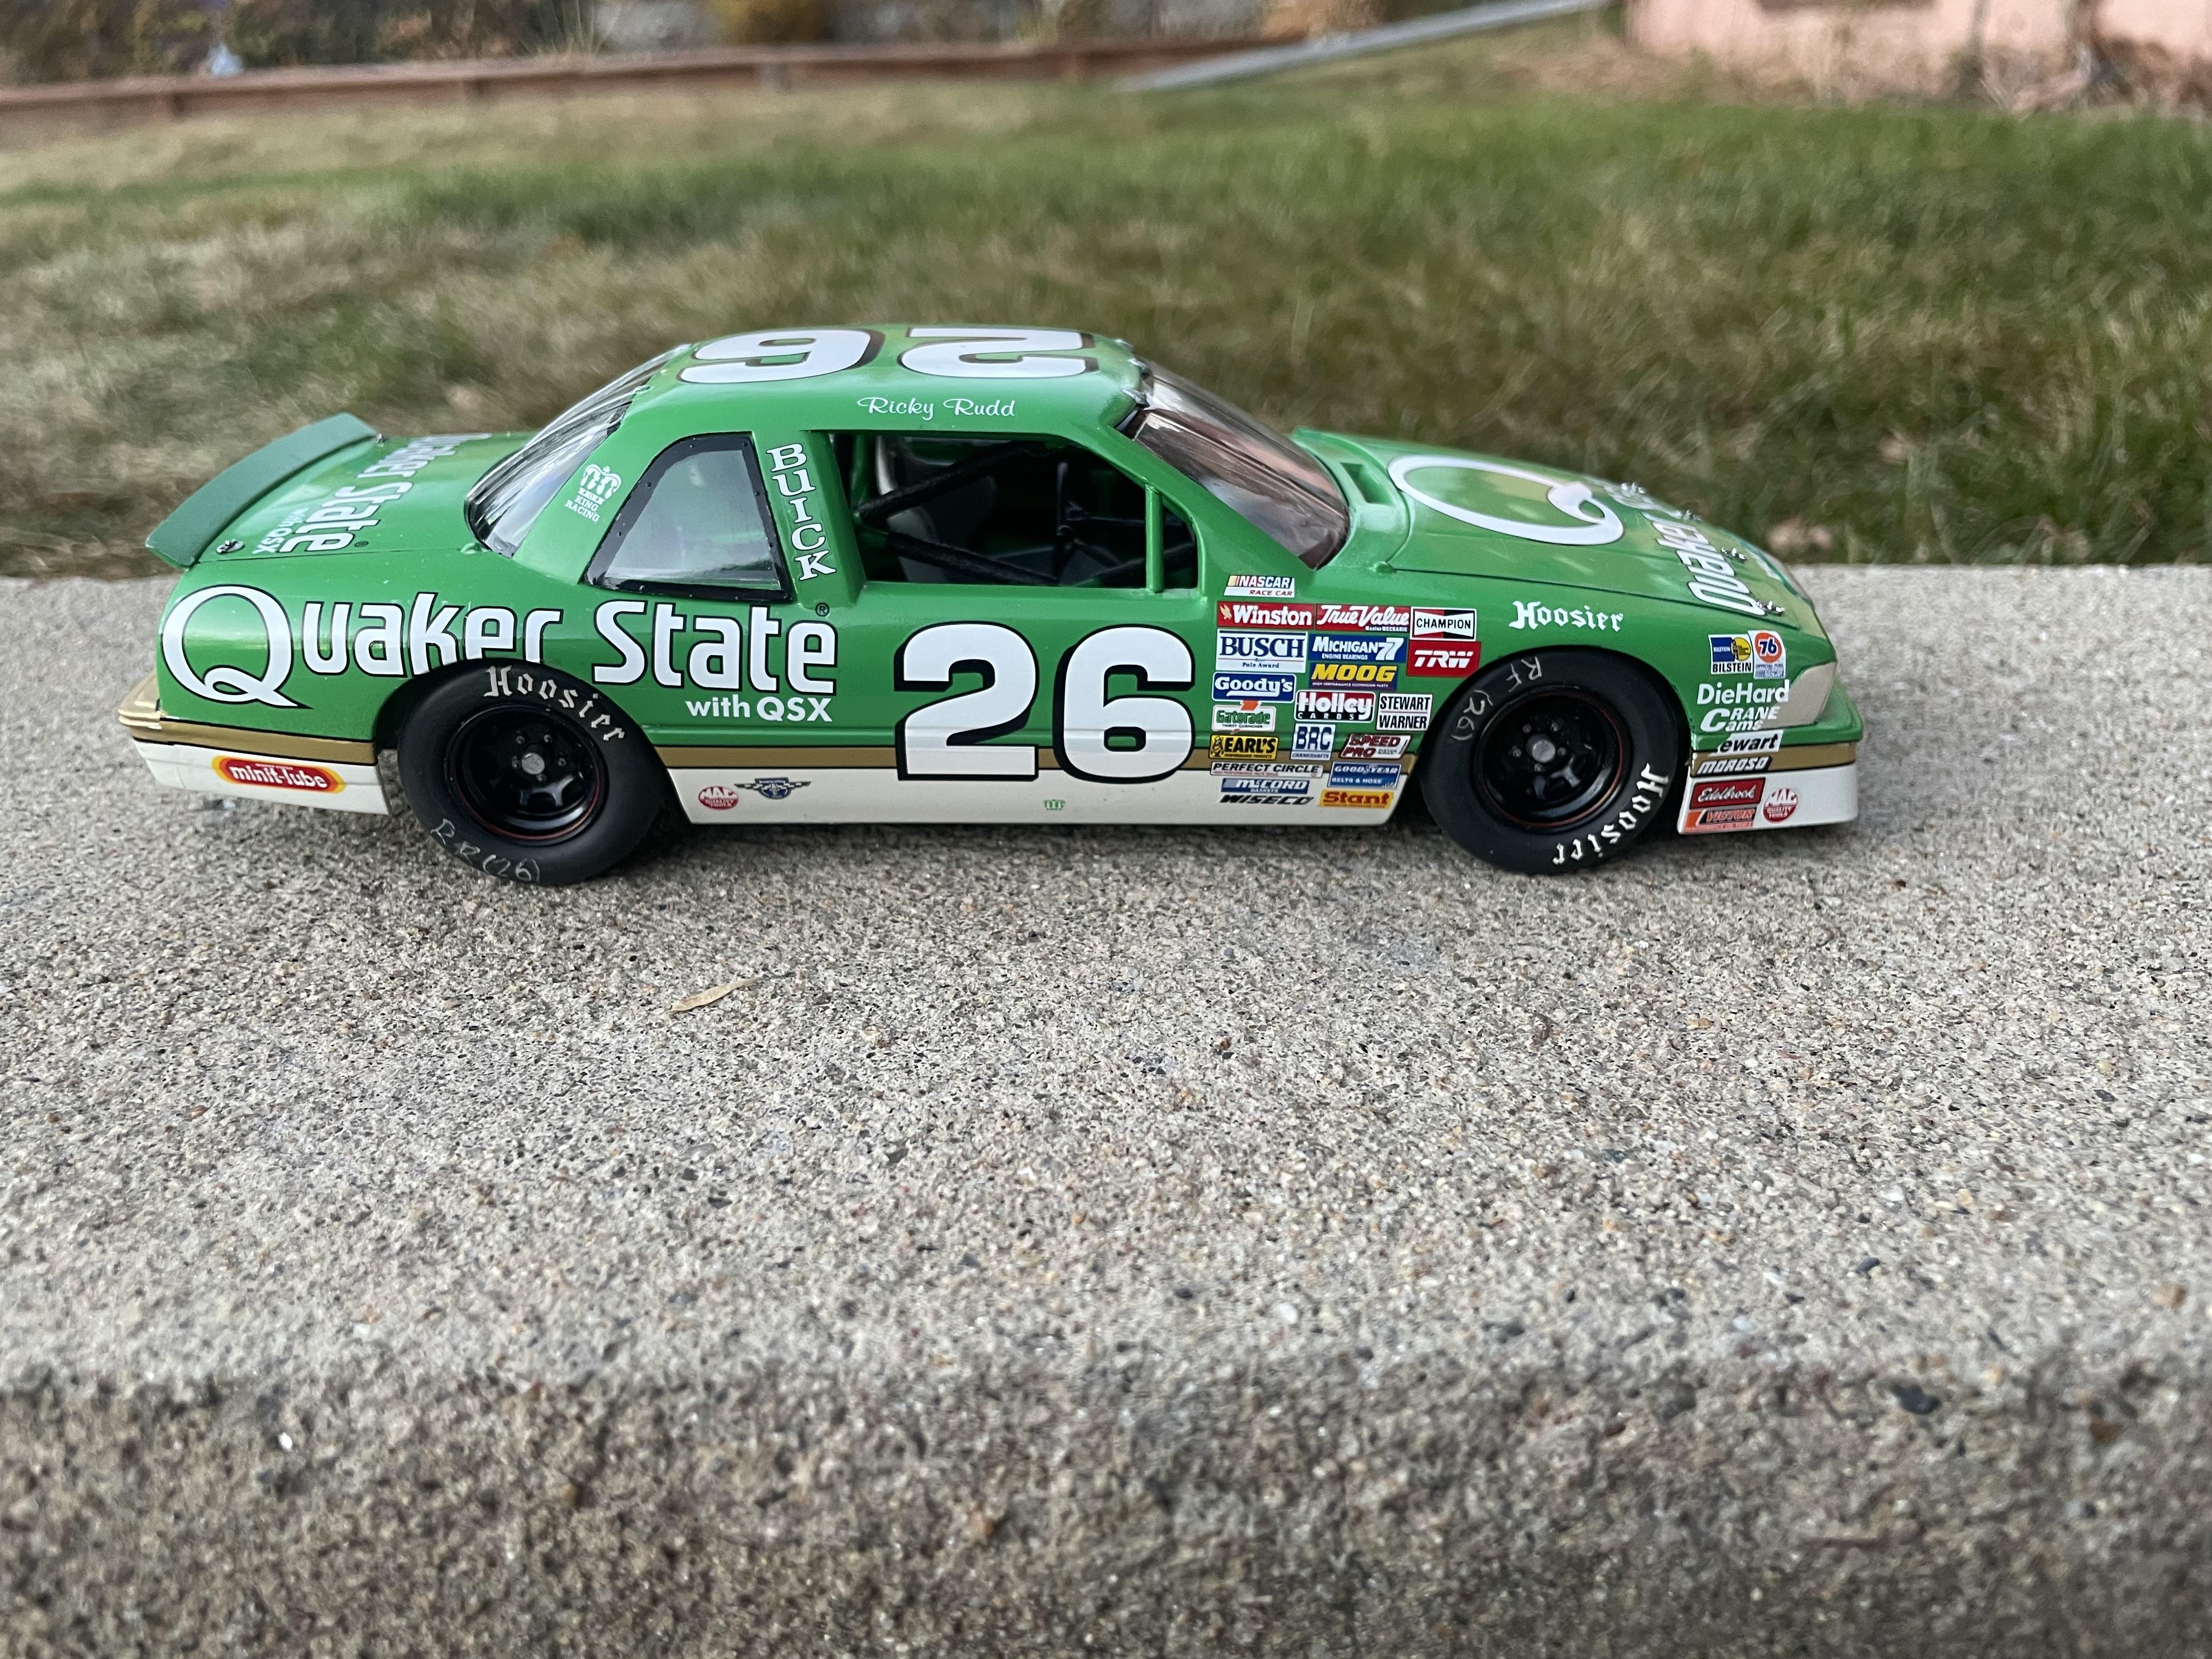
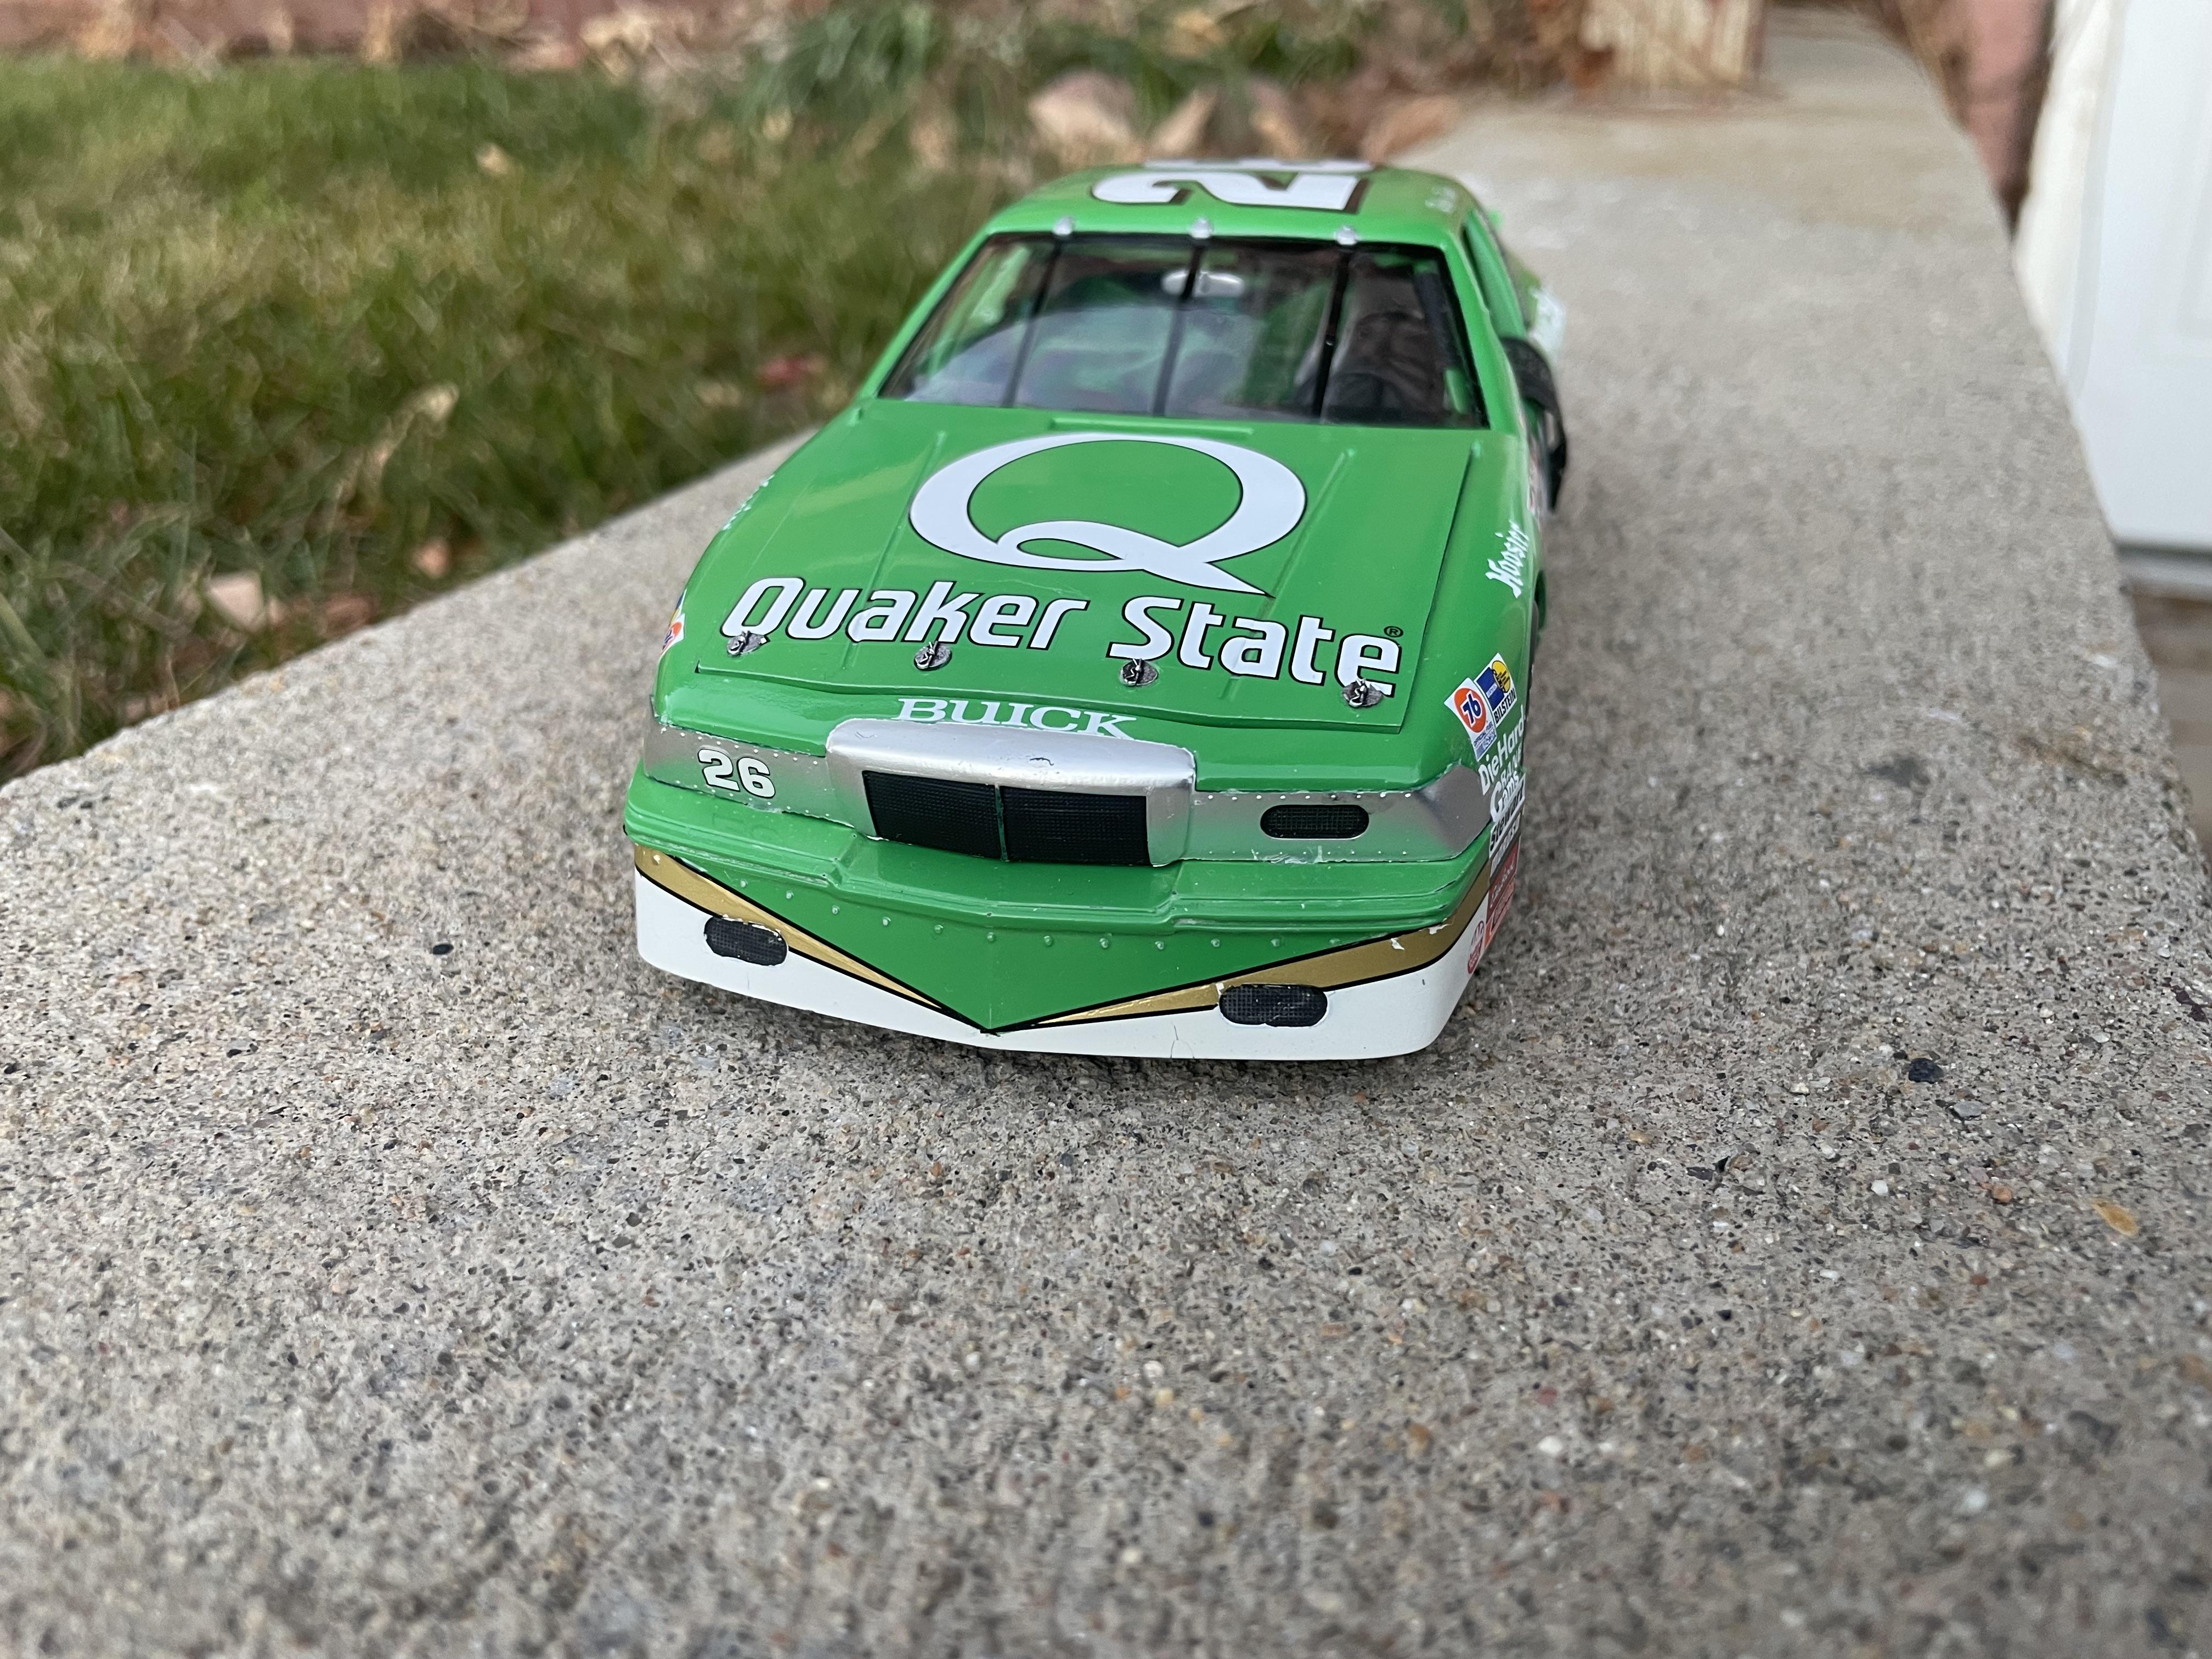
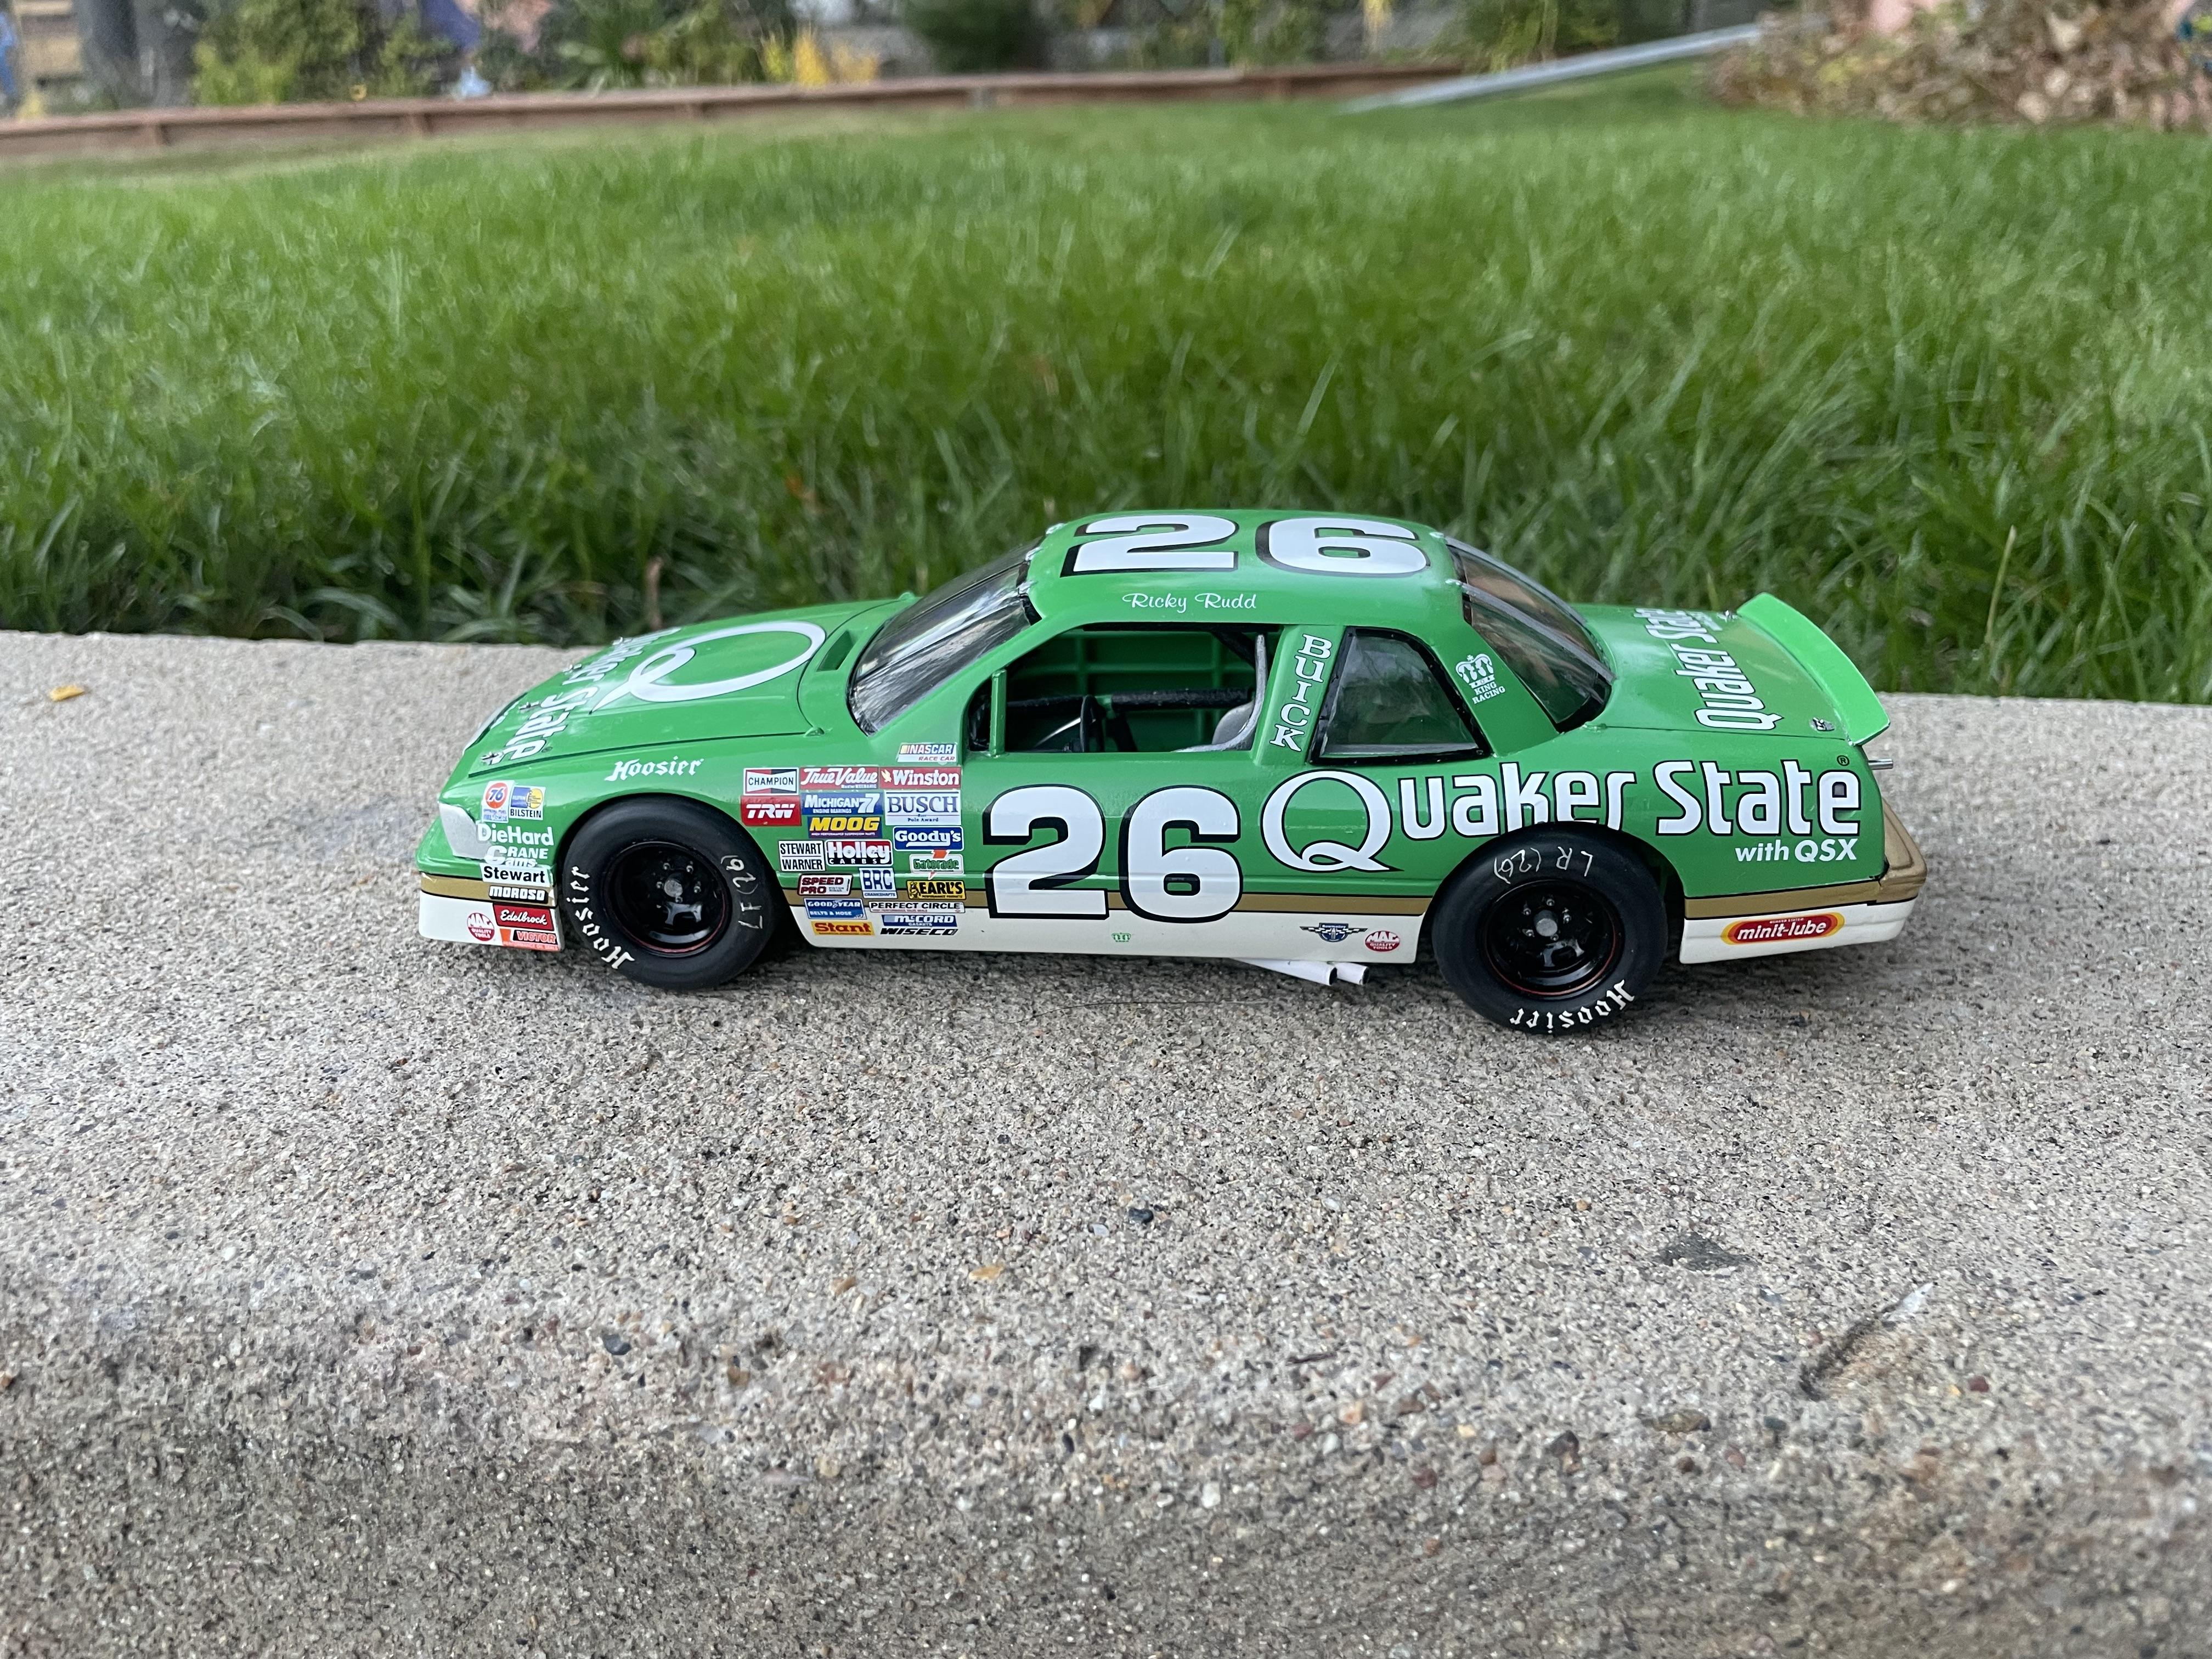
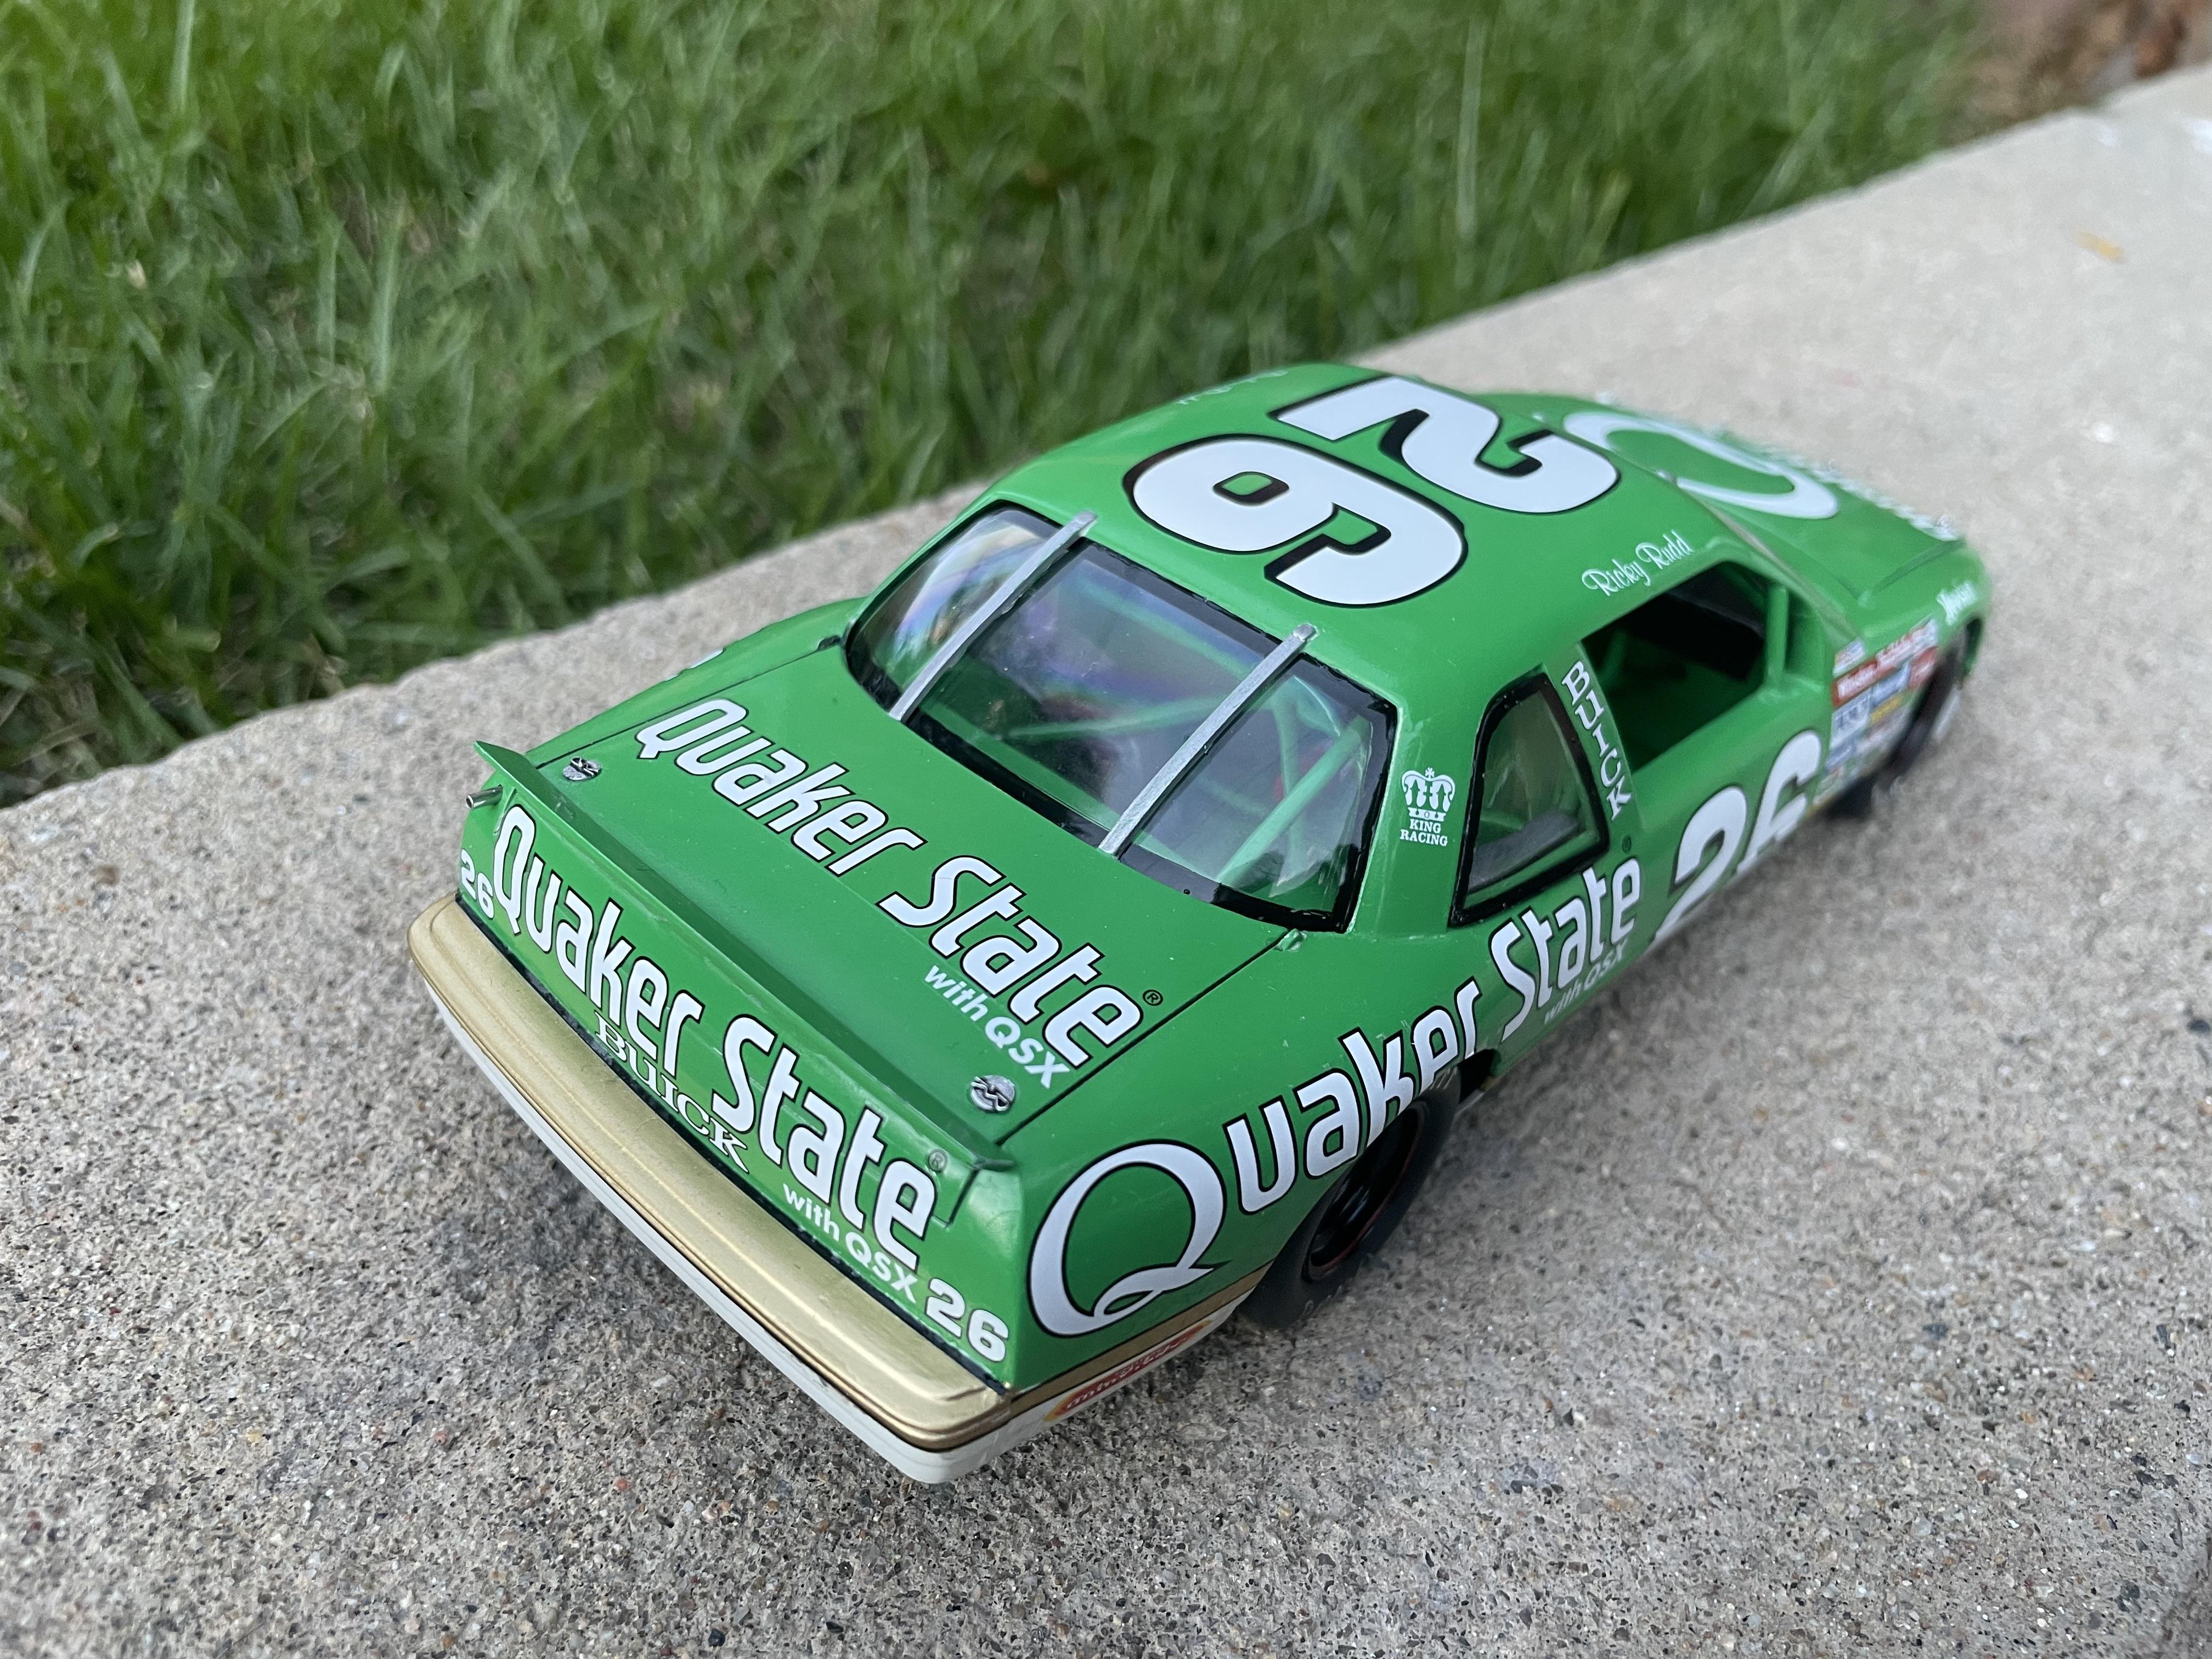
1988 Quaker State Buick, Ricky Rudd
Ben269 replied to Ben269's topic in Stock Cars (NASCAR, Super Stock, Late Model, etc.)
Thanks, Bruce, I will use the Hoosiers on any of the 1988 builds I do, because I love the story of the tire wars from that year ,and it adds variety to the display case. -
Makes sense, I'll try it, thanks!
-
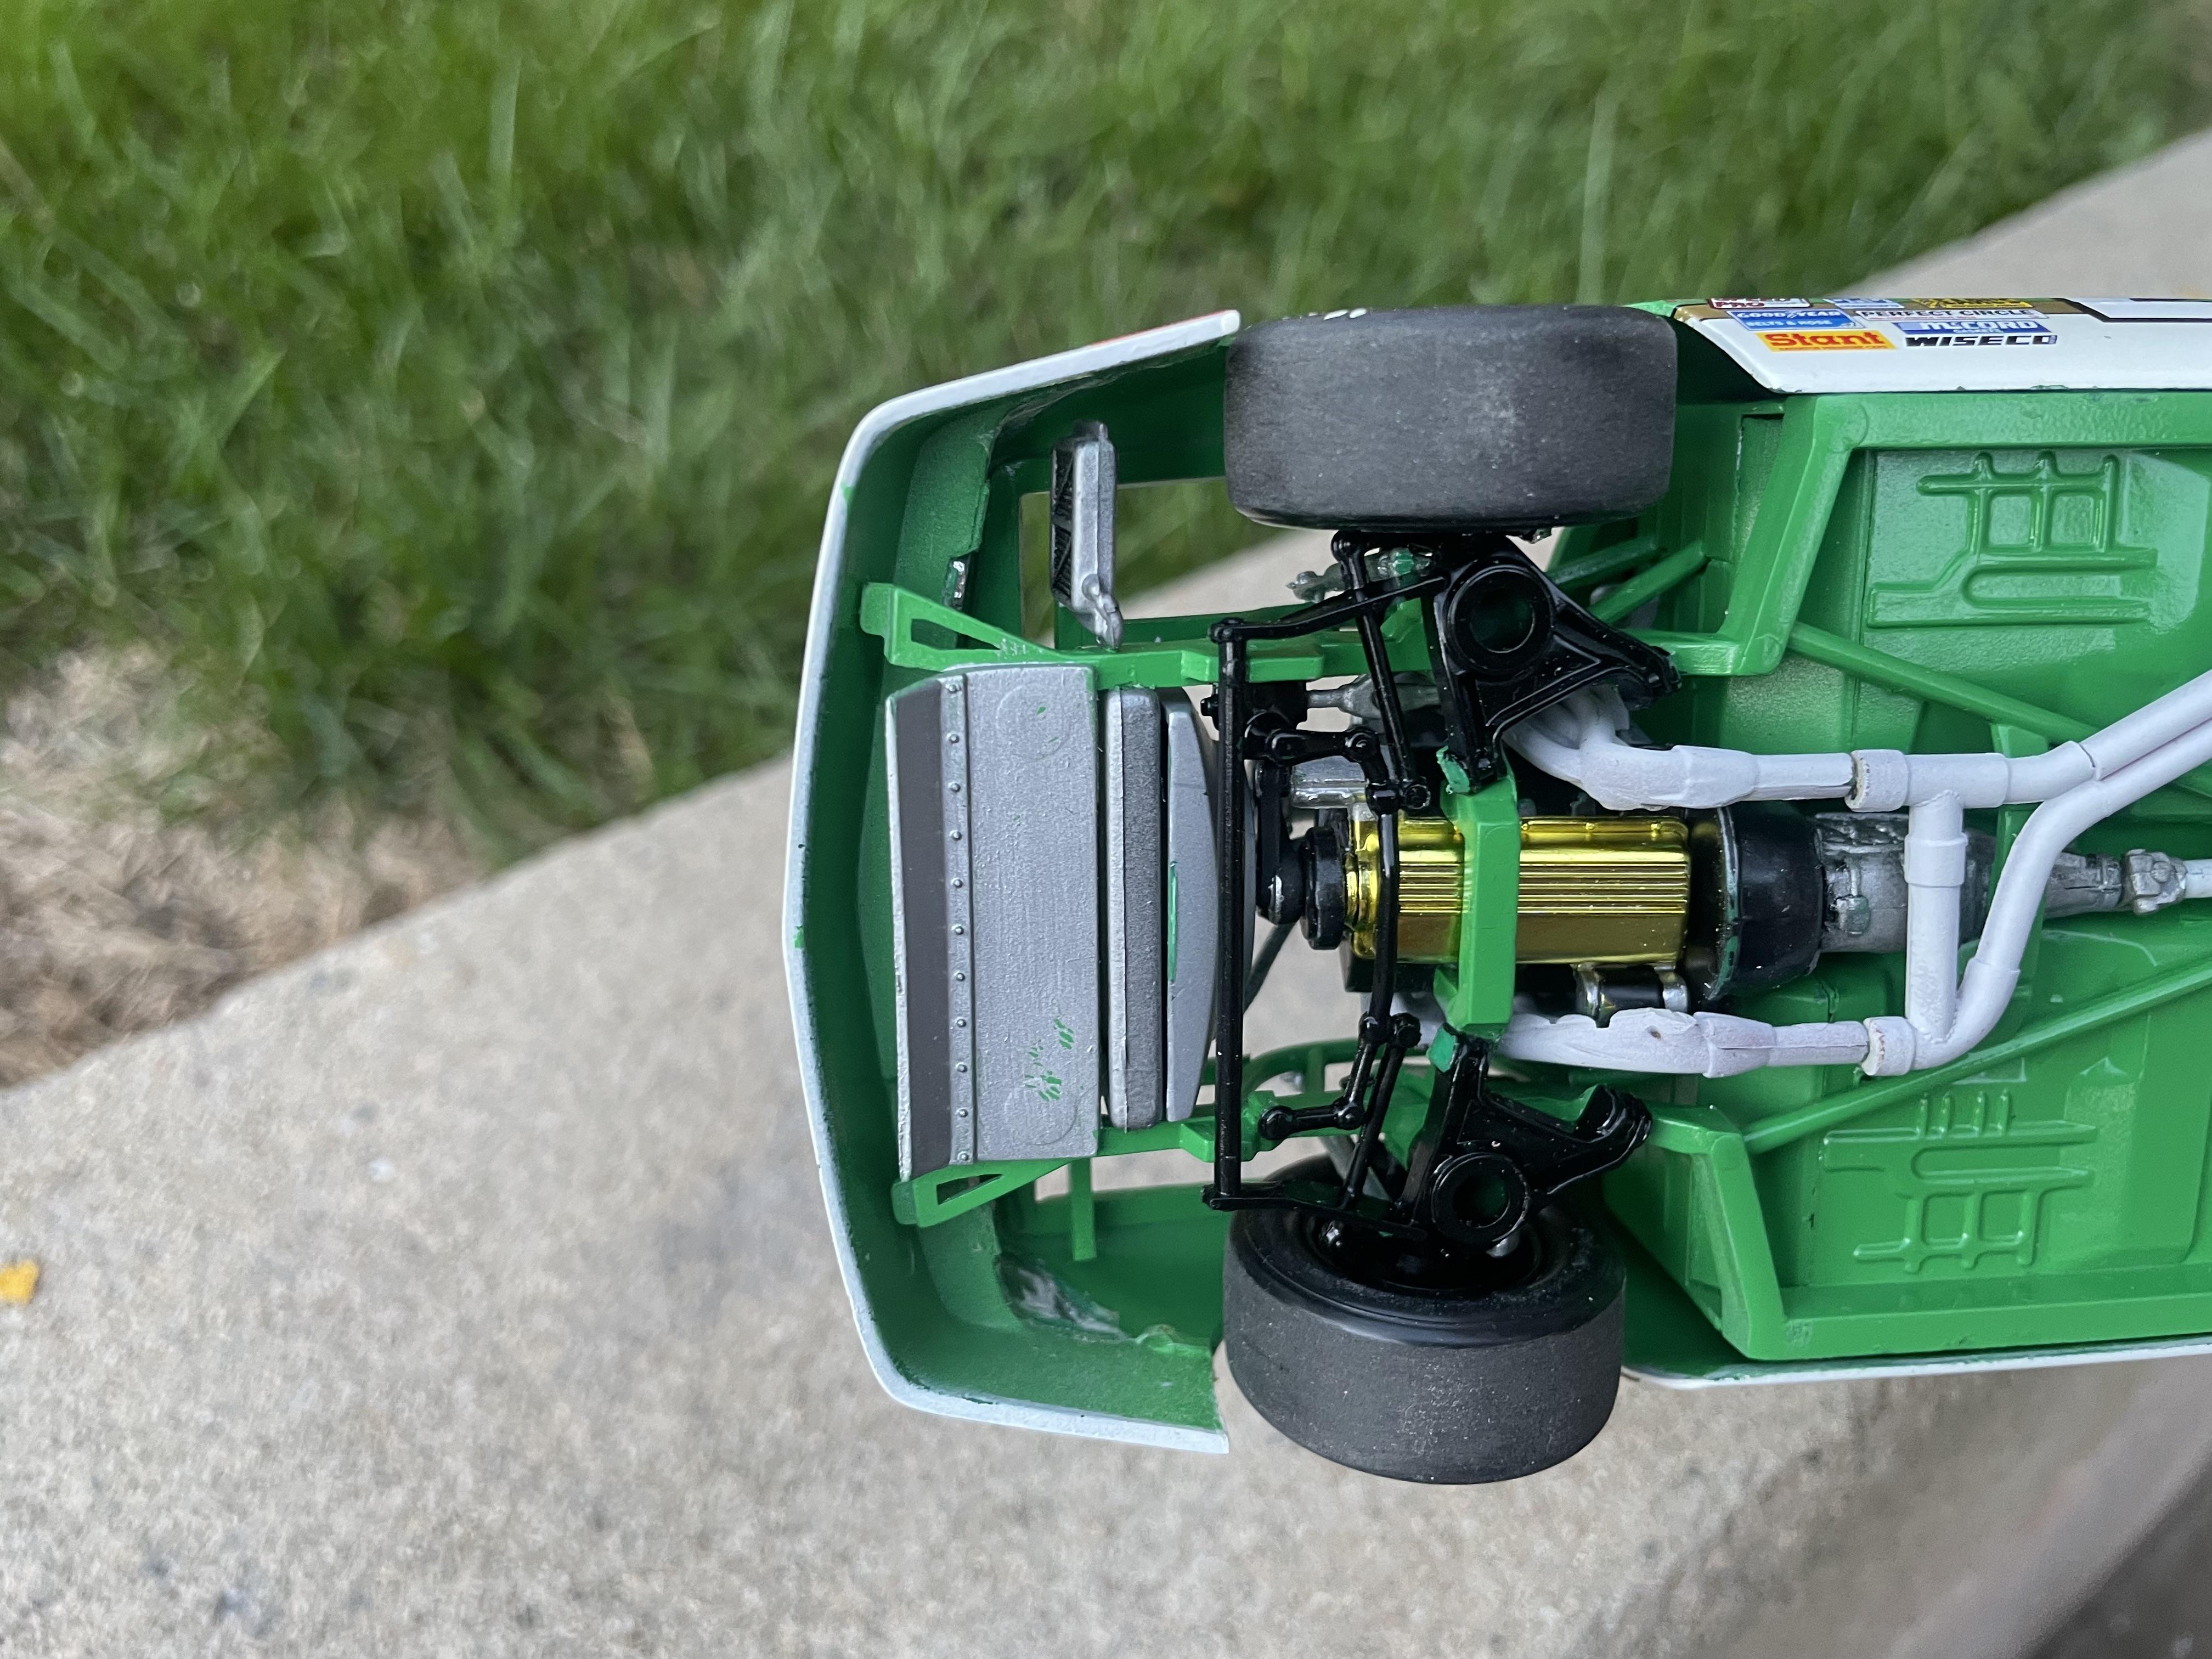
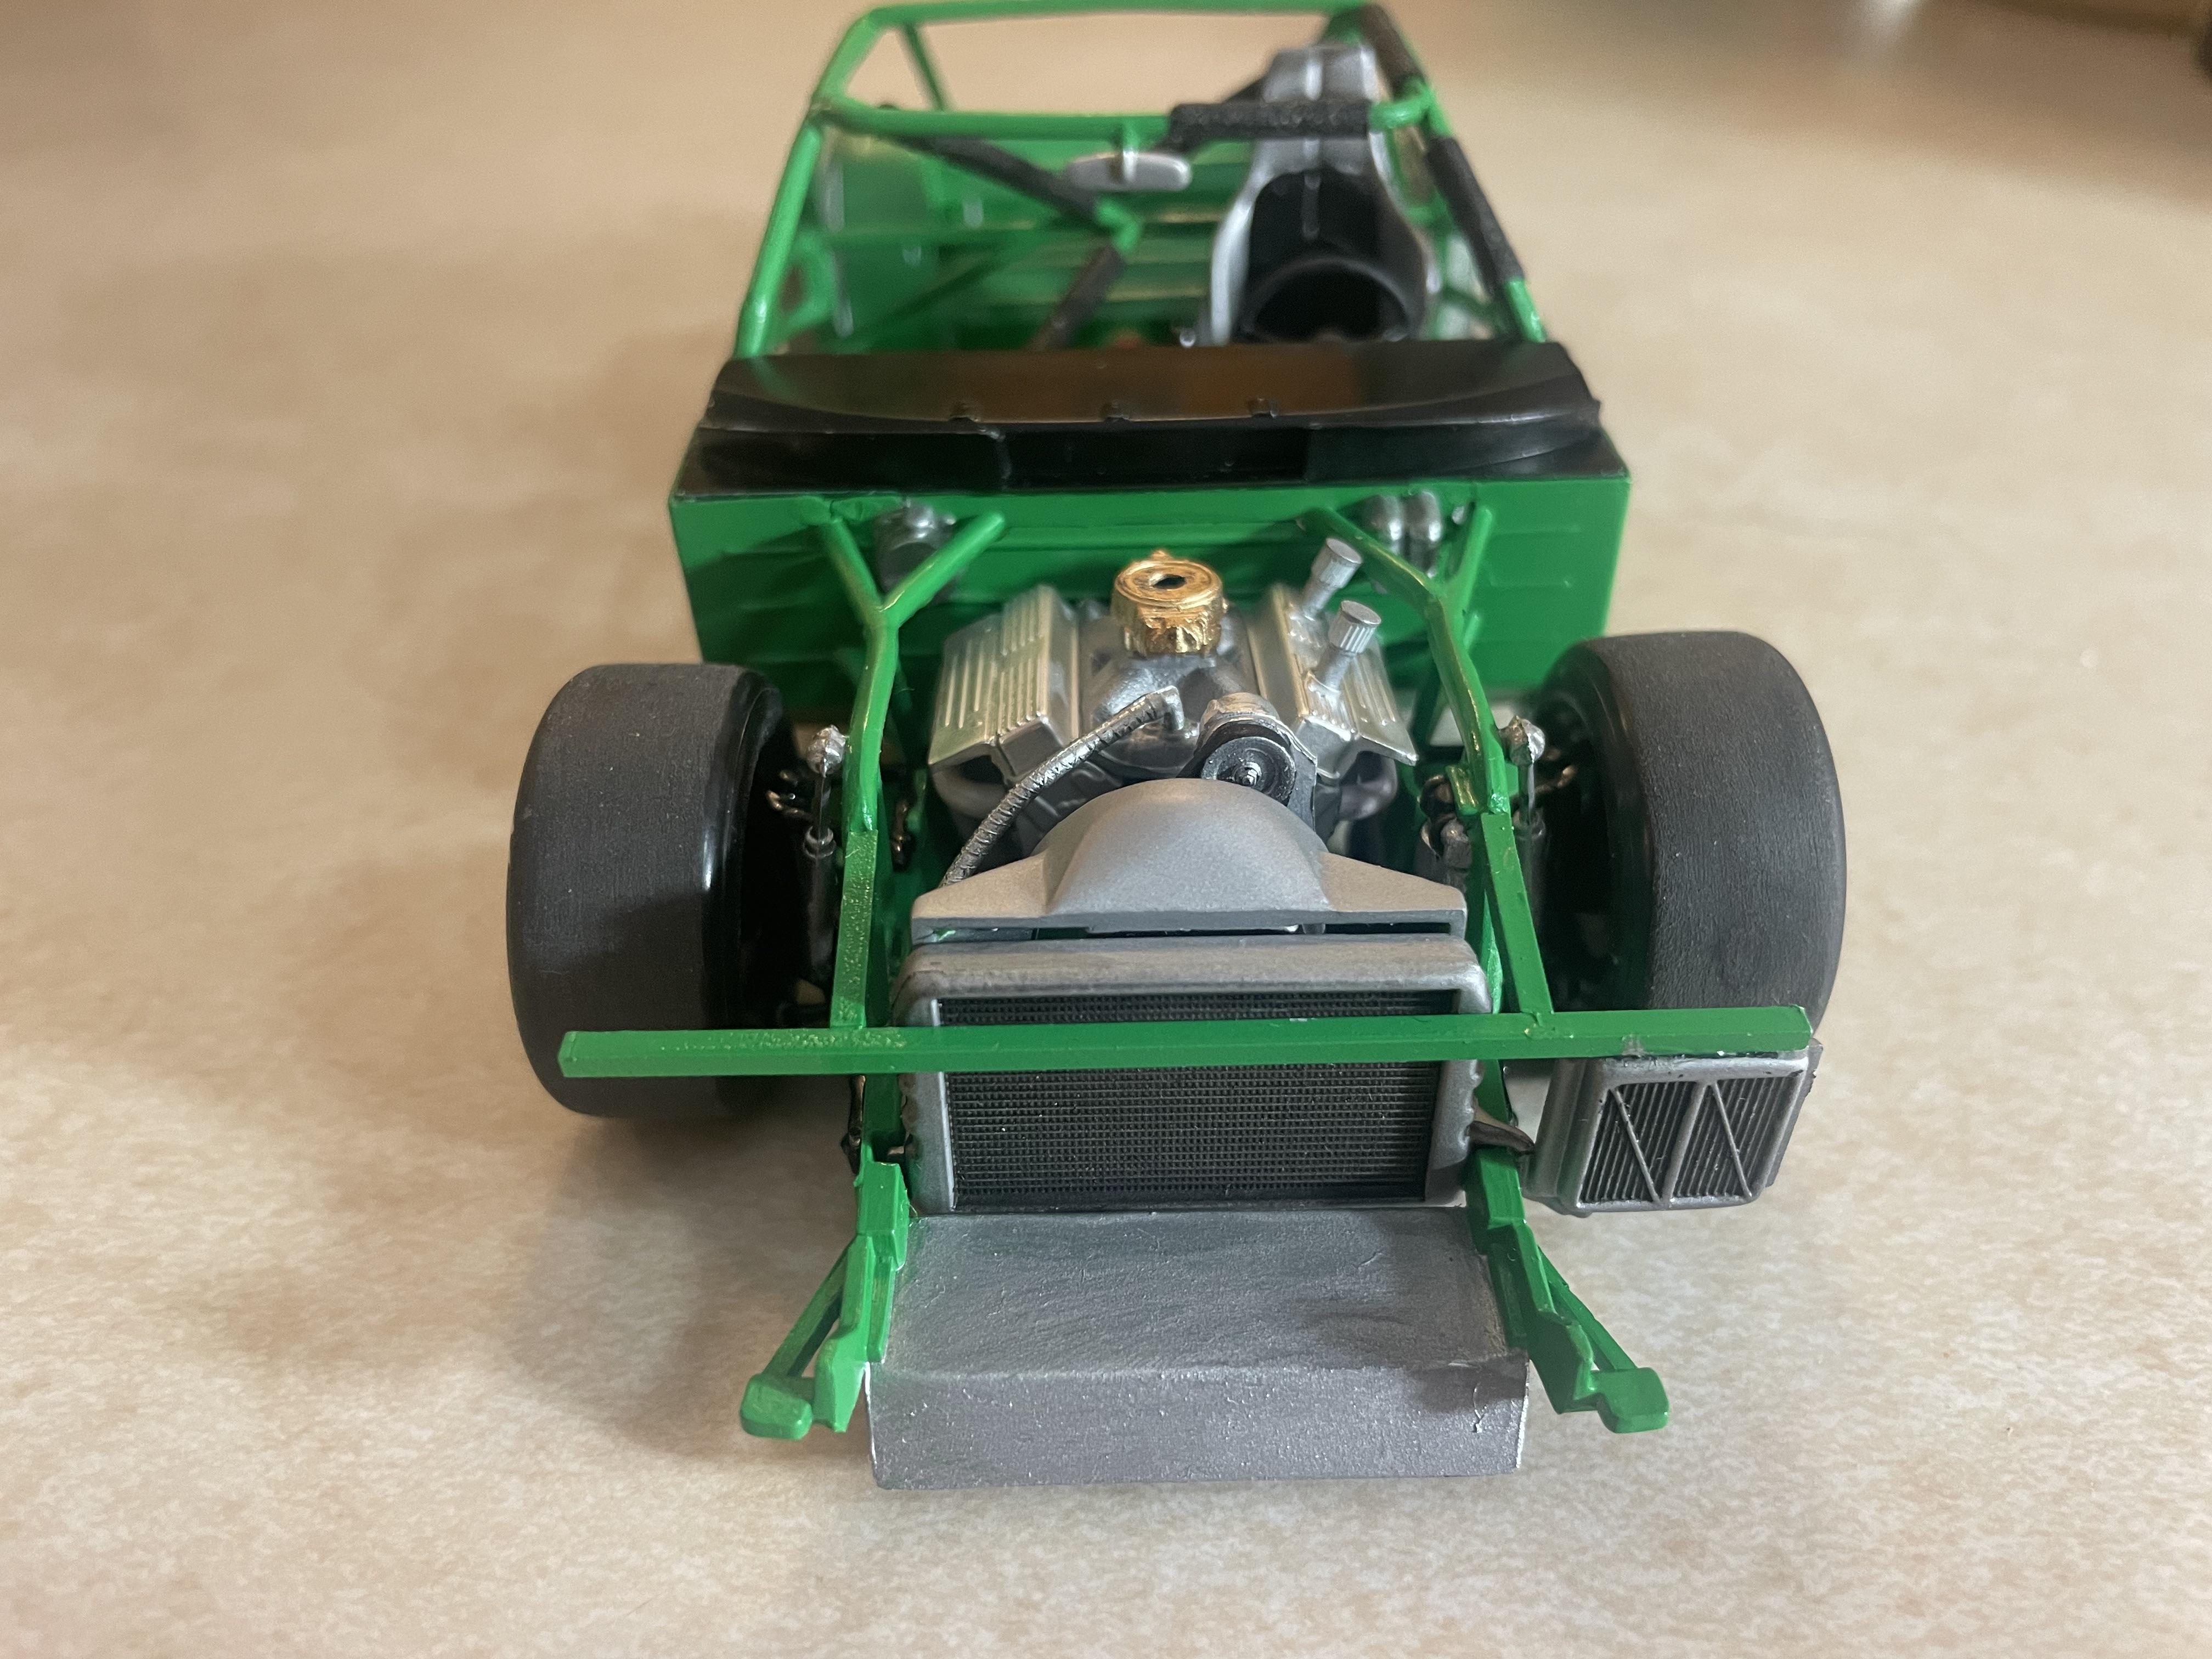
I like the details you added, with the wheels and the brakes, where did you get those brakes?
-
This looks great! How did you modify the seat? I have a few of those AMT seats that I could use as well.
-
Nice job, this turned out really good.
-
1988 Quaker State Buick, Ricky Rudd
Ben269 replied to Ben269's topic in Stock Cars (NASCAR, Super Stock, Late Model, etc.)
-
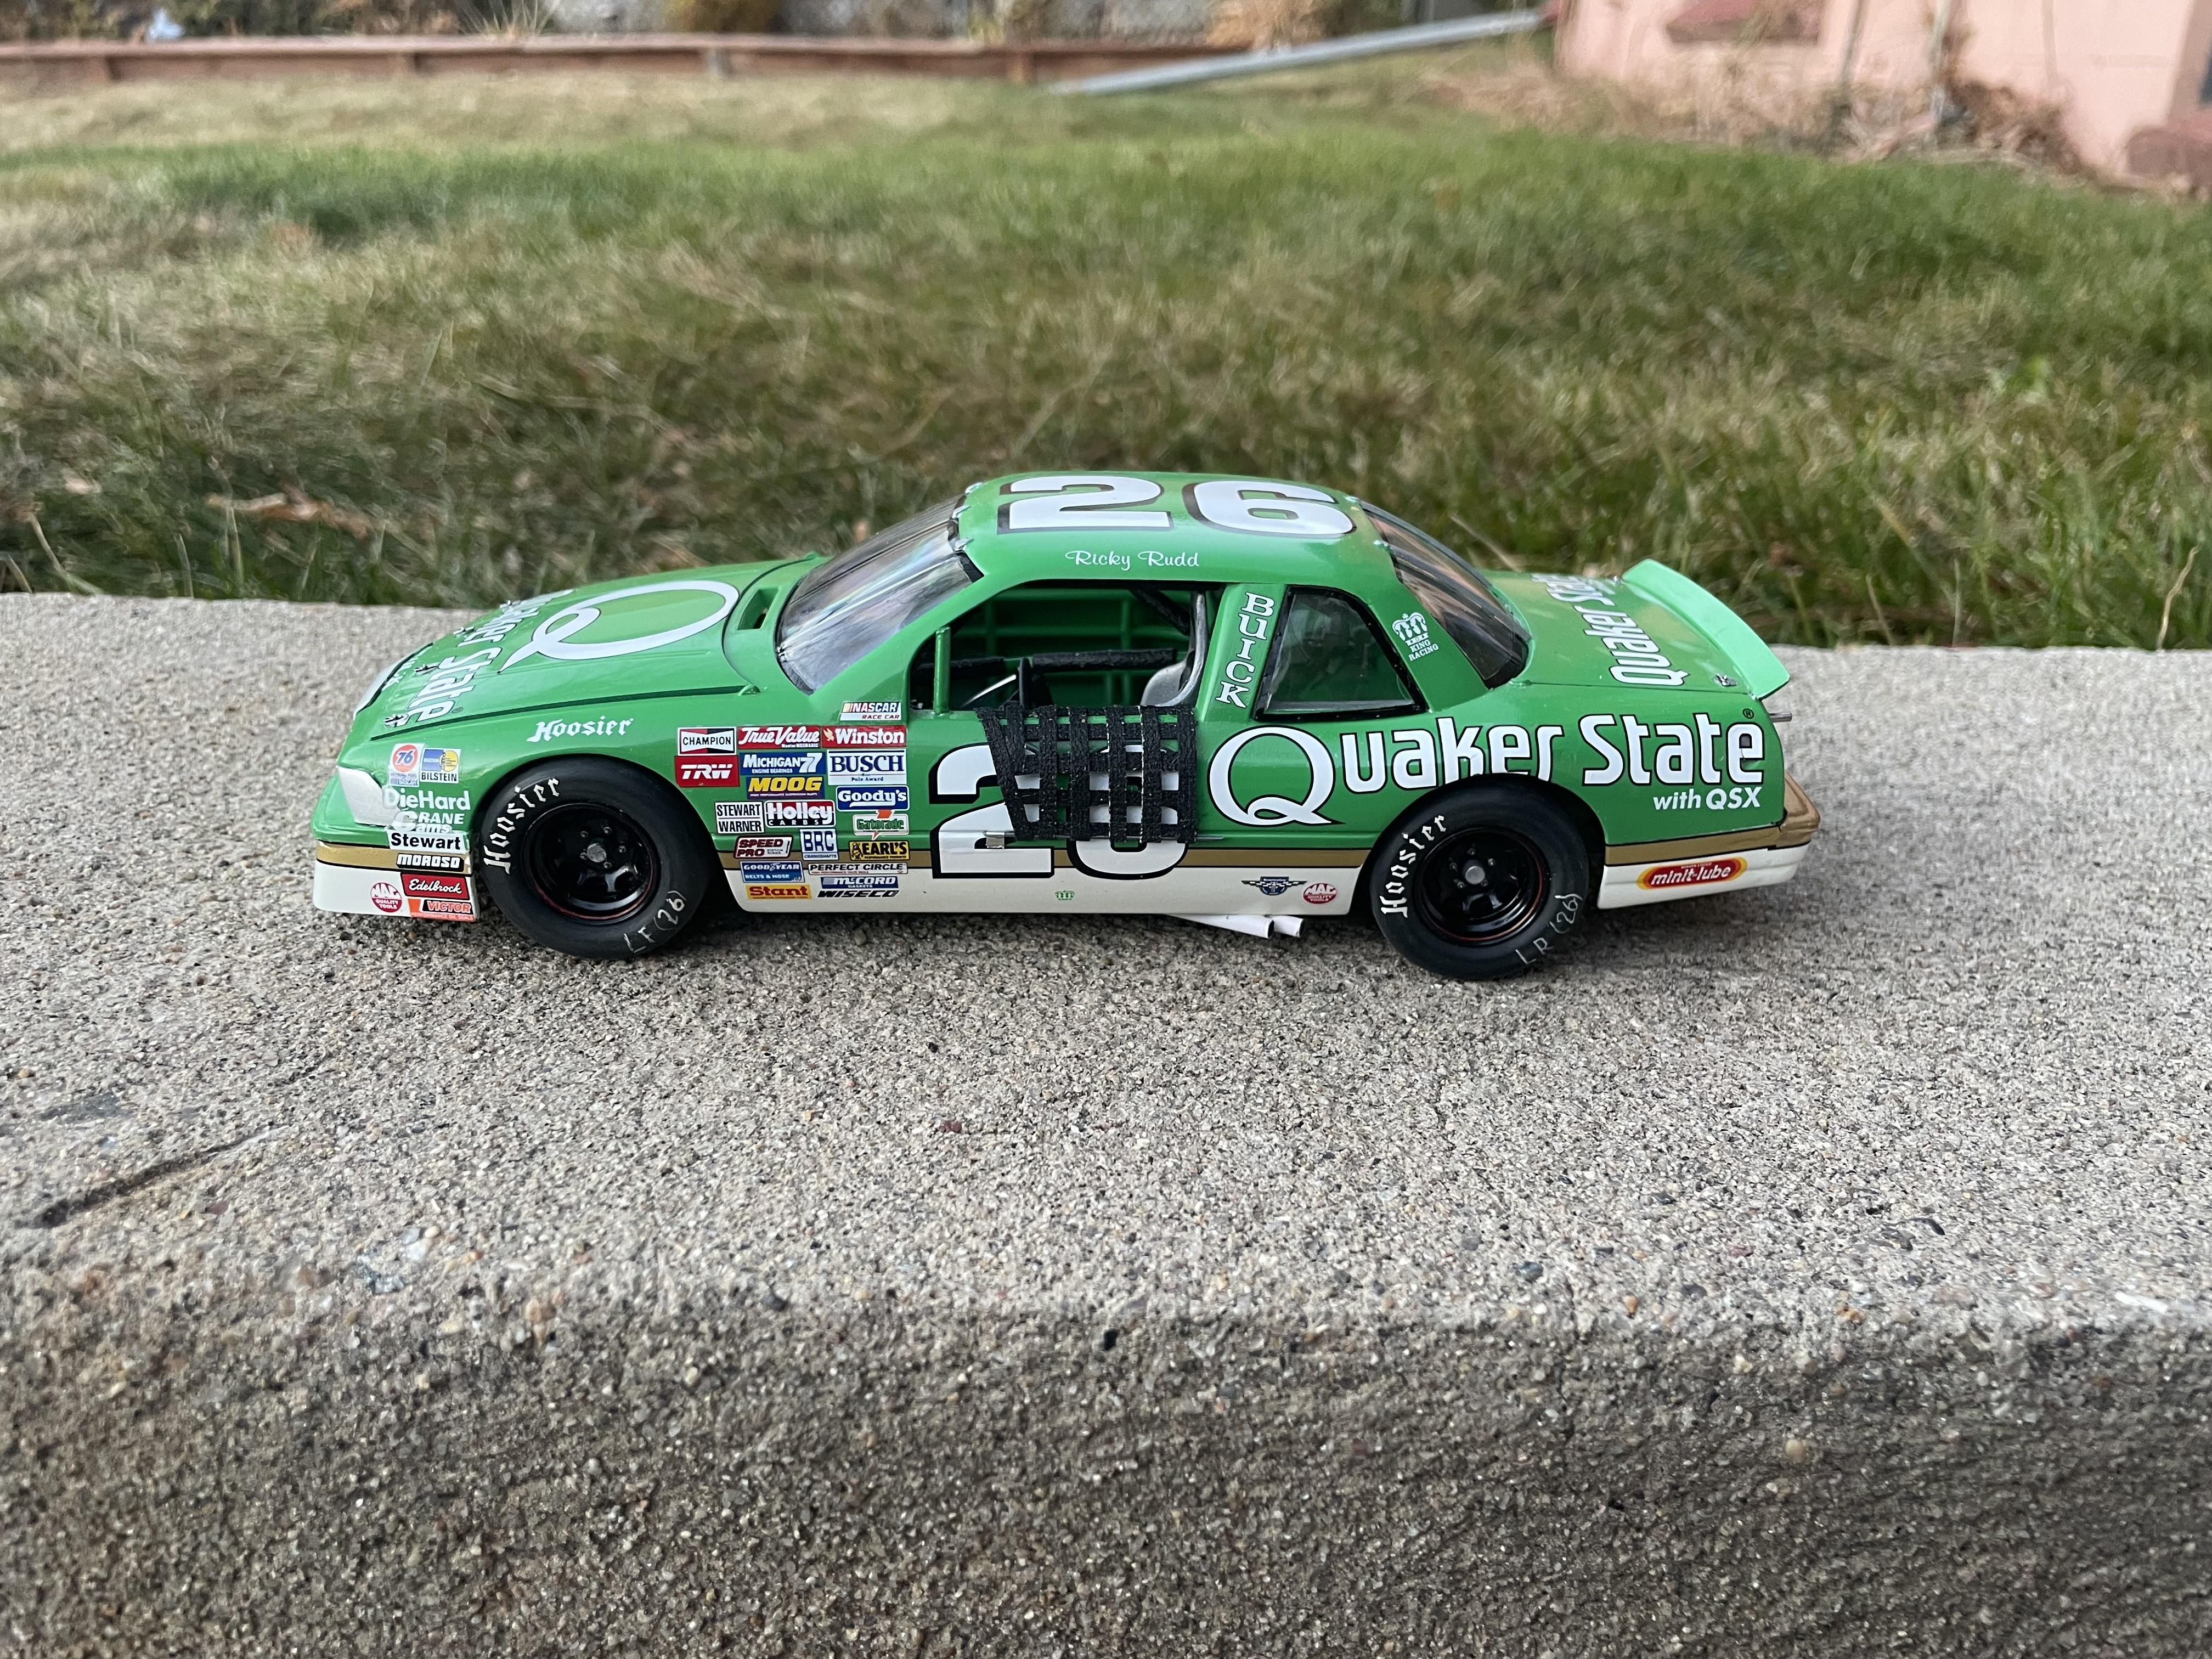
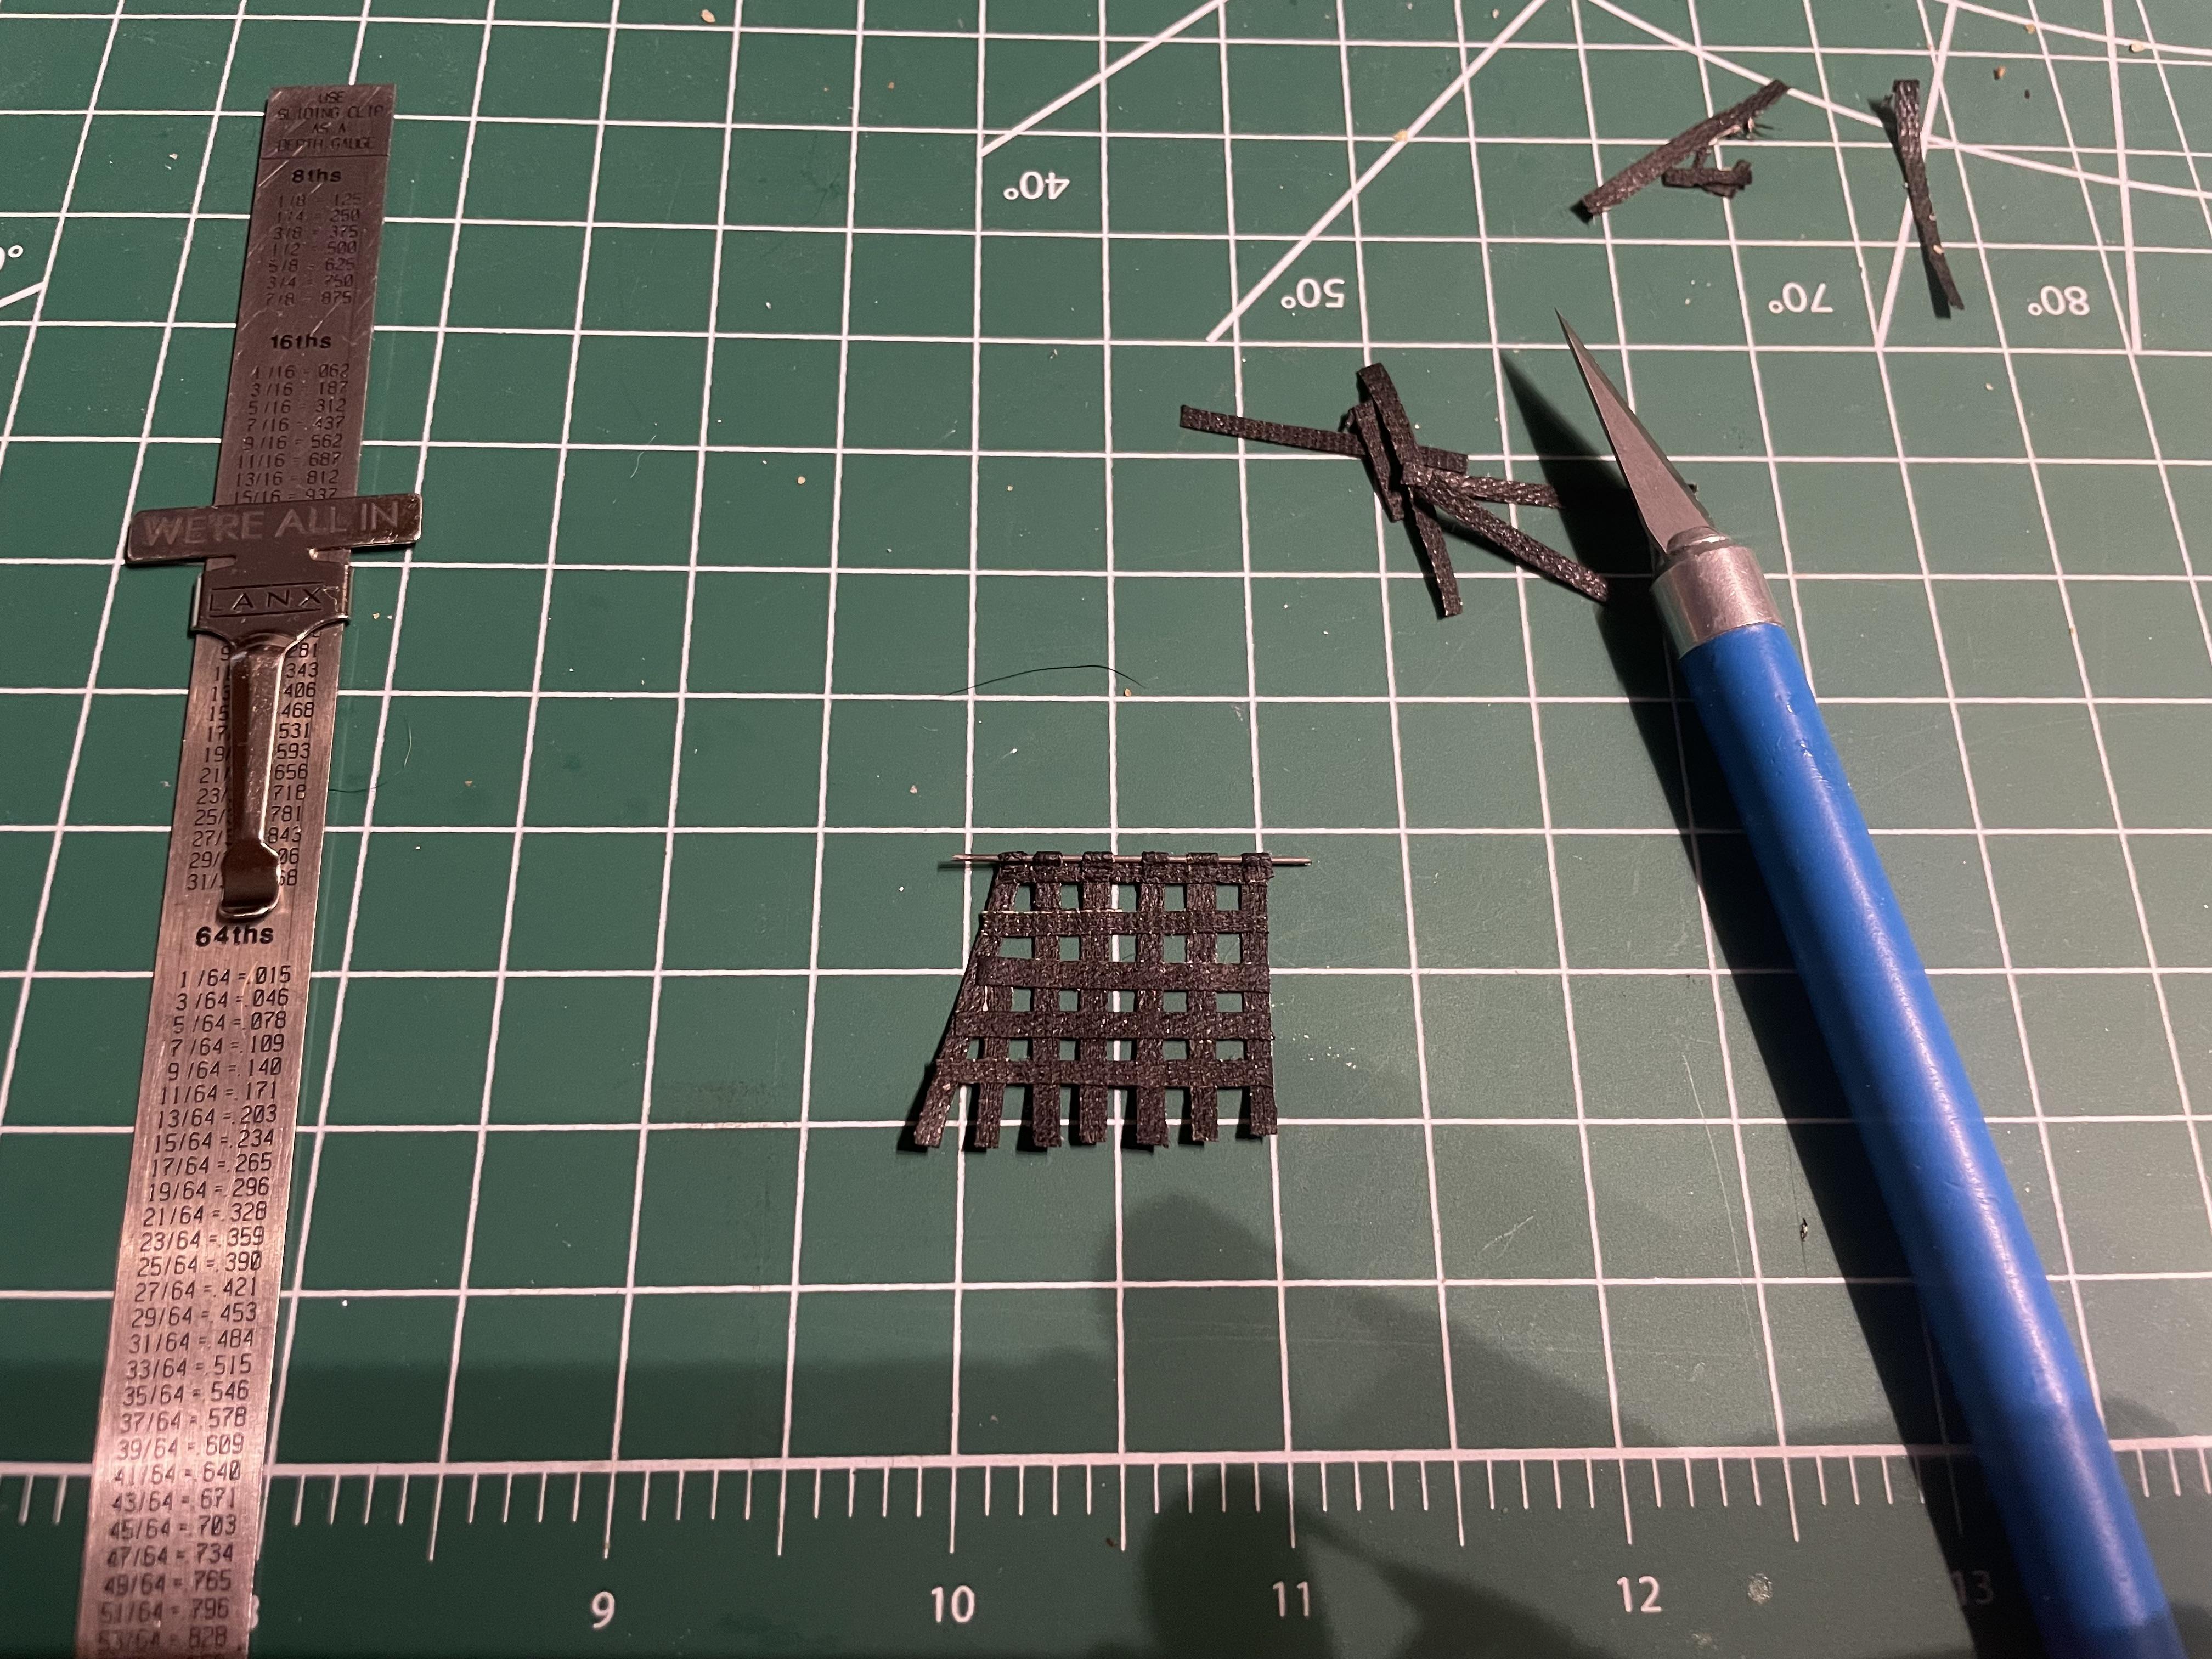
I finished this car several weeks ago, but I forgot to add a window net, so I had to make one for it. buildup is in the WIP section.
-
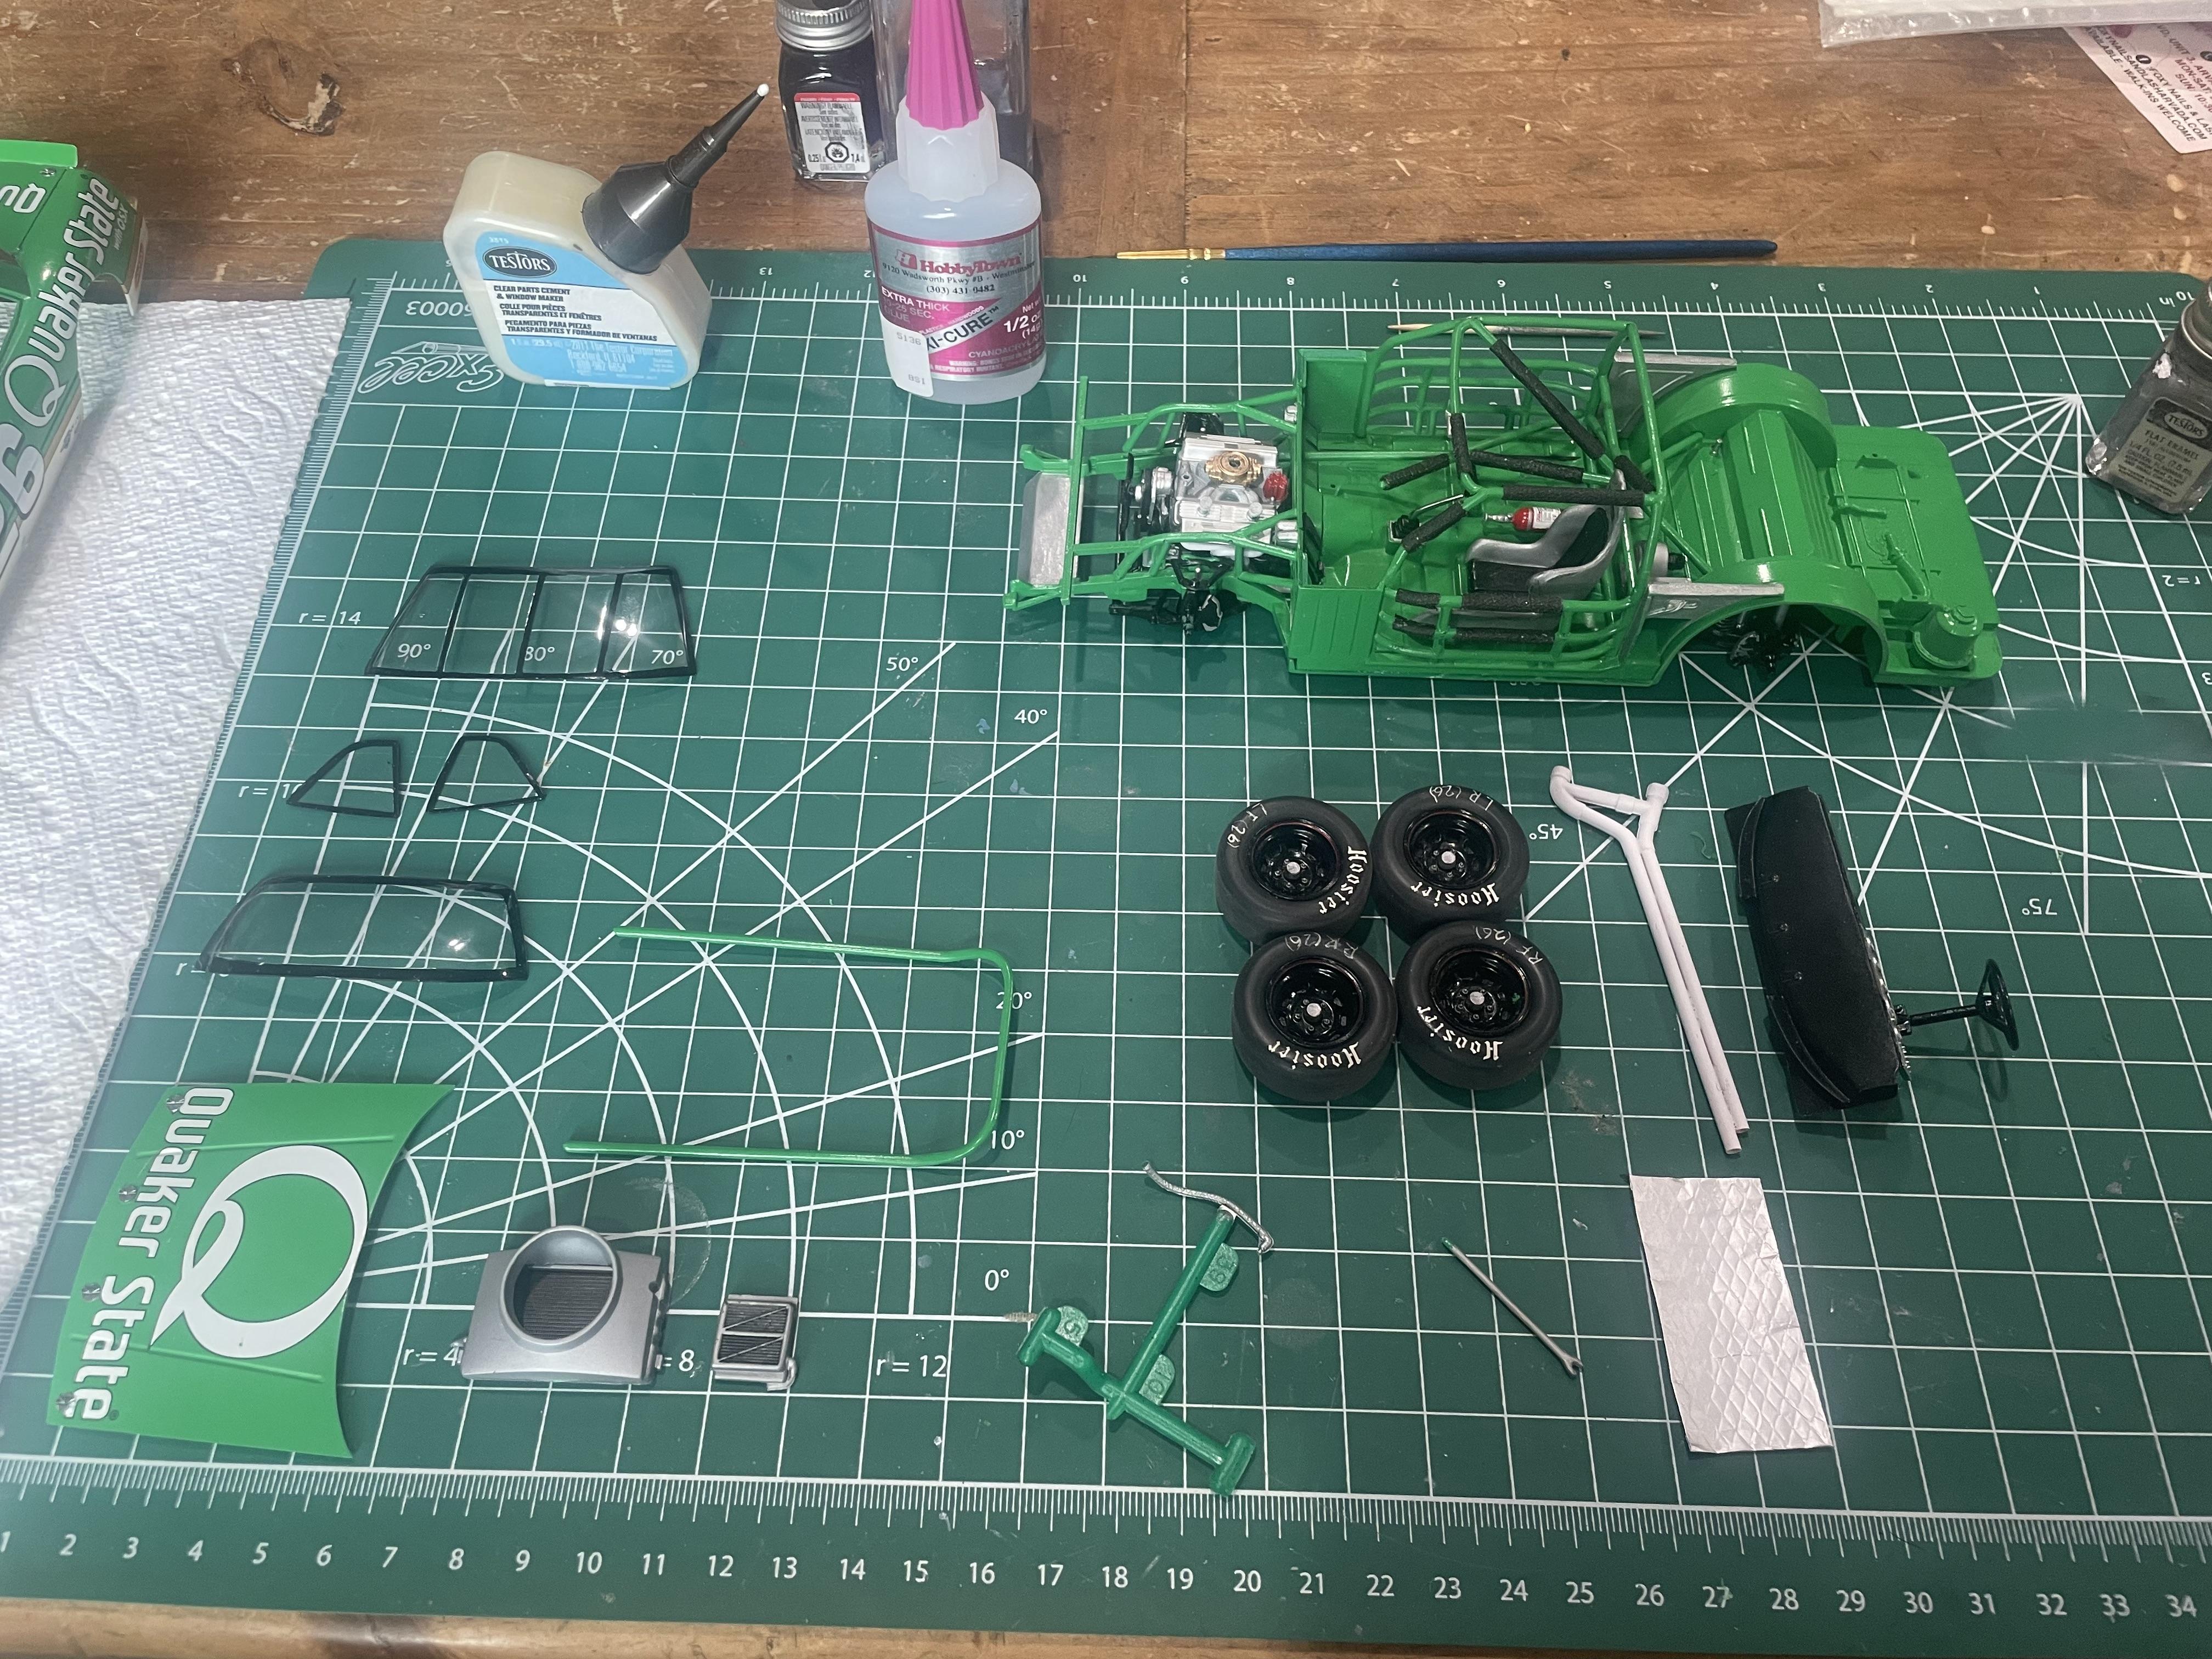
This is looking great, seeing all the pieces in detail like this makes me want to build one of these new style kits.
-
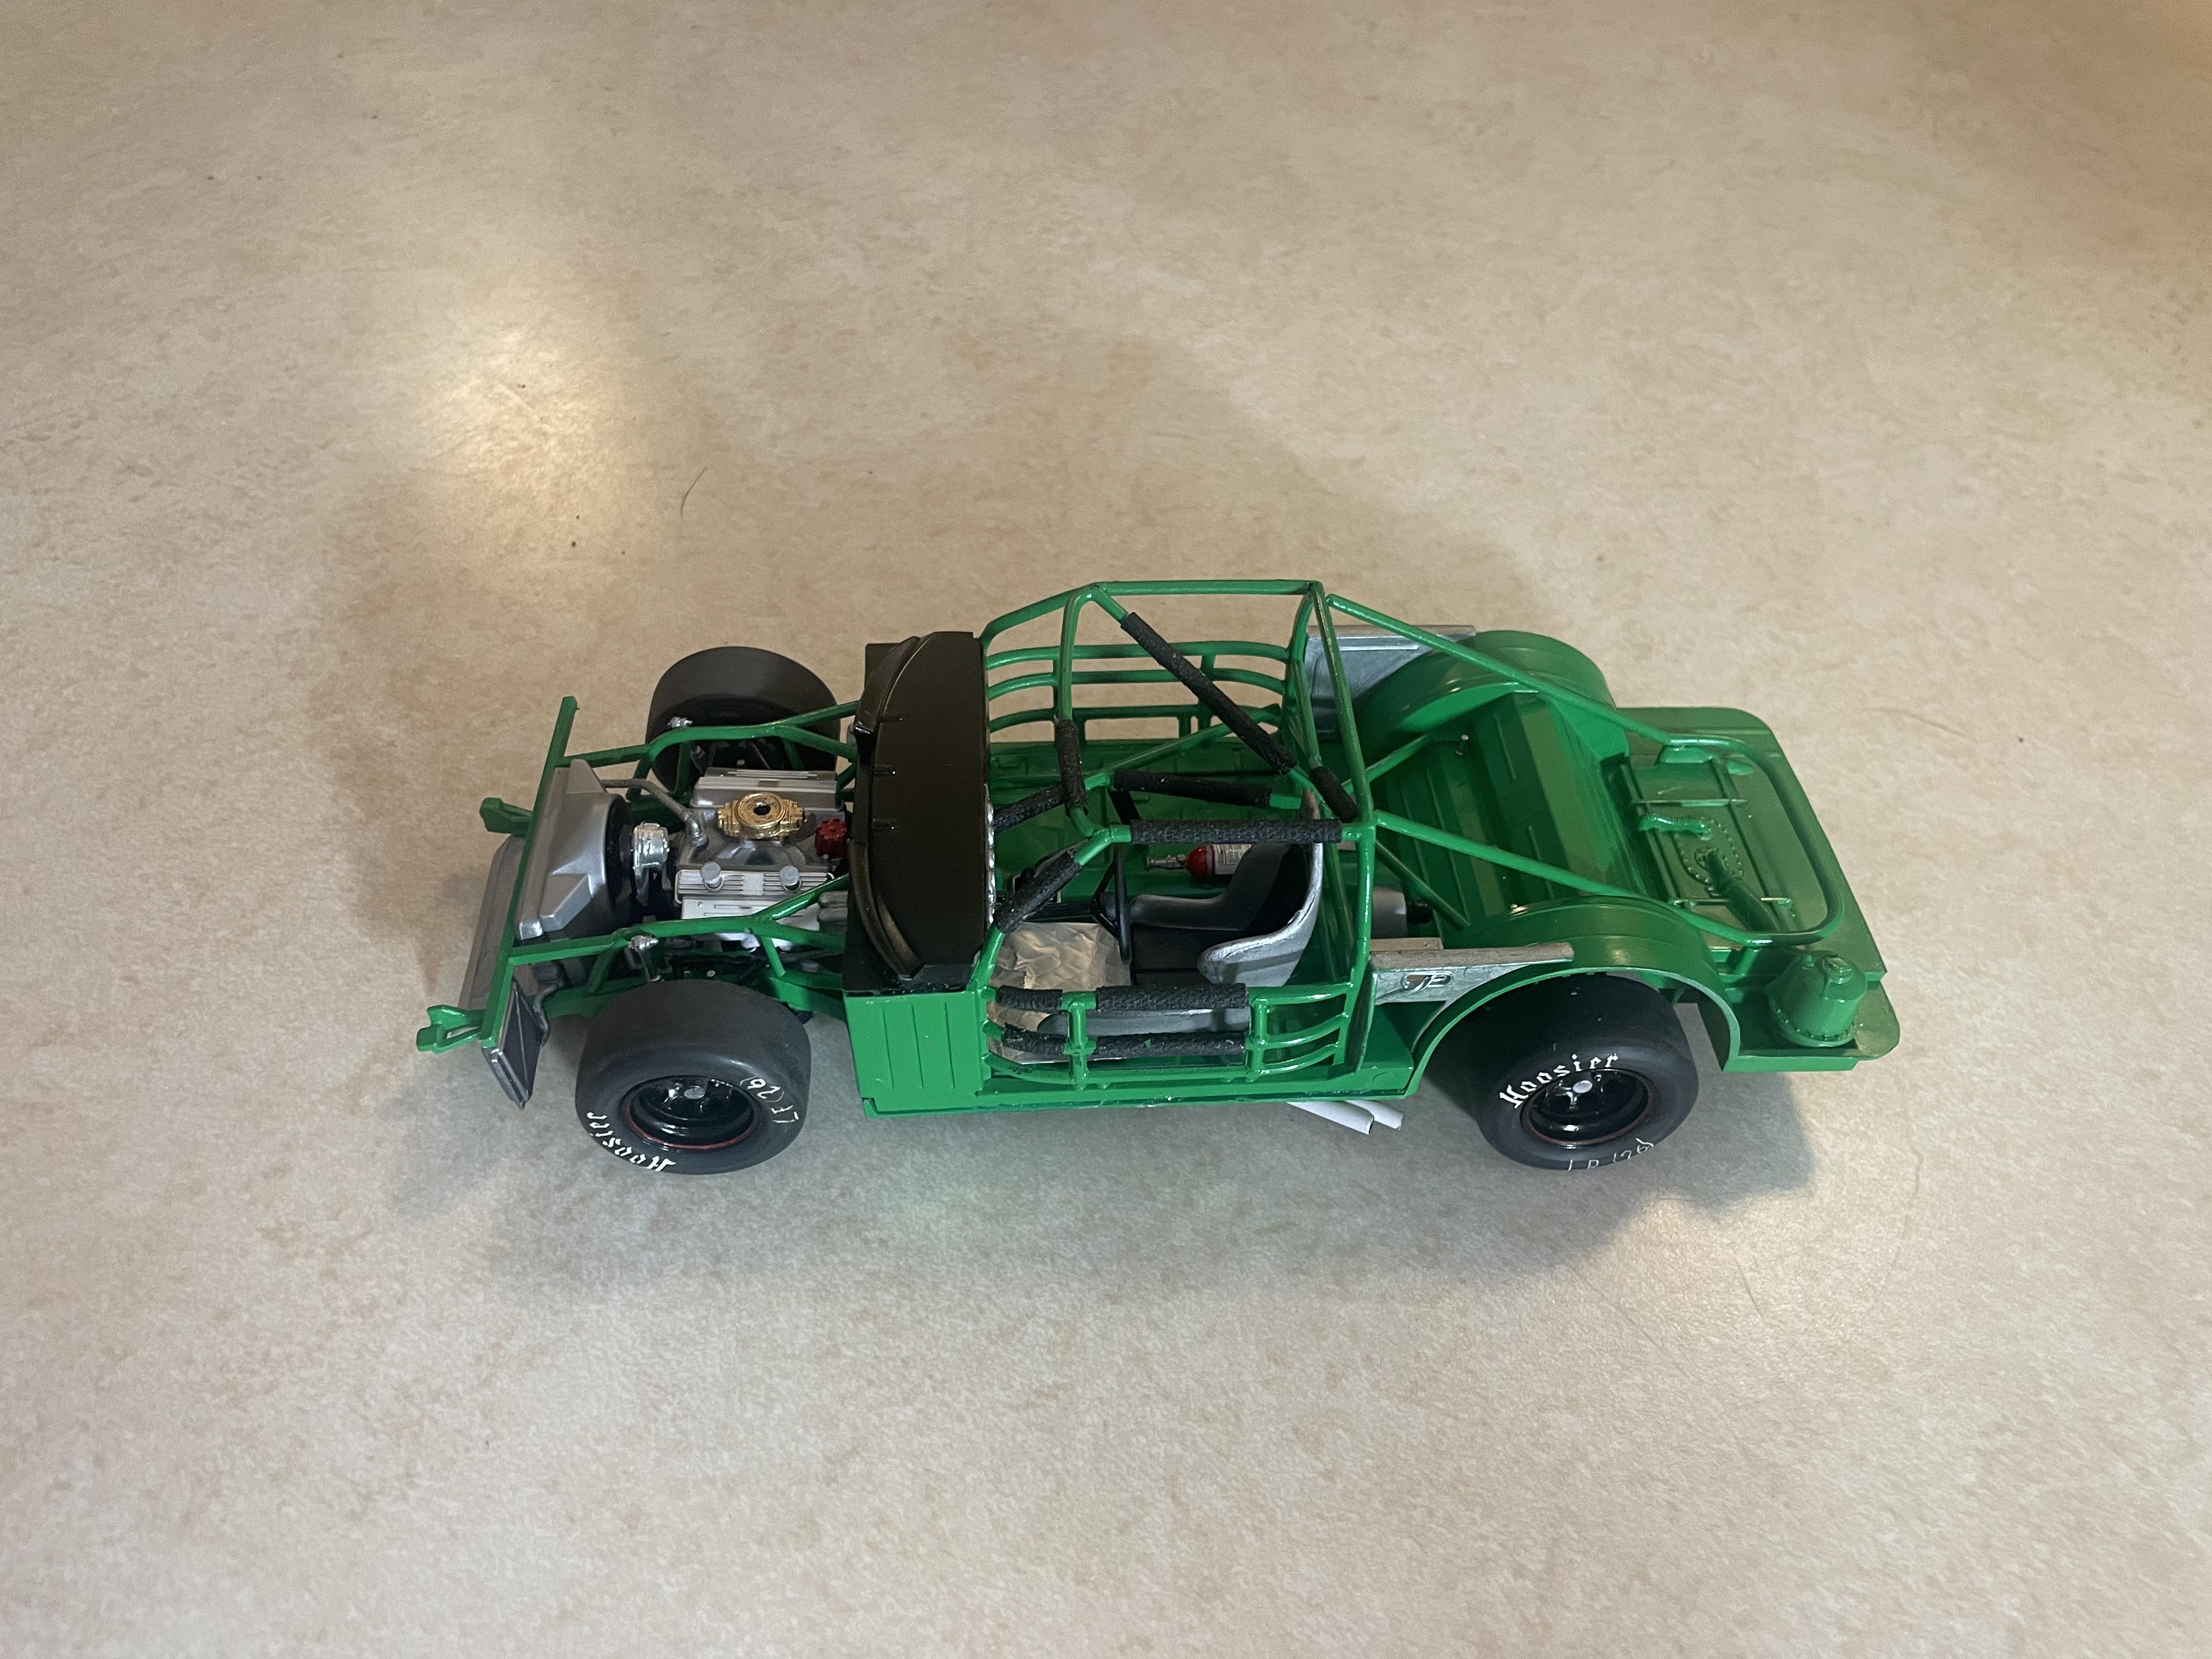
Just about done, but after I glued the body onto the chassis, I realized I forgot to make a window net for it. I'll make one before I add it to the "under glass" section.
-
Final assembly of the chassis.
-
I ddi end up using that textured foil.
-
Wow, that's really cool! 3D printing is really going to expand the limits of our hobby. You were doing a bang-up job on the scratch built body you had going, though!
-
This is a great idea, I am looking forward to watching this build!