donkeychomp
-
Posts
29 -
Joined
-
Last visited
Content Type
Profiles
Forums
Events
Gallery
Everything posted by donkeychomp
-
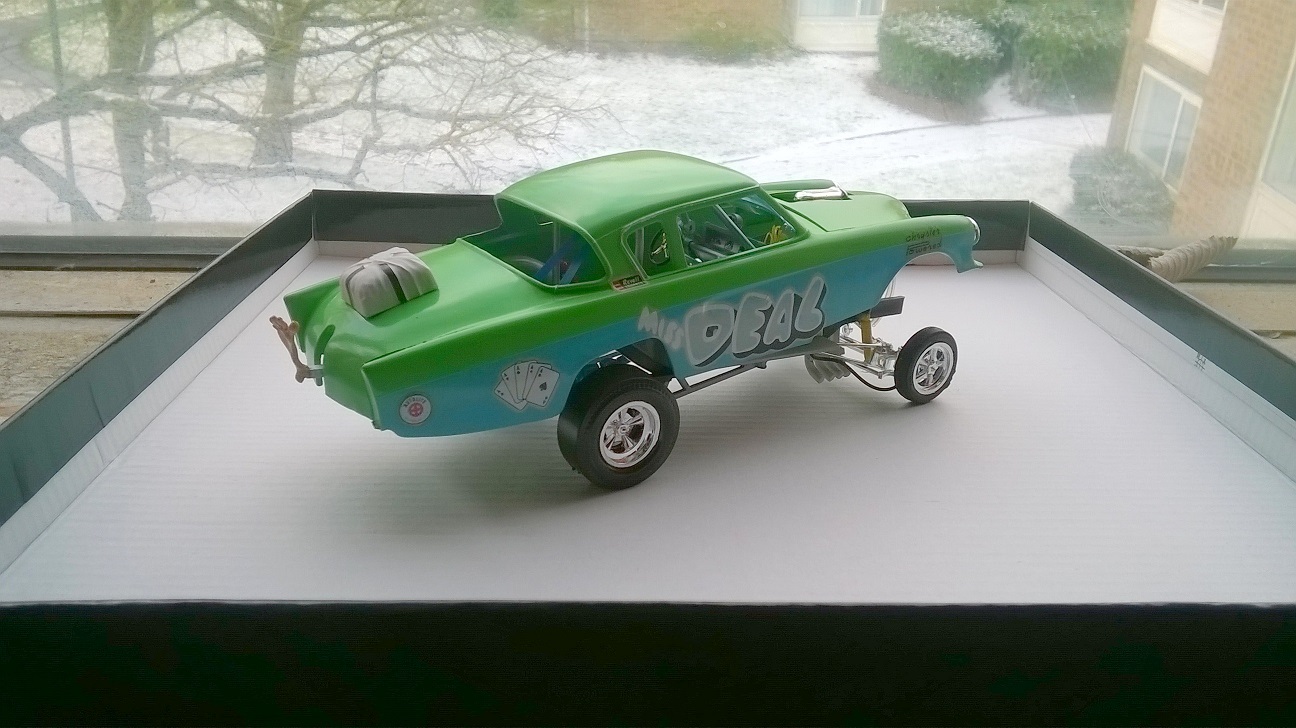
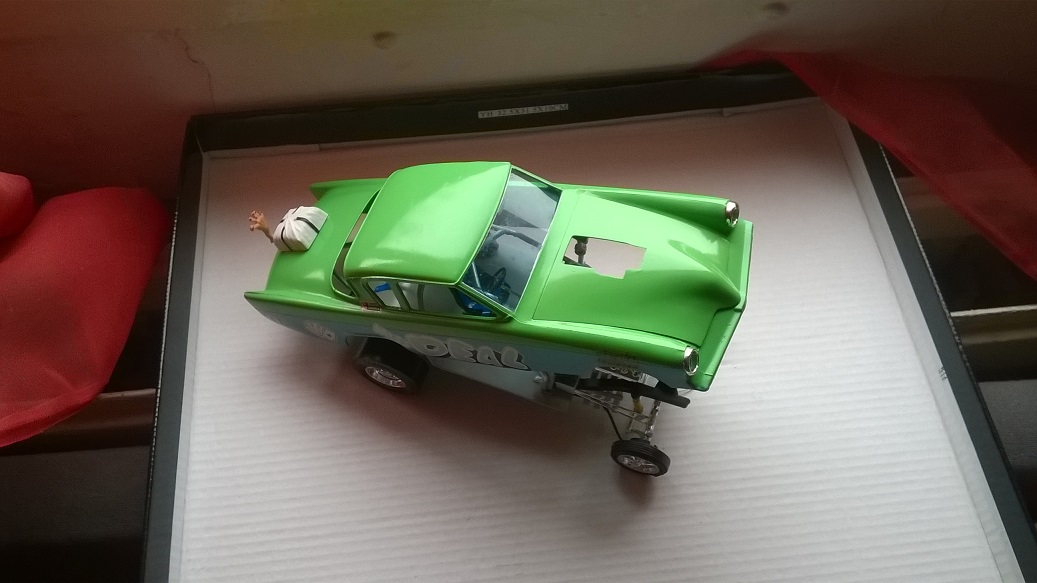
And she's finished. Added a battery as well, the petrol tank got some clear fuel lines, the decals were very old but I did my best with them, I'm quite happy with My Miss Deal. Wondering if she has a sister called Miss Behaving...

-
I've done some detailing to the seat belt, added a fire extinguisher, and some front brake lines. Doing the firewall was a bit trickier as I had some old but usable small decals I could use for the rev counter and whatever the other two gauges are! I needed to fill the rev counter 'hole' and found an old indicator light that fitted so tight it needed so glue...result! Decals on, pedals too. Then the body shell got some chrome beading on the edges. Not far from finishing this now.
-
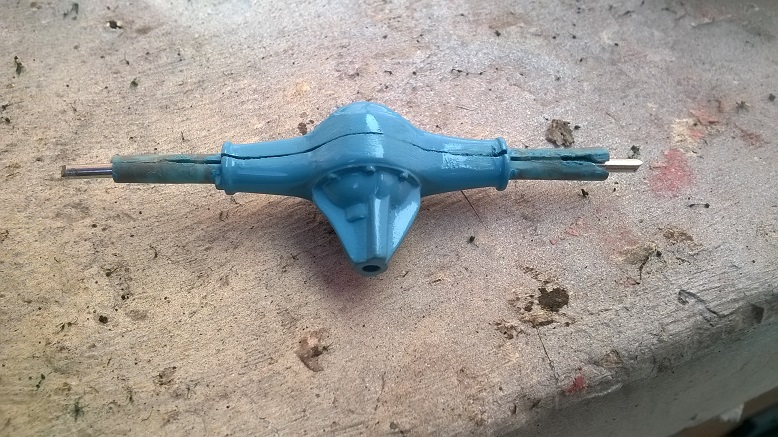
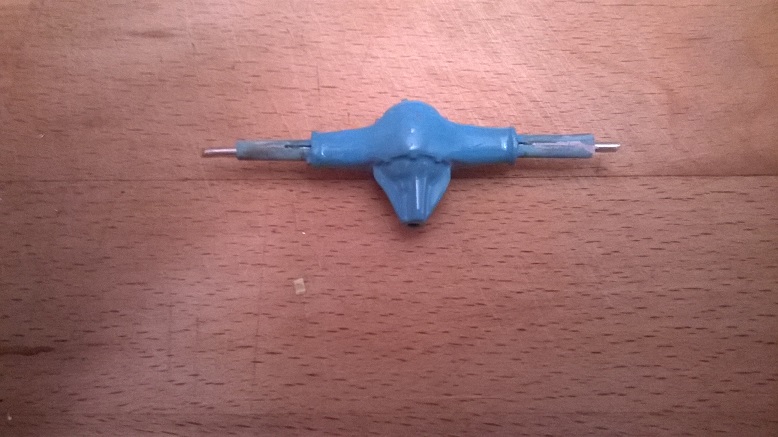
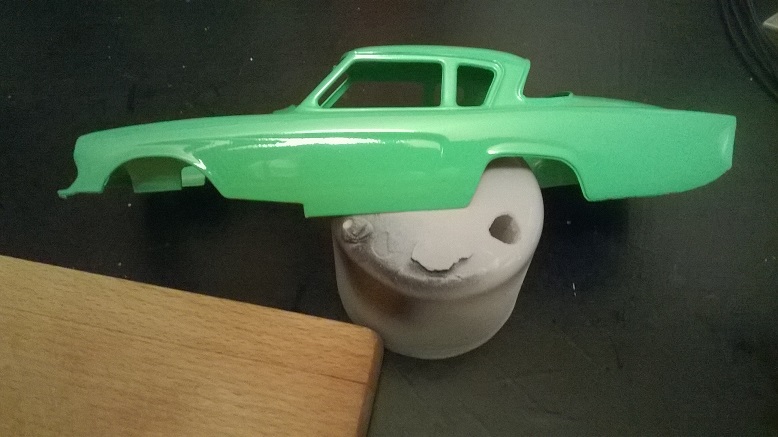
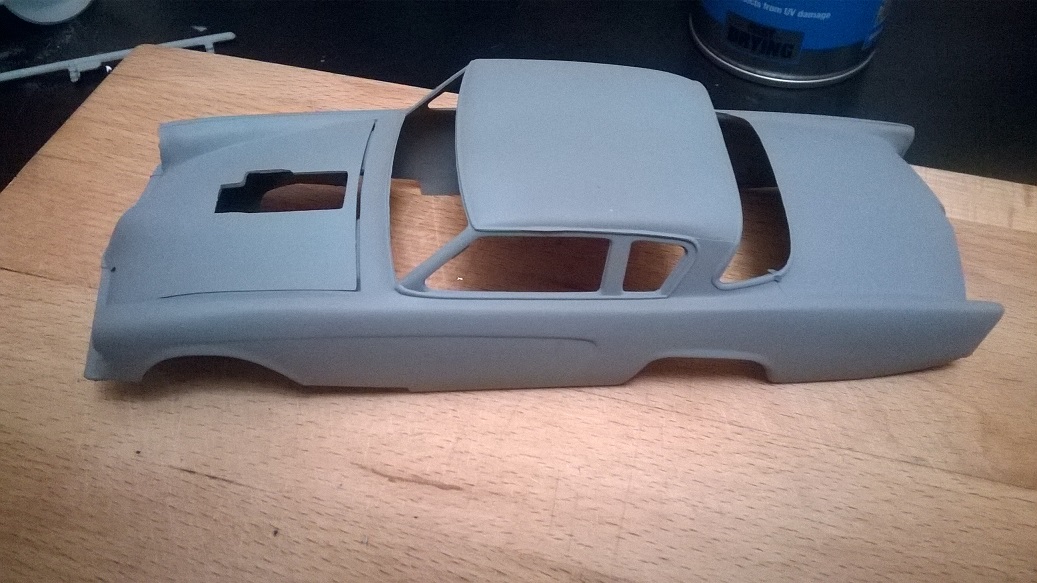
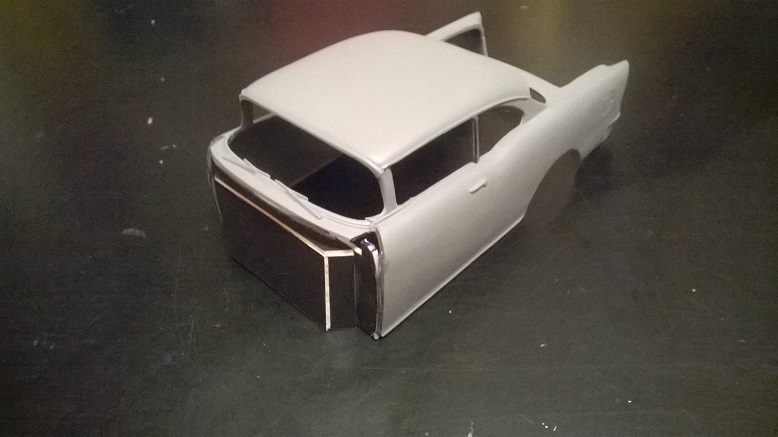
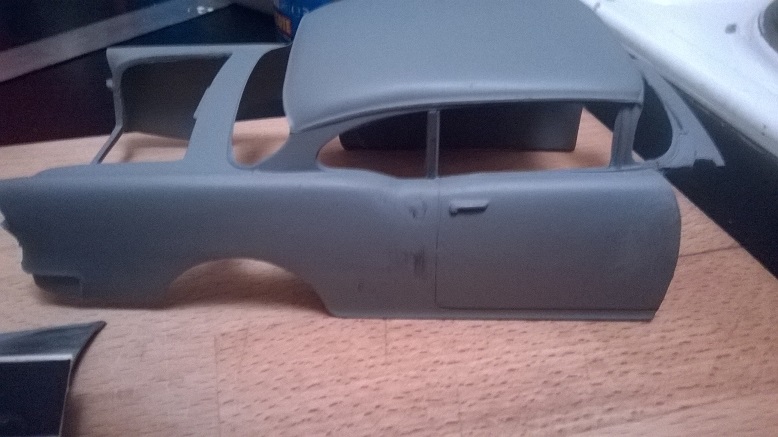
Got my home made seat belt in. Needs a bit of detailing but so far so good. And the body is all painted now. Note the new gear knob .
-
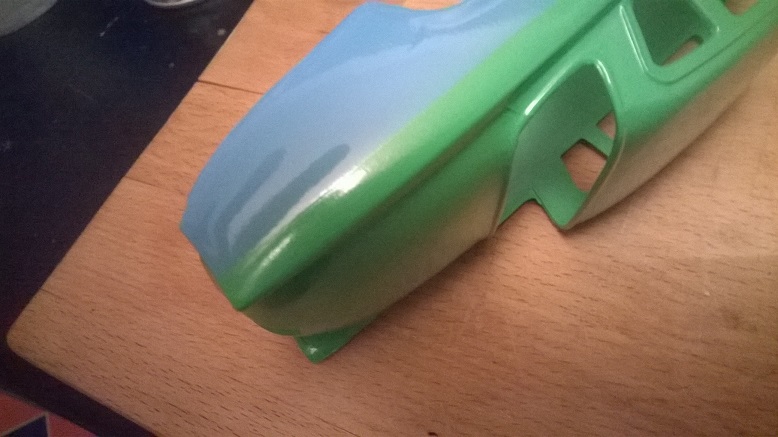
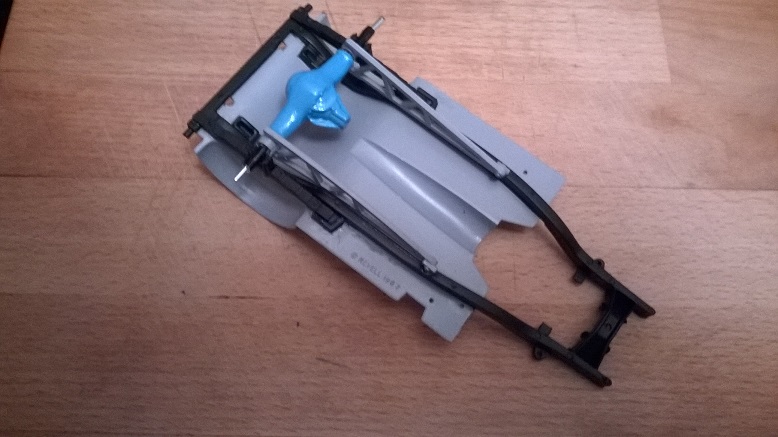
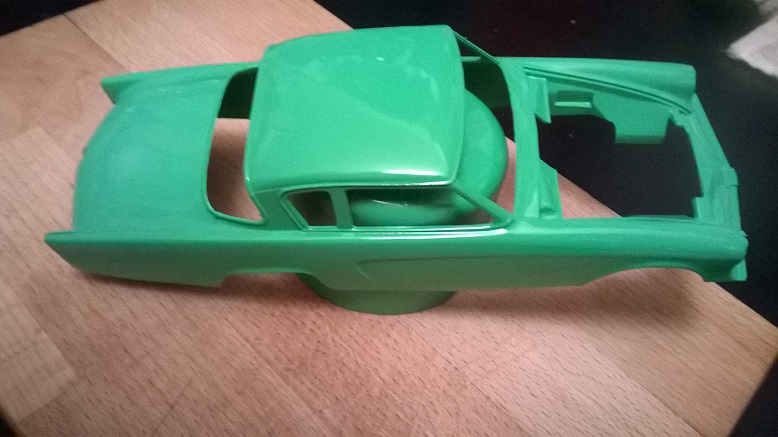
After some head scratching I tried to blend in the blue colour. I masked off then peeled back a small edge of the tape so when it was sprayed it would 'bleed' into the green. I was very surprised to find out it did nothing of the sort but I do have a dead straight and seamless line between the two colours. Not sure if I should leave it like that or try again... The chassis is completed, I'm going to make some seat belts too and maybe mount them to the rear roll cage, the gearknob design is awful so I will make my own and the little foot...well she is called Miss Deal so nail varnish is on...
-
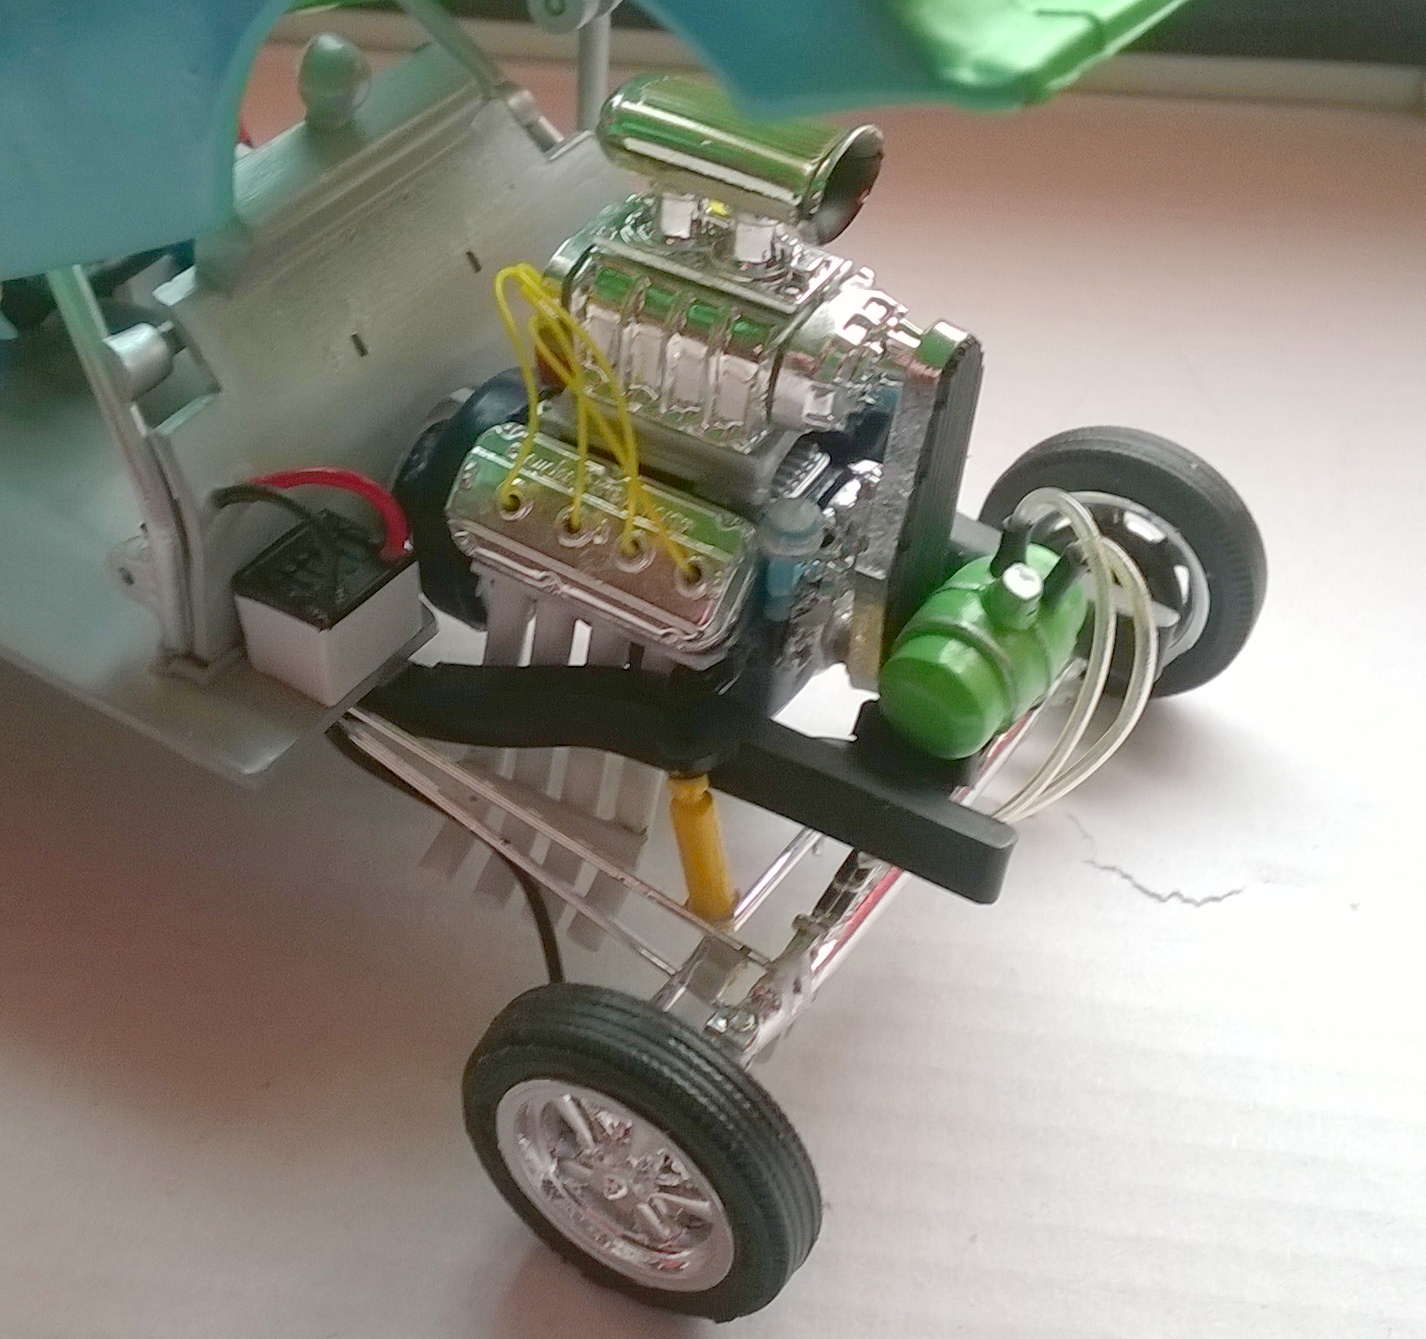
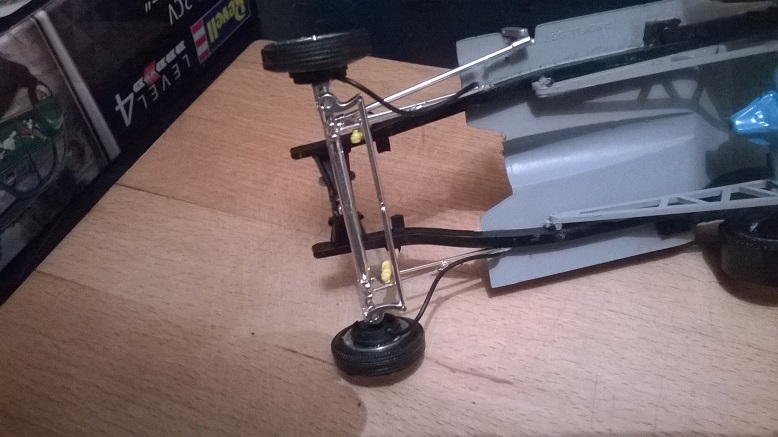
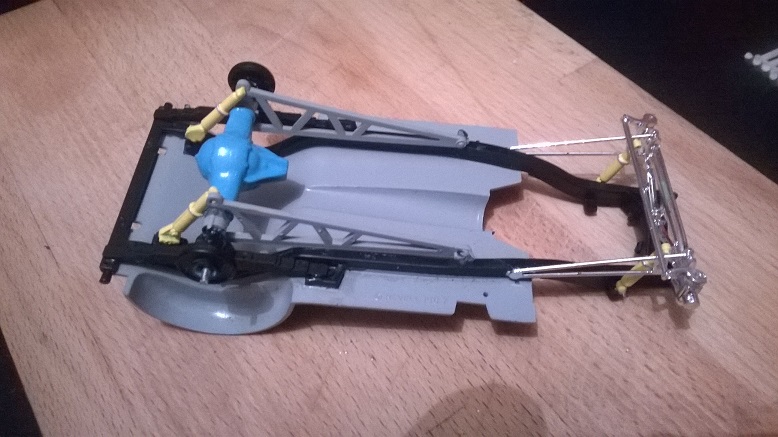
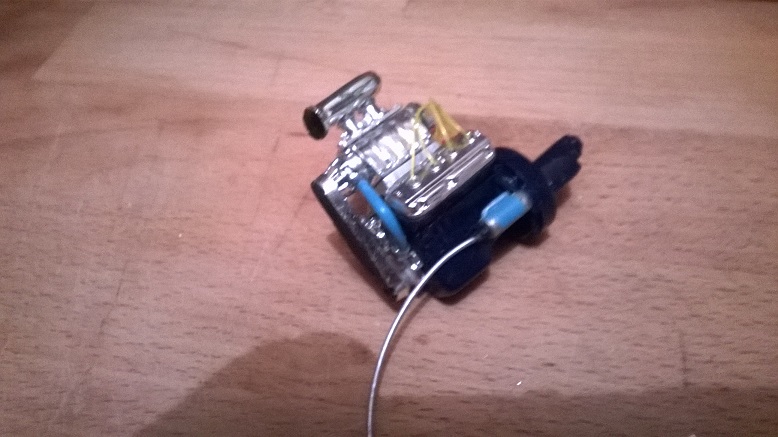
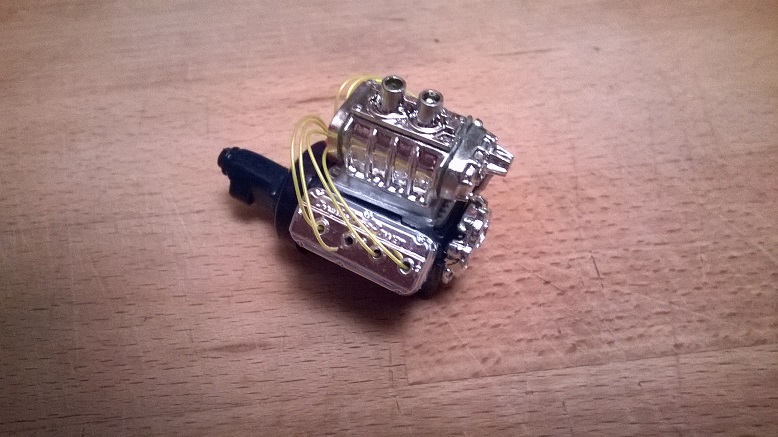
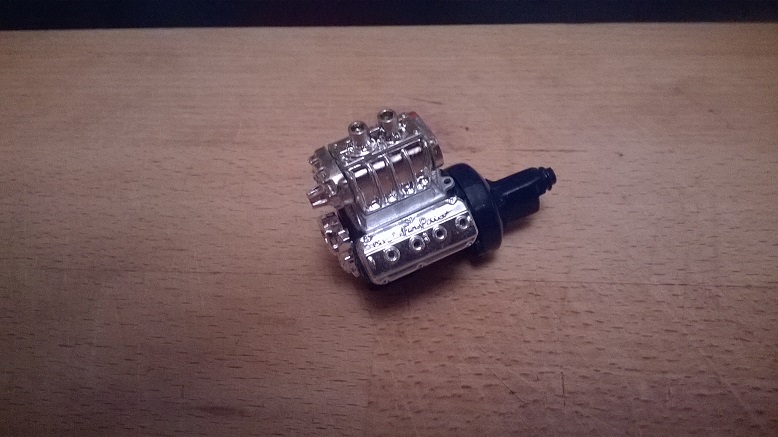
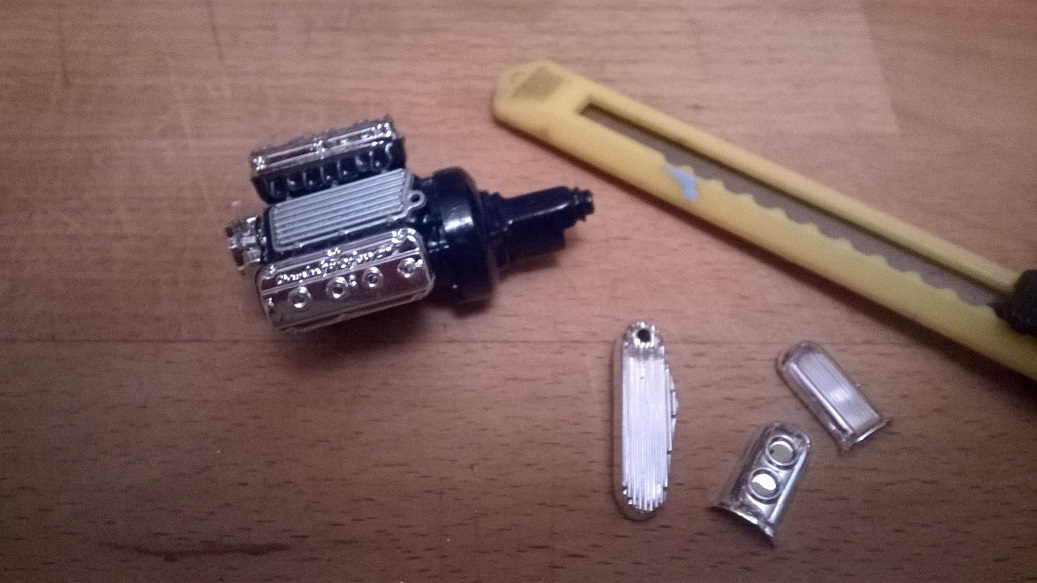
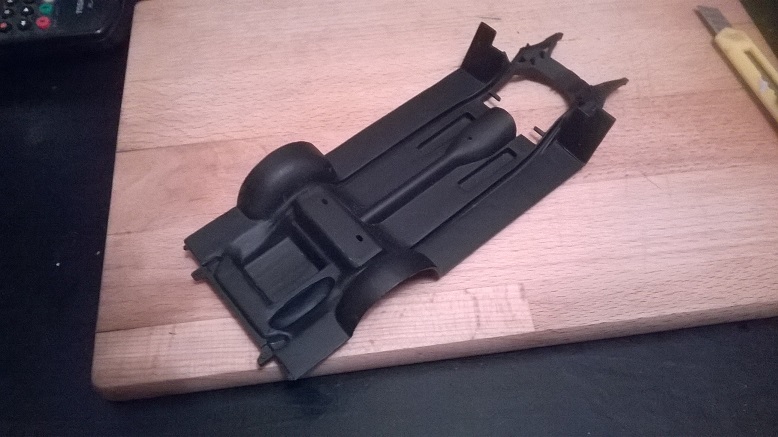
Good luck with yours Ted! A bit more done. The chassis is finished, although I do need to cut about 3mm off one driveshaft (or rivet!) so the wheels are sticking out equally. One engine hose that came with the kit was awful so I cut a small bit of tubing and painted that instead, looks a lot better I think. And both header units are done with some added bracing as they are rather wobbly without it!
-
Hijack away I think that paint method is a great idea! And Walter I agree with you about that cable. I discovered the smaller Tamiya cables slot into the larger ones, so I trimmed a bit off and voila. Then went to fit the rear shocks only to realise I had the diff on upside down...fixed that easily but the shocks don't clear the diff, more excellent Revell build quality. A bit of bodging and they are now on. Also the chrome front is assembled and one very tricky header unit is made up.
-
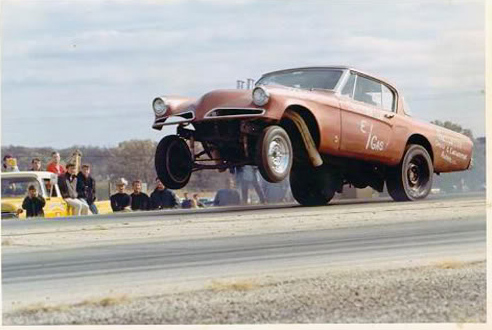
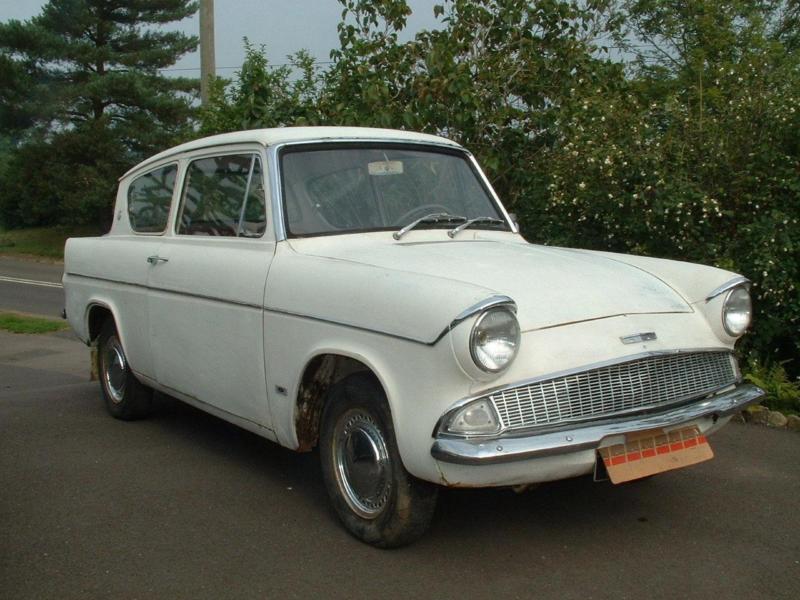
I did a bit of research and although this kit is not a real car it is probably based on one....
-
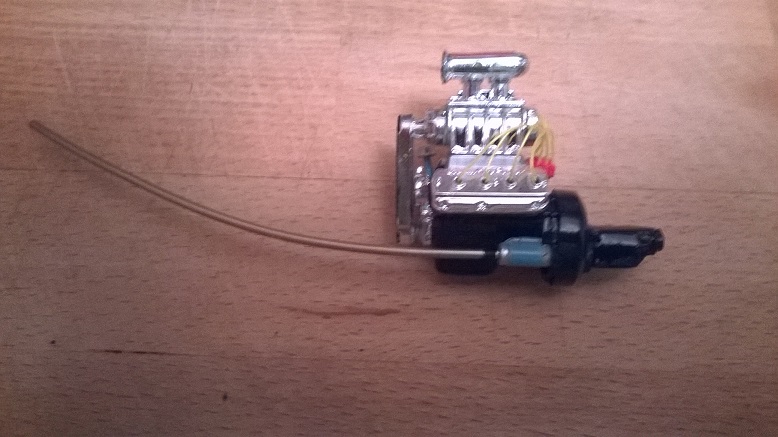
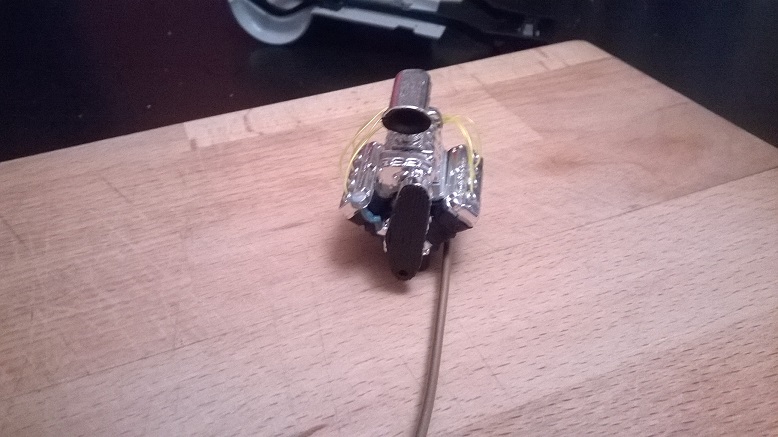
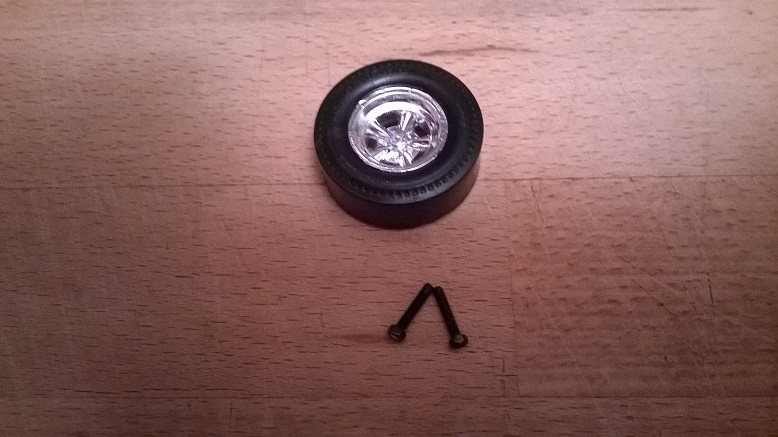
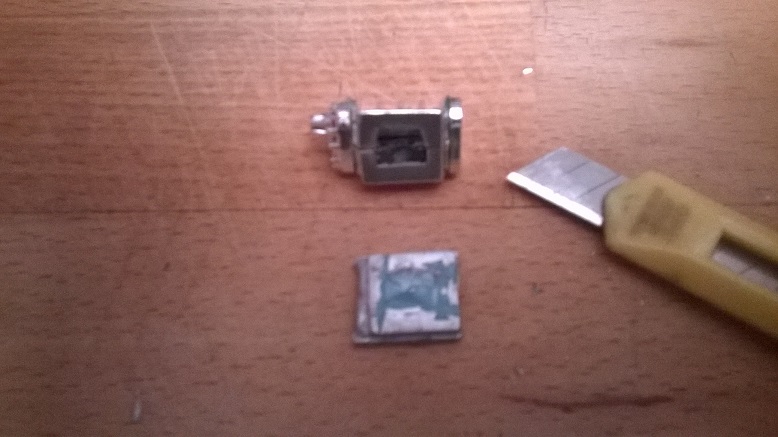
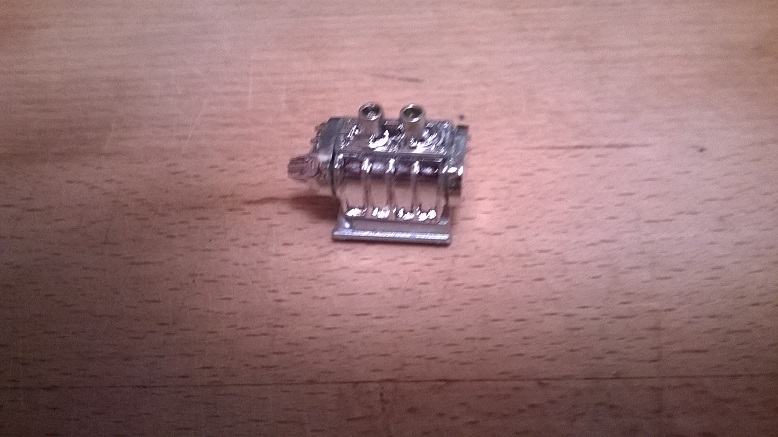
That paint is superb, nice work. I've done a bit more, my screw idea to hold the wheels on didn't work so I cut down some slim rivets and used those...however the diff wouldn't close up properly as the rivets were a little too wide, so a dab of filler and all looks good now. I also tried cleaning the chrome off the exhausts with bleach but that didn't work so I used some oven cleaner...now THAT worked! The engine is done now, I've added a lead from the starter motor and when the engine is in place I'll see where I can hide it...
-
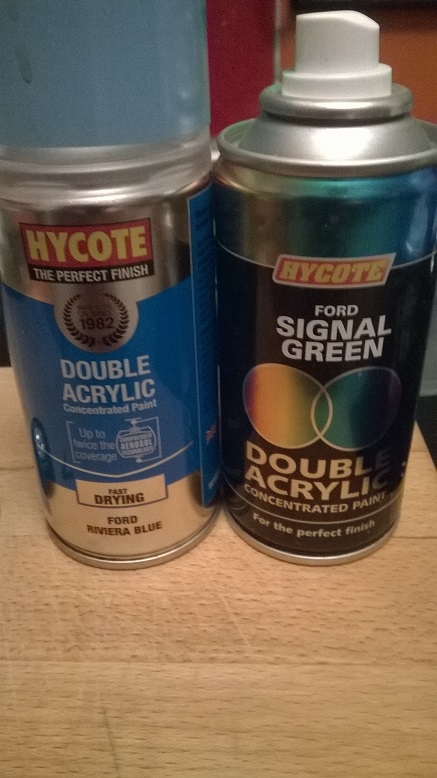
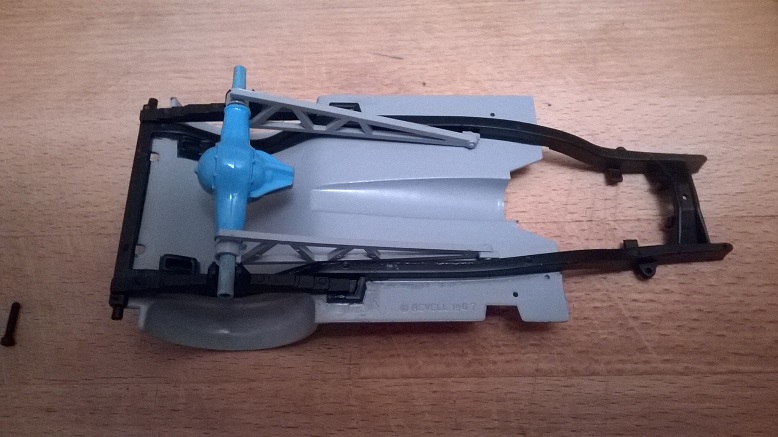
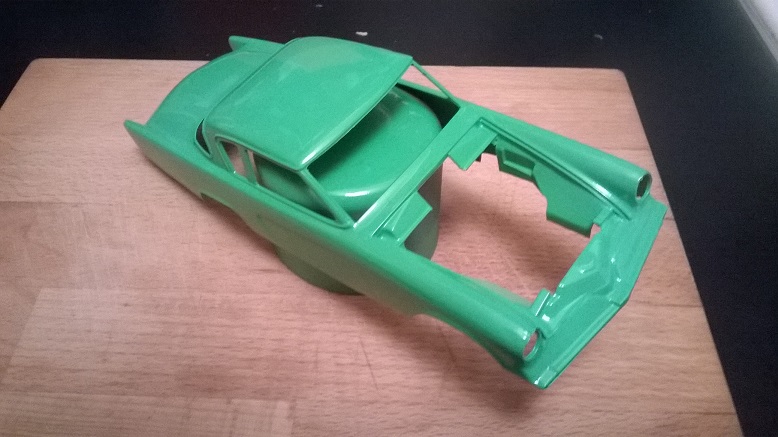
I'm using Ford Signal Green and Ford Riviera Blue for the body. Had a test fit of the dizzy, might need to trim the wires a little, and the axle now fits the chassis after a lot of sanding down. Very few of these parts fit correctly and some of the instructions make no sense but I am getting there! Even though this kit was sealed the metal bar to hold the rear wheels onto the axle was missing so I found some screws from a Tamiya kit and I hope they'll do the job. And the body got it's final coat of green too!
-
That looks superb Nick. I see you used the exhausts that come with the kit, and I think that matt white colour is a better option than chrome. You can have TOO much bling! So a little more done, the engine is getting there, the floor pan and chassis rails are painted as is the rear diff. And the body has now had a second coat of Ford Signal Green.
-
A lucky guess with the dizzy! Interesting to know the new cars use coil packs. I've been looking at a lot of pictures of this car and it seems to have had several colour changes over it's life. I've seen green/blue, blue and red so far. So I'm not sure what colour scheme to go with. Any thoughts? Alex
-
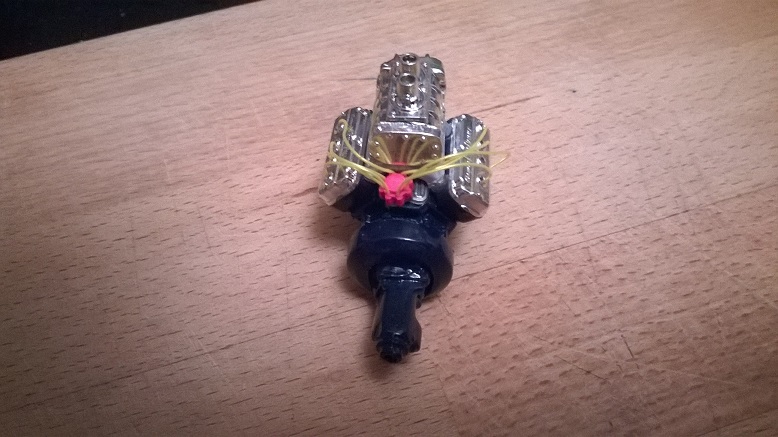
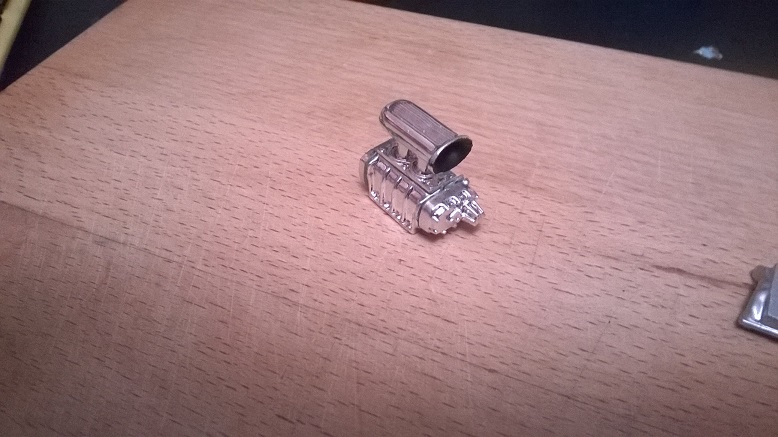
I see what you mean by a mark on the blower intake. Mine is so small I'll leave it as is I think. I managed to cut the crooked mounting point off the blower manifold and now it all fits flush together. I do have a question though, having never owned a V8 powered anything where does the distrbutor go? Is it where I've put it in the pic, ie where the magento fits? And a pic of an Anglia. This is why I thought it was based on that, albeit a very stretched Anglia!
-
Wow you made that in 24 hours? Nice one!
-
You are quite right. No idea how I got that wrong!
-
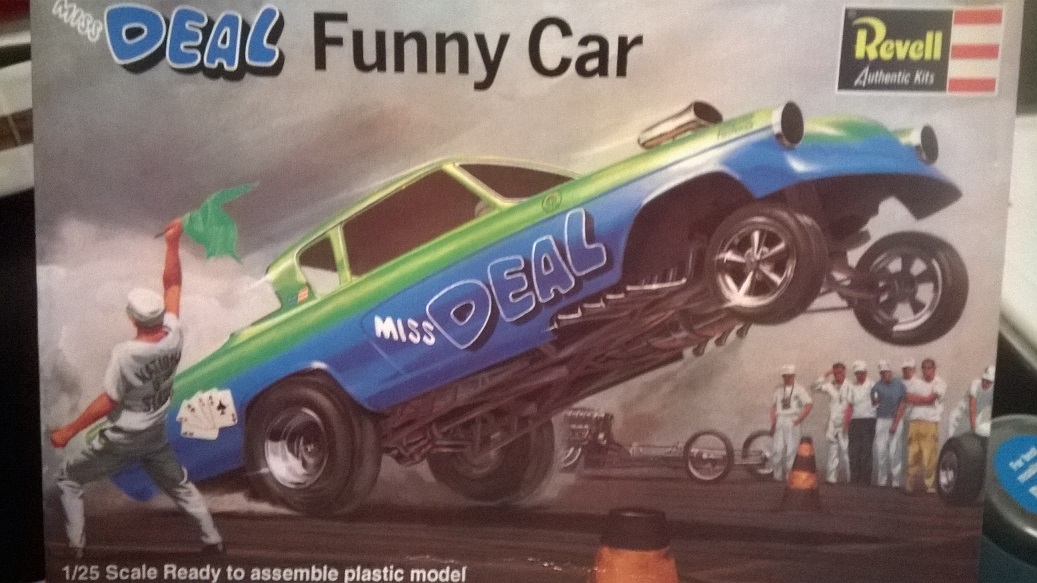
Hi everyone. Apologies for my absence and the lack of any more work on my 57 Chevy...I am at a real head scratching moment with that thing. So I thought I'd do another build. This time it's the Revell Miss Deal funny car. Based on an English Ford Anglia, and by based I mean the bodywork slightly resembles a real Anglia! So far the engine is in progress, I will be doing some minor tweaks to that and probably the wheels too. Revell are not my favourite model maker and this shows up in the poor fit quality but I'll sort those niggles out. The paintwork is a 2 tone blue/green and from what I can glean off the interweb it's blended in, so some careful spraying is called for! Alex
-
Sorry everyone for the lack of progress on this. Life just got in the way. I will finish this and will add some more pics asap! Alex
-
Would love to see your build. I think mine will take maybe 4-6 months, but it's something I want to get as right as I can.
-
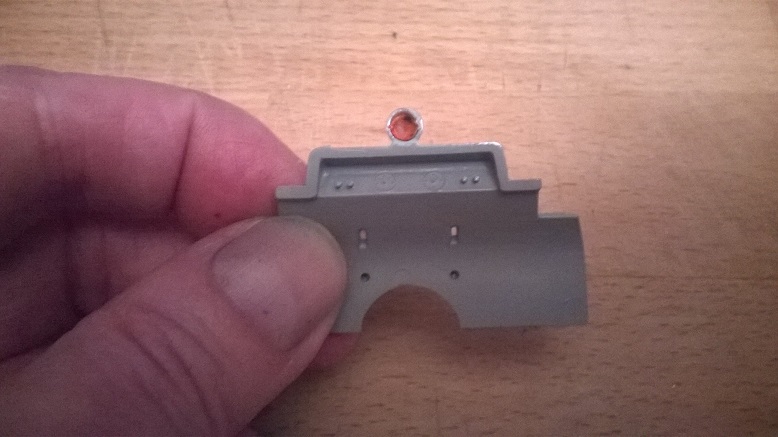
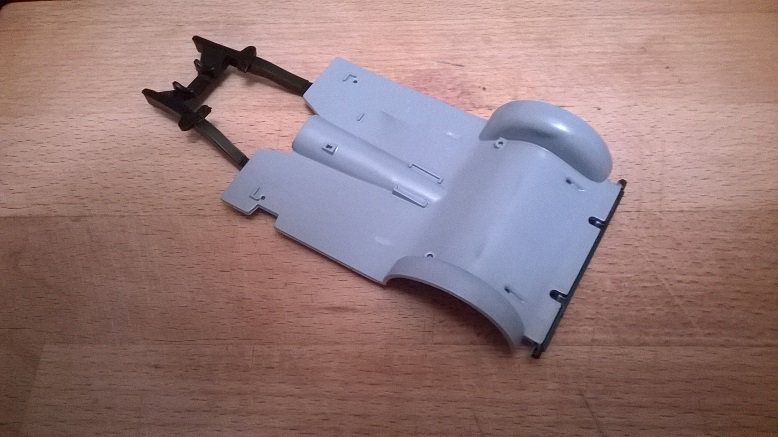
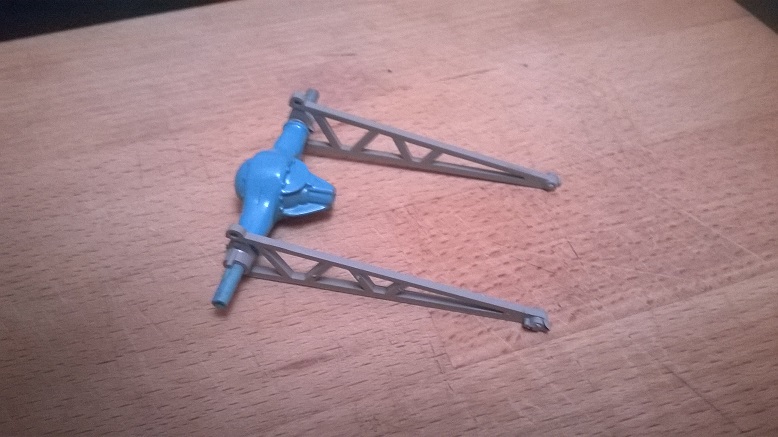
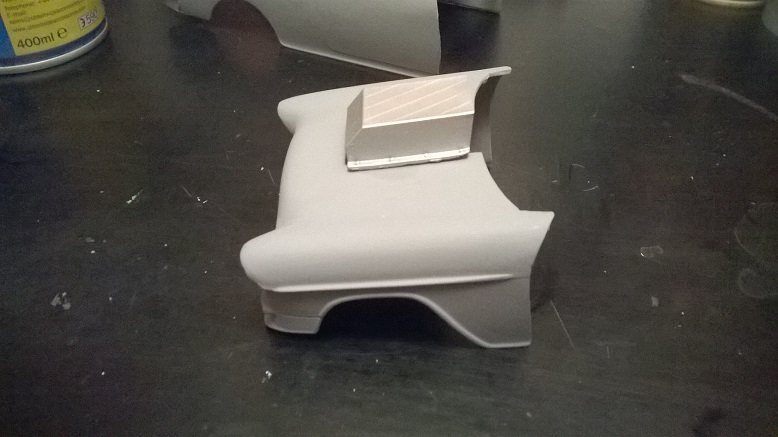
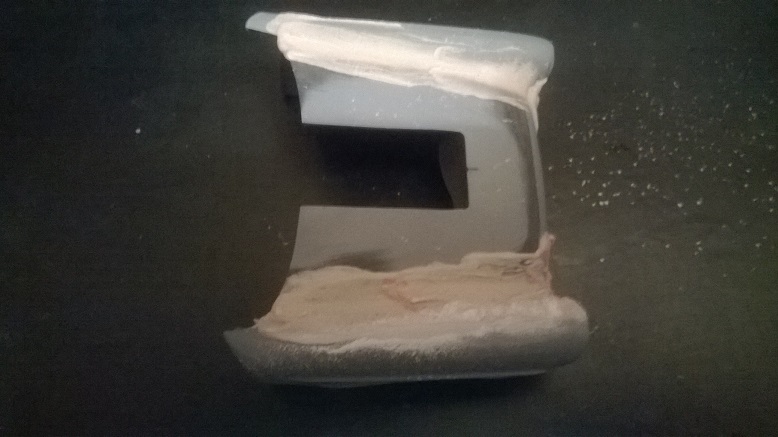
Cheers Geno! The bonnet scoop arrived, the detail on it is amazing, even has the rivets that mount it to the bonnet. I painted it in alluminium and then noticed the markings on the top, they weren't visible before, so a little bit of flatting back will cure that. I do apologise at how slowly this is progressing, for example I ordered two tiny hinges to flip the front end over a month ago...and I'm still waiting, and of course sourcing small parts that I need on Ebay is taking time. I have found some carbs, the roll cage I will be making from scratch though, and probably the front suspension too... ...some pics
-
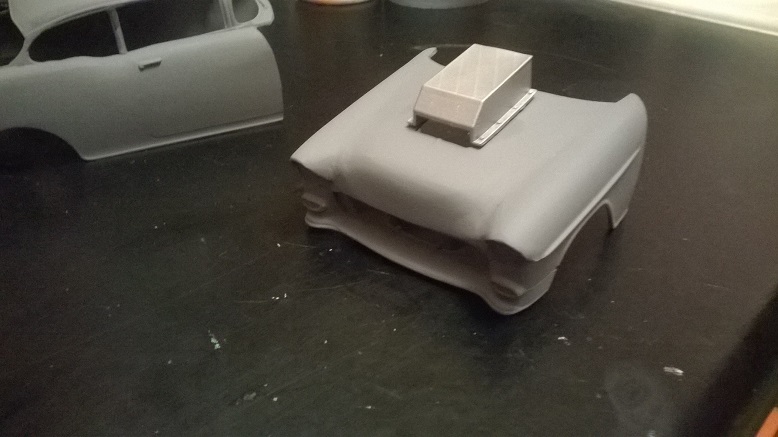
Little bit more done. I've reworked the rear quarters and they look a lot better. The bonnet is now in one piece and that got filled and sanded back. Still trying to get the rear wheel height spot on, it's not far off now. My friend with the 3D printer has made a bonnet scoop from my original design and I should have that in a day or two!
-
Two V8's? Good grief
-
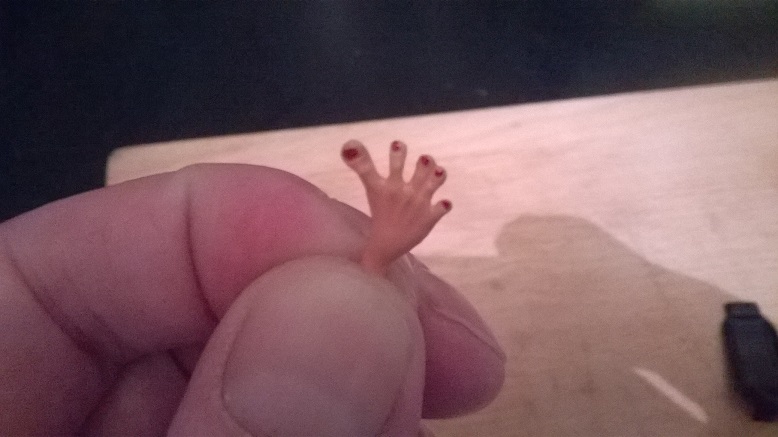
Cheers! Had a small issue with a front wheel, they are in two small parts but it was missing one. I tried drilling out a spare...that didn't work lol, so I tried cutting a large part in half and that worked and all the wheels are as they should be. Whilst I had the scalpel and files out I made a start on the rear quarters, not perfect yet but getting there. And then that suspension...I need to fit the rear leaf springs and wheels so I can then judge the ride height, out with the bleach to strip some chrome and as I type the parts needed have been painted and are drying. Oh, that non-model pic. Yes I build on a 1/1 scale as well!
-
I will keep everyone posted Geno! The other kit arrived today and it wasn't what I expected really. There isn't much I can use apart from a couple of chrome bits, maybe the engine but I can't tell if it's all there yet! The chassis is slighty too narrow to fit my body but it has given me some ideas about how to make up some front coils. Best bit is those wheels with tyres, the entire kit cost me £10, maybe $14, to import wheels alone from the US would be $20 + taxes. I had to take them apart and remove the chrome with bleach, then they got primed and sprayed in silver, looks good to me. The rears are slicks and in theory they should be in the boot, but for now this will do (unless someone has a pair of wheels/tyres they don't need?). Next step will be to make the front suspension. Stay tuned!
-
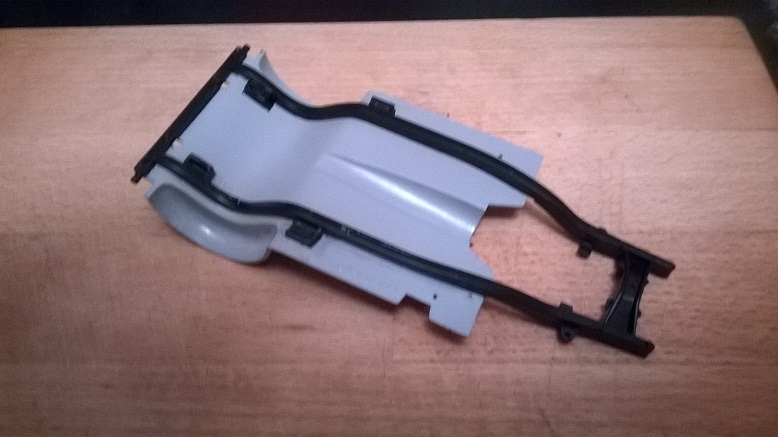
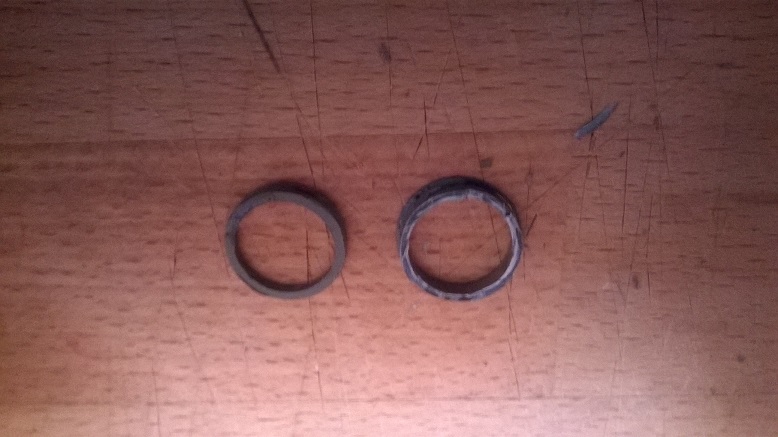
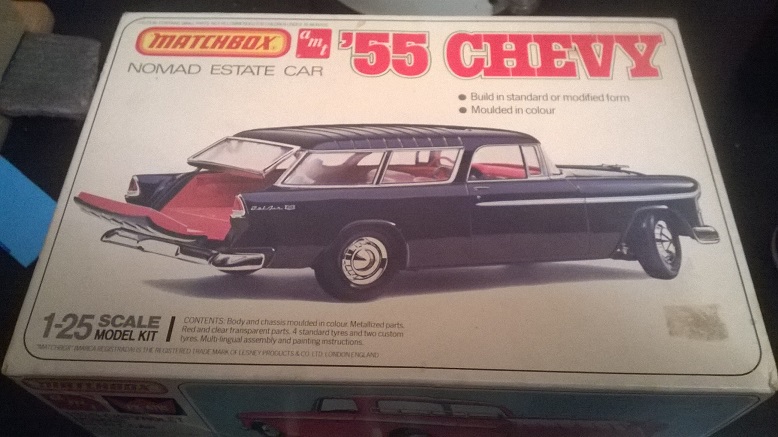
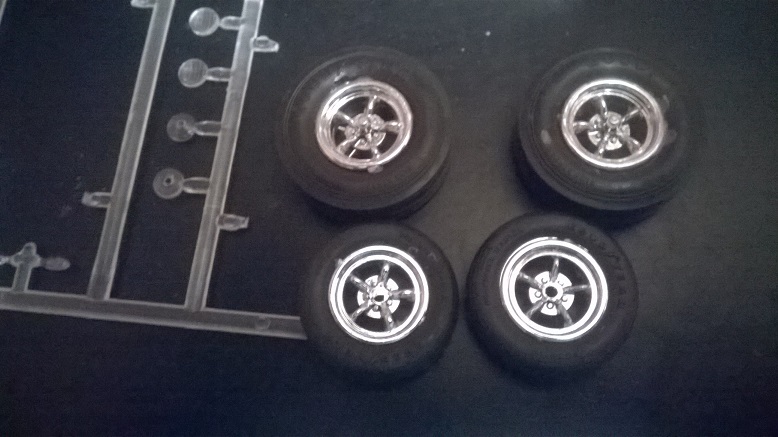
Done a little more work. I've trimmed back some of the front of the chassis and am making up the firewall. A friend has a 3D printer so I'm hoping he can replicate some parts for me, namely the bonnet scoop! I also had a bit of luck as a 55 Chevy Nomad kit popped up on Ebay here, never seen one before. It has been started (just the engine) but it will have lots of parts I can use plus it has those Daisy wheel with tyres! Sadly not Firestone tyres but you can't win them all!
-
Ironically this popped up tonight on Ebay UK... http://www.ebay.co.uk/itm/122368735707?_trksid=p2055119.m1438.l2649&ssPageName=STRK%3AMEBIDX%3AIT
-
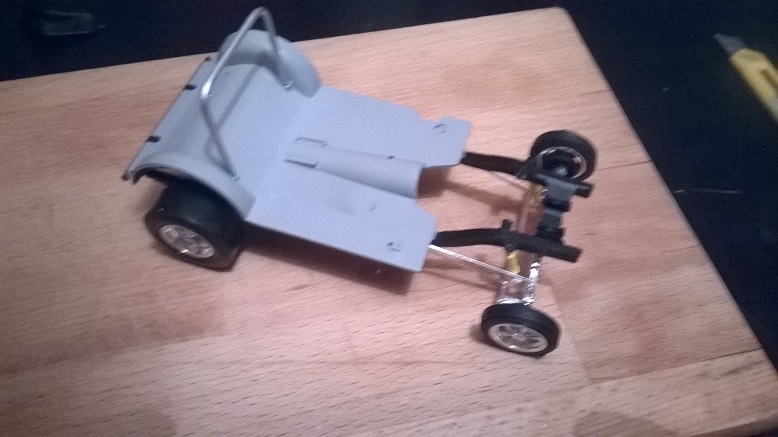
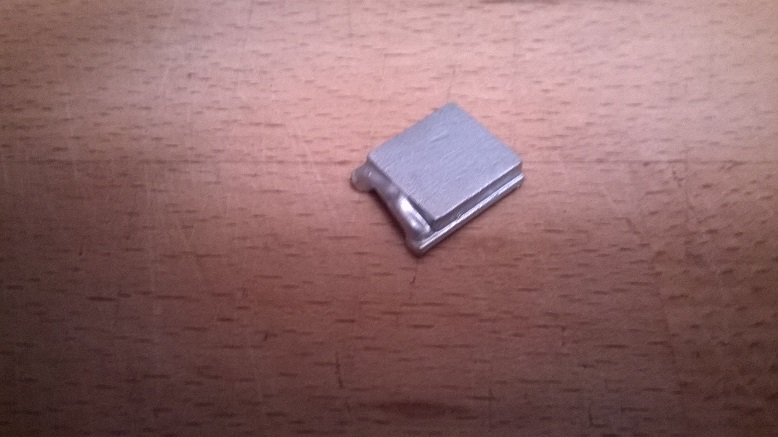
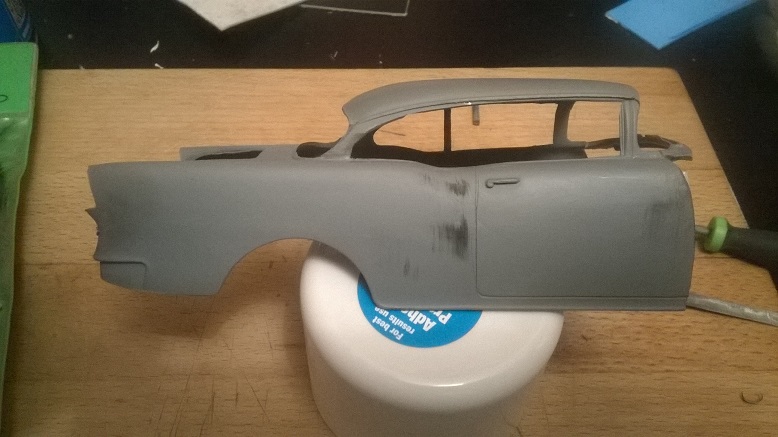
I do agree with Snake on the body shape, the rear quarters are slighty fatter and more curved on my model but like I said it's not 100% accurate. A little more done, the bonnet scoop is finished and sits pretty much spot on as far as I can tell. I've removed a lot of clutter from inside the bonnet but not too much as I will have to make a spaceframe and mount it somewhere to enable the front to flip open. Made some cardboard B strips and then used those to make some plastic ones and they are now glued in. And the battery is done, albeit minus a decal. I will make a mounting strap and use some spare tubing from a bike model to make the earth leads.