
Chris Smith
-
Posts
733 -
Joined
-
Last visited
Content Type
Profiles
Forums
Events
Gallery
Posts posted by Chris Smith
-
-
Looking good Bruce, amazing what Porsche was able to do back then. Imagine how fast the car would be with tires from today’s race cars.
-
 1
1
-
-
21 hours ago, Randy D said:
WOW Chris, when I grow up I want to paint an decal like you!!!!
Randy
And I when I grow up I would like to scratch build like you and Tim!!
-
2 hours ago, Brudda said:
Beautiful sir just beautiful! Hope to see you this weekend. Picking up that big Ferrari GTO from Mark Friday. I hope it fits in my car! LOL
I’m sure you will find a way, such a beautiful and iconic car
-
Came out great Paul 👍
-
 1
1
-
-
6 hours ago, Codi said:
For the life of me I don't know how to delete the last 2 pics which were downloaded by mistake of the tool mentioned earlier in the thread......sorry bout' that.
Are they sponsoring you Tim 🤣
Nice update my friend, glad to see took some time to get some work in on this project
-
A little bit more added, now we have ground effects. 😁

-
3
-
-
5 hours ago, 4knflyin said:
Okay, so what the hell is it that thing we spend time putting together?
Does anybody know what the function of that plate and springs is? I mean, I've never seen it talked about, function described, or even named. What's it called?
I really should have ordered some of the green that WWII airplane builders use.

They act like the butterflies on a carburetor. You nail the accelerator and the plate opens and air and fuel enters and make it rip
-
1
-
-
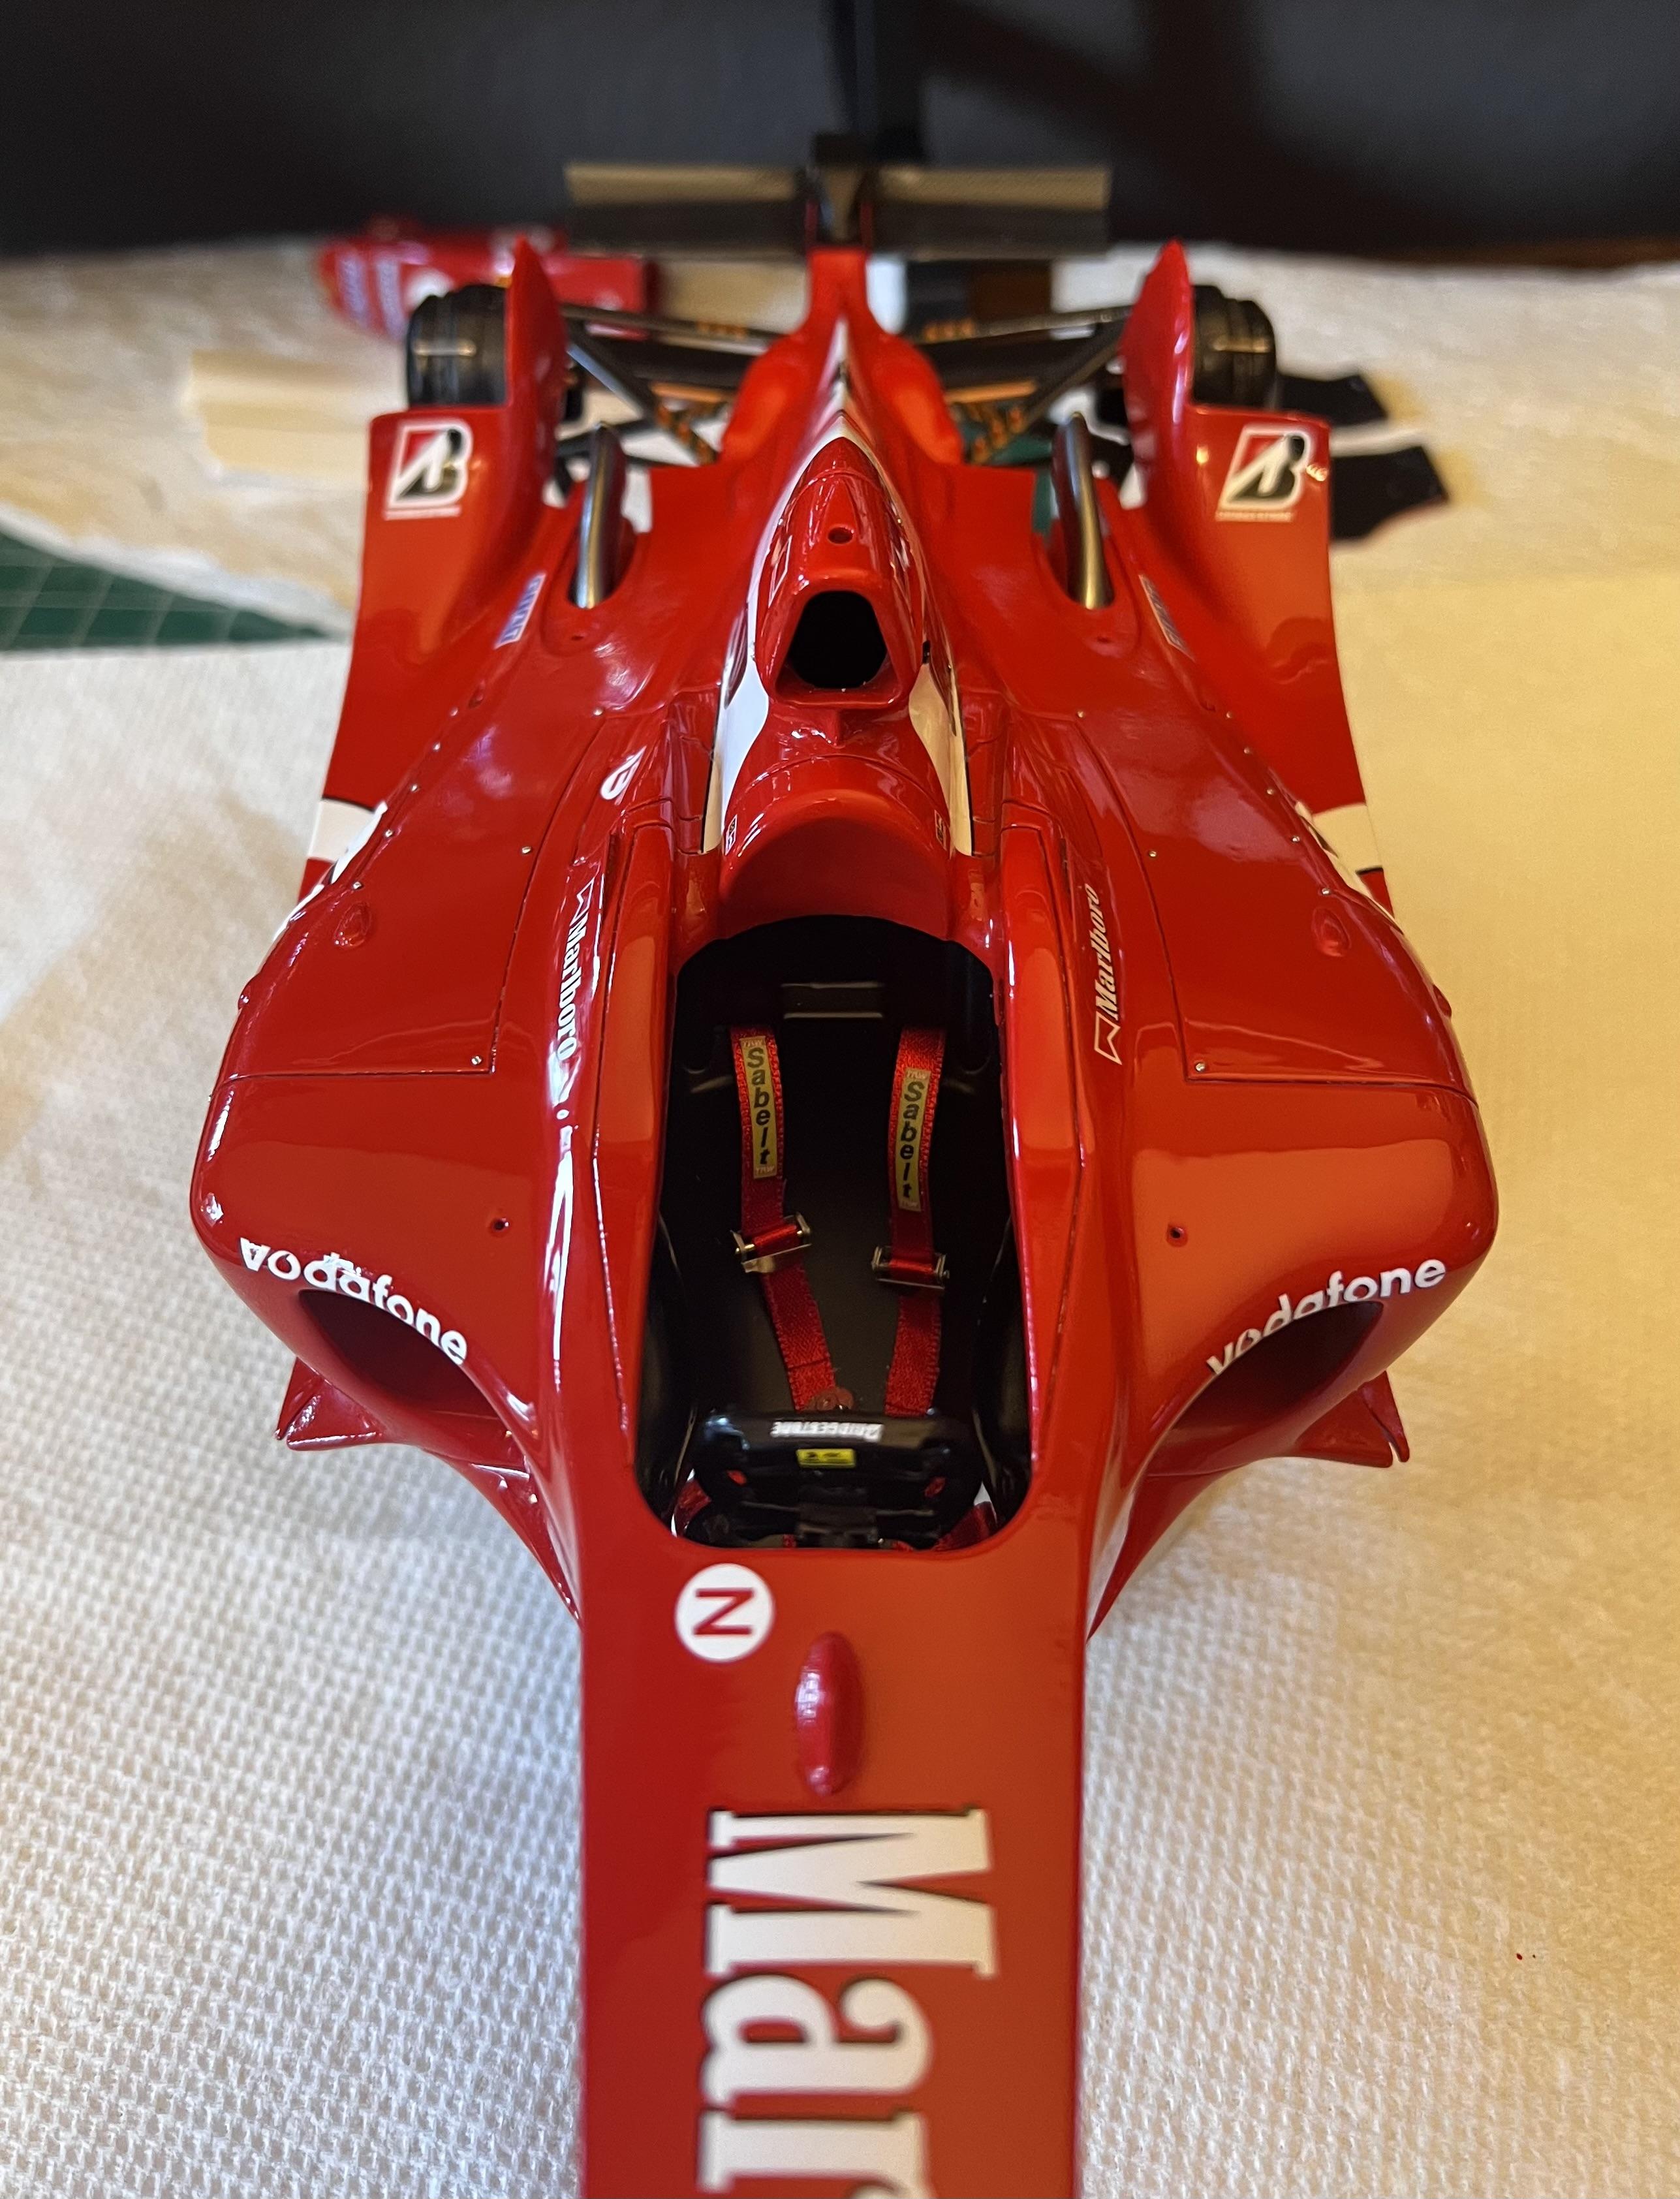
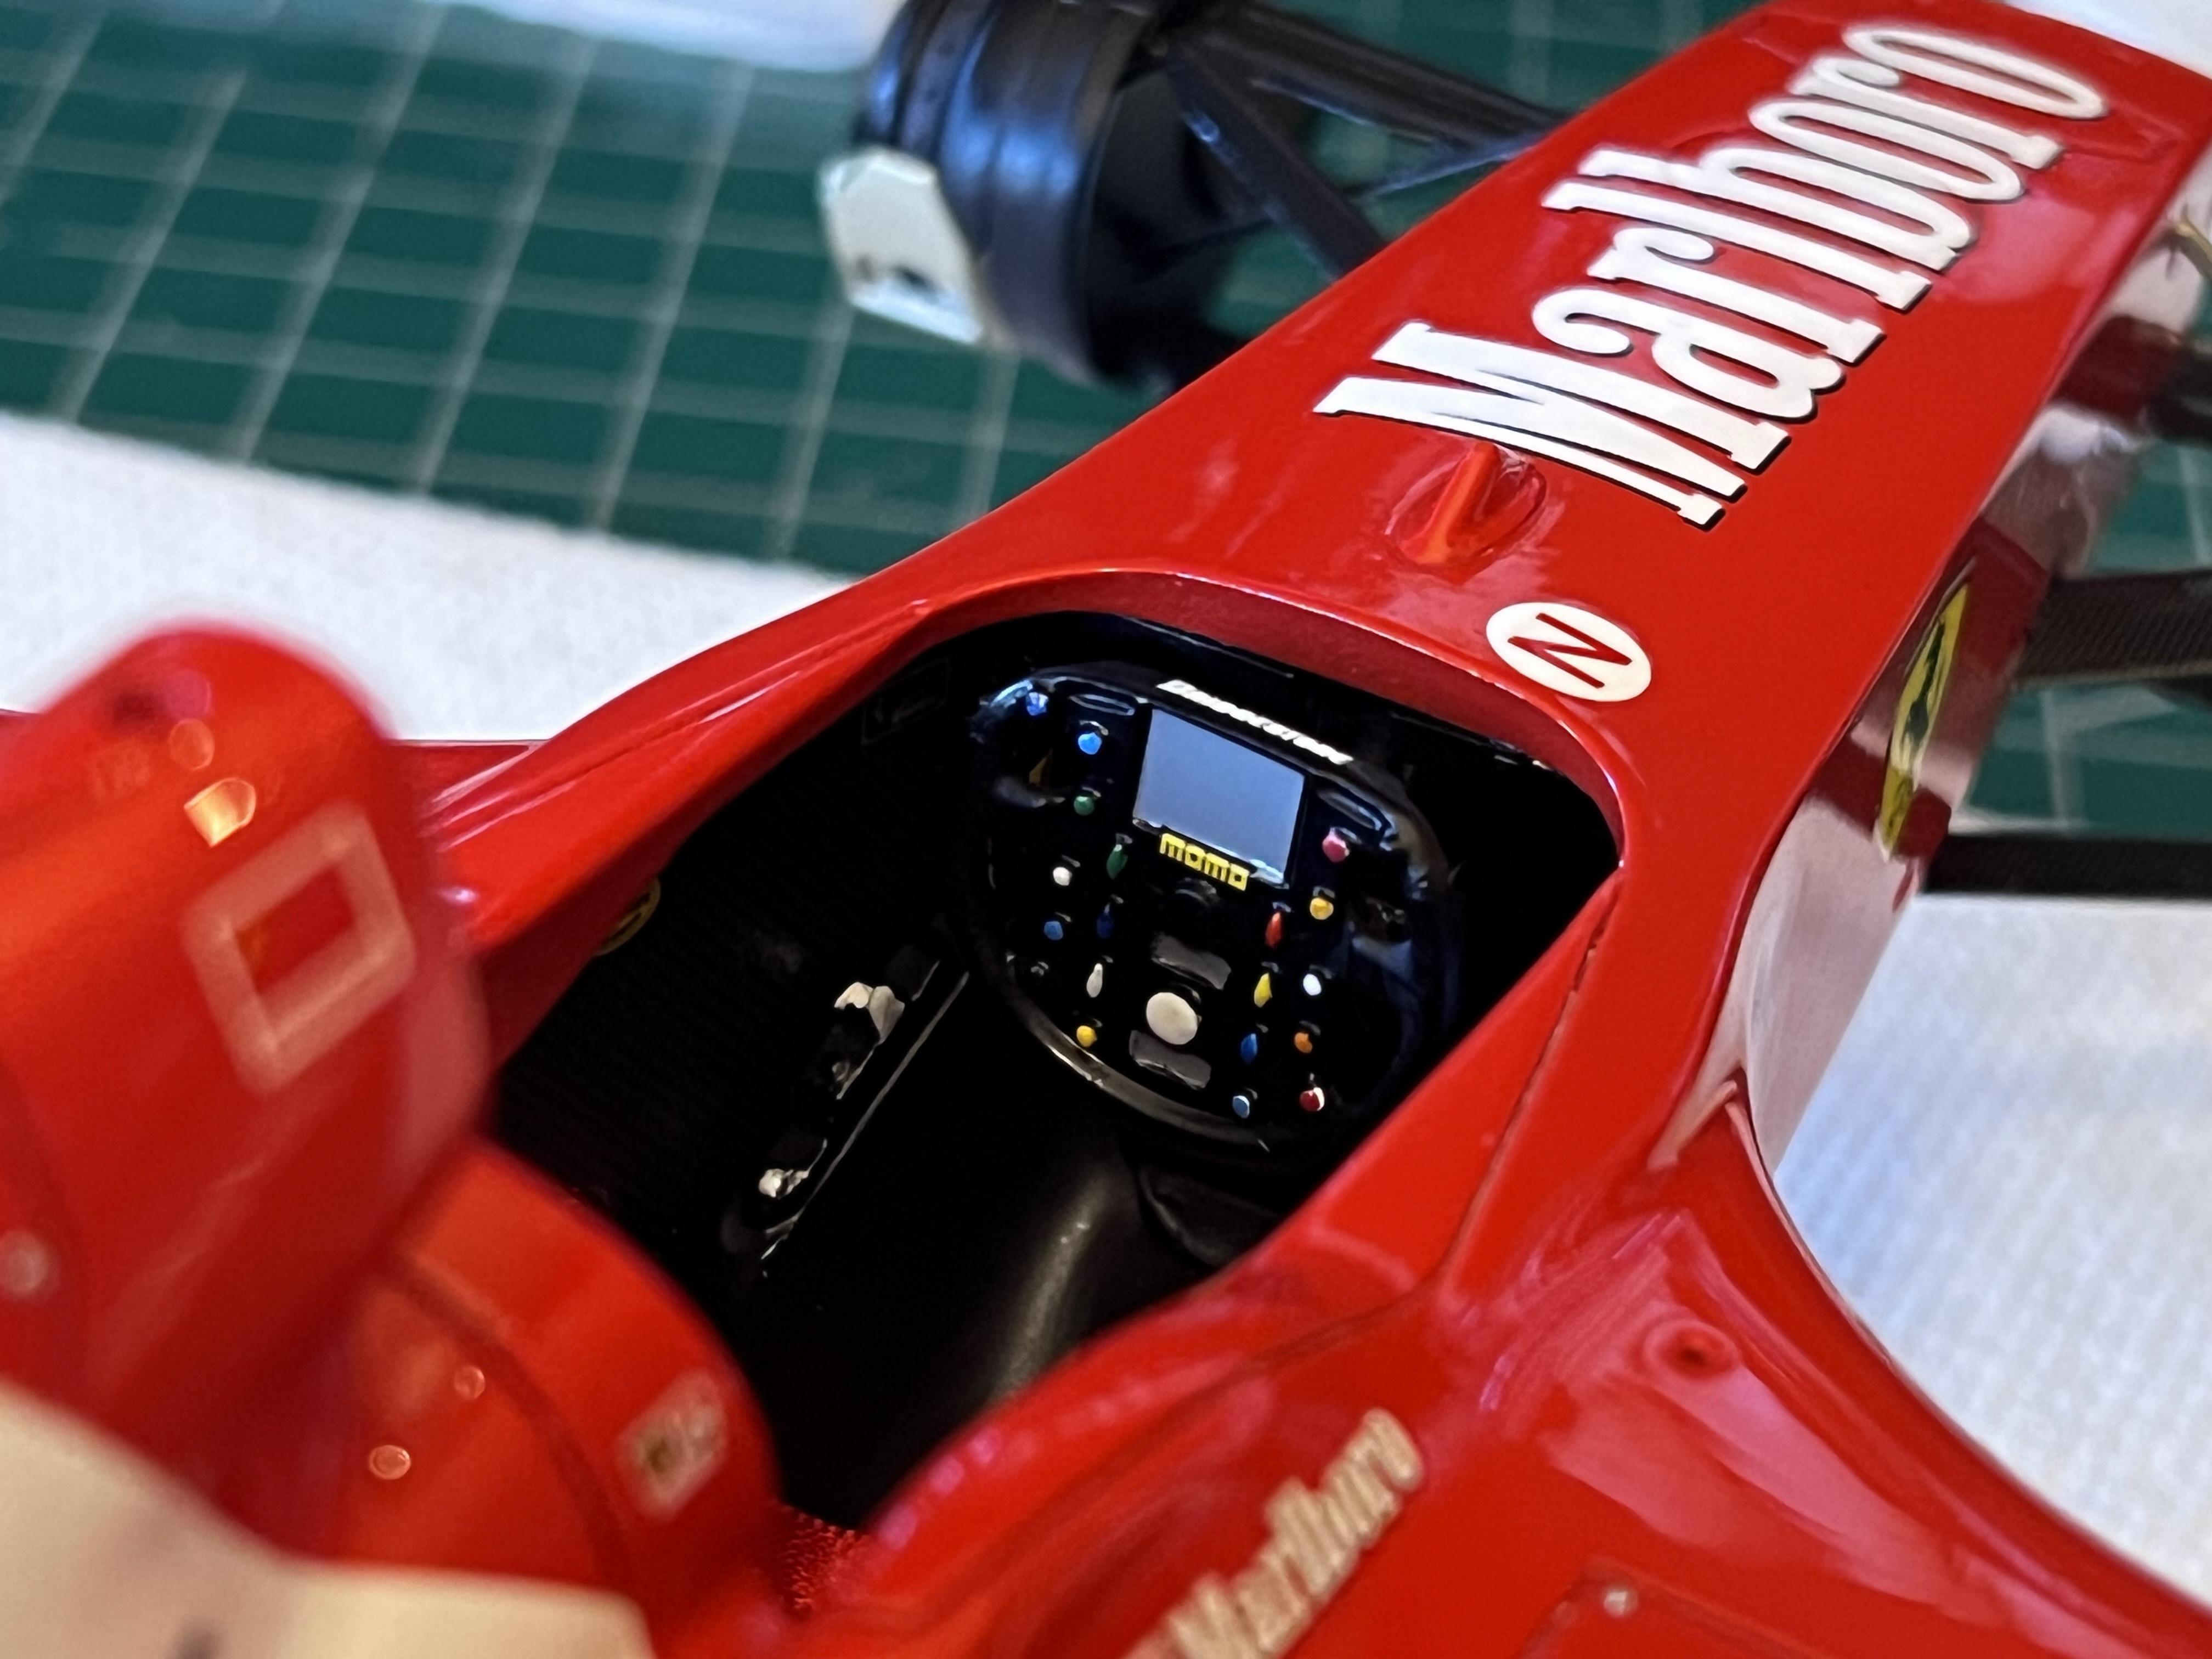
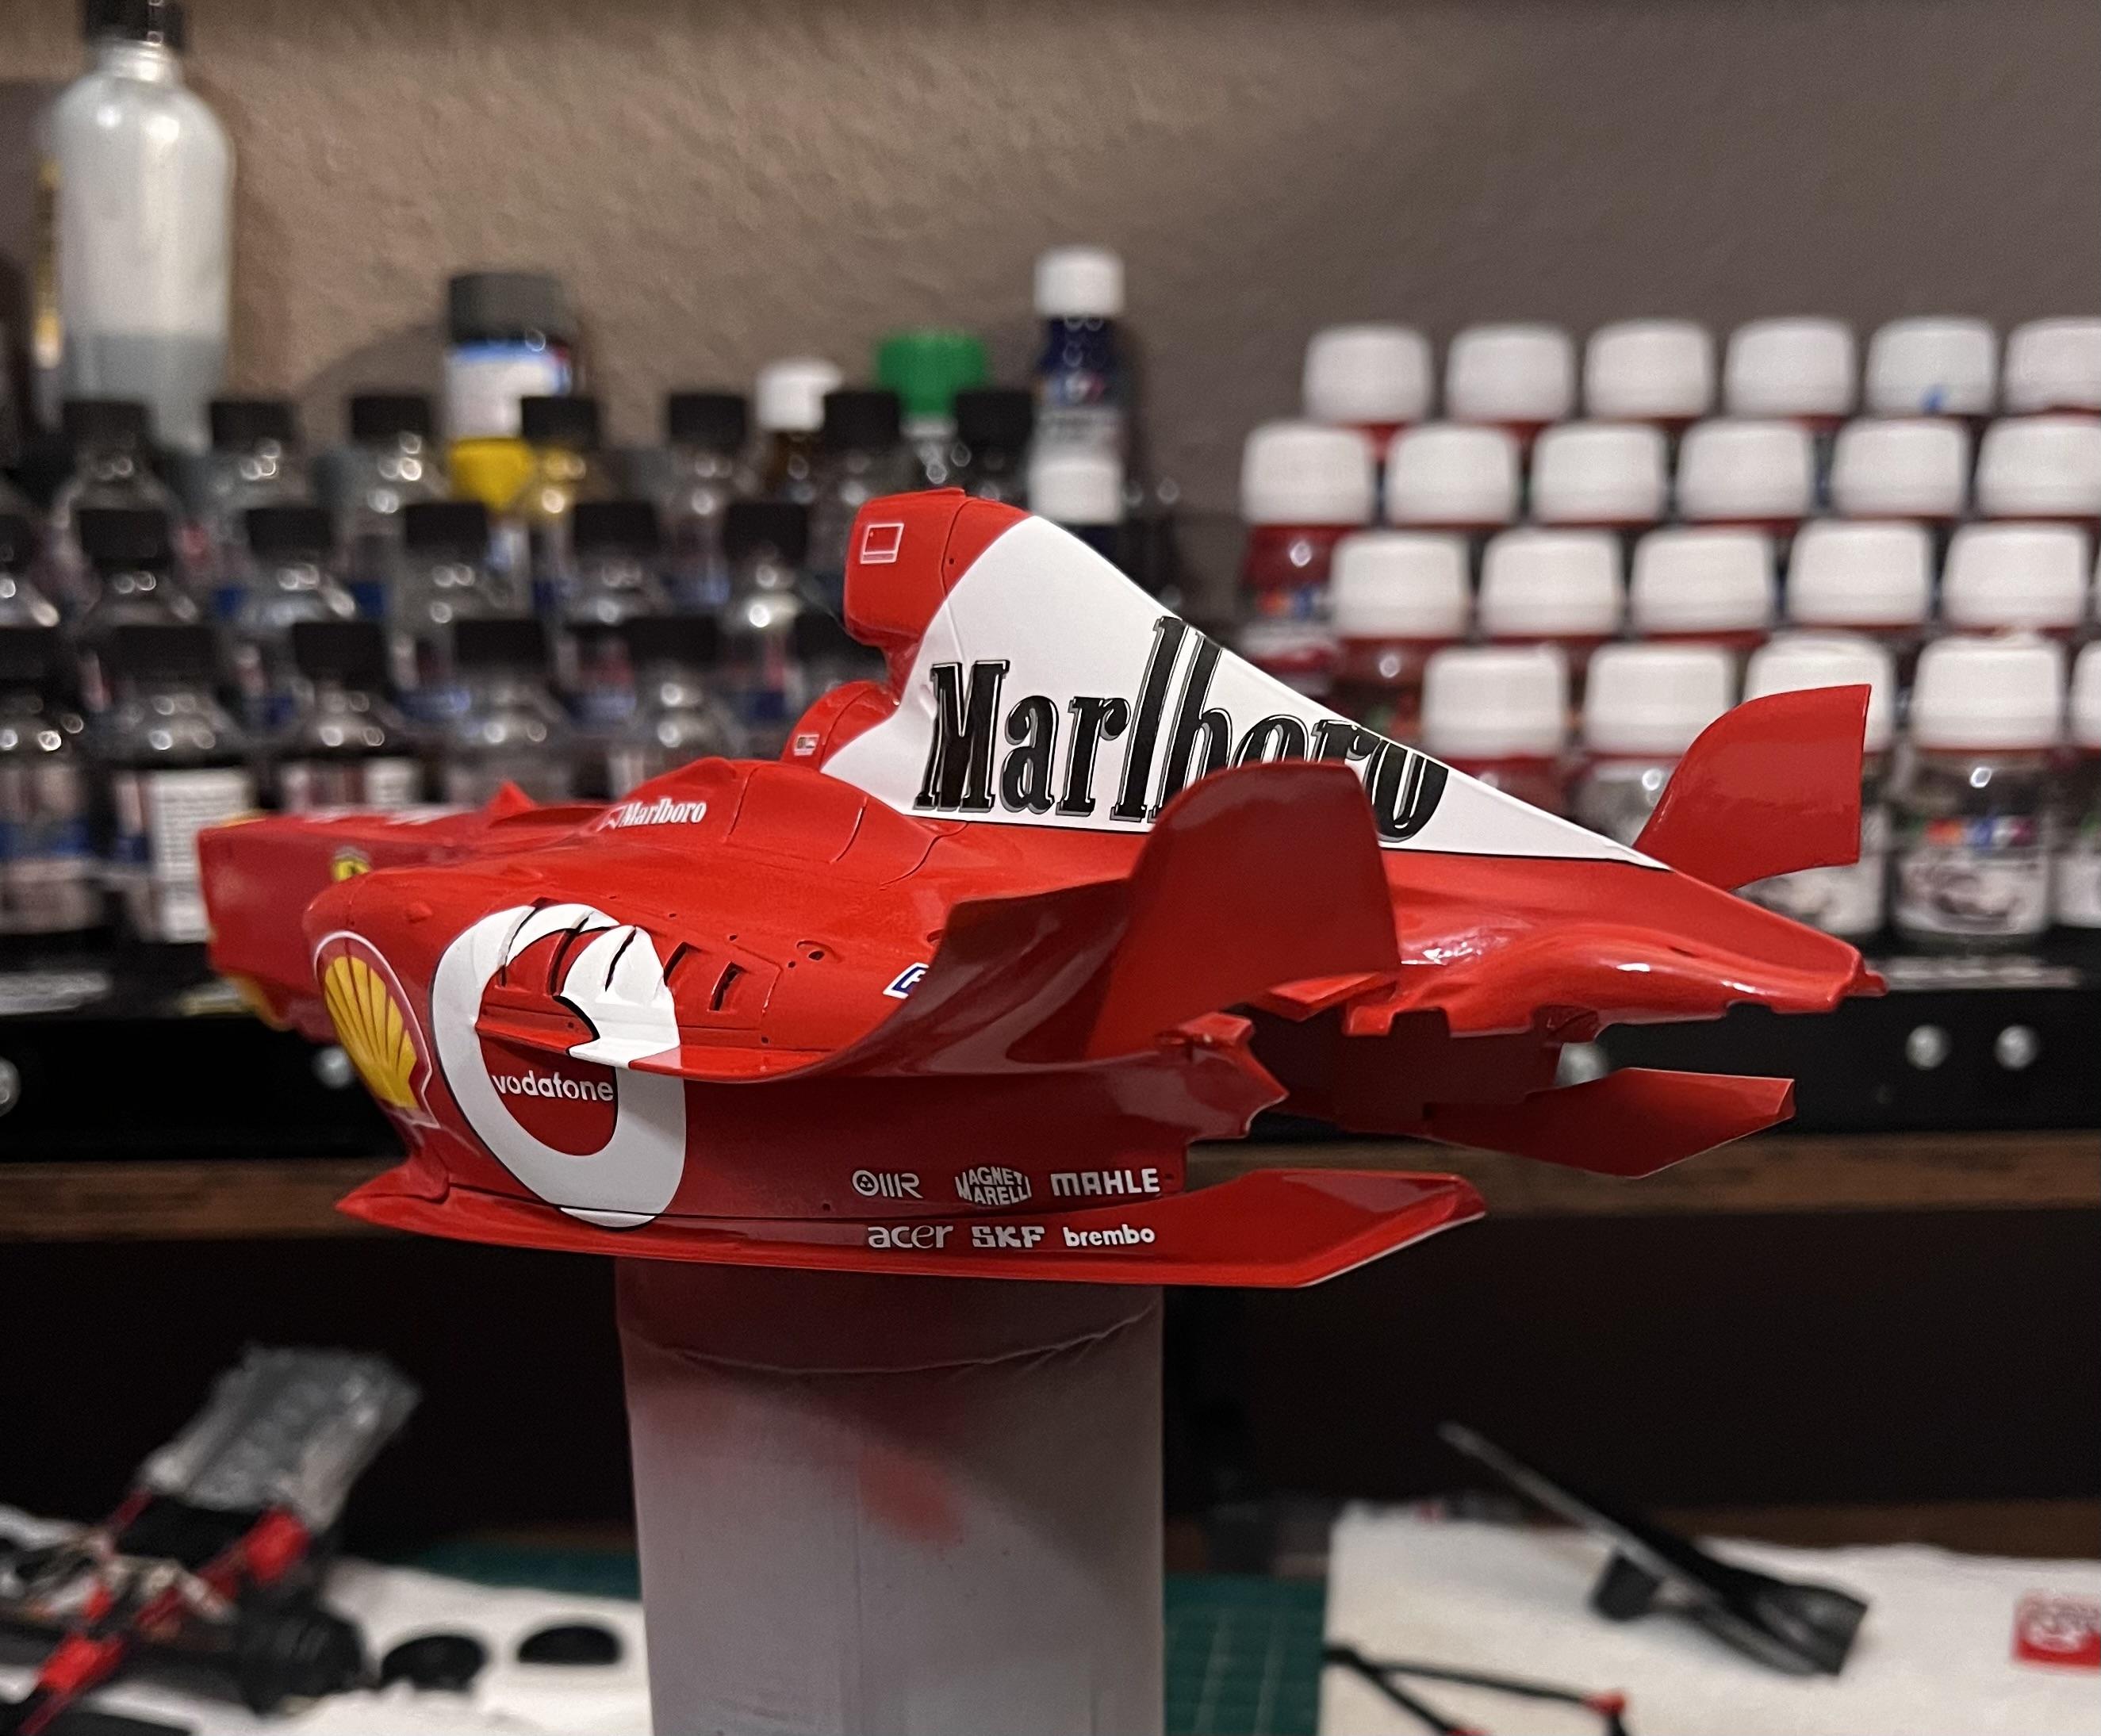
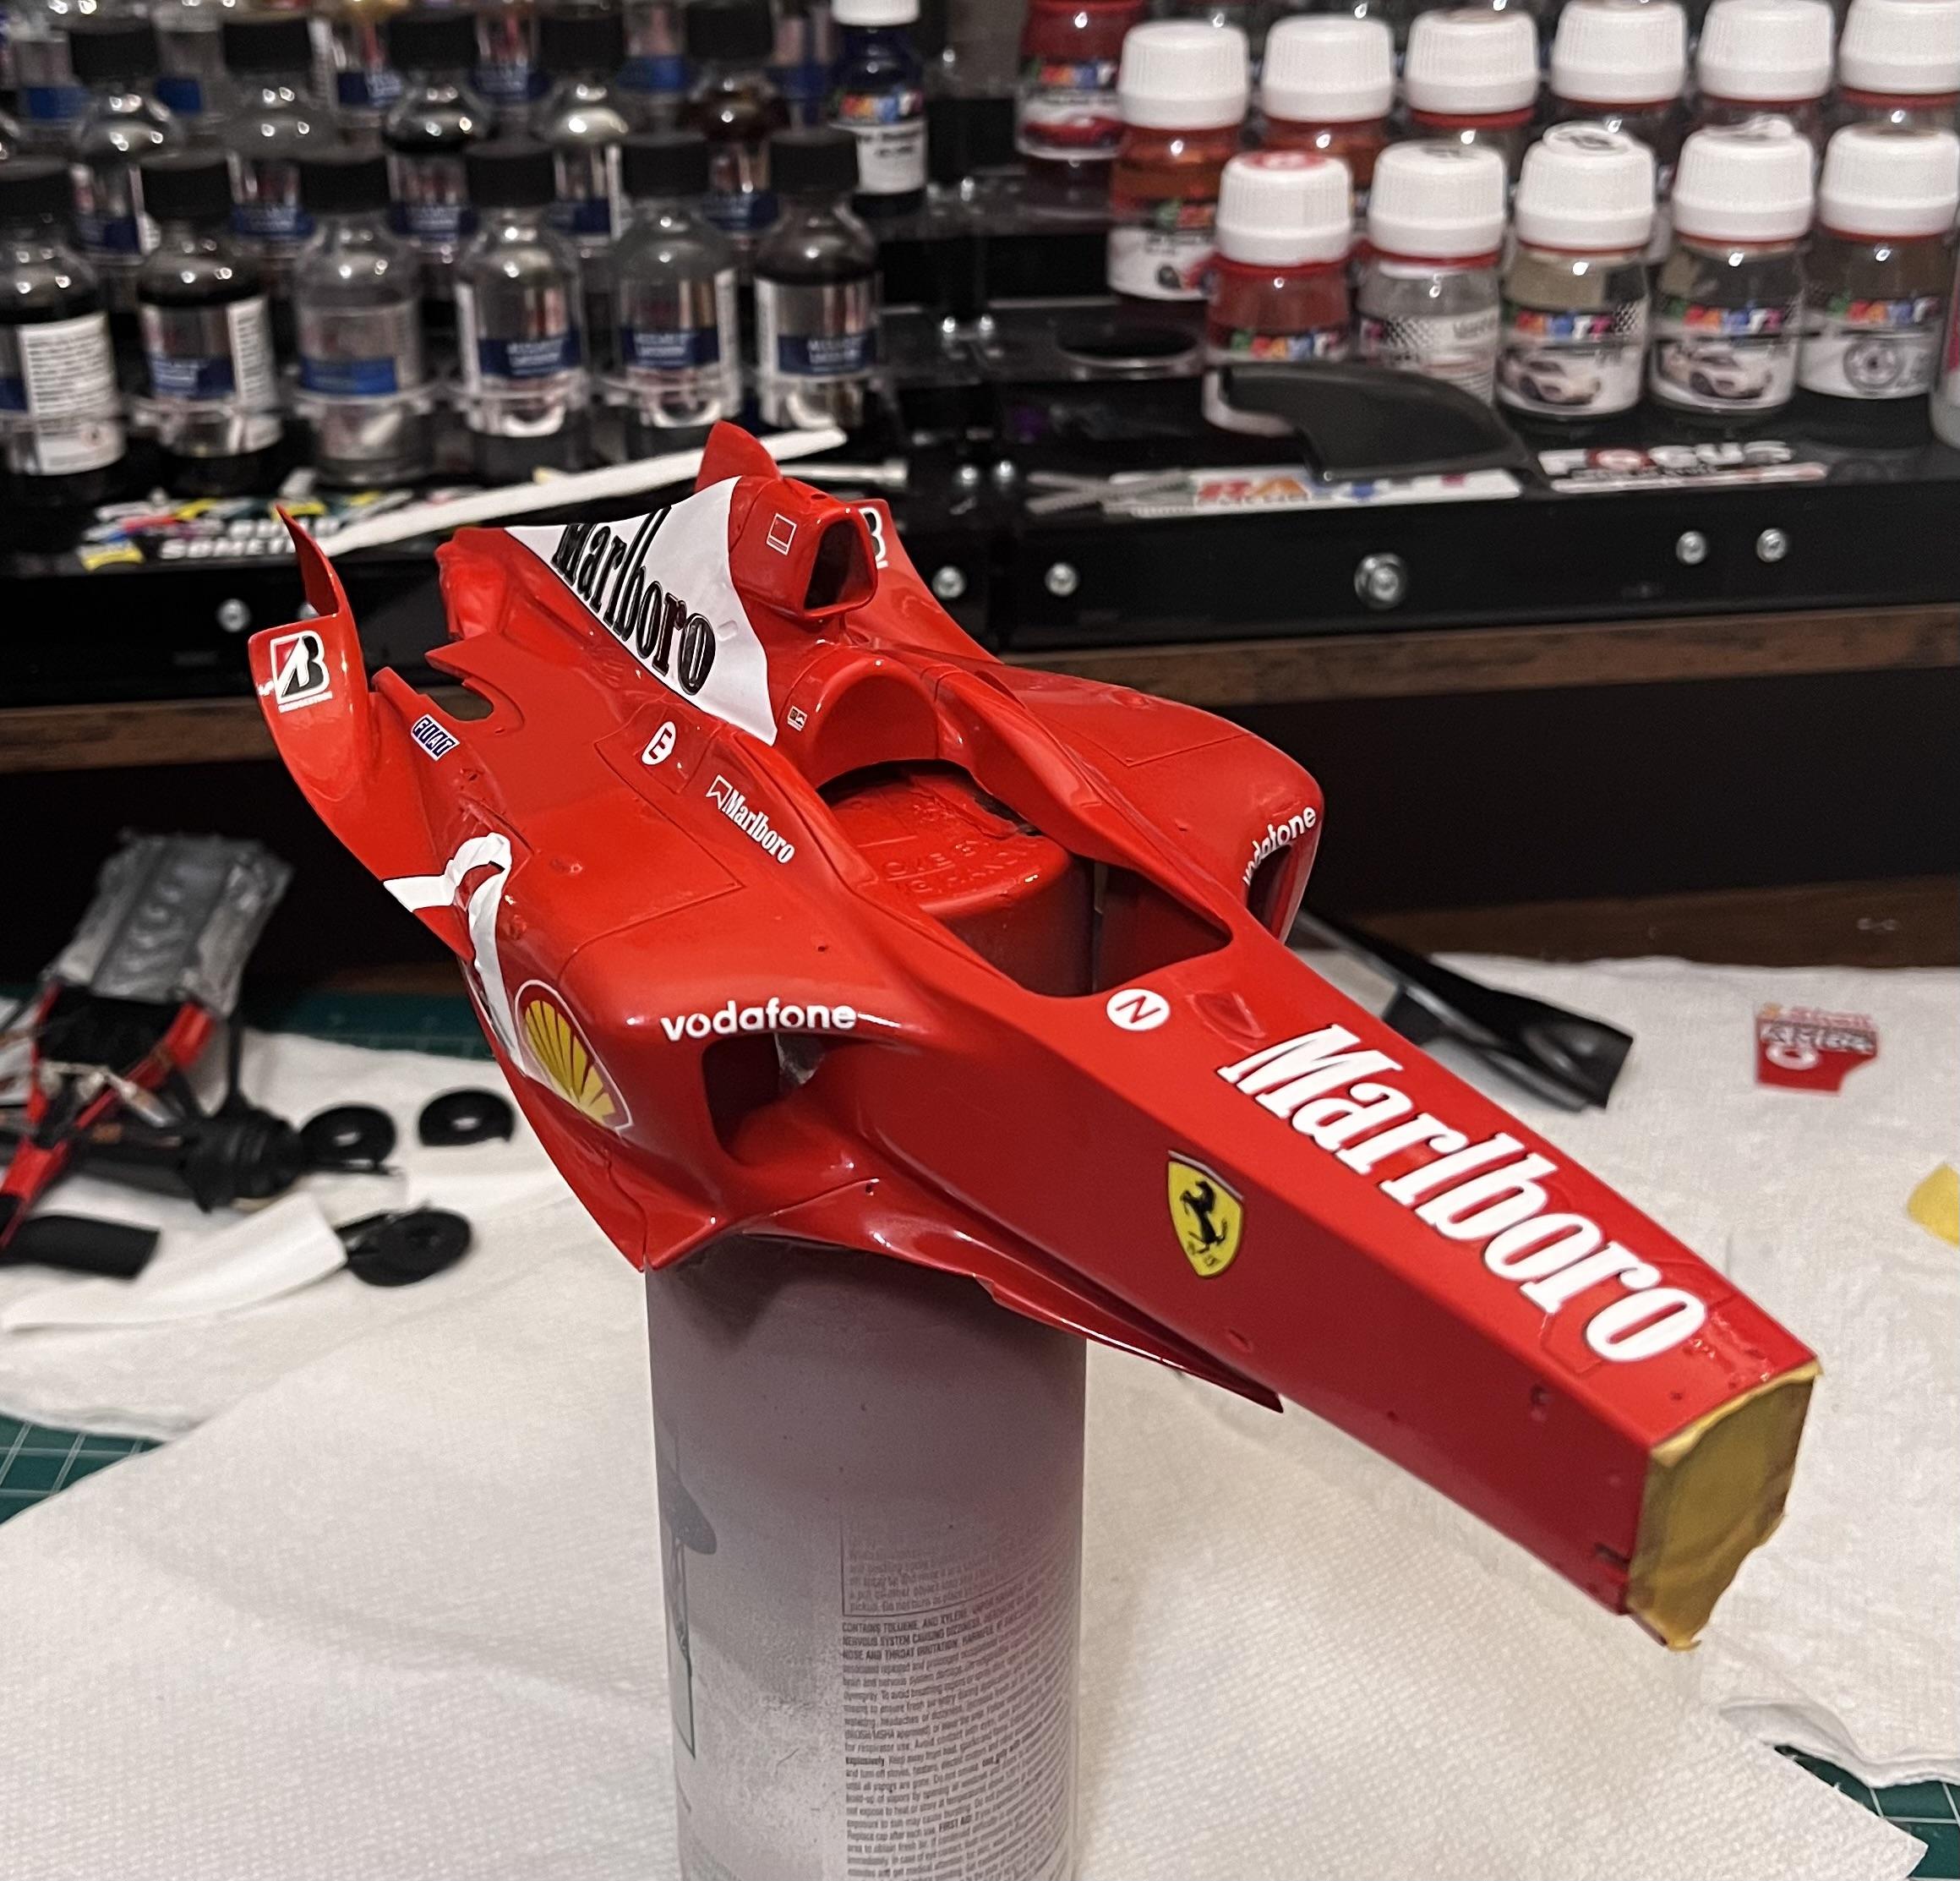
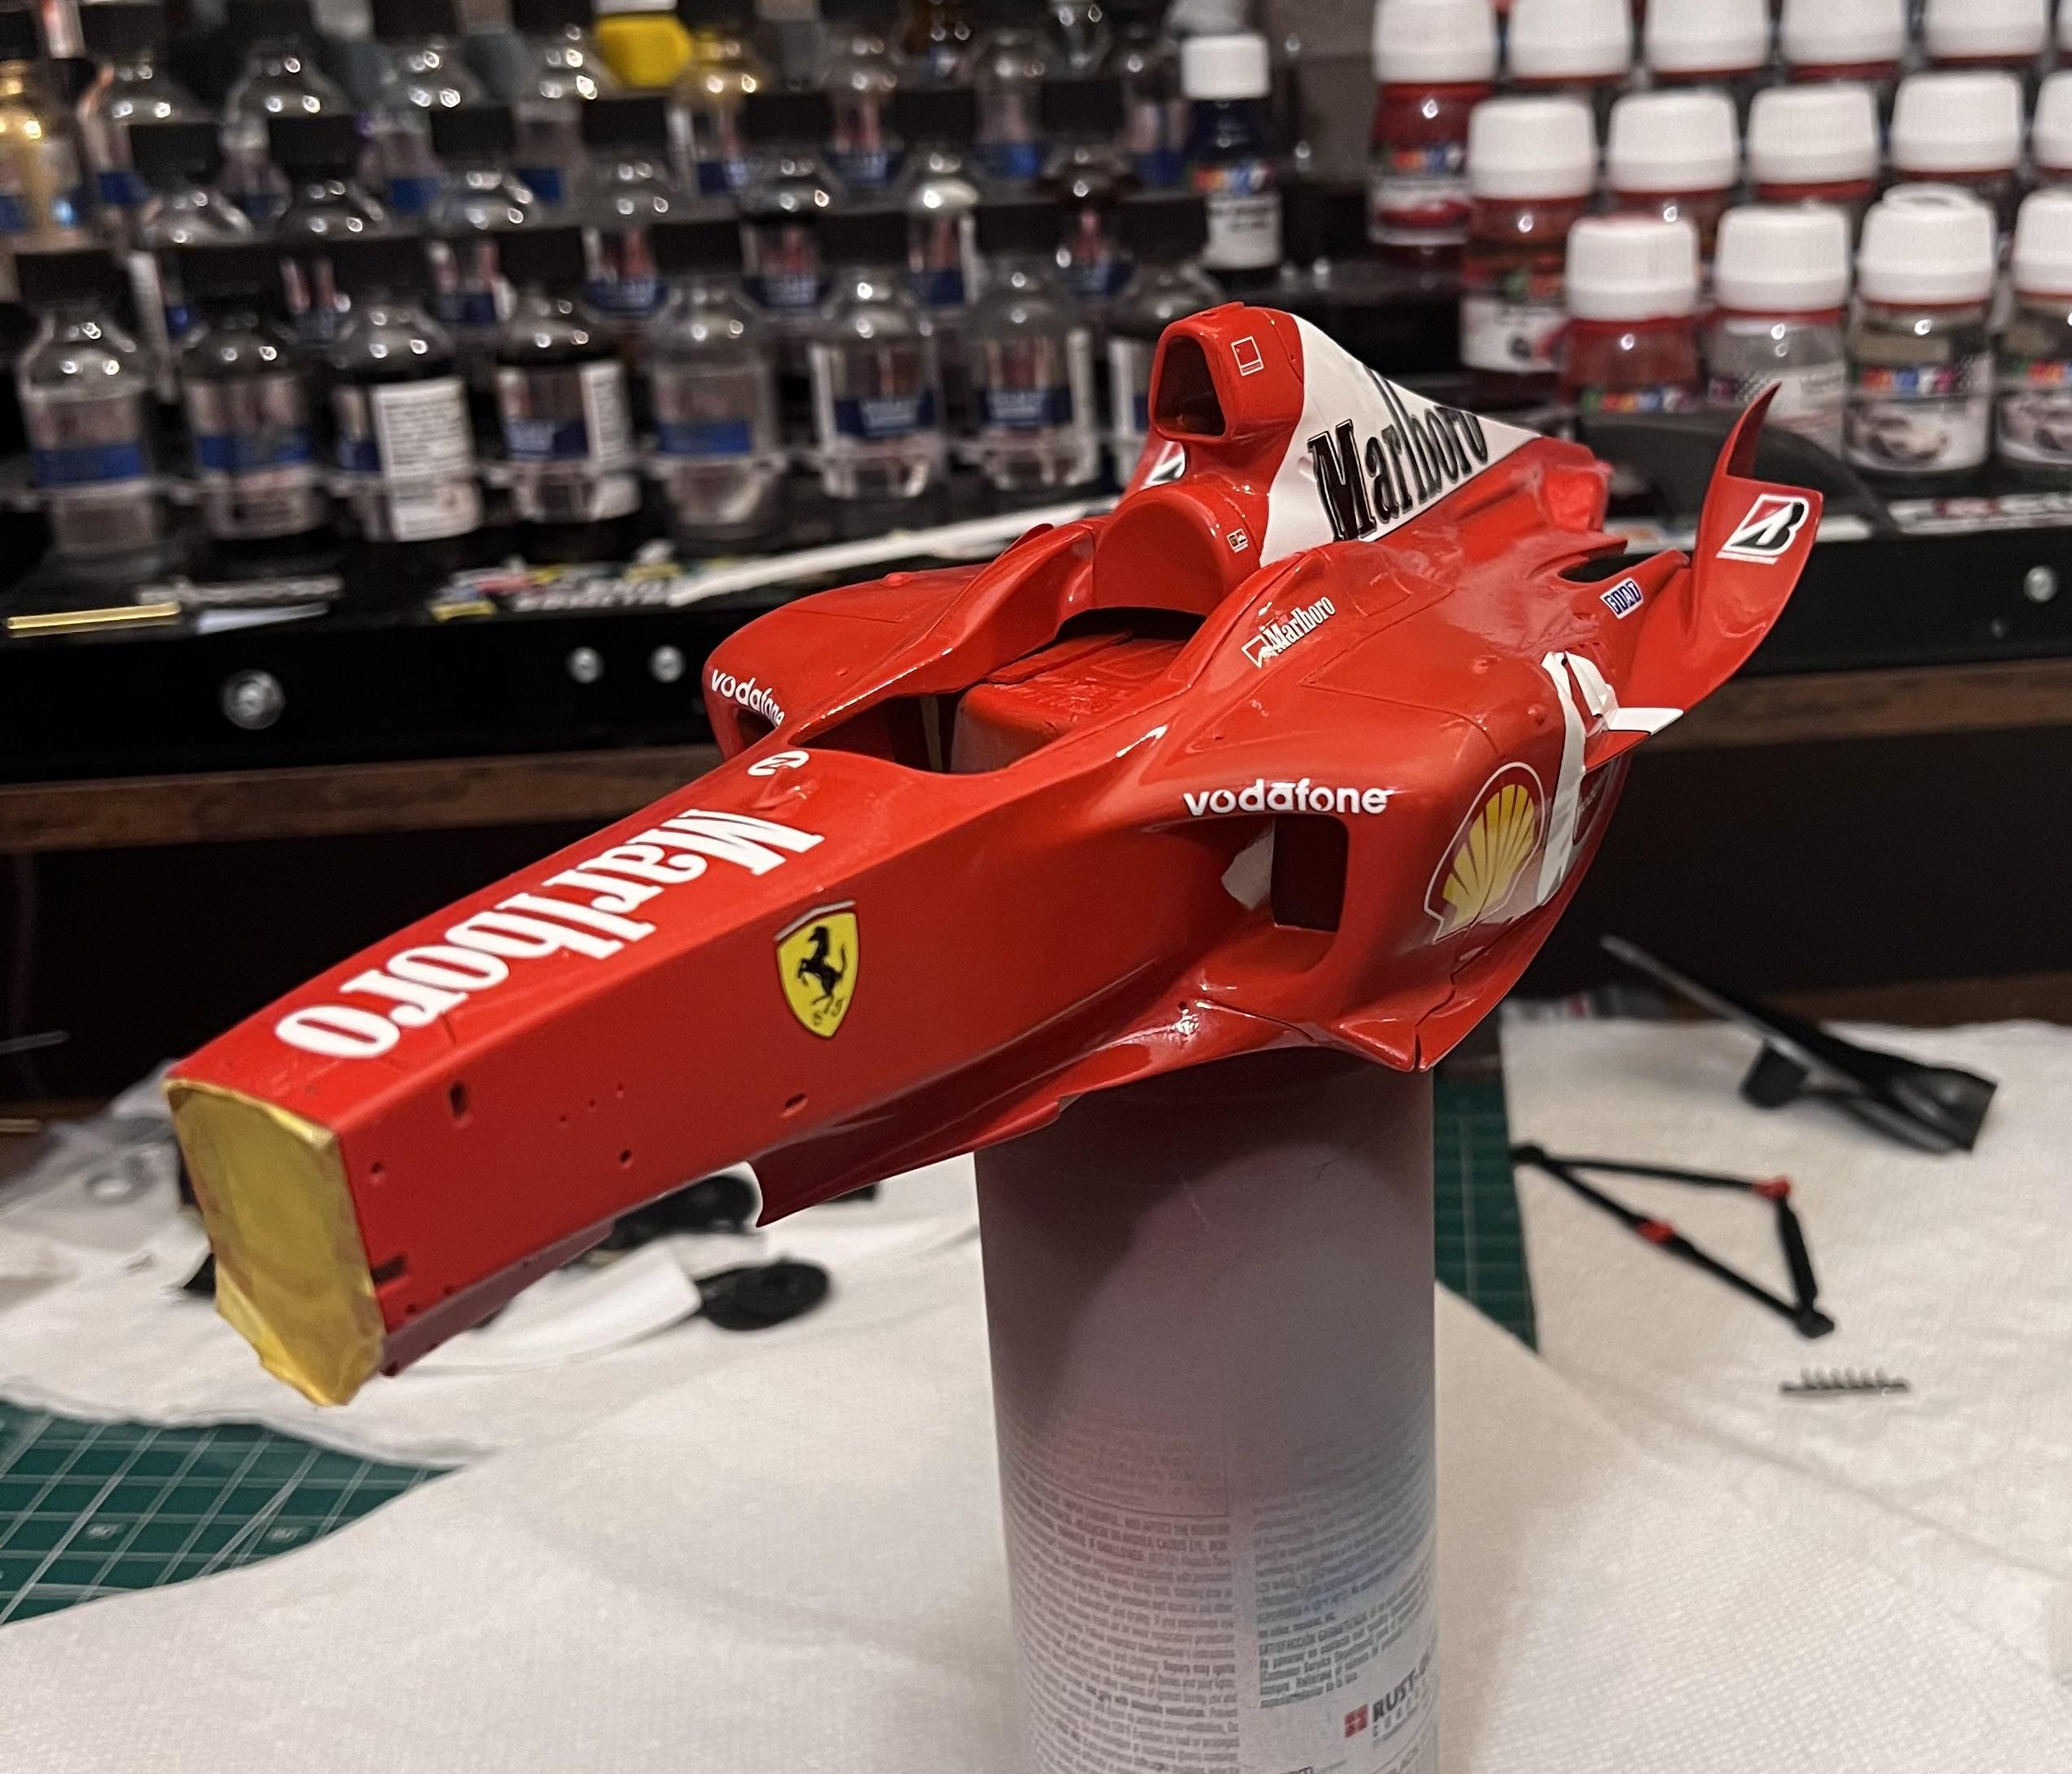
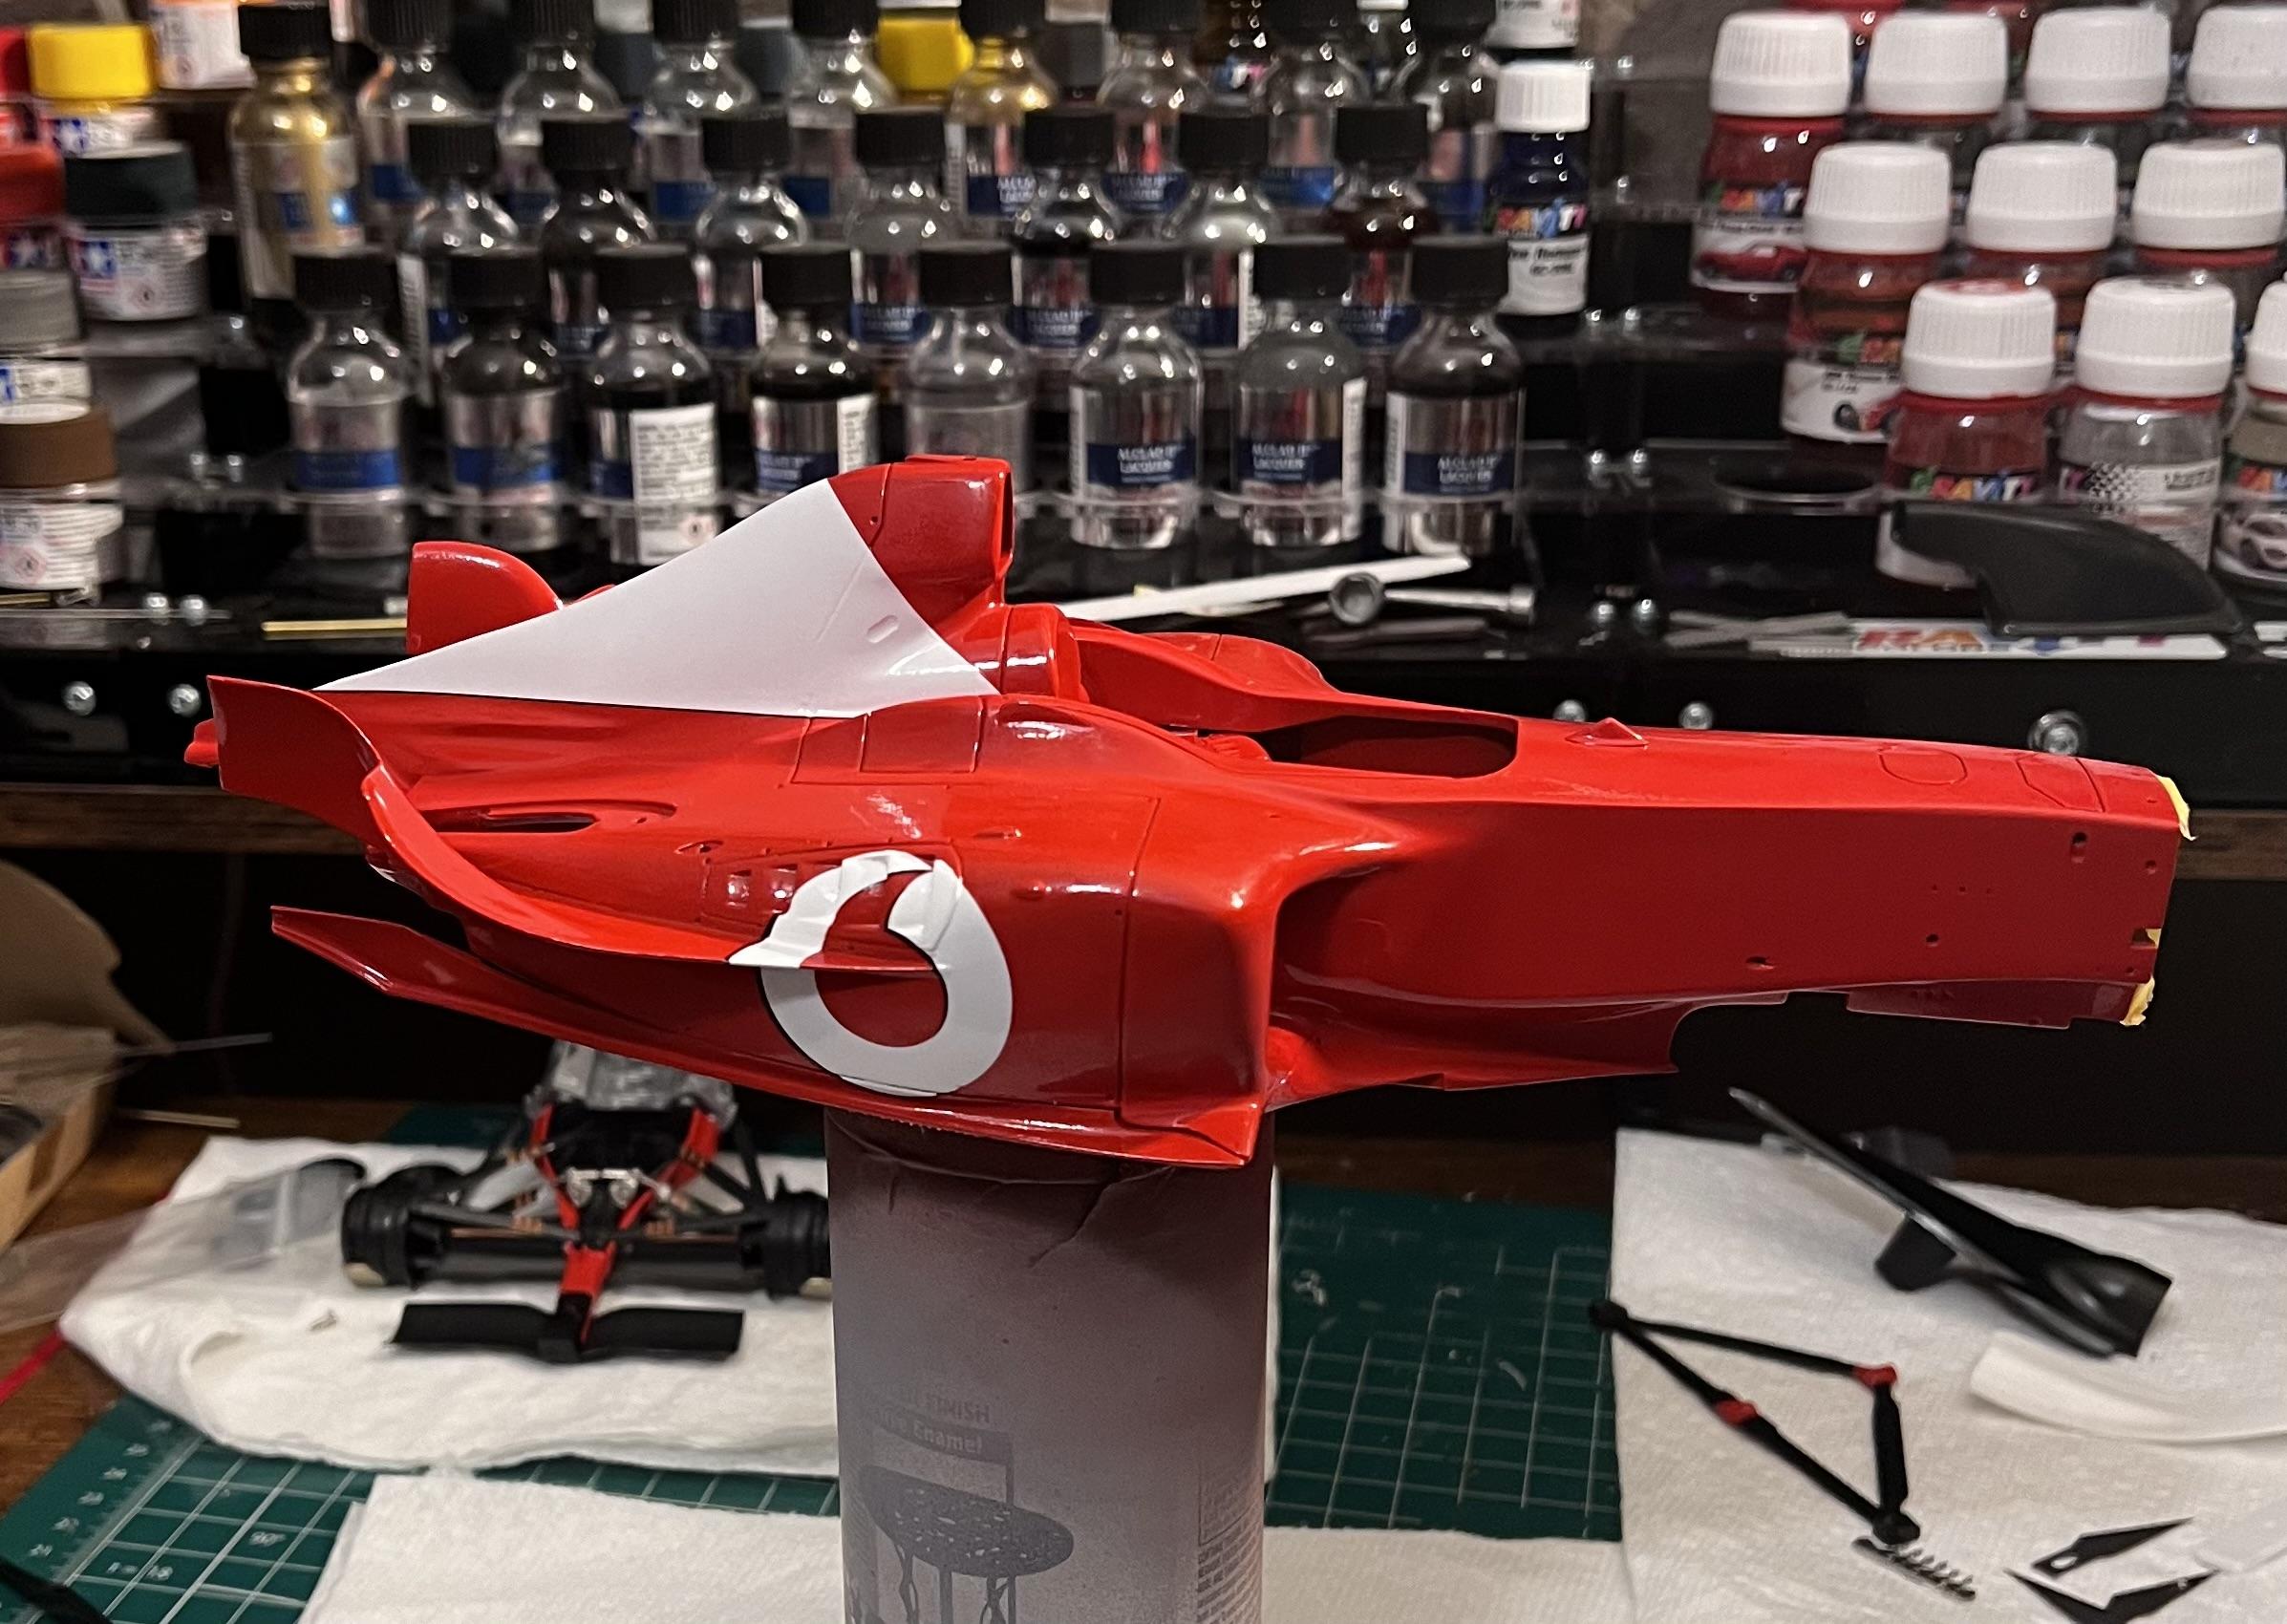
I could not sleep last night so I worked into early this morning. I was able in stall the seat and engine and also the lower body panels. During the week I worked on the cockpit surround and added carbon decals for a little more realistic look and also built the seat belts. Feeling pretty good about it at this point.
-
4
-
-
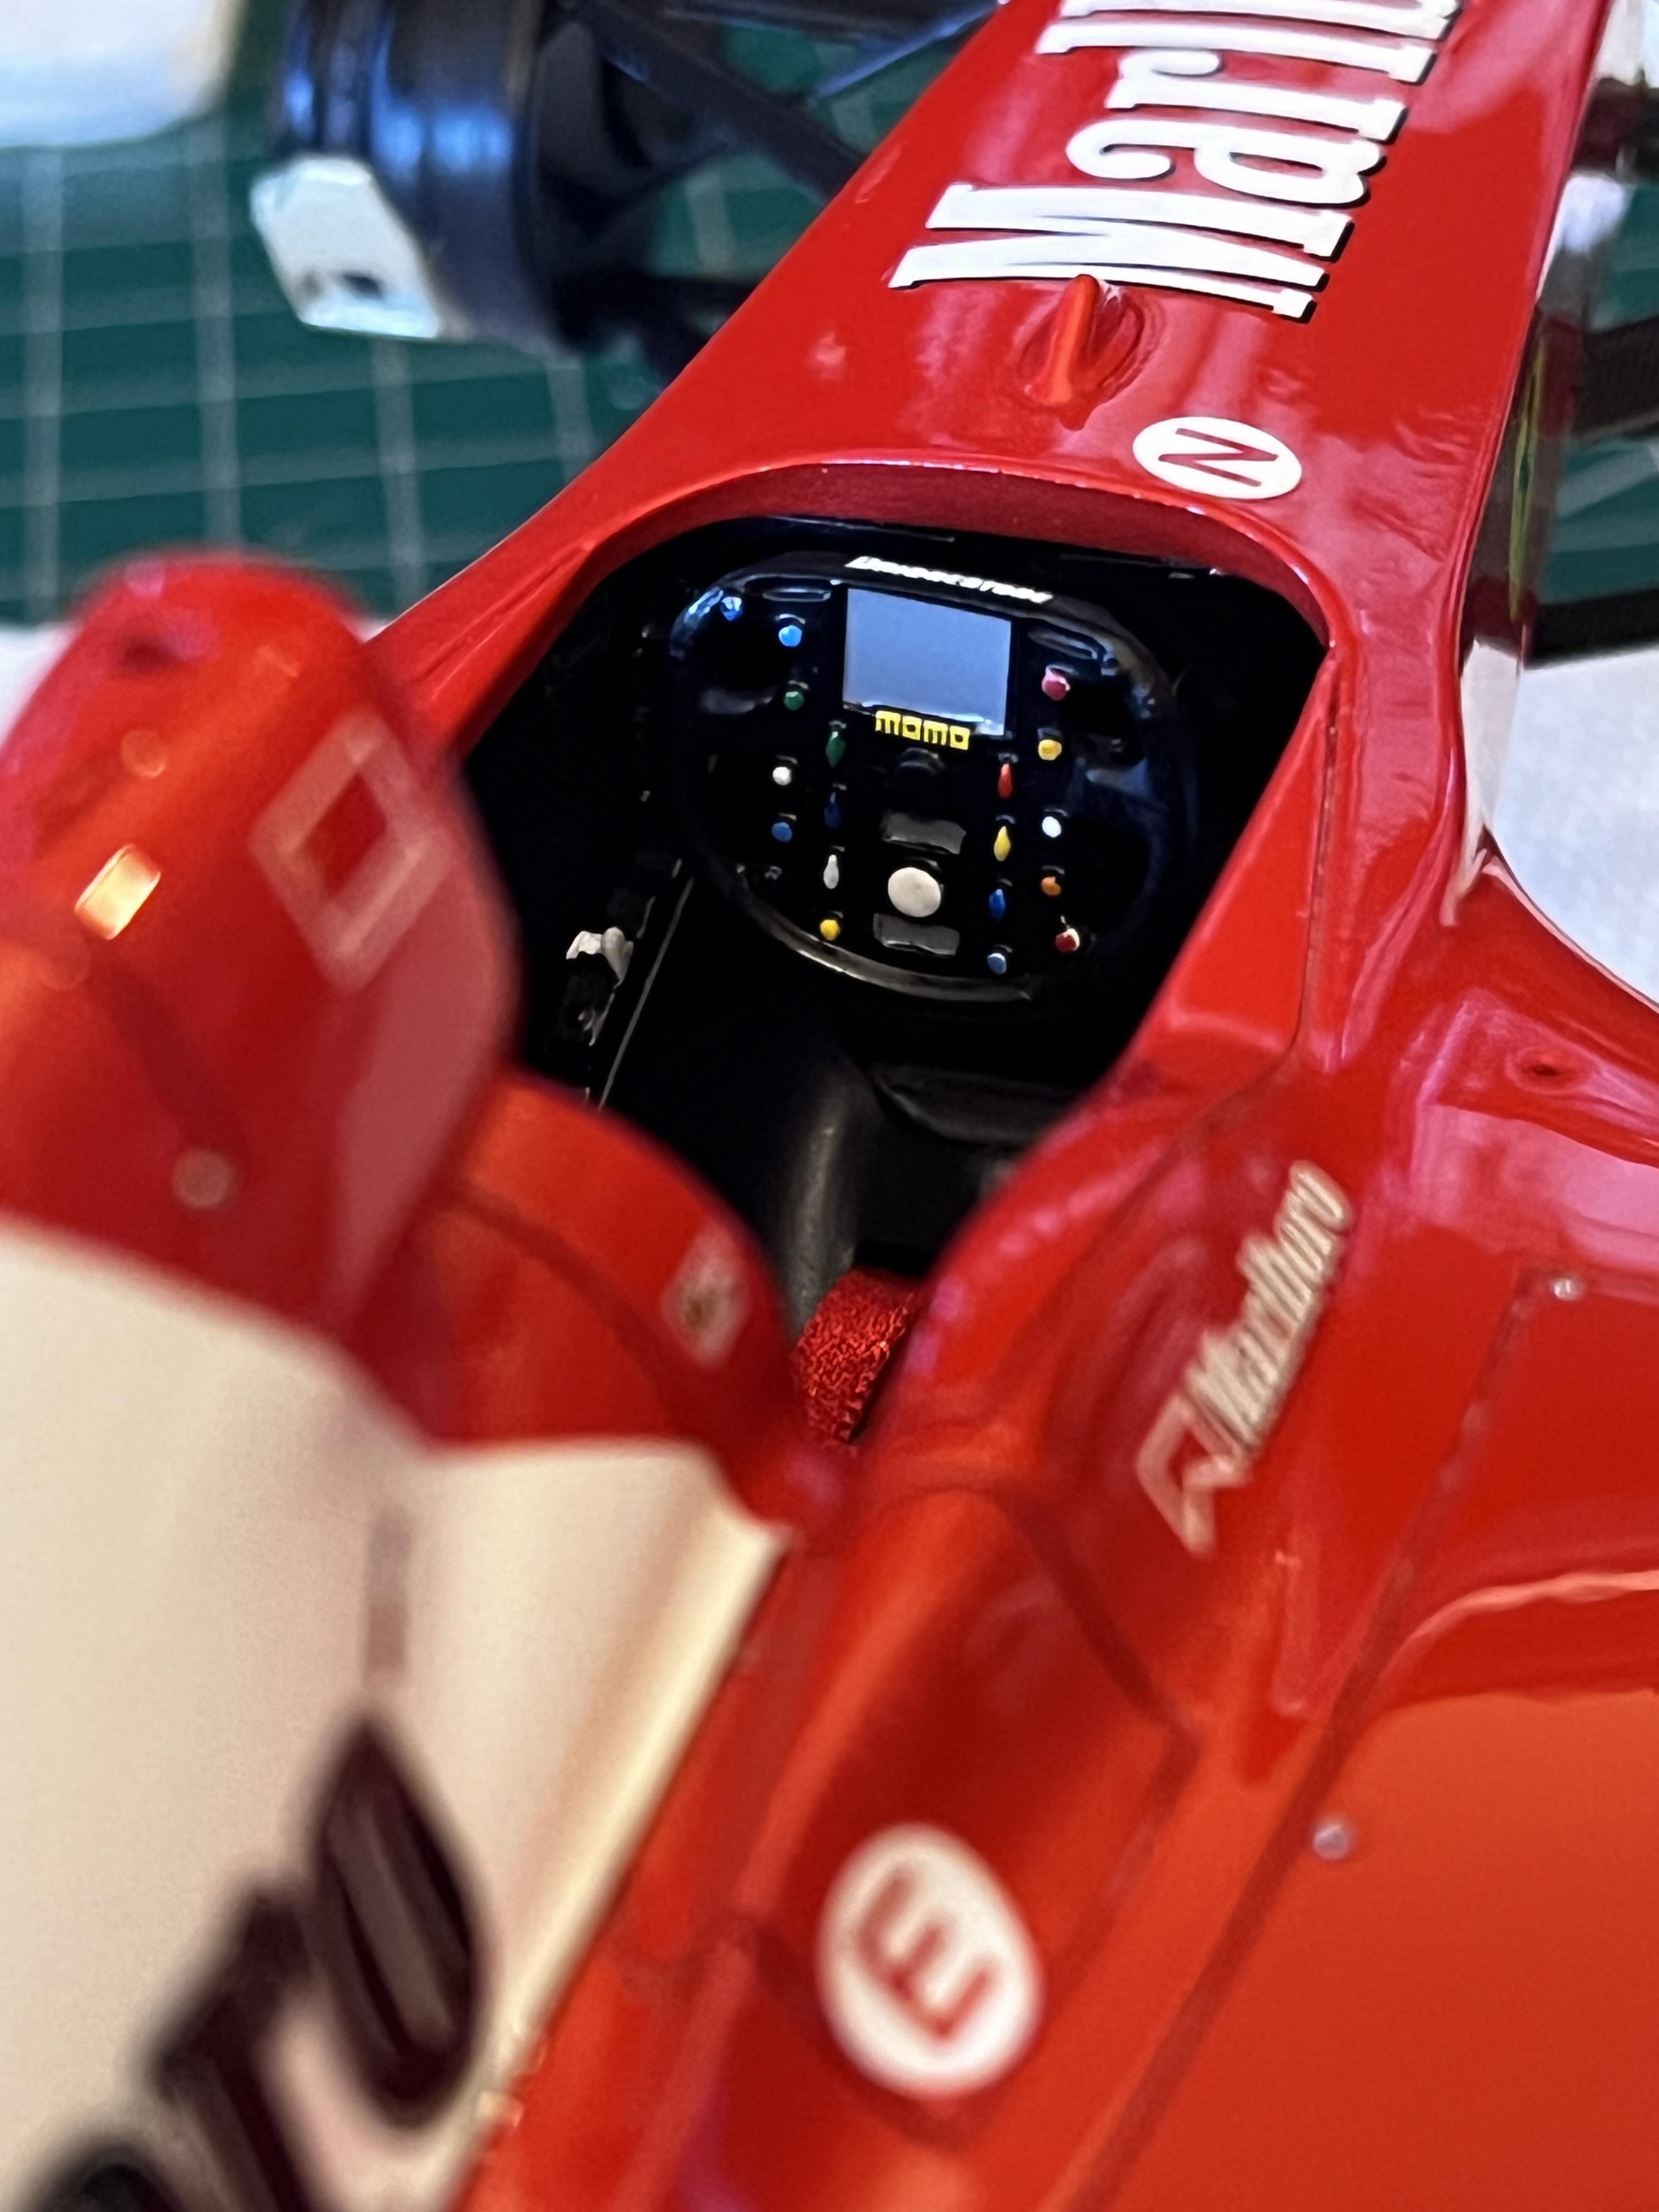
Steering wheel…I did the best I could, the wheel is white metal and all the knobs and buttons are molded in and not very crisp.
-
3
-
-
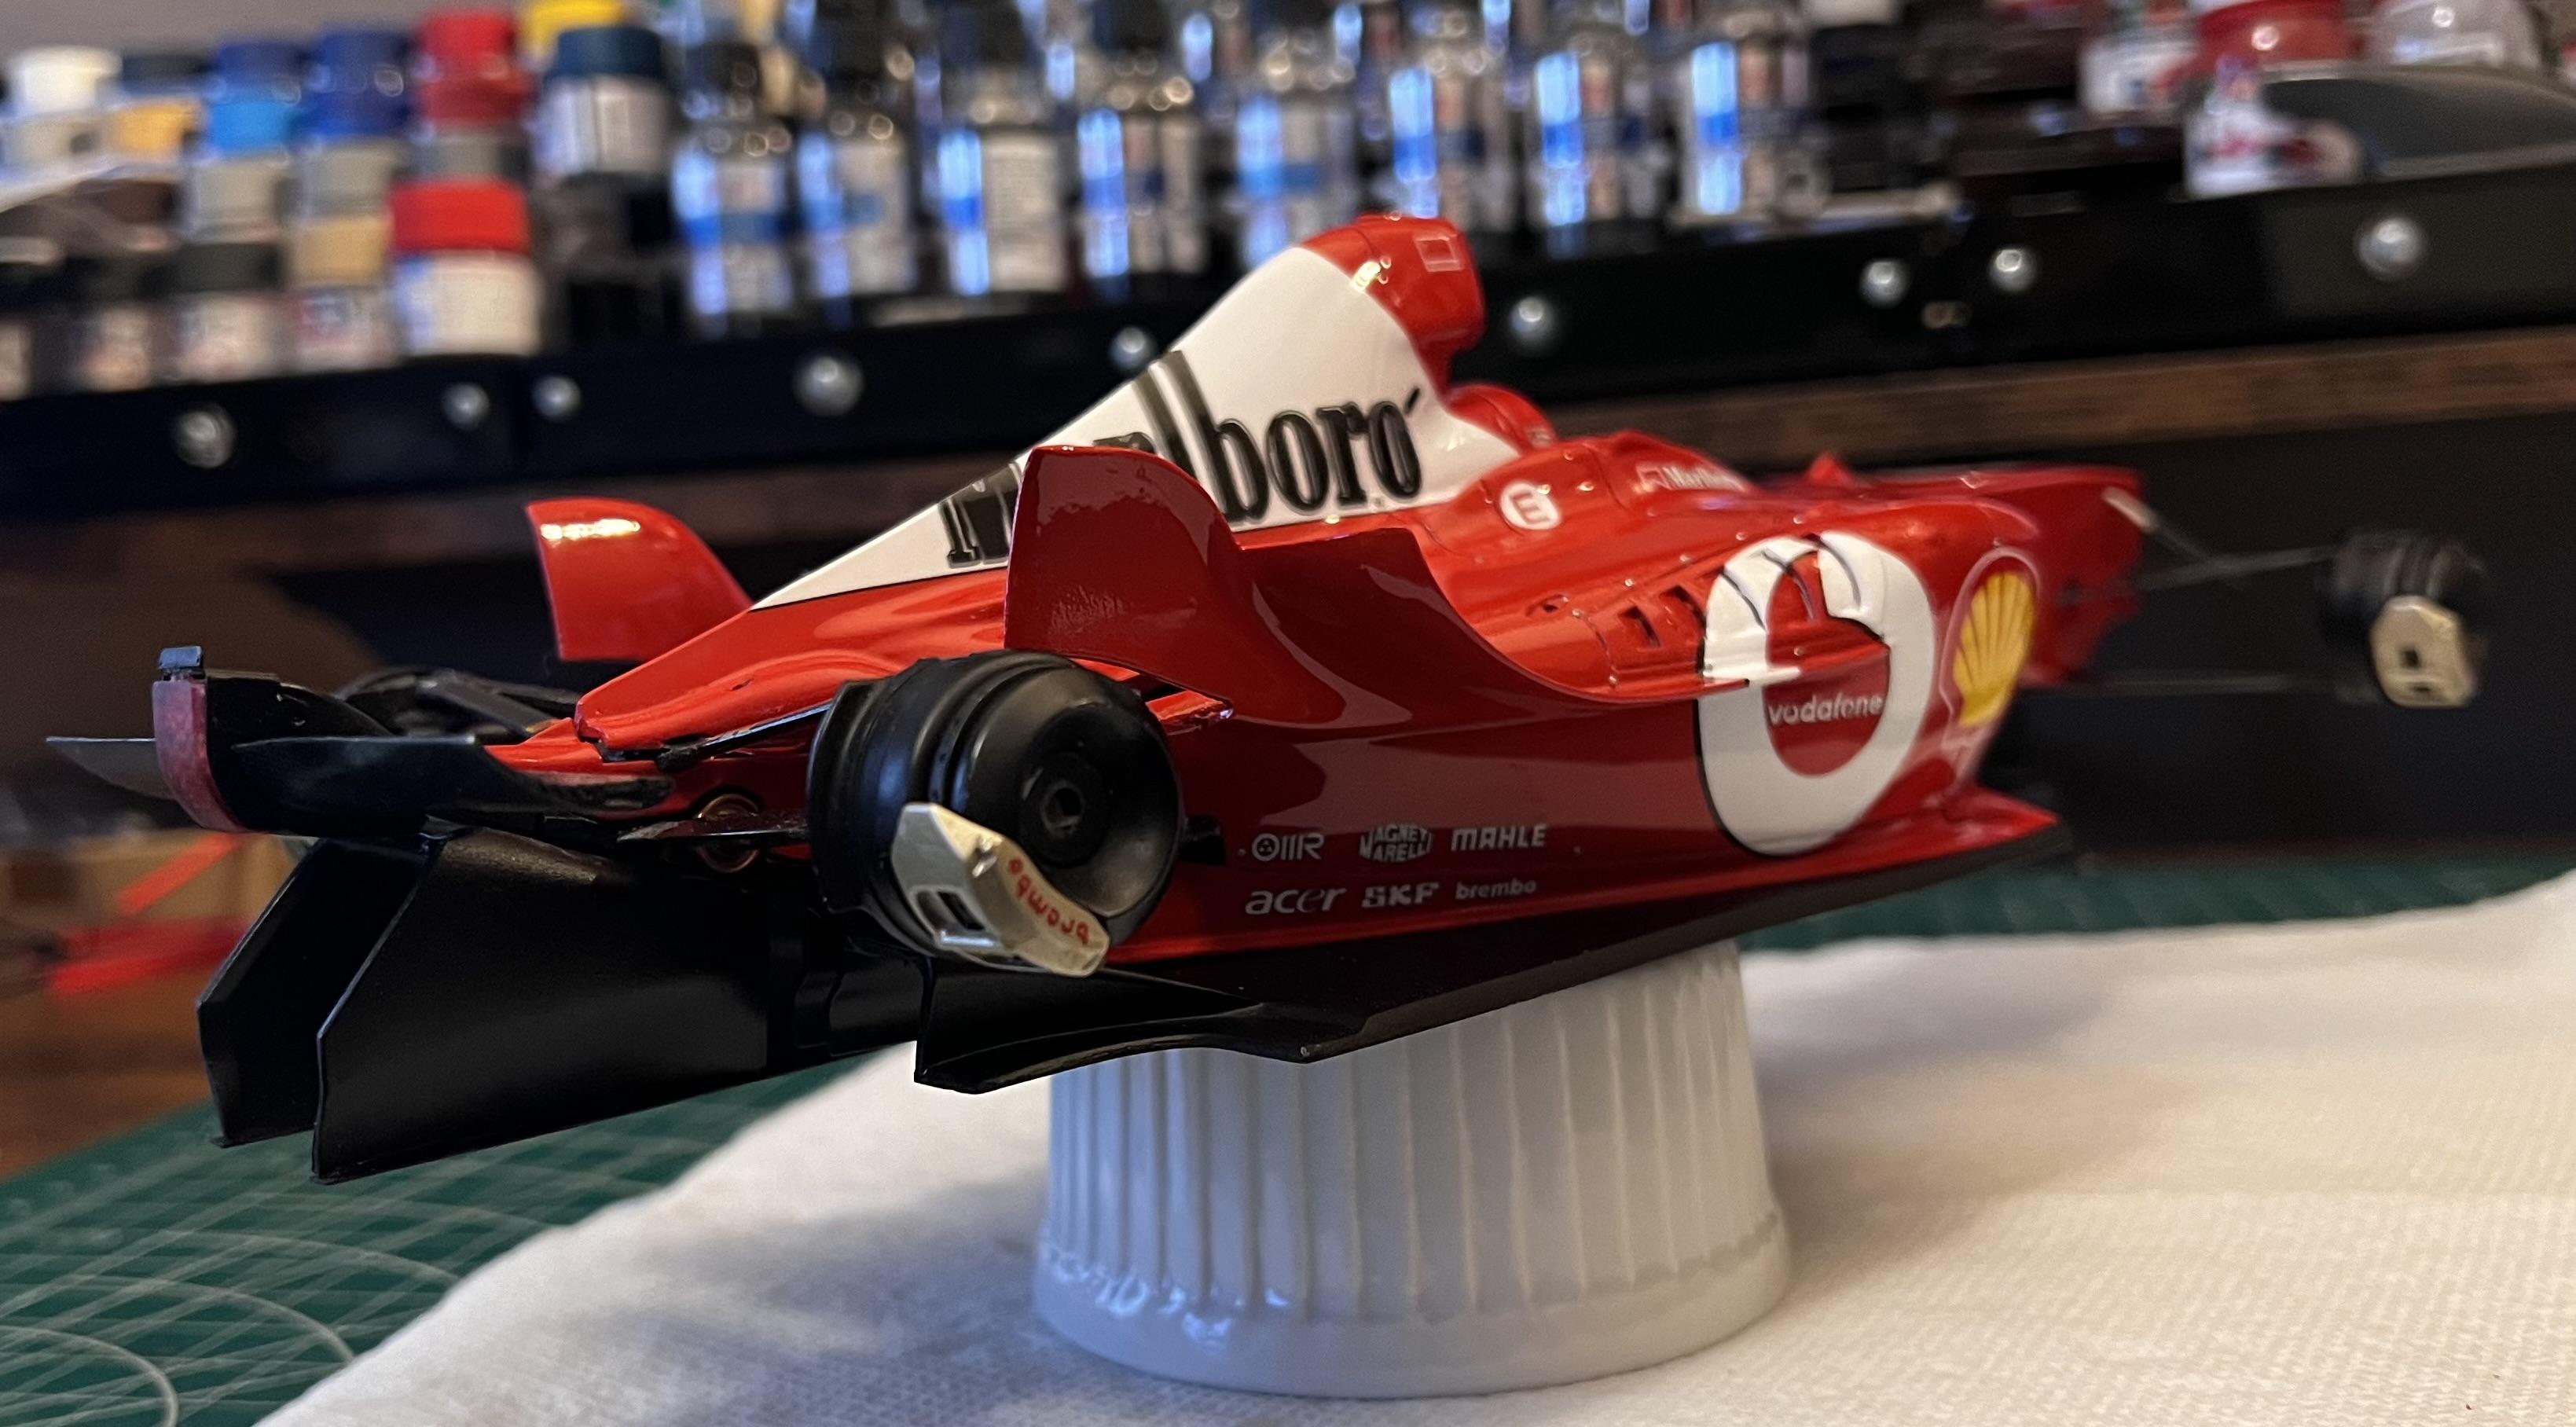
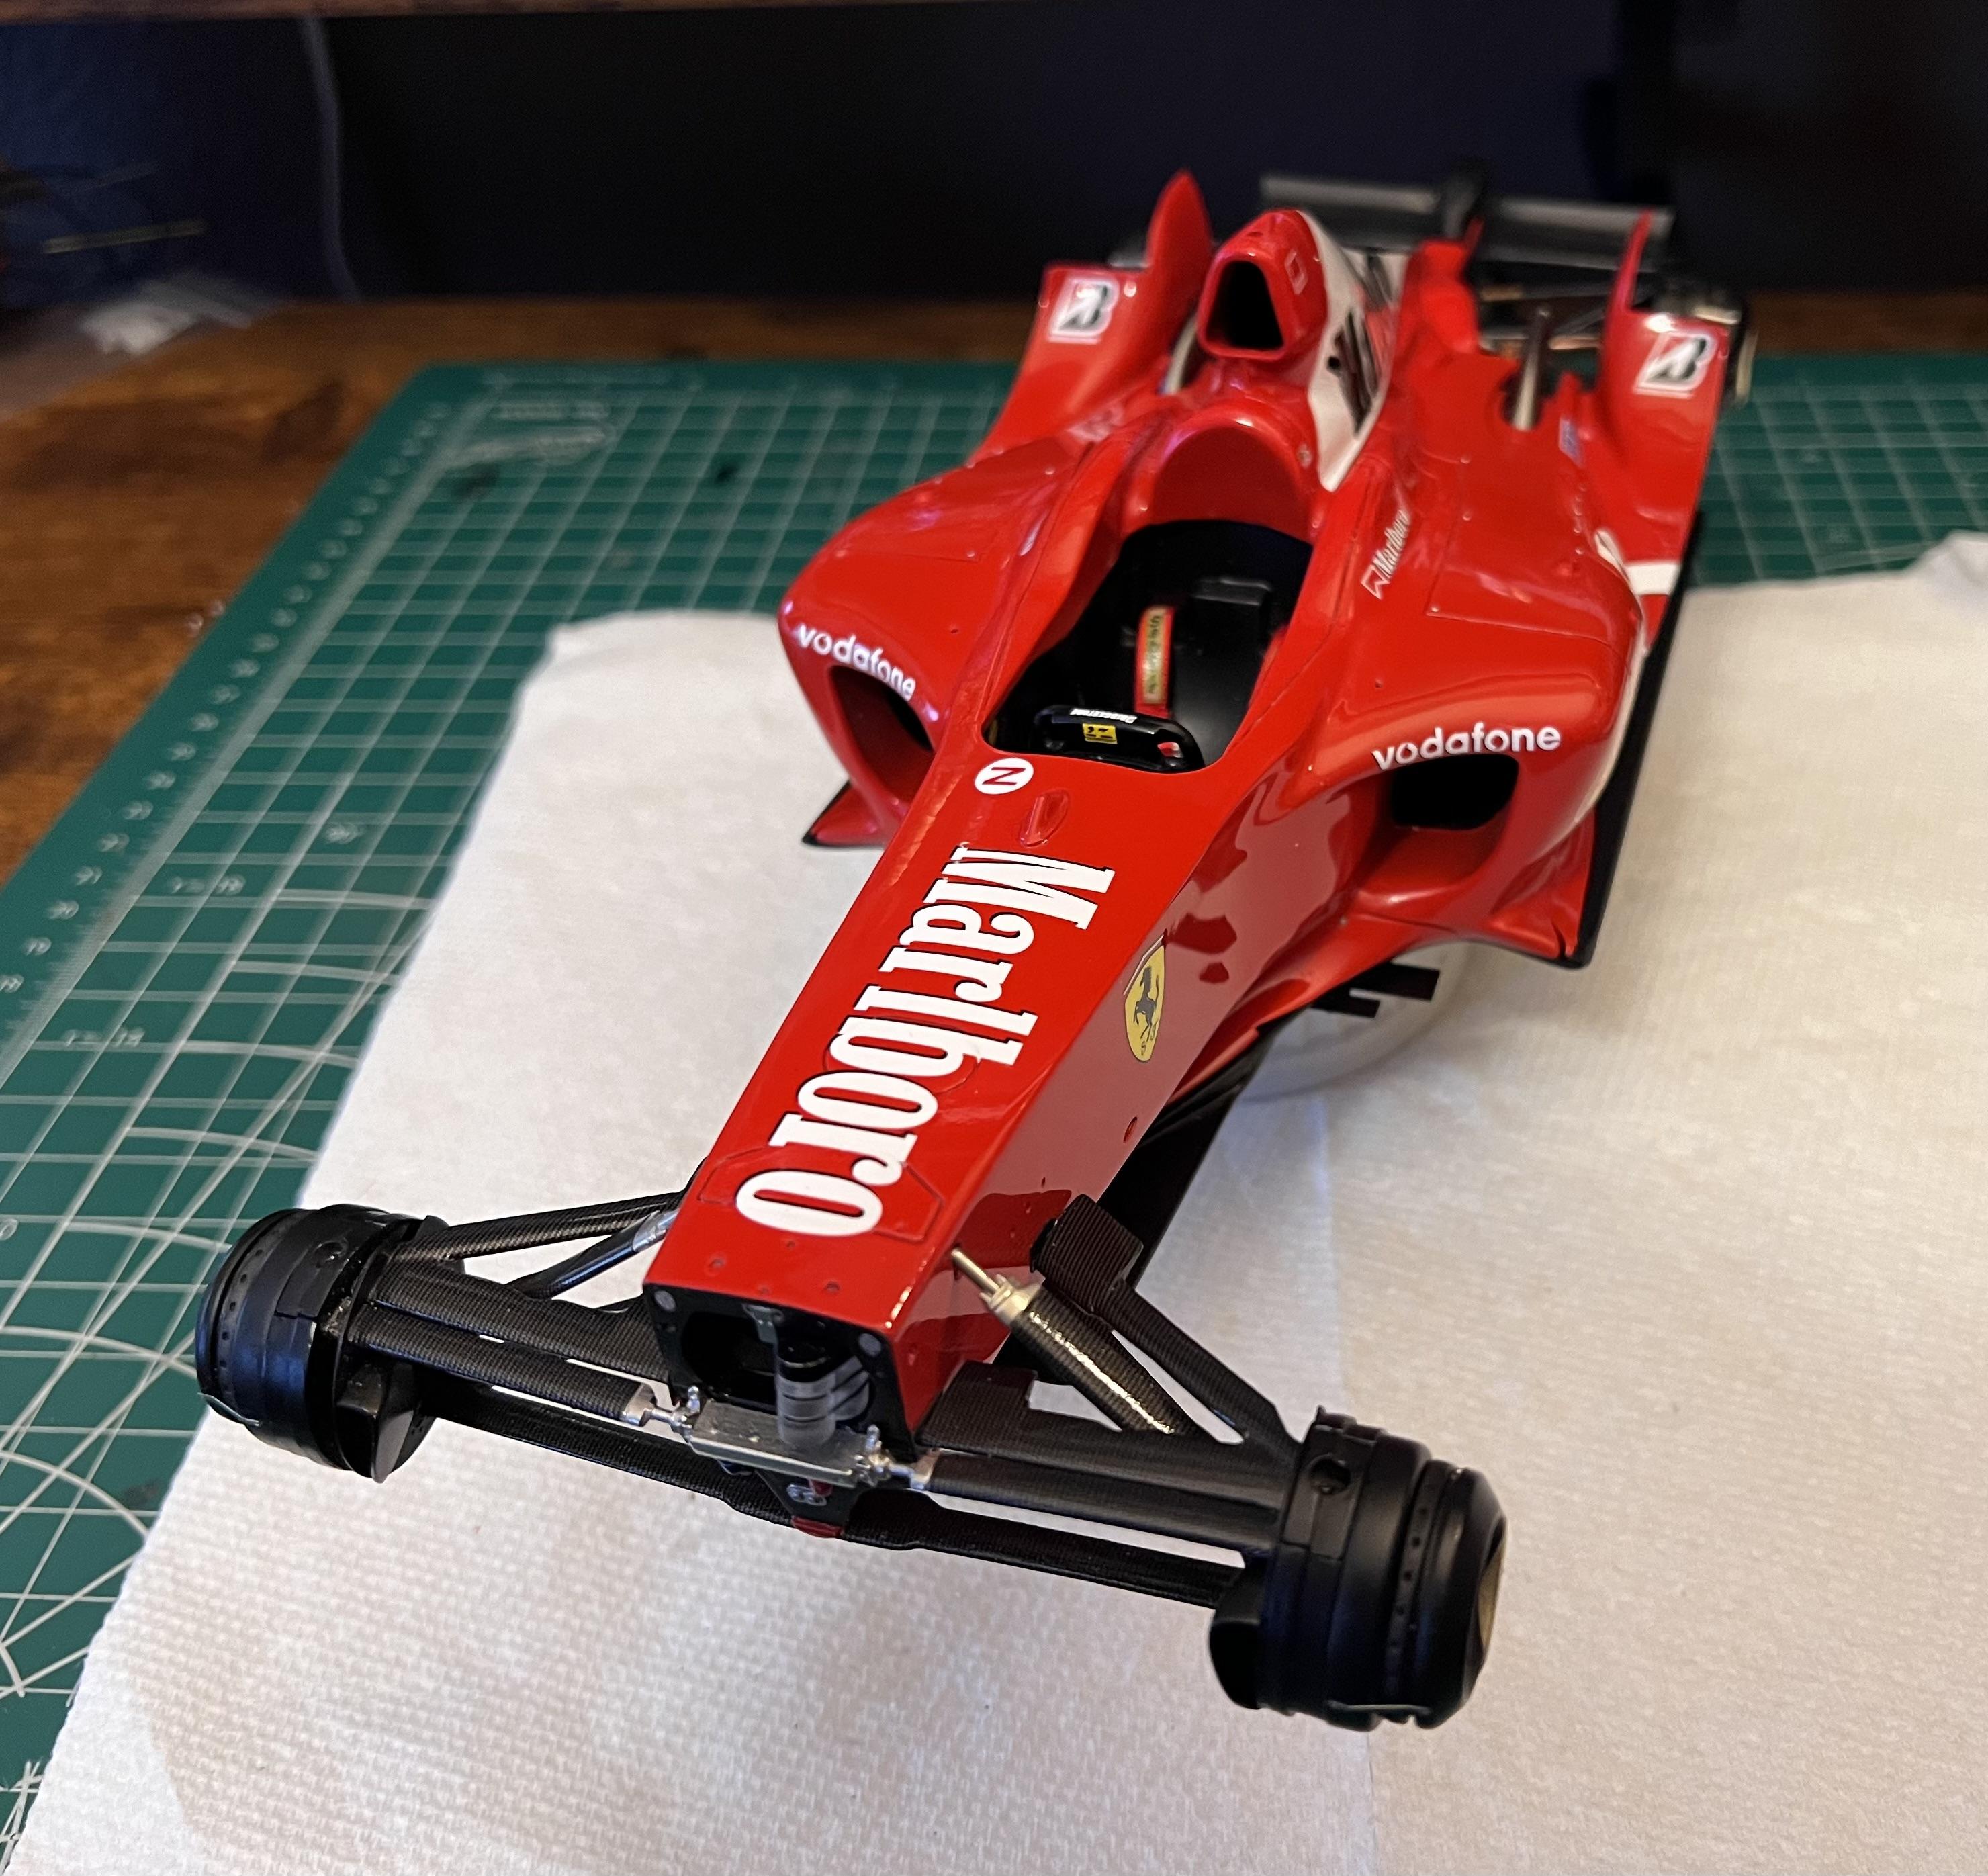
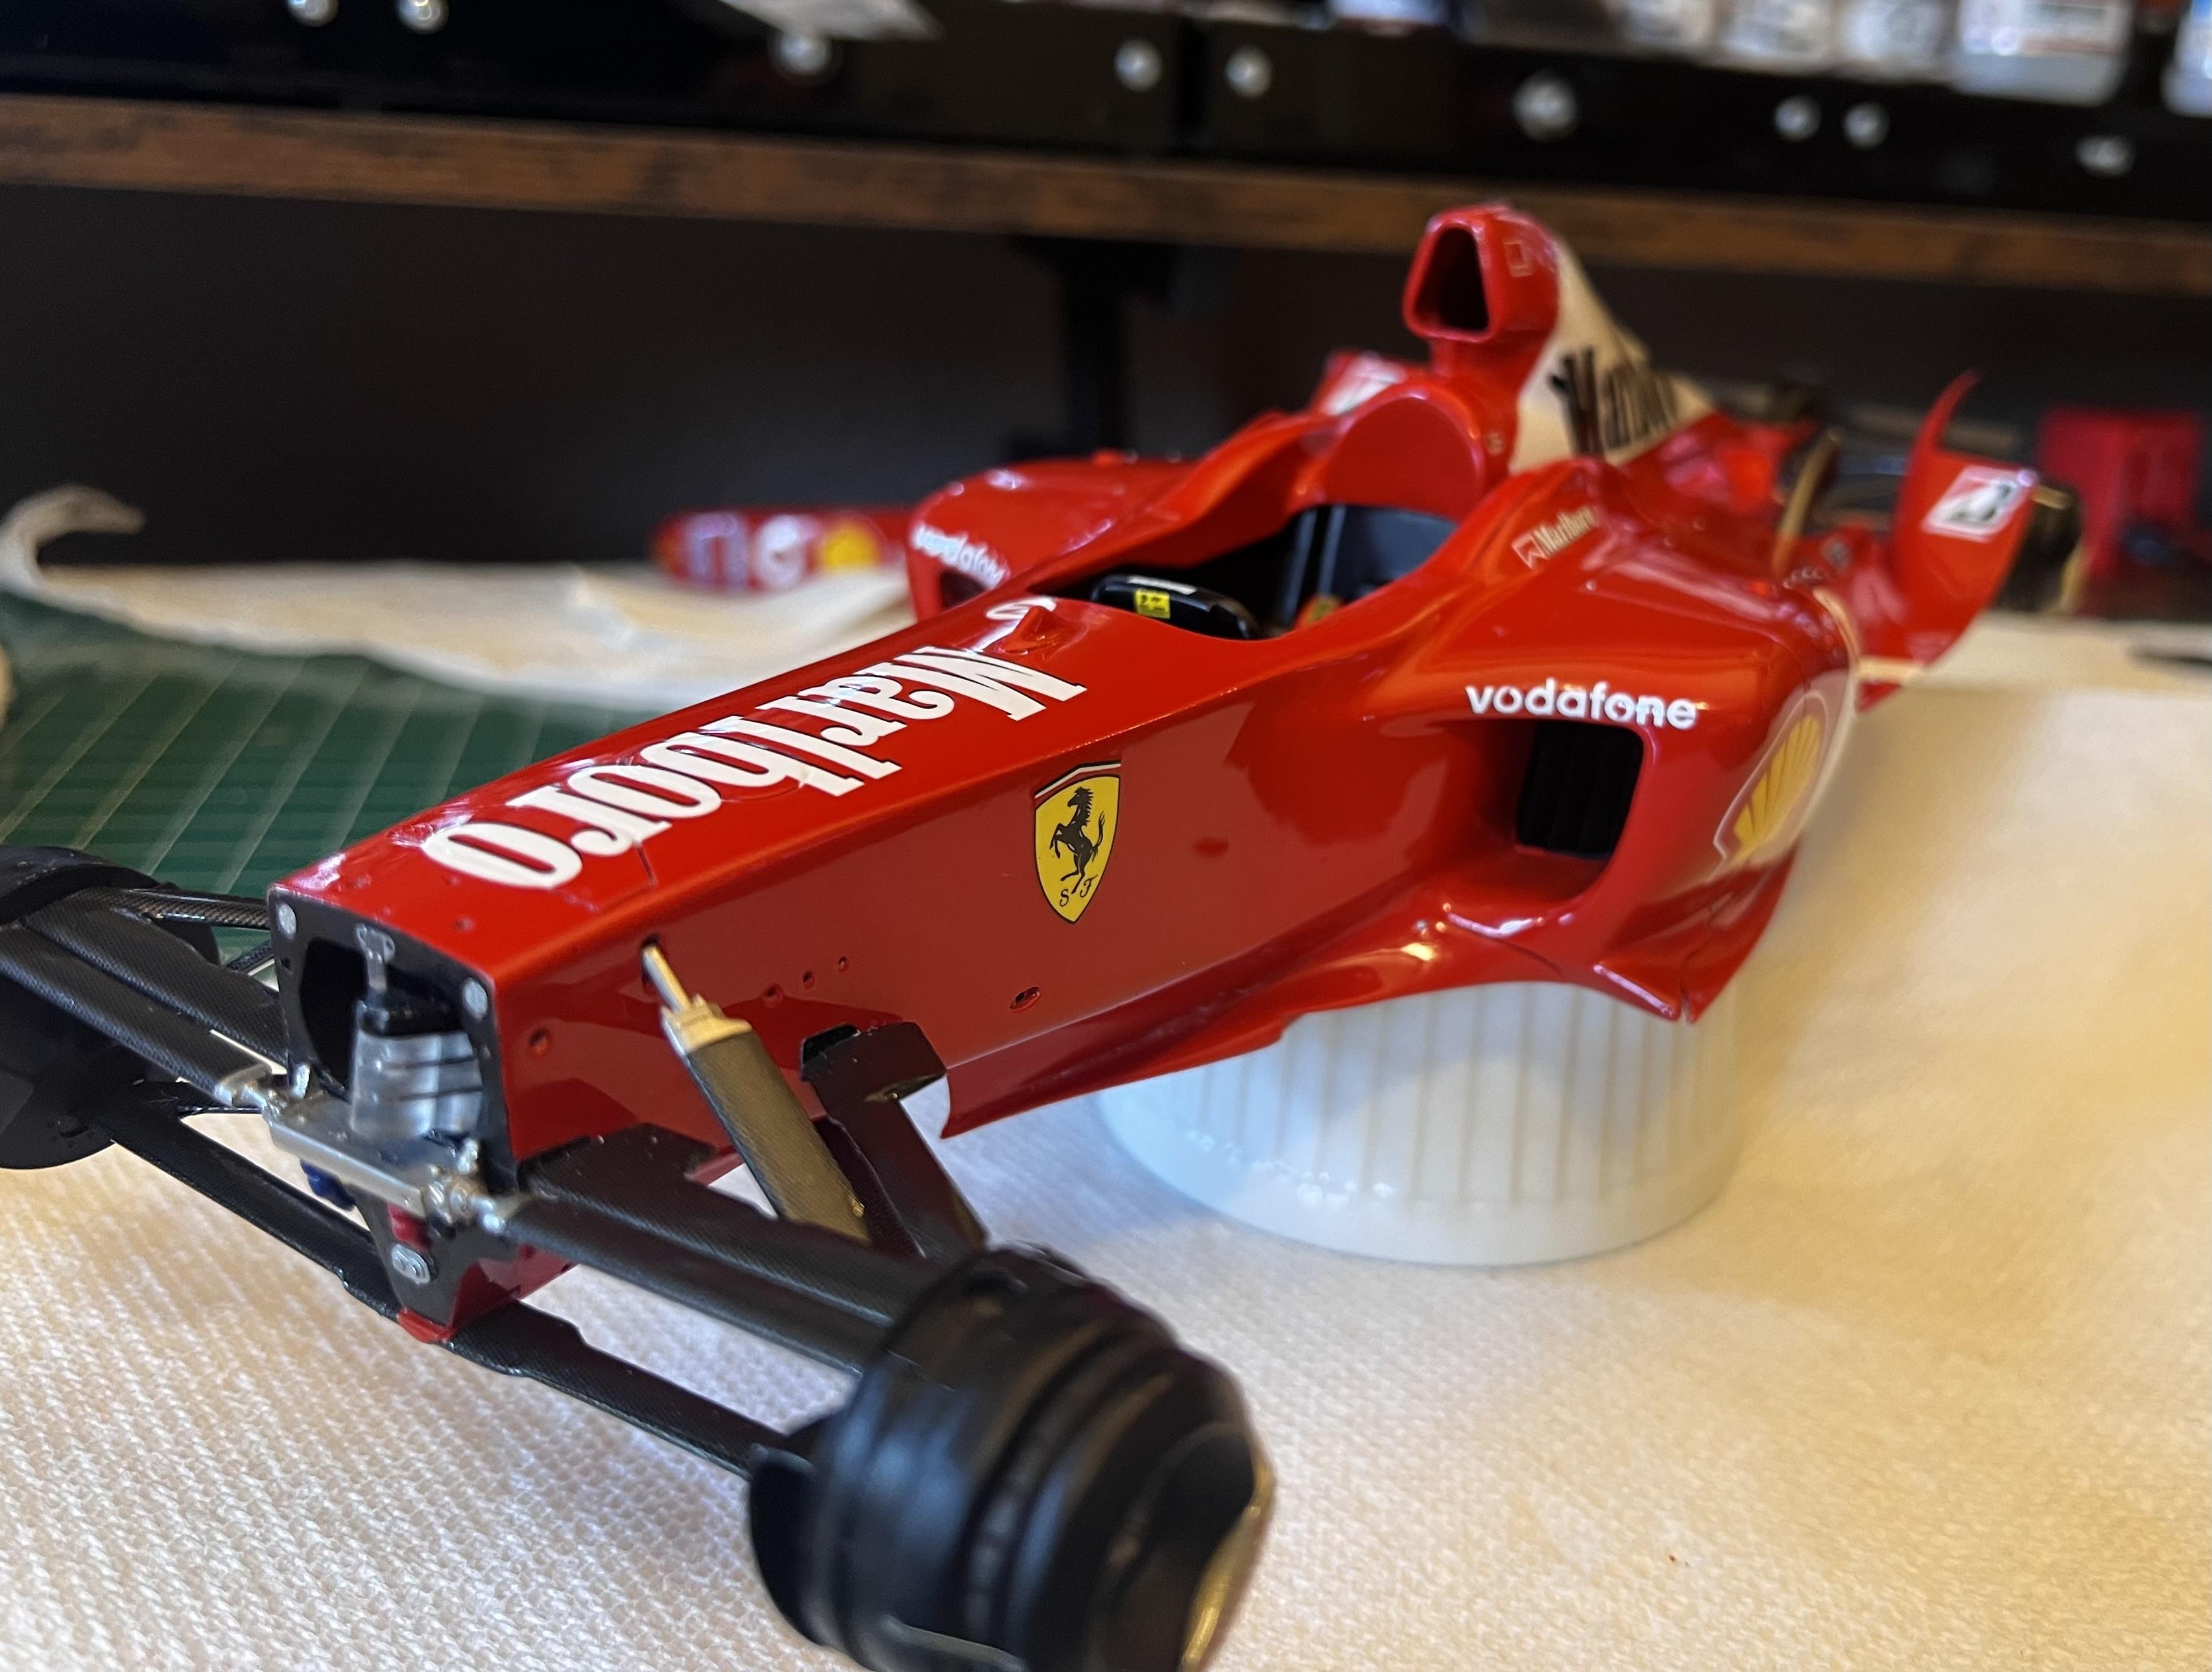
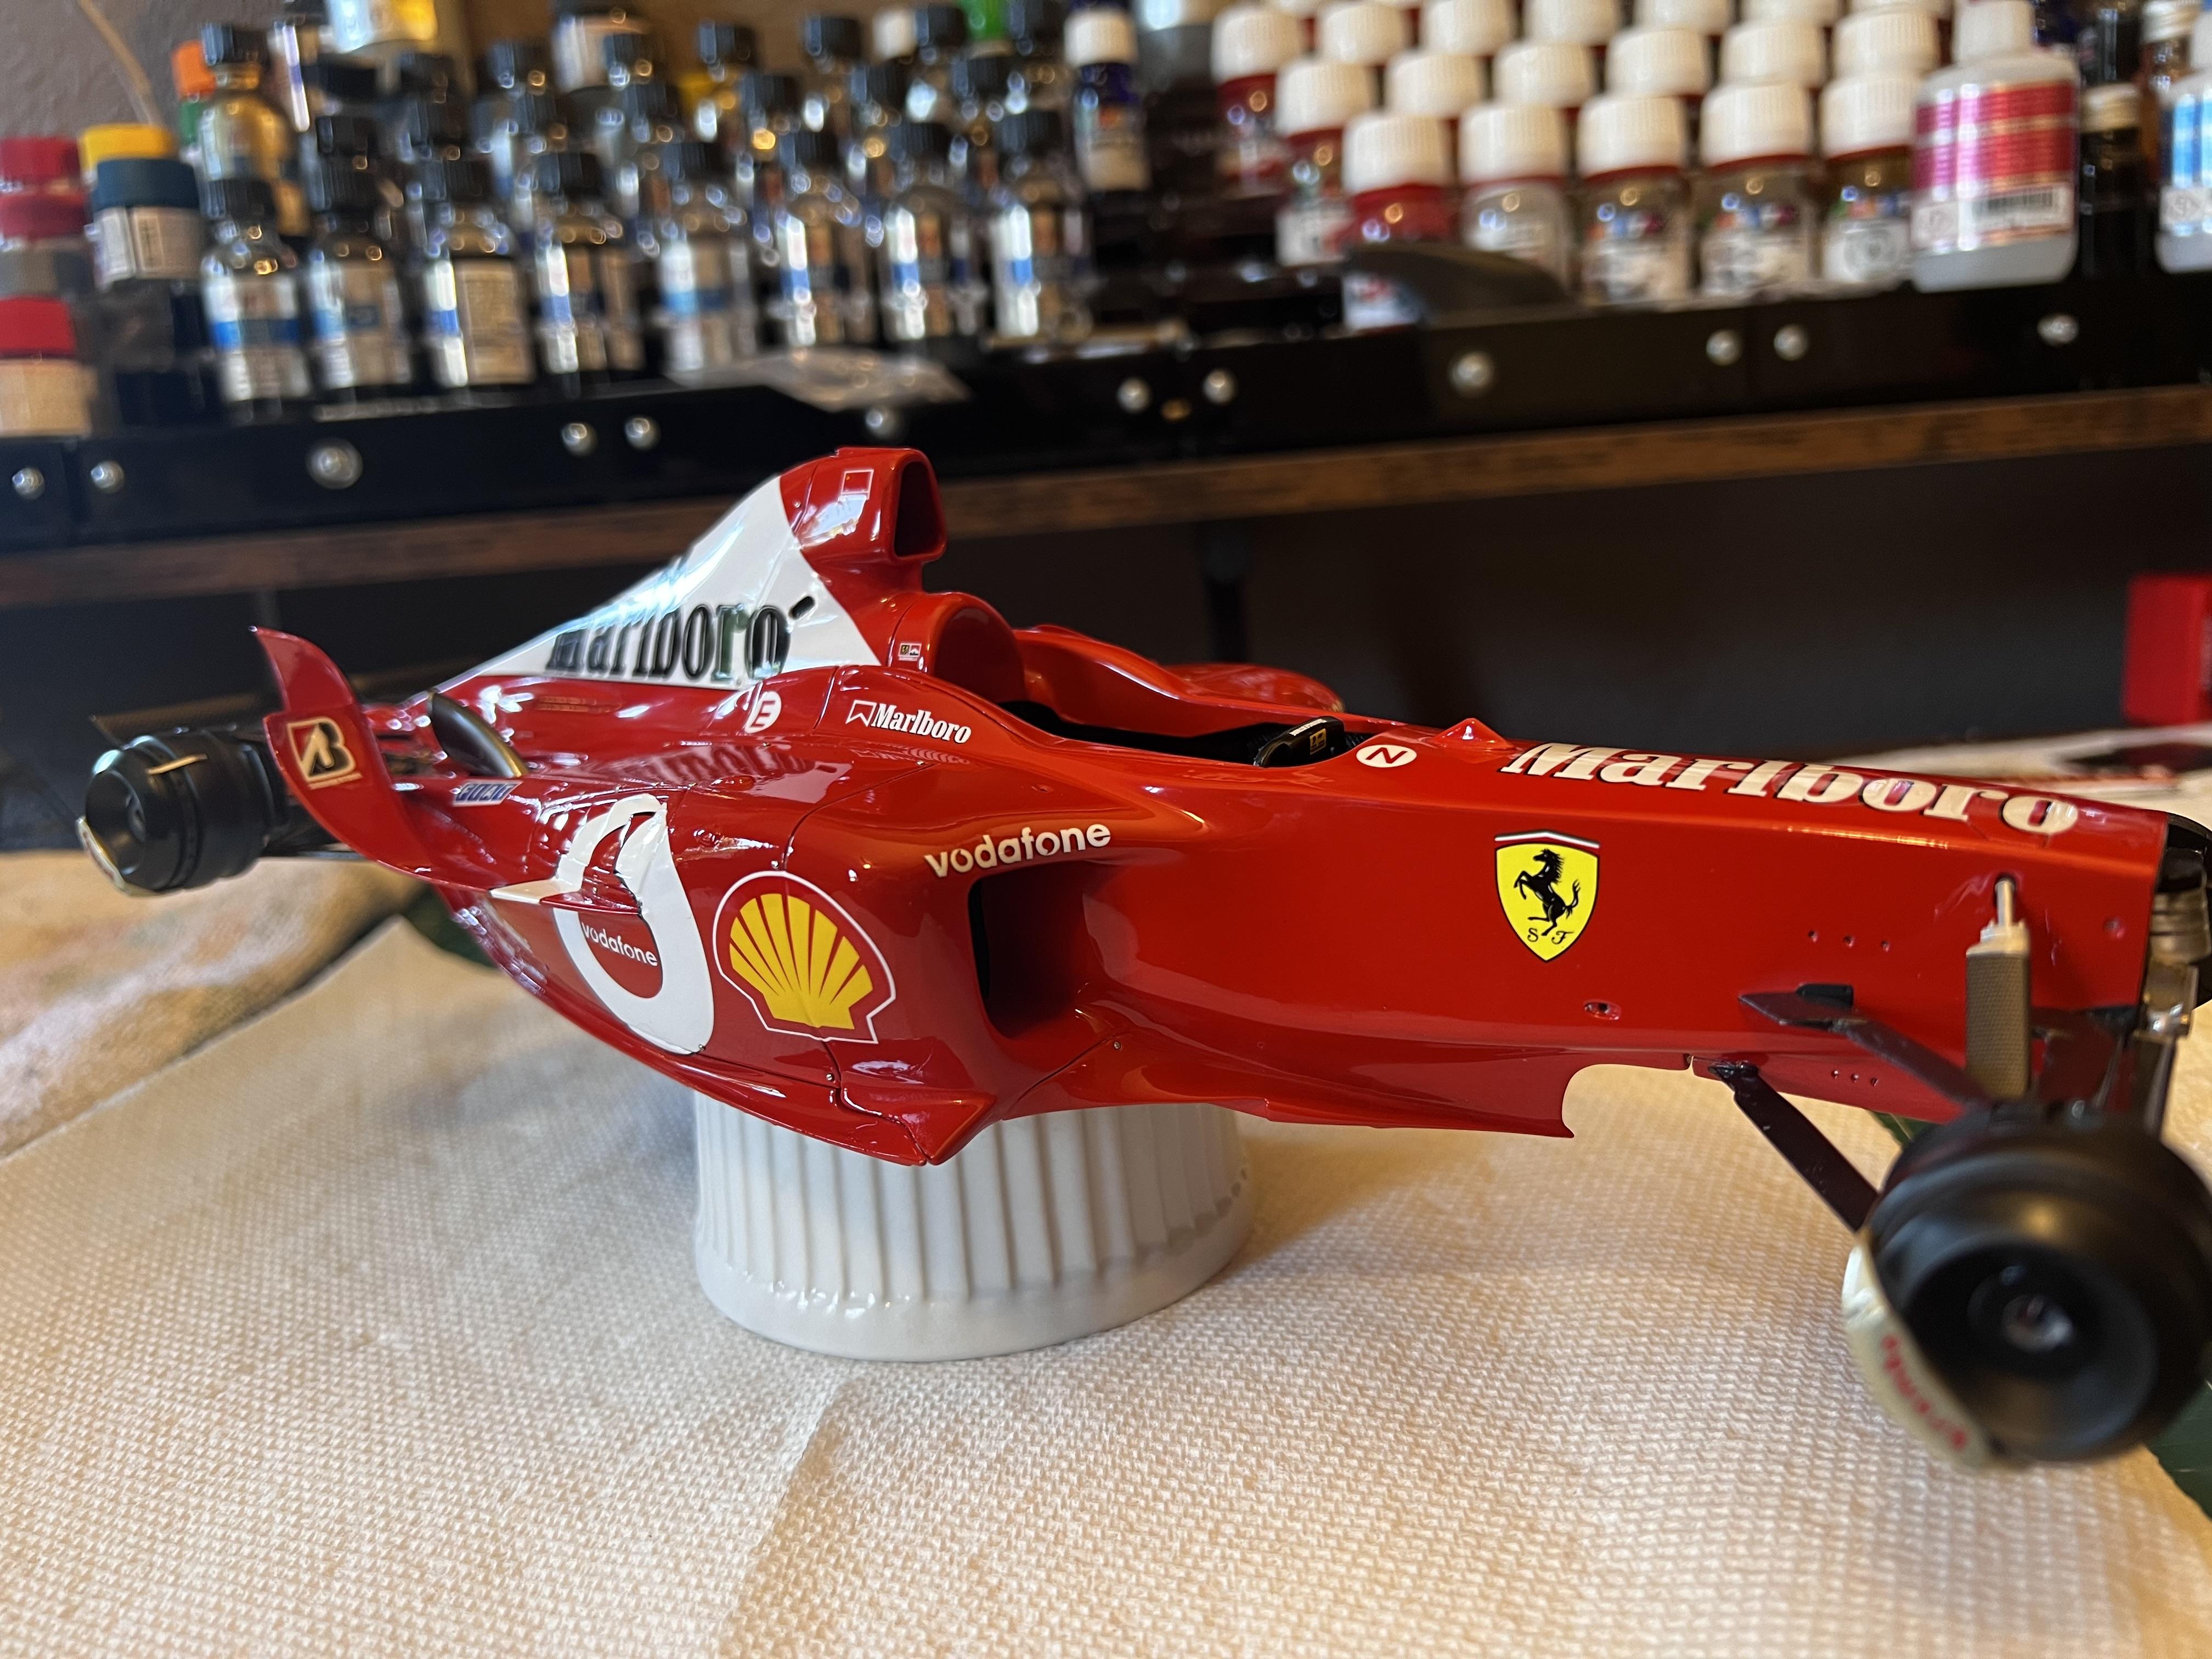
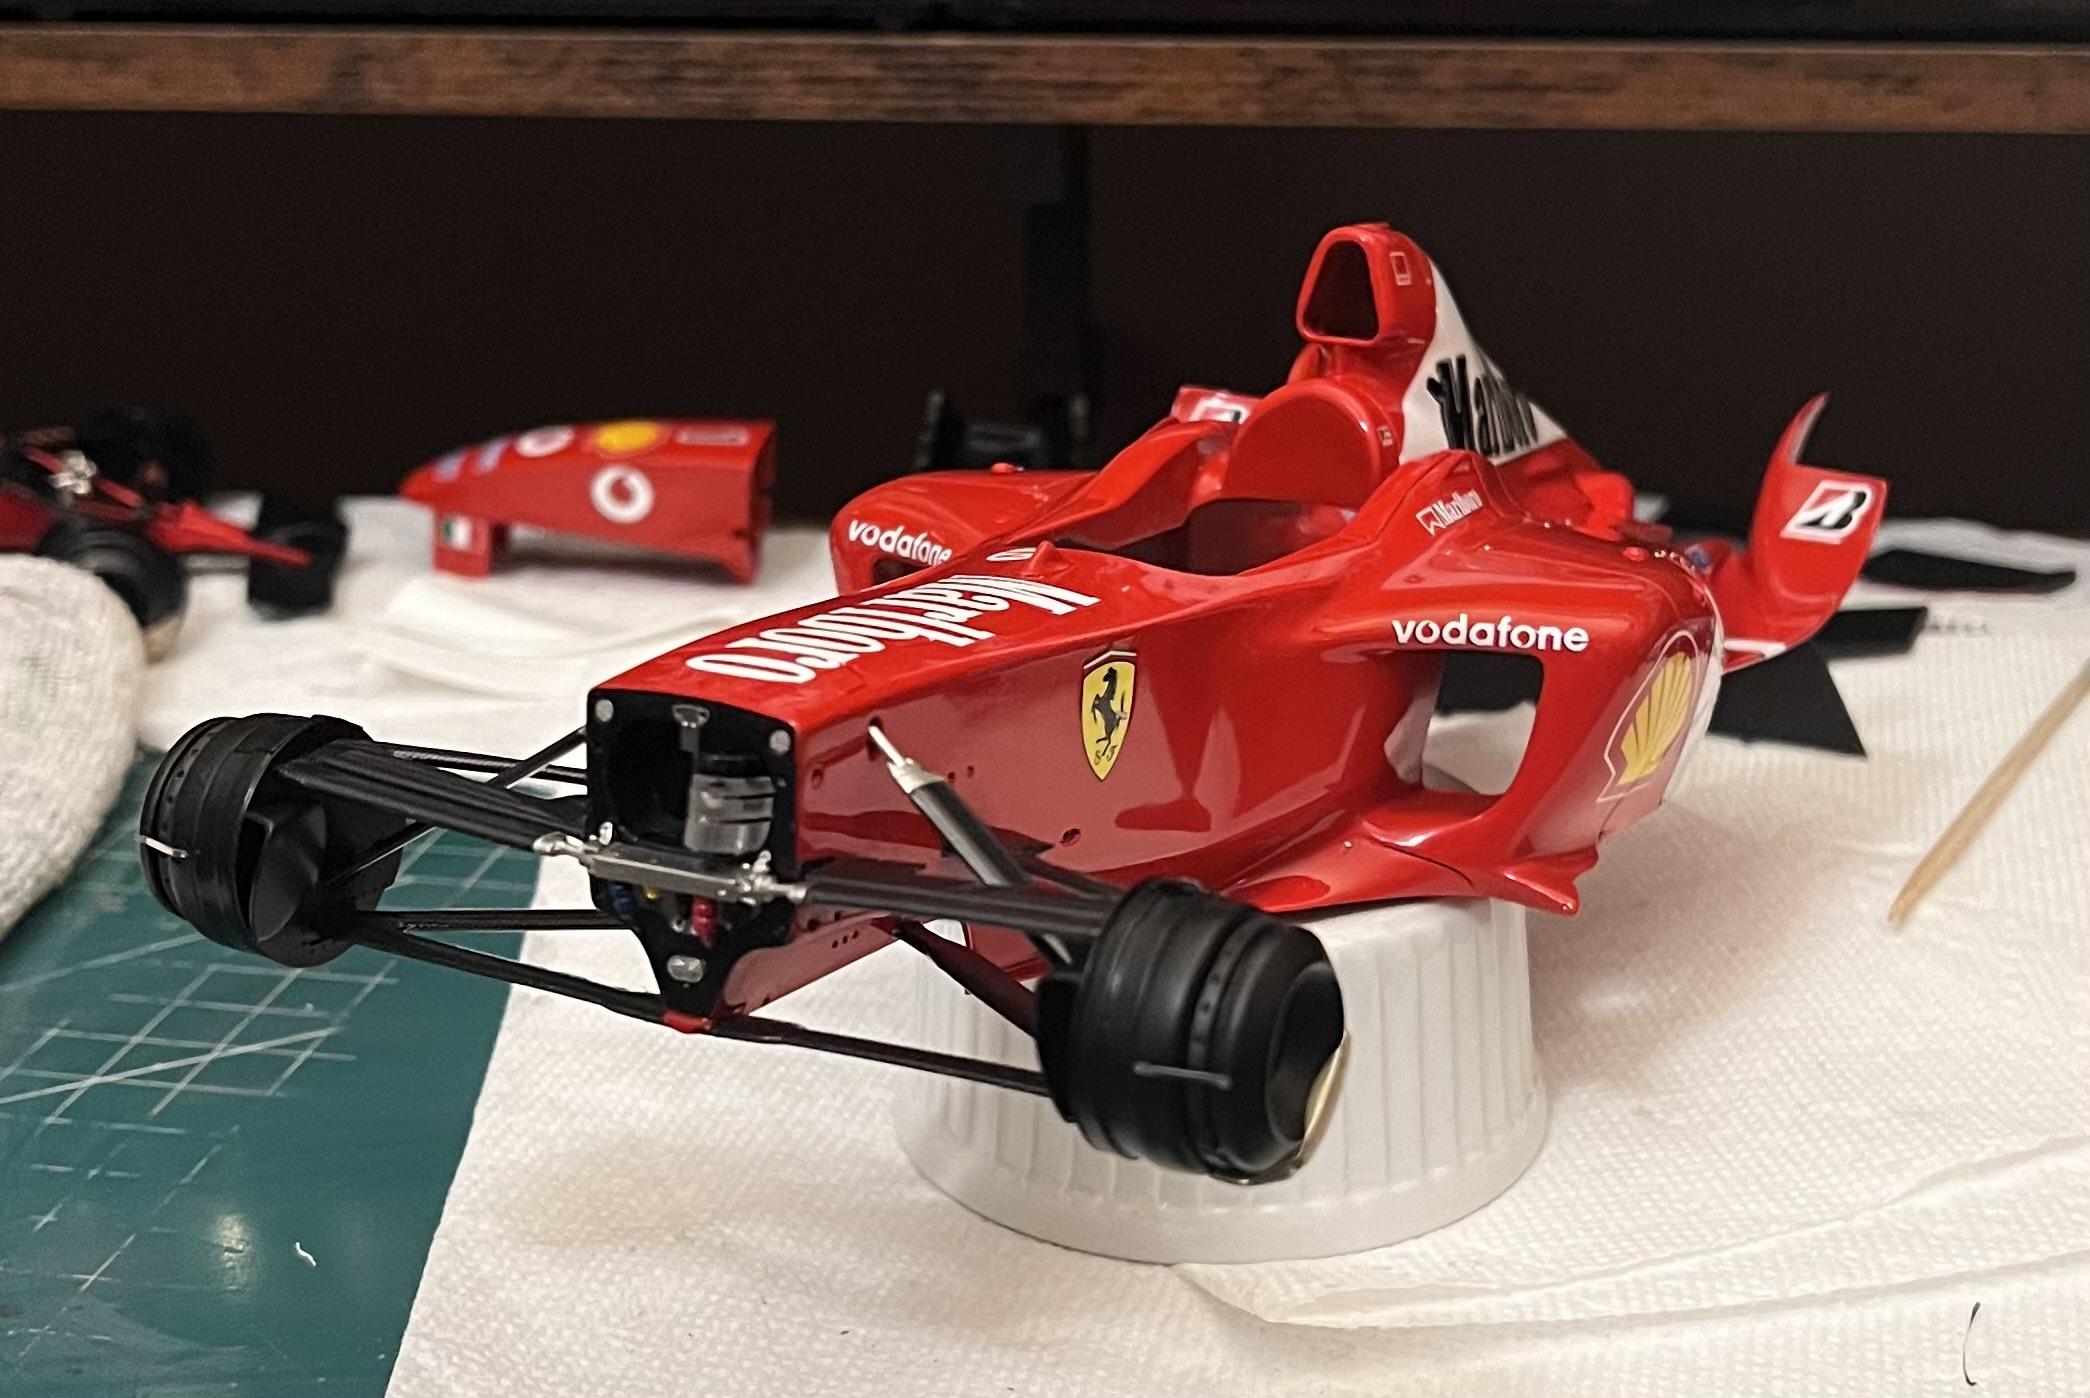
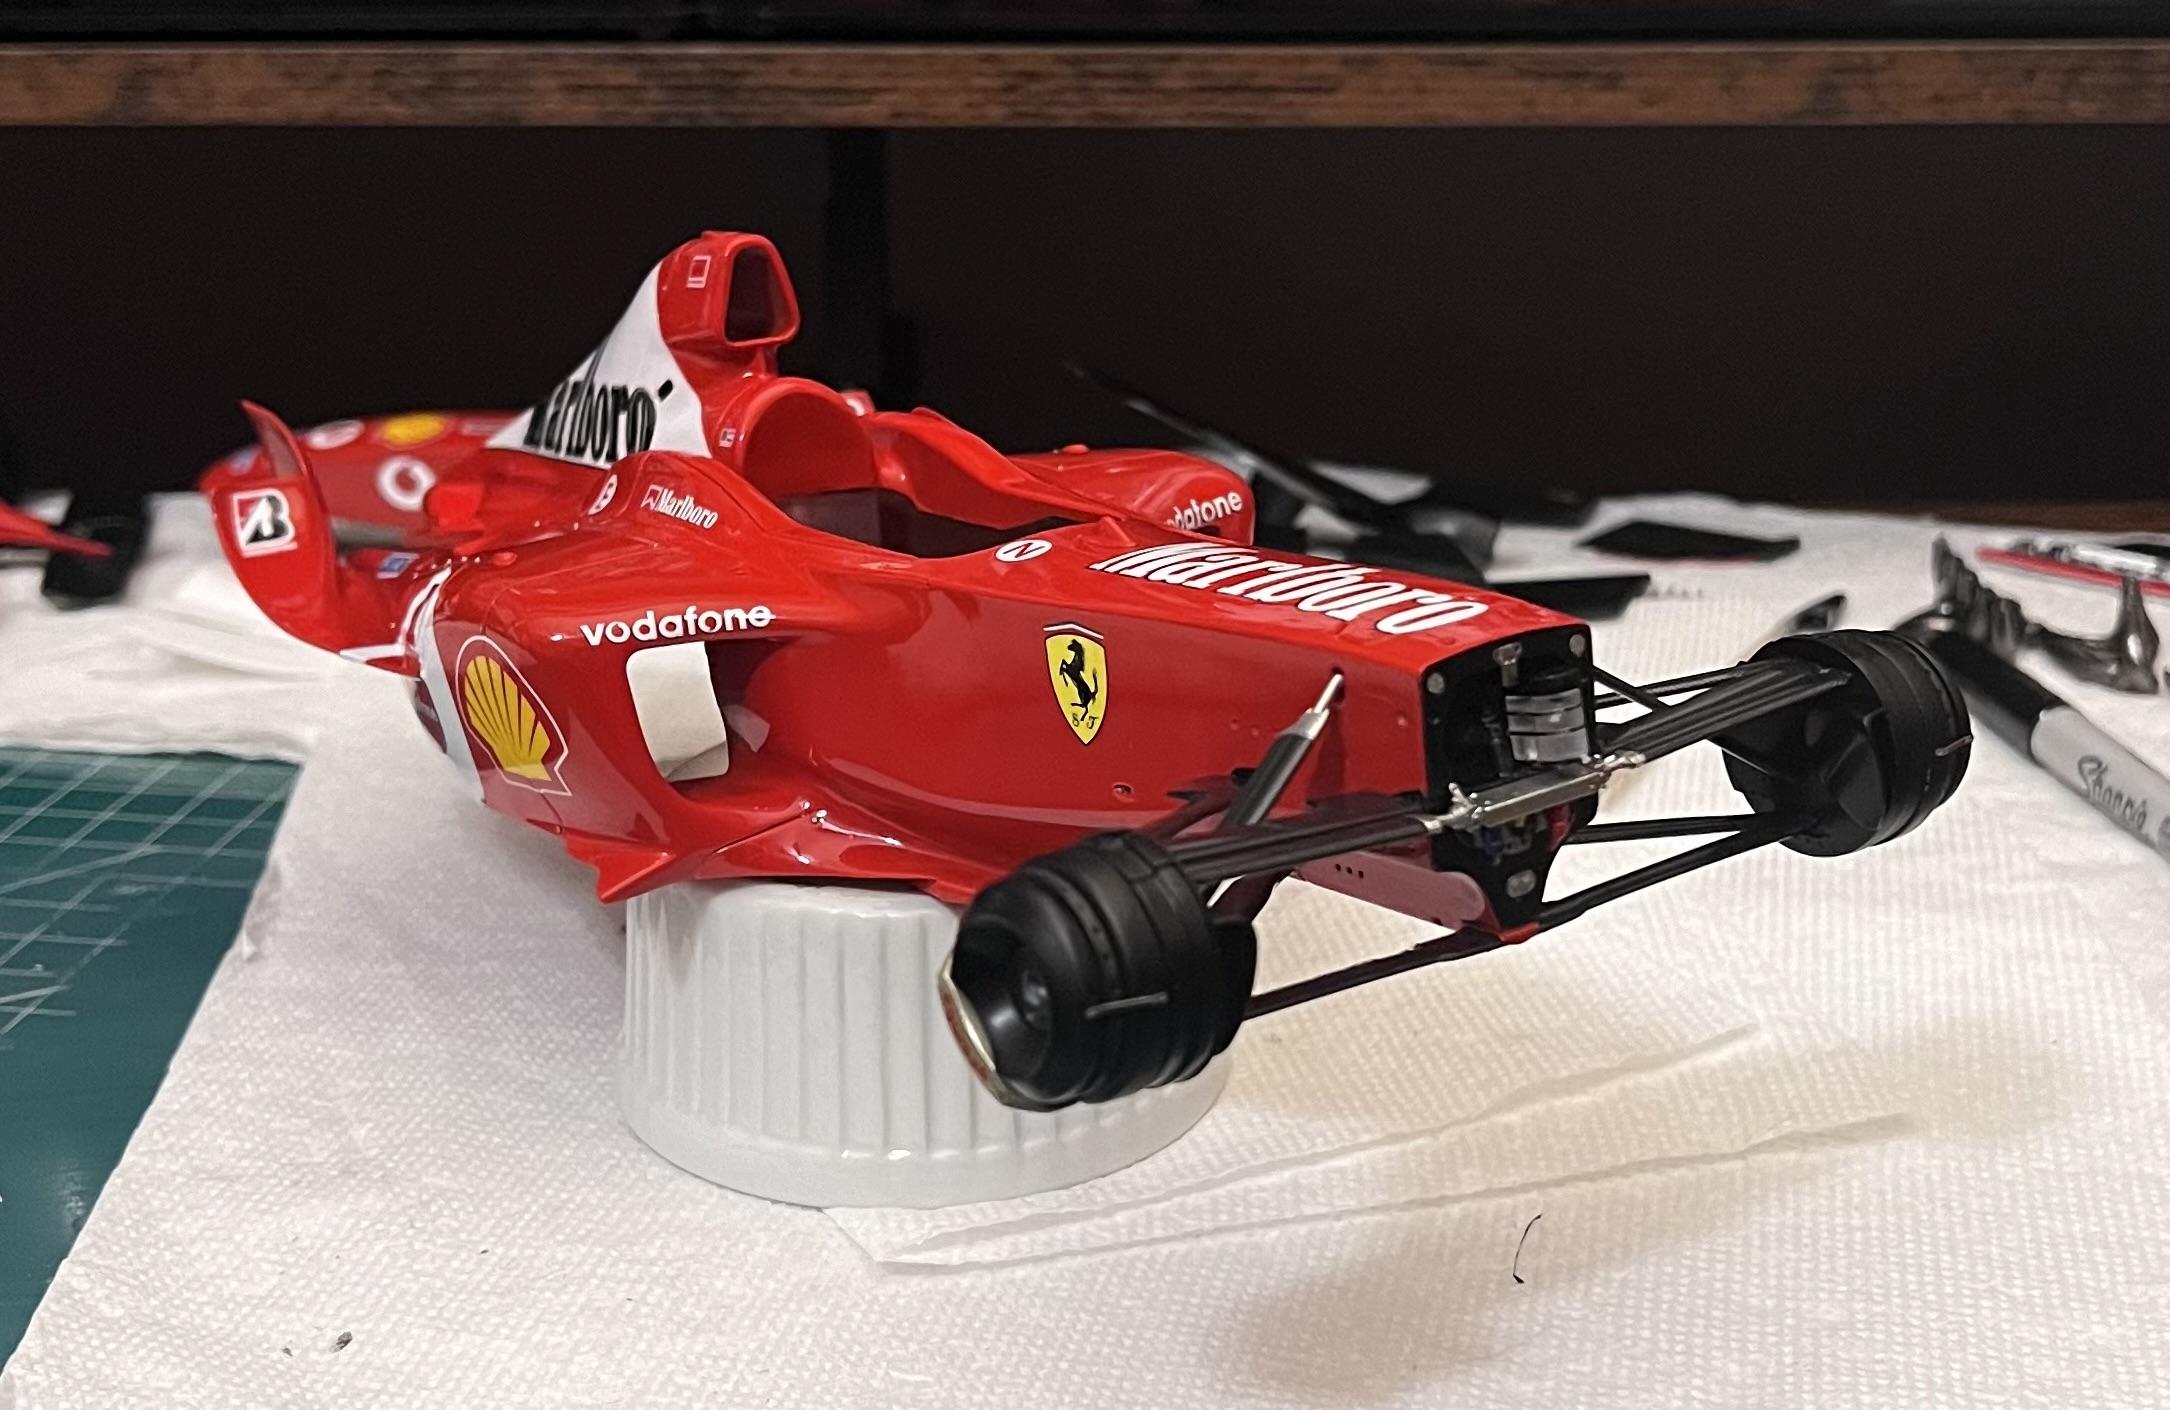
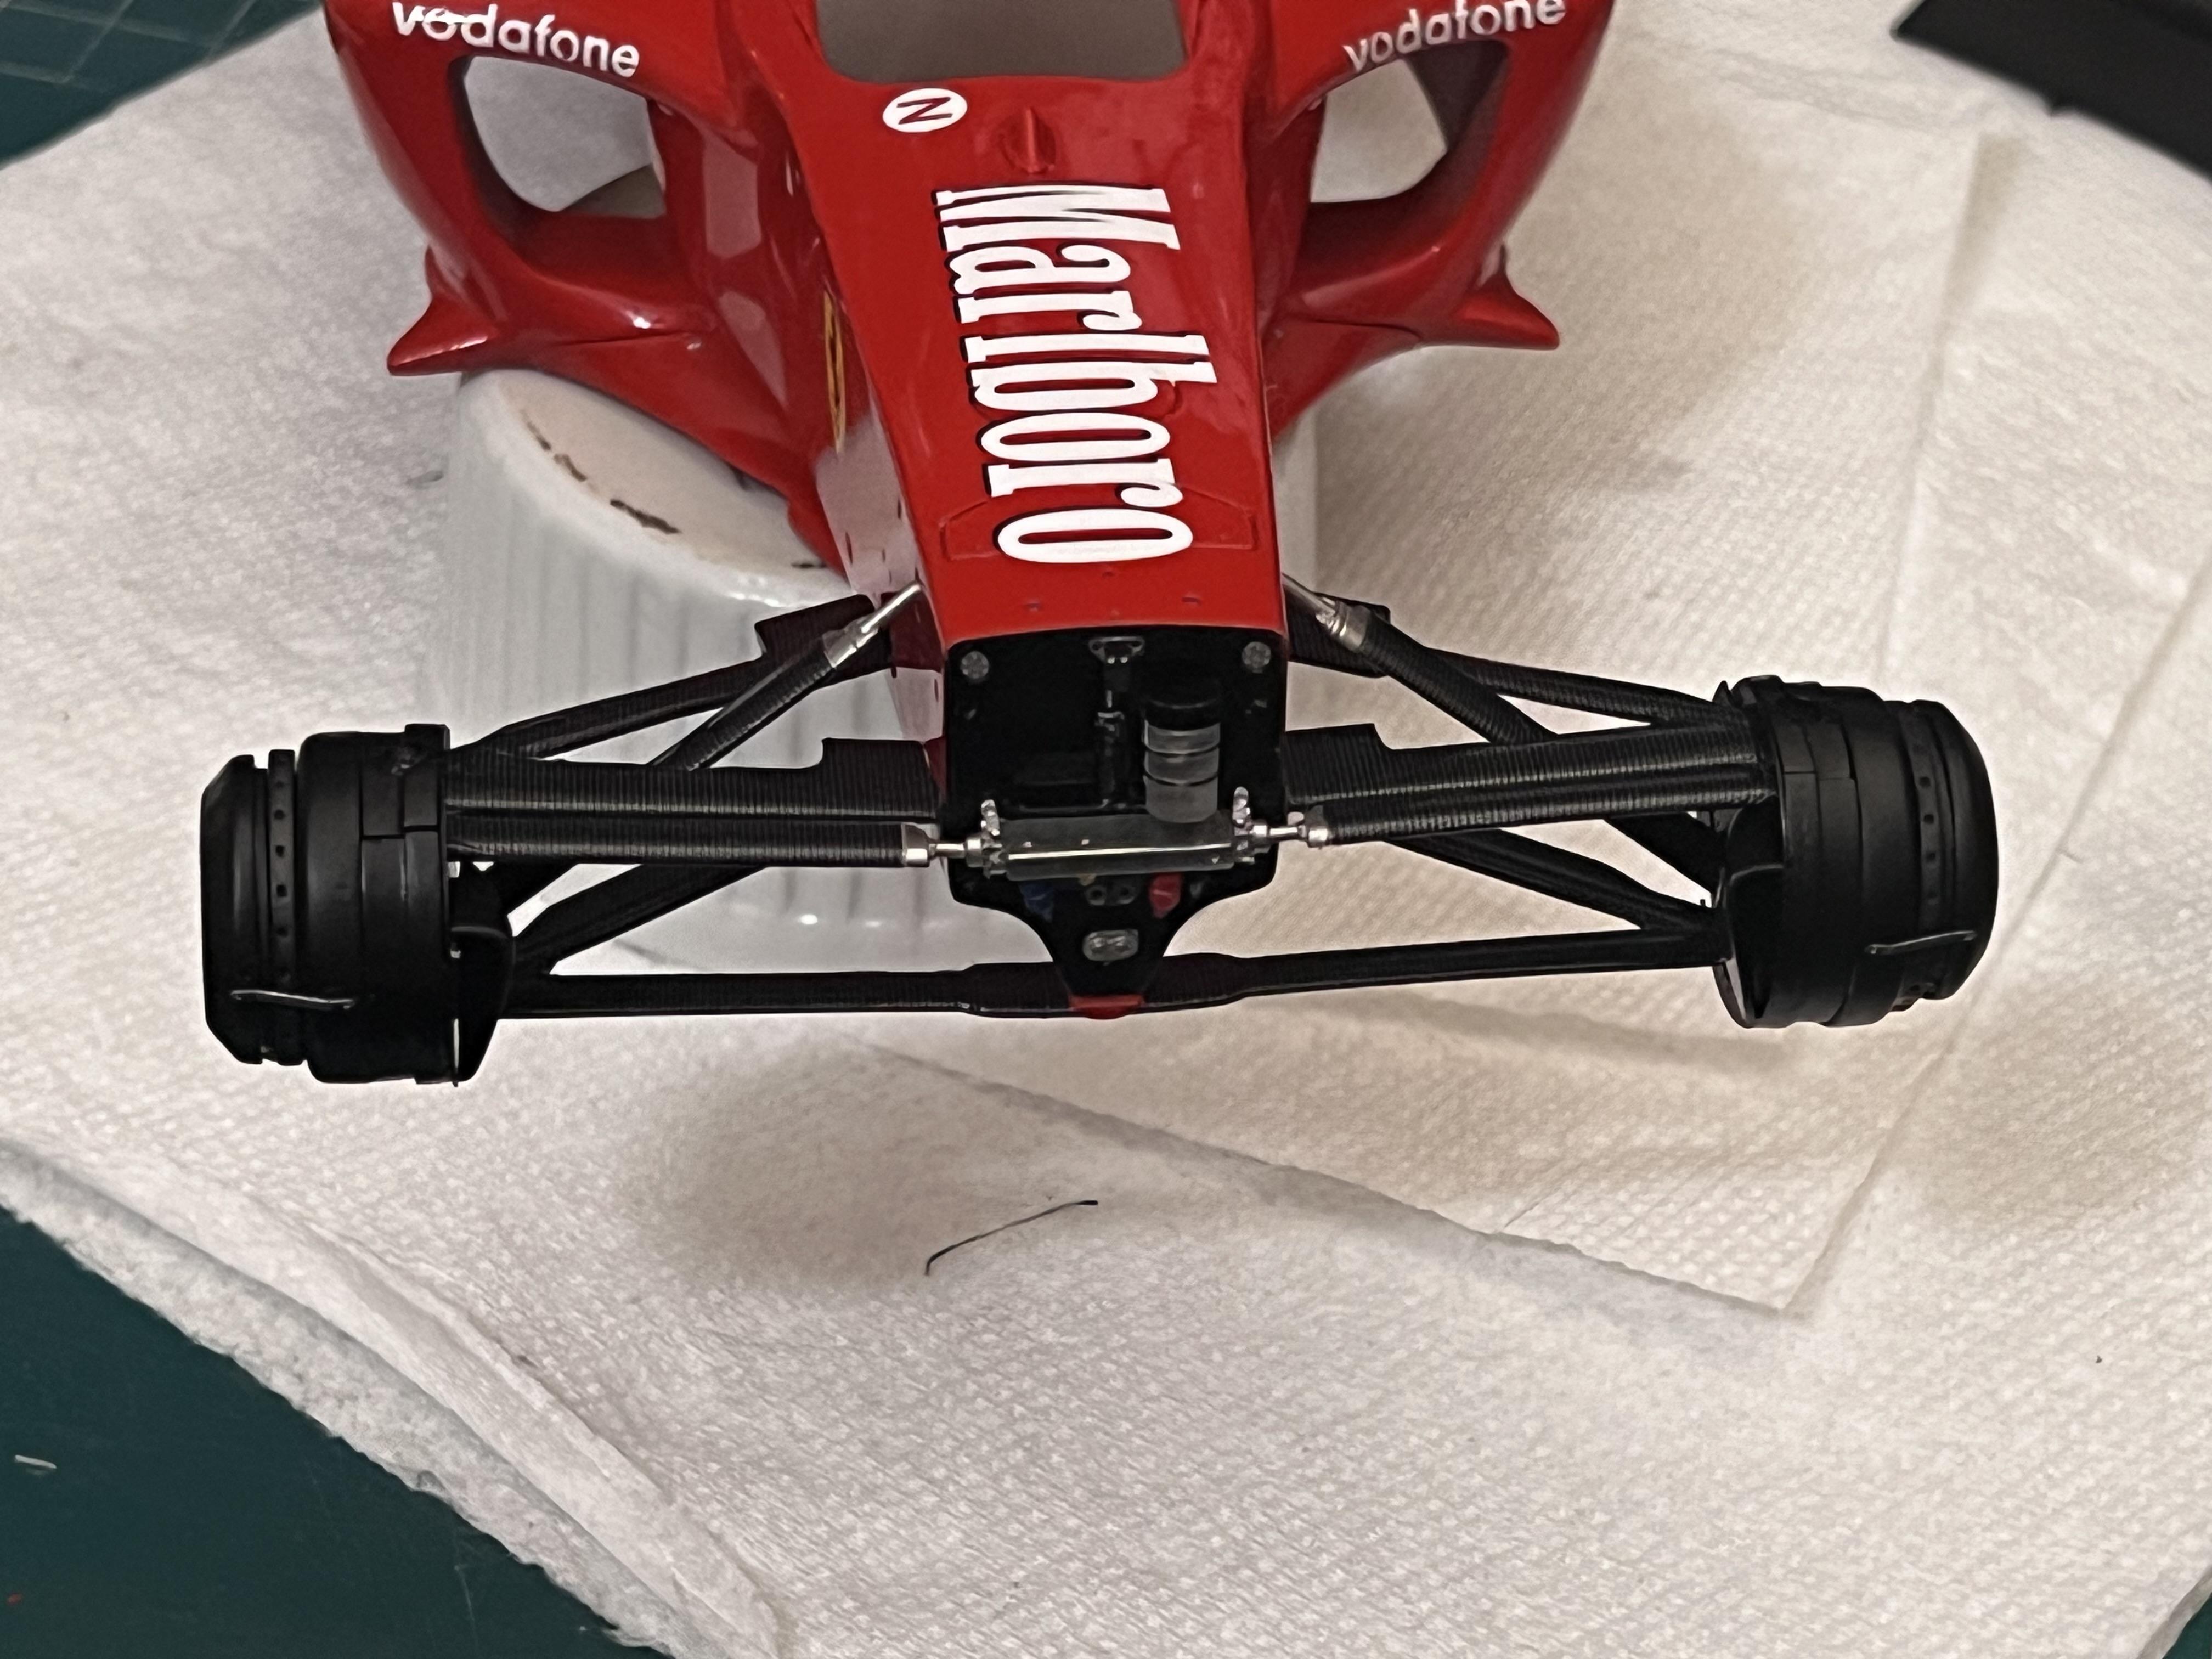
Front suspension and brakes installed, it took a lot of patience to get all the carbon decals installed and it seemed like it took forever to get everything painted just to be at this stage.
Hope you like-
1
-
-
Front suspension and brakes installed, it took a lot of patience to get all the carbon decals installed and it seemed like it took forever to get everything painted just to be at this stage.
Hope you like-
3
-
-
1 hour ago, Ian McLaren said:
This is my latest project and perhaps most ambitious. I have wanted to build this car in 1/16th literally for decades but it always got put off of one thing or another. The major hurdle was finding a 1/16th Trams Am body that was suitable and also gathering enough reference material to allow me to do justice to a car I saw run on numerous occaisions and also one that I was familiar with most of the people involved. The car was run primarily out of the Edmonton Alberta just less than 200 miles from my home and we ran at the same tracks several times. The car itself was alway one of my favorites and Gordie was one of the most personable people I have ever had the pleasure to know. Close friends, no, but we did talk during the race weekend more often than not. Late last year Nick Bradshaw of Flashpoint Resins solve the body with a very nice resin cast 77-78 Trans Am. It was going to need some substancial alterations to back date it to resemble the car above but at least I now had a starting point. The other stumbeling block was the Swindahl chassis which as far as I know has never been represented in kit form. I also have never seen anyone model one (but there may very well be some out there) and finding photos of the correct version of the chassis has been difficult. Swindahl was primarily a Top Fuel chassis builder who eventually revolutionized how Top Fuel Chassis were designed and built. This particular chassis was as far as I can tell only used in this form for a handfull of Trans Am and Corvette funnycars over a two or three year span. I have studdied many photos over the last few months and have come up with what I think is a fairly close approximation of that chassis but I am still researching, as there are a few minor areas that have not shown up in any of the photos I have seen. I chose the car as it was campained in 1978 because it to me has the most personality. It is truly a weapons grade competition car, not much chrome, simplified graphics, none polished mag blower, natural cast injector and barely polished hat as well as a very unique front suspension and steering system. I hope that you will like where this build is going, and I will also include how and why some of the detail and finishes were accomplished. At anytime please feel free to comment on what you see and if something I'm doing that is not correct let me know as I do not know everything about this car or its history.
Very cool subject, I remember this car running at Fremont Raceway. I was probably 10 or 11 years old. My dad used to take me to the track quite often to see some of best drag racing. I had no idea of where the guys came from but I sure did enjoy getting autographs and pictures of the cars so I could plaster them on my bedroom walls.
i sure will be following your journey and re living part of my youth 👍
-
Very cool Bruce, I will have to check it out the next time I come over the hill for a visit.
-
Looking good Bruce! So you have been shmoozing with celebrities 😋
-
1 hour ago, Pierre Rivard said:
perfect paint Chris. Please post your address so I can ship my bodies... 😄
lol, thanks for the support..and I’ll let you talk to the wife about the fee’s 🤣
-
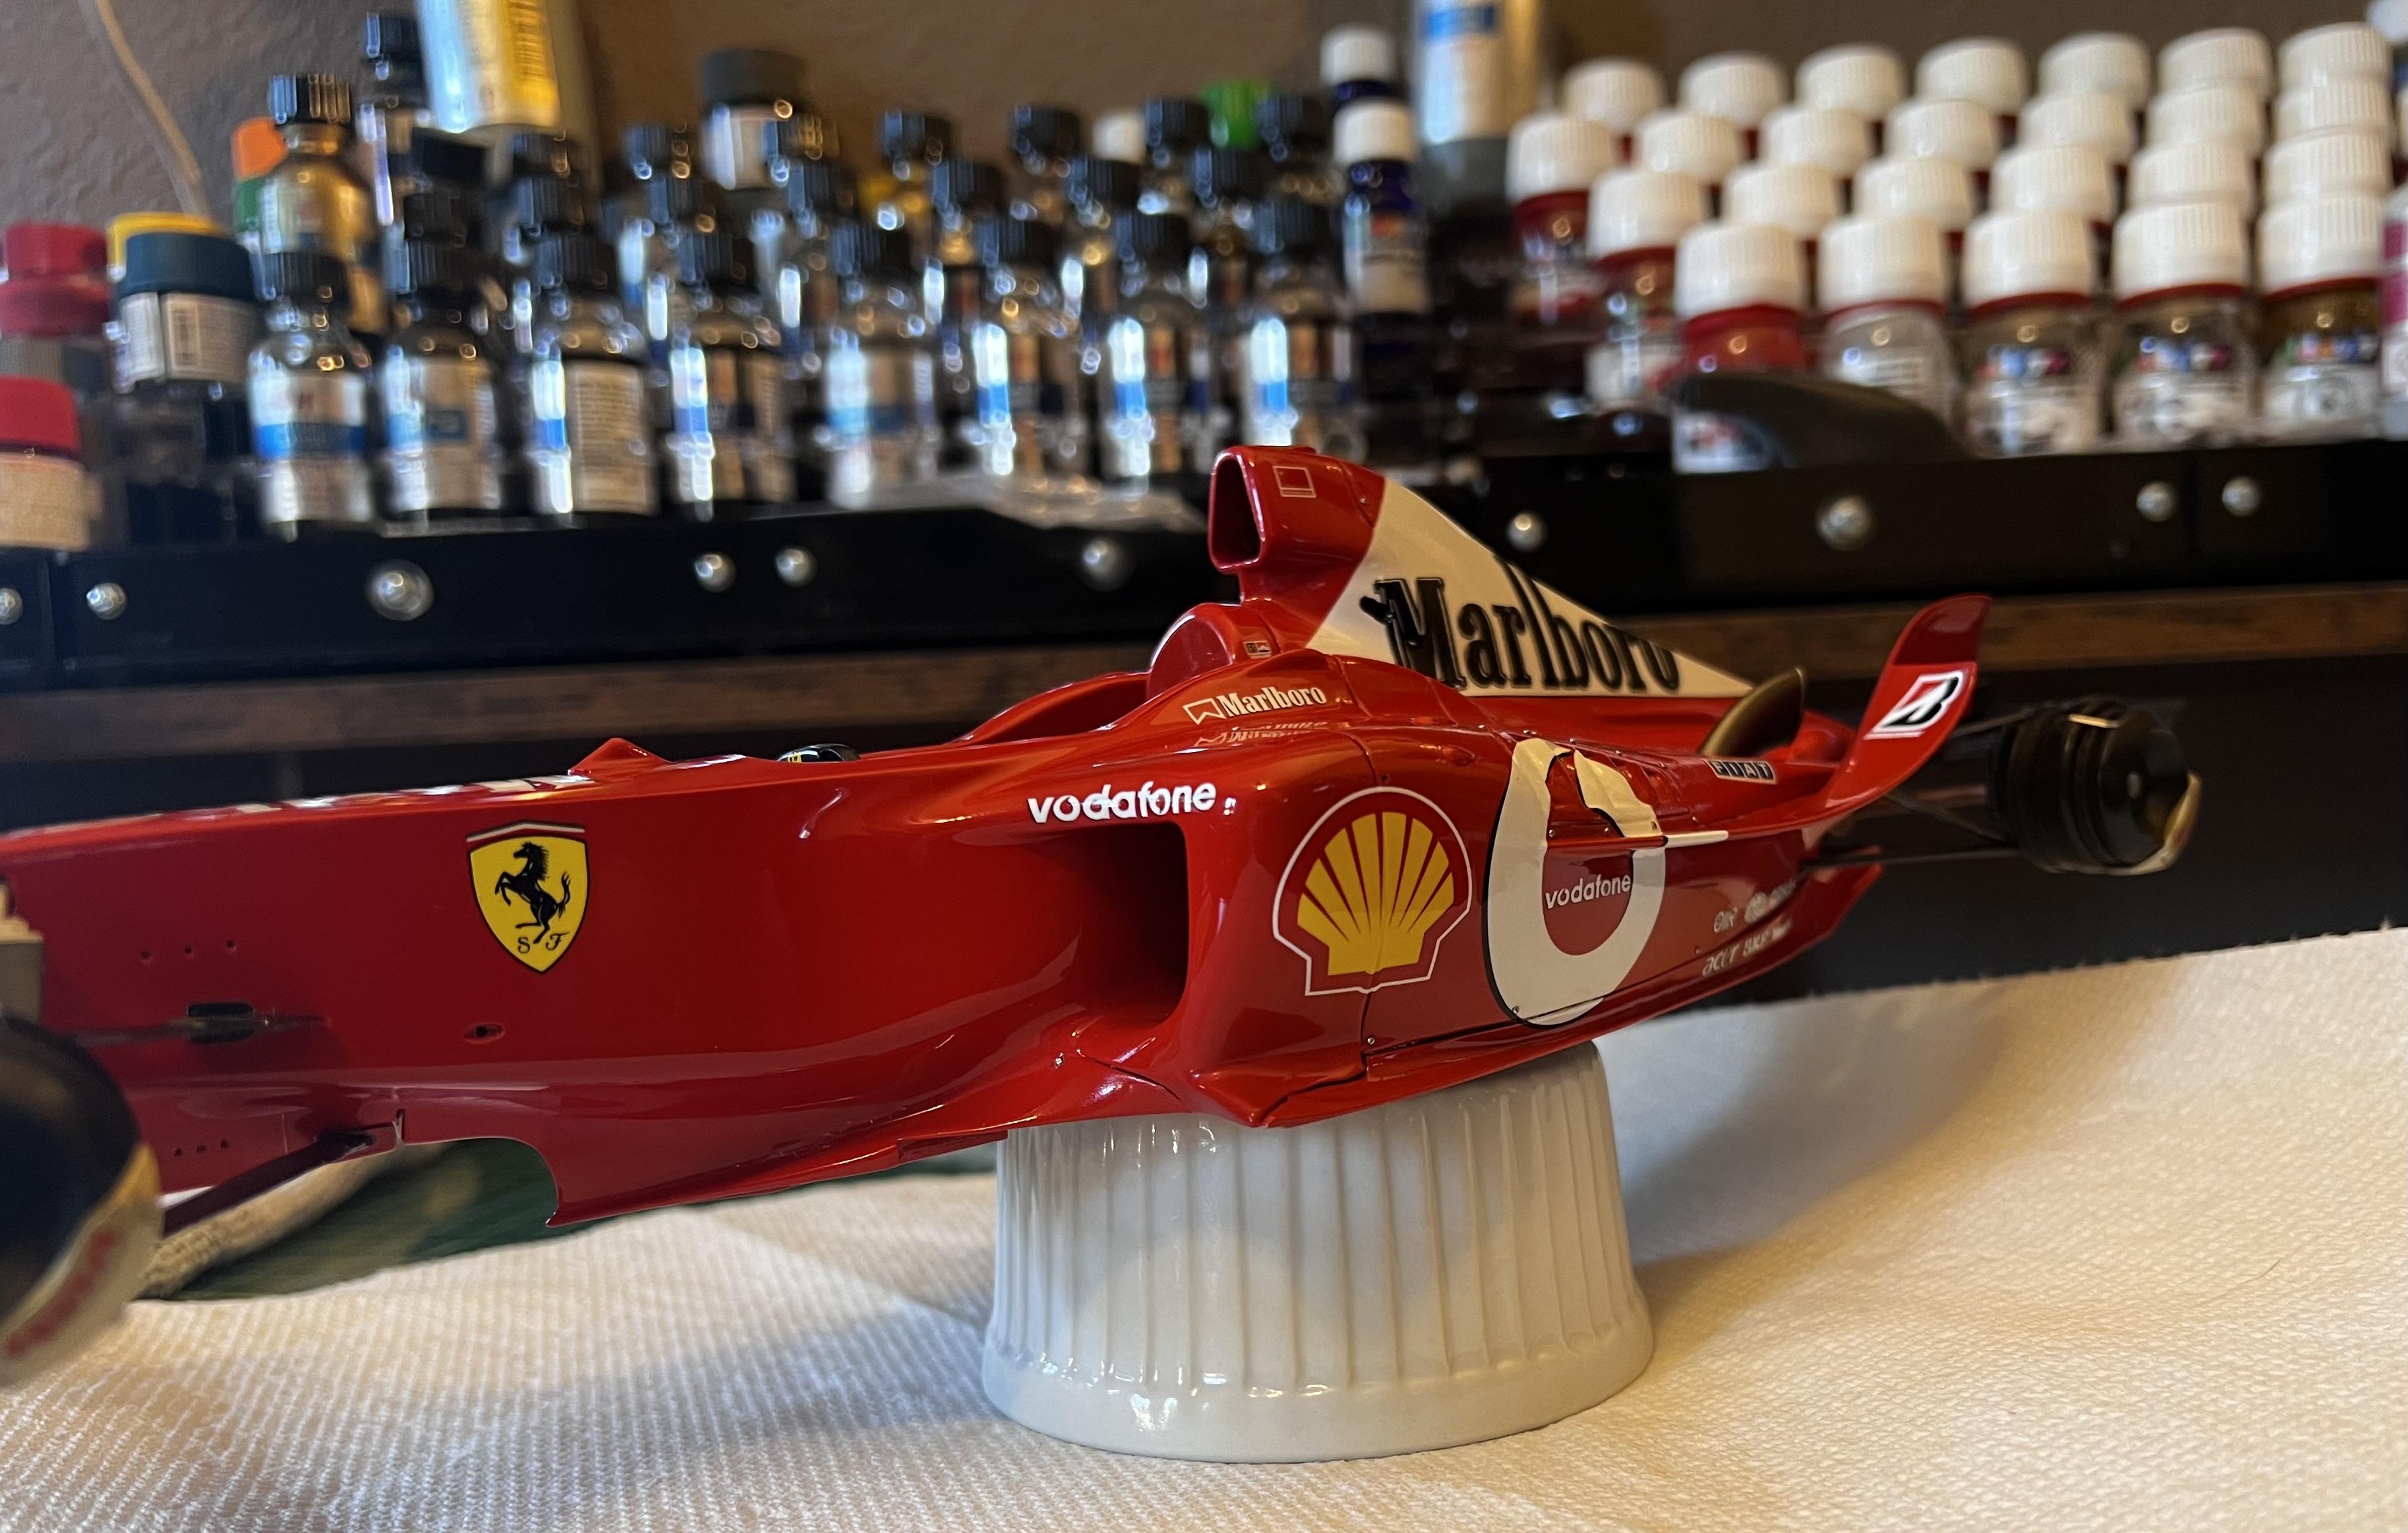
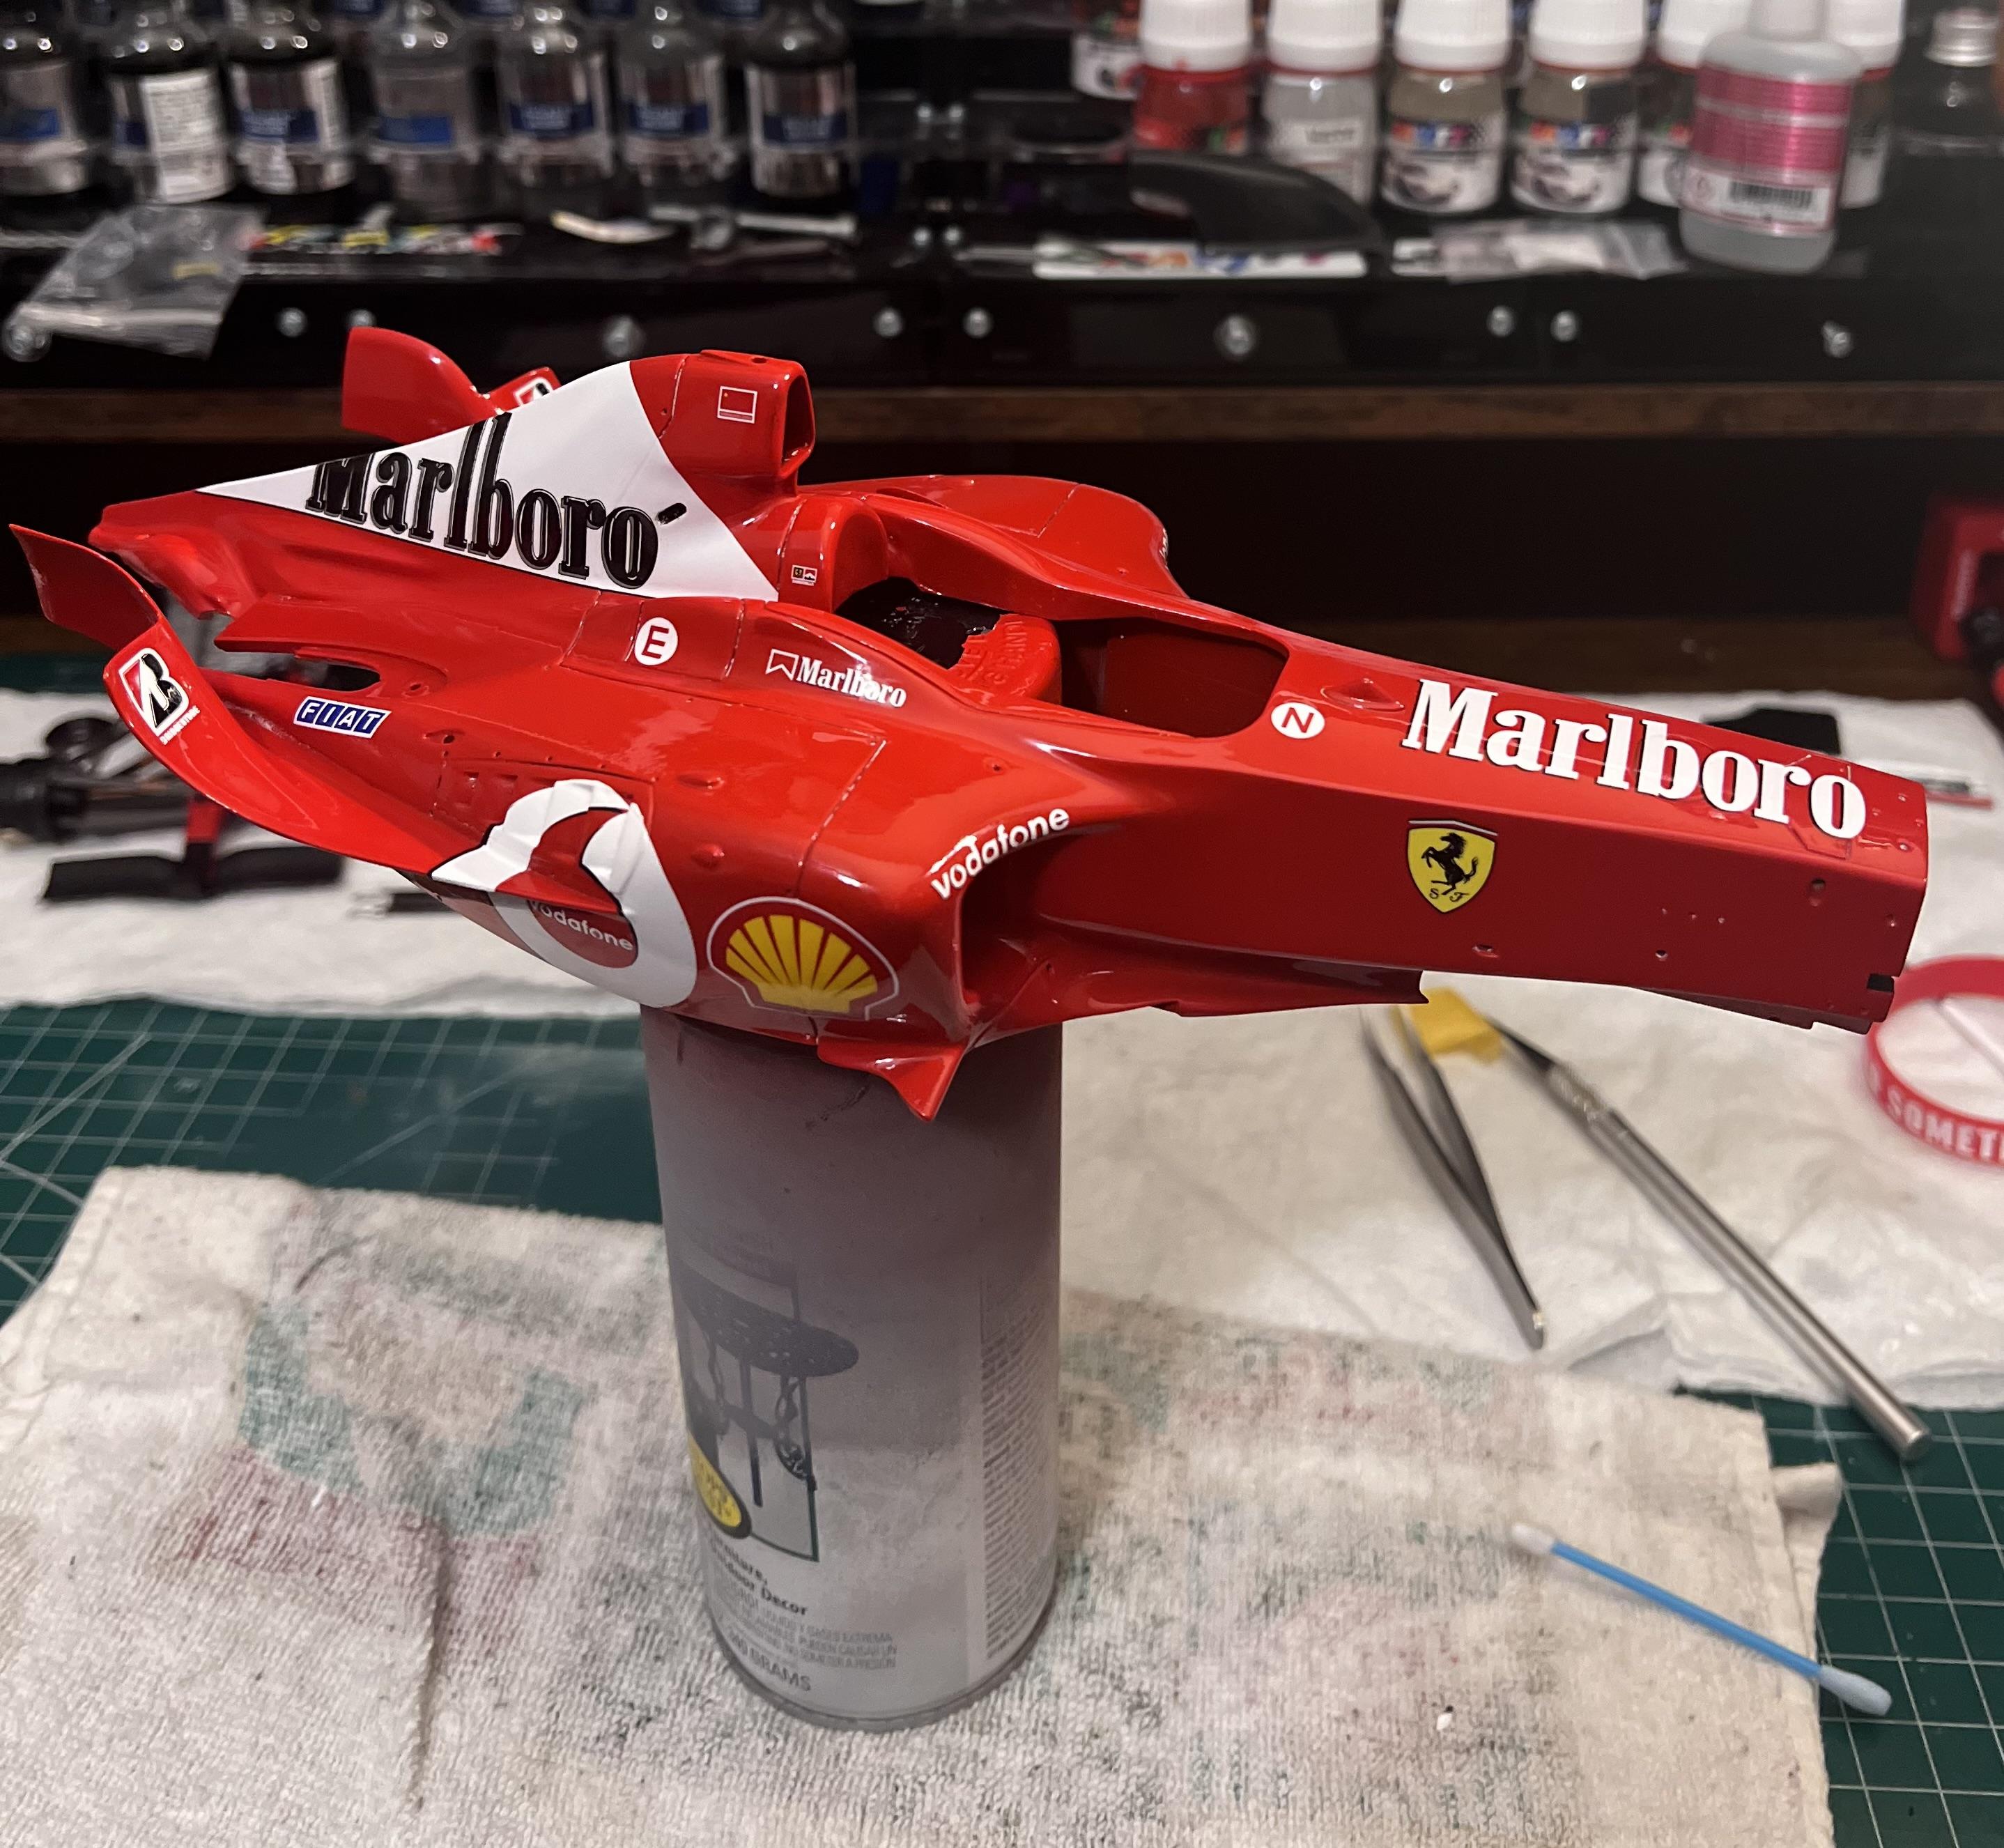
After 3 coats of clear , some massaging with some 3000 grit and 5000 grit. Then I used 3 different polishing compounds , here we are. A few more small details then I’ll put a couple coats of wax on it.
-
3
-
-
Great to see you back onto this particular project Bruce. As usual off to a great start!
-
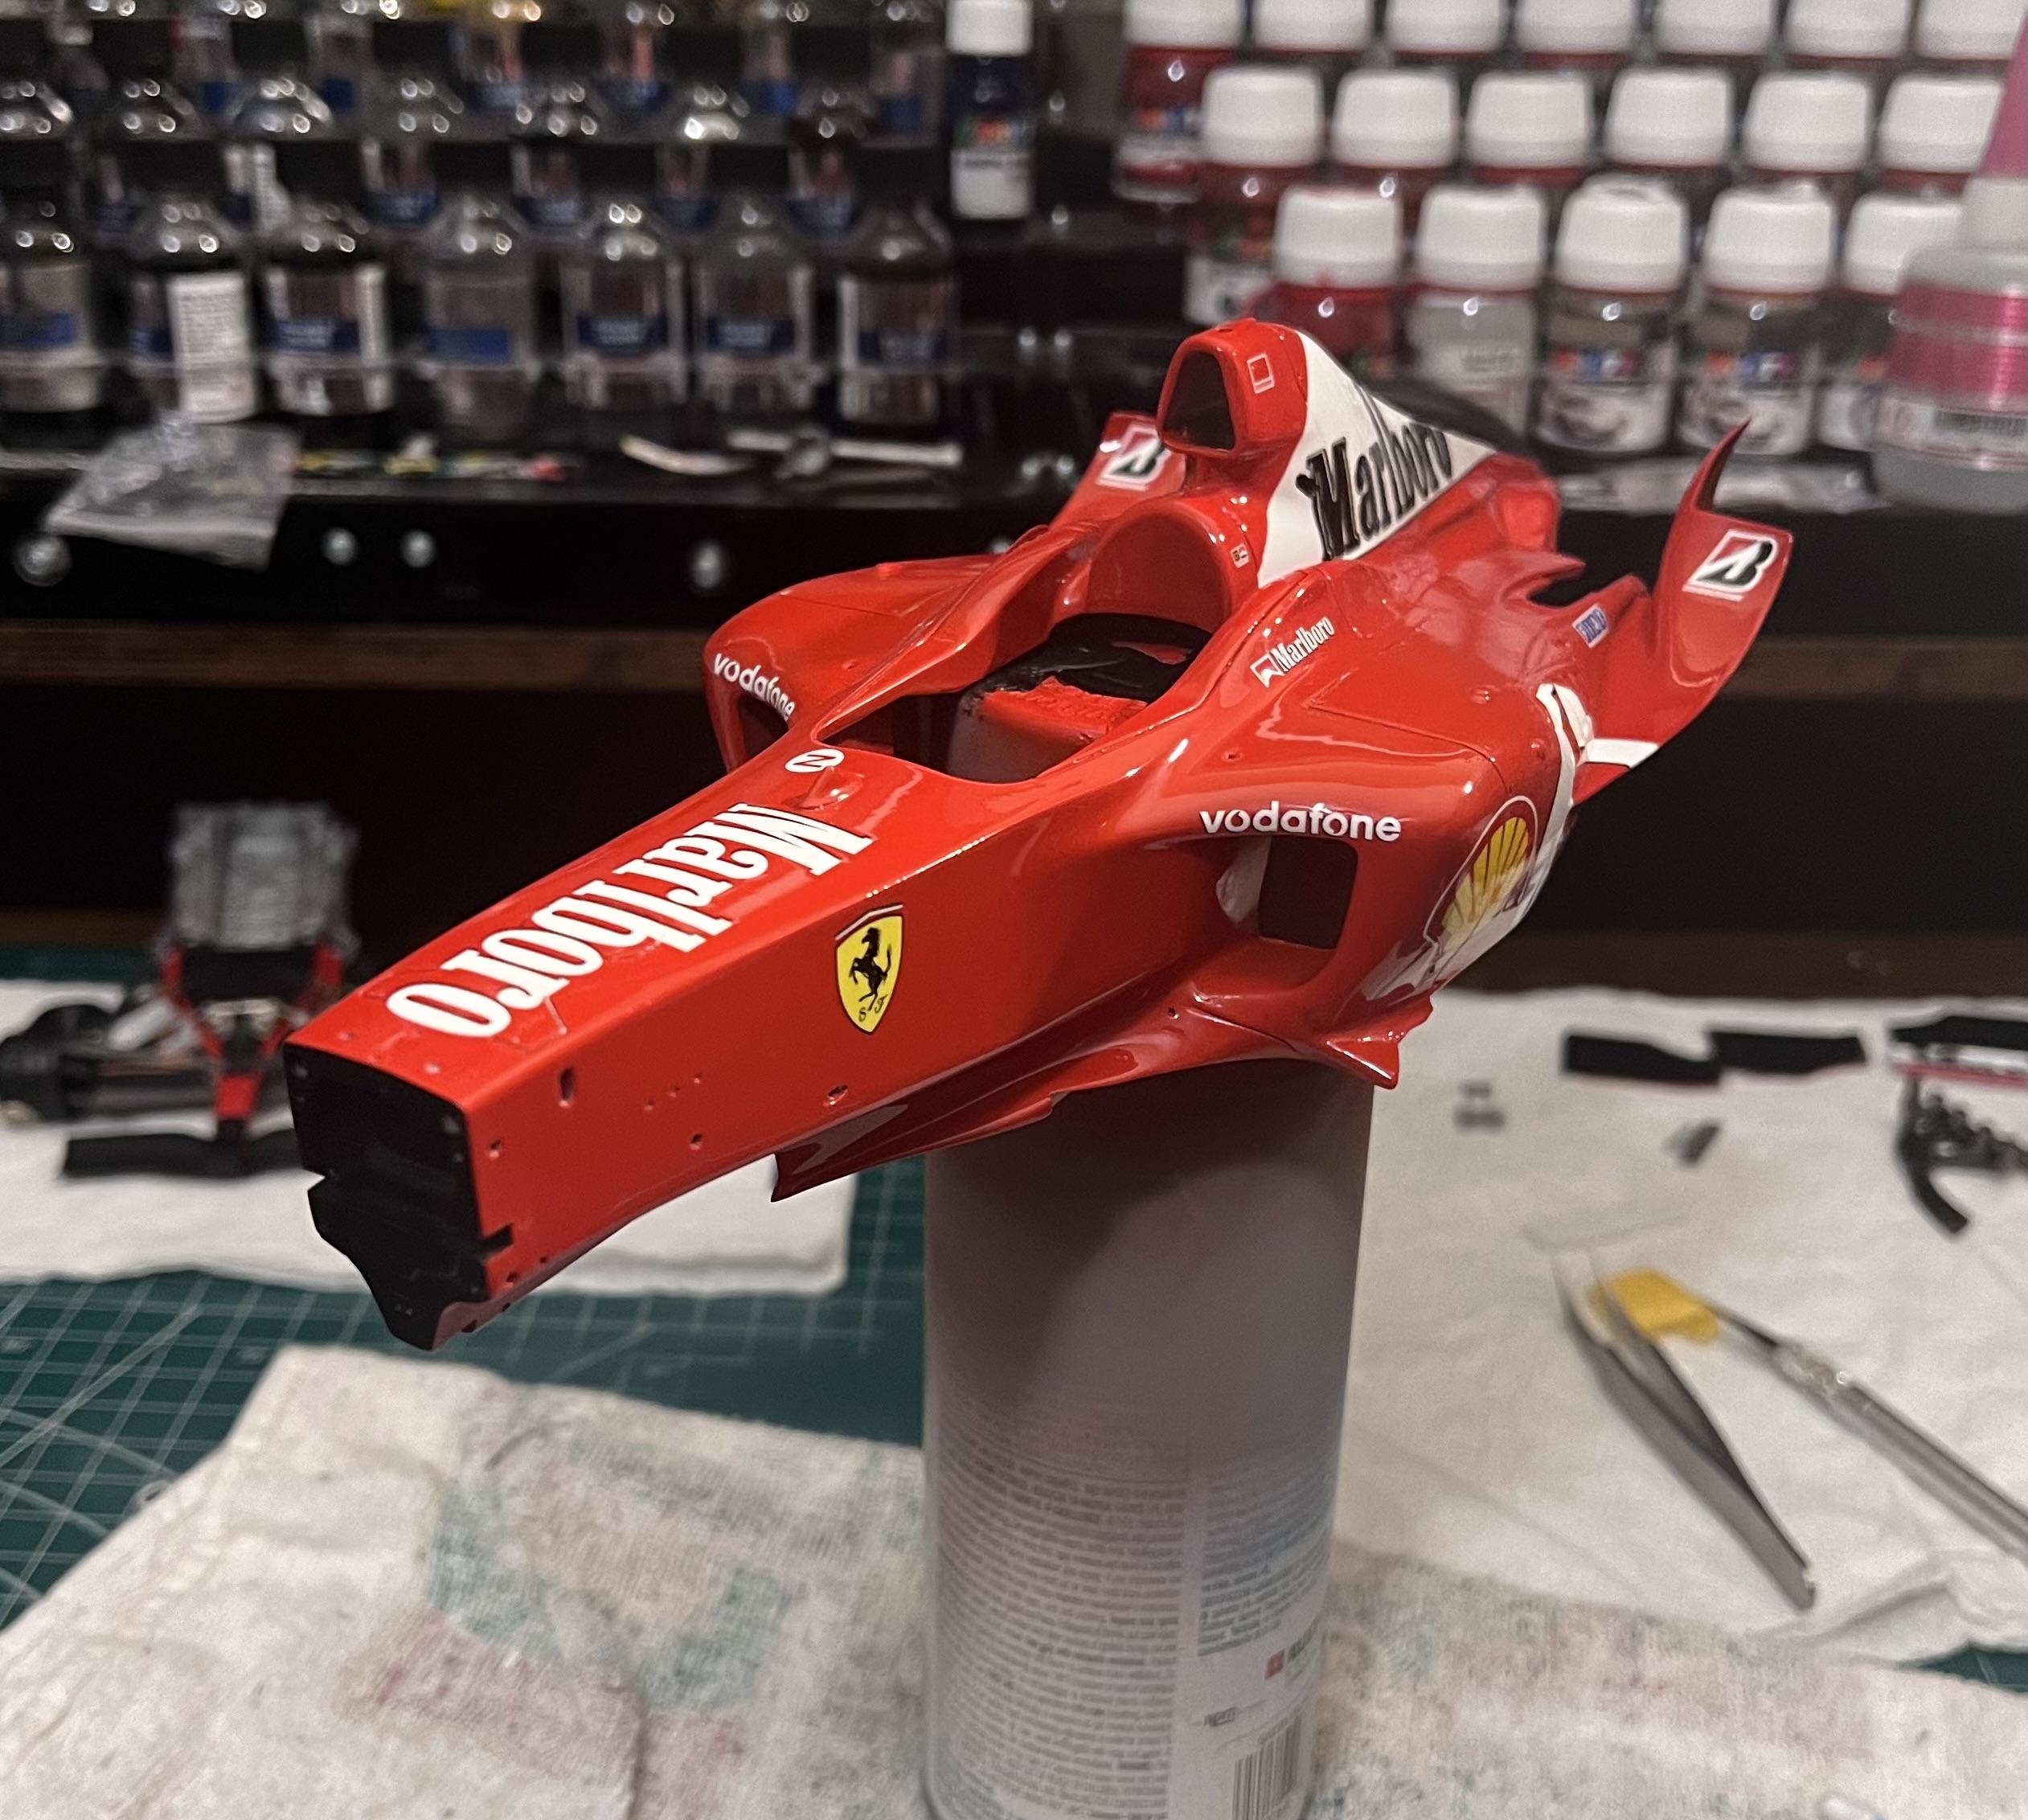
Just add decals. All I need to do, is clear then a nice polish. And then maybe some noticeable progress…lol
-
3
-
-
2 hours ago, 4knflyin said:
Yes, thanks, it definitely helps. You answered things I didn't want to impose on you by asking. Using graphite powder (from a pencil?) so subtly created a great effect. But, and not atypically, I wasn't specific enough. What I really wanted to know is:
- Did you use a hand brush for body and lettering both/neither/split?
- Which did you apply first, body color or lettering?
- How did you use clear coat to assist, if you did, or any other techniques I may not even know about?
It could not have been done better.
I should mention that, for all practical purposes, I'm a newbie, which is why my questions are so basic. I didn't use spray paint or an airbrush until December... three months ago! 😱 As a matter of fact, it was only last week that I think I finally "cracked the code" for using an airbrush effectively — it finally became natural for me the understanding and use of the relationship between compressor psi, nozzle distance from subject, and use of the trigger to vary the amount of paint. Putting those three together in a useful way somehow escaped me until now, three months later!
This helps. Okay, I use a air brush on everything.
the lettering on the calipers are a decal as well as the rest of the kit.
I do as little brush painting if I can help it.
-
16 hours ago, 4knflyin said:
OK, how did you paint those calipers? I mean, how did you do that?? I'm thinking I will cancel that "preorder" of mine.
I was looking over the pictures again and realized that's not a caliper, it's a, um, I have no idea what it is. But I still want to know how you painted it.
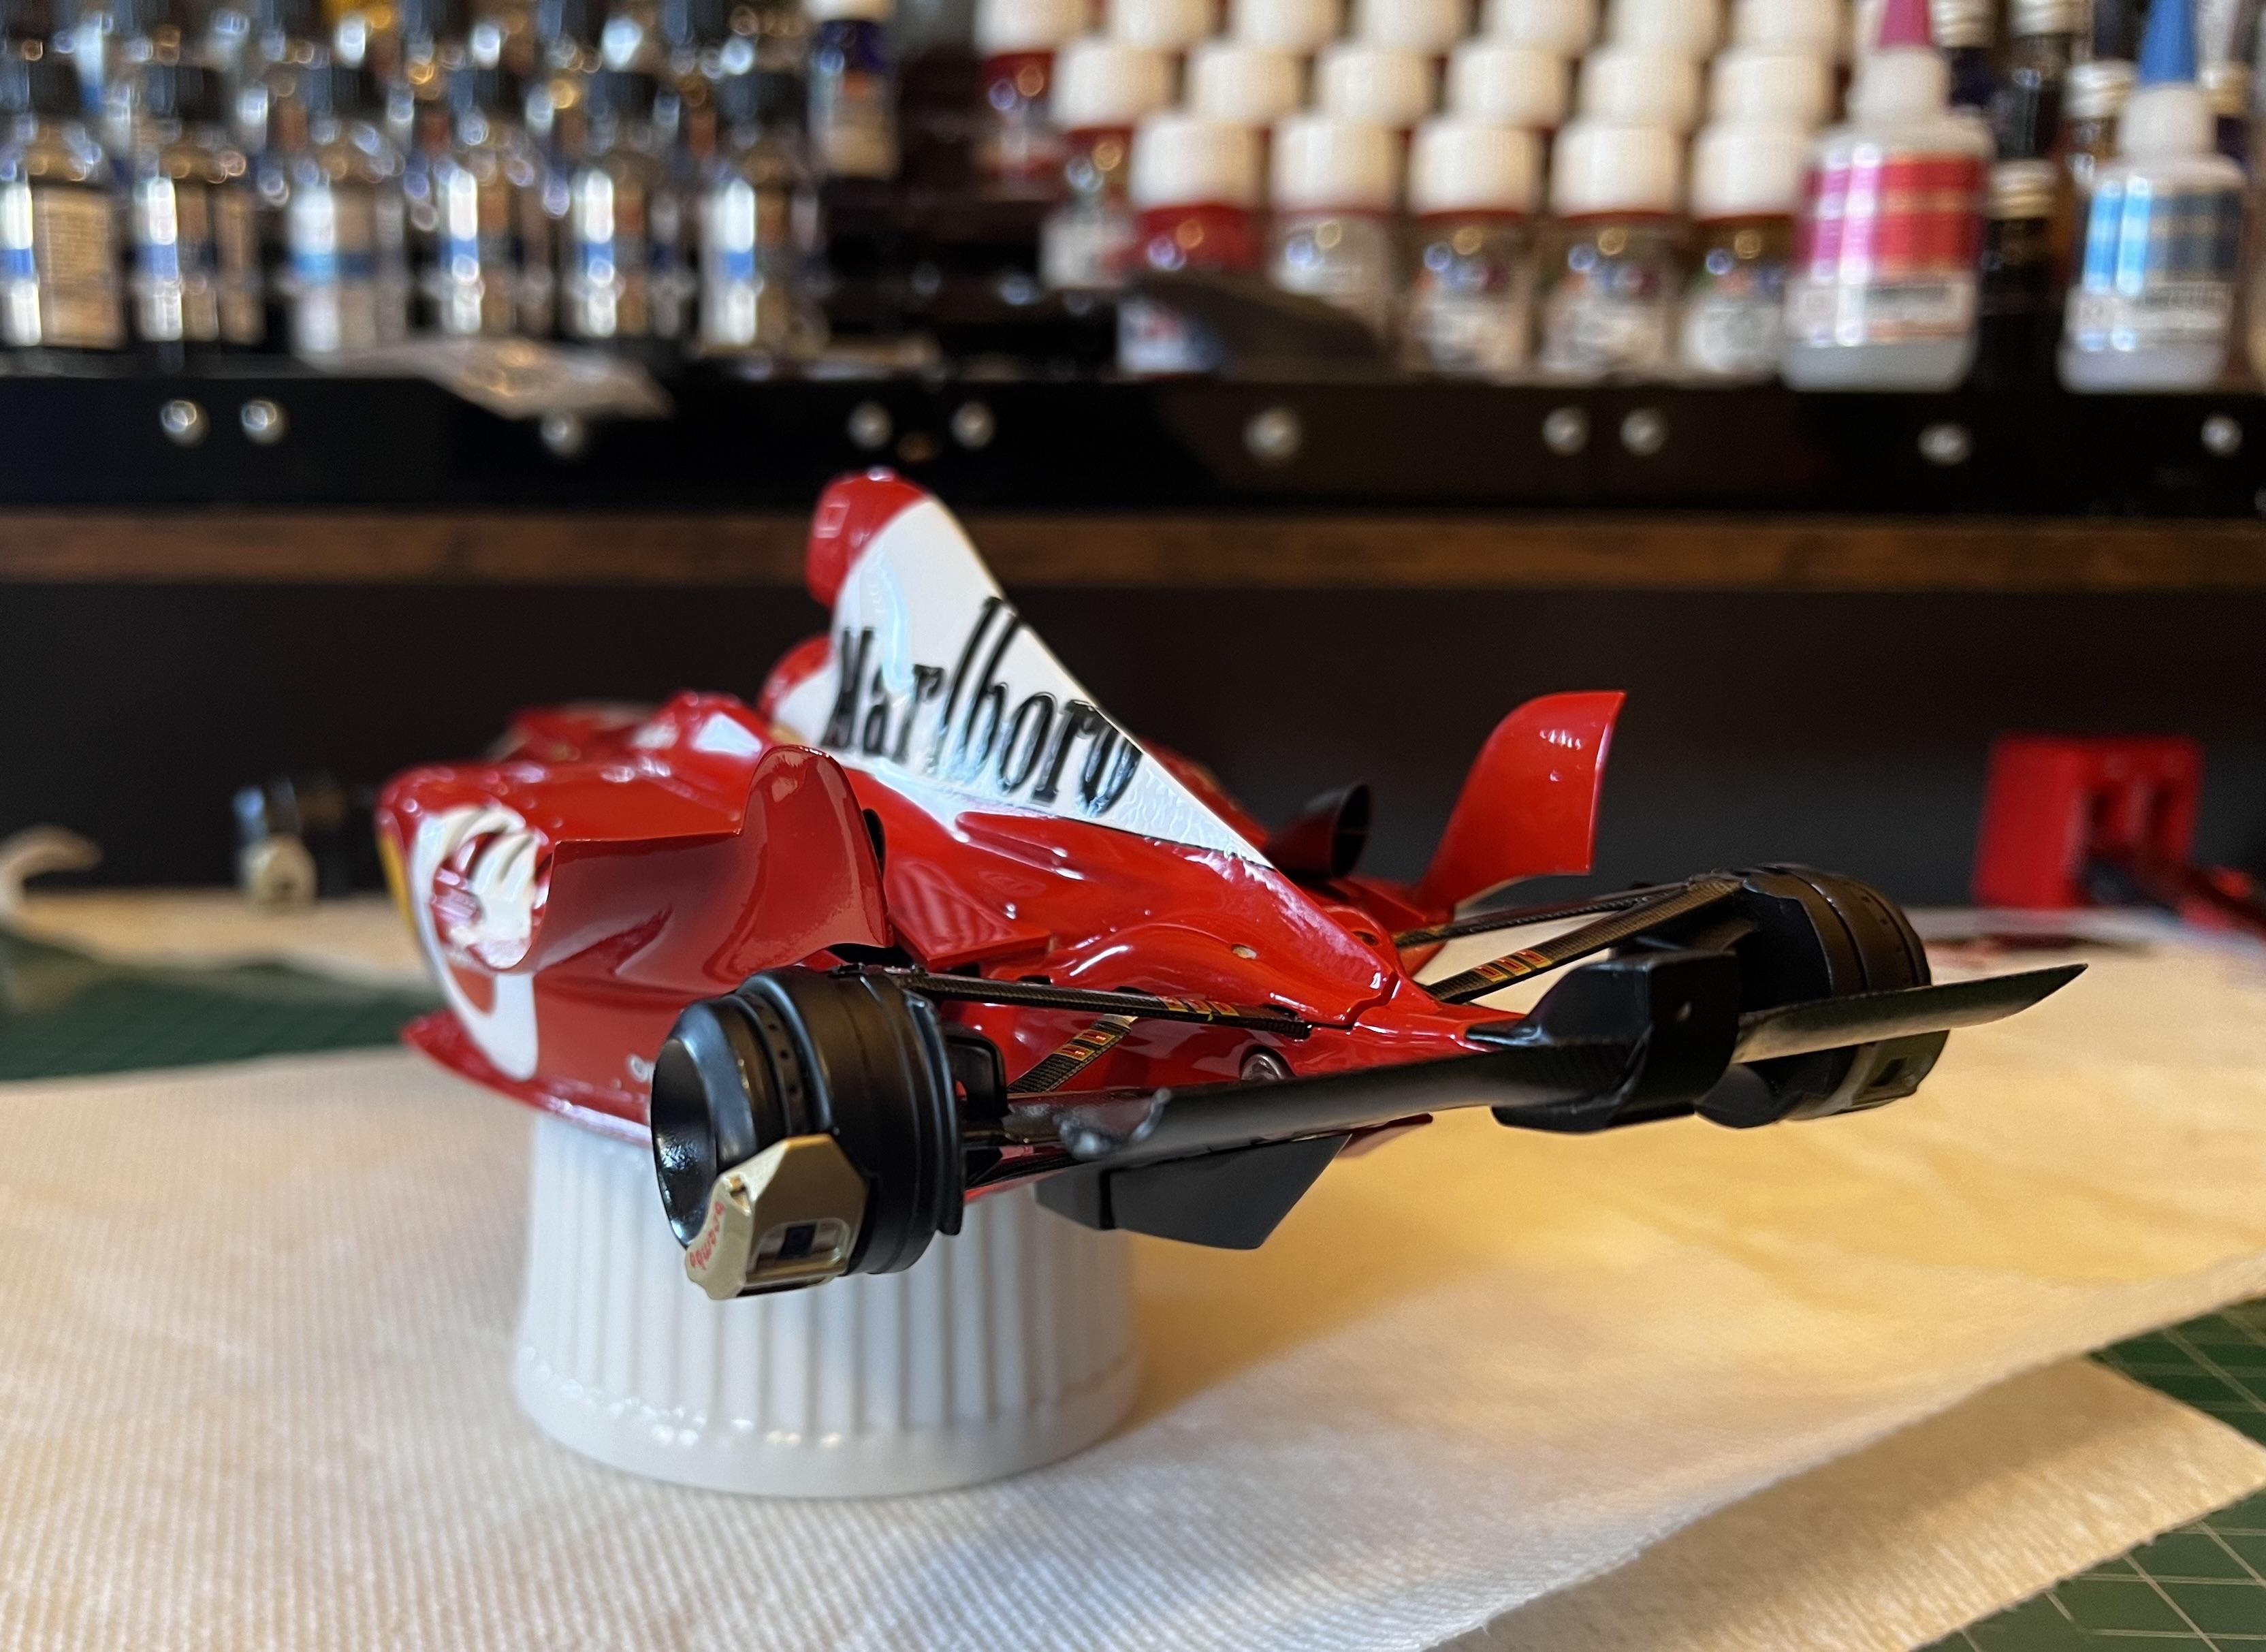
I cleaned up the white metal parts by sanding the burrs and drilled the holes for the control arms. Cleaned the resin parts with dawn , hot water and an old toothbrush. Put the metal parts into the magnetic tumbler.
primed the parts and painted the brake rotor with Tamiya flat black and then used Tamiya graphite powder for give it a carbon effect.
Painted the rest of the parts with Tamiya semi gloss black, assembled as per instructions, then added the PE brace as per instructions.
the control arms are covered with carbon fiber decals.
Hope this helps -
2 hours ago, 4knflyin said:
Thanks. I'm beginning to thing I should cancel my preorder for the MFH F2003. Seriously.
That's only the second time I've heard about a "magnetic tumbler." The first time was yesterday in an old magazine article on line about a Wolf W3 build. LOL.
You're using the plain old "Light Gray" stuff, or their designated "metal primer?"
I'm guessing you still actually do need to use extra care to keep paint from chipping off corners, etc., no? Also, do you want to give me a link to one of your builds where you may have gone into extra detail about dealing with prepping white metal parts, as in filing, sanding?, use of putty, and whatnot? Or maybe another thread that really talks to the uninitiated.
I’m using the grey primer for plastic and metal.
My last complete build blog was the Ferrari 333 SP.
As for any MFH kit , you have to drill, sand and do some filing. Plus a lot of dry fitting.
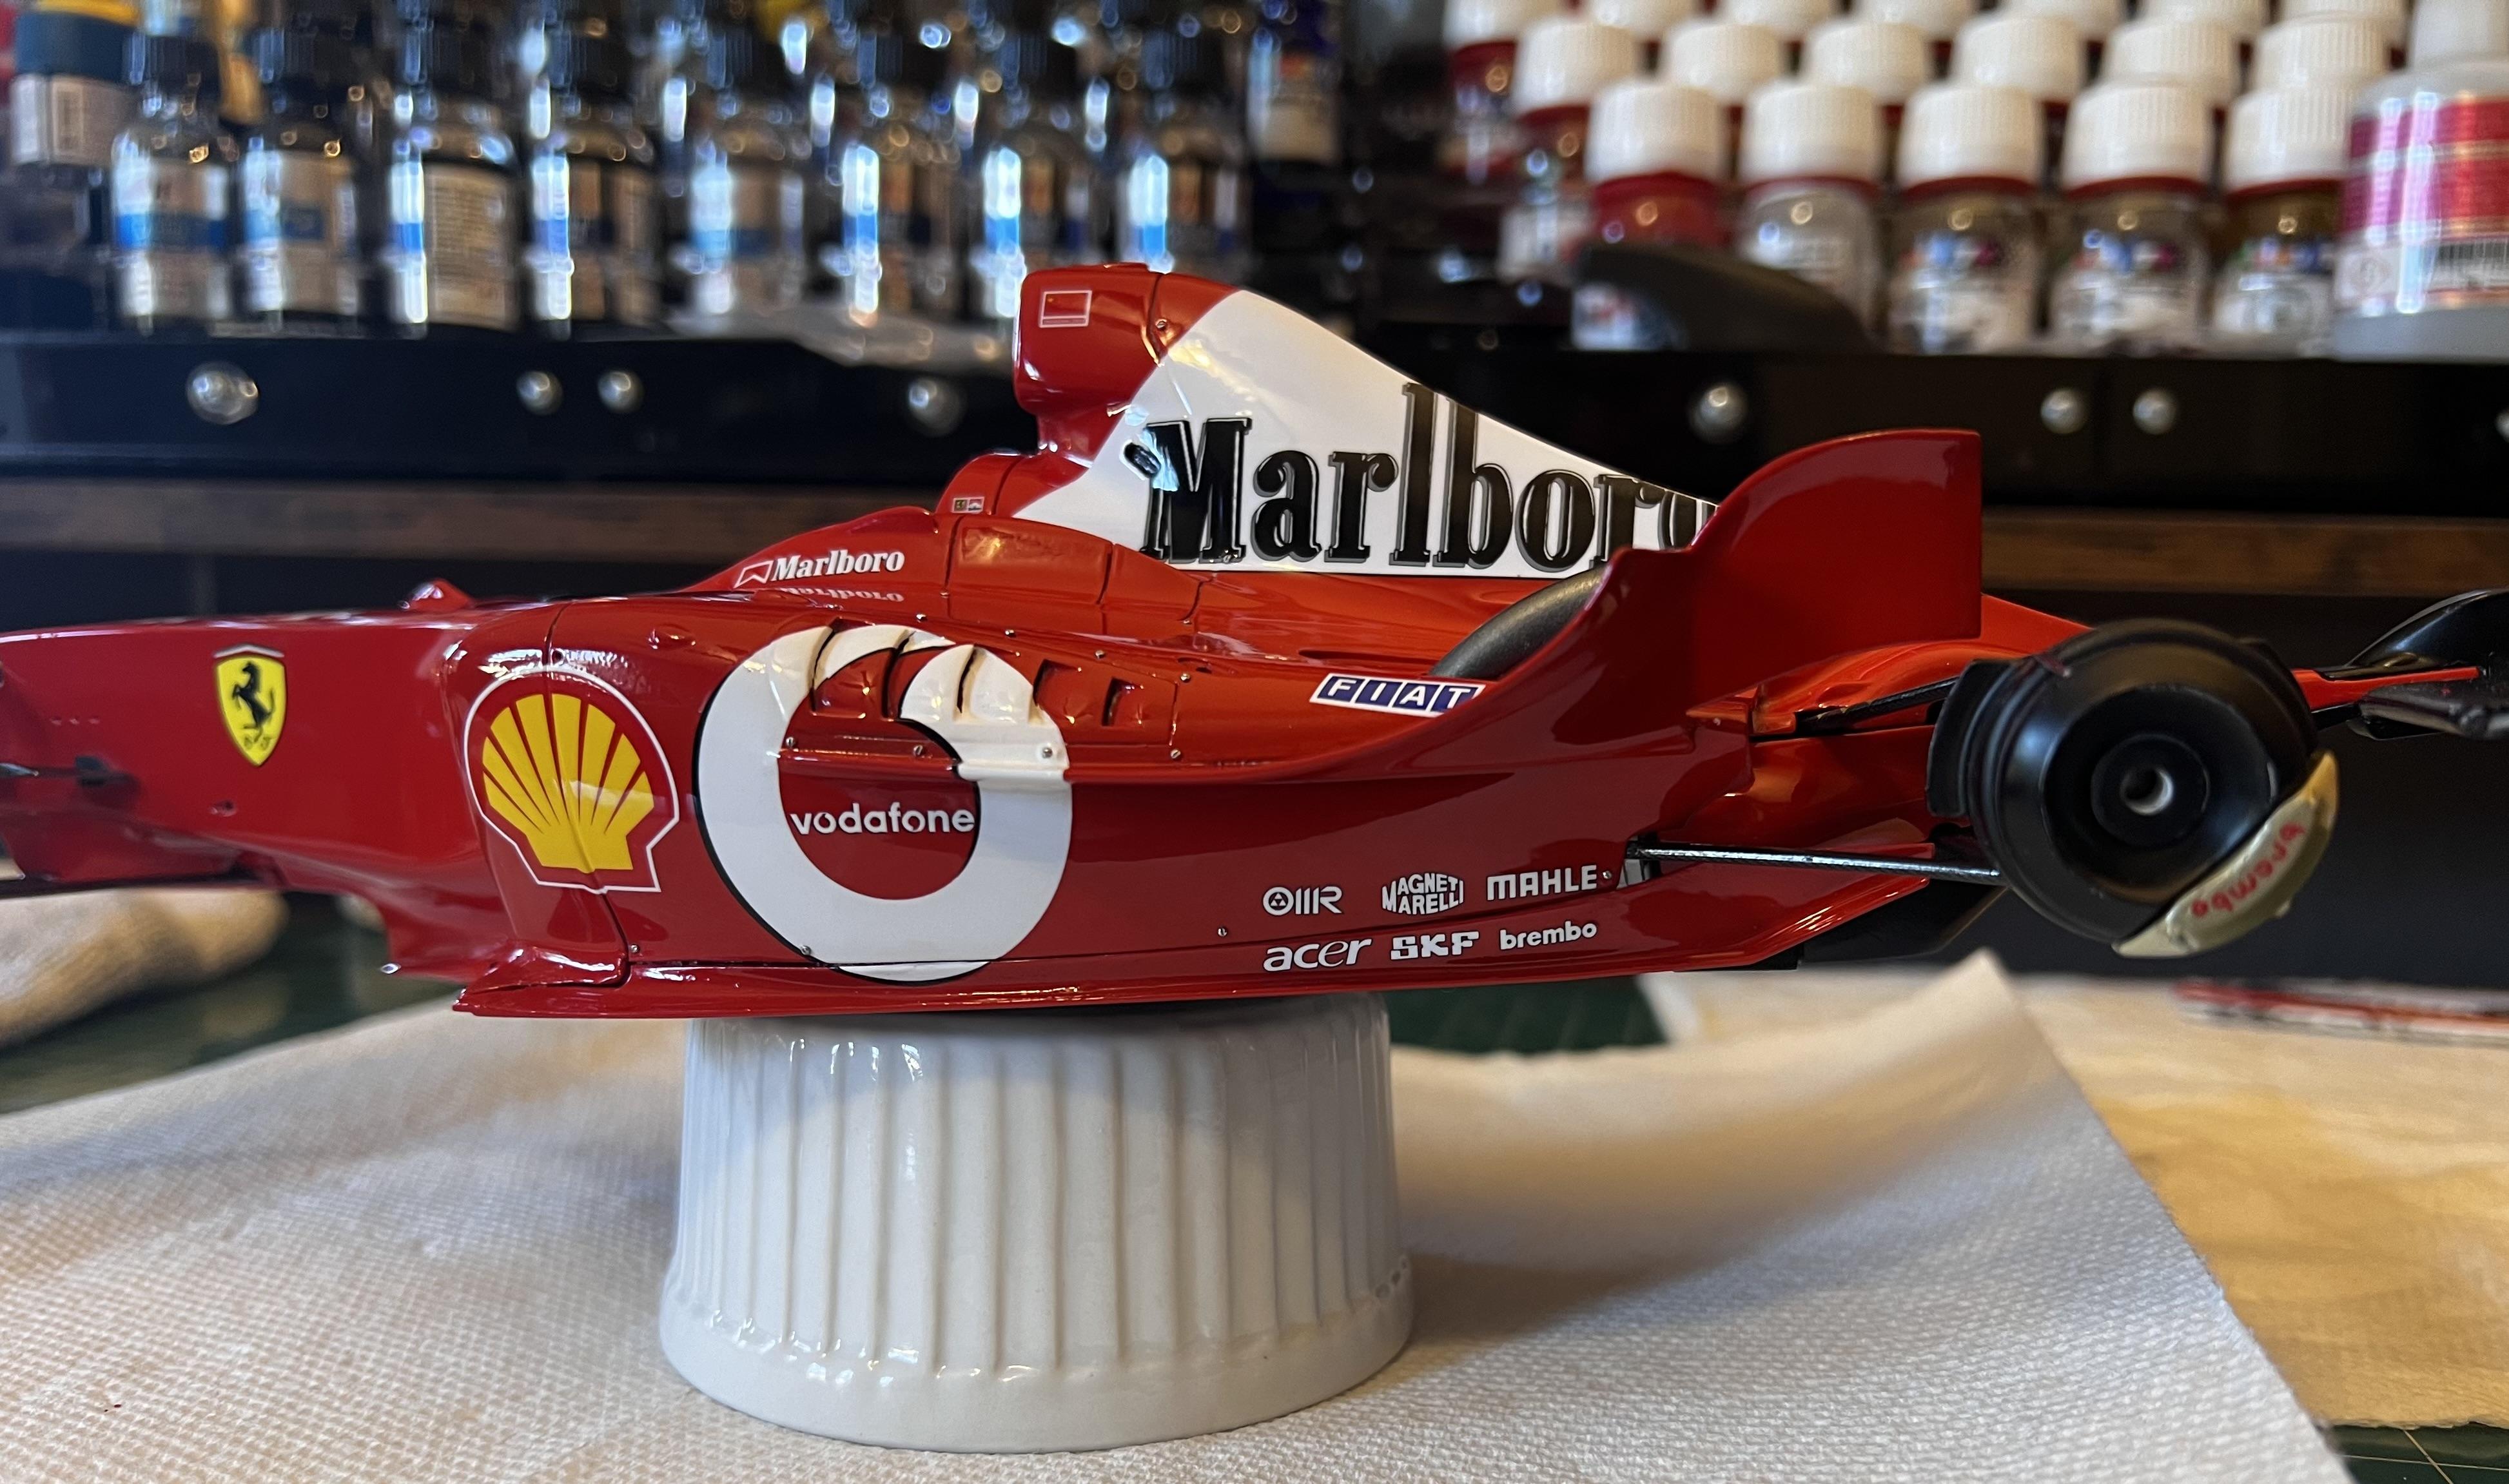
I am currently working on the F2003GA … Lots of resin and not a lot of white metal. As far as prep goes
sand and or file the seams and any other burrs. Drill appropriate holes, so other parts that connect will fit , put into tumbler for 20 minutes, rinse and dry then apply primer then paint. Sometimes the metal has pits in it and you could use putty to fill it and sand it smooth. As far as putty is concerned, I use 3m automotive spot putty.
-
When I clean white metal parts I put them in a magnetic tumbler with a polishing solution. I don’t think you need to go this route.
A nice bath in lacquer thinner and a stiff brush.
i use Tamiya primer and also both acrylic and lacquer paints on my MFH builds.
-
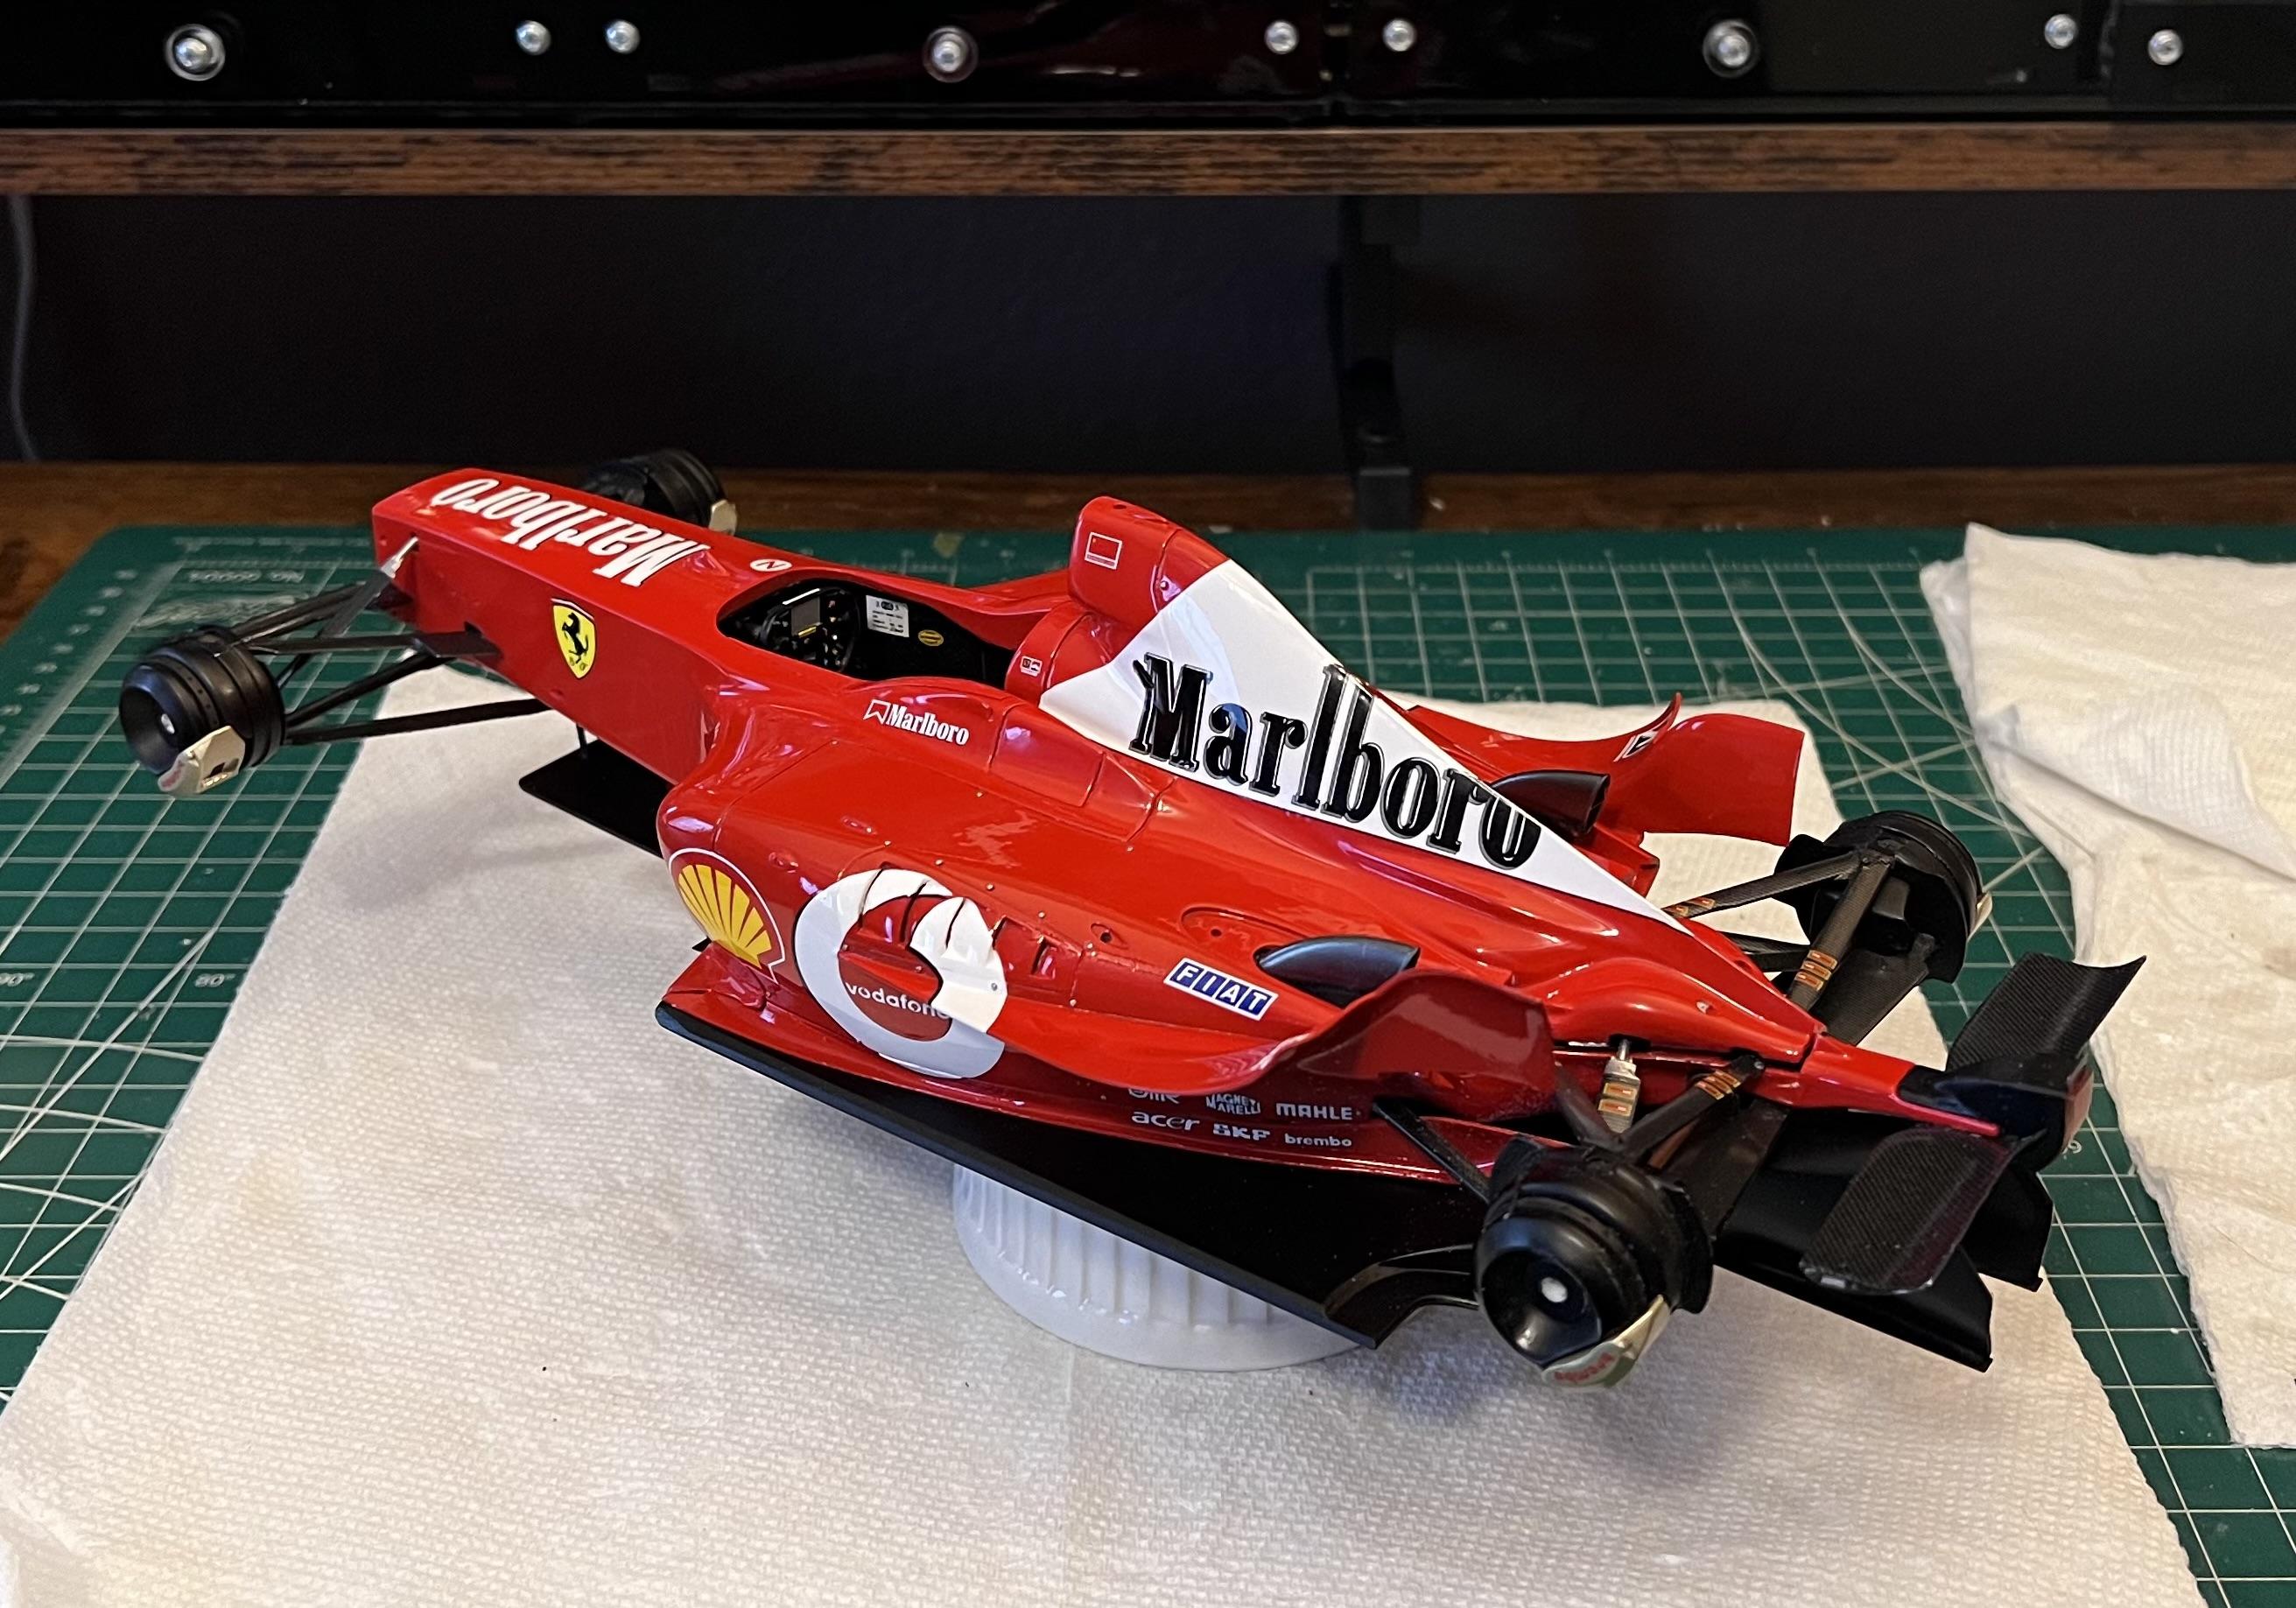
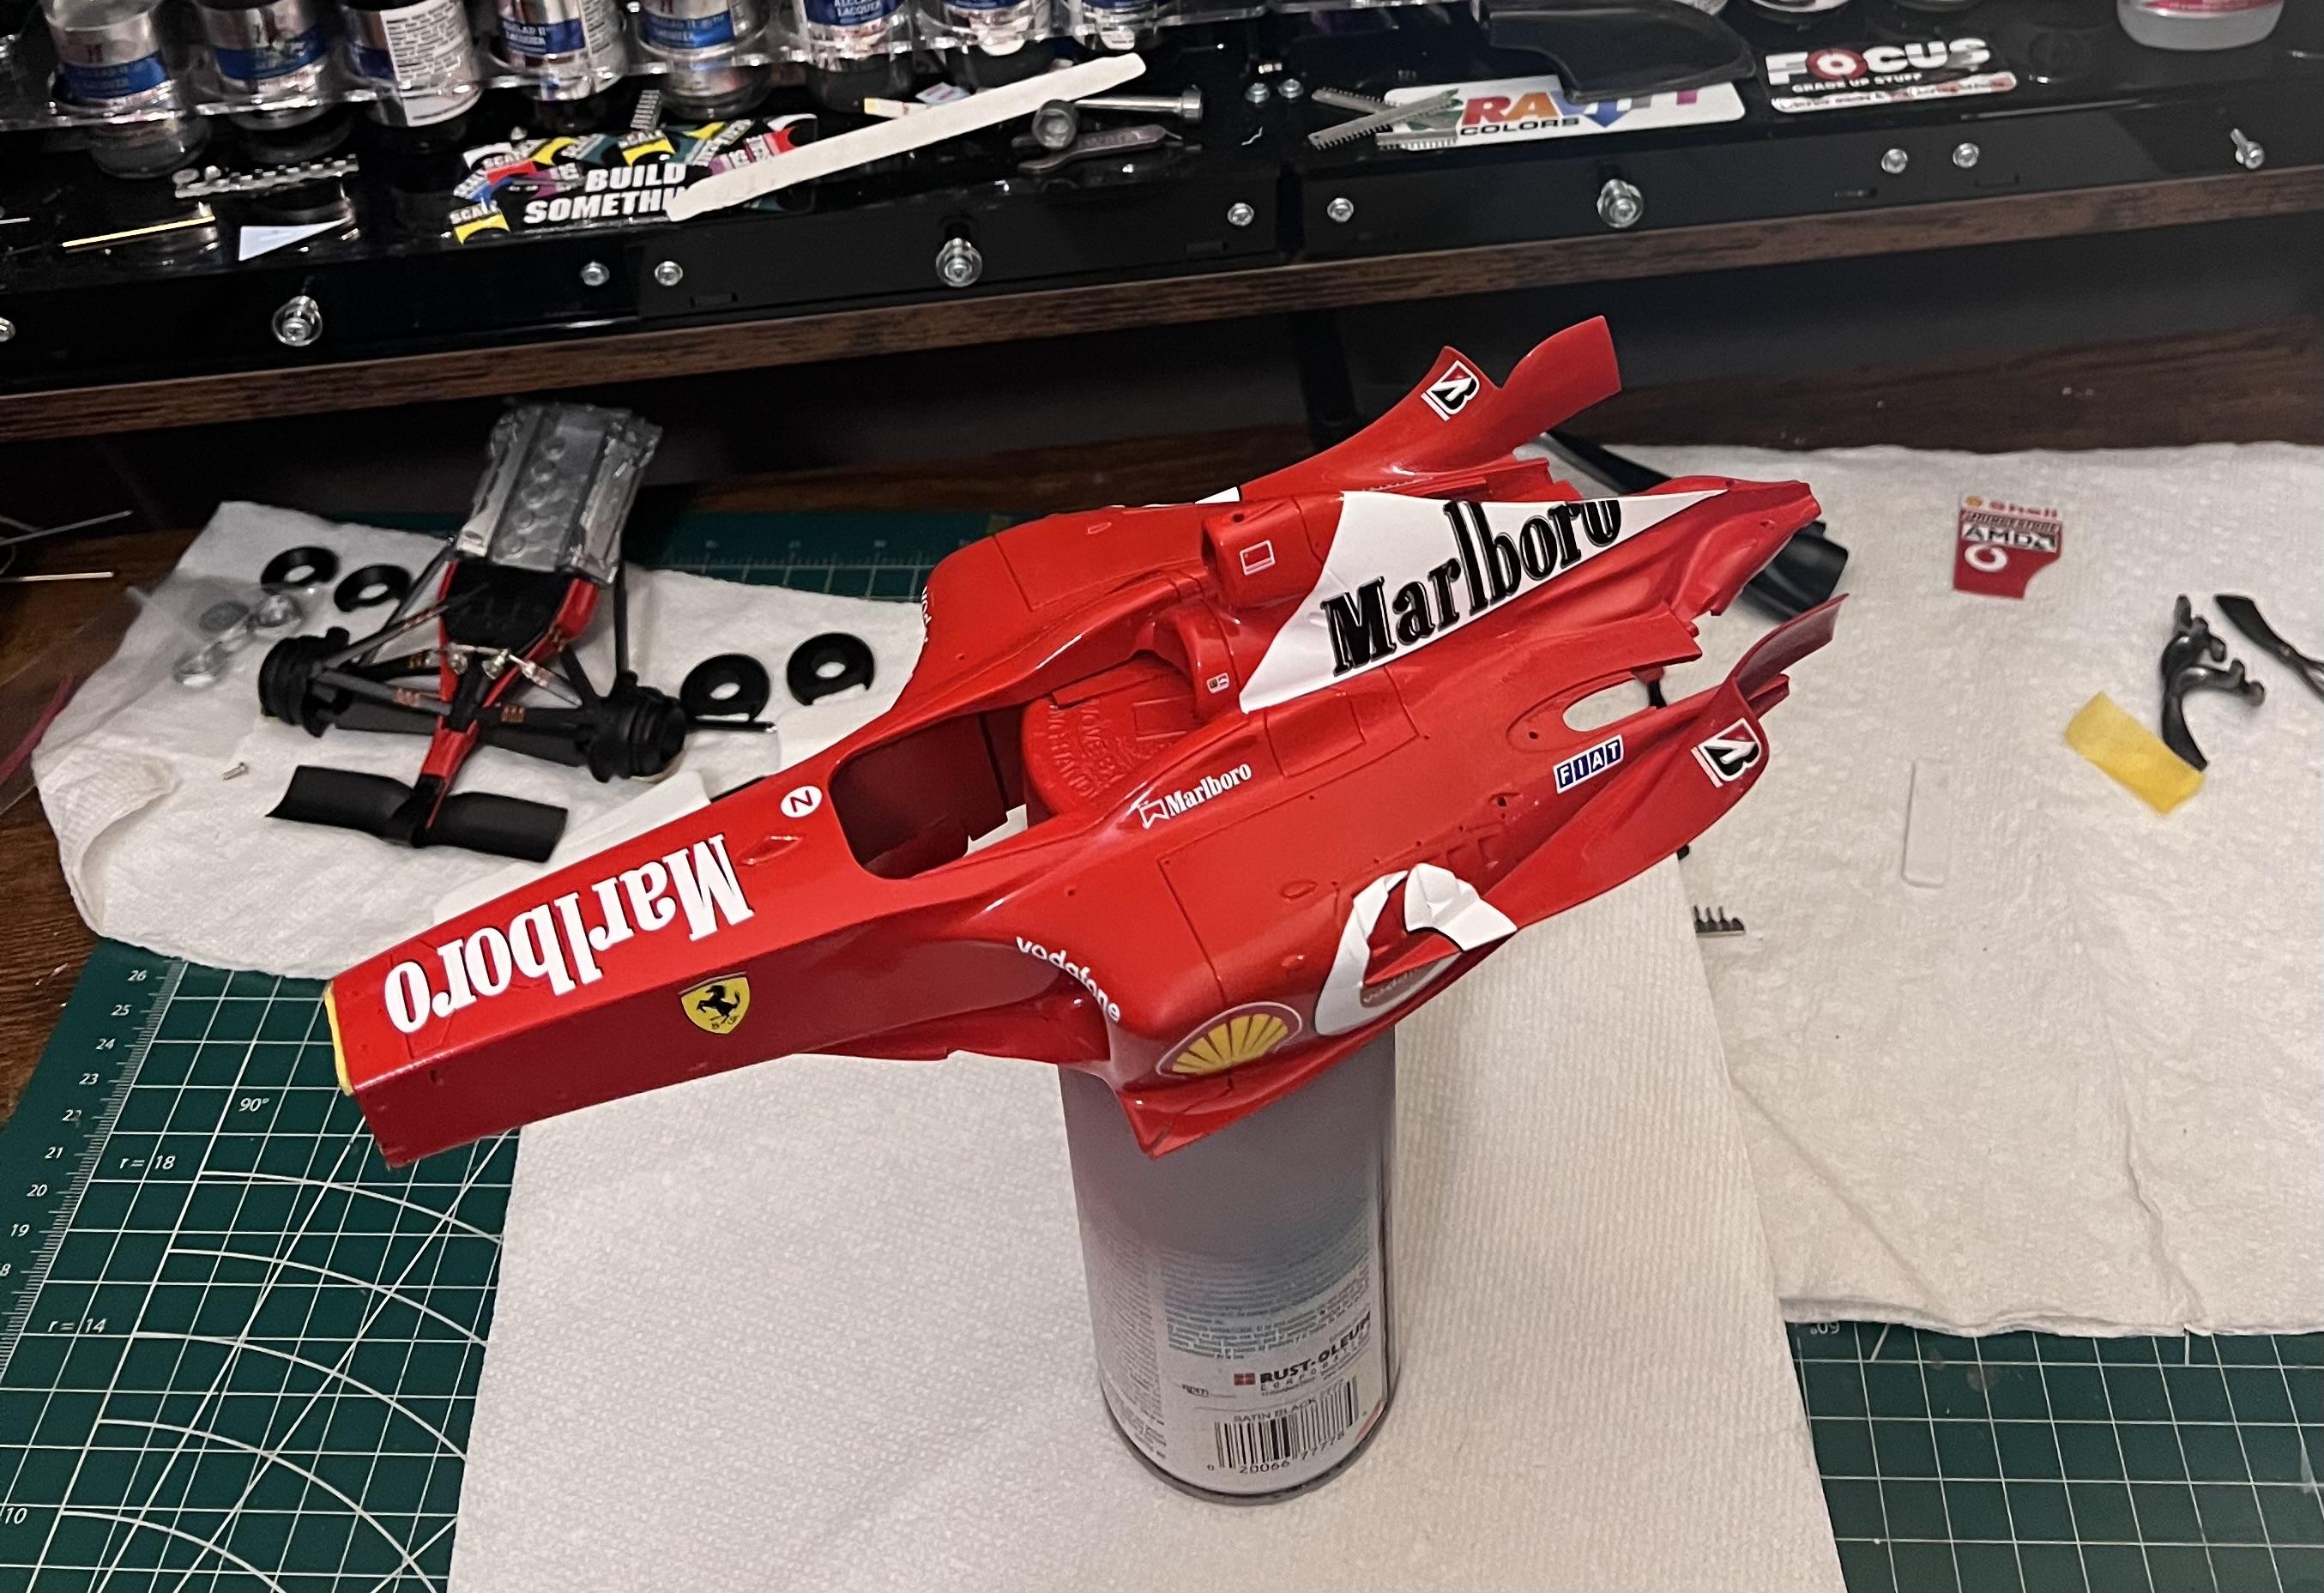
I only spent 6 hours on this 🤪
-
1
-
-
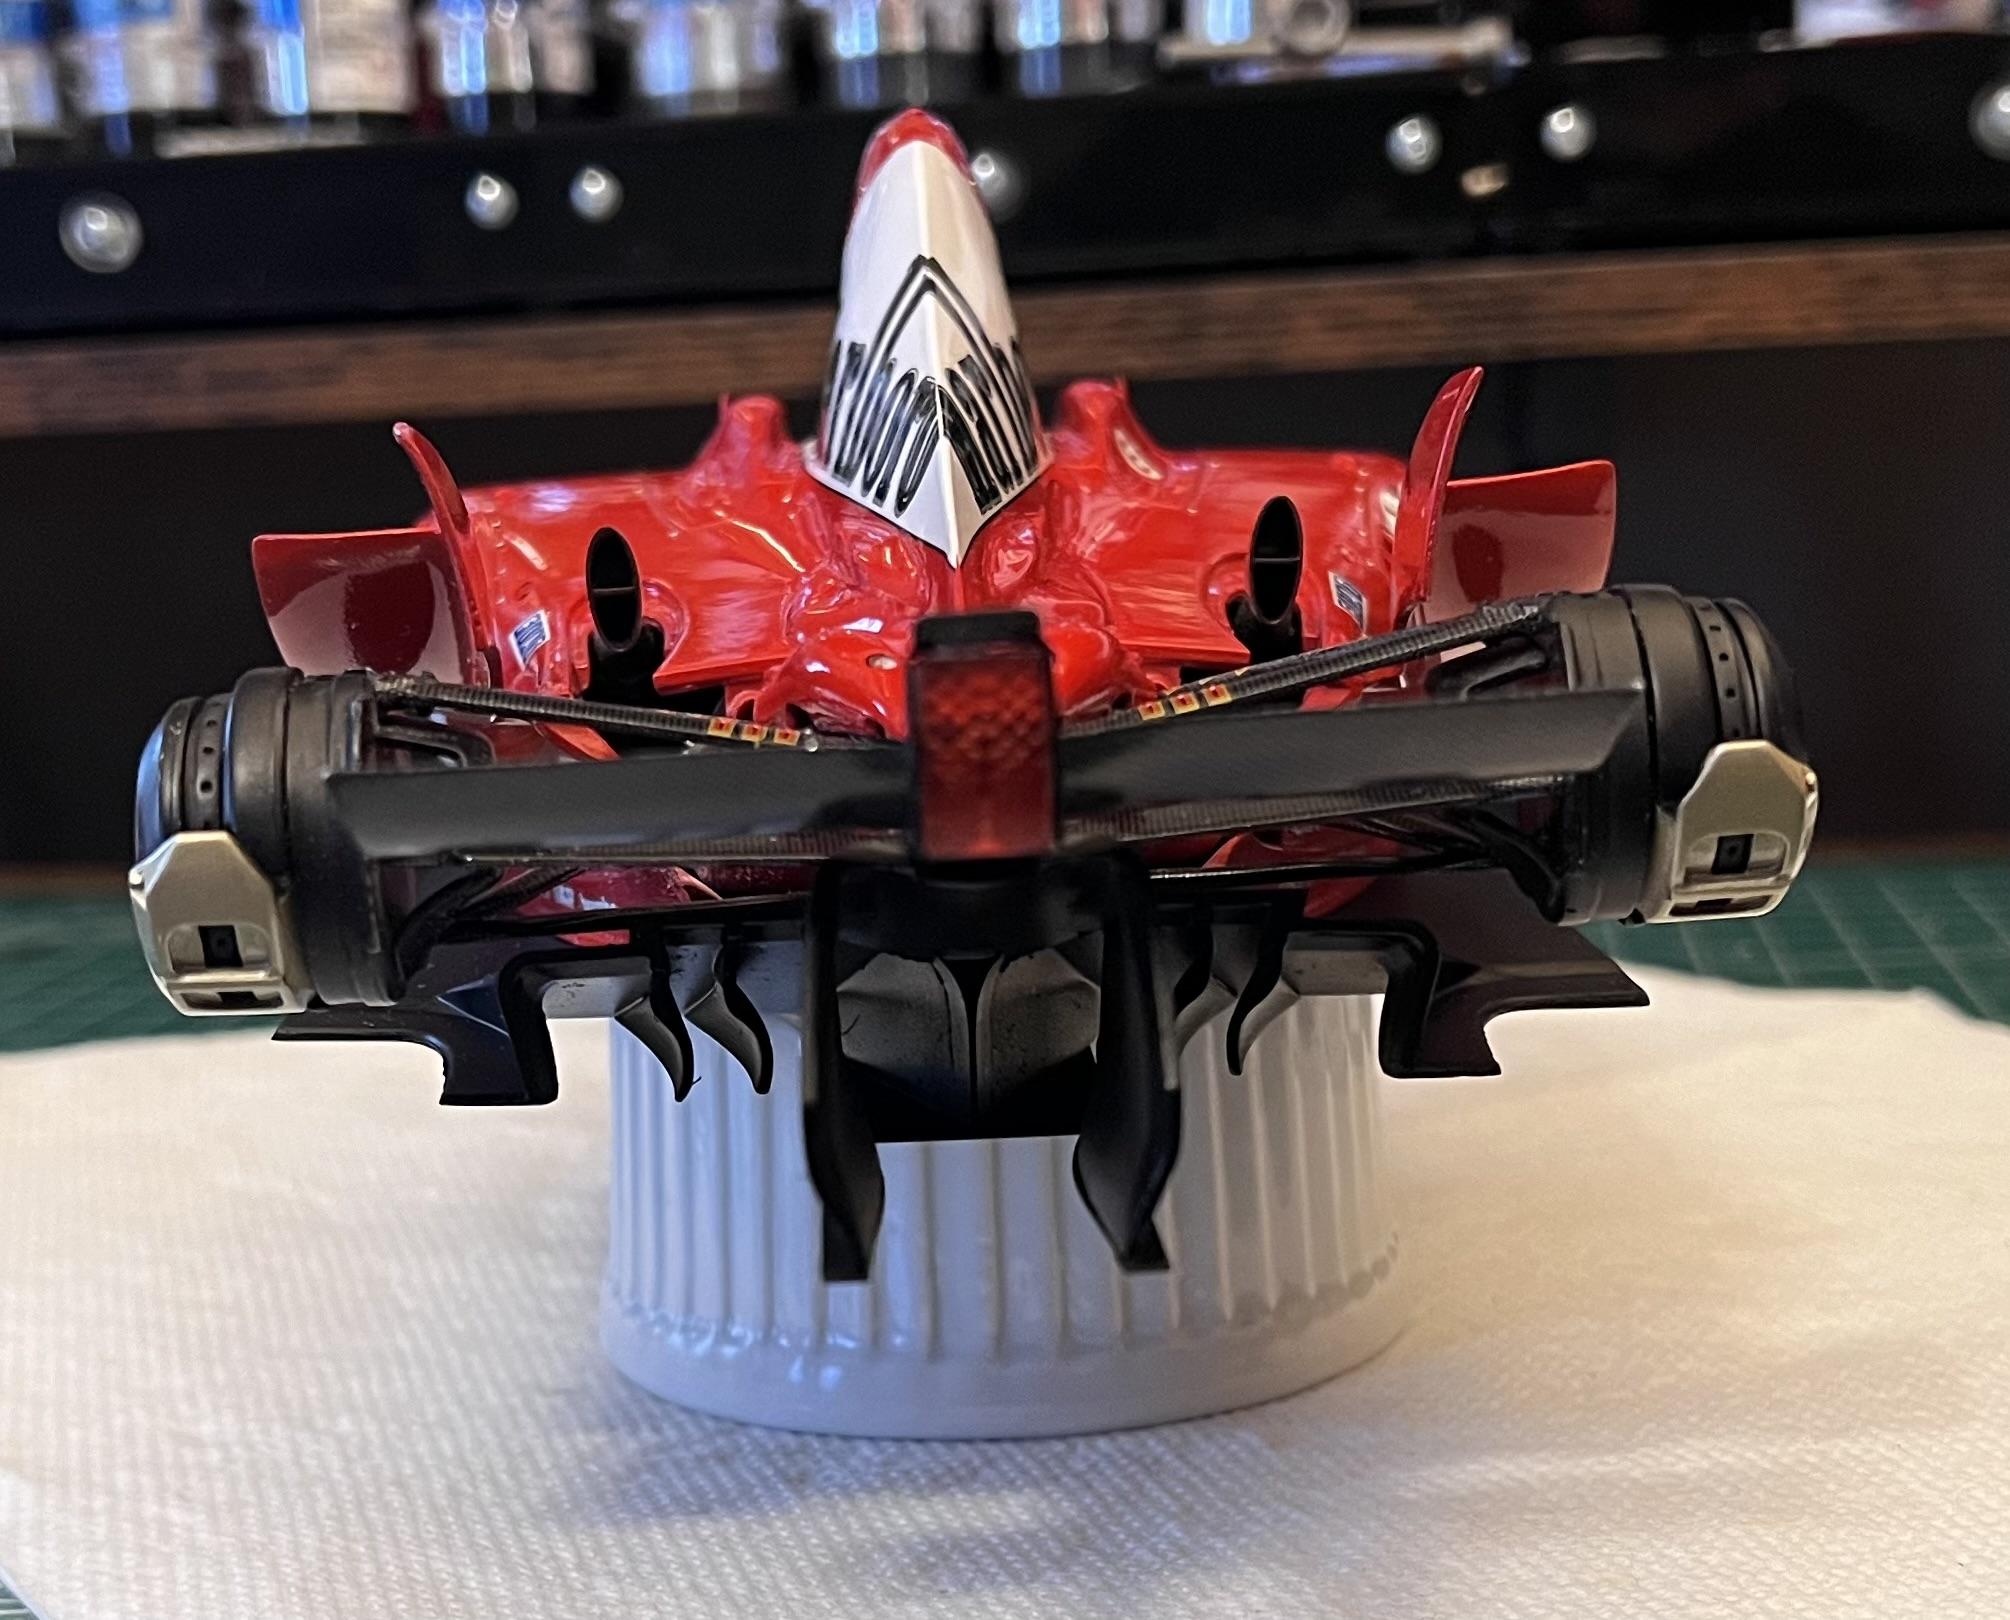
1 hour ago, absmiami said:
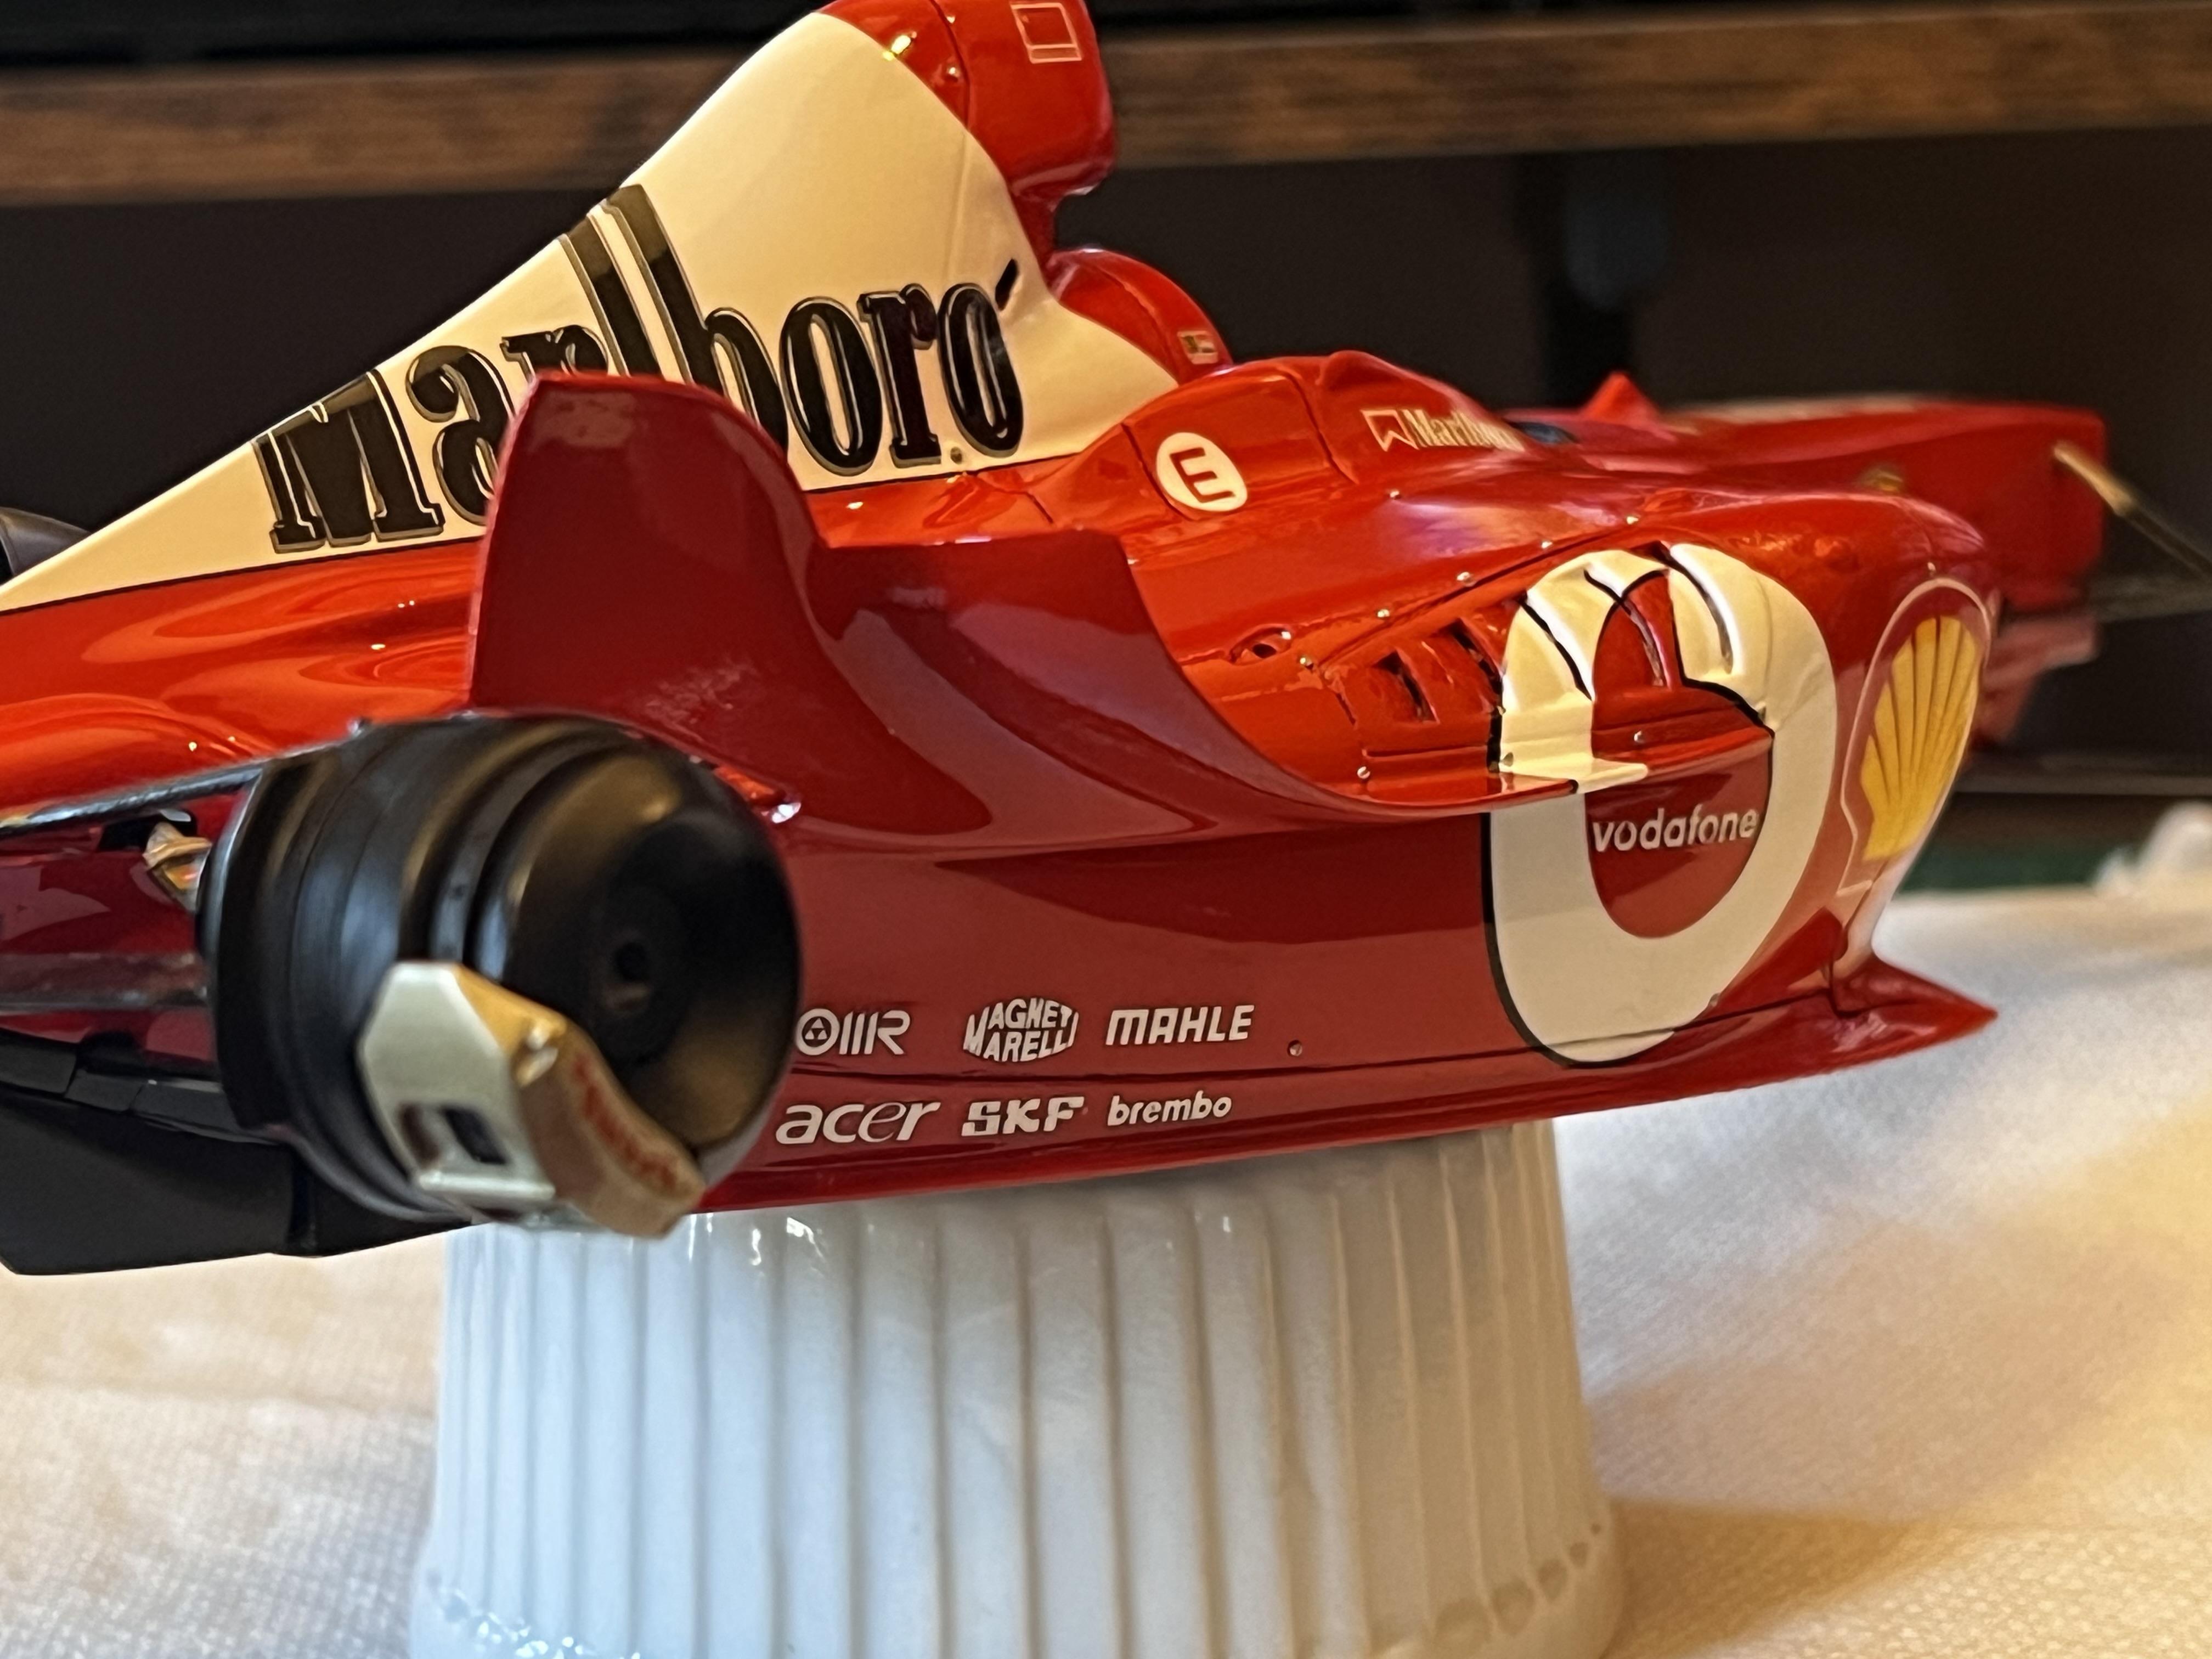
C net is correct - those markings are heat sensors - sometimes also used on radiators - were these included in the kit - and are the susp arms clear-coated after you’ve applied the carbon decals ?
The decals where included and I did not clear over the decals

(1).png.ee8e902f6f09e7652d307d07653b3d07.png)


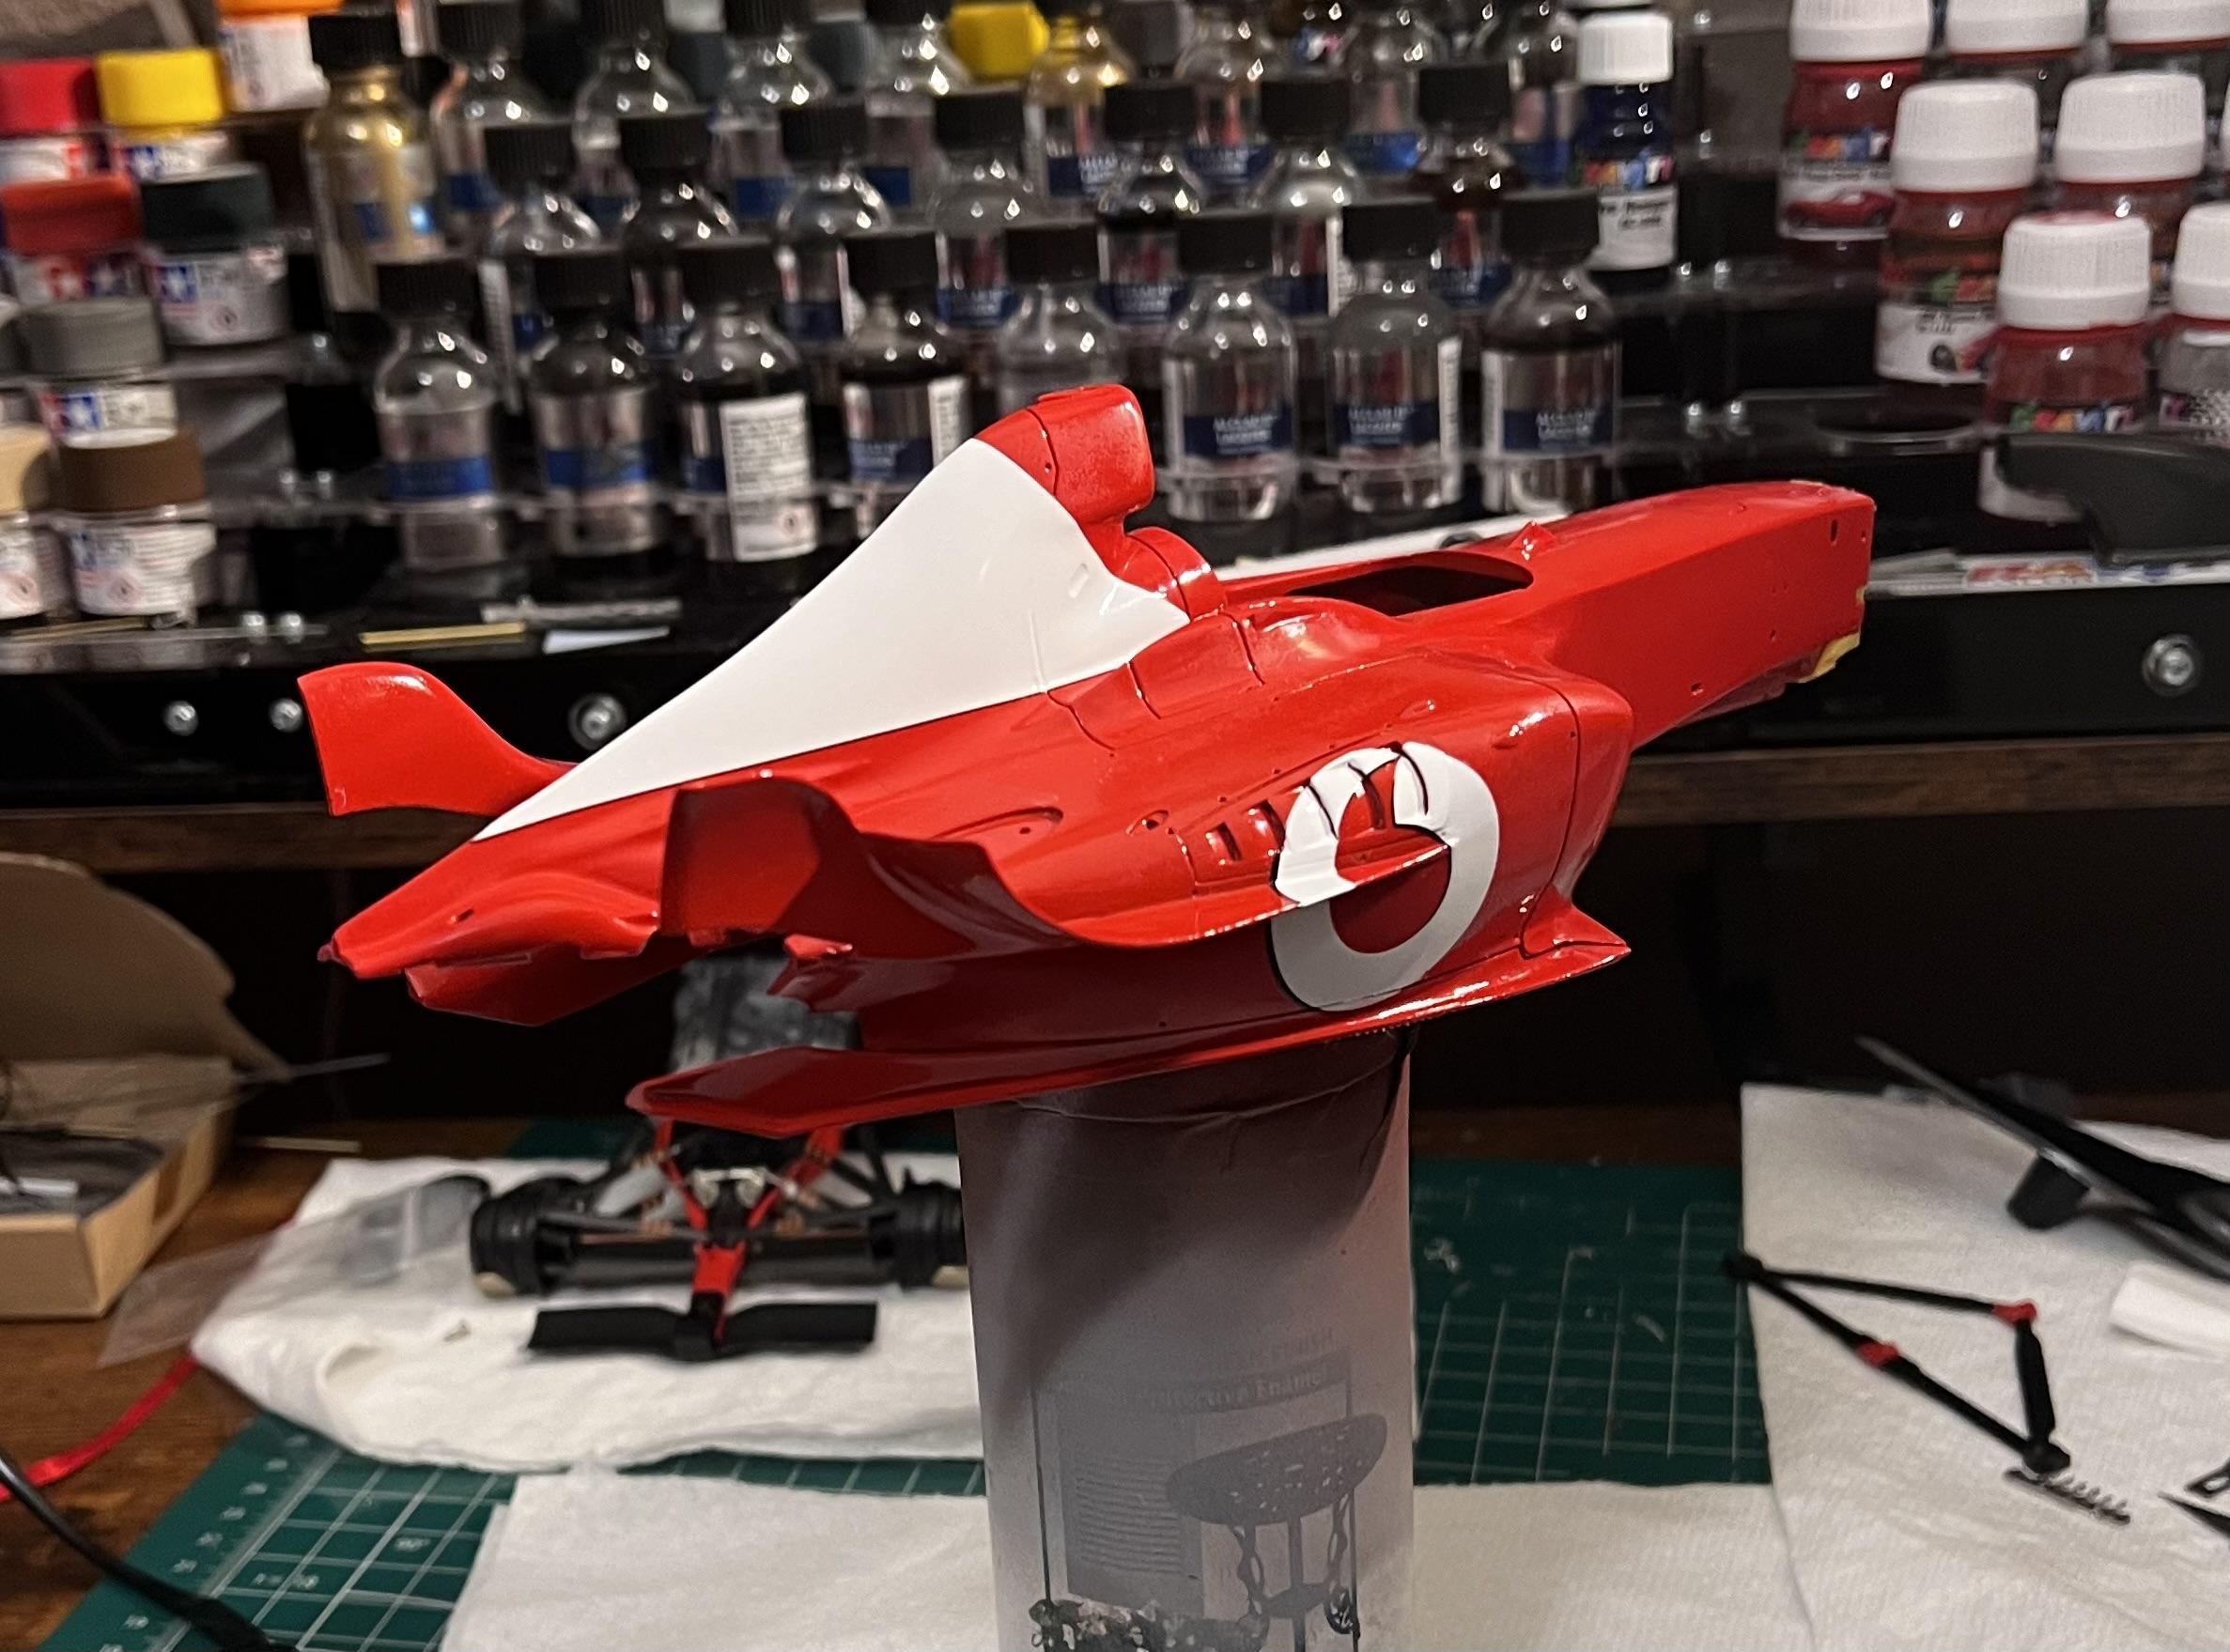
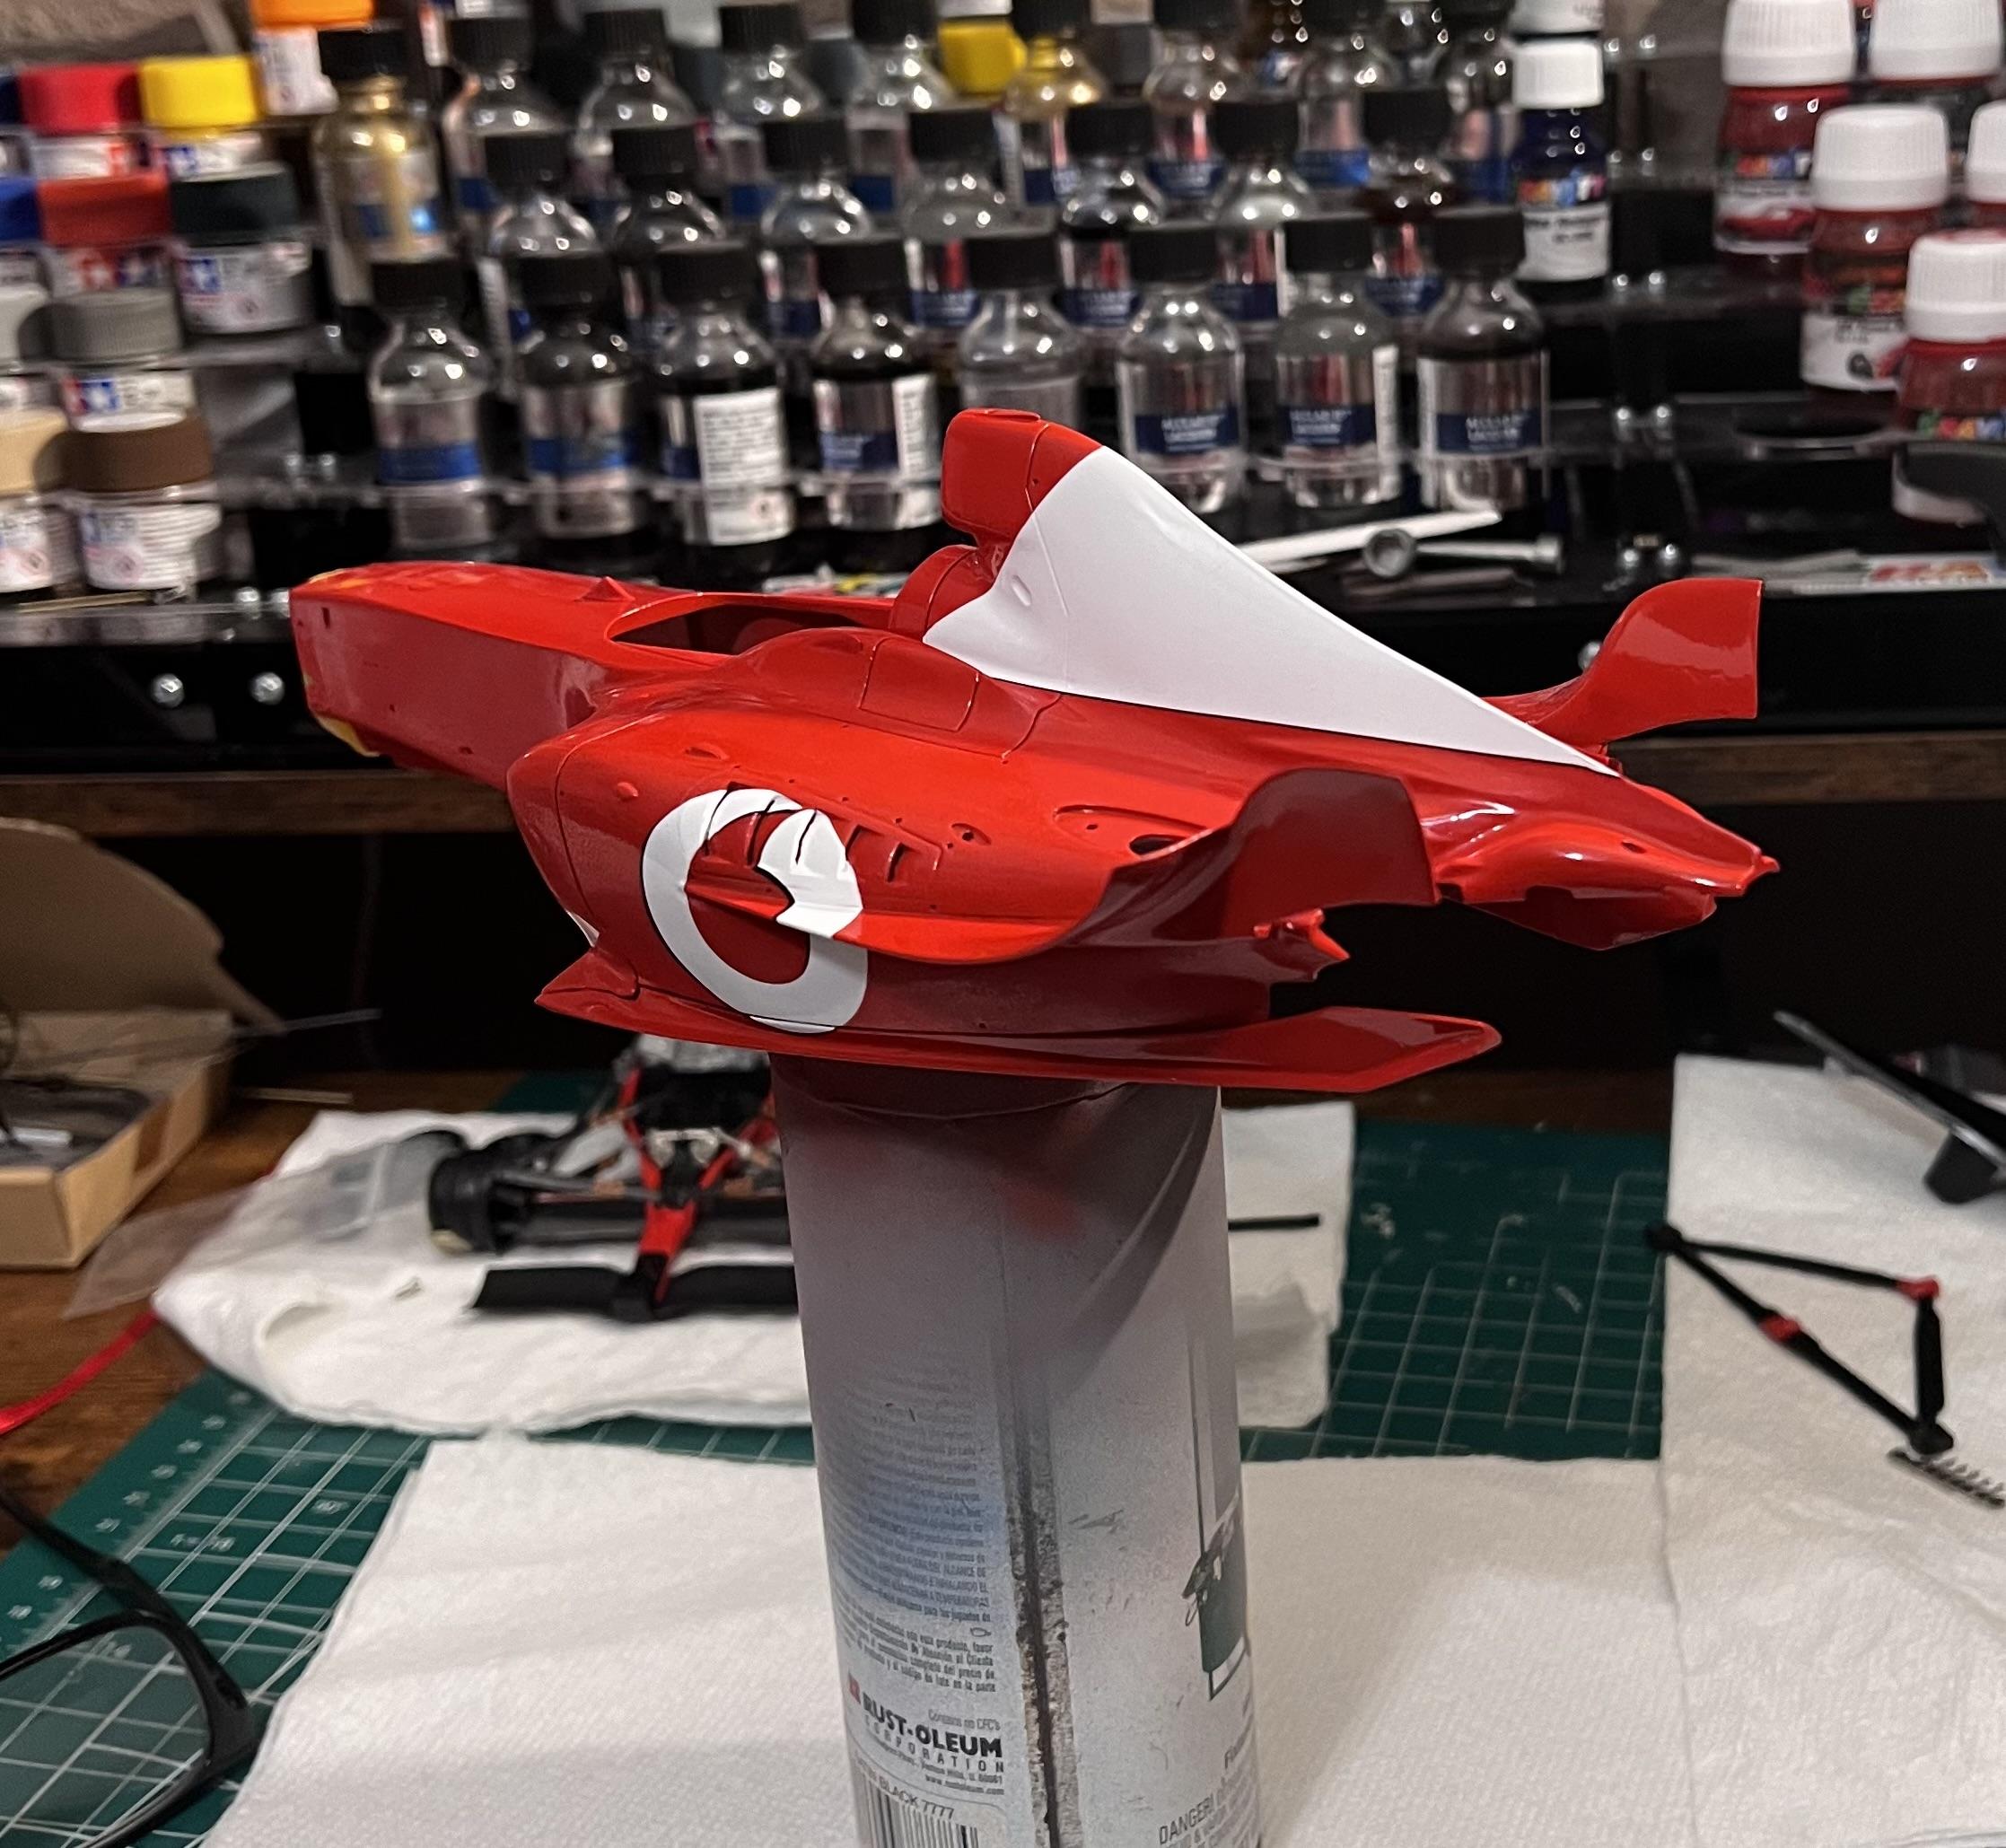

Ferrari F 2003 GA
in WIP: Other Racing: Road Racing, Land Speed Racers
Posted
I have been slacking 🤪