Filthysanches
-
Posts
75 -
Joined
-
Last visited
Content Type
Profiles
Forums
Events
Gallery
Everything posted by Filthysanches
-
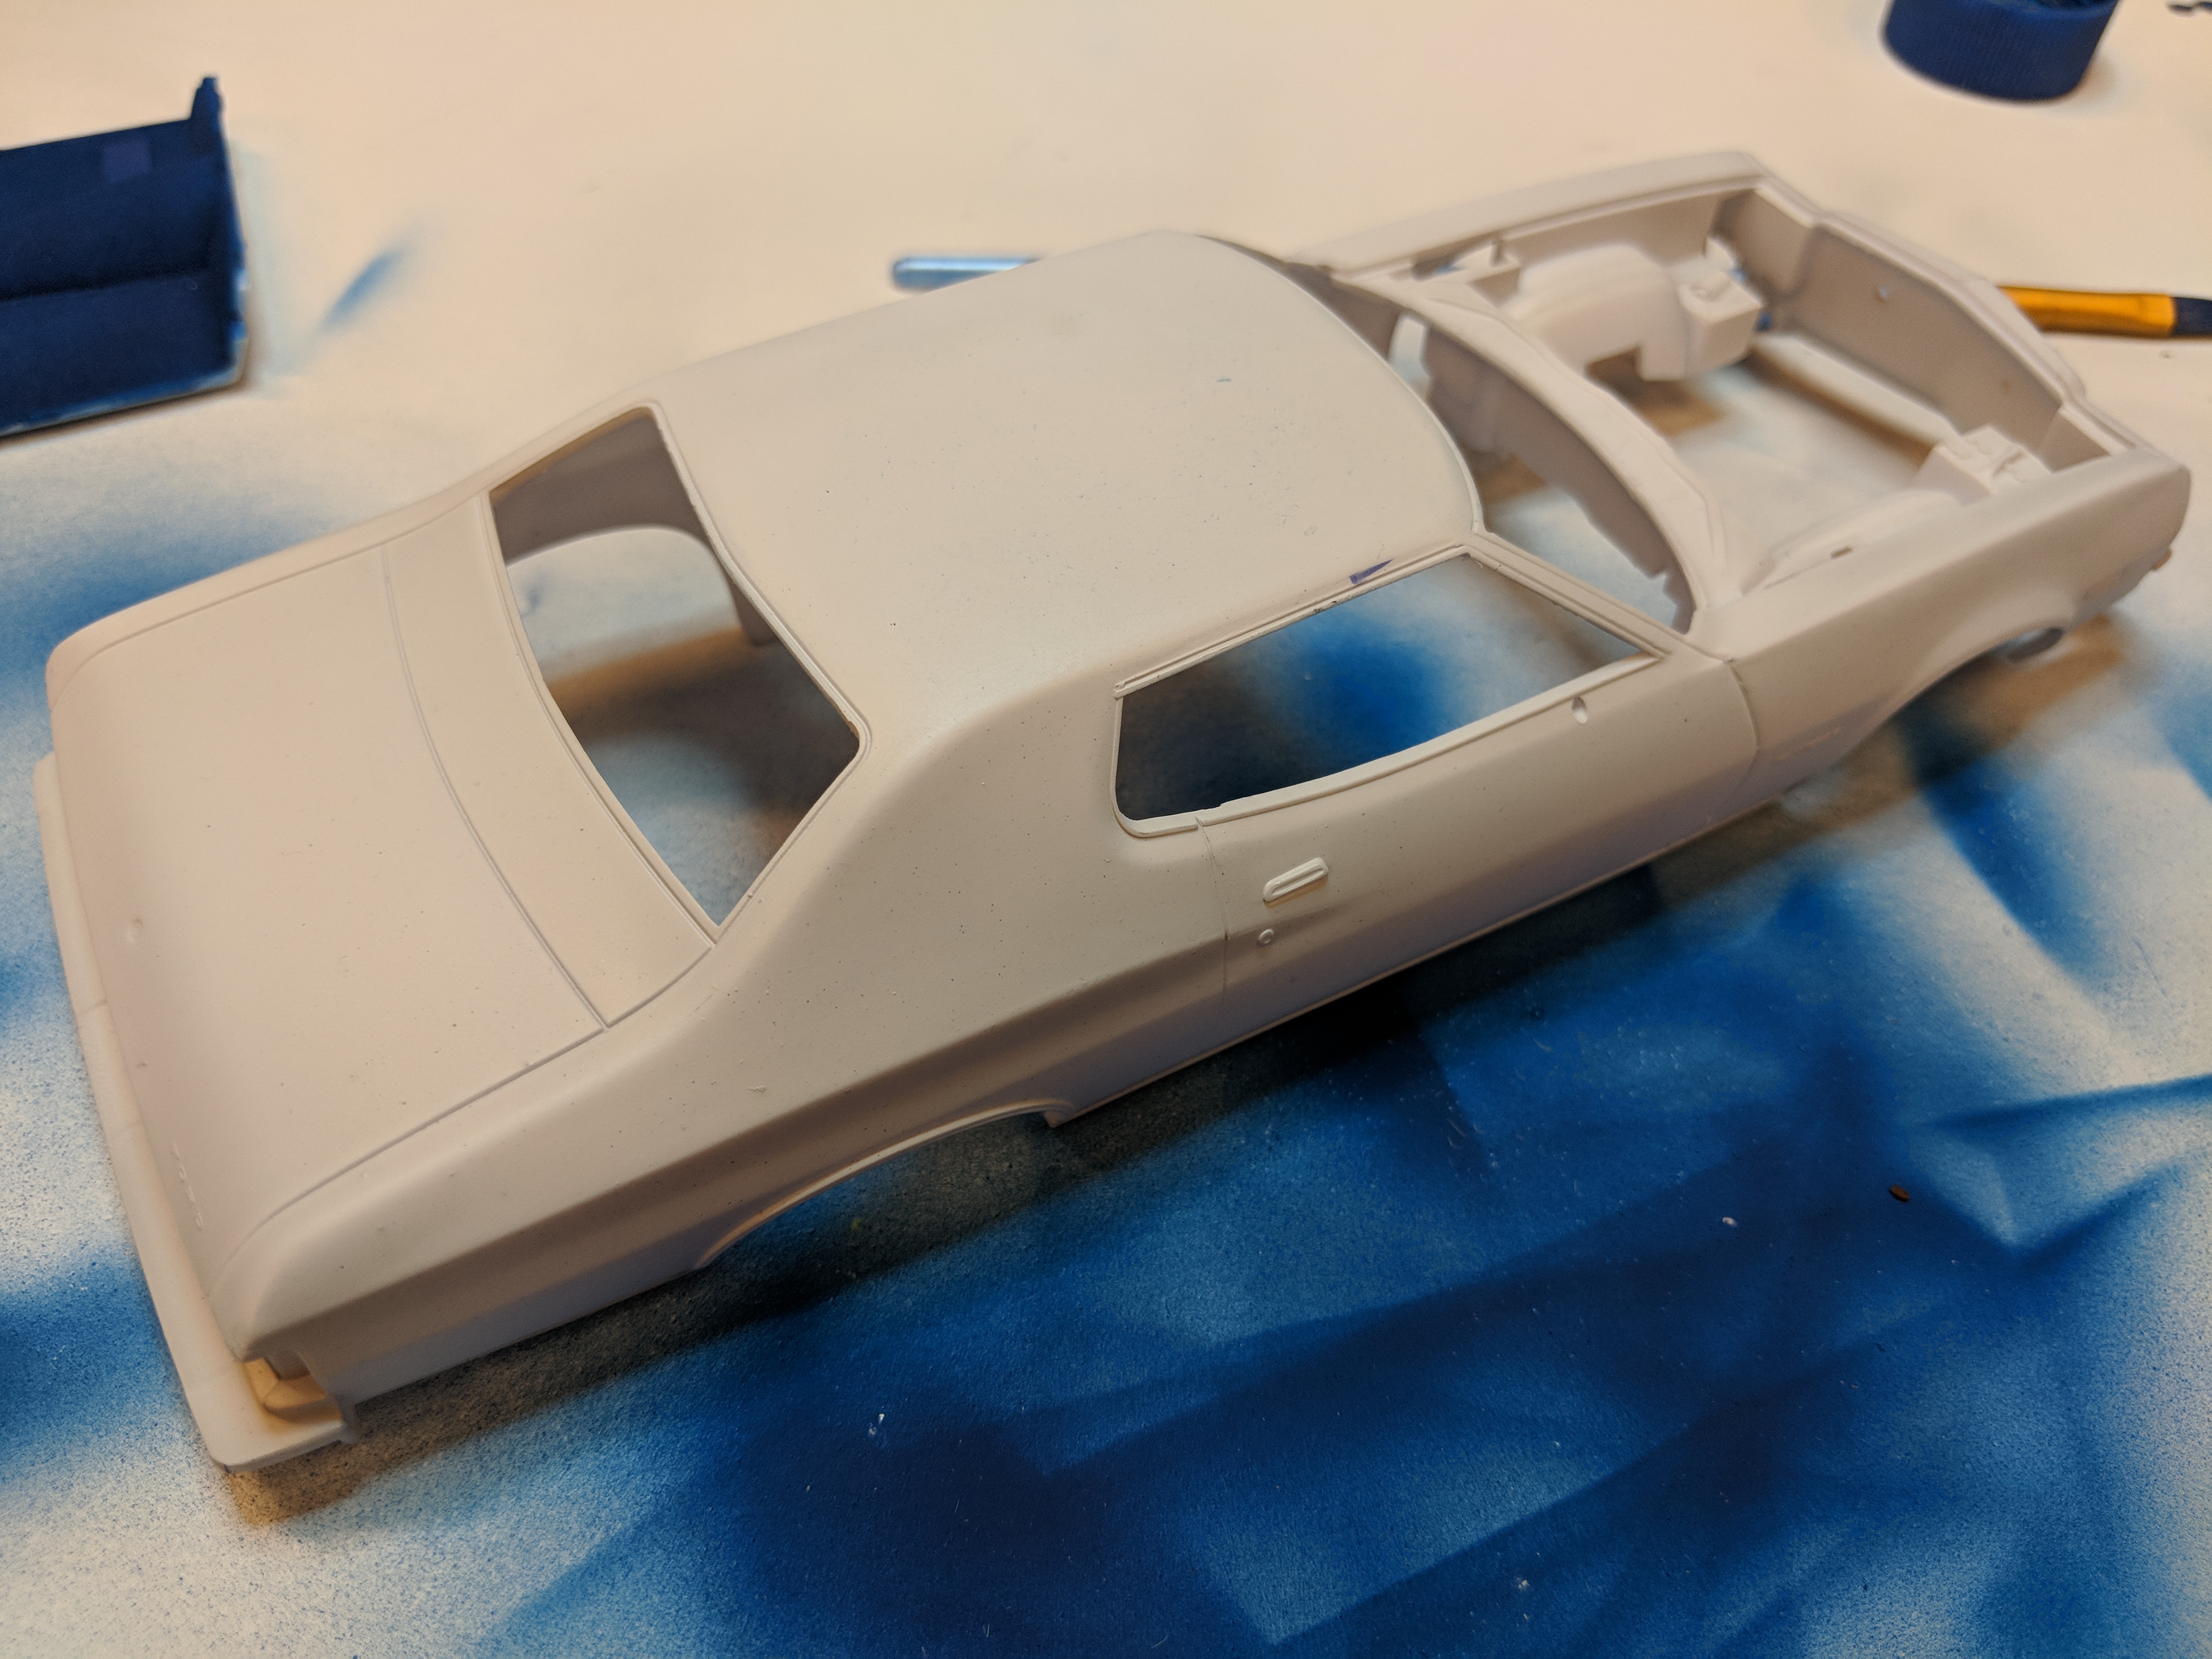
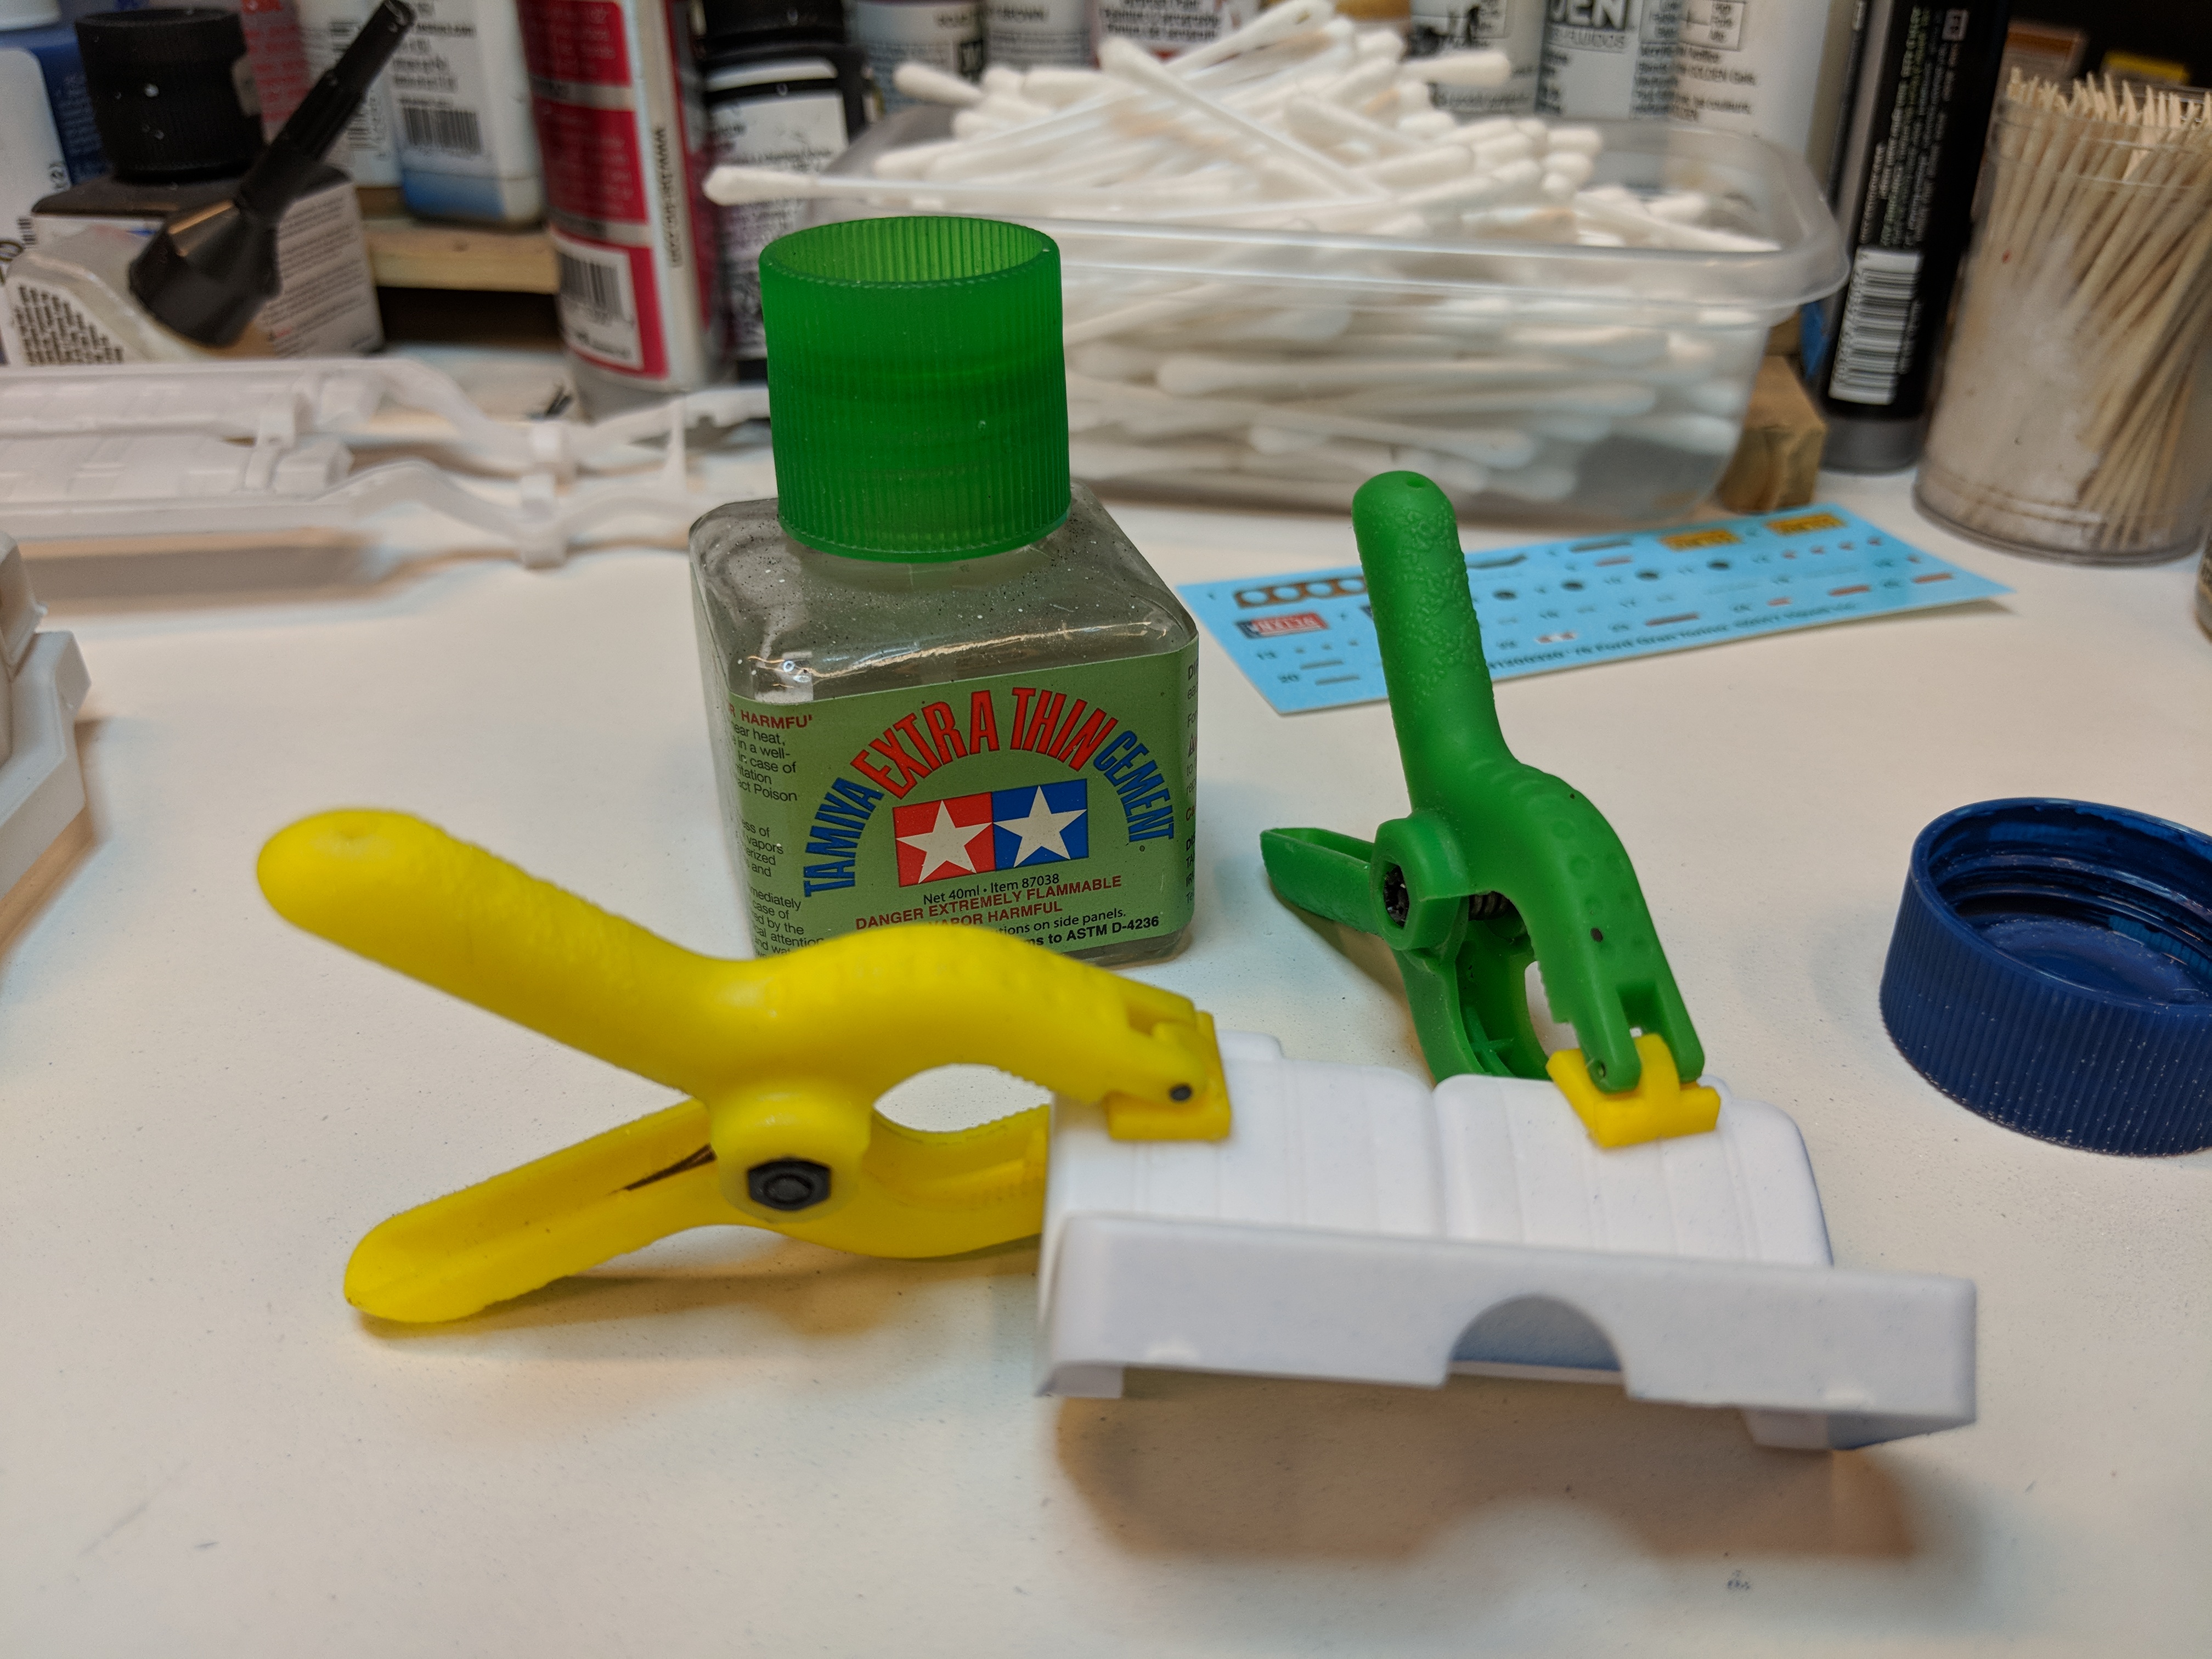
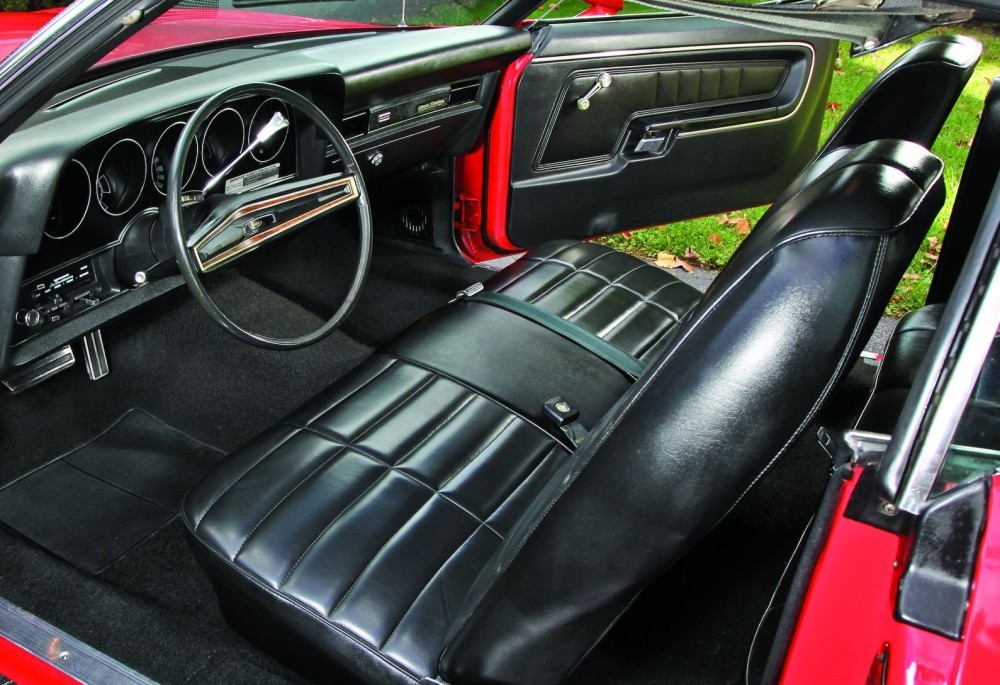
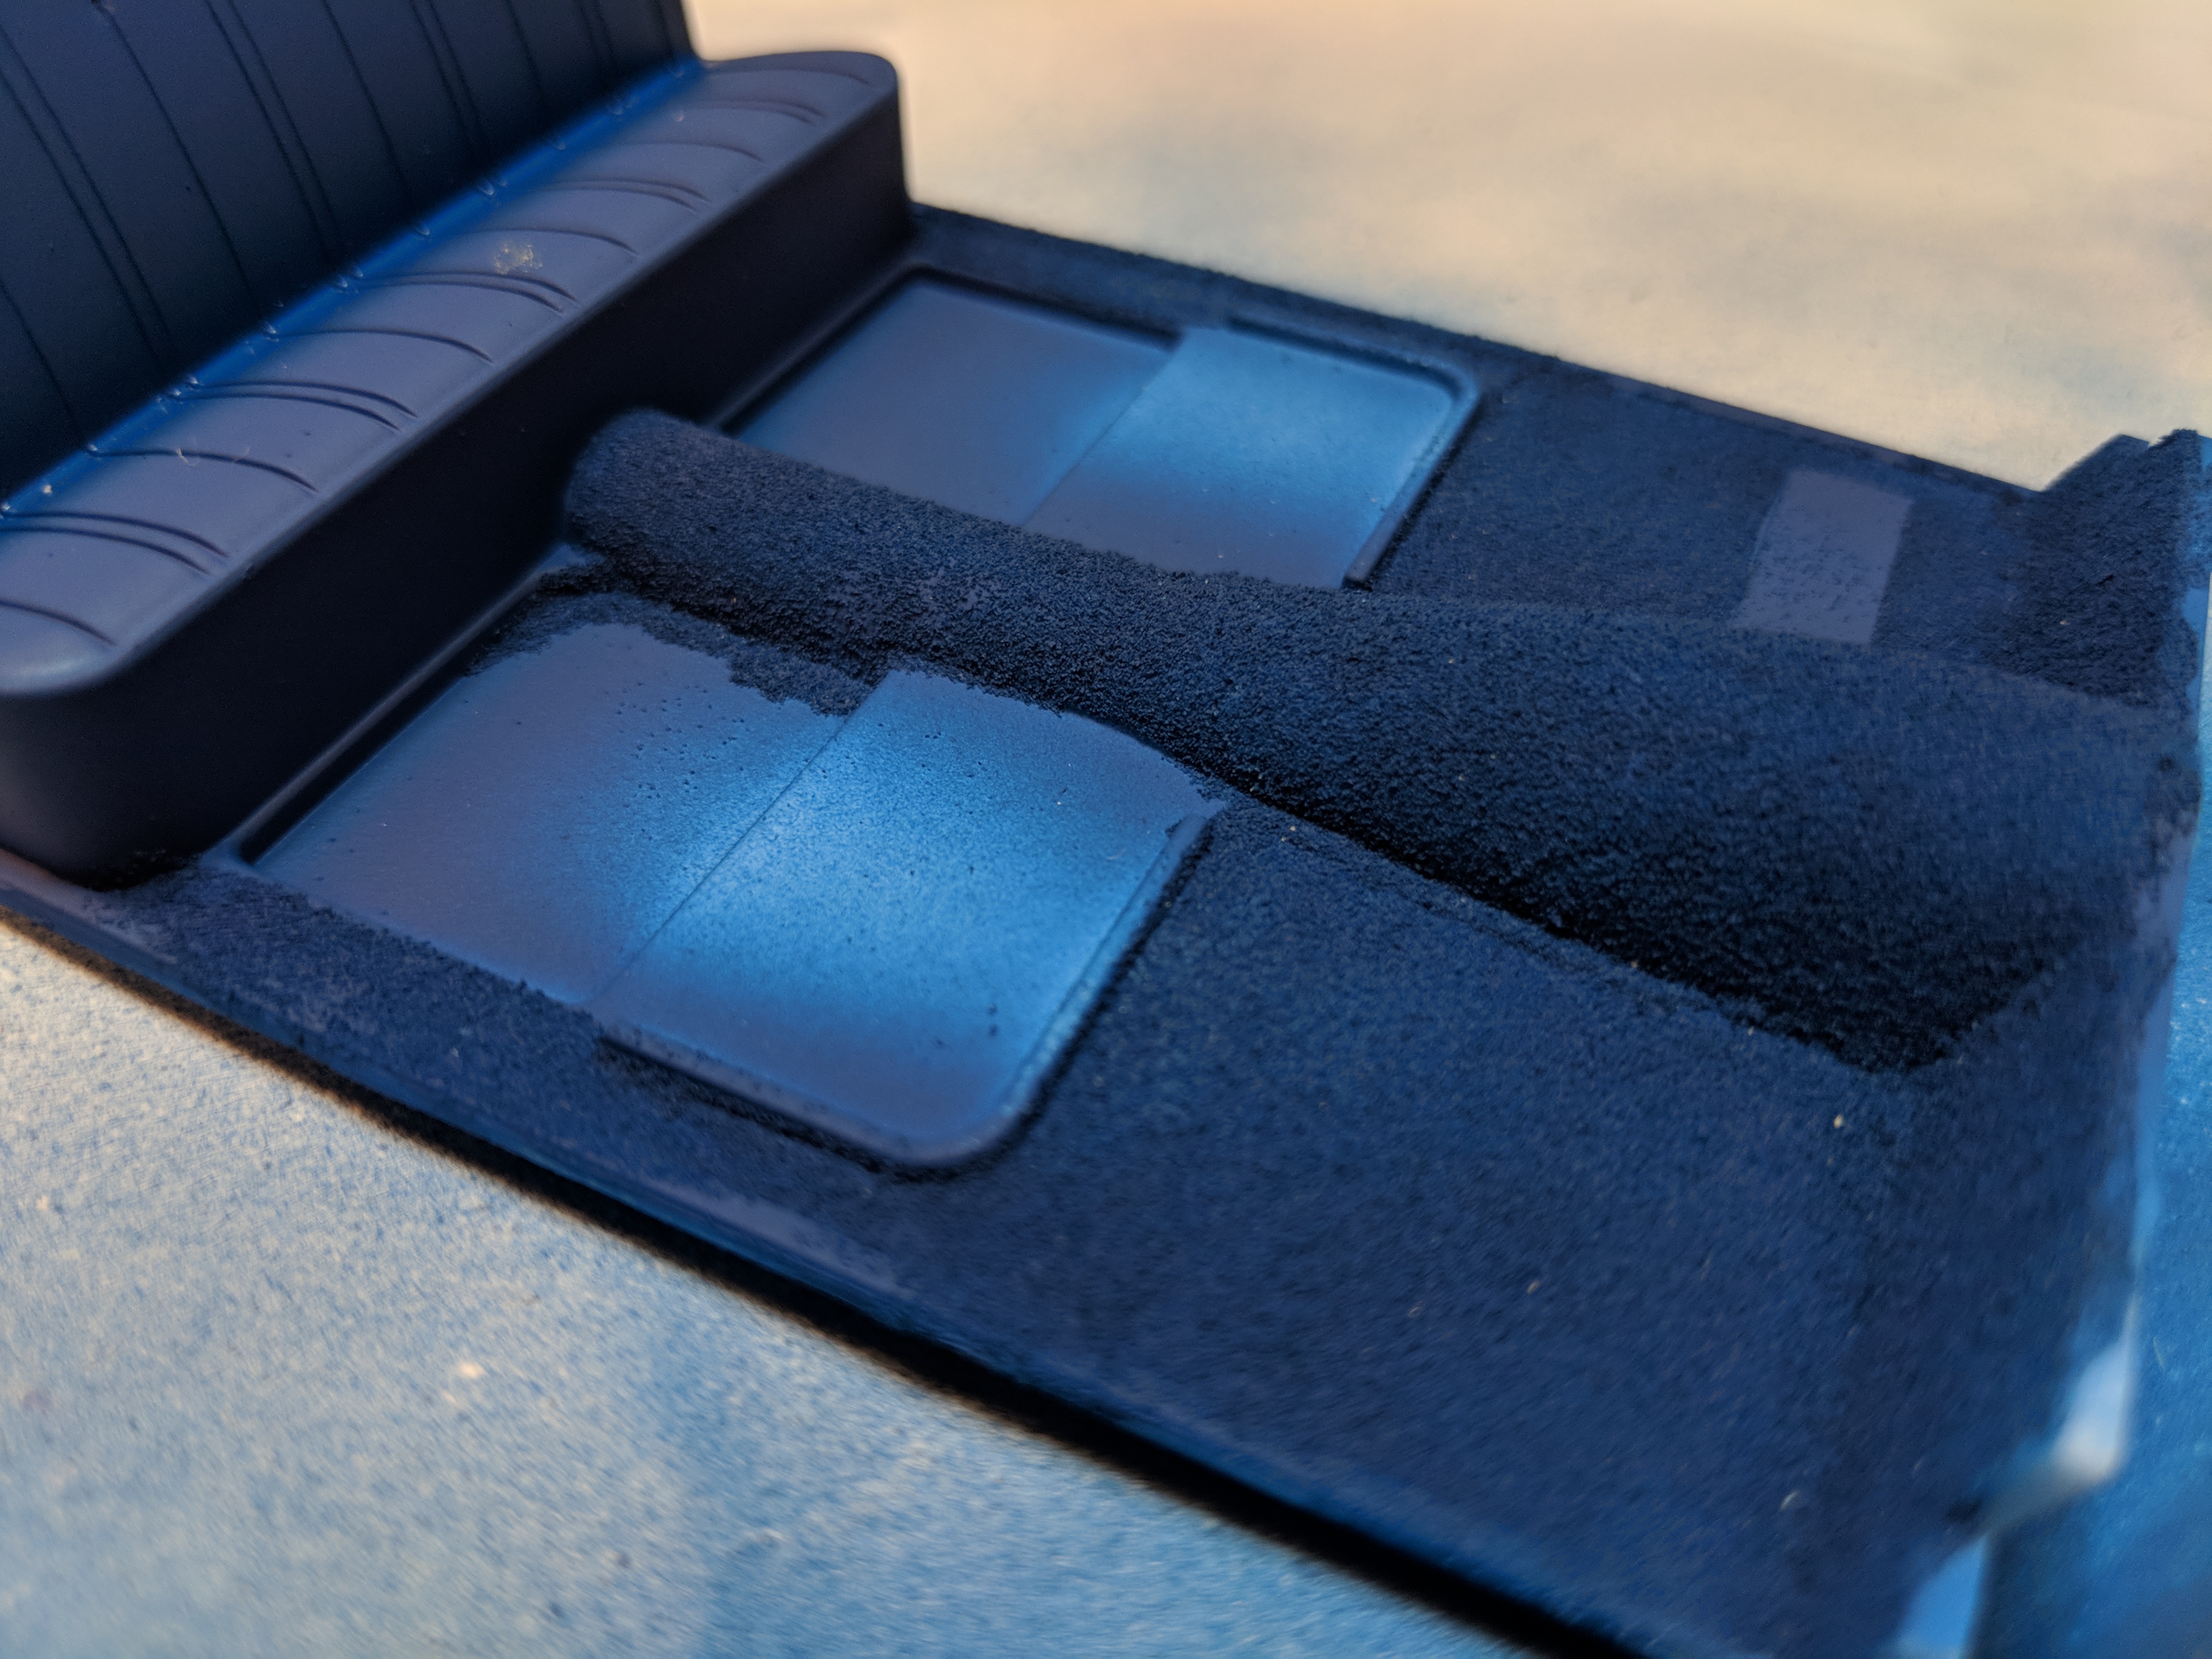
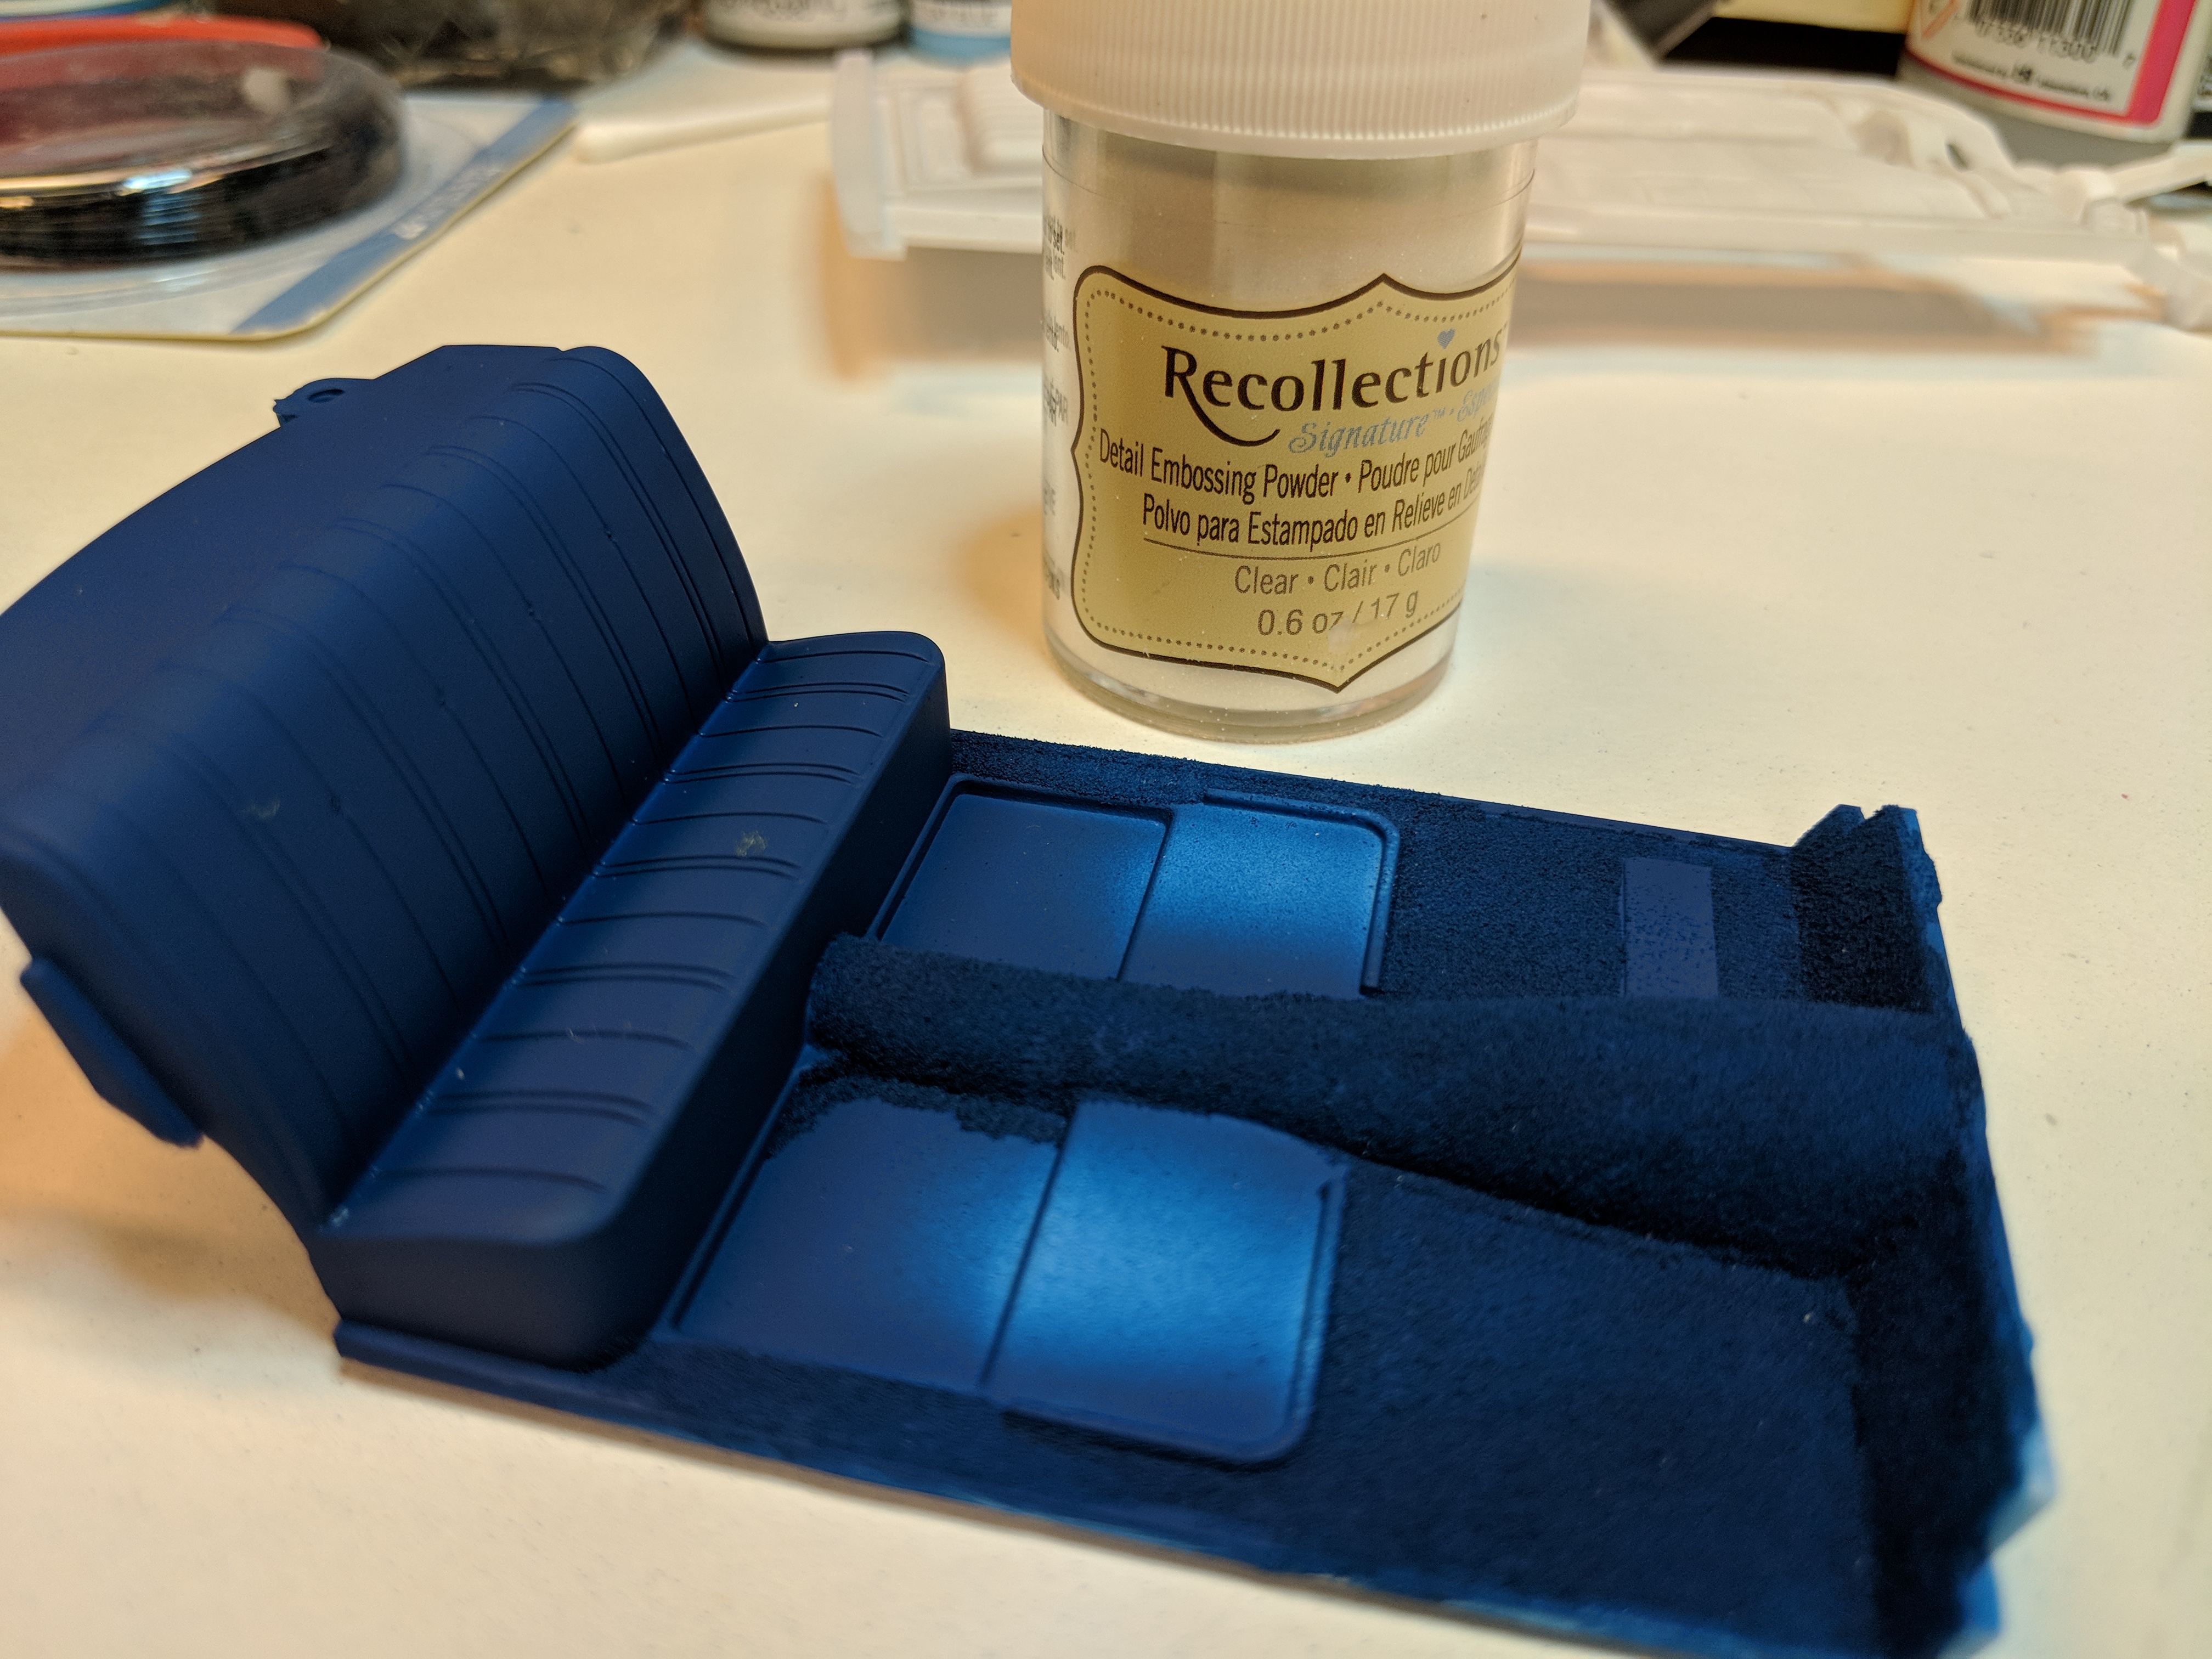
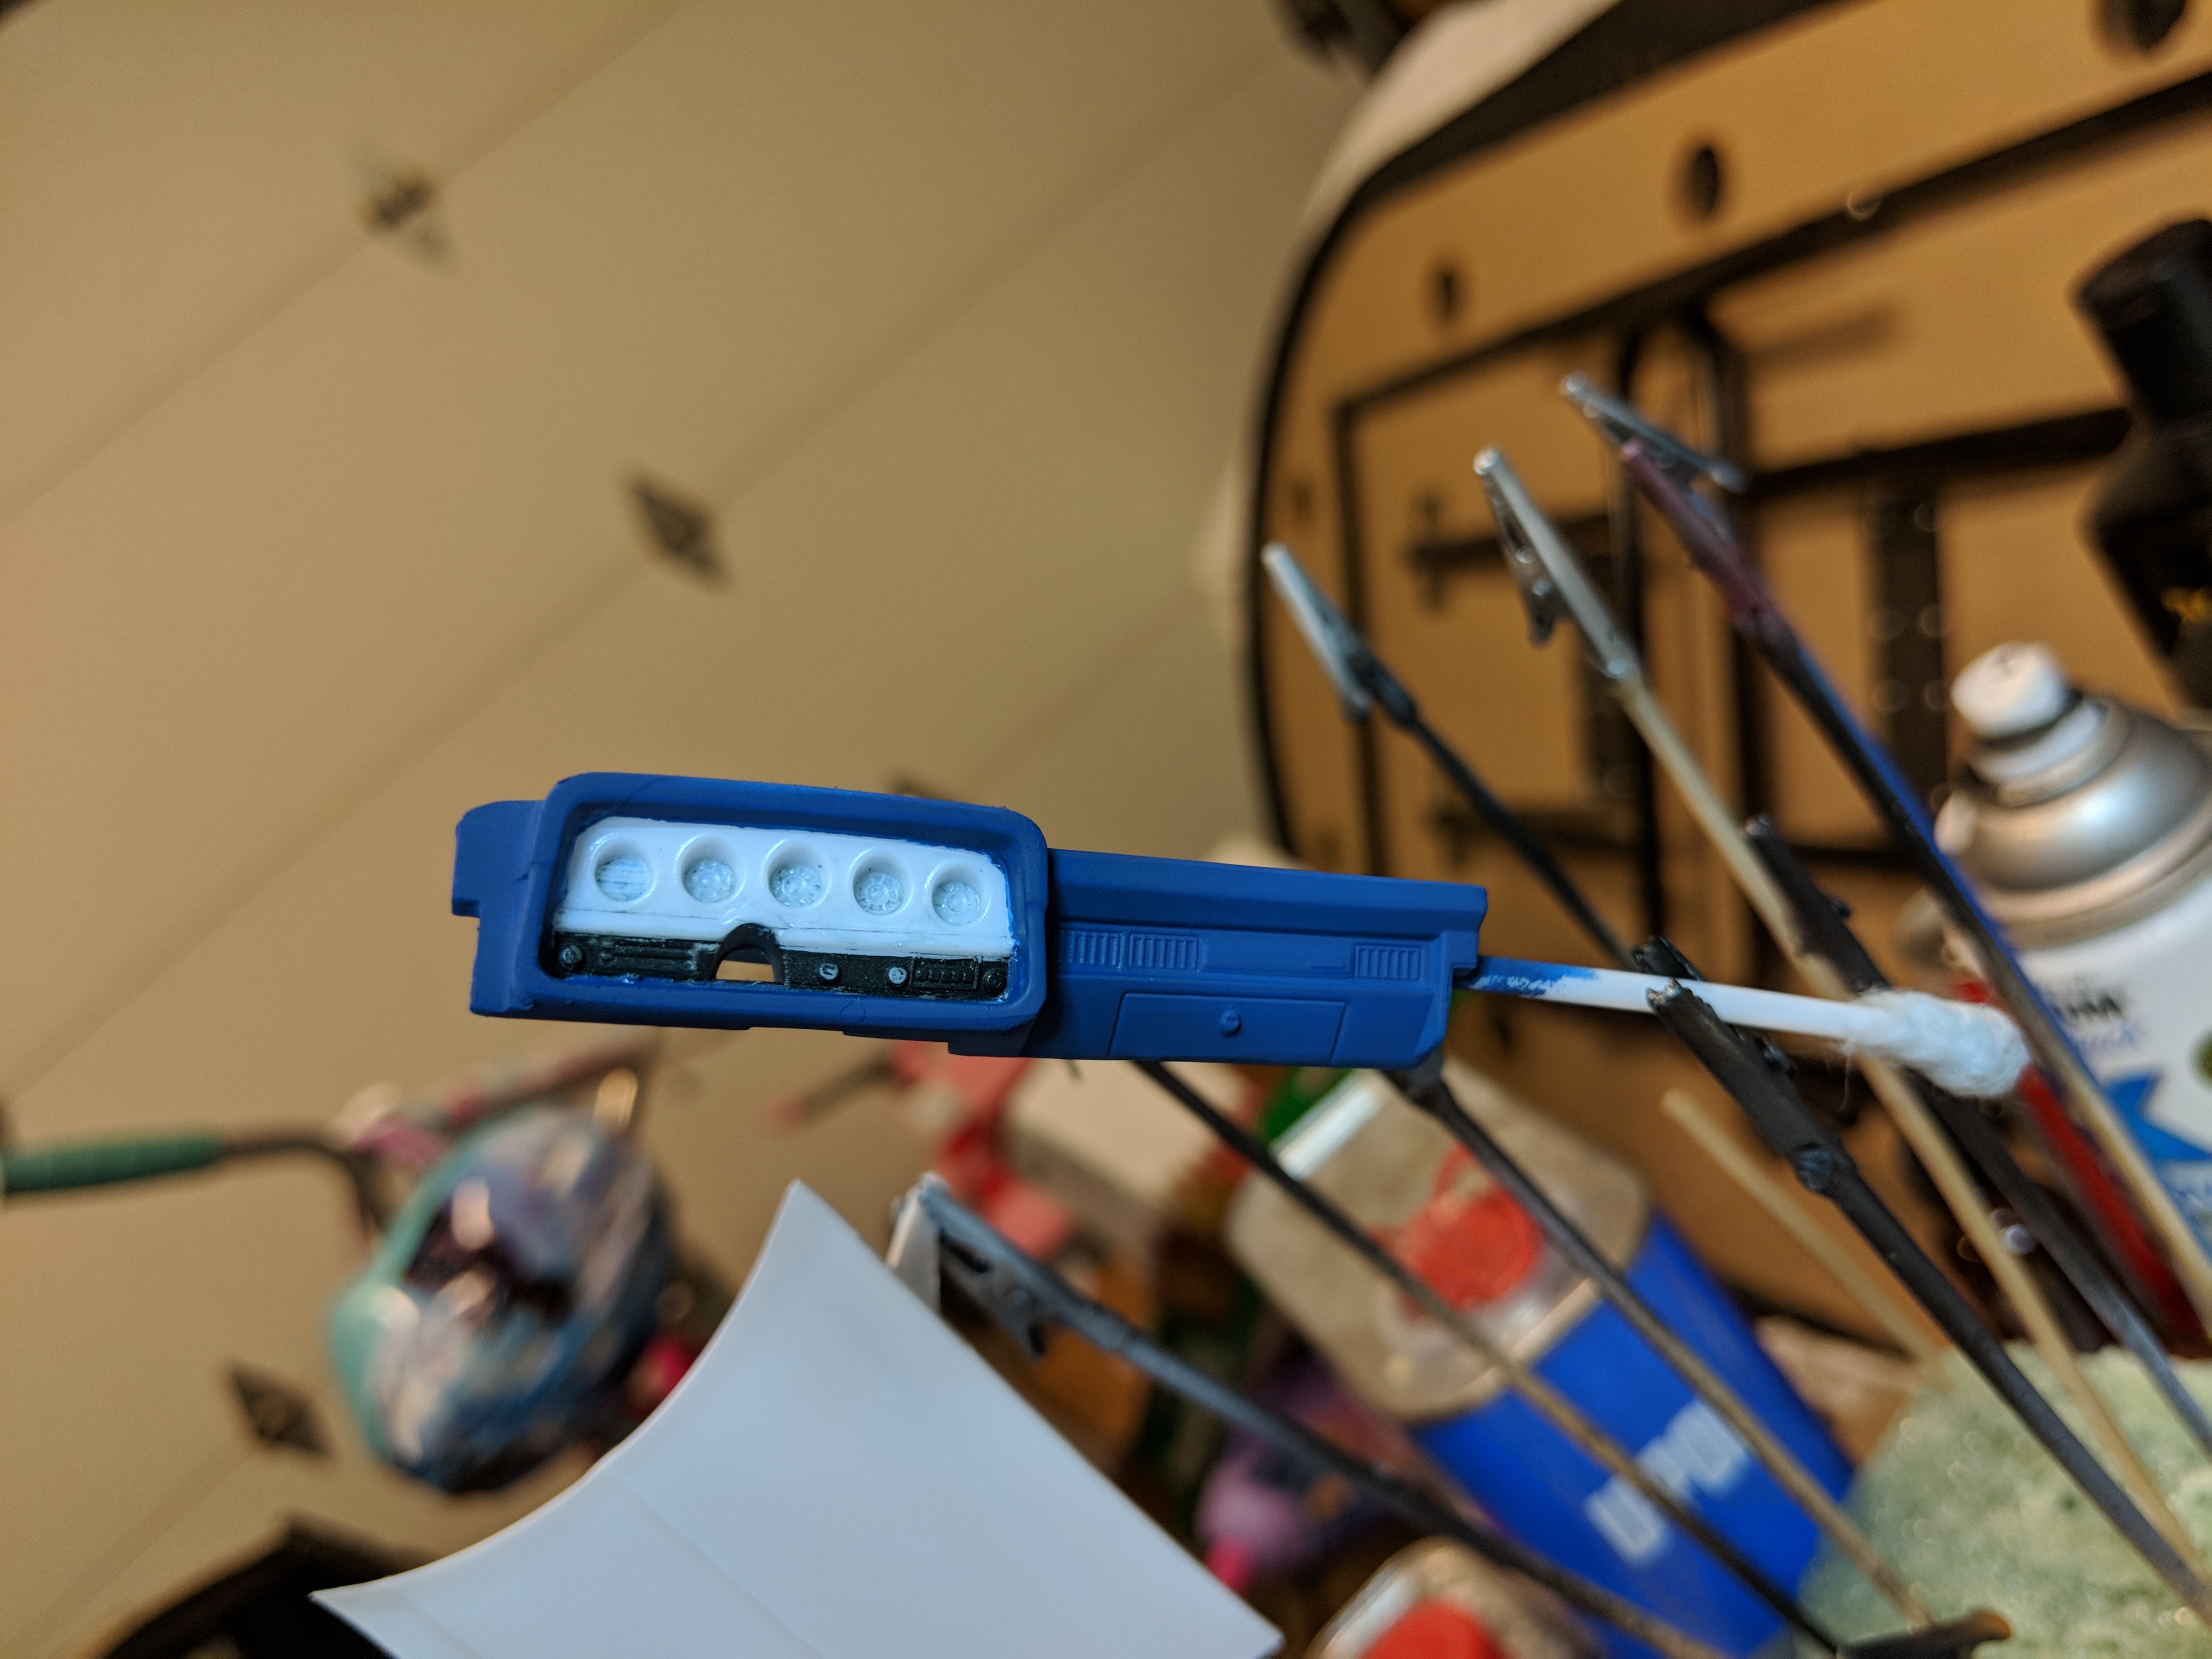
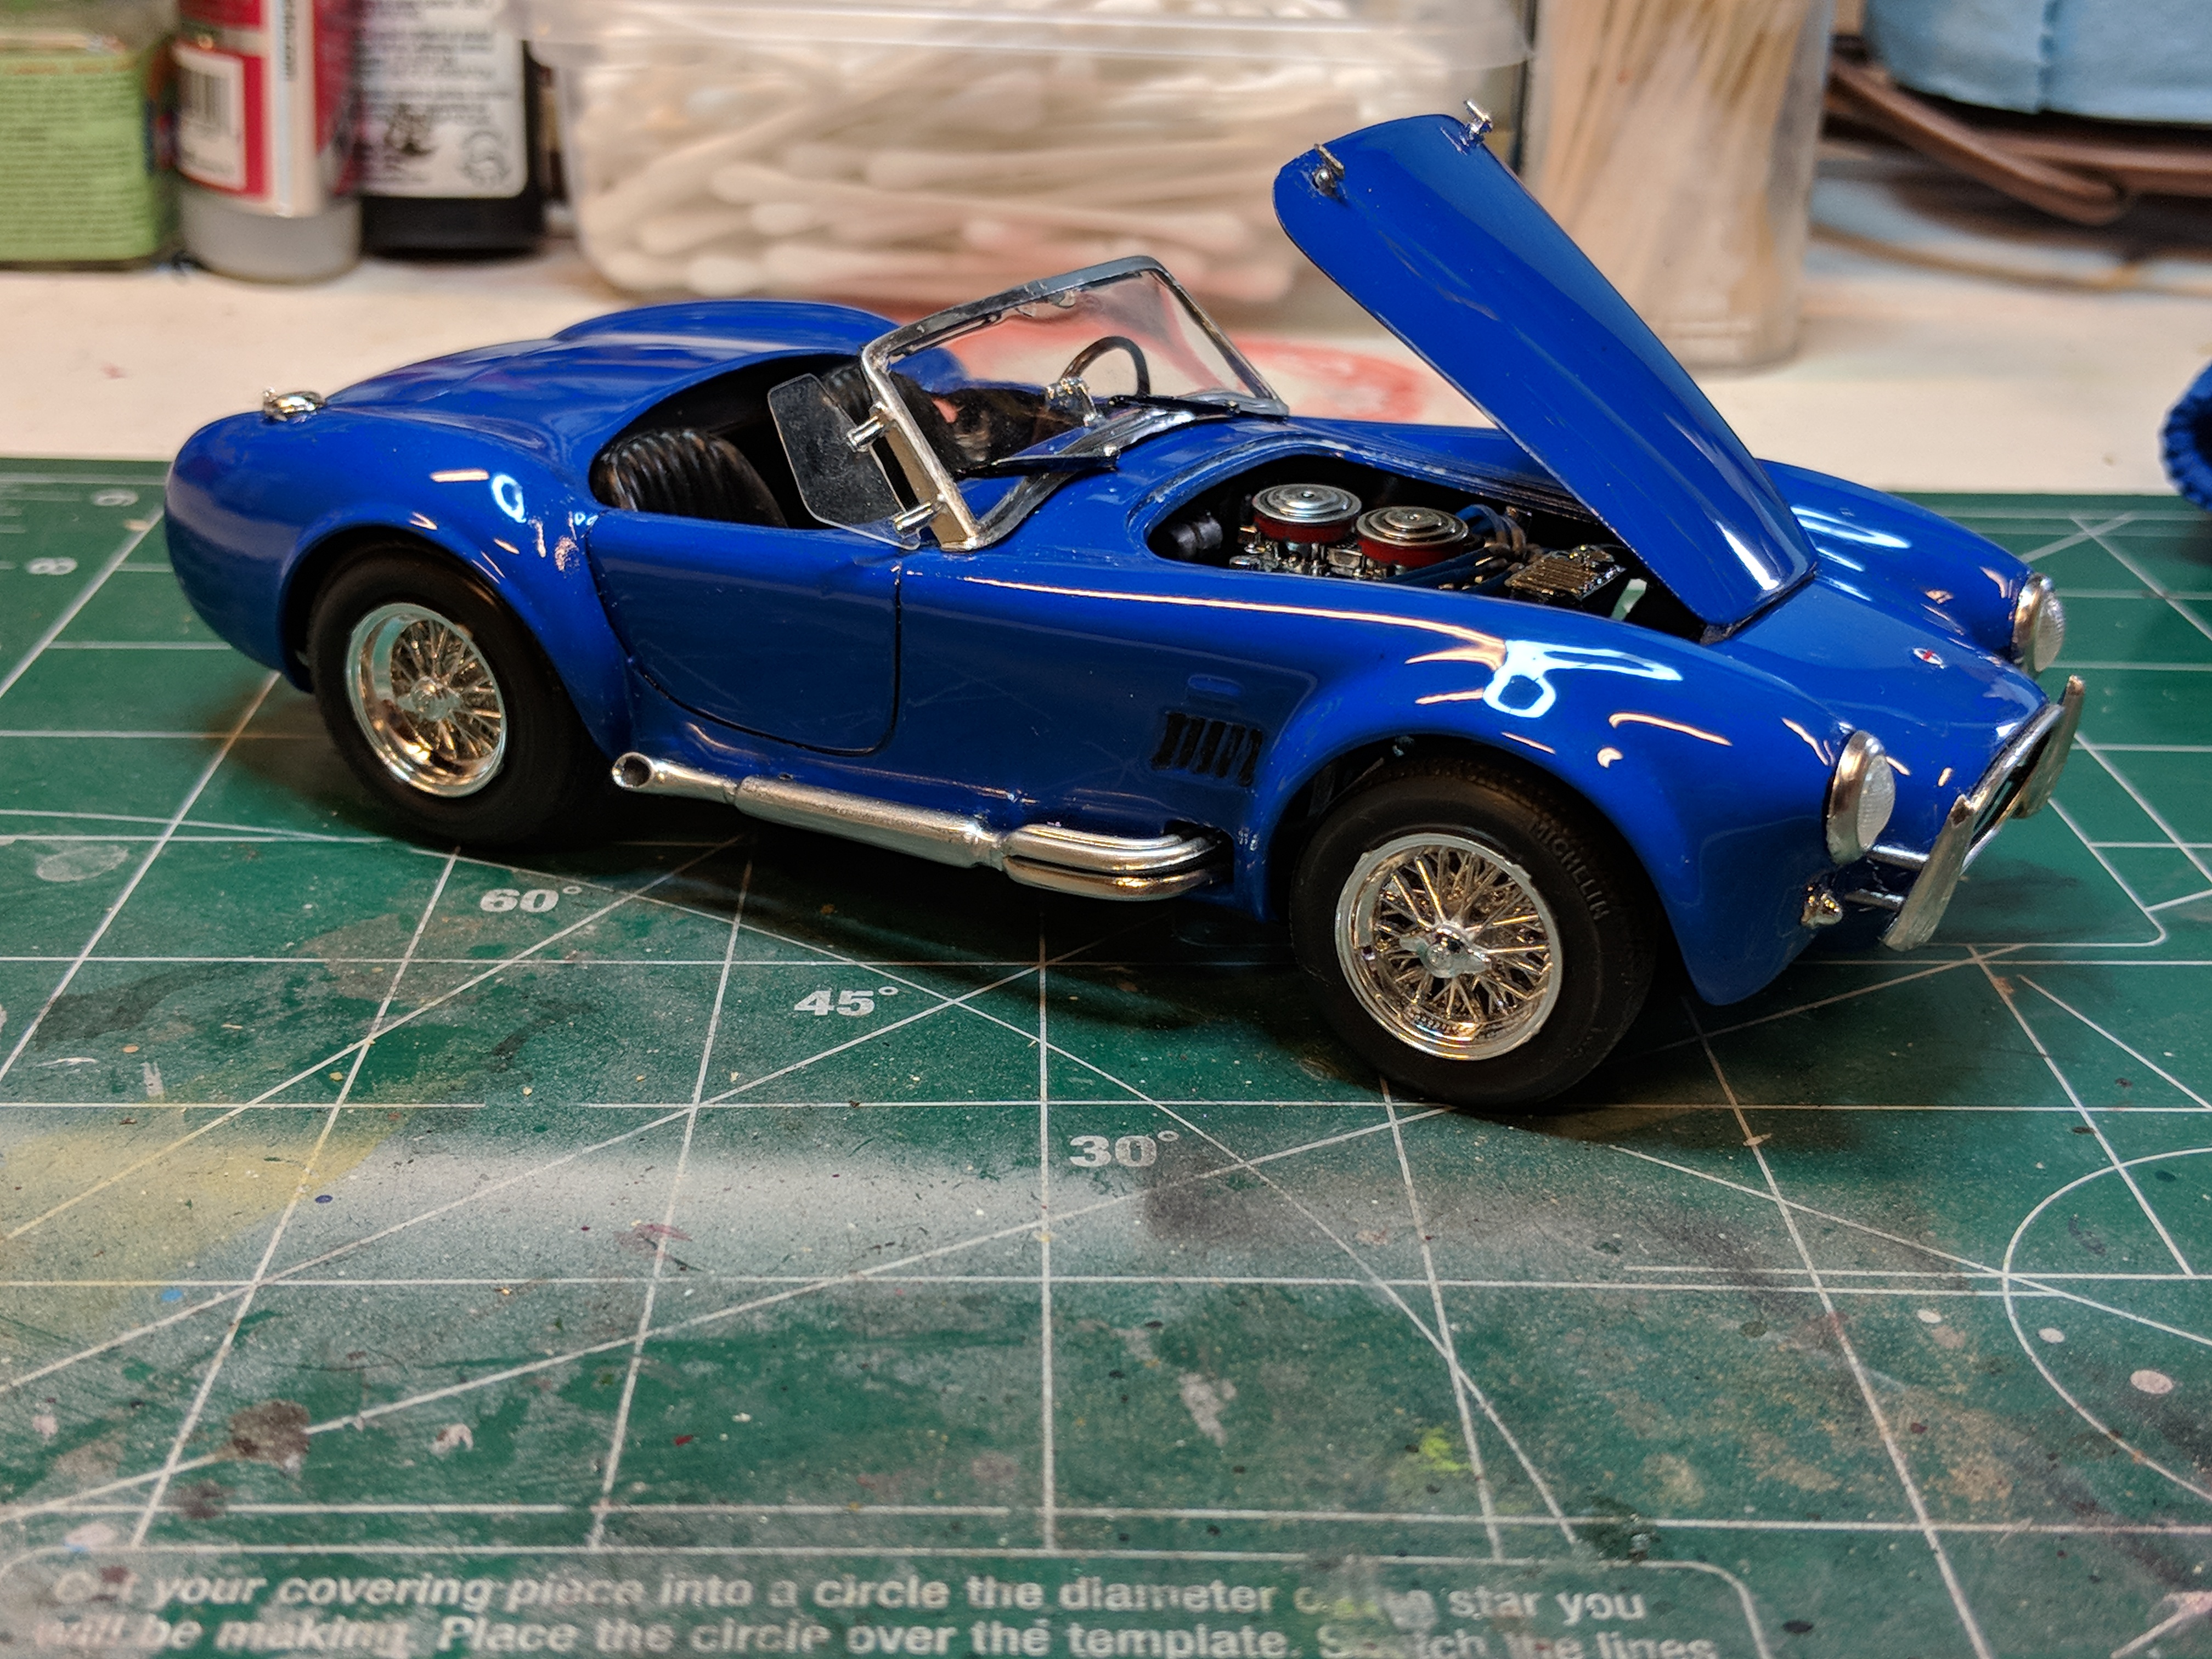
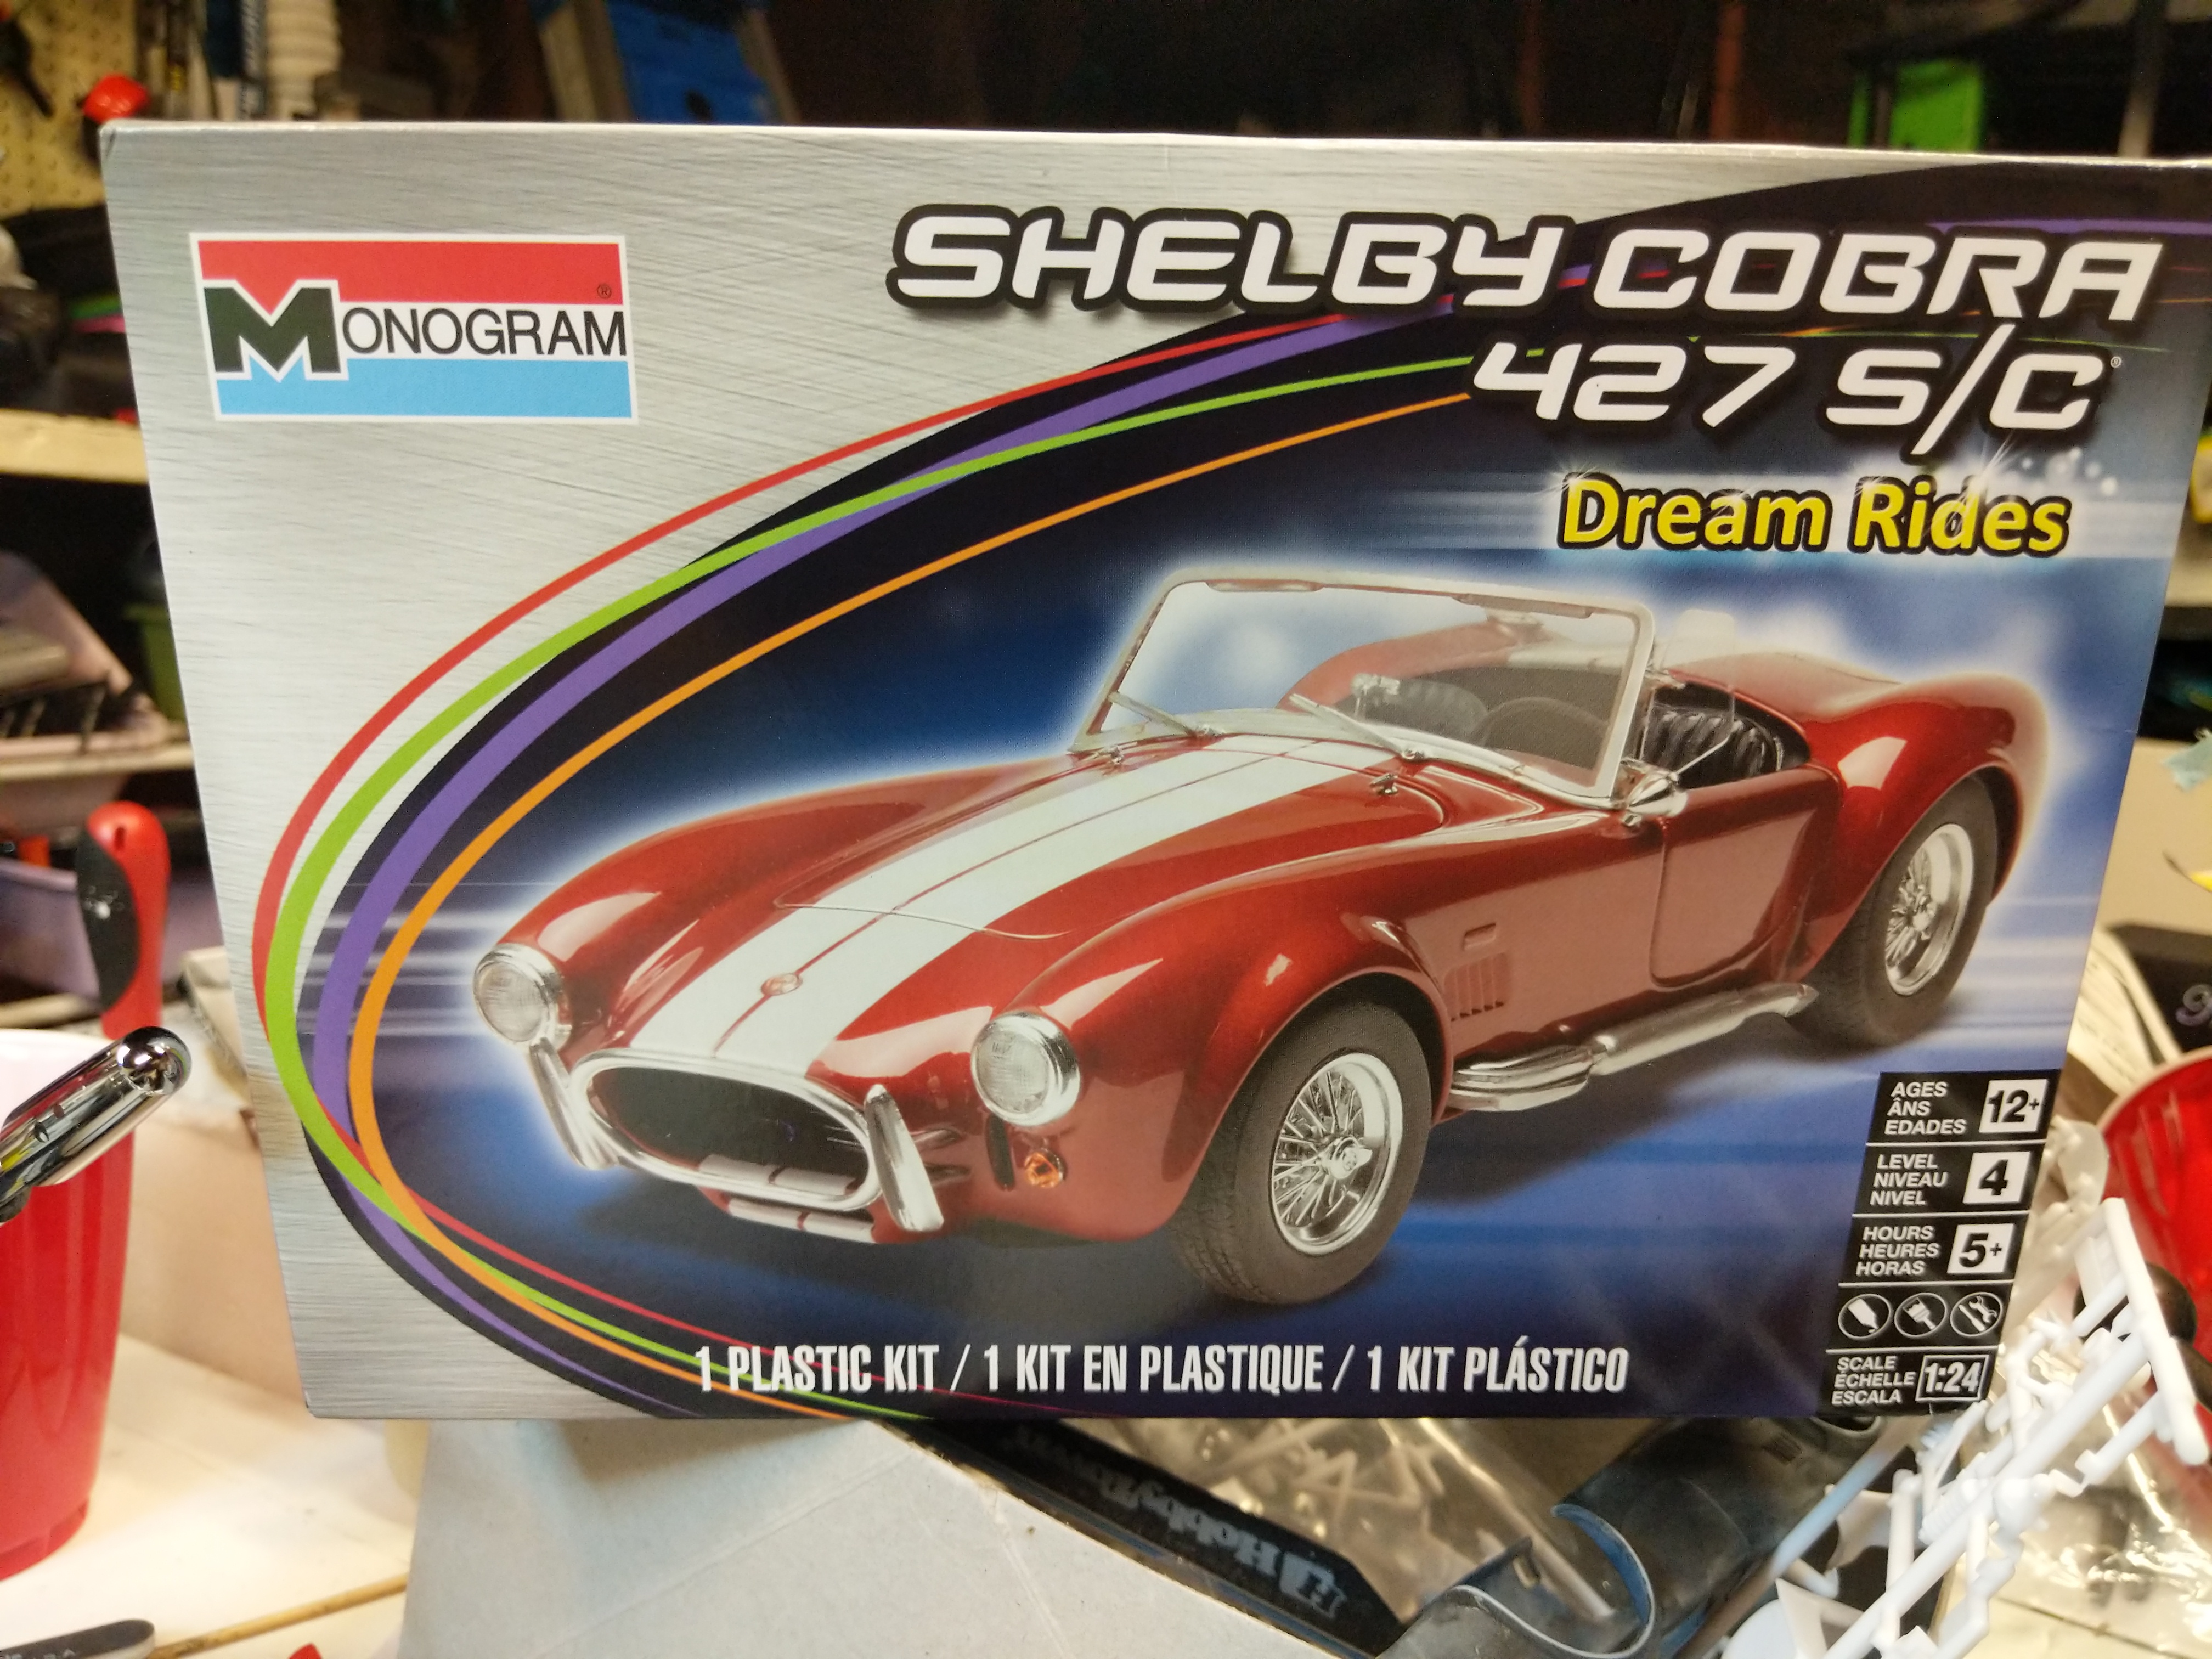
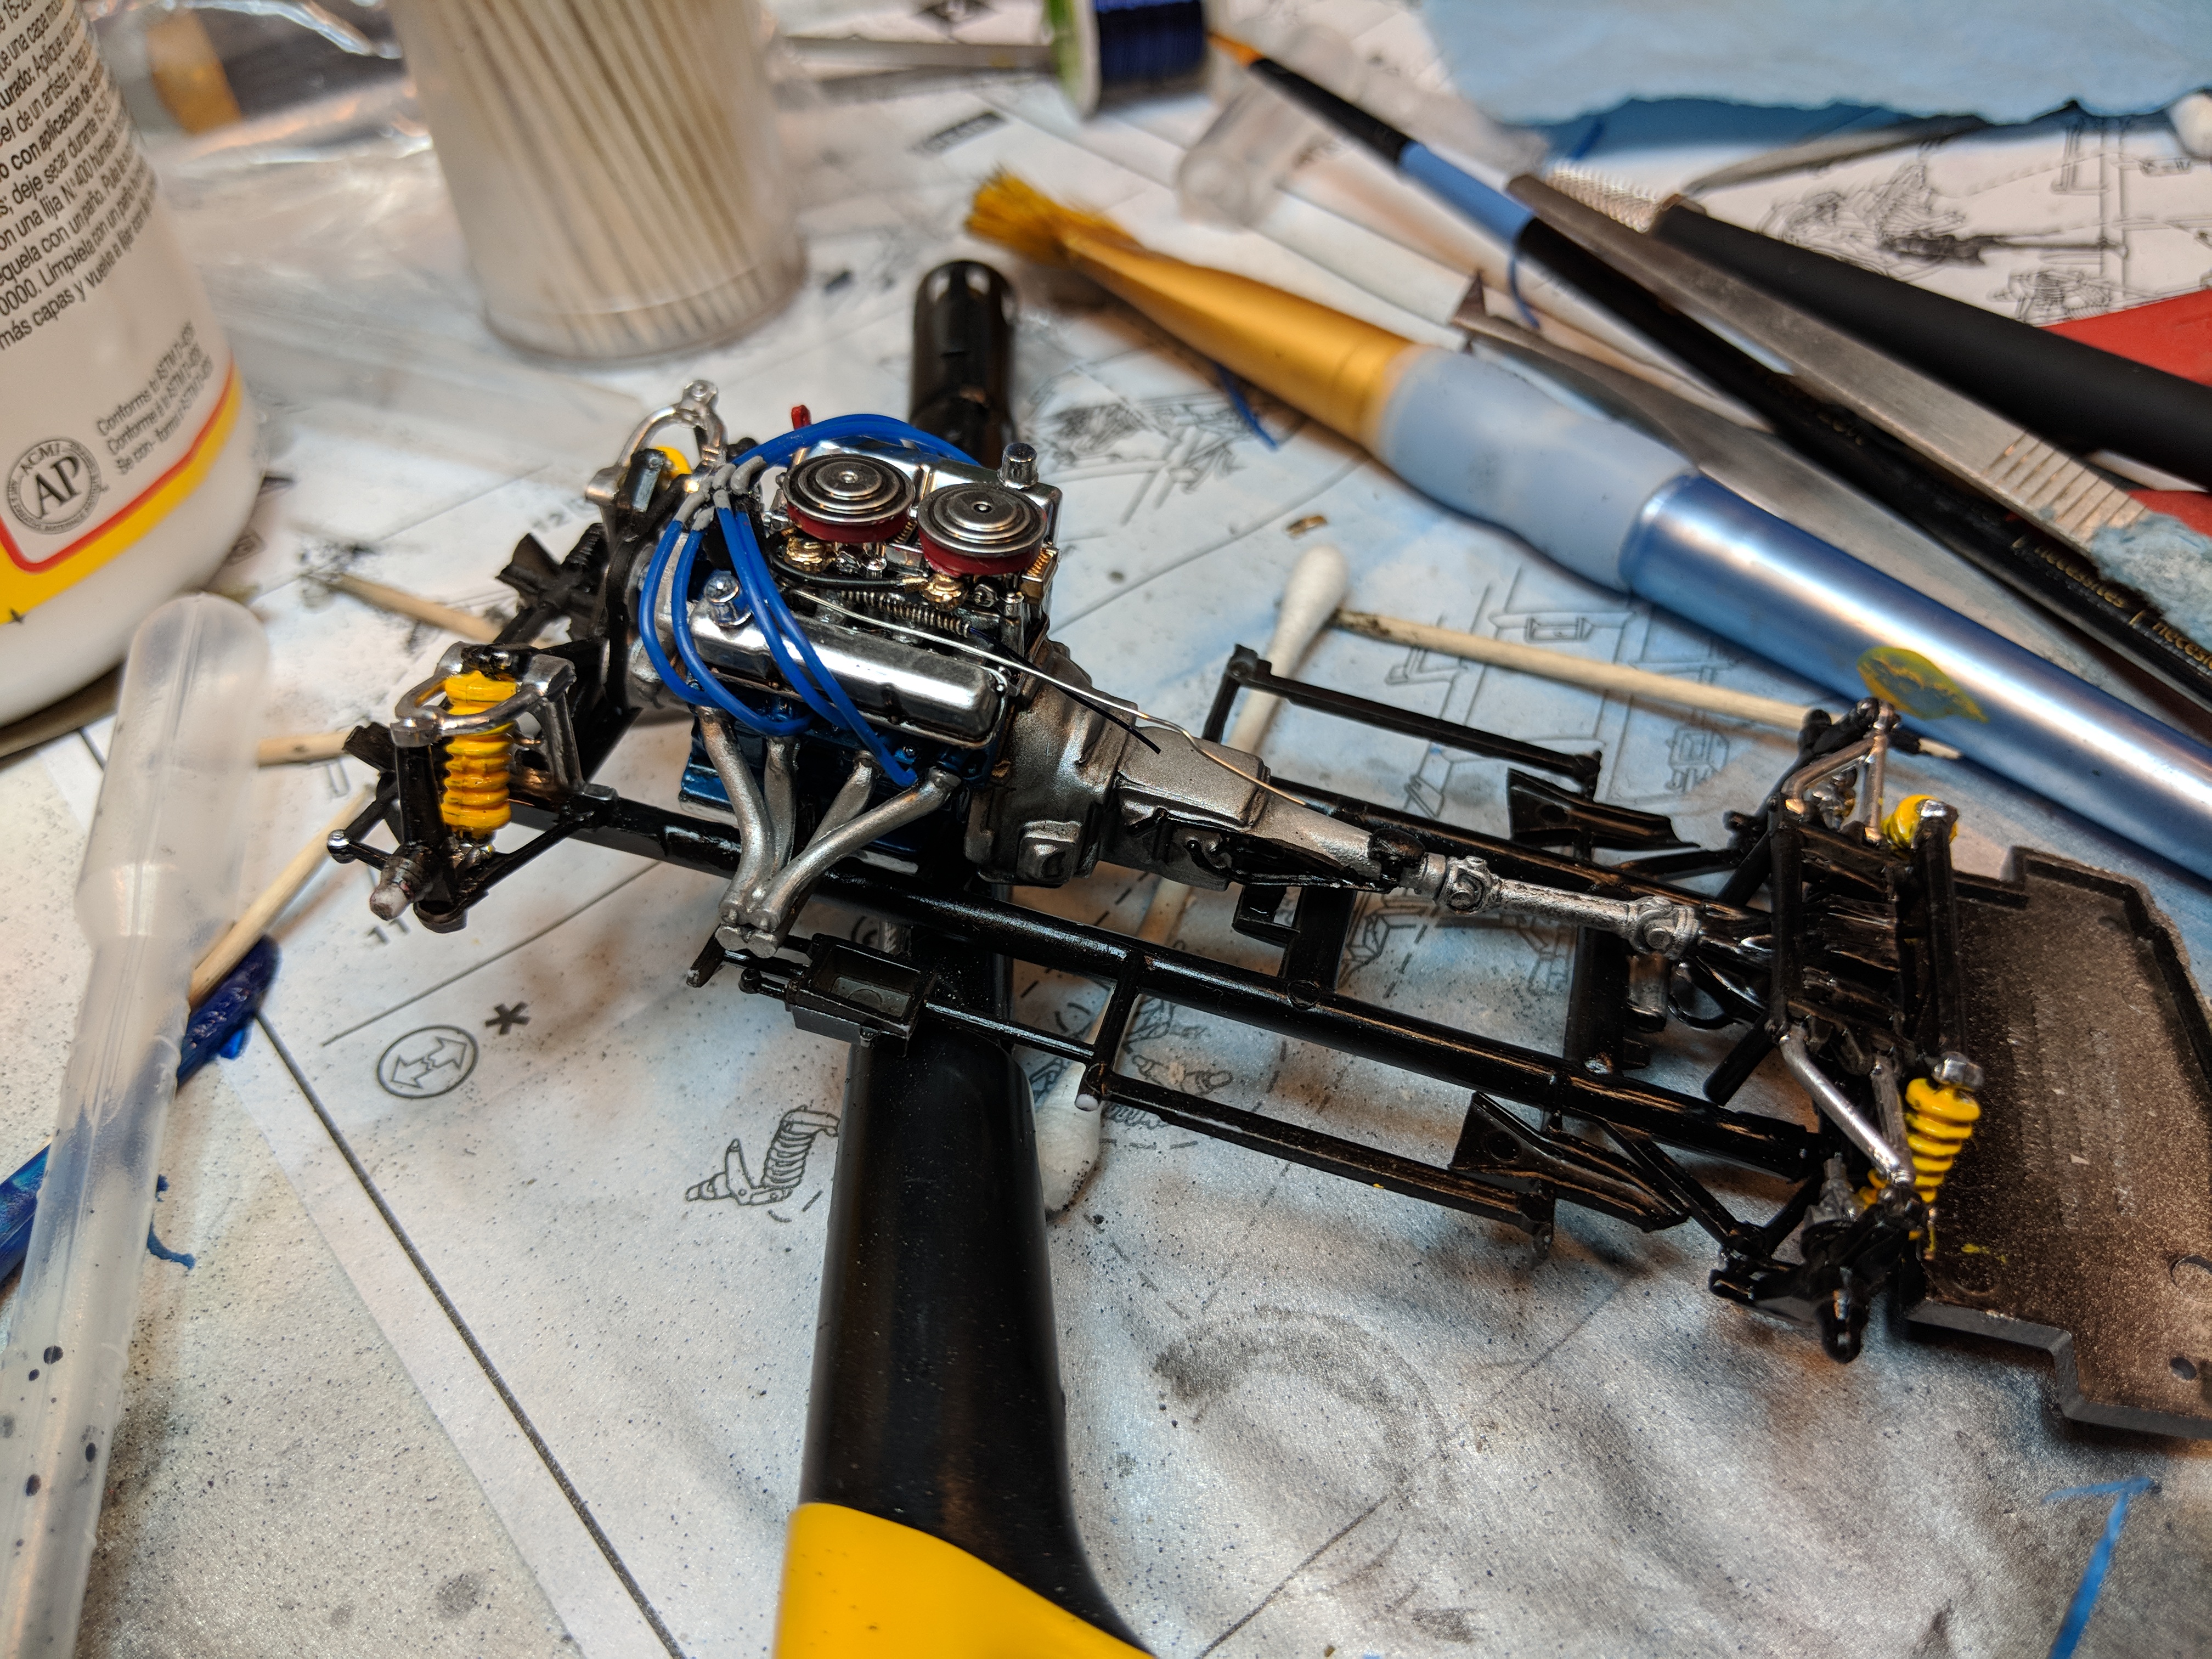
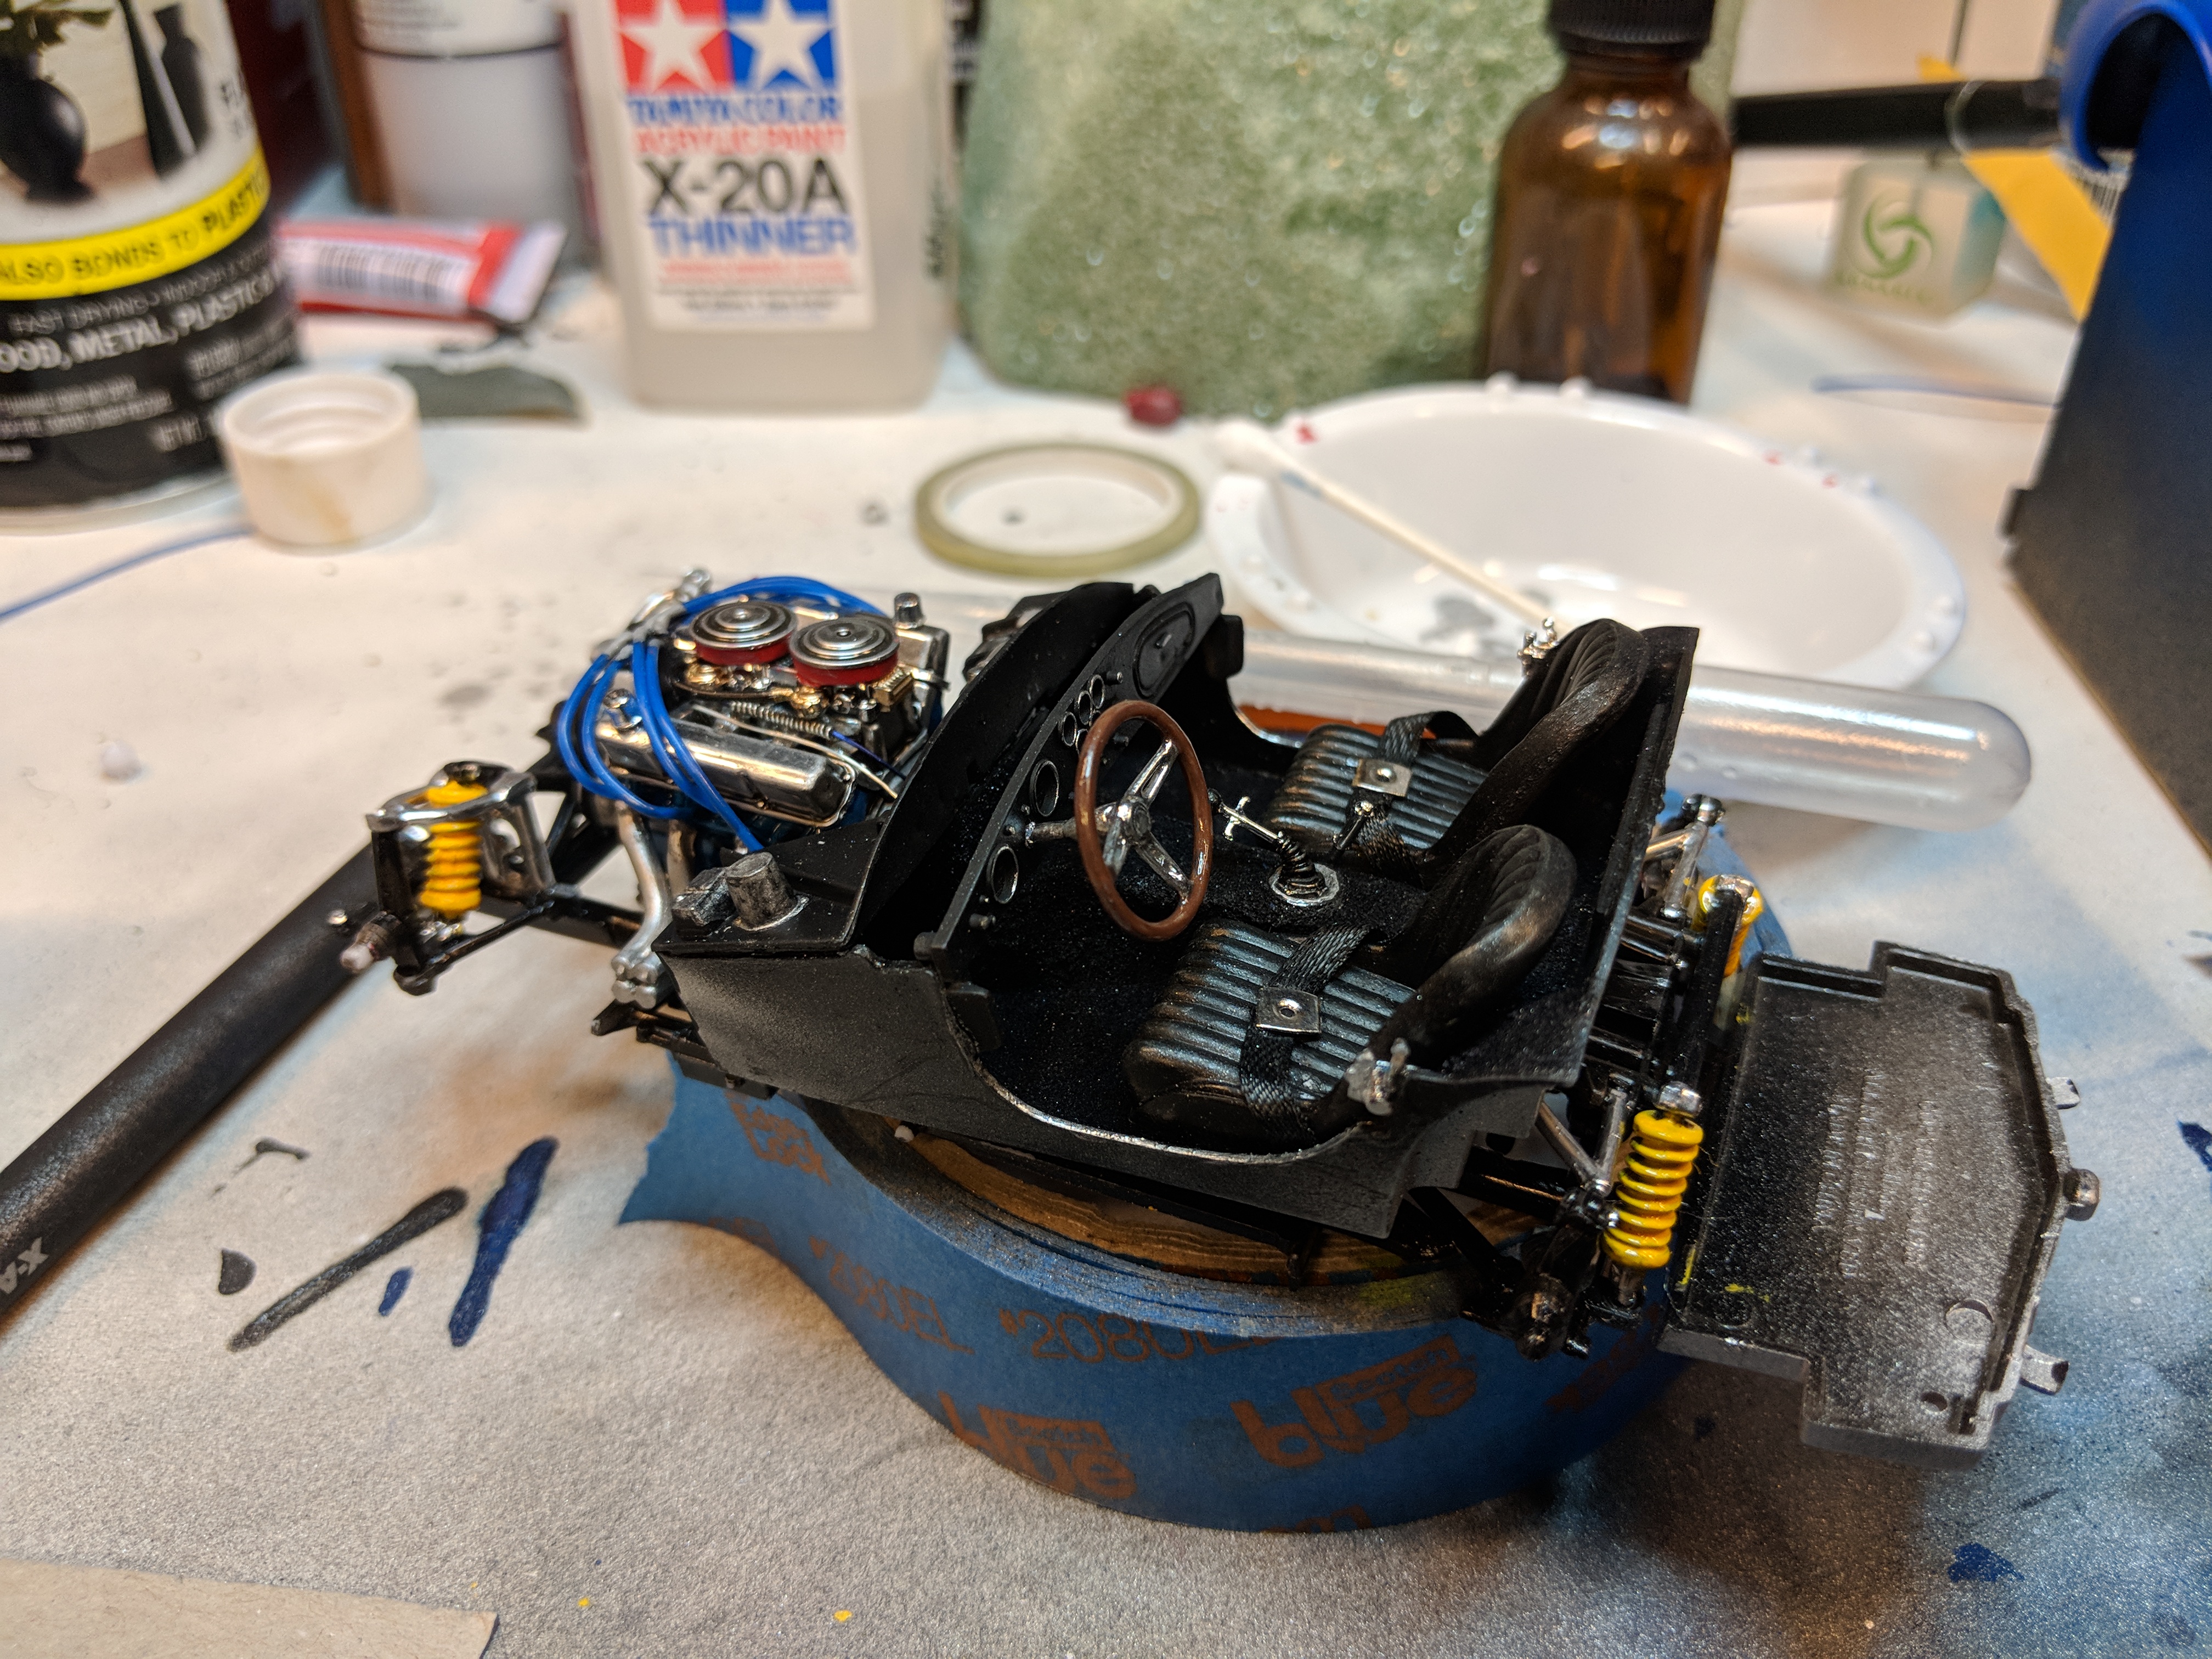
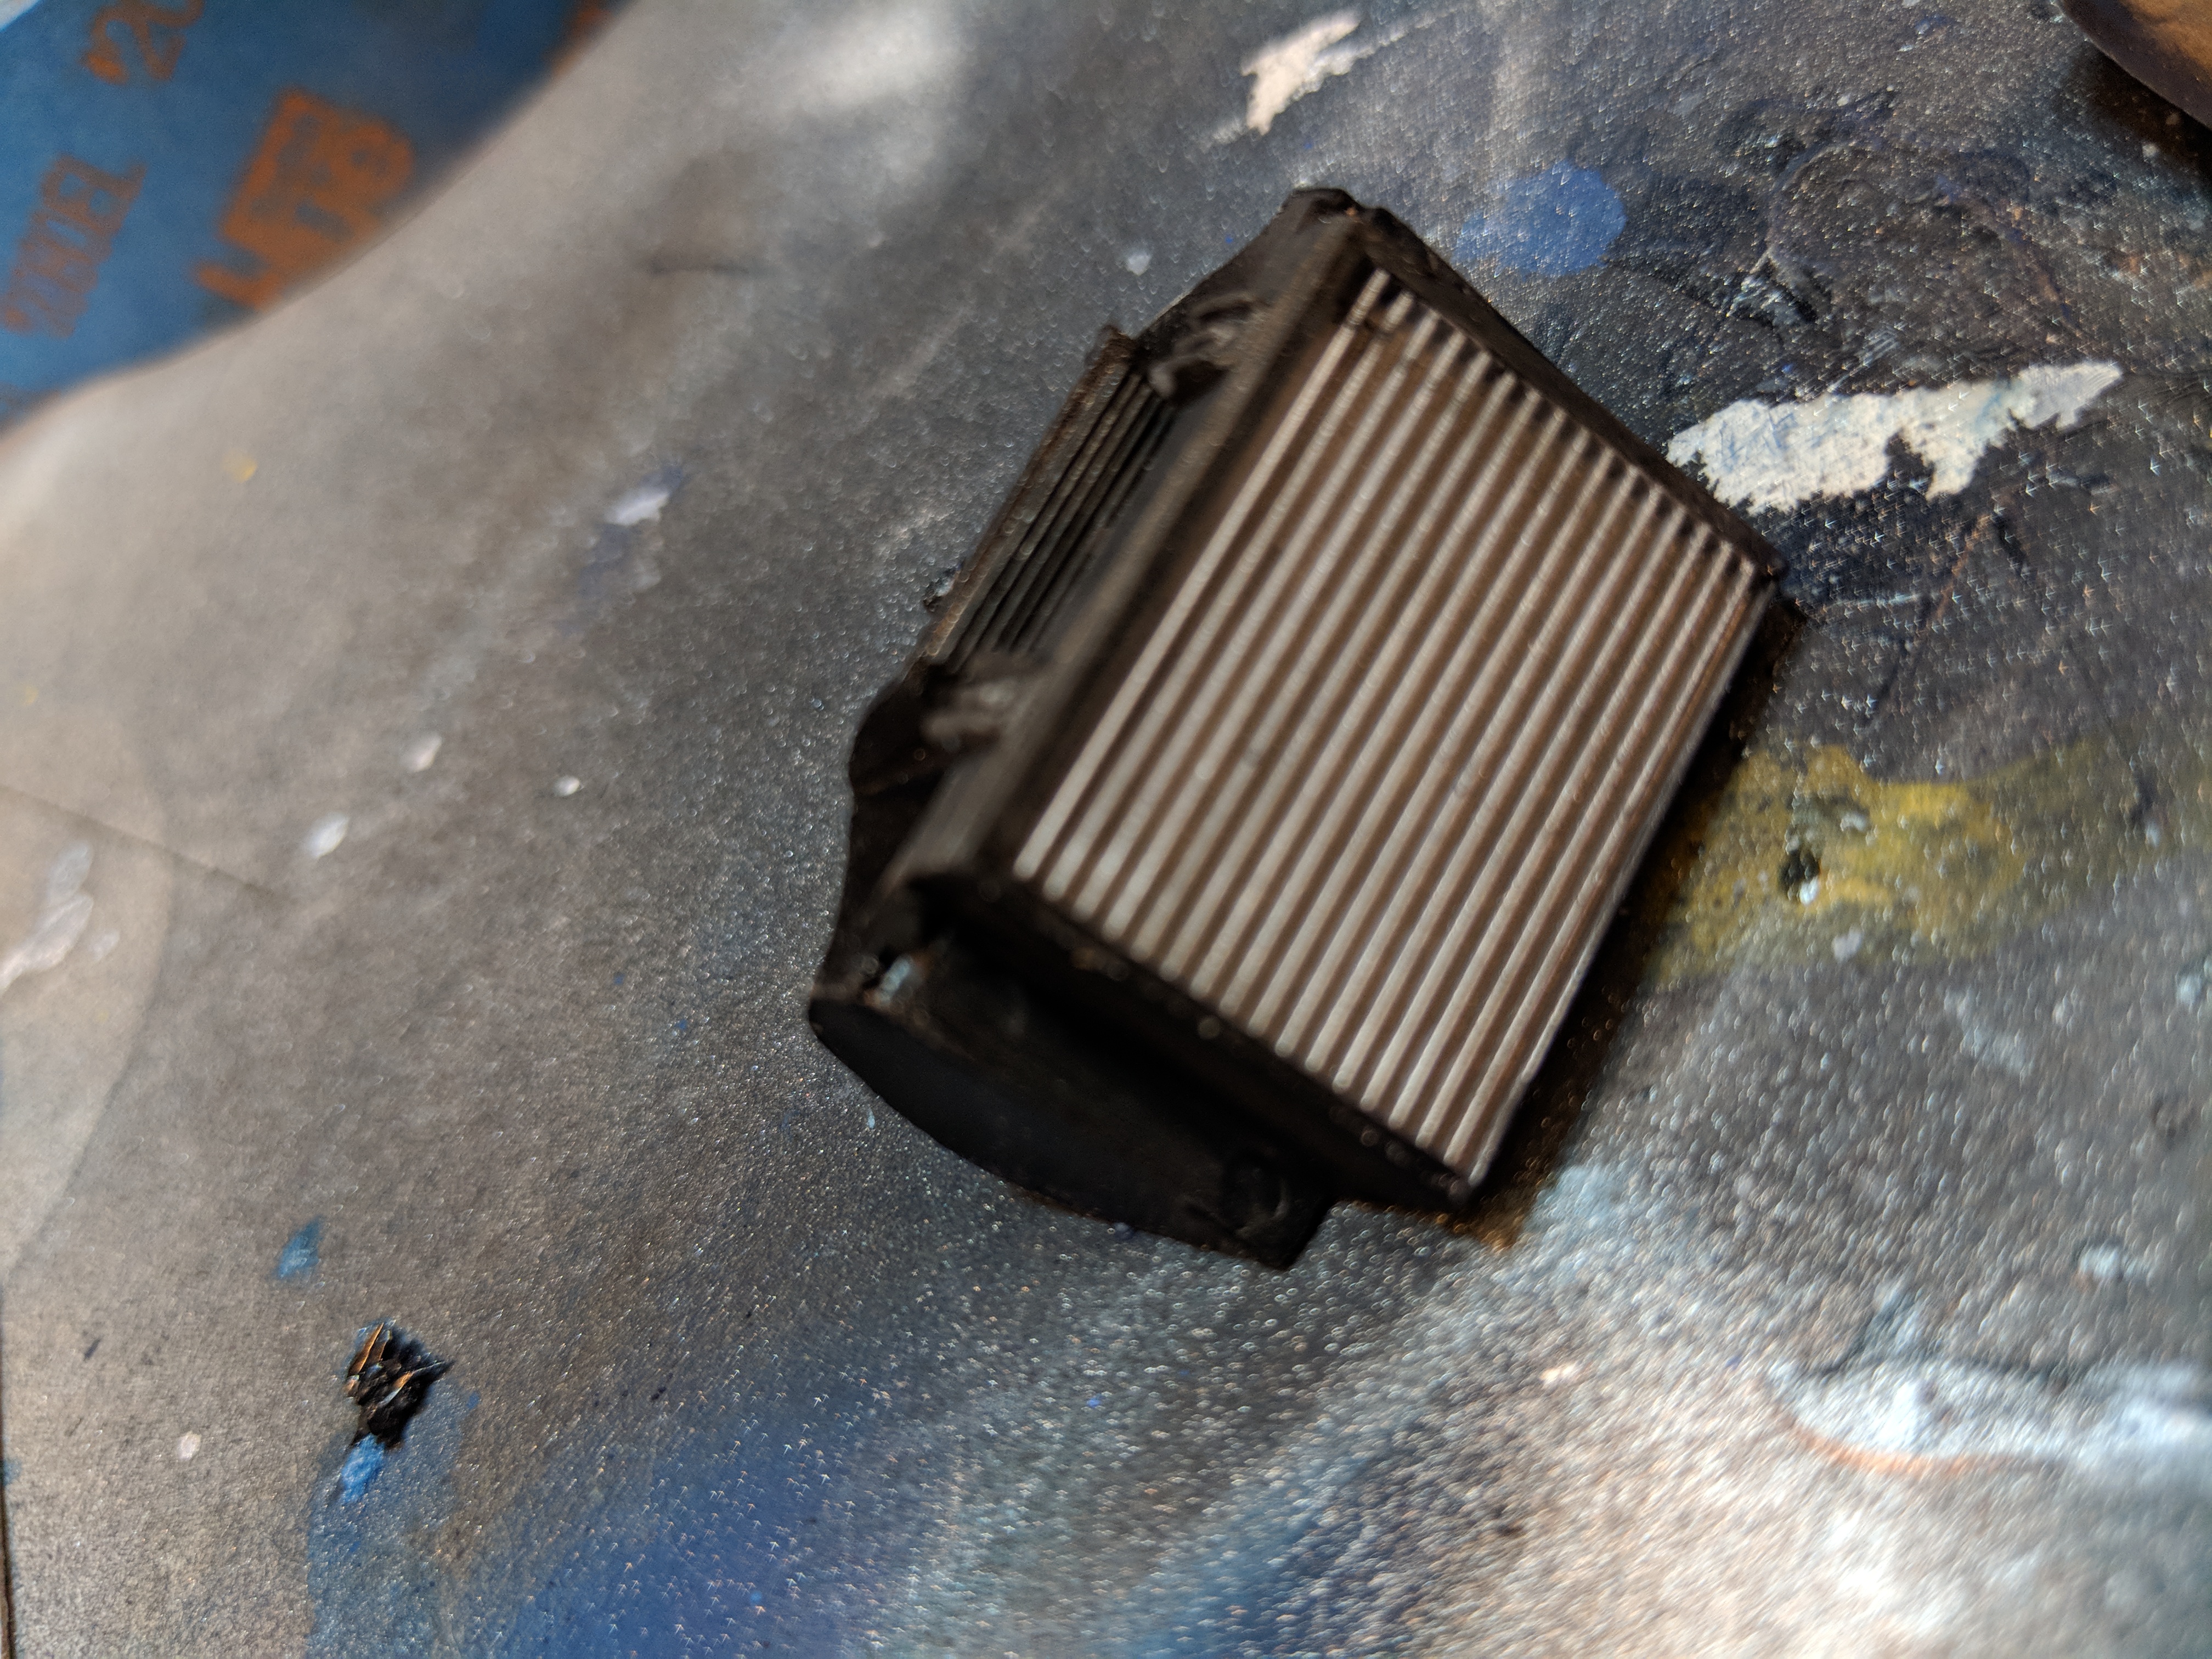
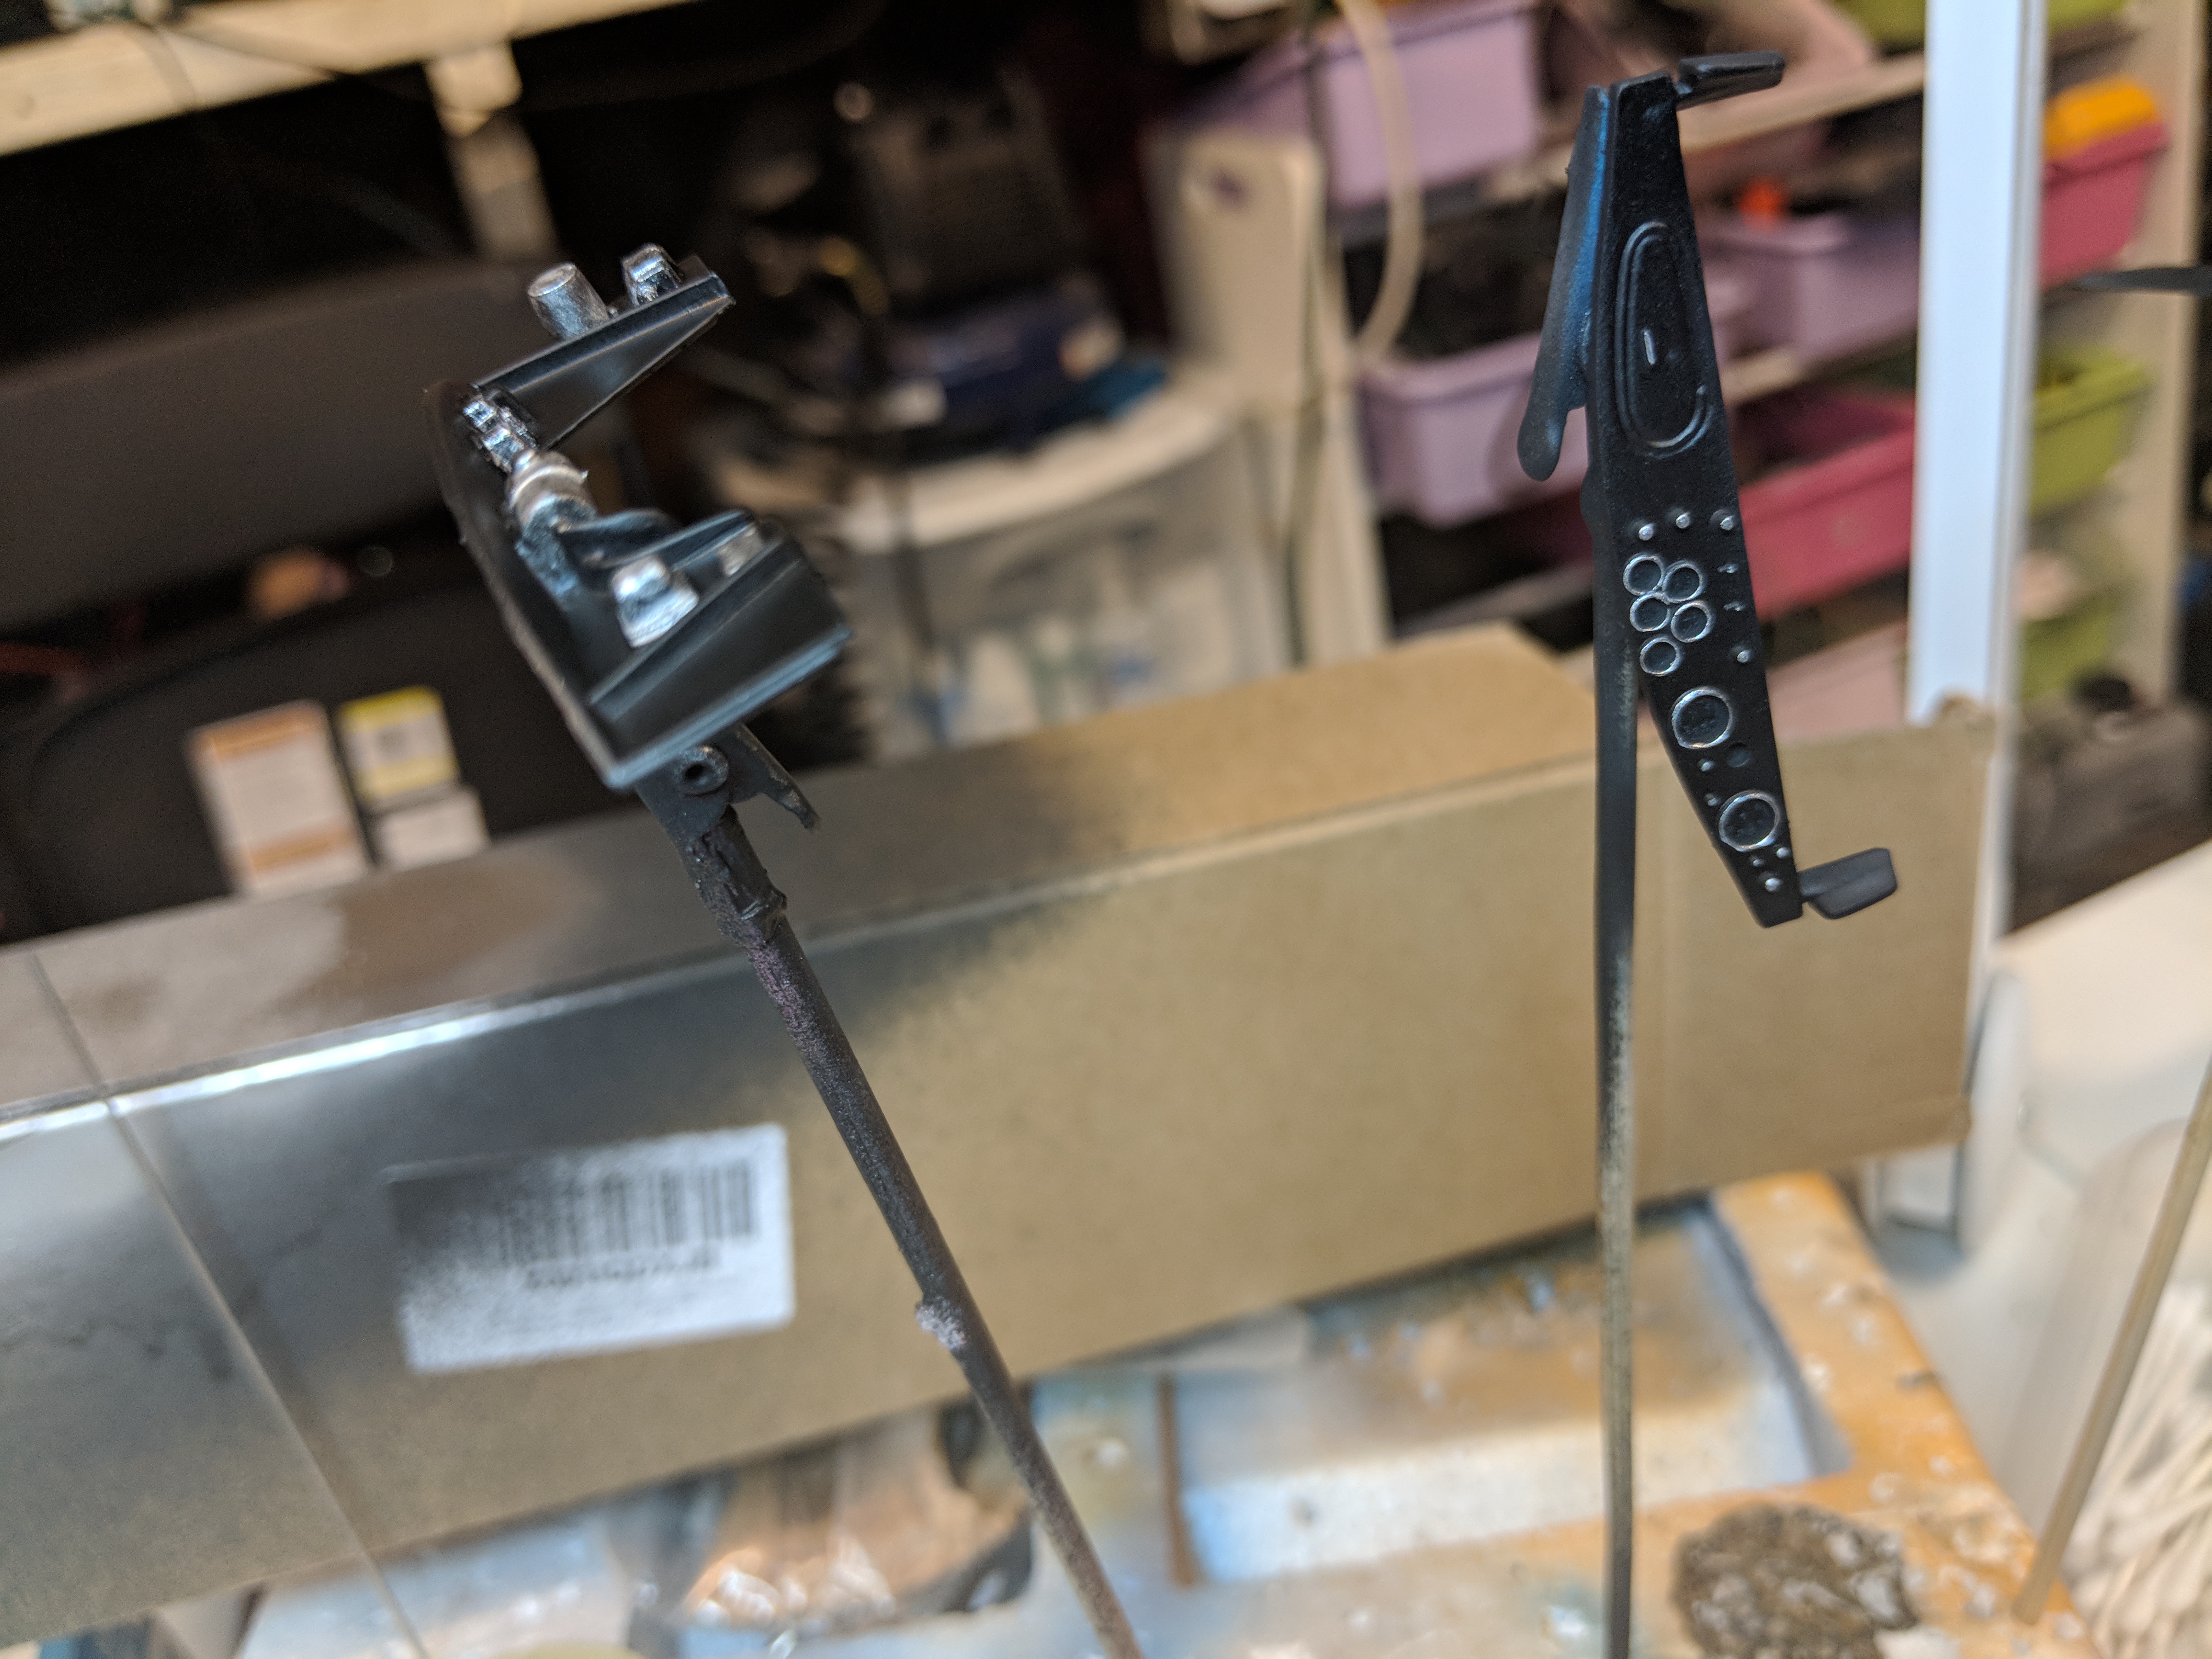
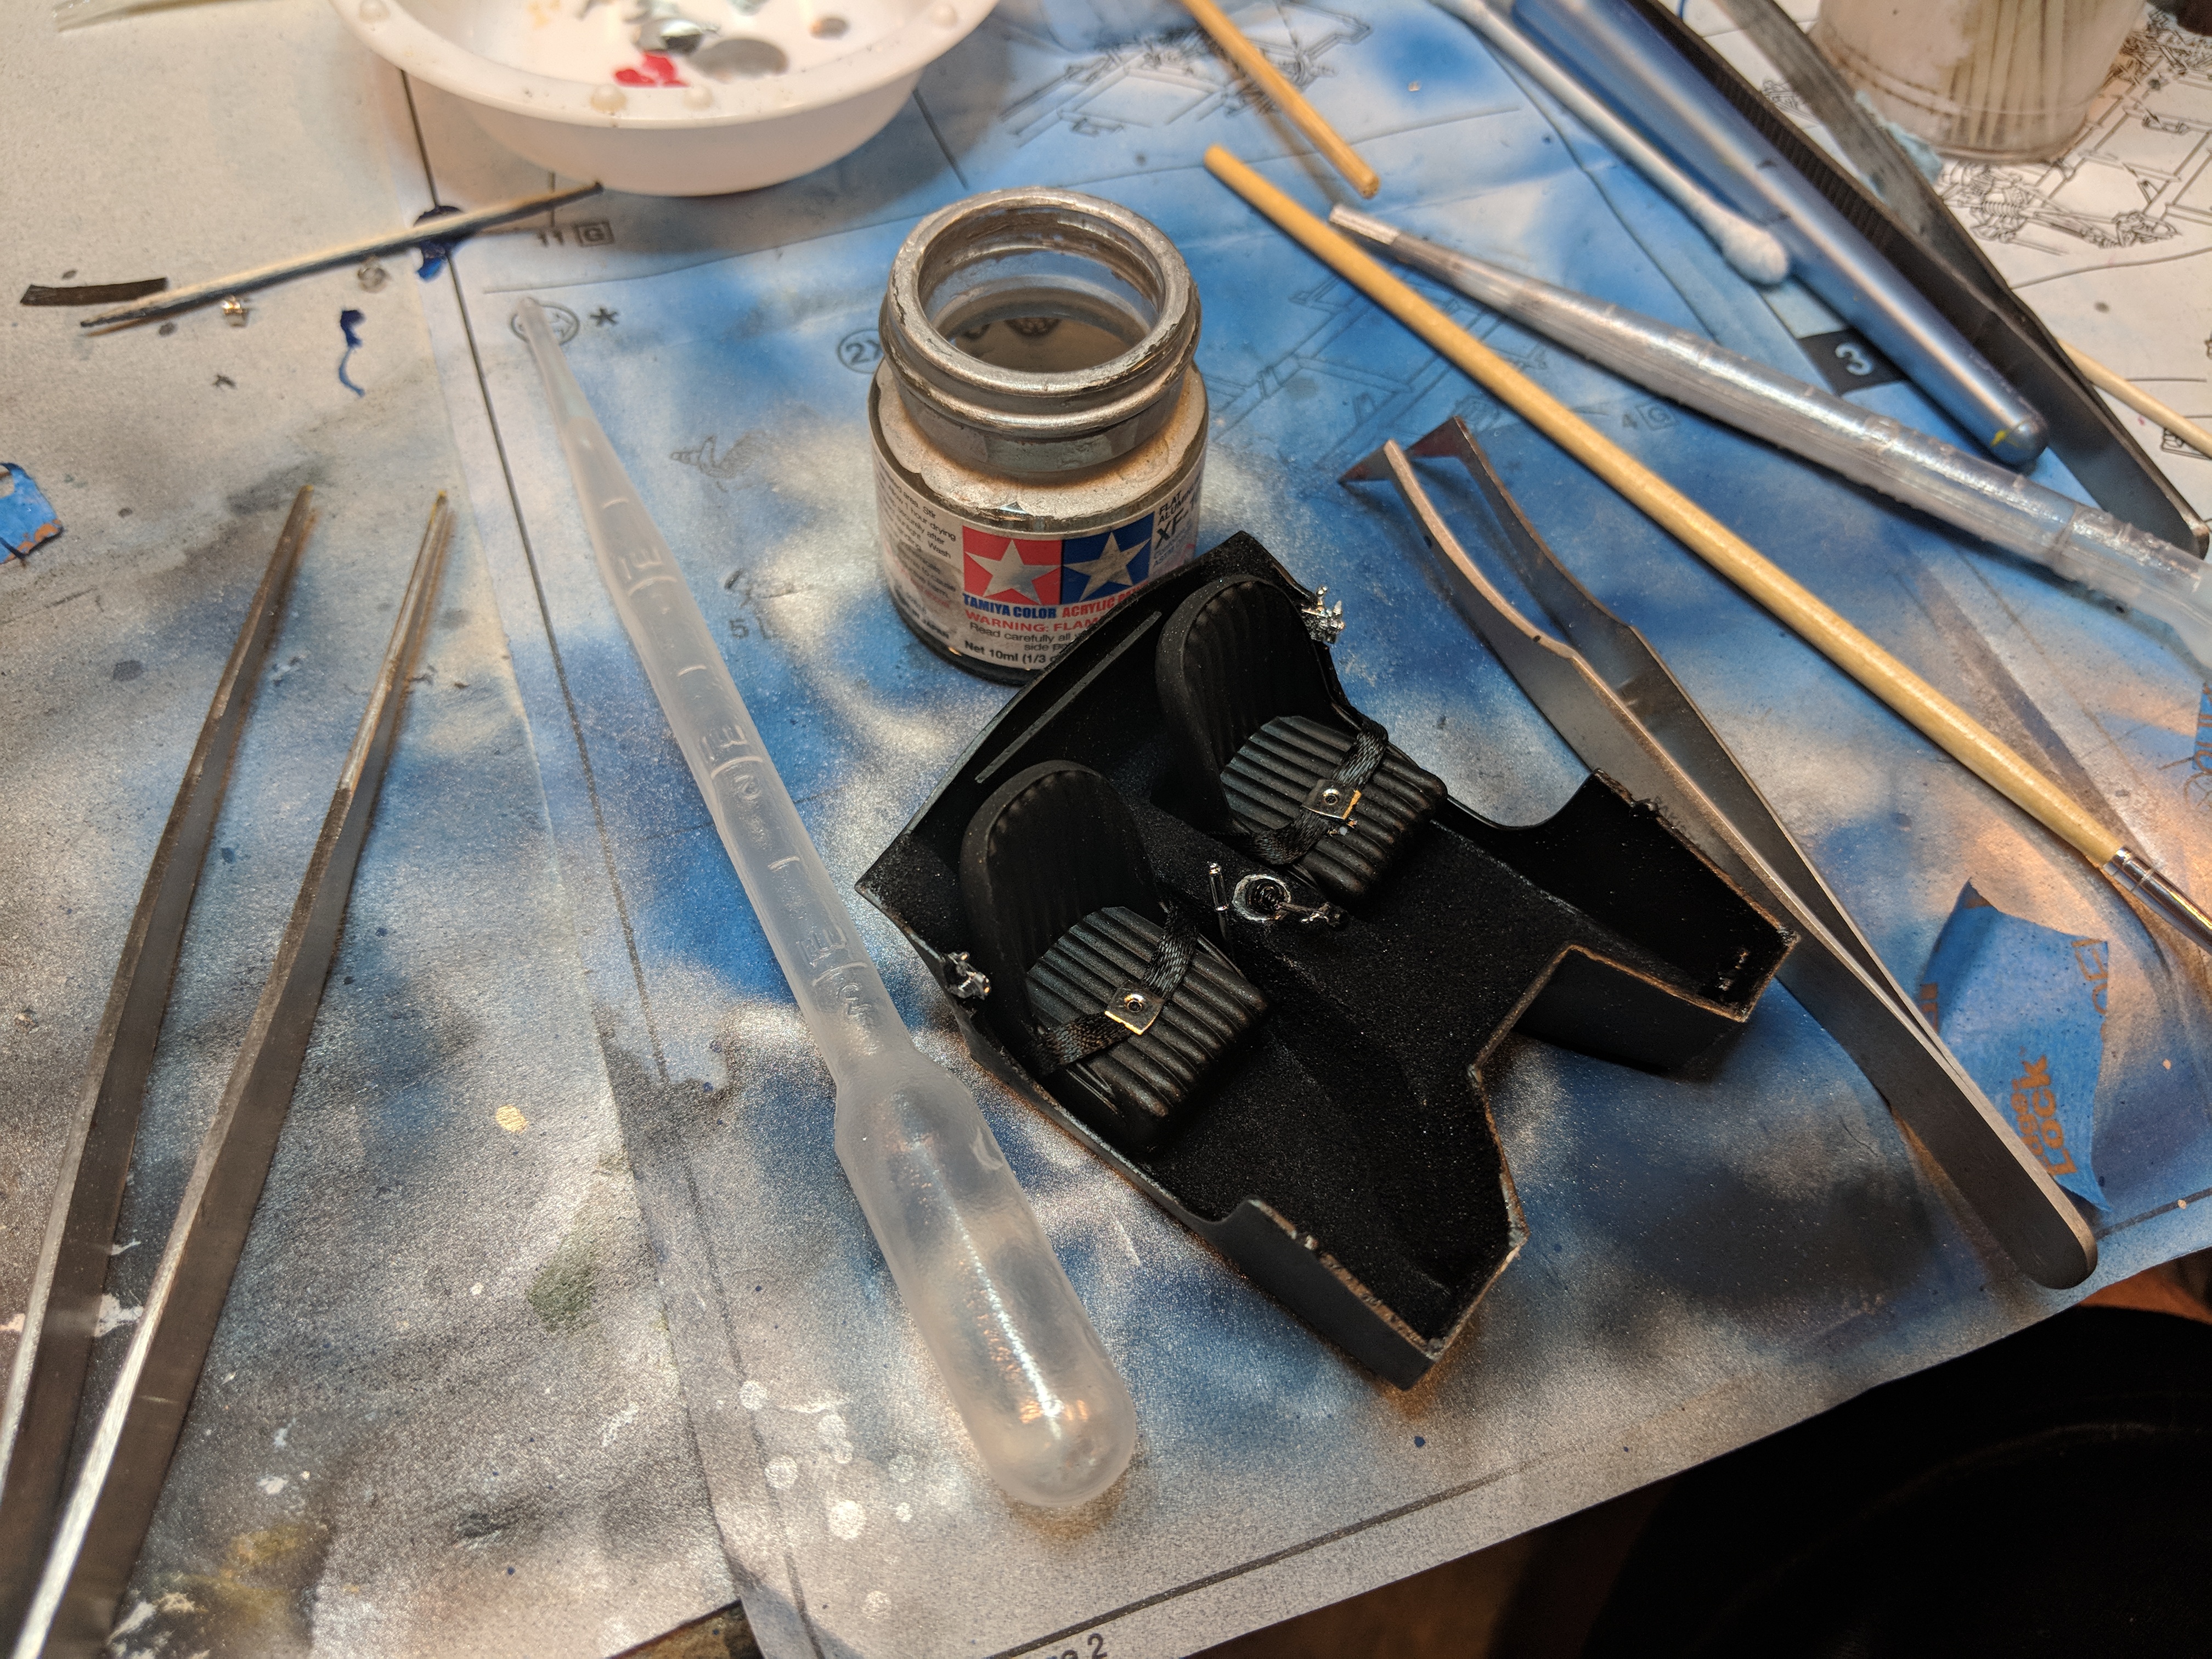
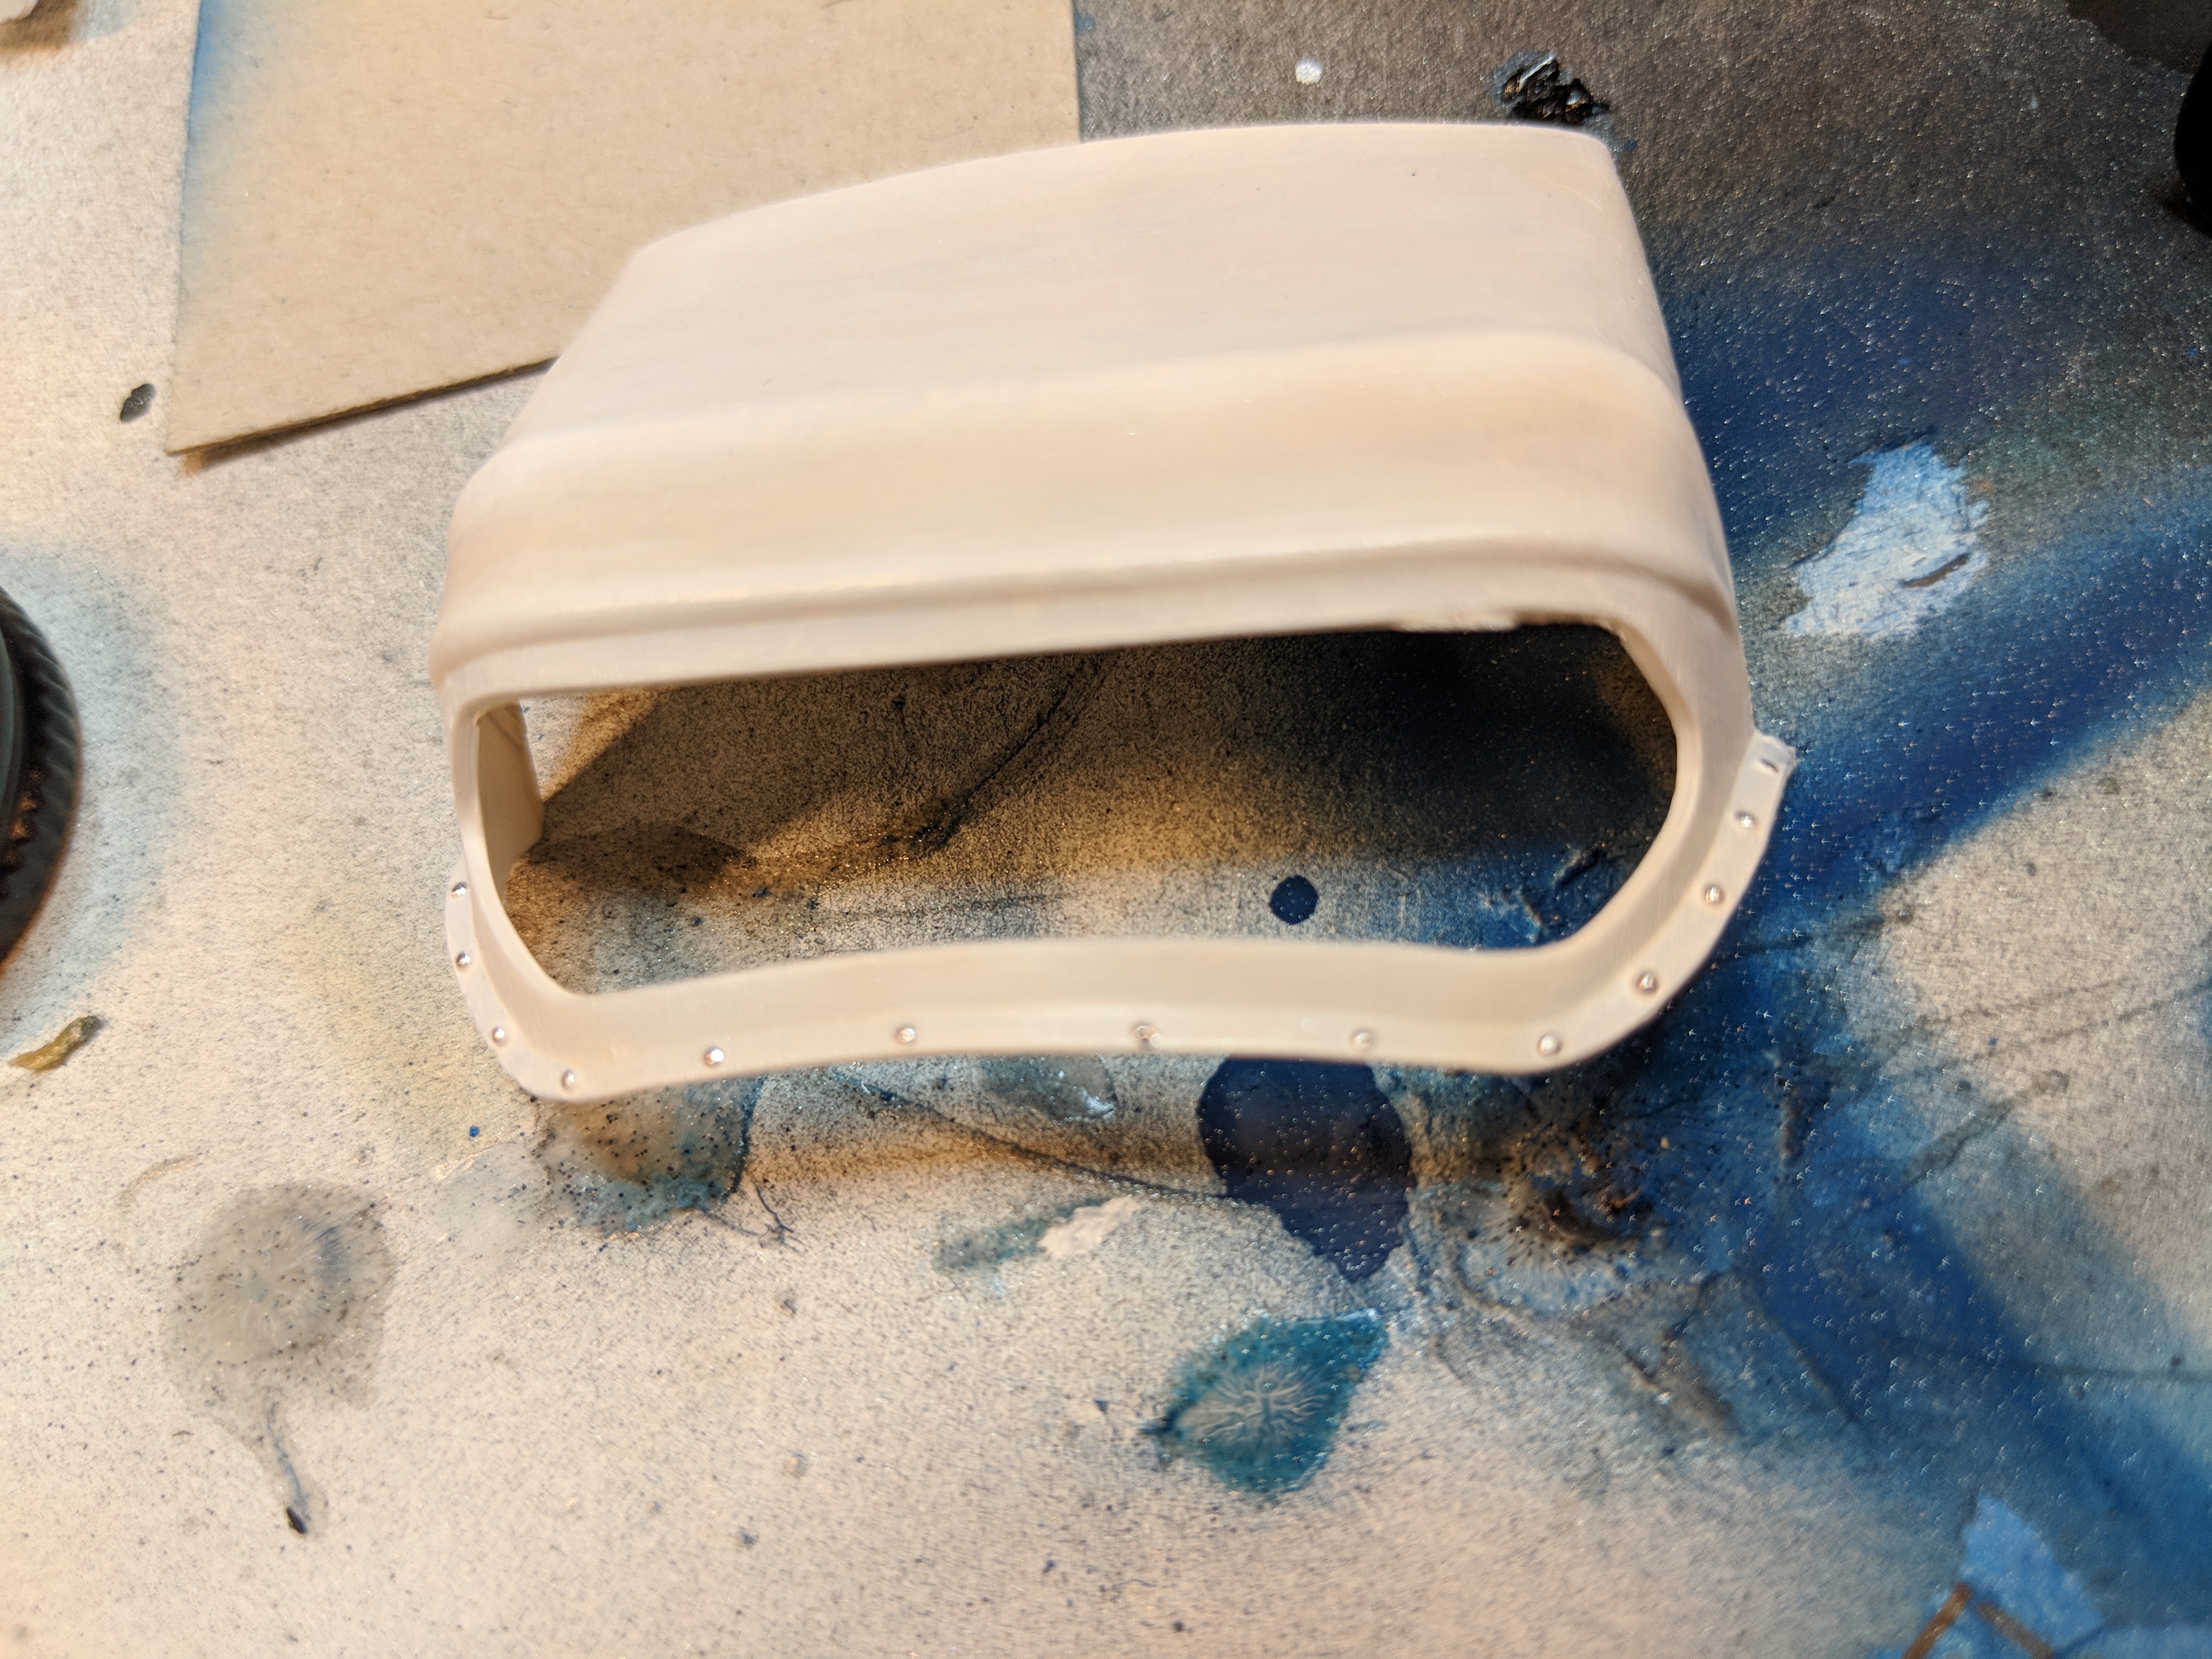
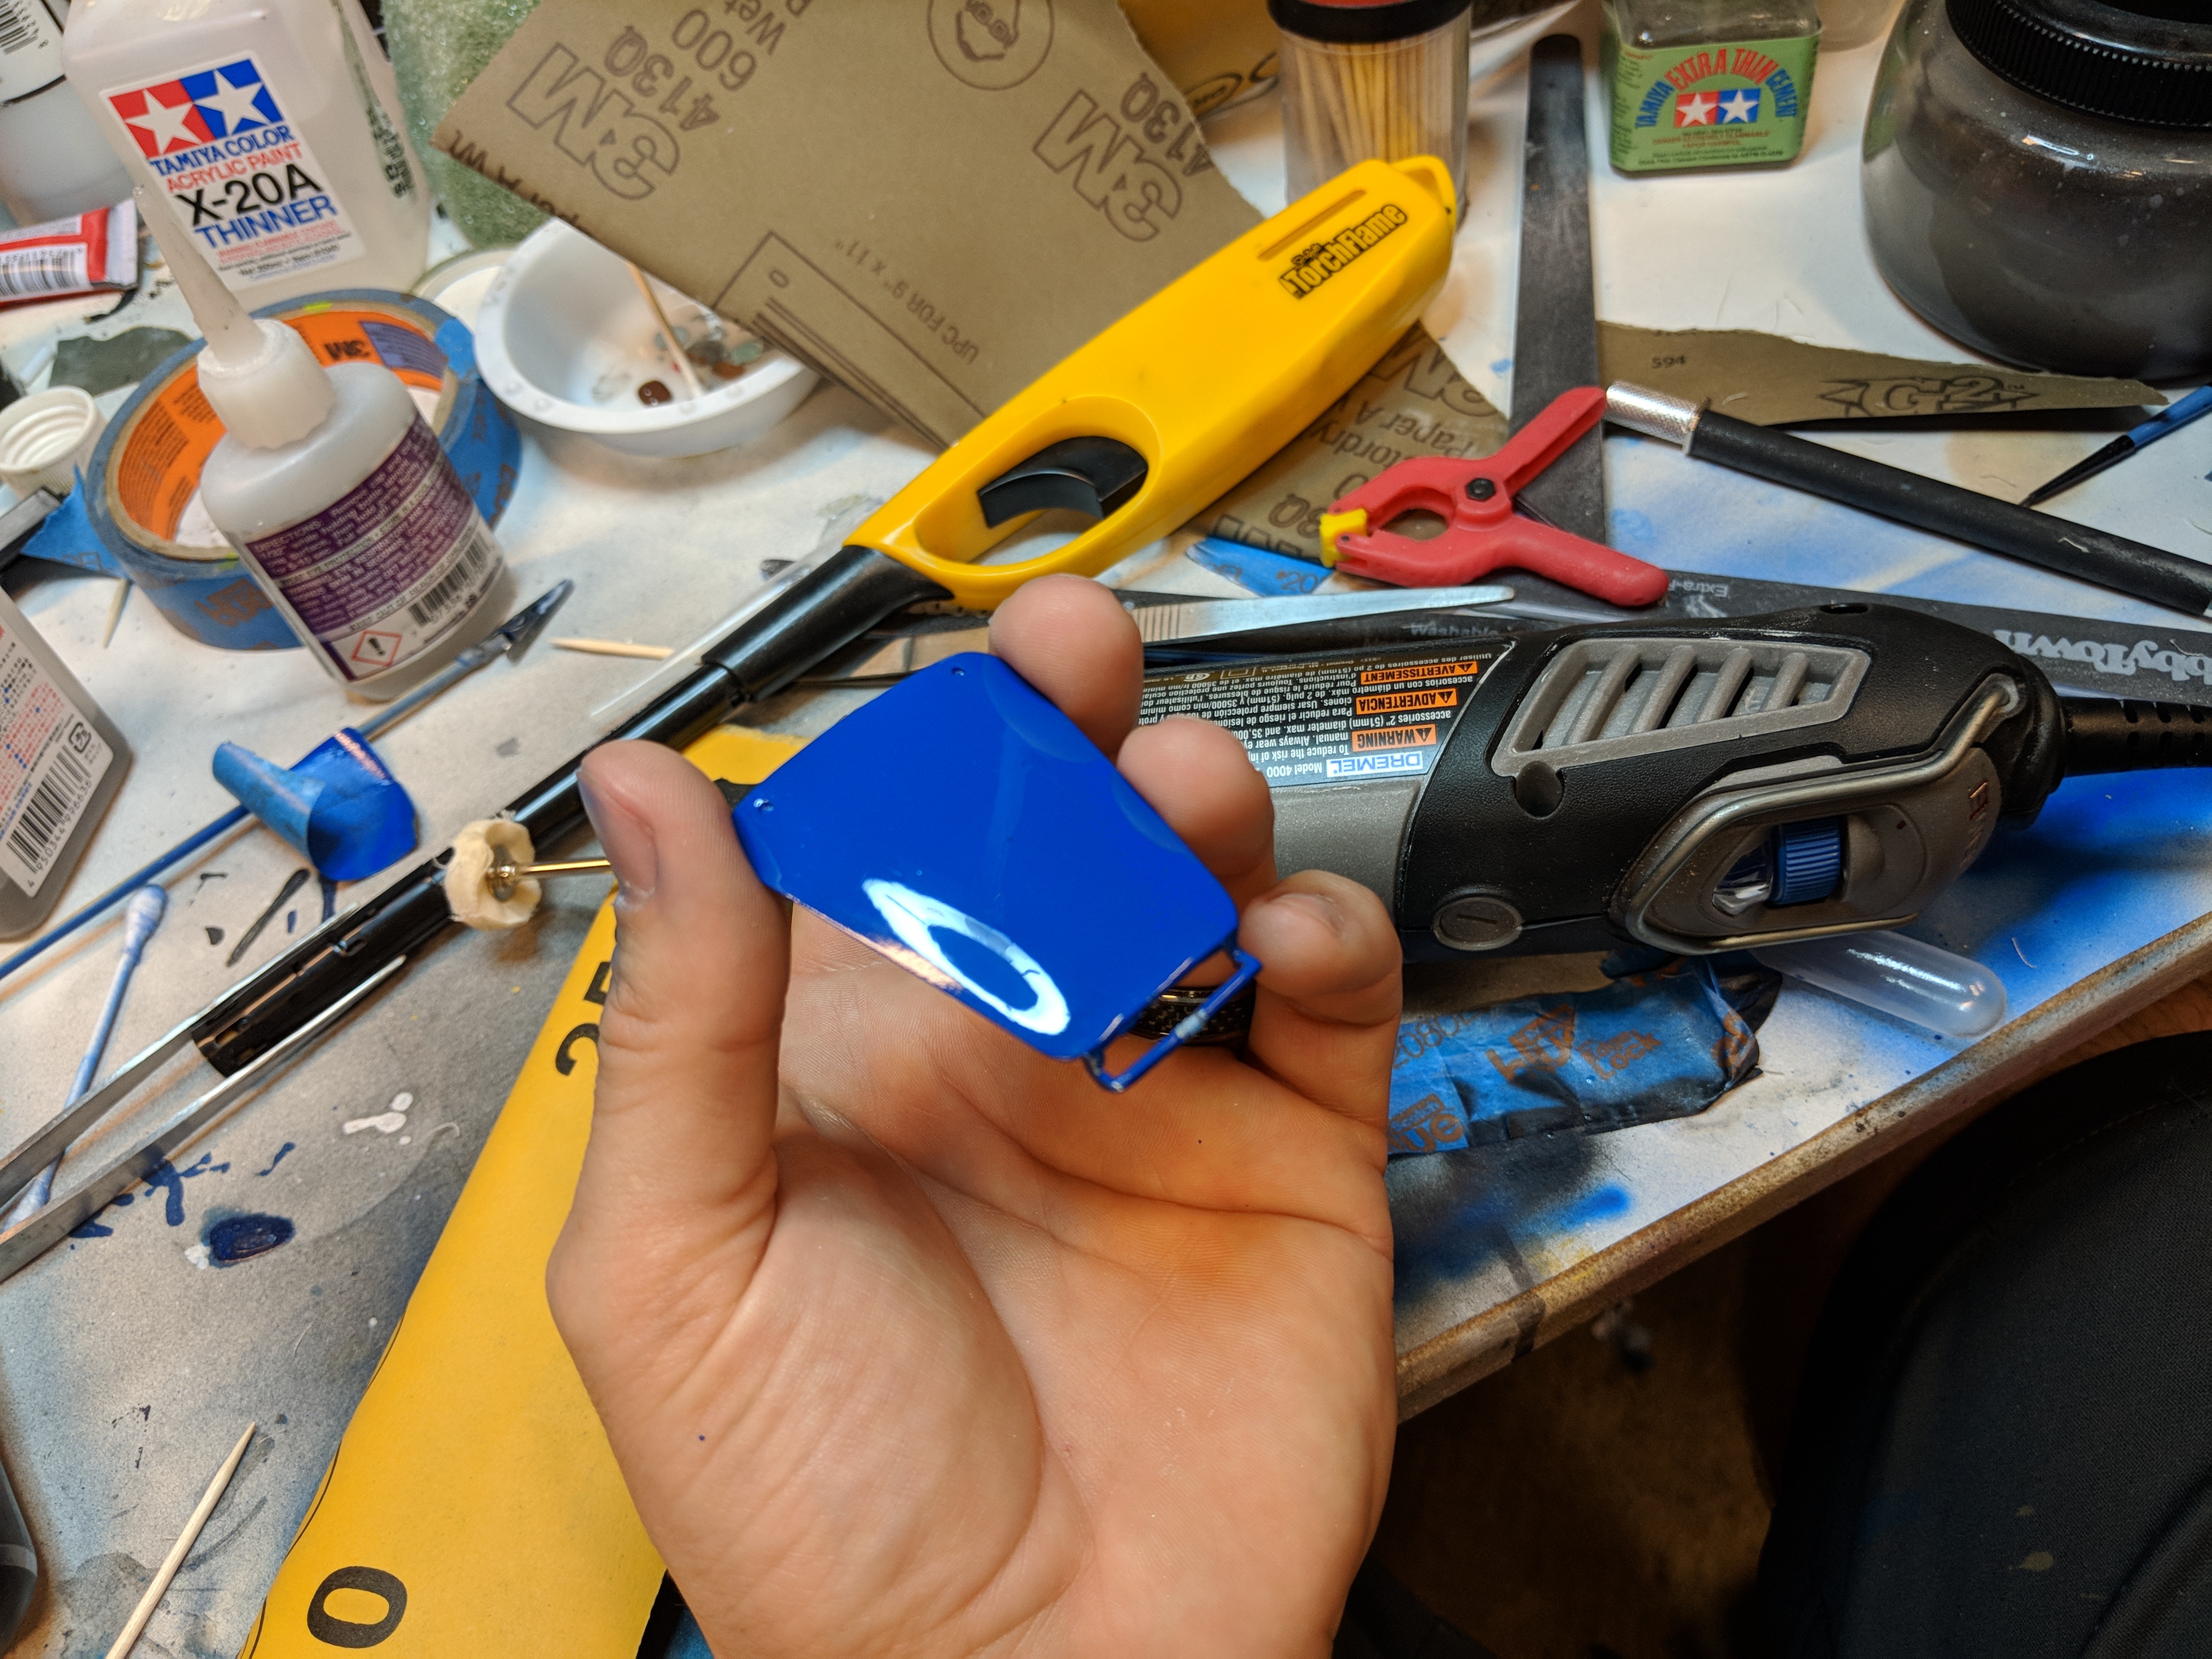
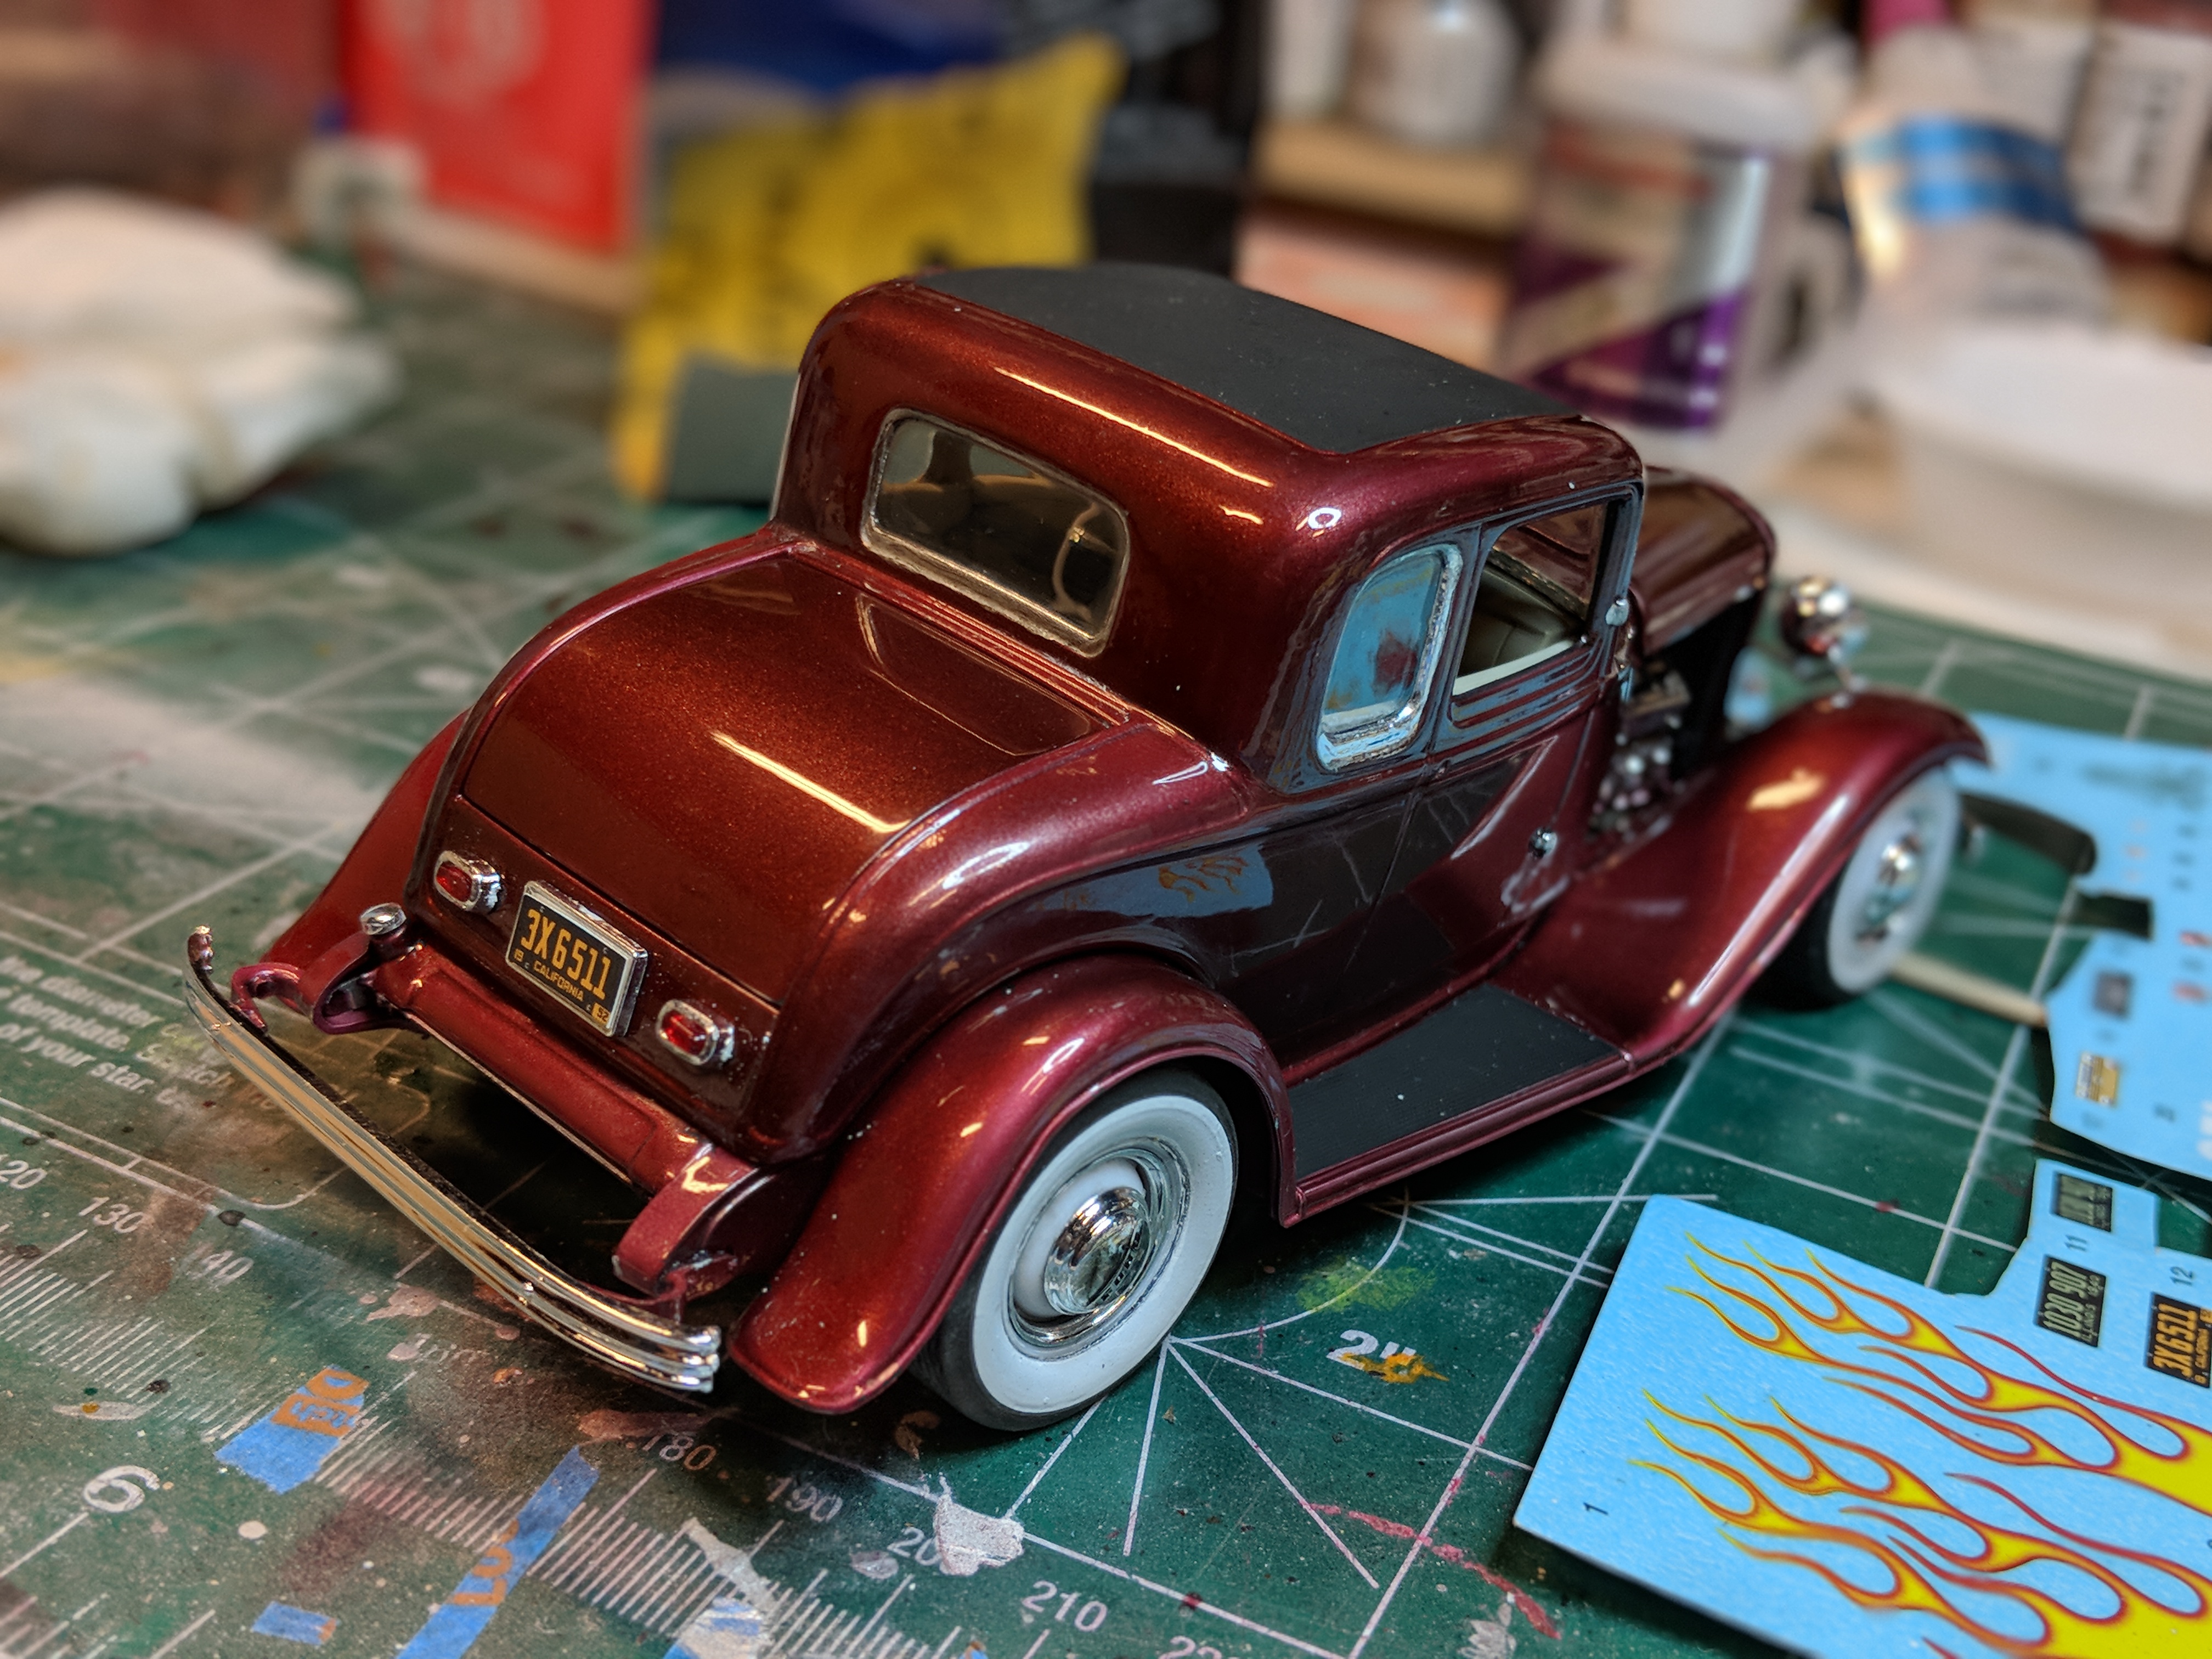
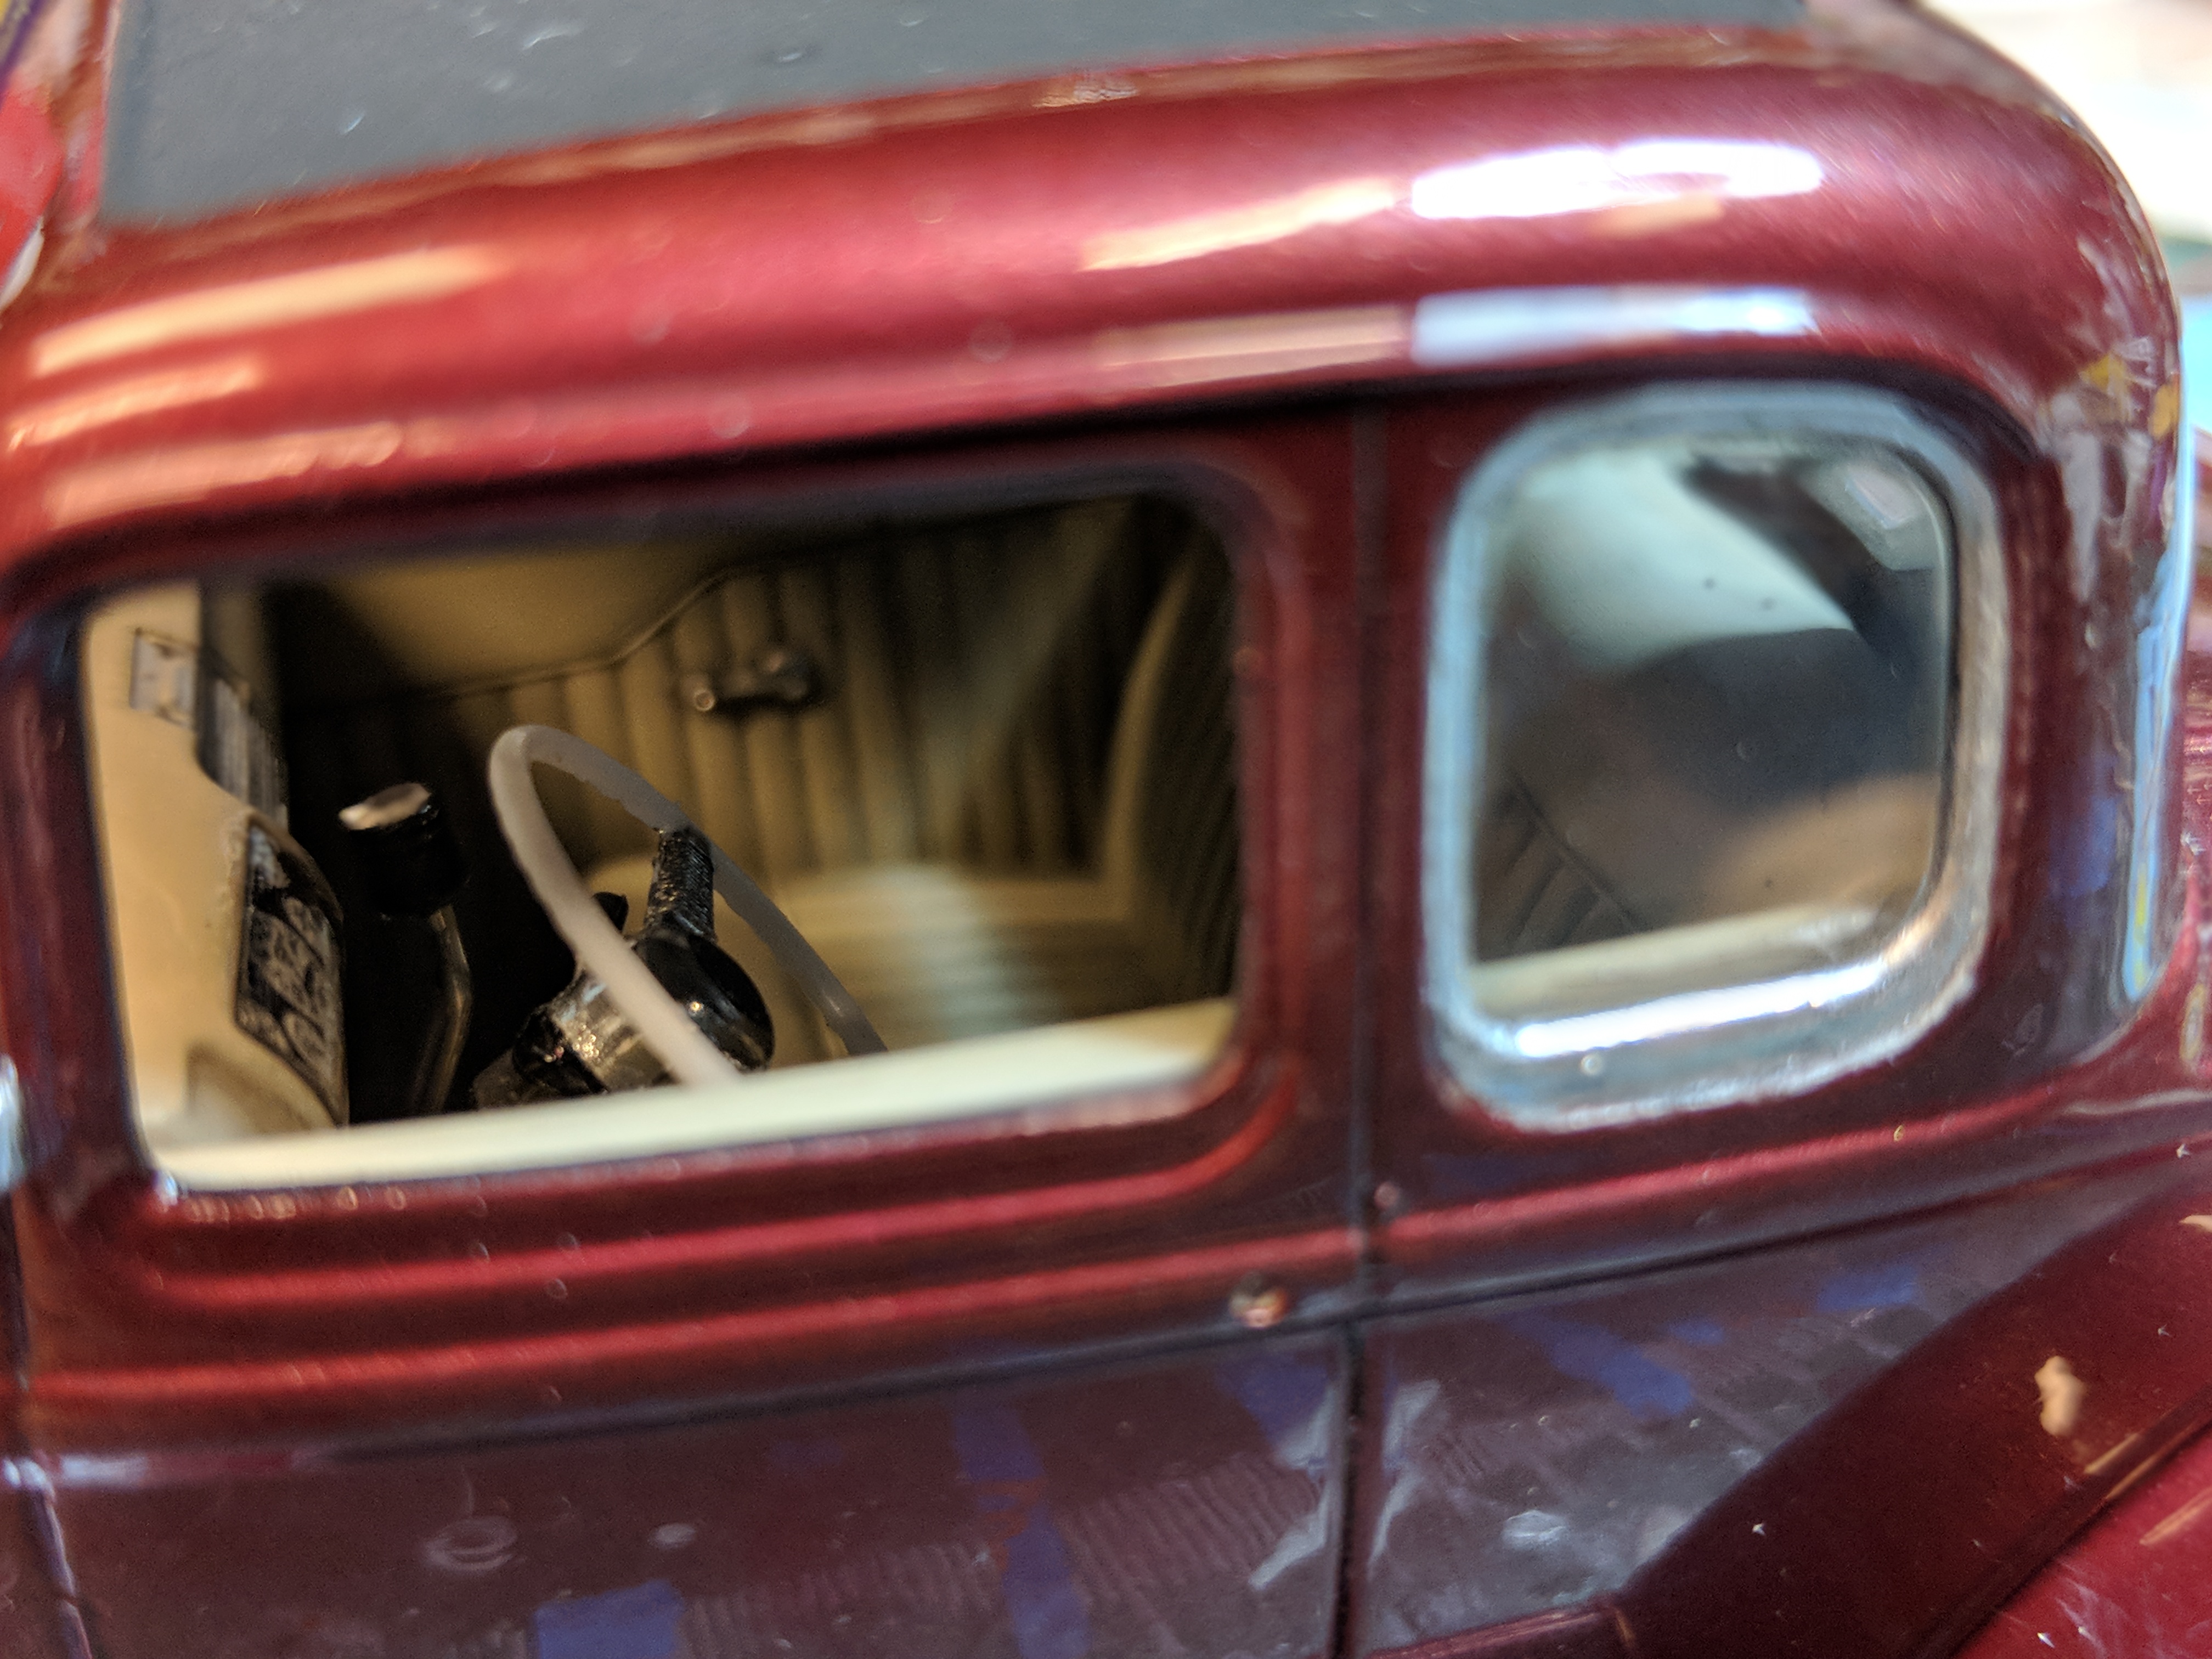
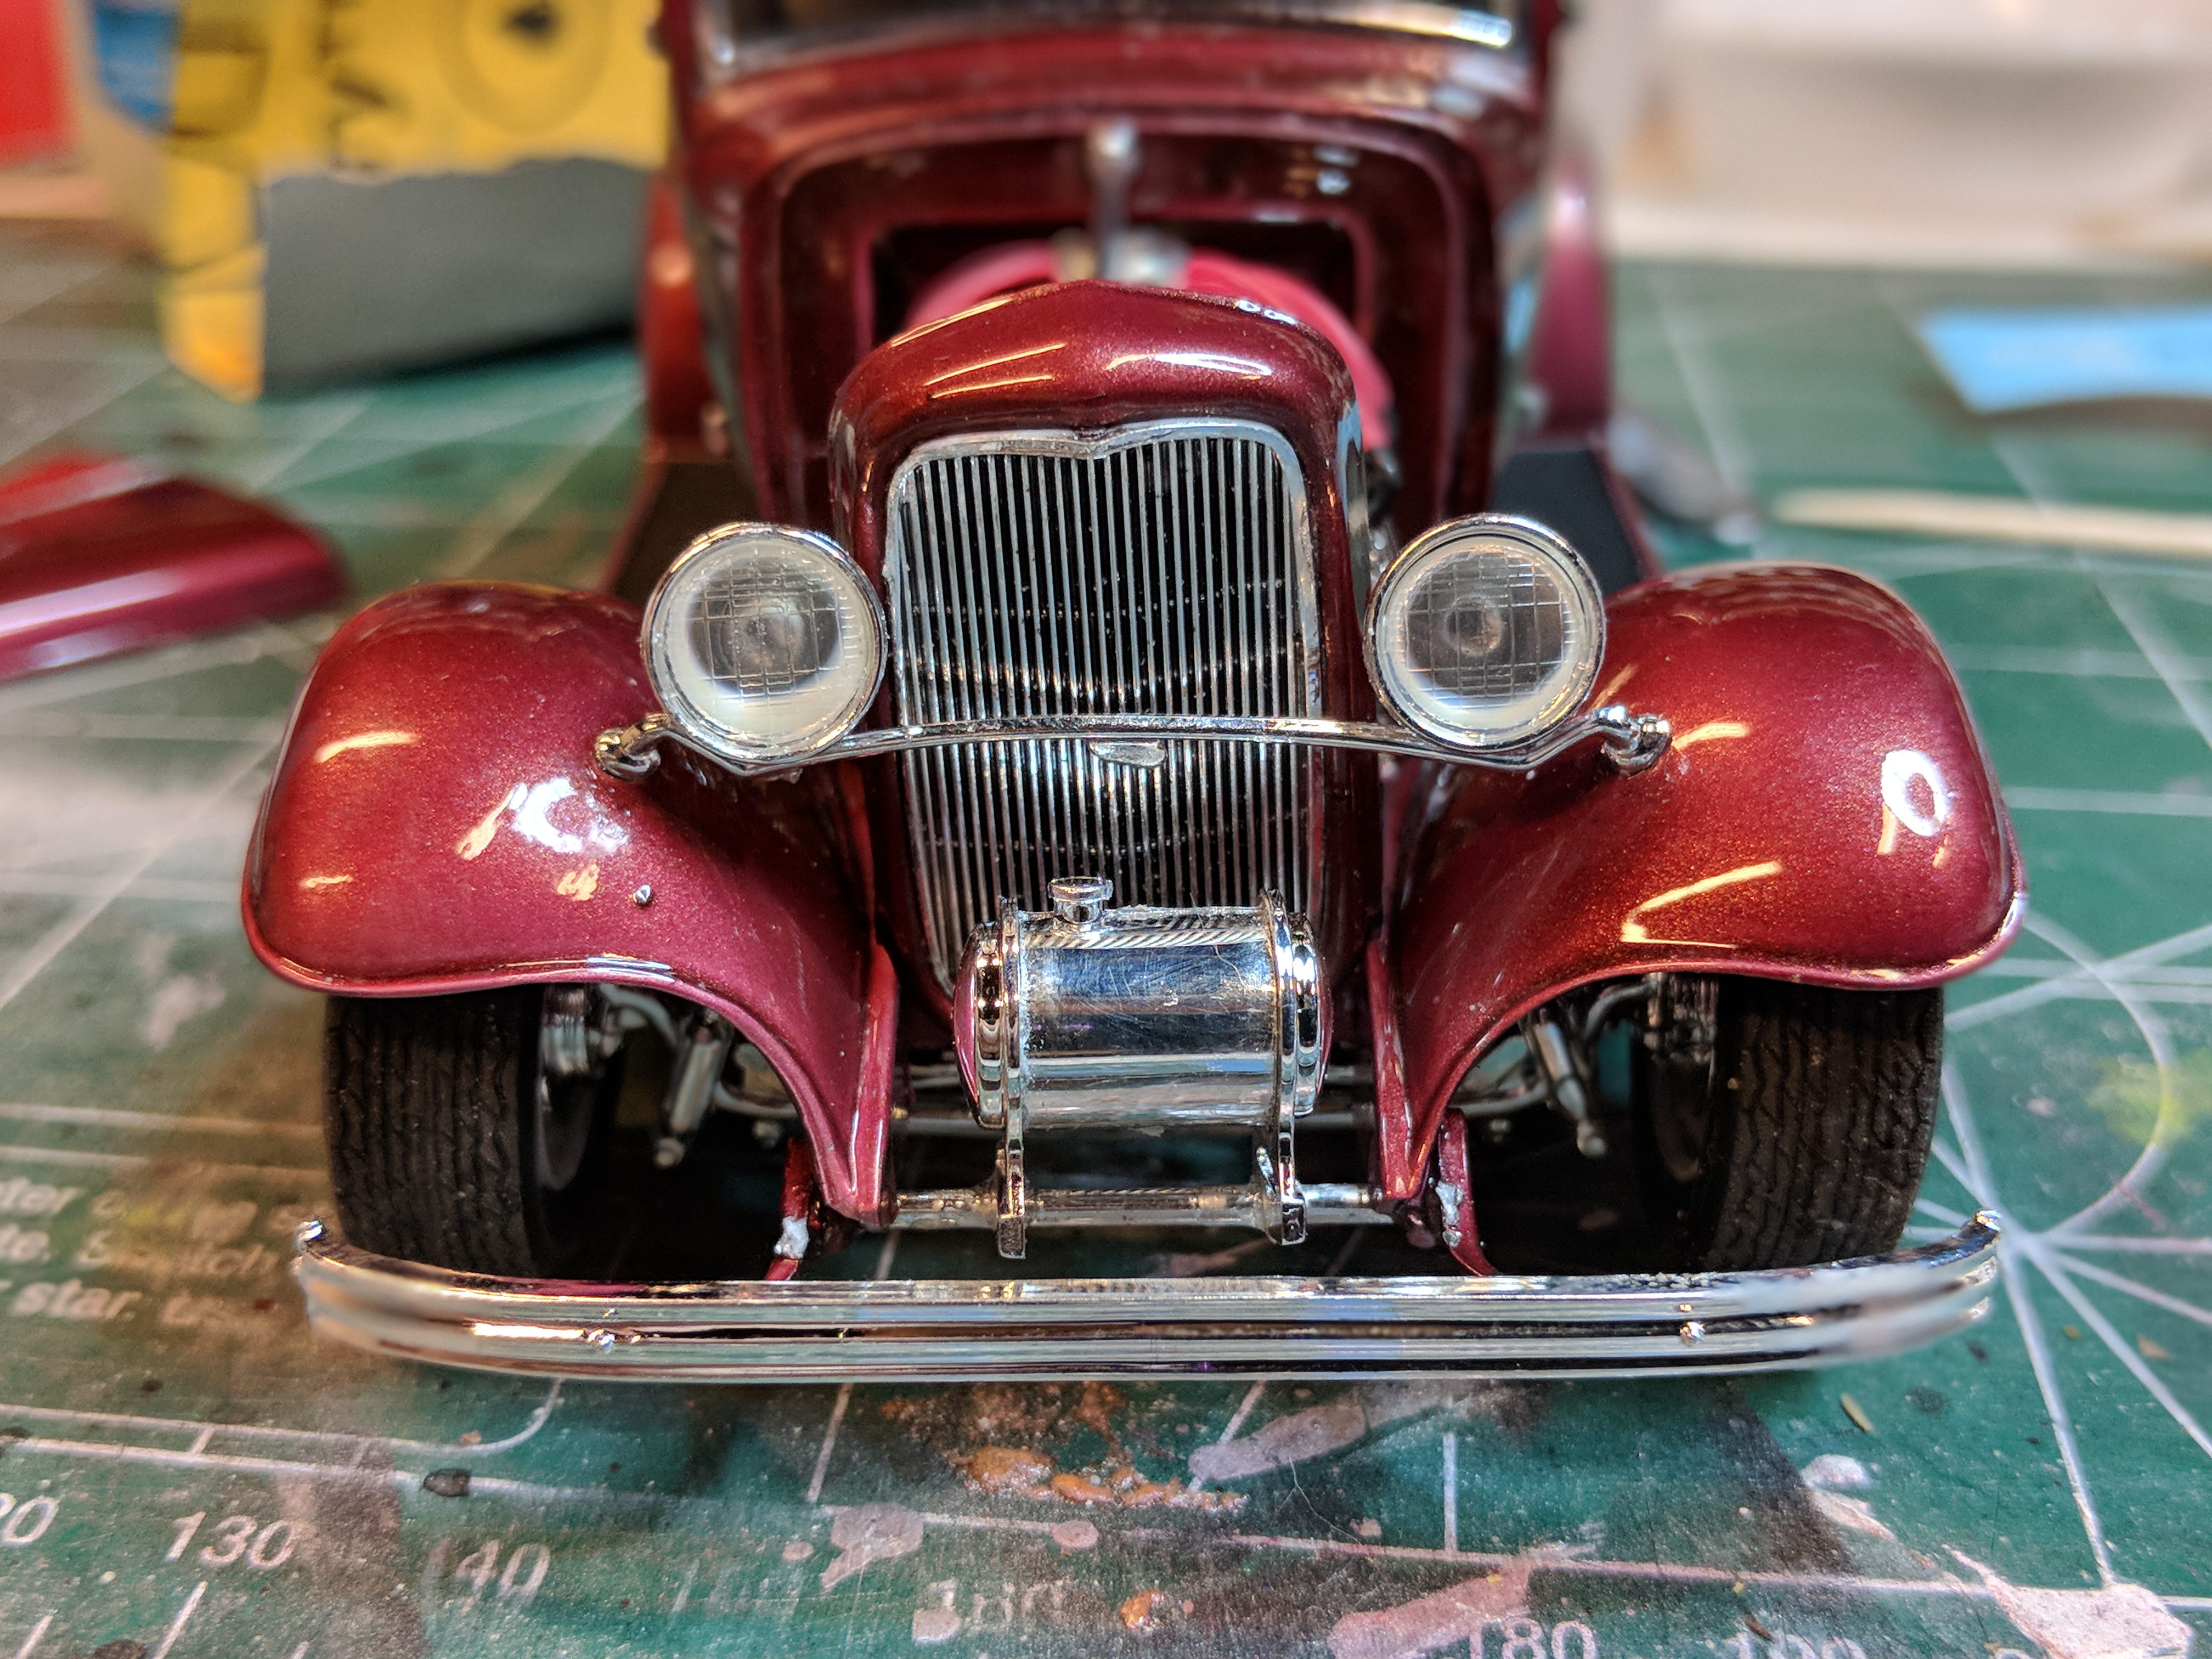
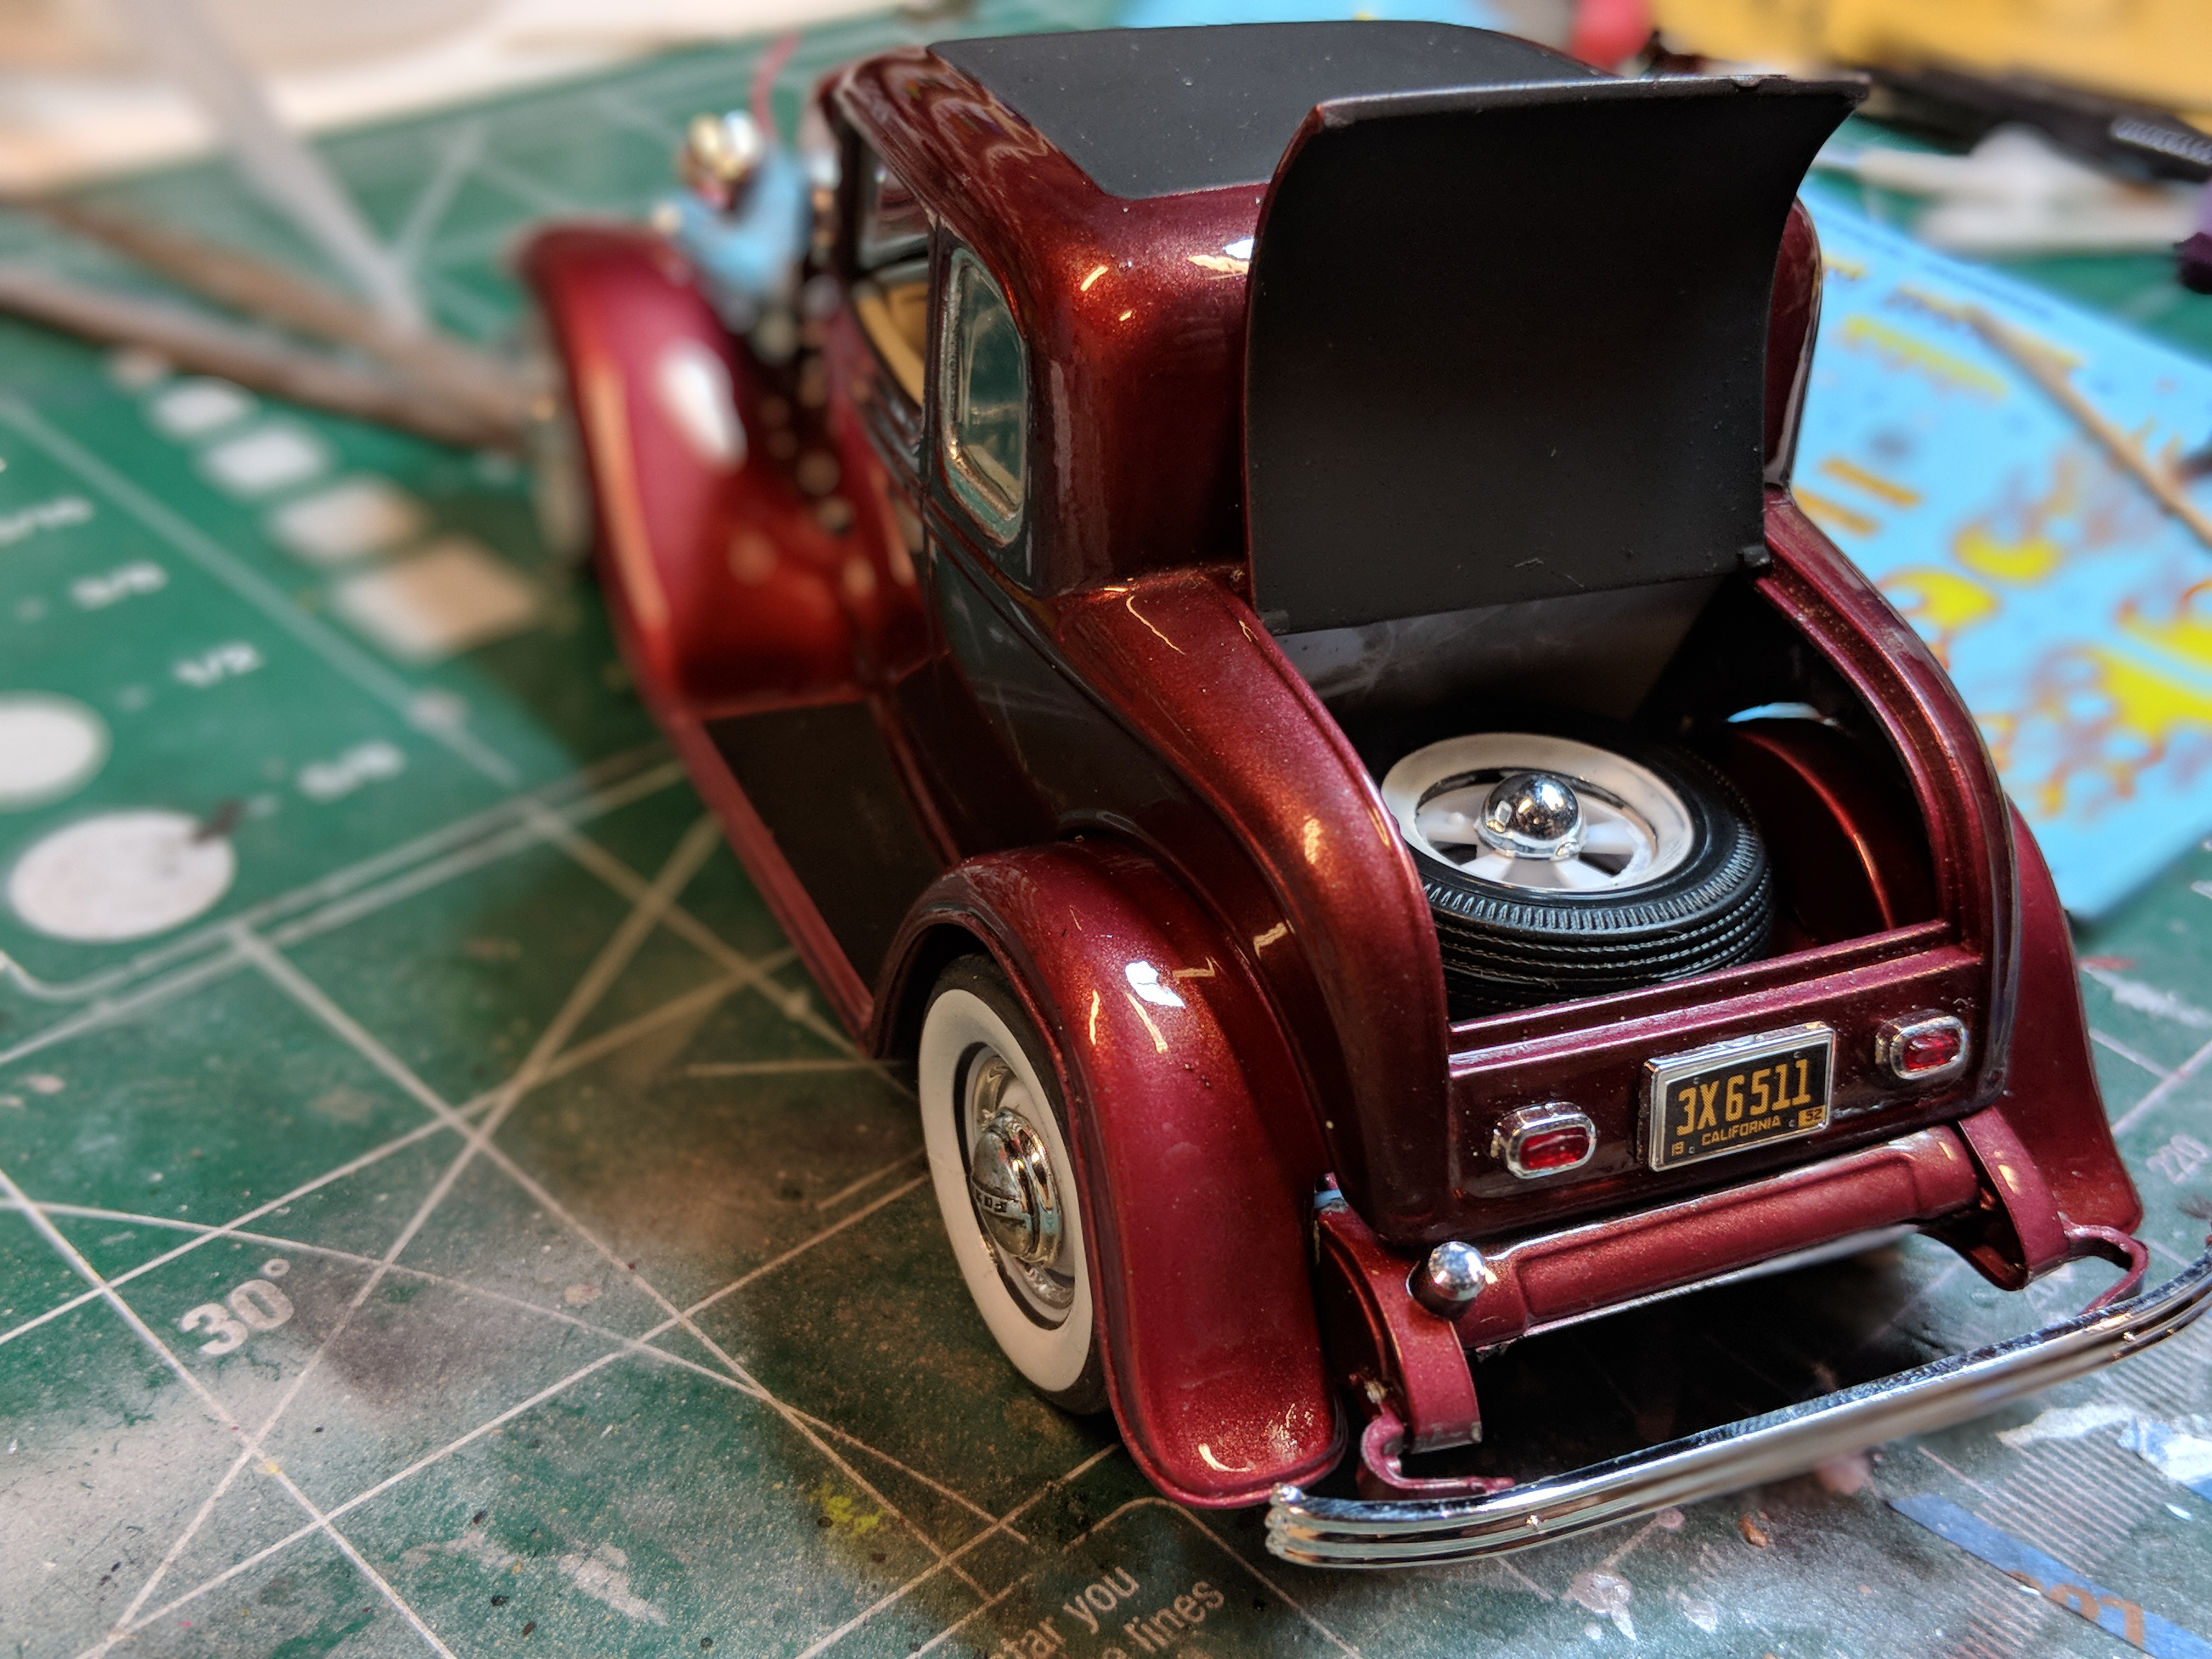
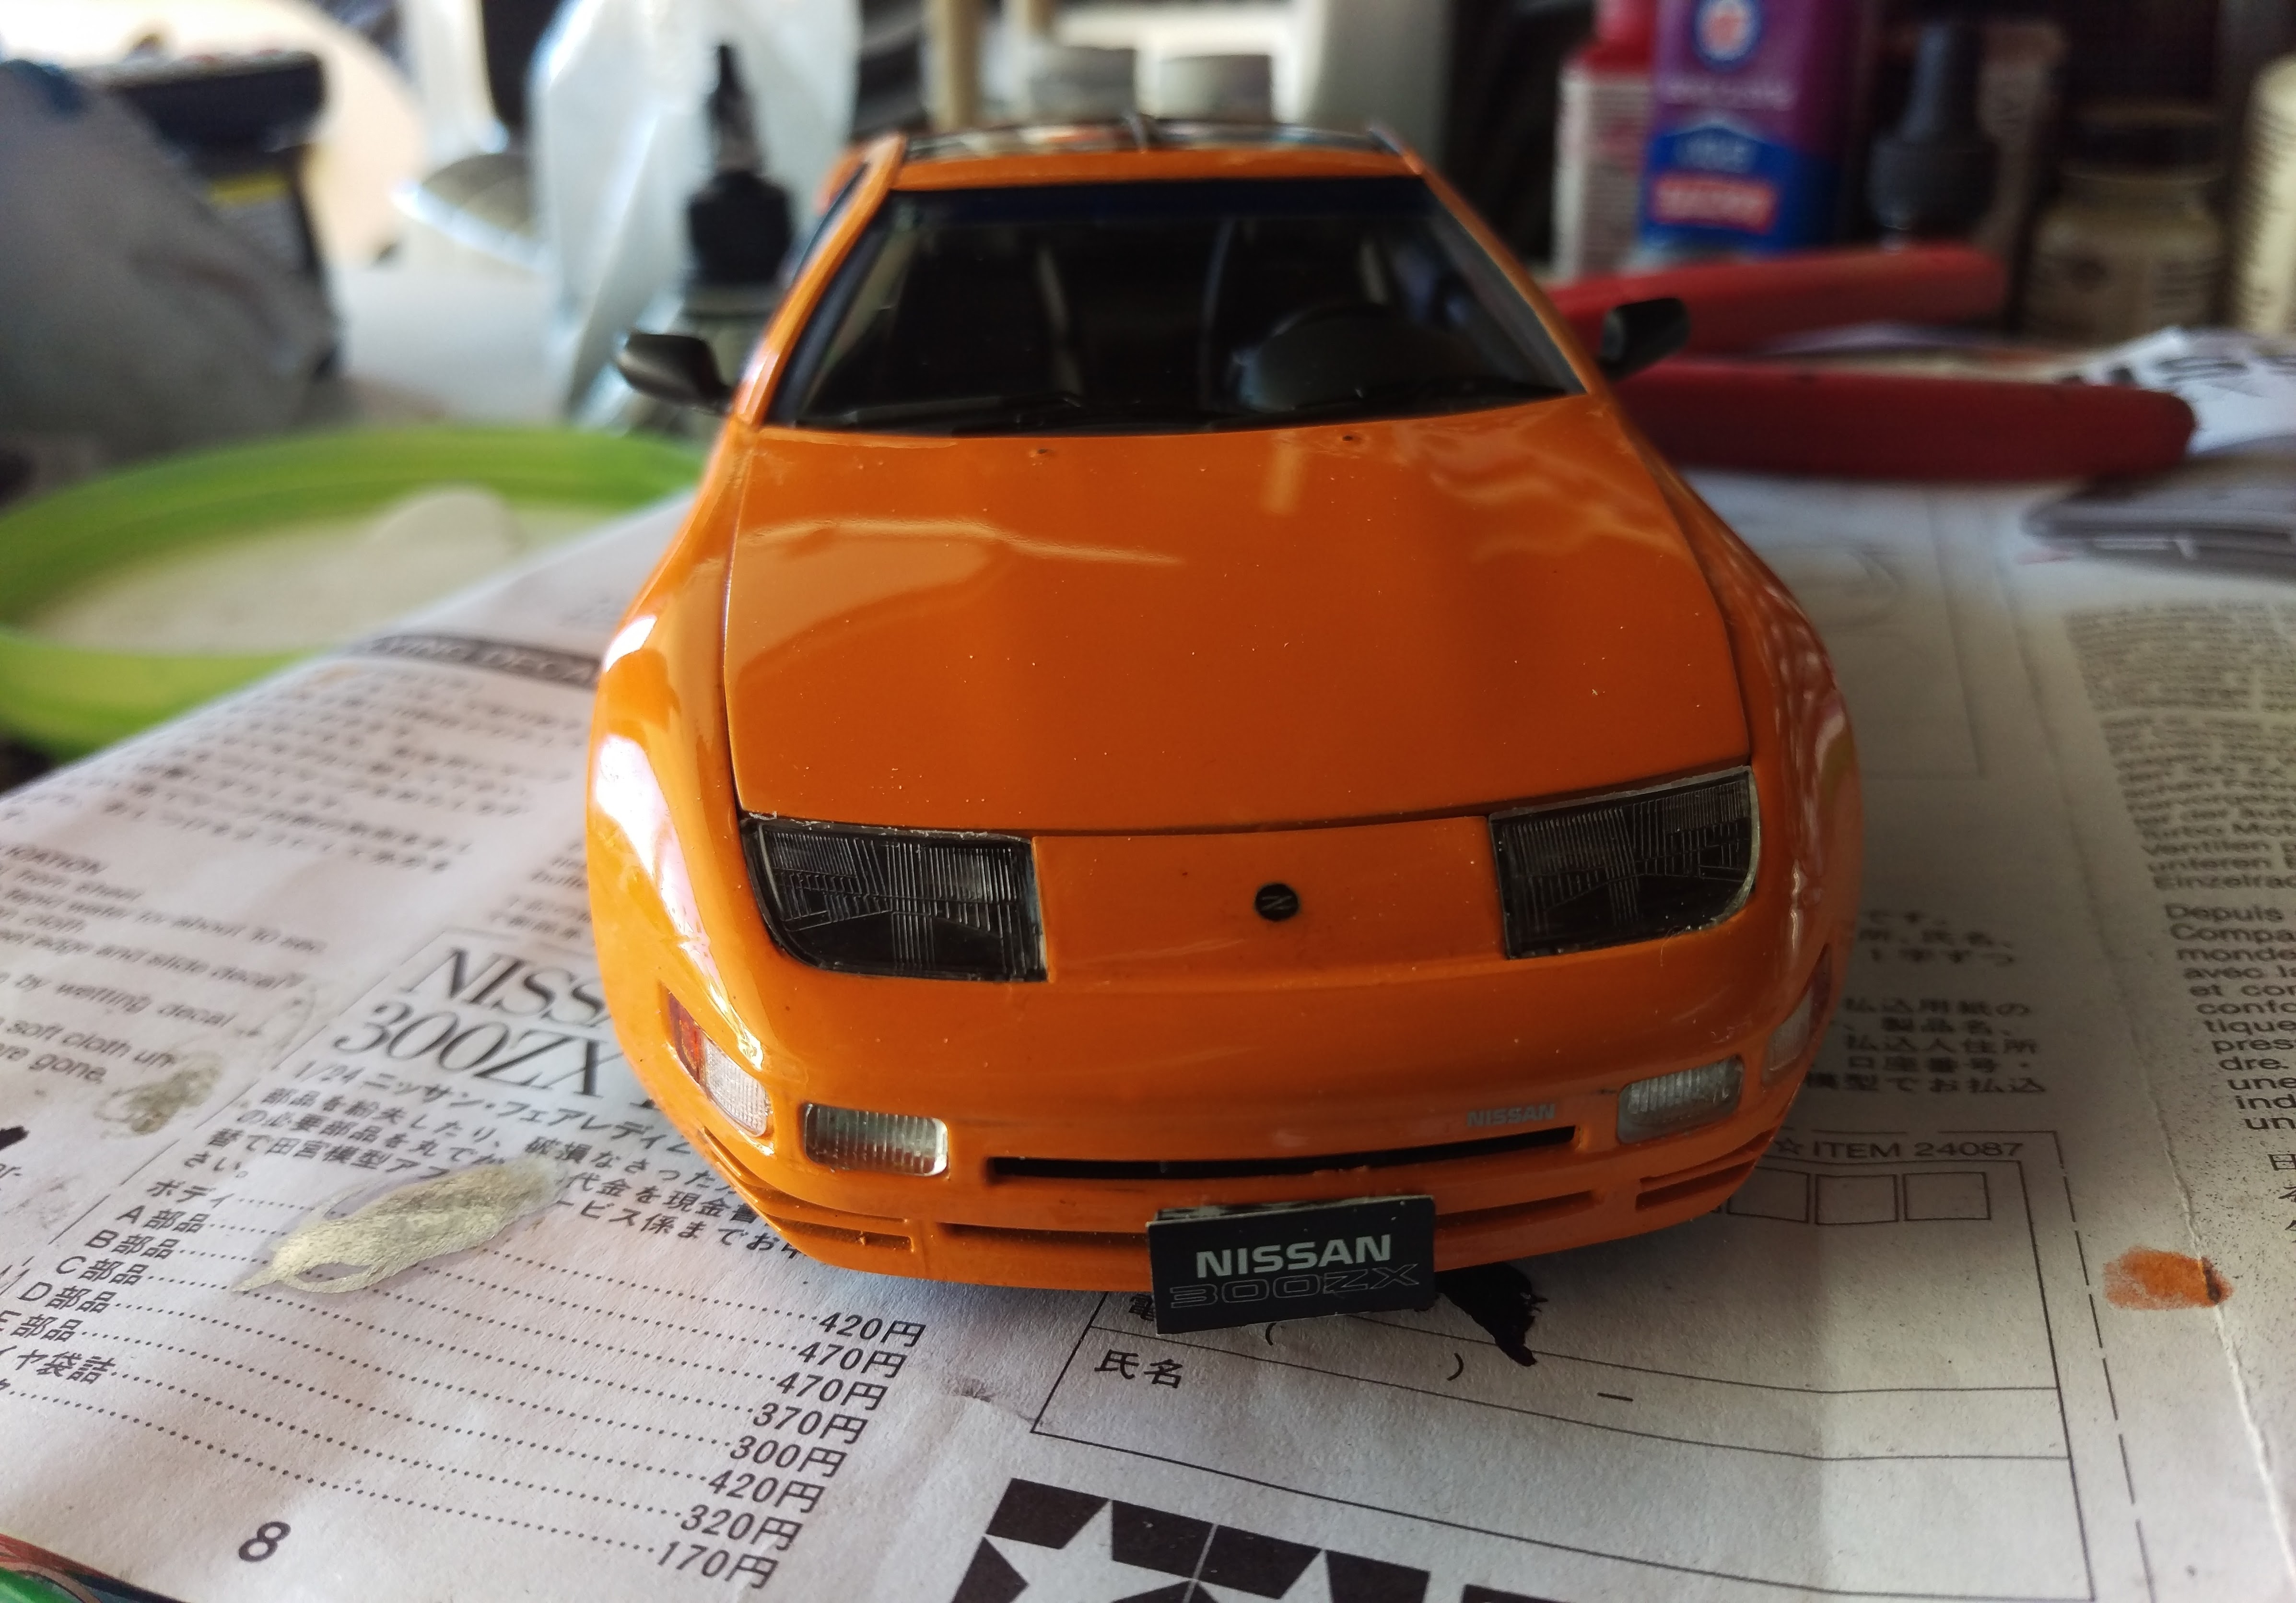
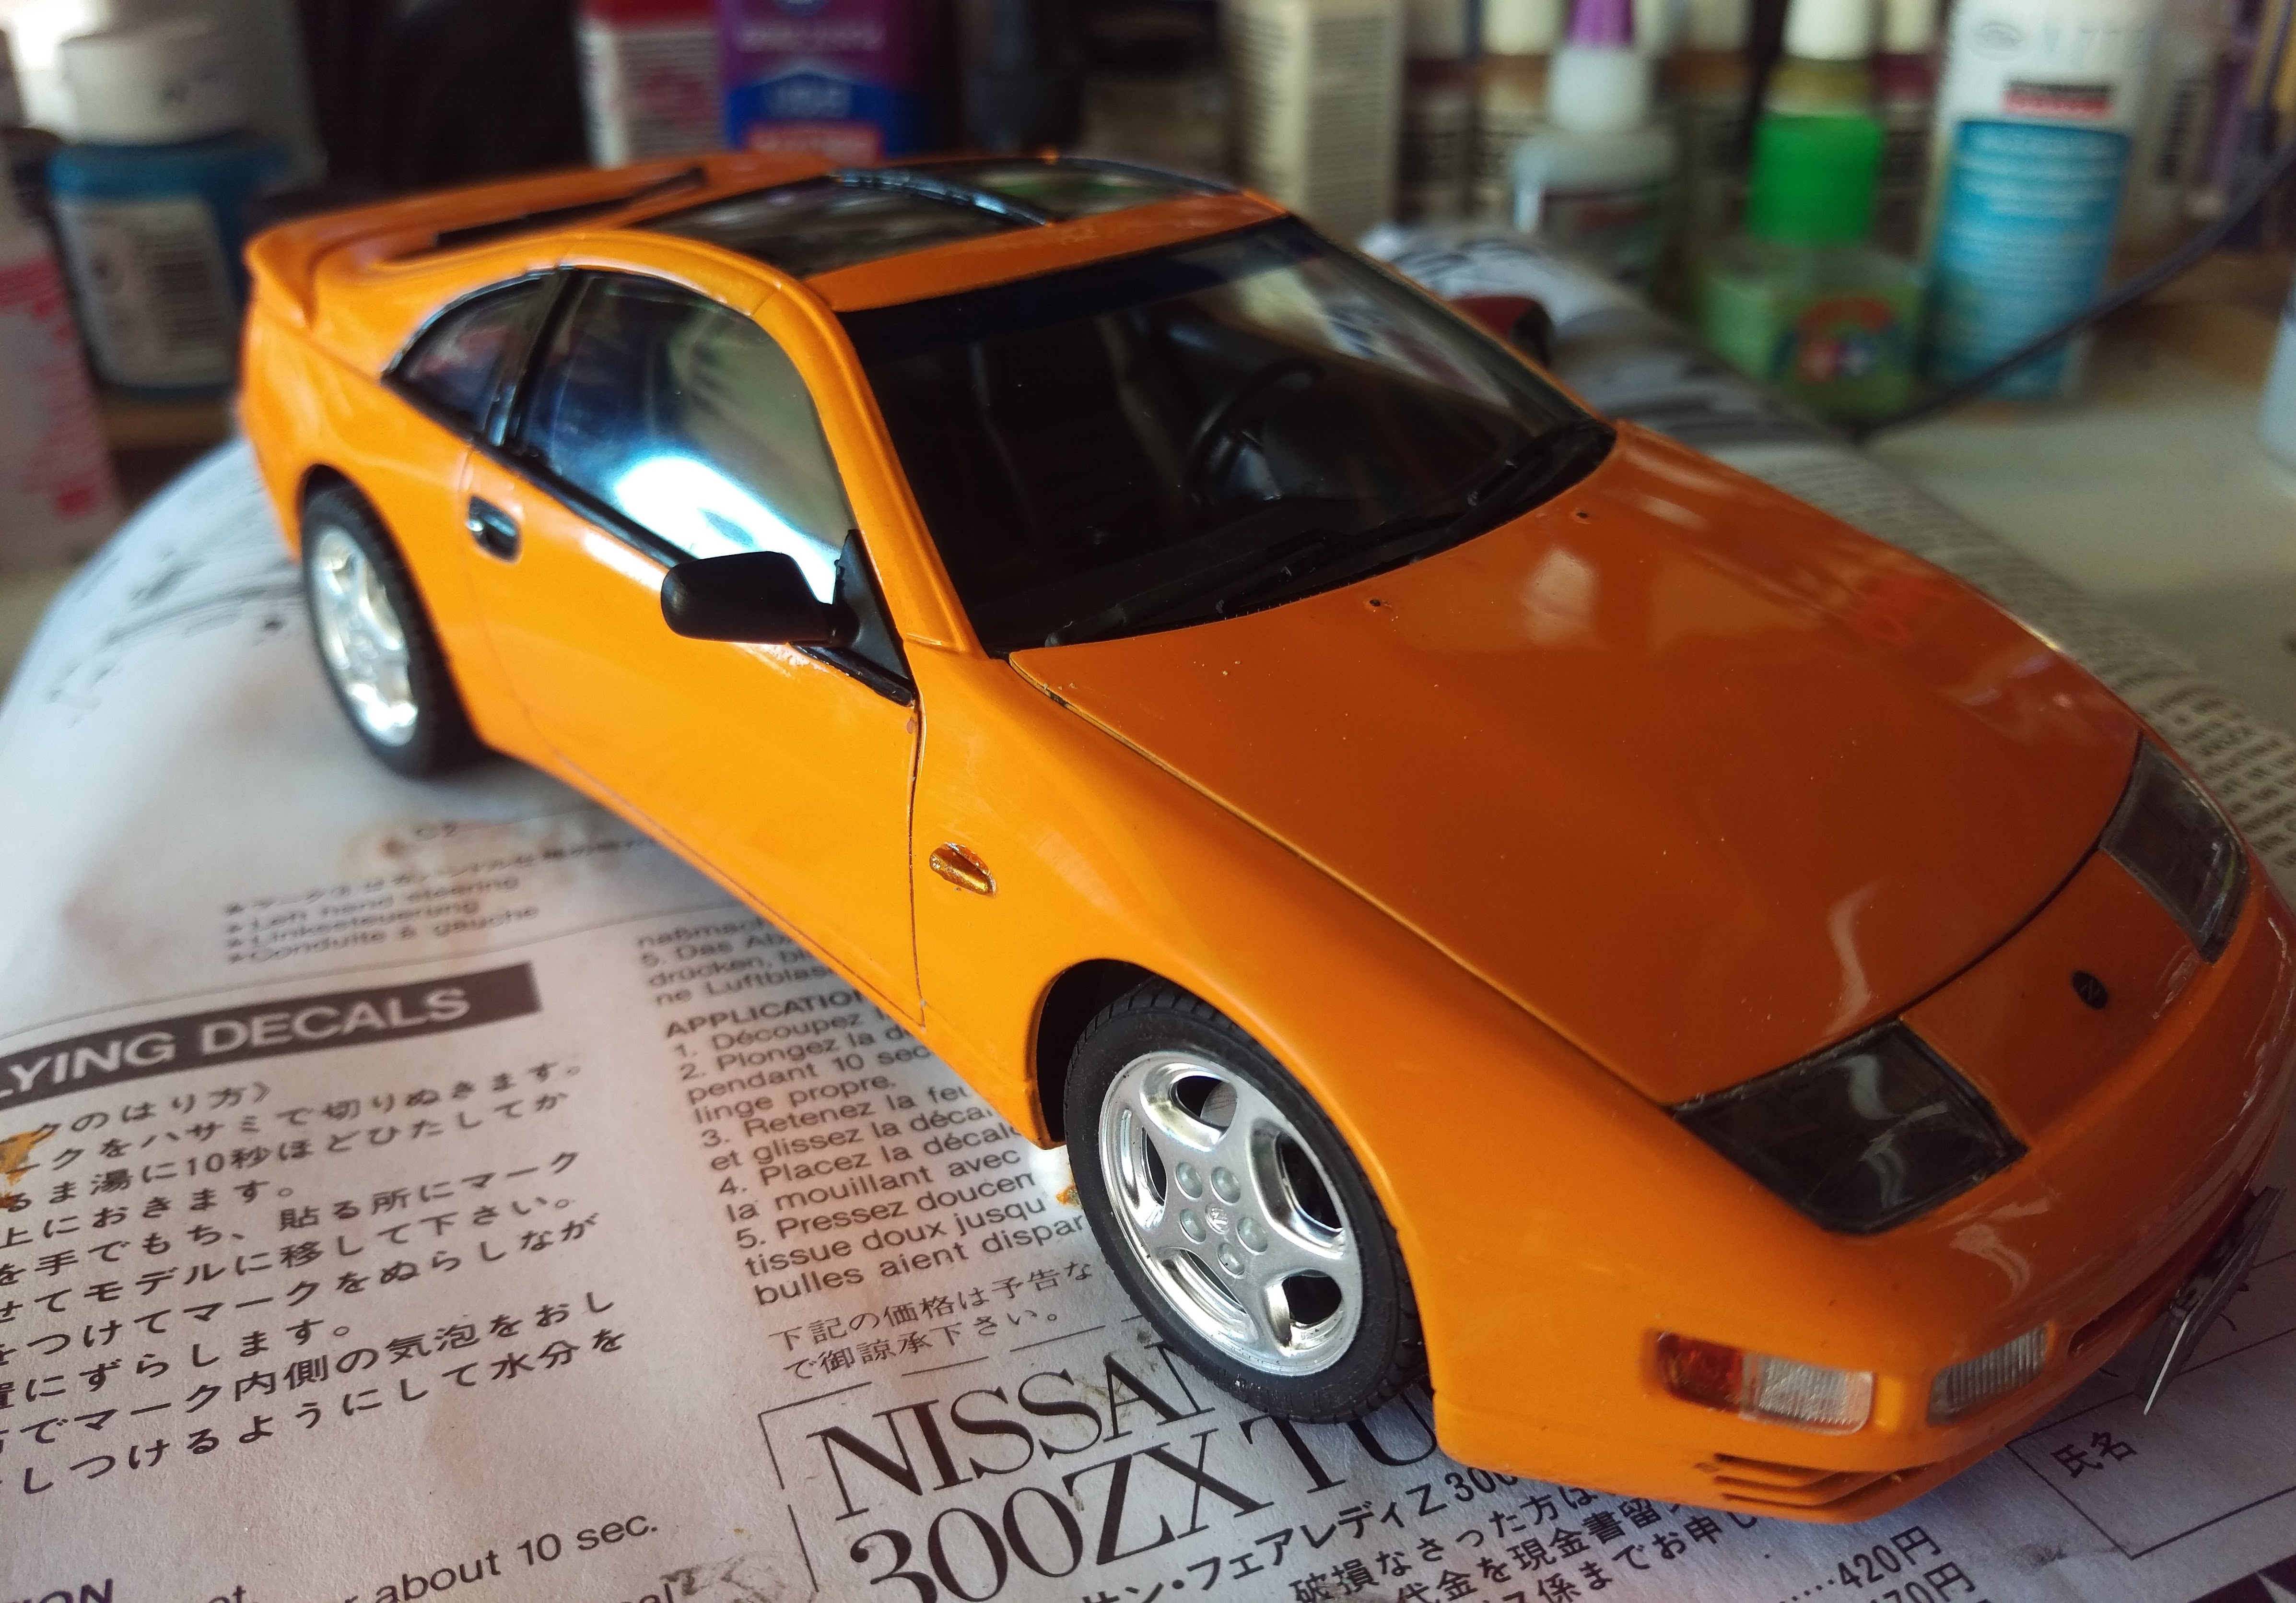
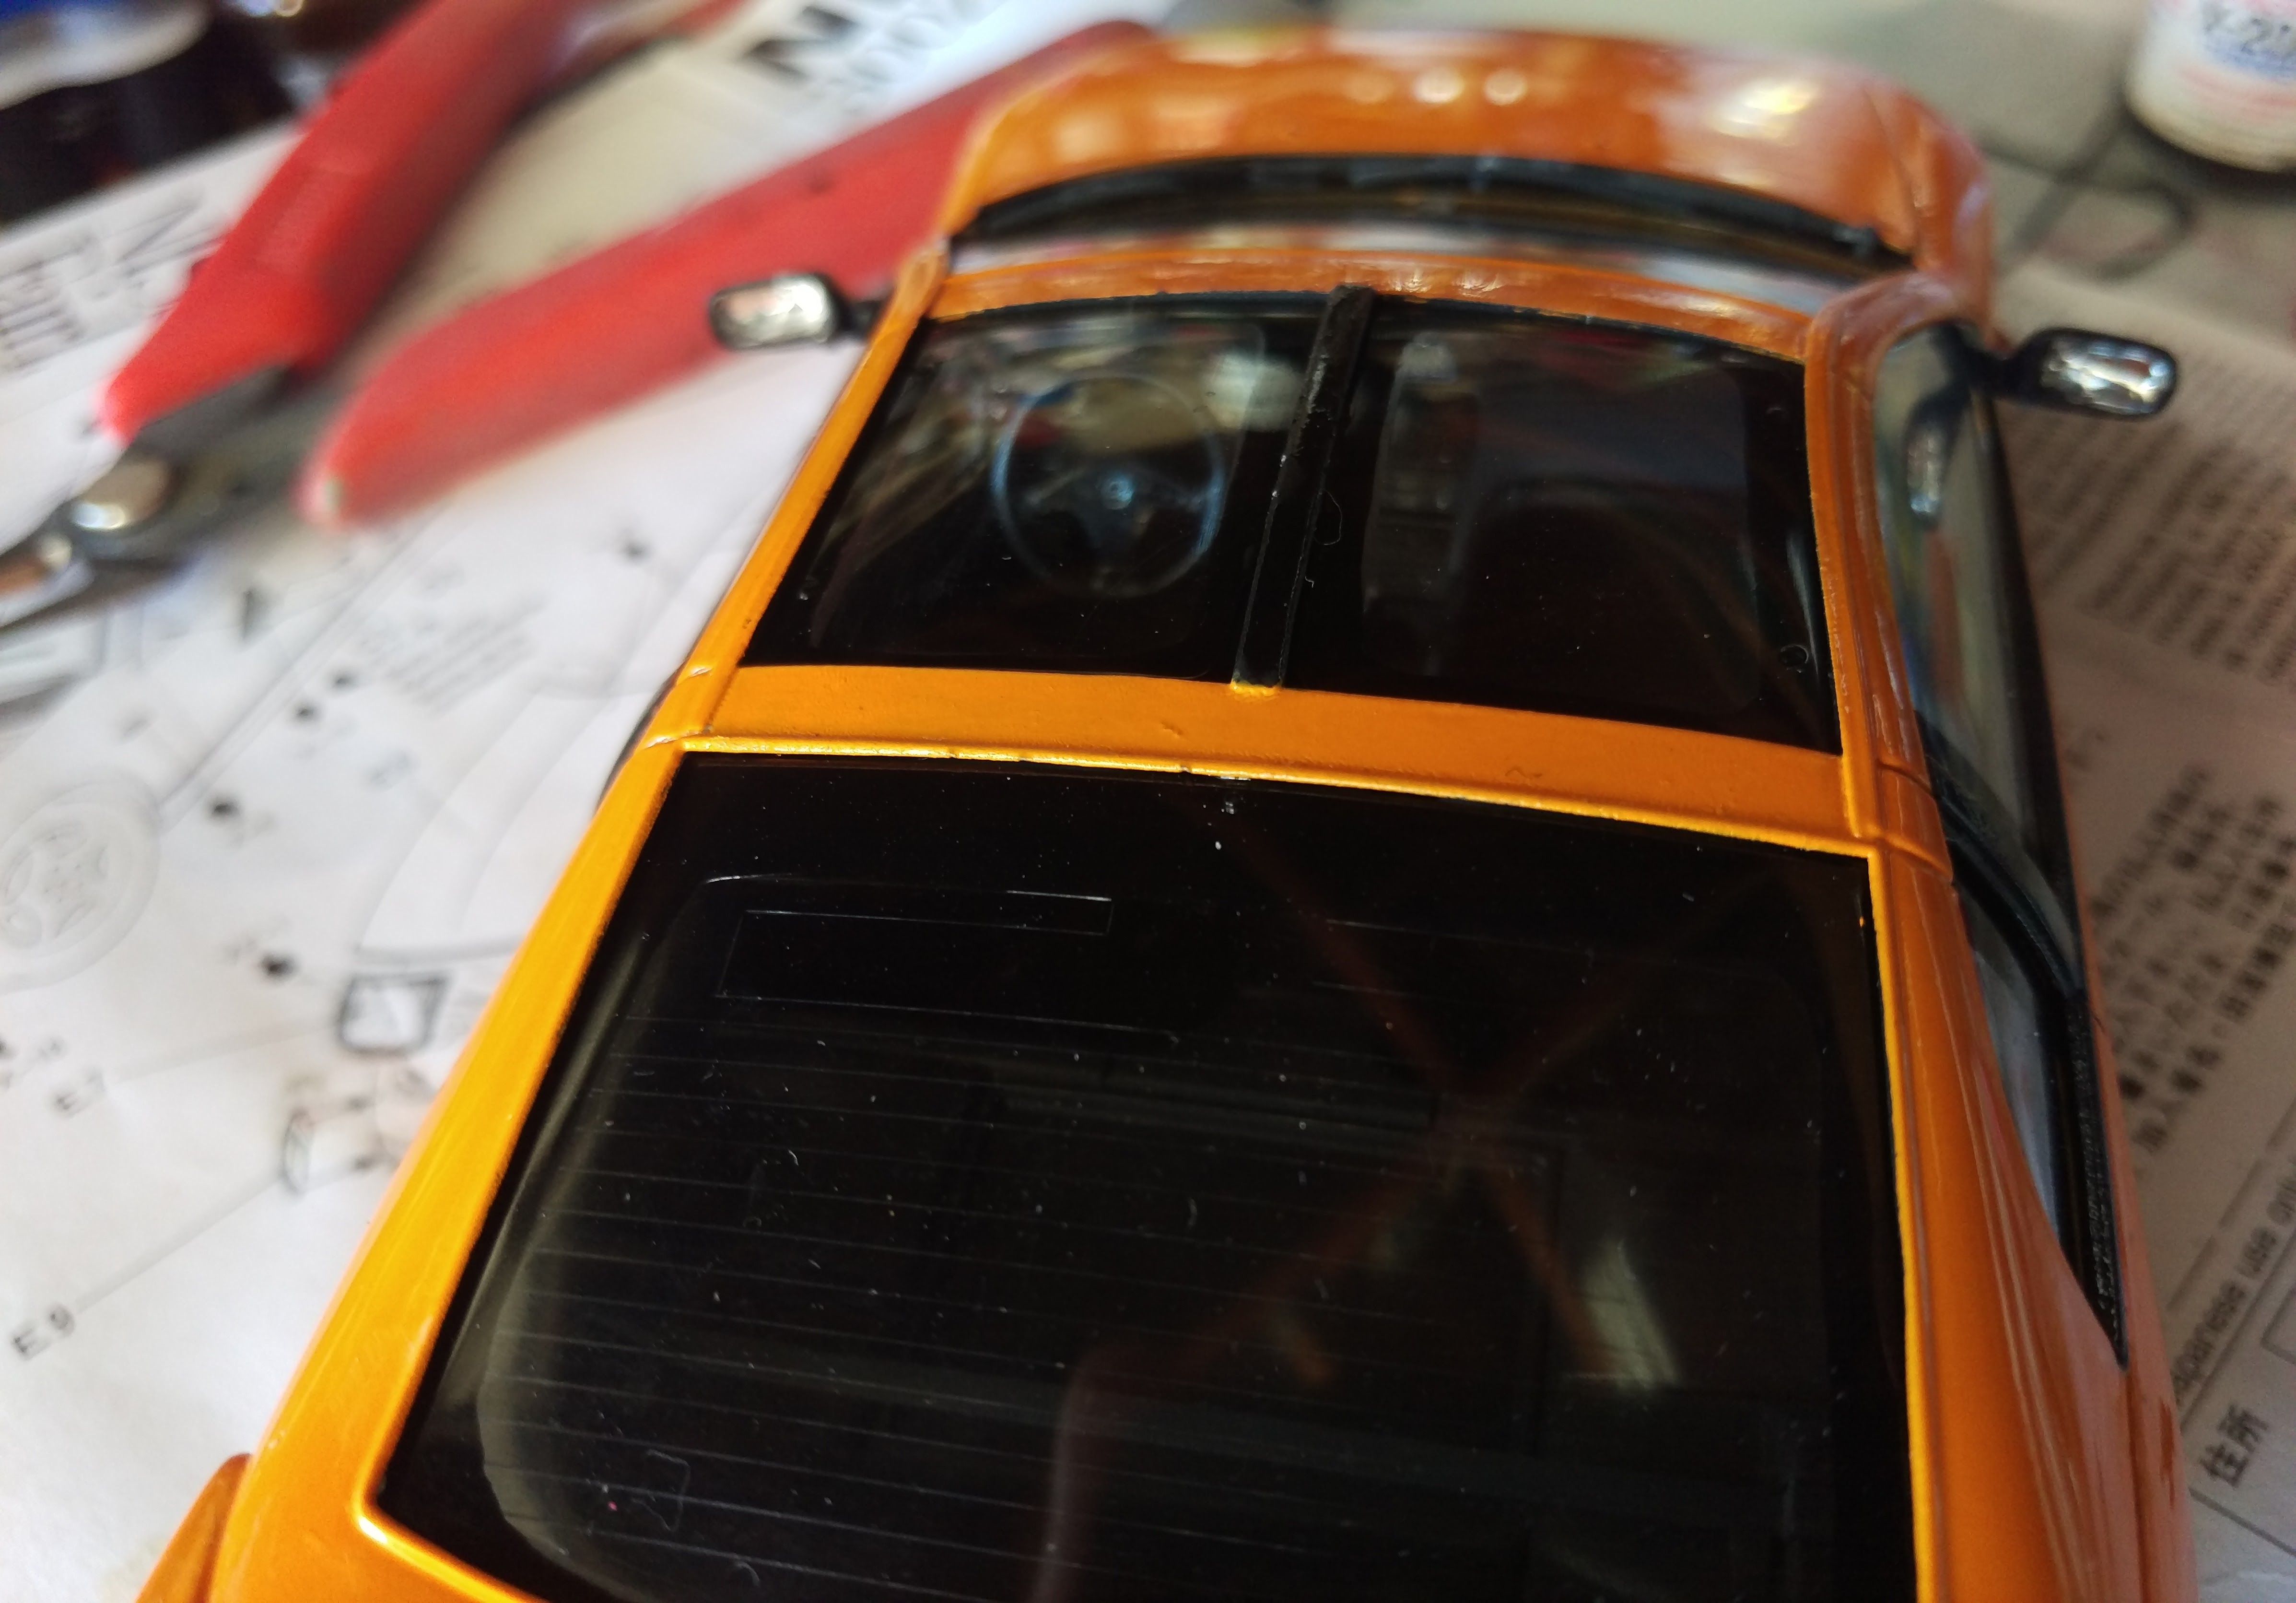
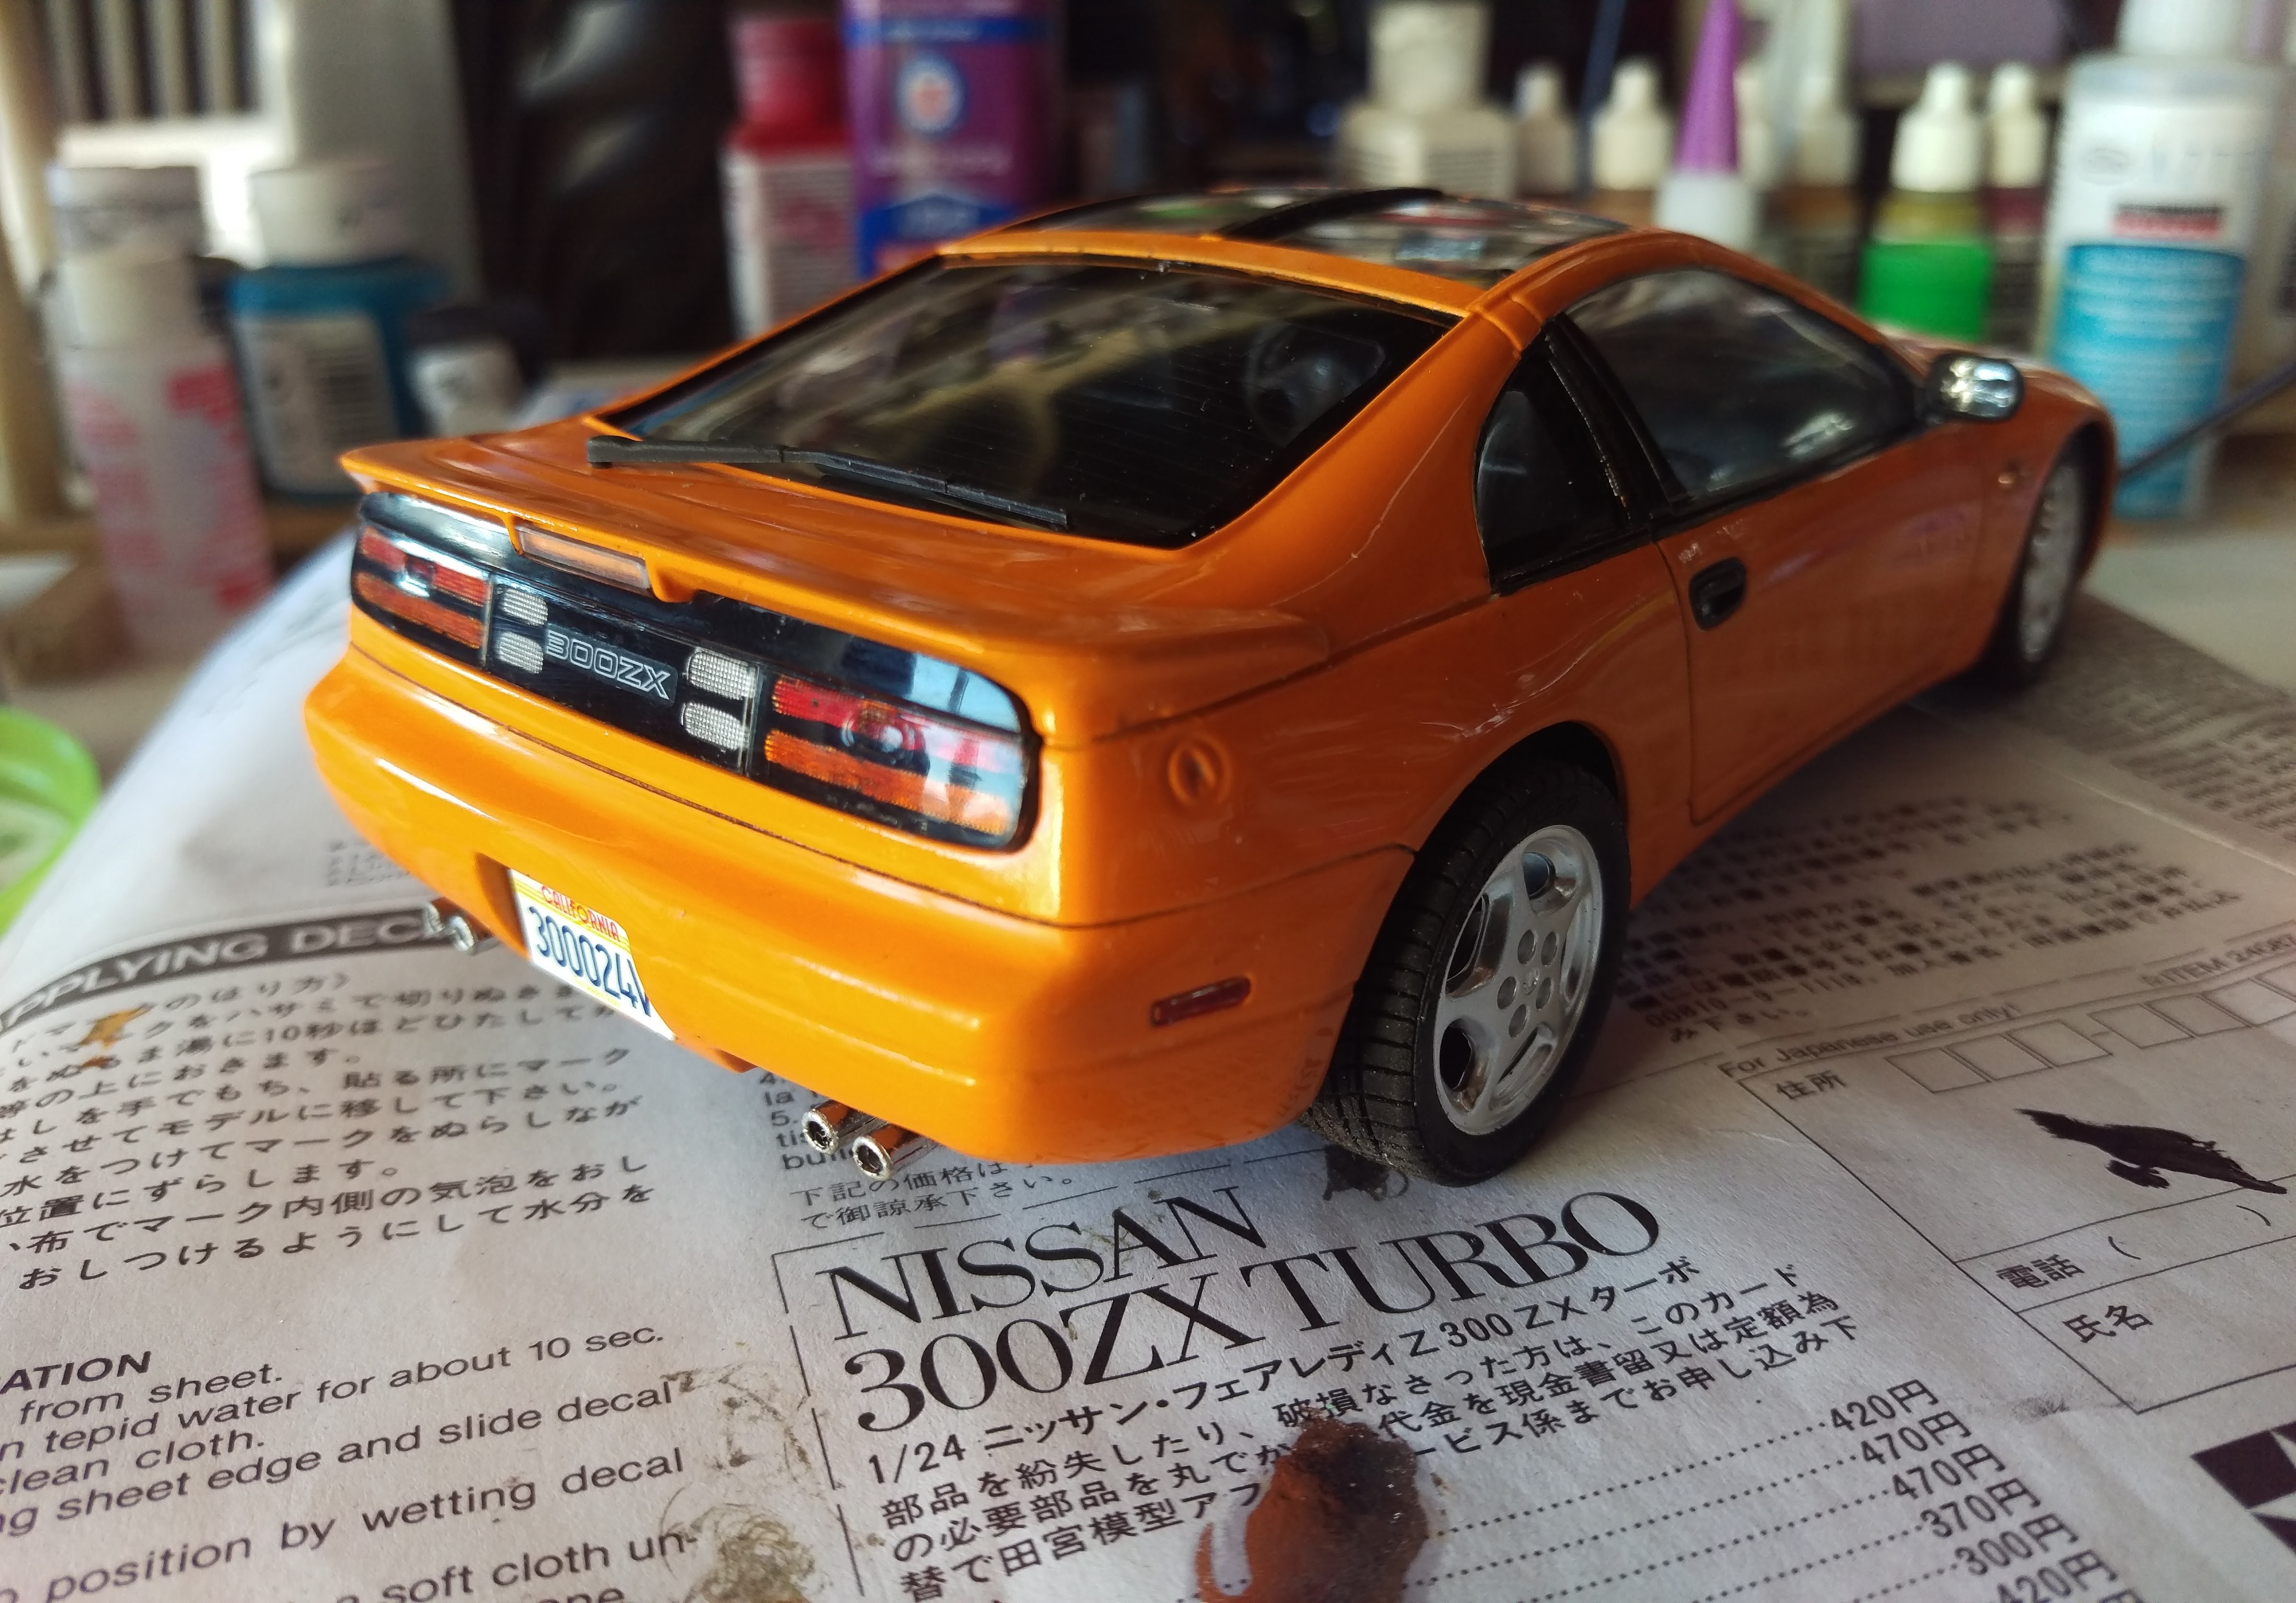
Hi all, Just started on this model. Learning from my last build, I'm sourcing as many source images as I can for accuracy over interpretation. I have to say this is one of the best casted model I have come across so far. The chrome doesn't look too bright and shallow, the mold lines follow natural lines and it feels solid. First the primer. This primer is terrible but I do not have another light primer and as my body color is going to be light I'm stuck with it. All primed. Letting the body dry, I now move on to the interior. Here I'm gluing and sanding the seams I cannot for the life of me find an image of the back of the front bench seat. I think it could either be vinyl or carpet texture. If anyone knows please let me know. This is the best image I can find, but I'm not sure if it is period. The back appears to be vinyl but it's hard to tell. Flocking the carpet. I used to use modge podge but after seeing a YouTube video decided that using paint for adhesive is the better option. Here's the dash without the wood grain cluster as well as other details to come. One thing I'm starting to learn is that I need to let things dry and cool my jets else make a sloppy mess. As a side note q tips with plastic sticks are awesome. The plastic tube comes in handy. That's where I got so far.

-
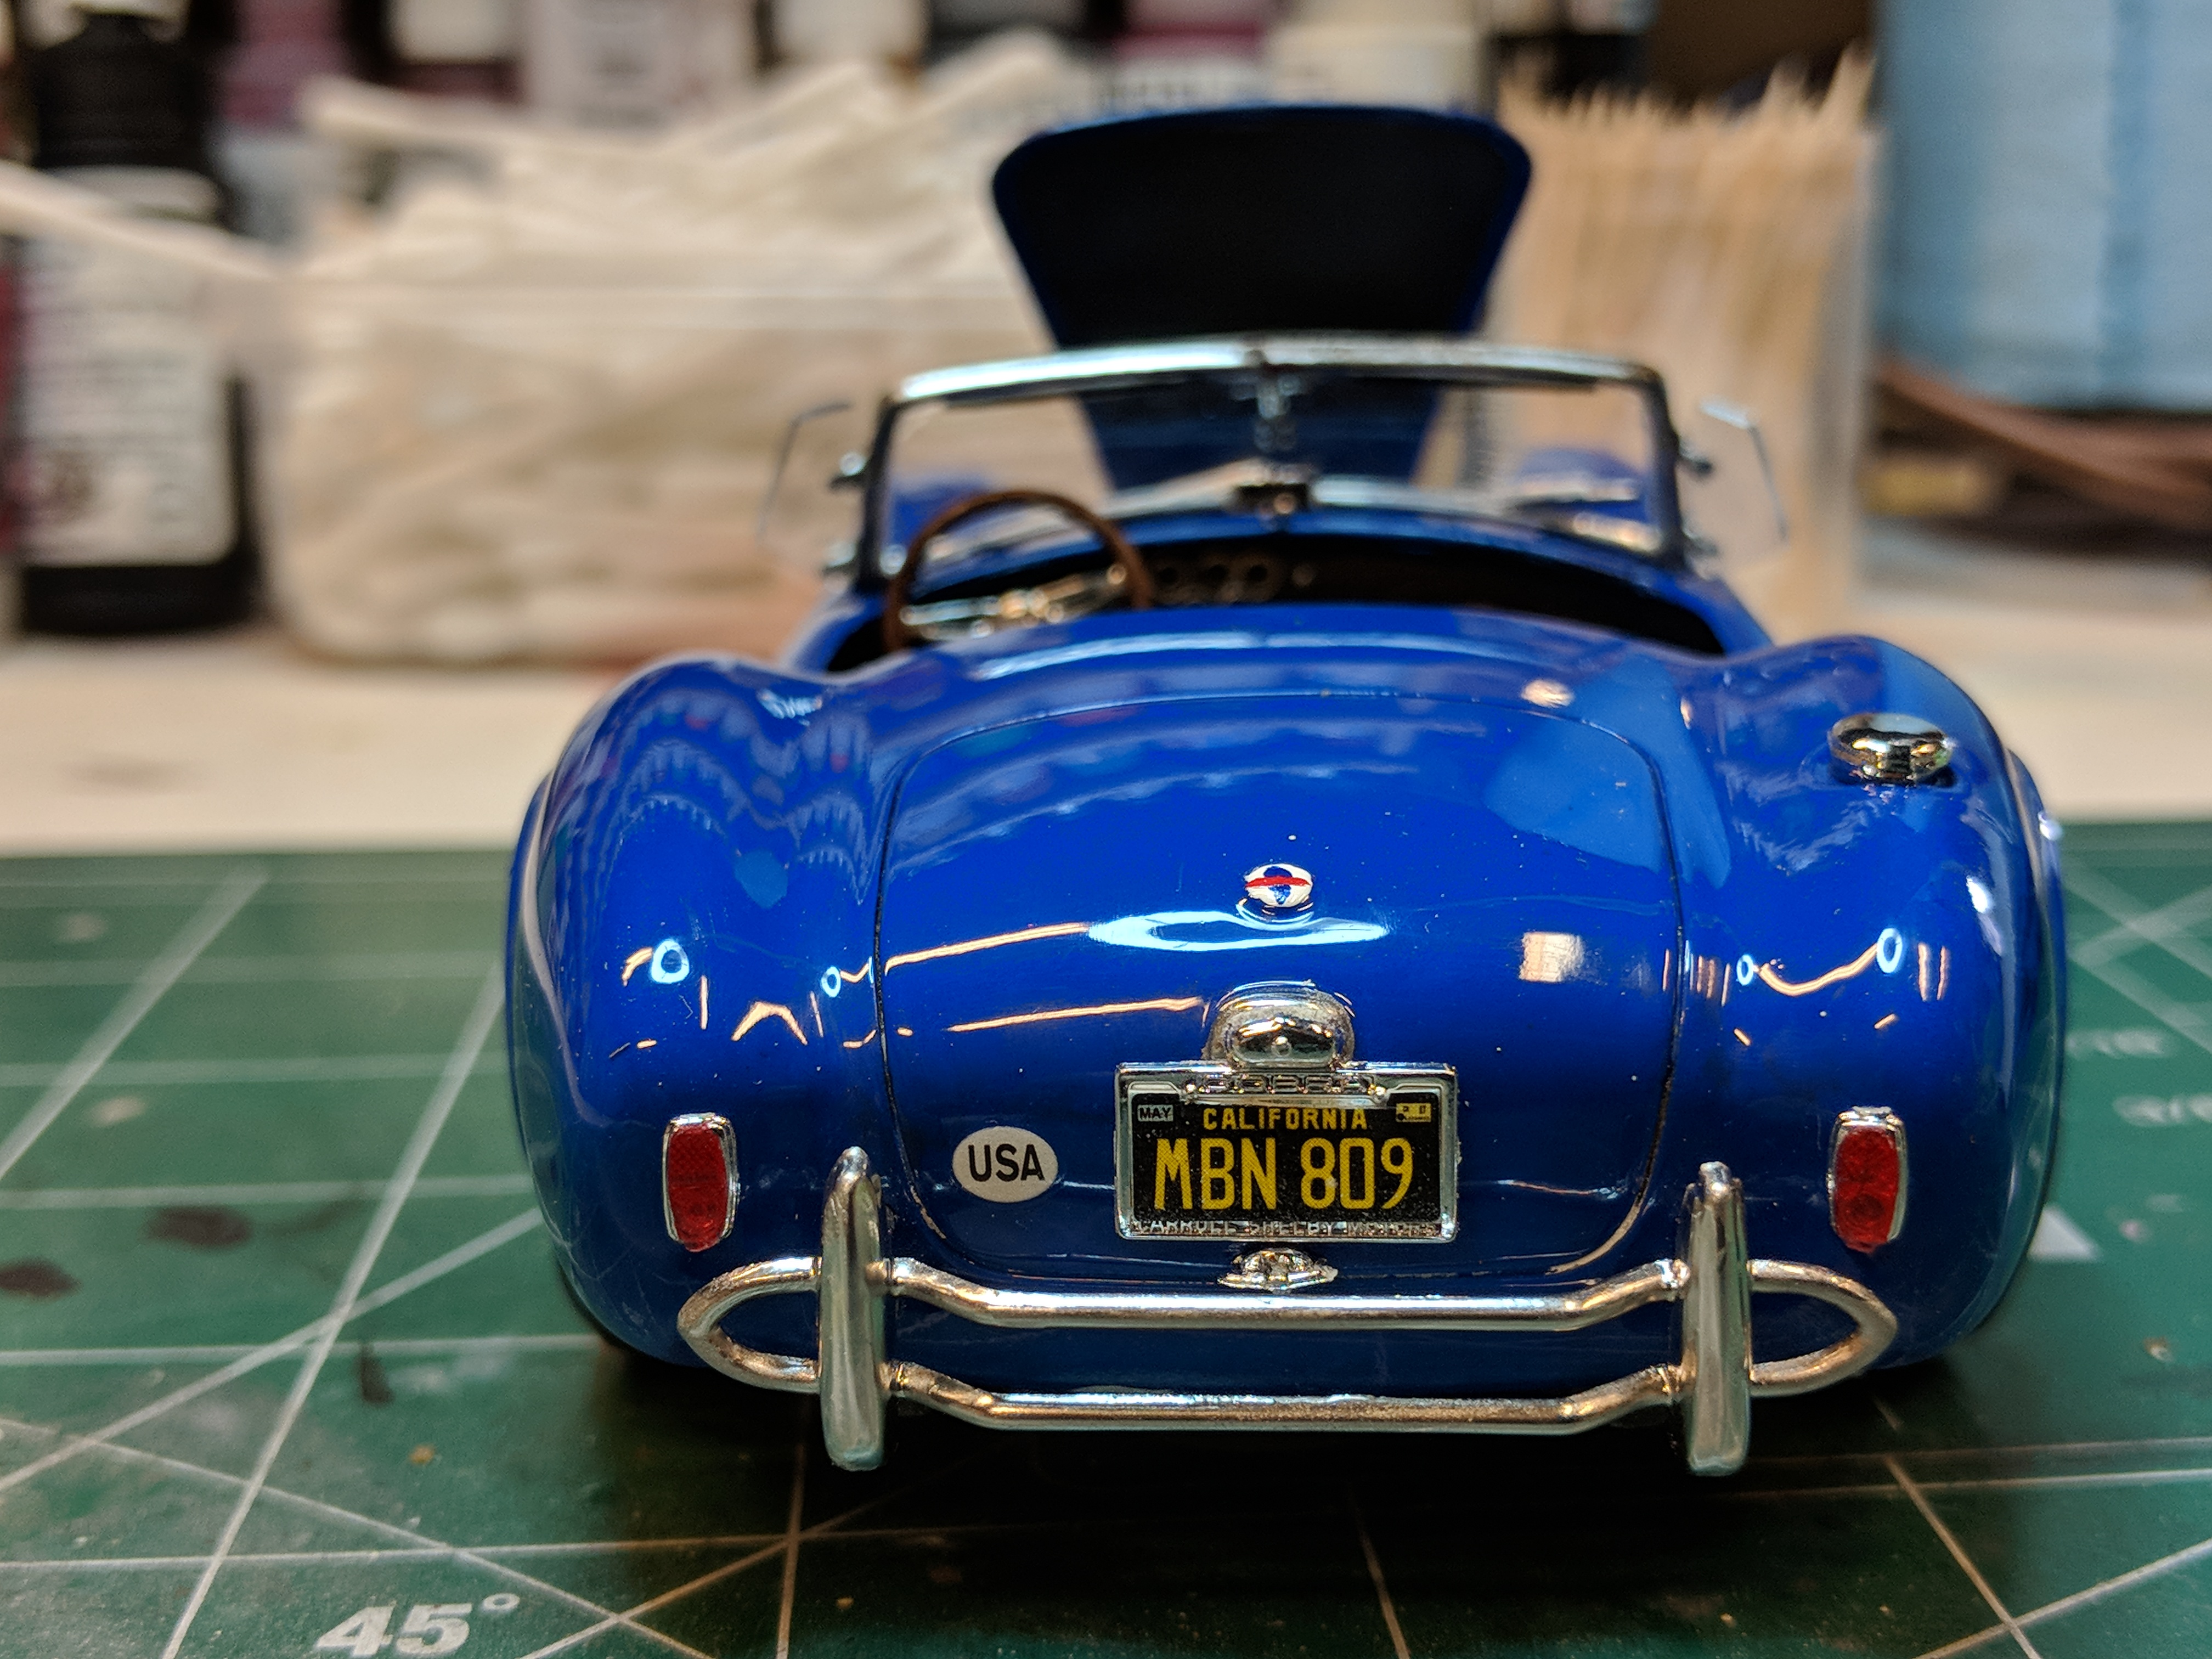
As far as I'm concerned this is done. It's dead to me. Take a look at where it. Thanks for all the feedback, onward and upward!
-
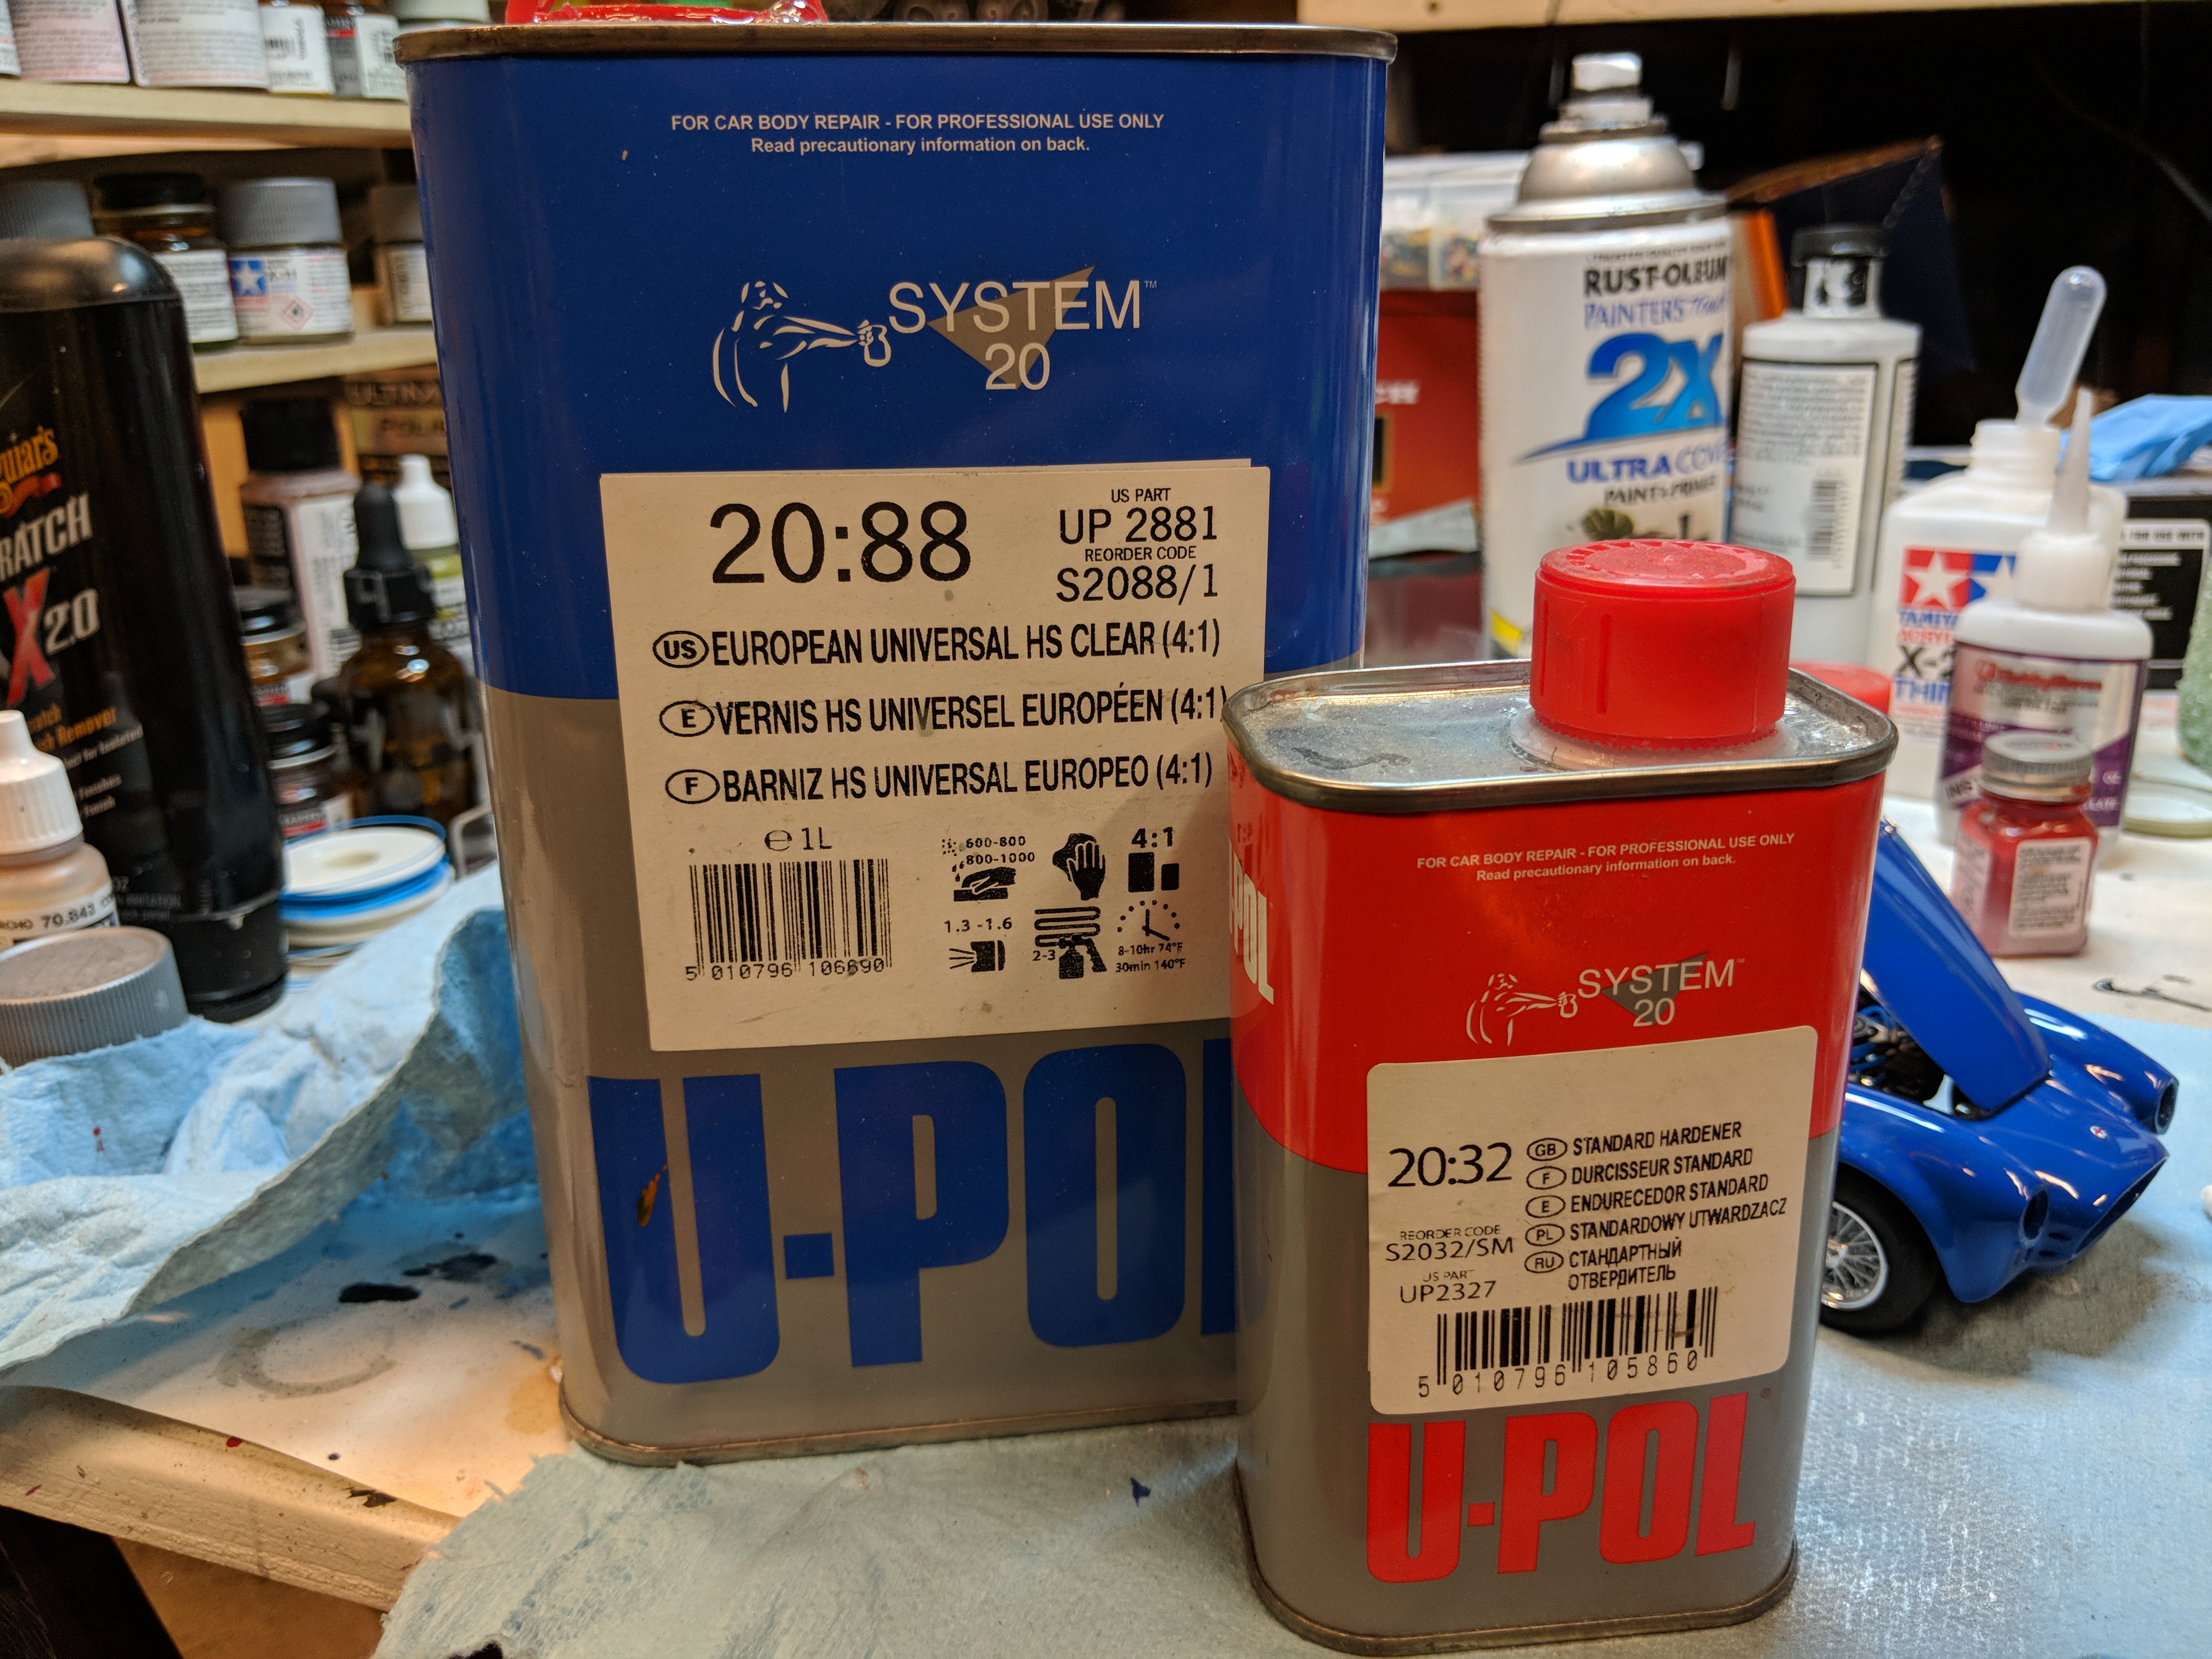
More updates. Found out that this clear coat in addition to almost guaranteeing to give you cancer without a respirator, dries soft if your not careful making handling somewhat challenging. Added Some various parts. Also had to hand paint the emblem which while I think it works with the naked eye, will likely look poor in image but I'm starting to lose patience for this model in particular given how poorly it was made. It almost seems as though they knew they wanted a skill level 3 model to be marketed for a higher skill, by making extra parts while leaving out some other parts that would add to the car. Ill likely pick up the Revell version at some point when I'm up for some punishment.
-
Update. More assembled lots of struggle with this one
-
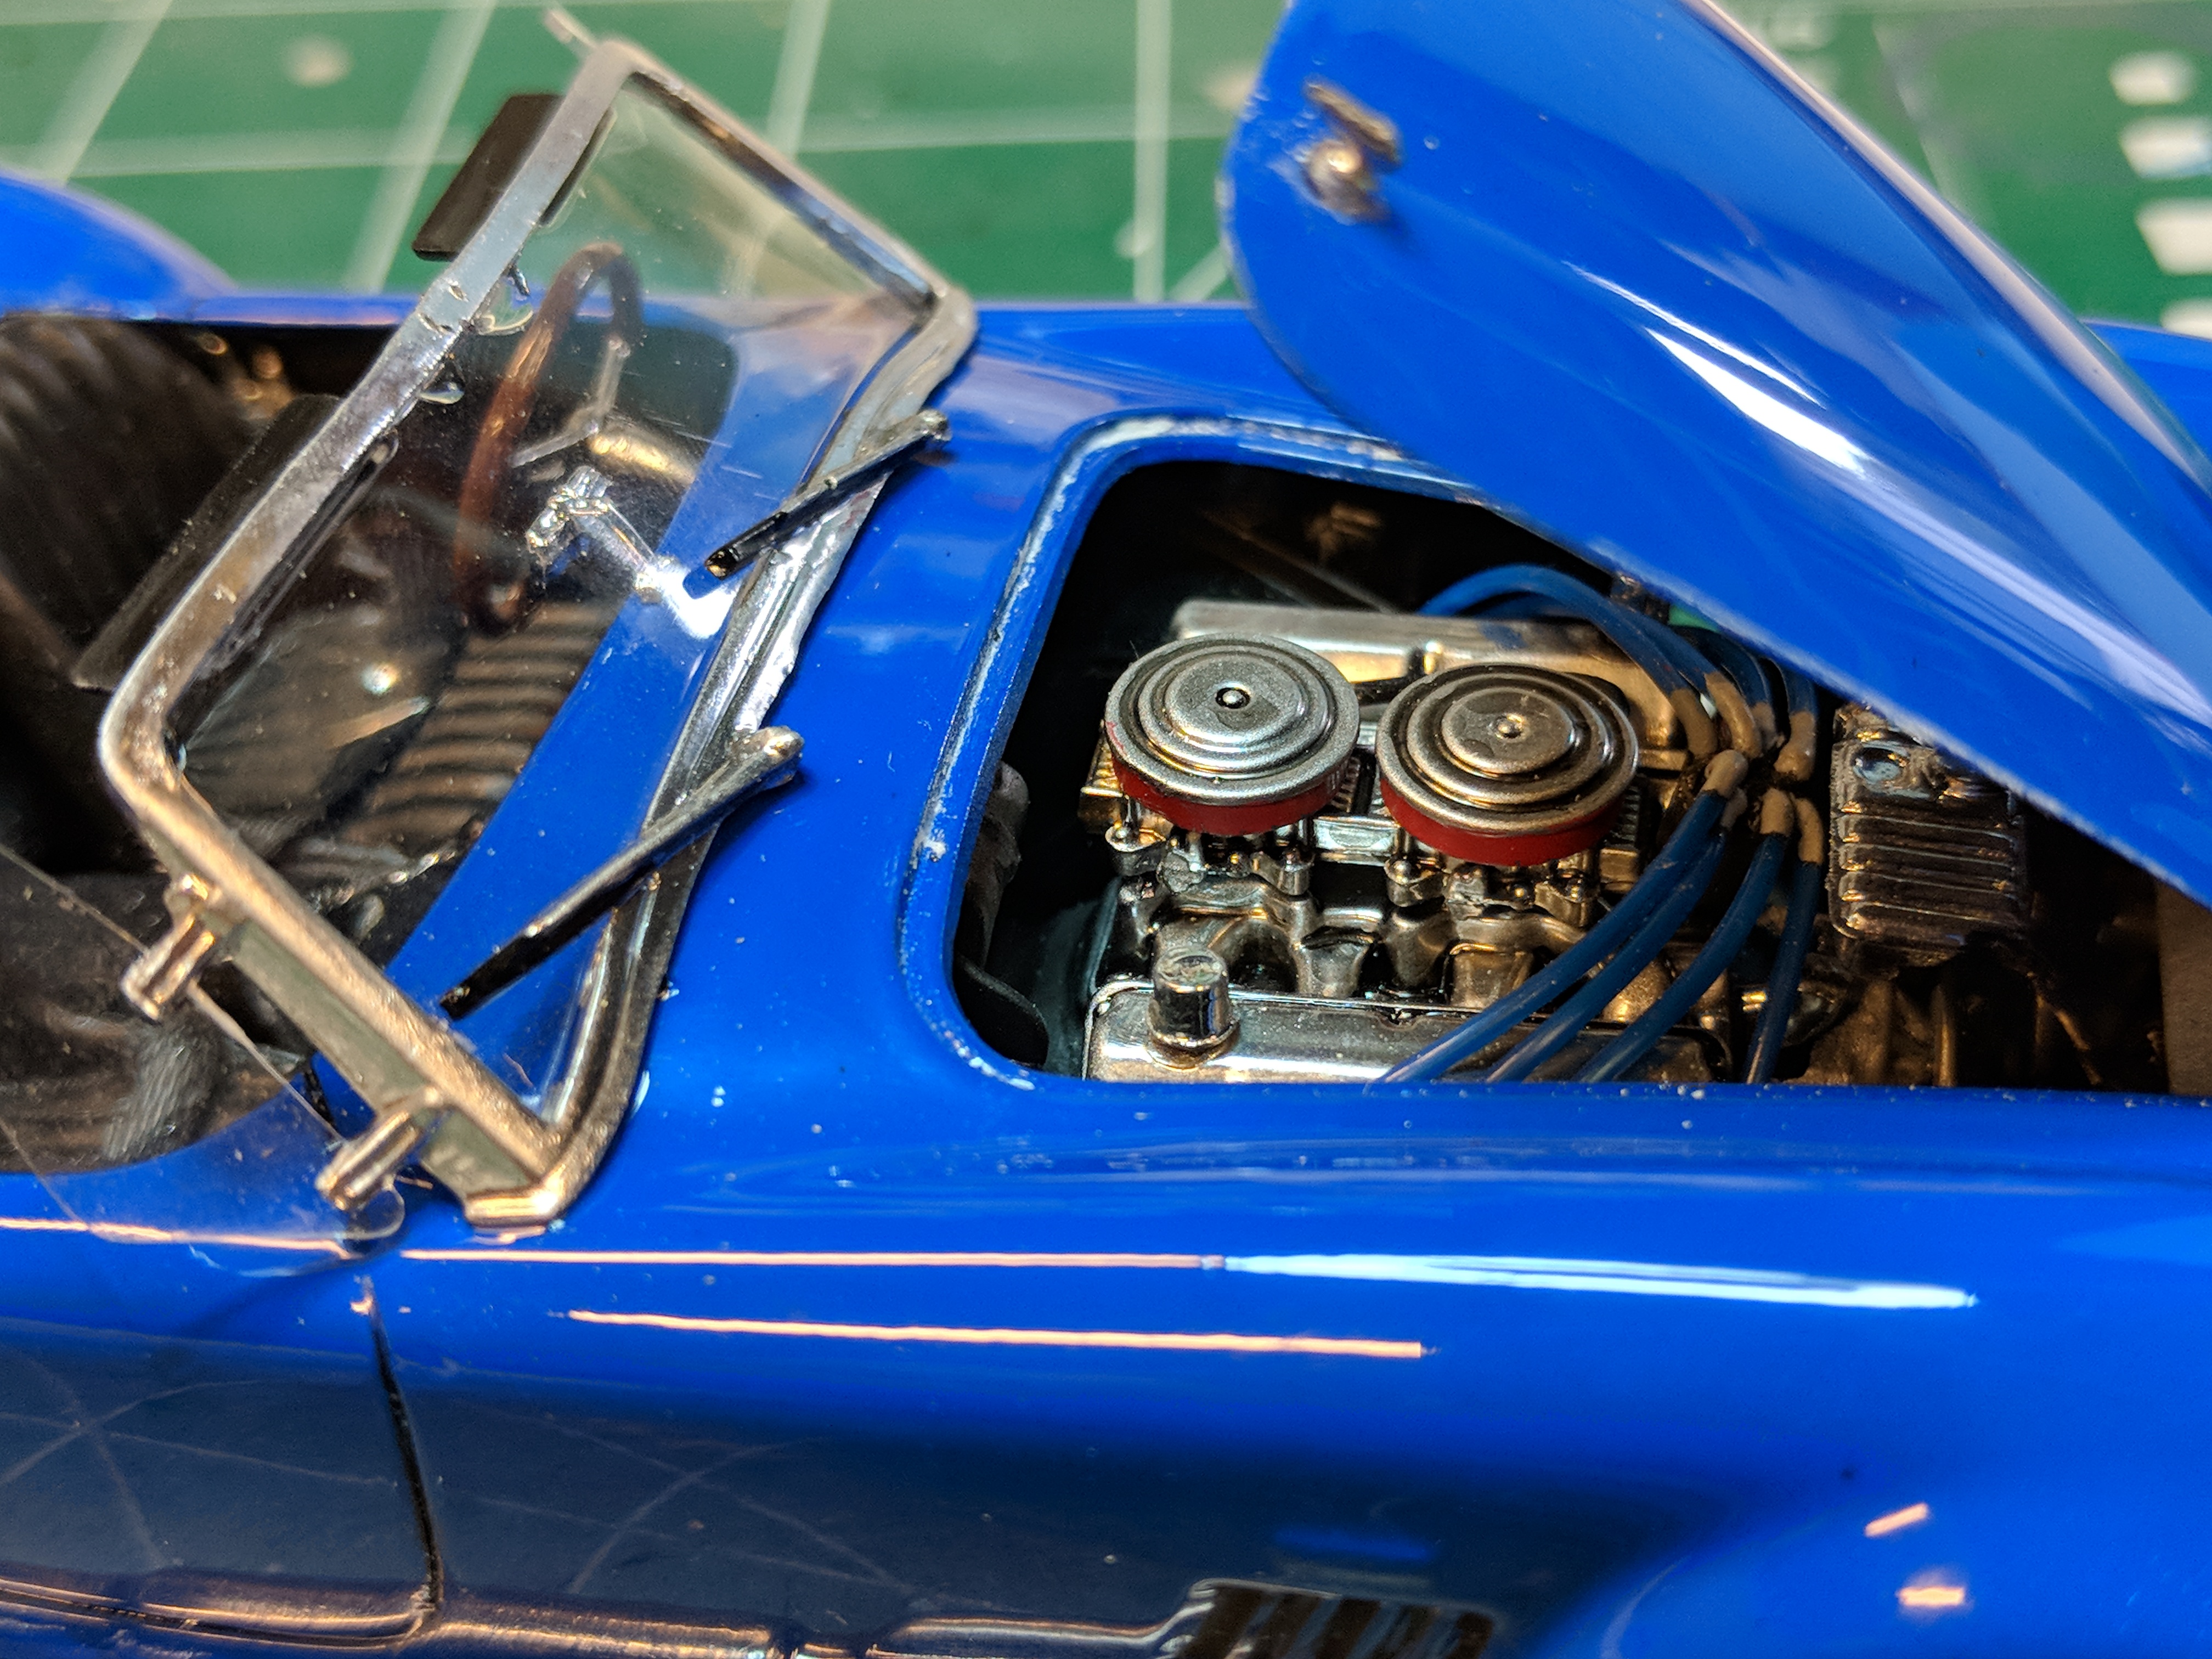
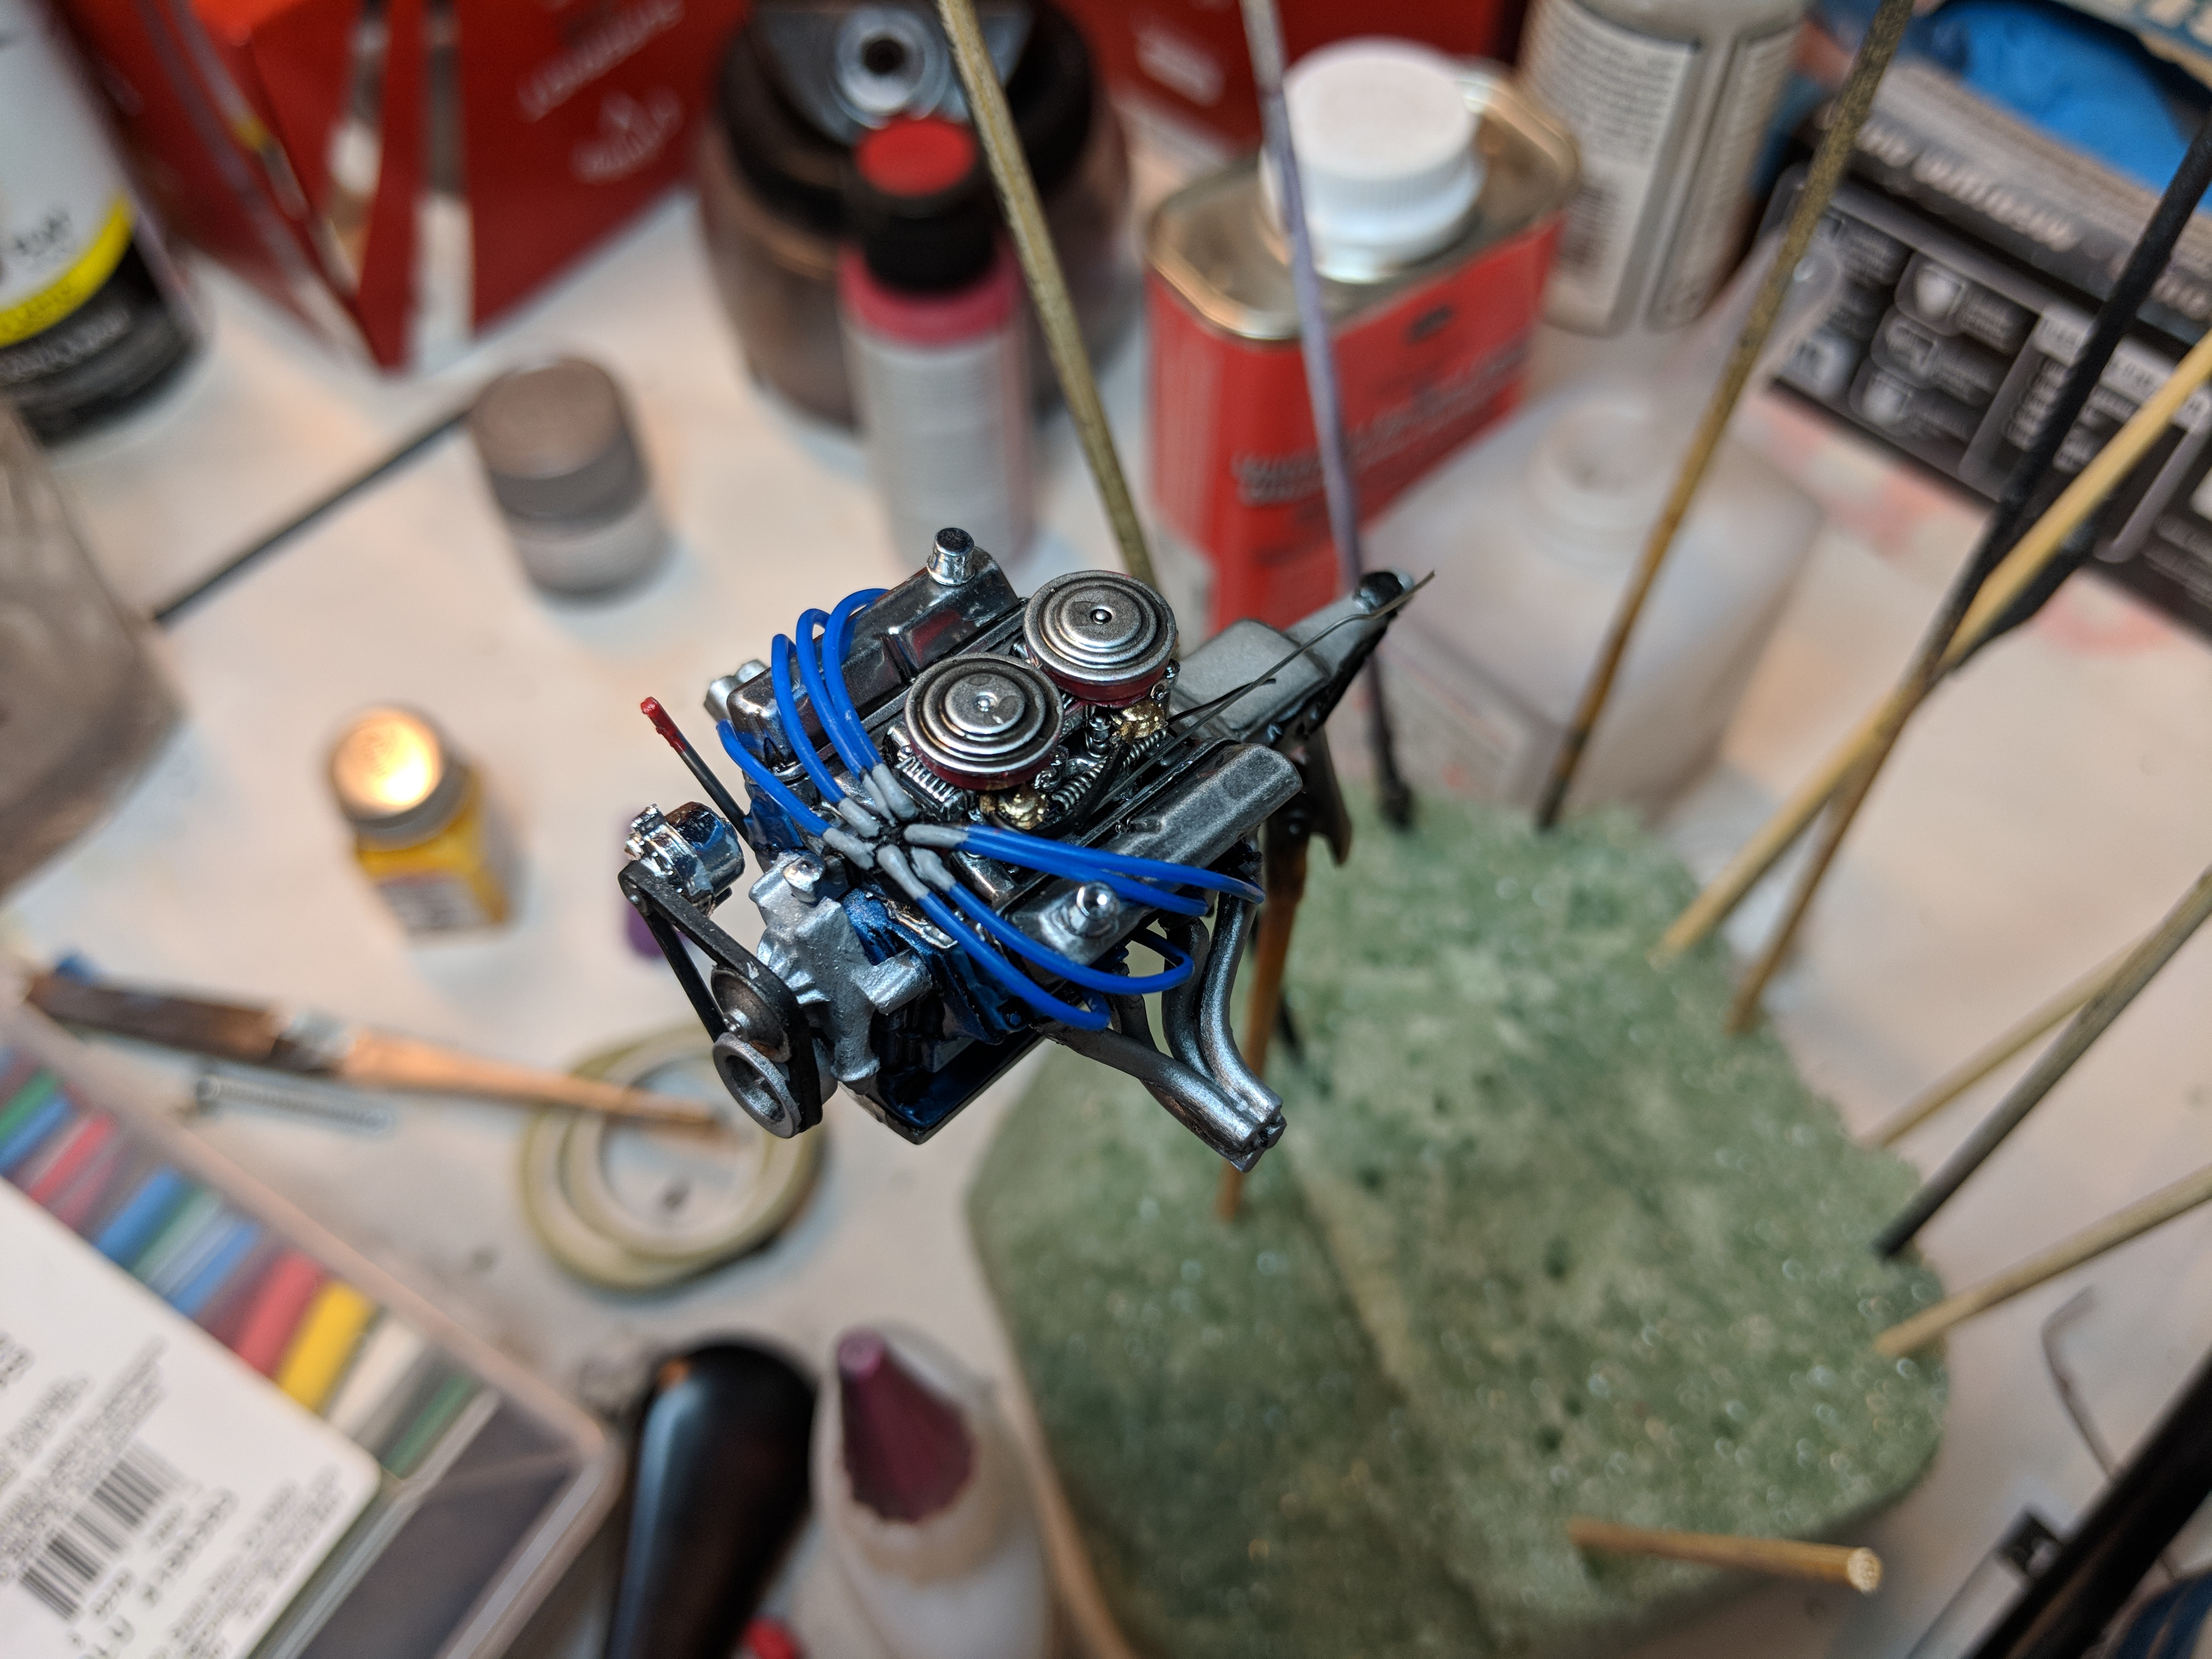
BLAH_BLAH_BLAH_BLAH it I went back and forth depending on the image I found. I'm not as well versed in engine construction, only have had to work on a couple of trucks in my life, but Google turned up mixed results. I eventually landed on this. I'll have to up my research chops me thinks.
-
Yeah I'm dipping my toe in slowly. My research is lacking. And the scratch build materials don't lend itself to accuracy. Fully aware the firing order is wildly inaccurate. My next build will be more meticulous, I should have known better with this car in particular as the fan base is on point.
-
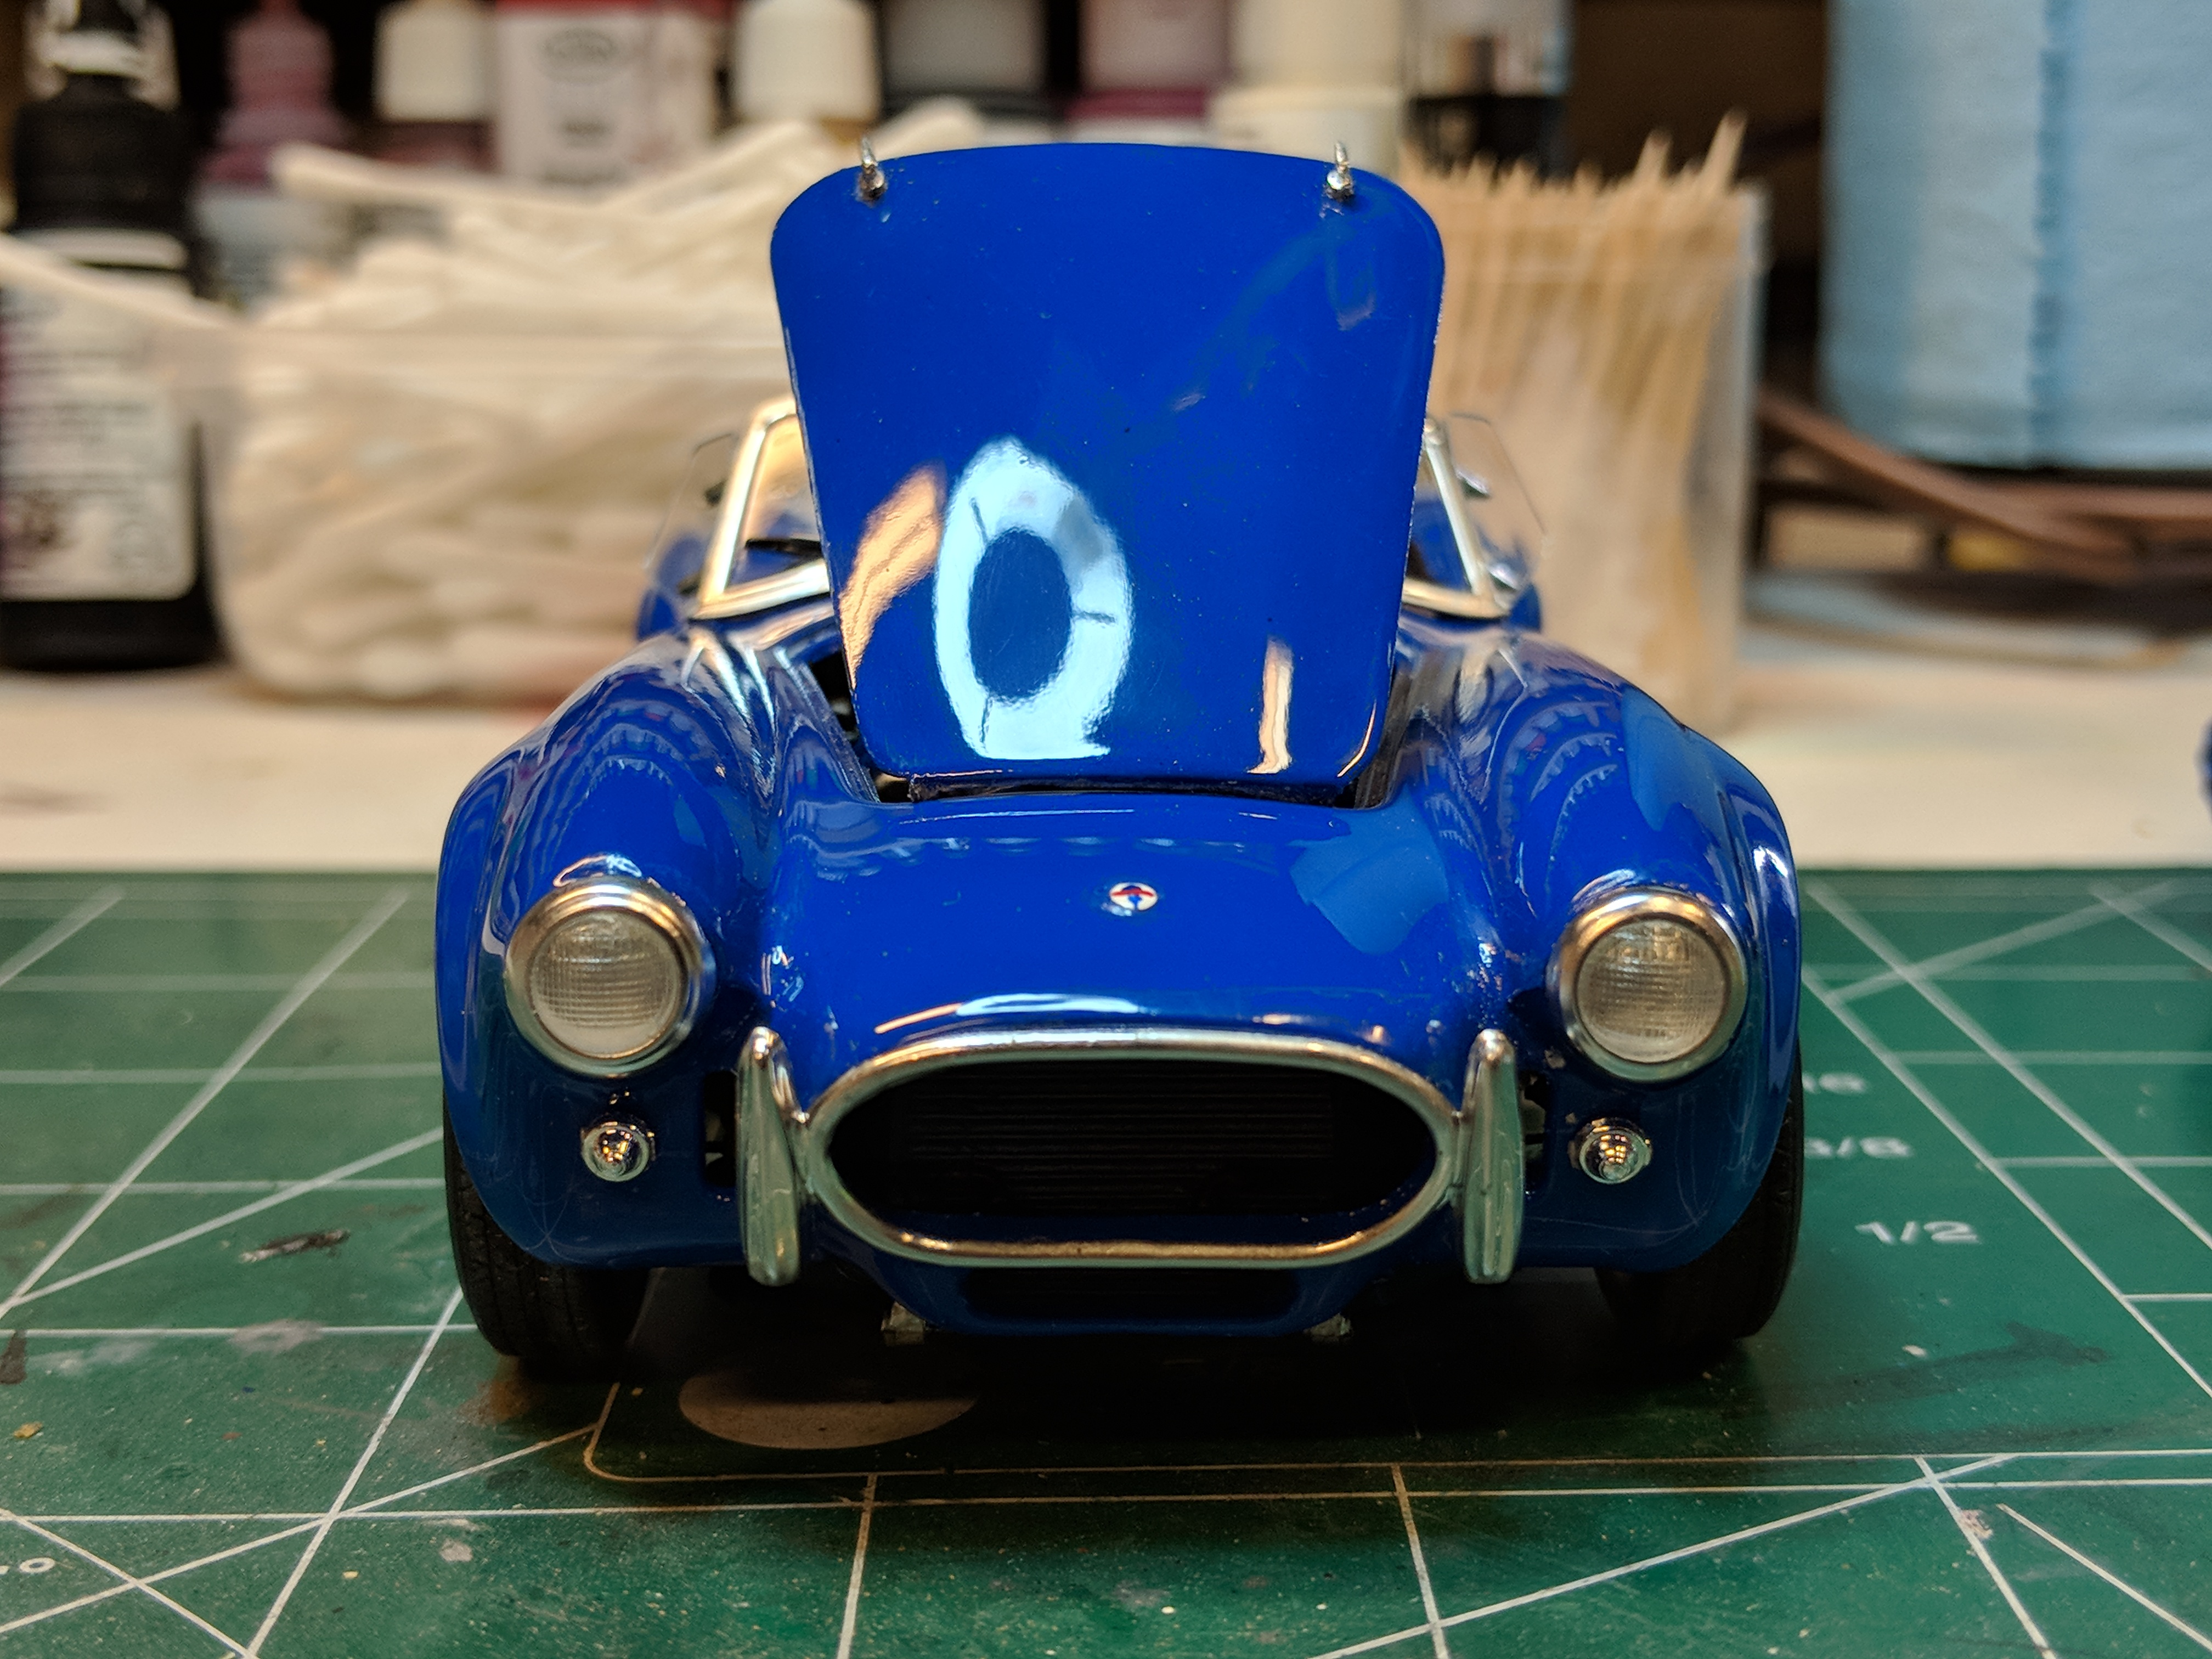
It may be accurate technically, I'm just a hobbiest as this thread clearly points out, but the model from a build perspective is poorly made in the sense that allot of the pieces don't fit together well. Allot of sanding and allot of gap filling. Even then it's a bit horsey to assemble. My guess is that the size of the car doesn't lend itself well to scale. Another thing missing is the moldings and hood ornament of the cobra which is a bummer.
-
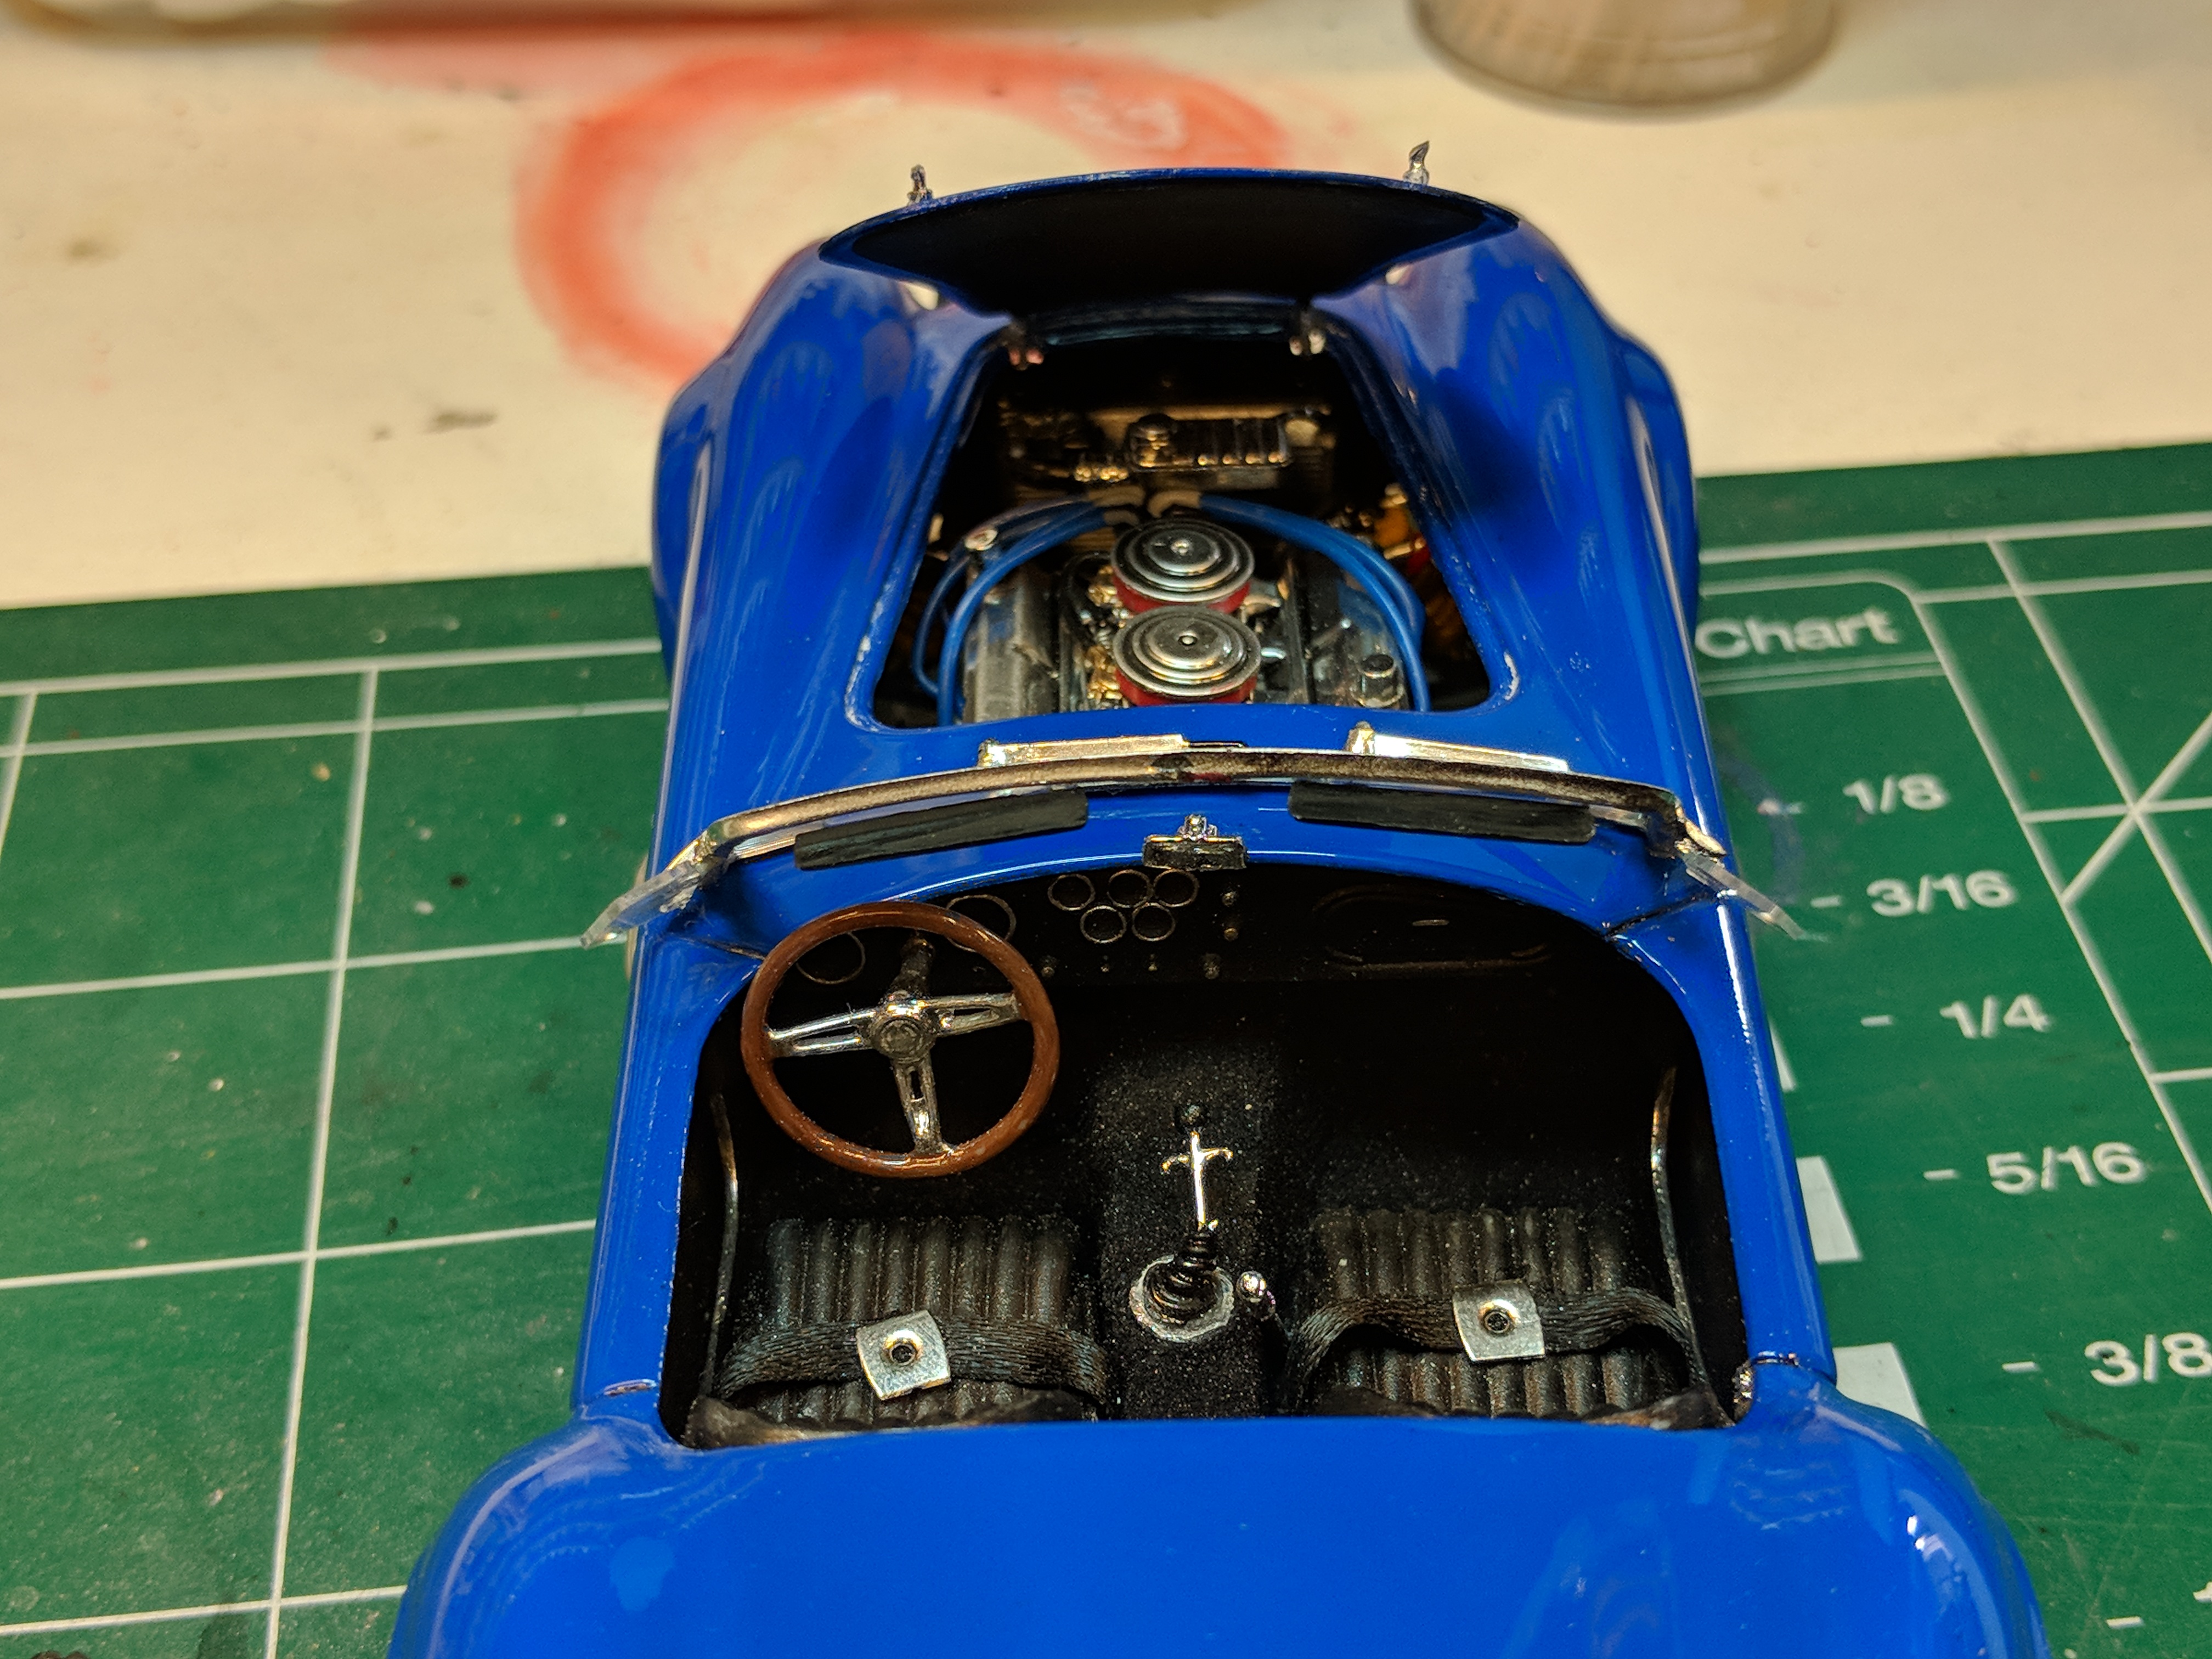
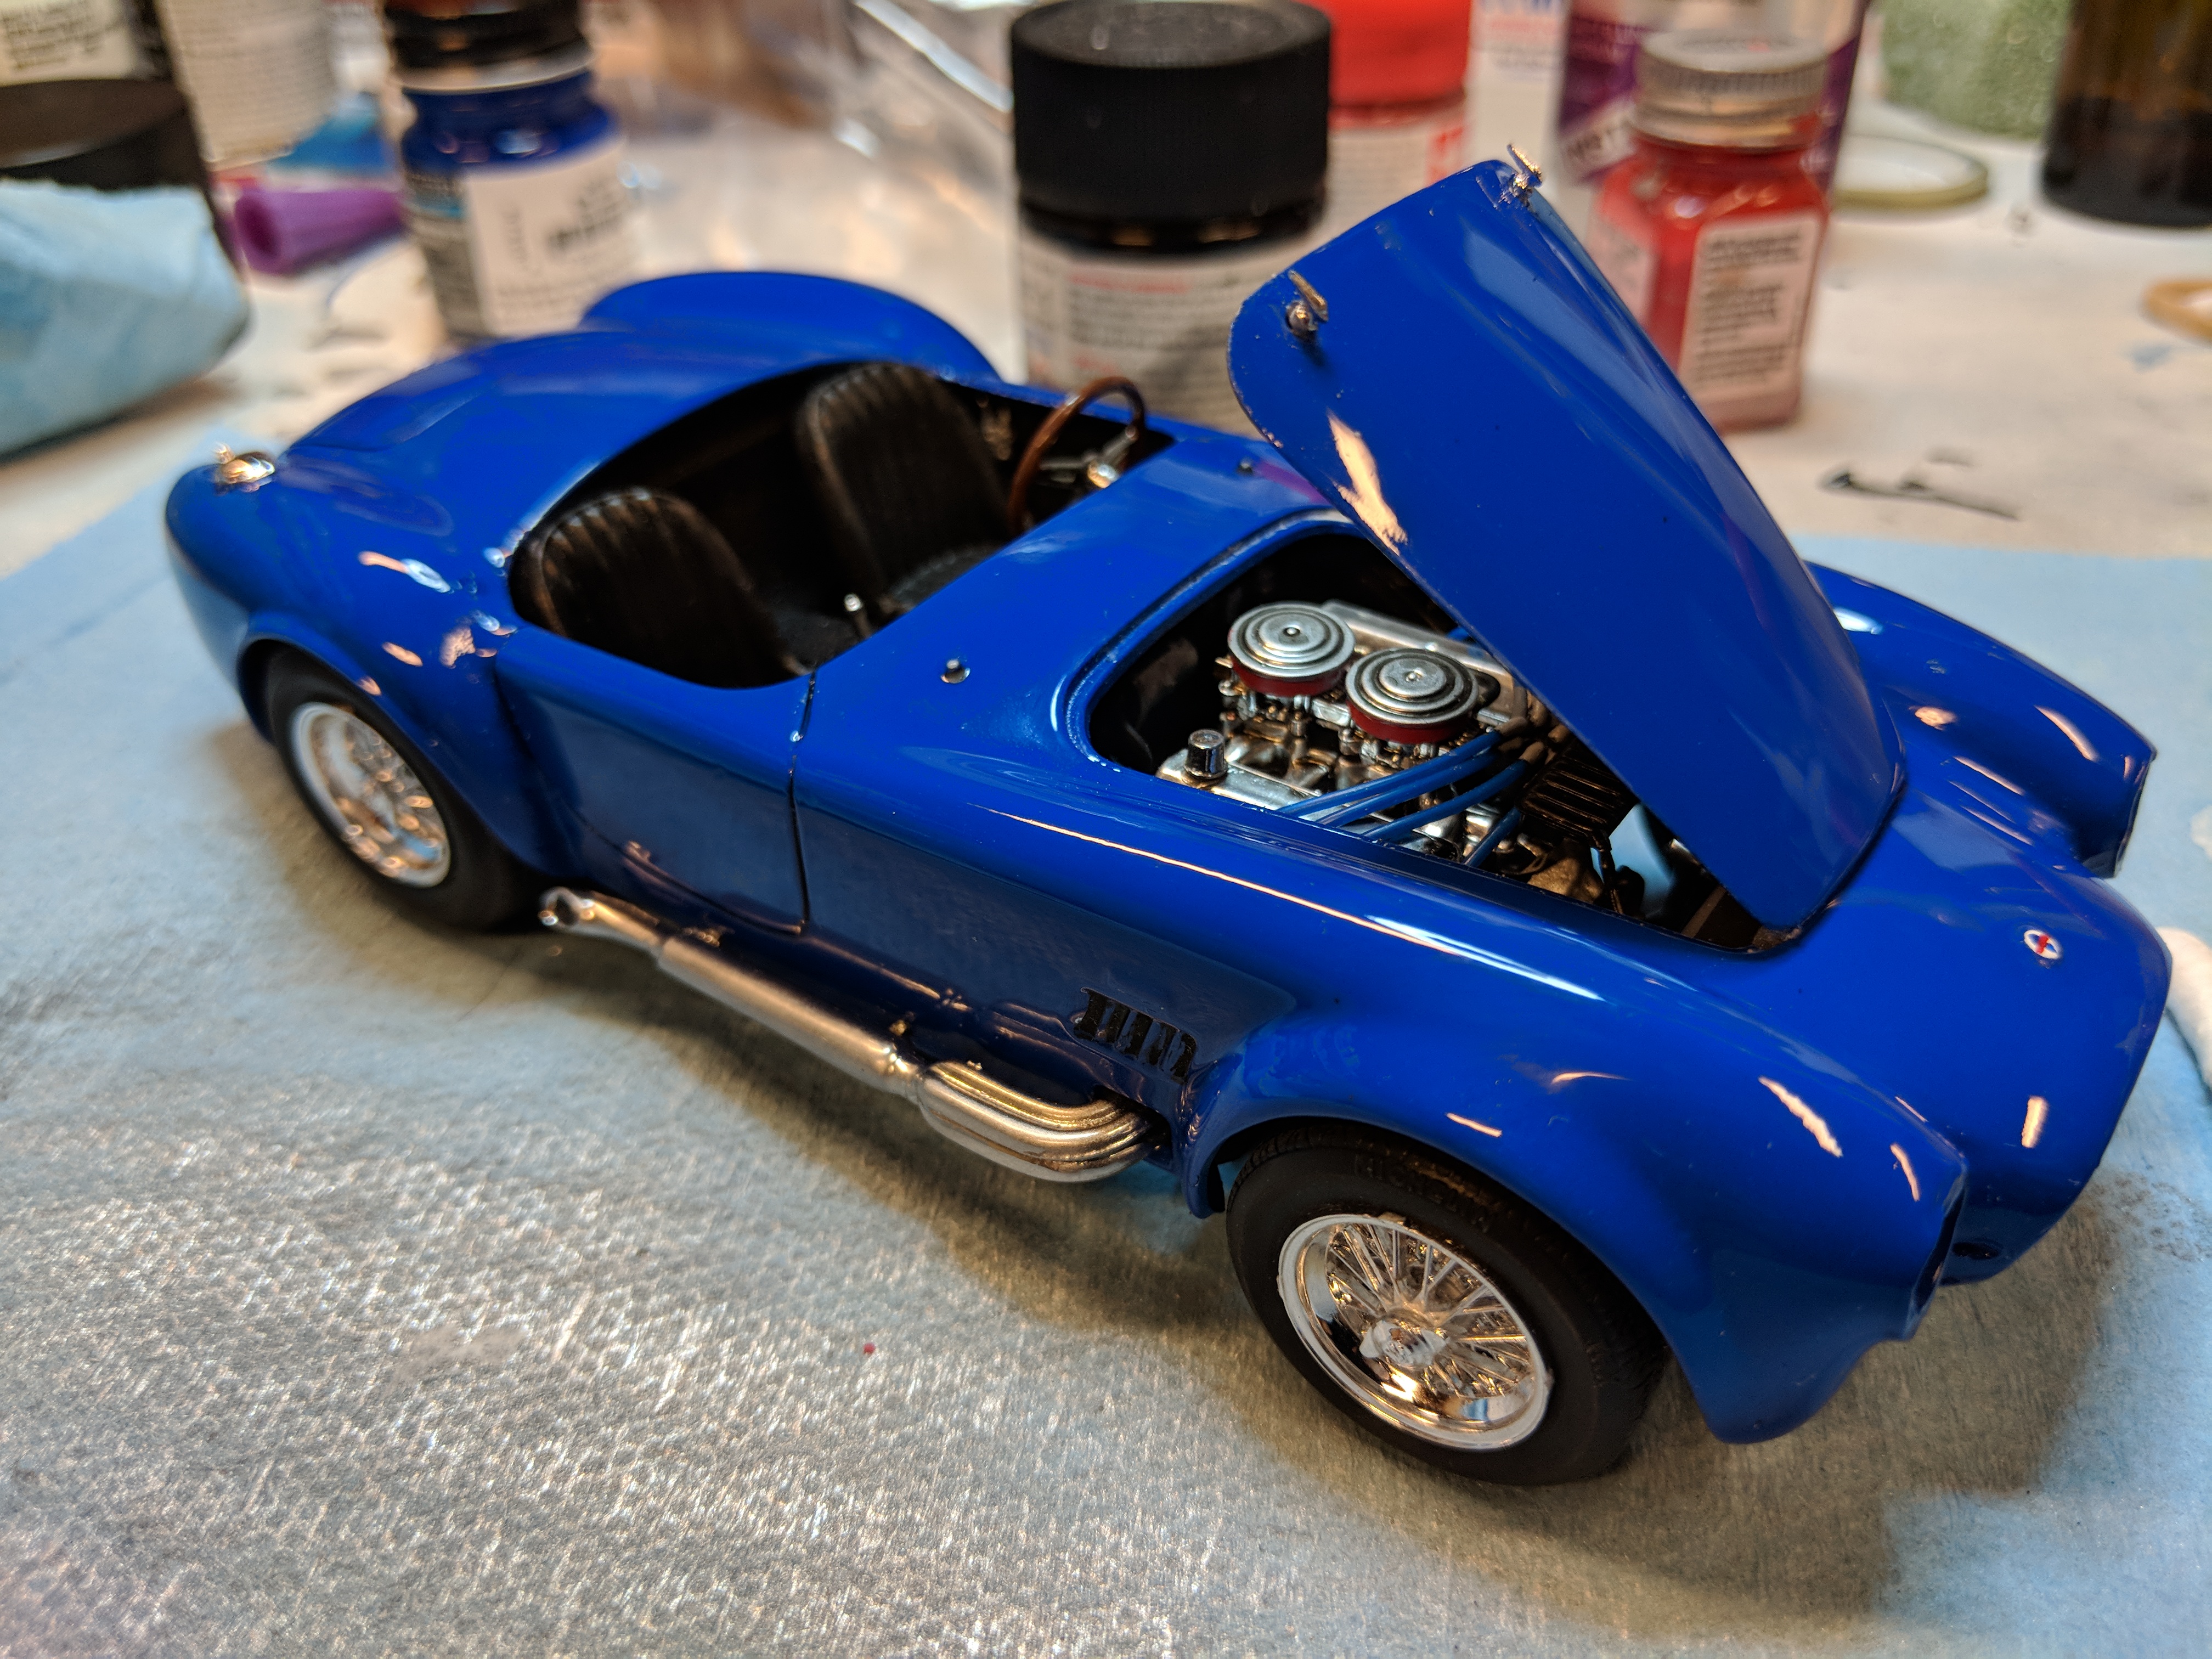
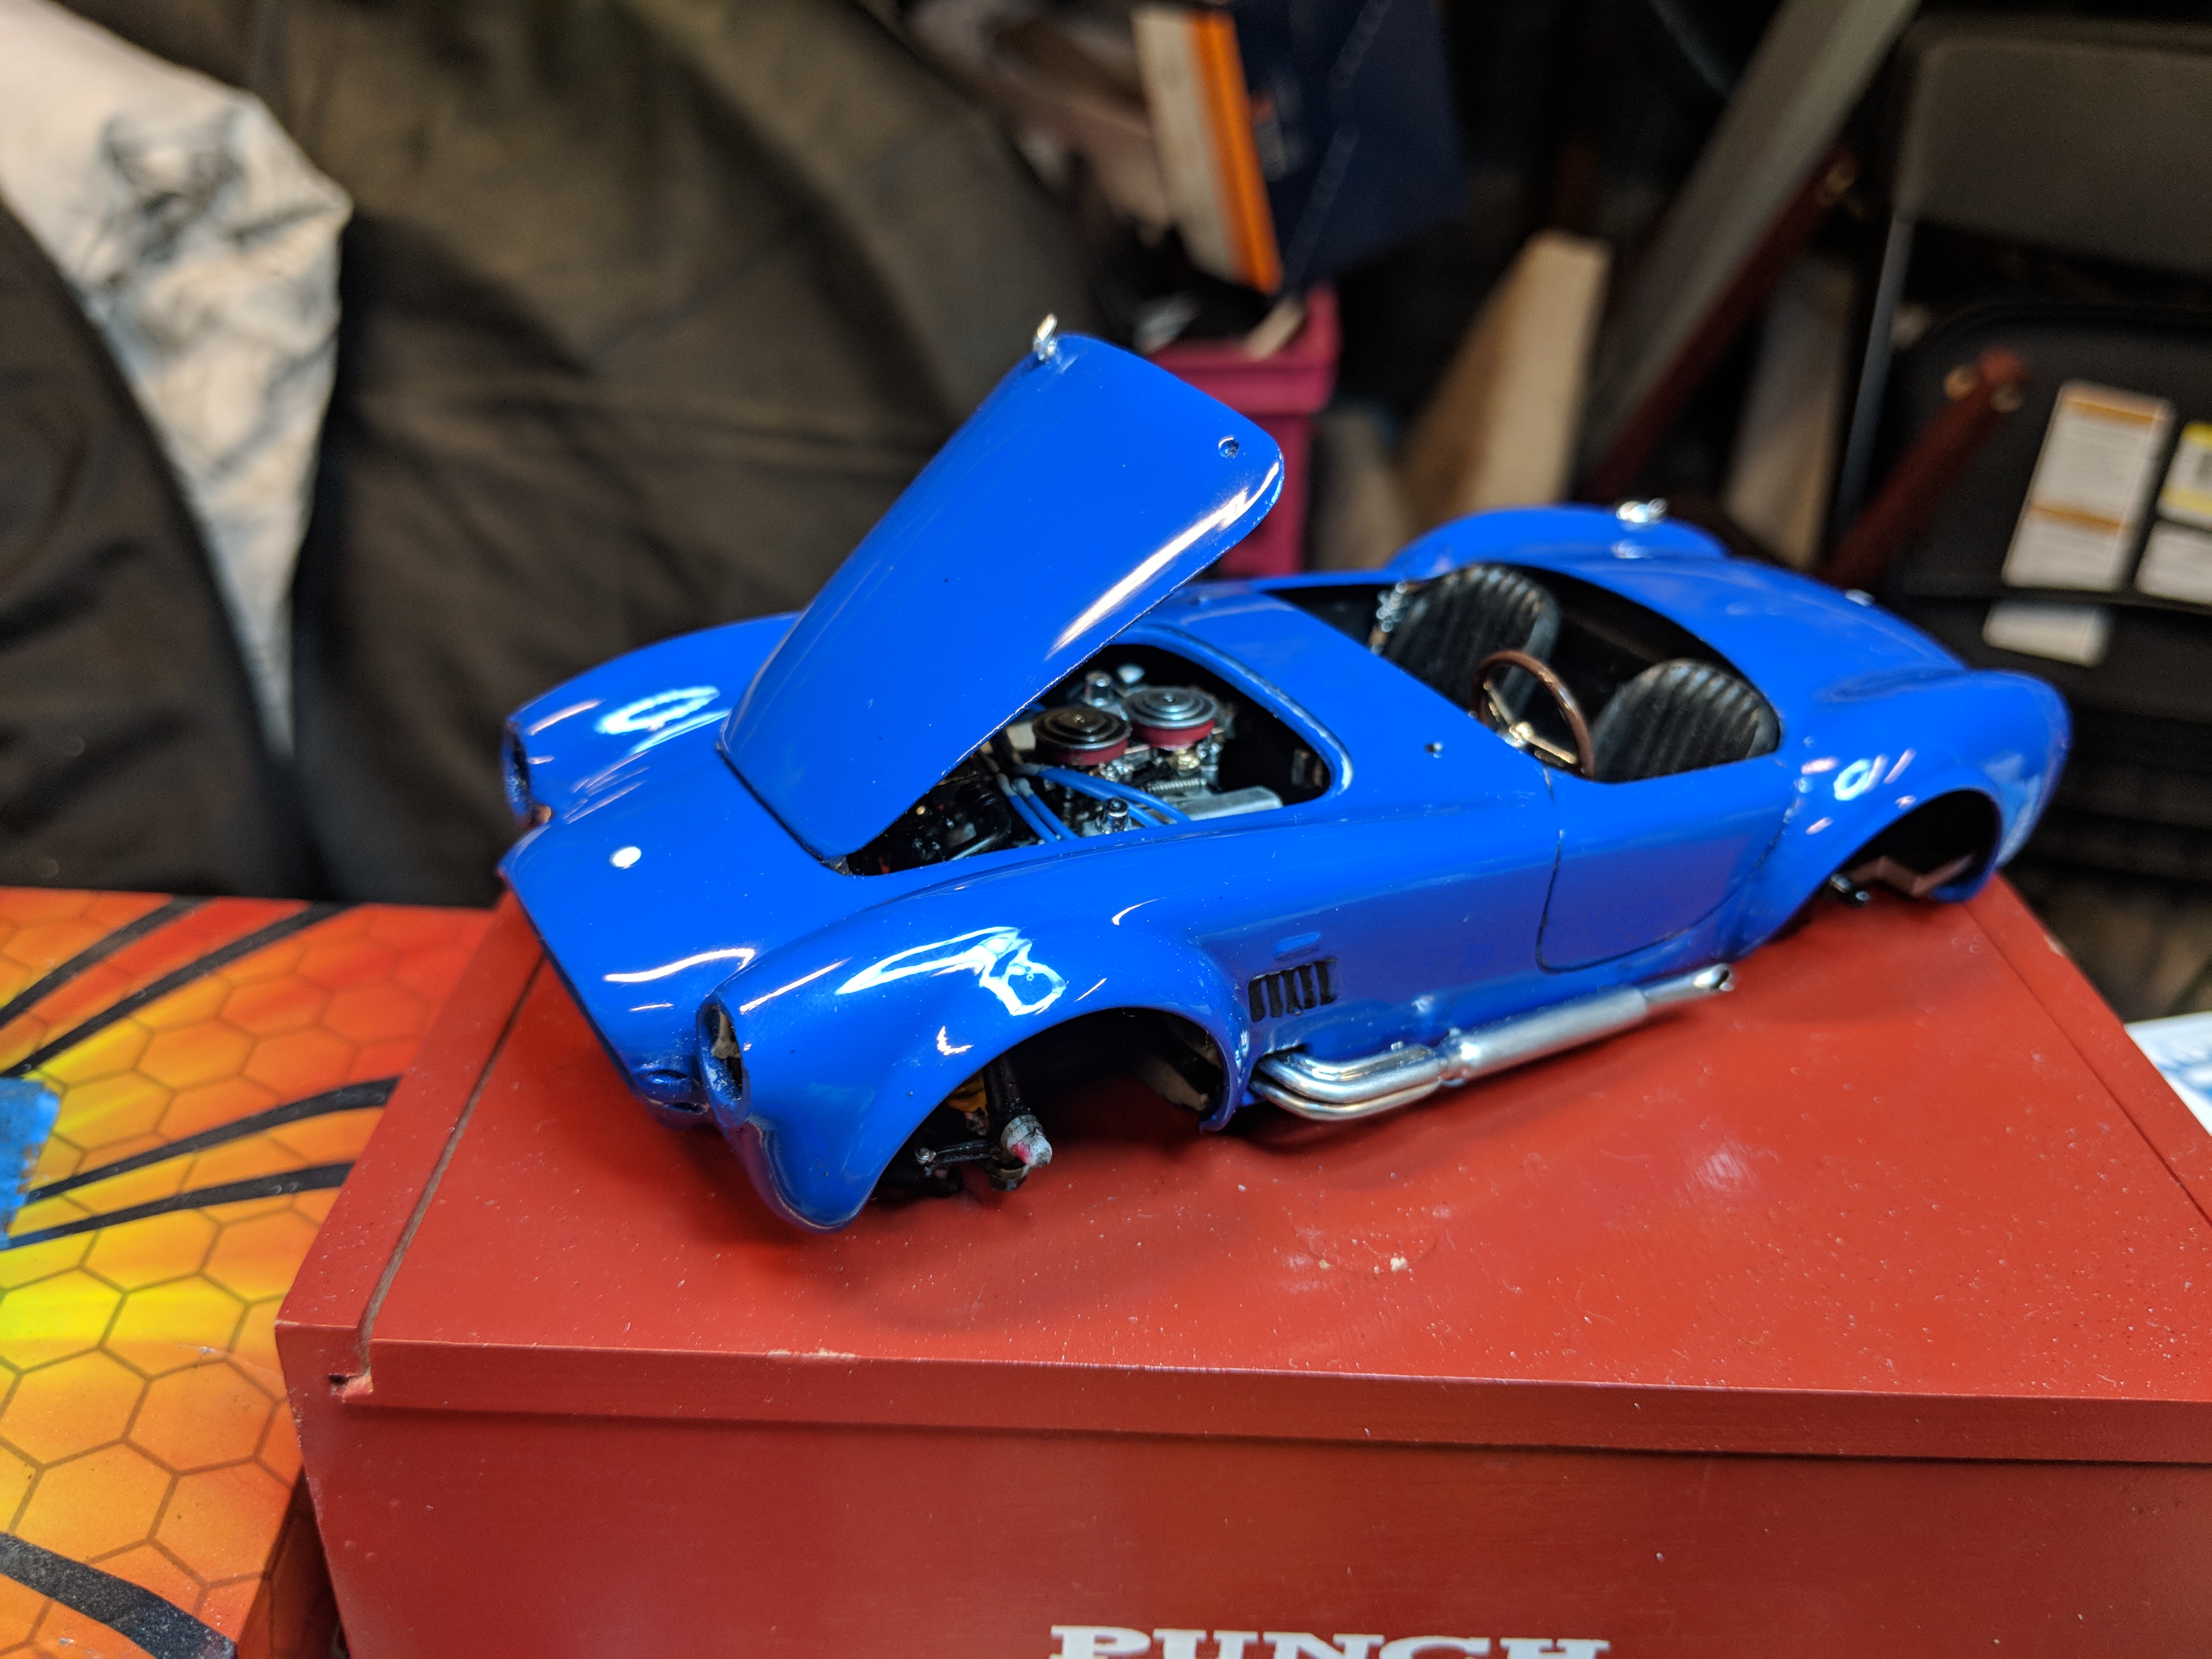
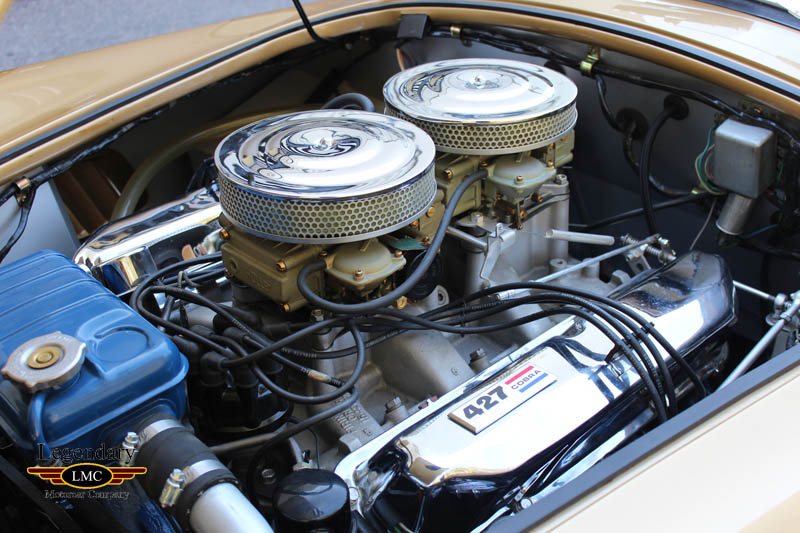
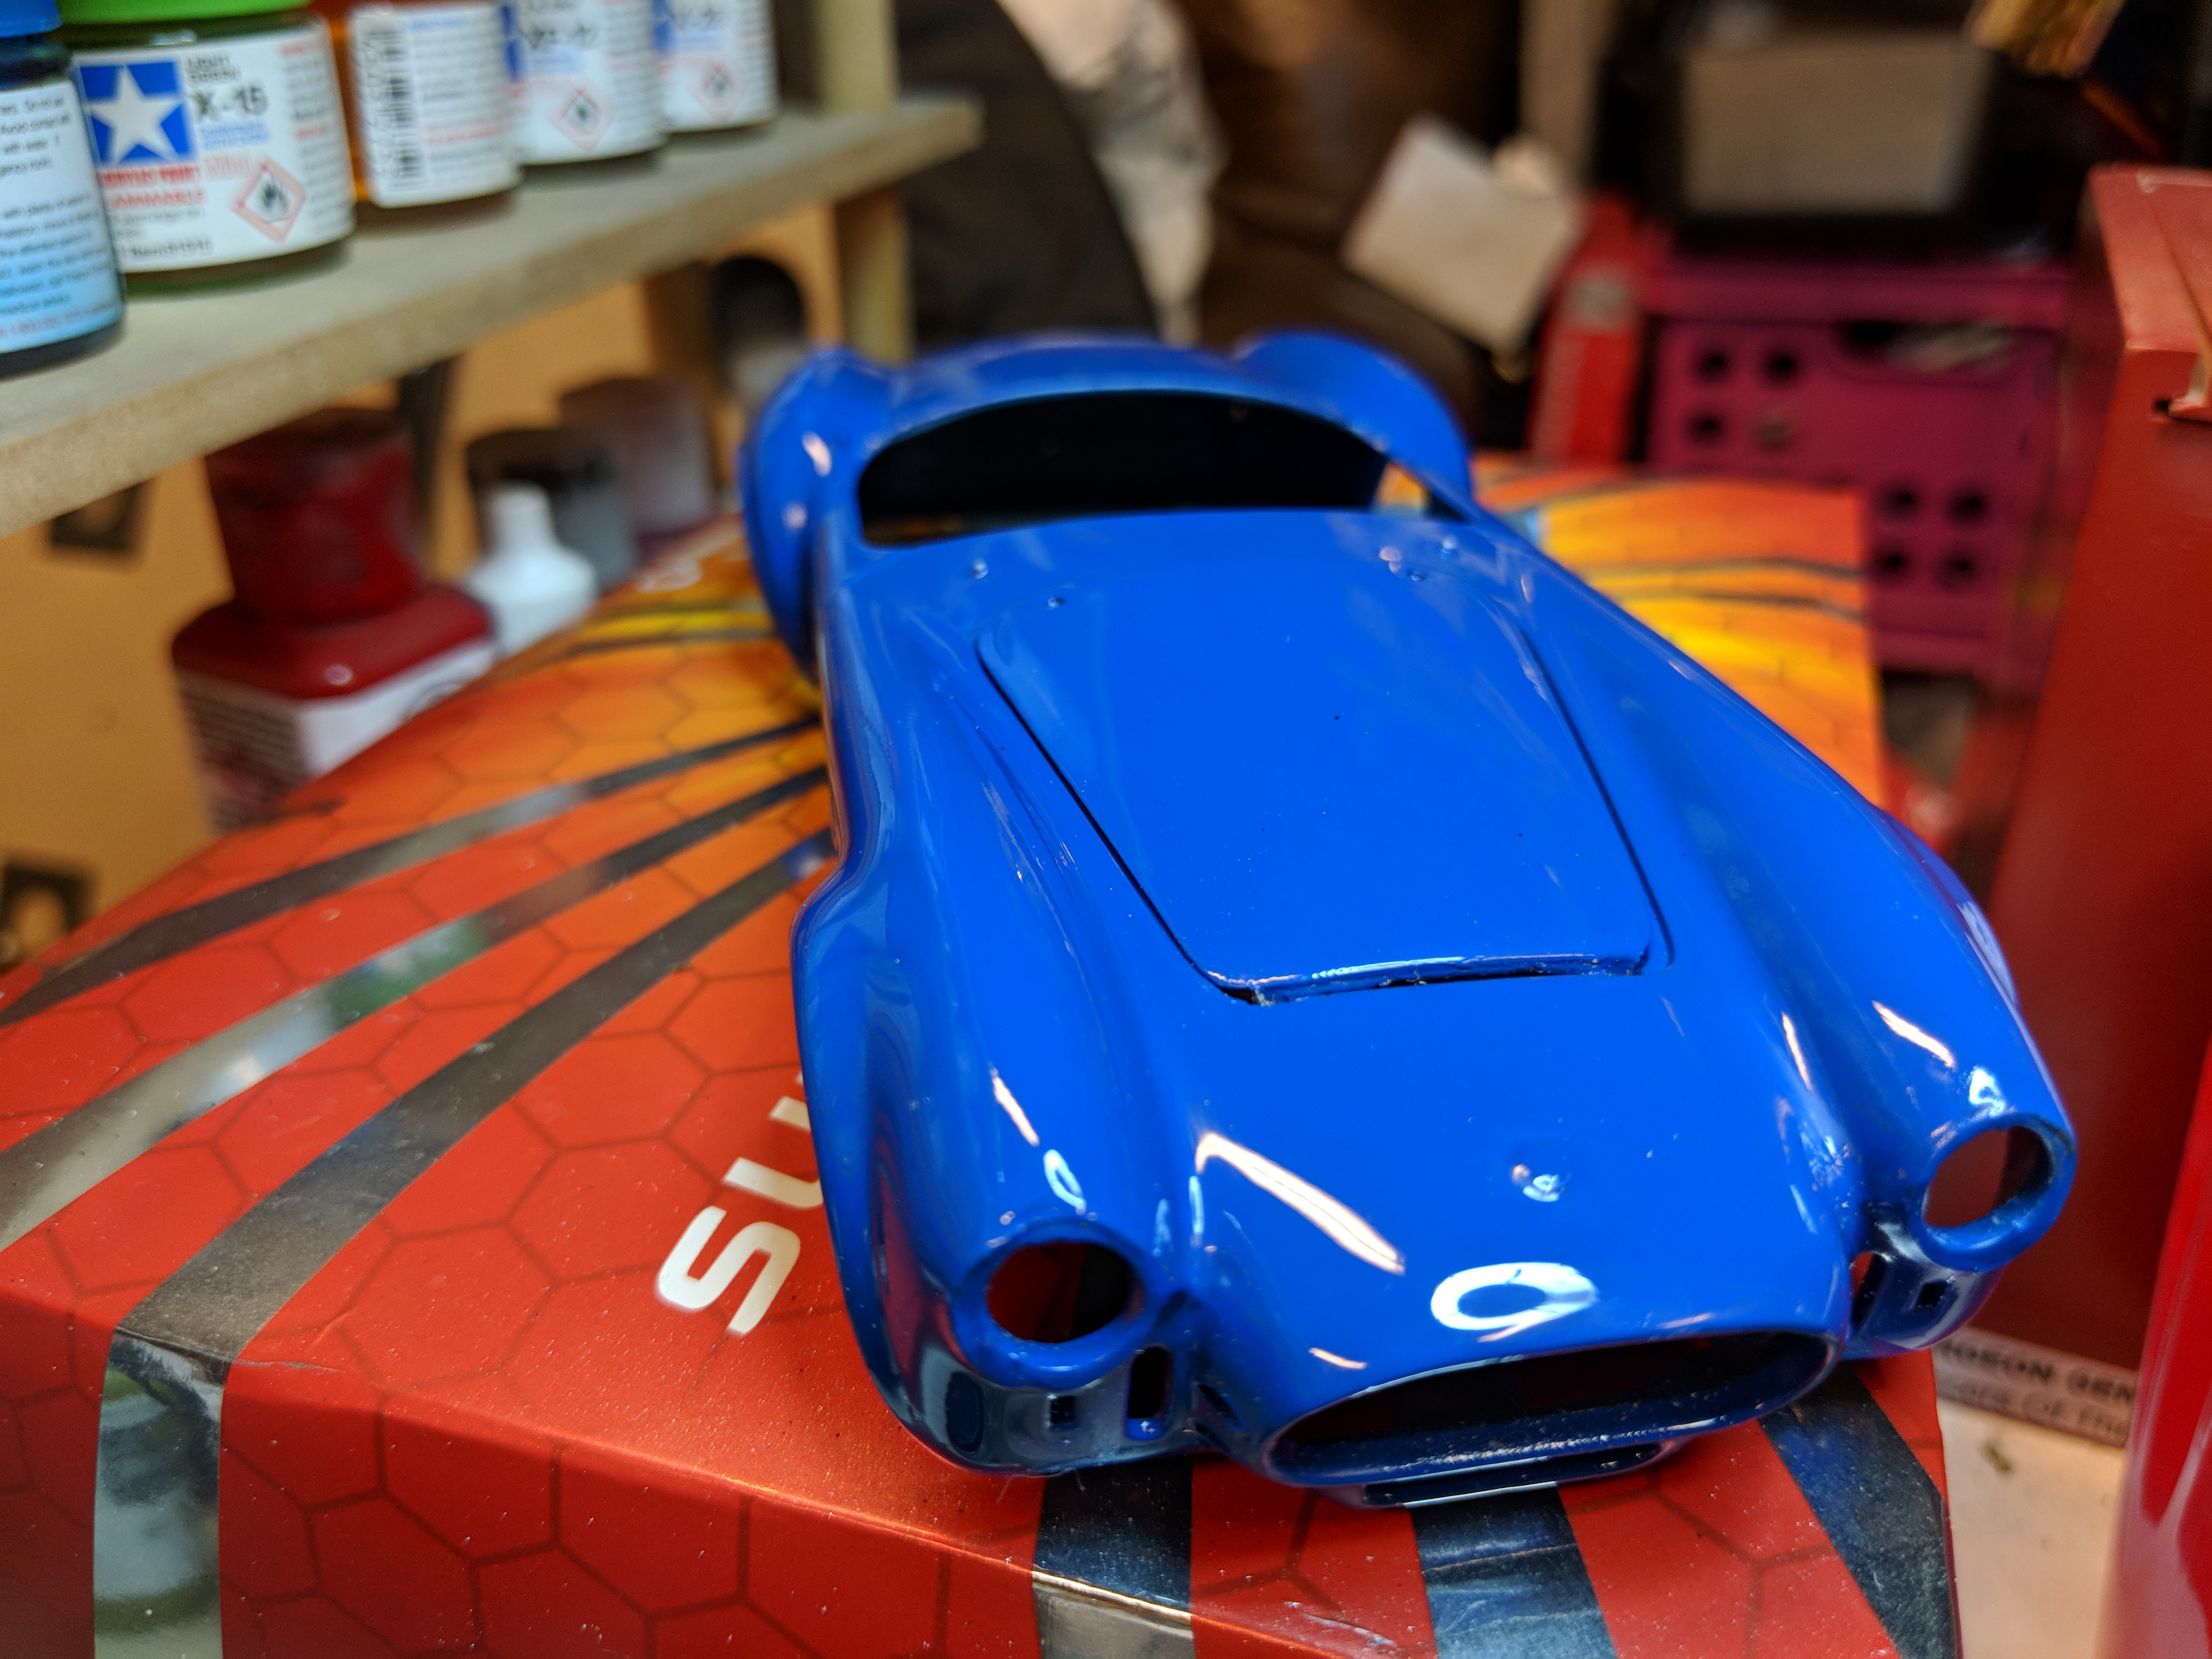
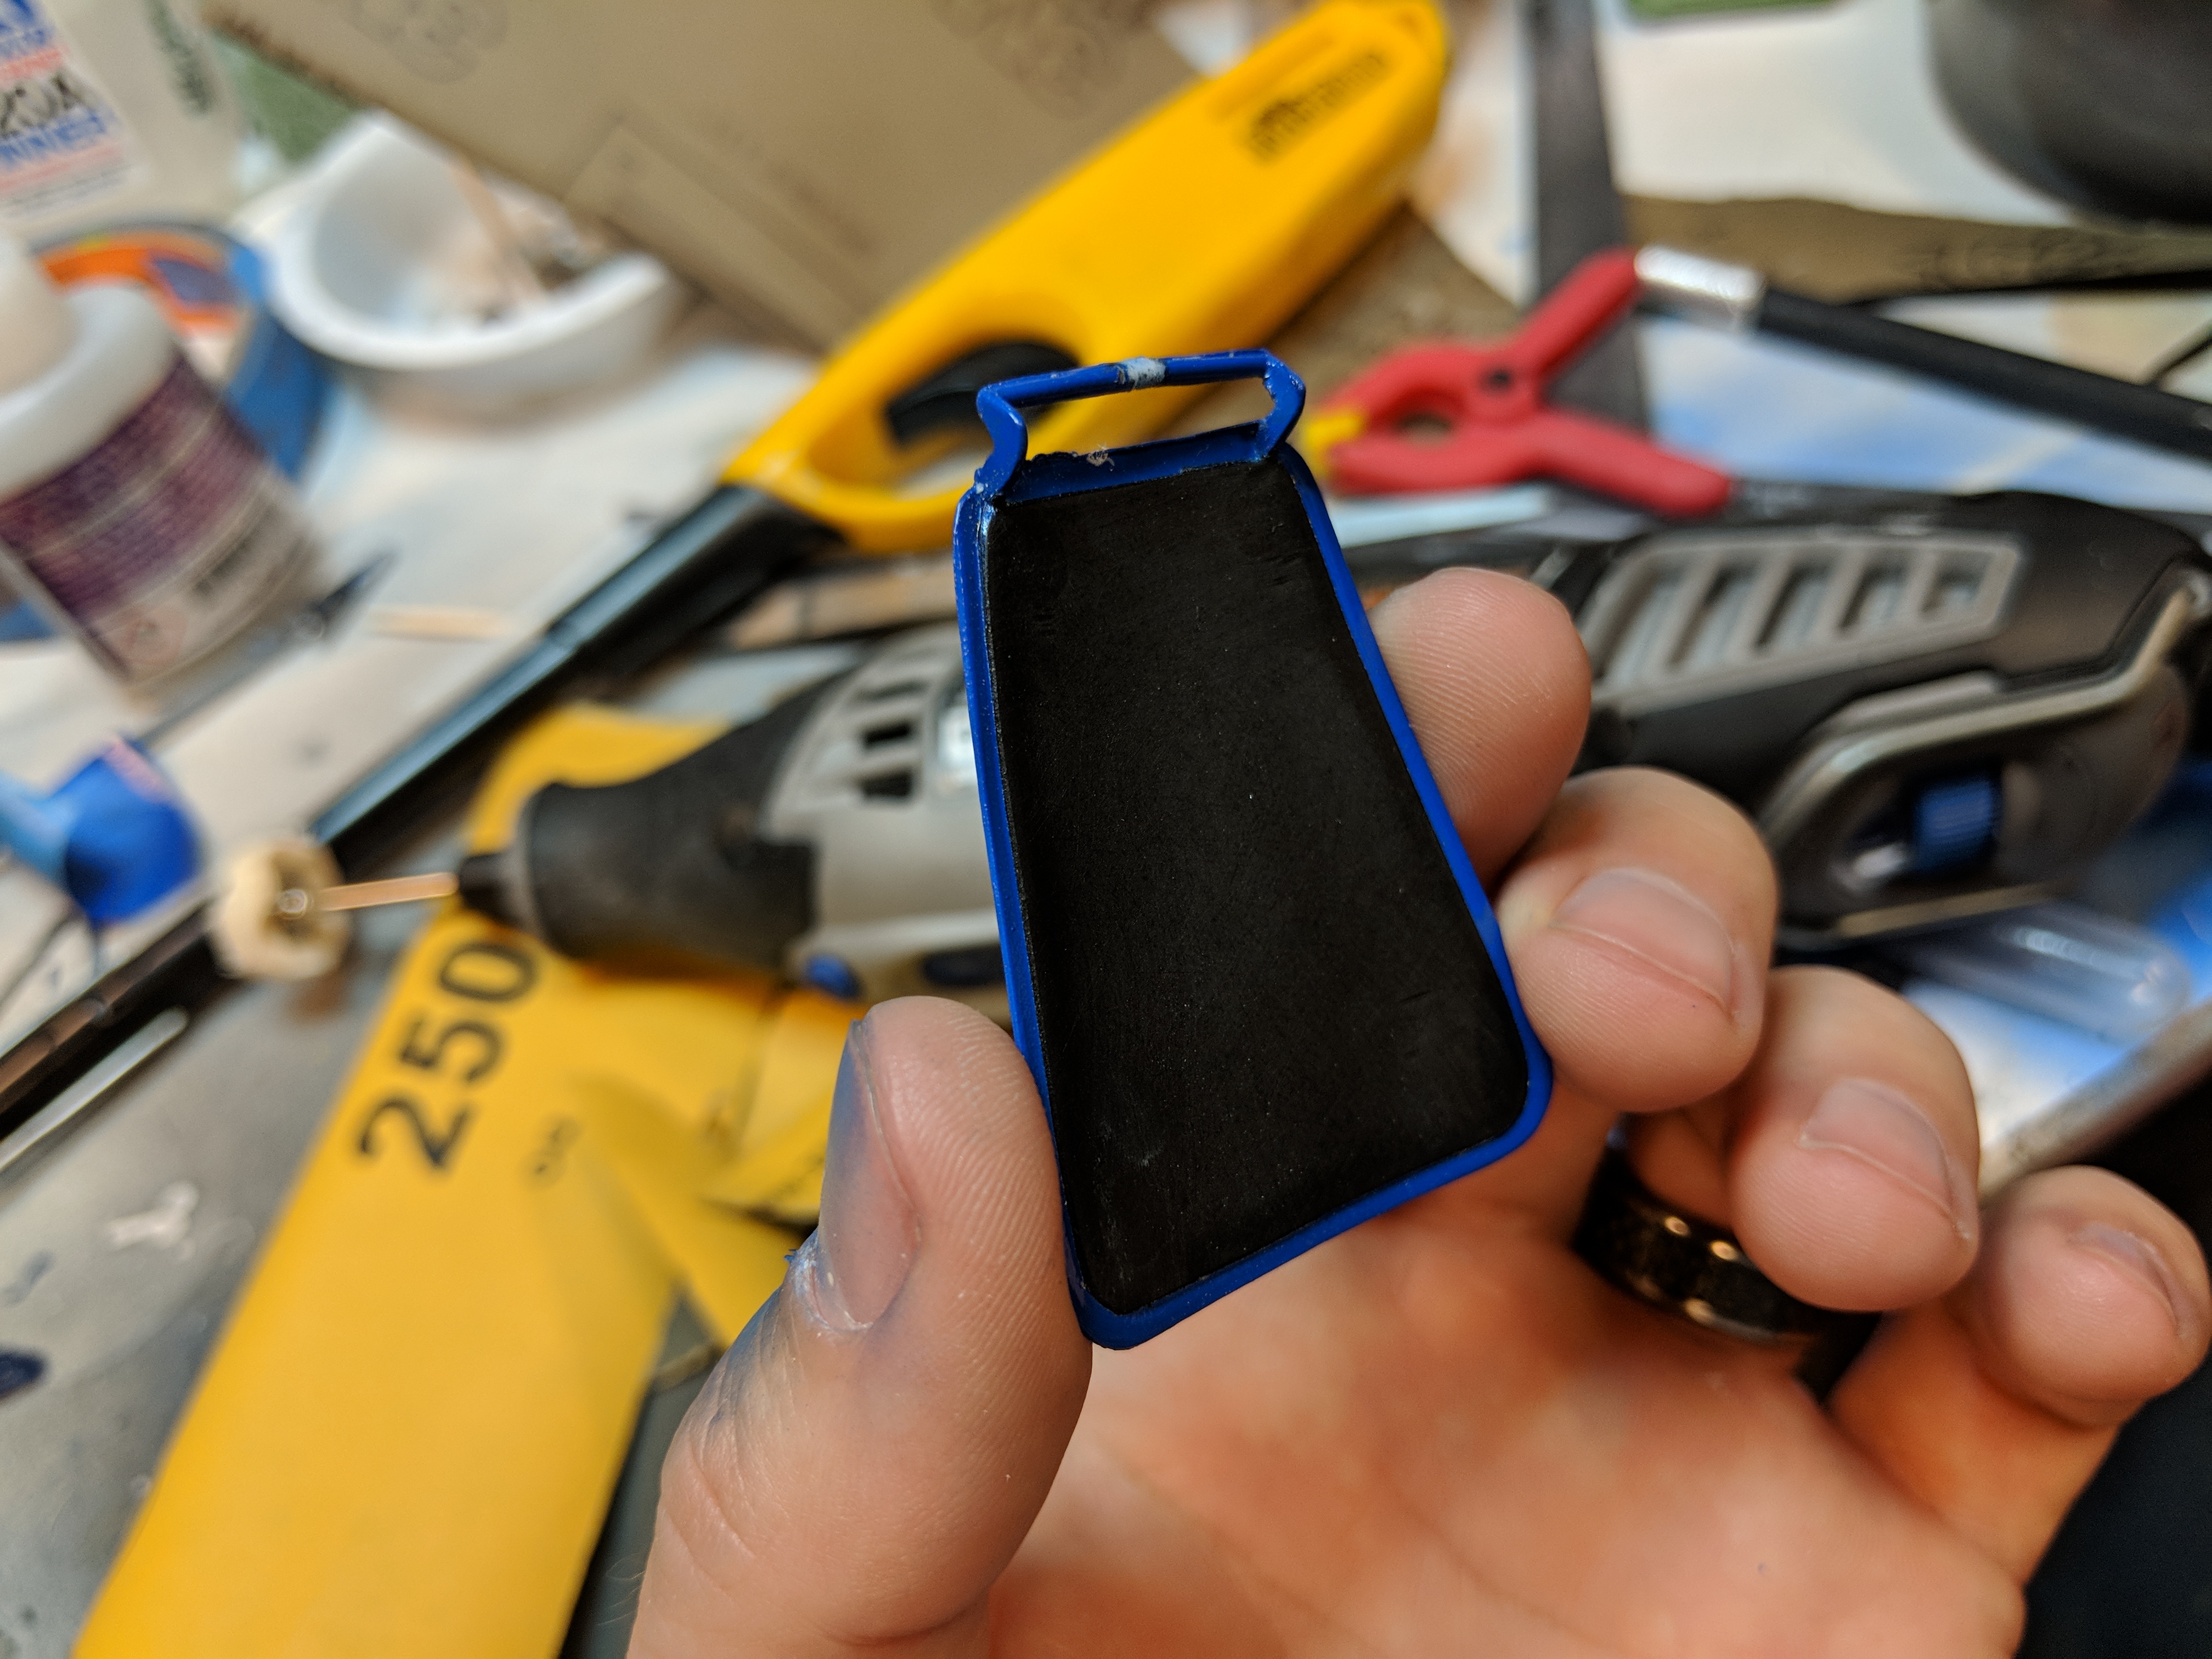
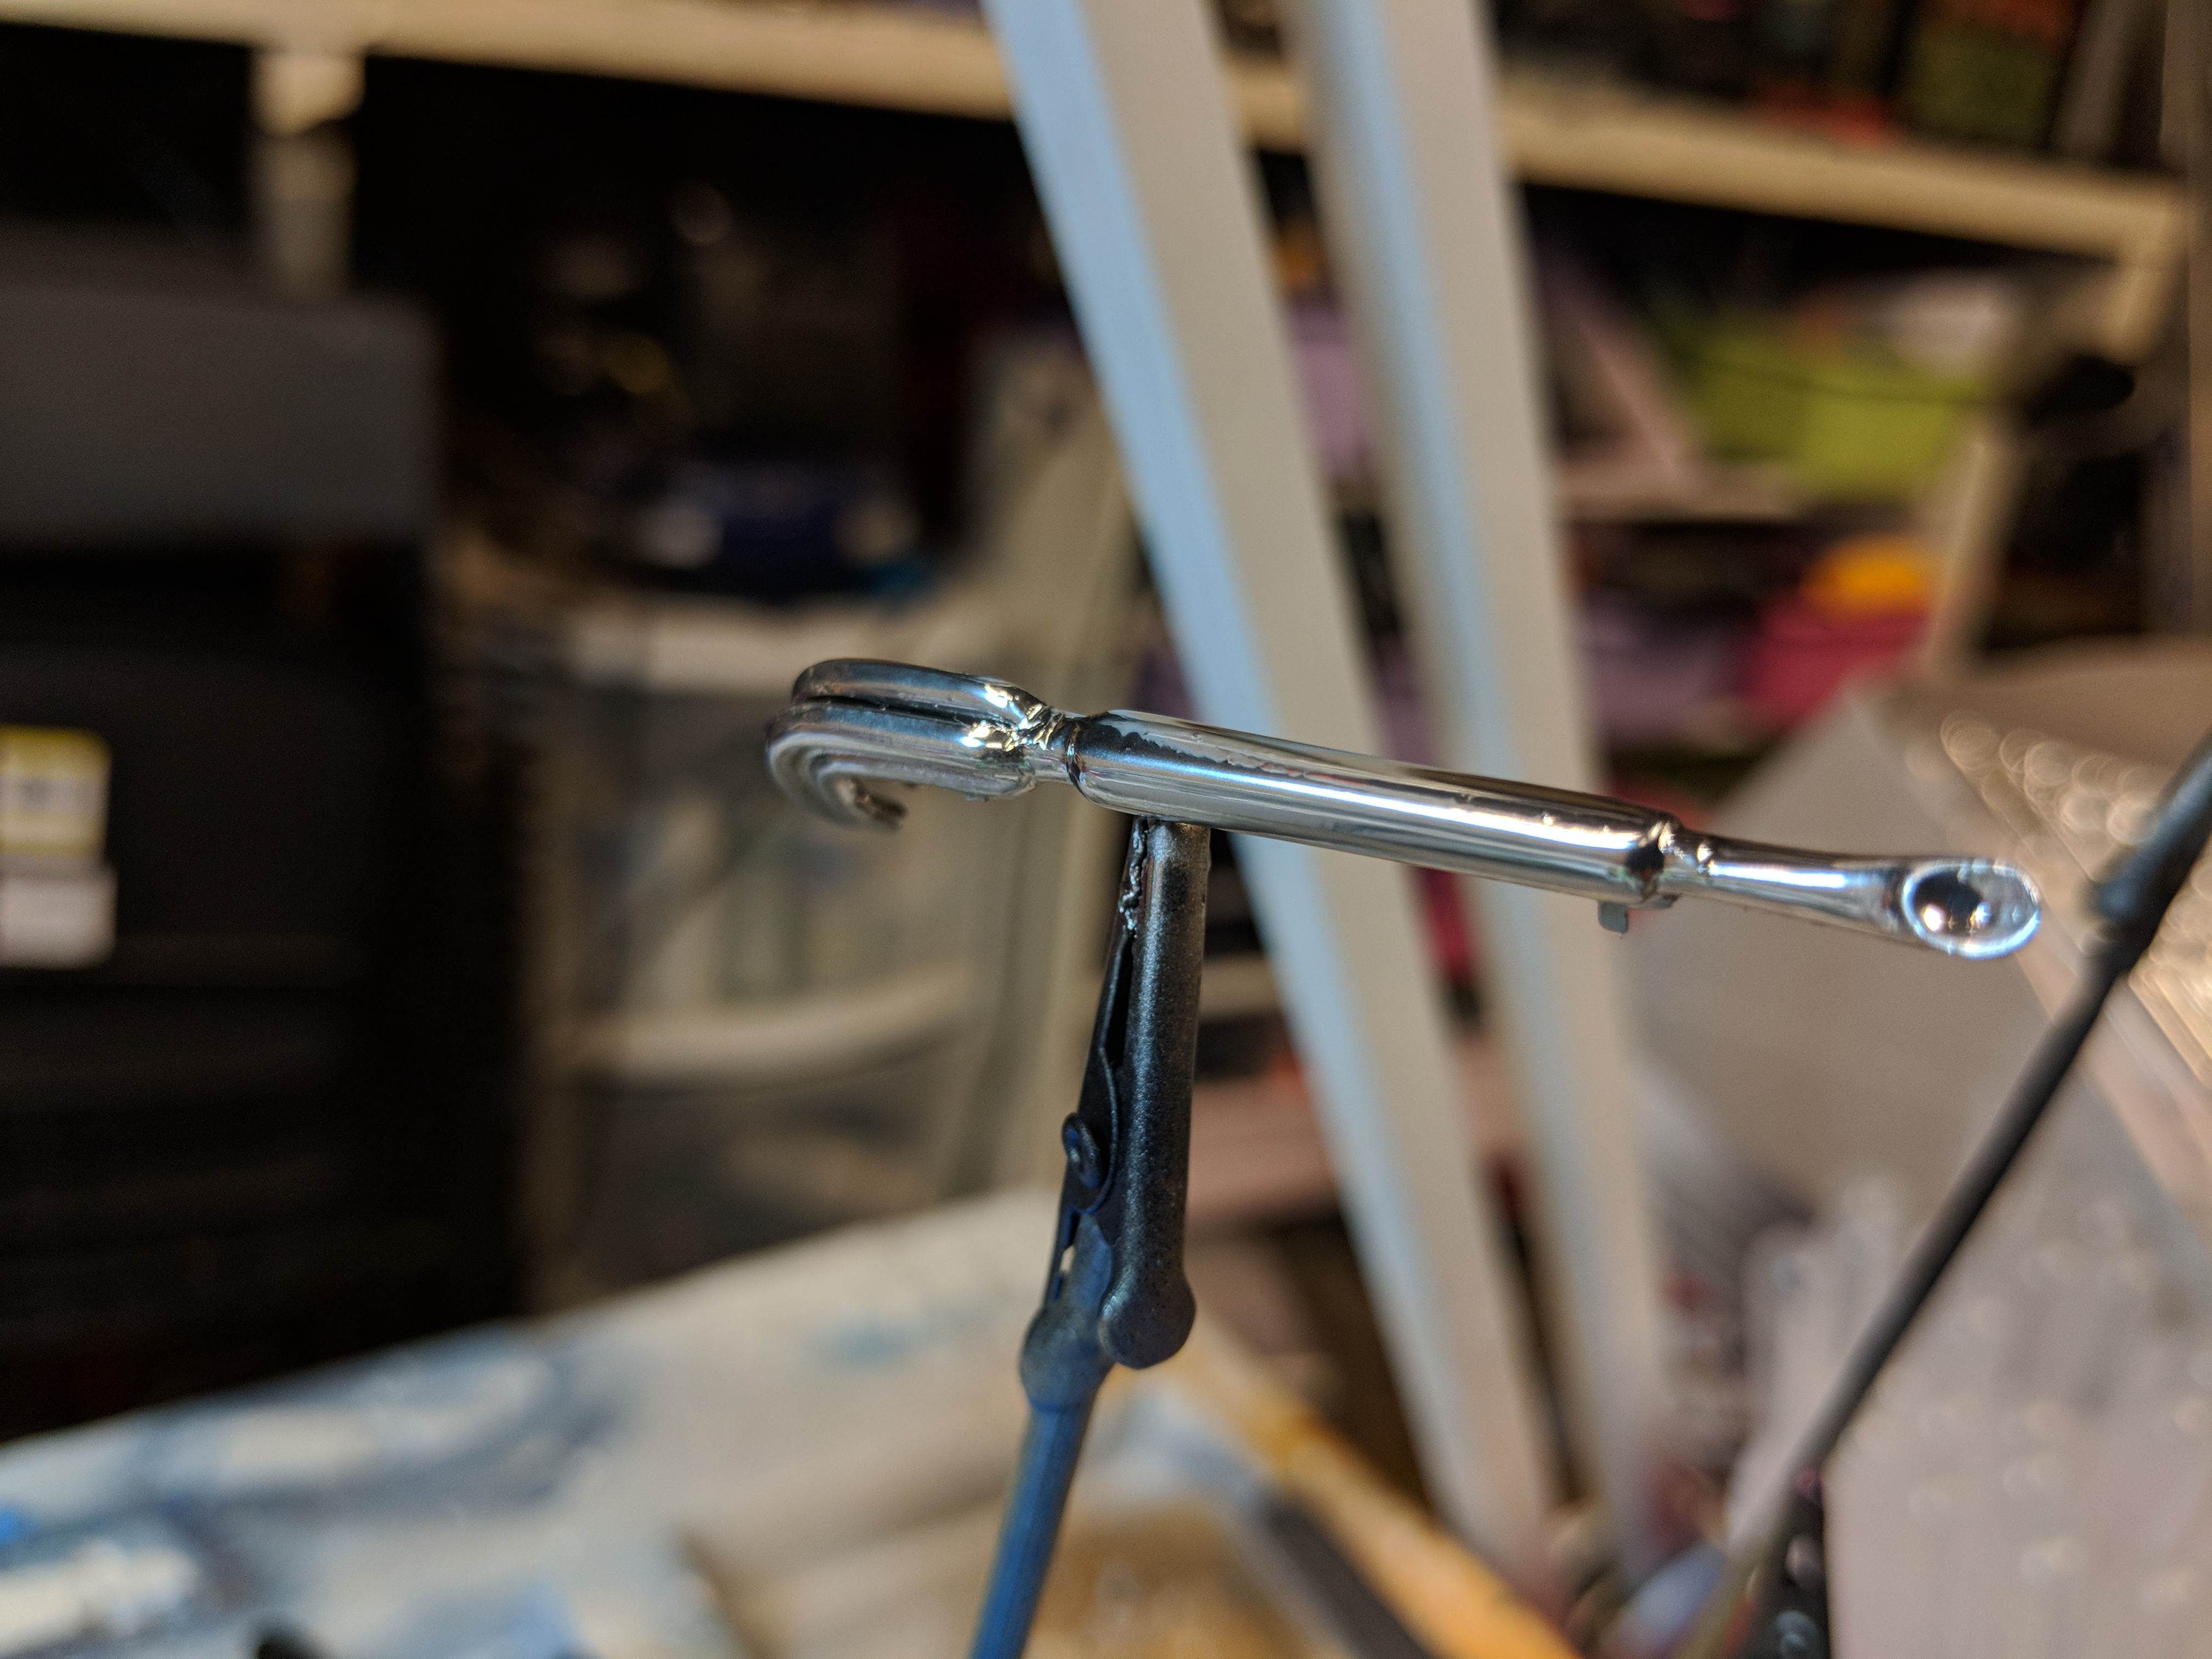
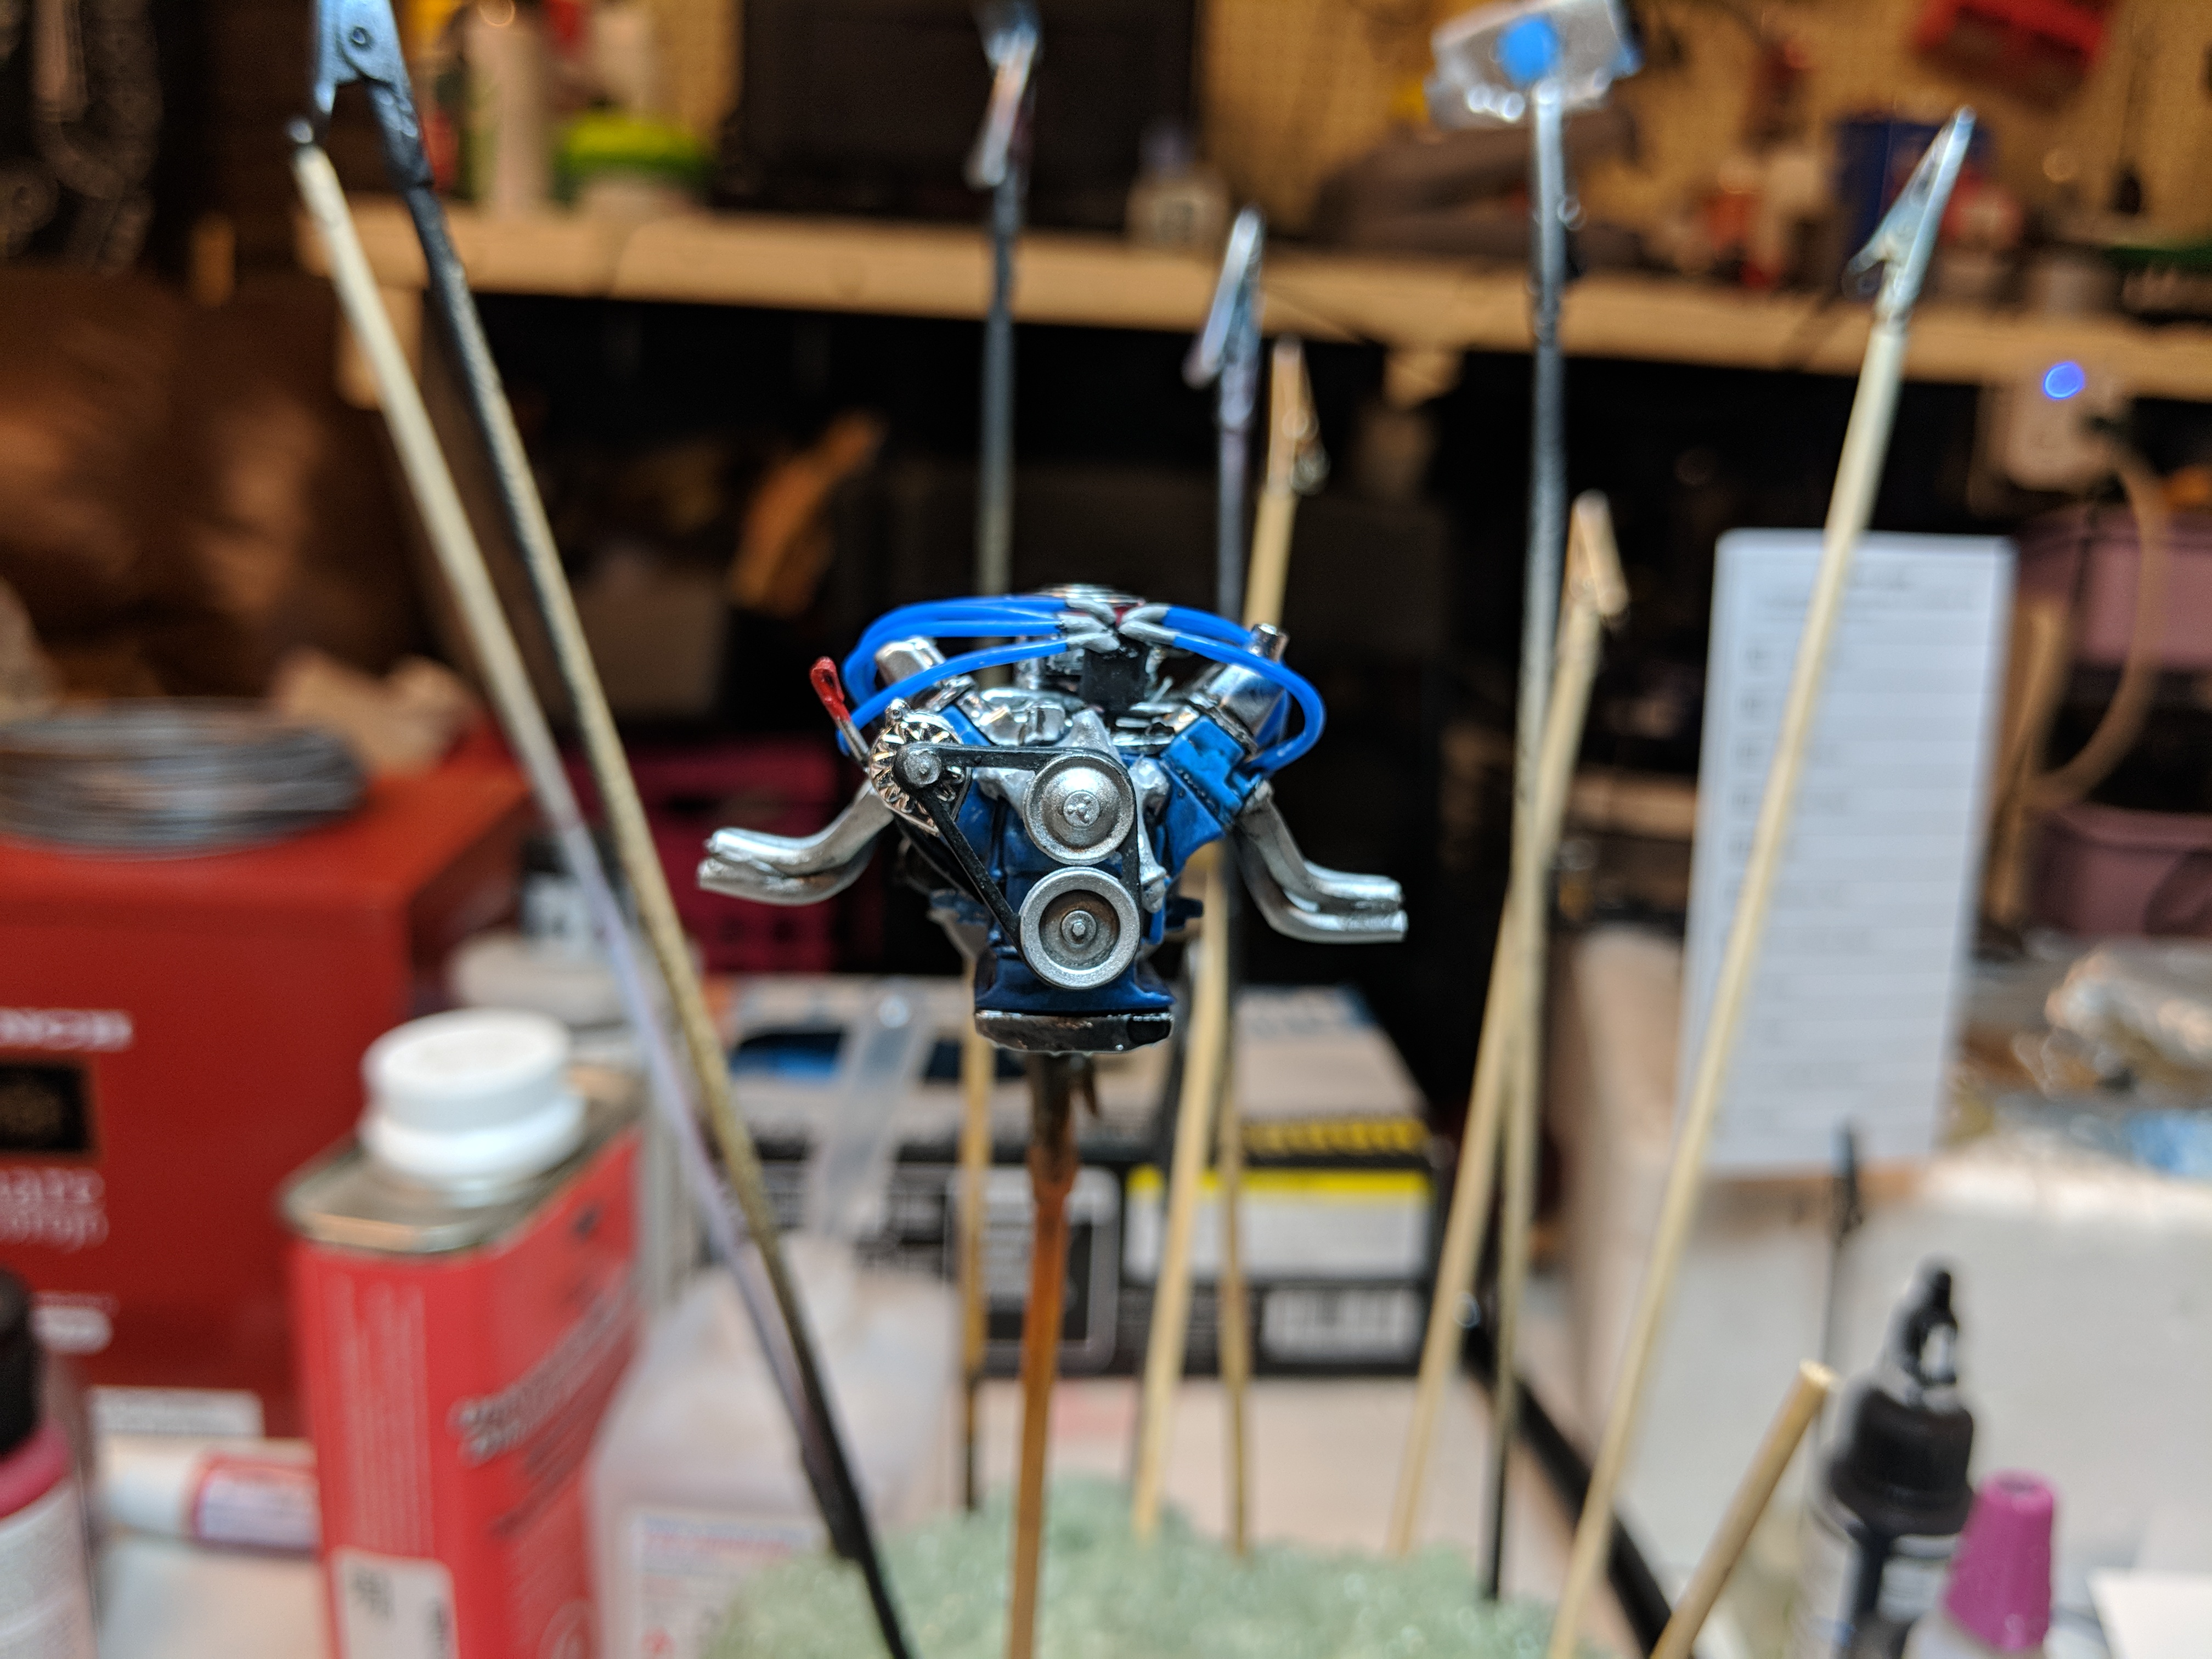
Been working on this for a couple weeks off and on. With each new project I try to get a bit more detailed, but sometimes my impatience takes over. Here's the nether regions. Had trouble getting reference photos of this exact model, paint guessing was had. I know these plugs are not in scale. Ripped them out of an ethernet cable. Today I made a trip to frys and got several spools of wires that are in scale. I'll be using them on my next project. Used panel liner washes to give the aluminum and carb some depth I stripped the plating off the chrome parts to get a deeper reflection with moltov liquid chrome. Added some linkage and stuff. Again it was hard to find the exact engine and I suspect the model maker took some liberties. Engines need oil Interior. Here we are with the flocking in place with mixed results Paint. I went with a deep blue Upol clear coat. All orange peeless and polished up. And only one slip of the dremel chuck. More chrome parts Radiator with some panel liner weathering The tarp. I did some airbrushing to give it a bit more dimension
-
BLAH_BLAH_BLAH_BLAH dude, you murdered this one. I want to do an Eleanor now
-
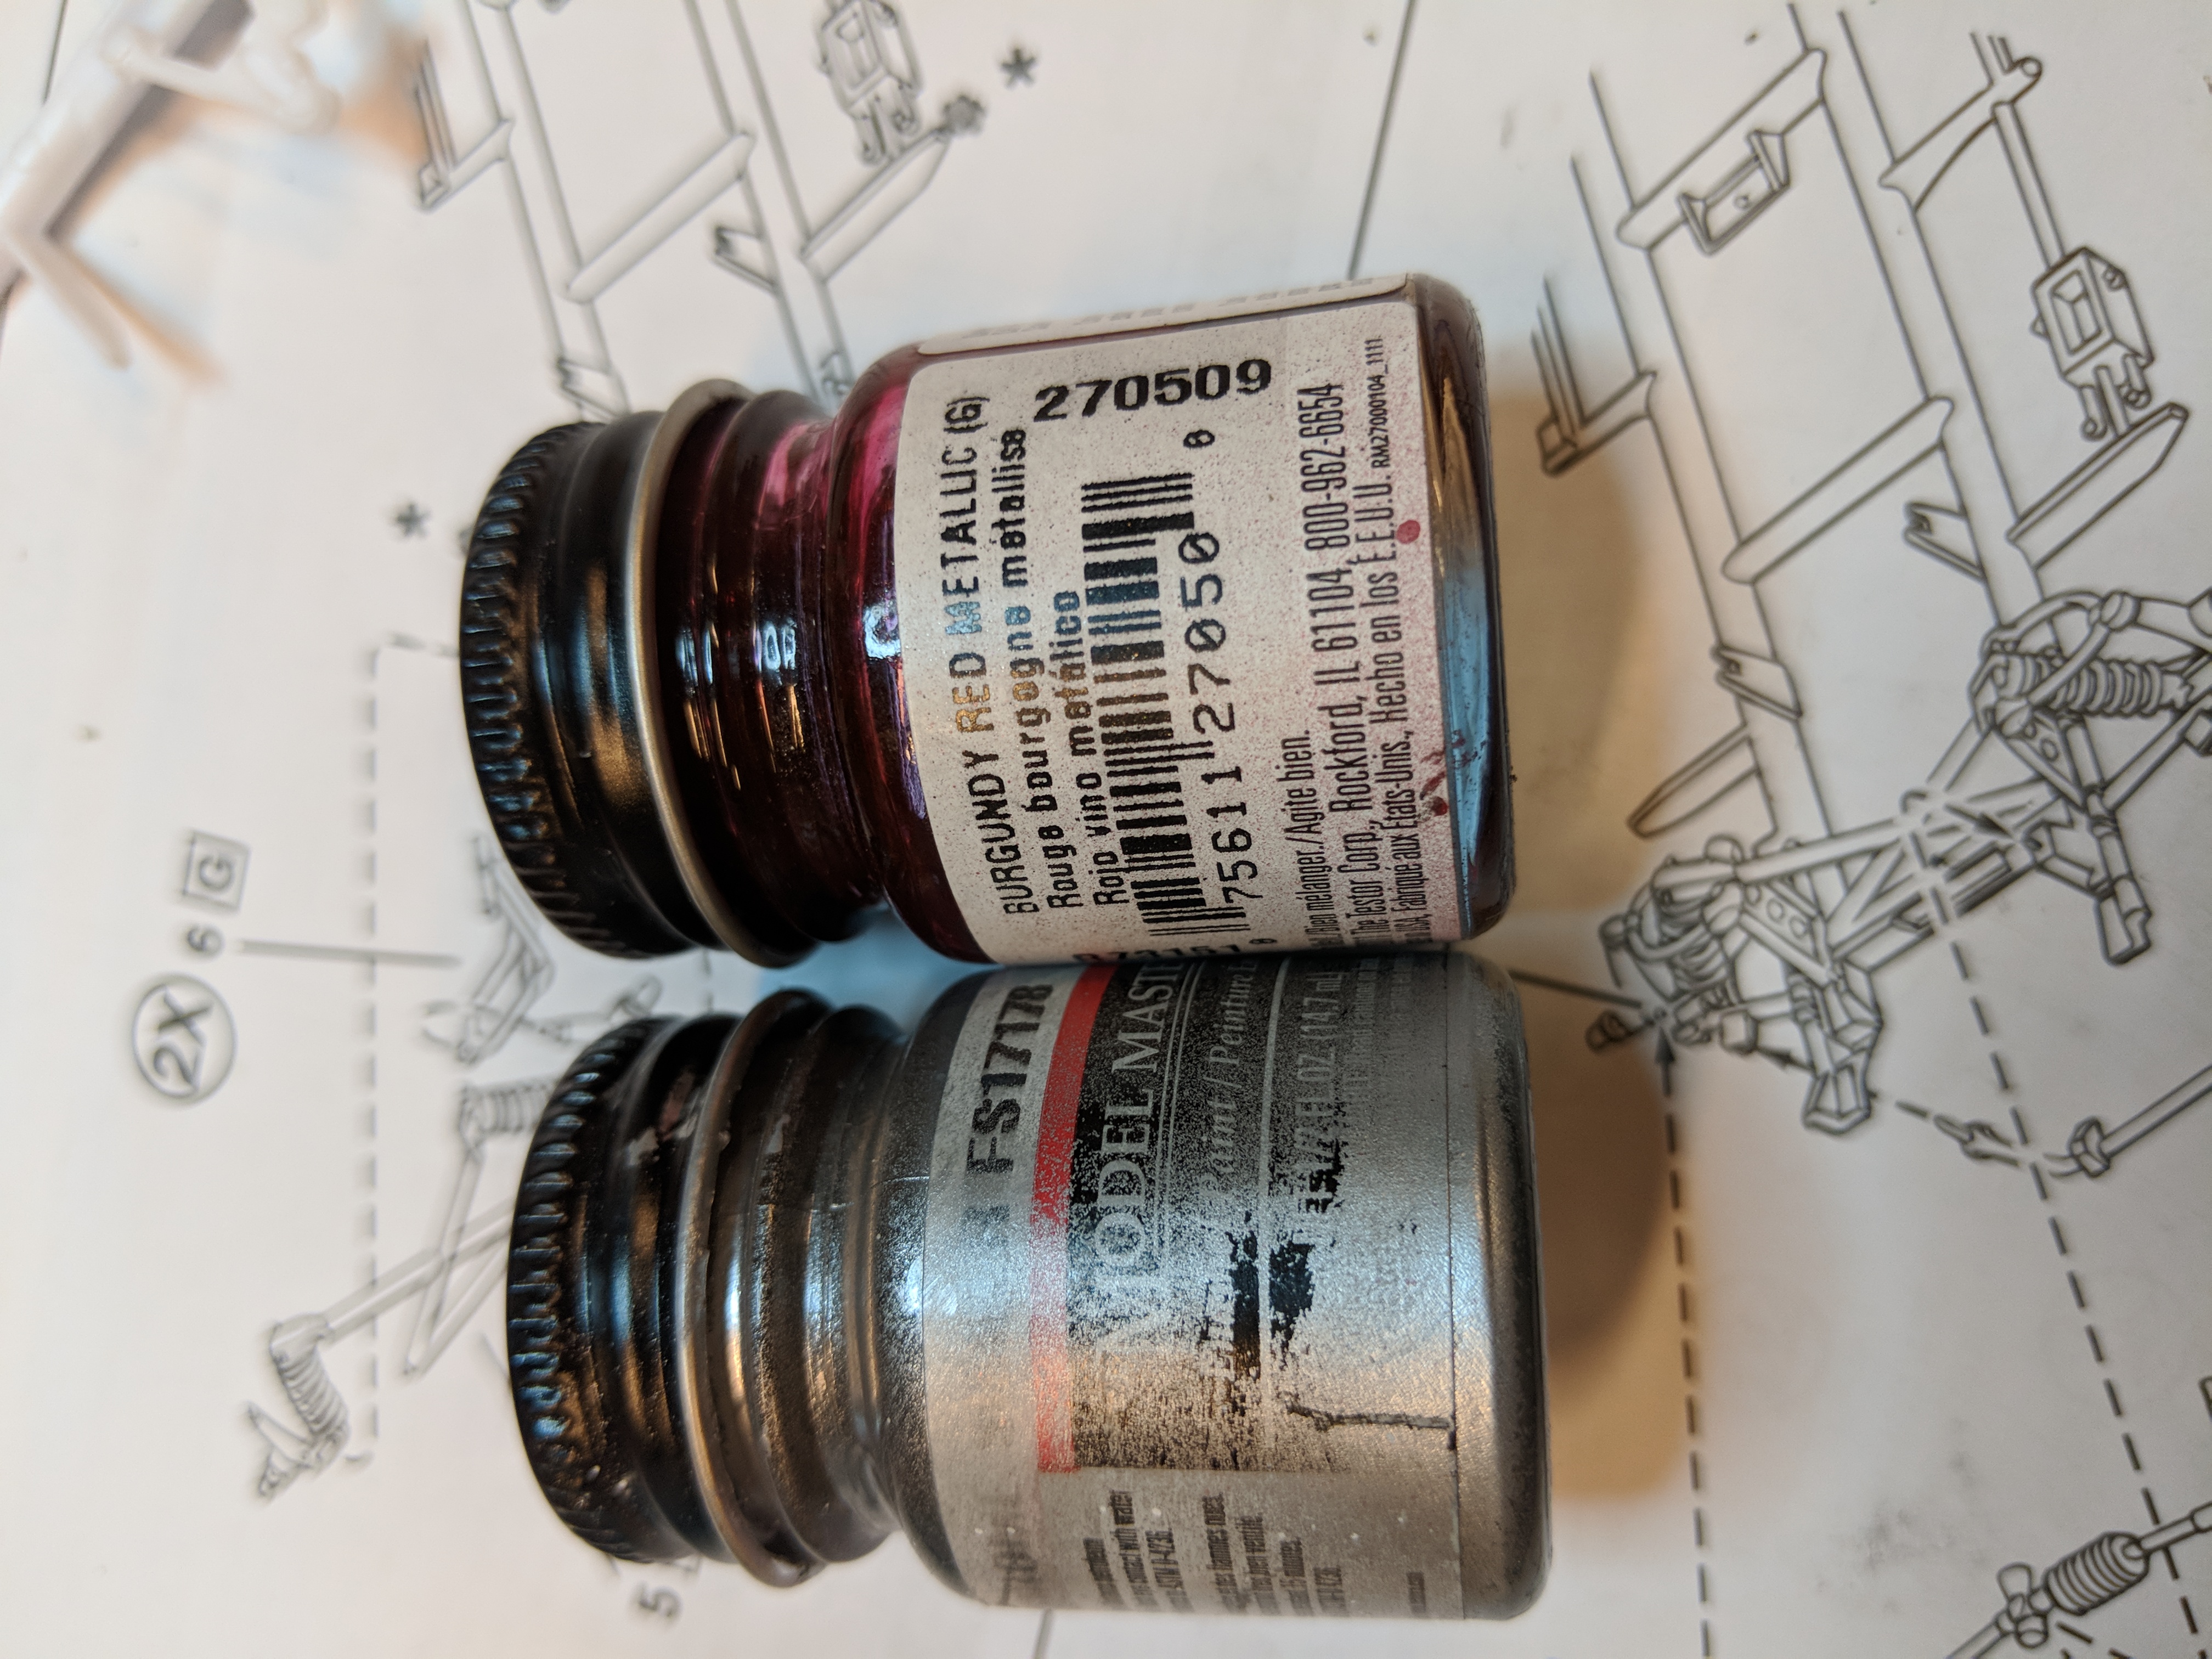
I have black primer, this silver and topped it with this metal flake burgundy
-
This i can fix good catch thanks.
-
Good to know thanks. A good excuse to make it again.
-
Ha yeah that's the one thing I added from the coupe I guess that kind of makes it. I just liked the paint too much not to use them.
-
Good to know thanks.
-
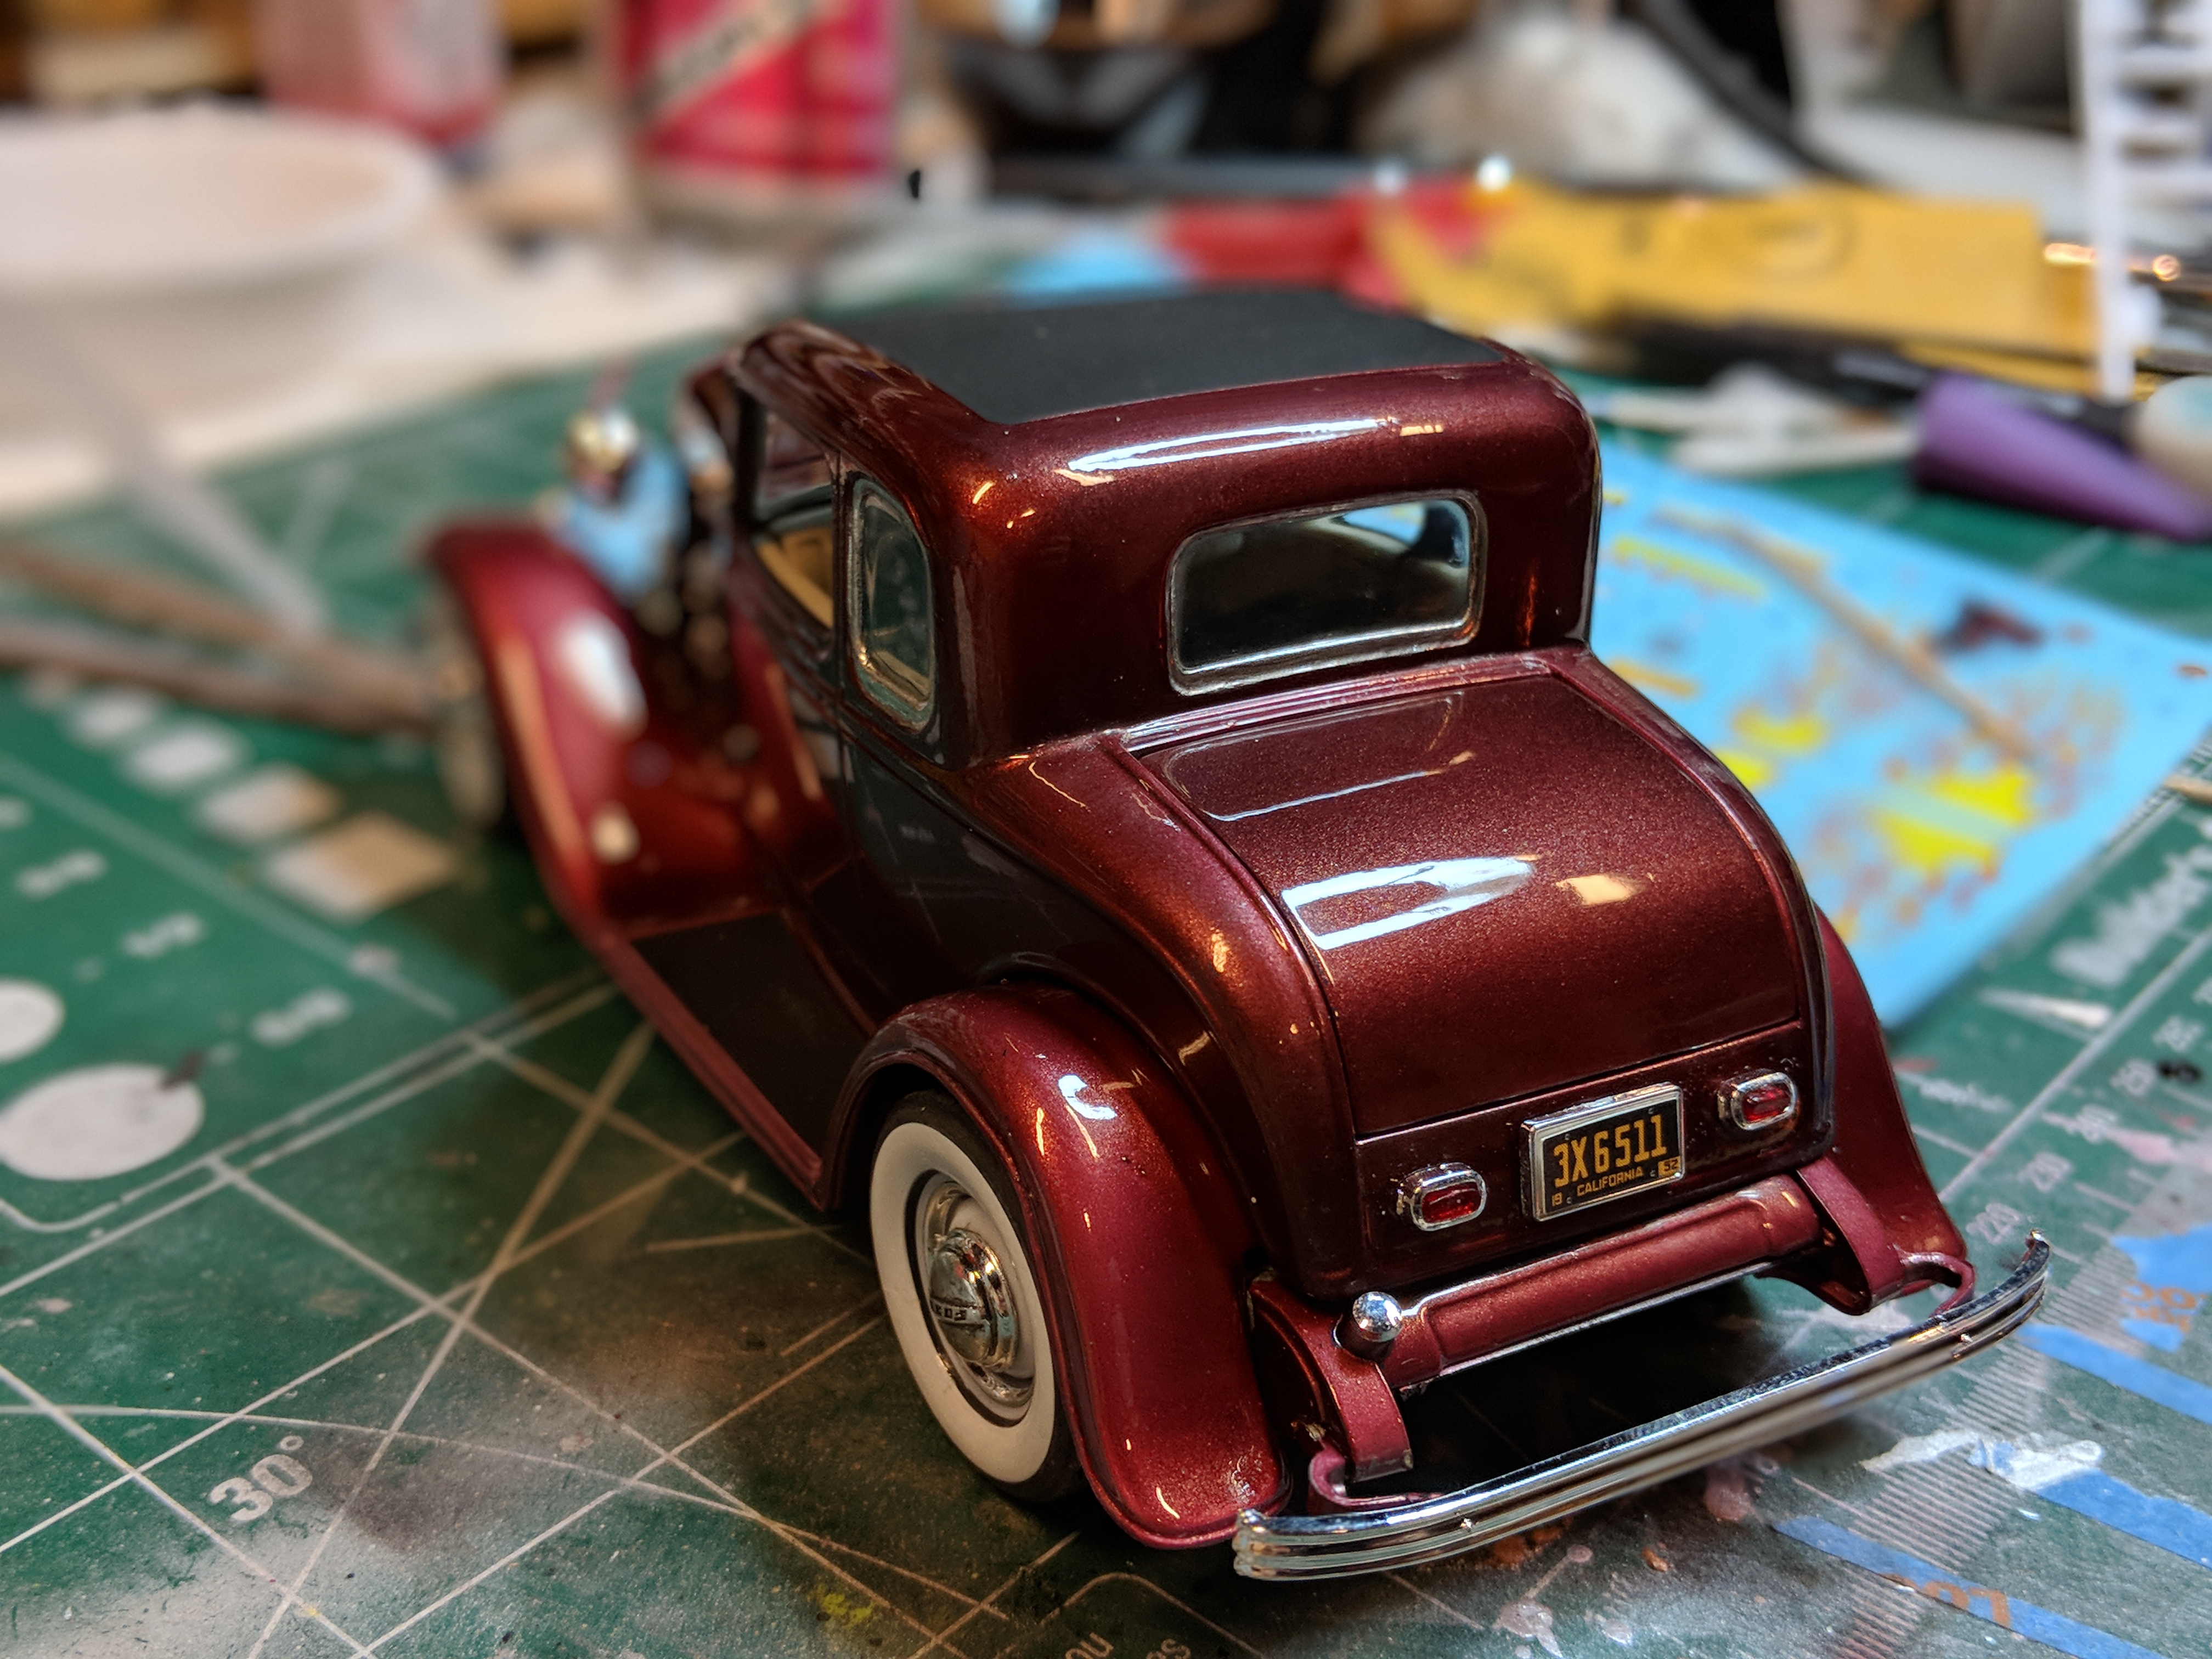
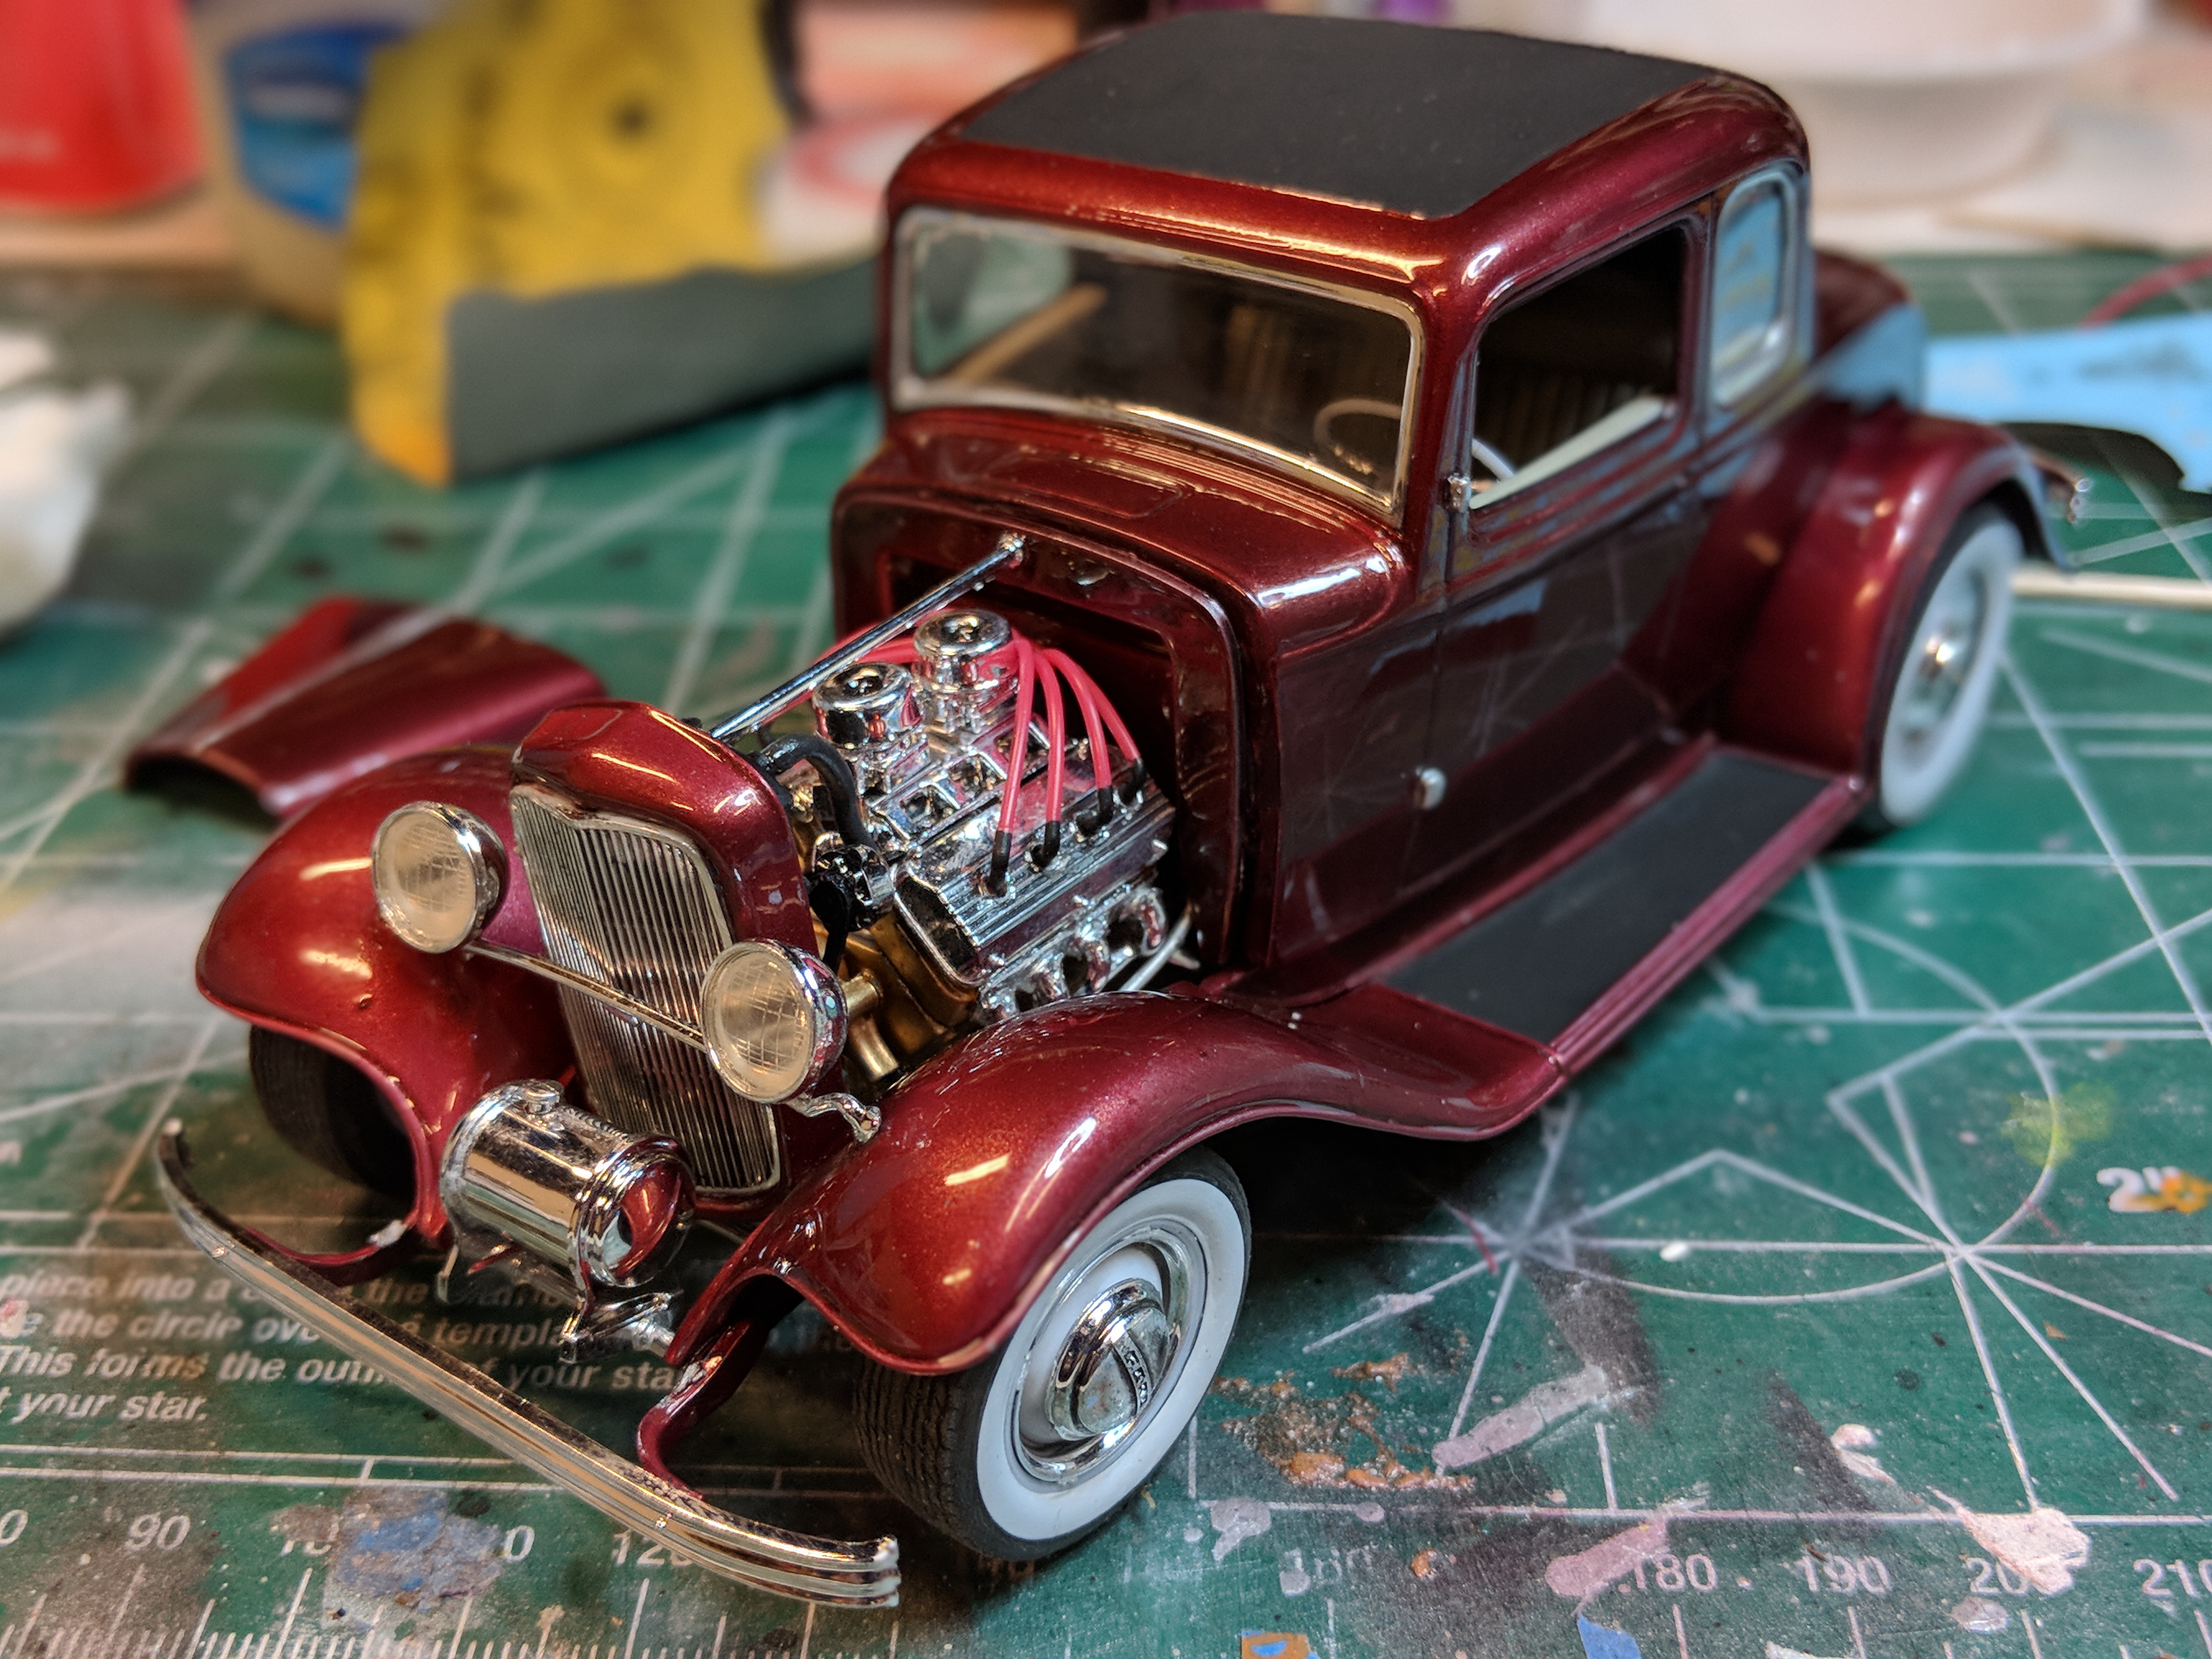
Ford 32 highboy. This wasn't a well put together model. Not all the parts fit properly, with that said I did the best I could. Matching the paint from part to part in this metallic flake paint was a pain in the ass,the density completely changes the hue depending on how many layers you put on.
-
Put this guy together a few months ago. This was my favorite car on high-school and I needed to own it at some scale.
-
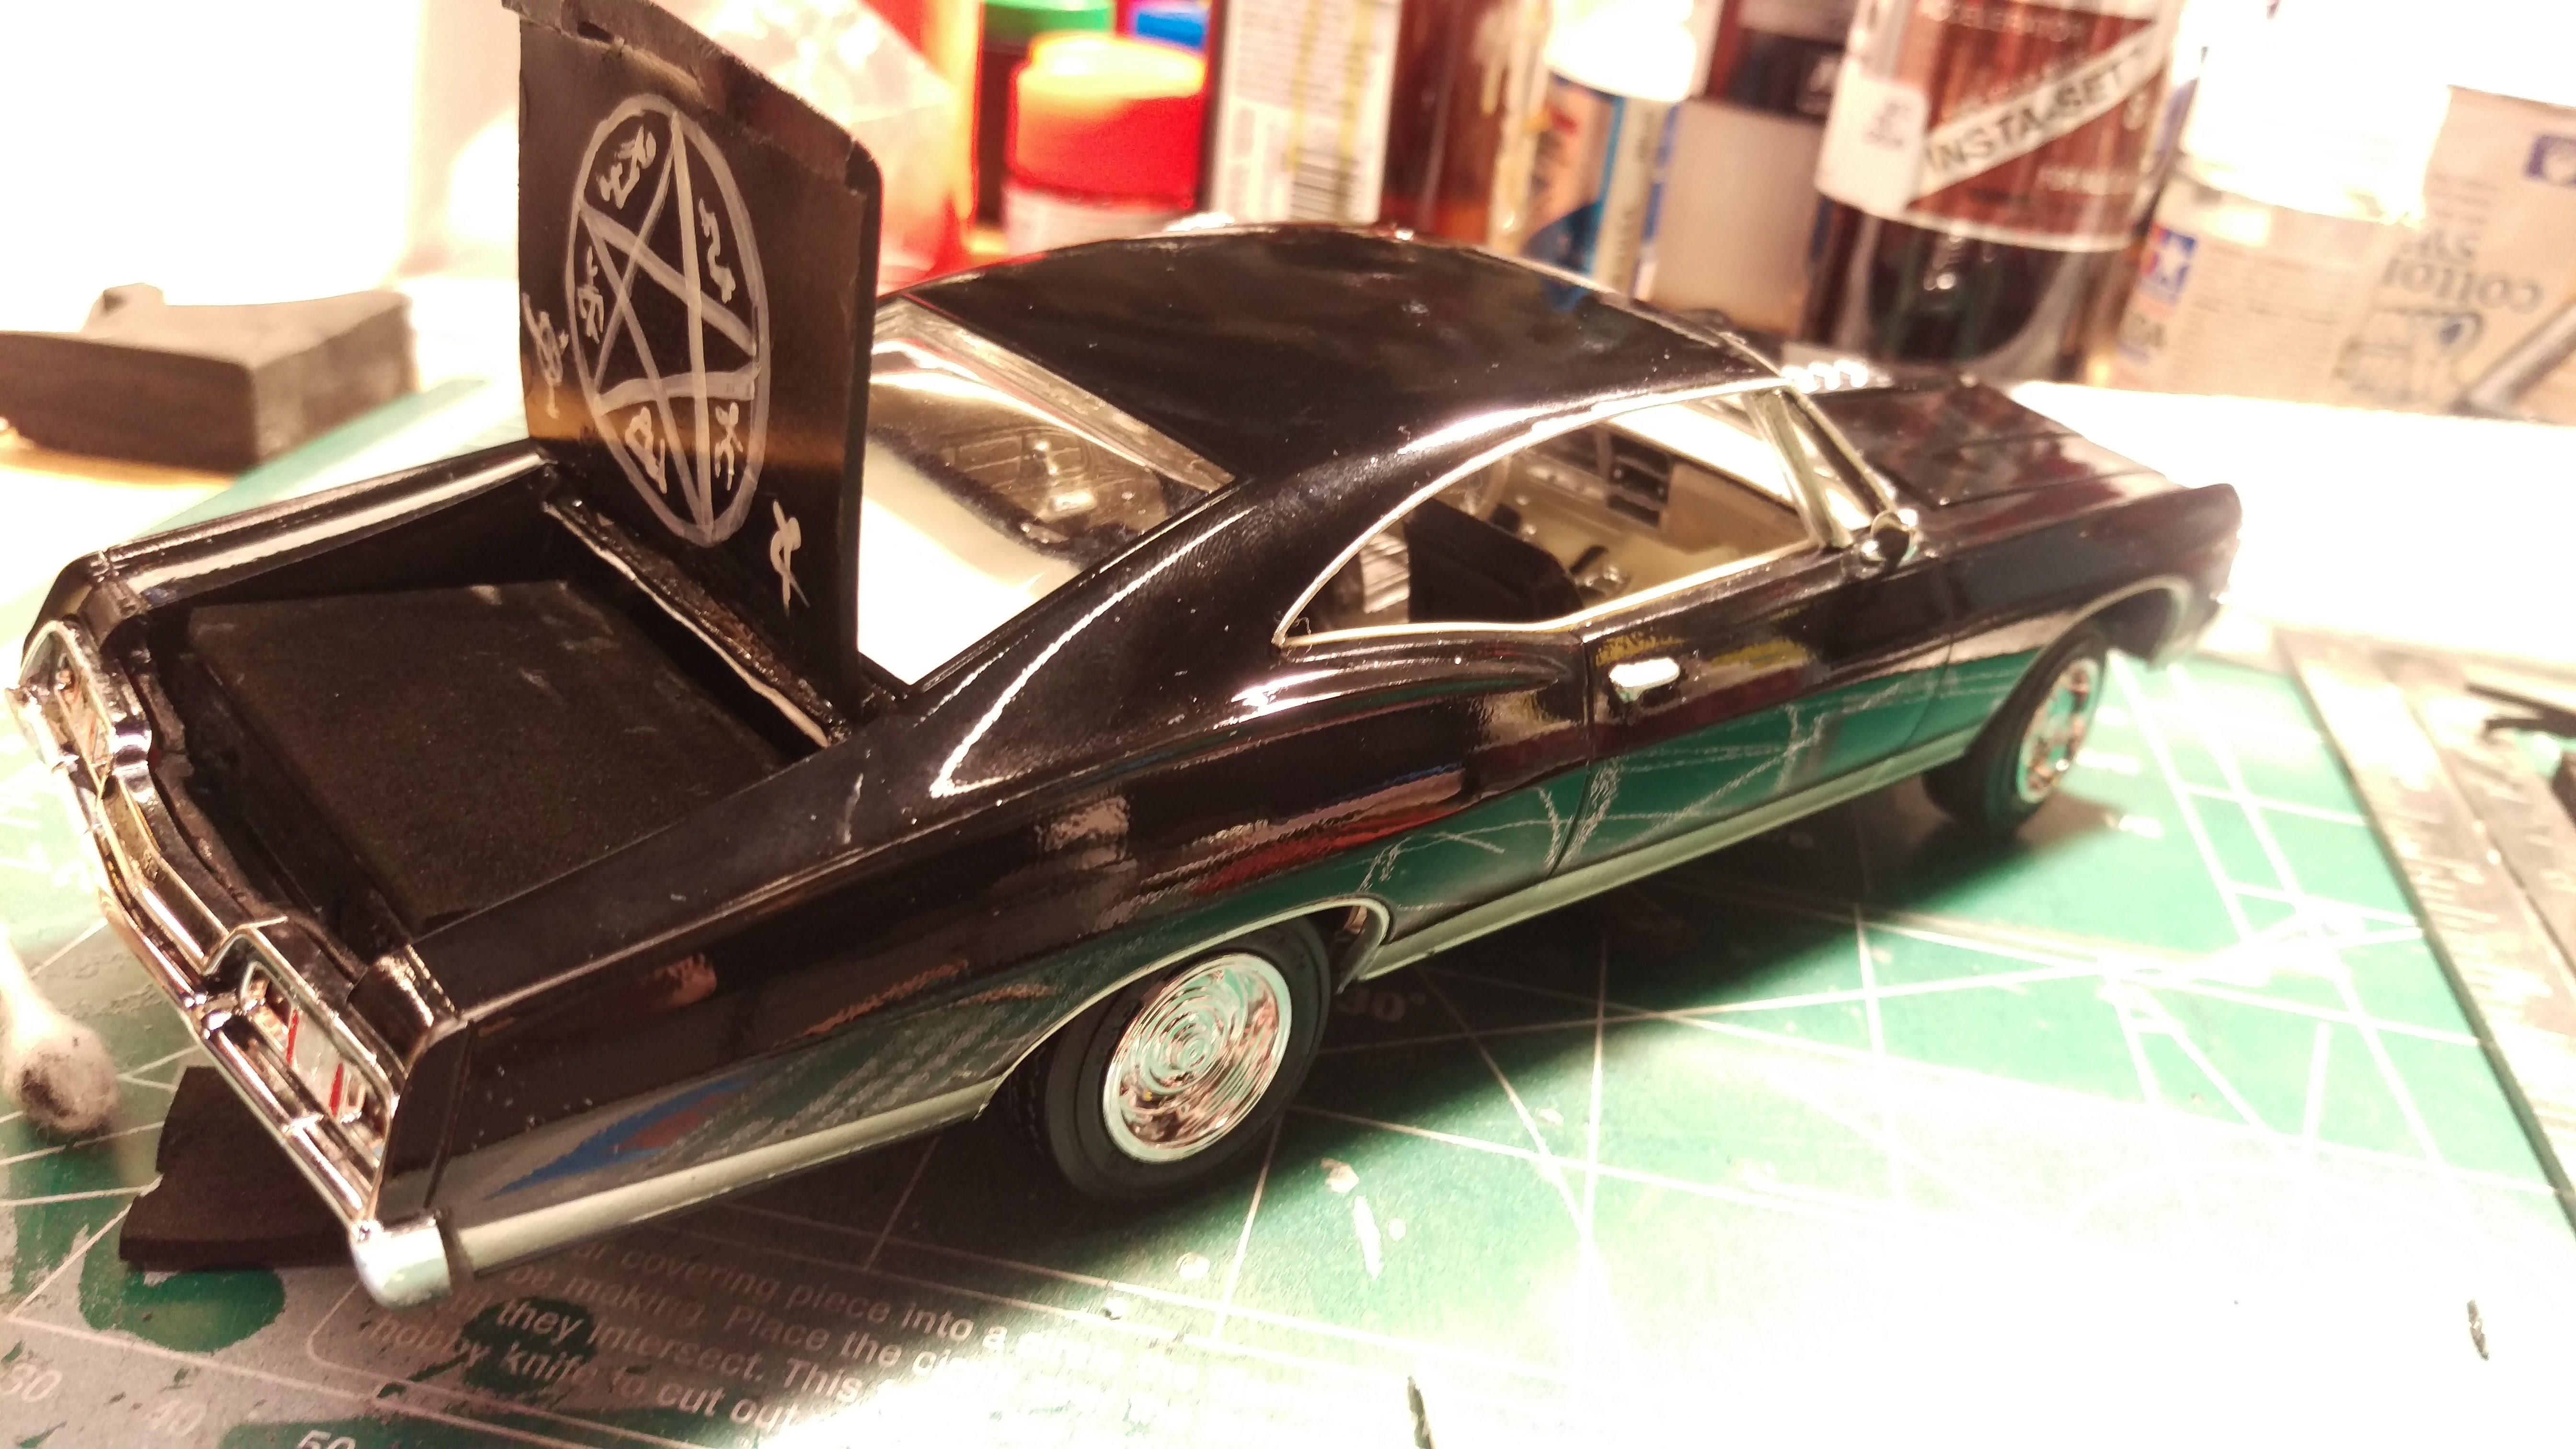
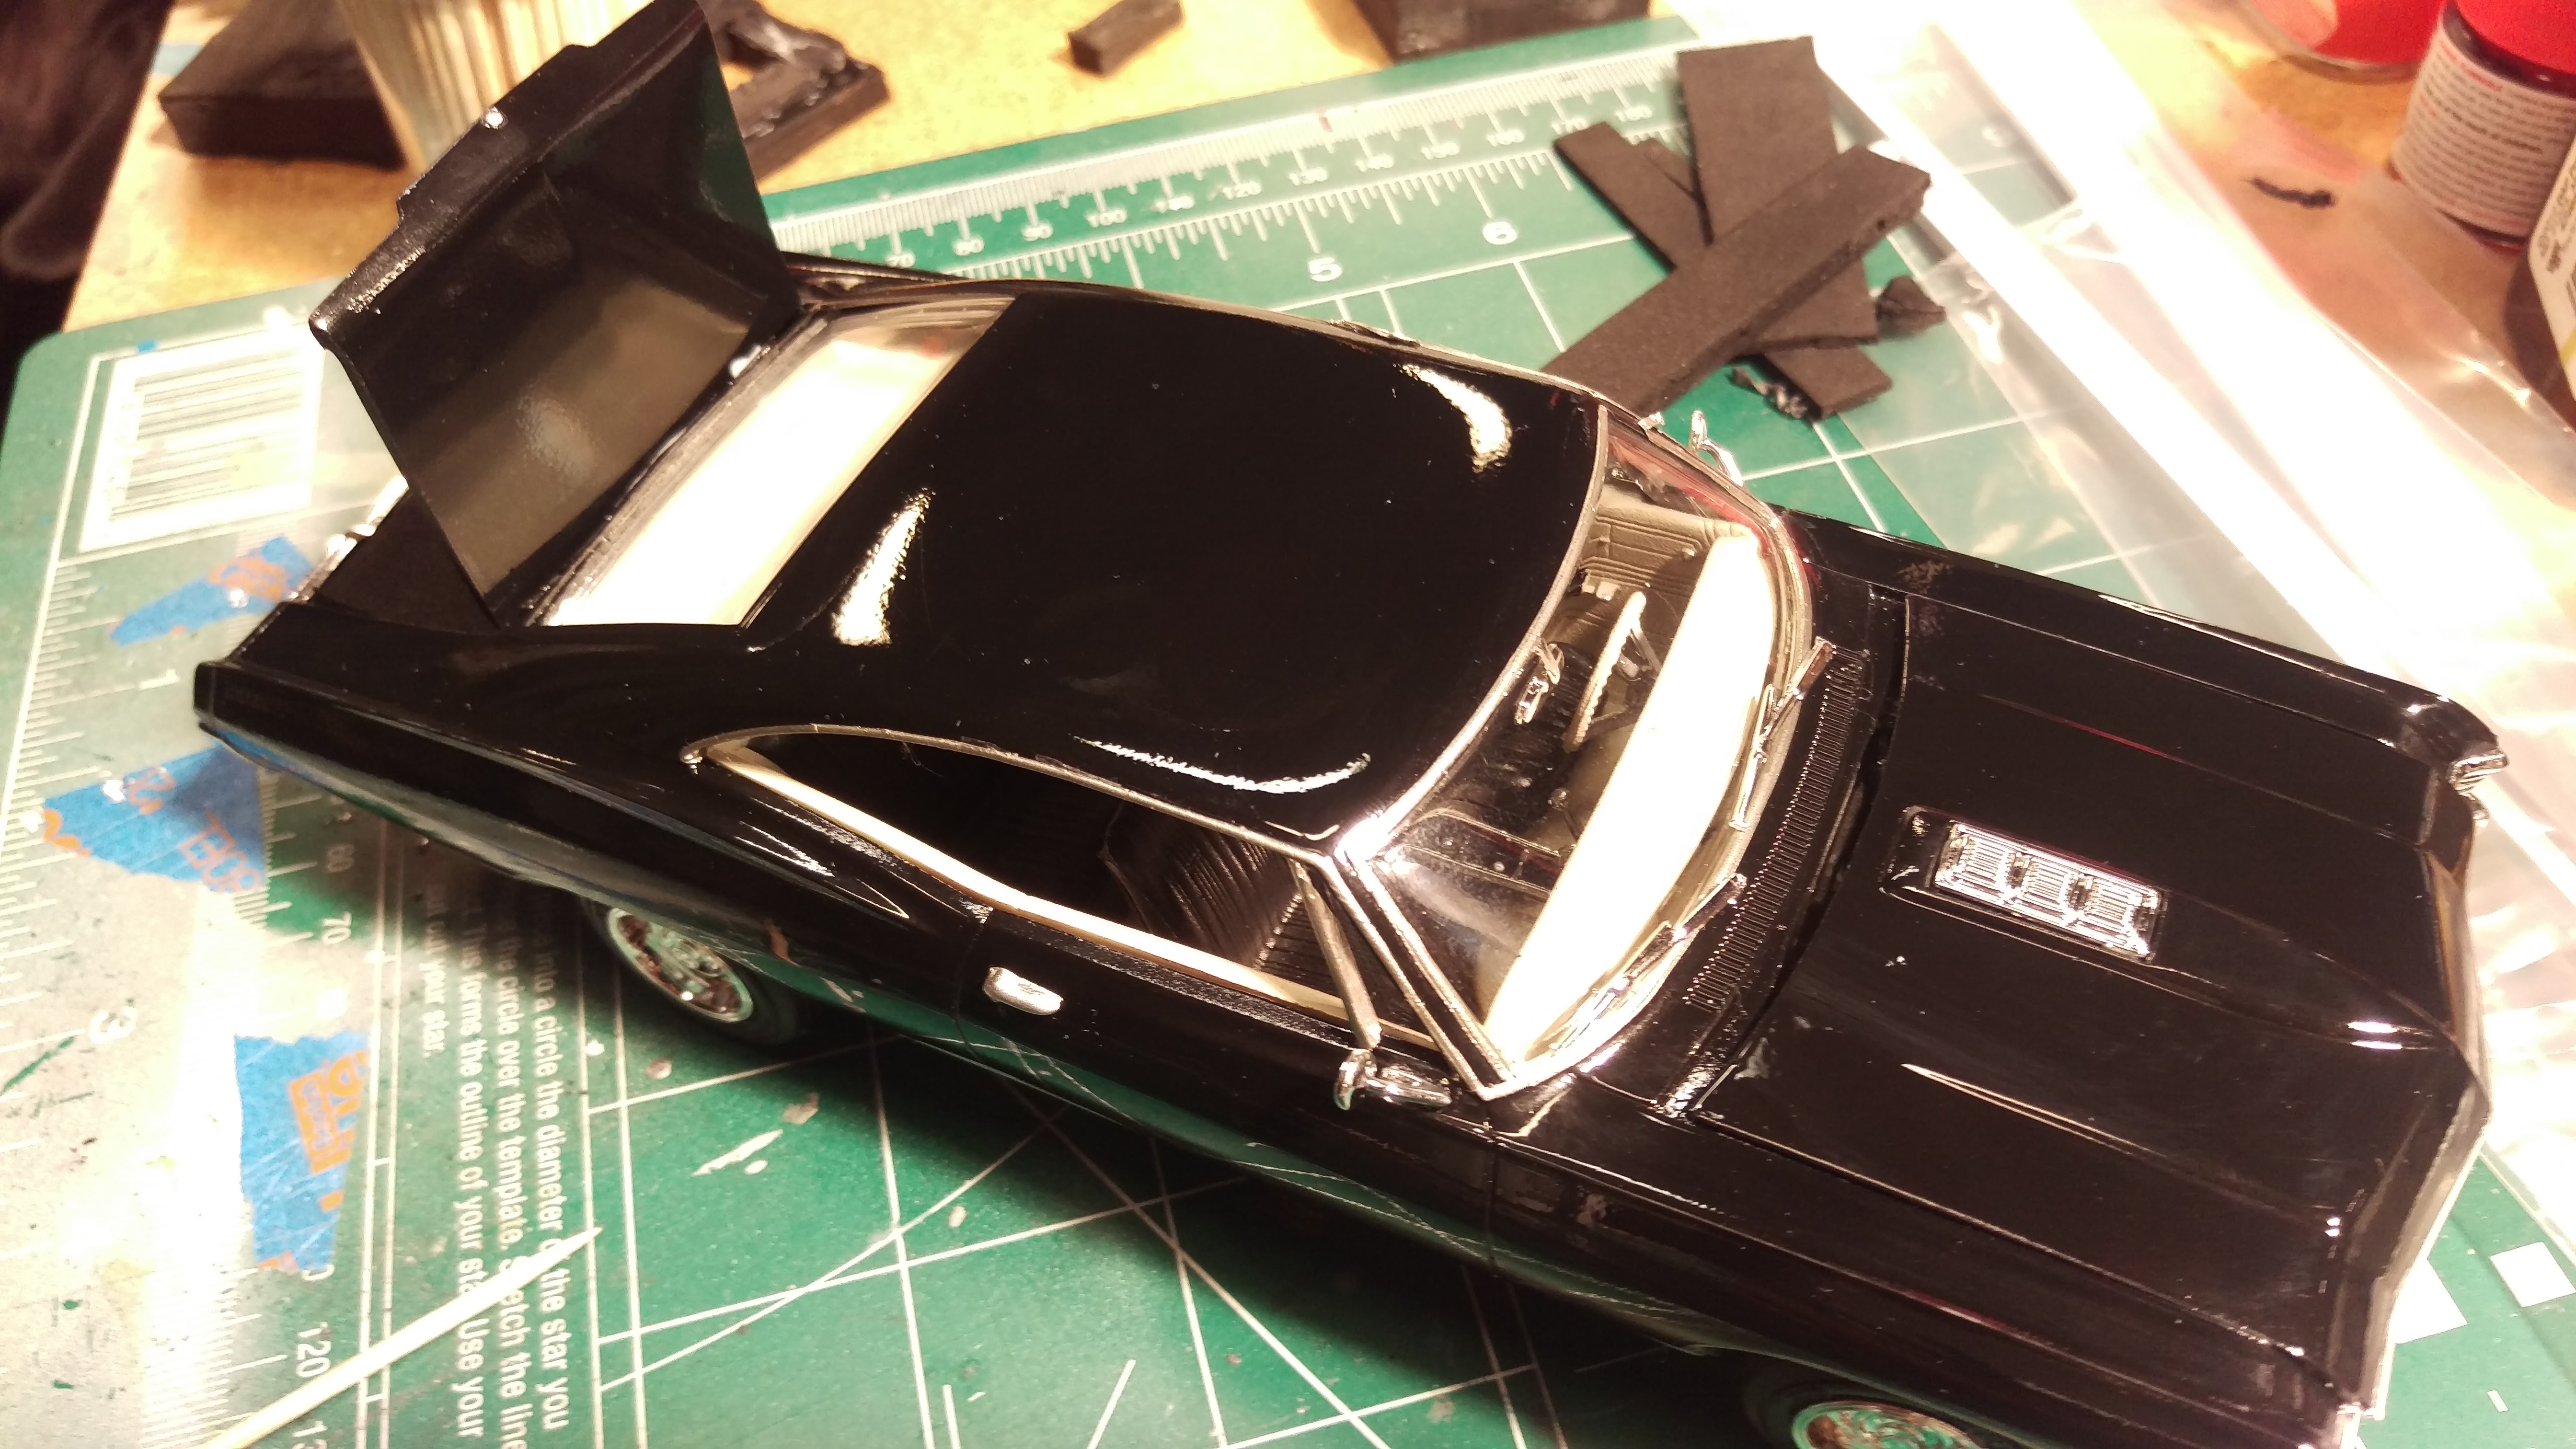
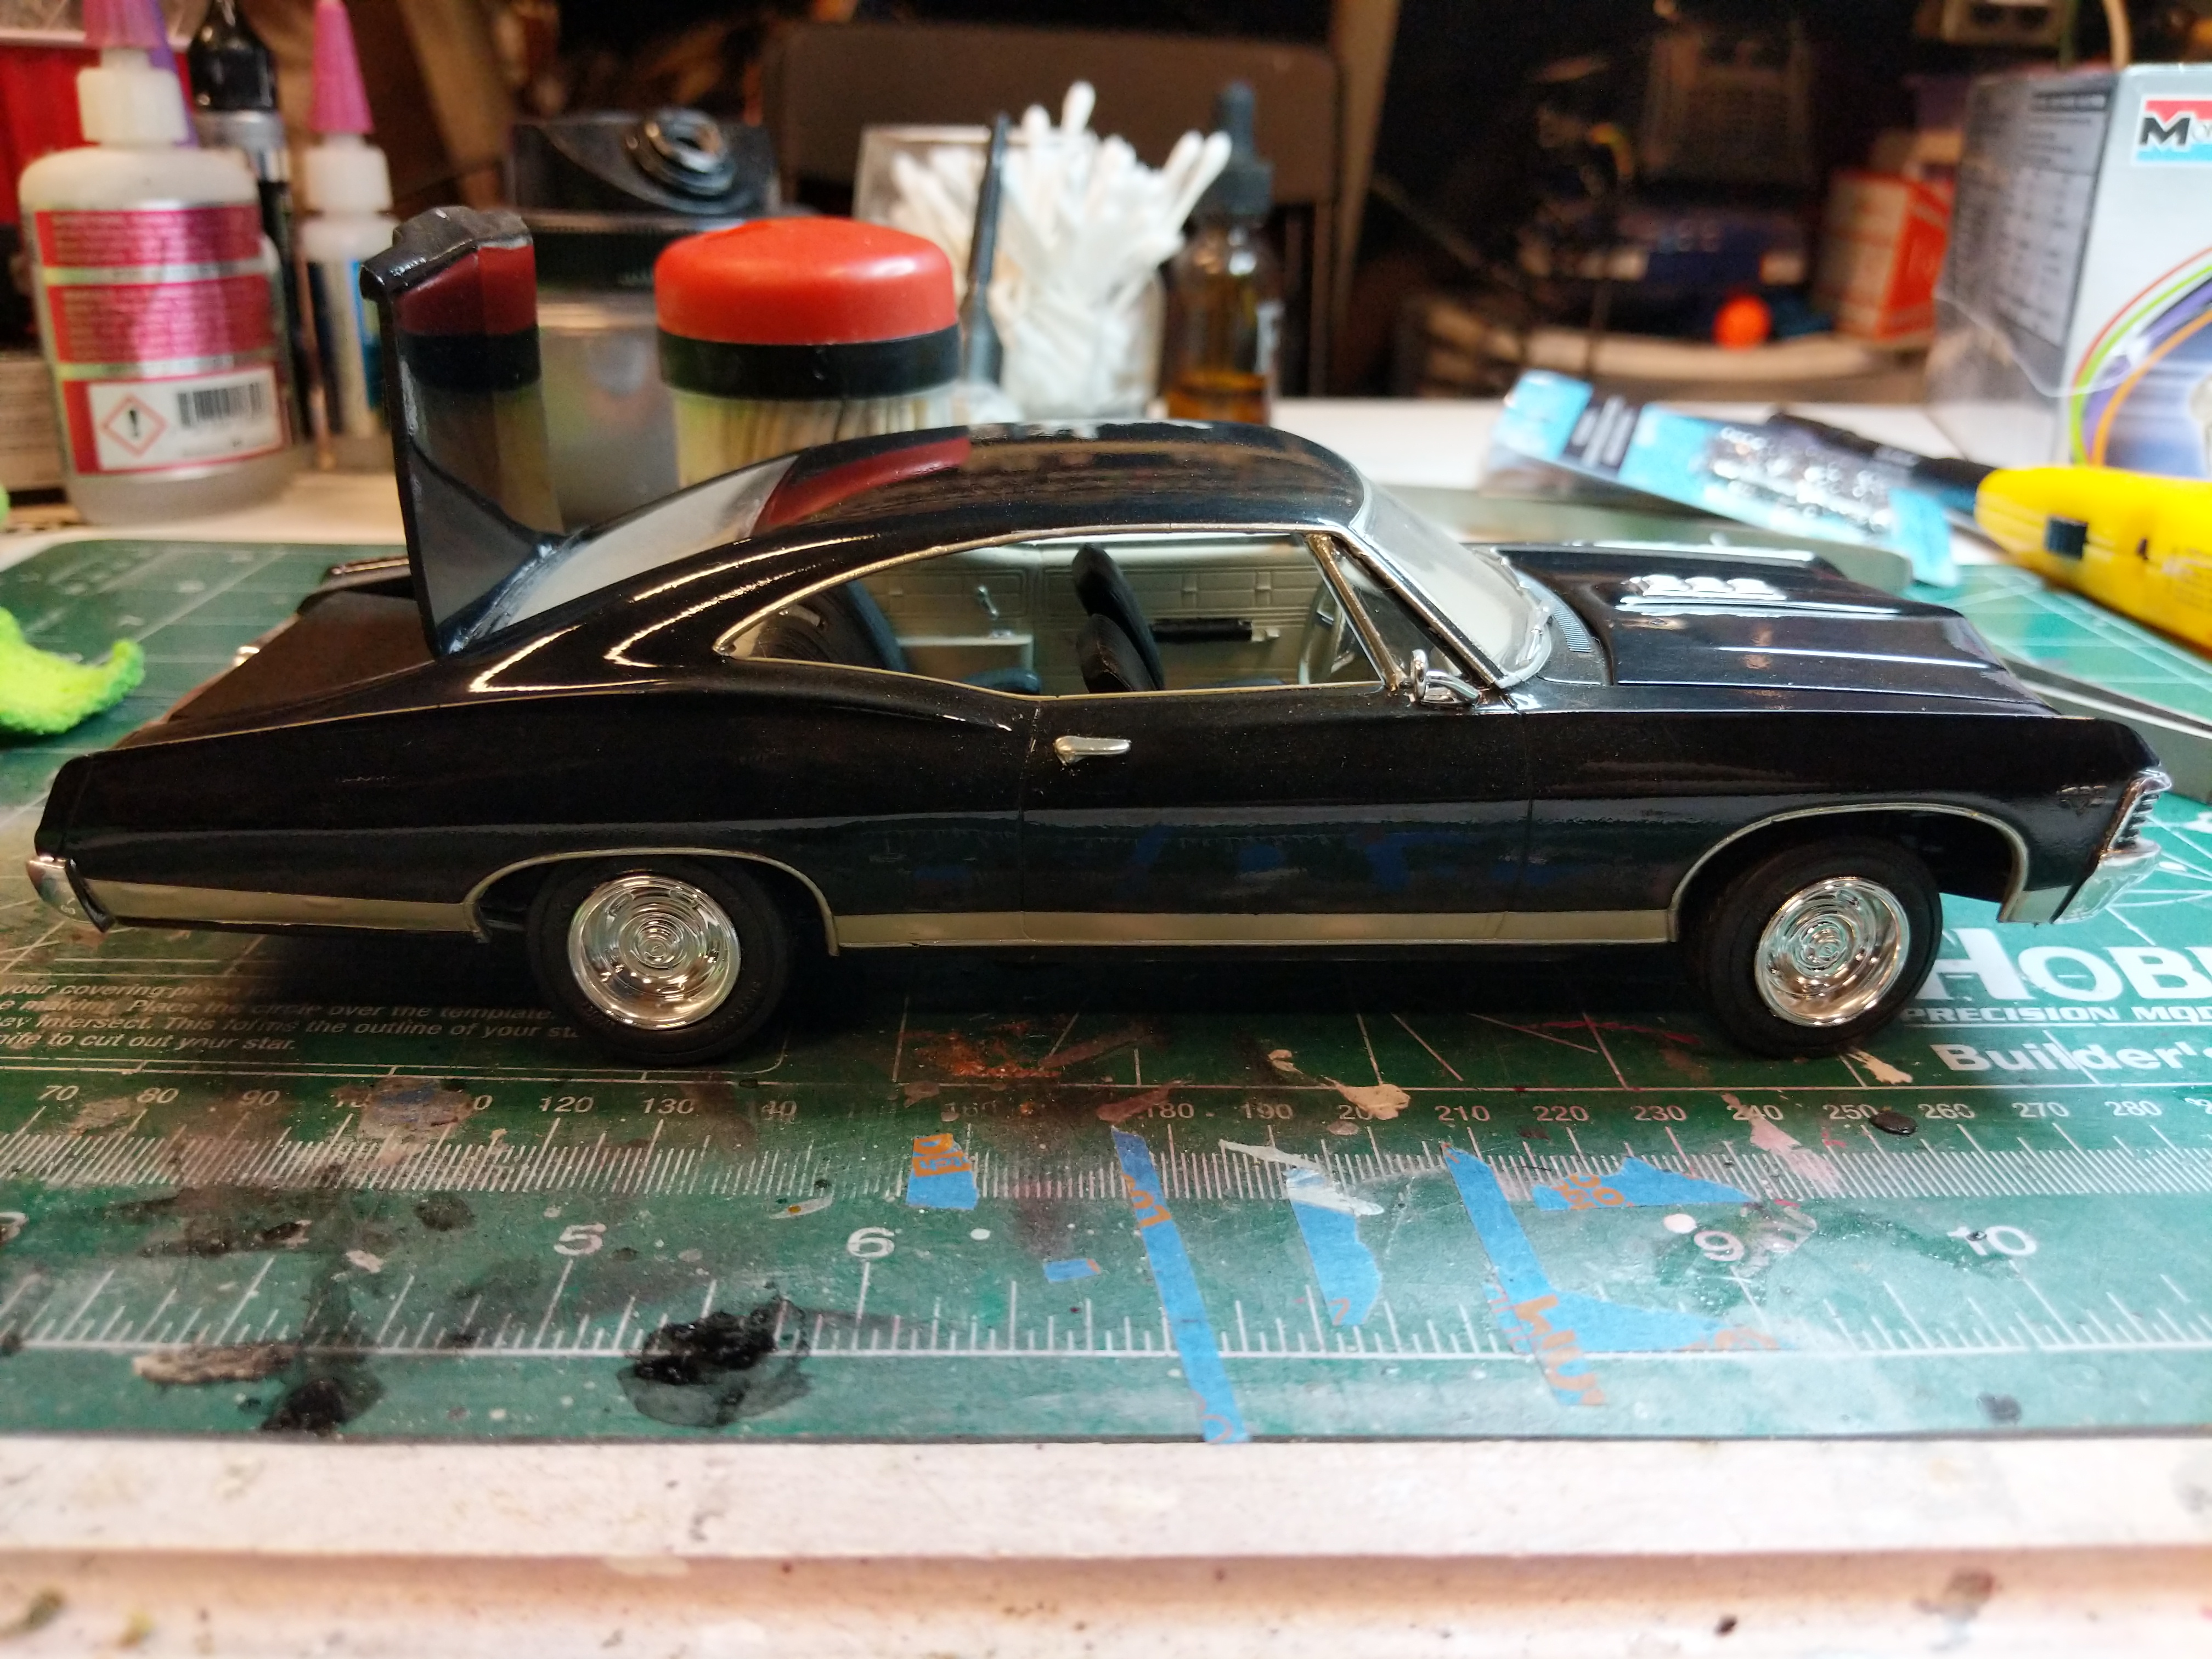
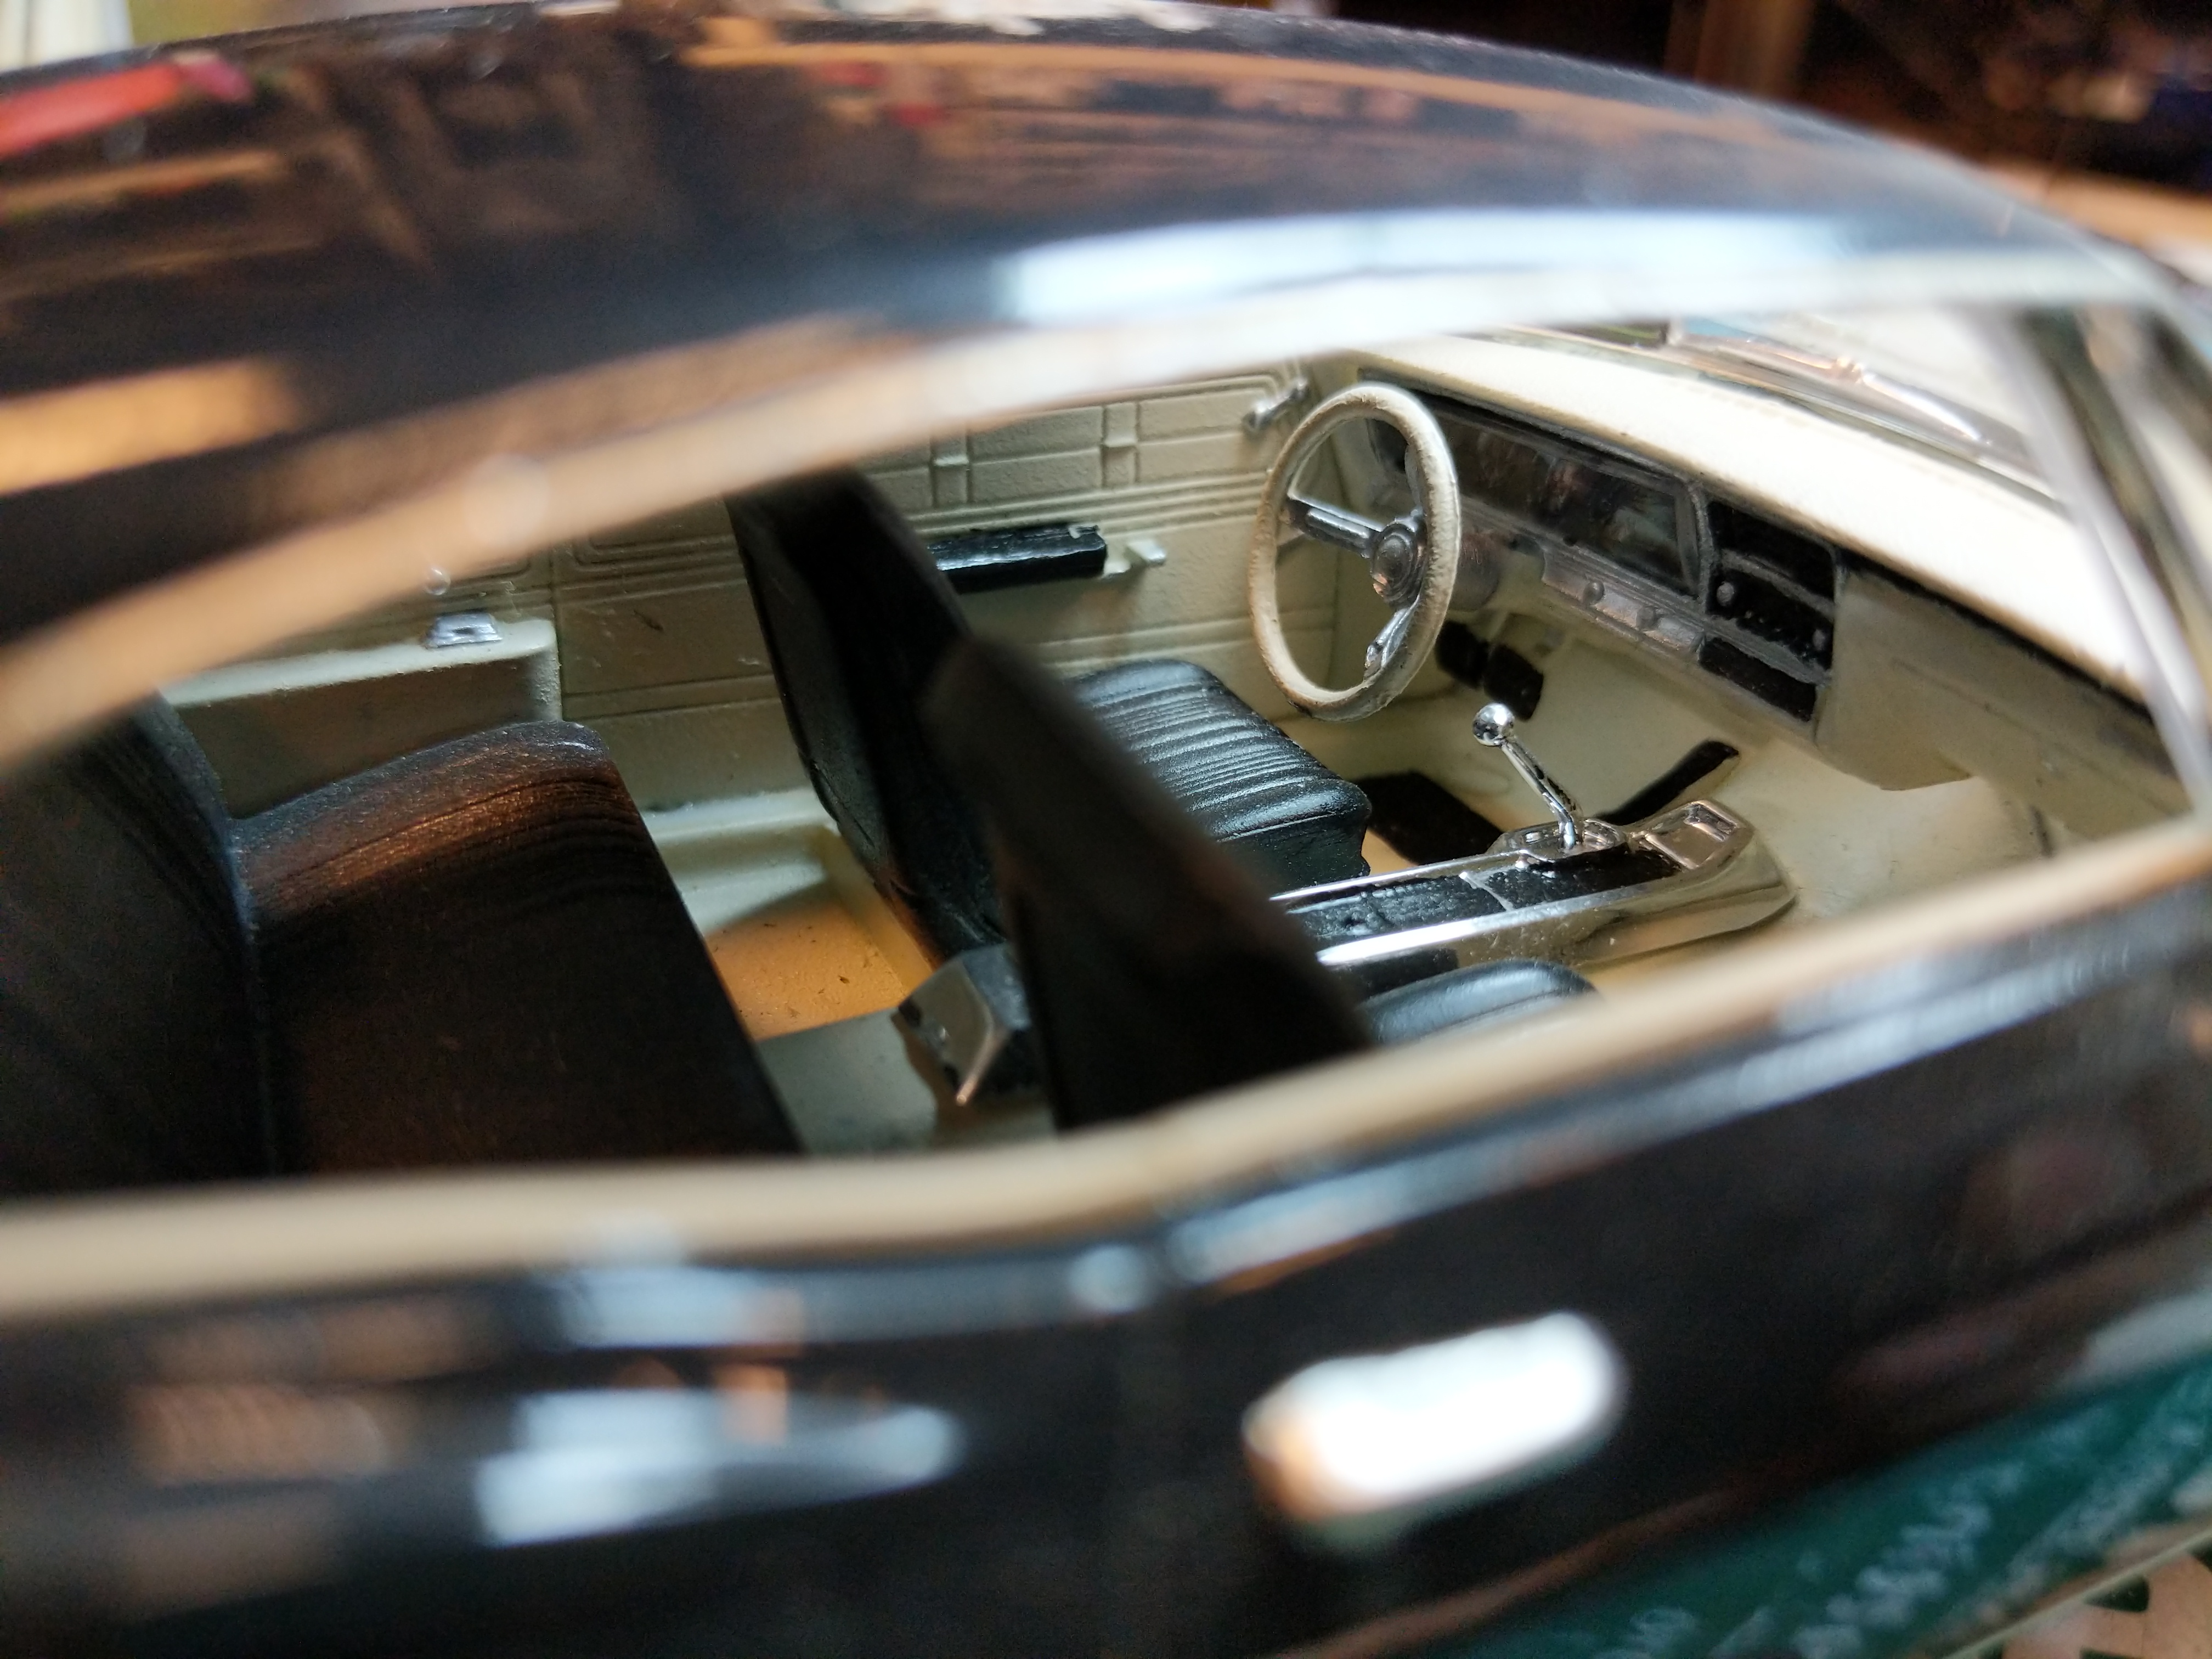
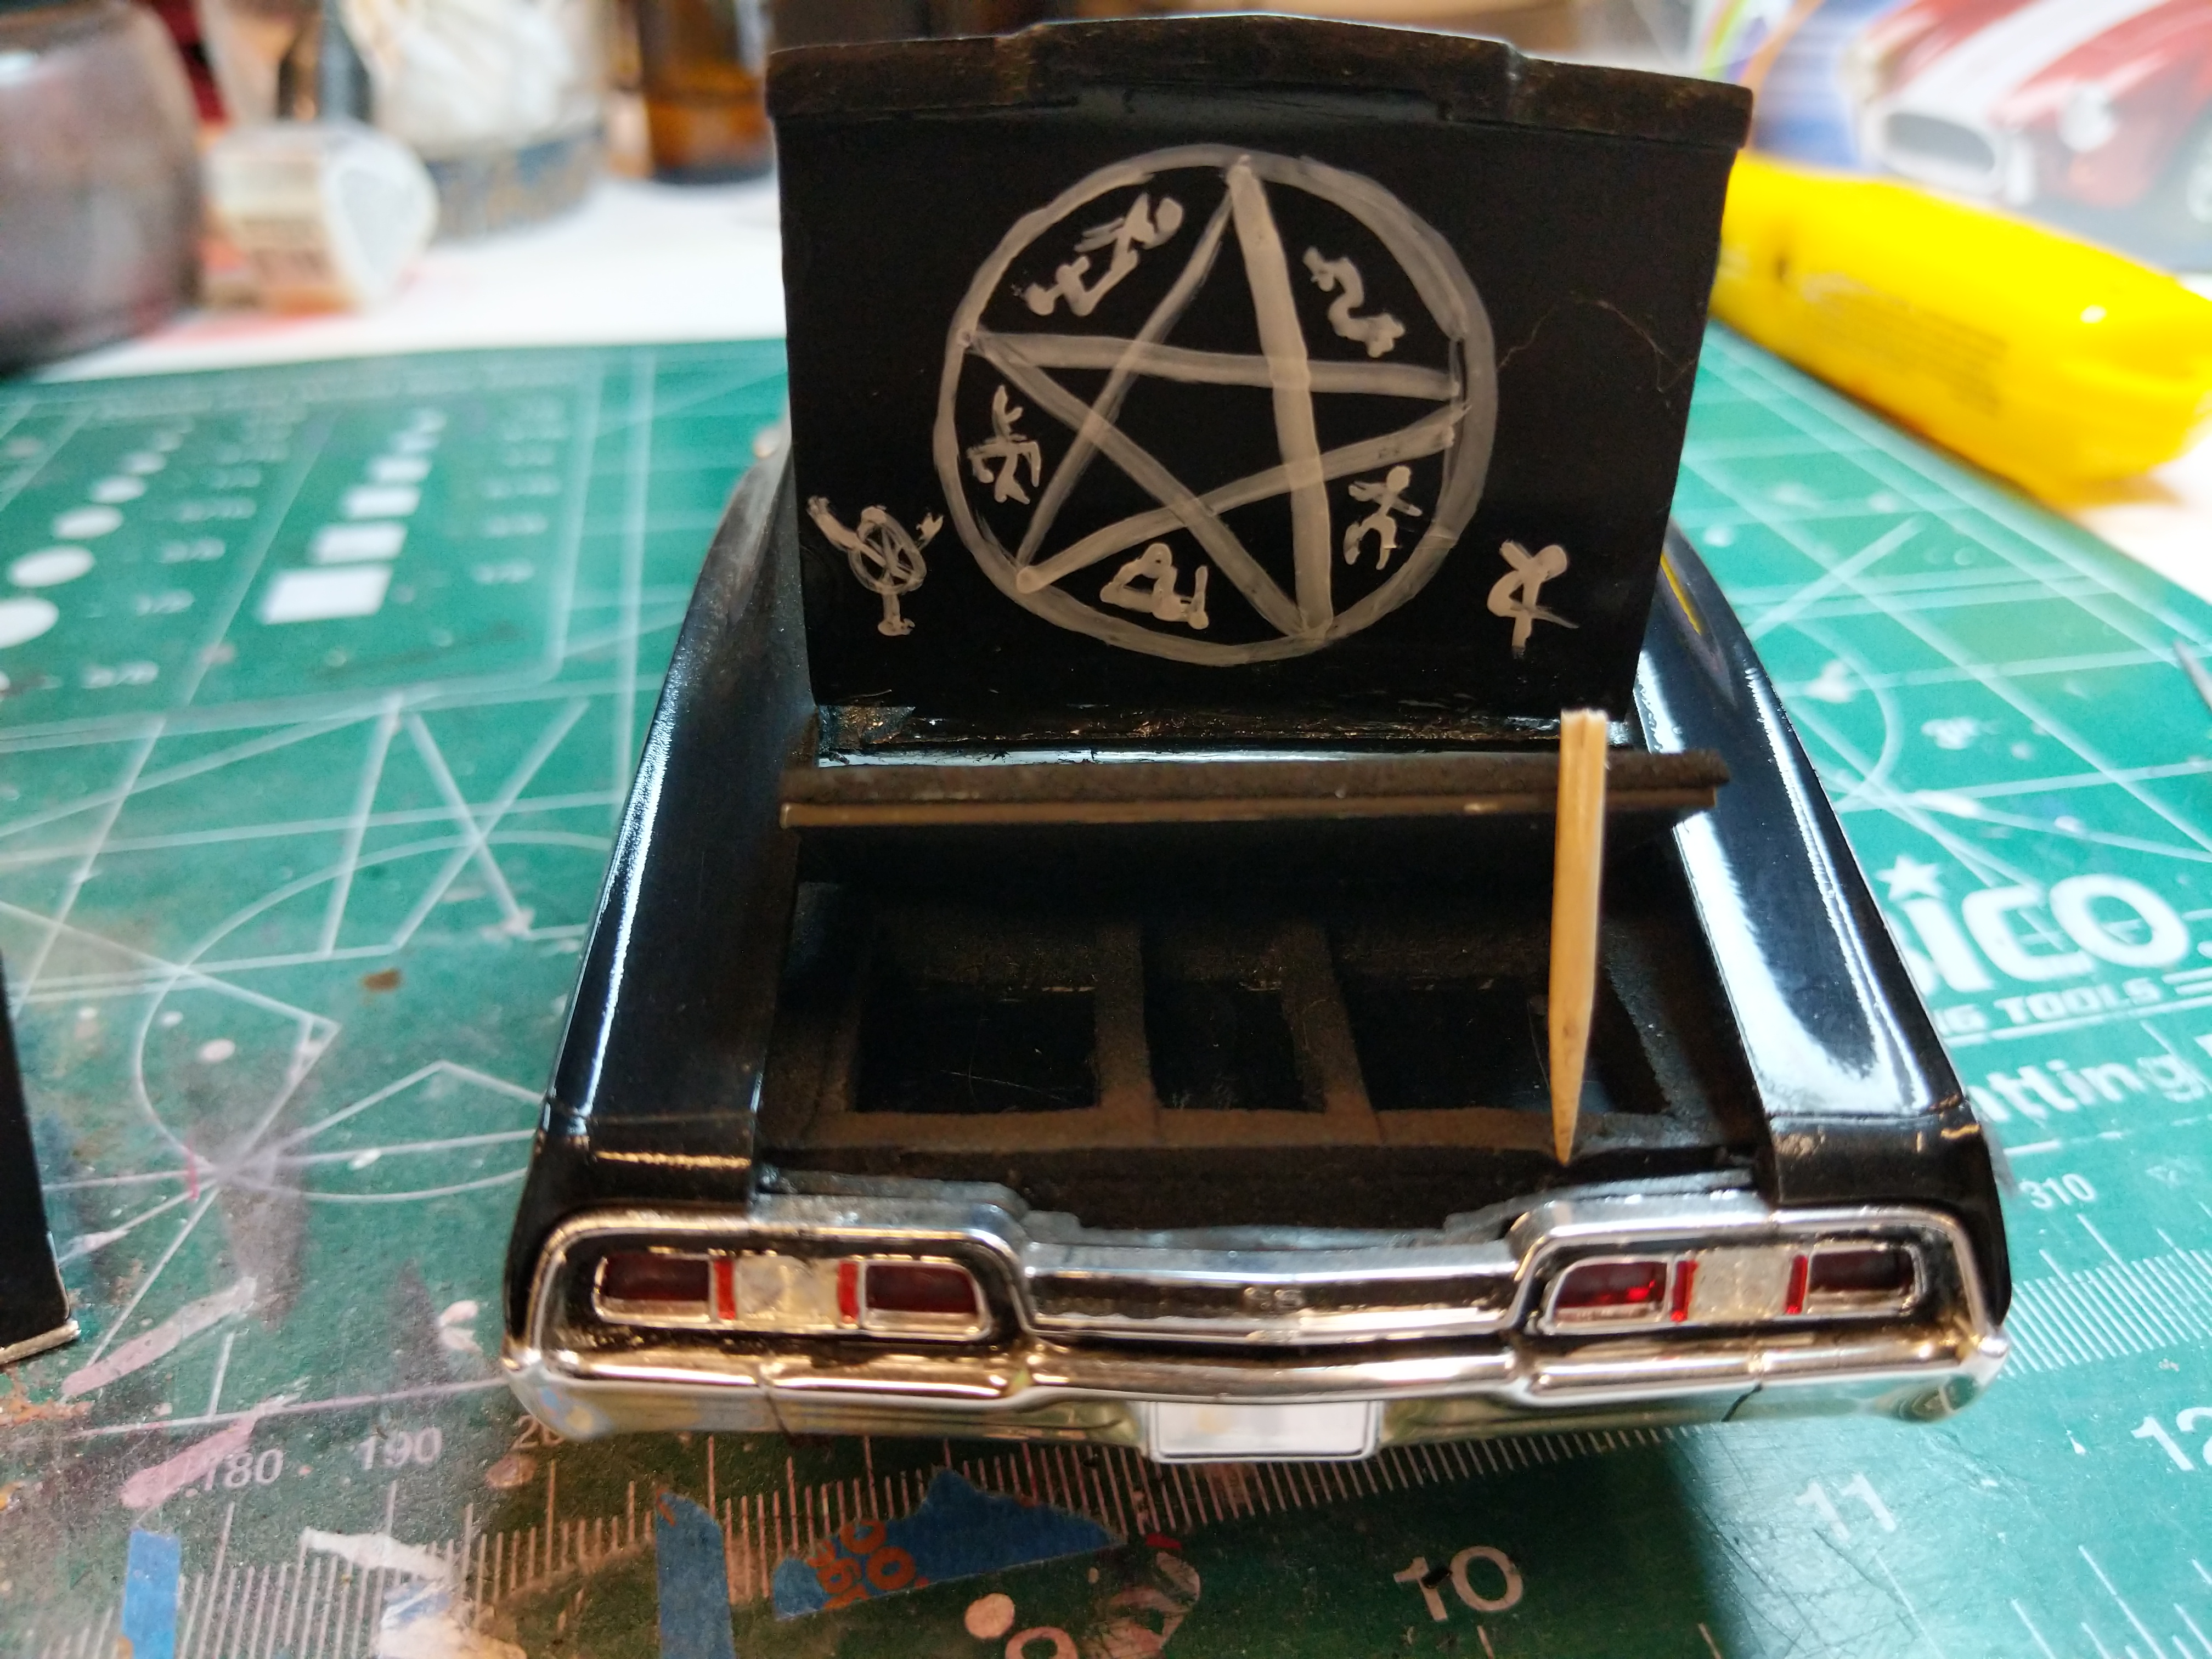
This is my attempt to make "baby" from supernatural. Unfortunately the show car is a 4door, and I'm not yet ready to sew two models together yet, as it was I had to cut the trunk to display the demon trap and gun case. Also found out here that getting 1/24 scale guns and props is impossible, you'd think there would be atleast garage kit props at this scale. If any one knows of somewhere that sales them let me know please Also dust makes the paint job look like dog sh#t. Not sure how to clean safely.
-
Probably the most iconic movie car, atleast in my opinion,the delorean from back to the Future This one was a beast due to all the details and wires. This ones dusty and it's making the windows glare something vicious so you can't see what I did in the interior all that much. But here it is
-
I did this one about 3 months ago me thinks. It's a movie car from the fast and furious collection by Revell. The most iconic car in the first movie in my opinion. It's a bit dusty but here it is. I used Tamiya paints and u-POL 2 part auto clear.
-
I did this one about 4 months ago me thinks. It's a movie car from the fast and furious collection by Revell. This was all about the decals. I ditched the stock carbon fiber for some scale carbon fiber decals. I used Tamiya paints and POL 2 part auto clear. Got some etched hood pins. Fun build.
-
I built this some time ago, my first airbrush paint job, I'm not sure how I did it before an airbrush, there is no going back. As the title hints at, this is somewhat of a hybrid prop car in that most of the build contains parts from the second Ghostbusters movie; however, the logo decal is from the first. Used some cheap acrylic paints, and cleared it with 2 part POL car clear coat. Did some weathering and slime stains and grunge. Cool model, hoping to make another and scratch some proton packs and other props.
-
Hey y'all started up about a year and a half ago. I build everything from movie cars to early 20th century. Working on details and the perfect paint job—an endless struggle I can't seem to get the hang of. I enjoy making movie cars as they give an extra dimension to a build for me. In the near future I'll be looking towards resin and bash builds. Just thought I'd introduce myself.