KBryan67
-
Posts
79 -
Joined
-
Last visited
Content Type
Profiles
Forums
Events
Gallery
Everything posted by KBryan67
-
Nice... I just received the millennium falcon and x wing in mail and waiting for tie interceptor all from ebay. Wish the scale sizes were bigger though..lol

-
TY Modlbldr
-
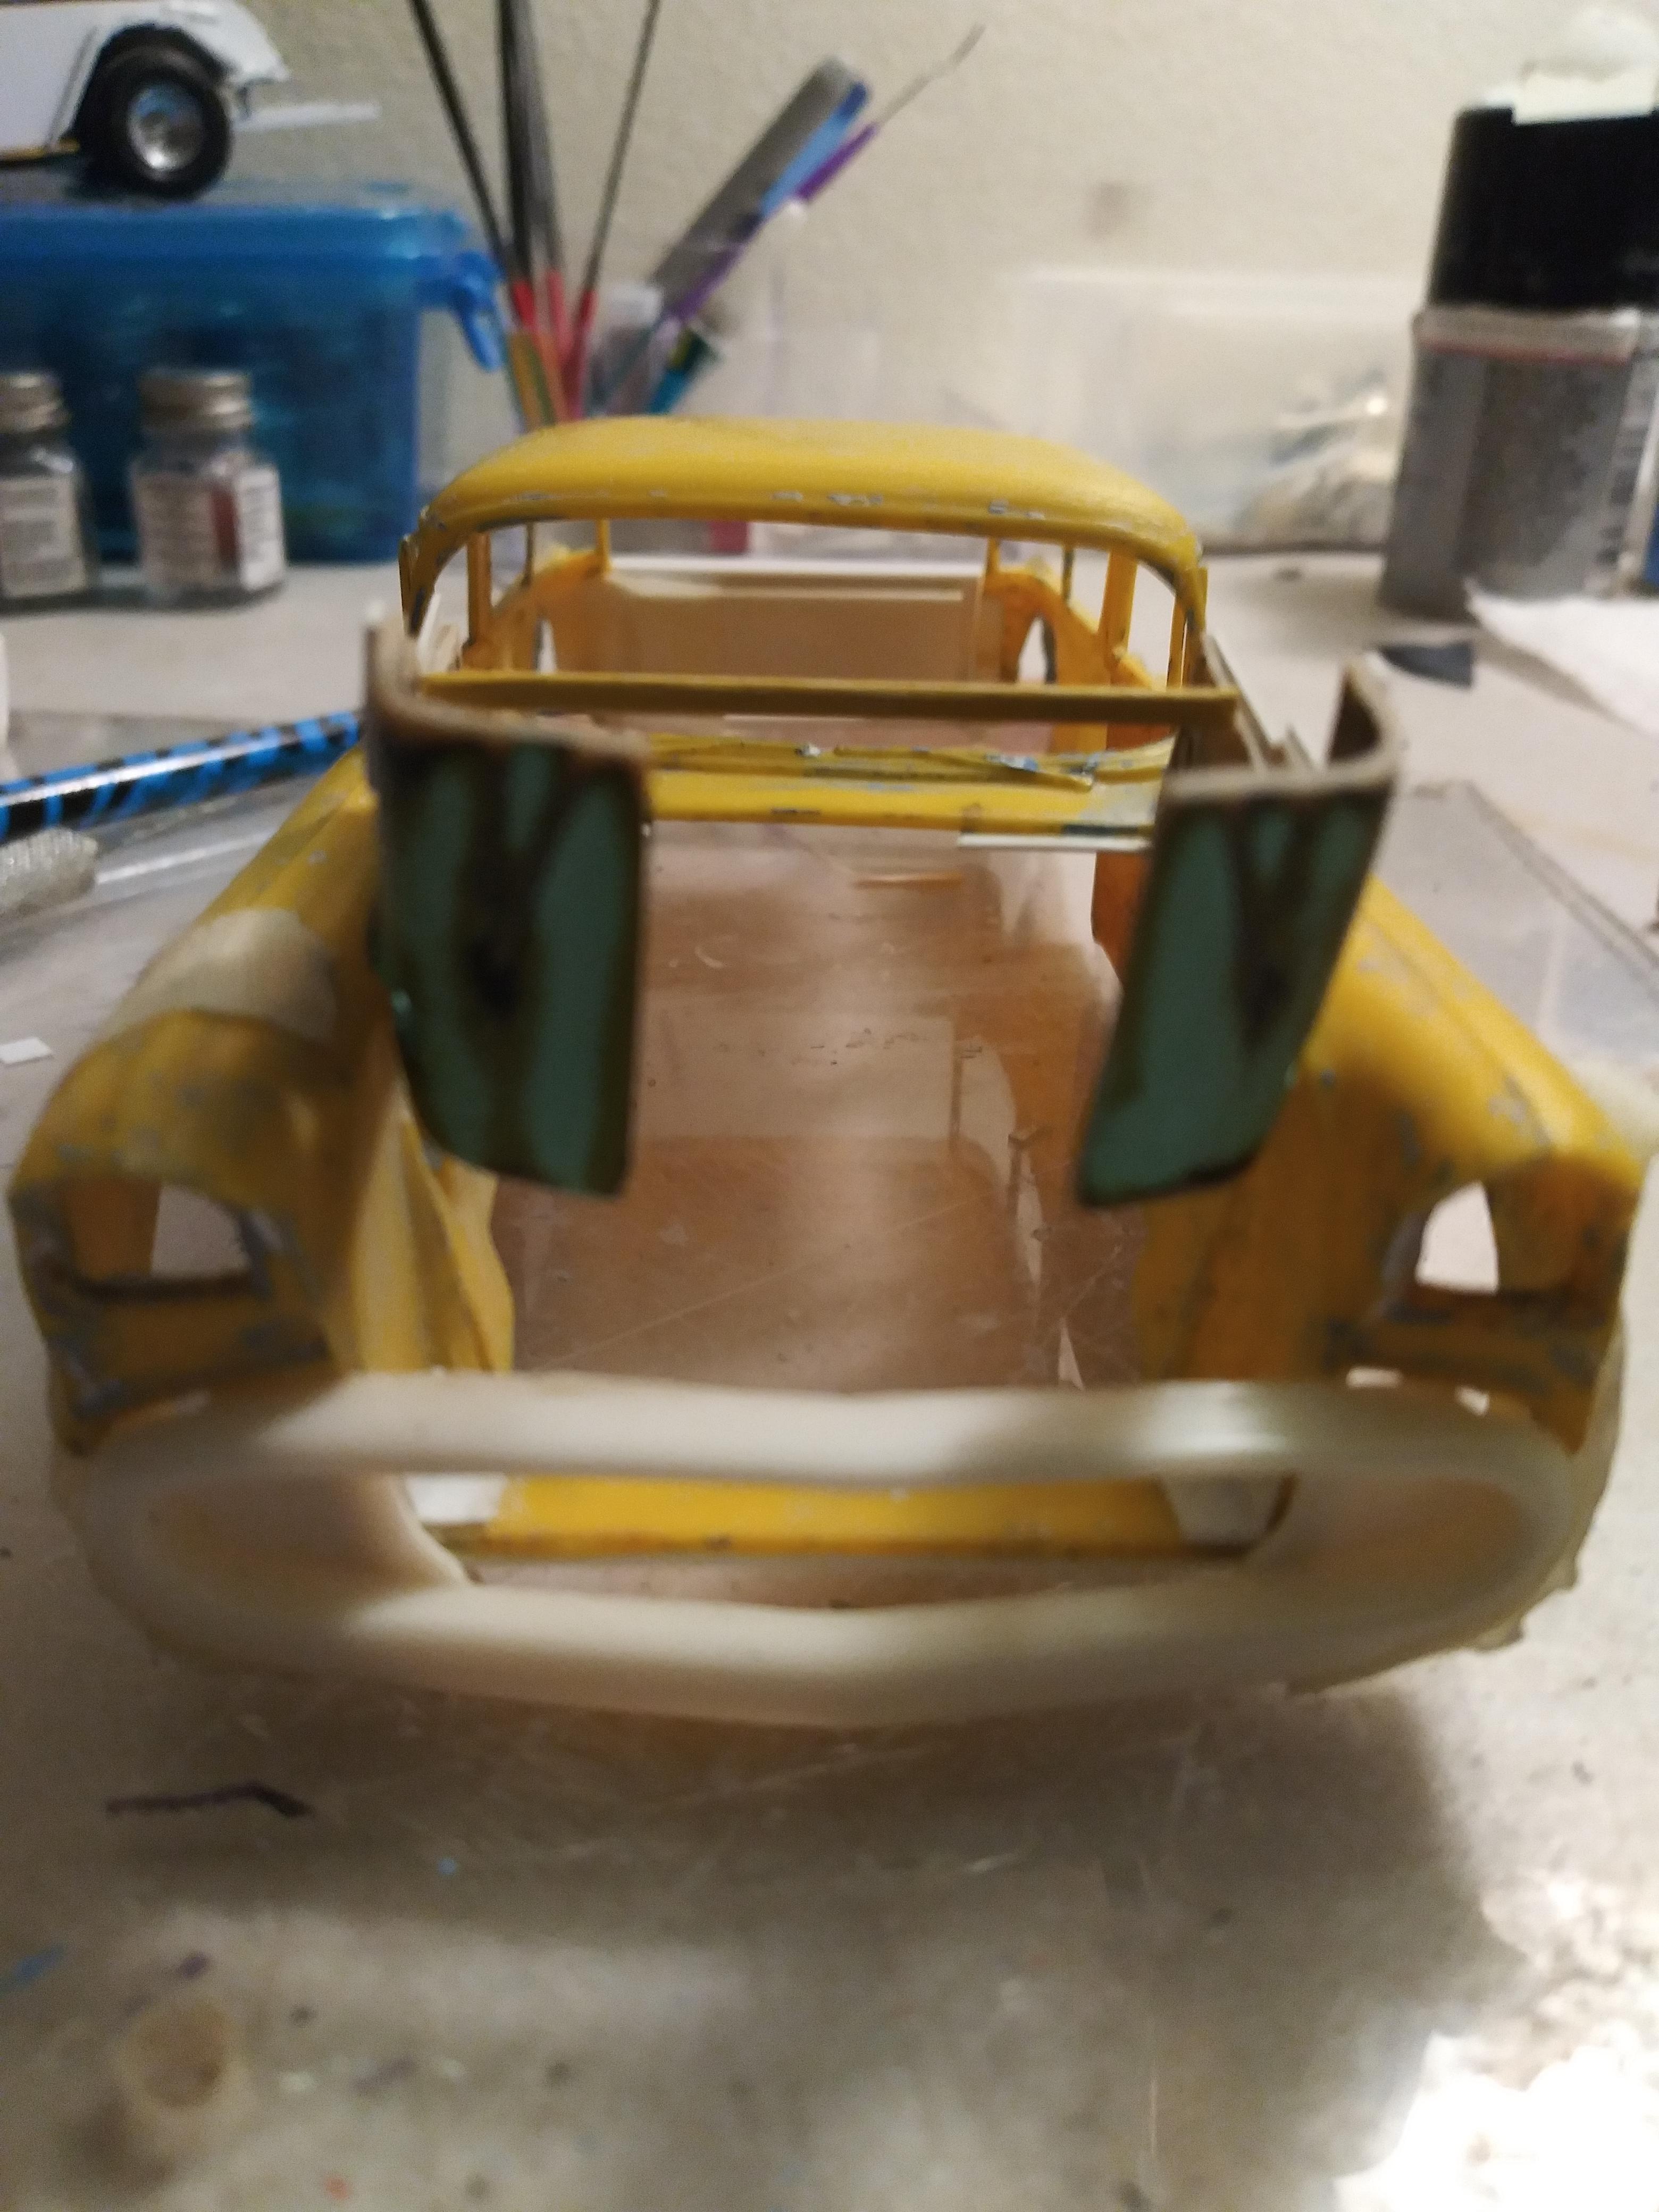
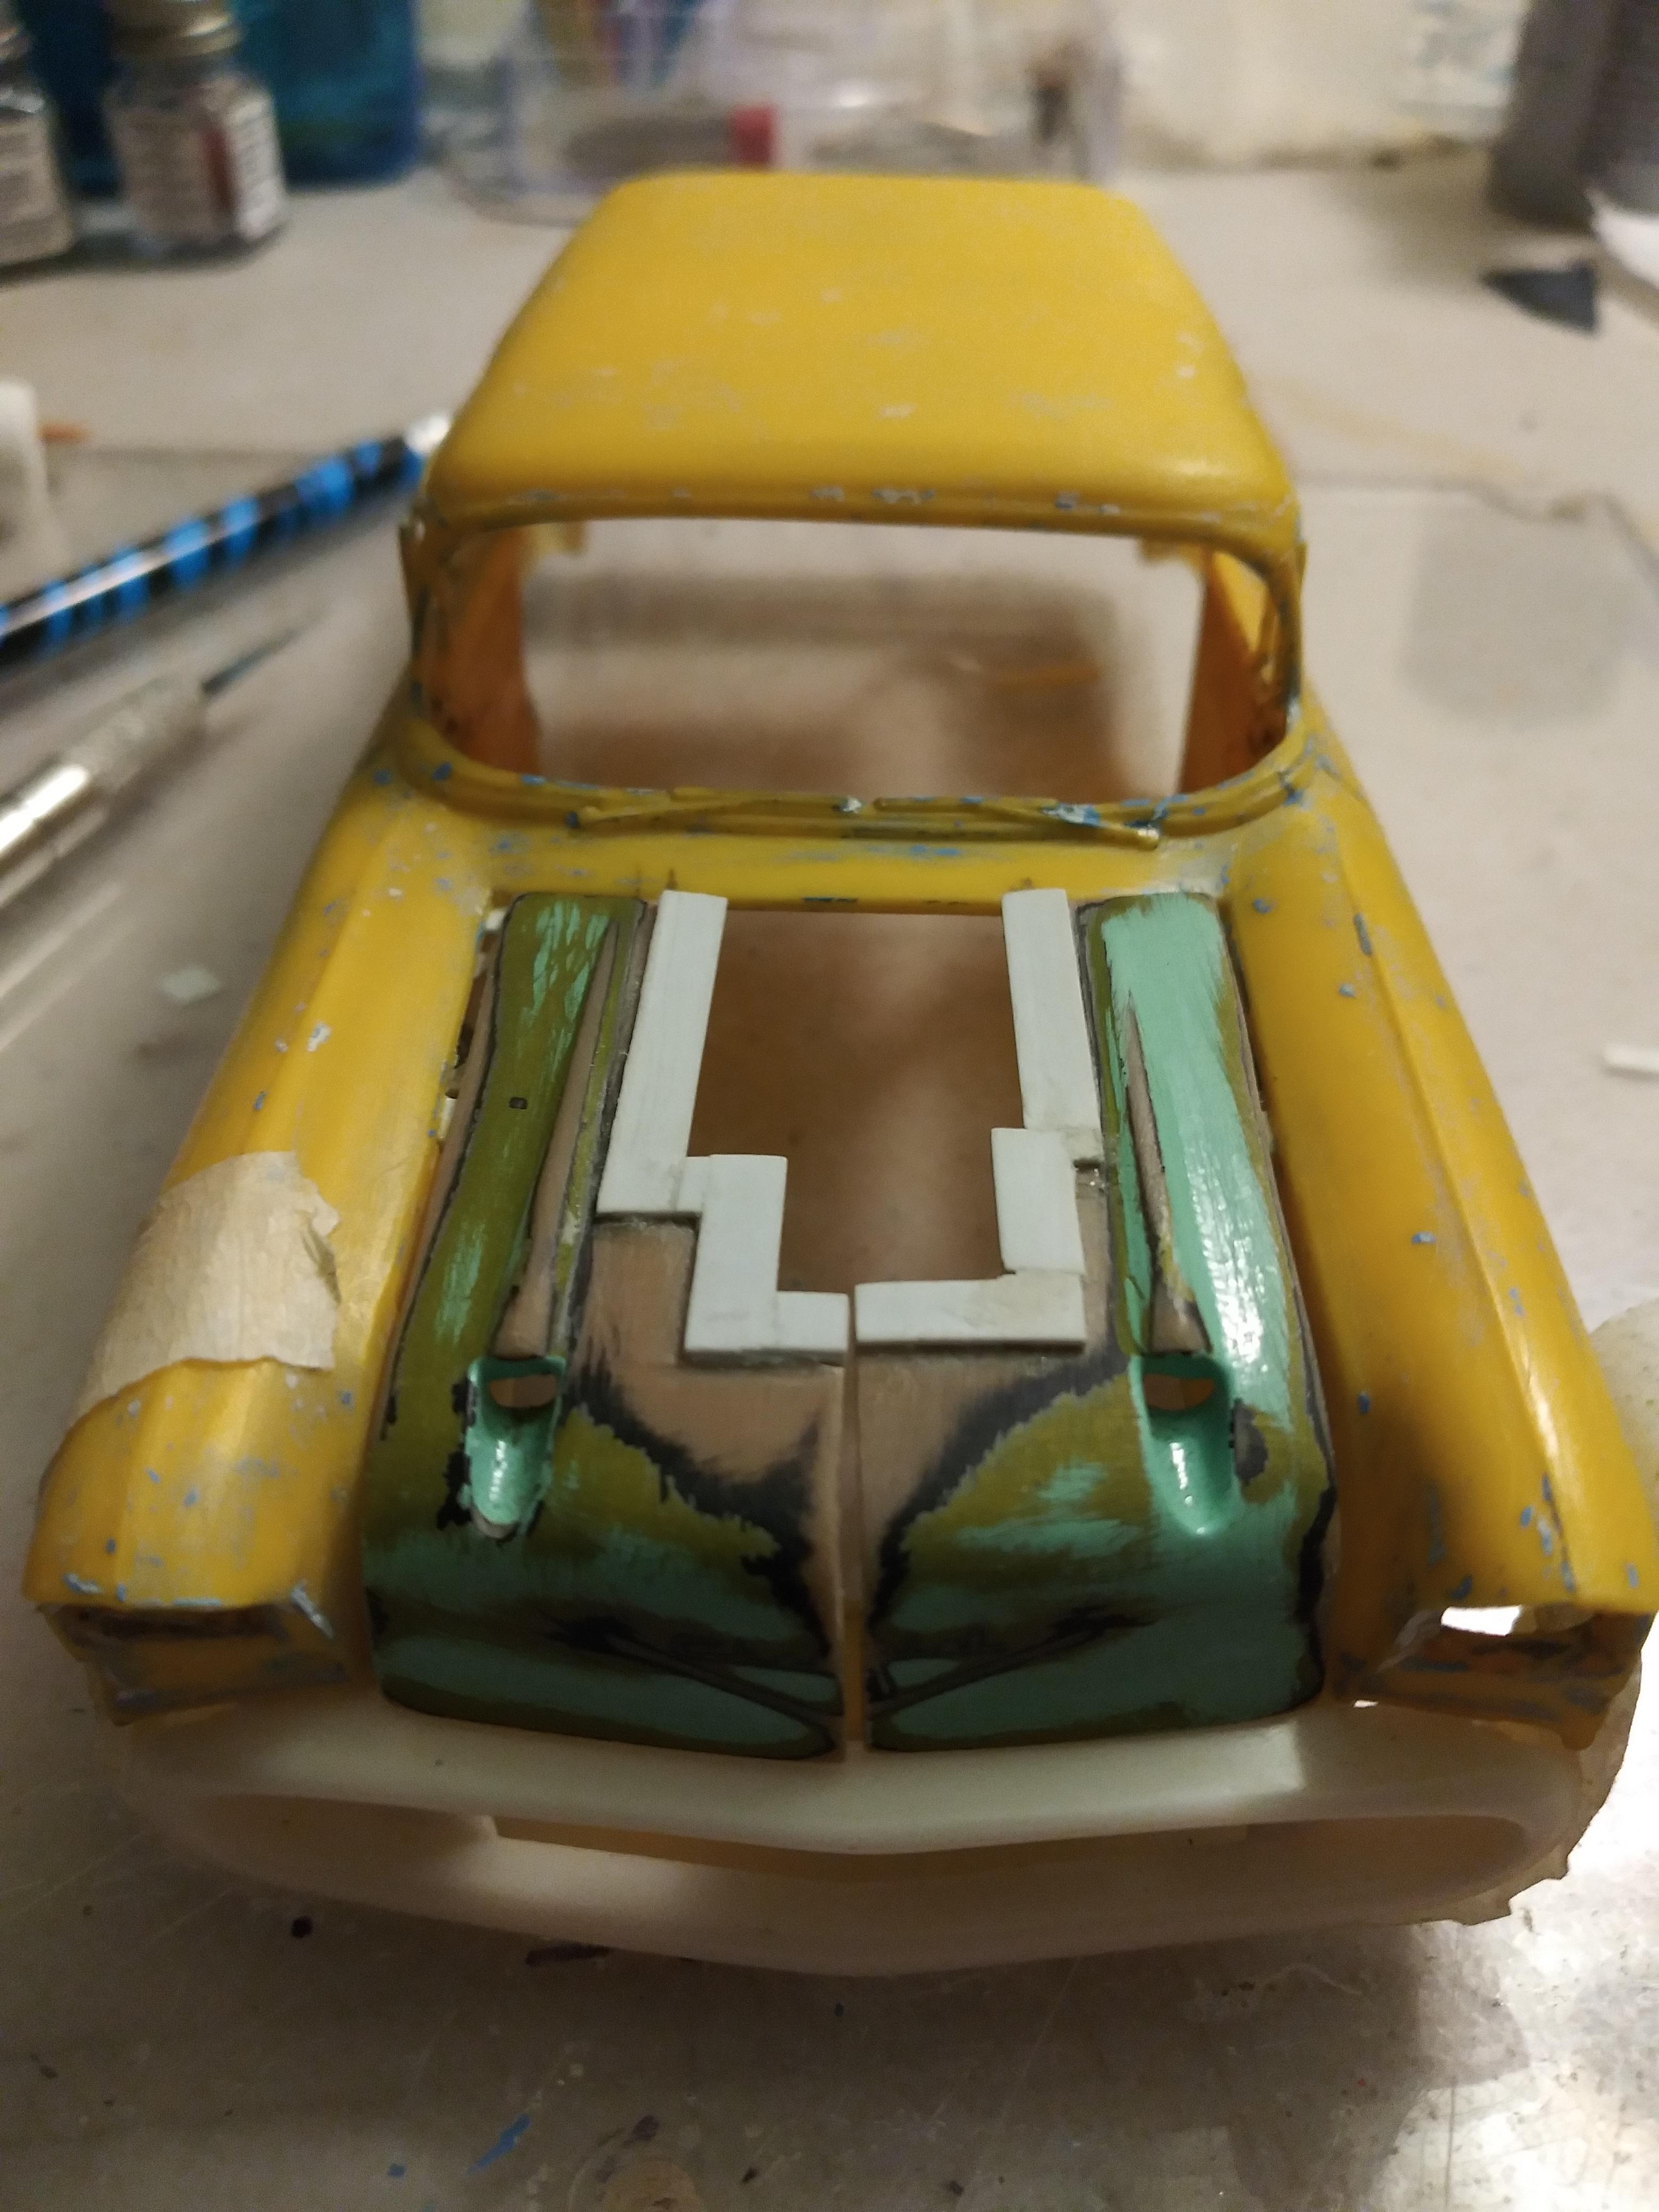
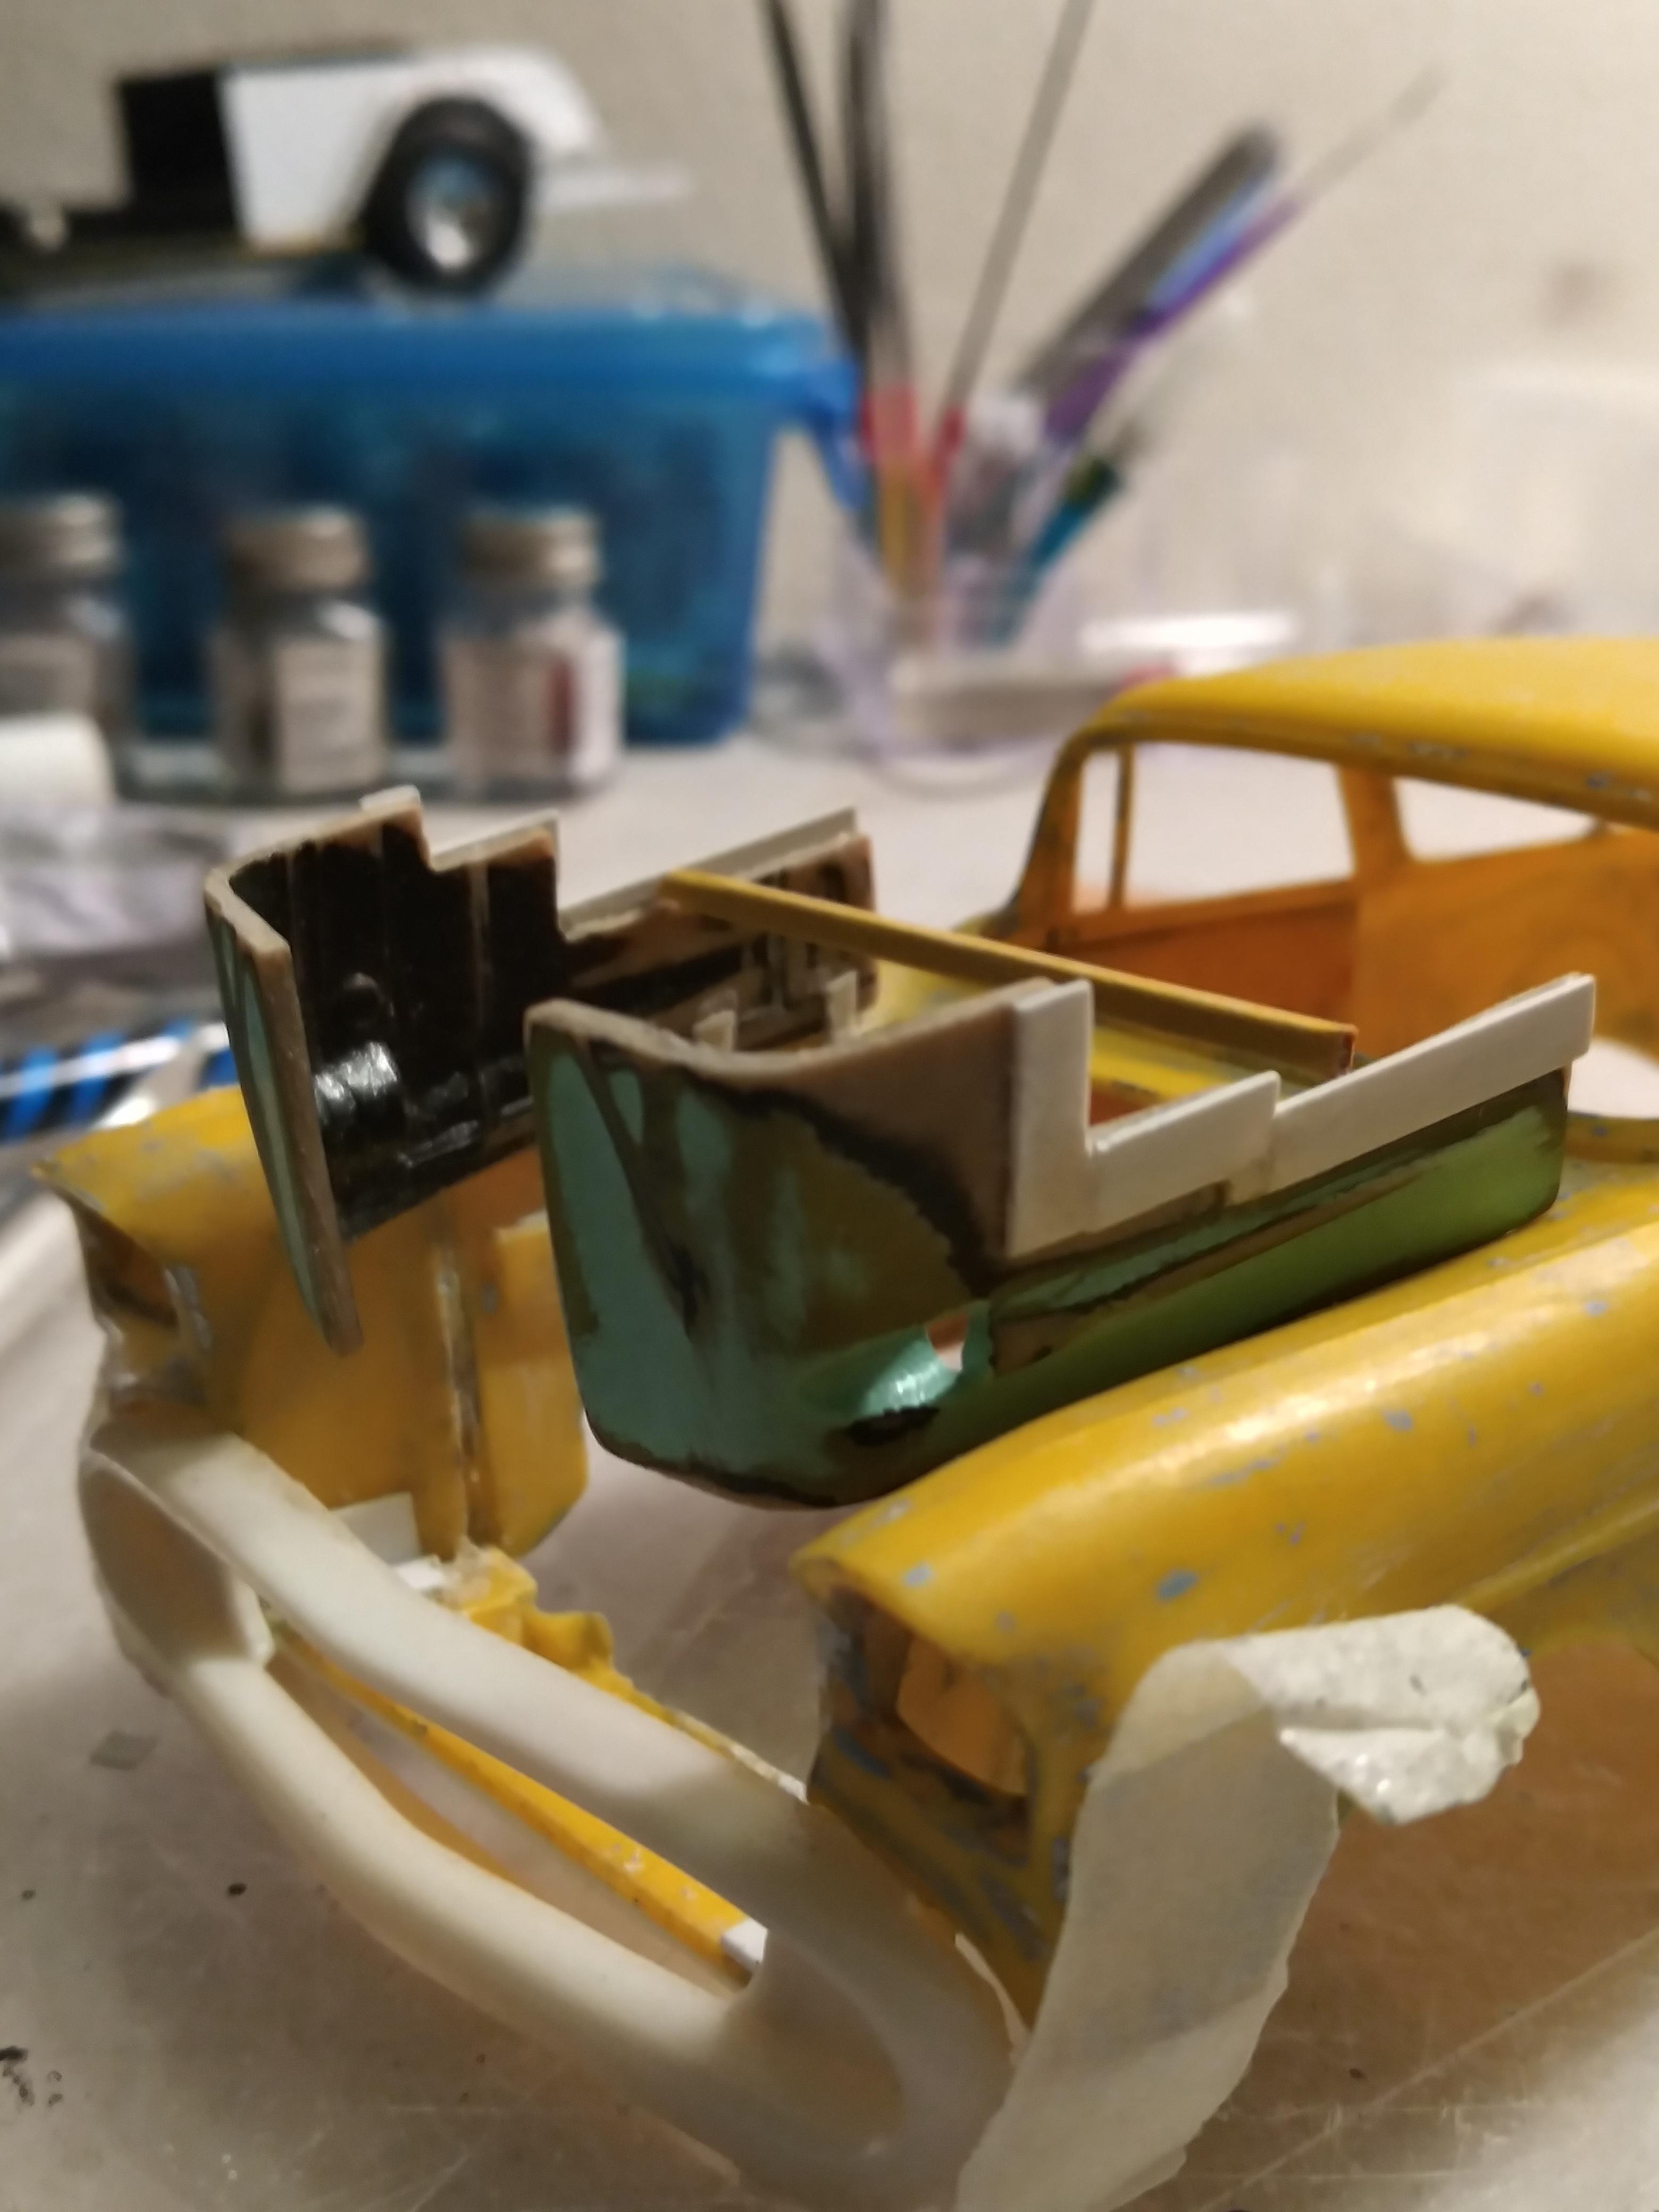
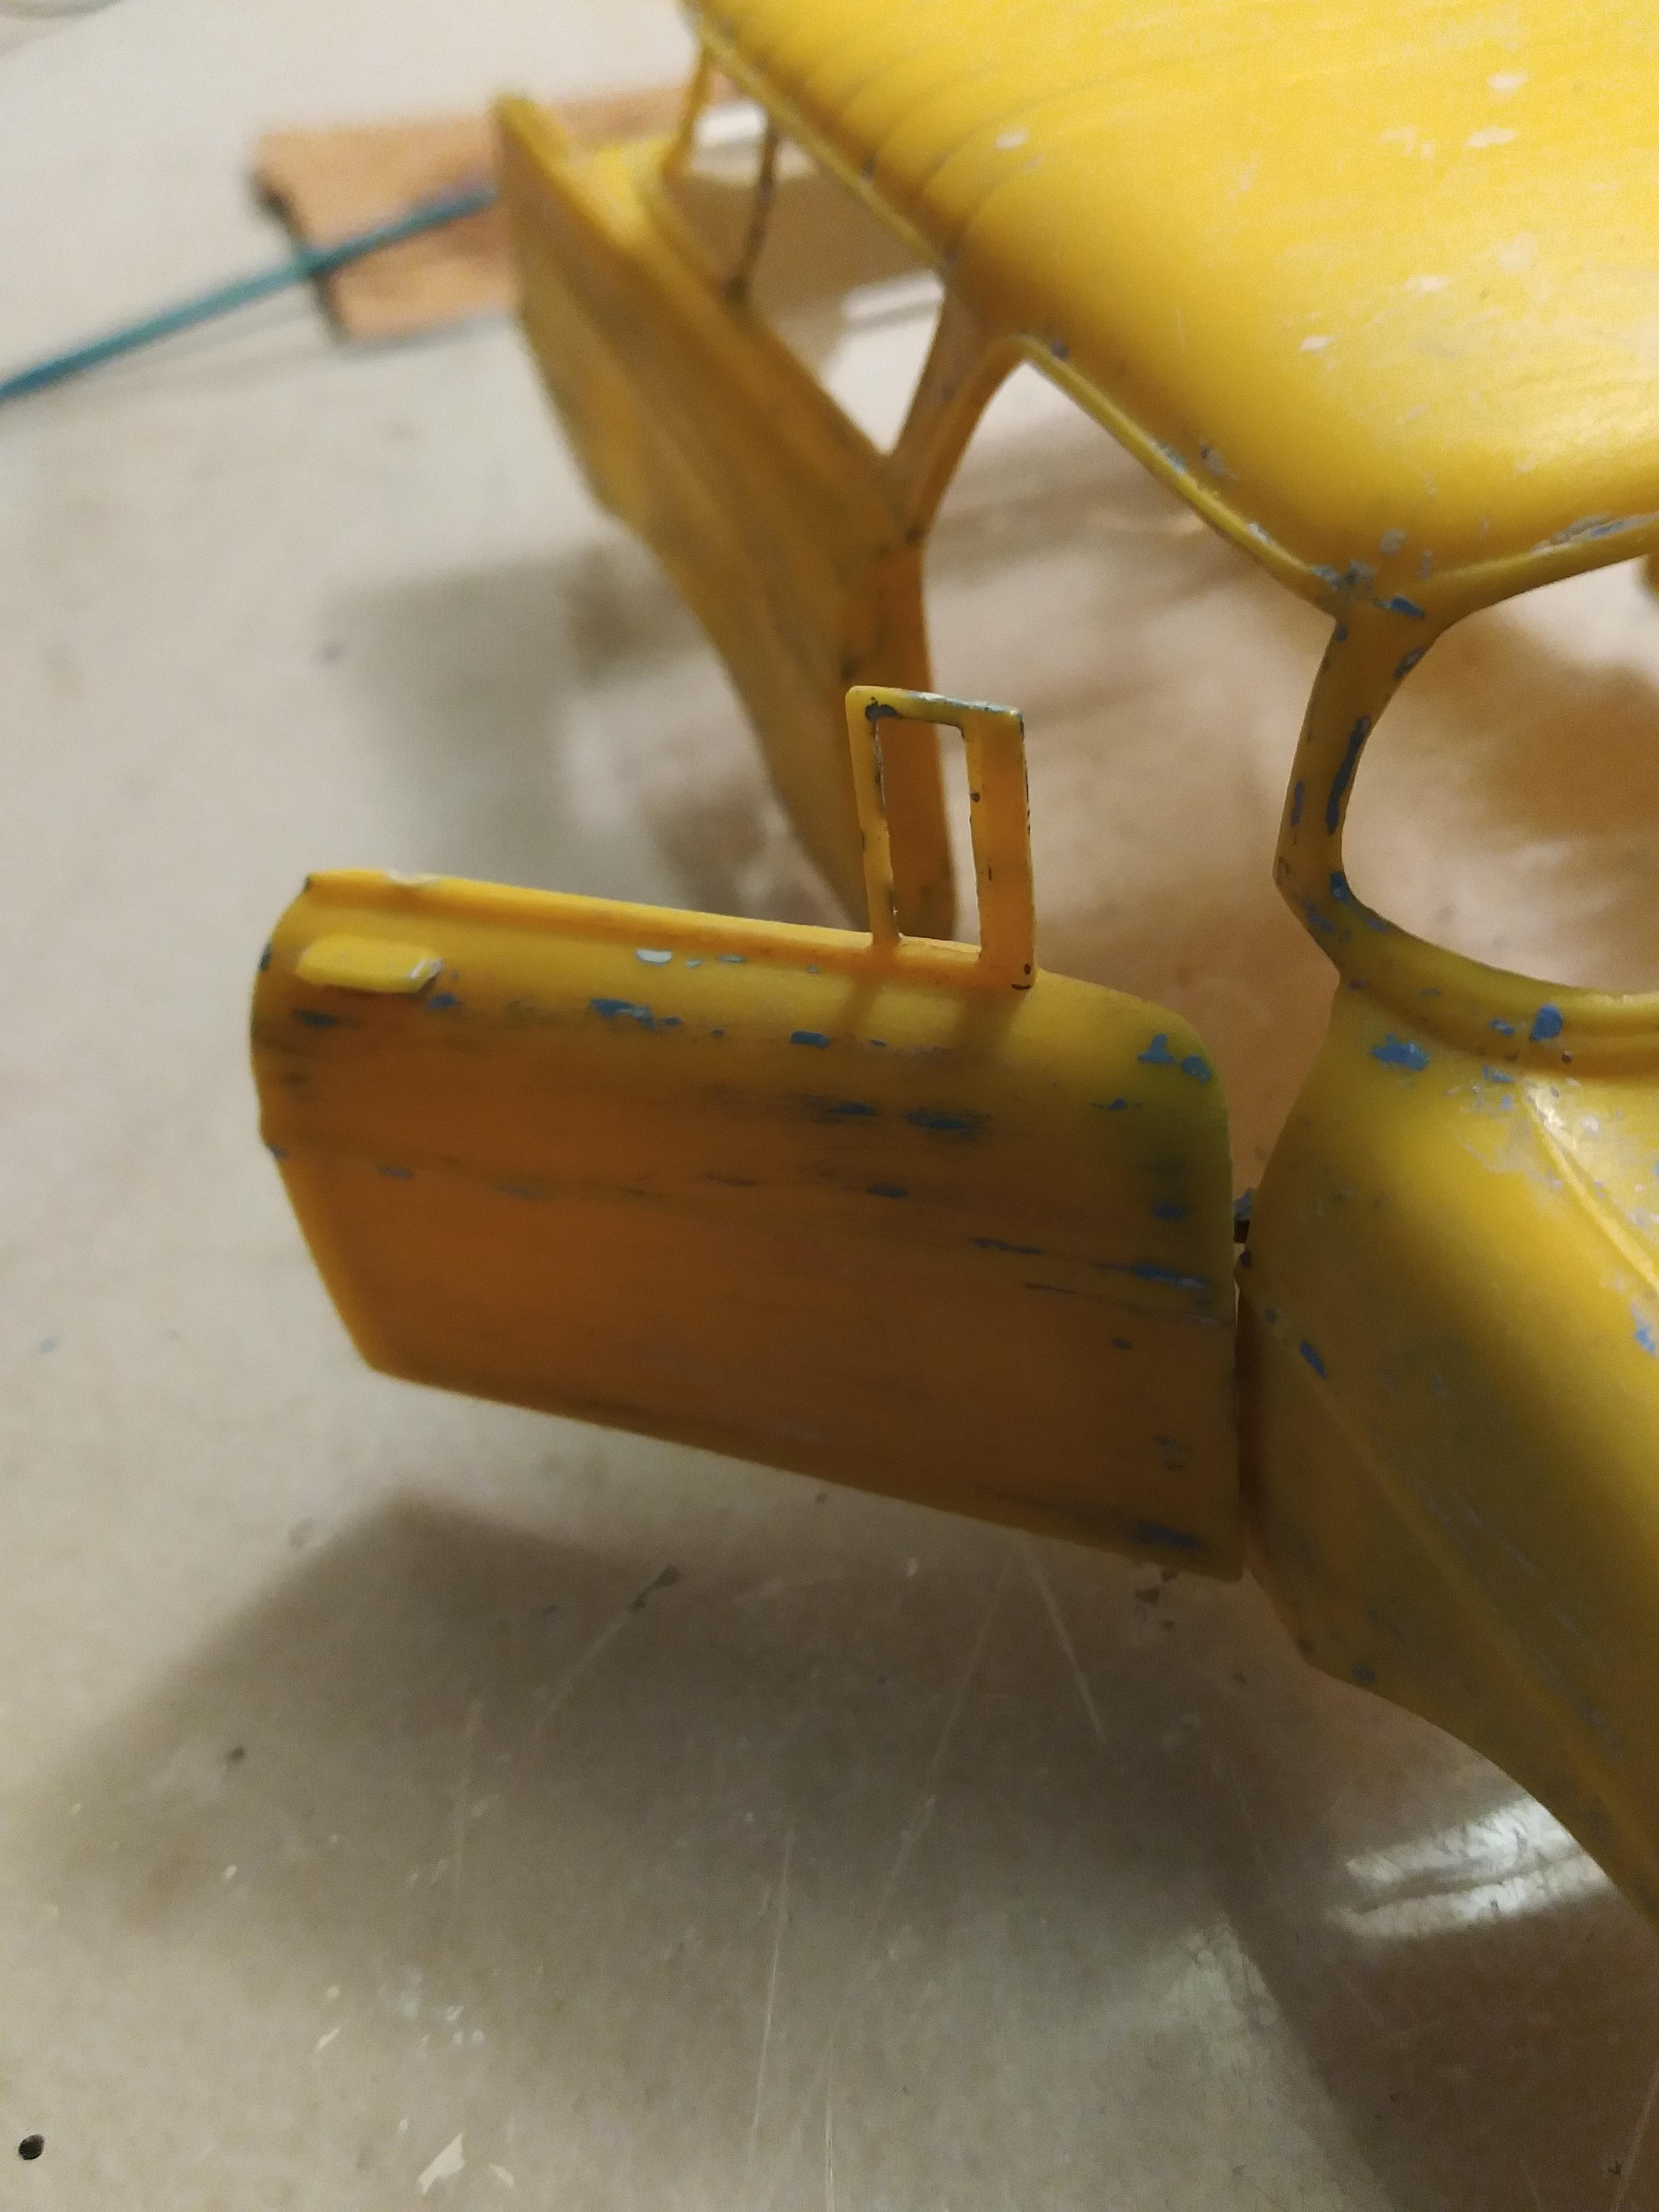
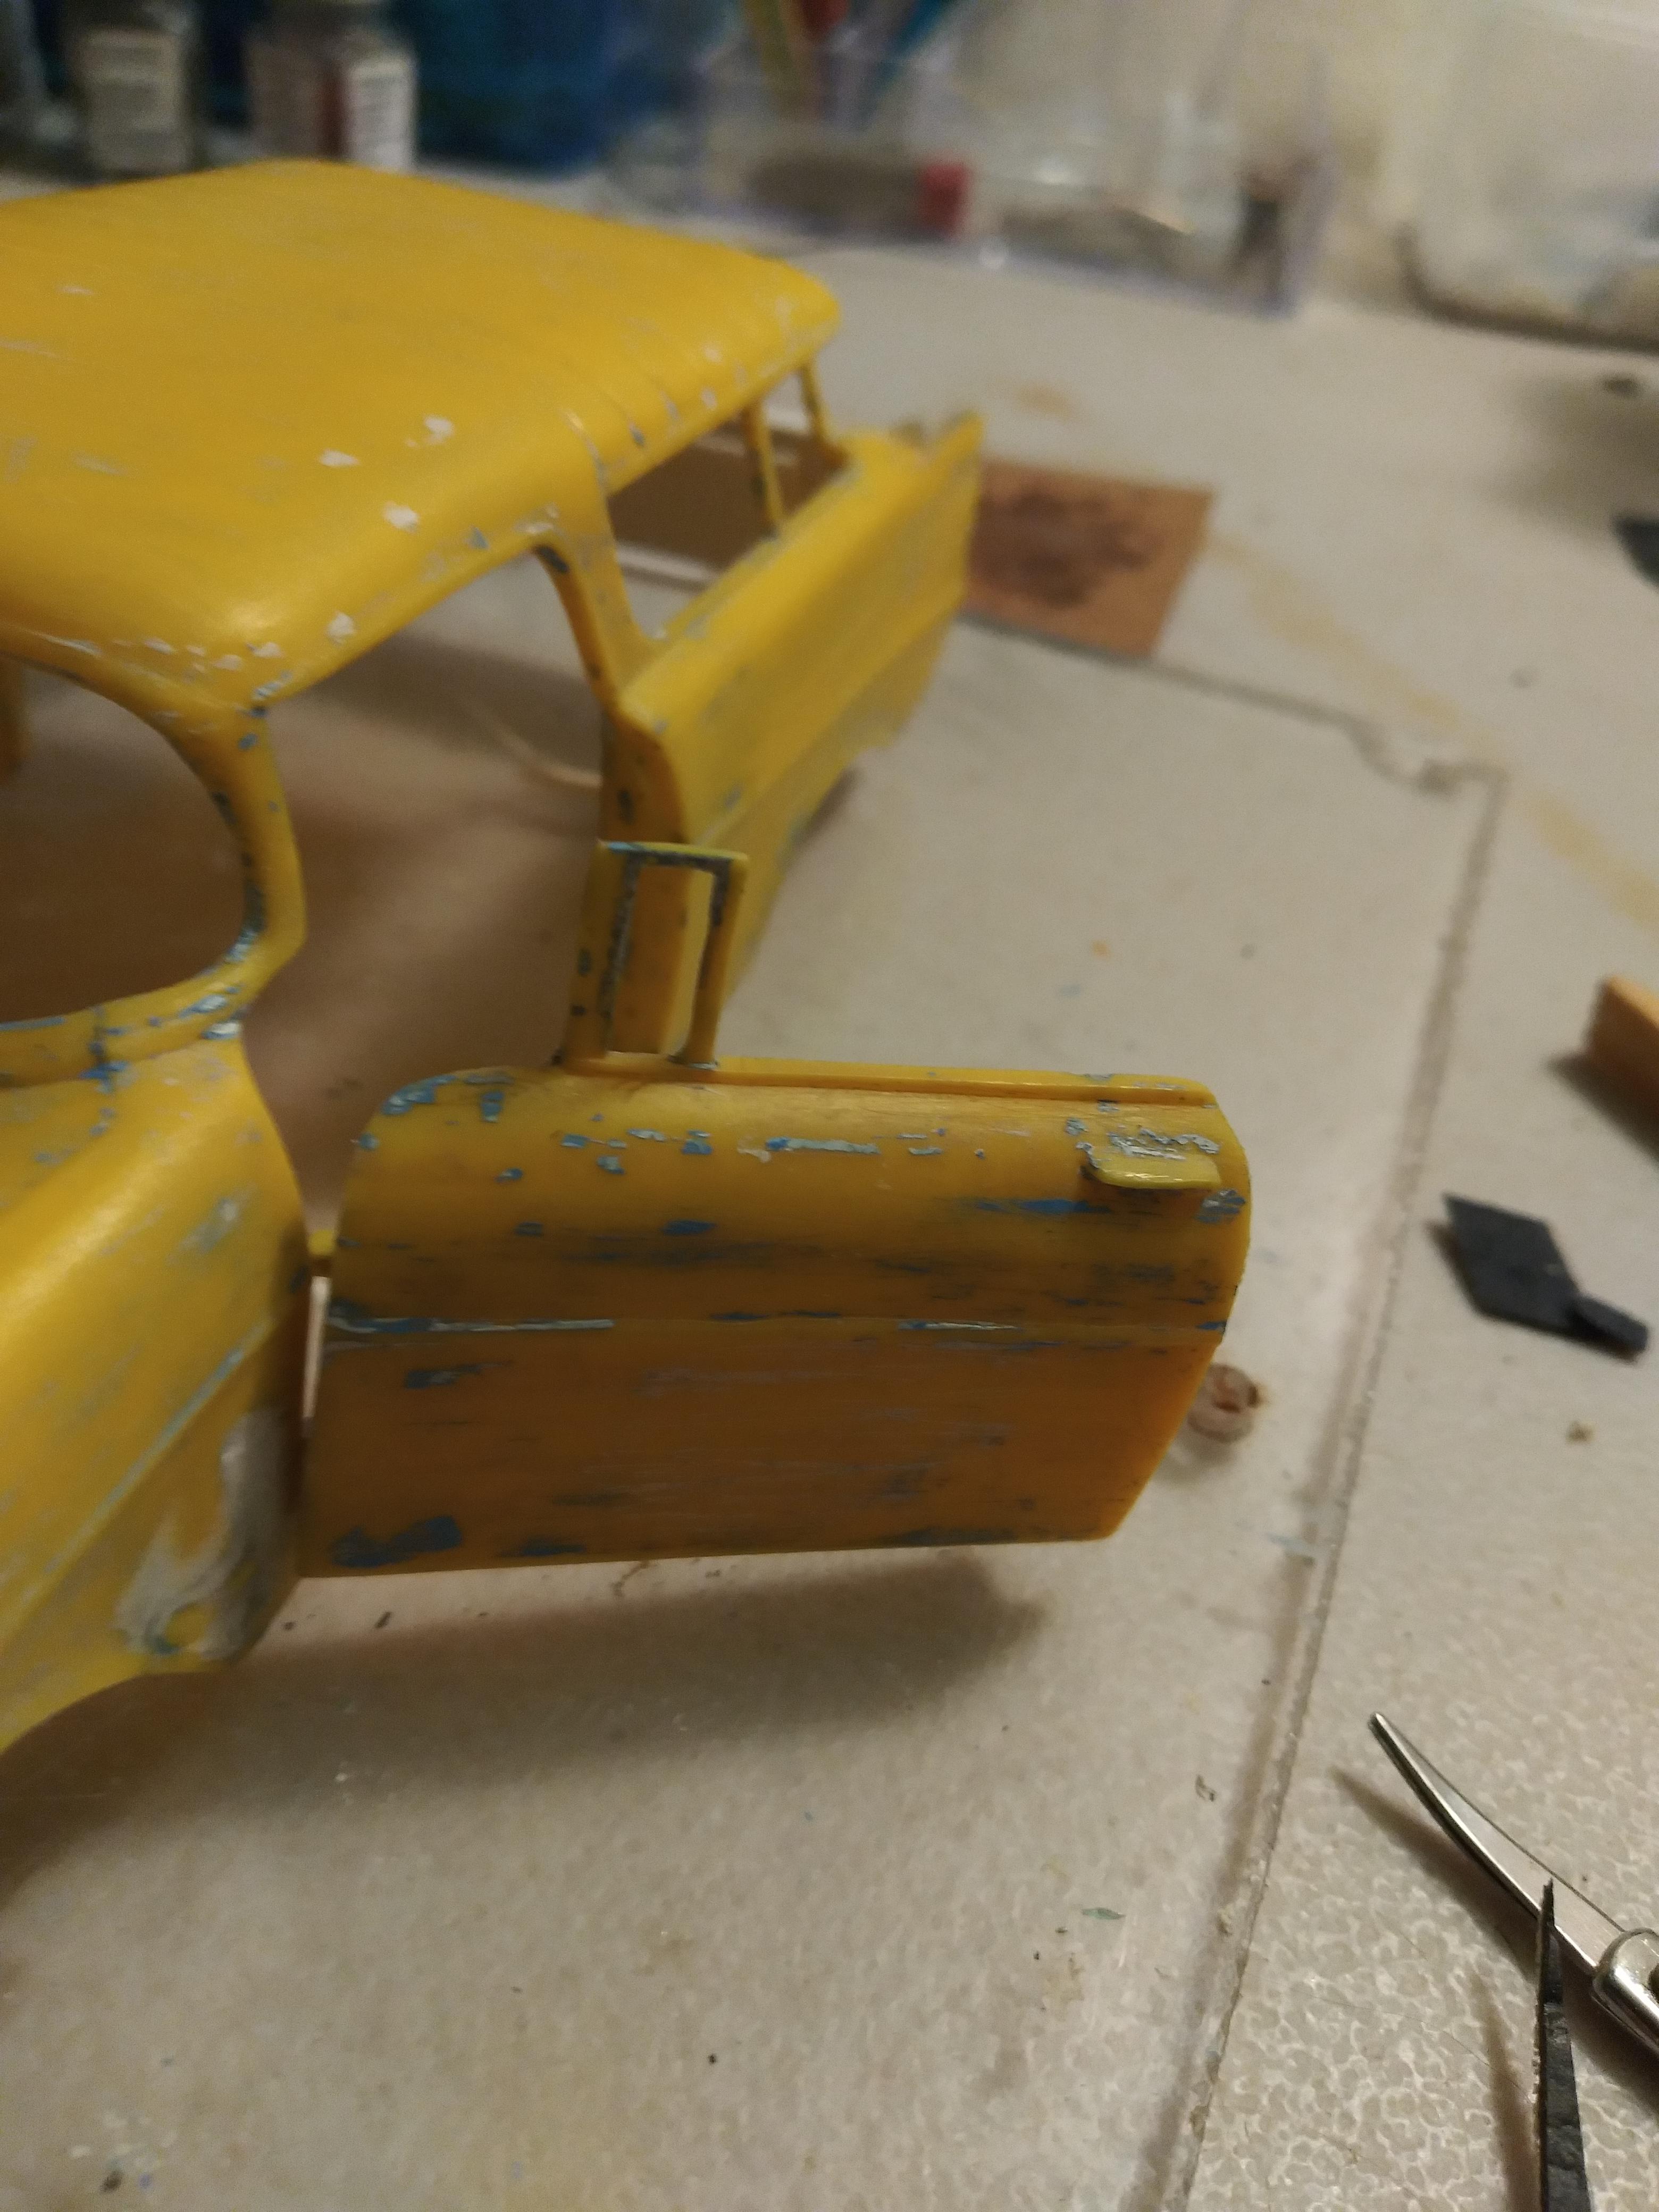
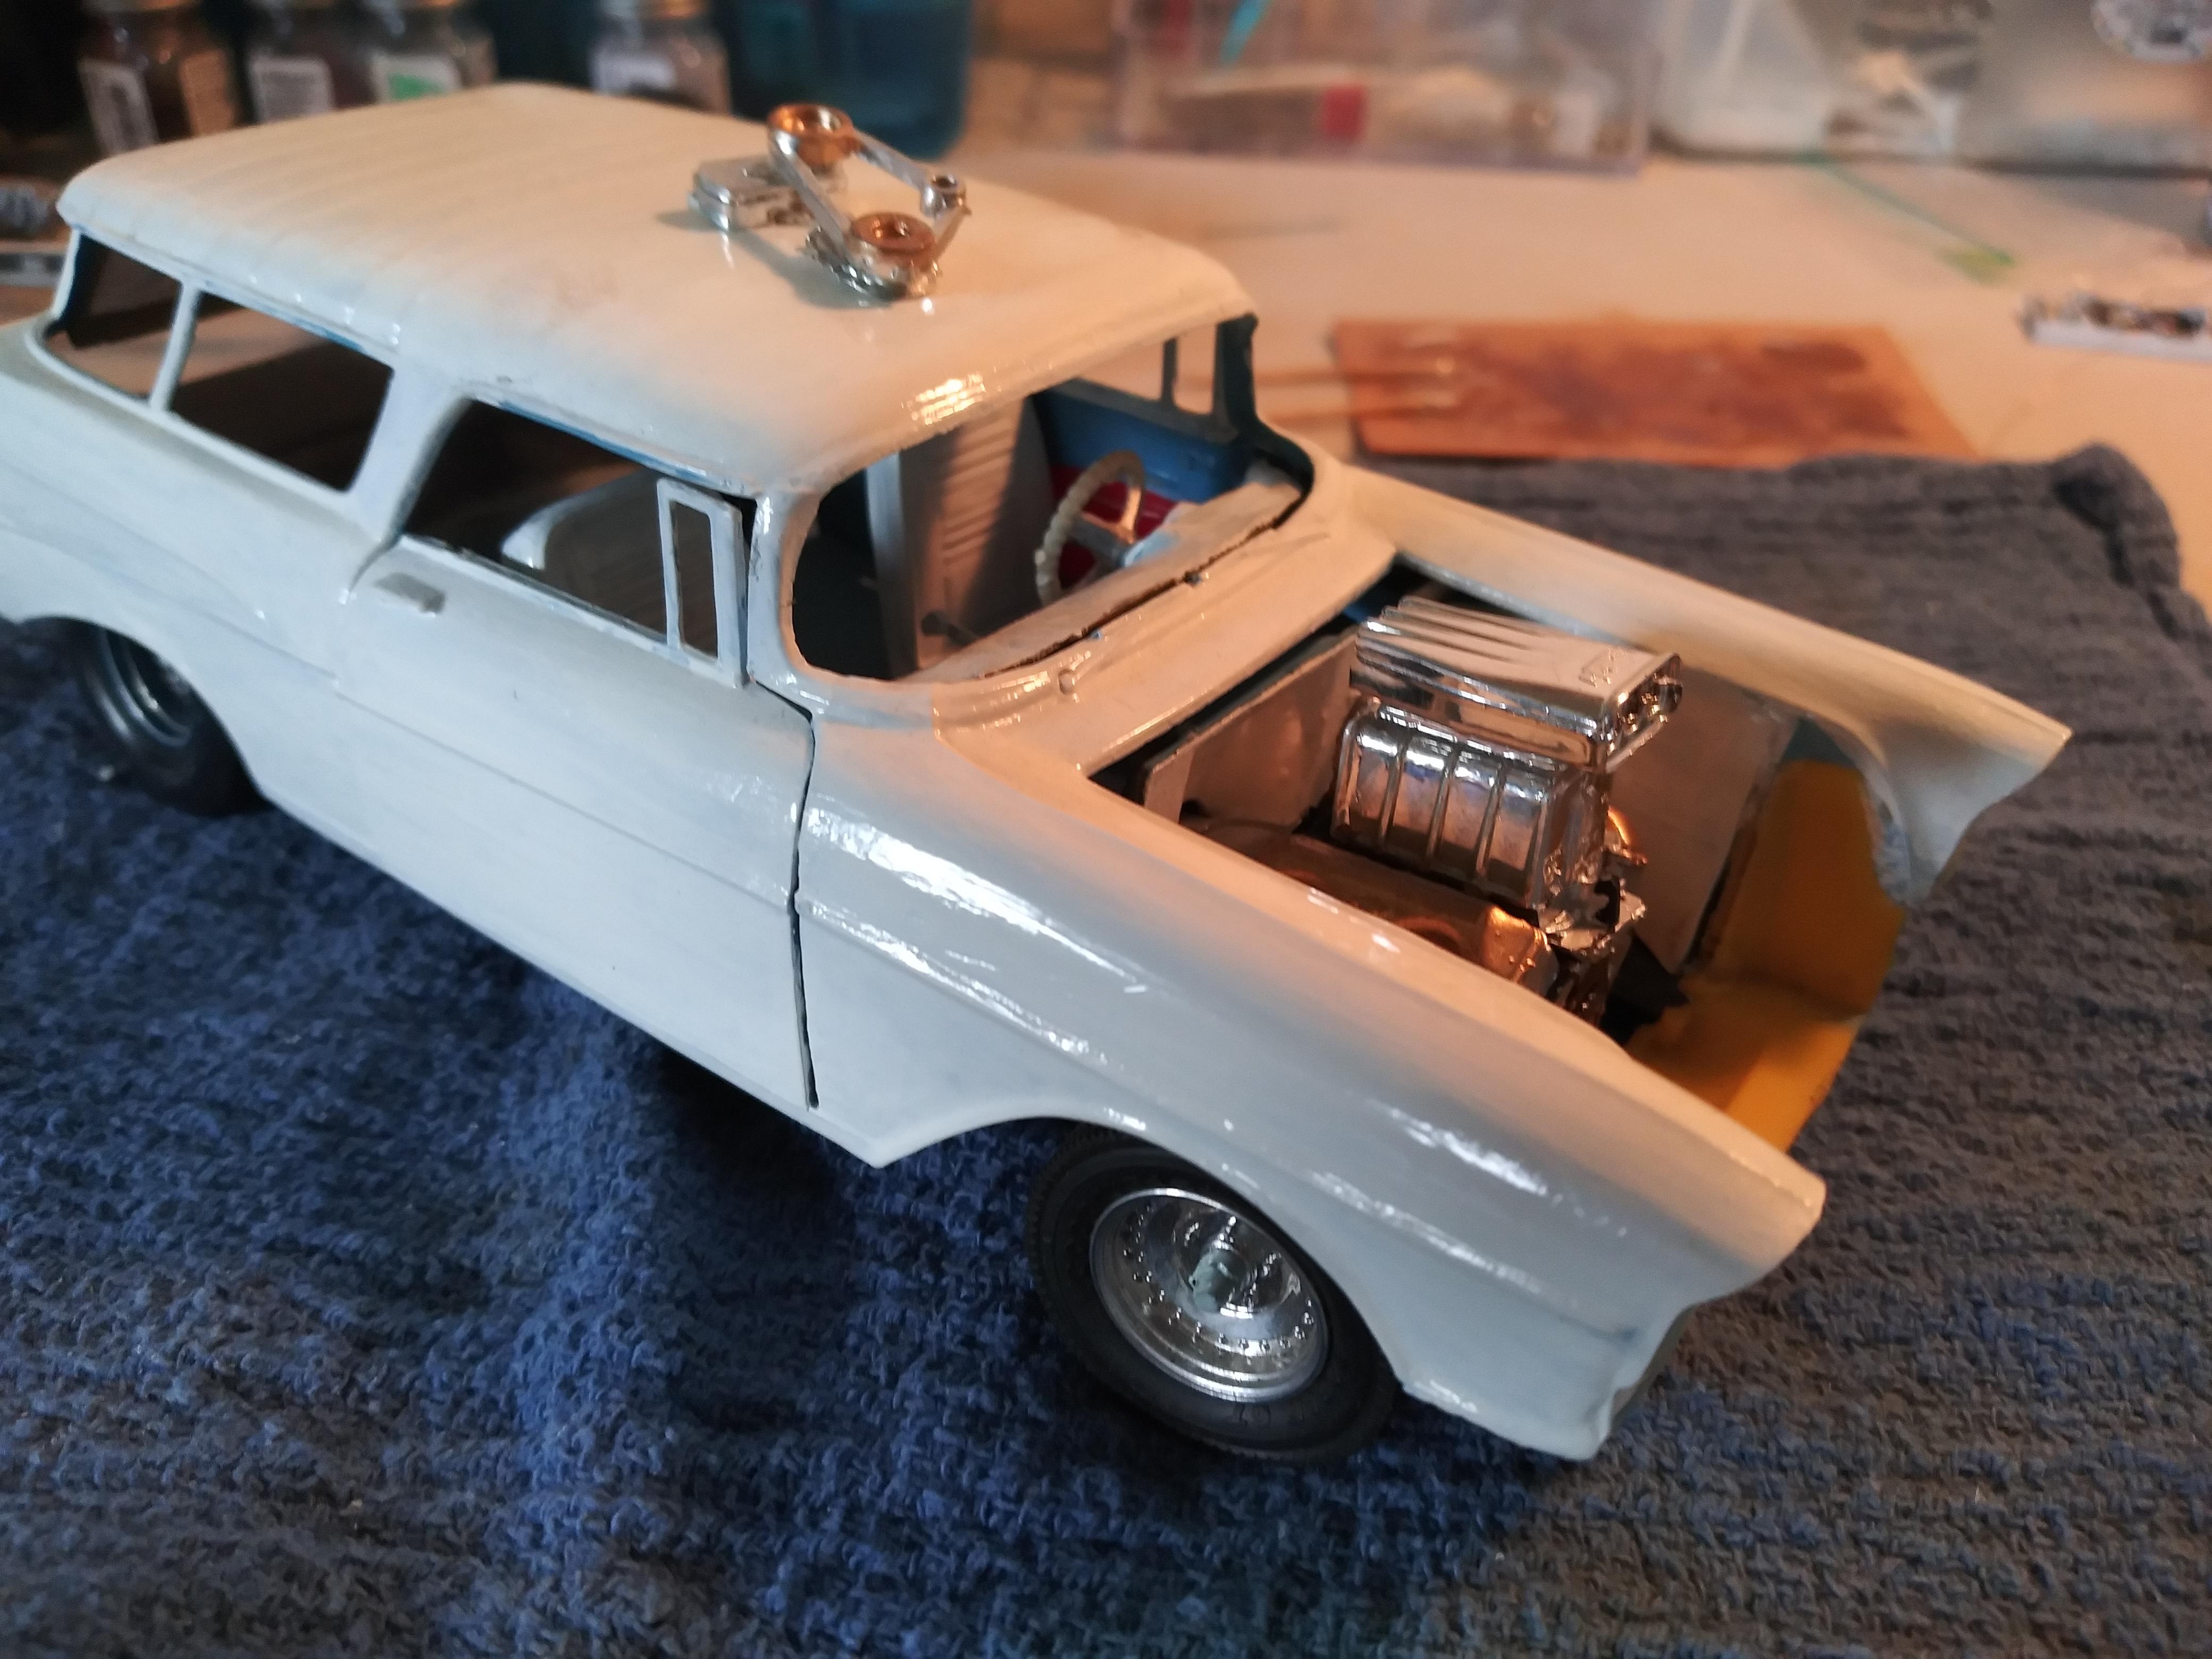
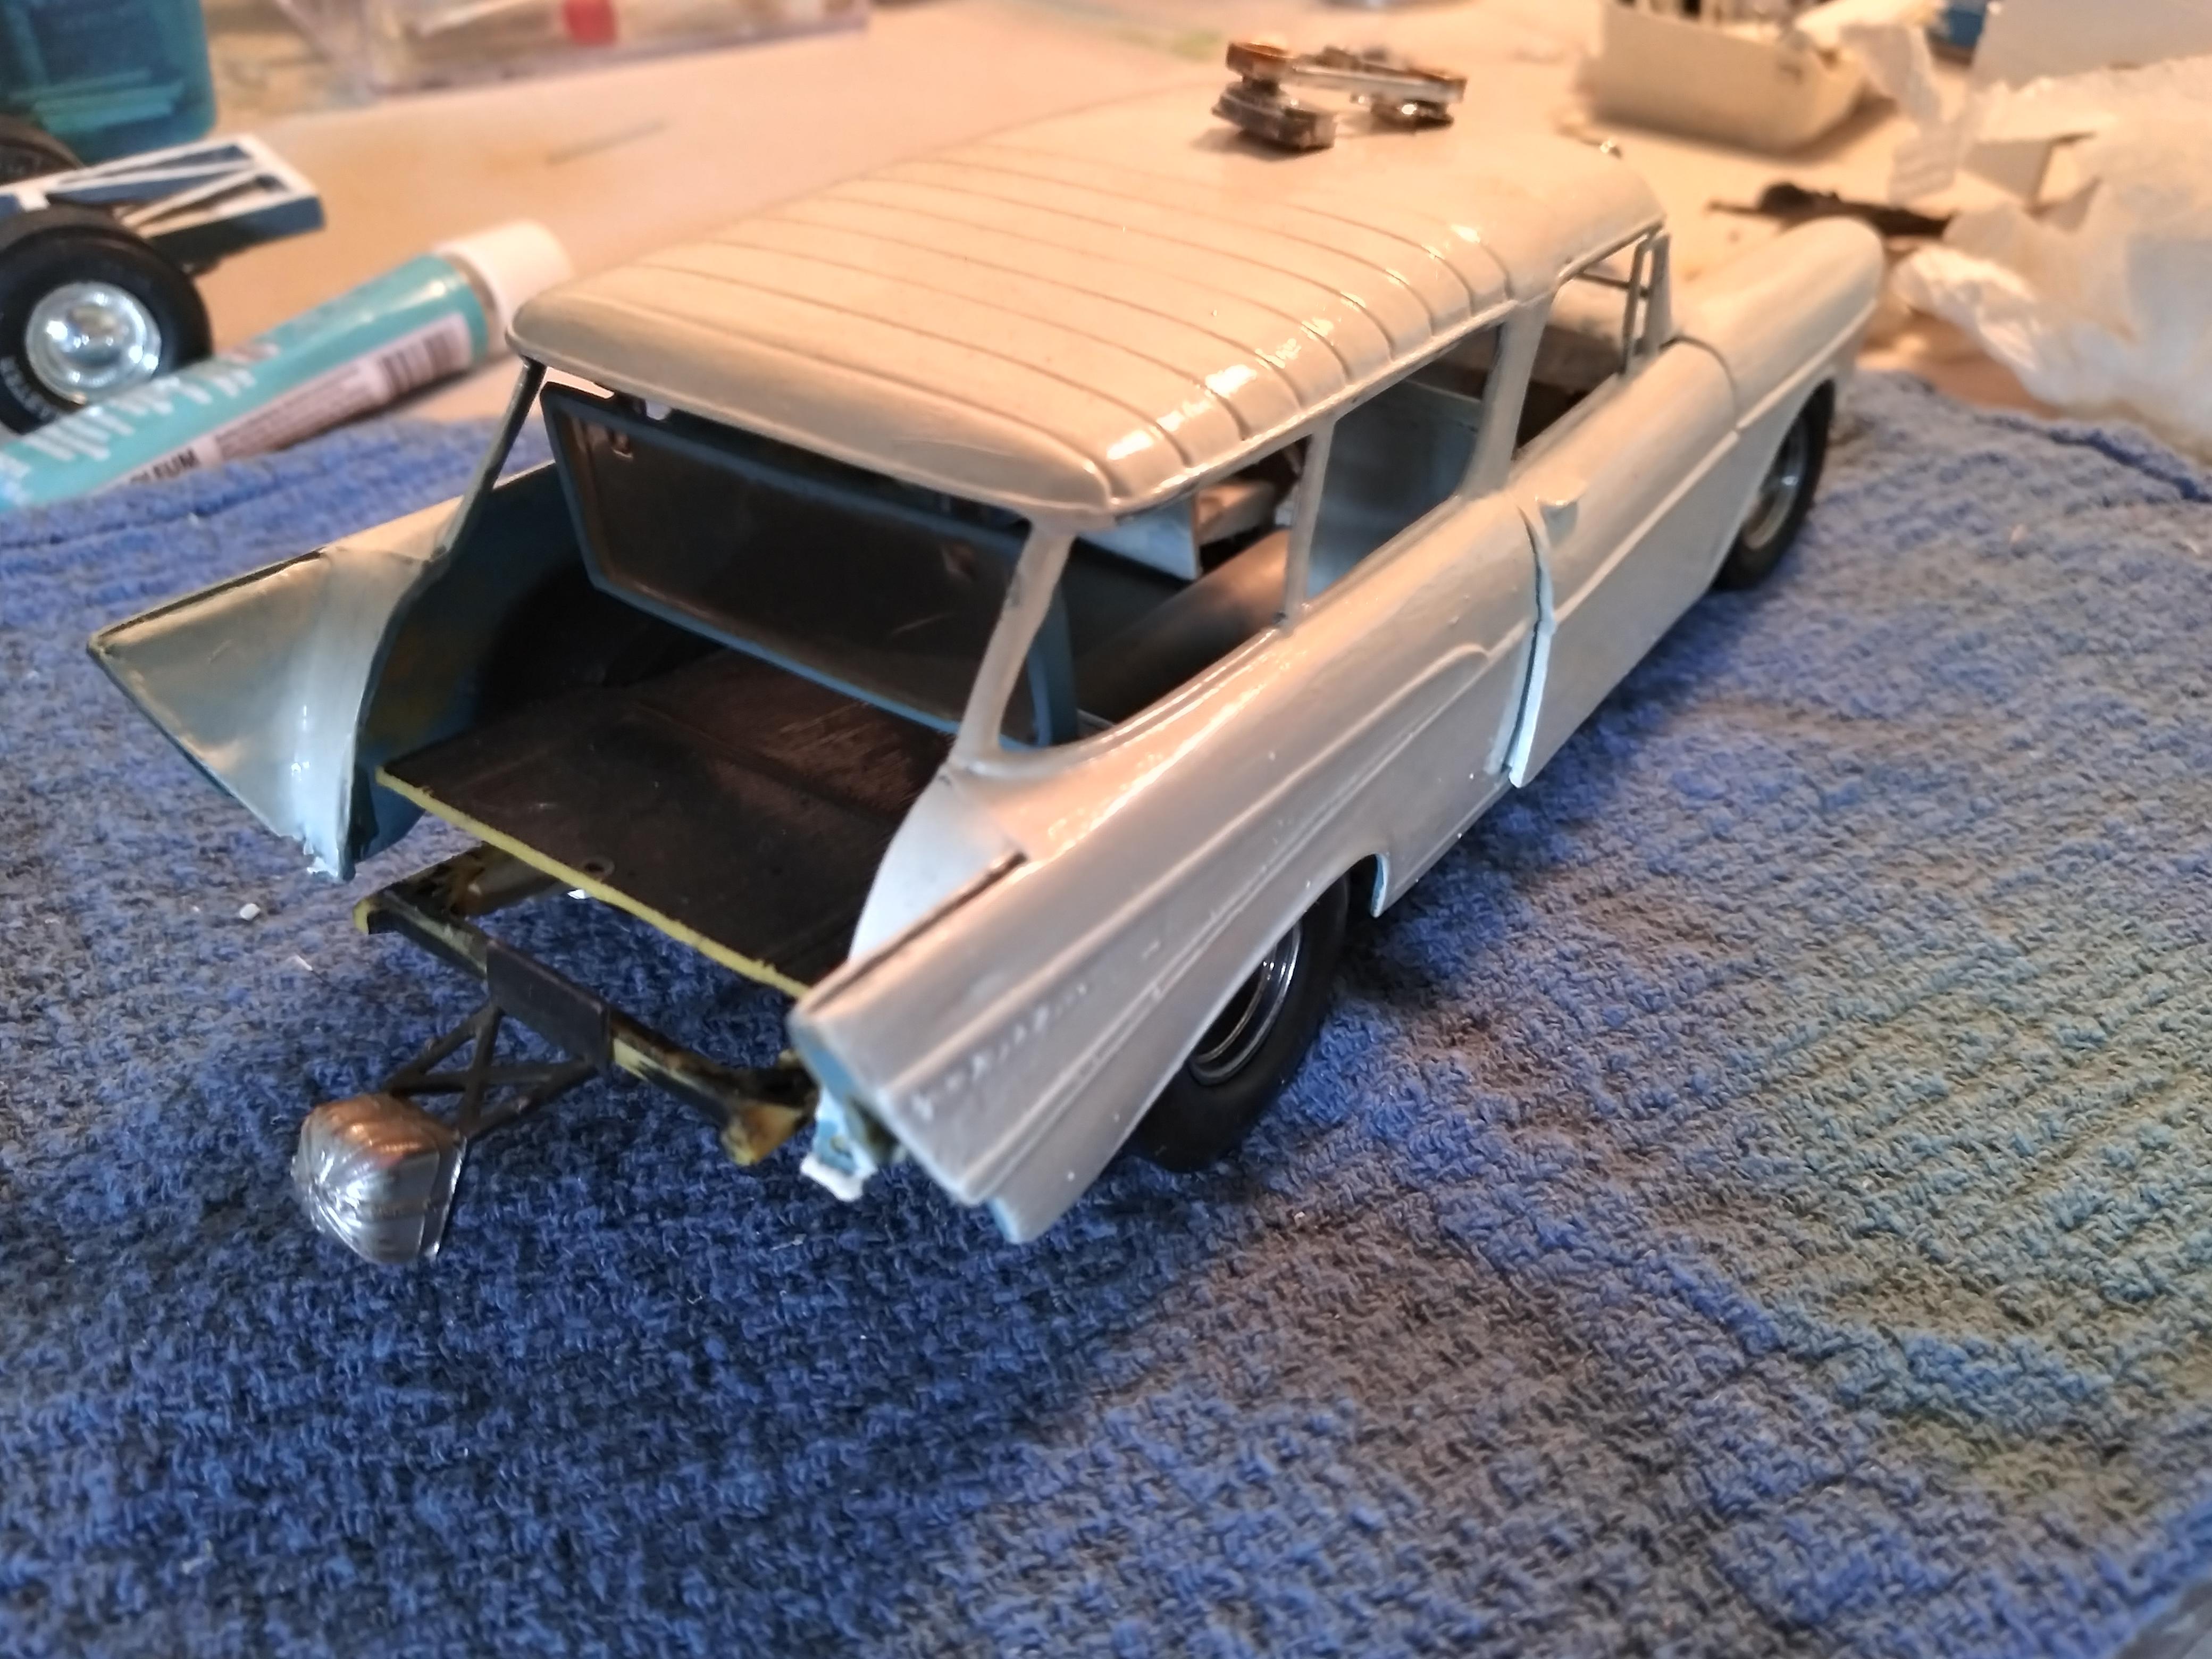
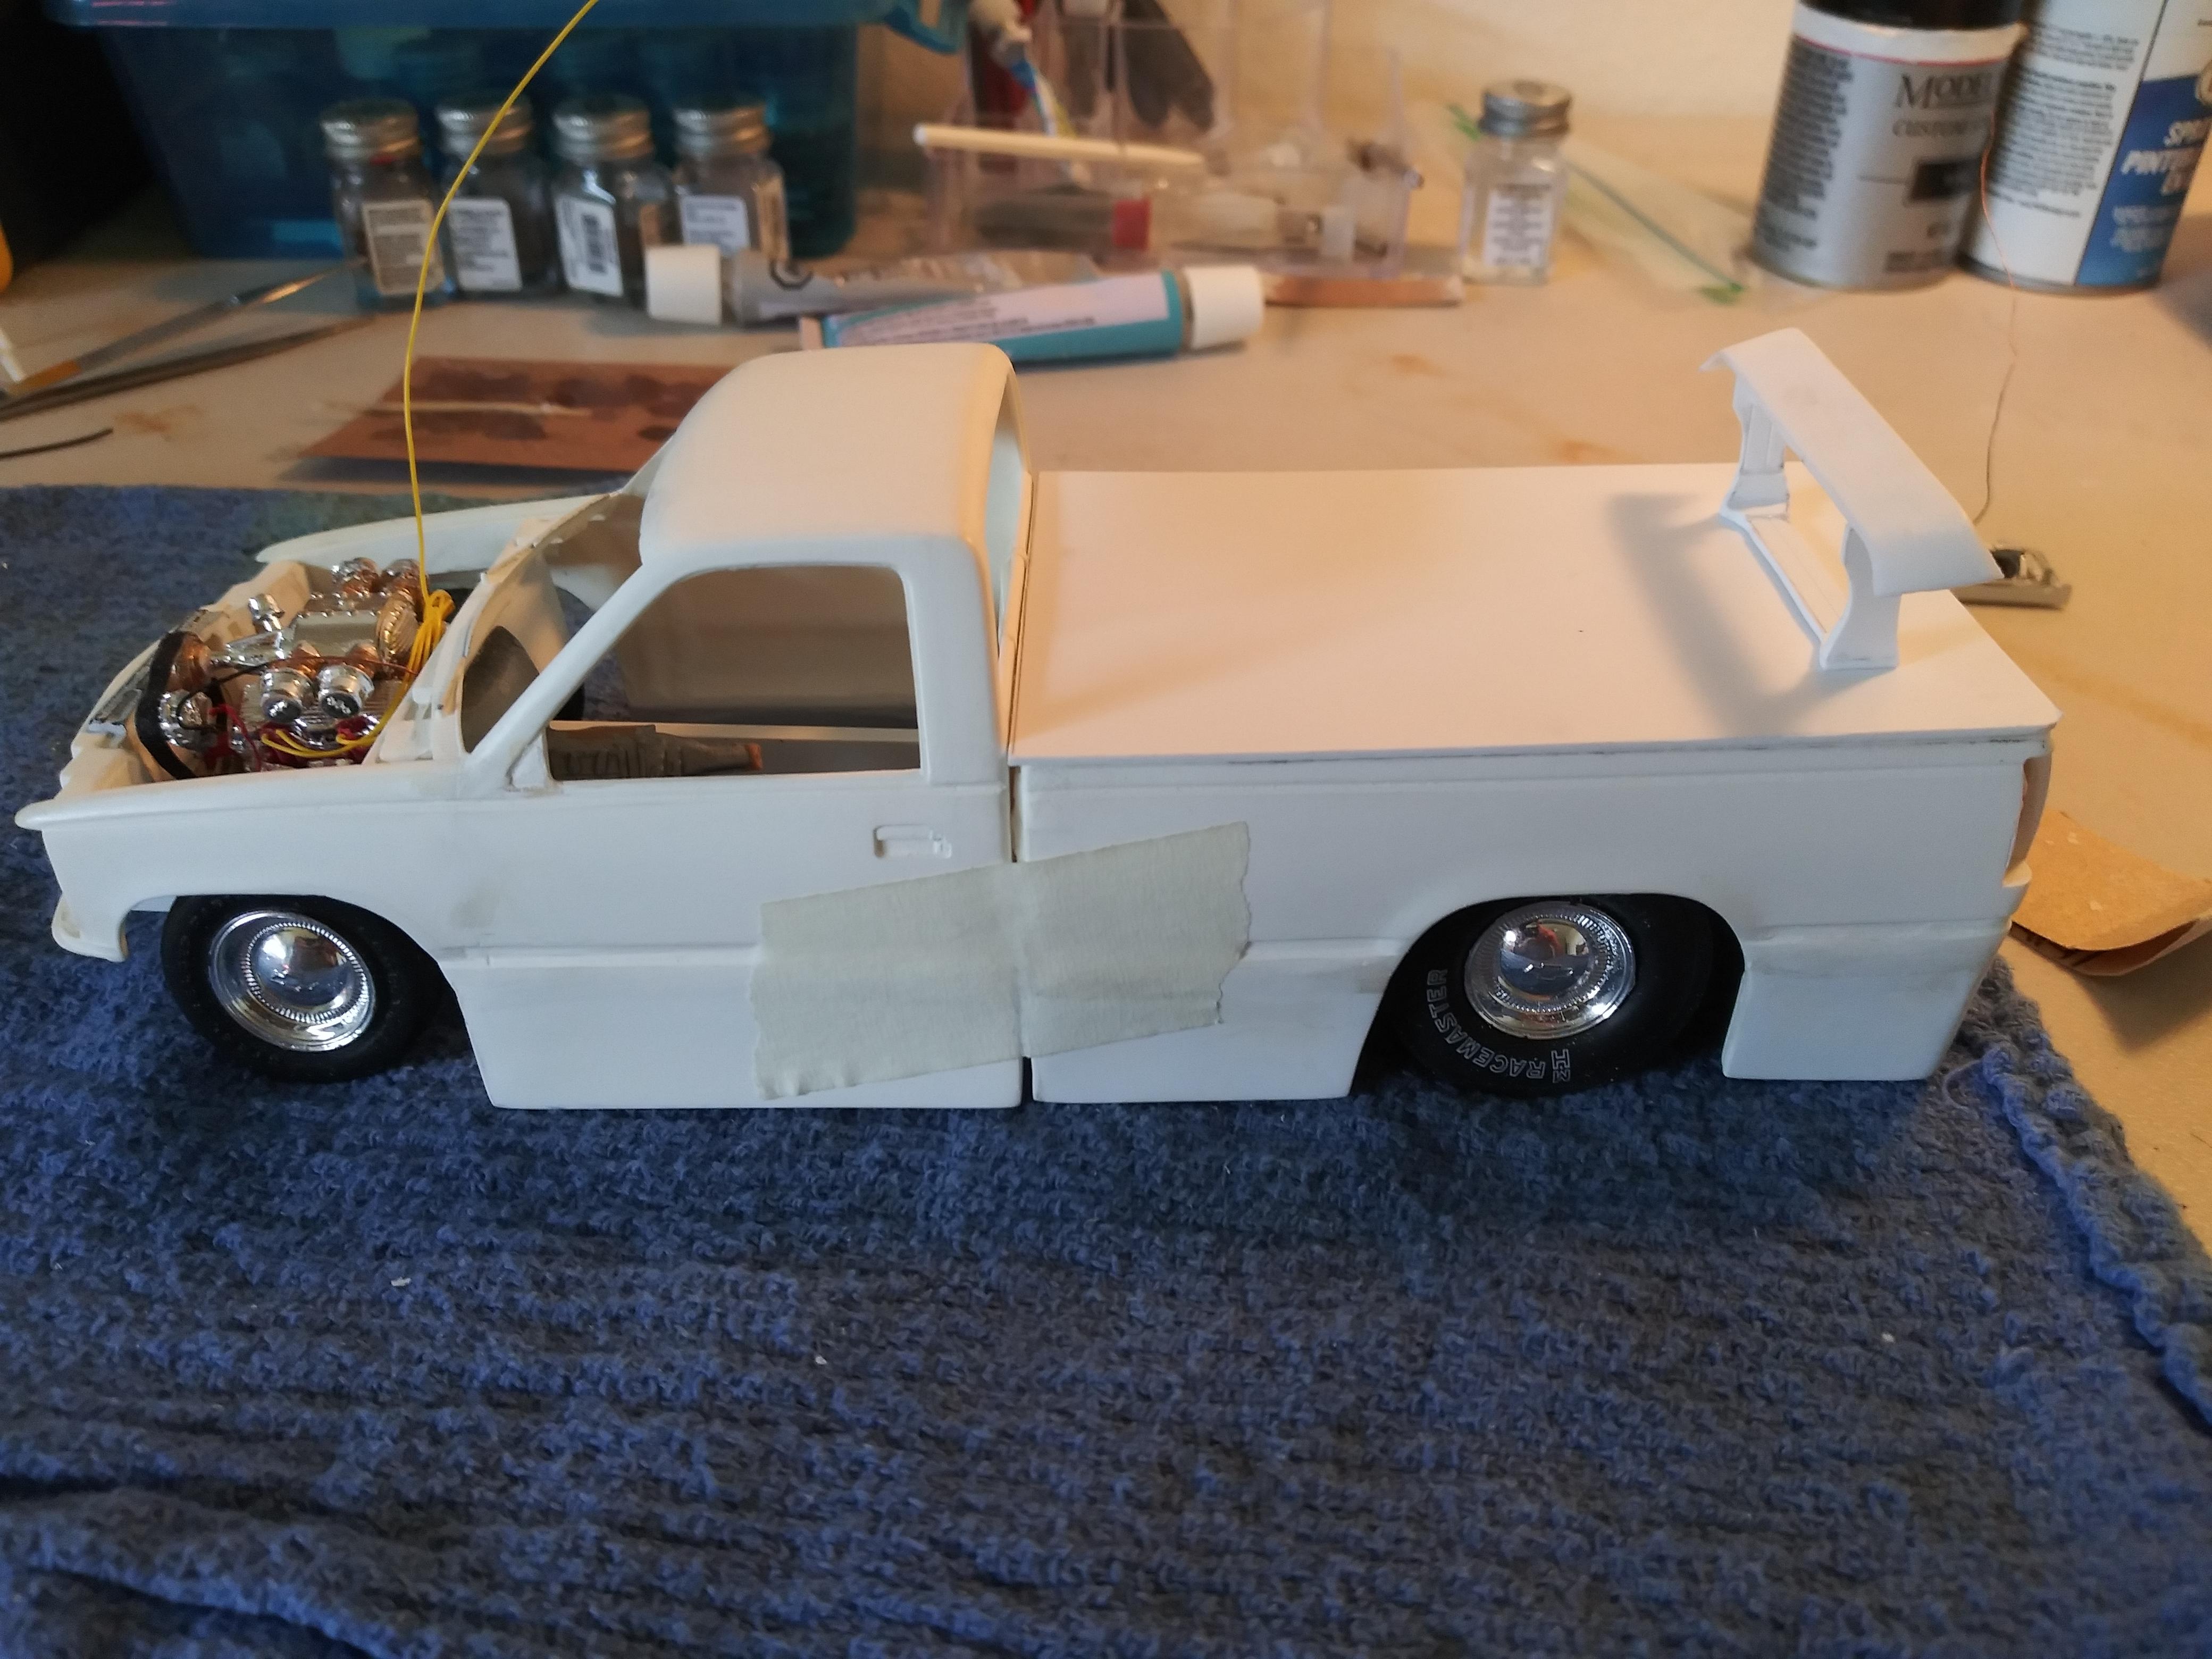
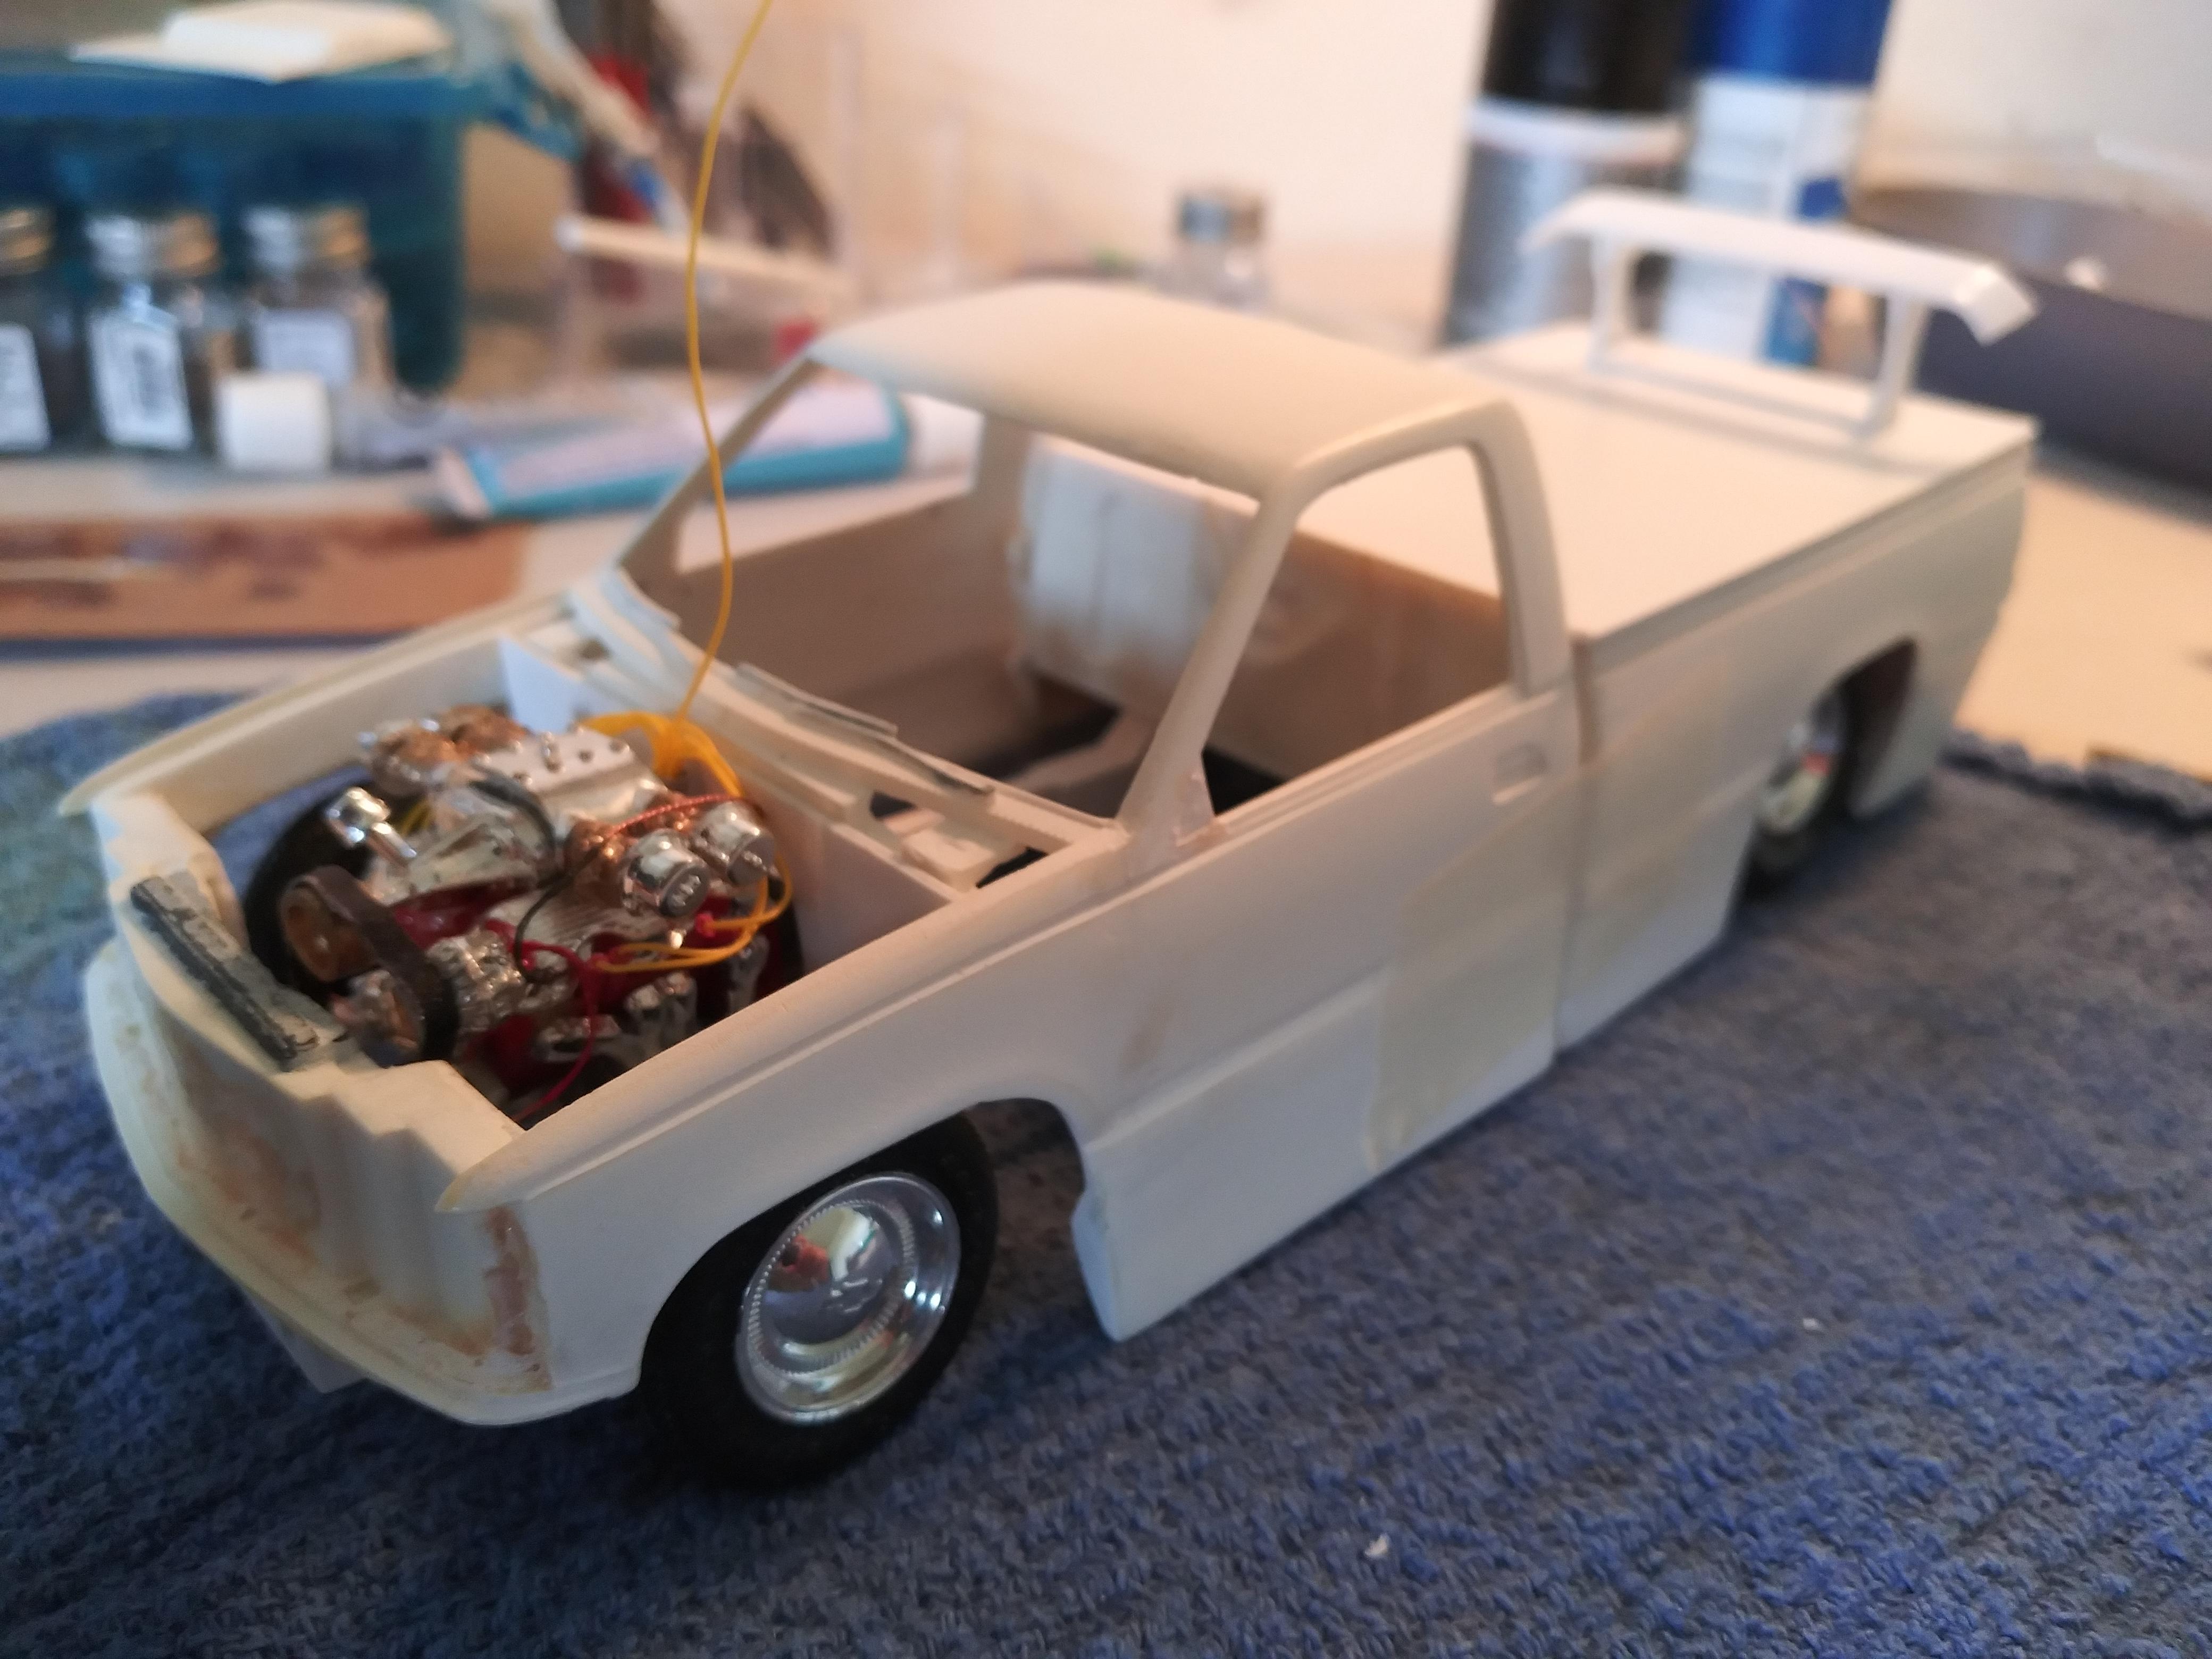
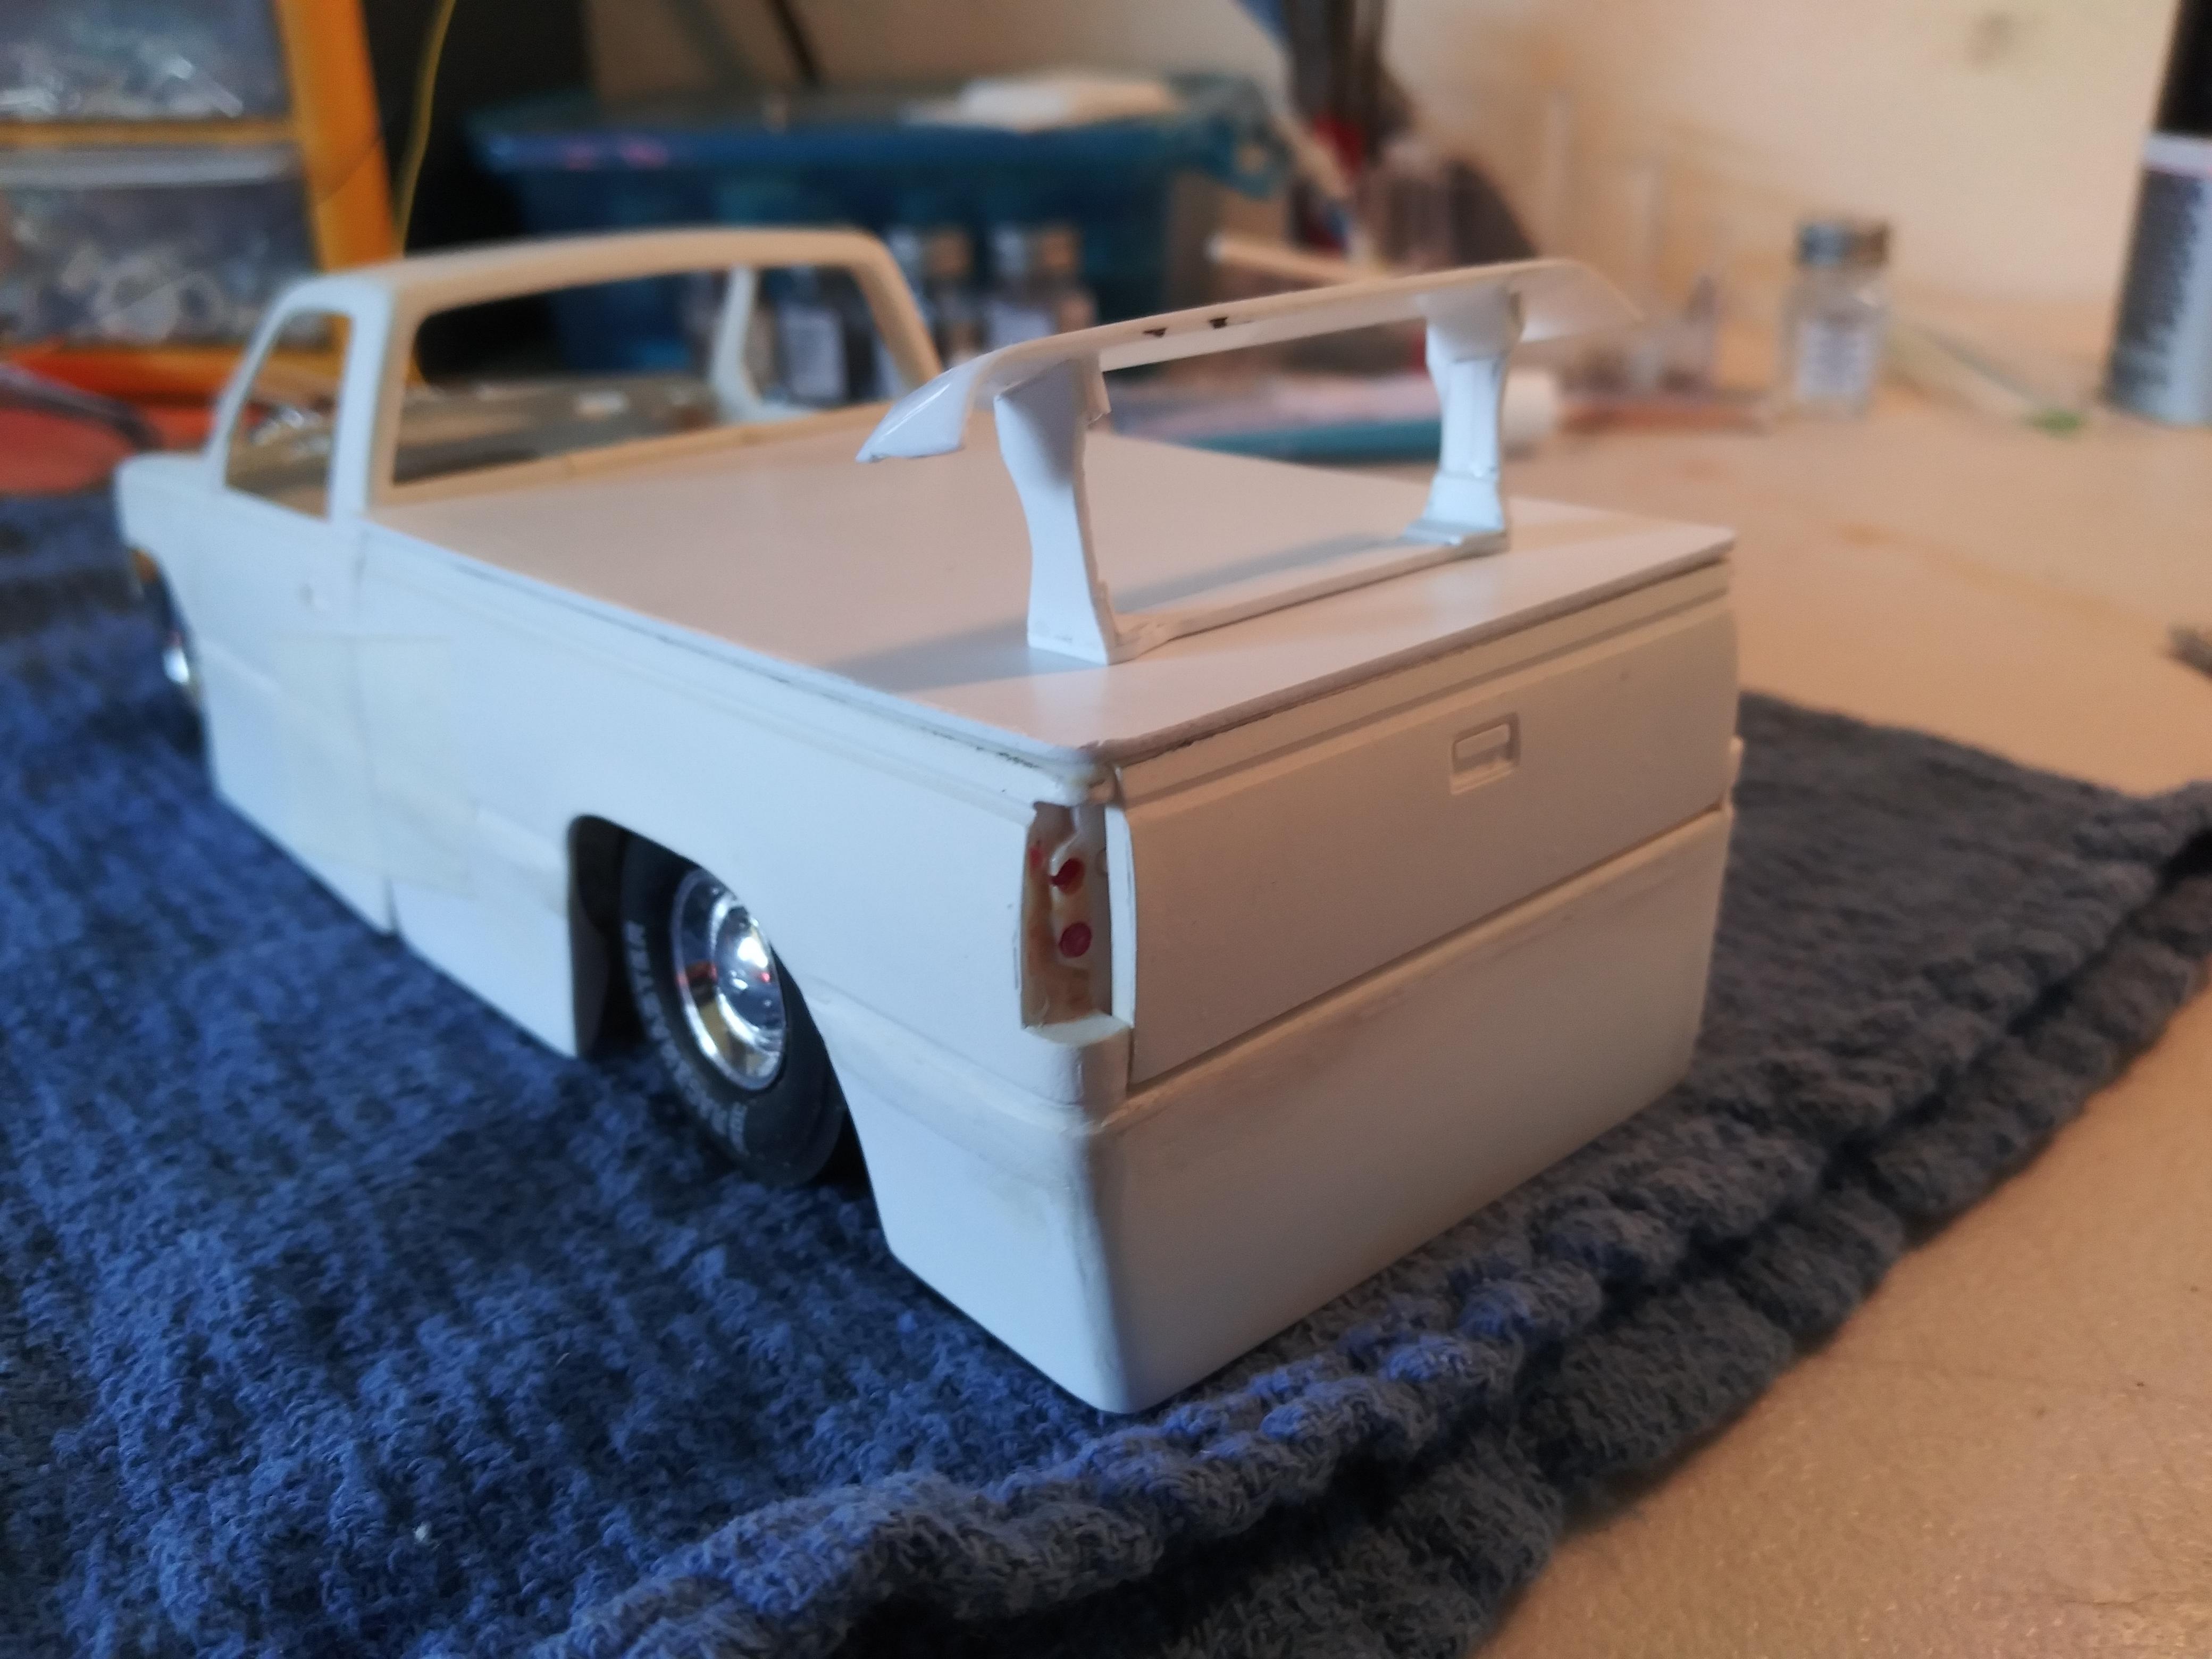
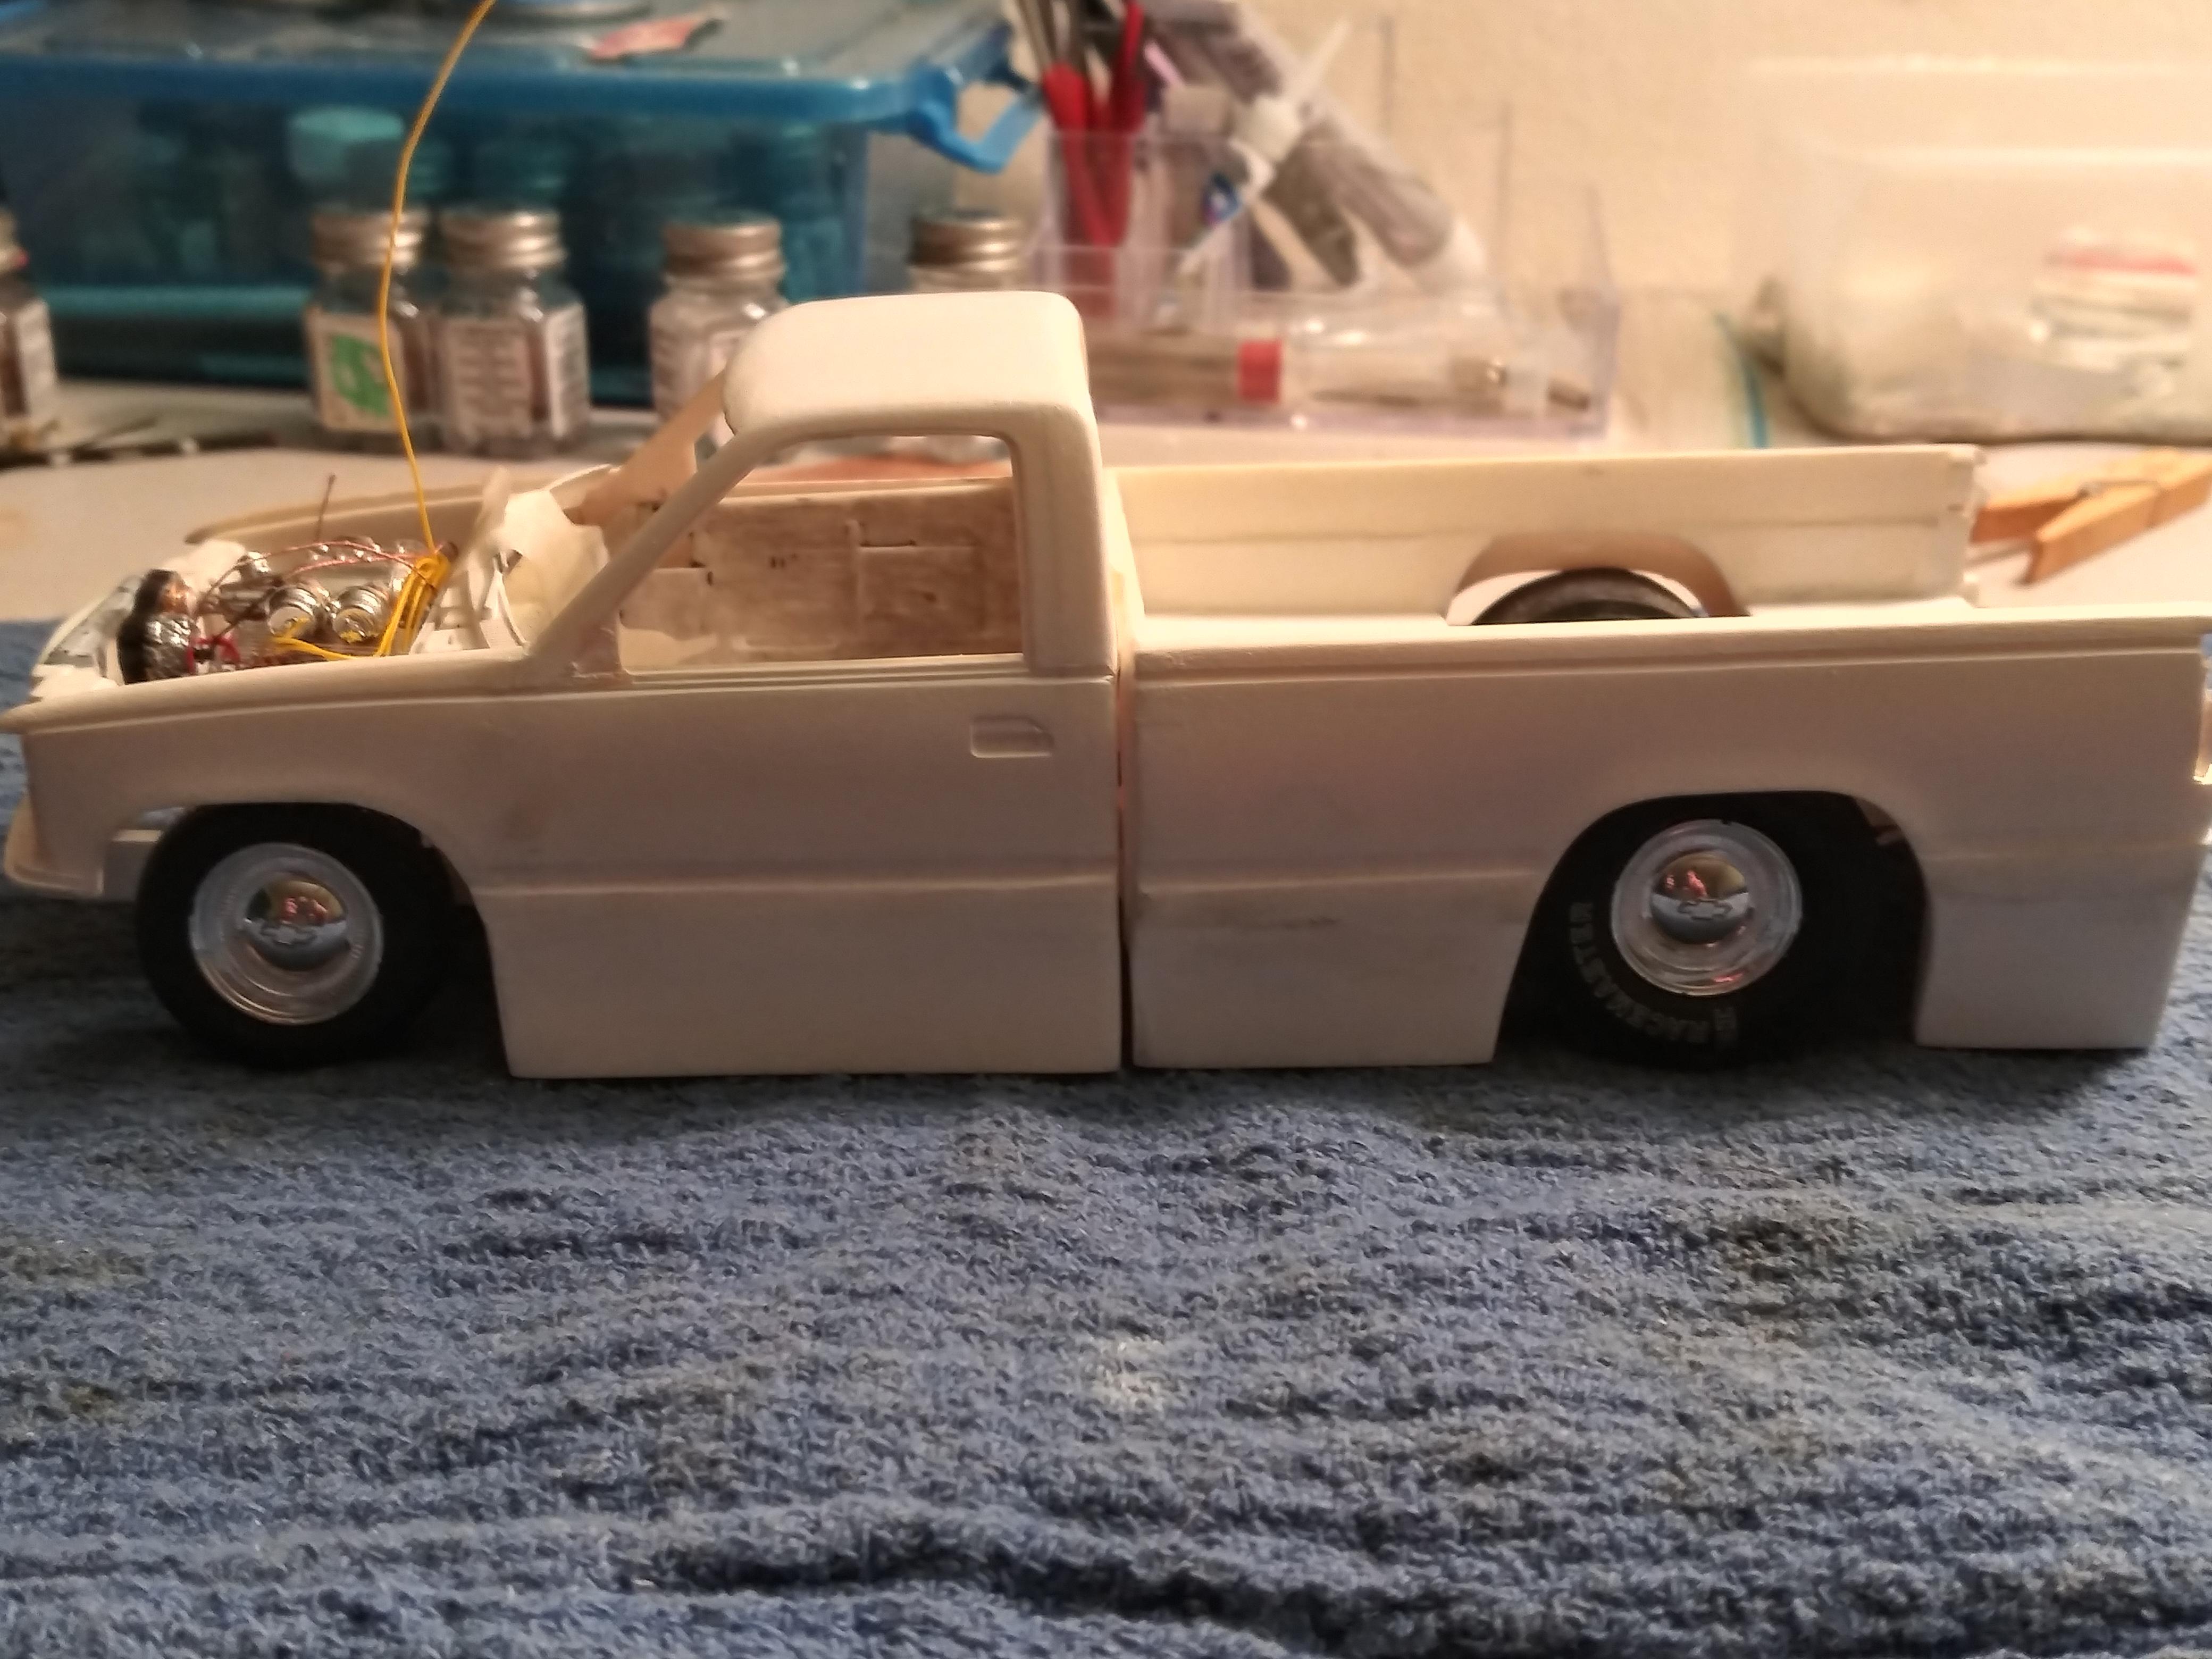
UPDATE 4/2/20 So I got both doors and tailgate hinged onto body (SEE PICS). The hood I wanted to do something different. So I used a hood that I had that probably went to a 55 cuz doesn't perfectly match up. Instead of a hood that opens from front I cut it down middle and kept it simple by using masking tape to hinge to body. Unfortunately I dont have front or side windows but wouldn't be first model I've done without the windows.
-
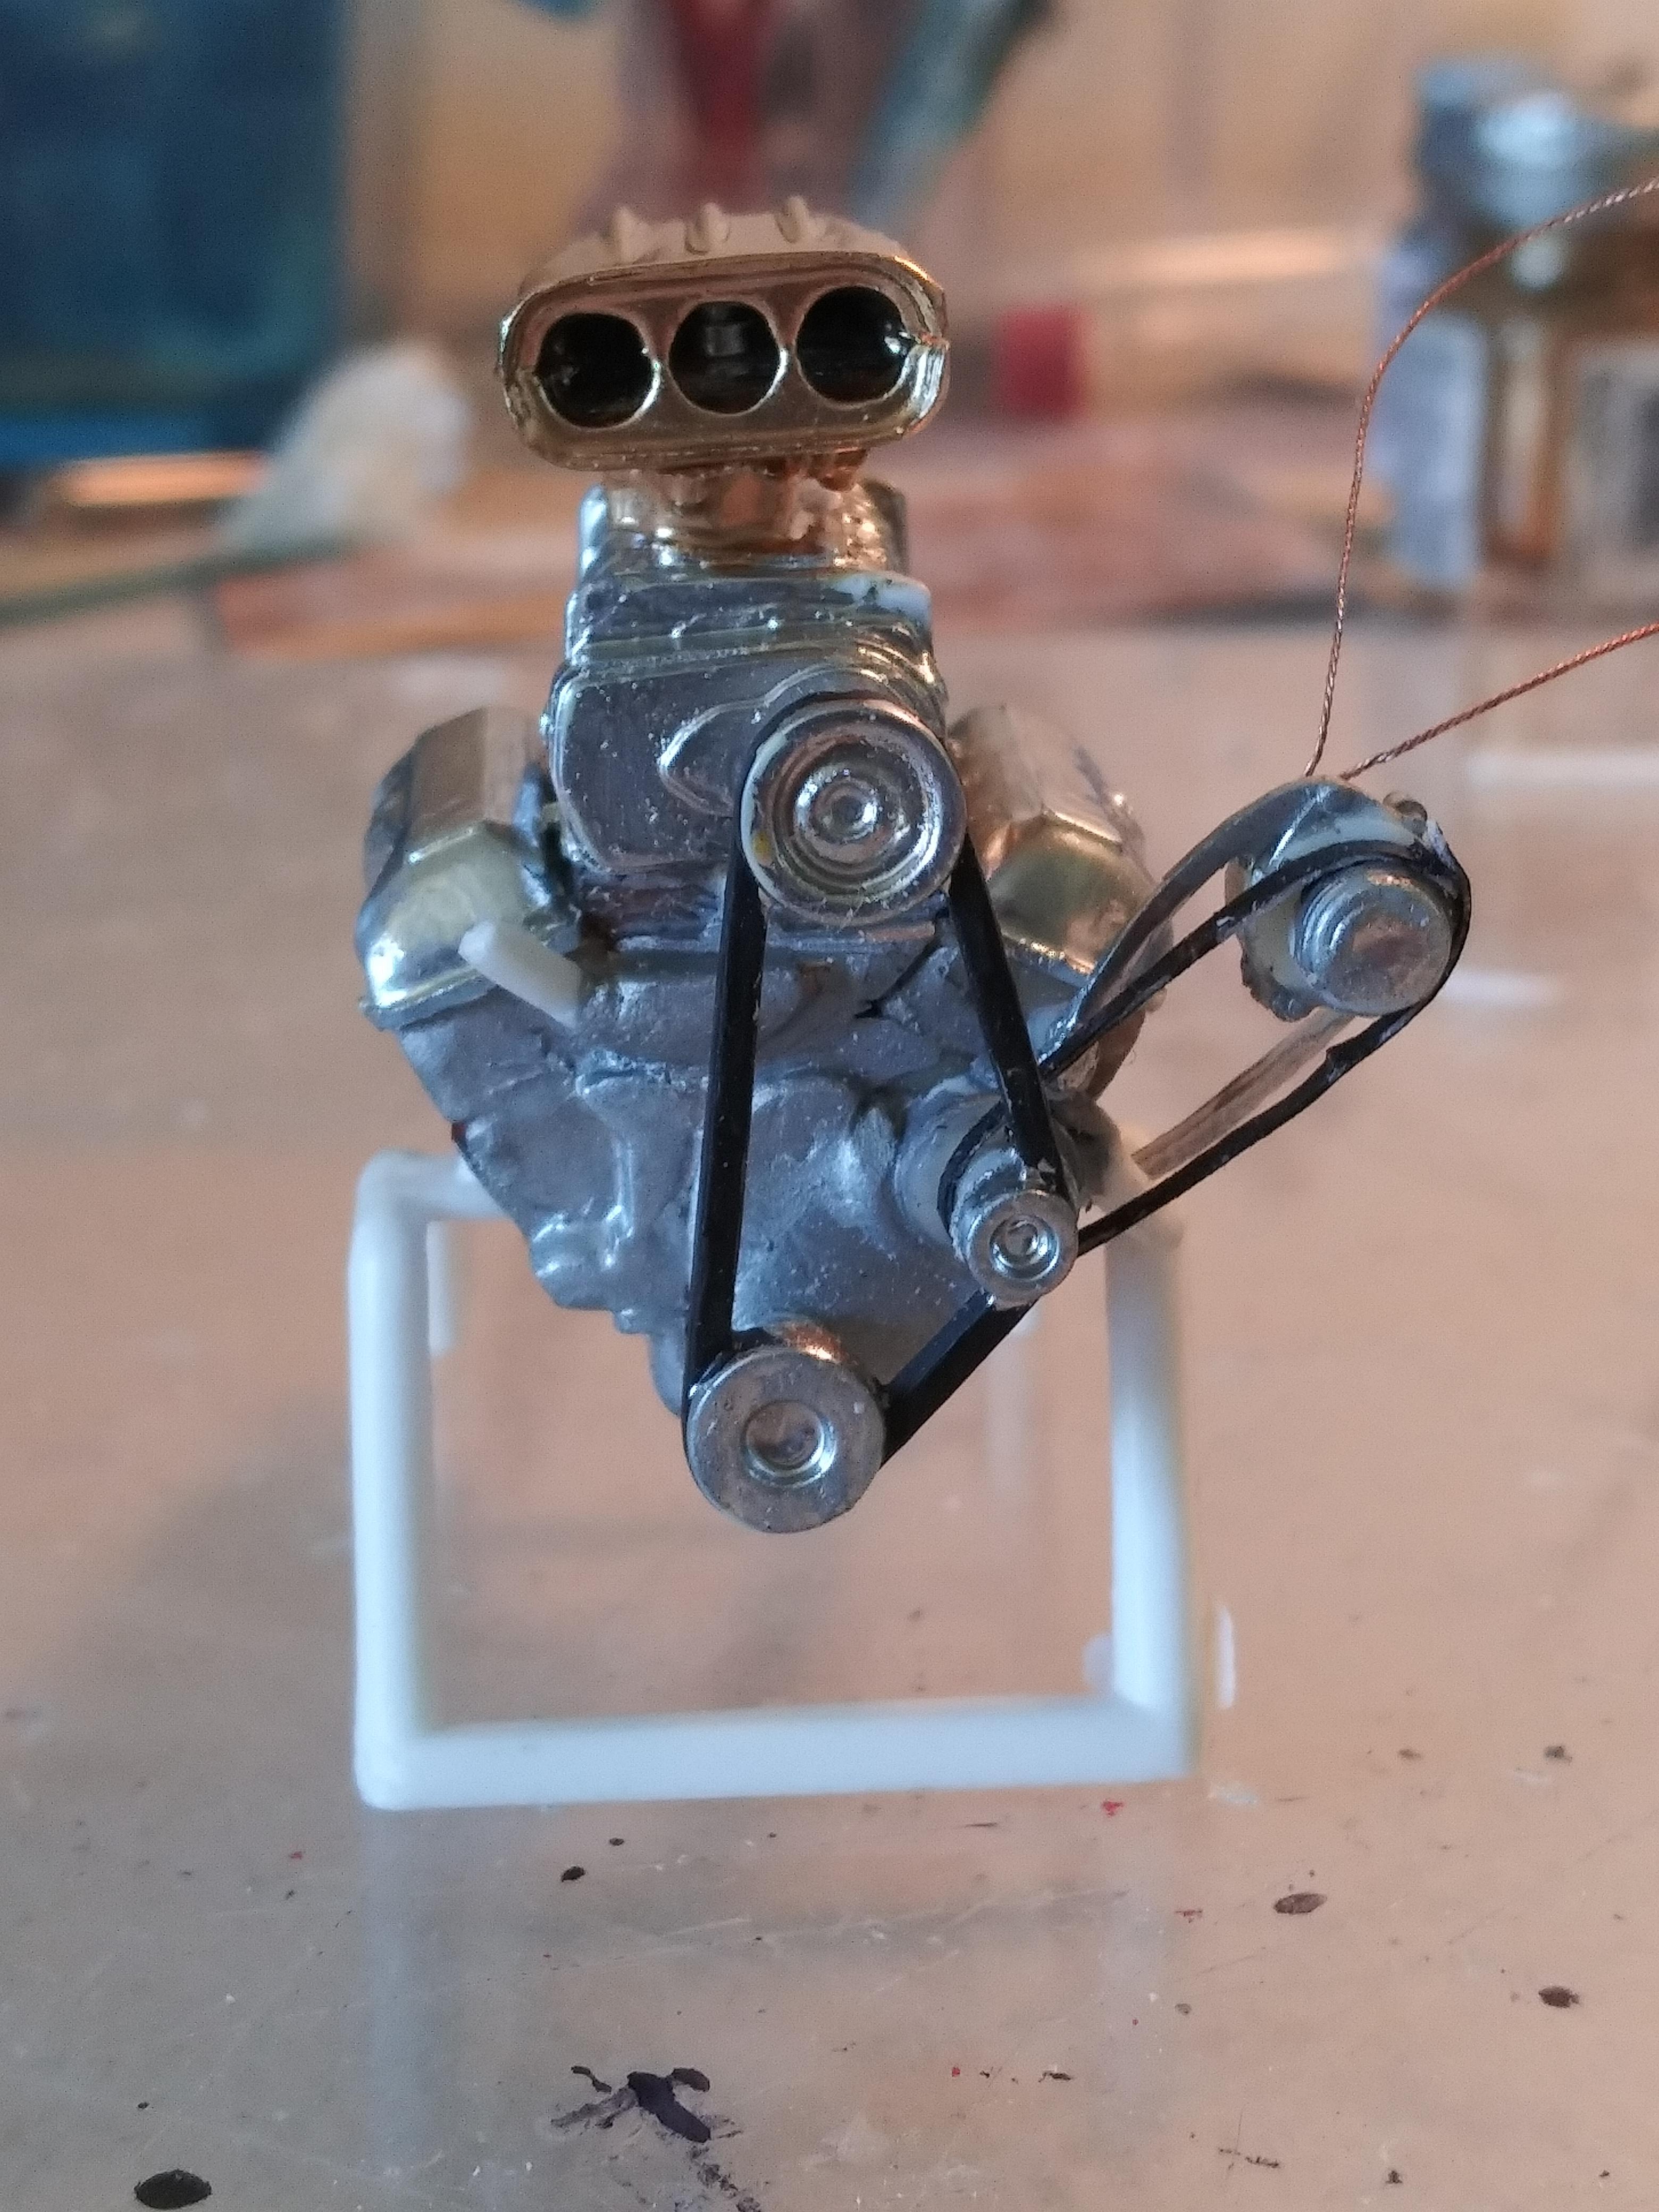
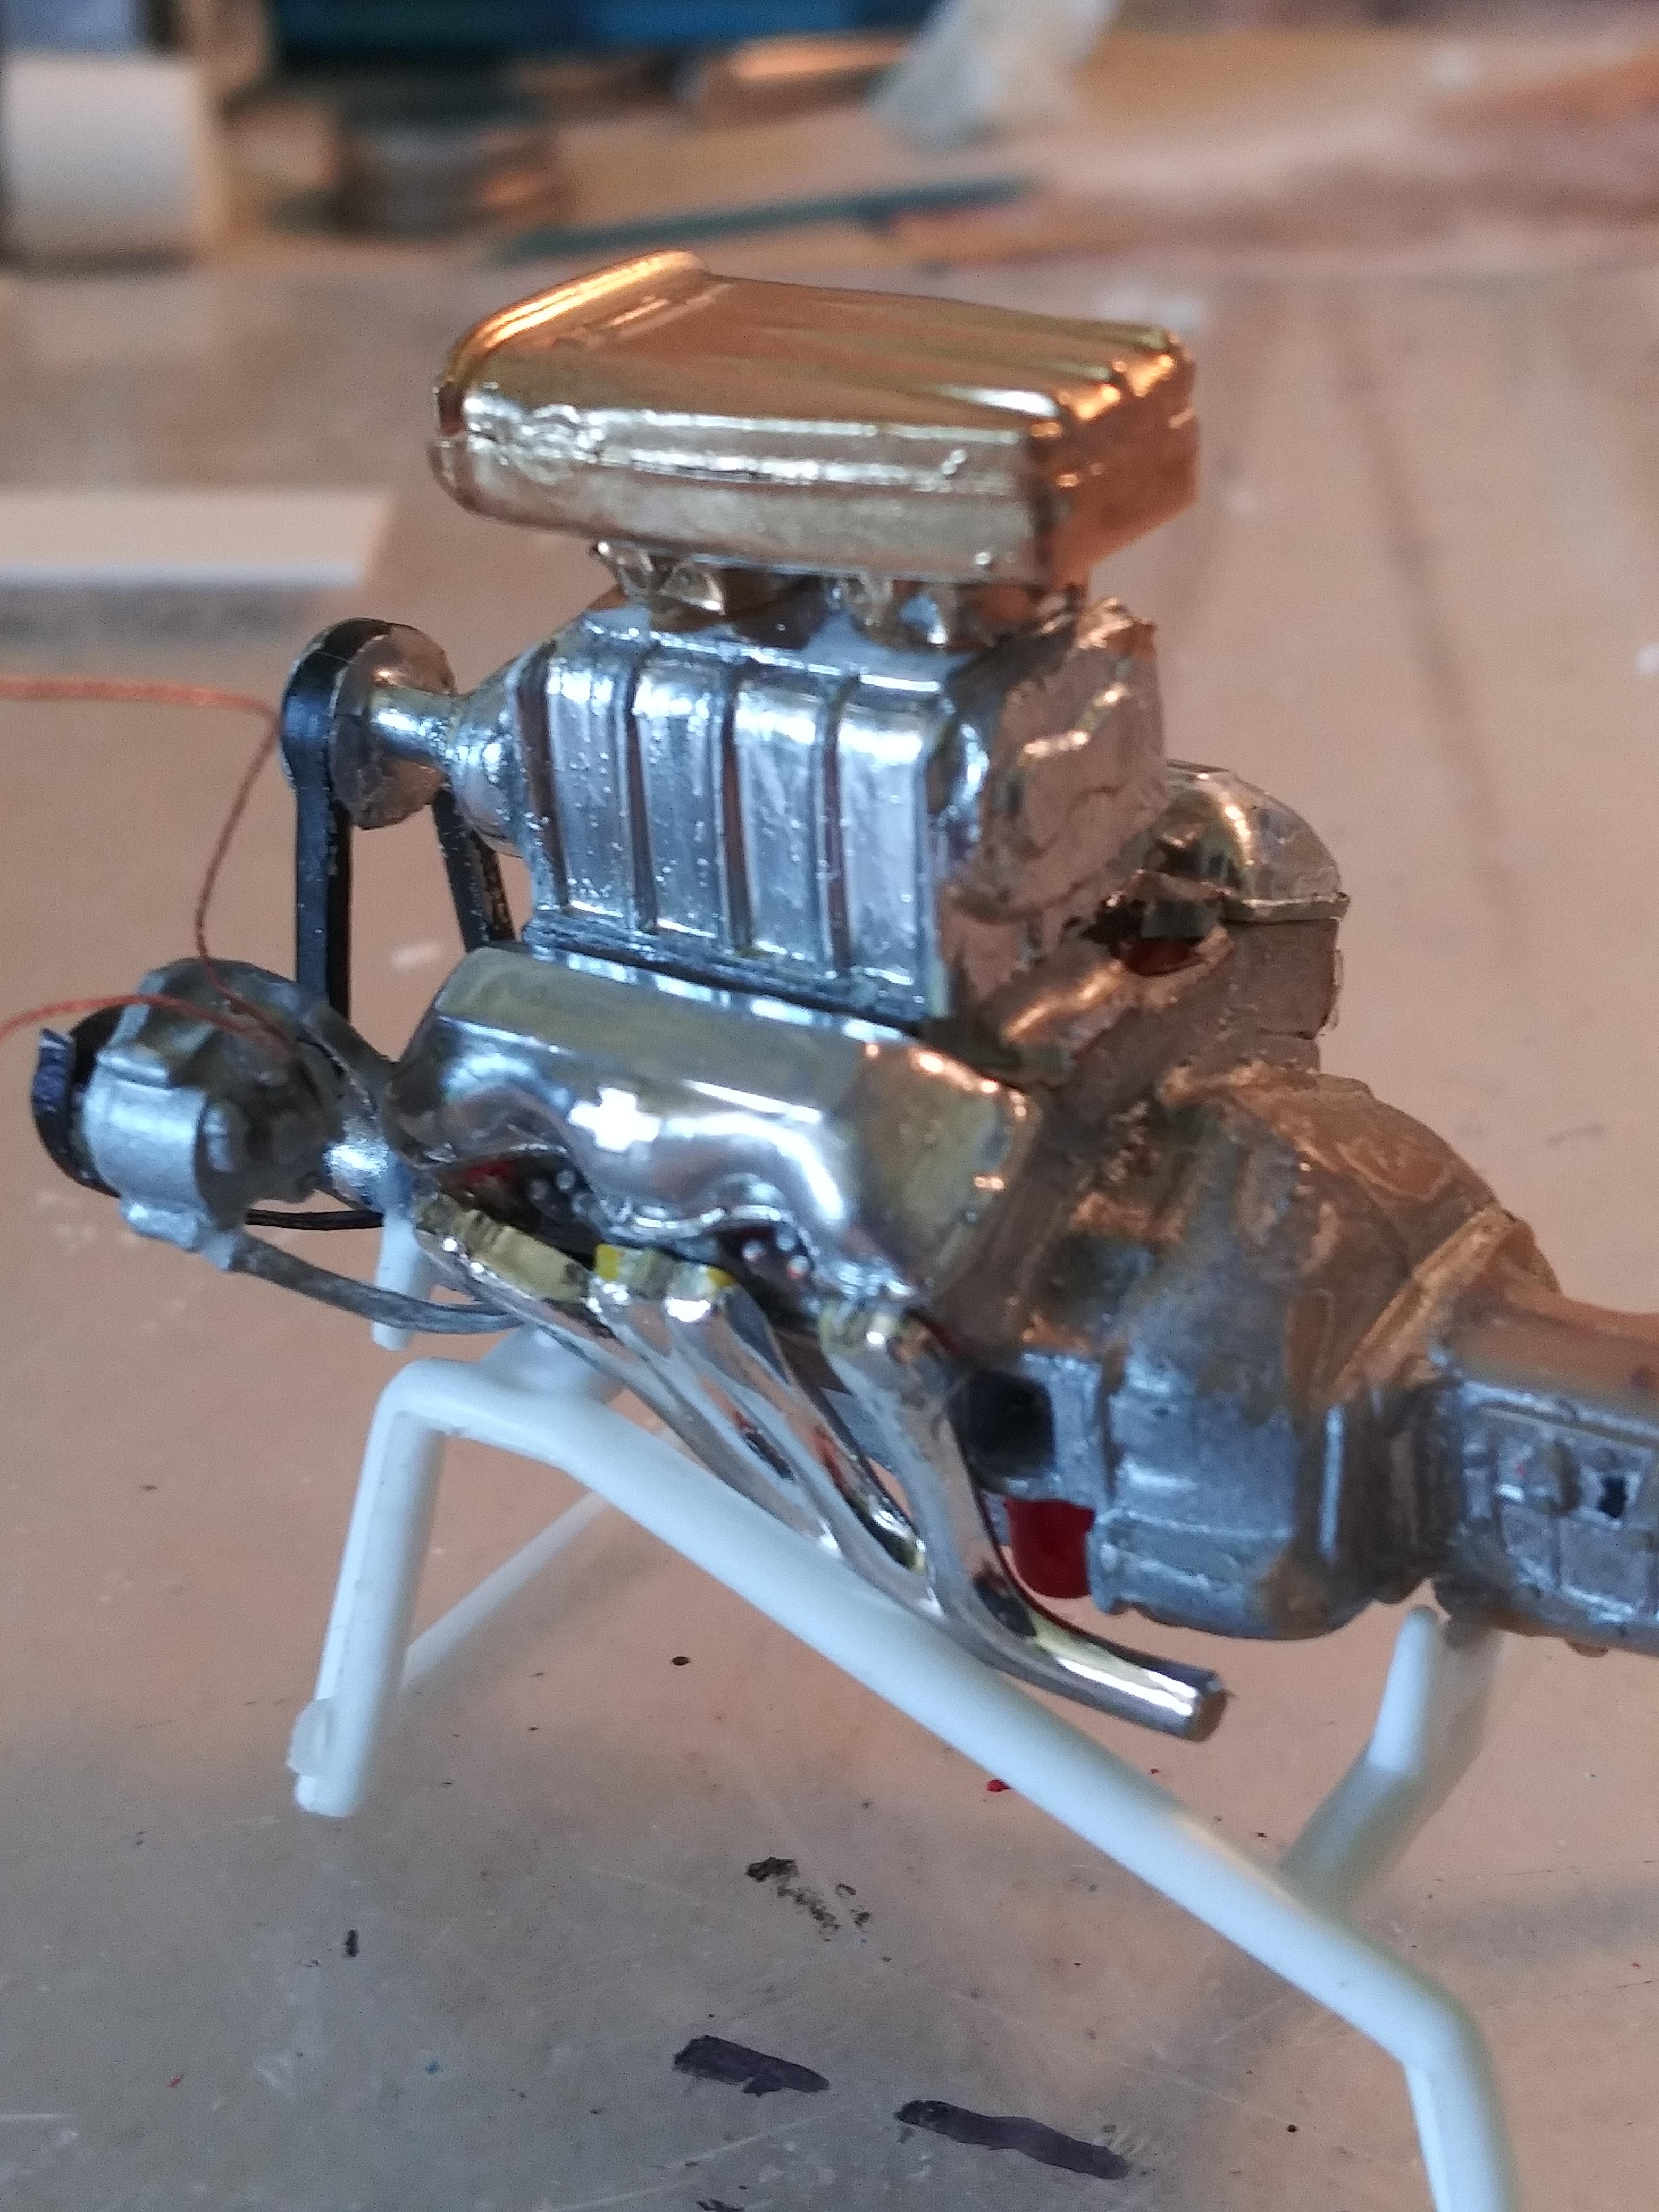
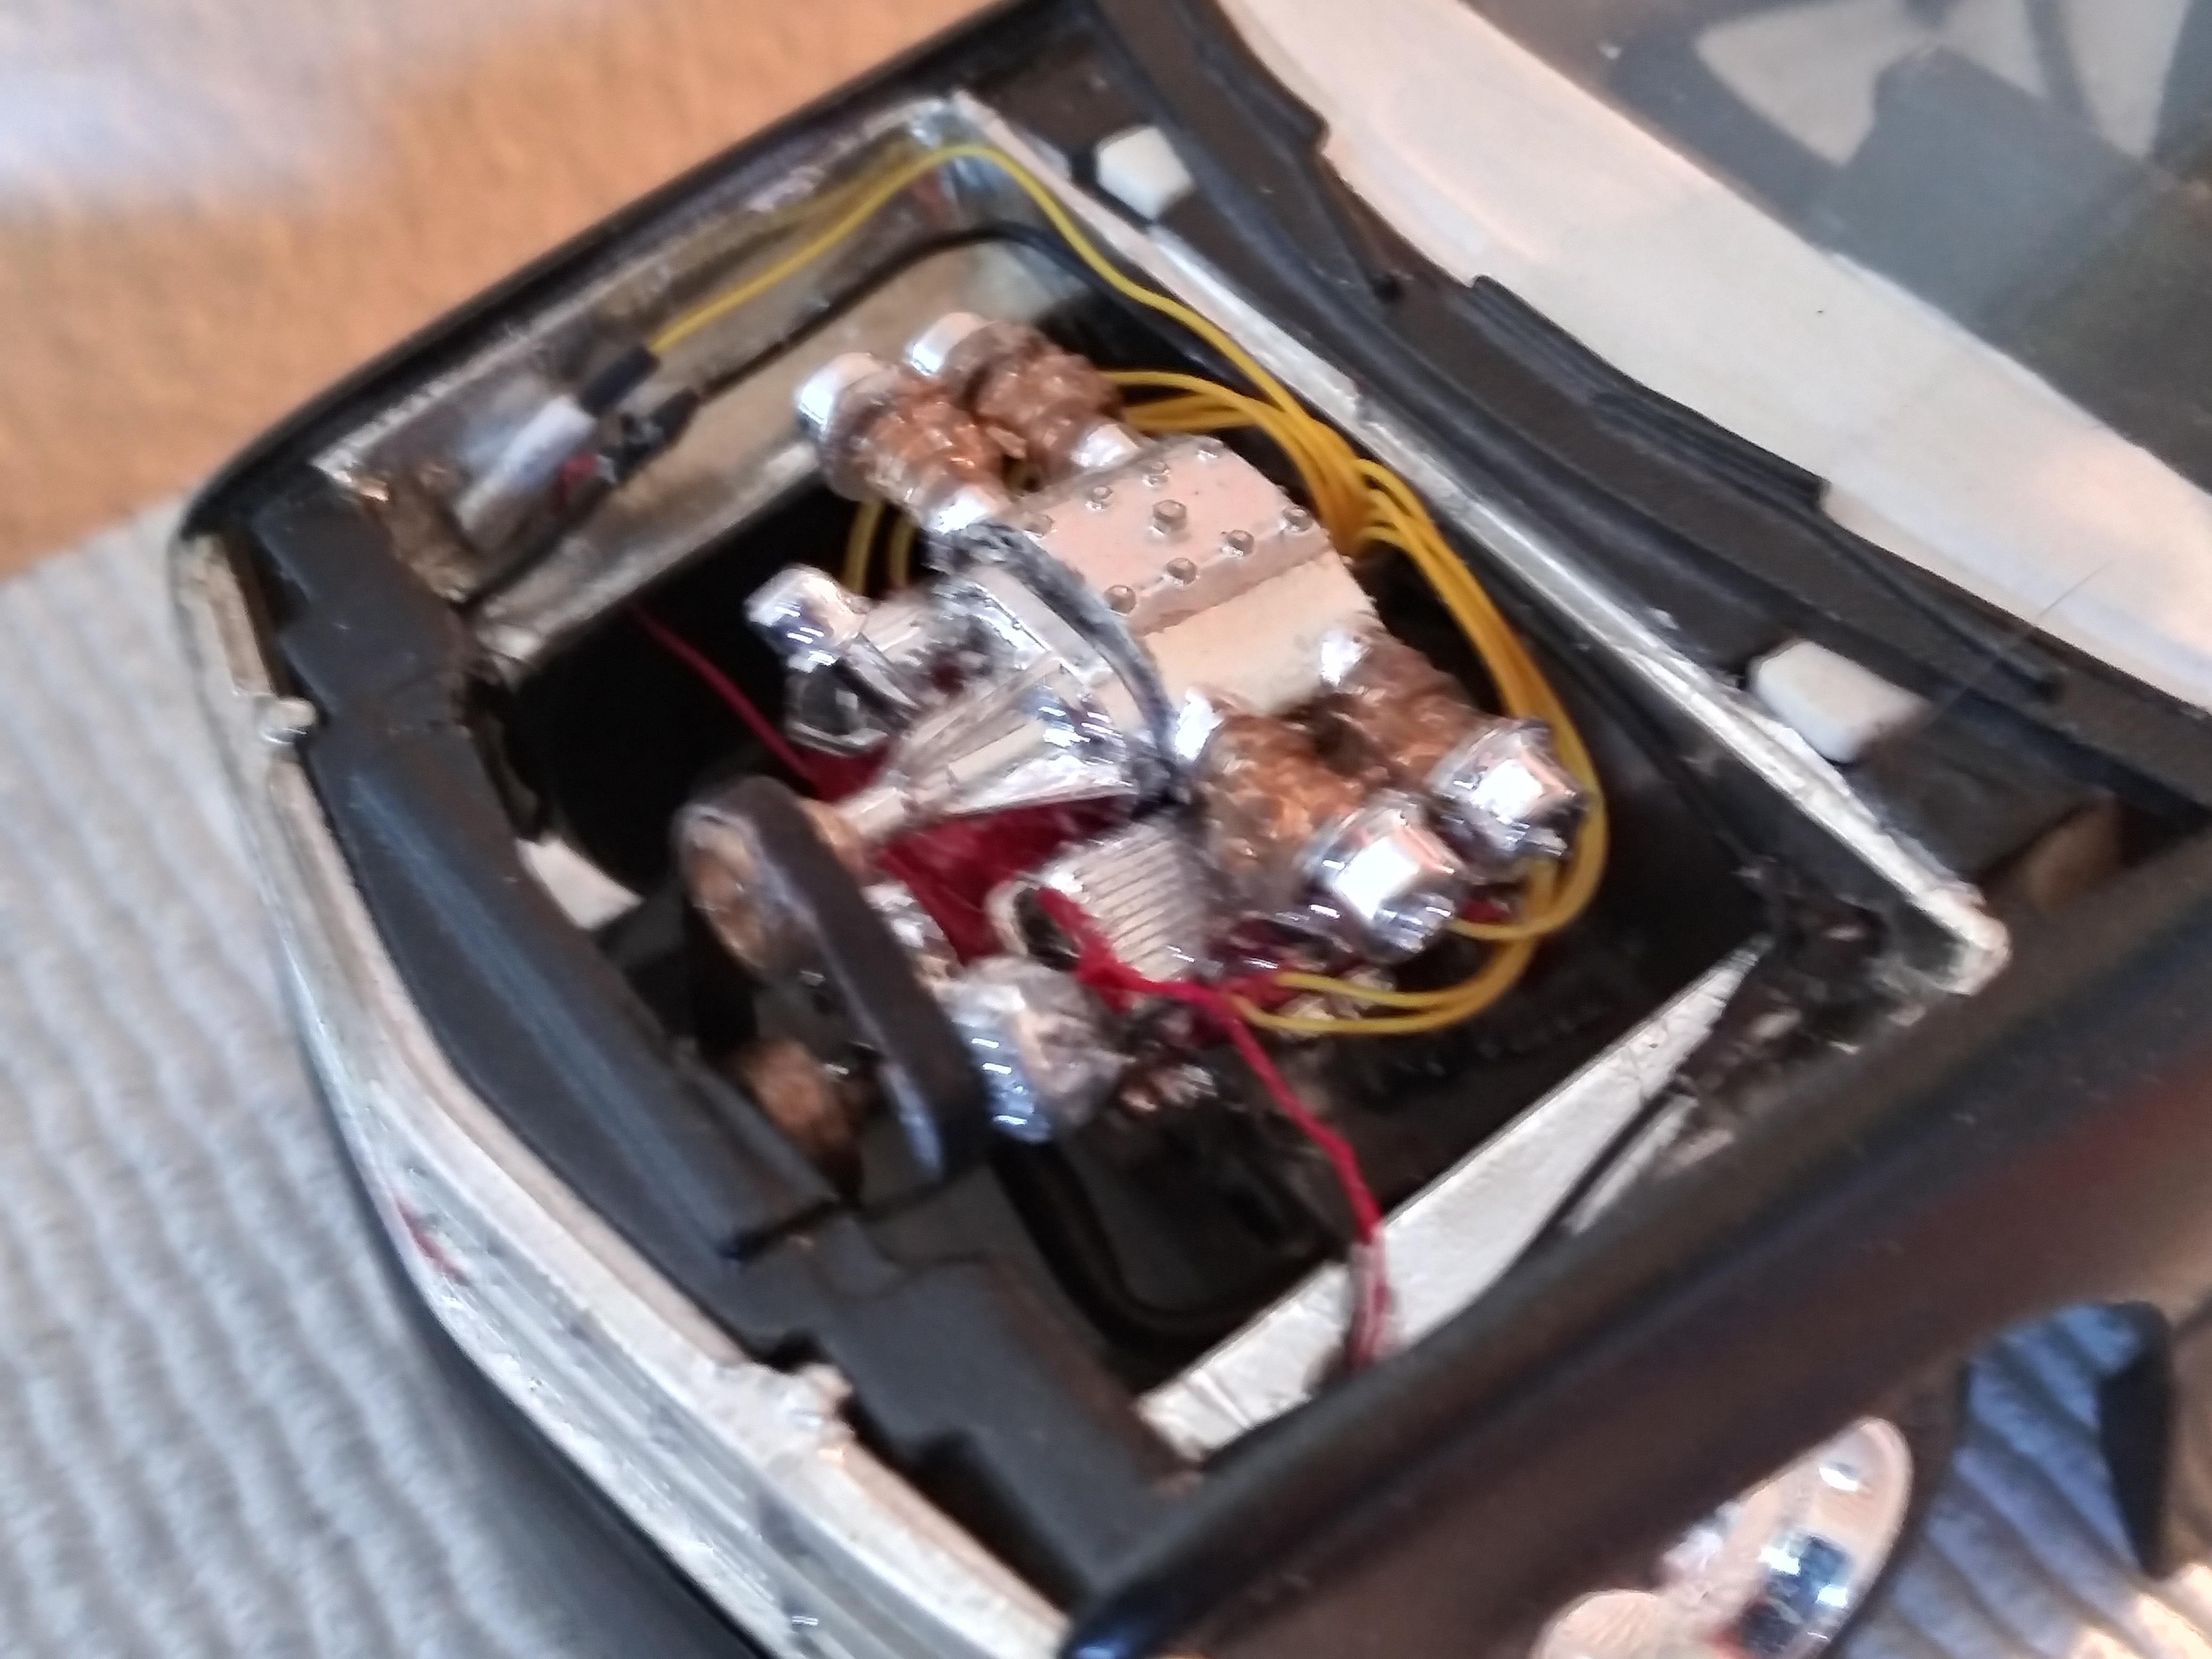
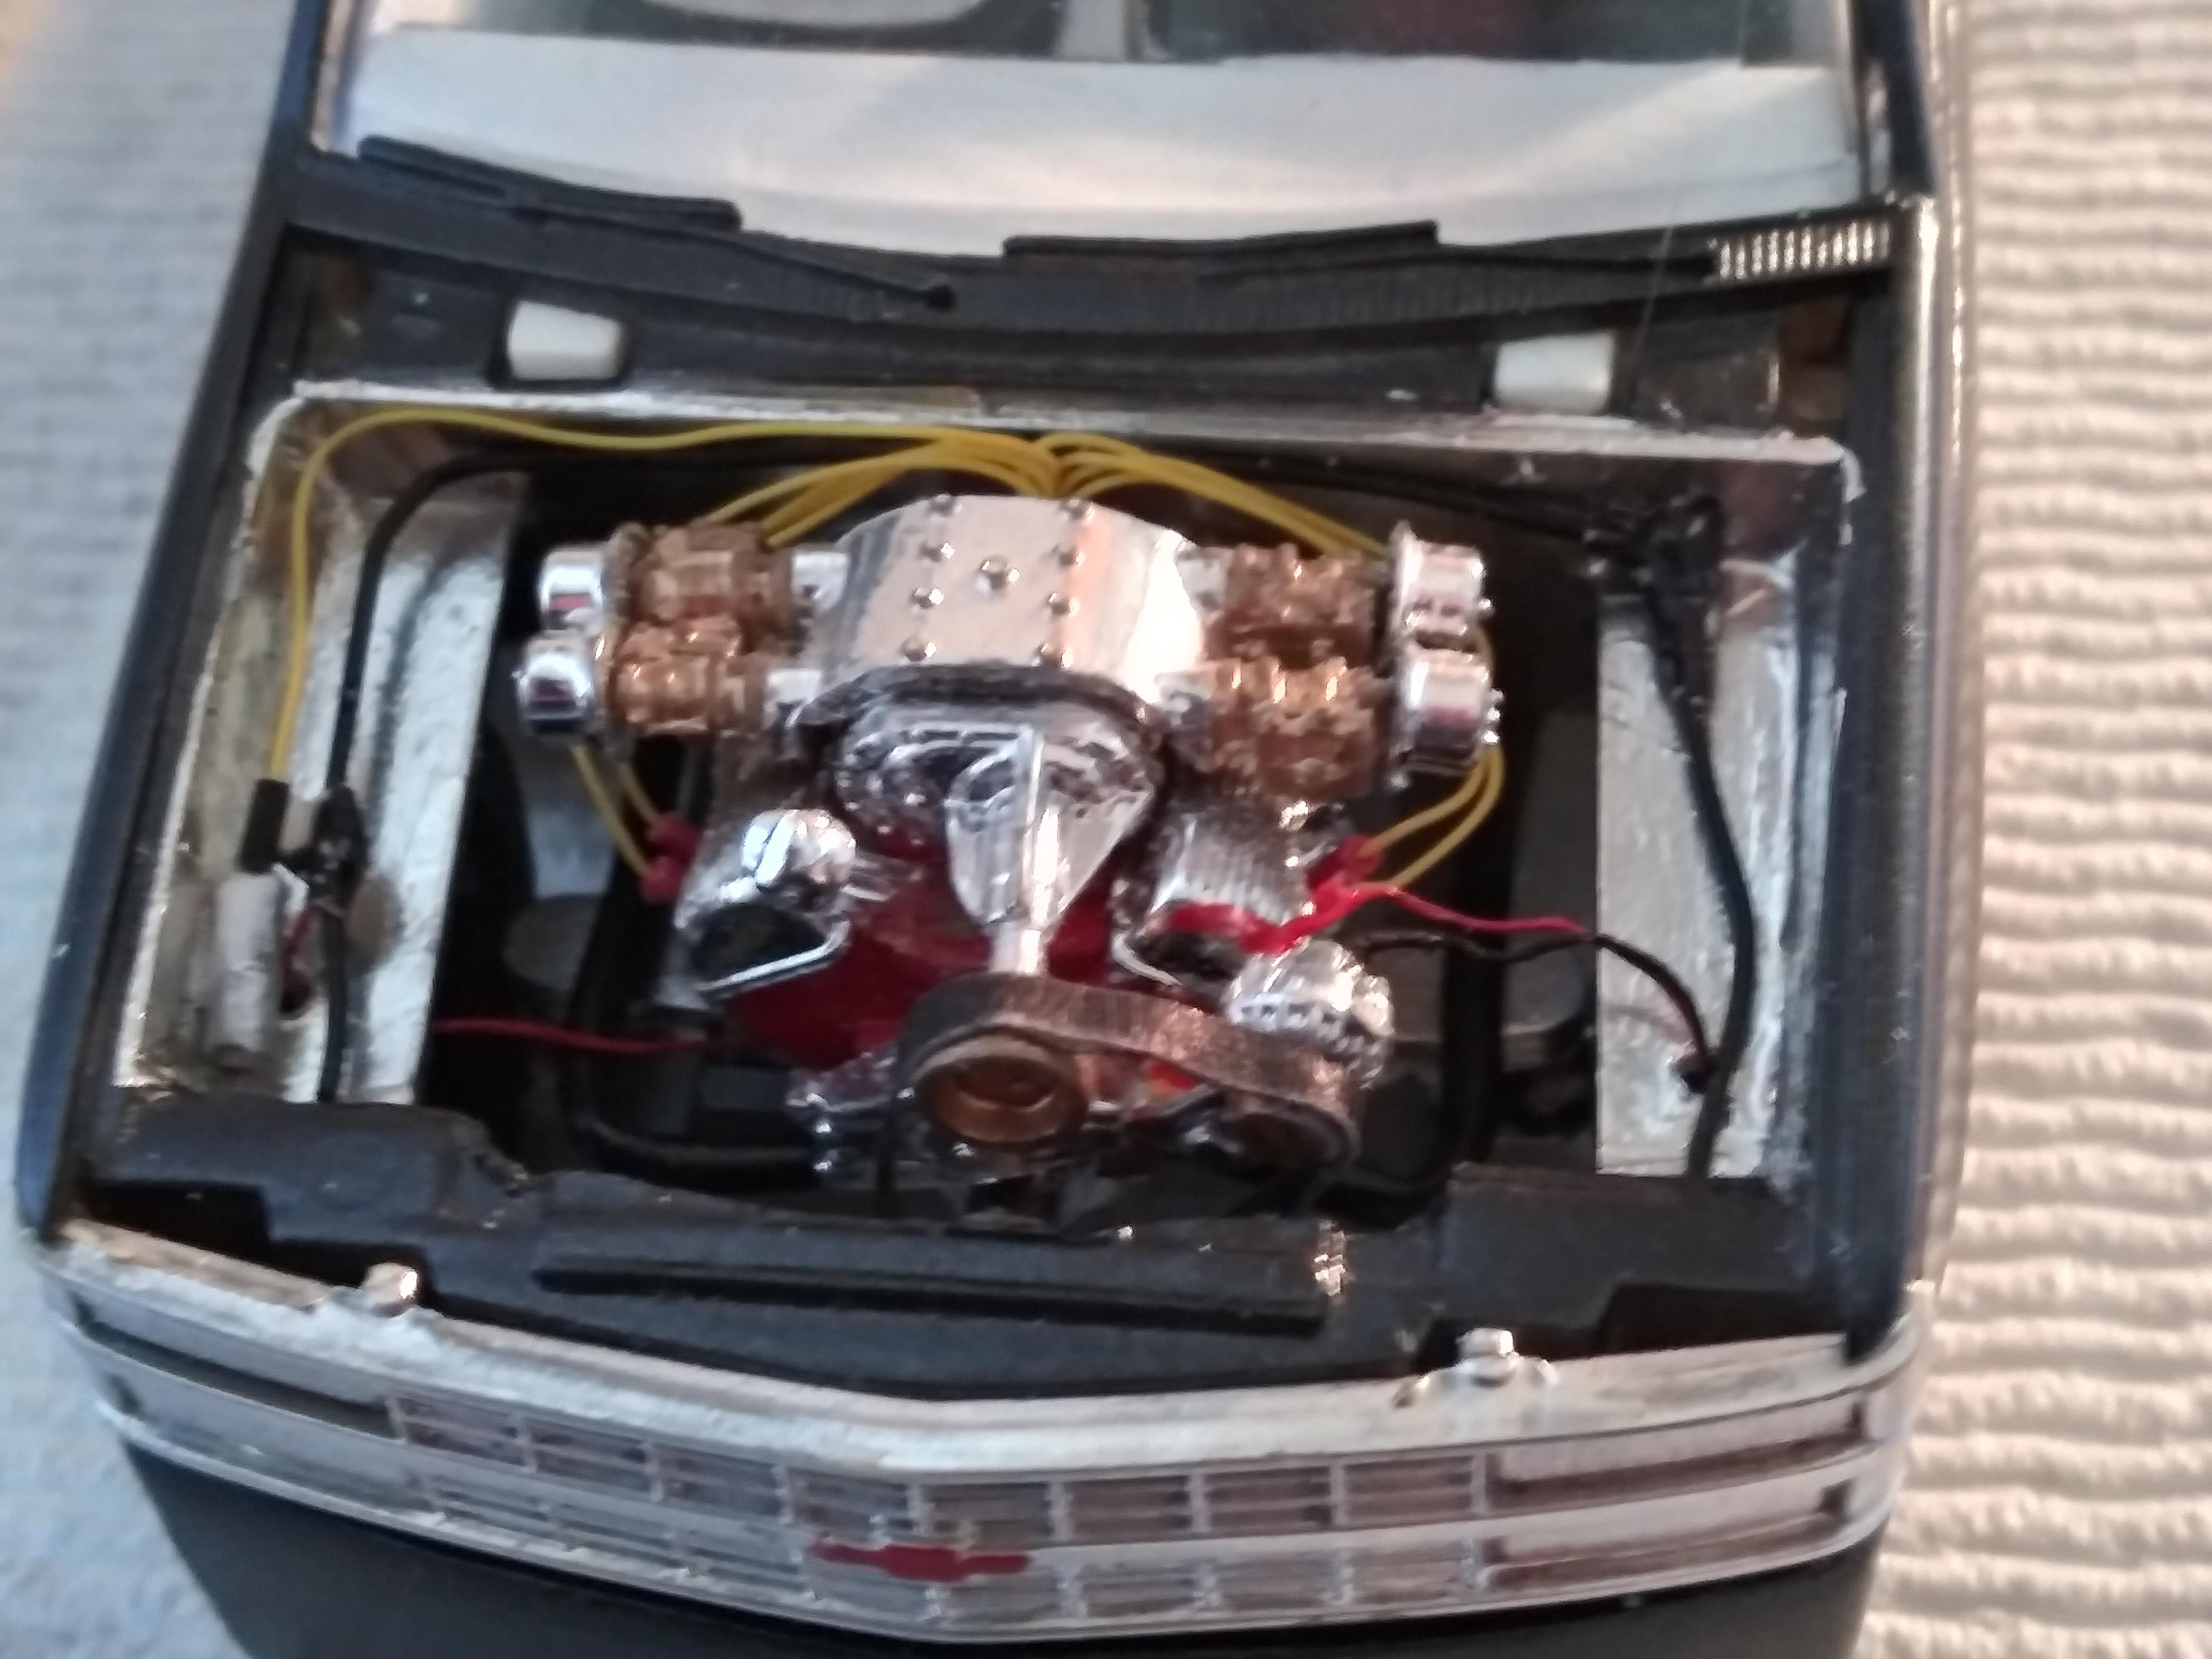
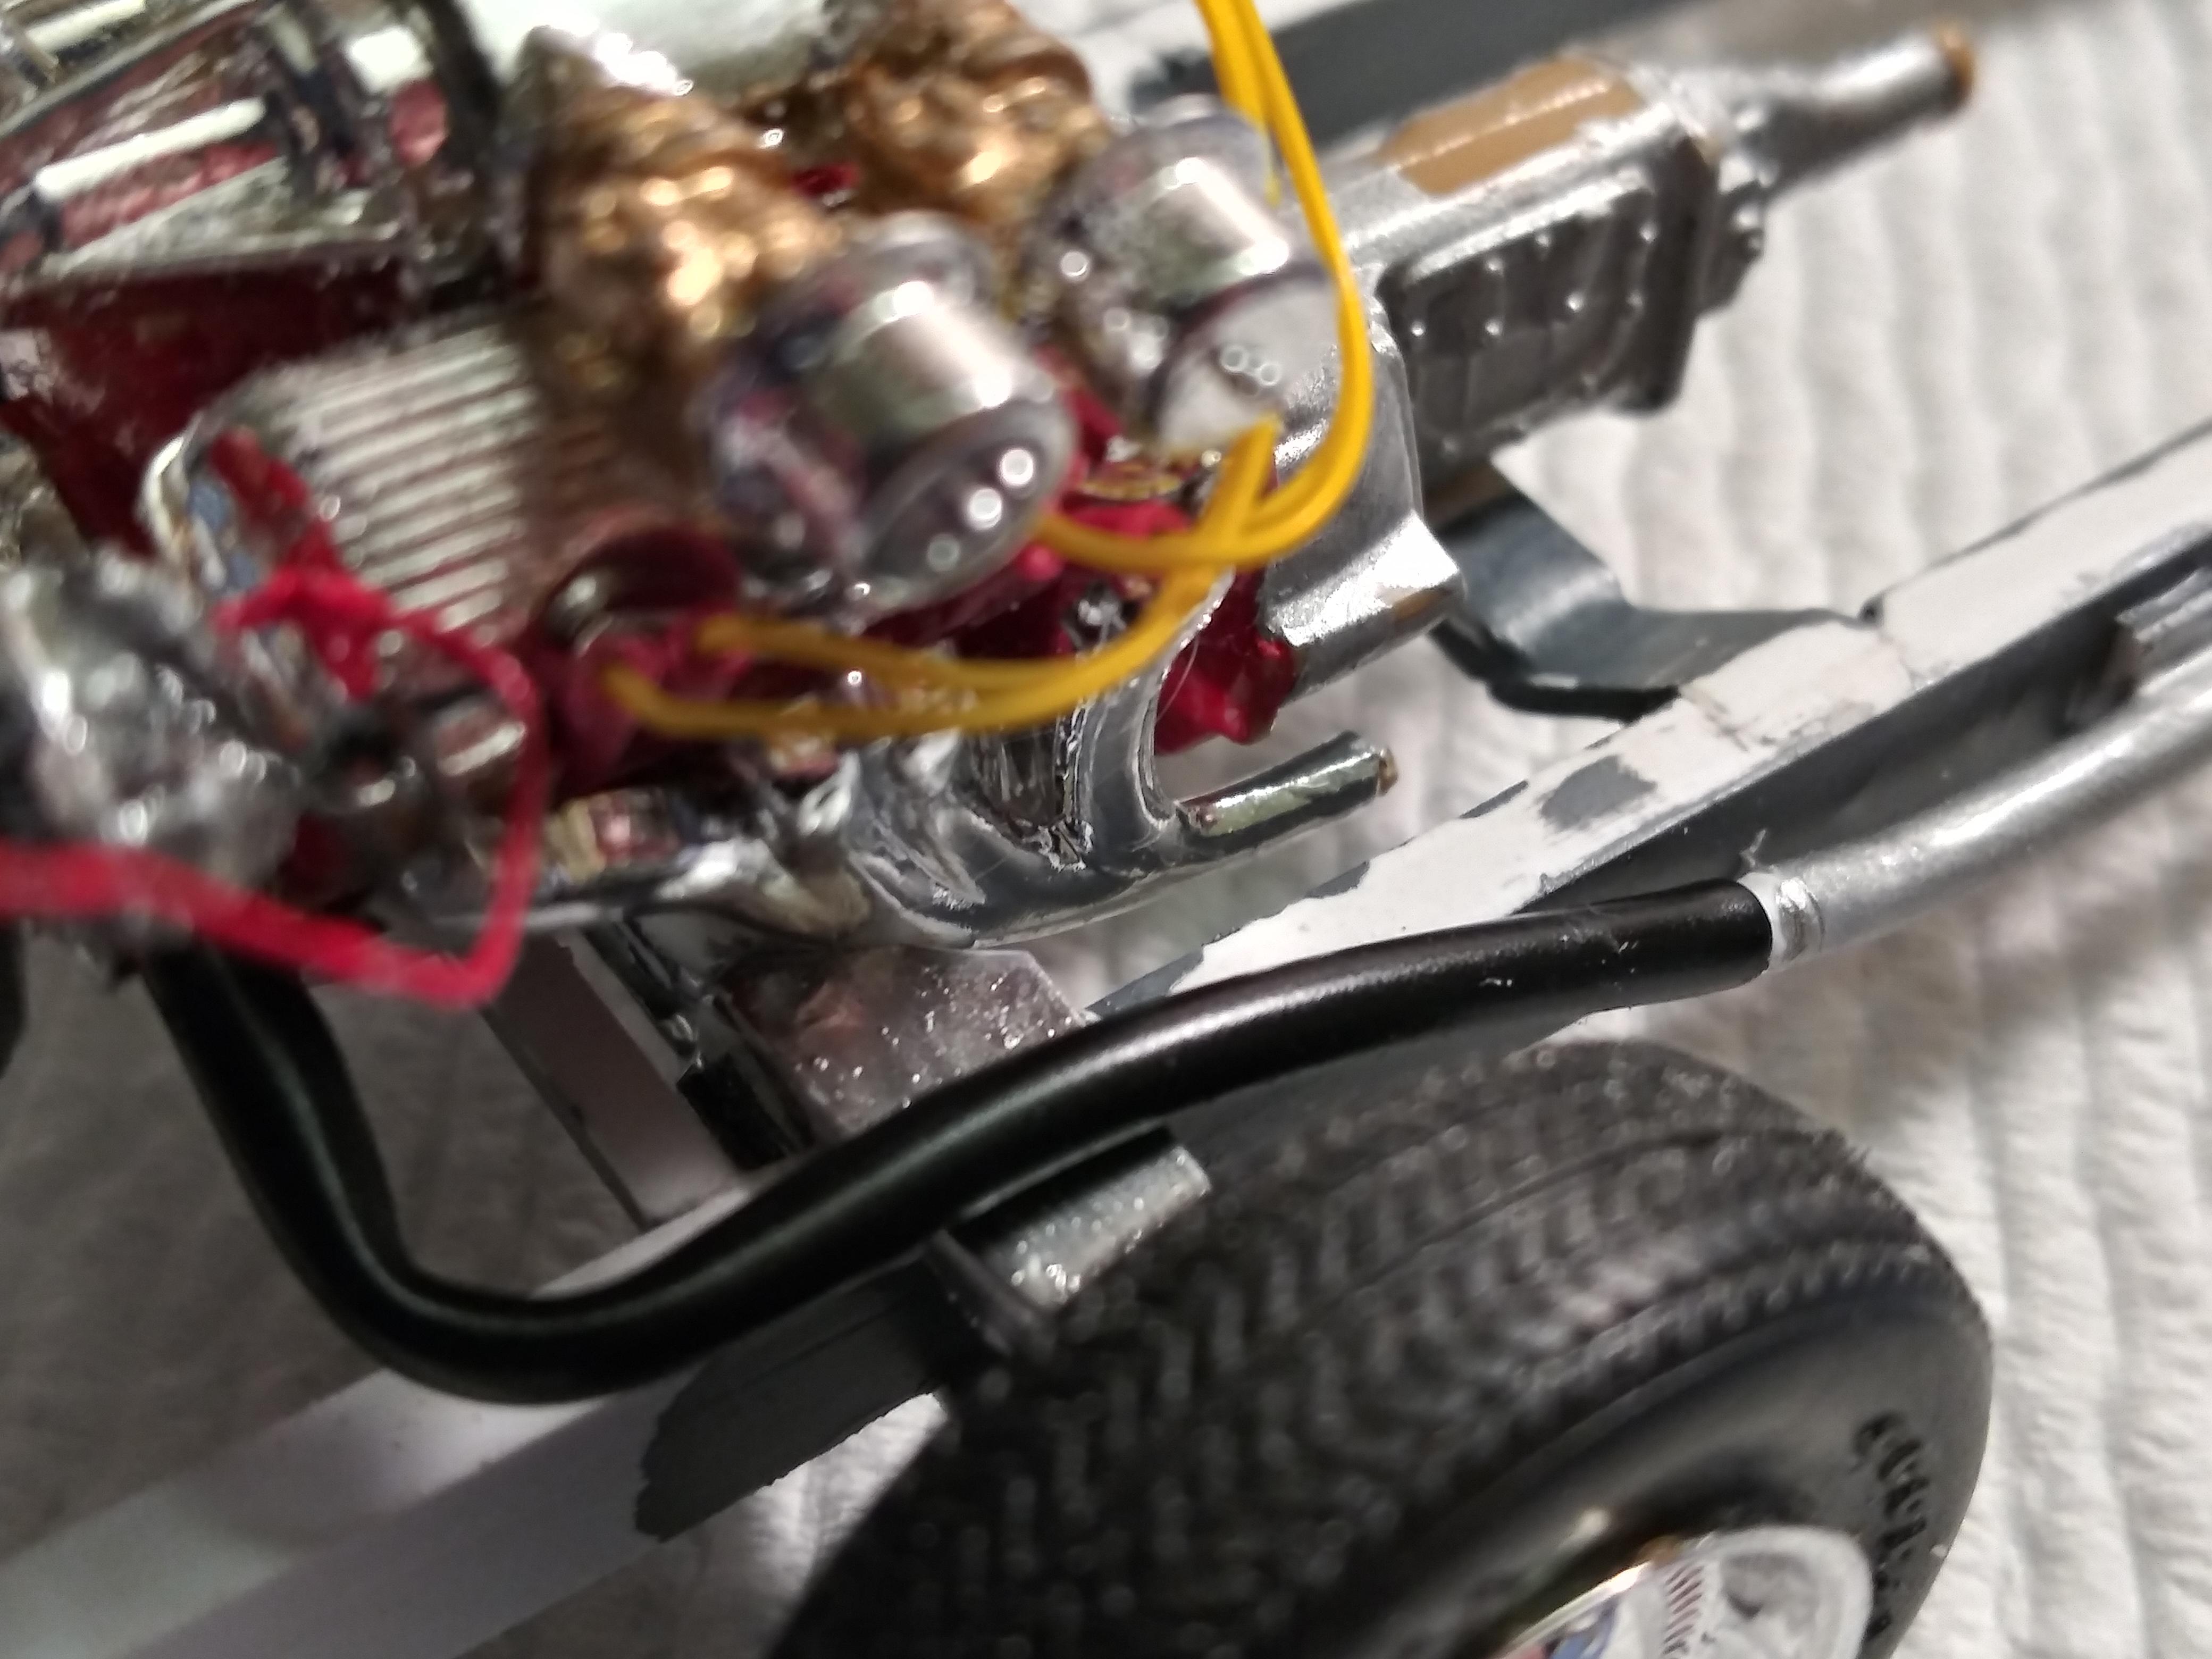
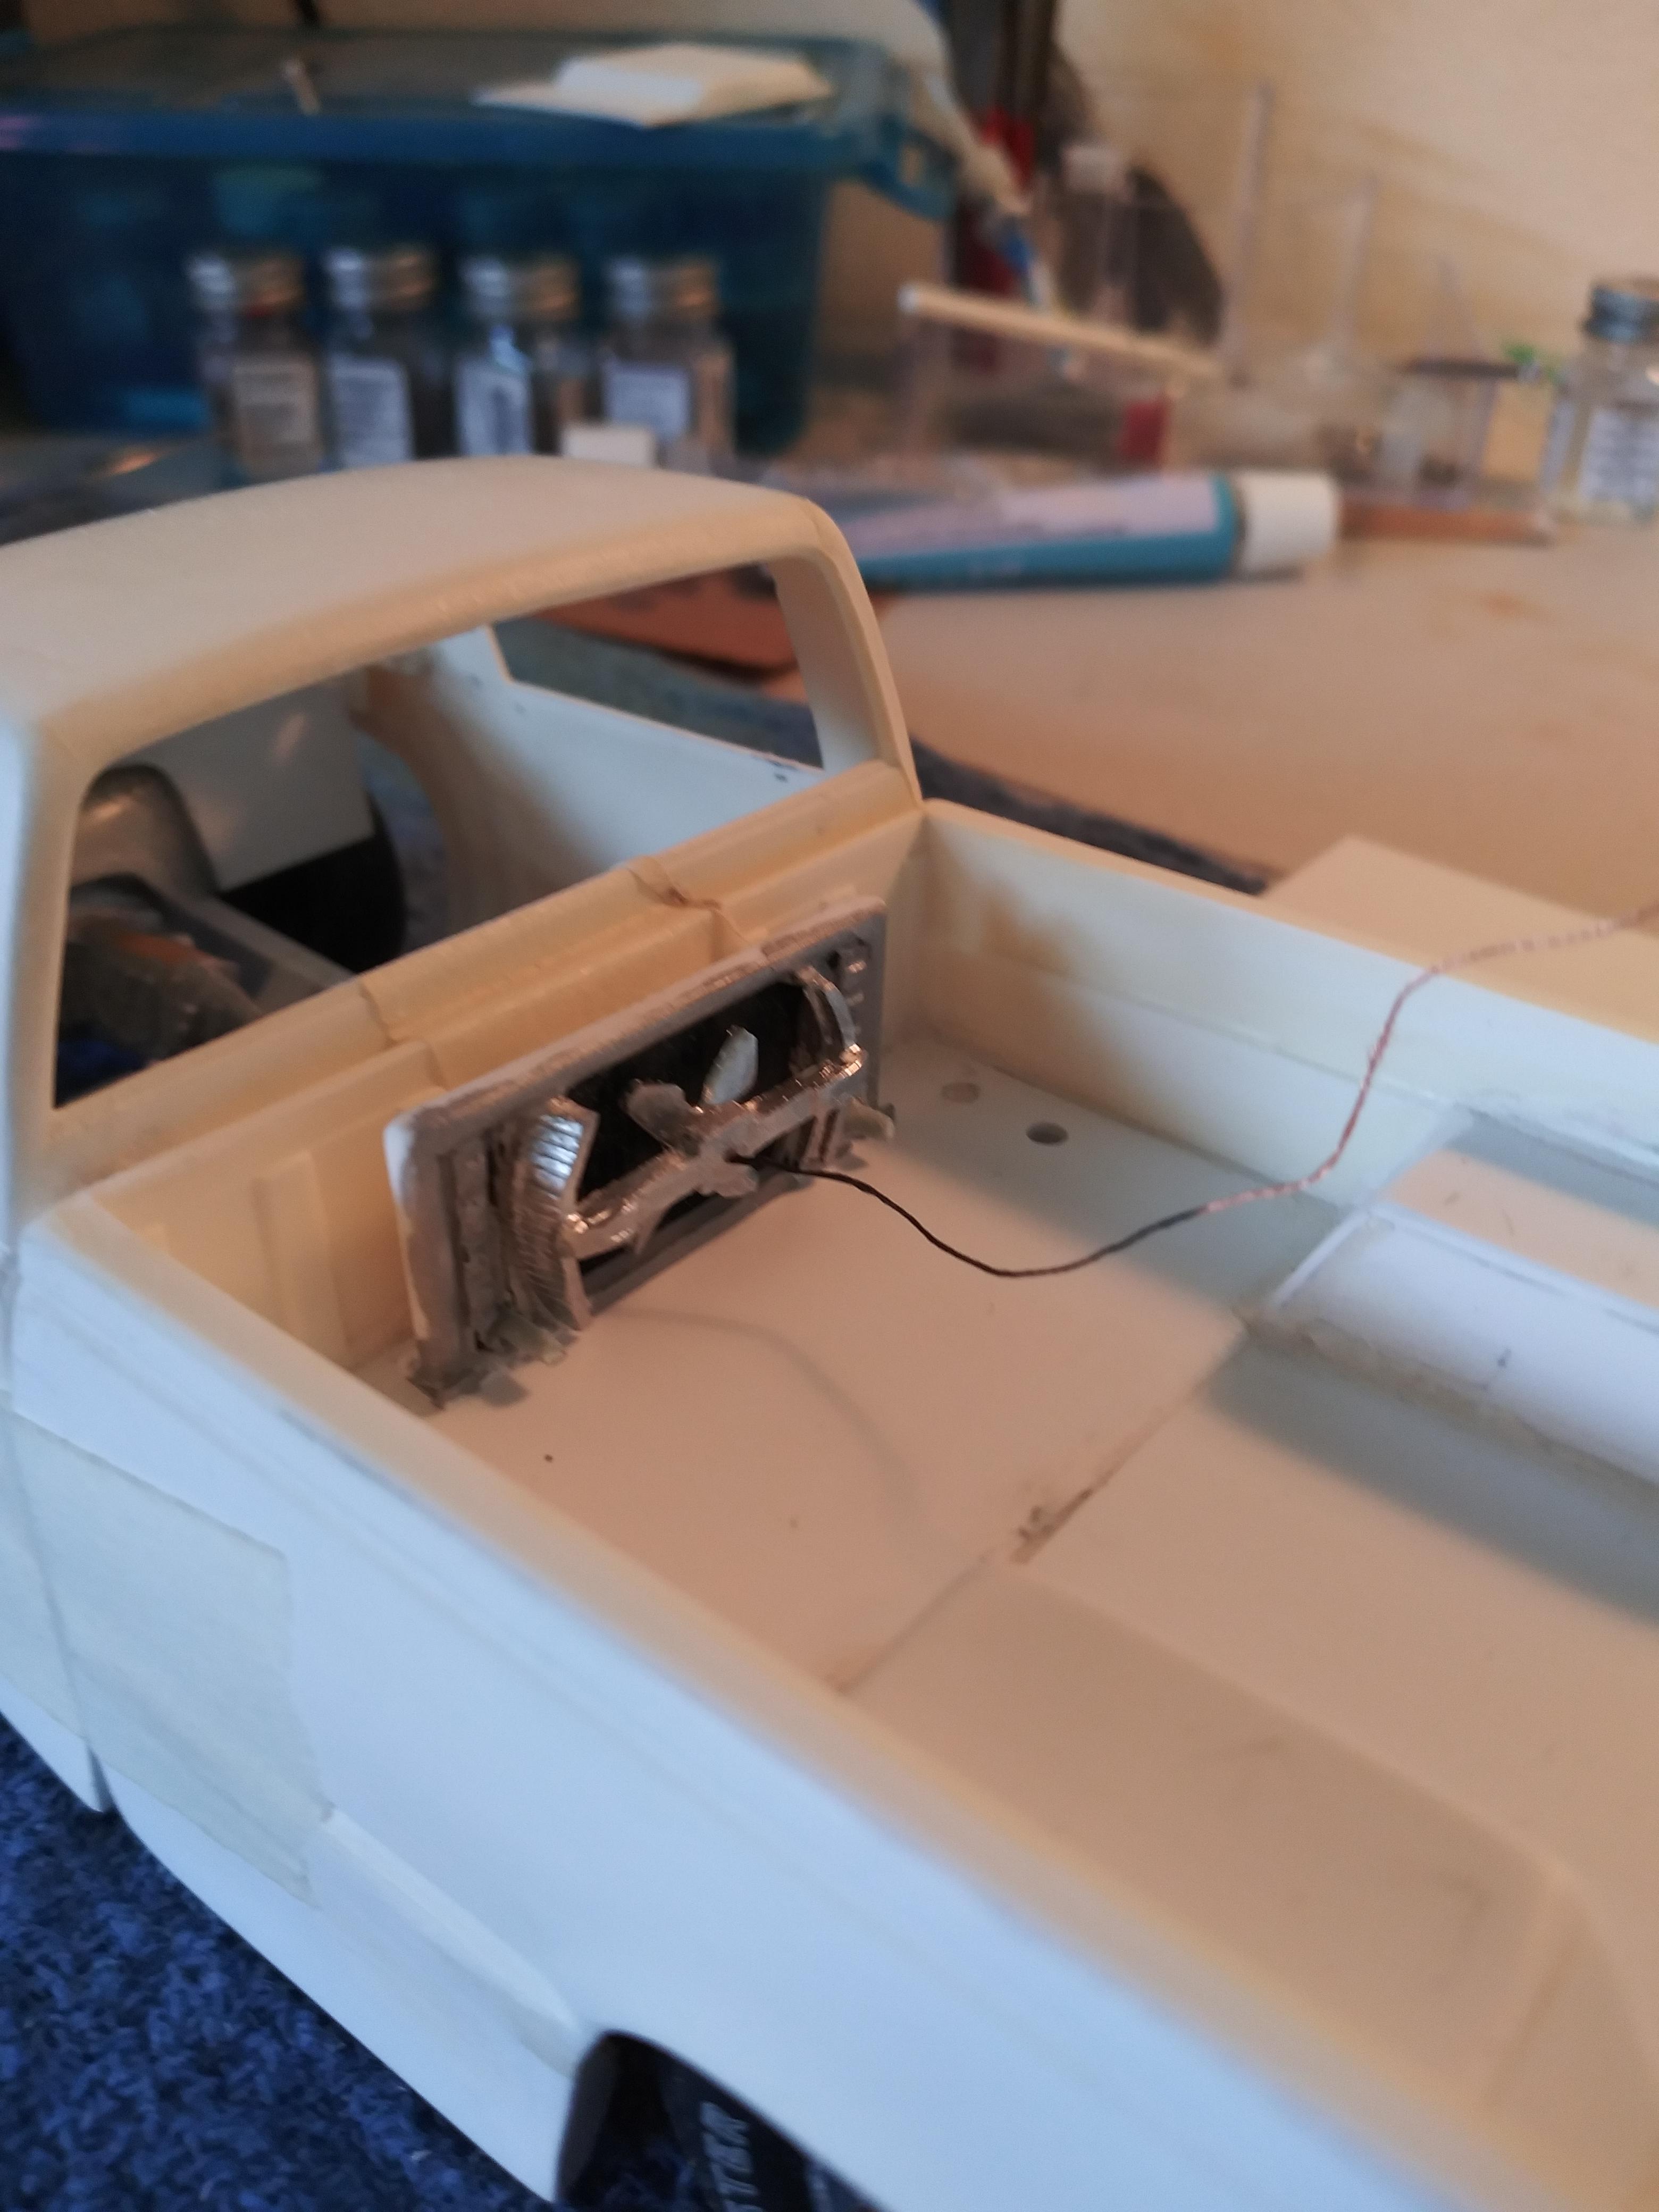
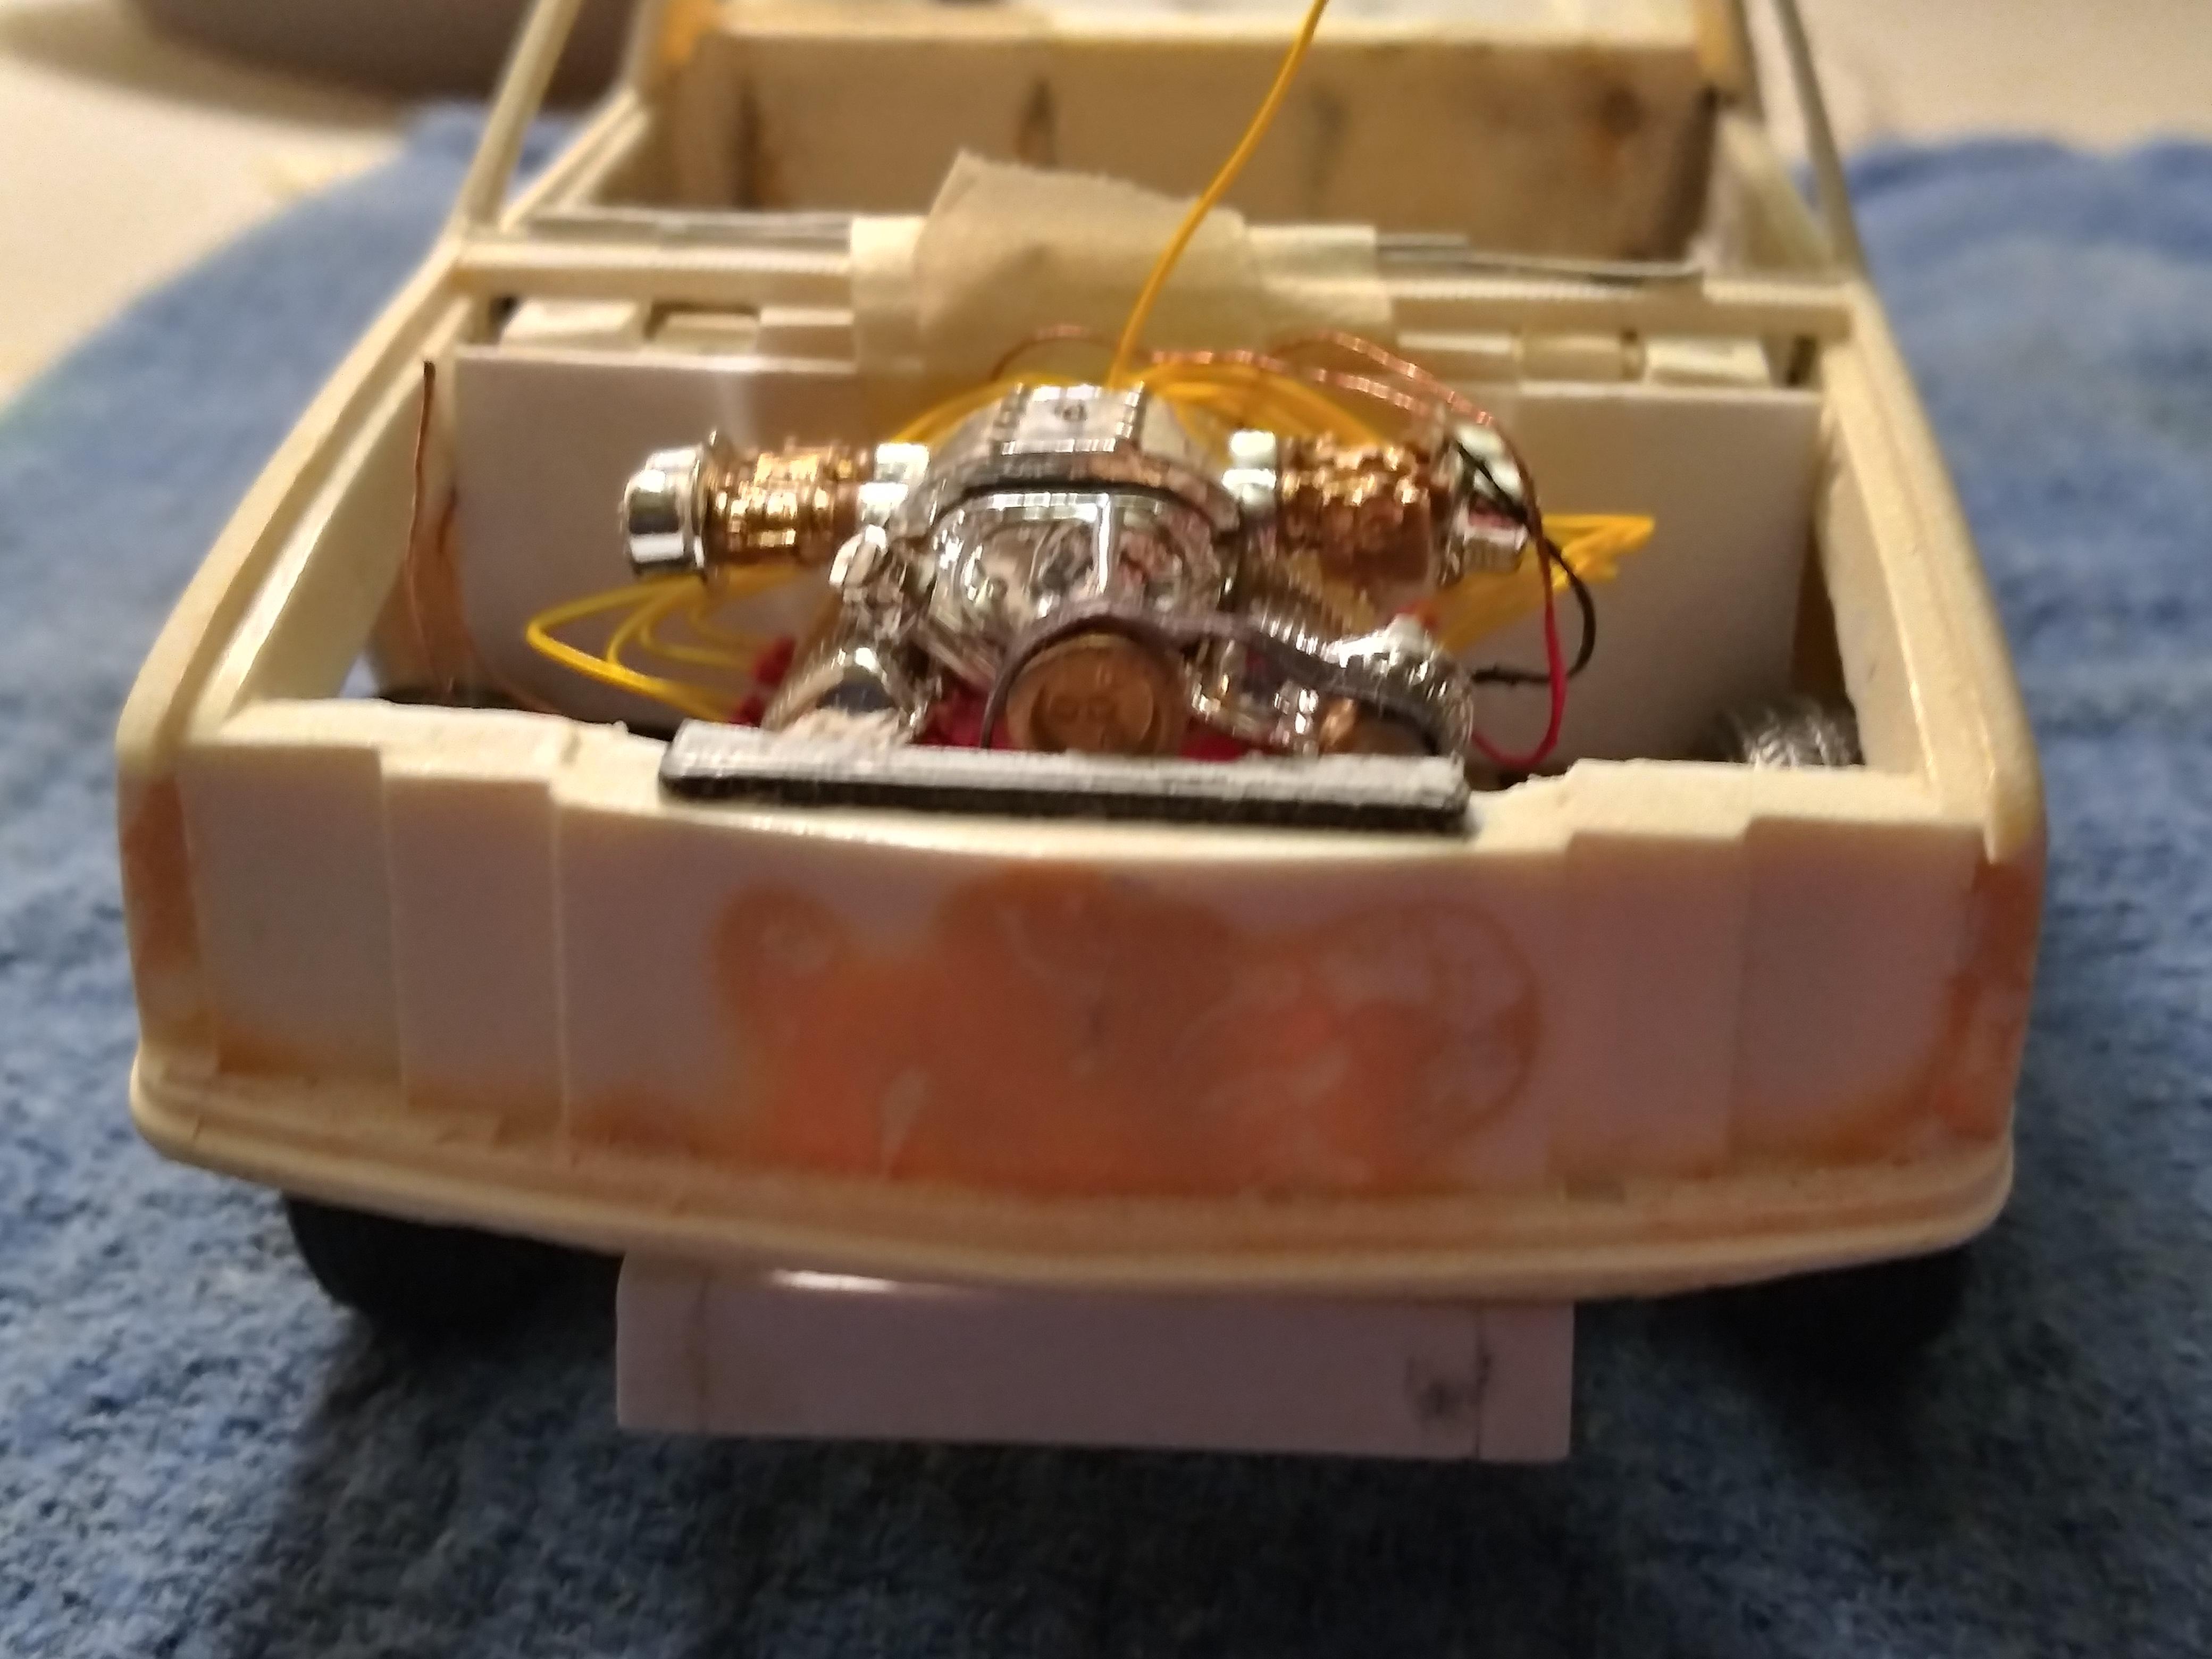
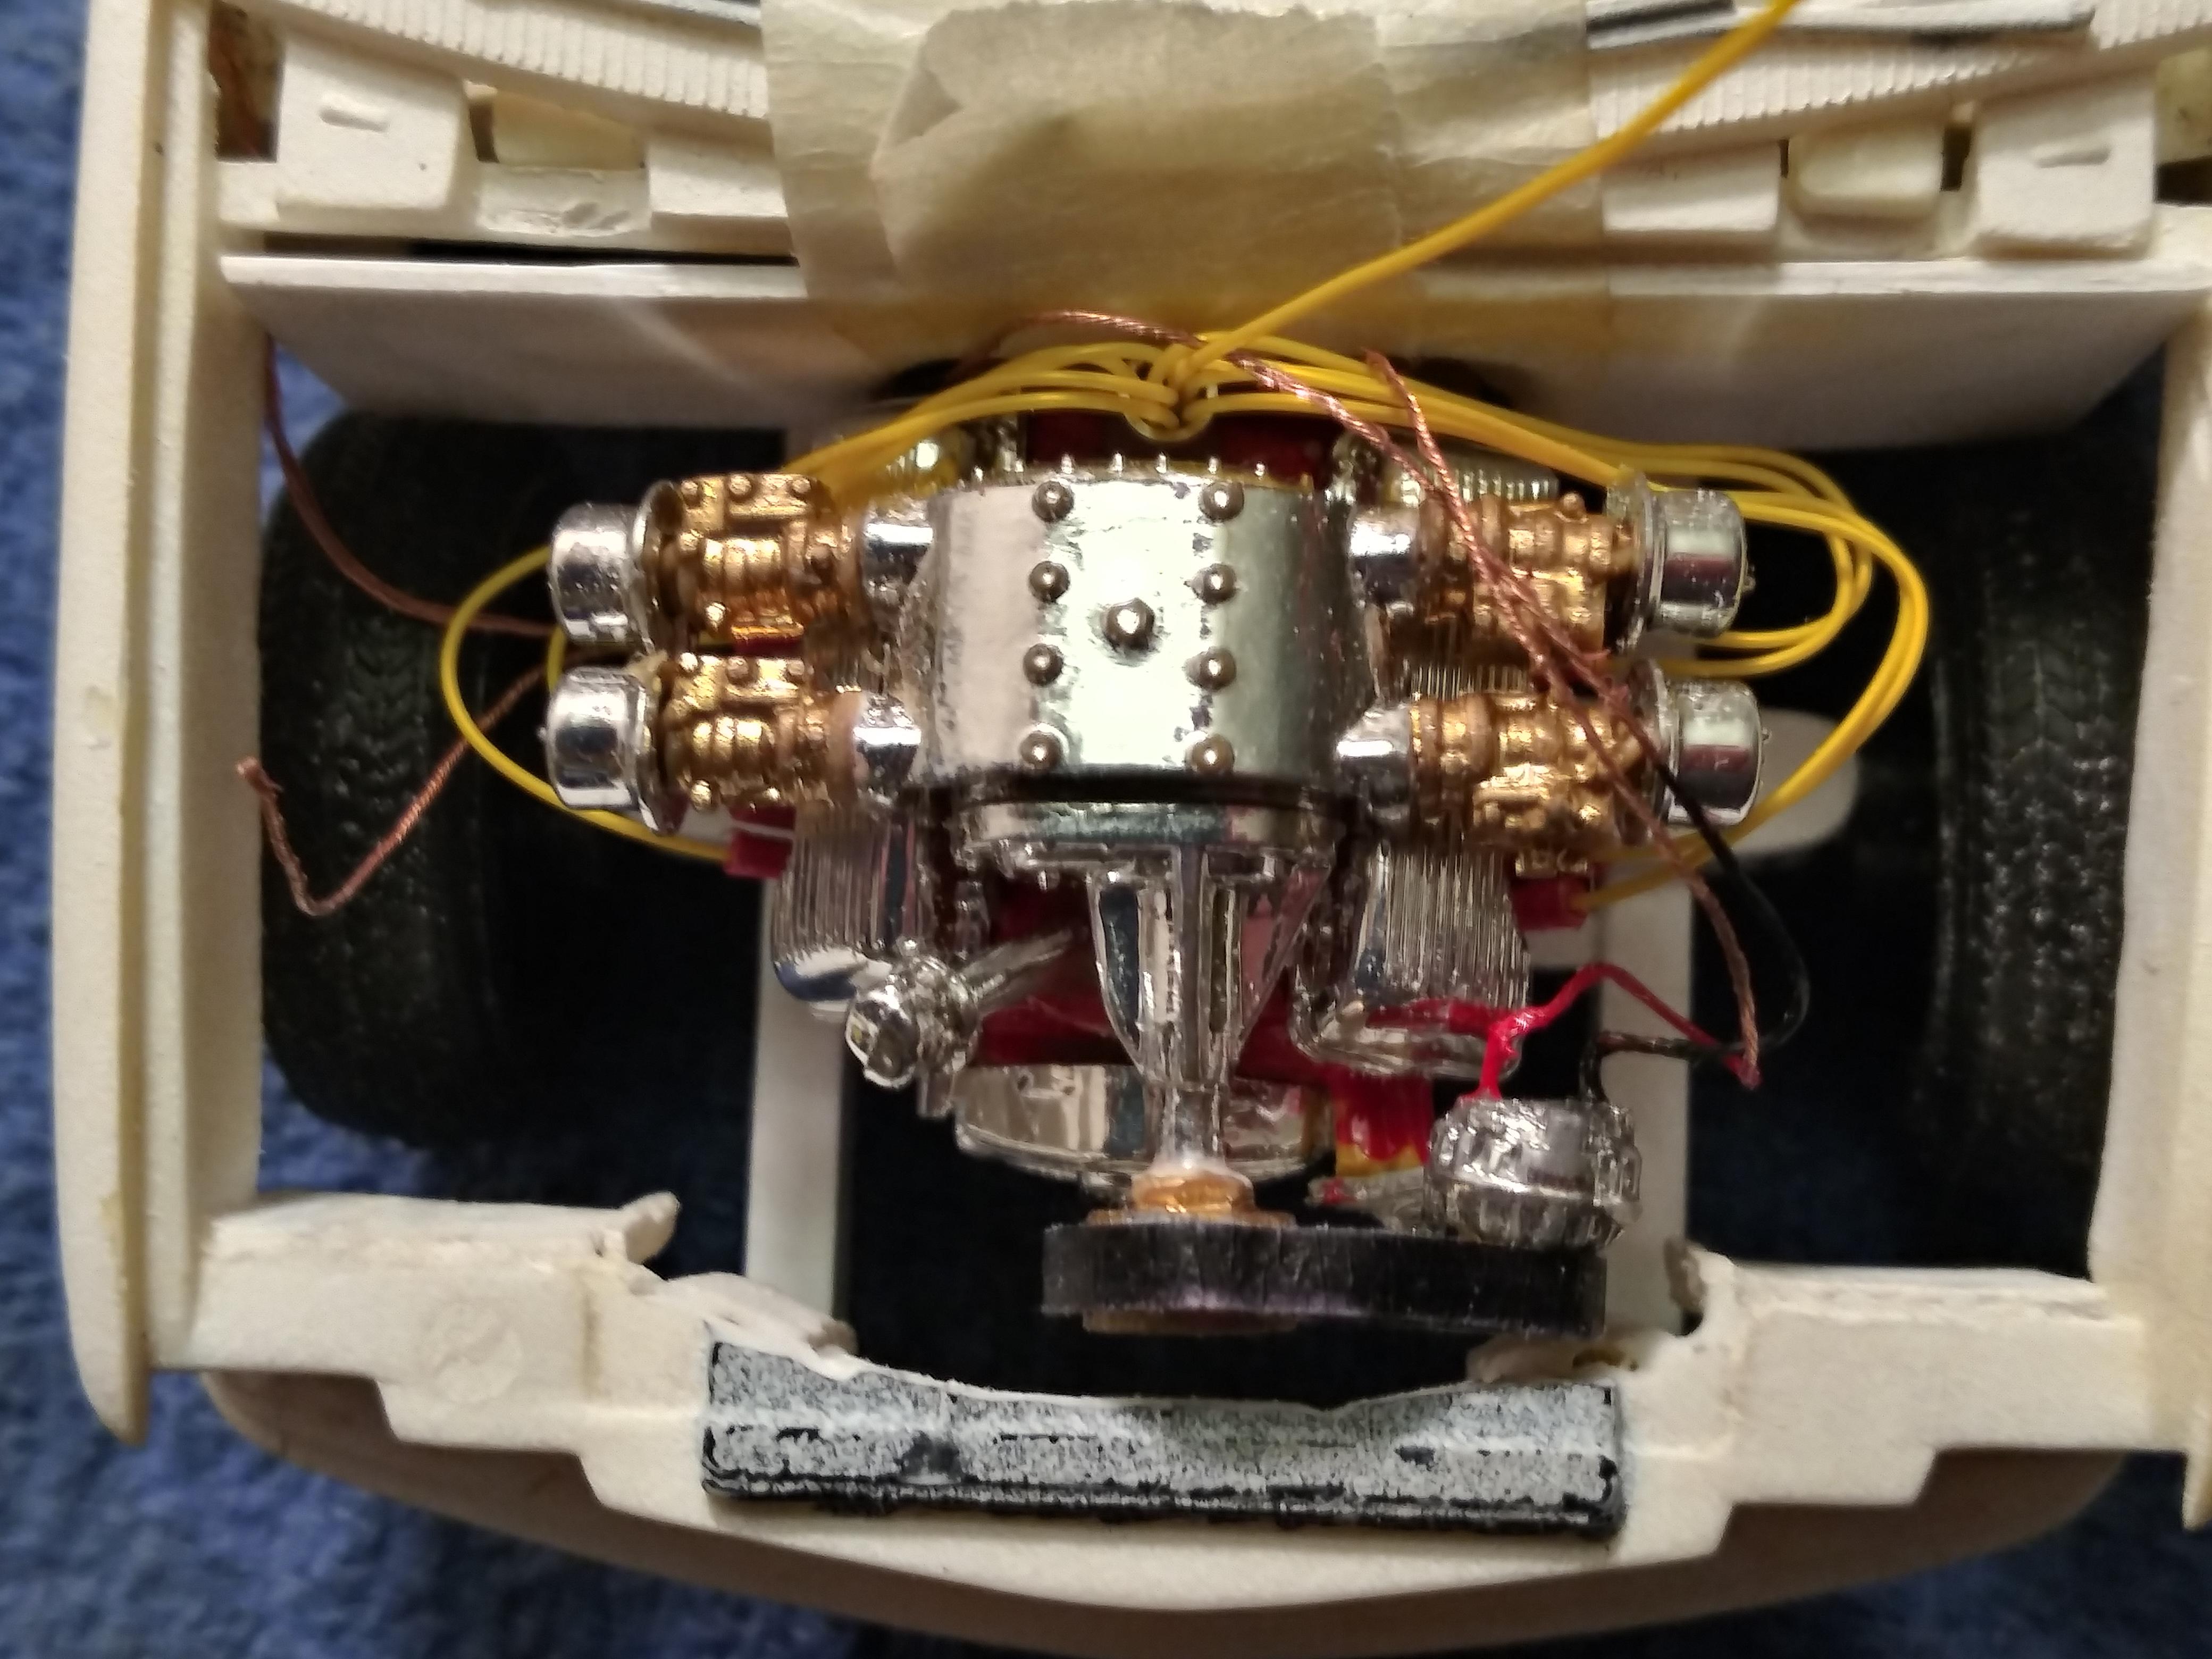
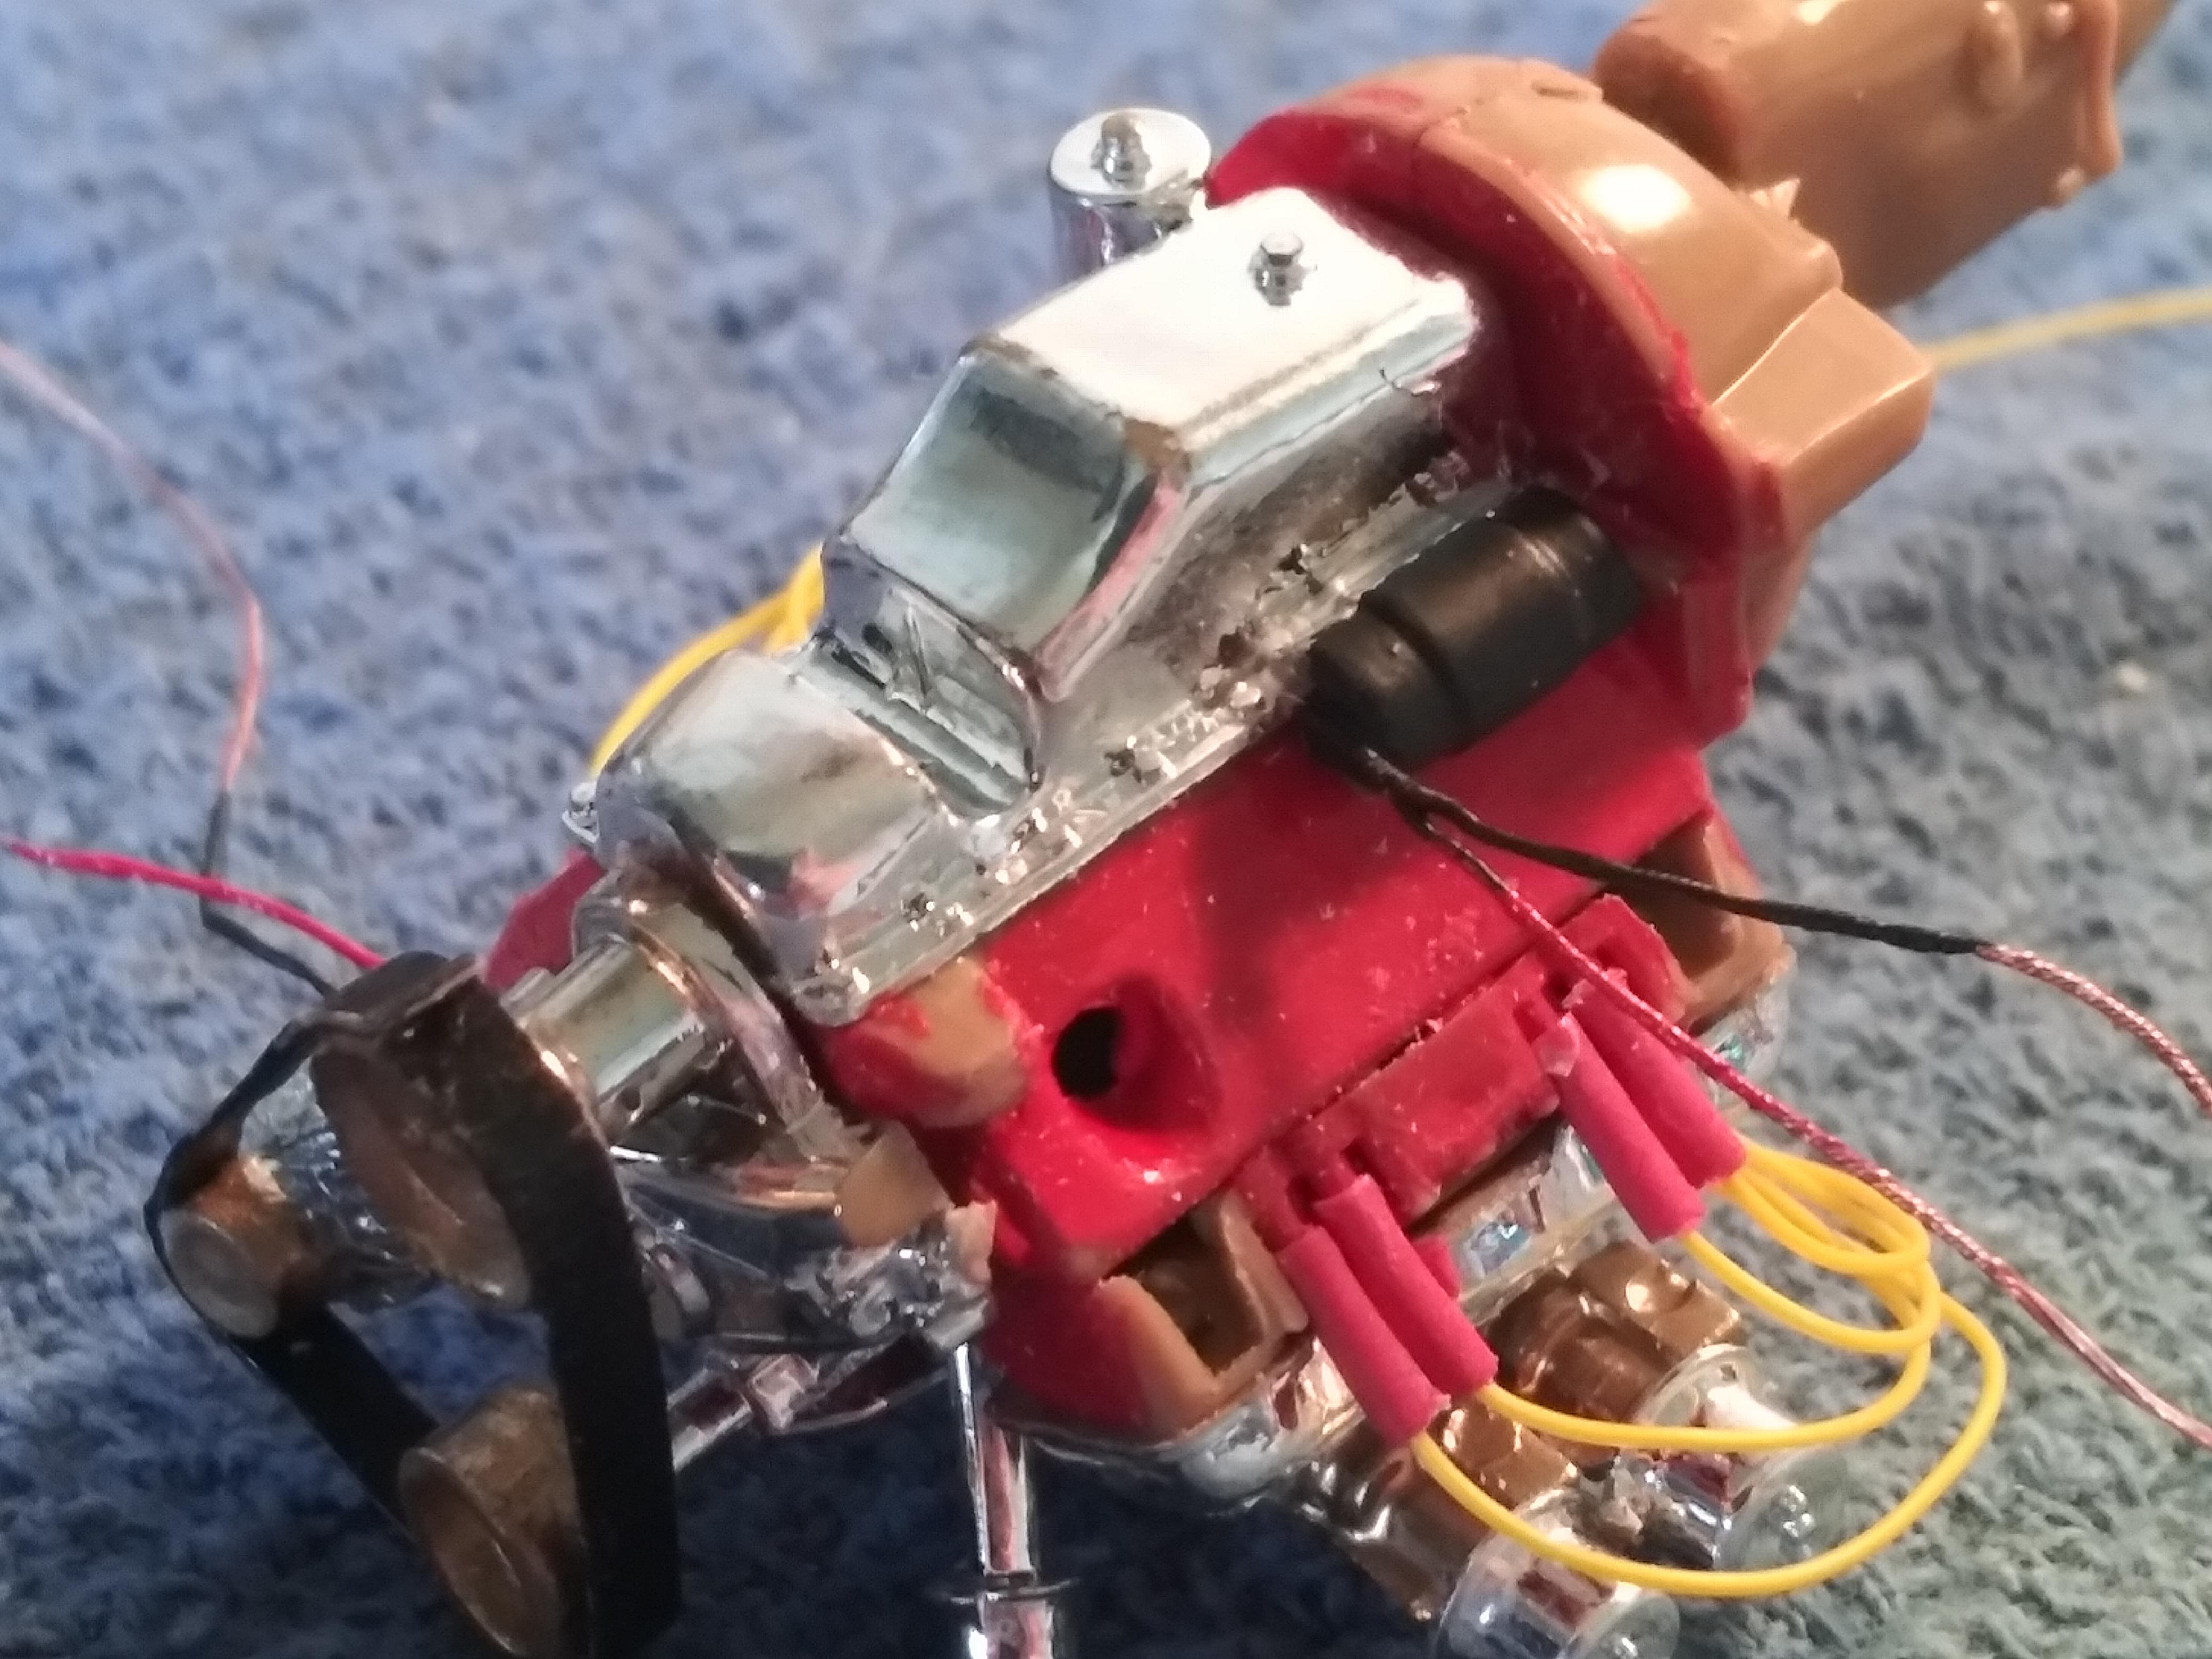
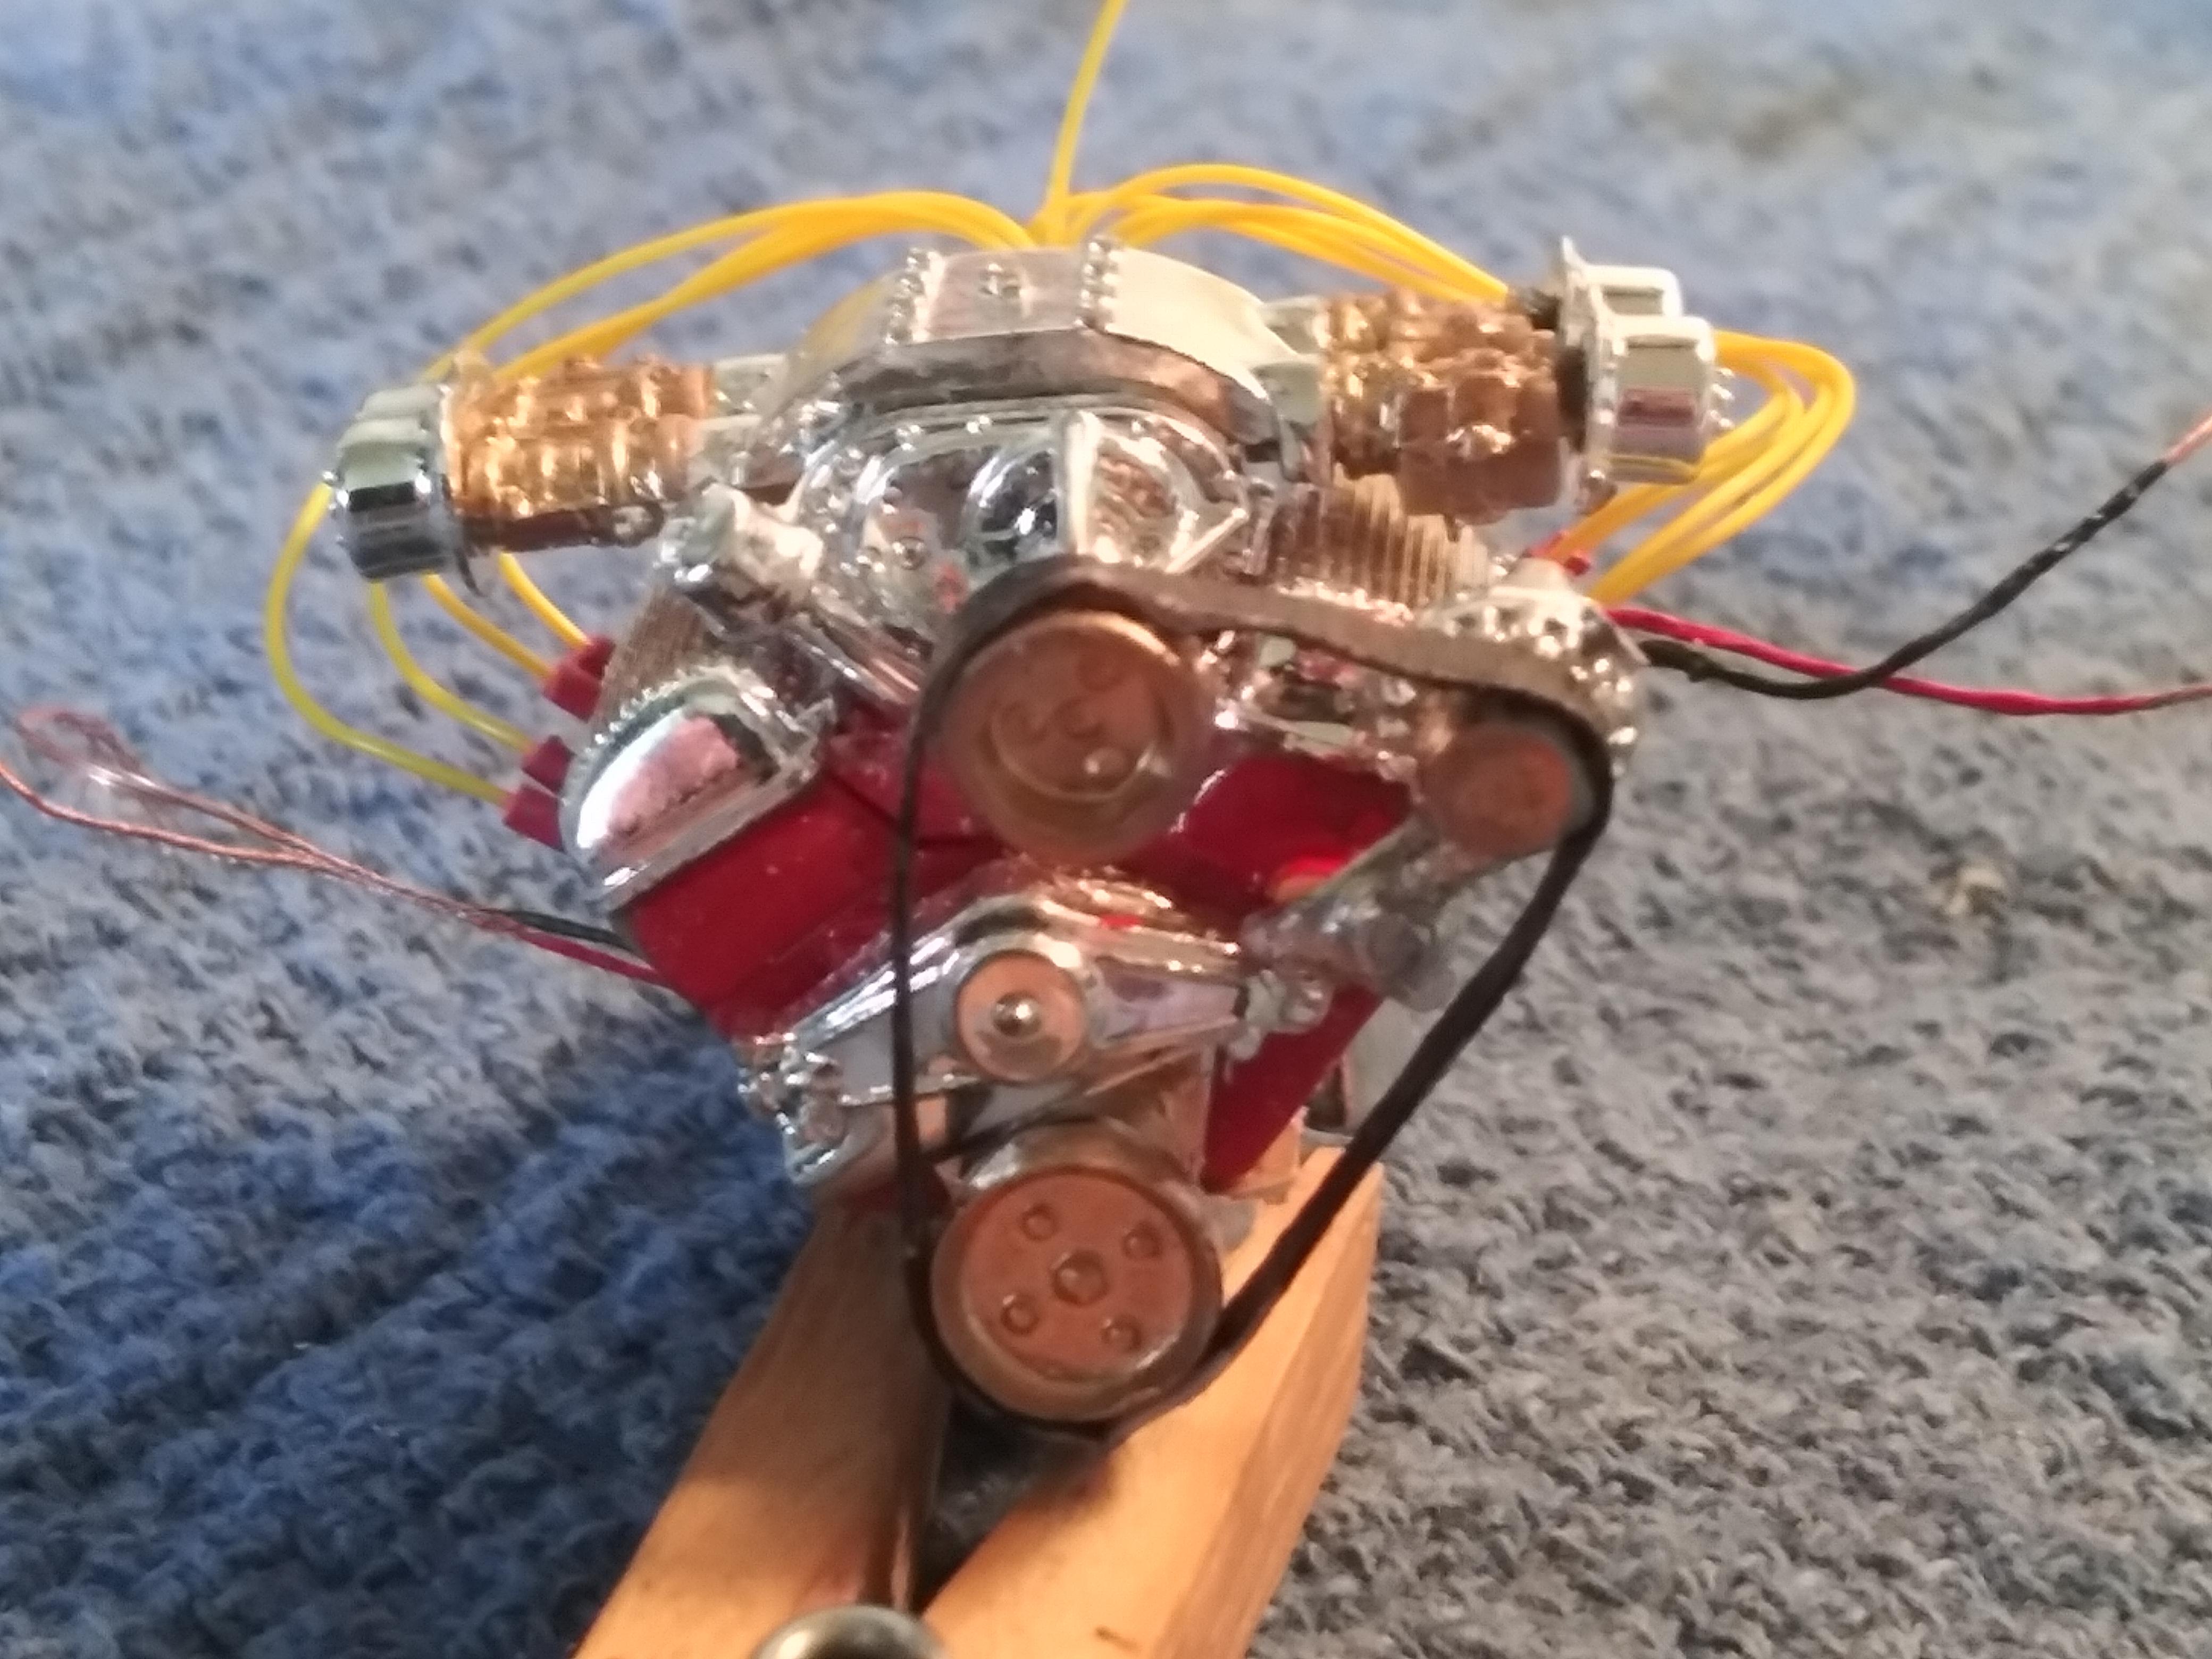
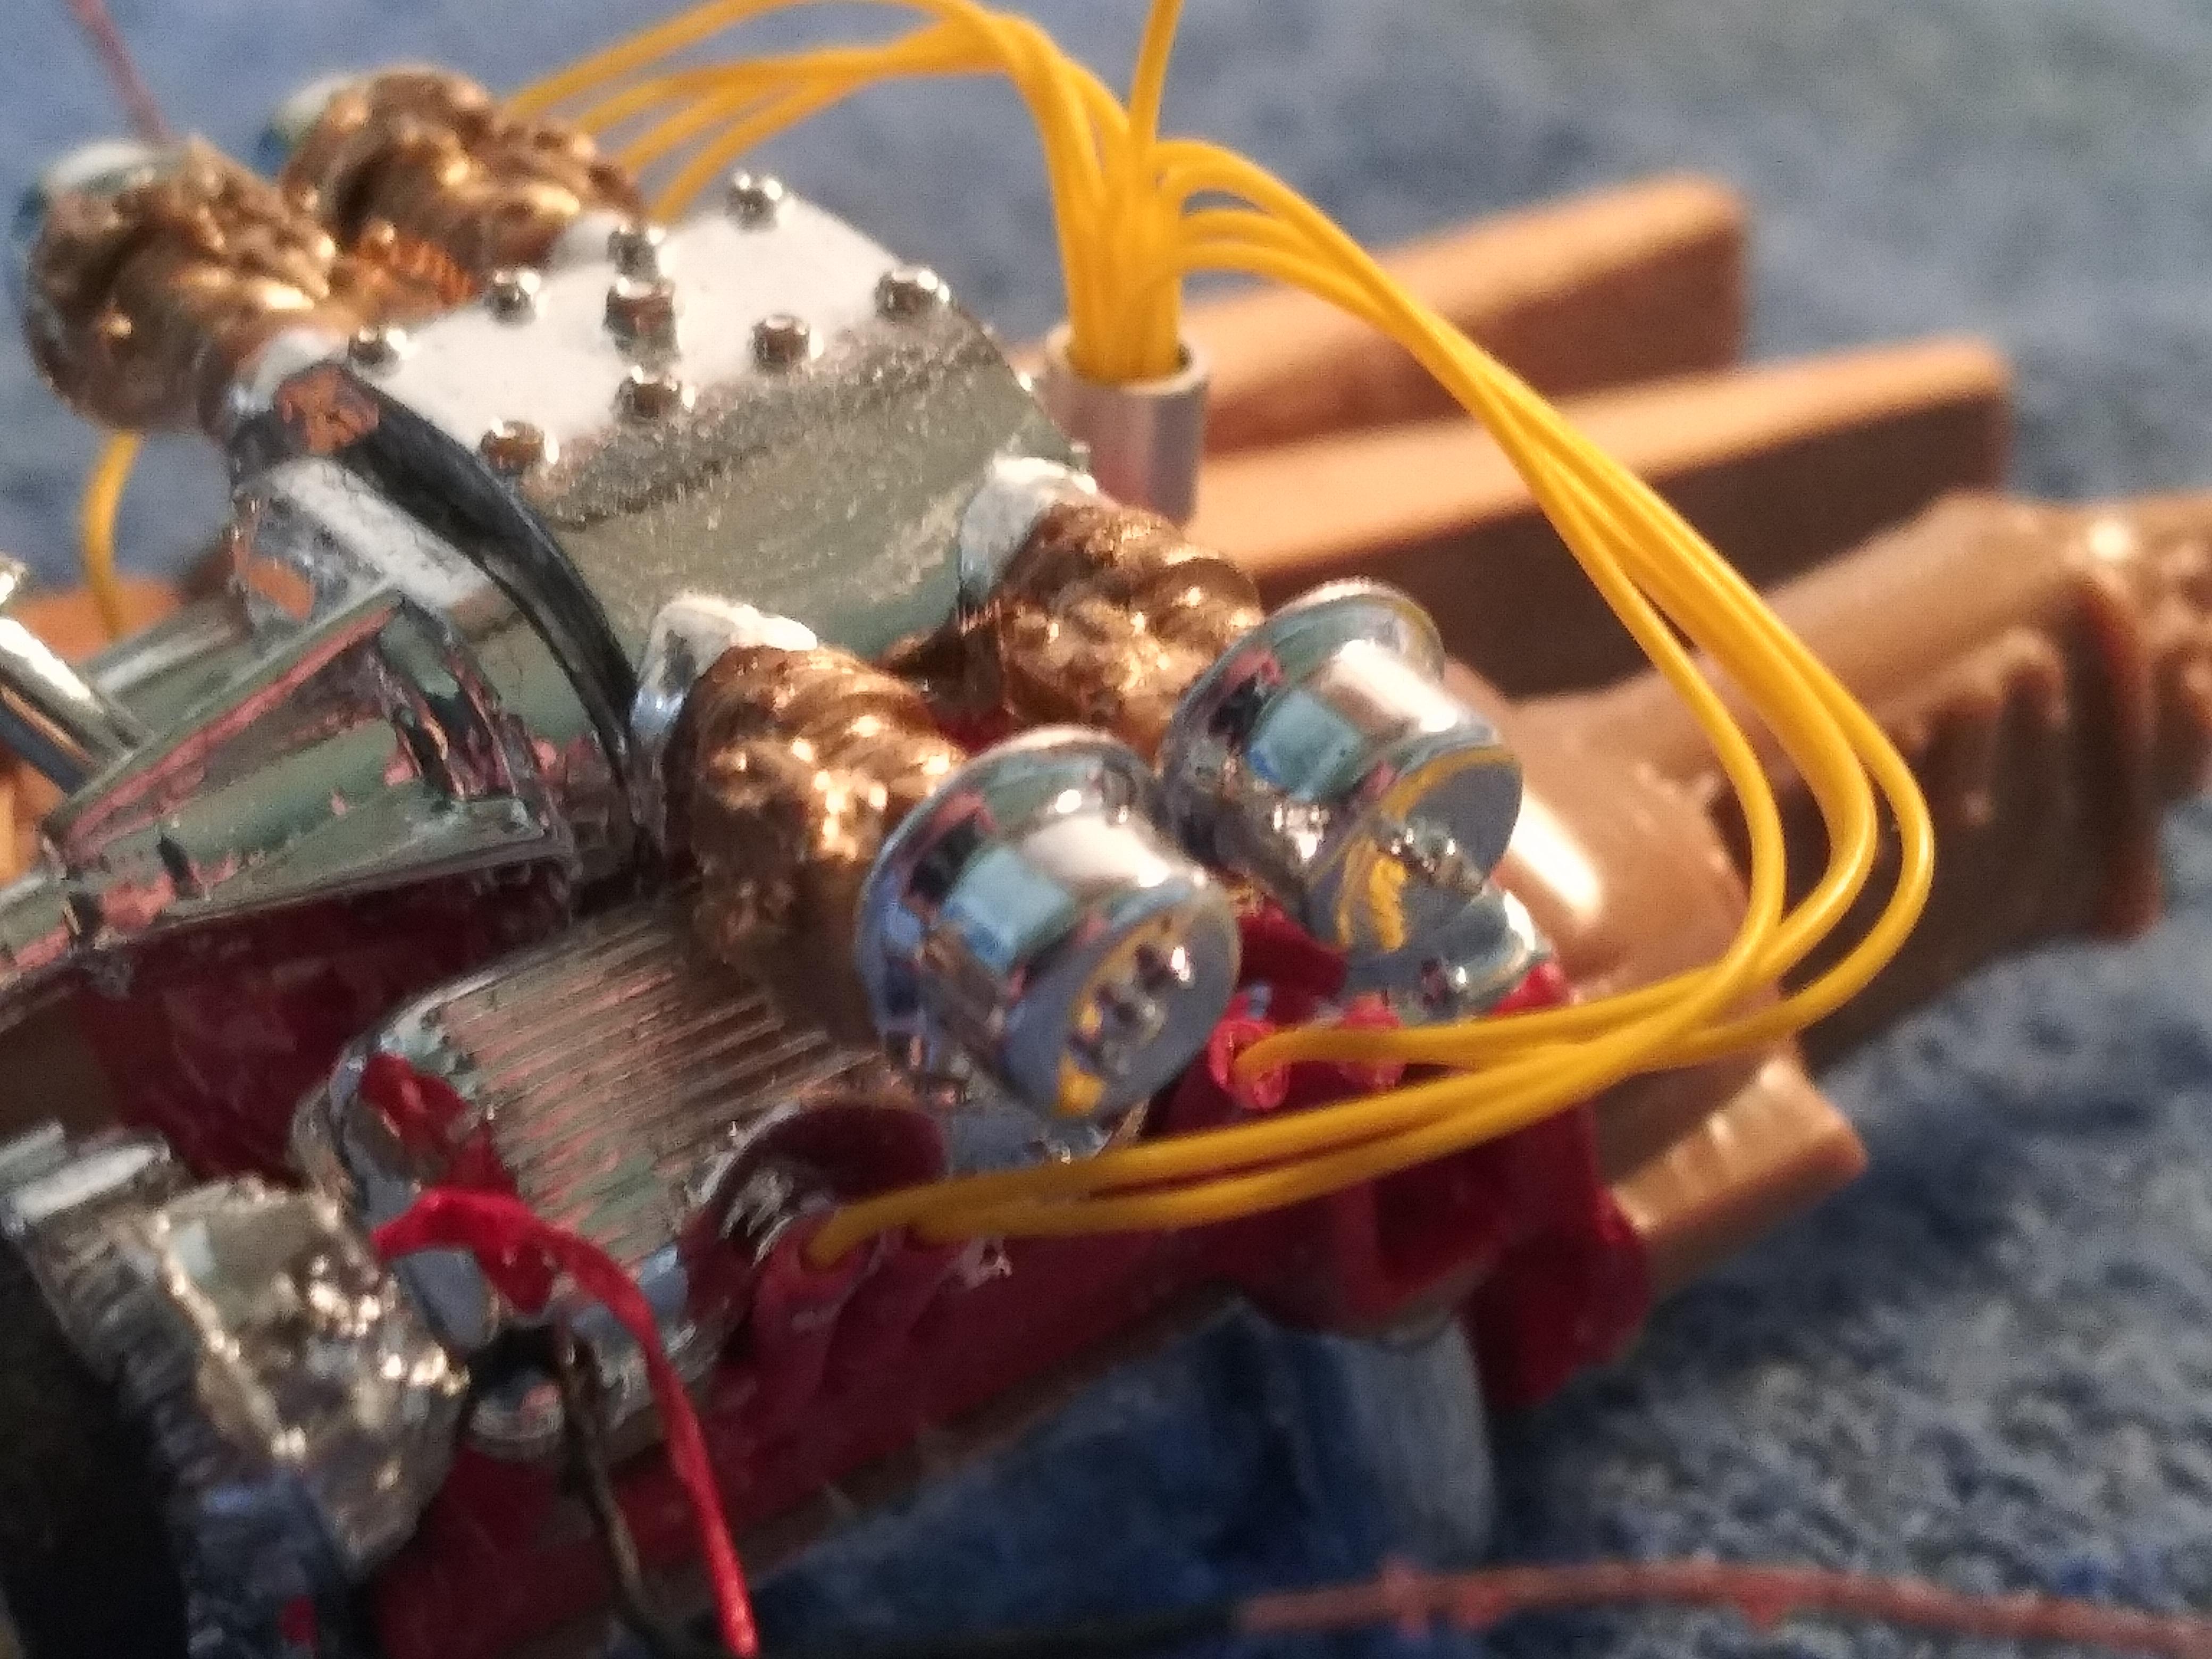
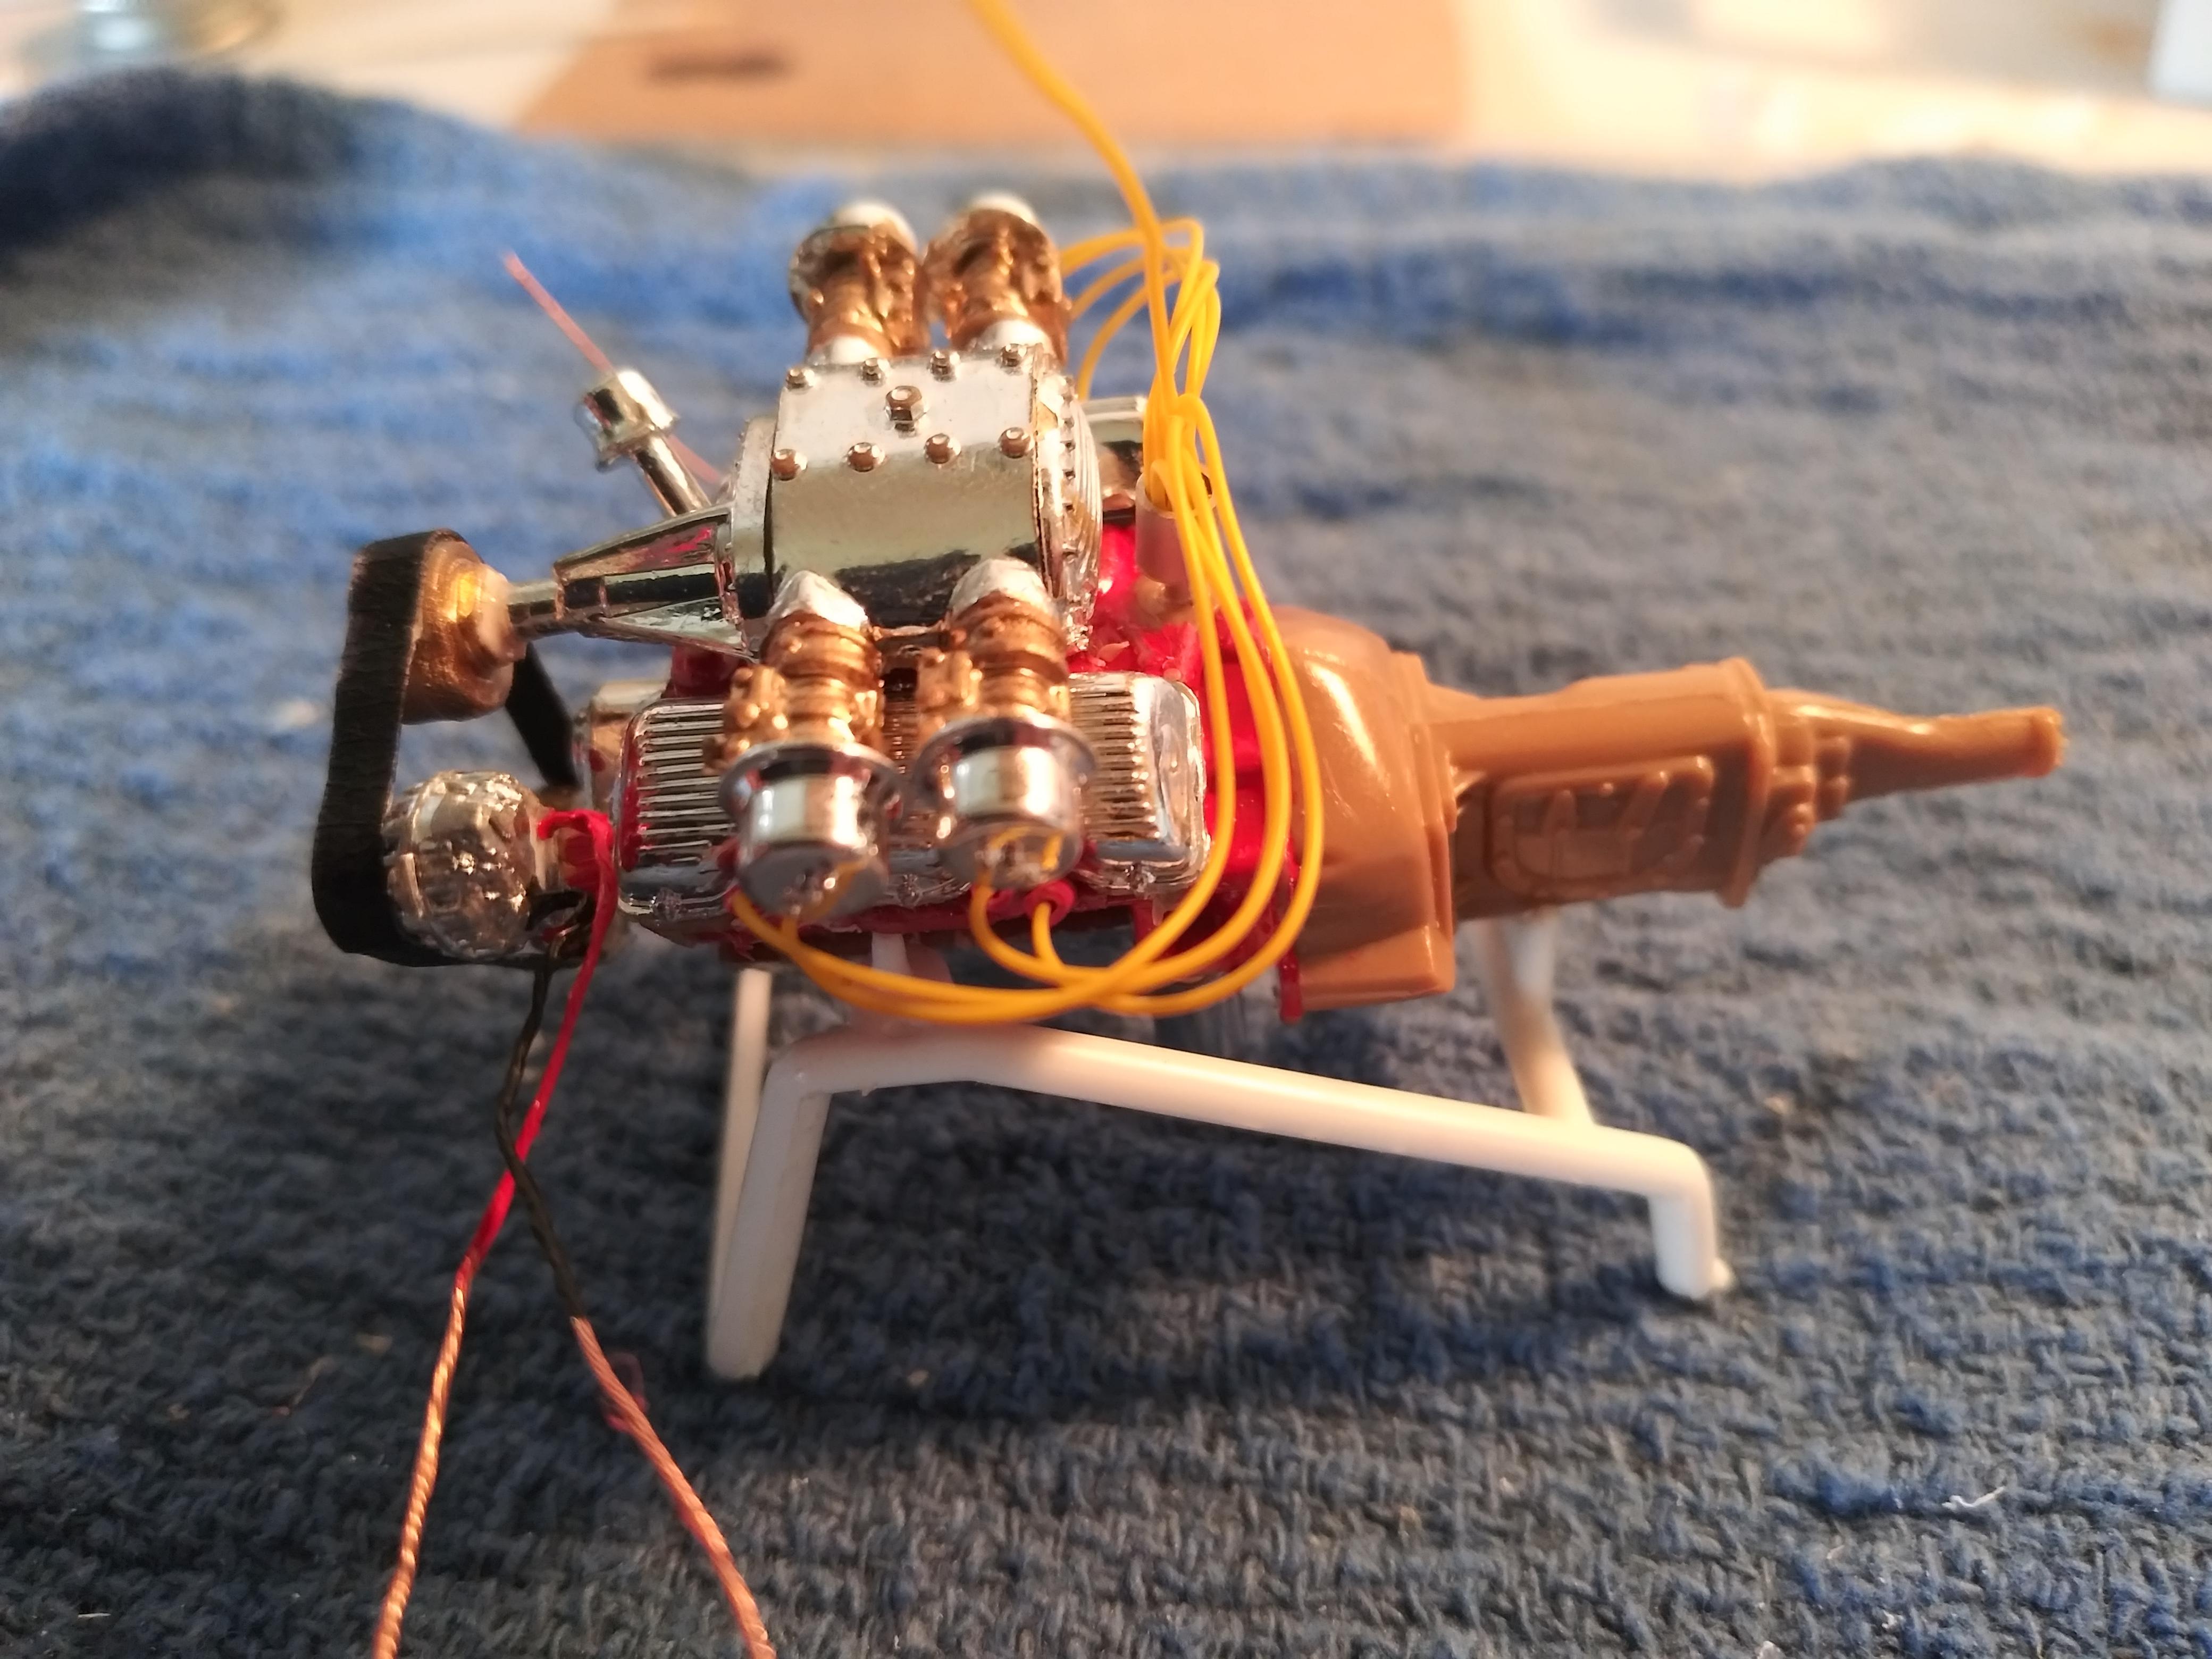
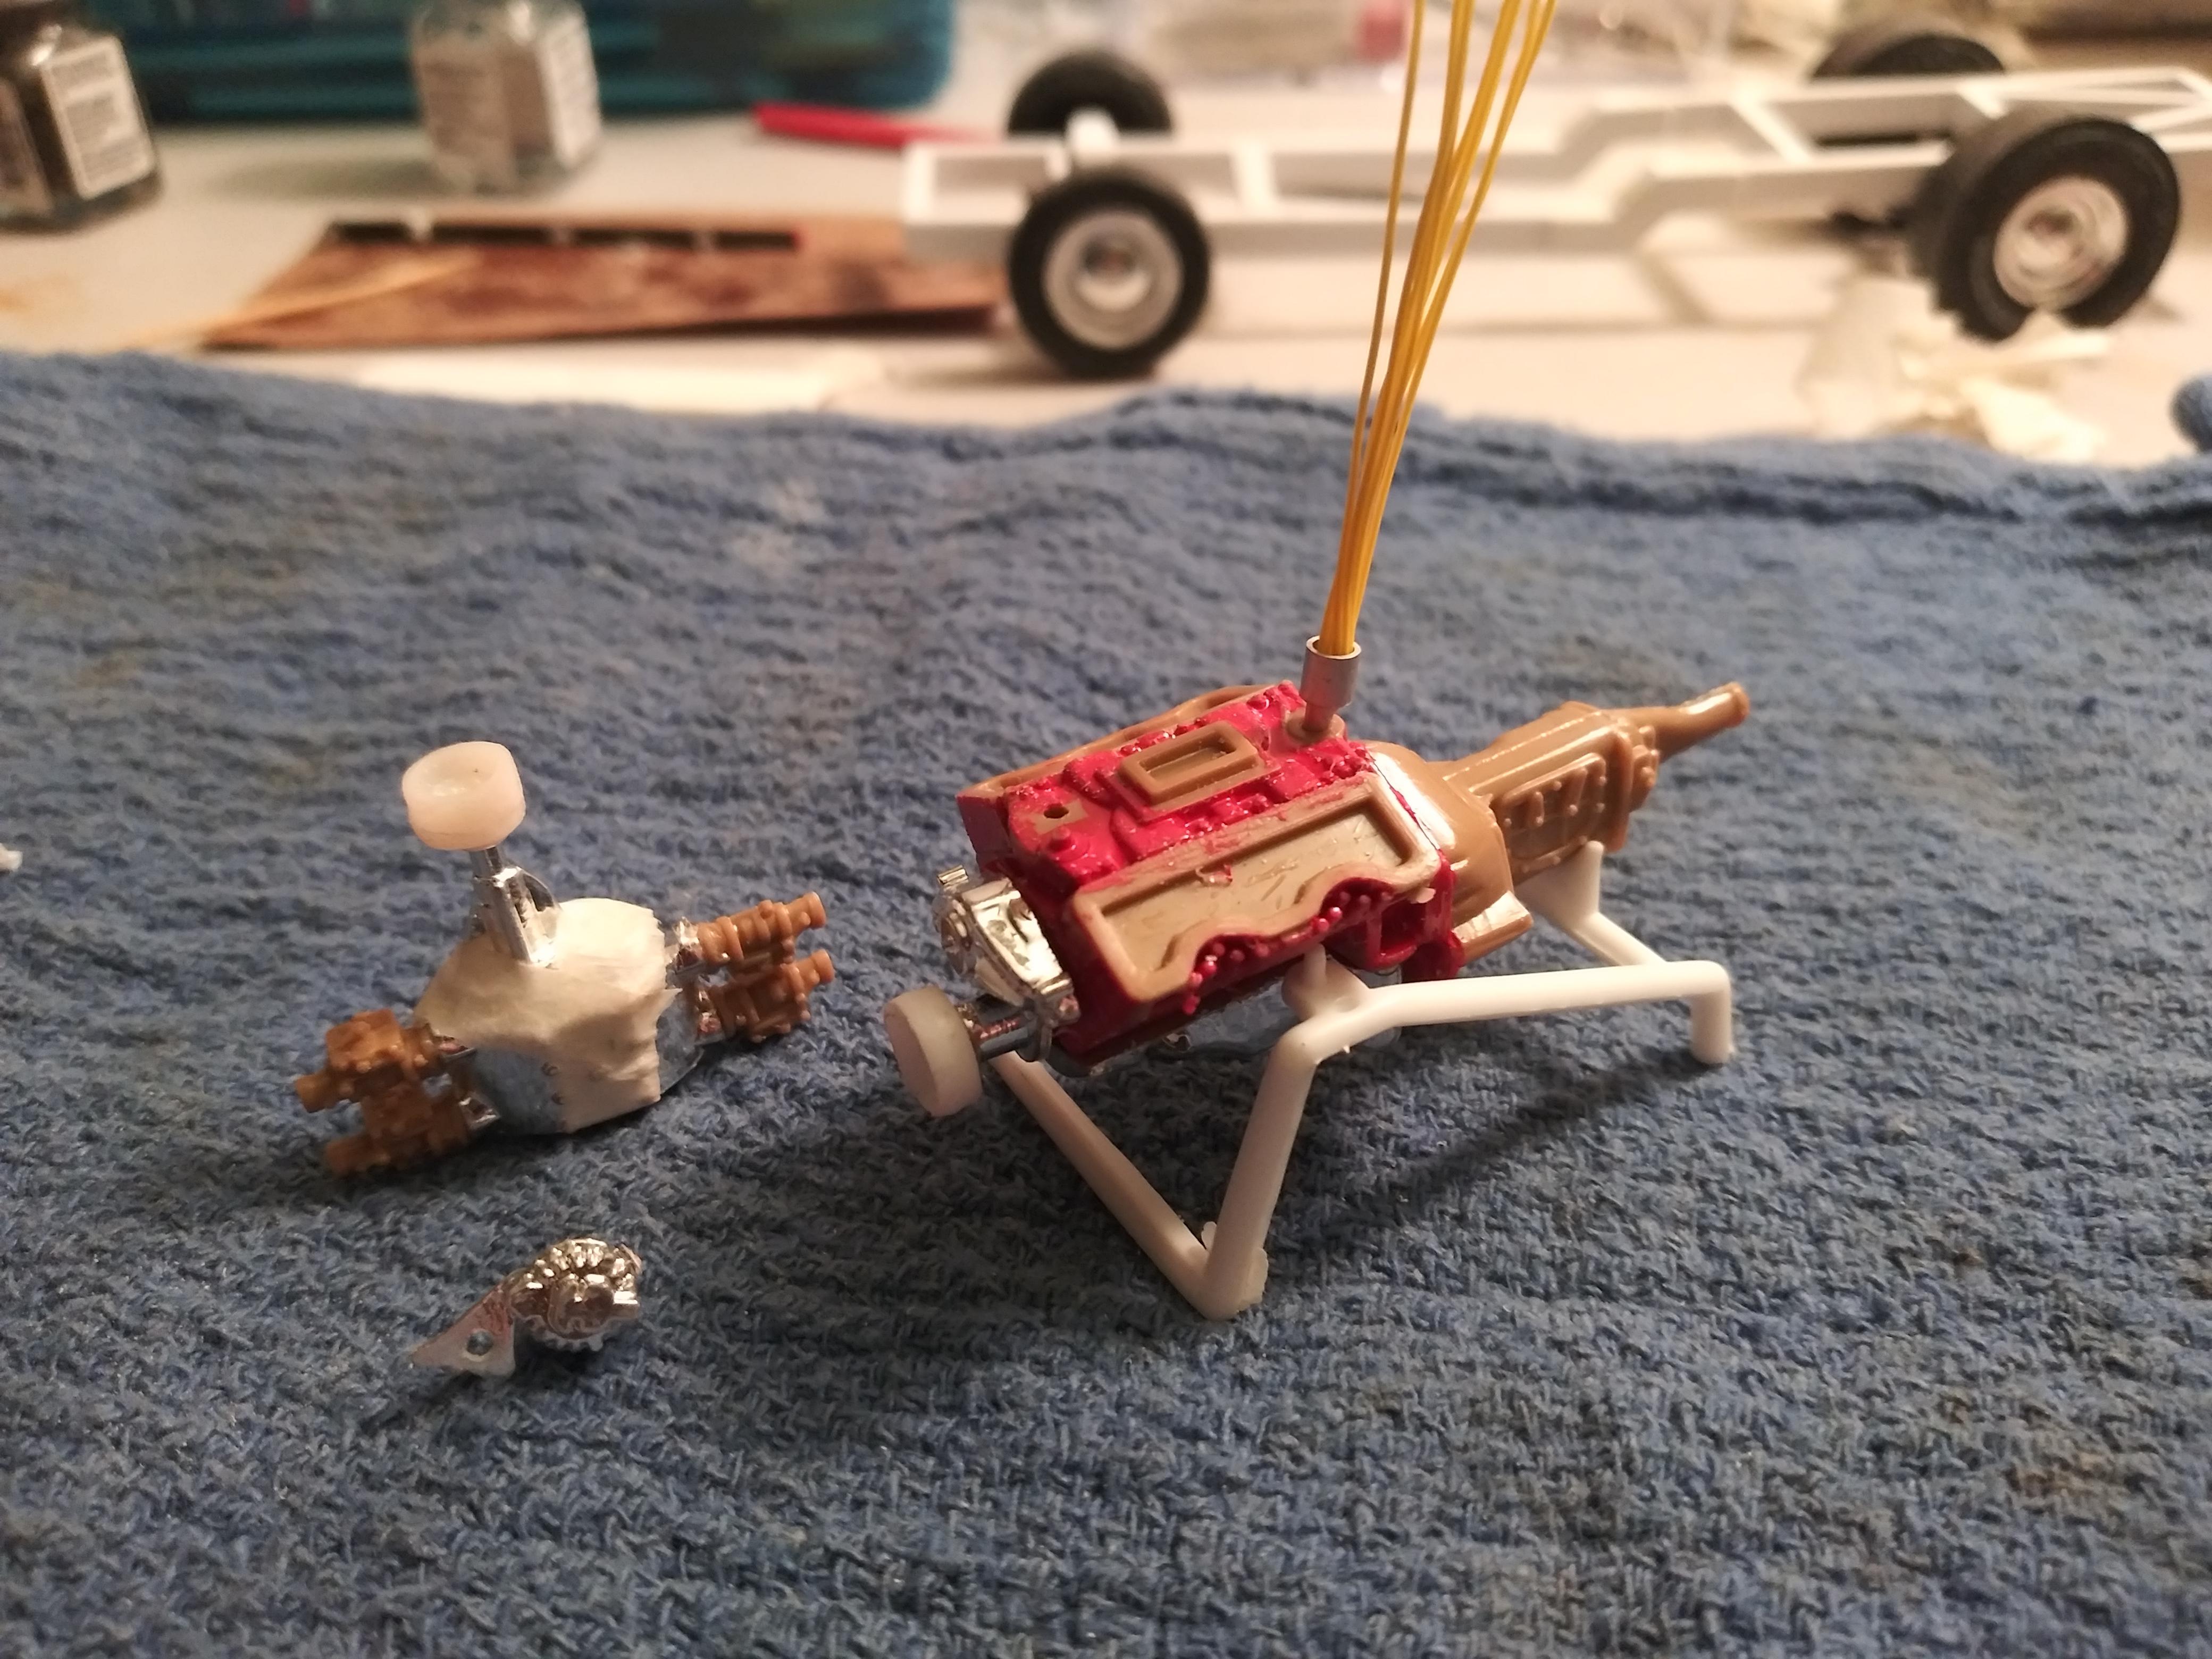
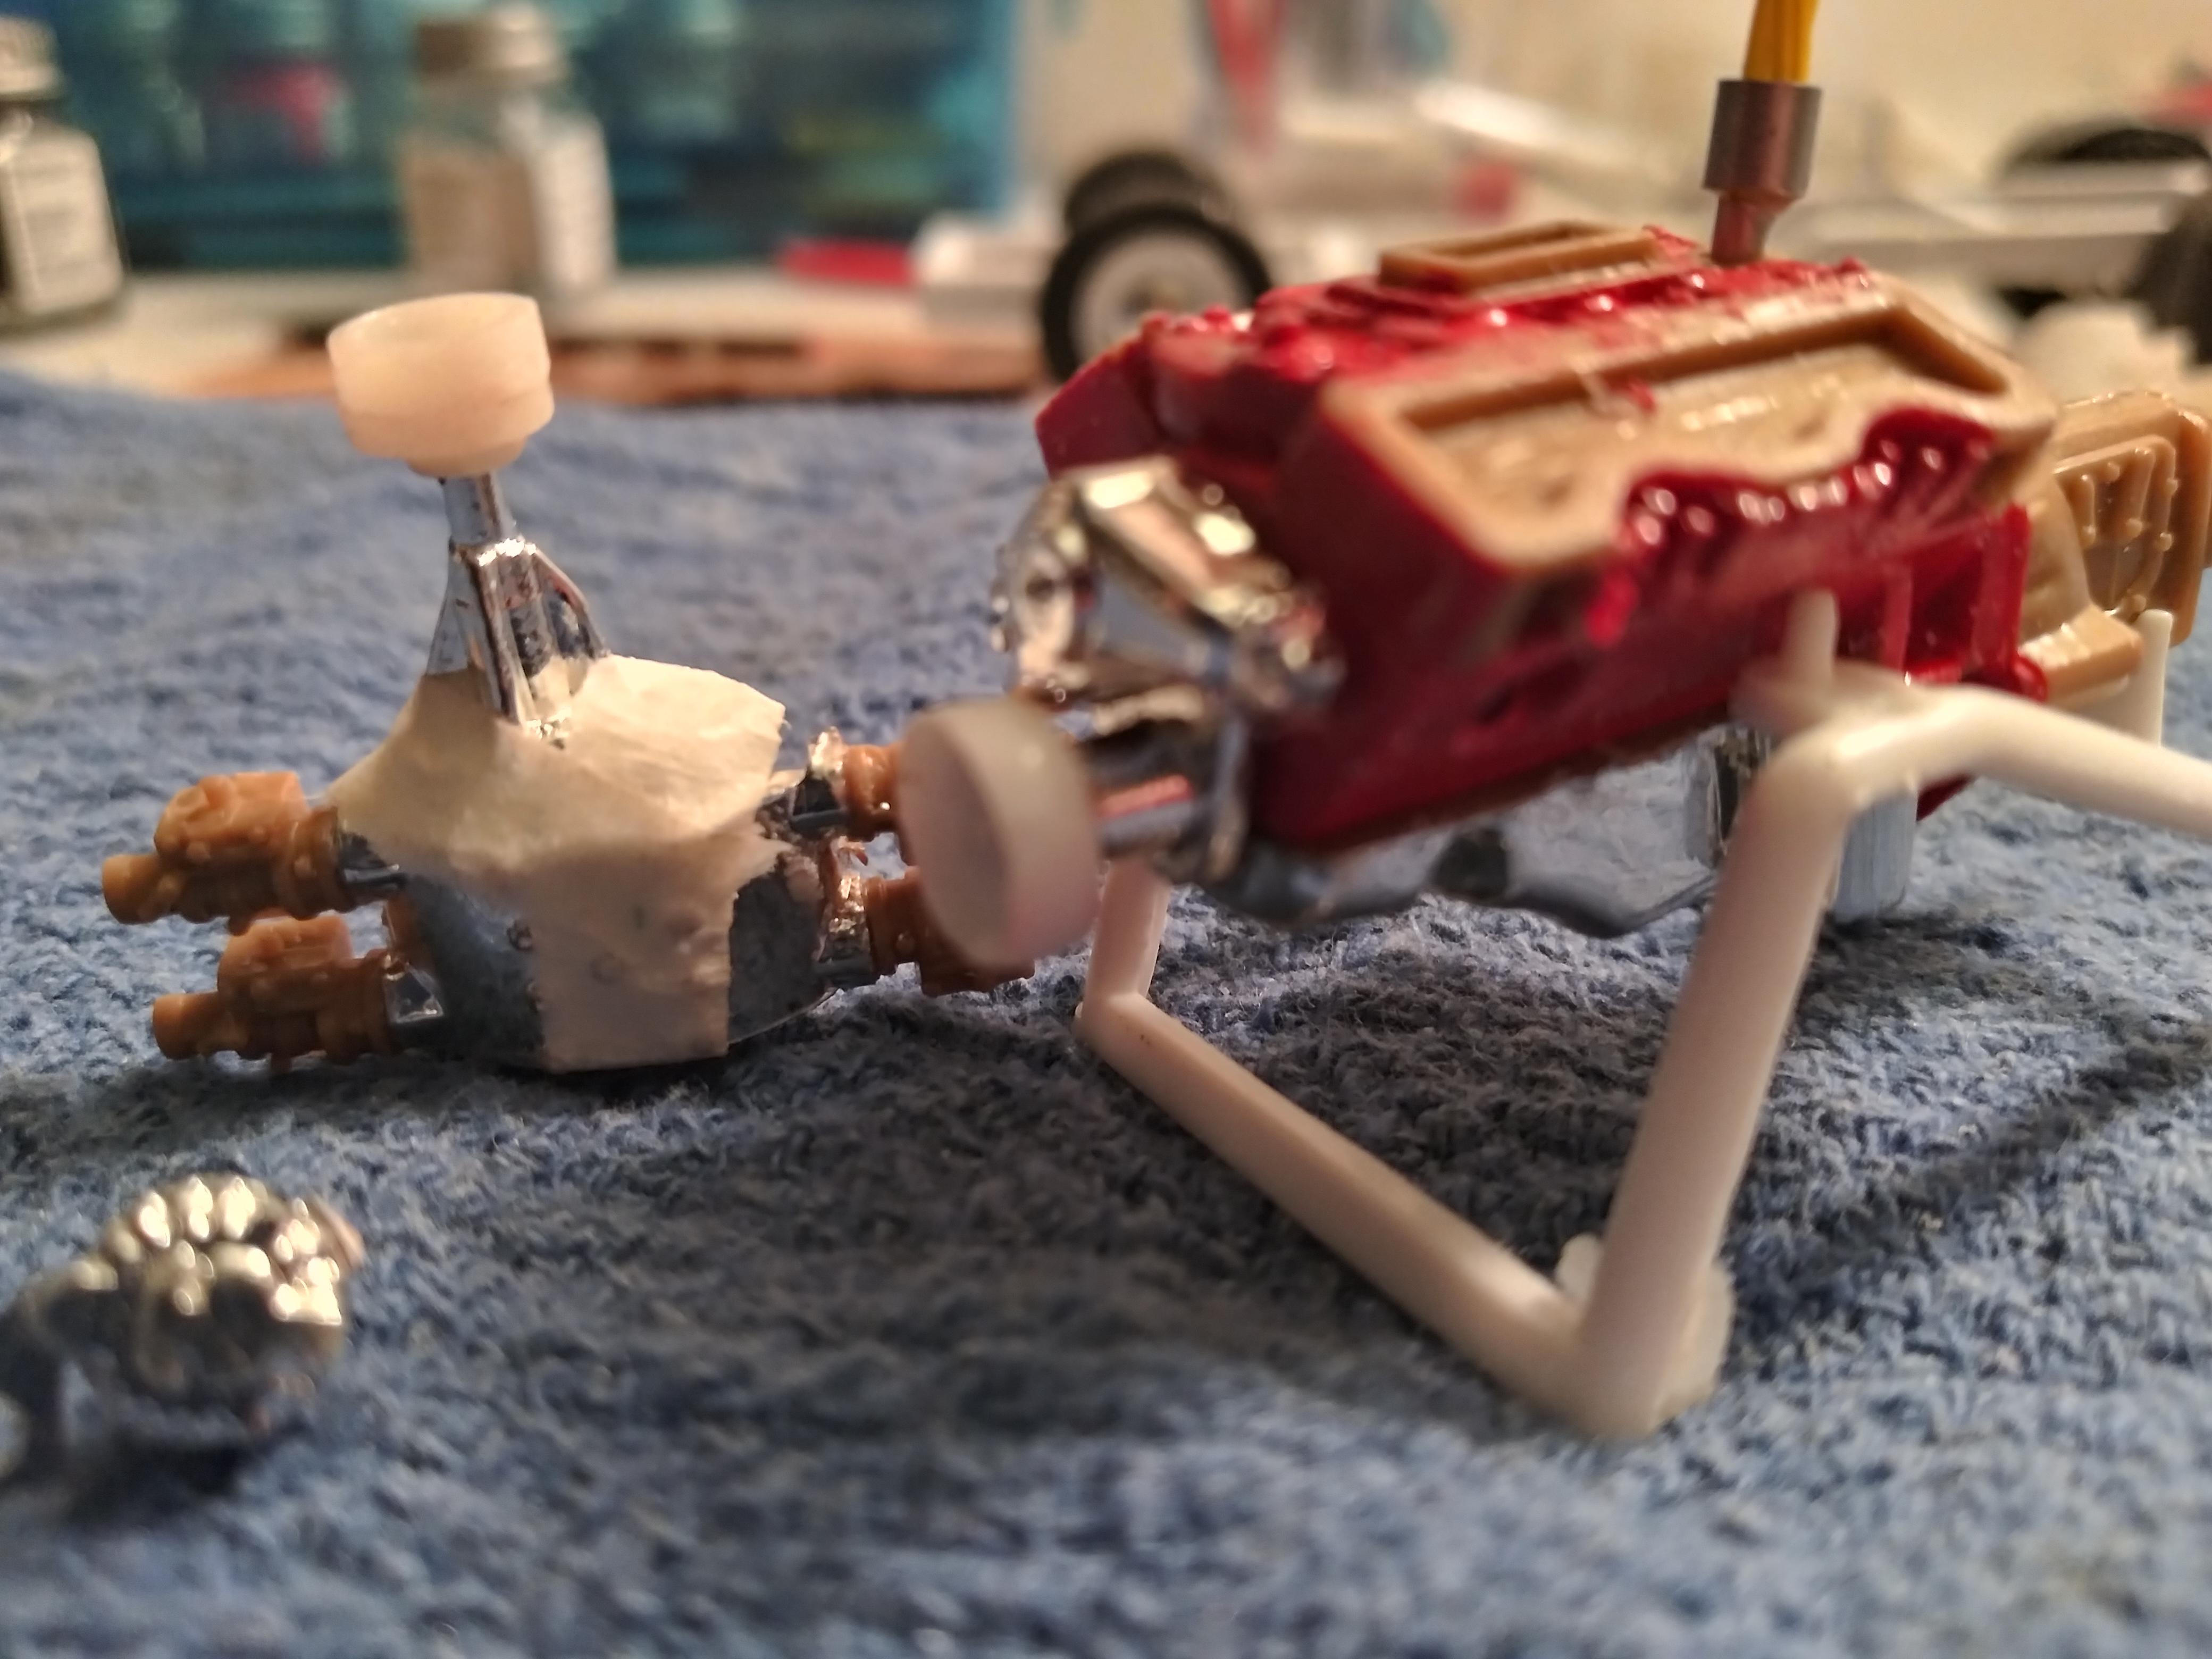
UPDATE 3/31/20 Hi everyone Hope everyone is staying safe out there during this pandemic. Anyway so on my previous post on engine. I decided to not use that one and use a different one. With a little filing and sanding here and there I built an engine. Dont know size but it will work. (SEE PICS). The water pump I used a spare one and reshaped it a bit. I added extensions on the main belt and pulleys so I could add a belt for alternator. I had to make a port on the manifold for one of the radiator hoses. Paint color is aluminum block and heads, silver chrome valve covers and alternator mounting brackets and gold on carbs and carb cover.
-
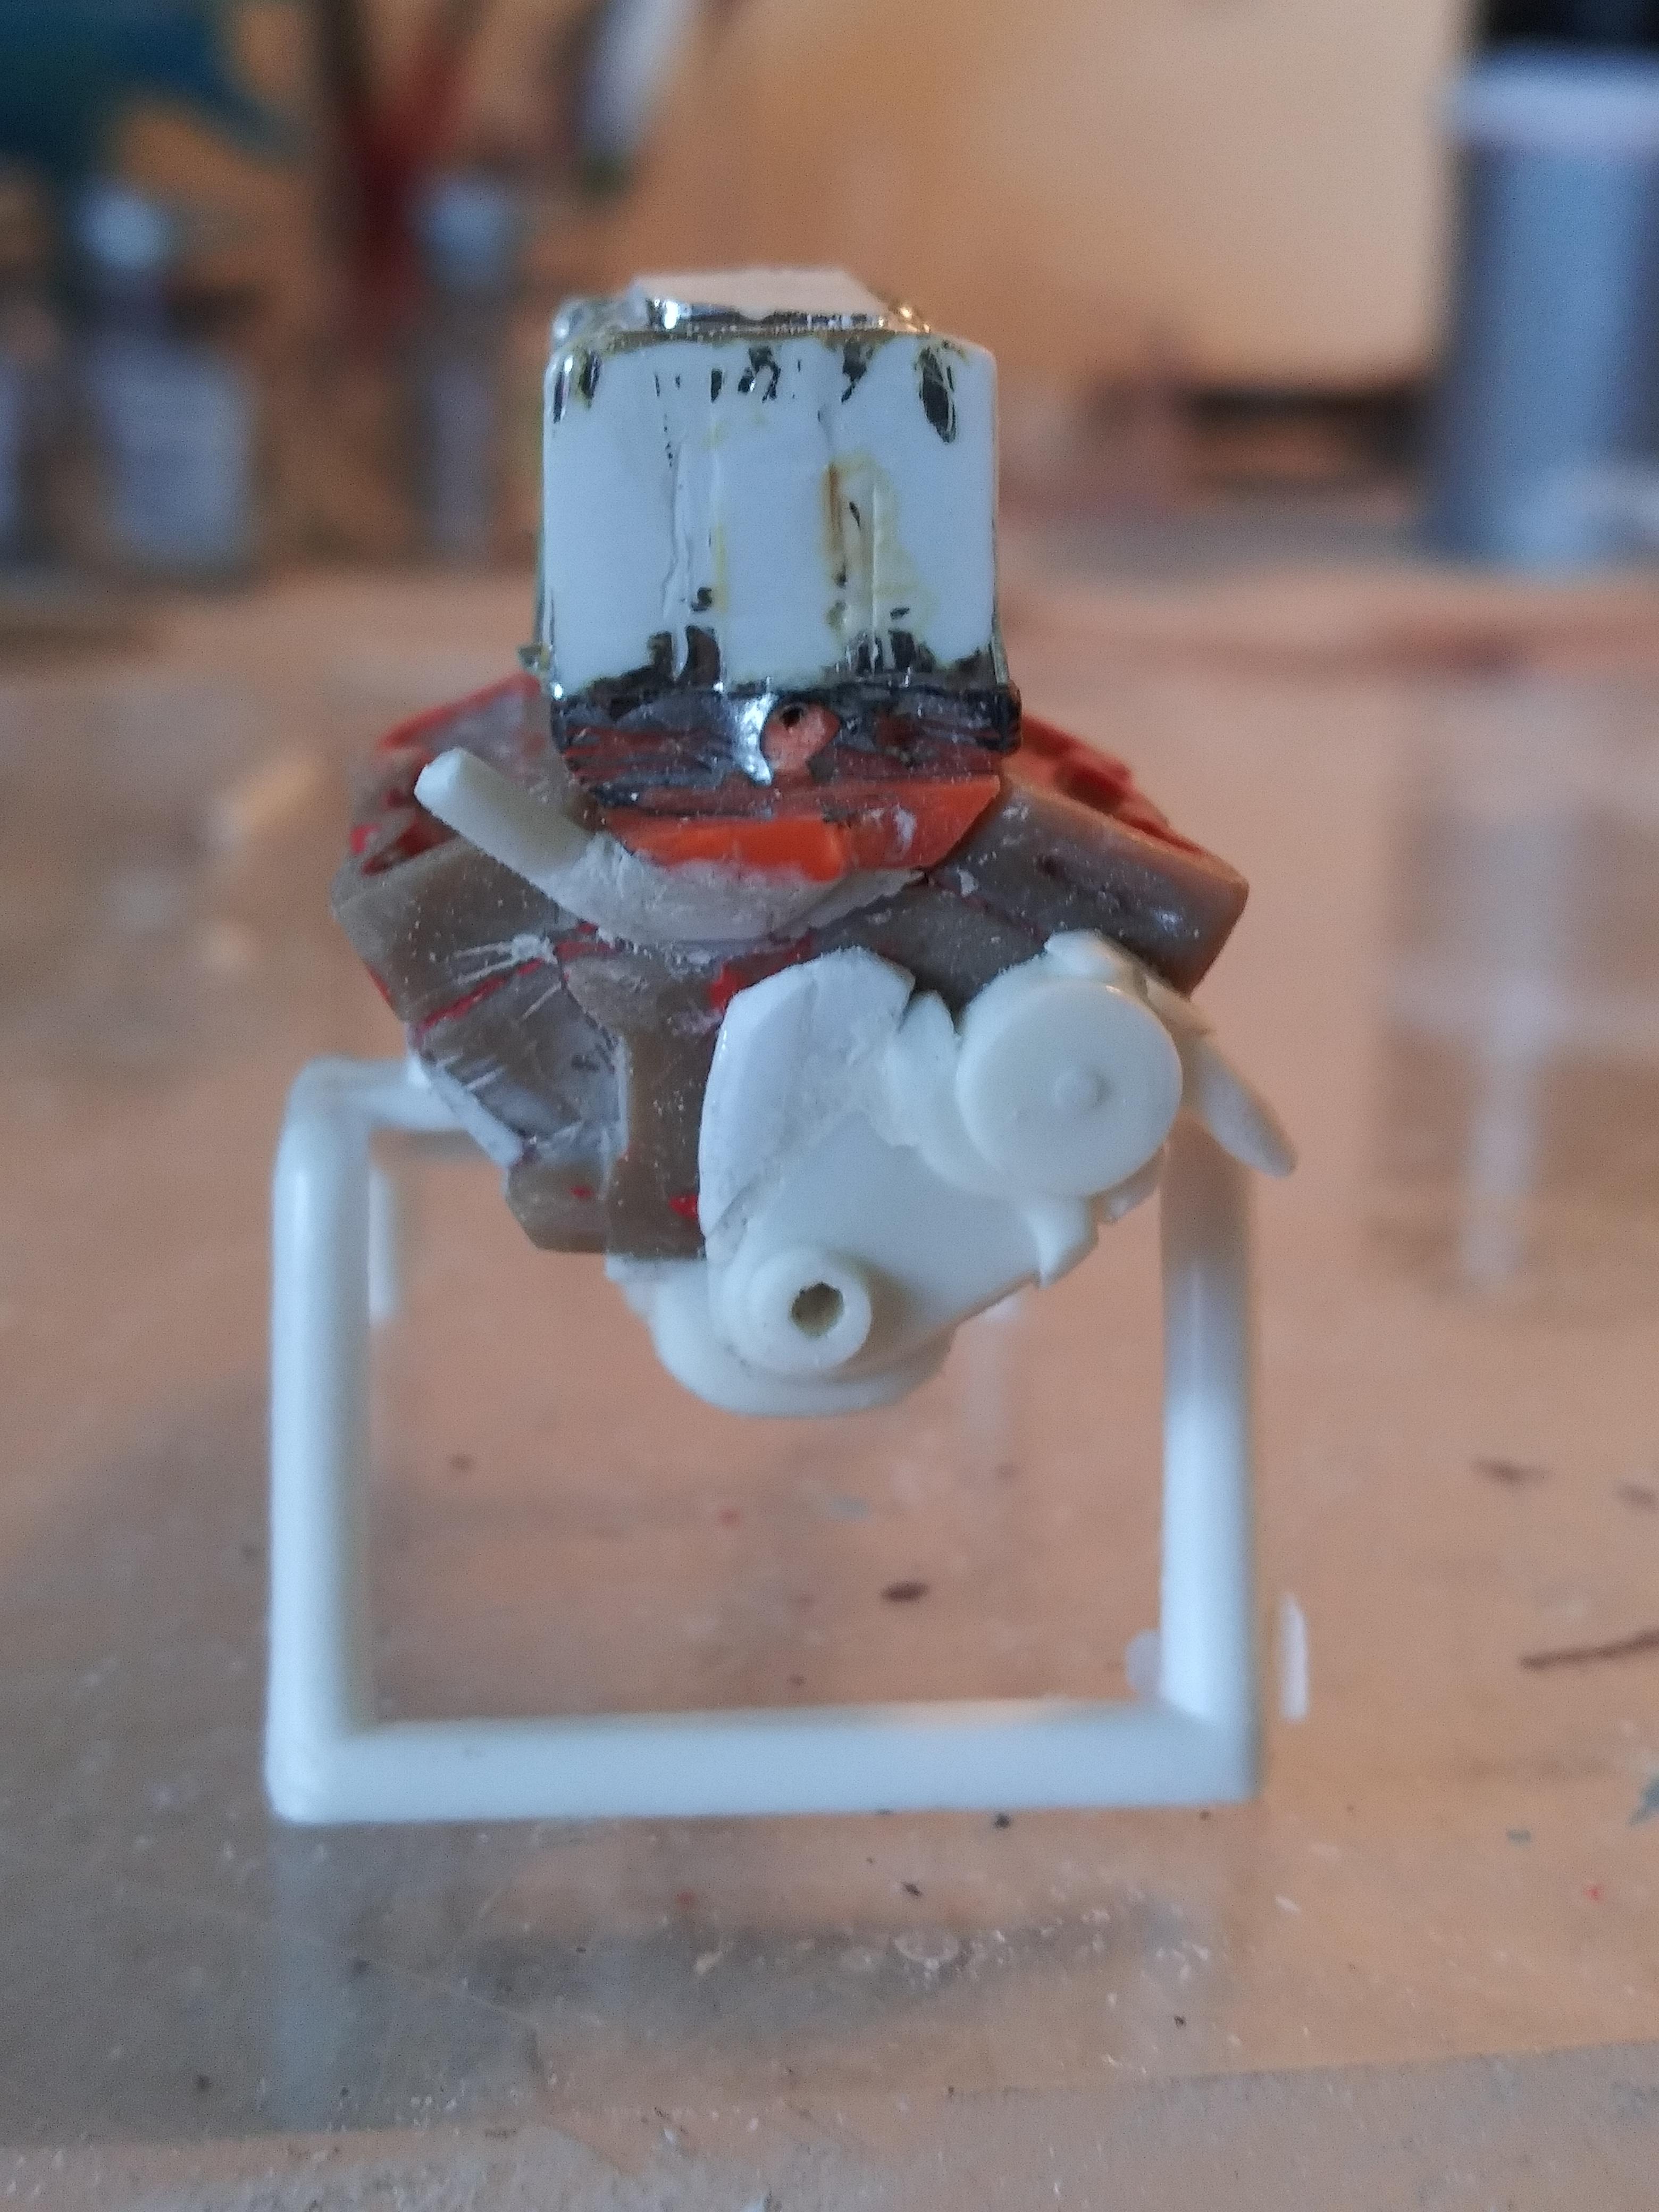
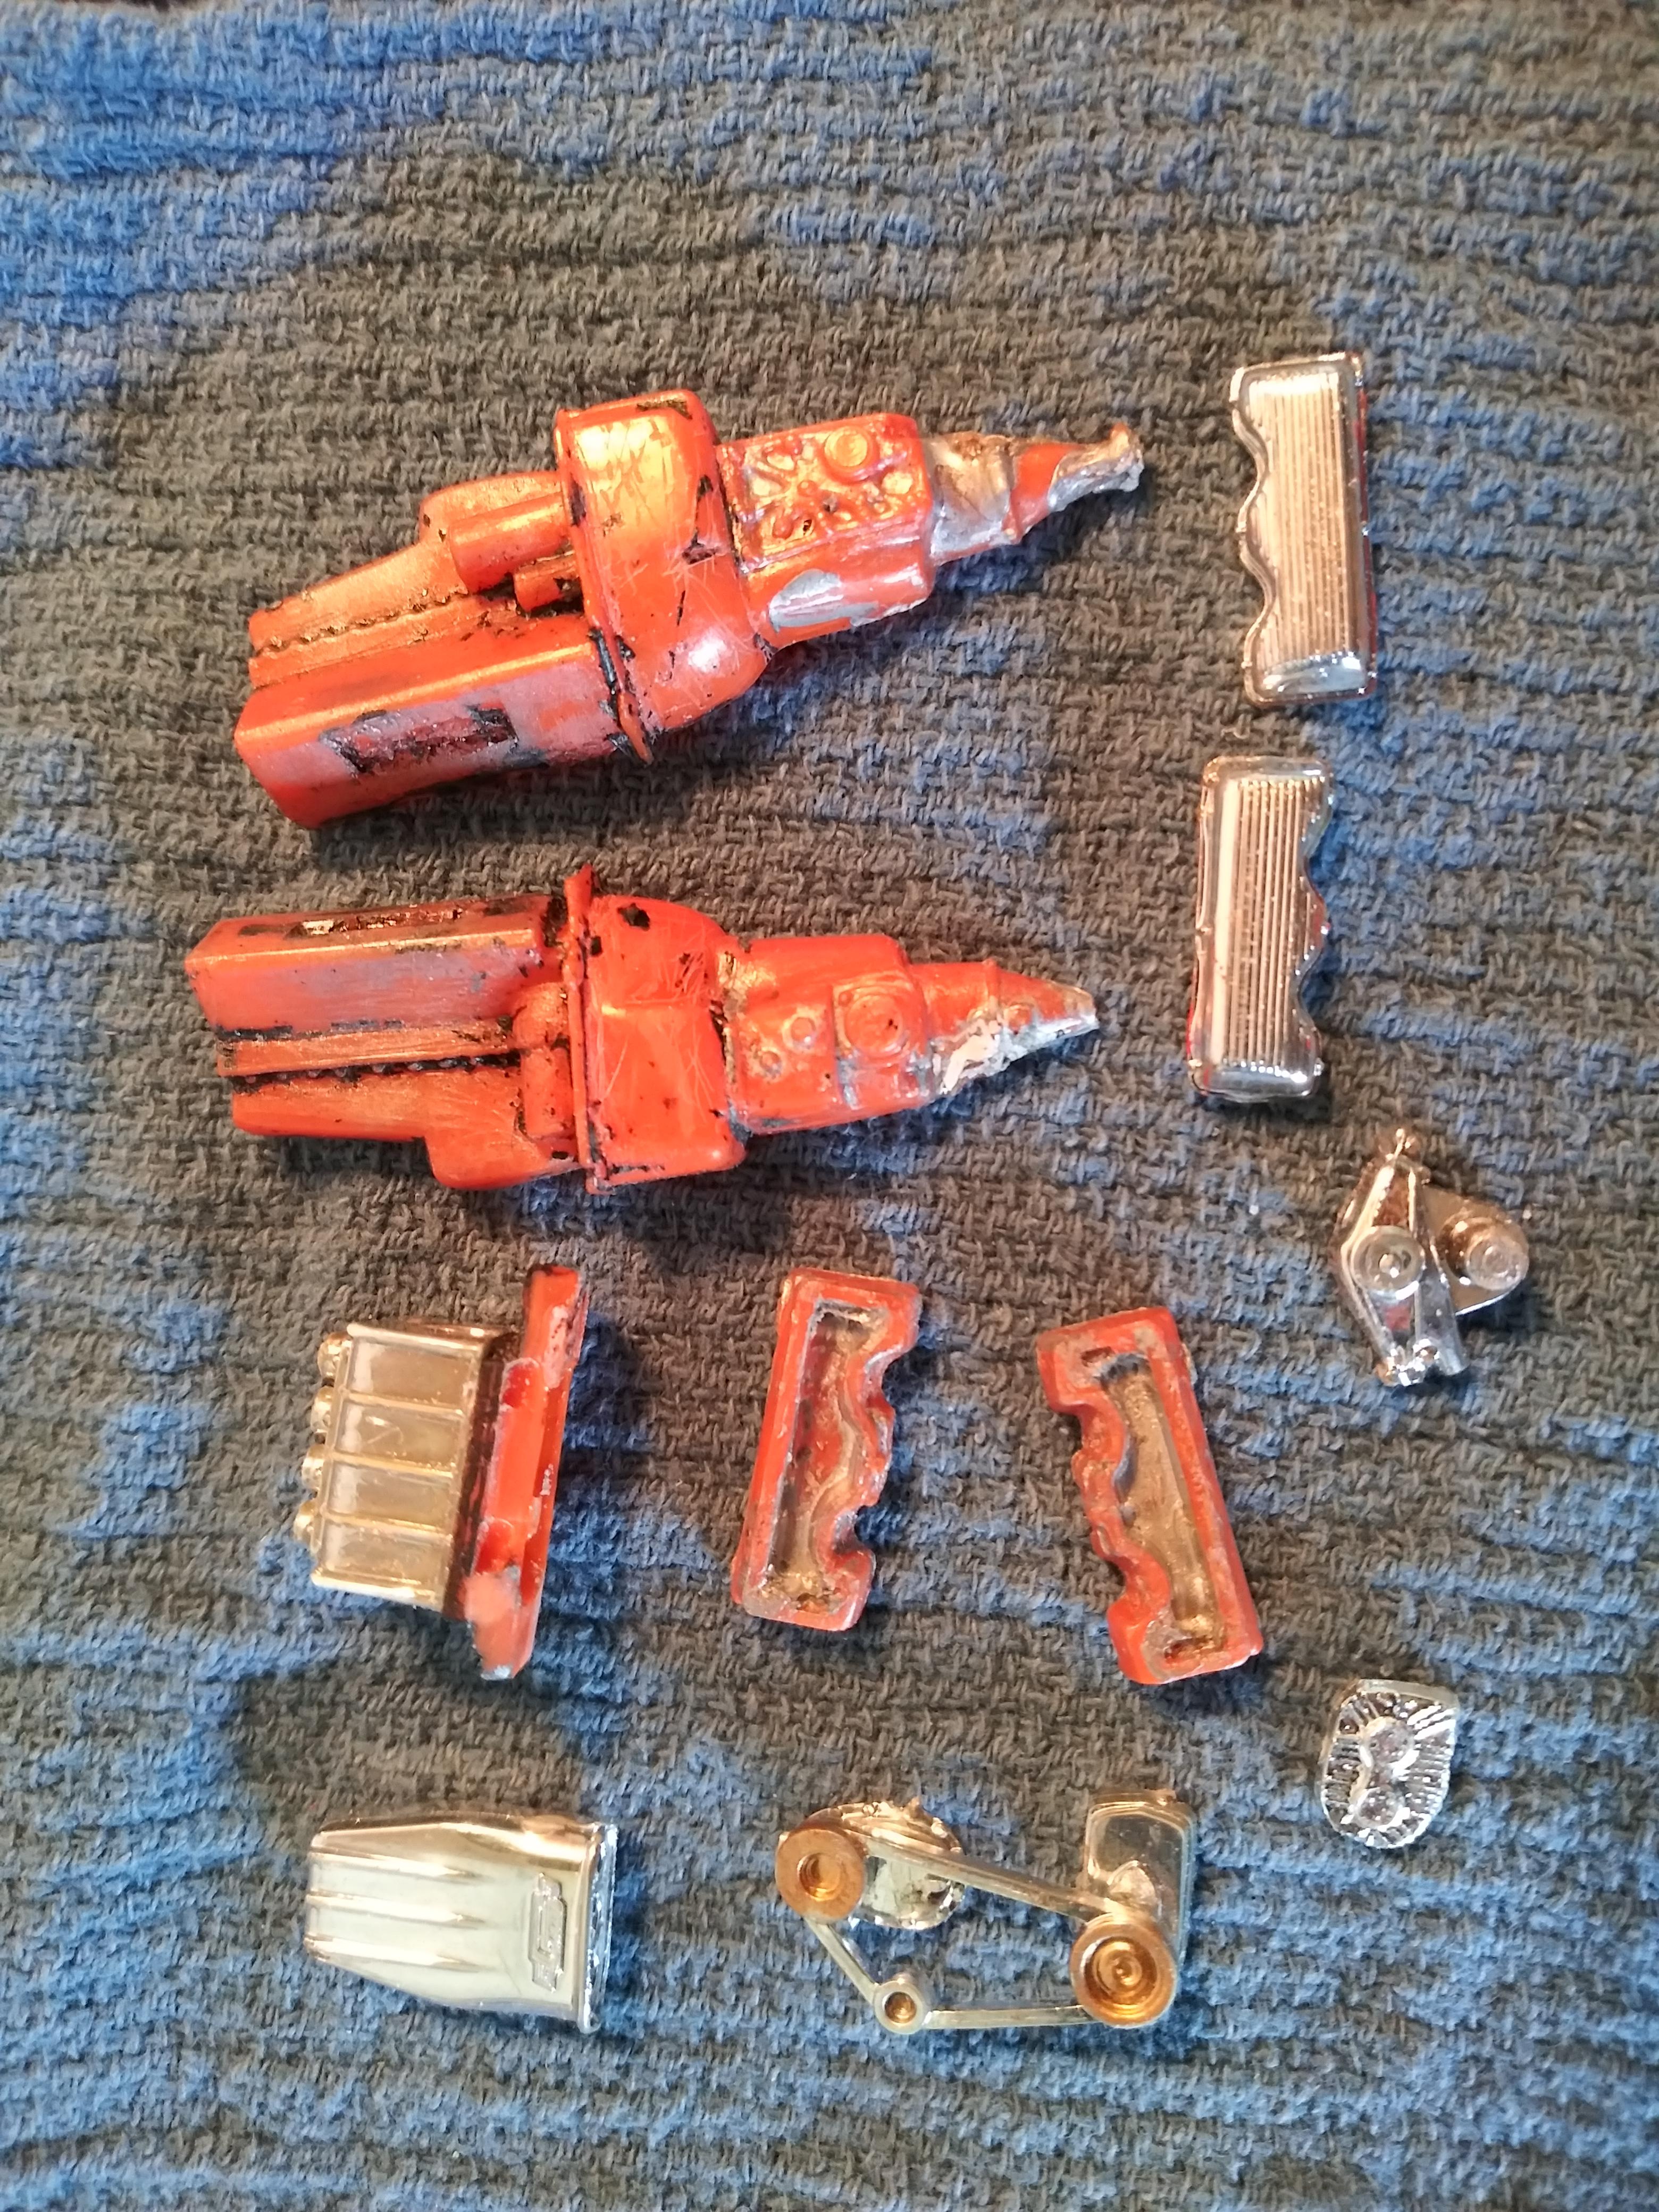
UPDATE 3/27/20 So even though i have an engine in this car originally it looked ugly paint wise. Been going through spare parts to see if I could just rebuild a fresh unpainted engine but everything I have just dont seem to match up either heads to small for block or whatever. So I carefully took apart engine i had in it and luckily it came apart pretty easy (SEE PIC.) All apart and I used thinner to remove most of paint. I really need to stock up a little on spare parts.
-
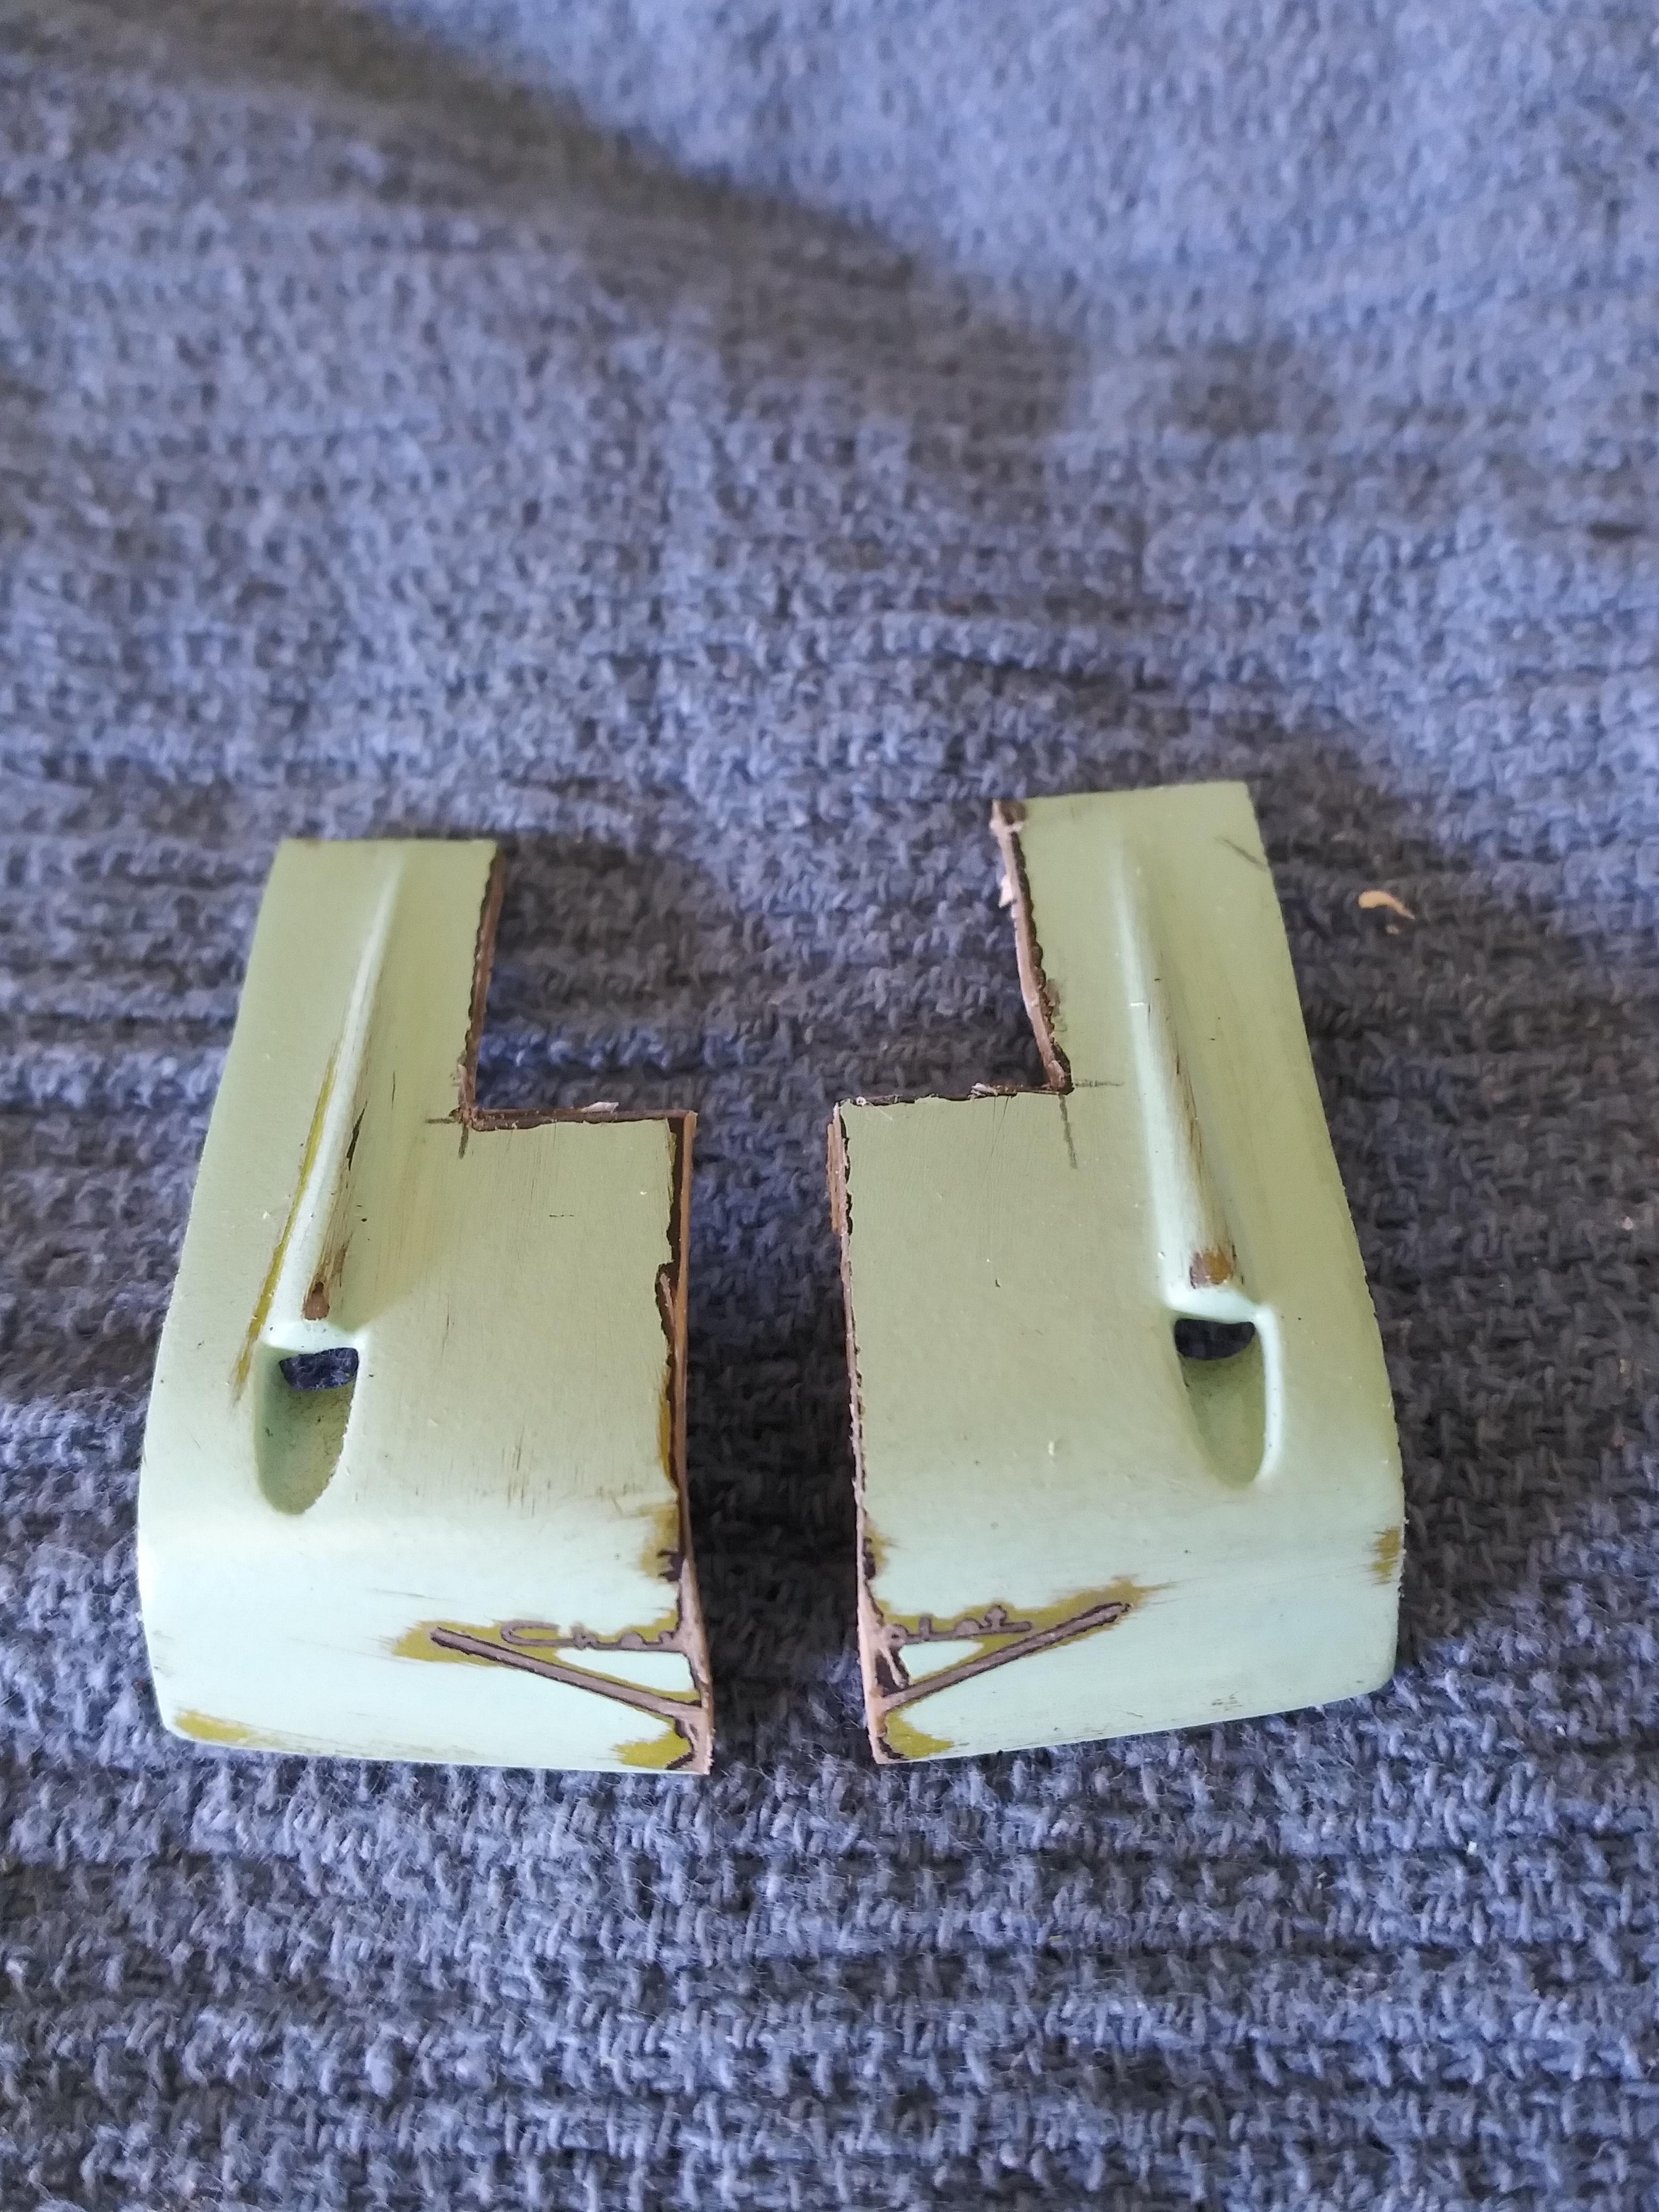
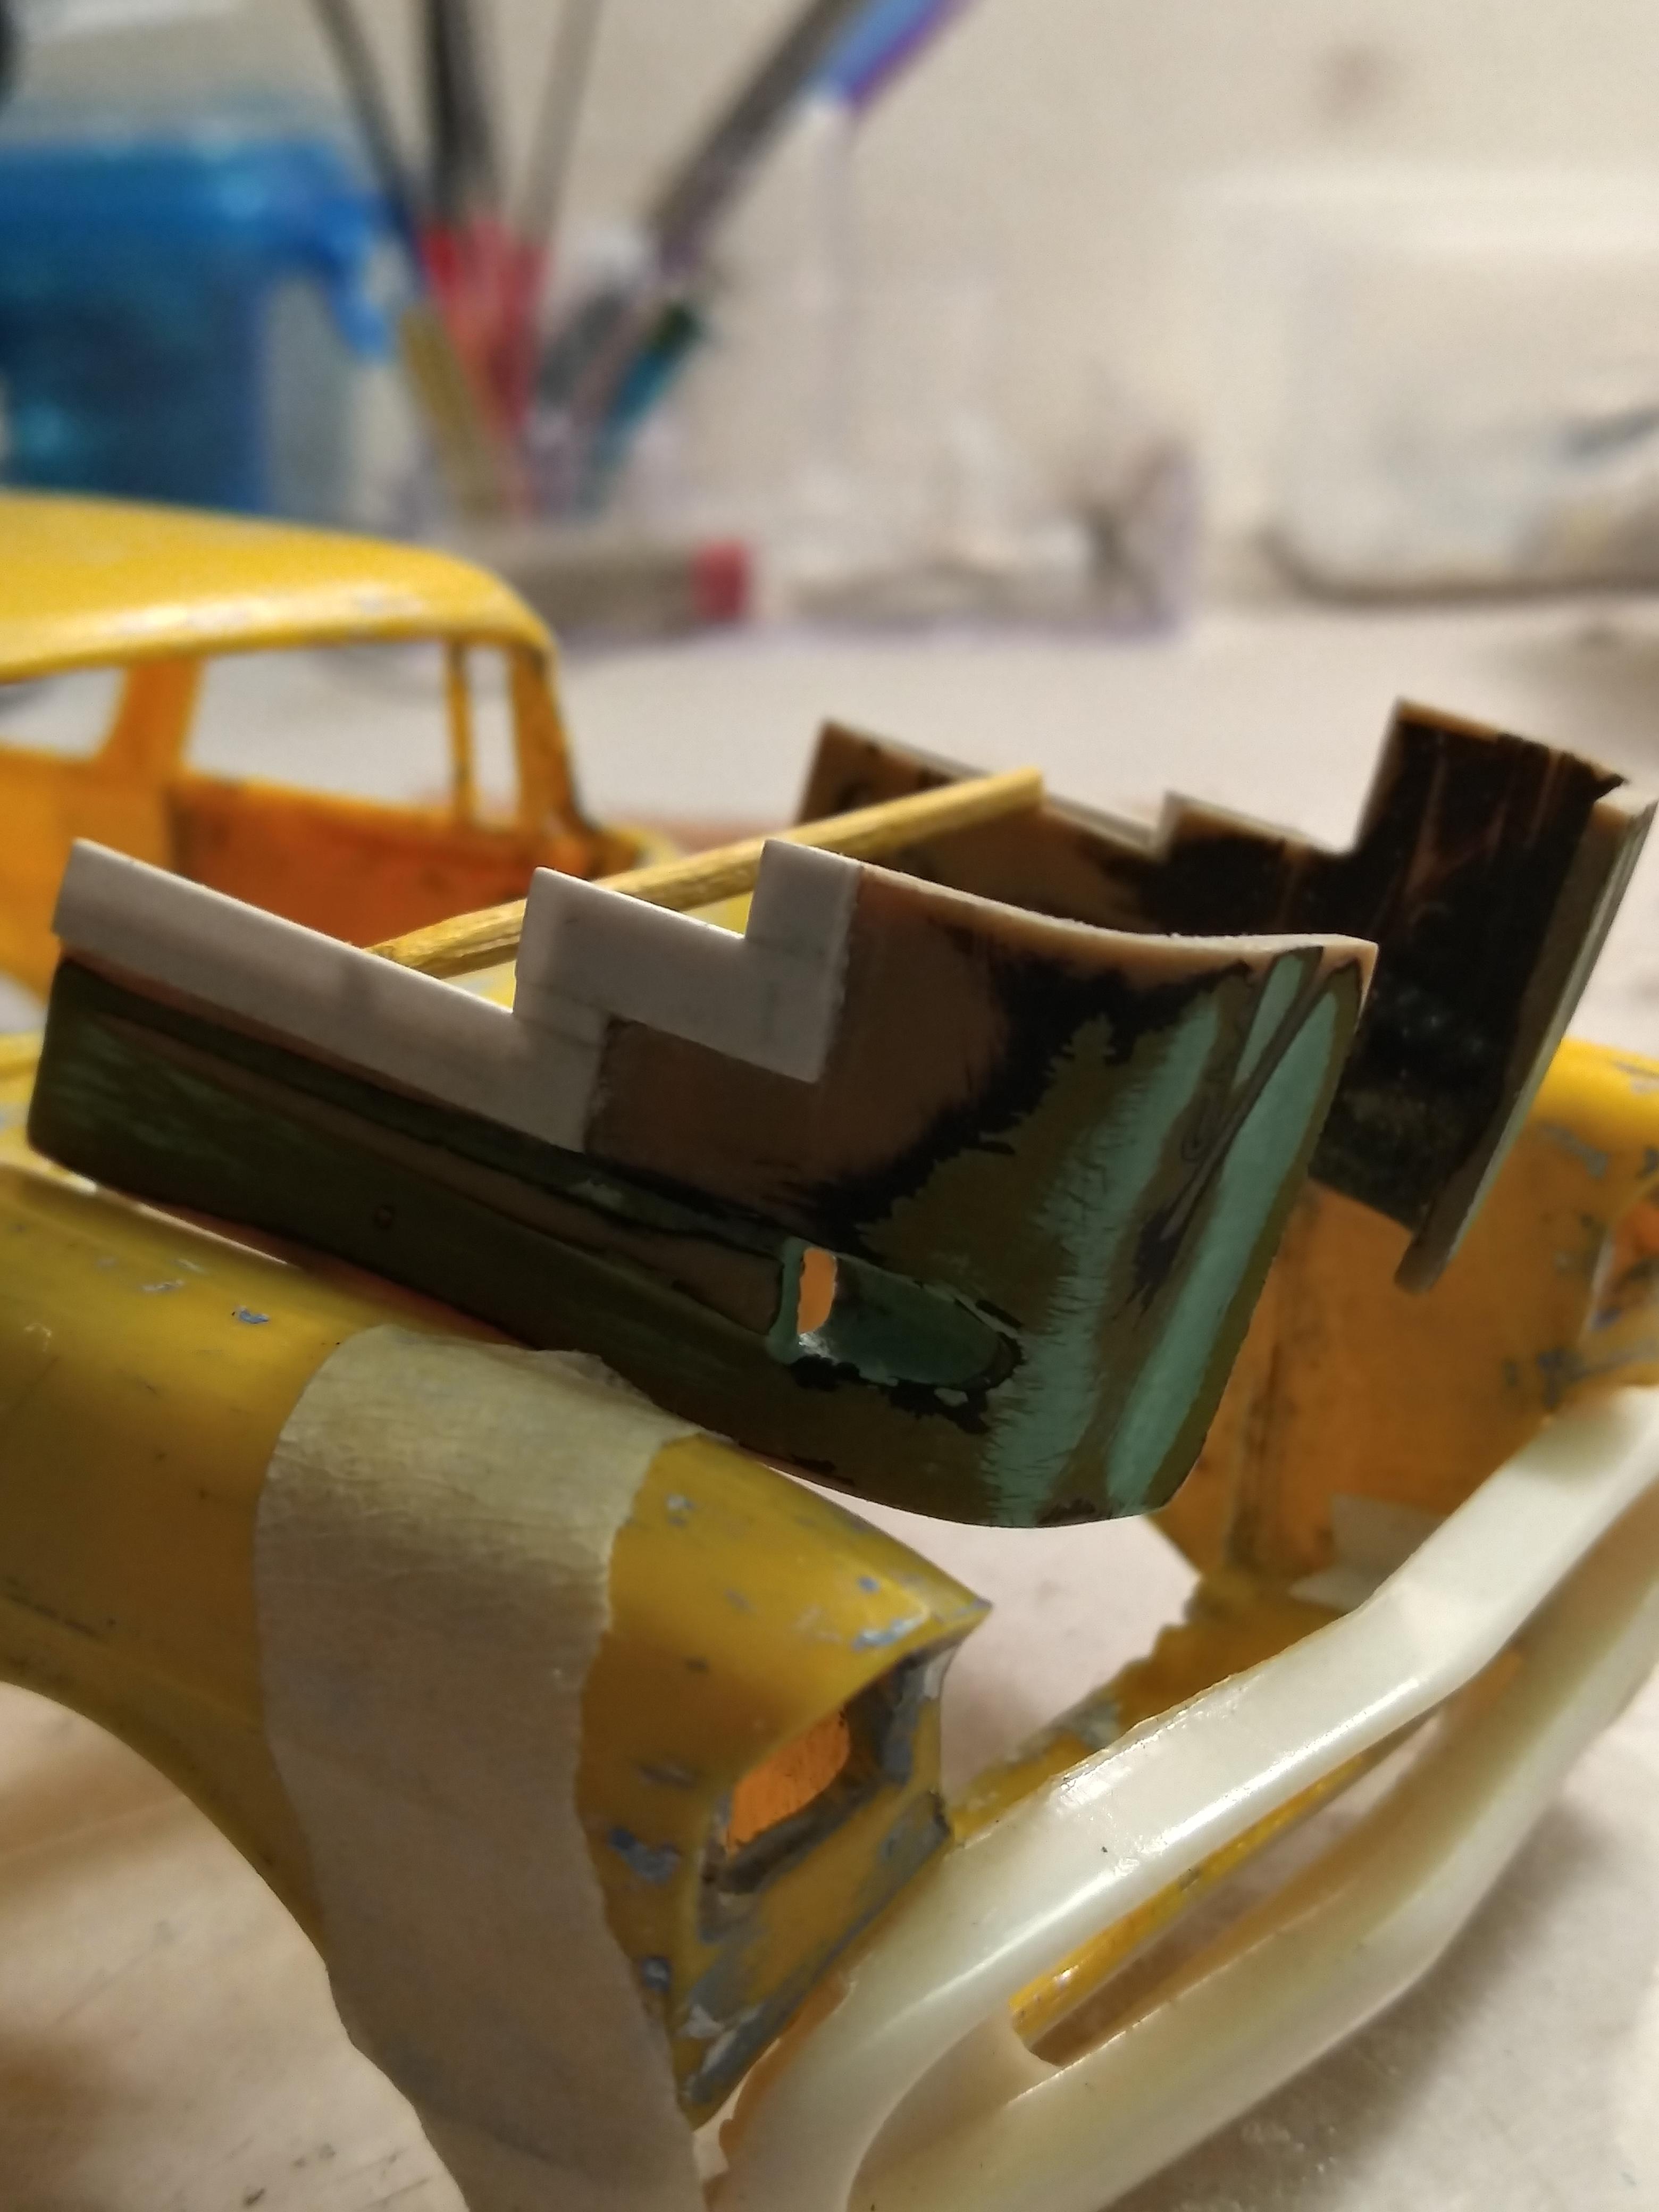
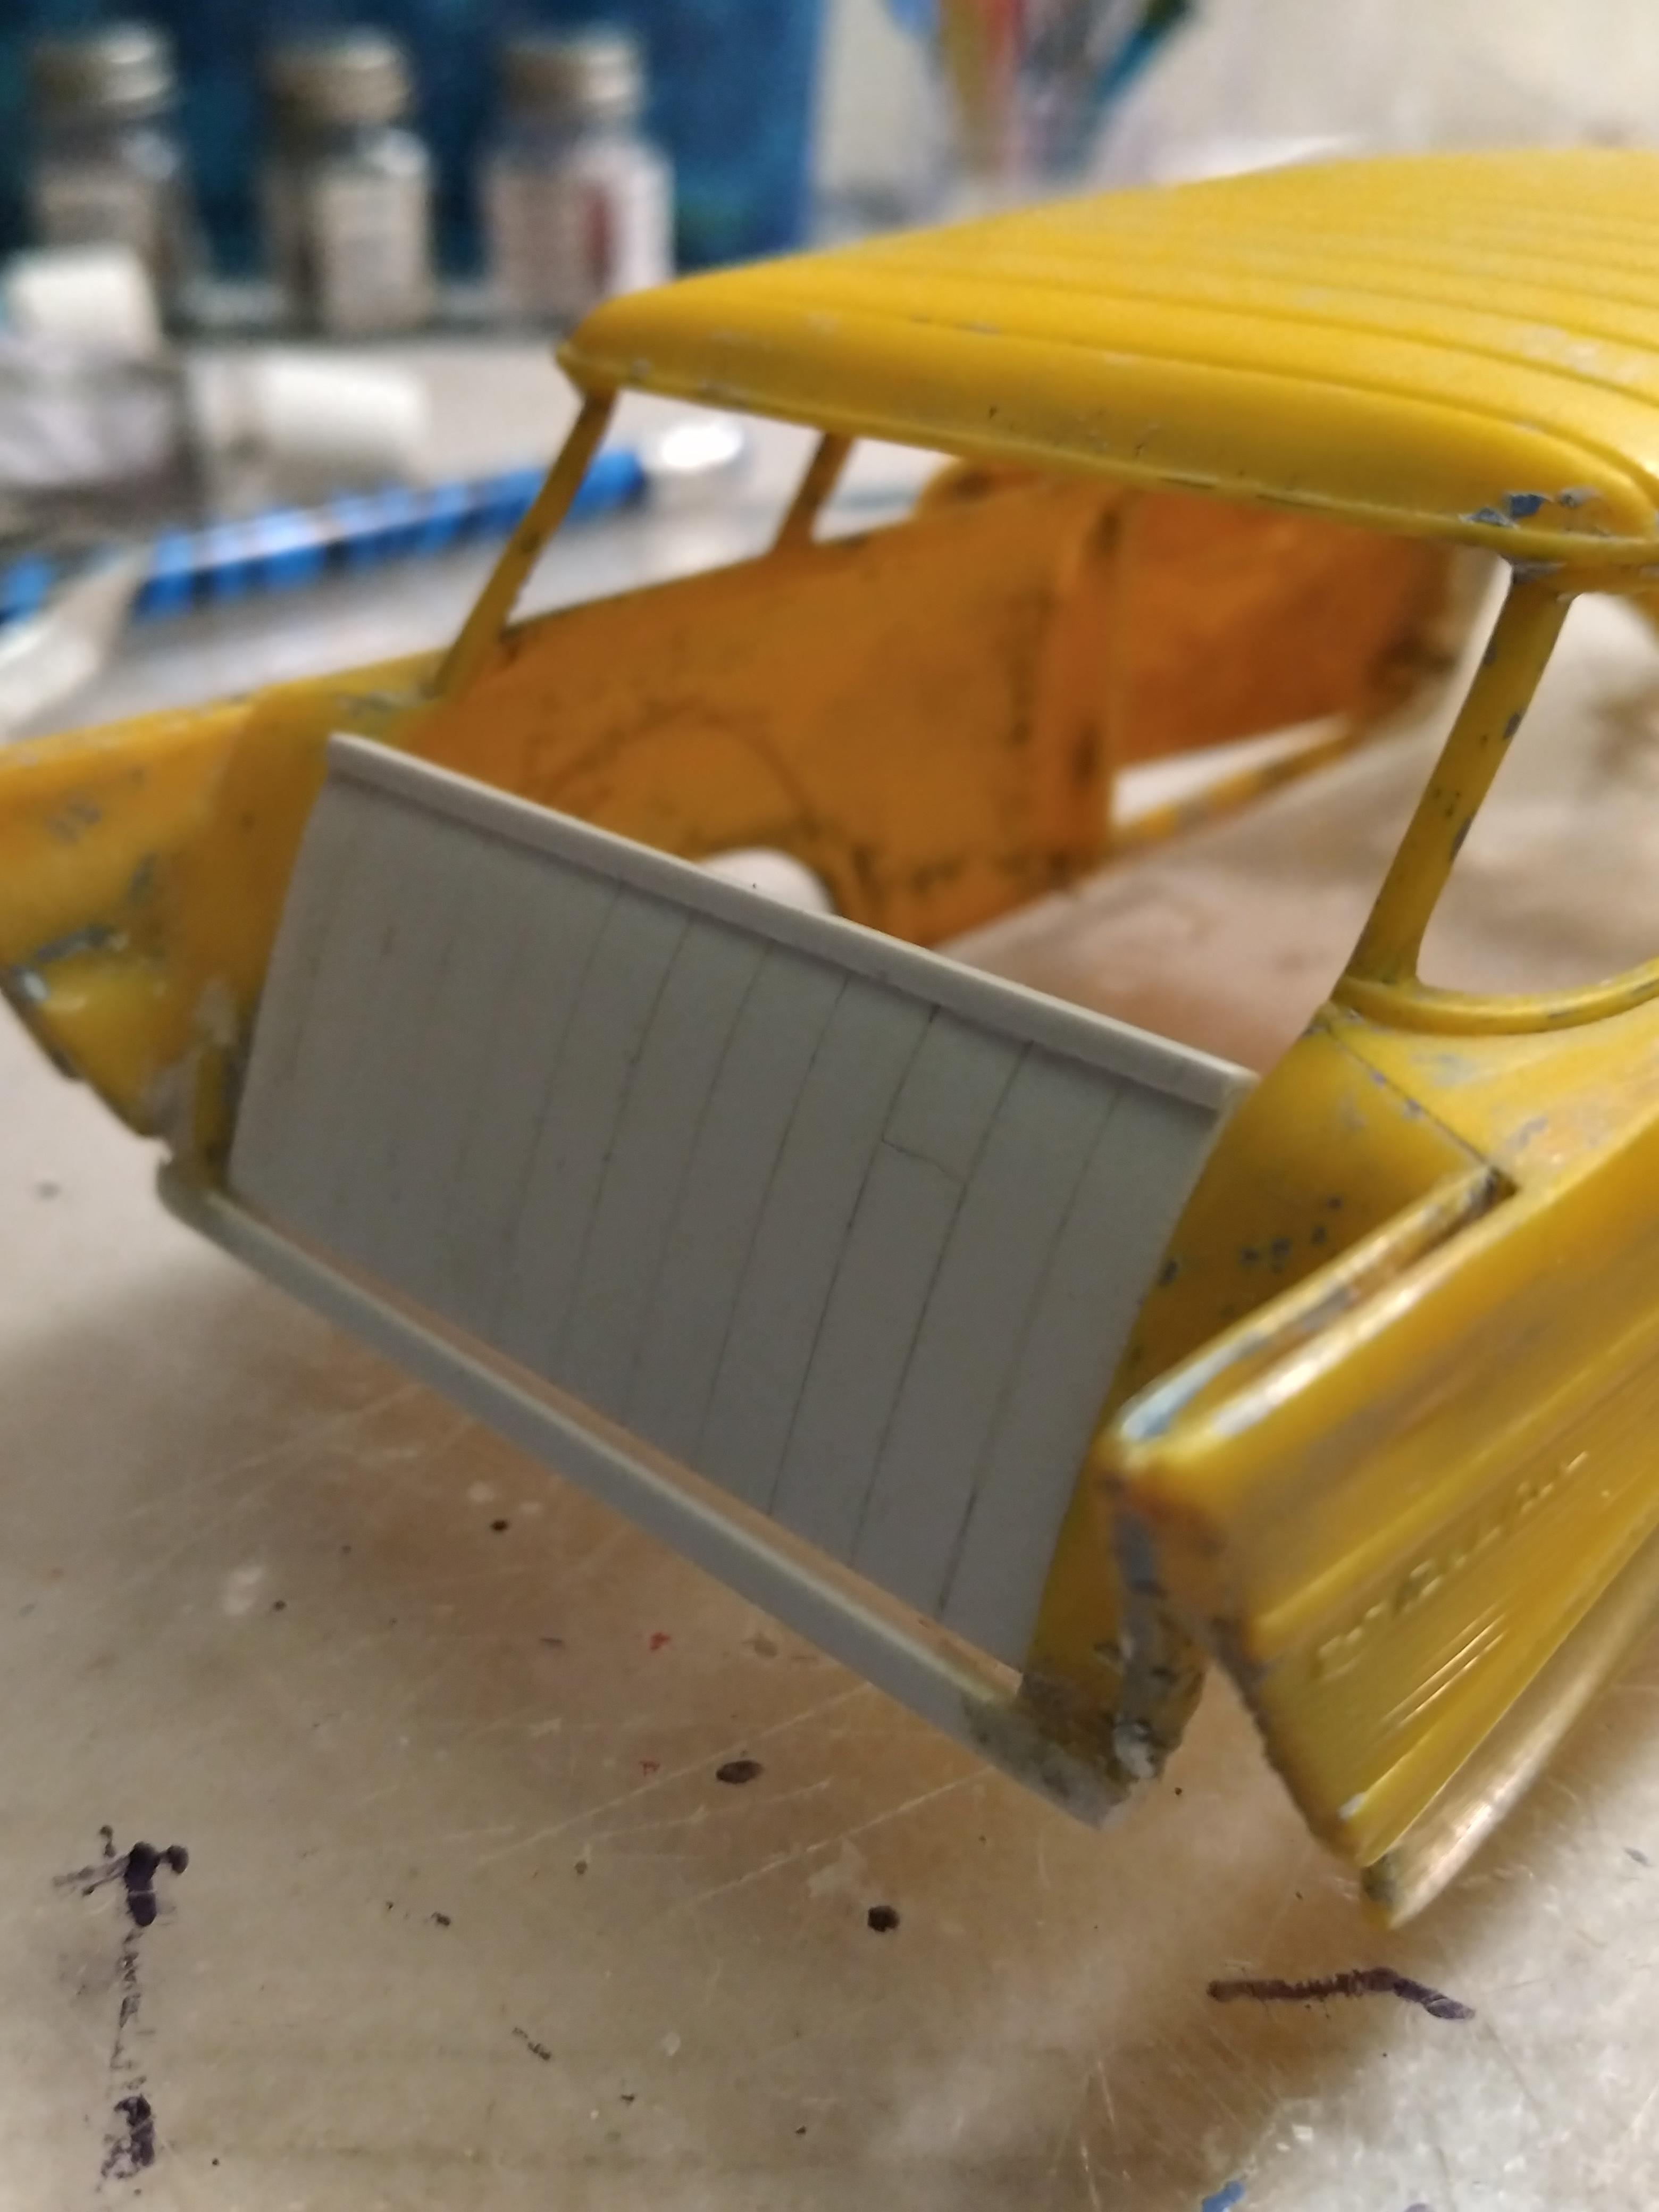
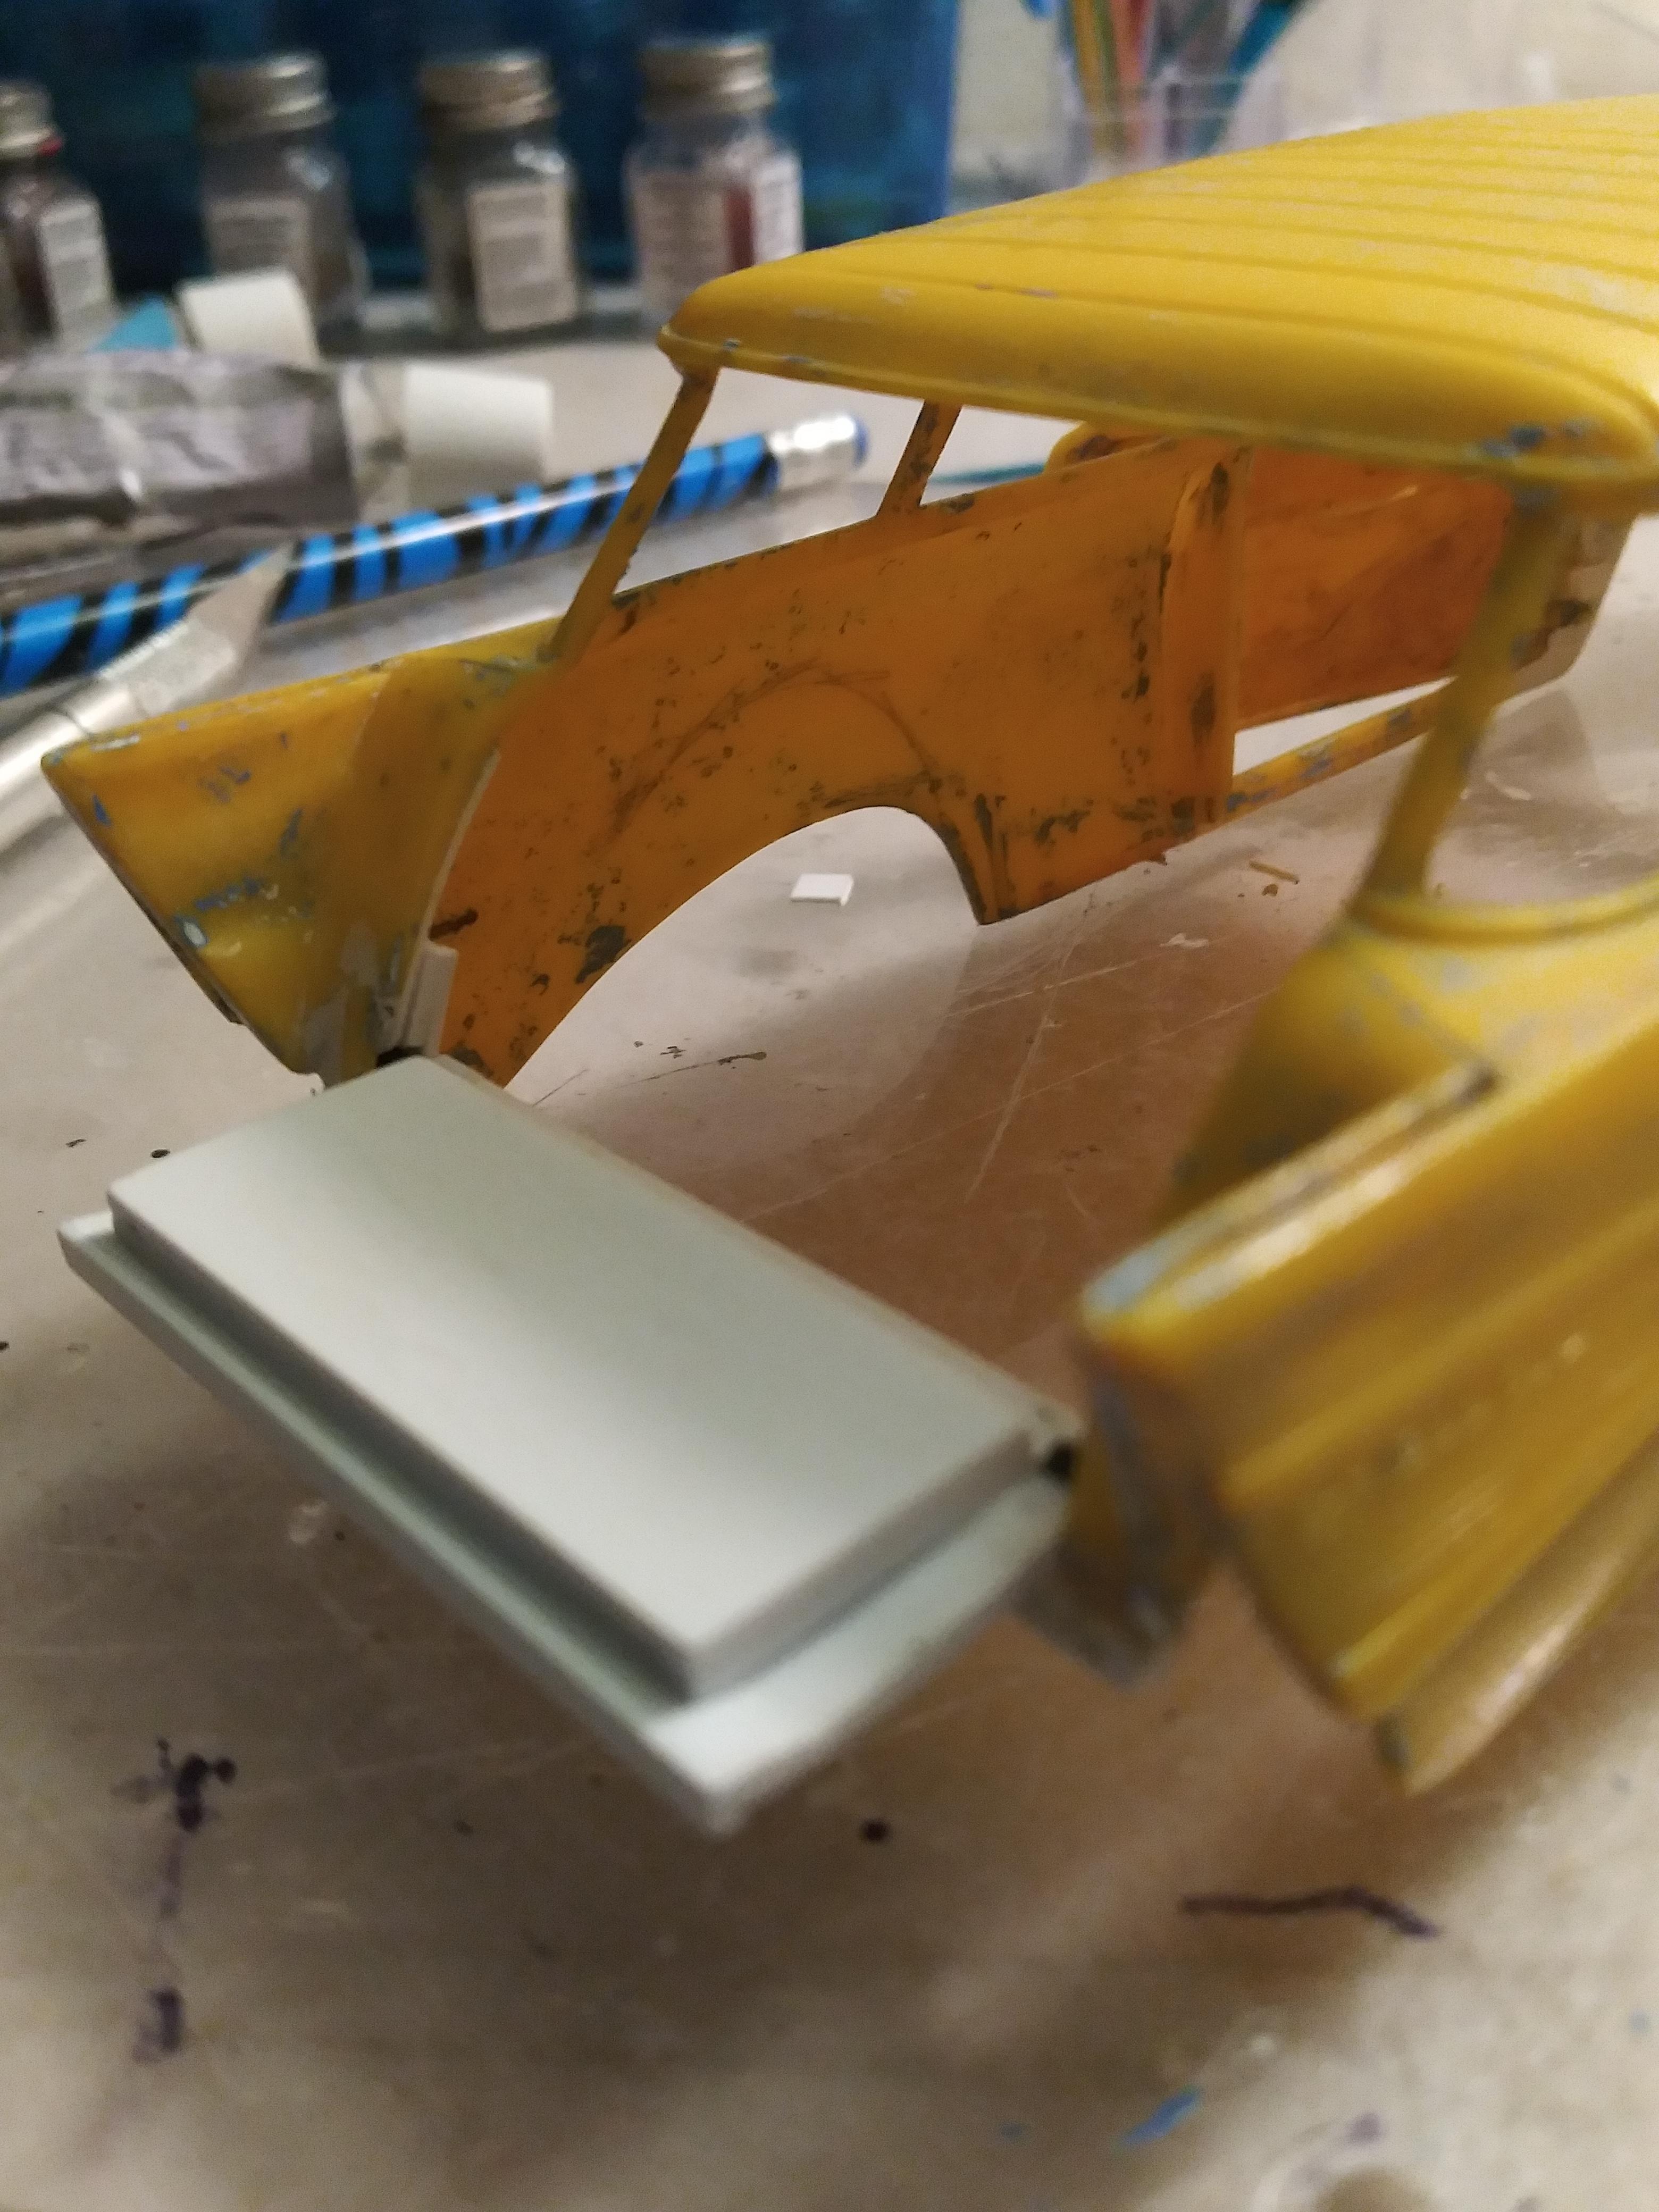
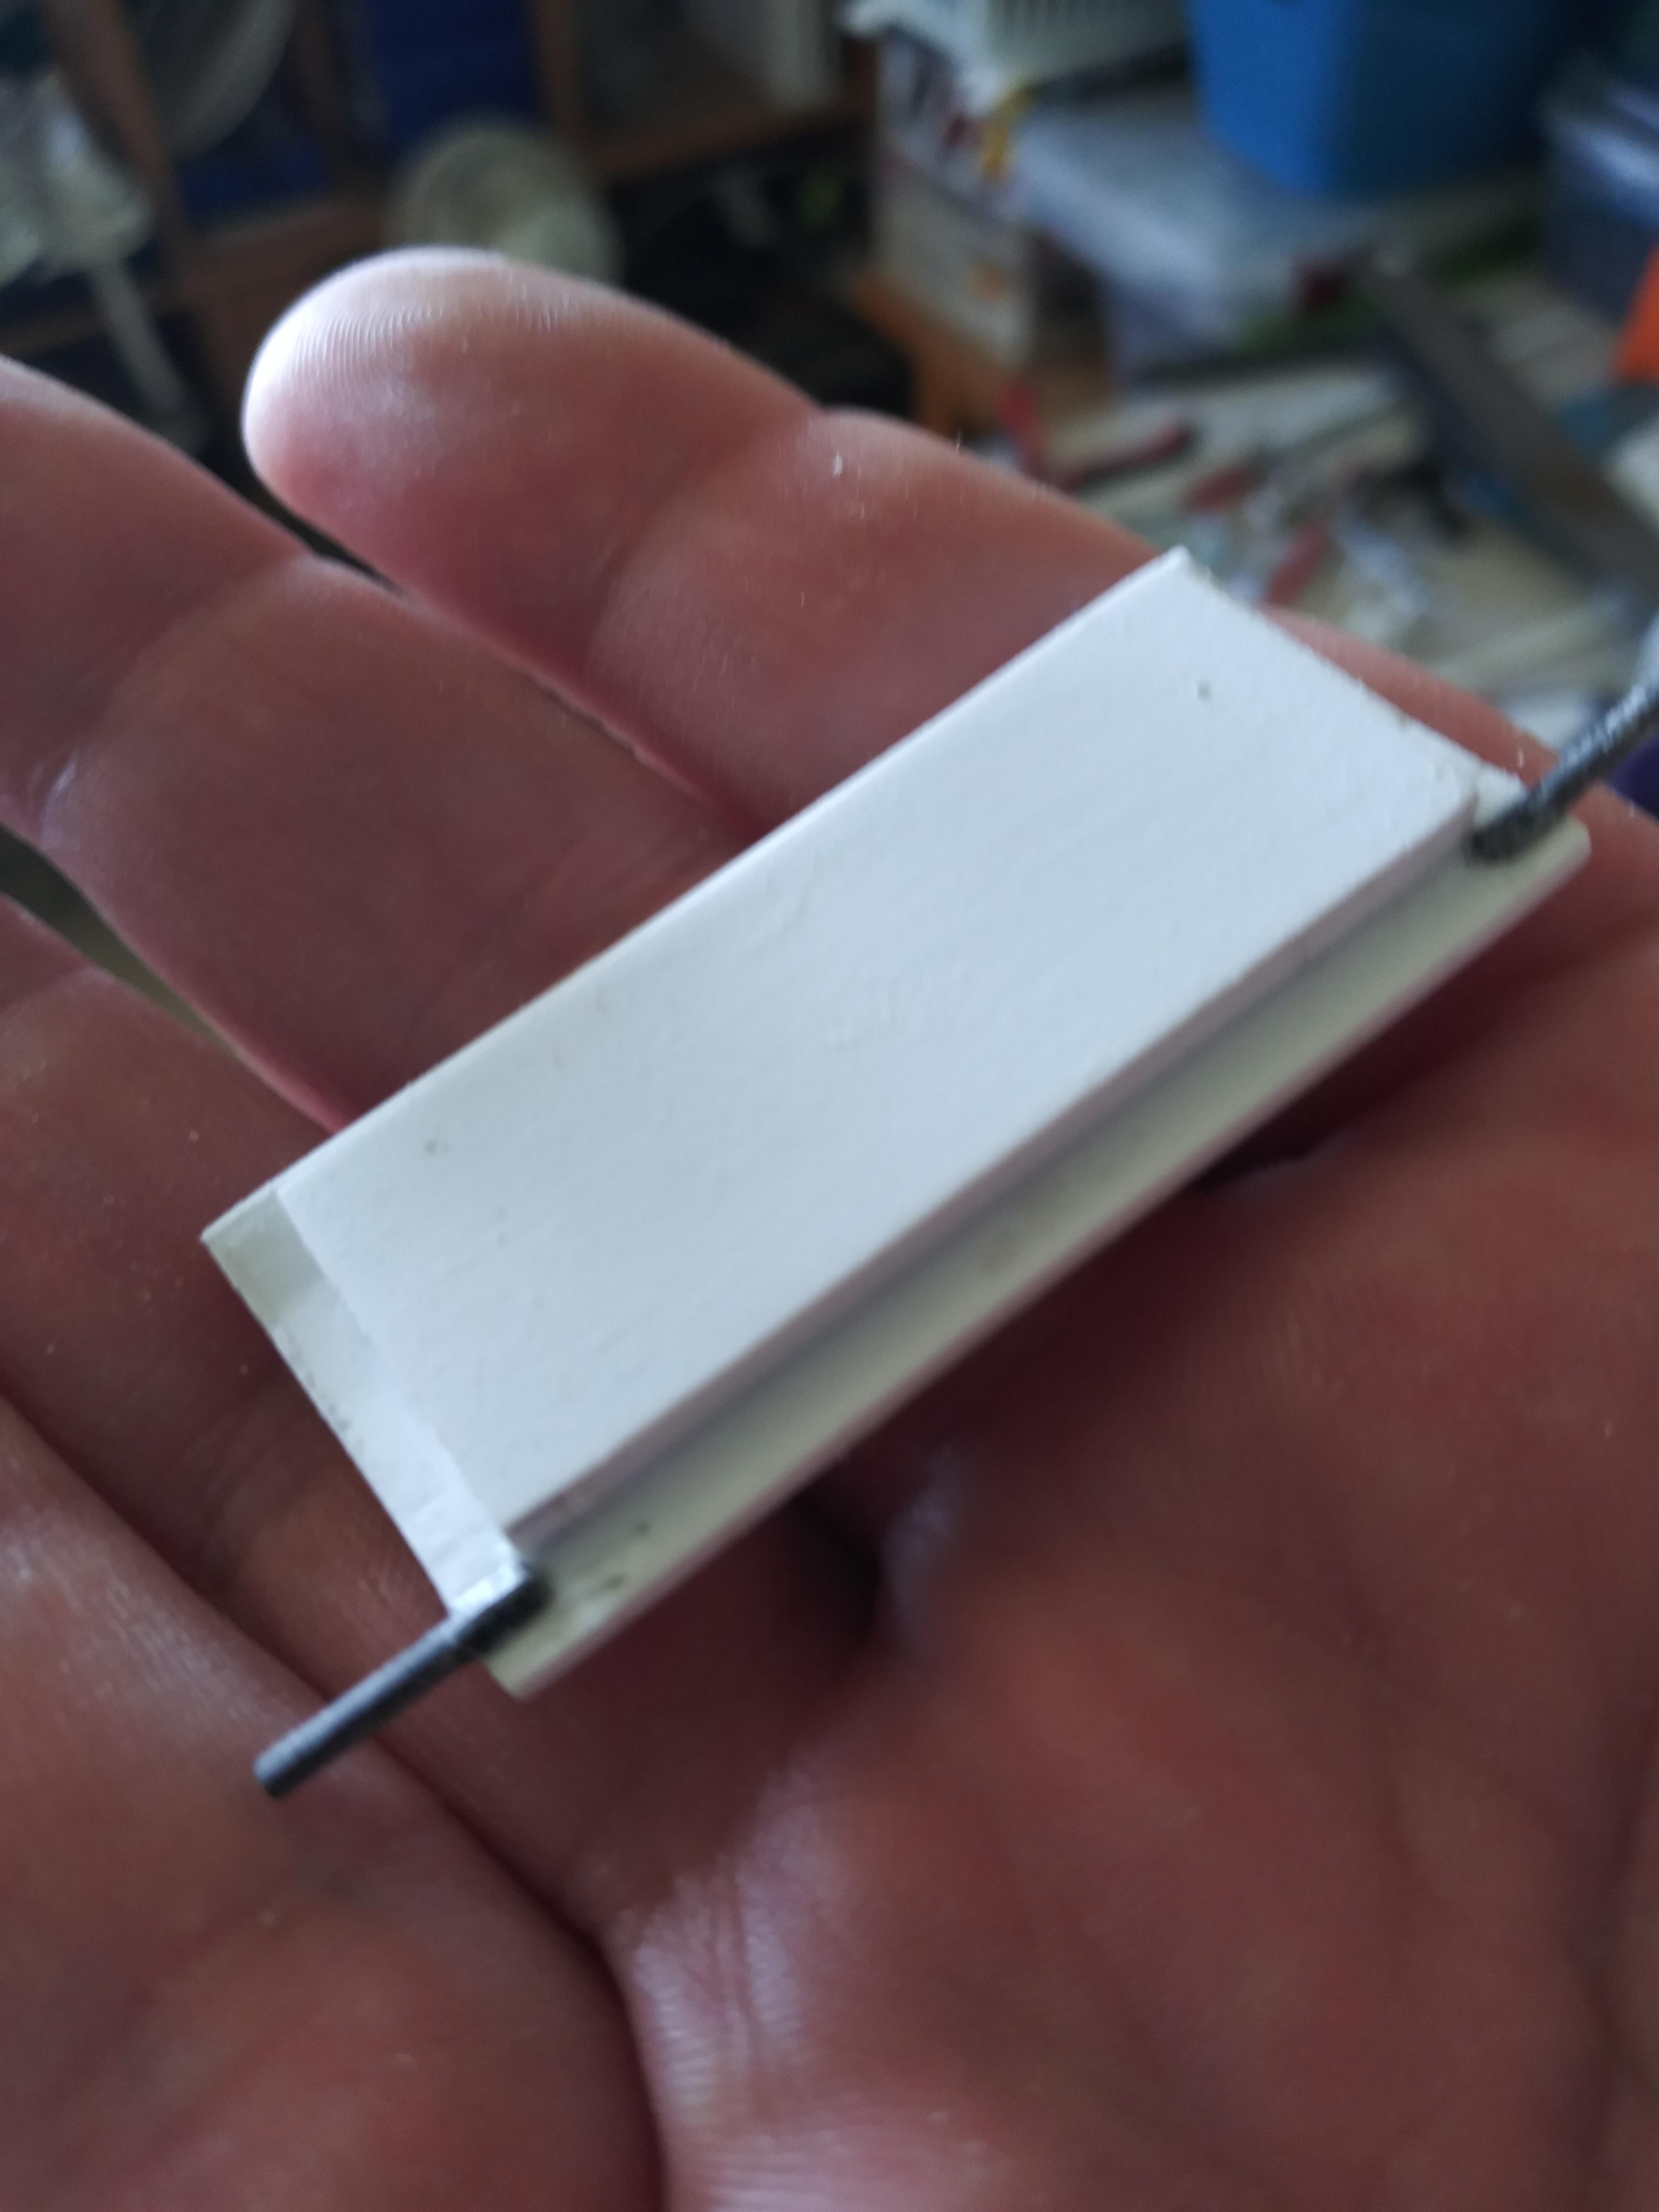
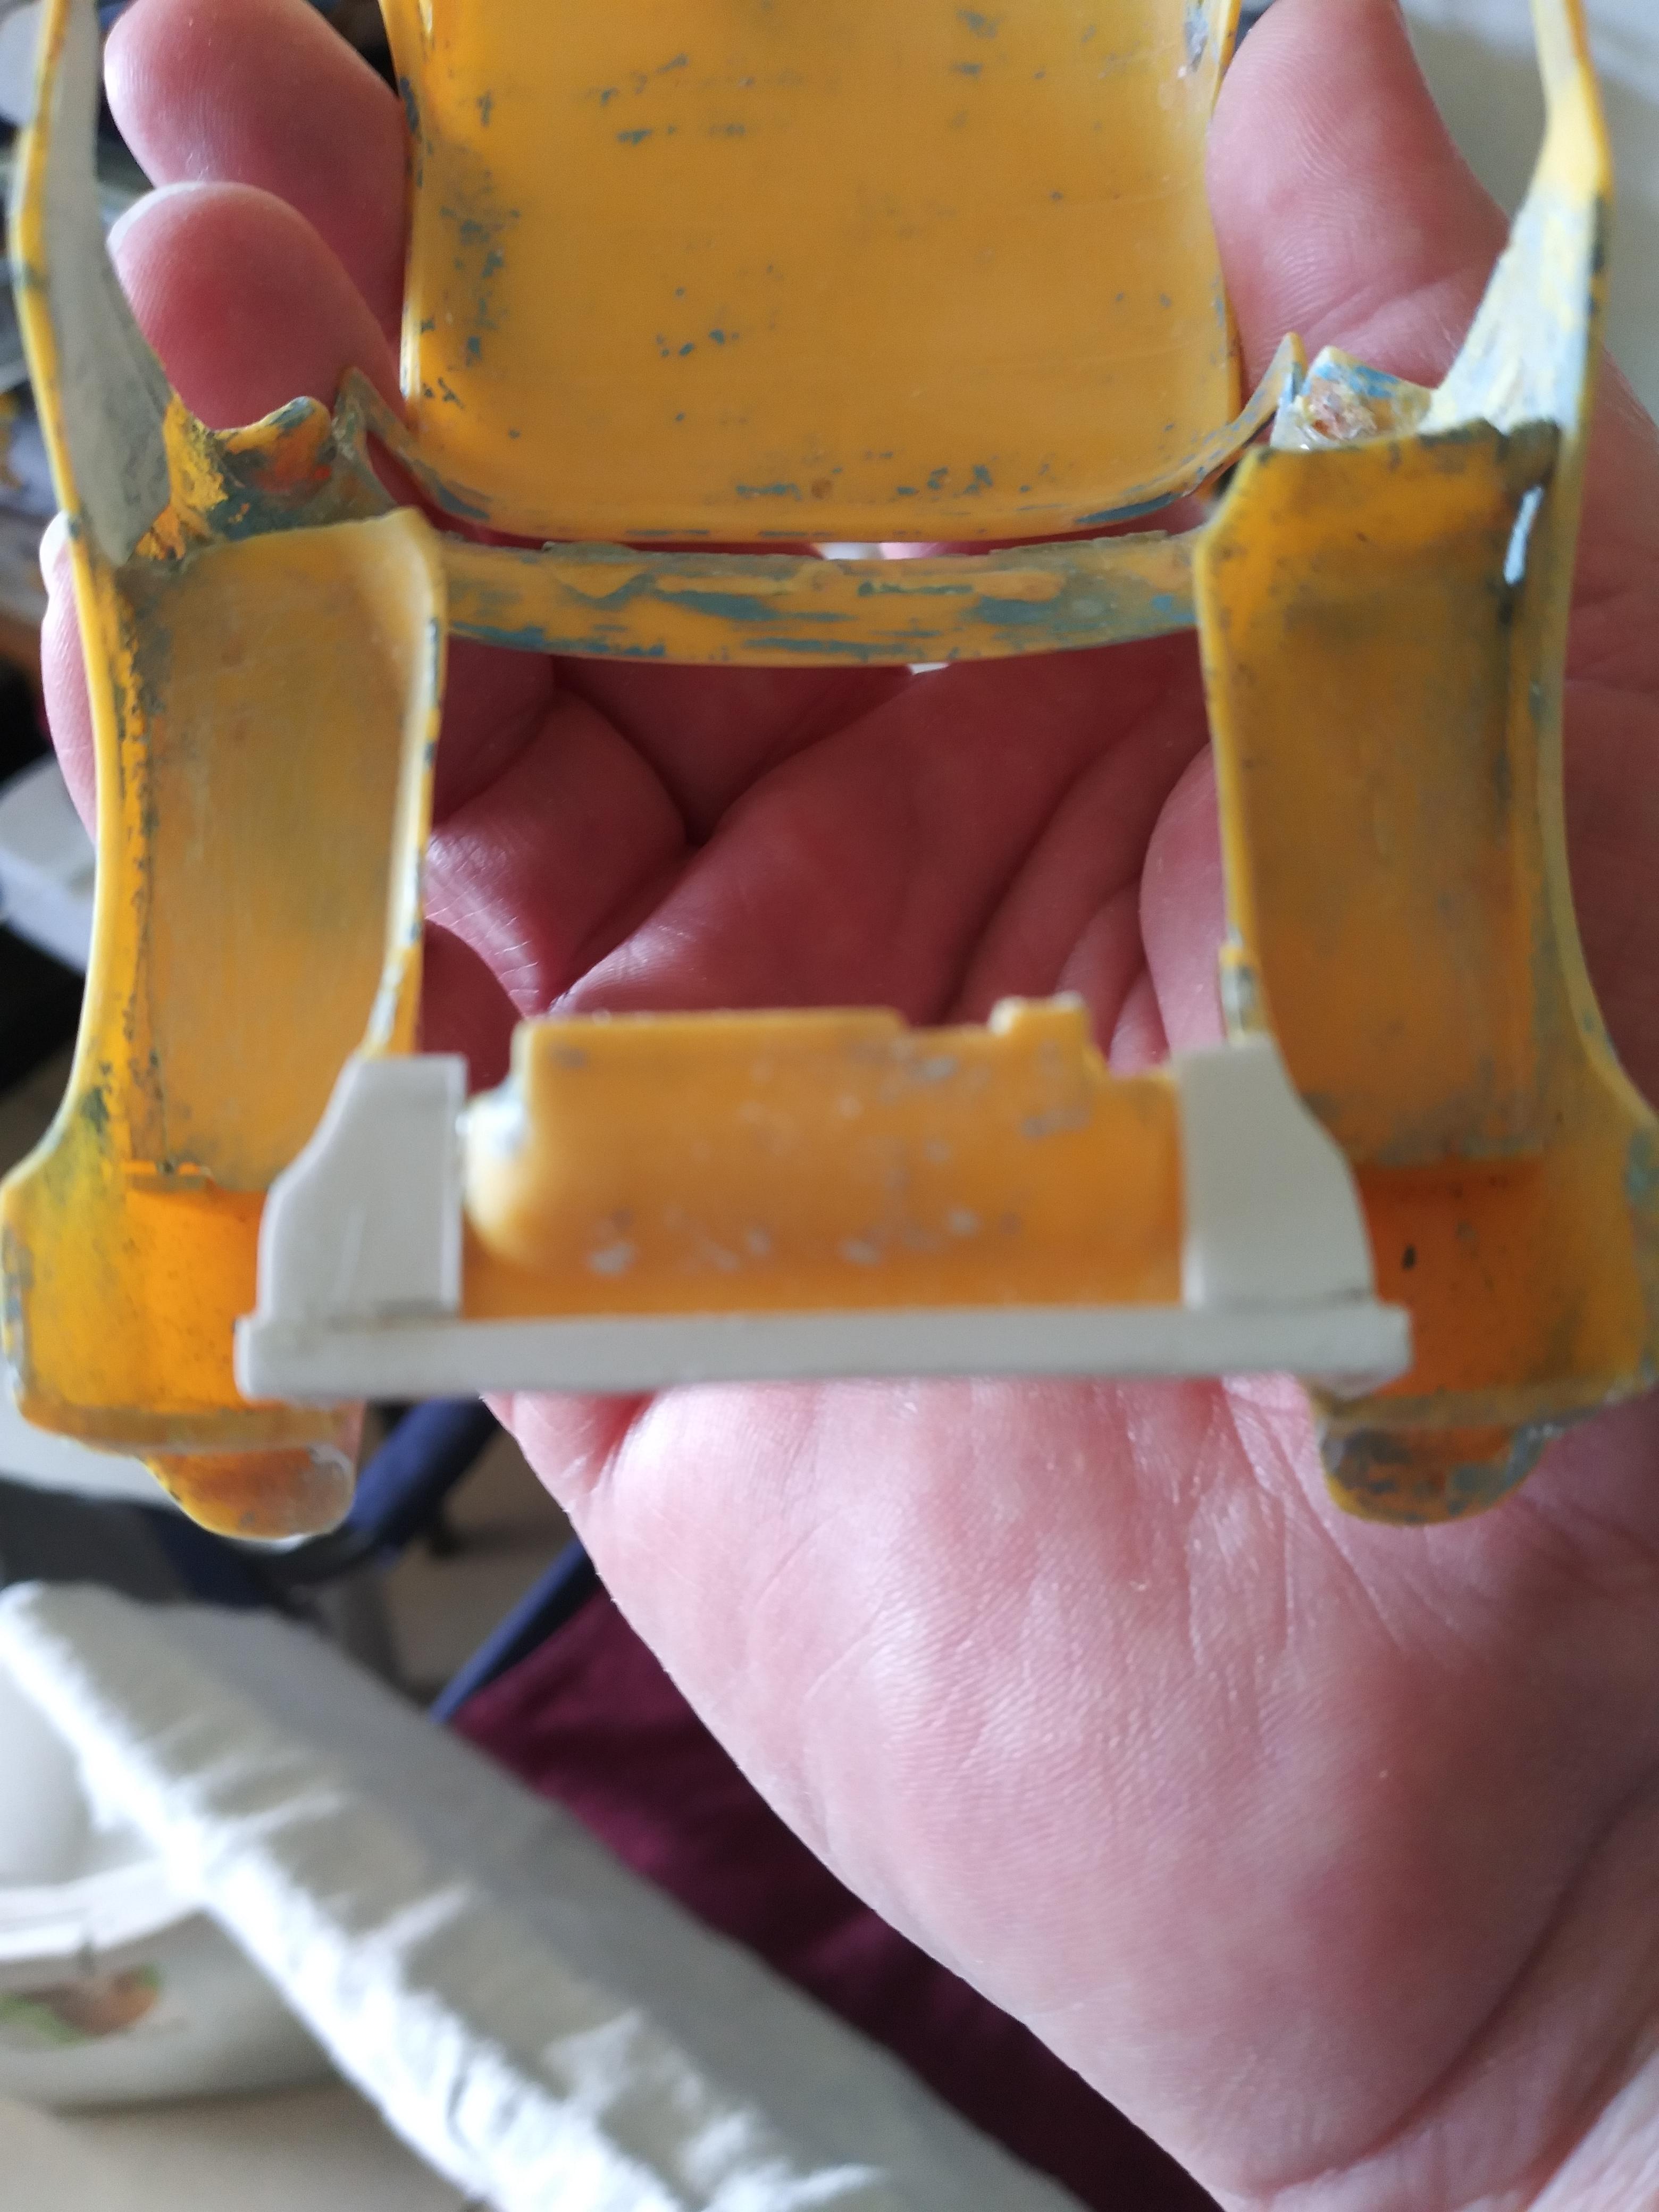
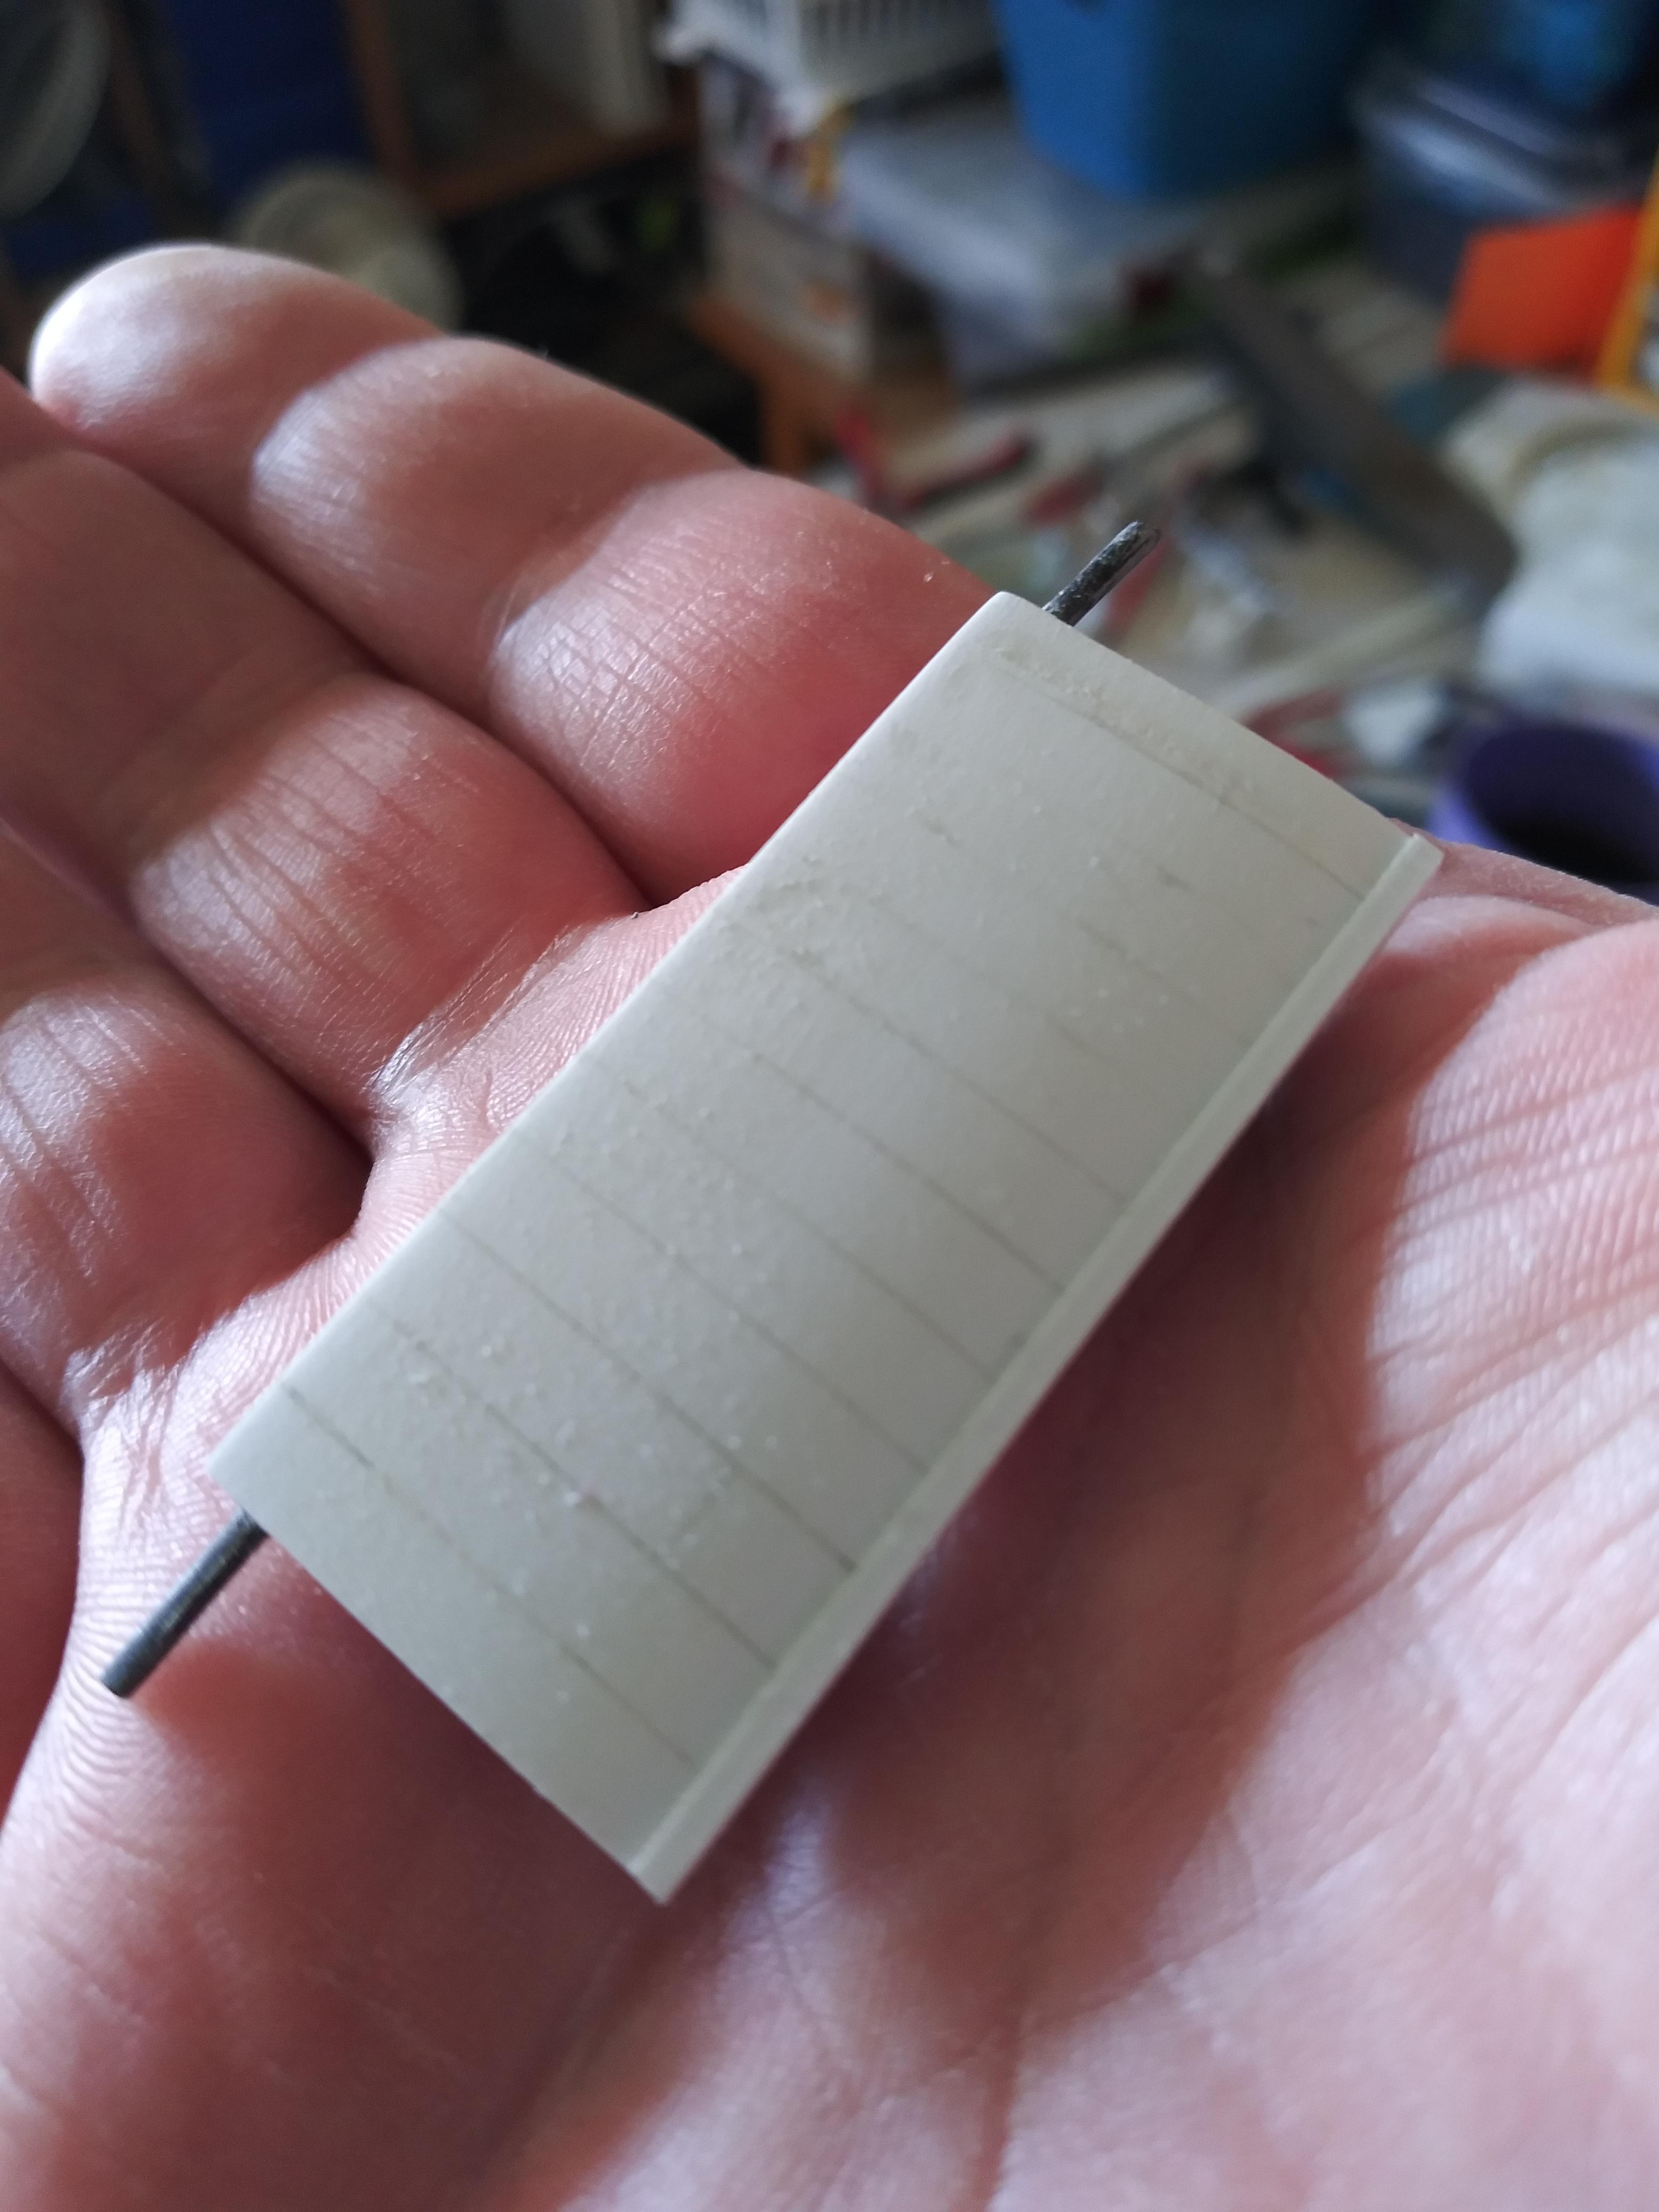
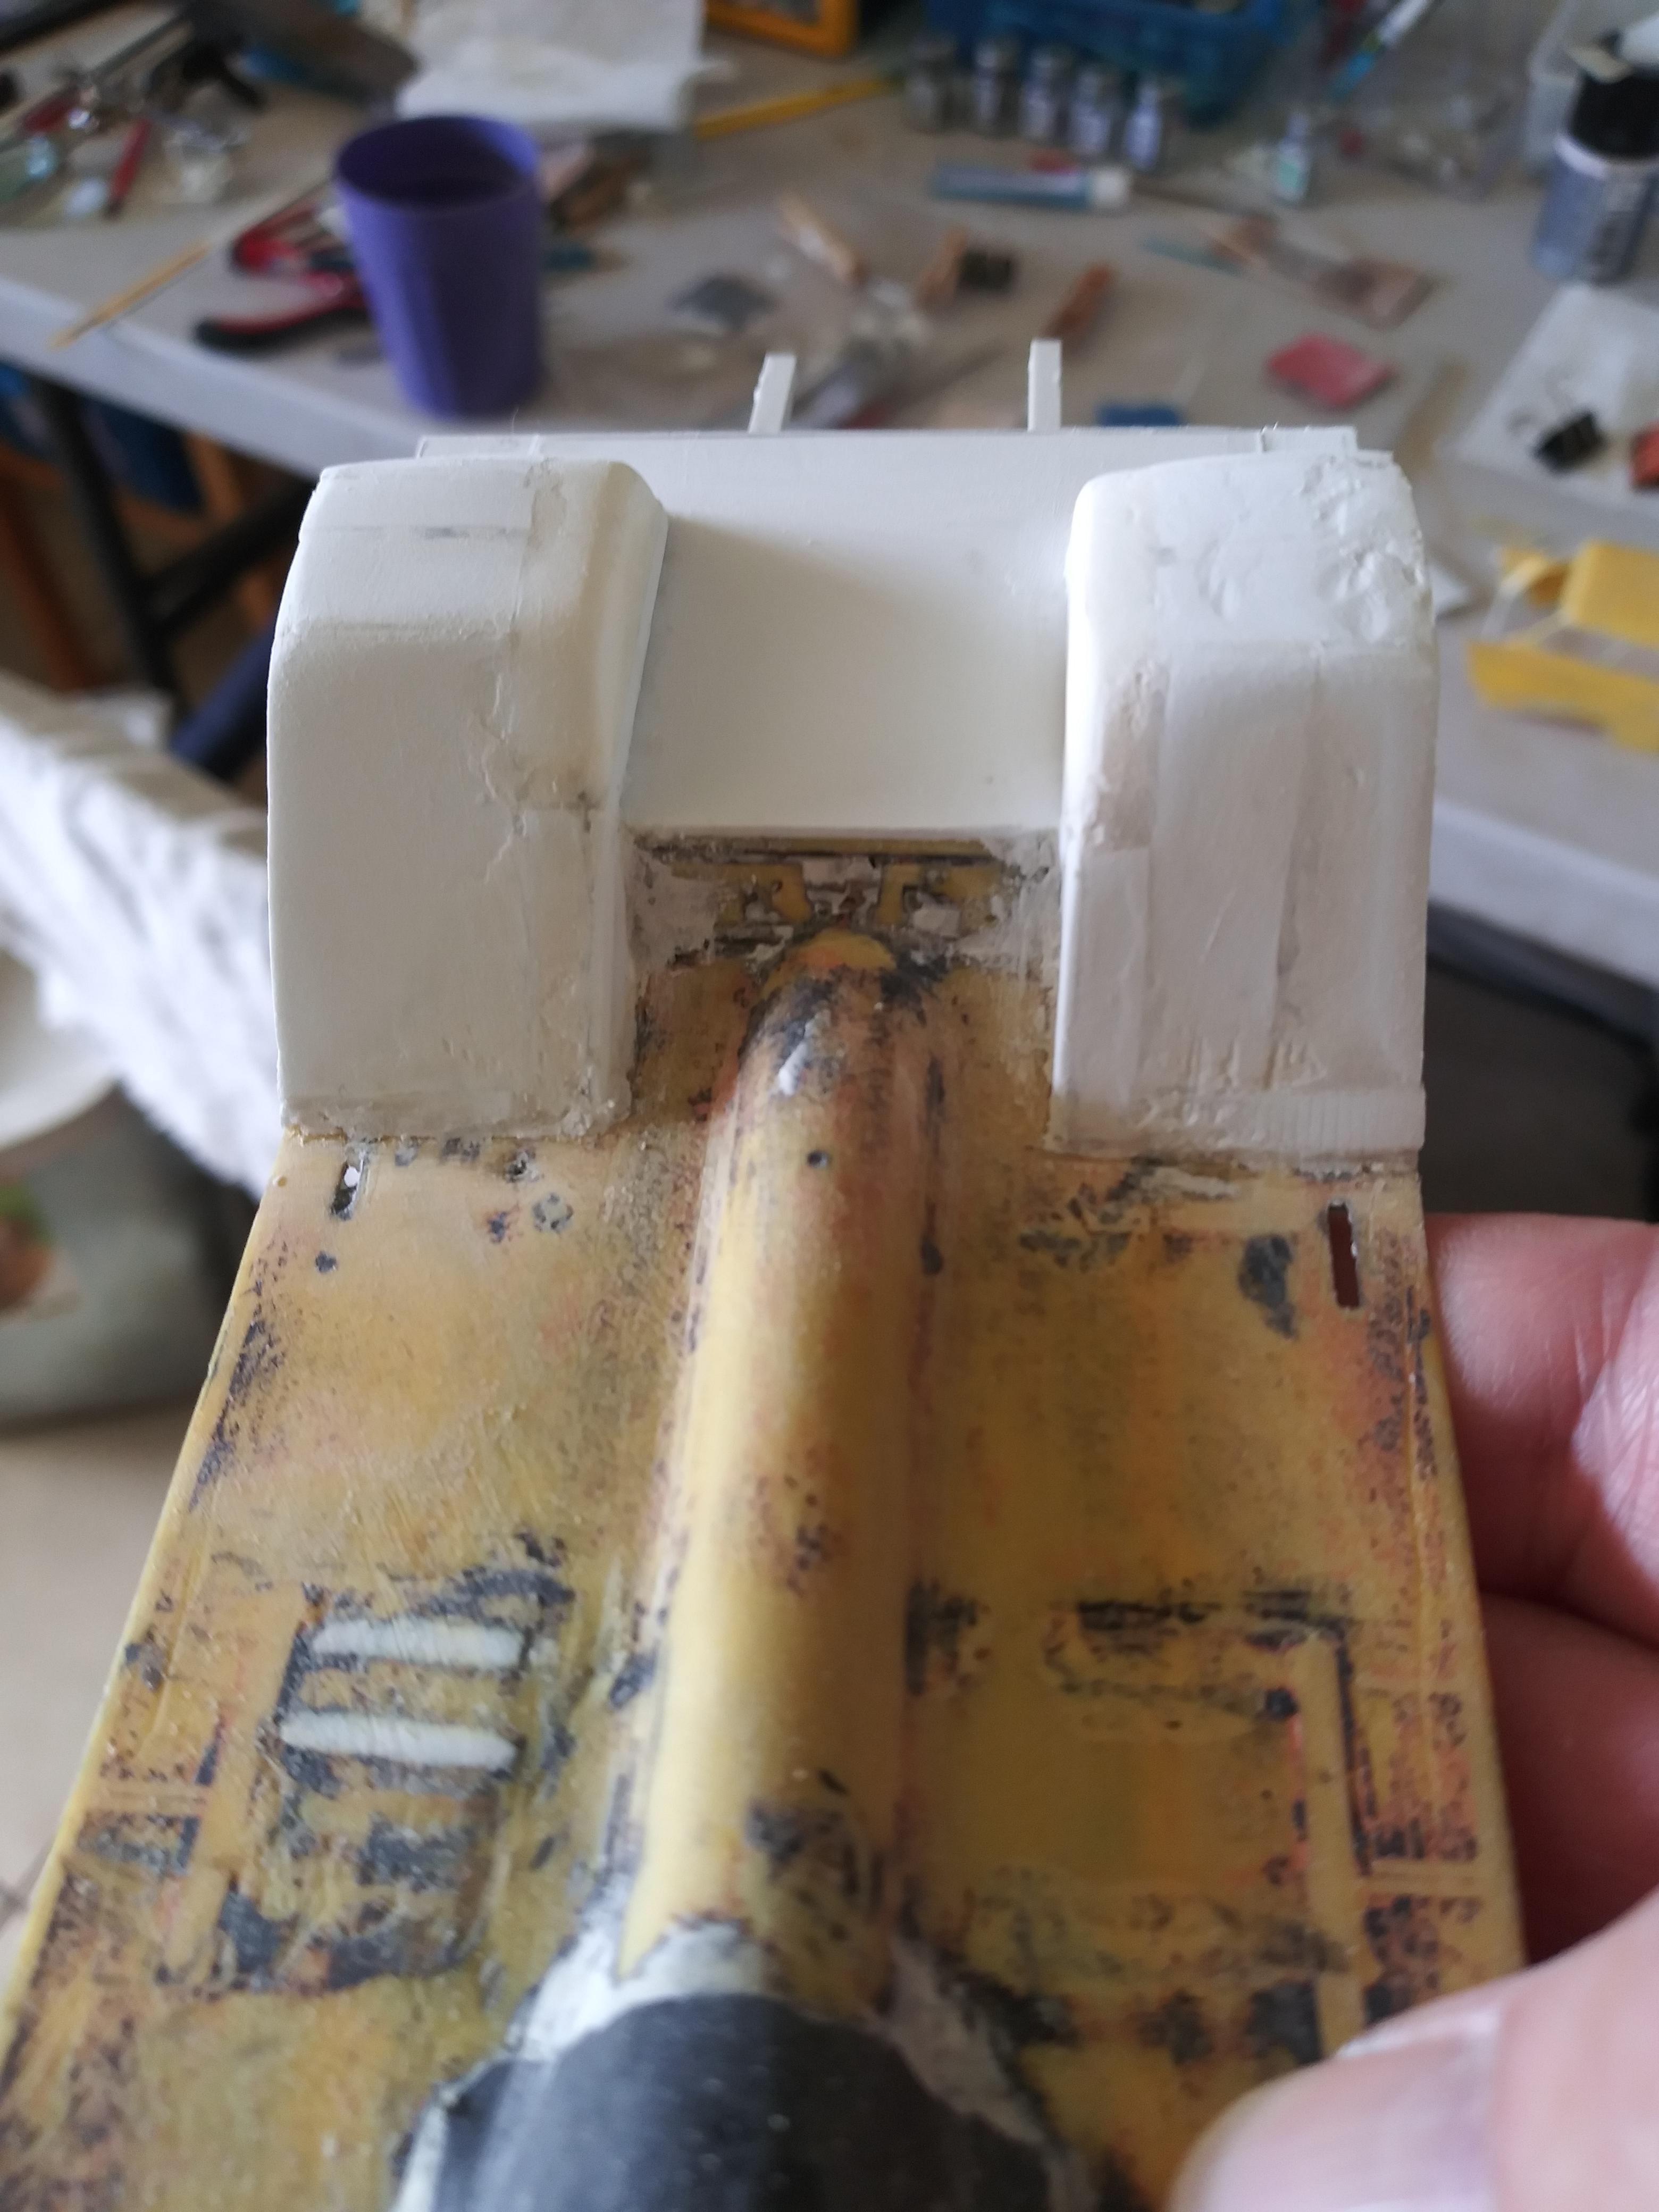
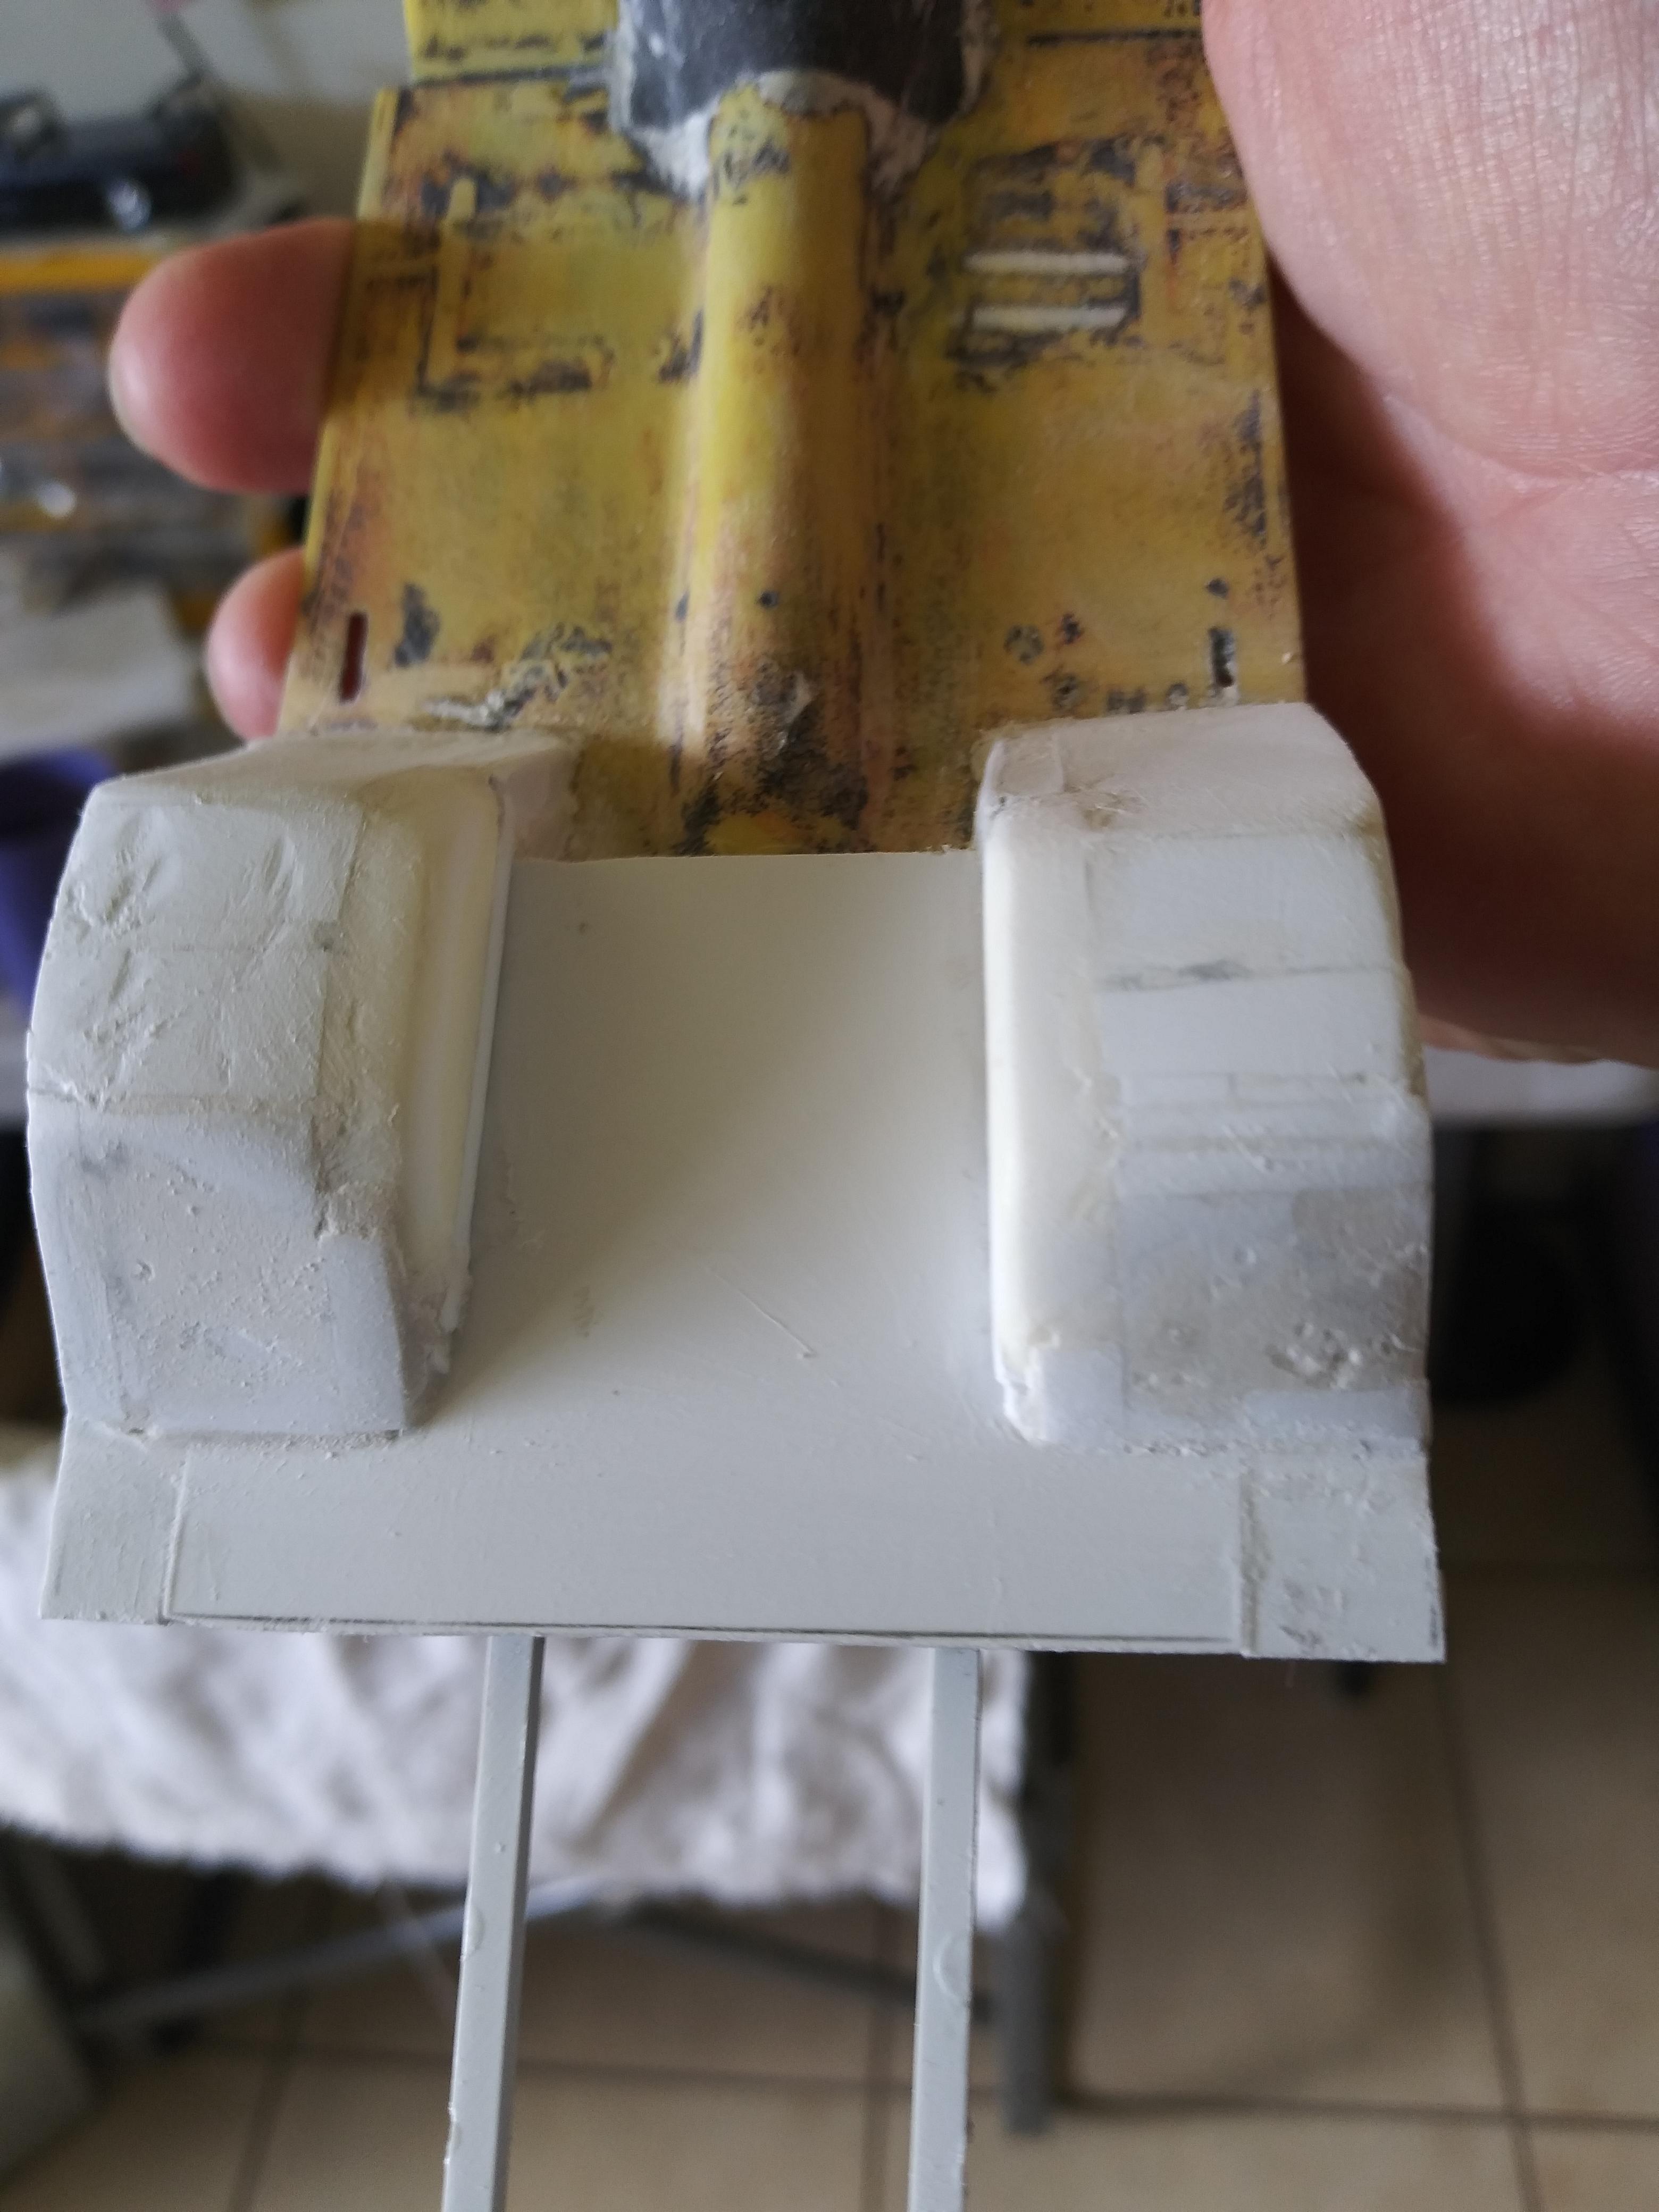
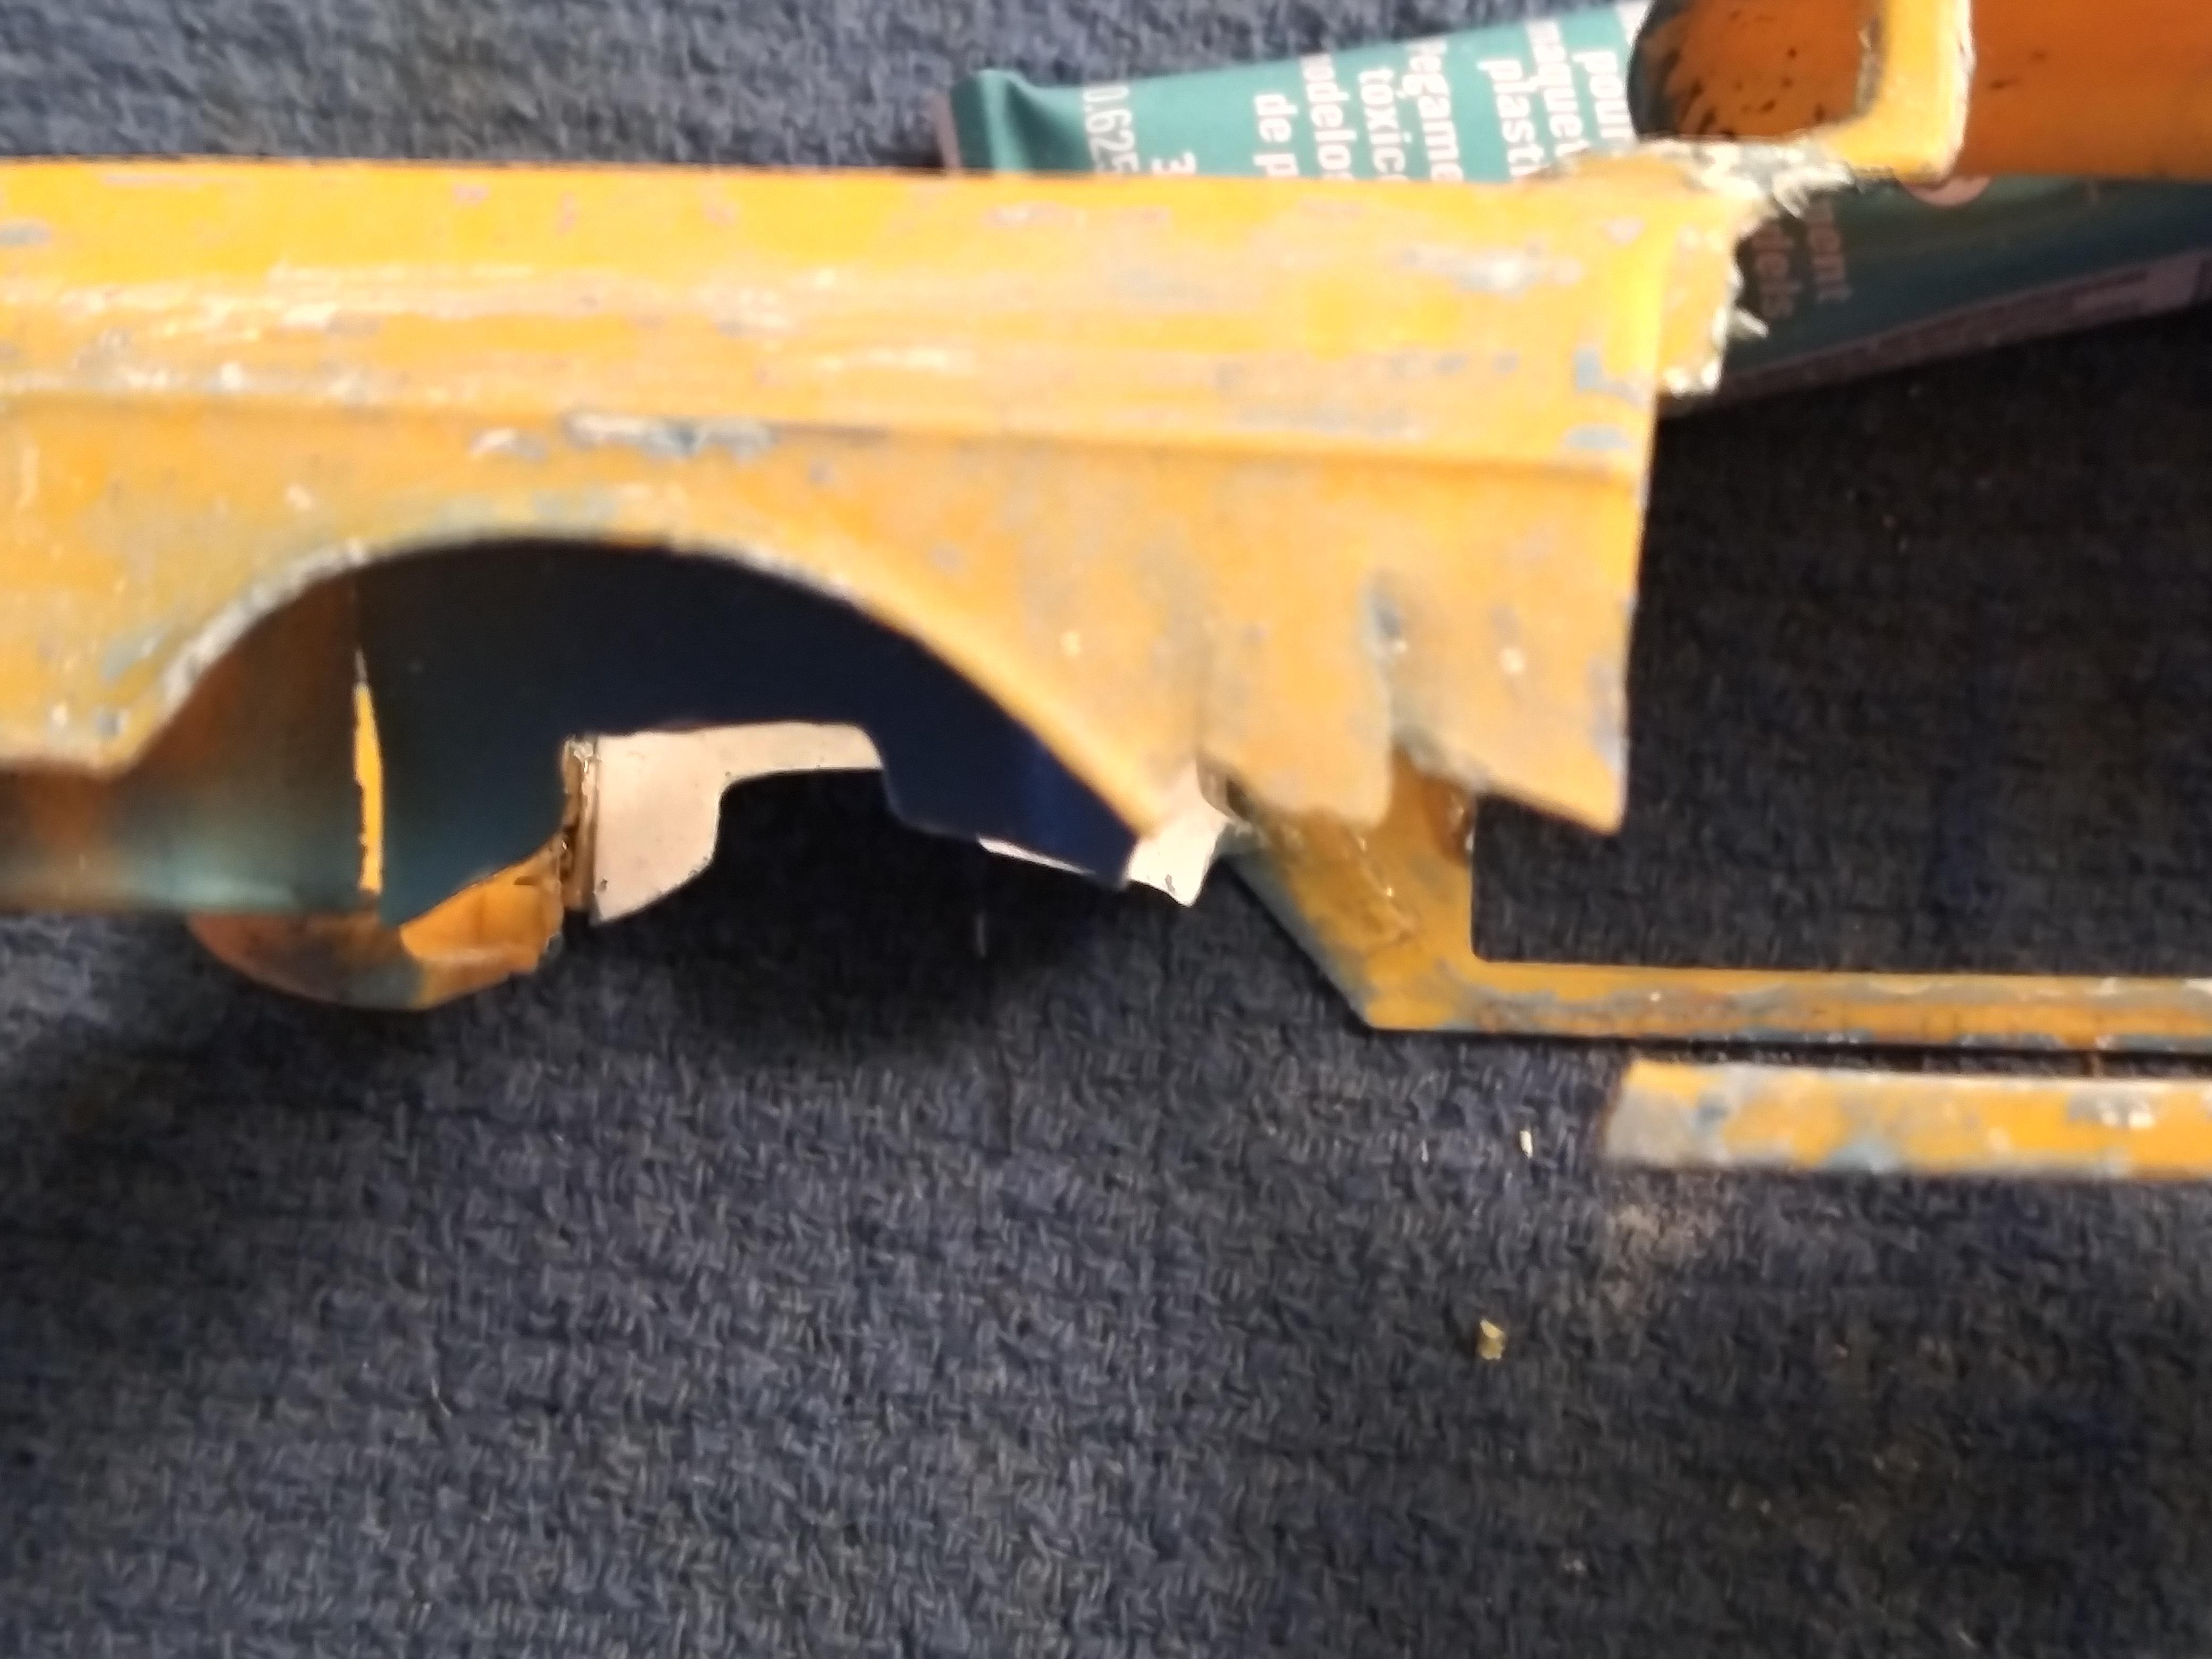
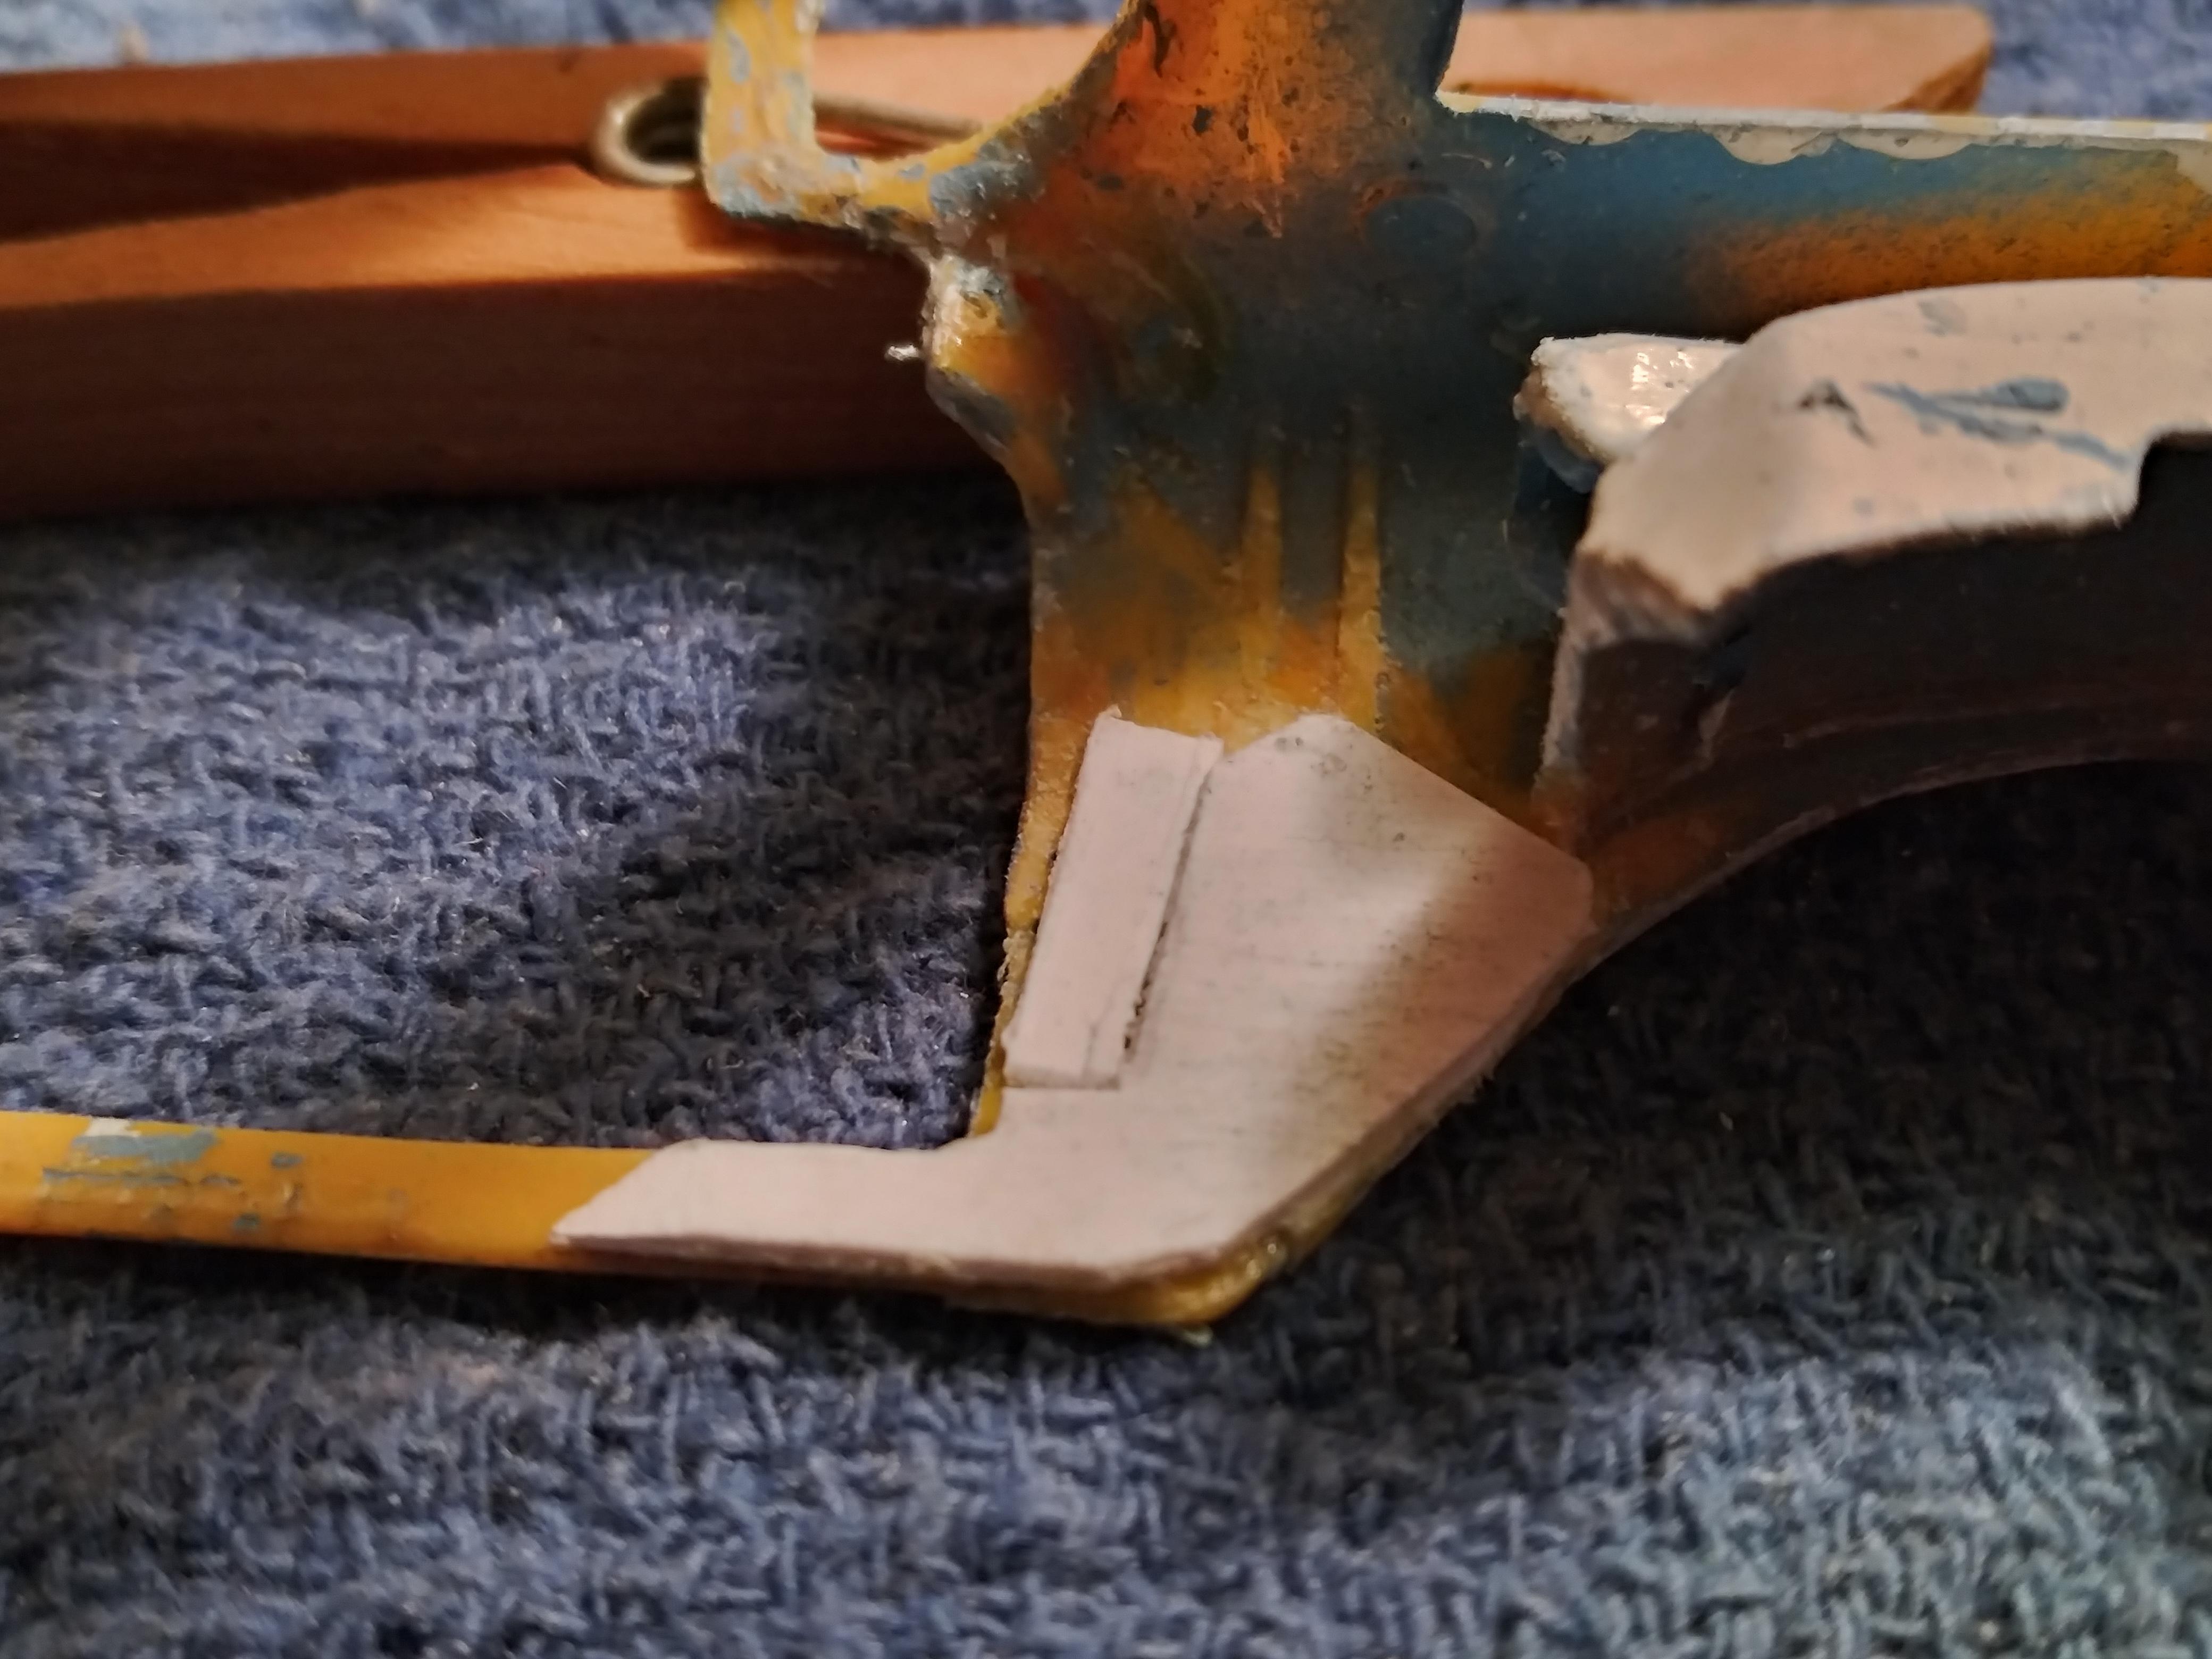
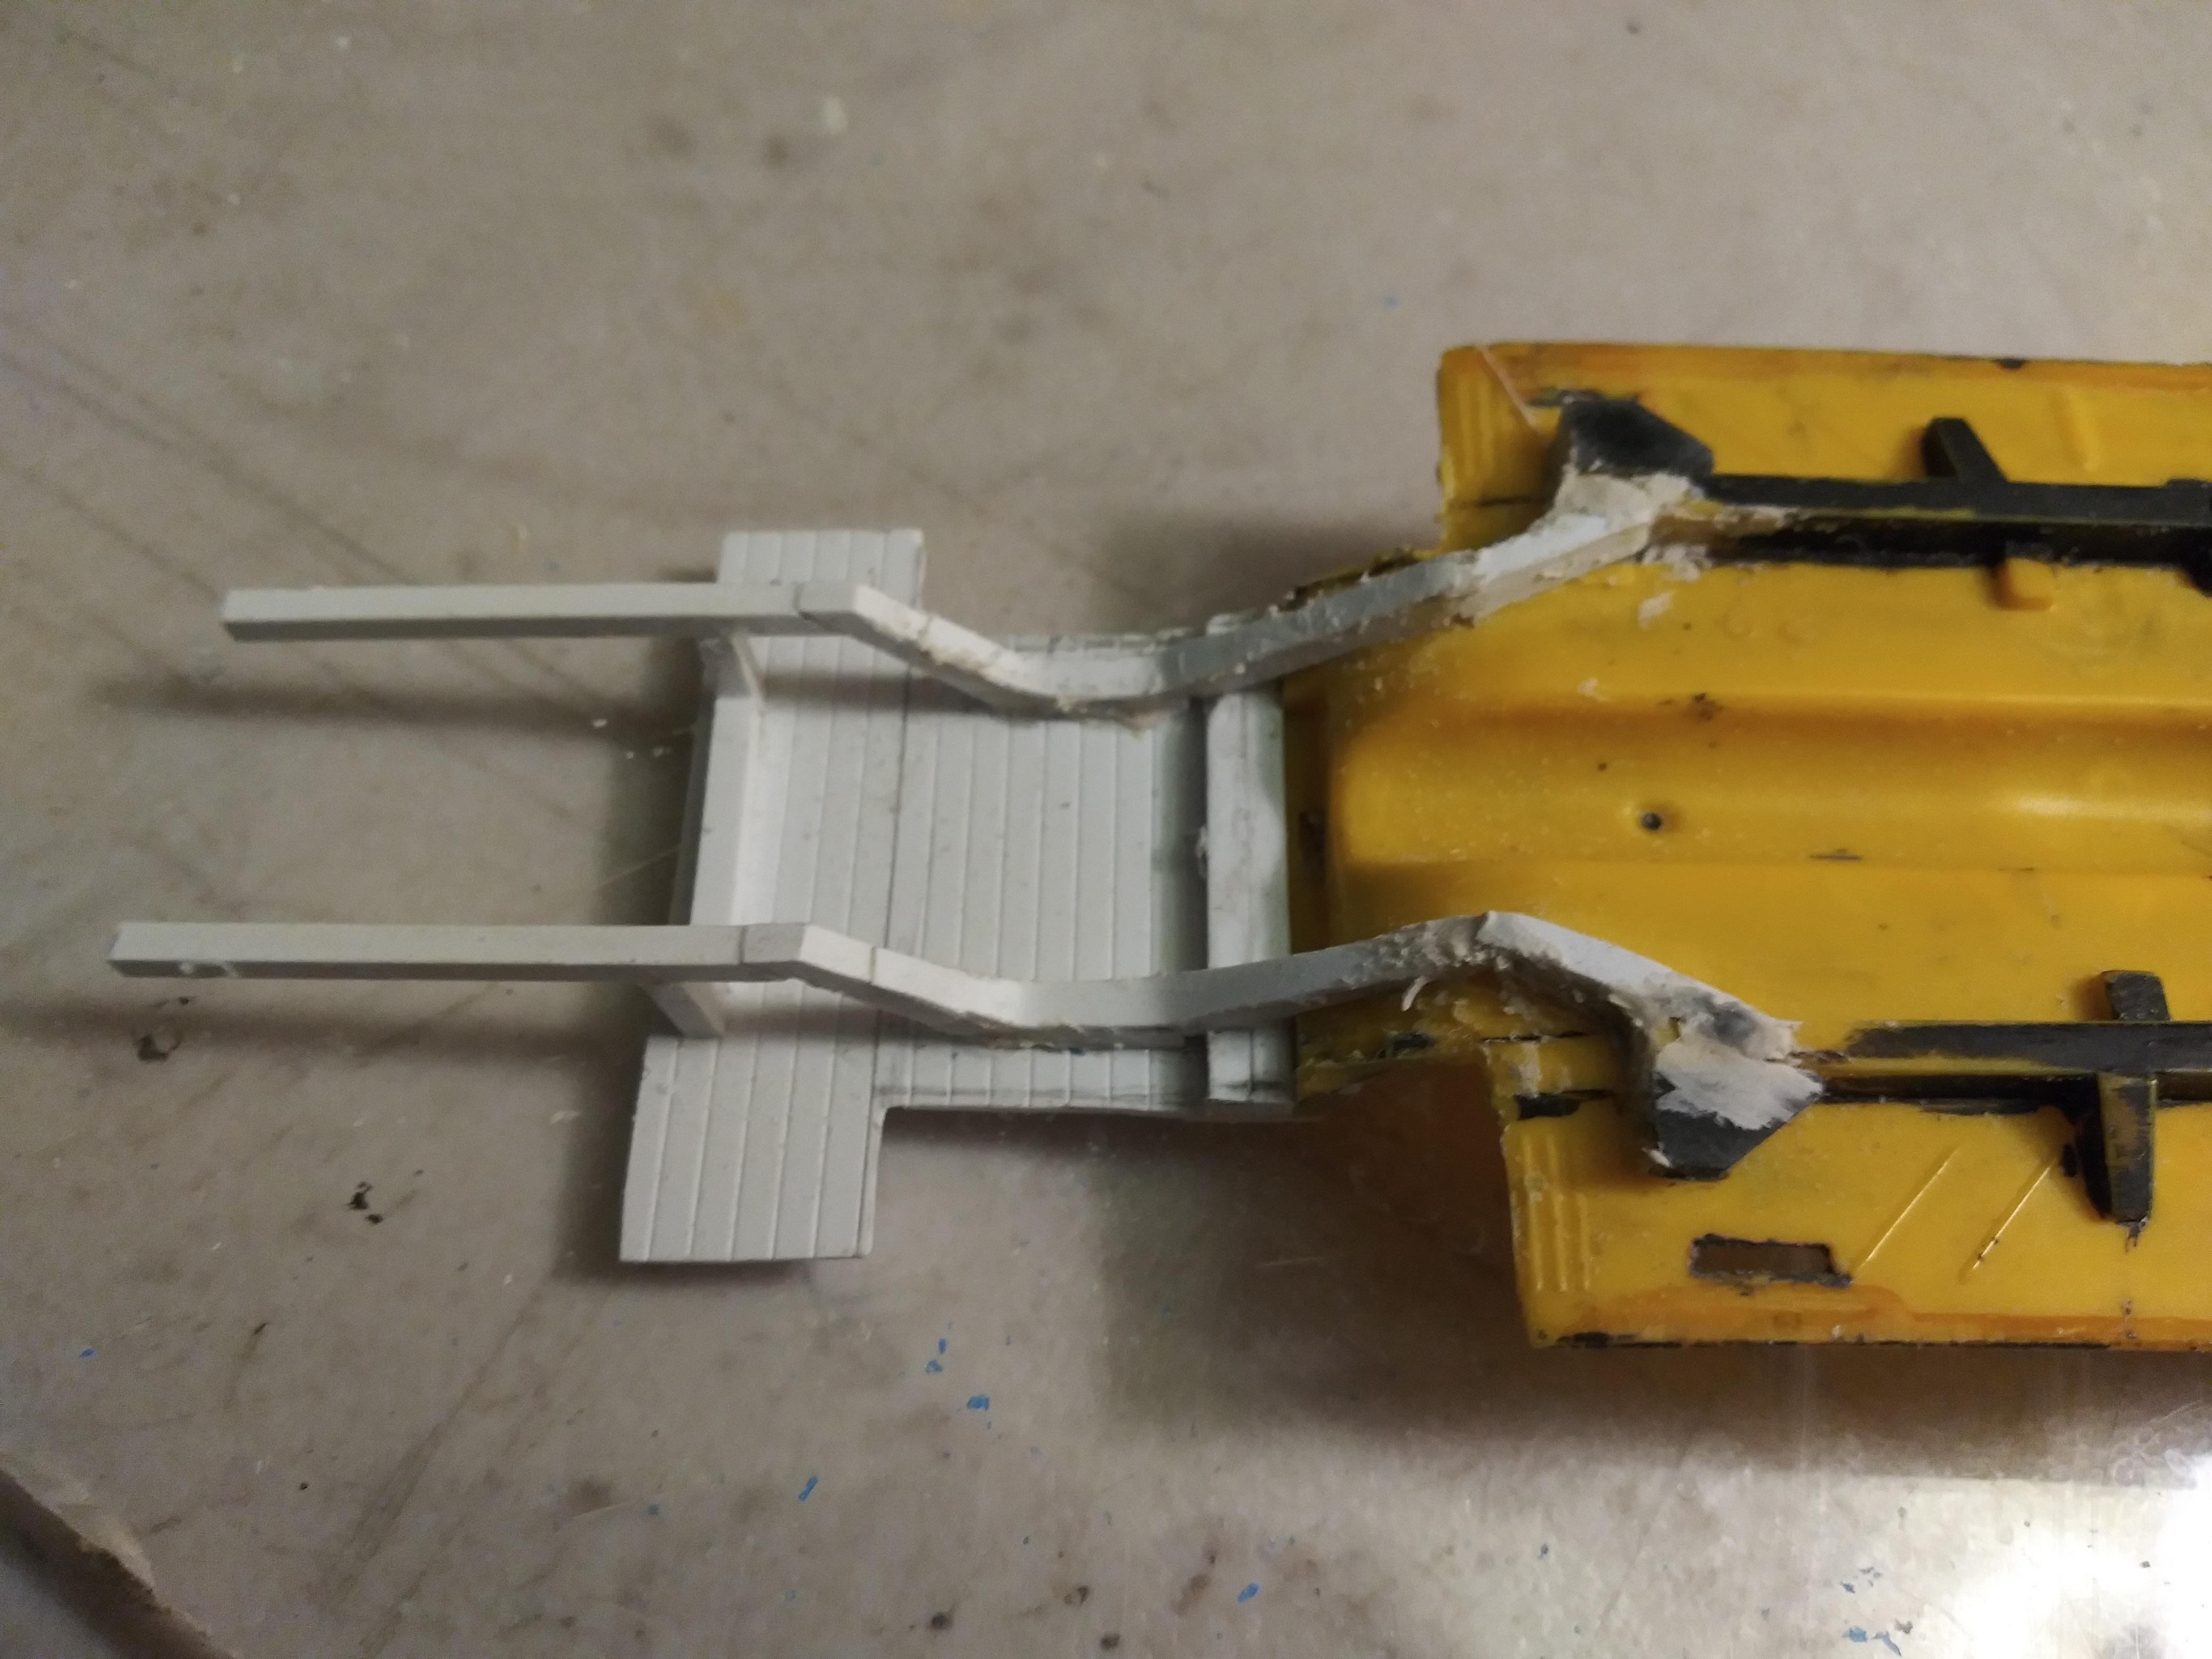
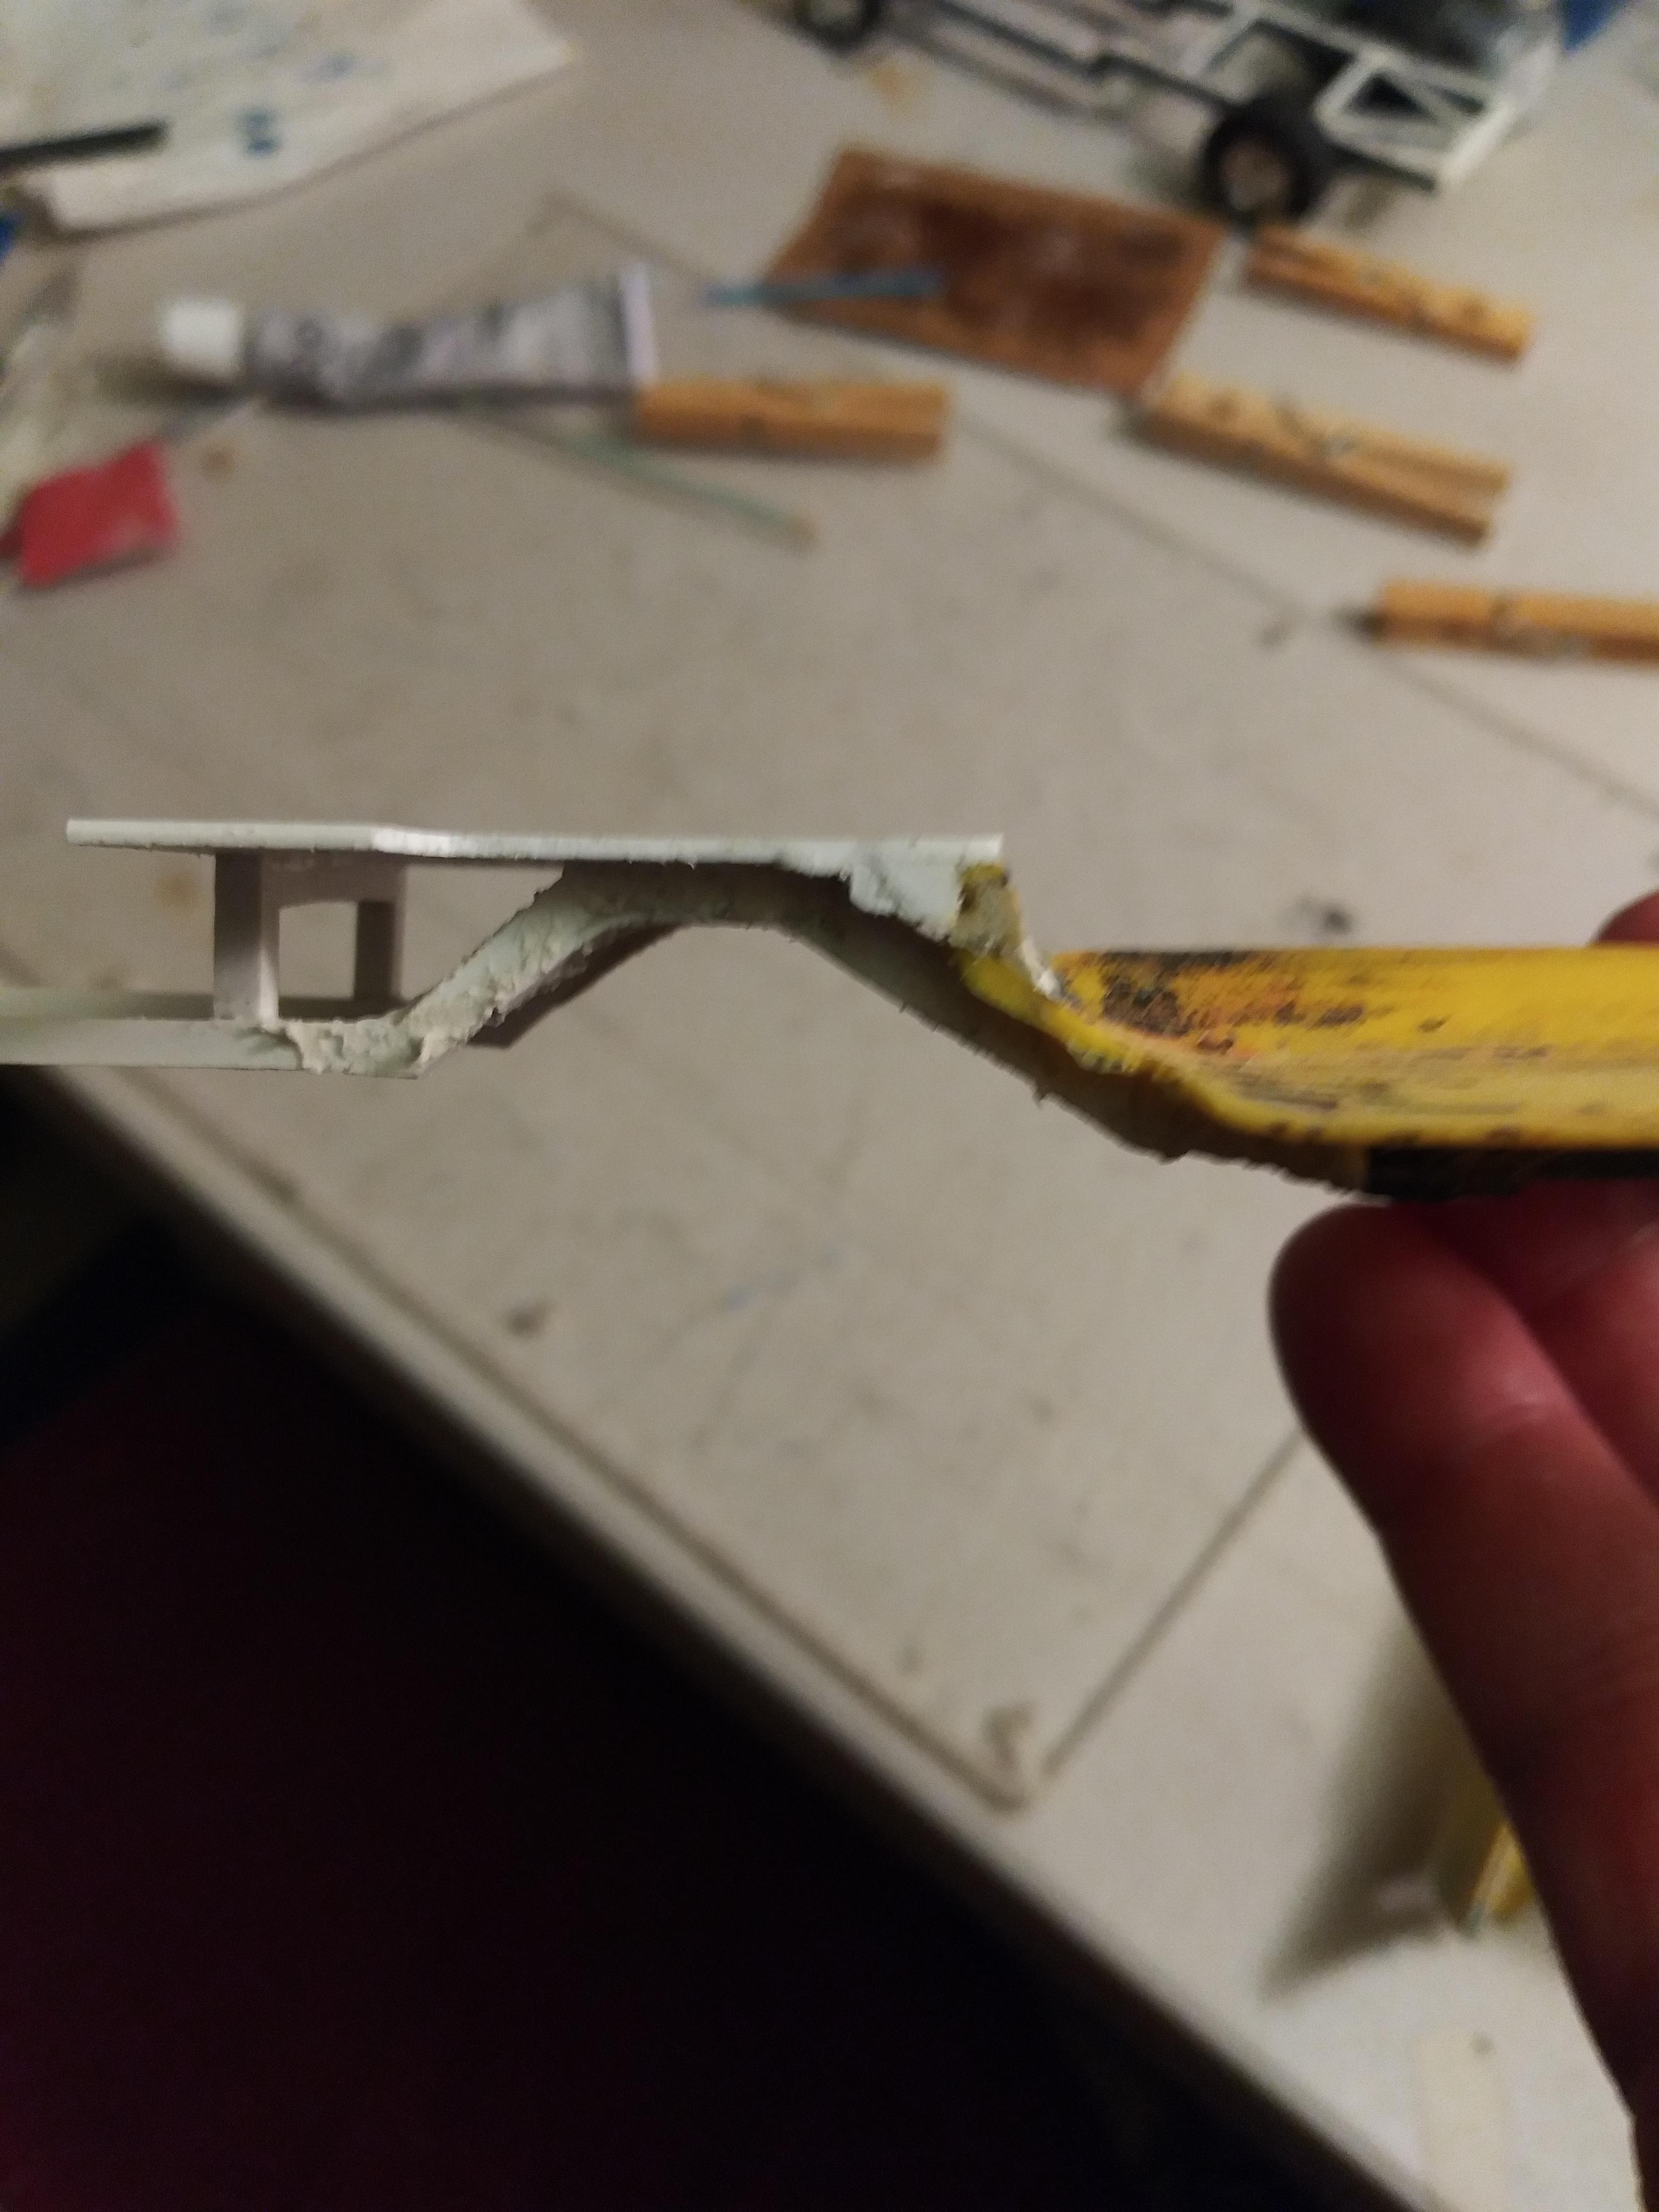
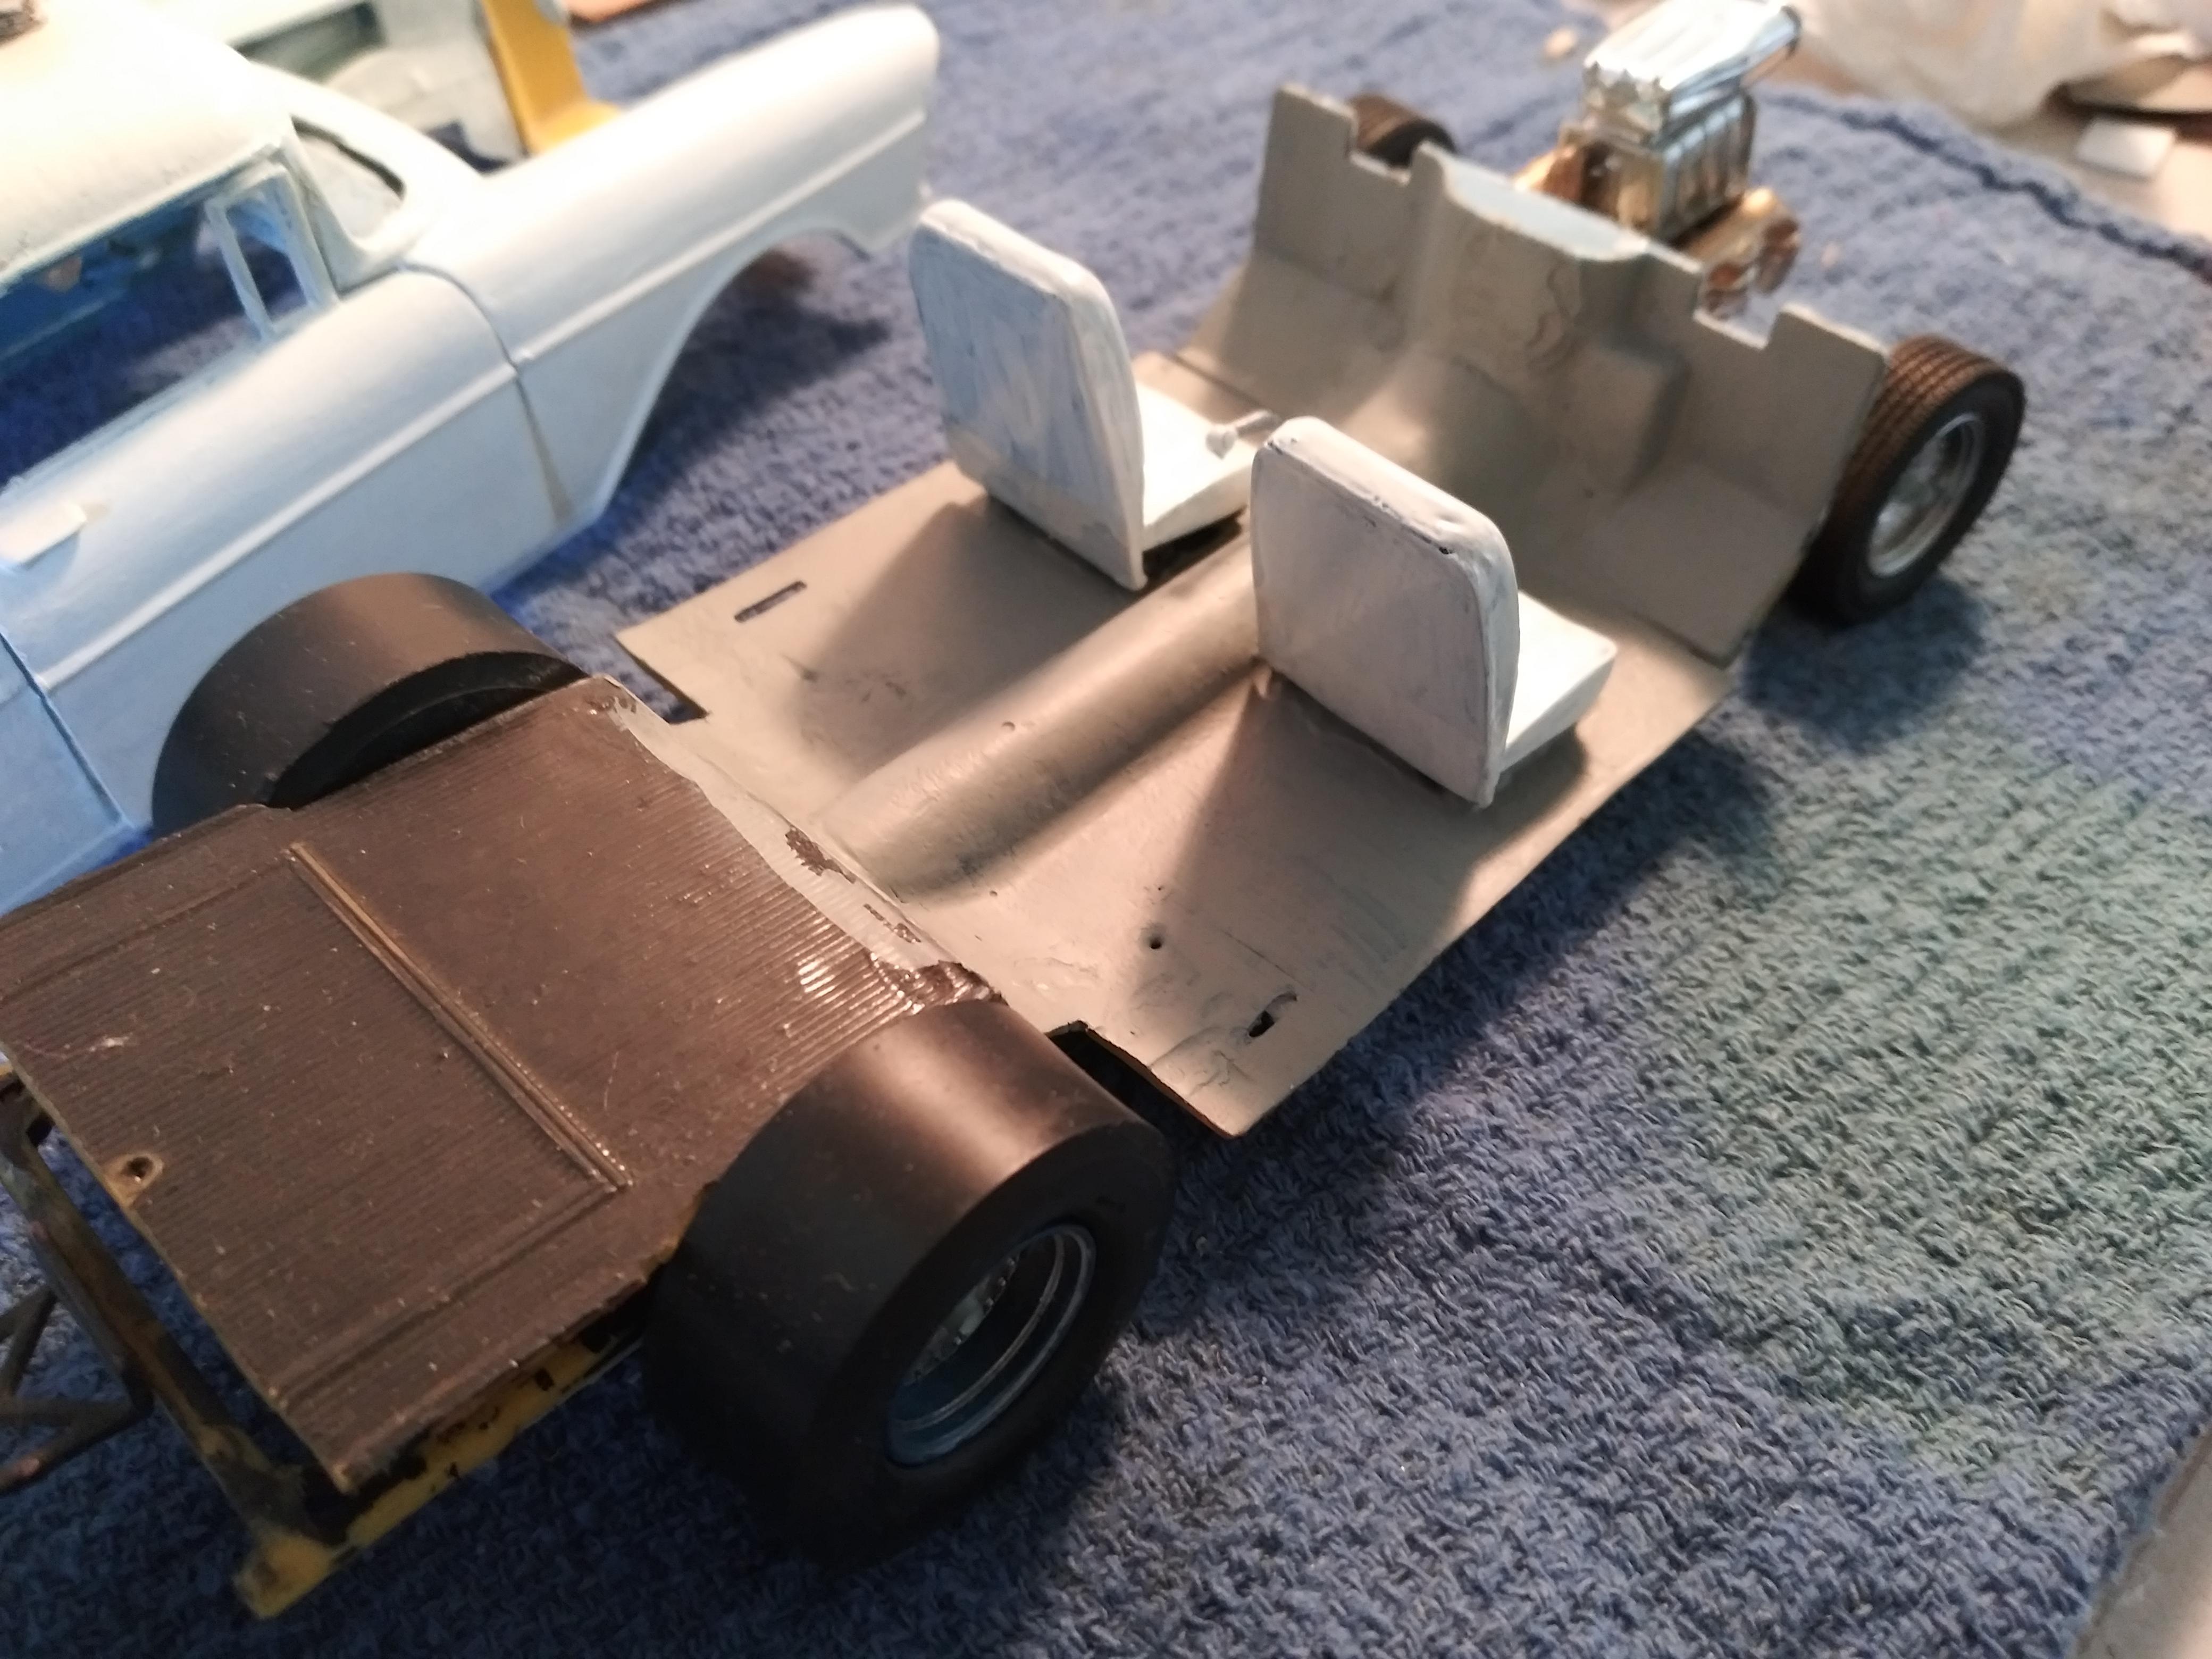
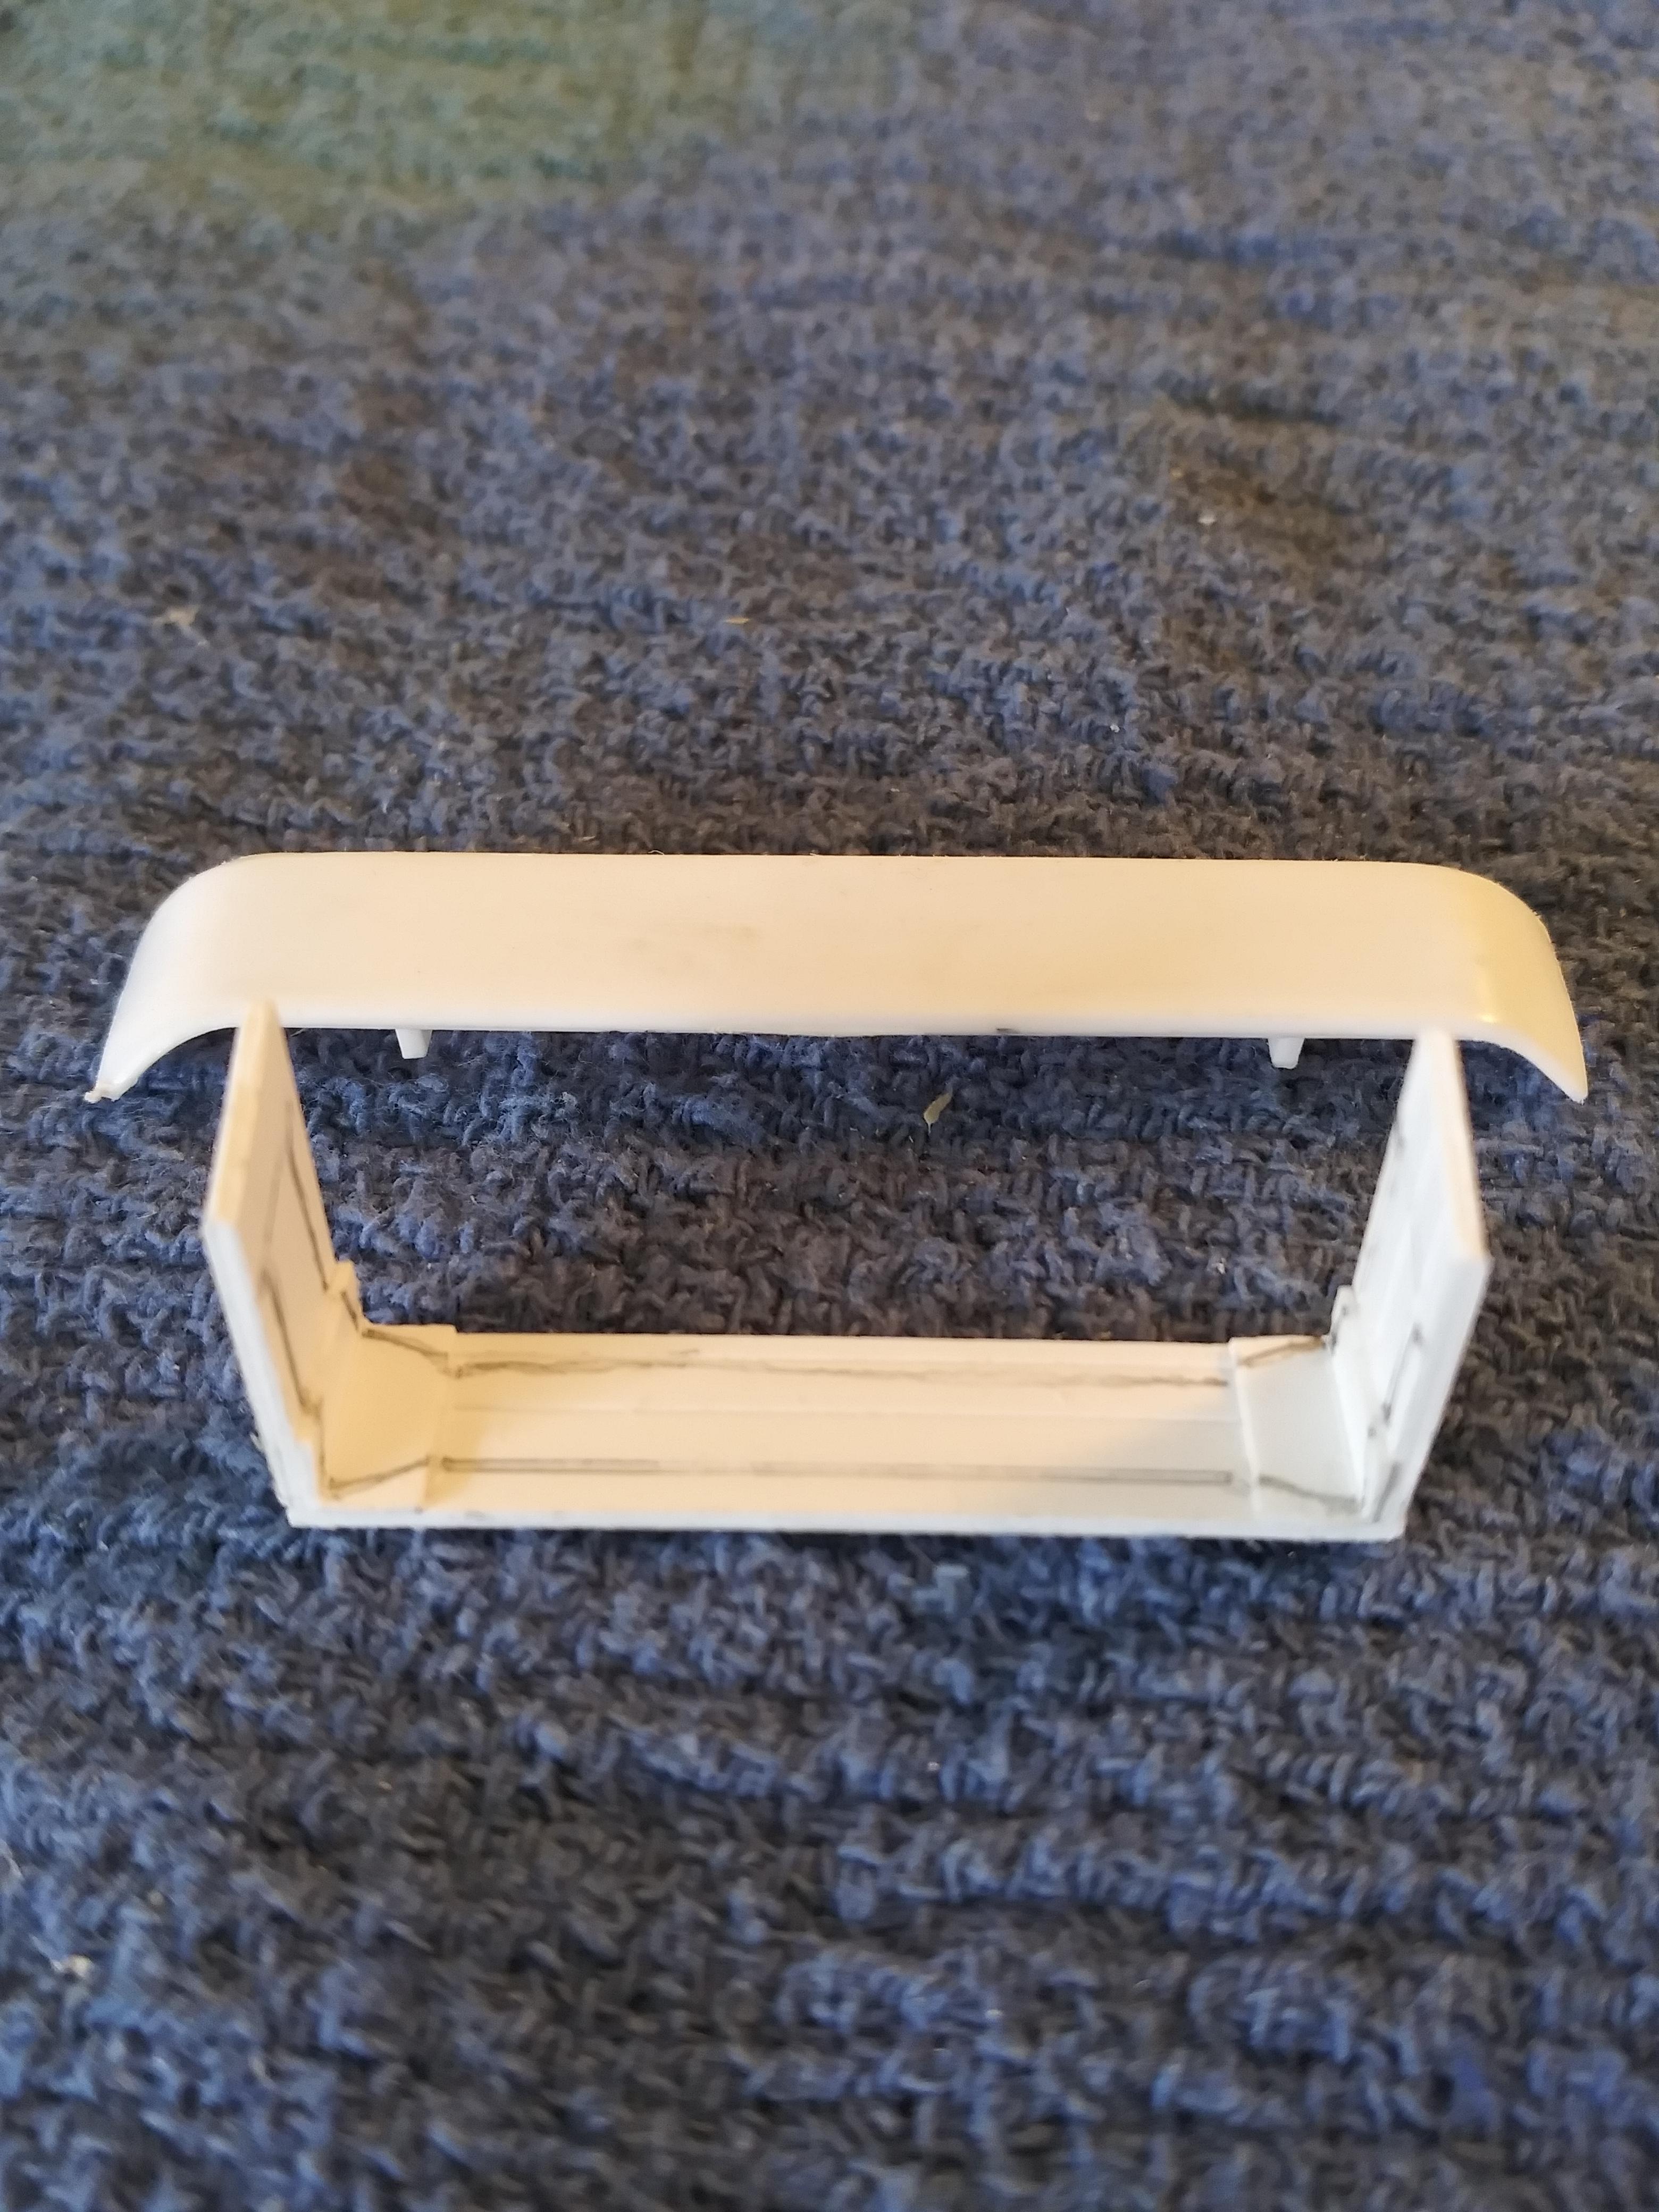
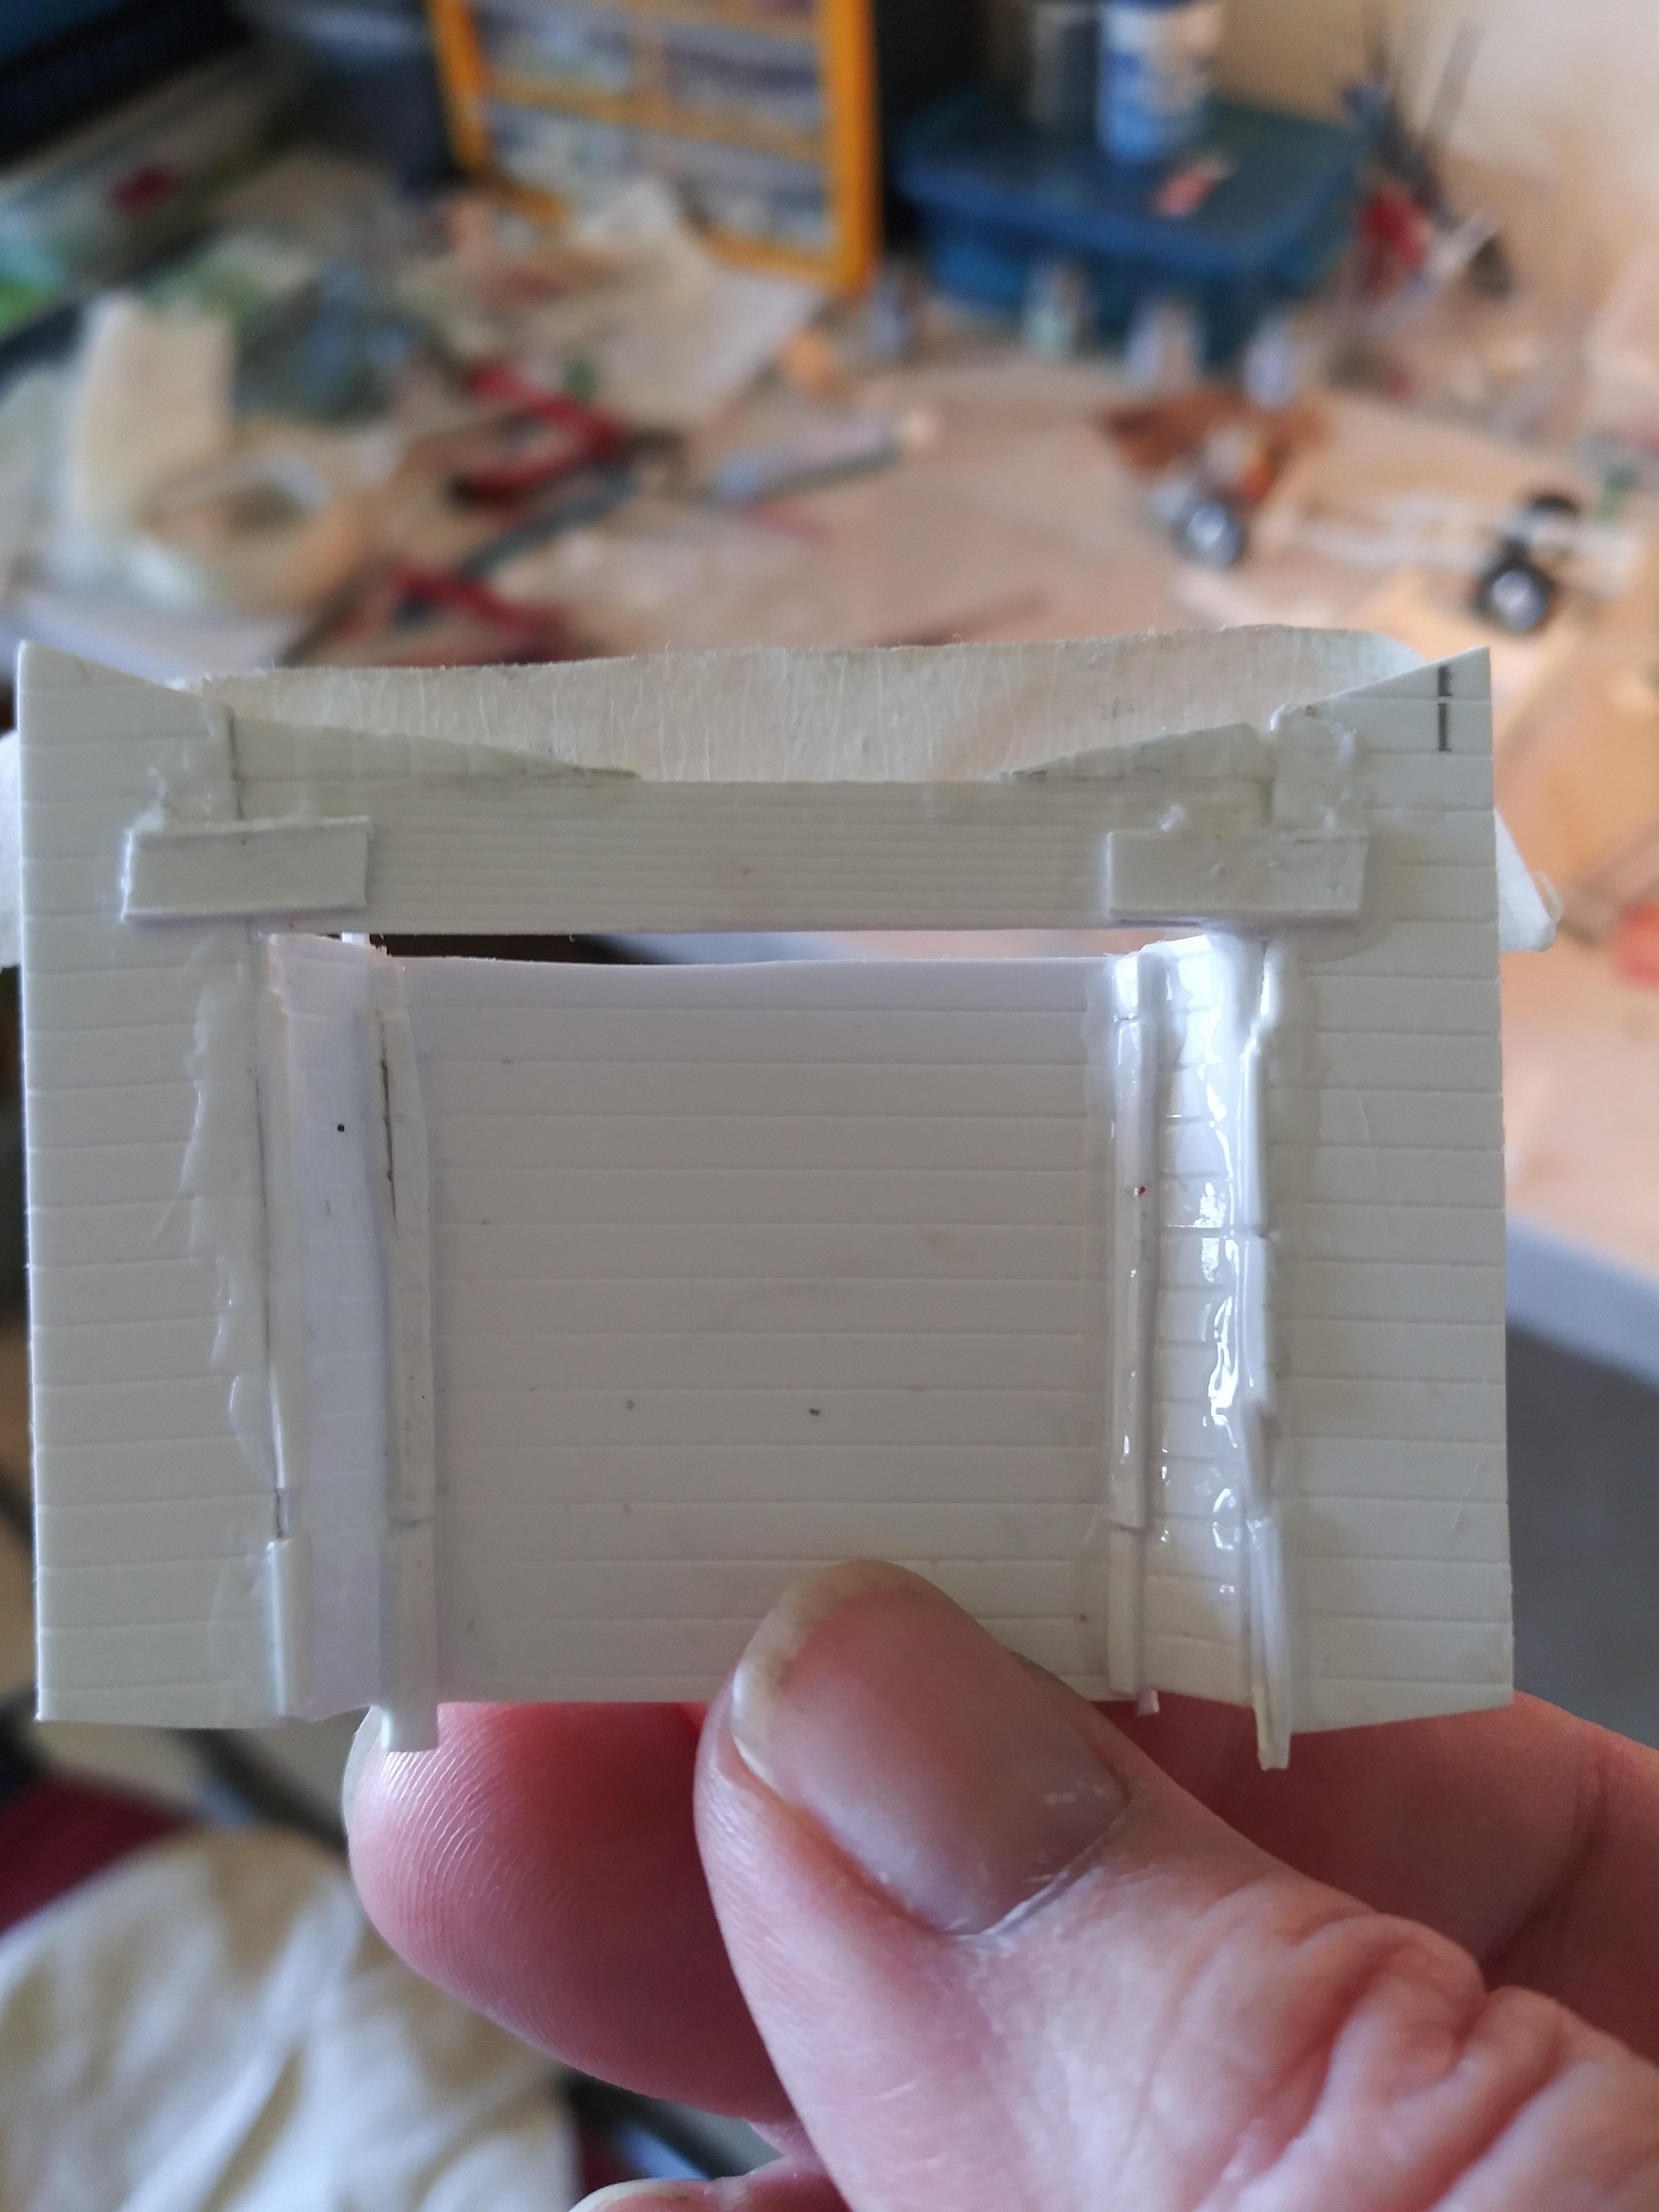
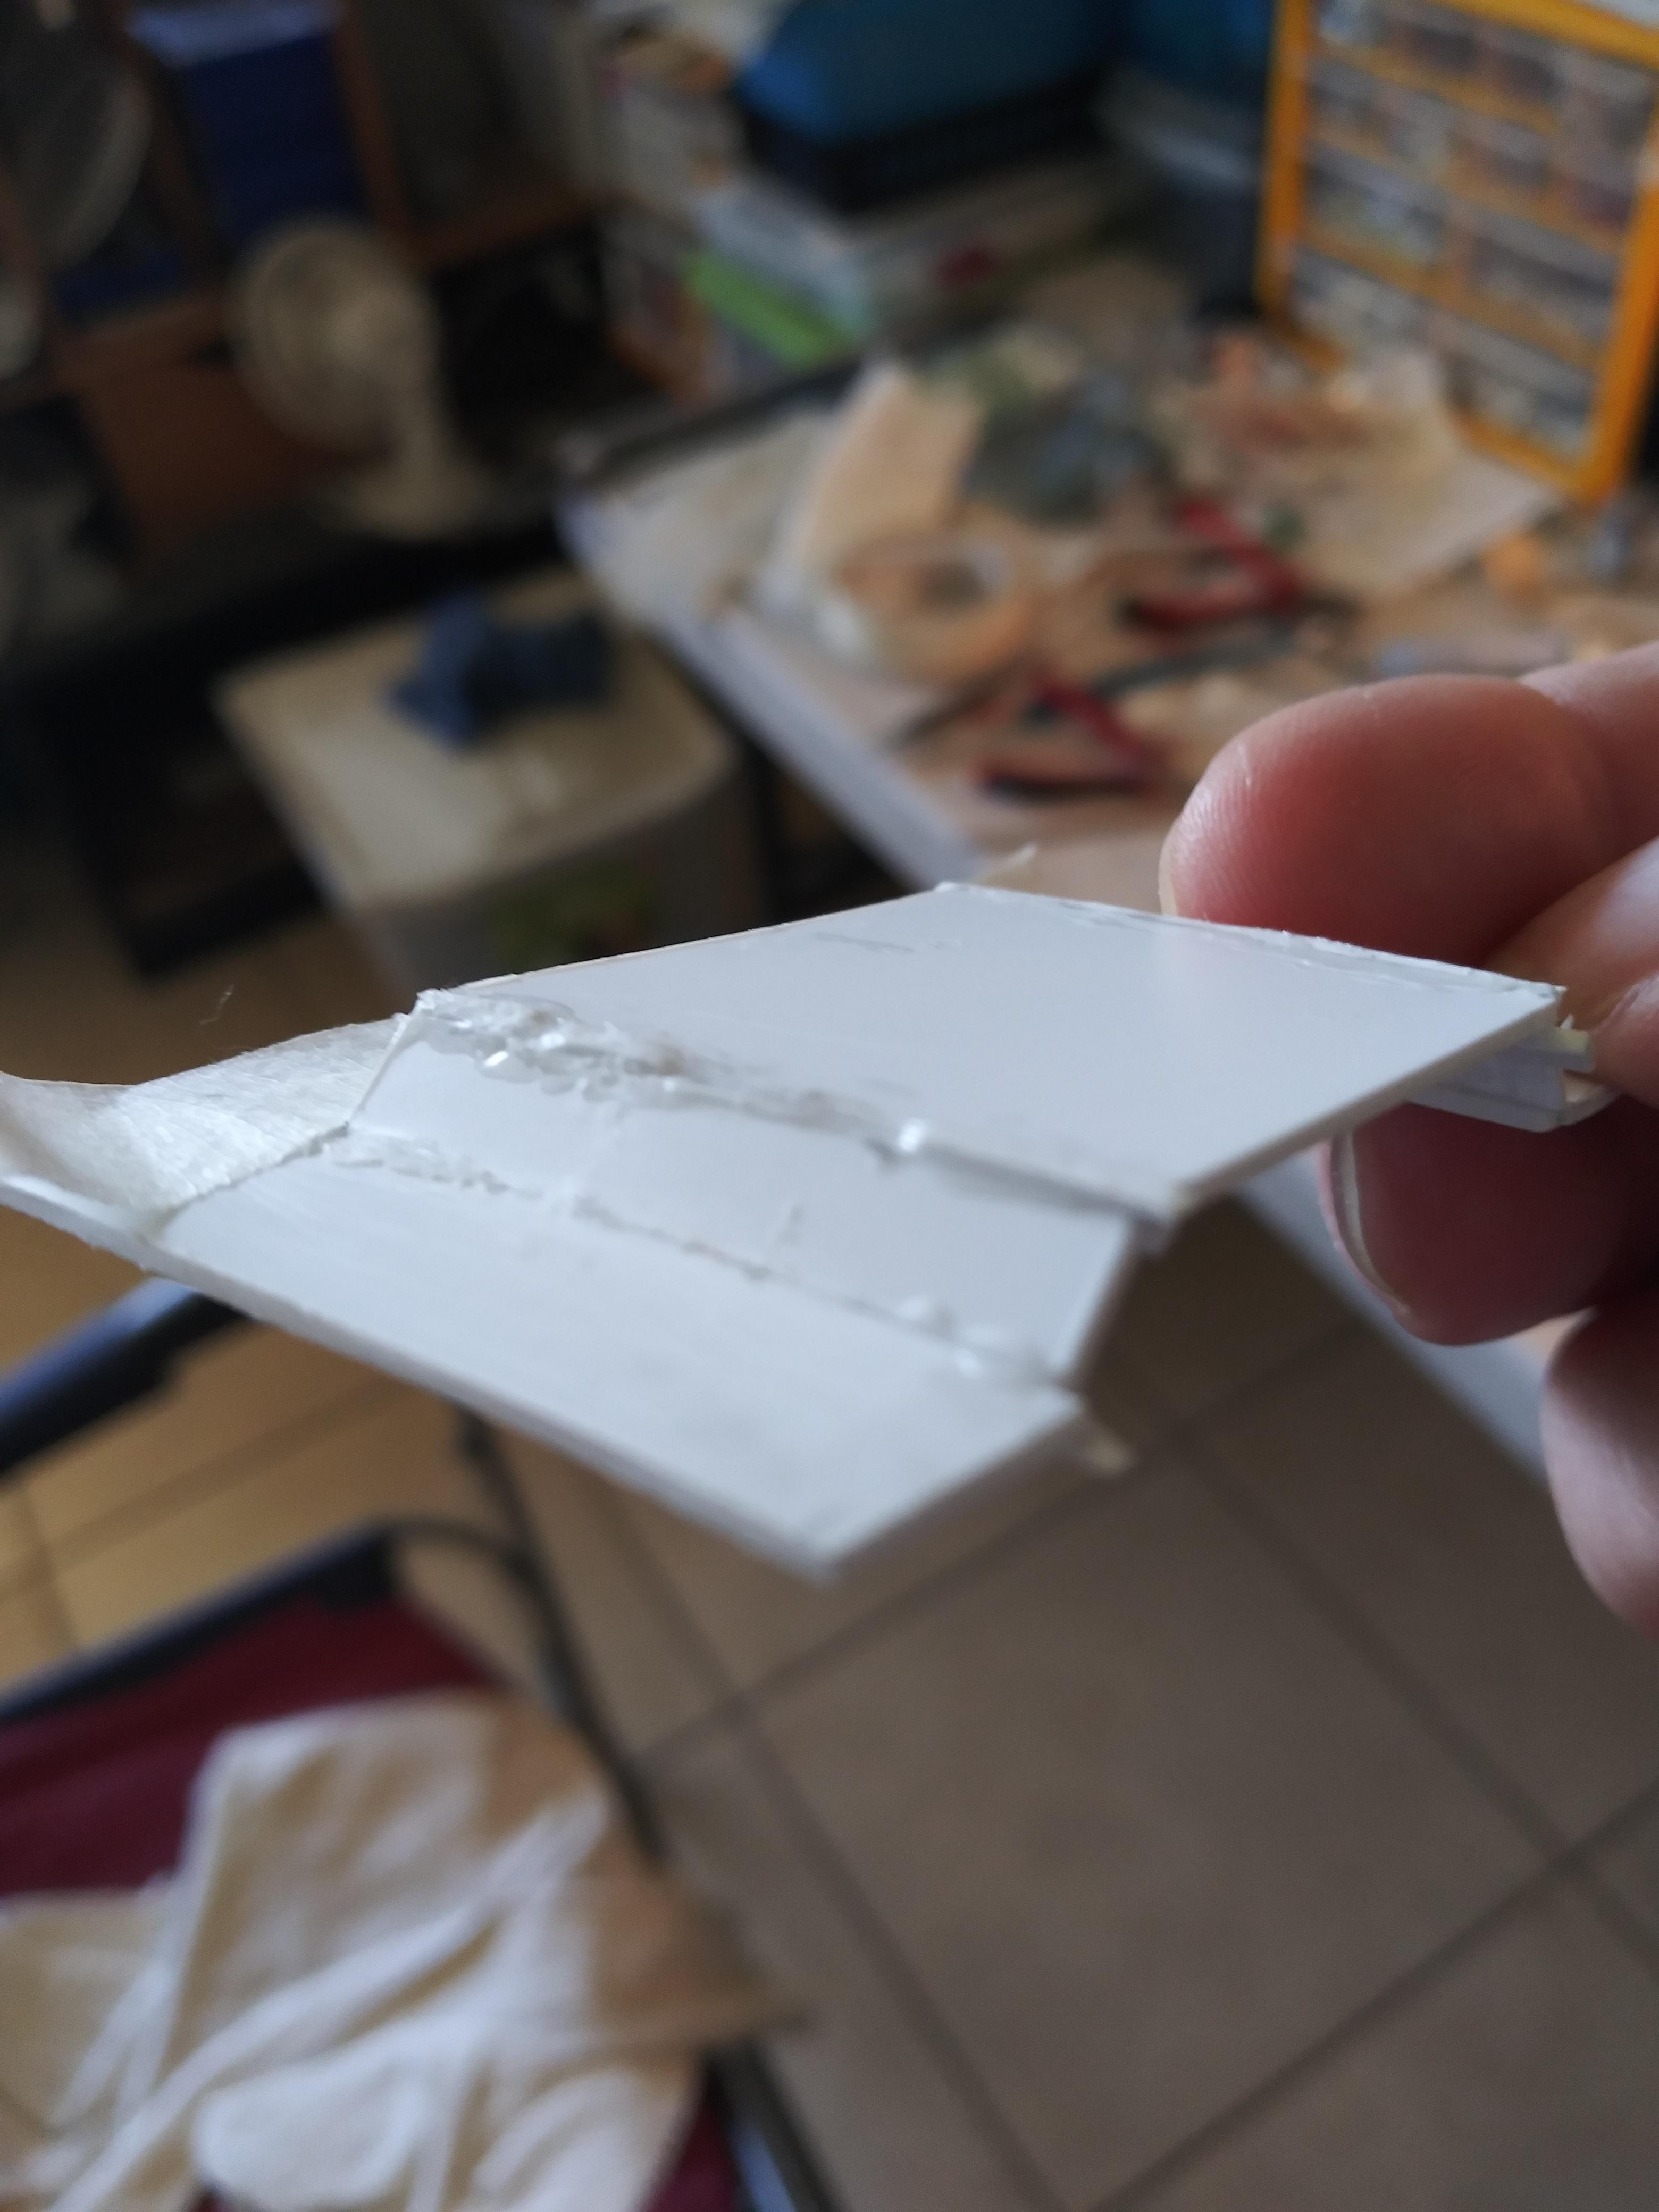
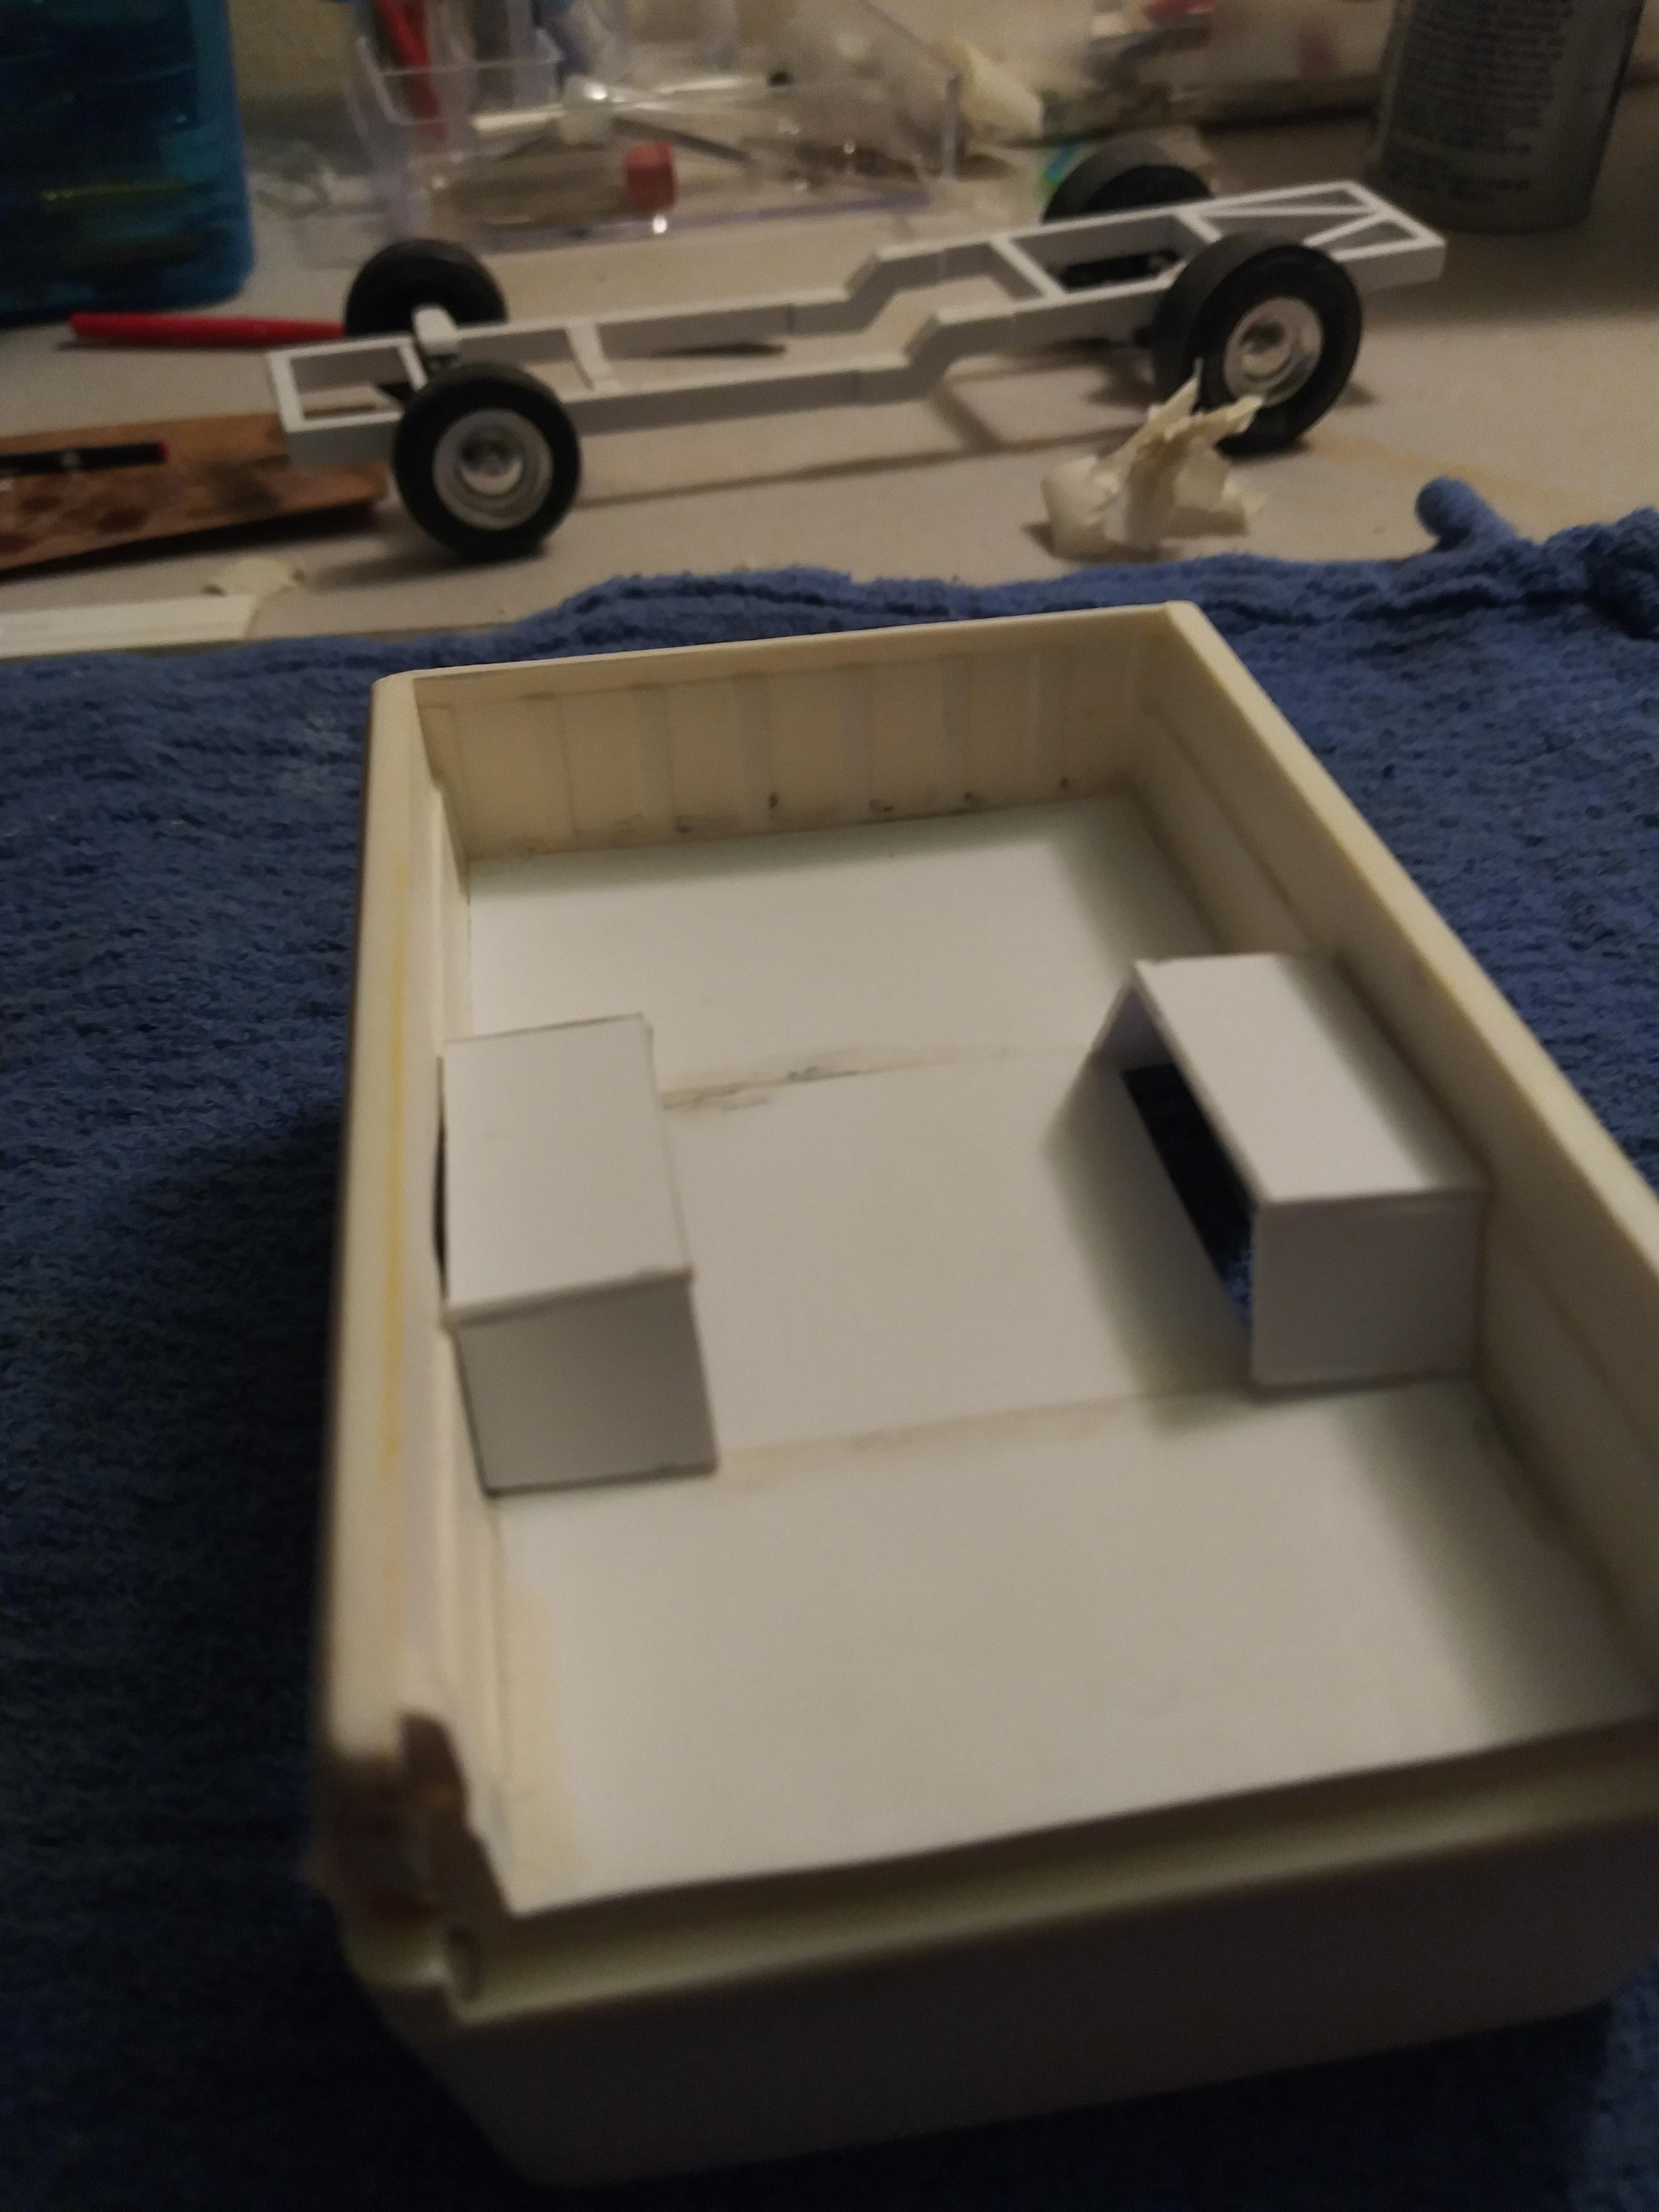
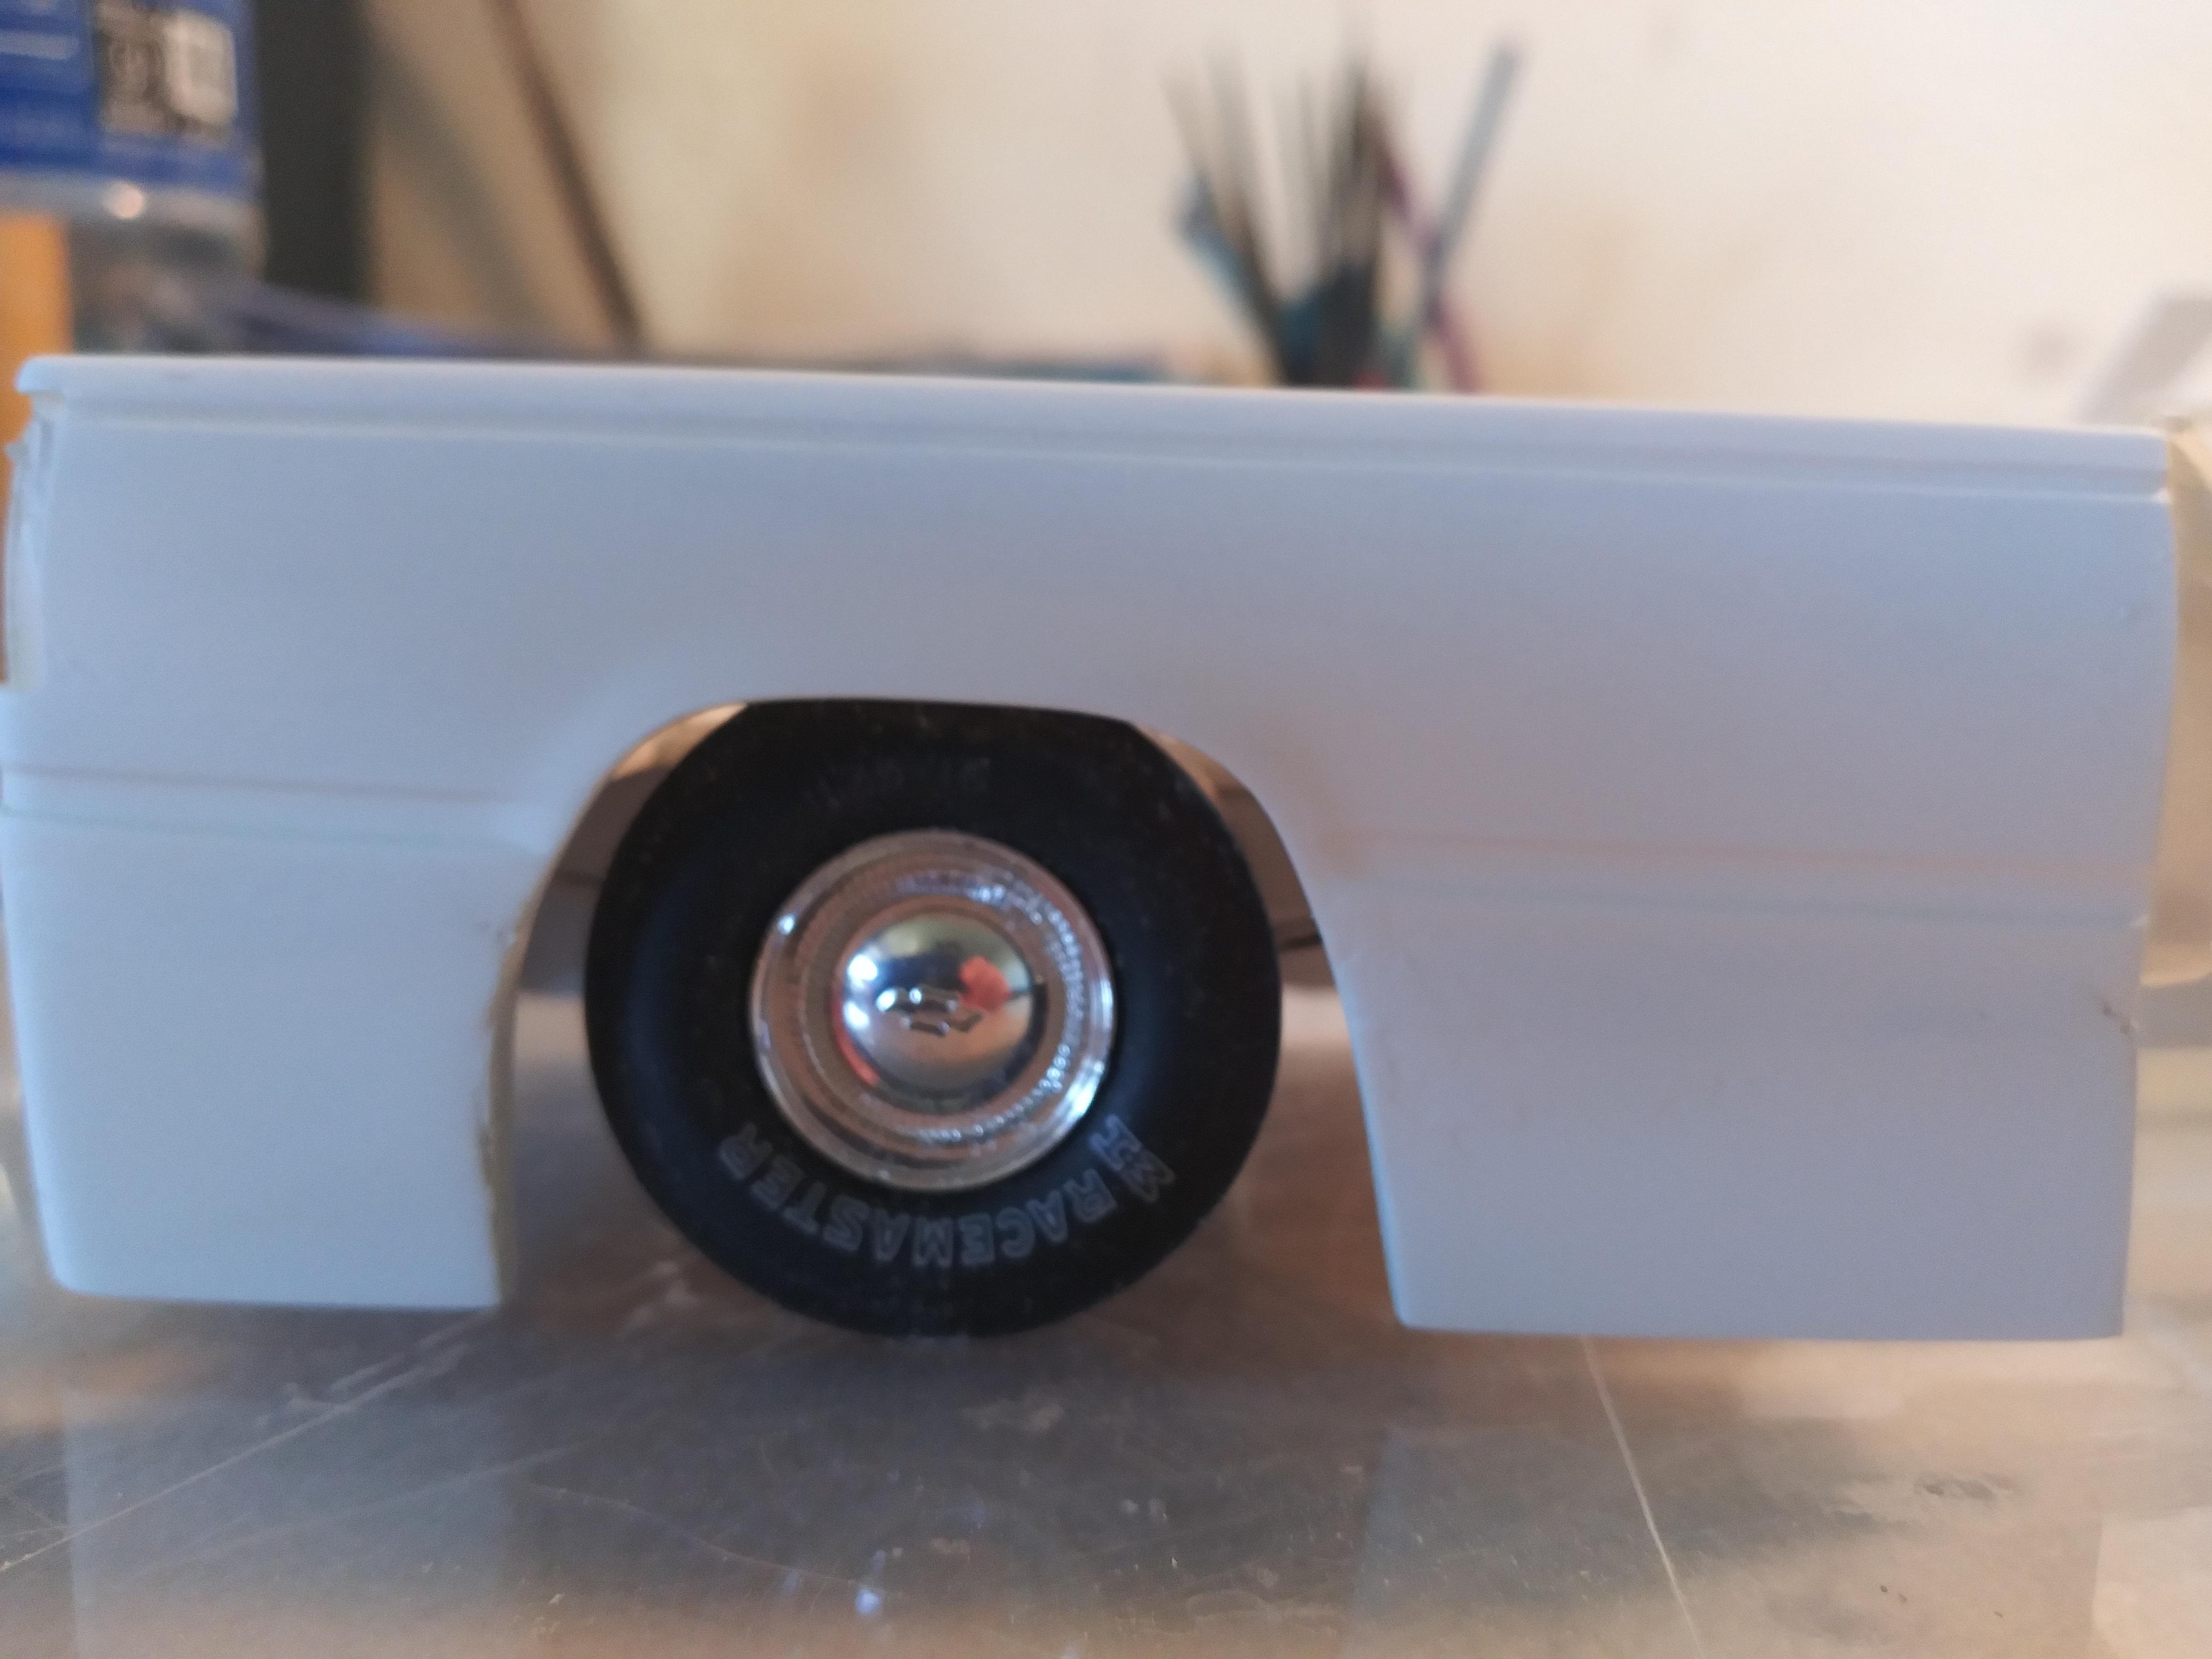
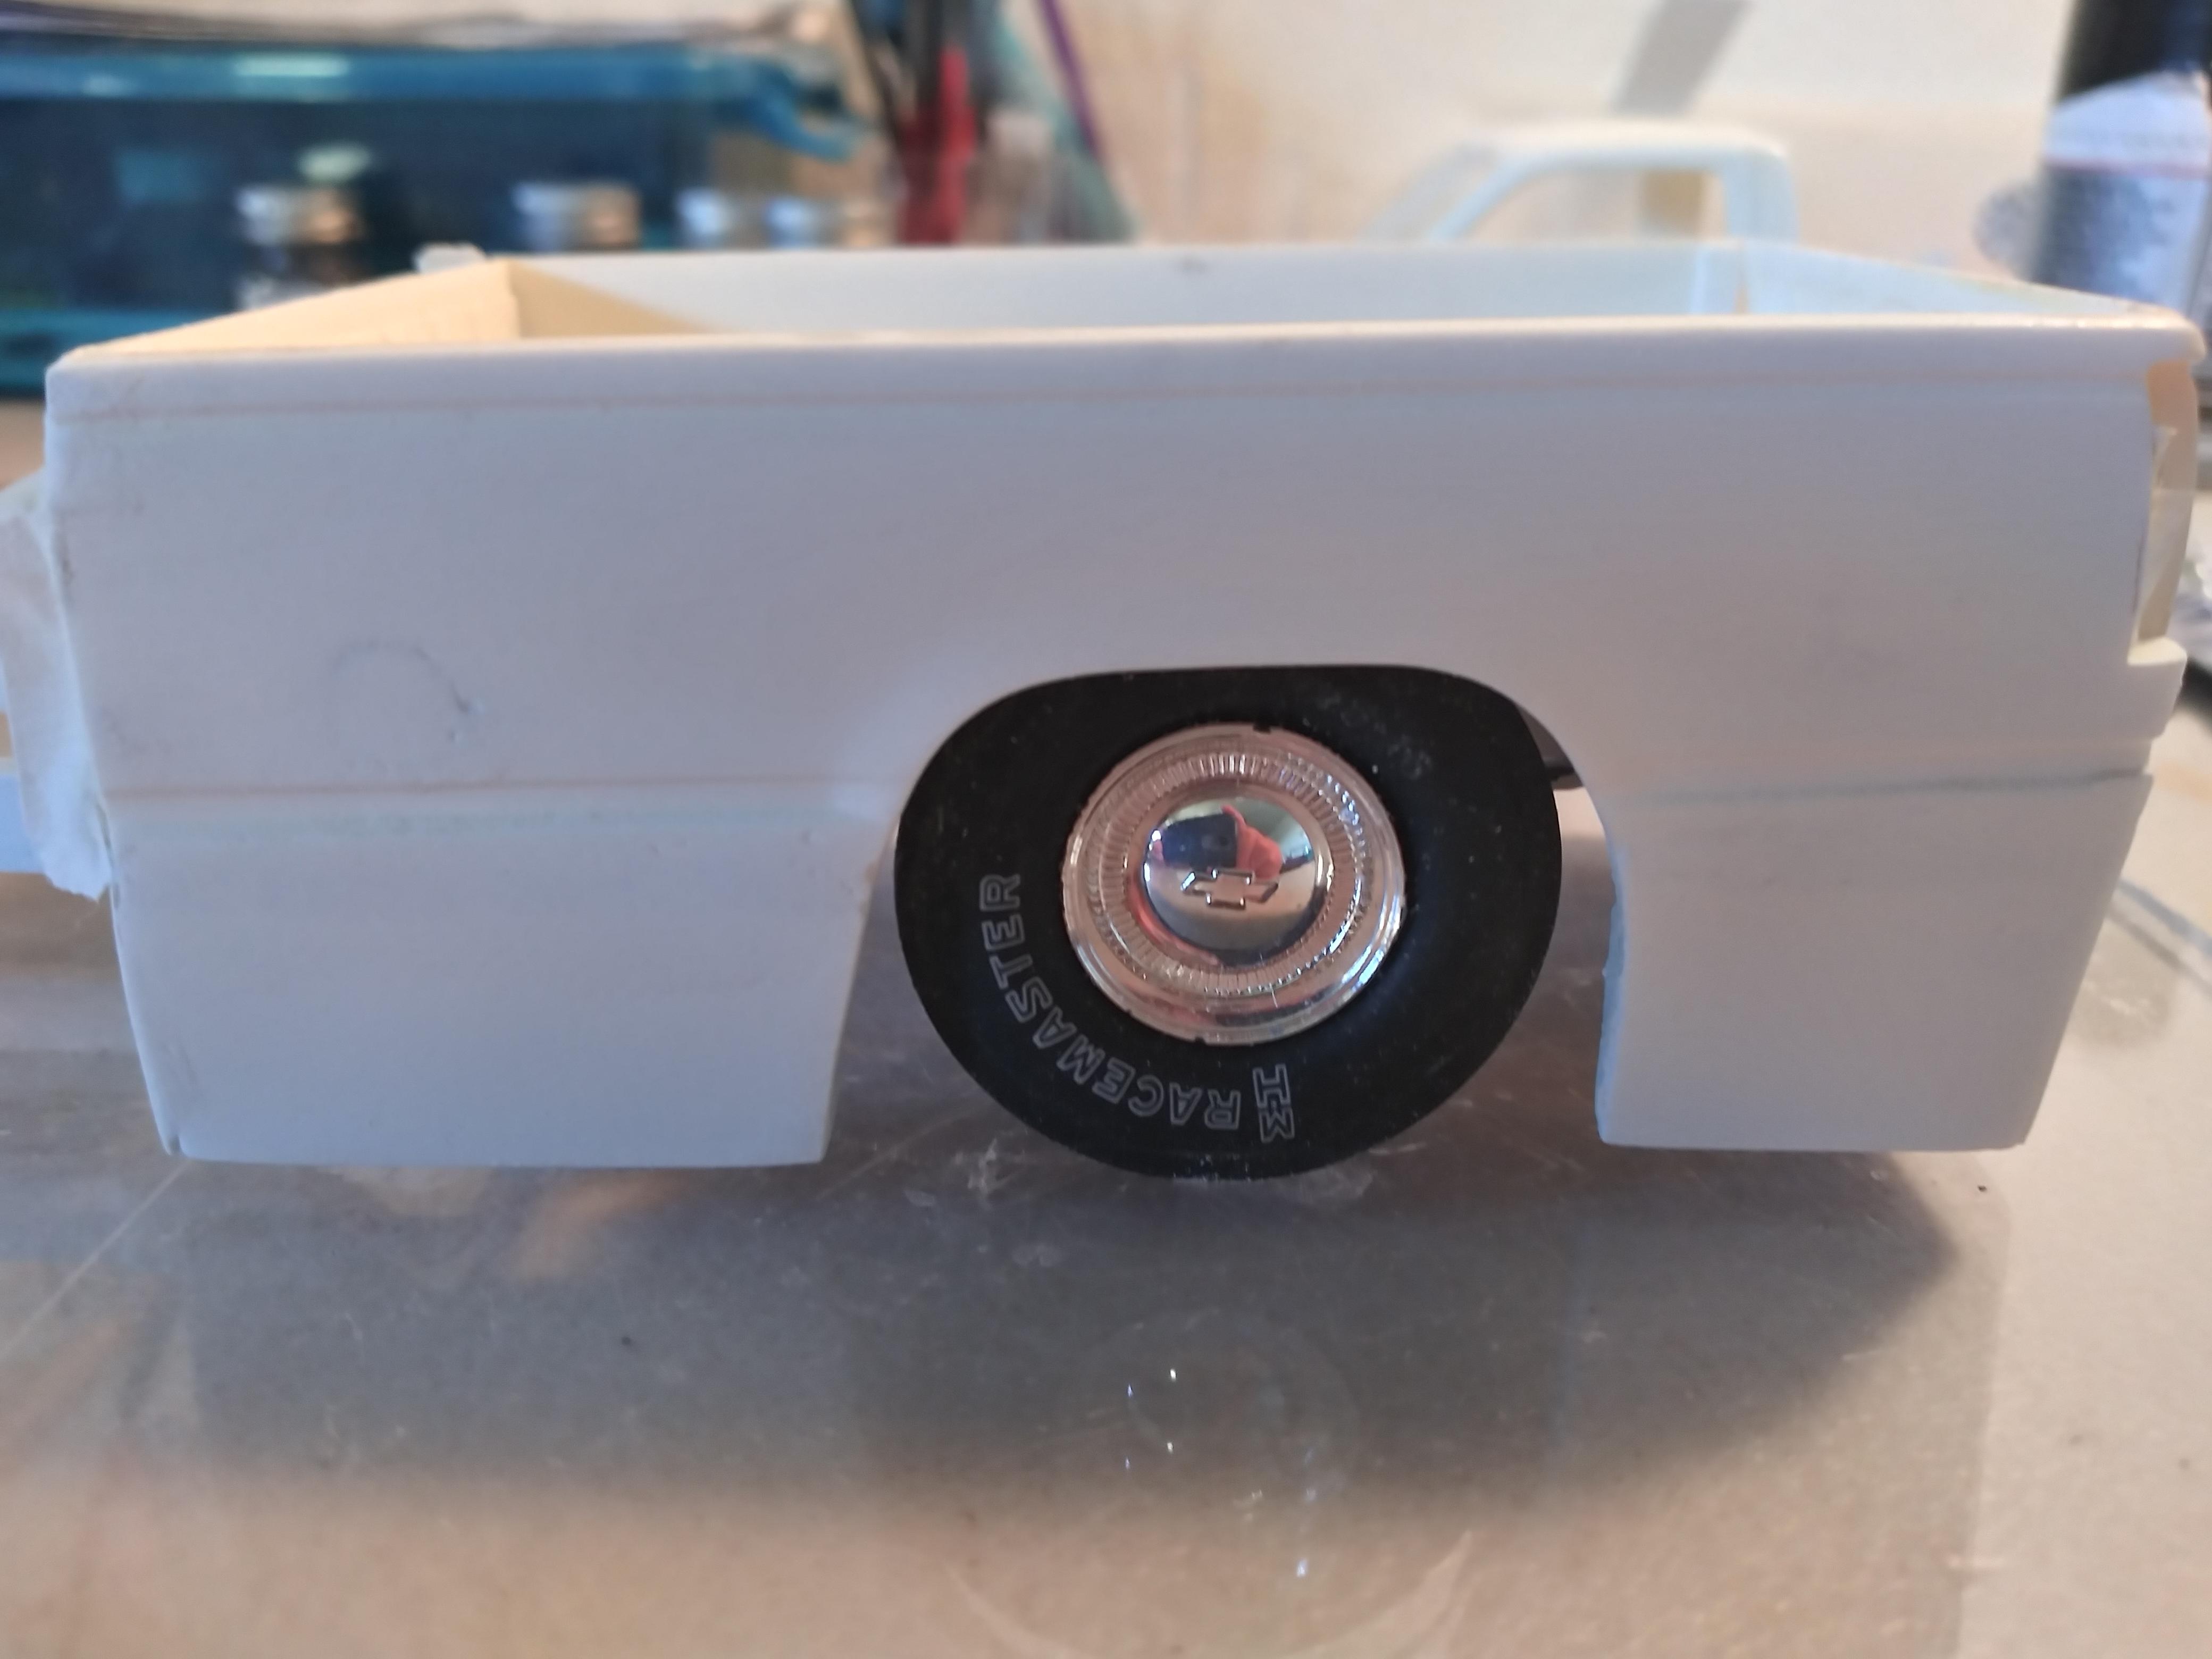
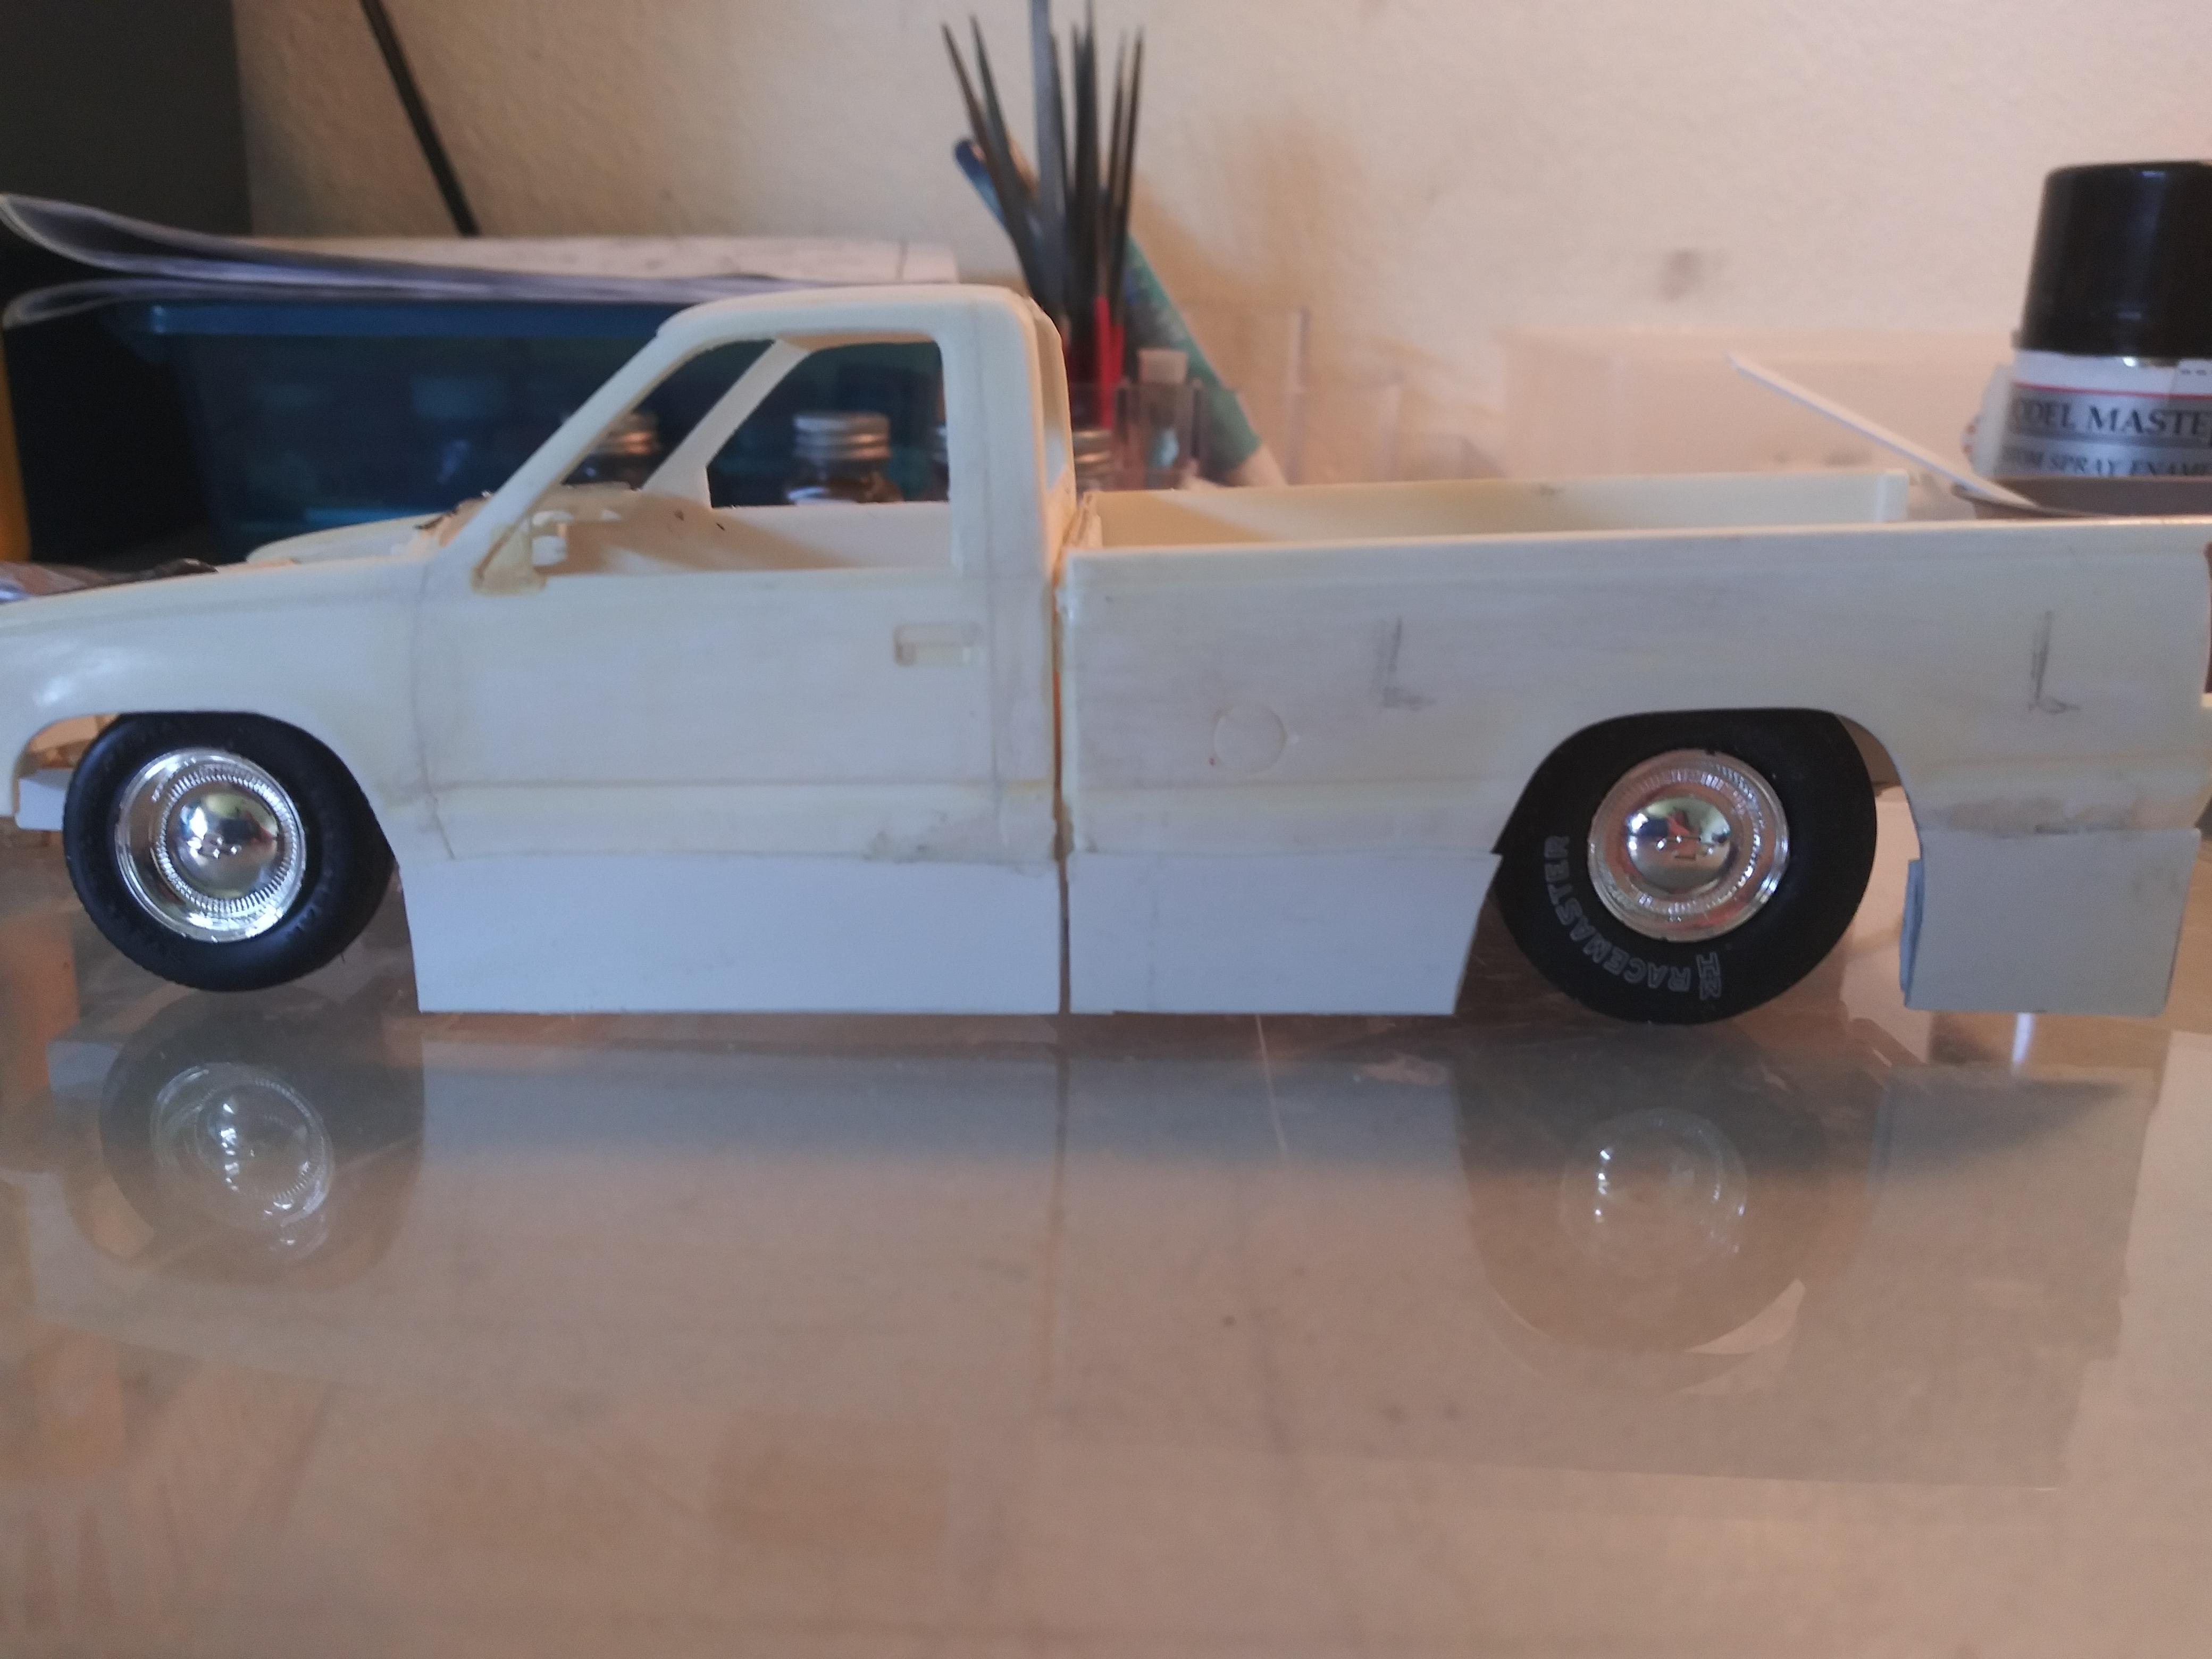
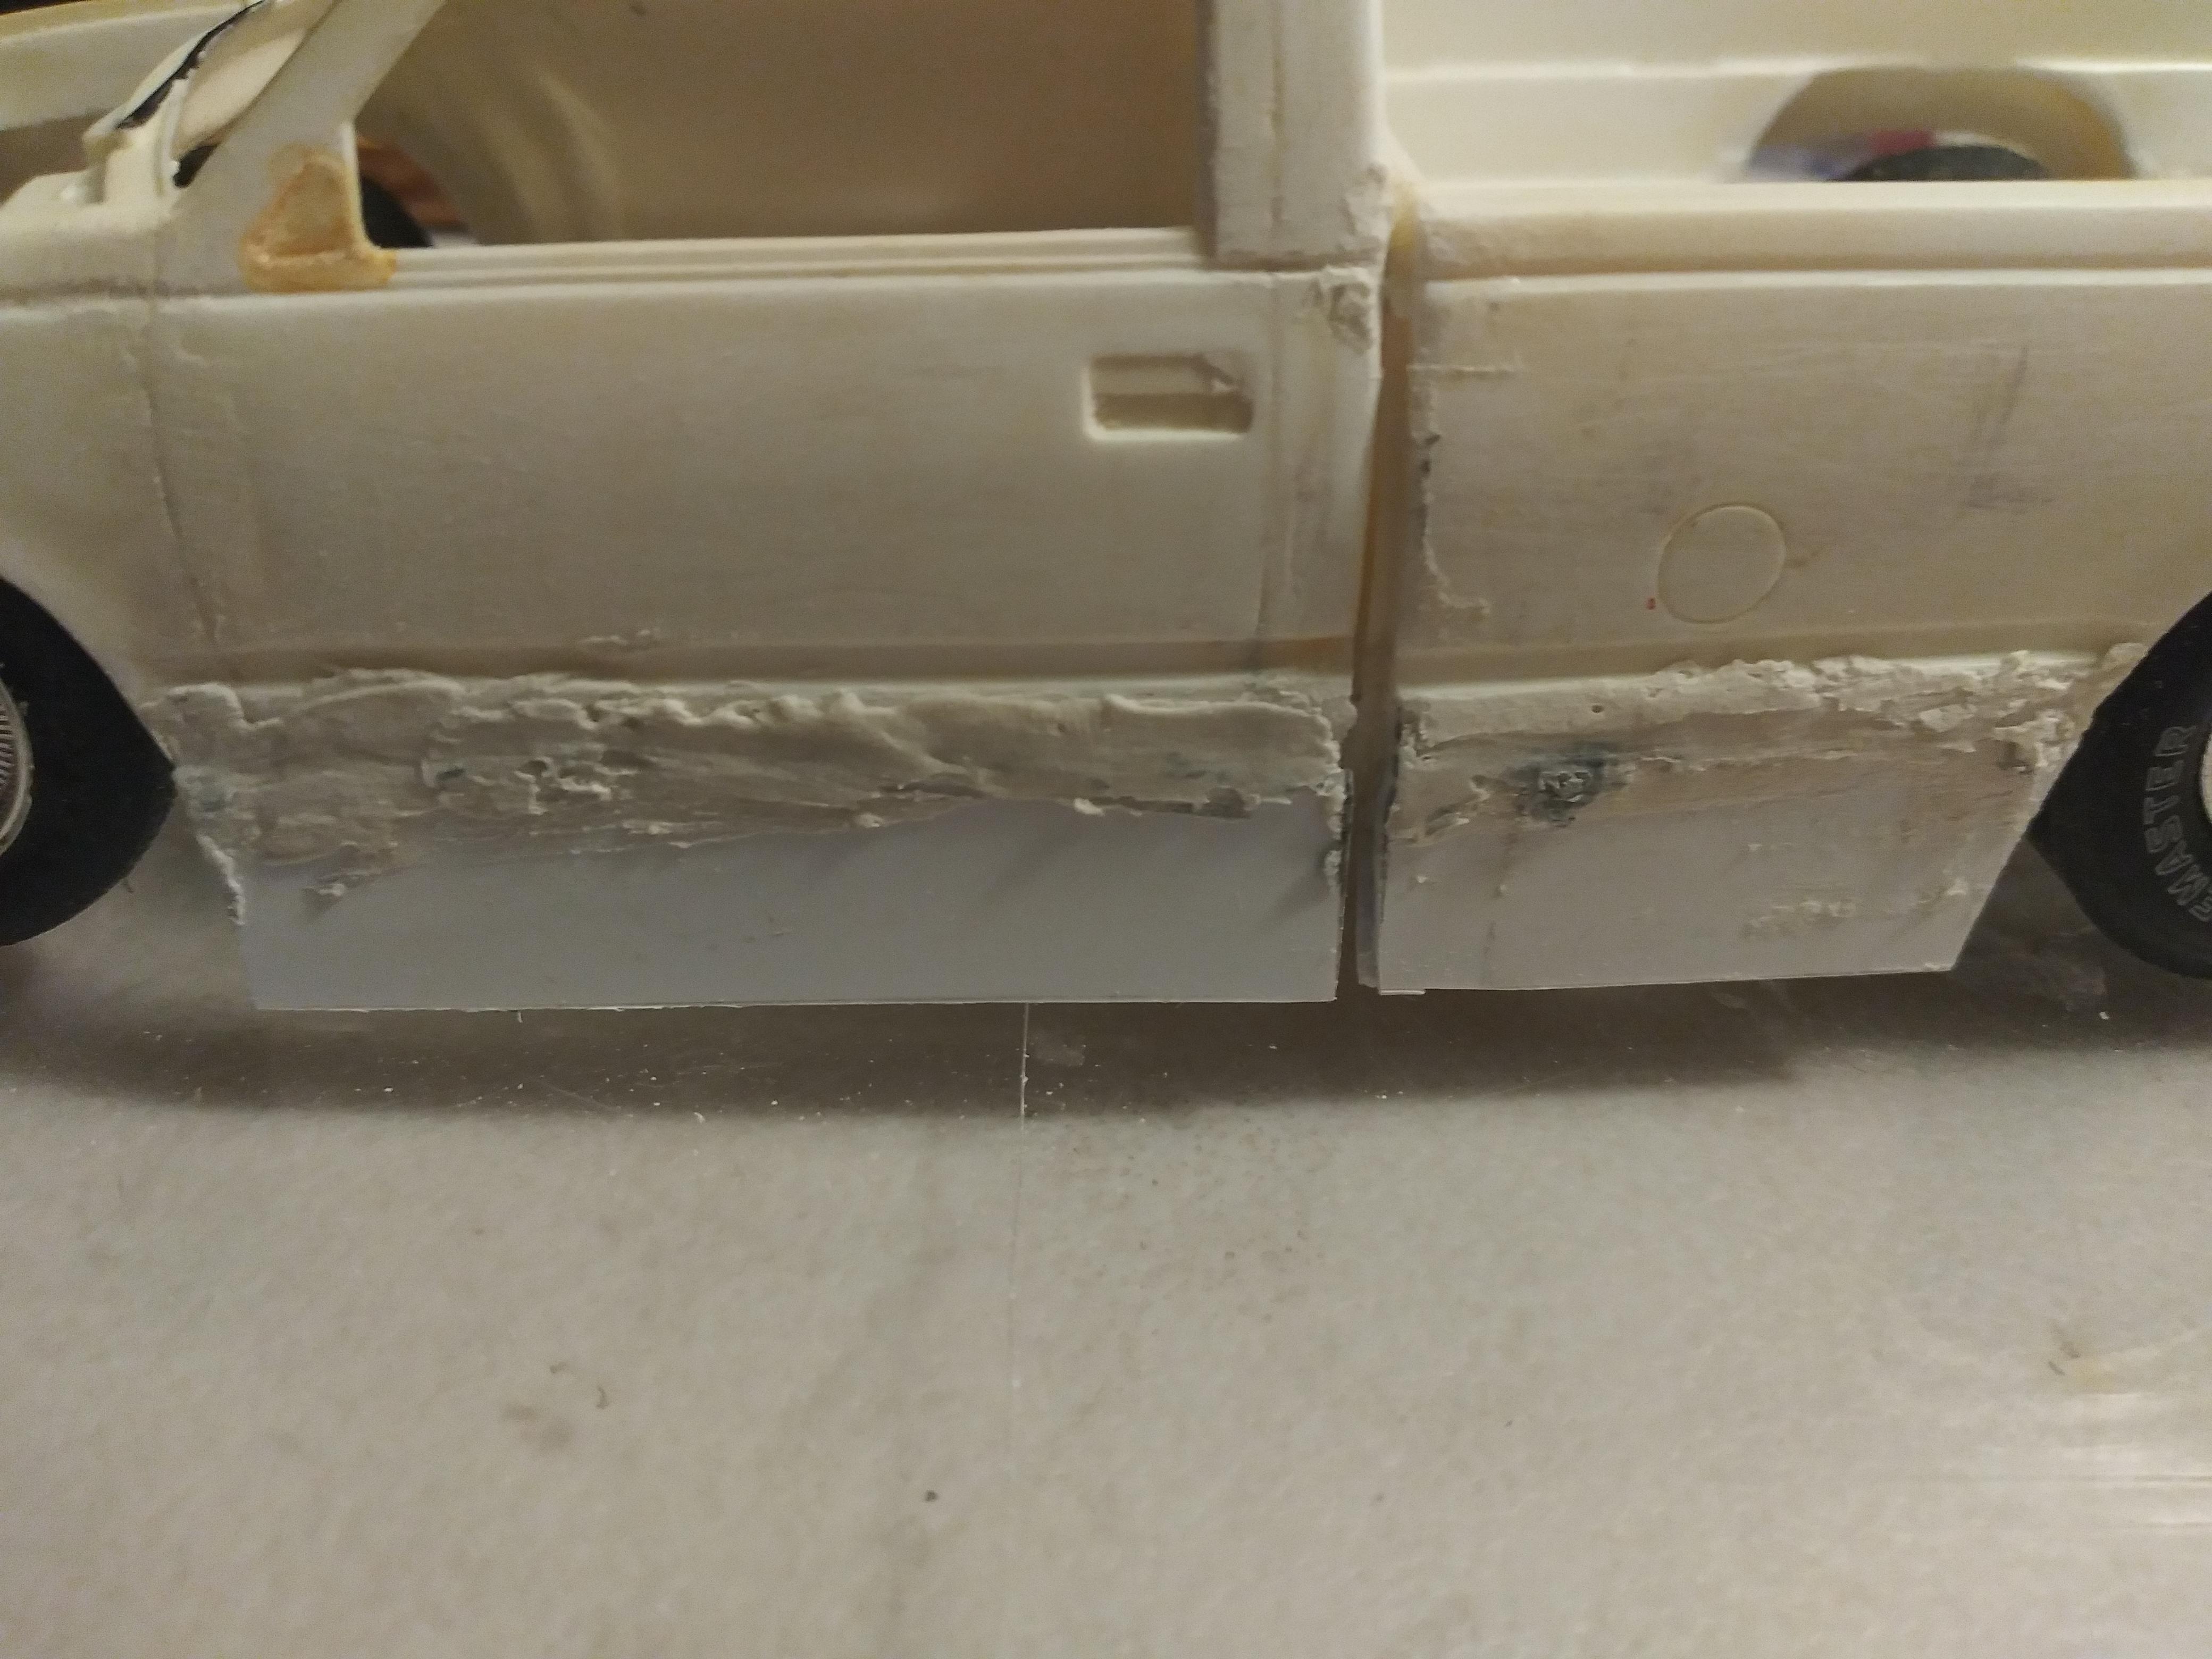
UPDATE 3/24/20 Hi guys So made a little more progress on this build (SEE PICS). I had to reinforce the front end of body because model is old and brittle in some areas. Scratch built tailgate and wheel wells. Im thinking about carpeting entire floor and wheel wells but need to figure out type of glue that will stick to material and plastic.
-
Hi guys Im thinking about using some material for carpet on my current project and was wondering what glue would work to adhere to material and plastic? I was browsing for an answer online but couldn't find a definite answer. Thanks in advance
-
TY slusher, currently working on next project, 57 chevy nomad.
-
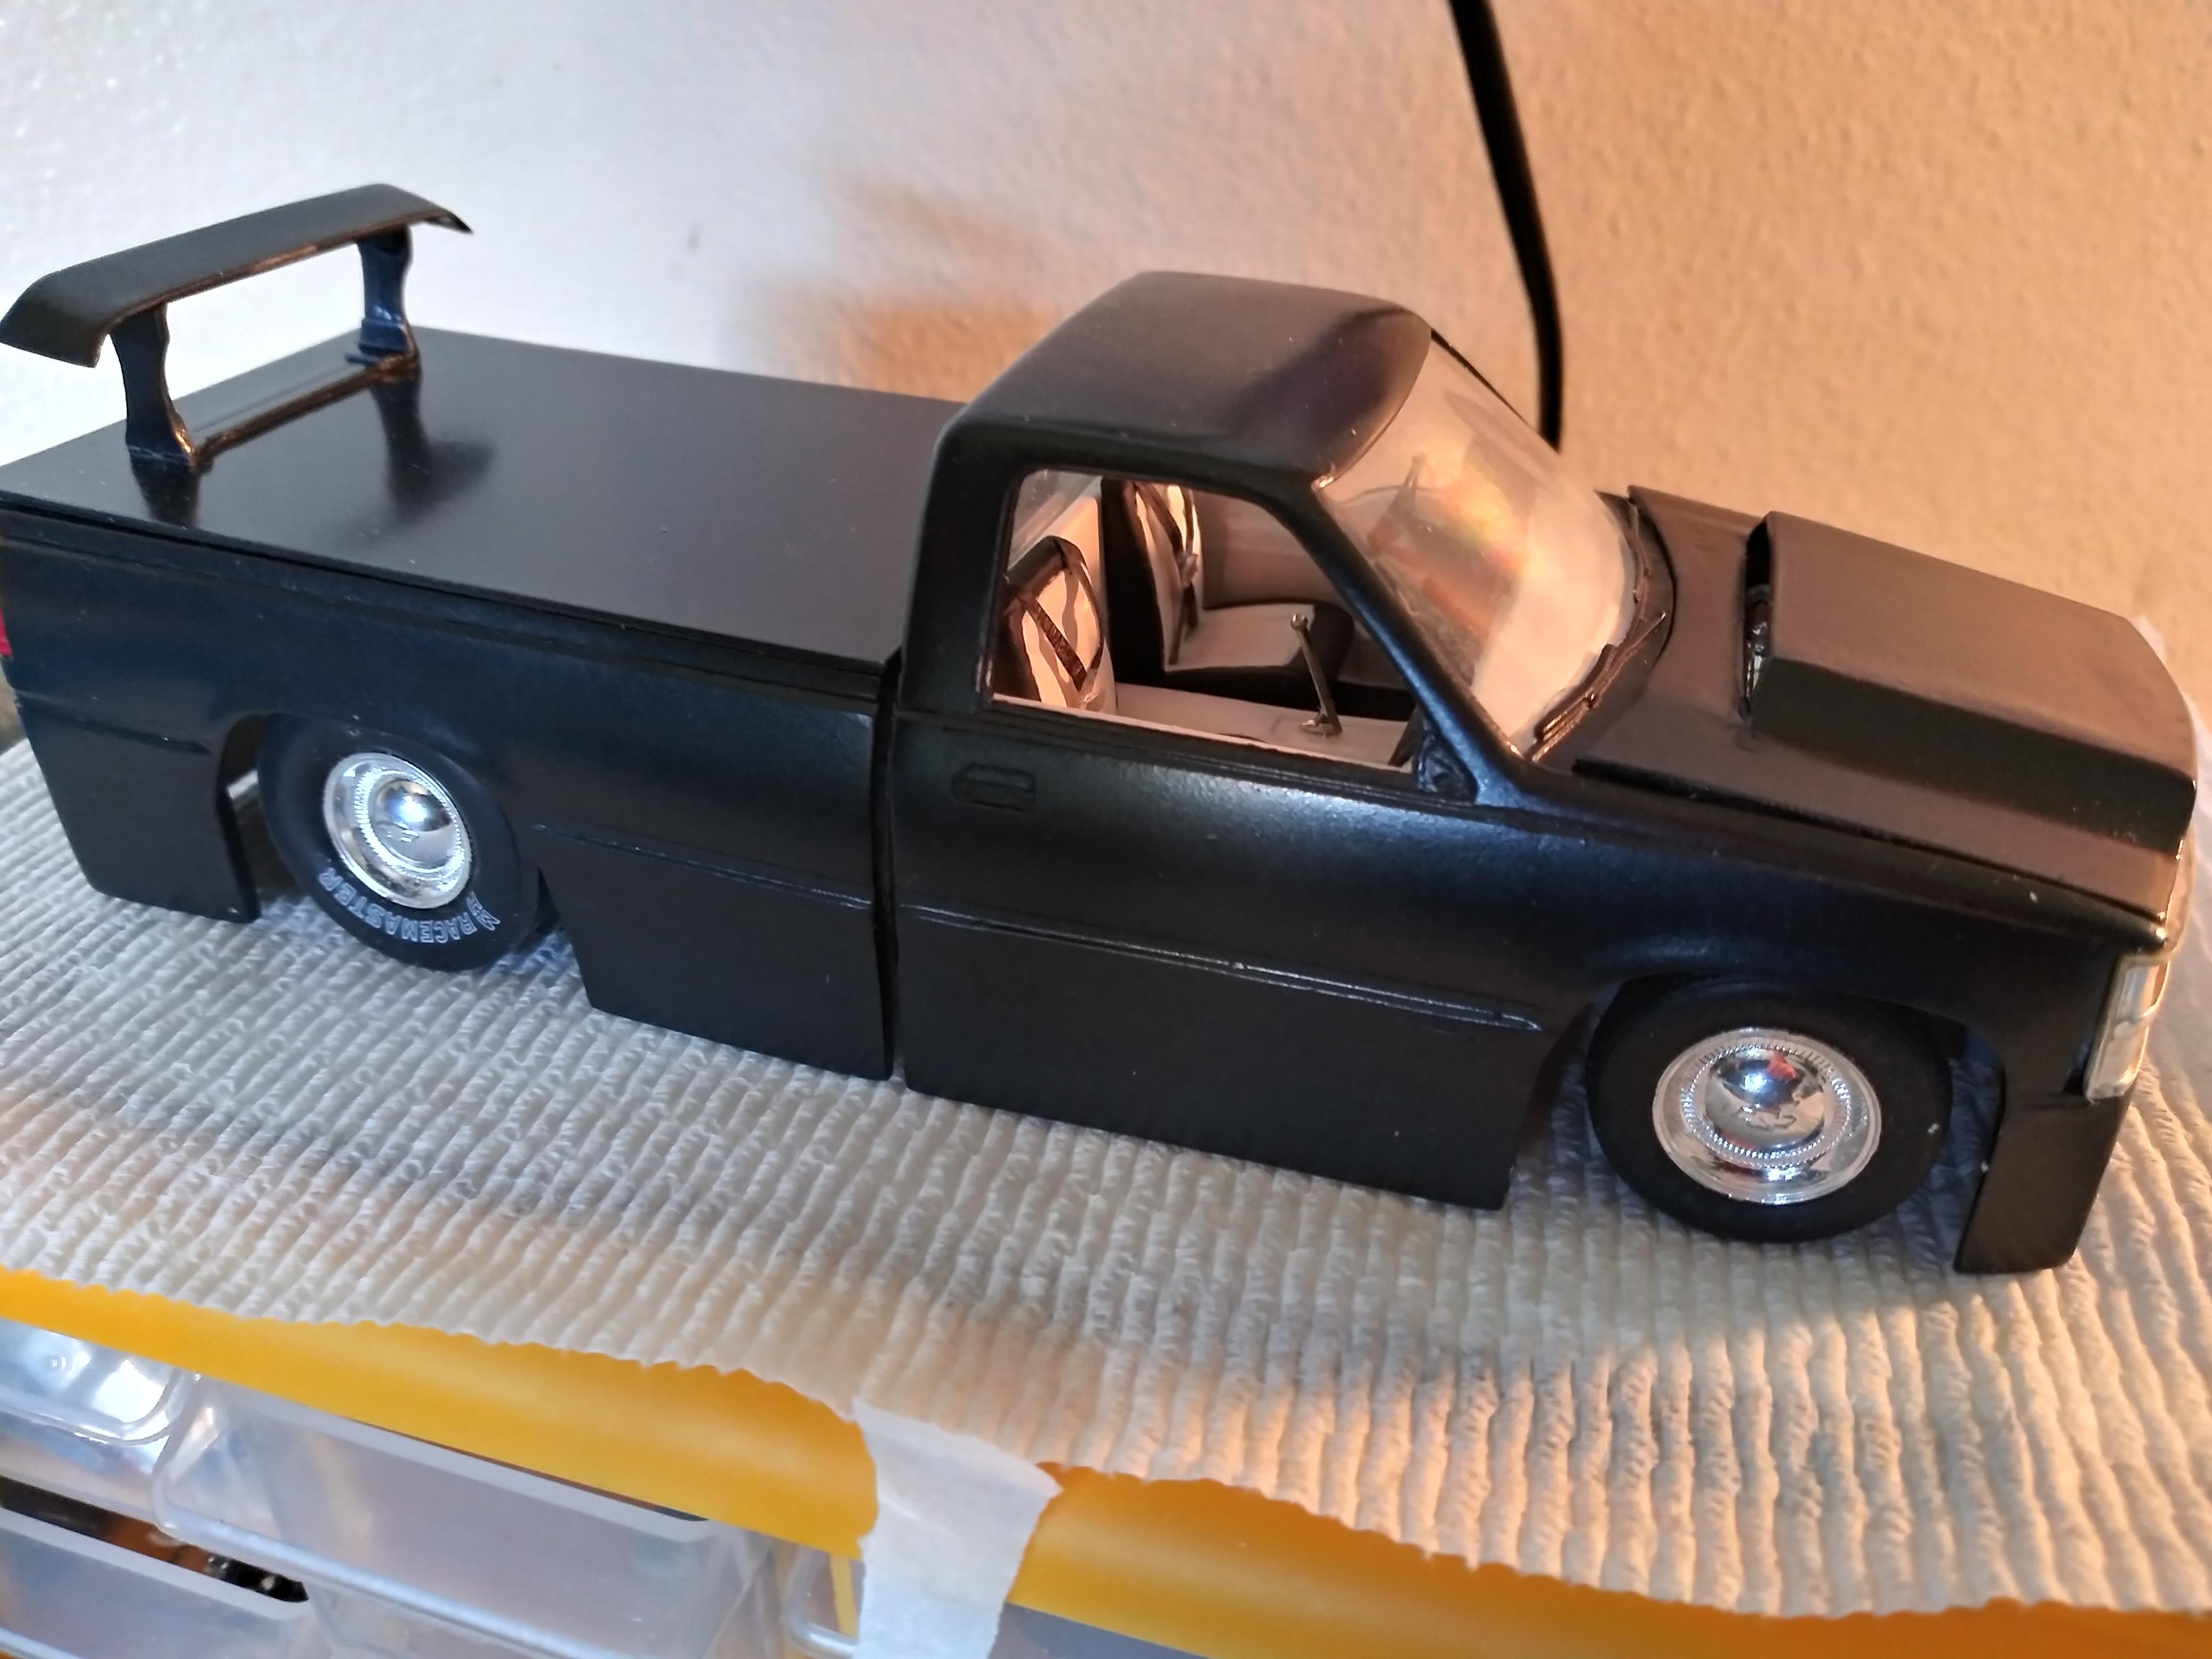
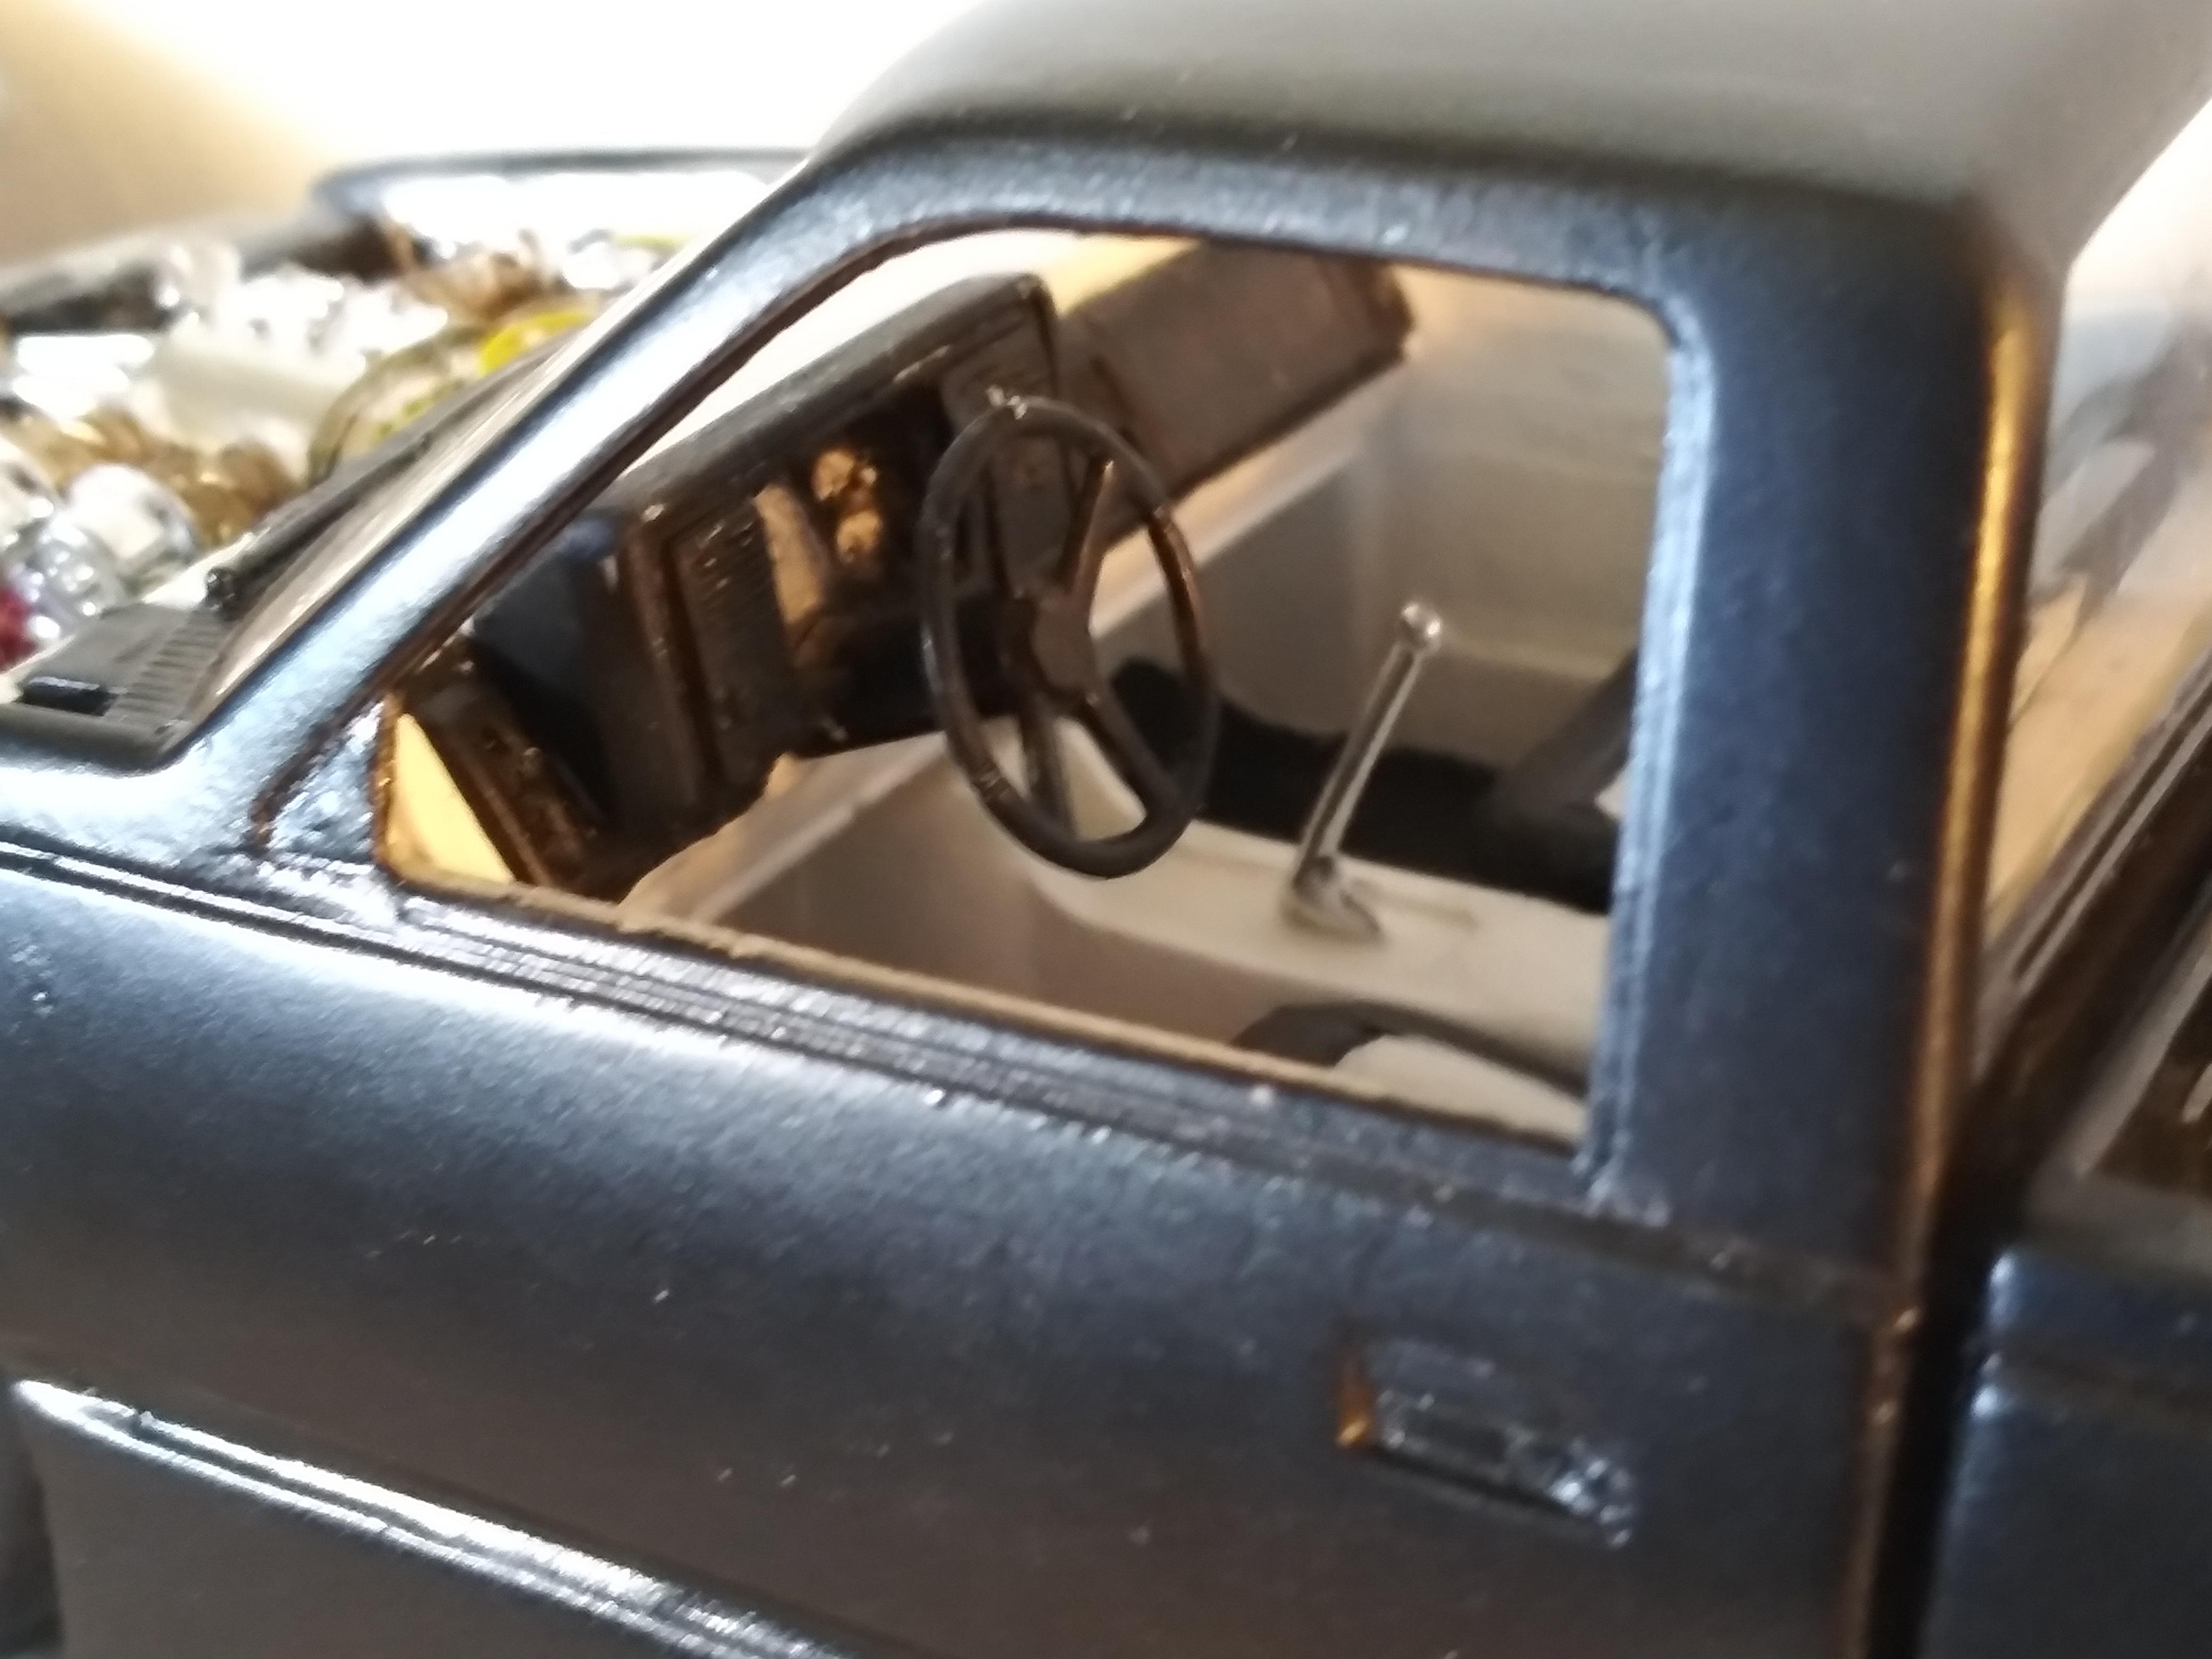
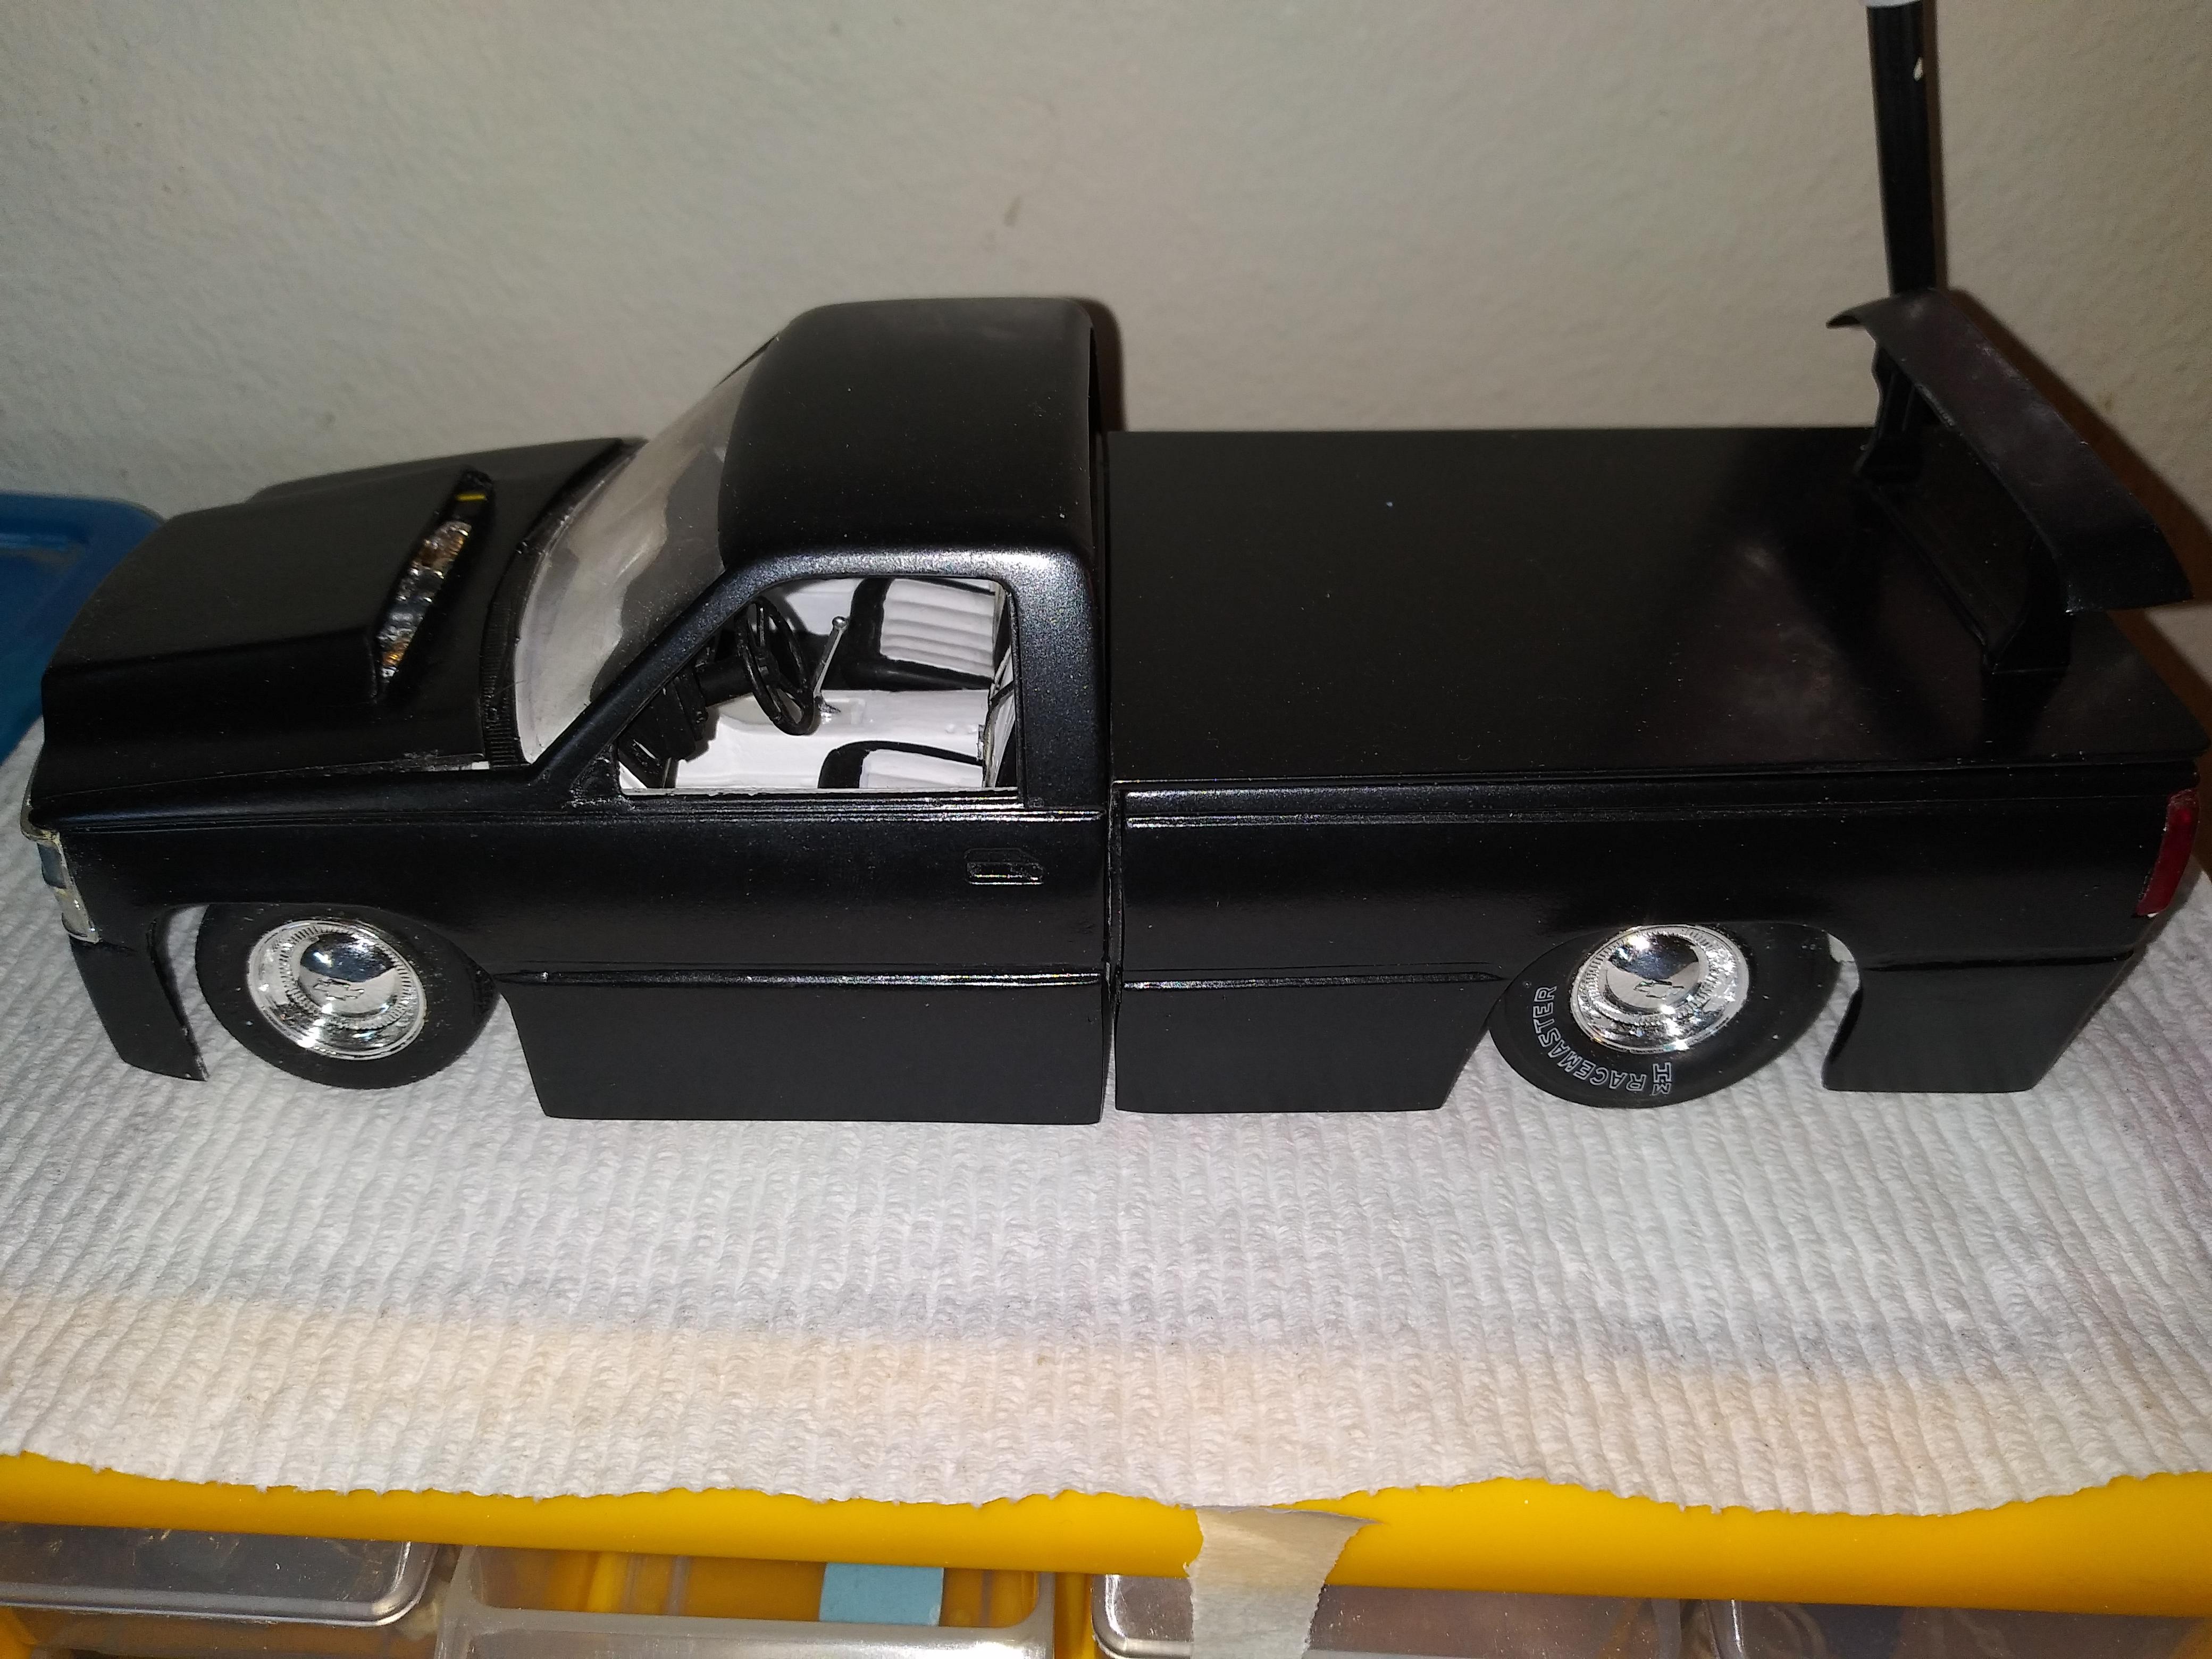
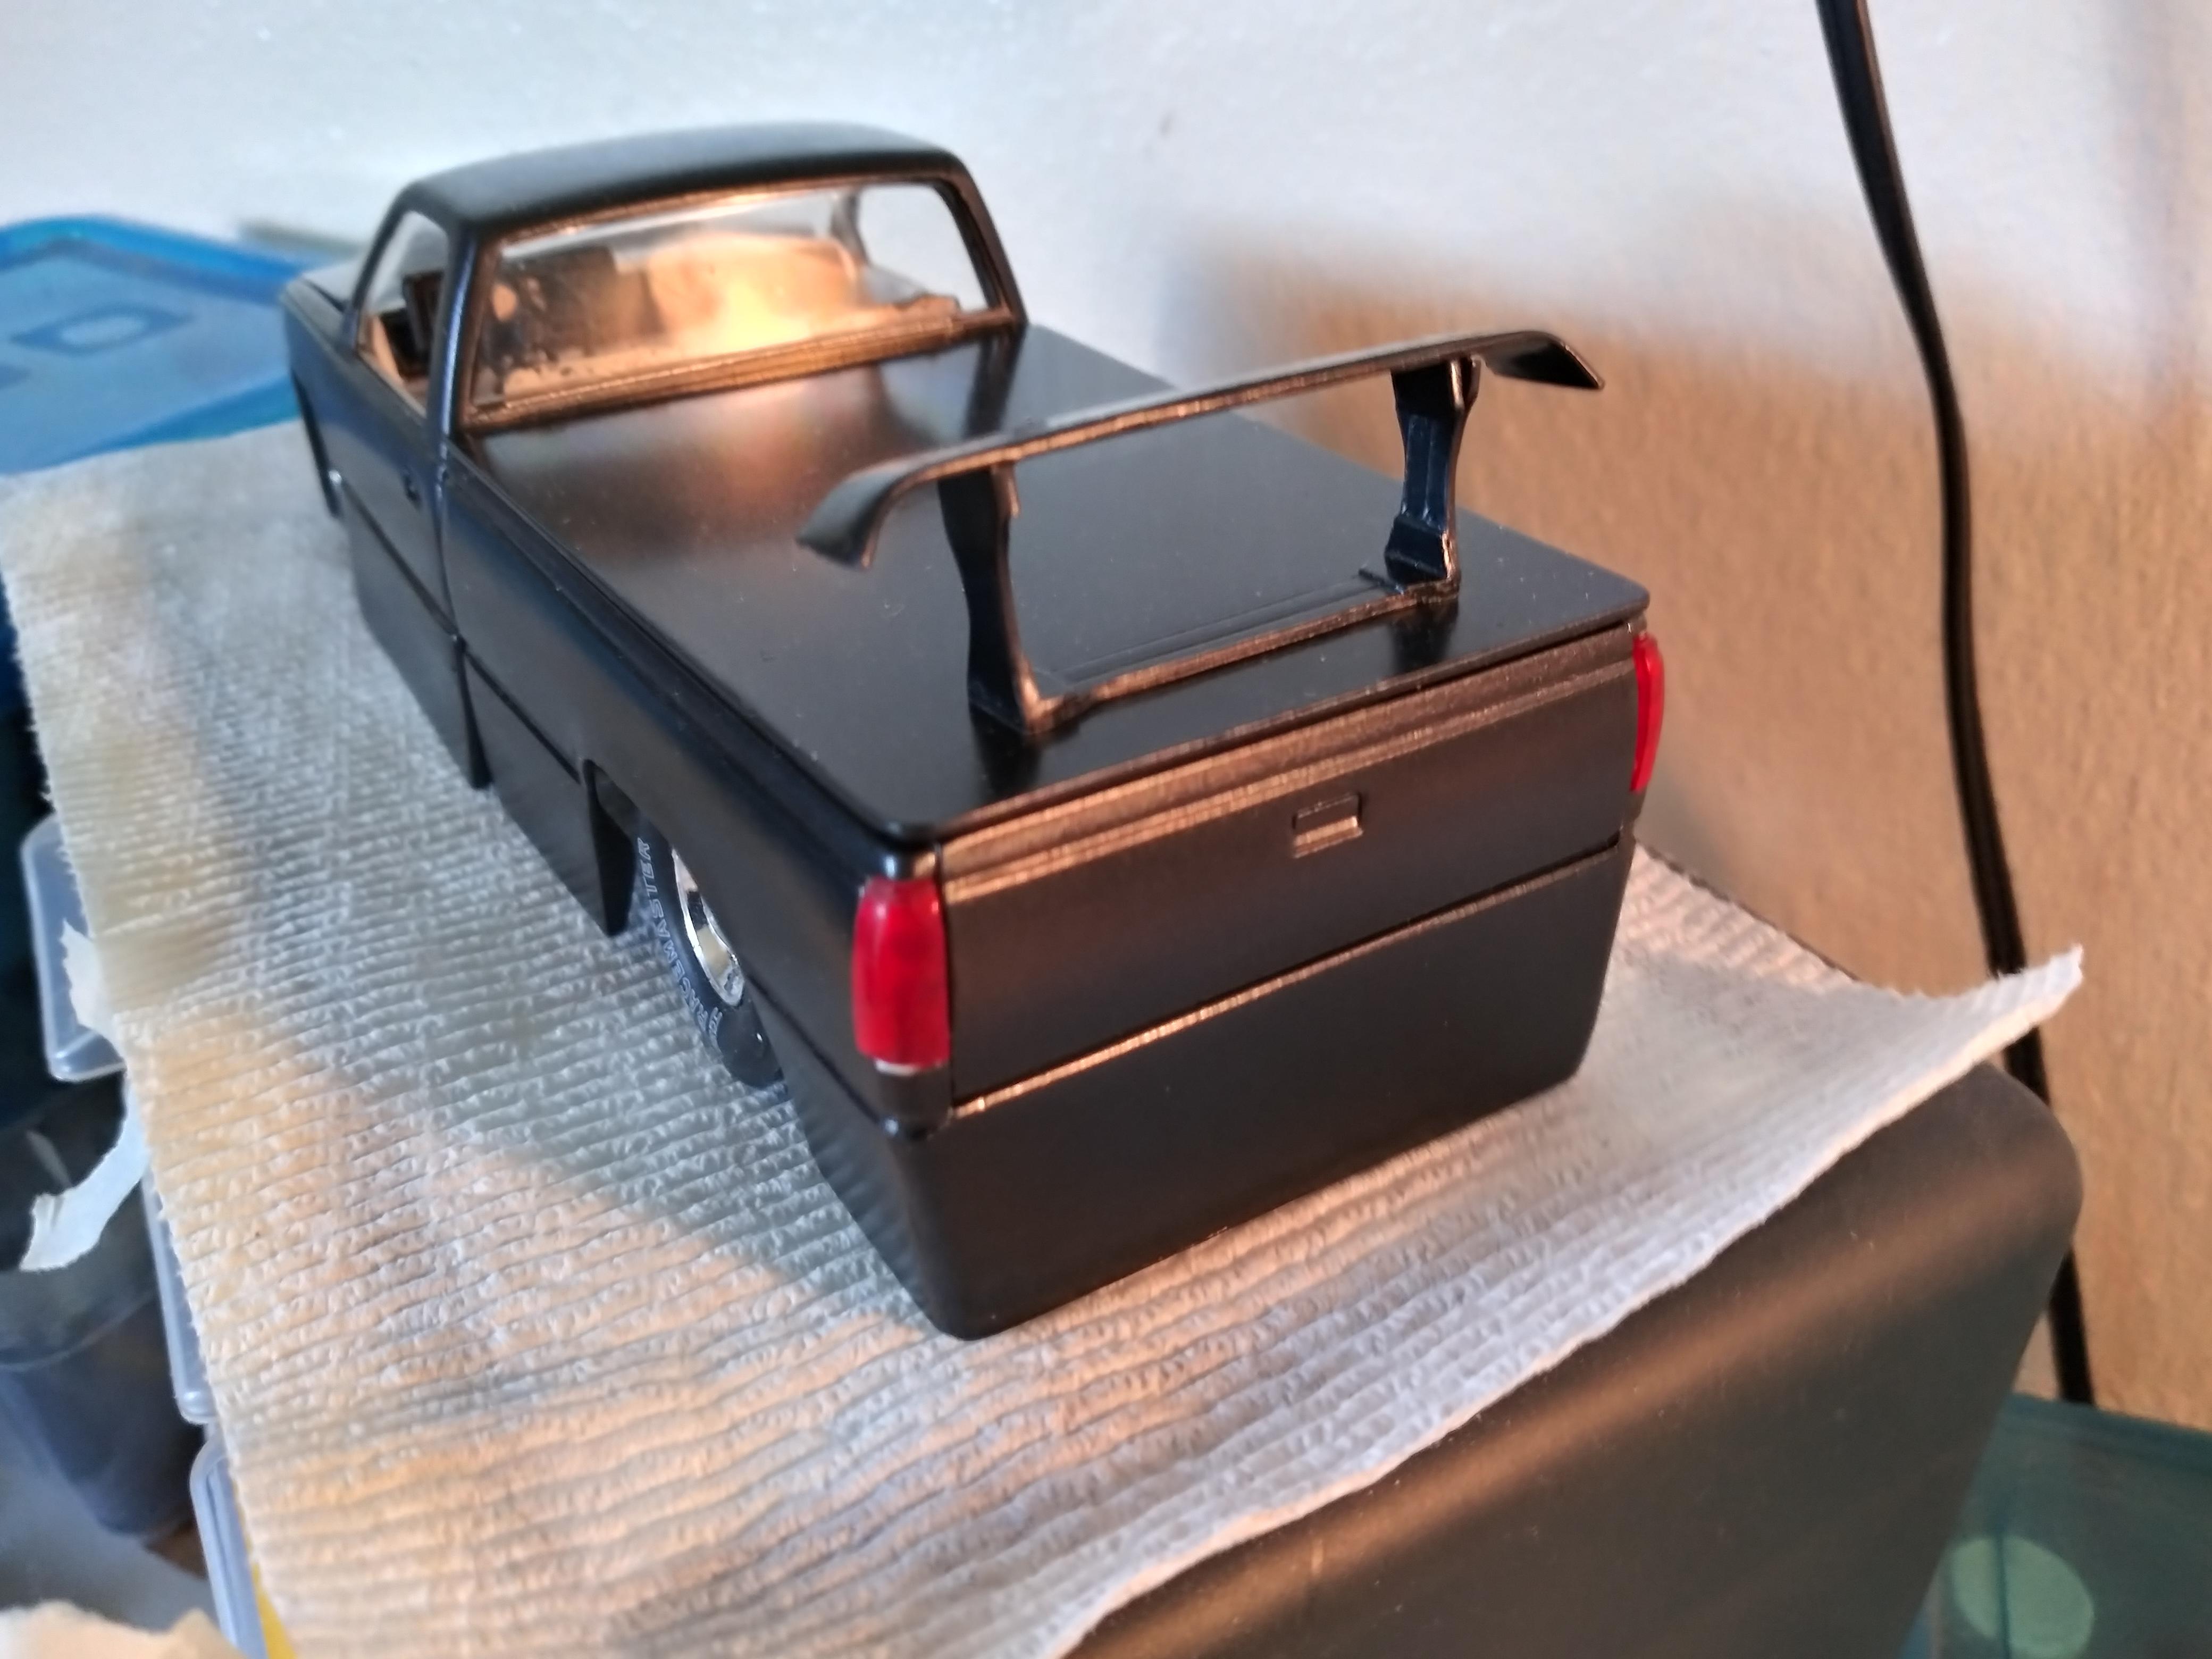
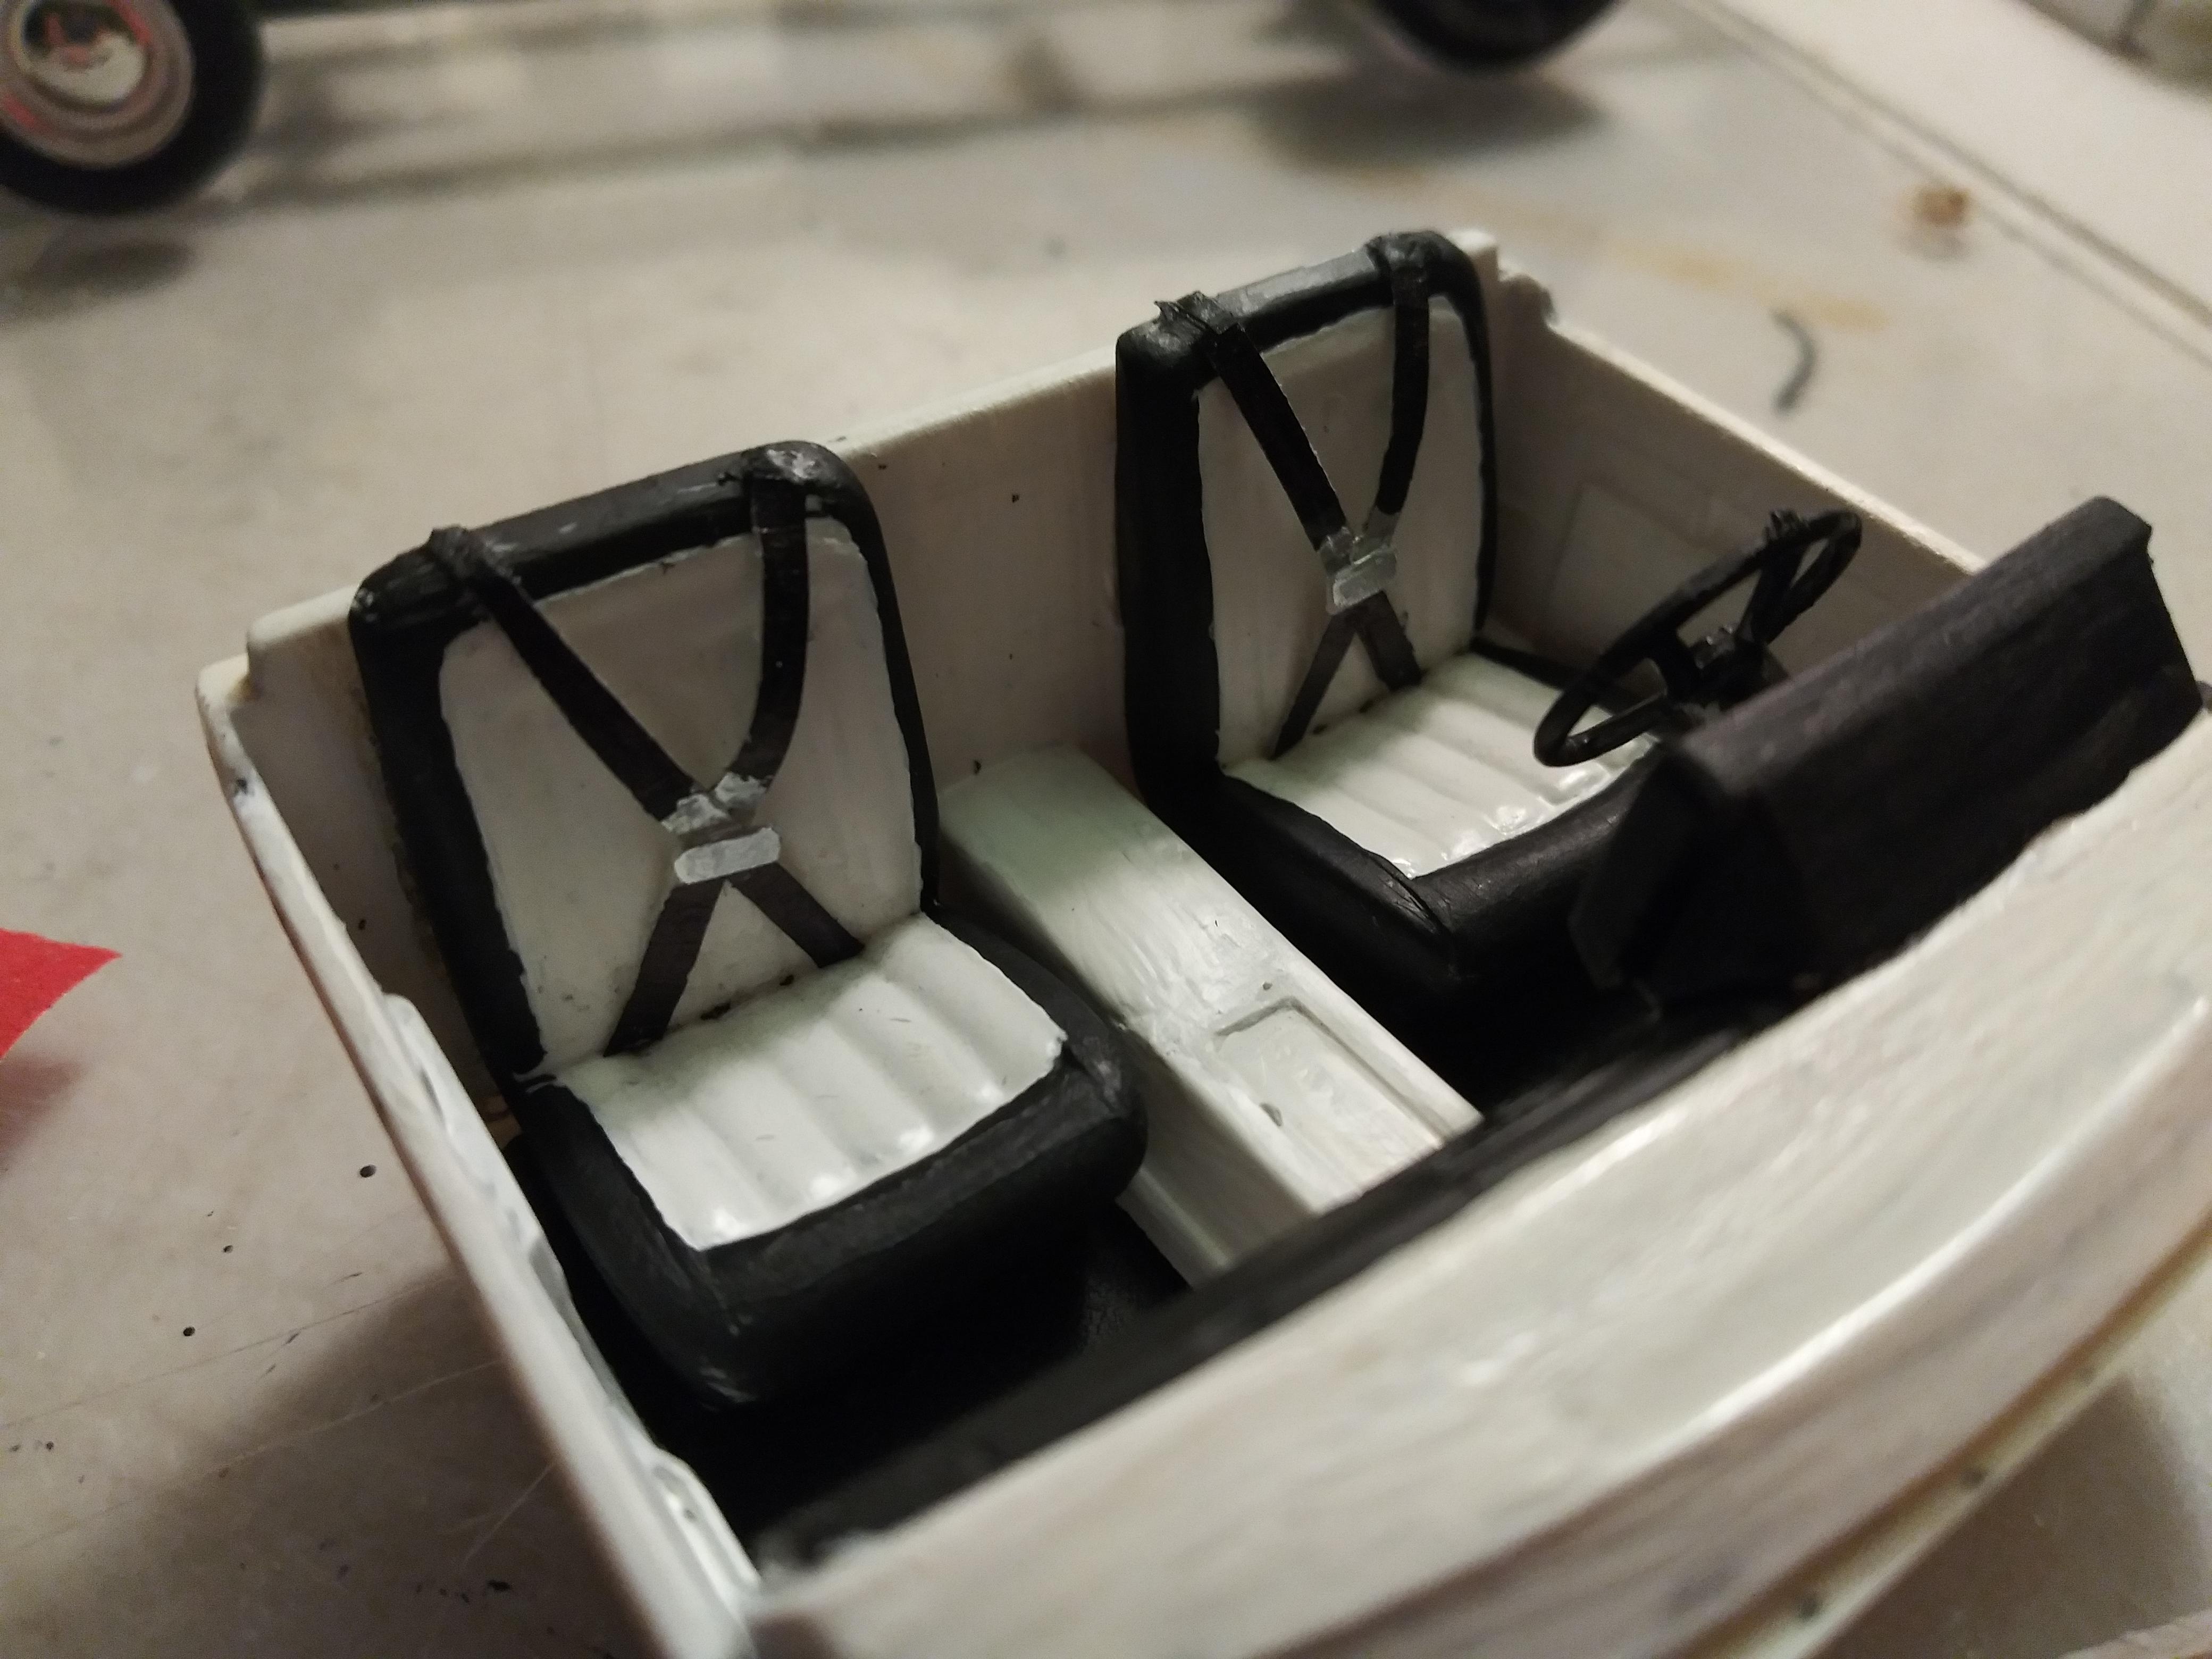
Hi guys So finally finished truck which used to be the USA monster truck. Body color metallic black, inside cab black and white. Seat belt harnesses made from masking tape. Electric fan/radiator hand made mounted in bed as well as battery. Engine compartment I used bare metal foil on firewall and sides. For first time on a model I did a wiring harness and alternator/starter have positive/negative wires. The bed cover and hood are scratch built. Im still going to add few decals and license plates later but for now it's Under the Glass. Thanks for looking.
-
UPDATE 3/18/20 Hi guys So body is painted, ended up doing metallic black only. Think I will do the pearl white on a different project. Just glued body to frame and will finish small little details. So hopefully within next few days it will be finished and posted in Under Glass section.
-
UPDATE 3/16/20 So I made some progress (SEE PICS), got all paint stripped off of body and floor of cab. Also rebuilt rear chassis and inside cab rear floor/trunk. Reason I rebuilt rear was because when I originally built it I used what I had and rear tires were snug in between body and floor/trunk panel touching both so I wanted to fix that and the trunk panel wasn't level with rest of floor of cab it was tilted upwards. Little body work needed.
-
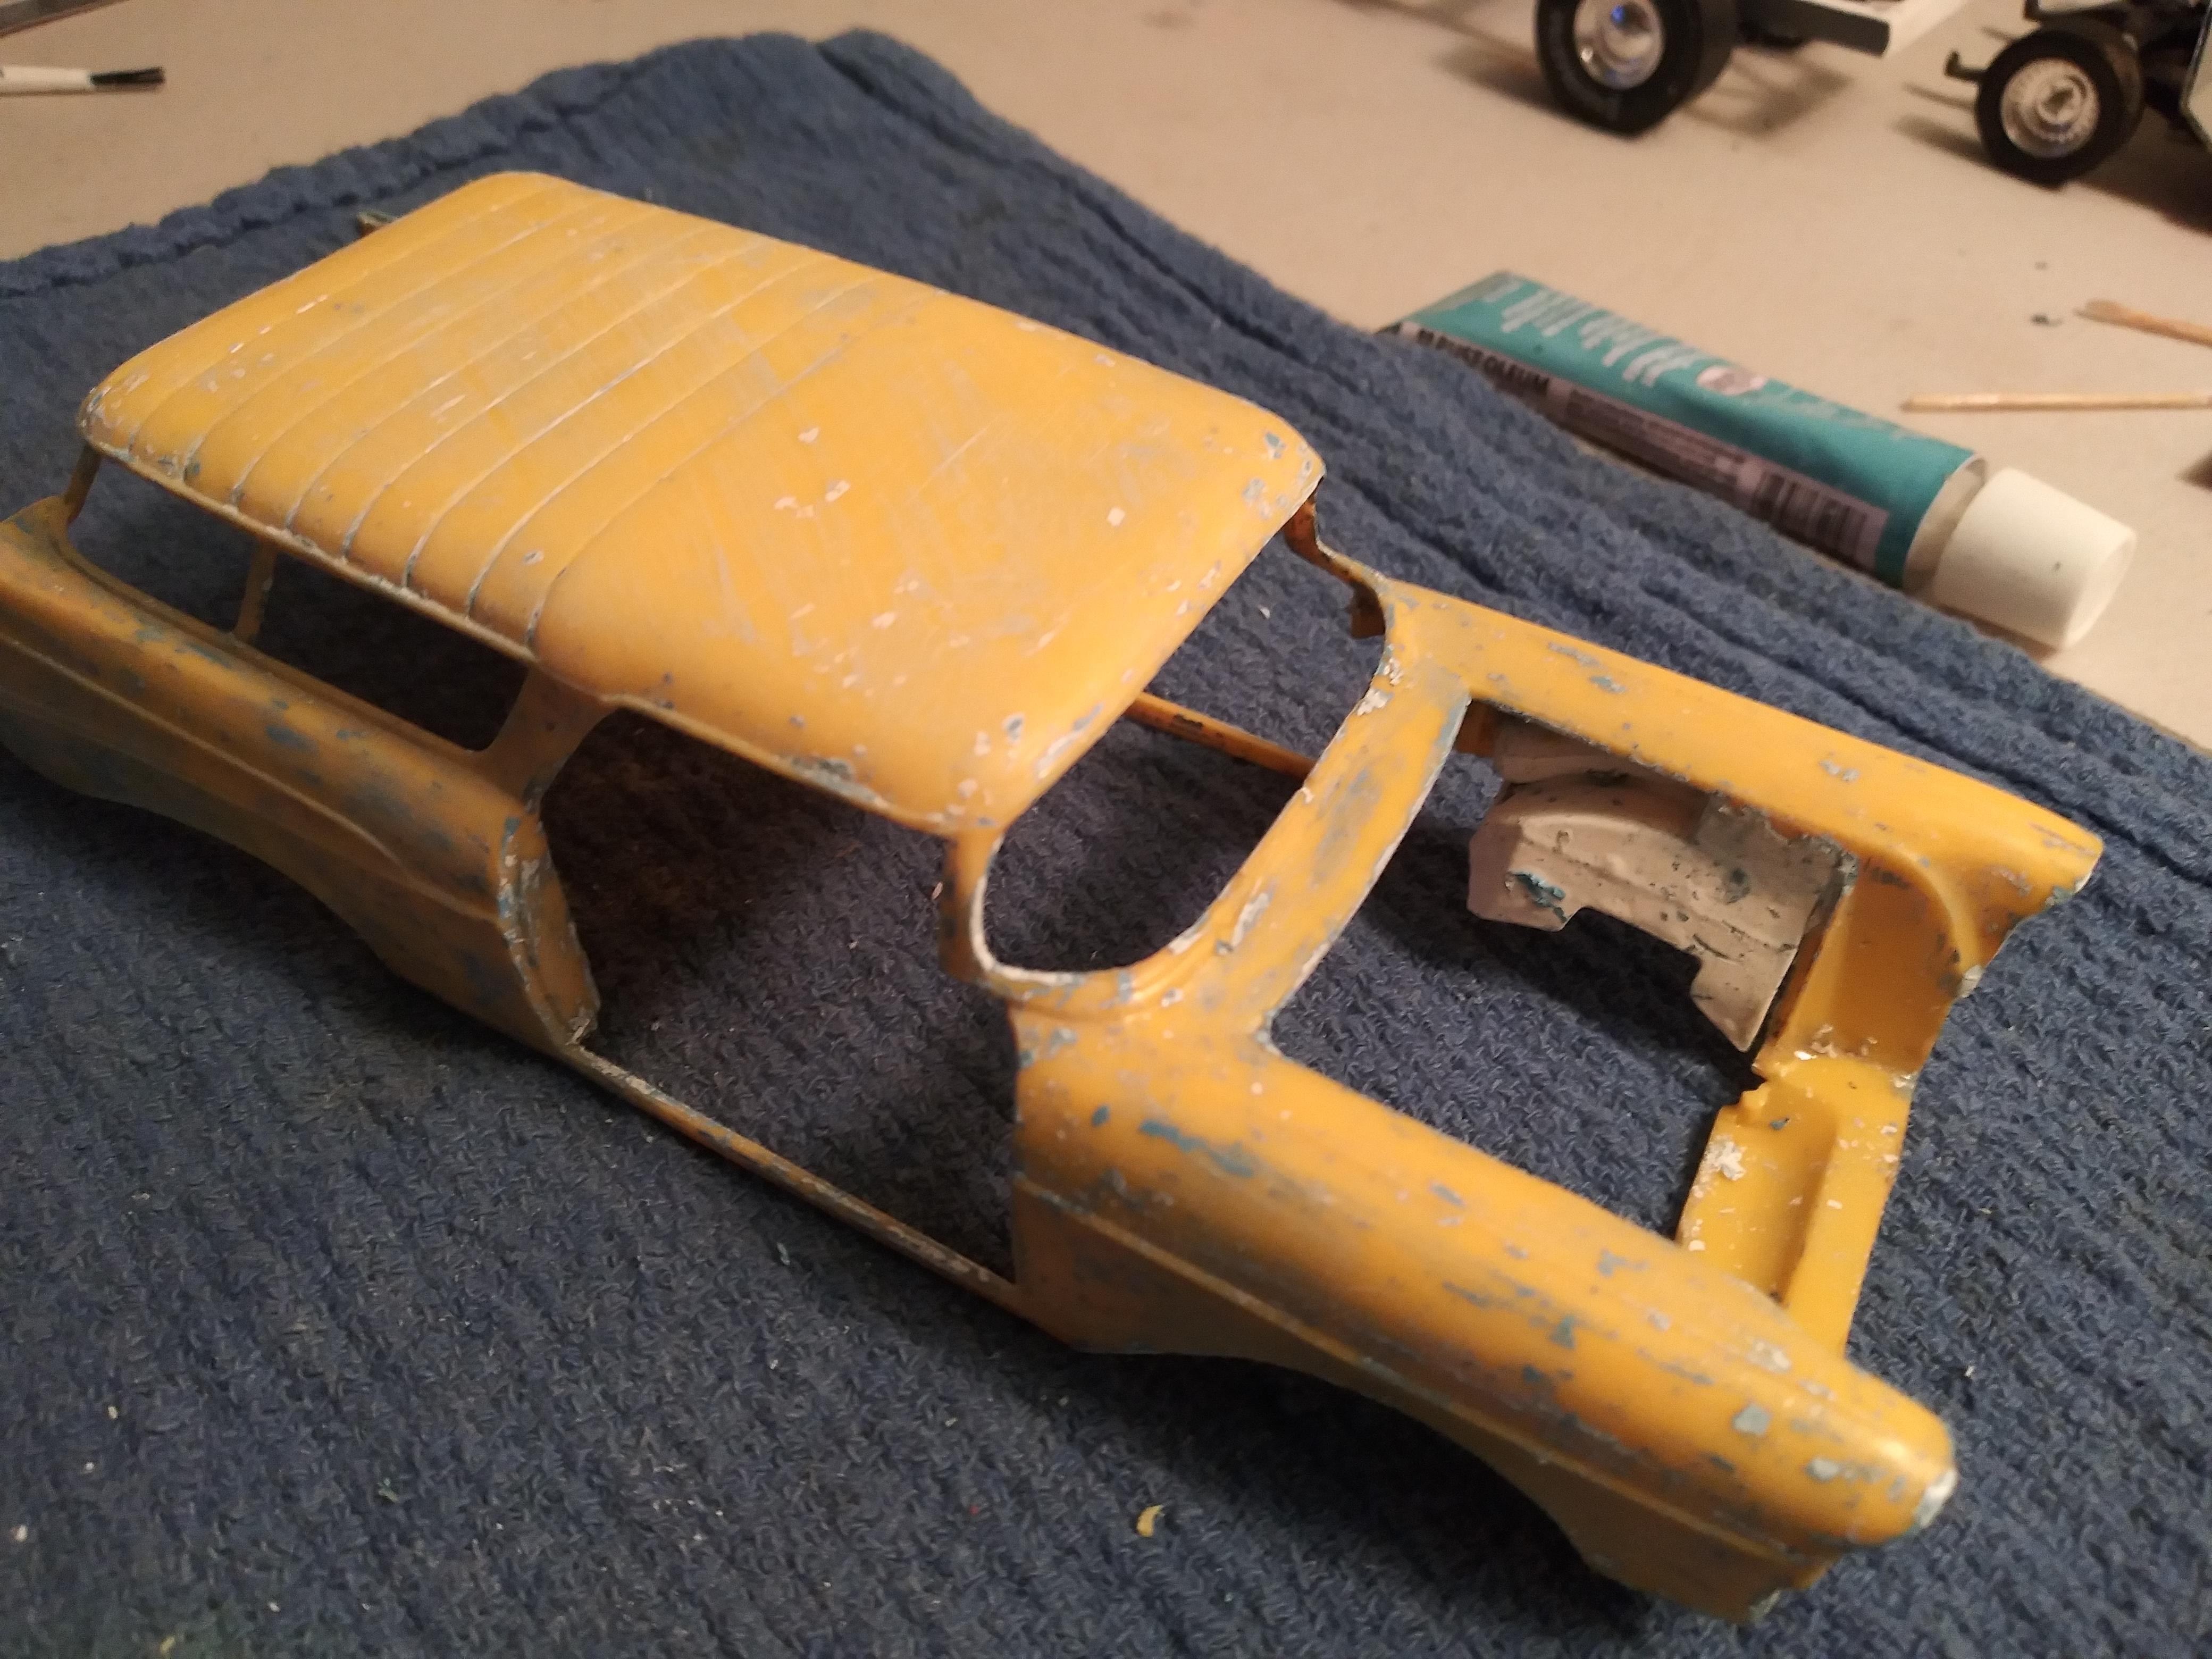
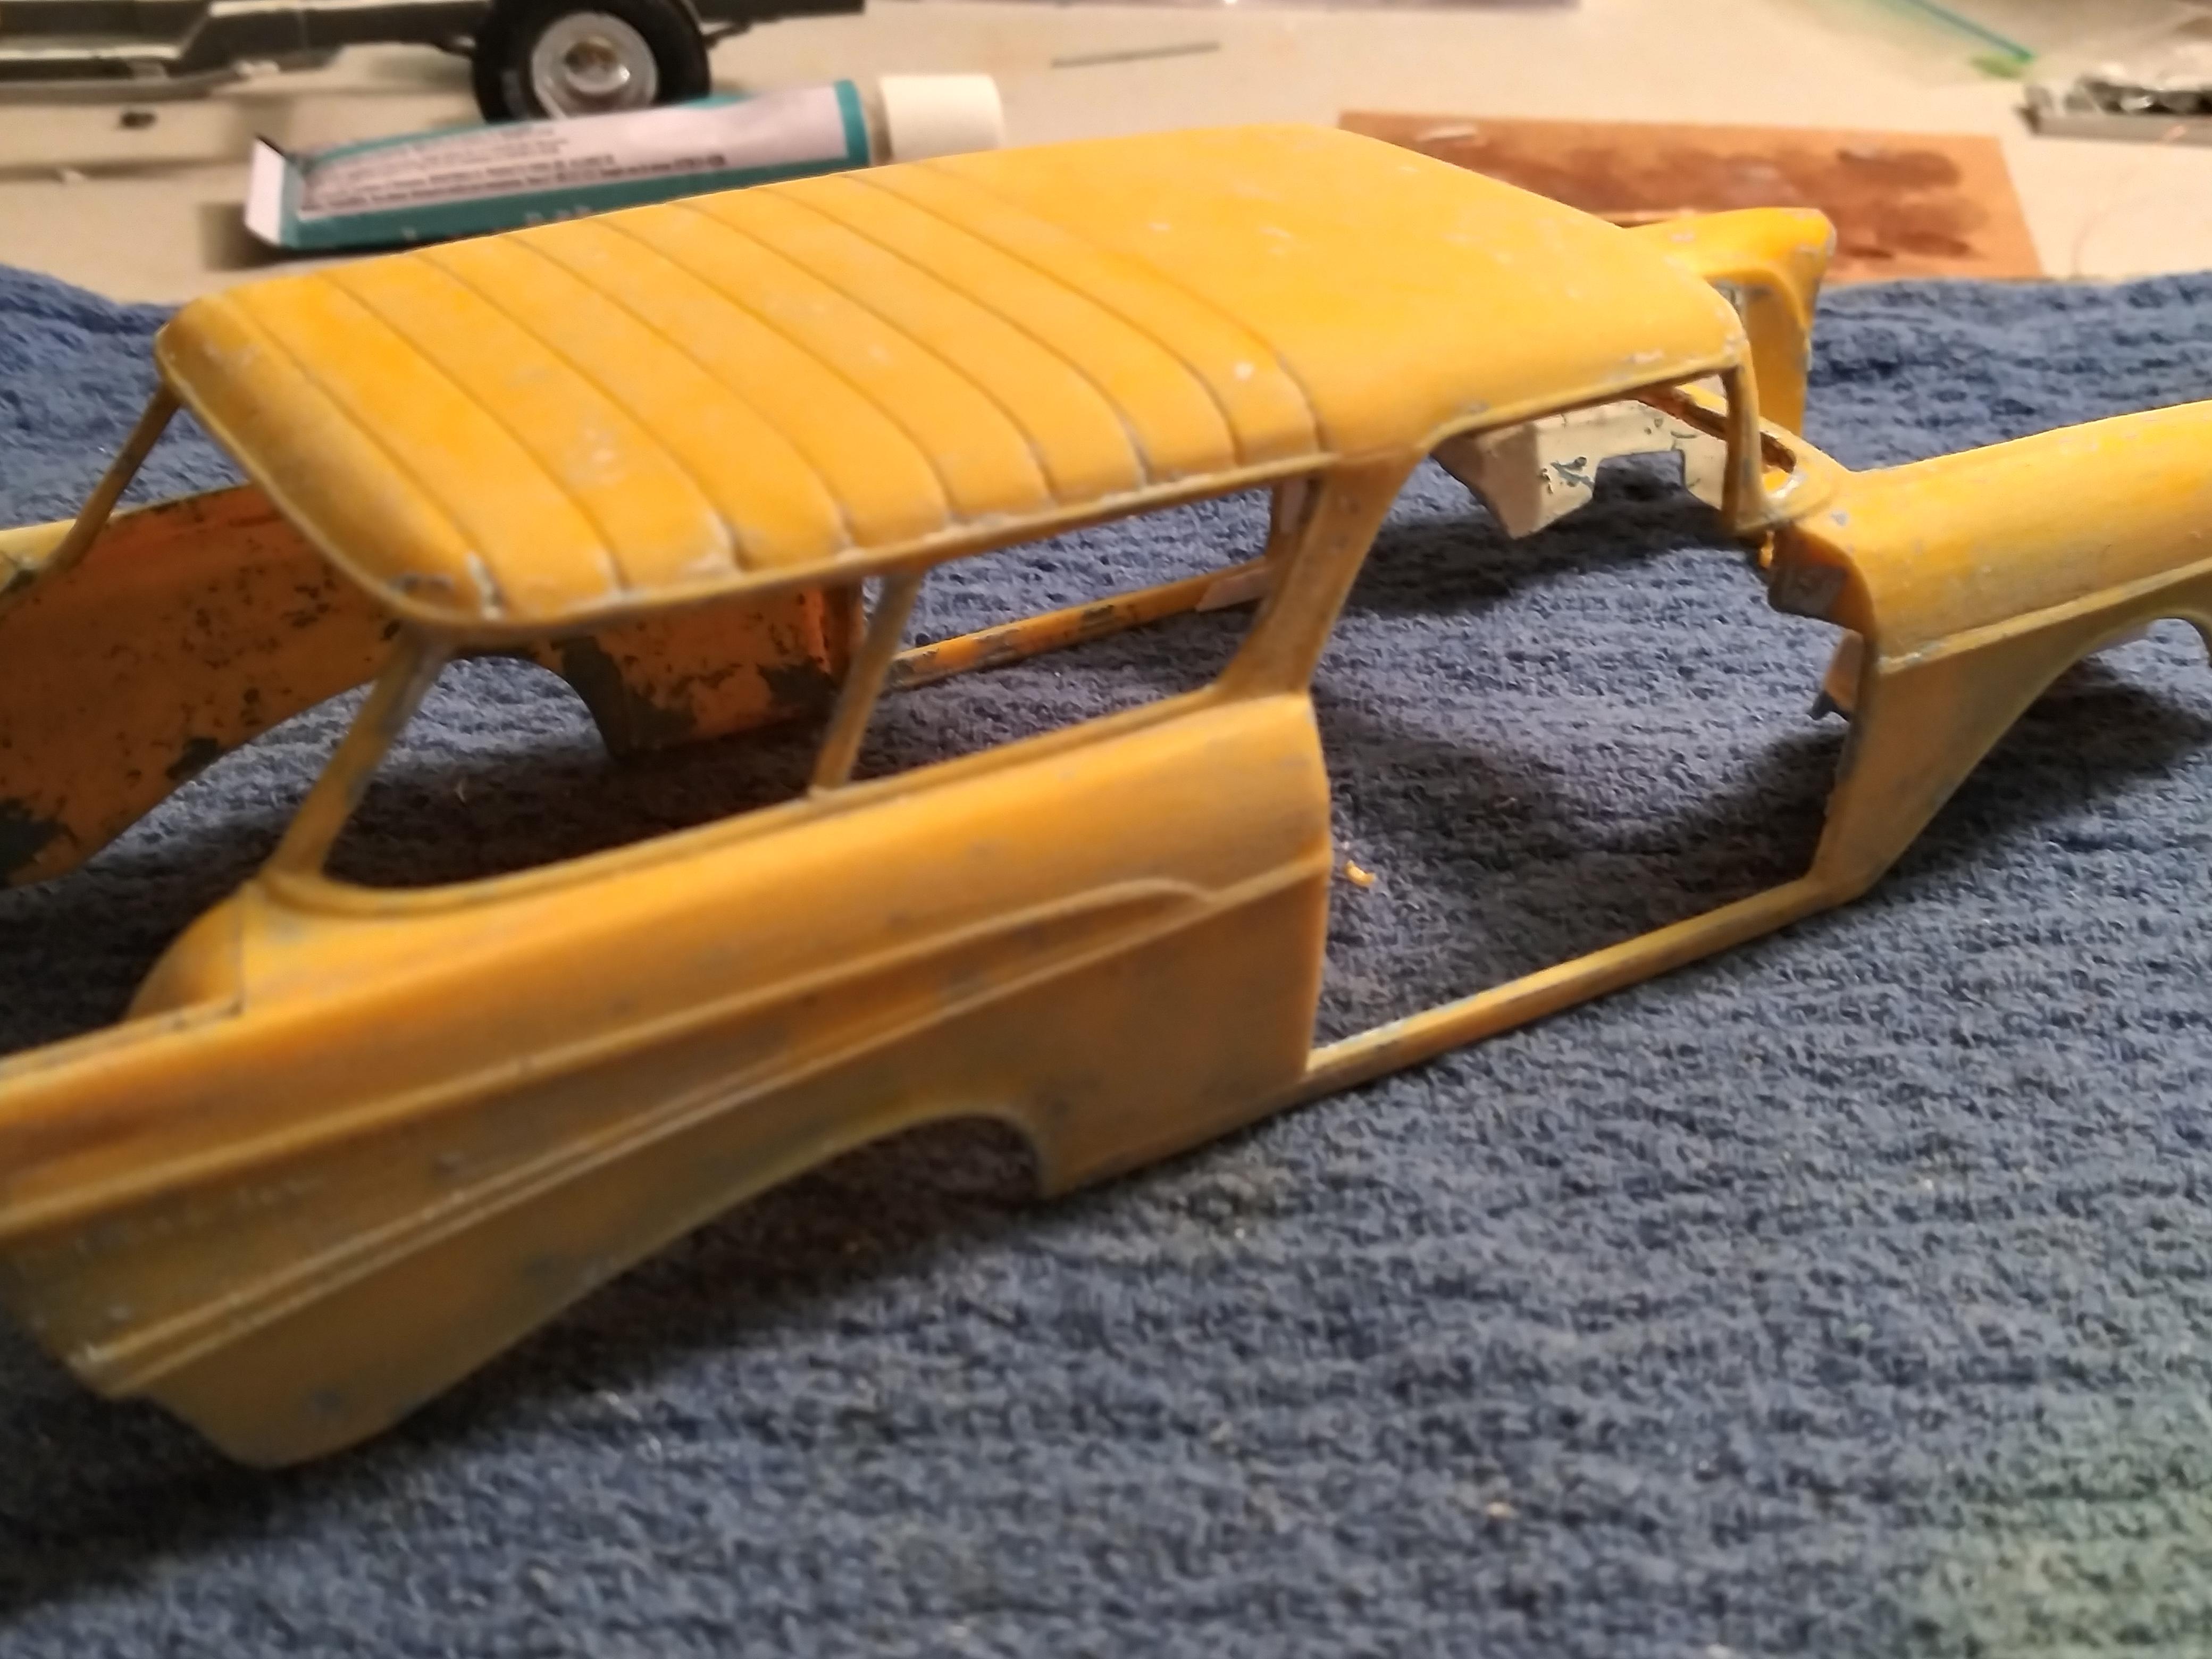
Hi guys So I'm at tail end of my other project (chevy truck) and decided im going to start a new project while im finishing my other. I believe its a 56-57 chevy nomad that I've had for a very long time. I kinda just threw it together with what was with it. I acquired it when I first got into modeling. It's pretty bare bones. Basically I'm going to carefully tear it down and rebuild it. SEE PICS
-
Thanks slusher, much appreciated.
-
UPDATE 3/11/20 Hi guys Just a quick update. So I'm getting close to permanently assemble truck and finish off details. Been looking at colors for body and decided to do metallic black and pearl white.
-
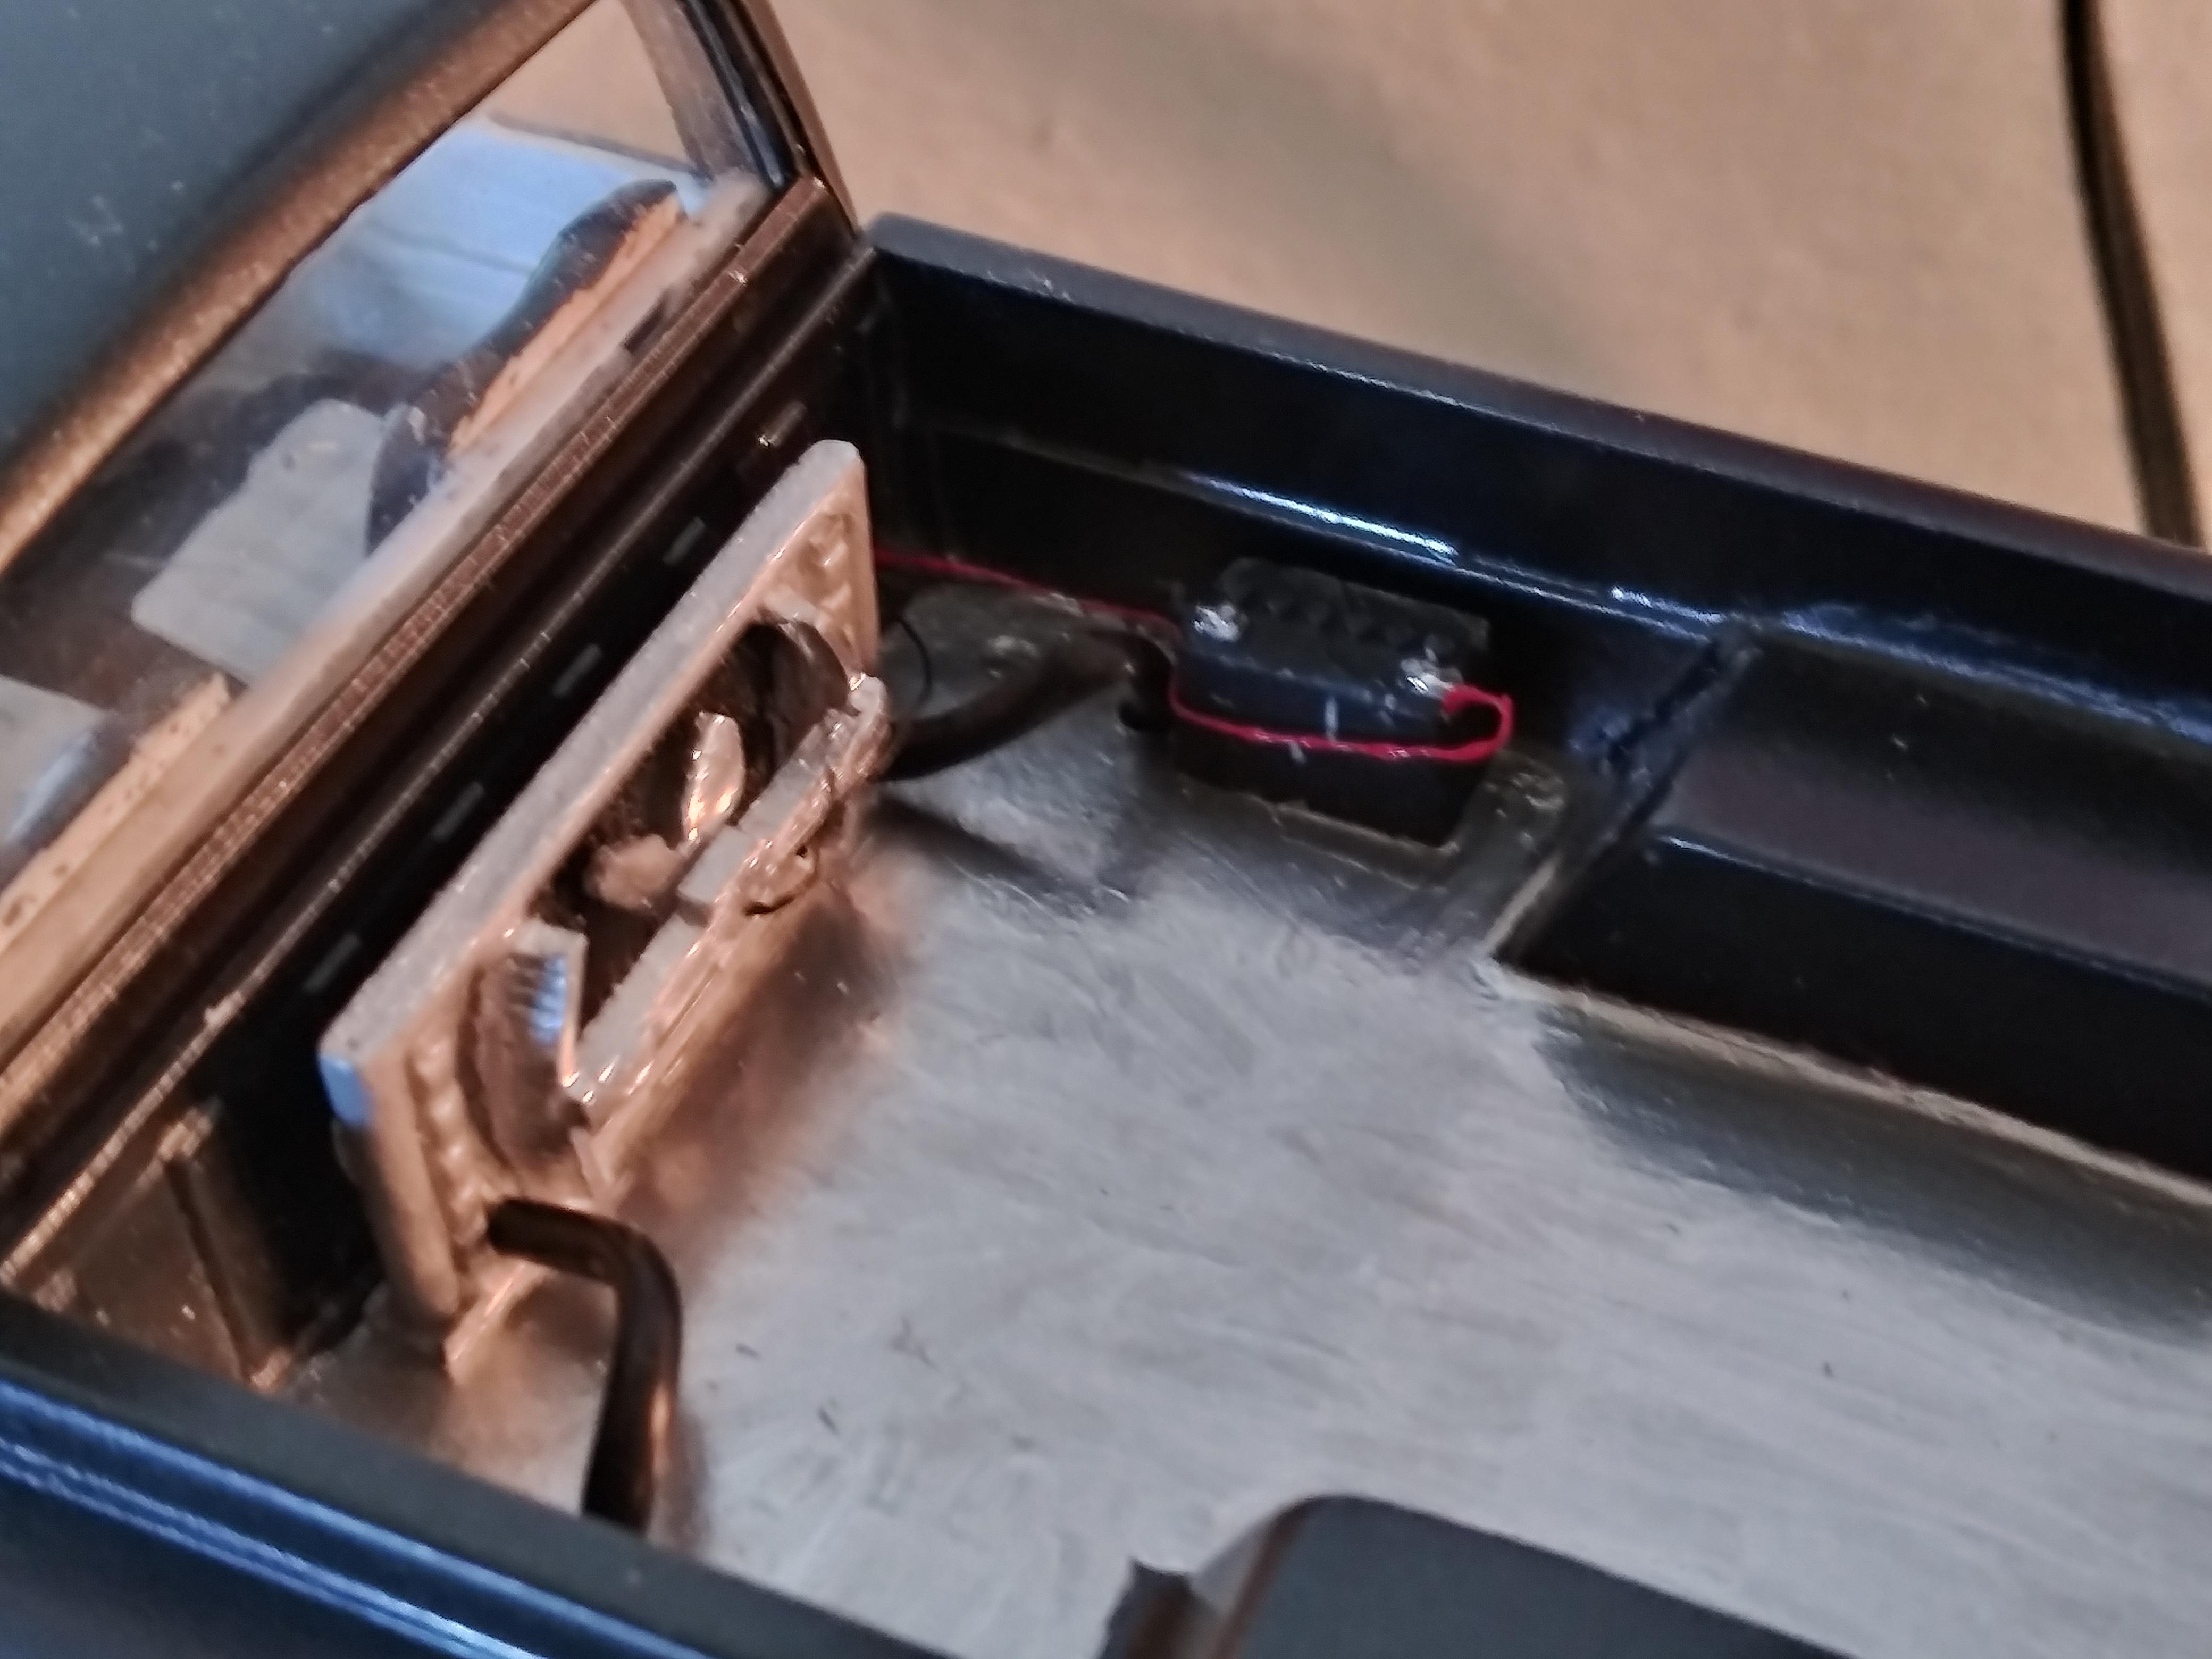
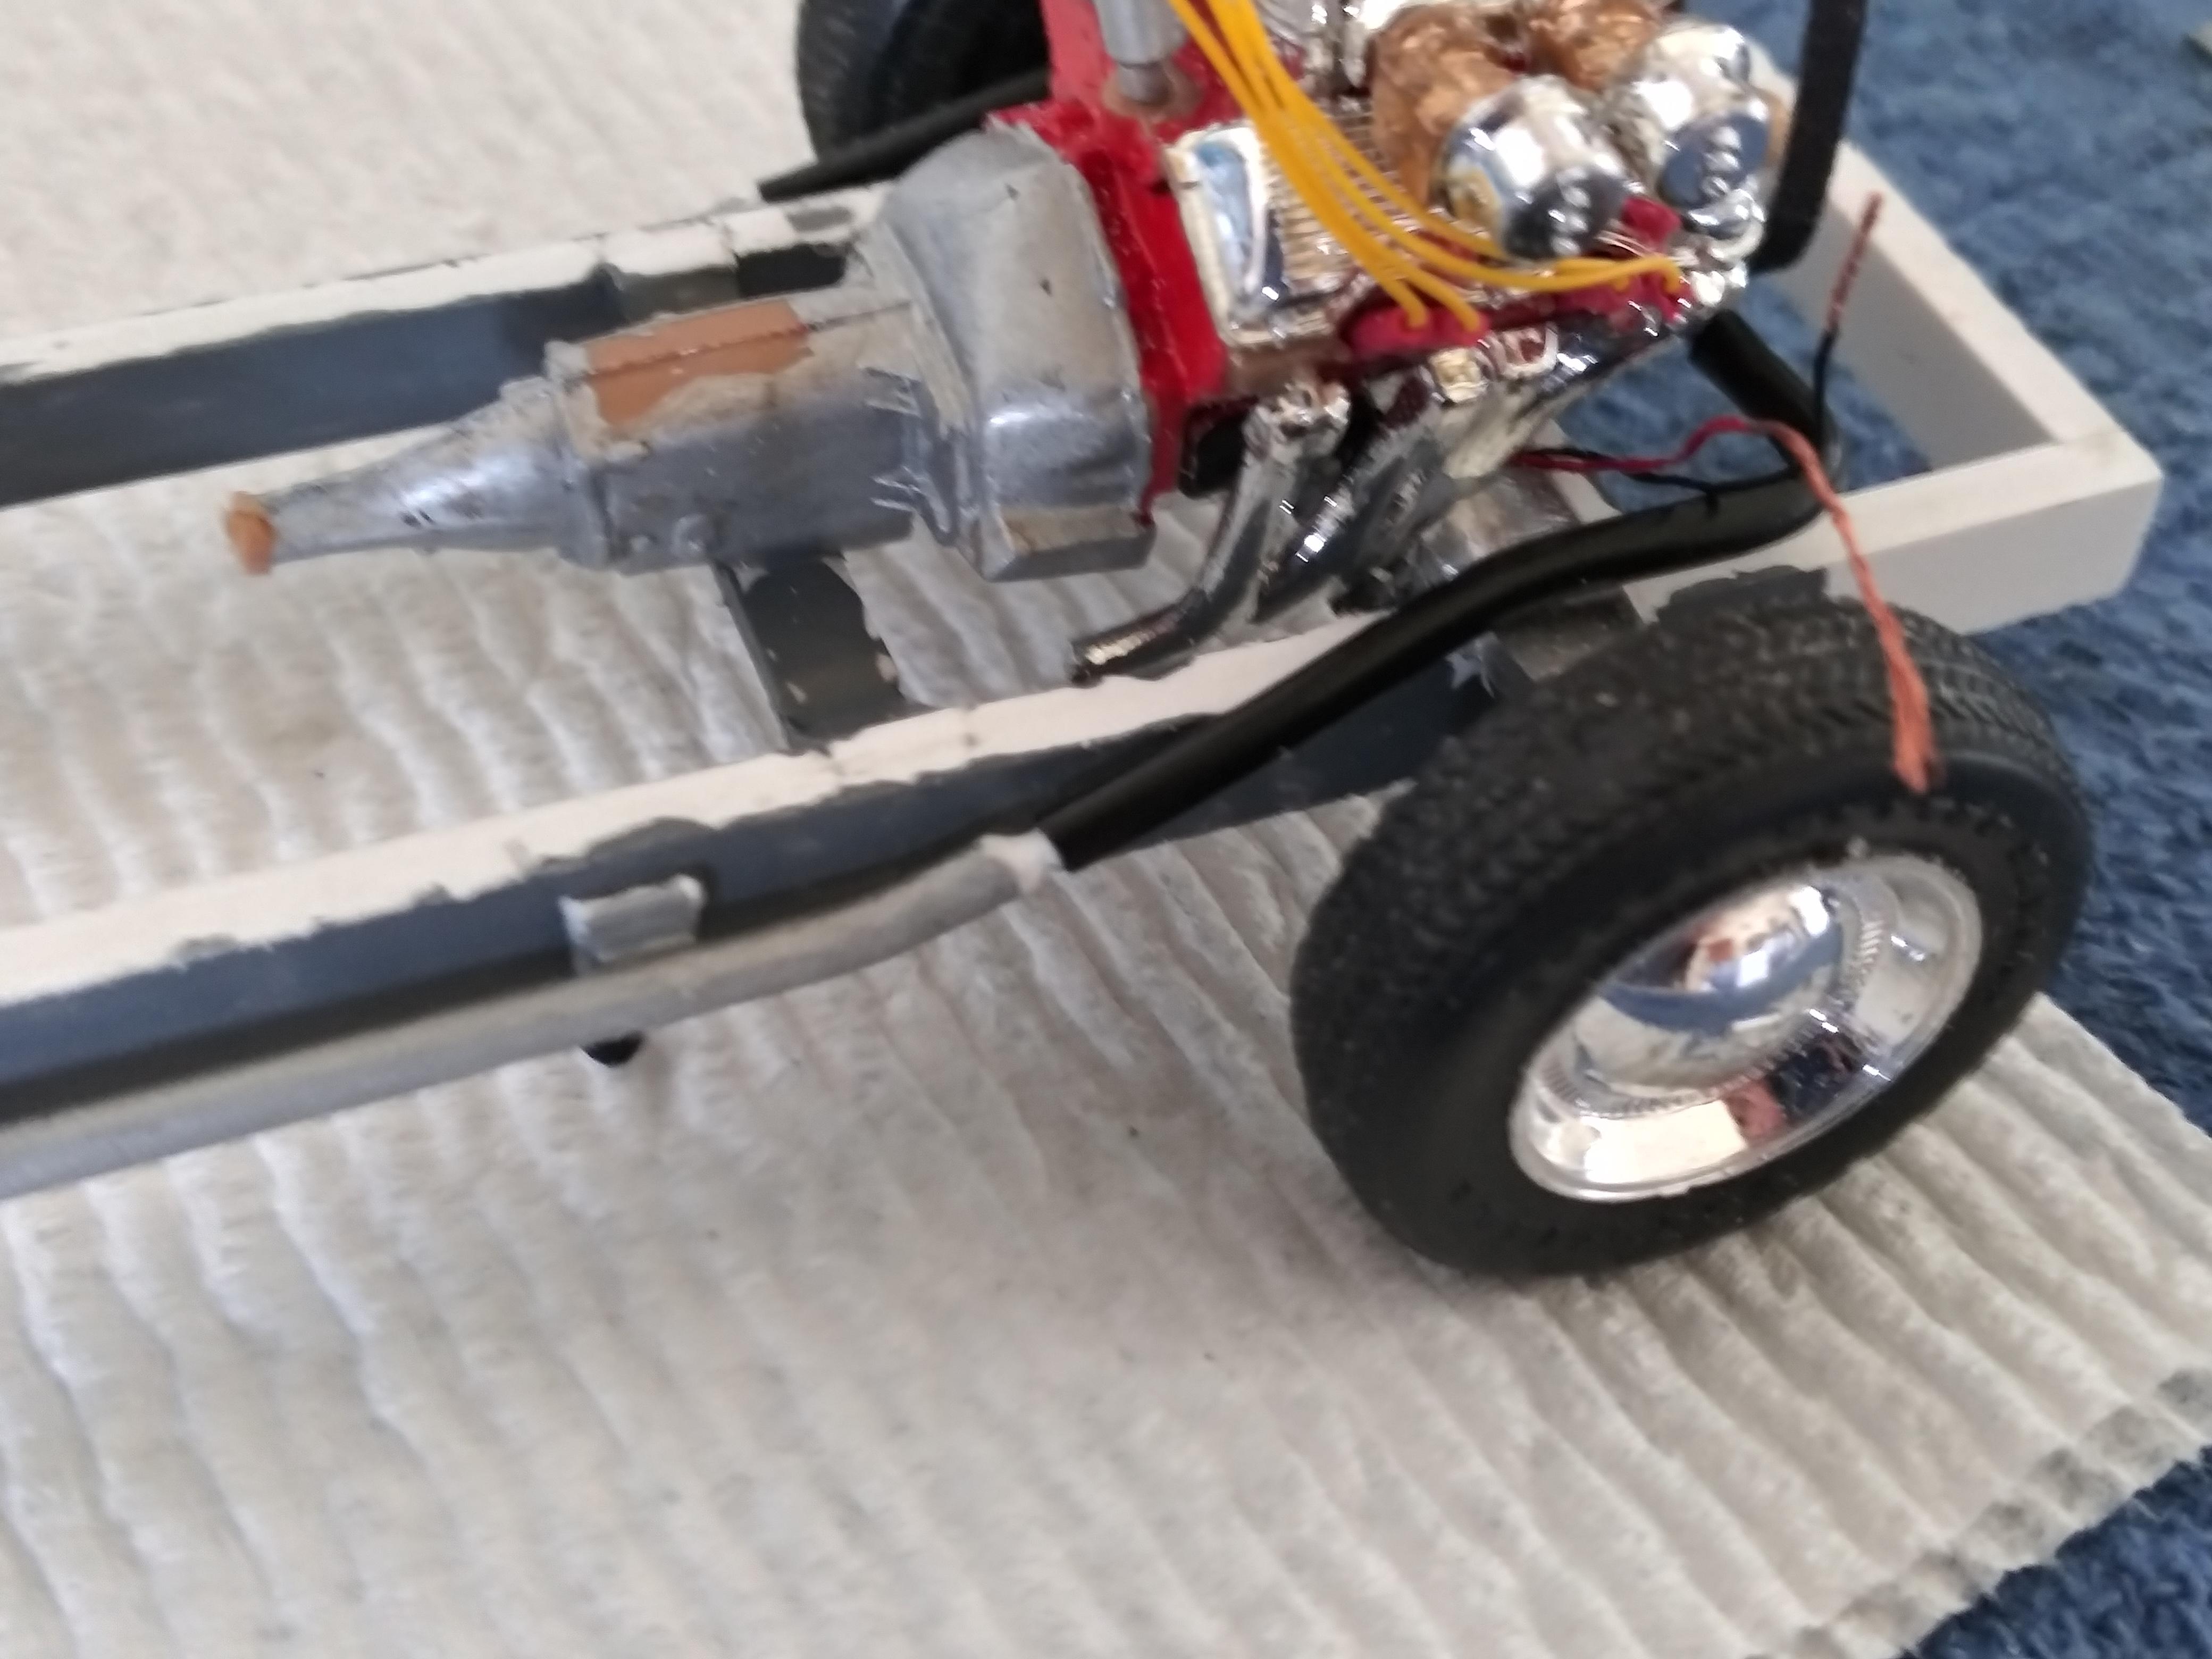
UPDATE 3/9/20. SEE PICS So engine is glued in place and since radiator is going in bed I scratch built the 2 tubes for hoses to hook up from engine and from bed. Also finishing up on cab painting just a little touch up needed. The seatbelt harness is made from masking tape and used black sharpie.
-
TY slusher UPDATE 3/5/20 Alright so I posted some pics of truck assembled dry (not glued) just to see how its looking. Scratch built electric fan. Hope everyone likes so far.
-
UPDATE 3/3/20 SEE PICS So last night I did the hood and did a little fill in job today with scrap plastic on open cracks and such. Now just letting glue dry. Still have to do front of hood where the fenders curve down but you can see the basic look of it in pics. After all set up and hood is basically how I want it I will start sanding, shaping, putty where needed and more sanding and hopefully have a nice hood.
-
UPDATE 3/1/20 SEE PICS Alright so here's were im at on the build. I did a pic of the body on chassis with engine in just to see how it's looking. (Nothing glued). So far I'm happy with it but still more work to be done. Still haven't found hood for this model but don't think it would have worked anyway cuz of the way engine fits. So probably will have to make one. Its going to be a little different due to that engine is a tight fit in compartment that radiator is not going to fit so radiator is going in bed, so see what happens.
-
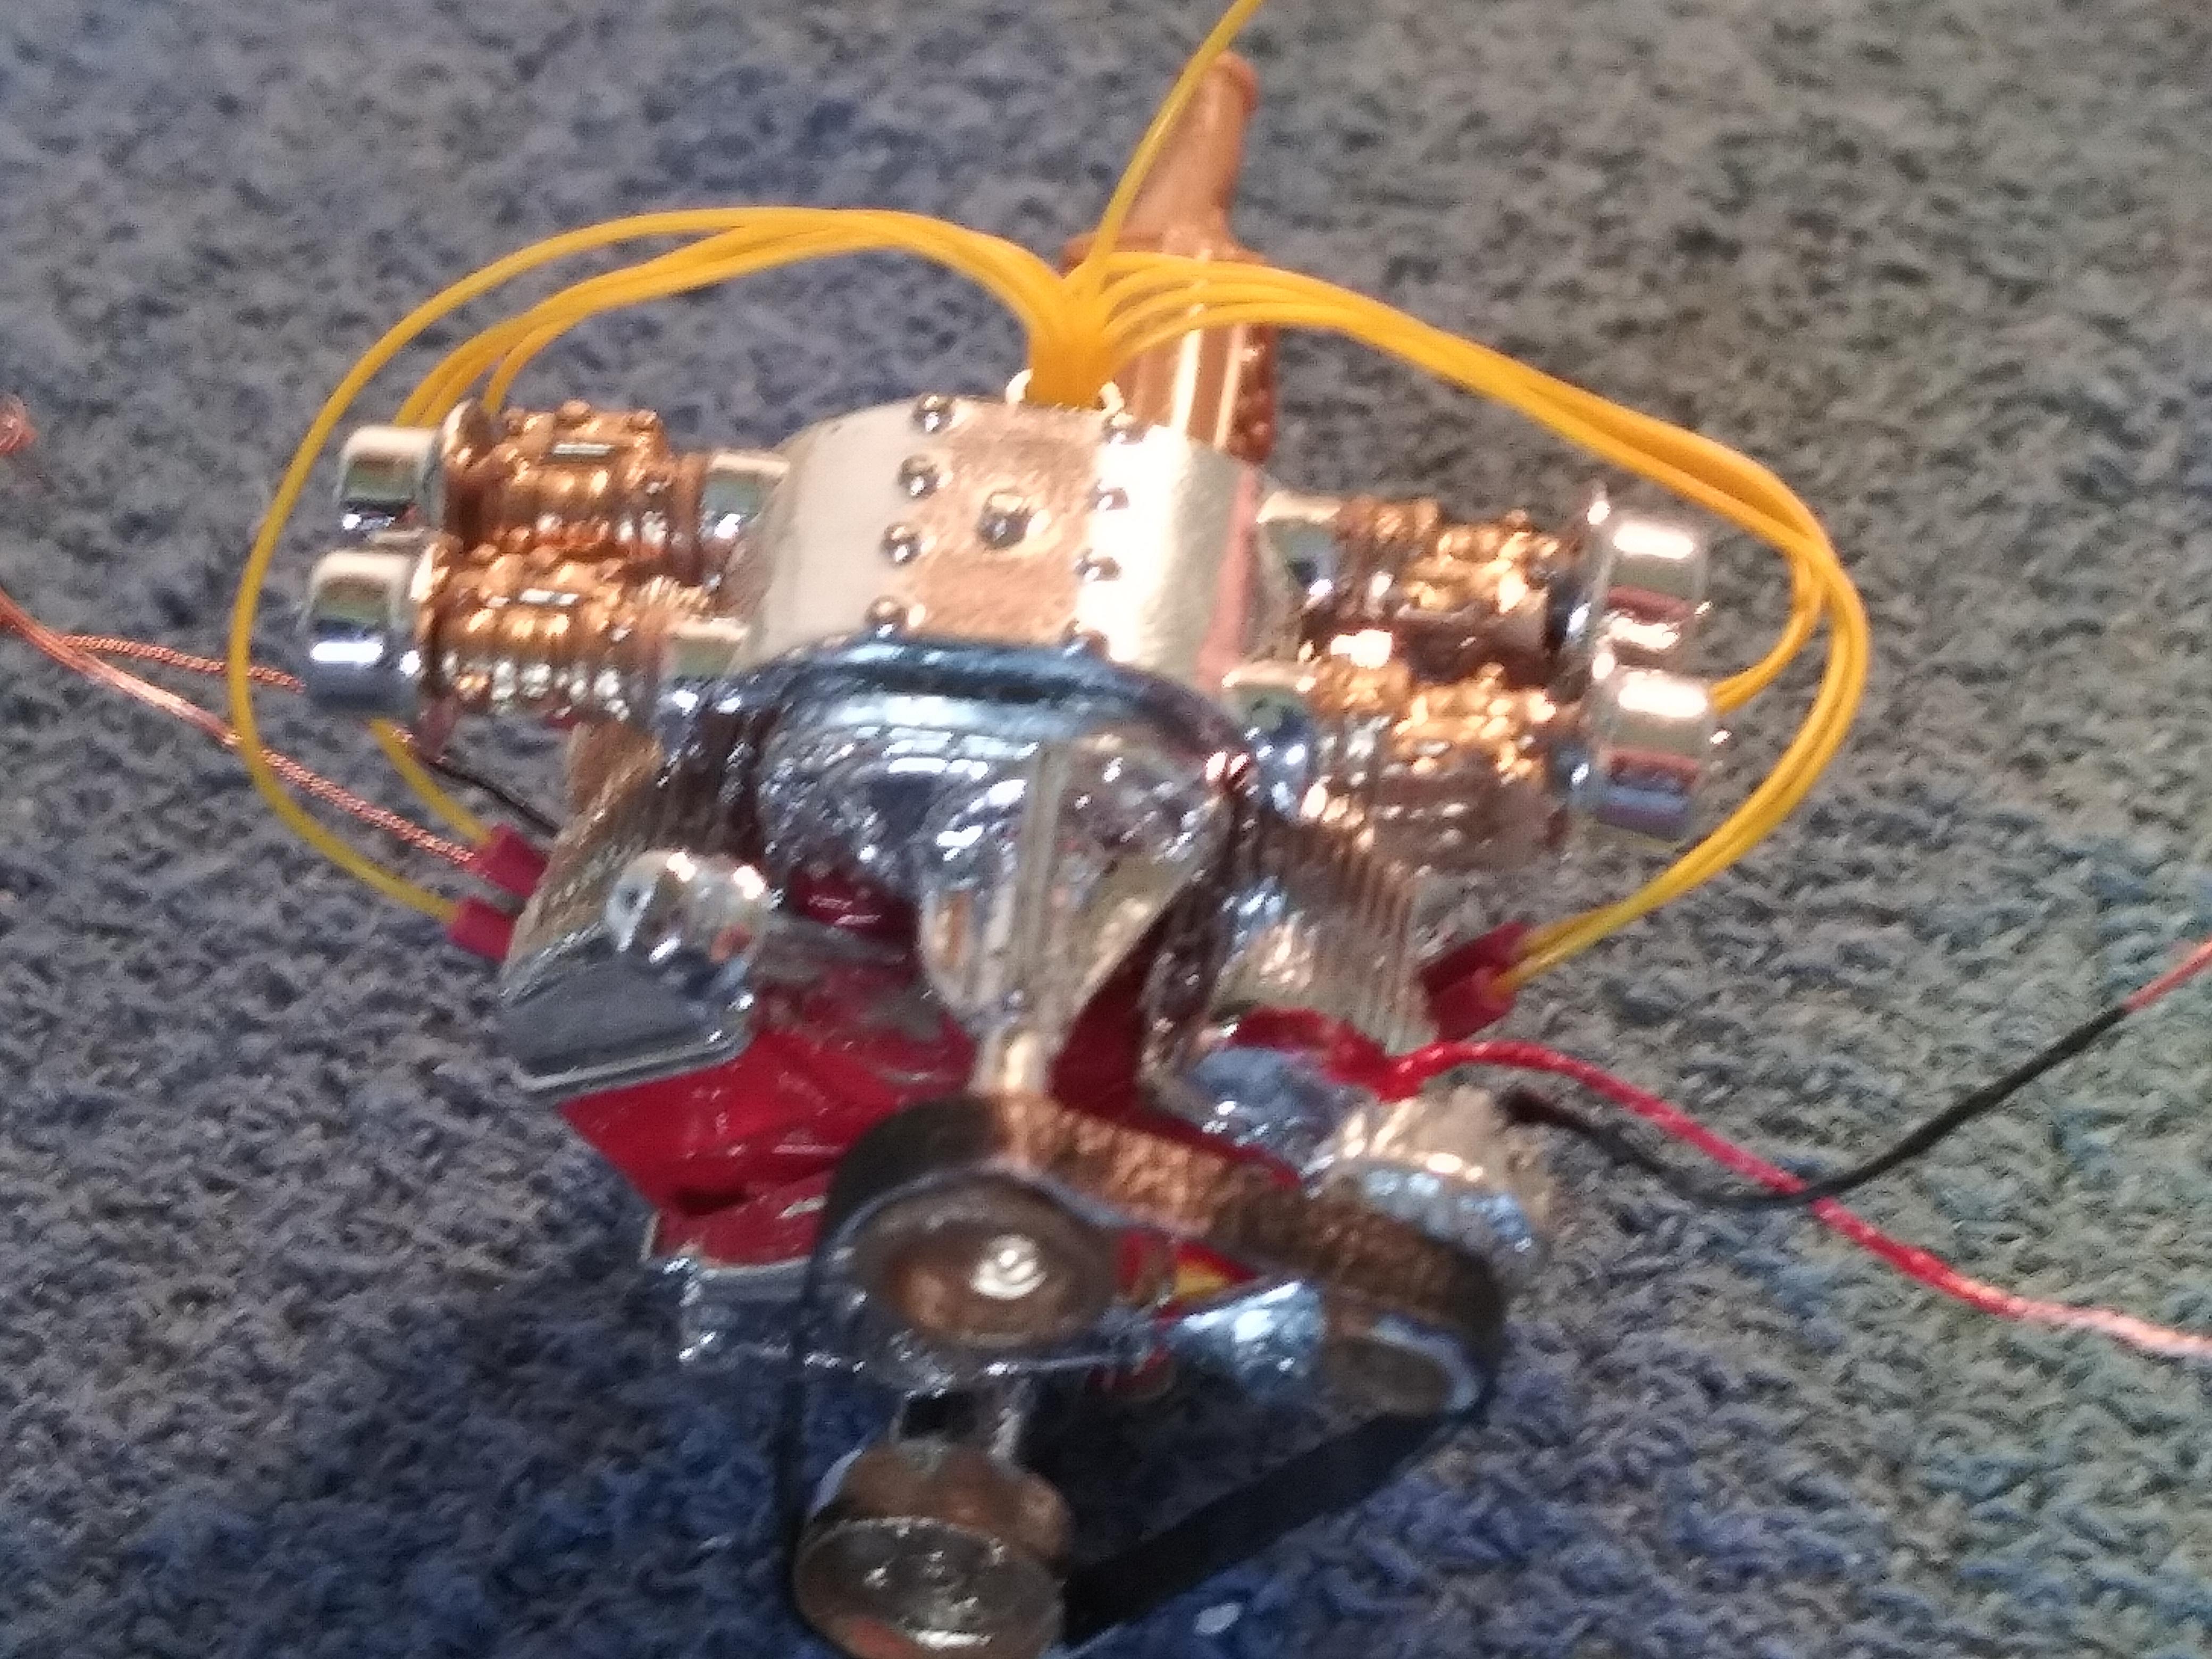
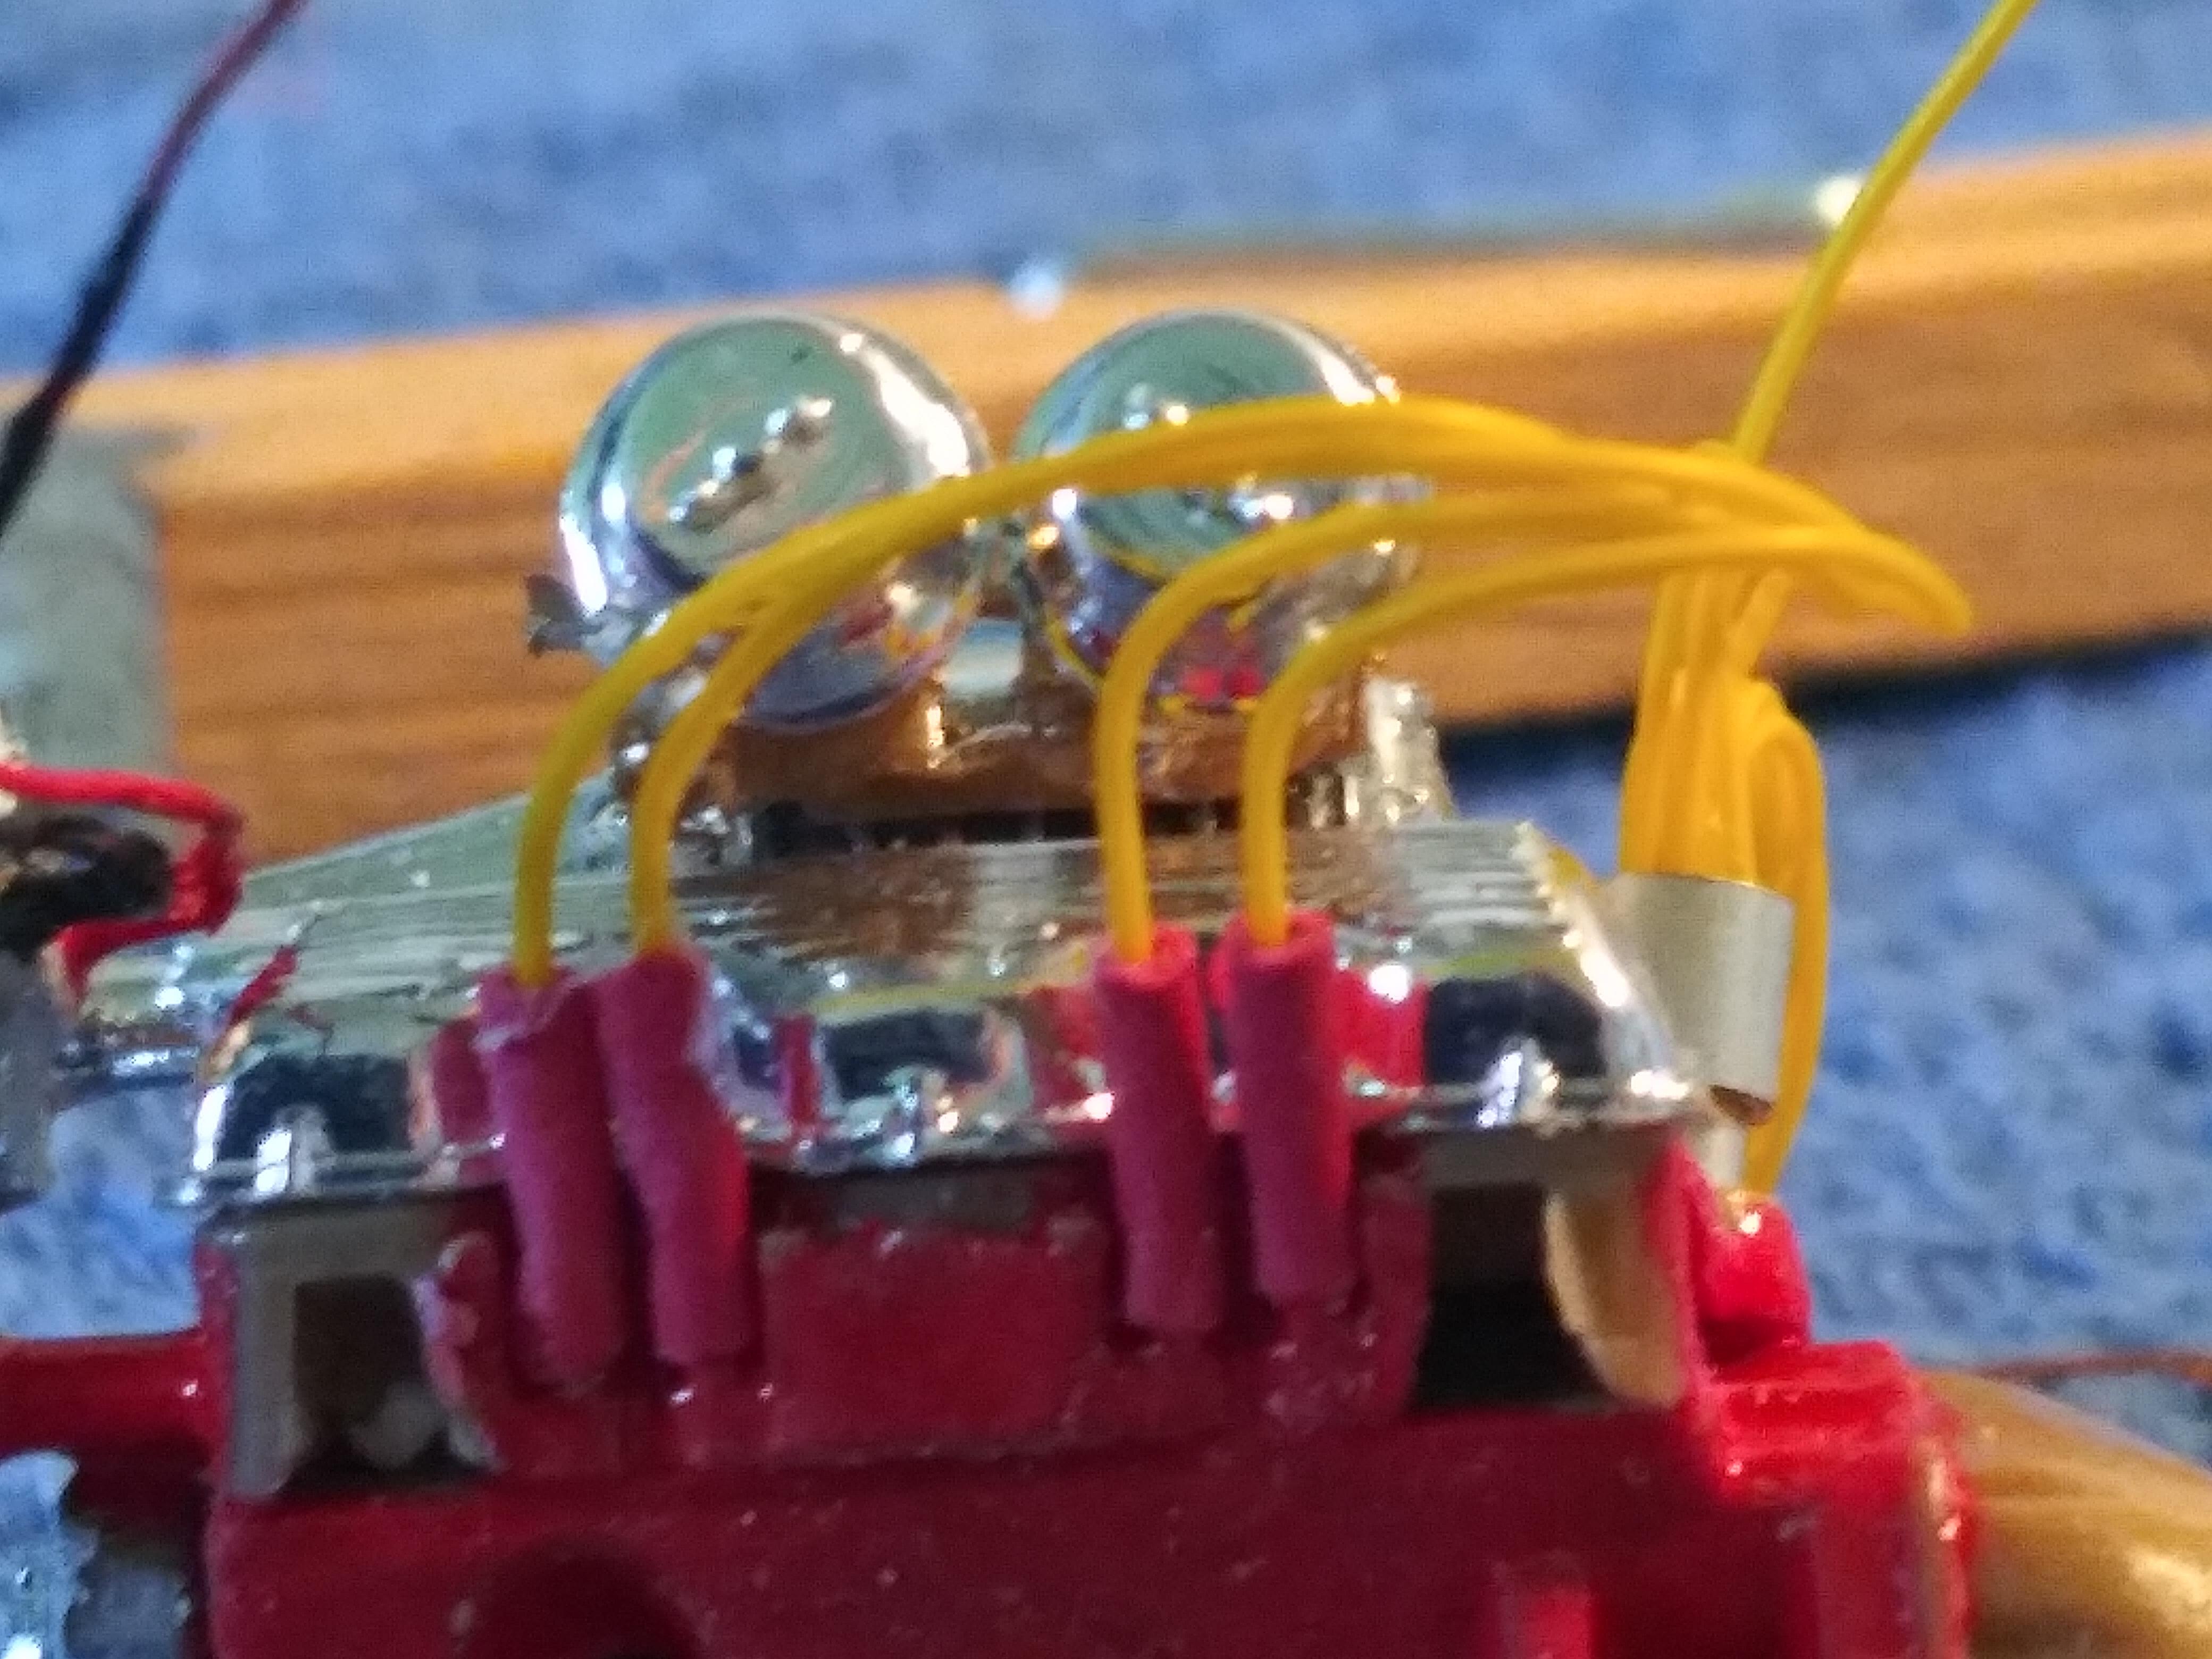
Thank you slusher UPDATE 2/28/20 Ok so engine is finished, just need to paint tranny (SEE PICS). I decided to take it a step farther by adding positive/negative wires on alternator and starter. Basically just stripped some wire and twisted them tight and painted red/black. We'll see how it turns out and looks when i add wiring harness. Once I find something I can use as a coil I will attach last distributor wire.
-
UPDATE 2/26/20 Hi guys So for the most part majority of body work is done on cab and bed, still a few minor touch up needed. Right now im working on wheel wells and engine (Pics). Engine im using from a 57 chevy kit, 409 supercharger. Im doing the pulleys separately and going to use masking tape as belt. Saw that idea somewhere and tried it on last model I did. Engine originally in kit uses magneto but im going with pre wired distributor and figure out how I wanna put in an alternator.
-
So here is the bed (pics) sanded then I sprayed a coat of primer on it to see all the areas that need to be puttied and sanded a little more.
-
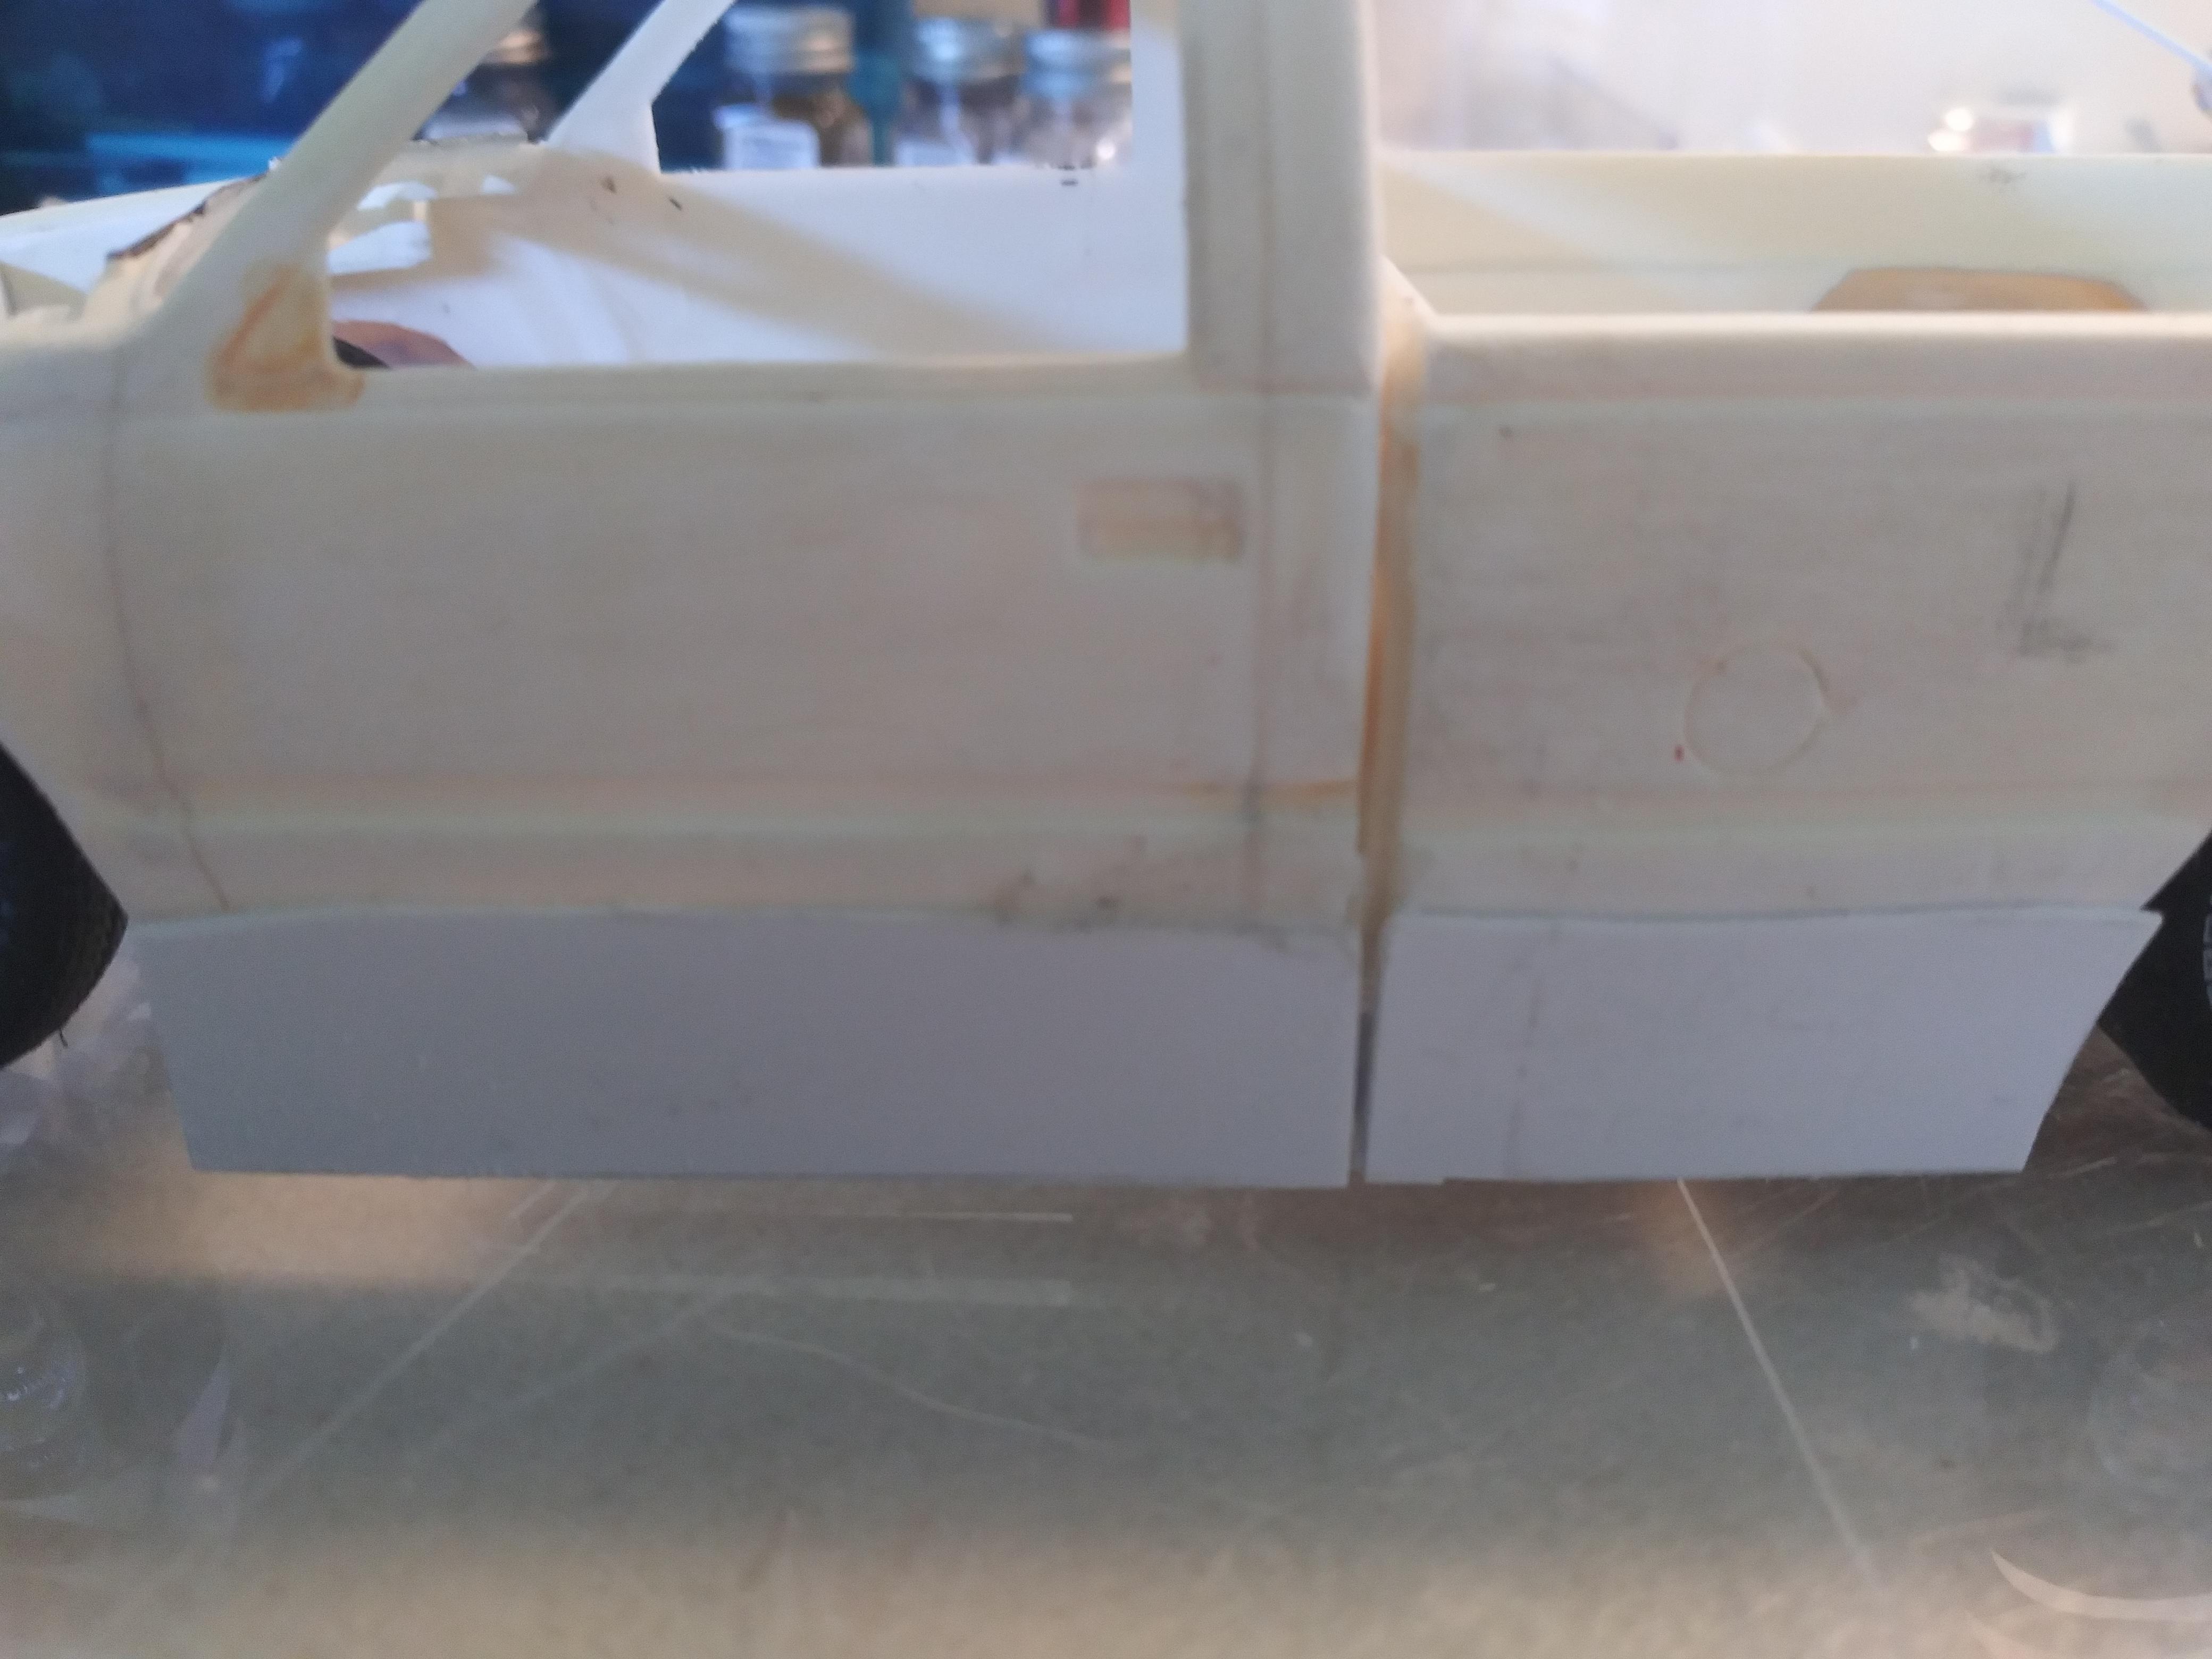
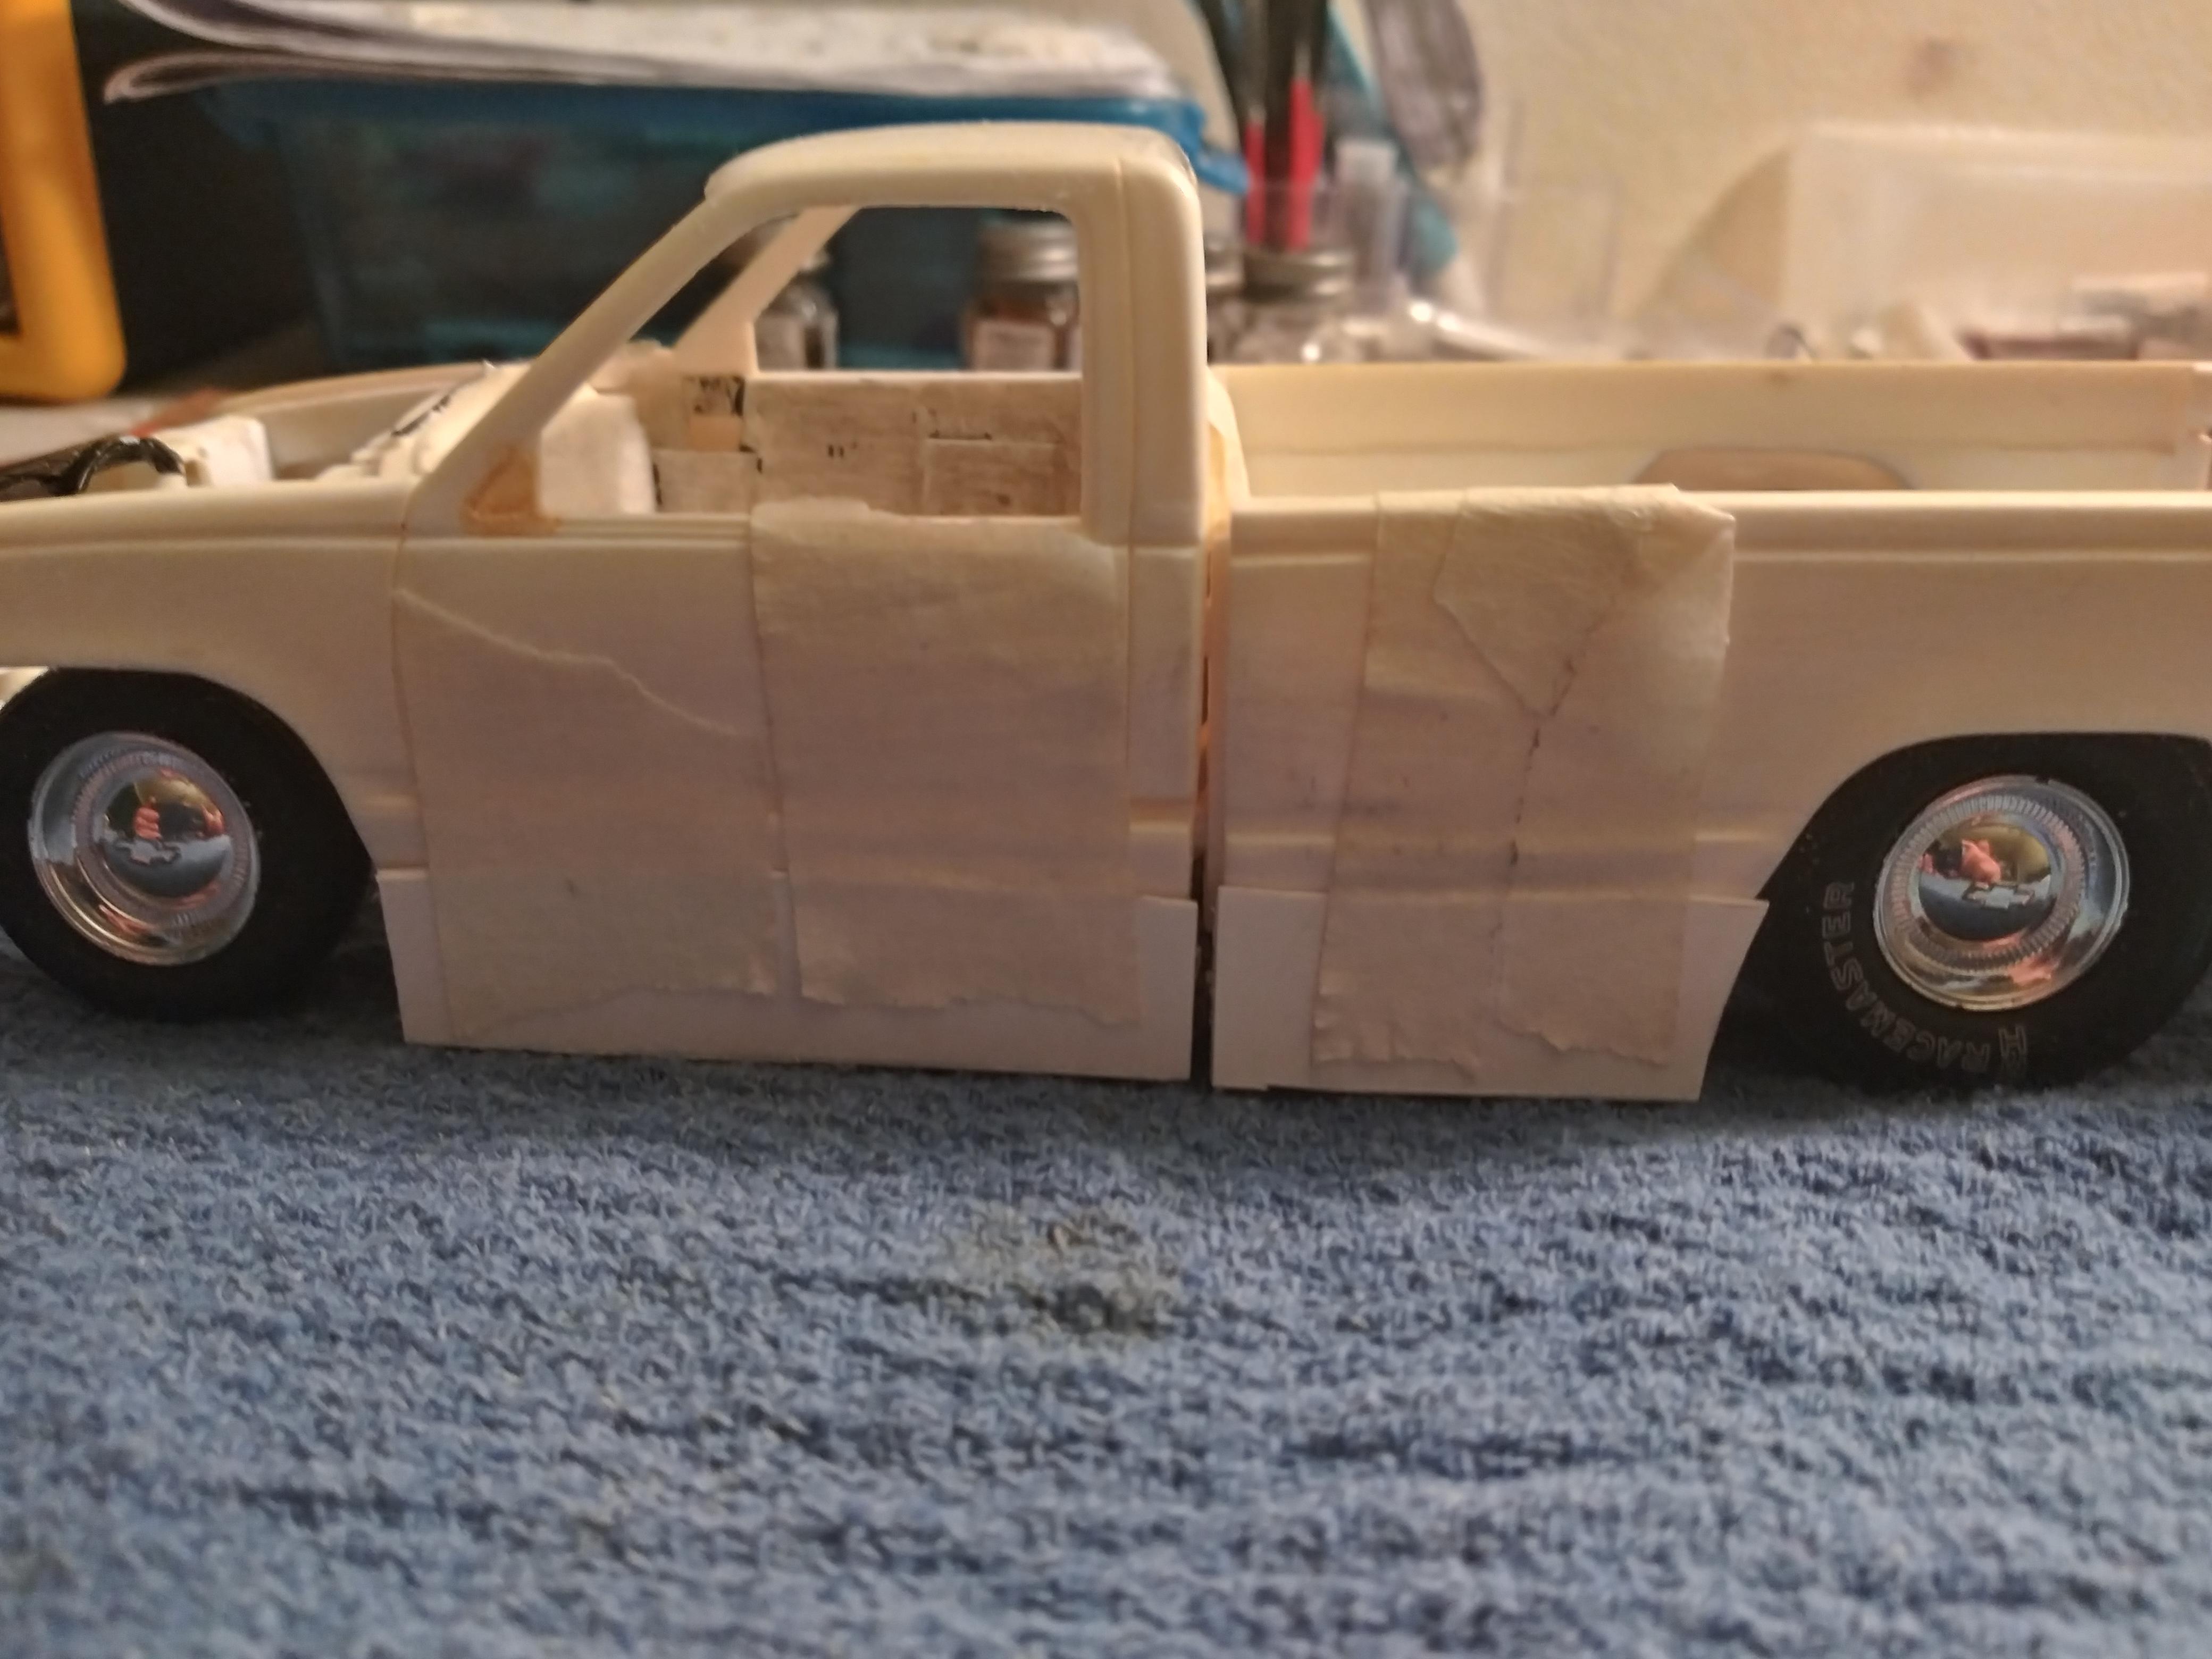
UPDATE 2/23/20 Before and after pics of side panels glued on, dried and then puttied up. Now just let dry and sand and more putty in spots that may need it. Once all sanding is done I will spray some primer on it to see any imperfections.
-
Yea I was kinda thinking that myself with the skirts. If I do decide to do skirts I may just make them way smaller where it be covering just top of tires.
-
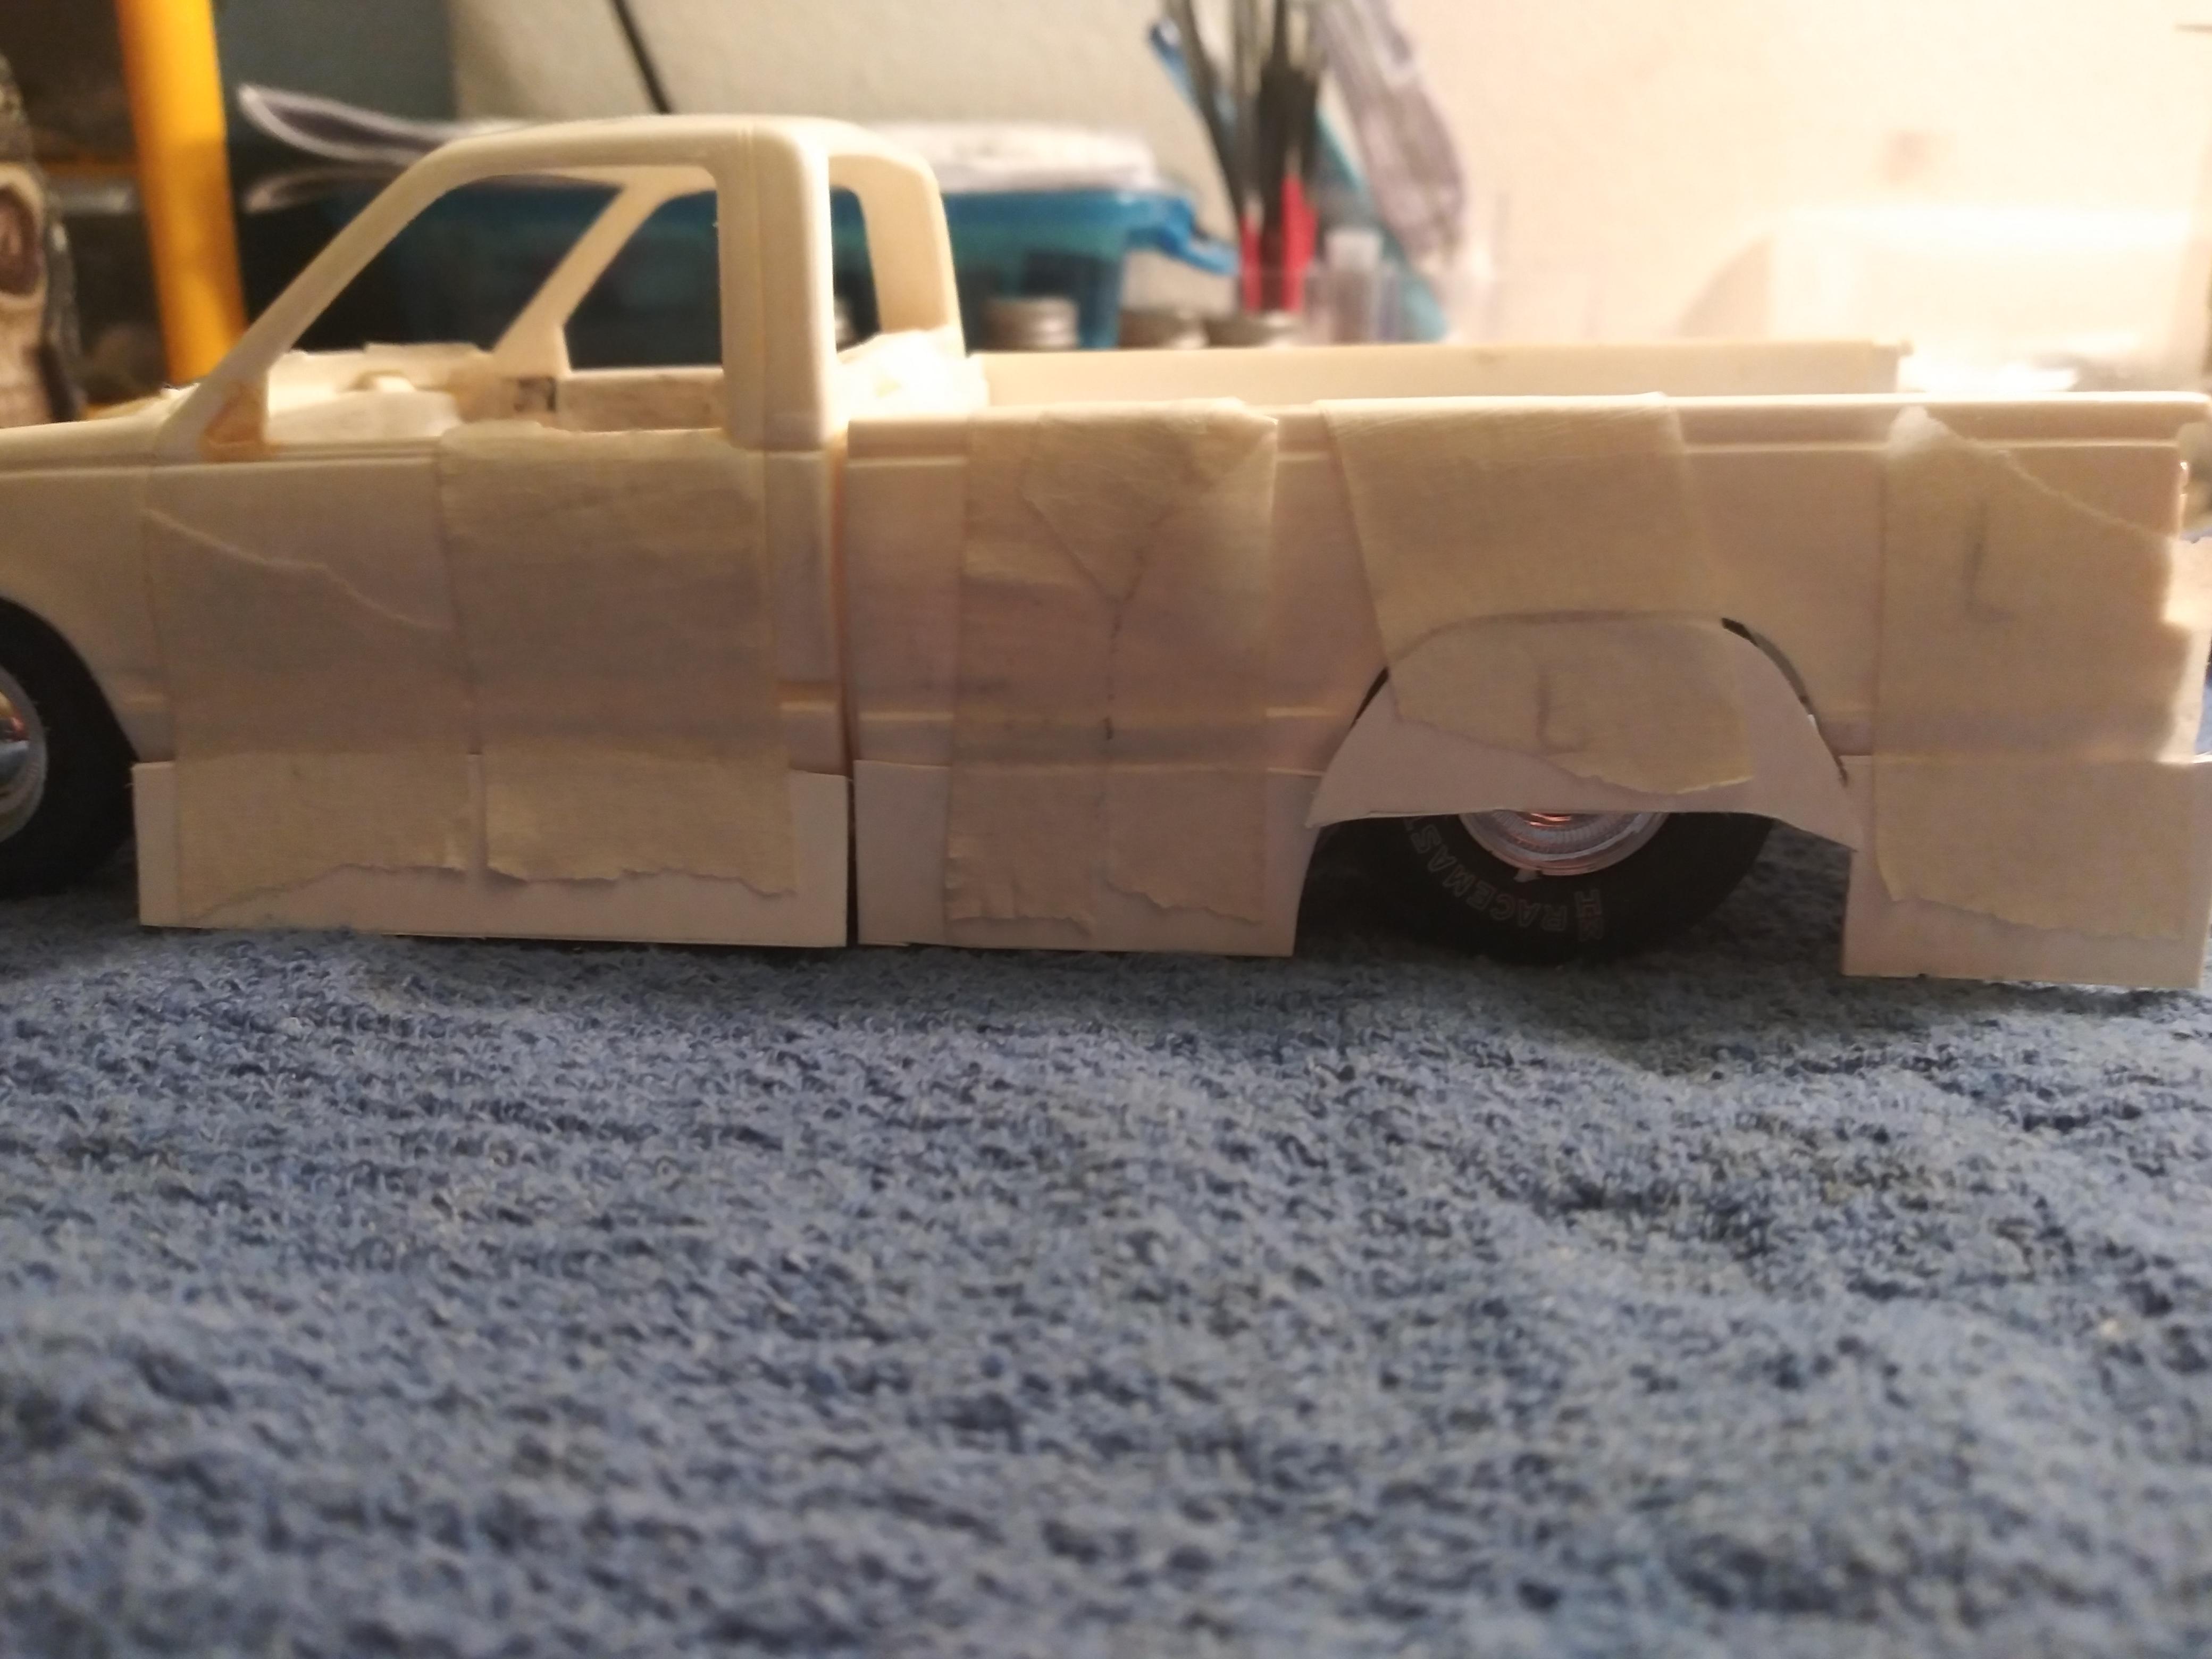
UPDATE 2/21/20 So im kinda messing around with the body, SEE PICS to see where im going with this idea, right now its just a rough draft so to speak. Haven't decided on skirt covering rear wheel partially. Im kinda going for a pro stock truck look but street legal.
-
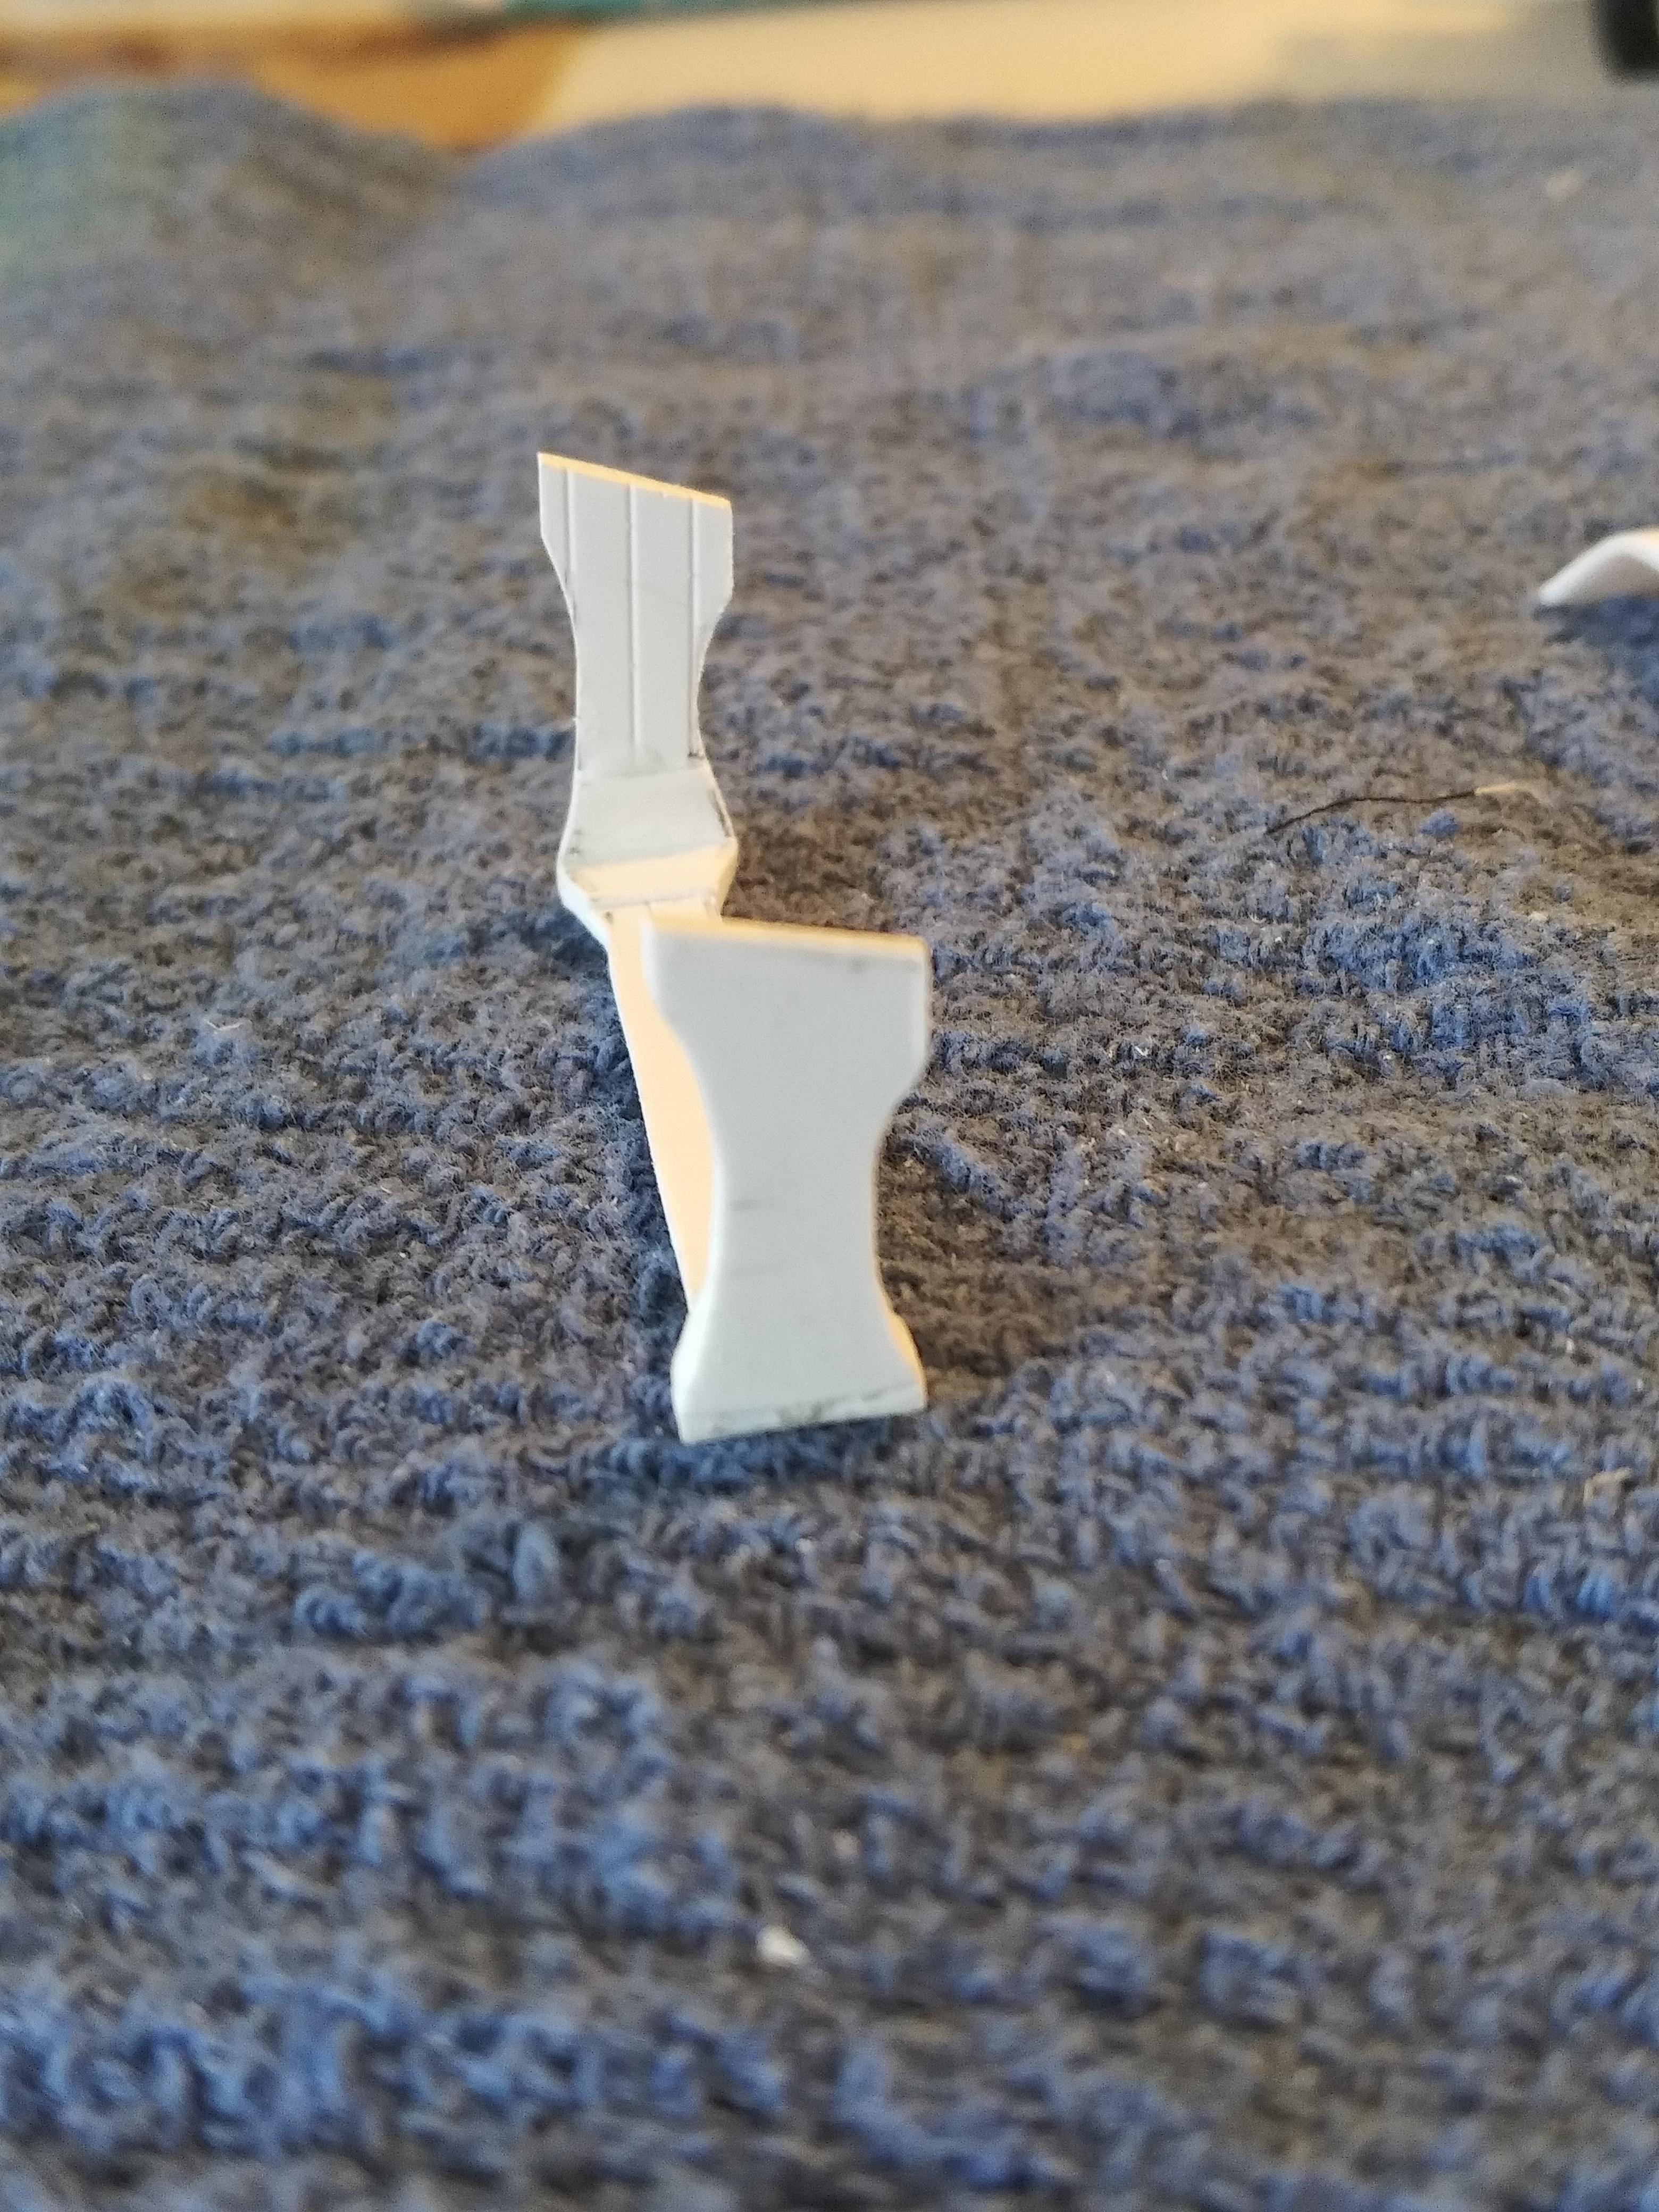
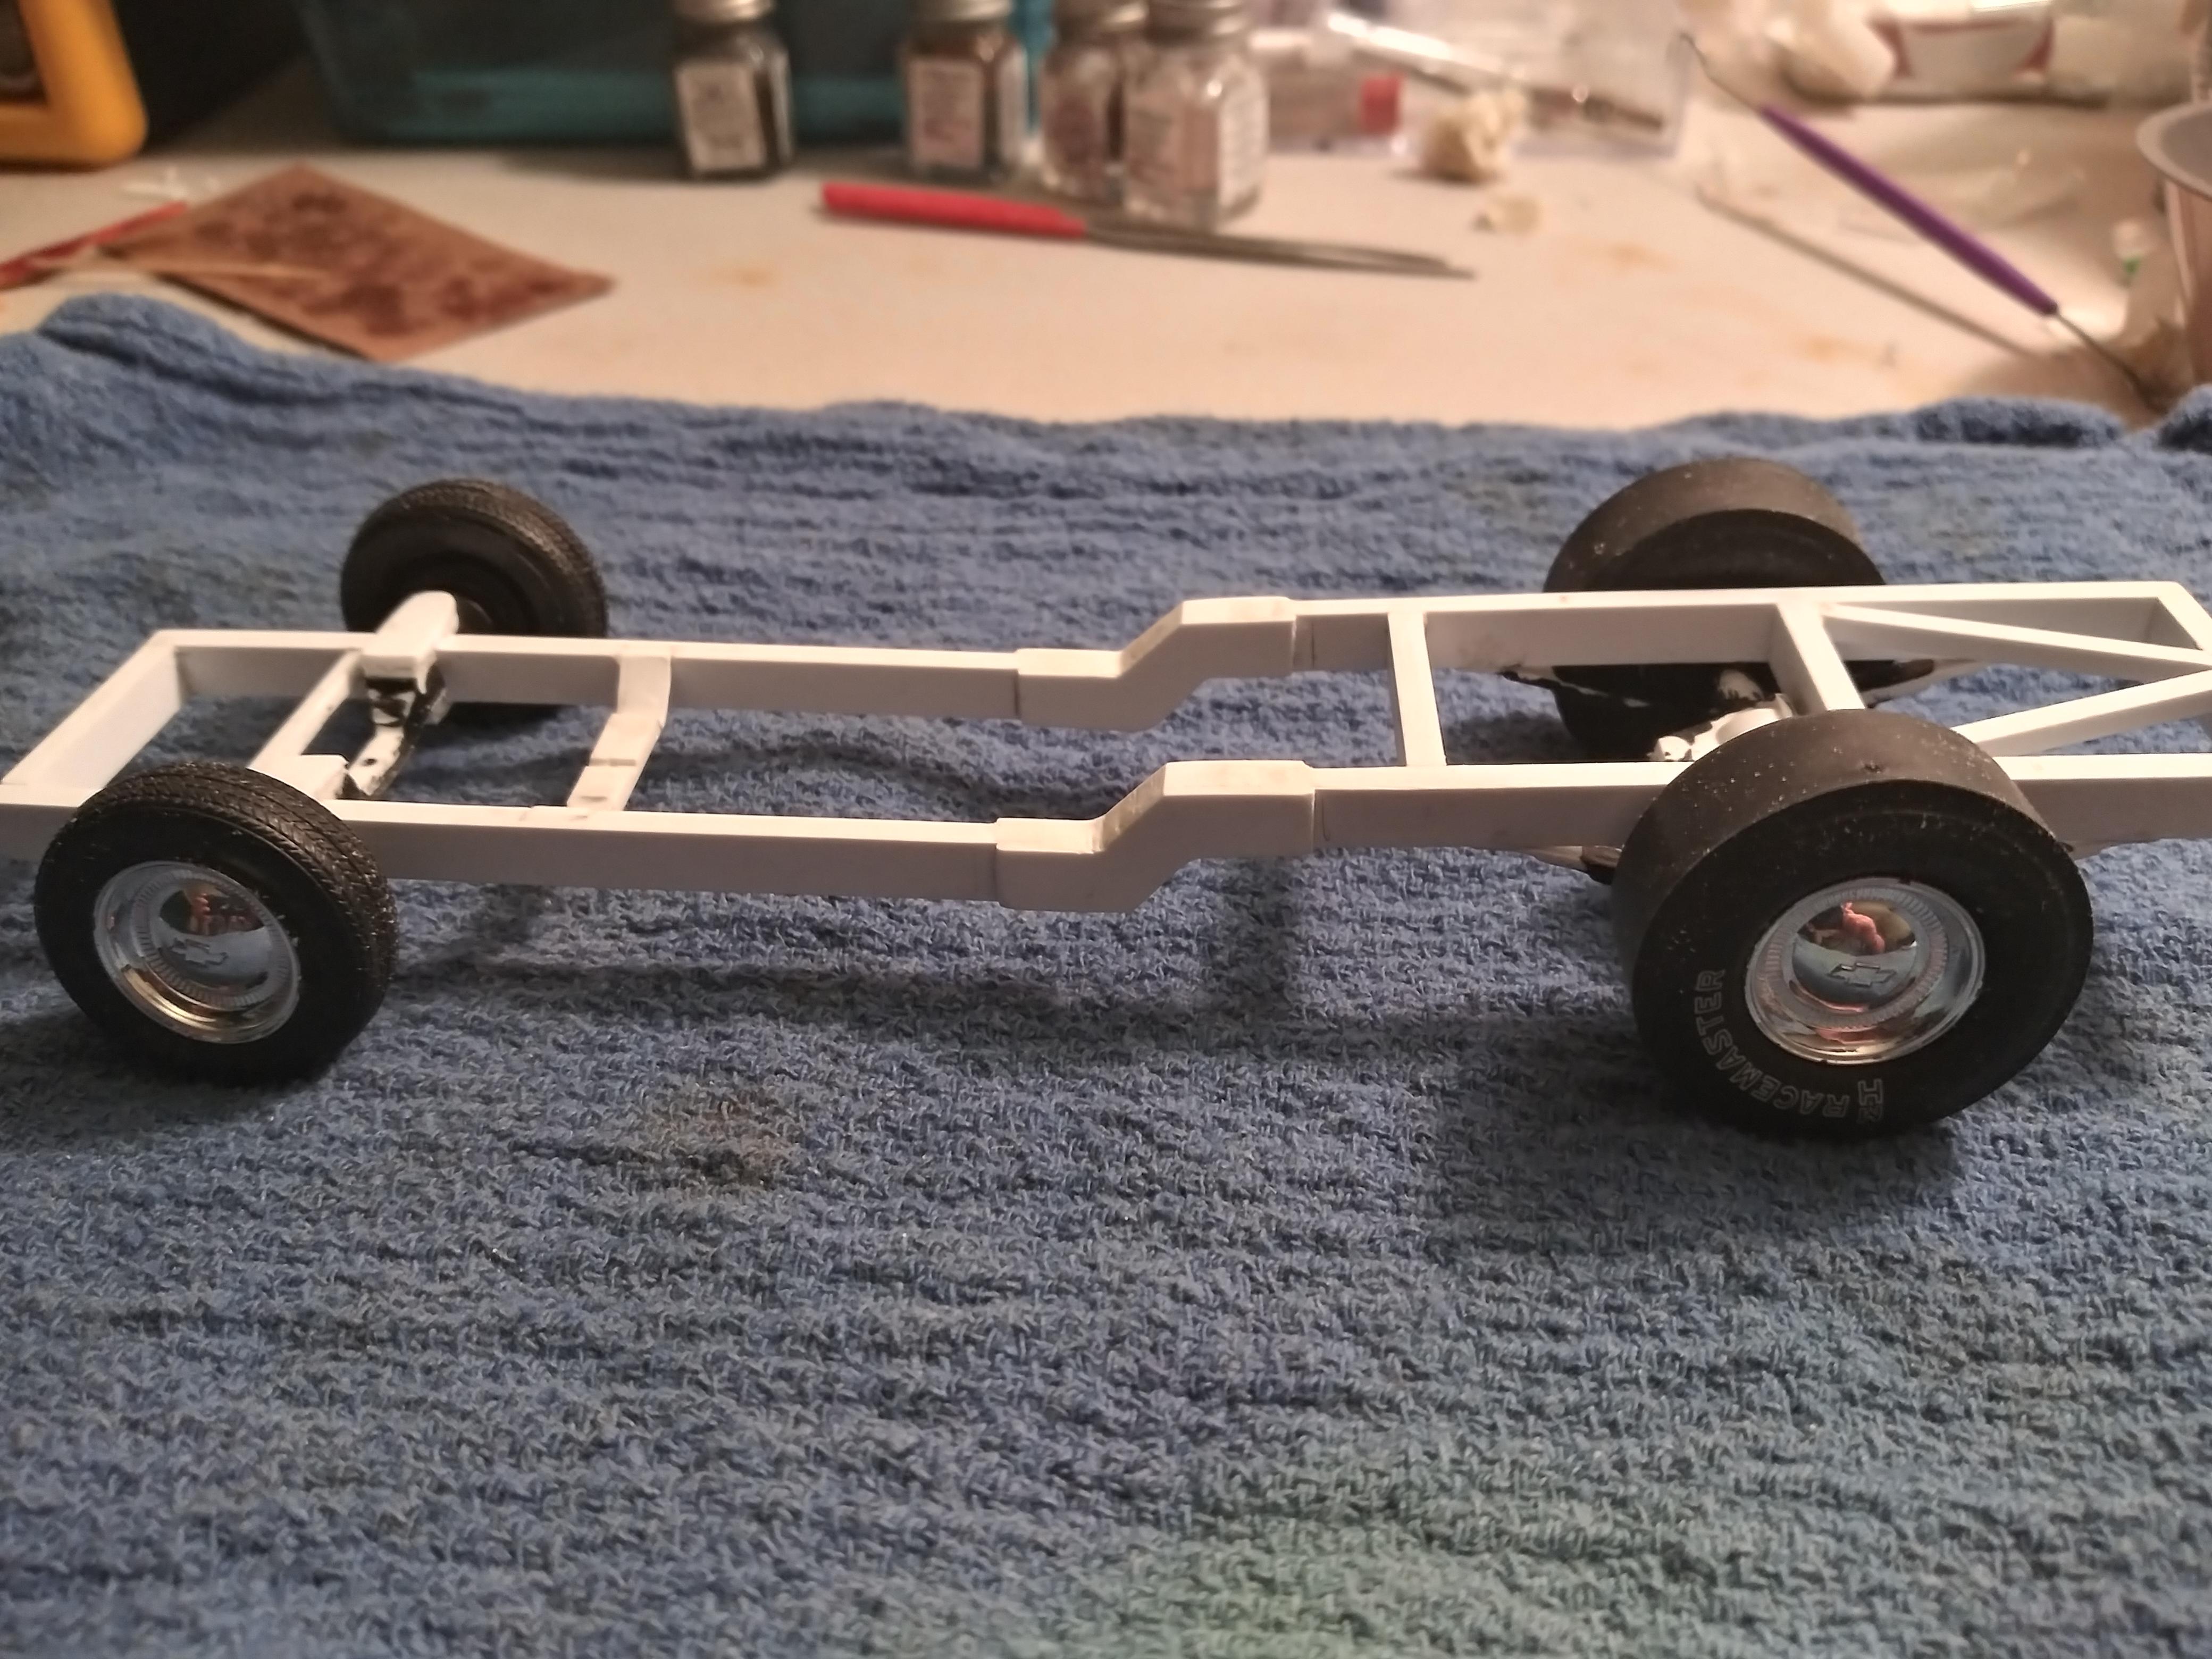
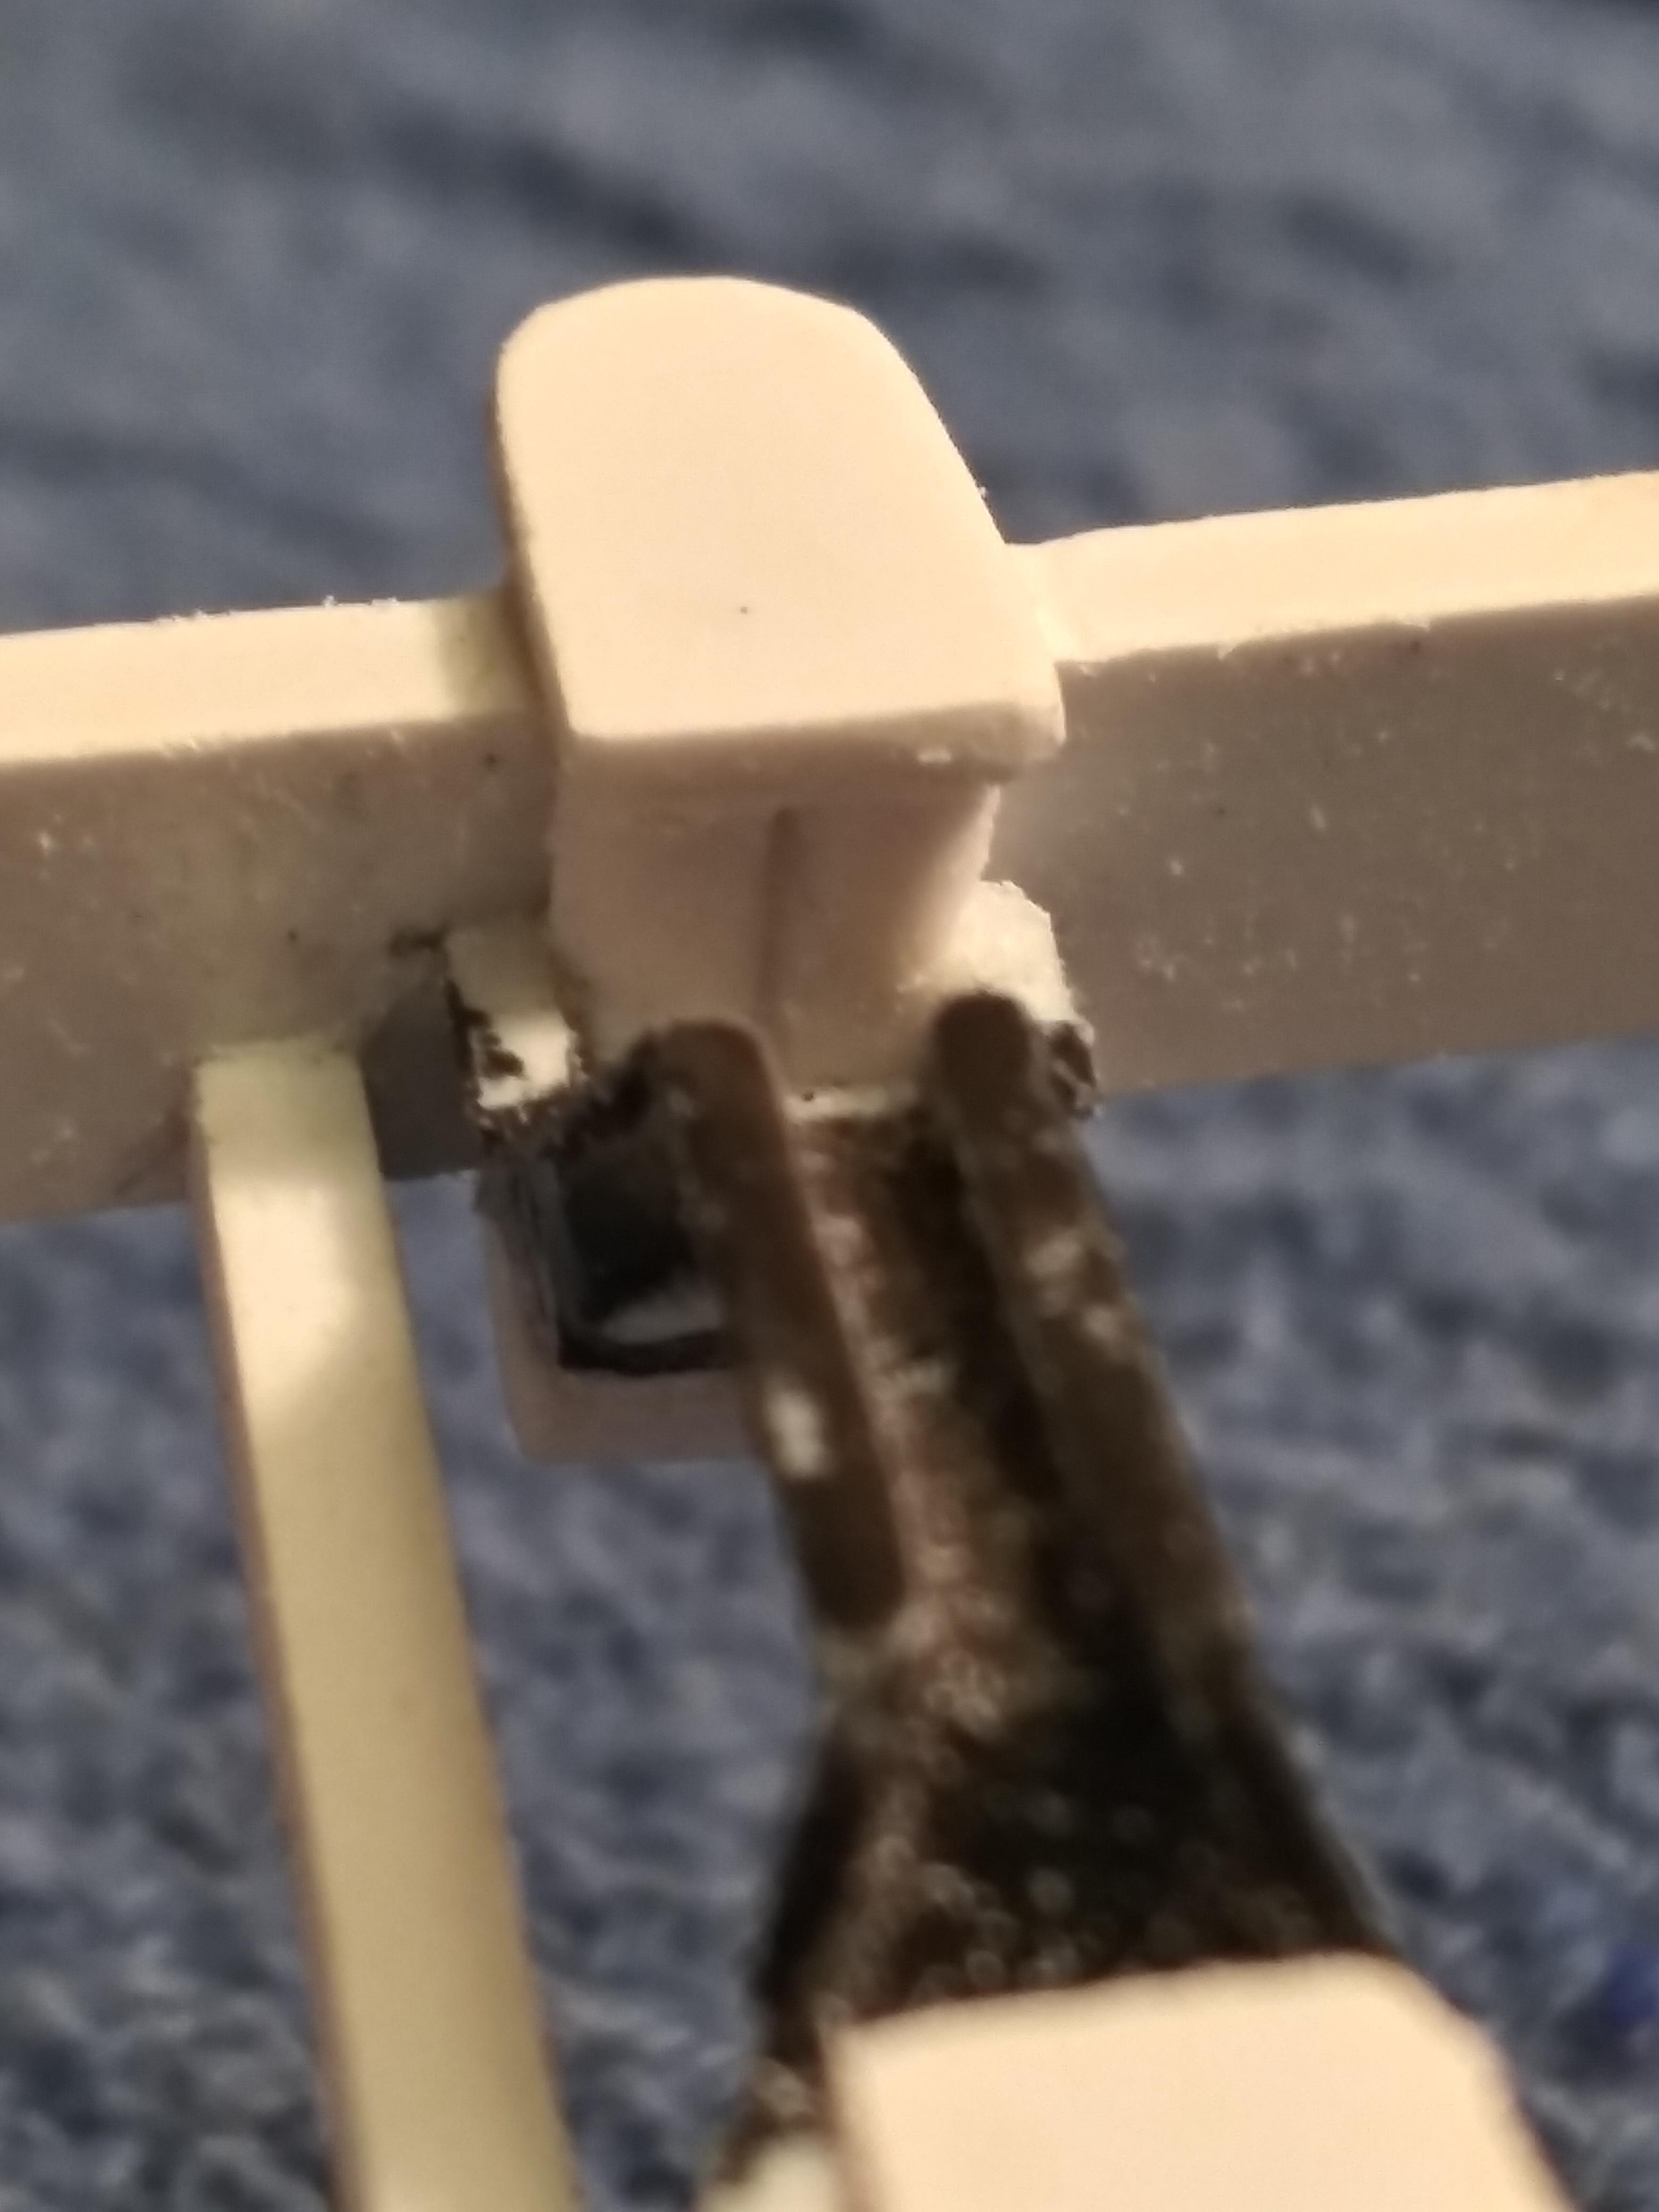
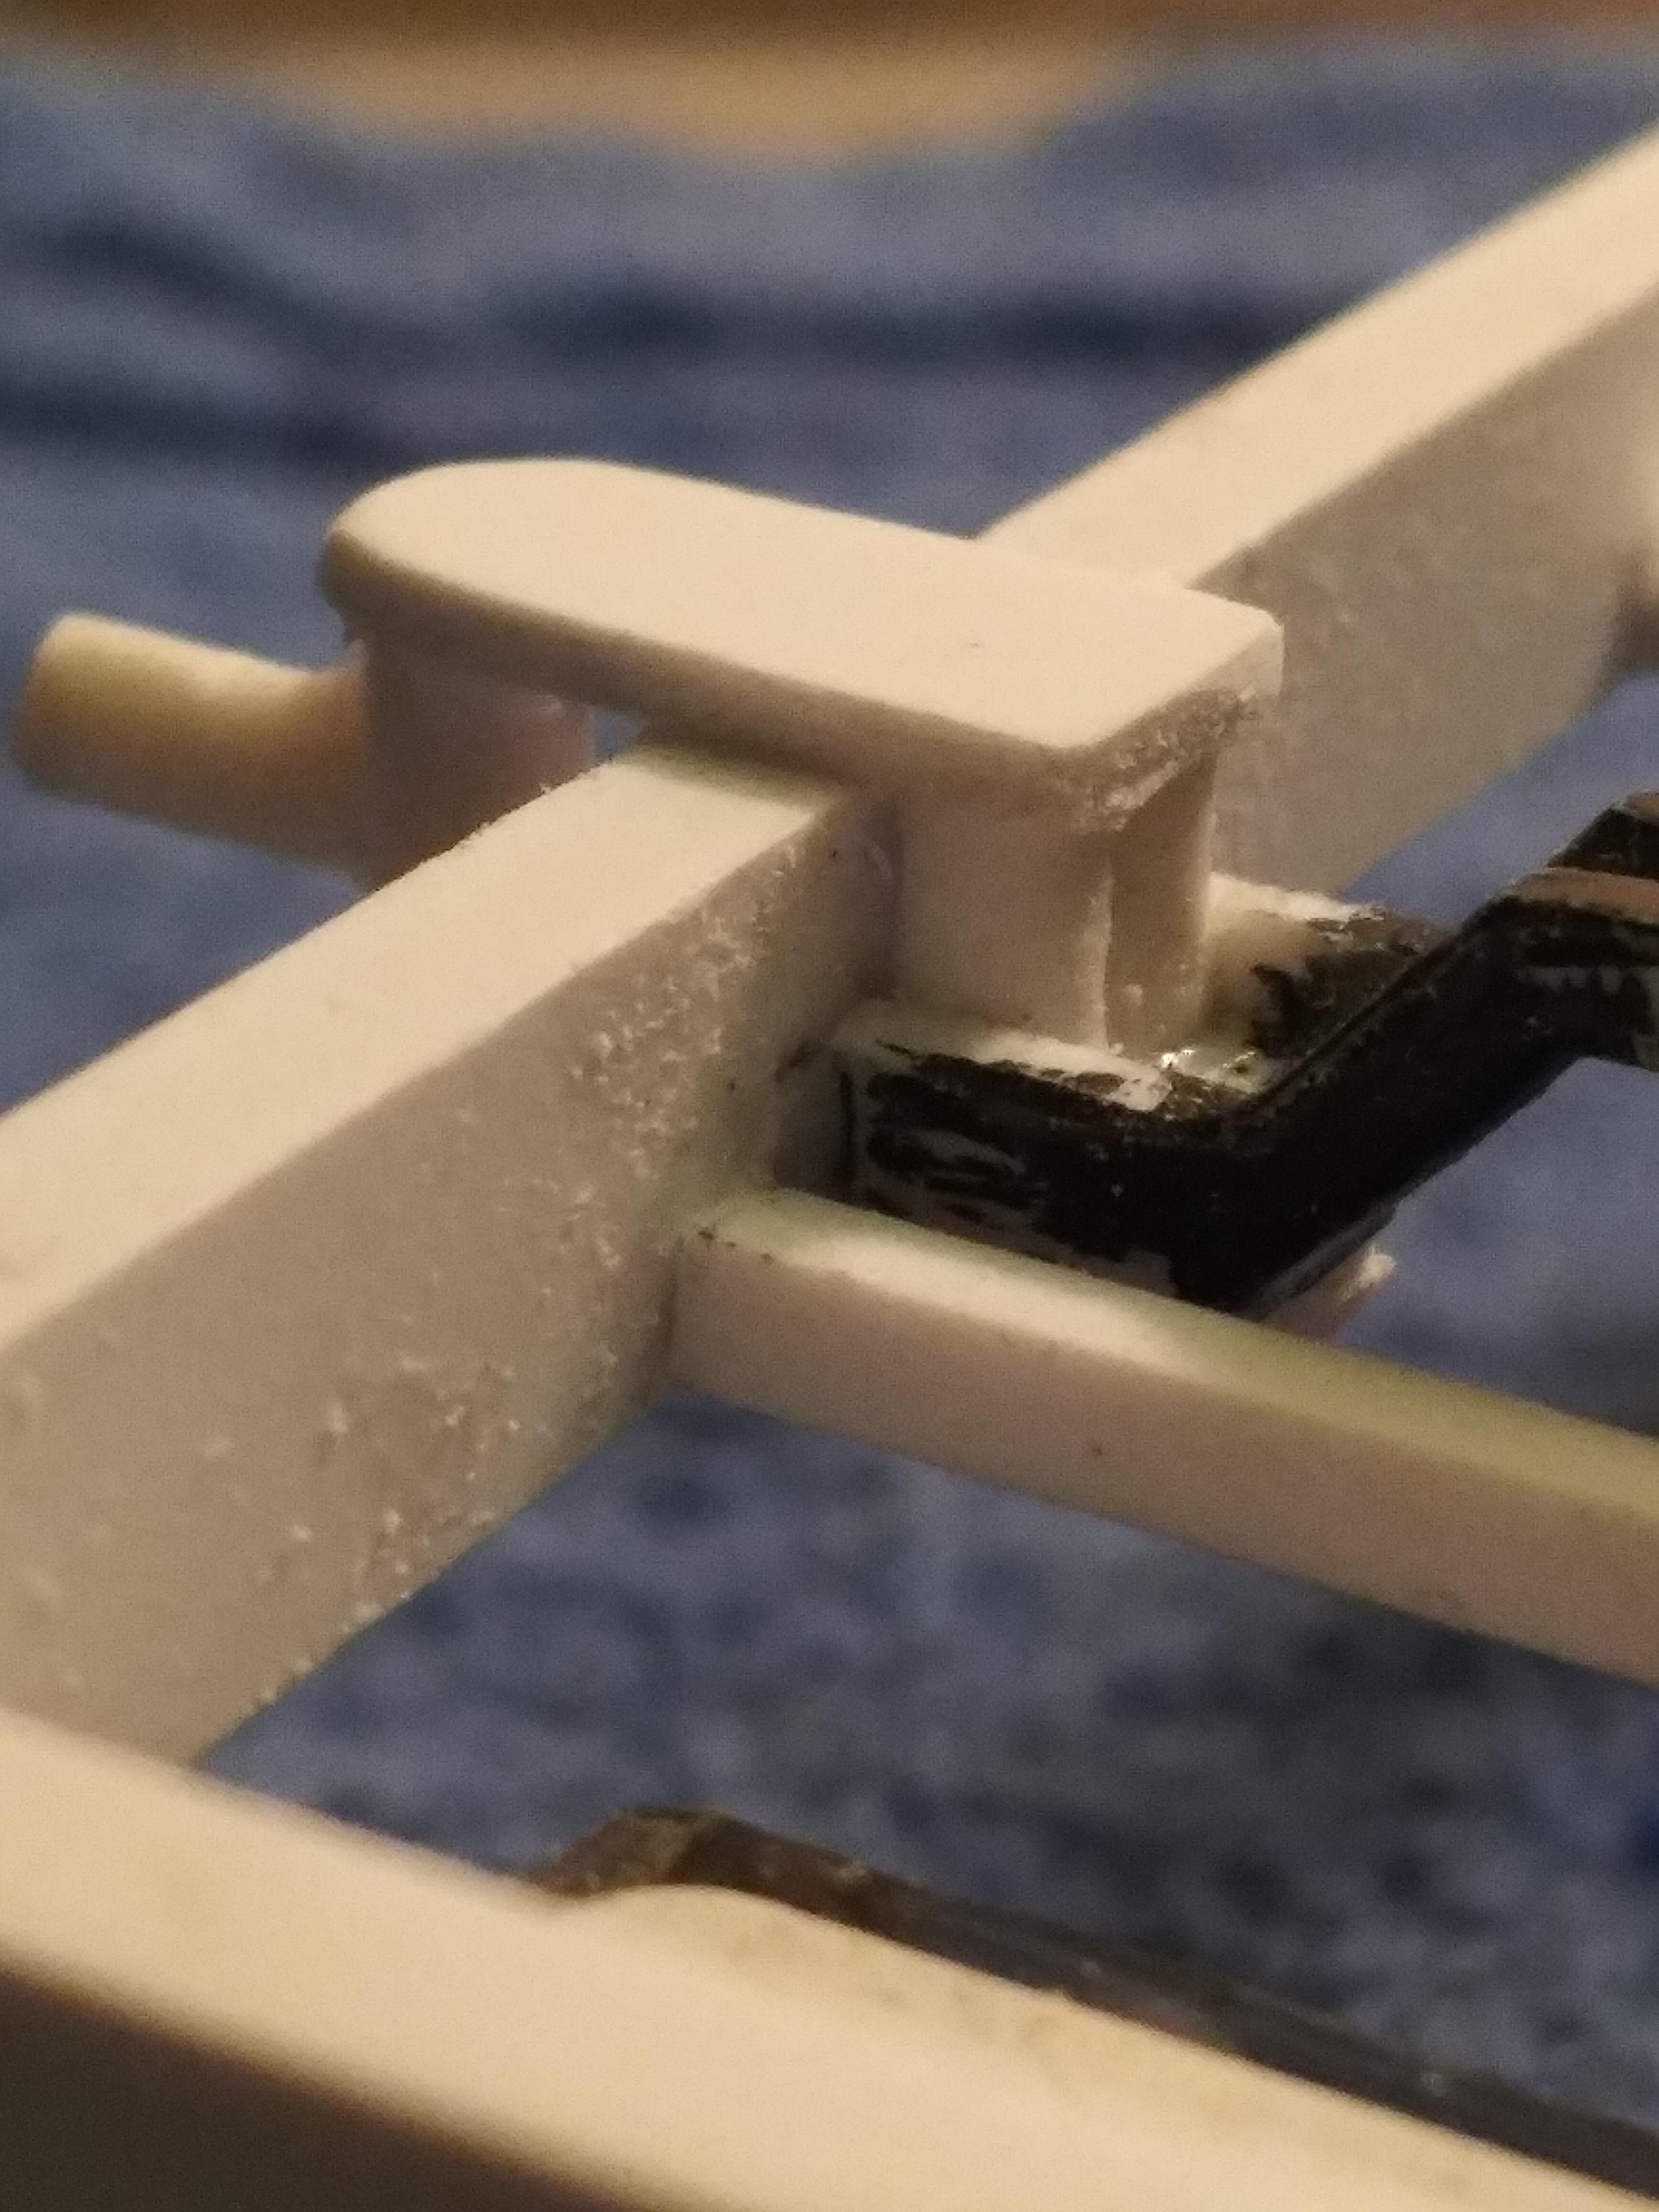
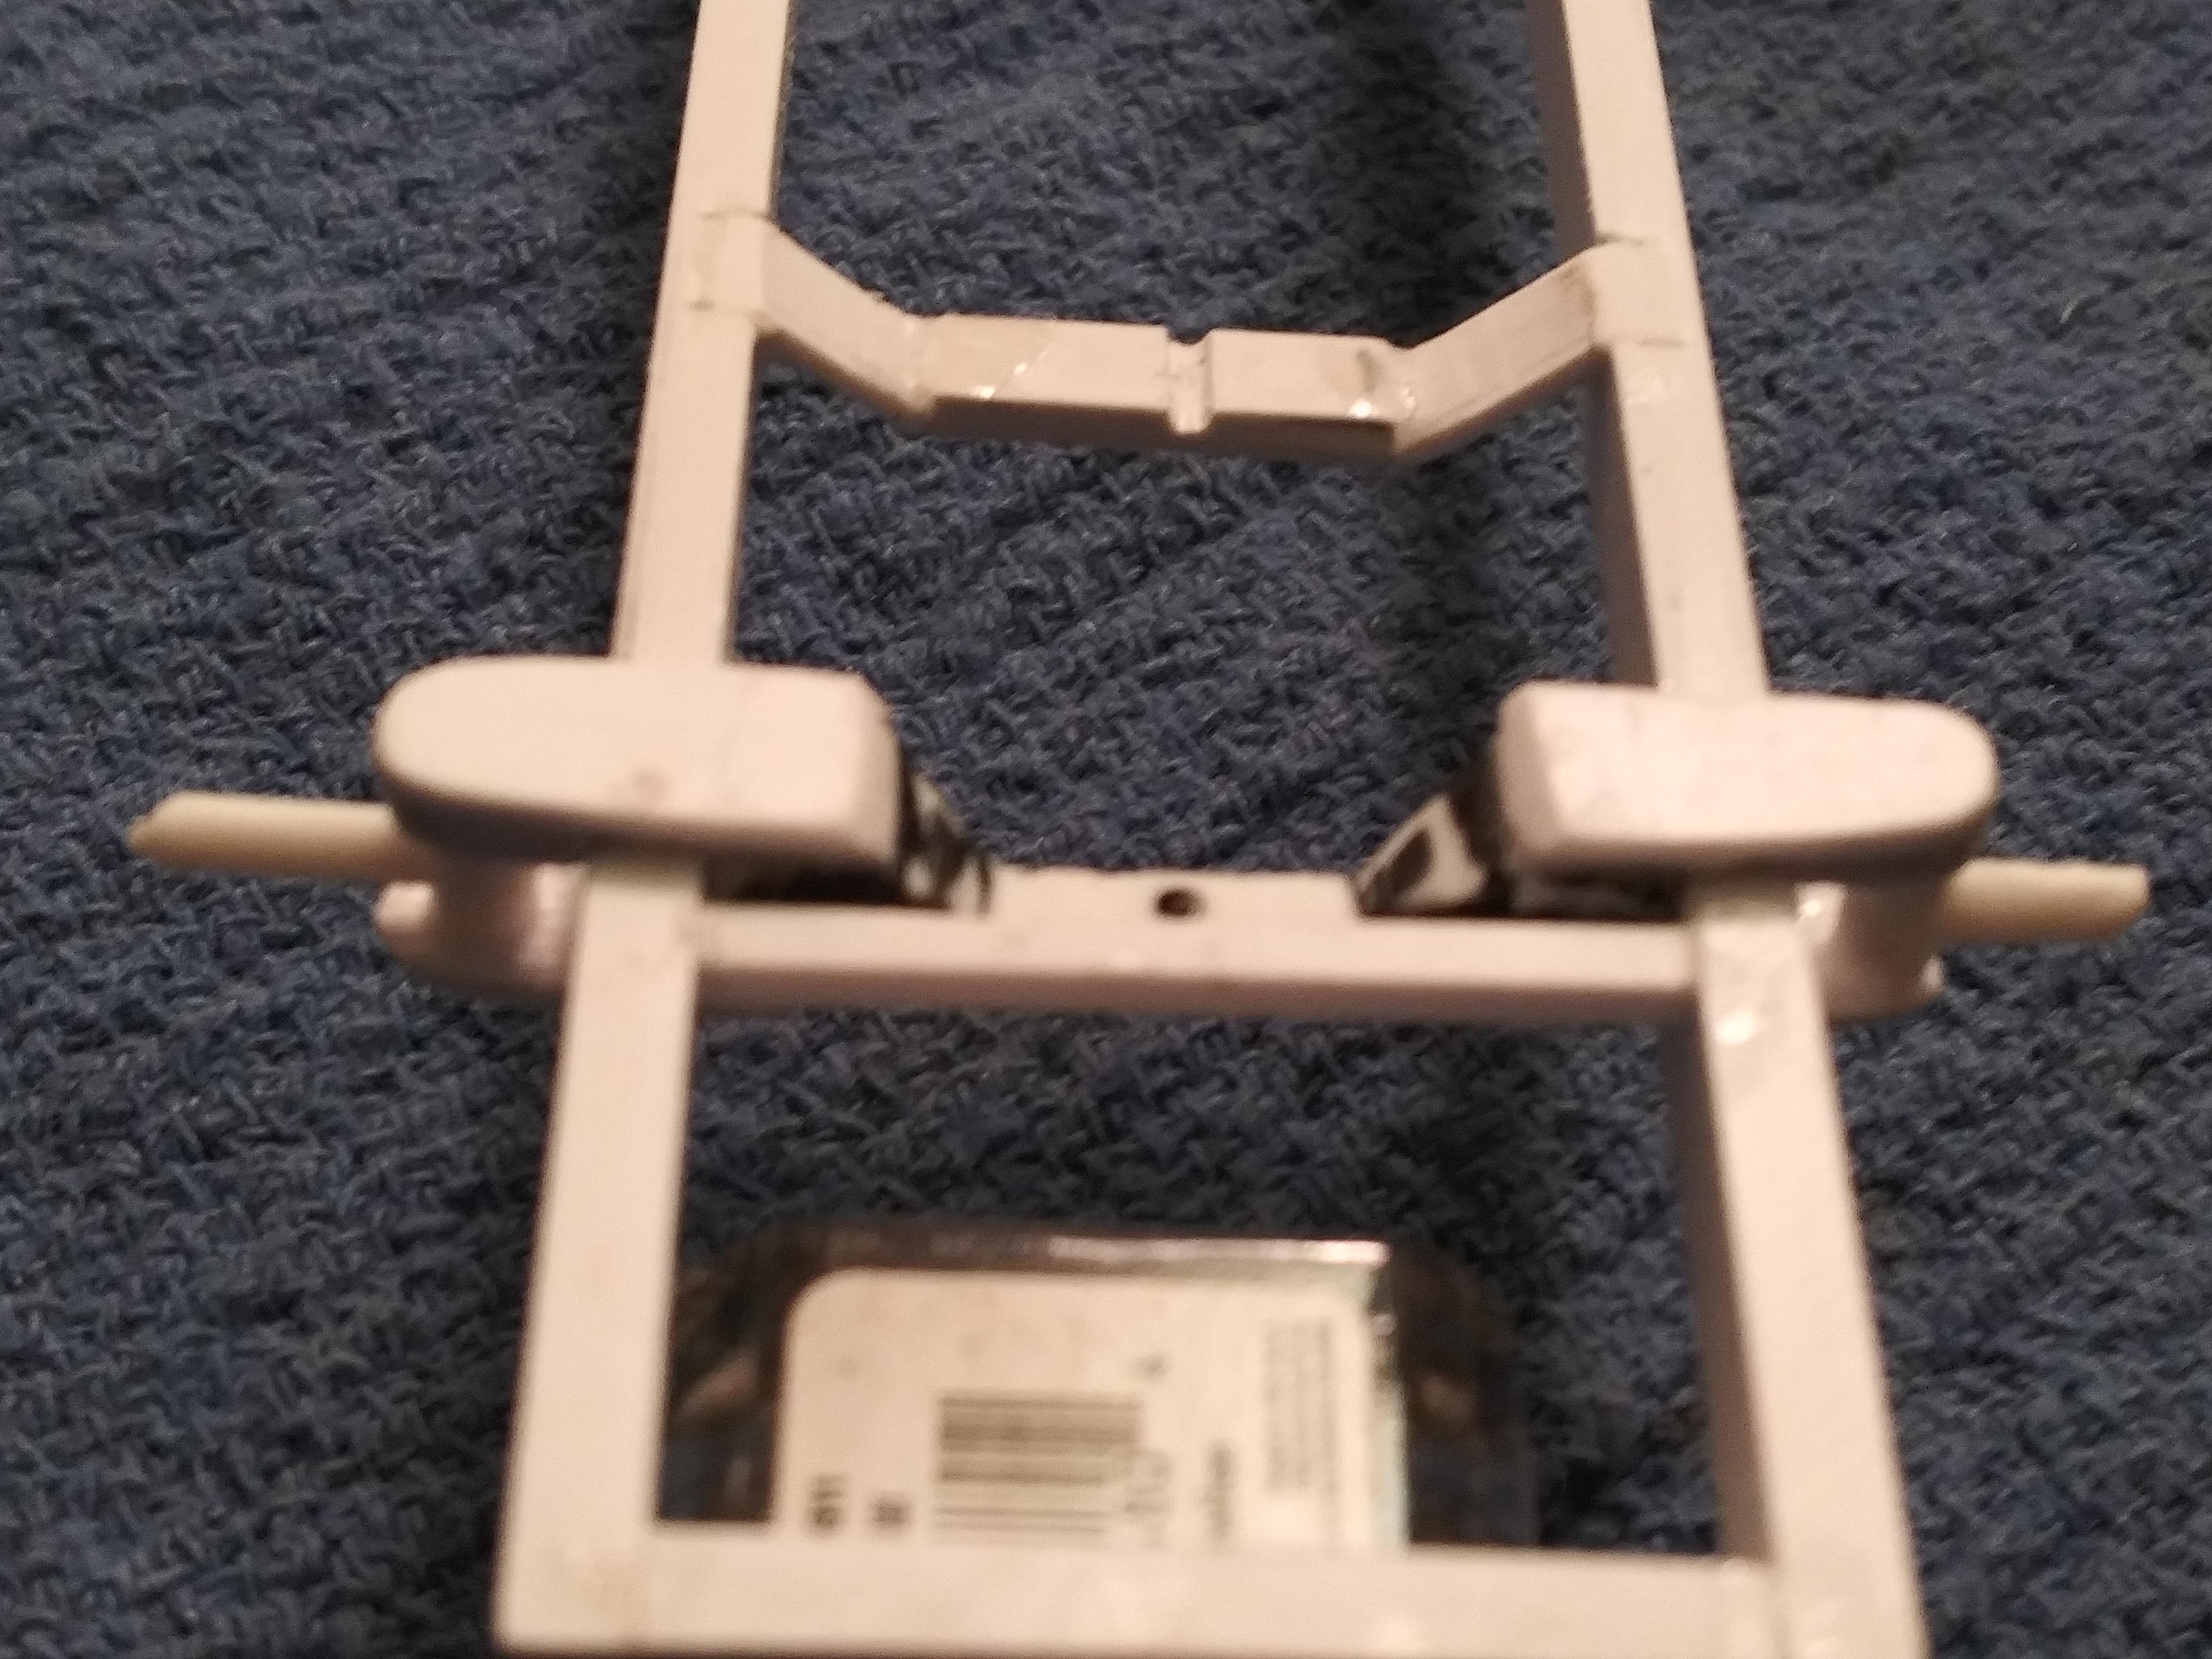
UPDATE 2/19/20 So scratch built front suspension is almost done (see pics). Not the best work but used what I had. Still need to do some more sanding and file here and there to clean it up. Hopefully when I start painting it will be more detailed and stand out.
.png.2edc672f4a2958ae7258915bc9ab9efa.png)