

b_erwin
-
Posts
44 -
Joined
-
Last visited
b_erwin's Achievements
MCM Regular (3/6)
-
LOL. It was actually over a couple months. I just didn’t post it while it was in process.
-
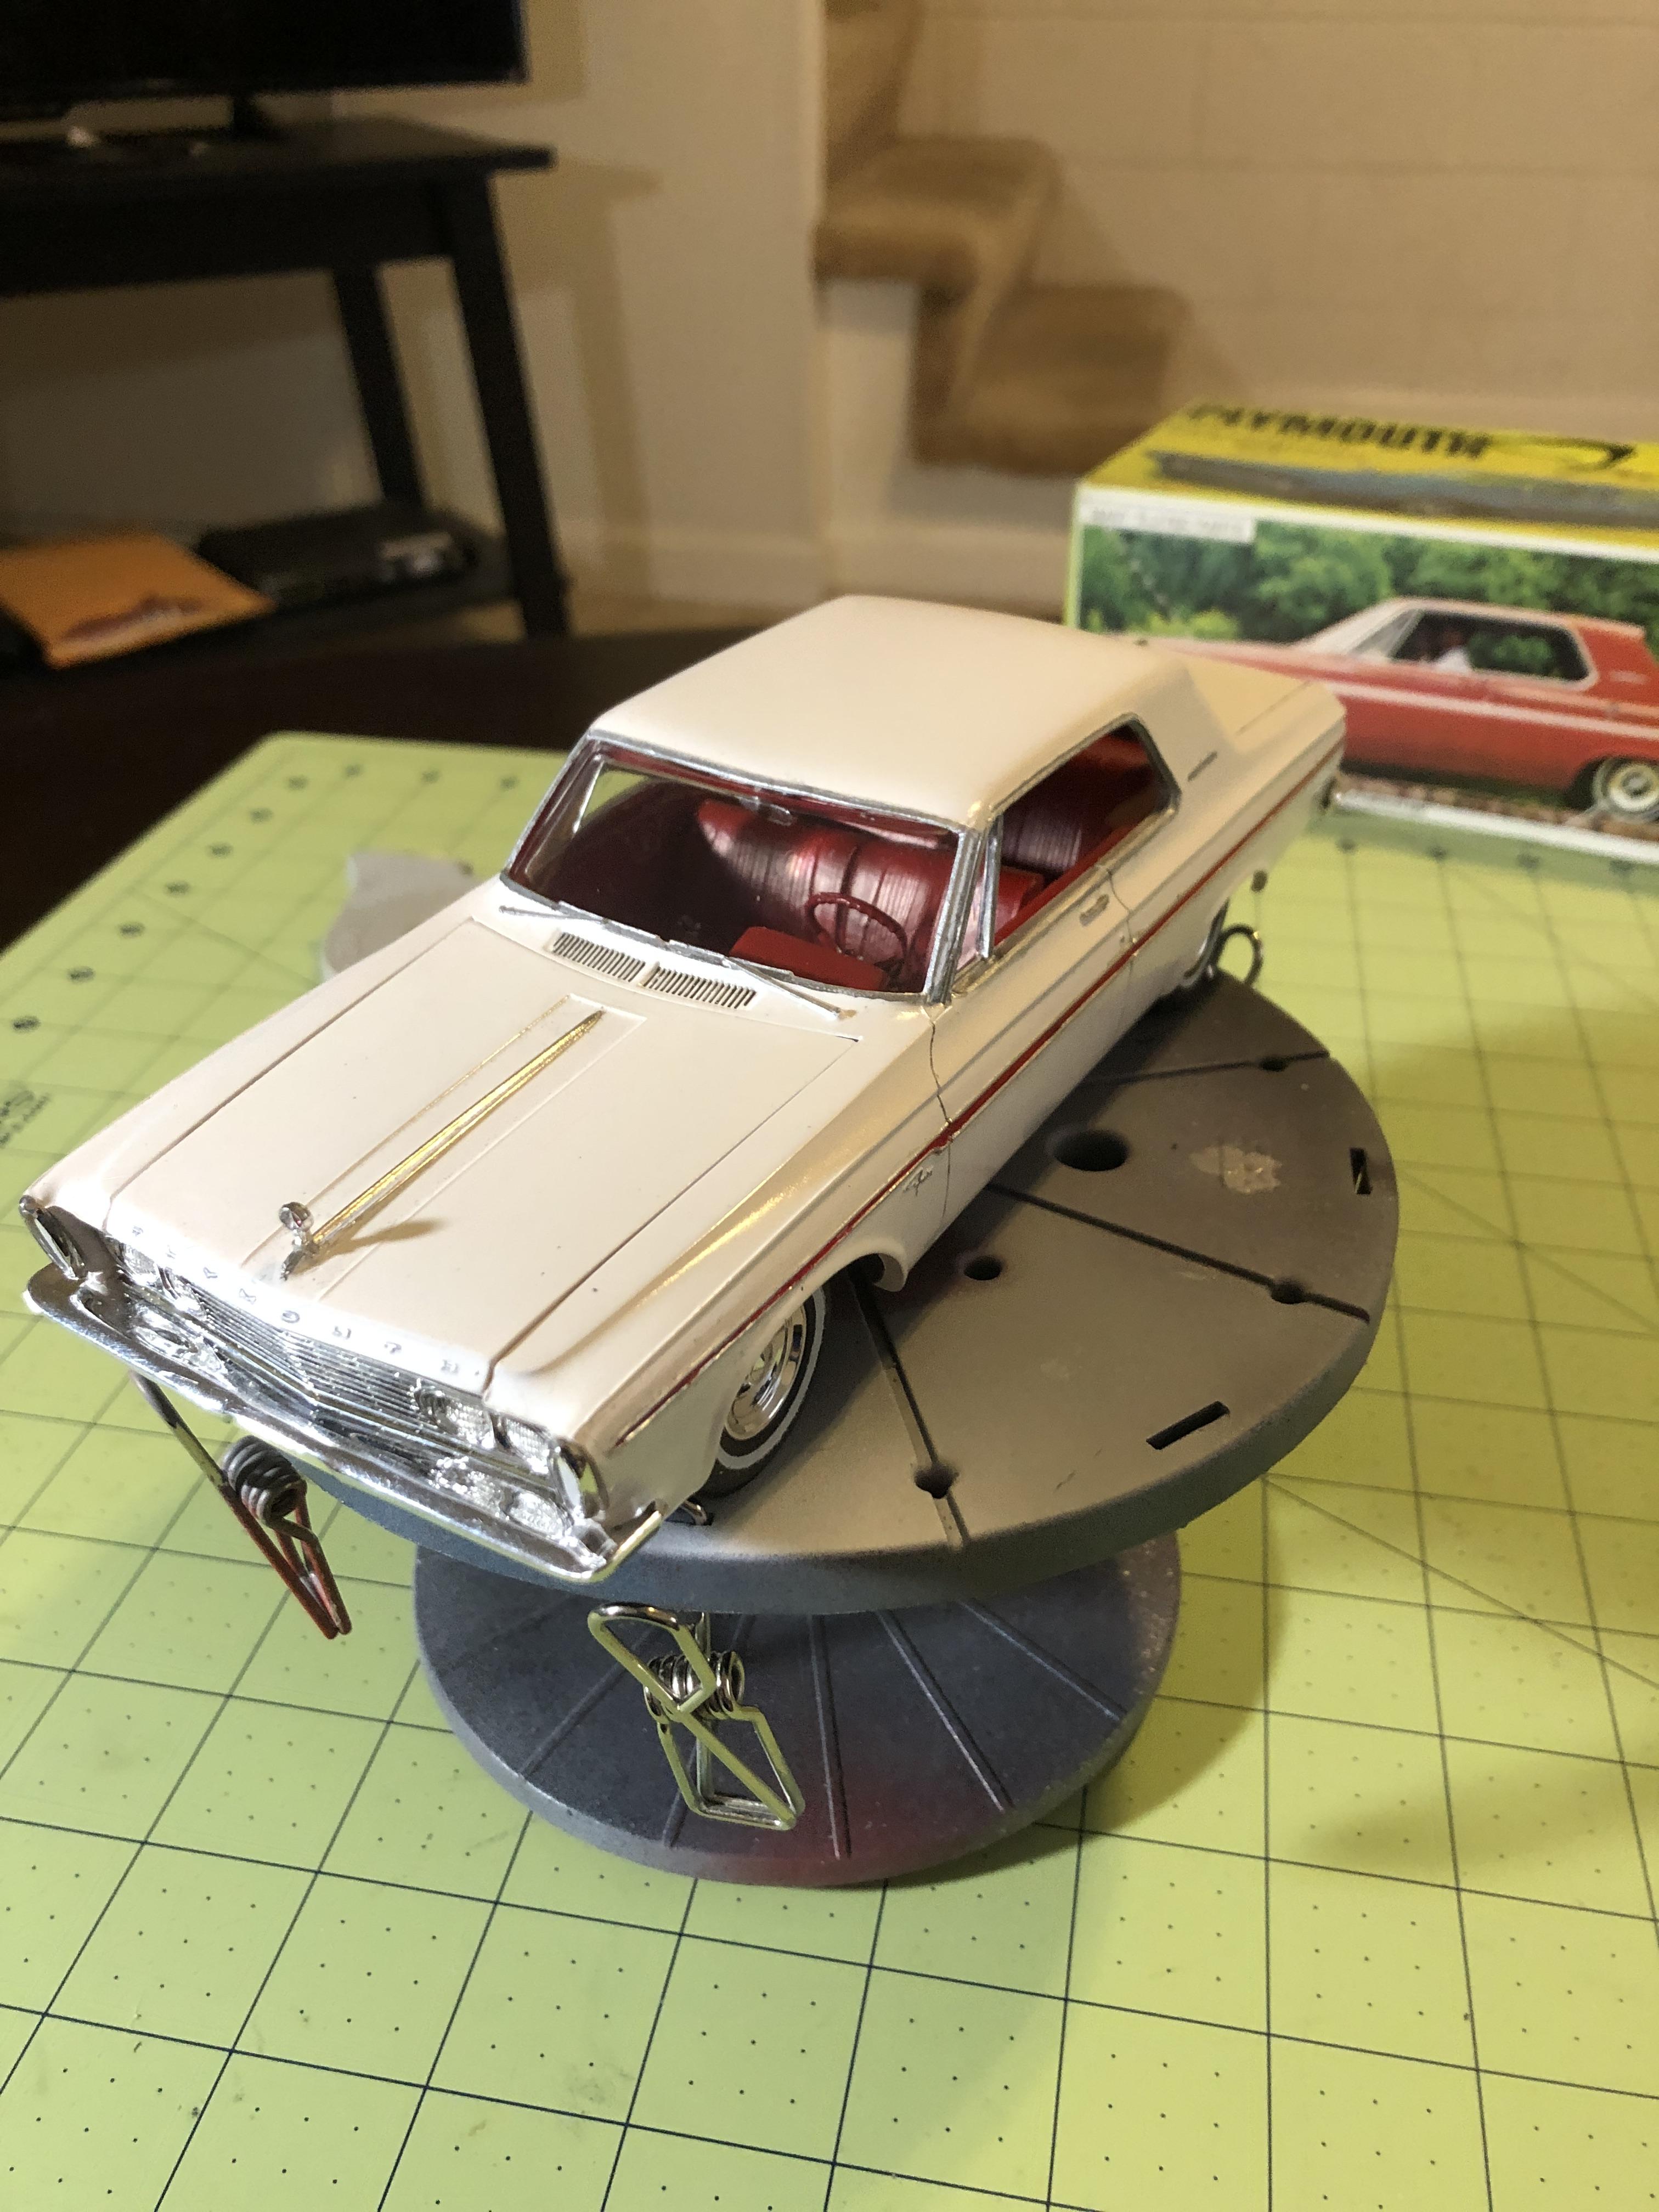
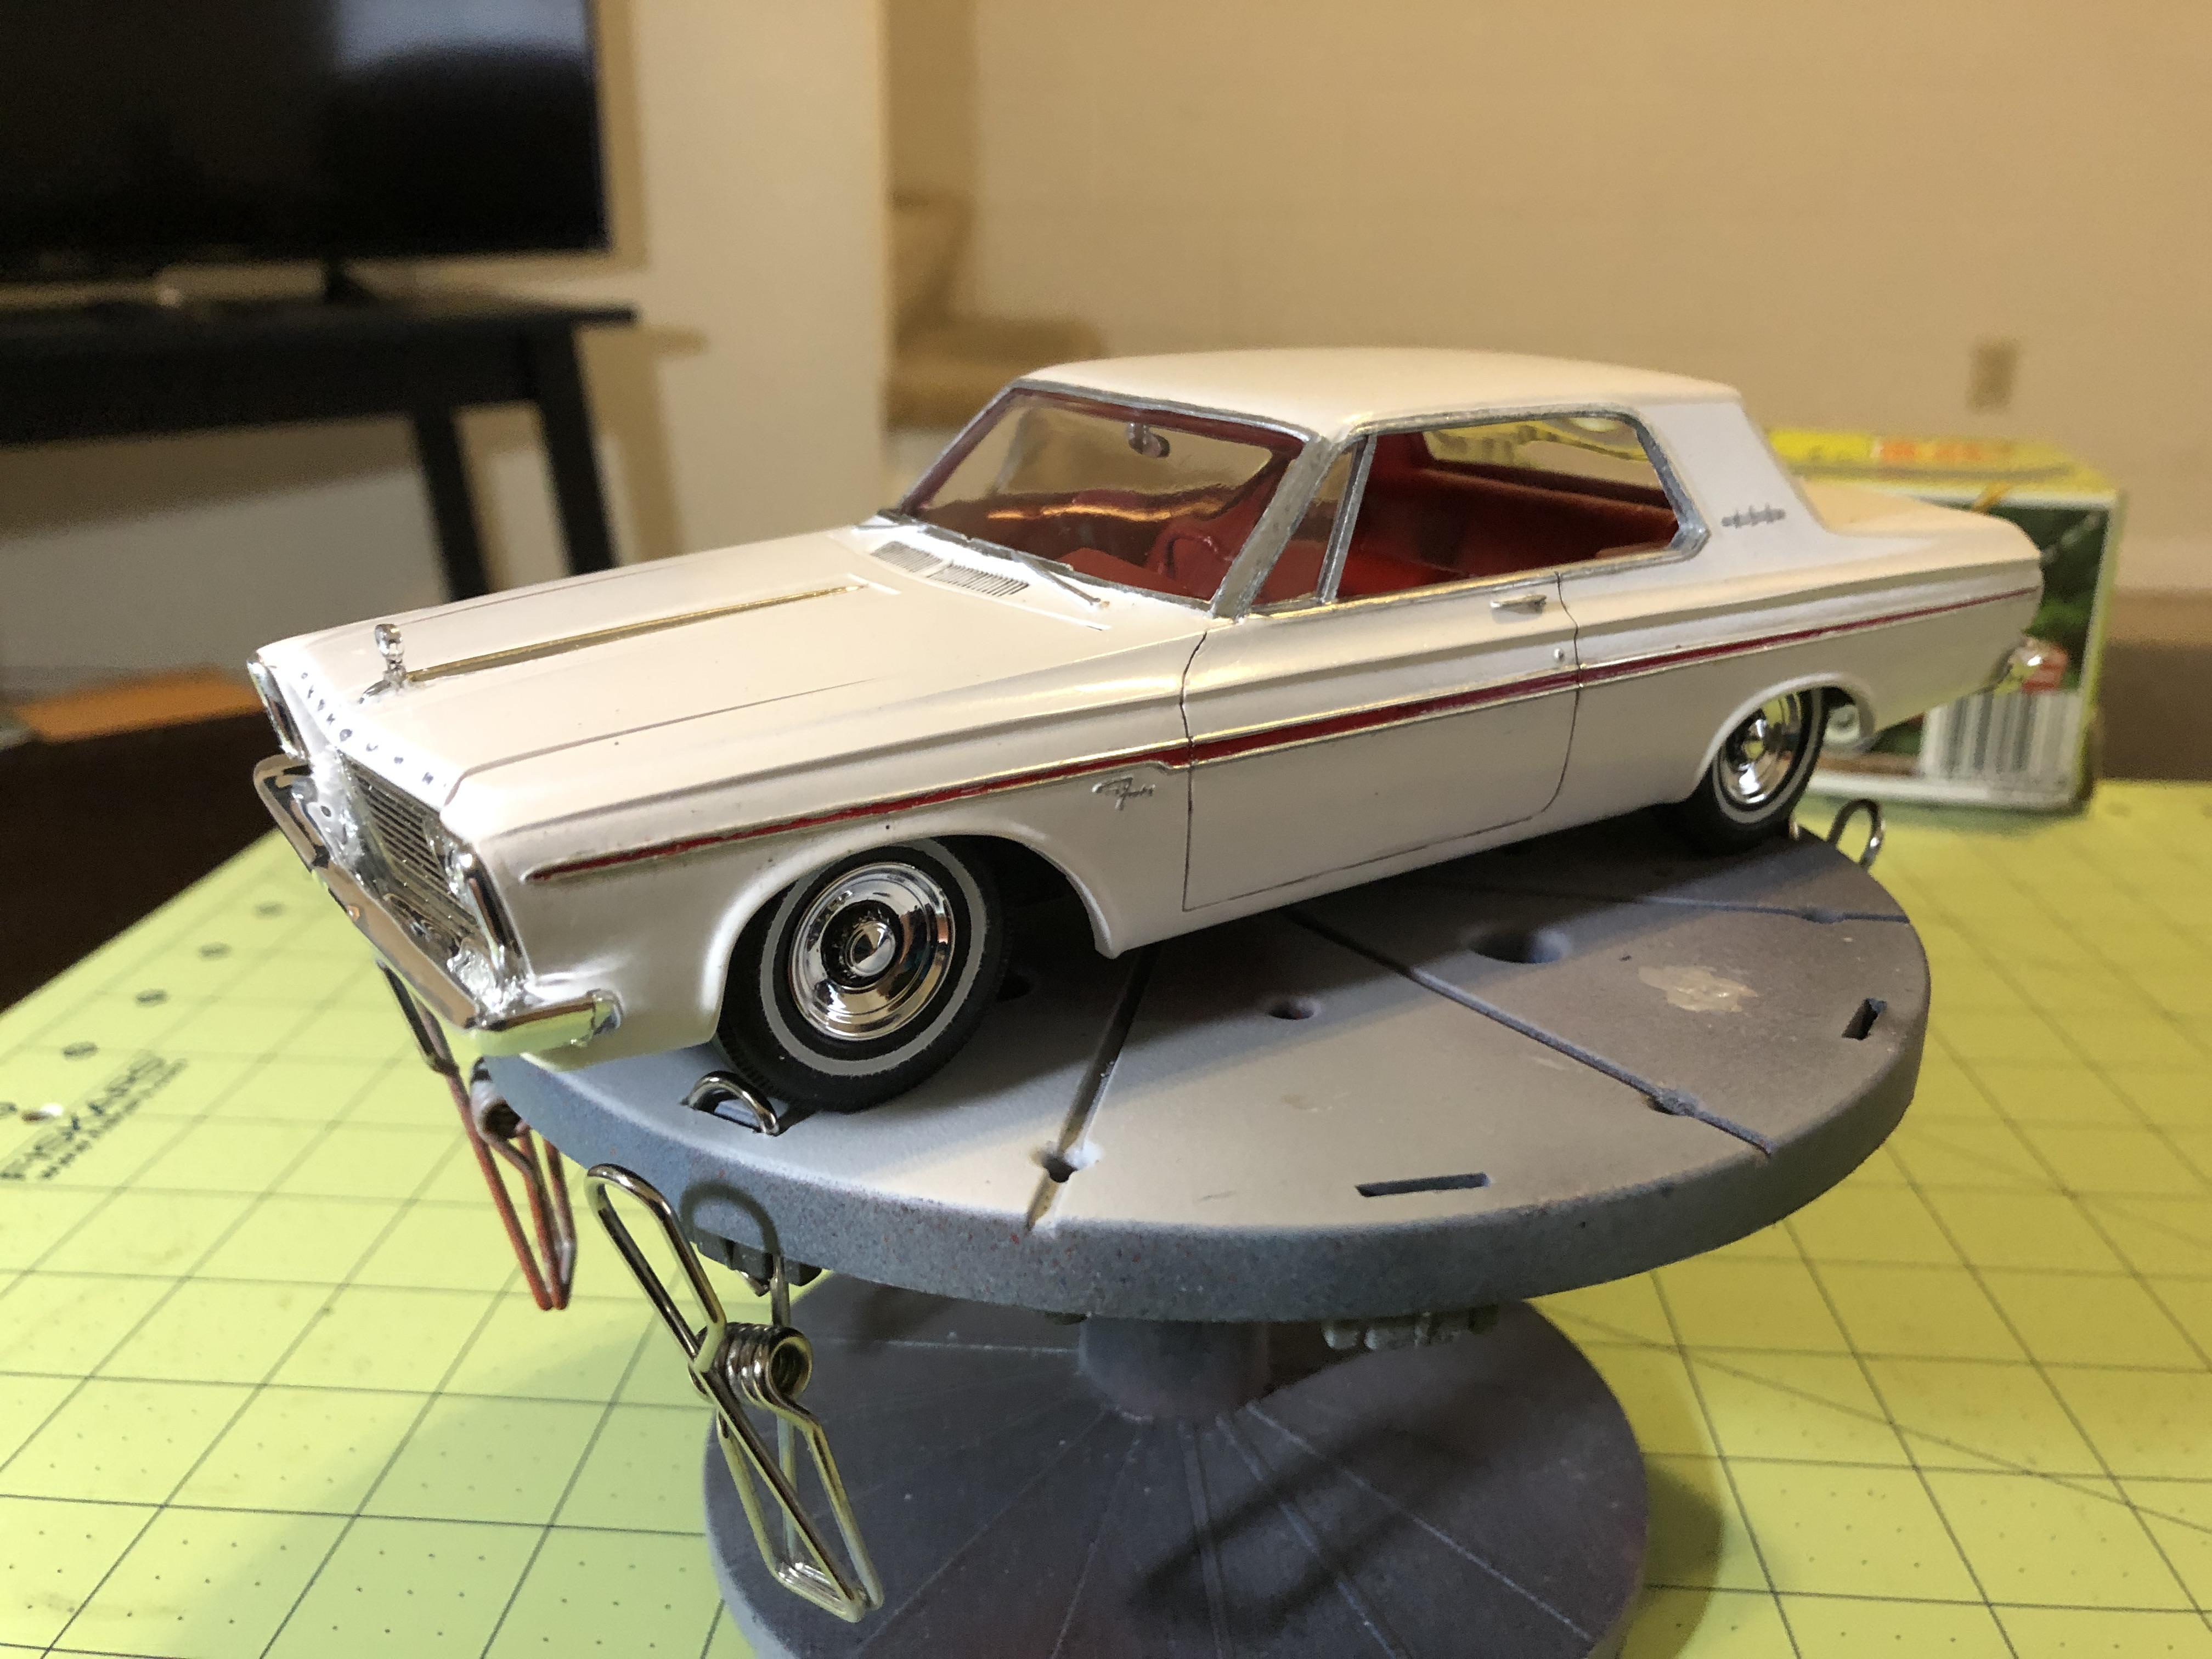
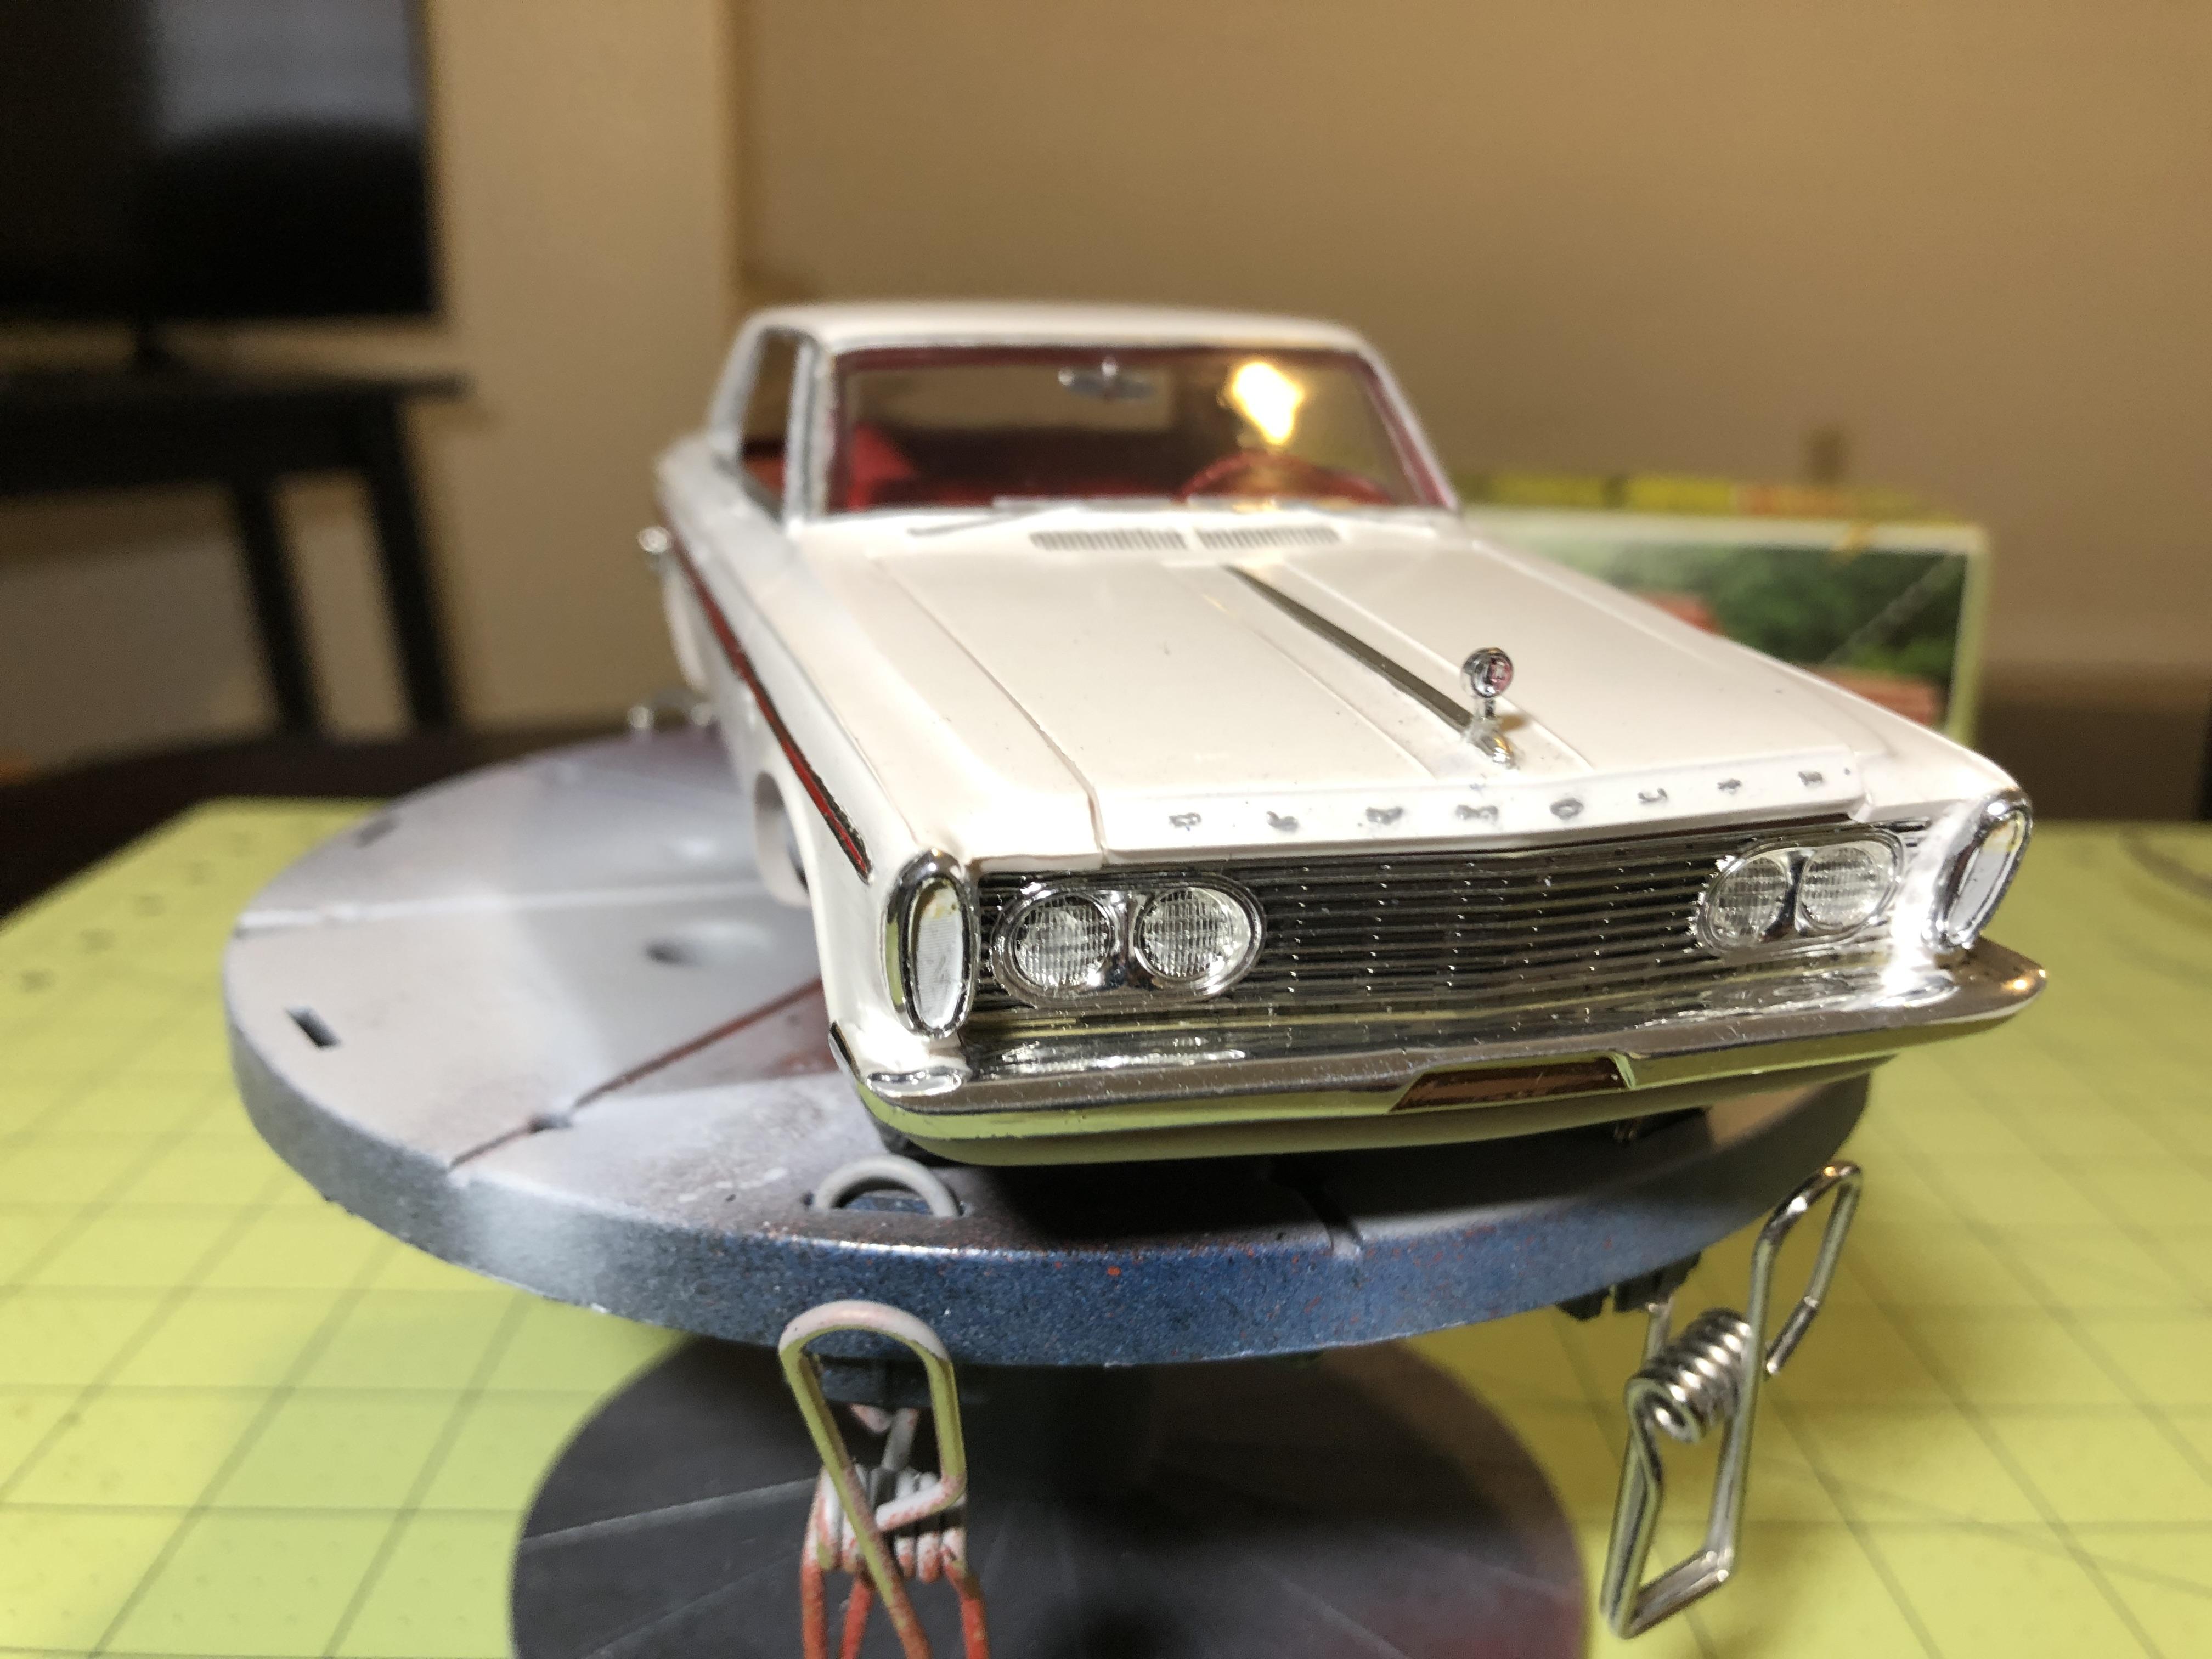
I built a replica of the car my dad had when I was a boy. I planned to give it to him on Father's Day, but didn't get it done in time, so I'll give it to him for Christmas. I used a bunch of new (to me) techniques I've learned from this site and a couple FB pages and a couple I figured out myself. These include: Chrome trim on the side, hood and trunk are BMF (first time using it). Chrome around the windows and interior trim is Molotow / Krylon silver leafing pens. Badging is metallic Sharpie. I had to make an oil pan with Evergreen sheet and putty because the engine had a slot in it for the axle to pass through. Glass was dipped in Future floor polish and the clear coat is Future, as well (I still need to buff and polish the clear, but will wait a couple weeks so it is very cured). I used BMF behind the tail lights to increase reflectivity. I used Bondic to make lenses for the headlights, license plate lights and gauges on the dash. All in all I am pretty happy with the outcome:

-
Fire wall detailing and added brake line from the master cylinder: Body cleared with Future floor polish. (You can see the re-done side window trim, here) I used BMF behind the tail lights to add reflectivity to them: Here's a shot of the engine bay completed with battery cables and hoses connected. Painting that hood ornament was a chore! The rear bumper, rear panel and tail light bezels were all one chrome piece. The panel below the trunk is aluminum on the real car, so it had to be painted. I used Bondic to create lenses on the lights next to the license plate, as well: I'll post a completed thread in the appropriate section in a bit.......
-
Dash in-process: I used a silver sharpie for the Fury logo and a Molotow pen for the chrome details, knobs and steering wheel trim. Hard to see in the photo because the knobs are all on the aluminum colored panels: Gotta panel wash the dash vent: Body in paint (Createx Opaque White acrylic): The body stripe was the hardest part. I painted the center section red and used BMF for the chrome surround. There are three methods of chrome on the body; 1. BMF for the side trim, the center hood and trunk trim. 2. Molotow pen around the windows (side windows got re-done later) 3. Silver Sharpie for the logos and badging. Body Mocked up on the chassis:
-
The distributor on the kit was molded into the intake manifold, and not very detailed. so drilled out a distributor I left over from another kit and cut the one off the intake manifold. Then glued the new cap on at the appropriate angle along with a coil I made from Evergreen rod: Alternator was painted matte aluminum and the details done with a Copper Sharpie: Spark plug wiring done and holes drilled for the heater and radiator hoses: One more shot of the alternator with a little panel wash applied to bring out the detail: Mock up of the heater hoses and radiator hose (and yes, the heater hoses on this car enter on the driver's side):
-
Here is the body in raw form: I applied Panel wash to the grill and used Bondic to create lenses for the head lights. In this photo, Bondic is applied to the driver's side lights; Next, the engine had a slot for the front axle to pass through, so I built an oil pan from Evergreen sheet and putty:
-
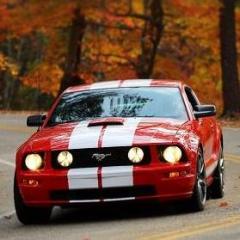
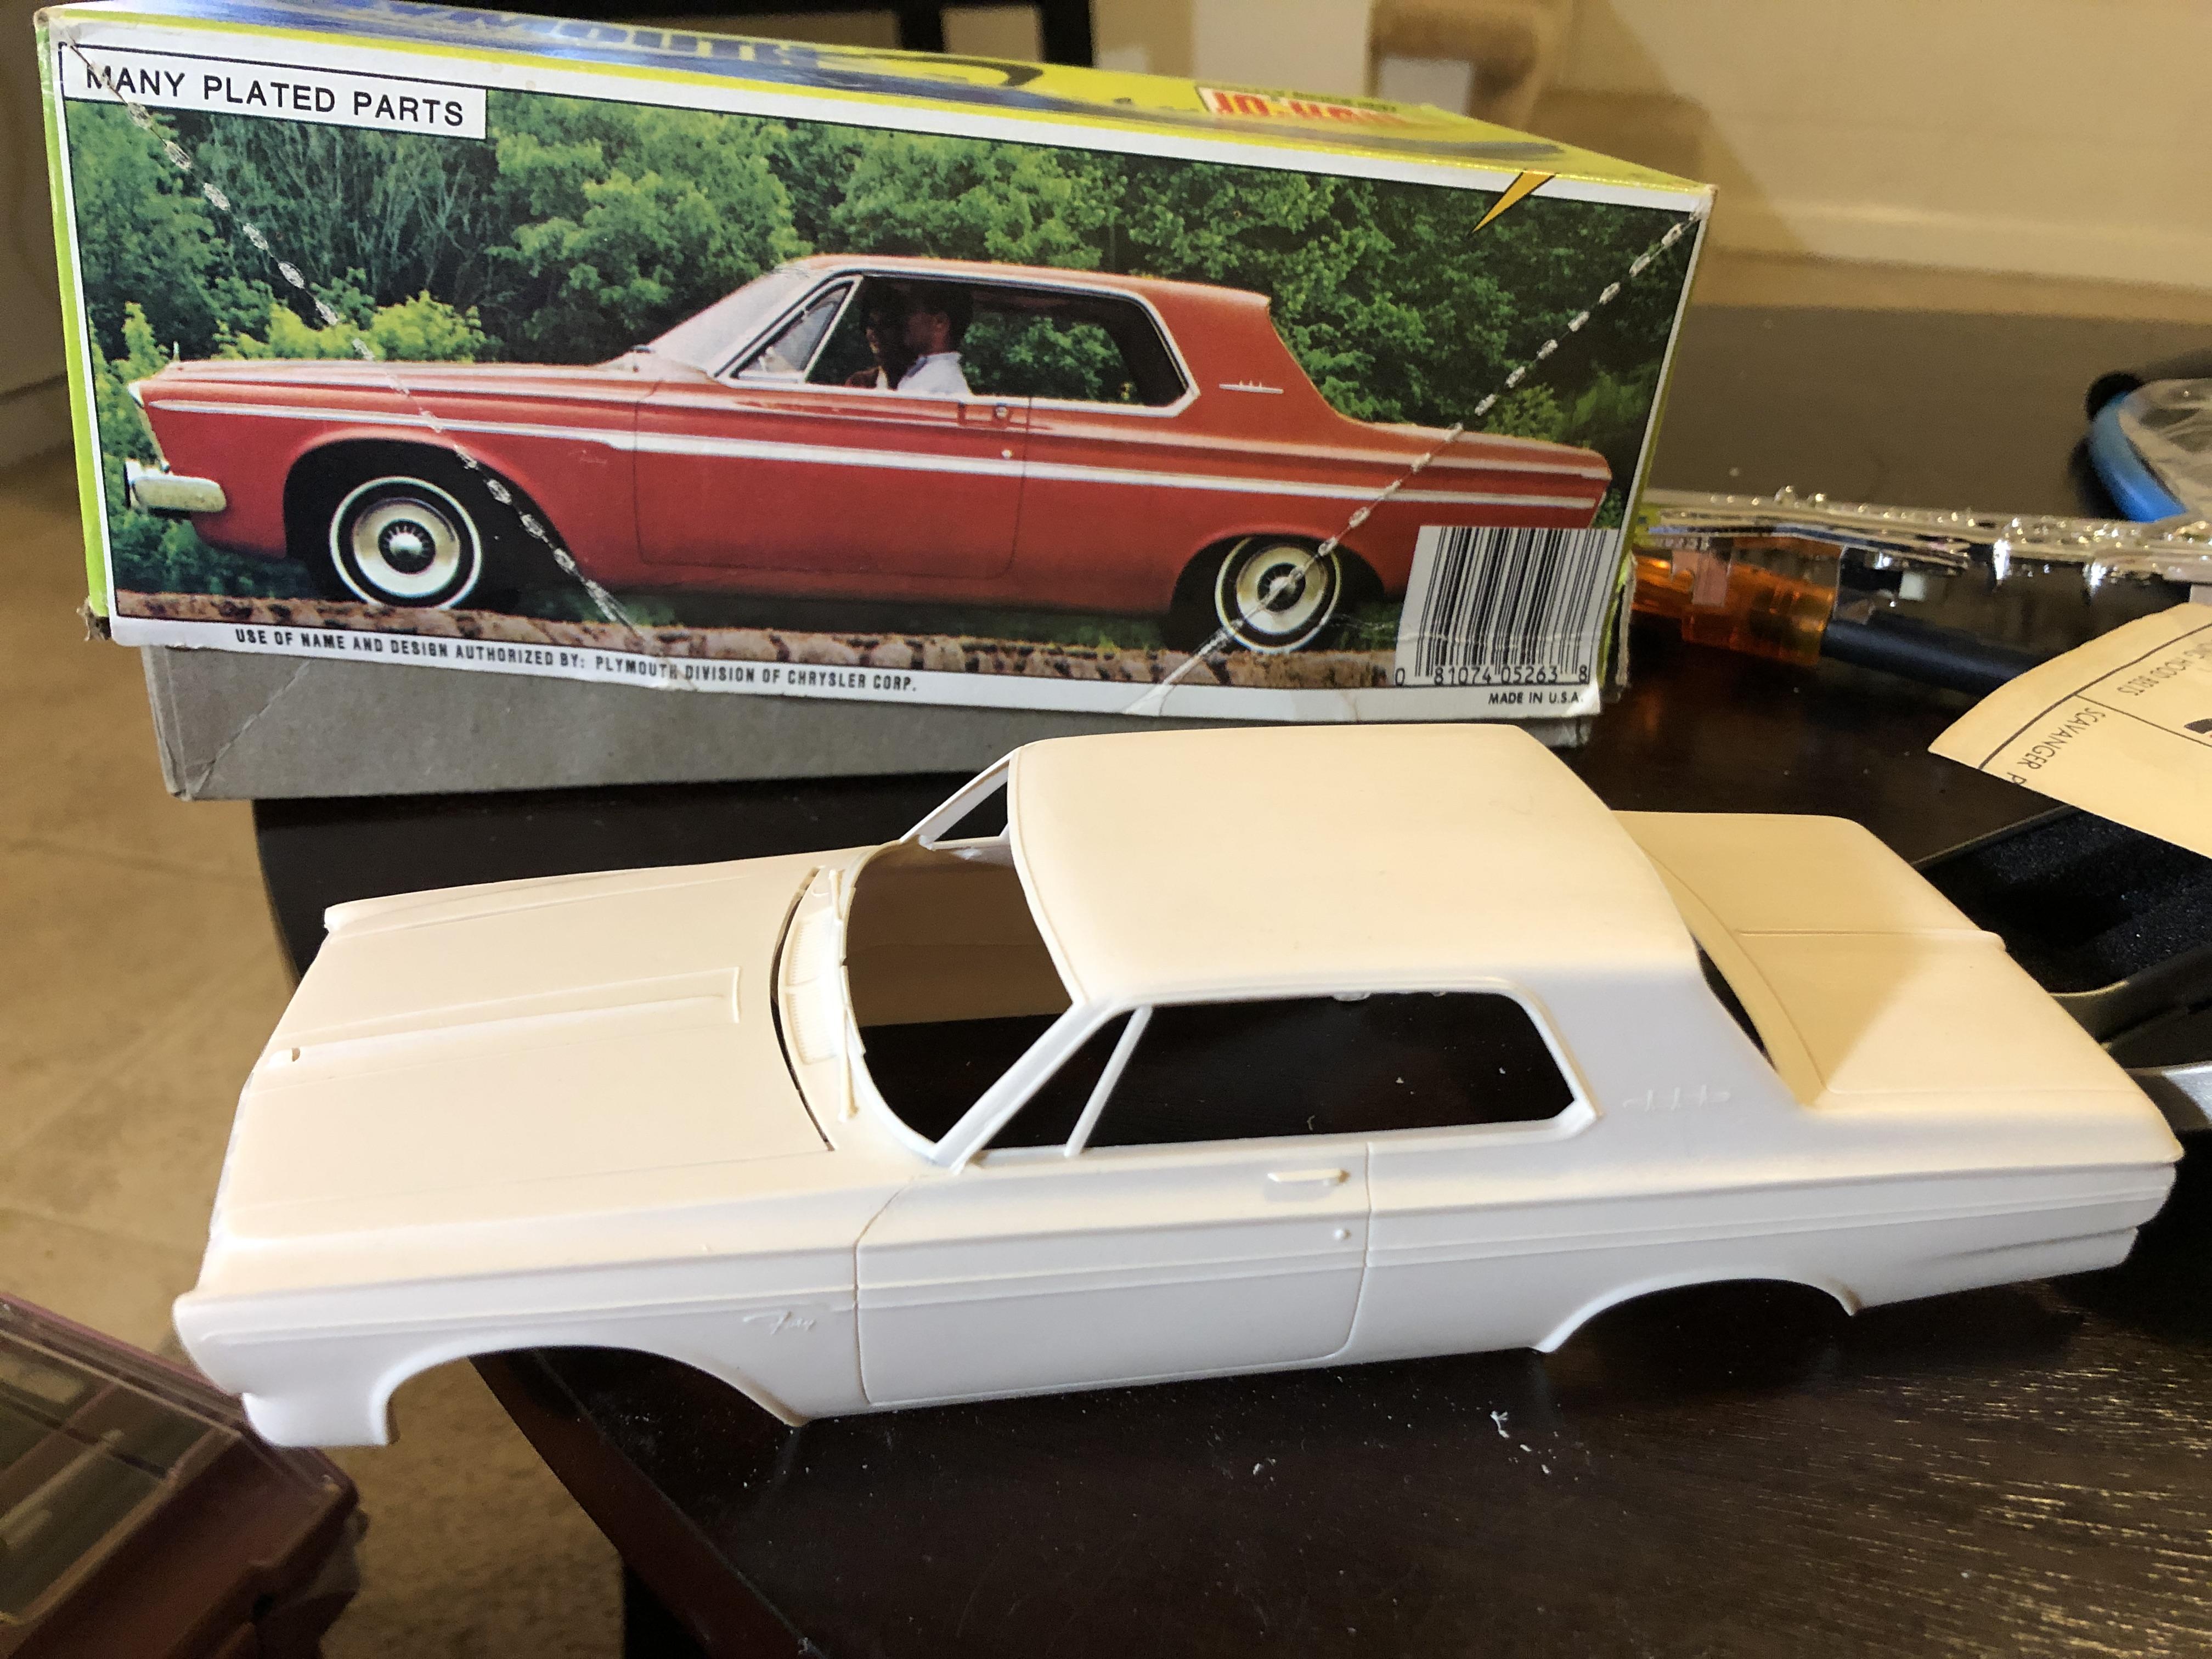
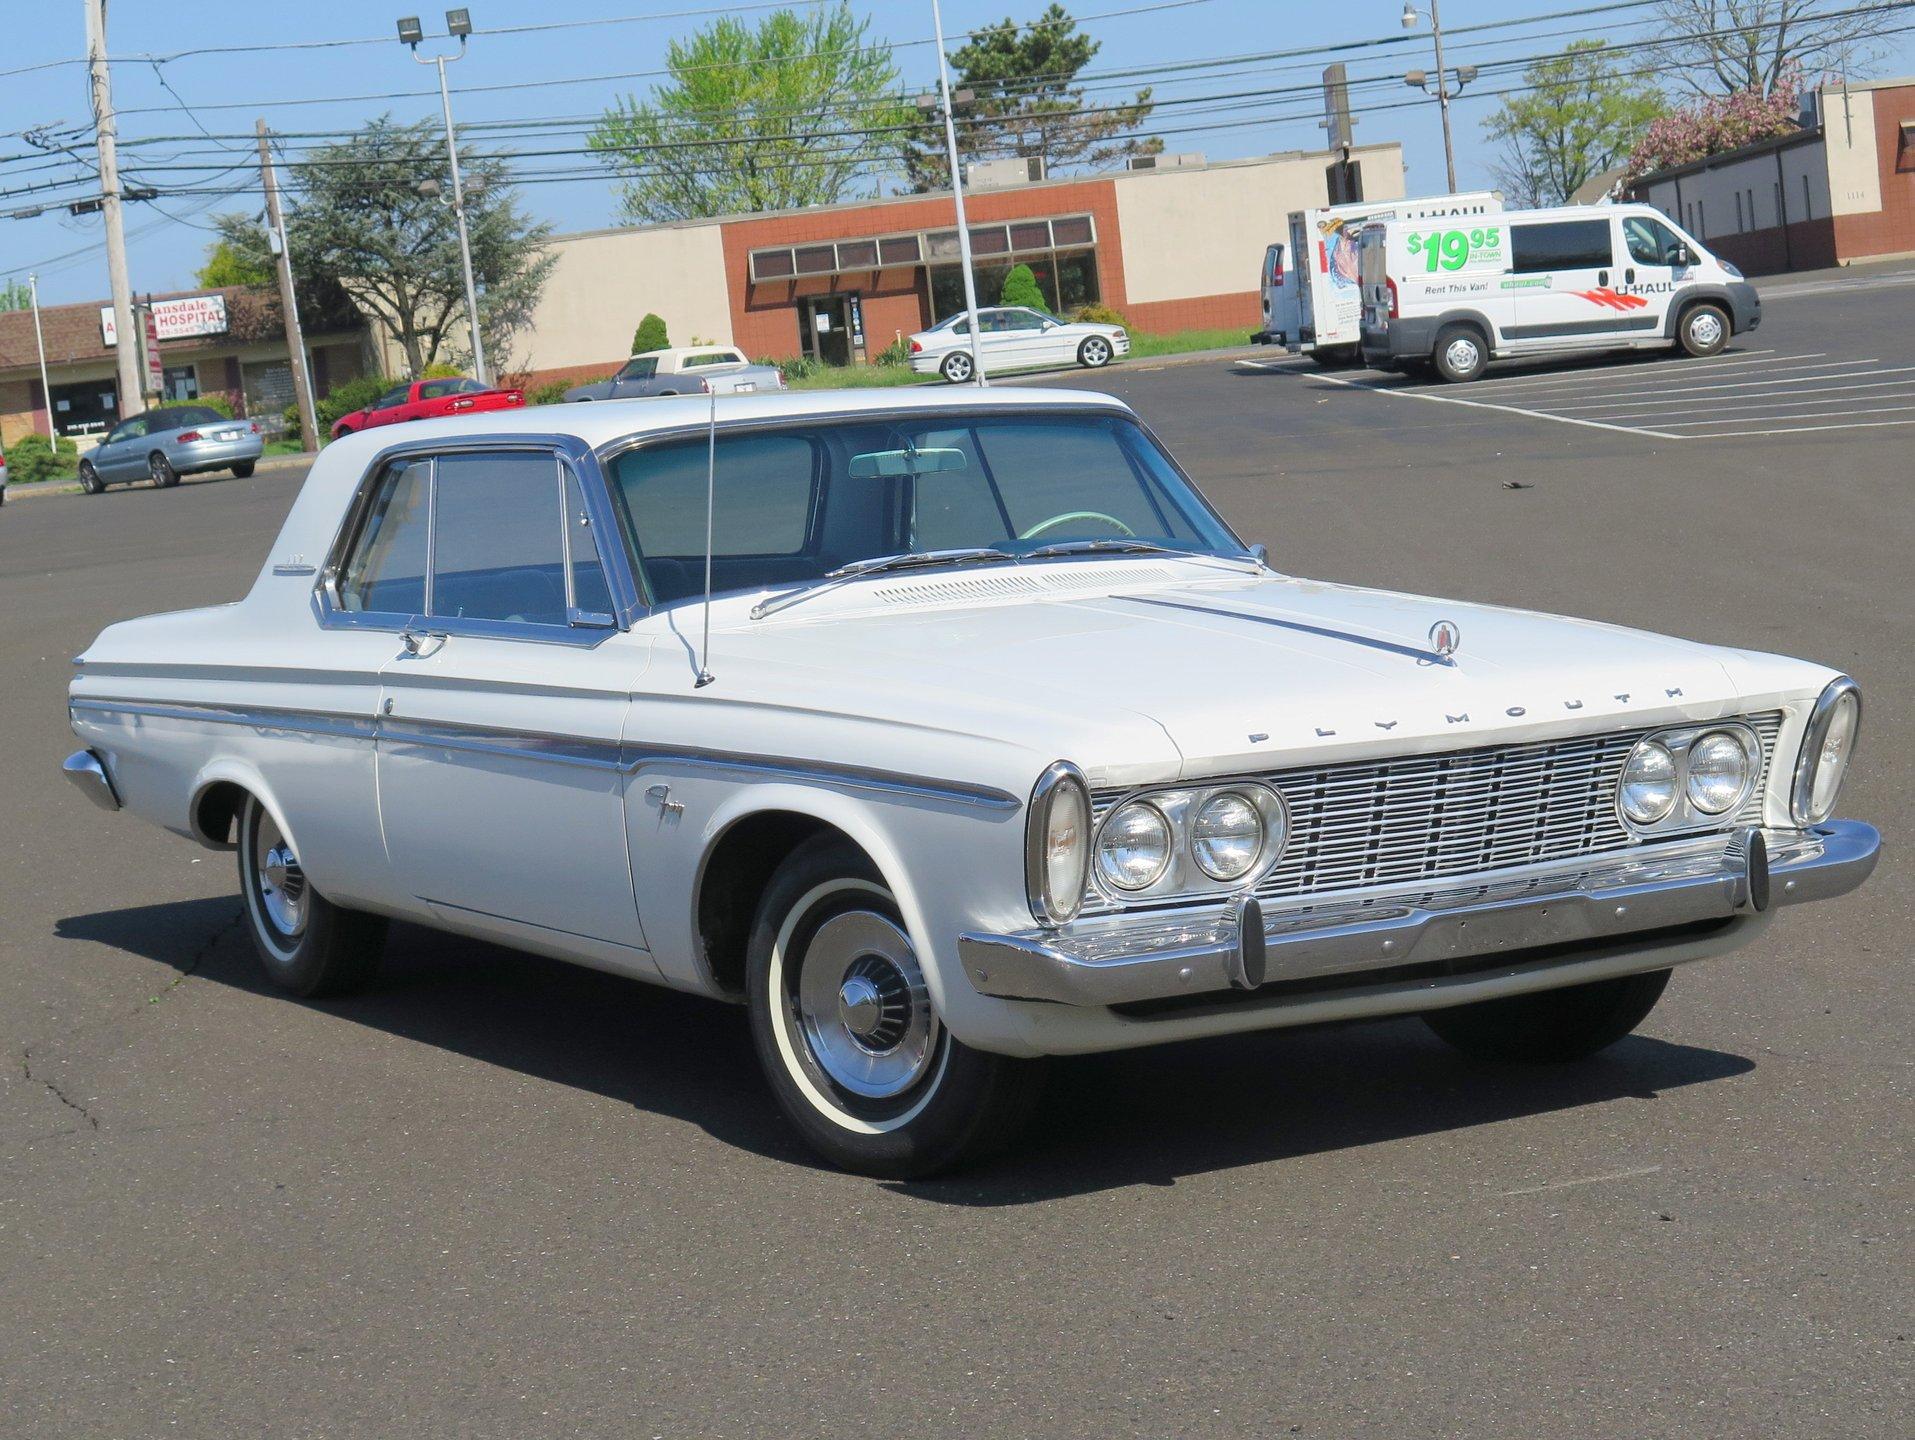
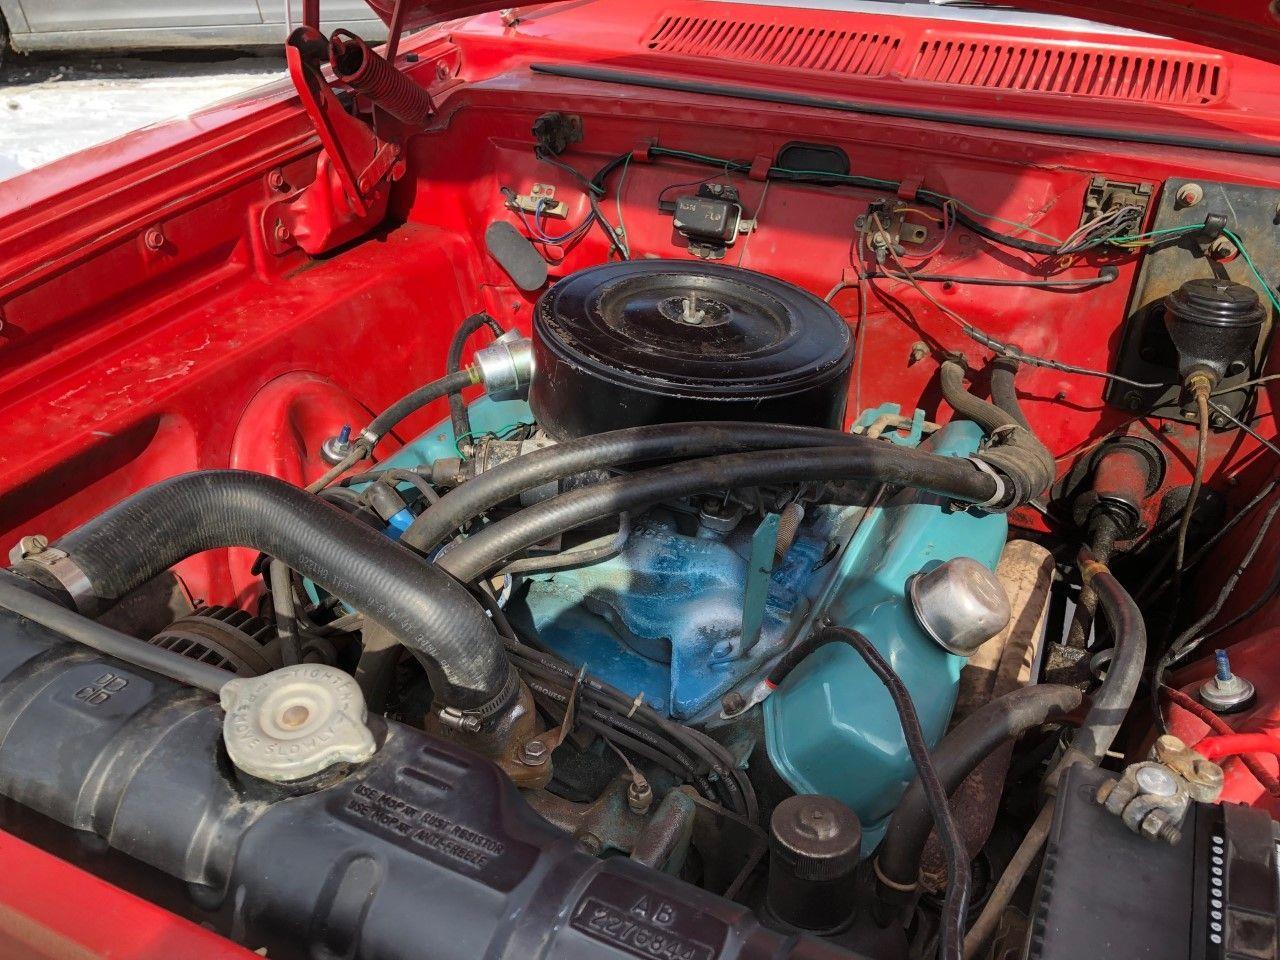
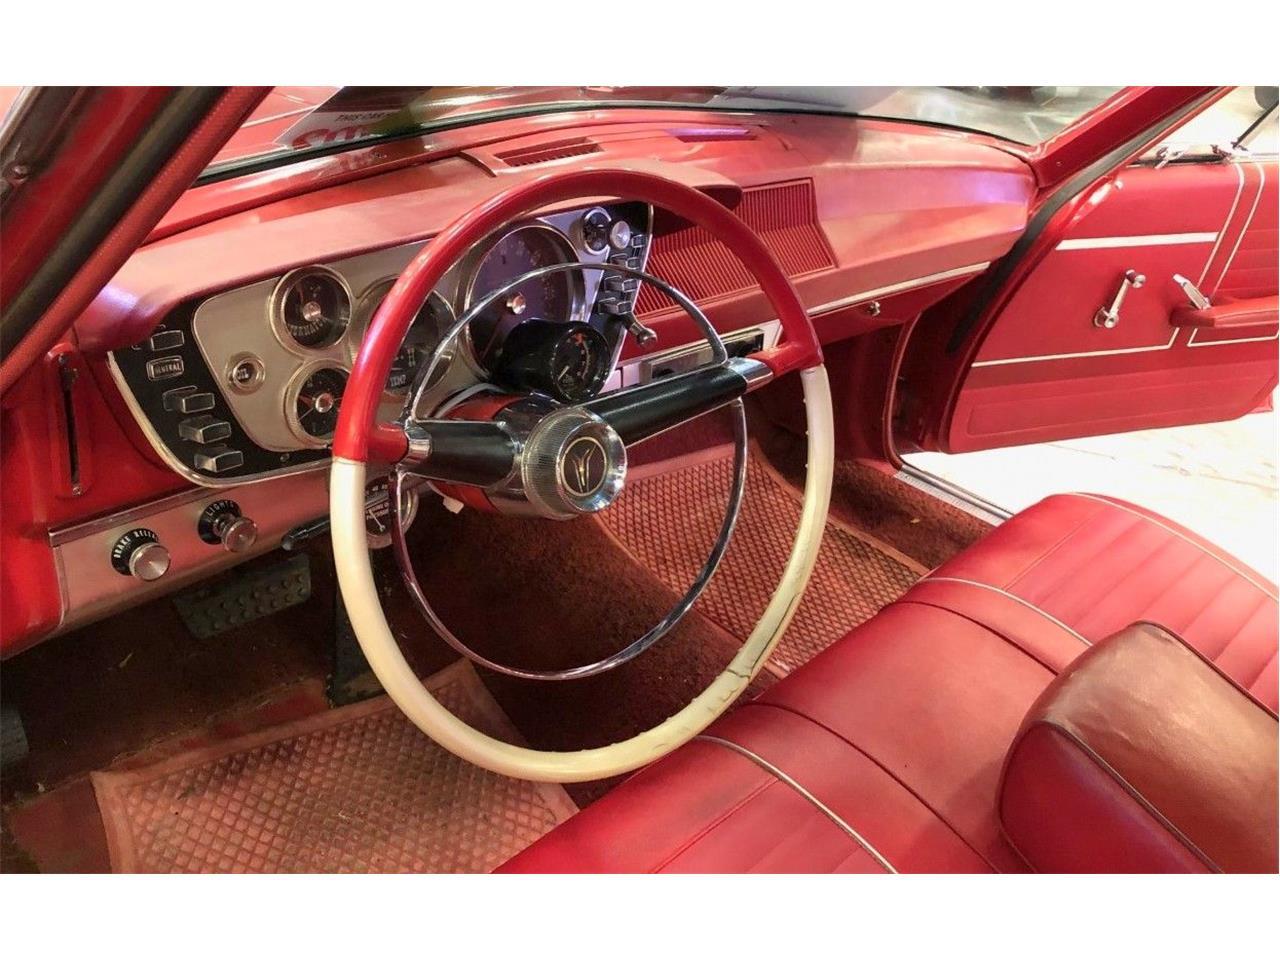
I planned to build a replica of the car my dad had when I was a boy. My parents bought the car when I was about 3 and had it until I was about 7 years old. It was a 1963 Fury similar to this one: It had the 383 Commando Engine: and red interior: I had planned to have it ready for Father's Day, but obtaining the kit proved difficult, and I wasn't able to get it done in time. I did find one and paid more than I have for any other kit, but I guess that's what happens when you're hunting a rare-ish vintage kit. I did get it completed this weekend and I'll post the in-process photos in this thread before I make a completed thread in the "Under Glass" section.
-
He’s been working on it for as long as I’ve known him....about 20 years. Since he’s out in California, and the state is closed for the virus, maybe he’ll get some time in the garage to actually finish it! Otherwise, it’ll NEVER get done!
-
I meant to post it in the under glass section. I asked the mods to move it. Thanks
-
My completed model includes a few modifications to replicate his car: 1. Reshaped hood with raised center beauty line. 2. Jackman Style wheels (Rears had to be narrowed because the only ones I could find were for a VW Drag car) 3. Seats from another kit modified to simulate the Miata cloth seats) 4 . Scratch built Exhaust. 5. Scratch built Intake manifold to convert from the kit's dual carb setup to a single carb I also used Textured paint to simulate the fiberglass chop on the under side
-
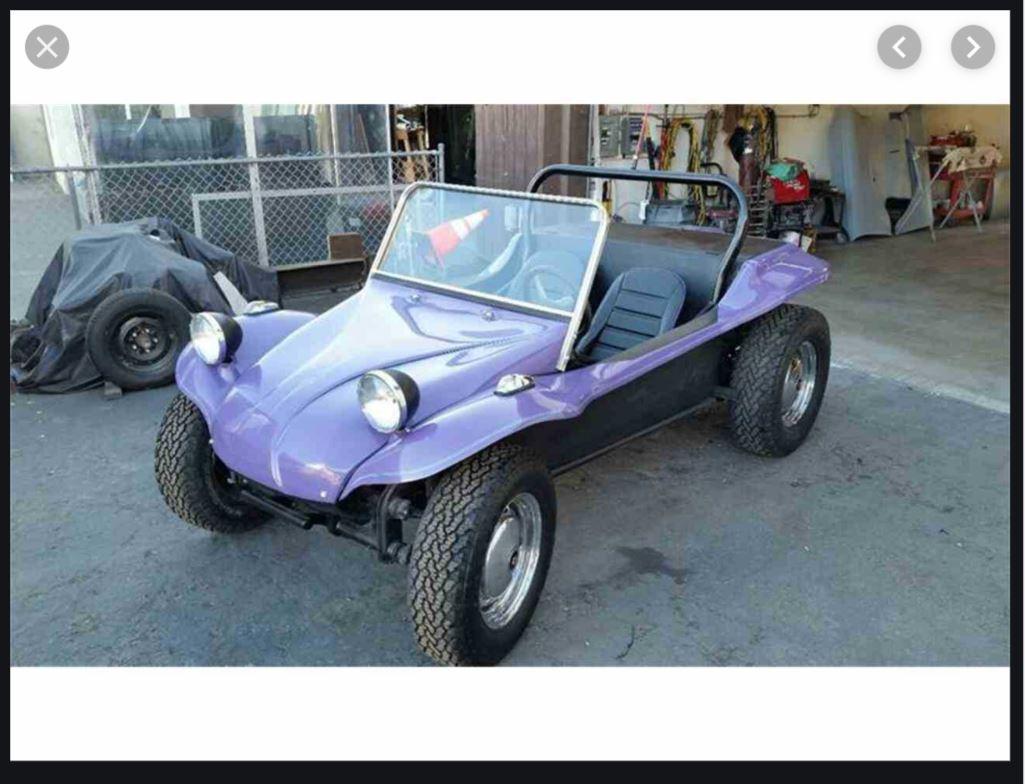
My friend has been building a Meyer's Manx Buggy in his garage for a LOOOONG time. He asked me to build a model of what it will look like completed. Here are a few pics of the current state of his car:
-
Final Assembly: Front Turn Signals are Classification lights left over from a truck model, and the Mustang tail lights were from a junk yard parts bin purchase. The chrome bezels weren't included, so I had to improvise with a Molotow pen. Not exact, but close enough. The headlights in this kit, don't have locating tabs and holes. Also, once glued in place, you cannot remove the hood (which would be a shame since I went to the trouble of relocating the fill hole from off center where the original gas fill was on the kit to the center of the hood where it is on Steve's buggy). At any rate, I drilled holes in the head light buckets and in the body stanchions, and sacrificed one of my drill bits to pin the headlights to the body. That way they can be removed, if he wants to look under the hood. And onto the "Under Glass" Section...... I'll post a thread there in a day or two.
-
Next Step was painting the top side: Primed: Then Blue with Wet Look Clear: Body mocked up on the chassis: Next I Made up seat belts and attached them to the seats:
-
Next was to get the fiberglass chop texture on the under side of the body. Again, there is another thread in the Q&A section about that decision. But bottom line, I thought I'd settled on gluing a drier sheet to the body and painting it. But the dryer sheet texture was a bit over scale, and gluing it to the irregular shape of the body proved difficult. So I found some Rustoleum textured paint and sprayed over it with gloss black. I think it came out great!
-
Time for another update: Steve's hood has a different shape than the one in the kit. His buggy has a more rounded front and has a raised center detail.This is not Steve's buggy, but has the same hood: Here's the one in the kit: I reshaped the nose by sanding it down: Then taped off the raised area. I debated using putty, Miliput and a piece of styrene to make the shape, but in the end I decided to build the area up with multiple coats of primer, and it raised the area just enough to get the detail I wanted. (There's another thread in the Questions and Answers section with the debate of the pros and cons of the different method and my decision process)


.jpg.9ff2ae3710e168e8ea43a99cc6b7f78e.jpg)
.jpg.0da38b4738ad32fd9c6eb74e04caf0c8.jpg)


.jpg.37e912f1ebd91bfb31ca47db7263365d.jpg)
.jpg.f92a717bd10df6c3c400e0cf28b8ccba.jpg)
.jpg.b2dd9e7f747561a54706294ab94e5df9.jpg)


.jpg.2350cd37c703ddb80c848ad5168b63d8.jpg)
.jpg.656bd7c2e1a4bbad507595f67297b37a.jpg)
.jpg.381b2ad5d7567b7689b784b650628f83.jpg)
.jpg.bce2a265360168a7508d2008d5074c2c.jpg)
.jpg.d6af0b02742acd633dad4360874ece27.jpg)
.jpg.a9f41fa5f506768e095d34fb1125937a.jpg)

.jpg.9e0e9c12bf348e8c8d4461f840bdcd00.jpg)
.jpg.d3859257e8d0486d8c4845dbdc868d5d.jpg)
.jpg.a19adad26cd731e57633782f479cc798.jpg)
.jpg.6fea62515241a04c2f555e2e11fddaa9.jpg)
.jpg.d2bf57a4c82fcbcb04bcc6b20f395452.jpg)
.jpg.cd8be04a5d4c3d51b1dad951b819cc20.jpg)
.jpg.3f5b58e4d32685bb81995cbdce1afeab.jpg)
.jpg.638d9d593c8c6adc52d1211c0b7e98db.jpg)
.jpg.5921e3e0570239193ddc1aa0b9b0e552.jpg)
.jpg.9a40db6bc8b9acc7c14e4fb4f52b469f.jpg)
.jpg.e6c0785bd90eccebd93864363478958e.jpg)
.jpg.b427bf8fceaa41a84f8b087dd0e71e4c.jpg)
.jpg.1f3acdfa5089a76cb6b95189f85f1025.jpg)
.jpg.2267af1bdc579534e8e5b37c1b6e3d13.jpg)
.jpg.f8b8a4b2292dec237f18a608bae5c765.jpg)
.jpg.b7b6edabca8a4c0786fae727ebfbf7b7.jpg)
.jpg.e7df8d83b367fe20dc23cb5a4a8ce124.jpg)
.jpg.f937162aac72110e313c9823ec3d2442.jpg)
.jpg.3bd047f0060f2df076abdfcd09a436d2.jpg)
.jpg.7bc06ae5b62b10eb0f40b169196c2d6b.jpg)
.jpg.732fd2ff8fcbea97478d8c50d9617556.jpg)
.jpg.06a0066ee4179323e0cc9e3d15593e7d.jpg)
.jpg.30161e43a9df5f54373e7a084cb5f1c9.jpg)
.jpg.73648bddb3804b99f3b619c0d9bb6e75.jpg)
.jpg.9437f4e42628edecc2d12b163aa47493.jpg)
.jpg.e44b44b9d83be36aa6482656229feaa7.jpg)
.jpg.c255f6a0d477a02cc7aaa2da67186600.jpg)
.jpg.ebe6b44156d81e404a0417a00295054d.jpg)
.jpg.beb1d46d6aa4414b26e6e6a2e59a7ff0.jpg)
.jpg.2f1a42f4f07b4fb0dc215924cdbfc6de.jpg)
.jpg.ef37c629f45cf03e324c7a032b87893e.jpg)
.jpg.00d0c91a5351d37d2d96af8c21d637d3.jpg)
.jpg.d2d87caf6117d35af77dce9c936cd99f.jpg)
.jpg.cd6865ba25f6e77d6f0ebe82c5241a0b.jpg)
.jpg.6c26c81ec788b7f97dddfb1e92e0a7d4.jpg)
.jpg.94463fde9bf484122be3311059950e75.jpg)
.jpg.7b1a1fbc377aca3f6d9b87e733653afd.jpg)
.jpg.680a5baad01ddab4fdddac0e24ebdd5b.jpg)
.jpg.762723b4c5ac91848f867faee0bde9c8.jpg)
.jpg.ffed9d82be9491ef10eb06c02cd3d920.jpg)
.jpg.52709ea81ff49f1722a3d3b27b74ed4c.jpg)