-
Posts
117 -
Joined
-
Last visited
Content Type
Profiles
Forums
Events
Gallery
Posts posted by delta99
-
-
-
That looks great
-
-
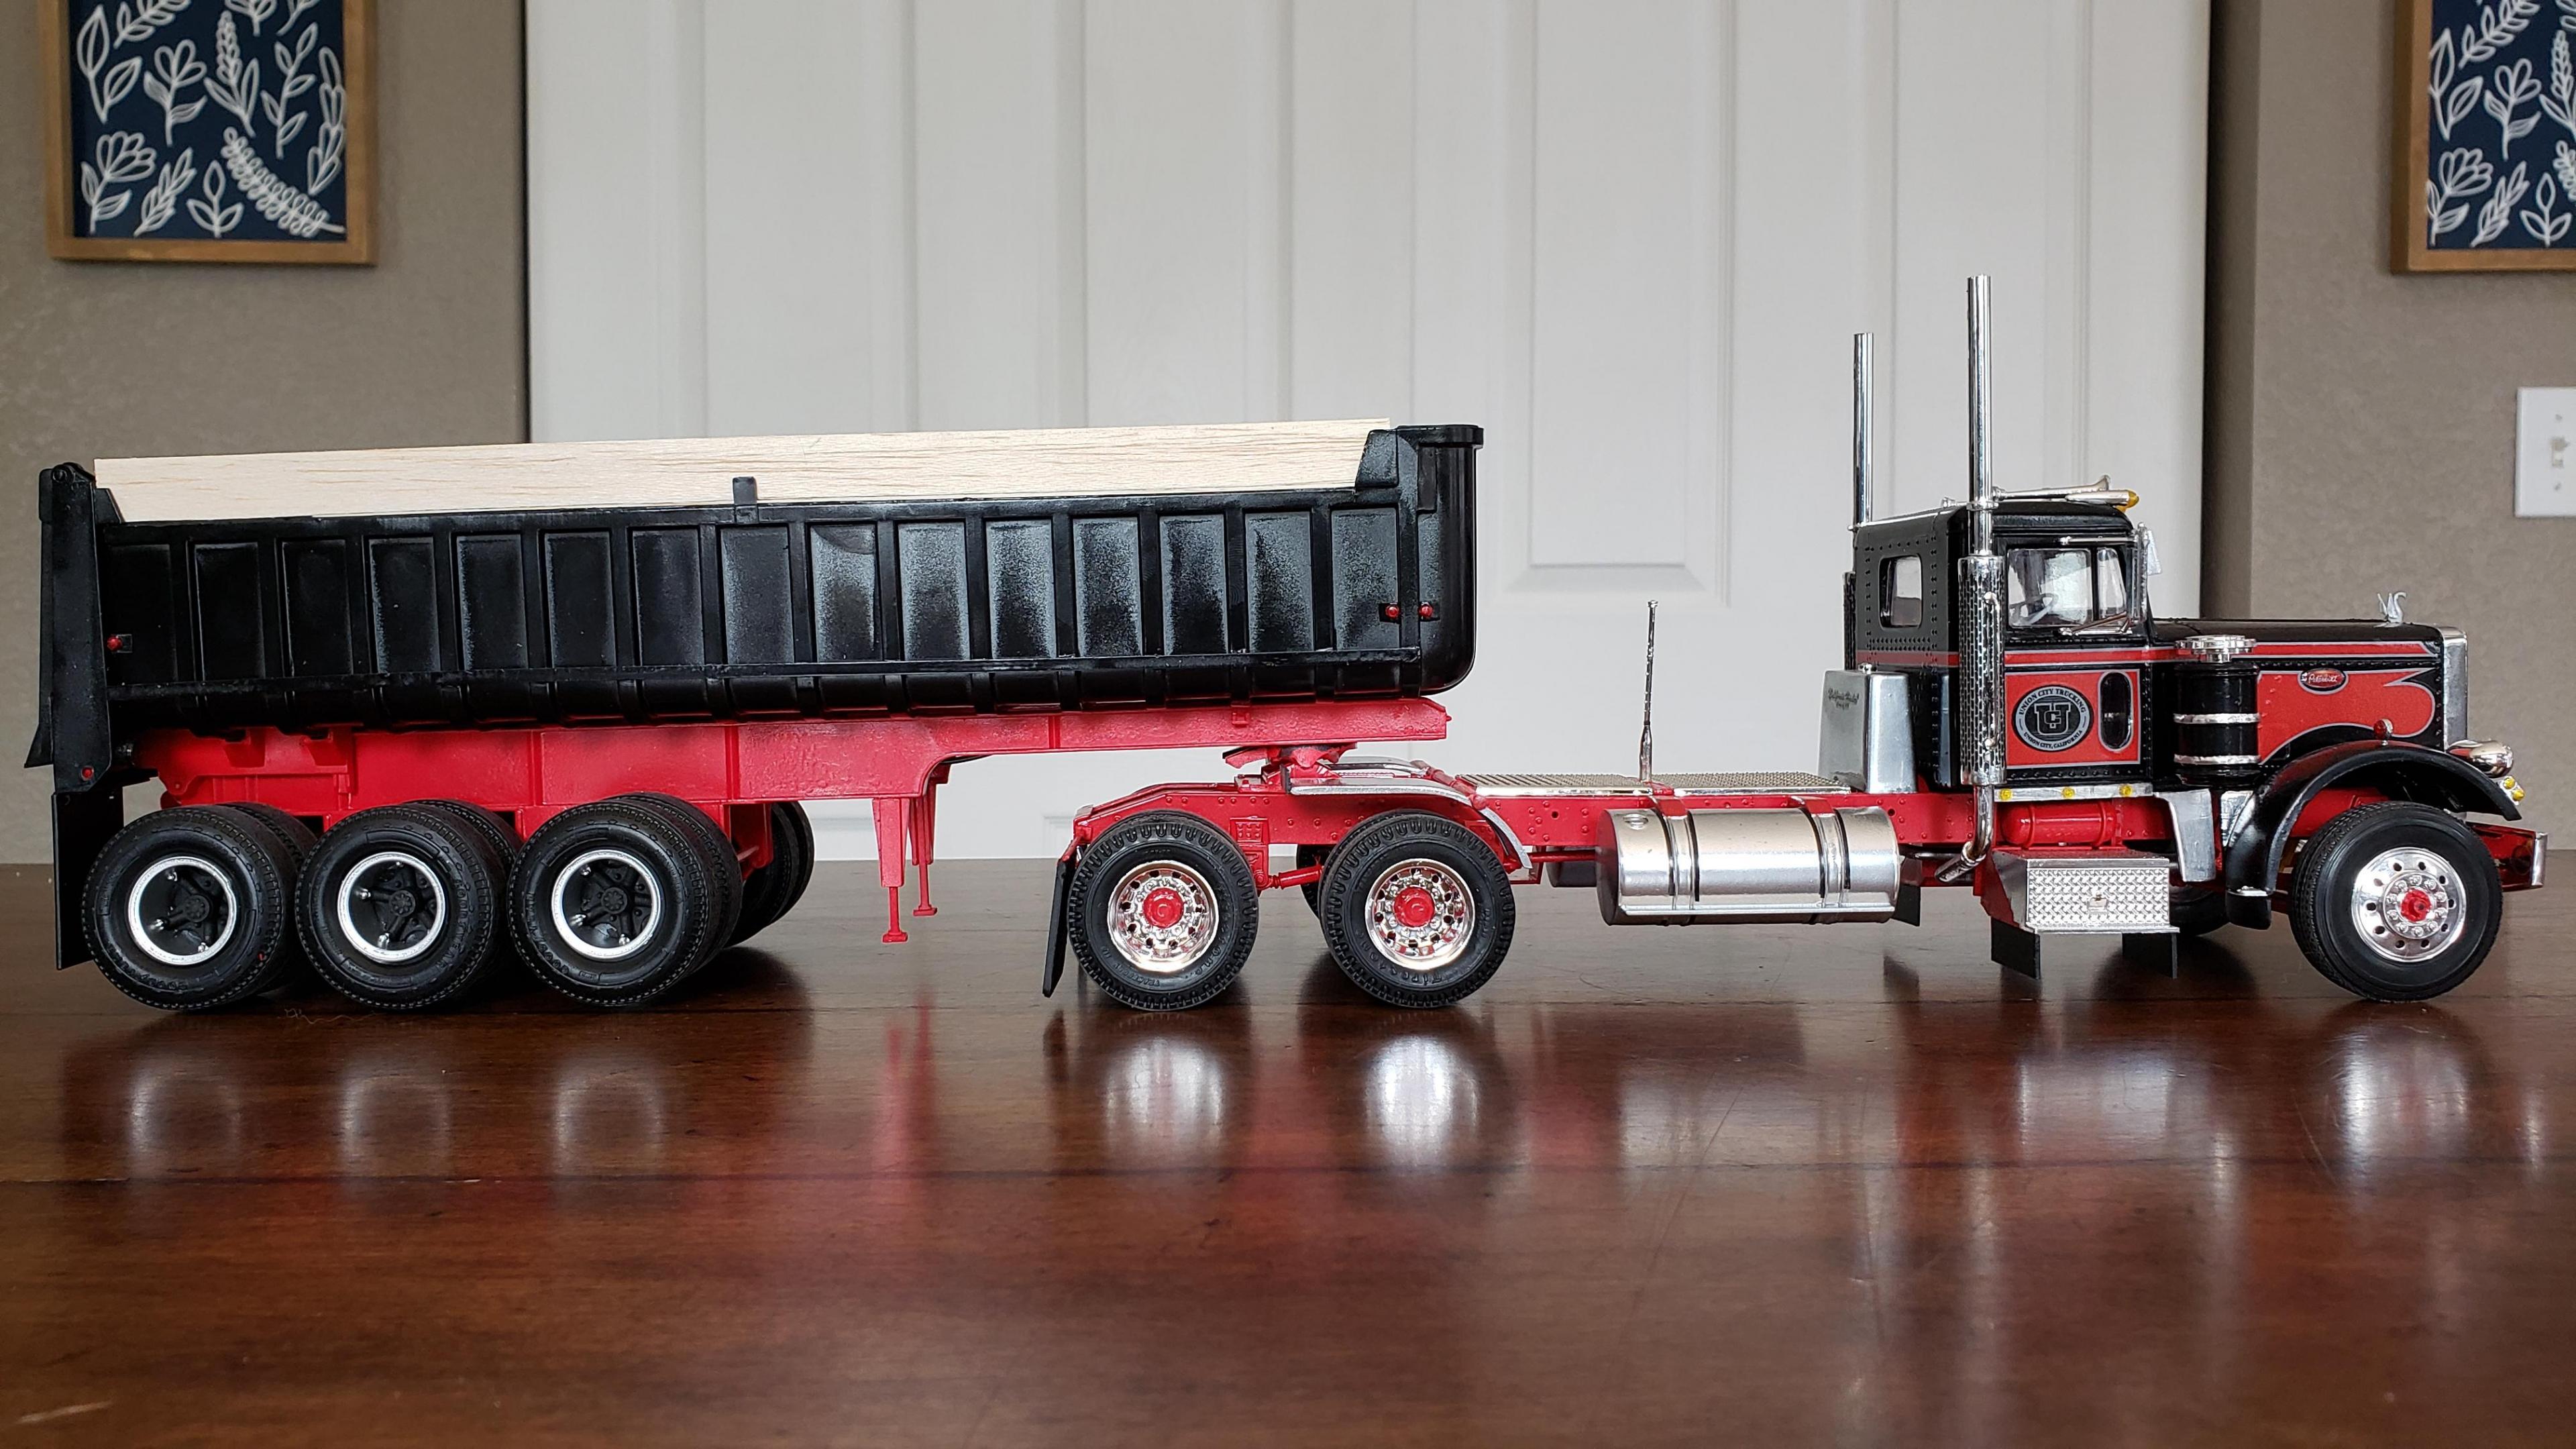
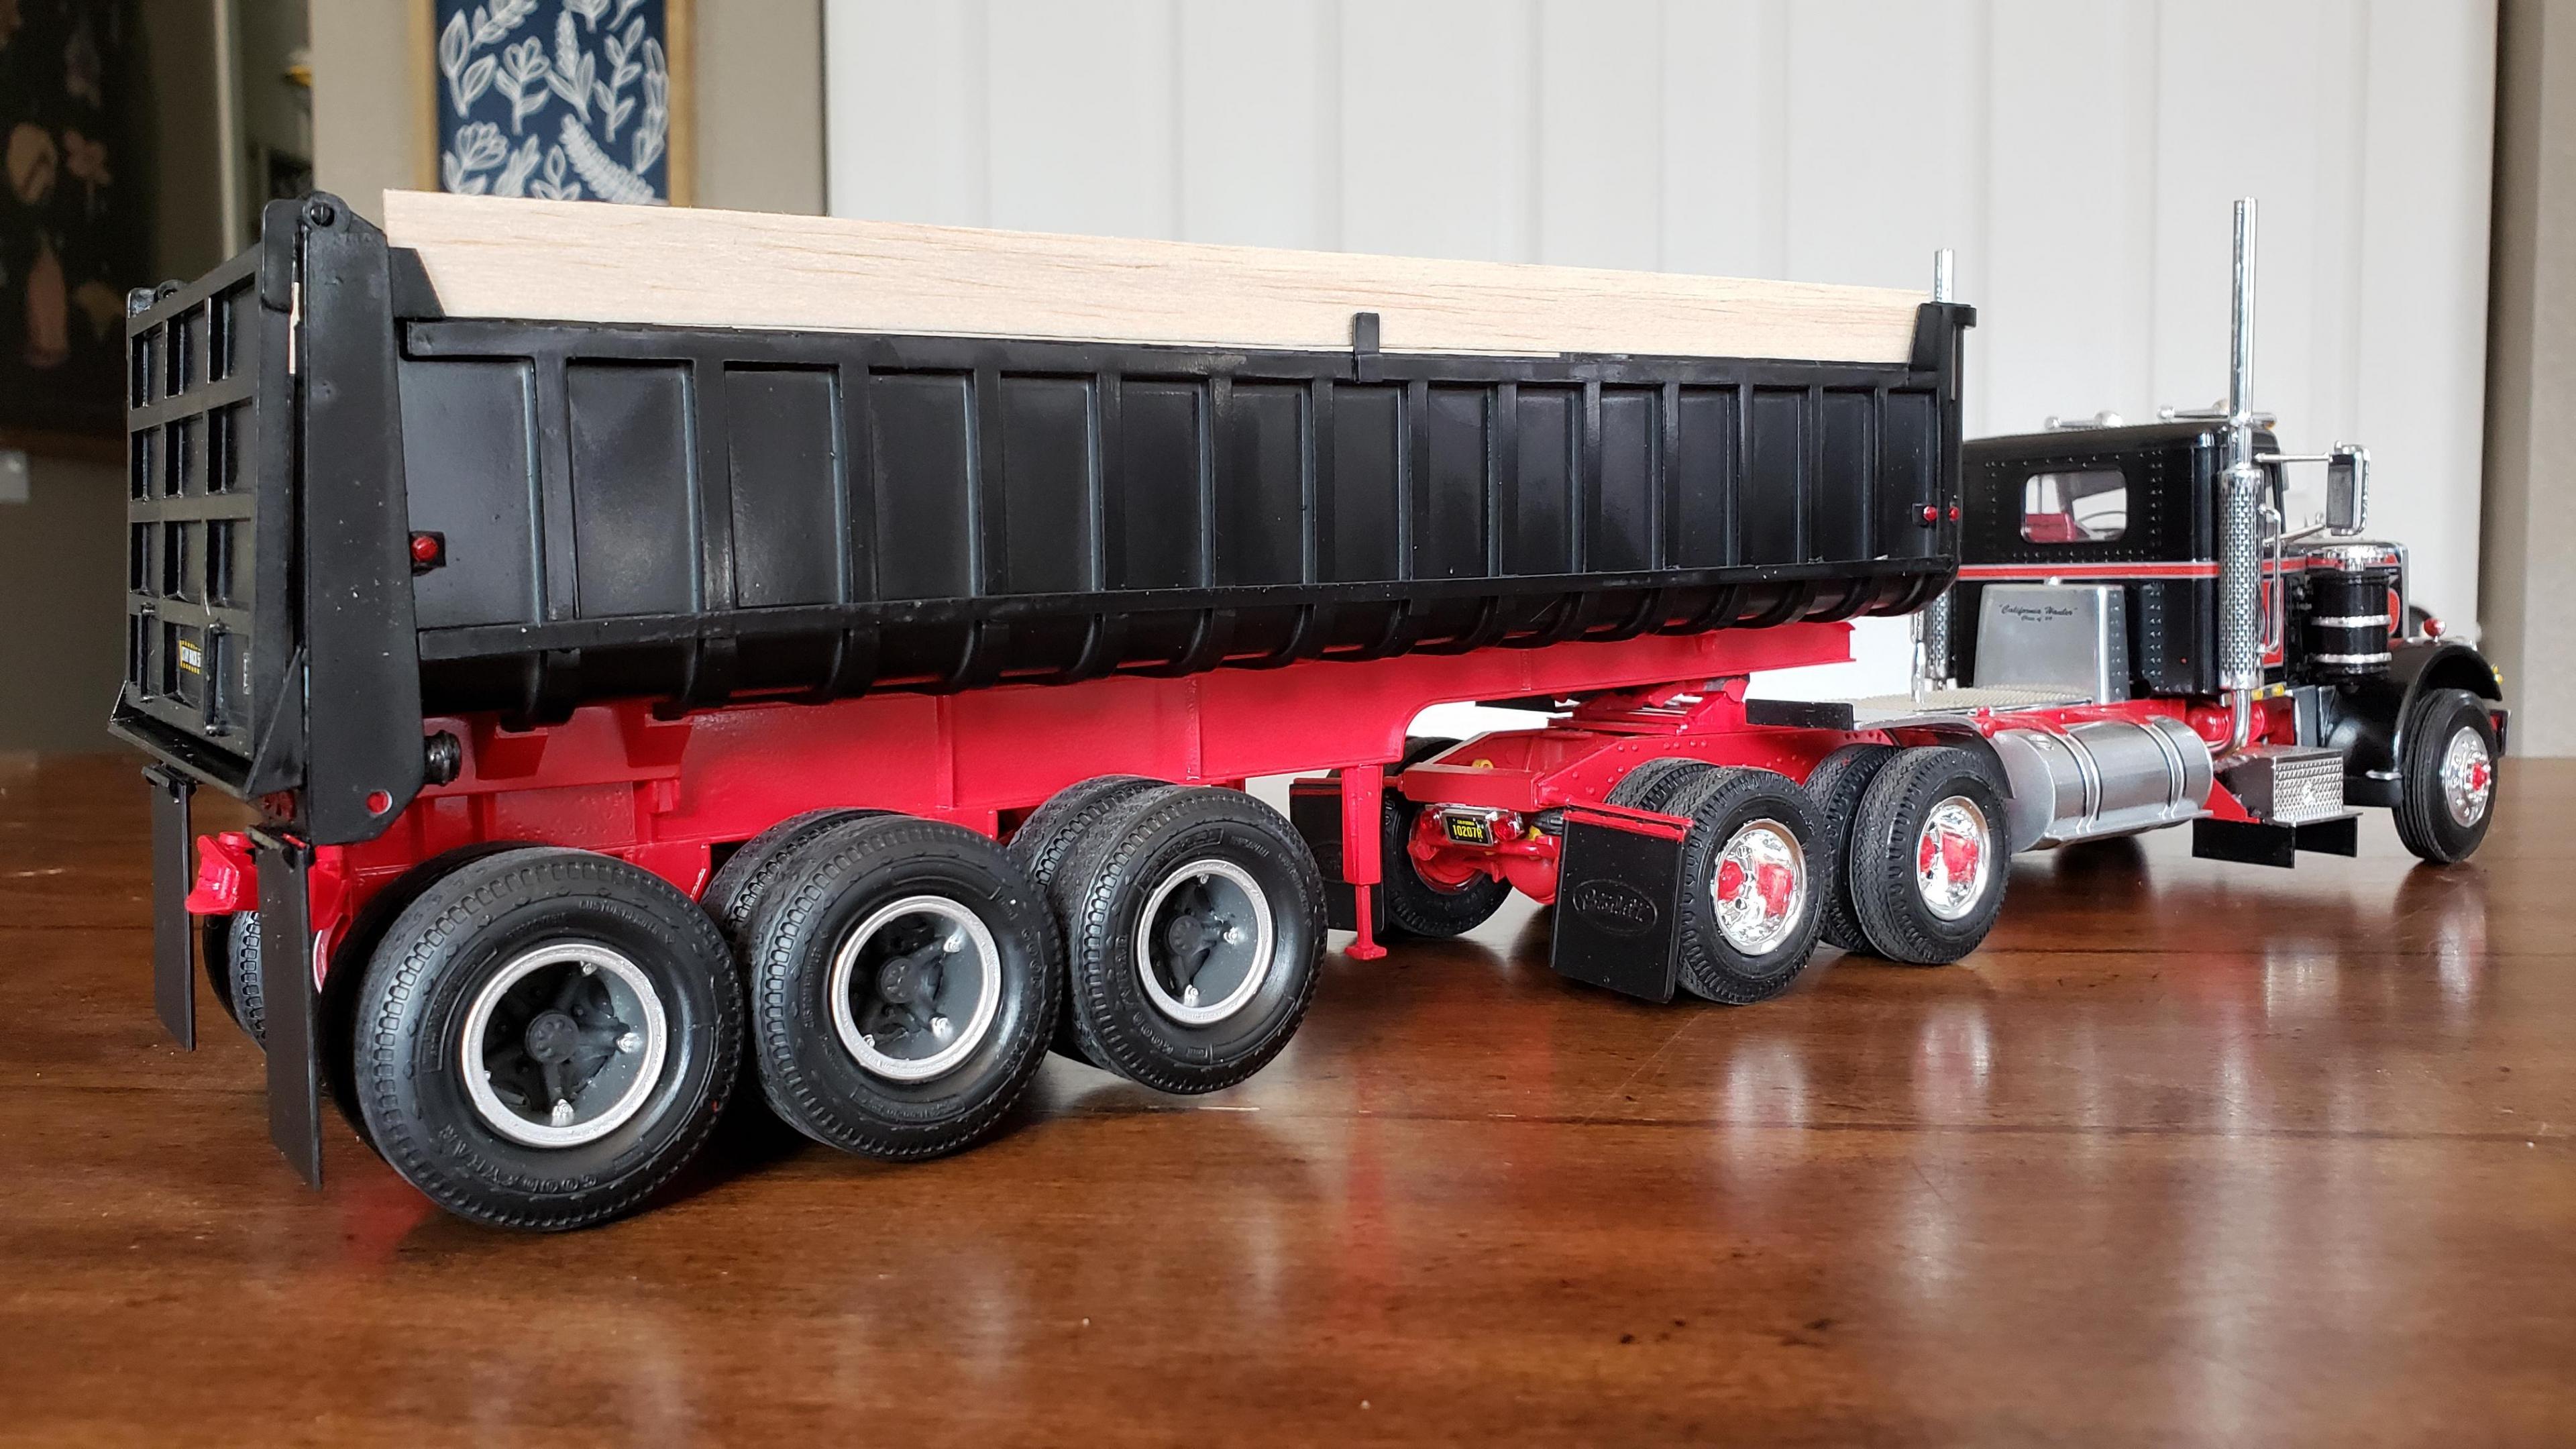
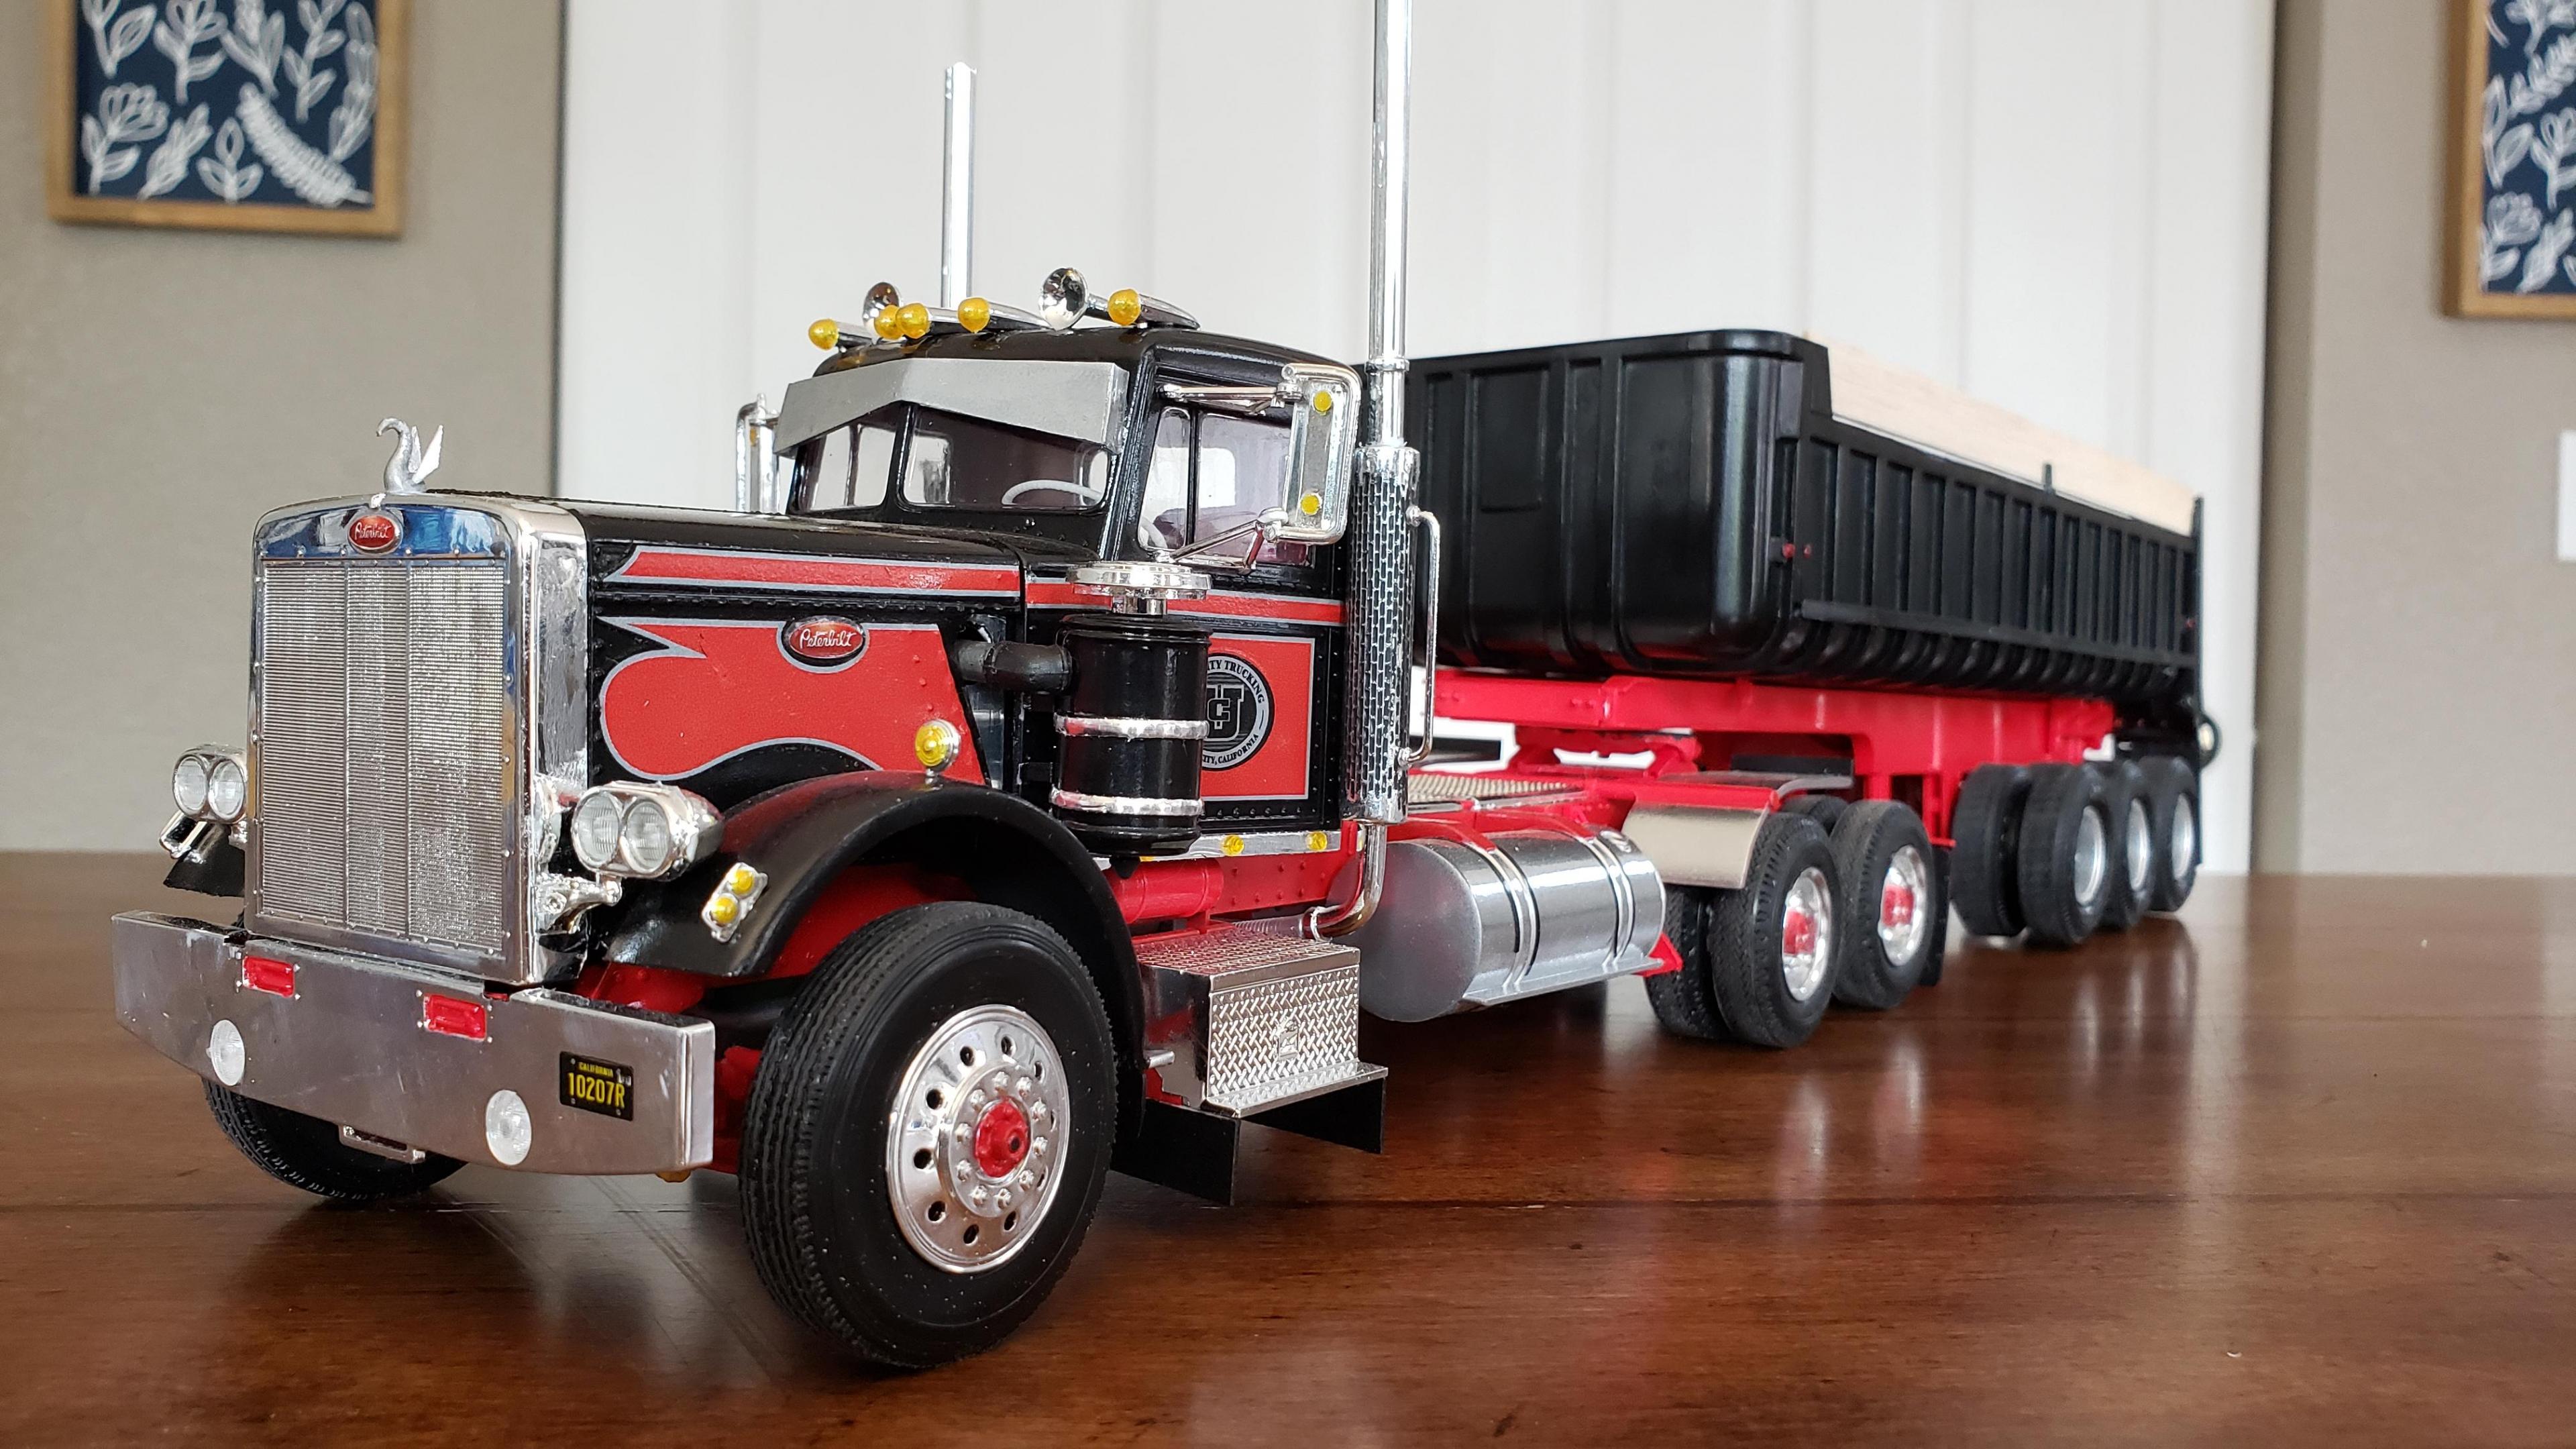
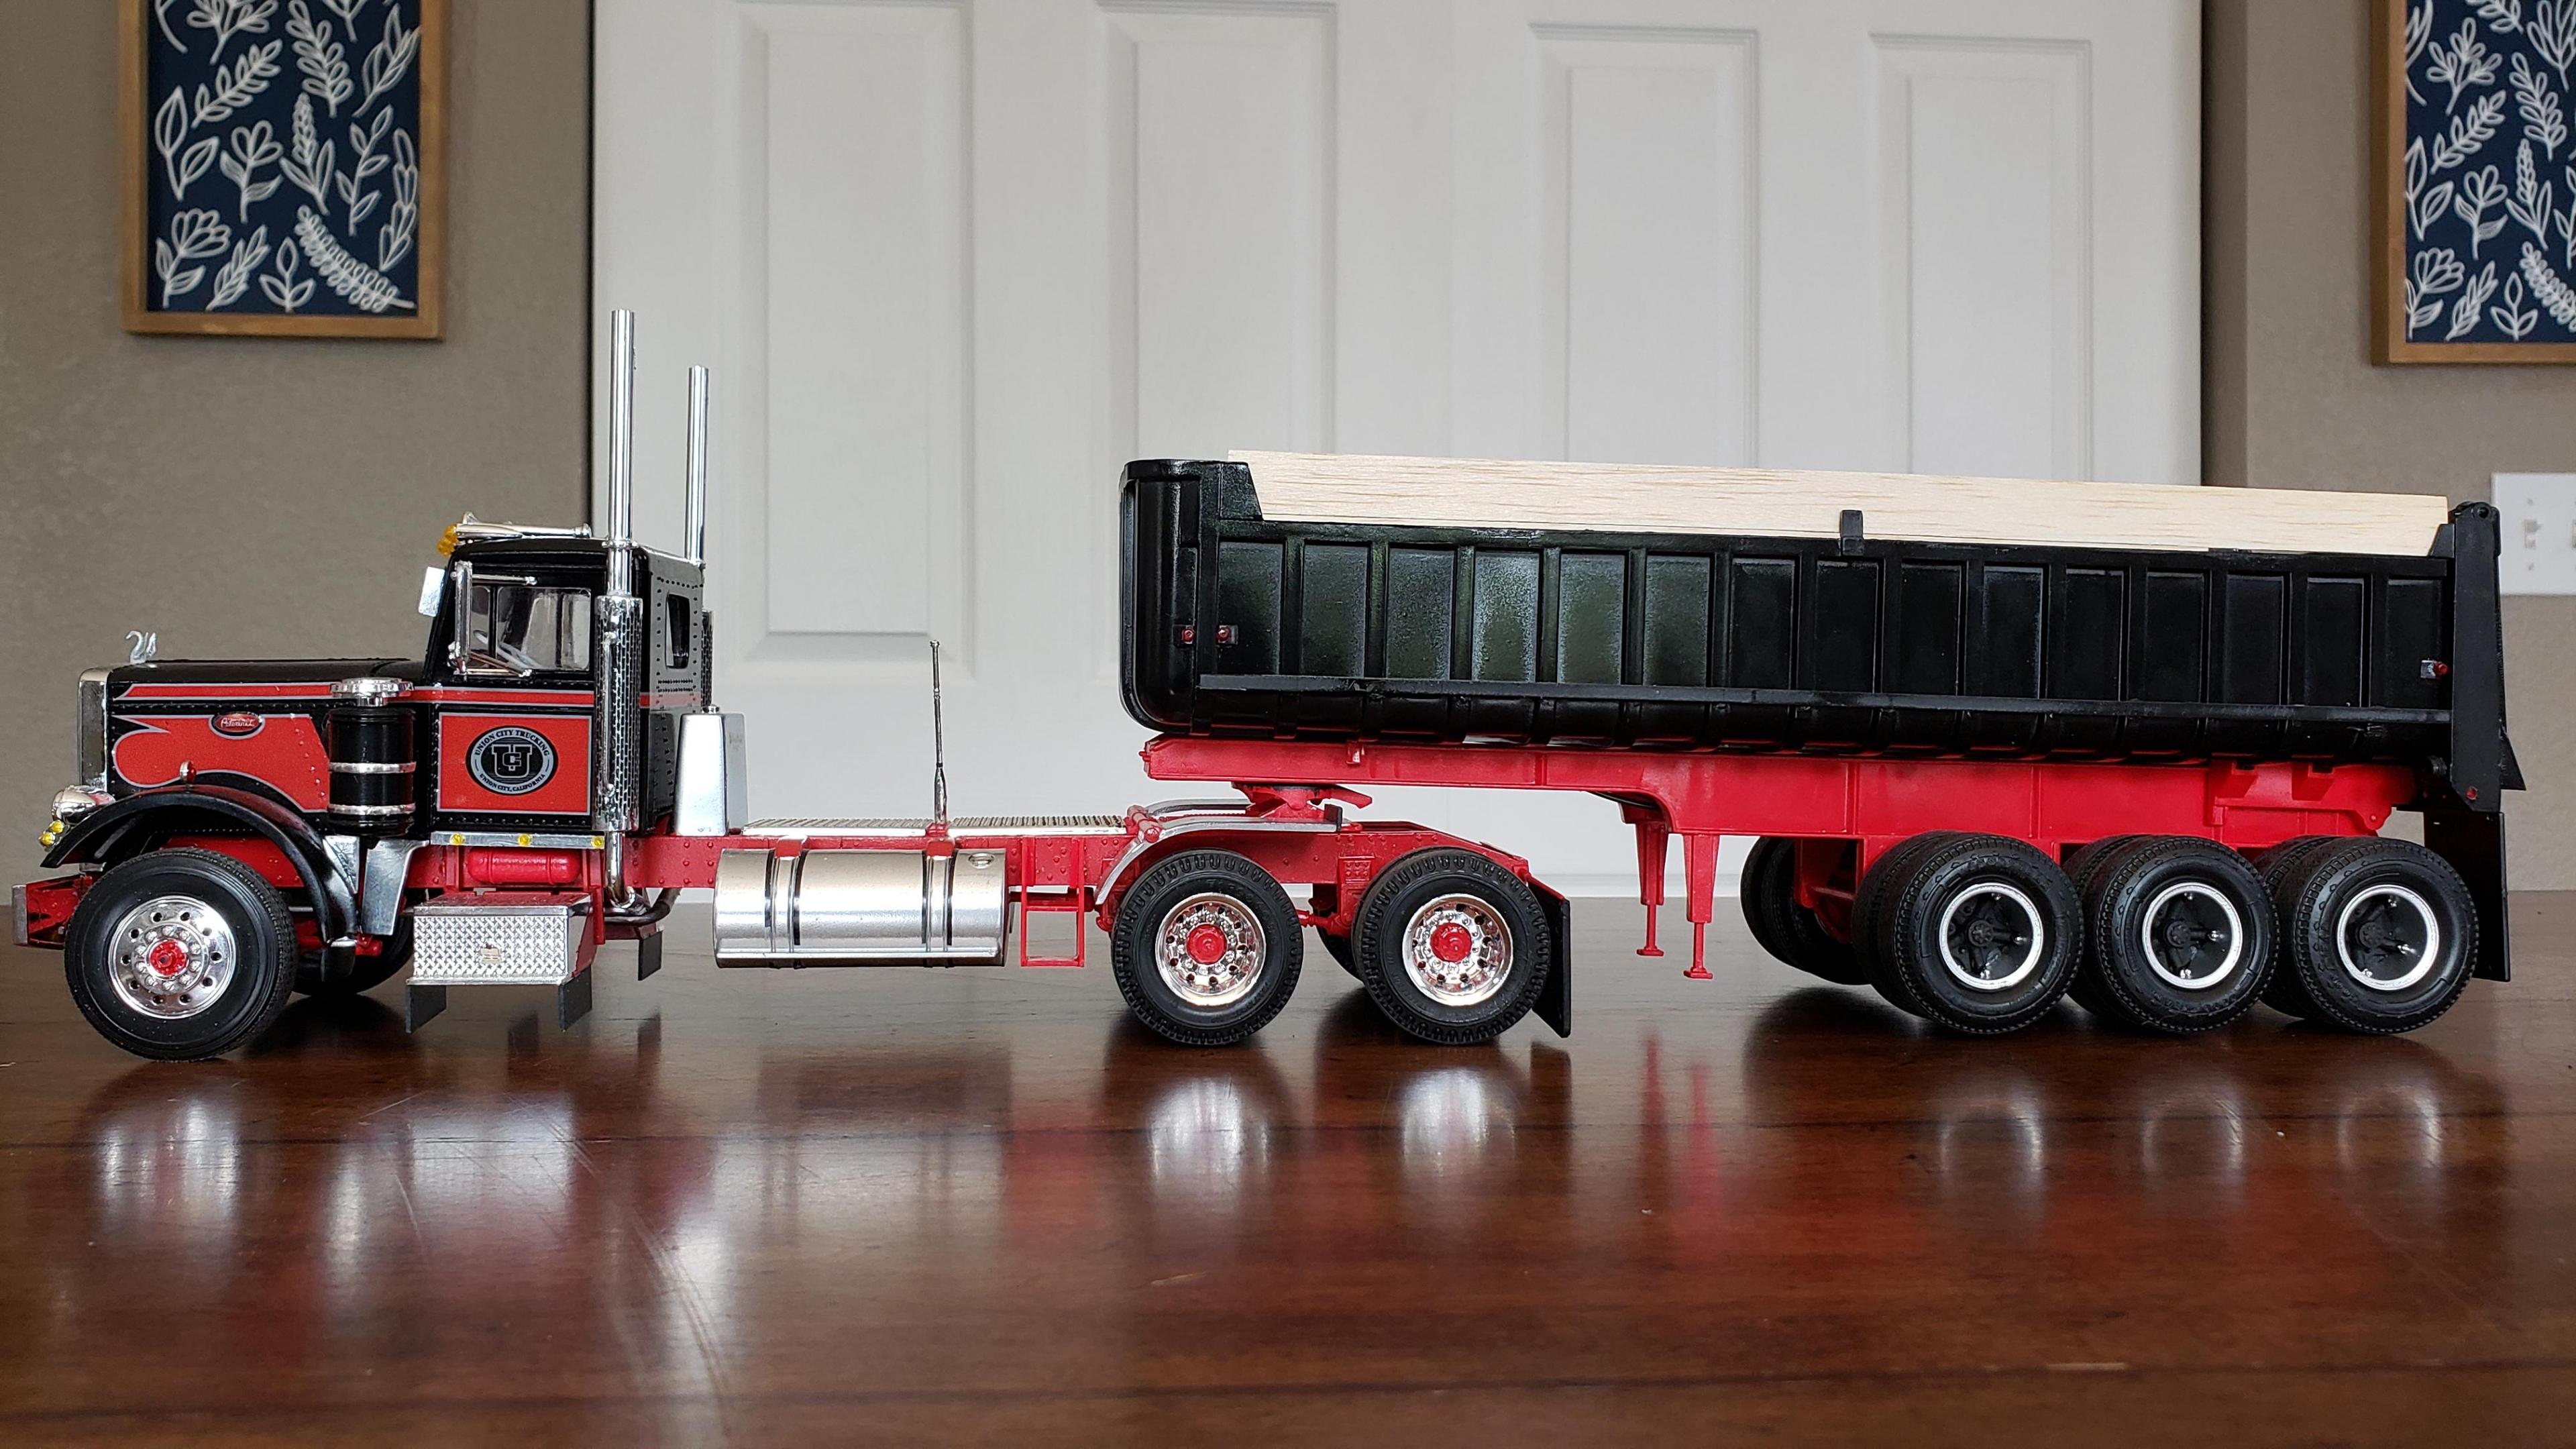
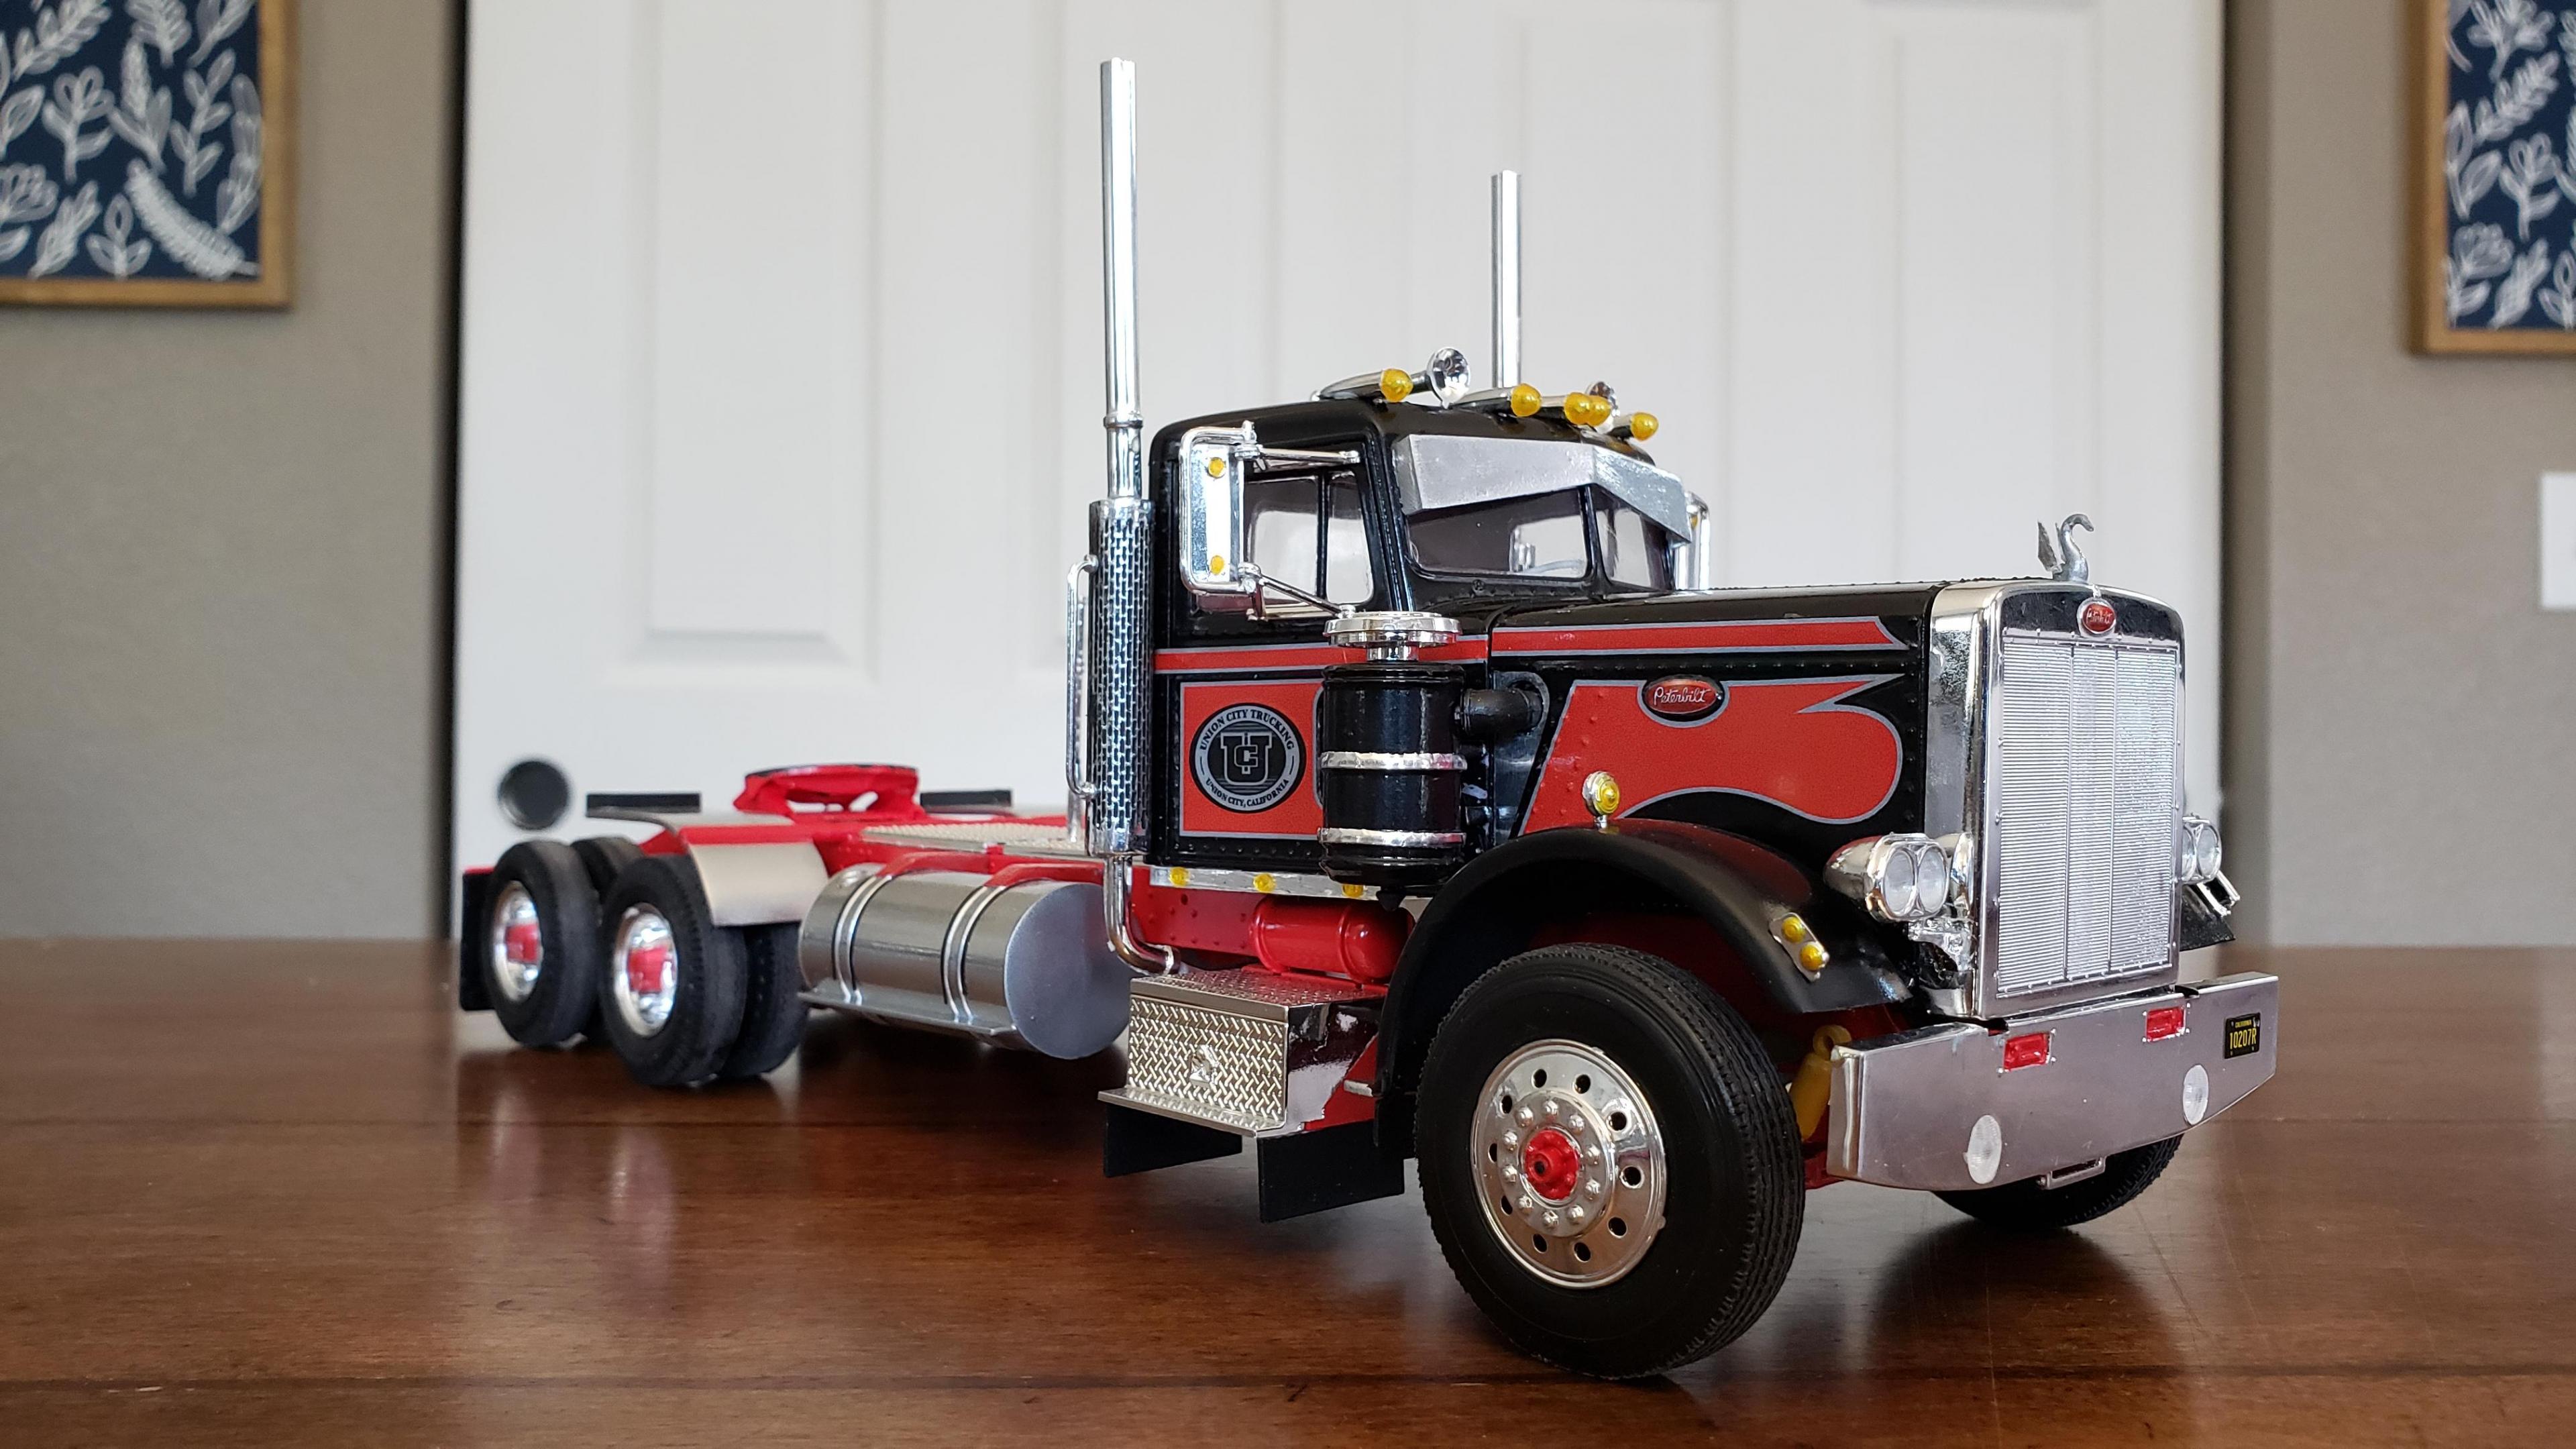
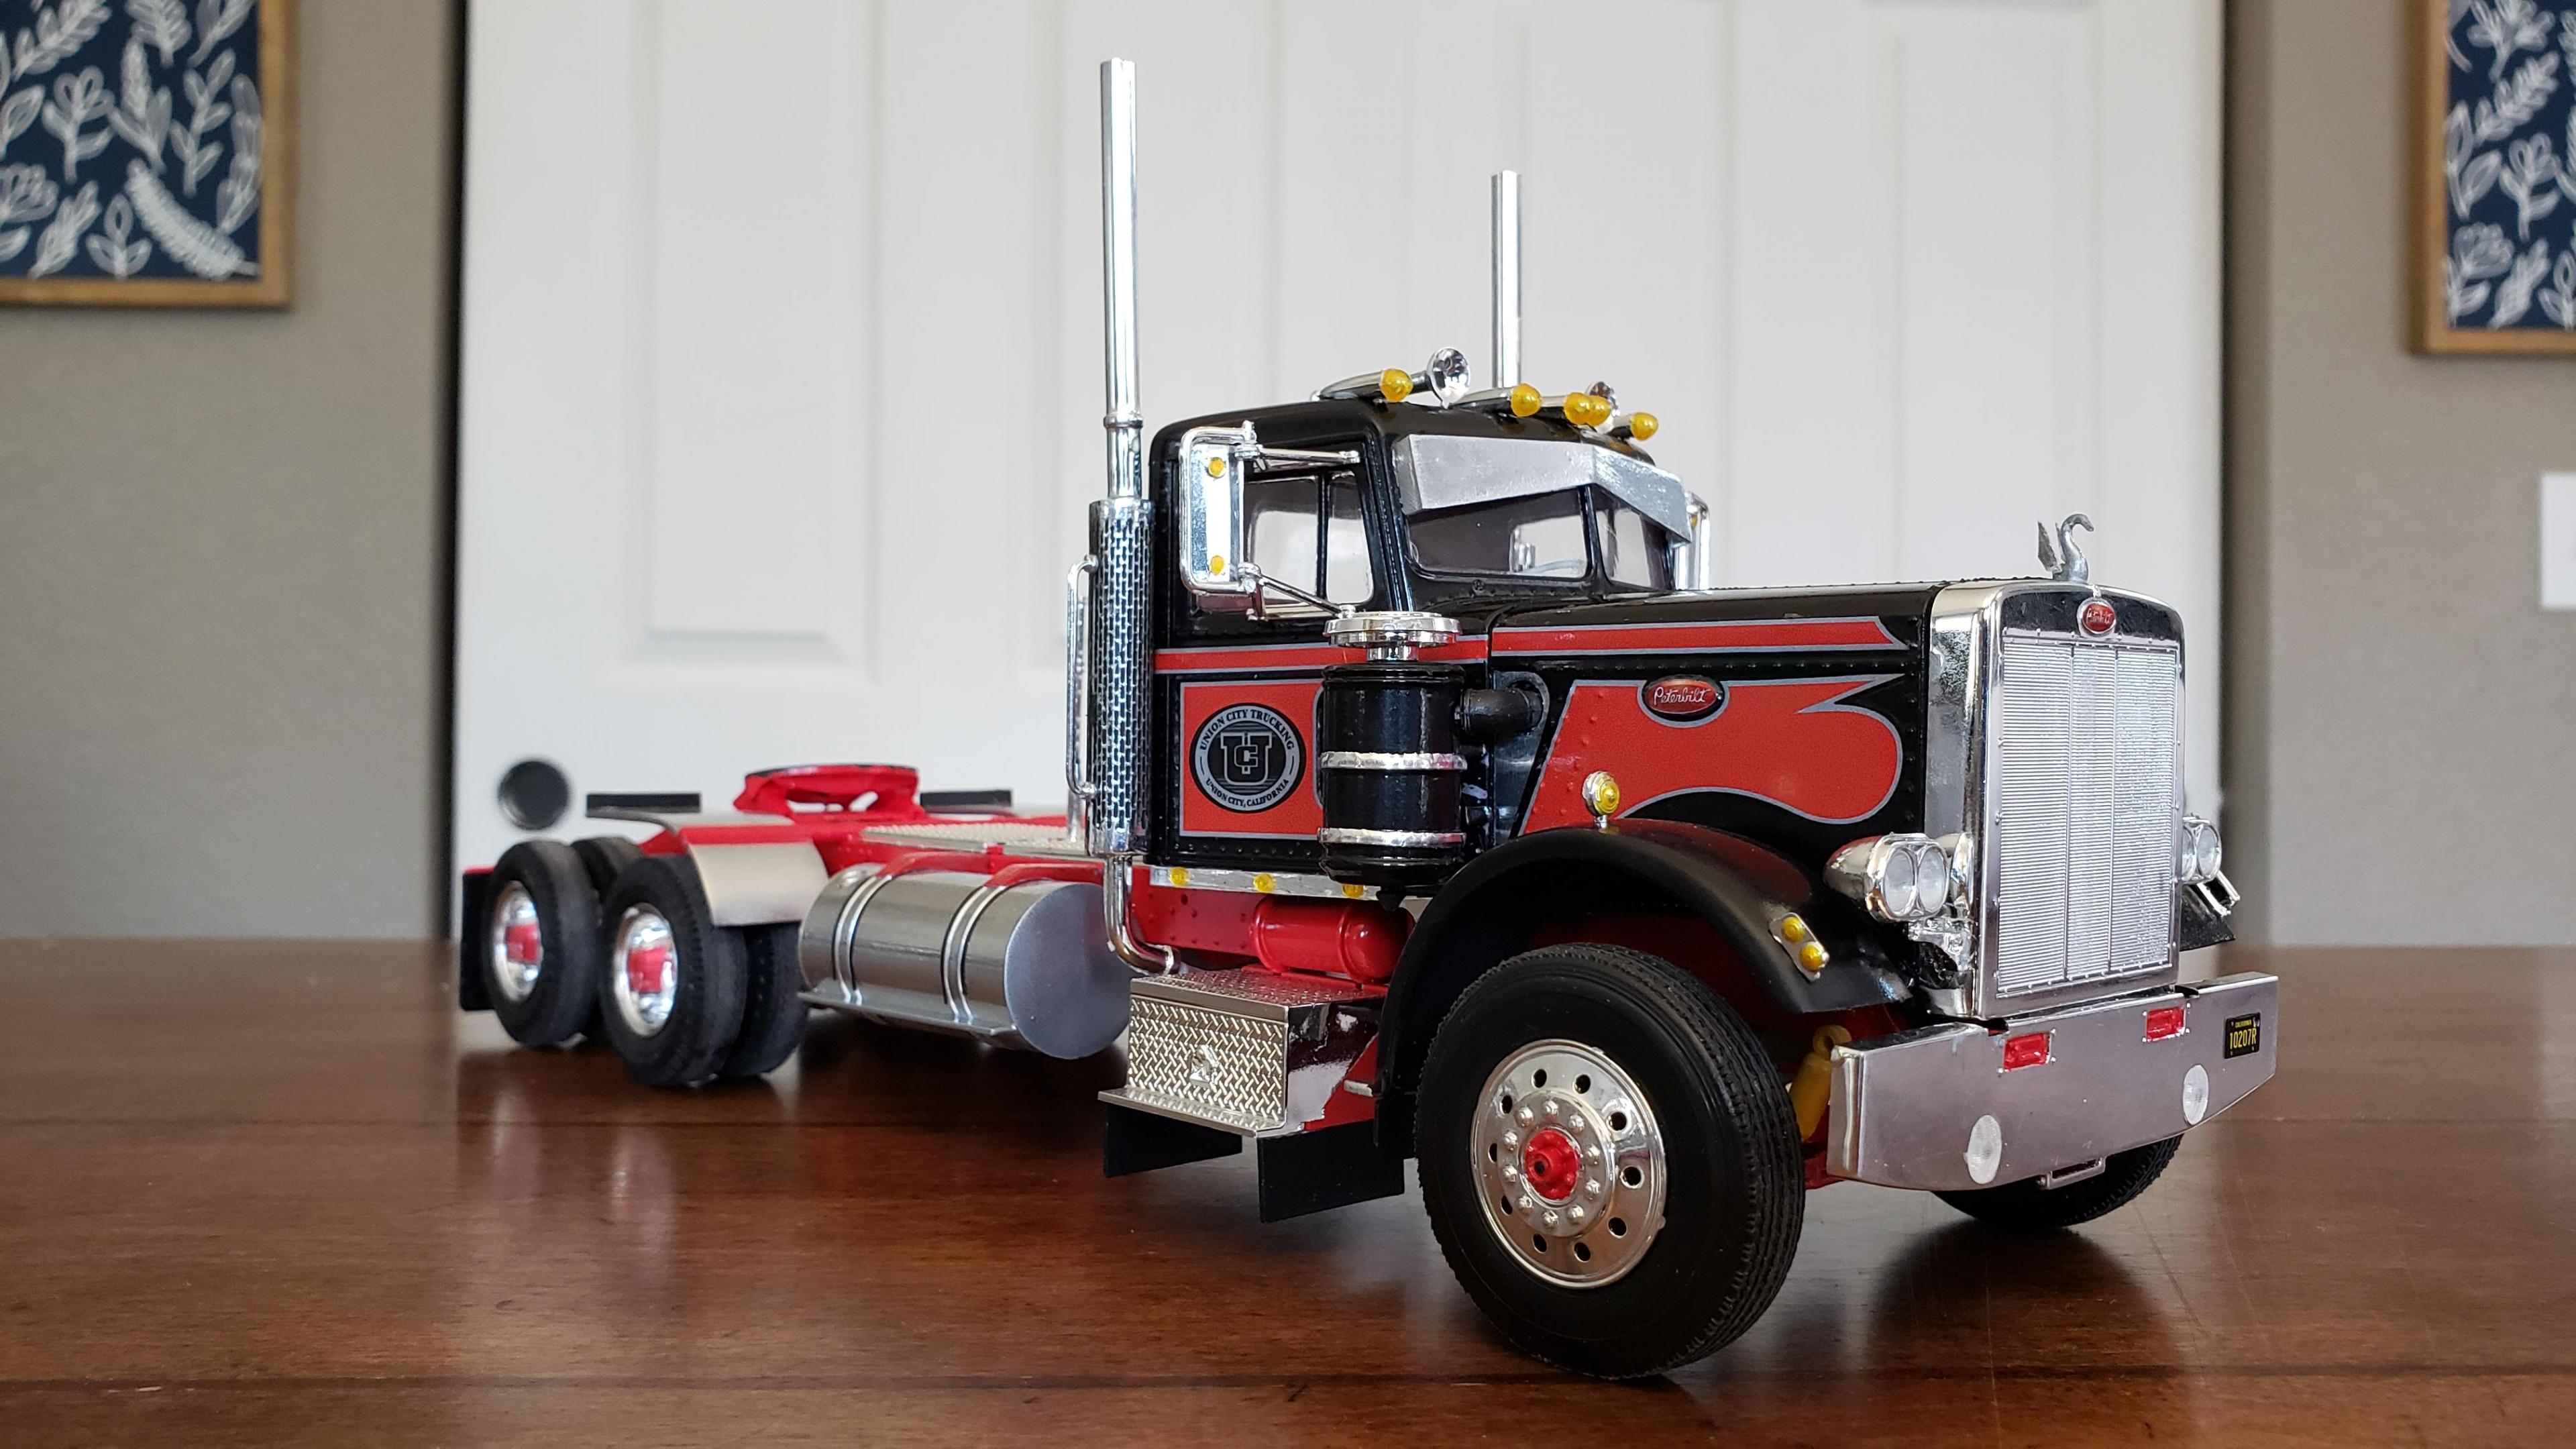
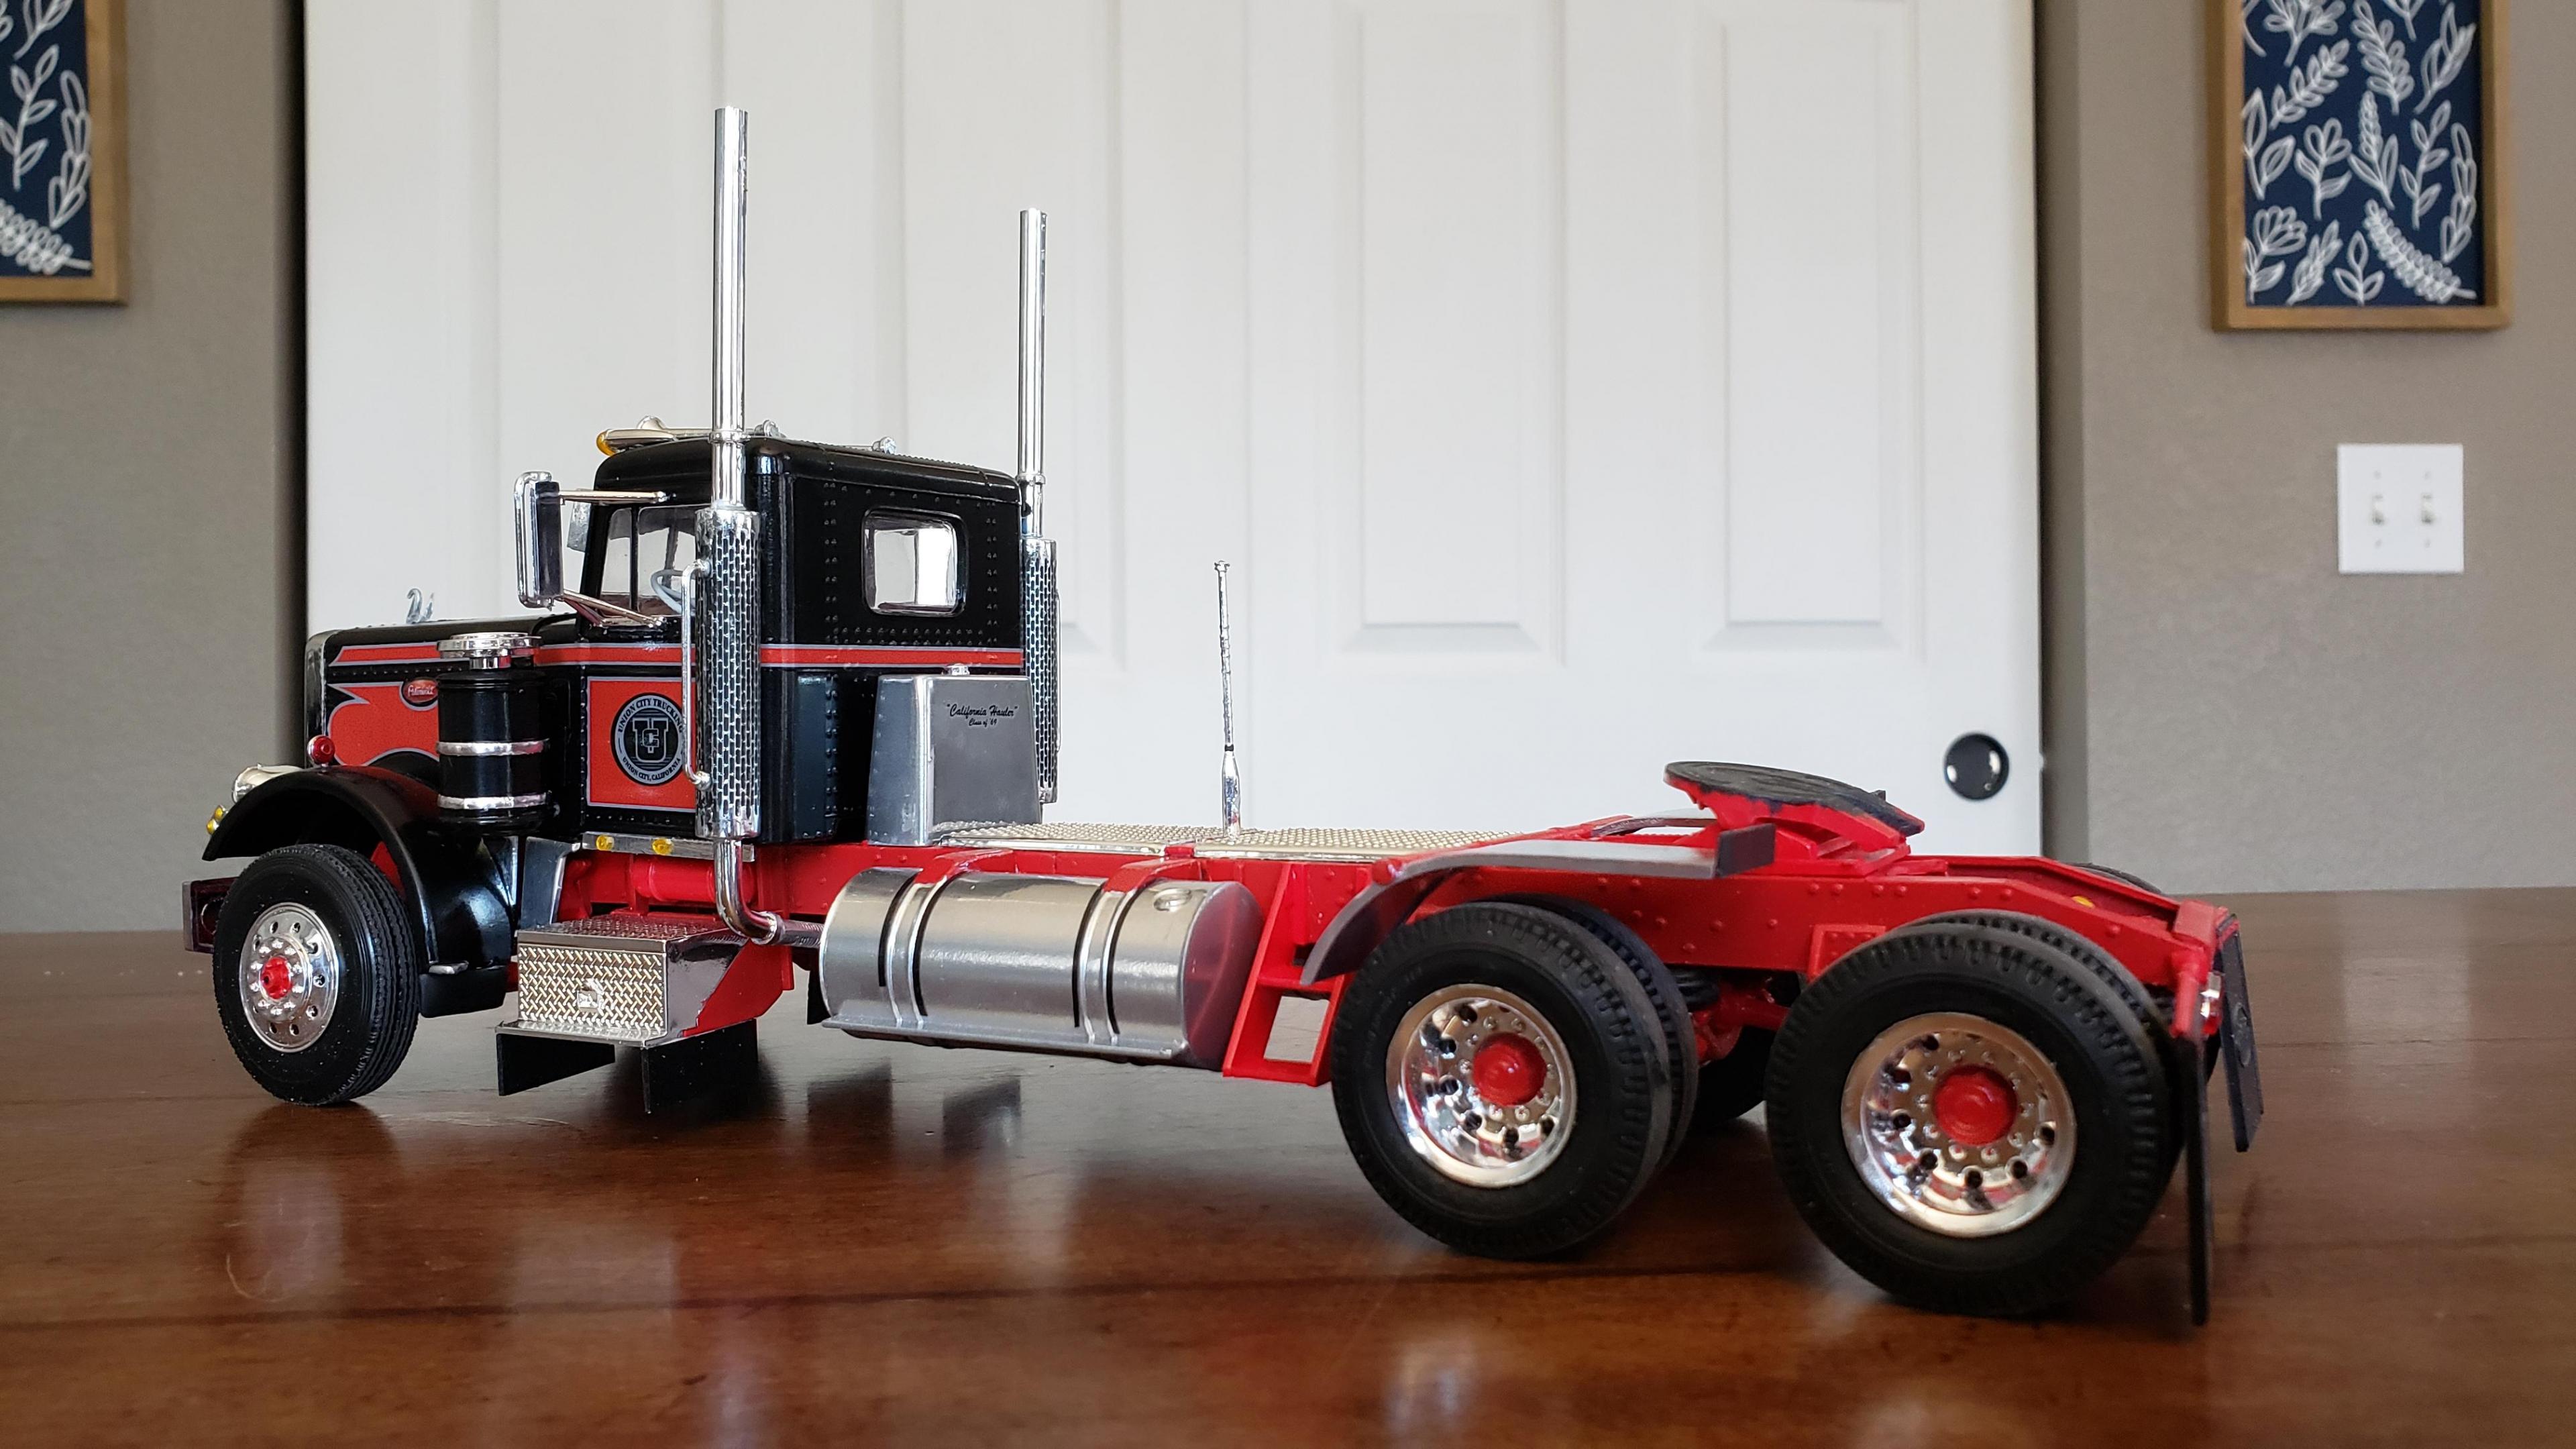
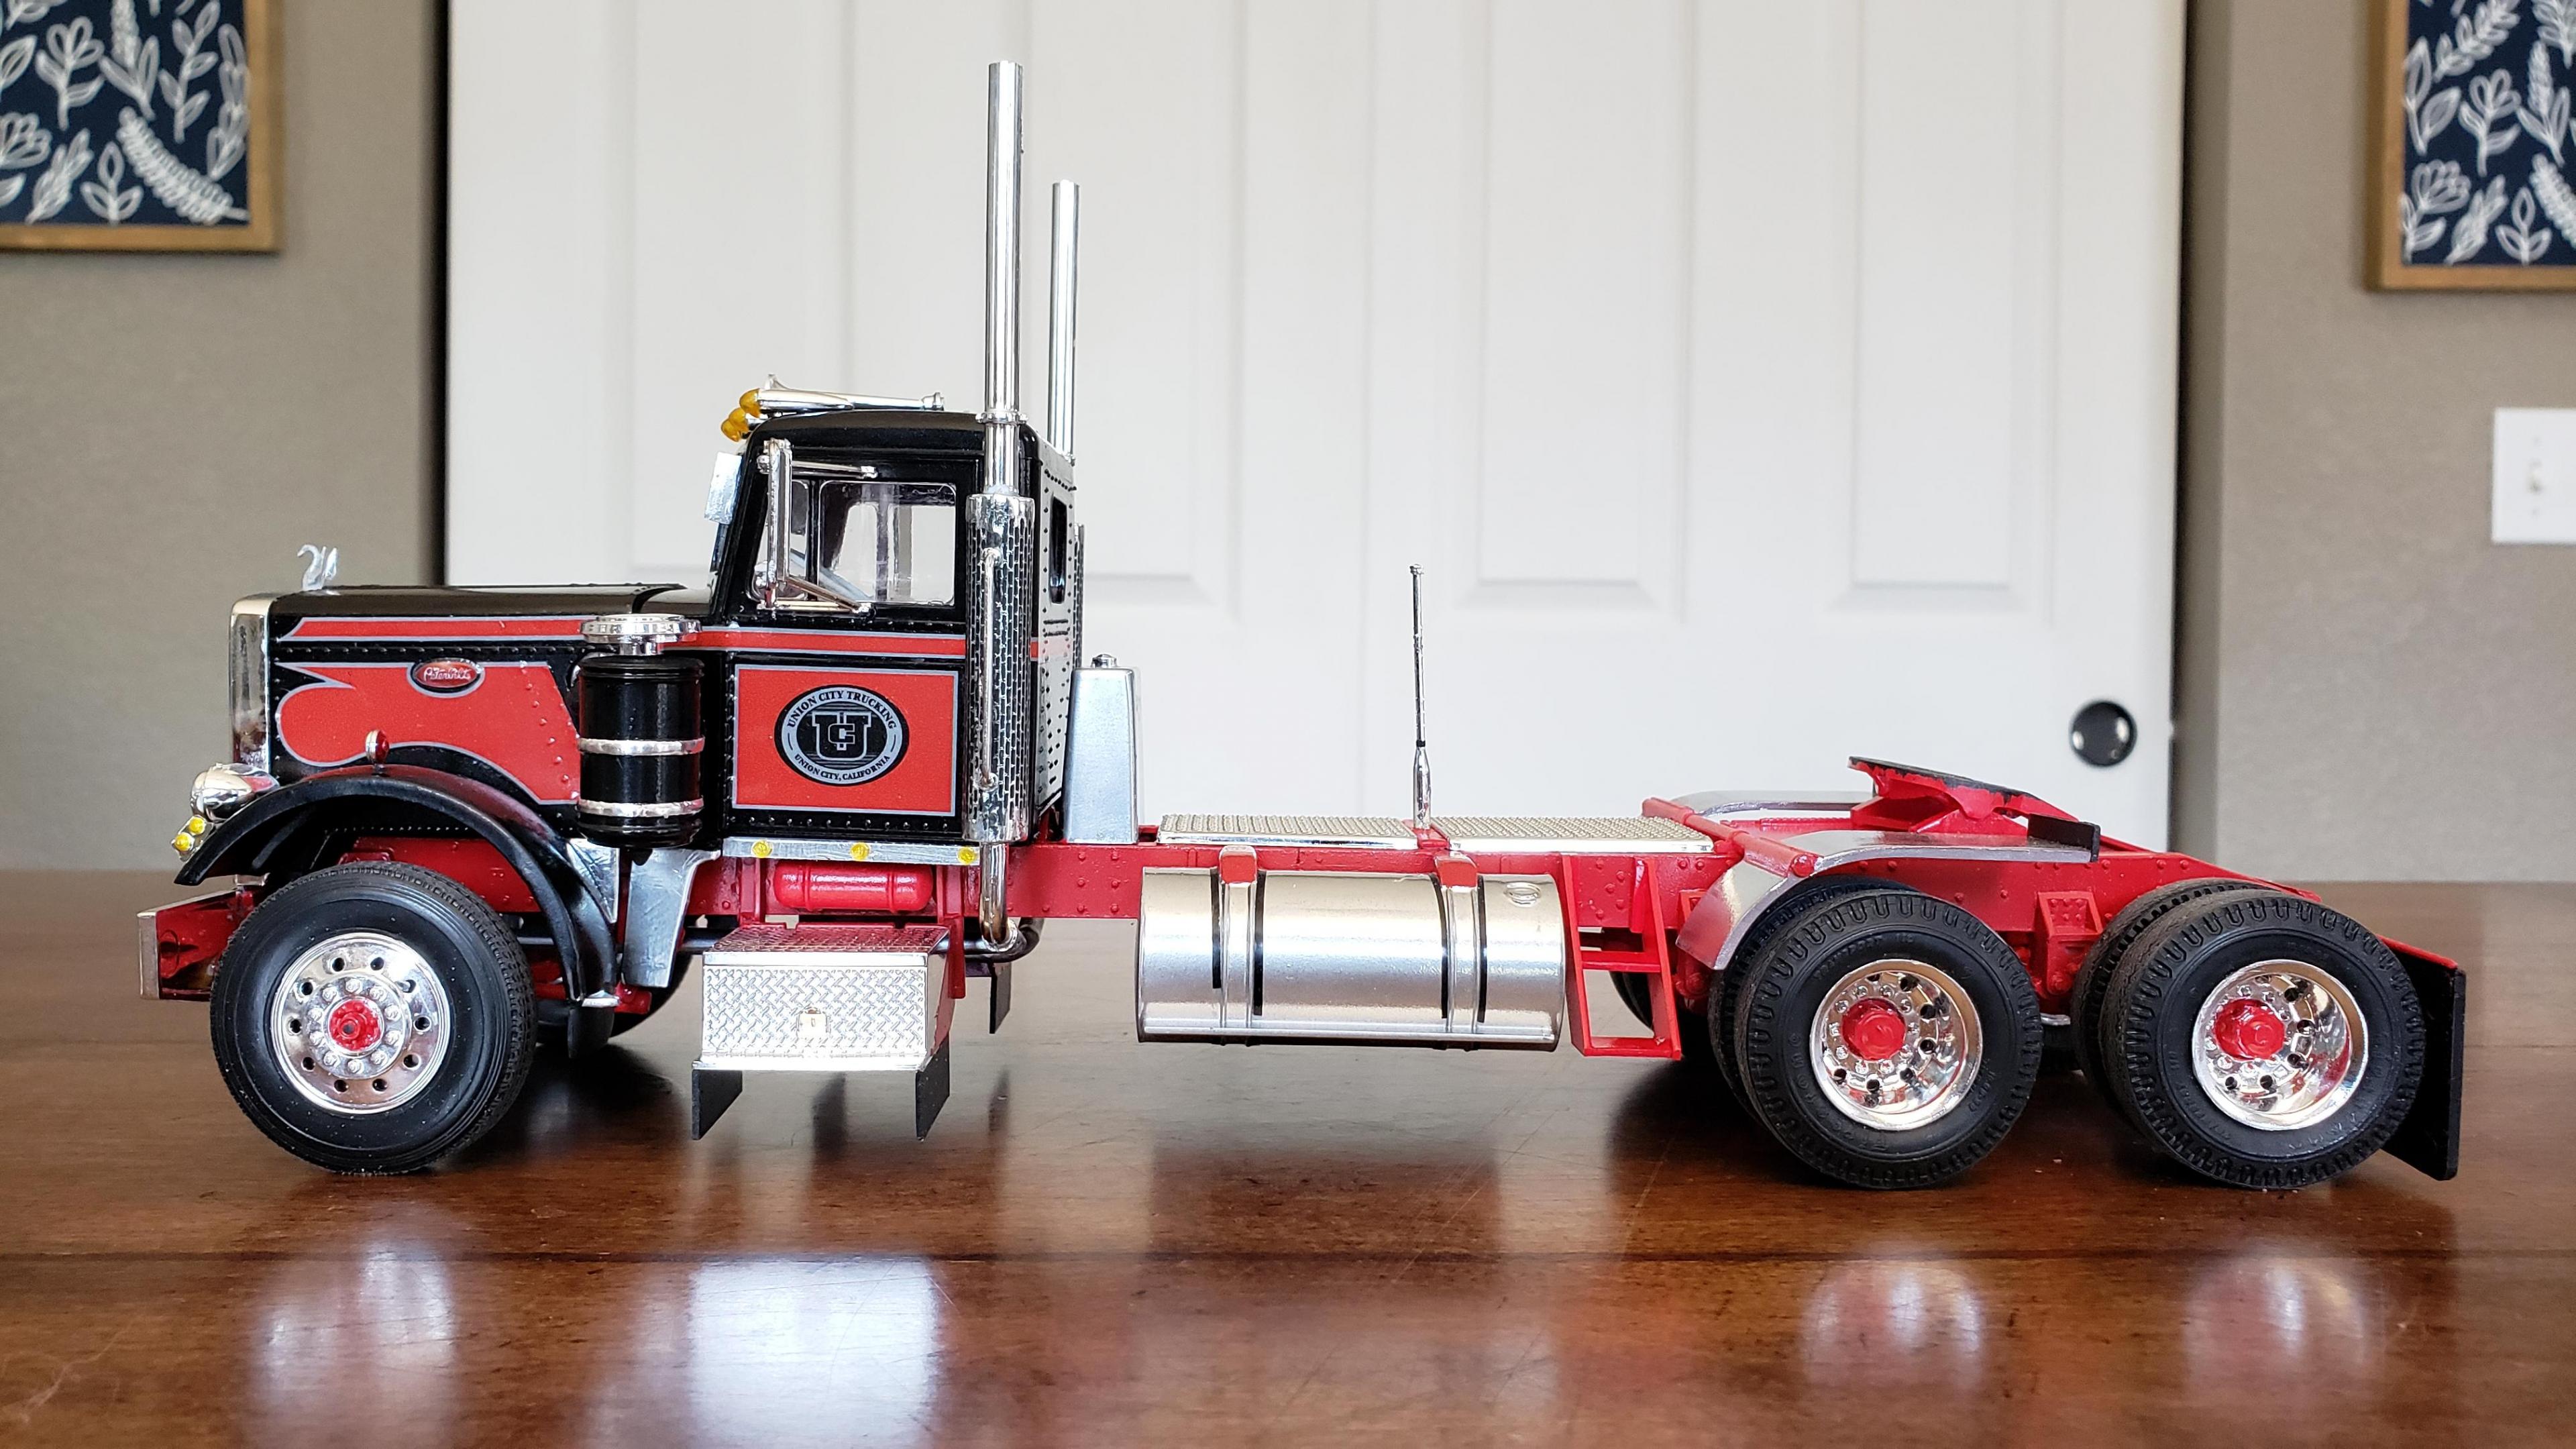
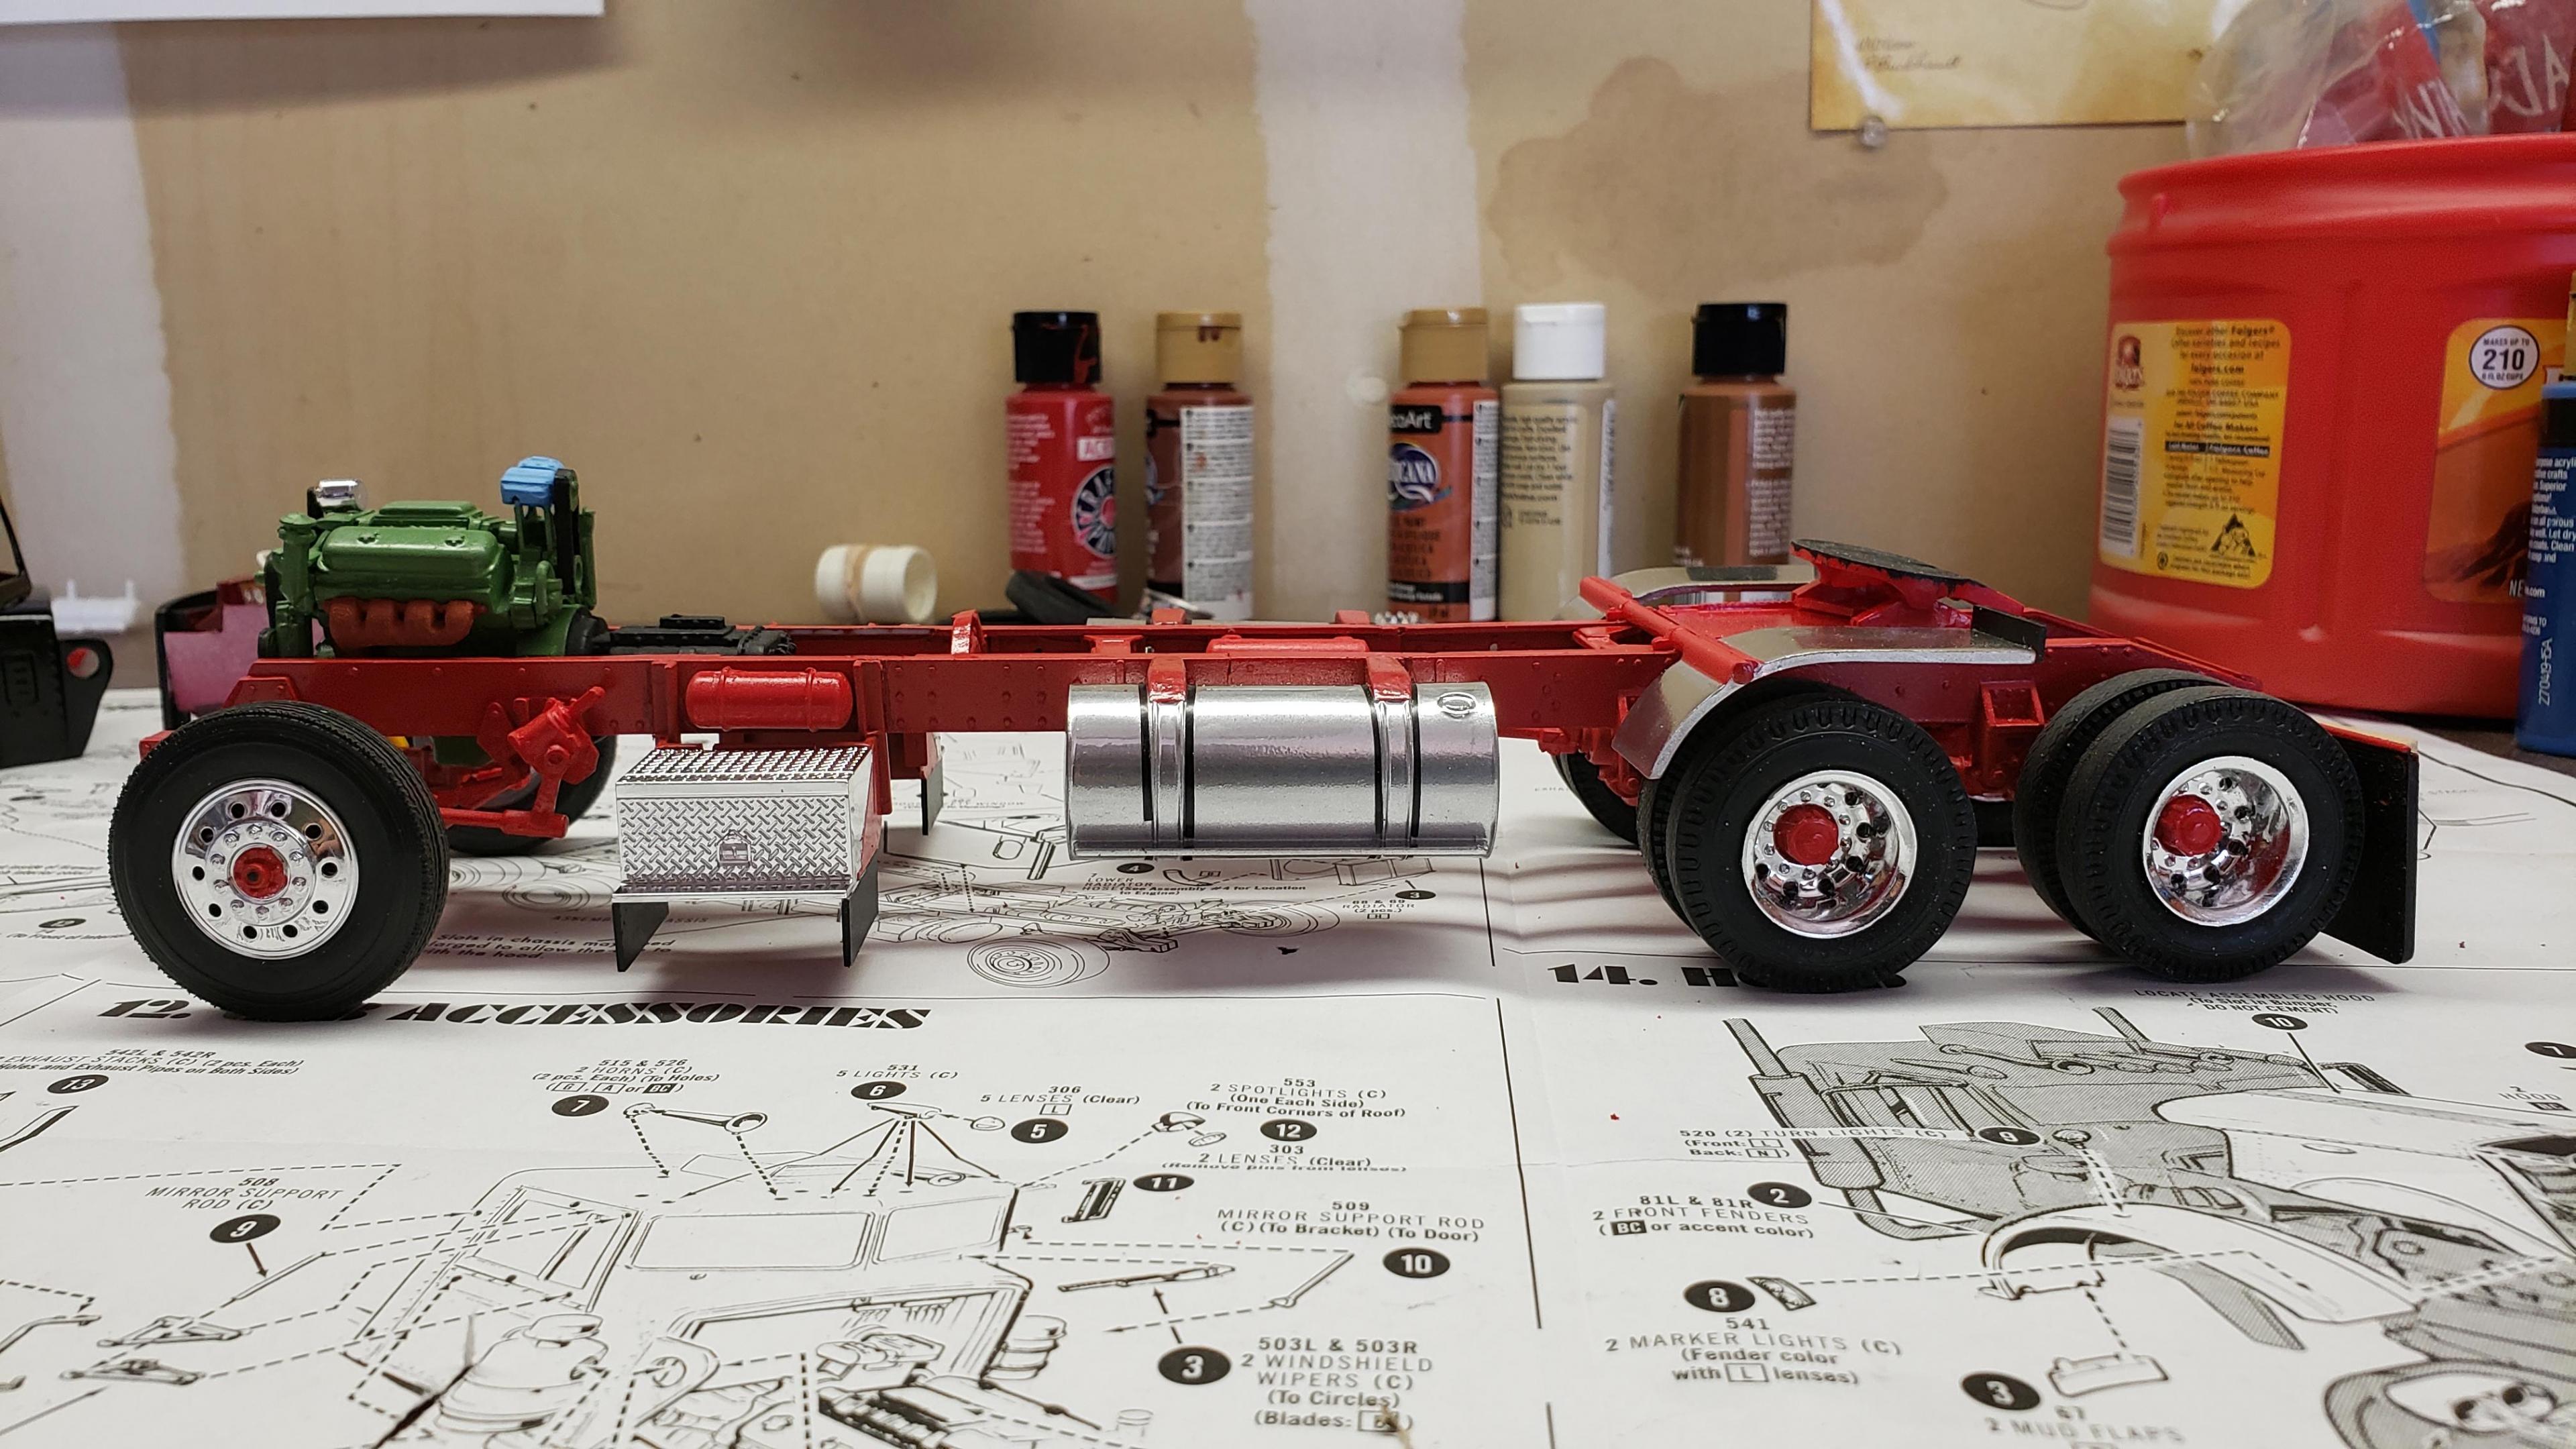
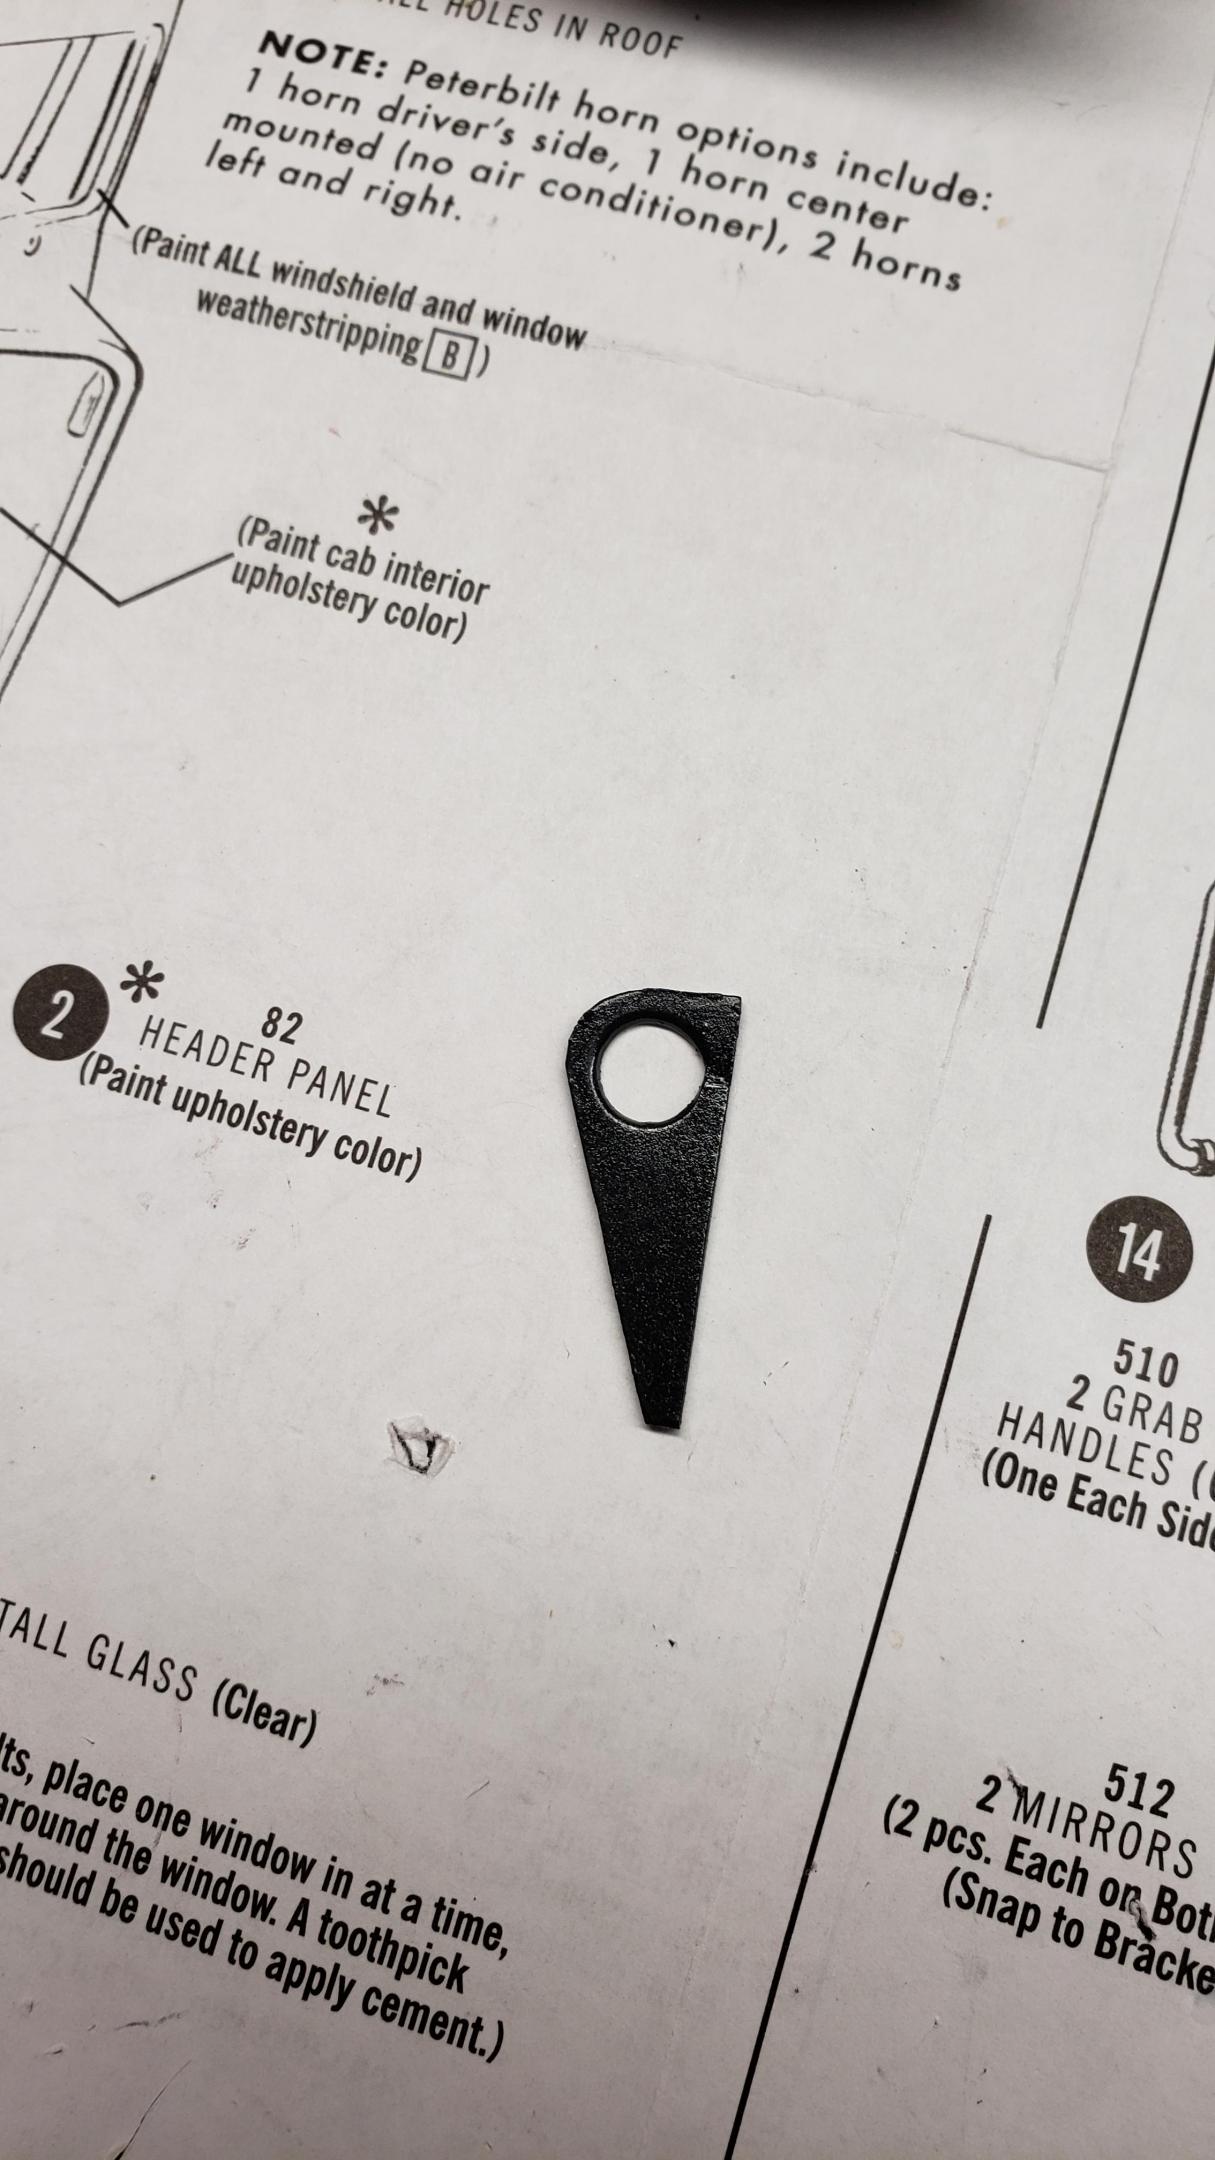
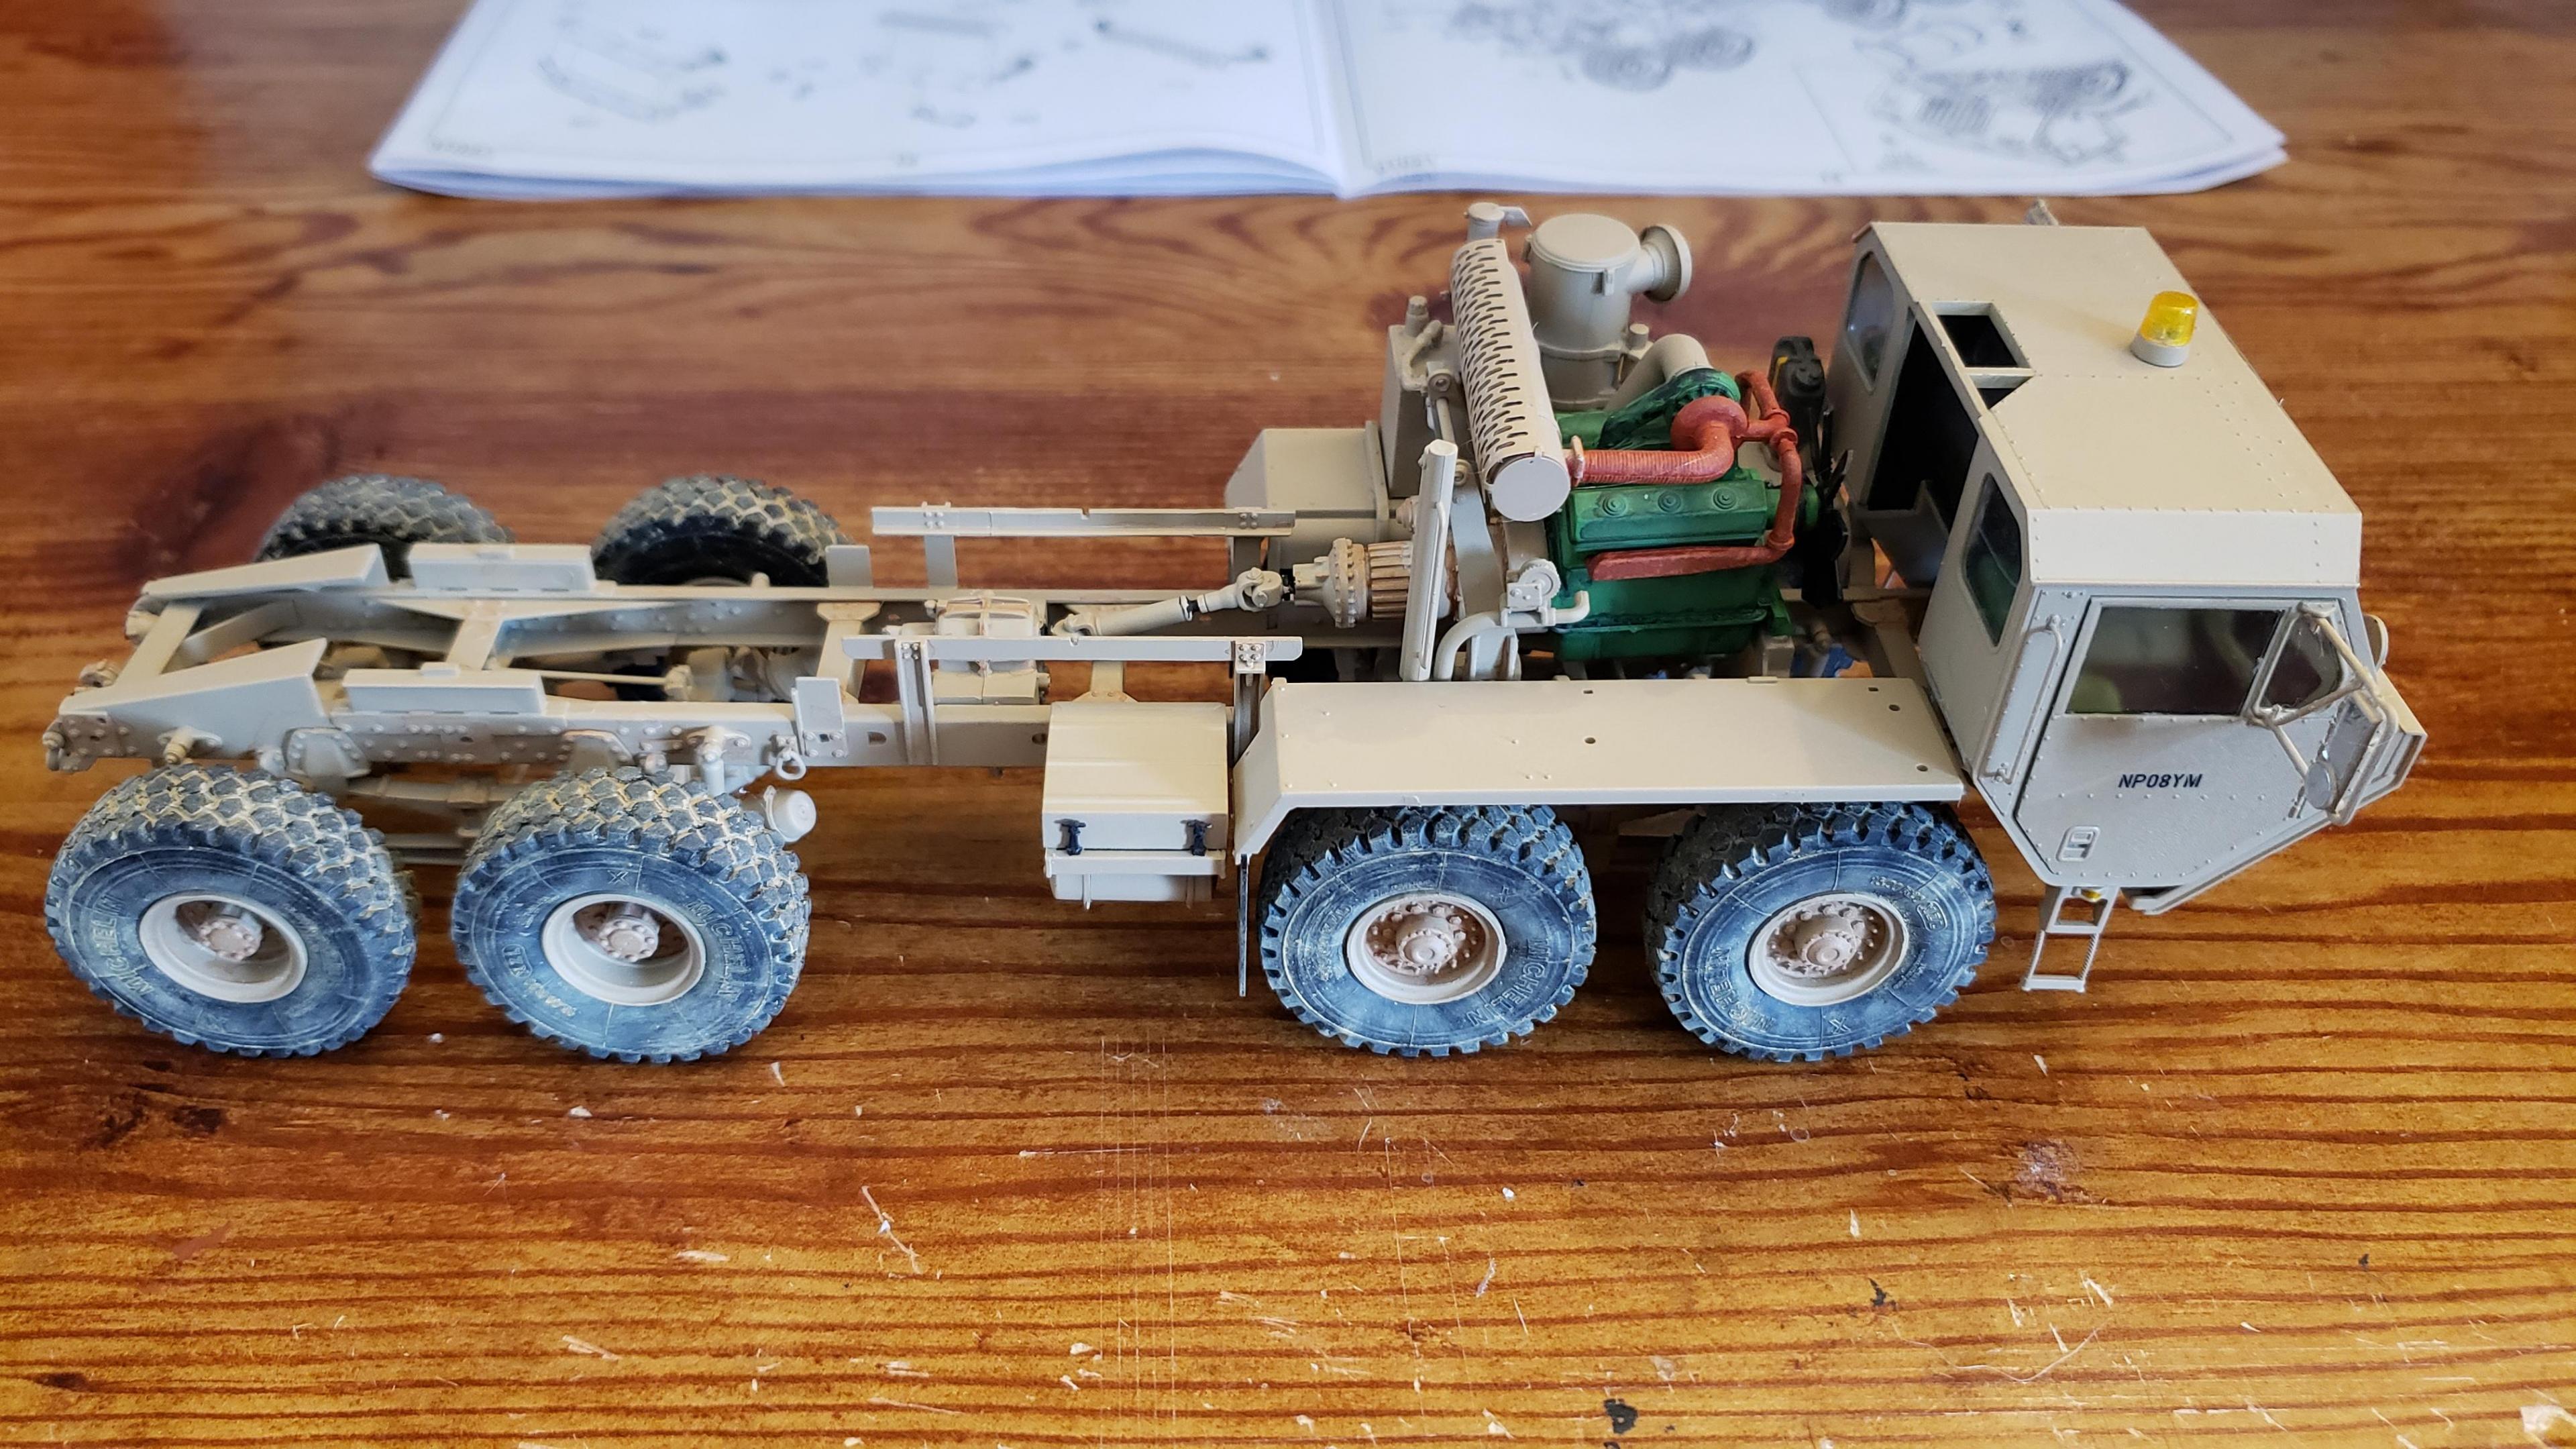
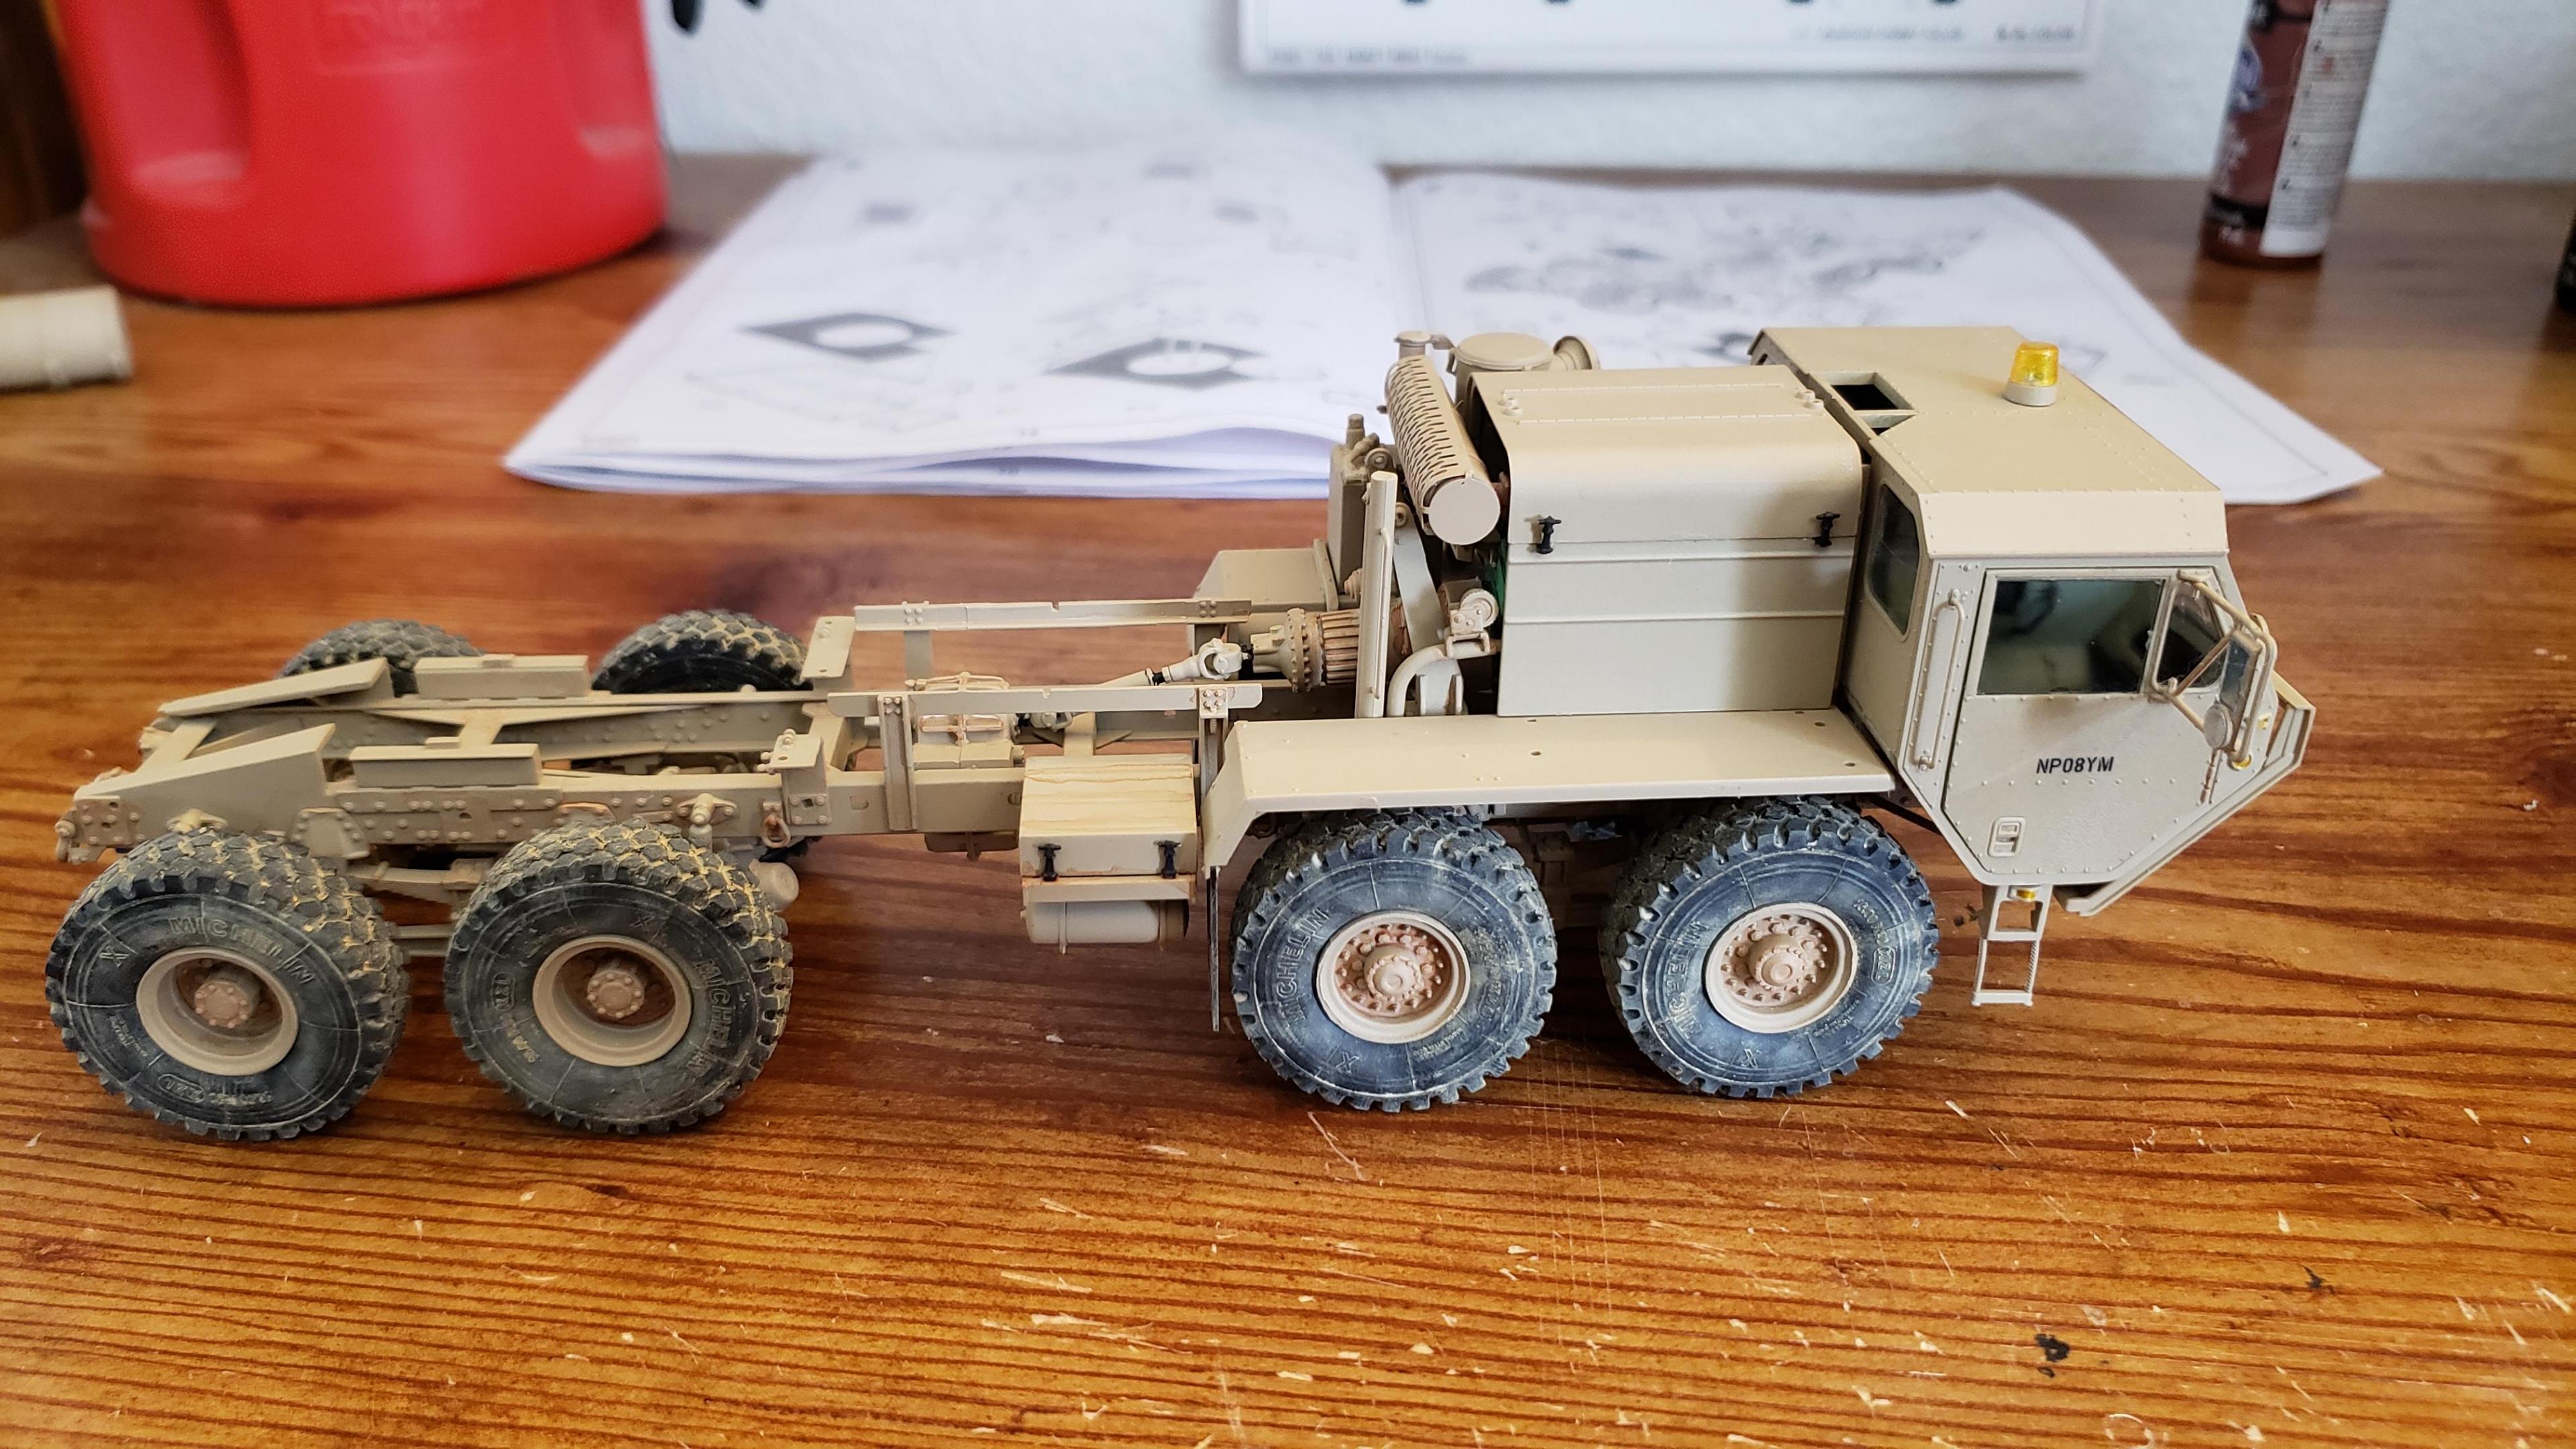
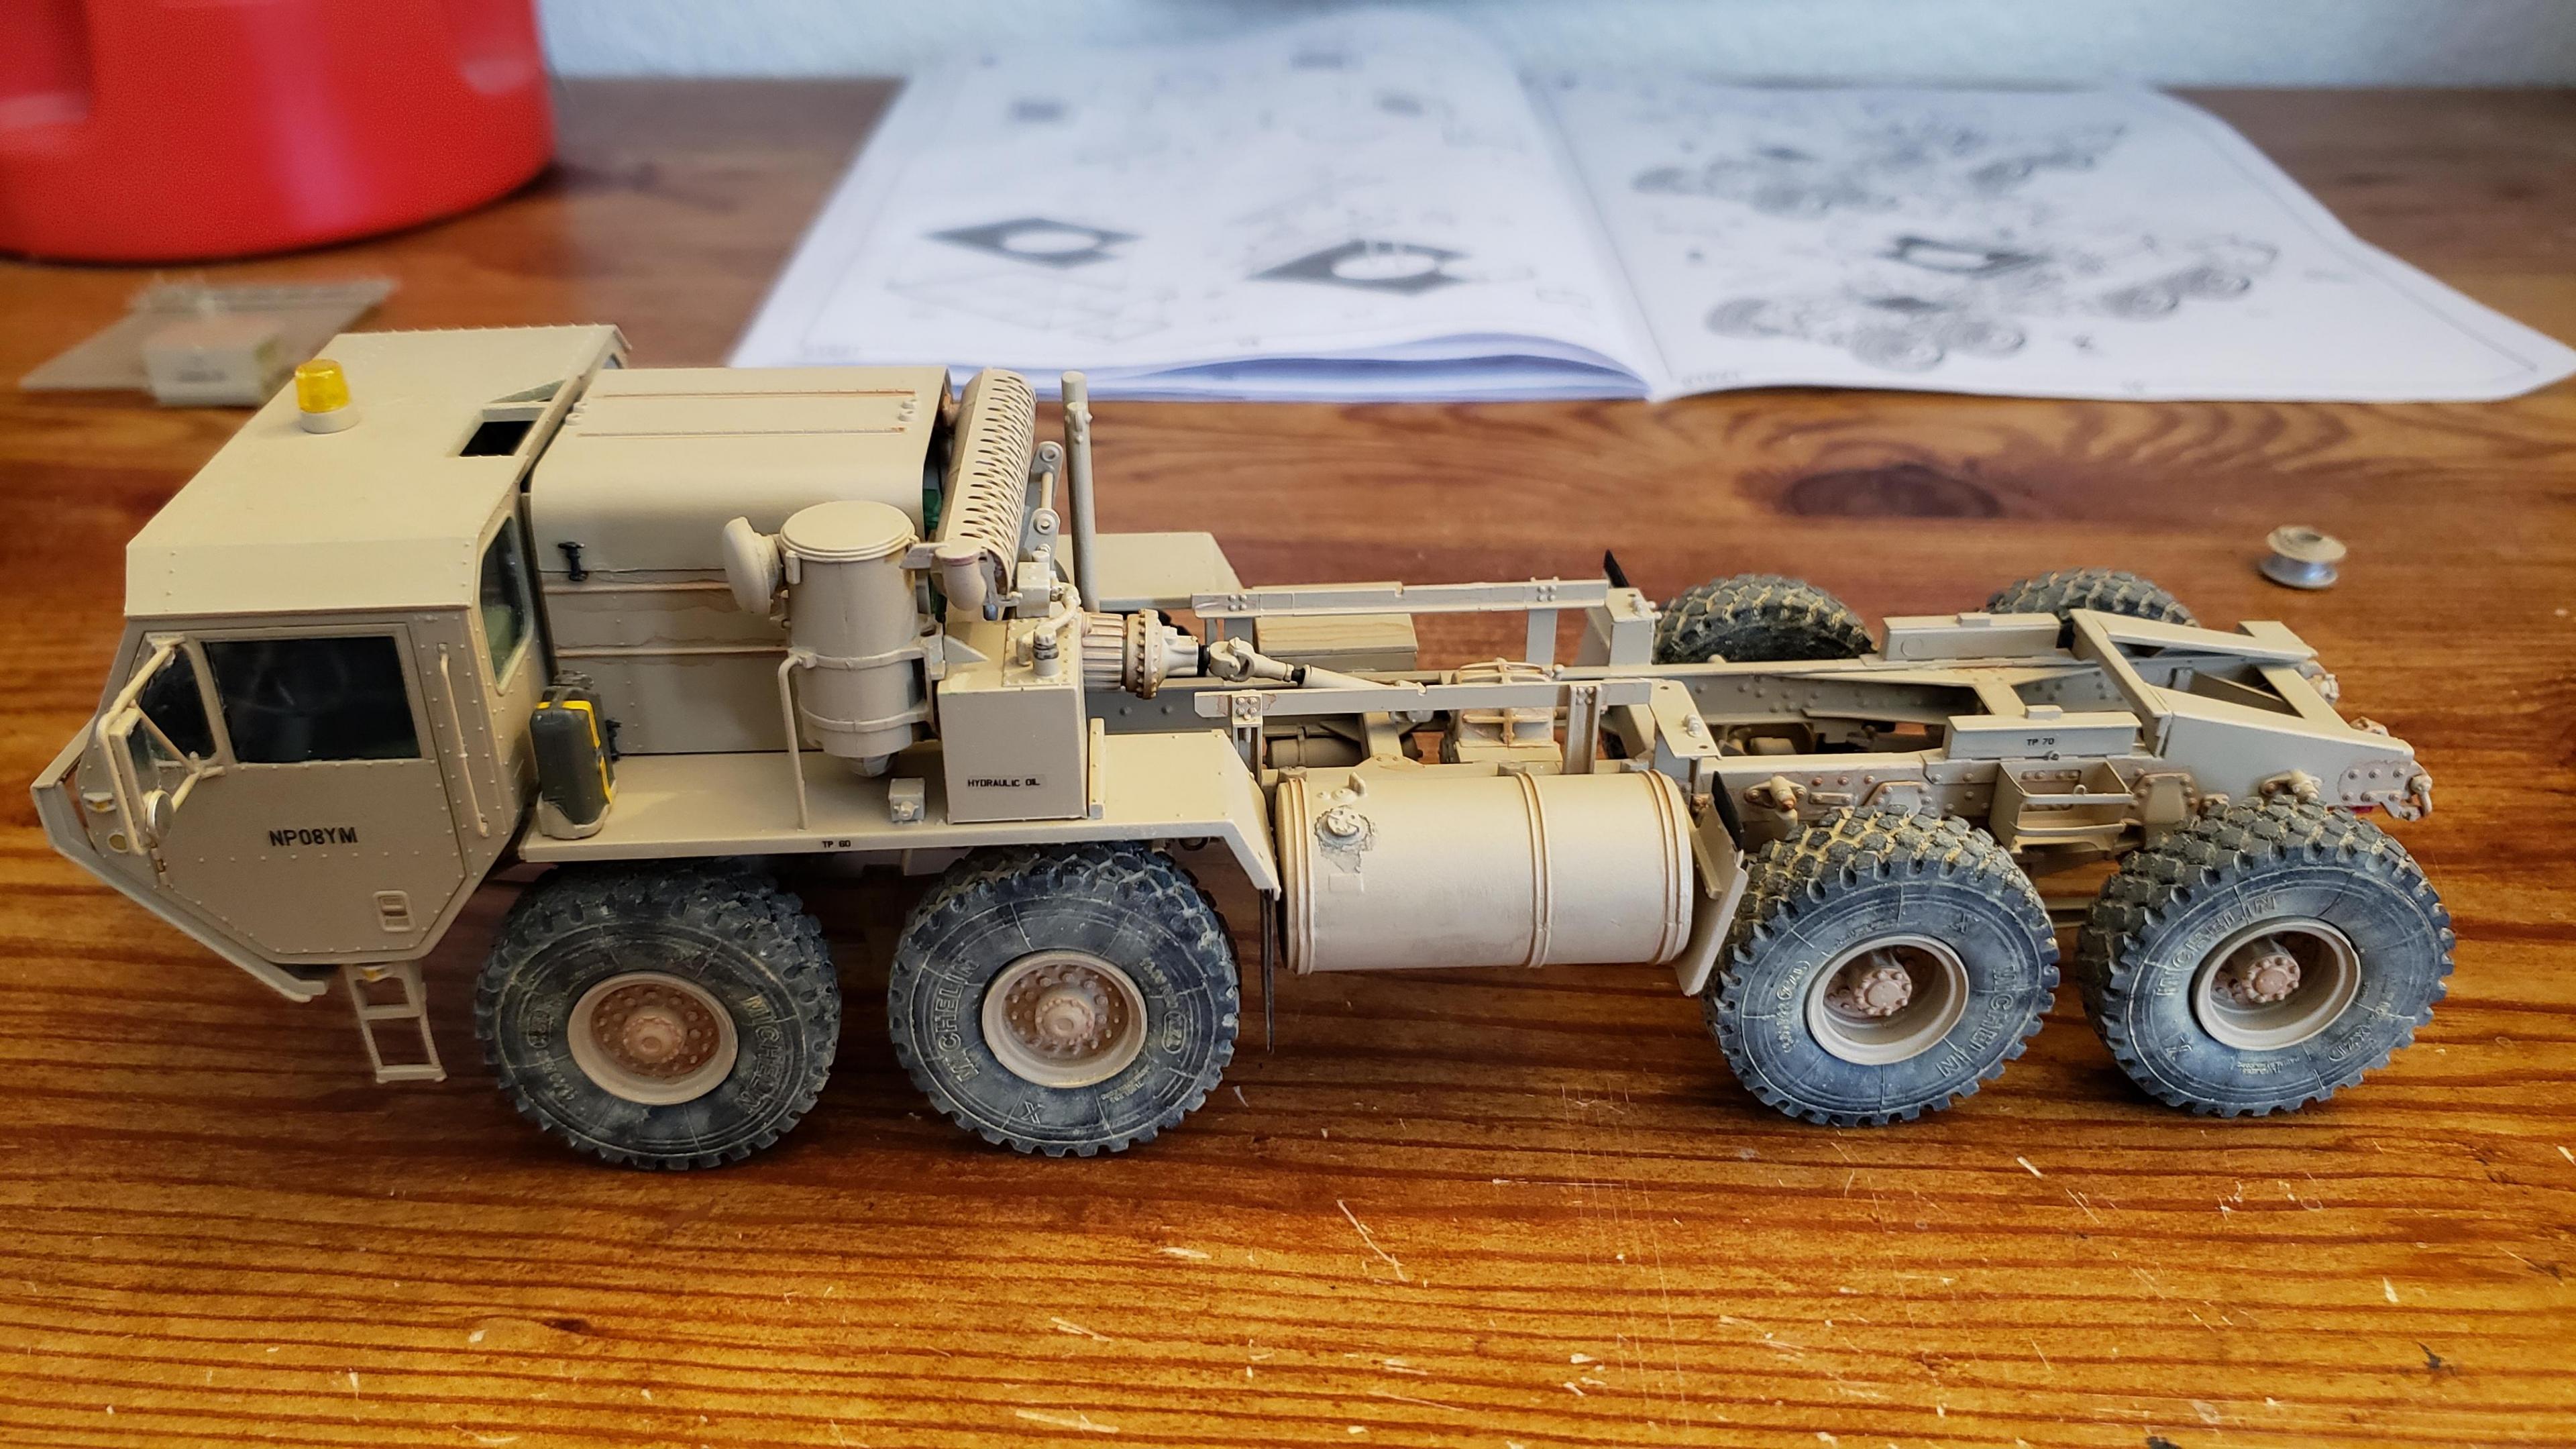
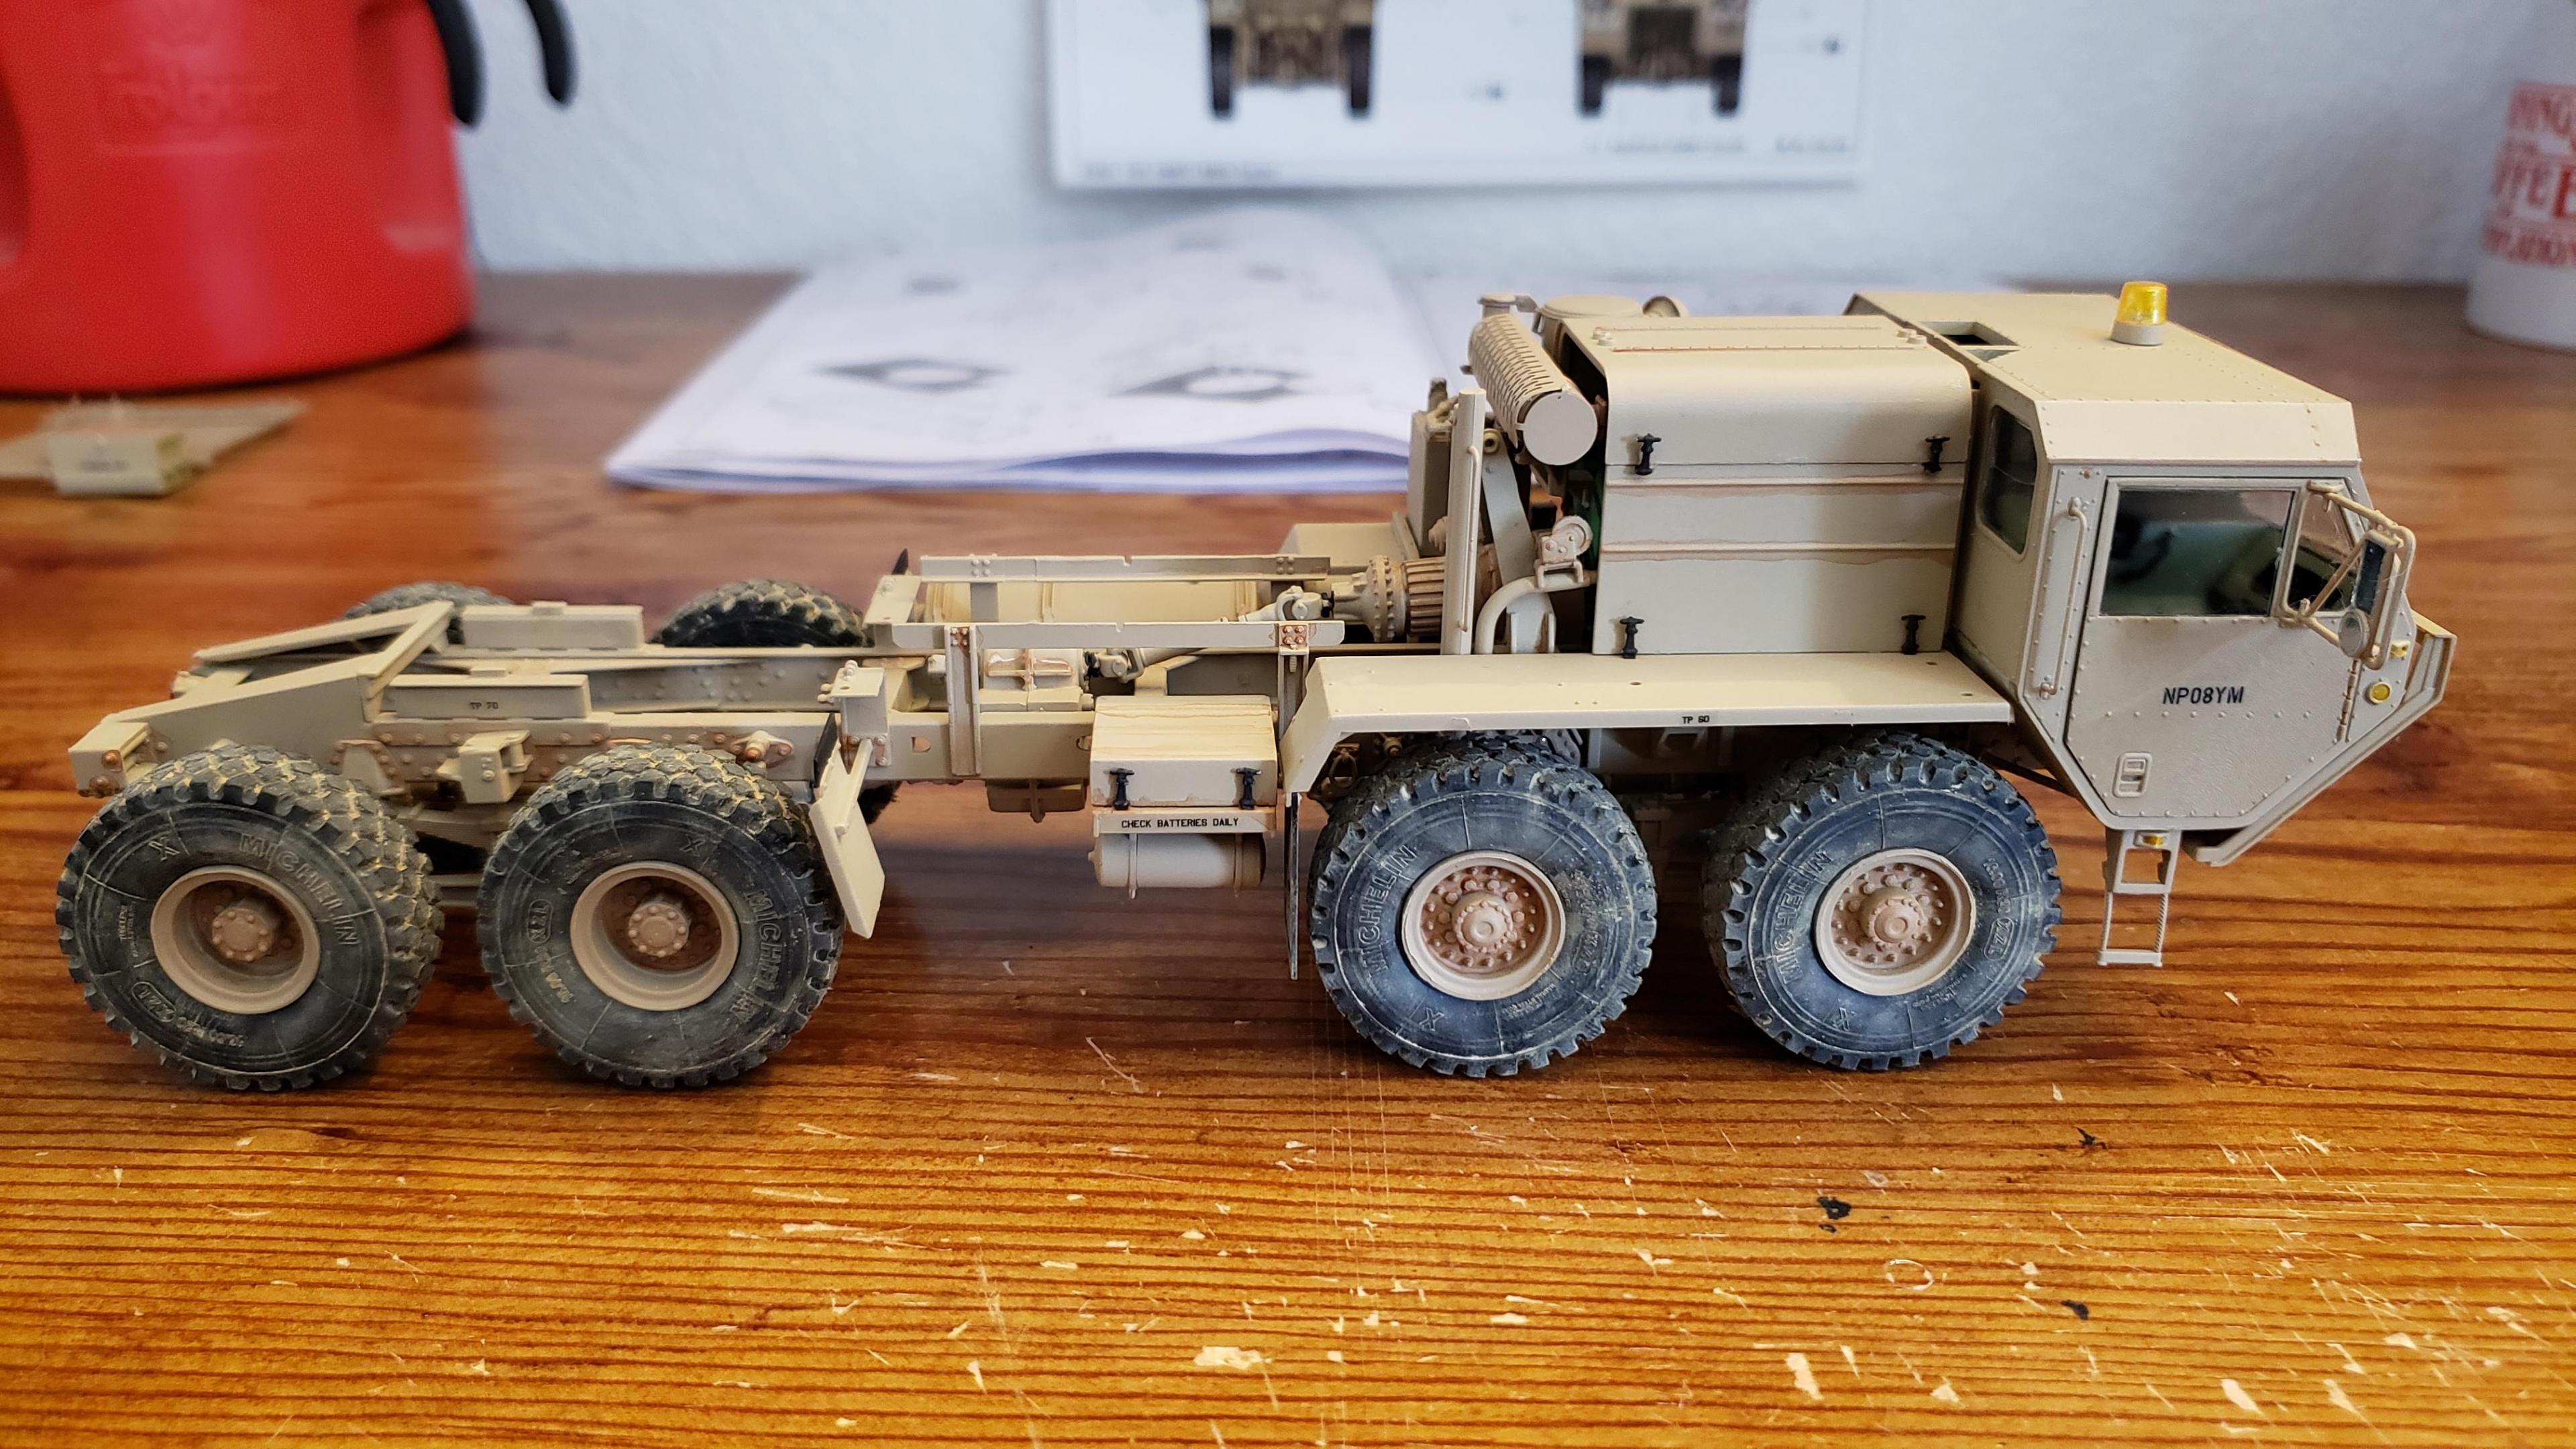
I just finished this one up. There was some custom work and kit bashing on this one. I streched the frame a scale 2'. Front bumper and stacks from snap pete. Converted to dual air cleaners, taken from snap kw. Fuel tanks from snap kw, I wish I had mounted them further forward. Front wheels also from snap kw, I don't like the looks of the kit's rounded wheels. Also the half fenders came from the snap kw. Battery box from 378. Swan, steps and visor made from scratch. I wanted the stripes white with red outline, and I ordered some up. They wound up not working for me, so I just used the kit decals. This will be pulling the gravel trailer, and I added the hydraulic tank behind the cab. Thanks for looking!
-
Sorry for the negativity, but I must add another complaint about the kit. The steering shaft does not line up at all. The angle between the steering column and the steering box does not match. The steering box is mounted to the frame with a D shaped tab, so can only mount one way. The steering column attaches to the dash, and can only mount one way as well. The column can adjust up and down in the opening in the firewall, but the angle does not change. I couldn't get the shaft to line up properly, so I had to just omit it. Just another reason for being disappointed with this kit
-
Some more progress...
I cut out the air filter relief on the driver's side of the hood for the other air filter
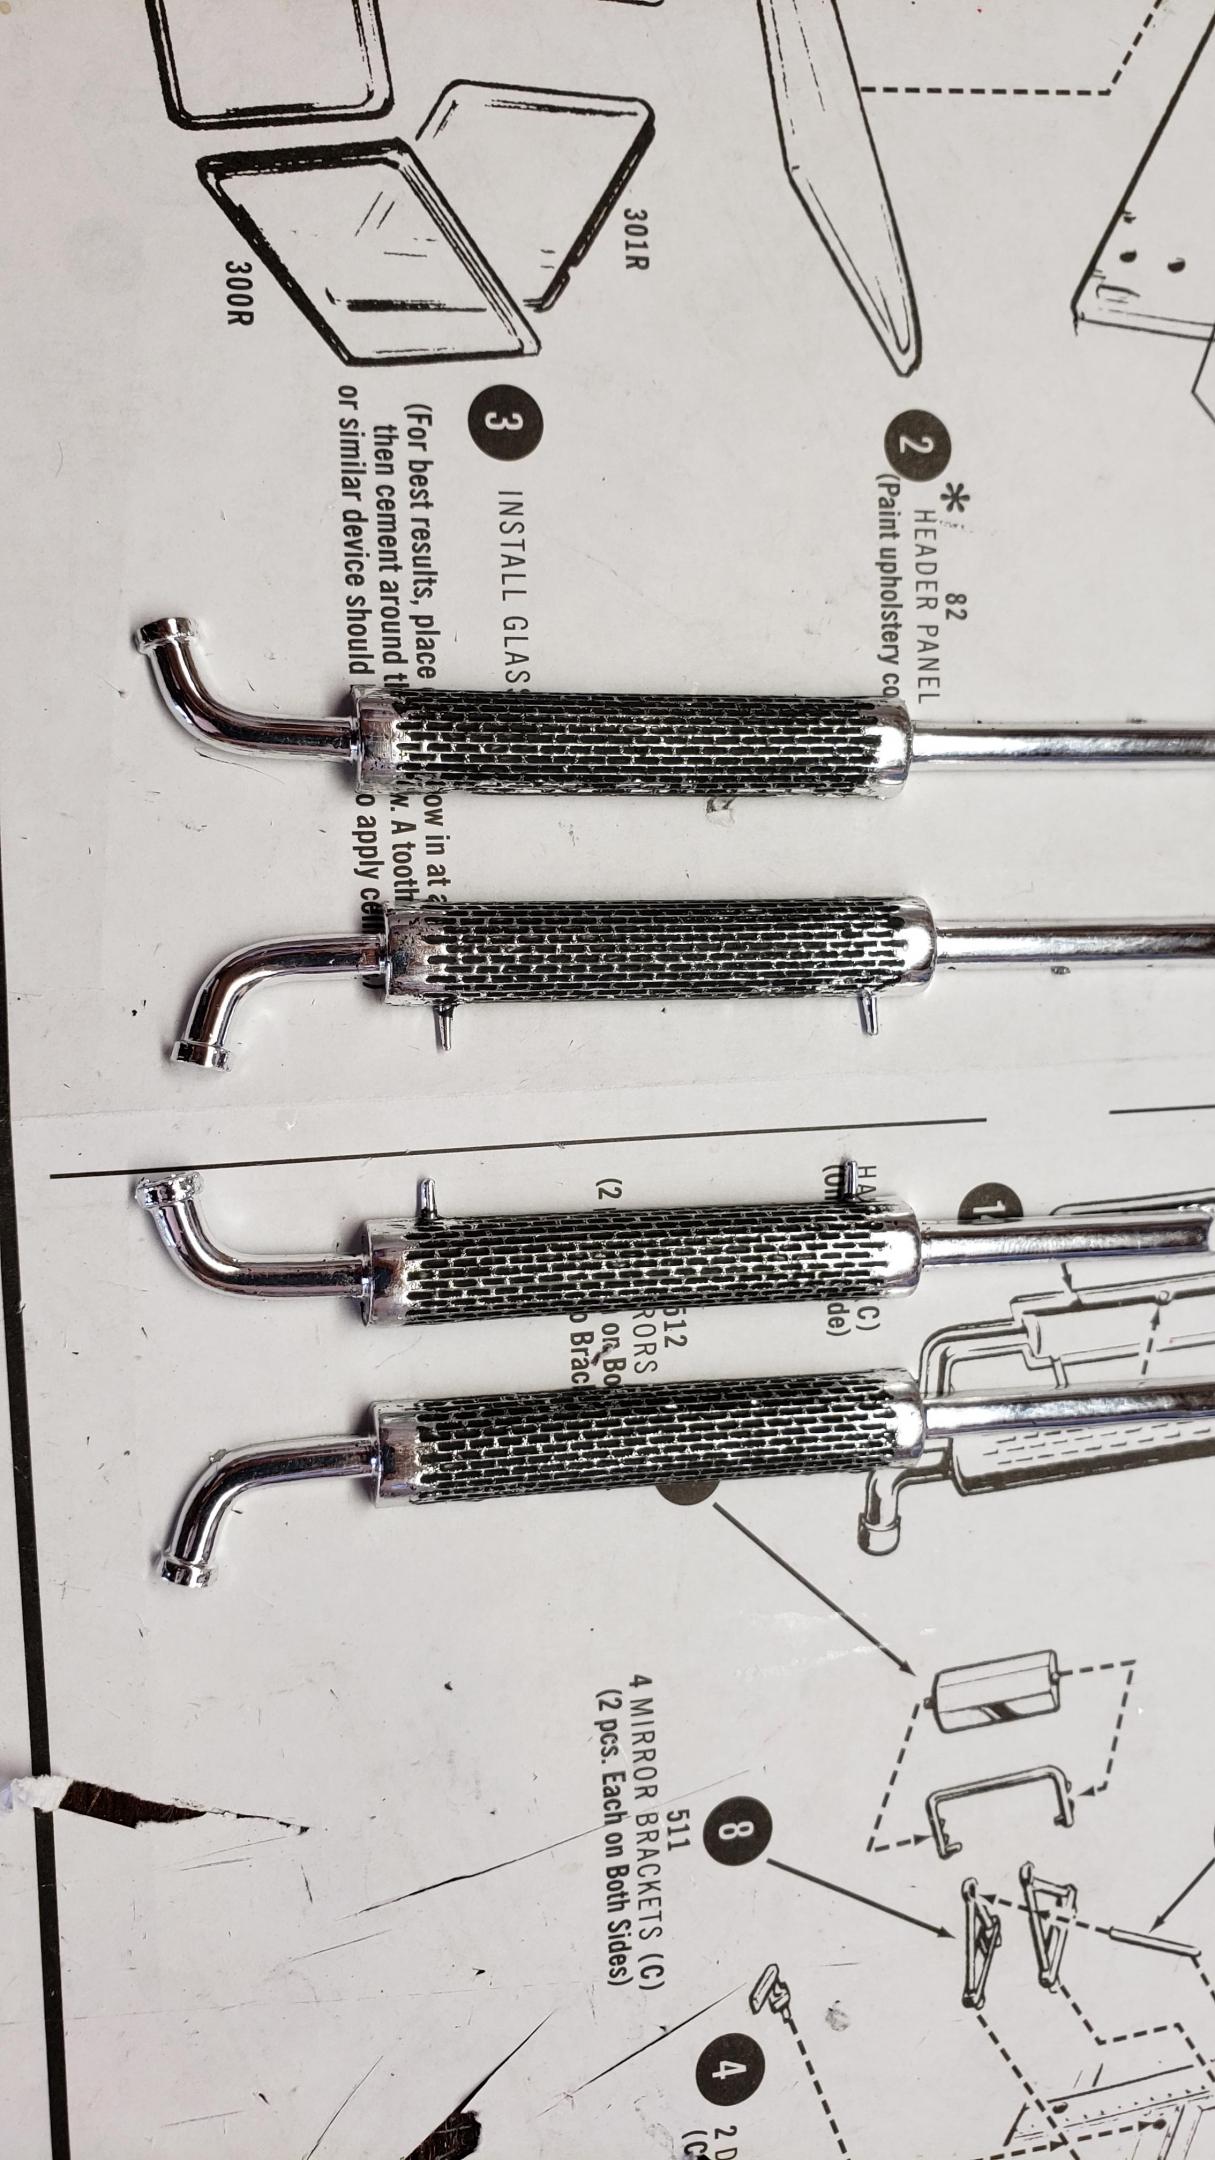
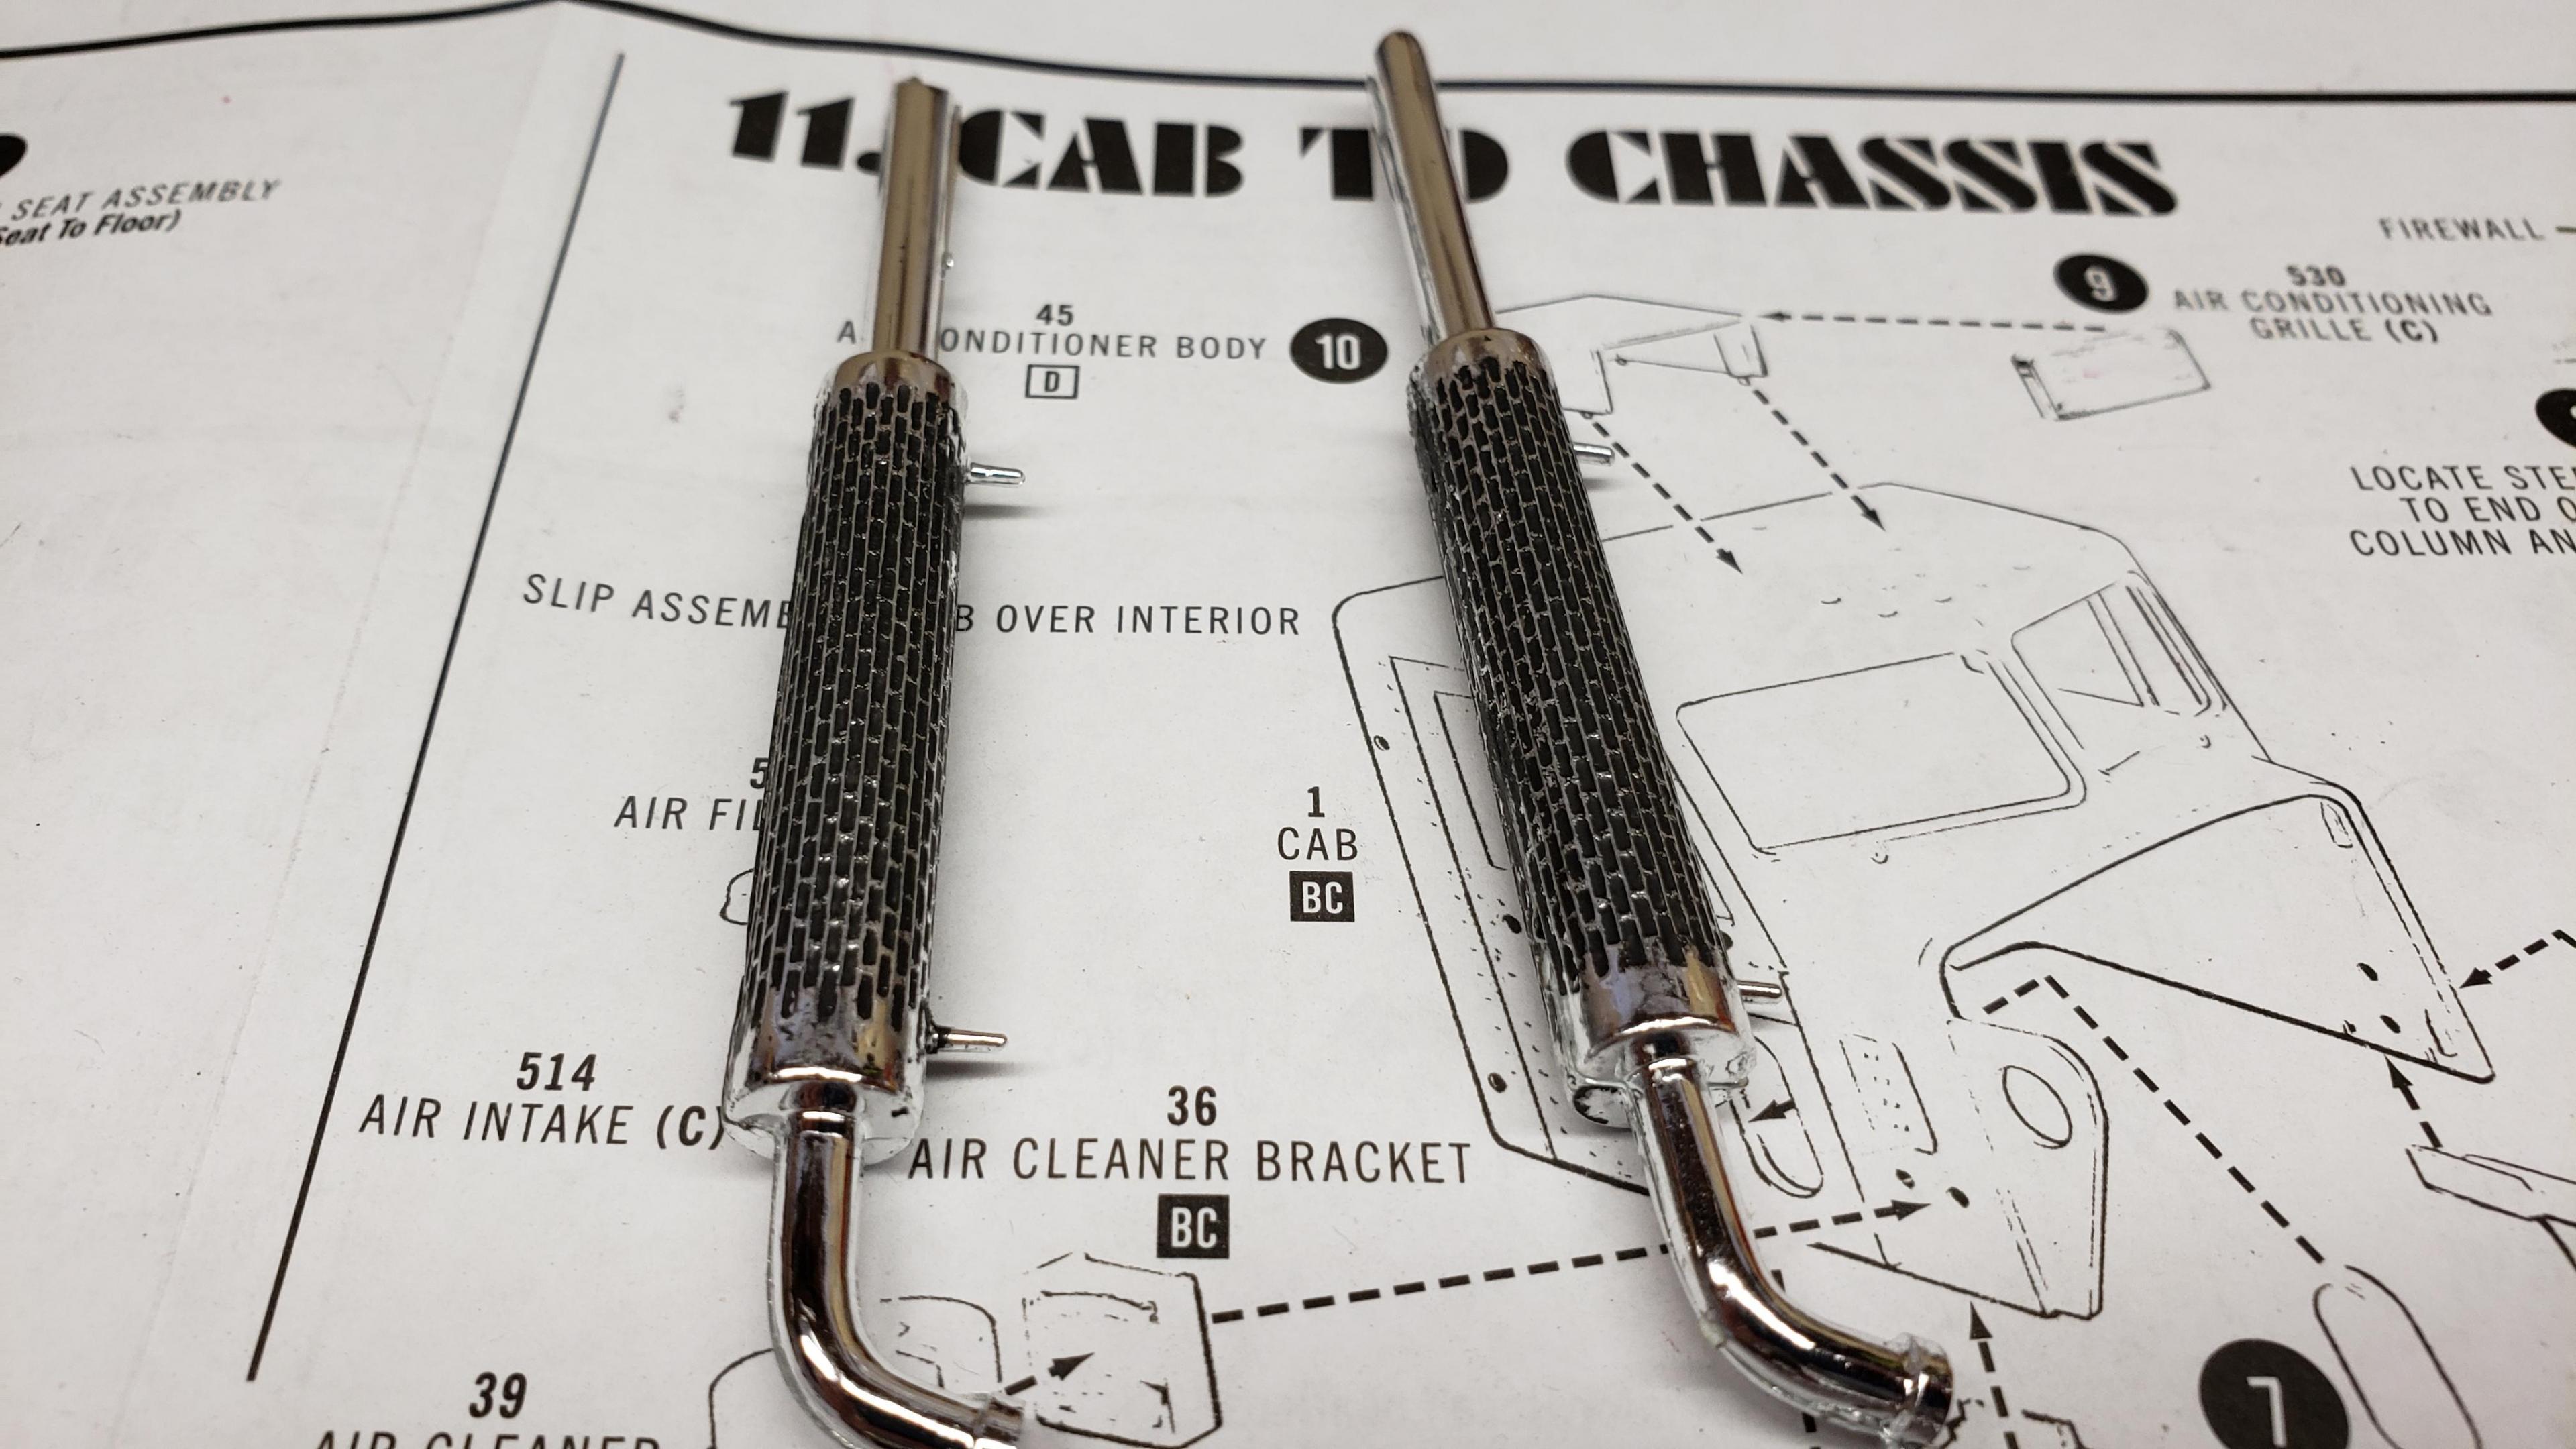
And I detailed the exhaust heat shields, I'll be using the taller stacks from the snap kit
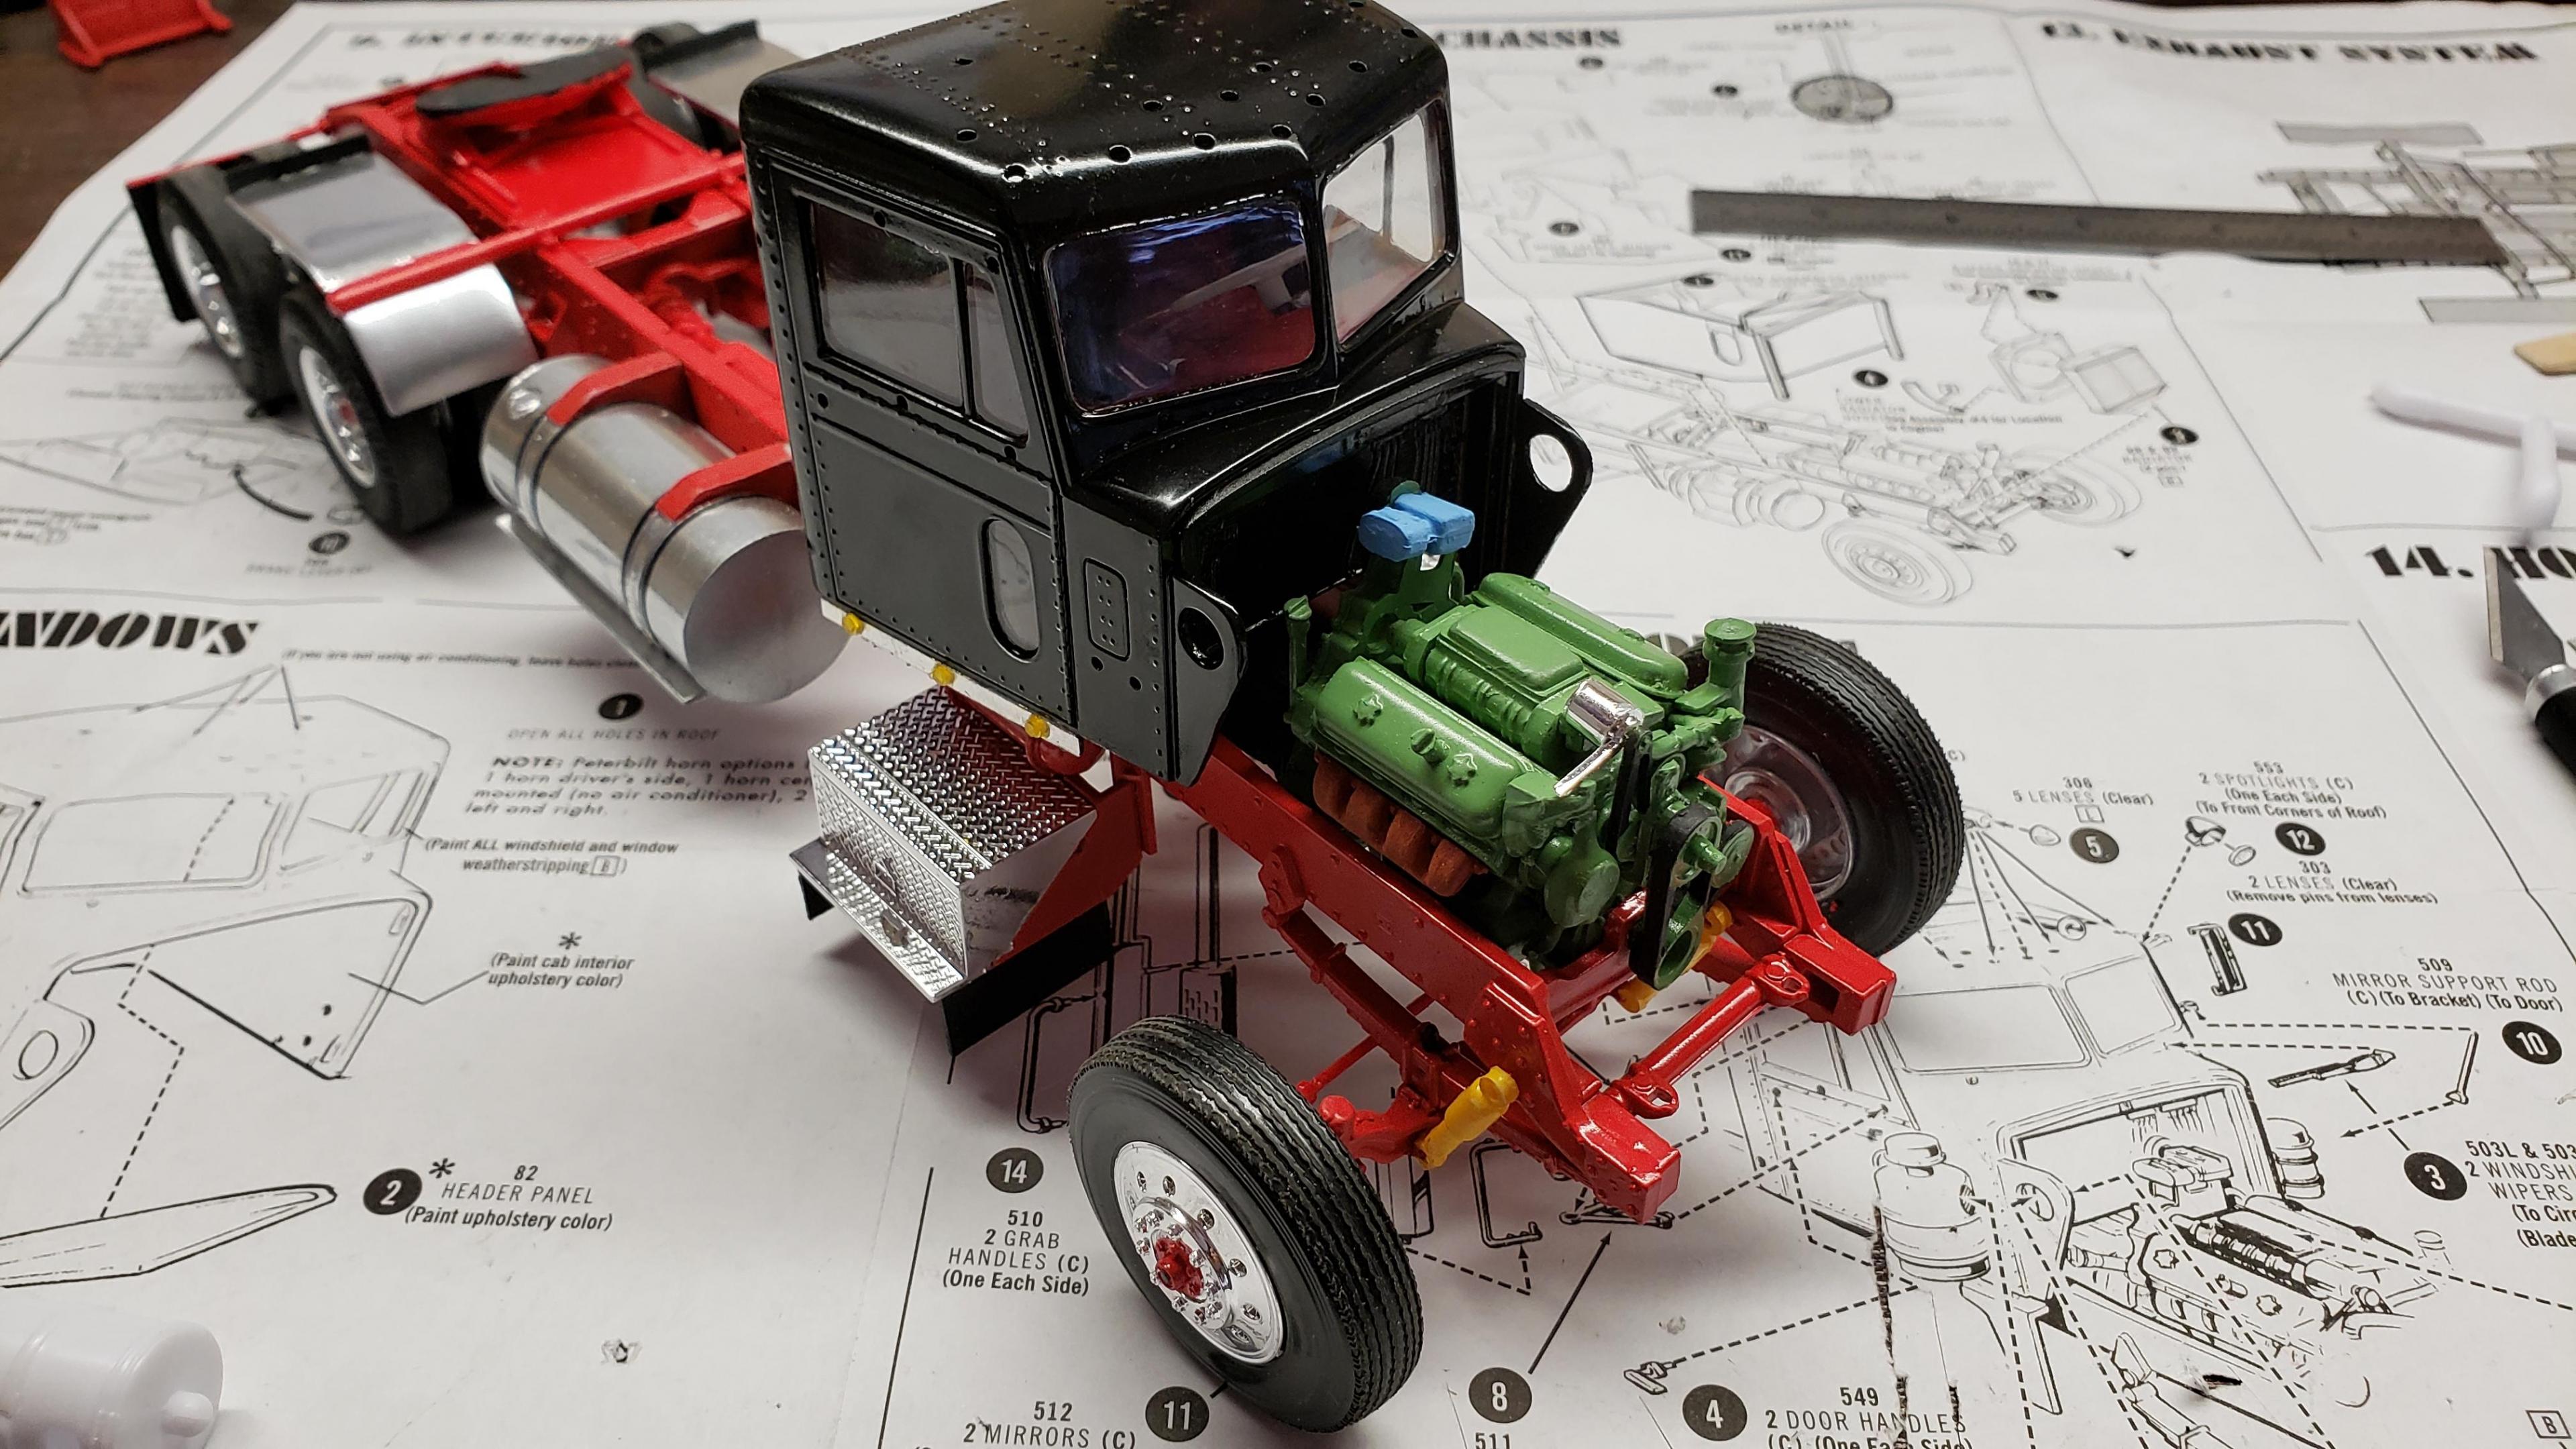
And a little mock up with the cab and hood just sitting in place
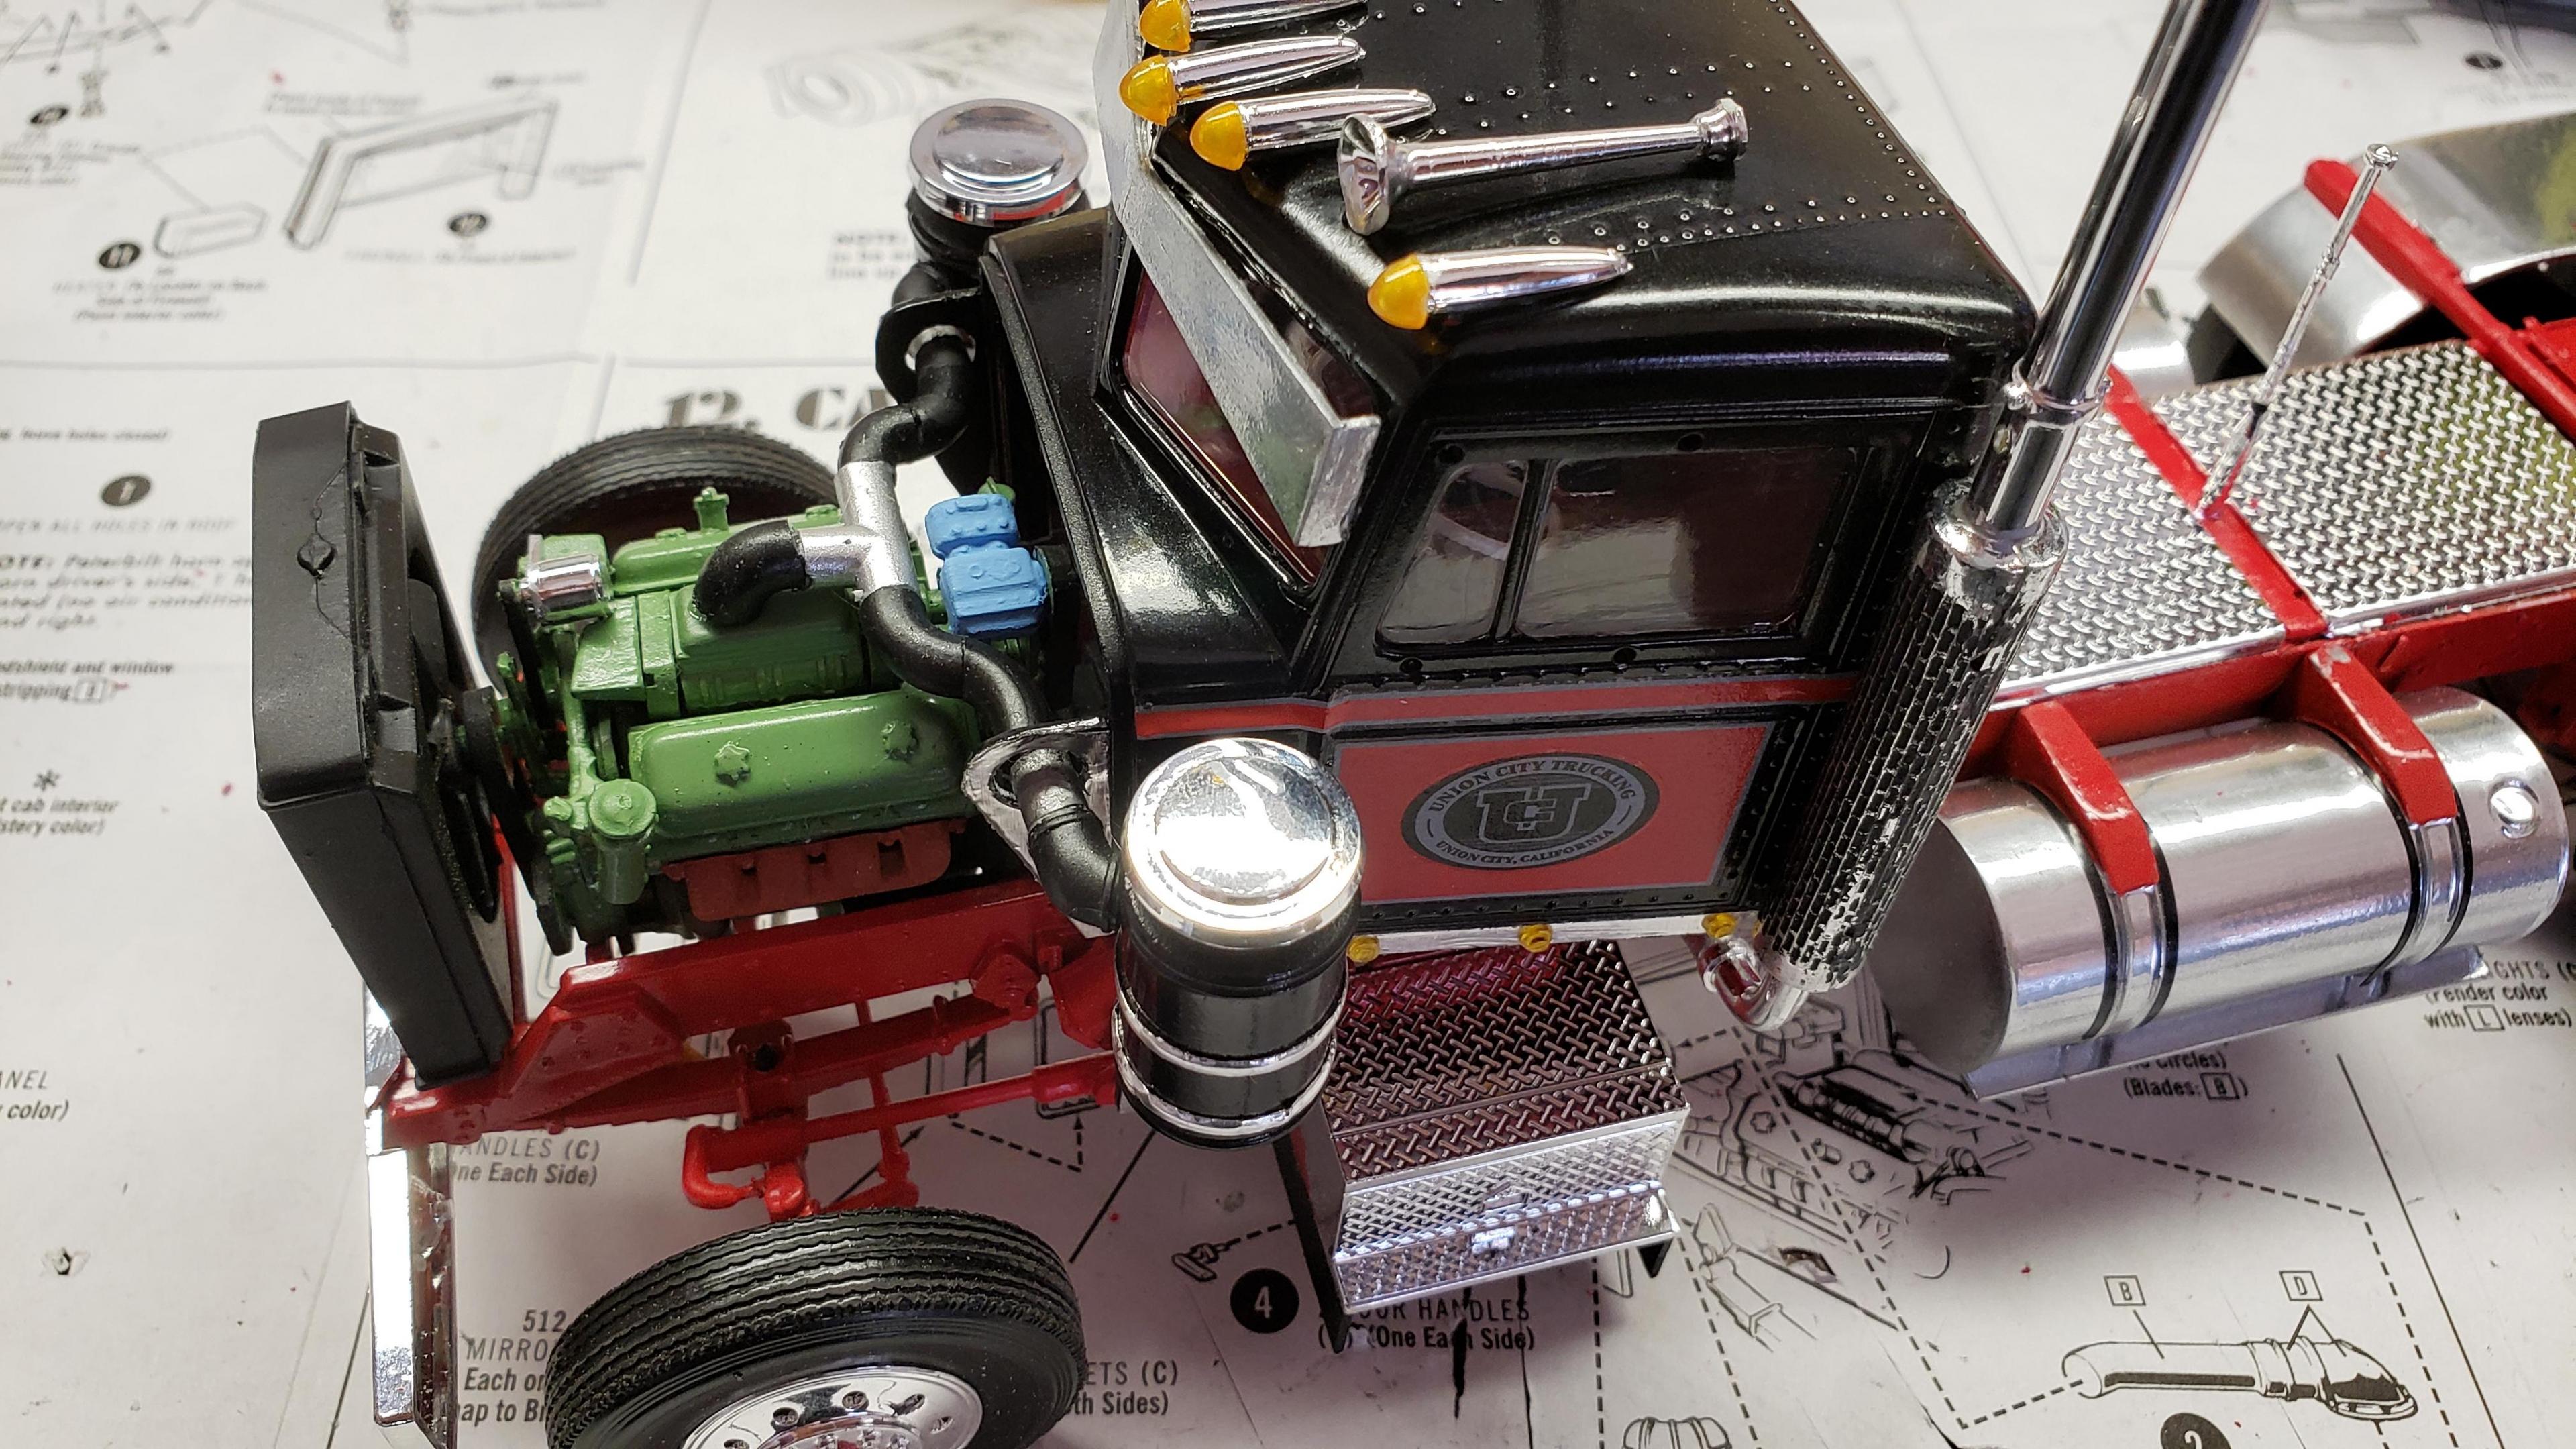
I have the air intake piping all set up, but can't put it in place until I mount the cab. I like to do the decals before I mount it, since it's much easier. So I'm at a standstill until I get the decals which are on order. Thanks for looking
-
Some progress here. I've been working on it a lot, but feel like I haven't accomplished much.
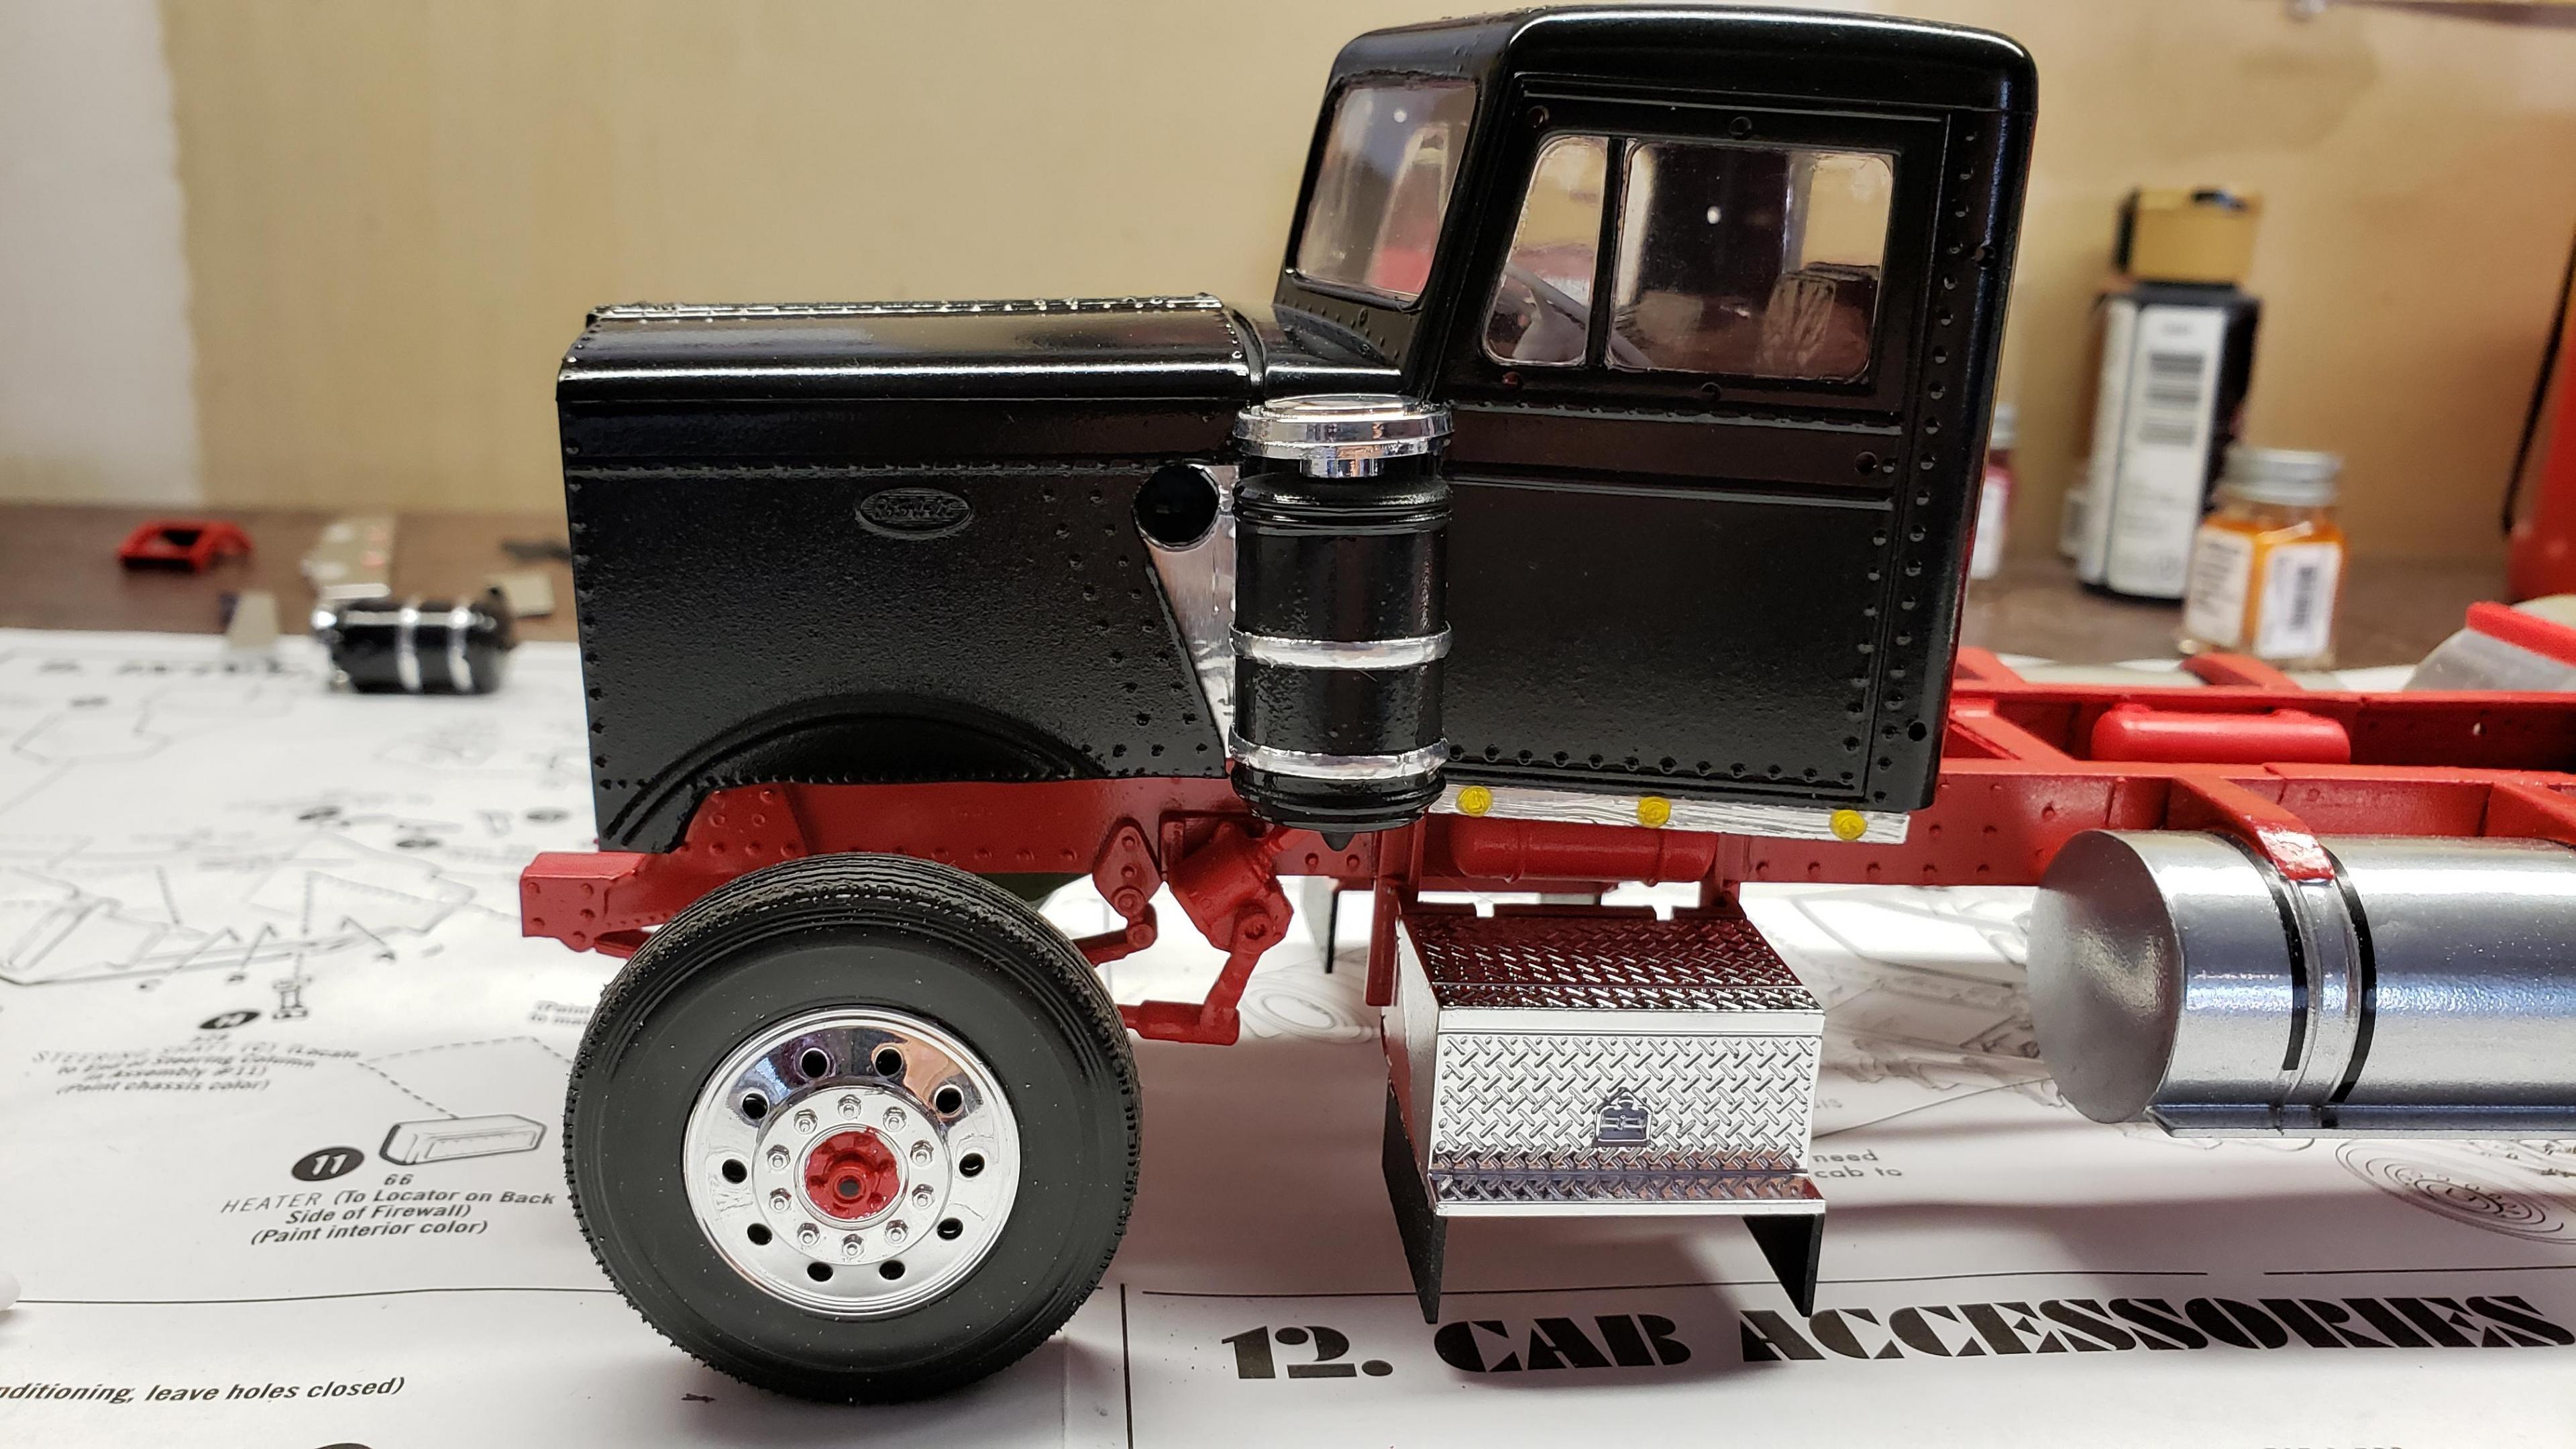
I put on half fenders from snap KW kit, and sanded off diamond tread. Made mud flaps for under the steps
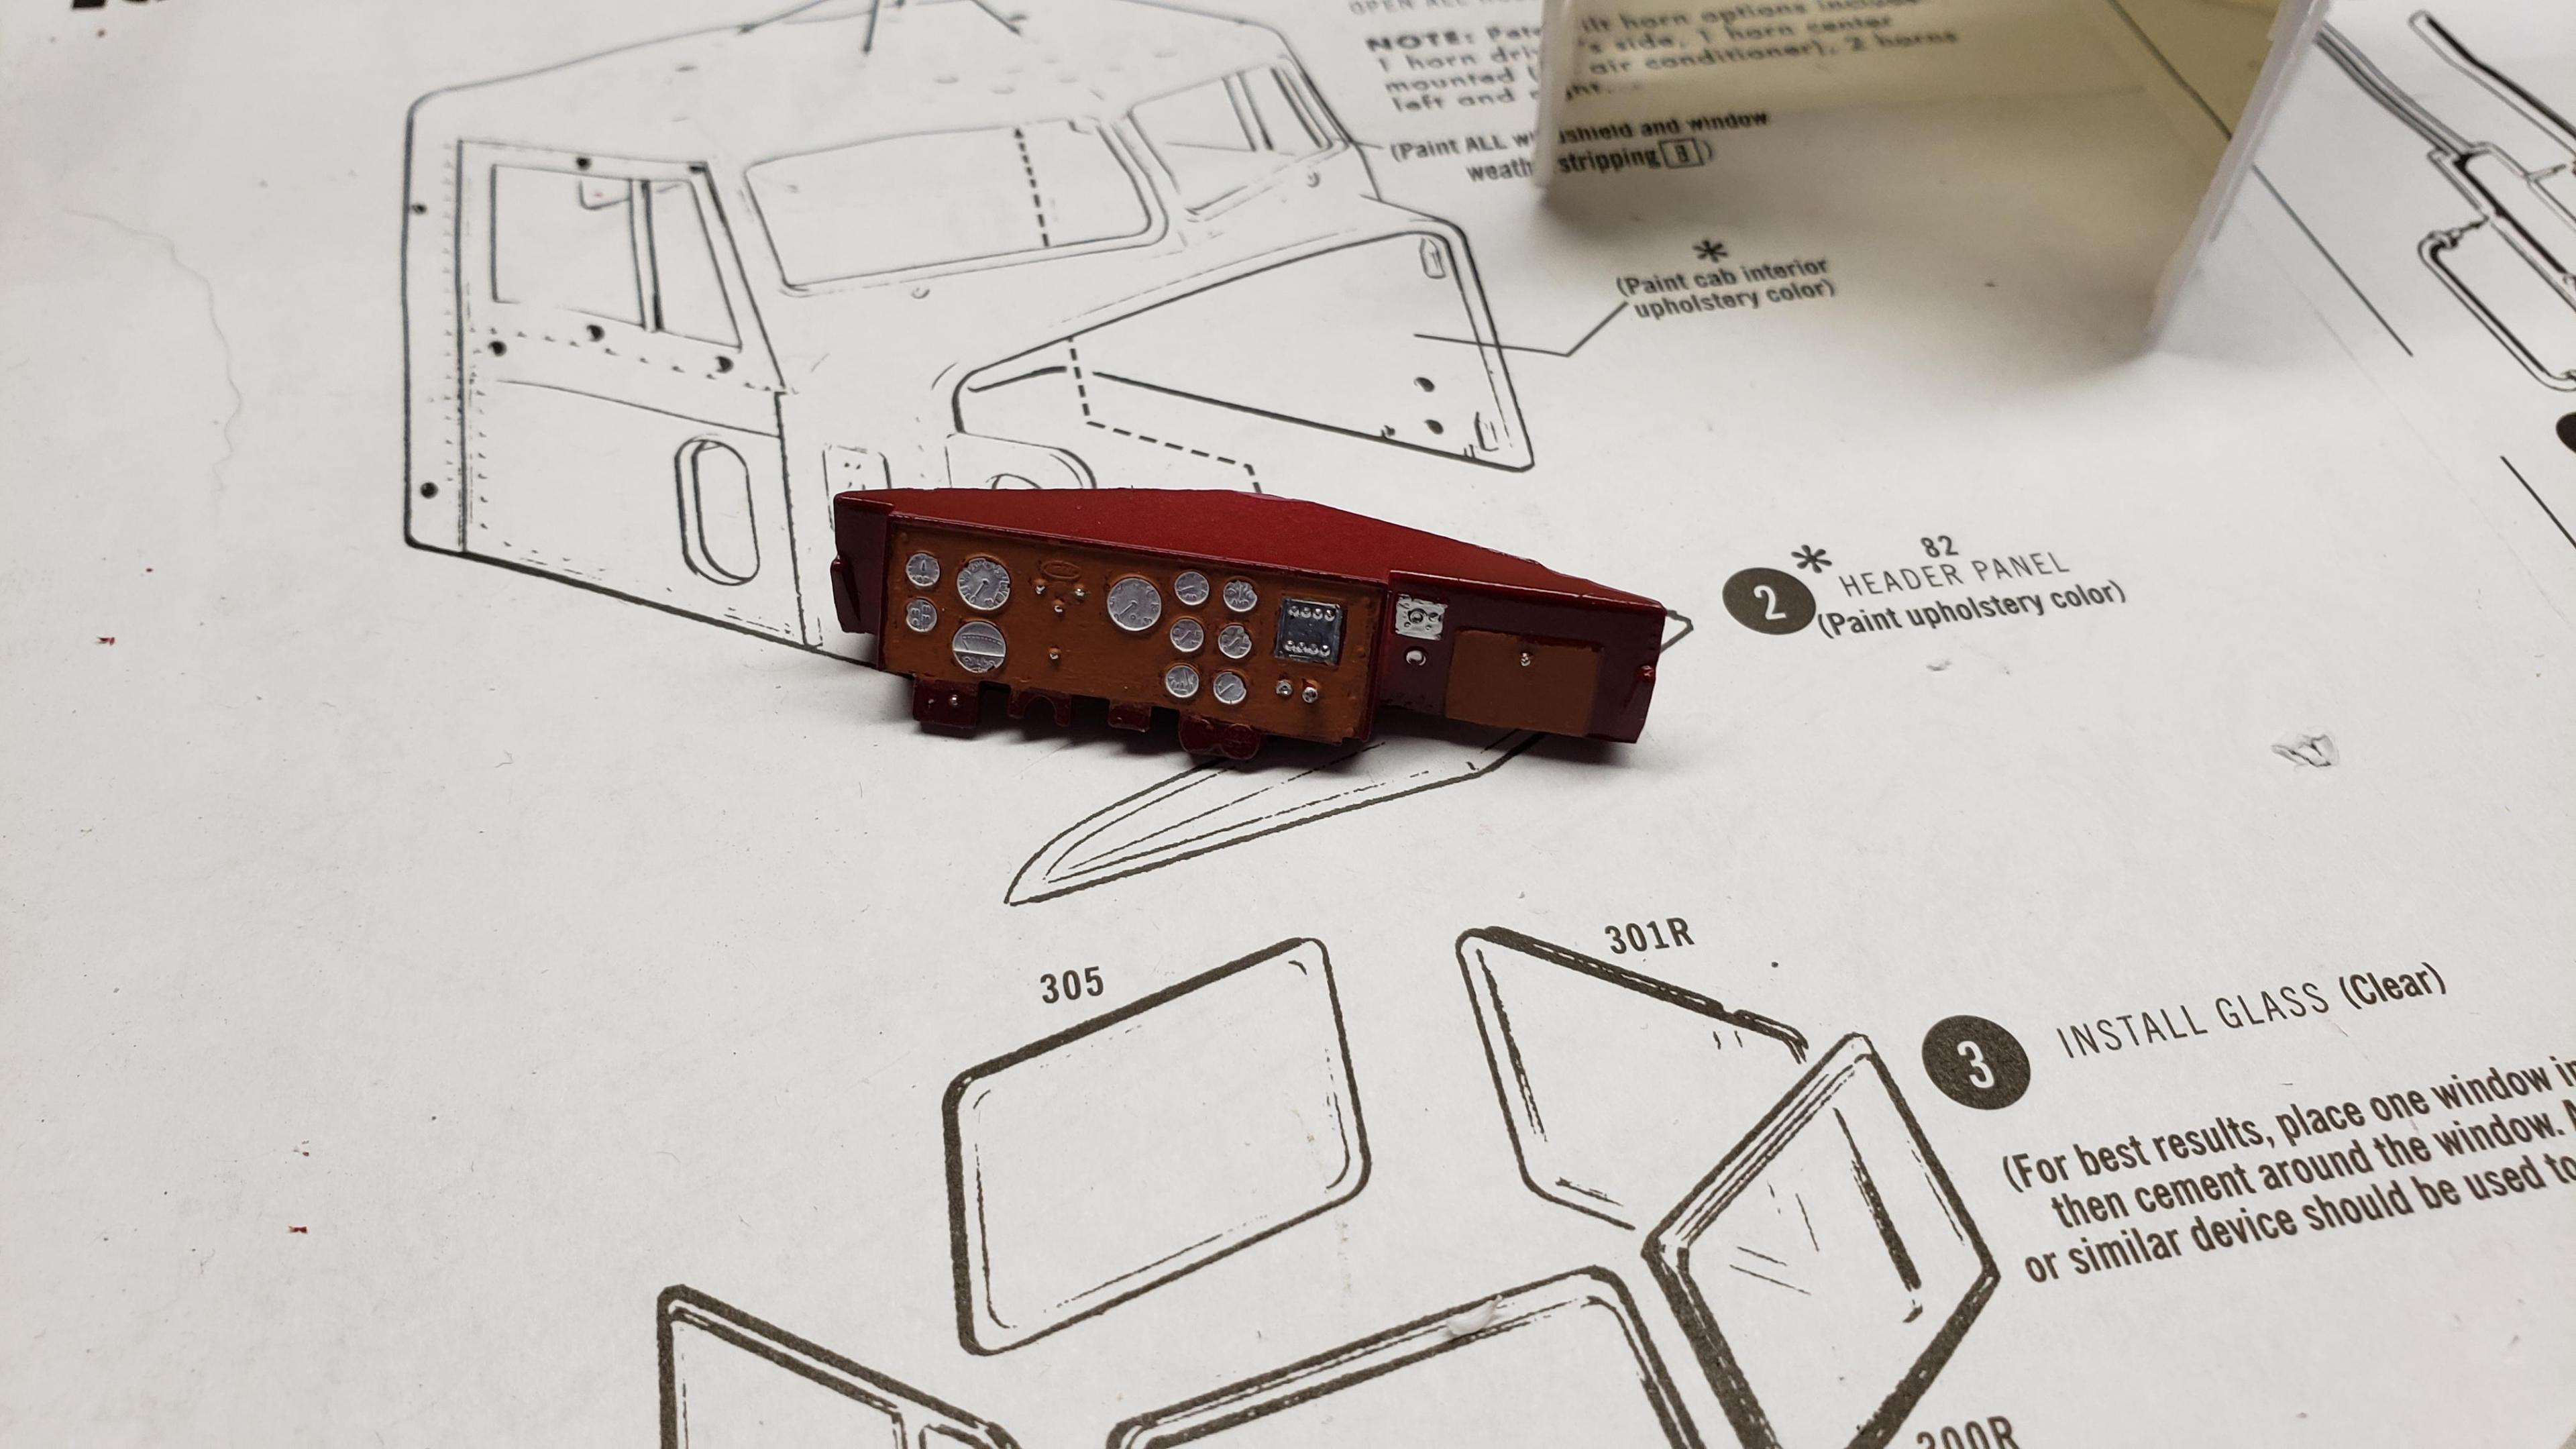
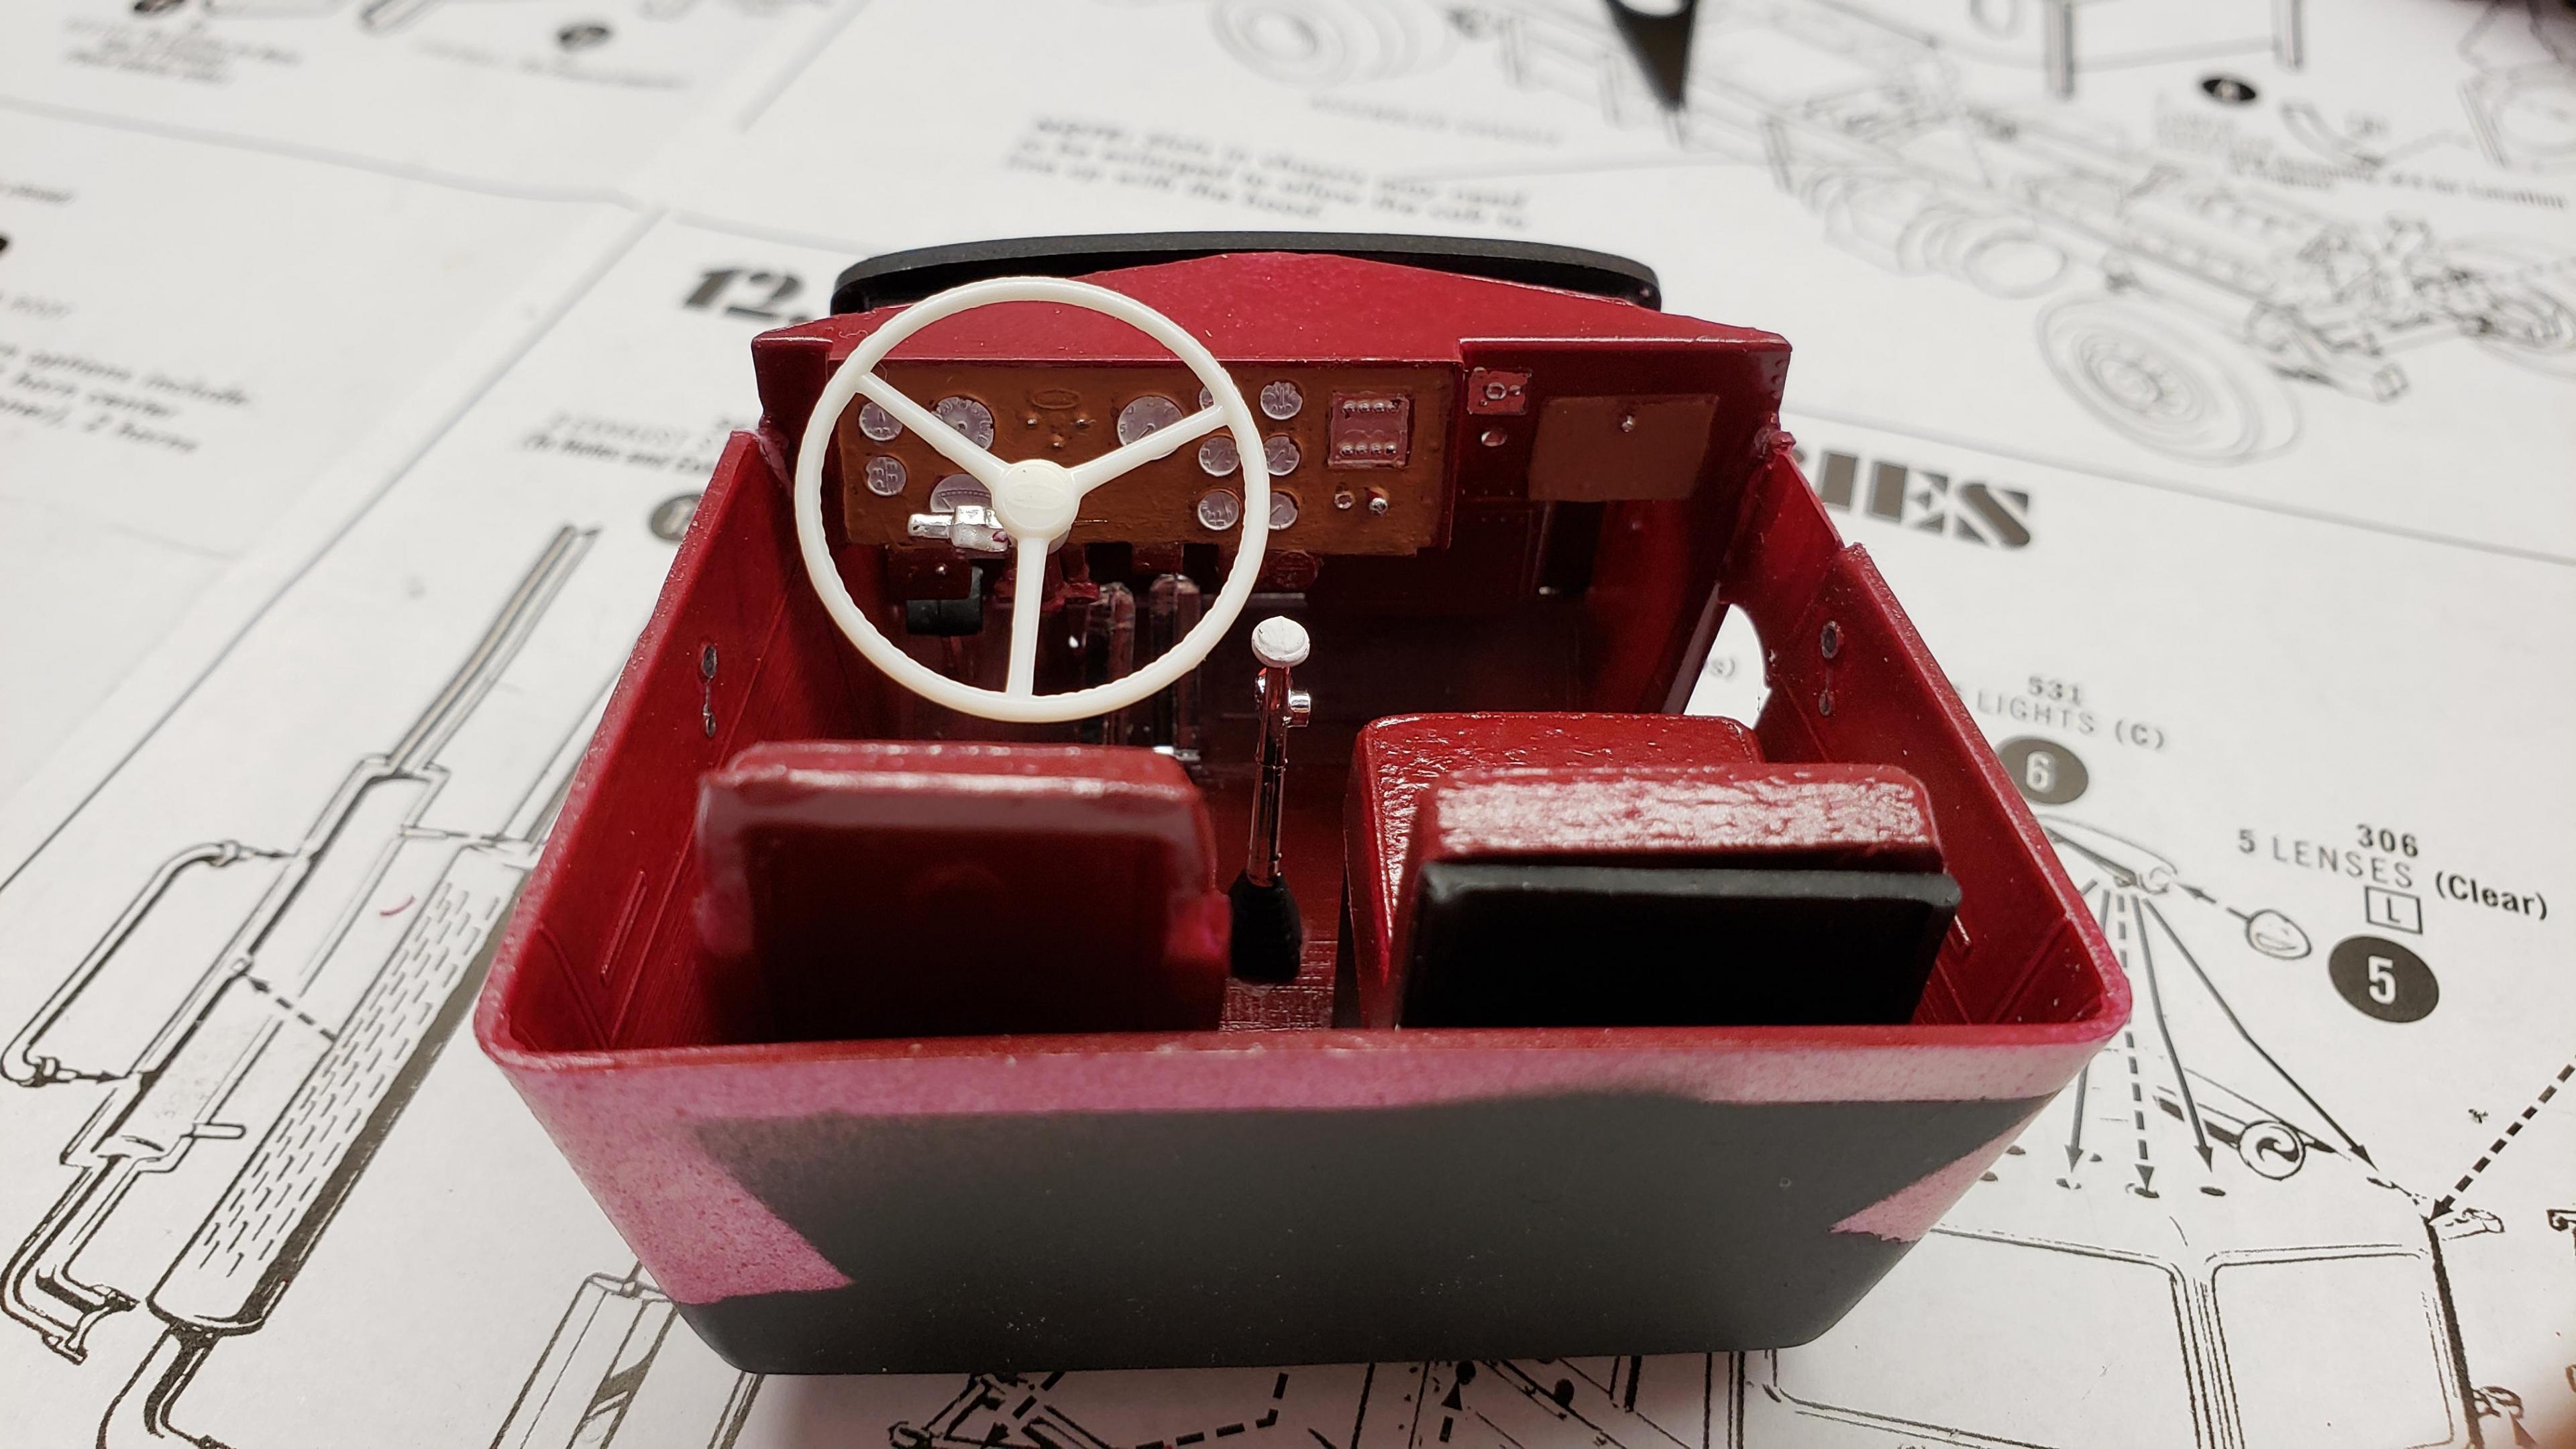
my dash painting skills aren't great, but I did what I could on the interior. I went with oxblood red
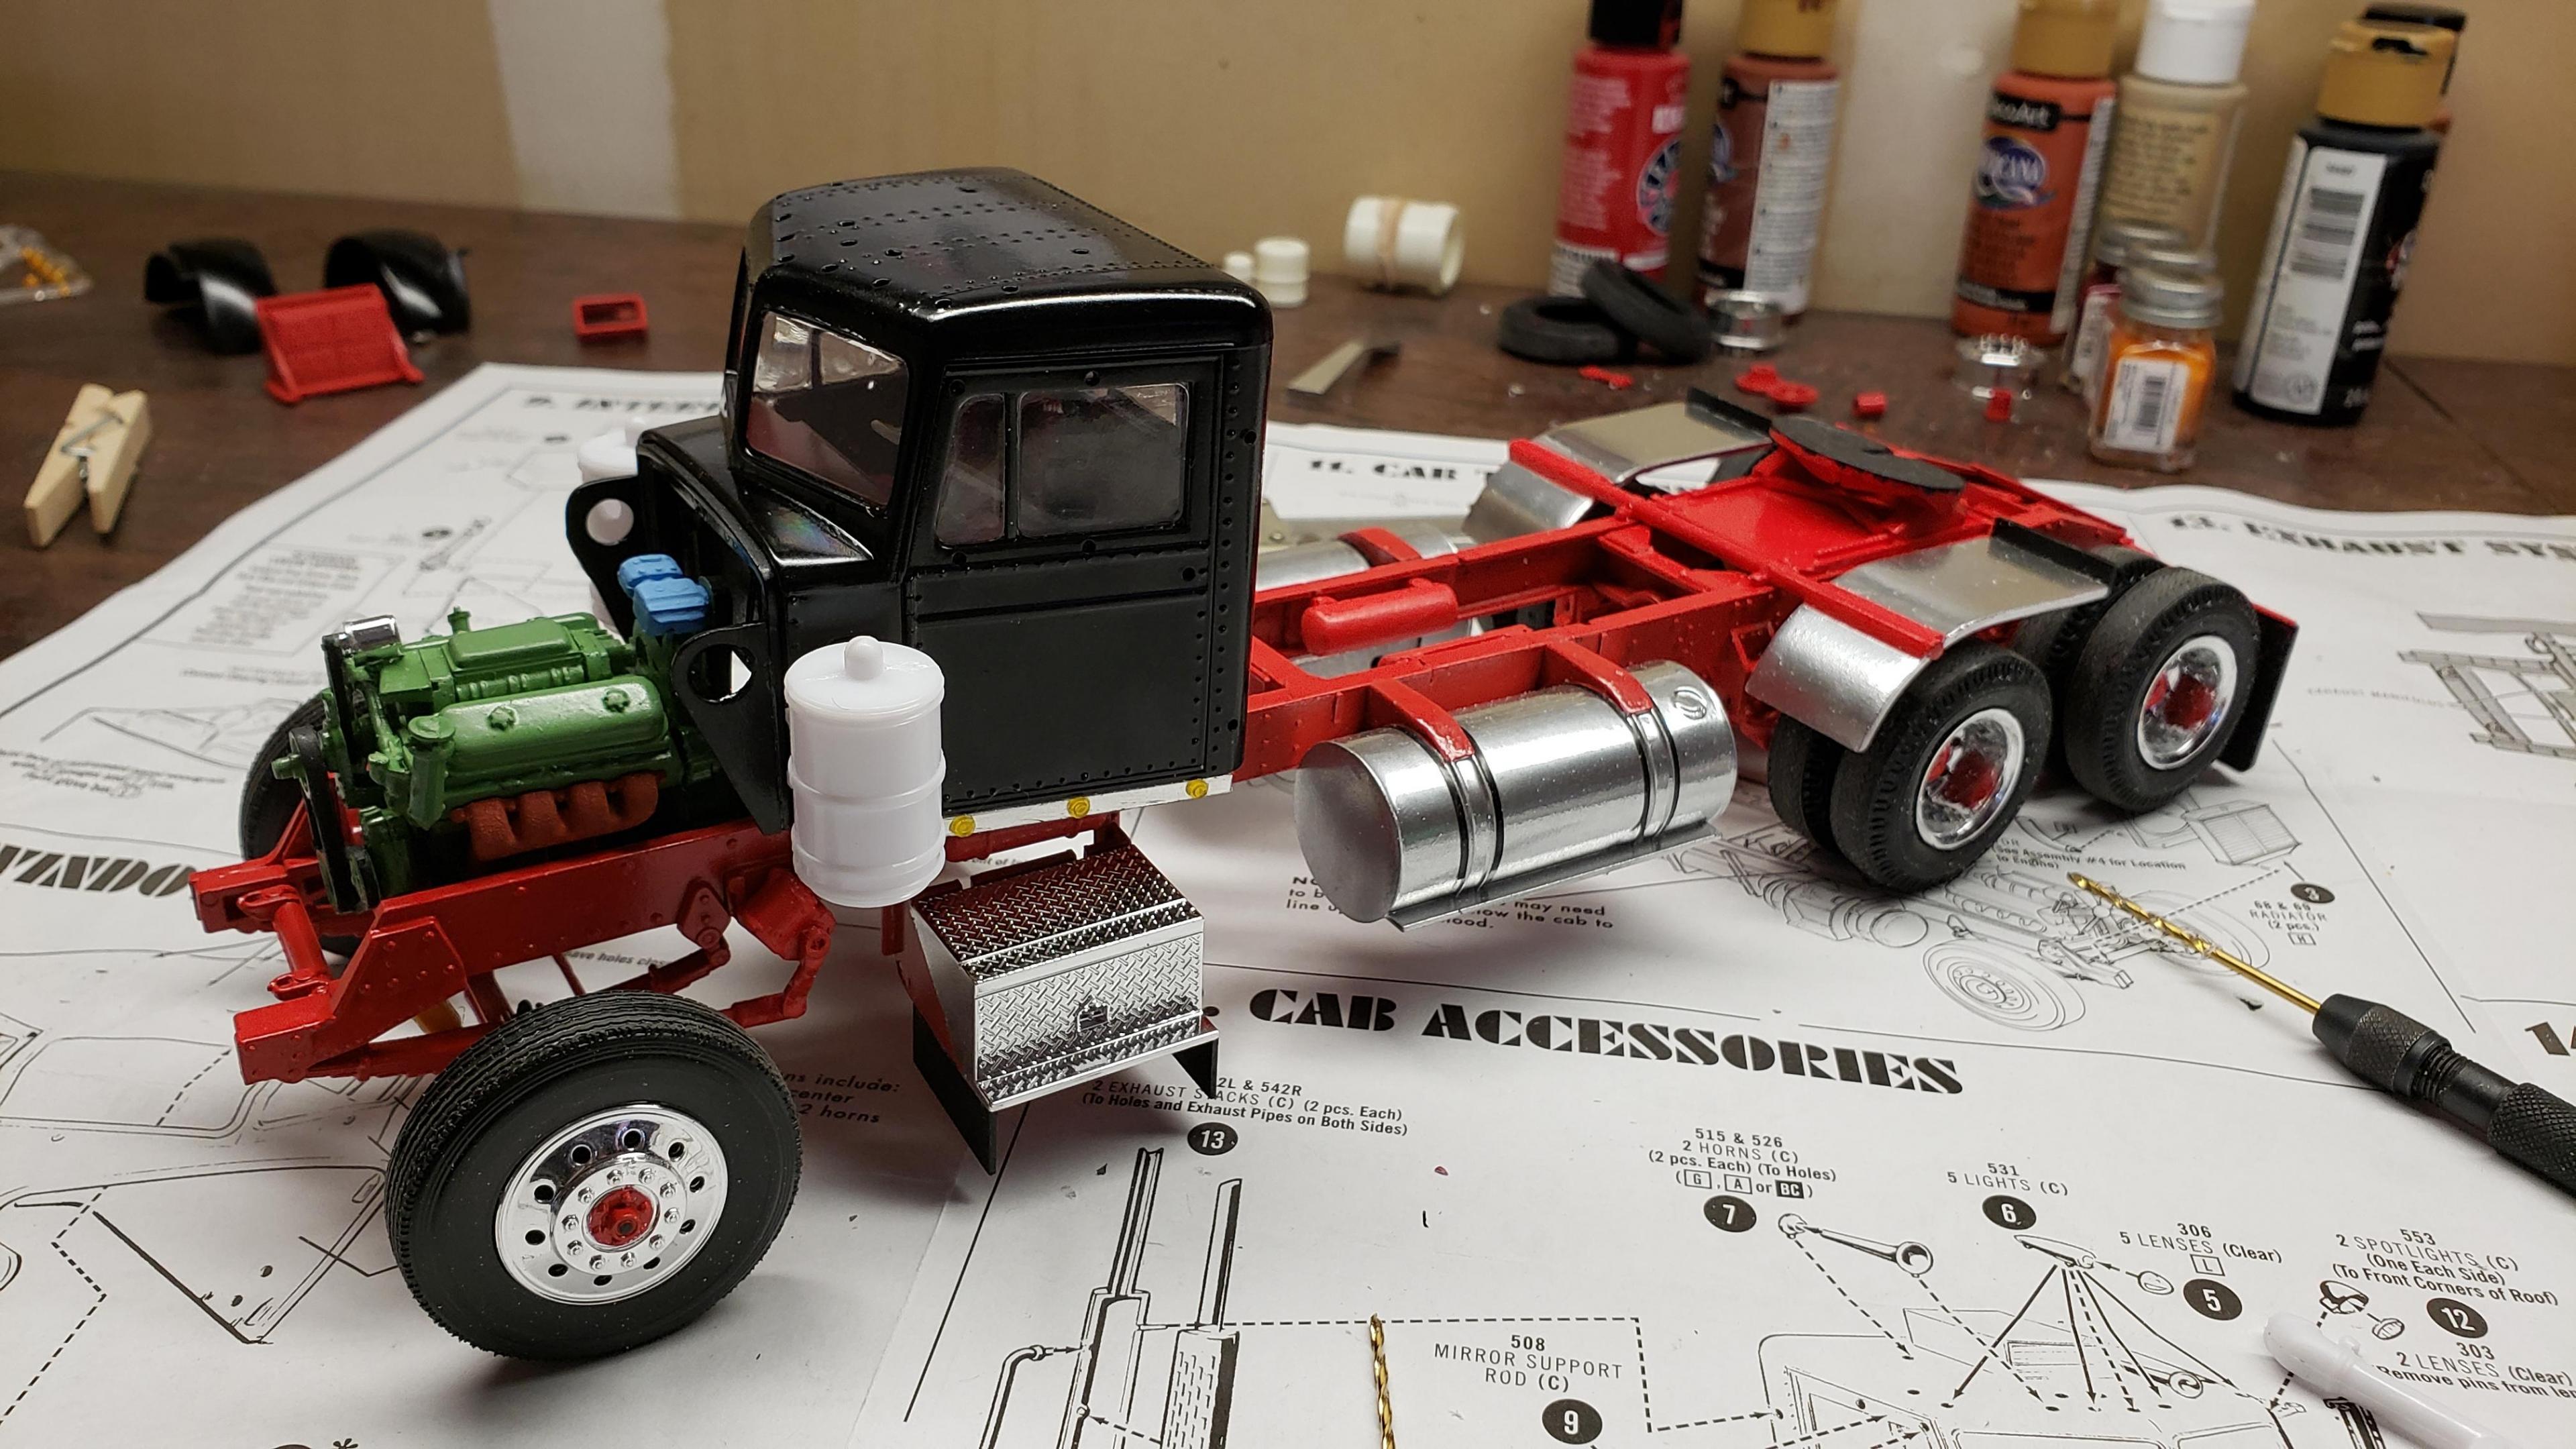
I want dual air filters on this rig, so I made a cowl for the driver's side
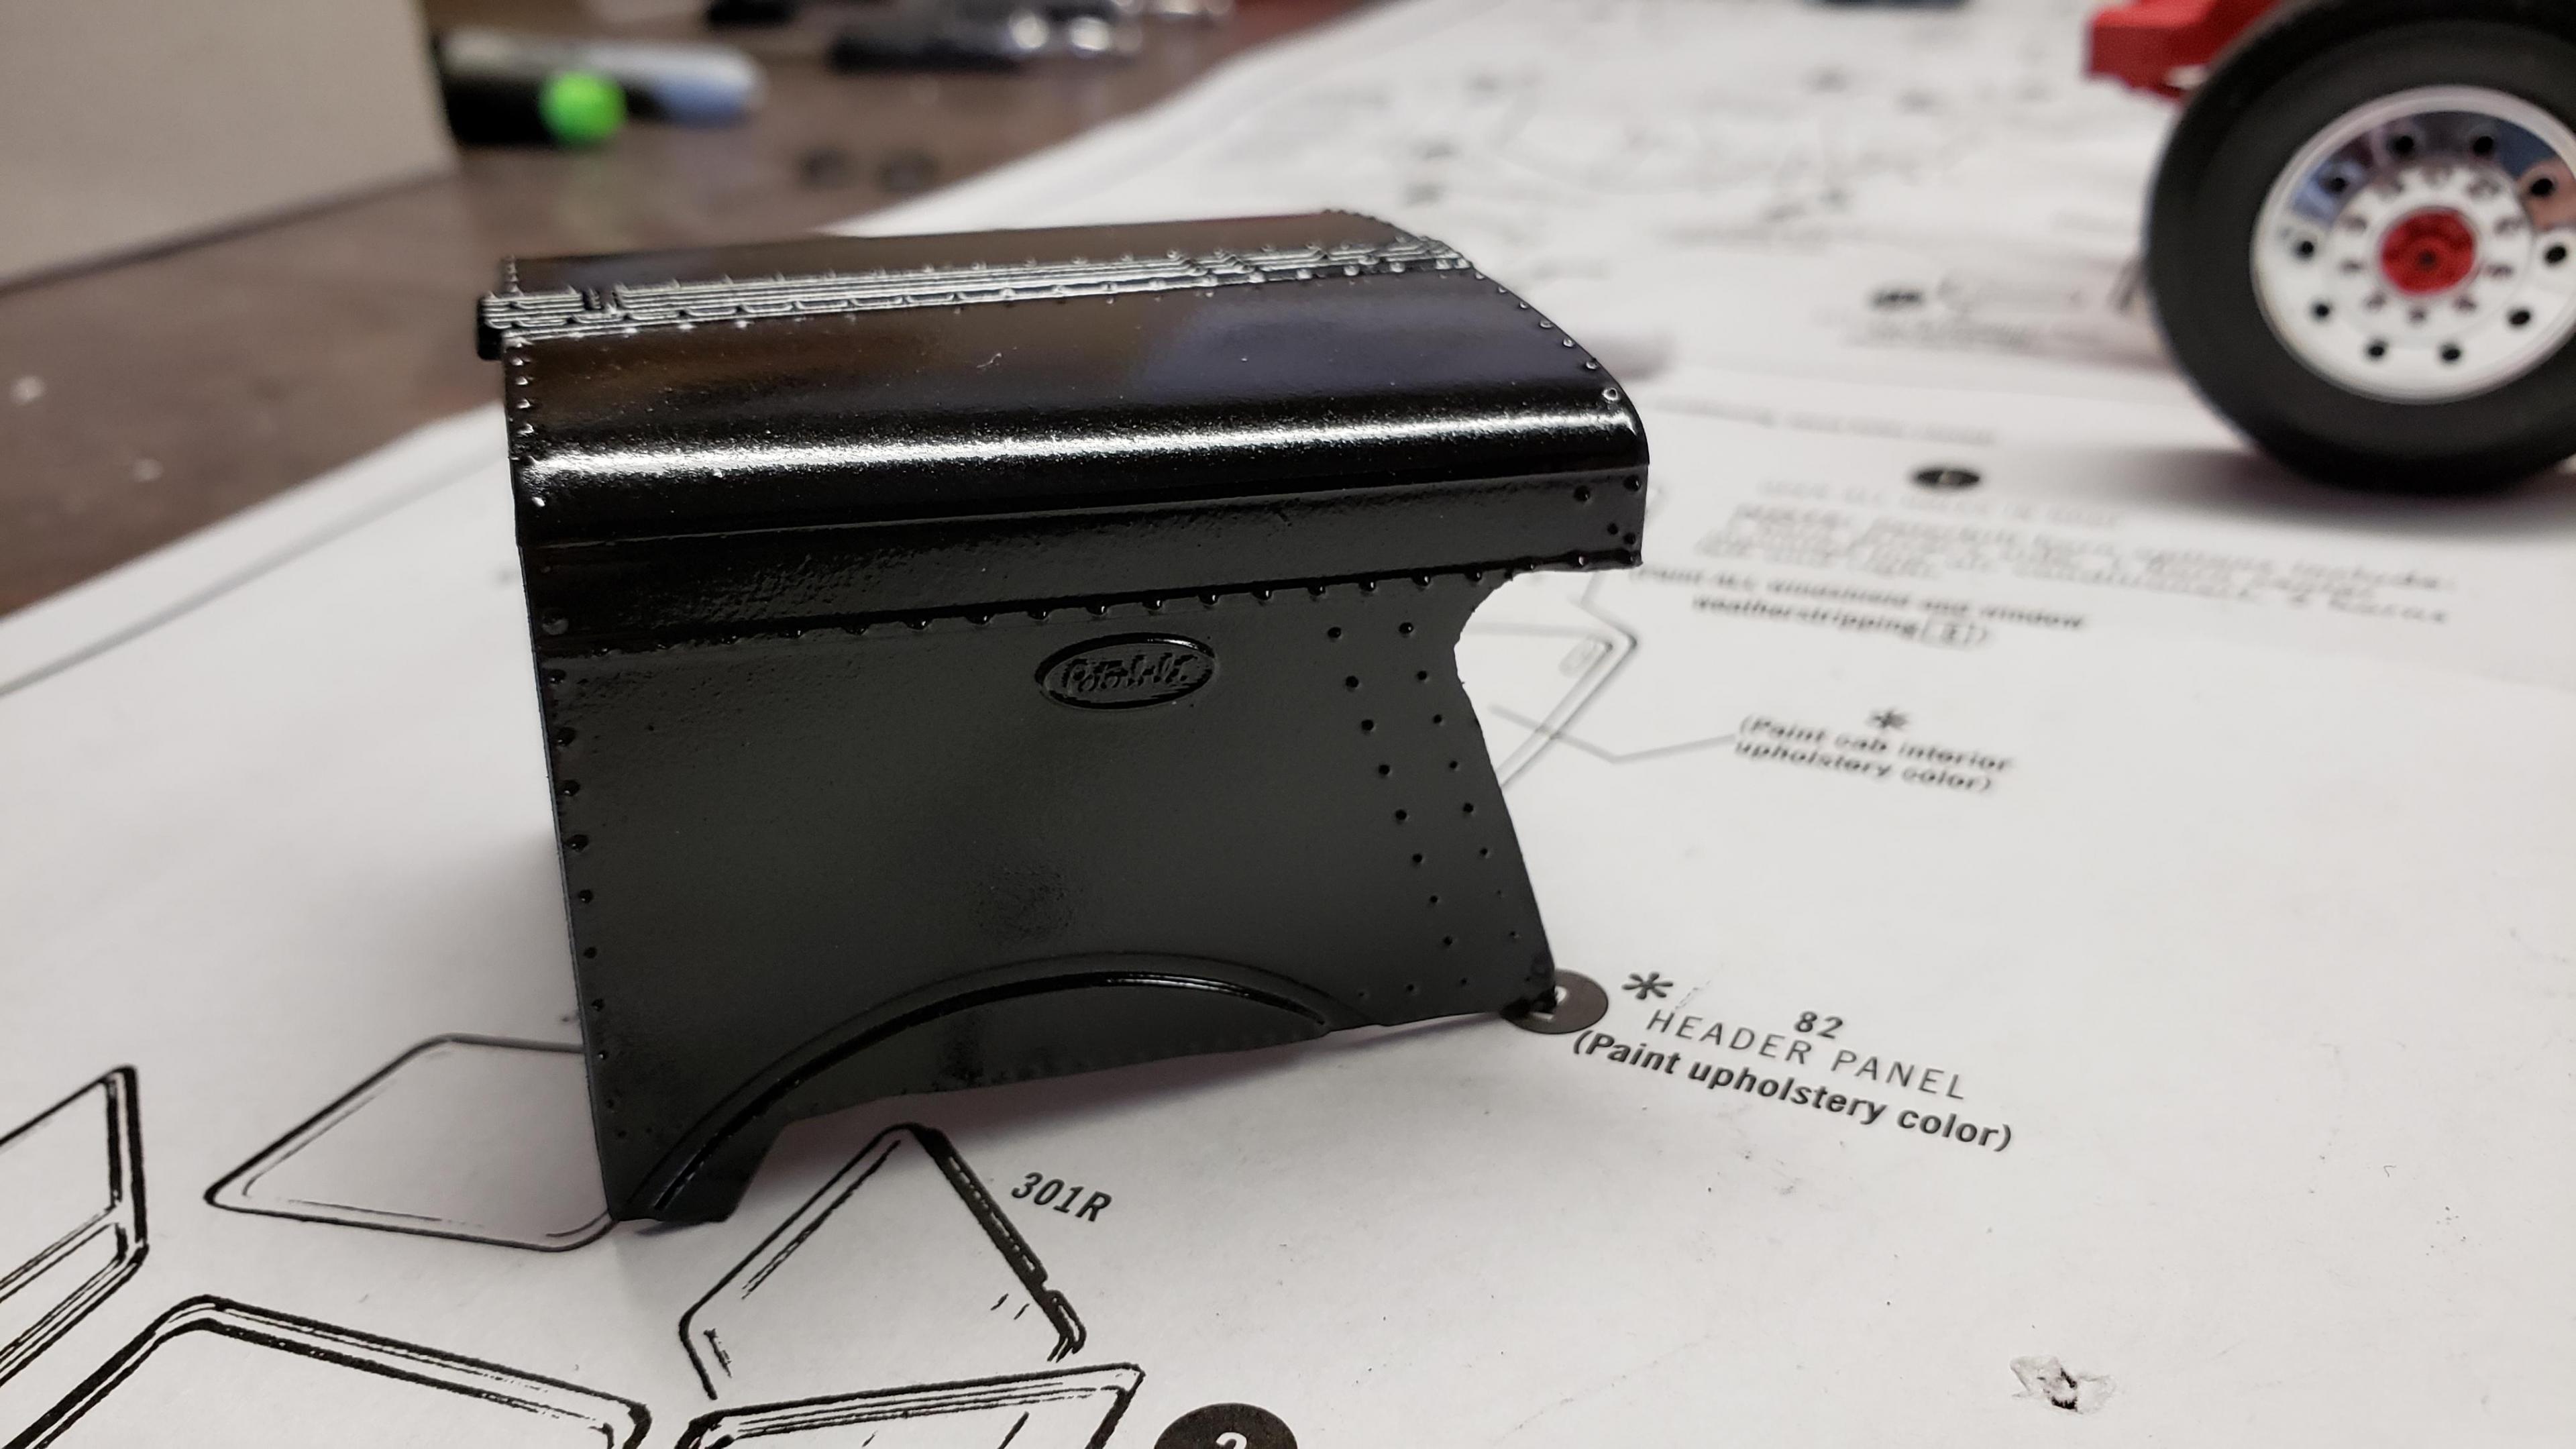
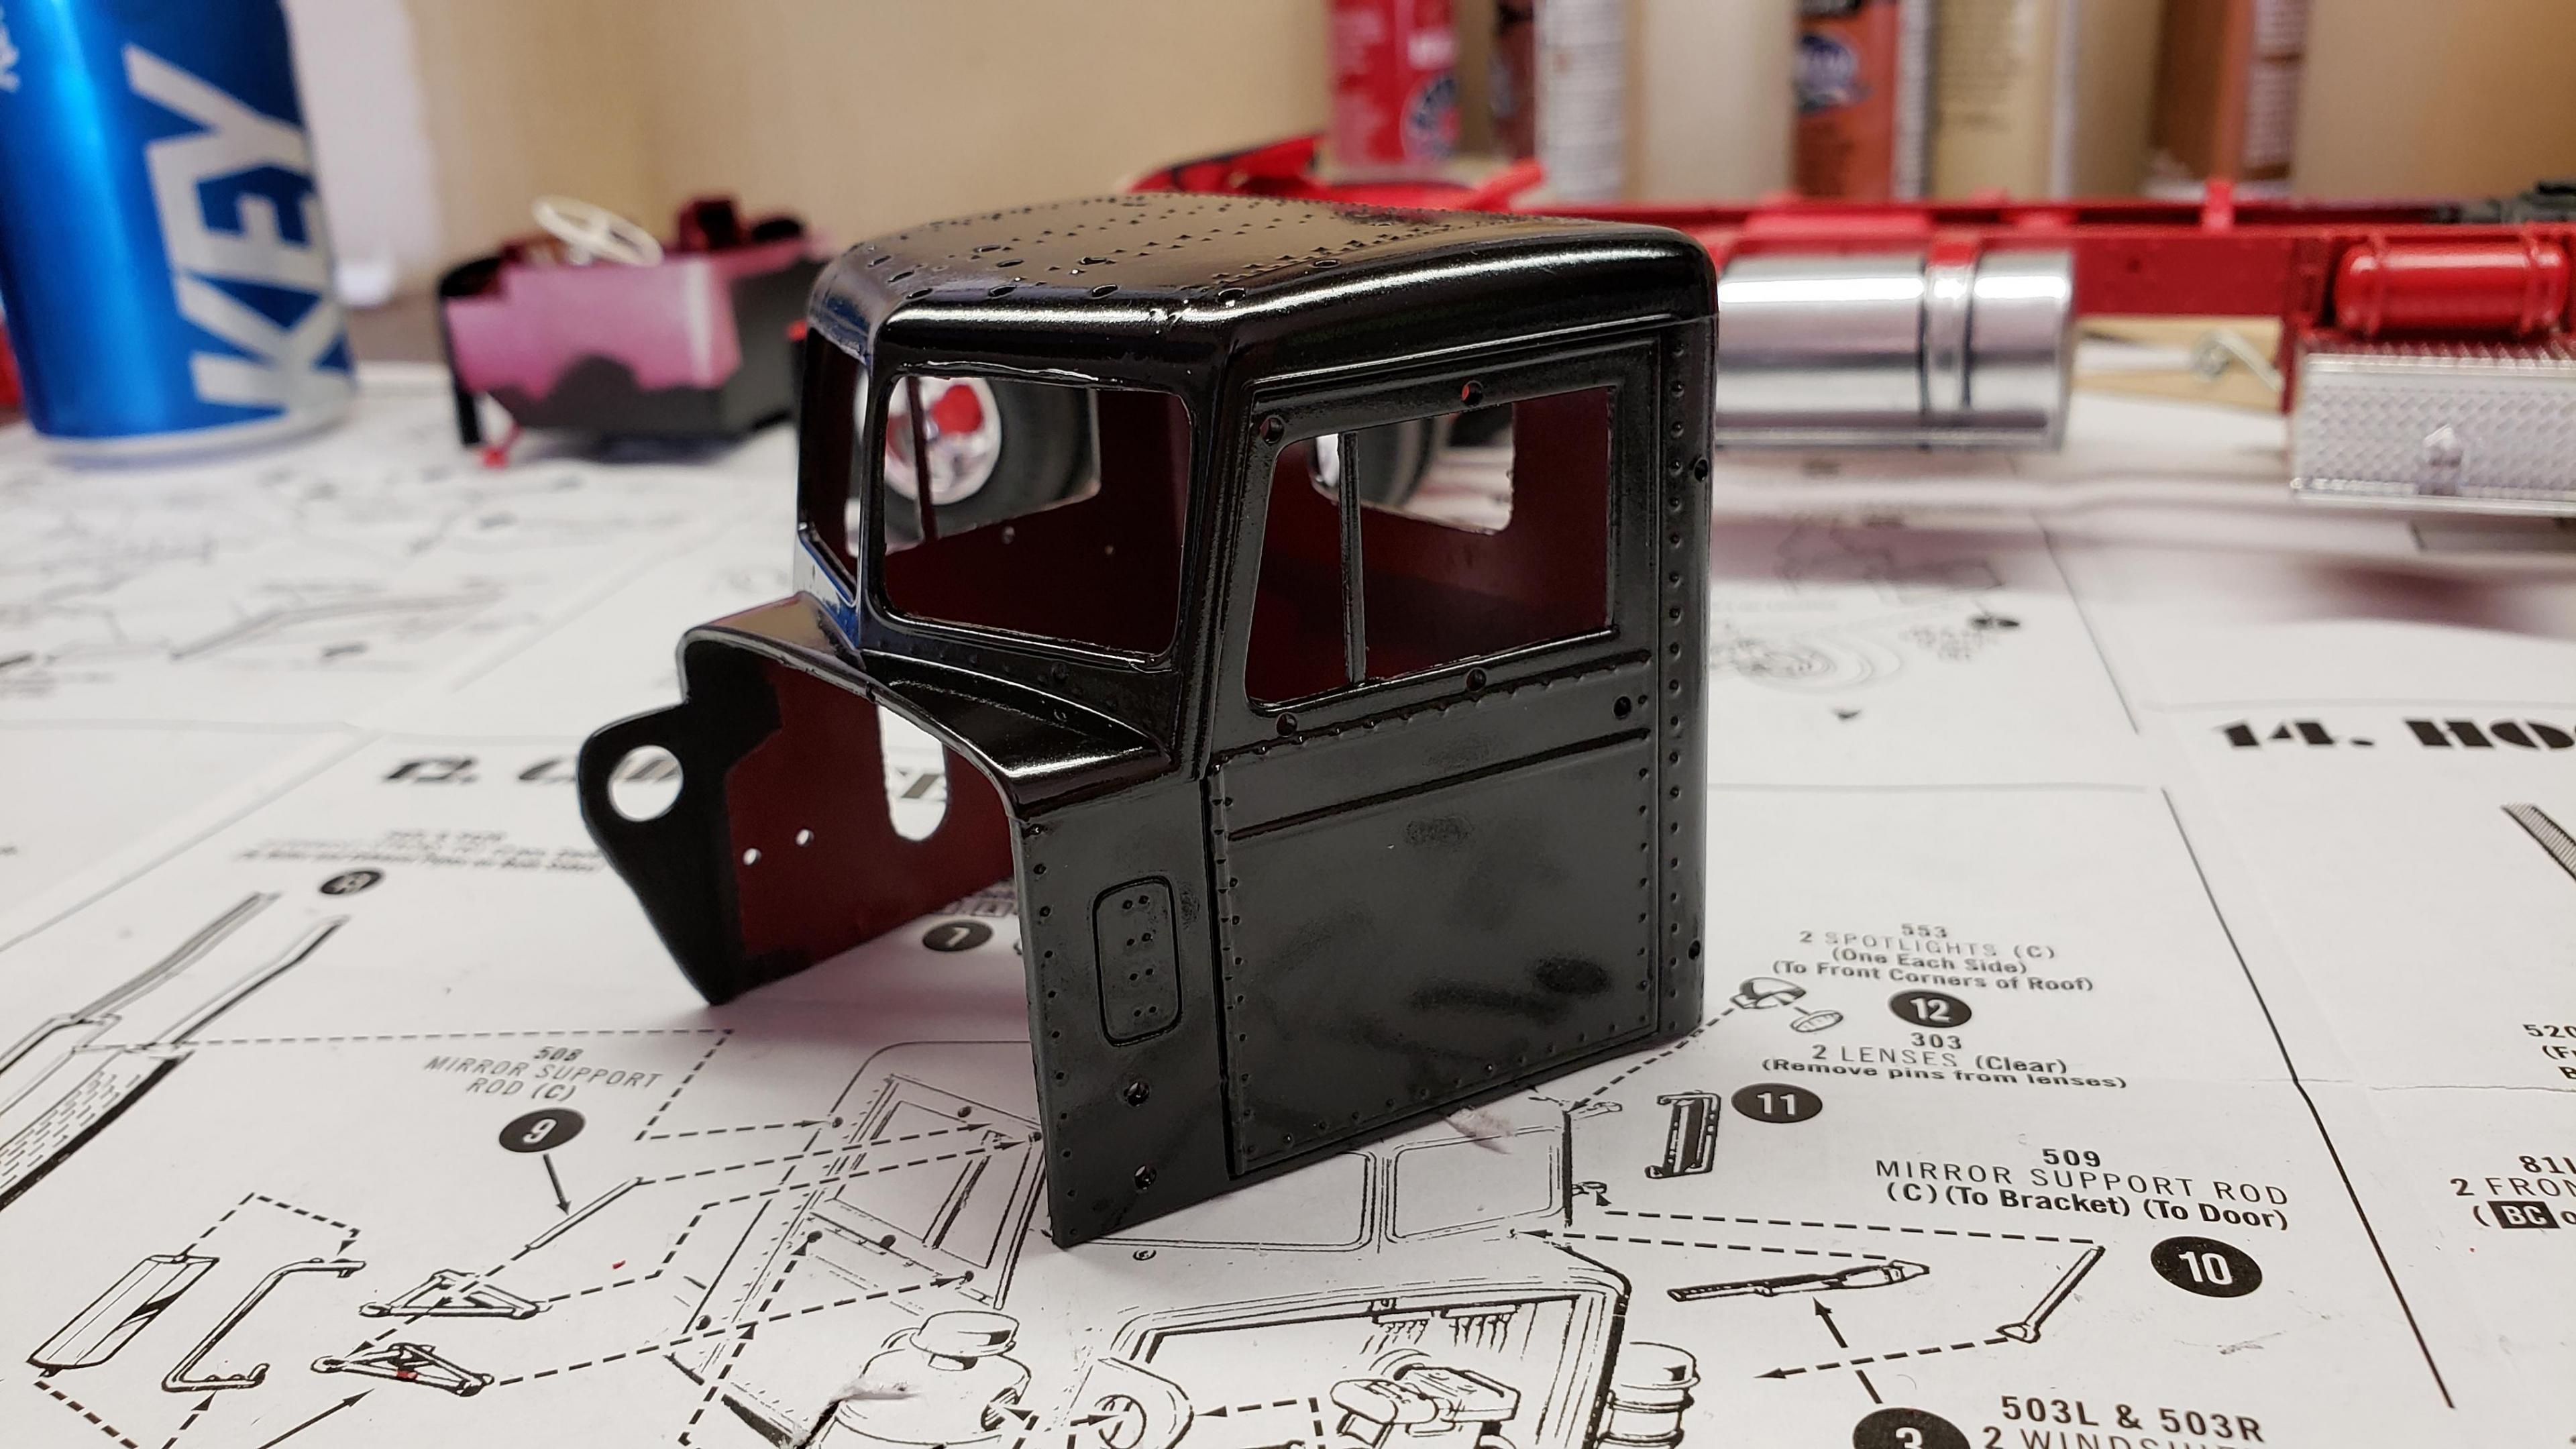
i got the cab painted, and did some test fitting. I had lots of problems with fitment of the firewall
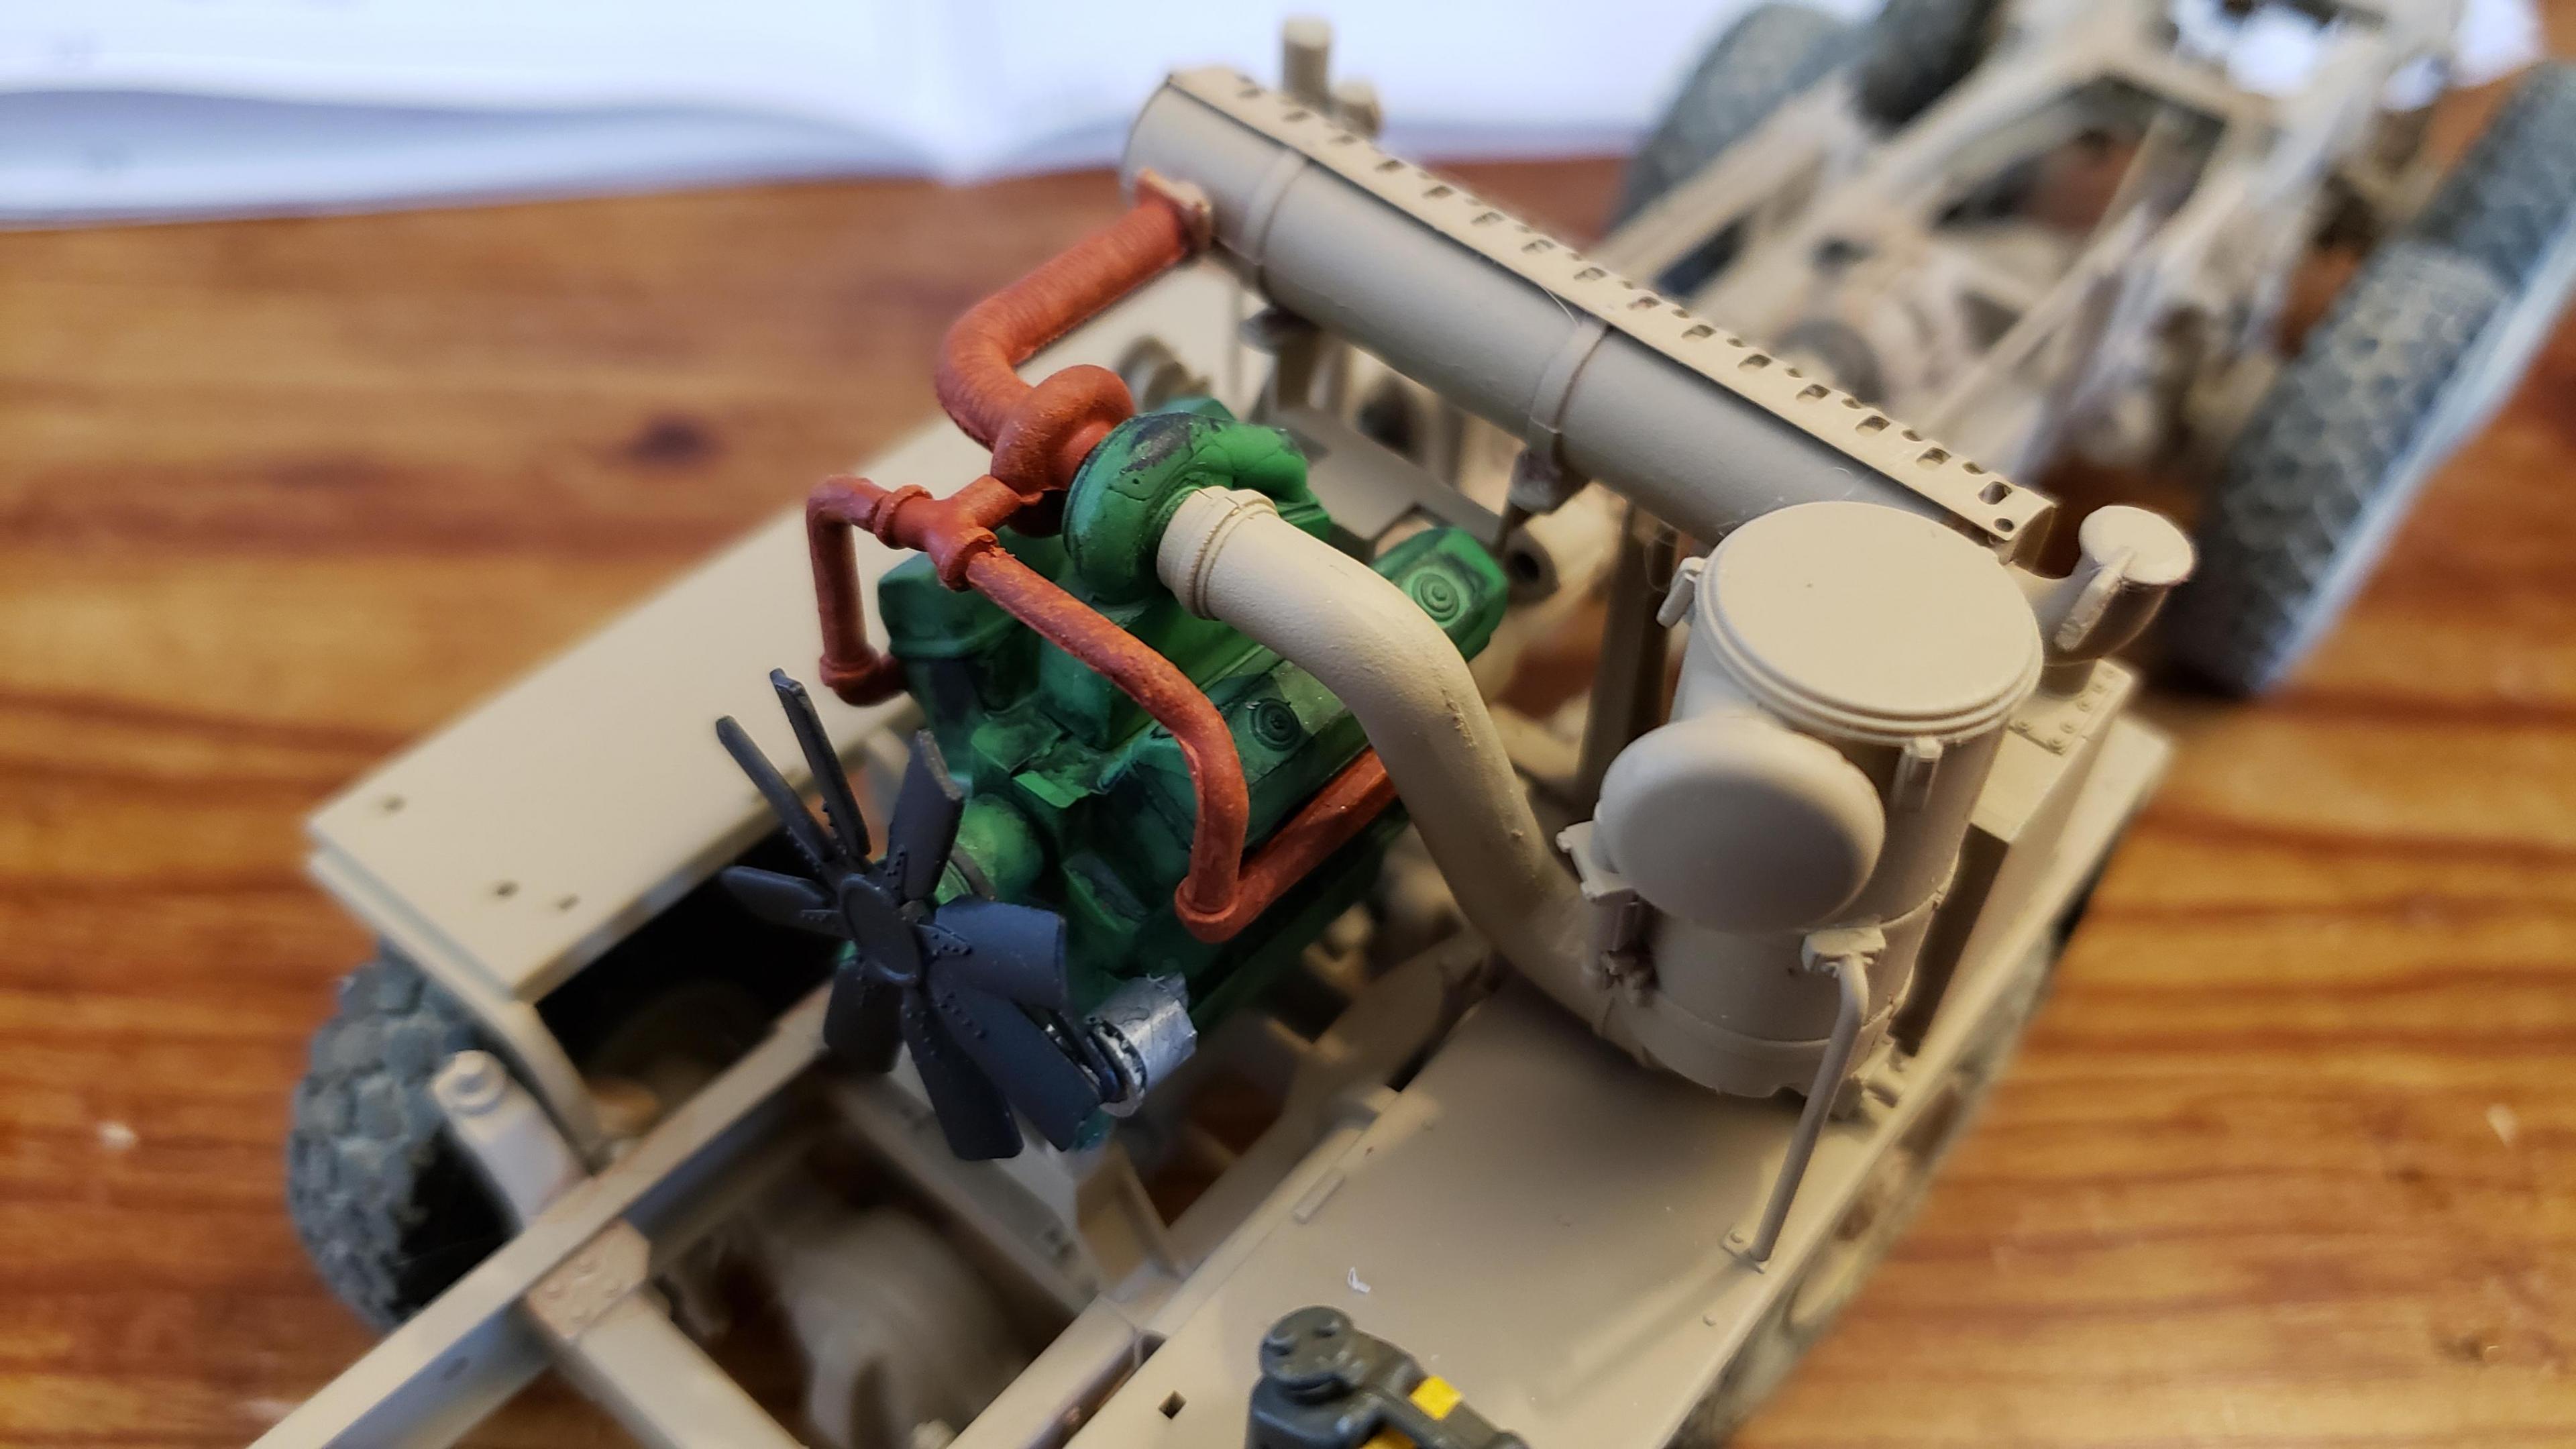
i was reluctant to modify the cab and hood for the air cleaners. I didn't really want to cross that point of no return, but I really wanted the dual filters, so I decided to go for it. I'm using the filters from the snap kw. For some reason, this detroit has the air compressor mounted a FOOT above the engine, right at the firewall. Right in the way of the air intake piping. It will take some creative modification to route the ducting around the compressor. But, I'm up for the challenge. I already drilled holes in the cab for the air filters, so I have to figure it out. And here's how she sits
-
On 7/16/2020 at 11:46 AM, MINIARE DELUXE said:
Nice Work!! Its going to be a beauty when finished i can tell! I have thought long and hard about buying this kit but haven't pulled the trigger yet.
Still finishing the revell version and its taking a while because other 1:1 projects and printing product for customers is taking precedence.
I saw you had mentioned no visor in that kit. Had the same deal in the revell kit as well i was able to rob out of the parts bin and i think mine
was from the AMT/Ertl W900a kit. Fit was good. Keep up the good work defiantly watching this build!
Well, some previous versions of this kit came with a visor, I just wasn't aware that this release didn't. Made me very dissapointed since I really like the lines on that one. The Revell snap kit never came with one. My first attempt at replicating the visor was a fail, I'll have to try again. Thanks everyone for the kind words. This truck will be a looker for sure!
-
-
1 hour ago, Jim B said:
Nice progress so far. I like your Green Leaker, and the red frame is nice.
Thank you! I have a photo of an updated old 359 that is my inspiration. I think the final color combo will look sharp
-
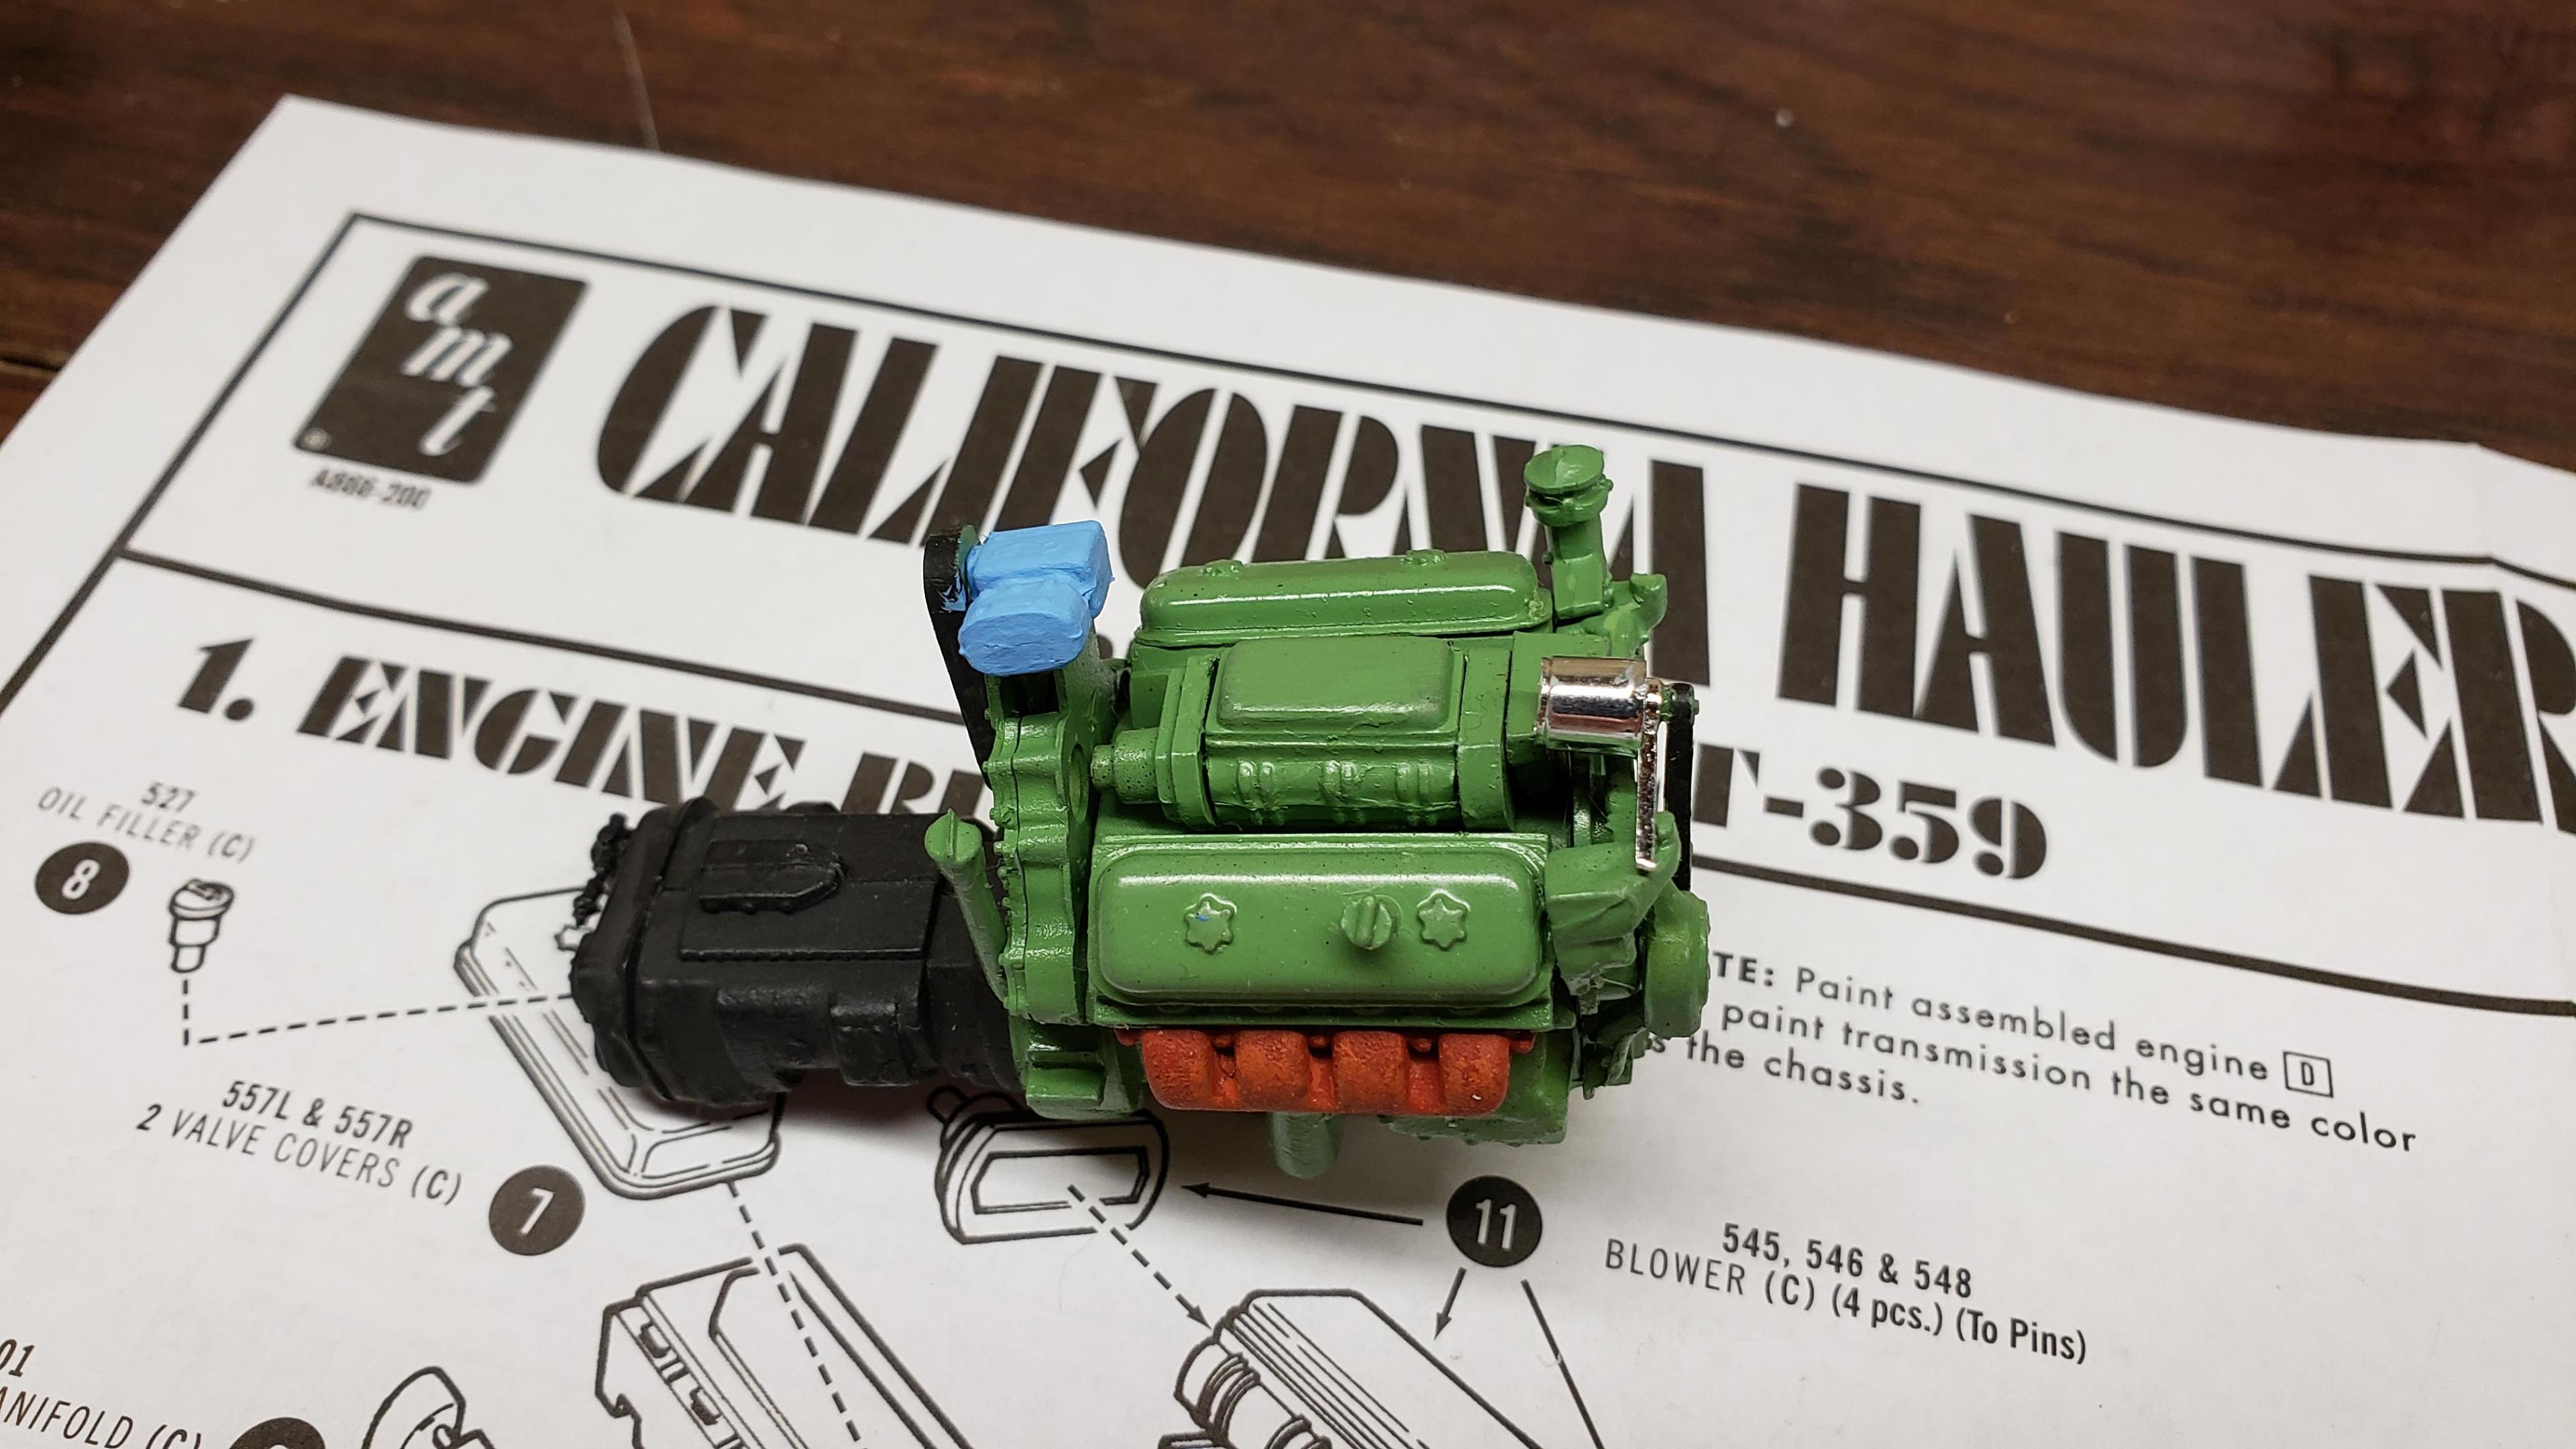
I've started to build the most recent release of the Round 2 359. First, a few things about the kit. I've built AMT kits before, and the kit is just as I expected. These molds are old, and there's lots of flash, seams, mutant parts, etc. Pieces don't fit together. I was surprised that it did not include the sleeper, but not a big deal, since I'm building a daycab anyways. But I'm very disappointed that there is no visor. I'm guessing the visor is on the sleeper parts tree. Anyways, I got to work on the engine and chassis.
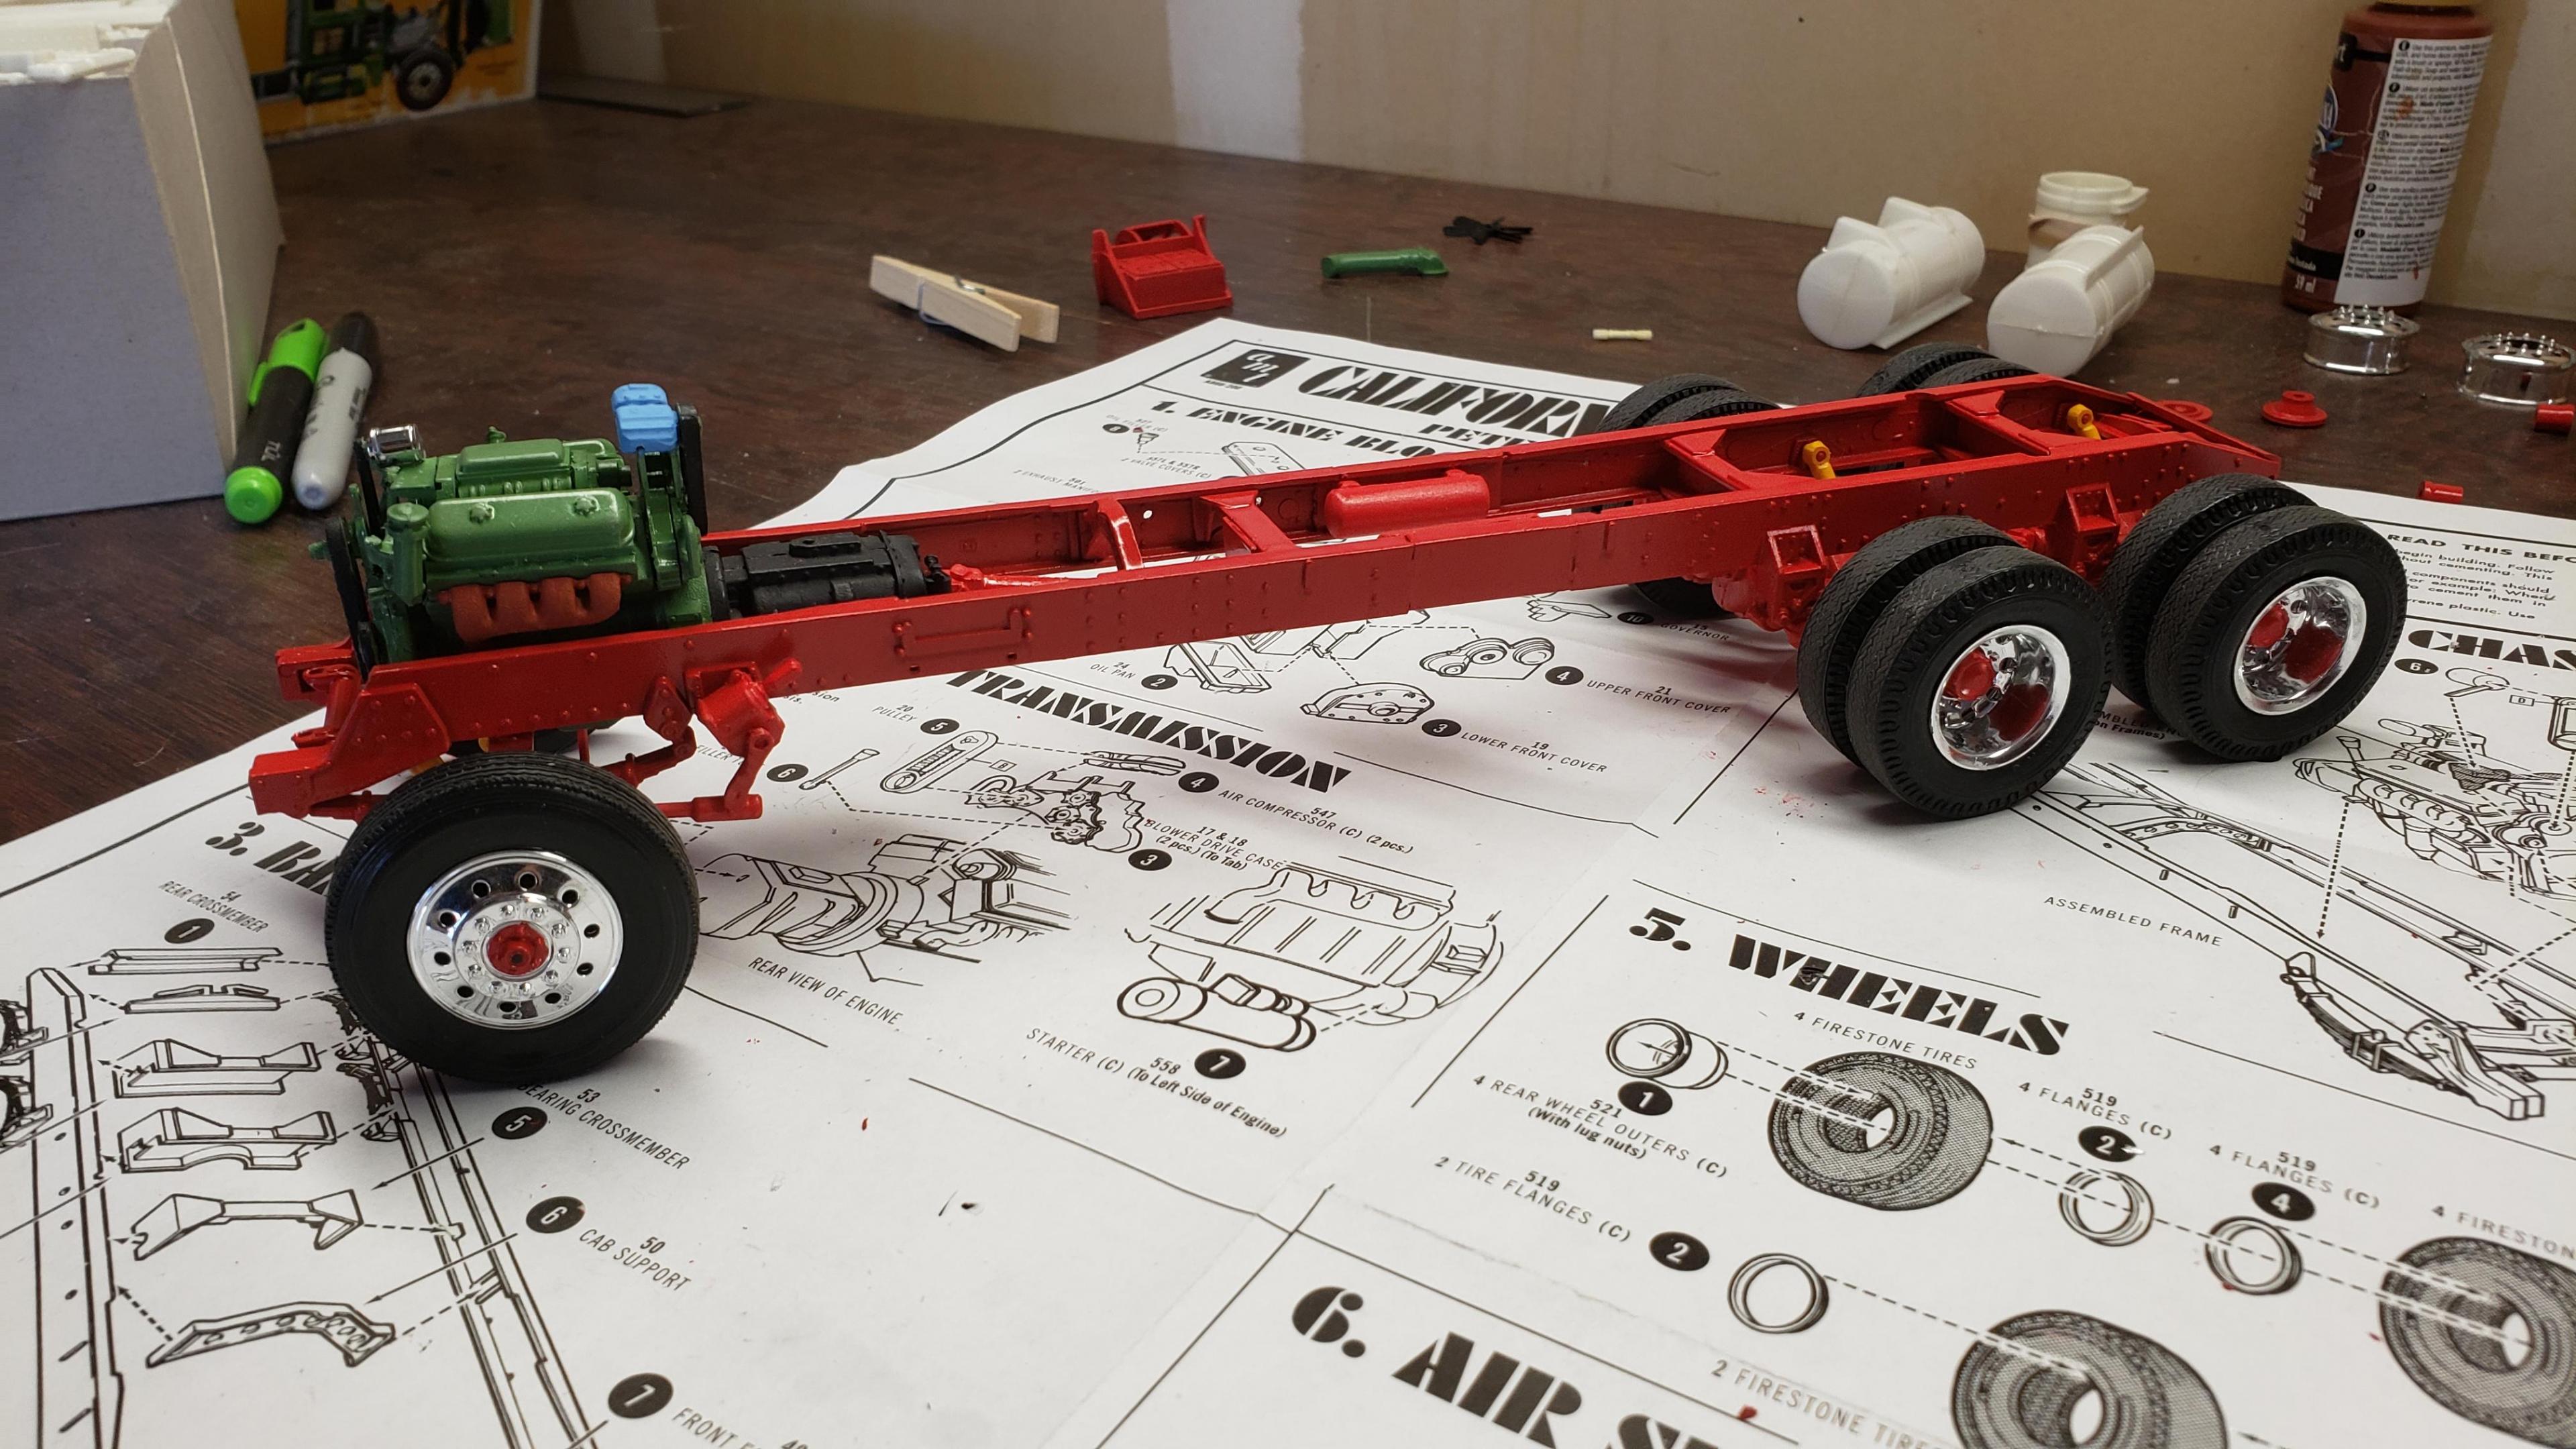
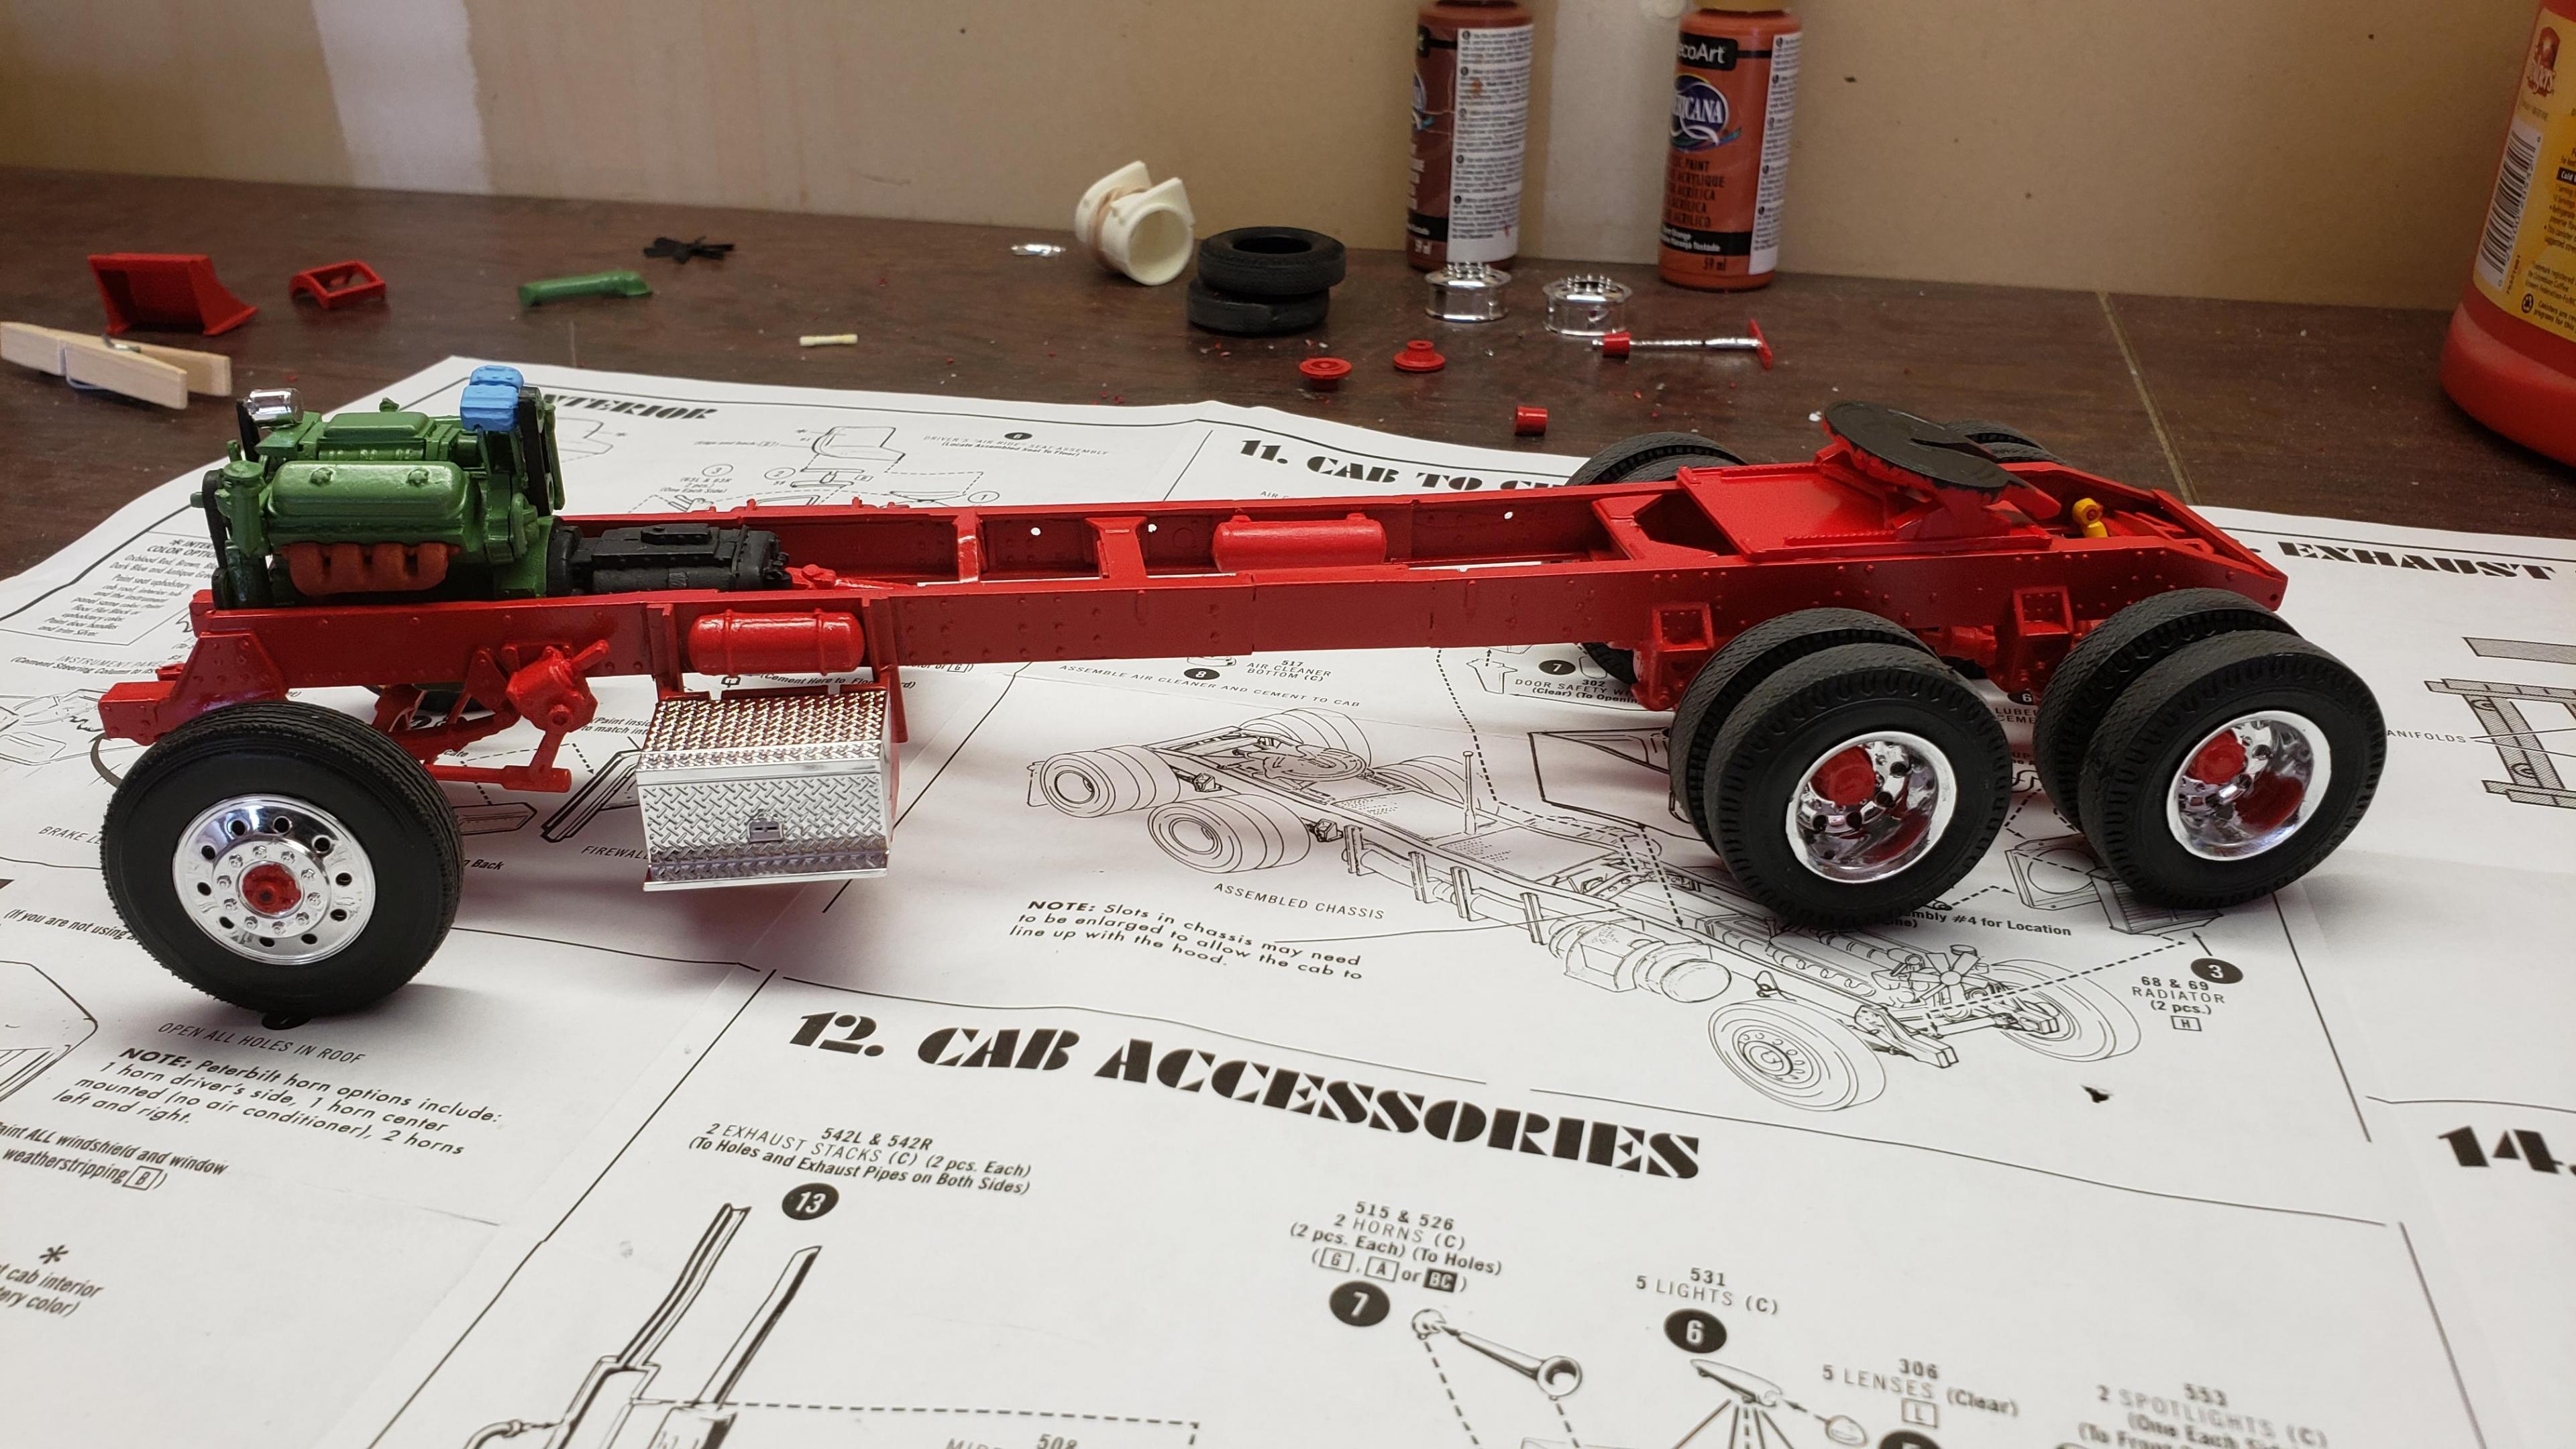
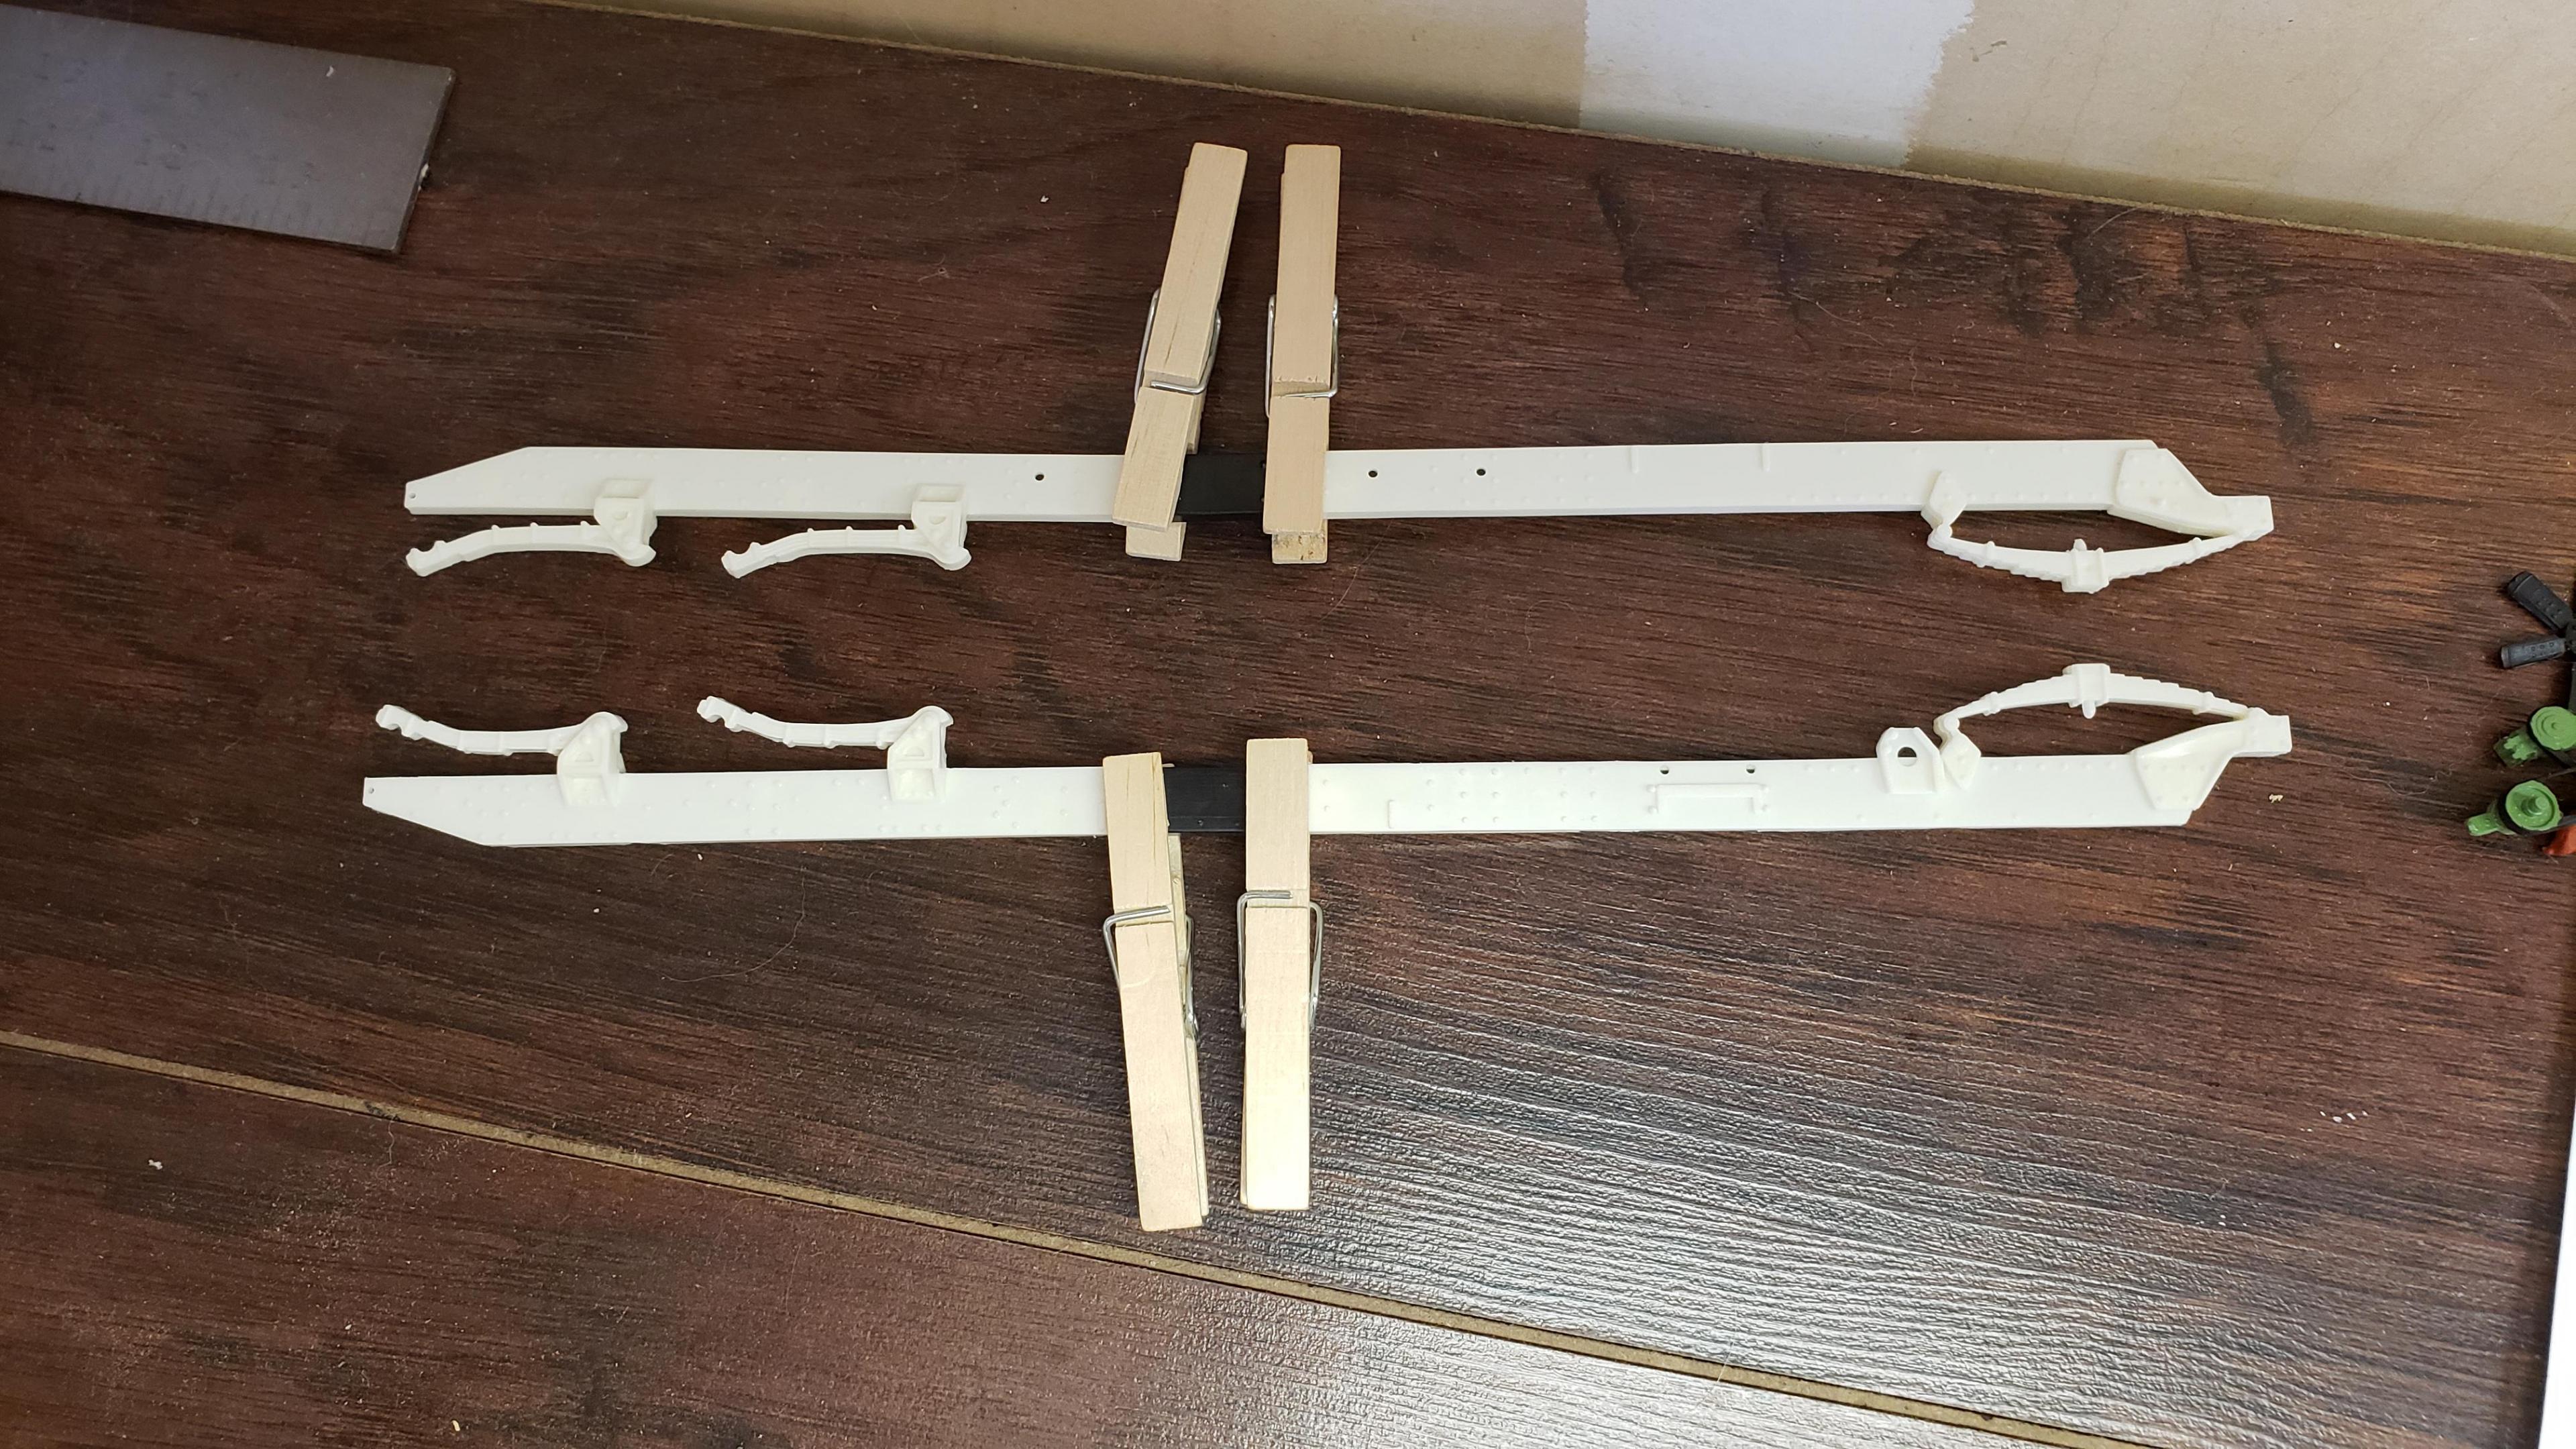
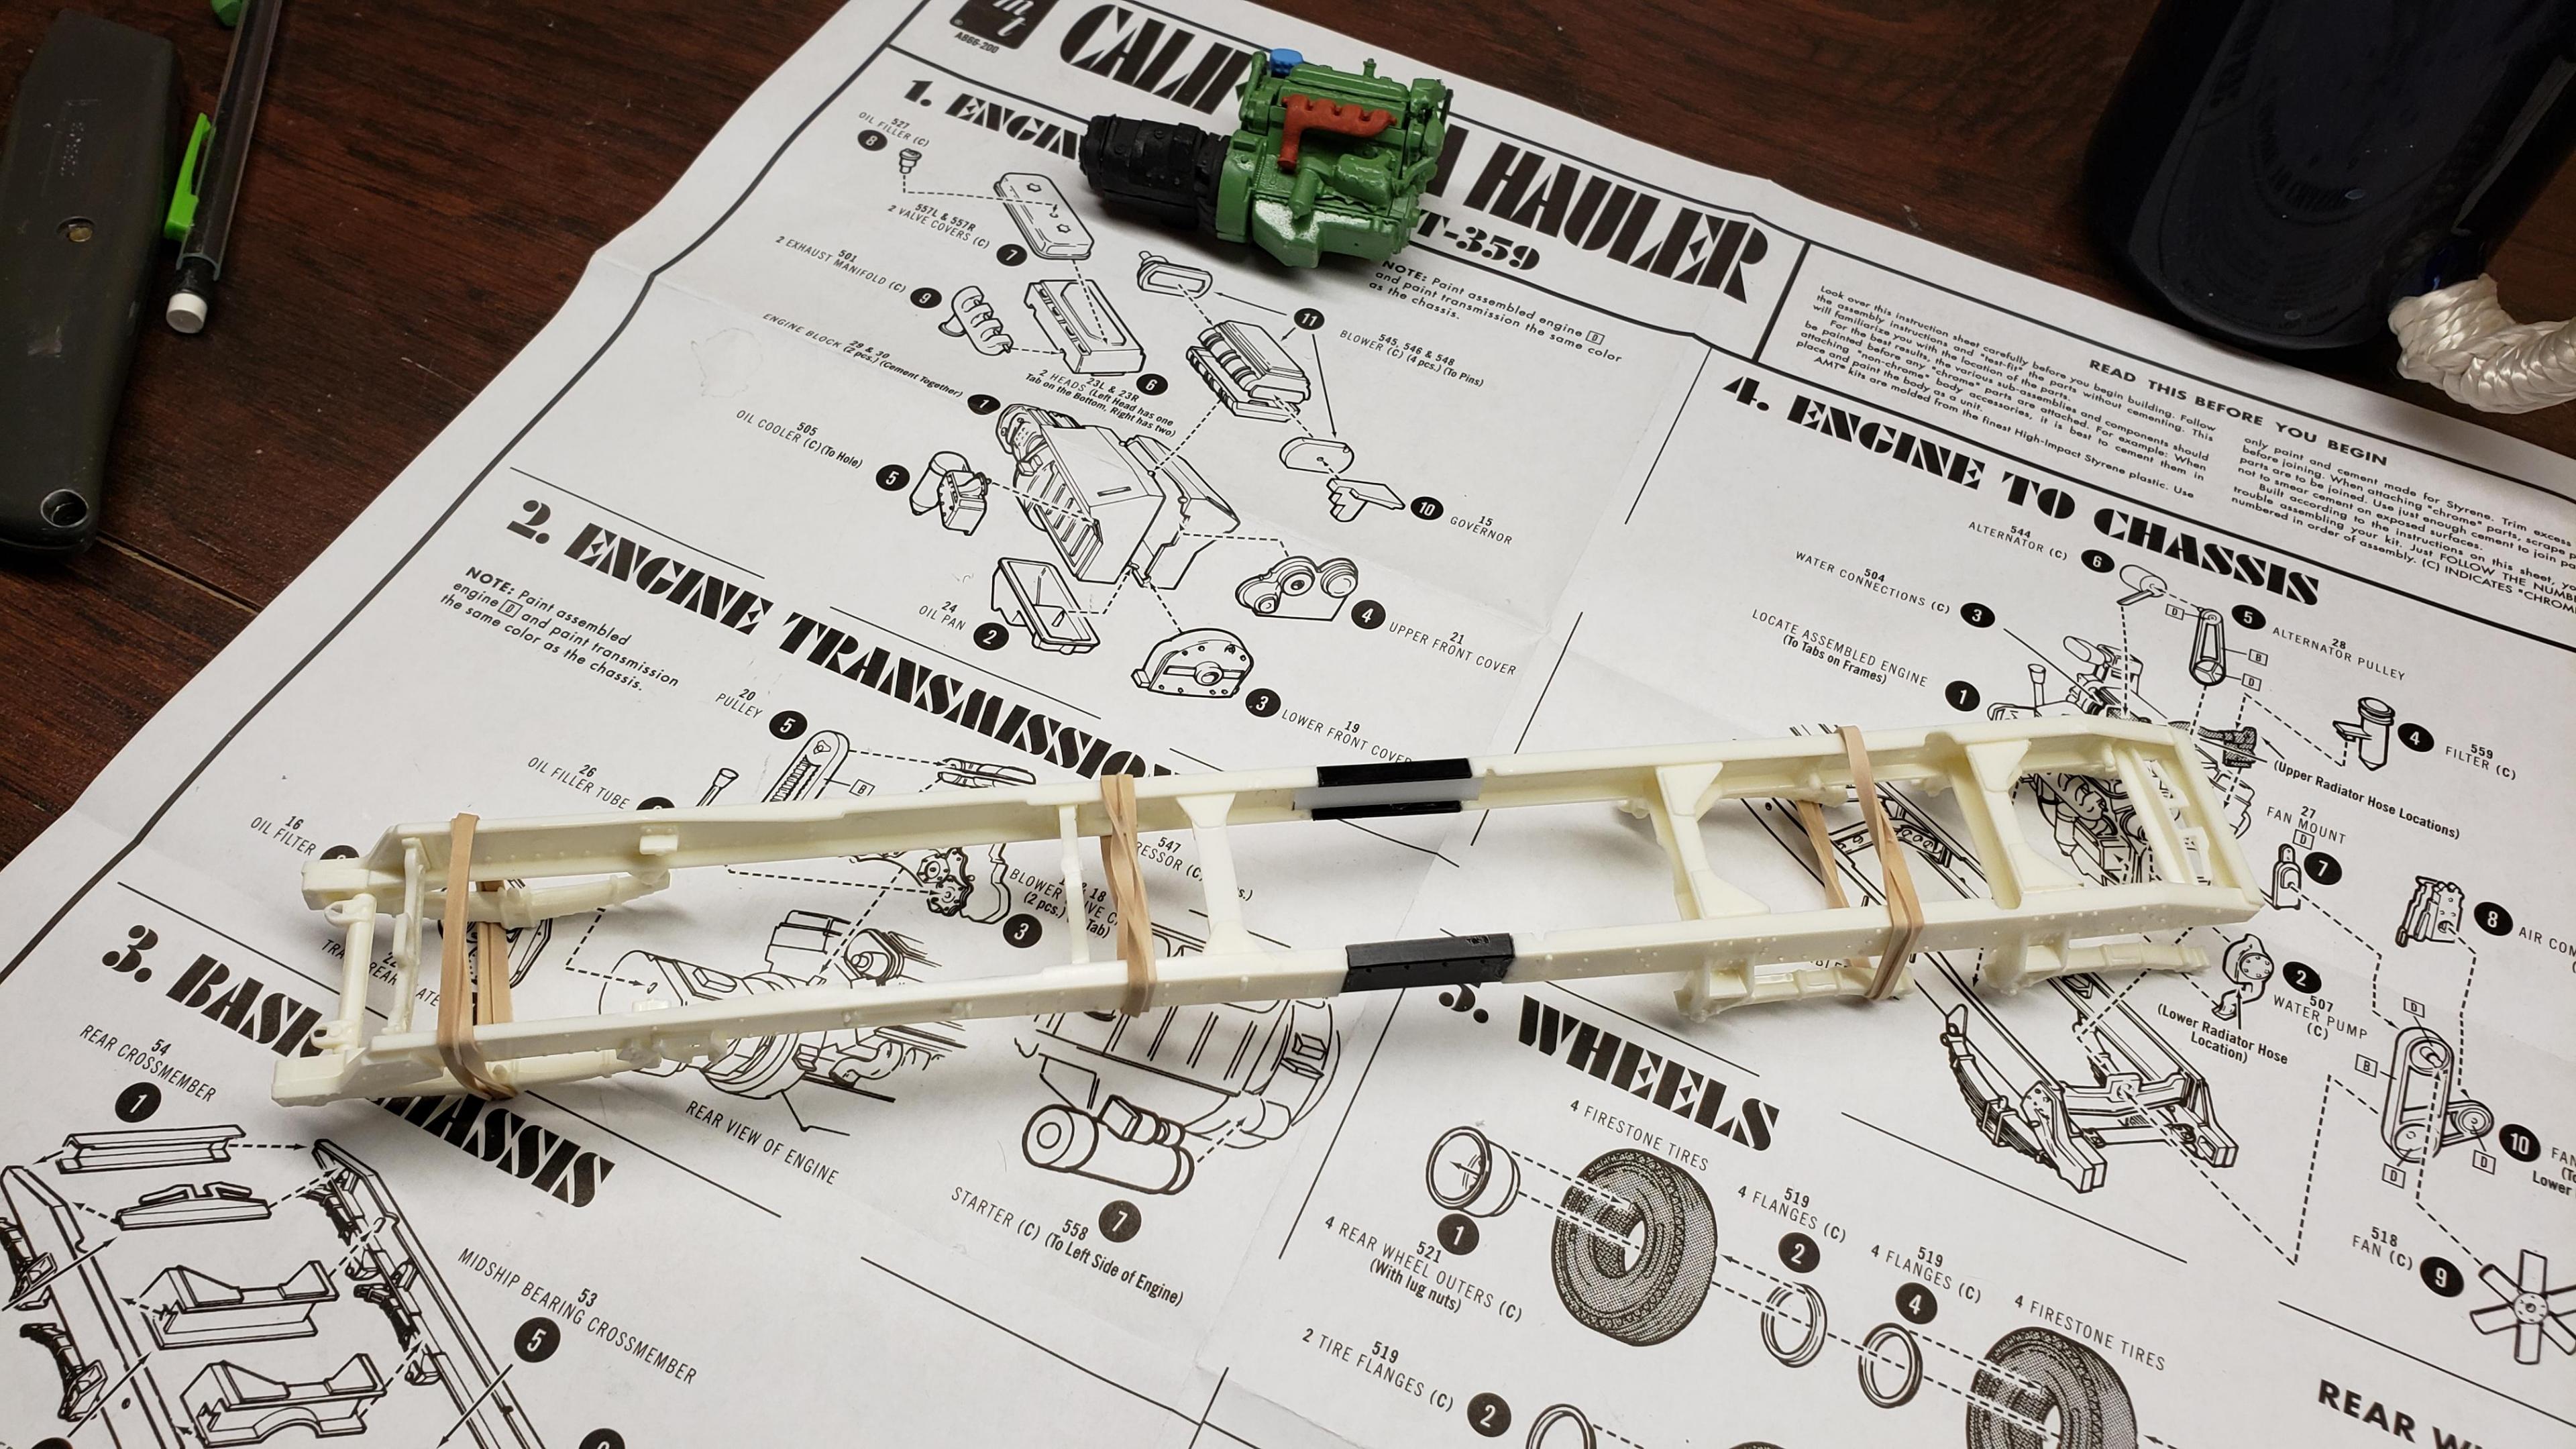
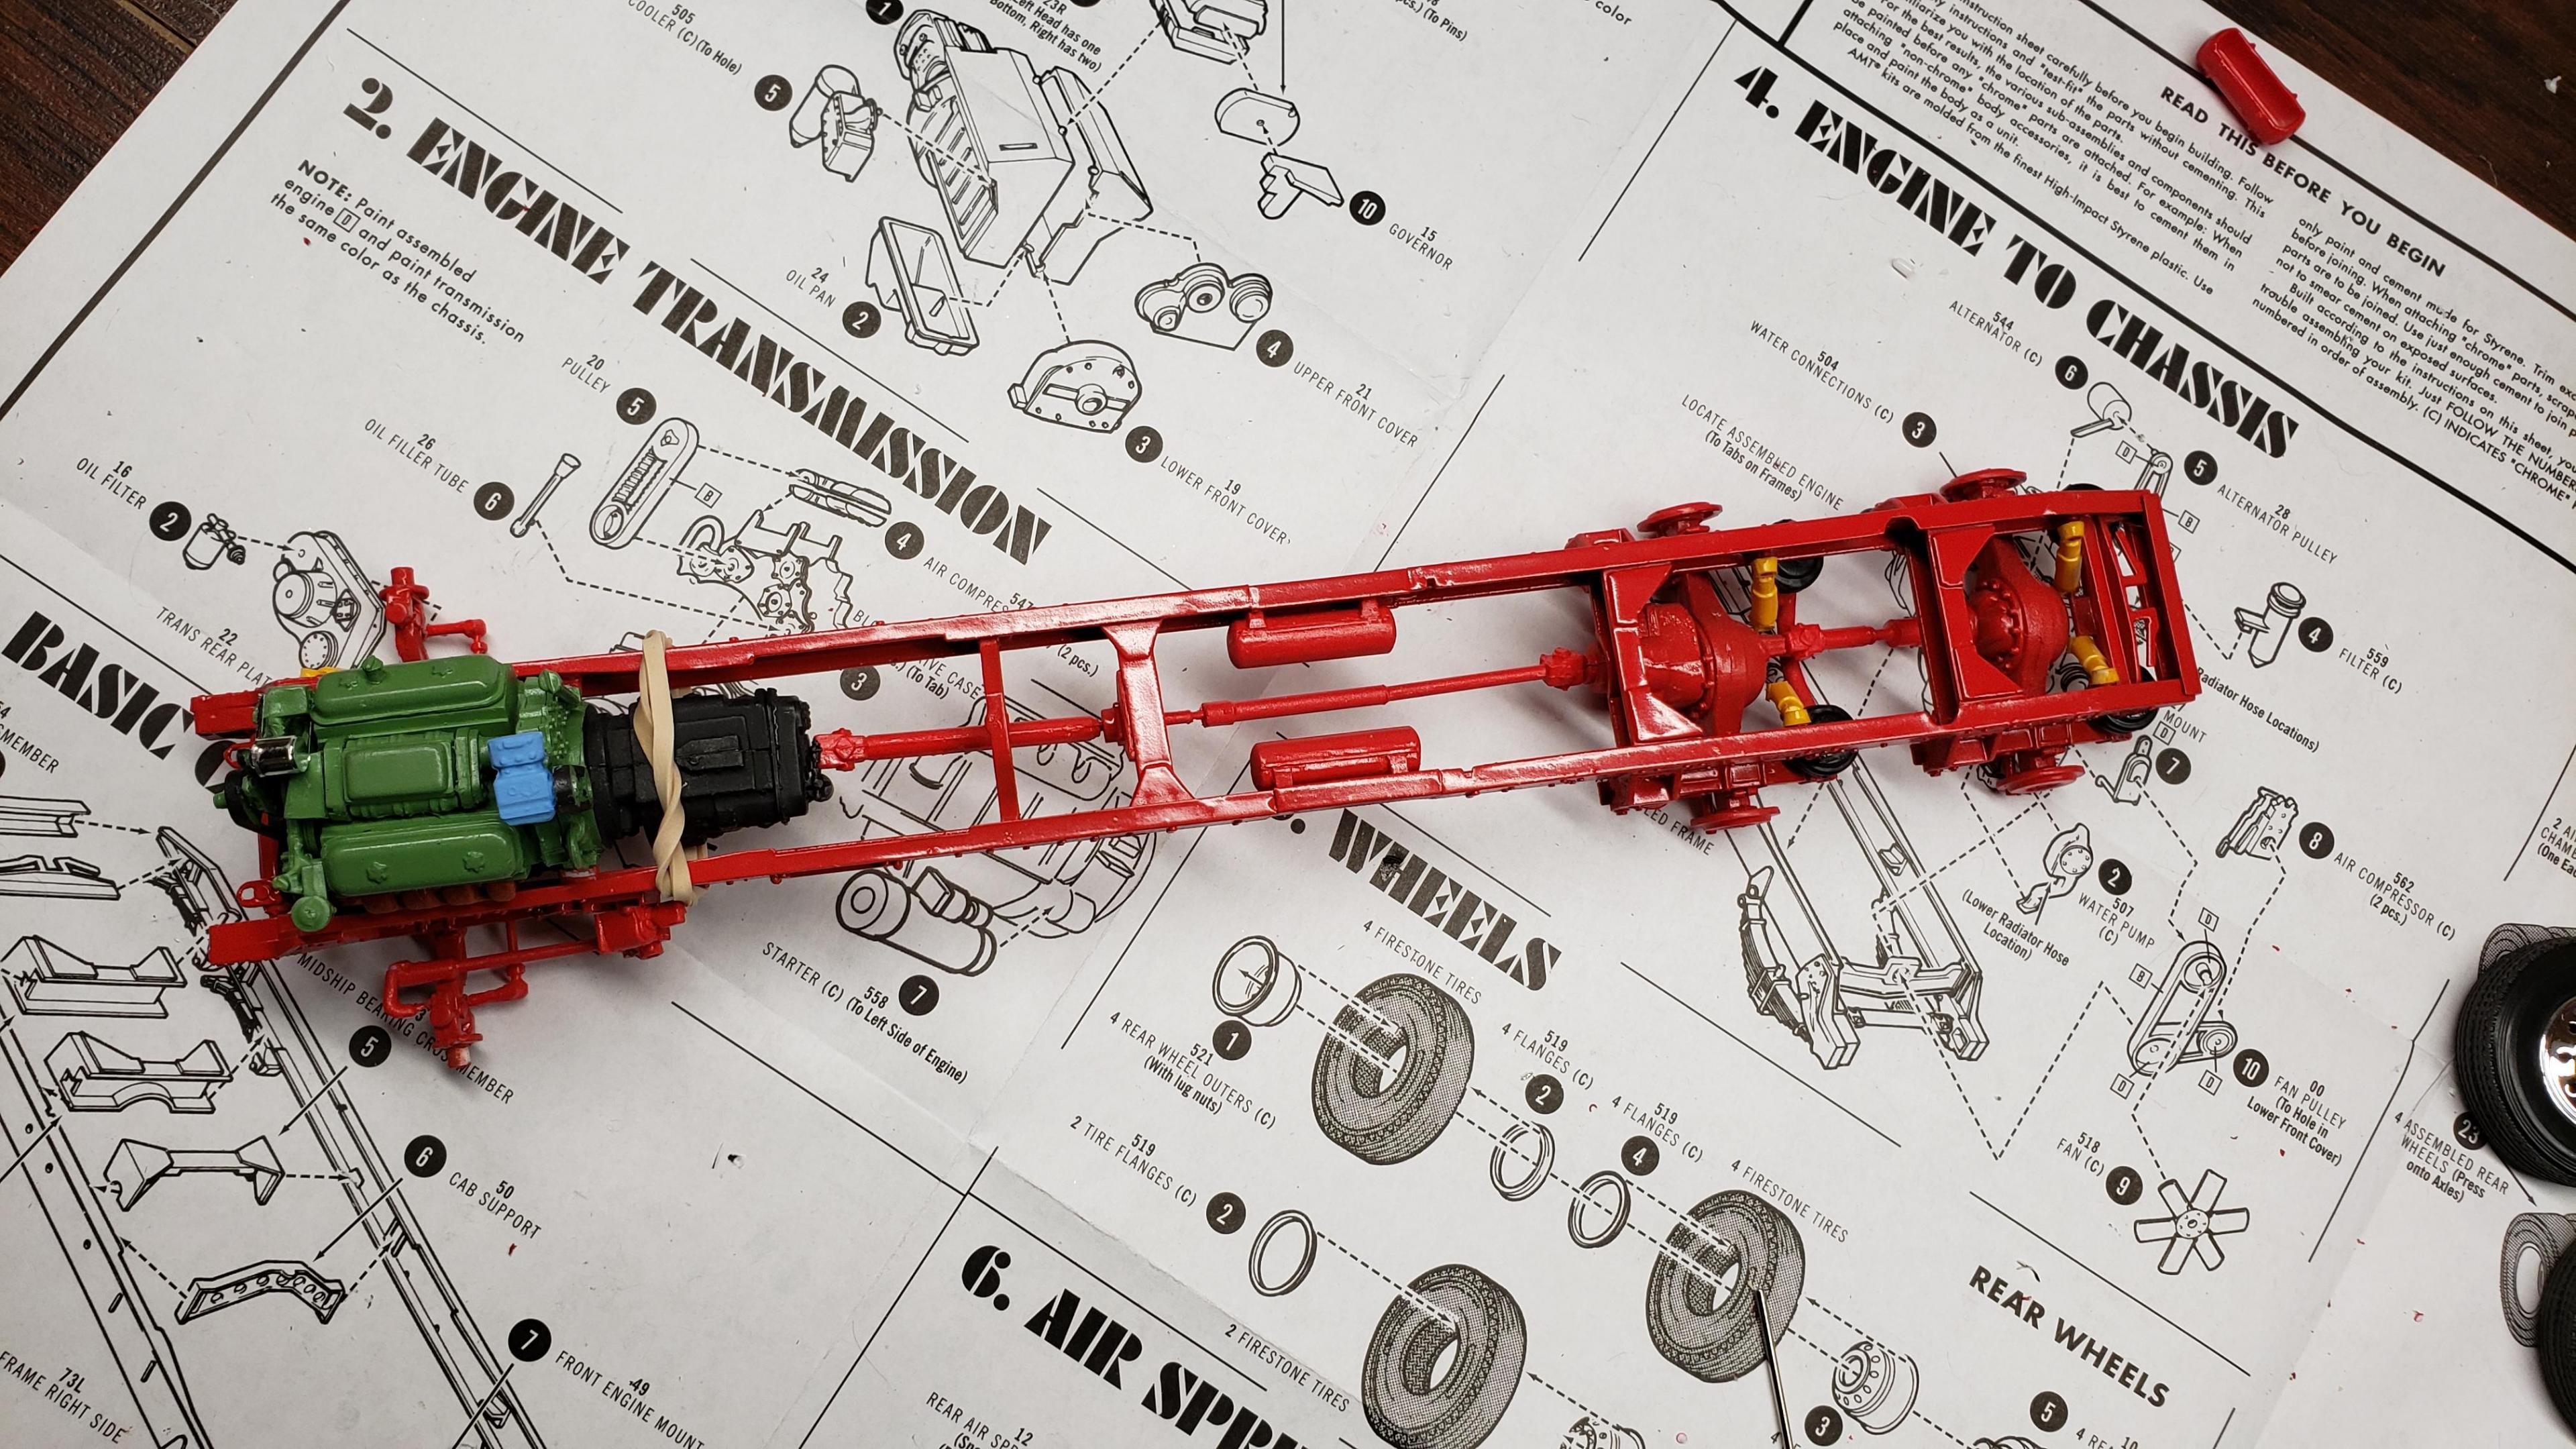
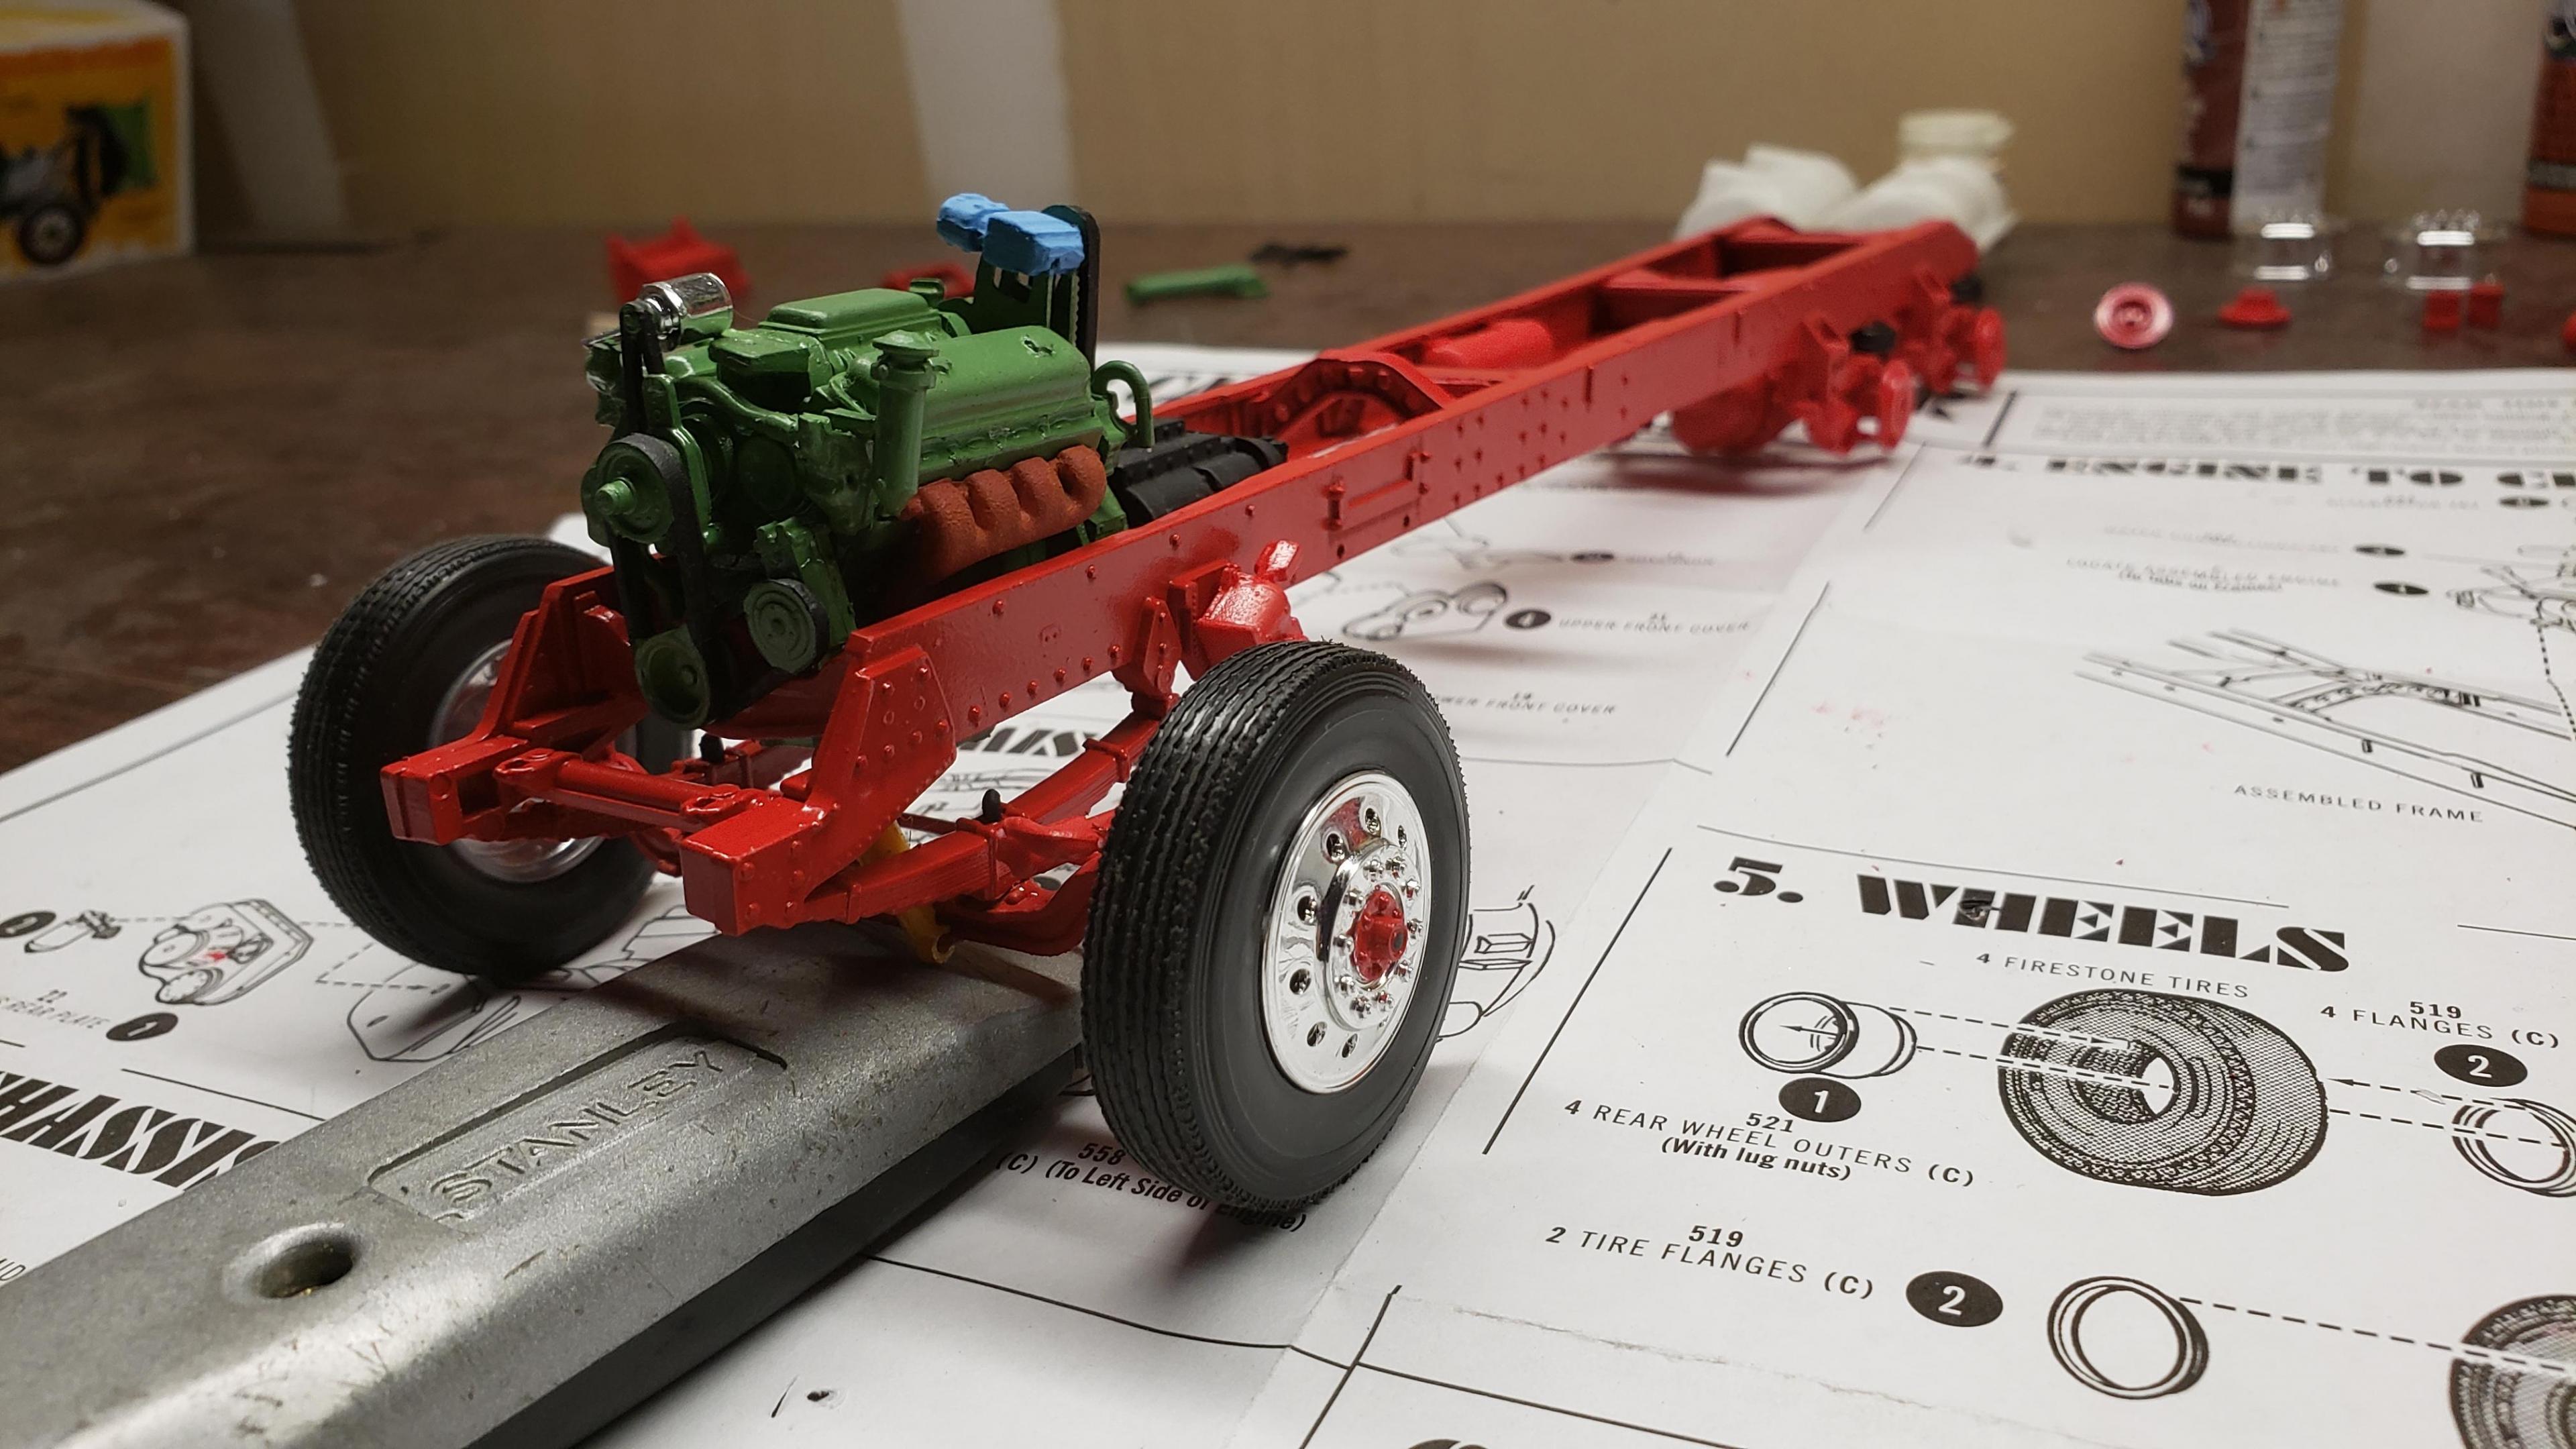
I started by stretching the frame, 2' in scale
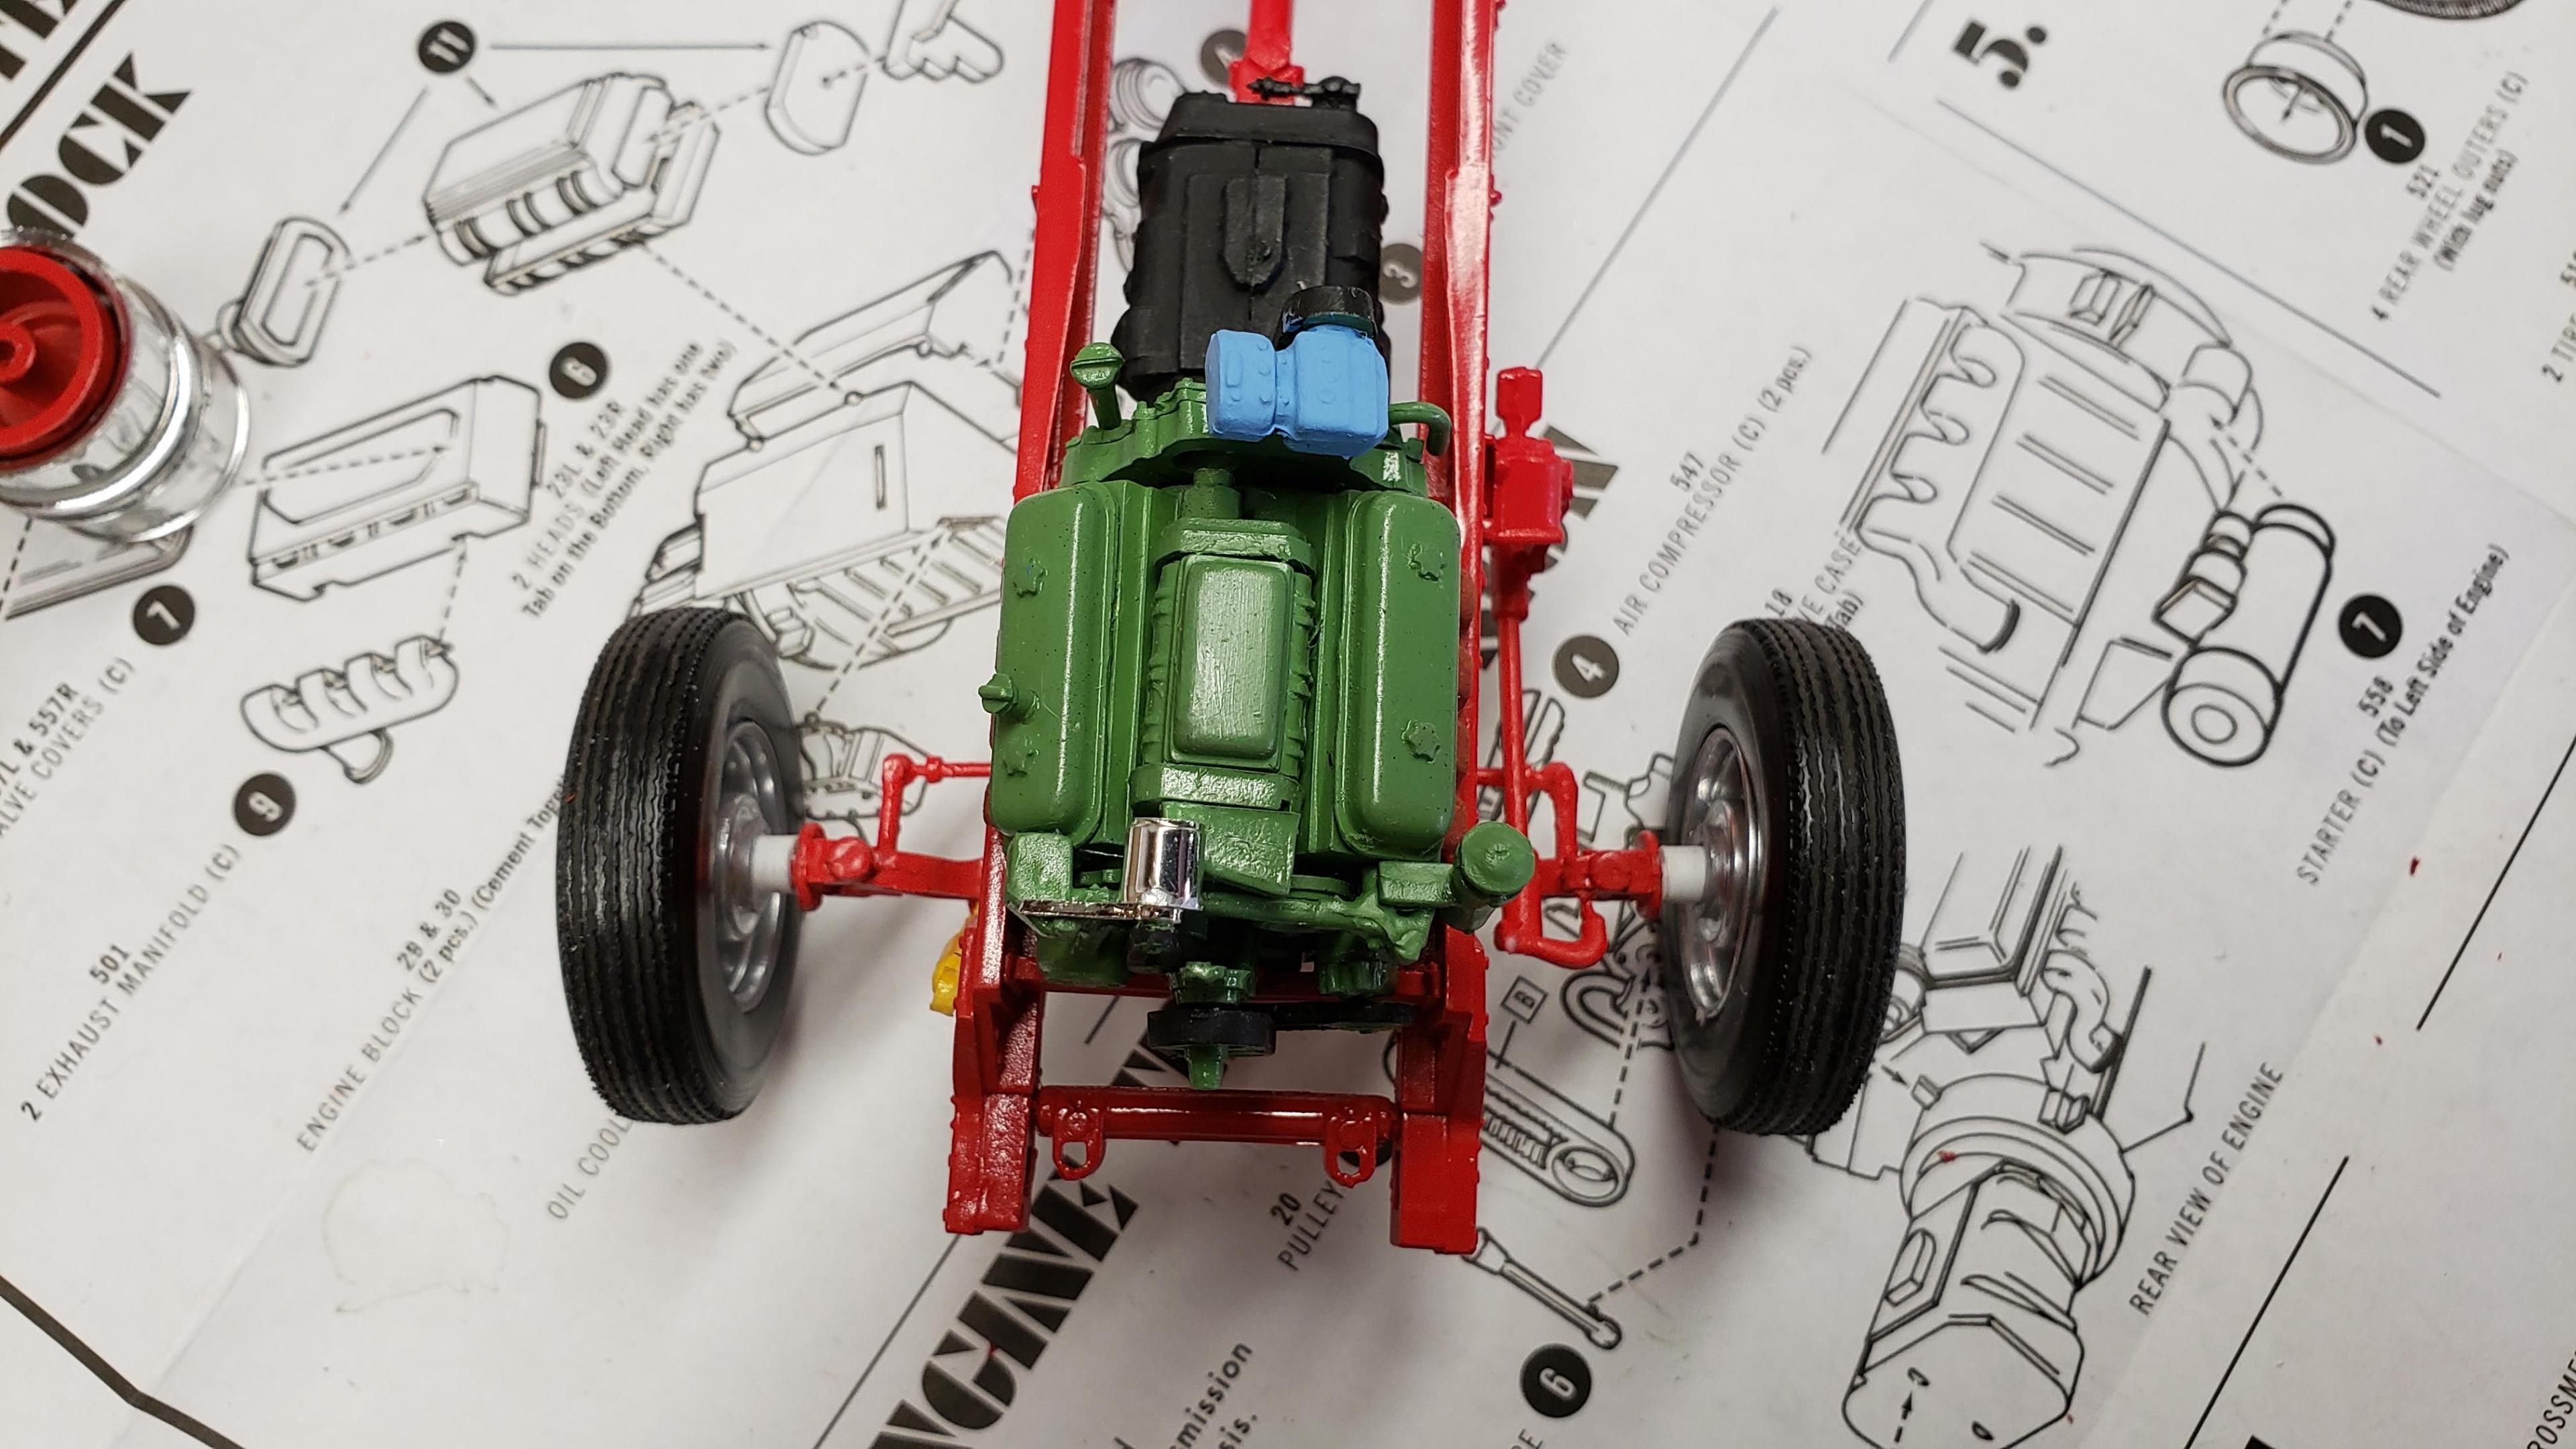
This is my first time building the detroit, it went together ok
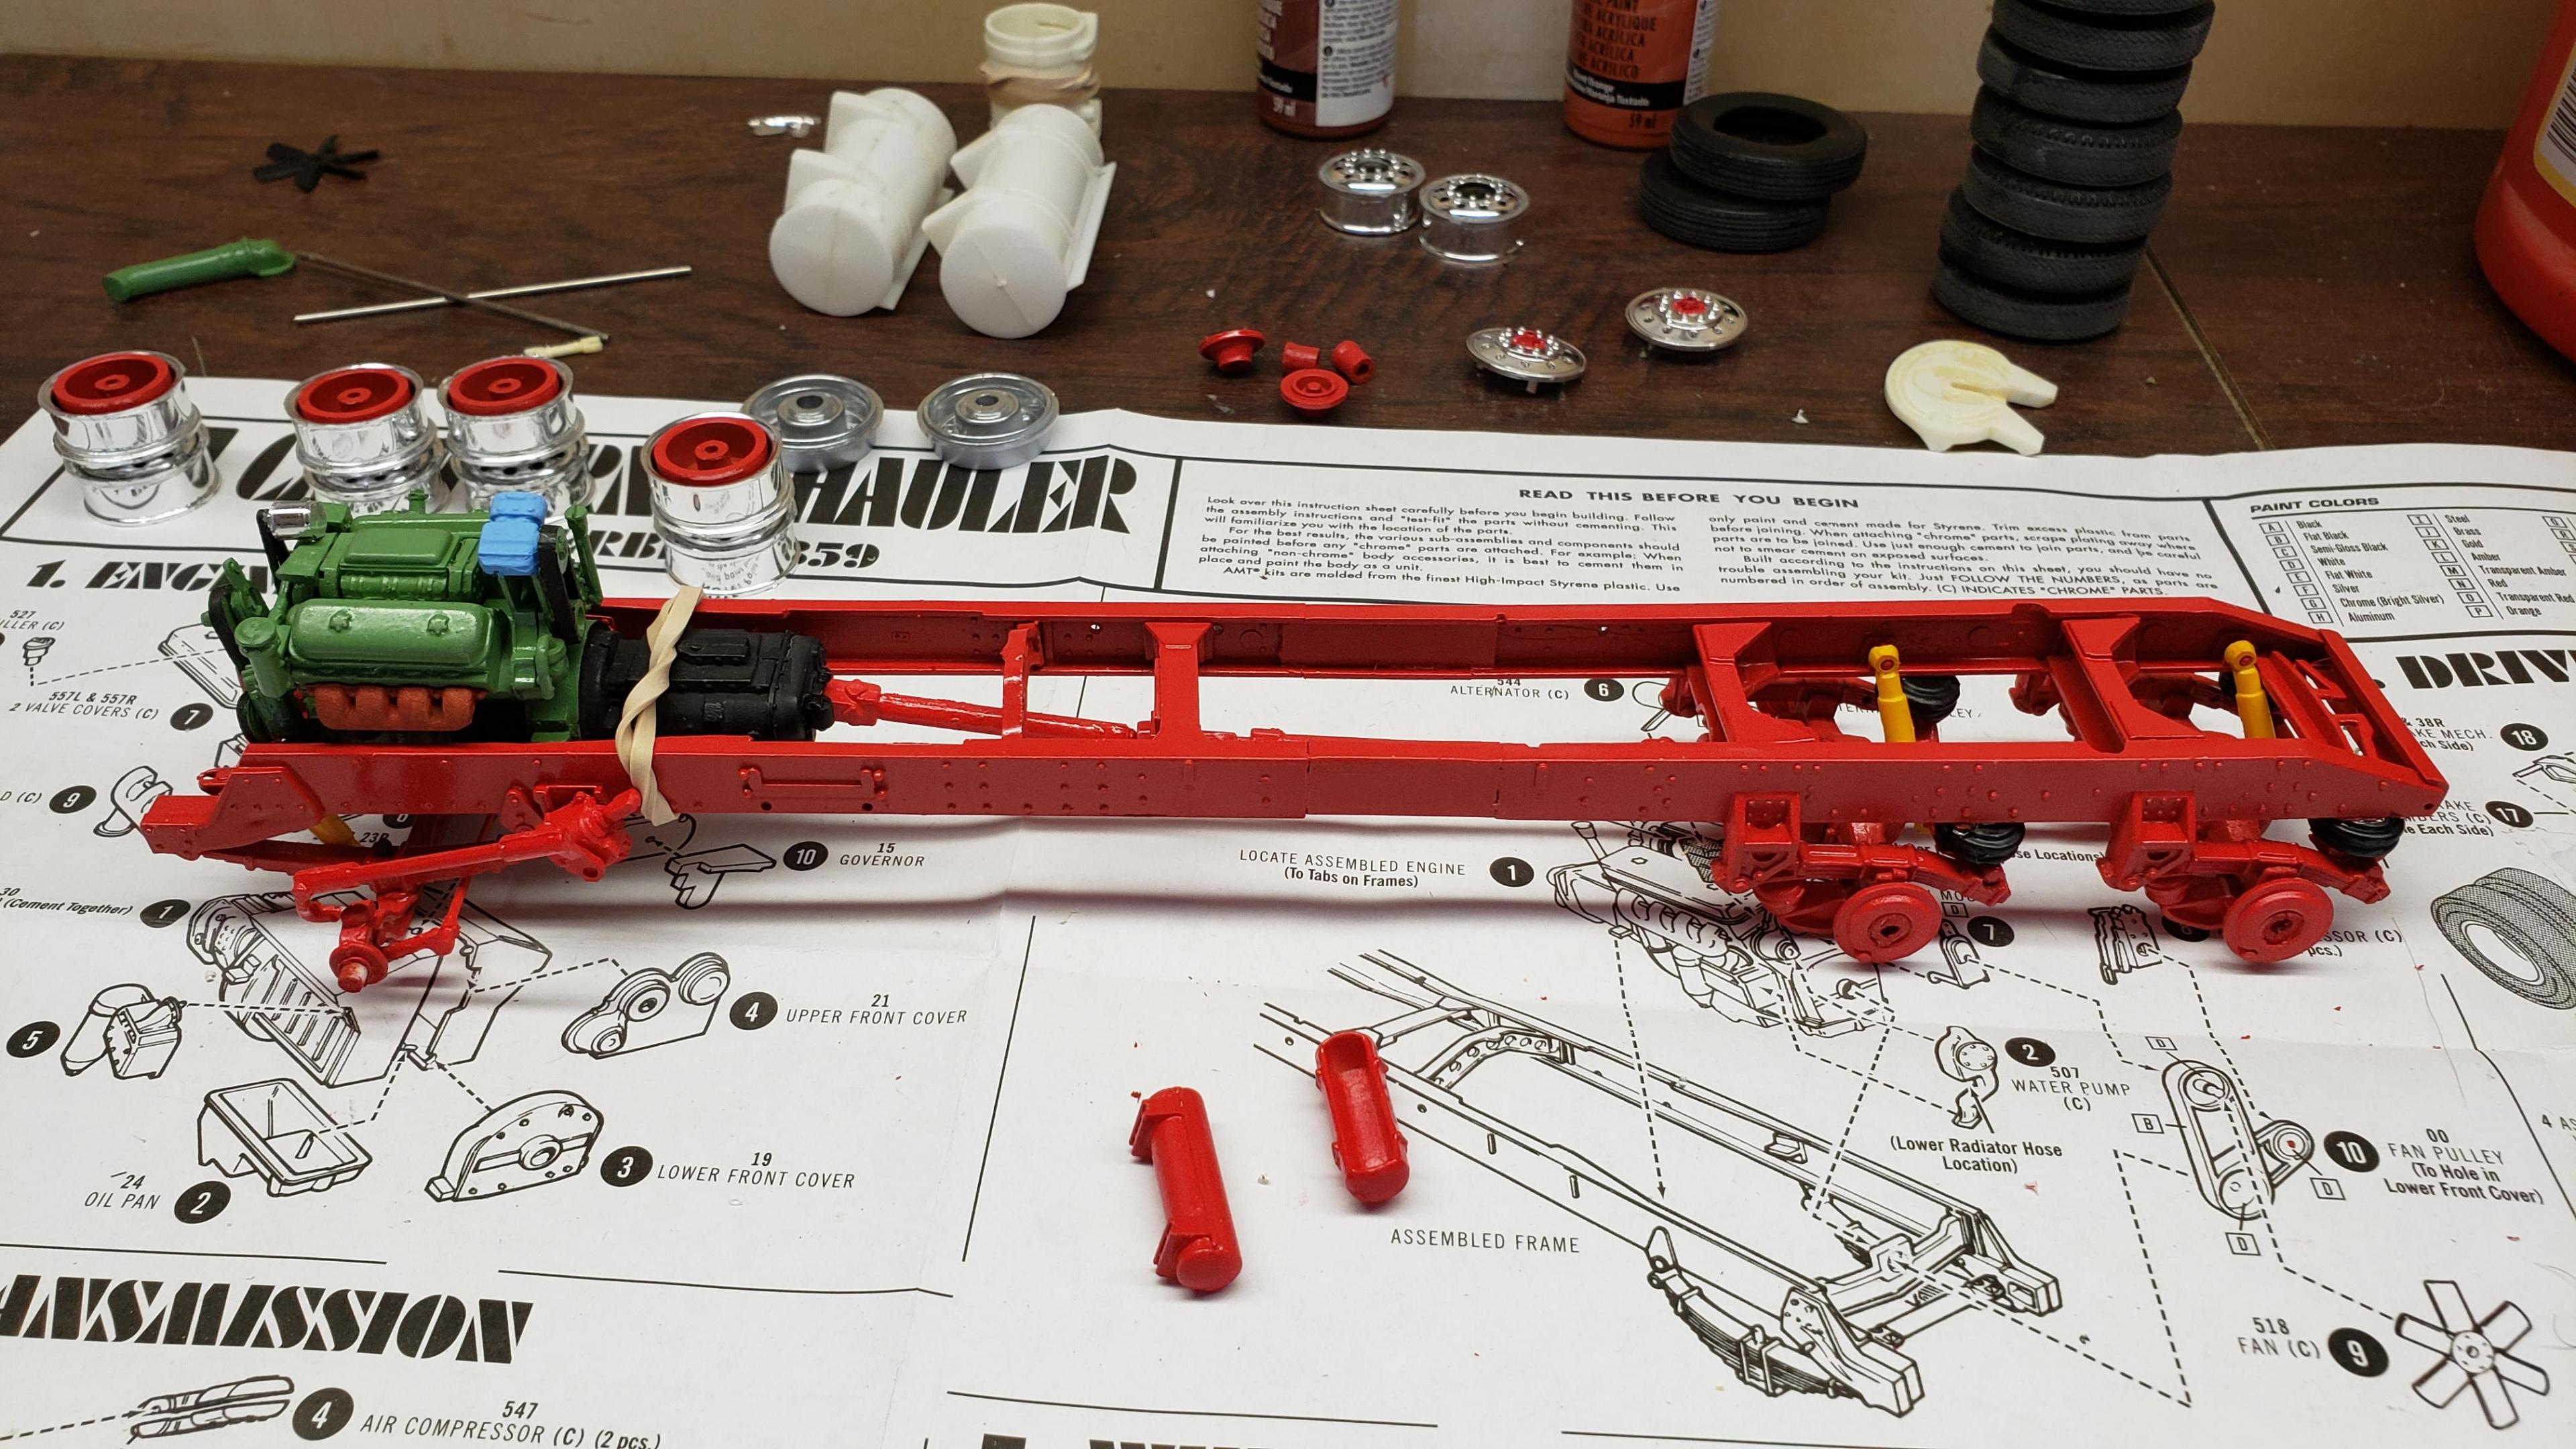
I painted the chassis, and mounted the engine
I relocated the air tanks inside the frame, as I will be using longer fuel tanks on both sides
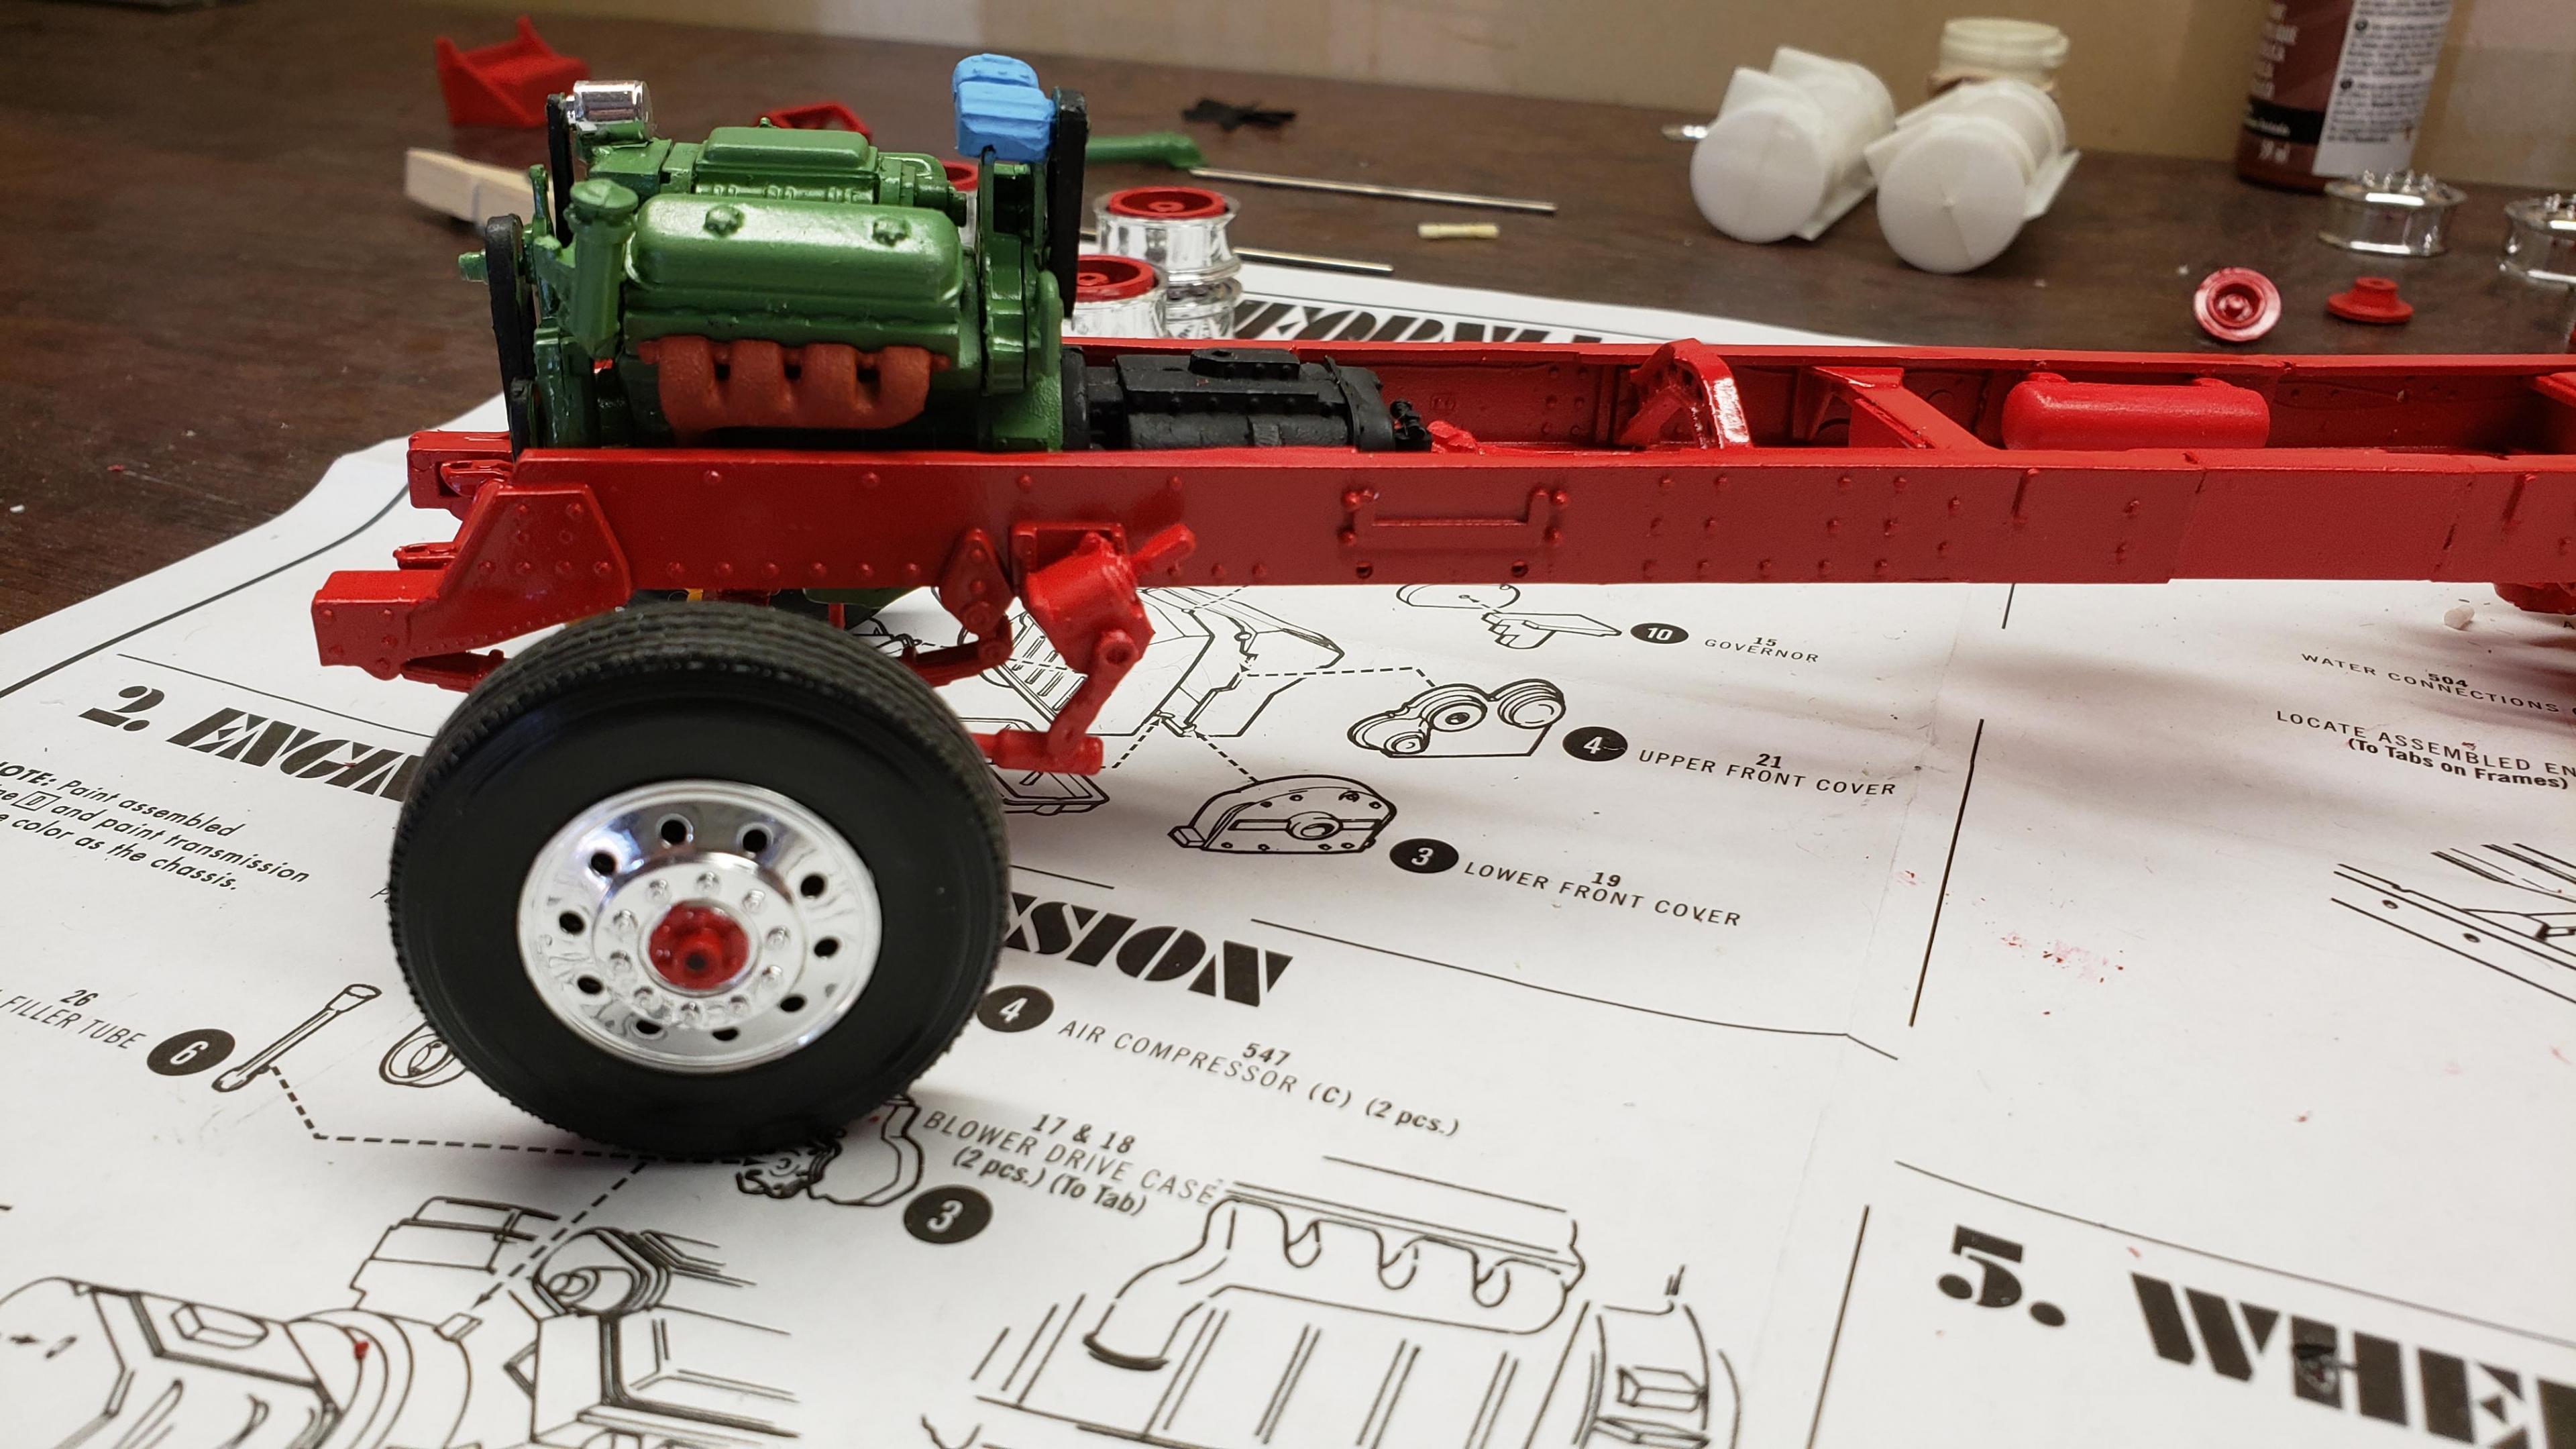
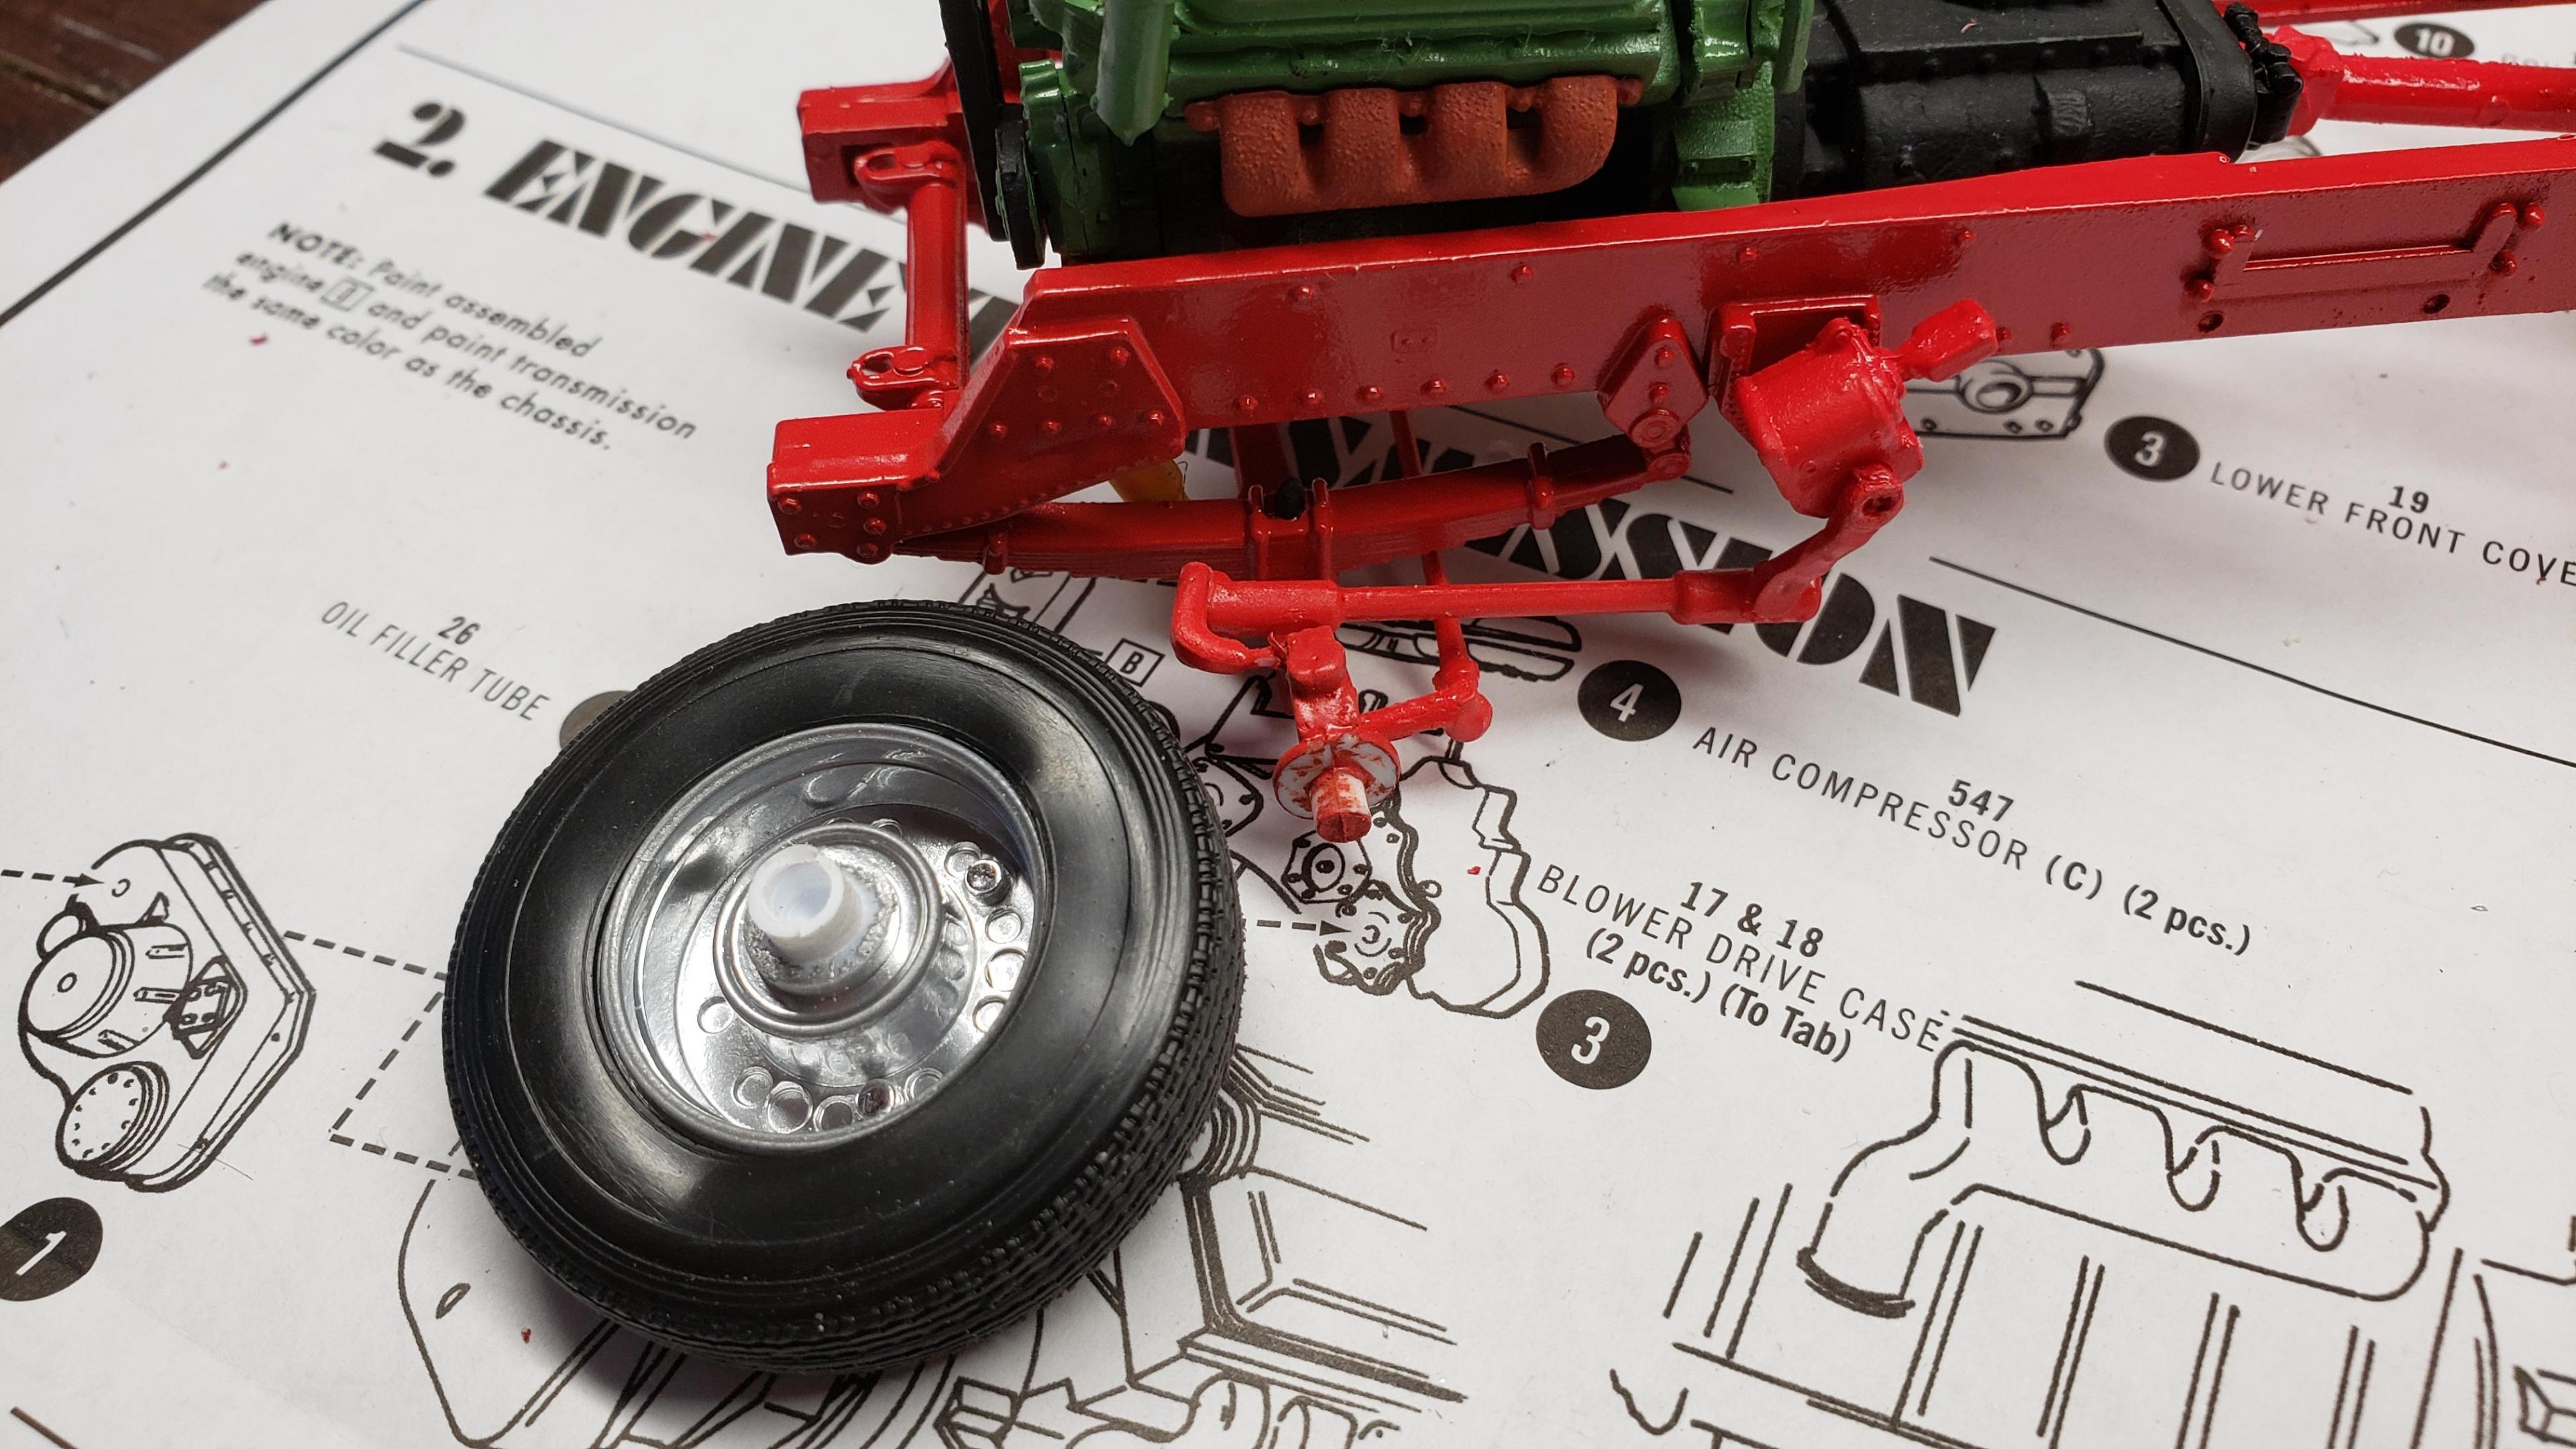
I don't like the rounded look of the older style front wheels with the rings, so I decided to use snap wheels from the parts box
They didn't quite match up to the axle the right way, so I wound up making bushings from styrene rod to attach them to the axle and have them at the correct width
-
On 6/24/2020 at 8:32 PM, Jerdatty said:
Very very nice work taking a snap kit to the next level. She's a beauty. But, if you'll accept constructive criticism, I'd make one suggestion. When tractors or even dump trucks only have a single tire third axle, the tires line up with the inner set of the tandems. You might find that will give the truck a "cleaner" line when looking from above. Just my 2cp.
I think you're right, I'll have to fix that
-
Great job on the deck weathering!
-
14 hours ago, blackbeard said:
Wow that came out great what a scale is this kit
It's 1/35
-
-
1 hour ago, Jim B said:
Great looking HEMTT. Very well done.
Thank you. I had more fun building this kit than any 1/25 I've built. I have a trumpeter MAZ-537 coming, hopefully coming soon. I hope it will be a fun build too
-
On 4/11/2020 at 2:56 PM, Tankman said:
Great Job Andrew, I really like the paint job. Looking ready to hit the road .Where in Denver? I'm up in Thornton.
I lived in Thornton near 104th & Steele for awhile. I'm up in Frederick now
-
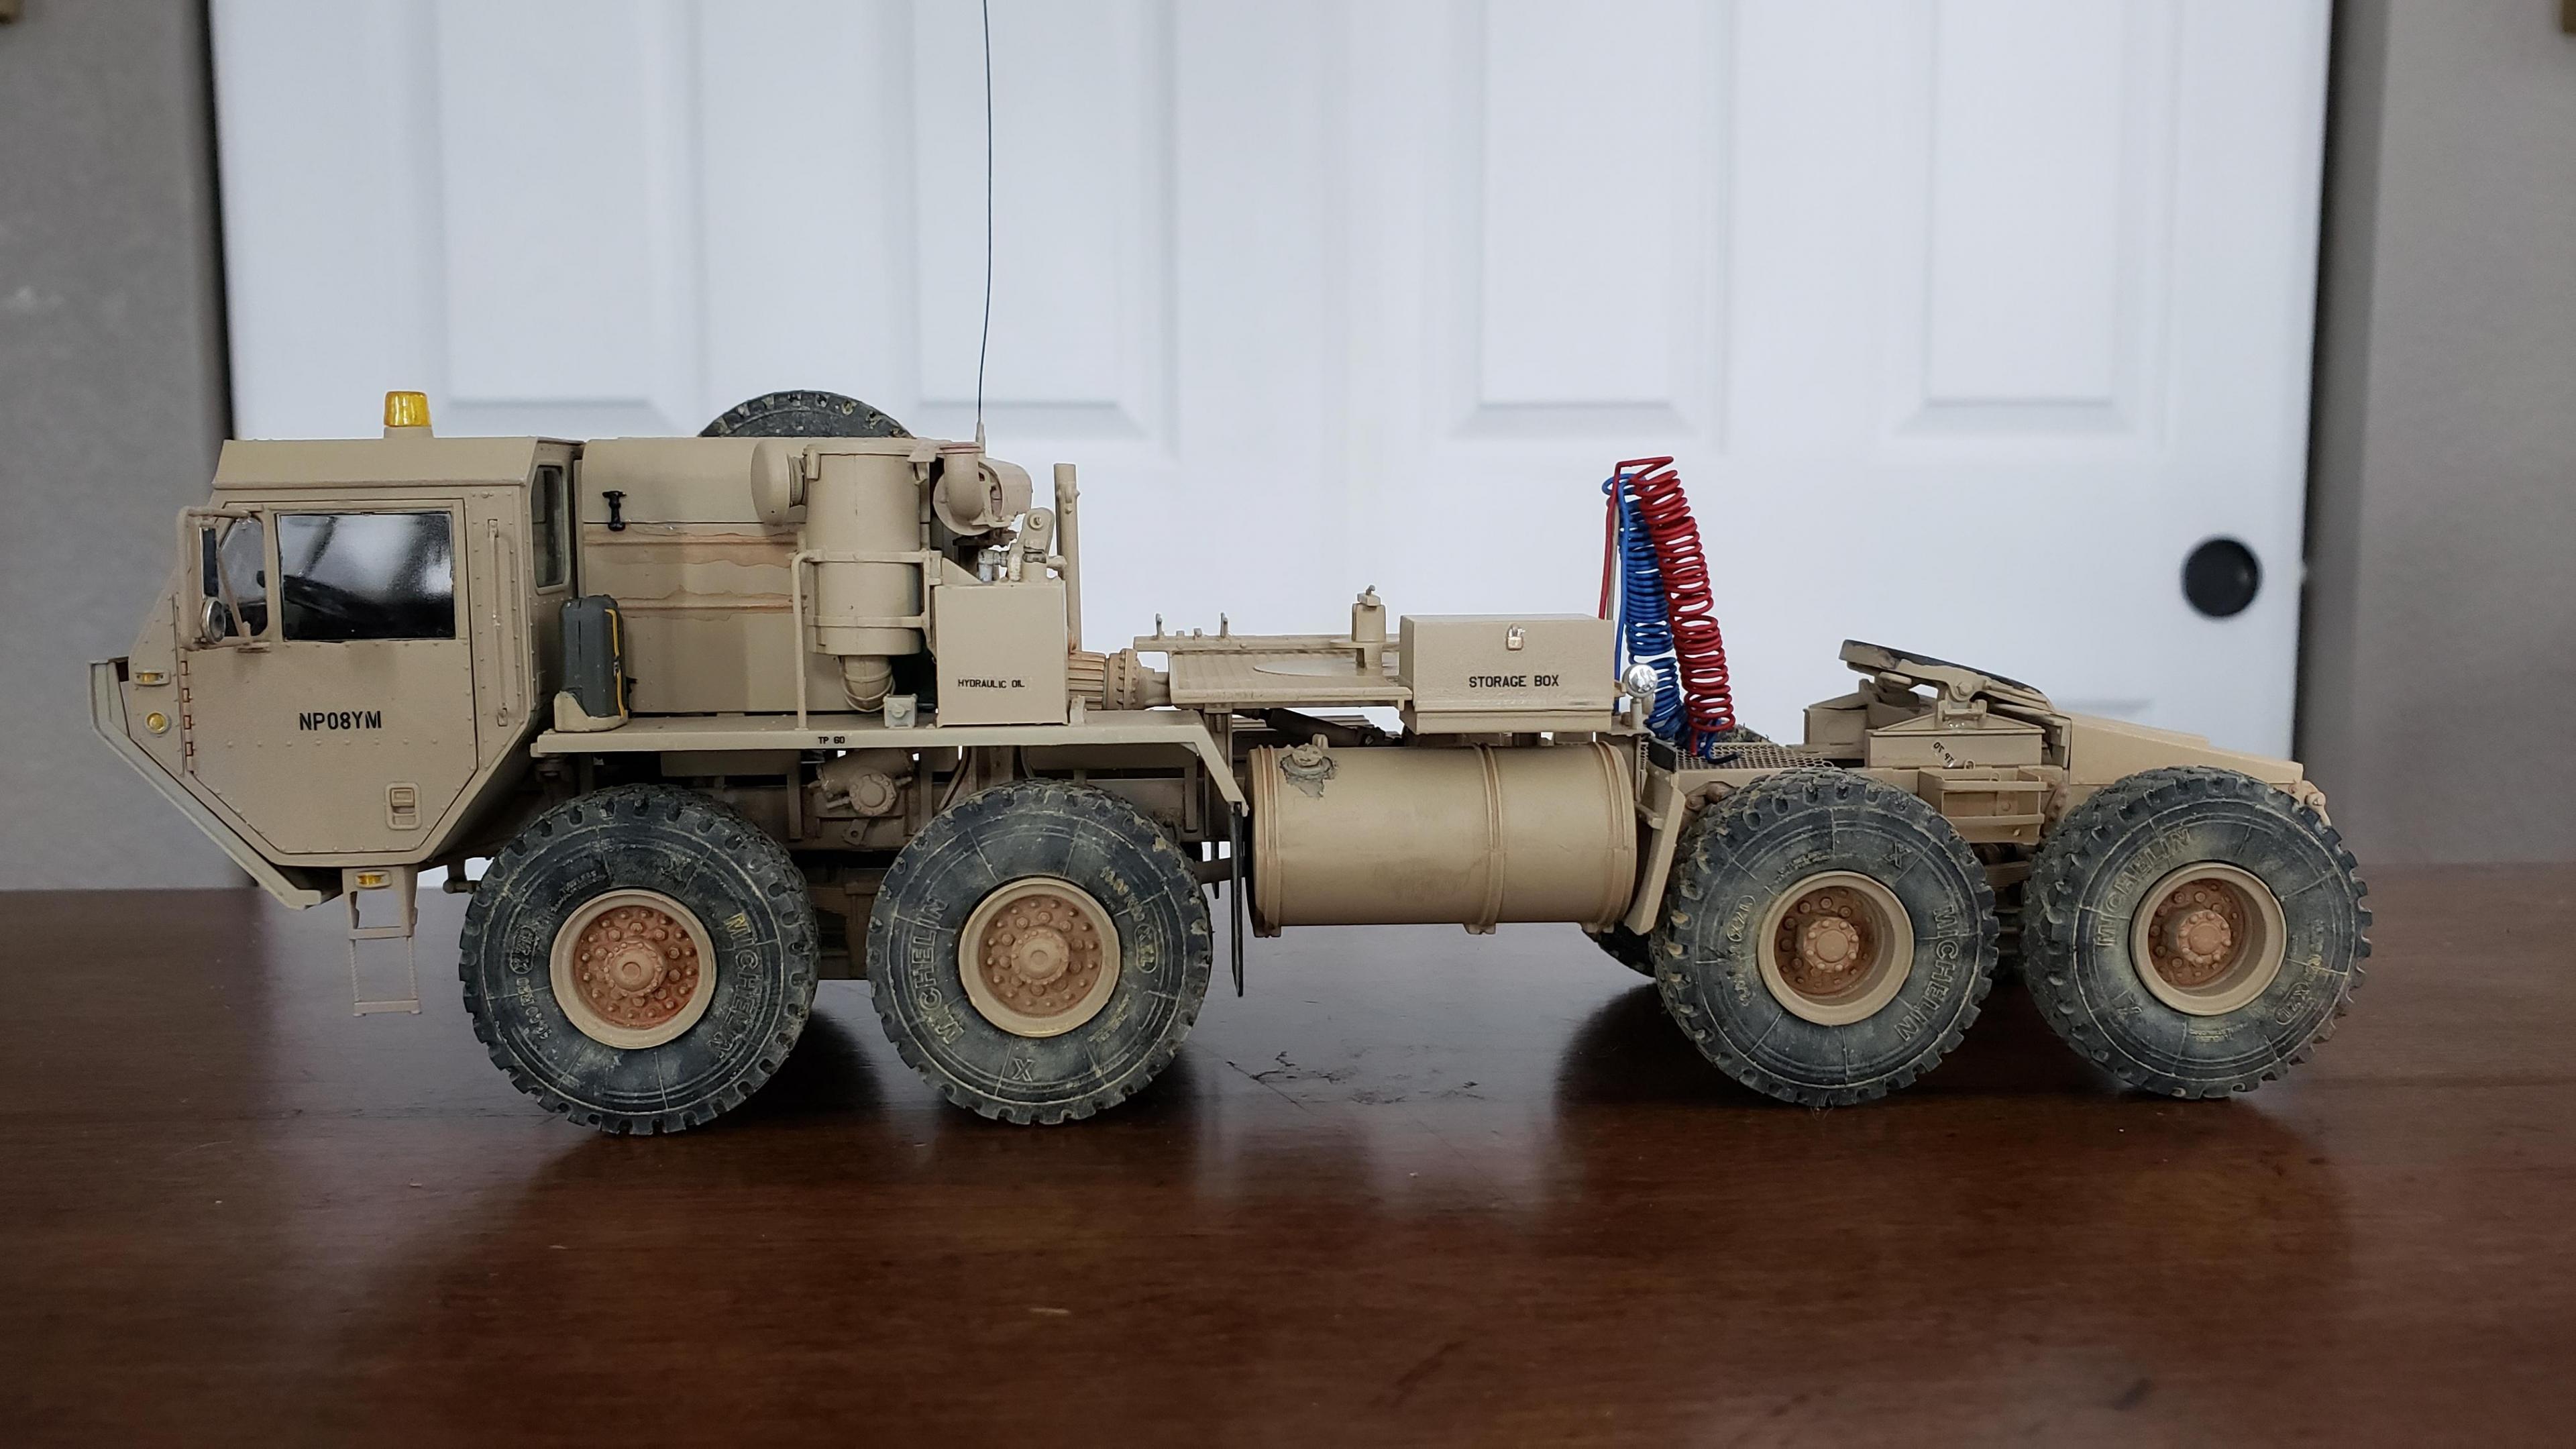
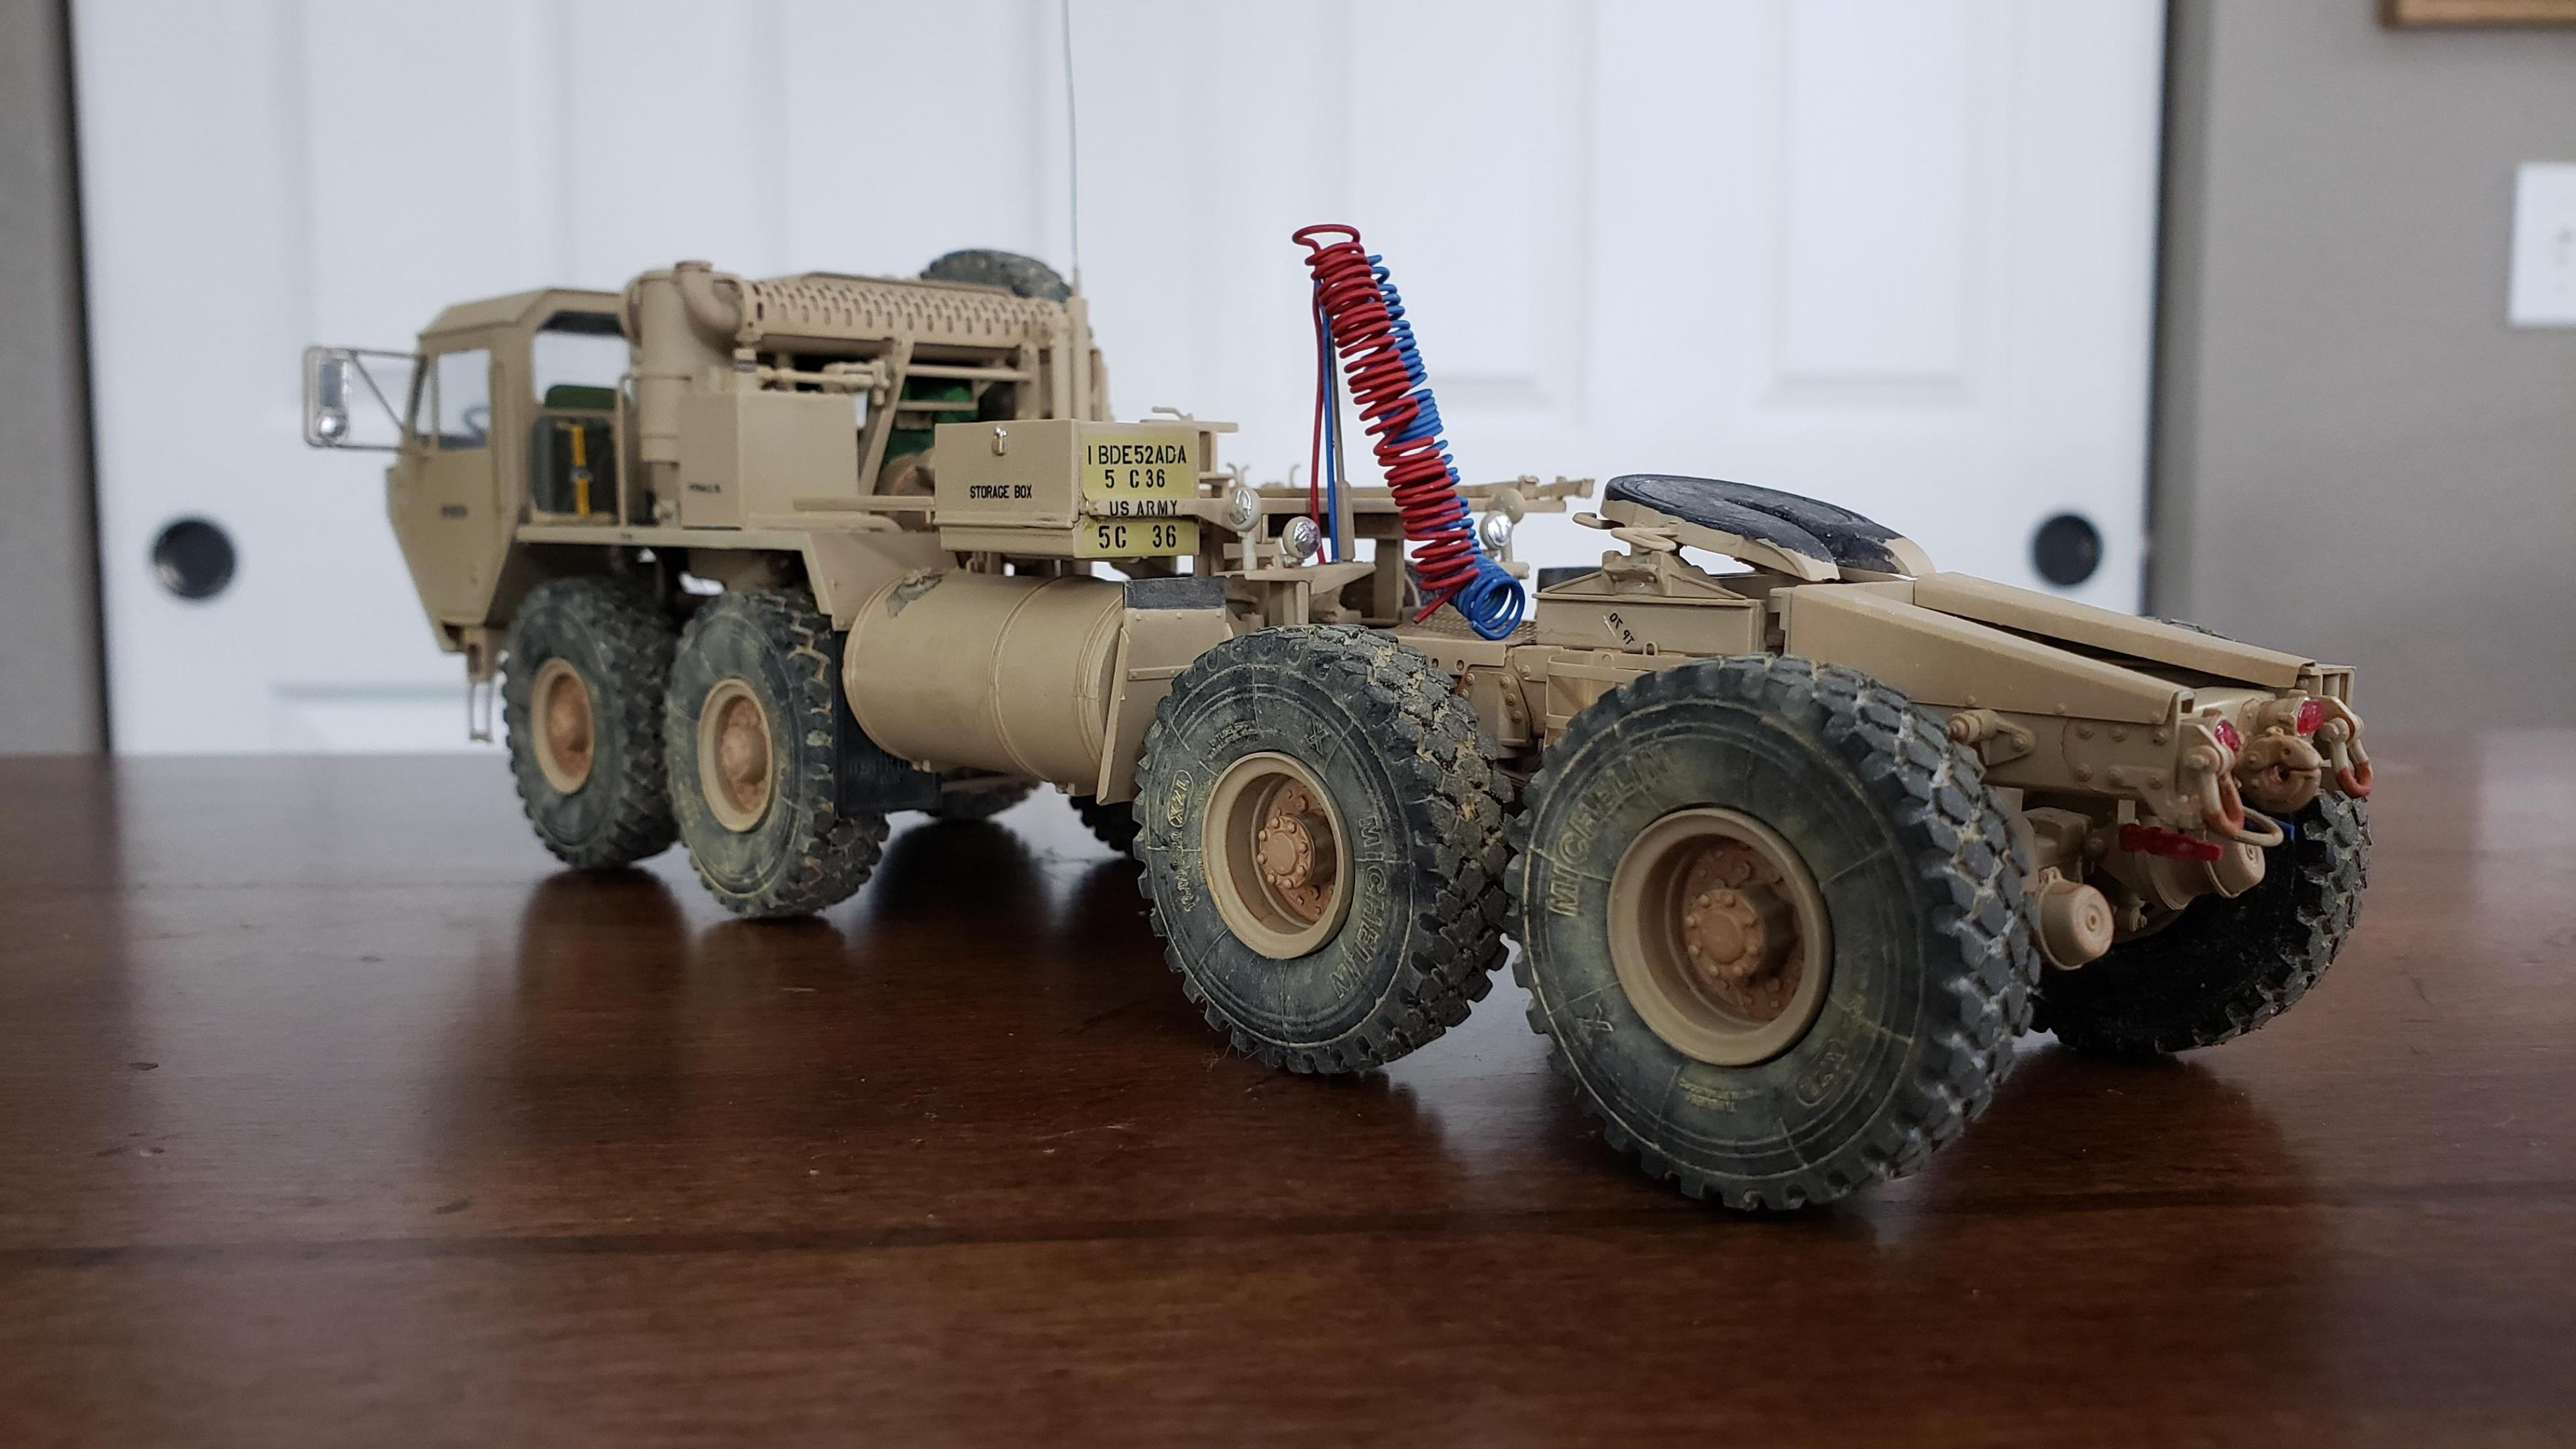
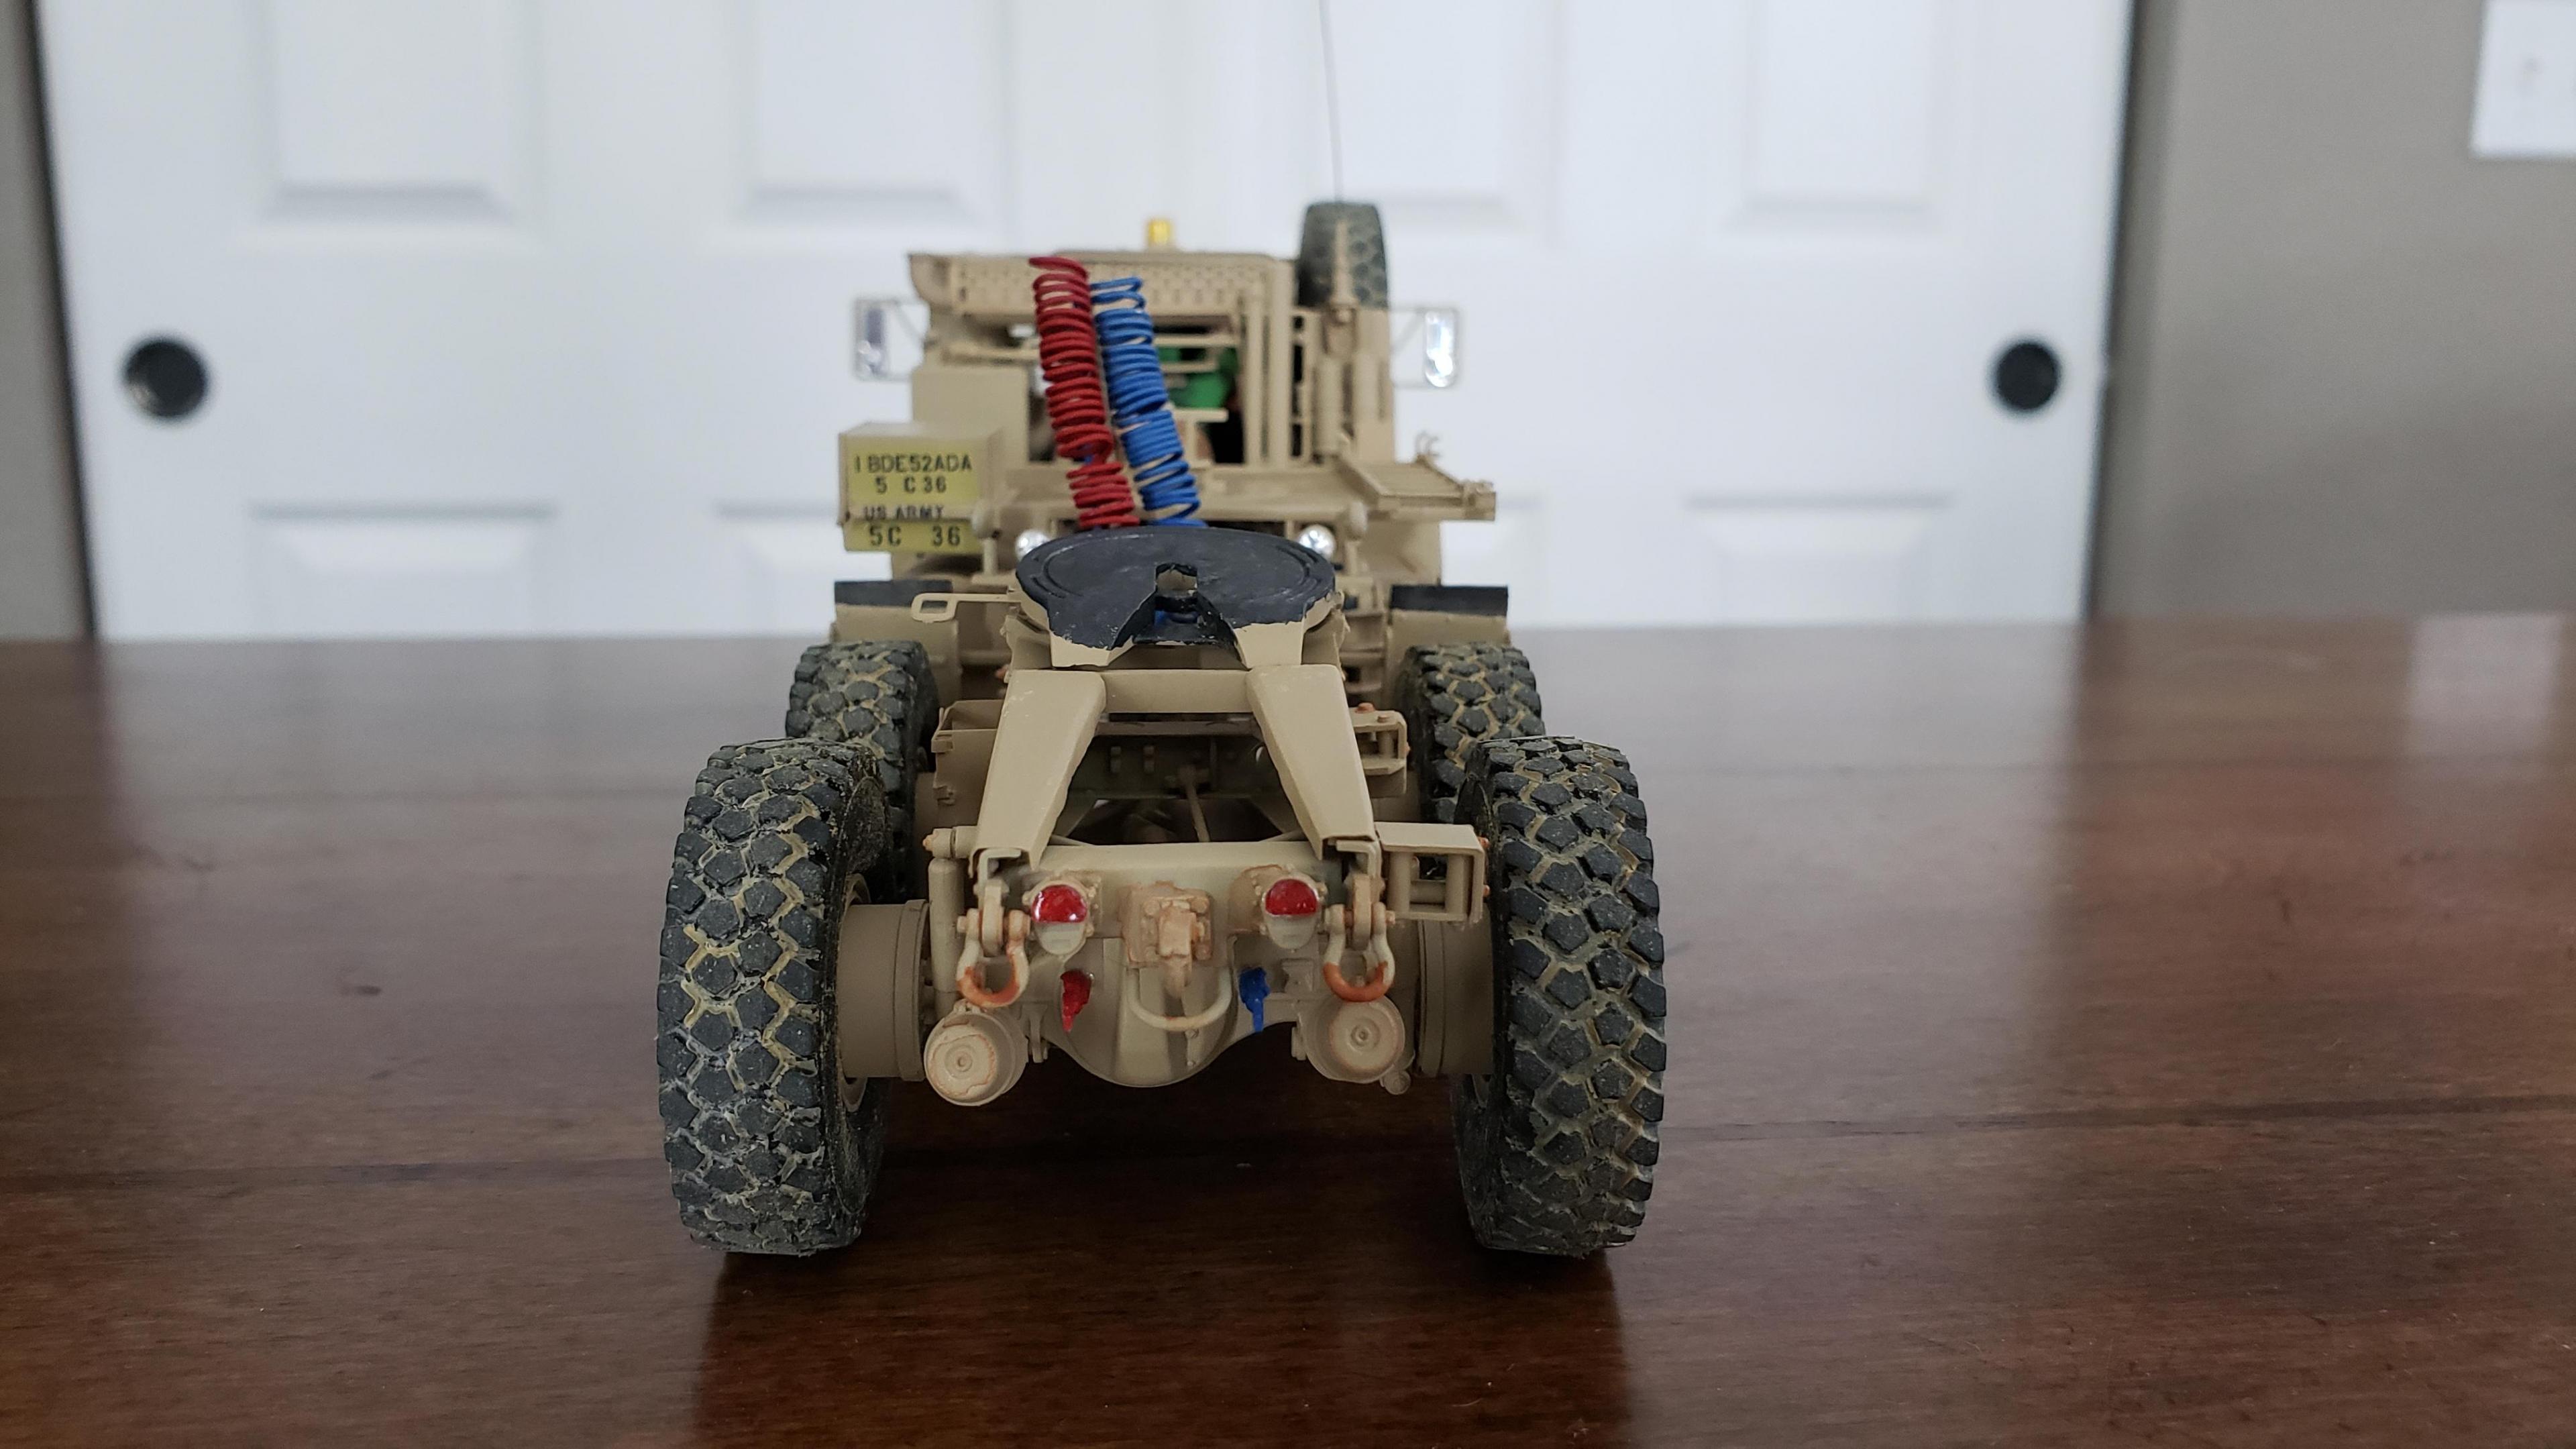
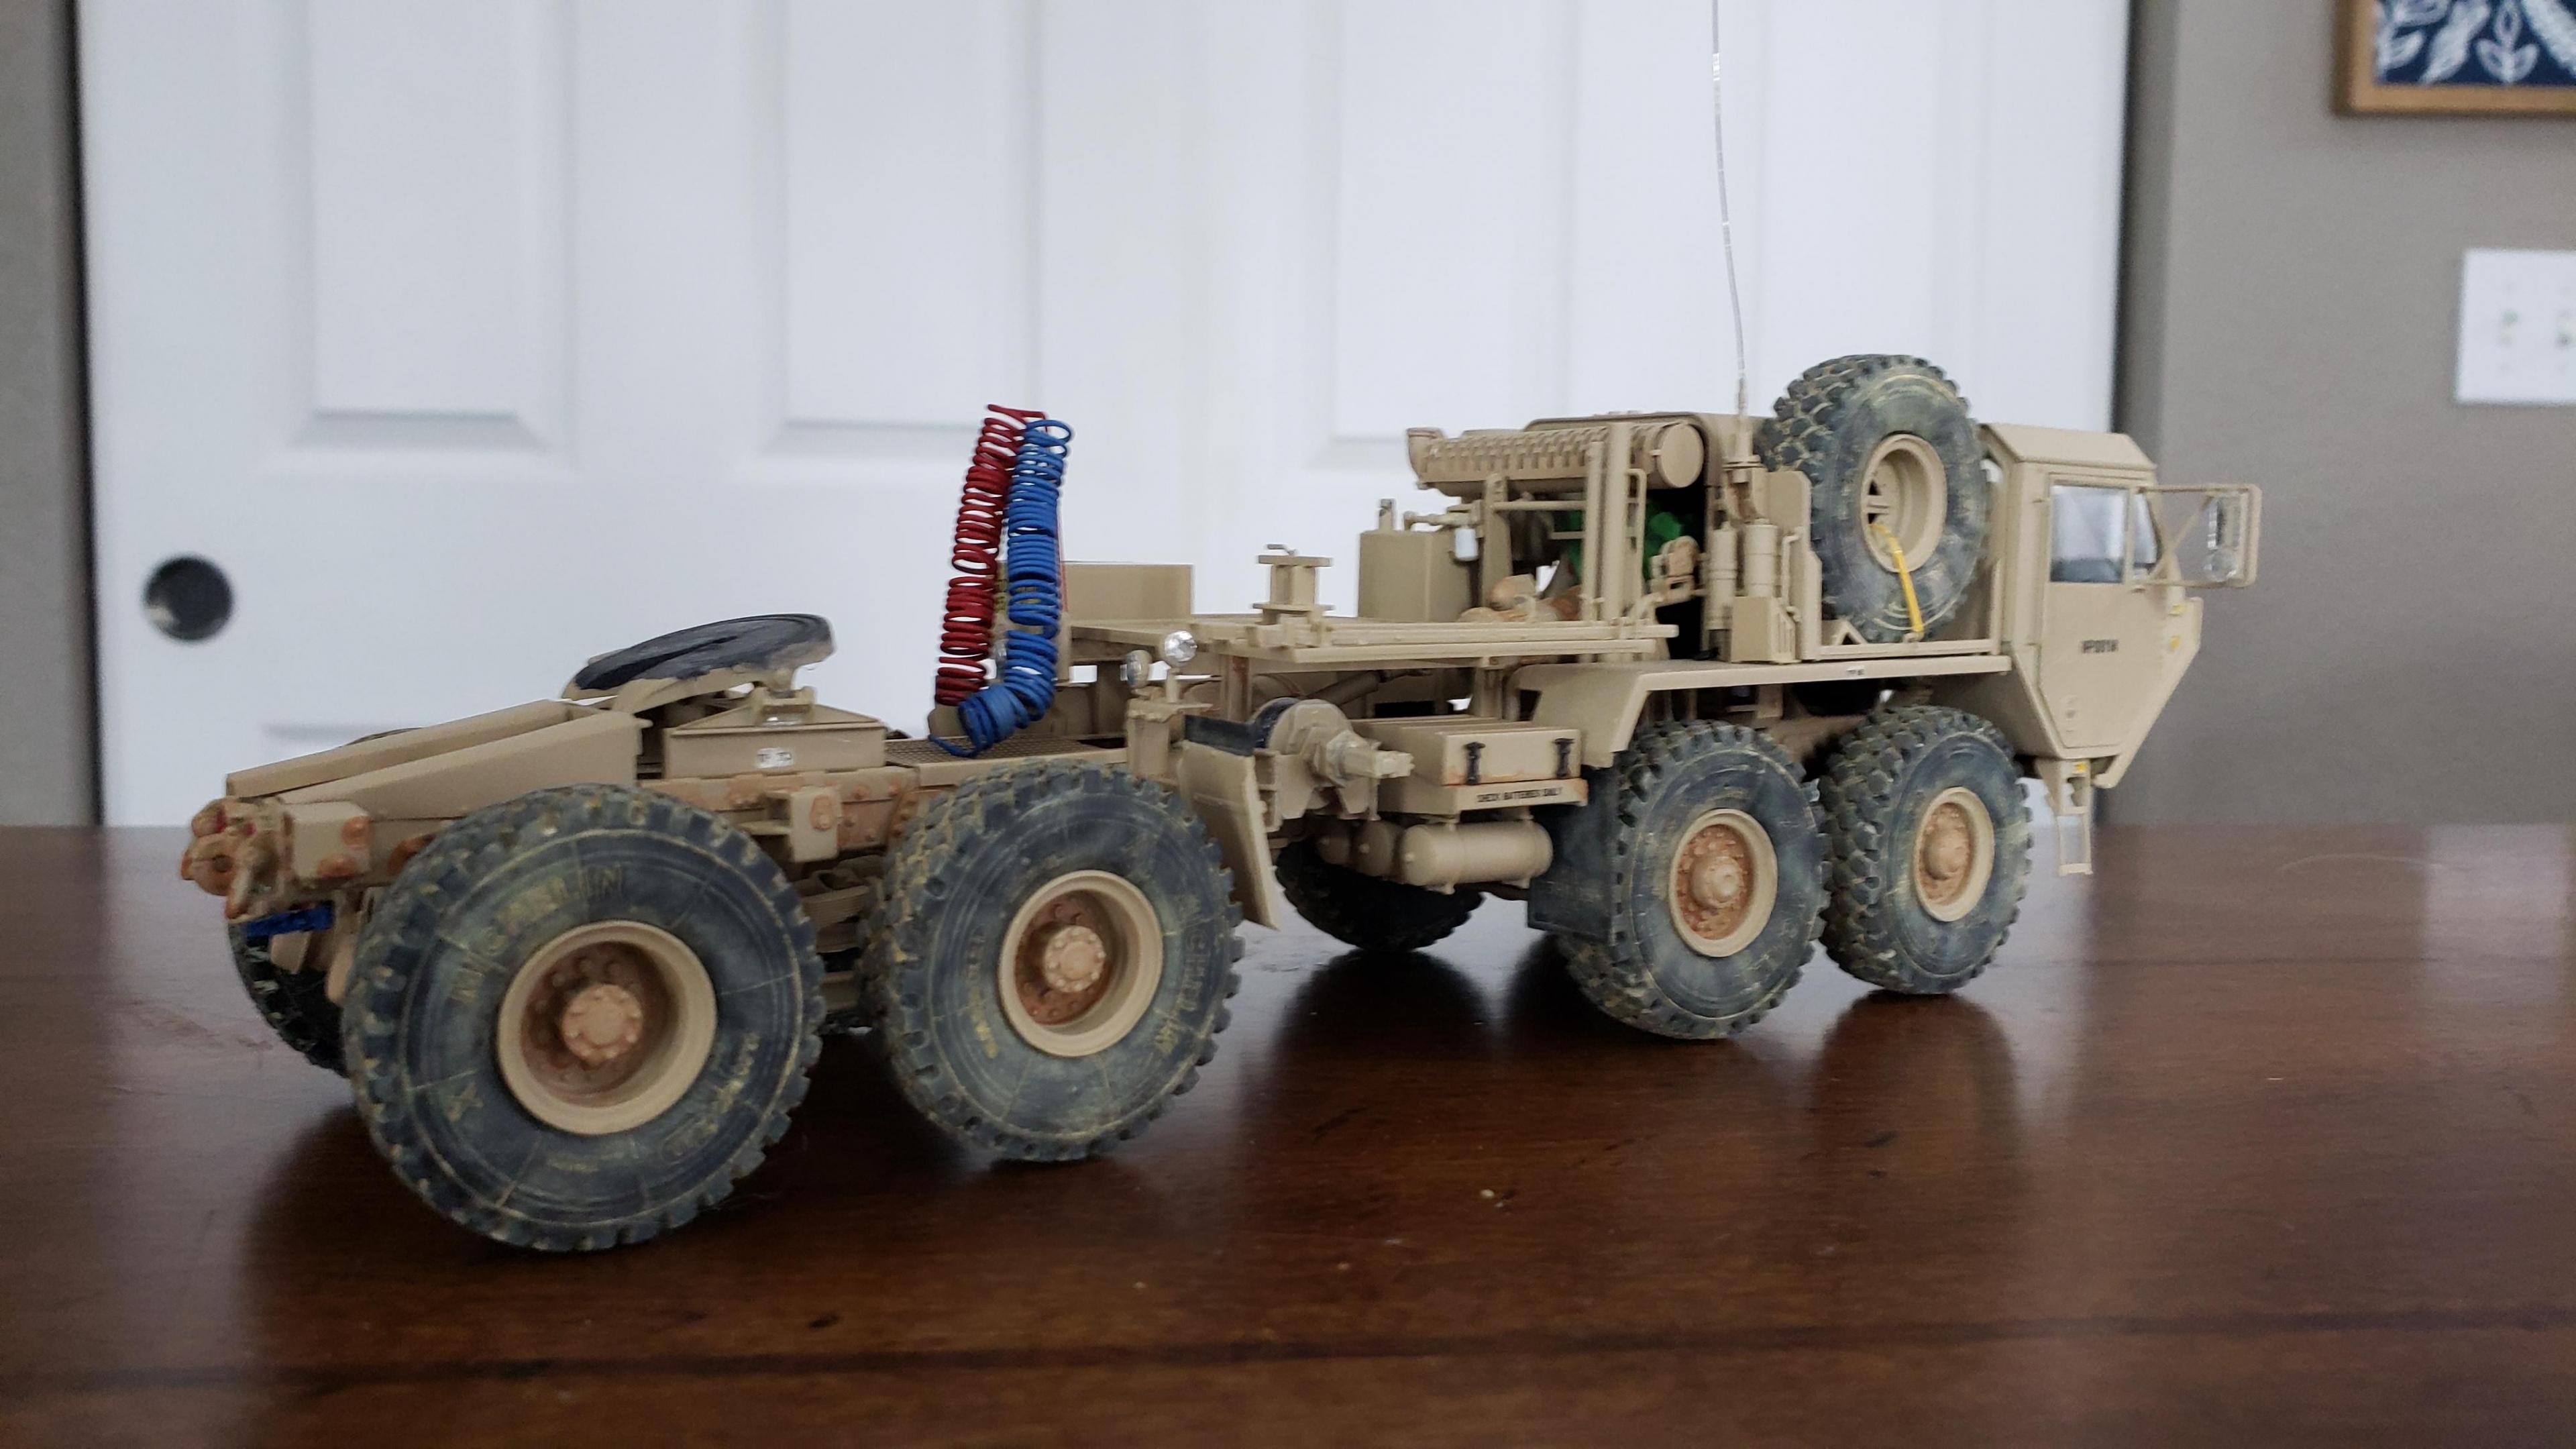
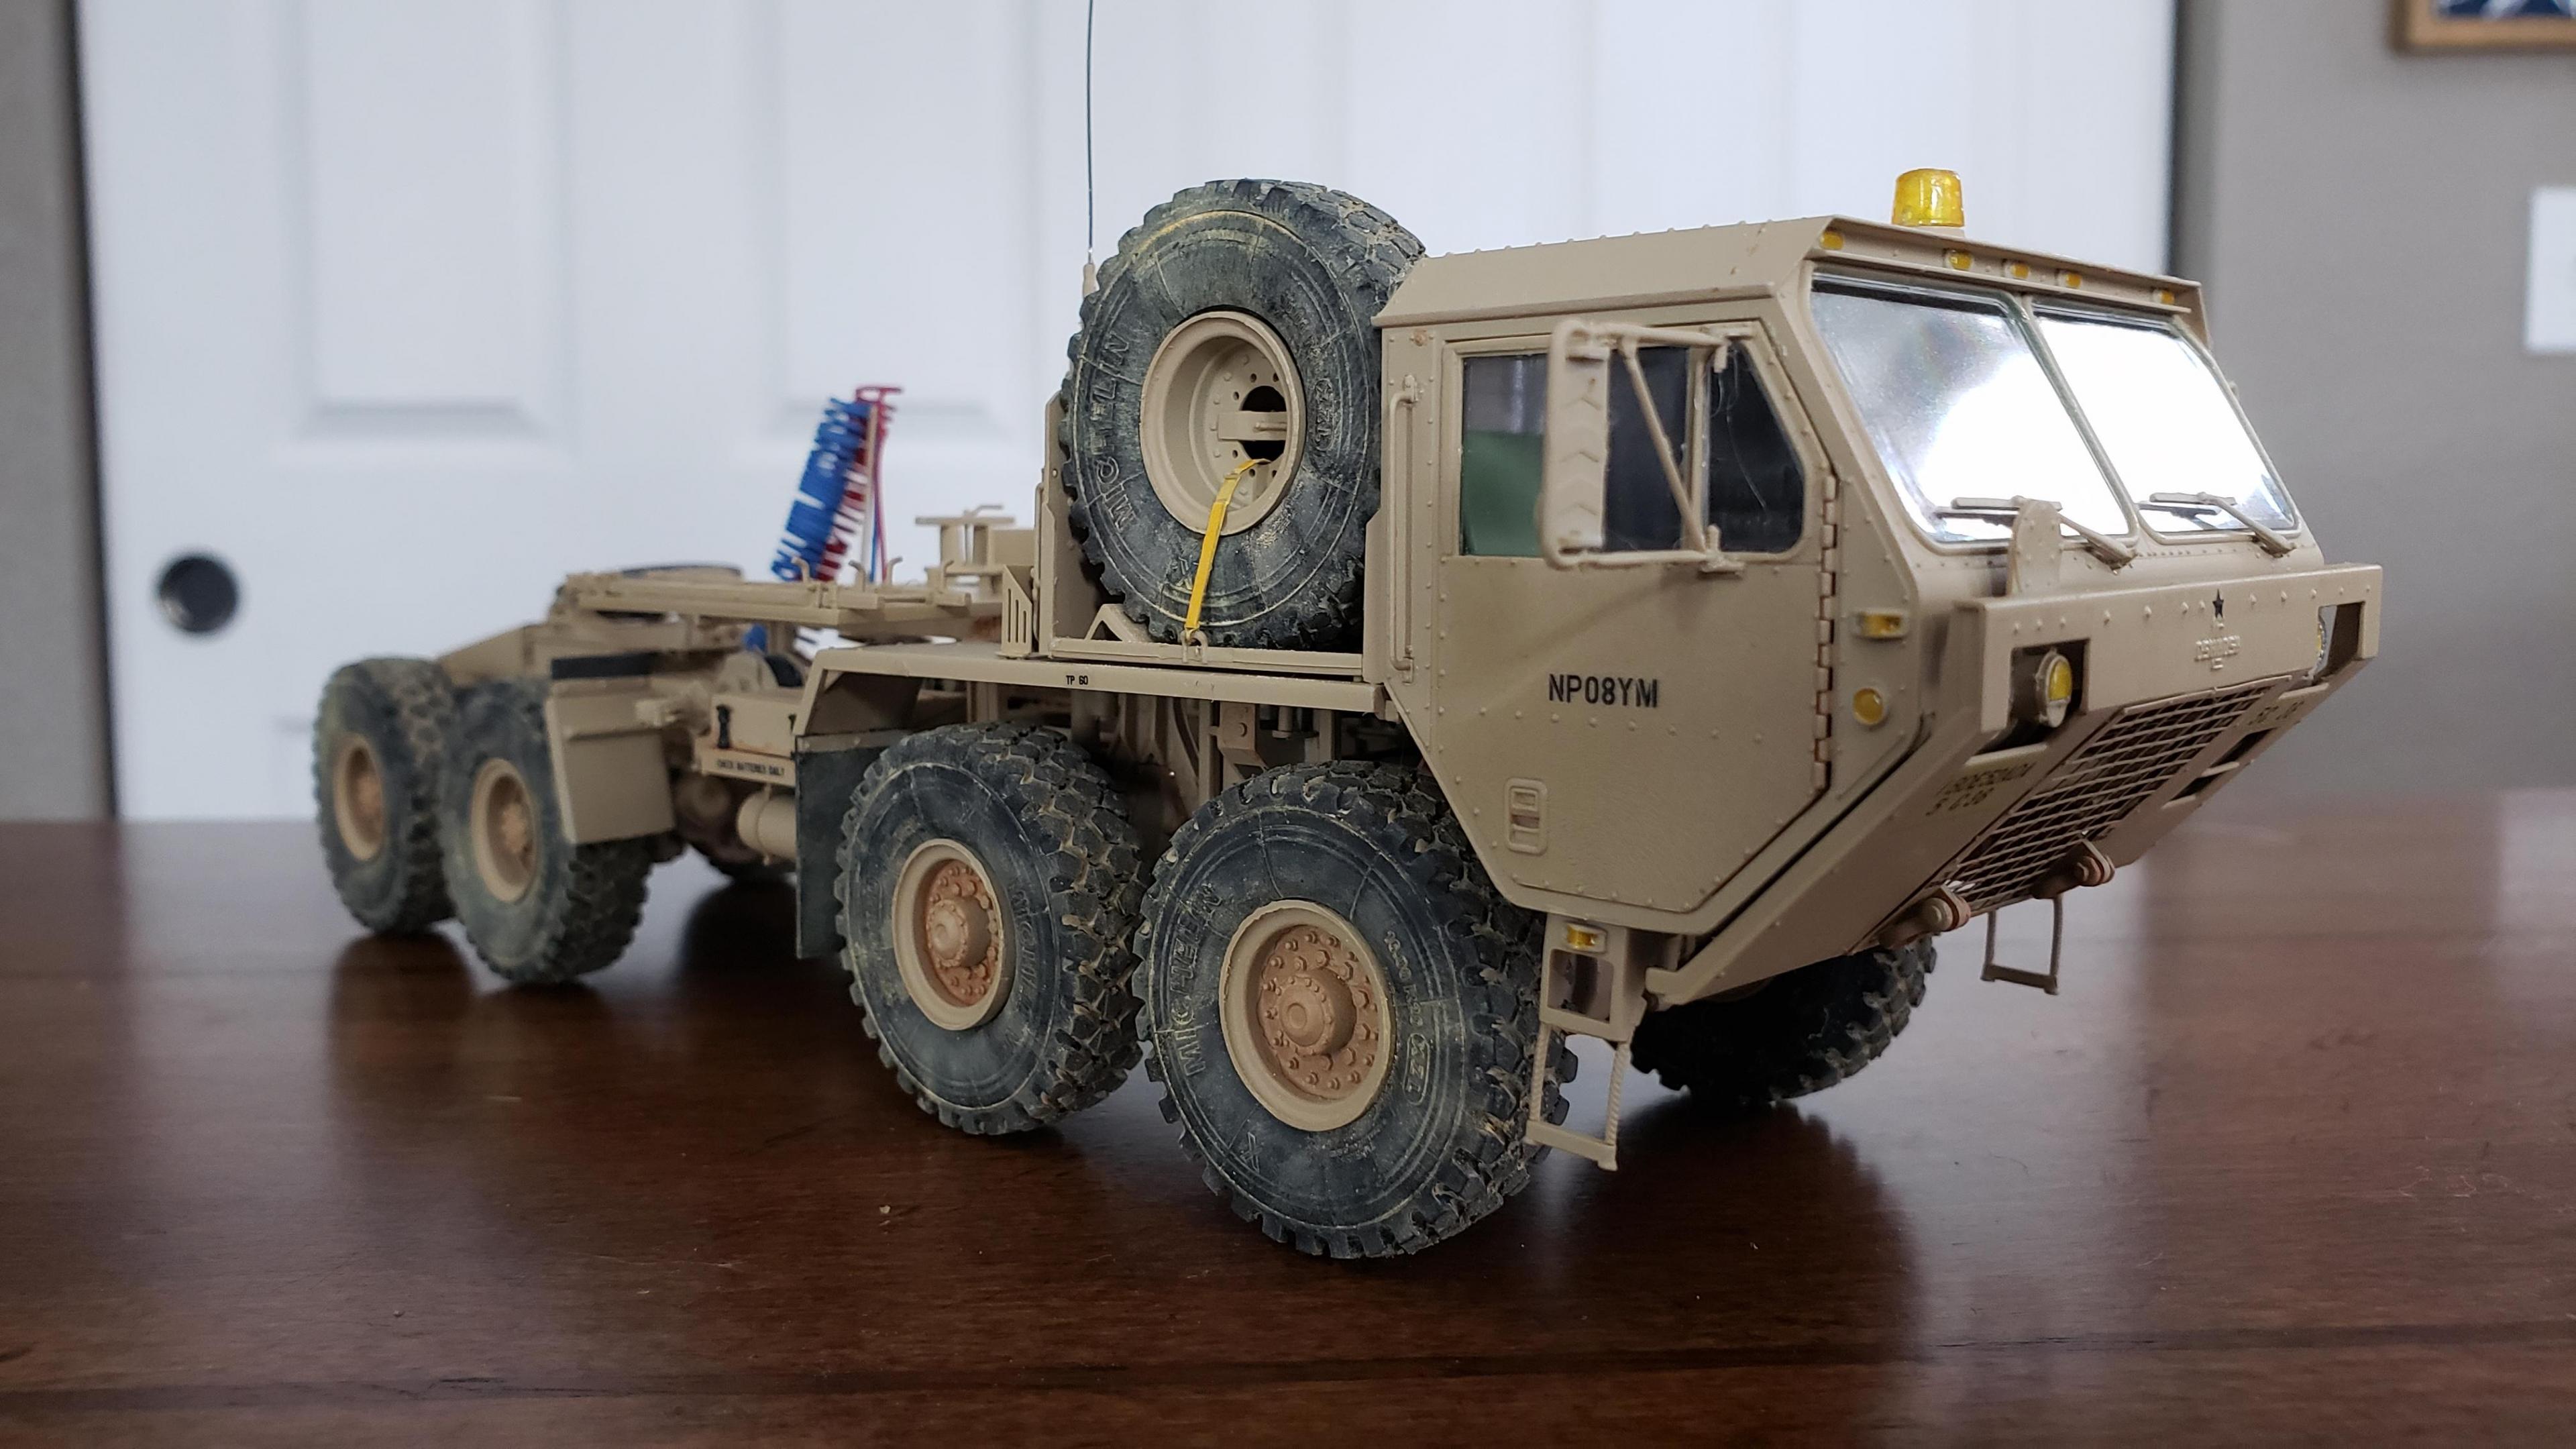
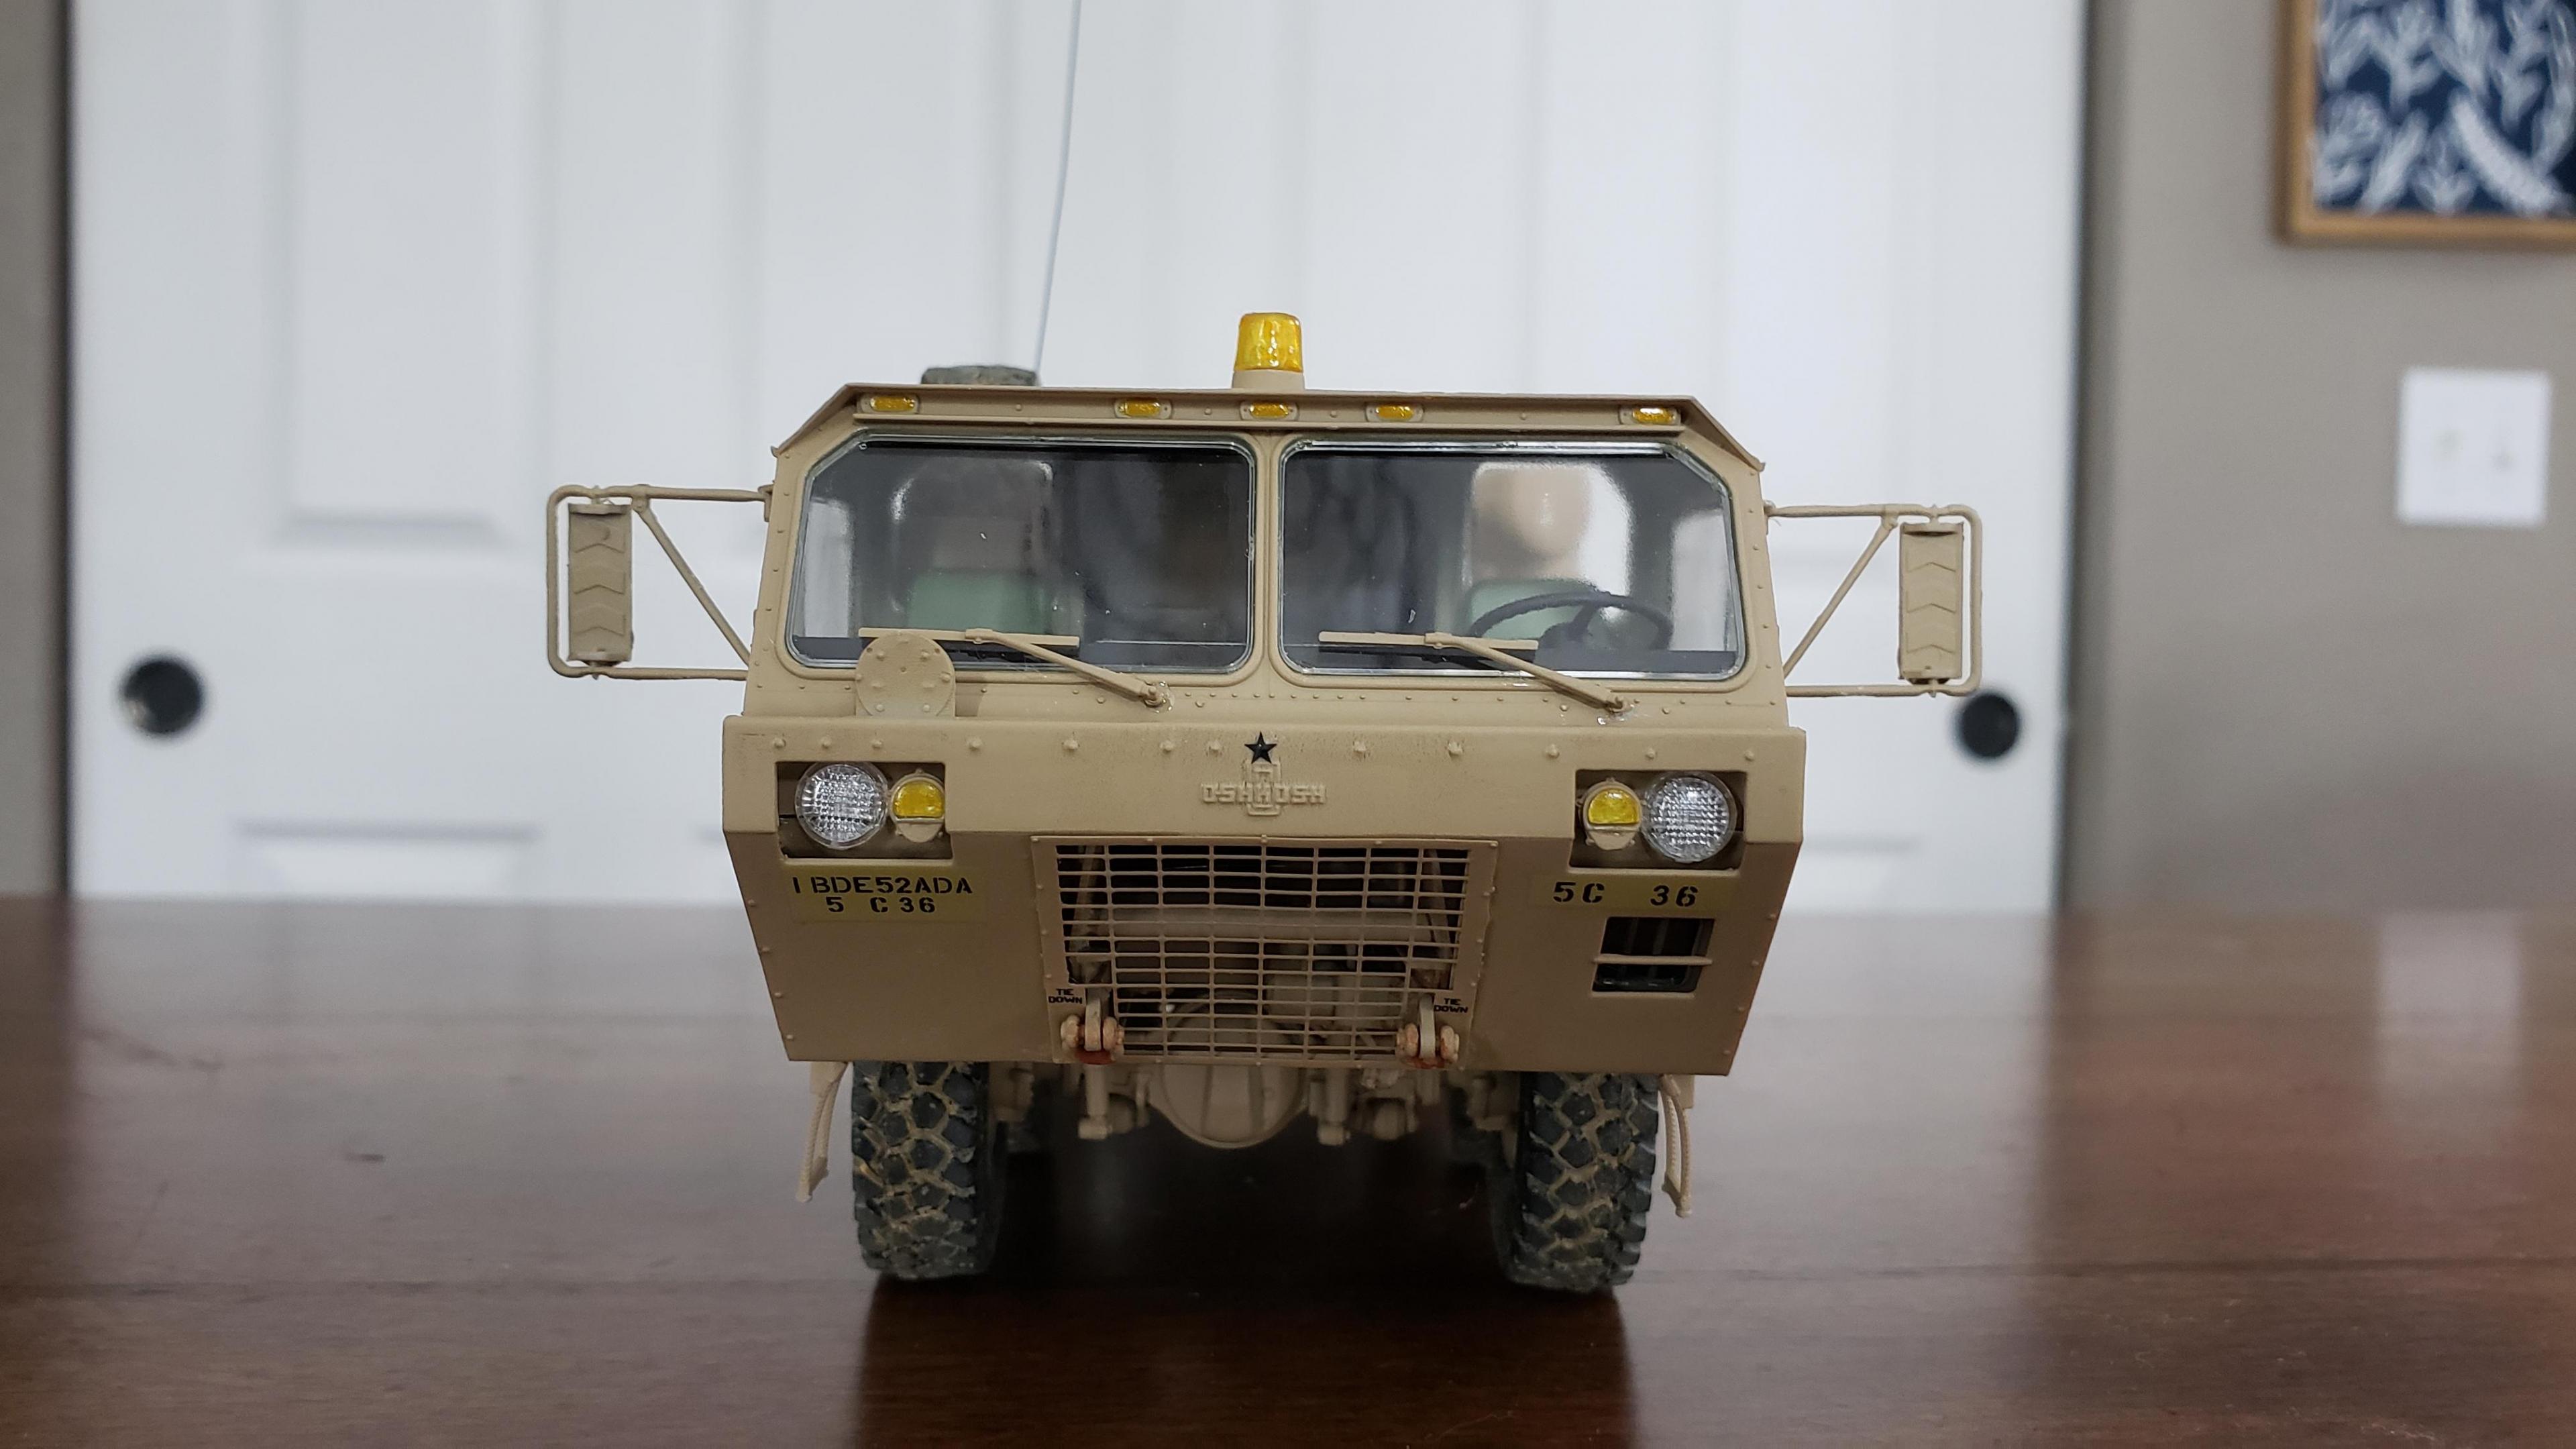
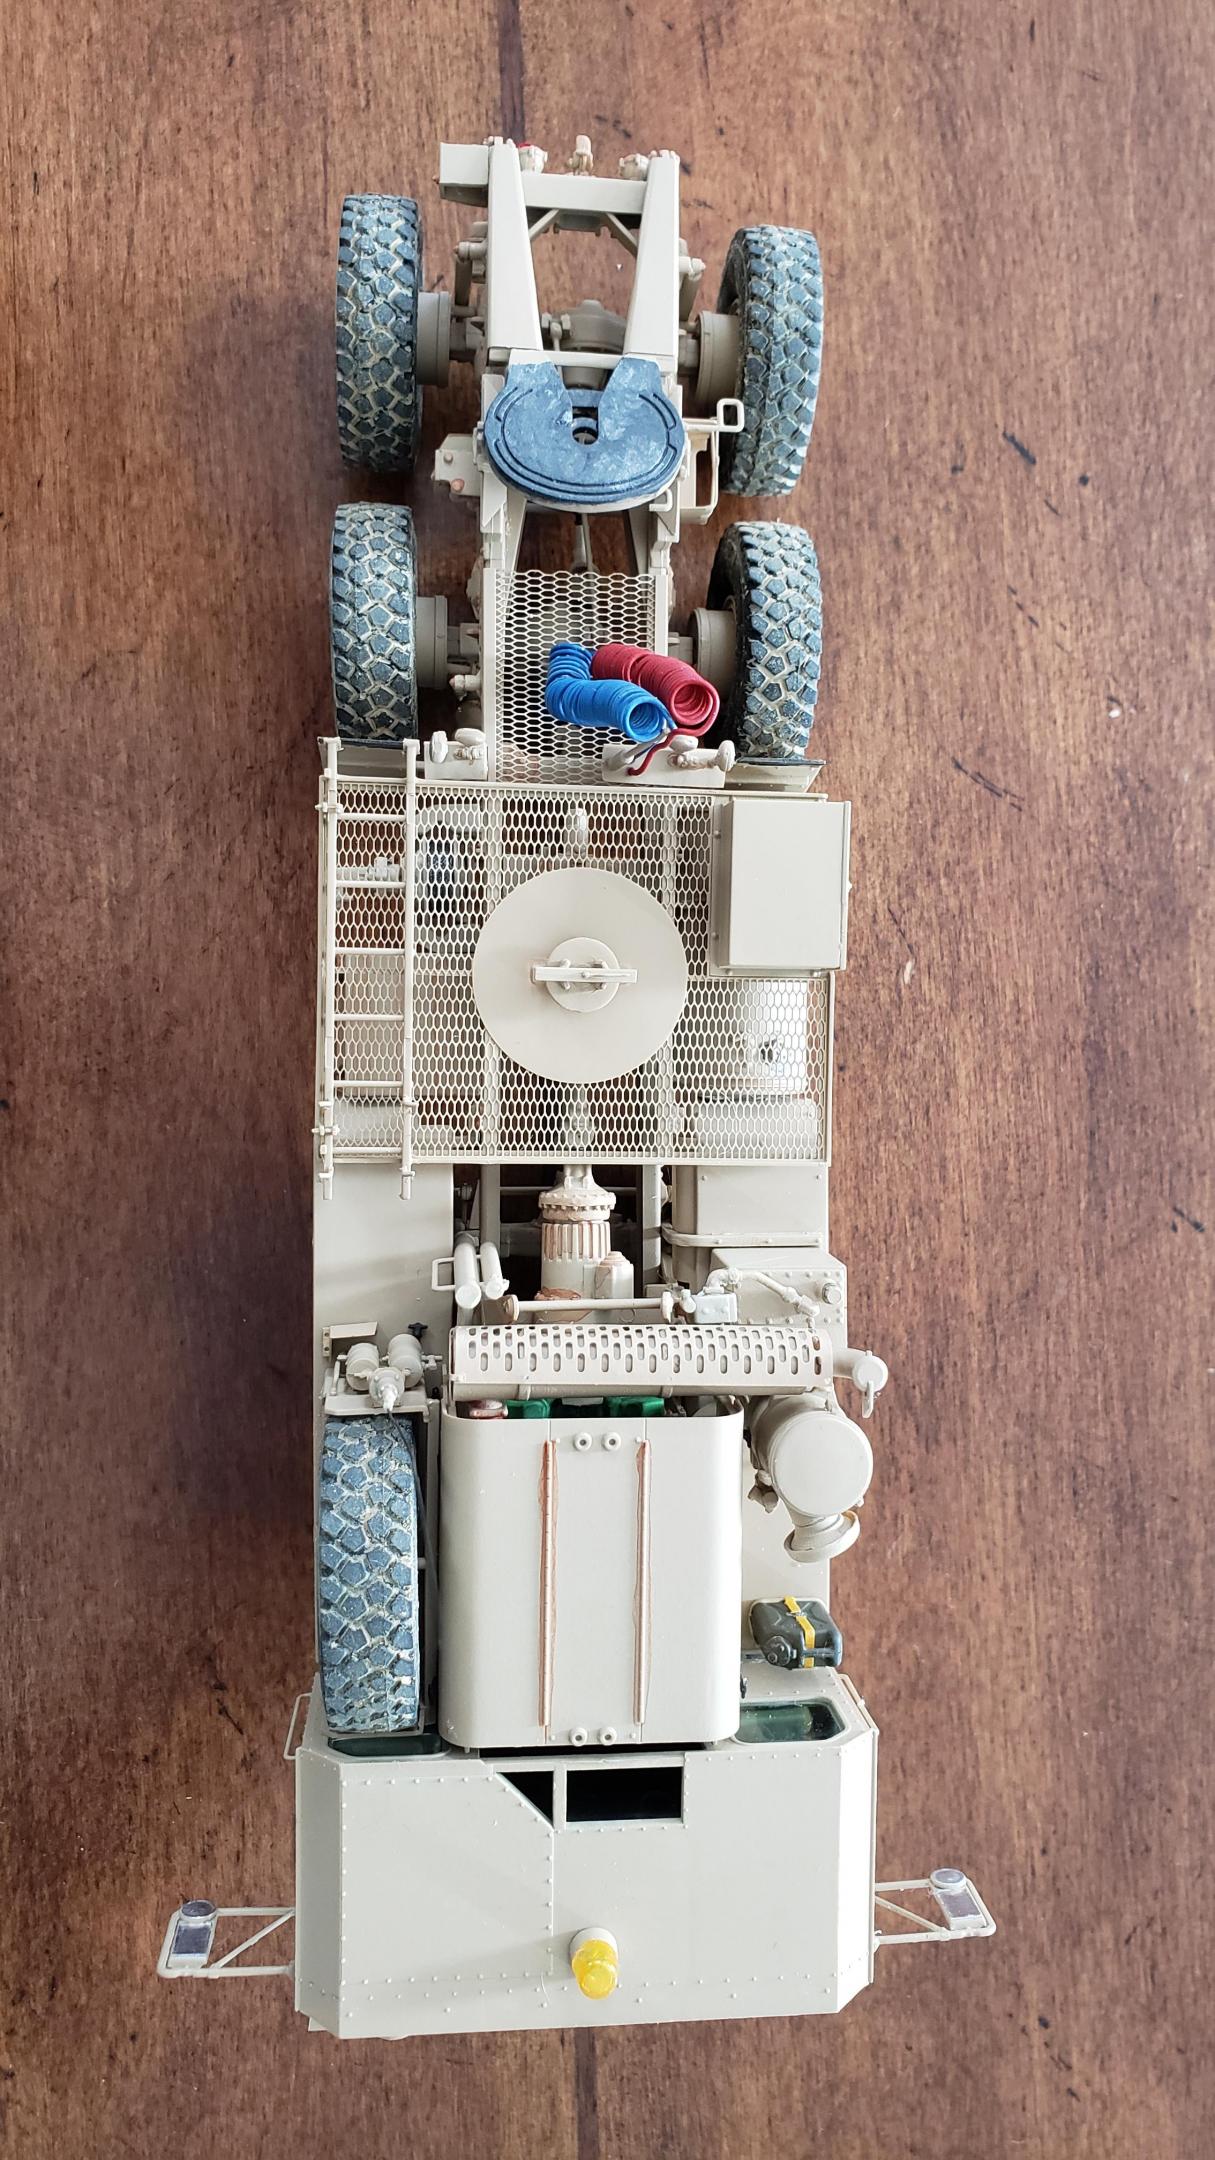
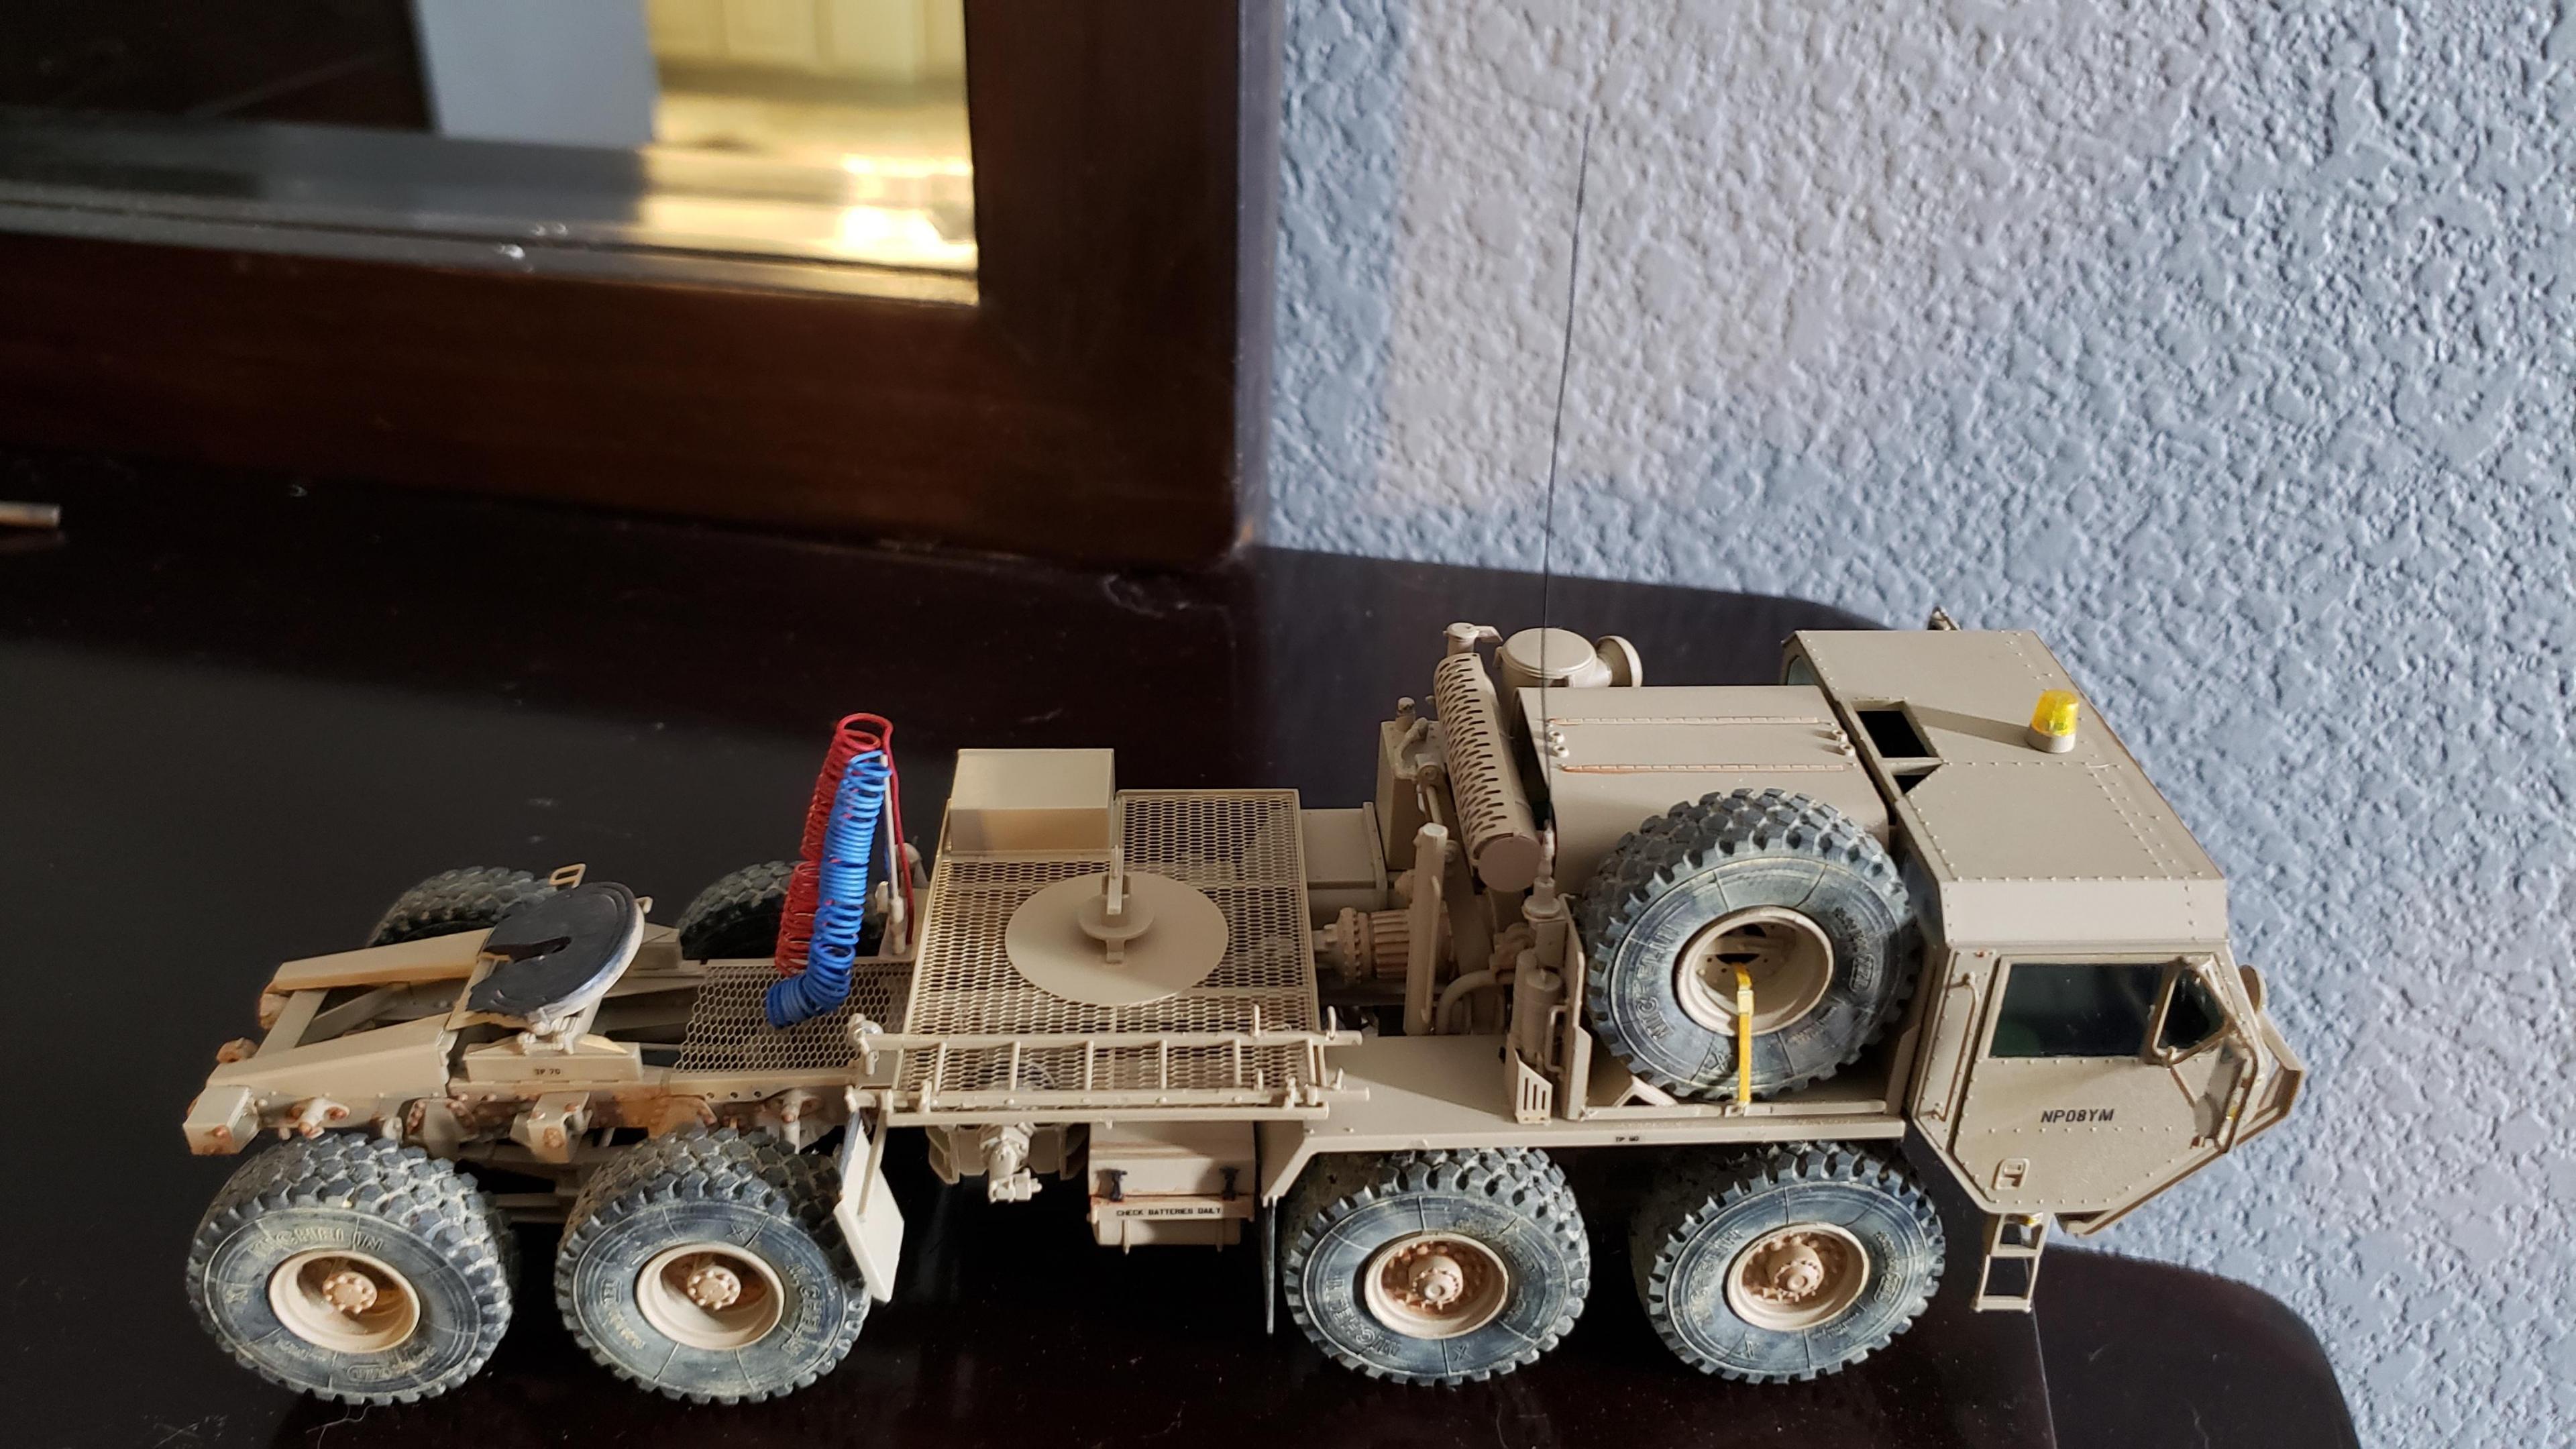
I just finished this tractor truck from Trumpeter. It had a lot of parts, and they were very detailed. I was very happy with this kit. I built it box stock, with the addition of an antenna, and suzi coils. Some of the decals made no sense, and were just gibberish. This was really the only thing wrong with the kit. I used the decals that I could, and I'm happy with the result. Thanks for looking!
-
-
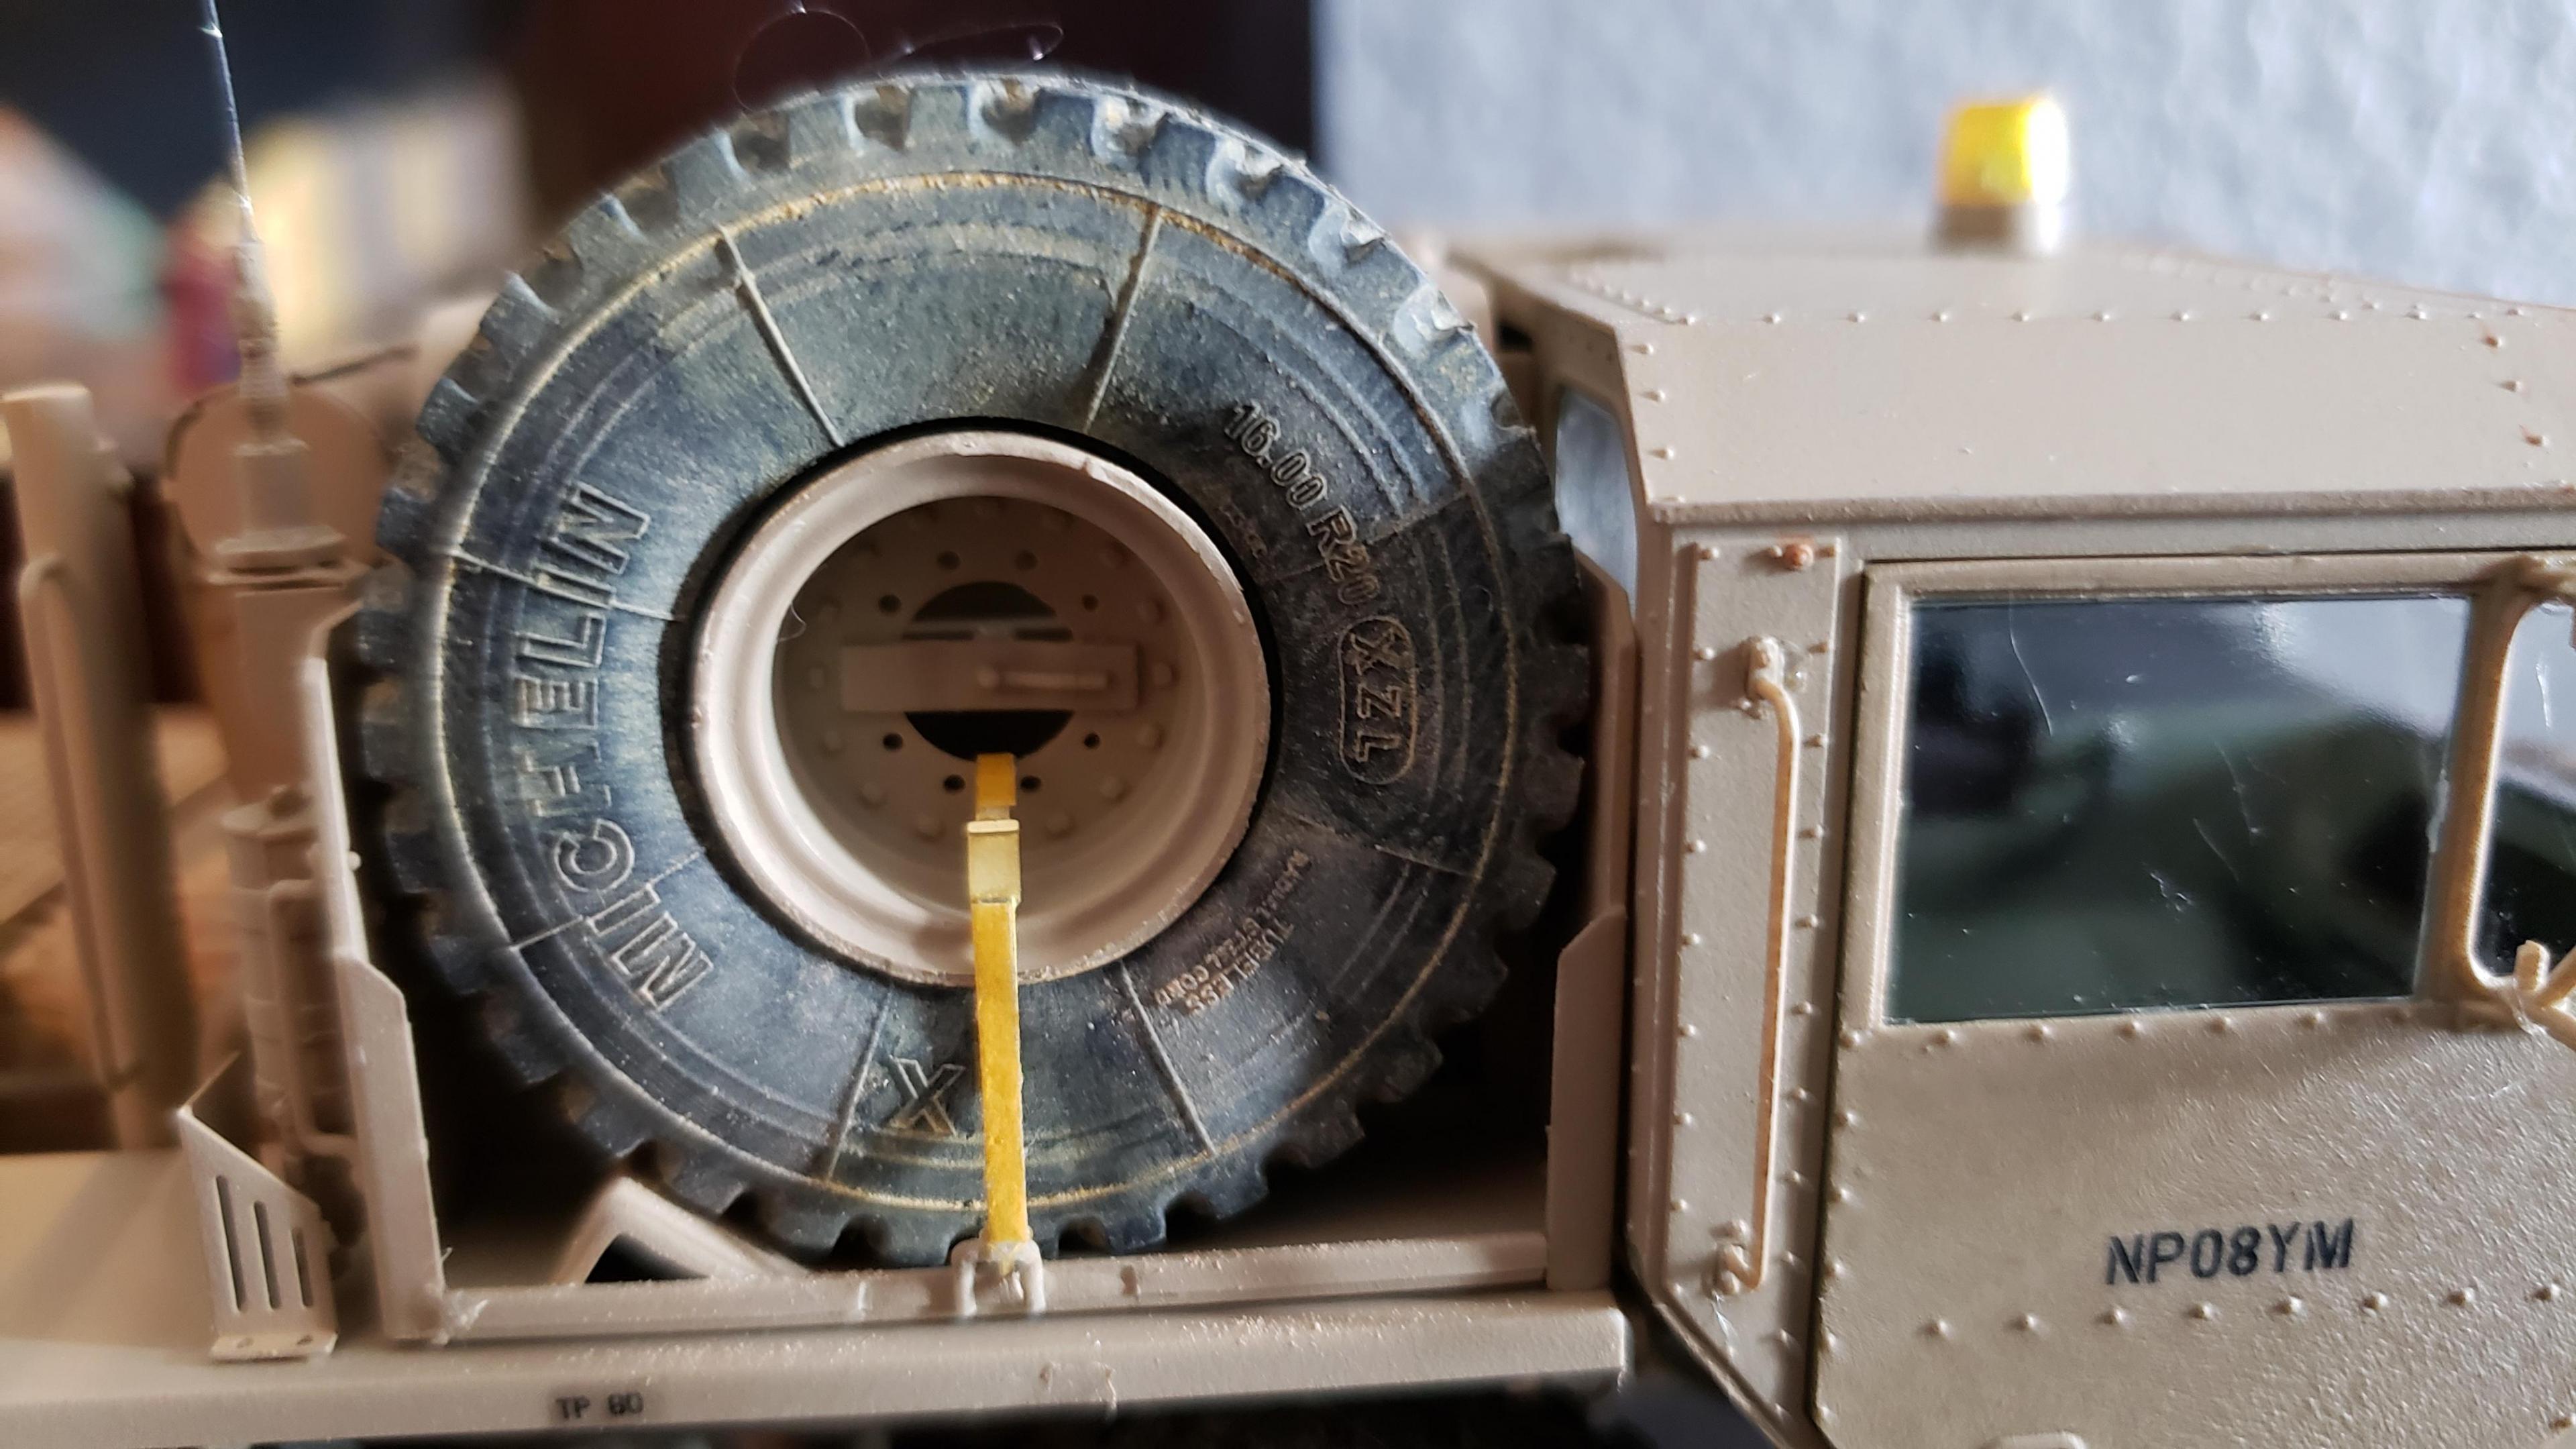
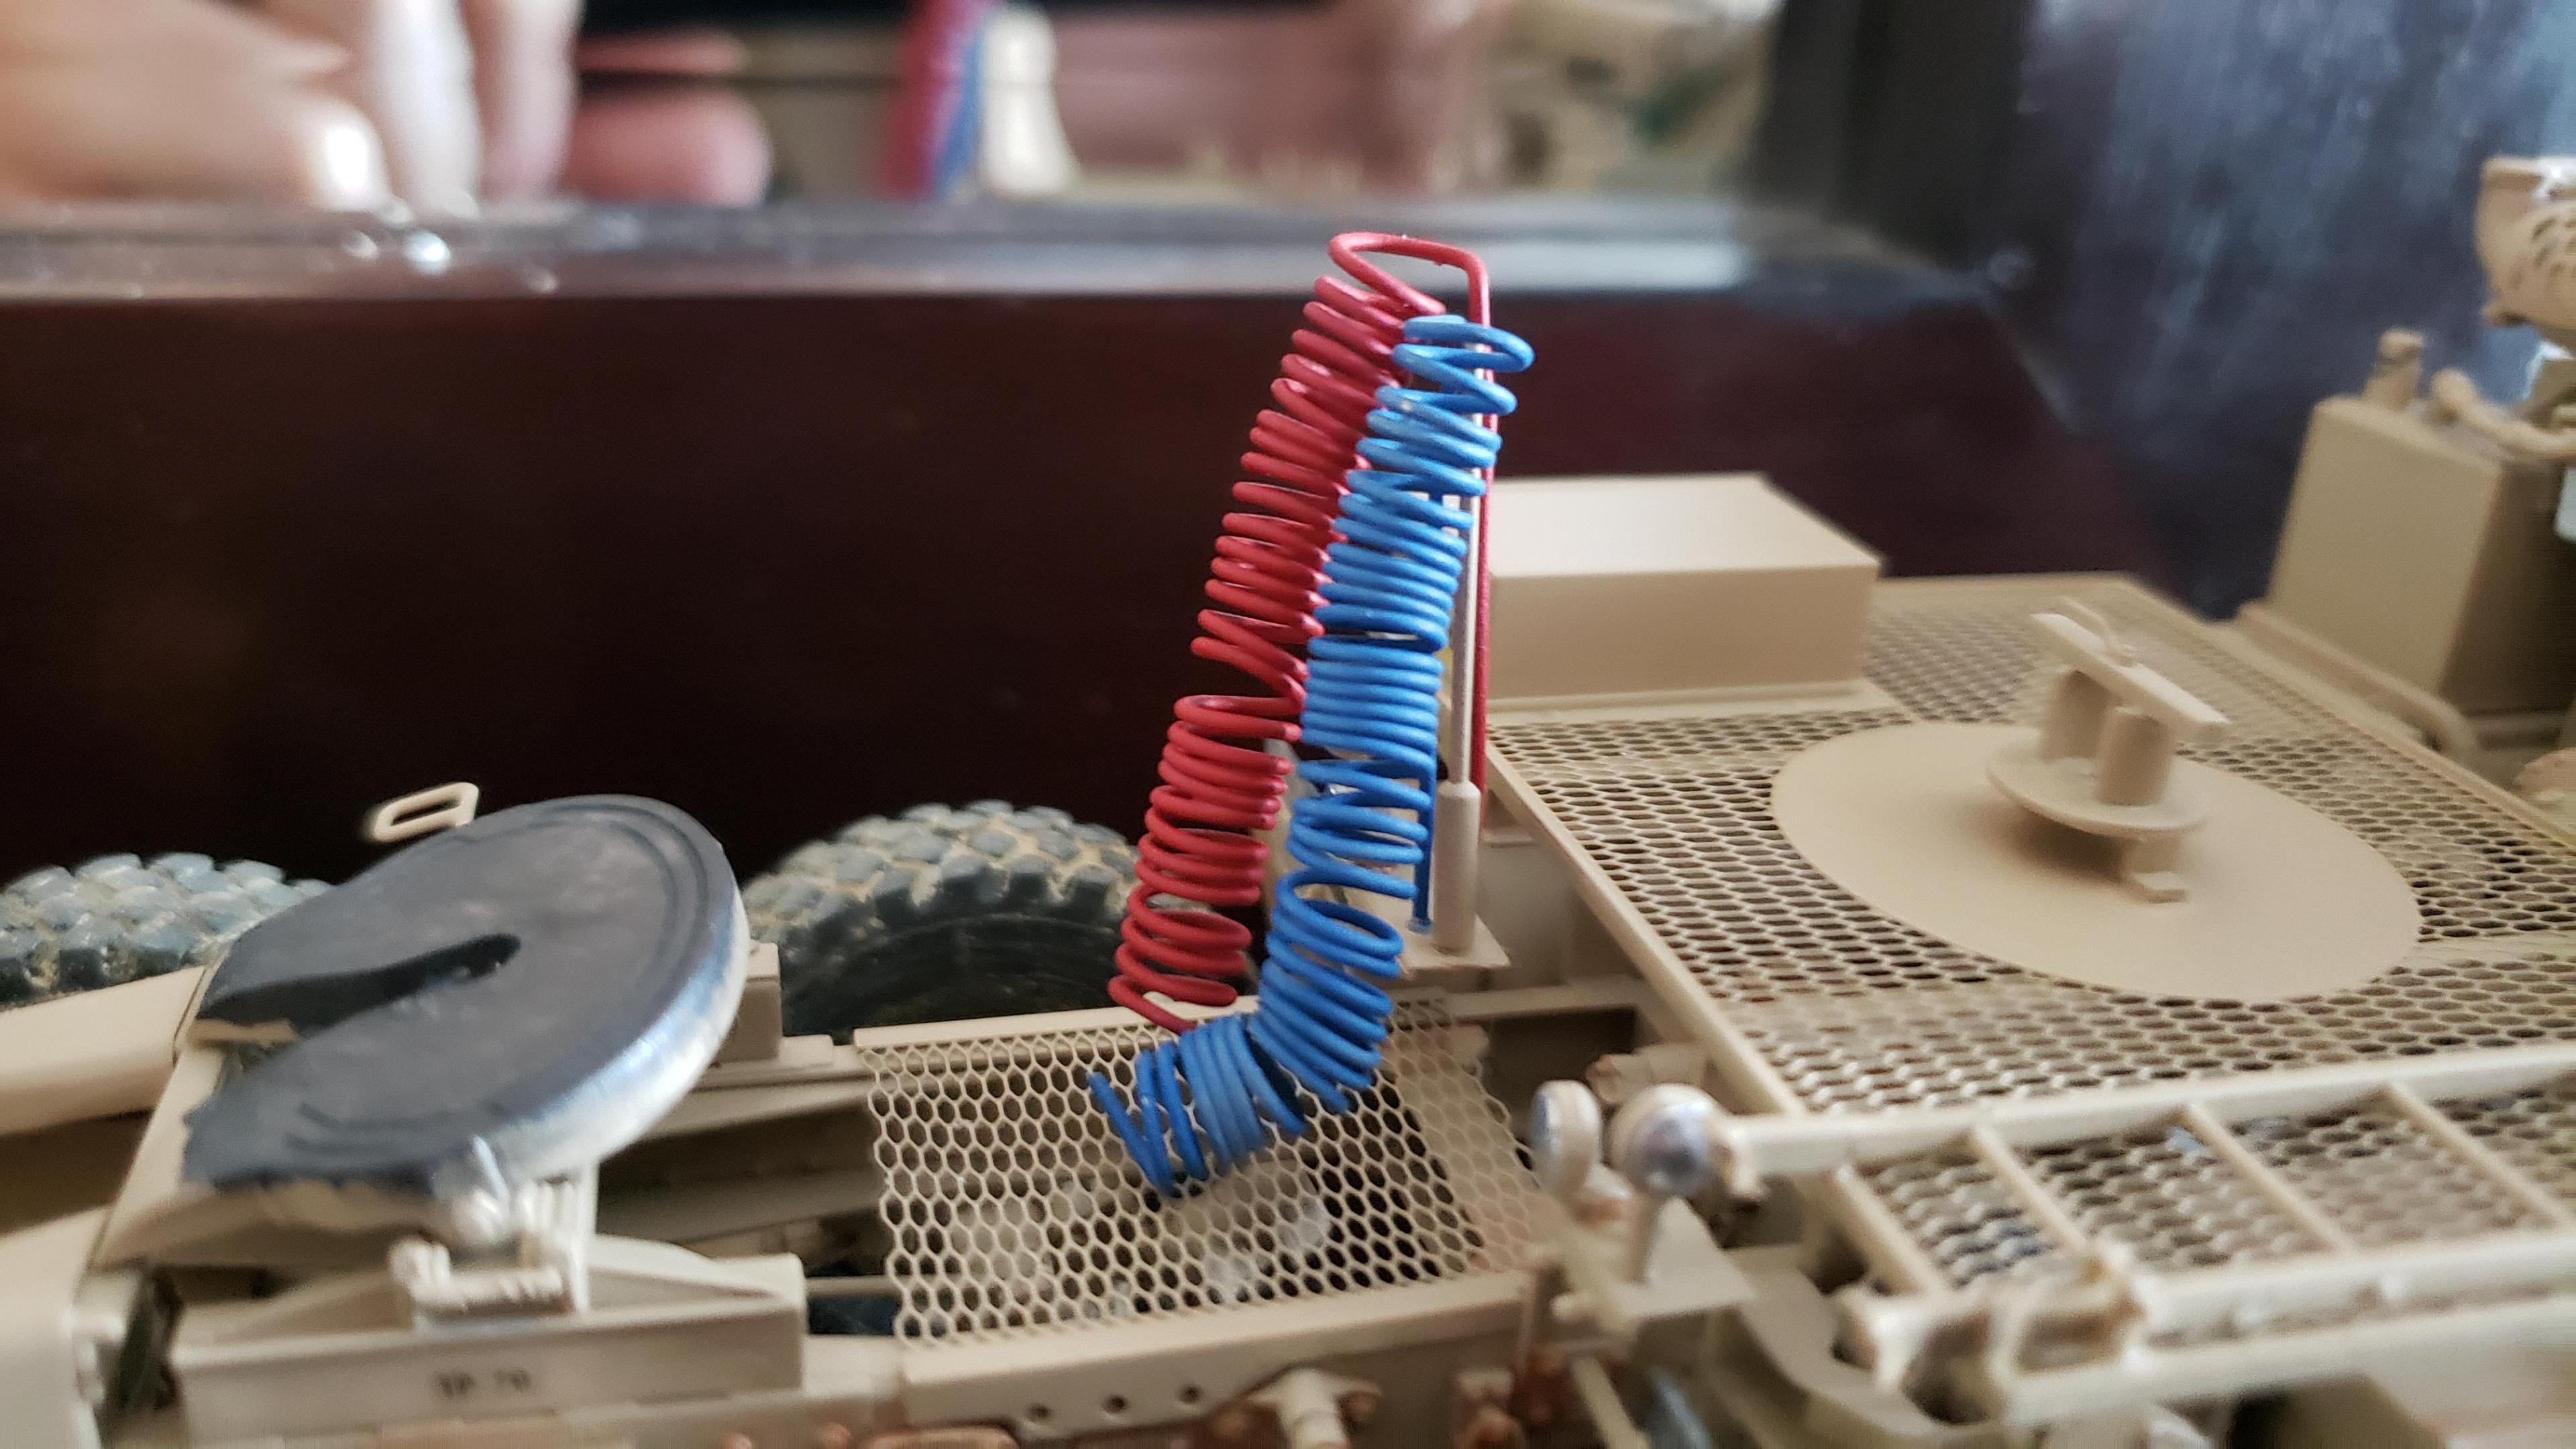
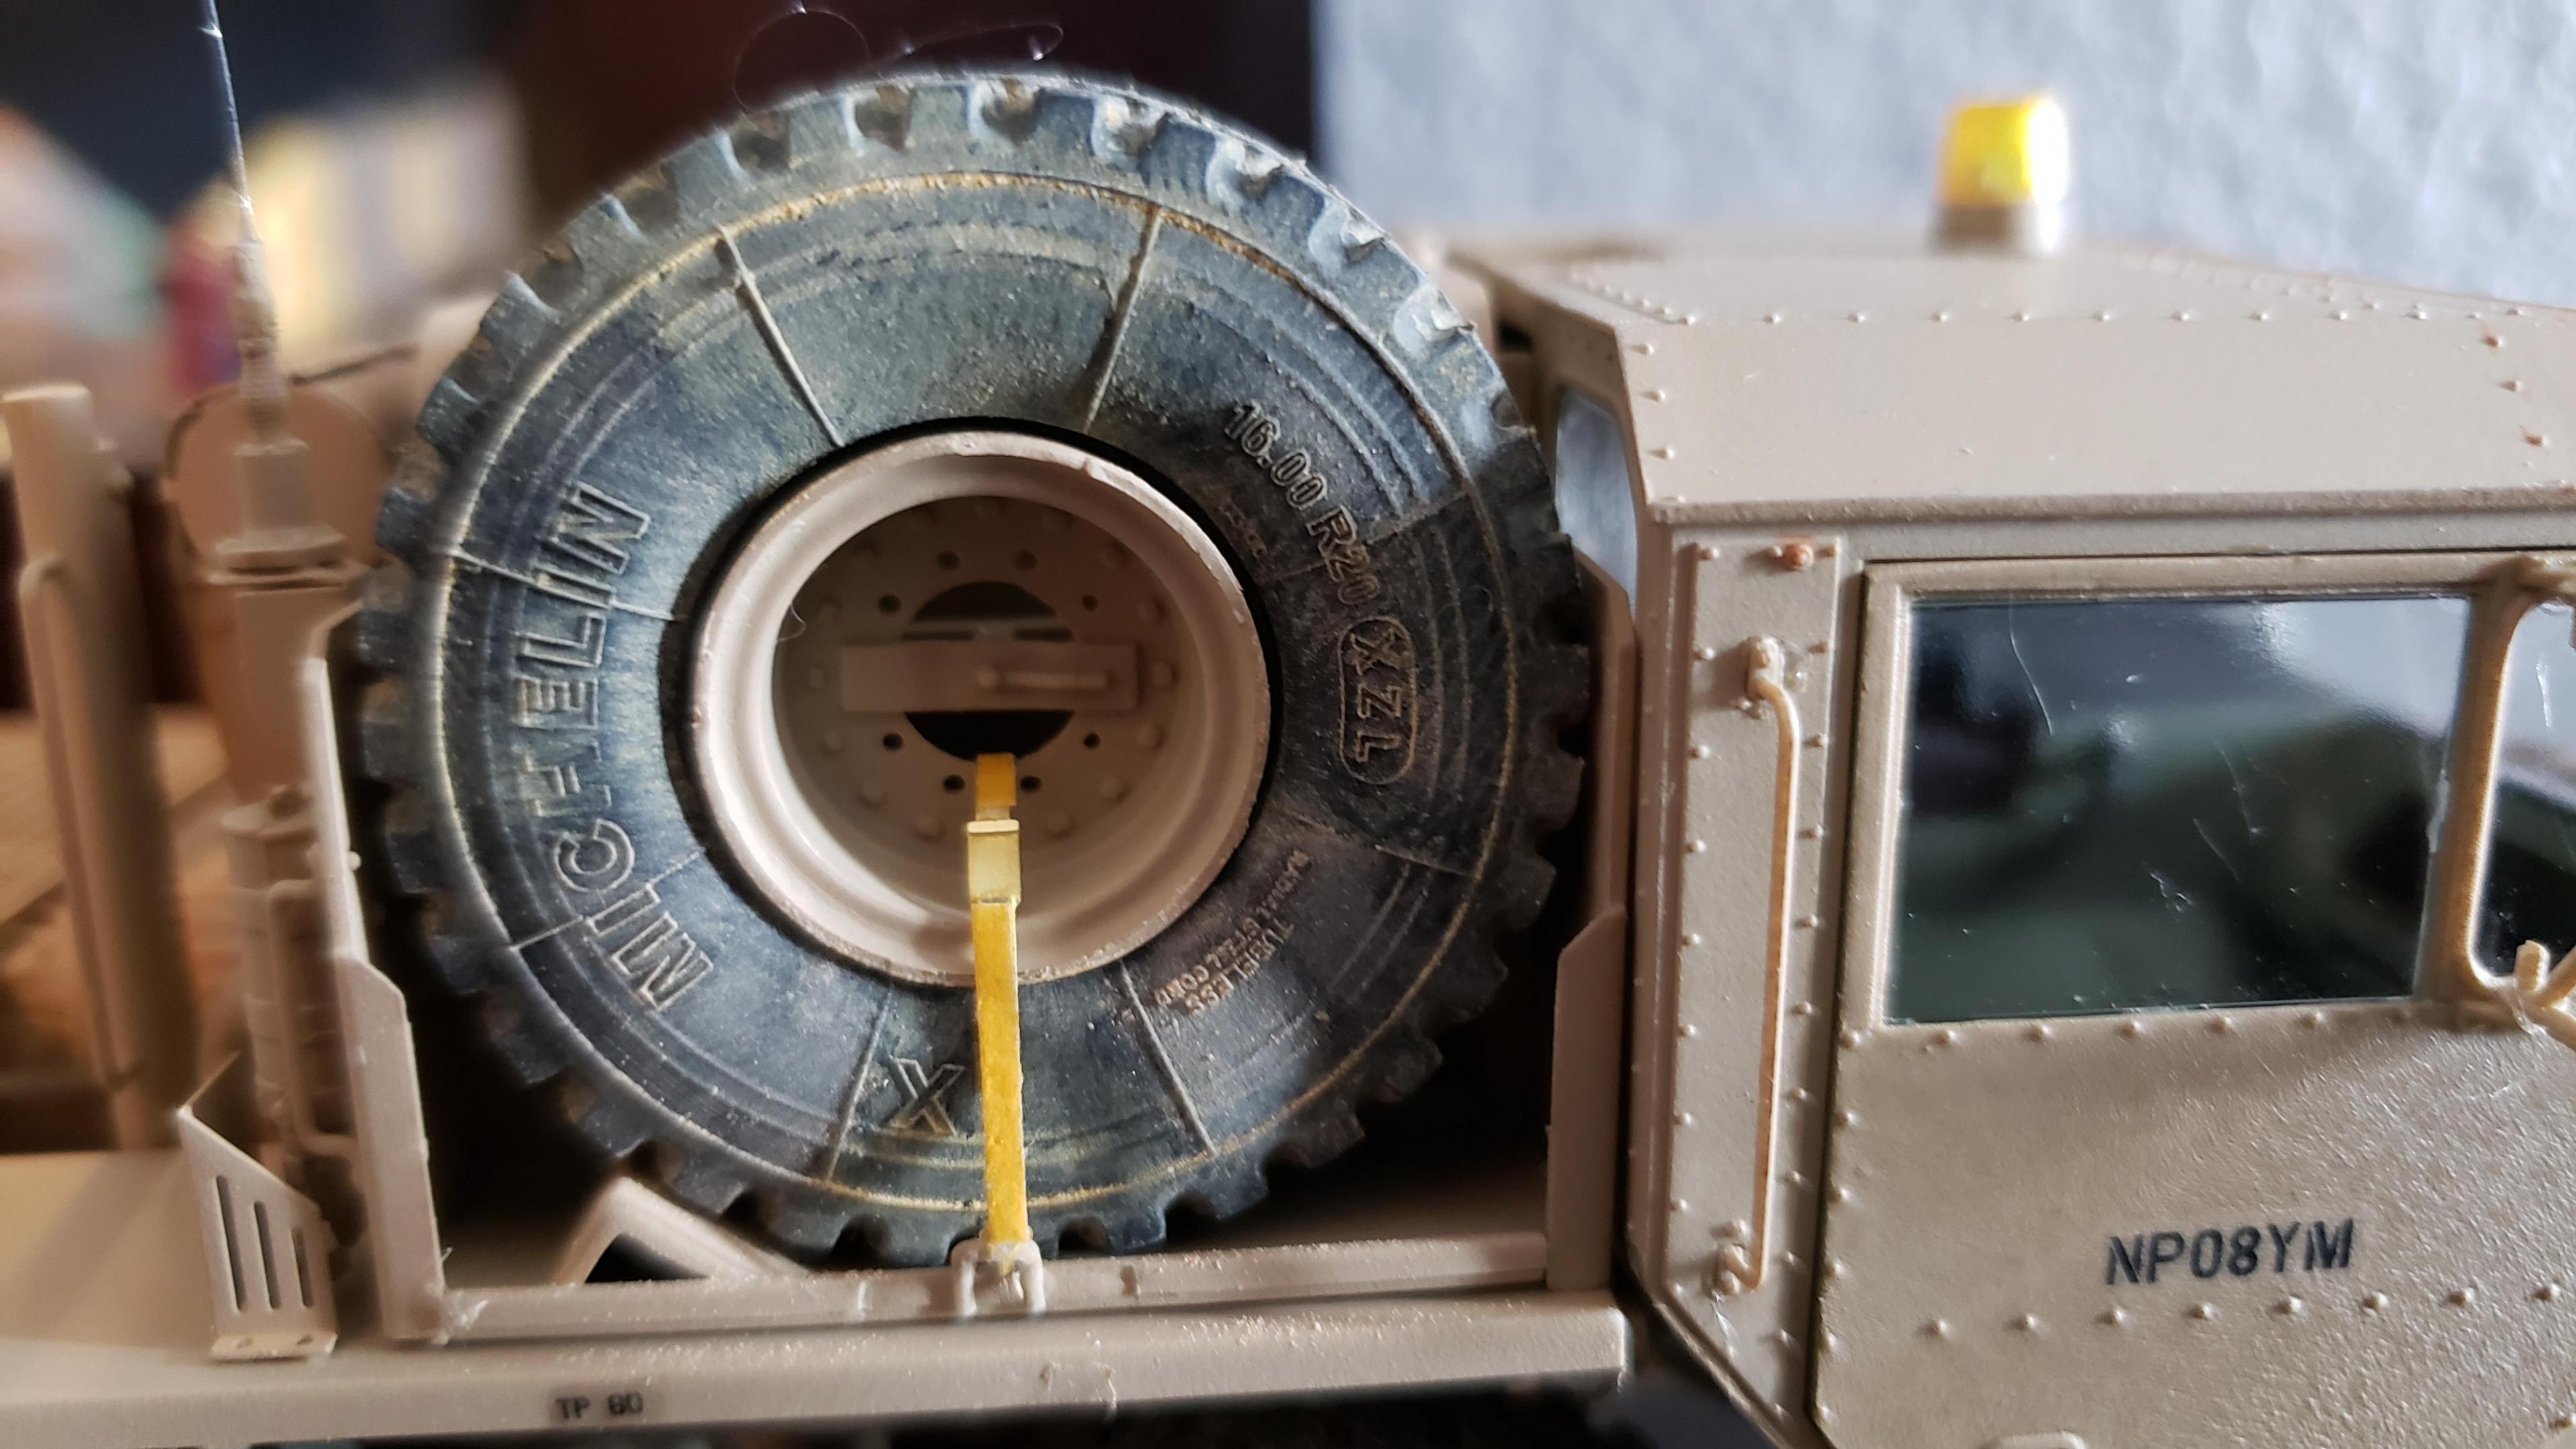
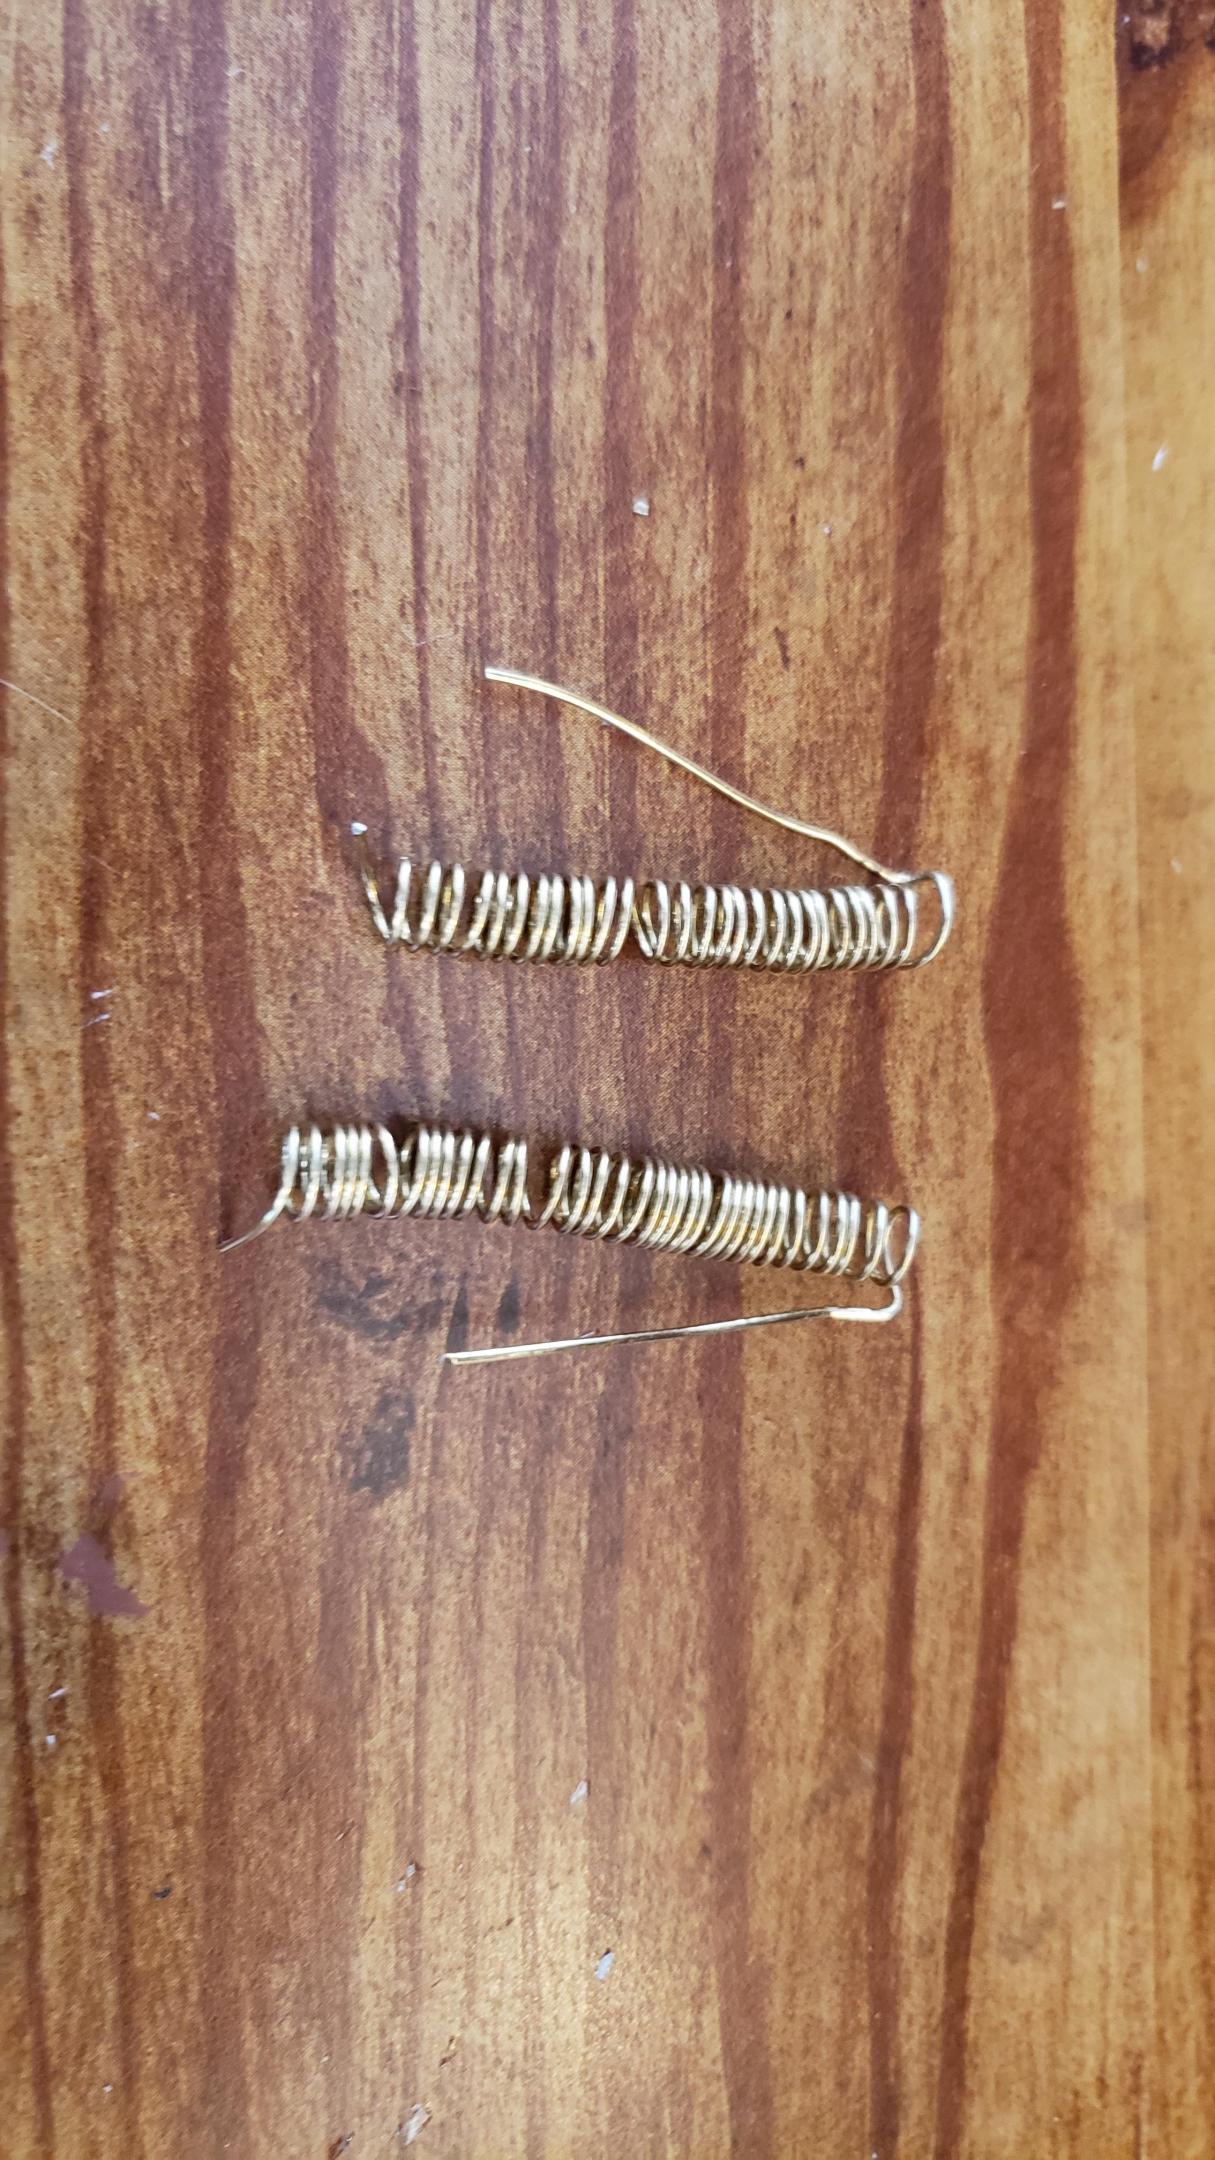
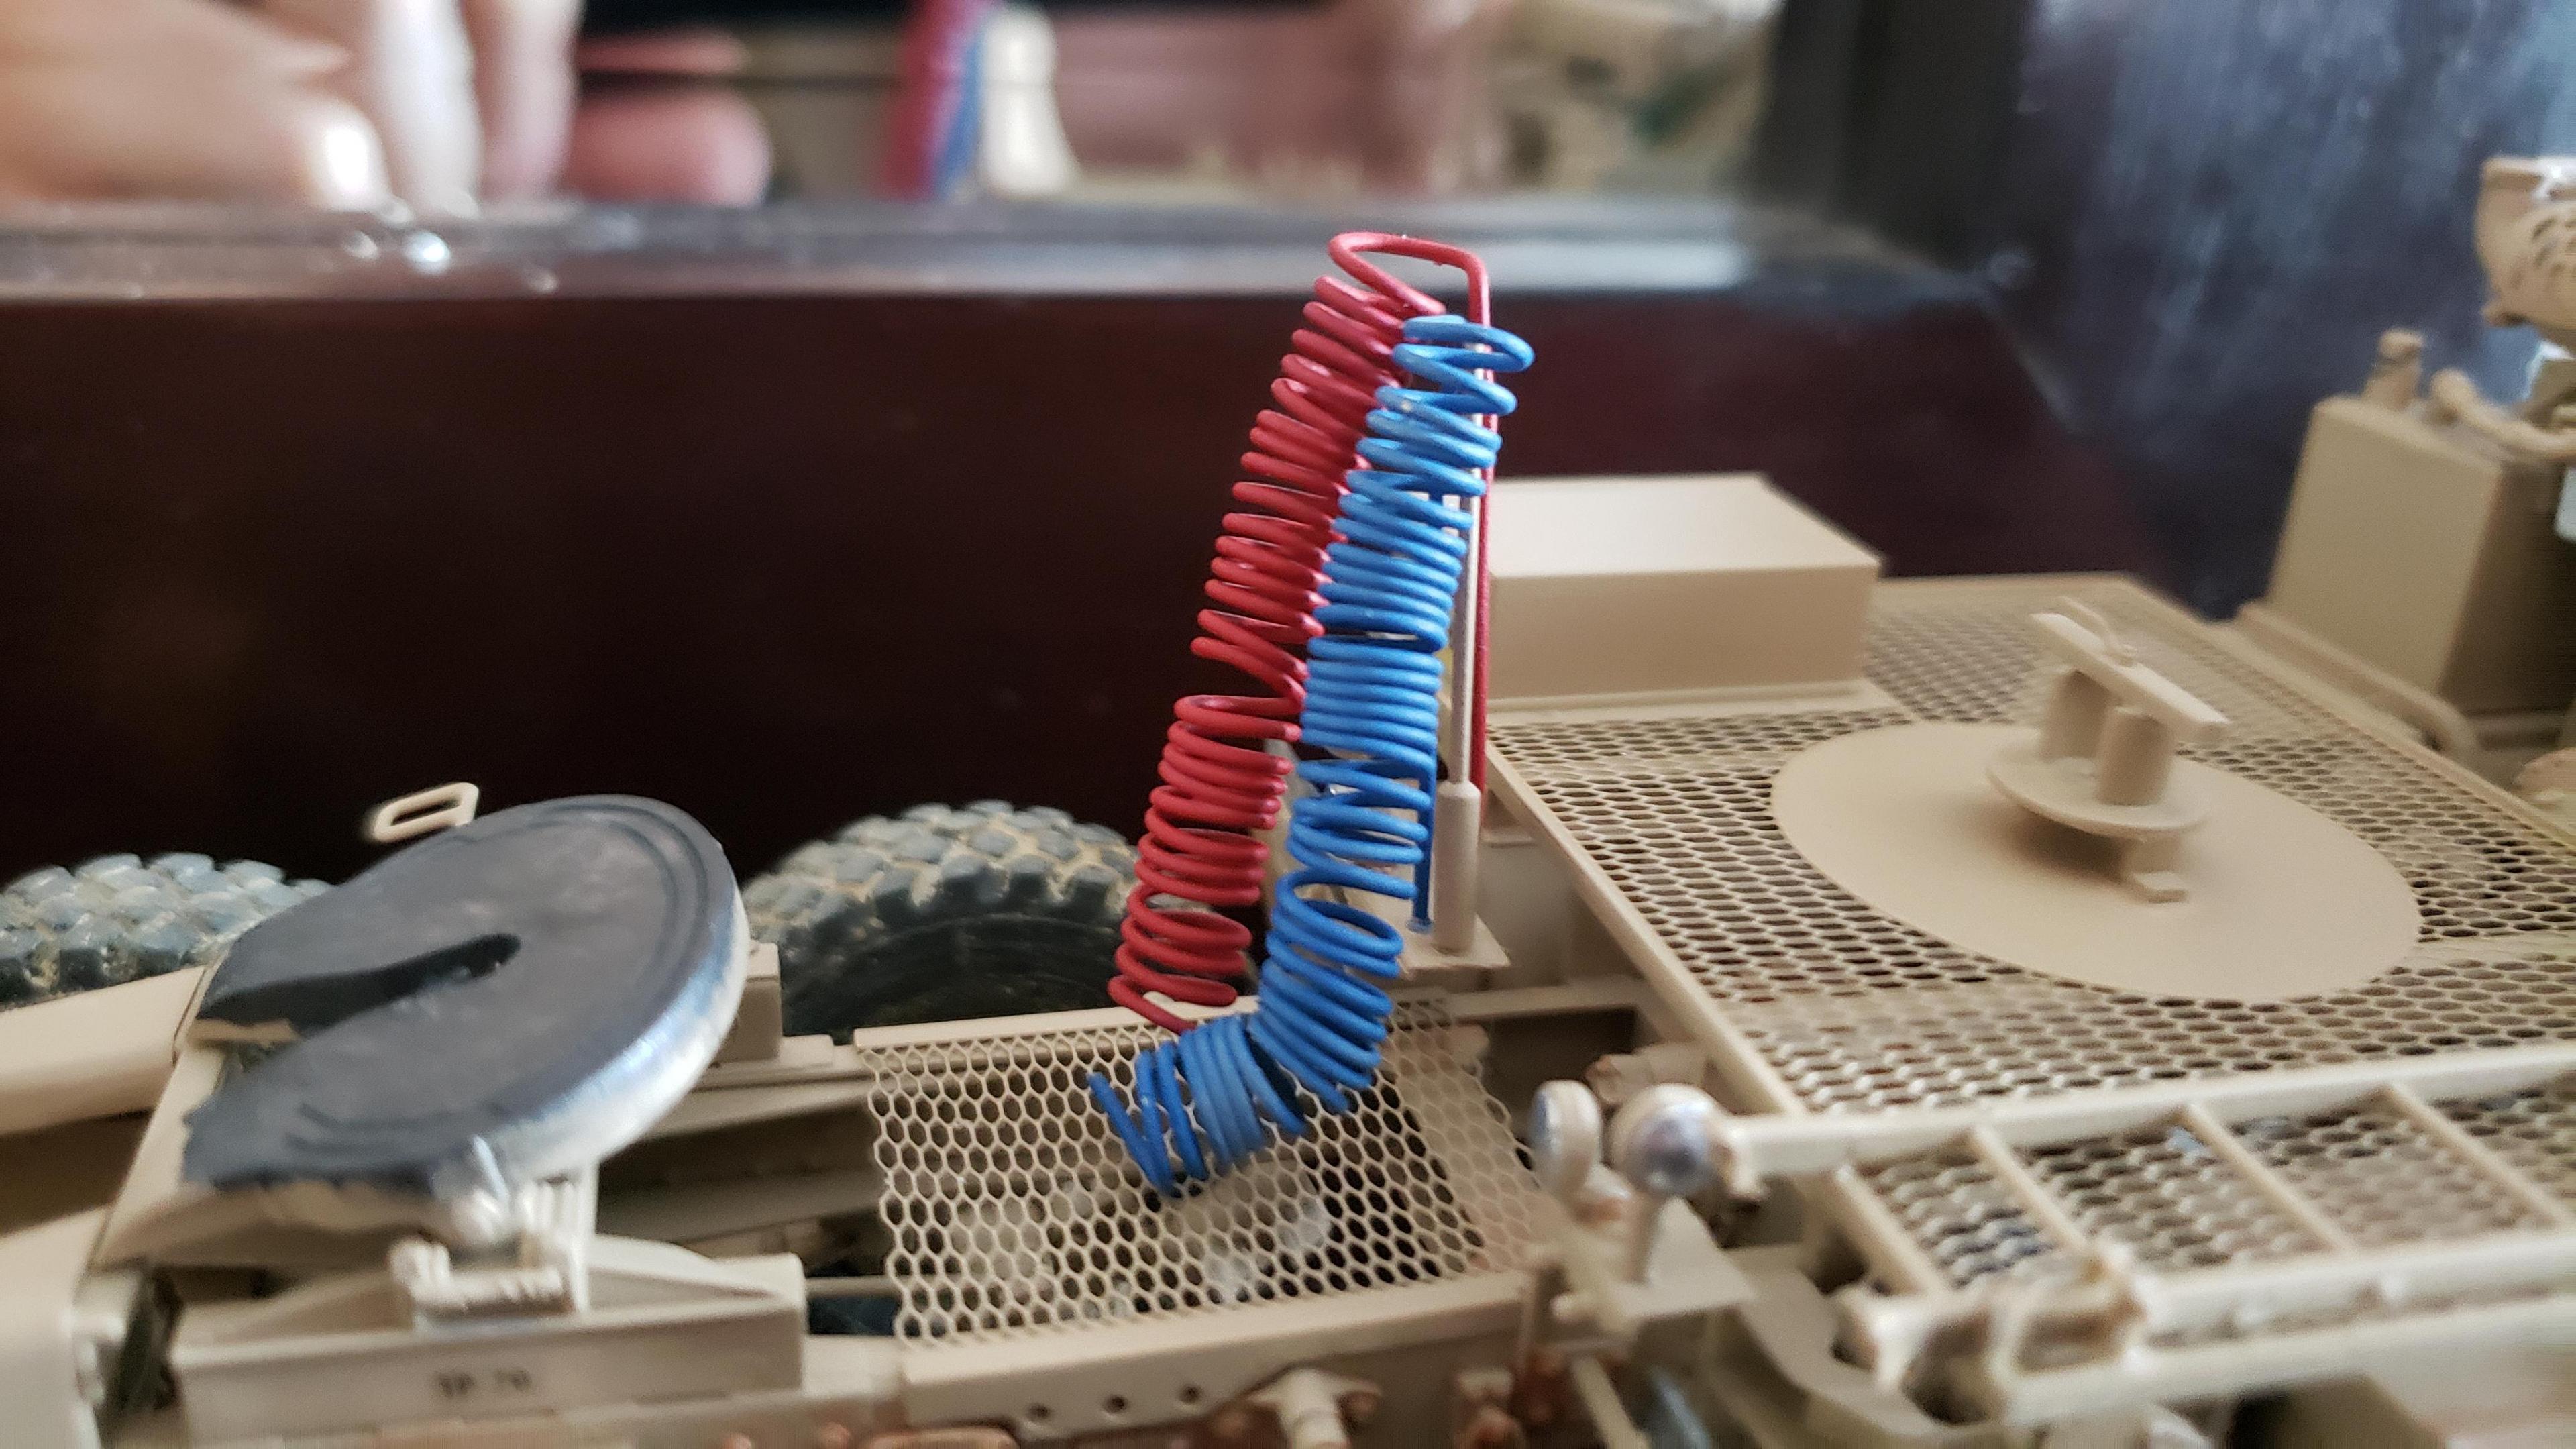
Thanks for all the kind comments. I finished this puppy up today. I used some thread for the winch cable, and painted it metallic gray. I'm not sure if it was normally stowed at the rear of the tractor, or at the winch itself. I just left it on the winch. I made some more strap material for the spare tire. I also made the whip antenna, and the suzi coils. I'm pretty happy with how it turned out. I'll post it in the under glass section
The kit came with a PE ratchet strap for the spare. I made some strap material from masking tape that I painted yellow. They may have had olive green straps or something, but I just wanted something to stand out a little.
I also made some suzi coils from wire material that I had
I'll post it in the under glass section
-
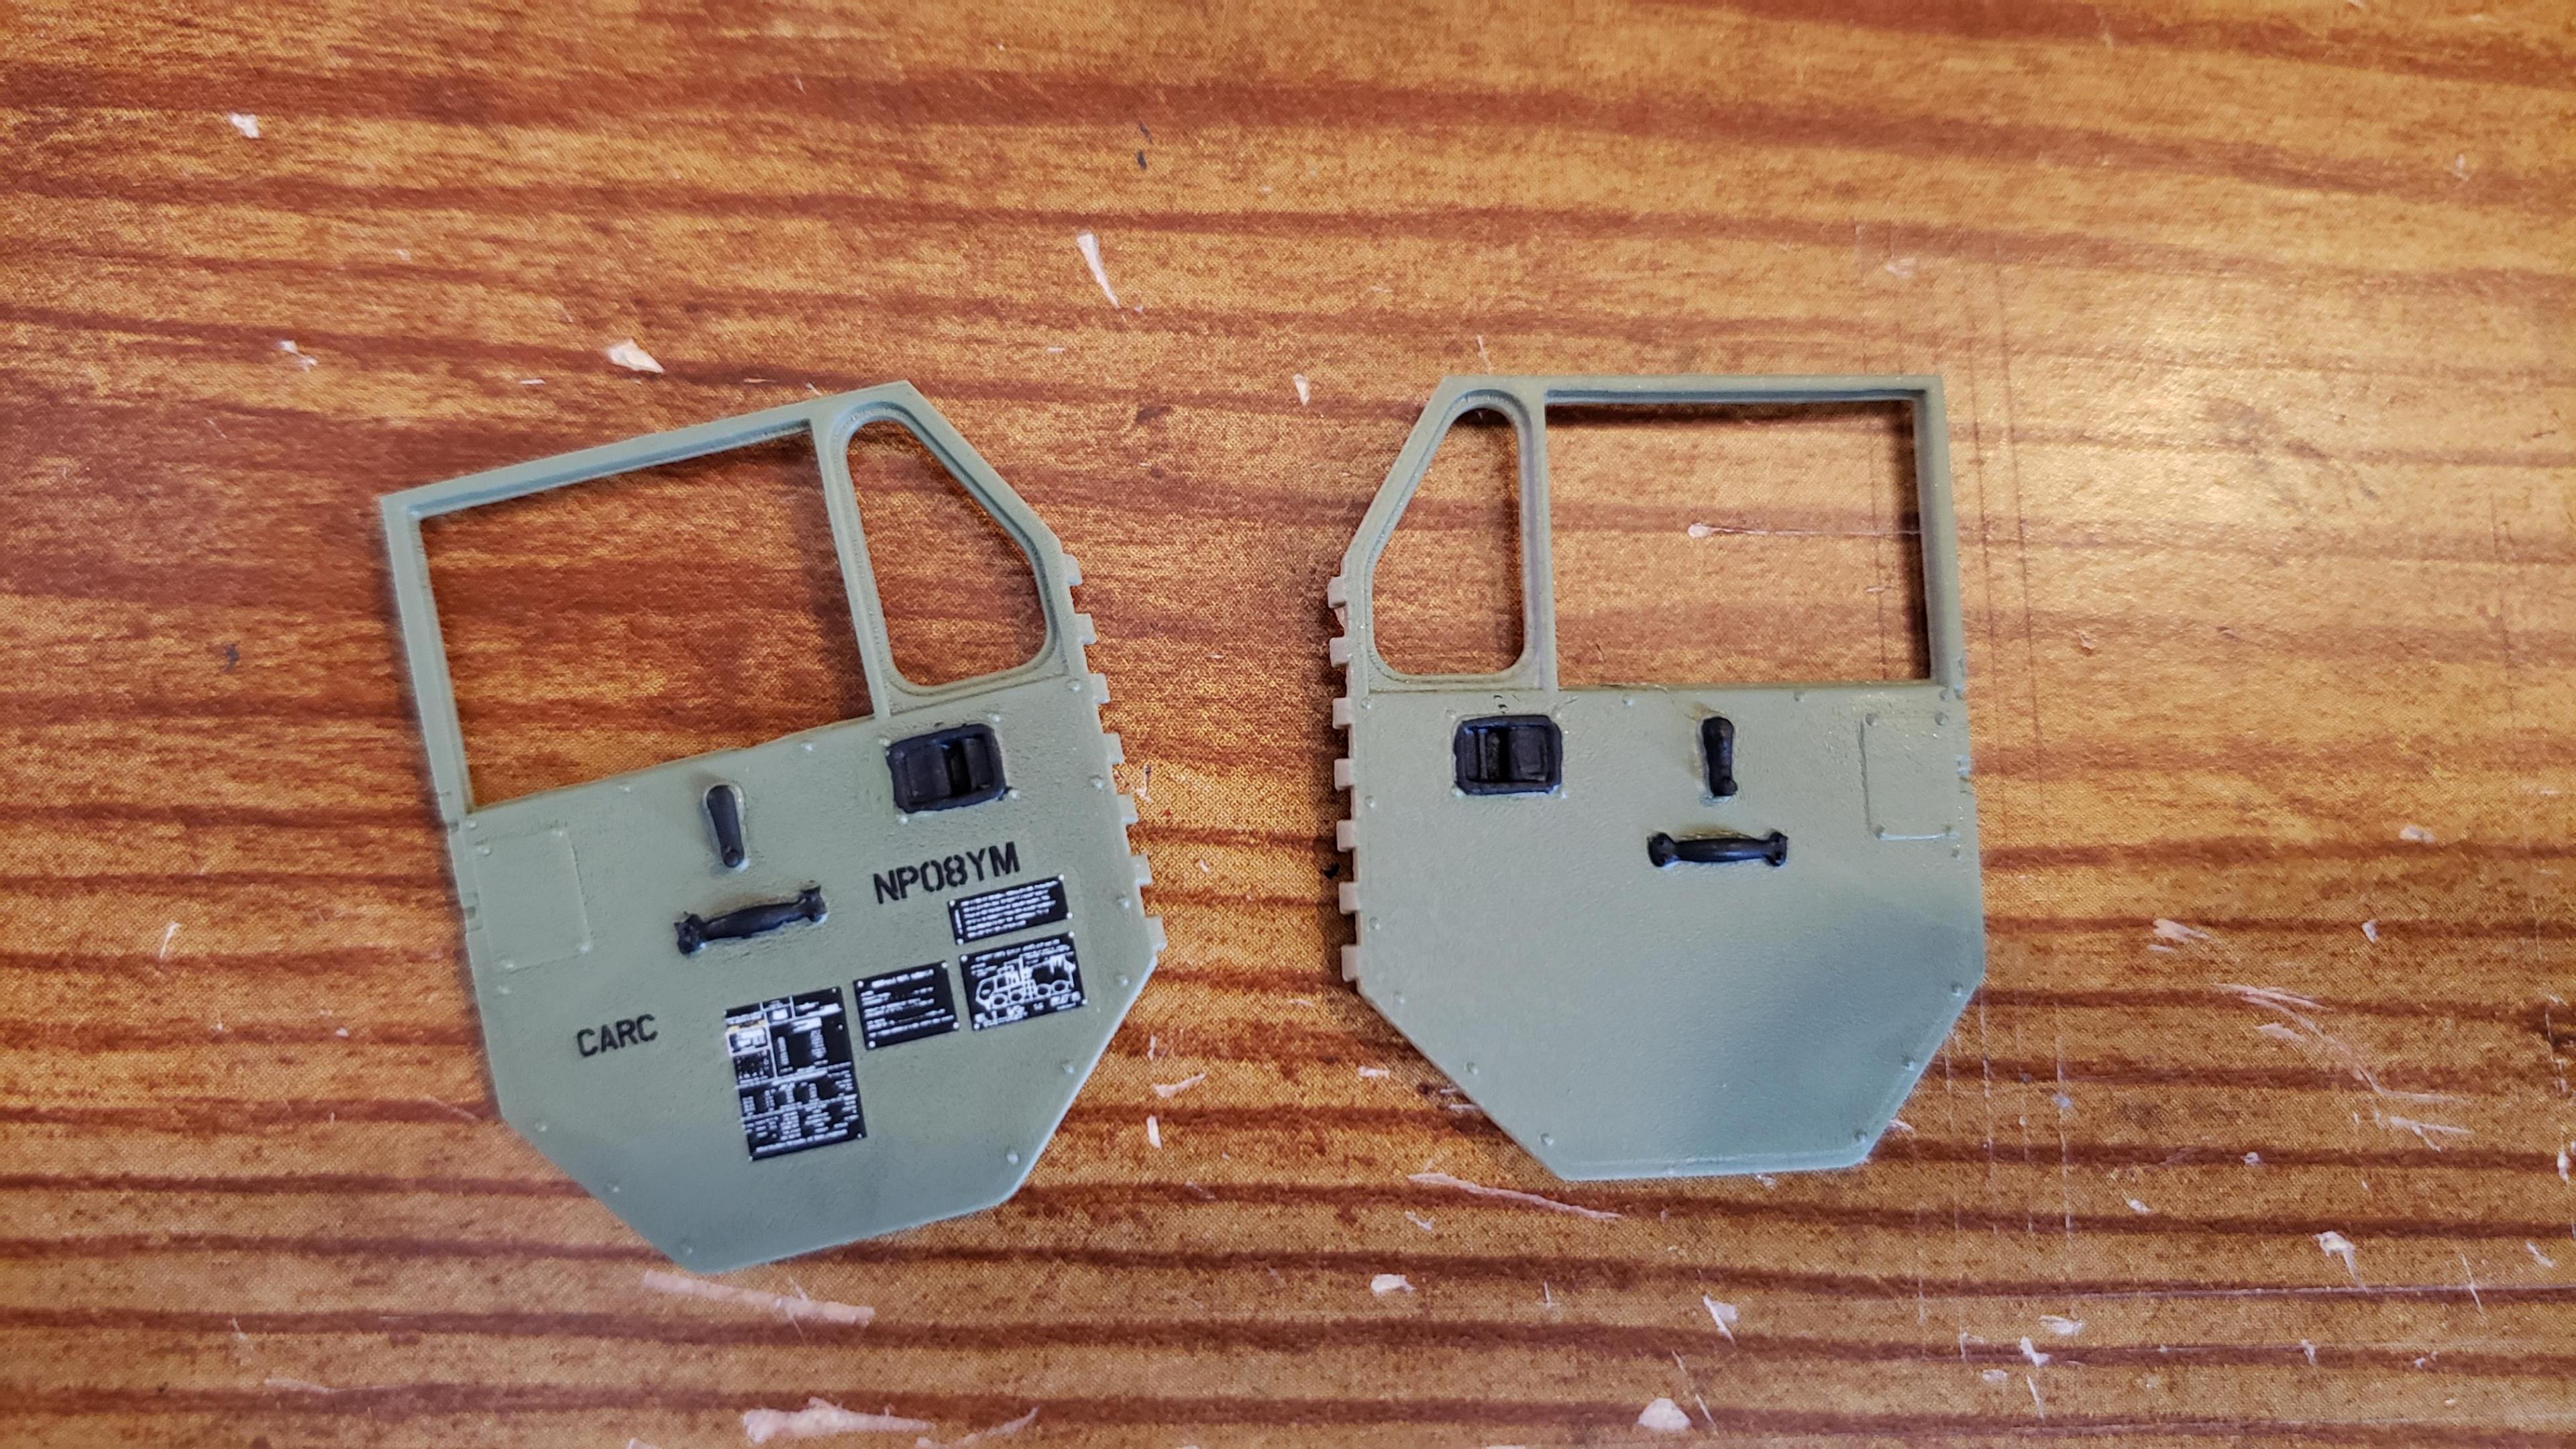
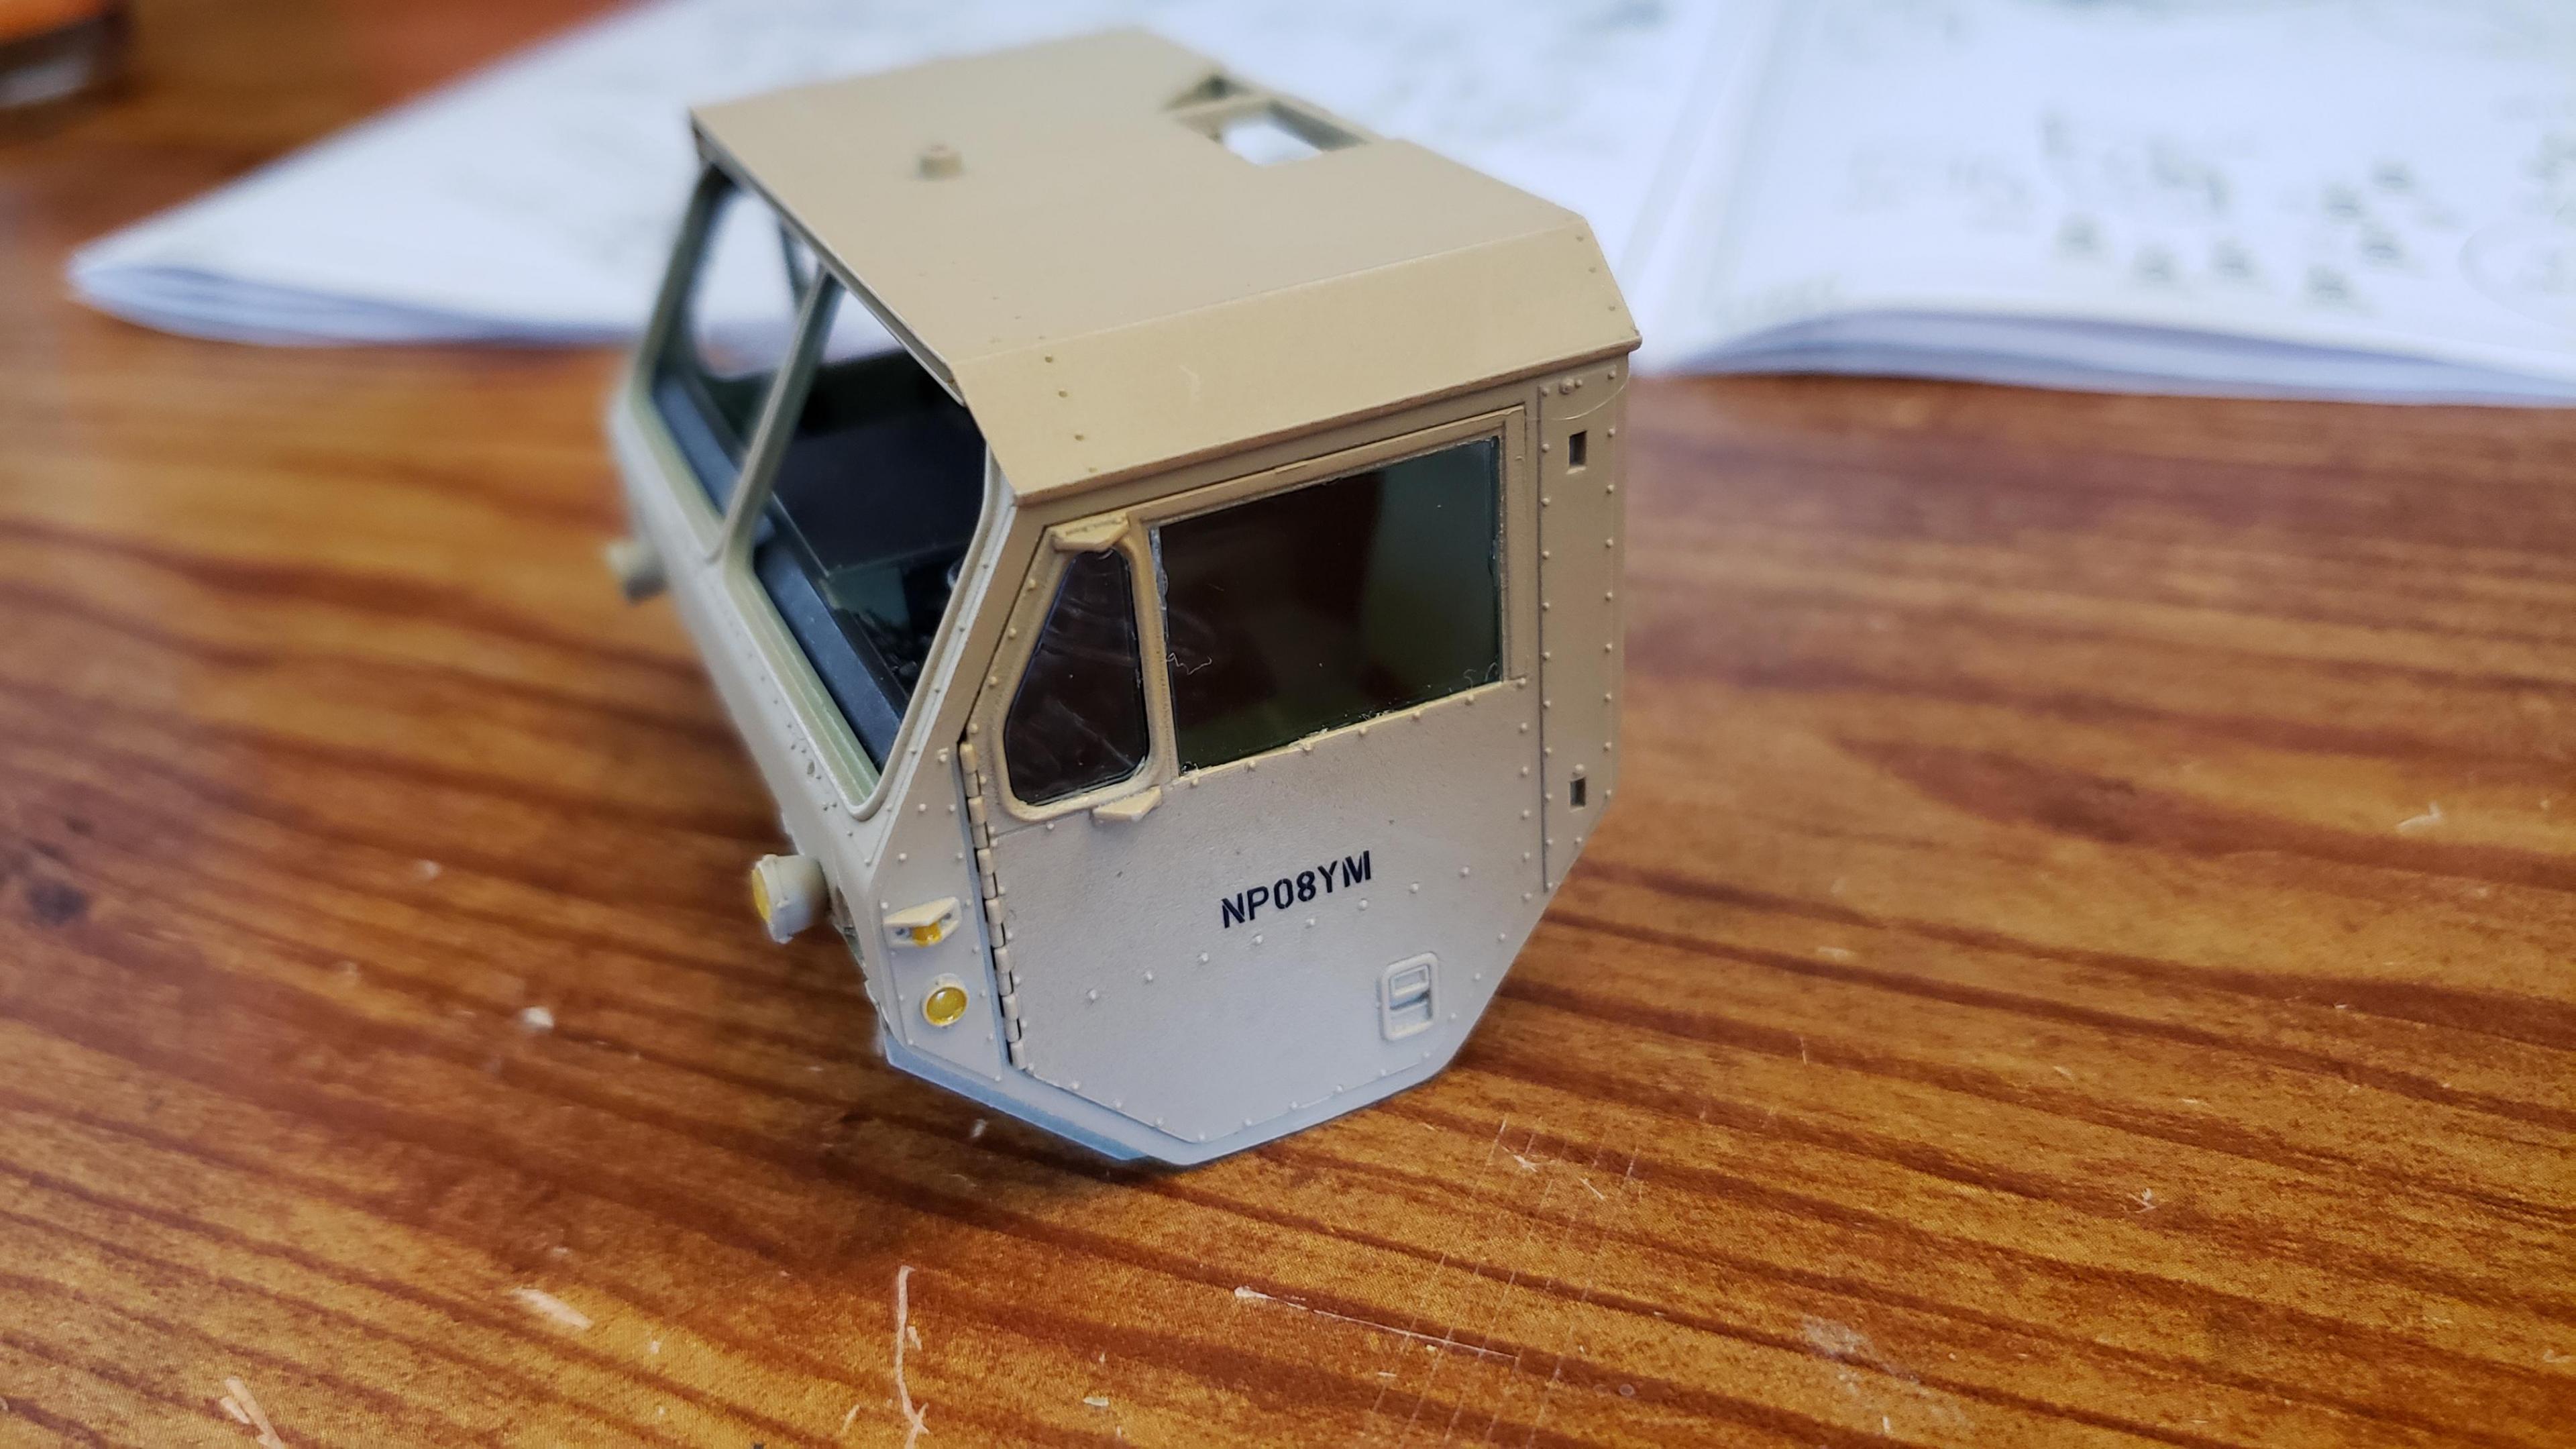
Some more progress here. I got the cab put together. I painted the doors, and applied a gloss clear coat. I can then apply the decals without the "silvering." I let the decals set, then applied a clear dull coat. I'm happy with the results.
I also got the decals on the outside of the doors, and front of the cab
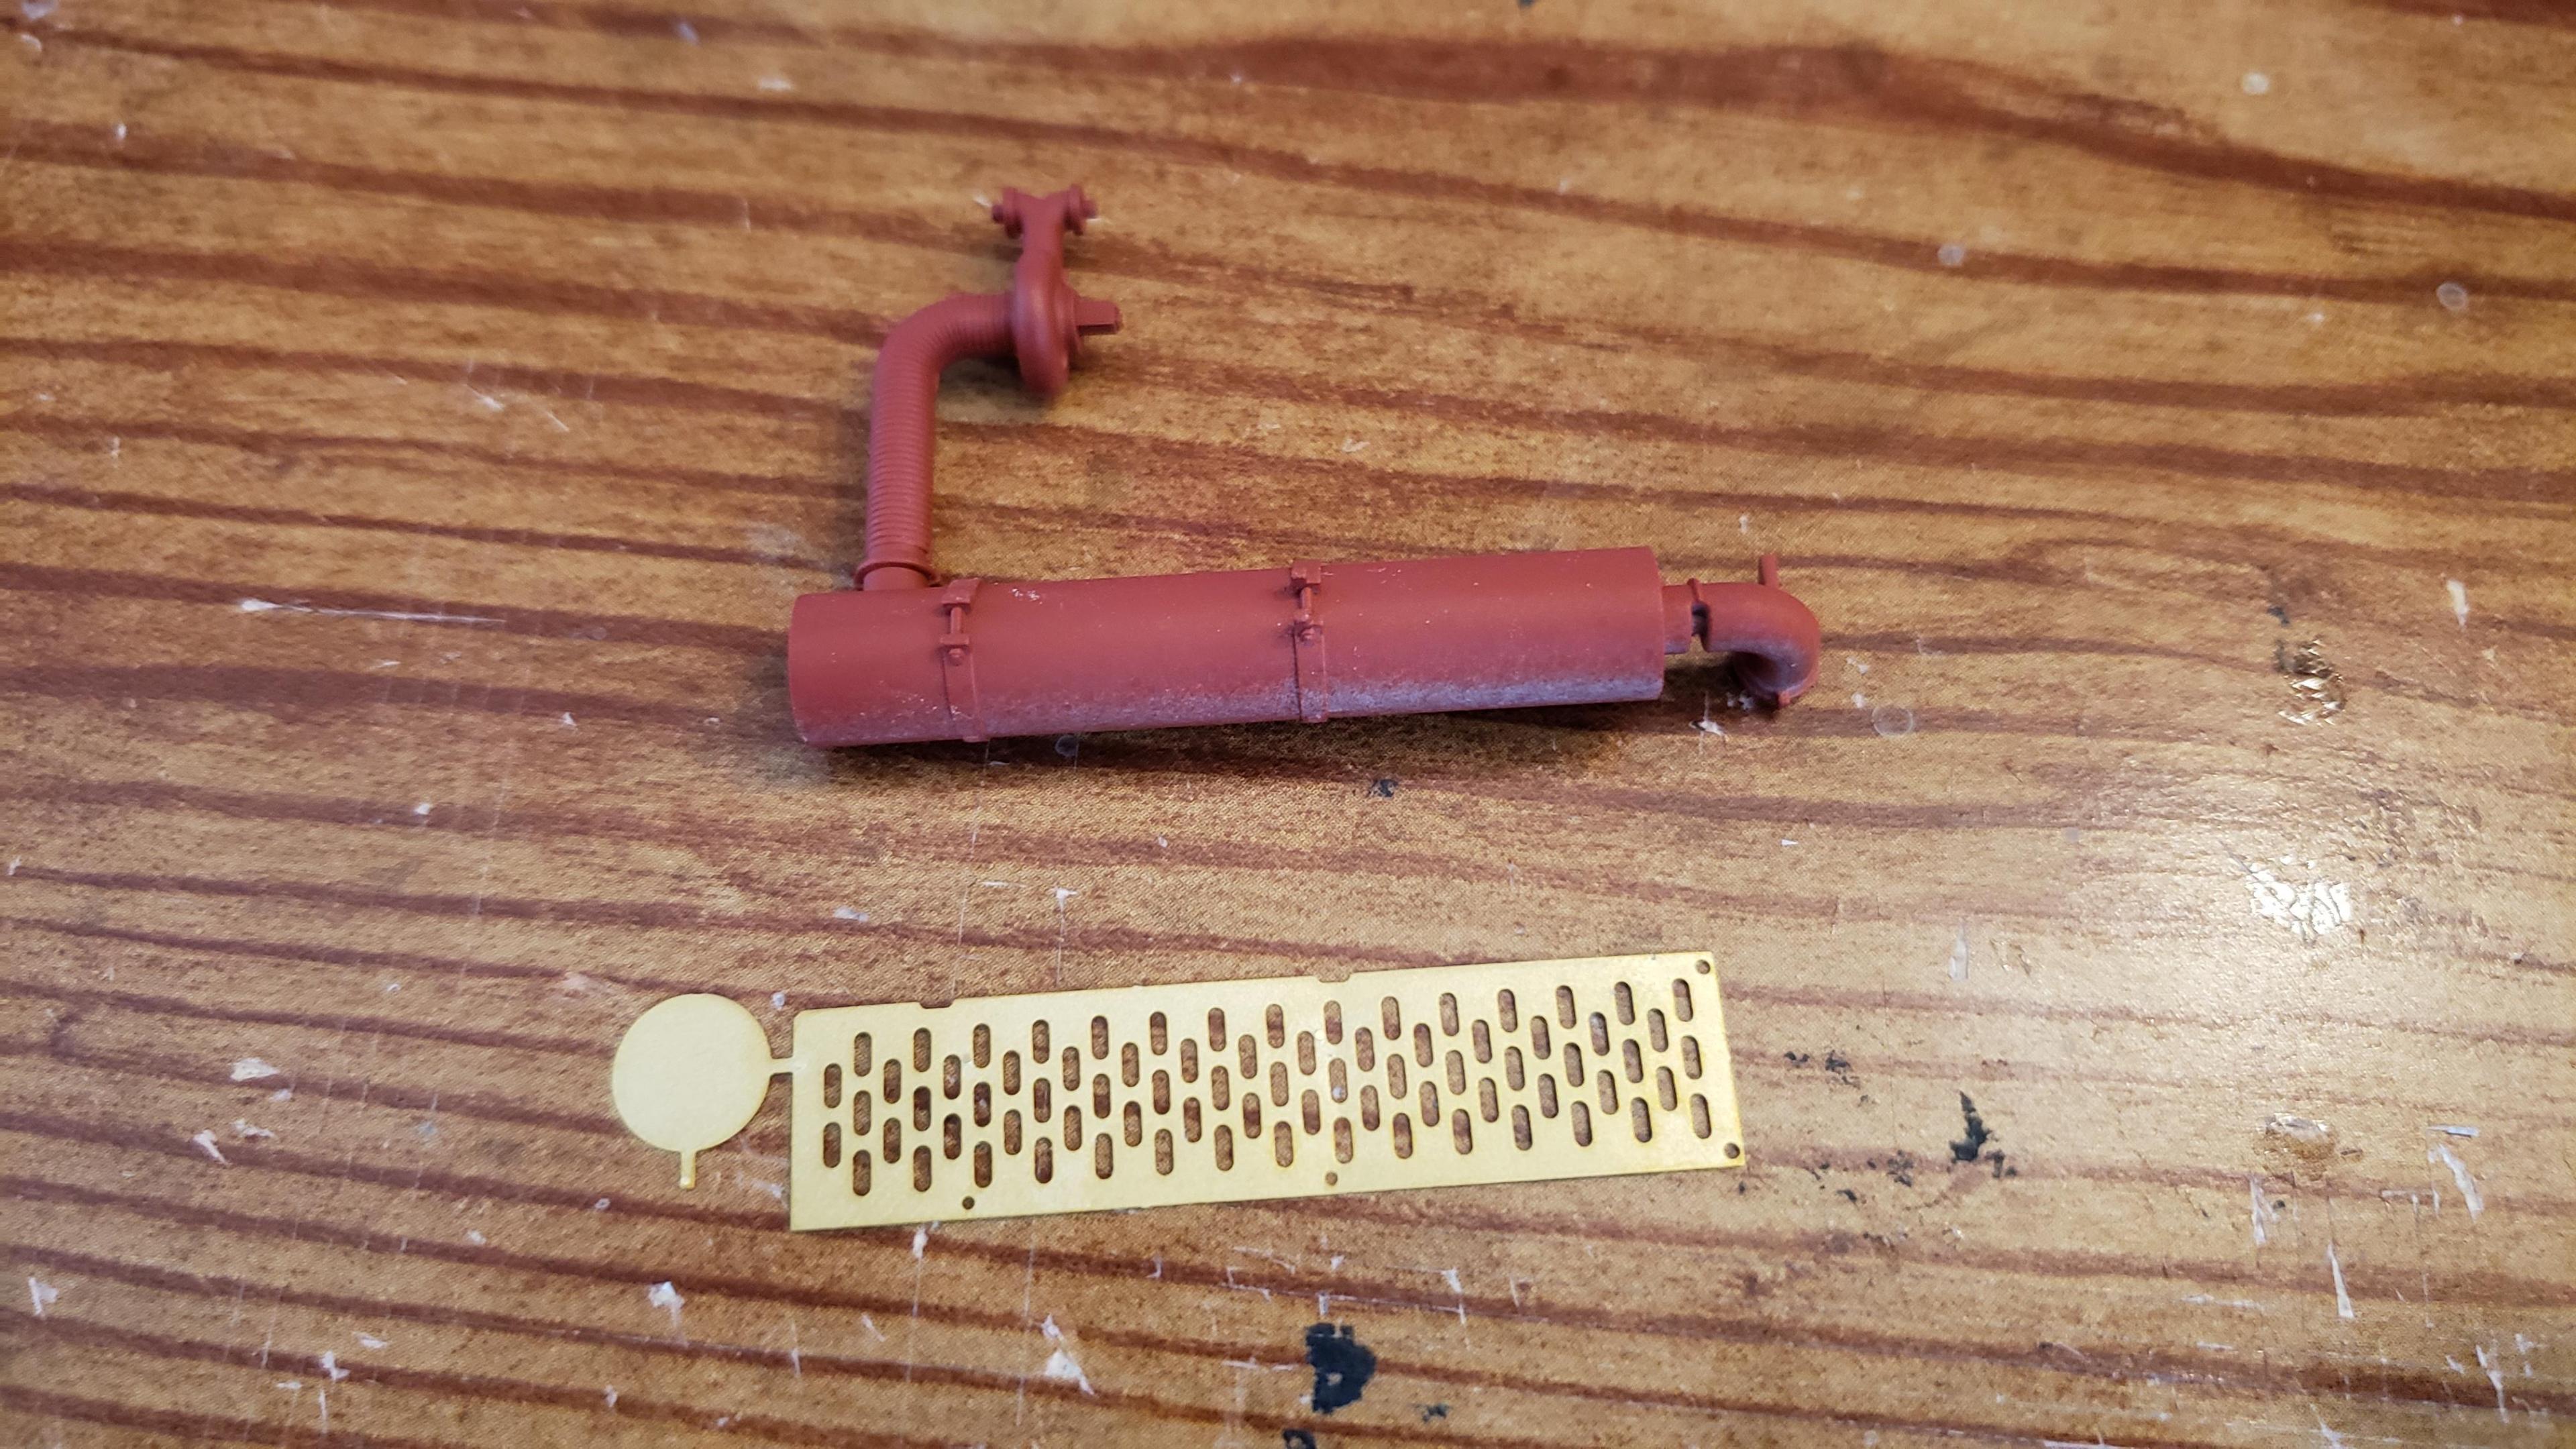
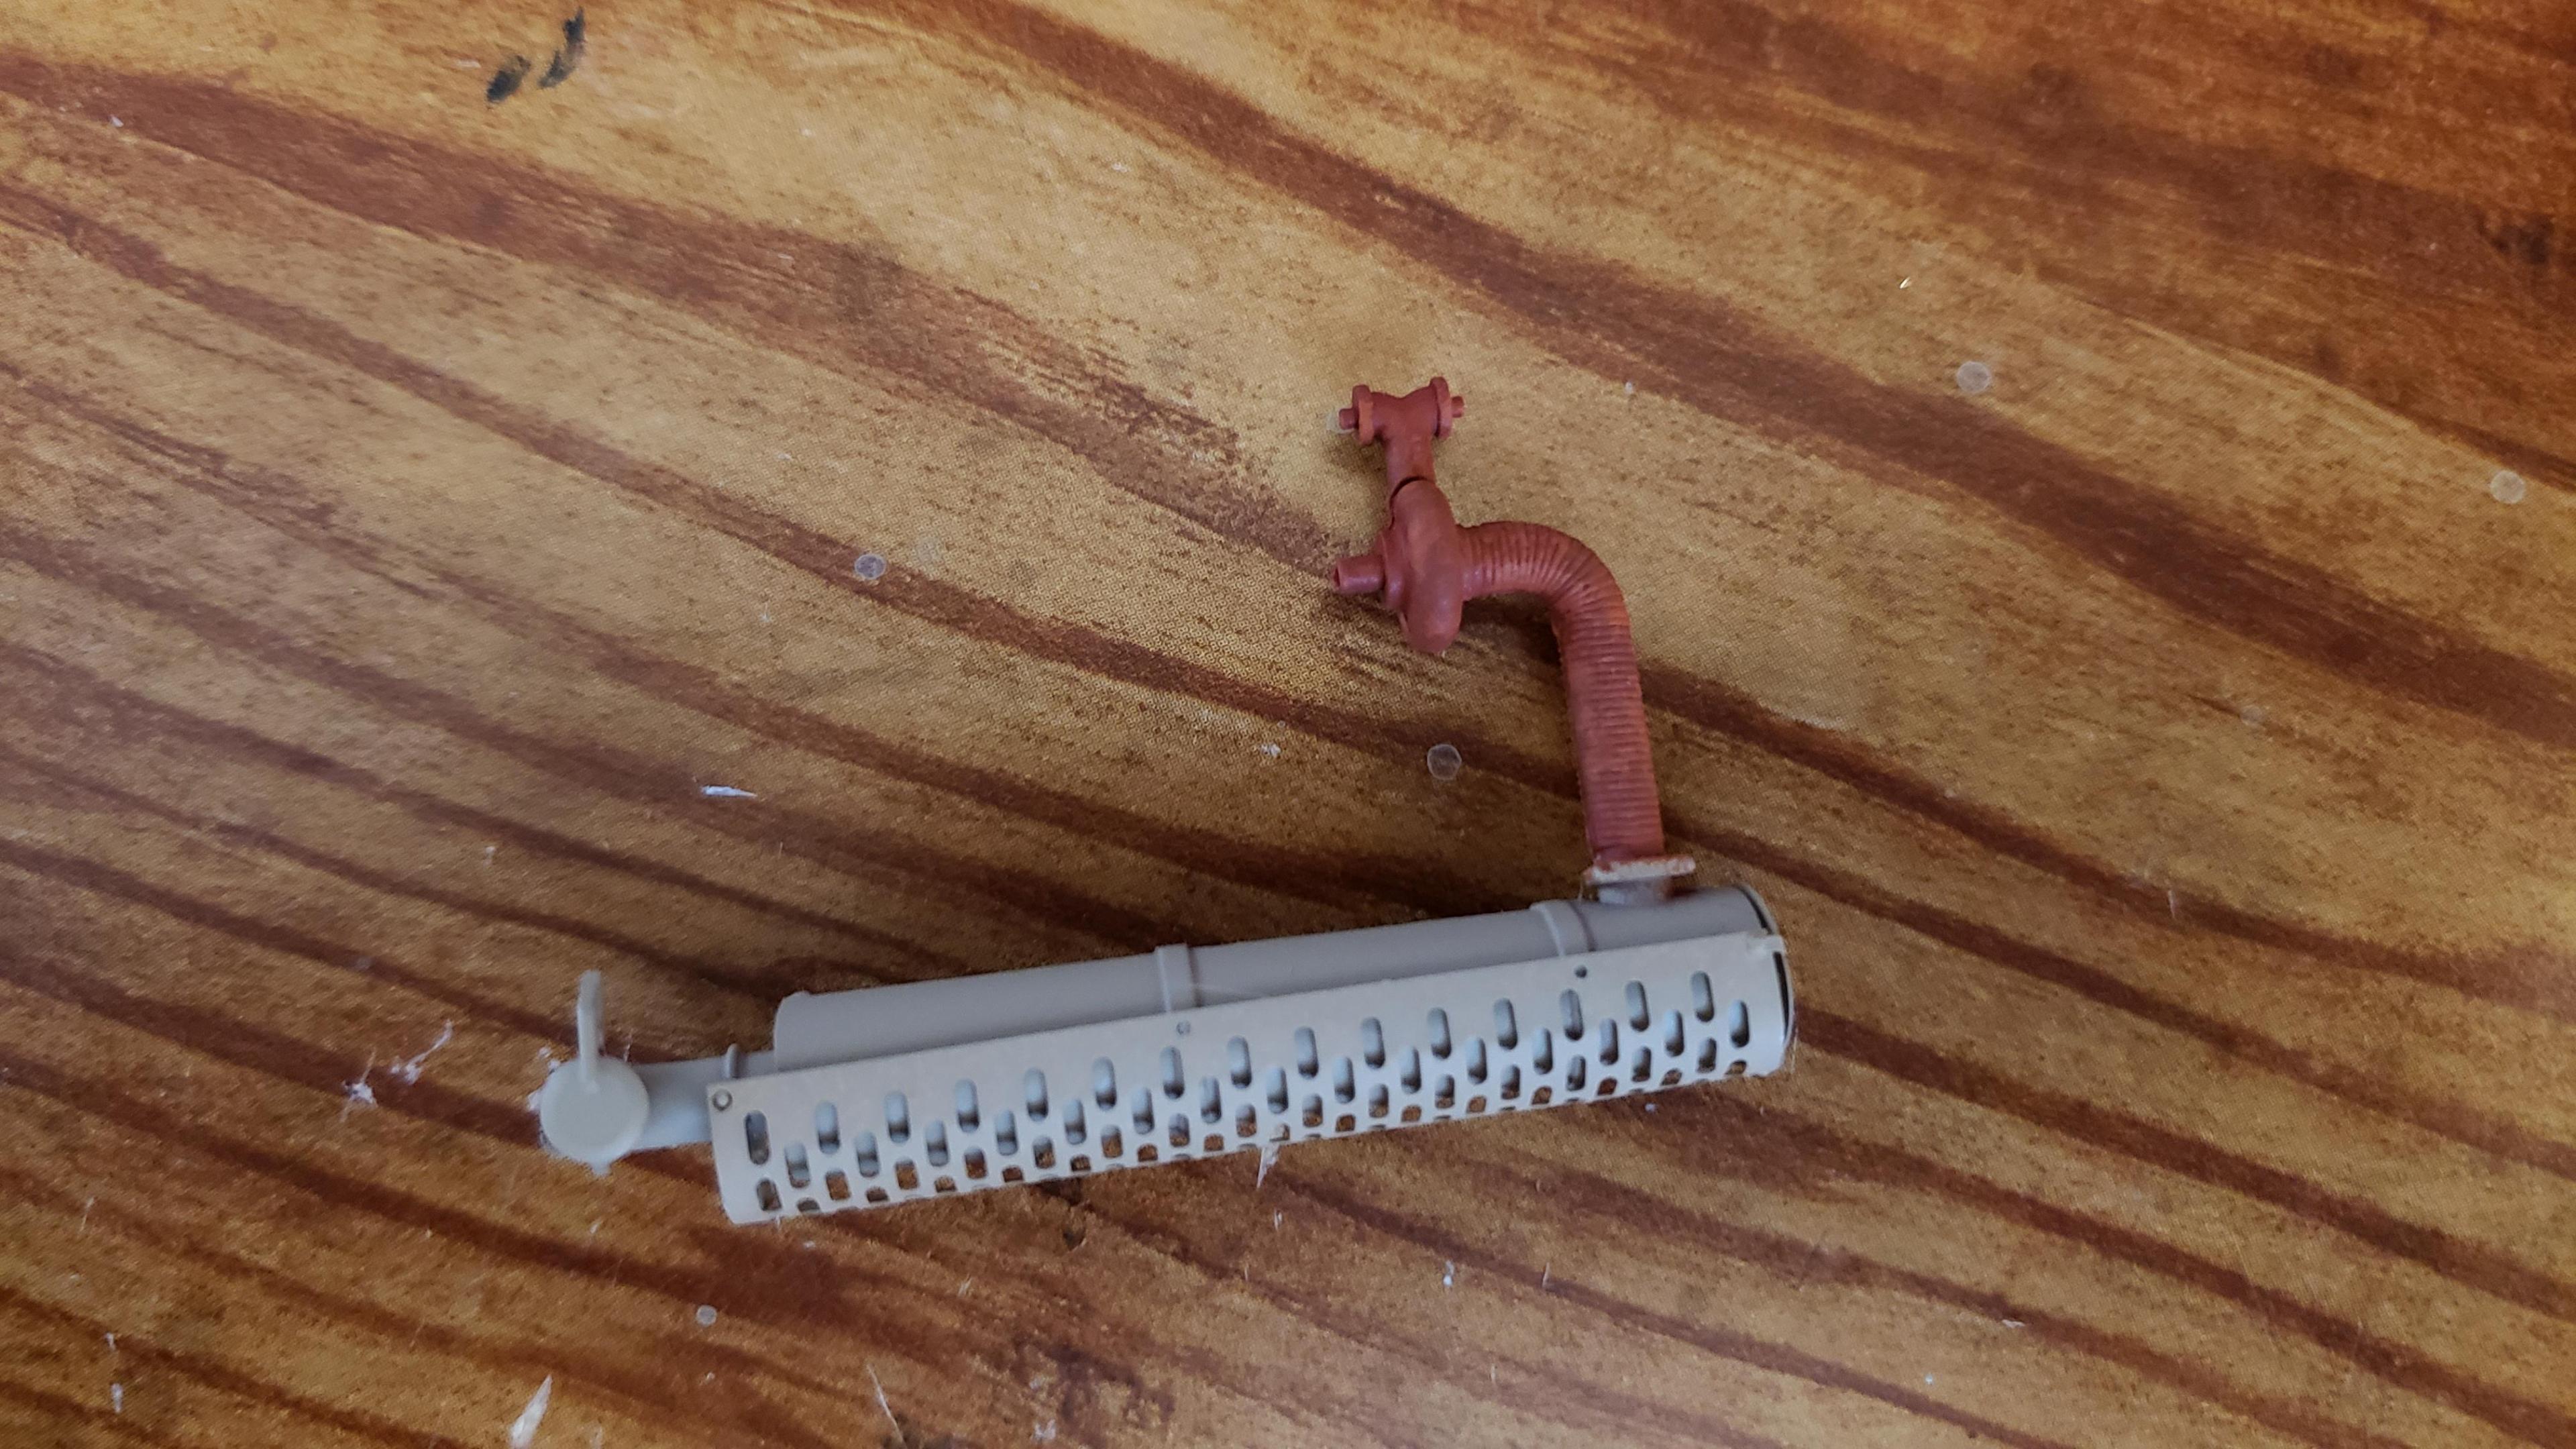
I put together the muffler and heat shield
A little more work on the cab and got it mounted. I made mirror lenses from metallic duct tape
I put the glad hands on the back for the pintle hitch
Started work on the platform
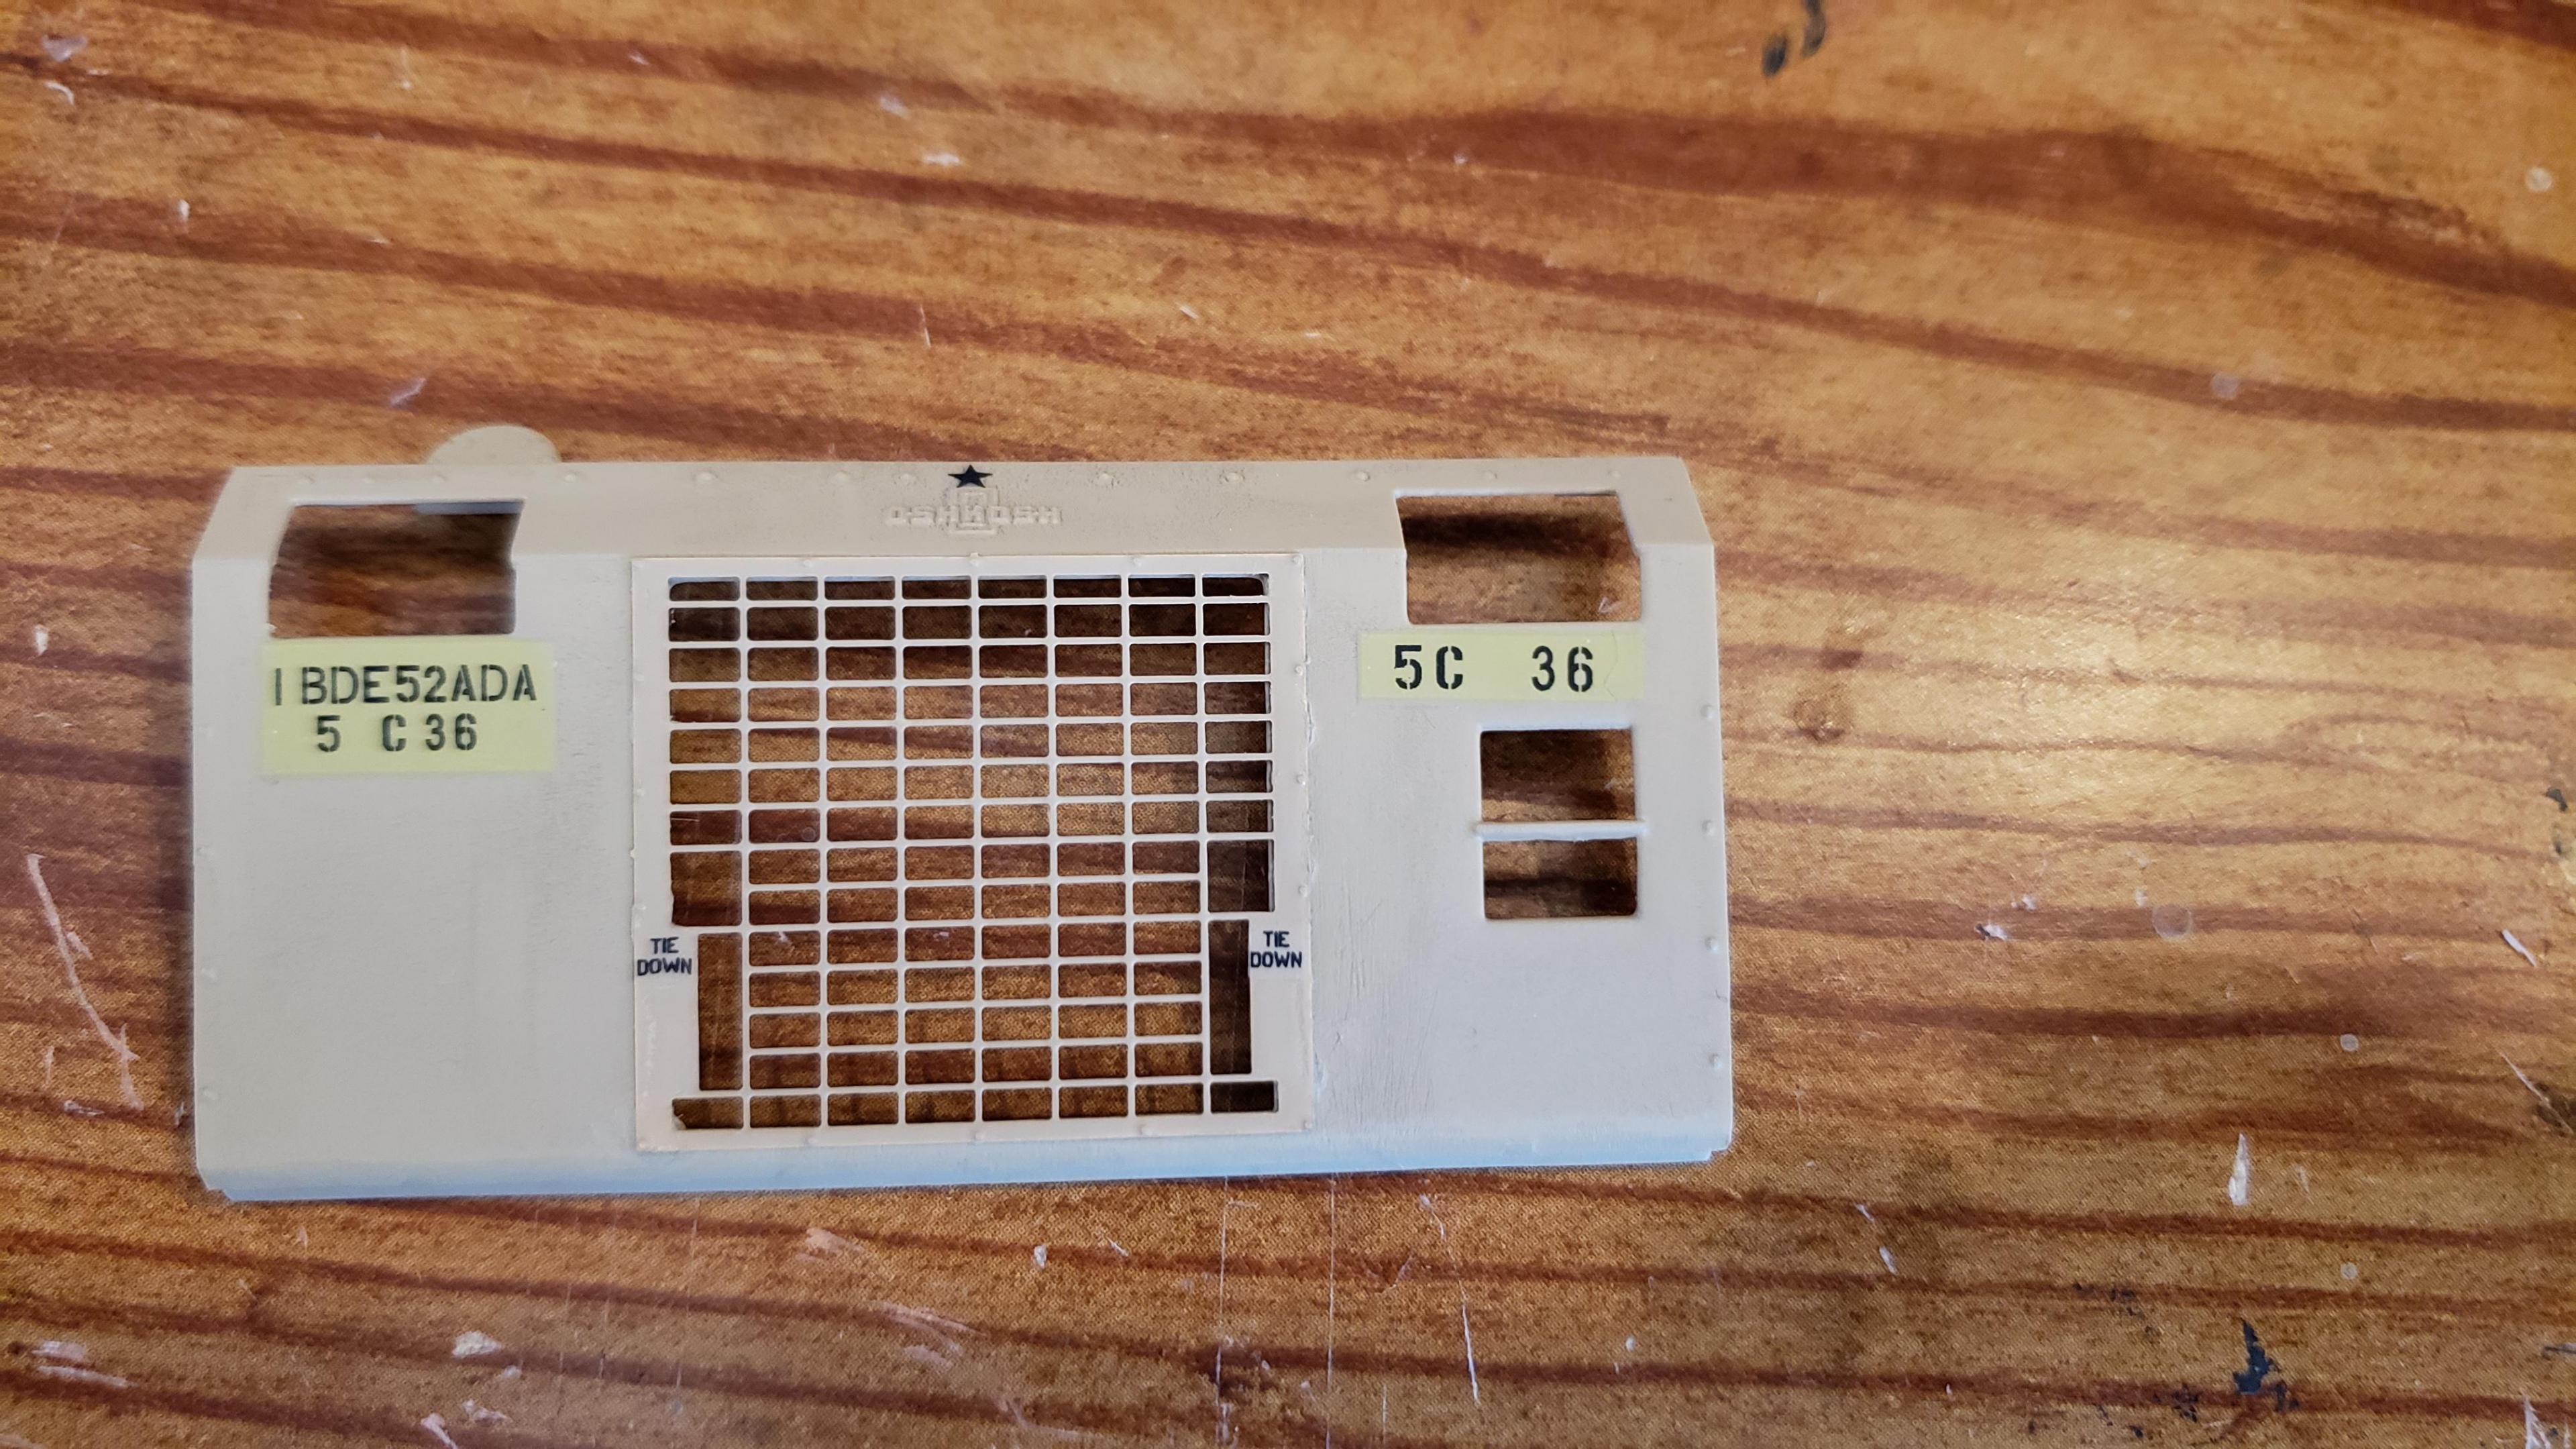
And put the engine cover together
Fuel tank and fenders on
I just have the winch, 5th wheel, platforms and spare tire left
-
On 4/13/2020 at 5:35 PM, Jim B said:
You're right. Some of those decals are strange. The data plates, tire pressure, dash gauges seem alright. Those bumper numbers look kind of strange. I think the "SET ENGLEMANN" is supposed to be SGT or SSG. Our unit put the driver's & vehicle commander's name on the top windshield over their respective seats. Many of the small decals look ok. Where is the CARC decal supposed to go? If I remember correctly, the stencil said CARC with a date below it to know when the vehicle was CARC (Chemical Agent Resistant Coating) painted. Were vehicles CARC painted in the Coast Guard?
Our vehicles in the Coast Guard weren't specially painted. They were just factory vehicles. Our ships had a "Countermeasure Washdown System" which was just a bunch of sprinklers that had sea water pumped through them. We used the sea water to rinse off any chemical/biological agents
-
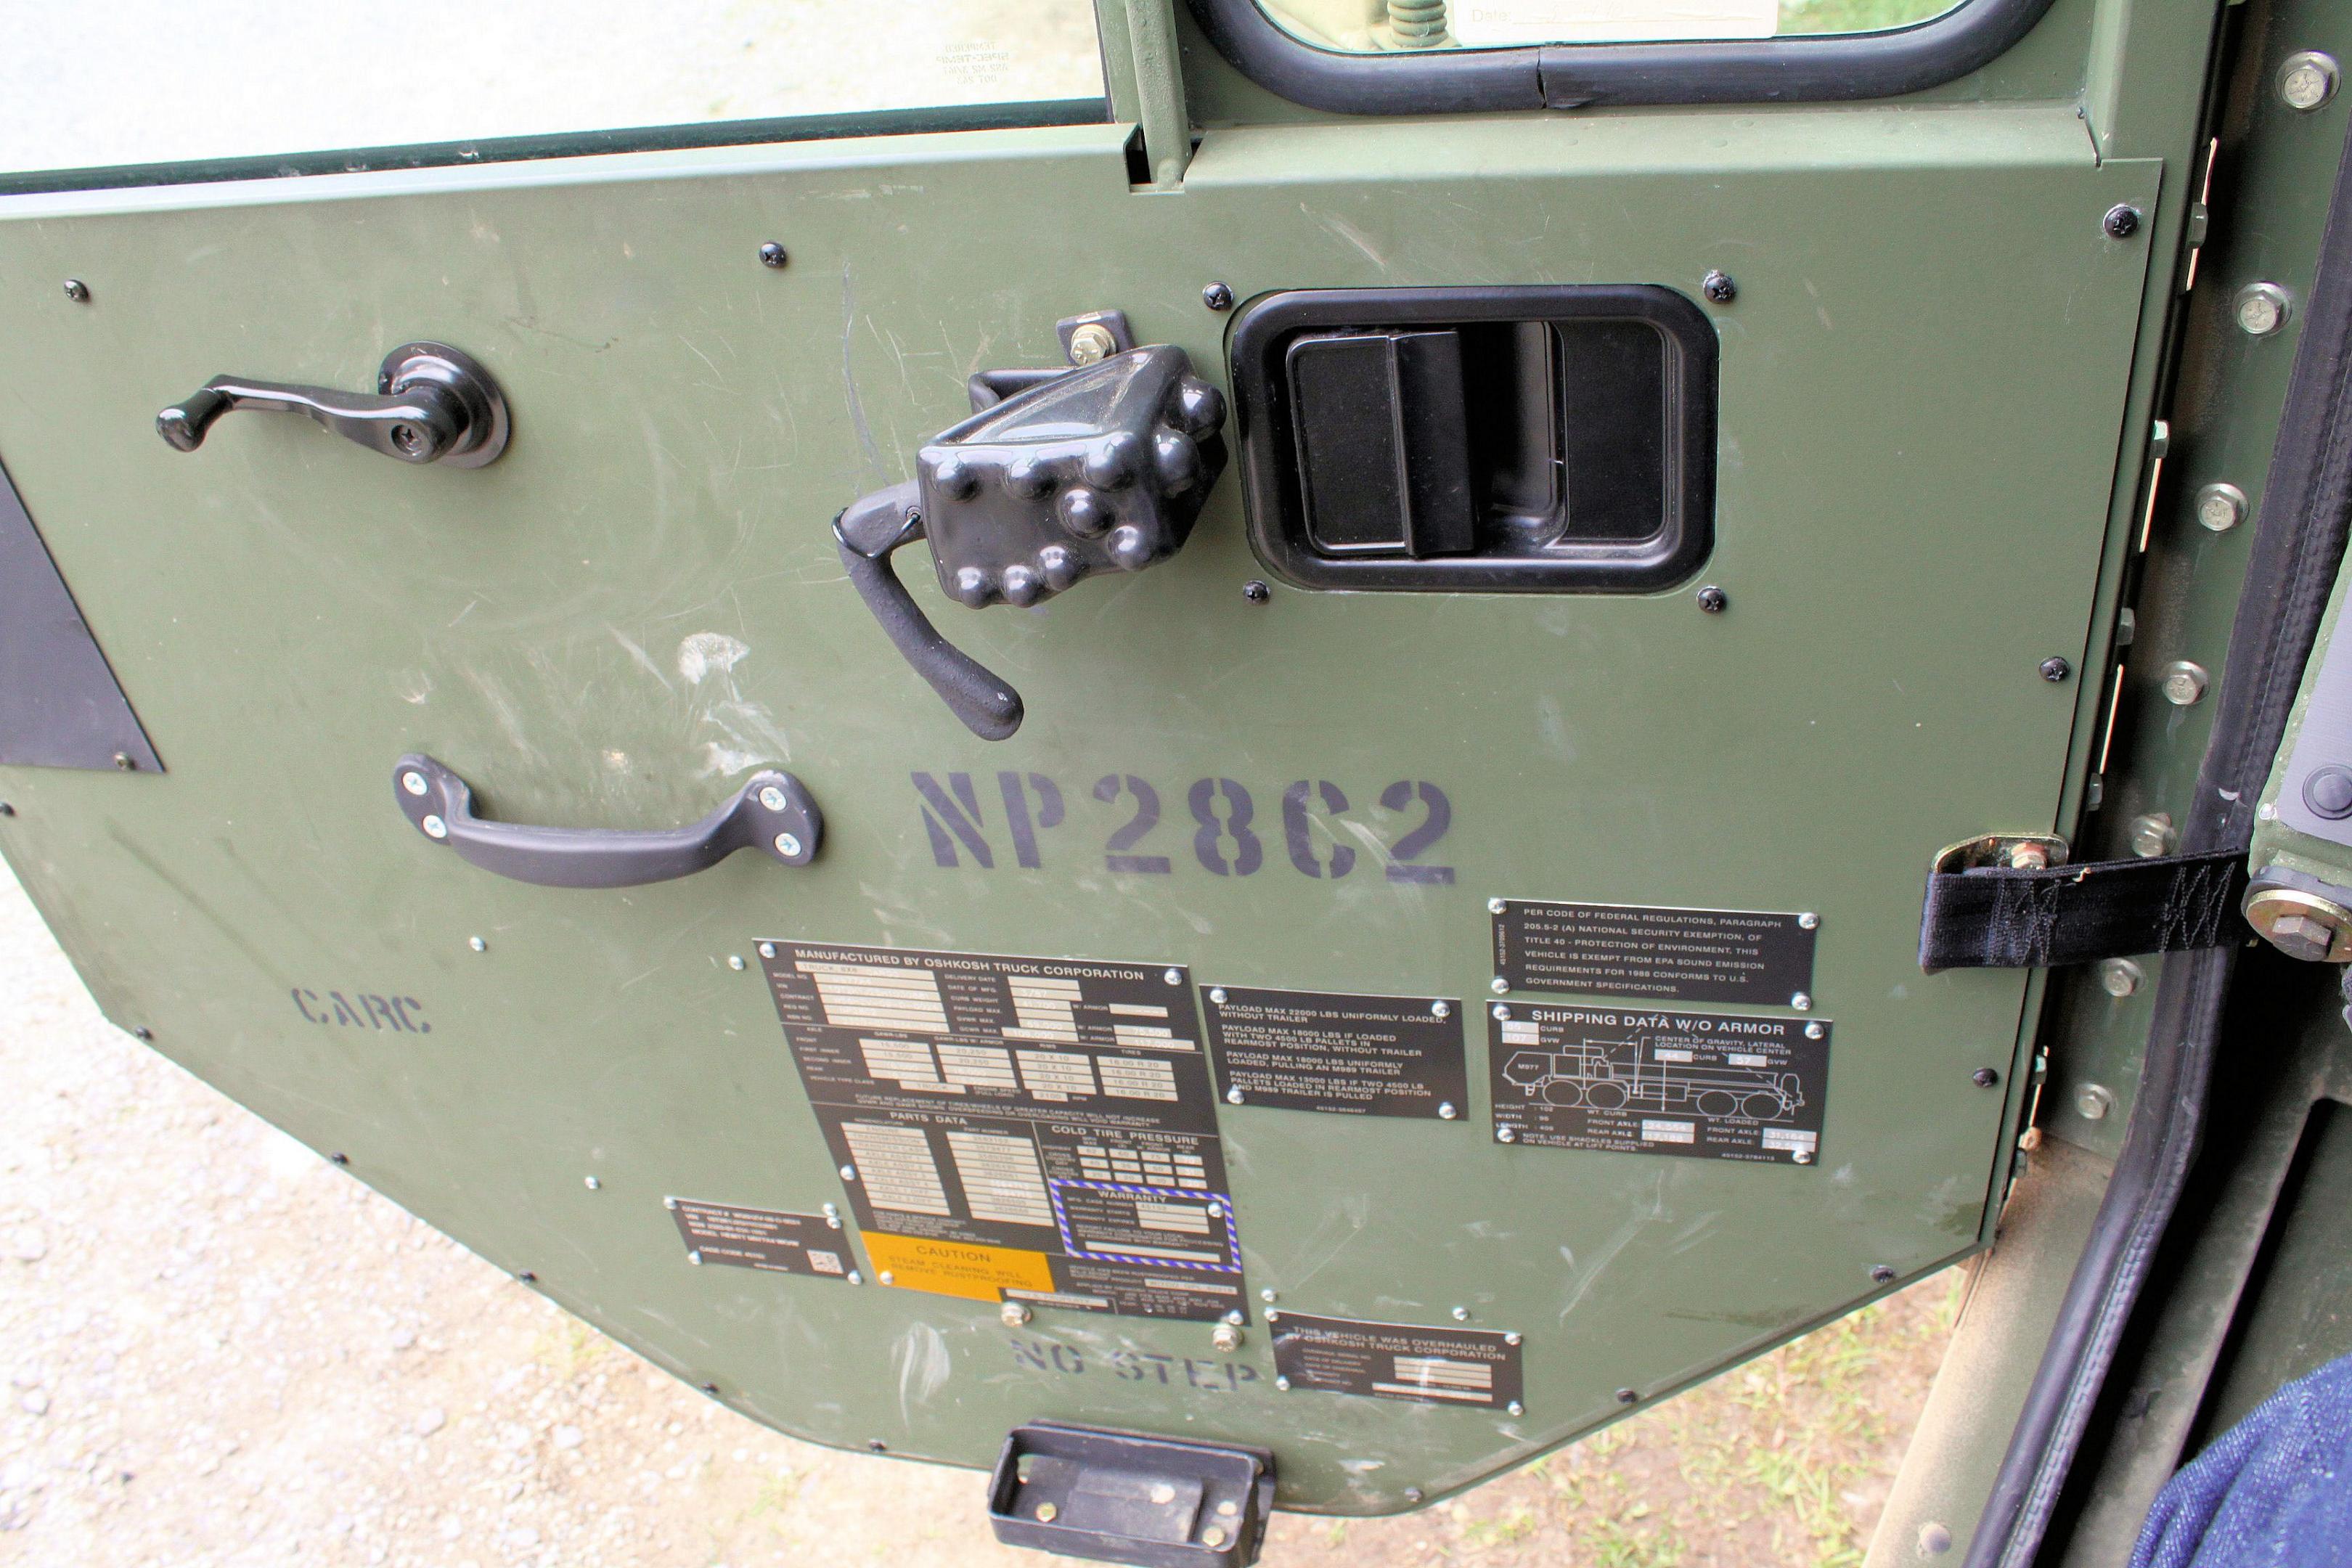
The CARC decal goes on the inside of driver's door. I searched for photos, and found a few "walk around" photo sets. I verified it this way
I agree, it should be SGT Engelmann. I got rid of the space, and used hydraulic oil decal. Couldn't use Diesee Fuel, drain air tank saile, allcu for expansion, etc. I found that a lot of the decal placement as per instructions are incorrect also. For instance, it shows the decal for the gear shifter as going underneath the dashboard on passenger side. Besides the decals, this is a great kit
-
Looks great, incredible work


79 Camaro Z28
in Model Cars
Posted
Looks great, I had an '80 white and blue Z