-
Posts
117 -
Joined
-
Last visited
Previous Fields
-
Are You Human?
yes
-
Scale I Build
1/25
Profile Information
-
Full Name
Andrew Kittila
Recent Profile Visitors
The recent visitors block is disabled and is not being shown to other users.
delta99's Achievements

MCM Friend (4/6)
-
Looks great, I had an '80 white and blue Z
-
-
48' Great Dane Reefer
delta99 replied to KJ790's topic in Model Trucks: Big Rigs and Heavy Equipment
That looks great -
-
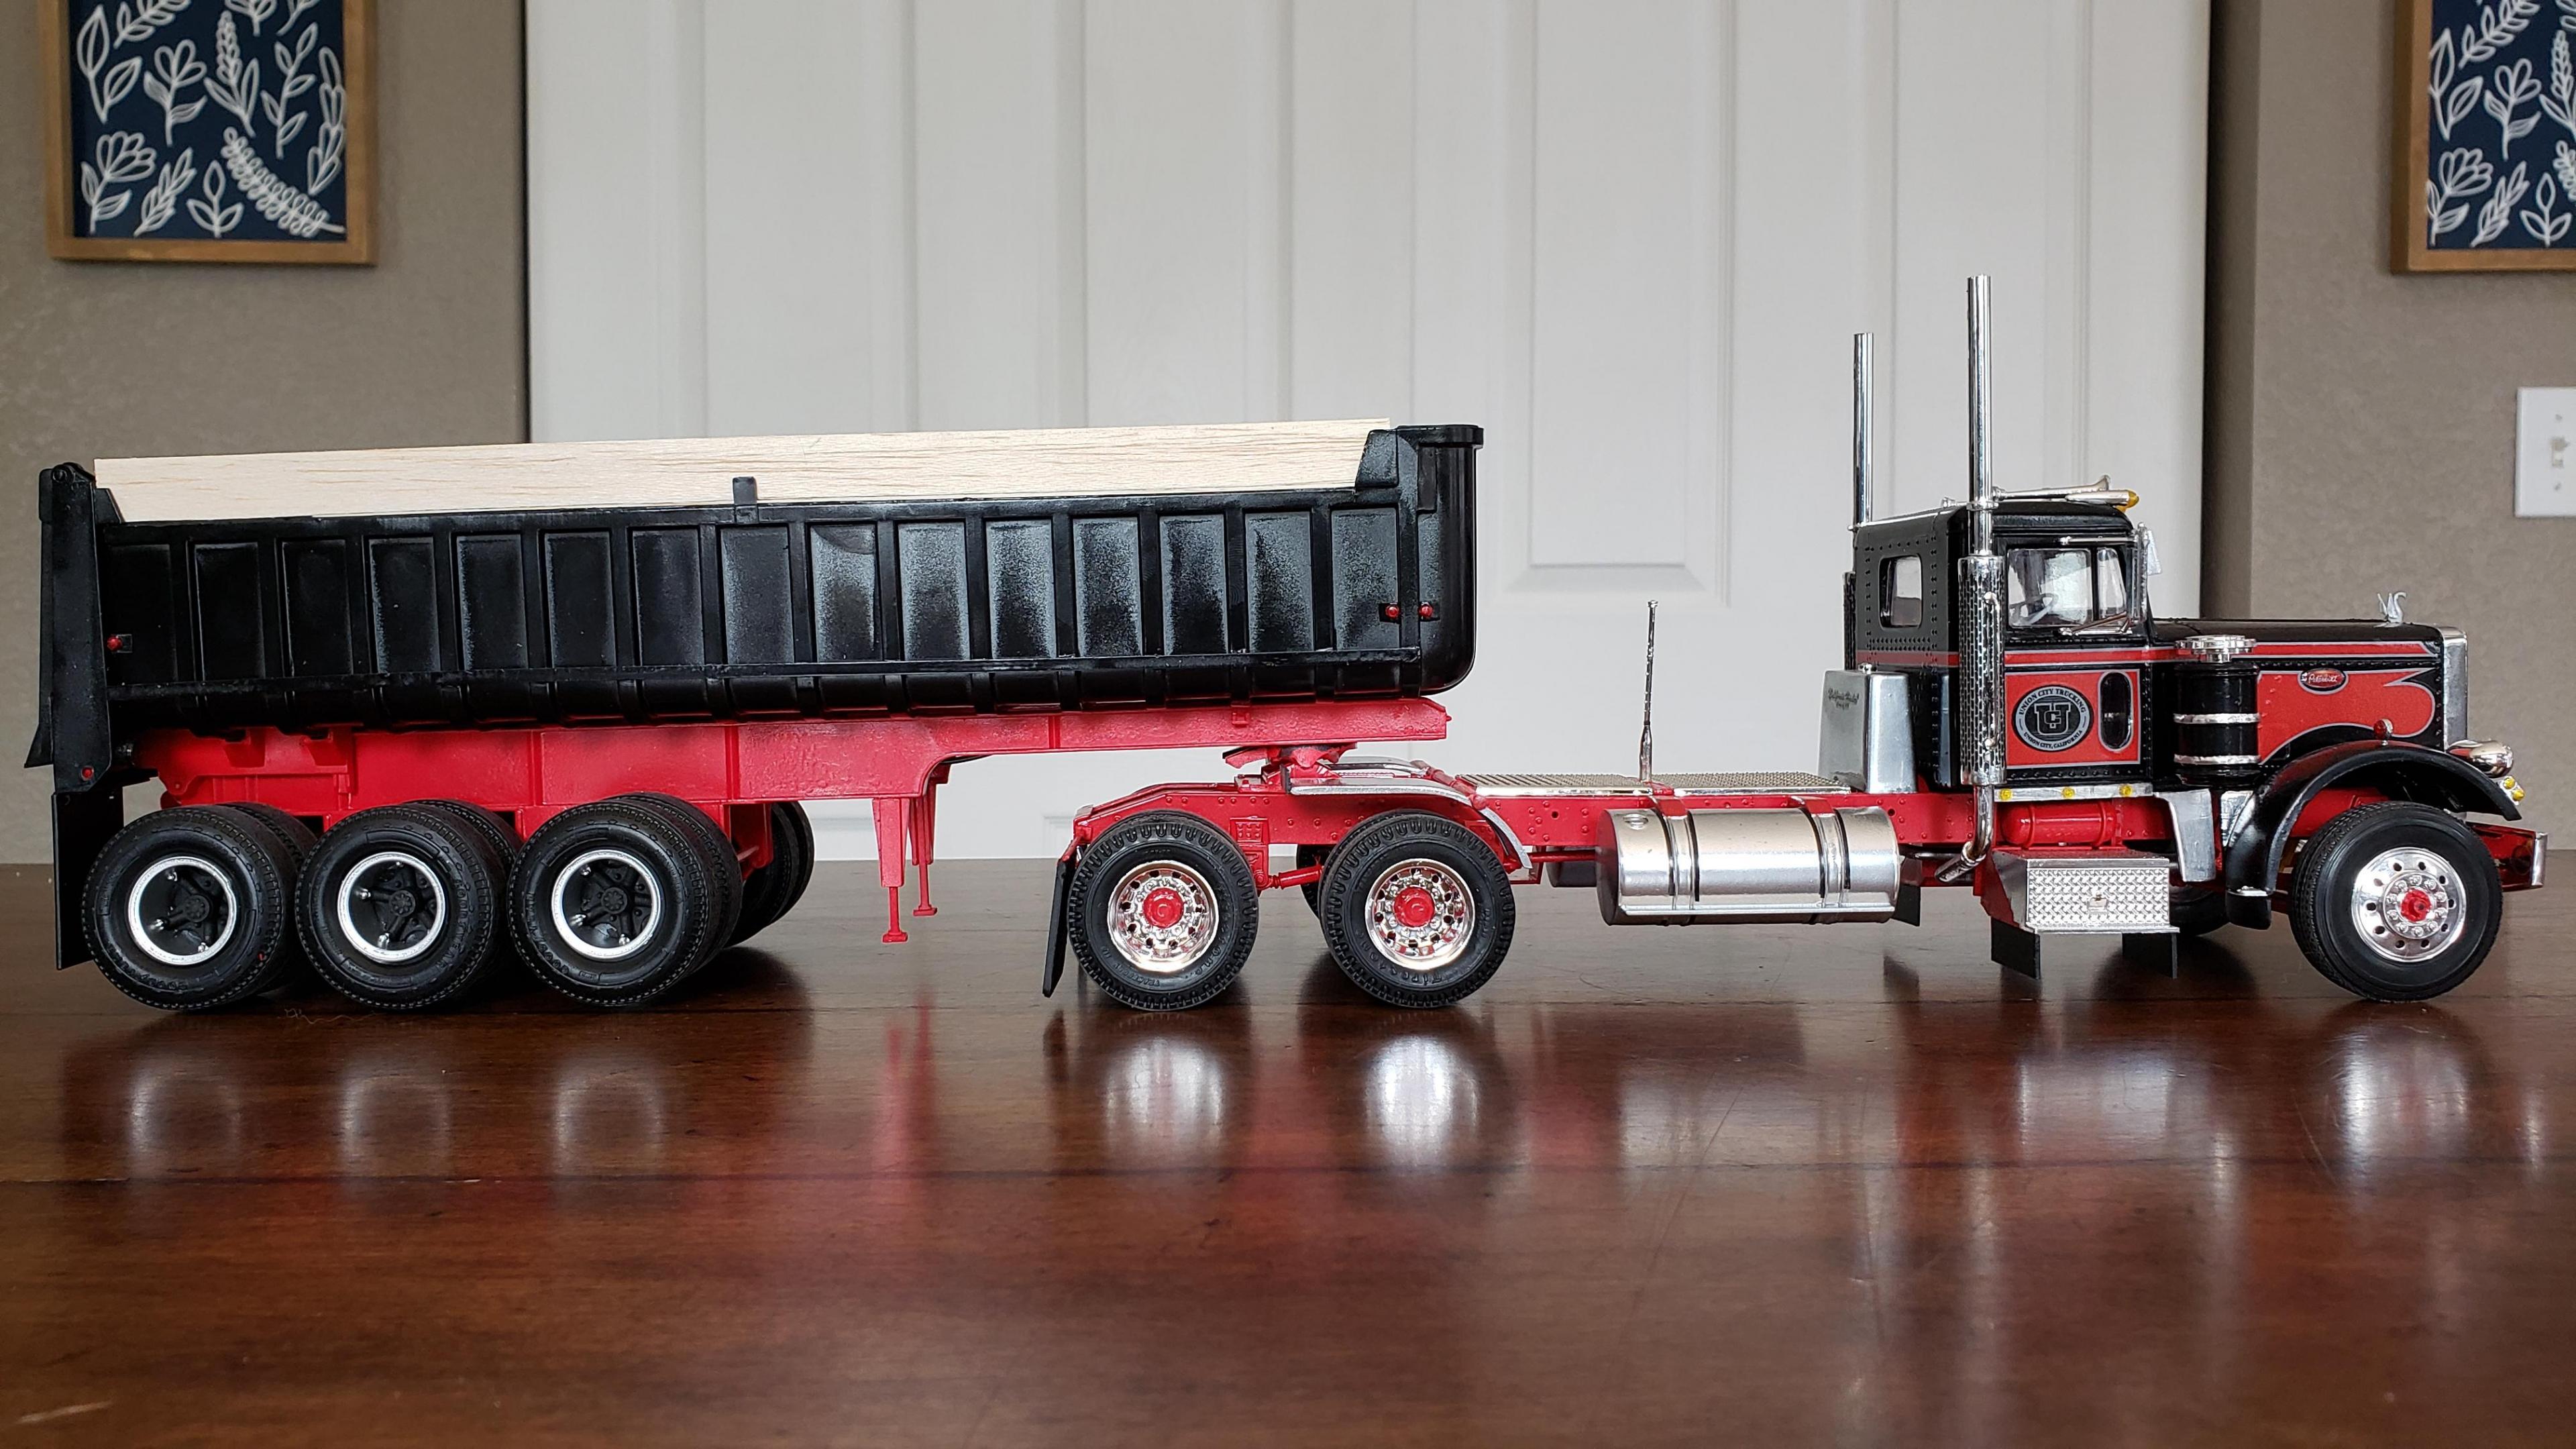
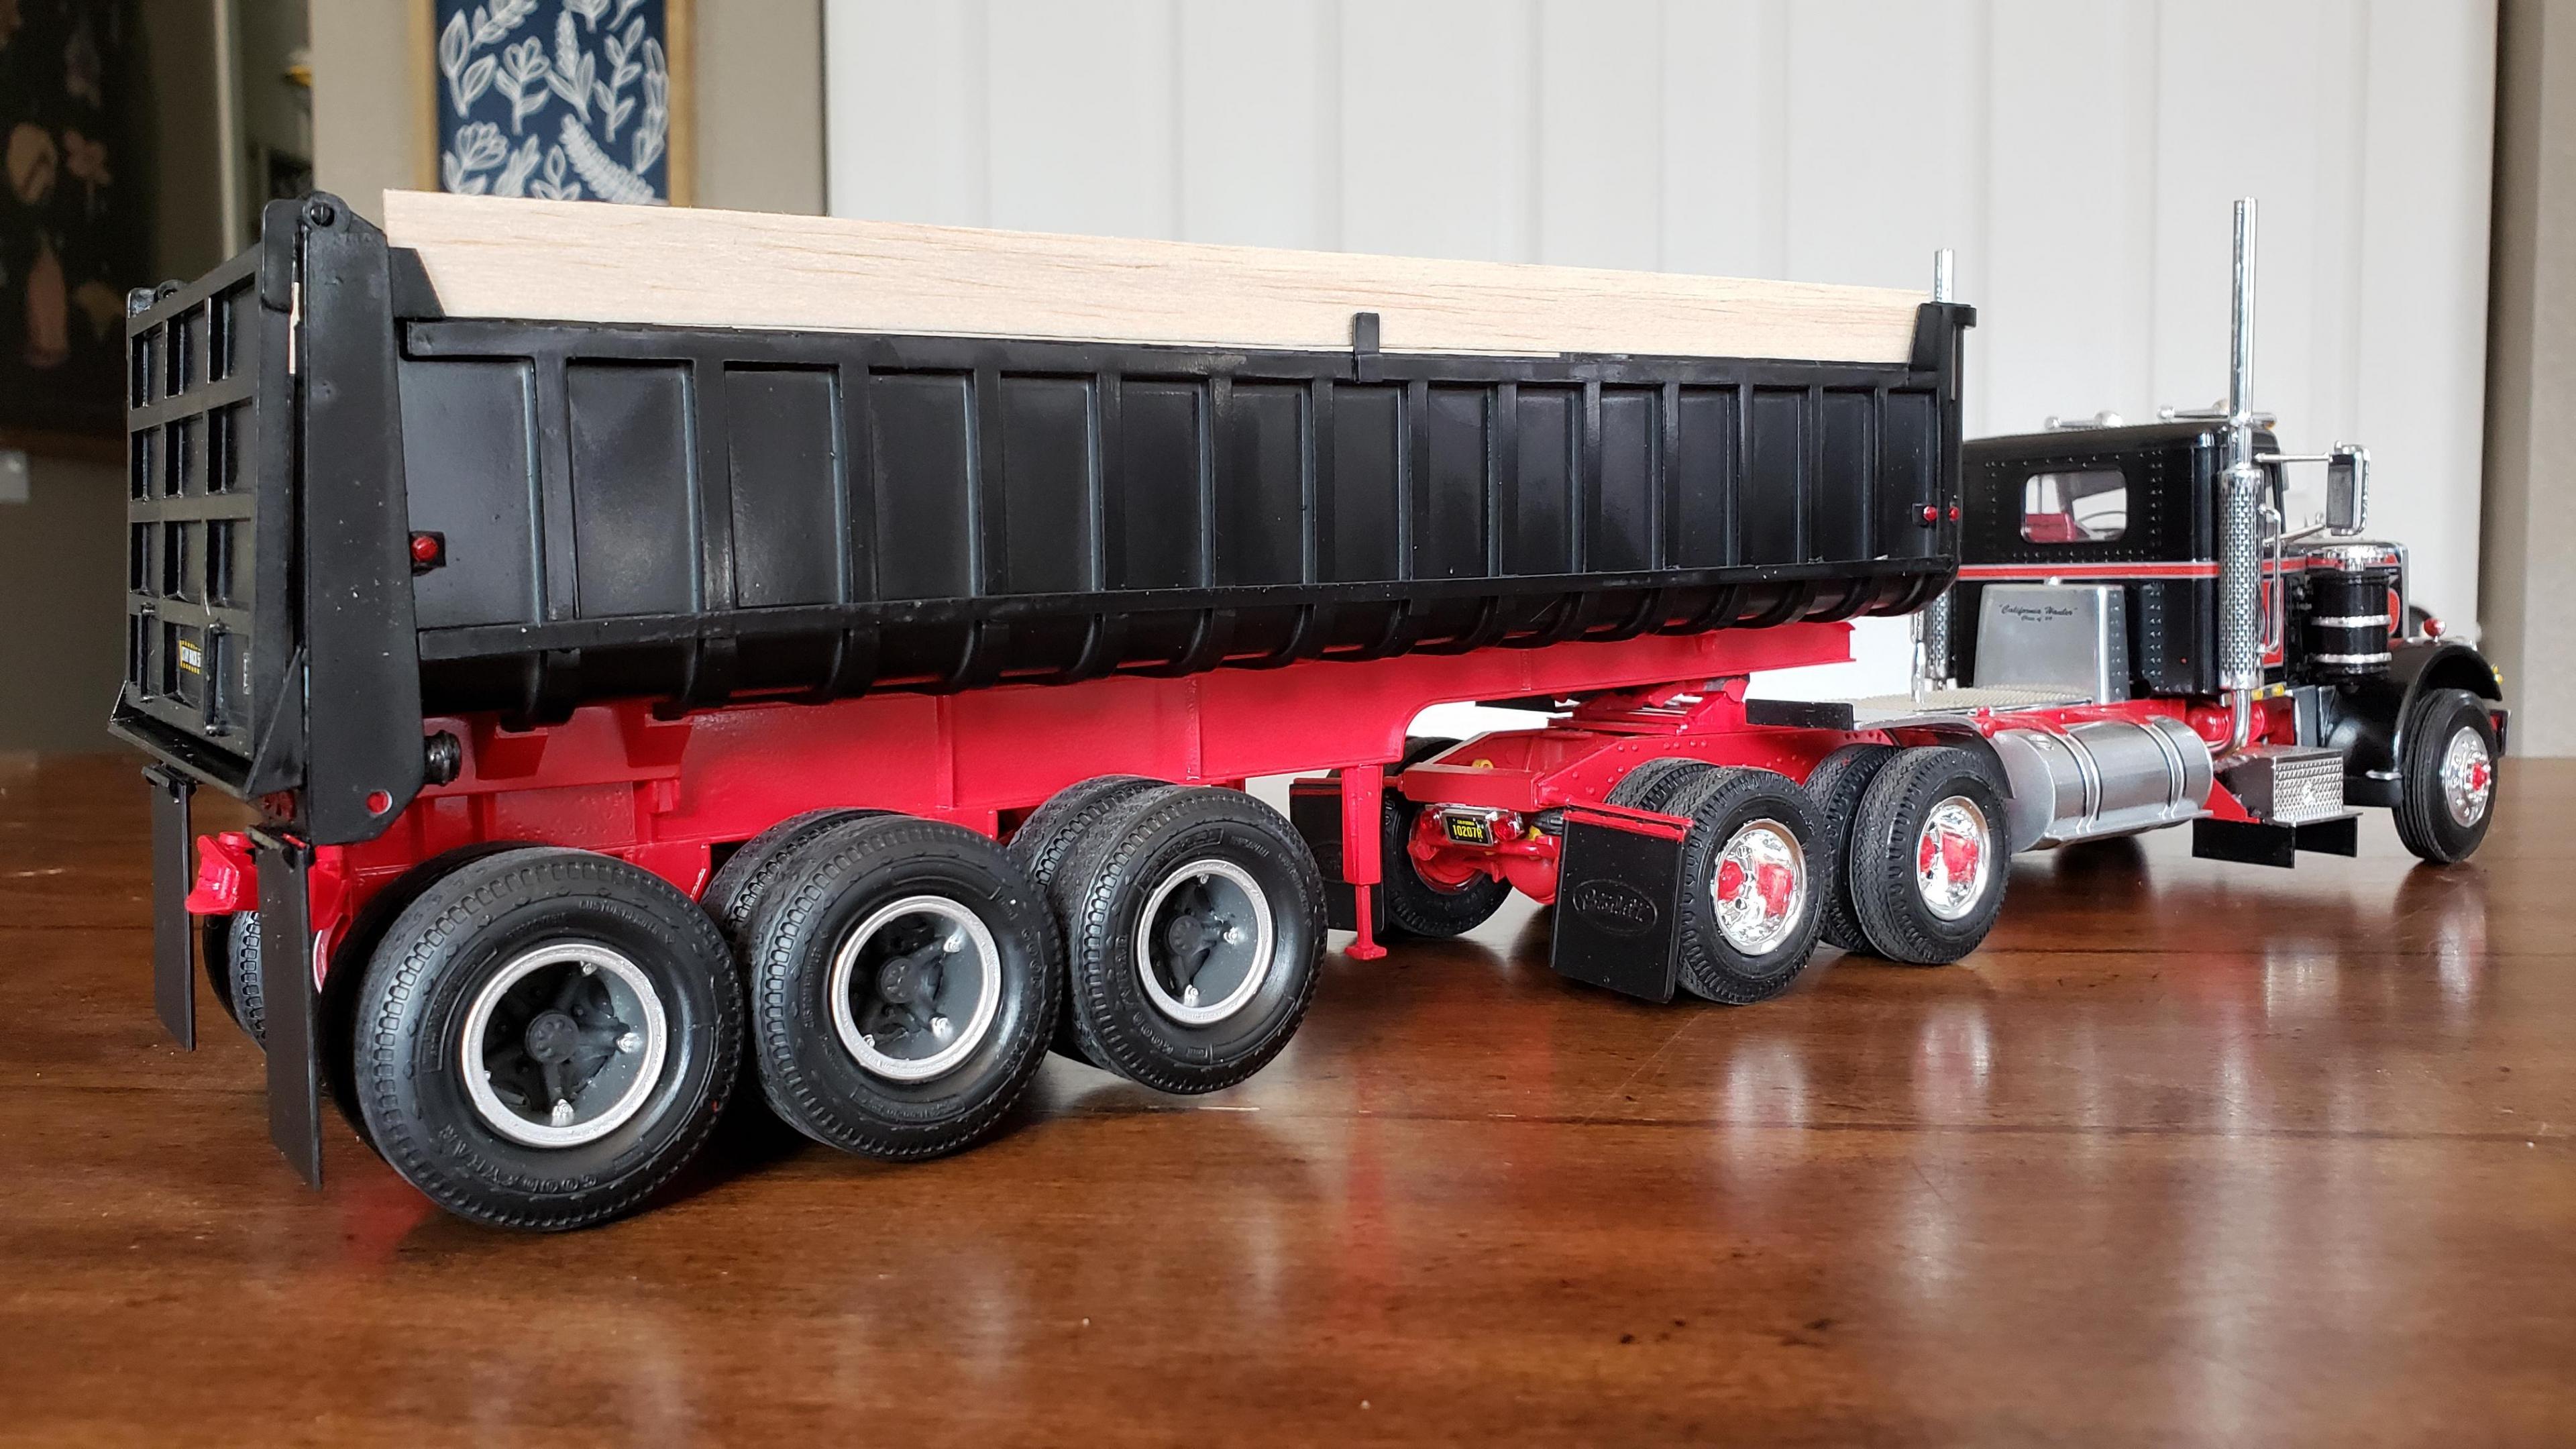
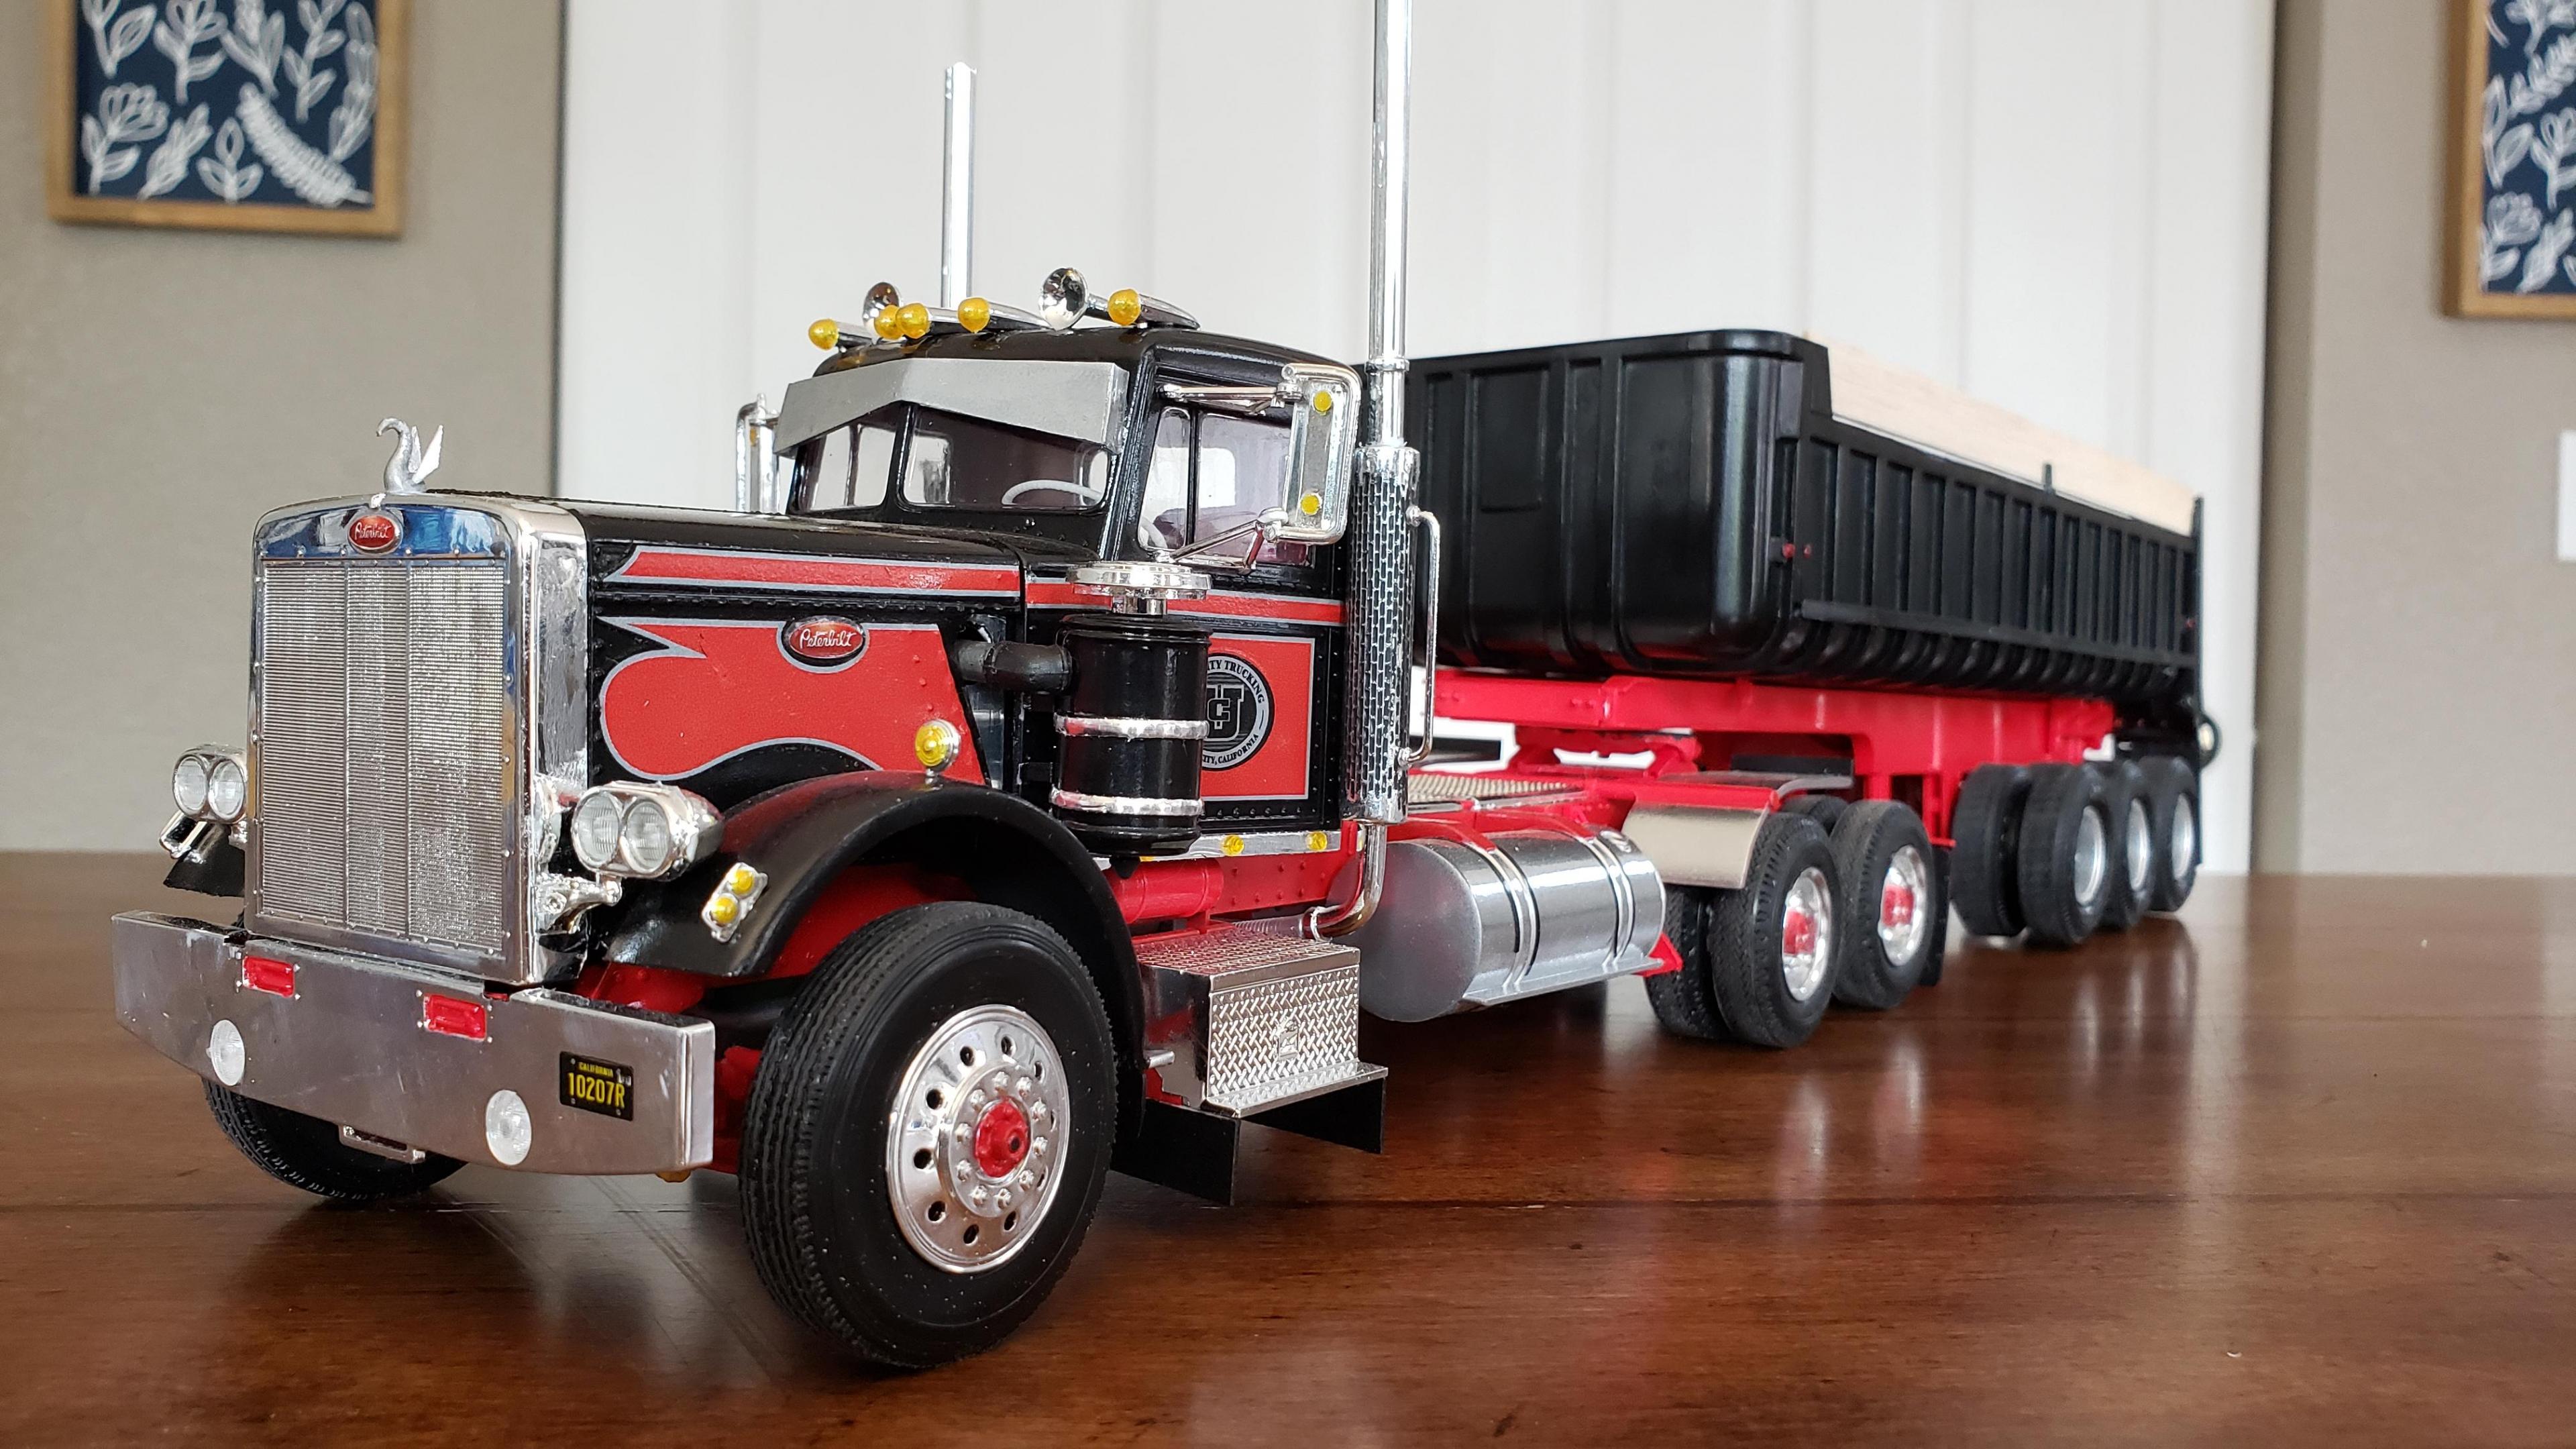
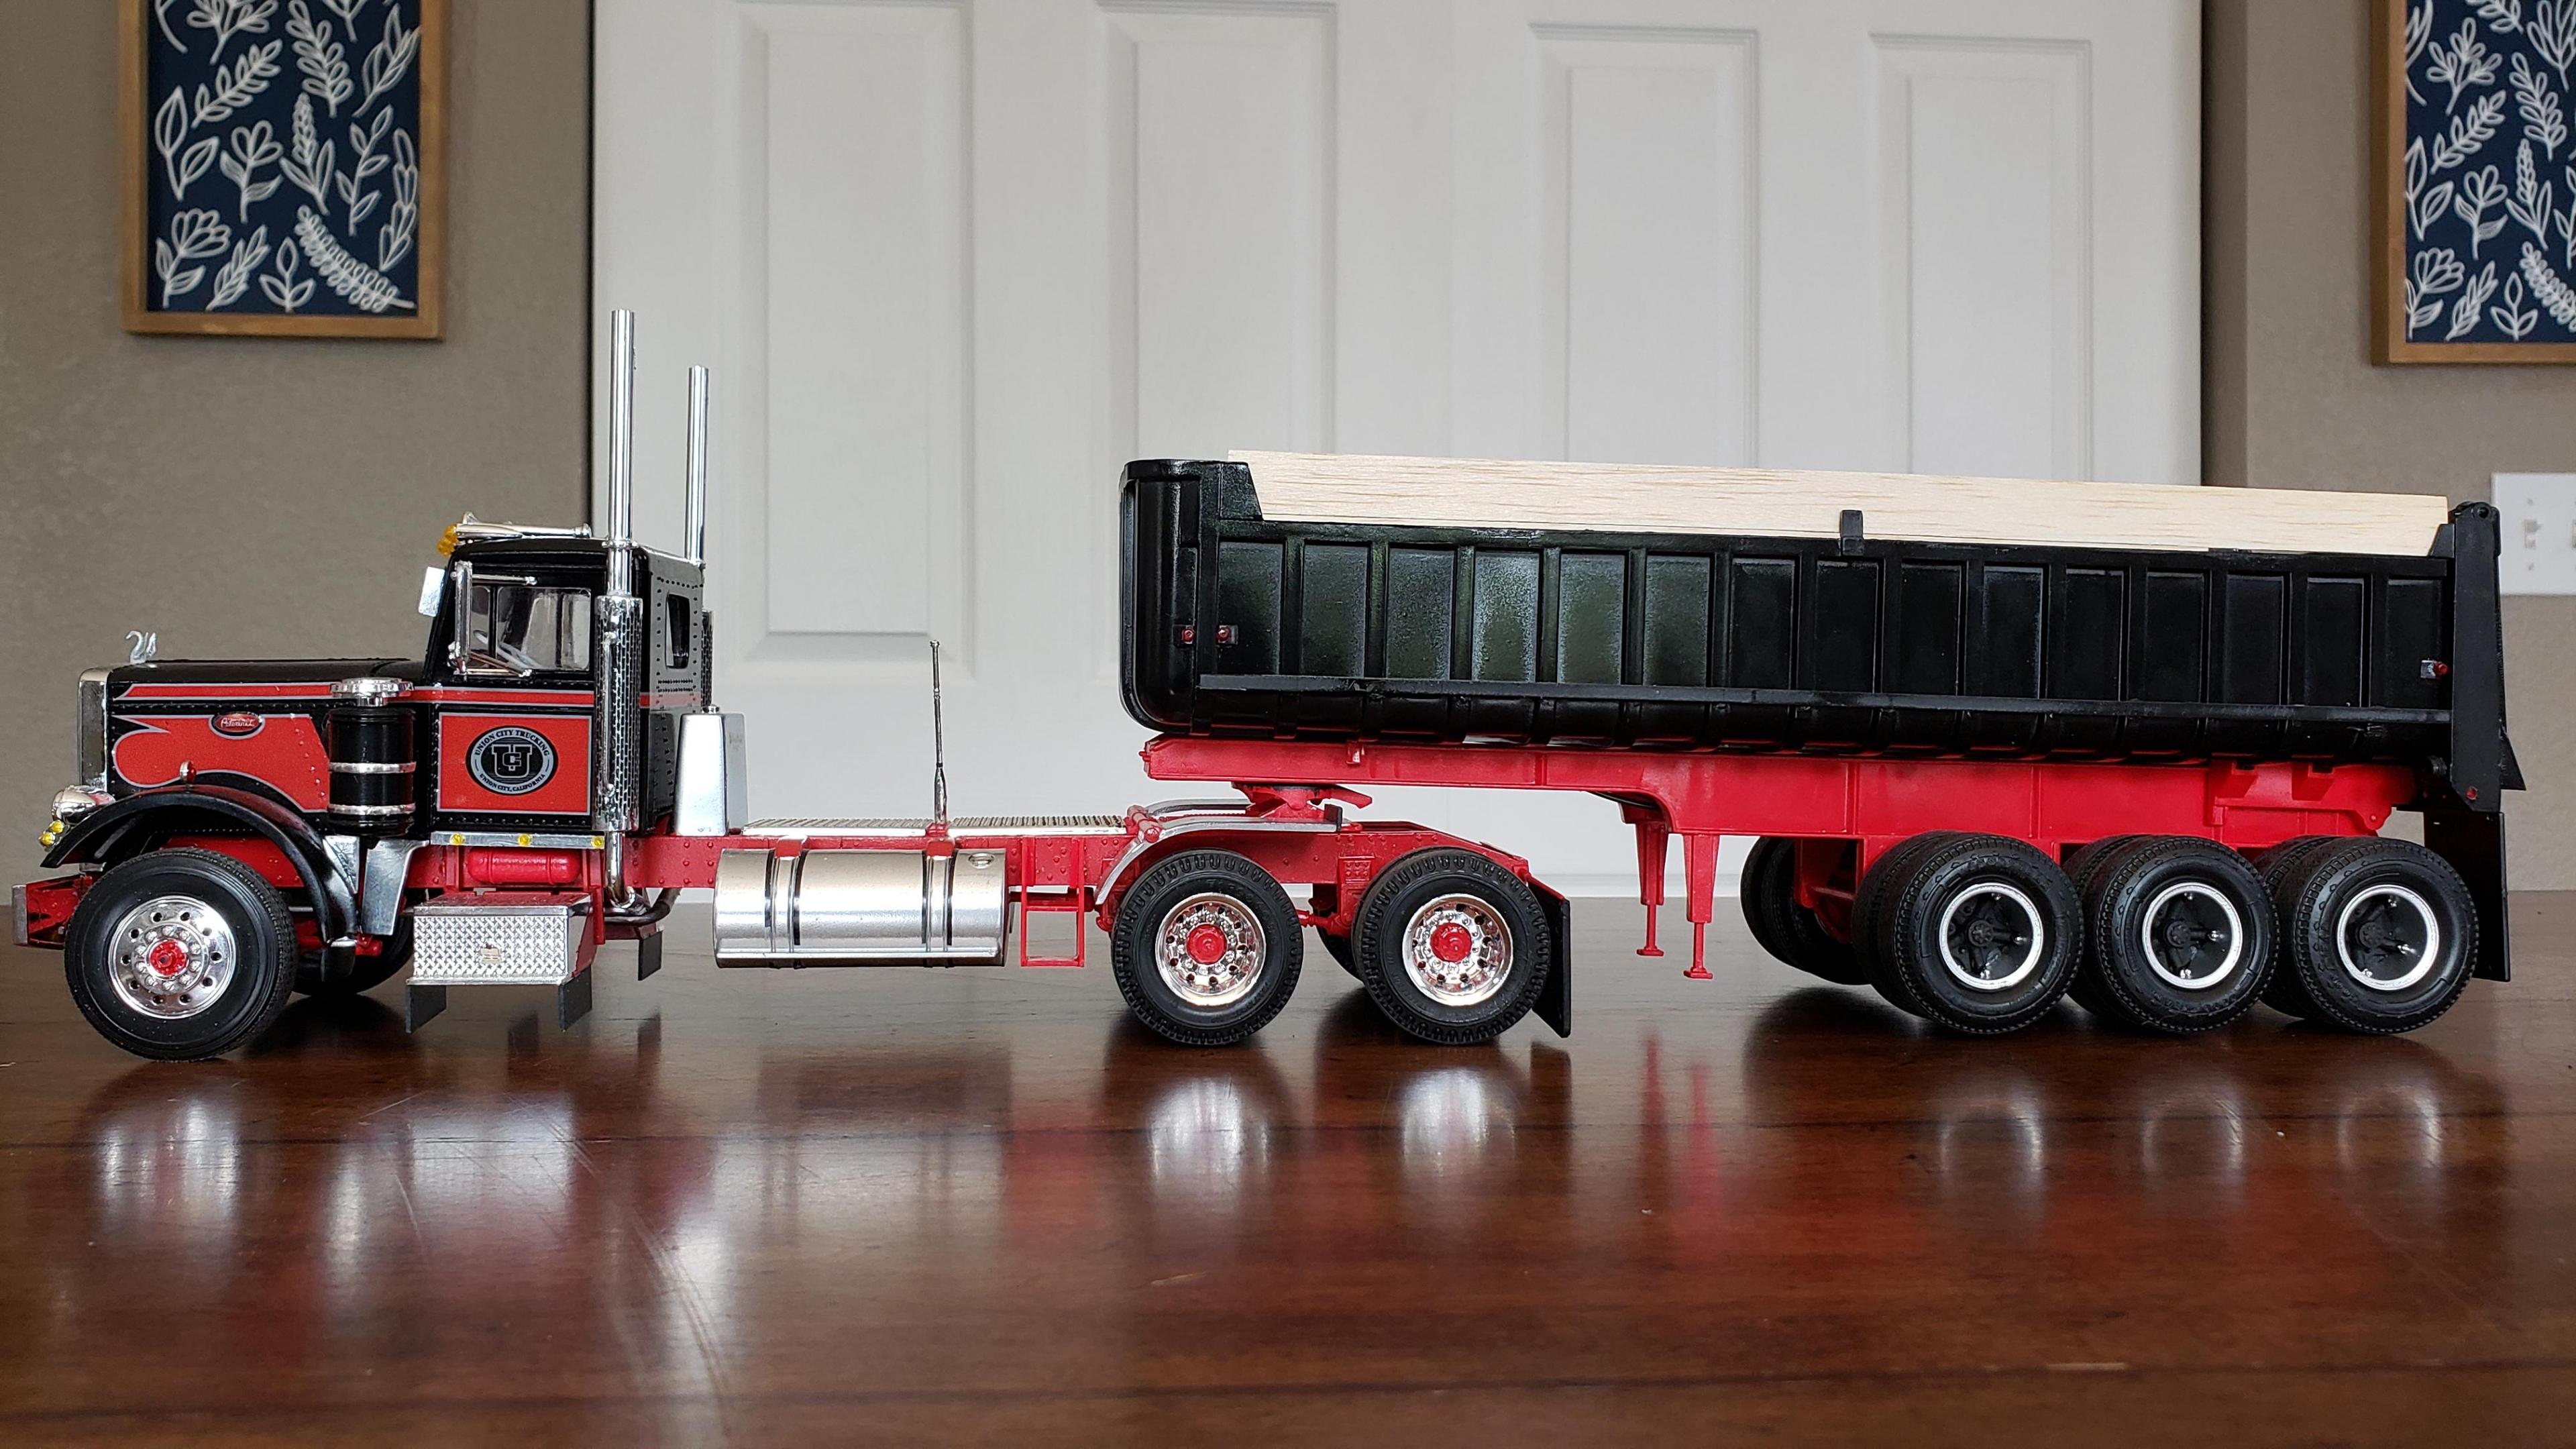
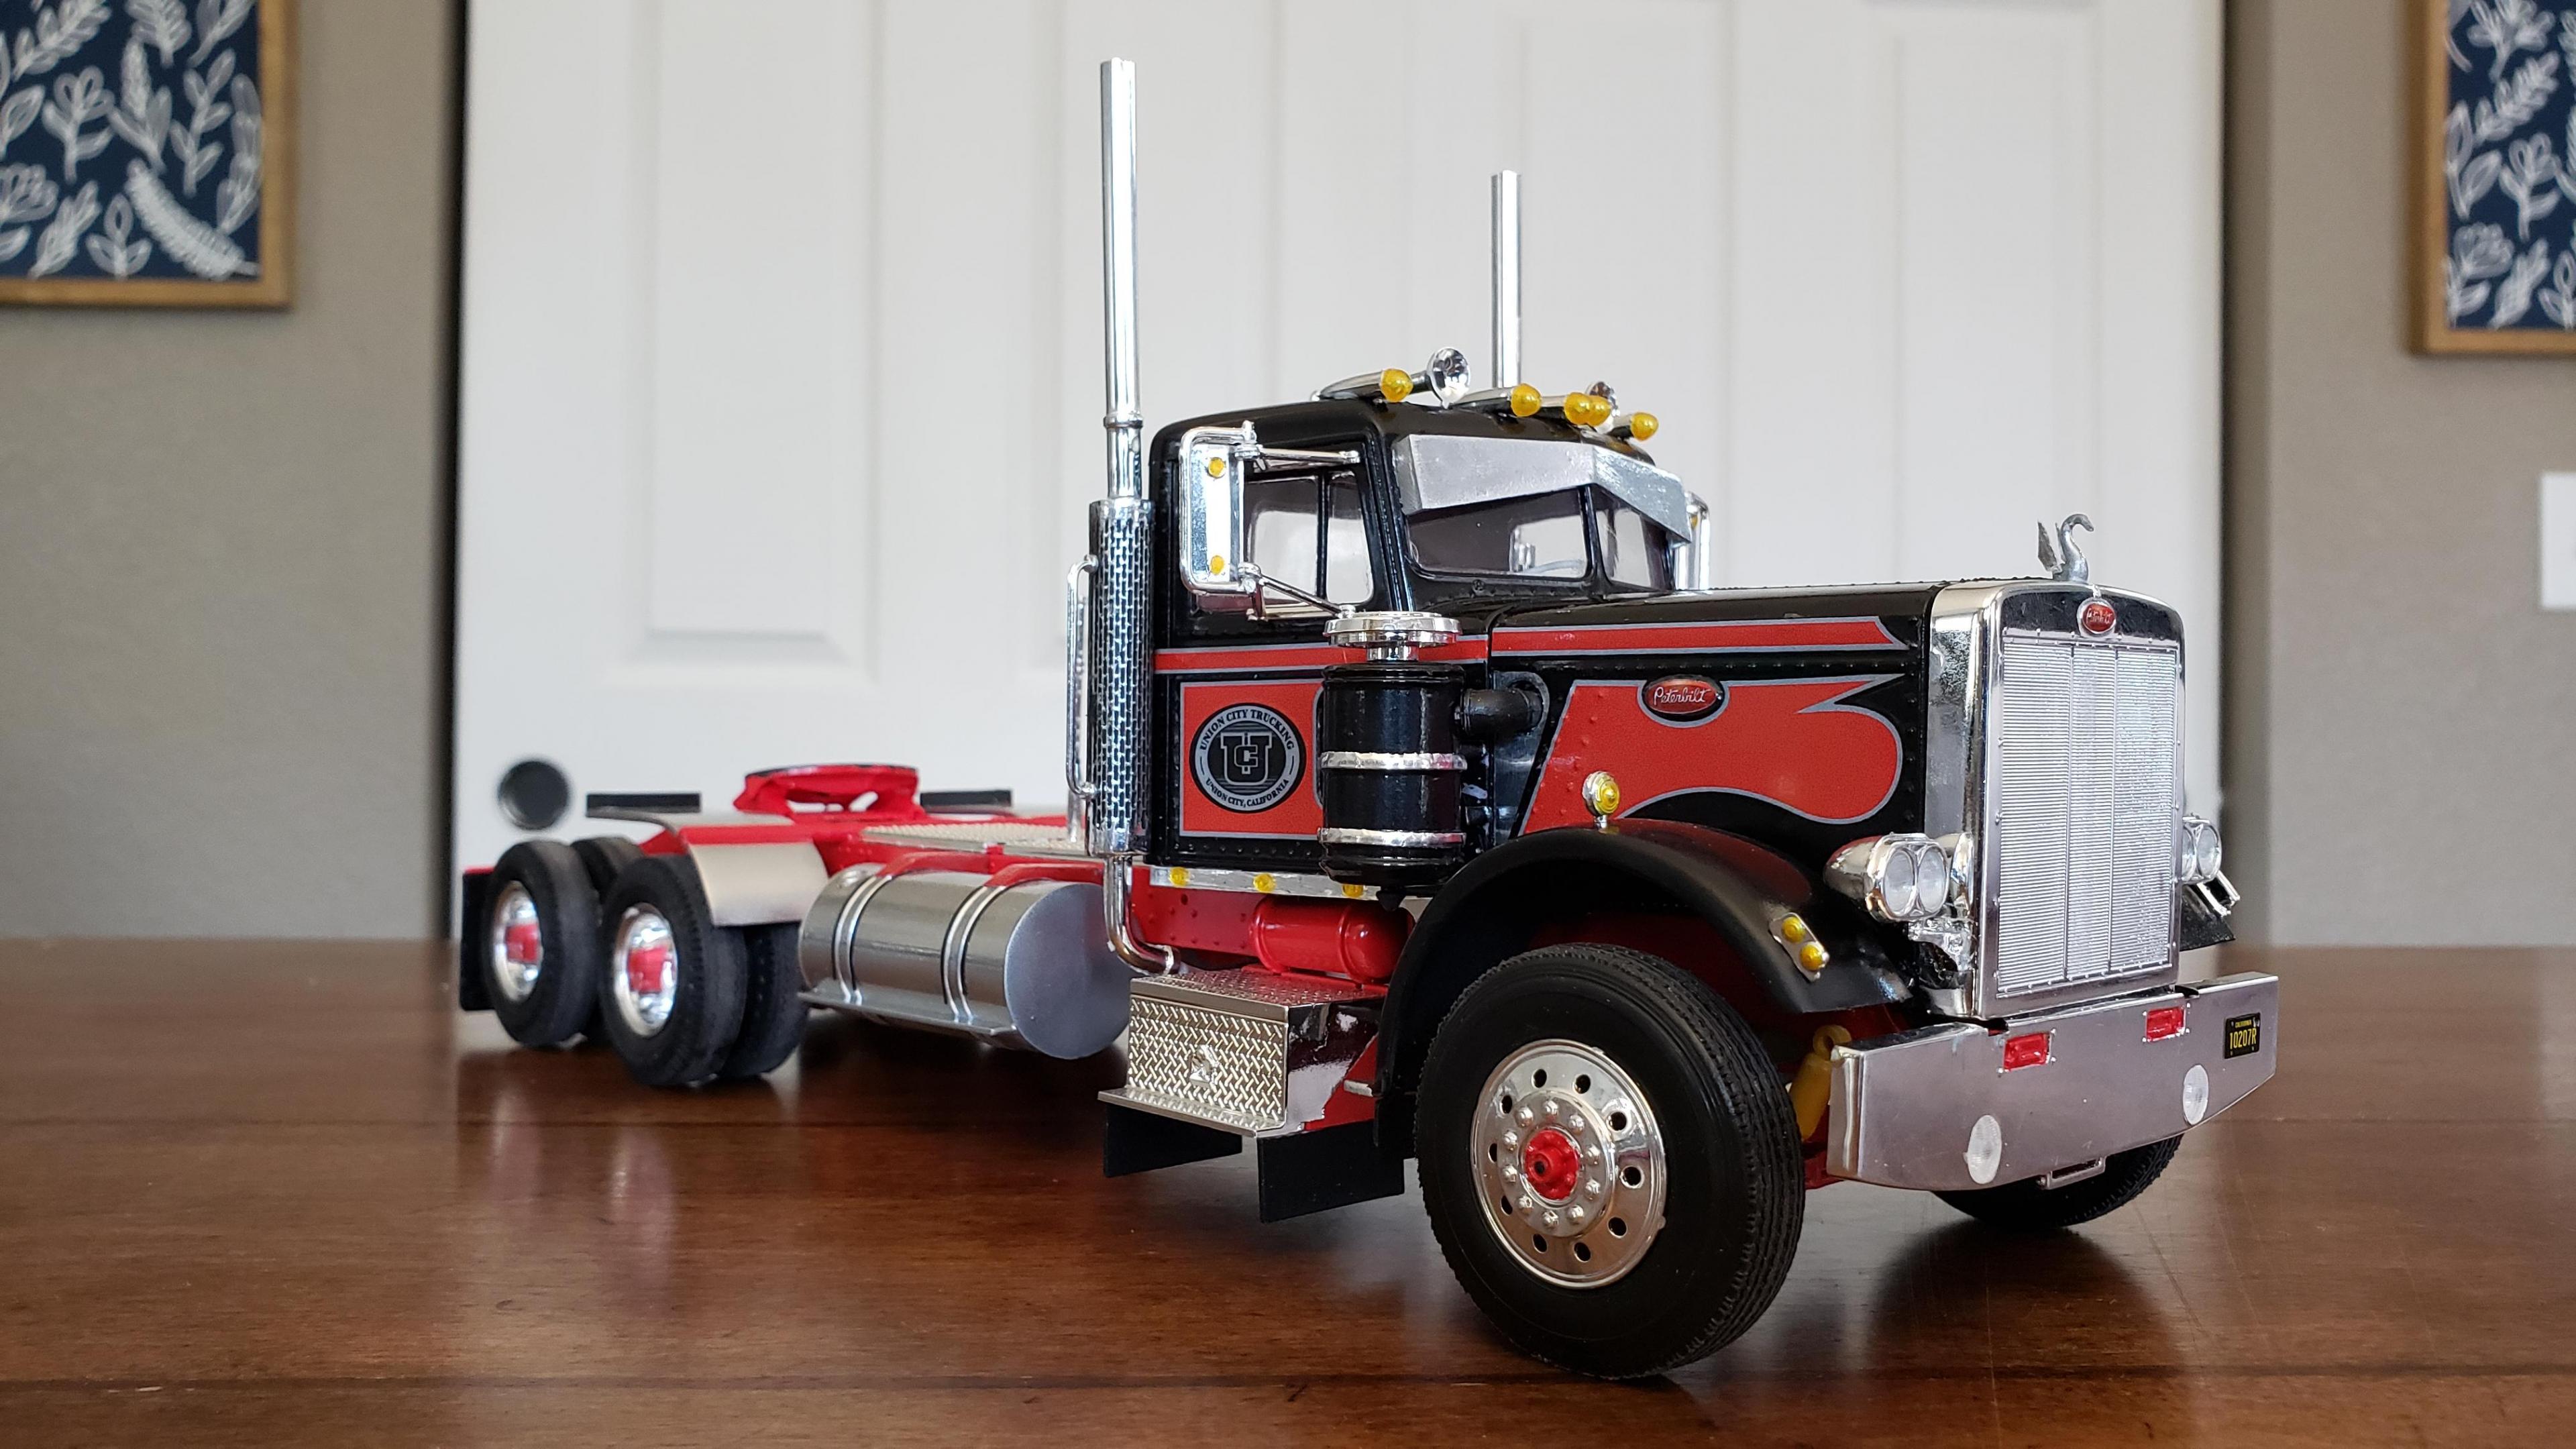
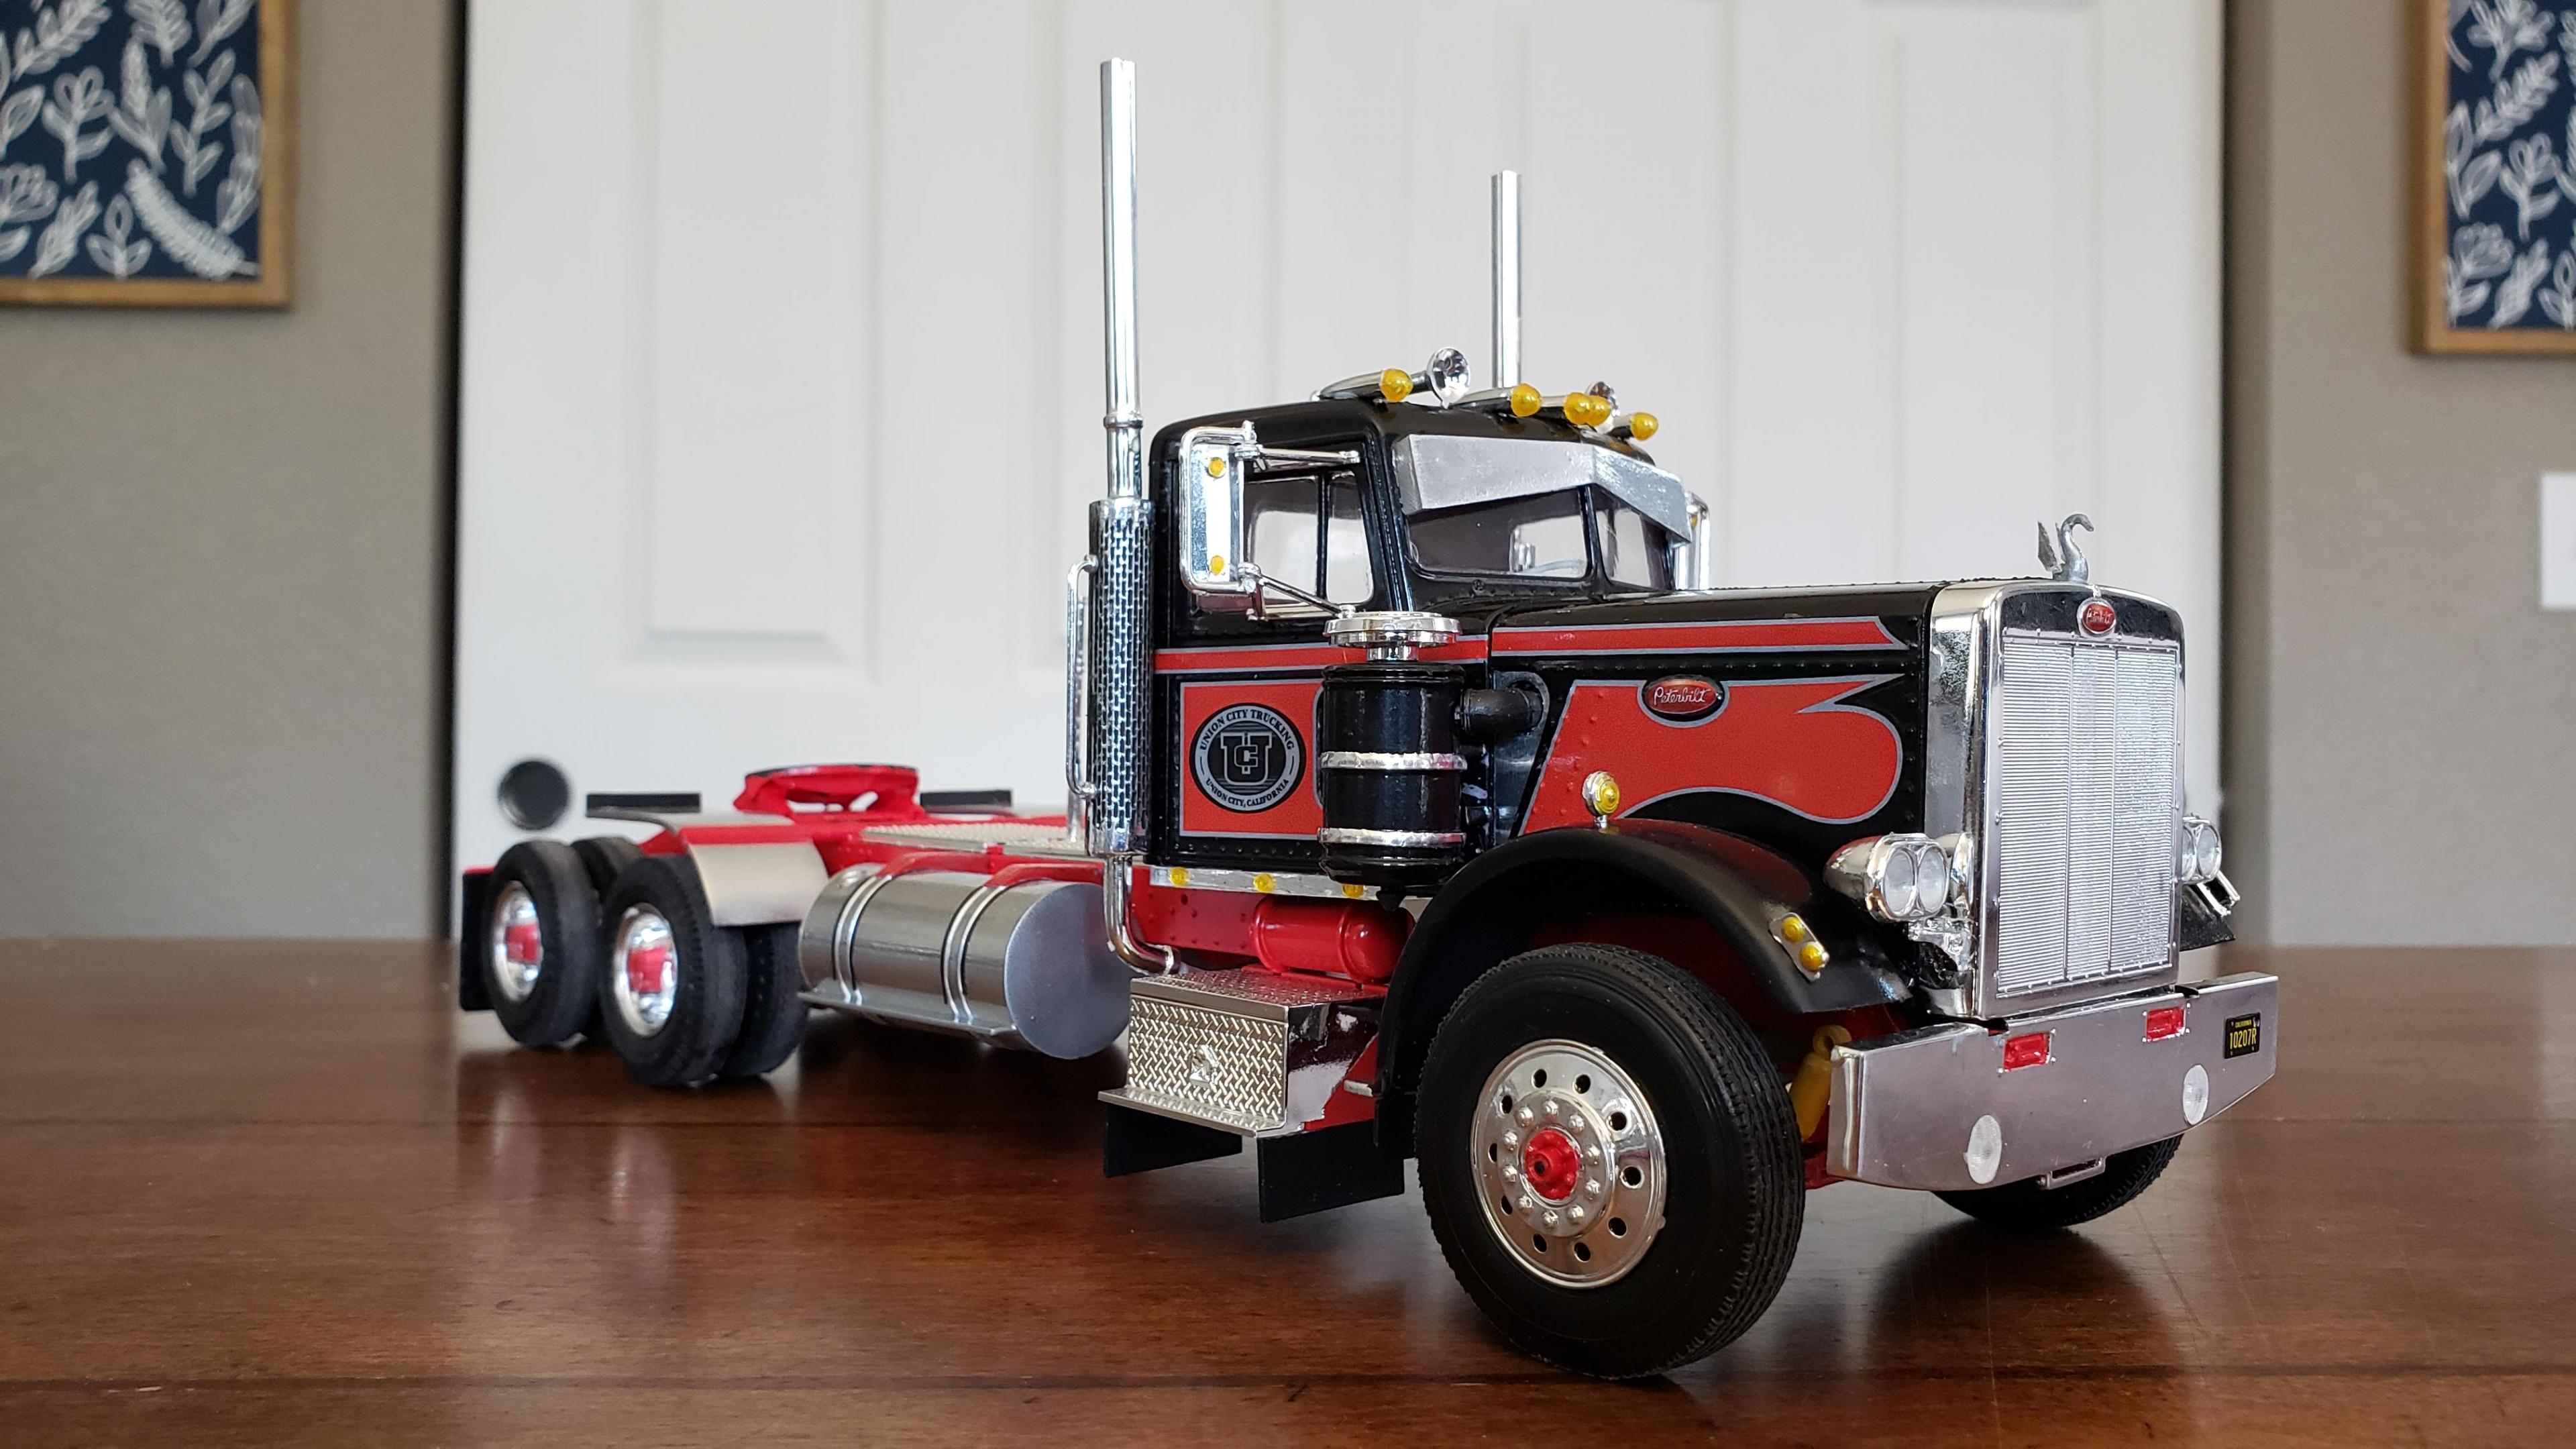
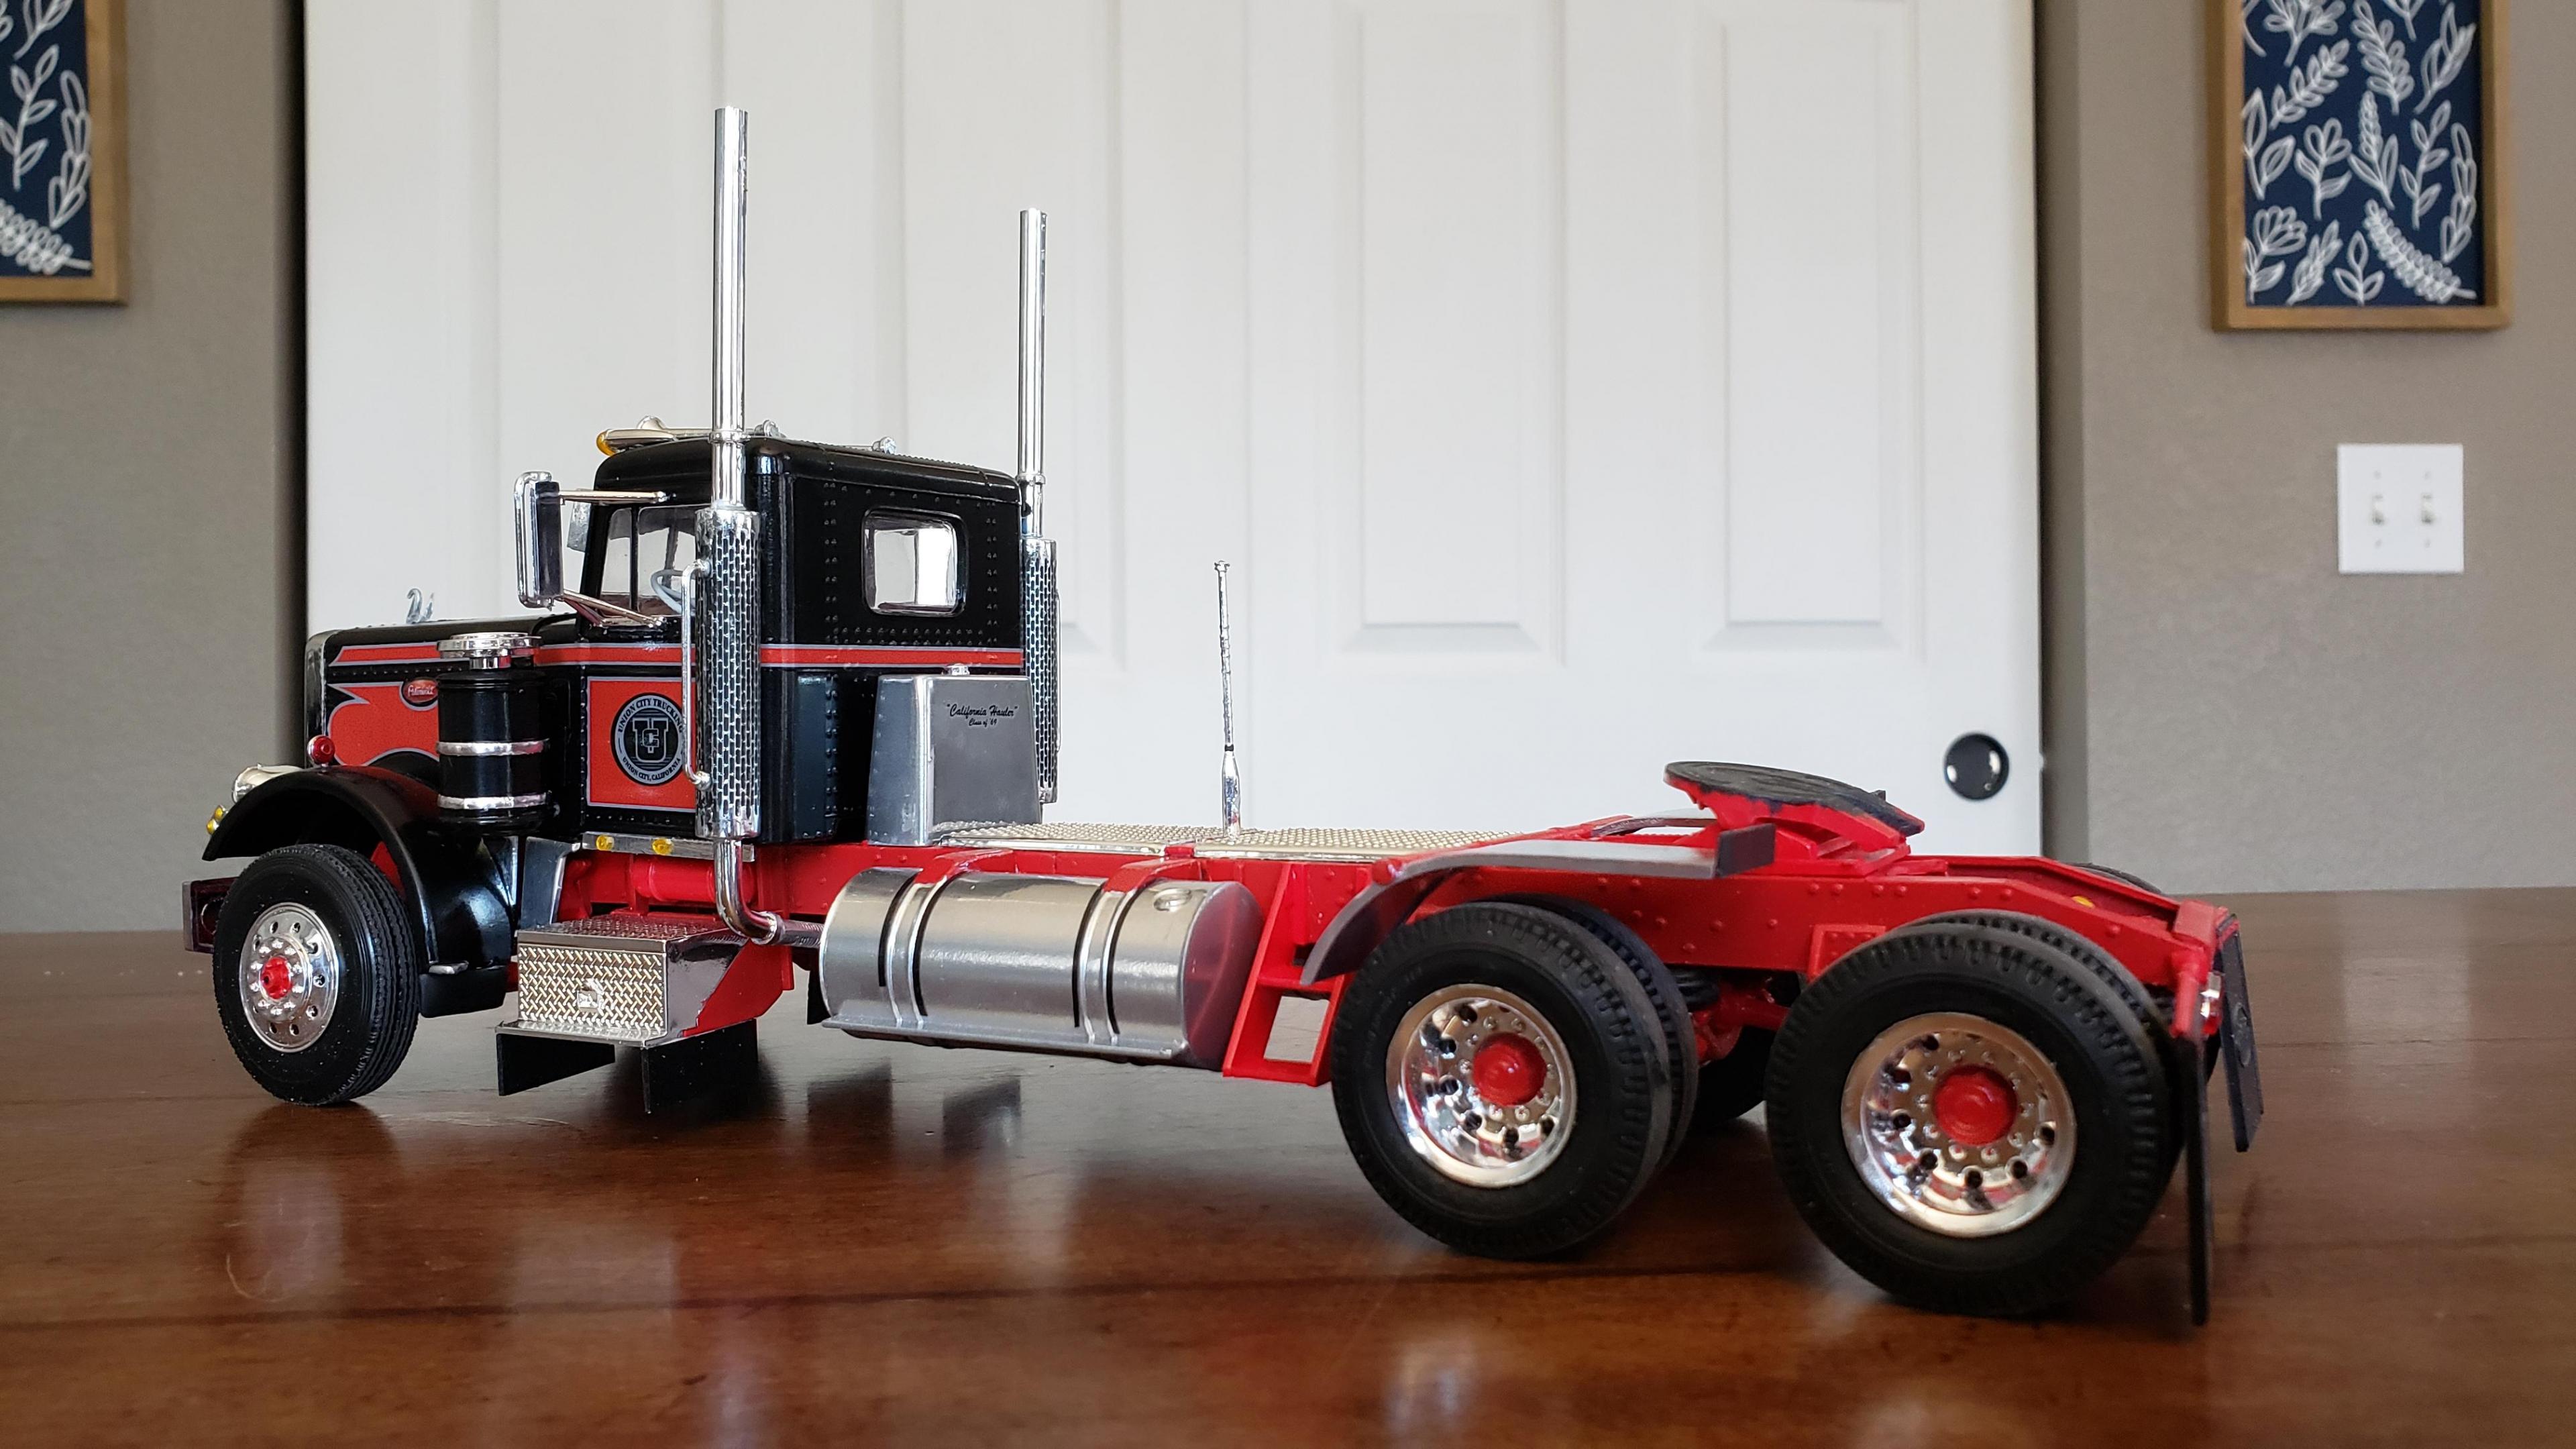
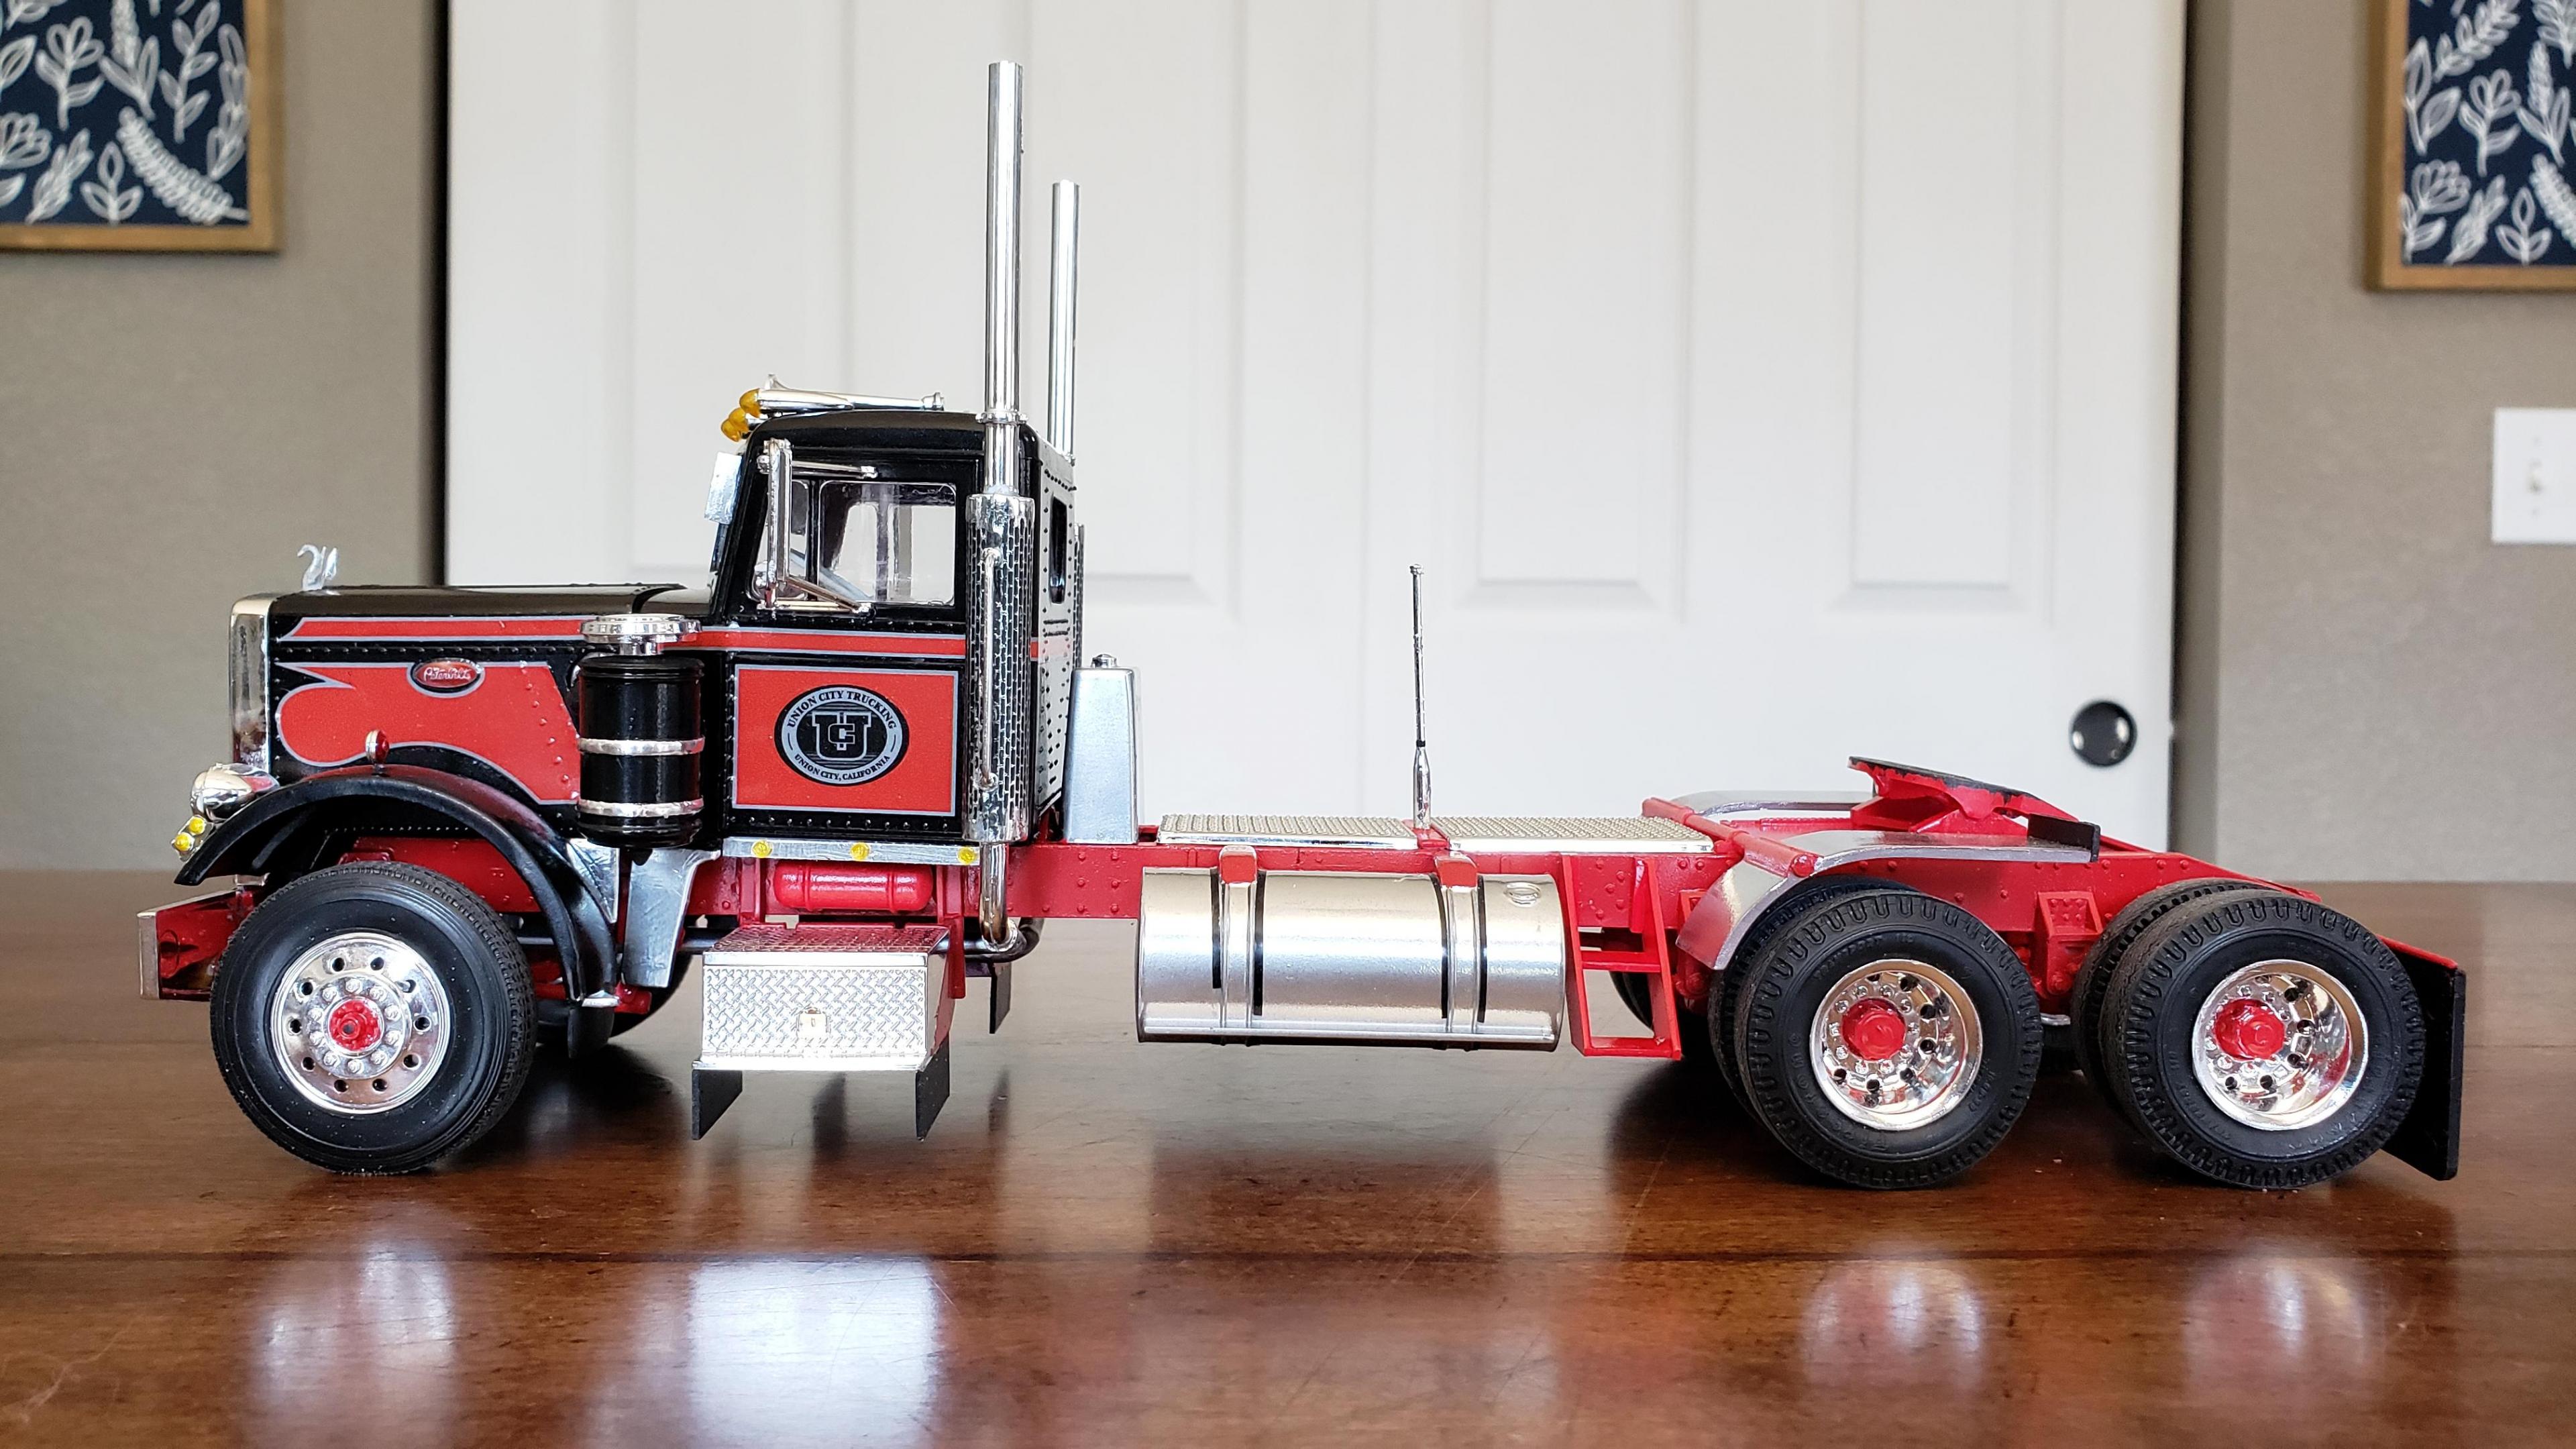
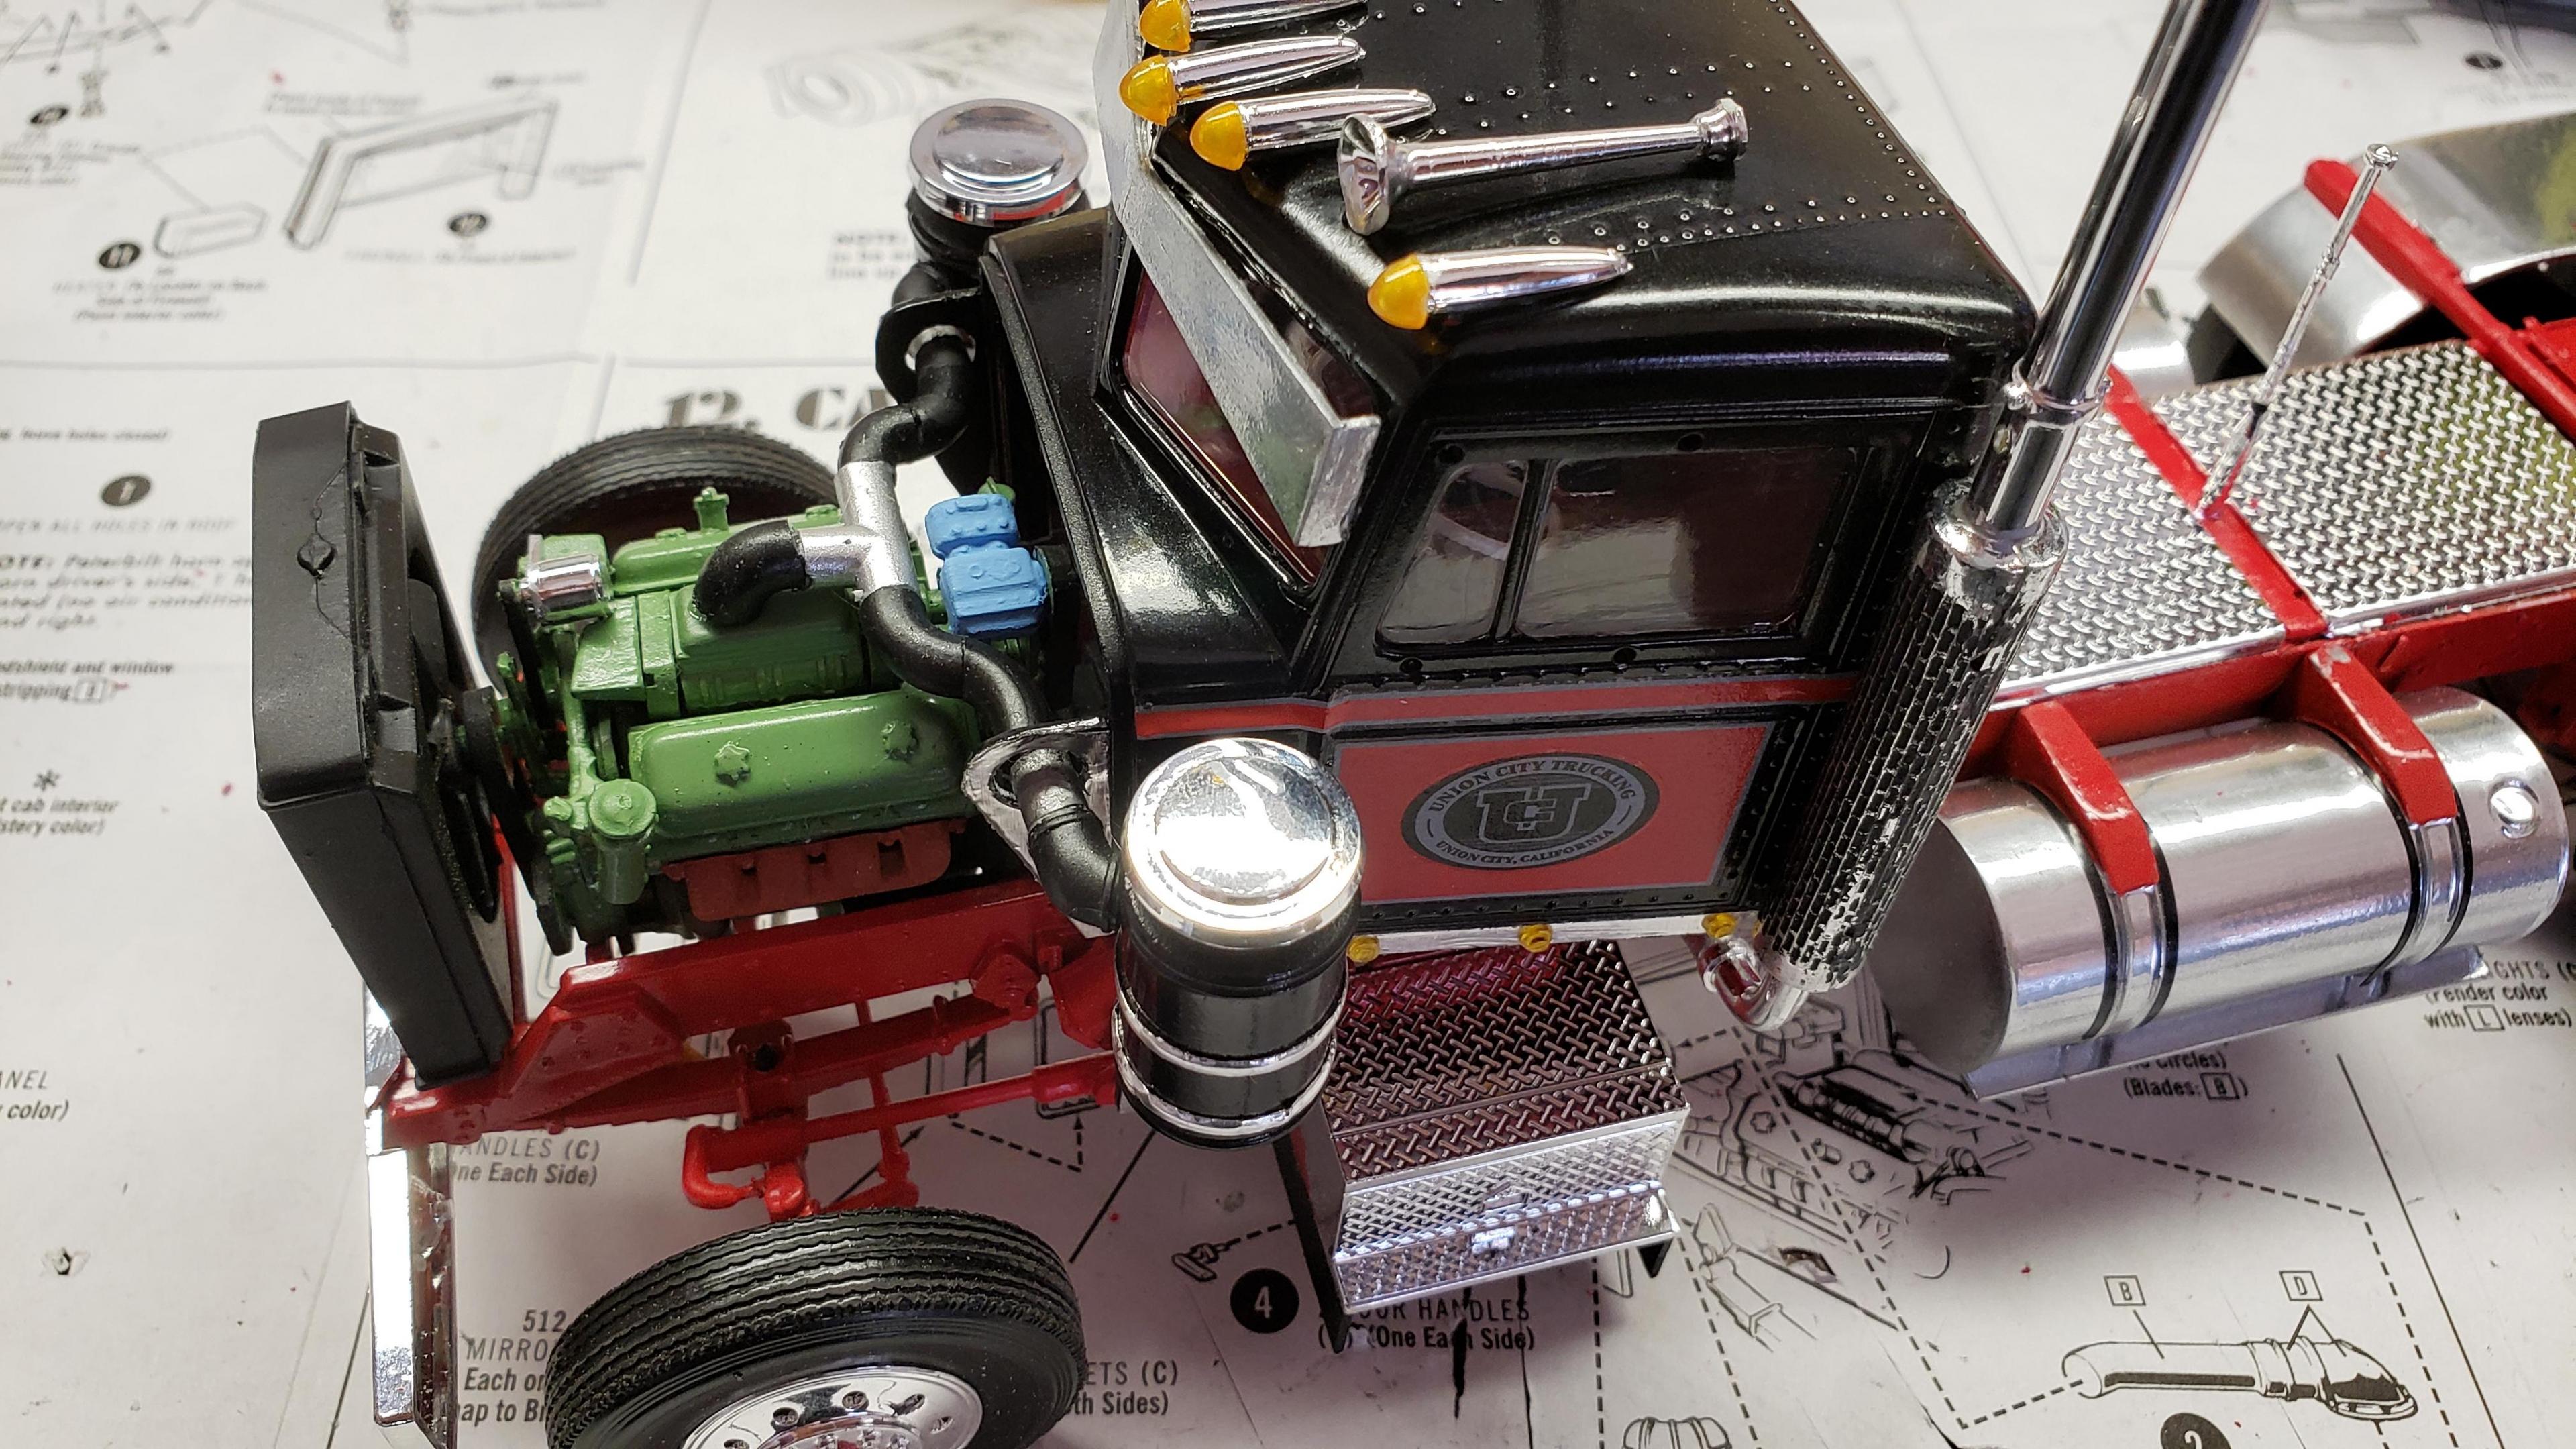
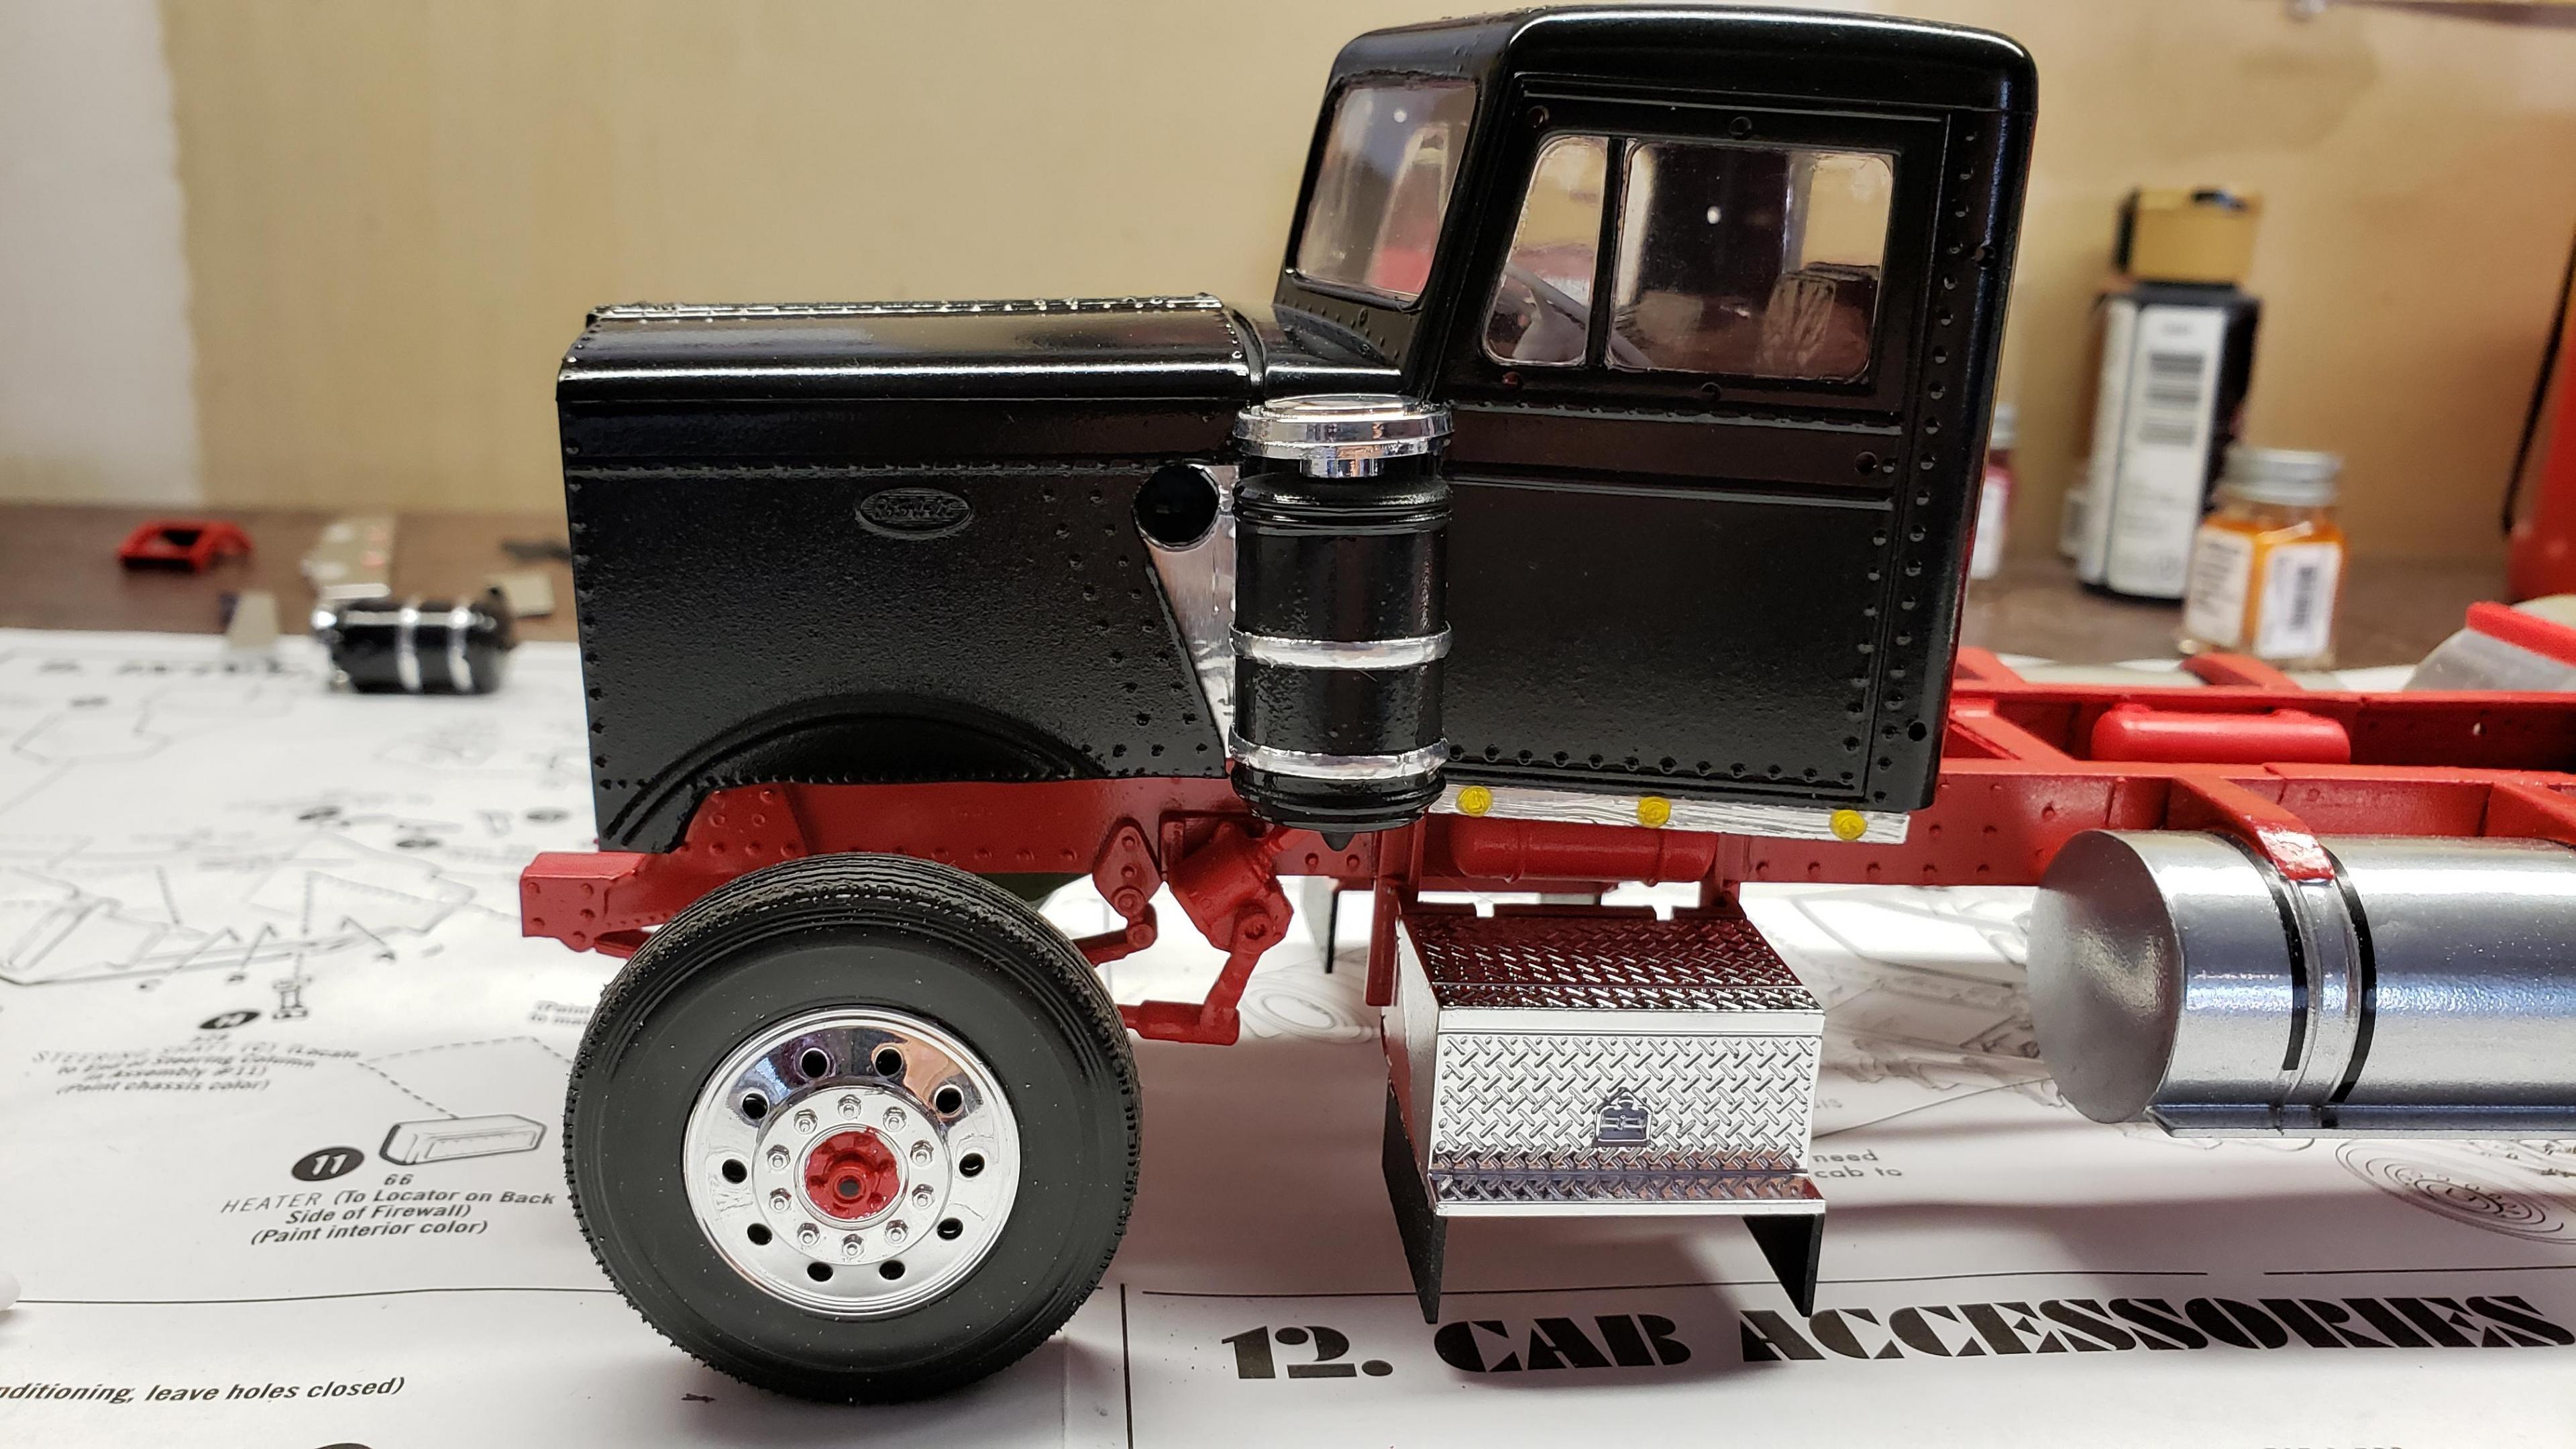
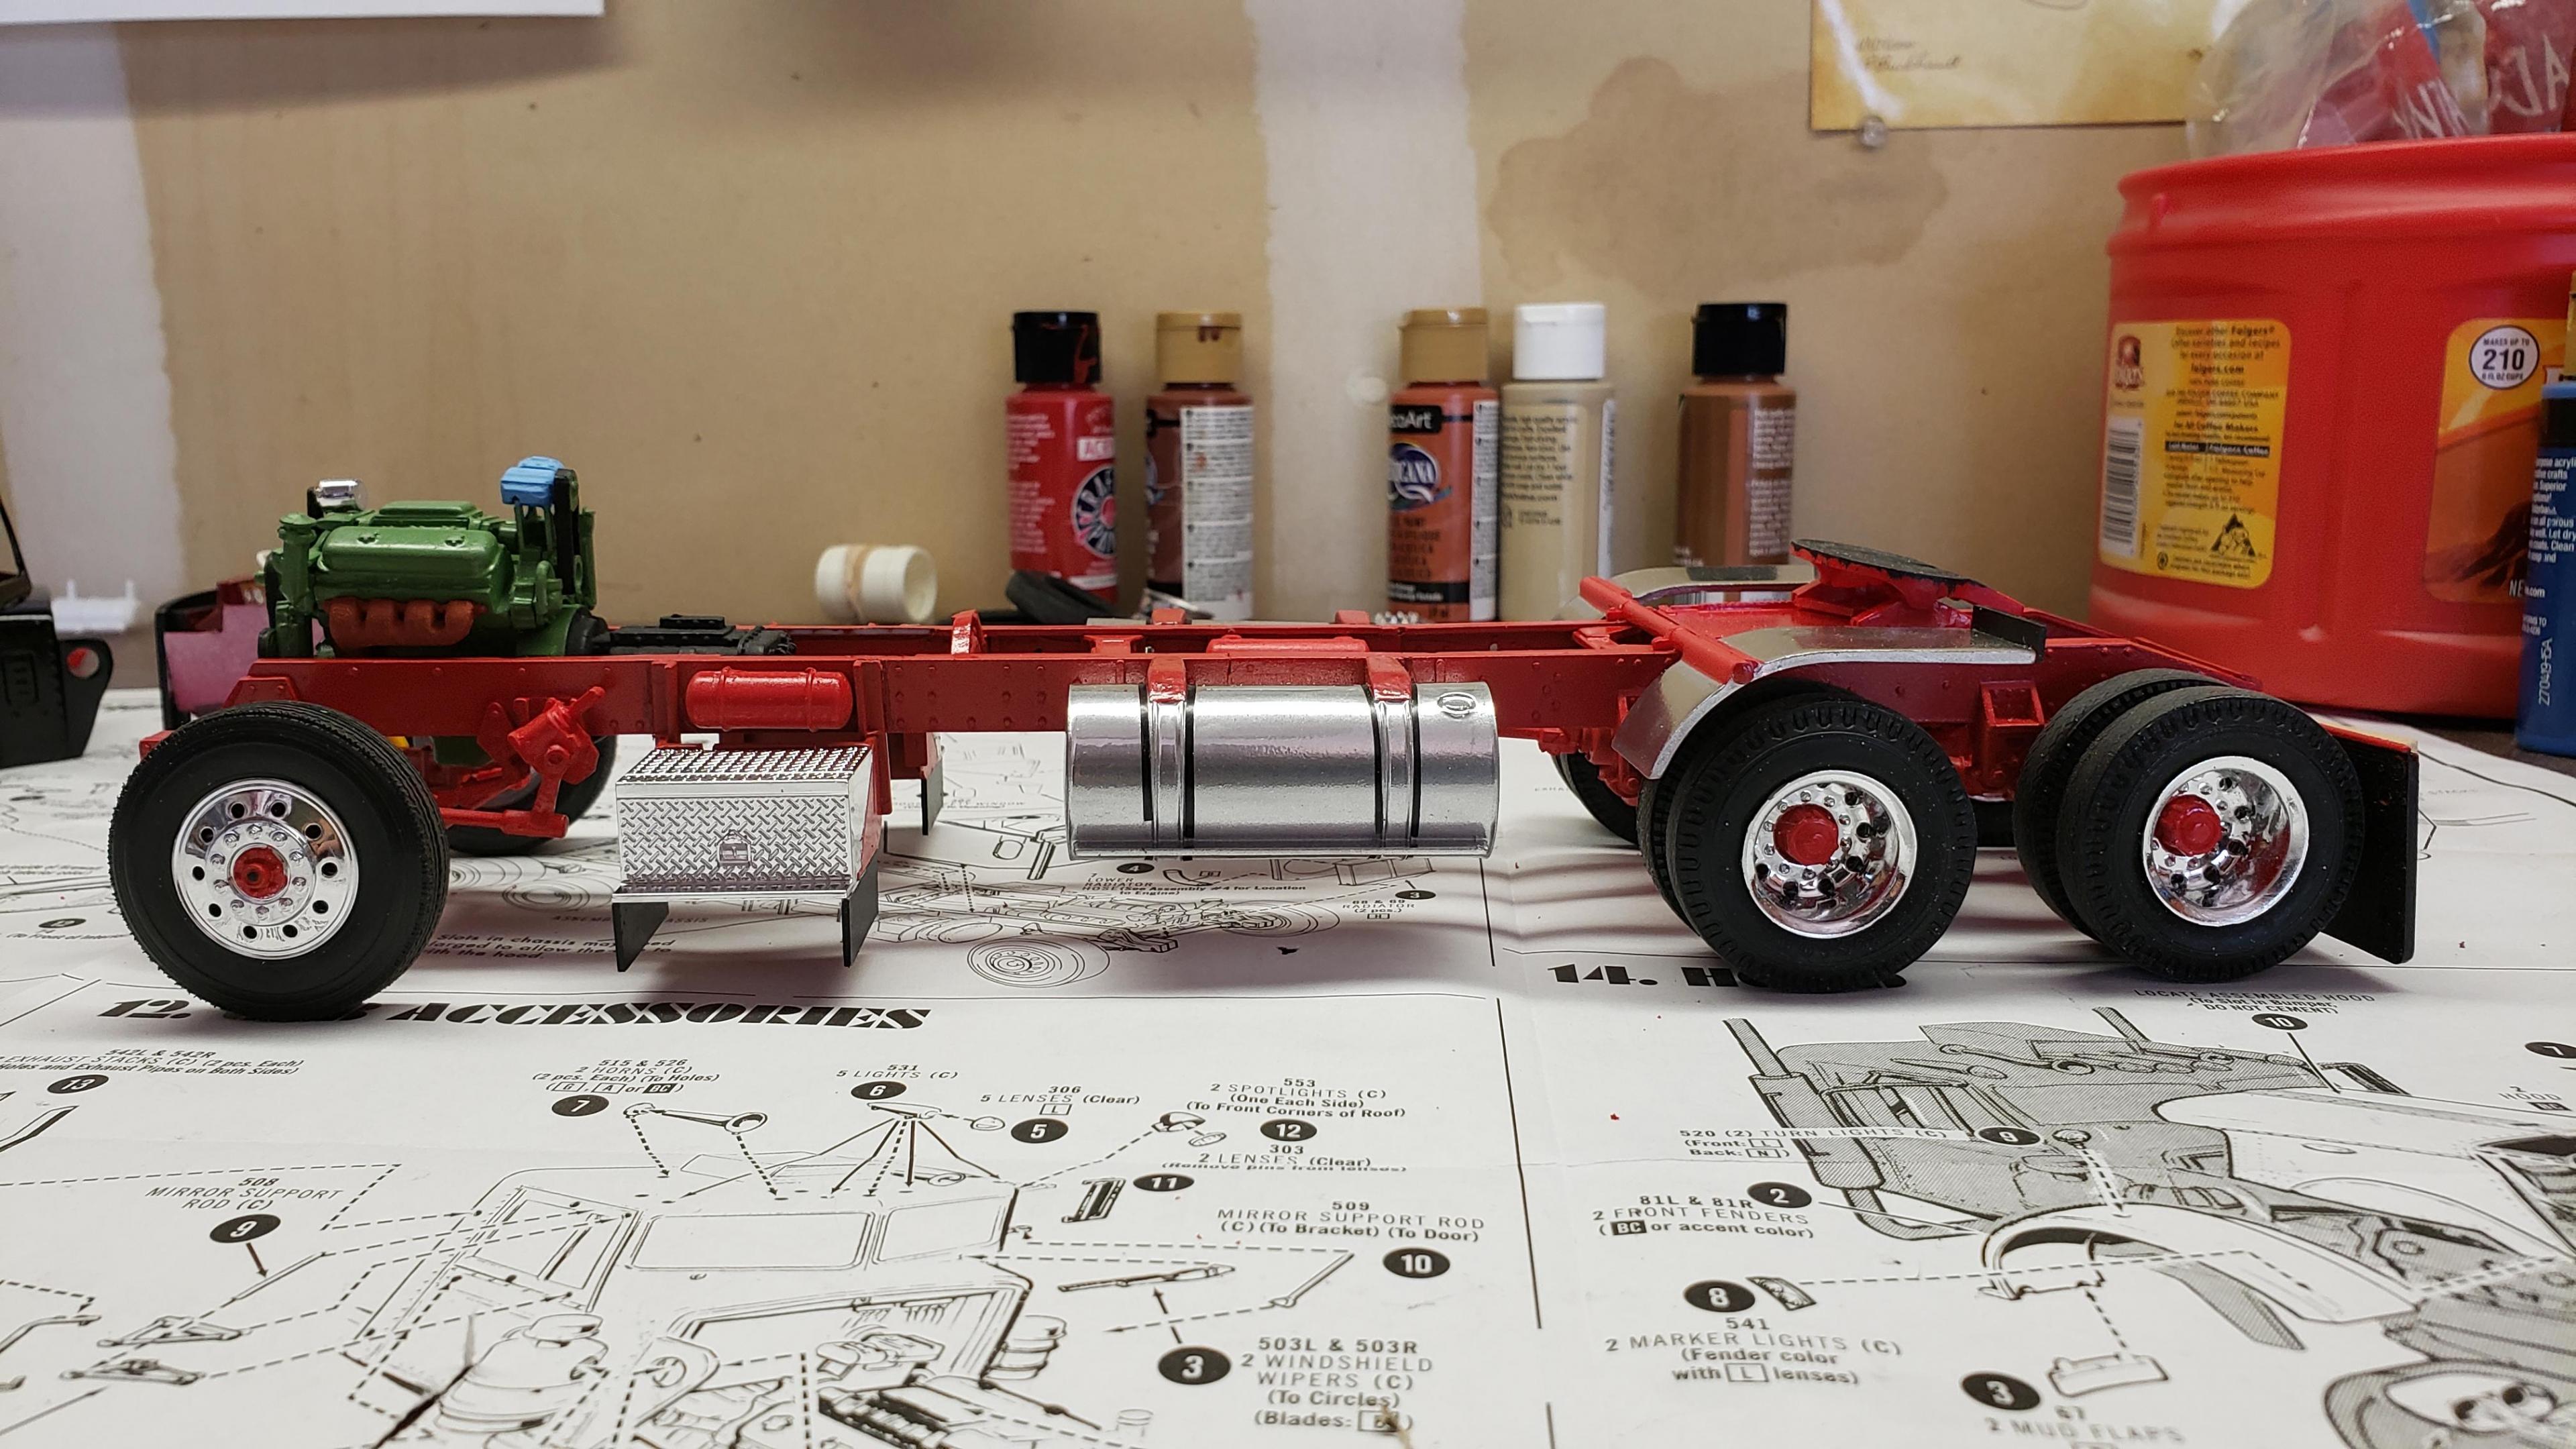
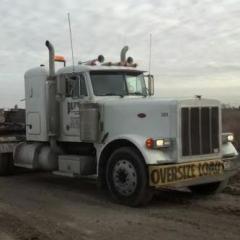
I just finished this one up. There was some custom work and kit bashing on this one. I streched the frame a scale 2'. Front bumper and stacks from snap pete. Converted to dual air cleaners, taken from snap kw. Fuel tanks from snap kw, I wish I had mounted them further forward. Front wheels also from snap kw, I don't like the looks of the kit's rounded wheels. Also the half fenders came from the snap kw. Battery box from 378. Swan, steps and visor made from scratch. I wanted the stripes white with red outline, and I ordered some up. They wound up not working for me, so I just used the kit decals. This will be pulling the gravel trailer, and I added the hydraulic tank behind the cab. Thanks for looking!
-
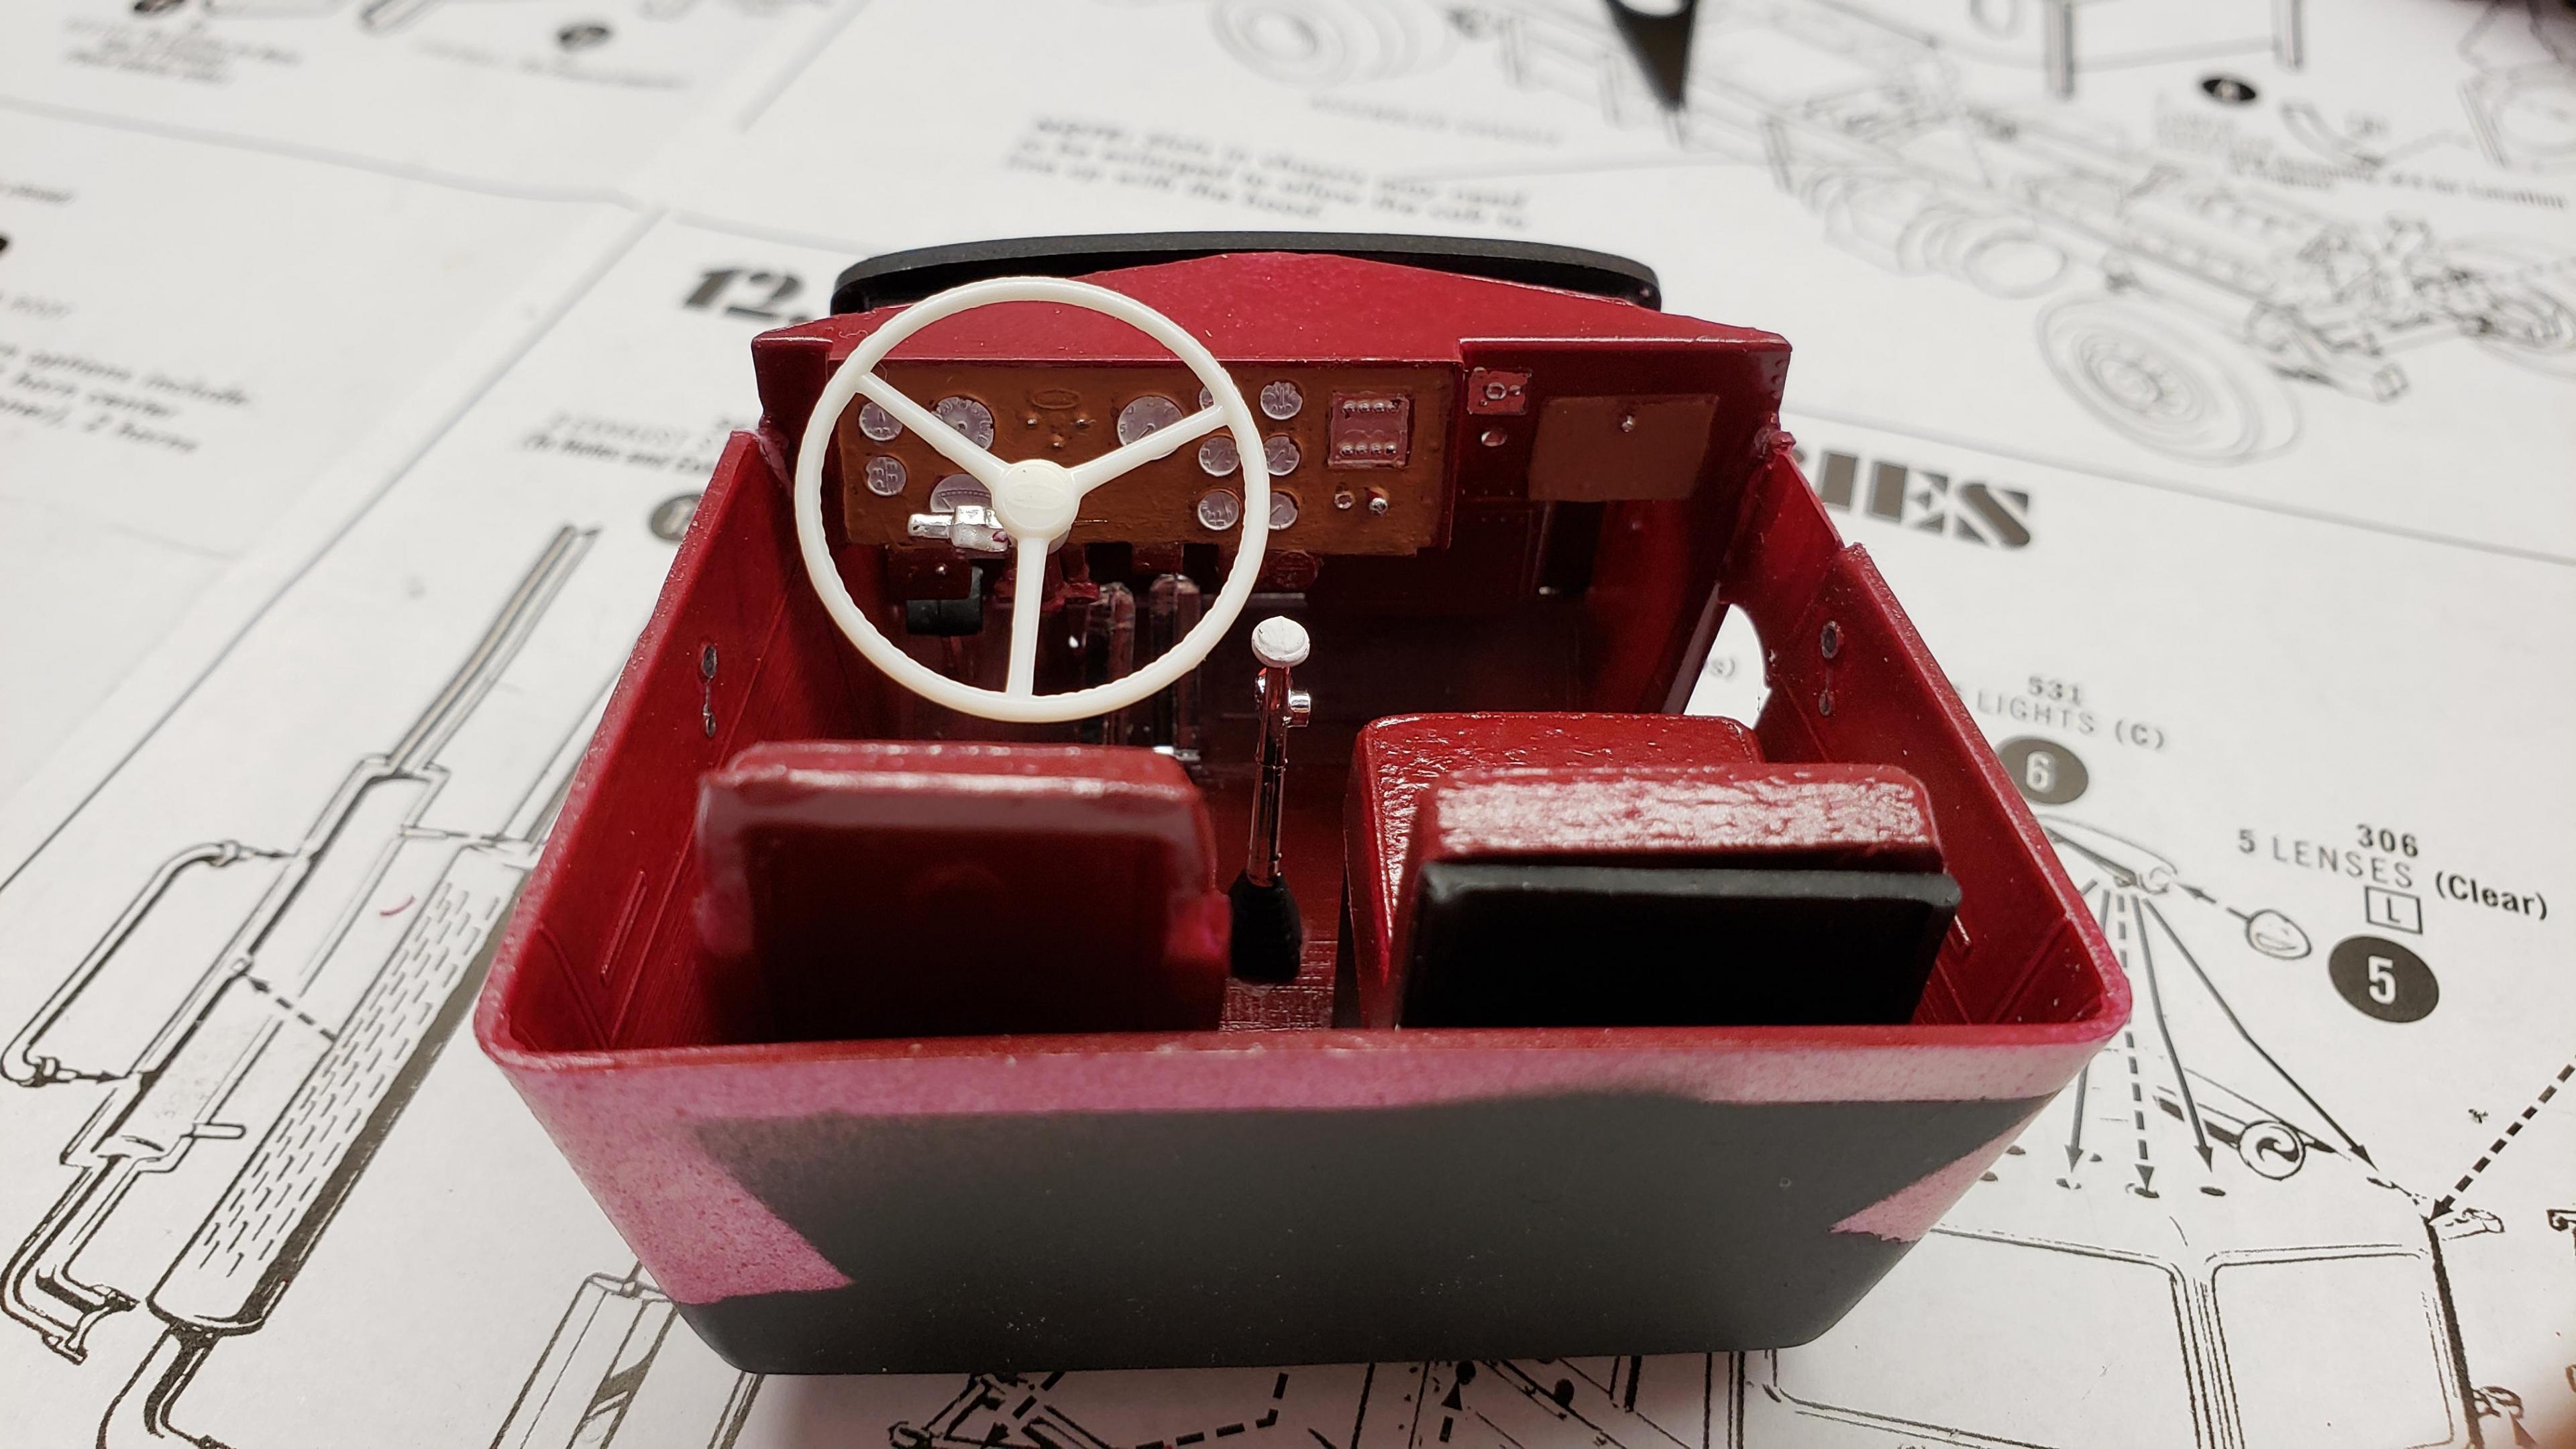
Sorry for the negativity, but I must add another complaint about the kit. The steering shaft does not line up at all. The angle between the steering column and the steering box does not match. The steering box is mounted to the frame with a D shaped tab, so can only mount one way. The steering column attaches to the dash, and can only mount one way as well. The column can adjust up and down in the opening in the firewall, but the angle does not change. I couldn't get the shaft to line up properly, so I had to just omit it. Just another reason for being disappointed with this kit
-
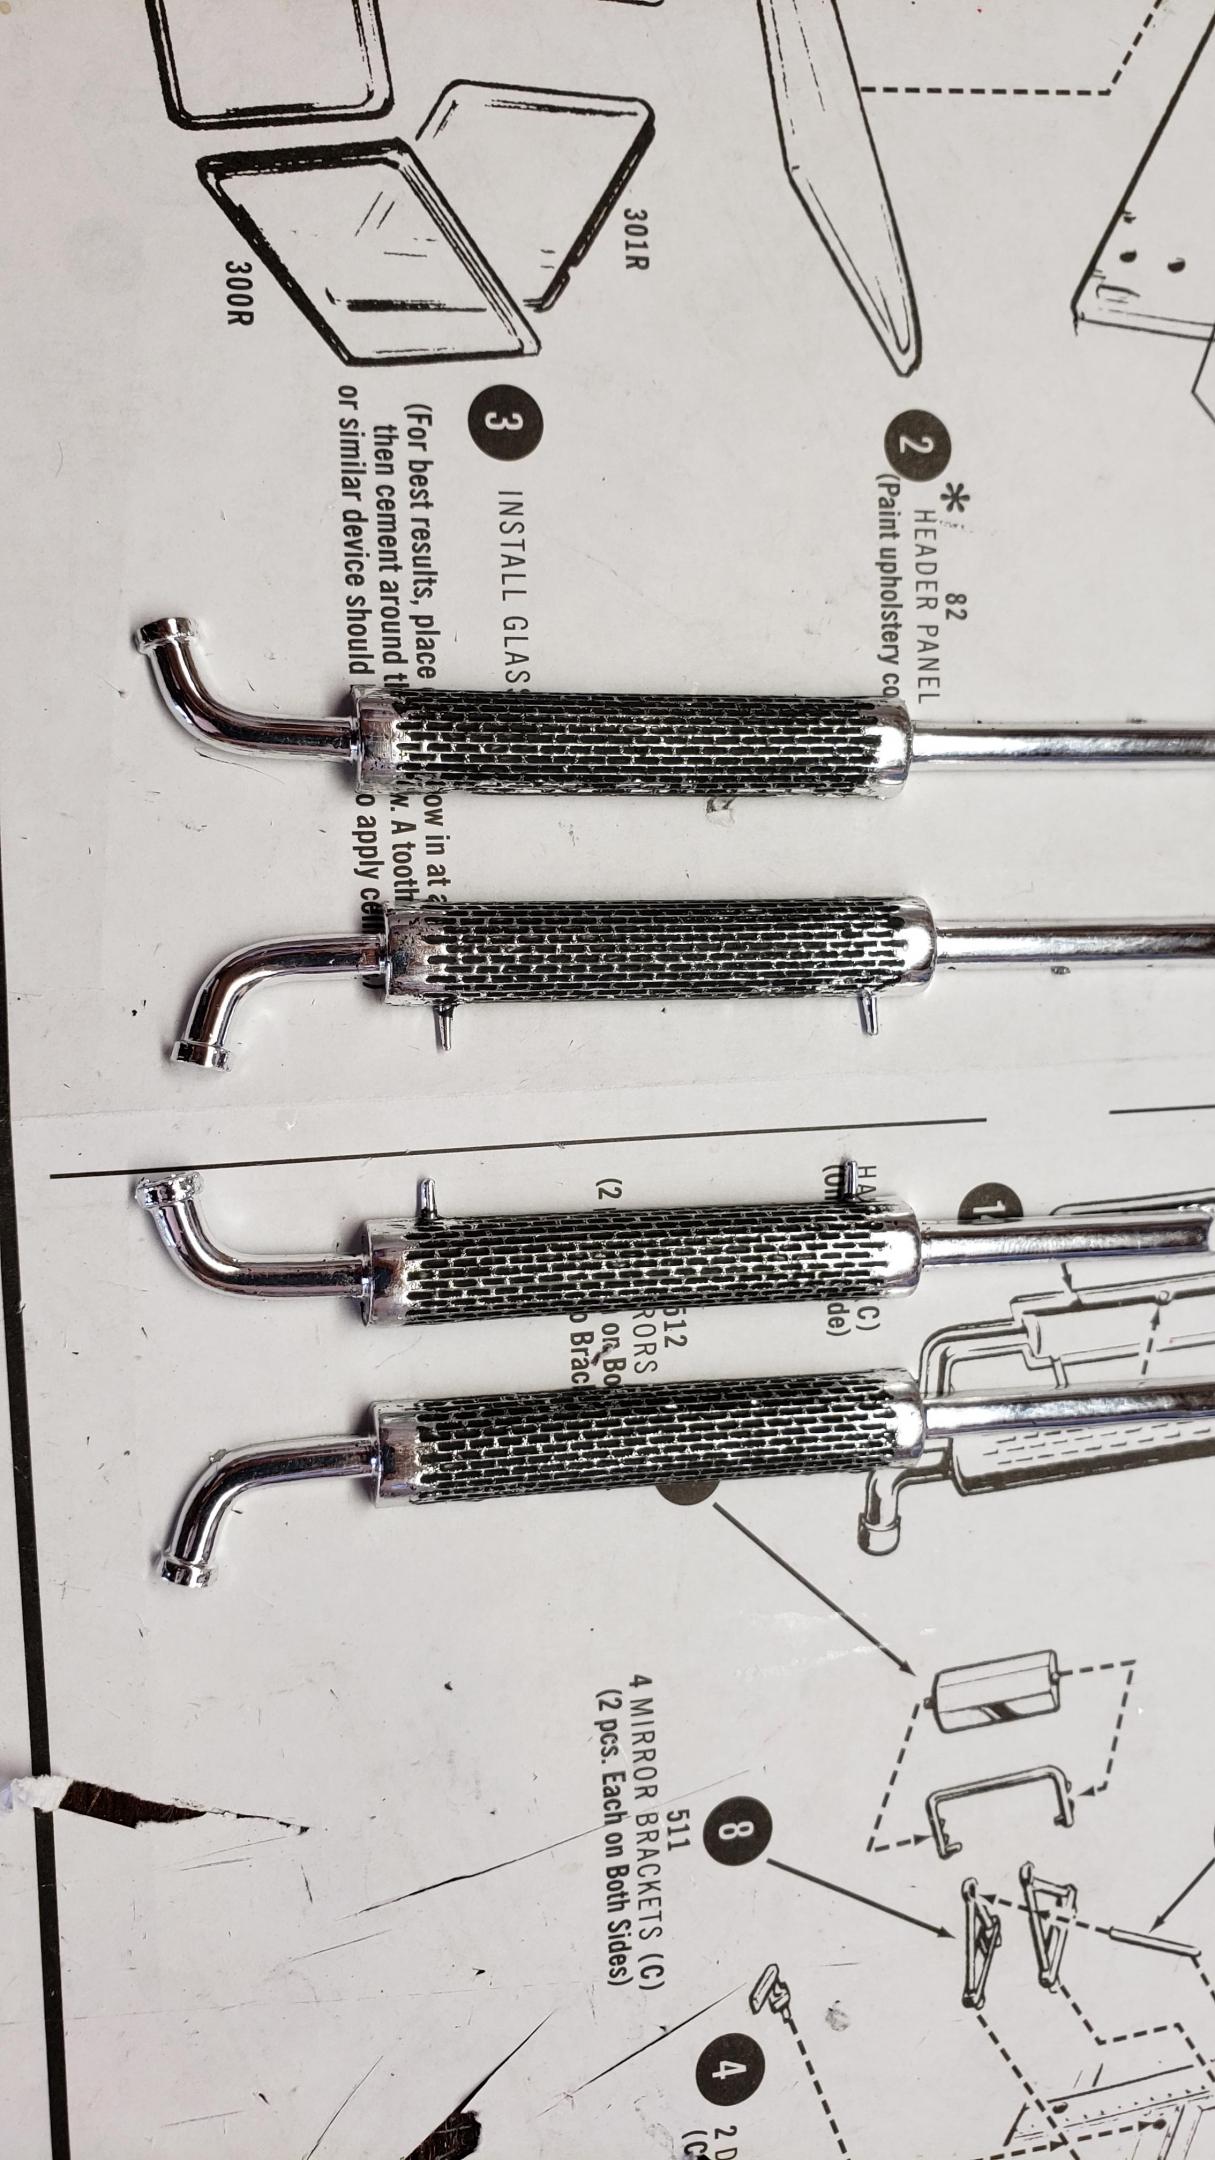
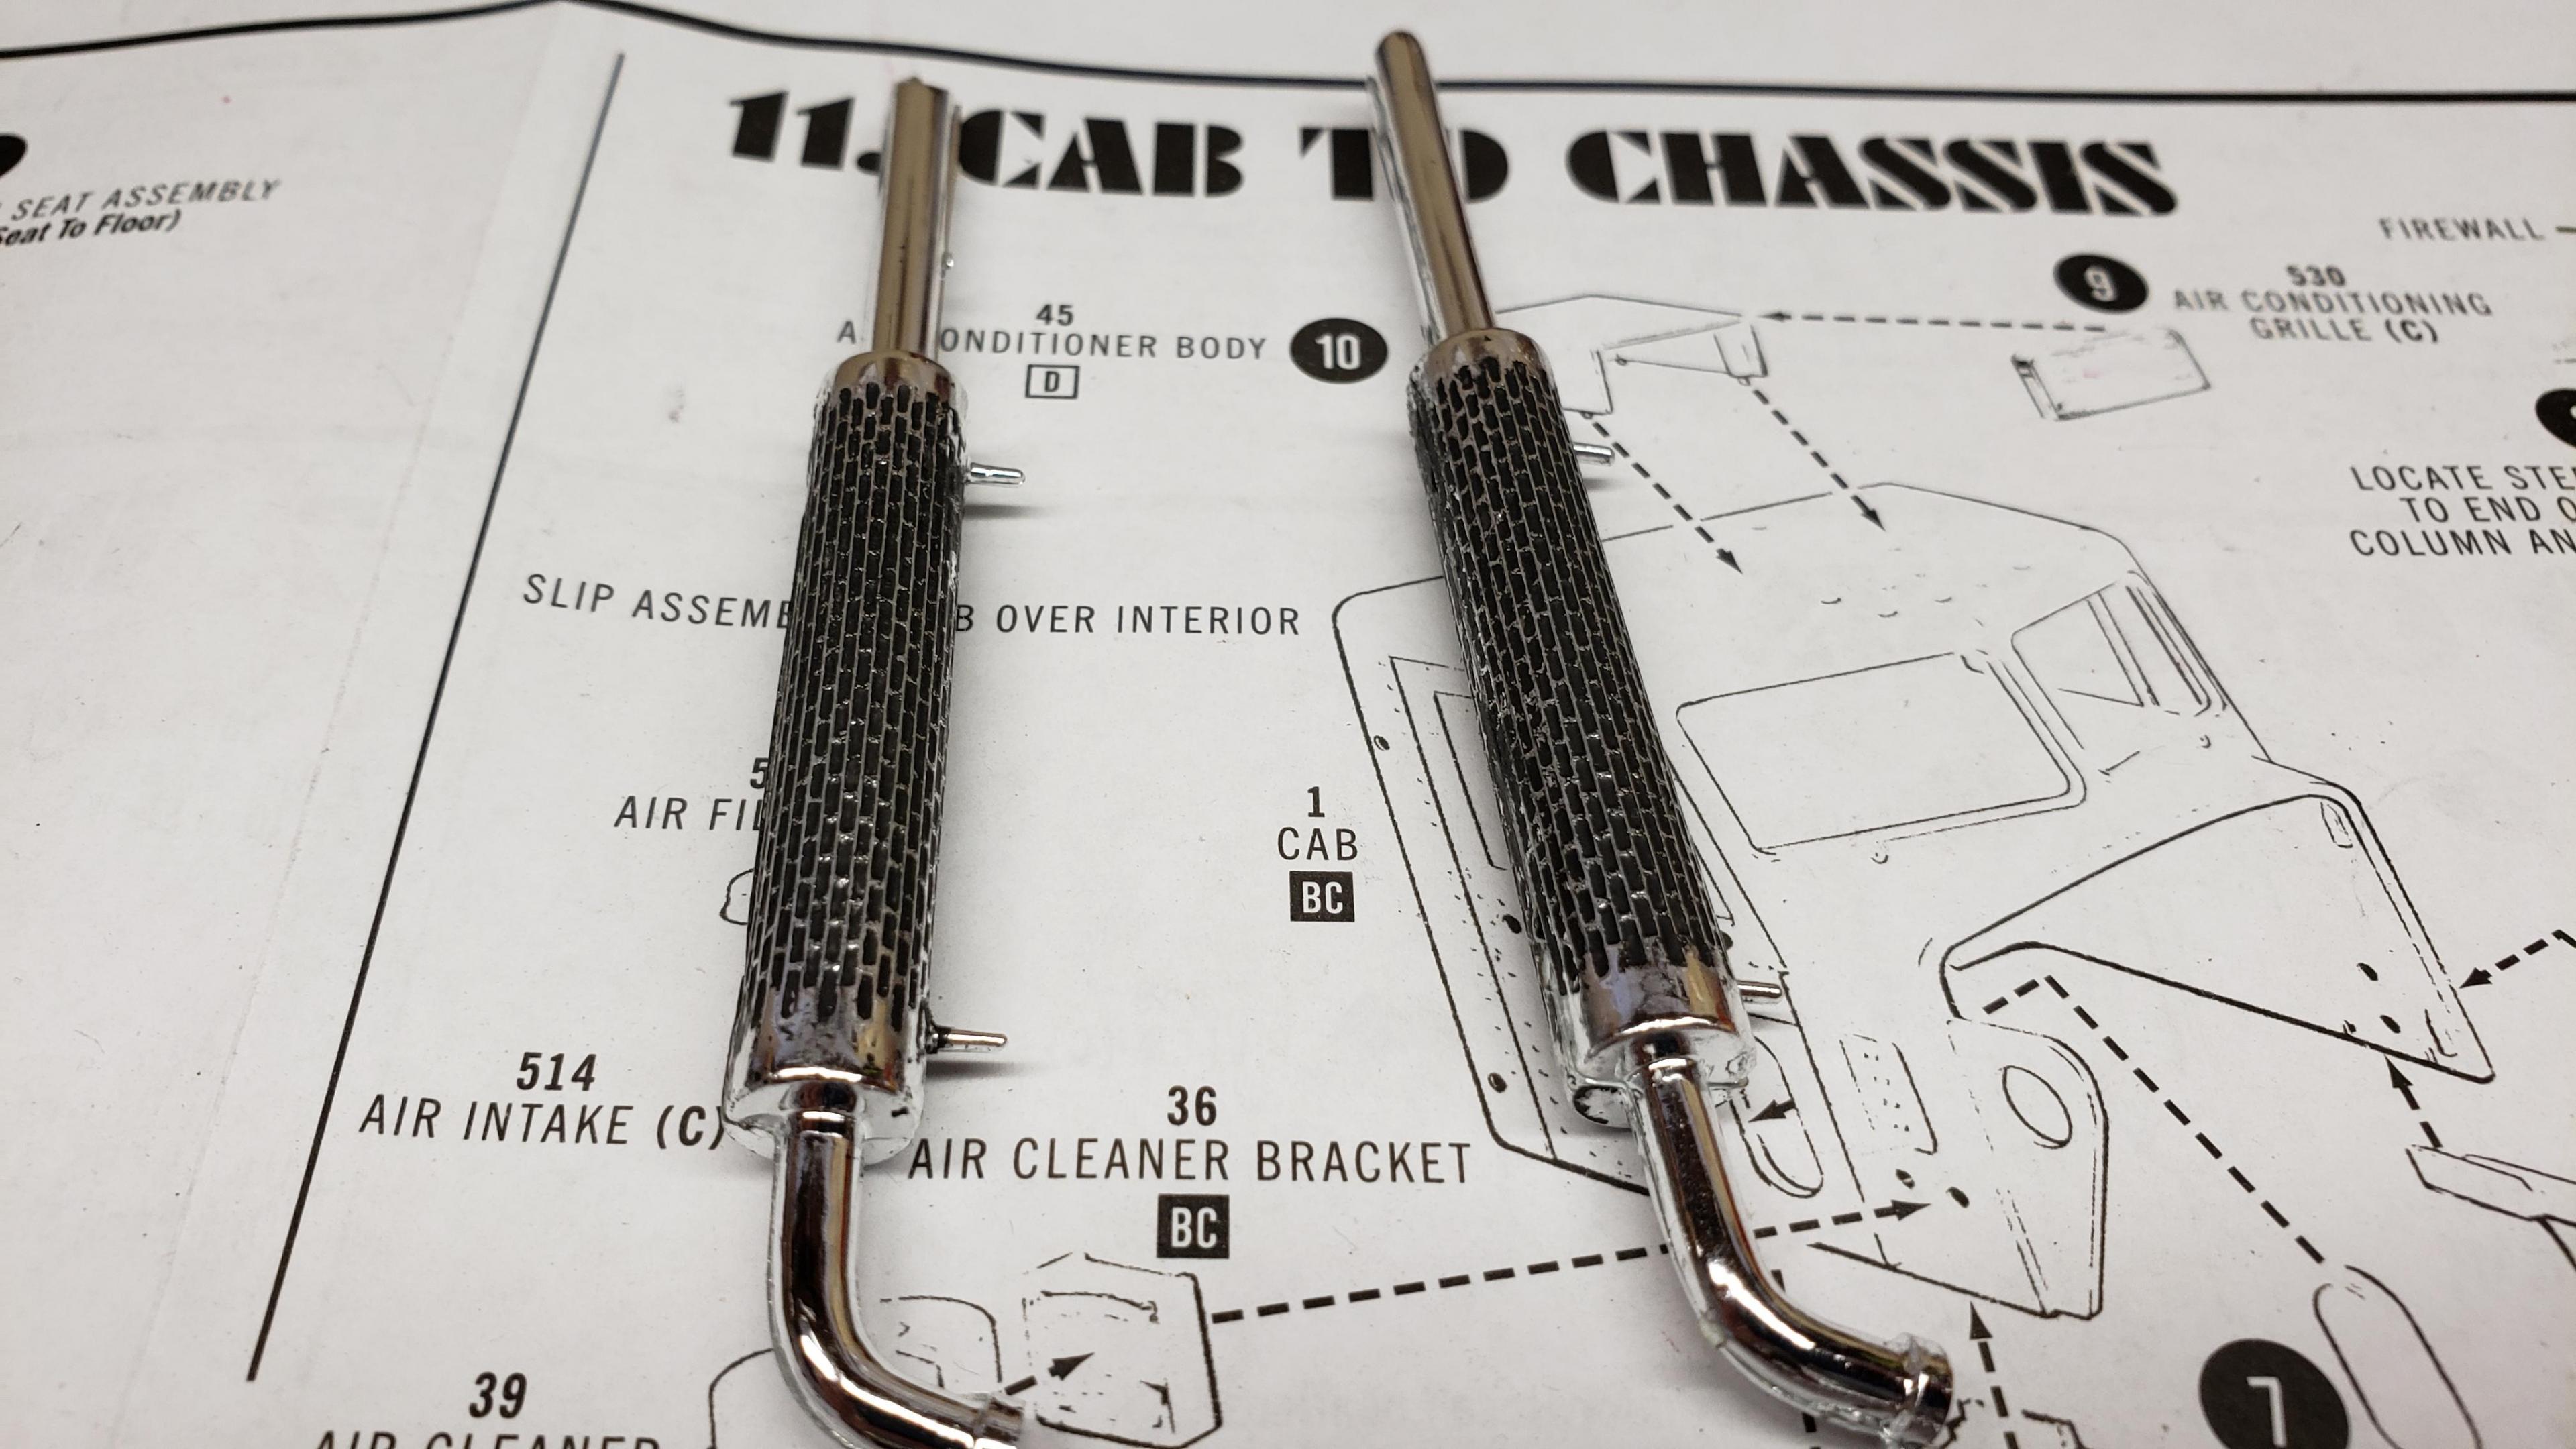
Some more progress... I cut out the air filter relief on the driver's side of the hood for the other air filter And I detailed the exhaust heat shields, I'll be using the taller stacks from the snap kit And a little mock up with the cab and hood just sitting in place I have the air intake piping all set up, but can't put it in place until I mount the cab. I like to do the decals before I mount it, since it's much easier. So I'm at a standstill until I get the decals which are on order. Thanks for looking
-
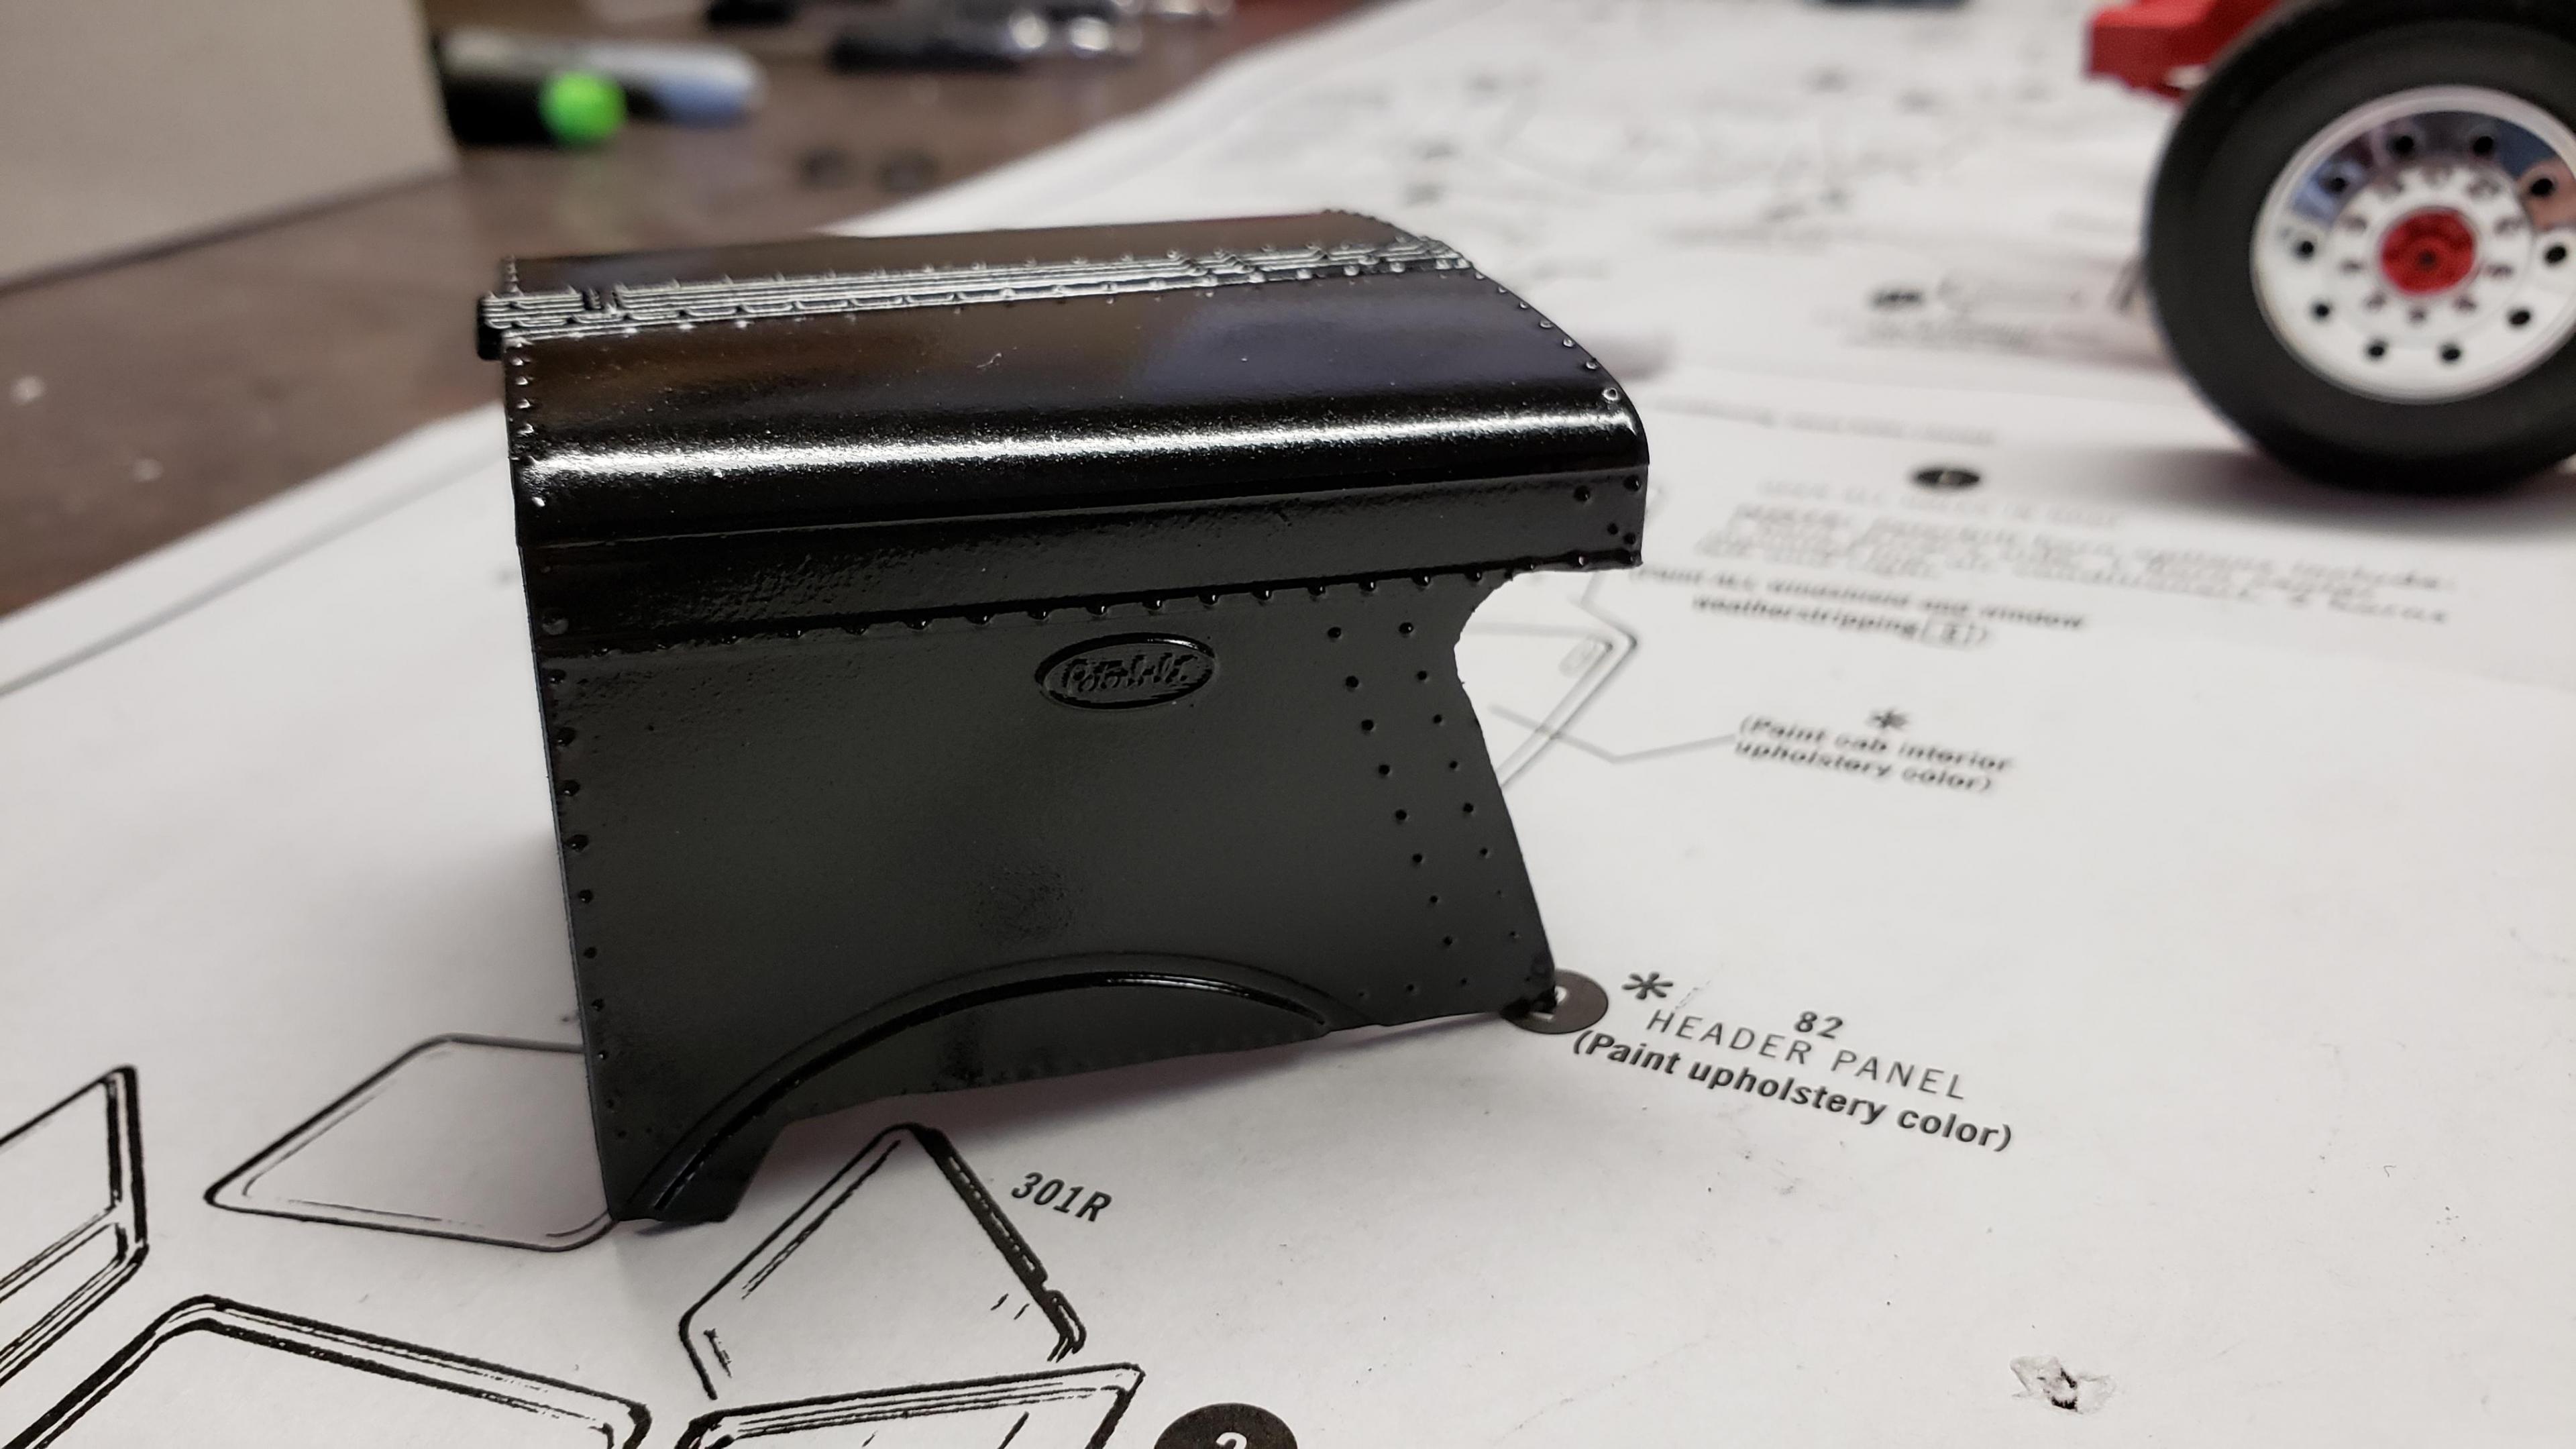
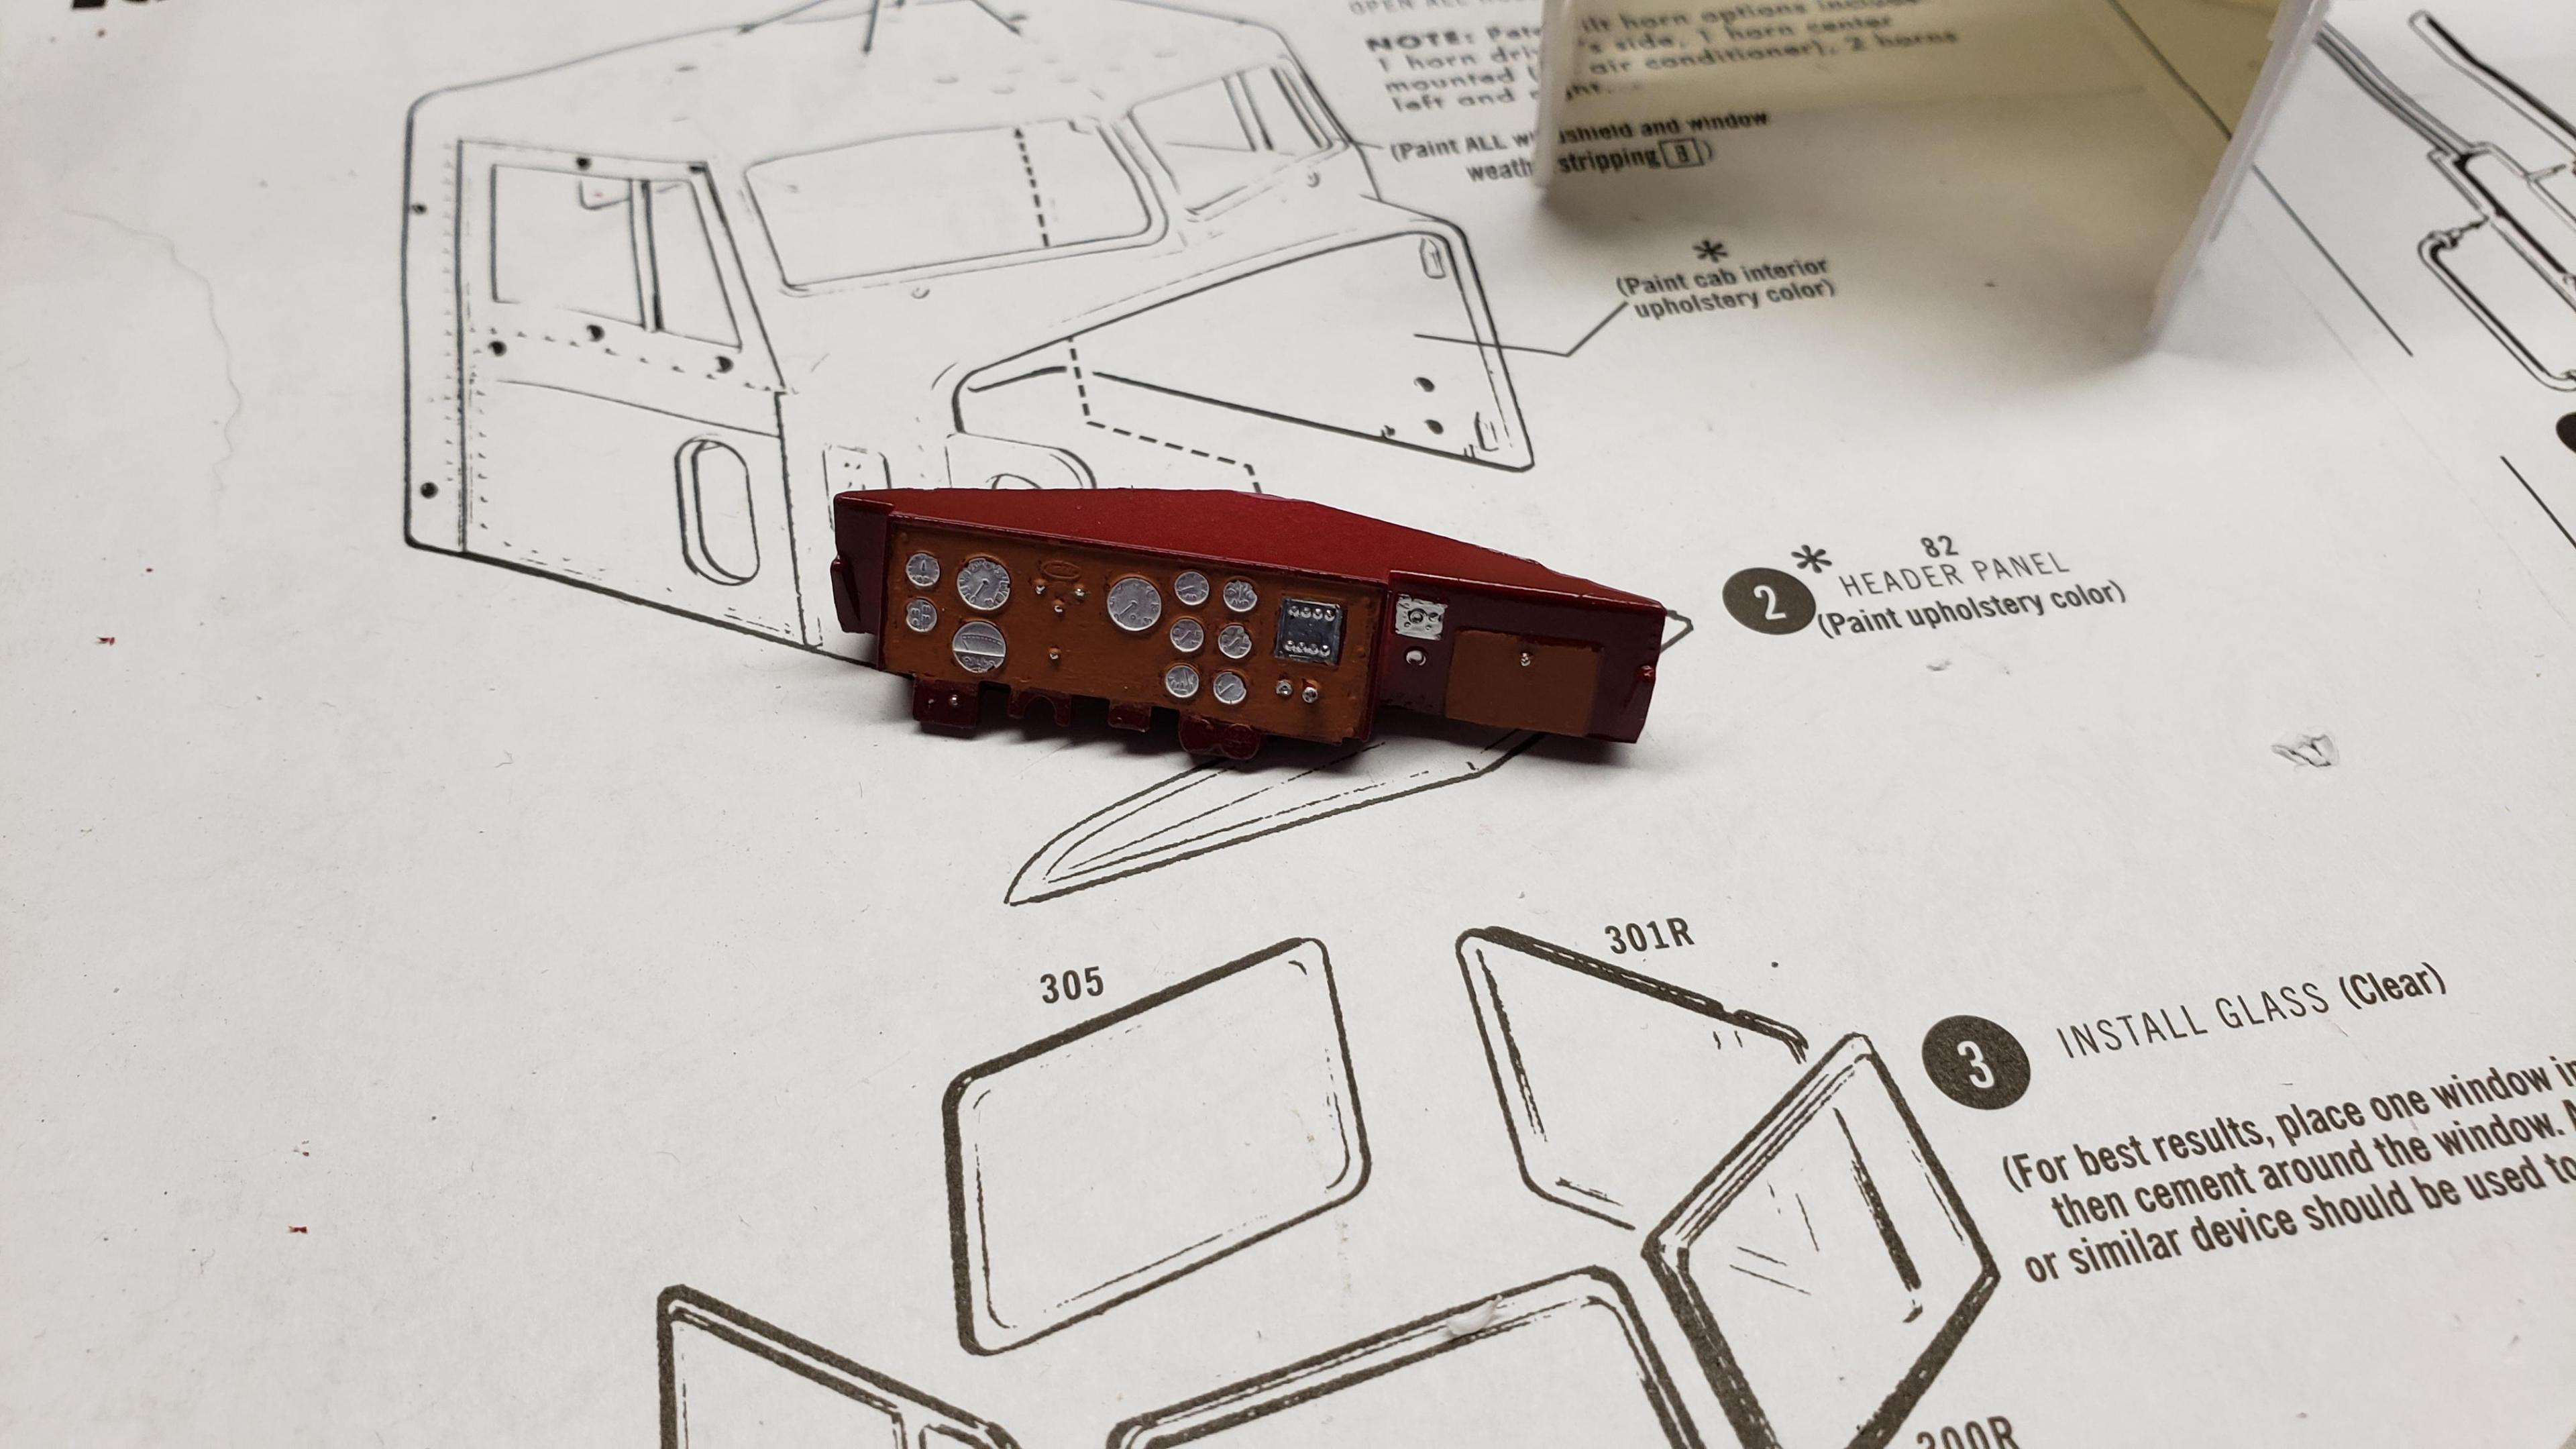
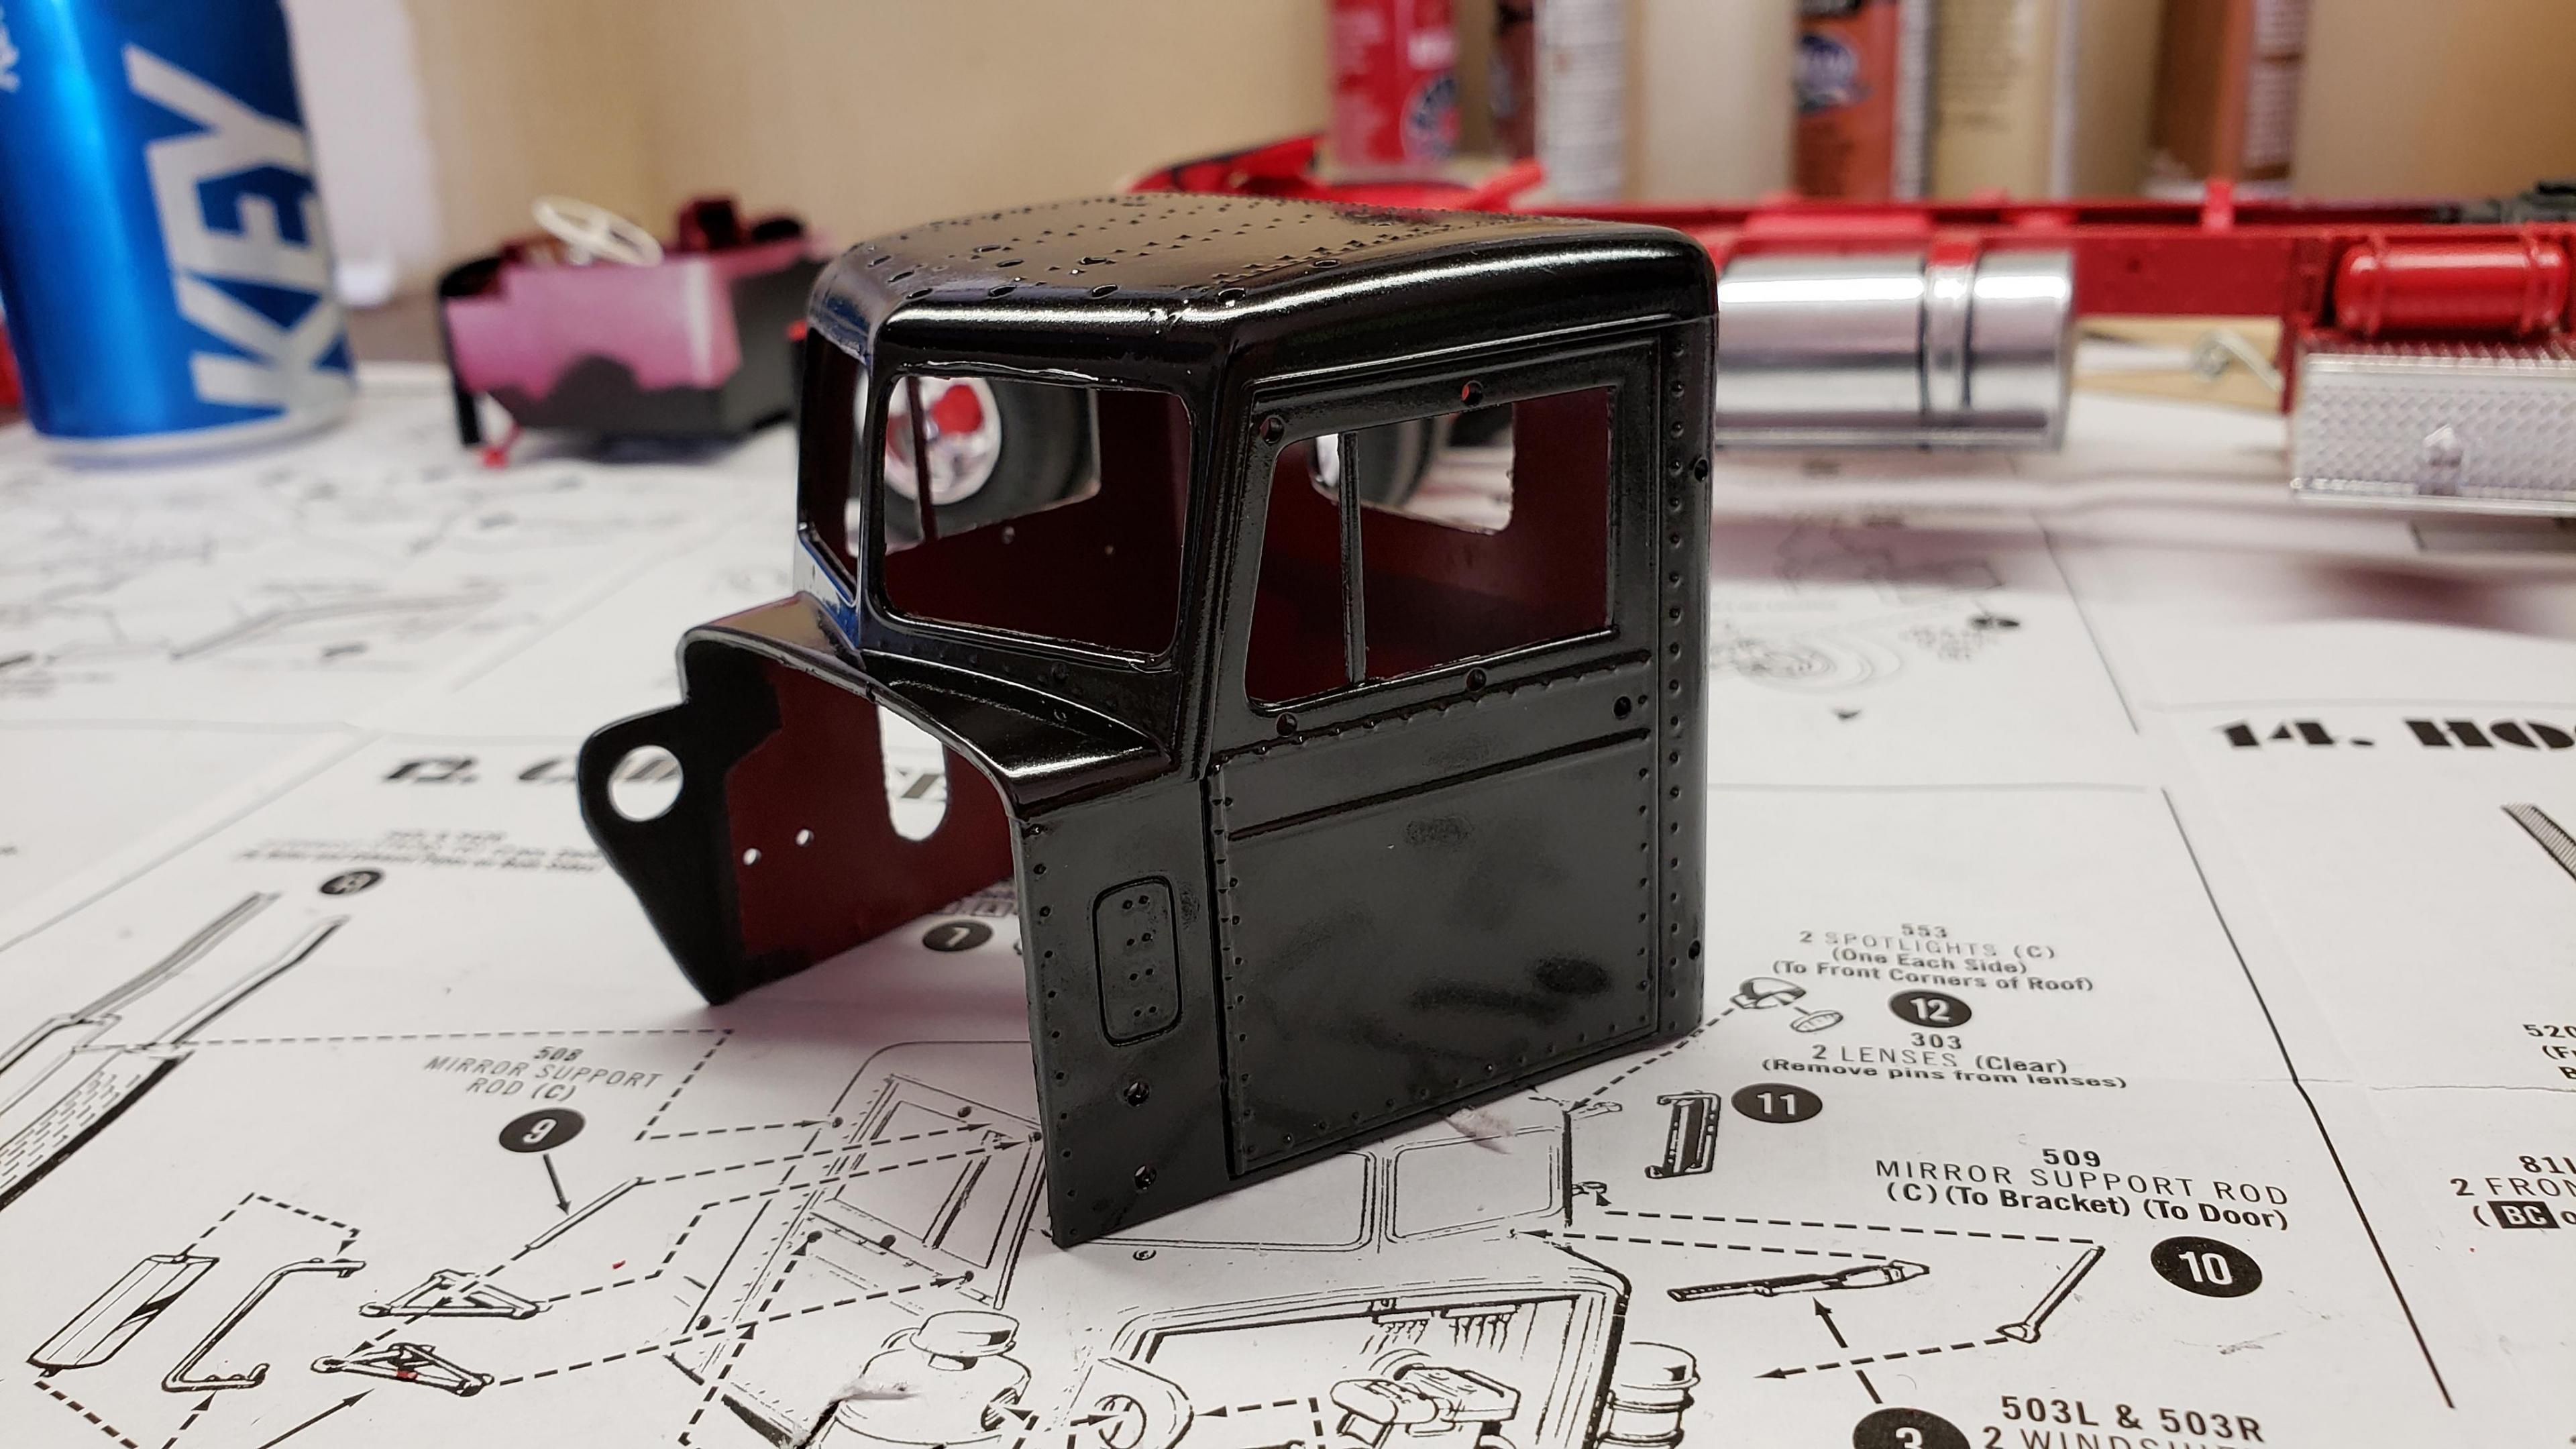
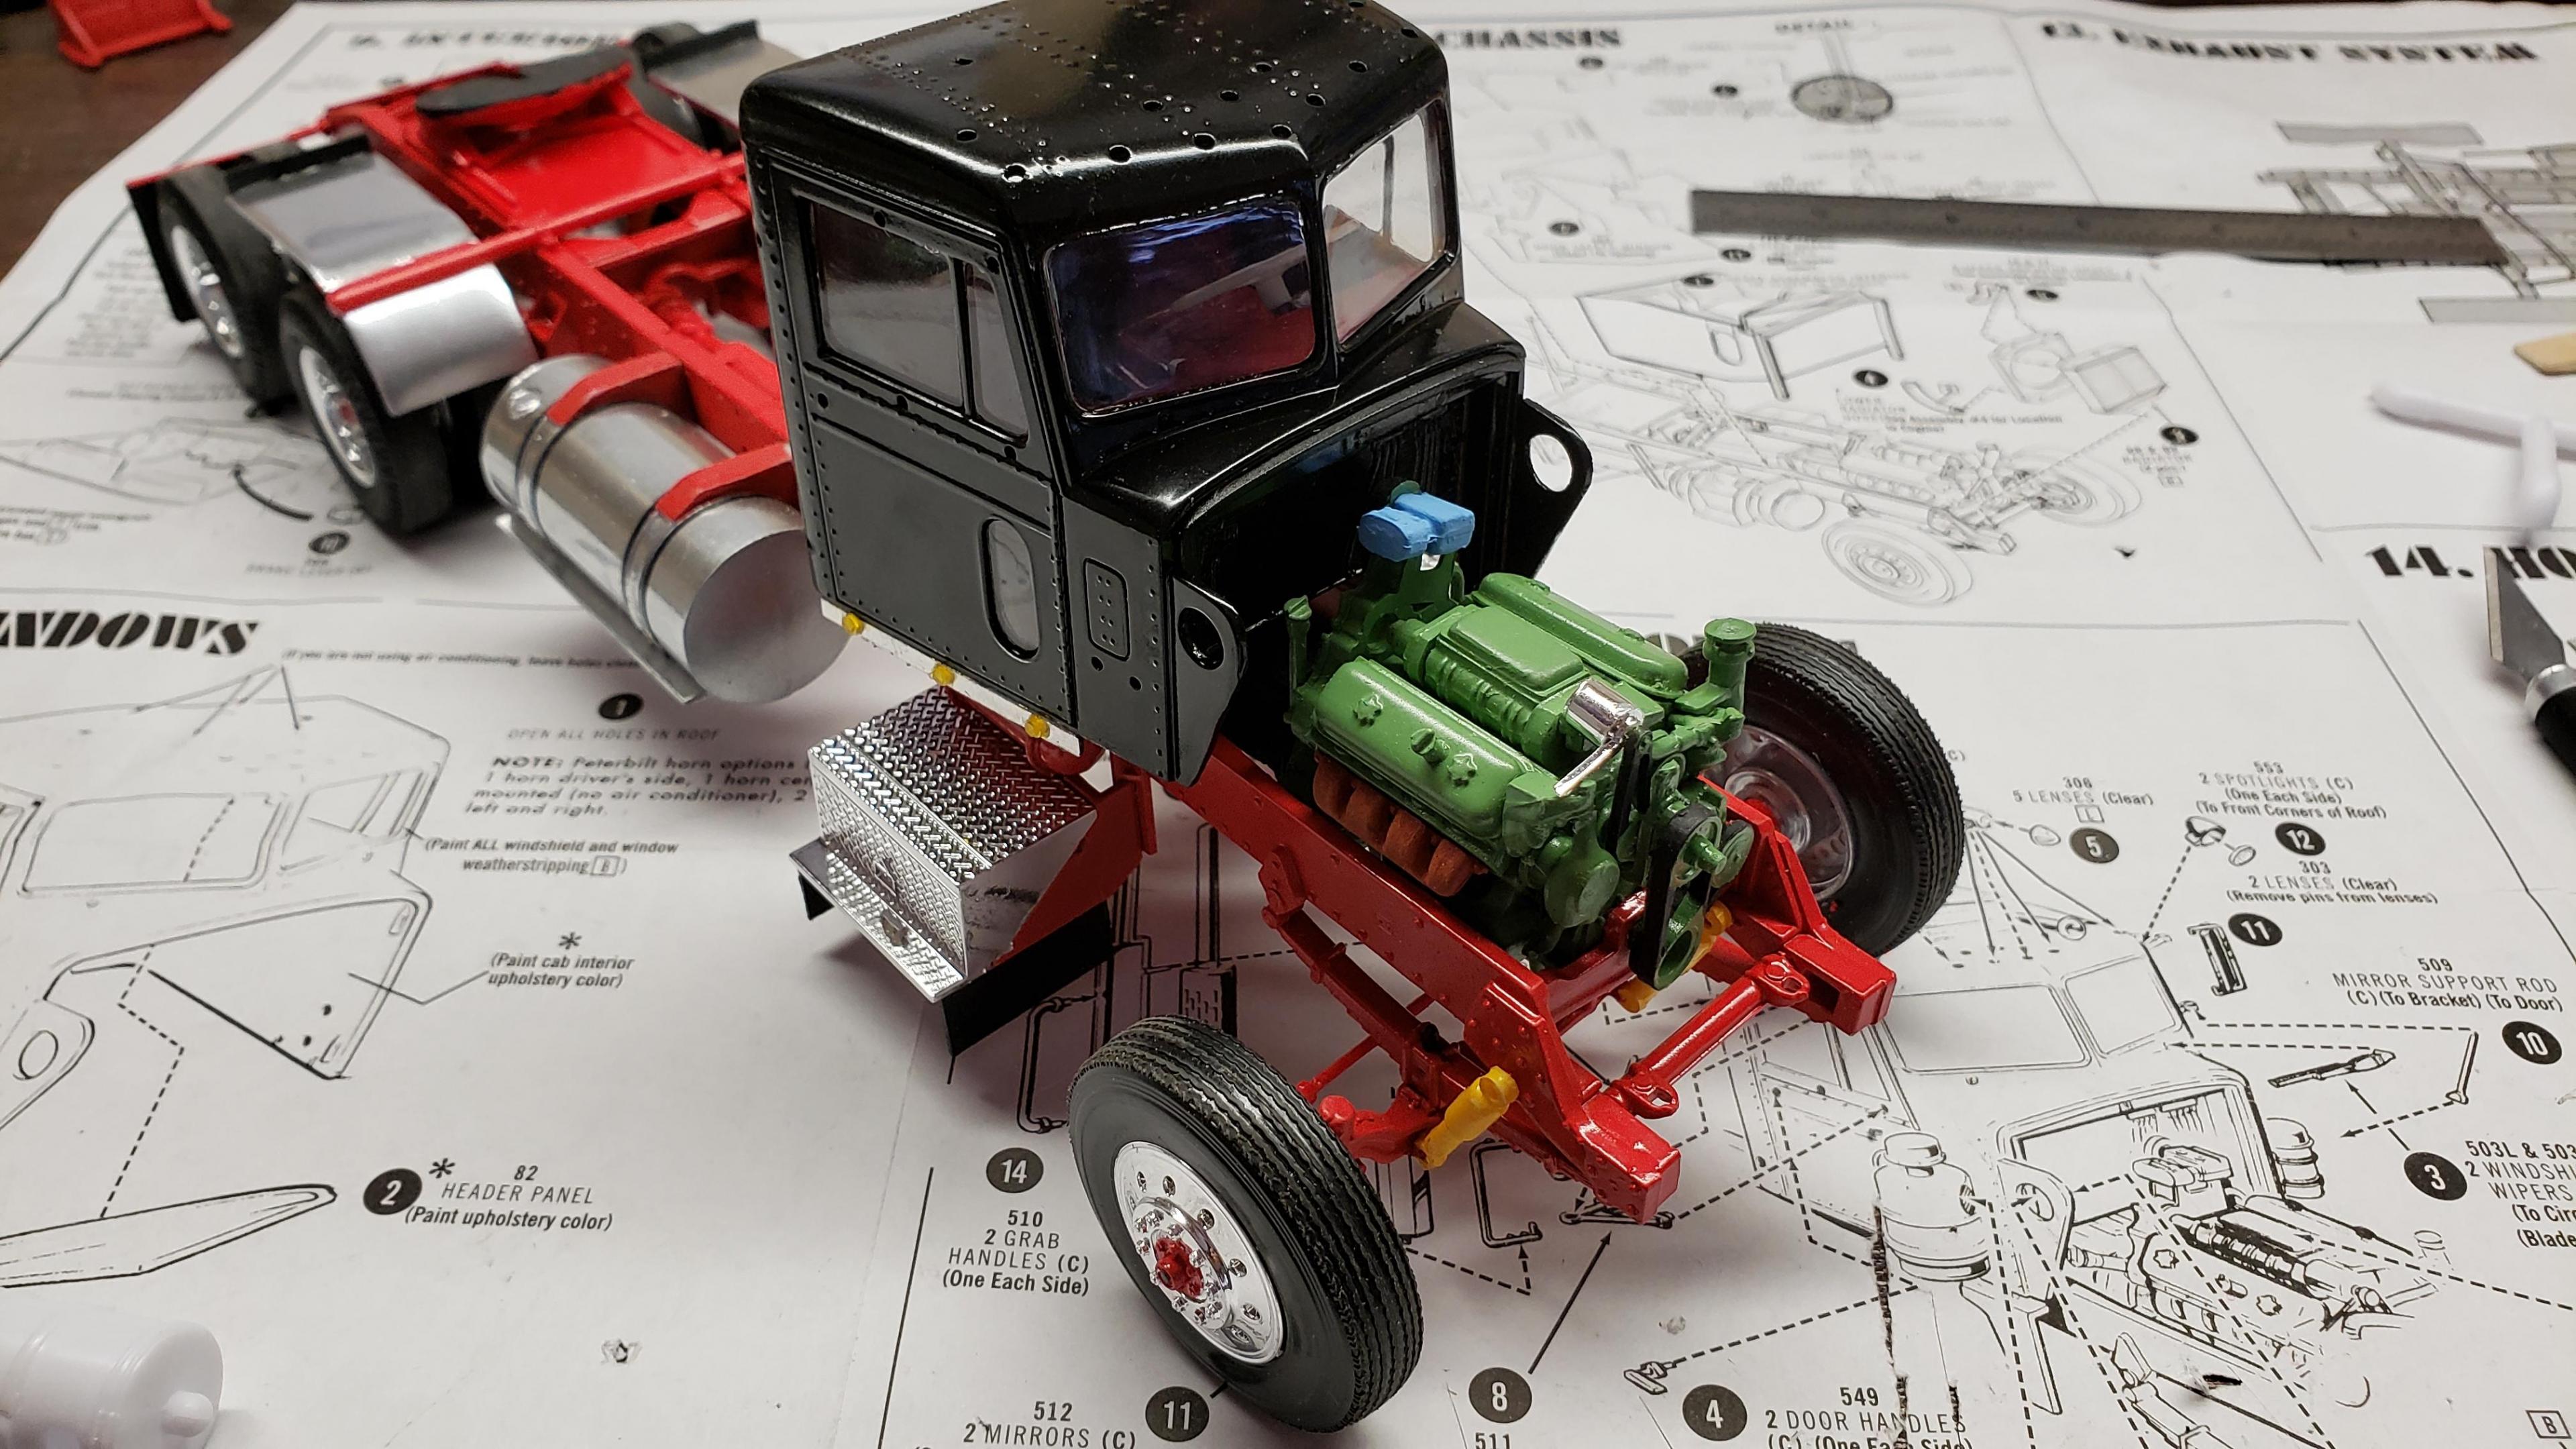
Some progress here. I've been working on it a lot, but feel like I haven't accomplished much. I put on half fenders from snap KW kit, and sanded off diamond tread. Made mud flaps for under the steps my dash painting skills aren't great, but I did what I could on the interior. I went with oxblood red I want dual air filters on this rig, so I made a cowl for the driver's side i got the cab painted, and did some test fitting. I had lots of problems with fitment of the firewall i was reluctant to modify the cab and hood for the air cleaners. I didn't really want to cross that point of no return, but I really wanted the dual filters, so I decided to go for it. I'm using the filters from the snap kw. For some reason, this detroit has the air compressor mounted a FOOT above the engine, right at the firewall. Right in the way of the air intake piping. It will take some creative modification to route the ducting around the compressor. But, I'm up for the challenge. I already drilled holes in the cab for the air filters, so I have to figure it out. And here's how she sits
-
Well, some previous versions of this kit came with a visor, I just wasn't aware that this release didn't. Made me very dissapointed since I really like the lines on that one. The Revell snap kit never came with one. My first attempt at replicating the visor was a fail, I'll have to try again. Thanks everyone for the kind words. This truck will be a looker for sure!
-
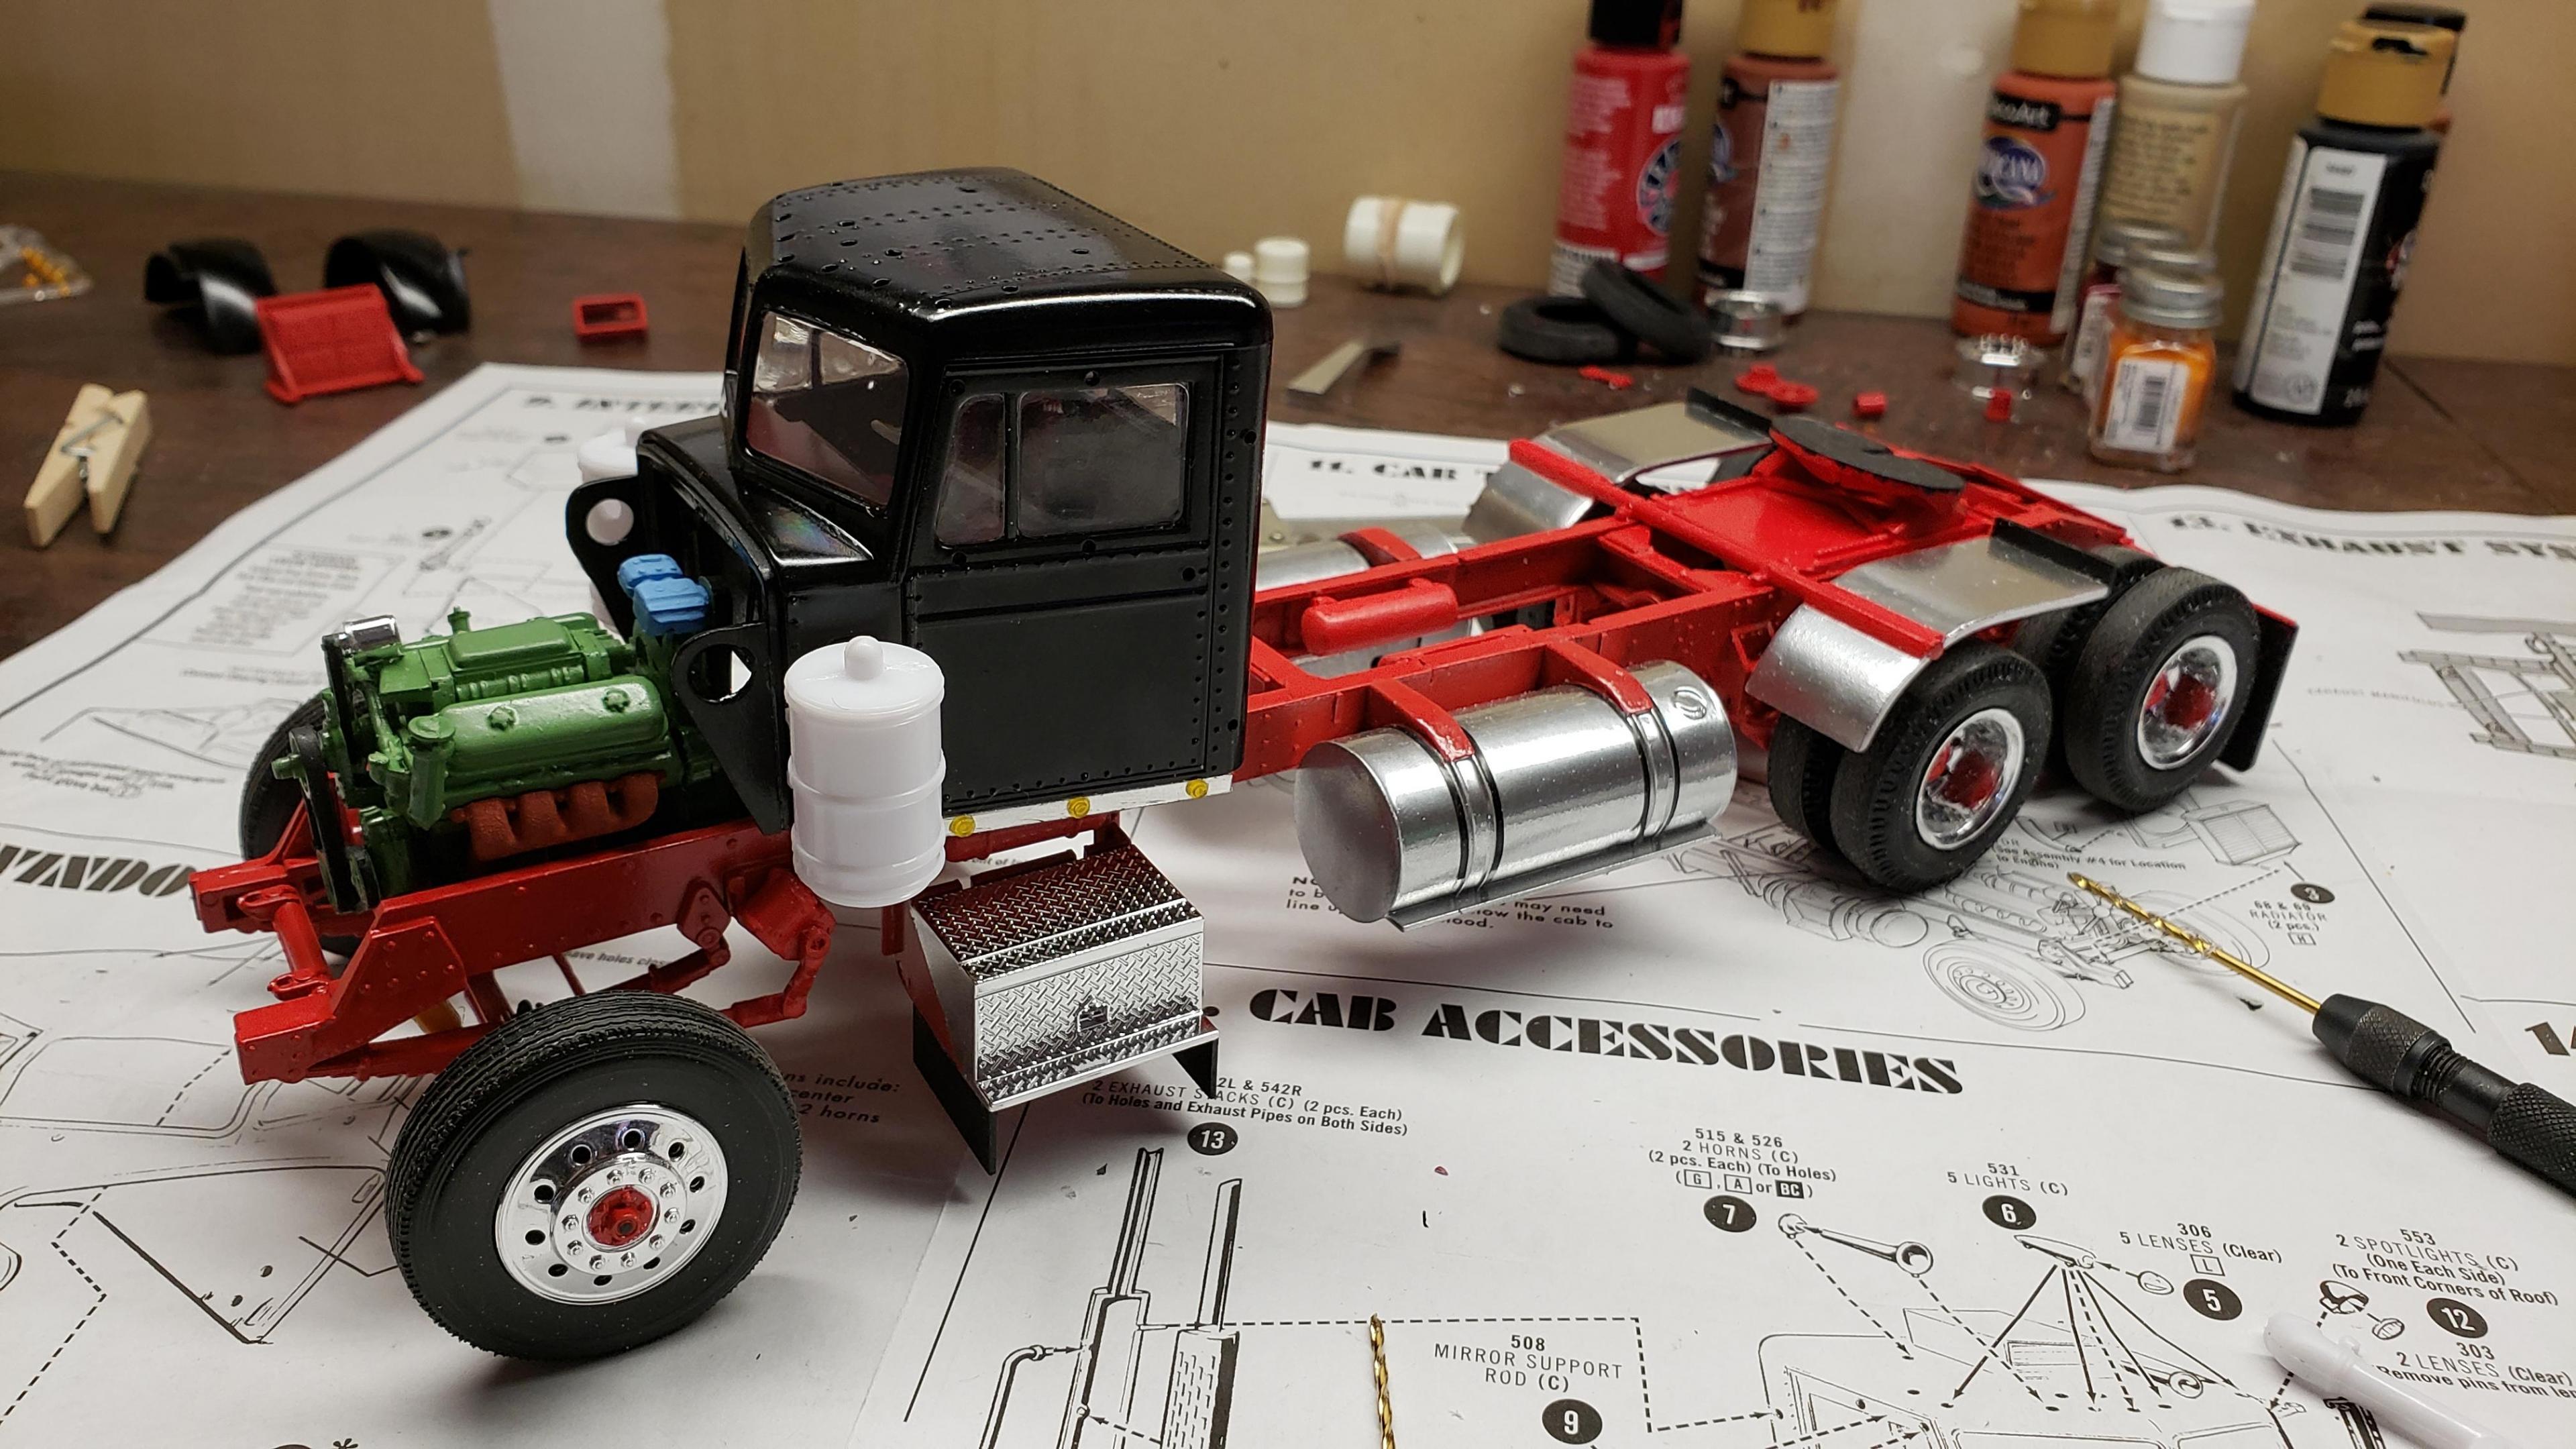
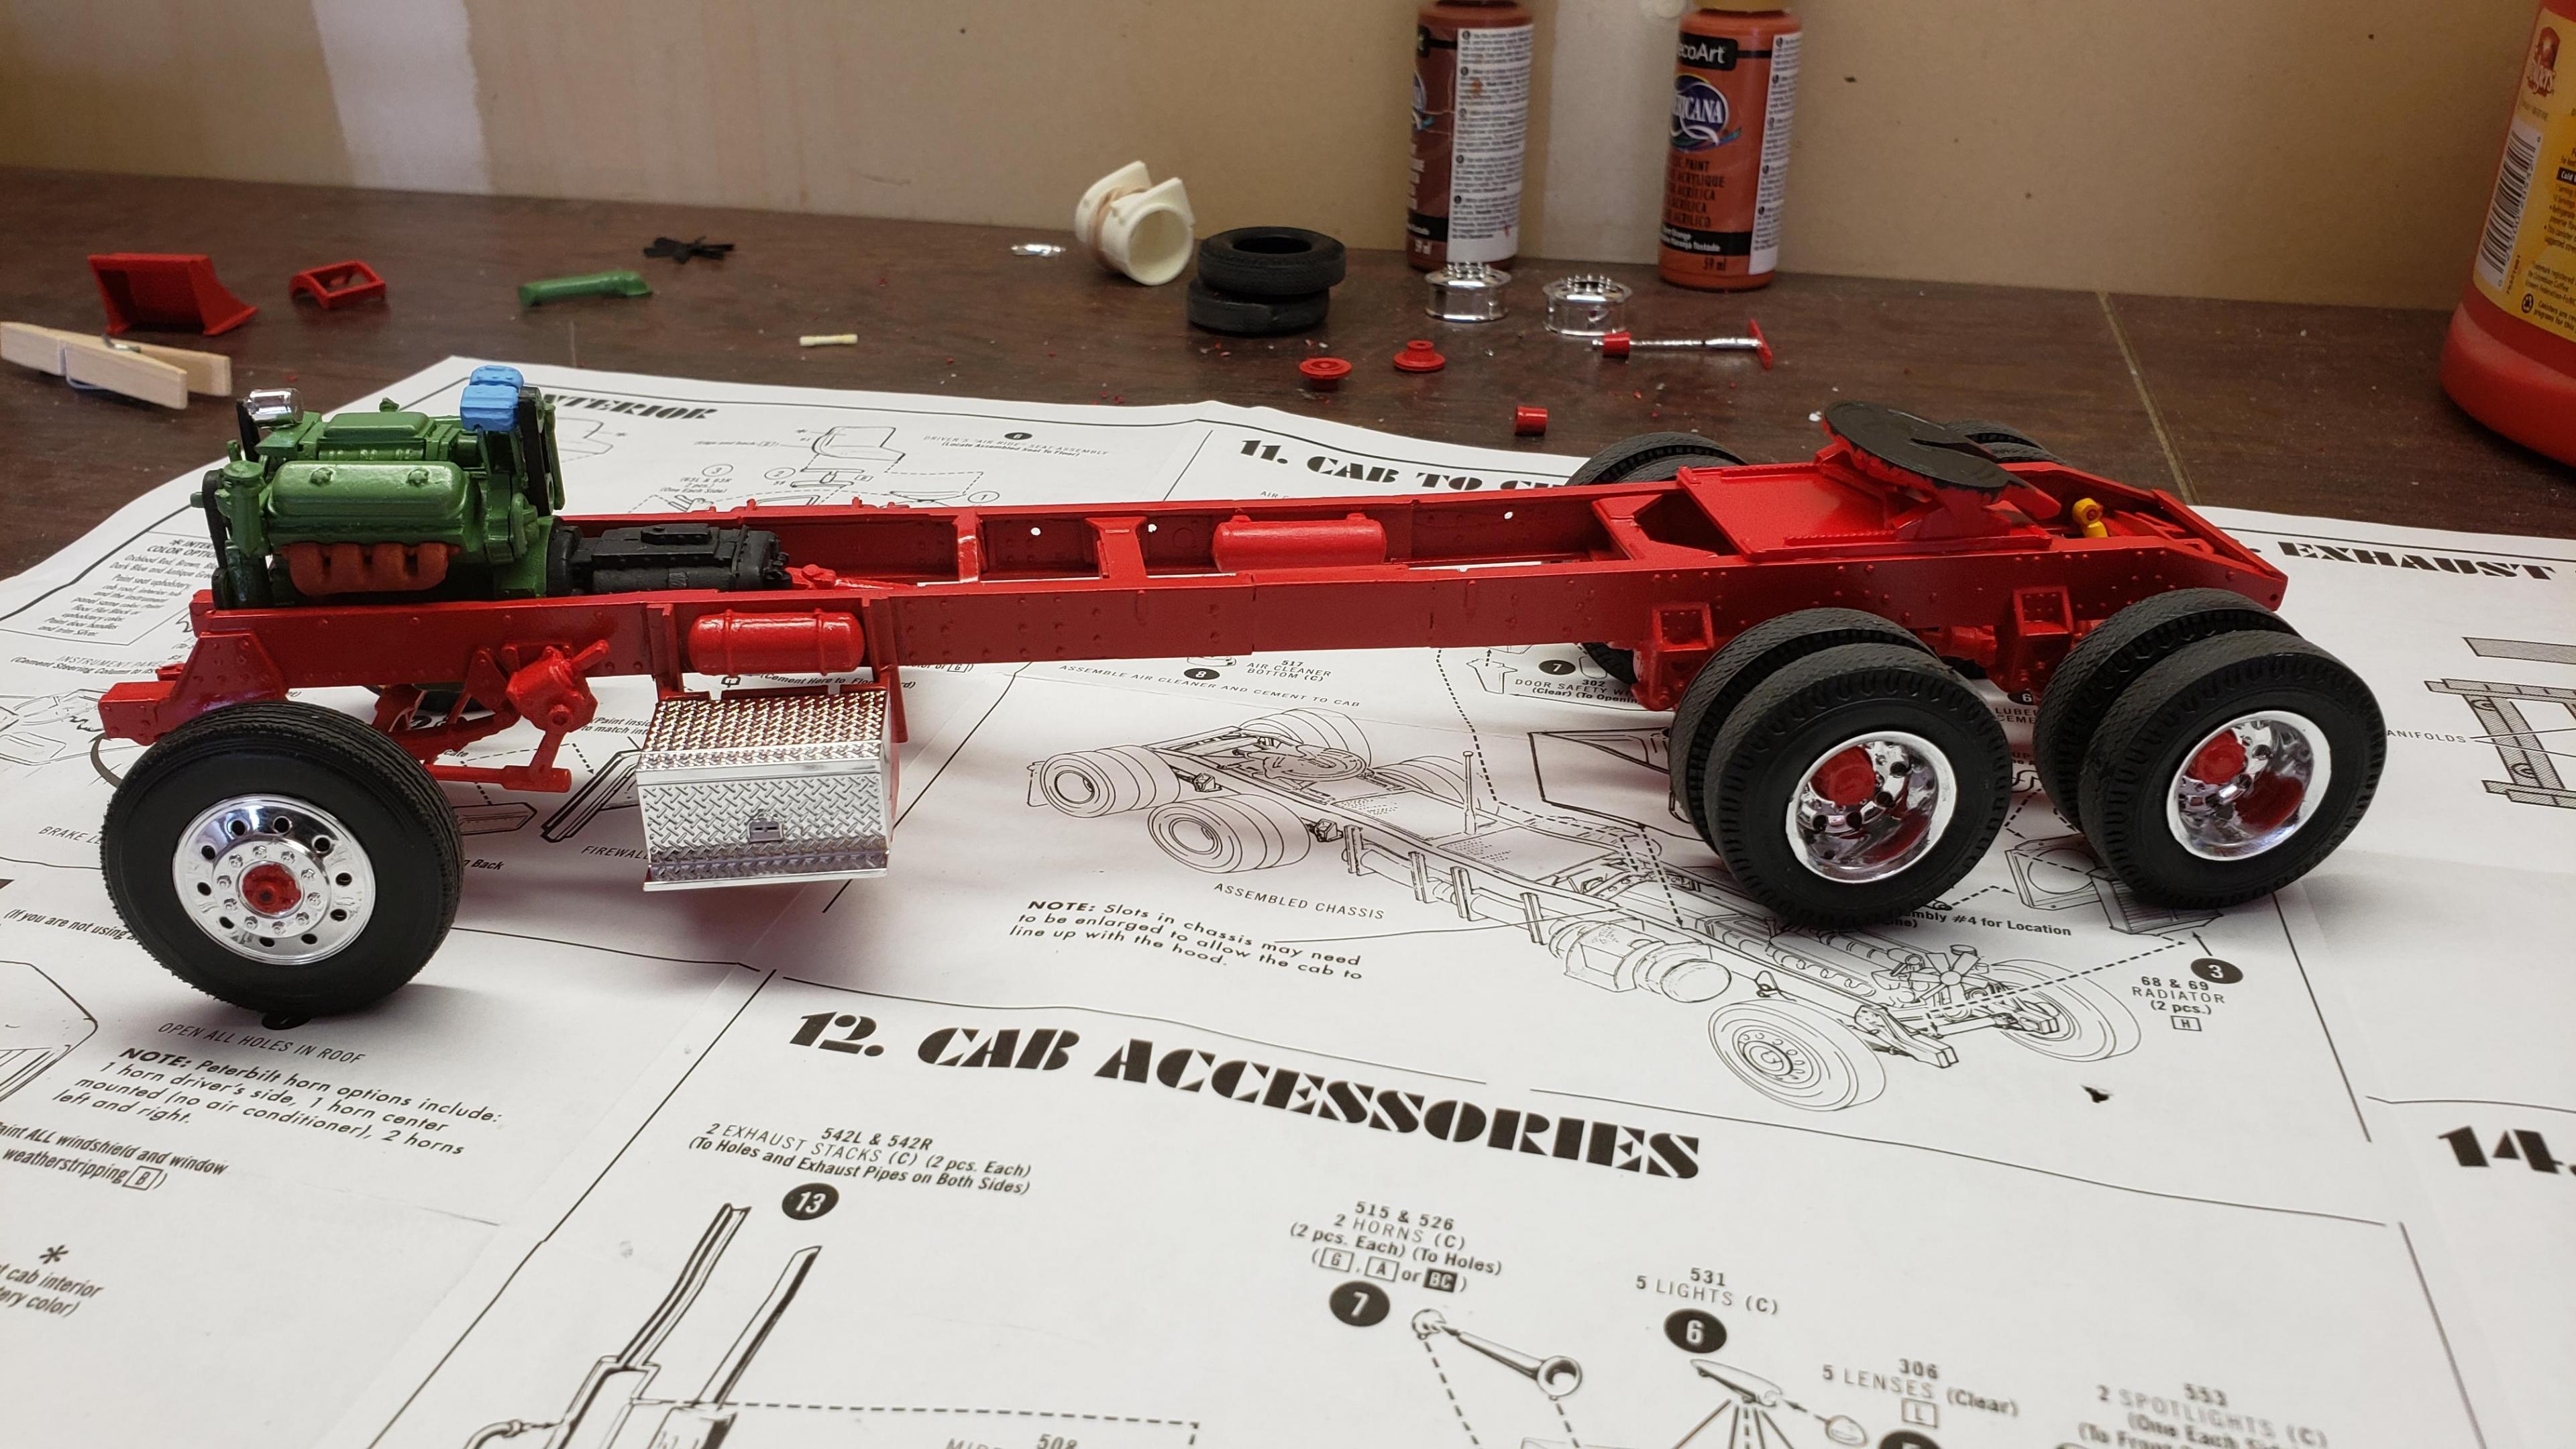
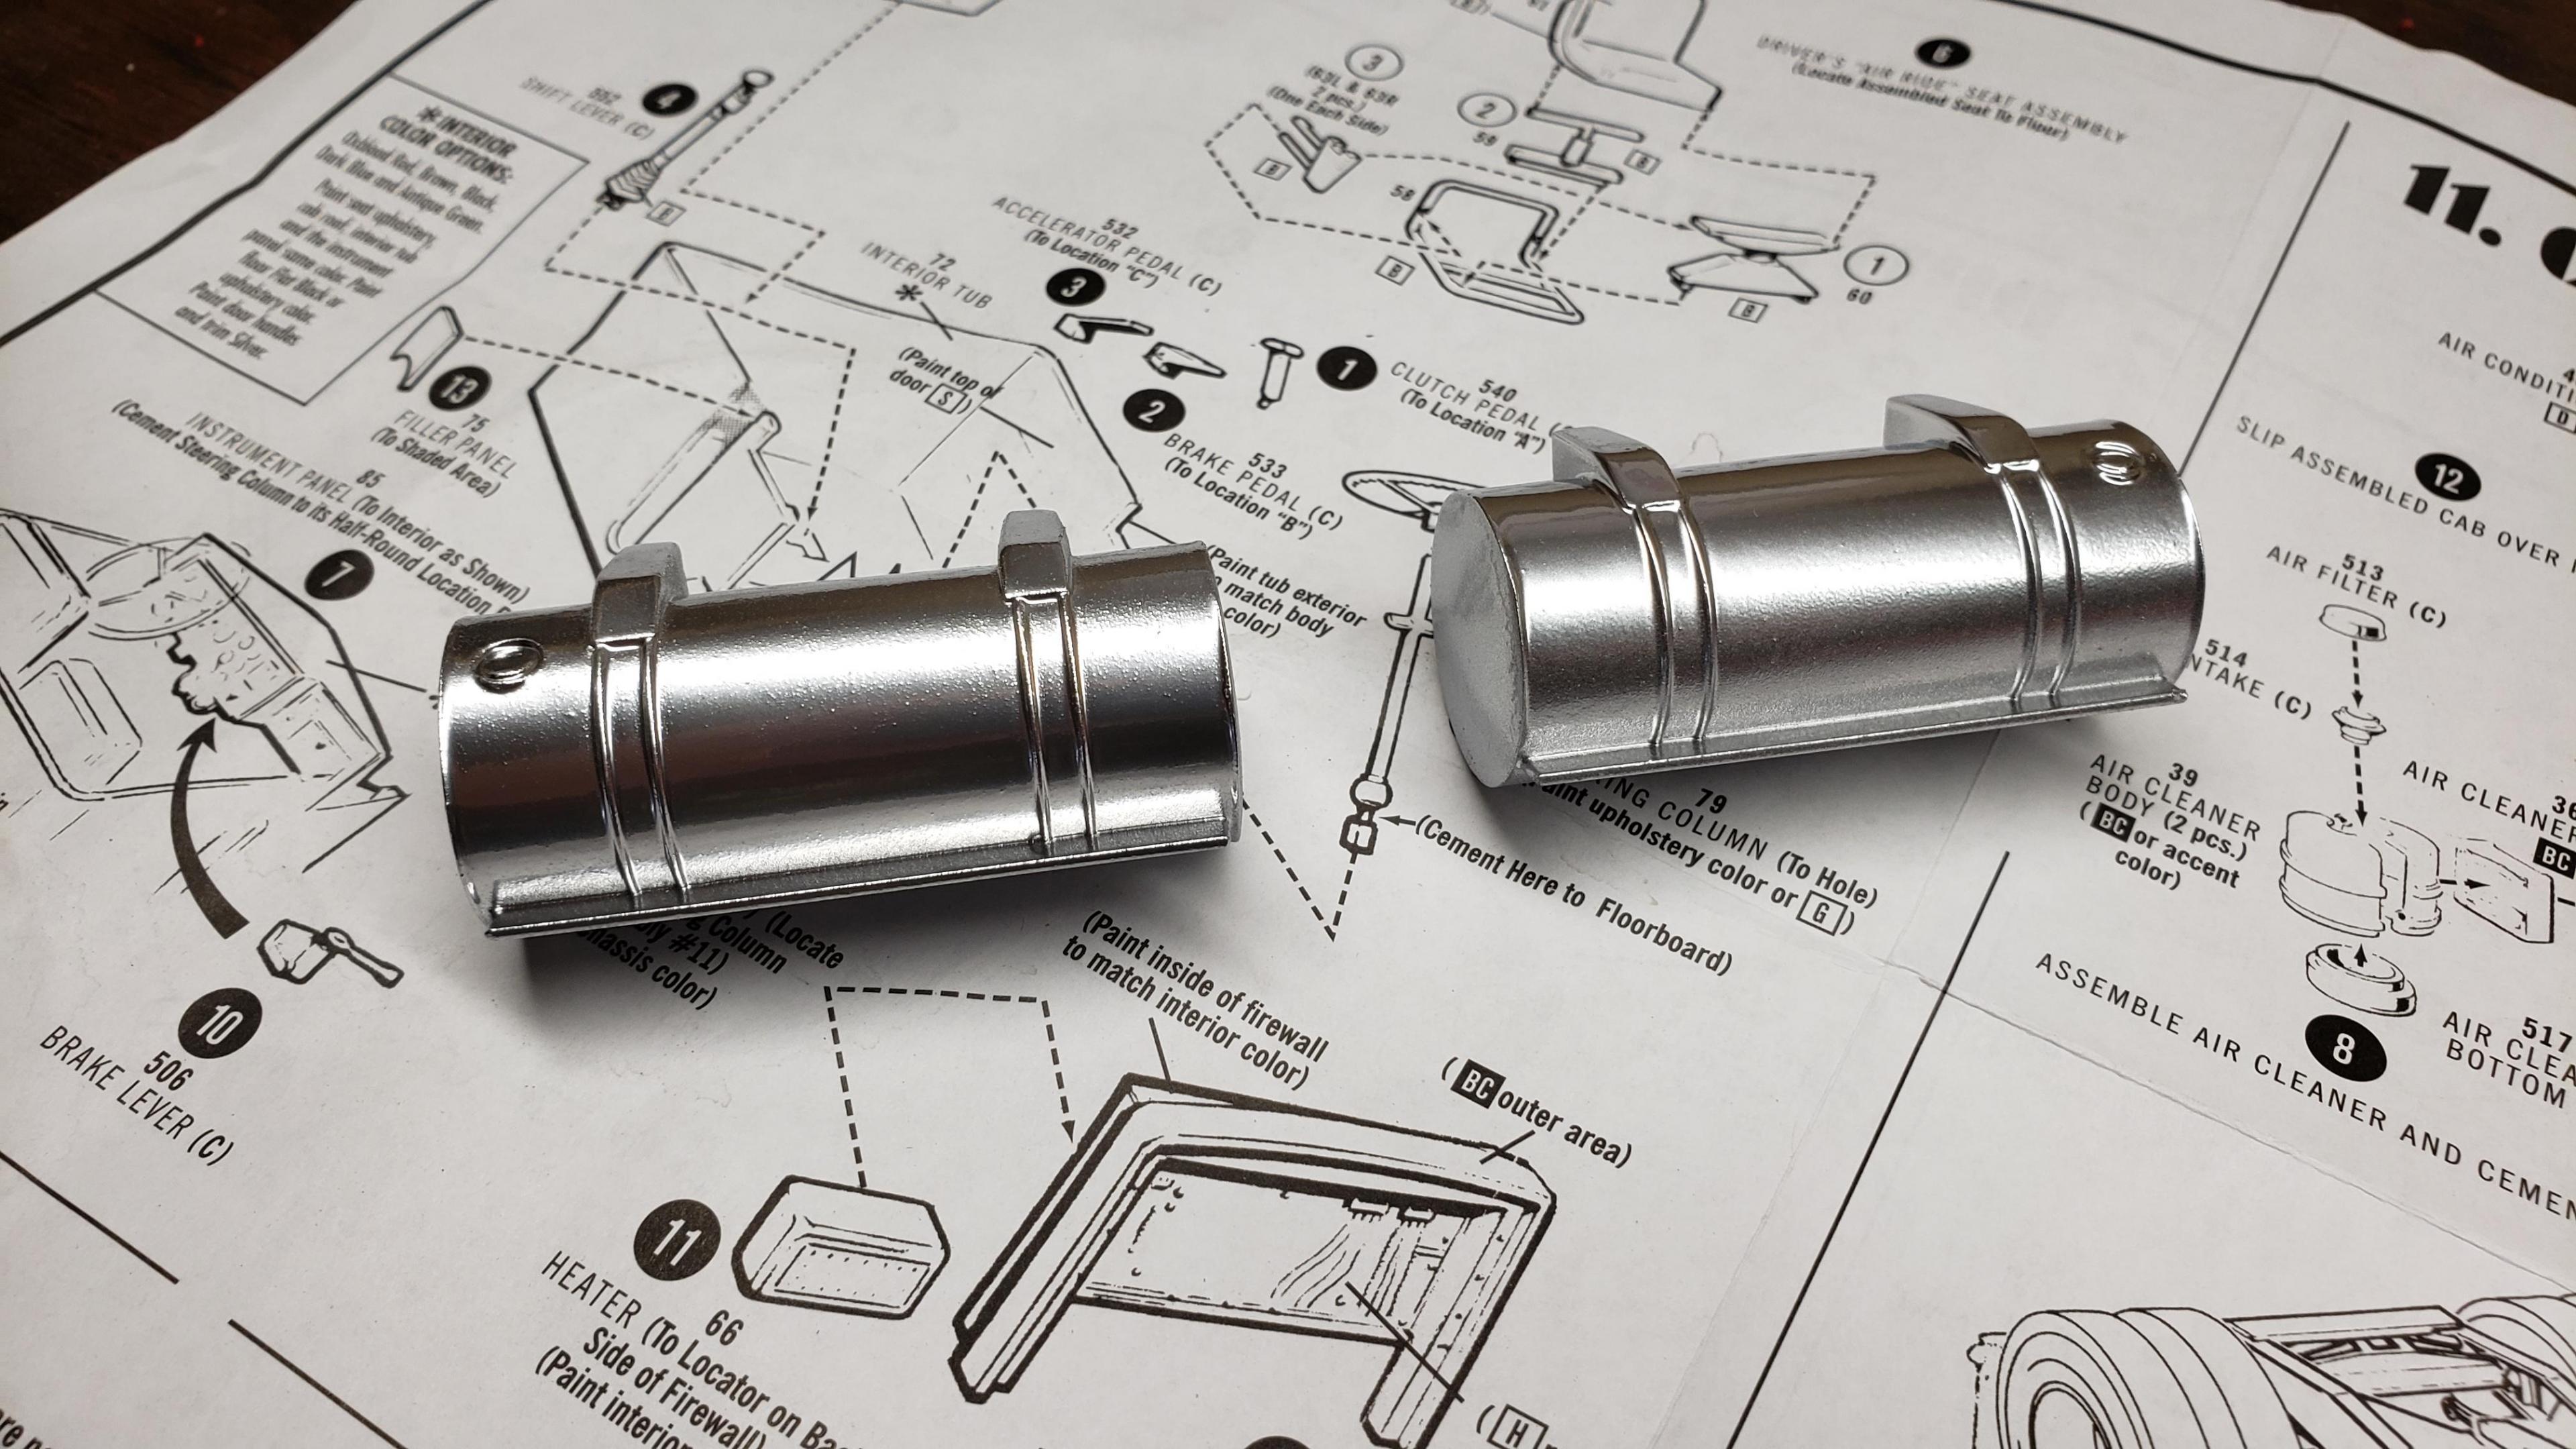
A little progess today. I got the wheels mounted. I used battery and storage boxes from the 378 kit. Prepped the mudflaps (1 1/2" thick in scale (eyeroll)). I'm using the fuel tanks from the snap kw, and spent some time filling the seams. 5th wheel in place
-
Thank you! I have a photo of an updated old 359 that is my inspiration. I think the final color combo will look sharp
-
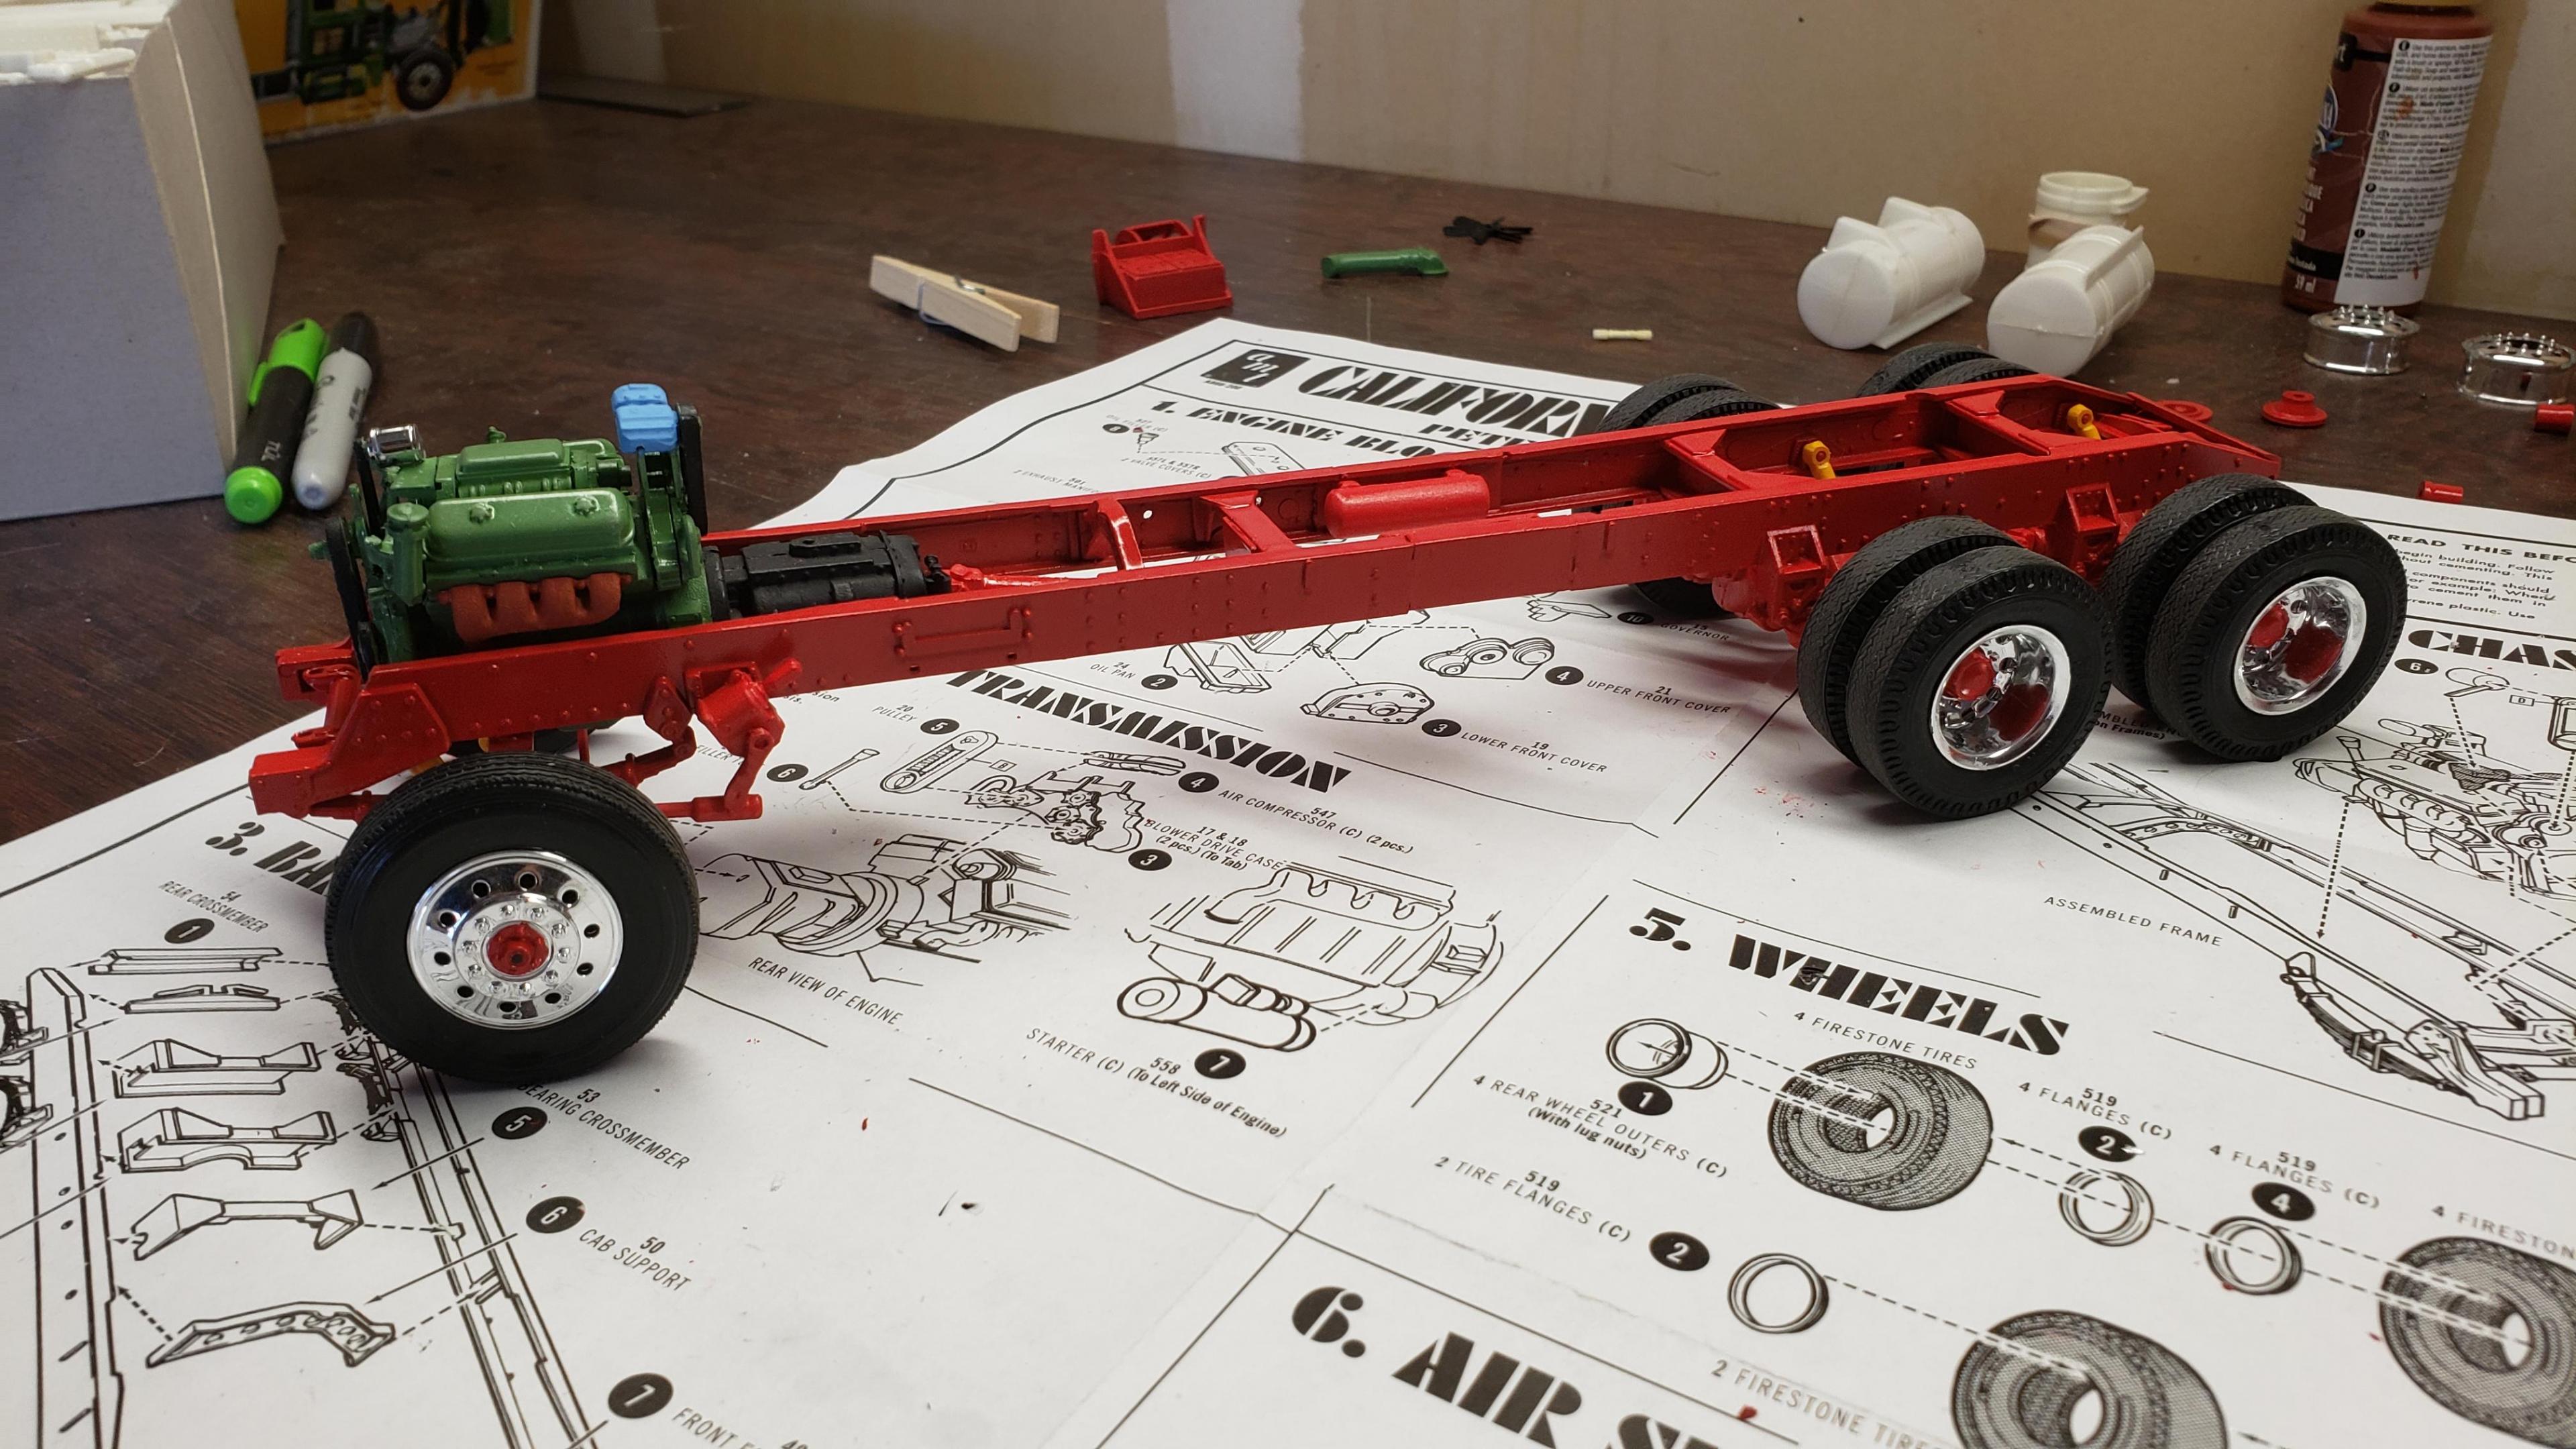
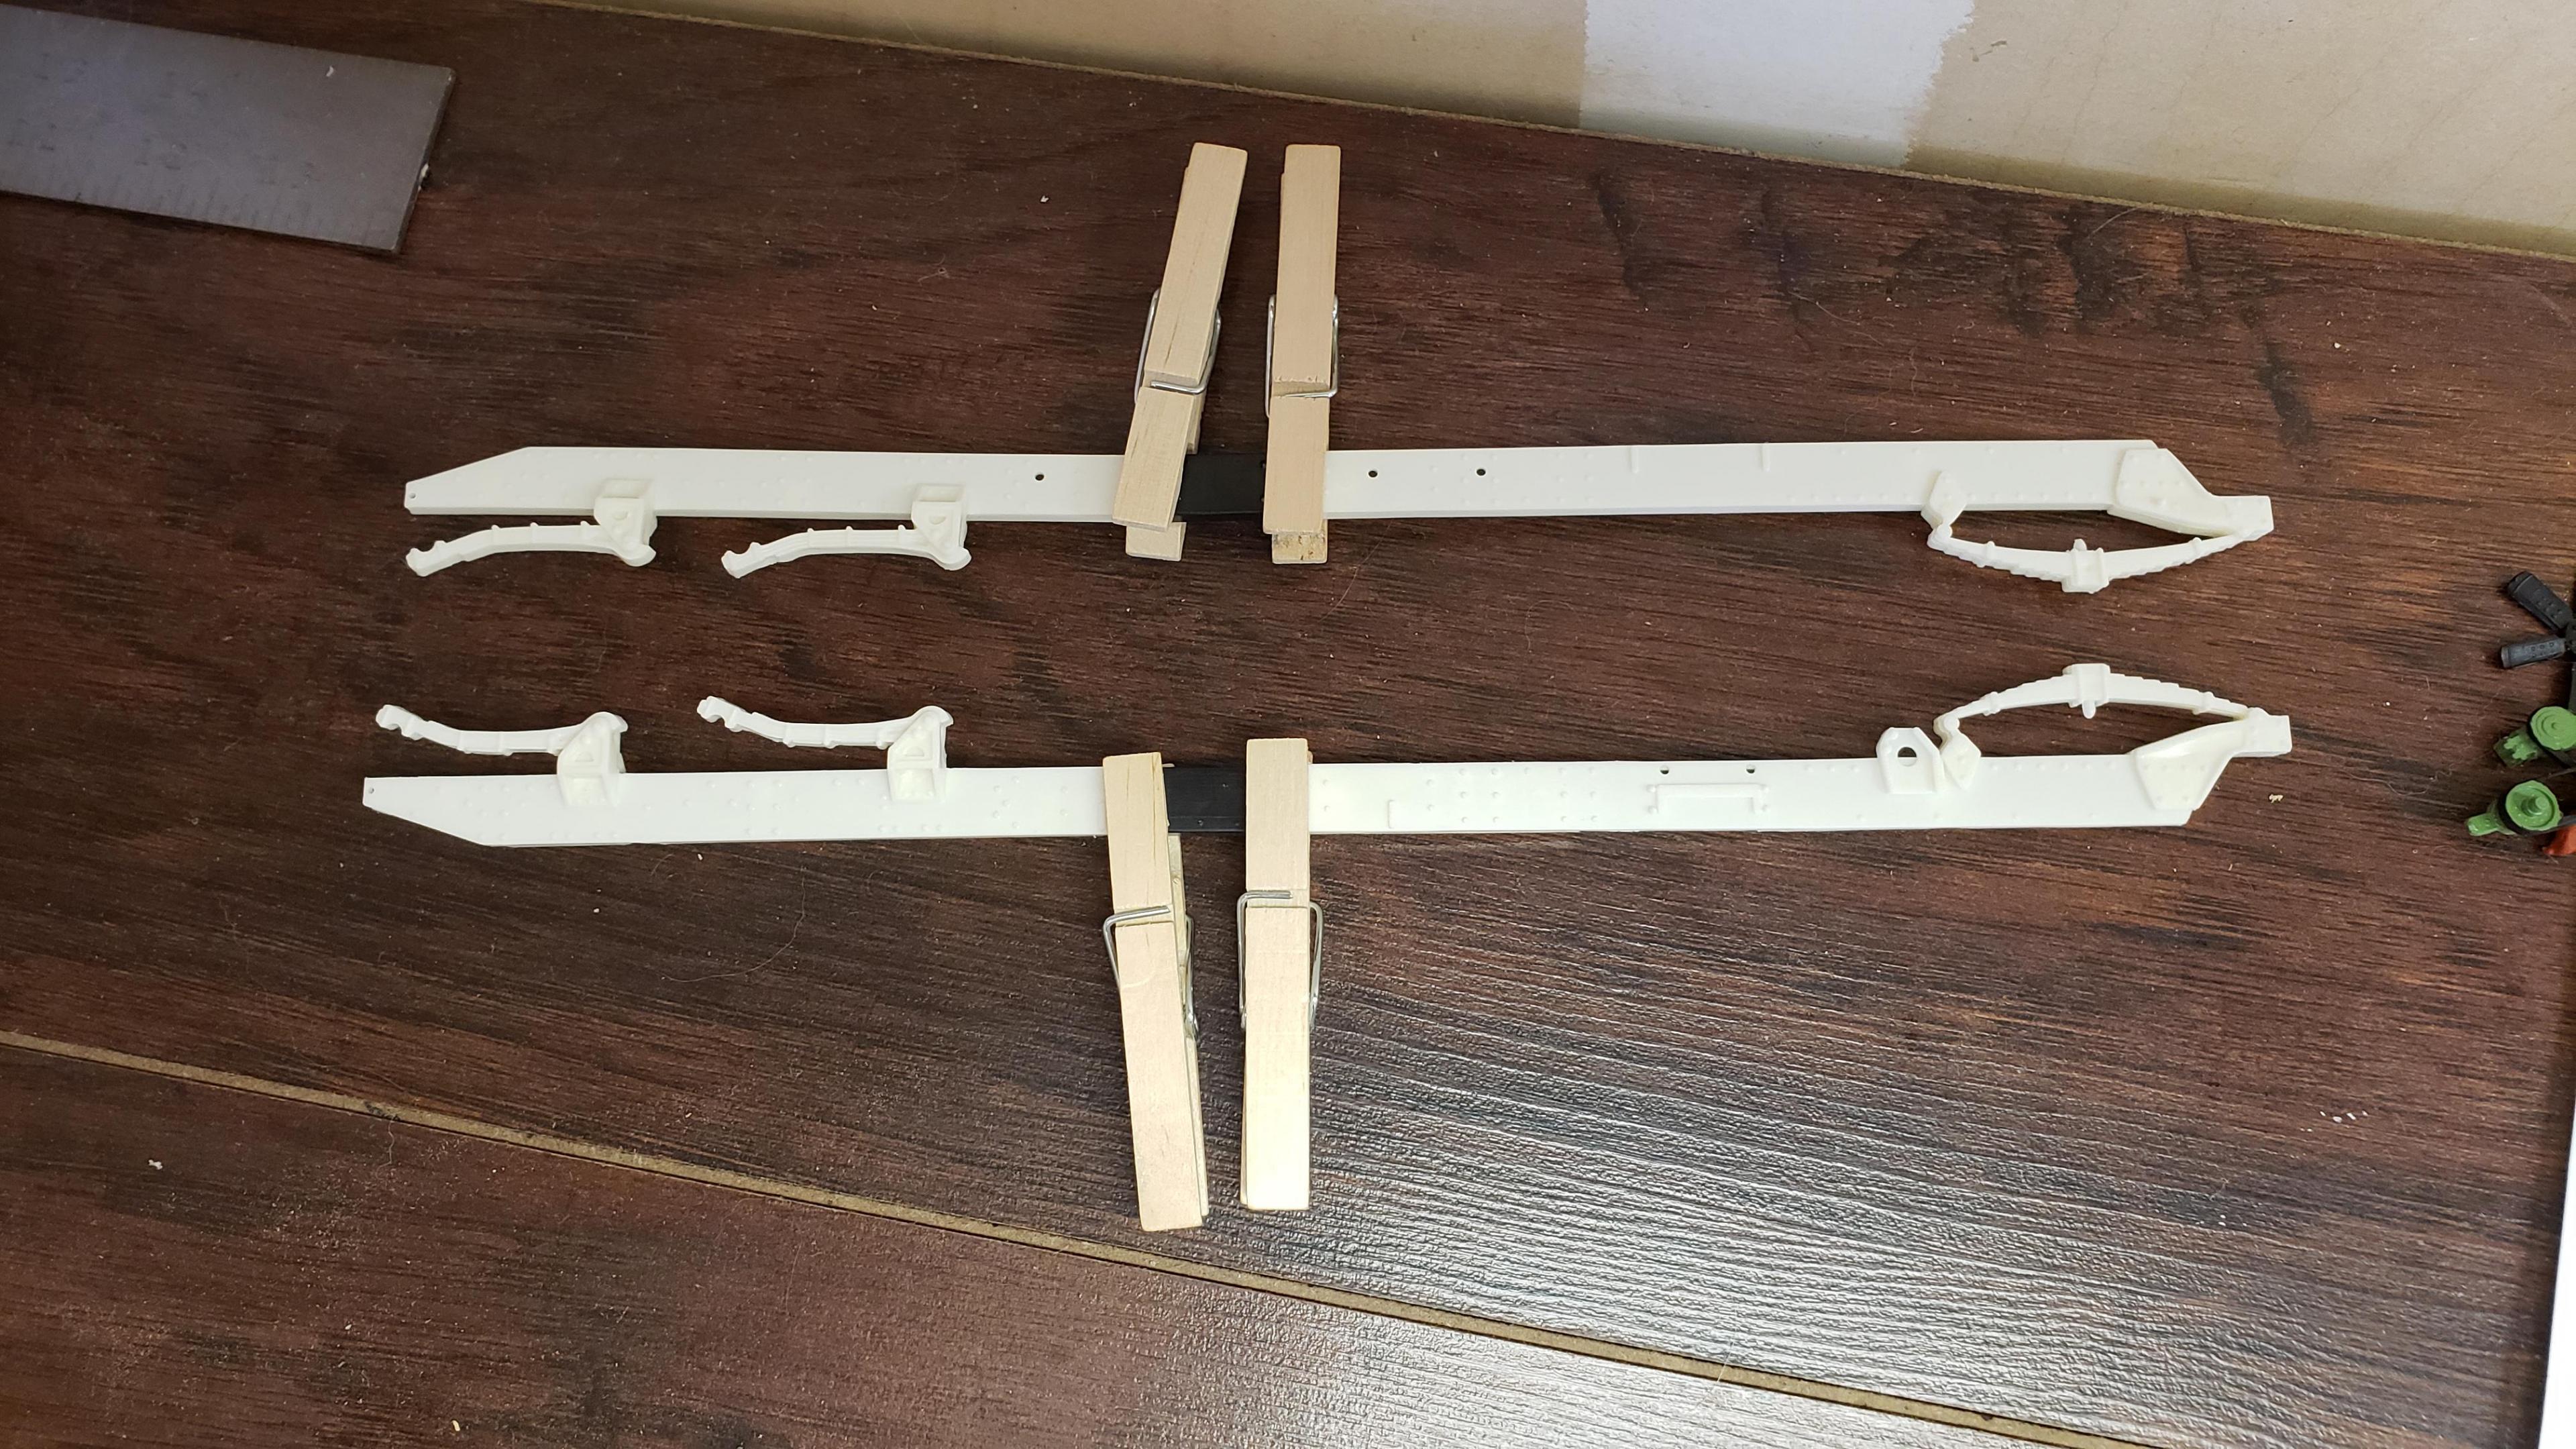
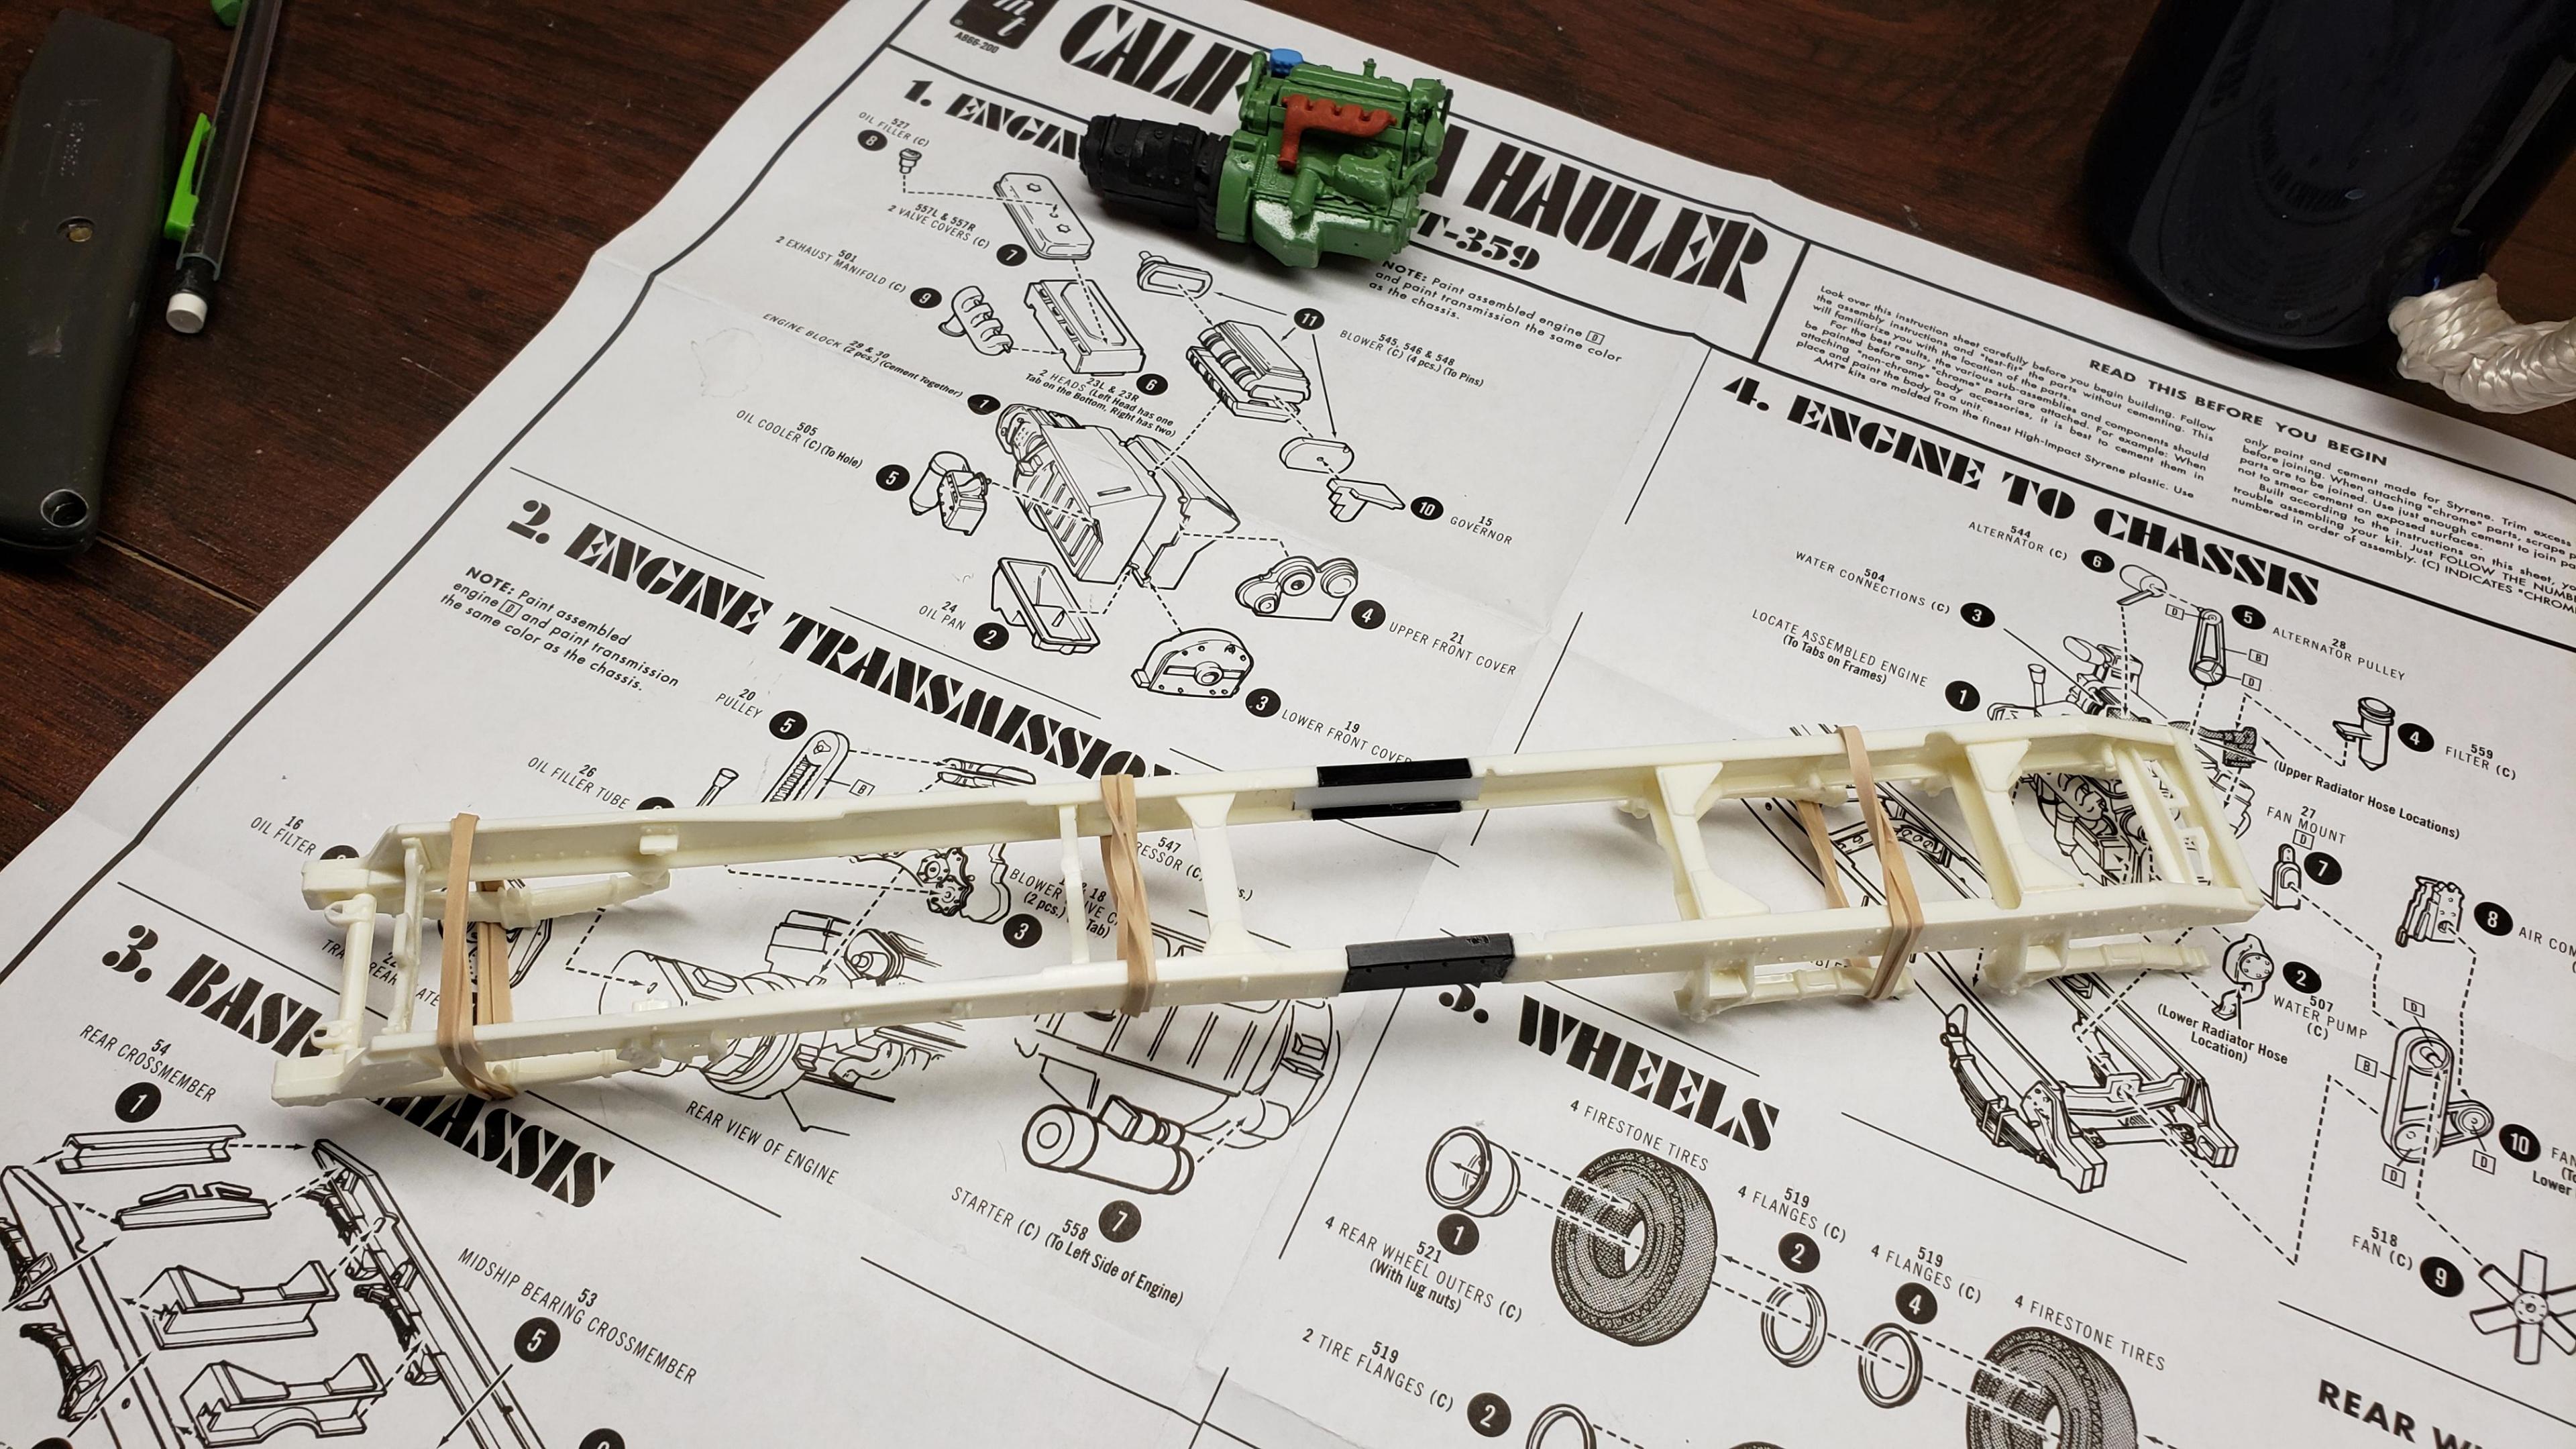
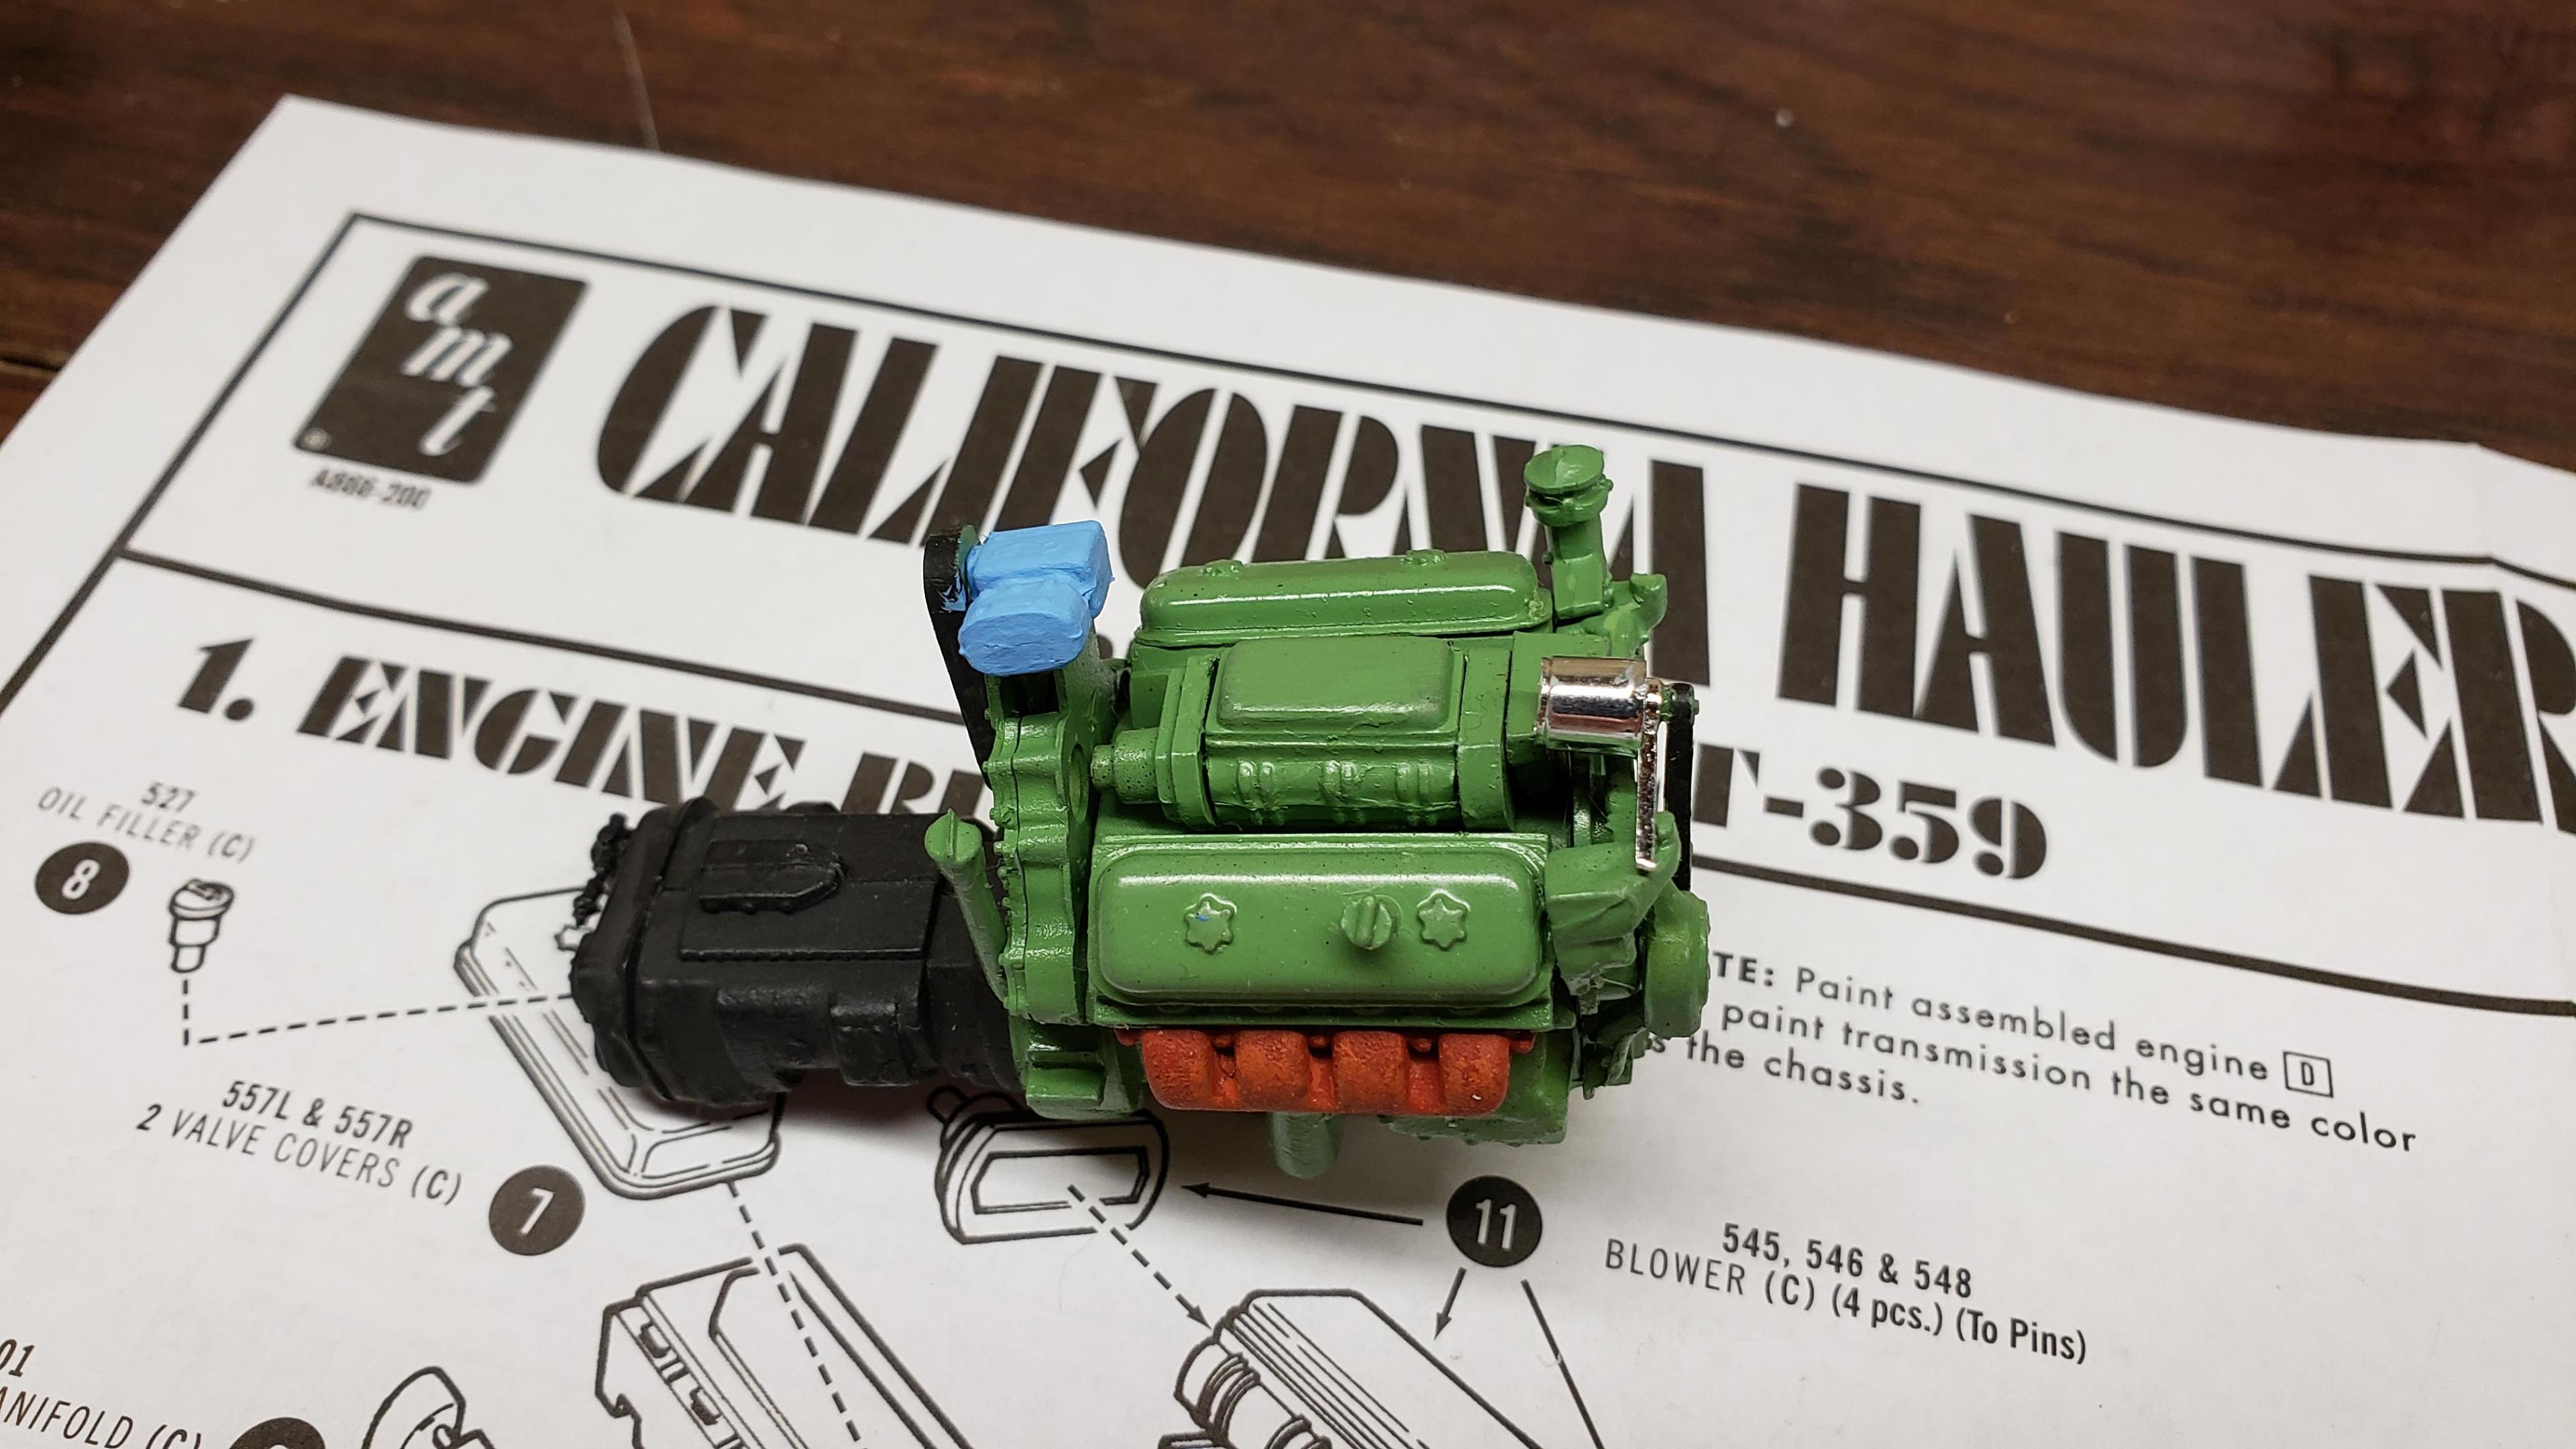
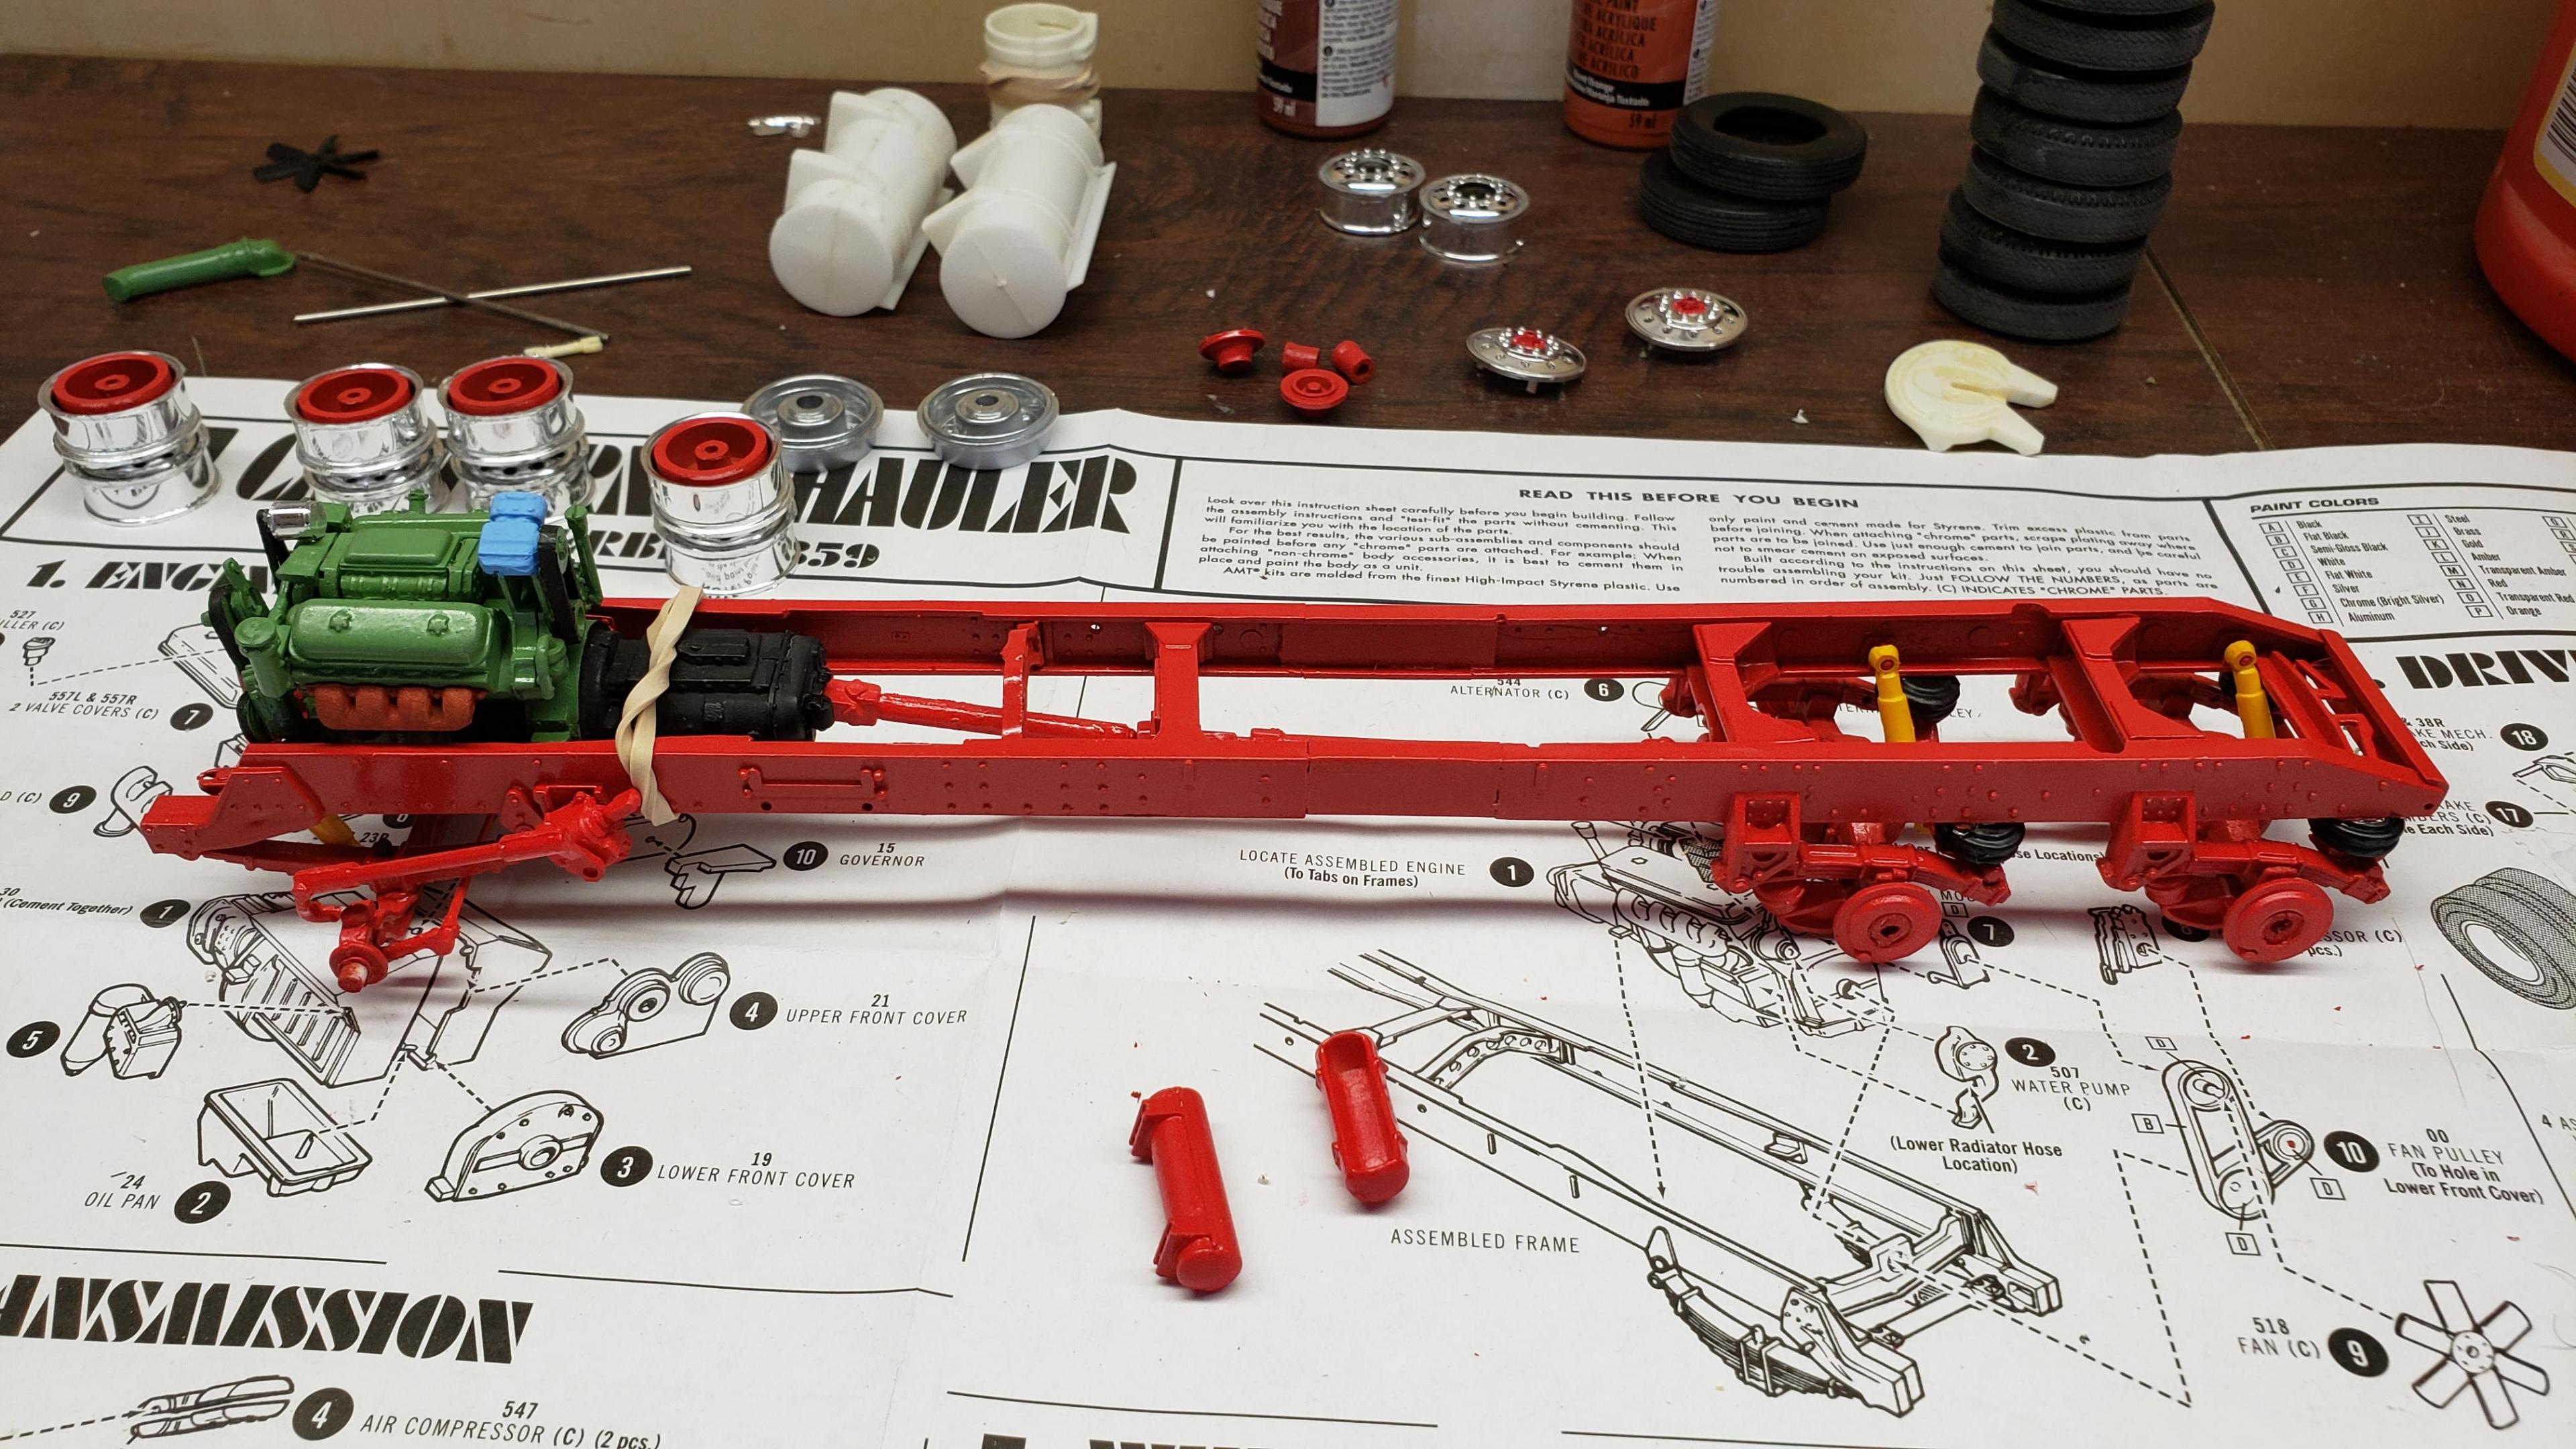
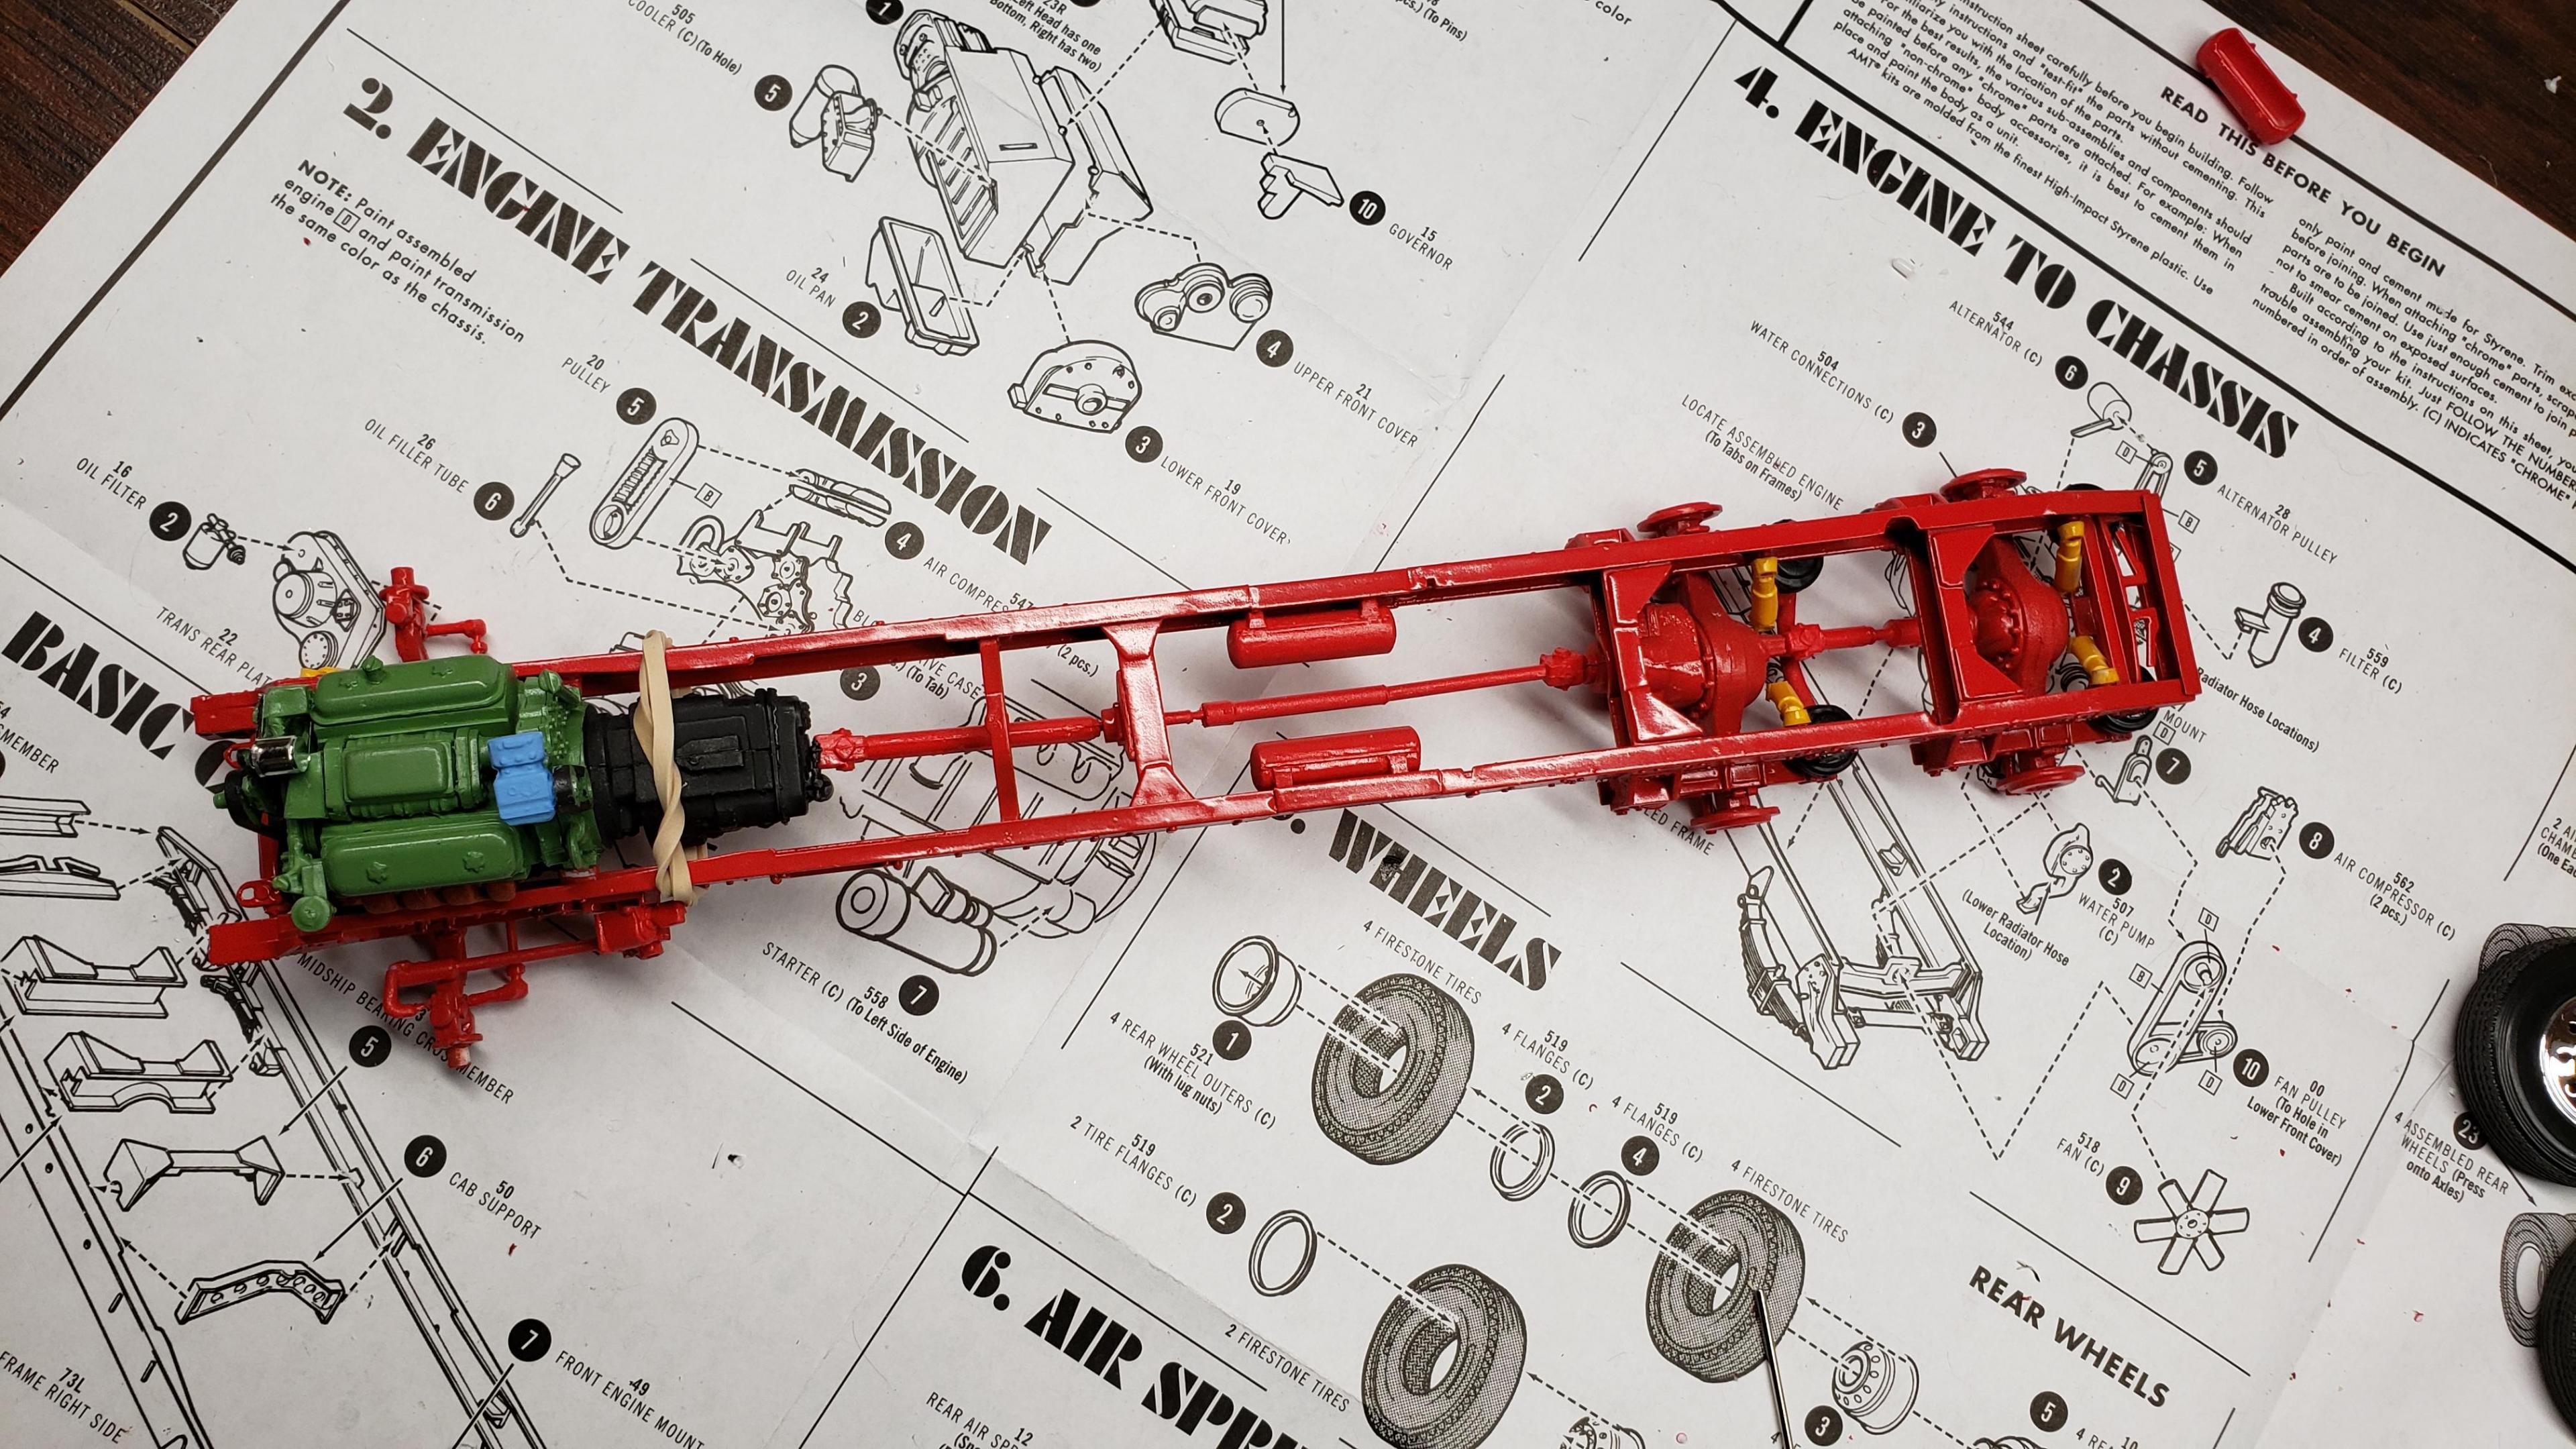
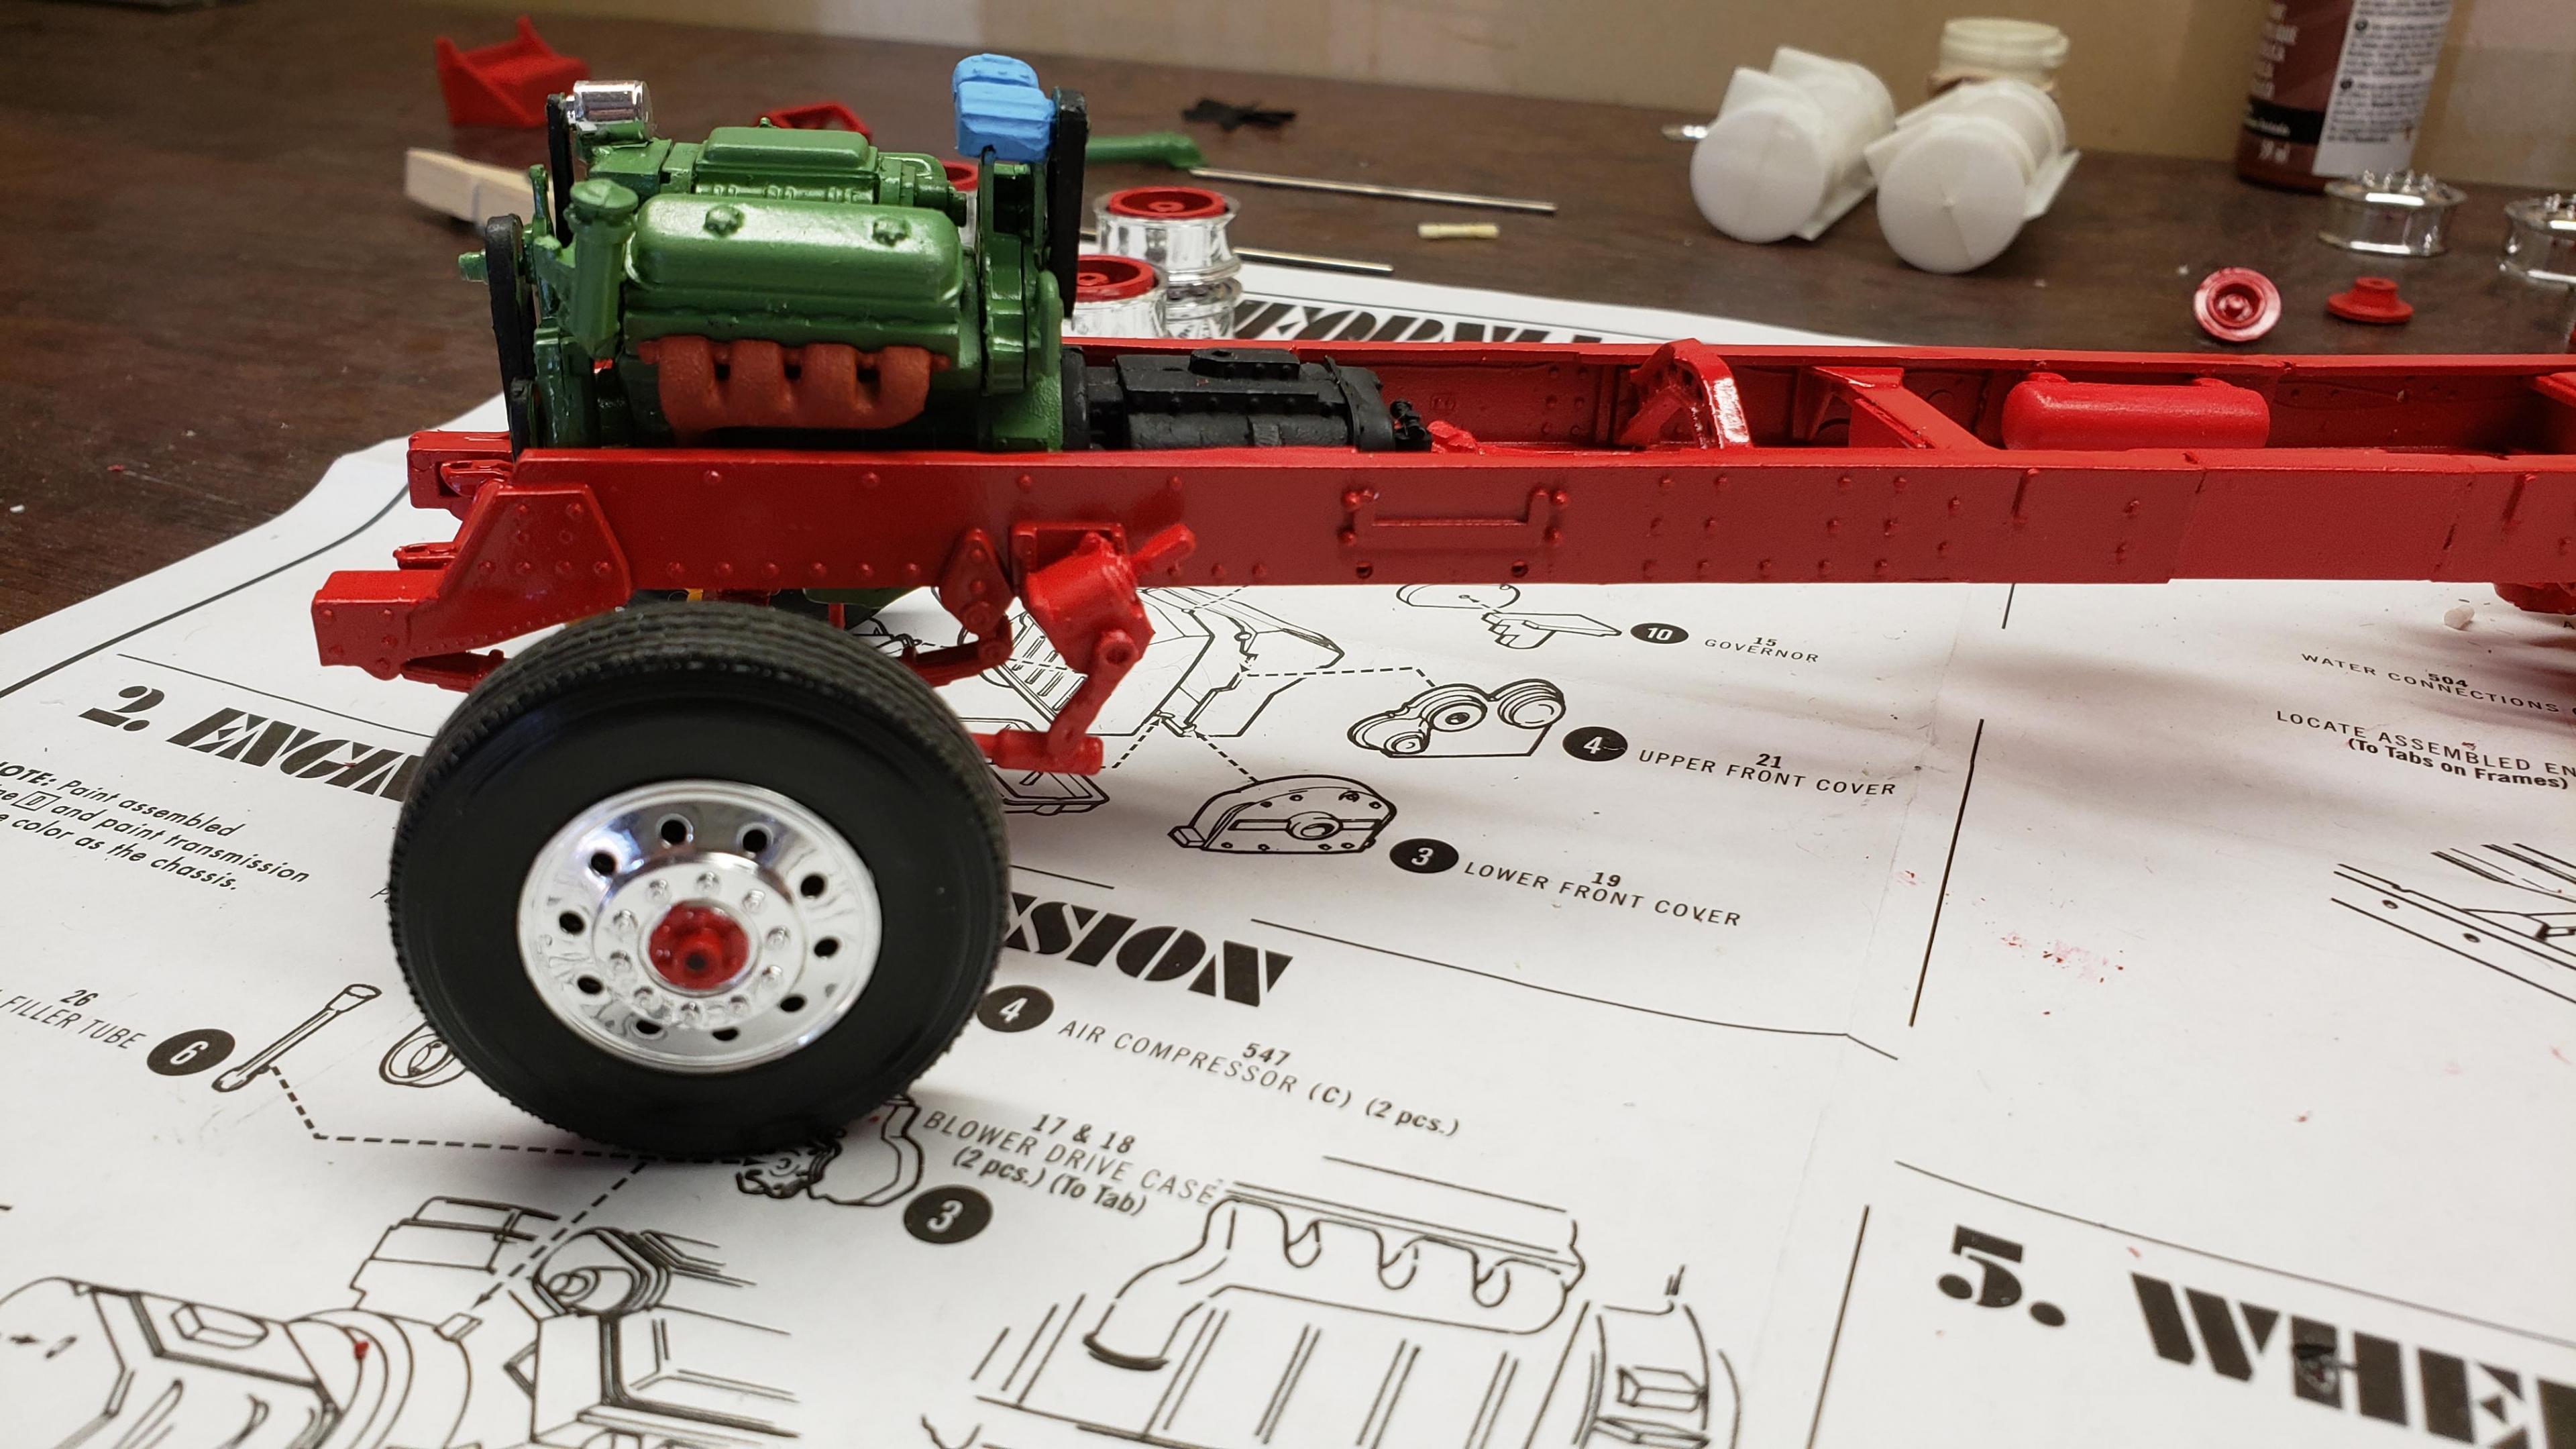
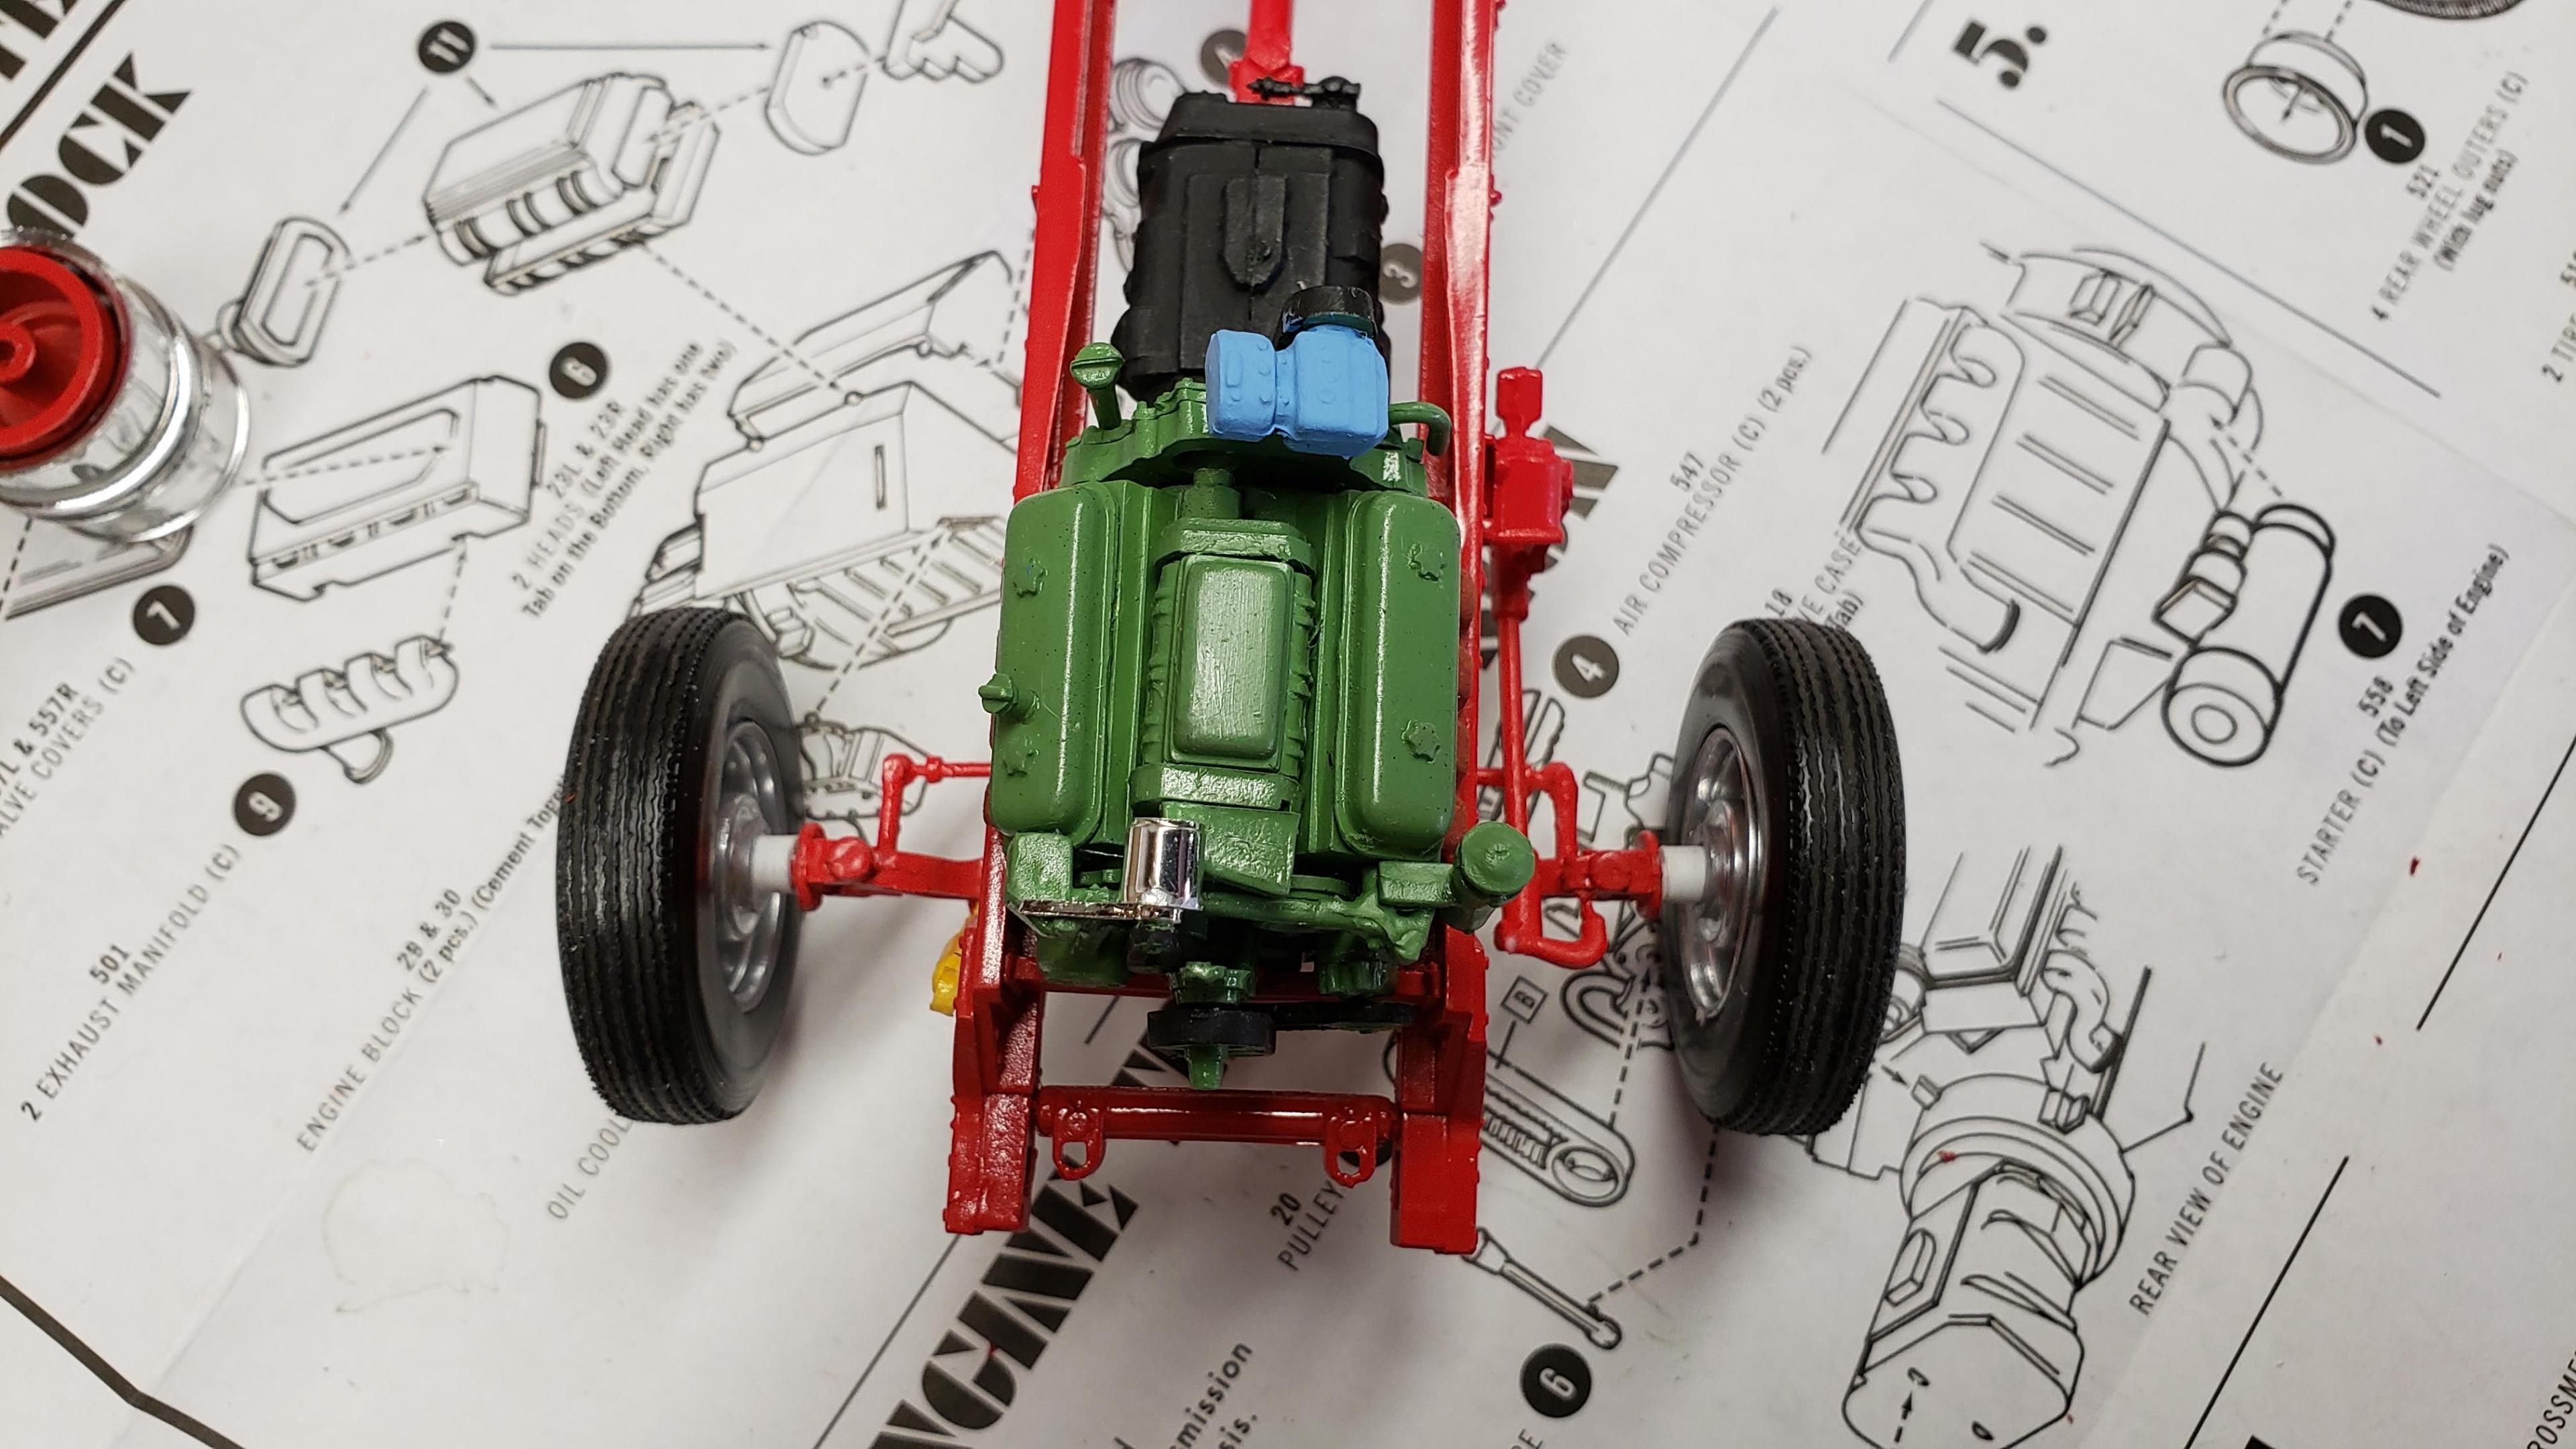
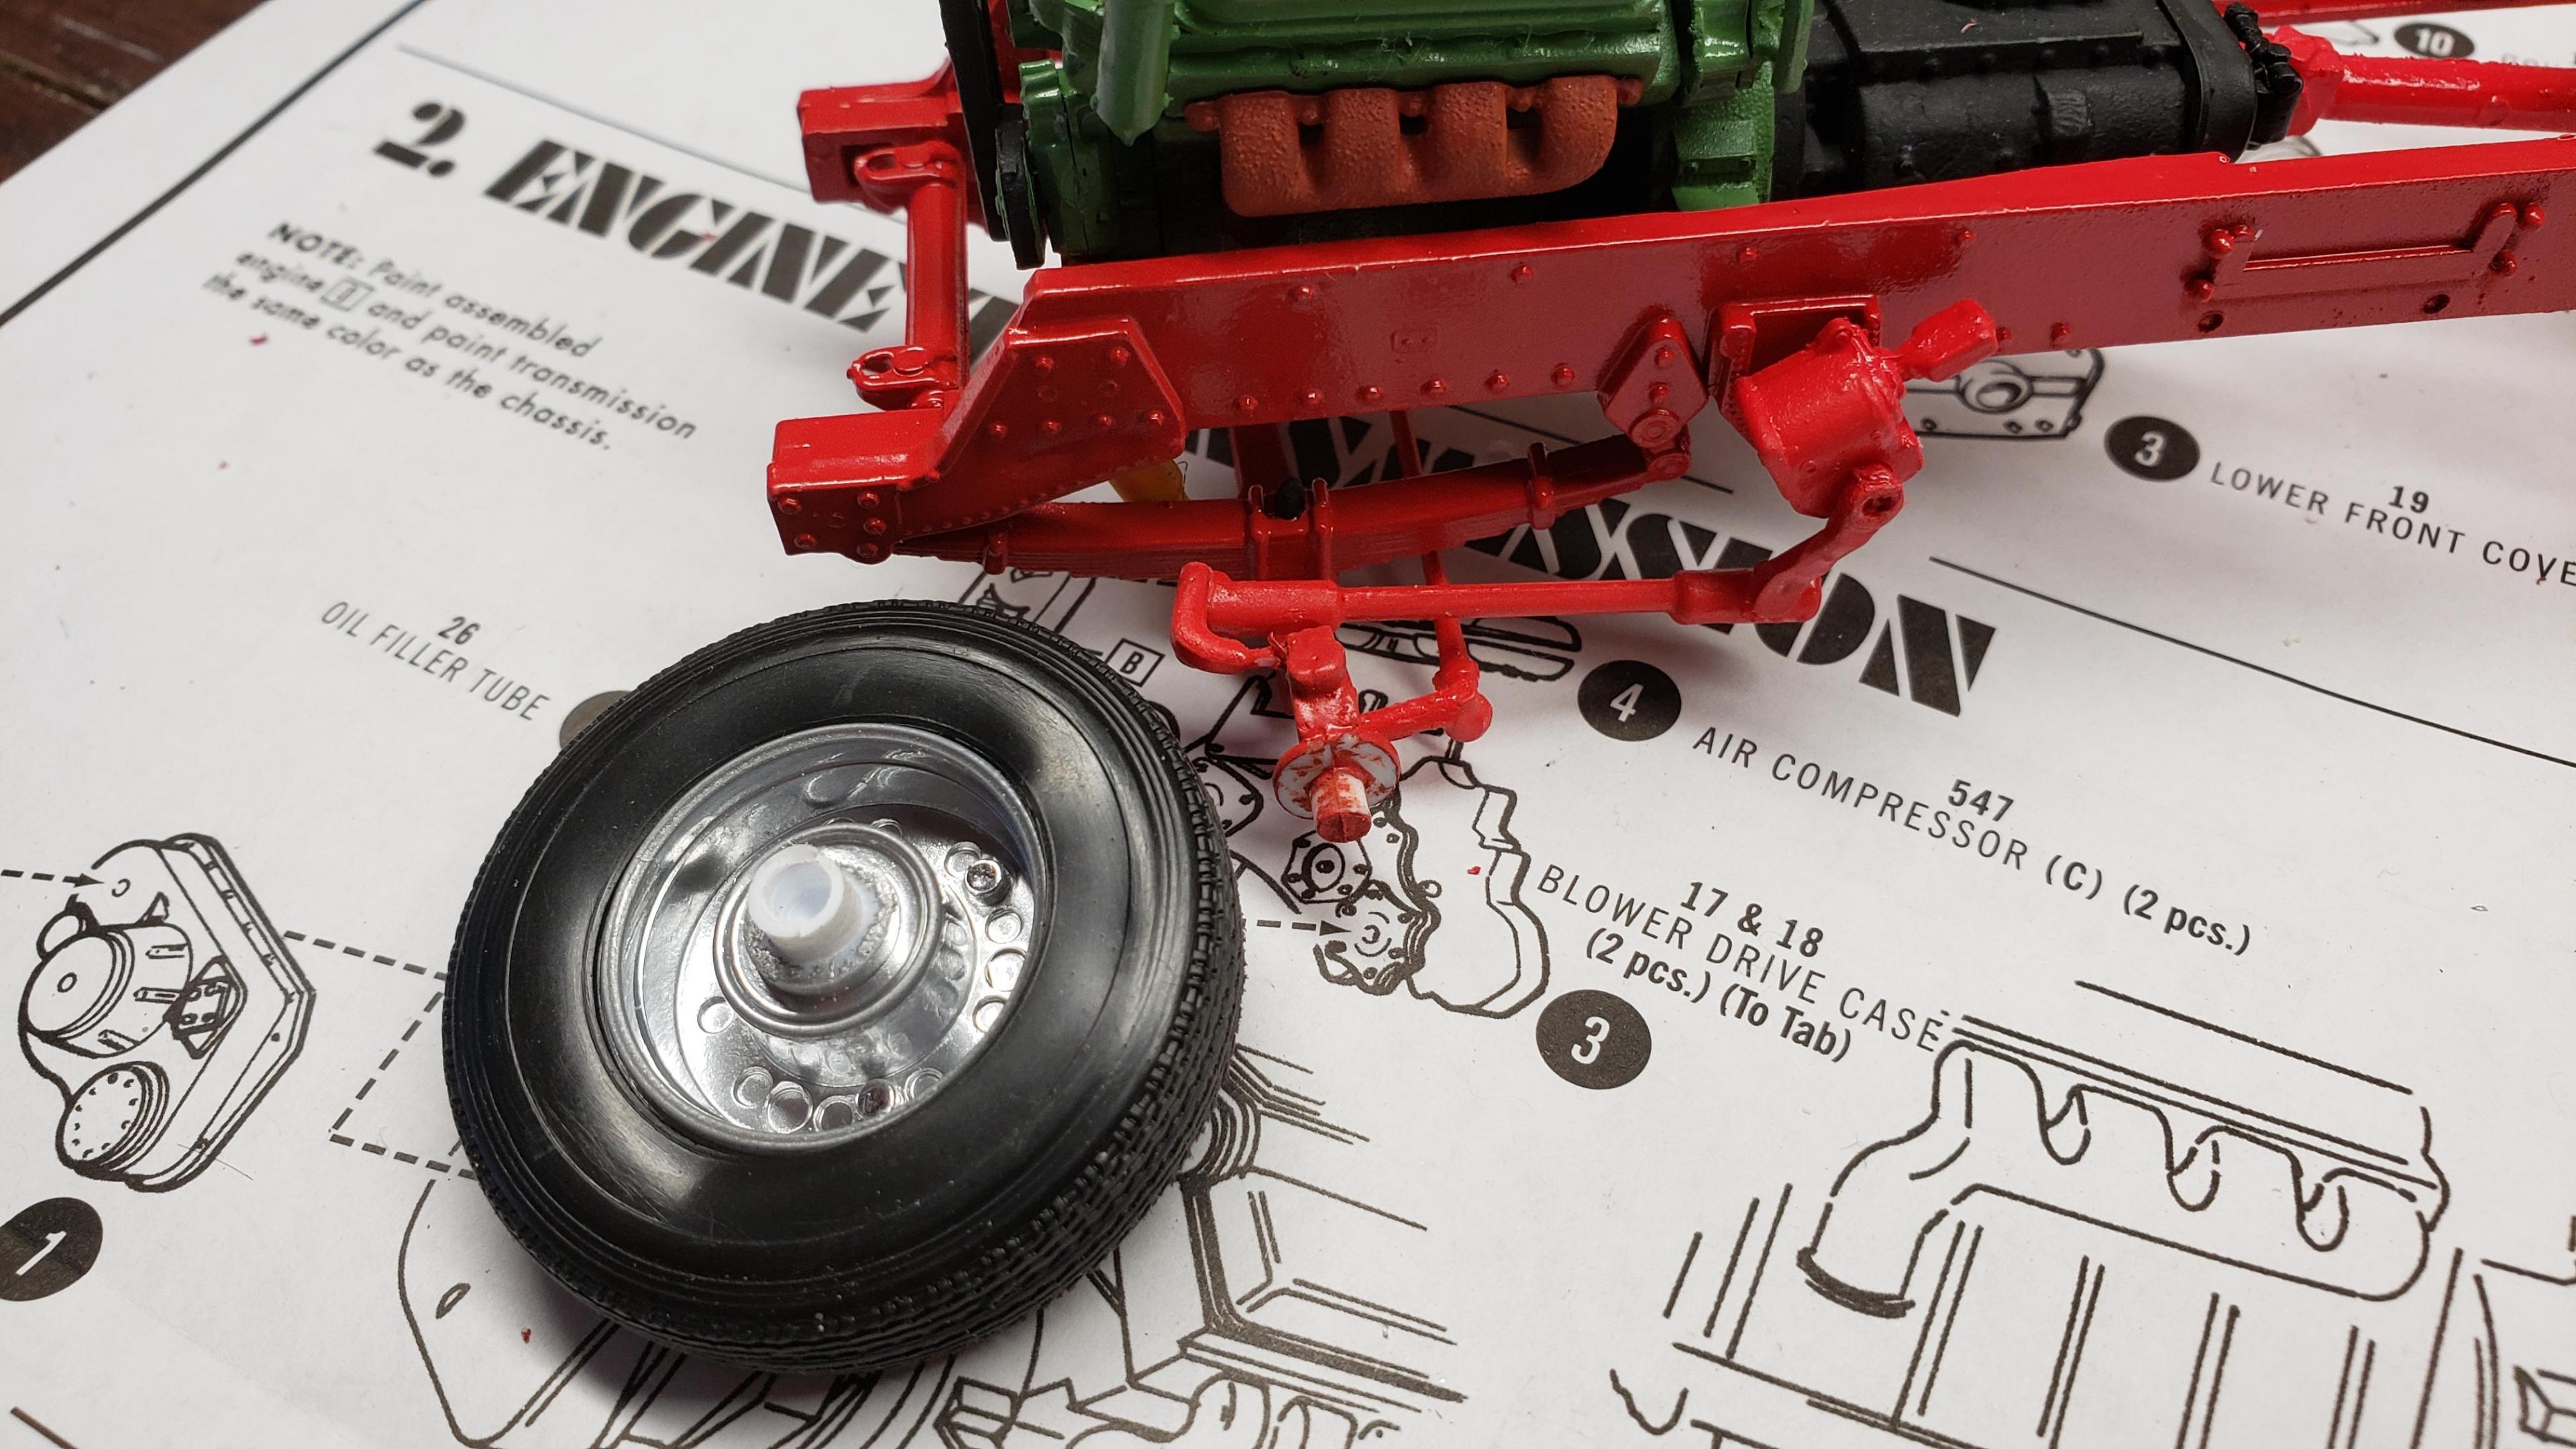
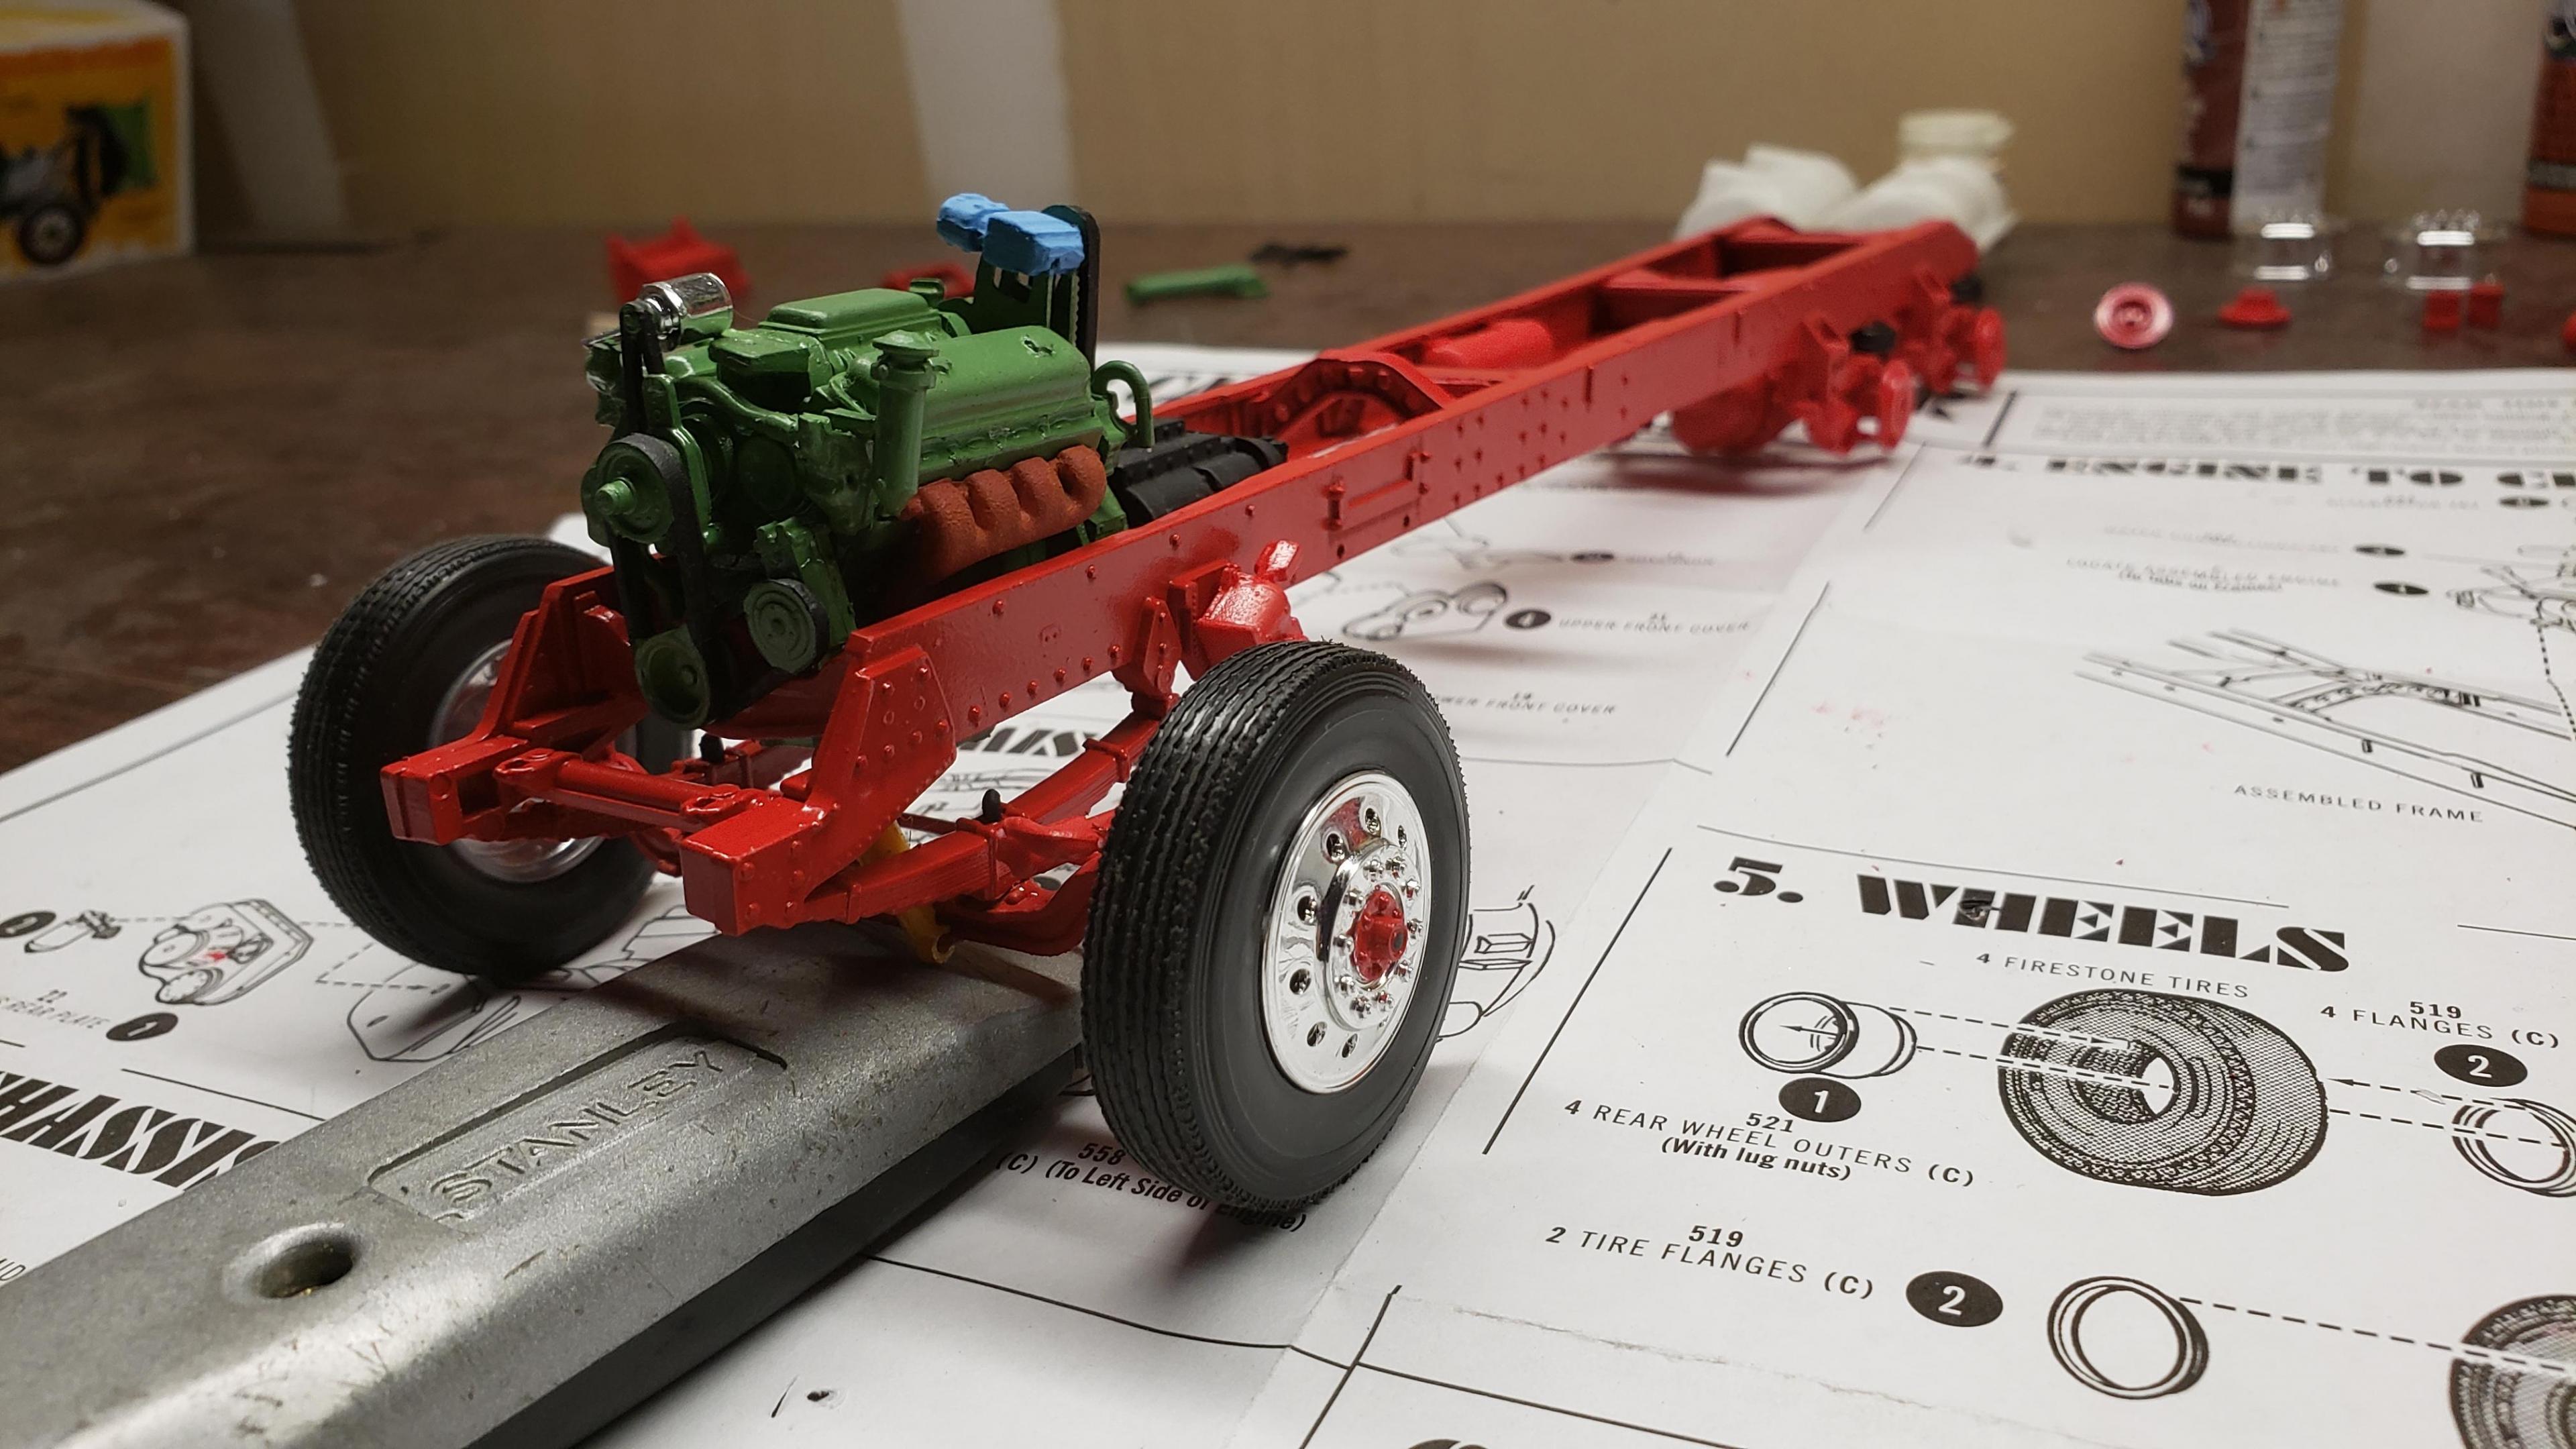
I've started to build the most recent release of the Round 2 359. First, a few things about the kit. I've built AMT kits before, and the kit is just as I expected. These molds are old, and there's lots of flash, seams, mutant parts, etc. Pieces don't fit together. I was surprised that it did not include the sleeper, but not a big deal, since I'm building a daycab anyways. But I'm very disappointed that there is no visor. I'm guessing the visor is on the sleeper parts tree. Anyways, I got to work on the engine and chassis. I started by stretching the frame, 2' in scale This is my first time building the detroit, it went together ok I painted the chassis, and mounted the engine I relocated the air tanks inside the frame, as I will be using longer fuel tanks on both sides I don't like the rounded look of the older style front wheels with the rings, so I decided to use snap wheels from the parts box They didn't quite match up to the axle the right way, so I wound up making bushings from styrene rod to attach them to the axle and have them at the correct width
-

BRBO Snap 359 4 axle
delta99 replied to delta99's topic in WIP: Model Trucks: Big Rigs and Heavy Equipment
I think you're right, I'll have to fix that -

The Beast...KW winch truck
delta99 replied to gotnitro?'s topic in WIP: Model Trucks: Big Rigs and Heavy Equipment
Great job on the deck weathering! -
It's 1/35

