
.jpg.b9265433dc8c3b550370b1d0e4e4d2fc.jpg)
MarkJ
-
Posts
4,443 -
Joined
-
Last visited
Content Type
Profiles
Forums
Events
Gallery
Posts posted by MarkJ
-
-
55 minutes ago, Volzfan59 said:
It’s looks great Mark! As always, I really enjoy your builds. Your gauges are awesome.
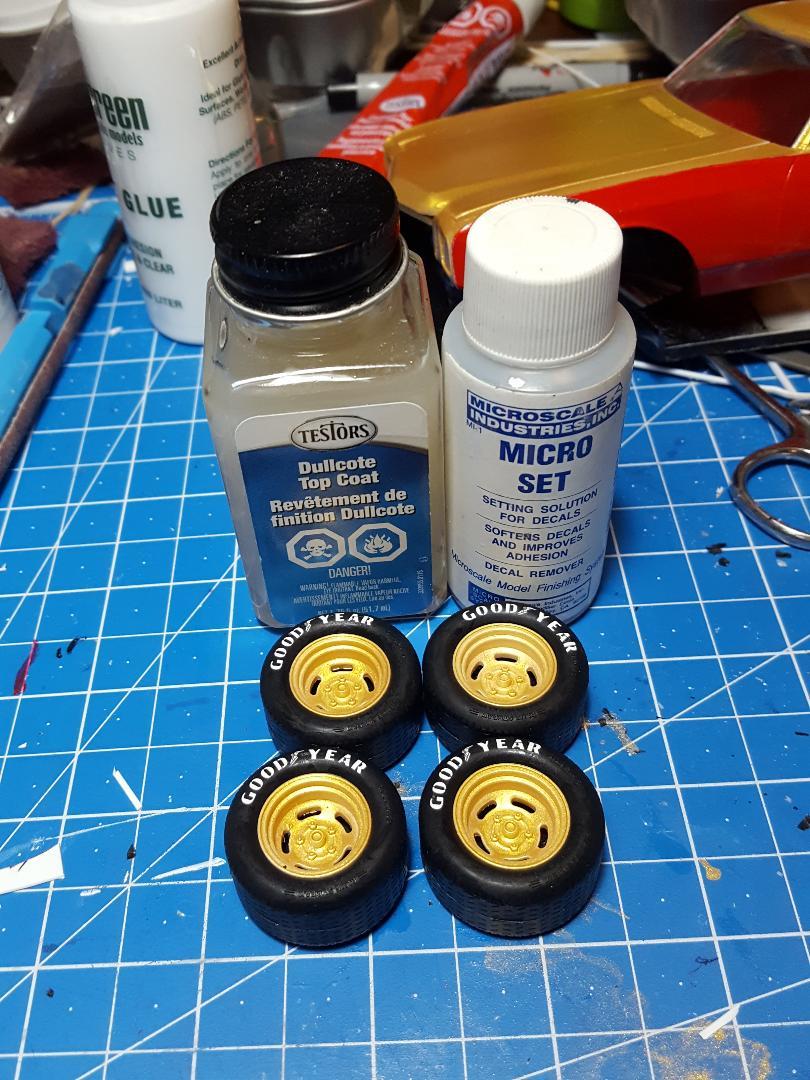
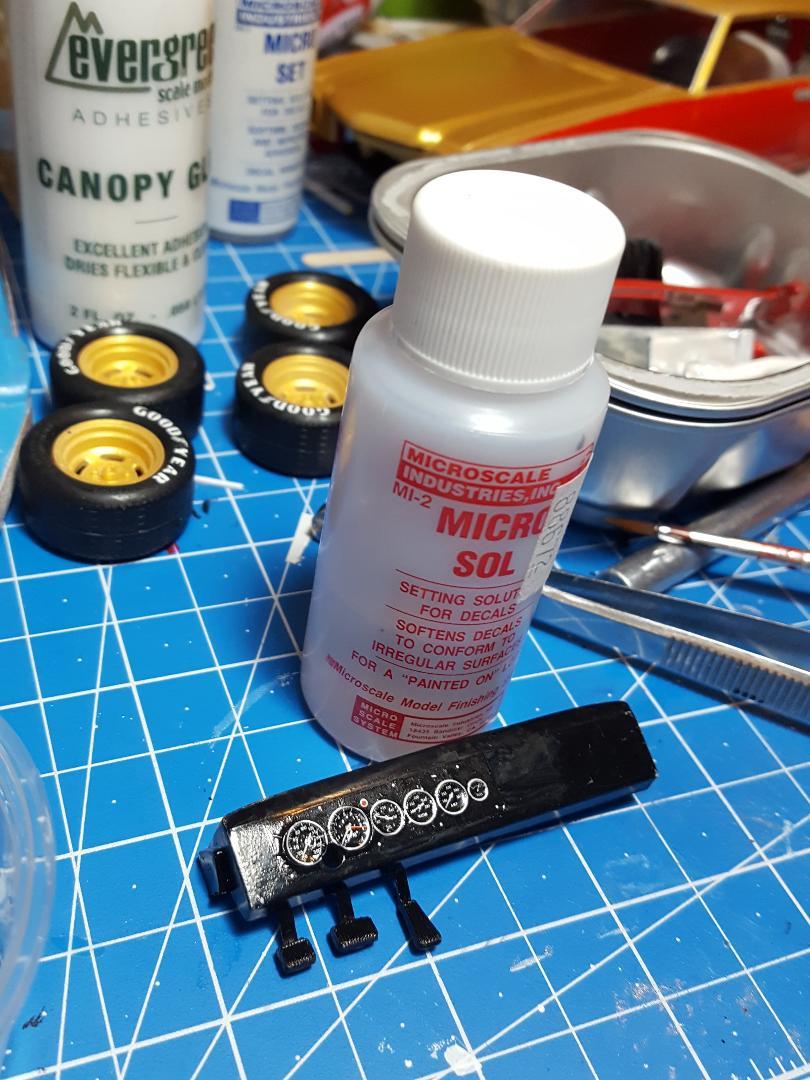
Thanks, Steve, but I can't really take much credit for the gauges. It's just a decal that comes in the kit if you want to make a fantasy build. It just happens to line up with the guages molded into the dash so once you get the decal lined up on top of the gauges and use some micro sol that softens it to get it to form fit, you're done. You have to work the brush with the micro sol to get it nice and soft but after it dry's, its seamless.
-
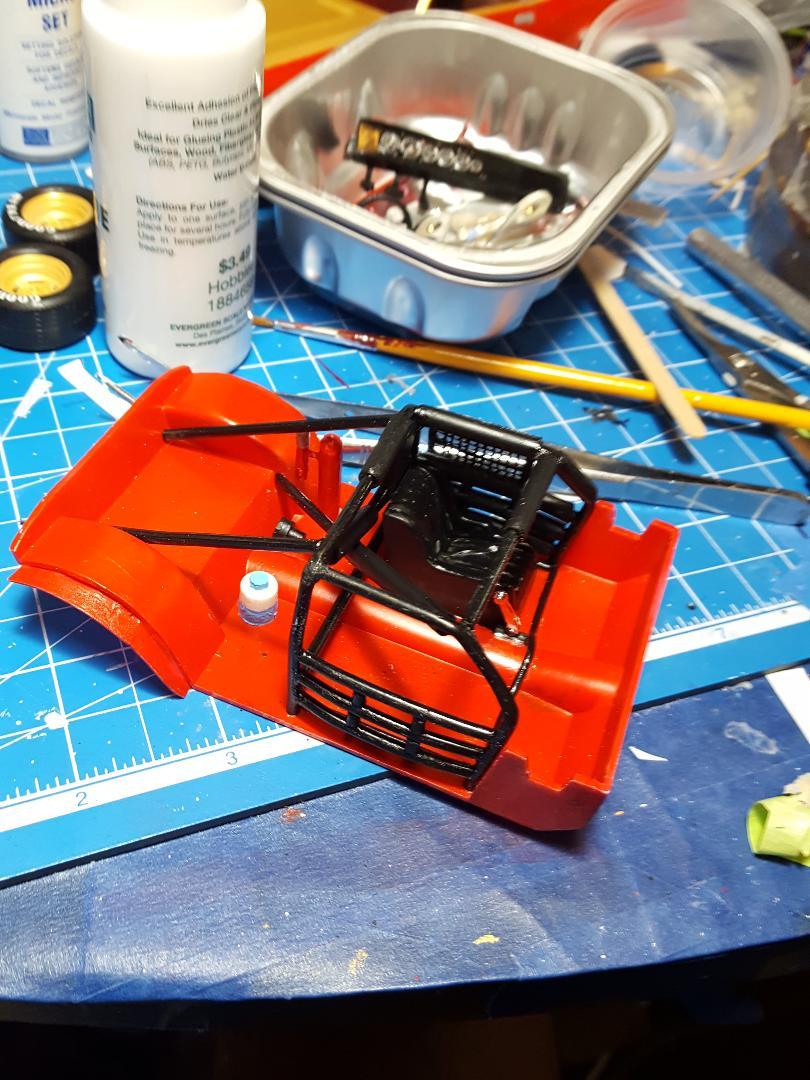
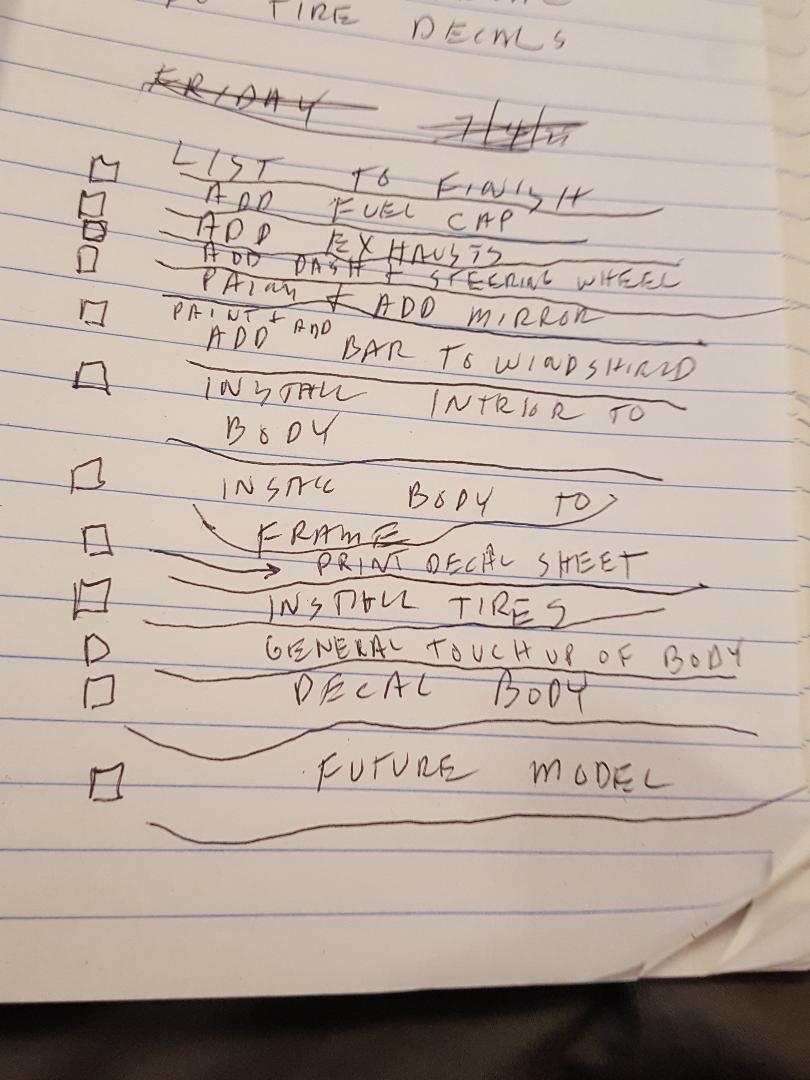
A few more things done and I made my usual end of the build check list so hopefully I don't forget anything inside the model. That would not be fun.

-
32 minutes ago, Volzfan59 said:
You may be right about the Jet Way decals Mark. Are those old school Hedman decals right below “The Real Thing” decals, to the right of the Champion decals? One thing that seems to be a constant on all Bobby Allison owned cars is the use of Reed Cams.
Steve at this point I'm going to call it a day and use the jet way decals whether they or right or wrong. Thanks again for all your help with this decal mystery. I will probably add the nascar decal under the winston cup decal just because its supposed to be there and I have seen it there on other Allison cars as well as Petty and Pearson.
-
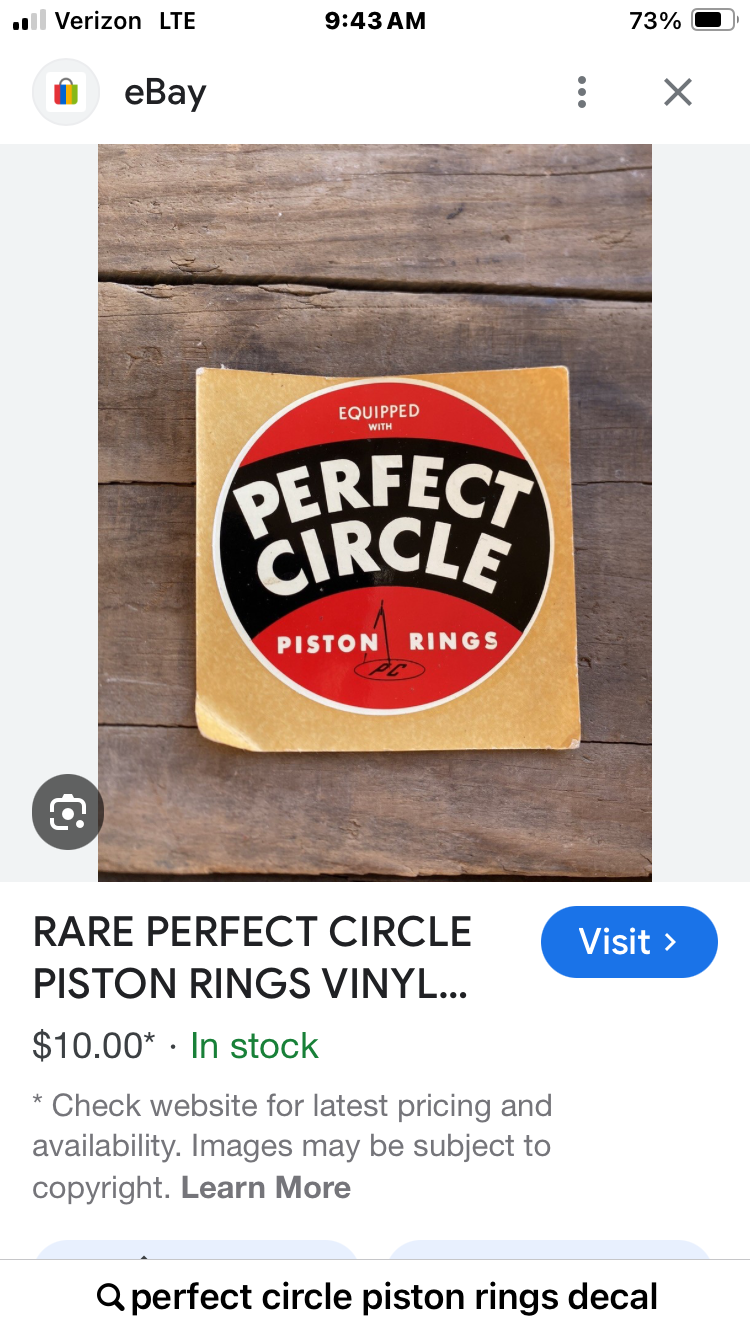
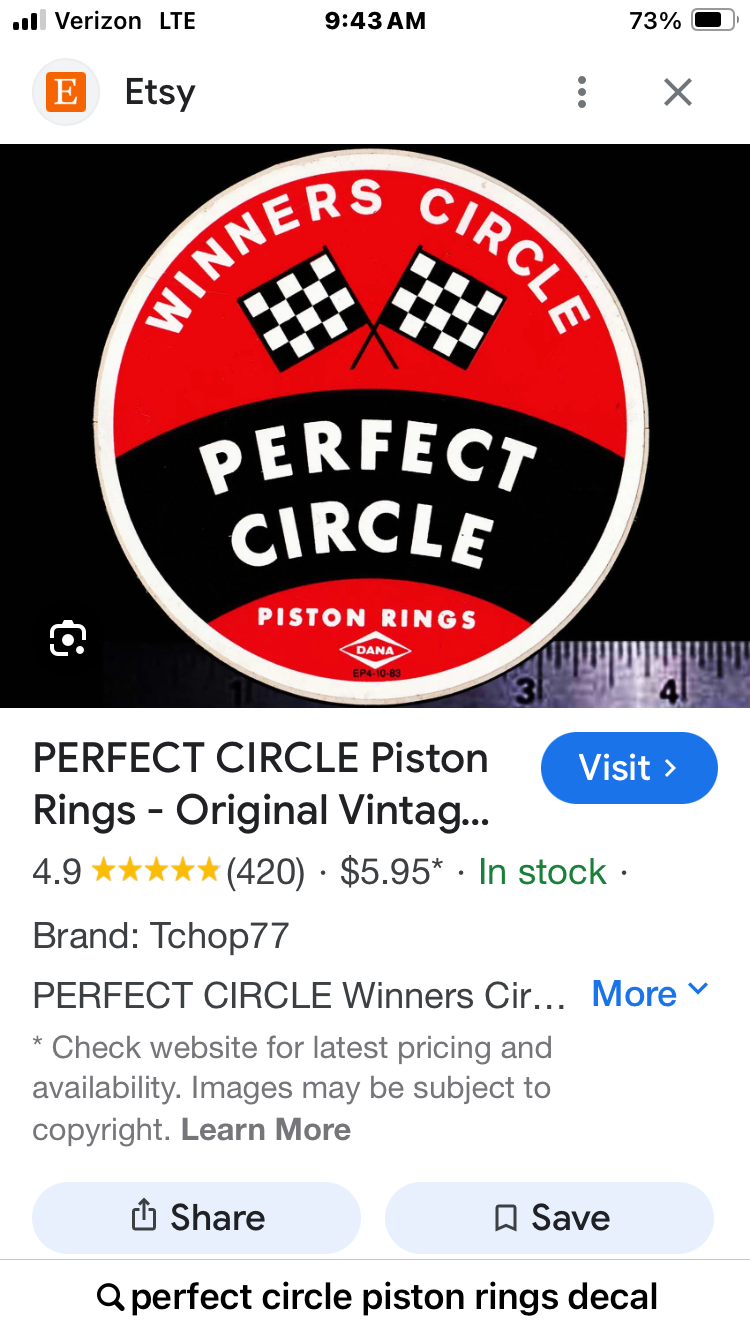
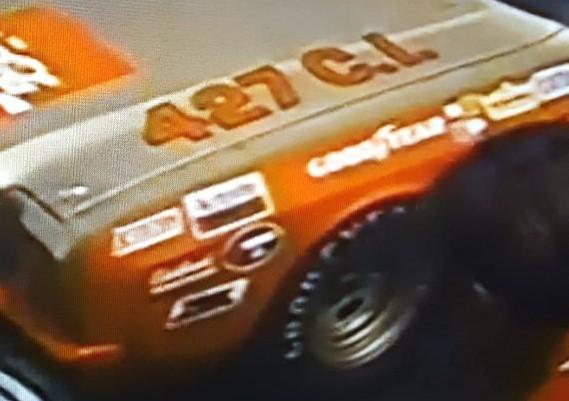
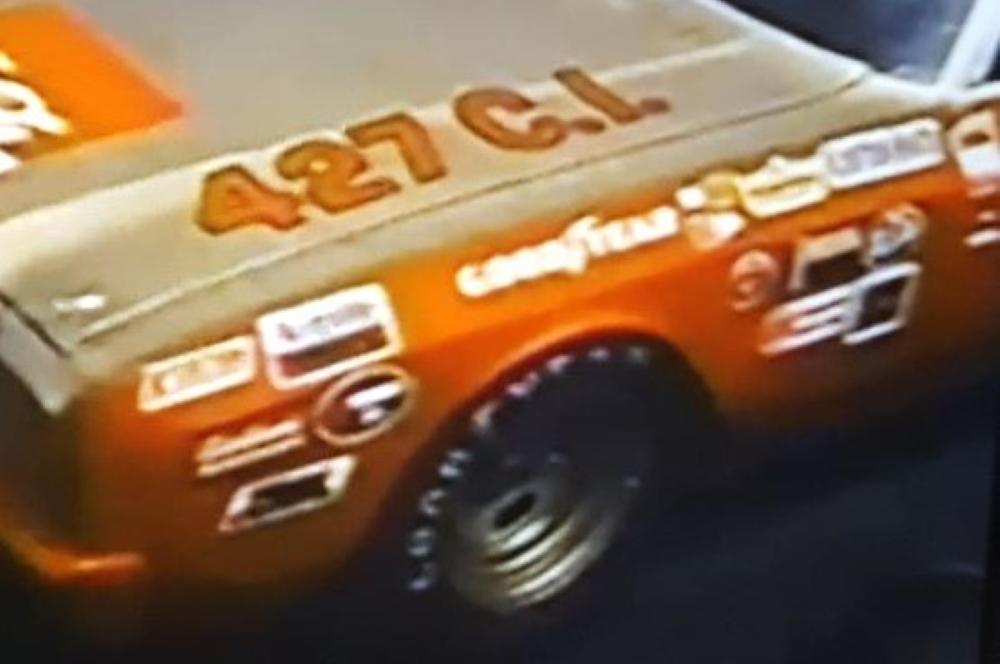
Steve and Edgar, below is a photo of the decal sheet I'm using. If you look to the very bottom line below the castrol GTX decal you will see the Zoom decal on this car that is above the Edelbrock decal at the front of the fender. Feel free to look over this image of the sheet and see if there is anything else on it that could be the mystery decal. I believe this car probably had hedman headers but there are no header decals on this particular car. I'm starting to think it may be jet way decal. Its right next to Ingersol rand decal on the sheet.

-
5 hours ago, Volzfan59 said:
I don’t know Mark, the one below looks like a Zoom decal to me. That said, I know that you’ve done your research.
Steve, you are right. that zoom you posted there looks like it could easily be the mystery decal, but I know for sure the one above the edelbrock is a zoom too. I wonder if the car had two zoom decals. I believe the decal below the winston cup decal is a small coke decal.
2 hours ago, bytownshaker said:Mark could this be the decal your looking for.
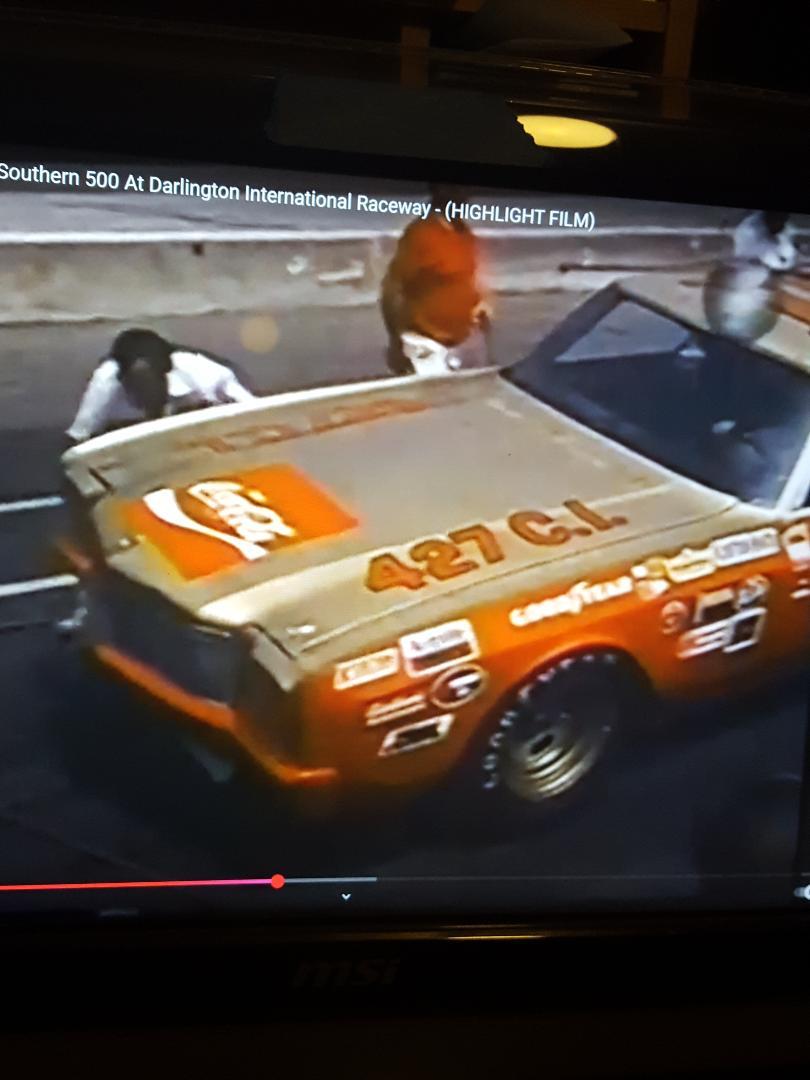
Edgar, that also looks like it could be the mystery decal, but I don't think the car had those kind of headers on it. Thanks for your input though. We shall see eventually what it is if someone could just find a real photograph of this car. I even asked Smyle Media on twitter, who has helped me a lot, if he had a photo of it but he said he did not. Strange that the winning car at the 1972 Southern 500 does not have a photograph somewhere to be found on the internet. If it's a correct photo it will have red bumpers.
-
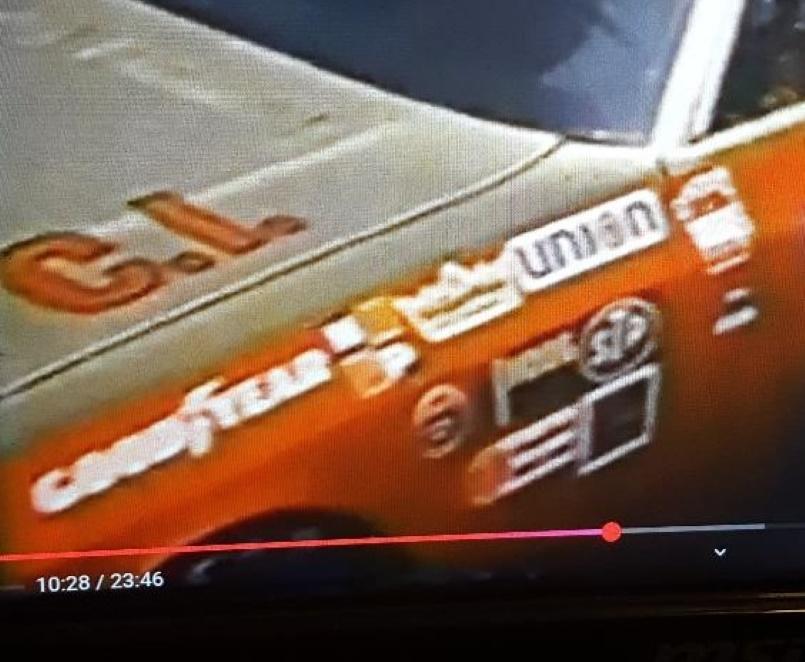
Thanks, Steve. Actually, the Zoom decal is above the Edelbrock, and I also thought the one under micro precision was perfect circle, but I wanted to see if anybody else thought so too. I think I will look at the video again without taking a picture of it with my phone. Maybe it will be clearer, and I can make them out better now that I know which ones to concentrate on. Thanks again for your help on this.
-
Started to check the decal sheet that I bought for this model from powerslide to make sure it has what I need. 3 of my ref photos from the YouTube capture pics are not recognizable and the shape of them looks like nothing on the sheet. I was able to figure that one of them is Edelbrock but luckily, I found some in my decal stash. If you want to help you could tell me what you think the one below the micro precision is. Also, the one below the Edelbrock in front of the wheel opening. Also, the one below the nascar decal at the top of the door.
-
13 hours ago, Rattlecan Dan said:
Looking good!
Thanks, Donato. I appreciate your comment.
-
7 hours ago, presnell said:
Following along you got the stance right!
Thanks, Jim. I might need to go up just a little in the front. Have to check my ref pictures.
3 hours ago, Kevinjr26 said:that is just plain mean looking! great job mark!
Thanks, Kevin. Have to admit it beats oob with metal axles.
-
7 hours ago, slusher said:
That is exactly how I feel about decals..
Glad I'm not the only one, Carl.
-
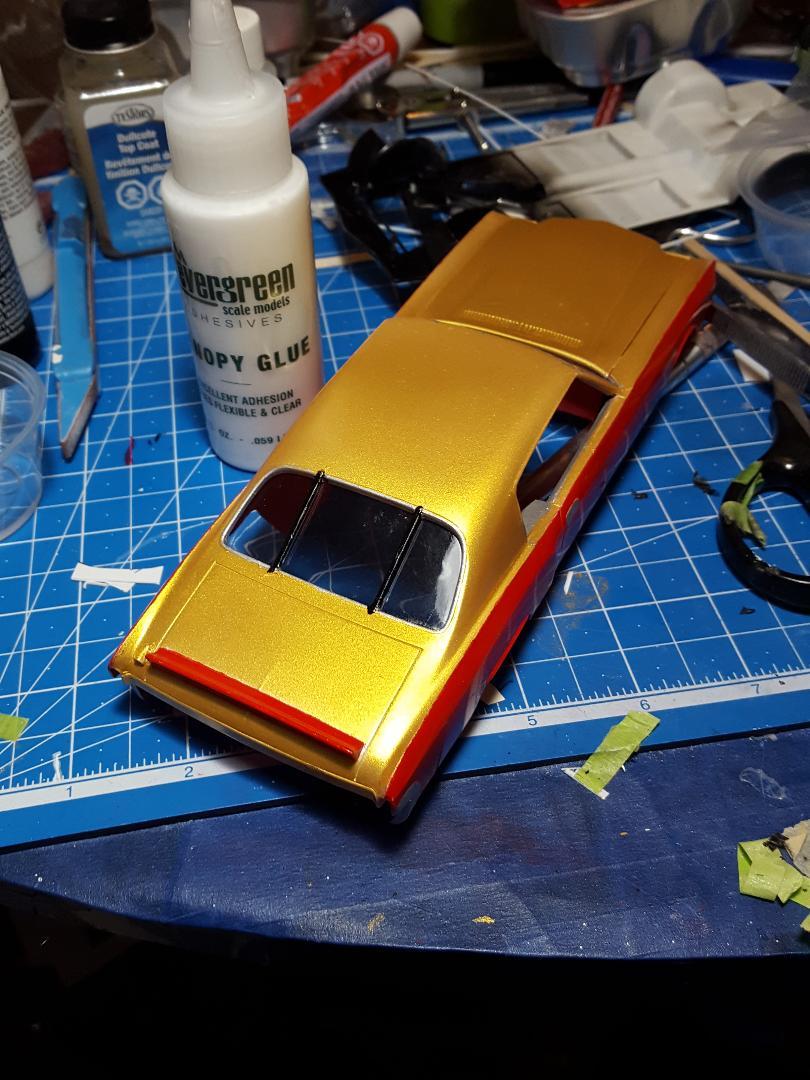
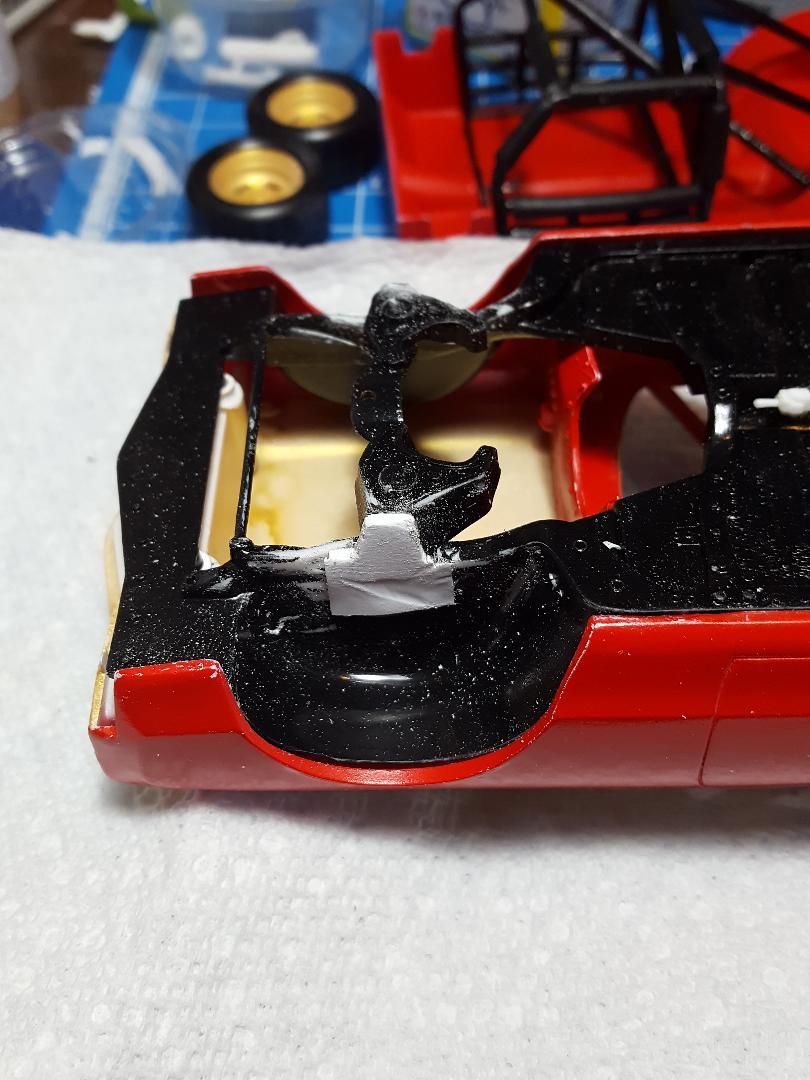
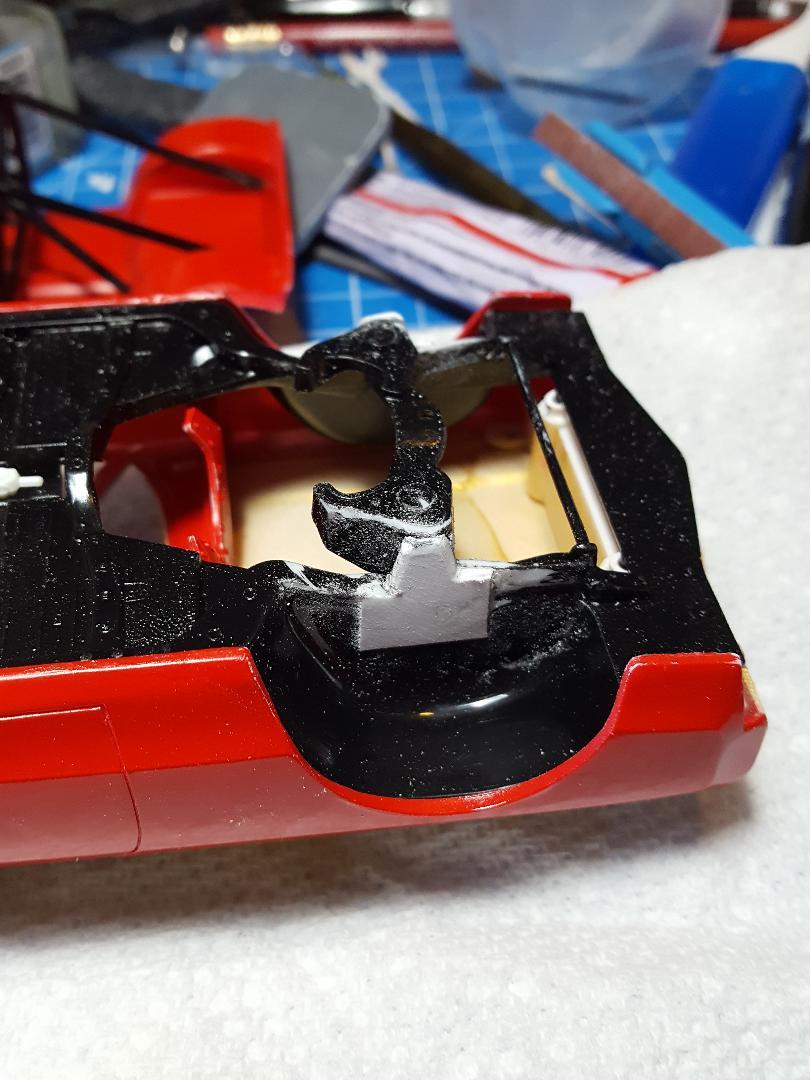
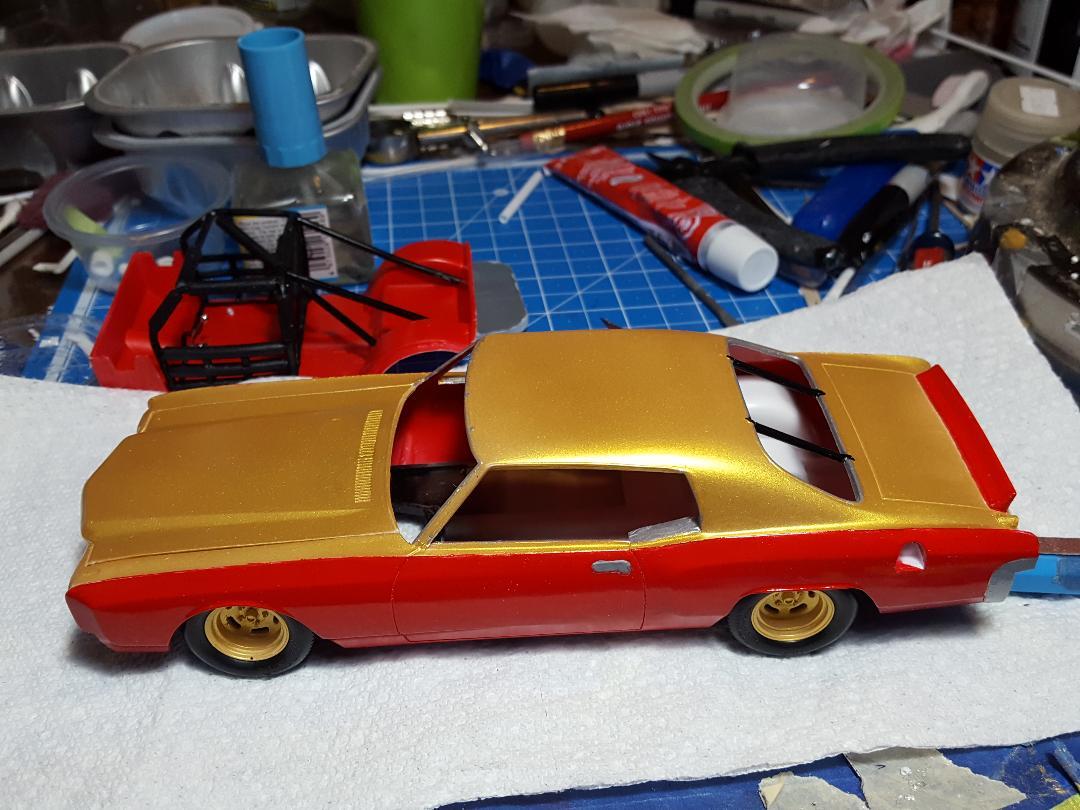
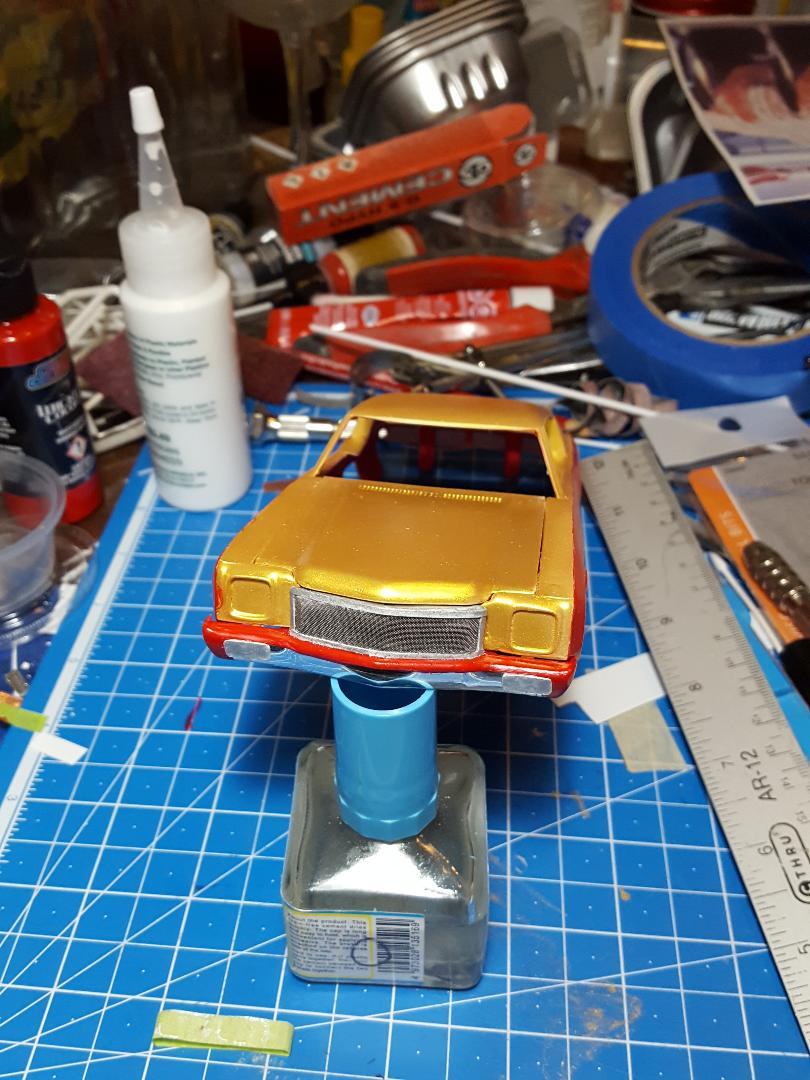
The beauty of gluing the hood shut is that you can cut the tops out of the front inner fenders so I can get the stance right. I had to add some styrene where the holes for the metal axles go through the frame so I will have a flat surface to glue the wheels to. I will also add a little thin piece of sheet styrene to the rear axles as well. If you wanted to have the hood open, you could always reform a top to the inner fender with some sheet styrene. None will be needed in my case. Using the metal axles on this build really makes the model look ridiculous where the front tires end up being. I mocked it up and I will have to check my ref pictures to get the tire placement just right. Where it is right now might be a little too low up front.
-
 2
2
-
-
3 hours ago, Pierre Rivard said:
She is looking mighty fine Mark. I love the idea of a curbside (gluing the hood shut) from time to time. Some engines are unique and deserve the pain of fabrication and detailing, some do not seem worth the effort. I like your call on this one. Decal day is coming. I love decal day!
Thanks, Pierre. That's what I was thinking. The engine under the hood of this car was really much ado about nothing and I did not have actual photos, so I did not see the point of wasting time under the hood. Yes, decals are fun but scary at the same time if you mess one up. And I do that a lot with these old hands and eyes I have. Plus, this decal sheet is very hard to find now.
-
1
-
-
Thank you, Carl, for stopping by with a comment. By not leaving the hood open I will be able to finish quicker than first expected. I do need to make a window net and add the gauge decals to the dash. I will also have to make a shifter. Somehow I lost the one that came in the kit. Thanks again.
-
1
-
-
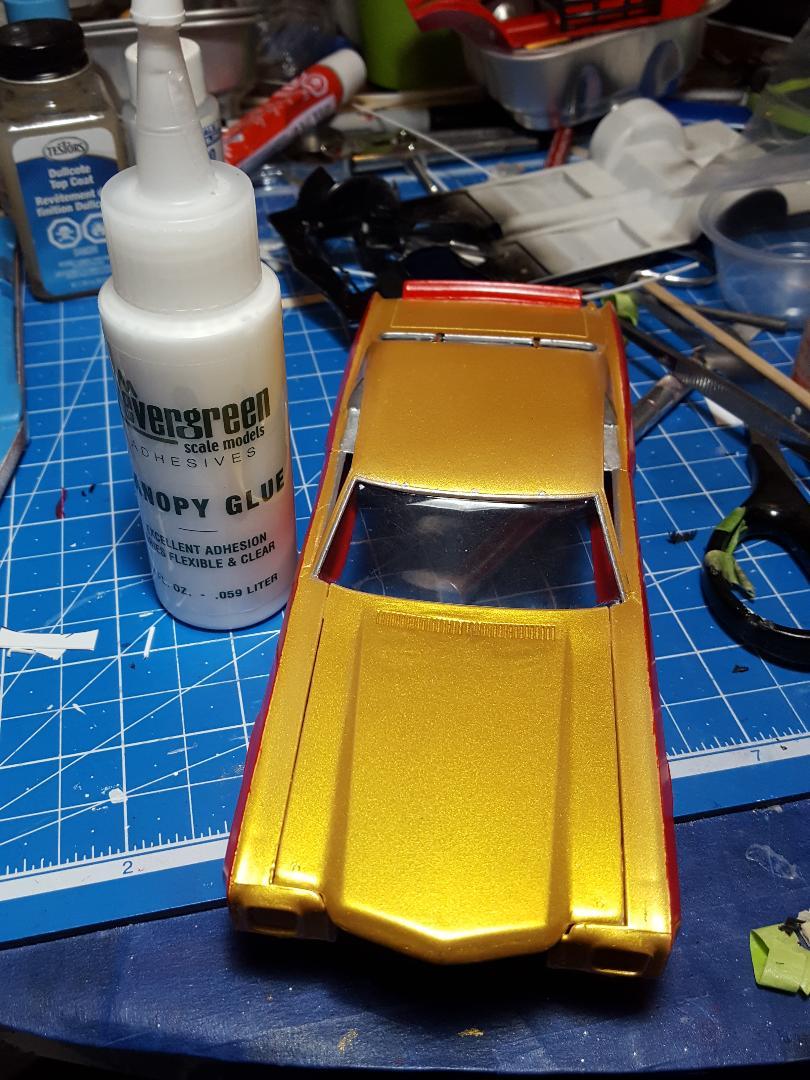
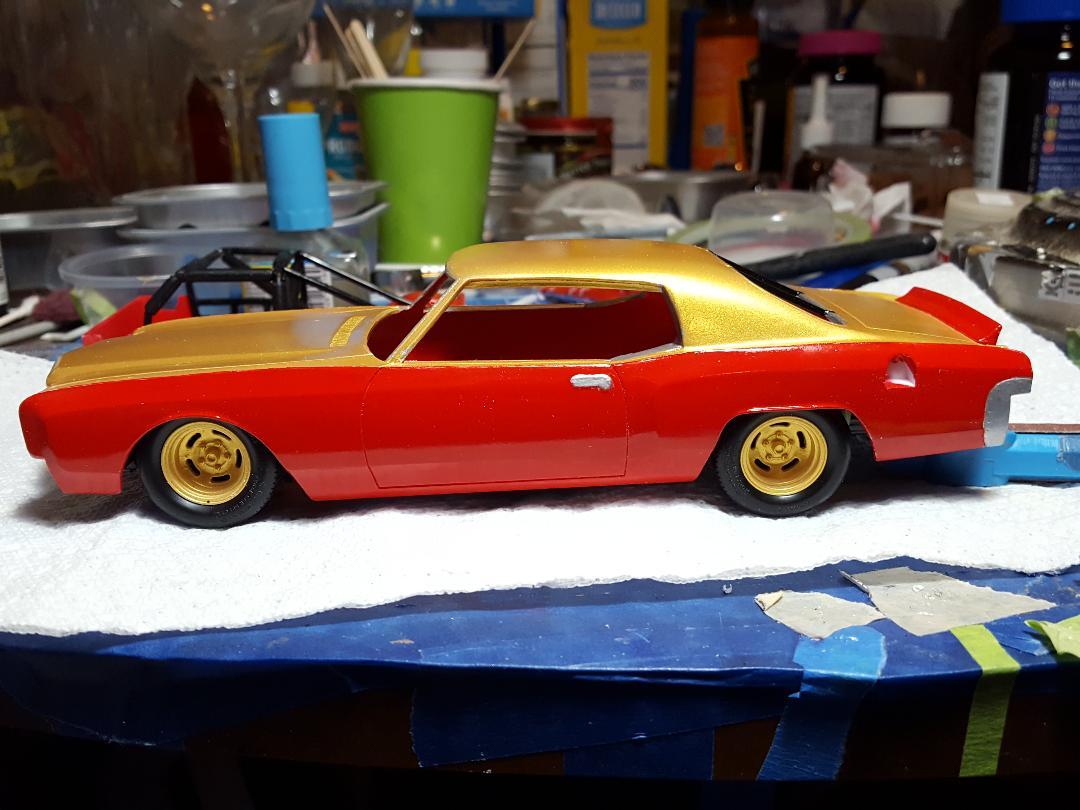
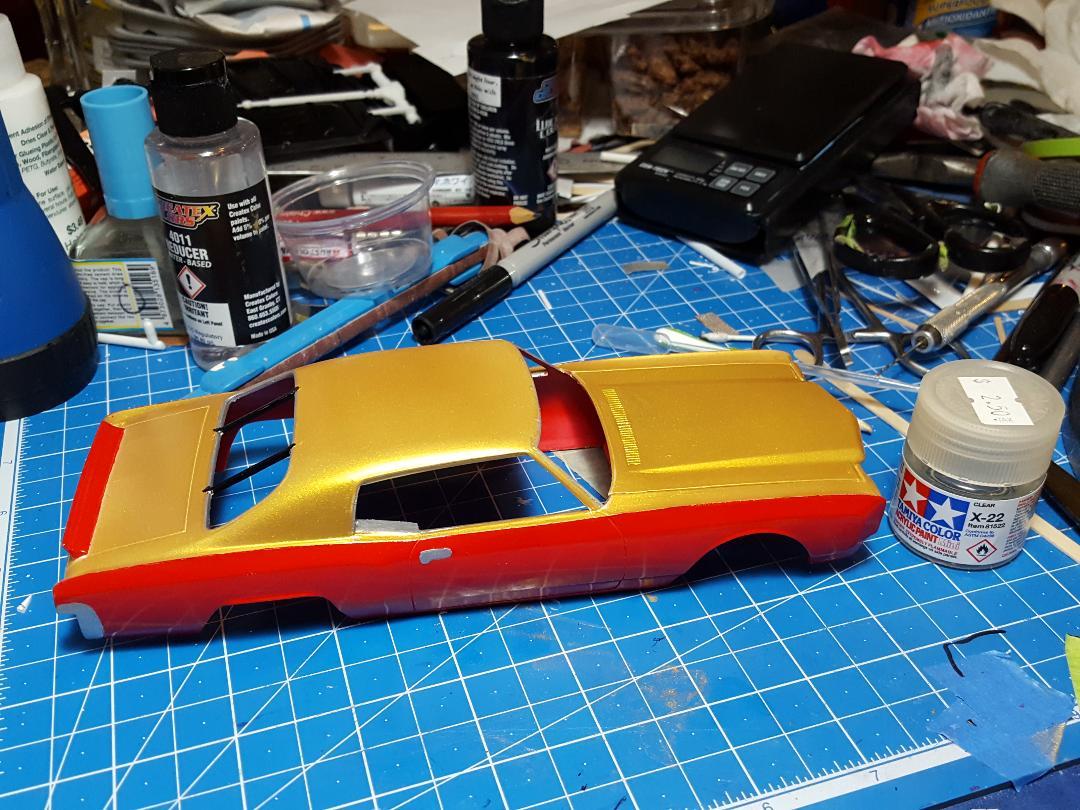
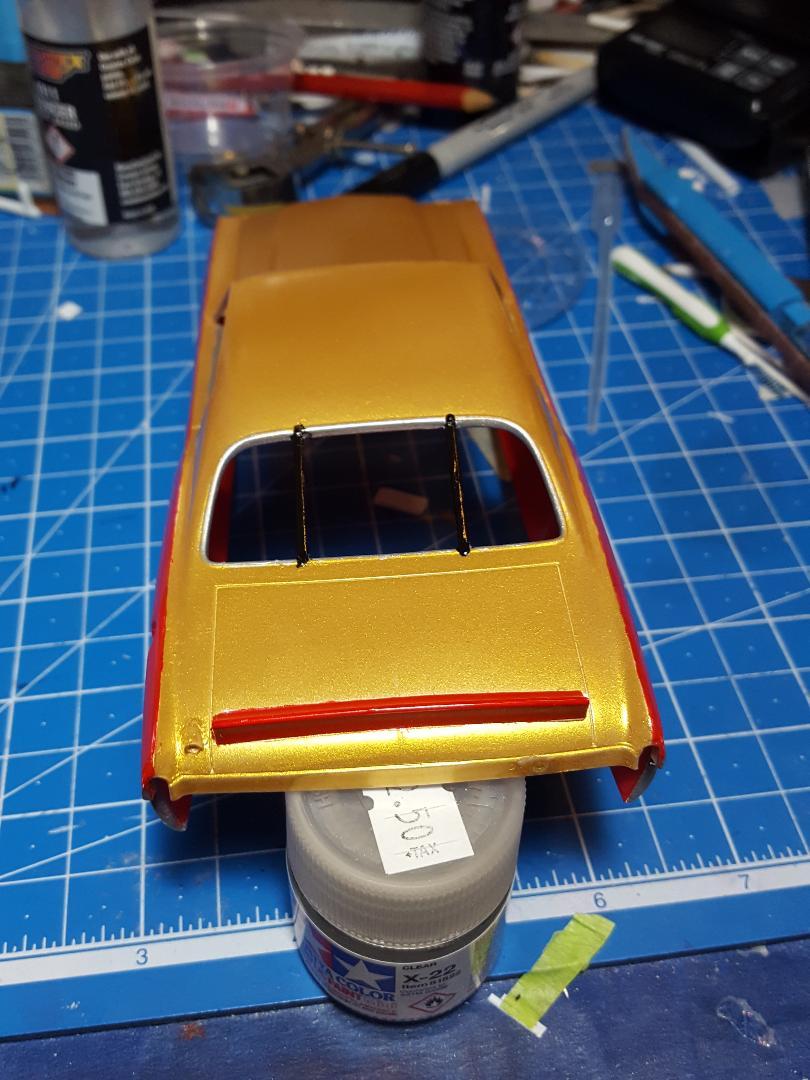
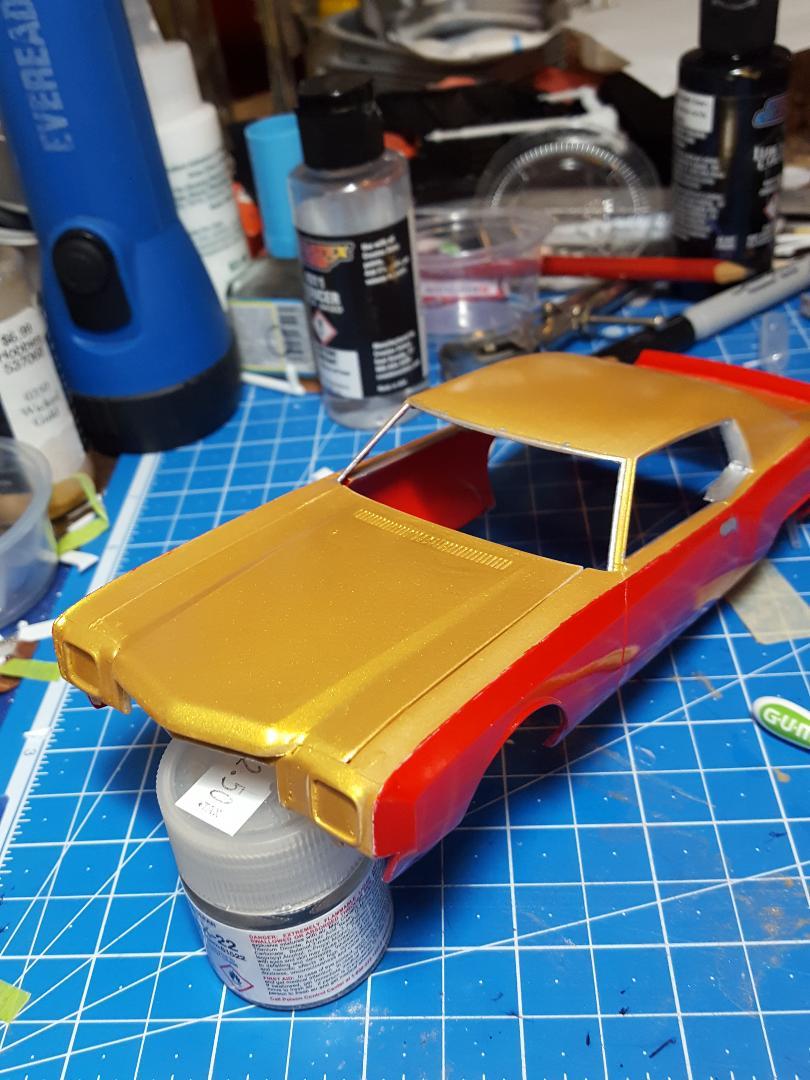
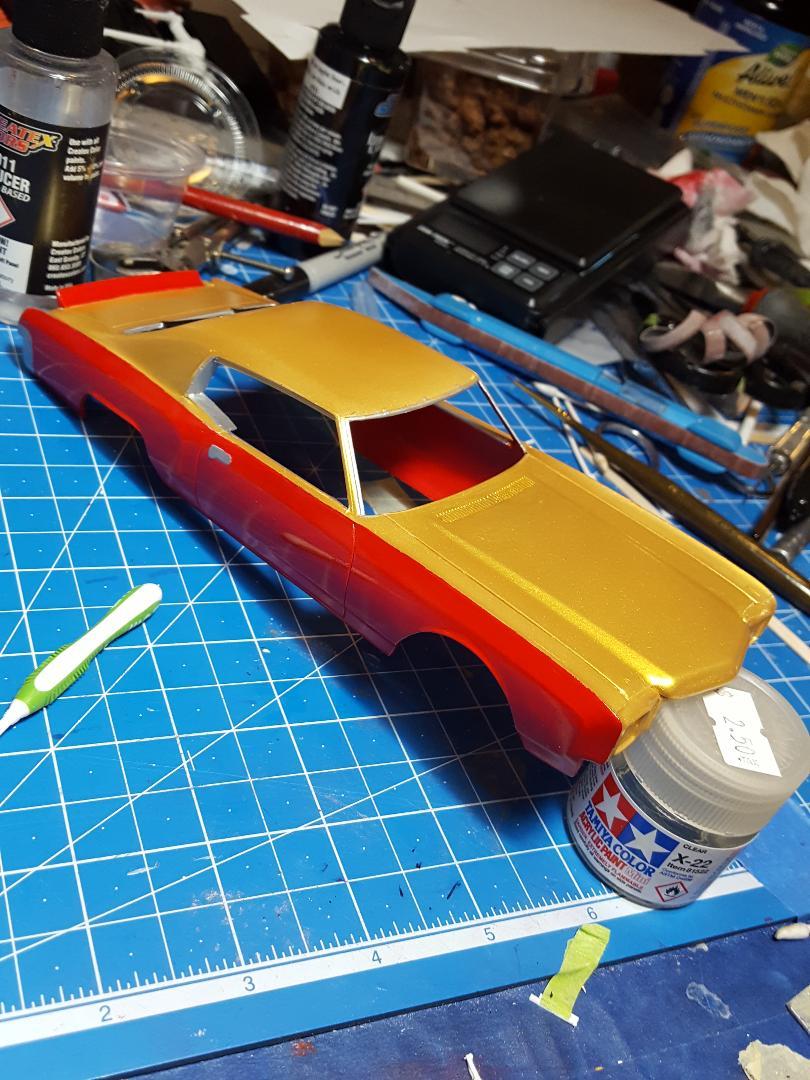
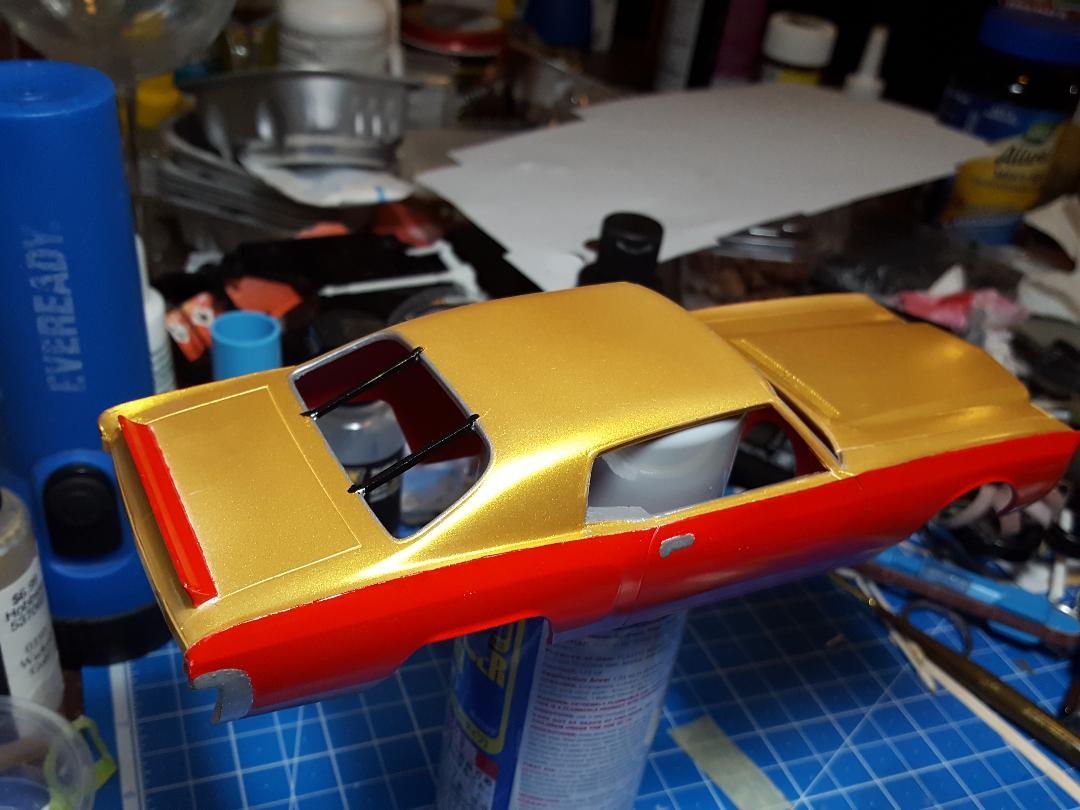
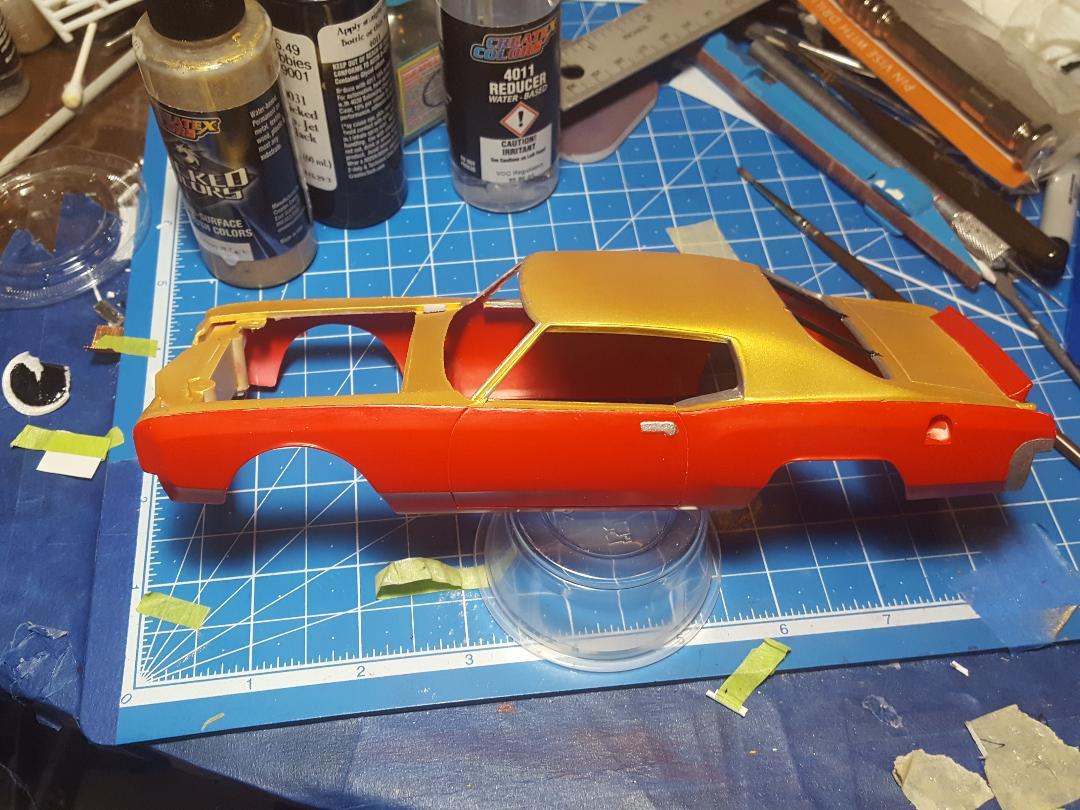
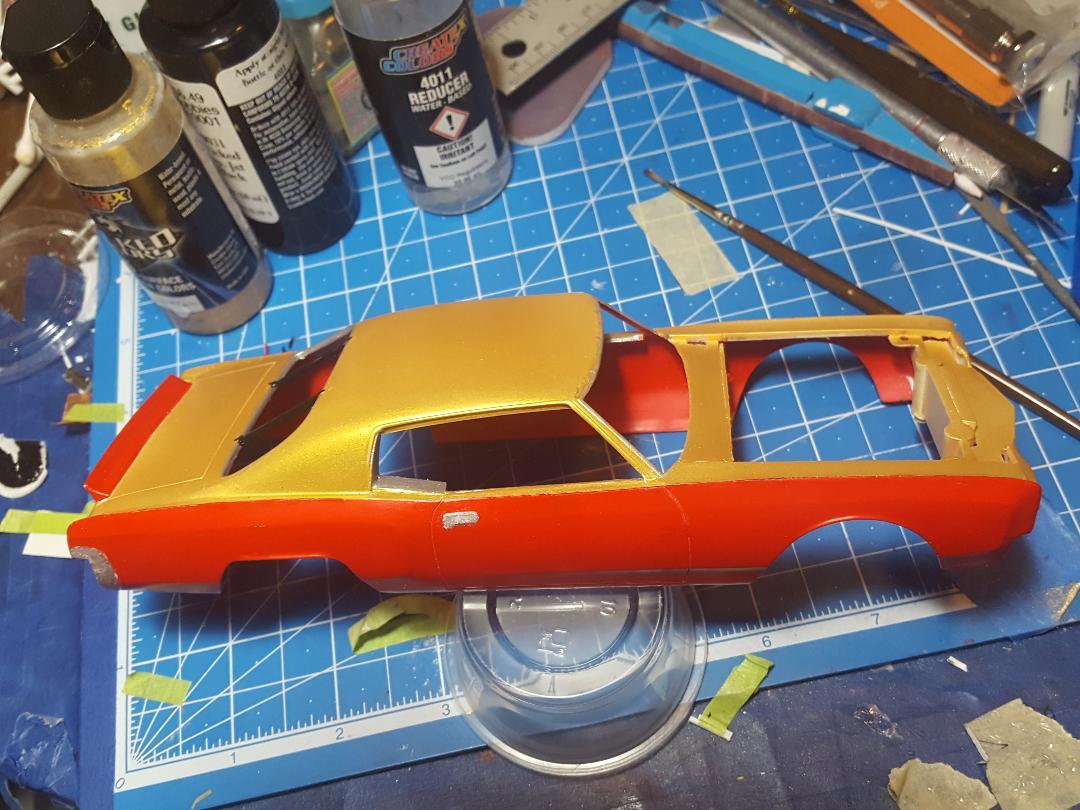
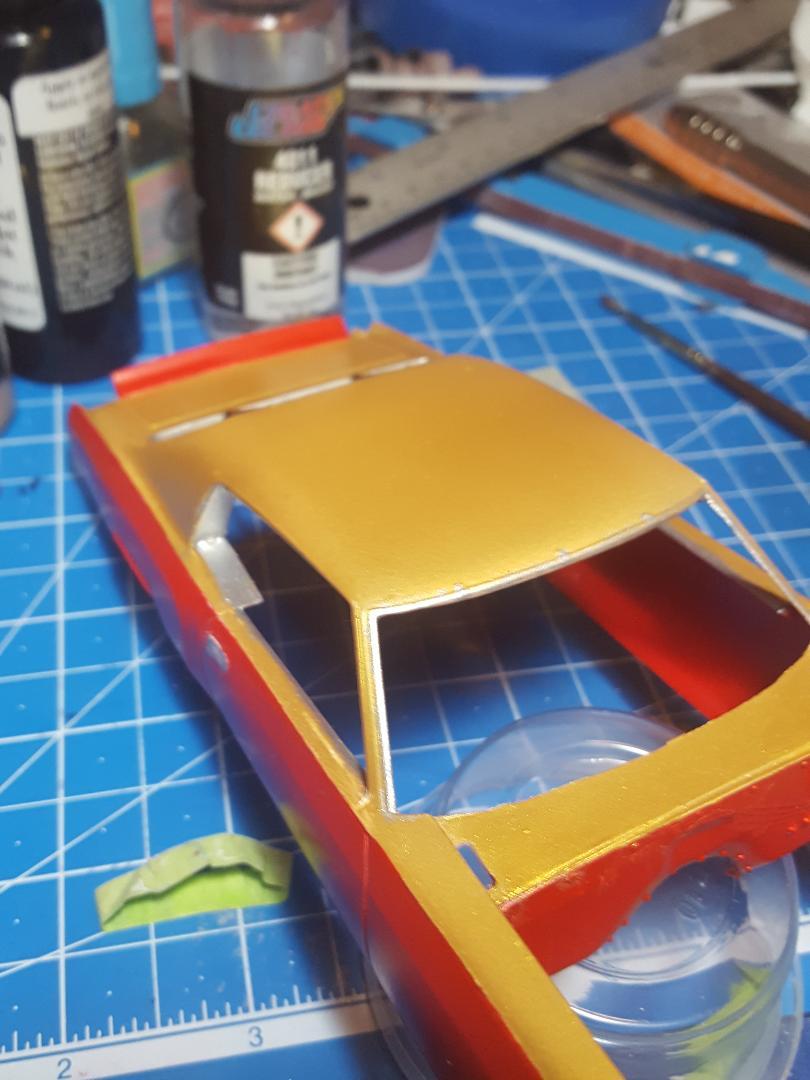
I glued the hood shut and heard that the African dust cloud is coming for most of next week so I real quick got the body ready for the tamiya x-22 clear and shot it this afternoon. Came out glossy enough that I won't have to polish it. if you look closely, you can see the reflection of the gum cleaner brush in the sides of the model. I can't get over how good the acrylic gold paint turned out. Really happy with it. The tamiya clear works really well too. You can get really close and shoot it wet but not enough to let it run and it dries glossy with the home-made flow improver I added to the mix. a little dawn dish detergent and a little acrylic retarder. just 10 drops added to the 10-gram mix of clear.
-
2
-
-
I've come to an epiphany. I was thinking how I ended my last take above and I believe I will just glue the hood shut paint the belts that are on the seat and just add the oob stuff to the interior and finish this thing as quick as possible. I really have no idea what the actual interior or how the belts look or anything about how it looks under the hood. So, I'm basically just wasting a lot of time. Main thing is to get the stance right, clear the body, decal it and future it. Then I can move on to my next build that I have always wanted to do and I will build it the same way. Hood glued shut and no extra extraneous stuff that takes a lot of time.
-
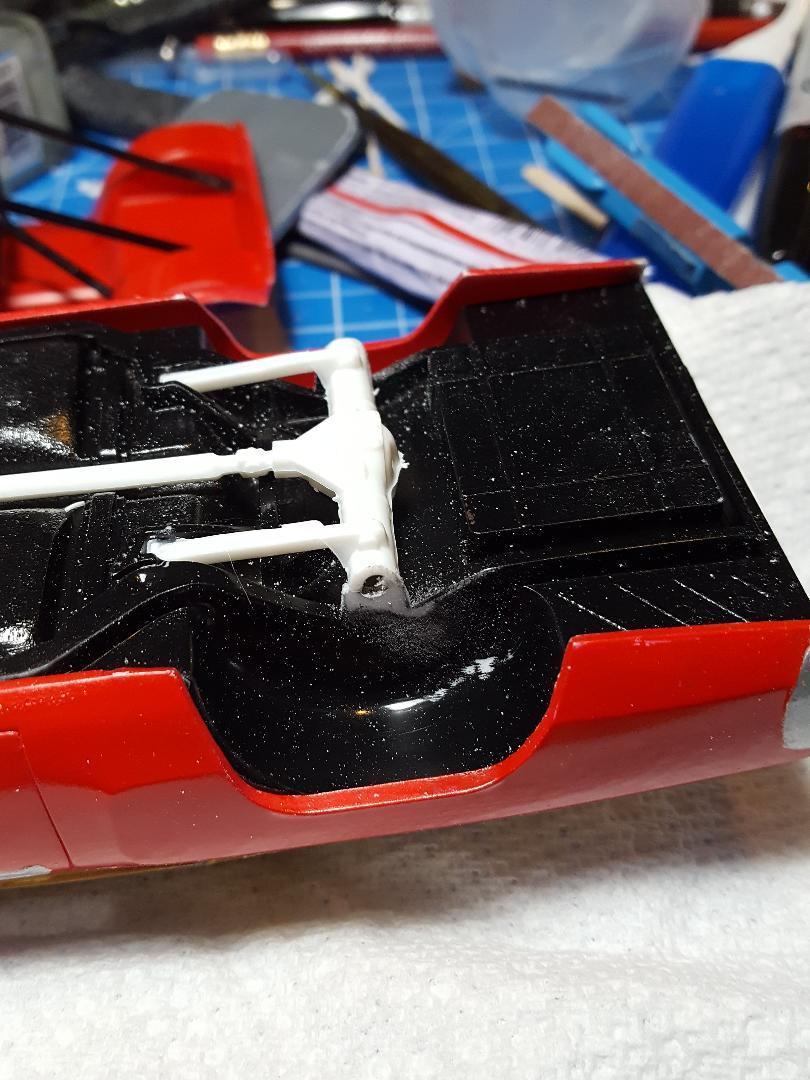
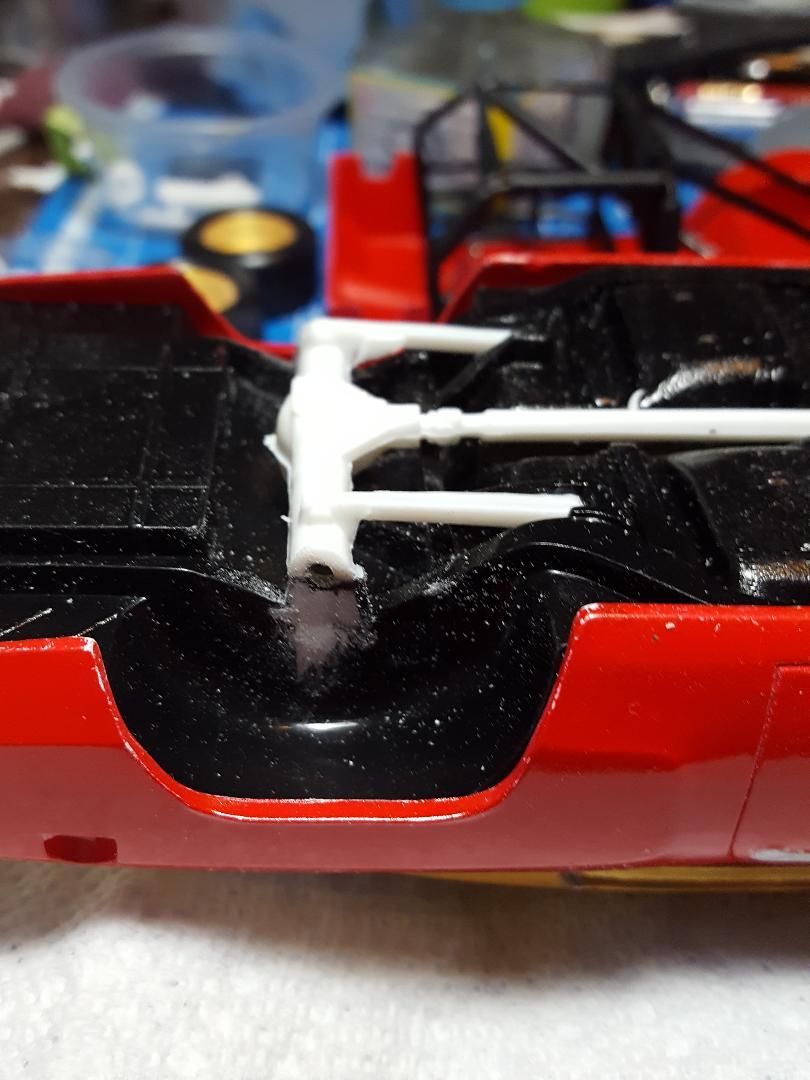
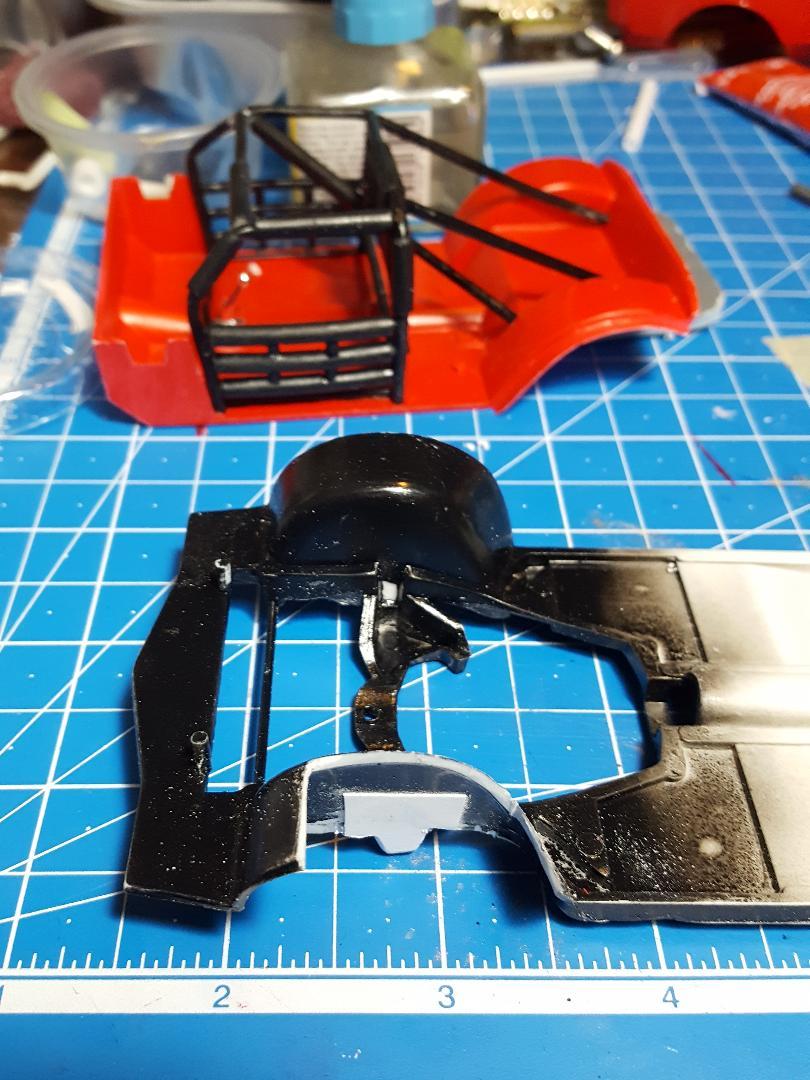
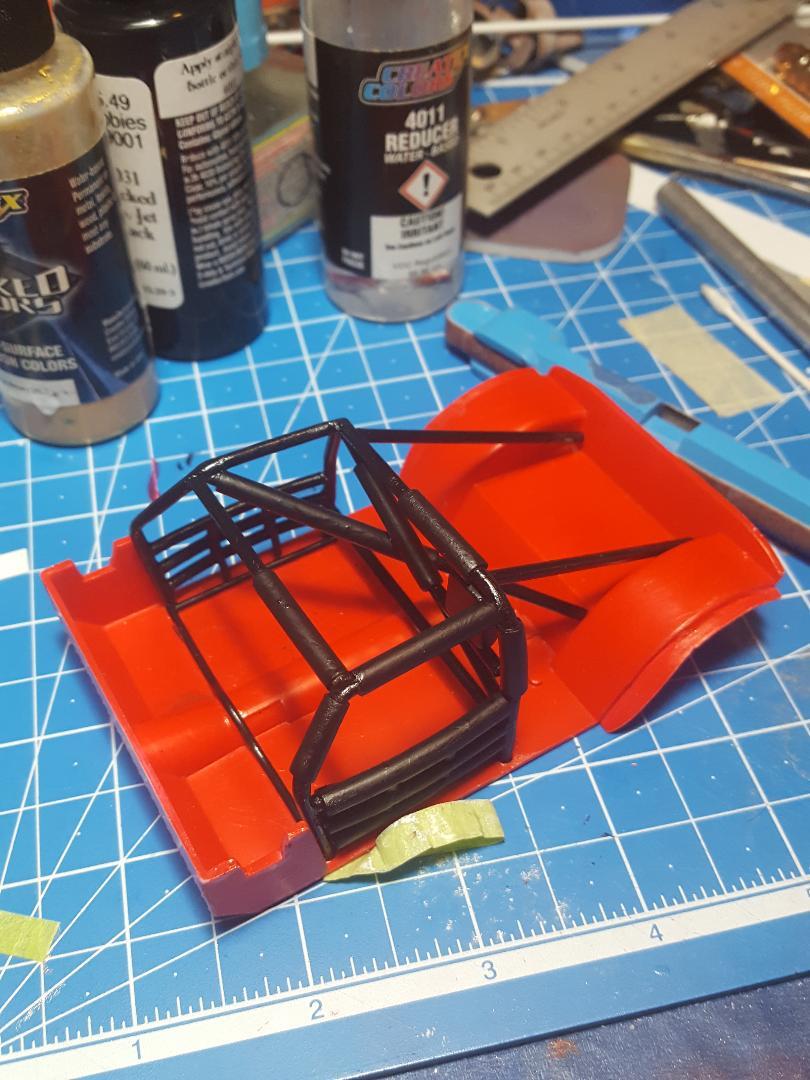
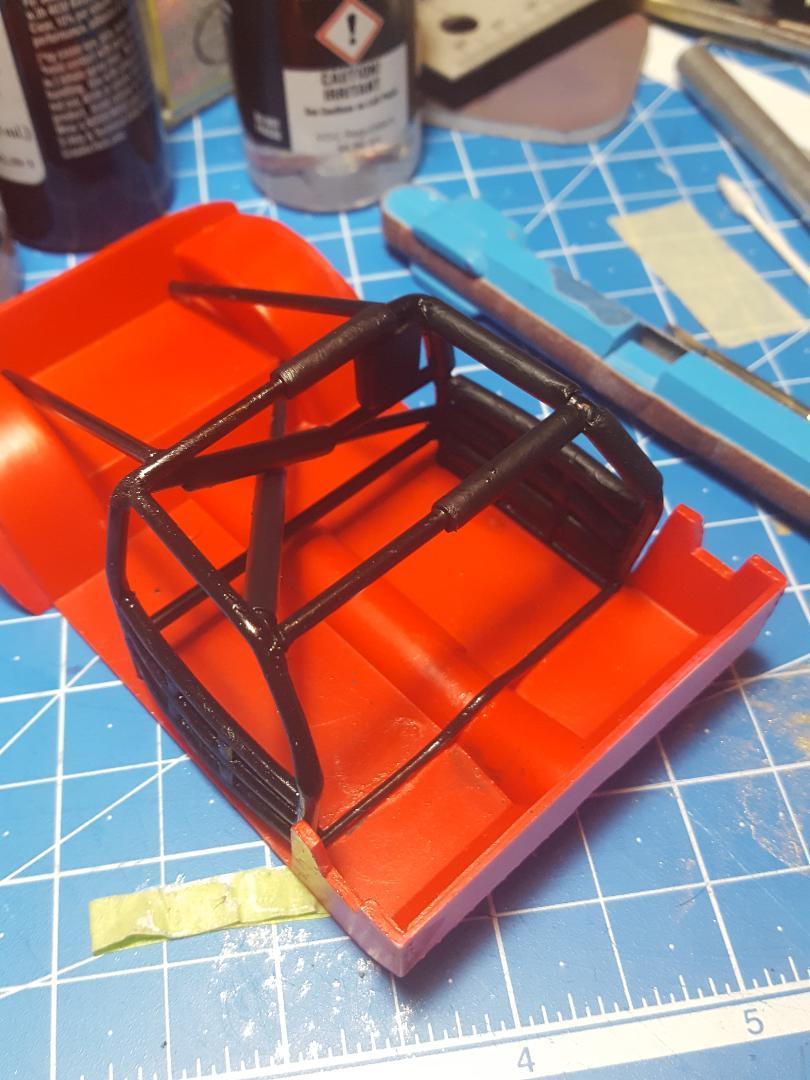
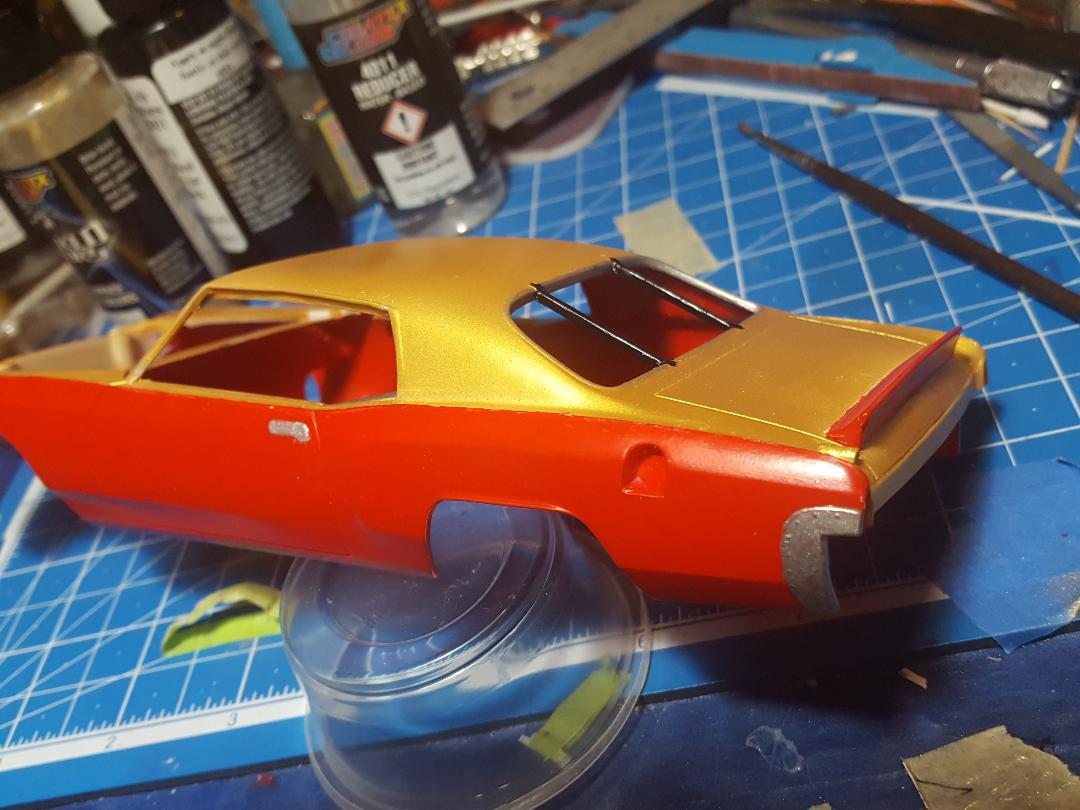
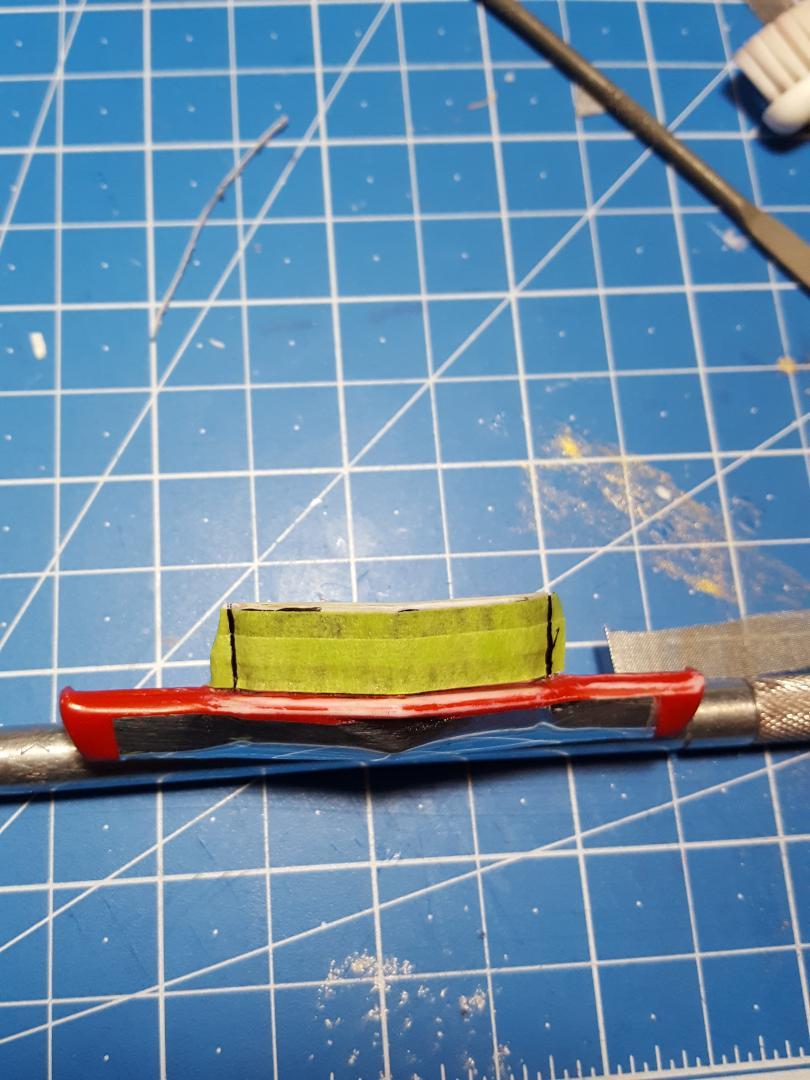
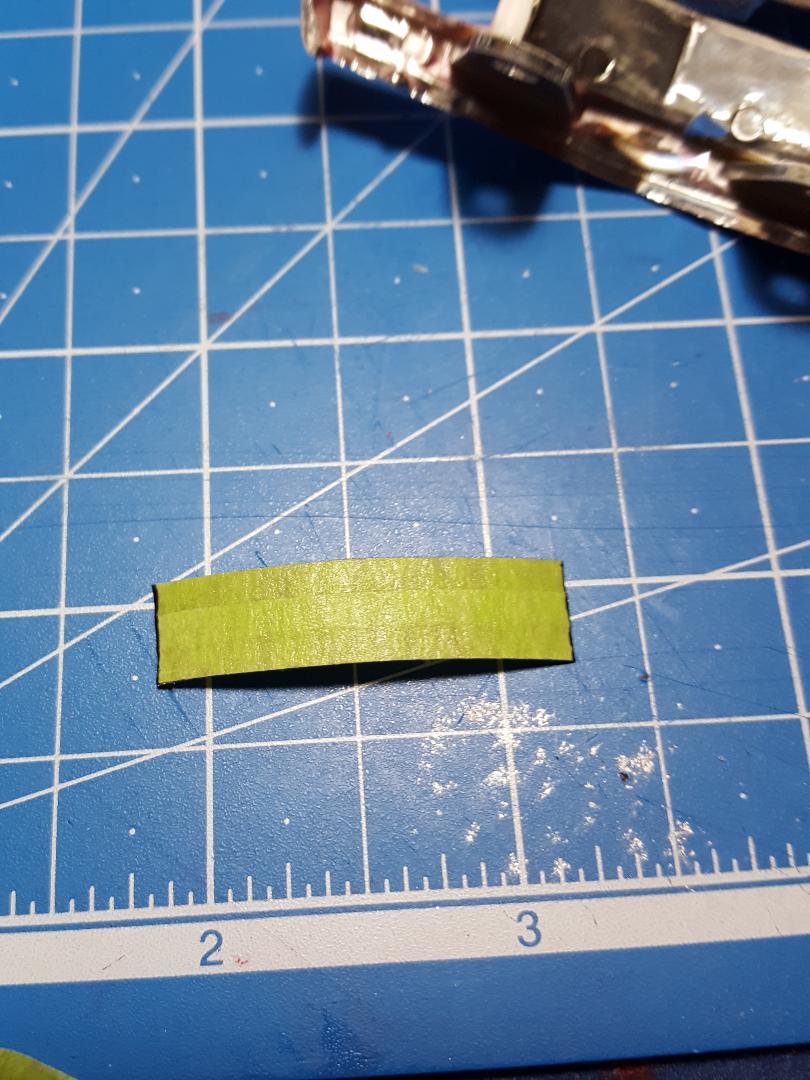
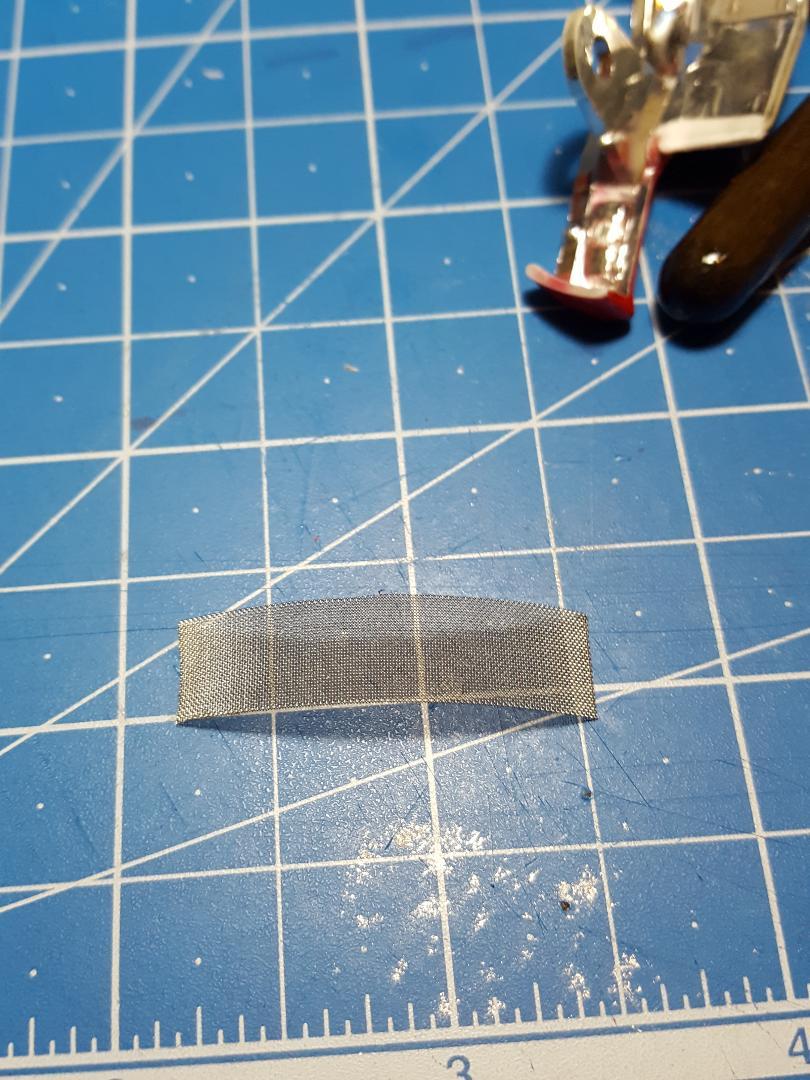
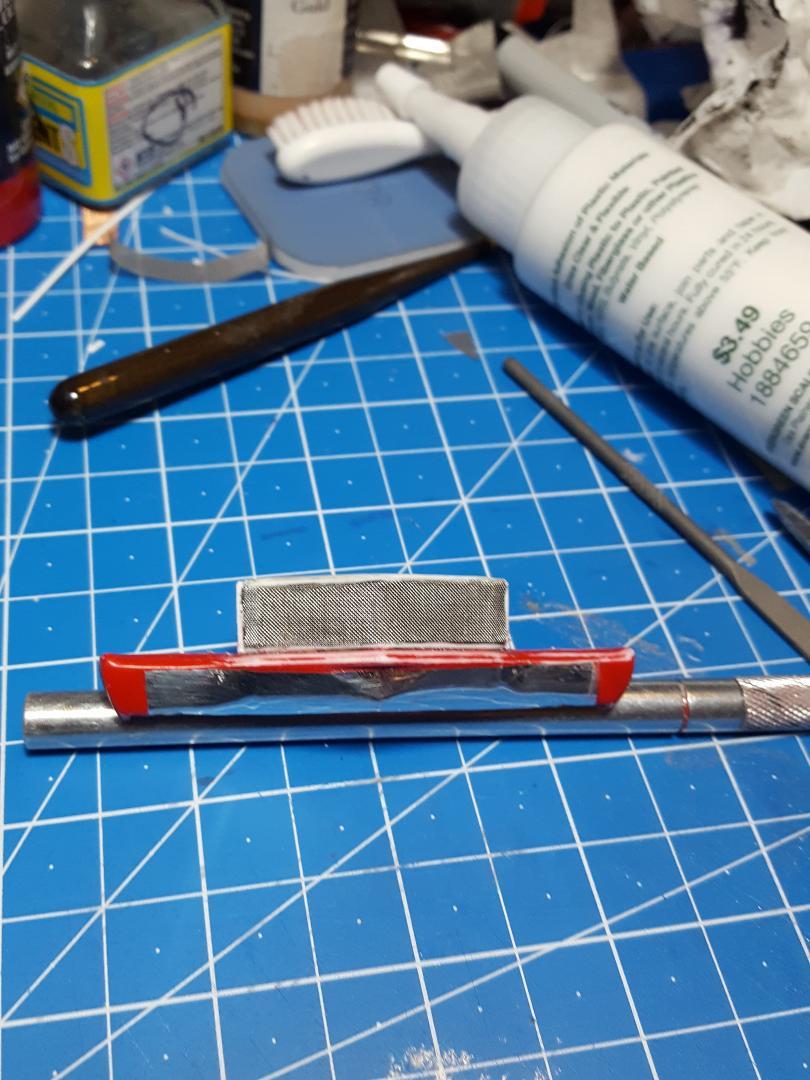
Did some brush painting of various parts that can't be airbrushed. The 1/4 glass fairings , the rear bumper fairings and the door handle depression covers. Also, the windshield and back glass moldings and the rear glass blow out straps. Also had to paint a bar on the interior floor where the cage attaches to the floor. Painted the pads and headrest on the cage flat black to differentiate them from the cage. Need to finally get around to the engine and also need to do the seat and shoulder belt harnesses and hardware. I probably should just glue the hood shut, clear the body and put this baby together and move on to the next build.
-
4 hours ago, Rattlecan Dan said:
I know you will. Looking great so far.
Thanks for dropping by, Donato. I really appreciate that you're staying in tune to the build.
-
I missed a touch up spot on the right side next to the right headlight cover. Will fix it before I clear the model.
-
I'm going to say I'm finished with the grille /bumper assembly. The fit is not perfect by any means but a lot better than you get making the model oob. If you do it that way you get a huge gap between the hood and the grille when the hood is completely shut on the sides. Really bad engineered kit but I don't think they wanted you to build a real Nascar cup car from 1972. More like a local track Saturday night special. For that purpose, it is just fine. On to the engine and eventual completion of this build.
-
1
-
-
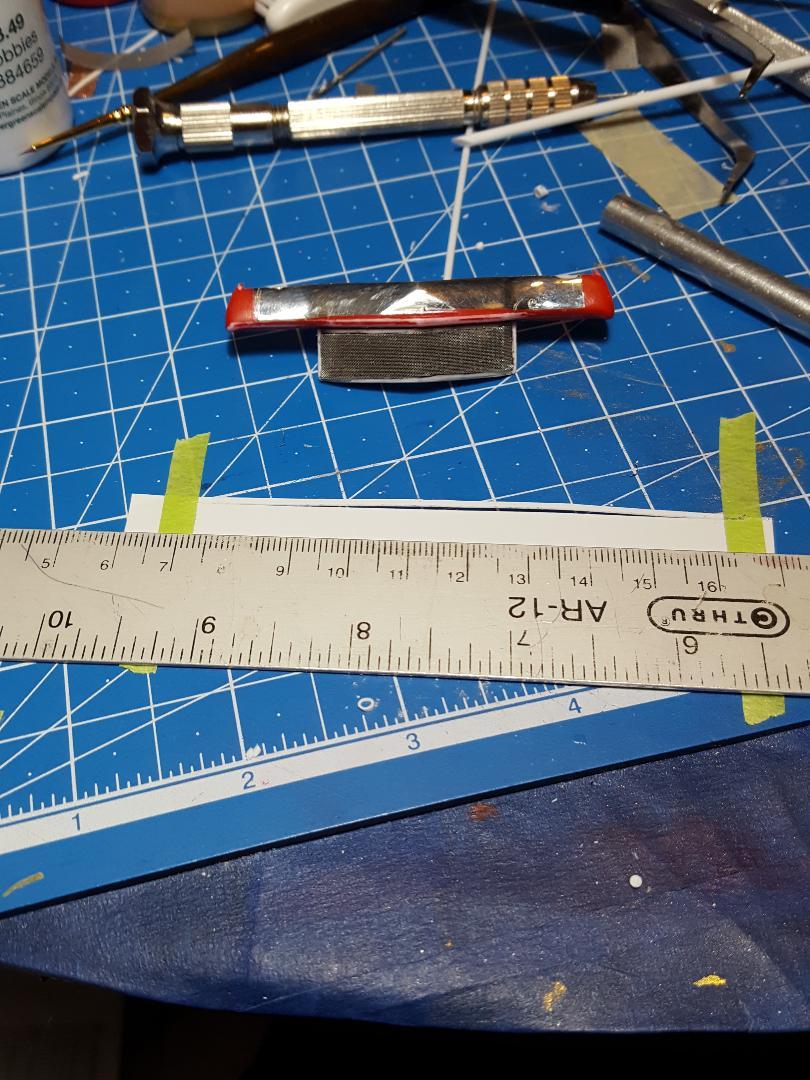
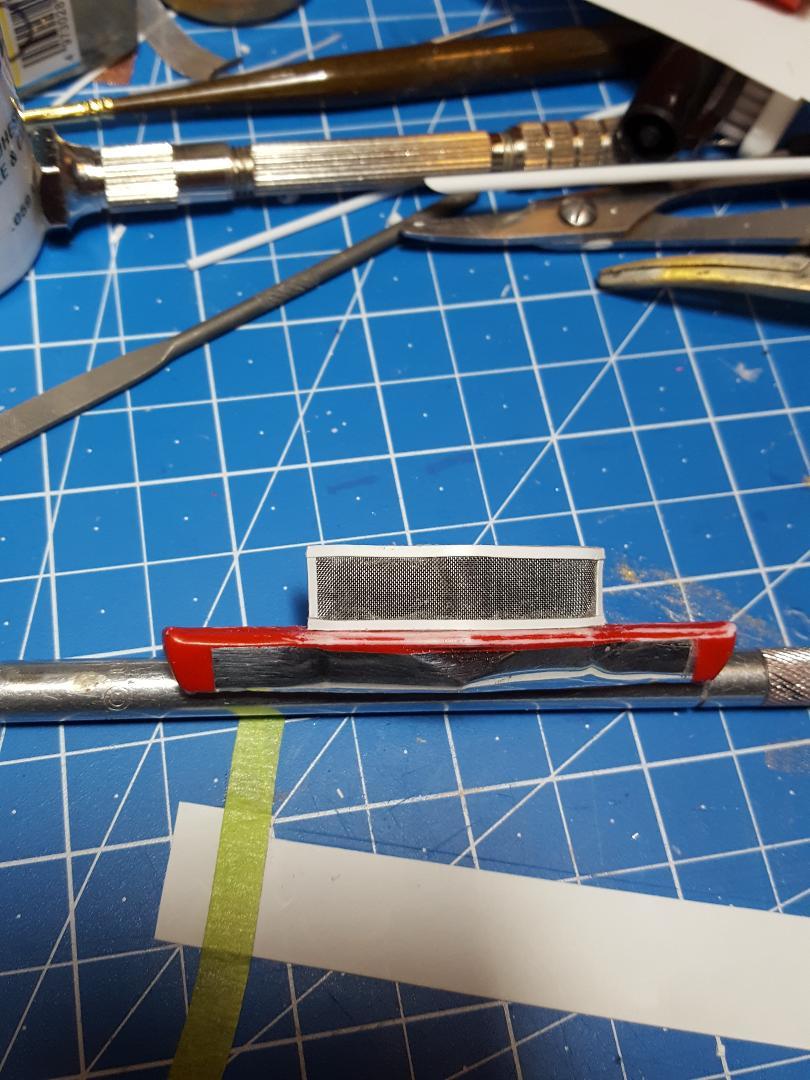
Just need to add the park lamp covers to the bumper and I will be ready to paint the grille/bumper assembly. Then I can start on the engine.
-
3
-
-
Just a little more to do and grille/front bumper assembly will be done.
-
3
-
-
Got back to the grille. Looks like it will be a complete do over.
-
1
-
-
17 hours ago, TransAmMike said:
Yep, hopefully HL does continue the line. I usually order from Spraygunner.com when I want/need something HL doesn't have.
Thanks for the tip, I will look into that.
-
Thank you so much for stopping by and making a comment, Mike. It's always great to get some encouragement on these journeys. I just wish Hobby Lobby had a larger choice of colors to purchase. I see some colors on YouTube videos that I would really like to get my hands on, and they don't keep up with the stock that they do have. I'm afraid they will just up and stop carrying the Createx at all. Be just my luck now that I have found what a wonderful product it is.


1972 Bobby Allison Southern 500 winning Coke Chevy
in WIP: NASCAR
Posted
Thanks Steve. The more I look at the front fender contingencies I have come to the conclusion that you are right about the Zoom decal being below the Edelbrock and the Jet way is above it. I was letting a photo of the Rebel 400 car mess up my thinking about it. So, I believe the mystery is finally solved and I feel good about the placement of the decals.