
charlie libby
-
Posts
328 -
Joined
-
Last visited
Content Type
Profiles
Forums
Events
Gallery
Posts posted by charlie libby
-
-
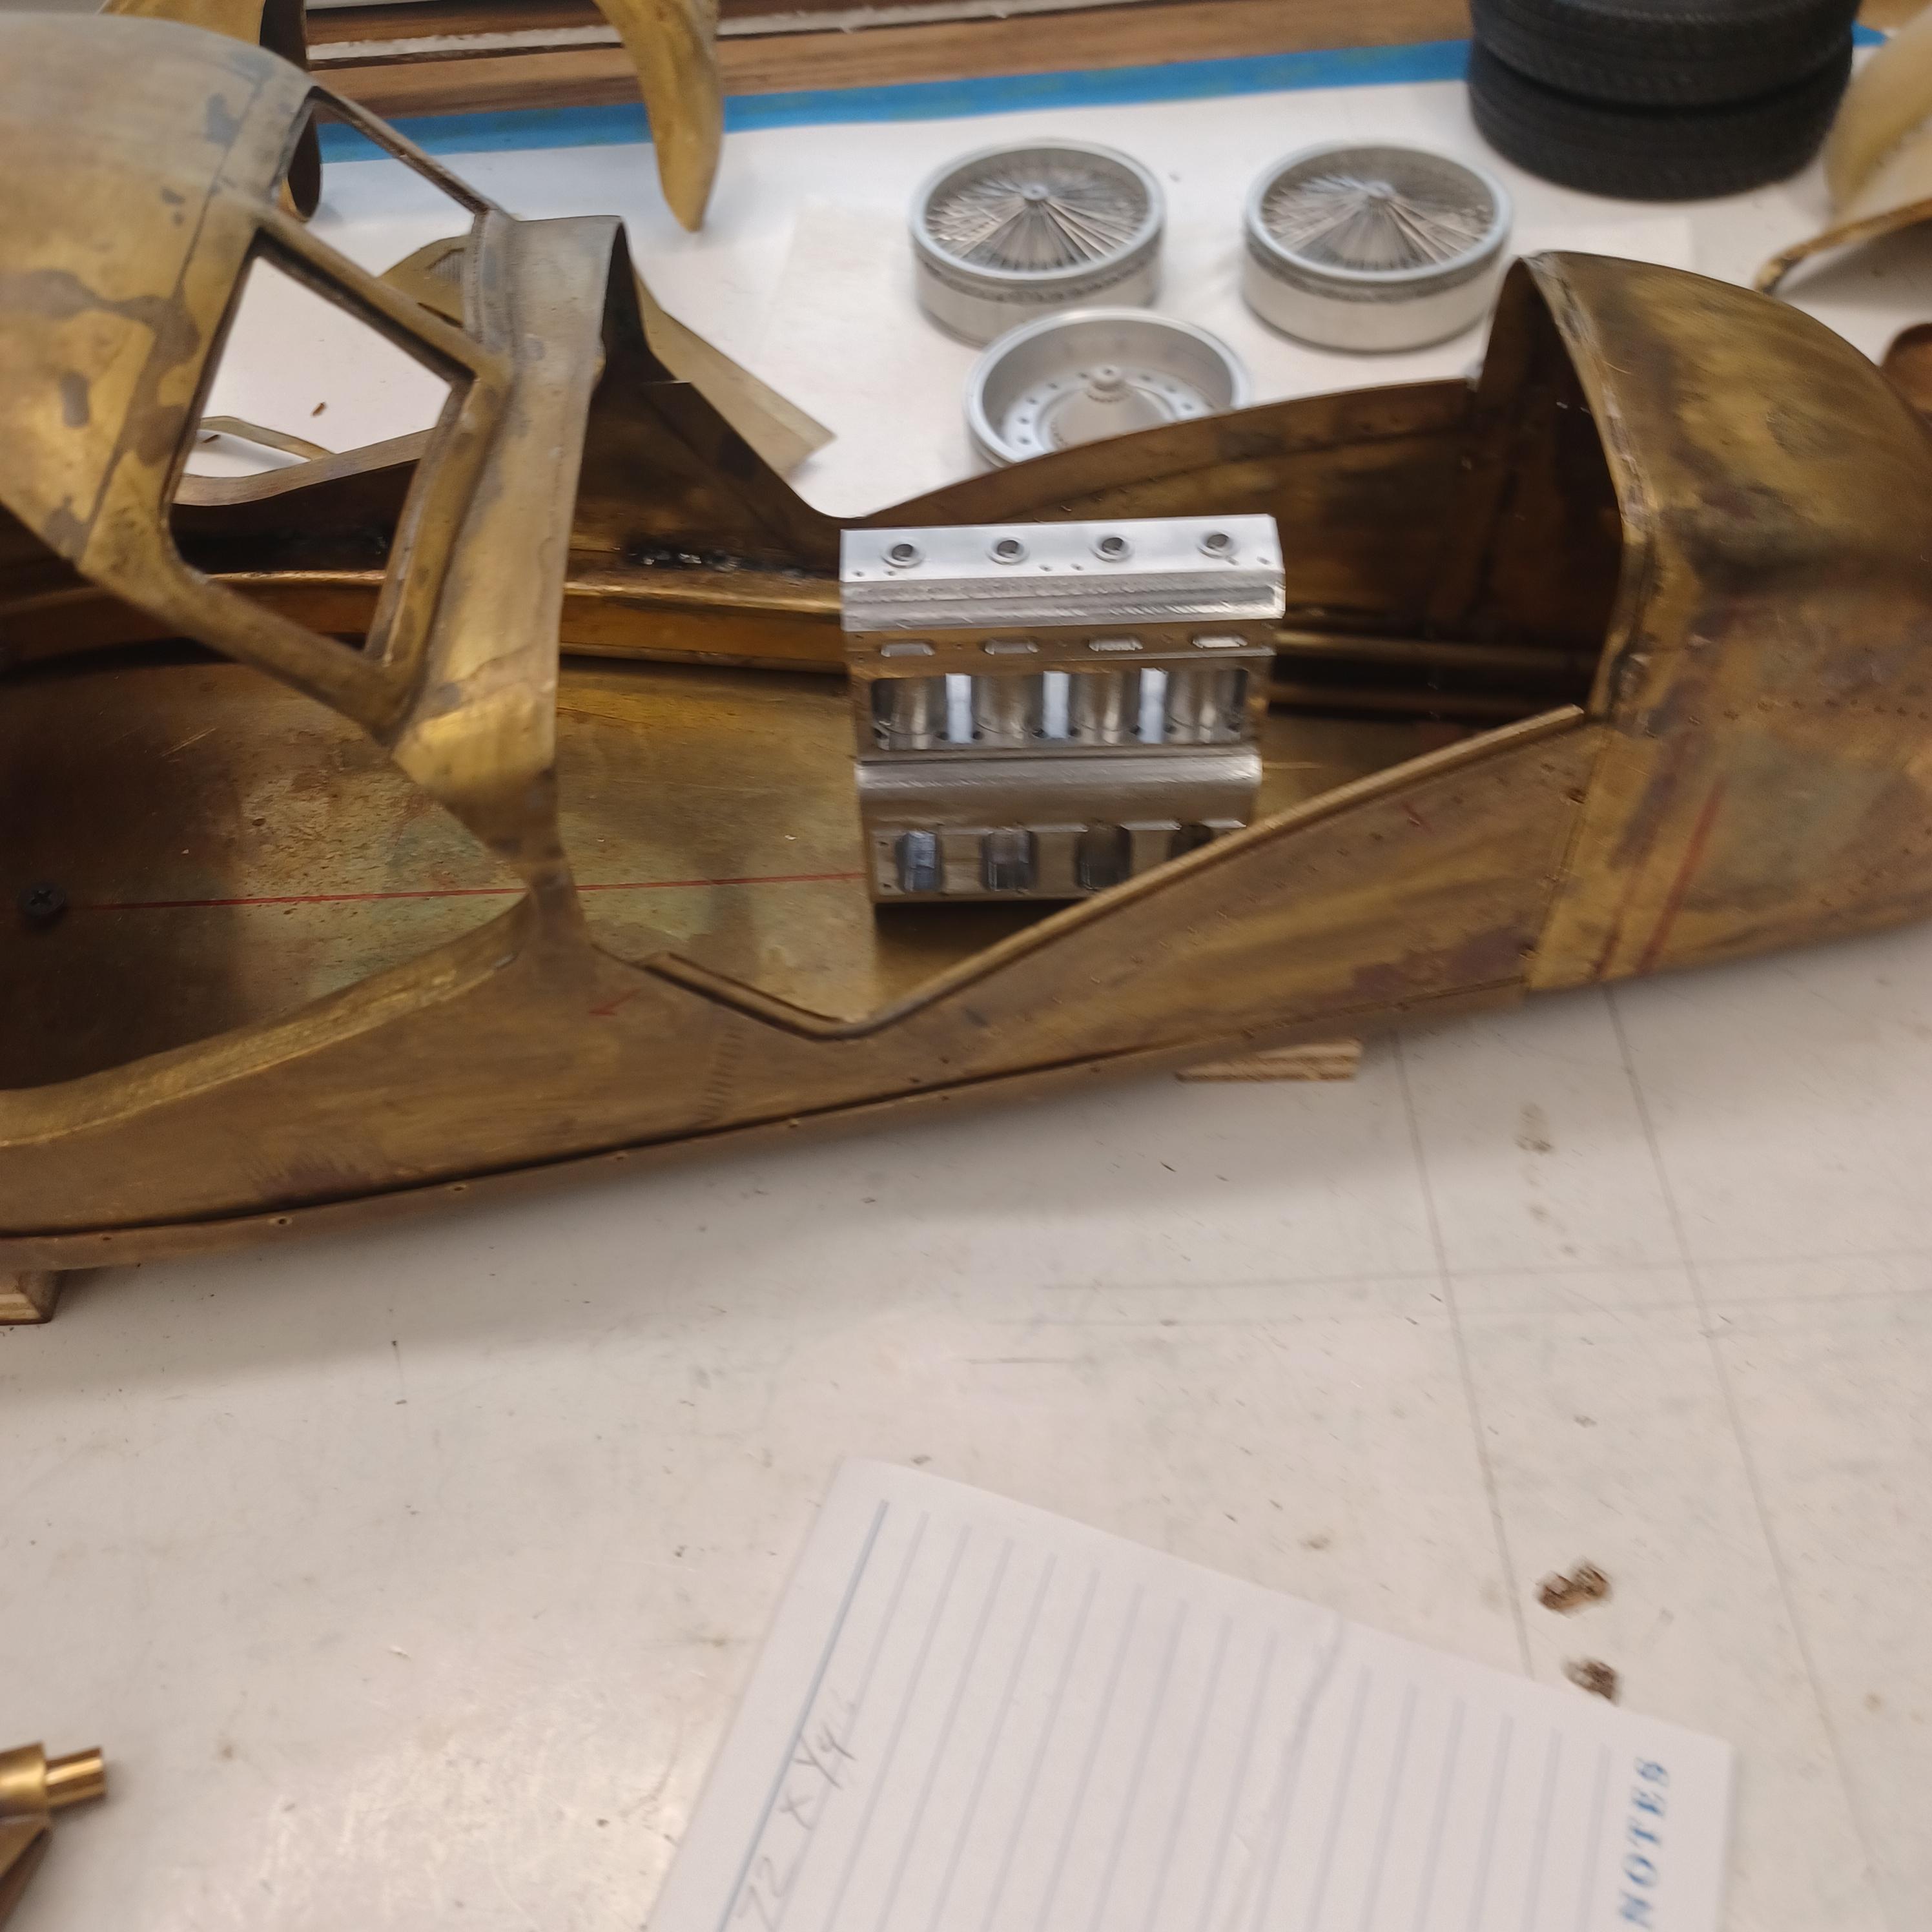
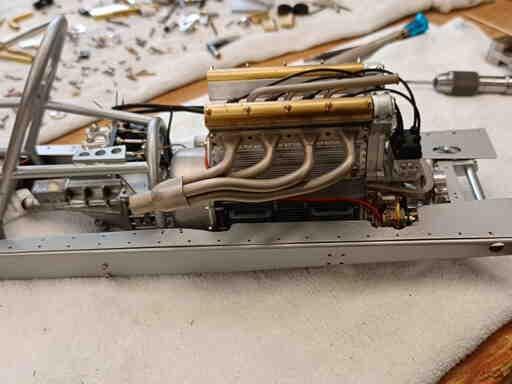
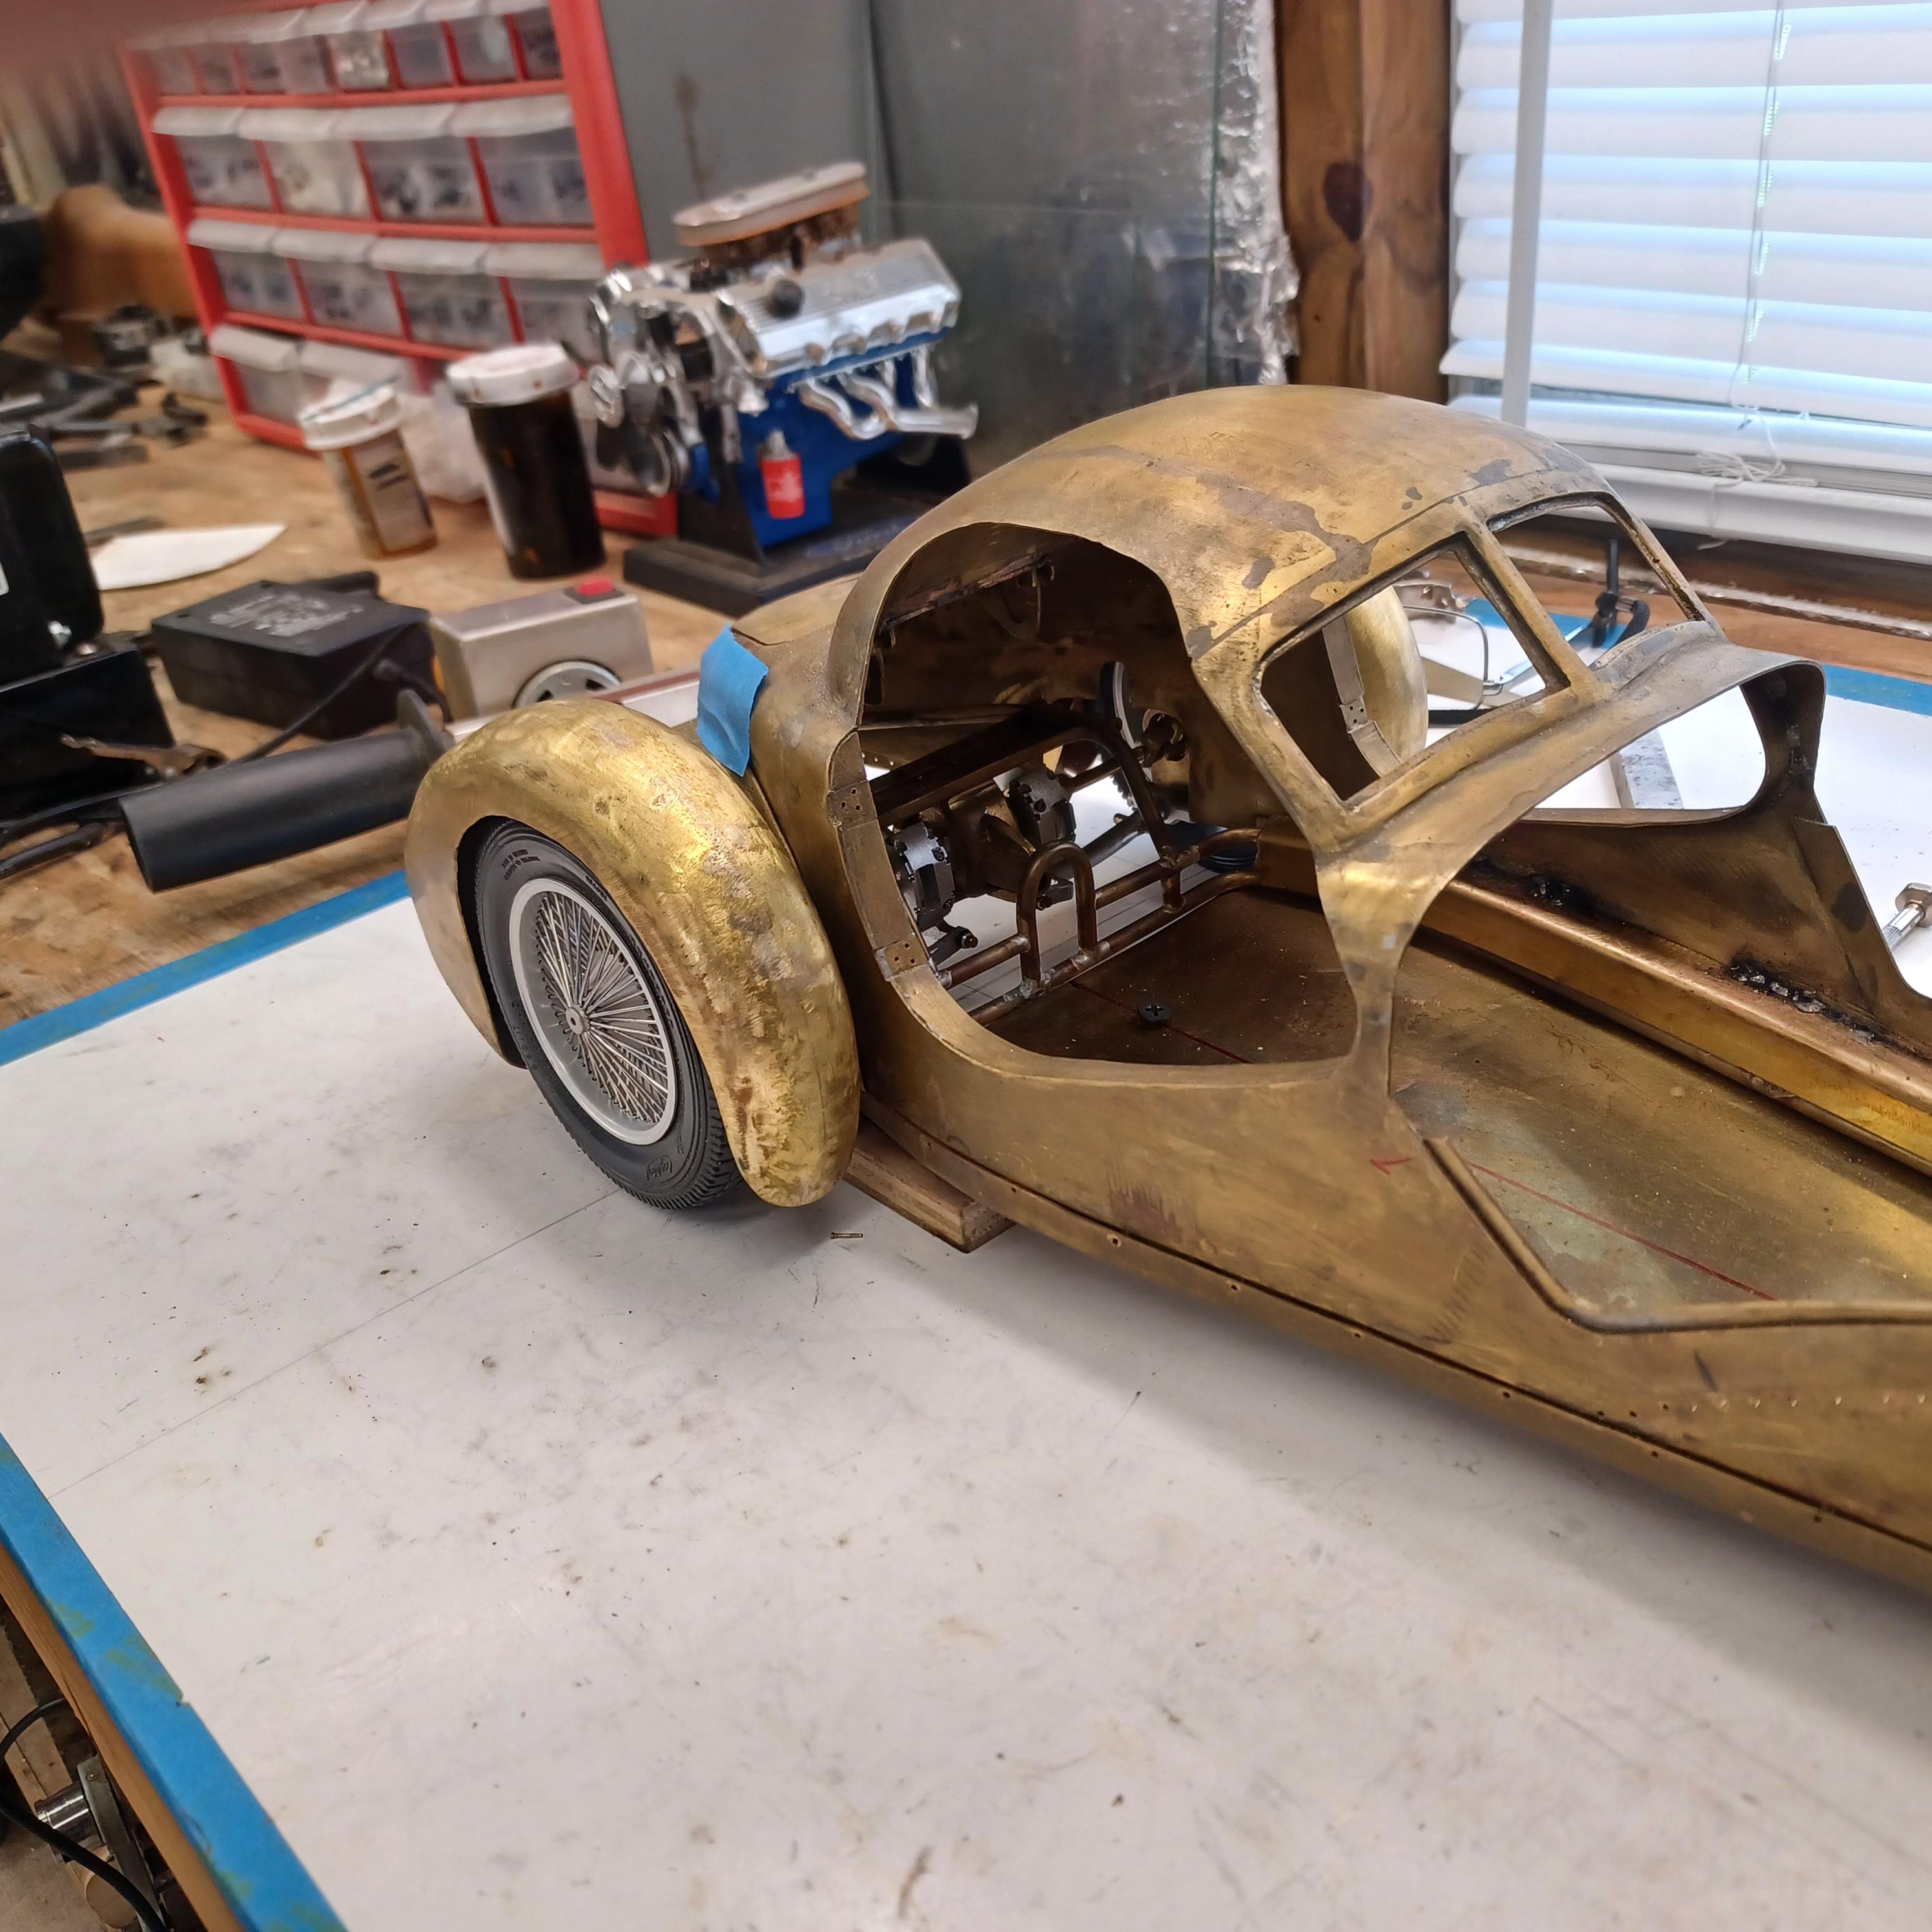
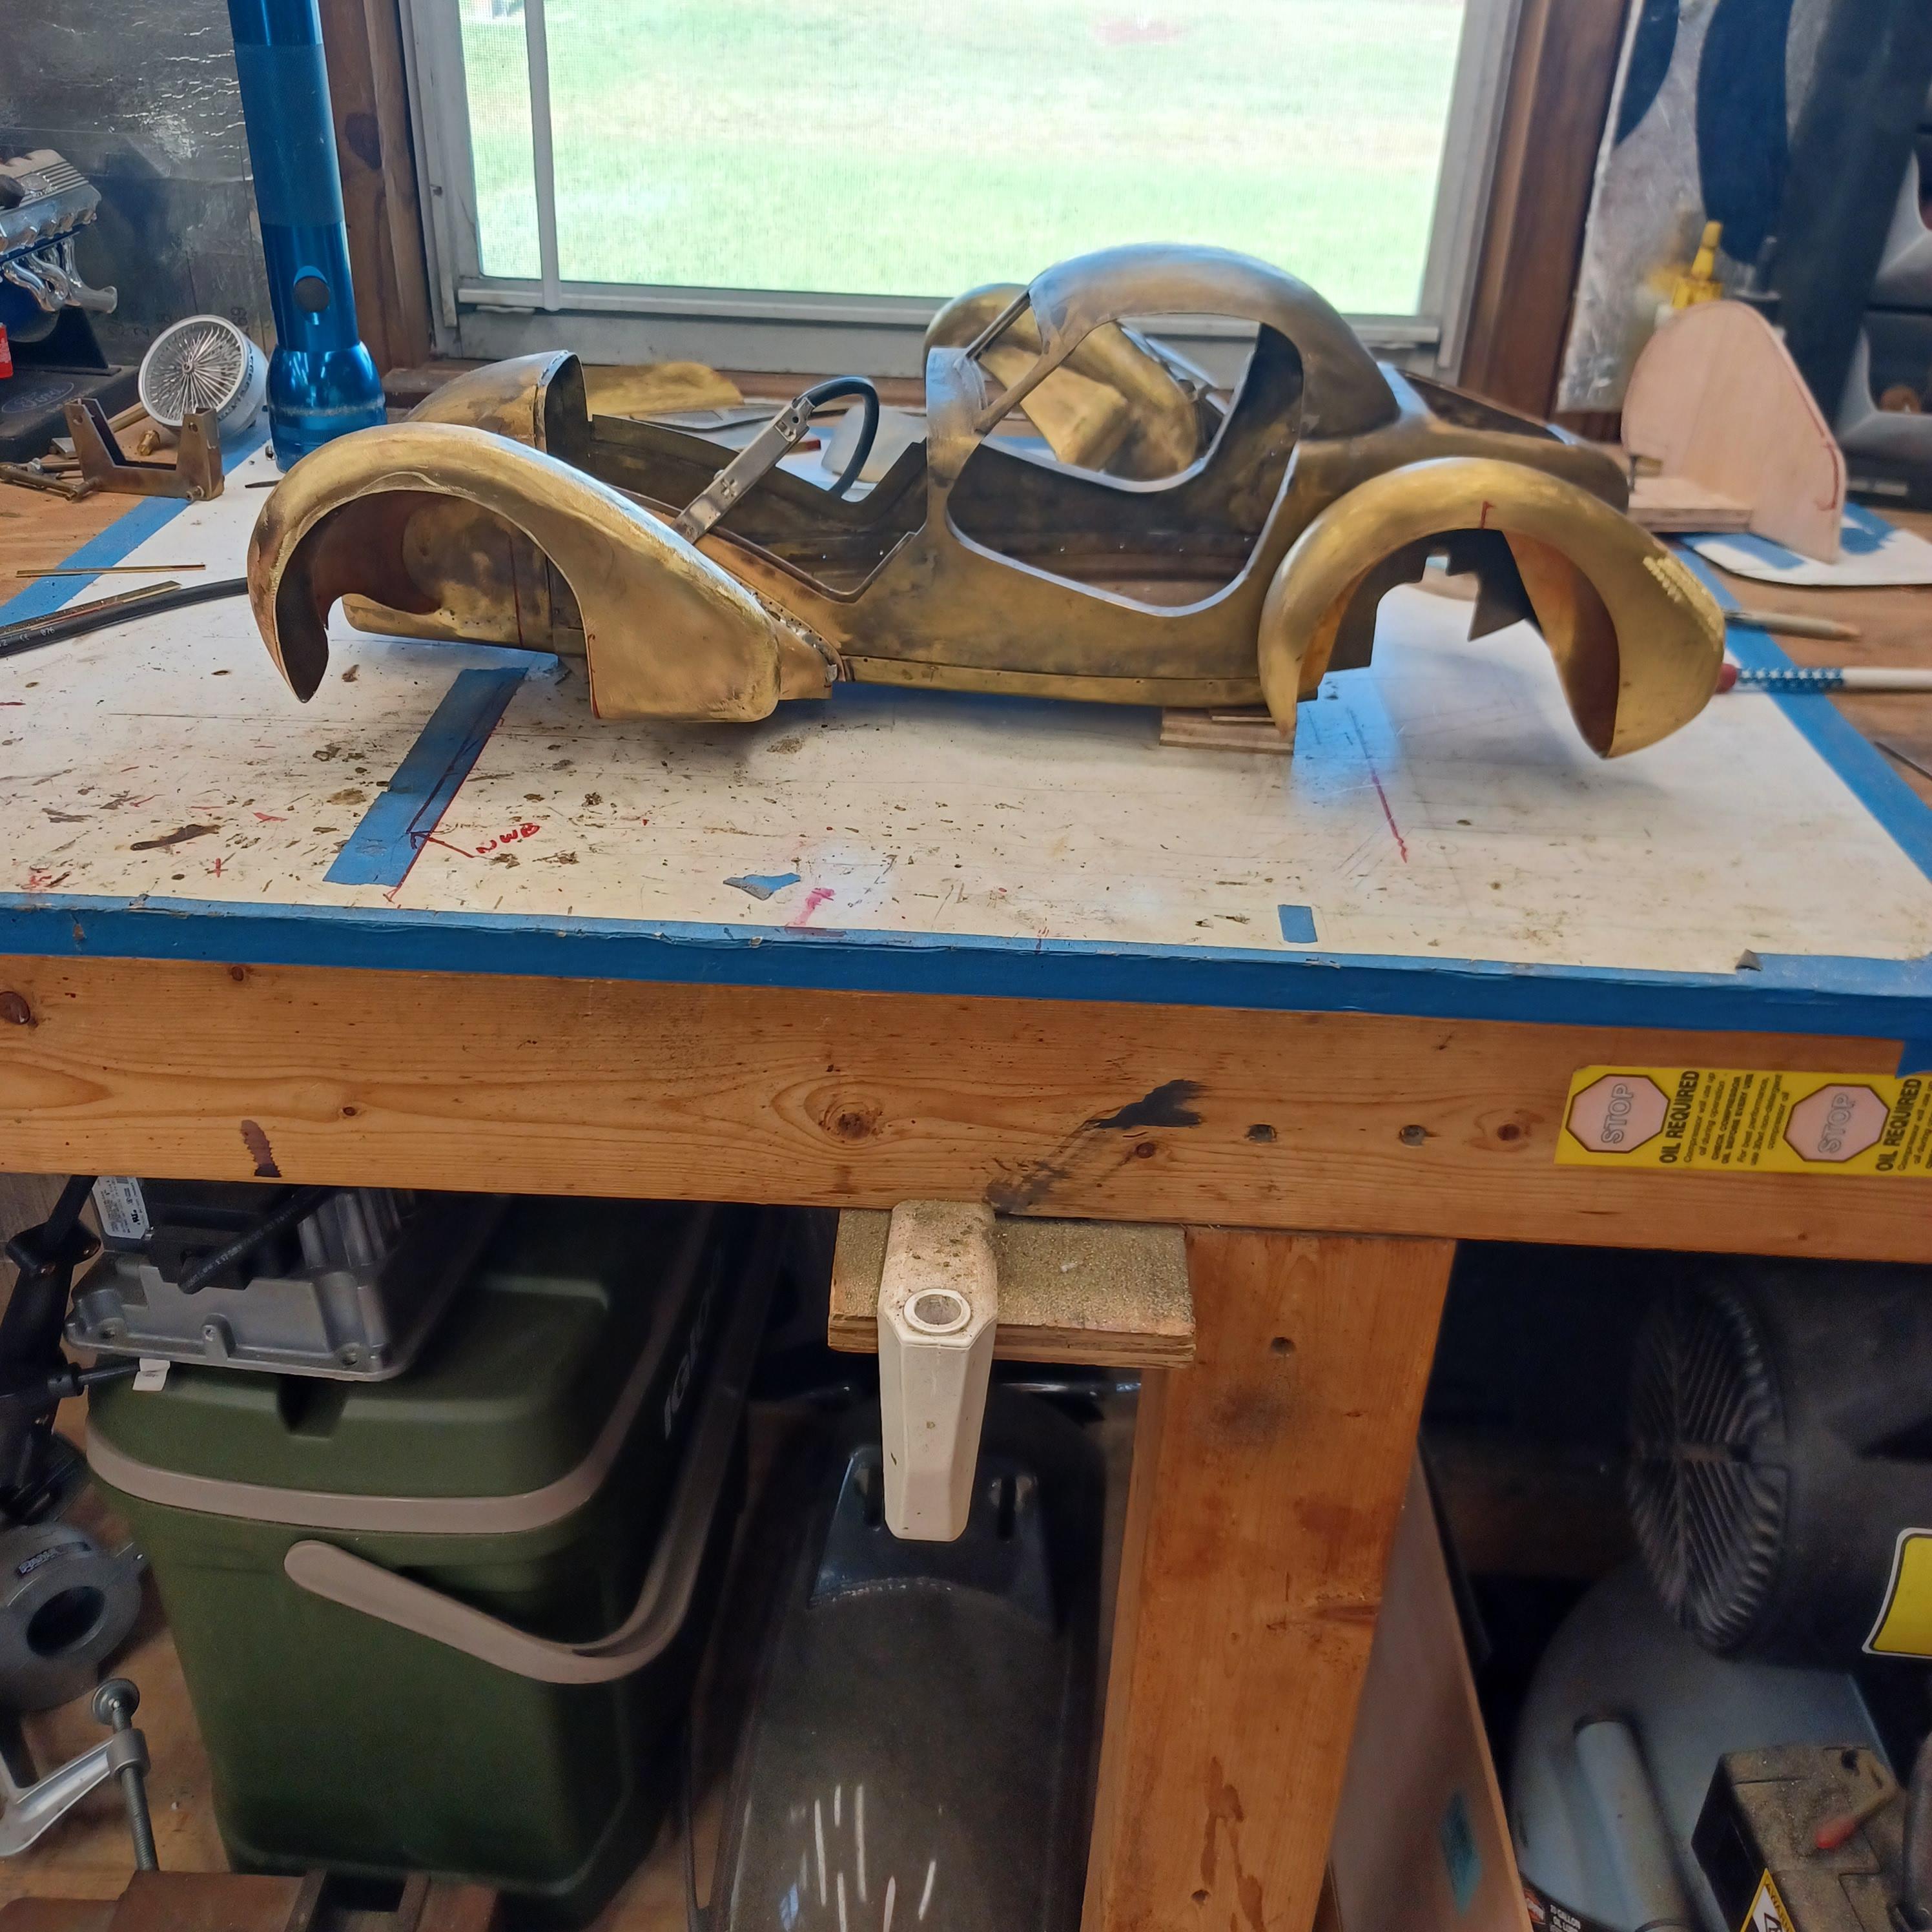
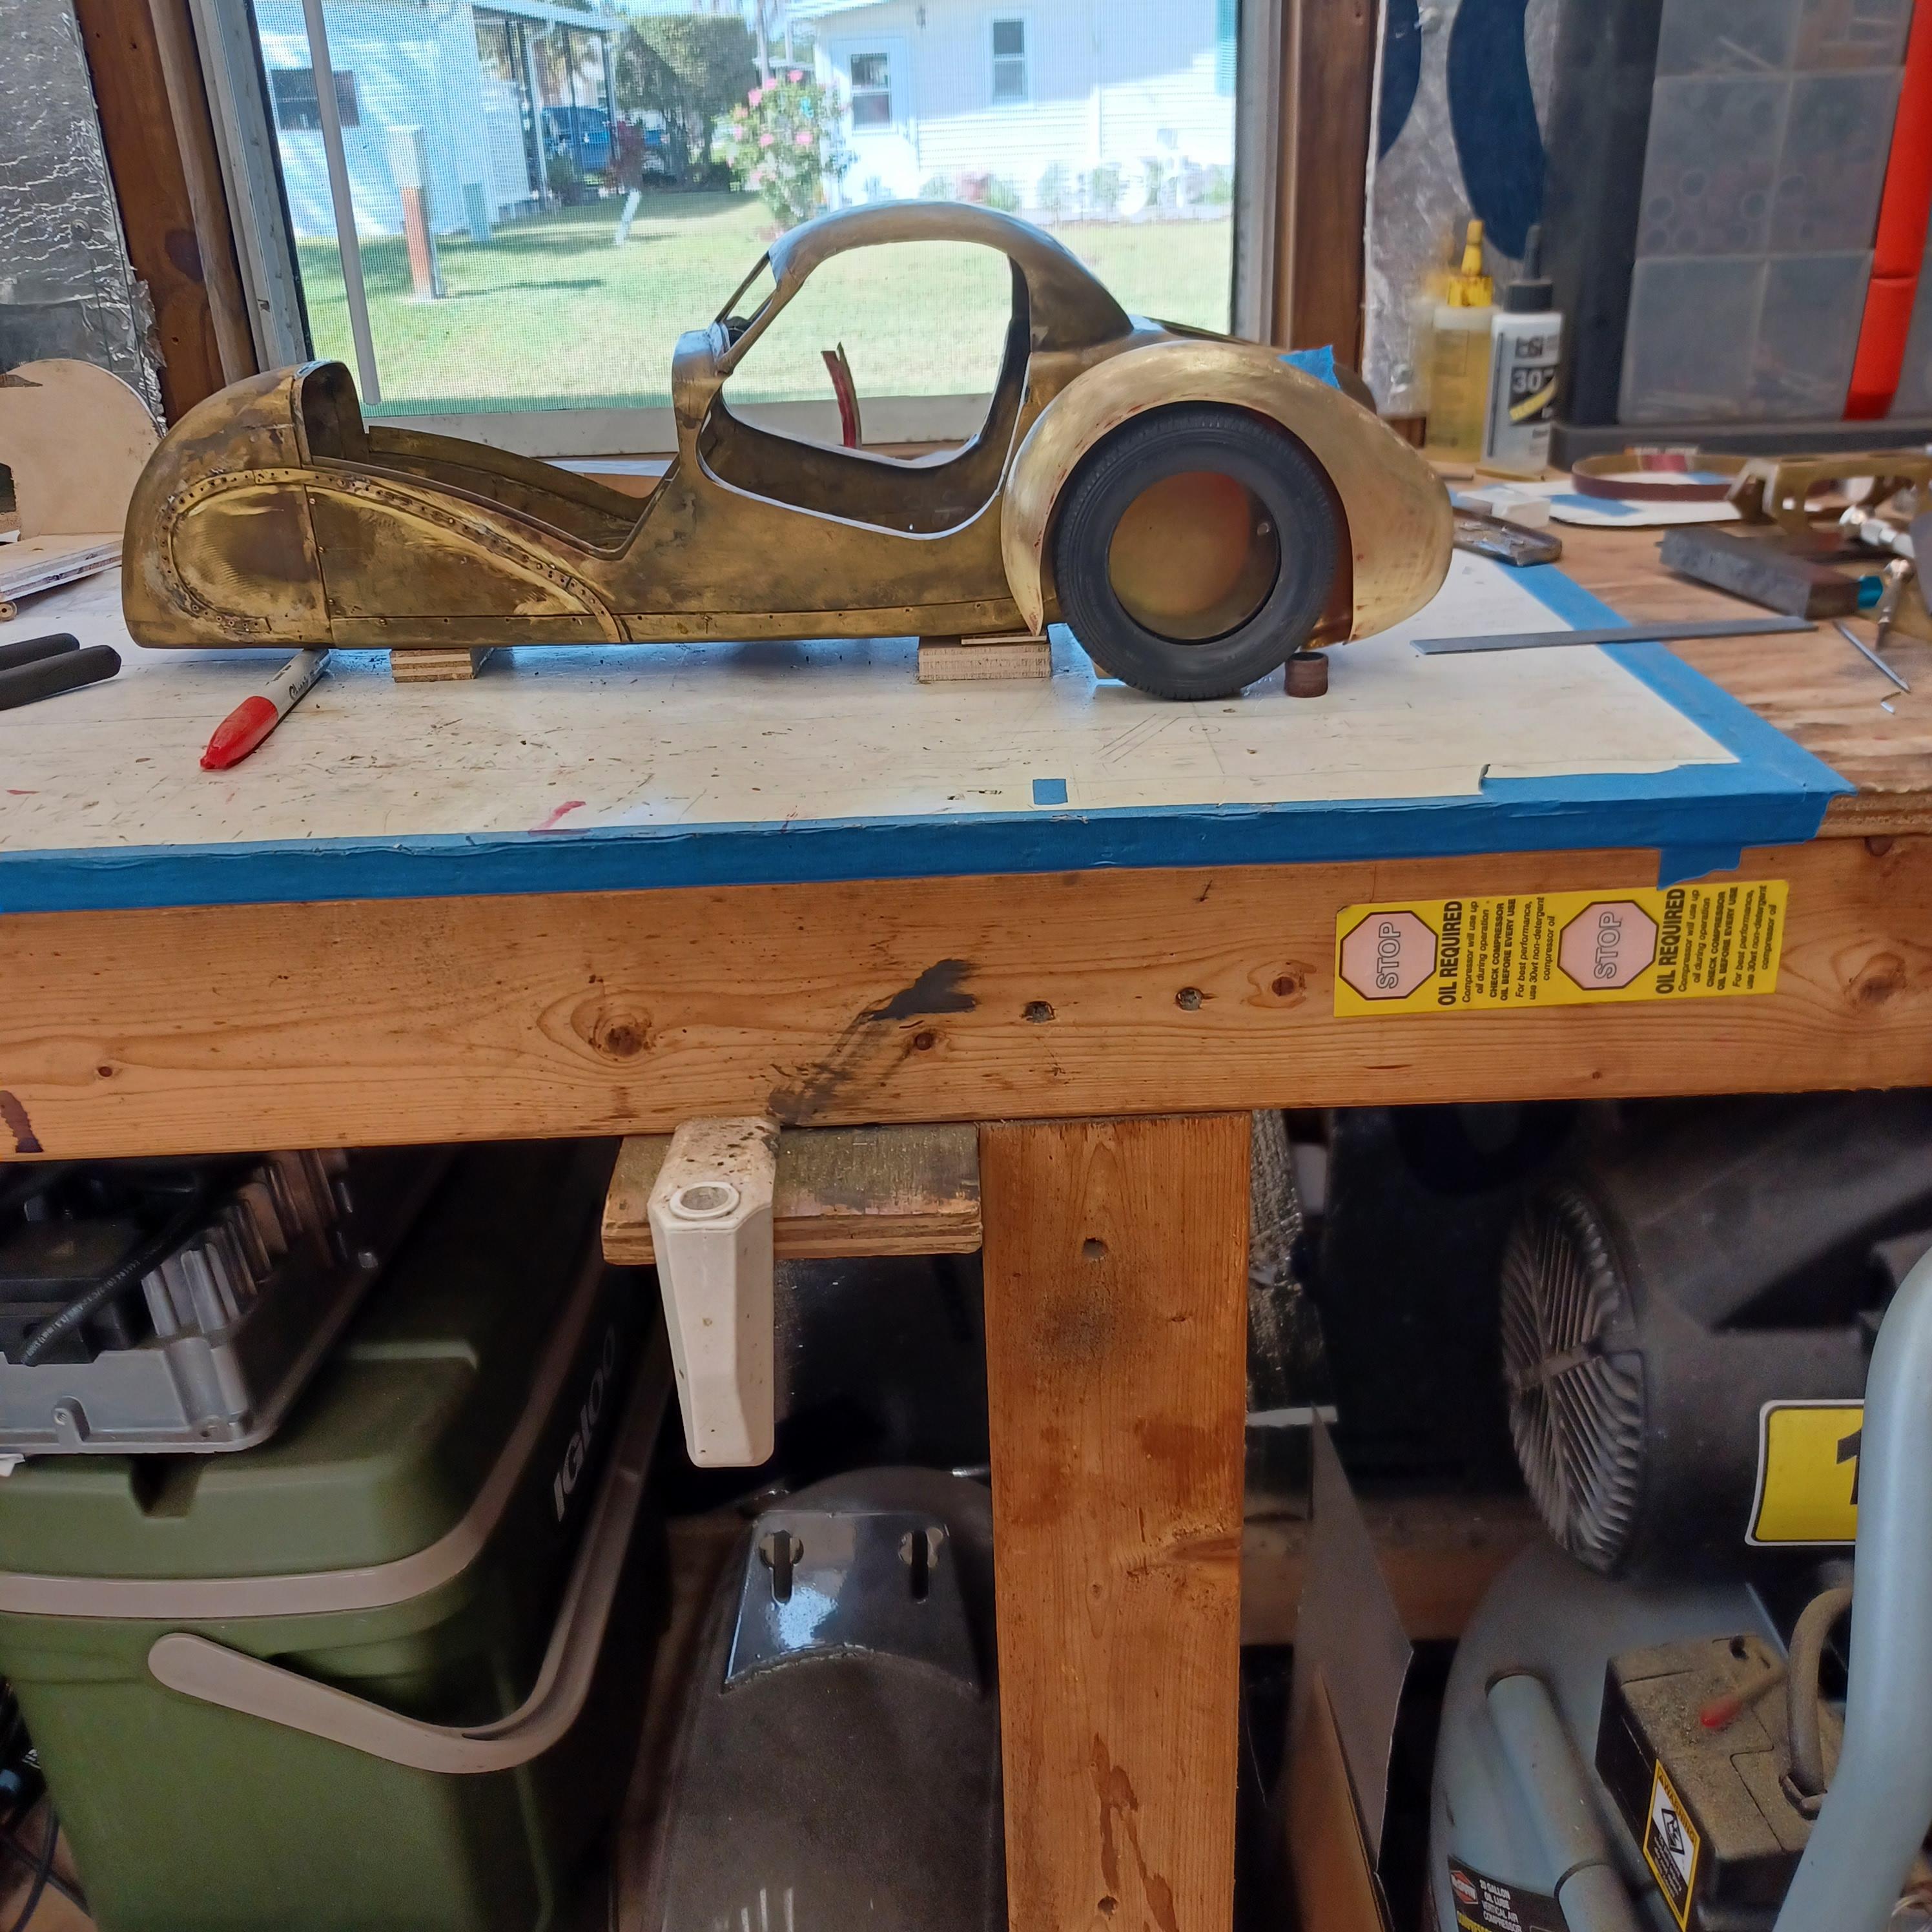
hello tim and randy , hope you are doing well. quick update. i haven't spent much time in the shop recently. other hobbies and honey do list ,but i got a few things done. still on this engine which is my favorite thing to make. i am going to do a novi v8 for my next project ,Andrews idea. i just received the brass to finish the body but i need the engine and transmission mounted to do the floor and fire wall. i am a little further along than these pictures show but forgot to take pictures. the engine is almost completed. more next week. thanks for looking and commenting ,I appreciate it.

-
i was always afraid of sliting saws but i have been using them on this car.i always find new ways to do things by following your incredible work.just learned some to night.thanks francis
-
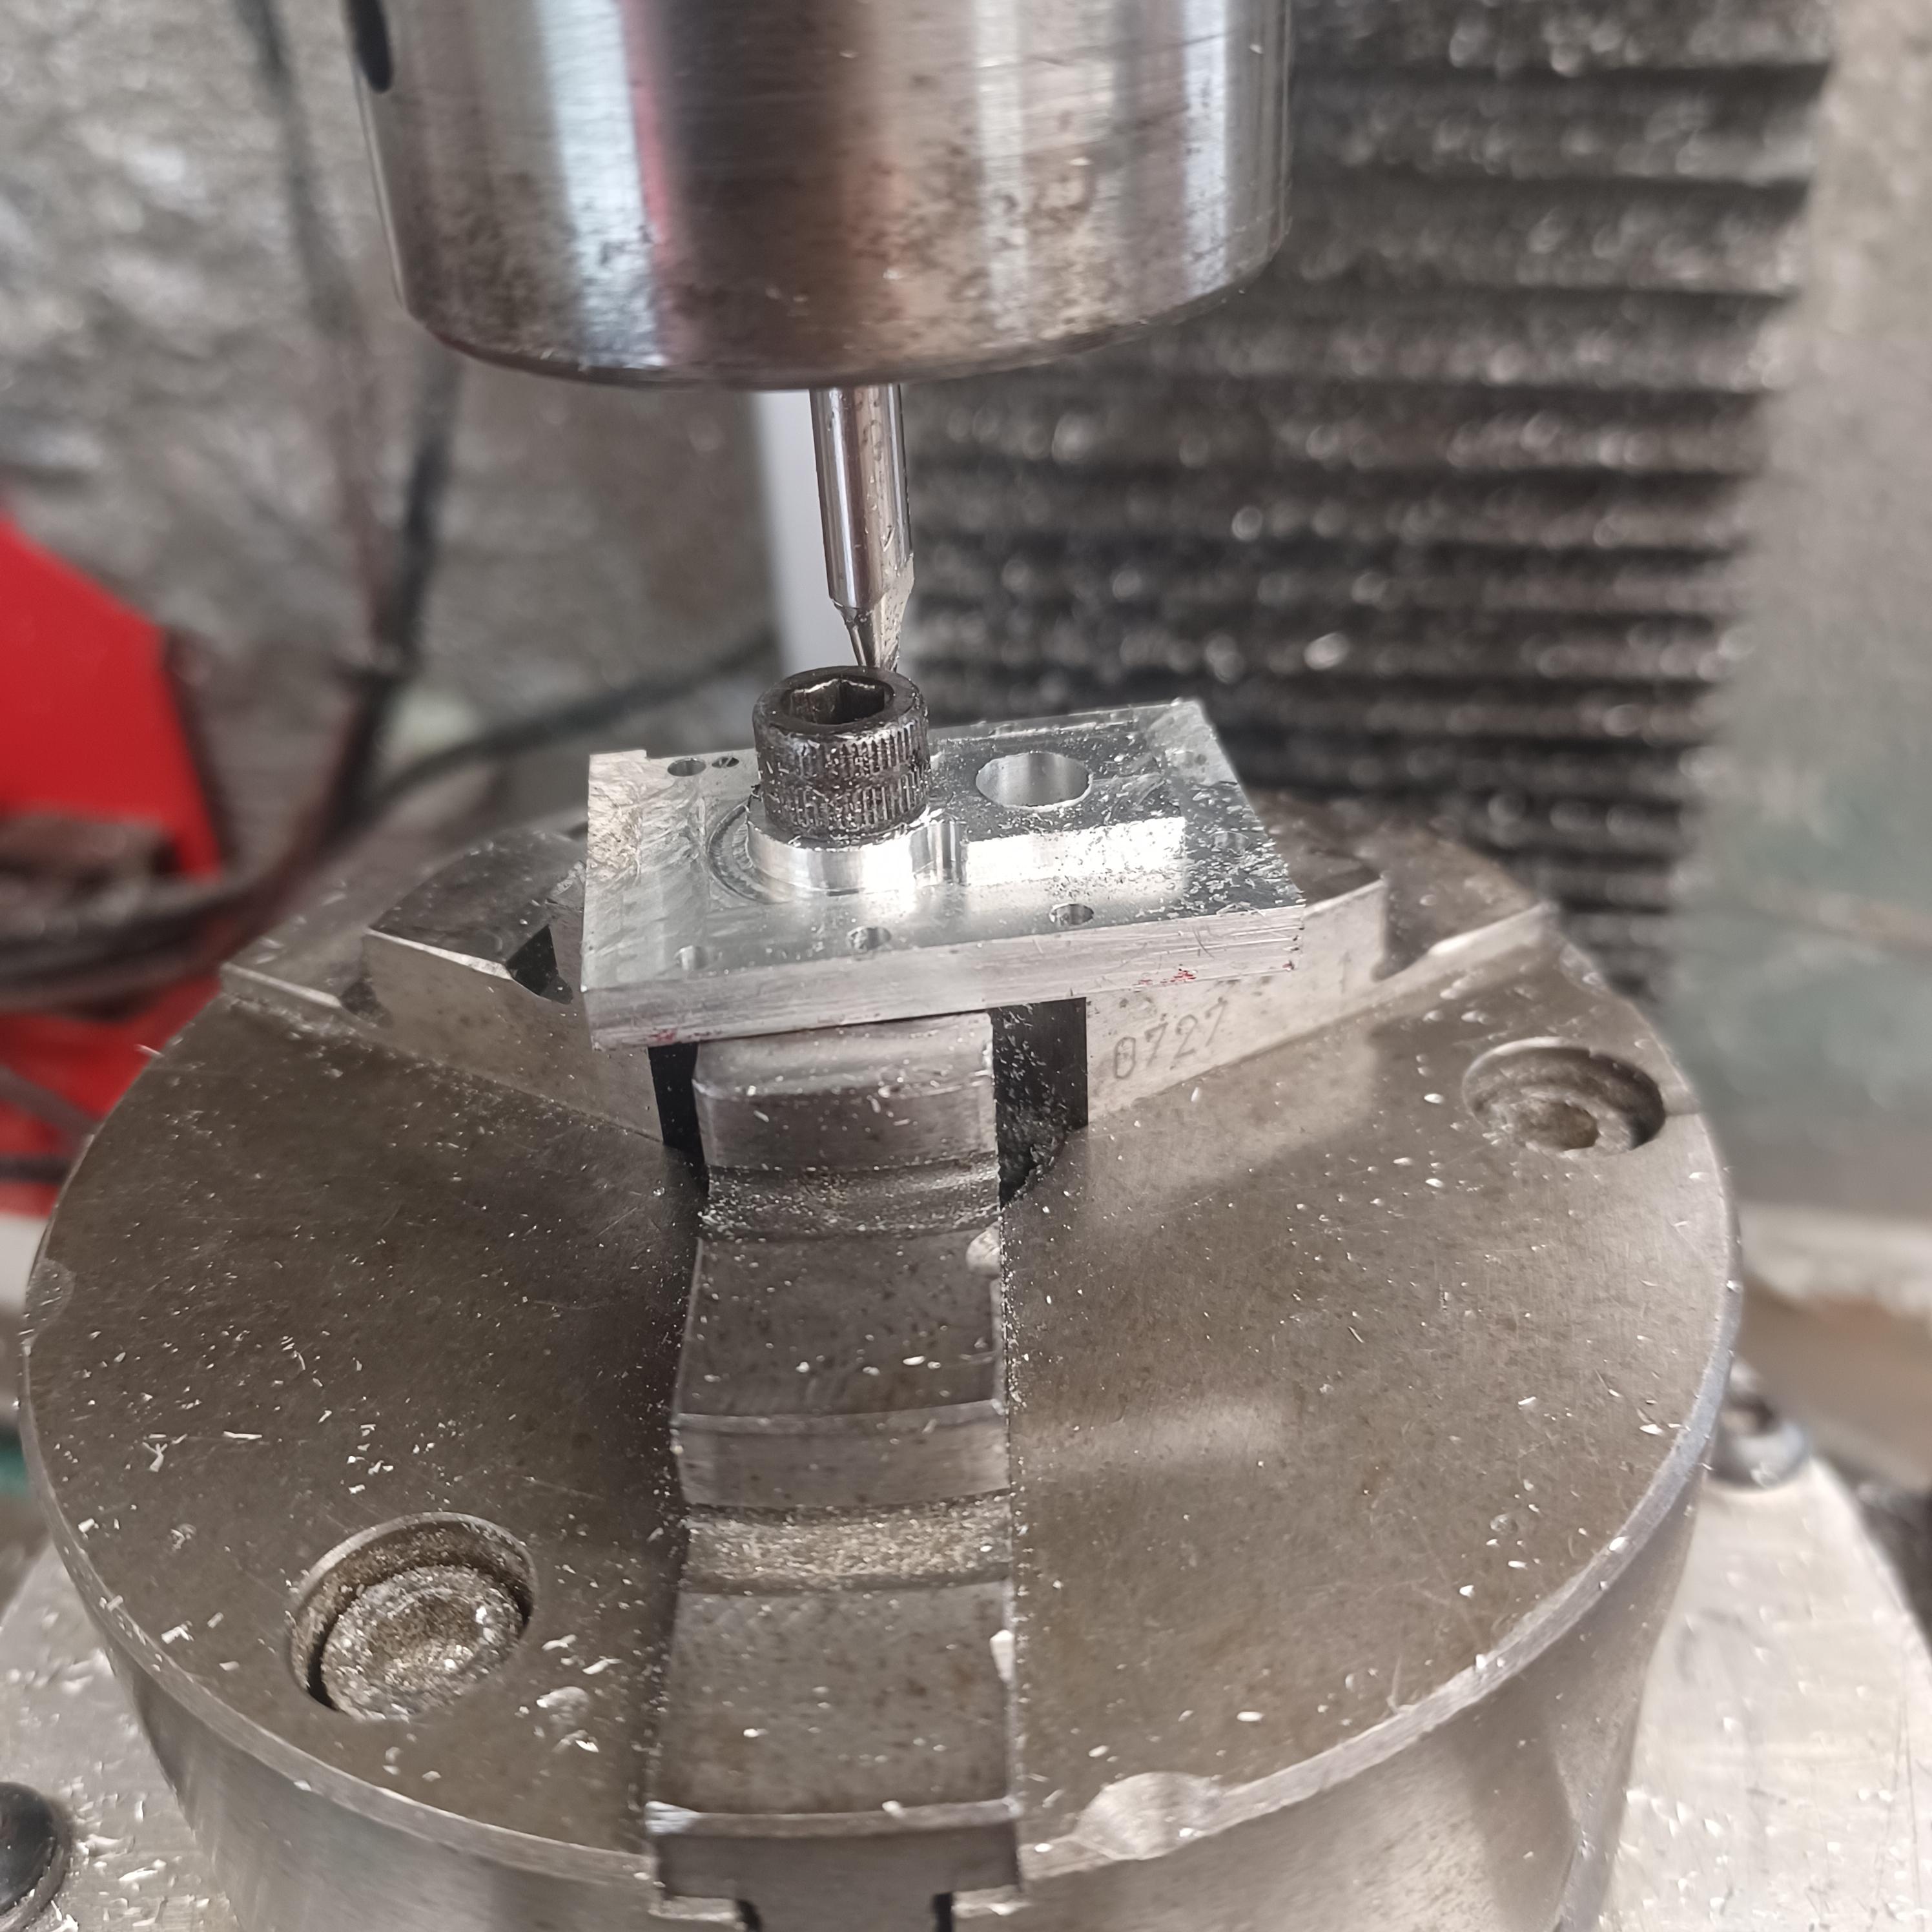
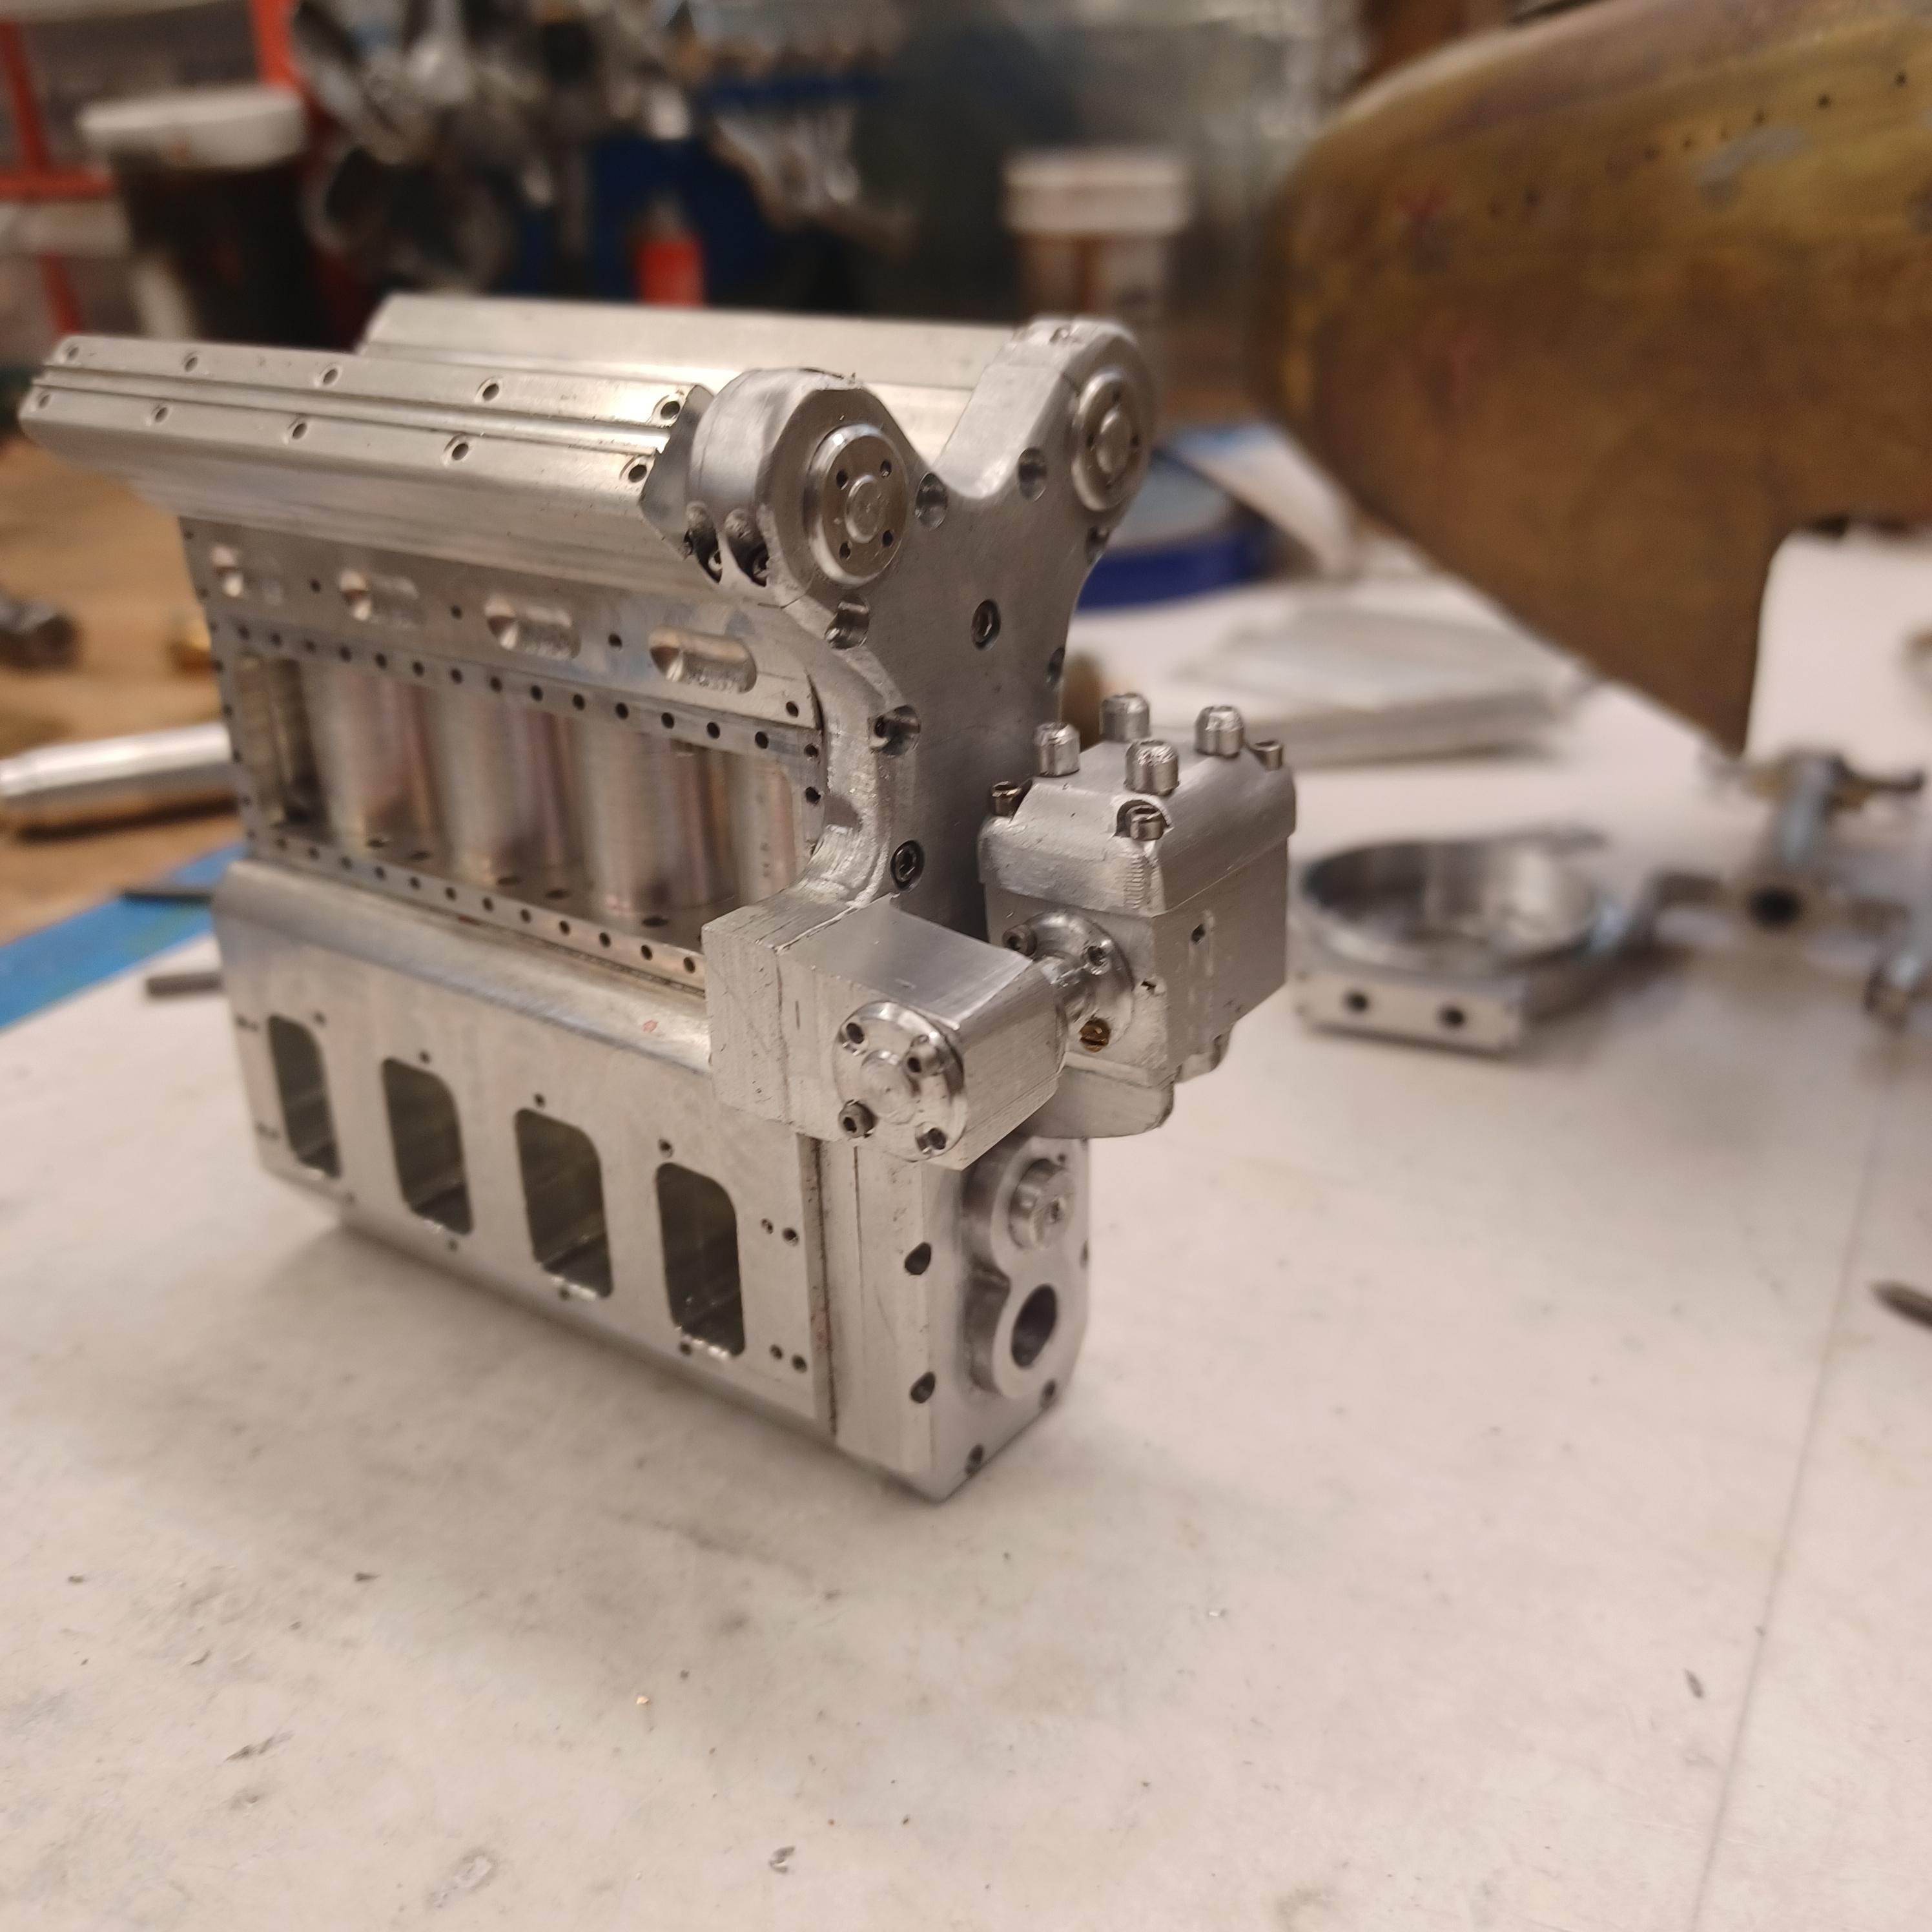
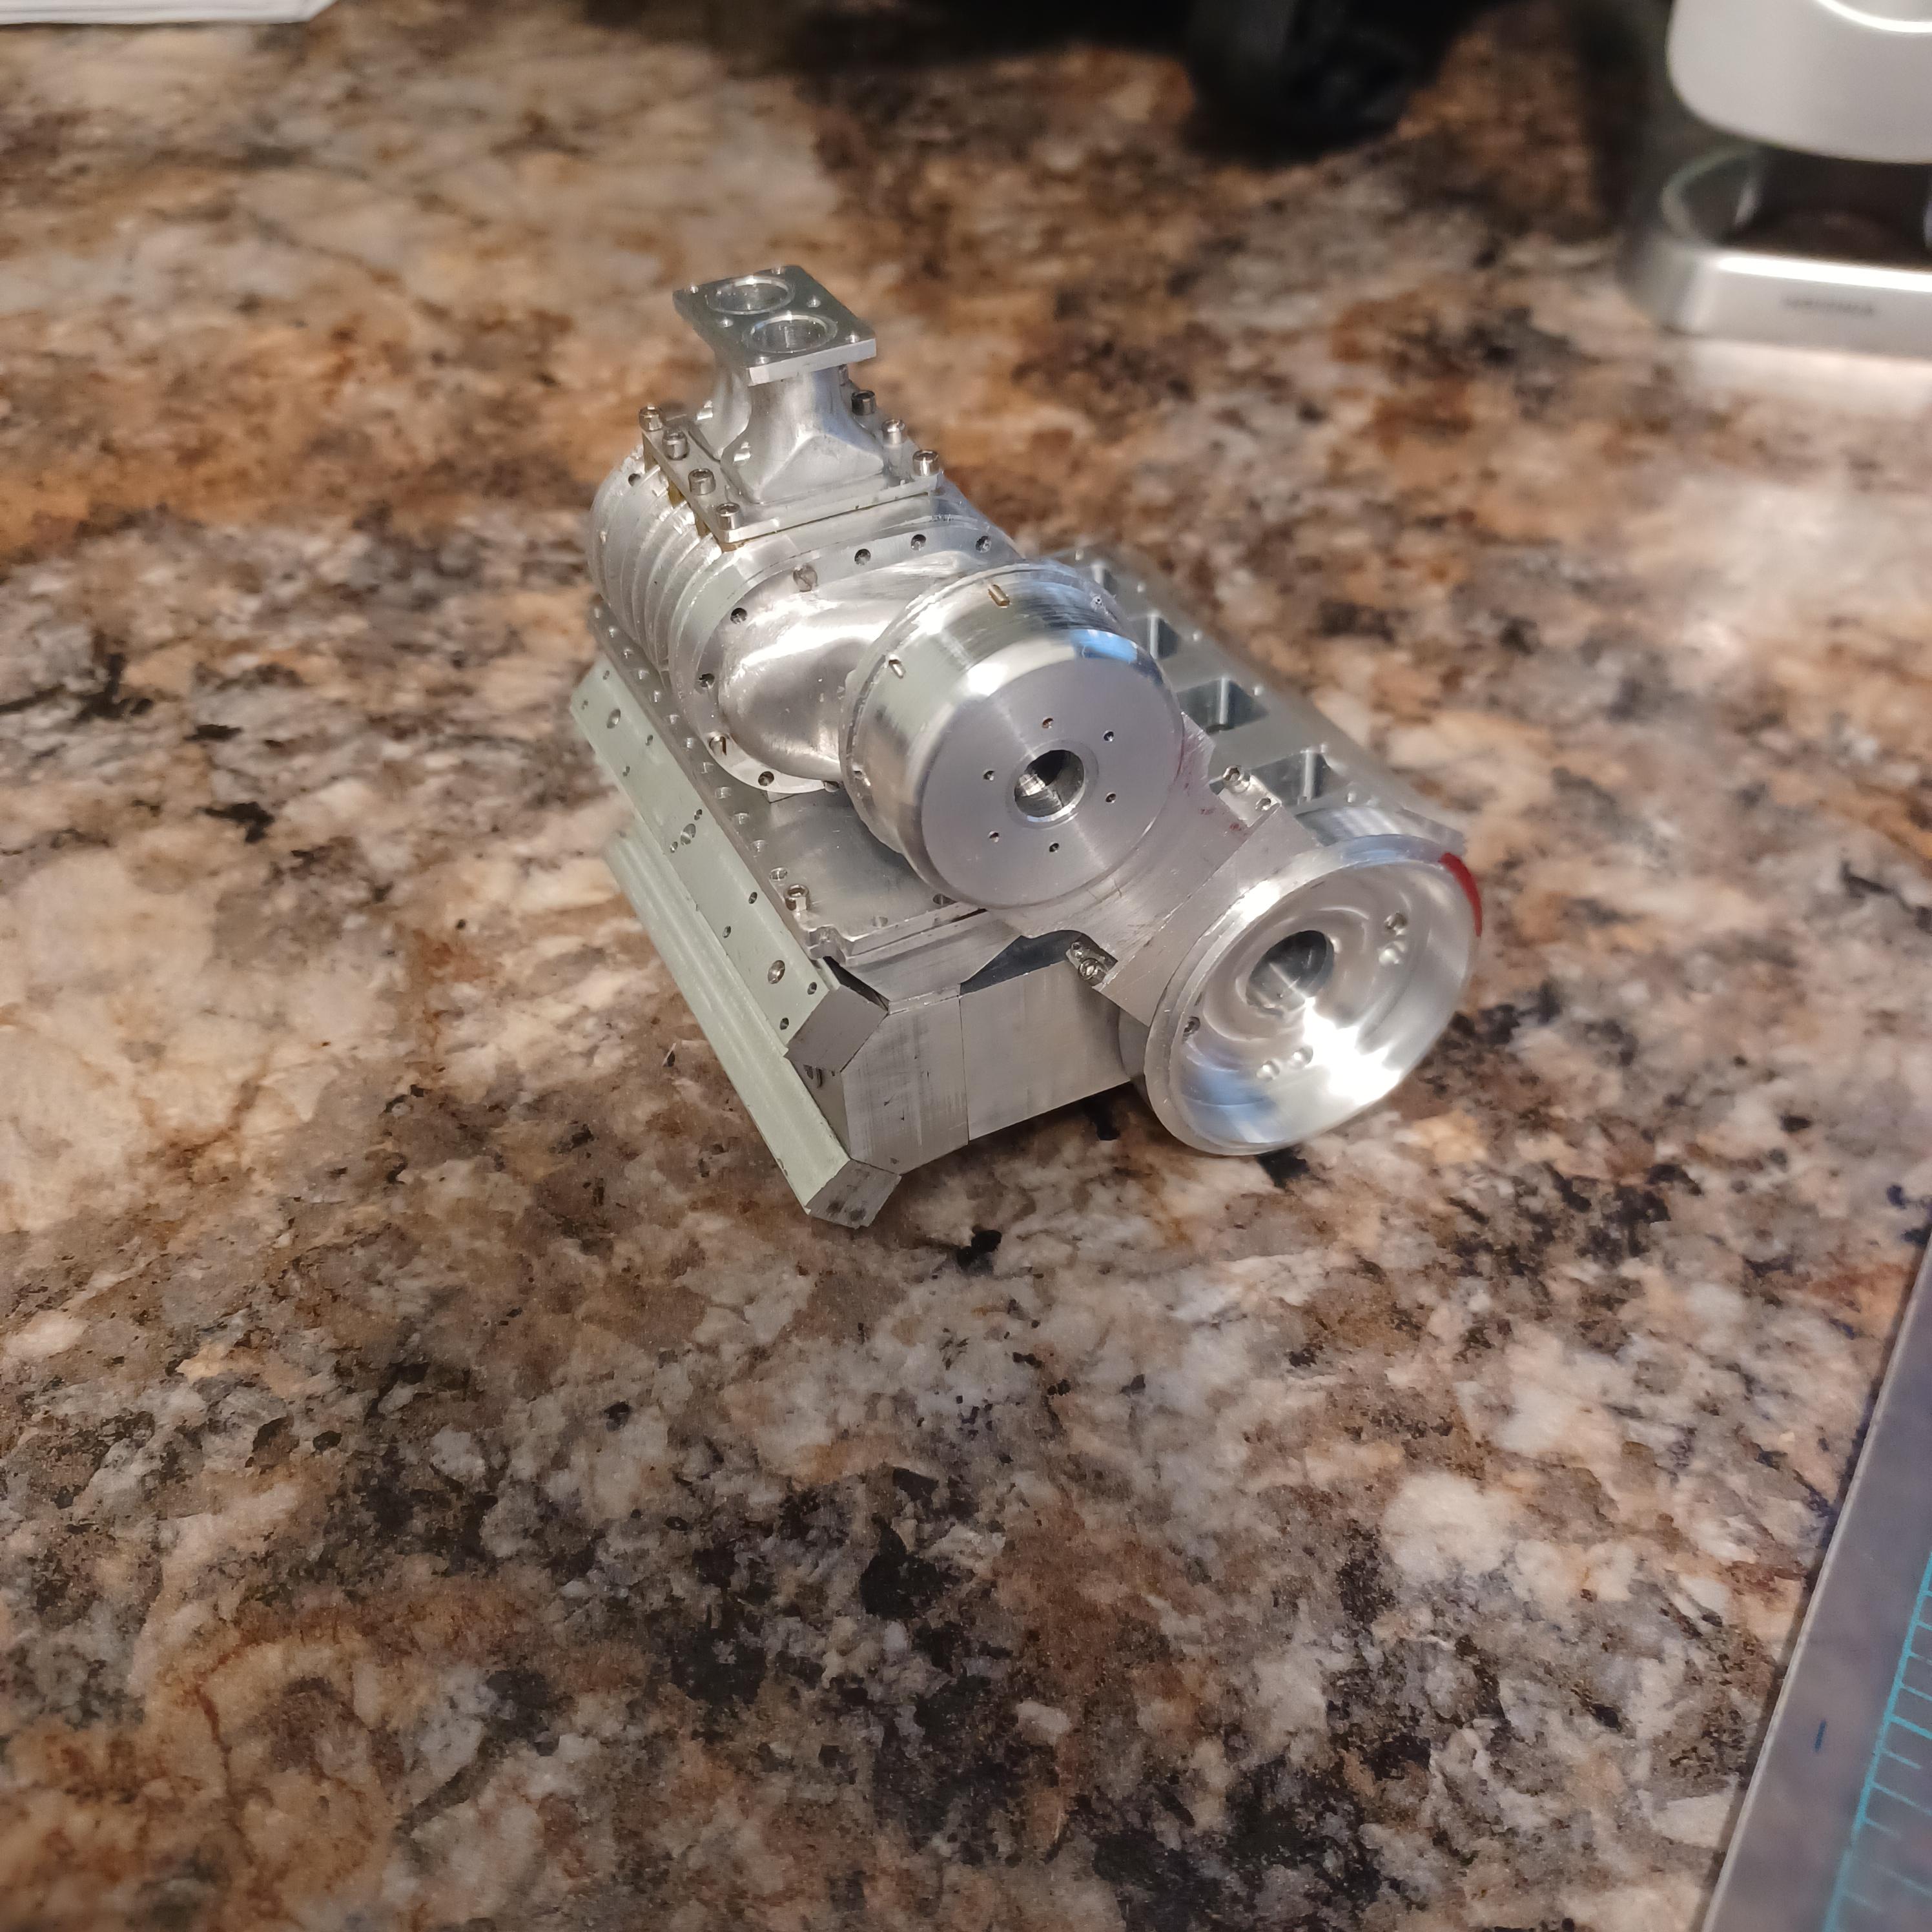
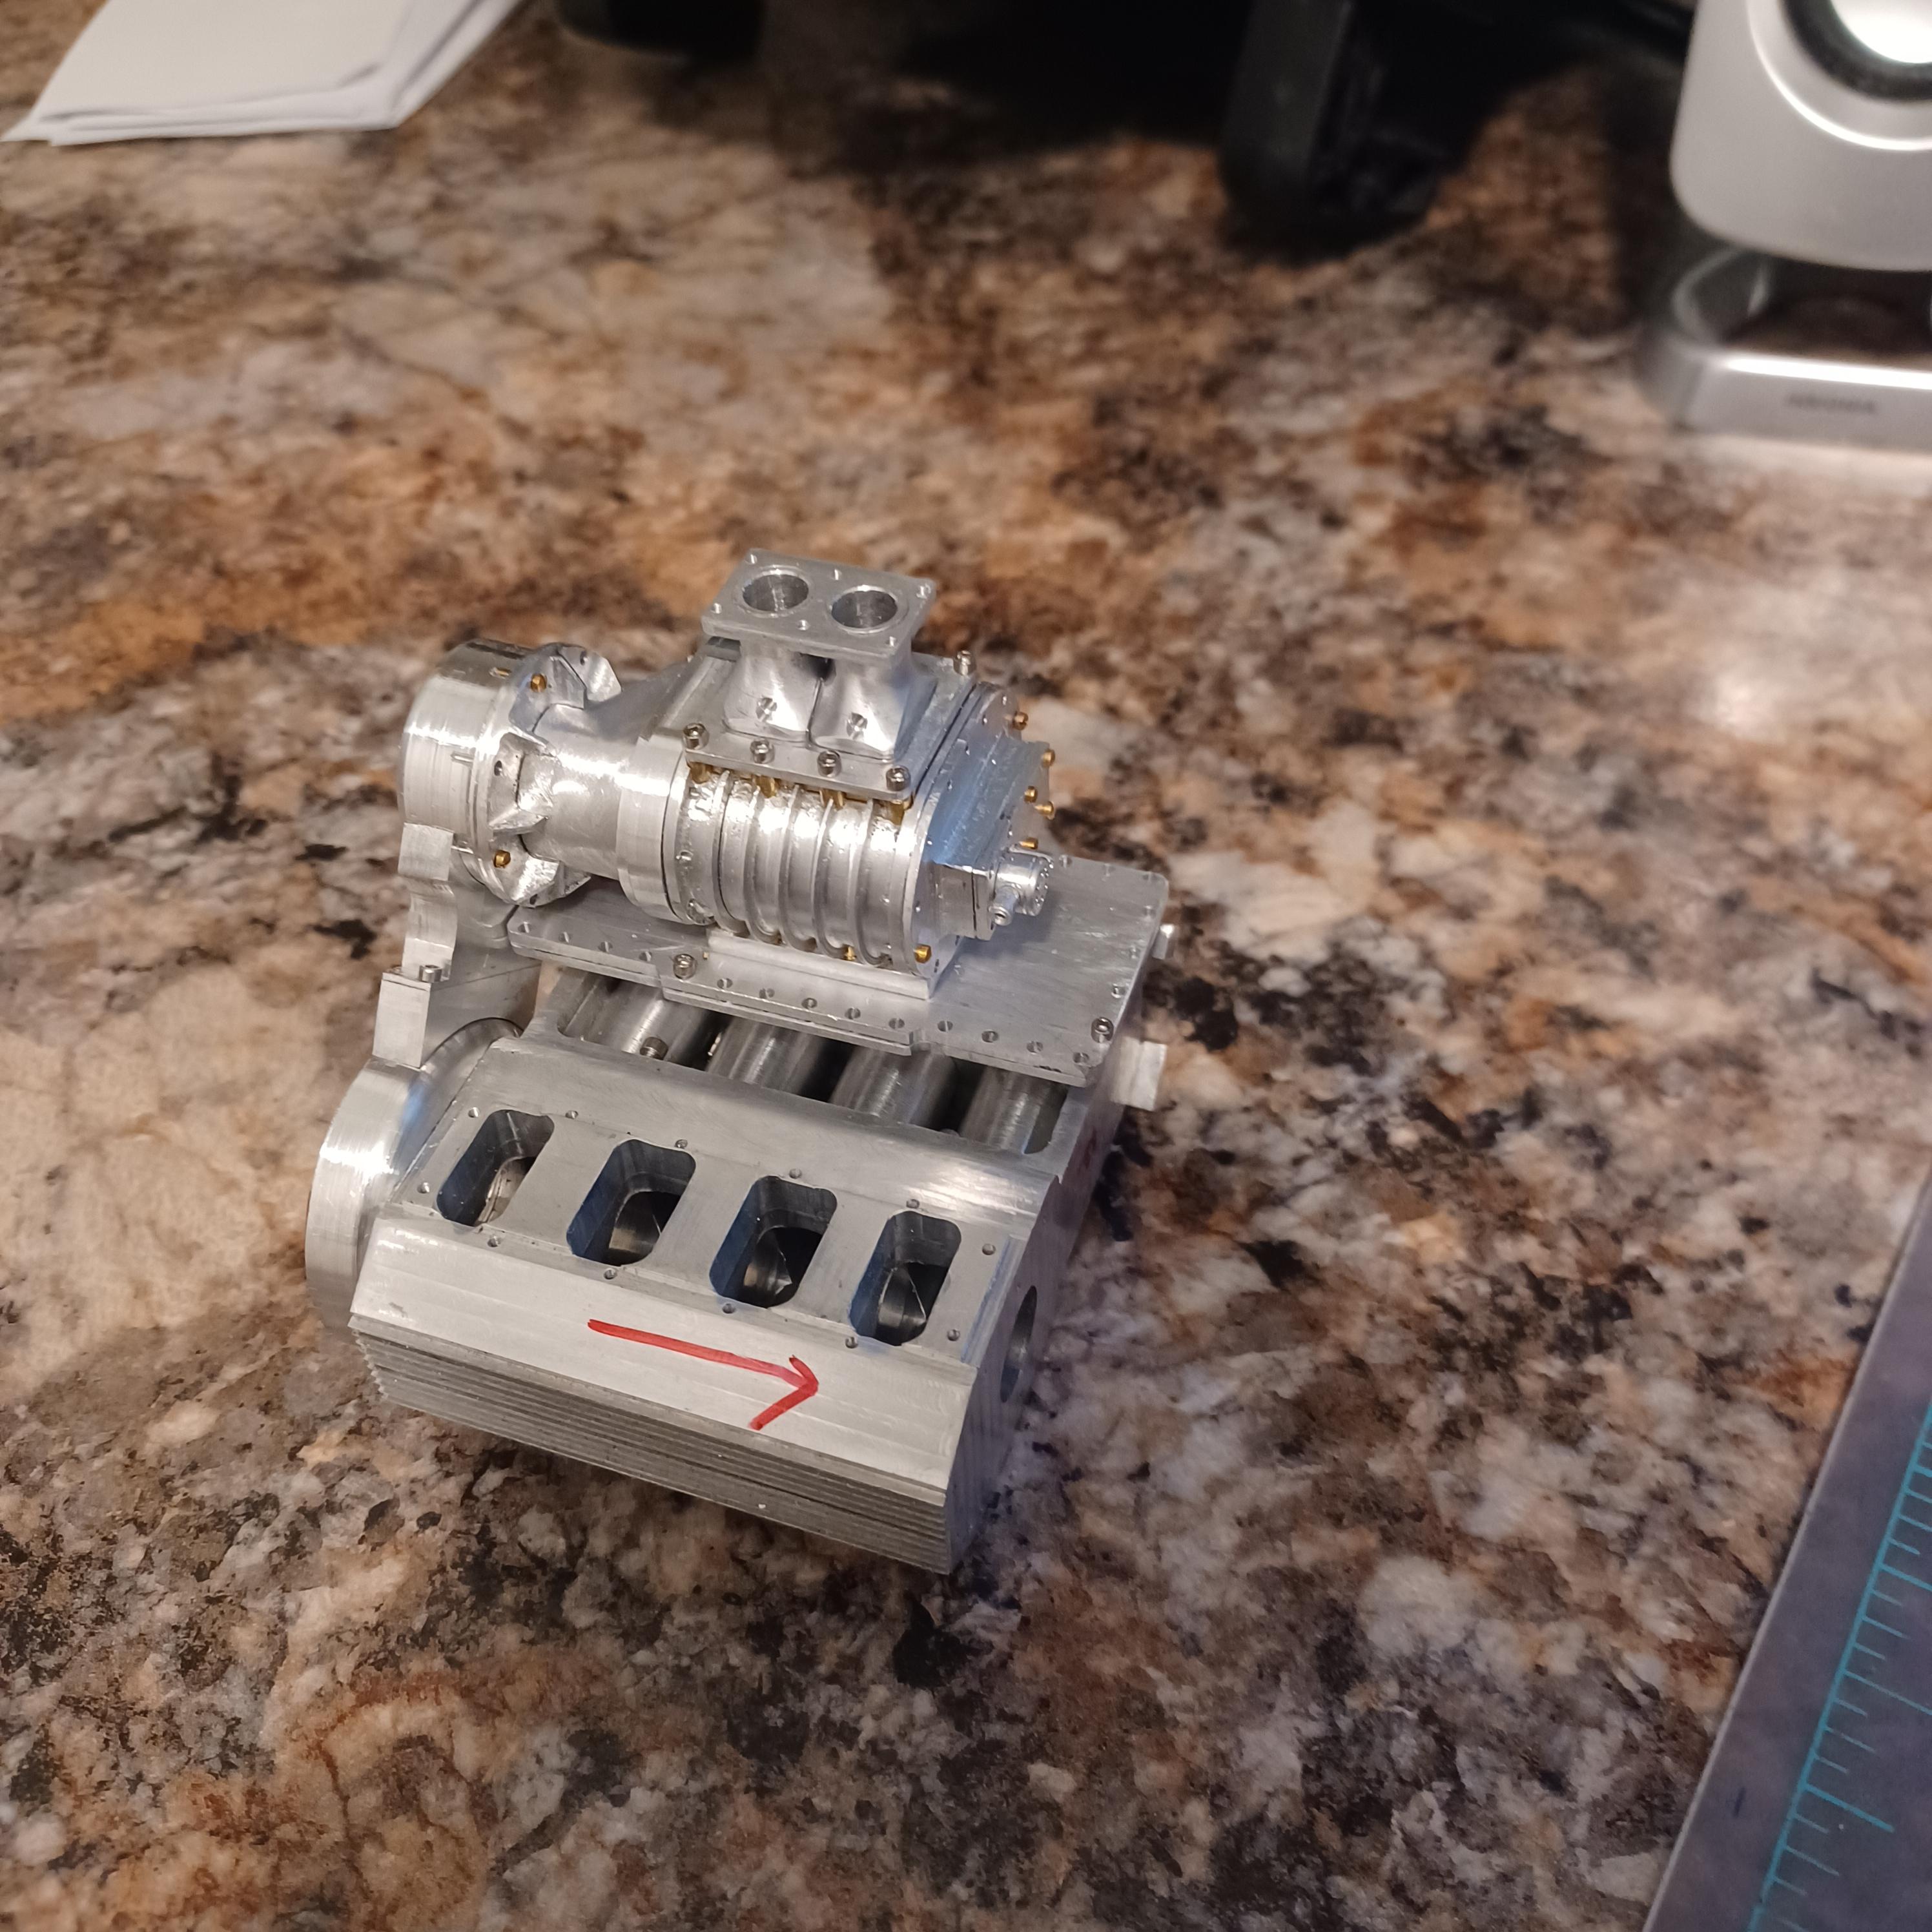
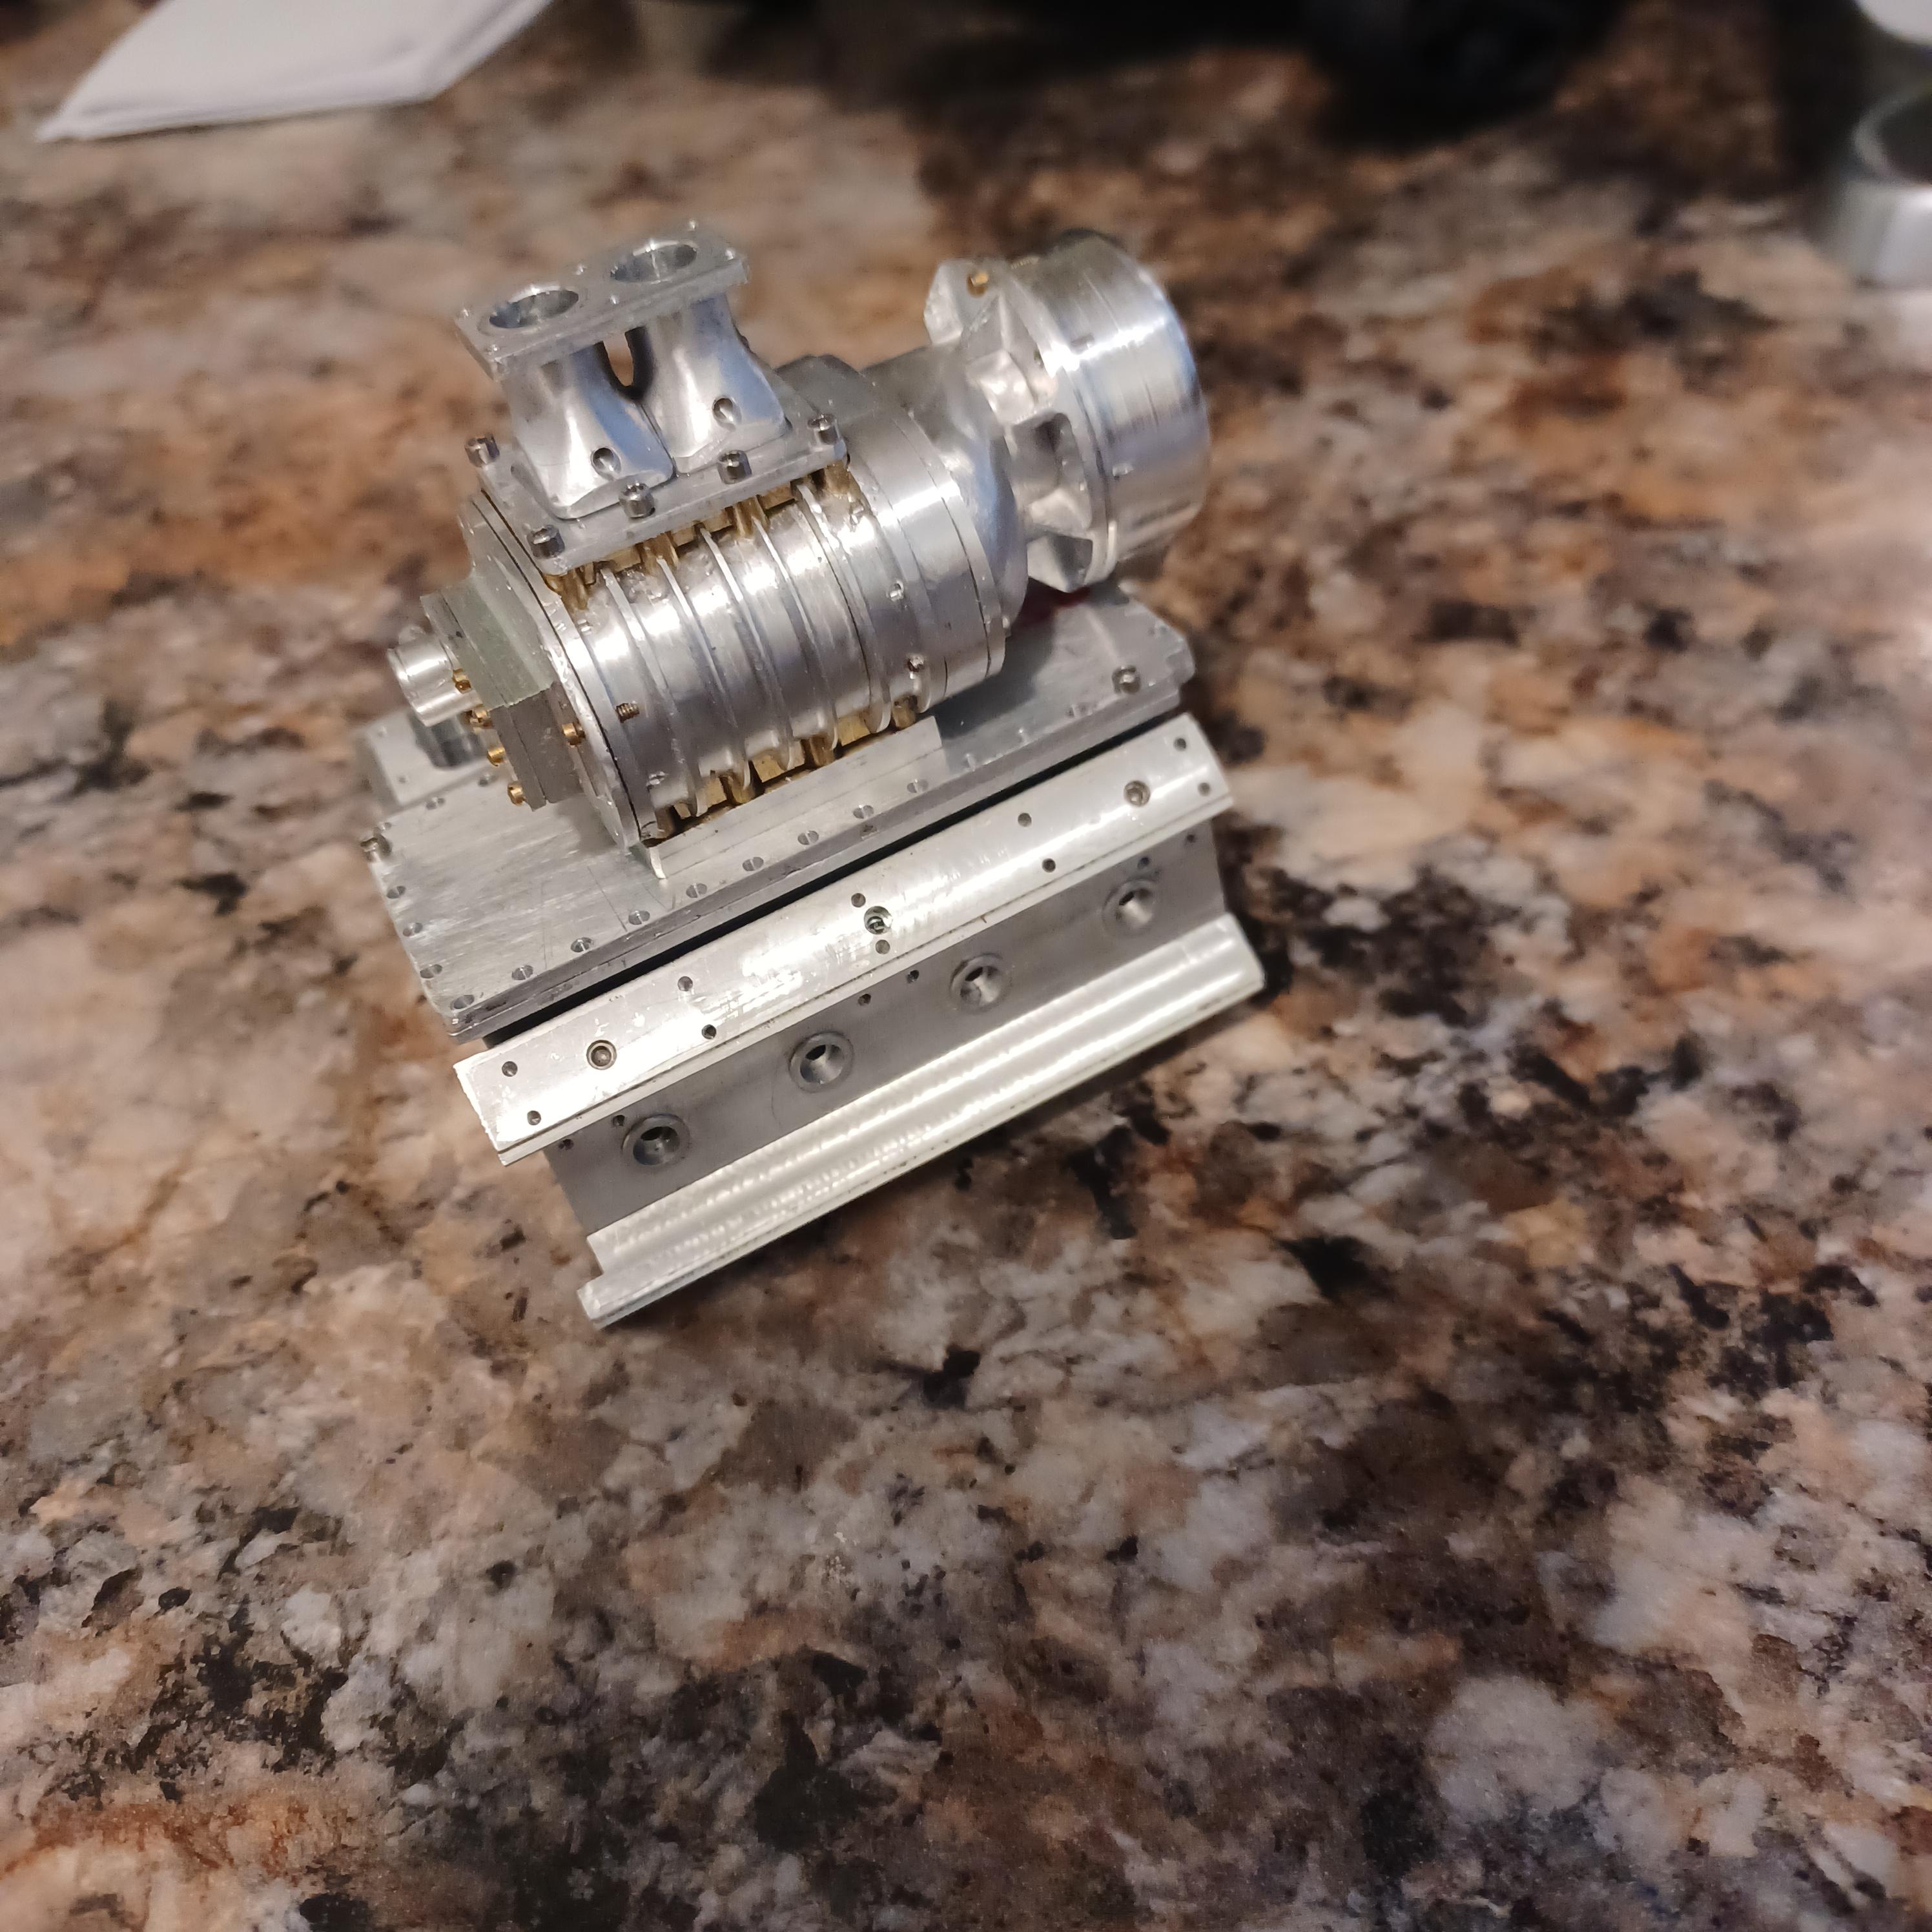
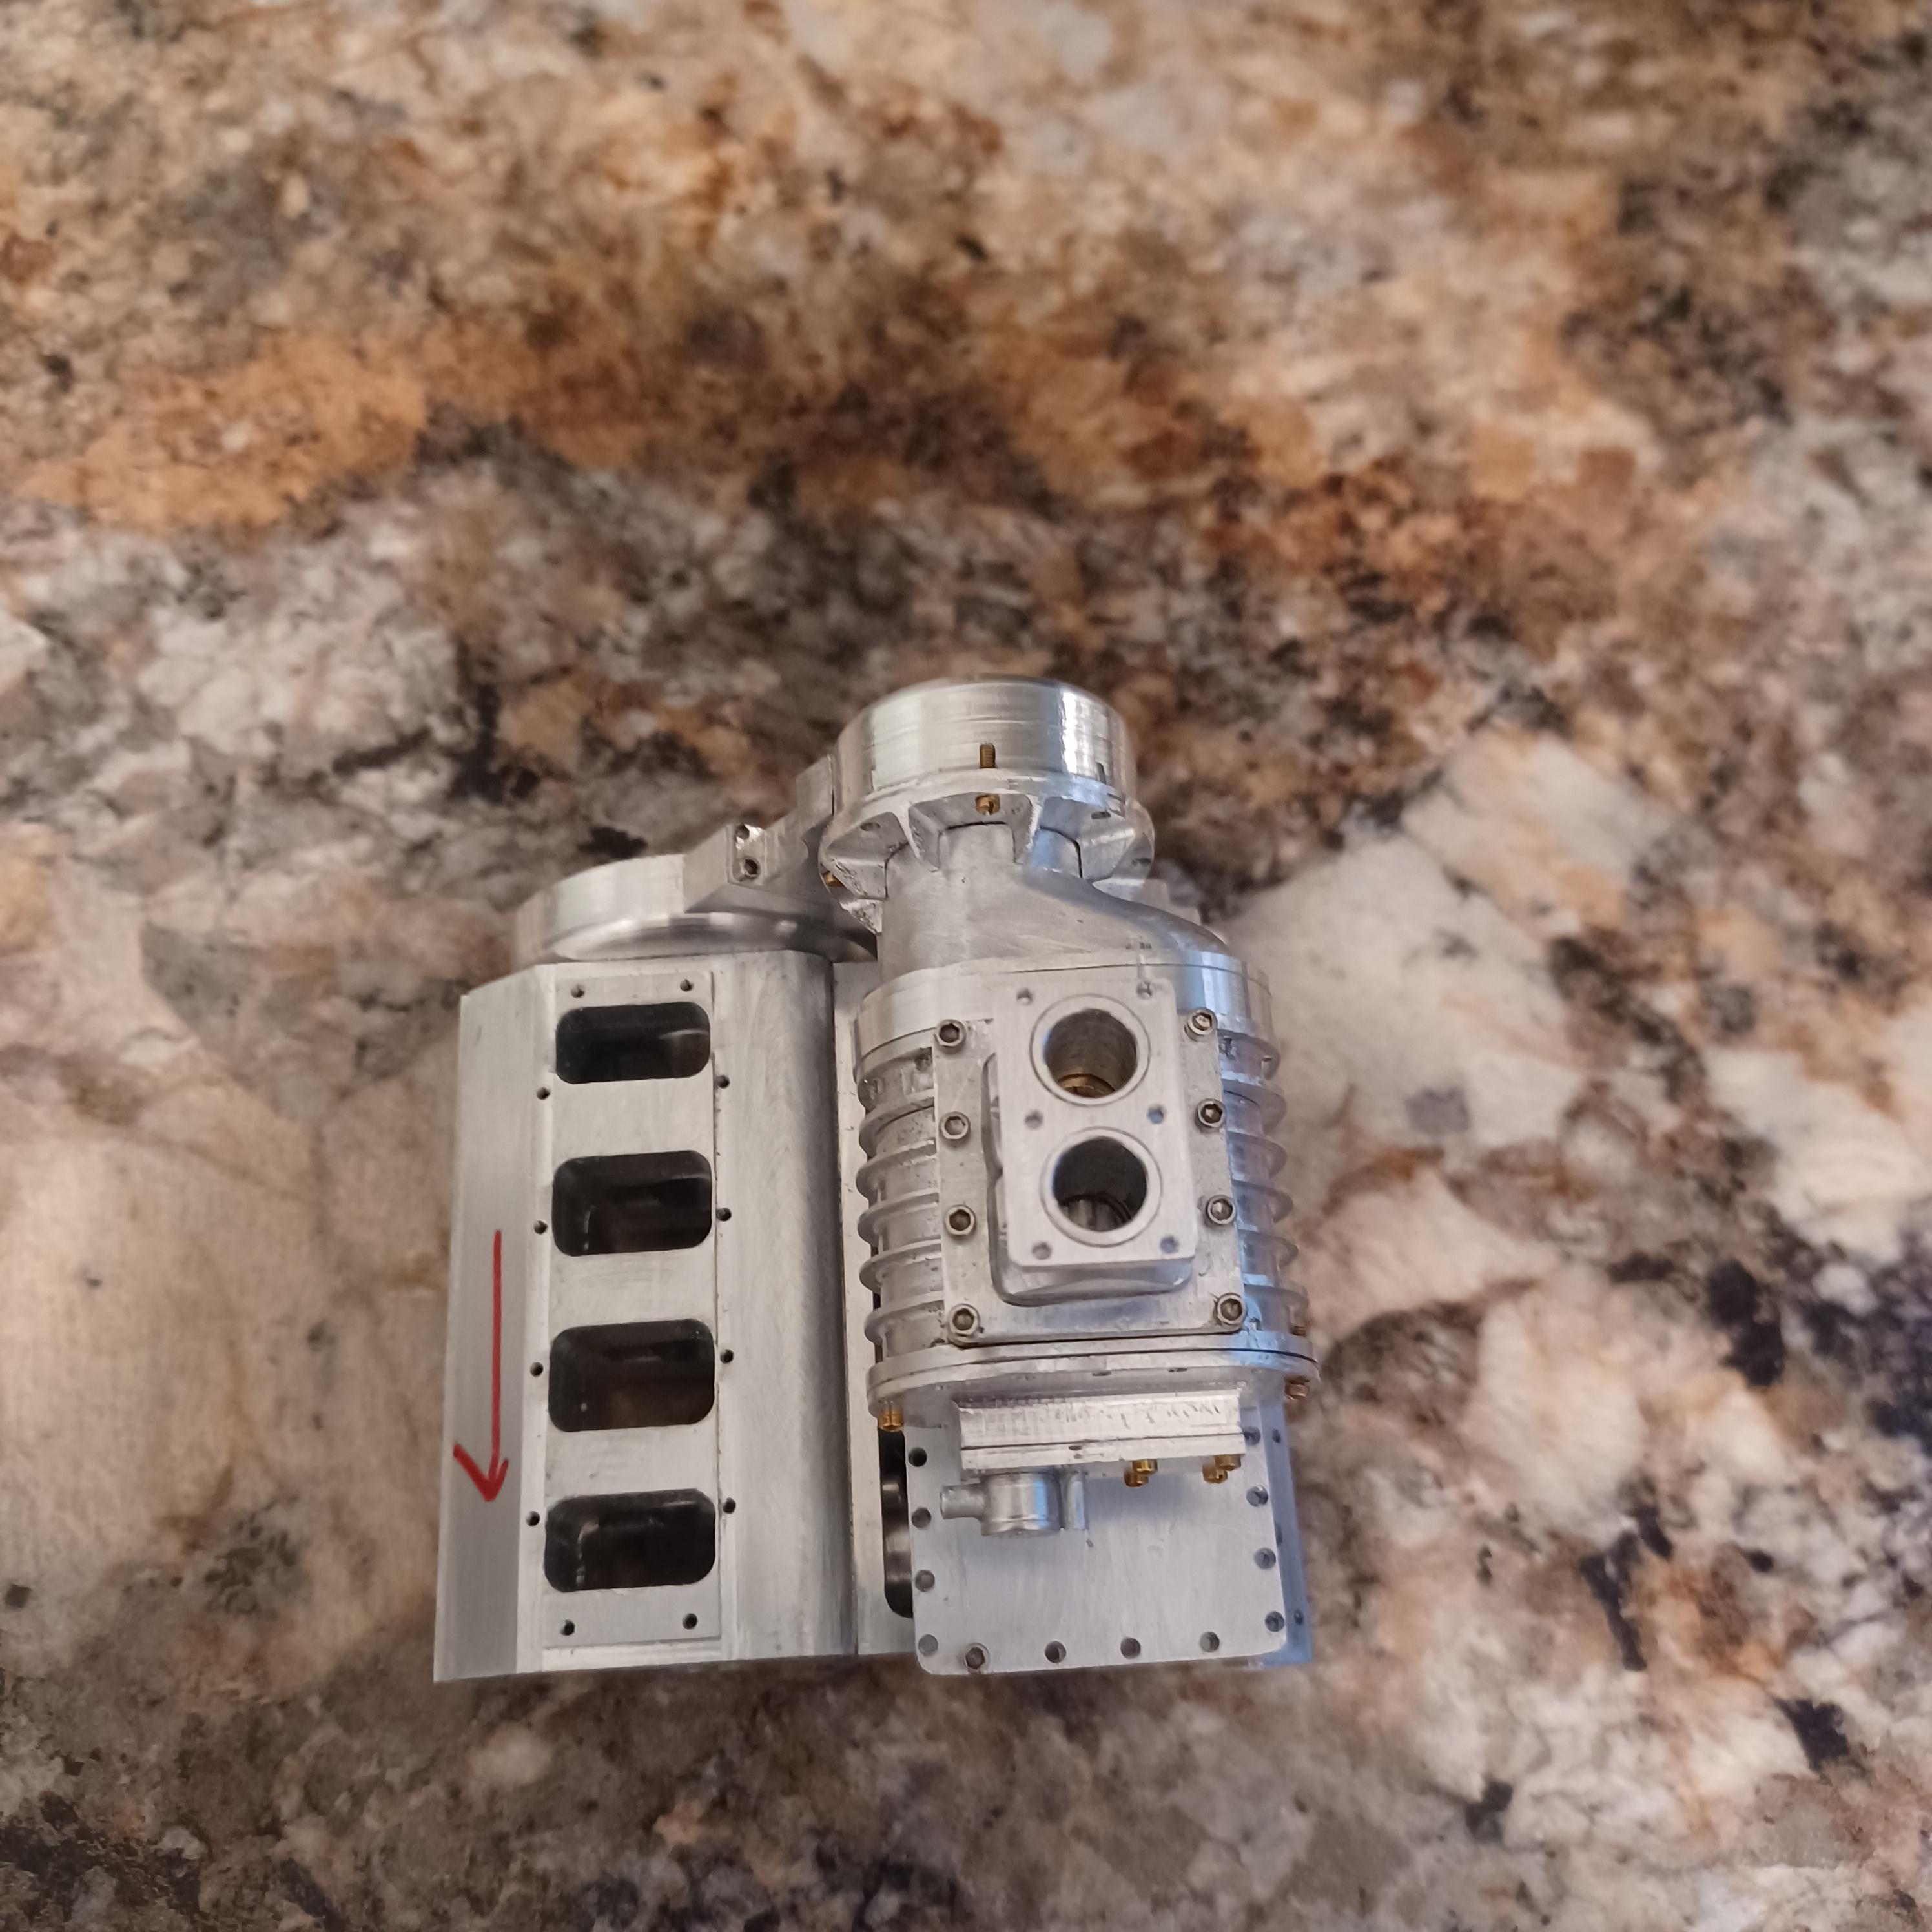
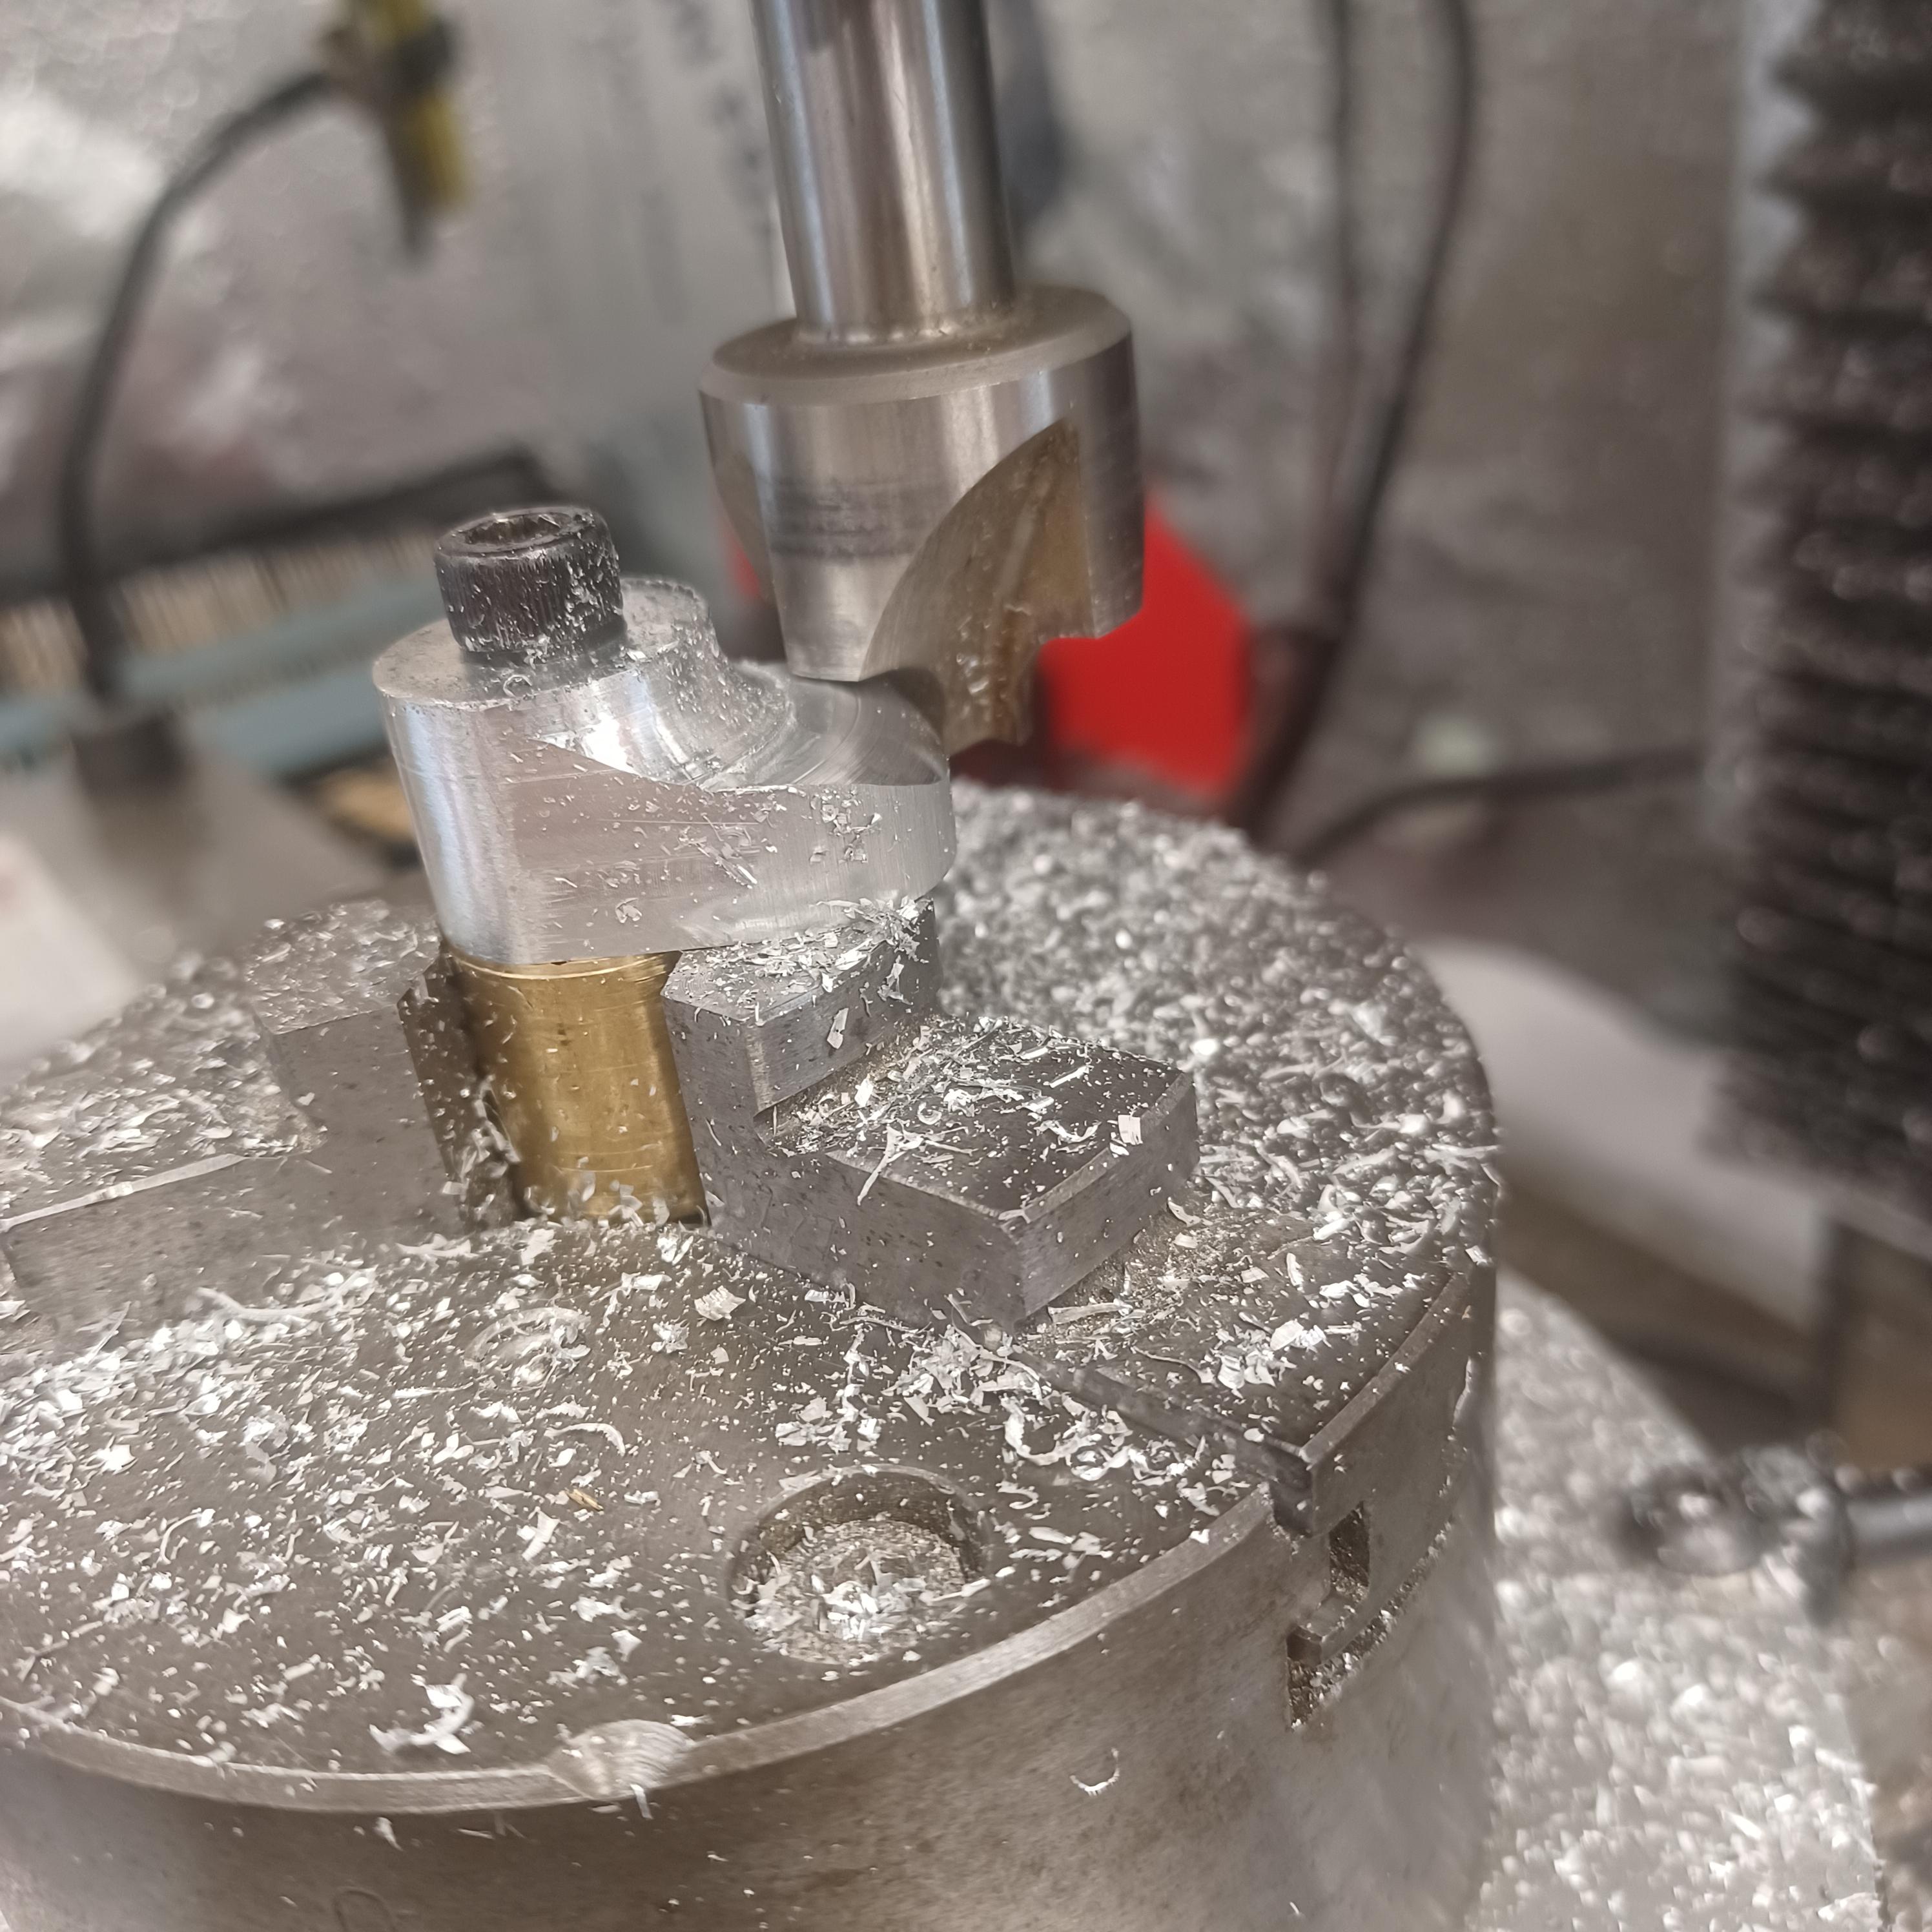
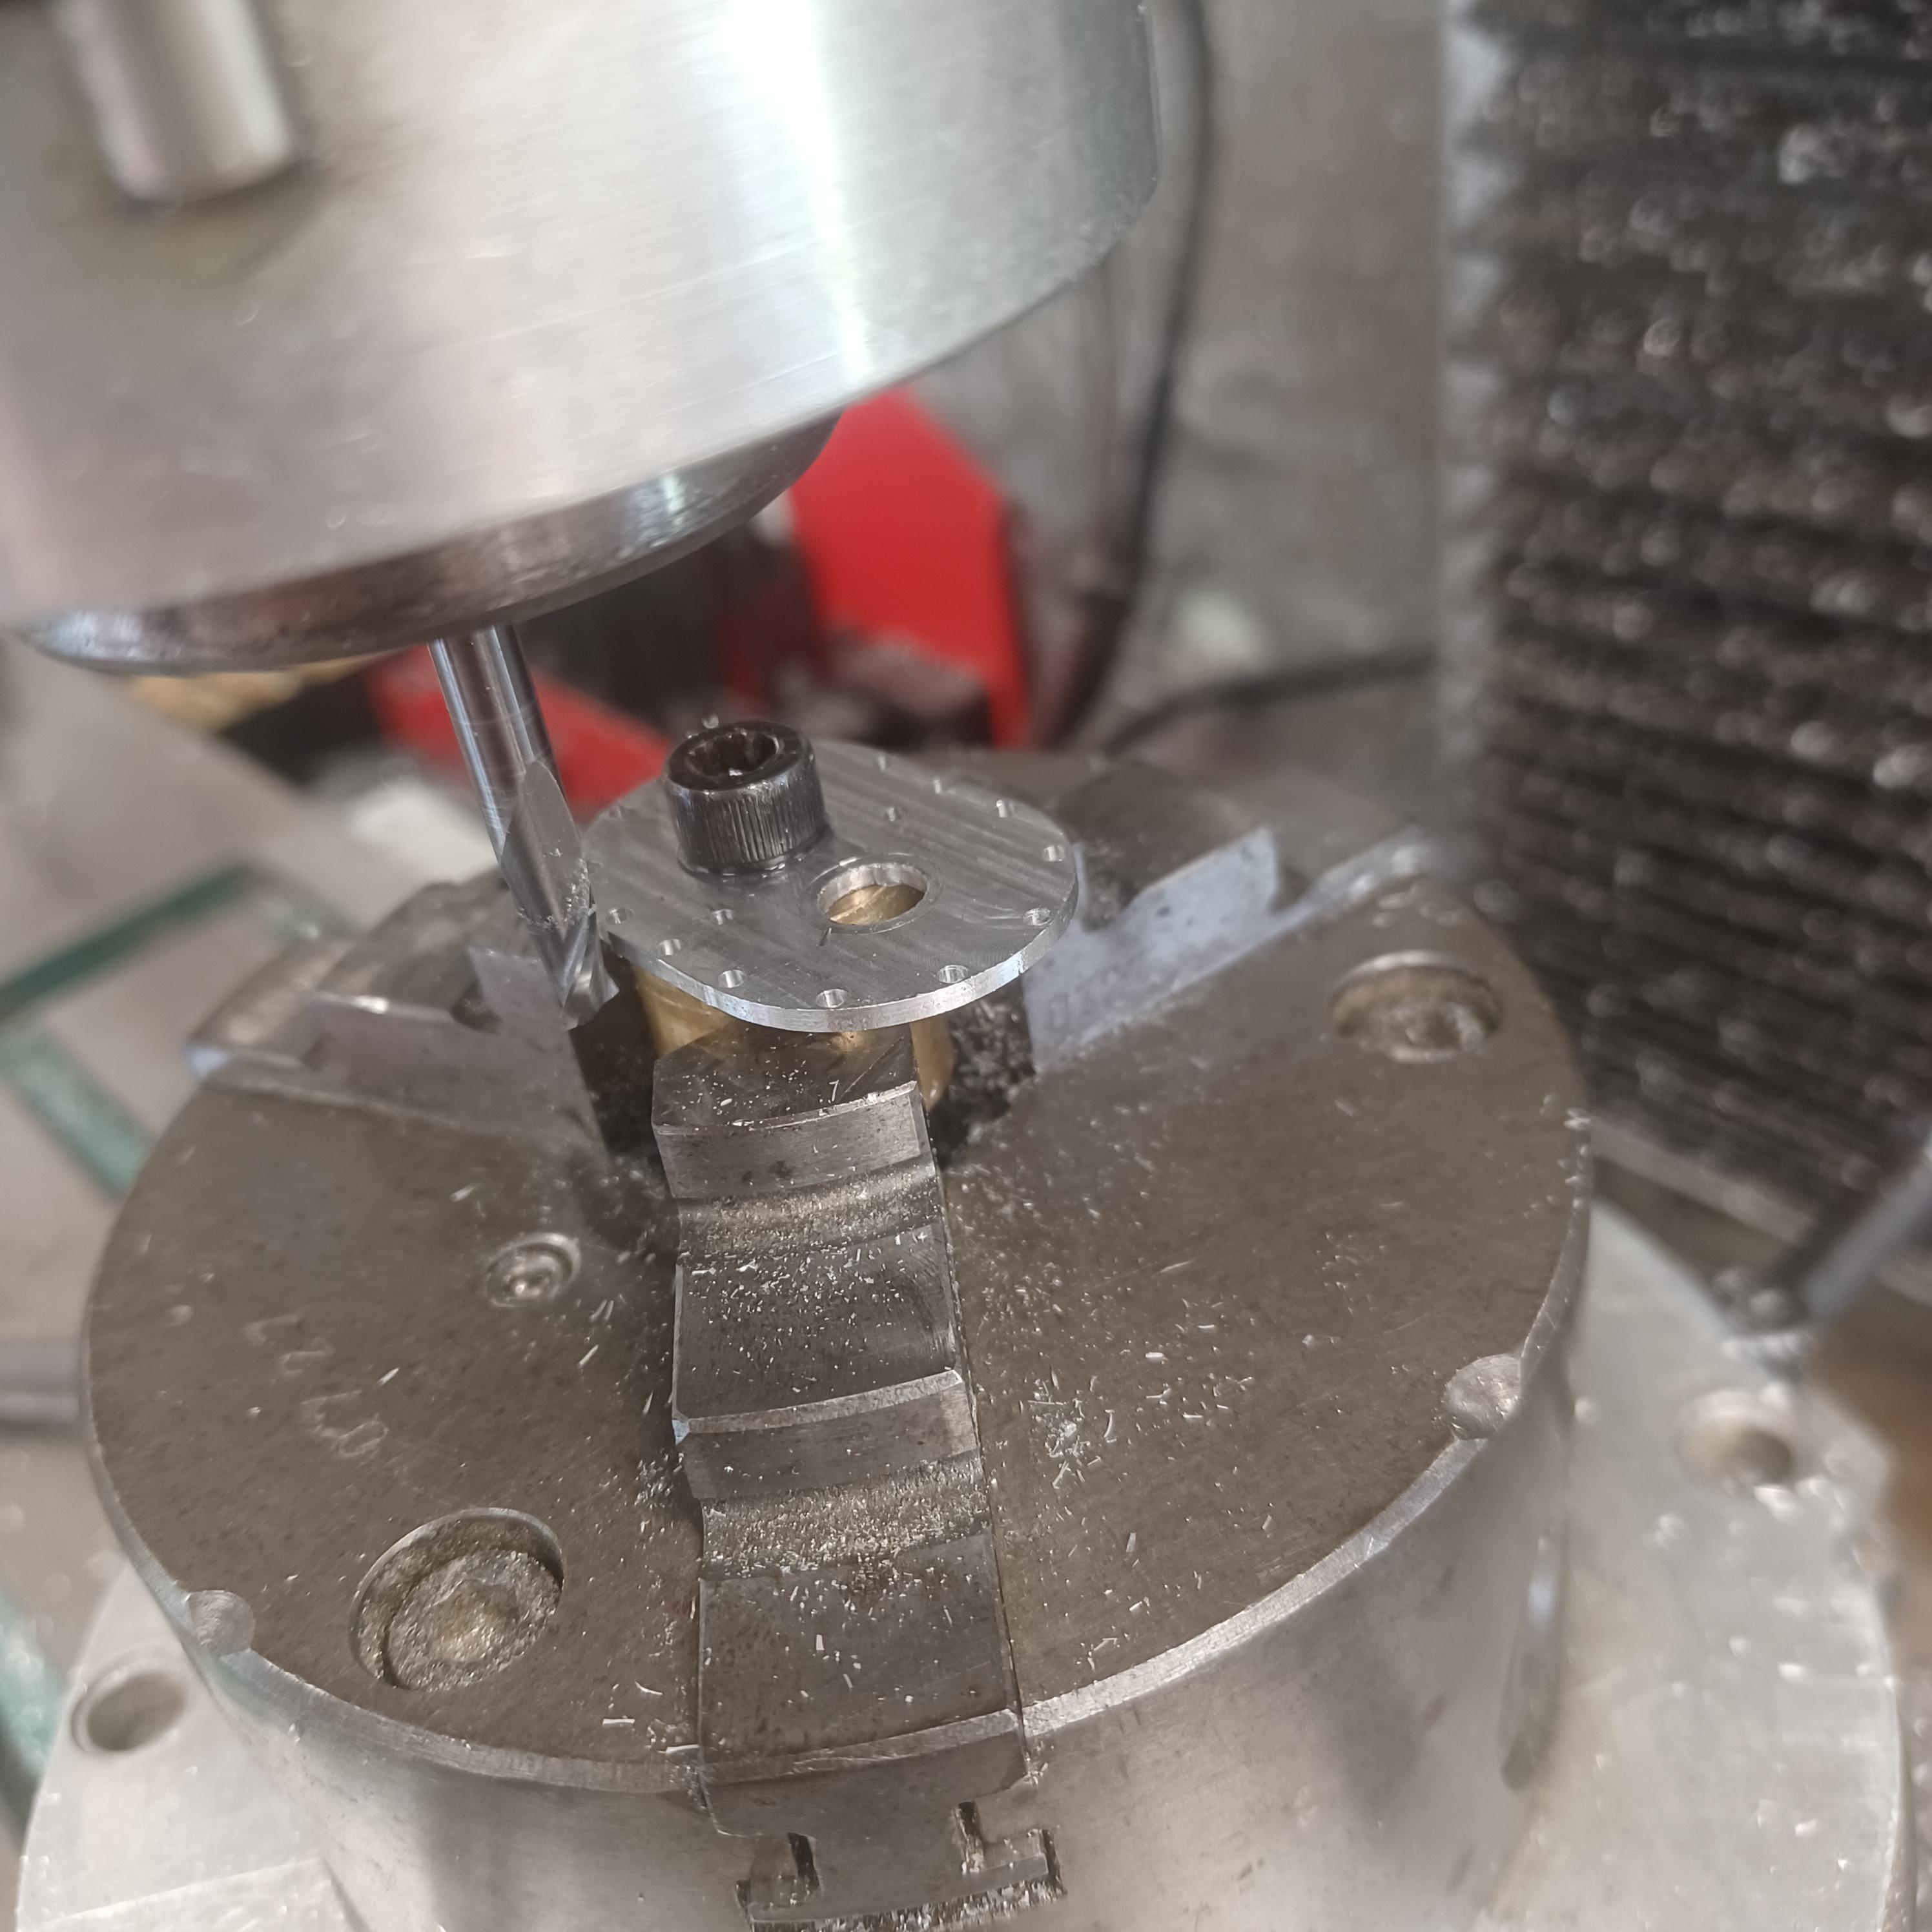
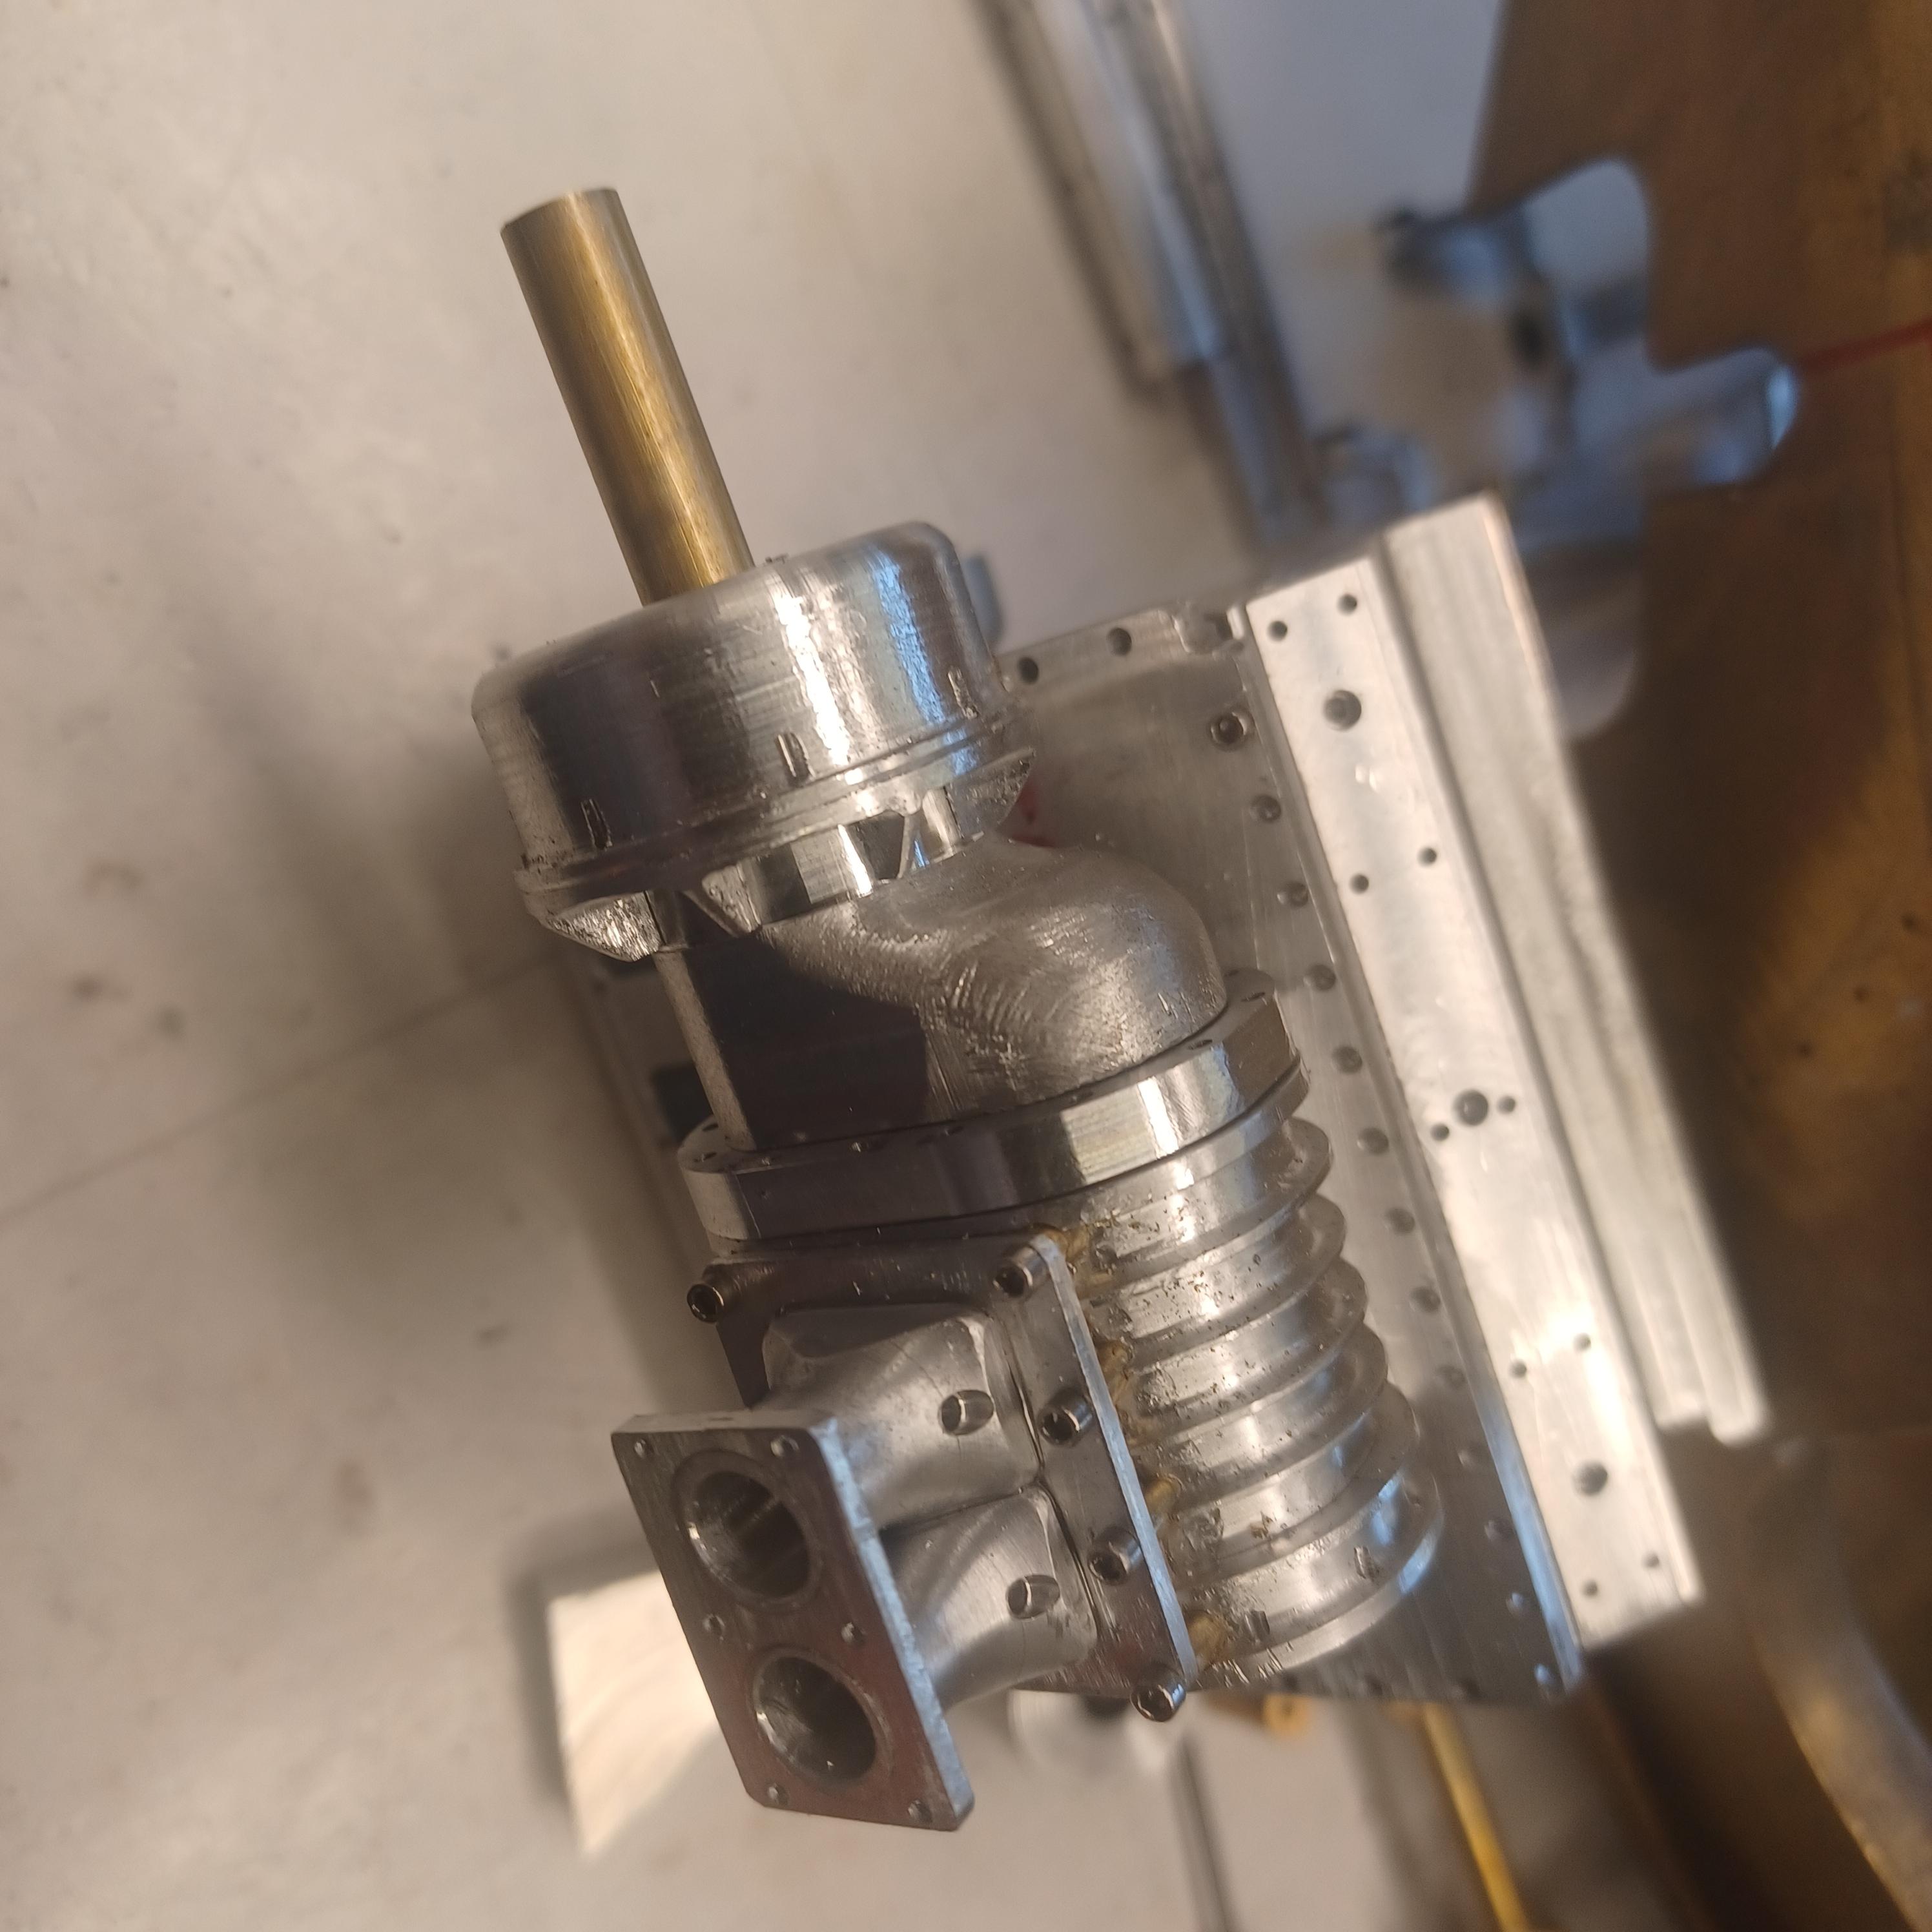
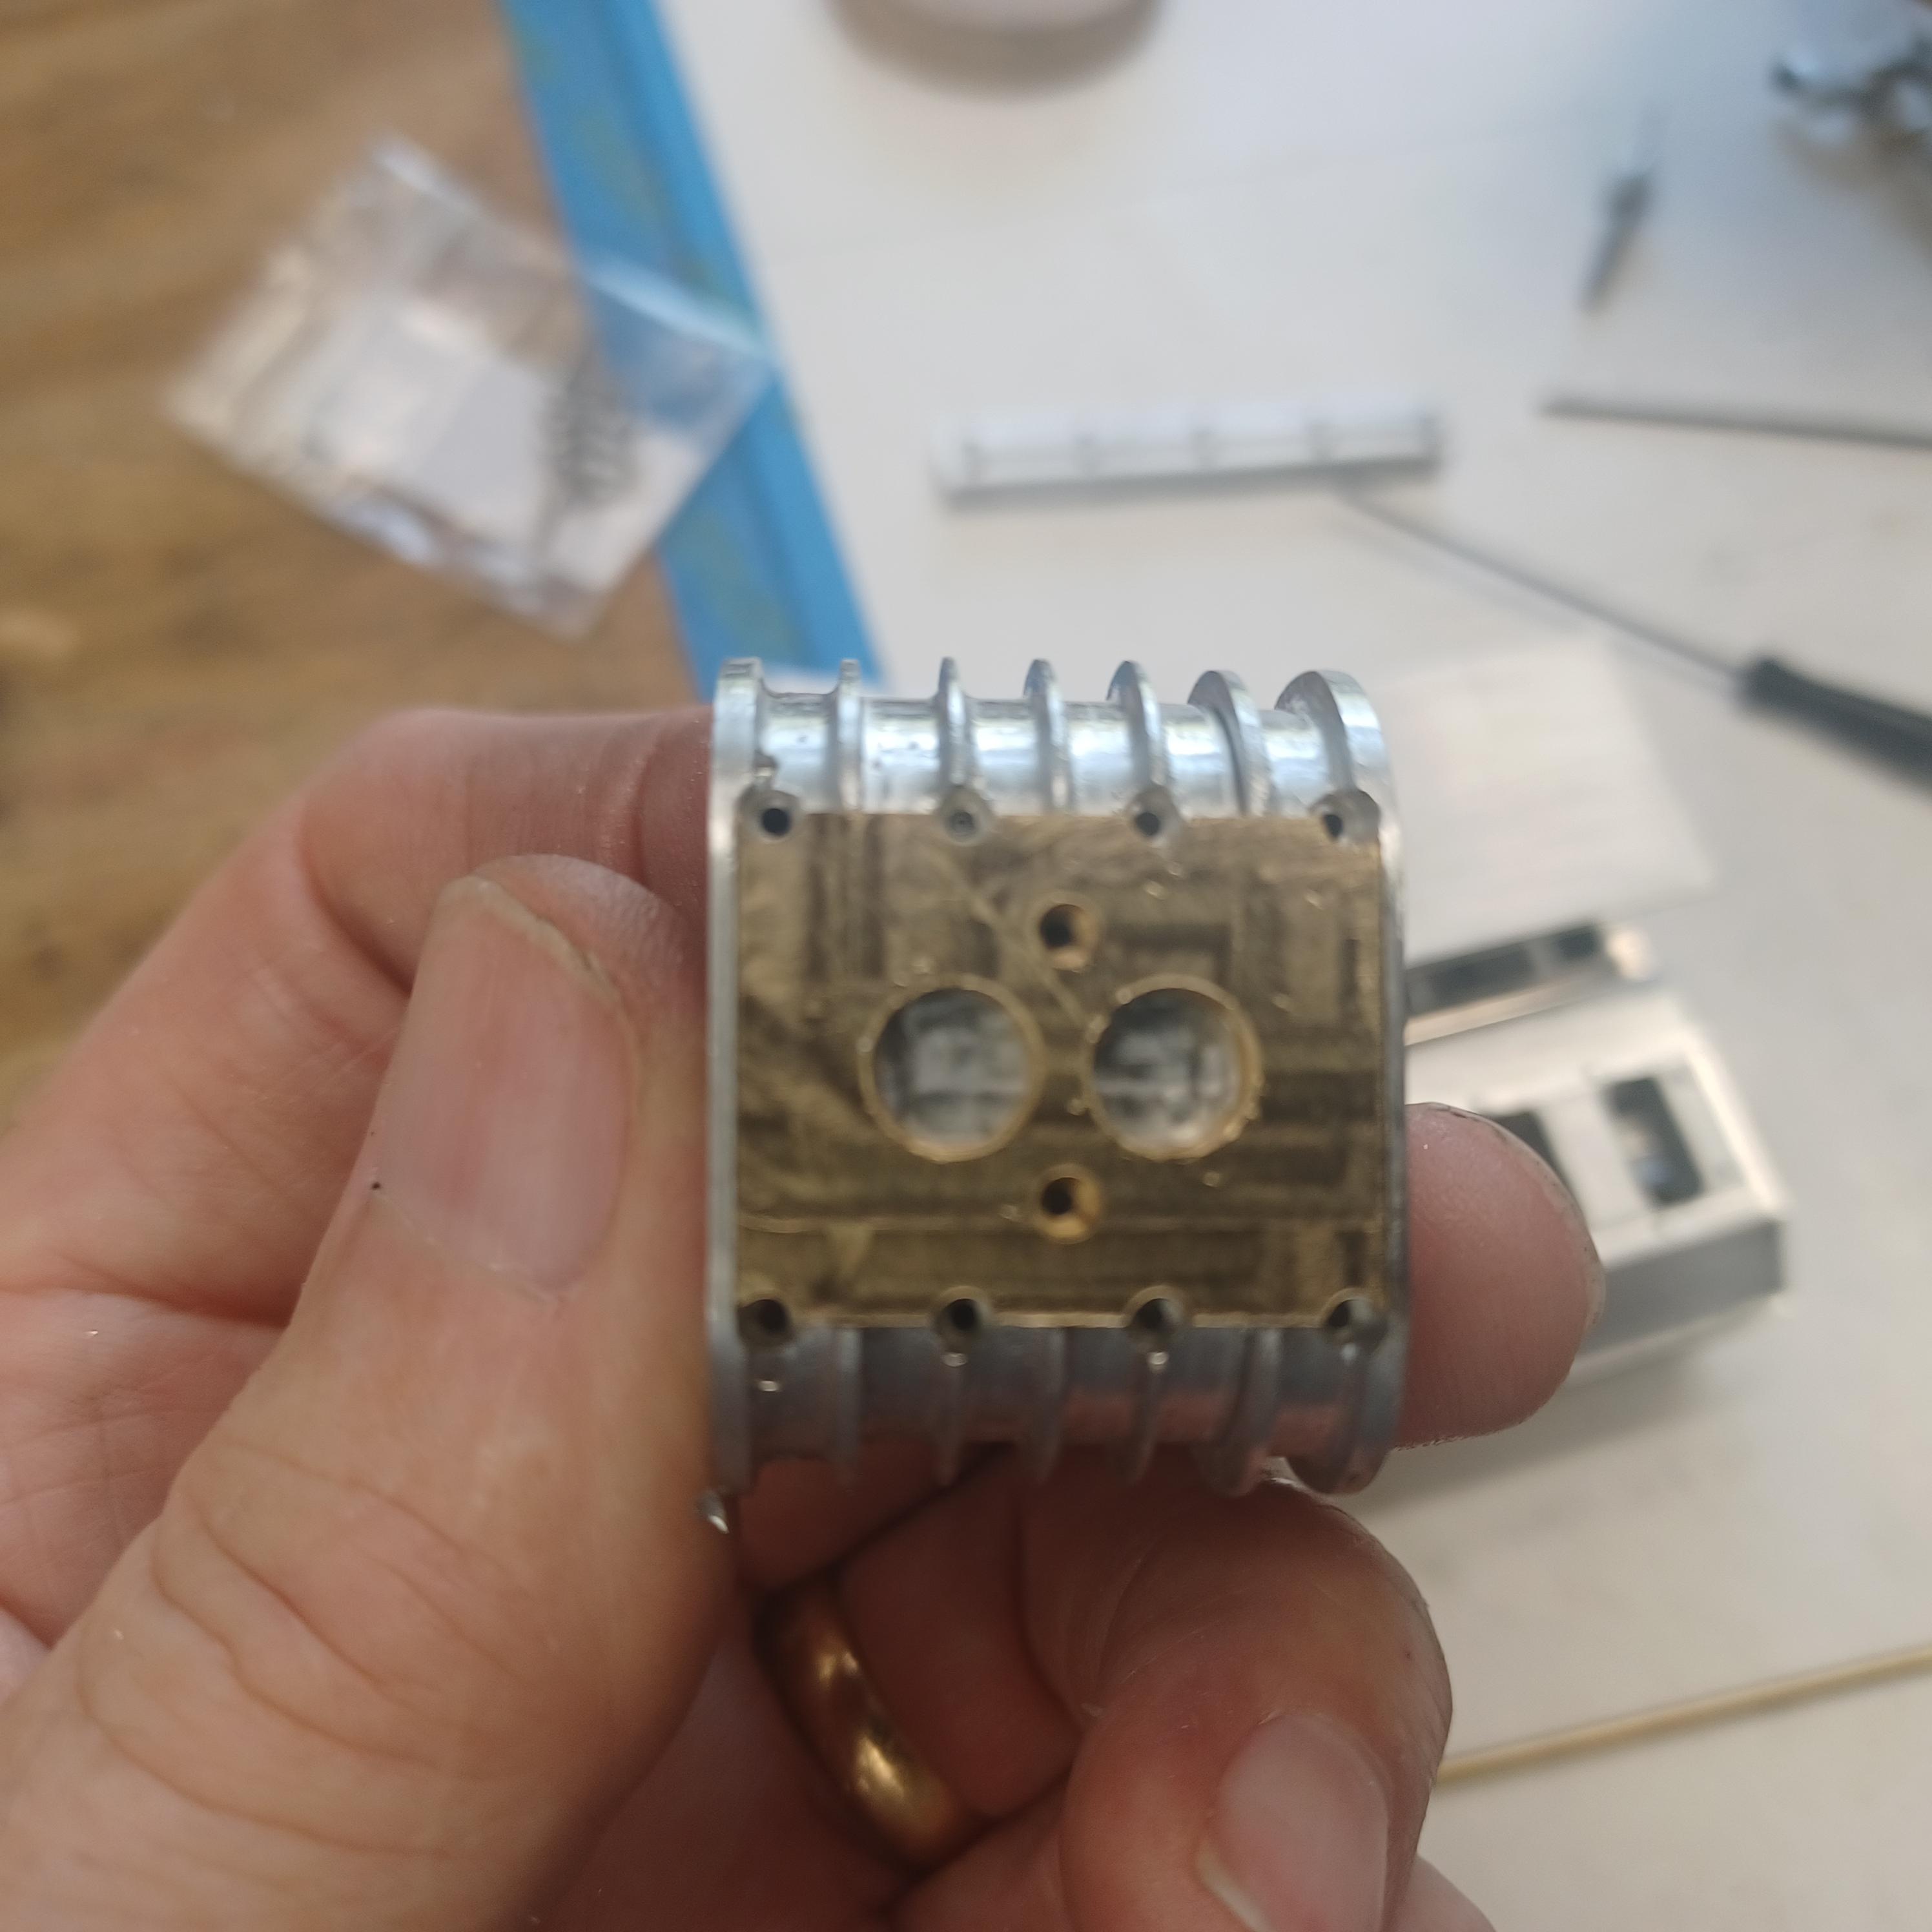
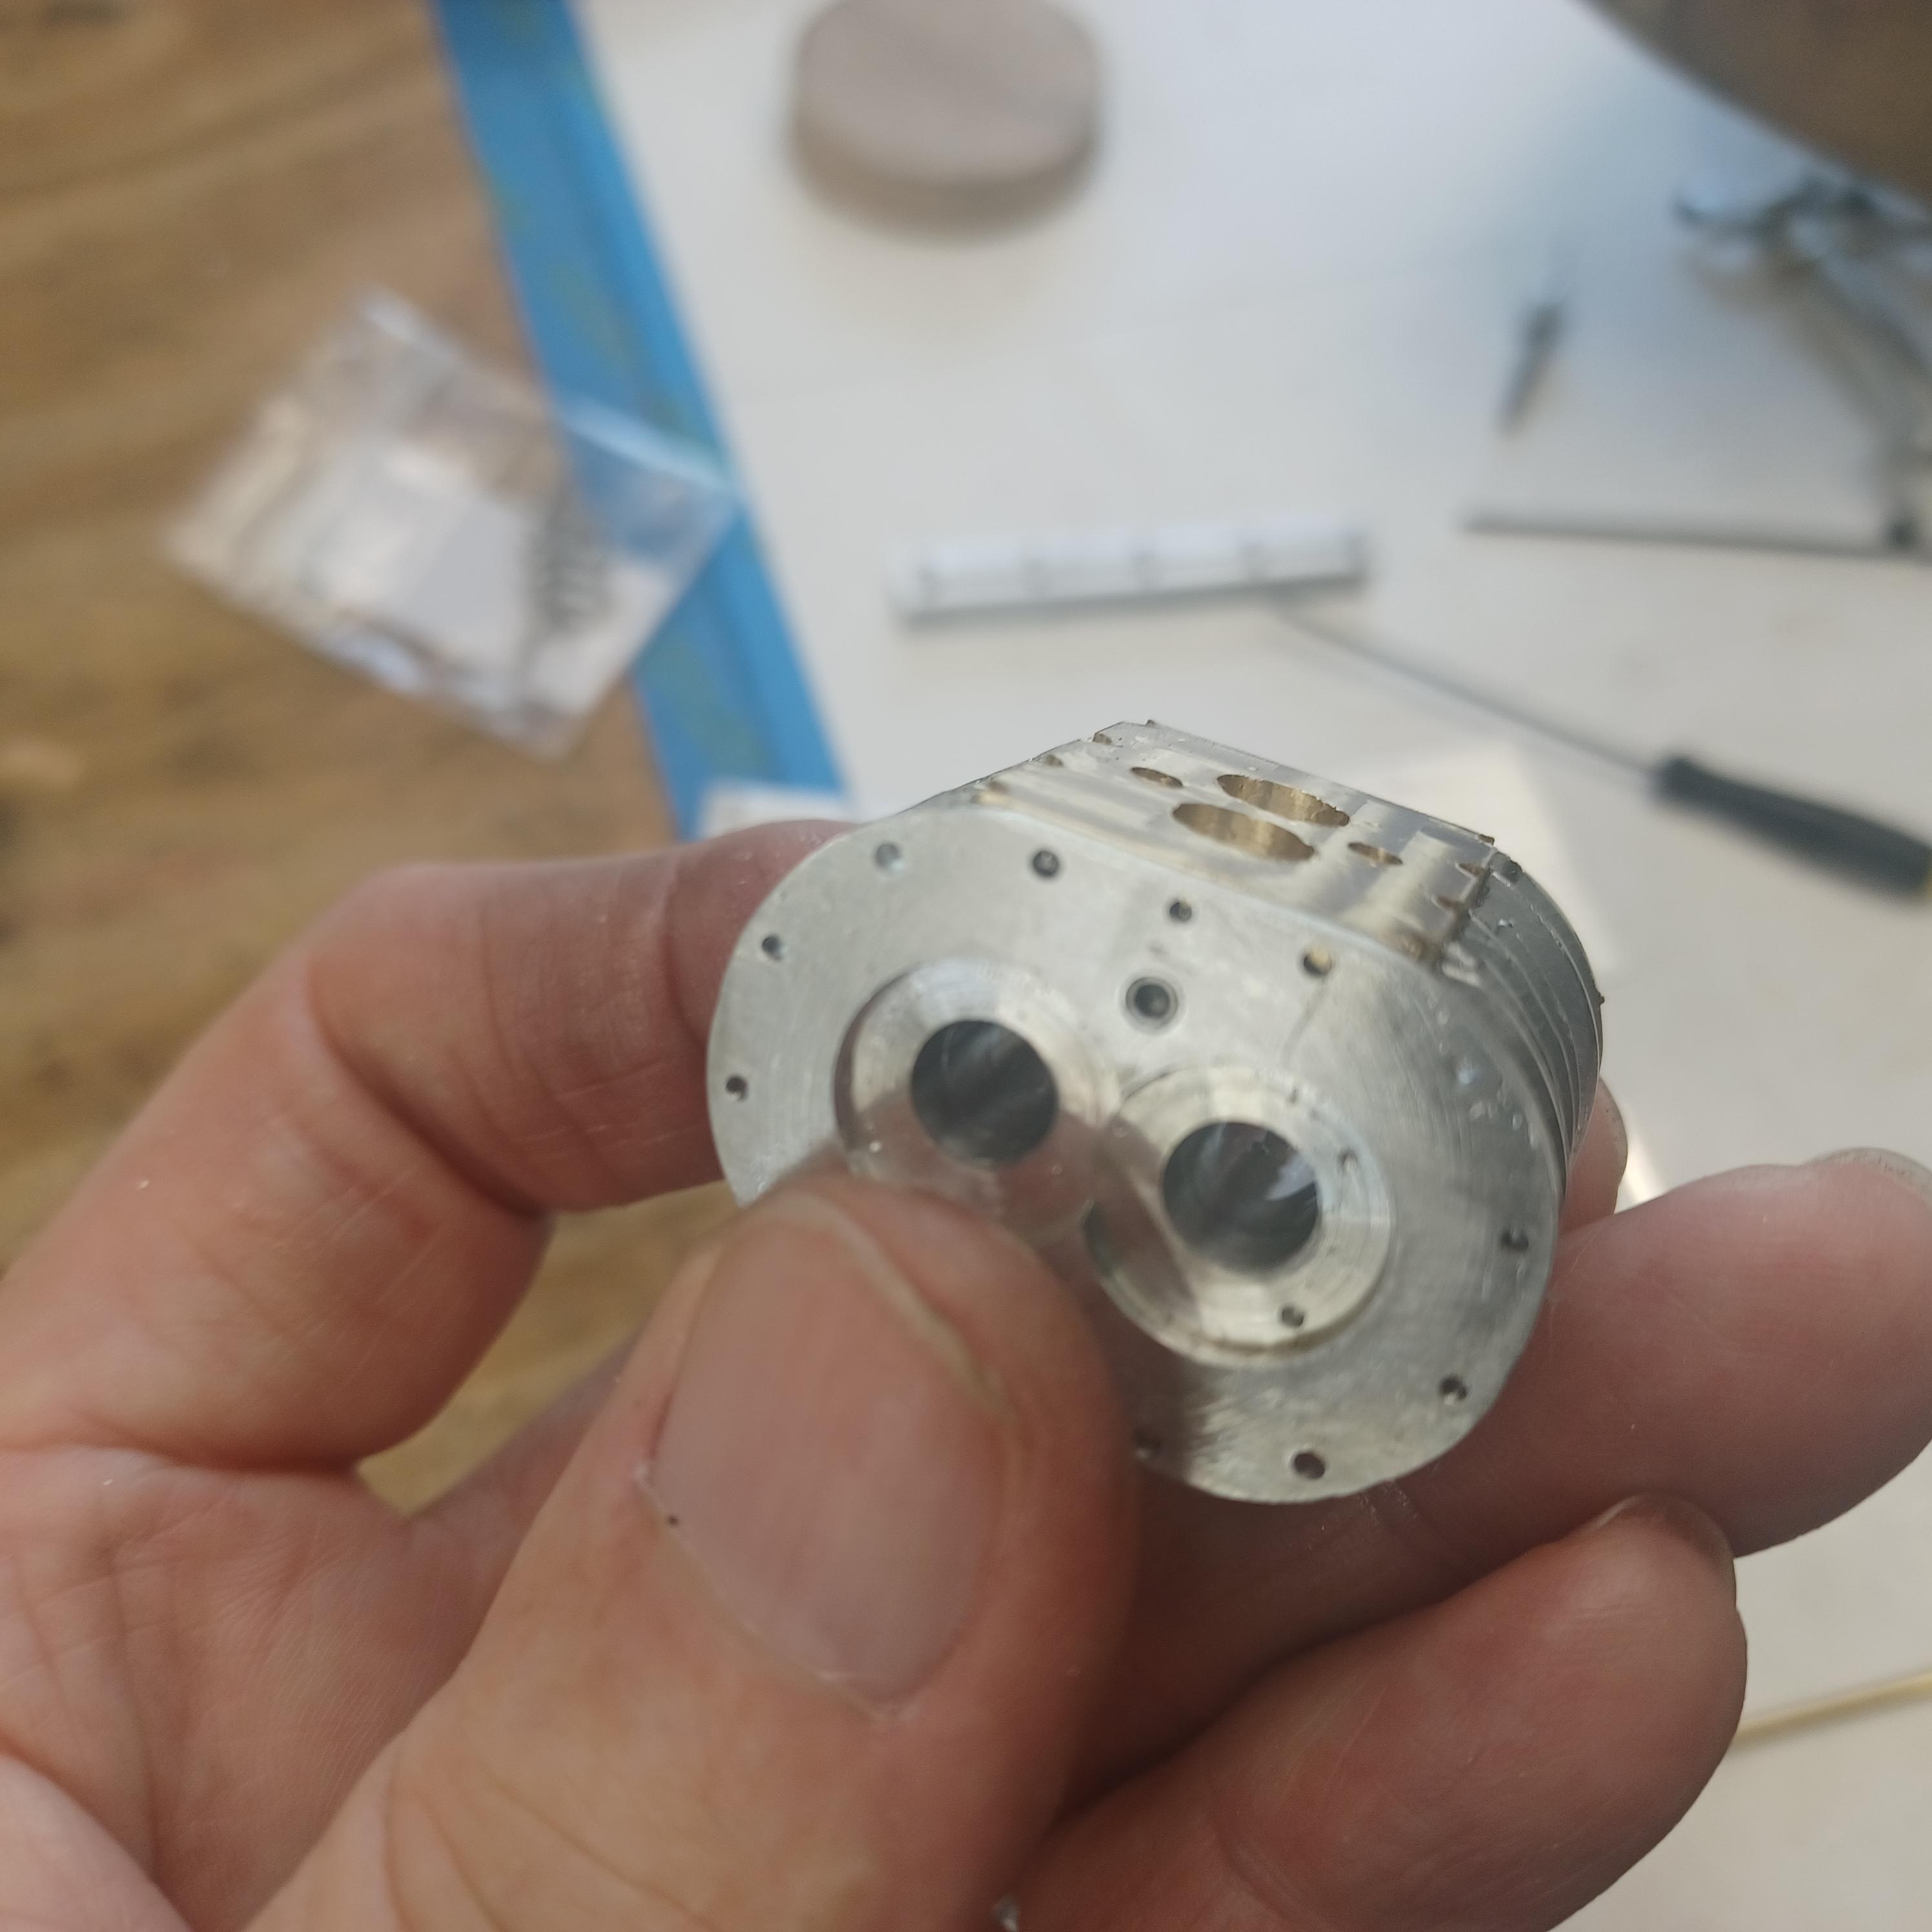
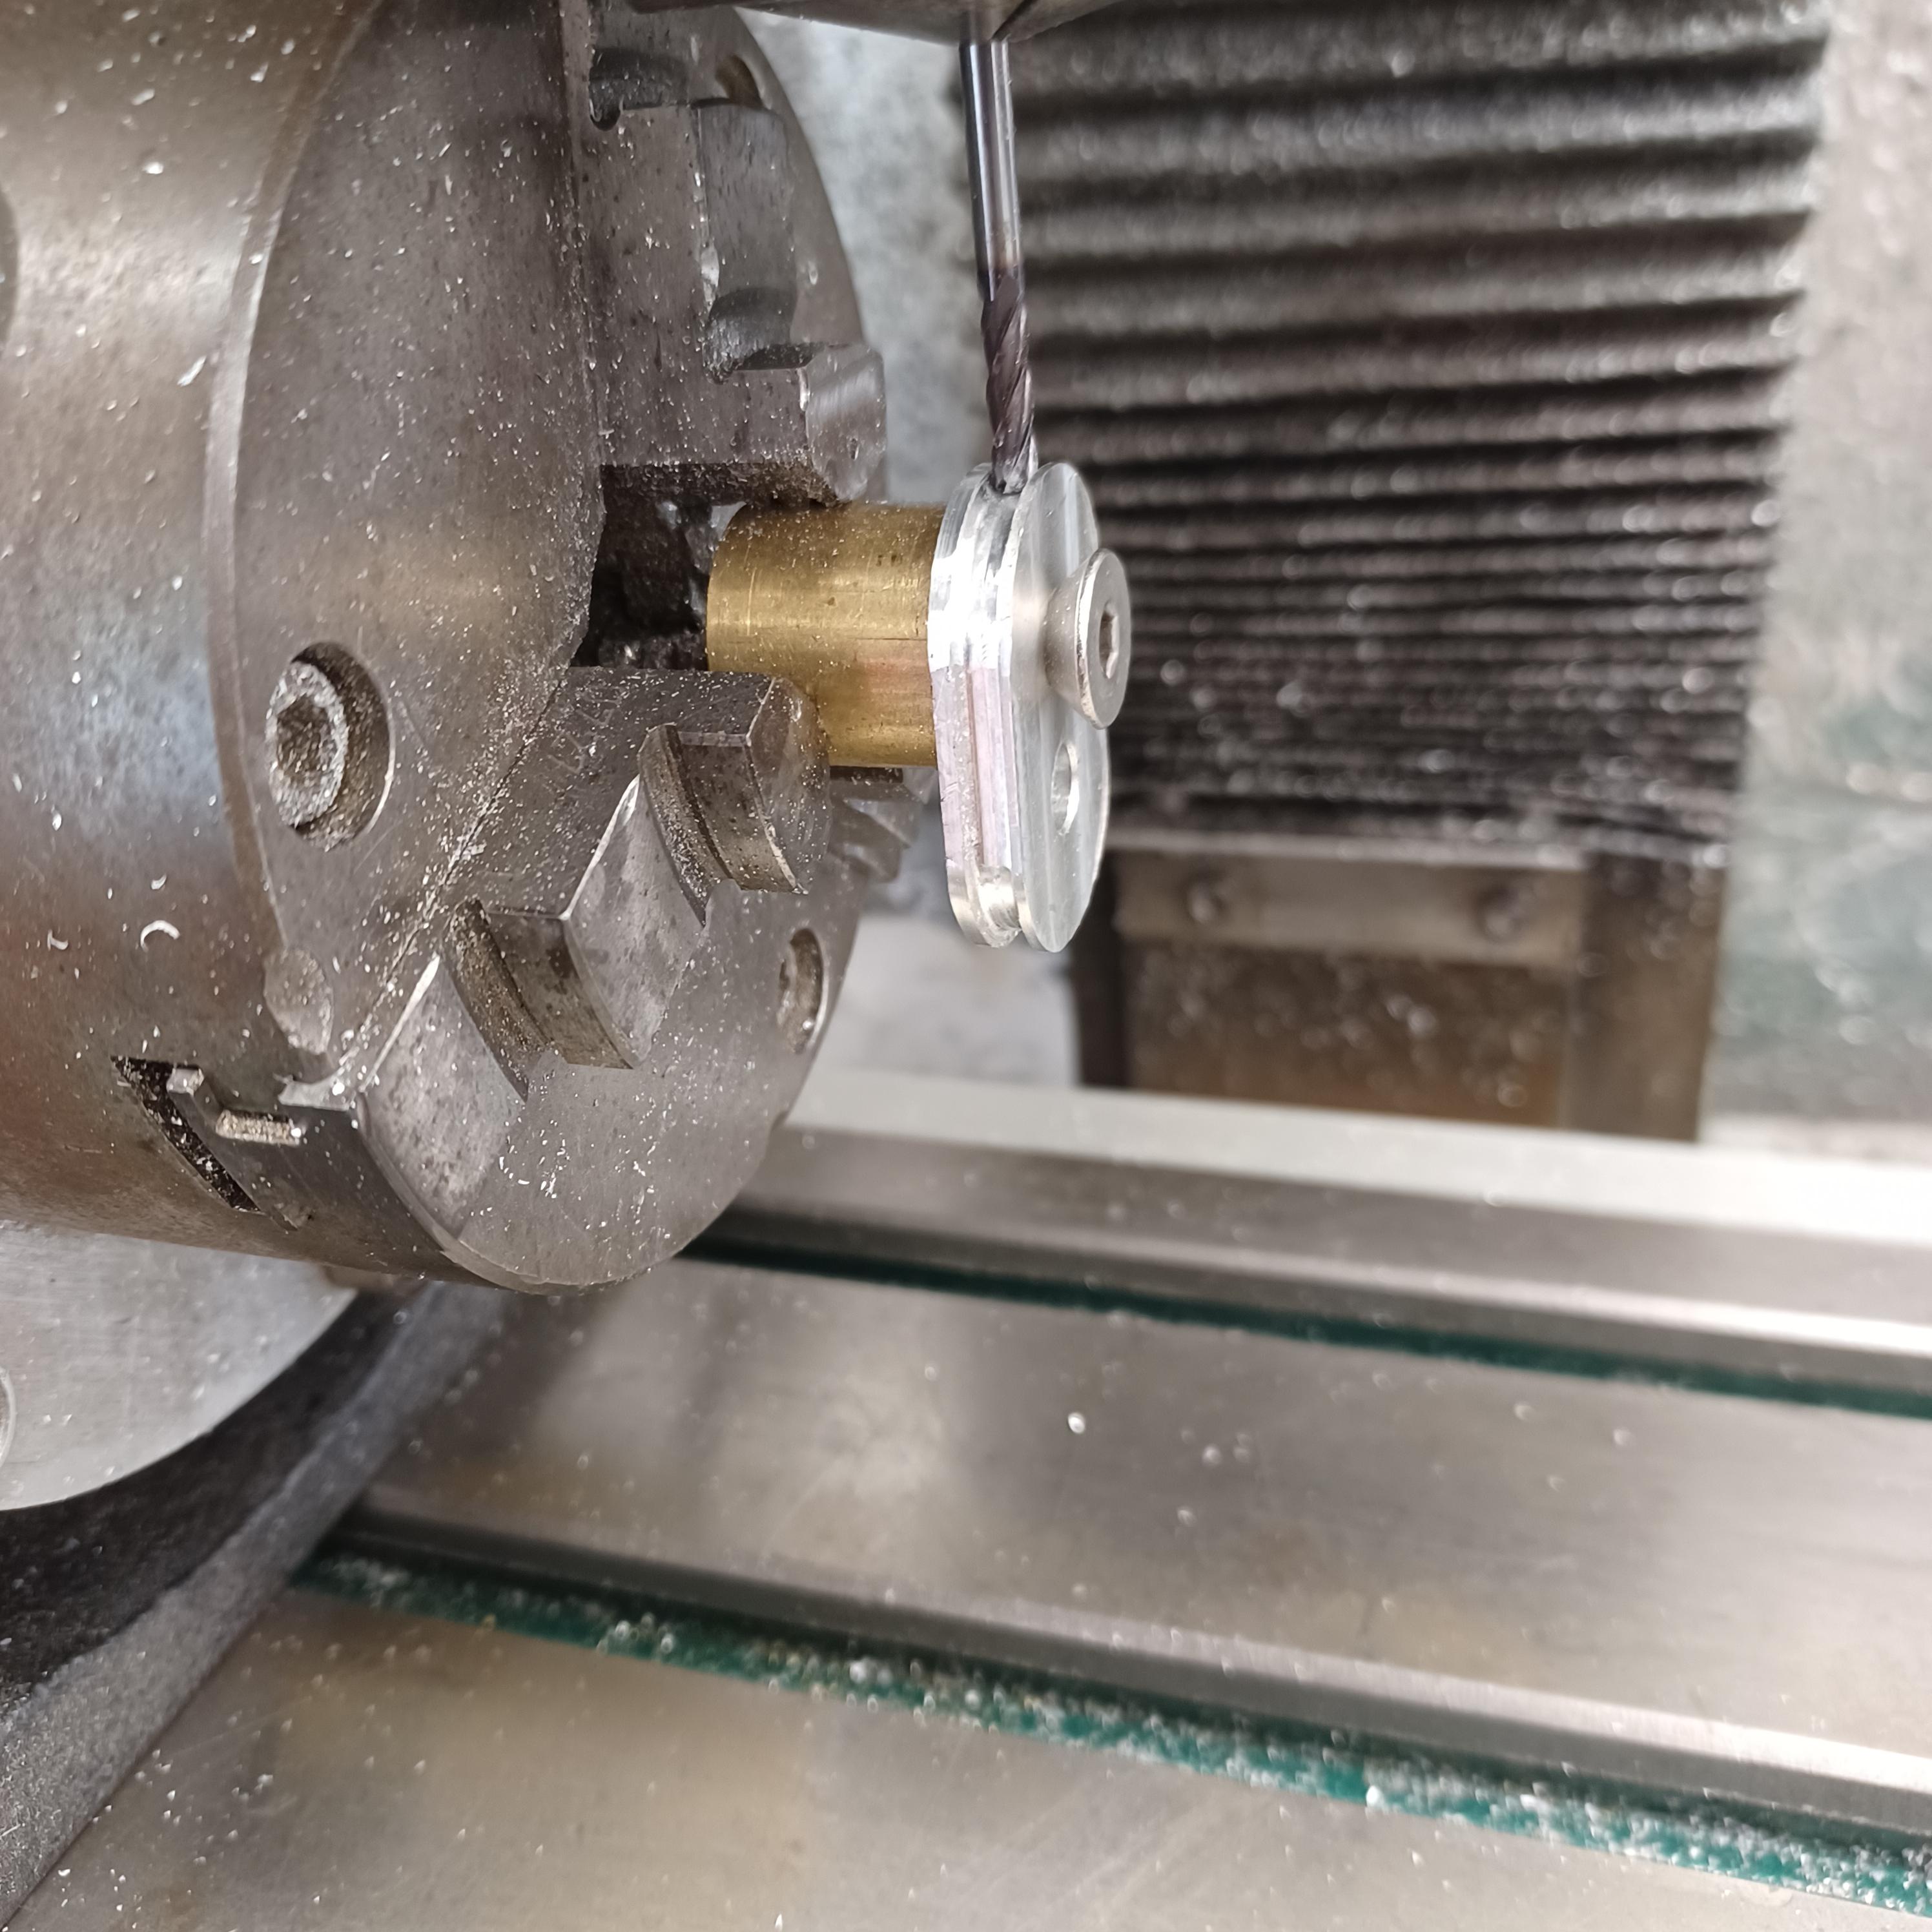
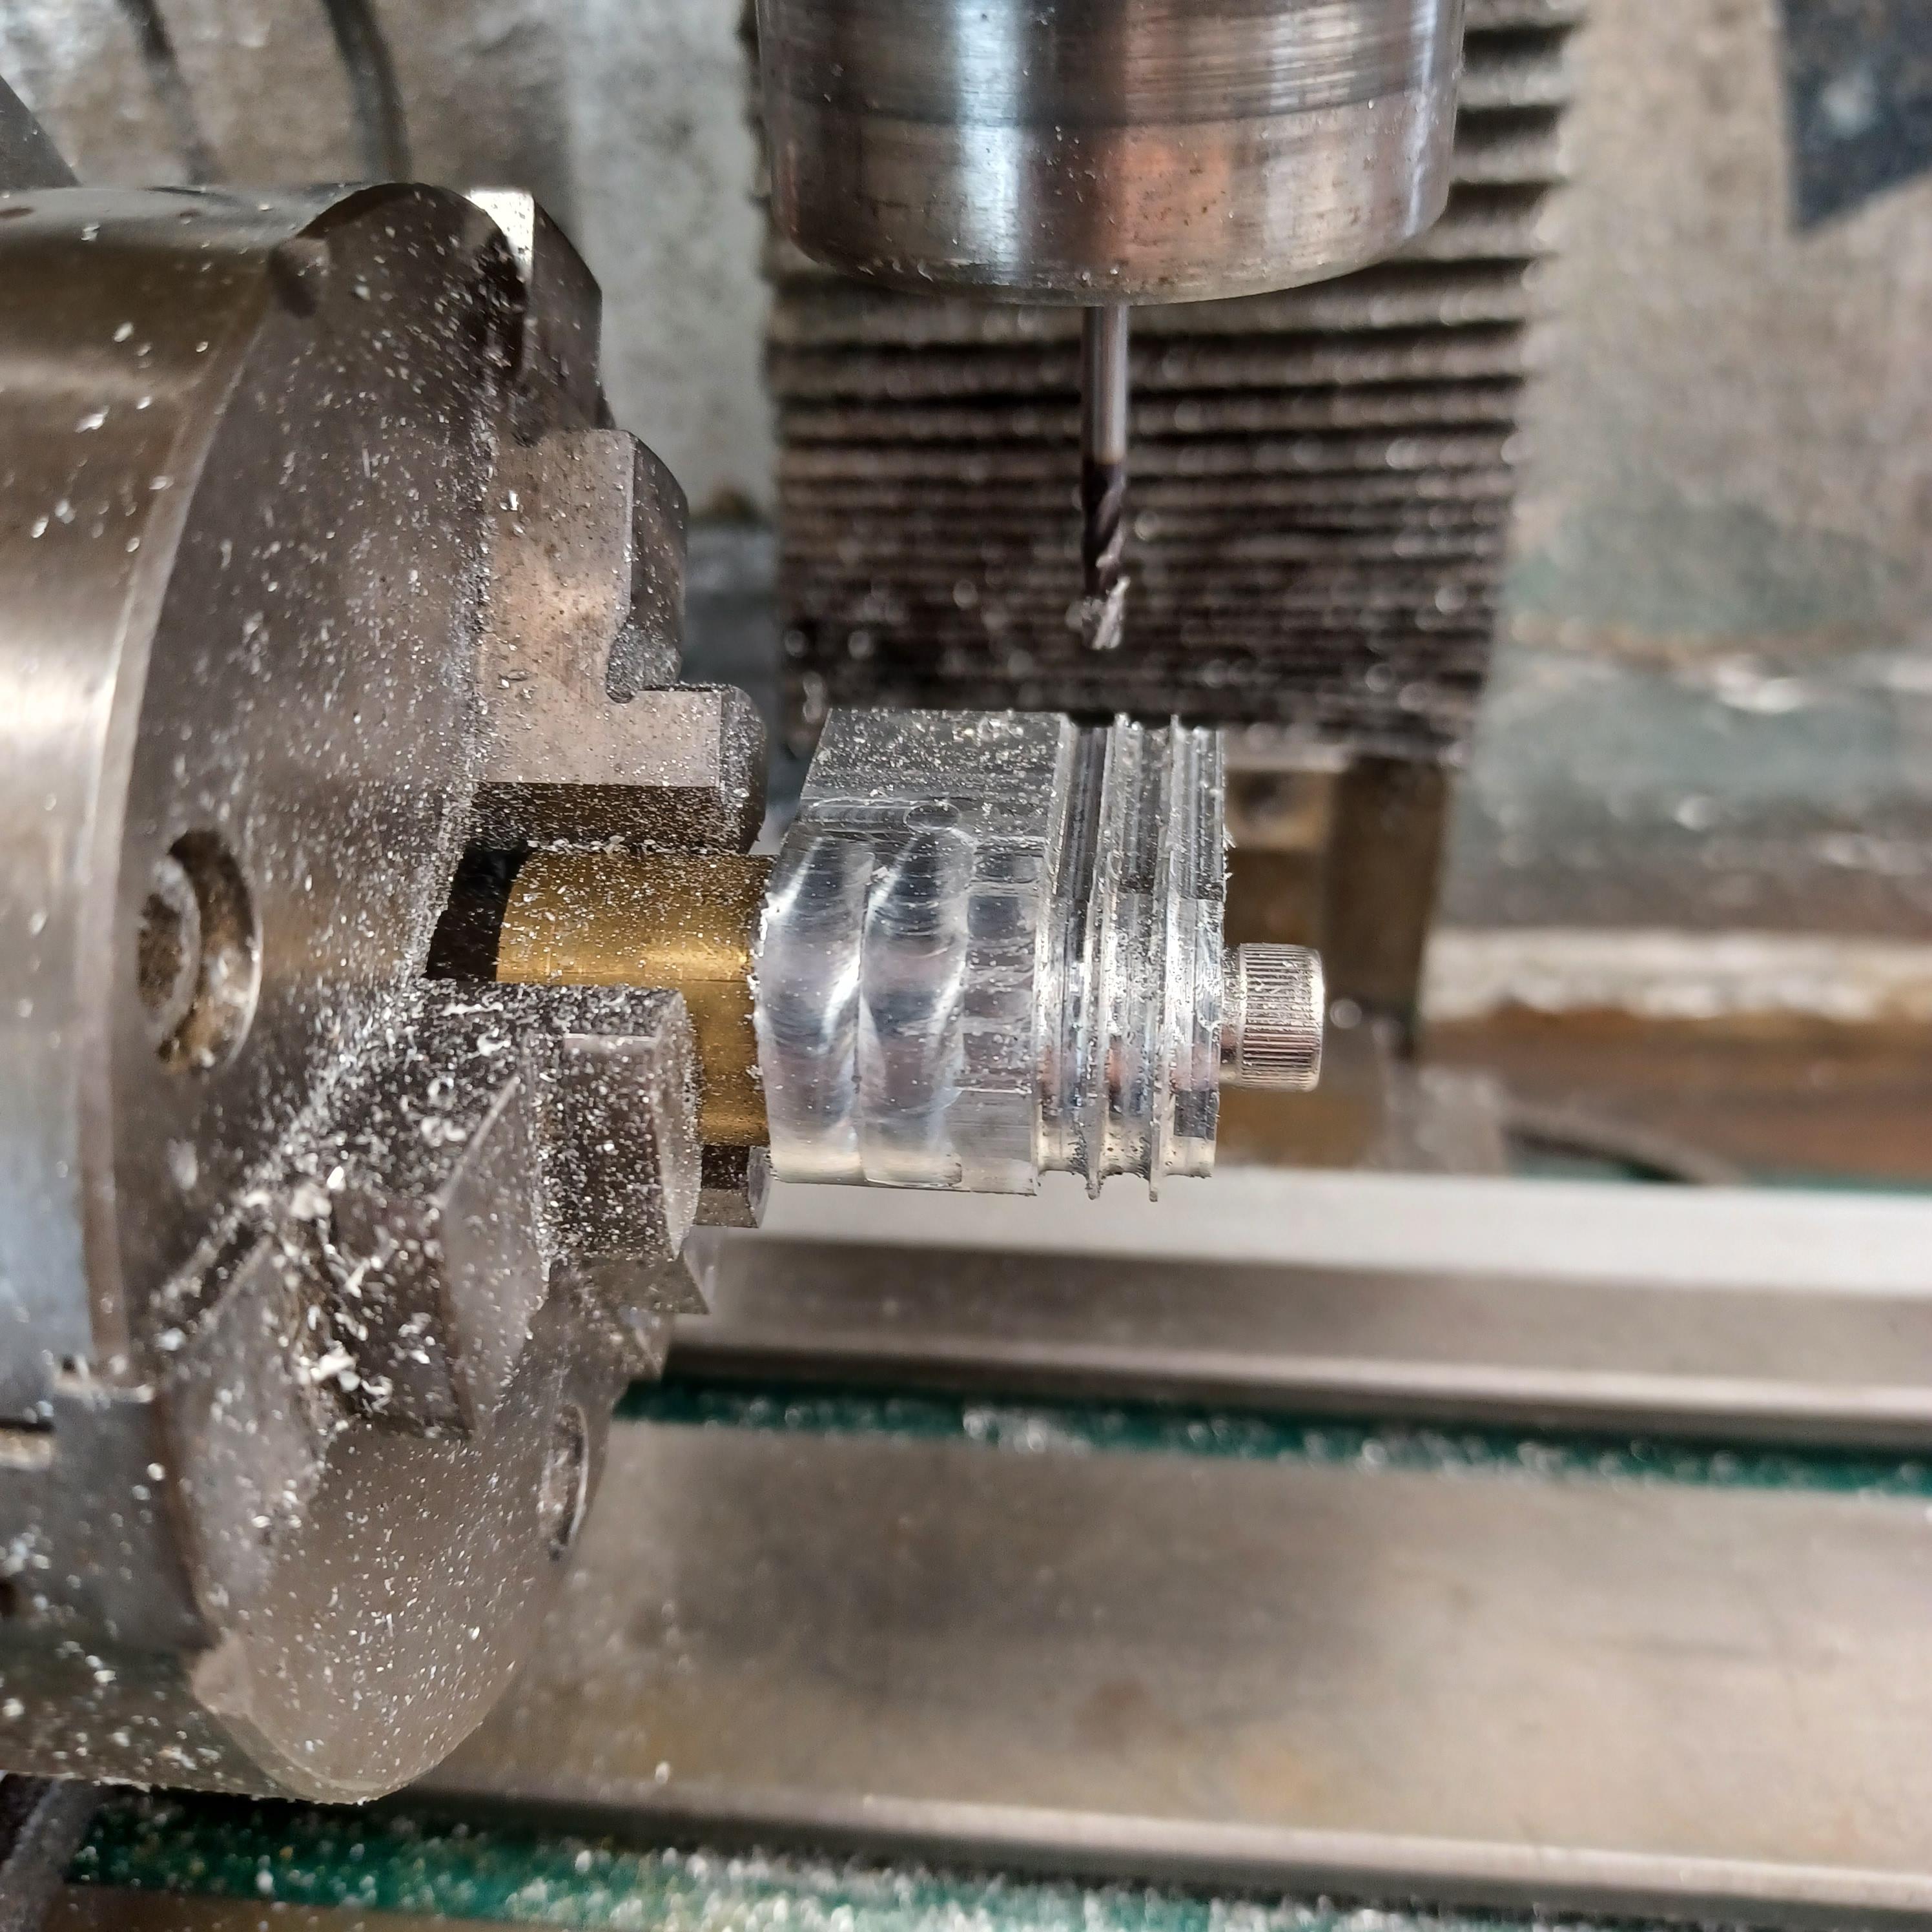
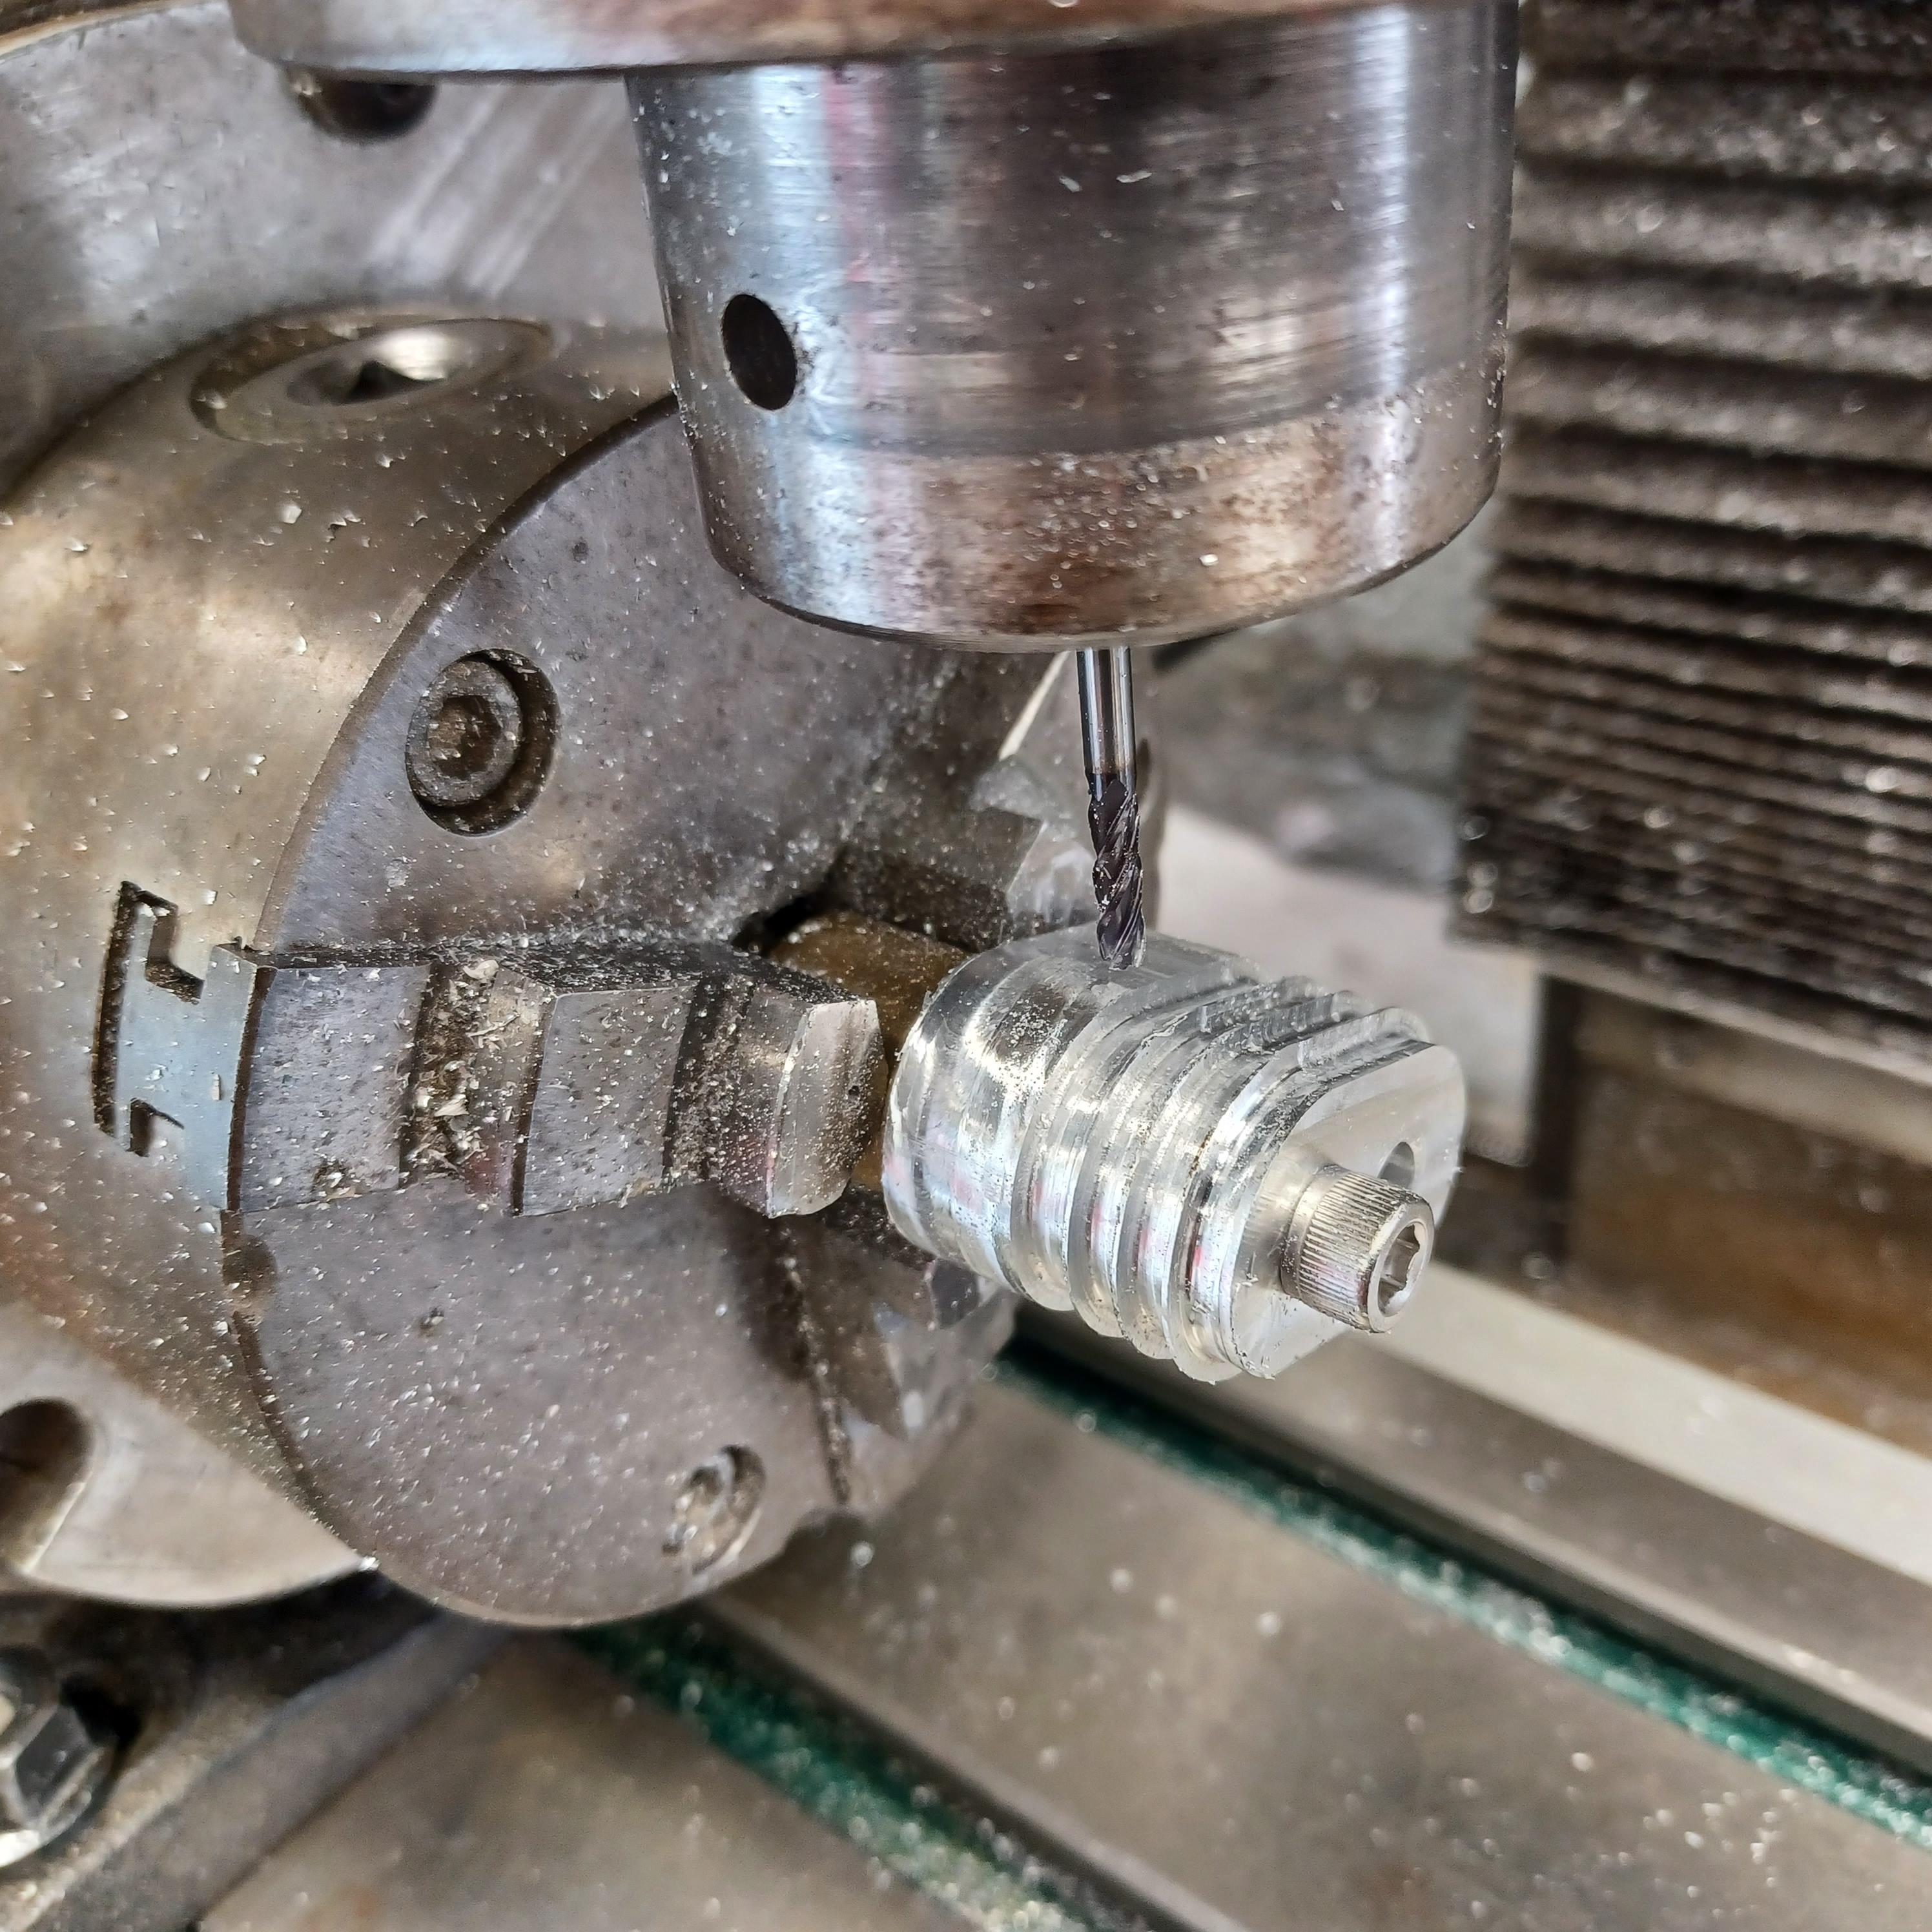
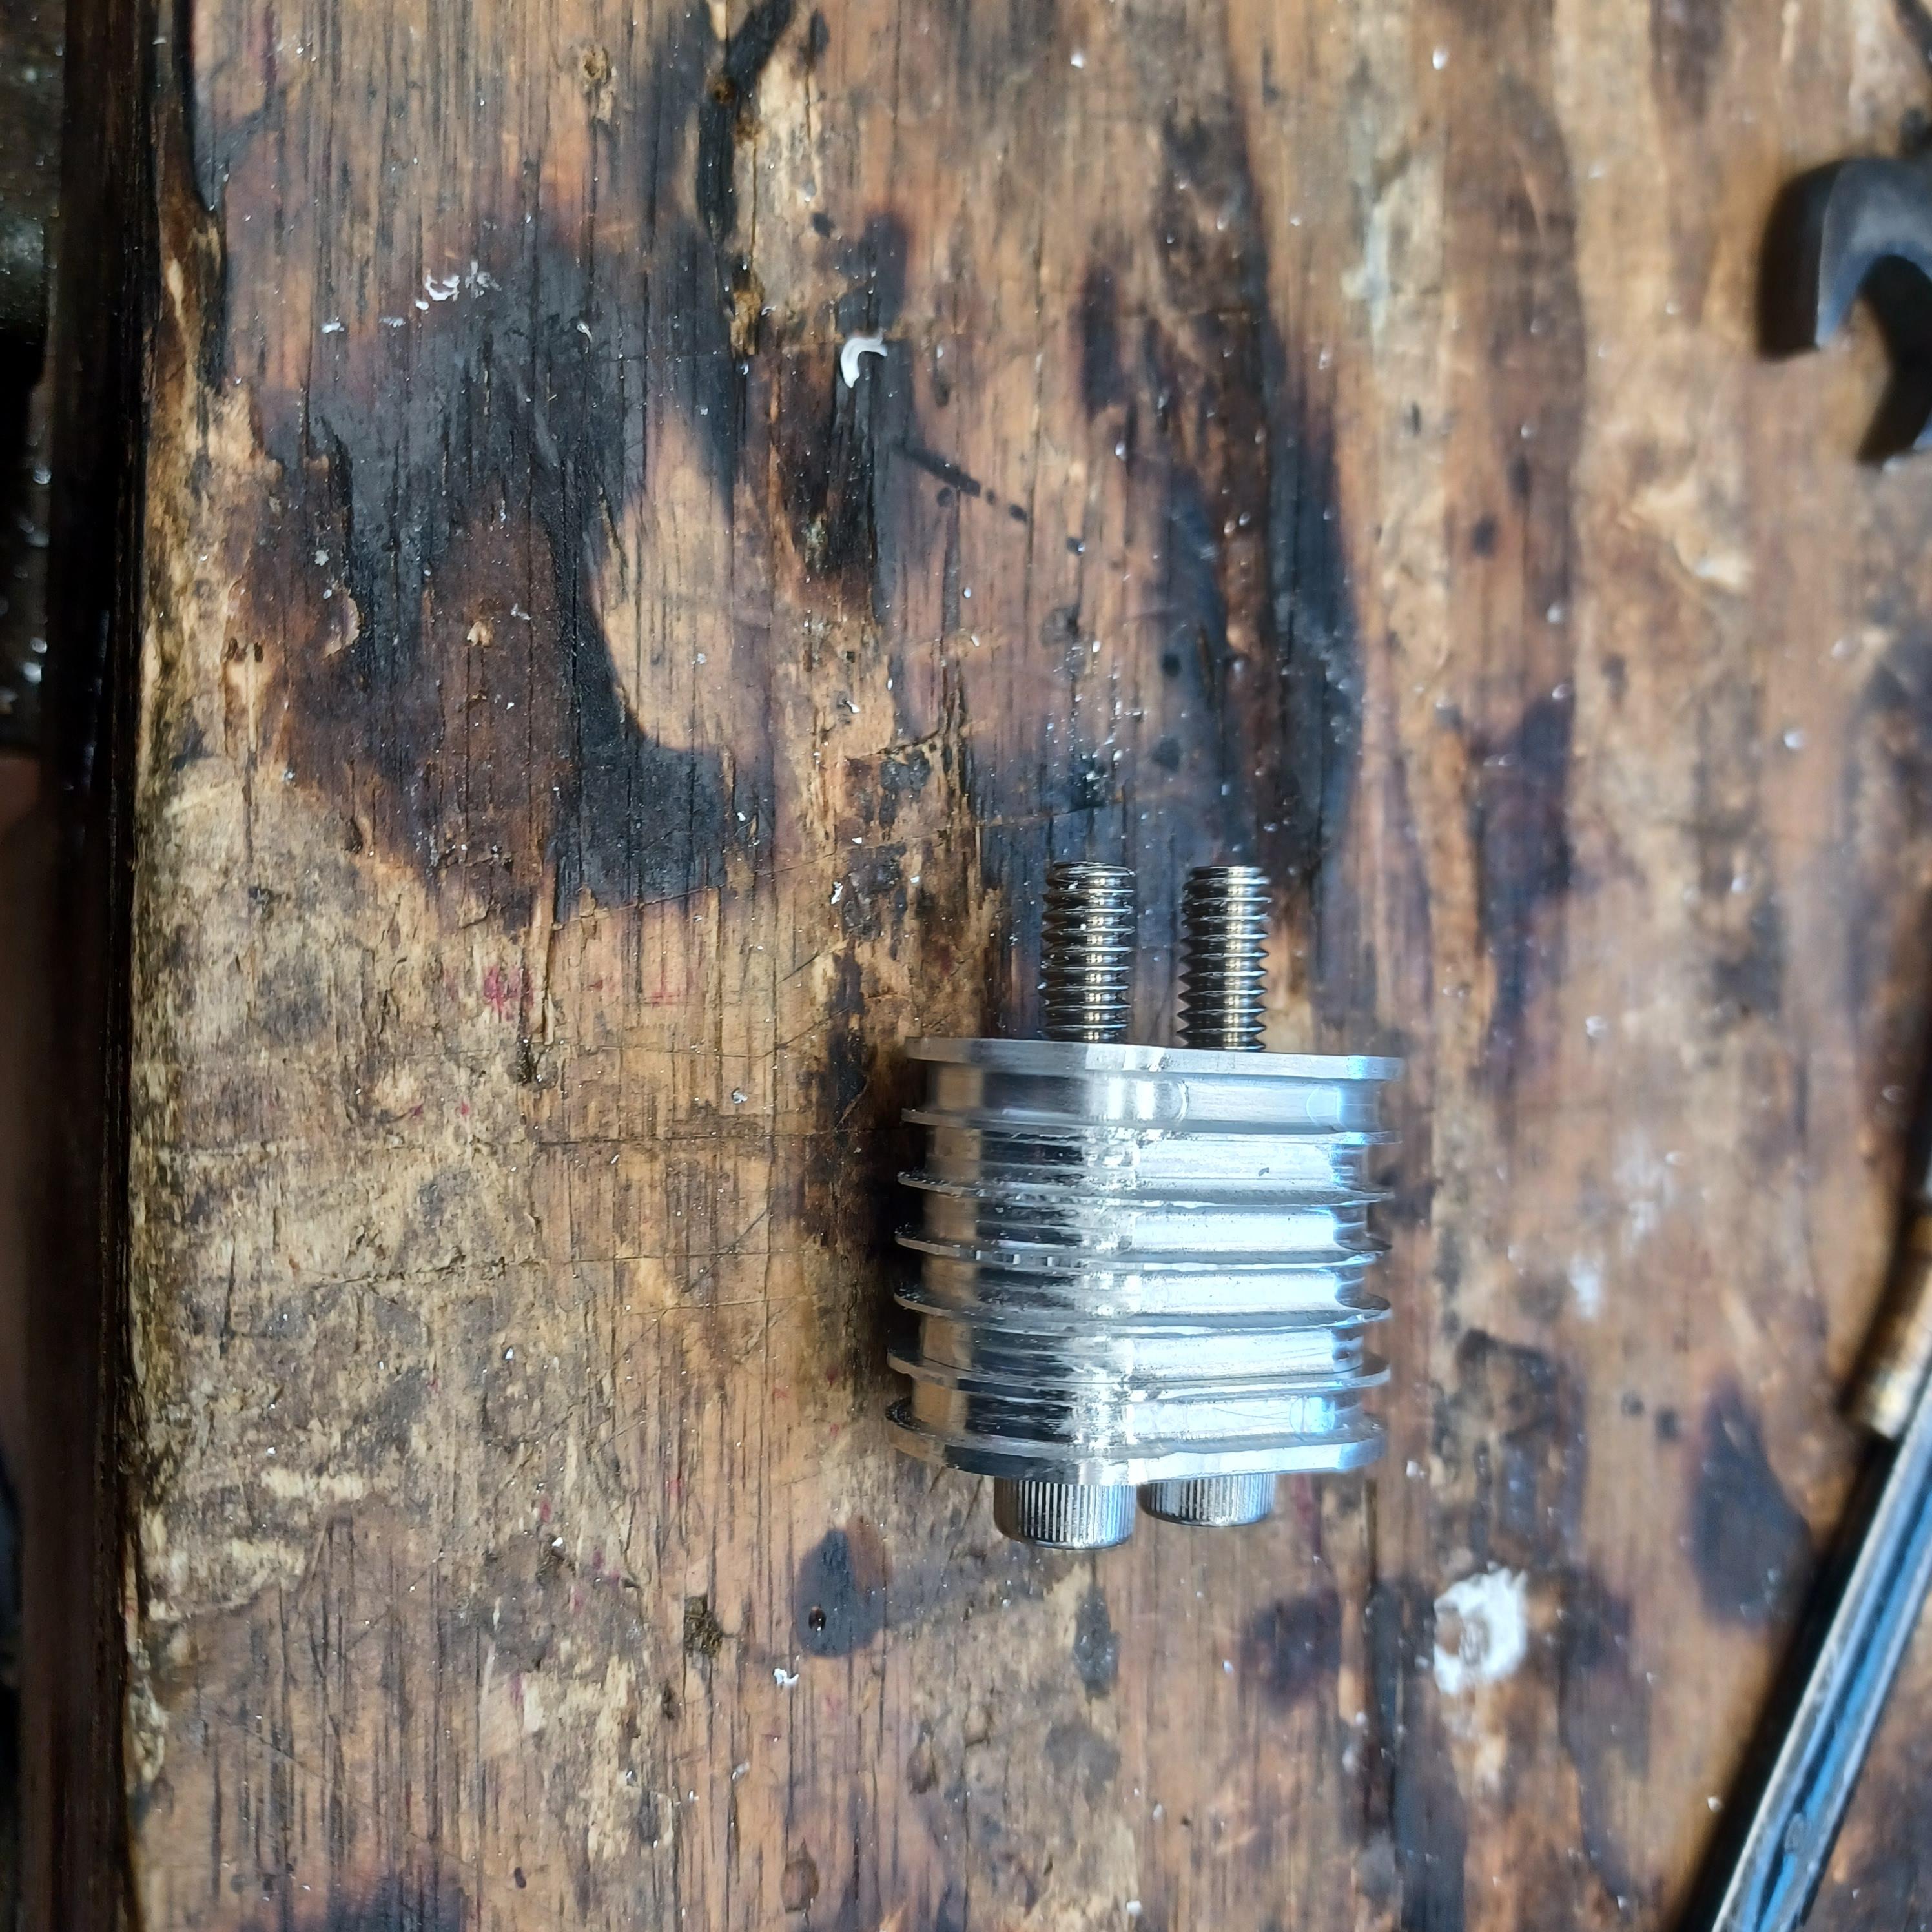
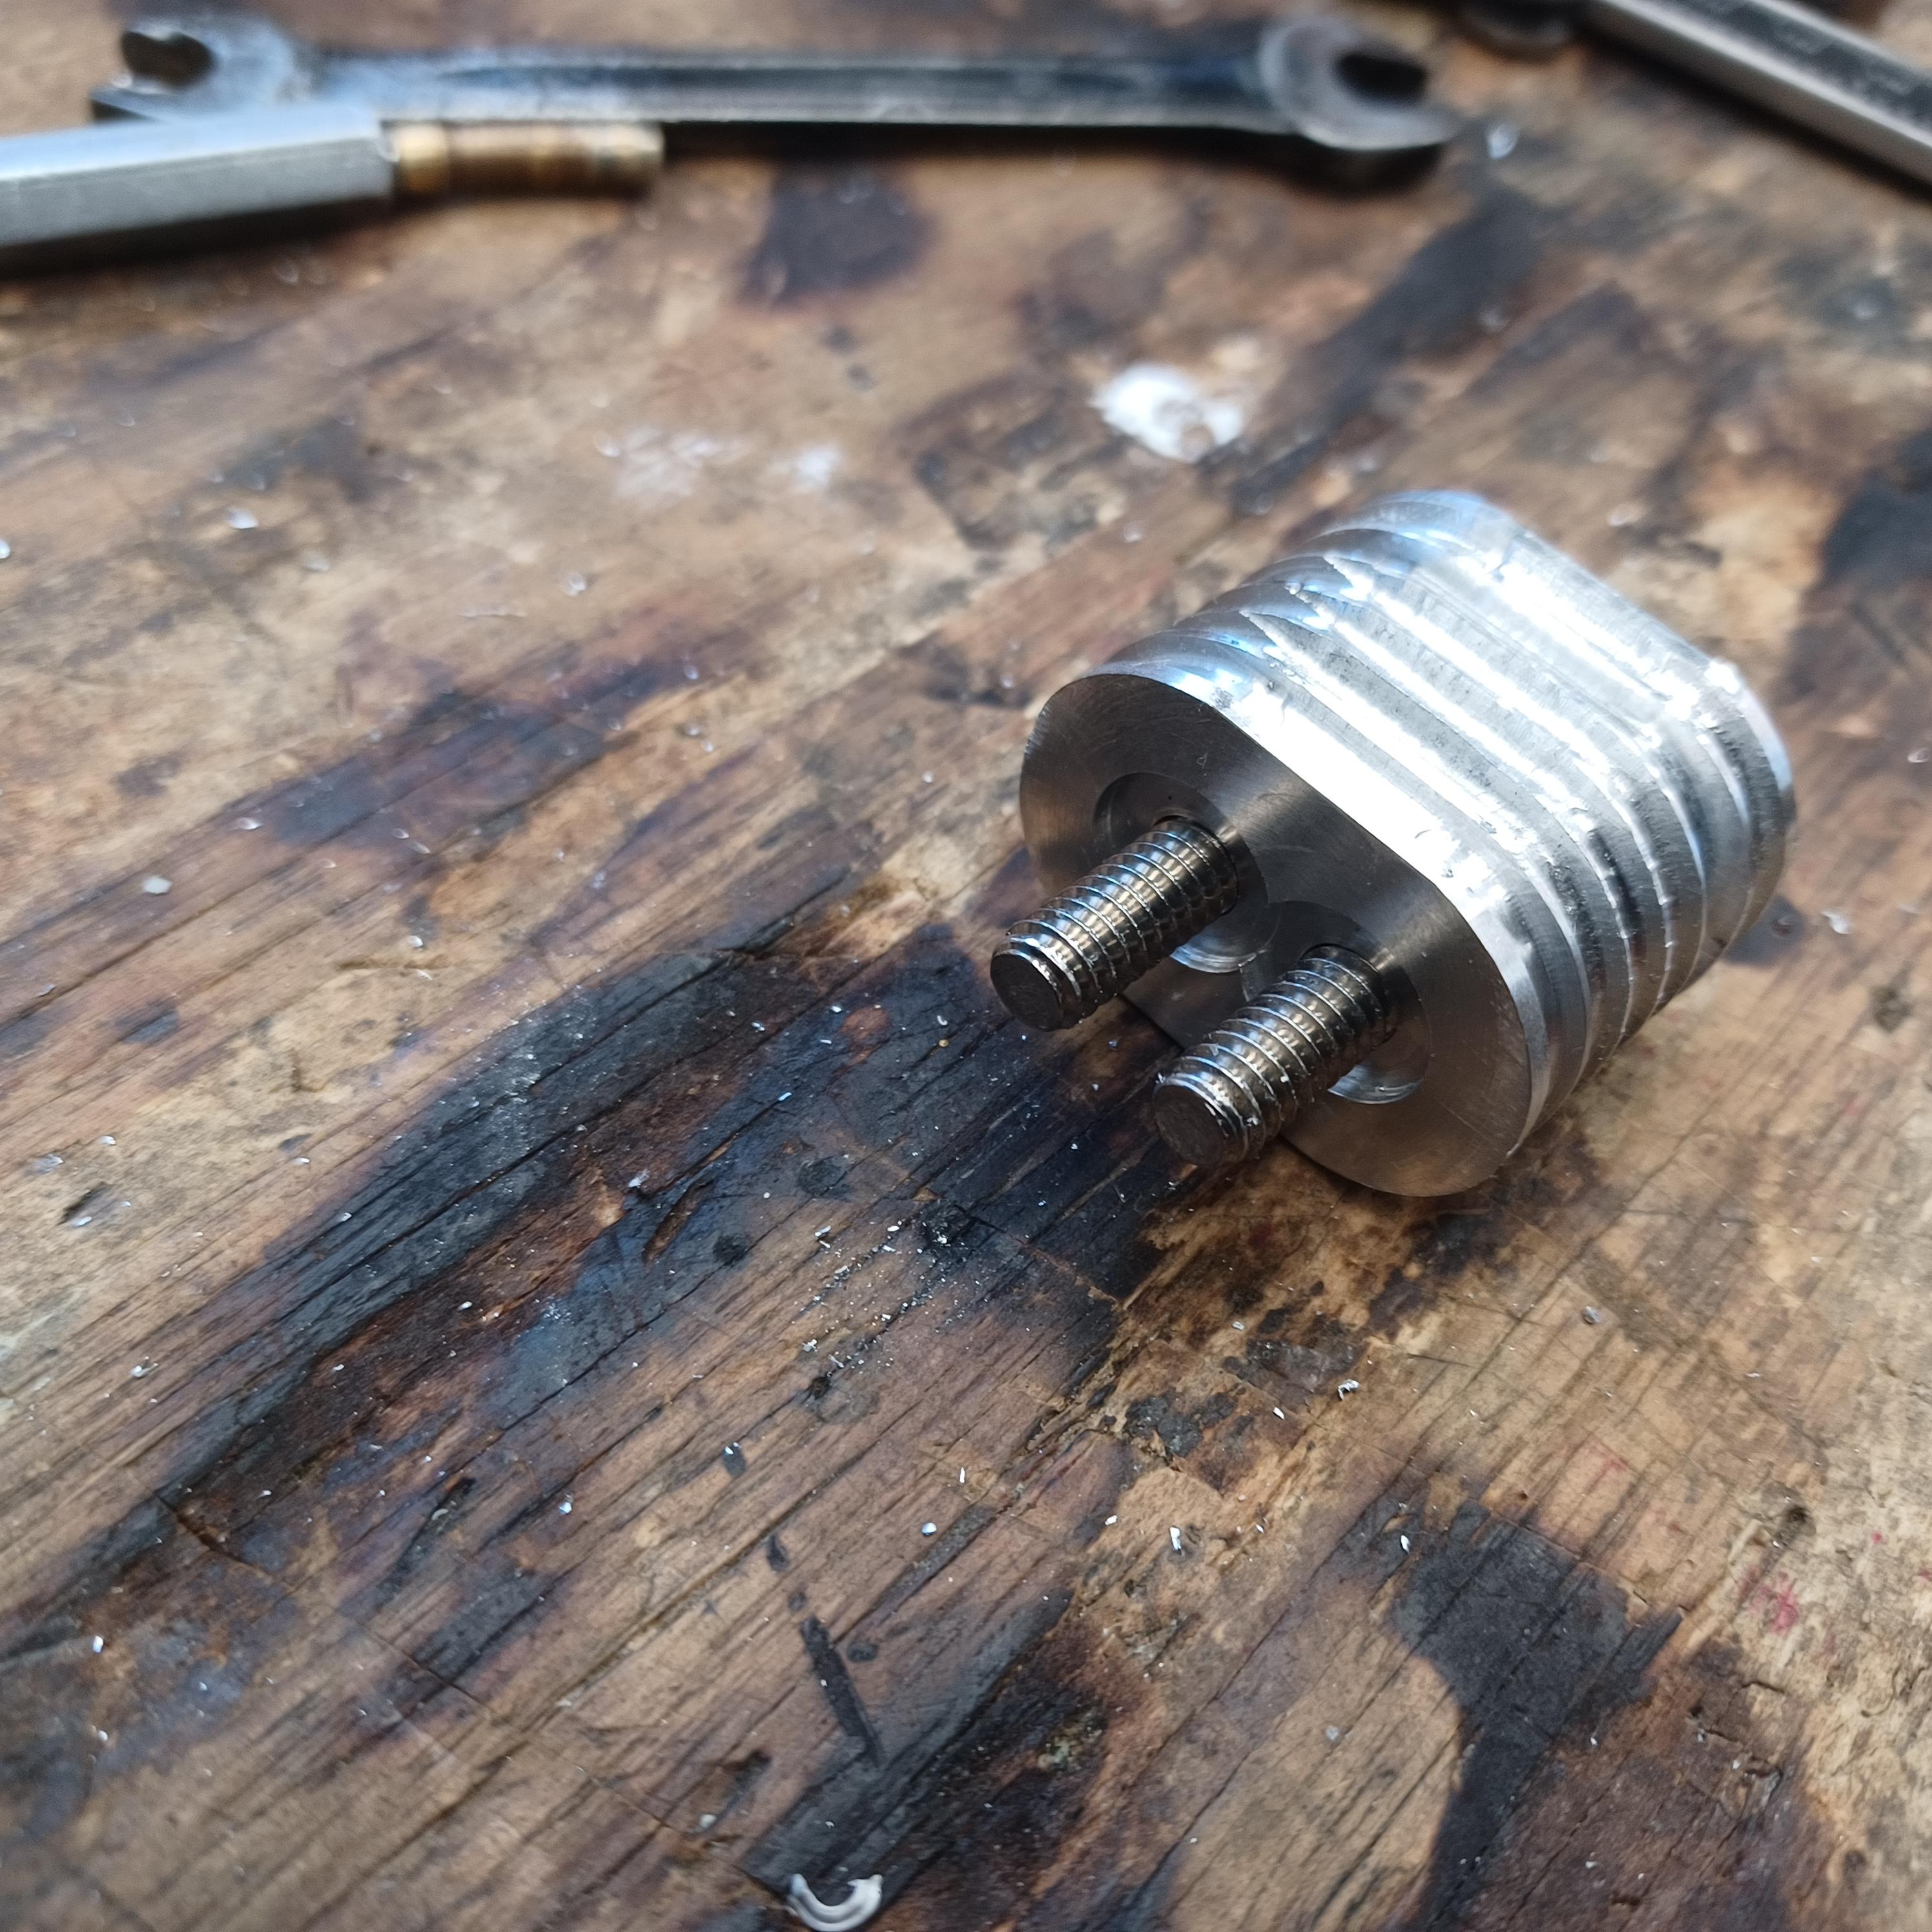
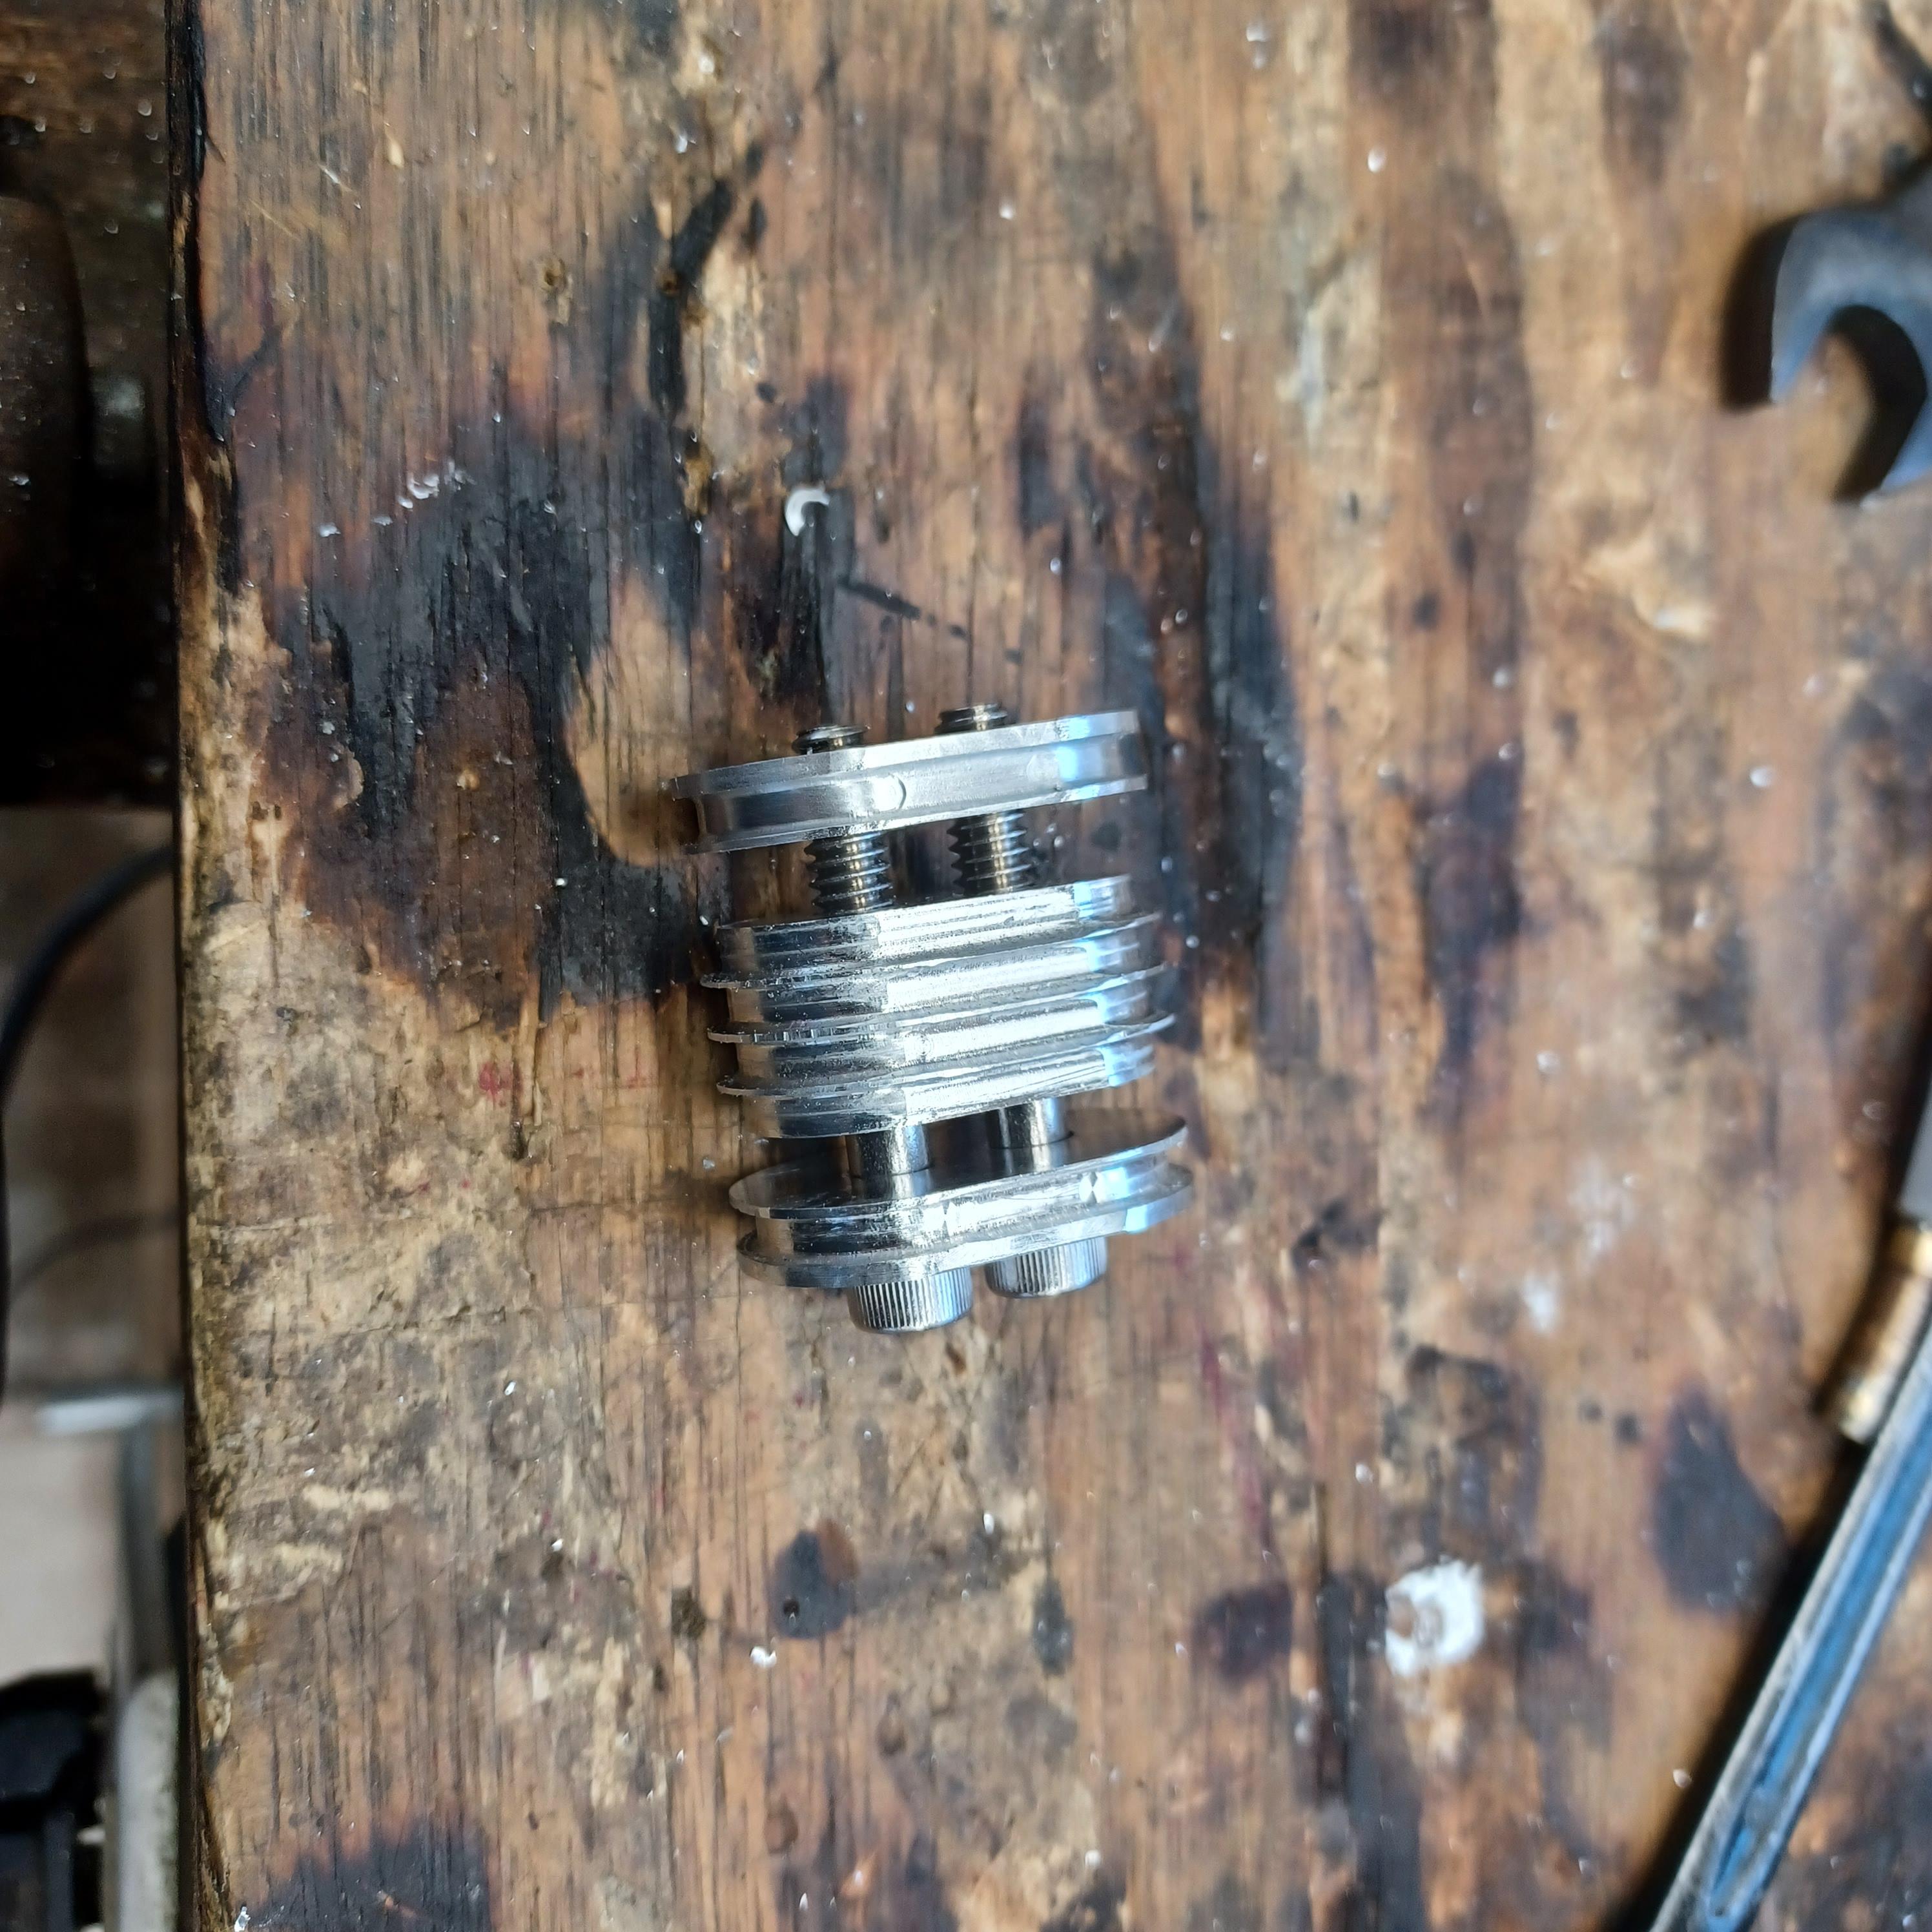
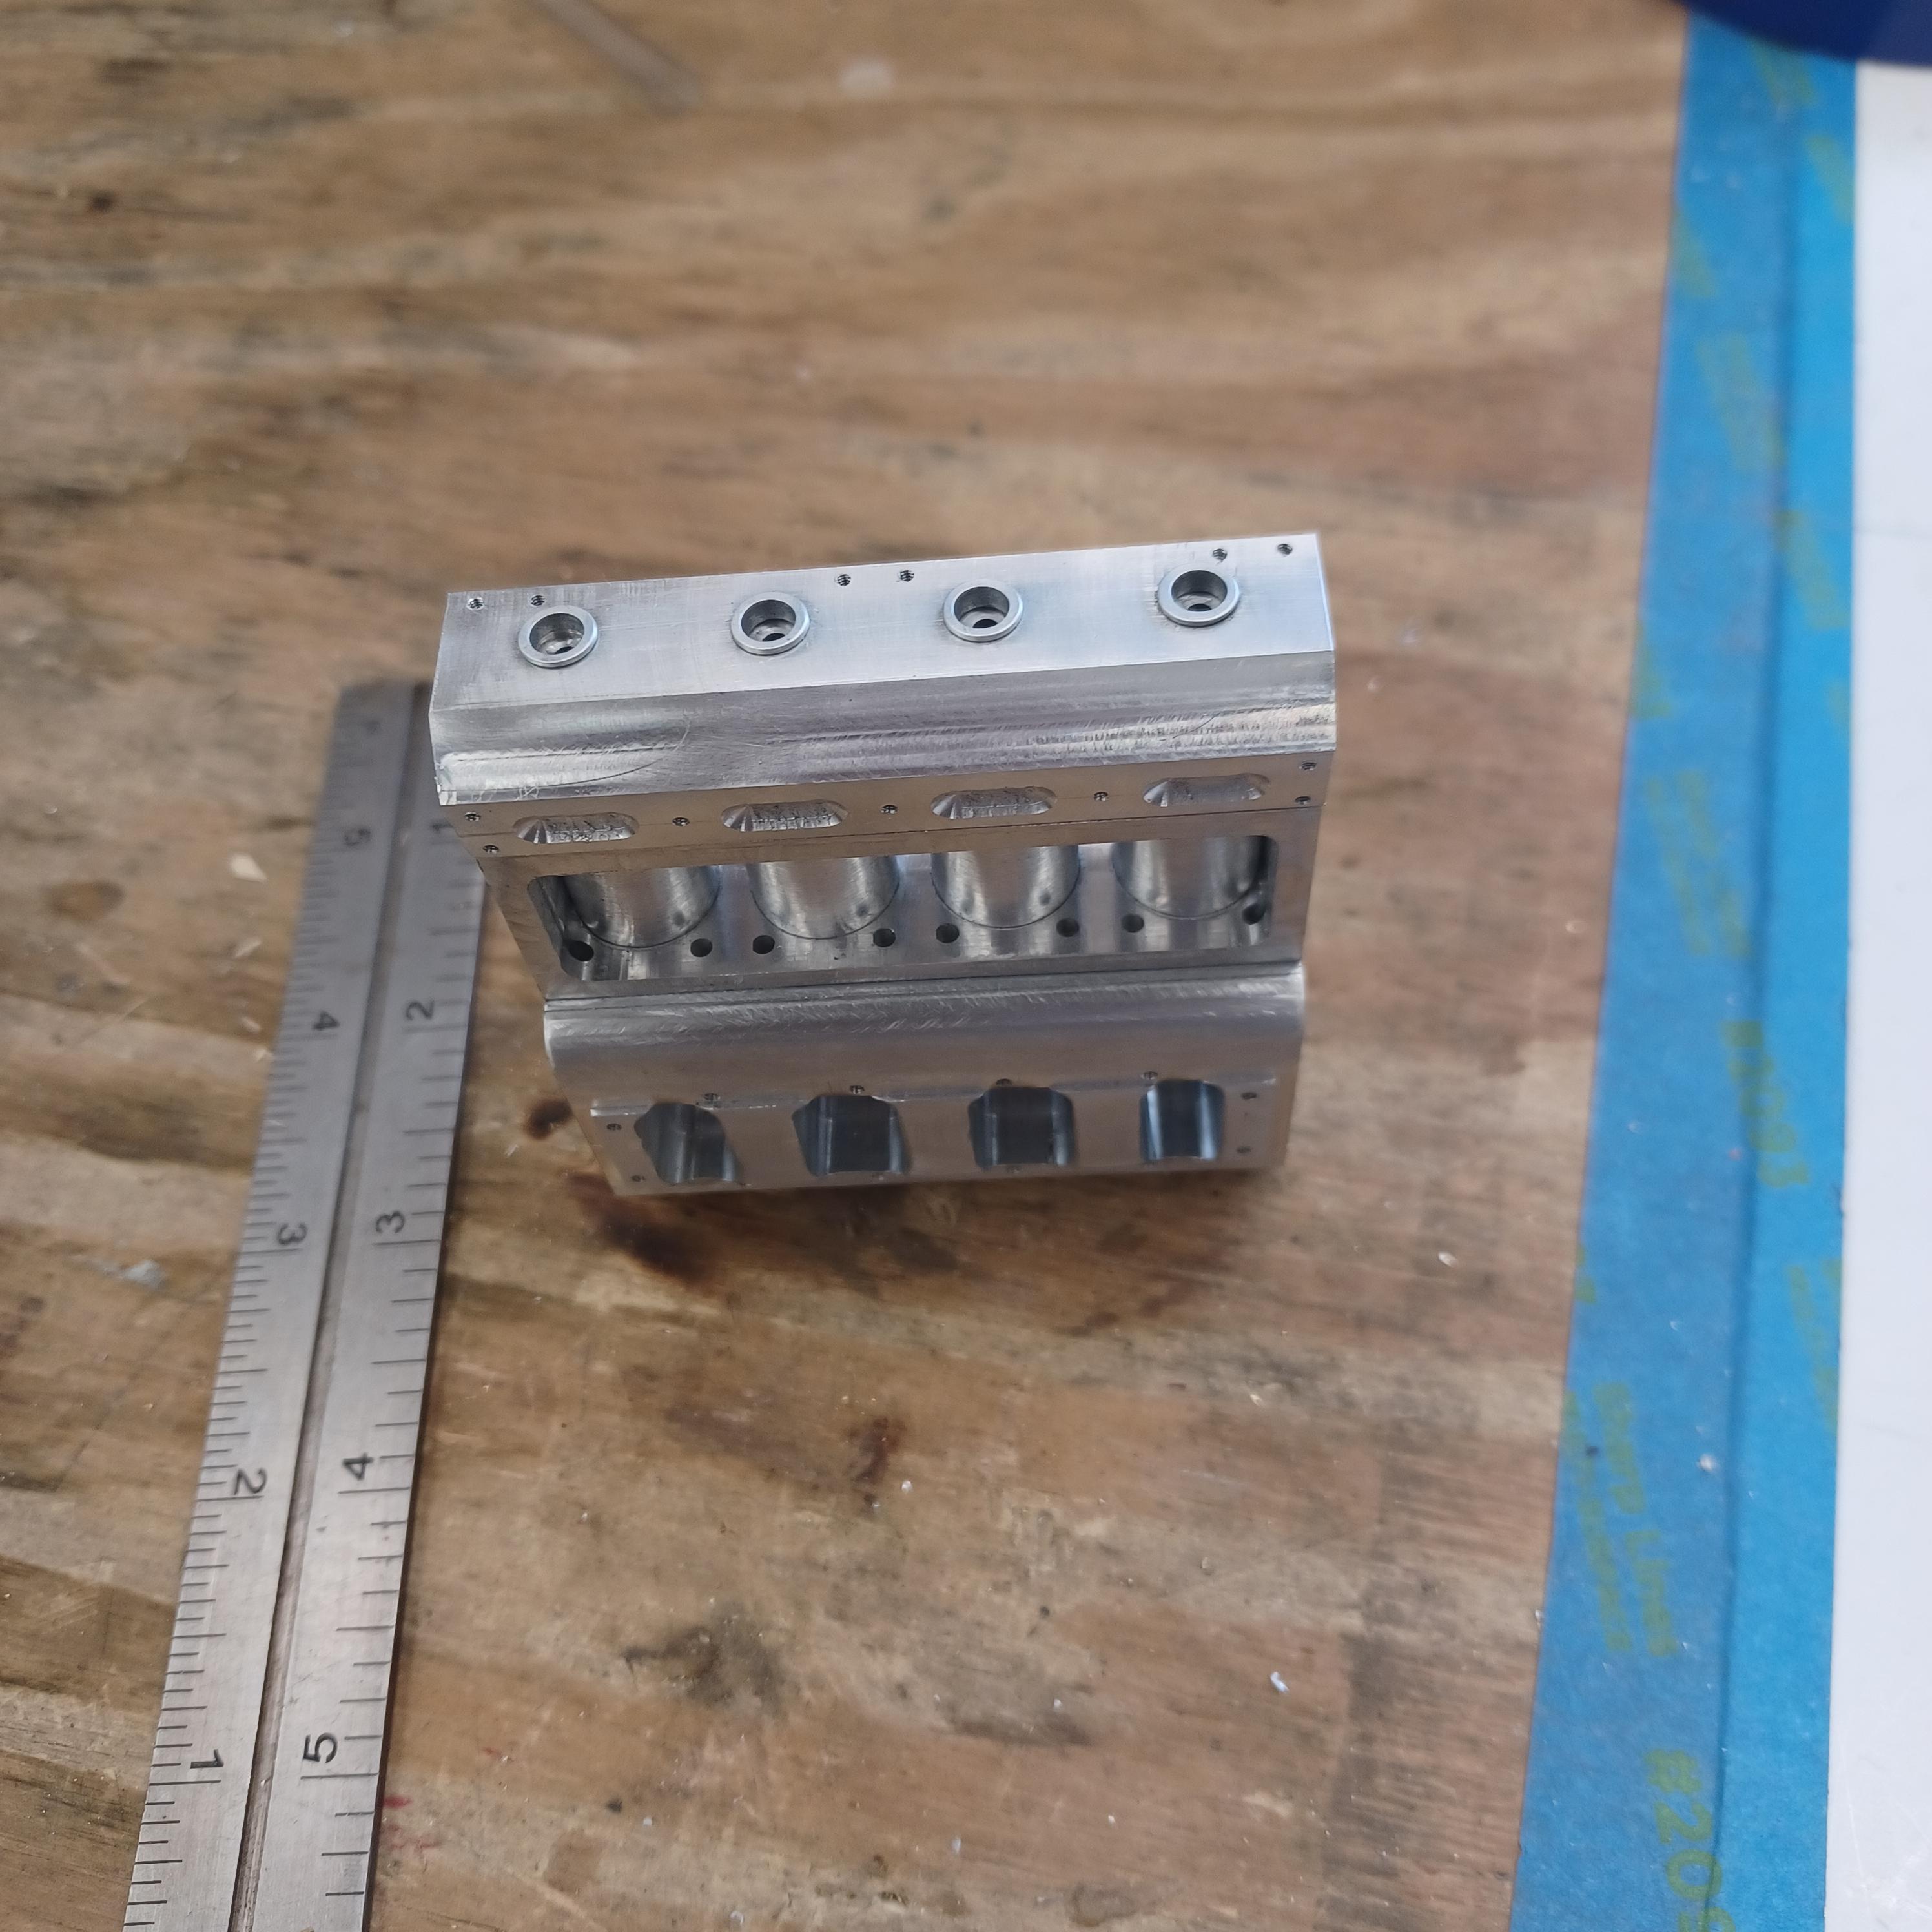
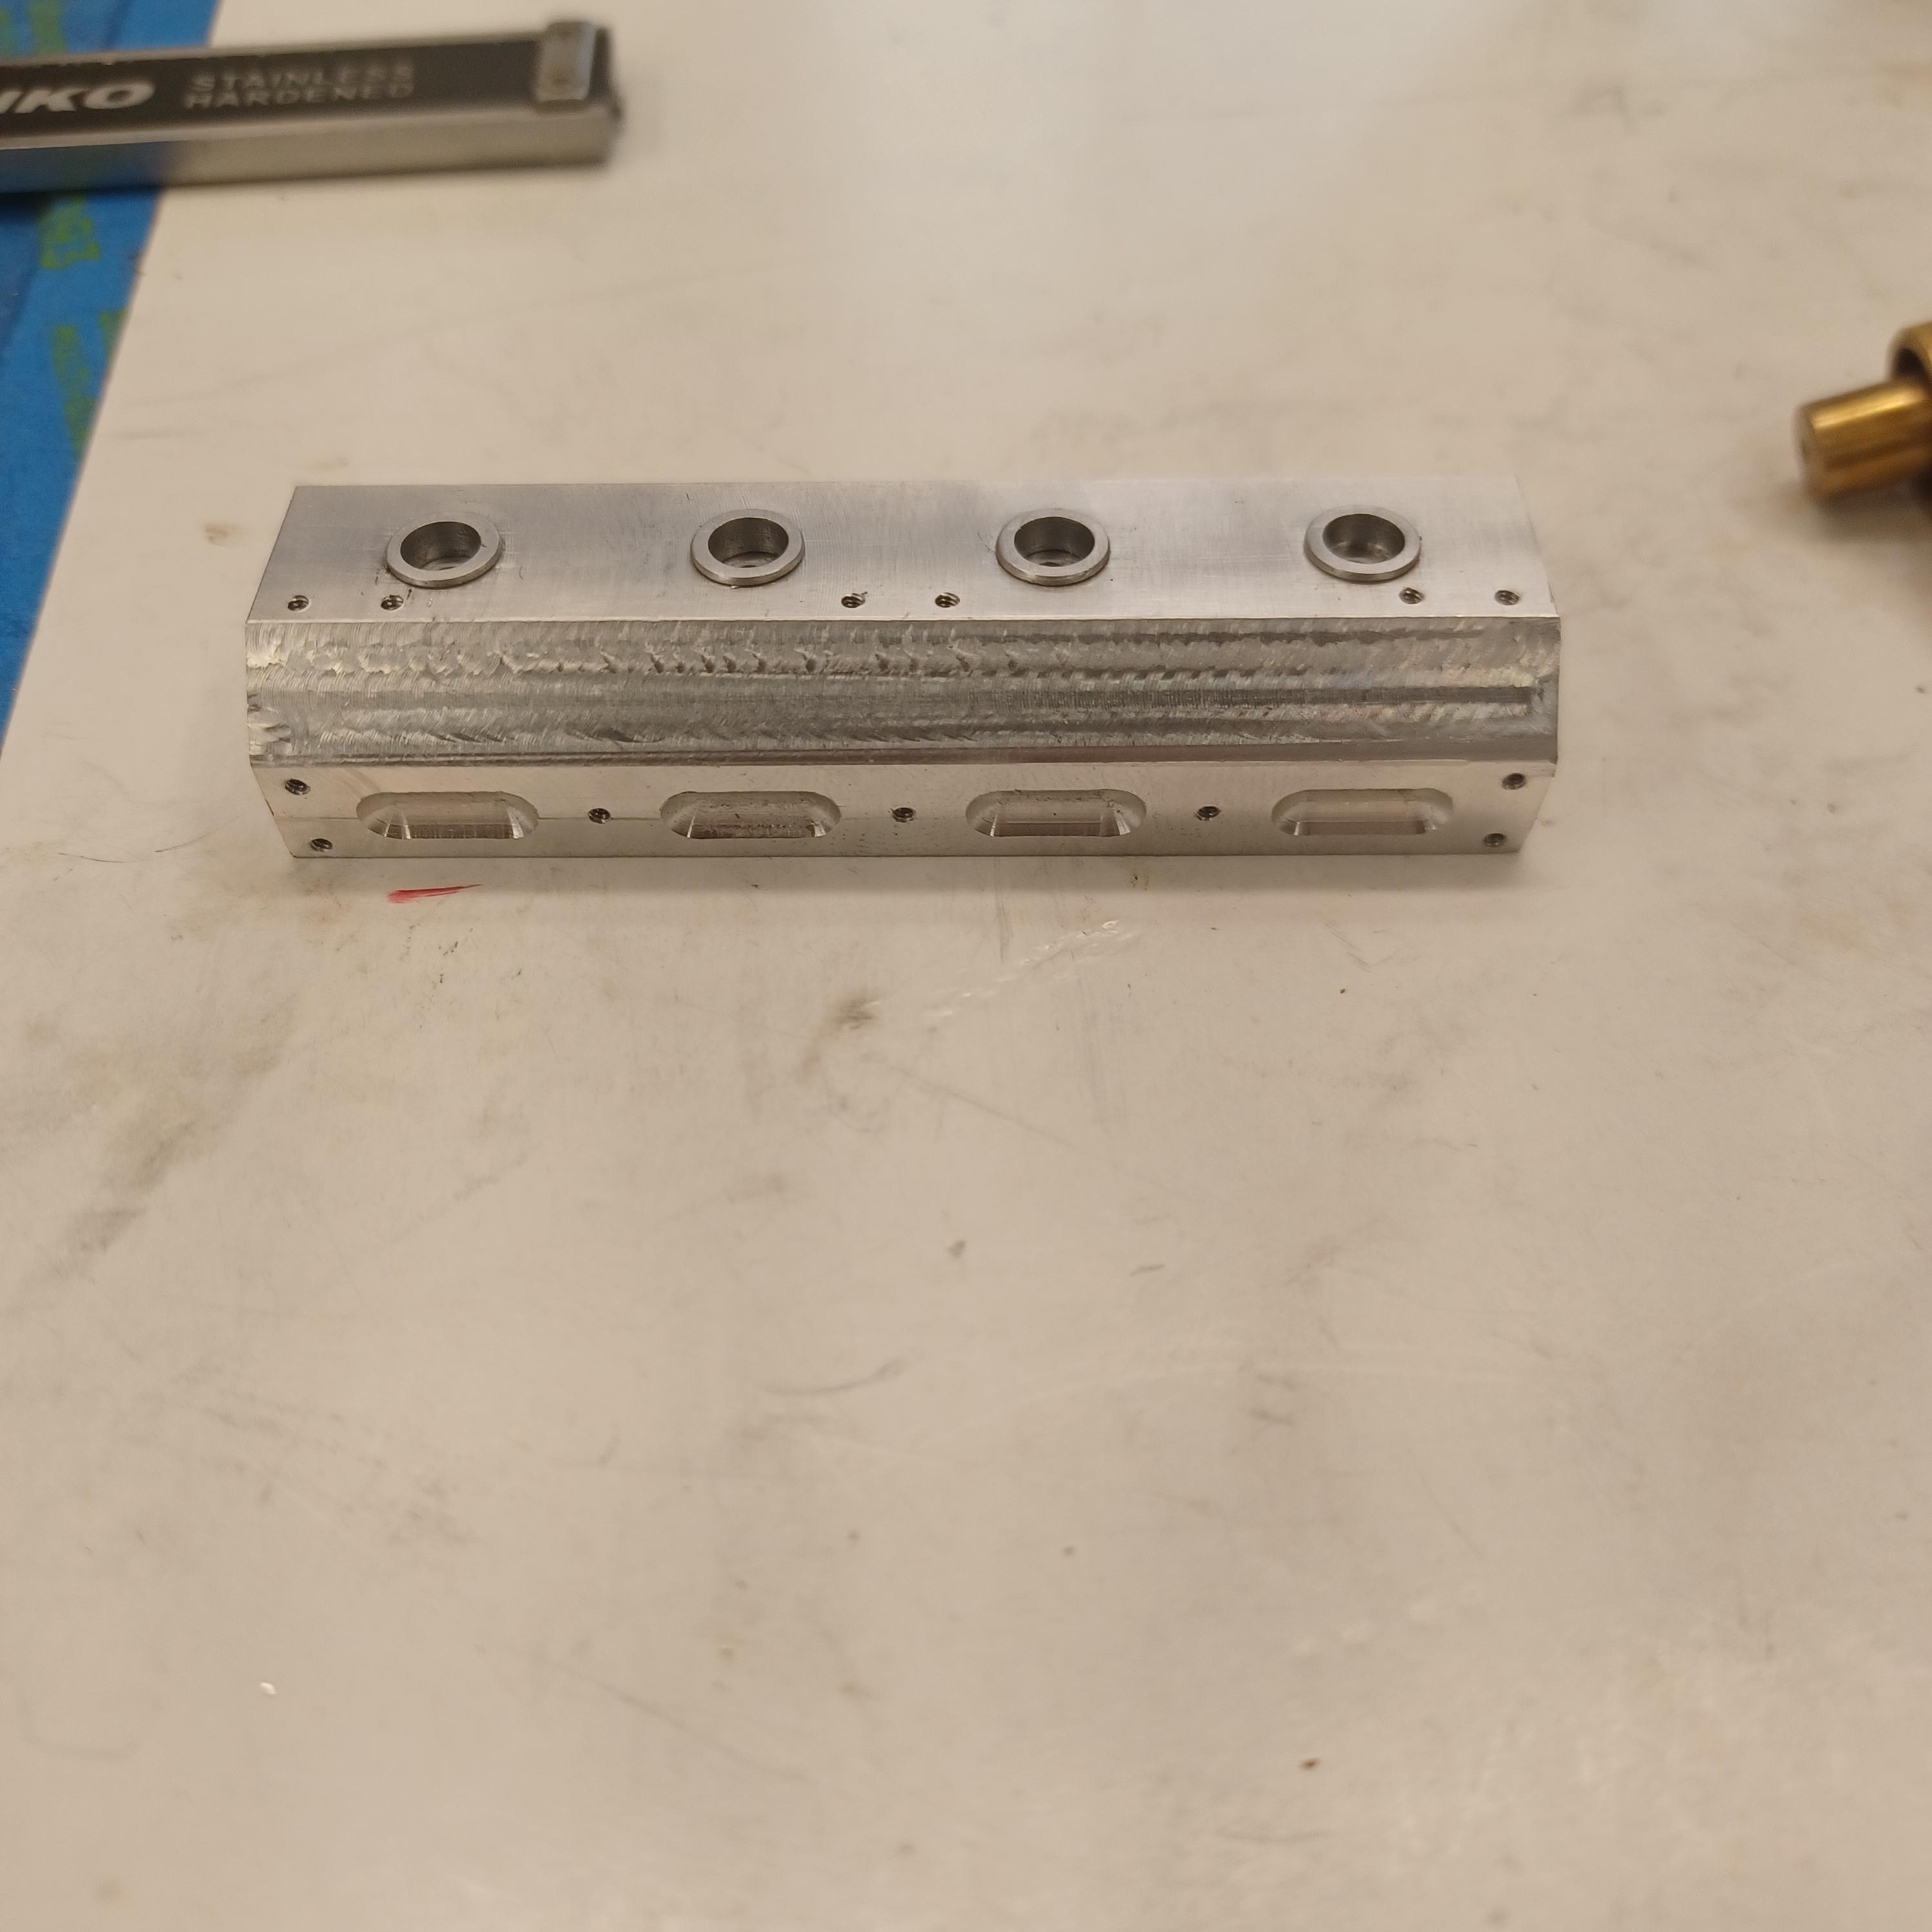
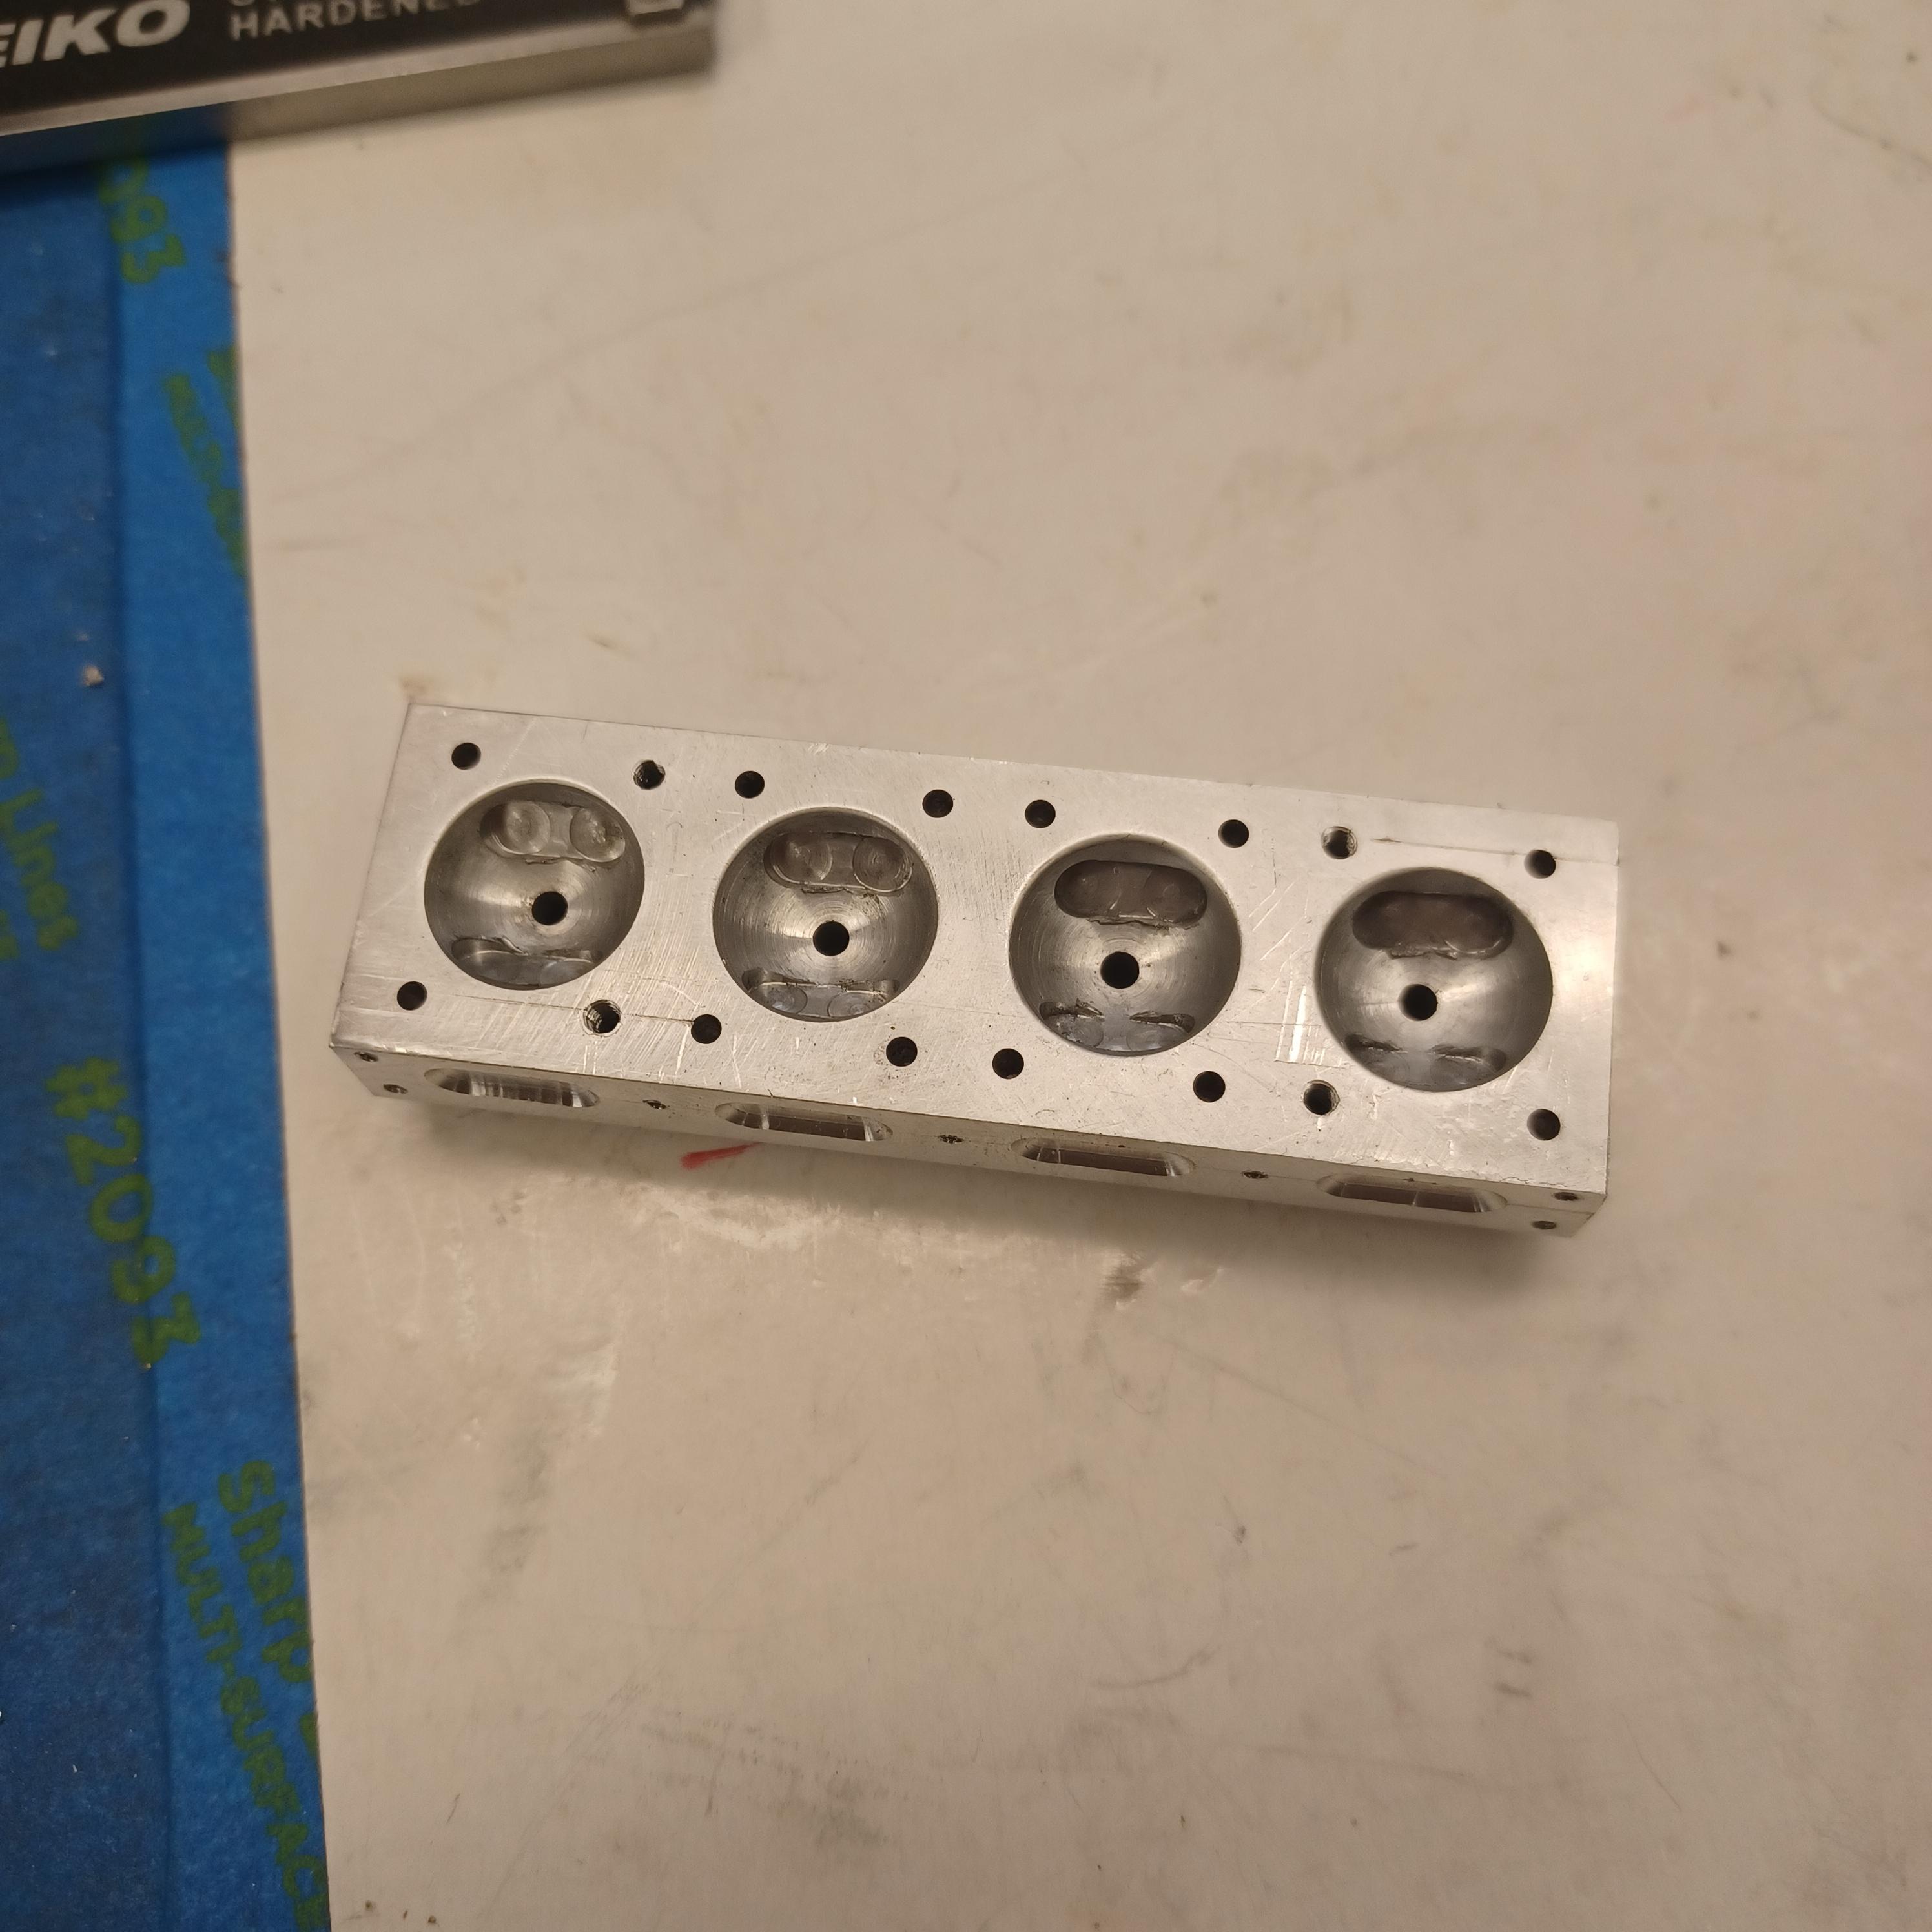
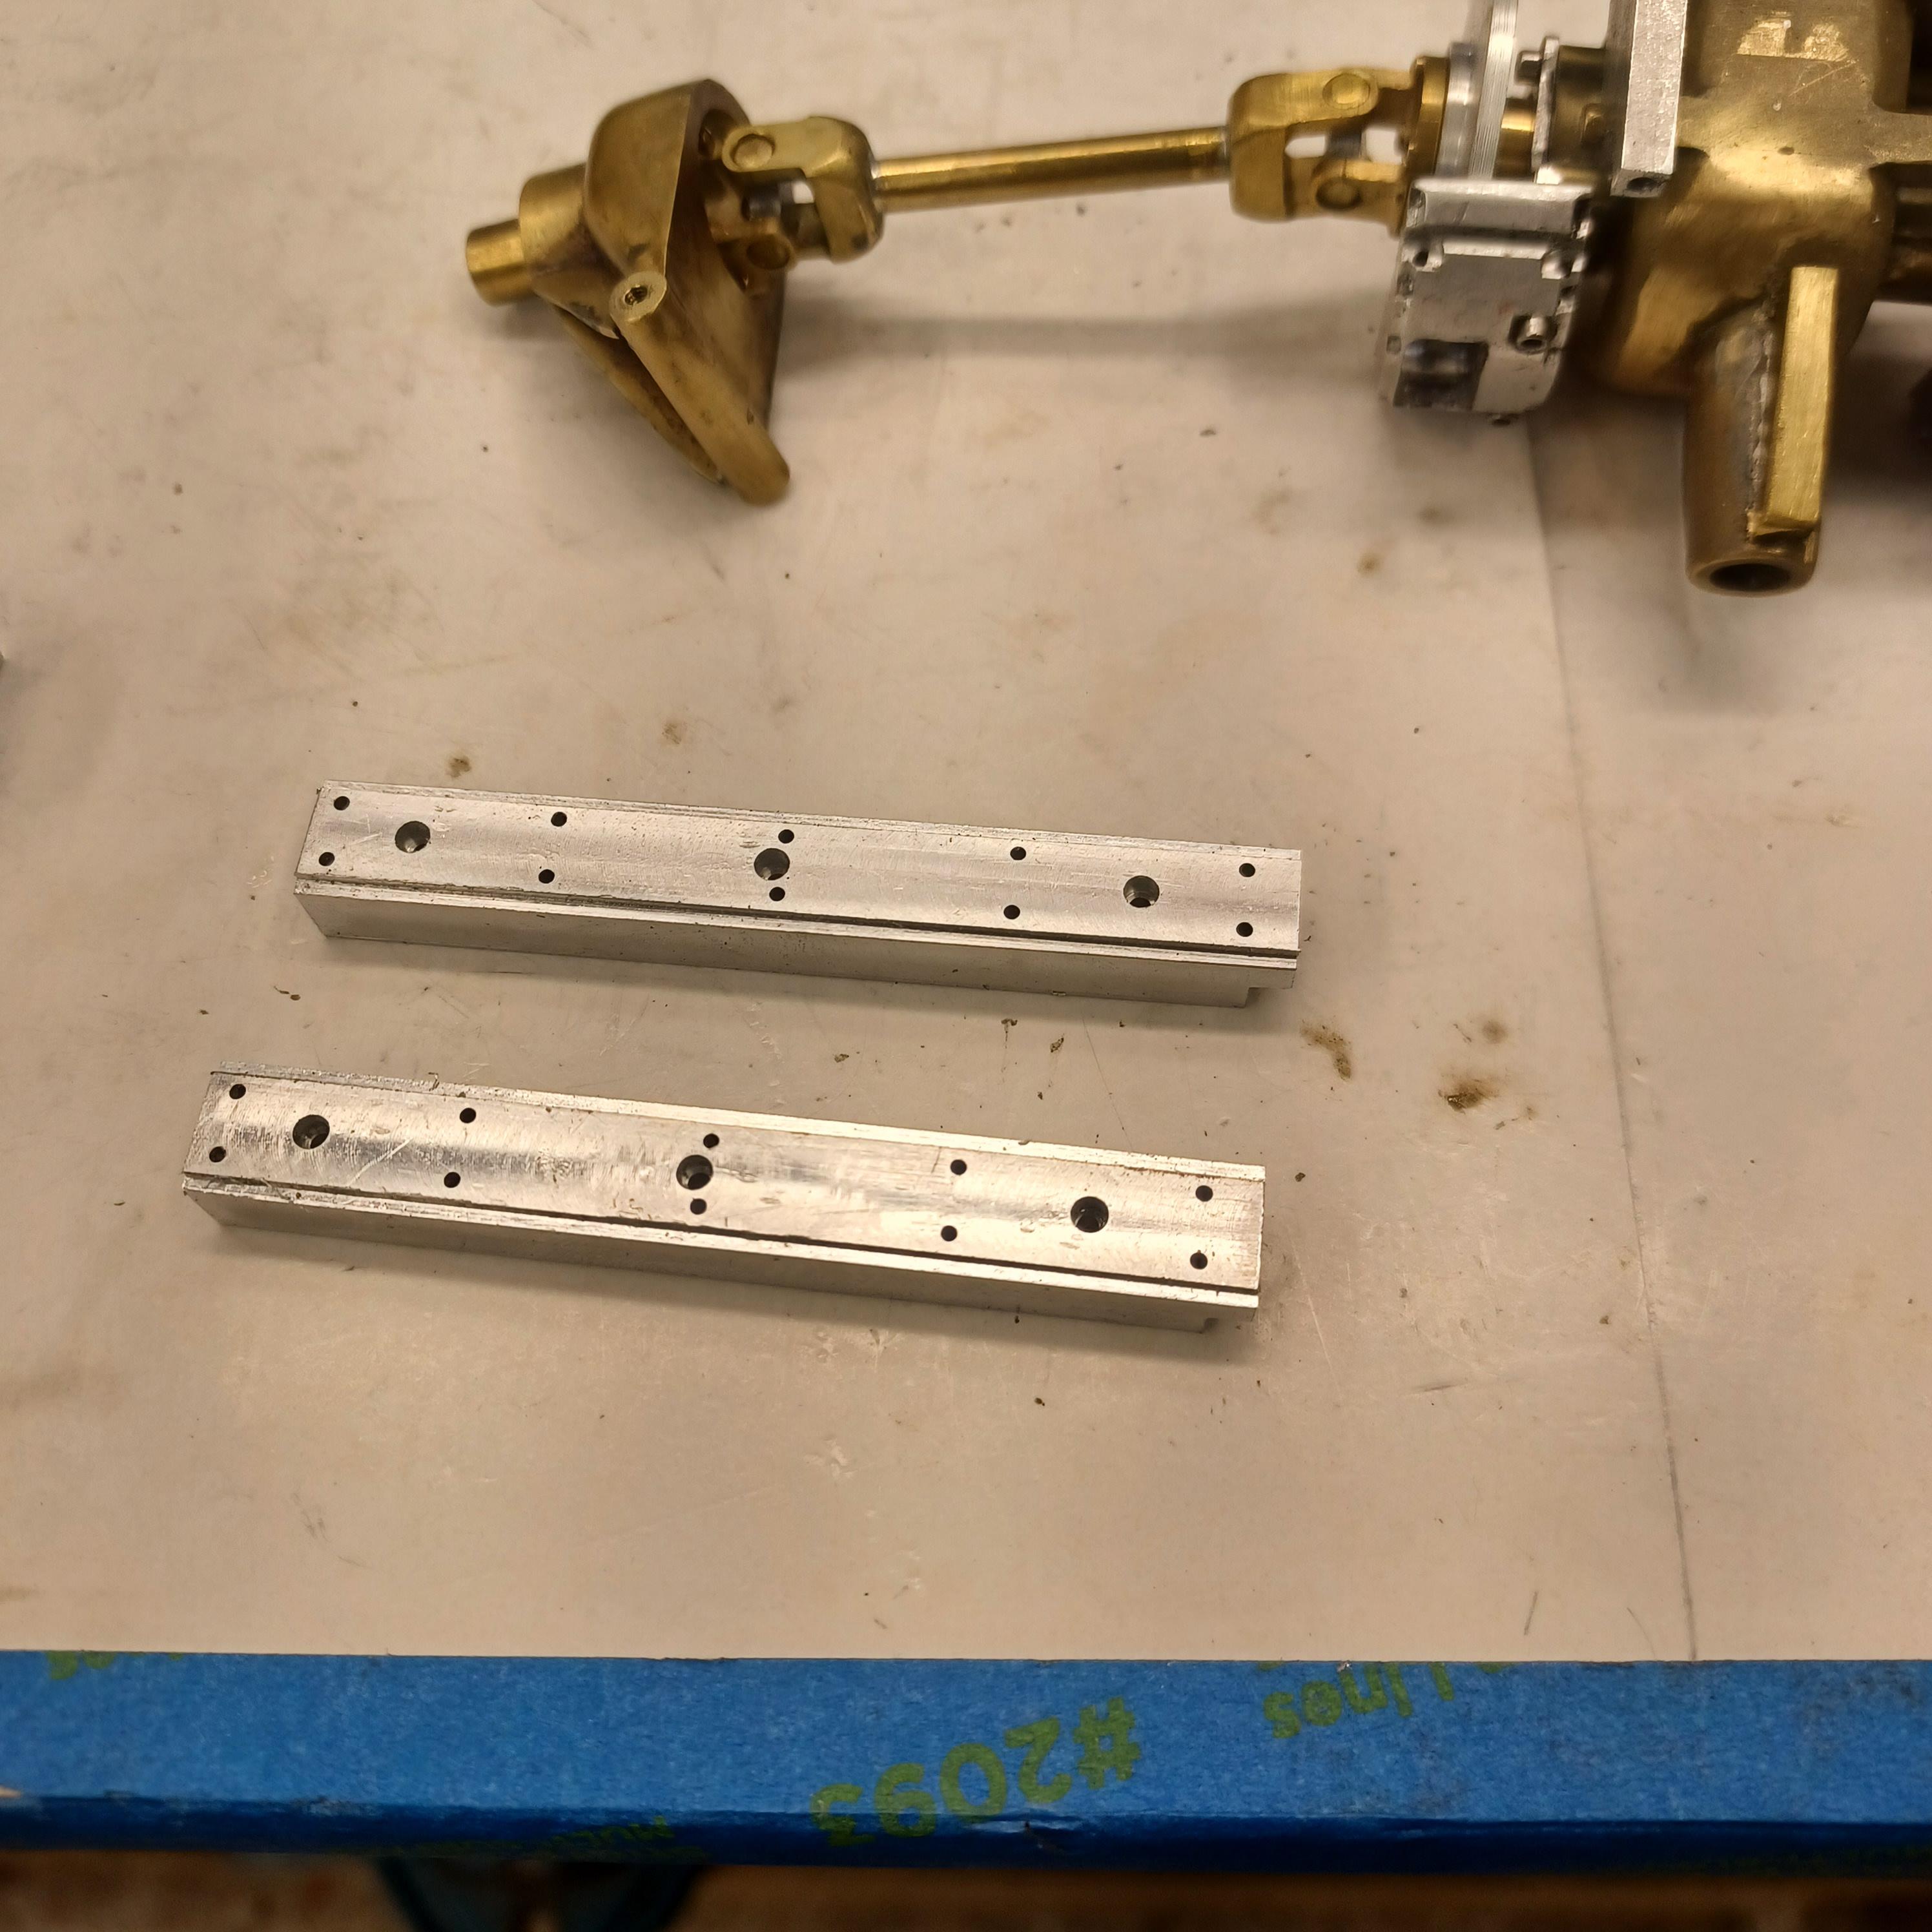
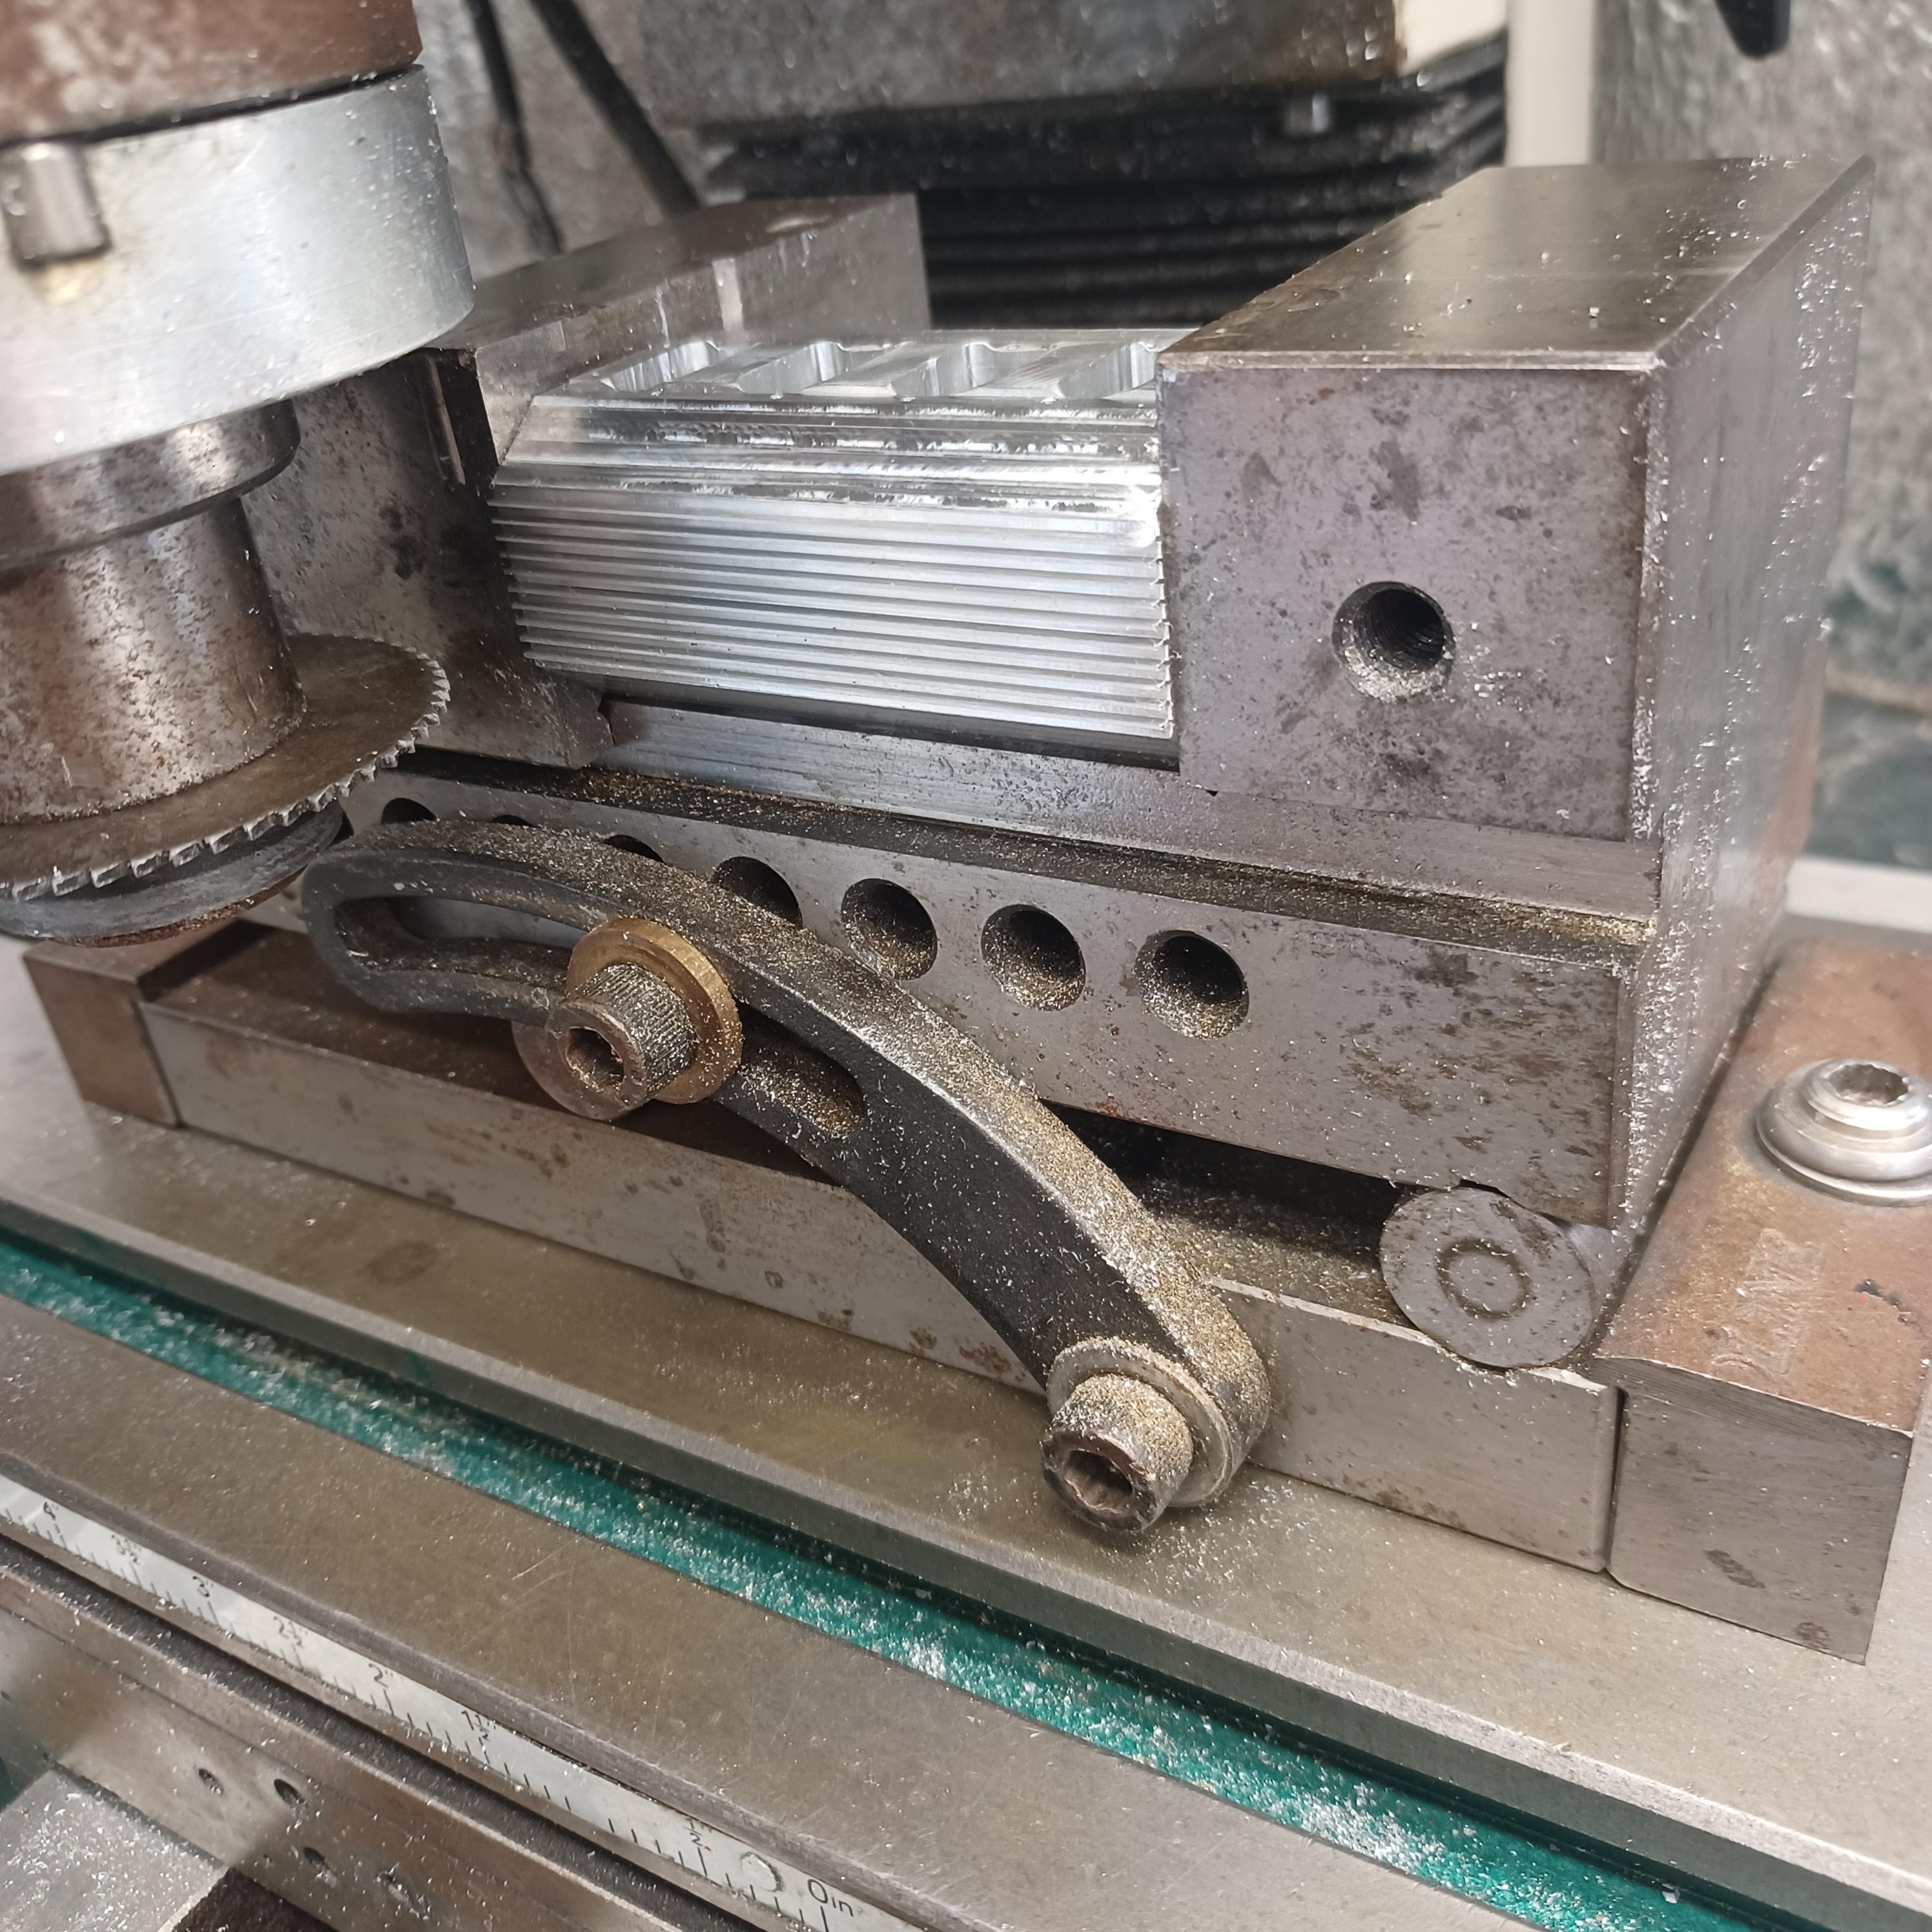
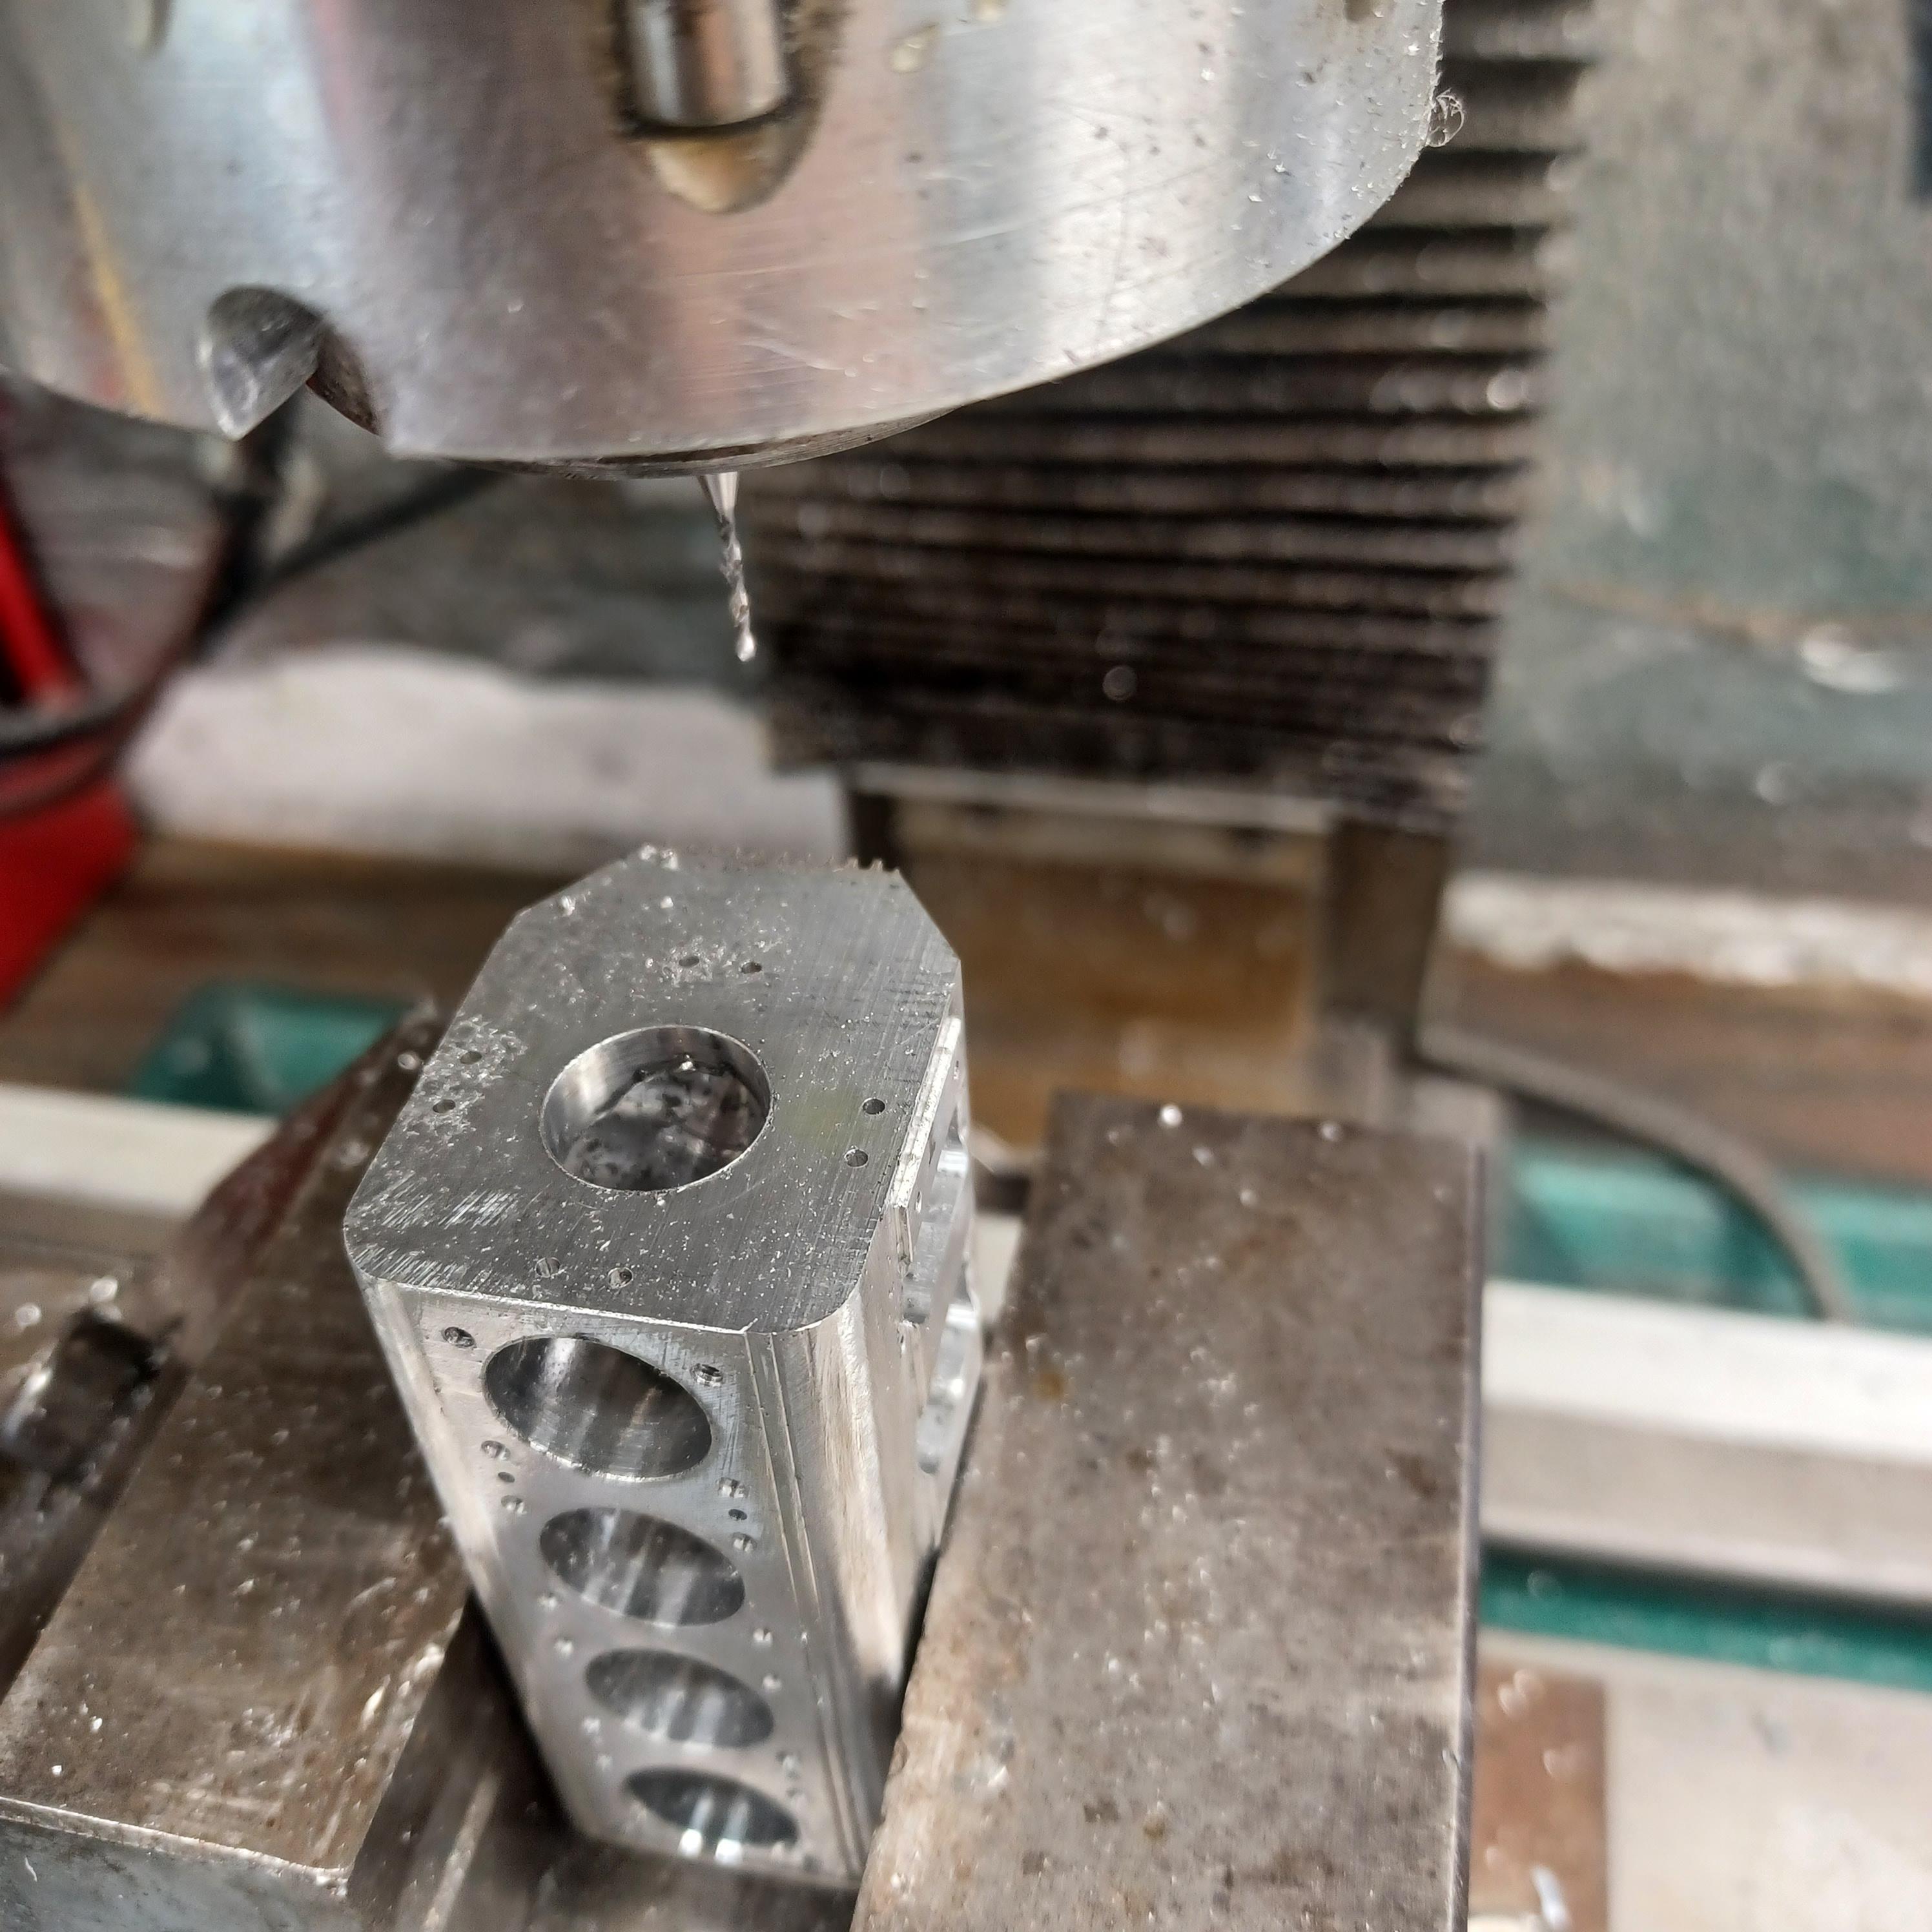
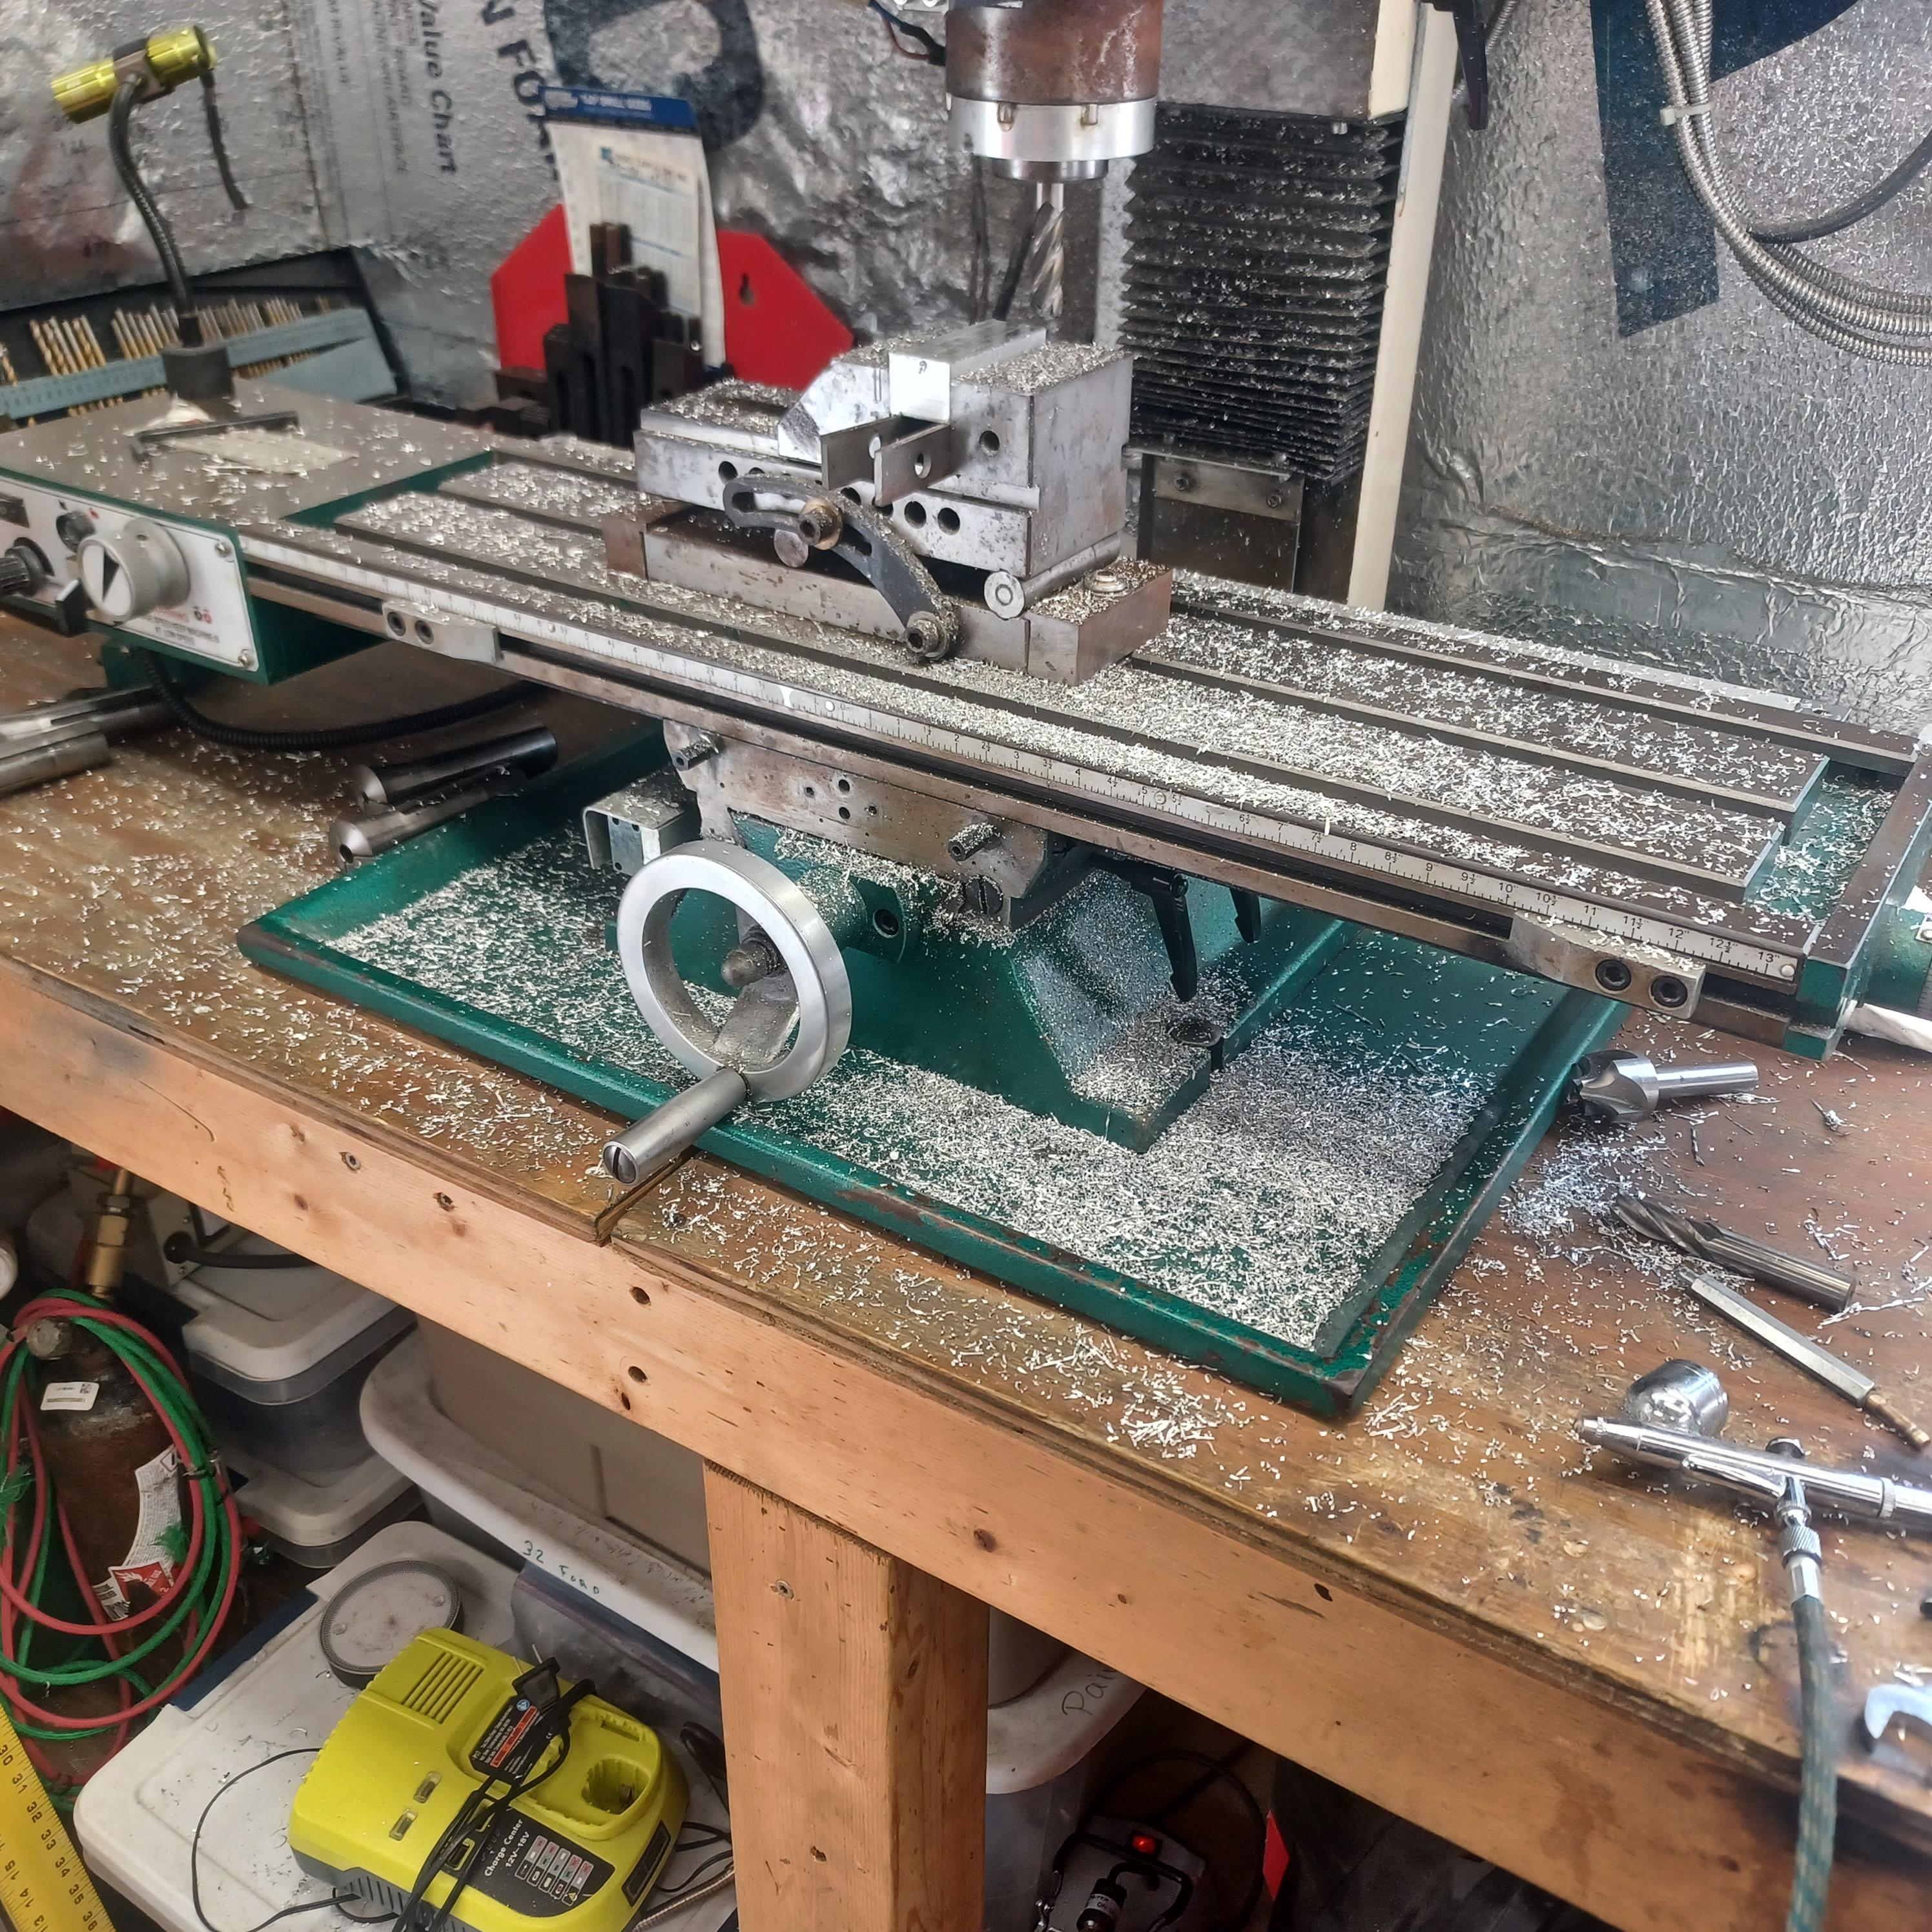
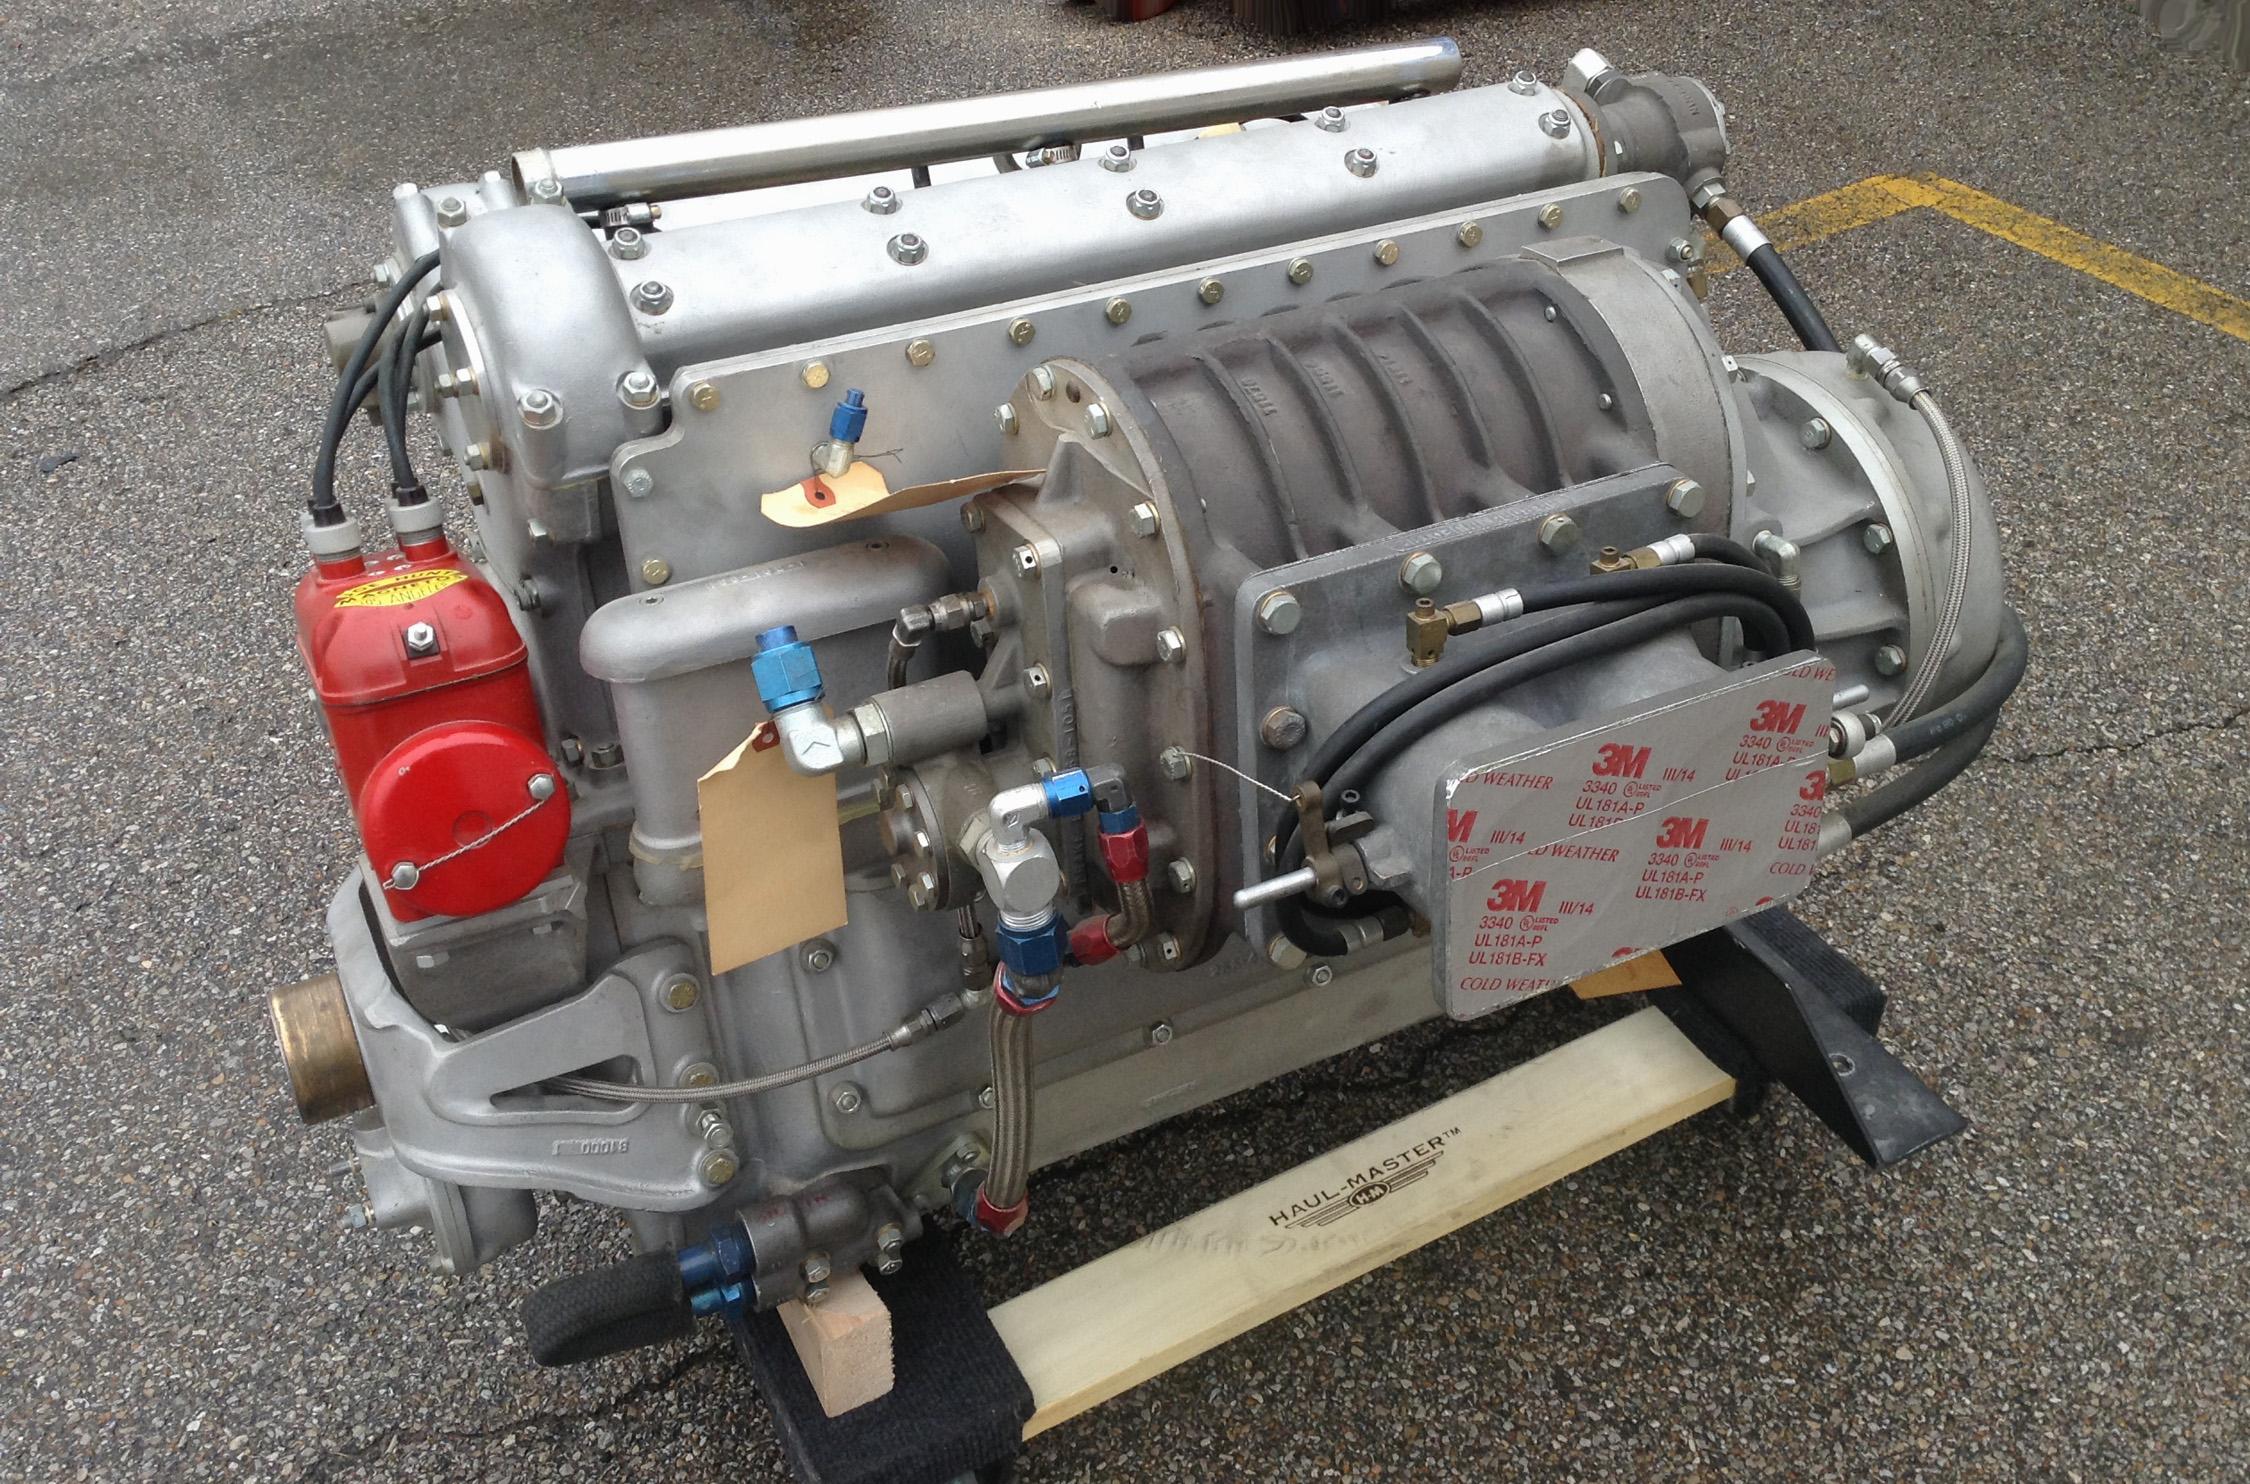
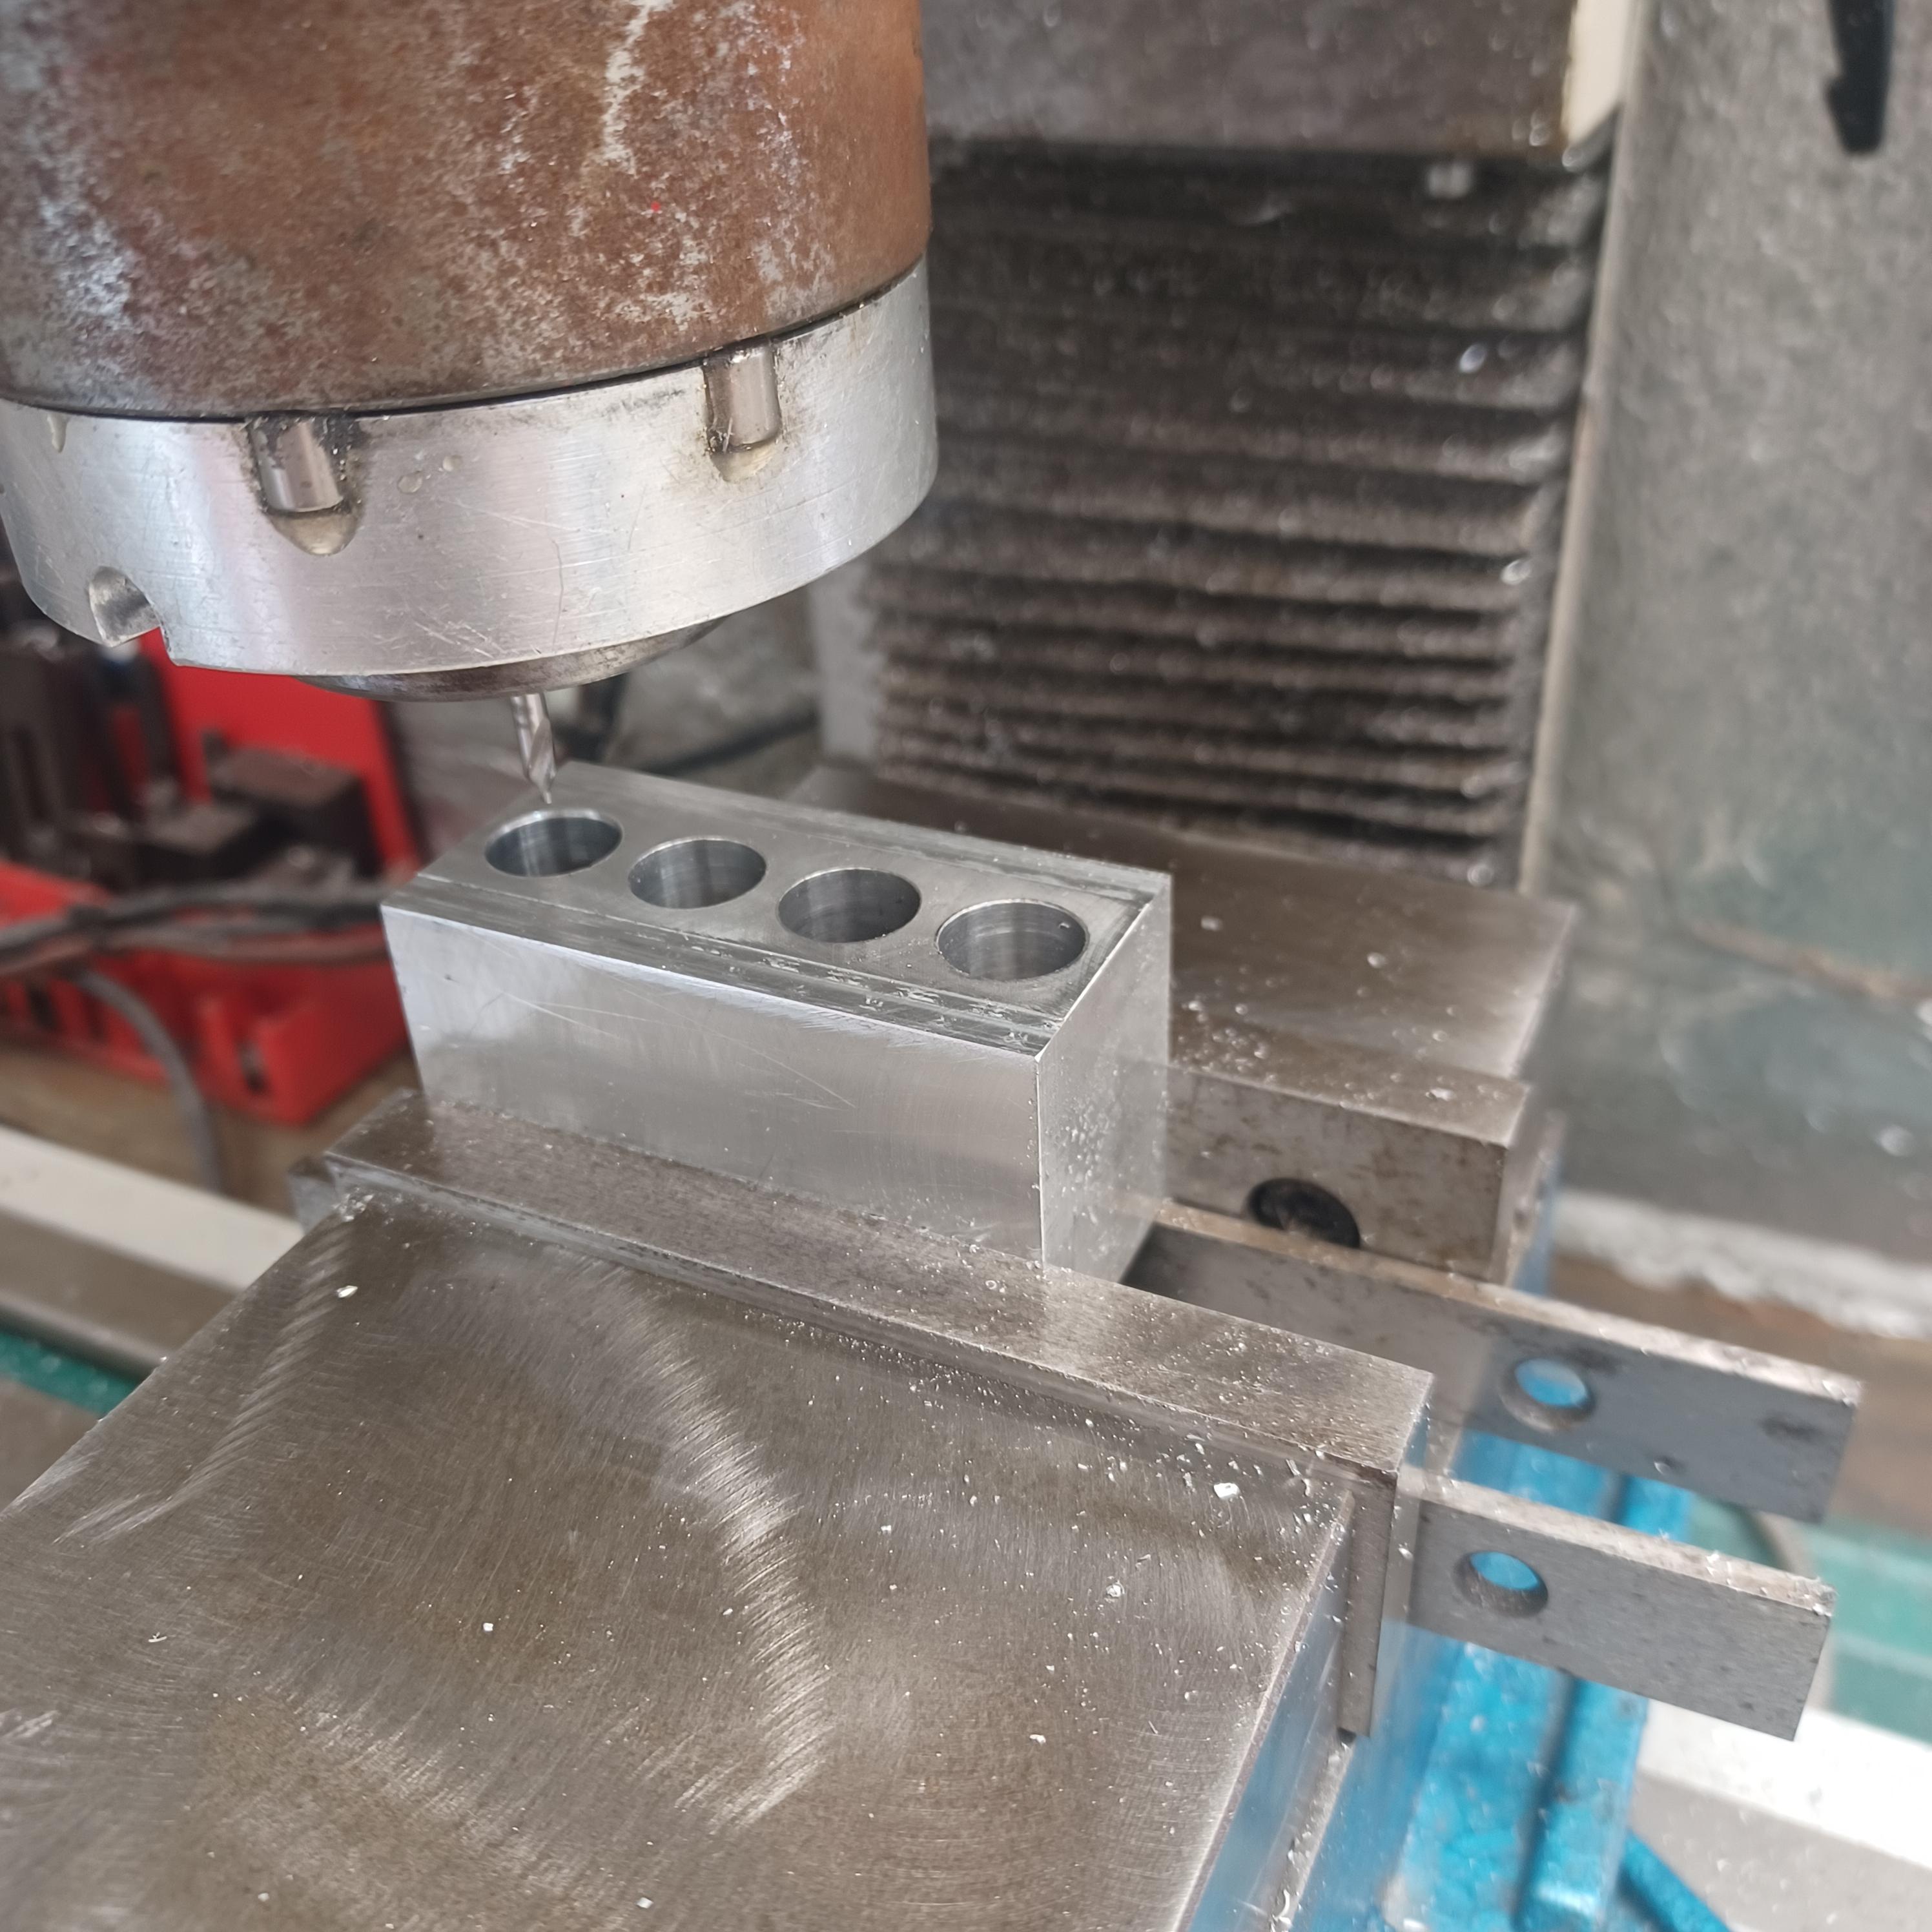
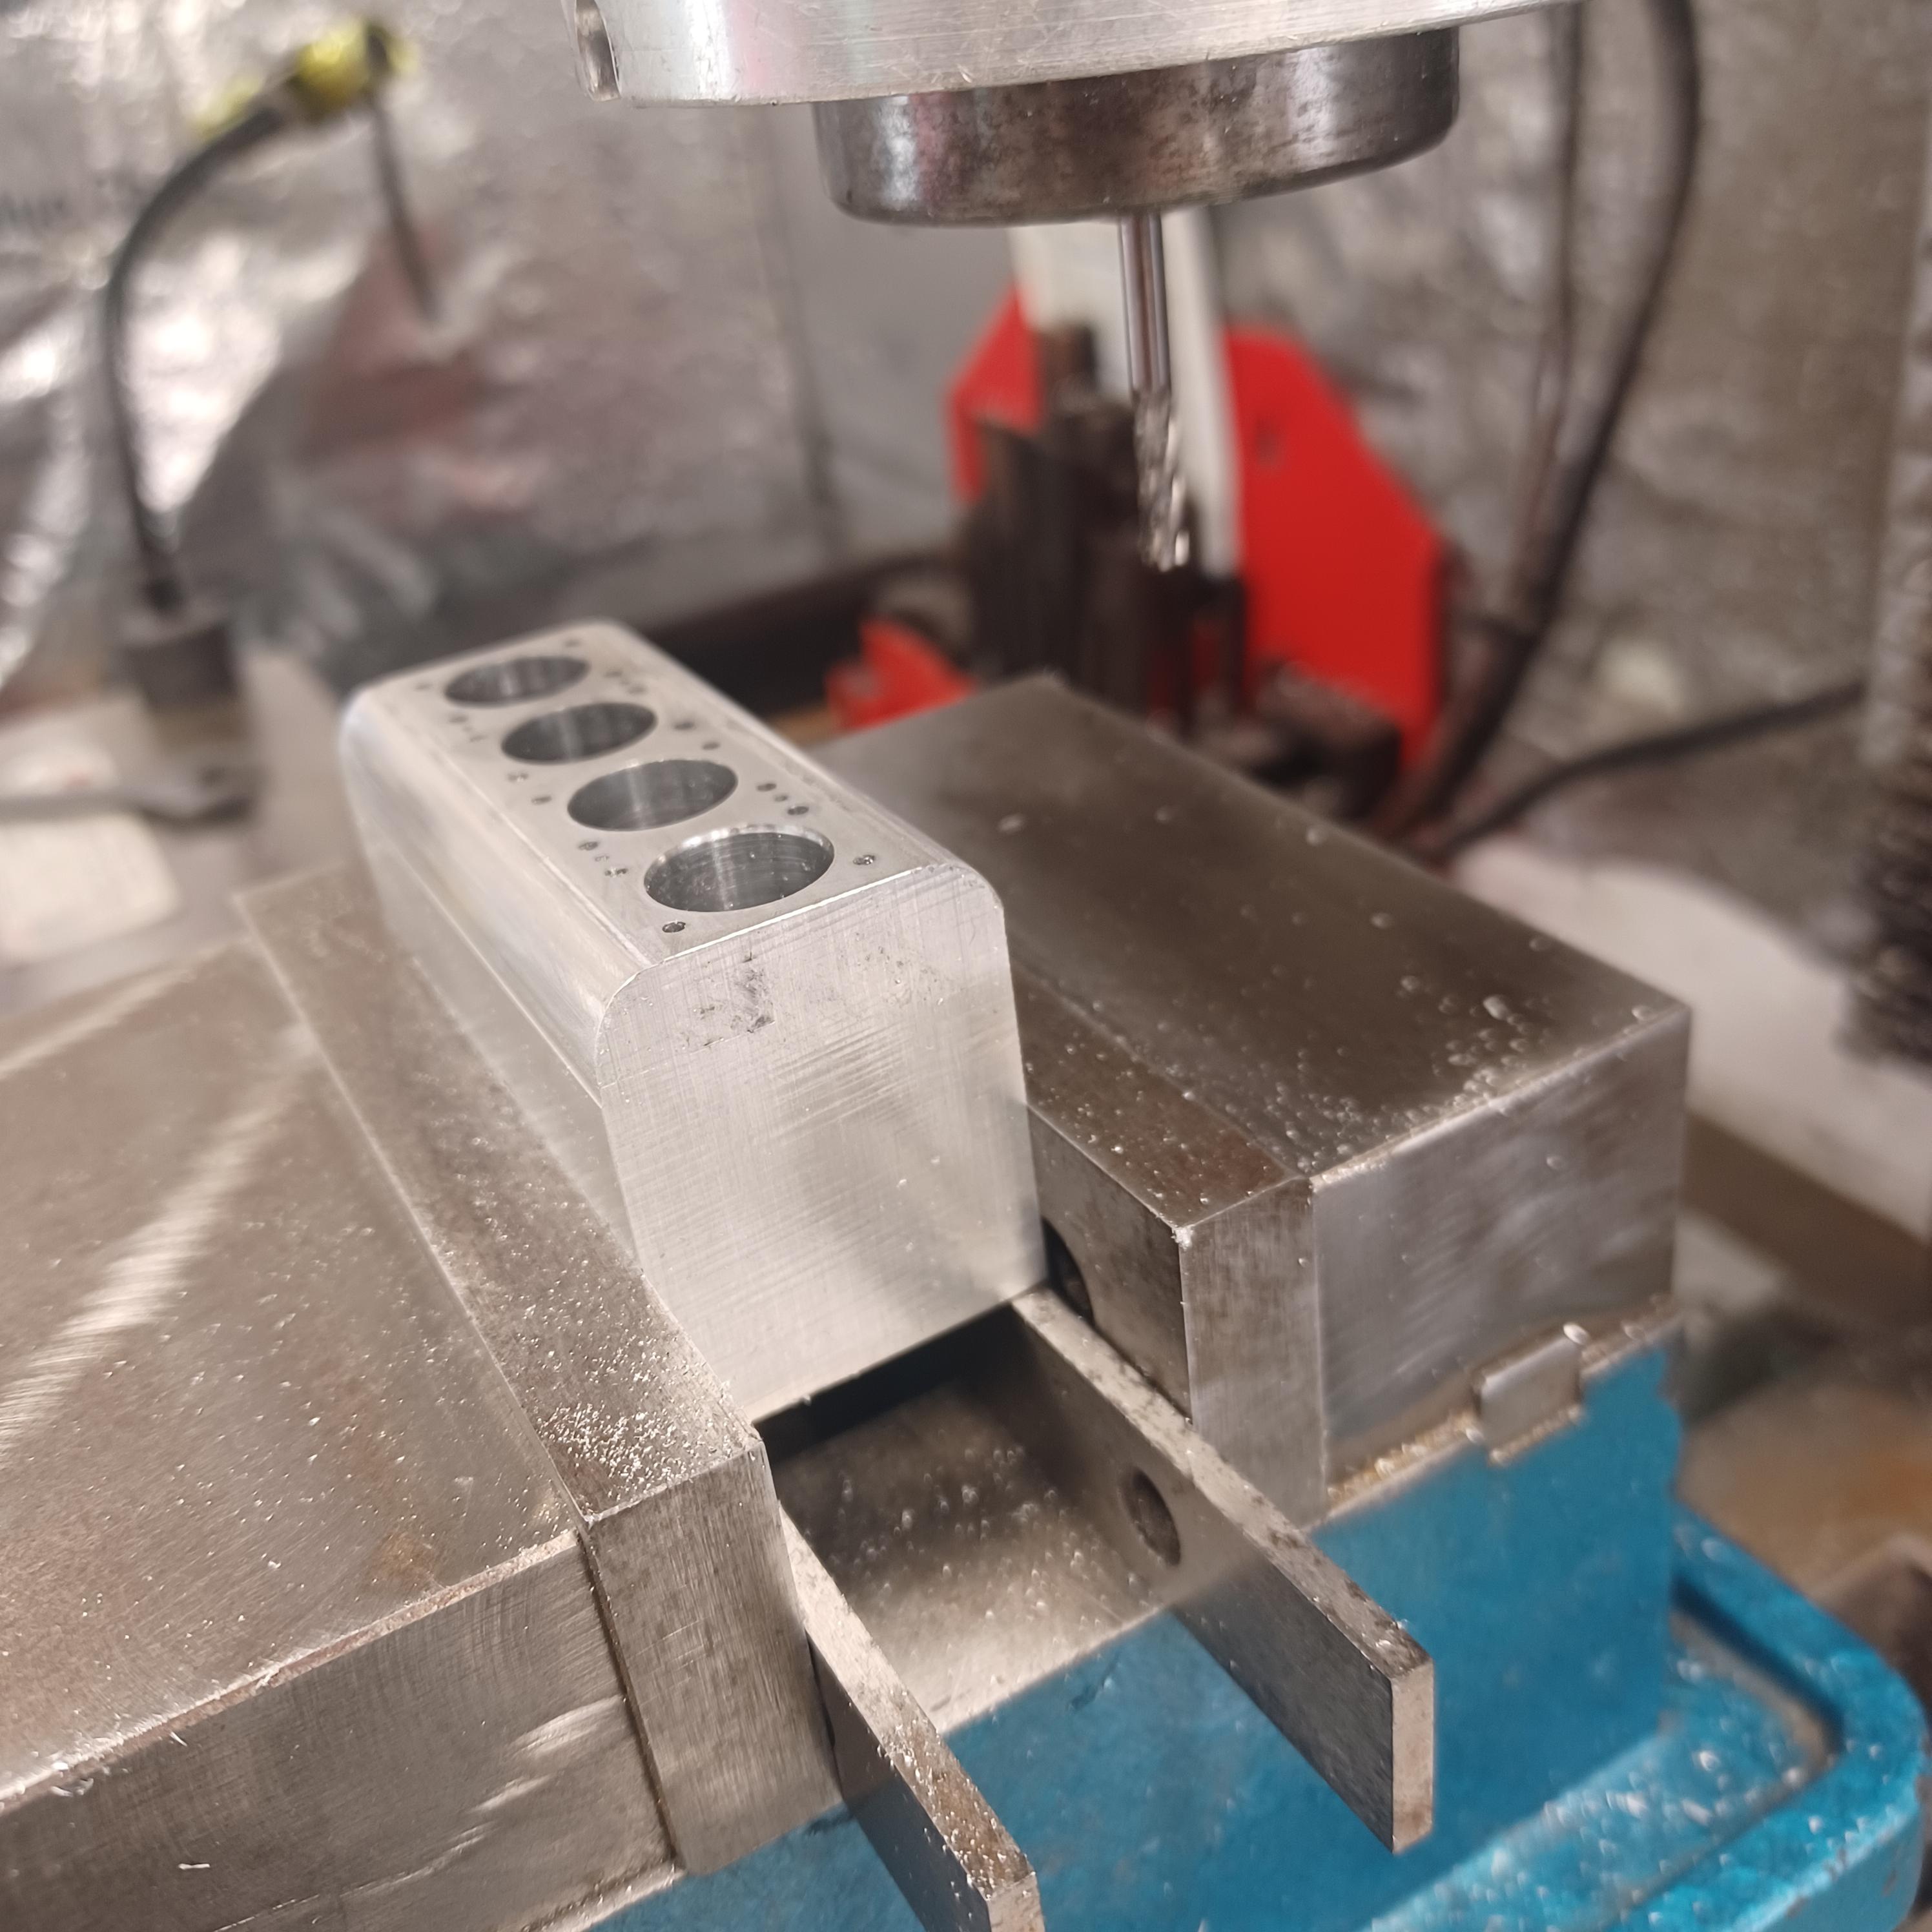
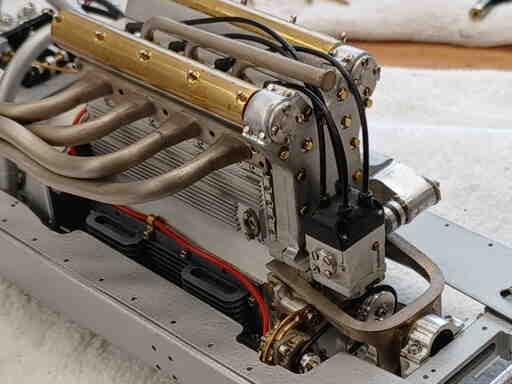
got most of the blower and blower drive parts made. still got some filing and sanding to do. i can't believe all these parts fit together and bolt to each other. some details left but i like it so far. take it apart now and make all the side covers and breathers. bellhousing and transmission after the covers. i think i will have to mount the engine at an angle with the blower to the top like they did in the indy cars. if i mount it straight up and down the injector will have to stick out of the side panel with some kind of scoop or cover. this is alot bigger than the last one i did. heres a few pictures . all the parts had a pair of holes drilled and reamed to .250 so i could align all the pieces to each other with 2 pieces of .250 brass tubing. i also used them on my rotary table with a small brass fixture to drill and tap all the holes . i didnt count but there is alot of holes. used the same little fixture to radius all the parts. you may notice the blower is on the opposite side of the engine than the picture of the original. these engines were ambidextrous ,just switch the cams from one side to the other. enjoy the pictures . thank you for looking.
-
 1
1
-
-
thats a really ingenious way to do the u joint. i have to agree with moparman how can you be so accurate .can i use your method?
-
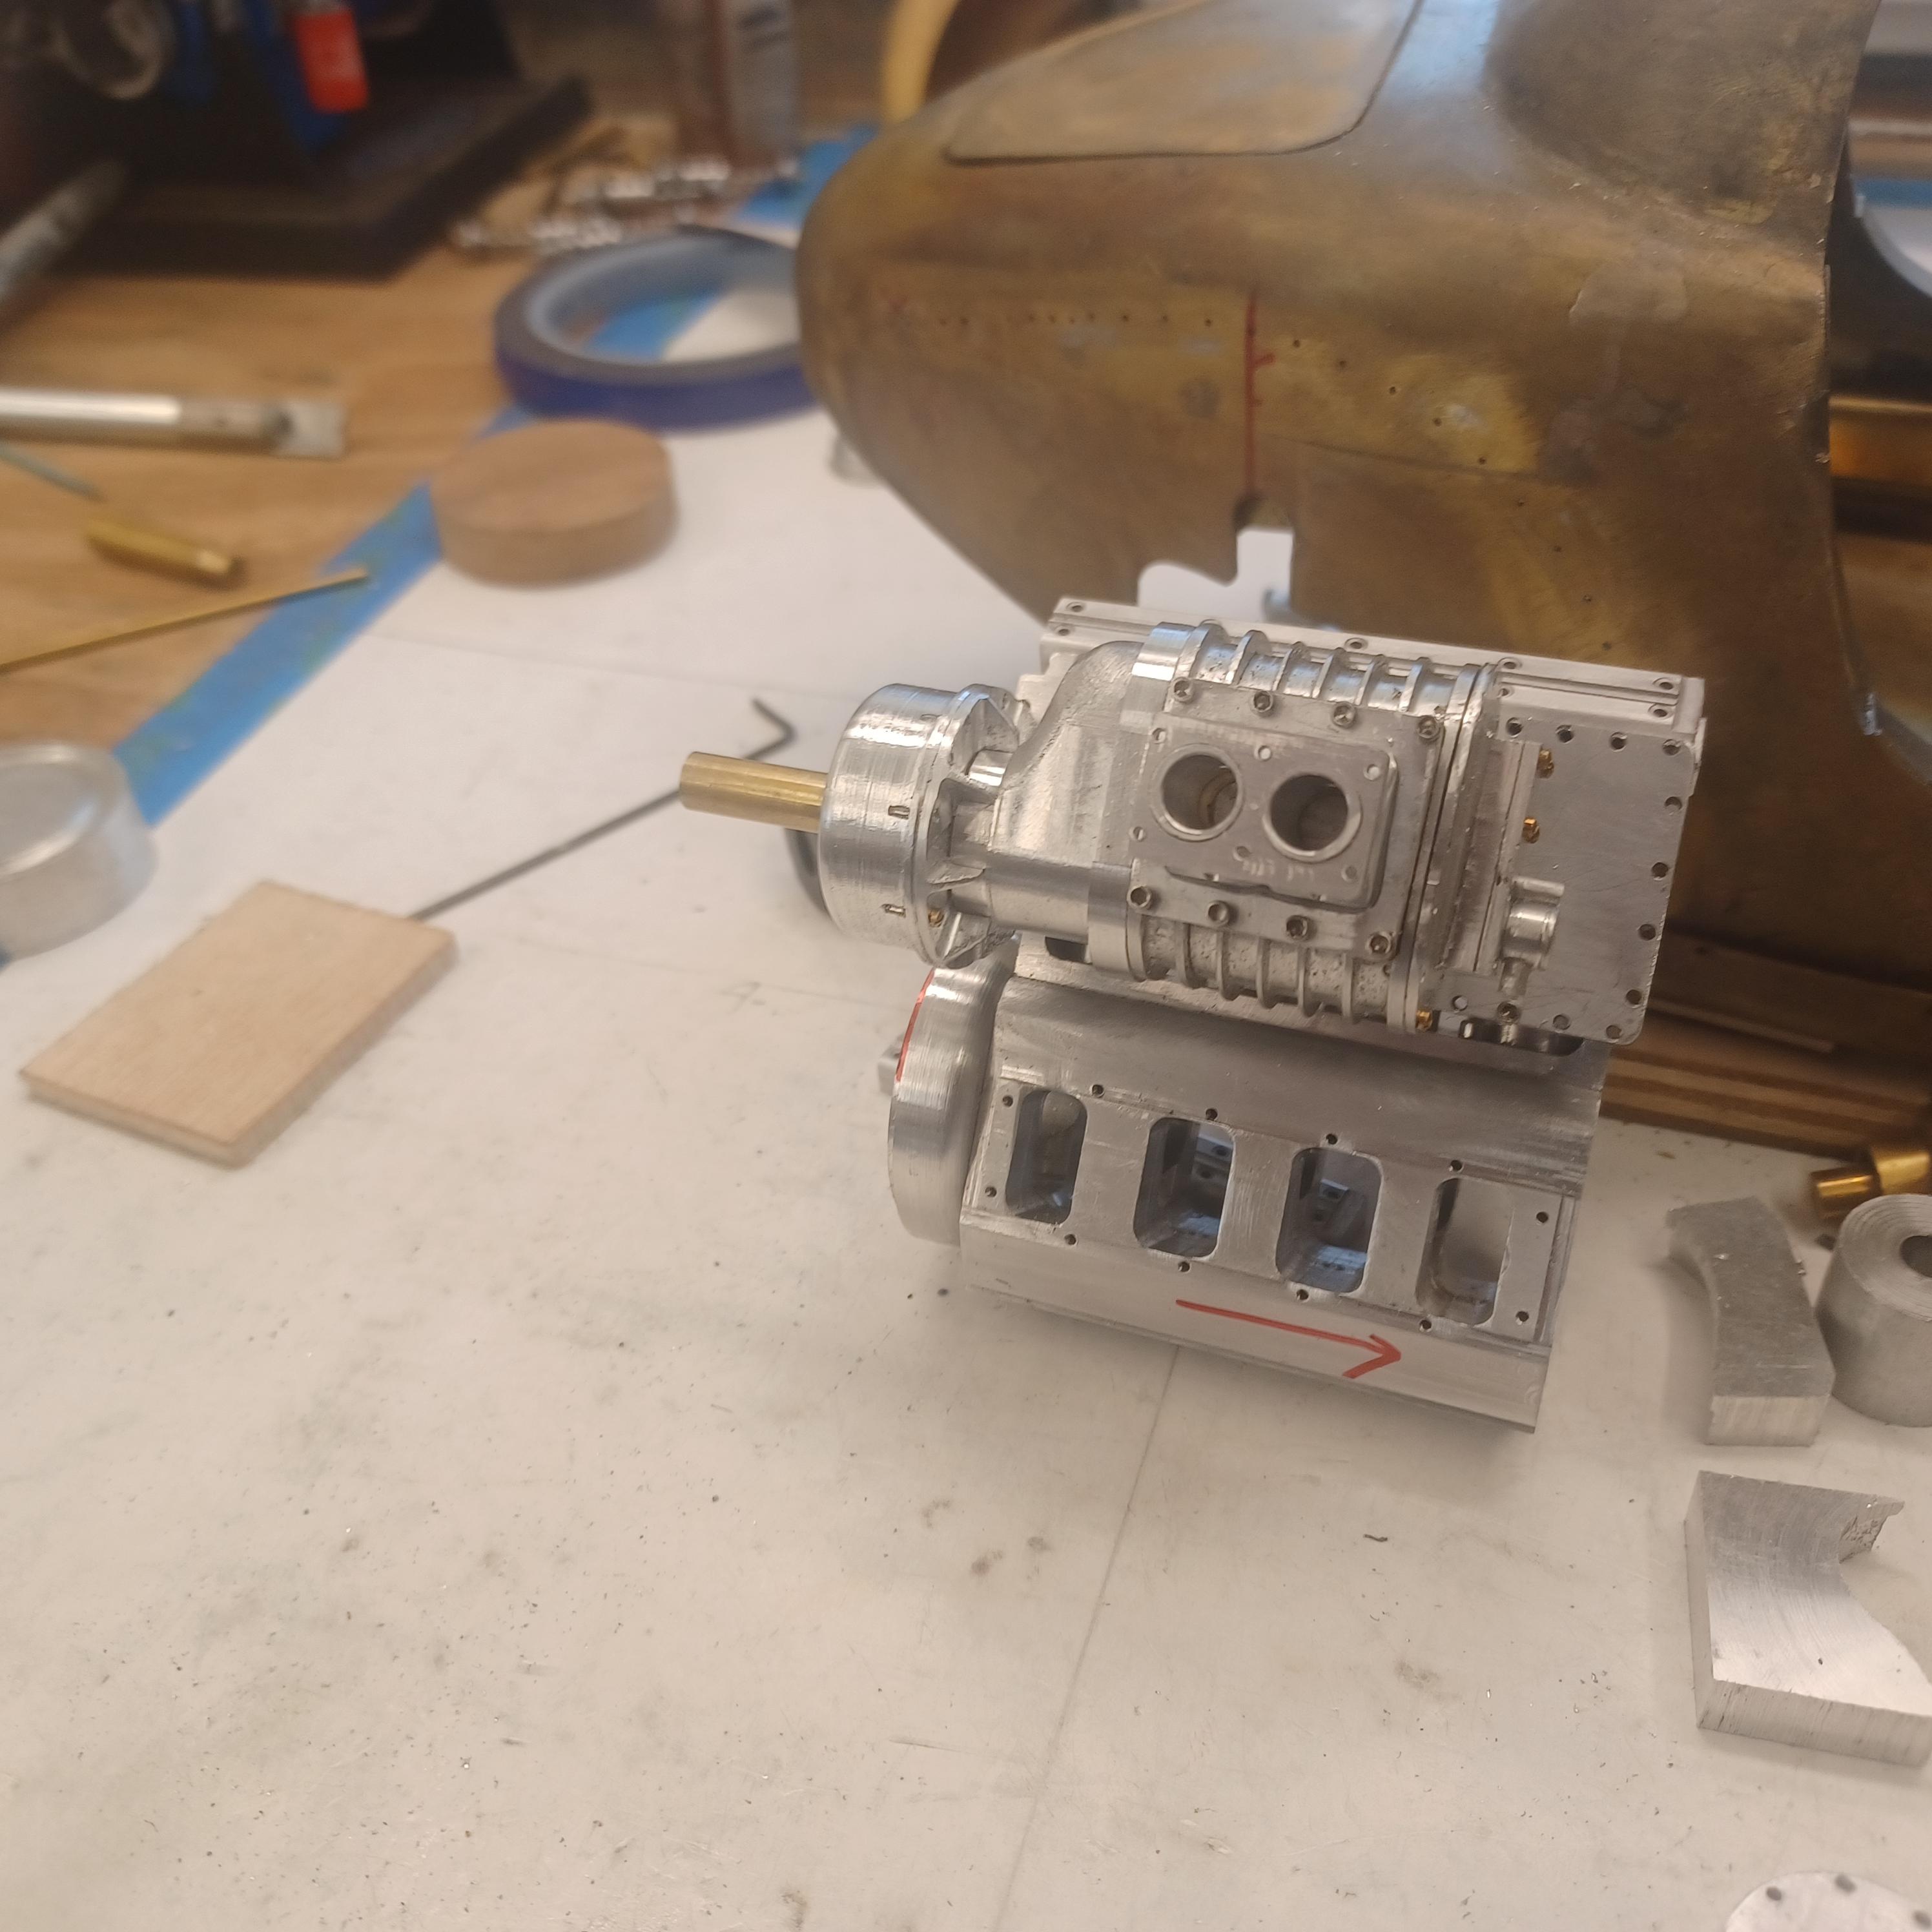
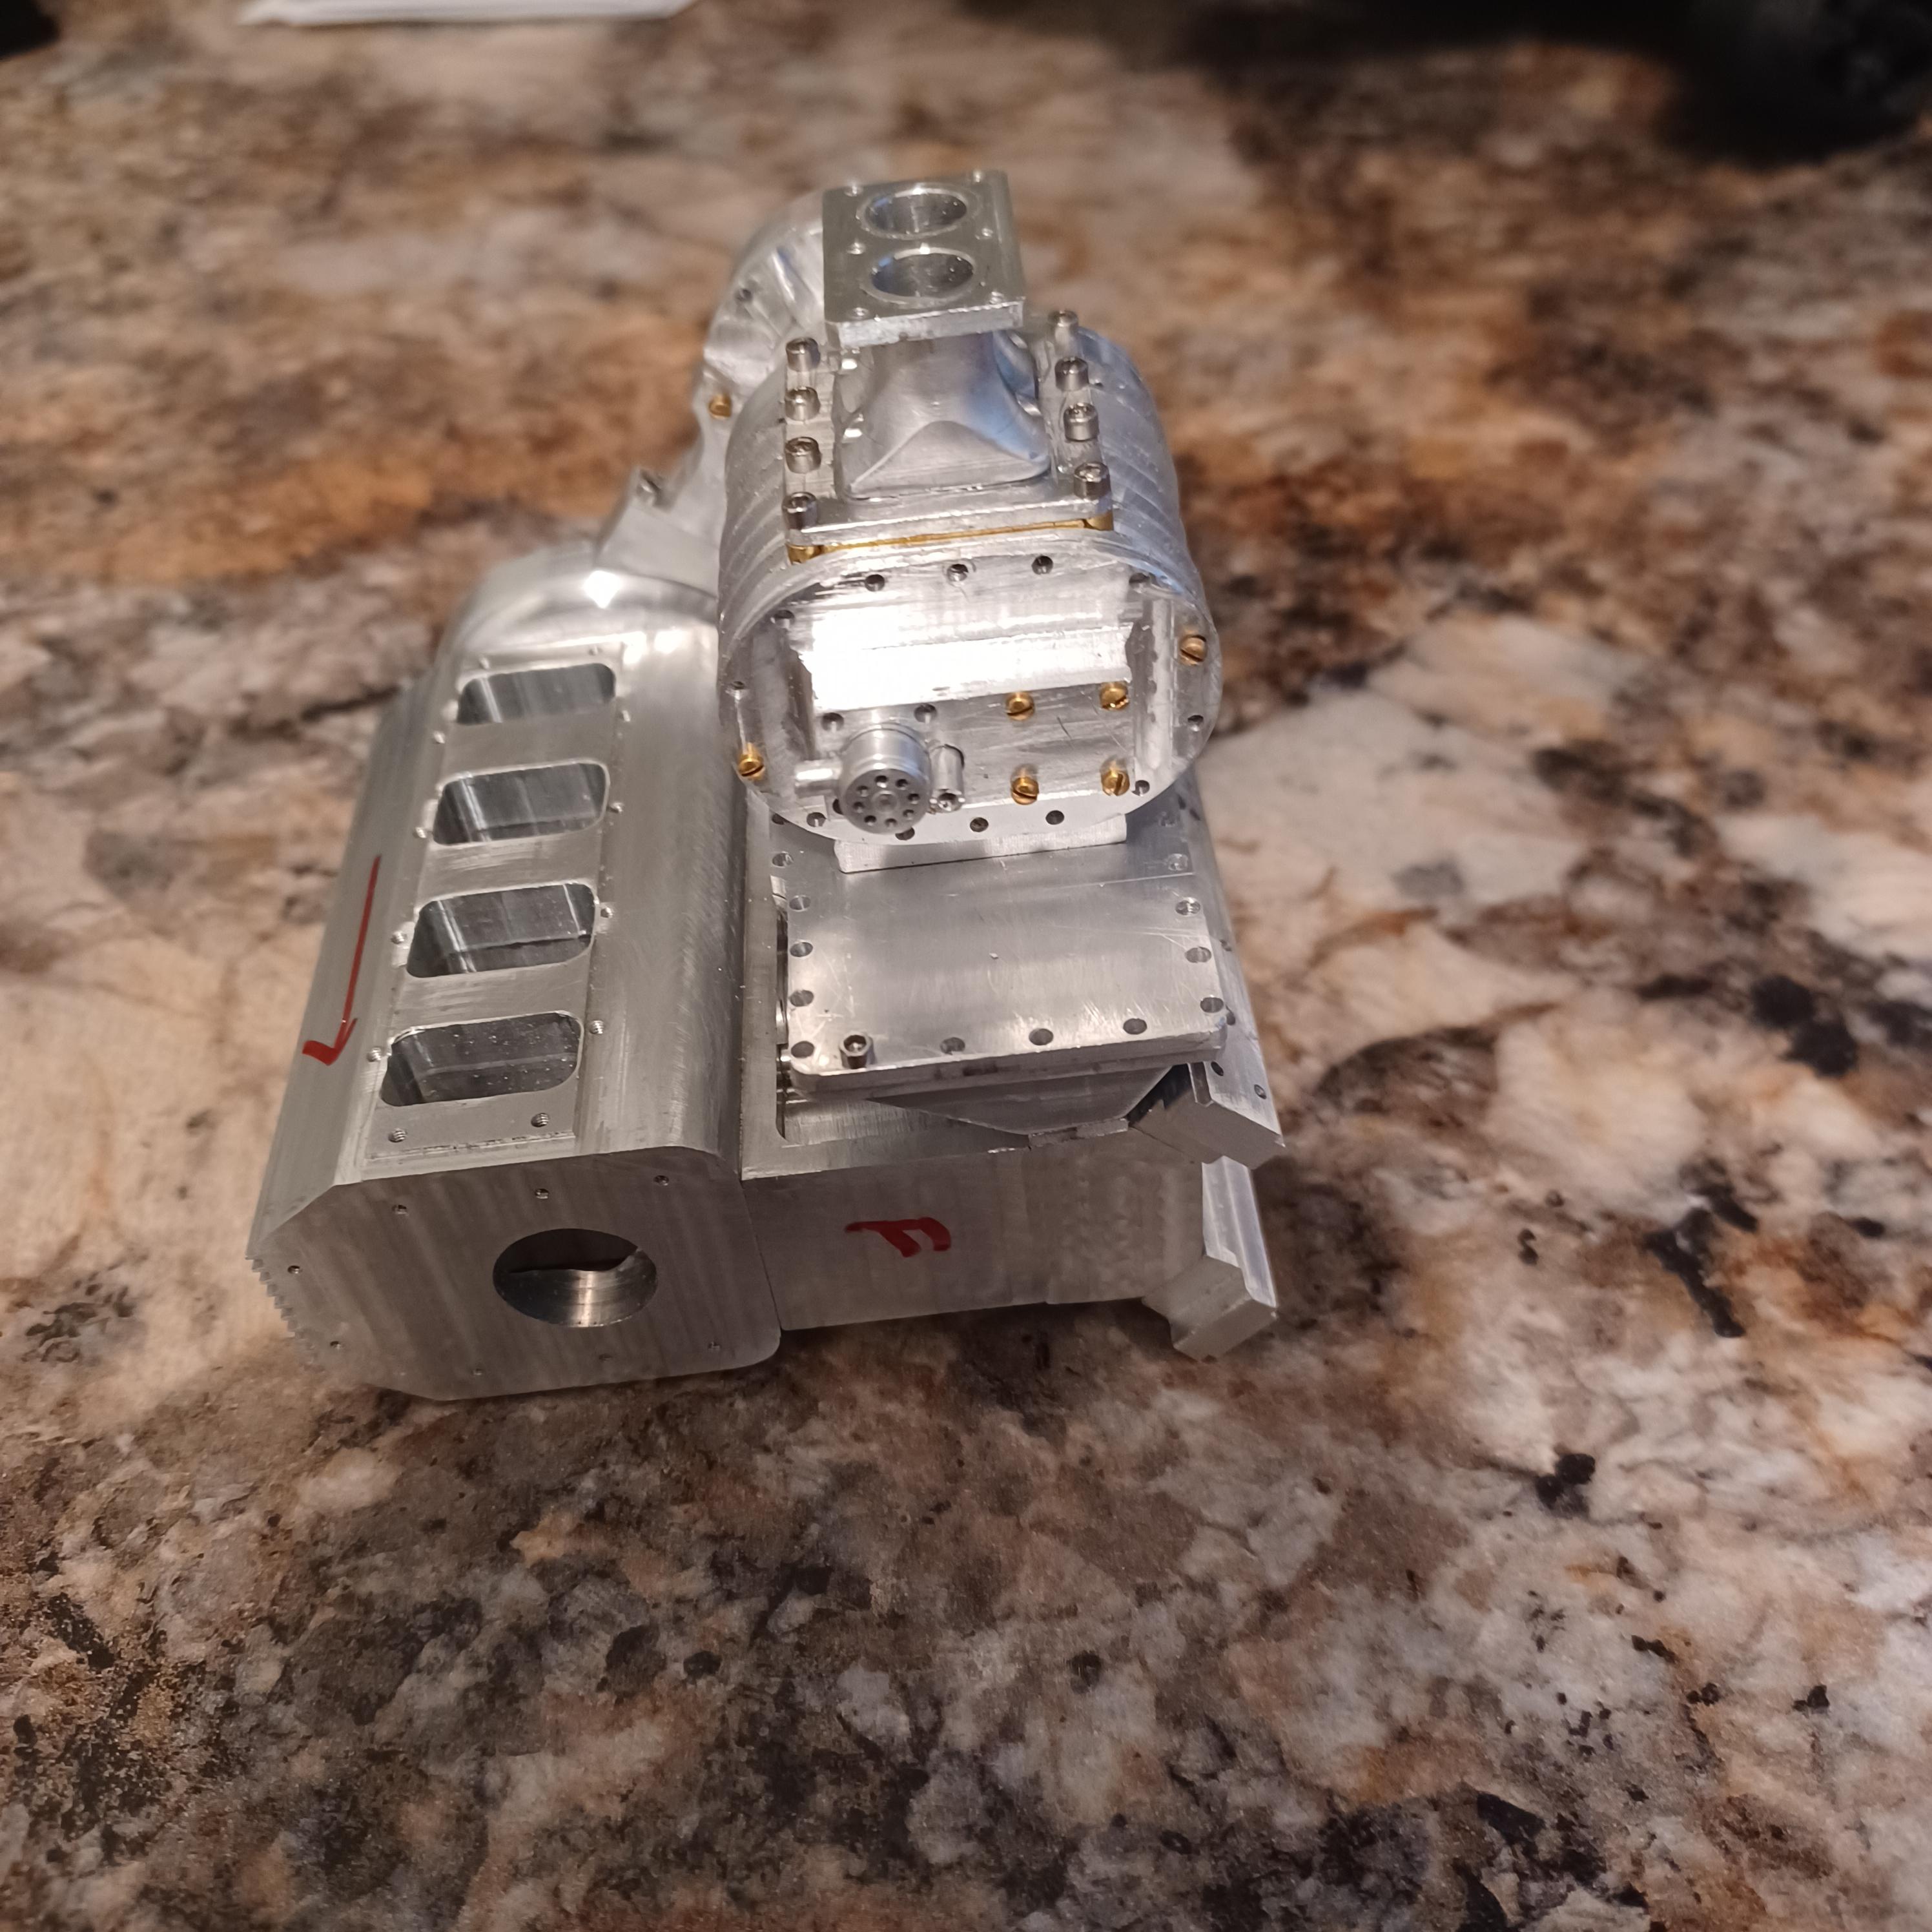
the supercharger is coming together. i got the manifold 3/4 done and the blower is starting to look like the picture. got a long way to go but it will look good. connecting the blower to the bell housing will be a project in itself. i want to get the so engine and transmission done so i can finish the frame, the floor and the firewall. hope the next update mill have the blower mounted to the engine
-
1
-
-
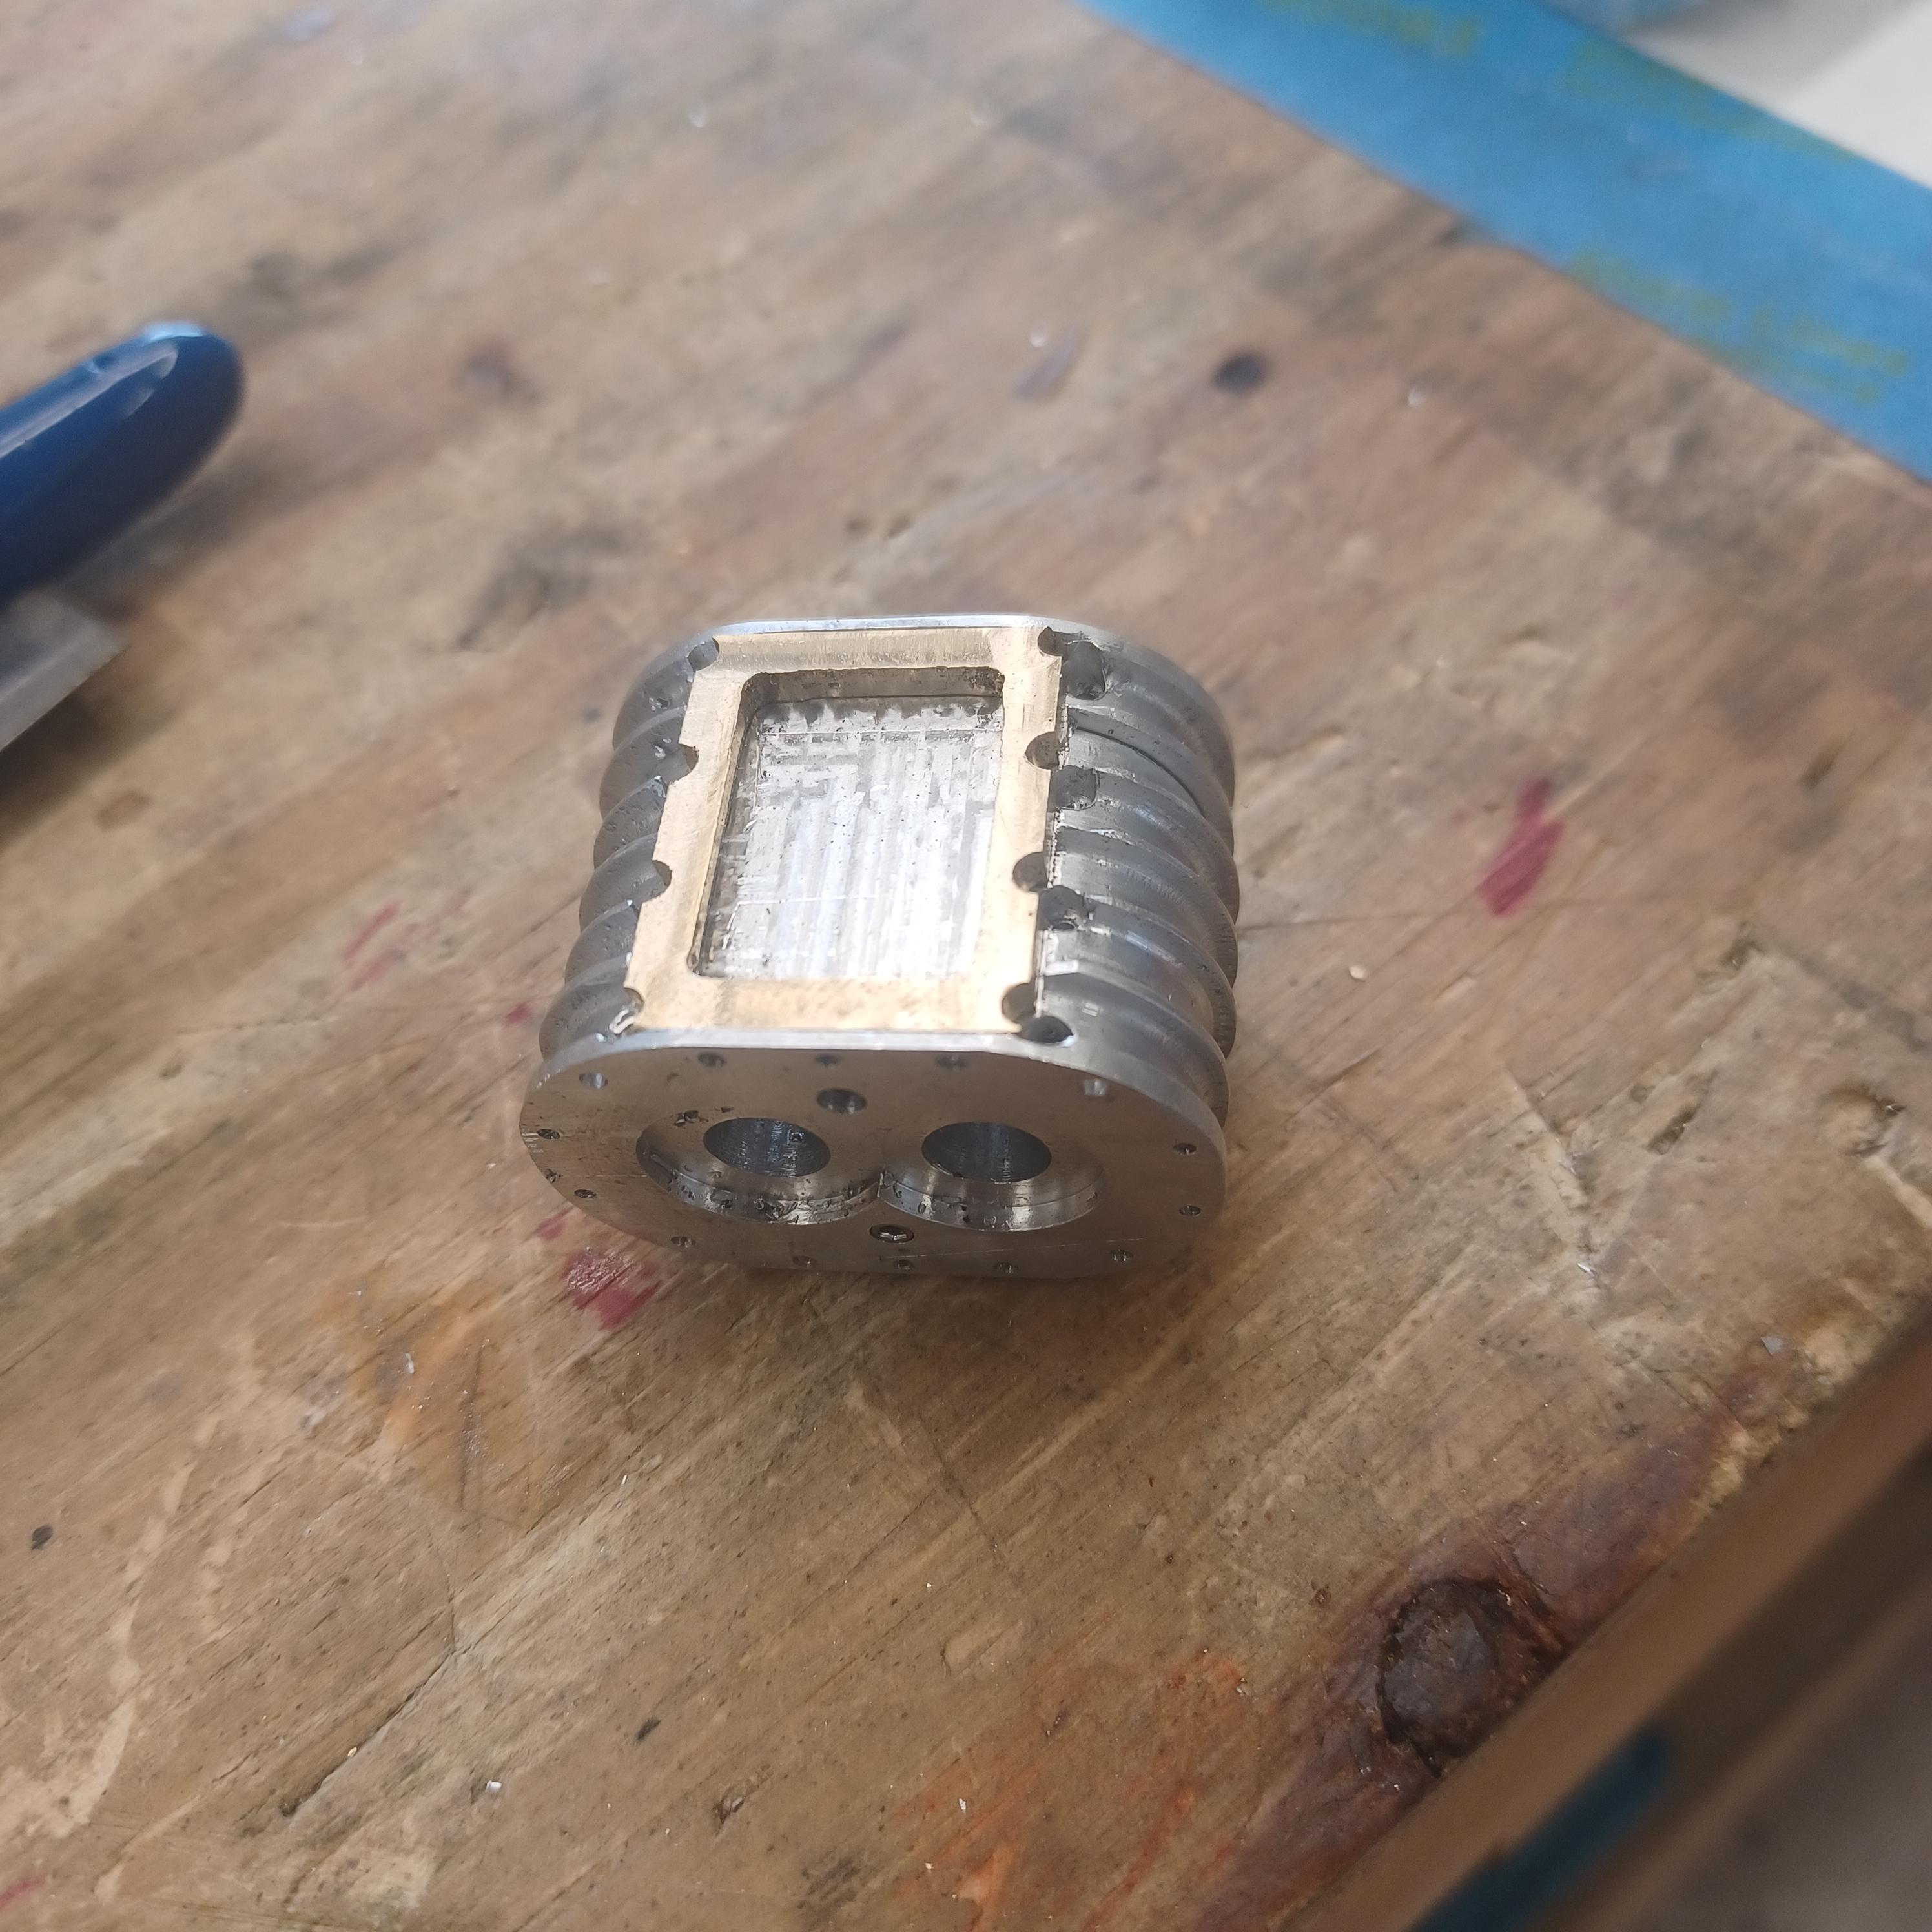
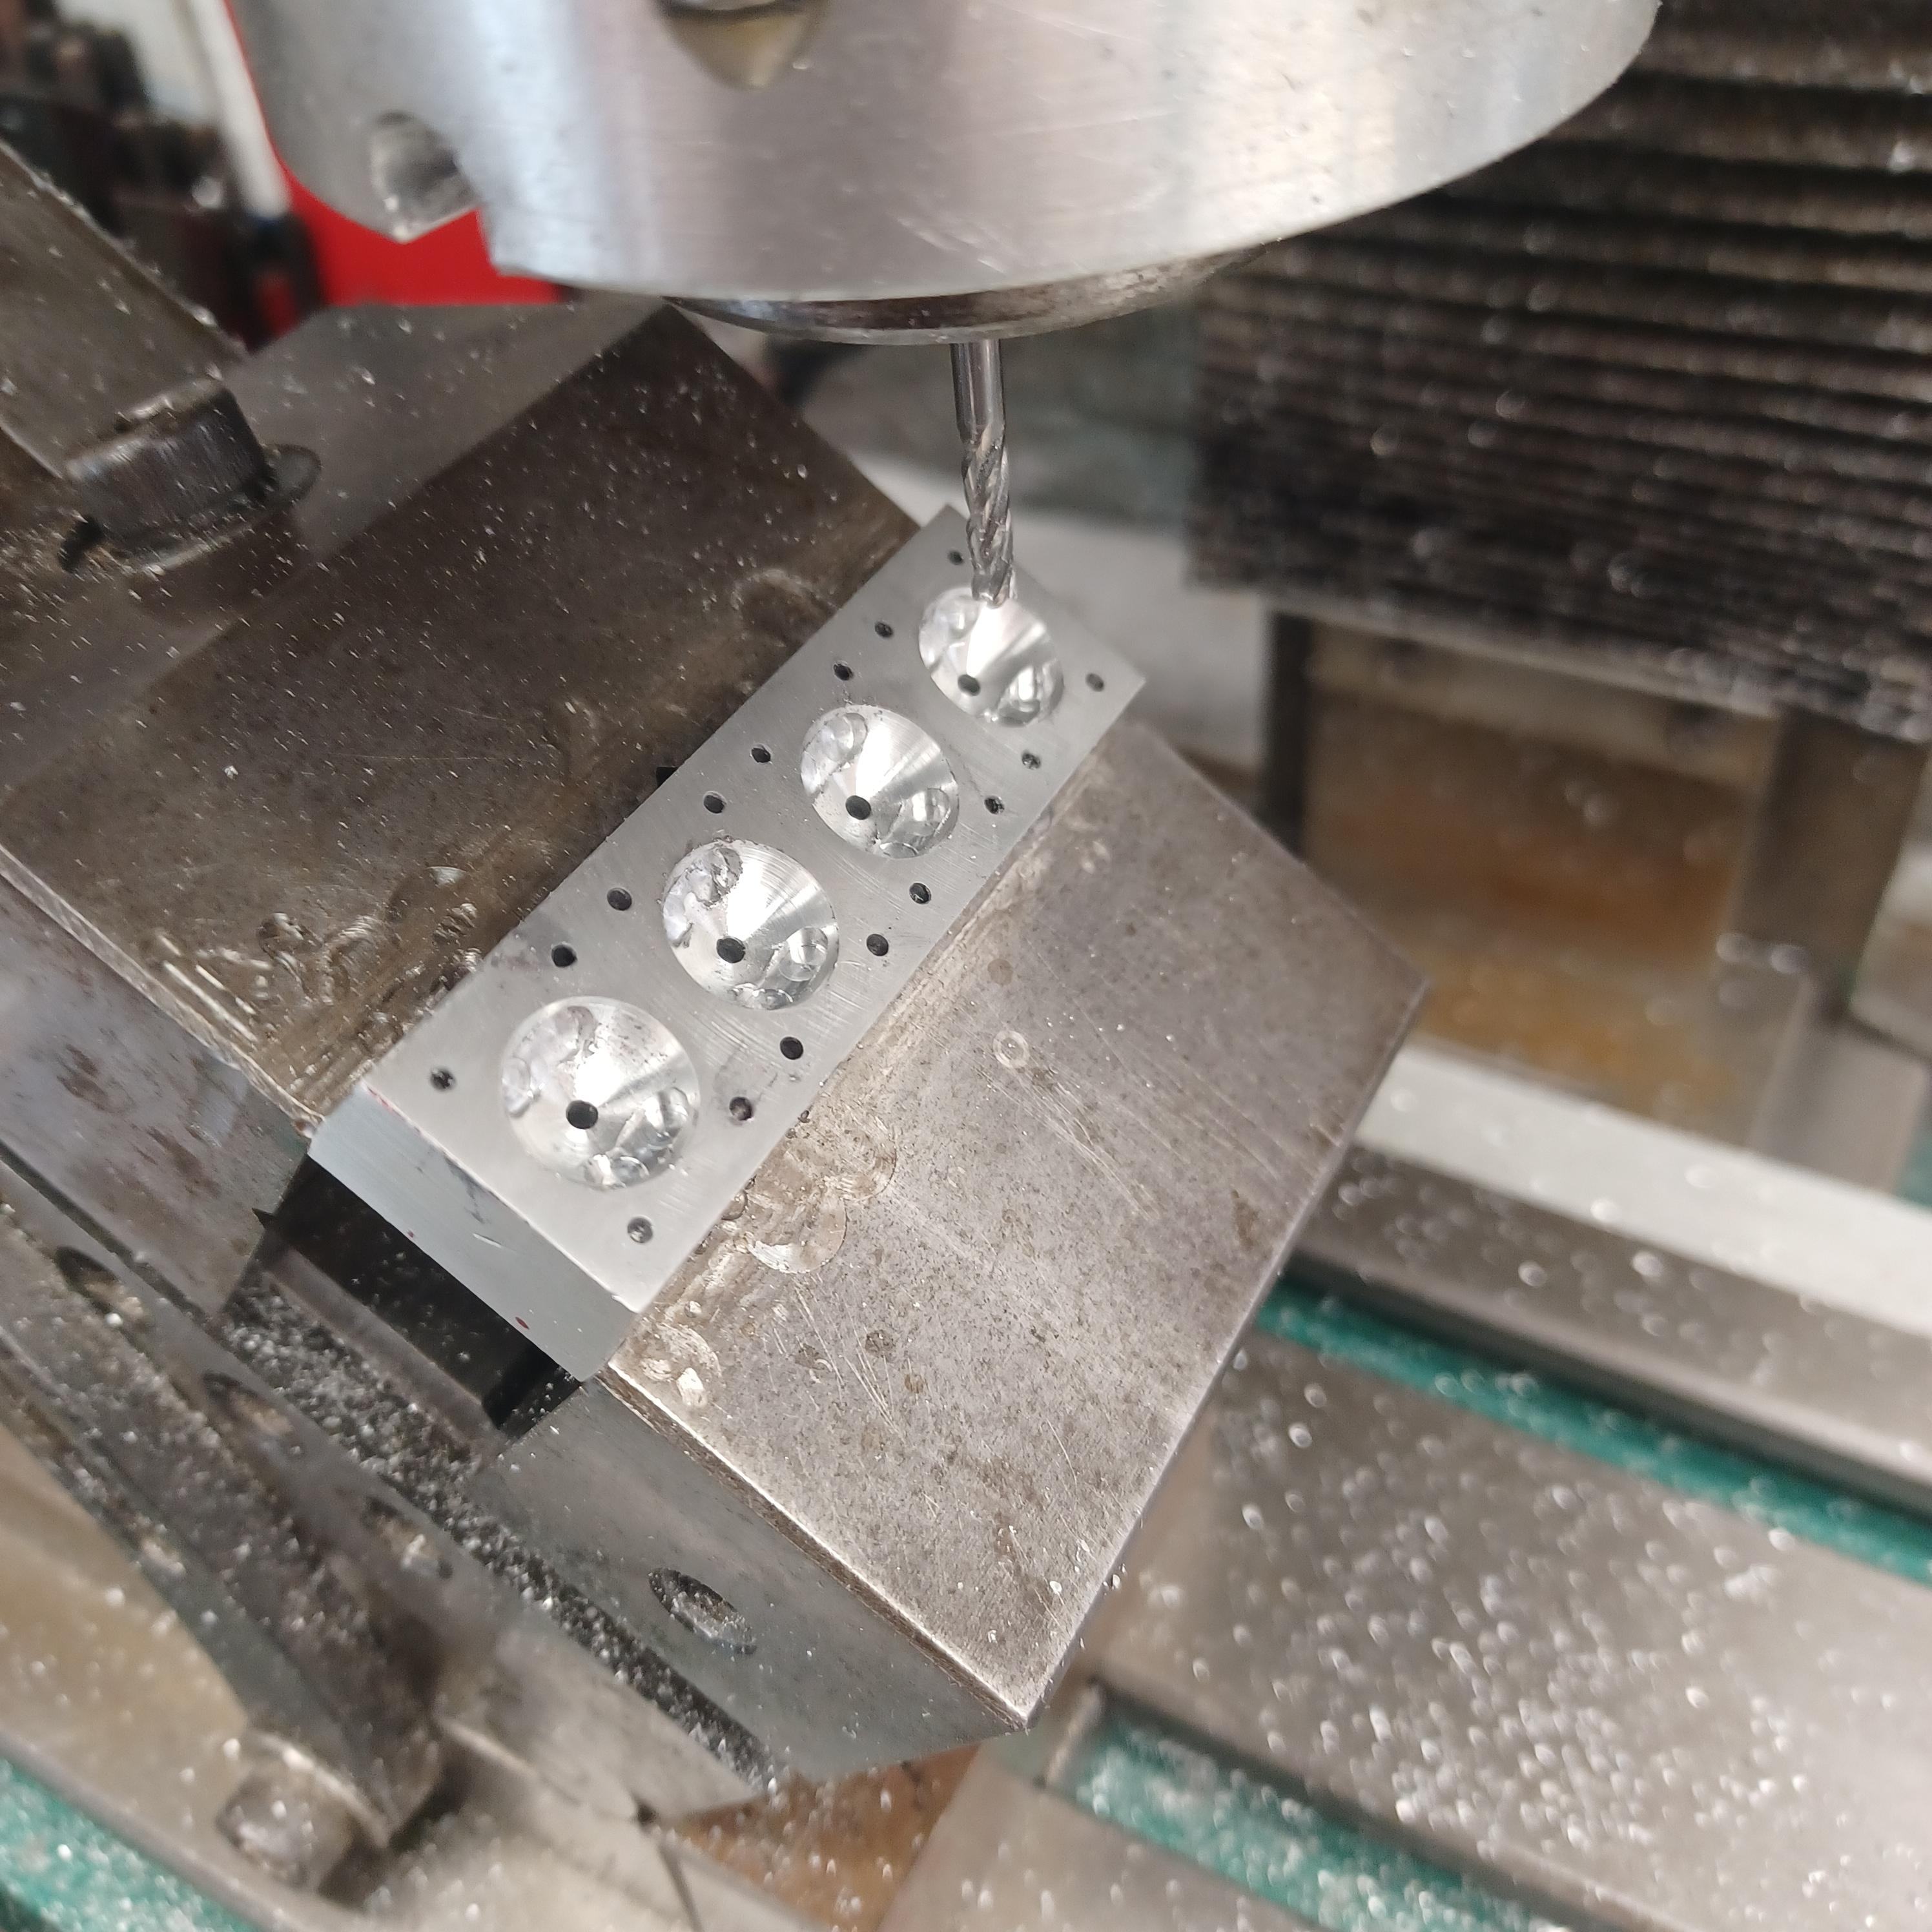
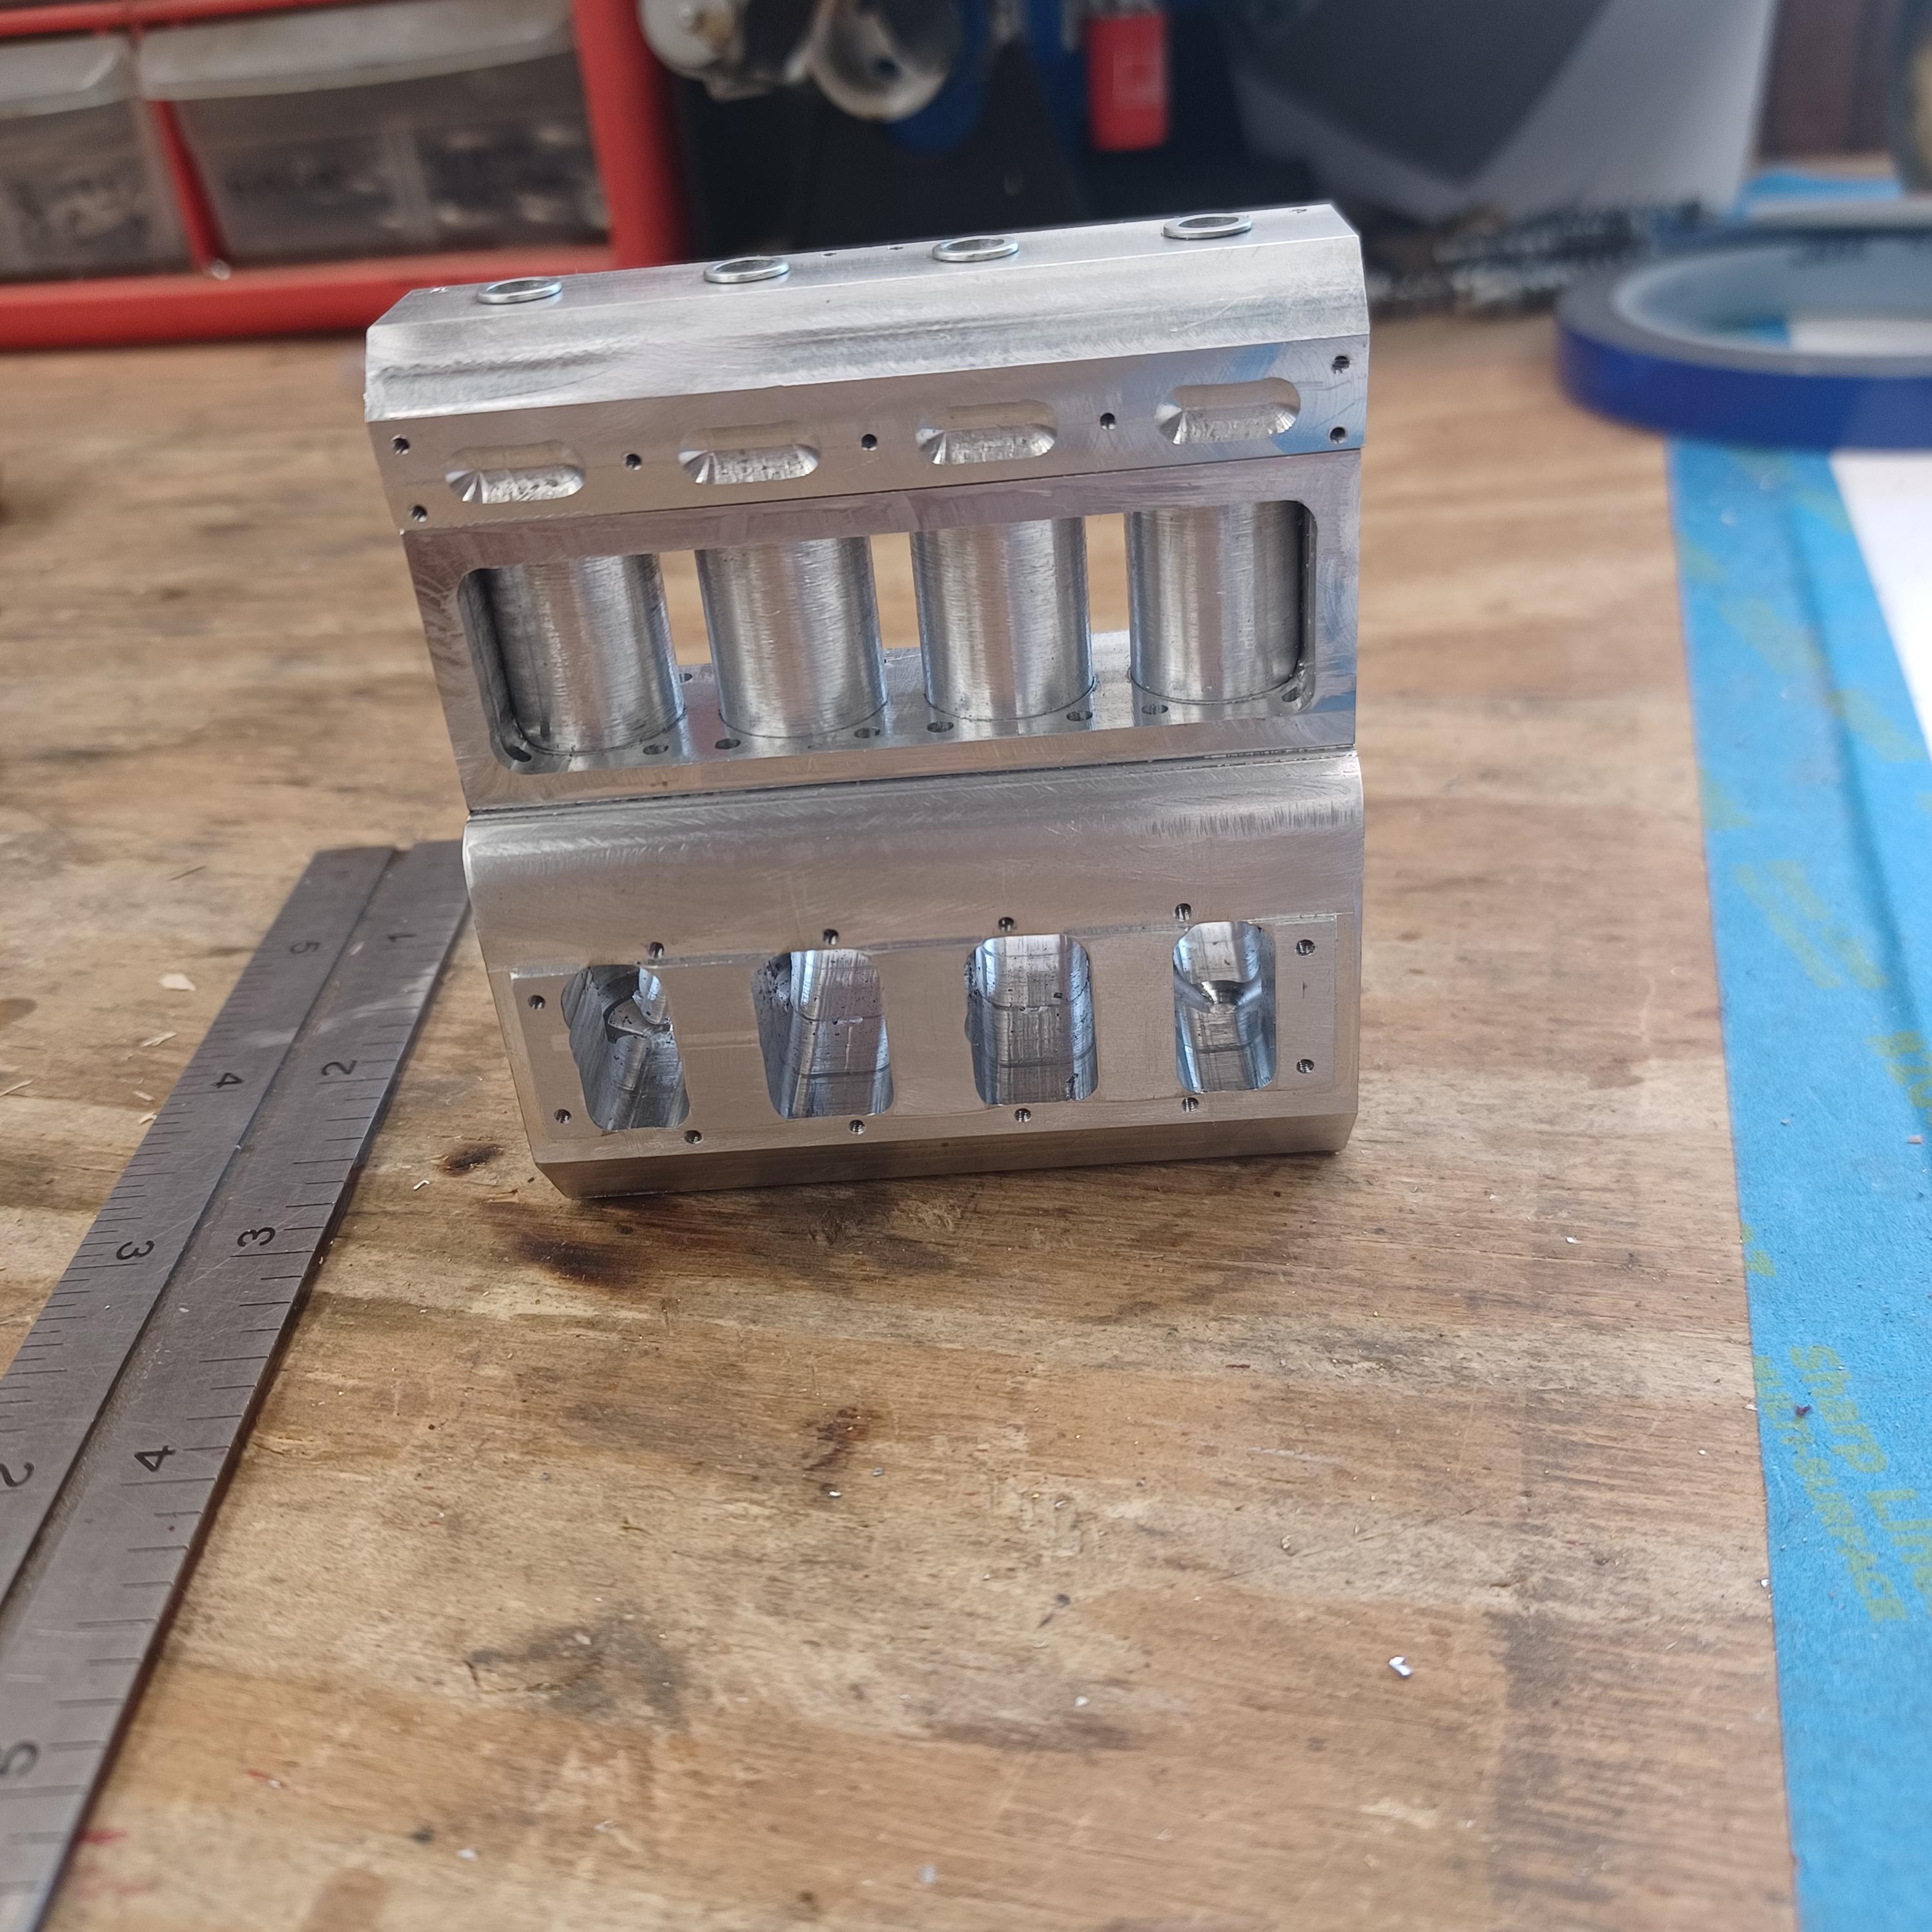
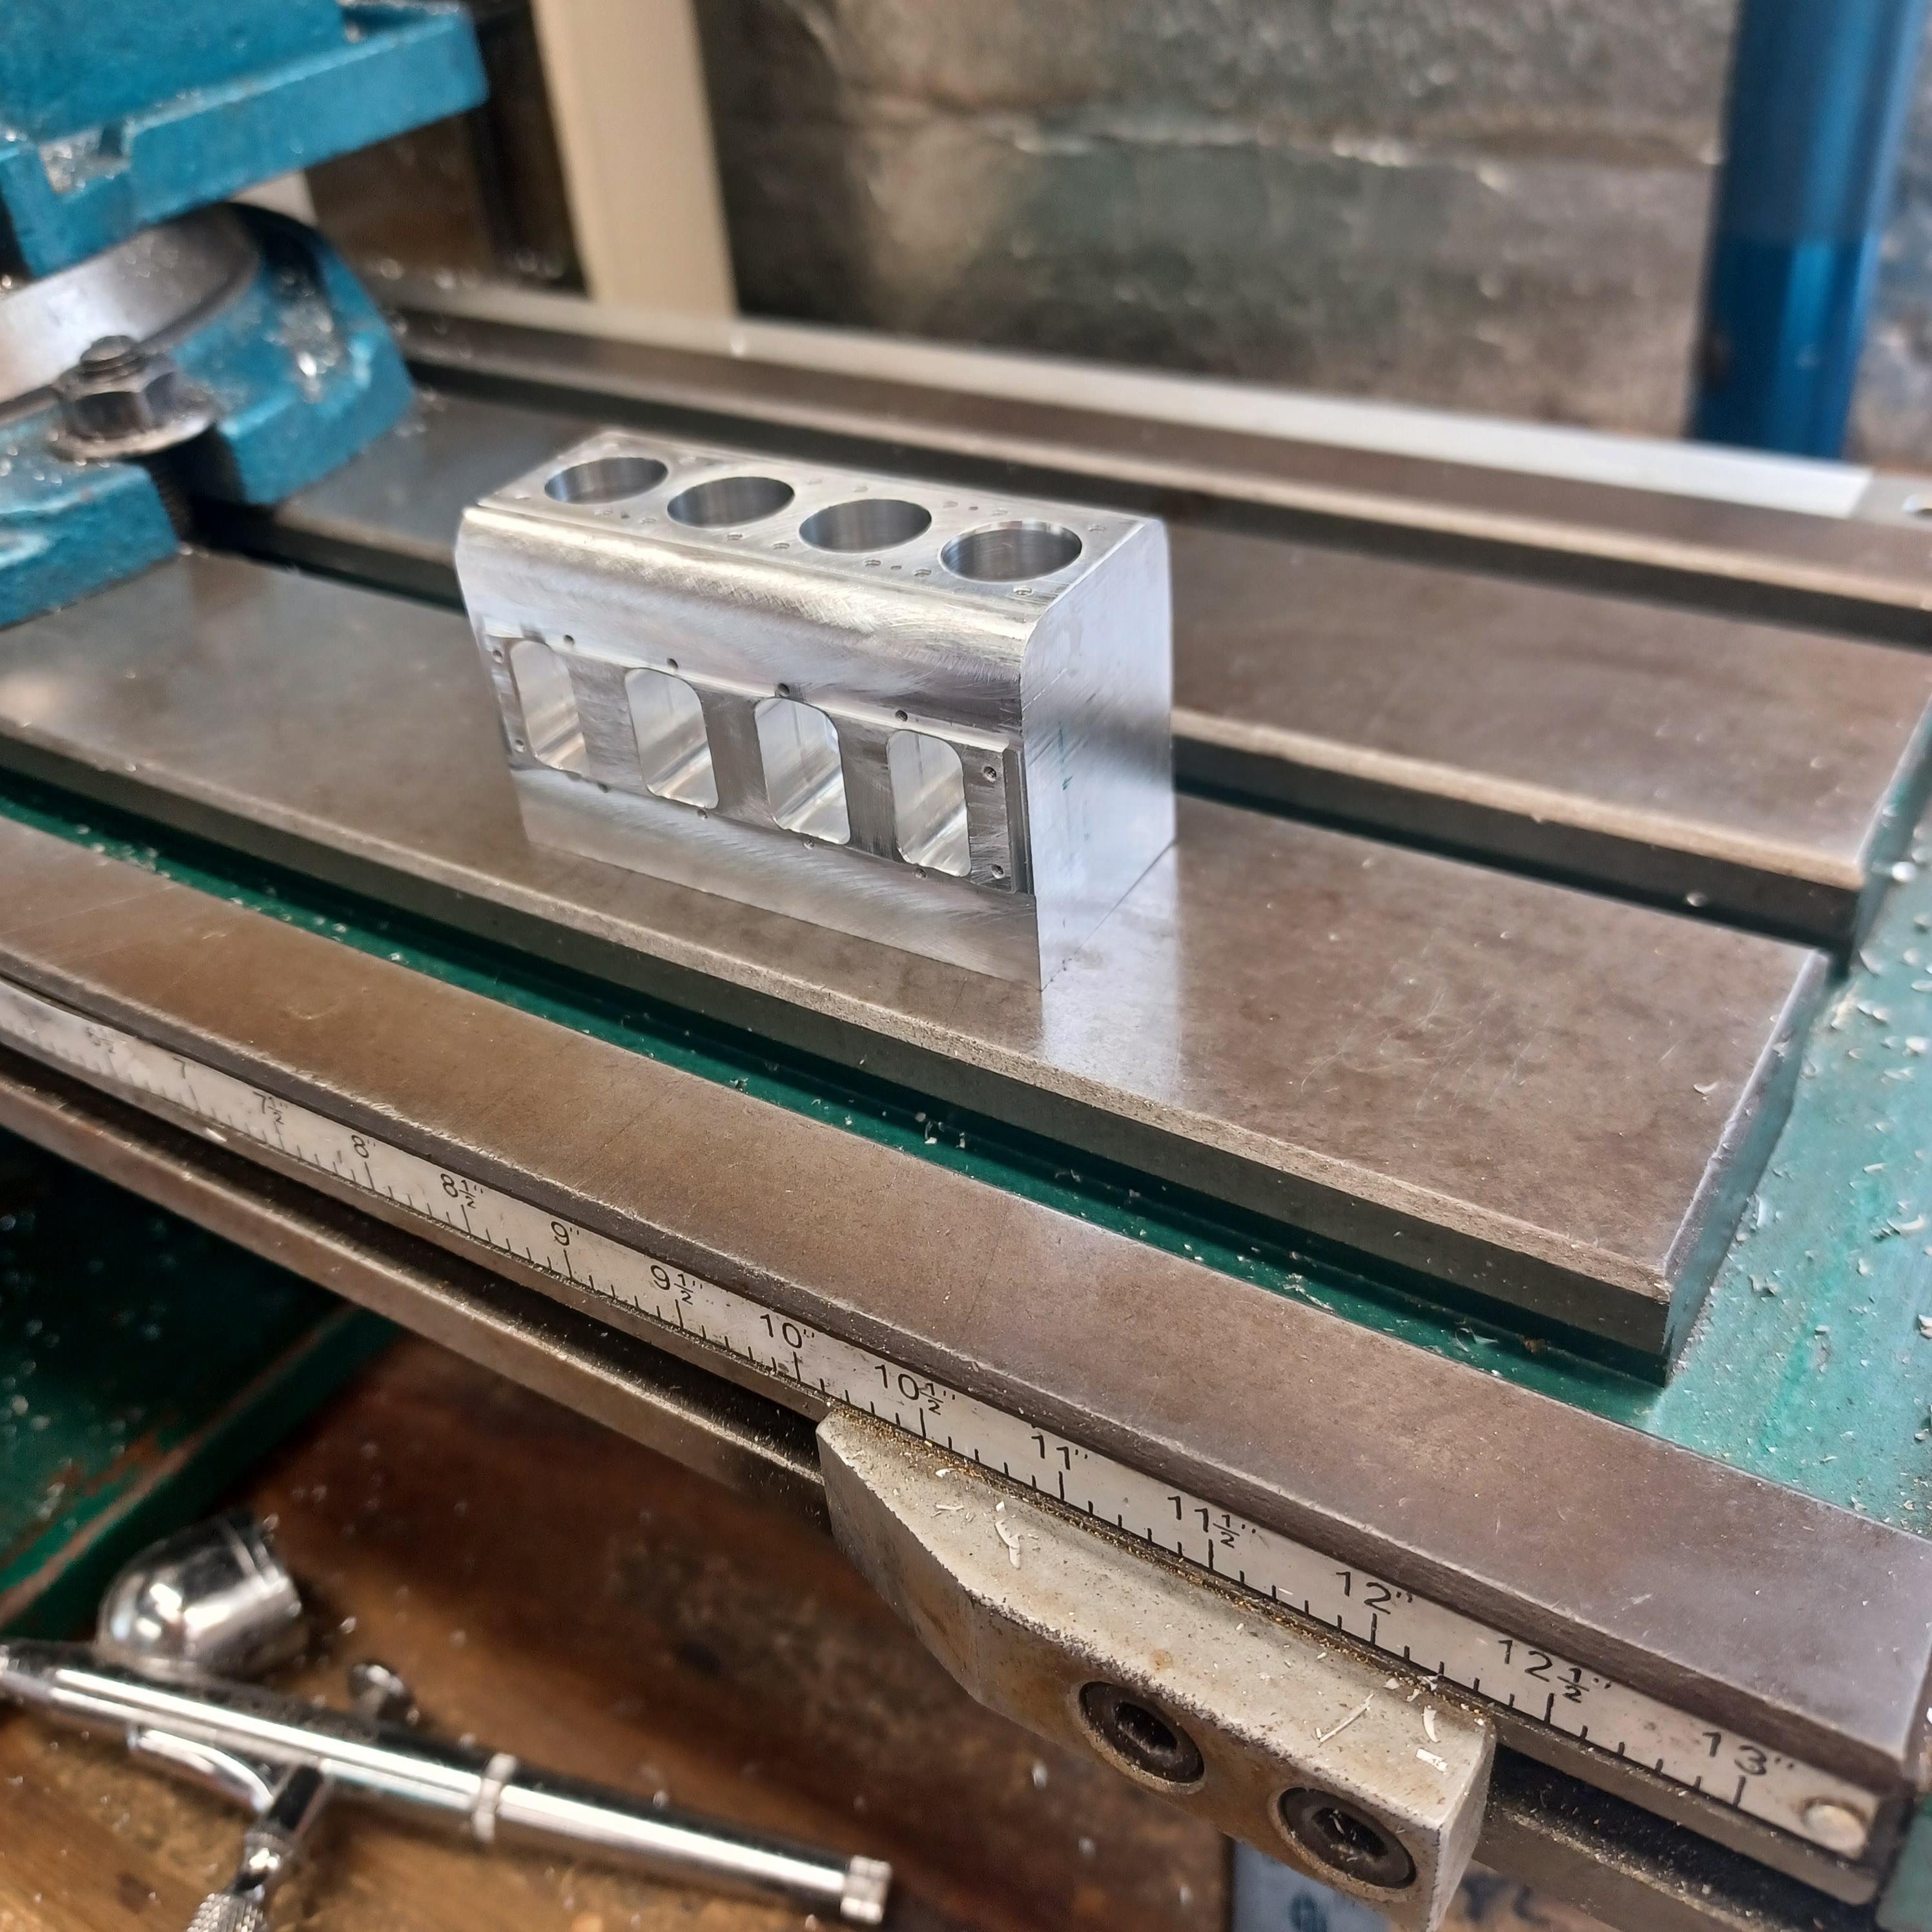
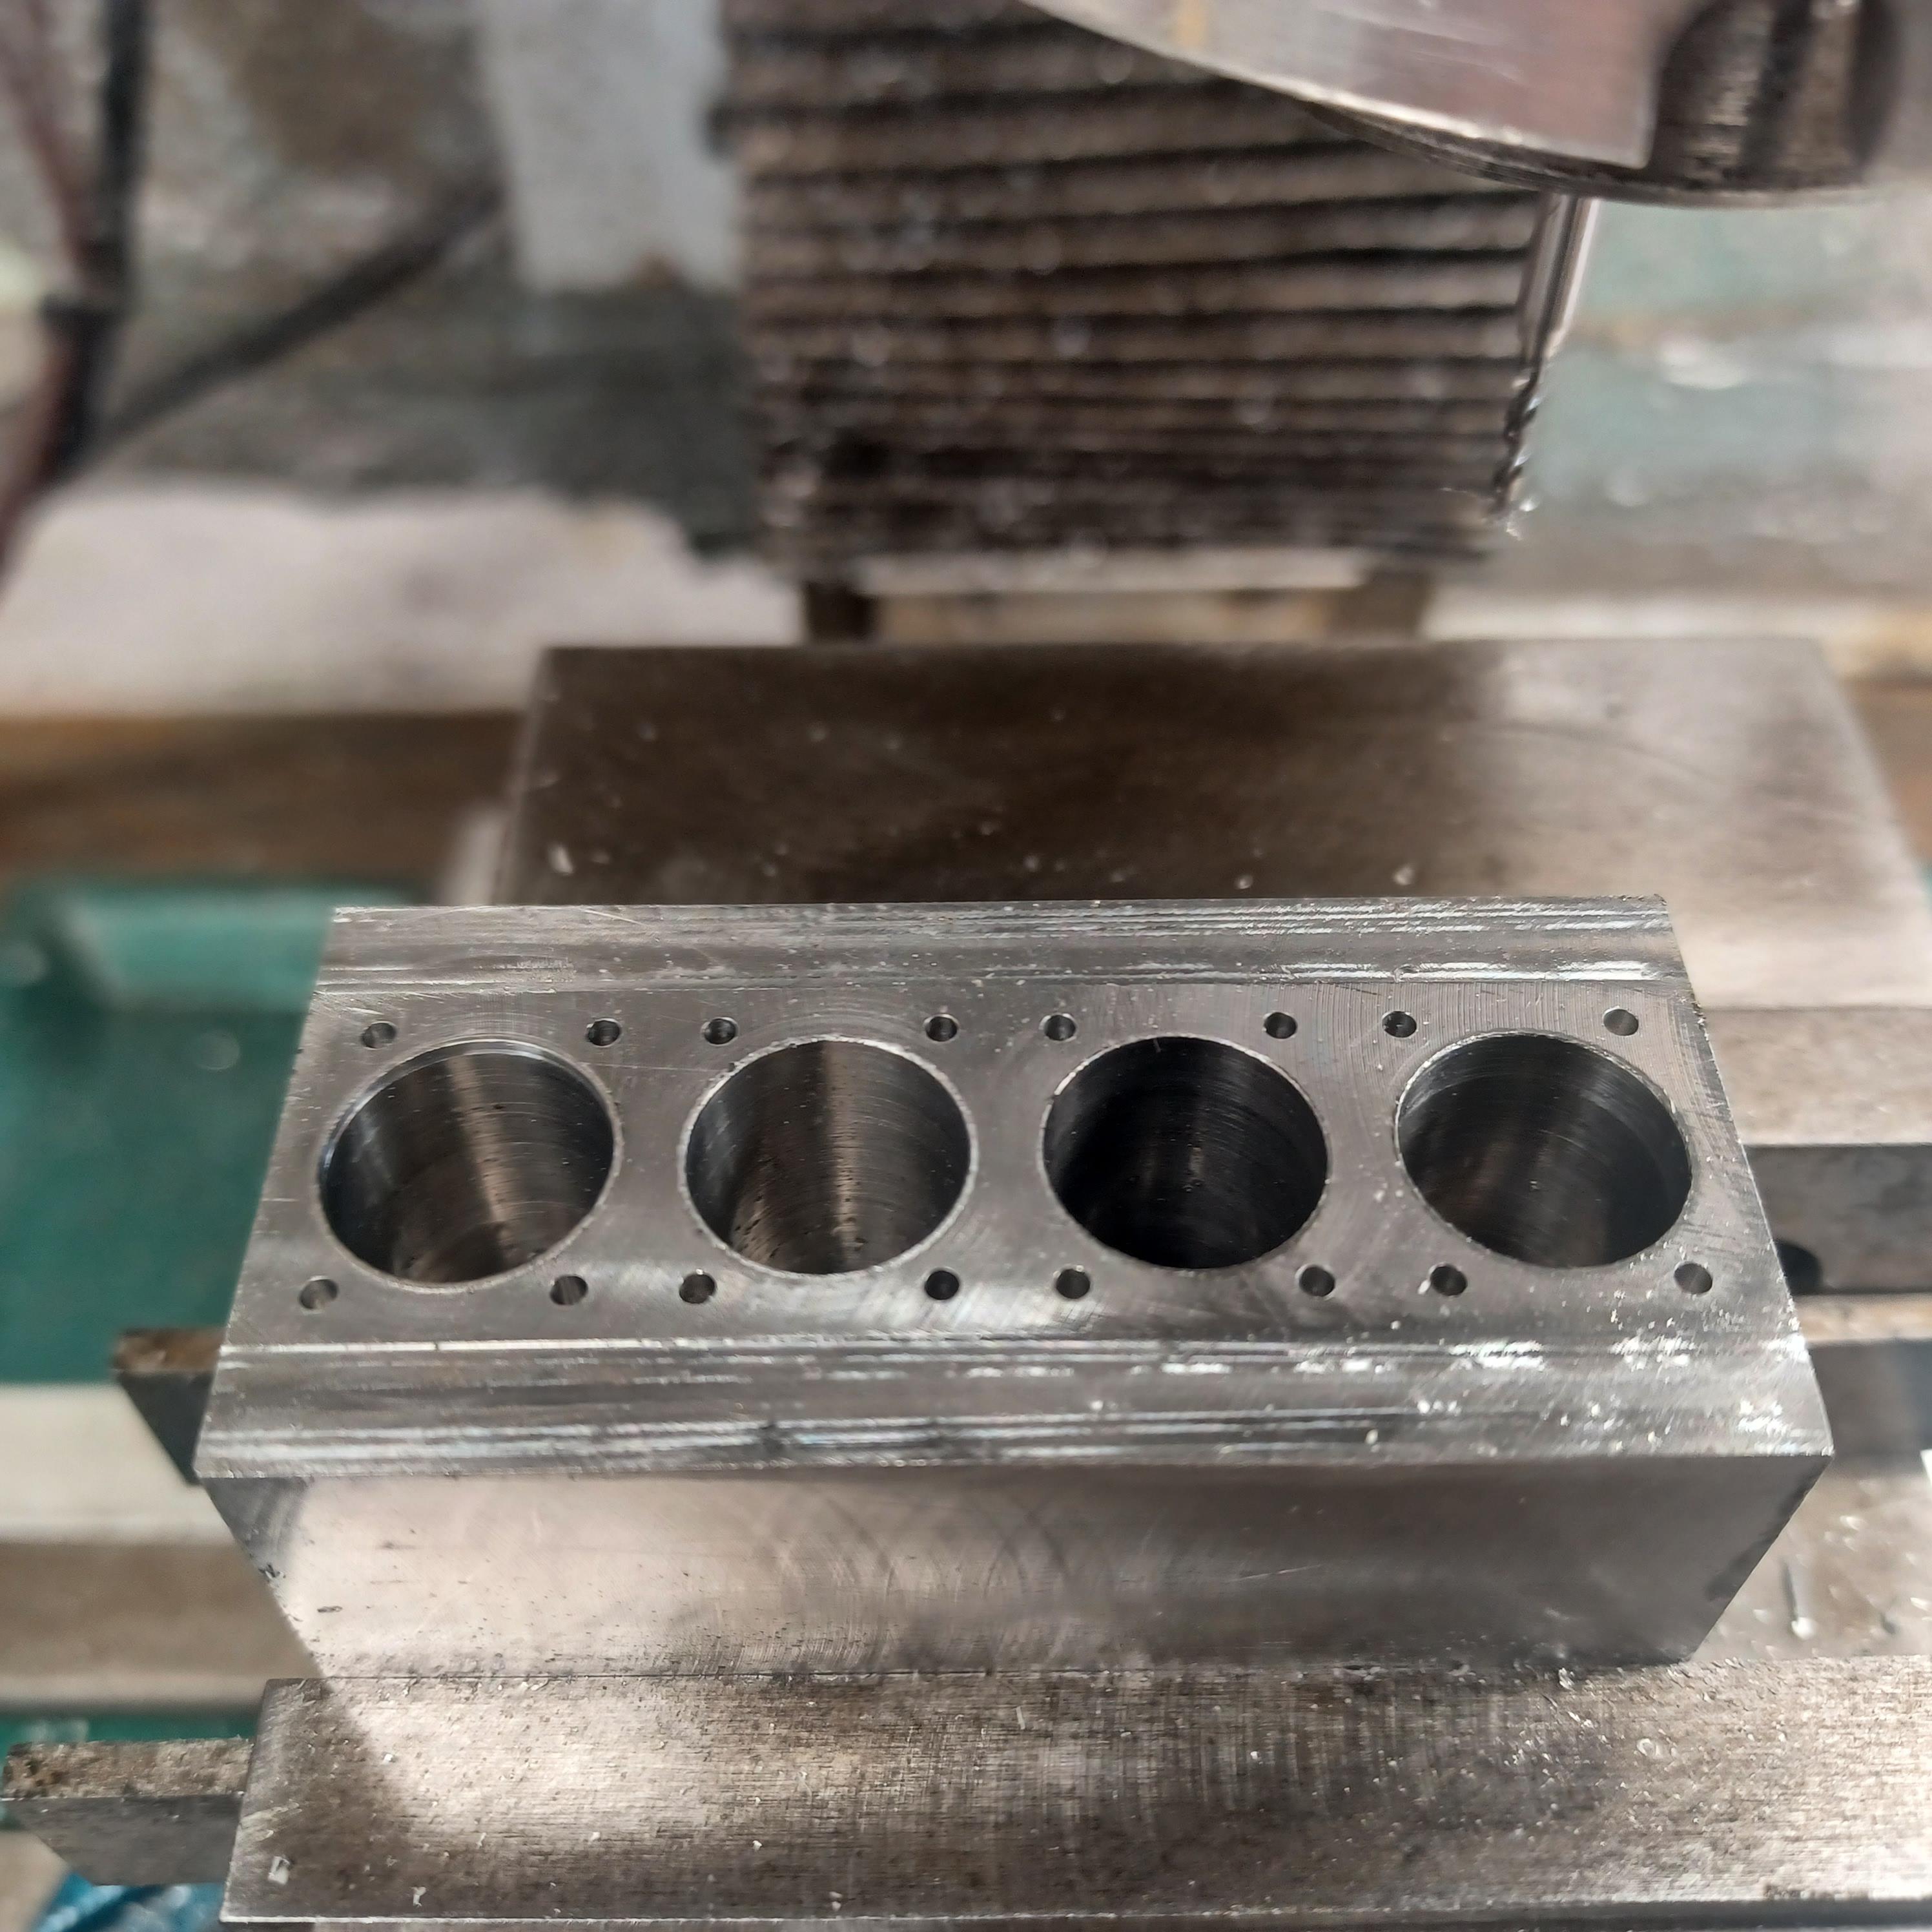
working on the blower today . i wanted to make it with as few pieces as possible. 3 pcs for the main section. next are the end plates.
-
1
-
-
super nice francis
-
1
-
-
When i worked for jack roush in nascar i was lucky enough to get to his museum in lavonia. Very cool place.
-
hi randy amazing work . i have learned a lot from you and your your updates. your car will be just a work of art. keep the up dates coming
-
the engine is coming together. i really like this engine . you may have noticed that.
-
1
-
-
And i thought building a body from scratch was a lot of work.looks great pierre
-
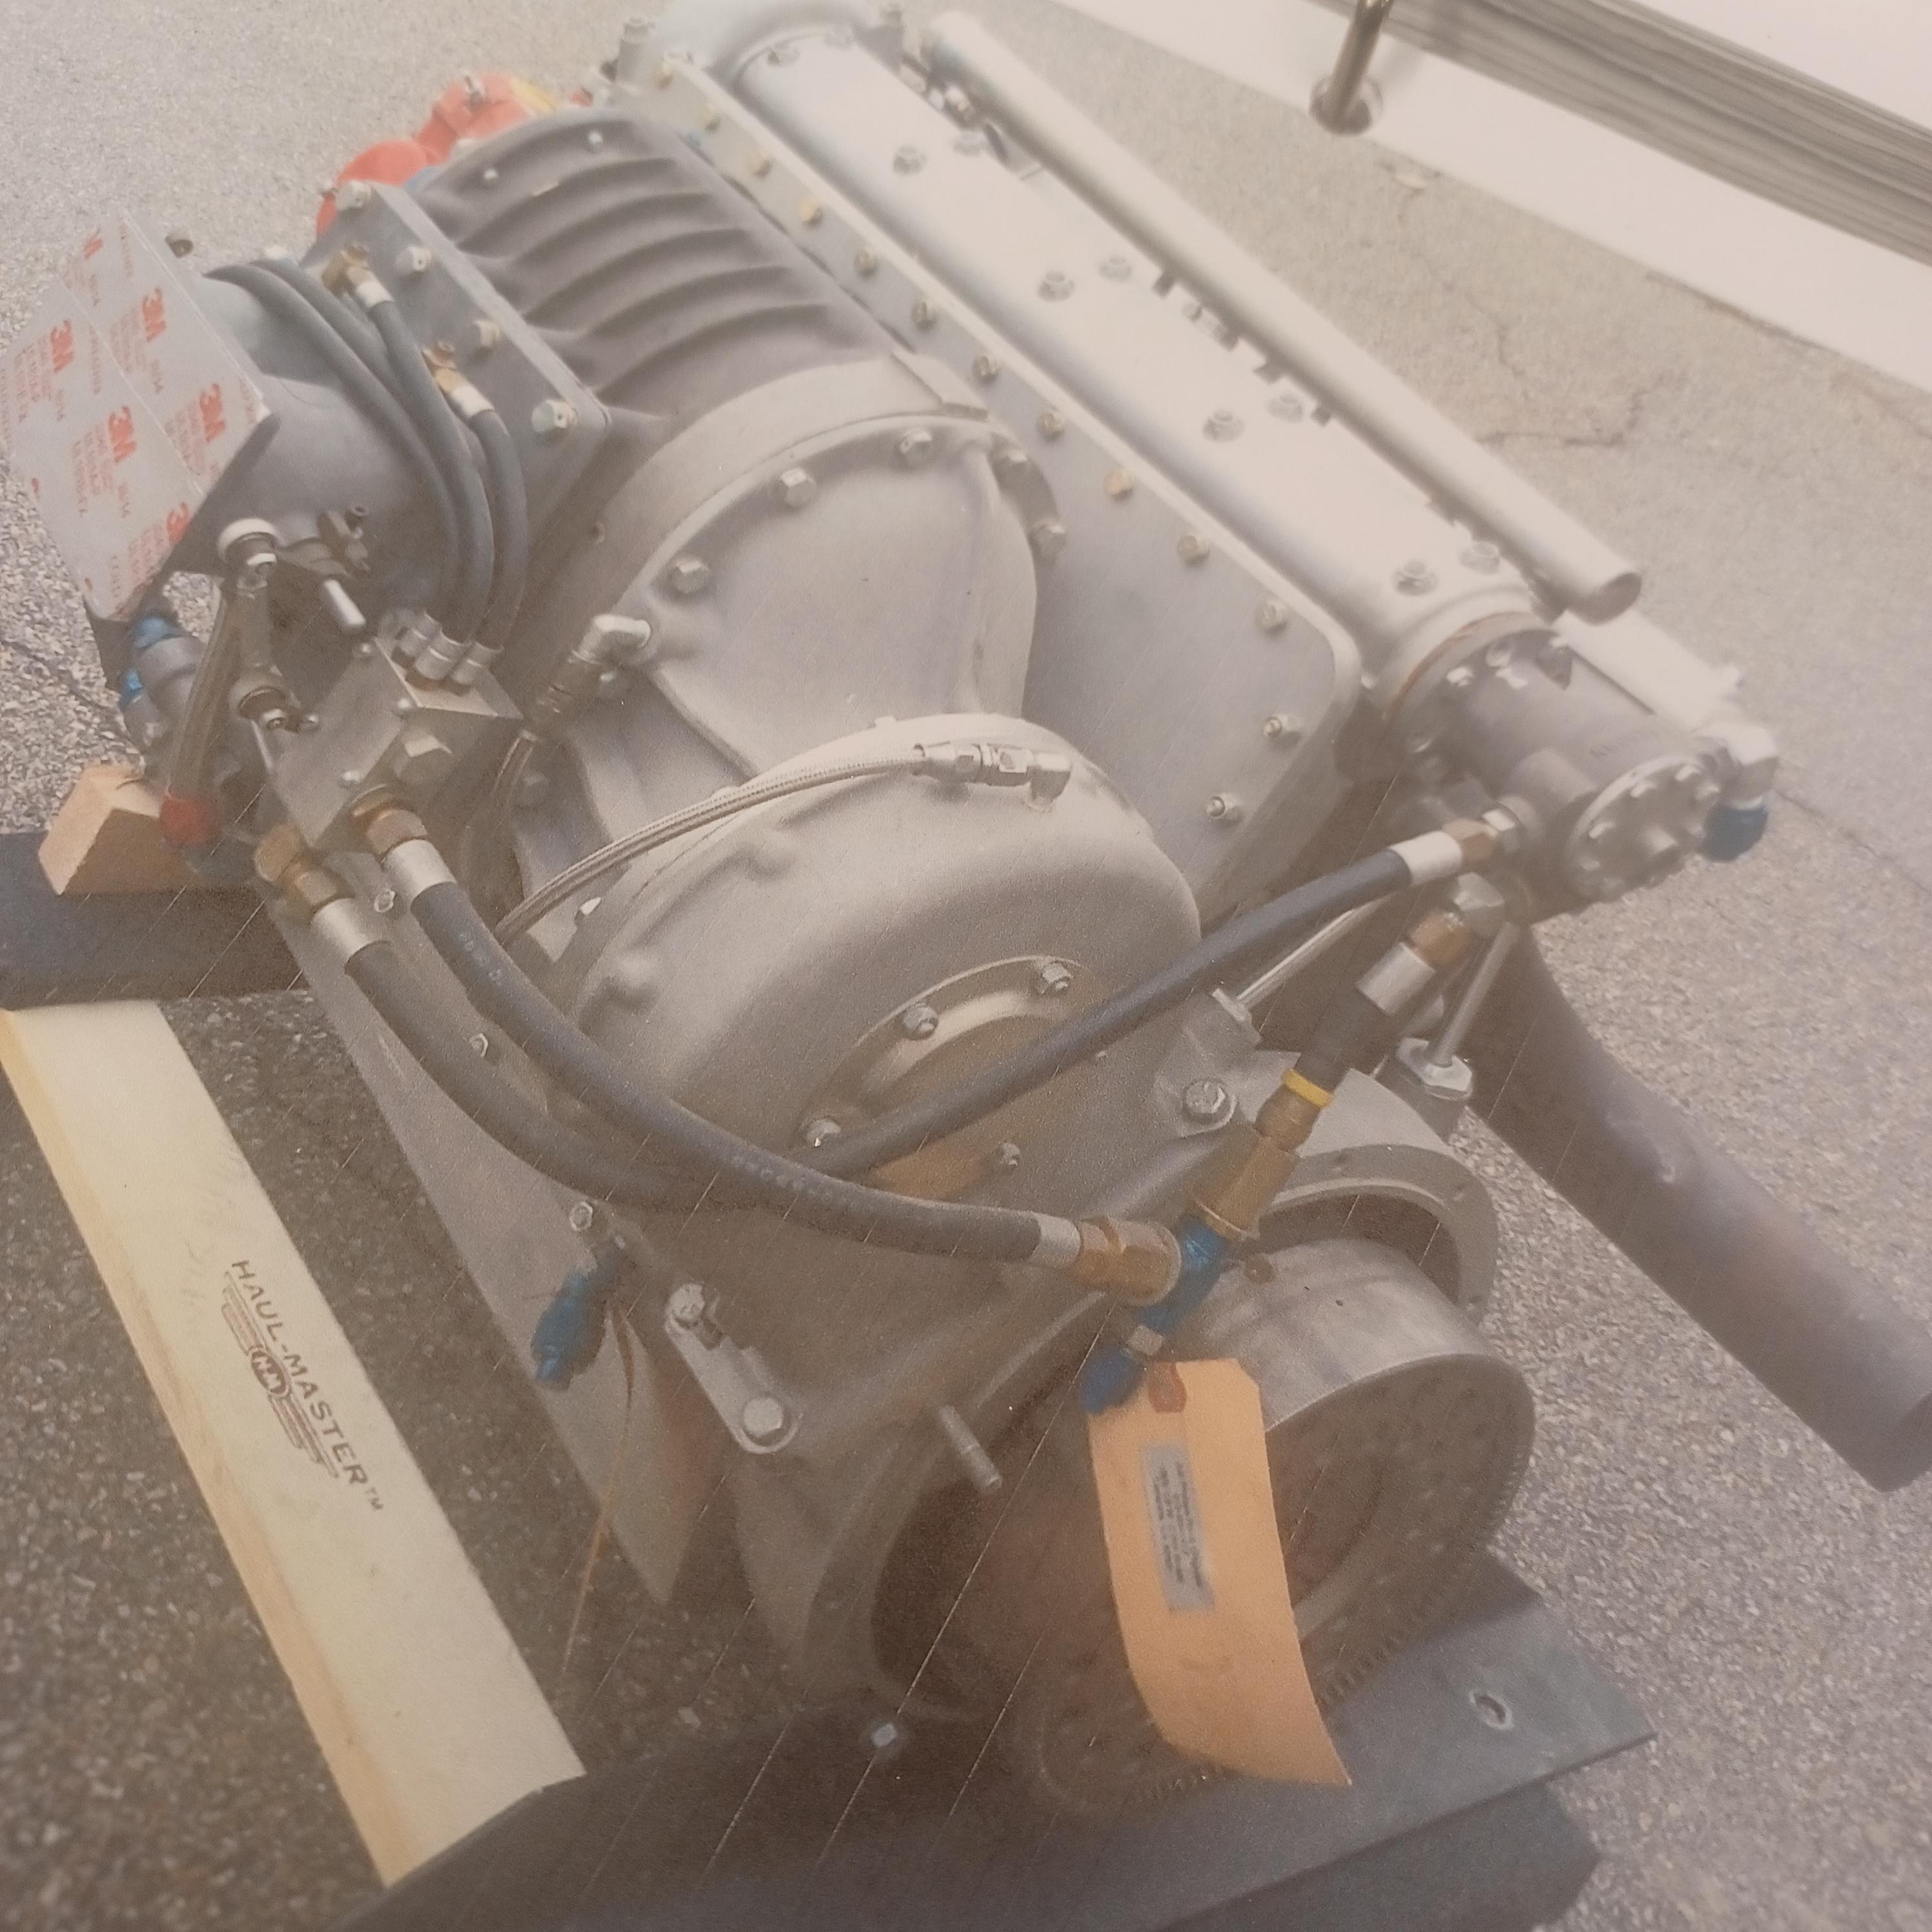
hi tim probably just my usual aluminum and brass. with some info from andrew , he was here at my shop today ,maybe some german silver. andrew thanks for the visit and the pictures , always great to have visitors. big John, WOW, thank you so much. that is great. where did you get that from? i am going to have it blown up to hang on my wall.
-
THEY REALLY DO LOOK ALOT LIKE THE OFFY. sorry about the caps lock. i have a good start on the offy and am excited about the roots type blower. it looks great. sometimes it gets a little messy.
-
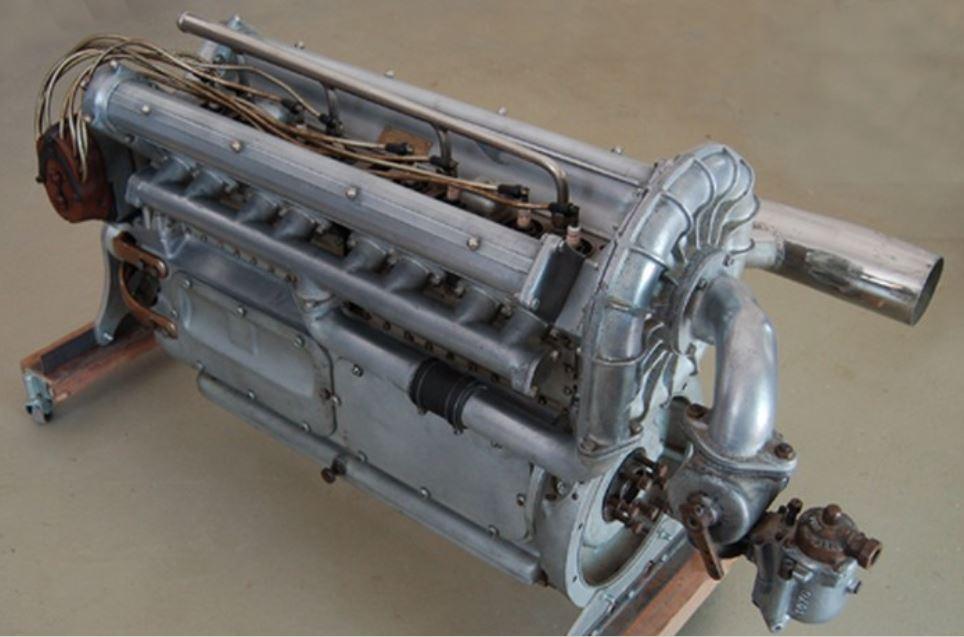
hi tim, so nice to hear from you . this project has been a major under taking, planing as i go along. i have decided on an engine finally. do to engine compartment size i am doing another offy 270 with a super charger.machining the engine is allways my favorite part. i am still struggling with what to do for front suspension. i am drawing up 2 different front ends trying to decide. thanks again for your comments
-
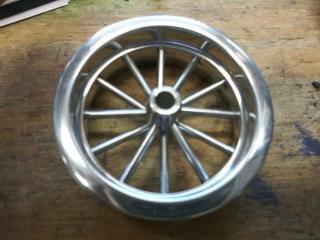
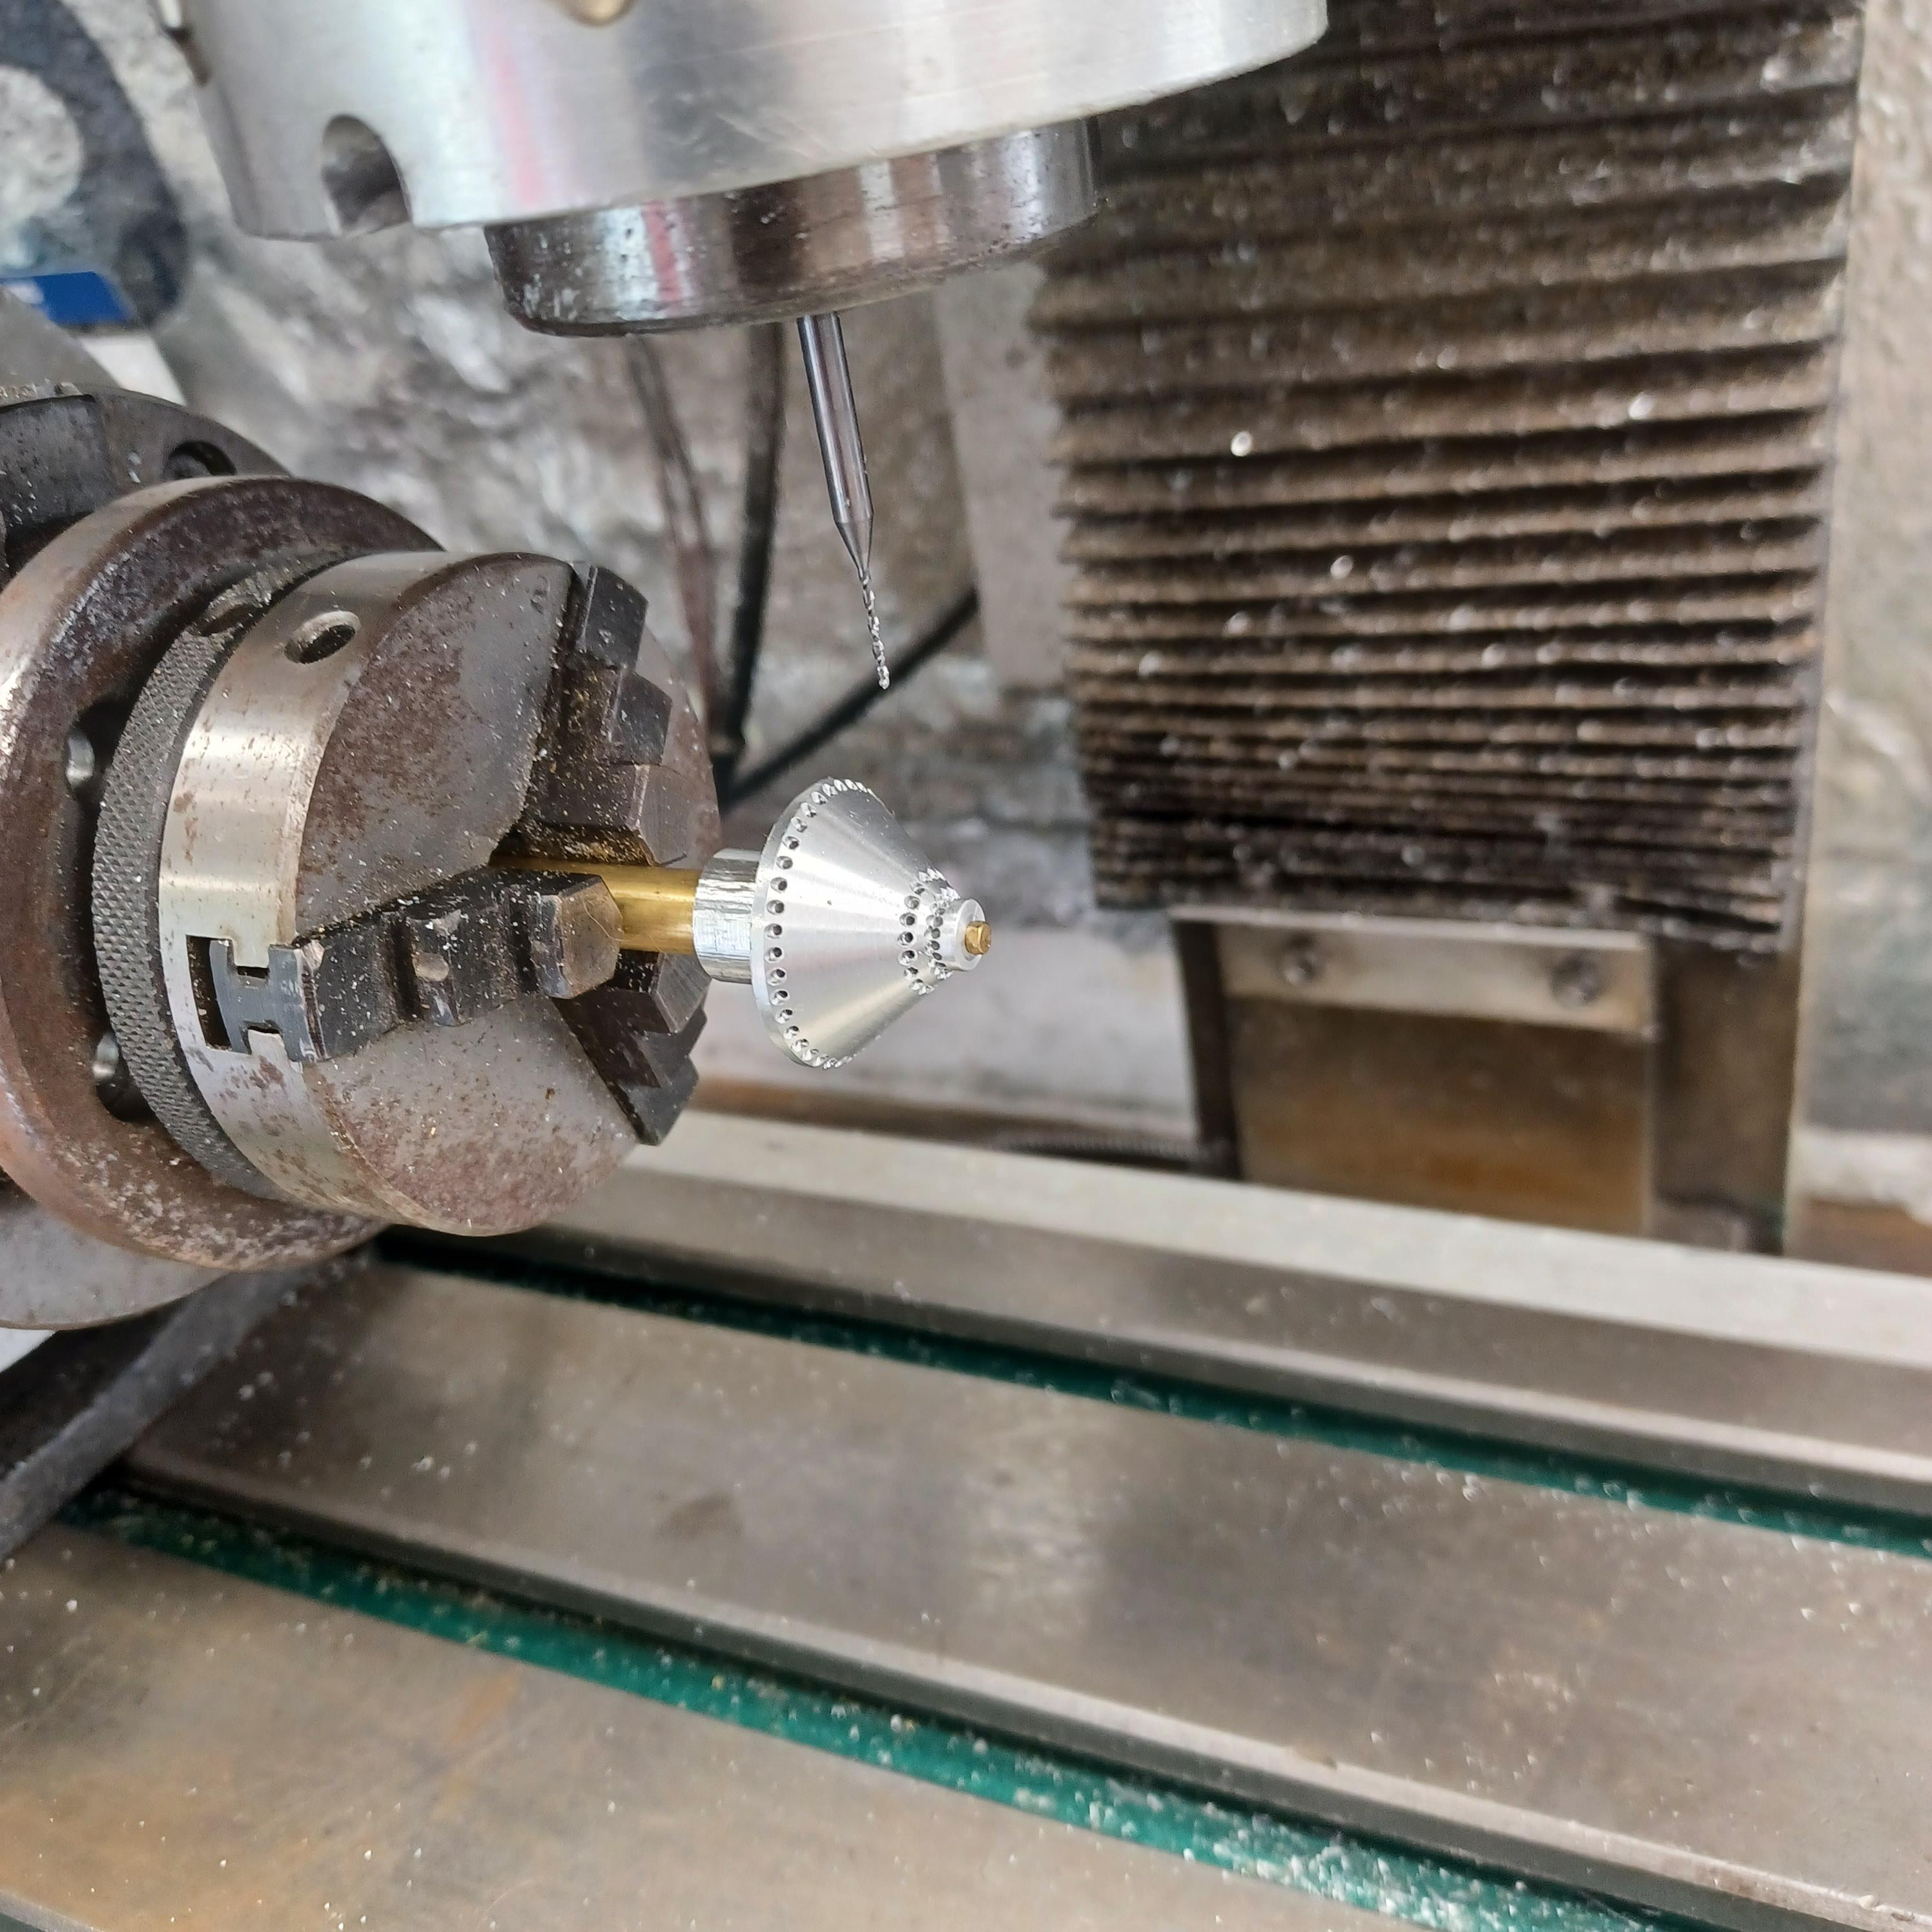
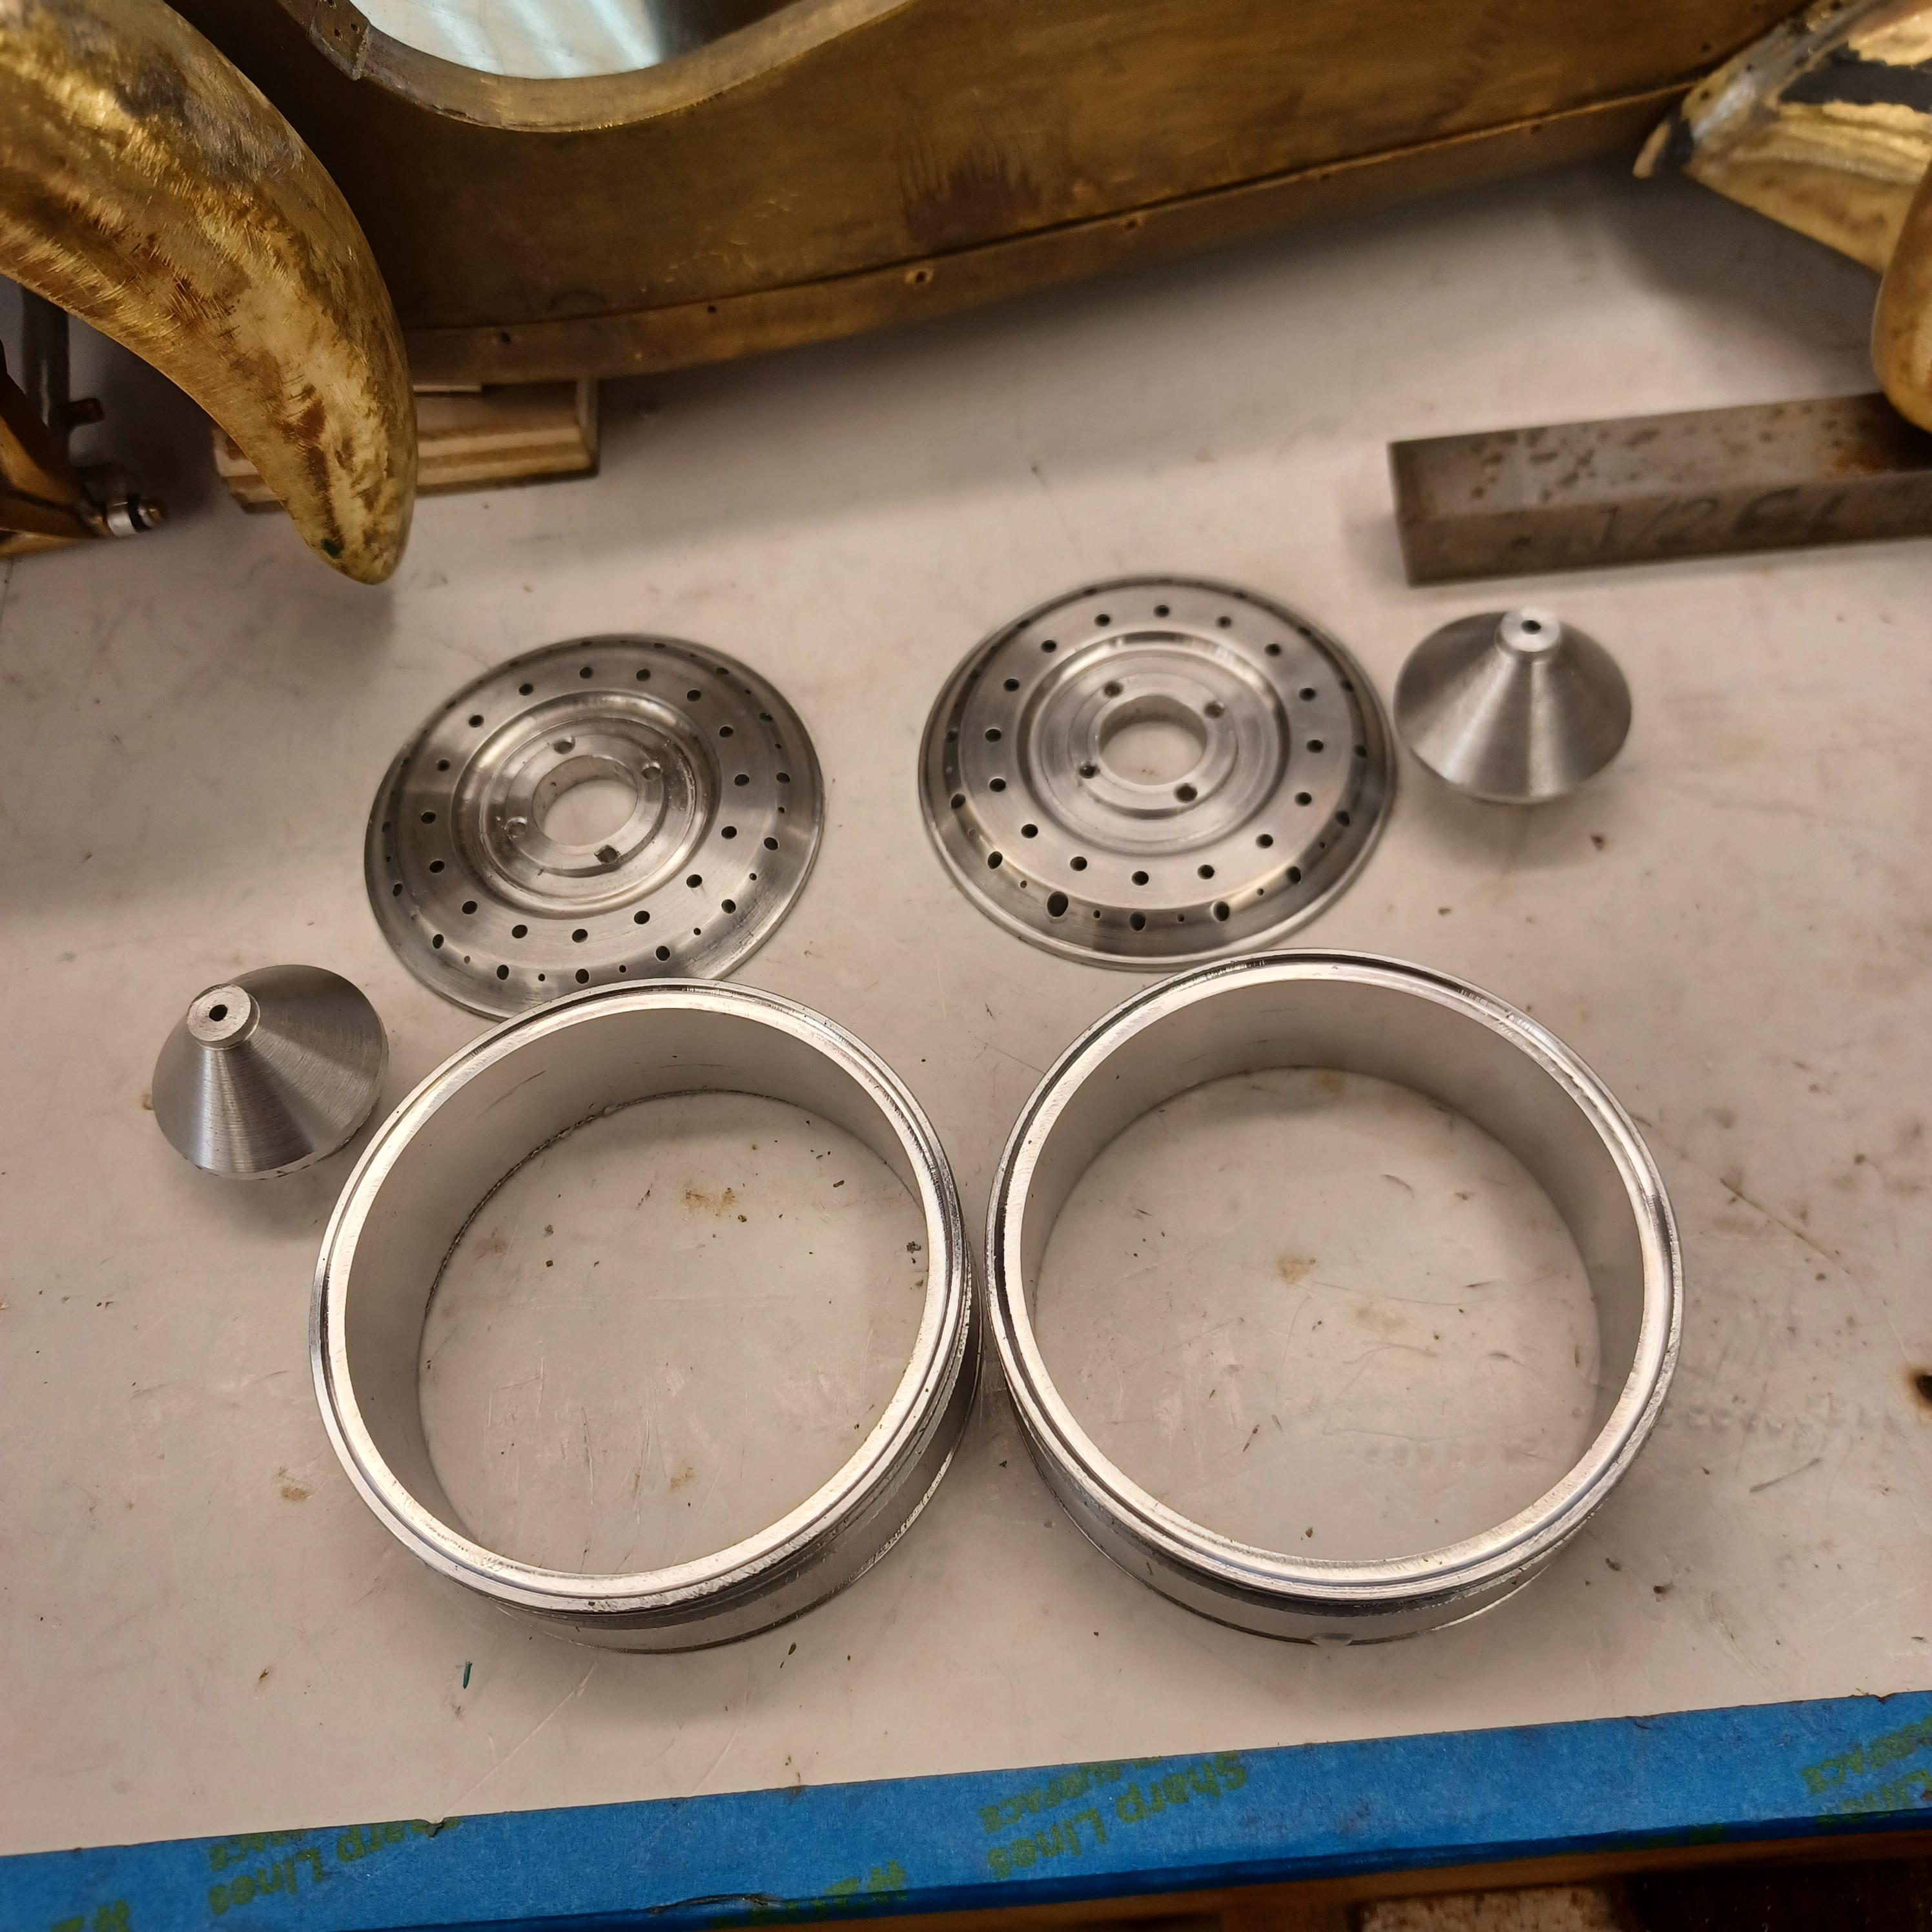
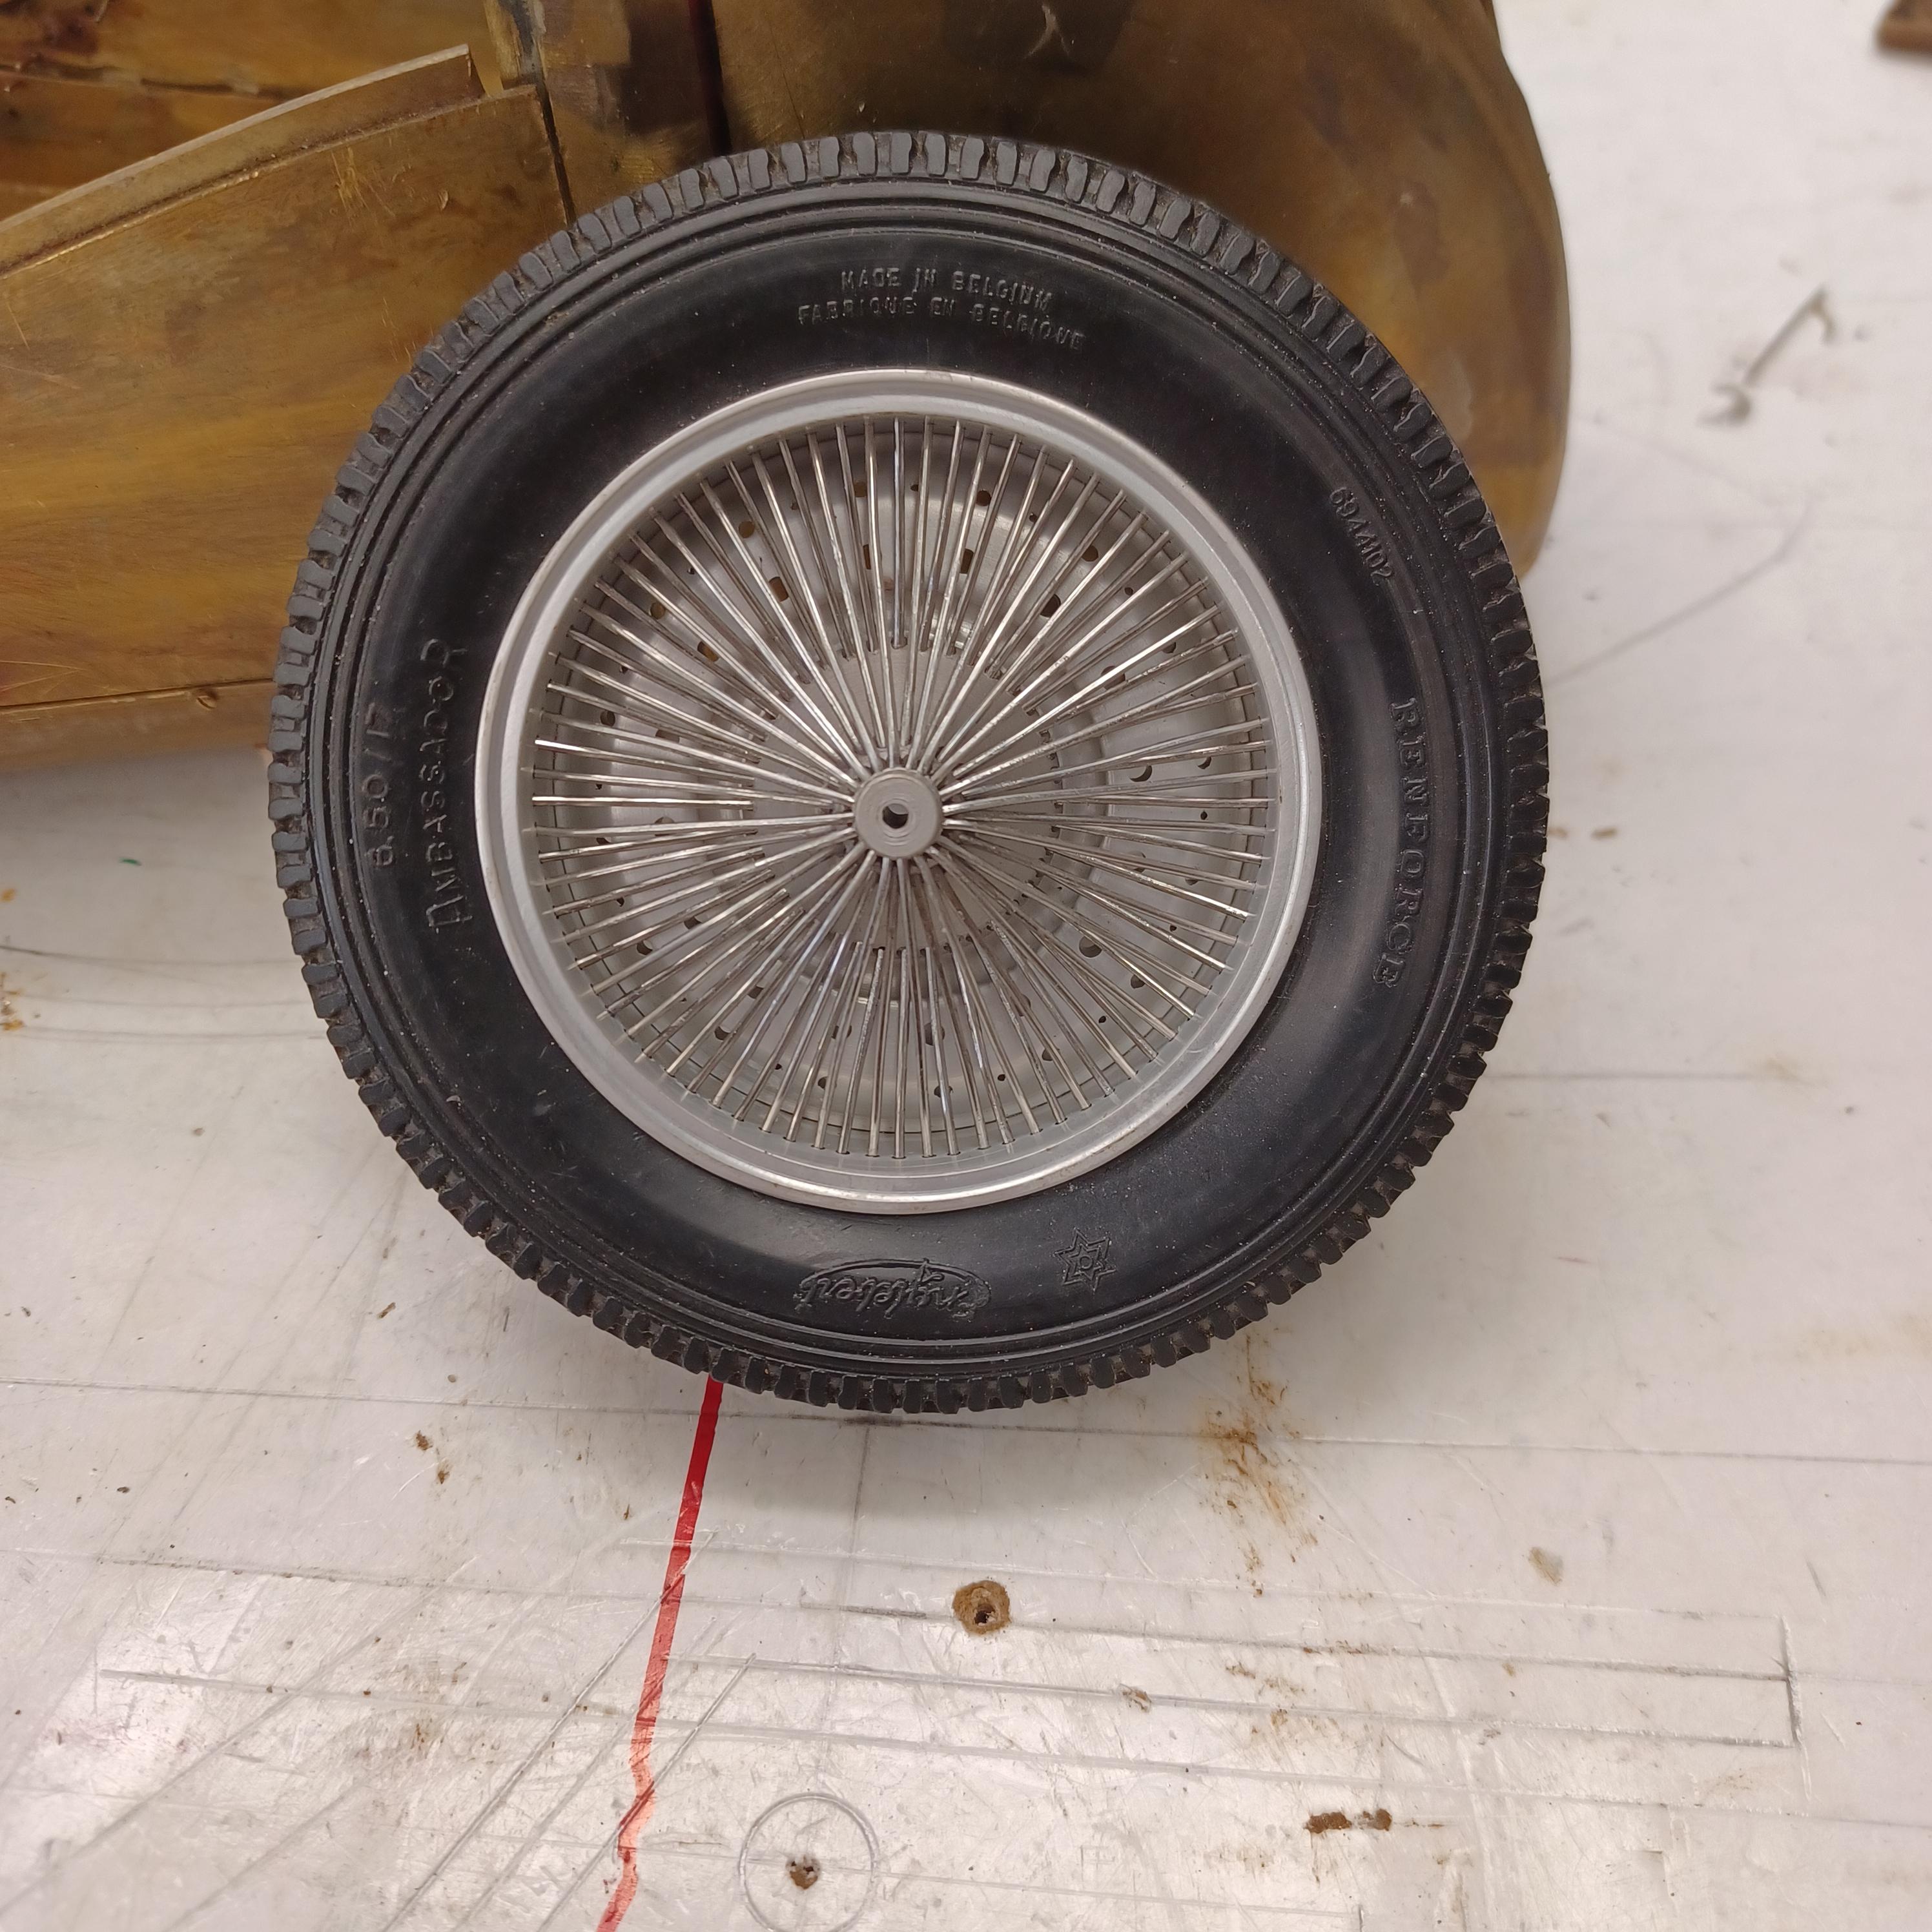
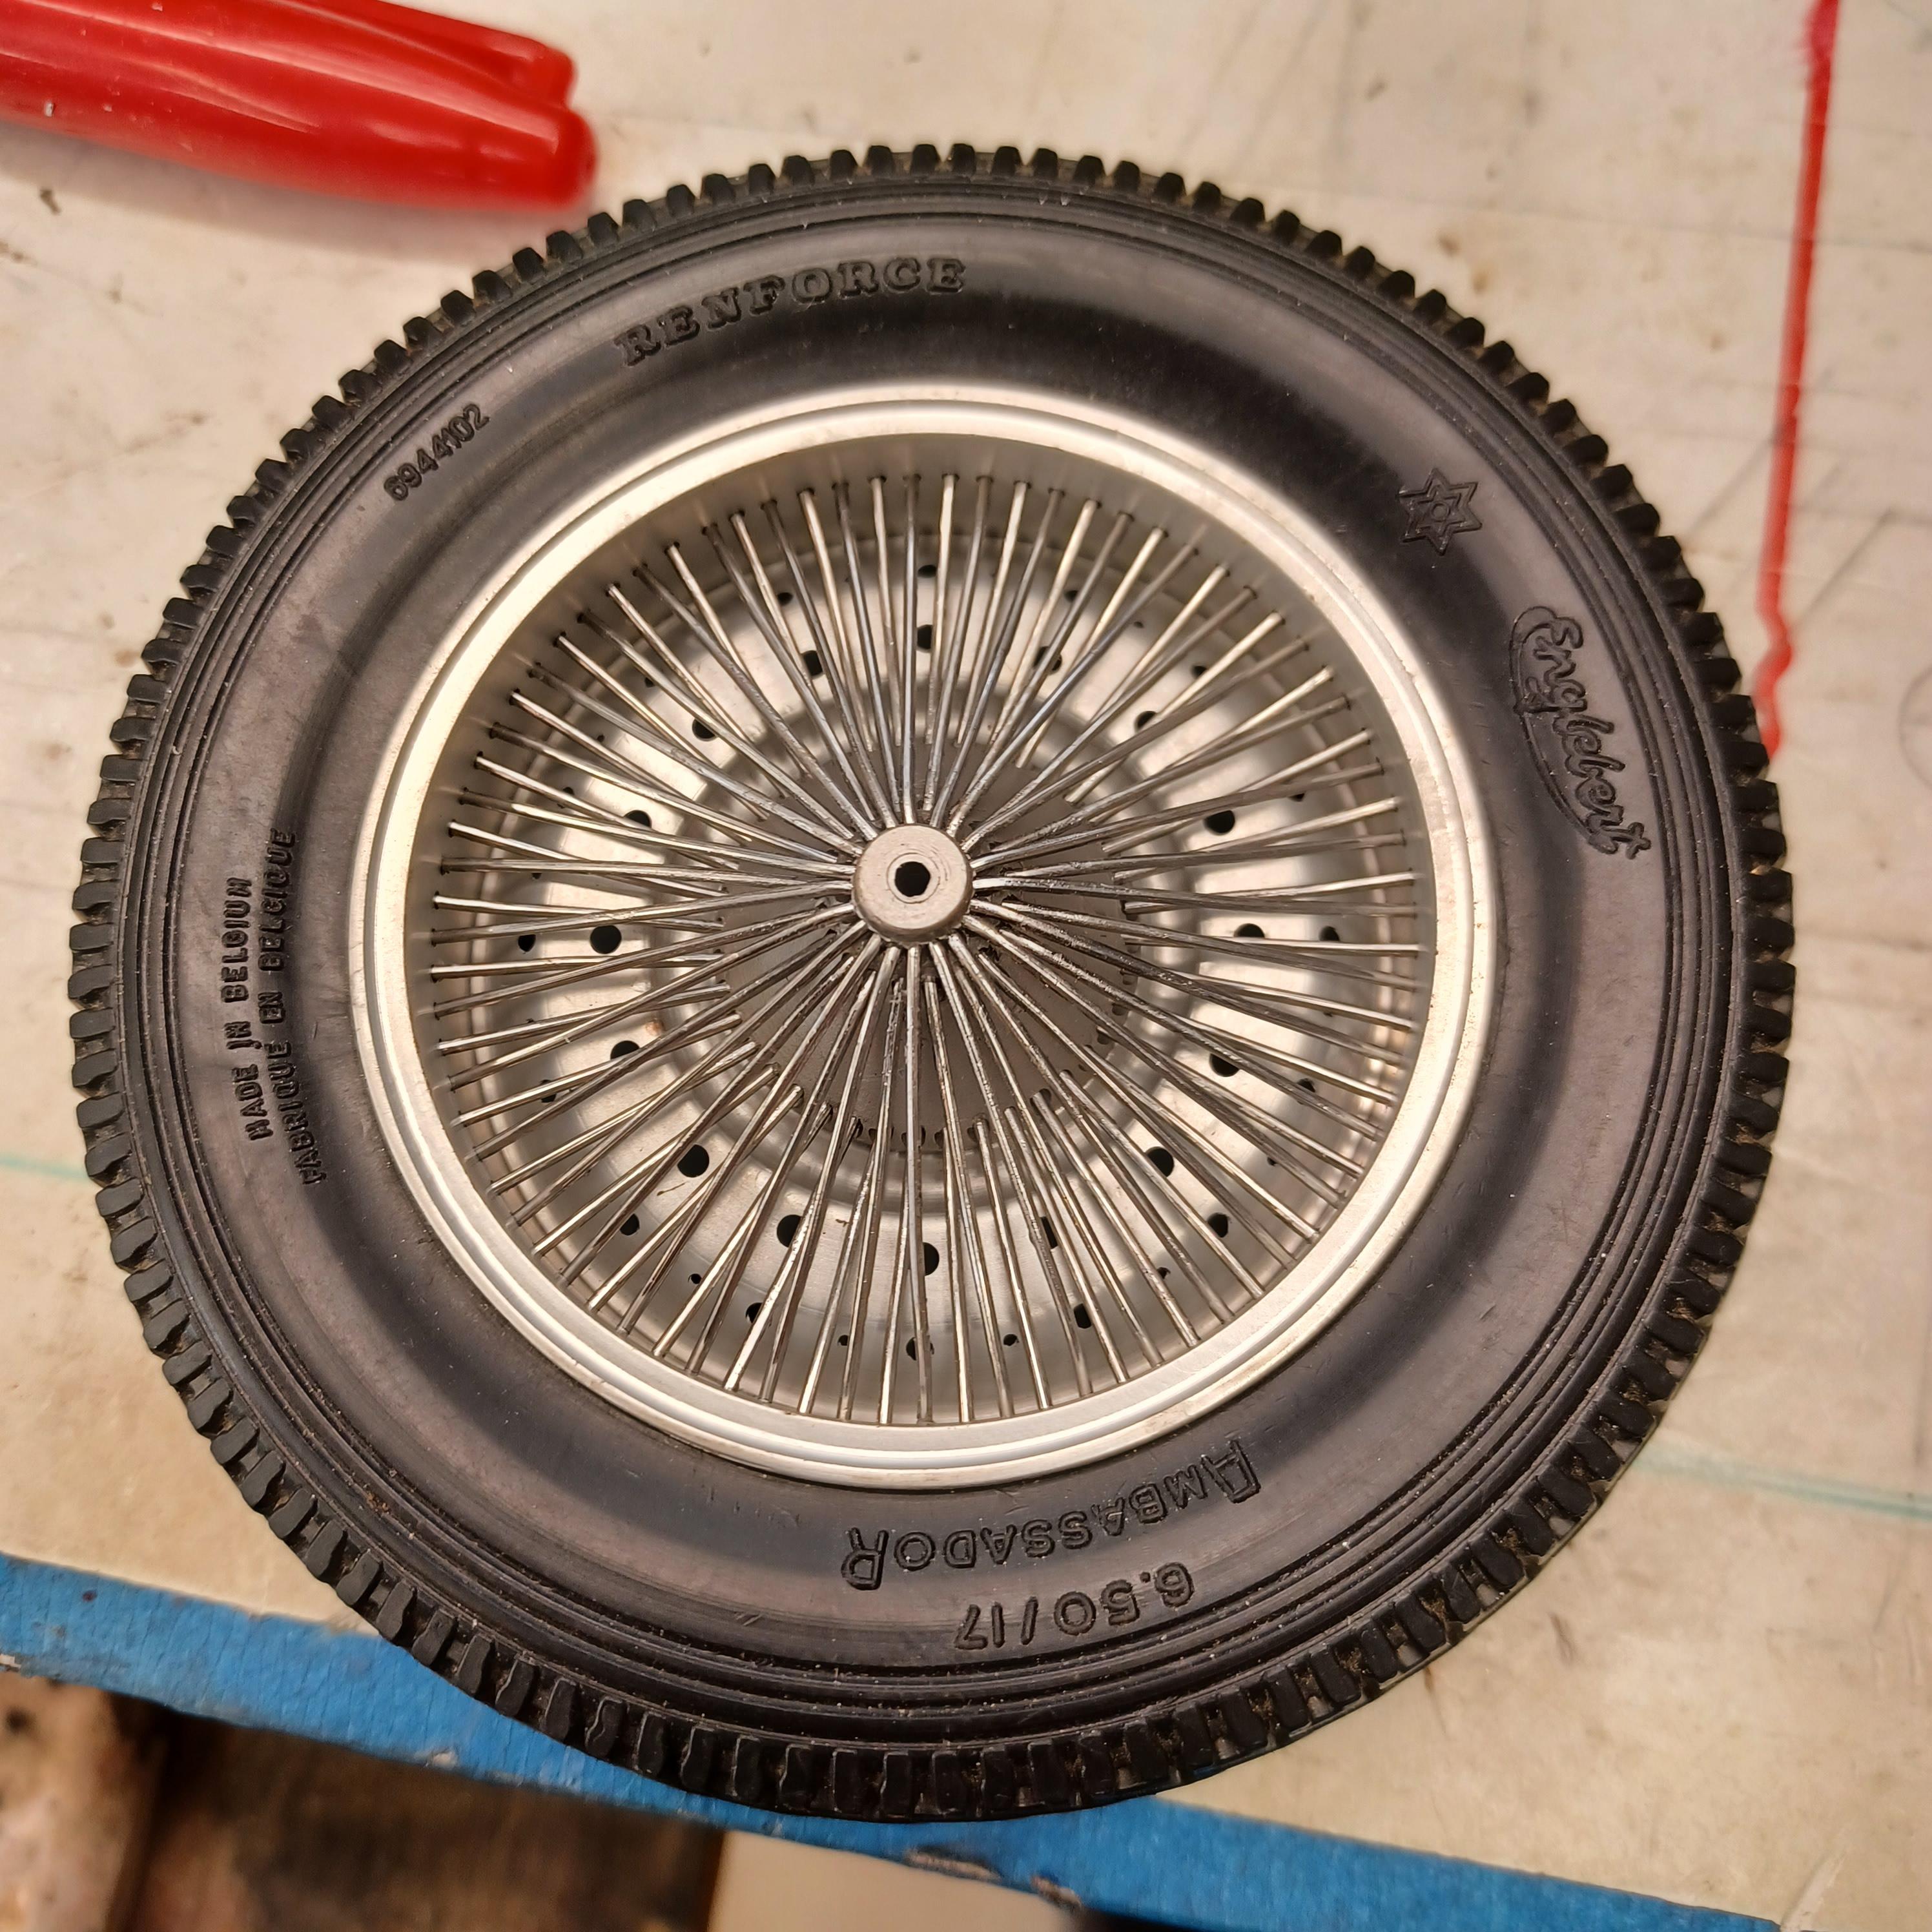
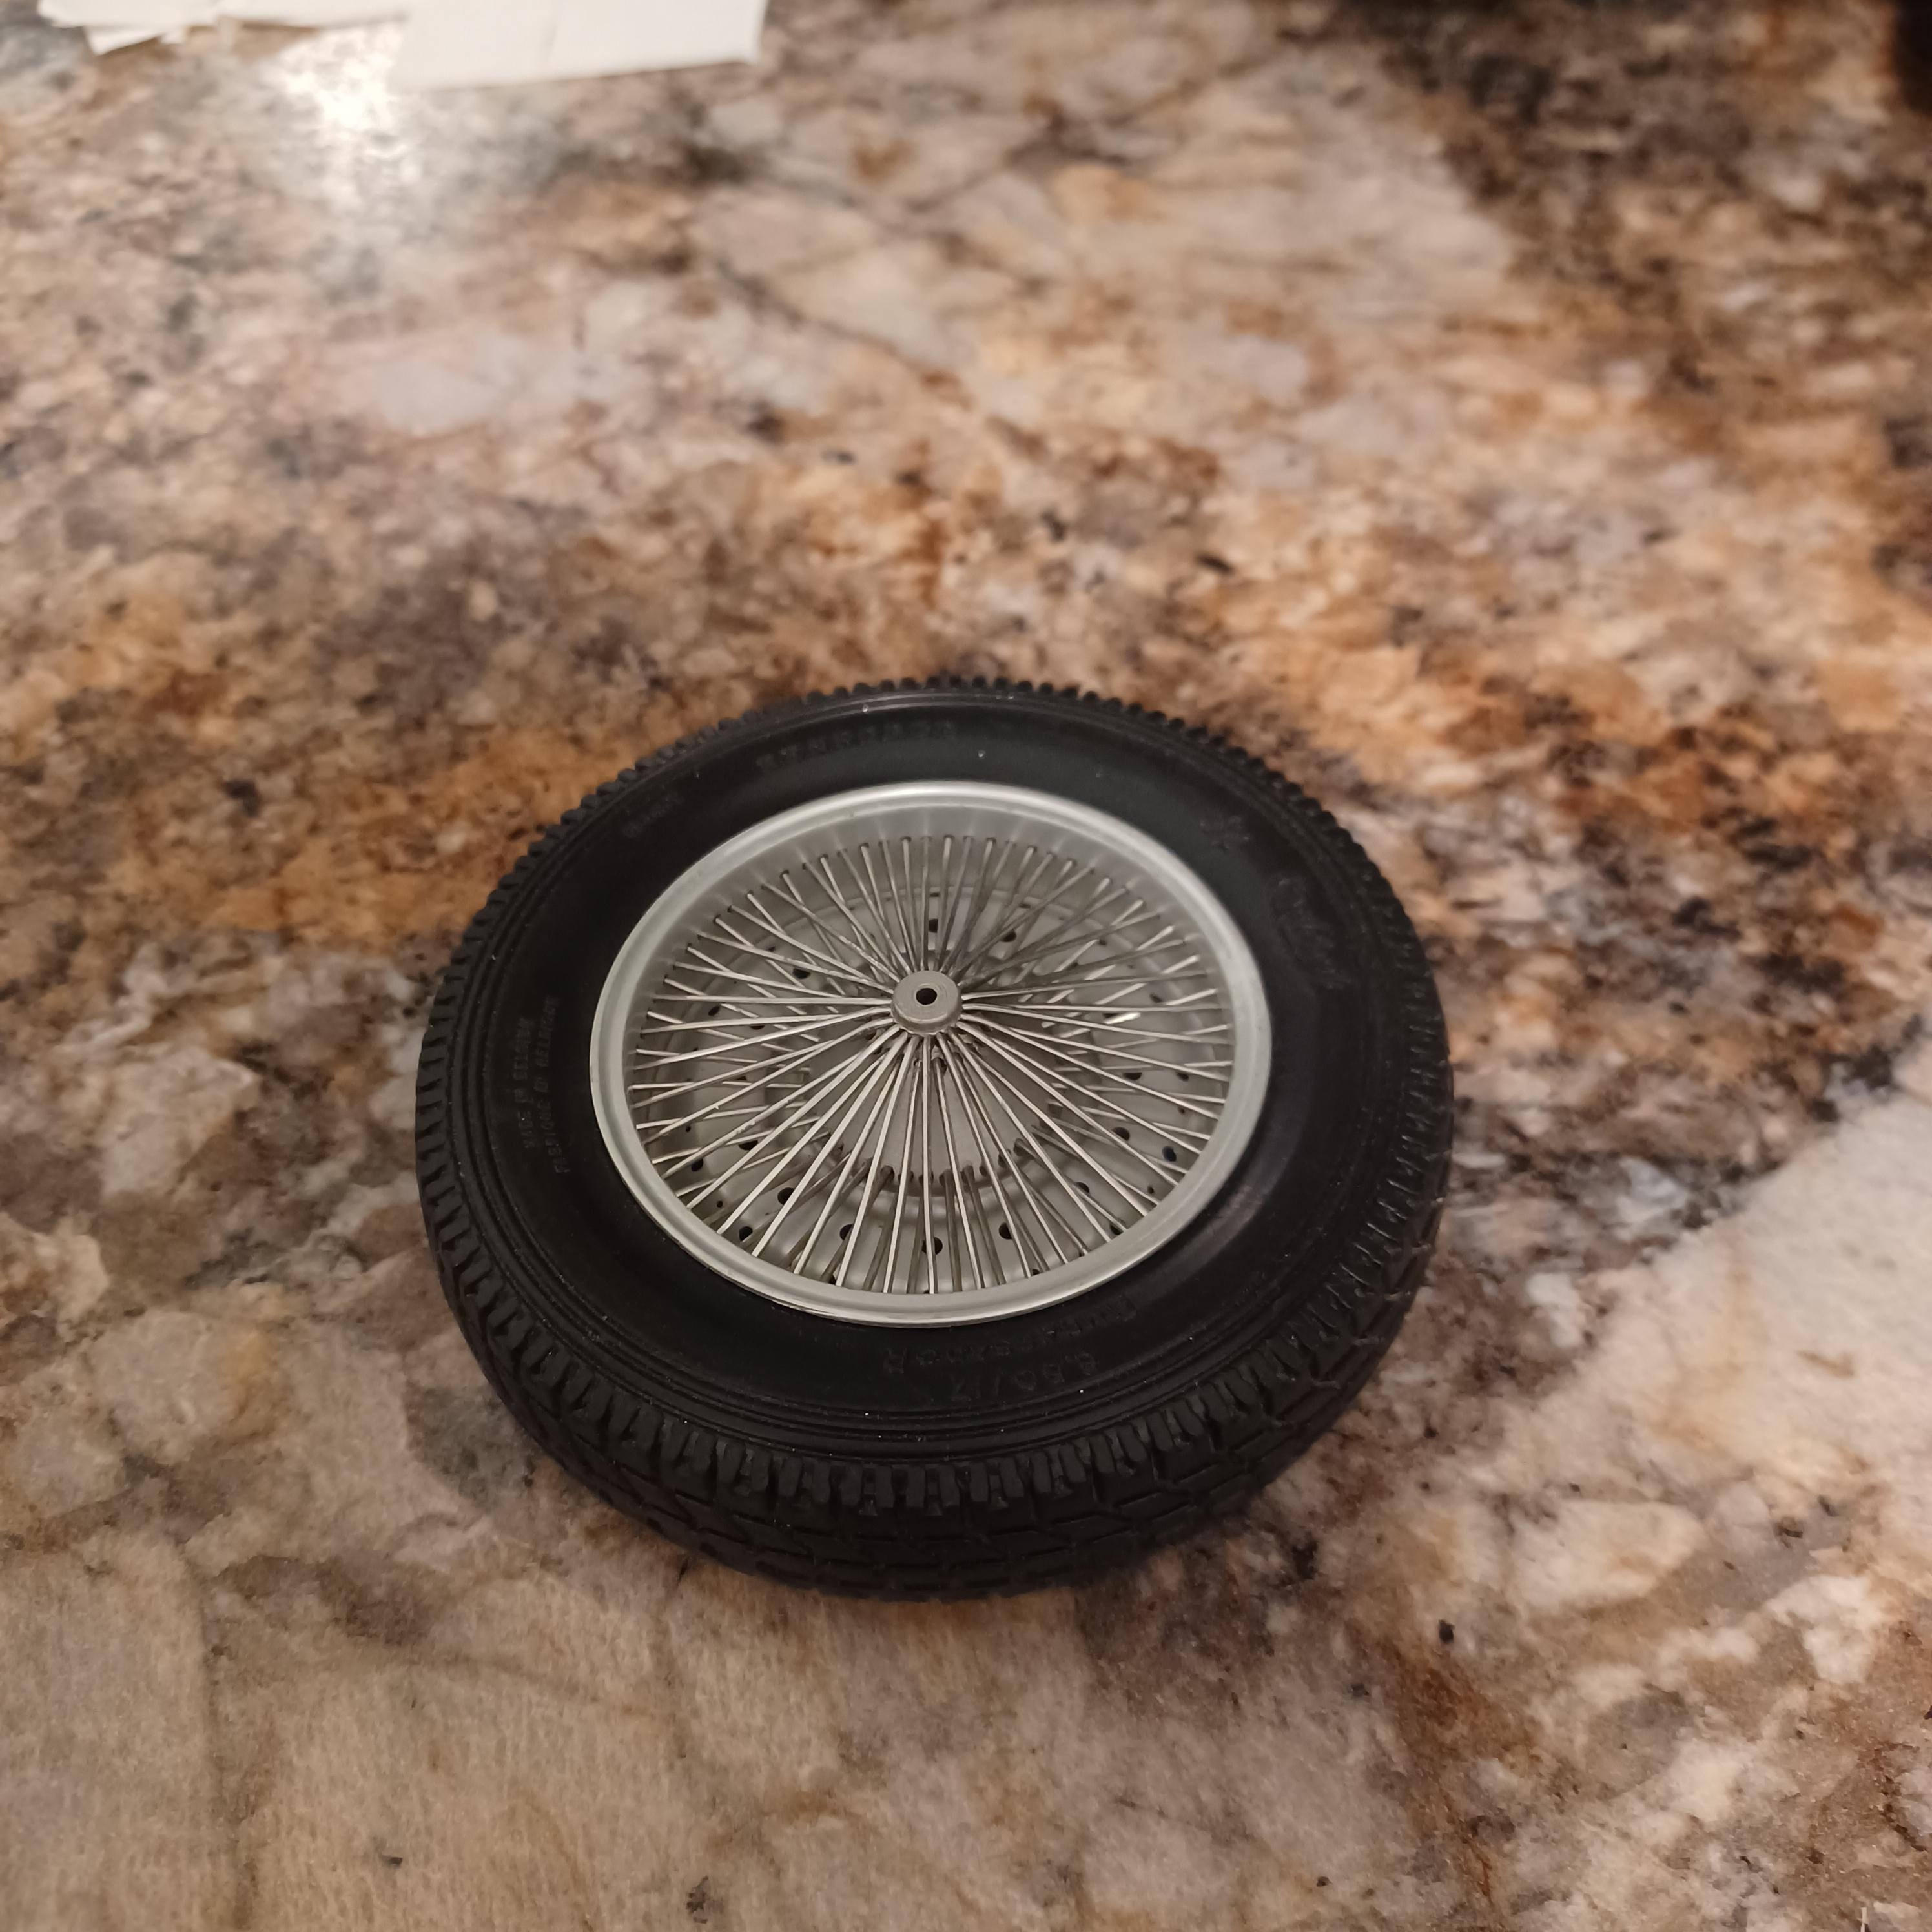
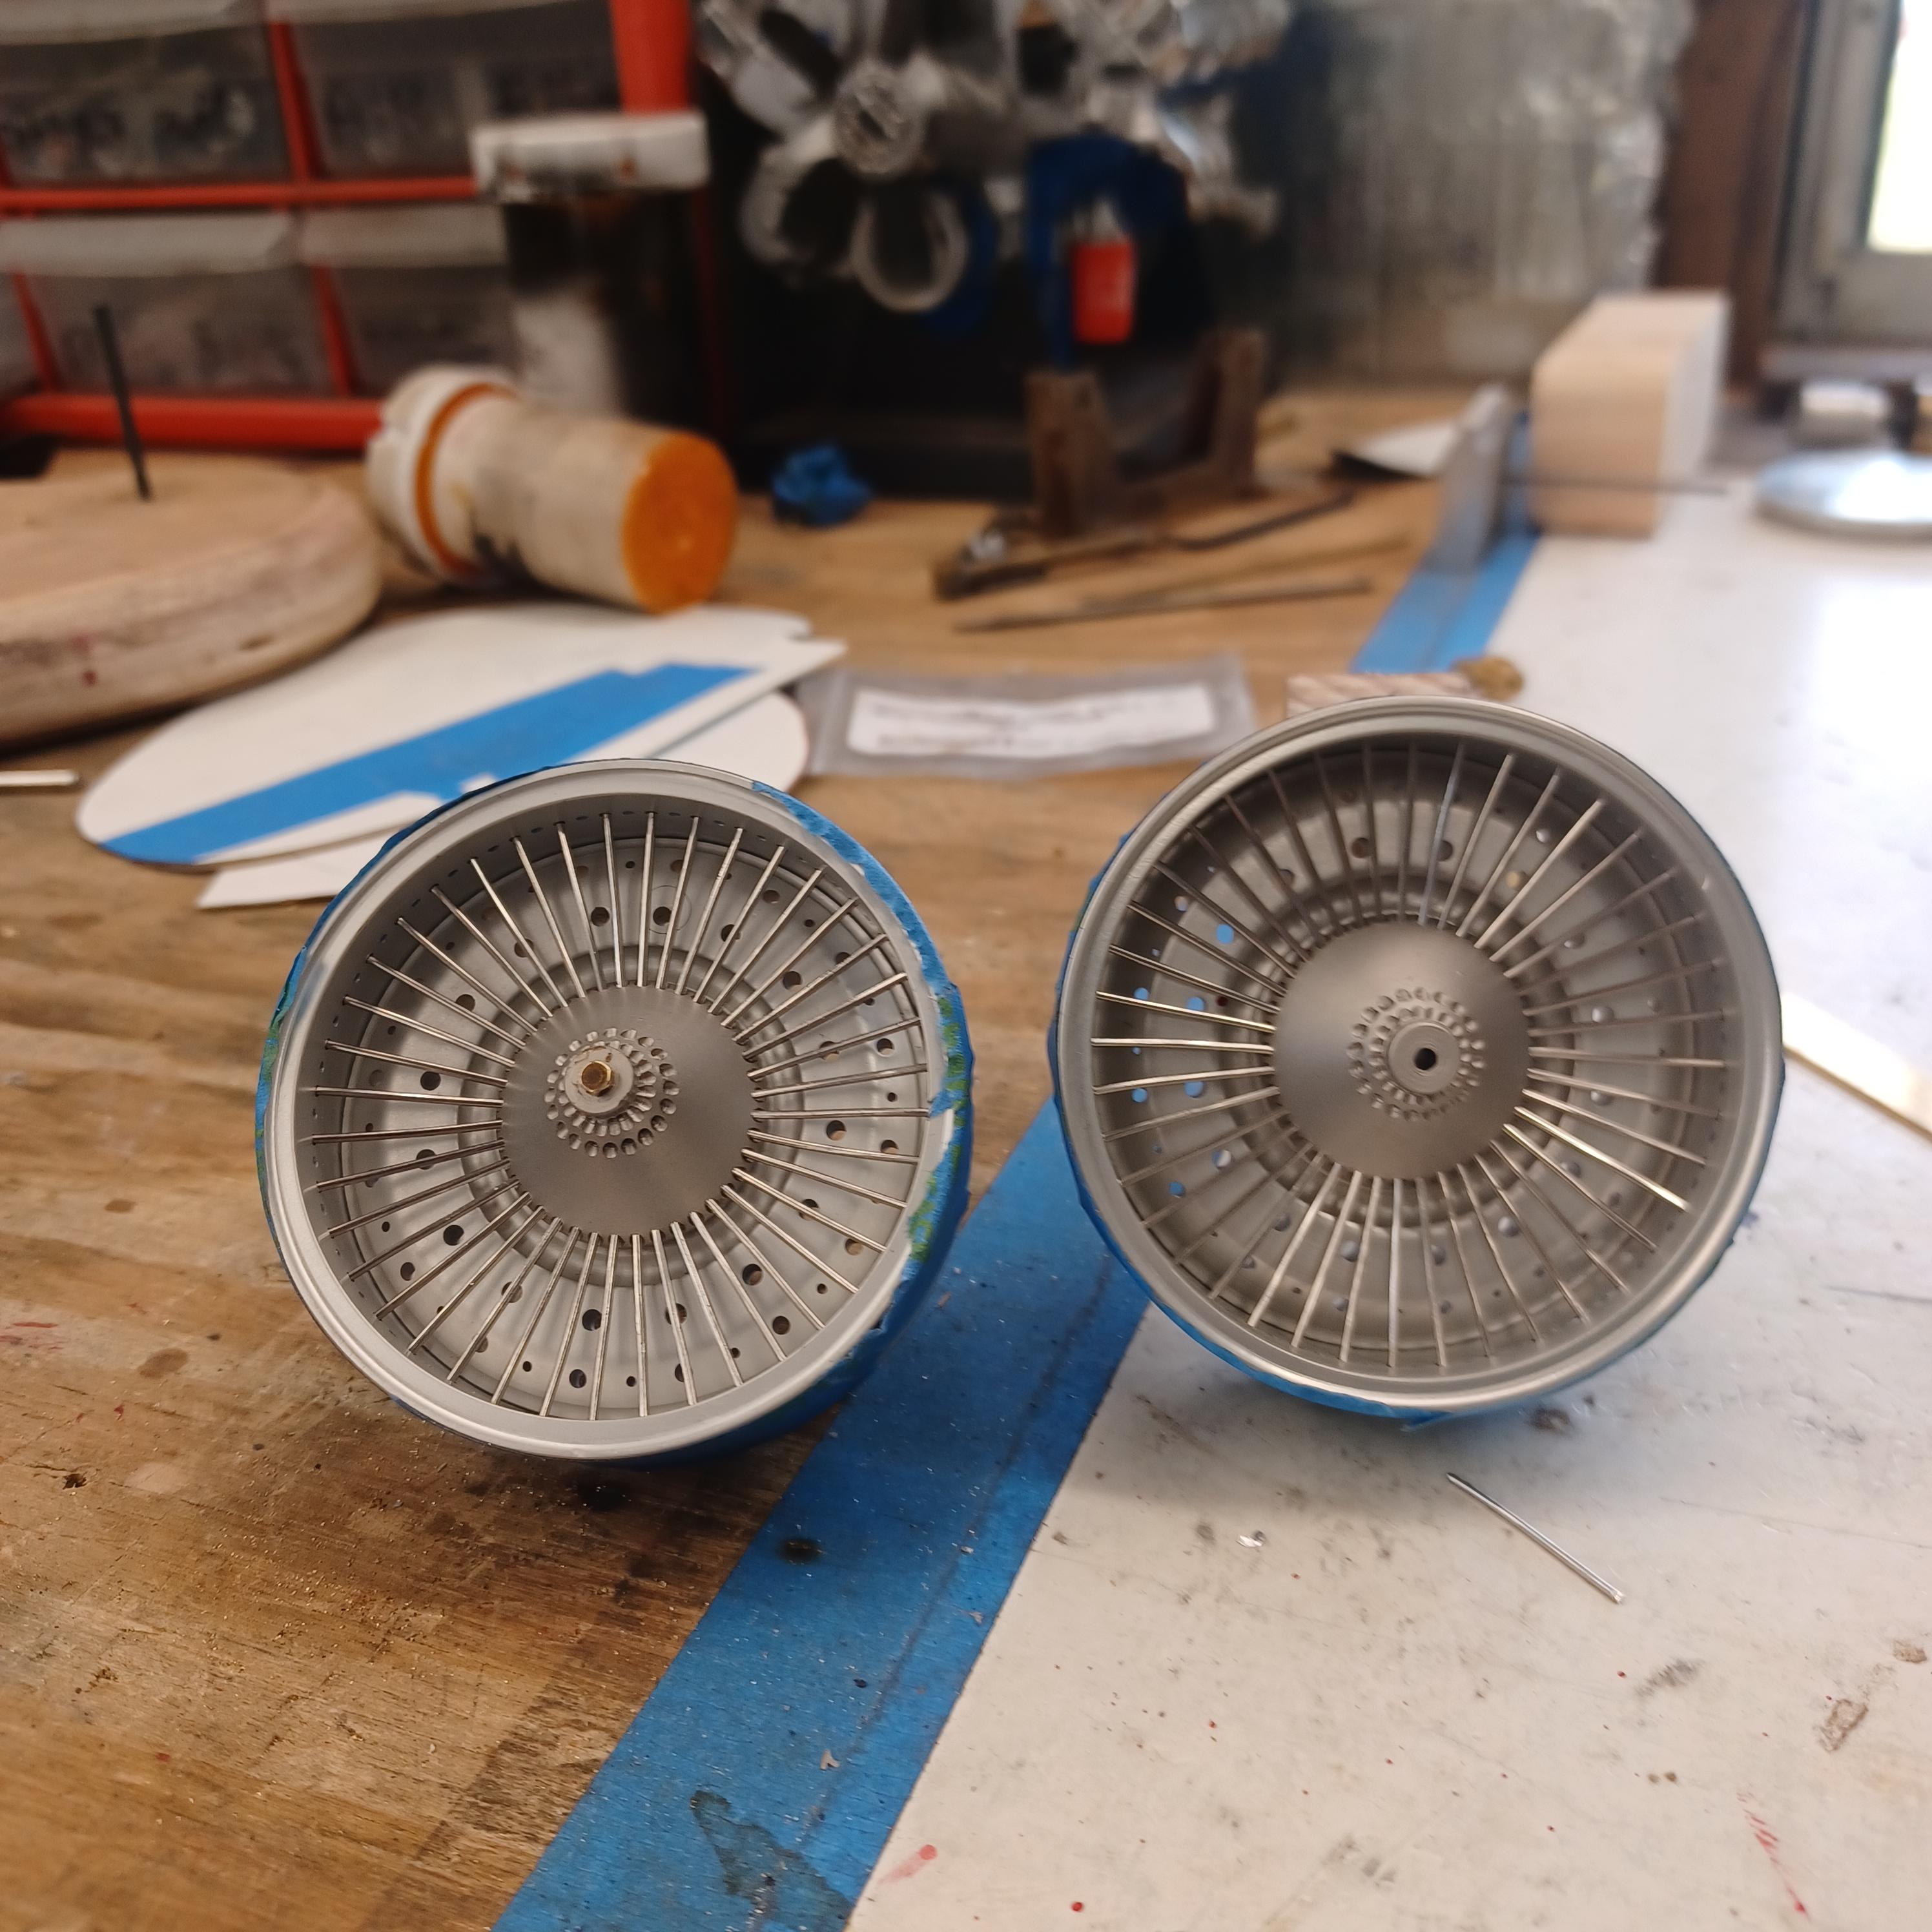
here is a couple of pictures of the offy i did two projects ago. i thought maybe the supercharge engine. the miller 91 scales to 6.25 inches not including the supercharger on the back or the distributer on the front. dont have enough room. since this has never been a real car how abought a six cyl. supercharged offy or miller, same thing? got the 2 front wheels assembled. got to anodize them tomorrow, and install the wires. andrew allan and john,thanks for your inout,greatly appreciated. also working on the front suspension as well

-
1
-
-
Car looks great pierre.going to be awesome when its done,glad u didnt give up
-
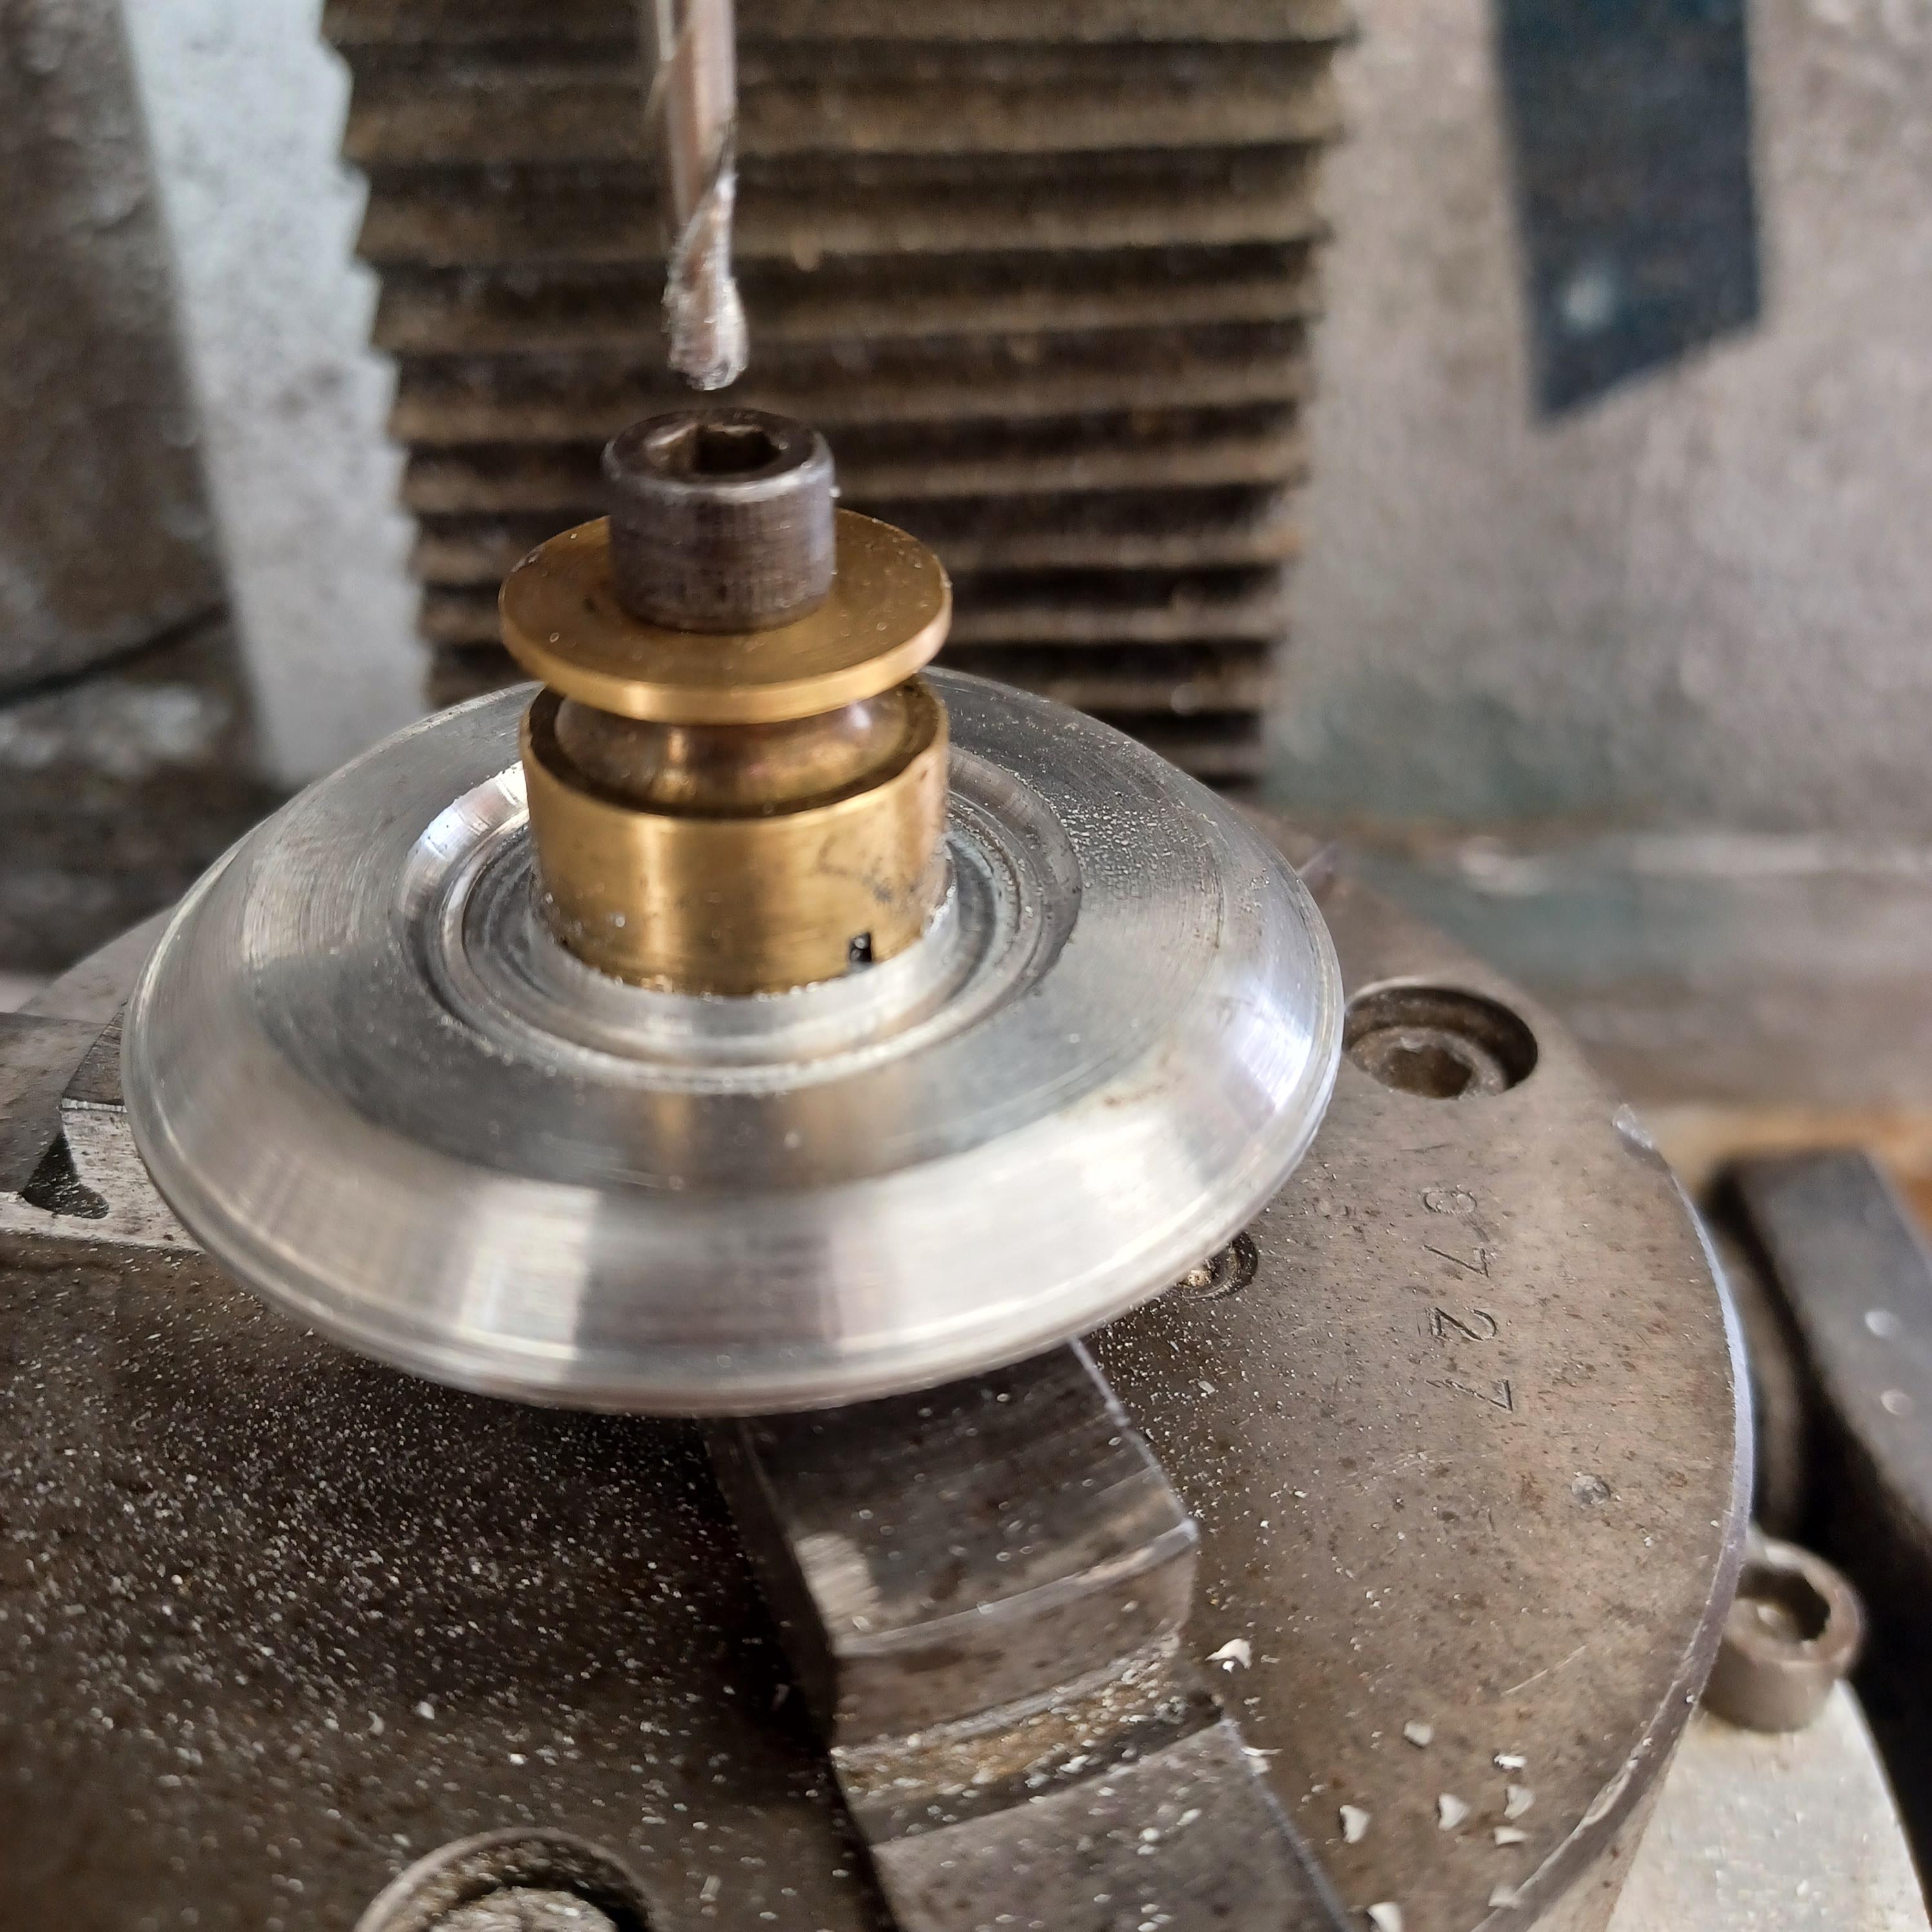
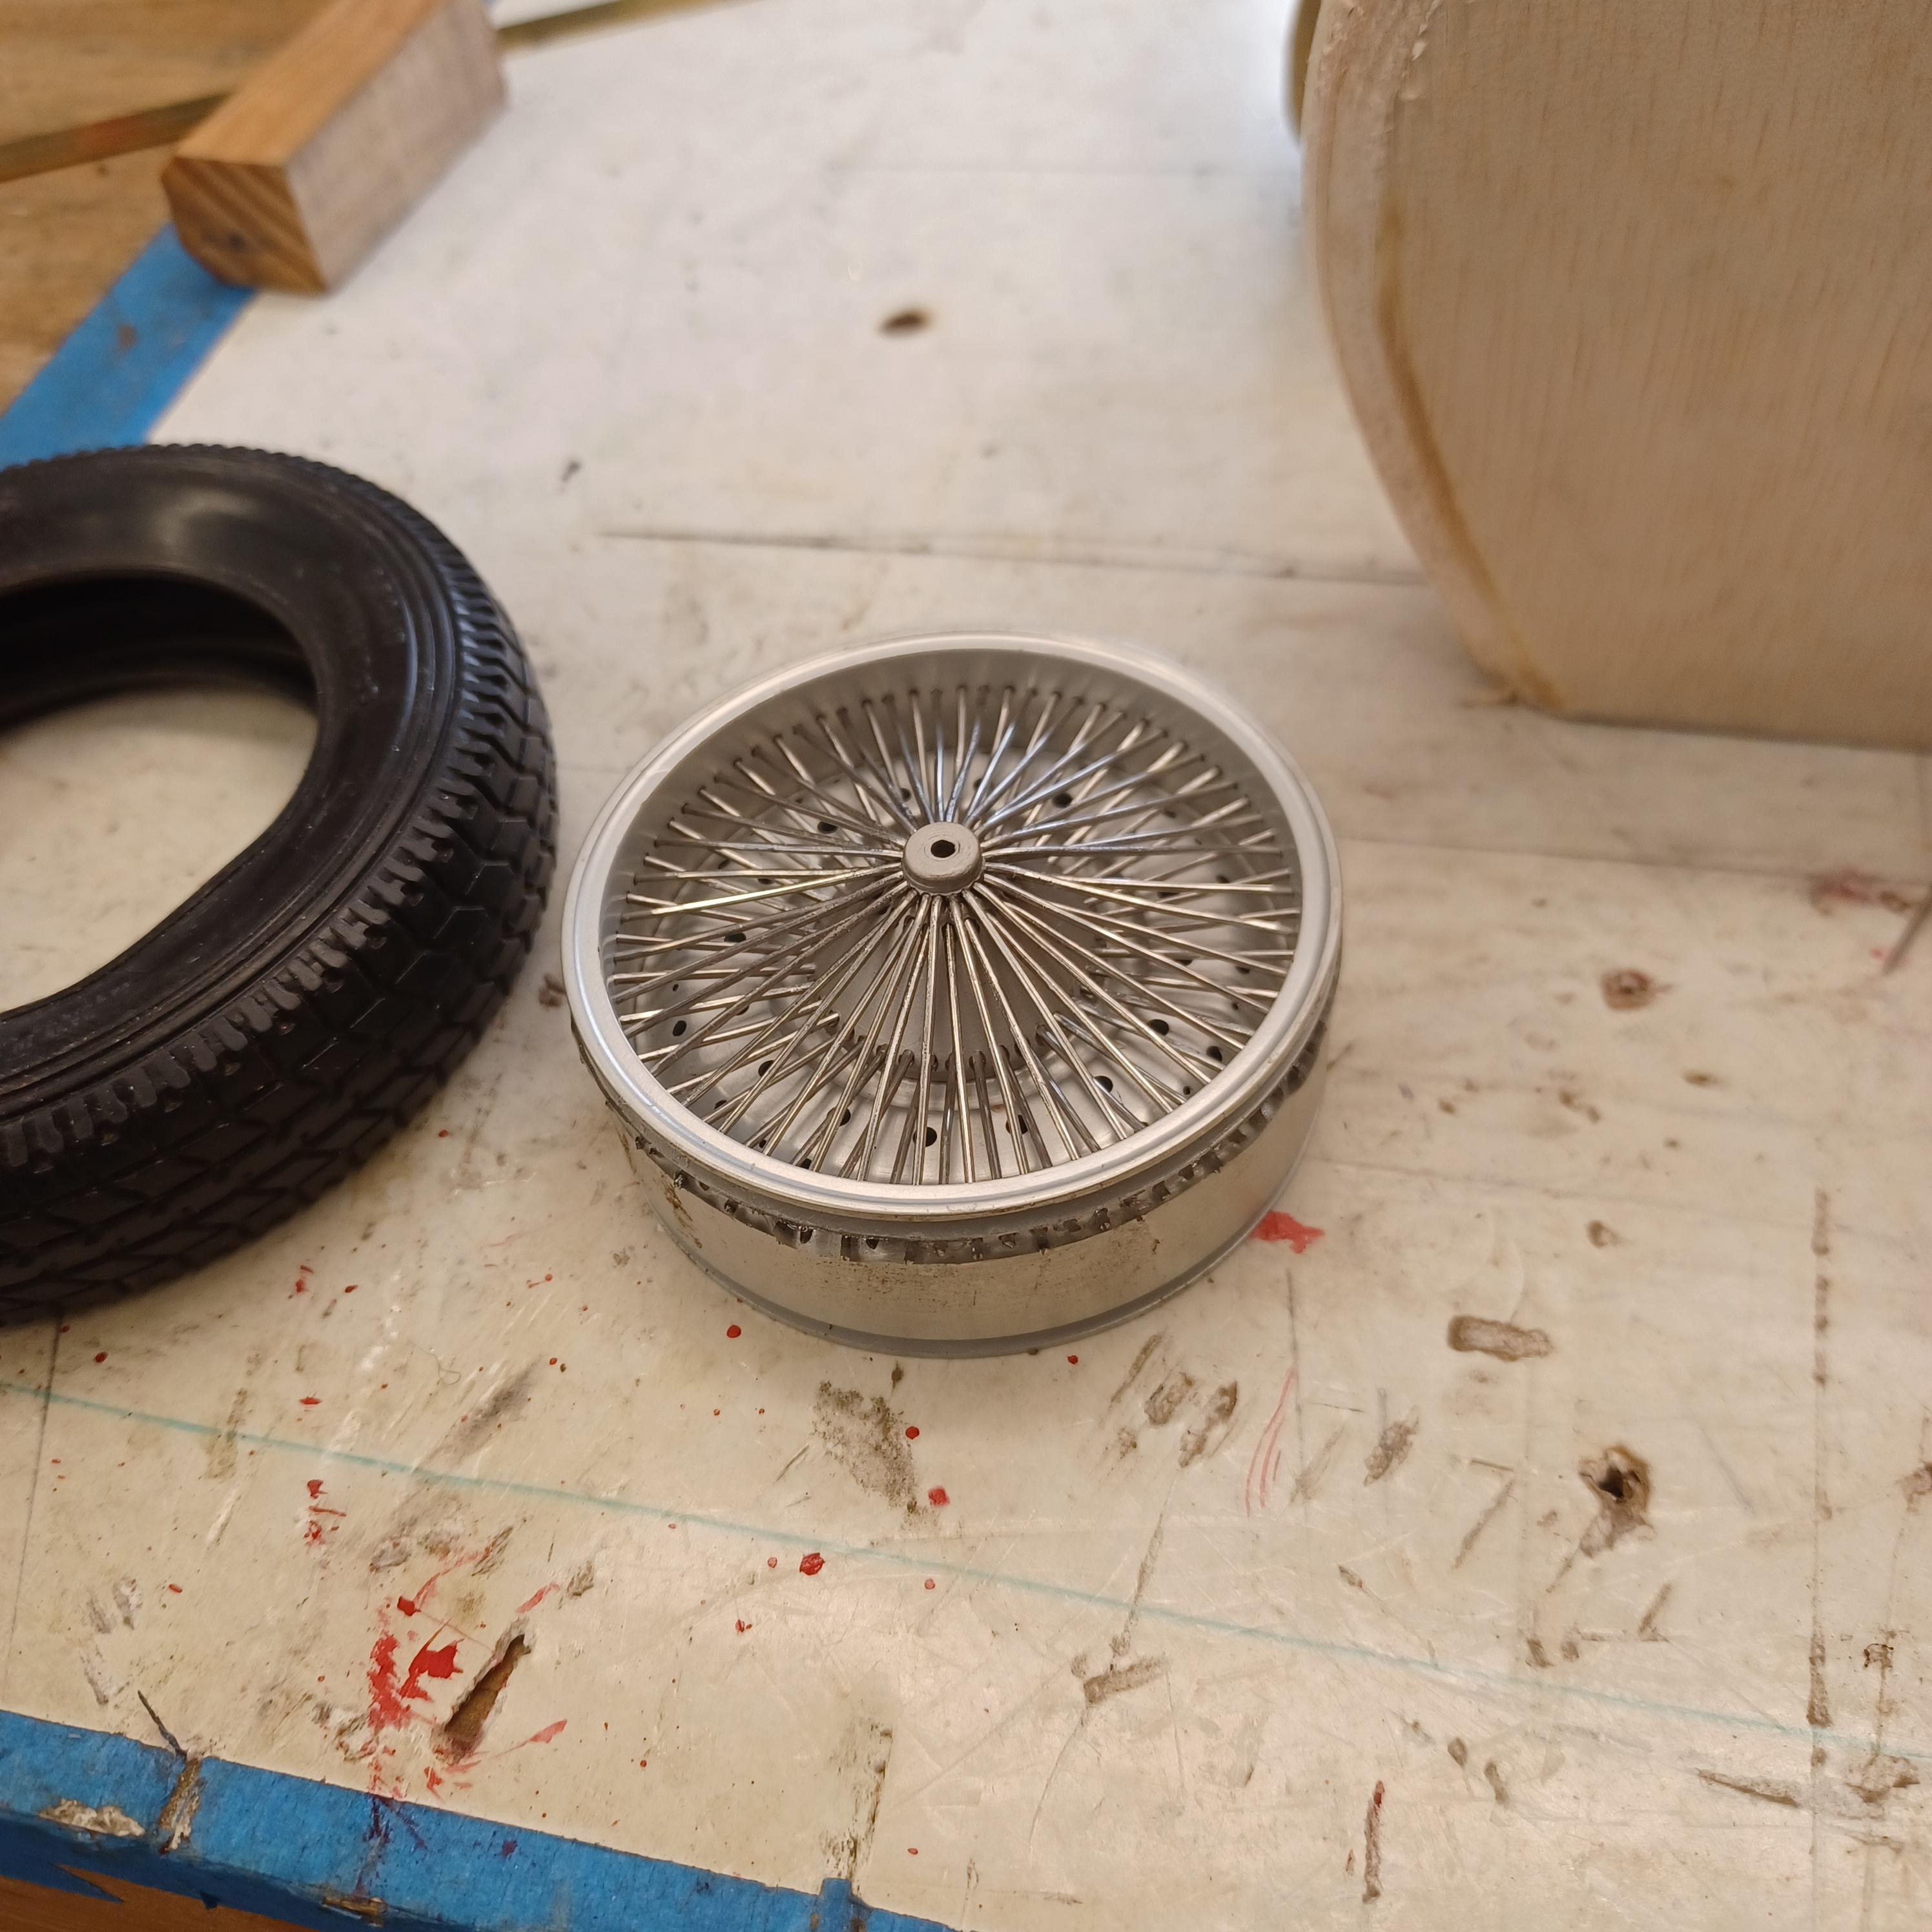
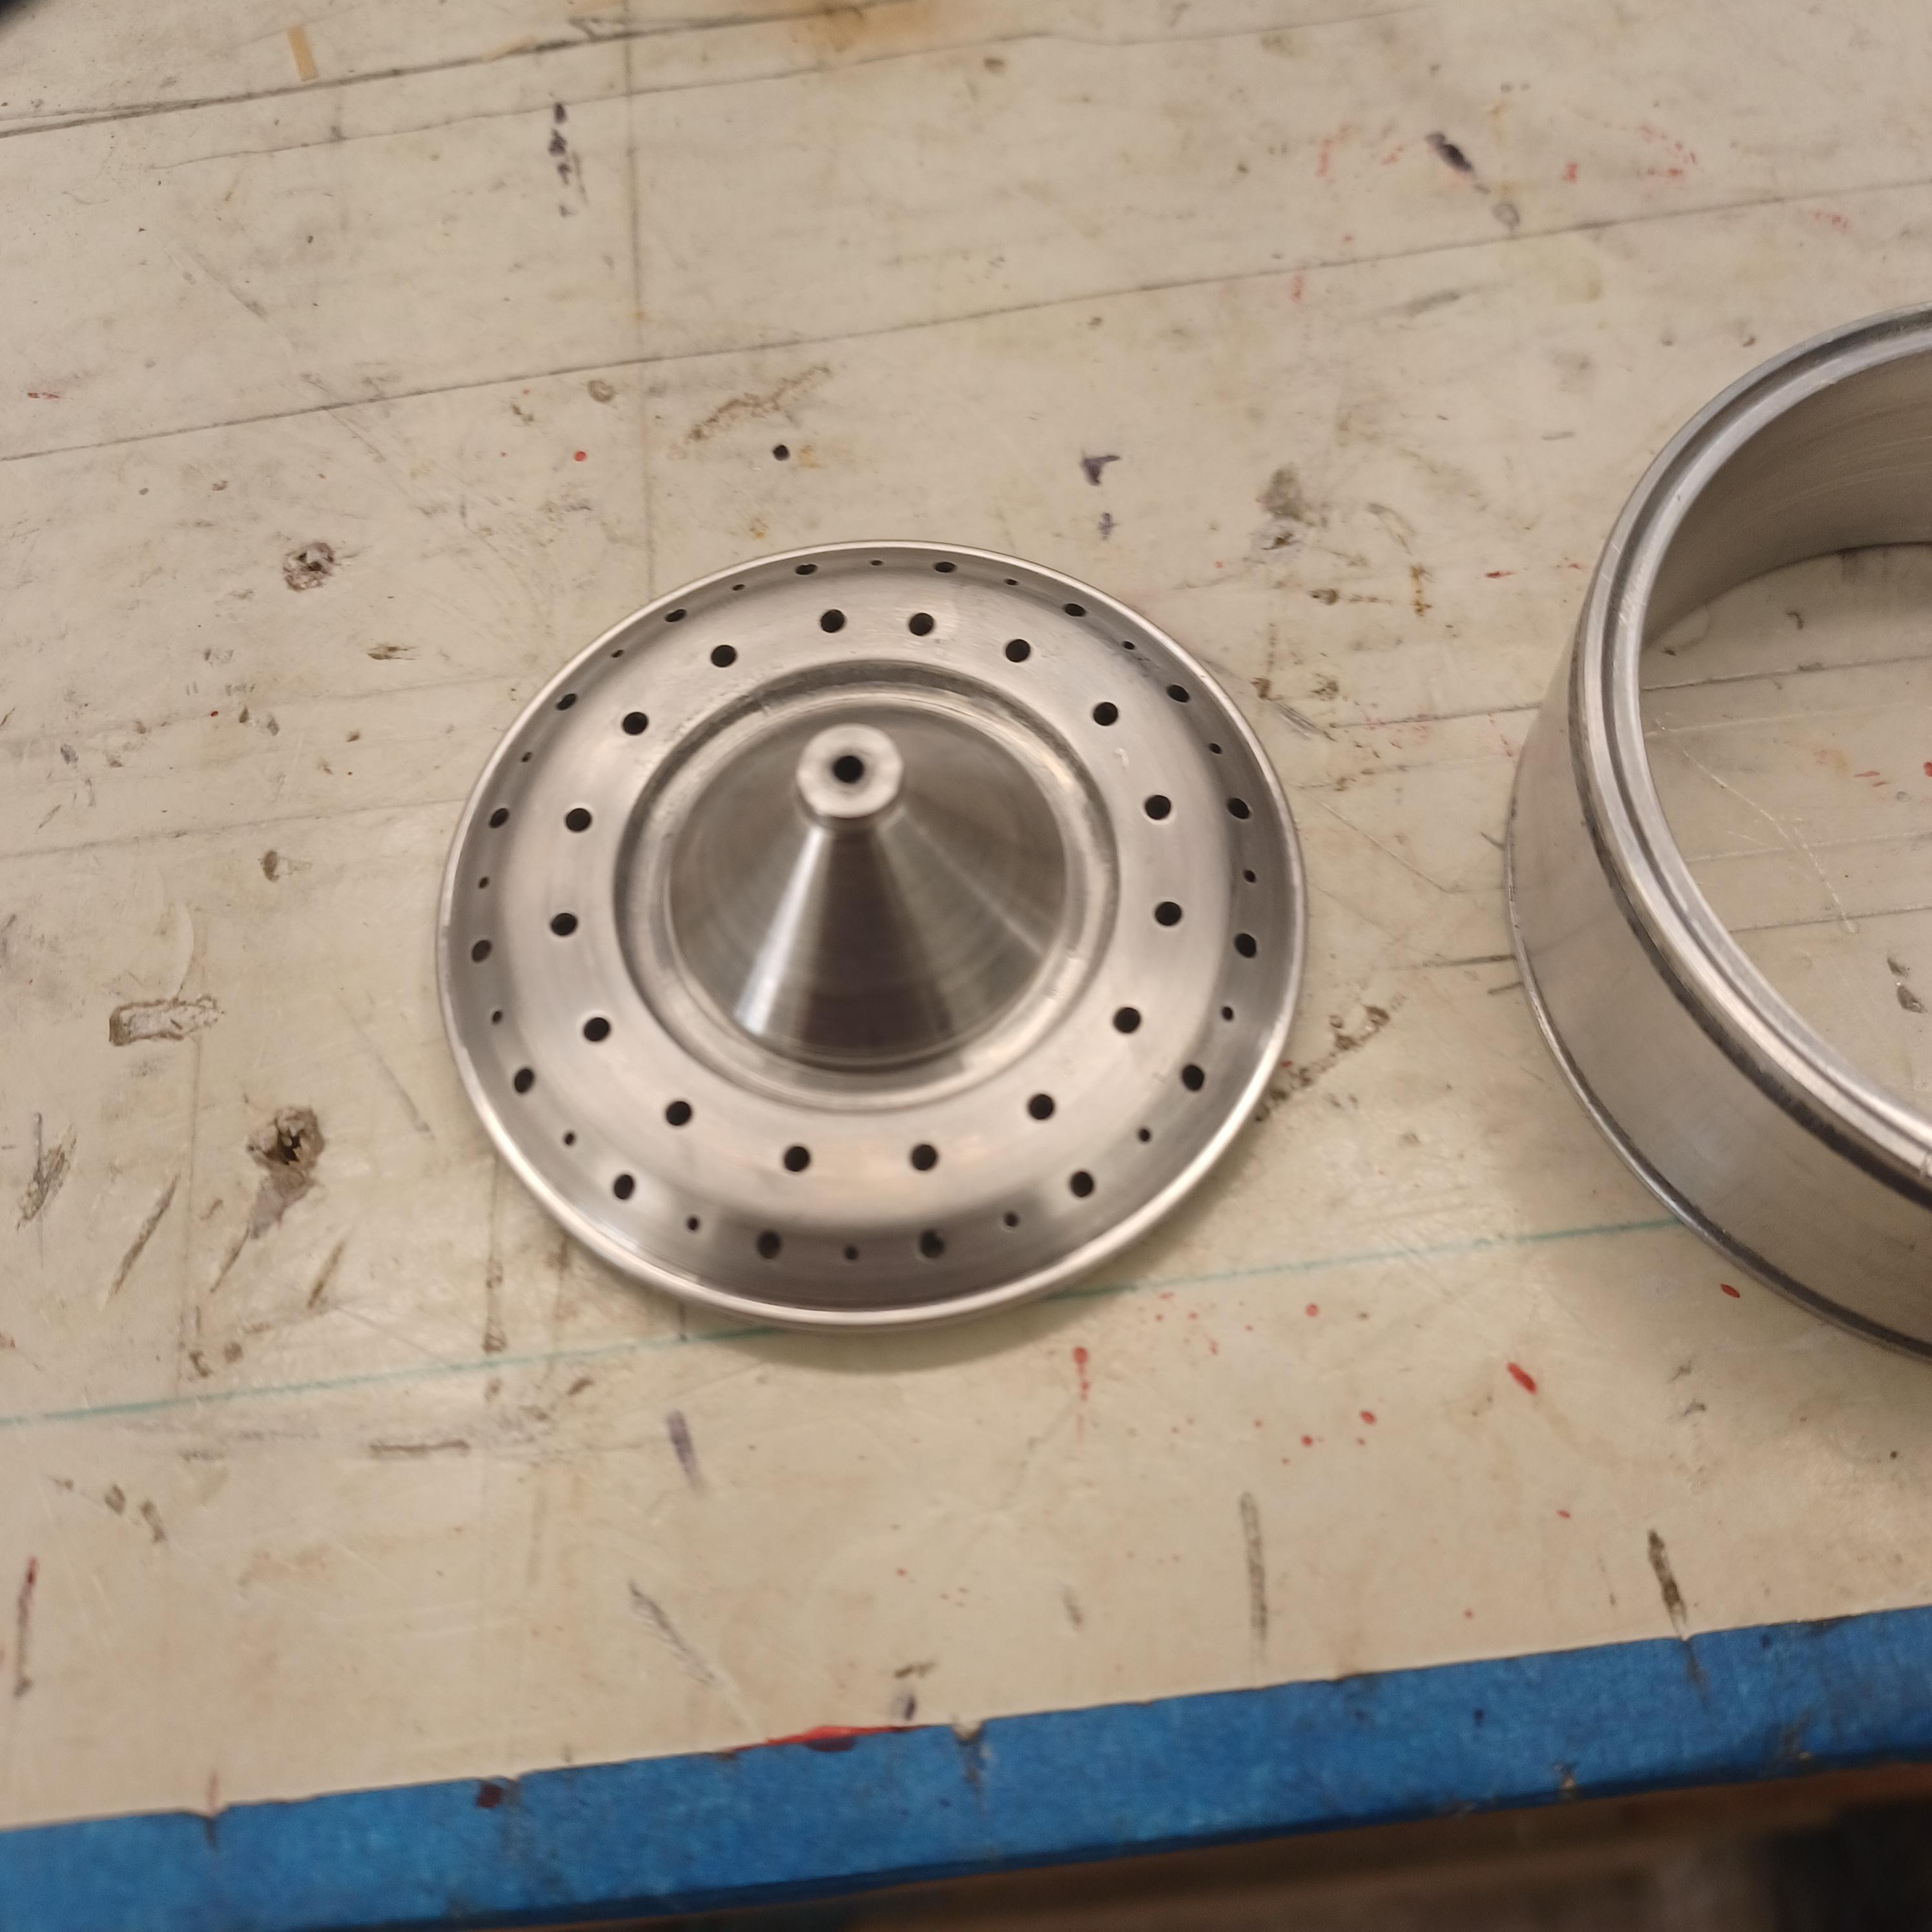
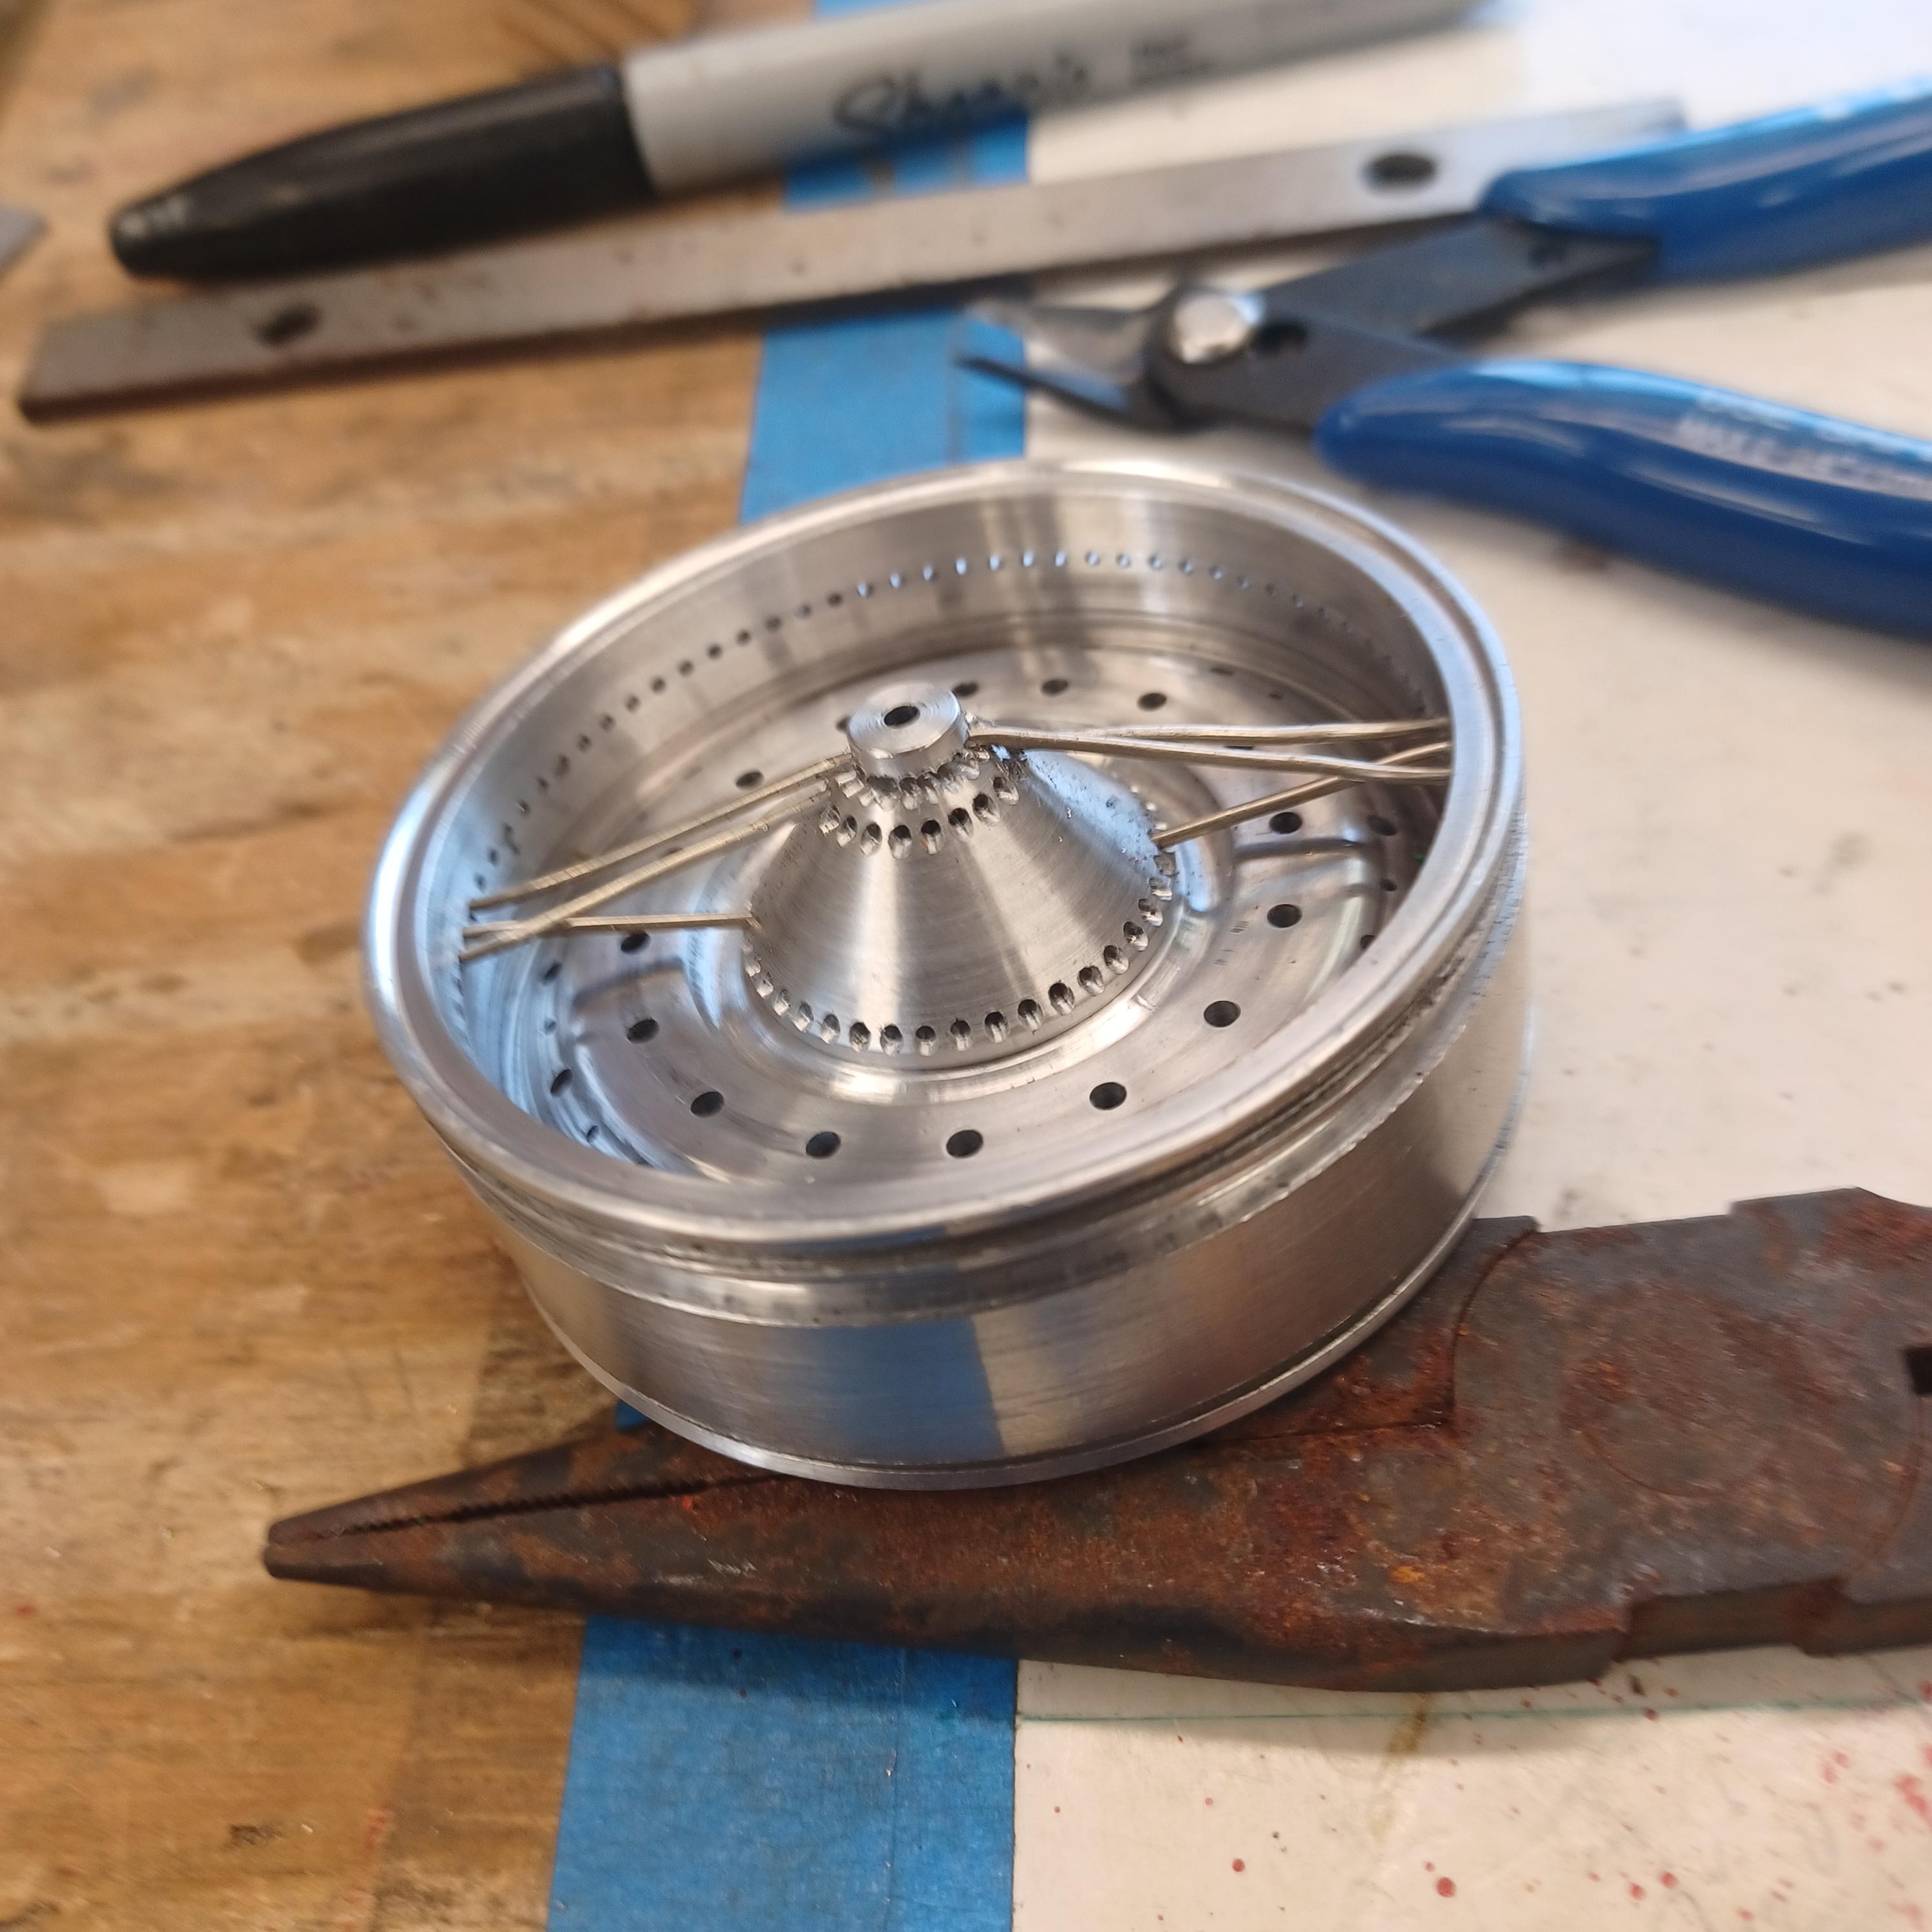
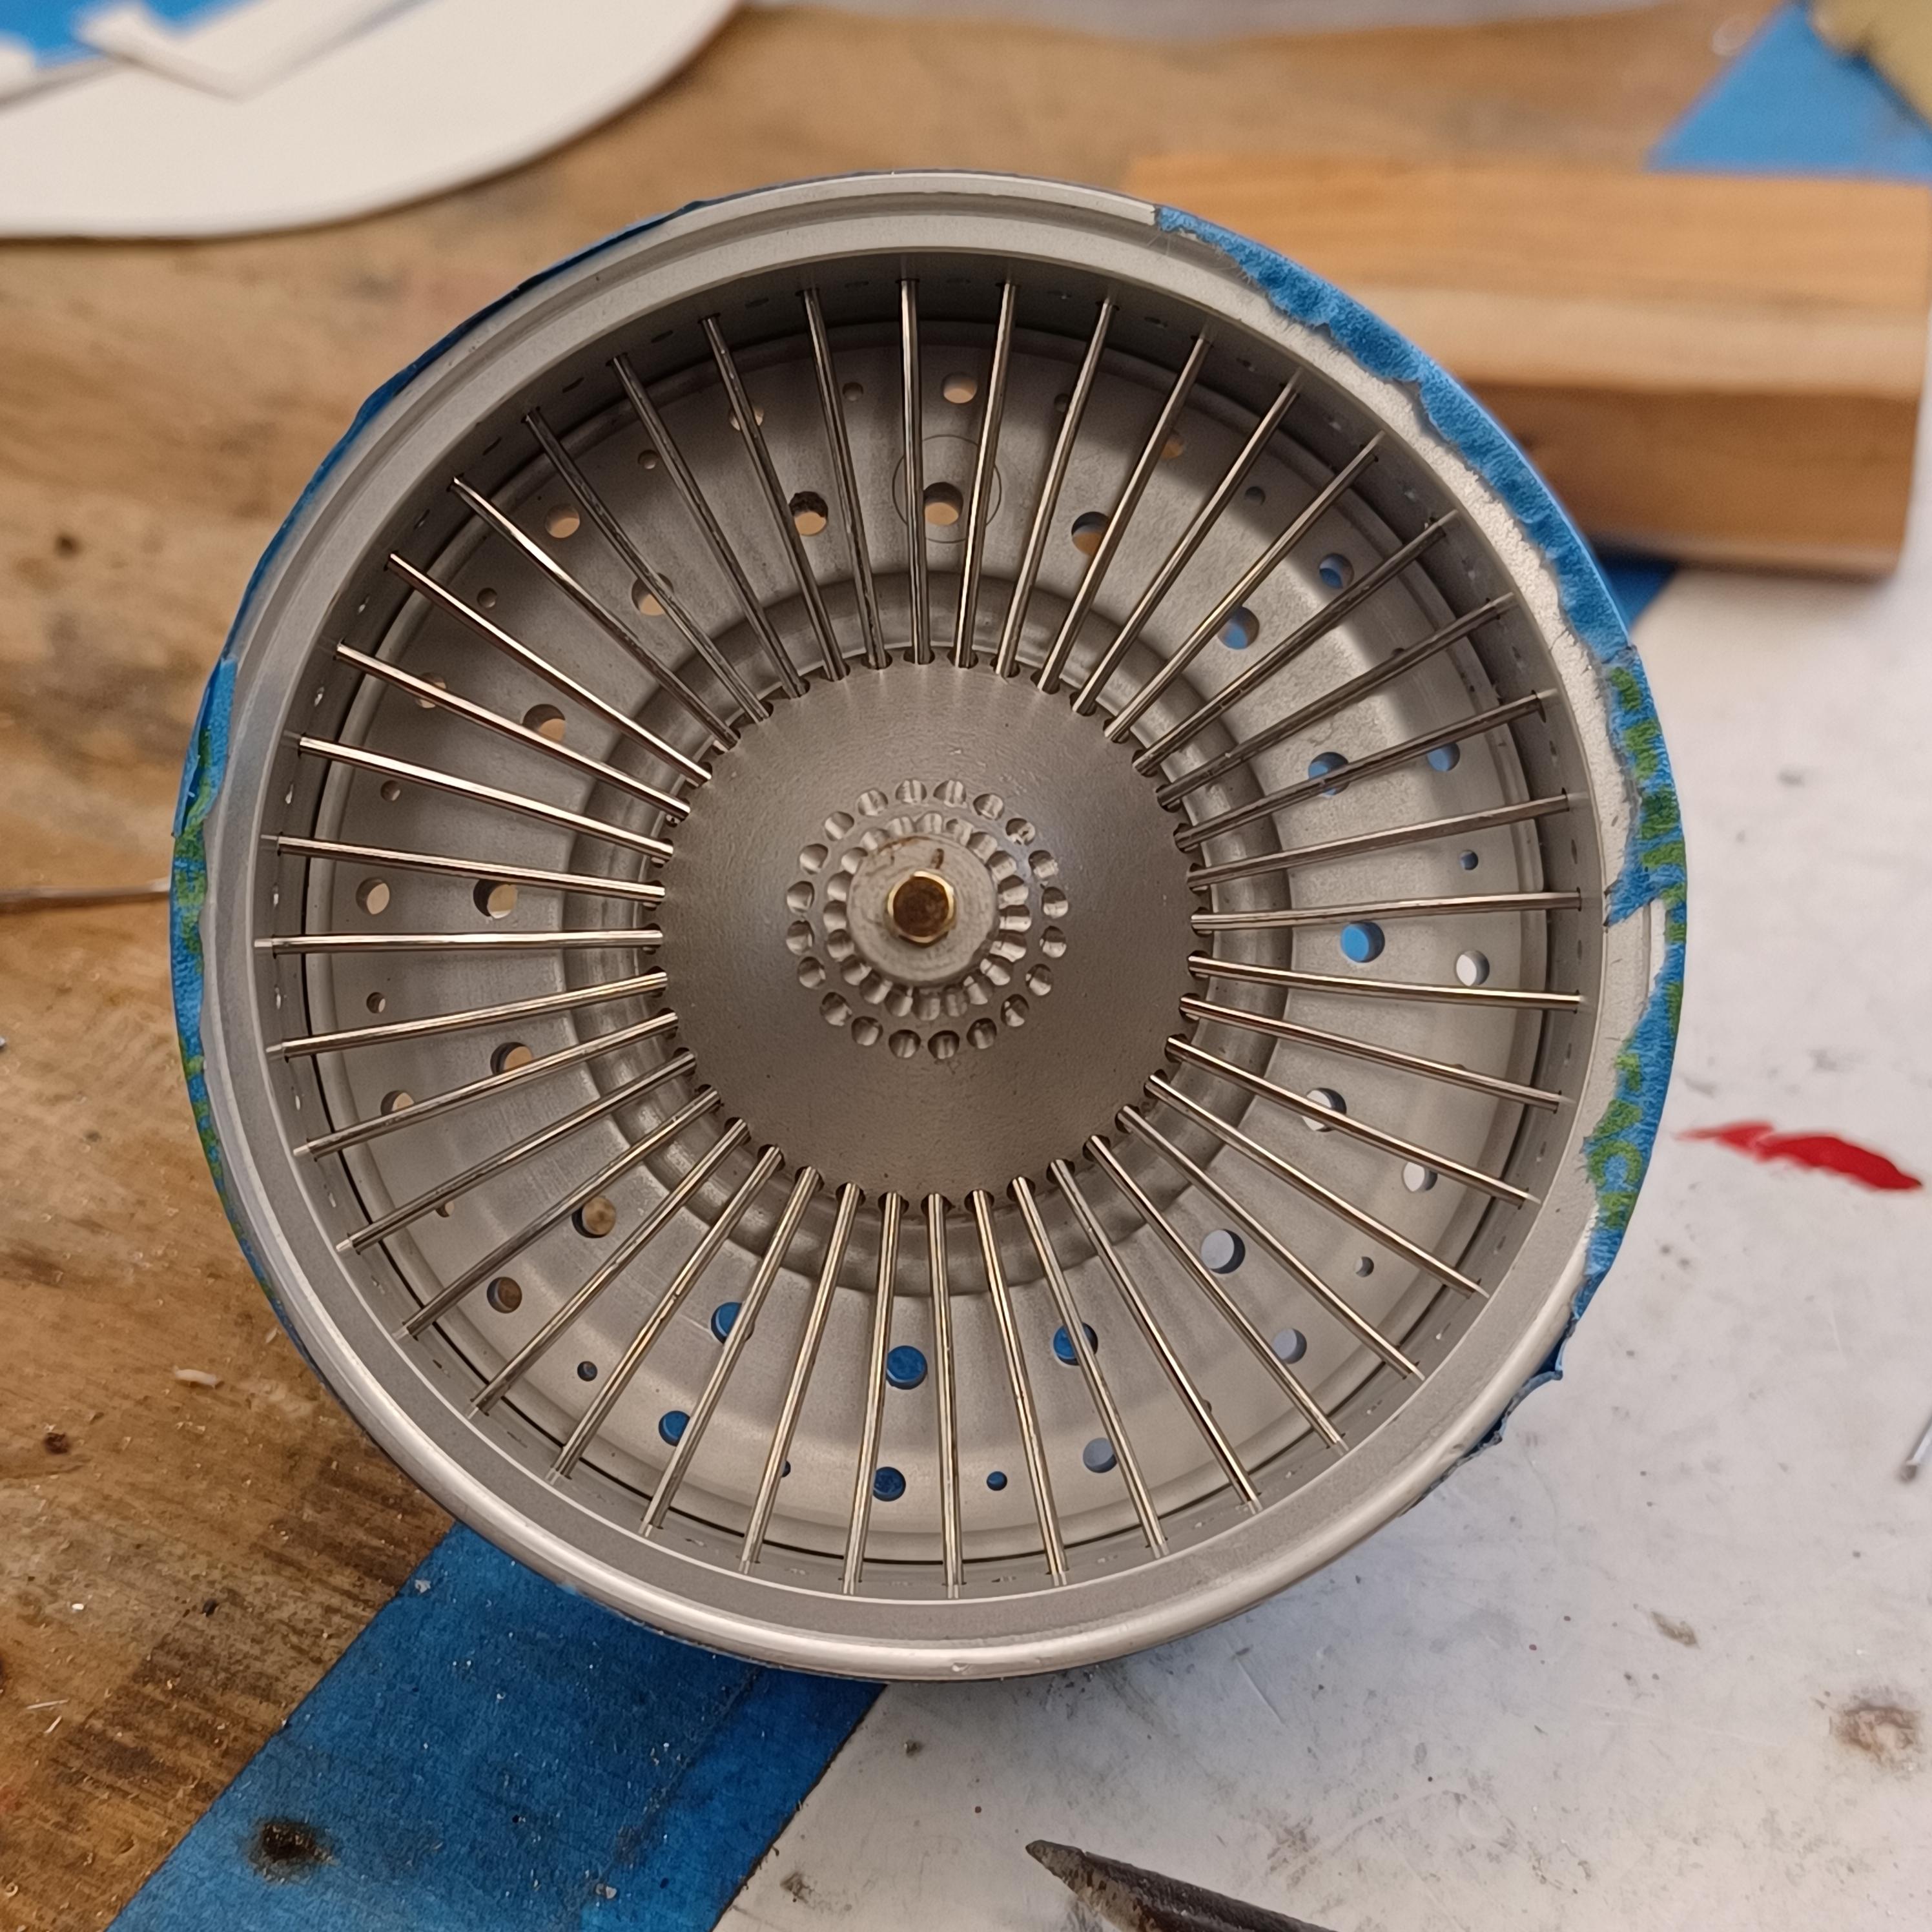
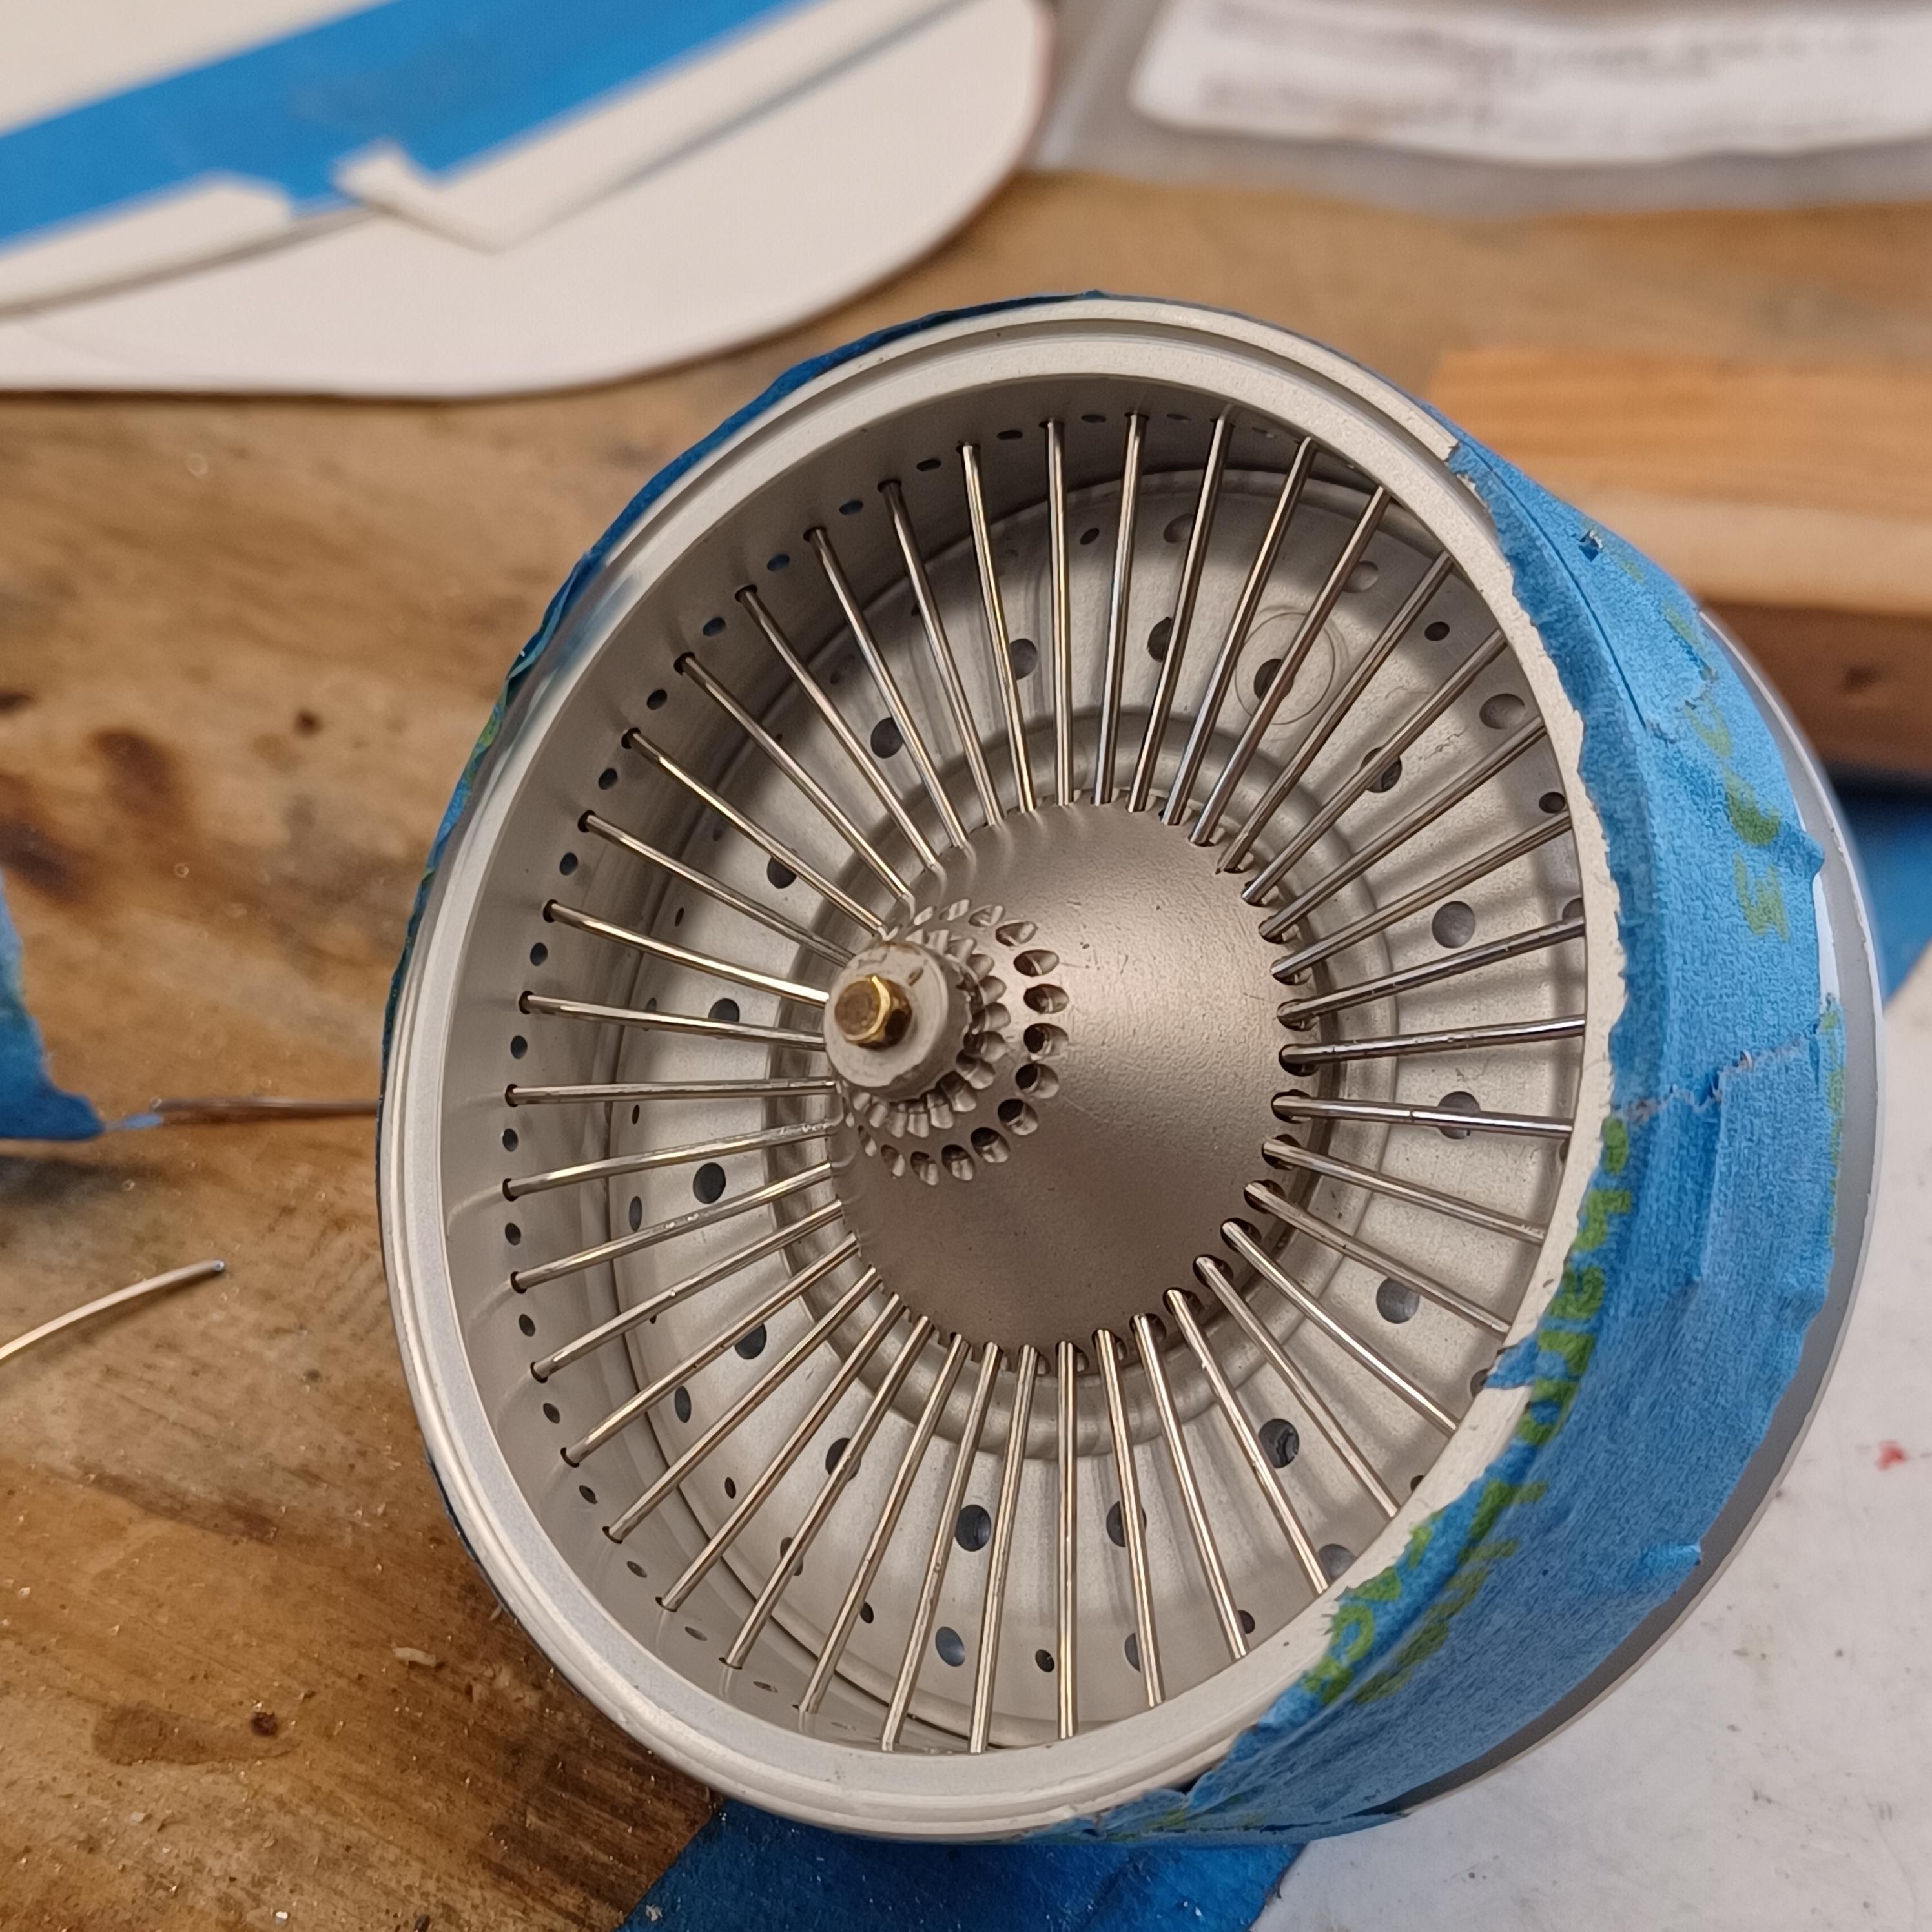
hi pierre,noel and allen, glad you are still looking and commenting. thank you for your encouraging words. building 2 more wheels. finally have 4 fenders. got ll the wheel parts machined except the gazillion holes for the wires . about half of those. i came up with a great idea,now that they are almost done. i did a little reseach on ebay for stainless steel needles and found them about .032 dia. 1.5 inches long would be perfect for wire wheels. next time. hey , what about a miller 91 supercharged straight 8? somebody suggested 2 offy 4 cyl together. thoughts?
-
theres that big giant dime again. beautiful francis
-
1
-
-
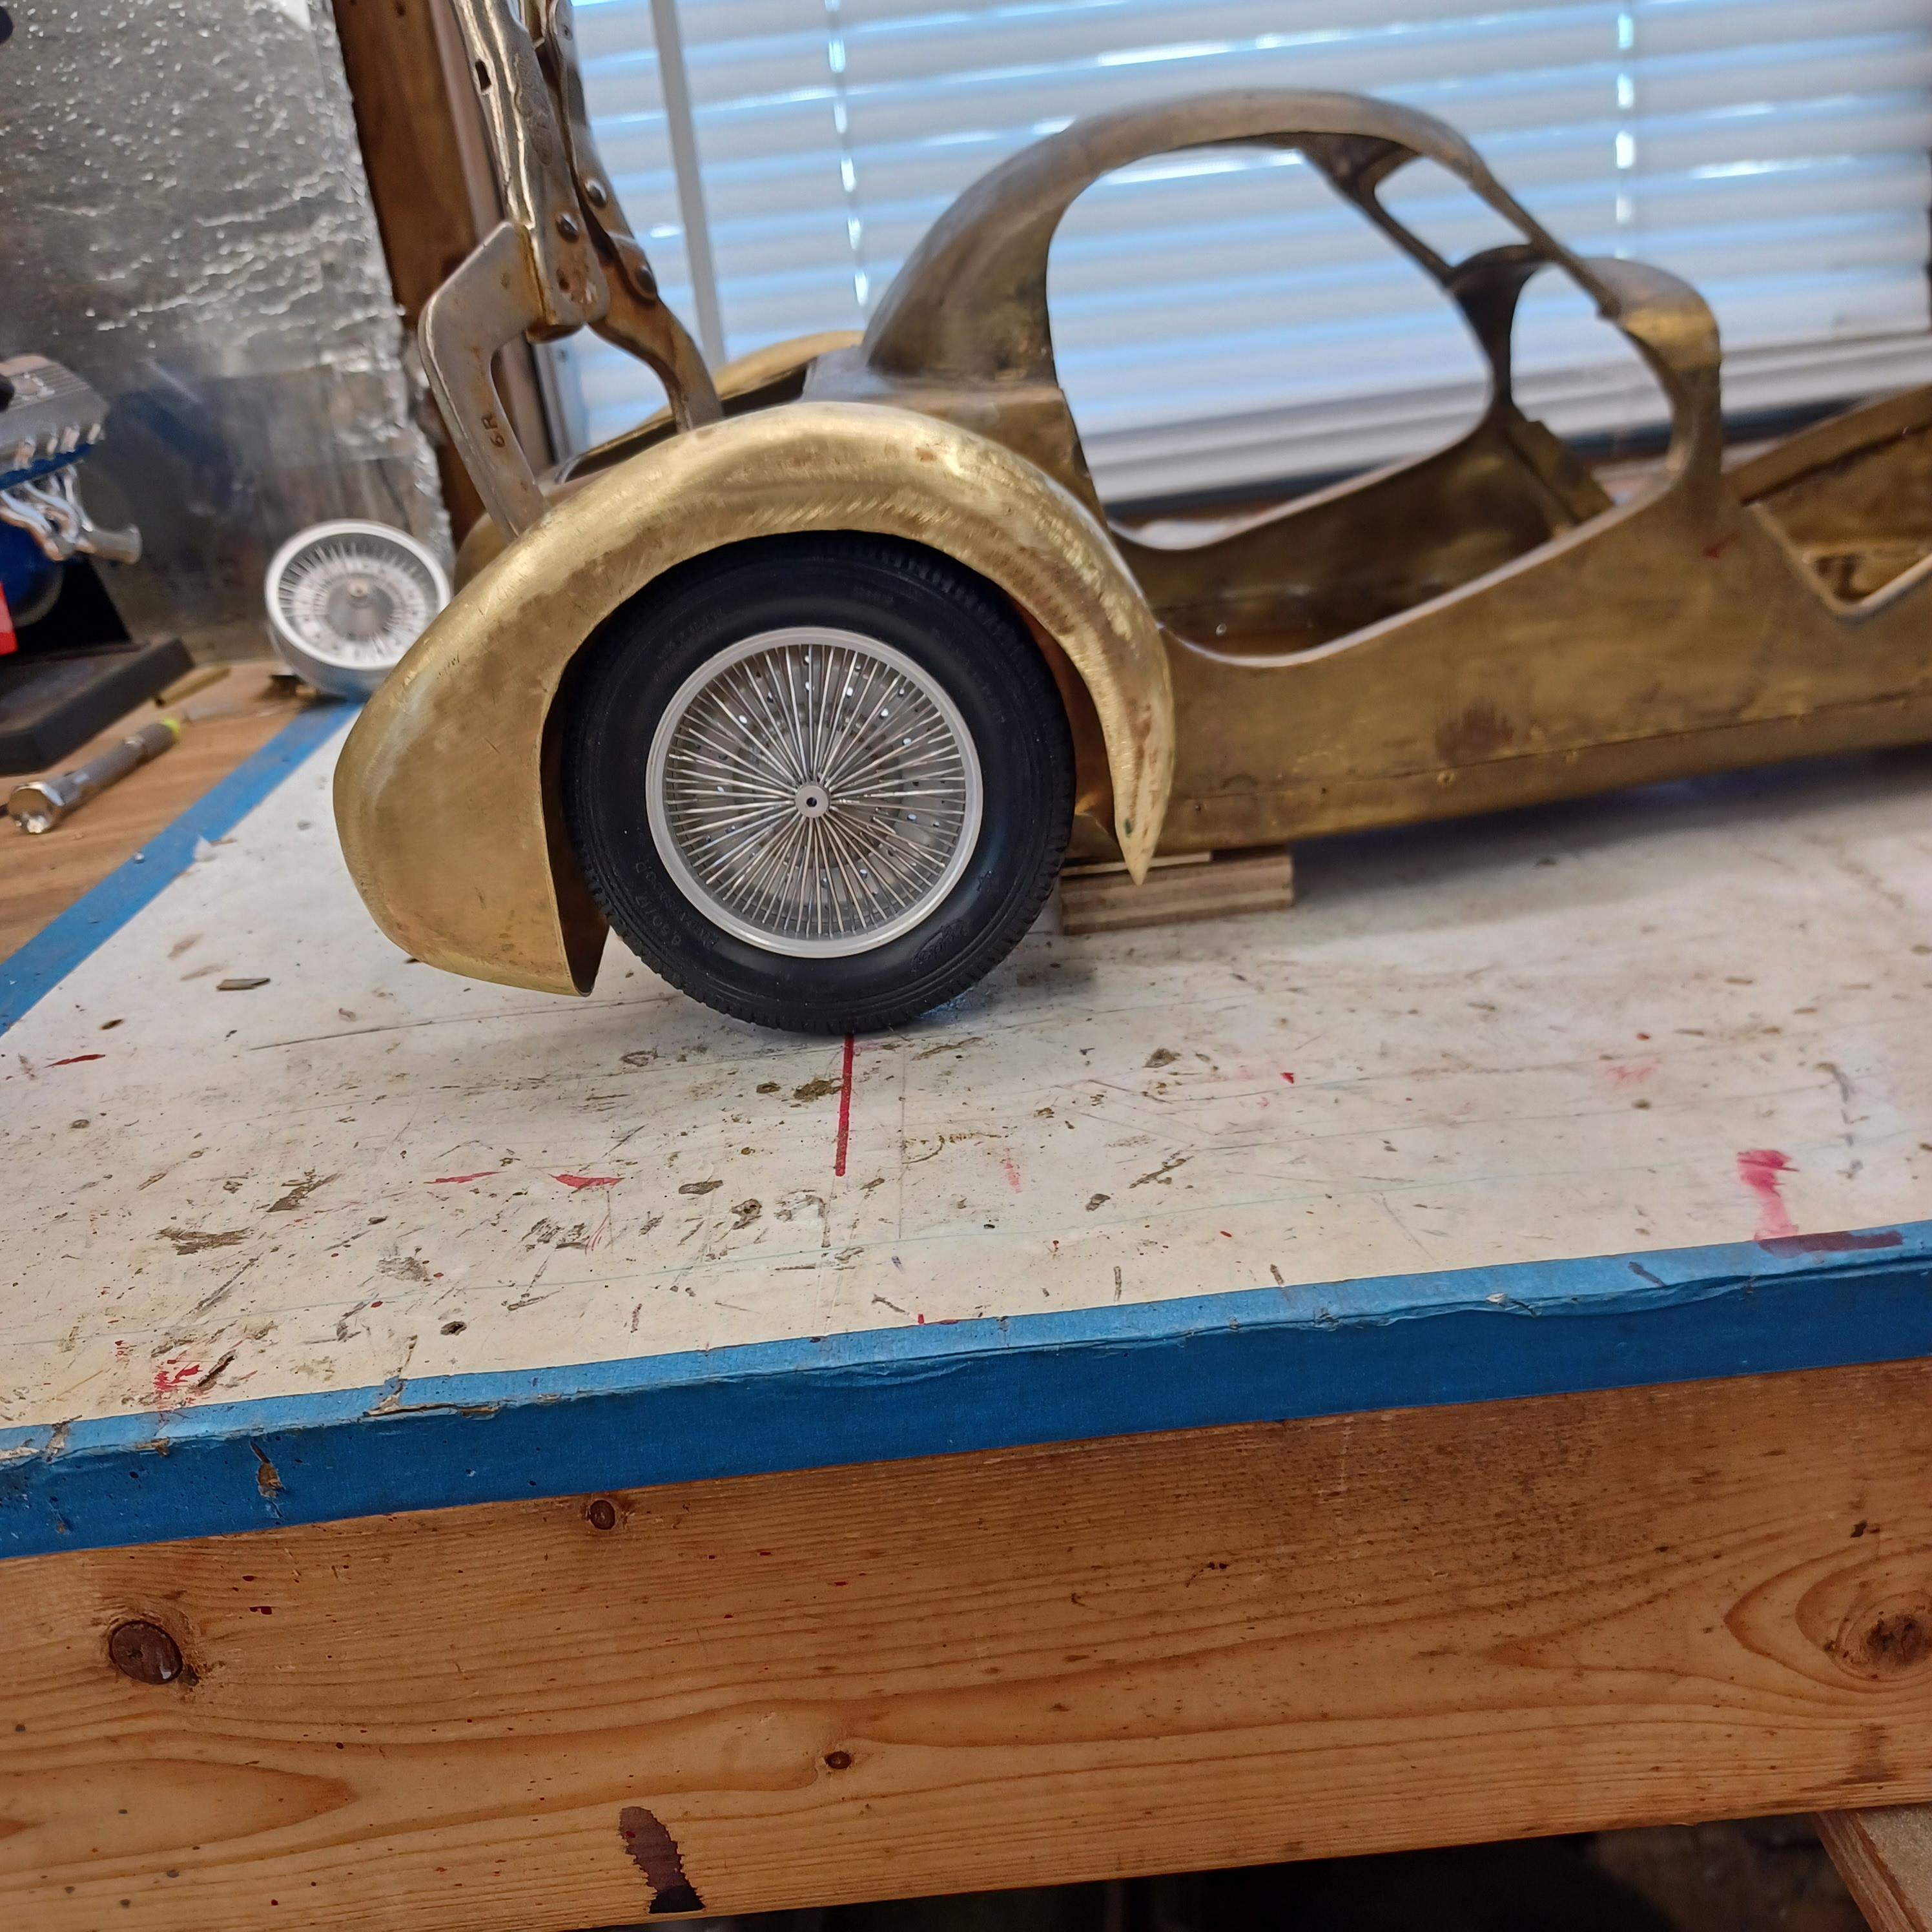
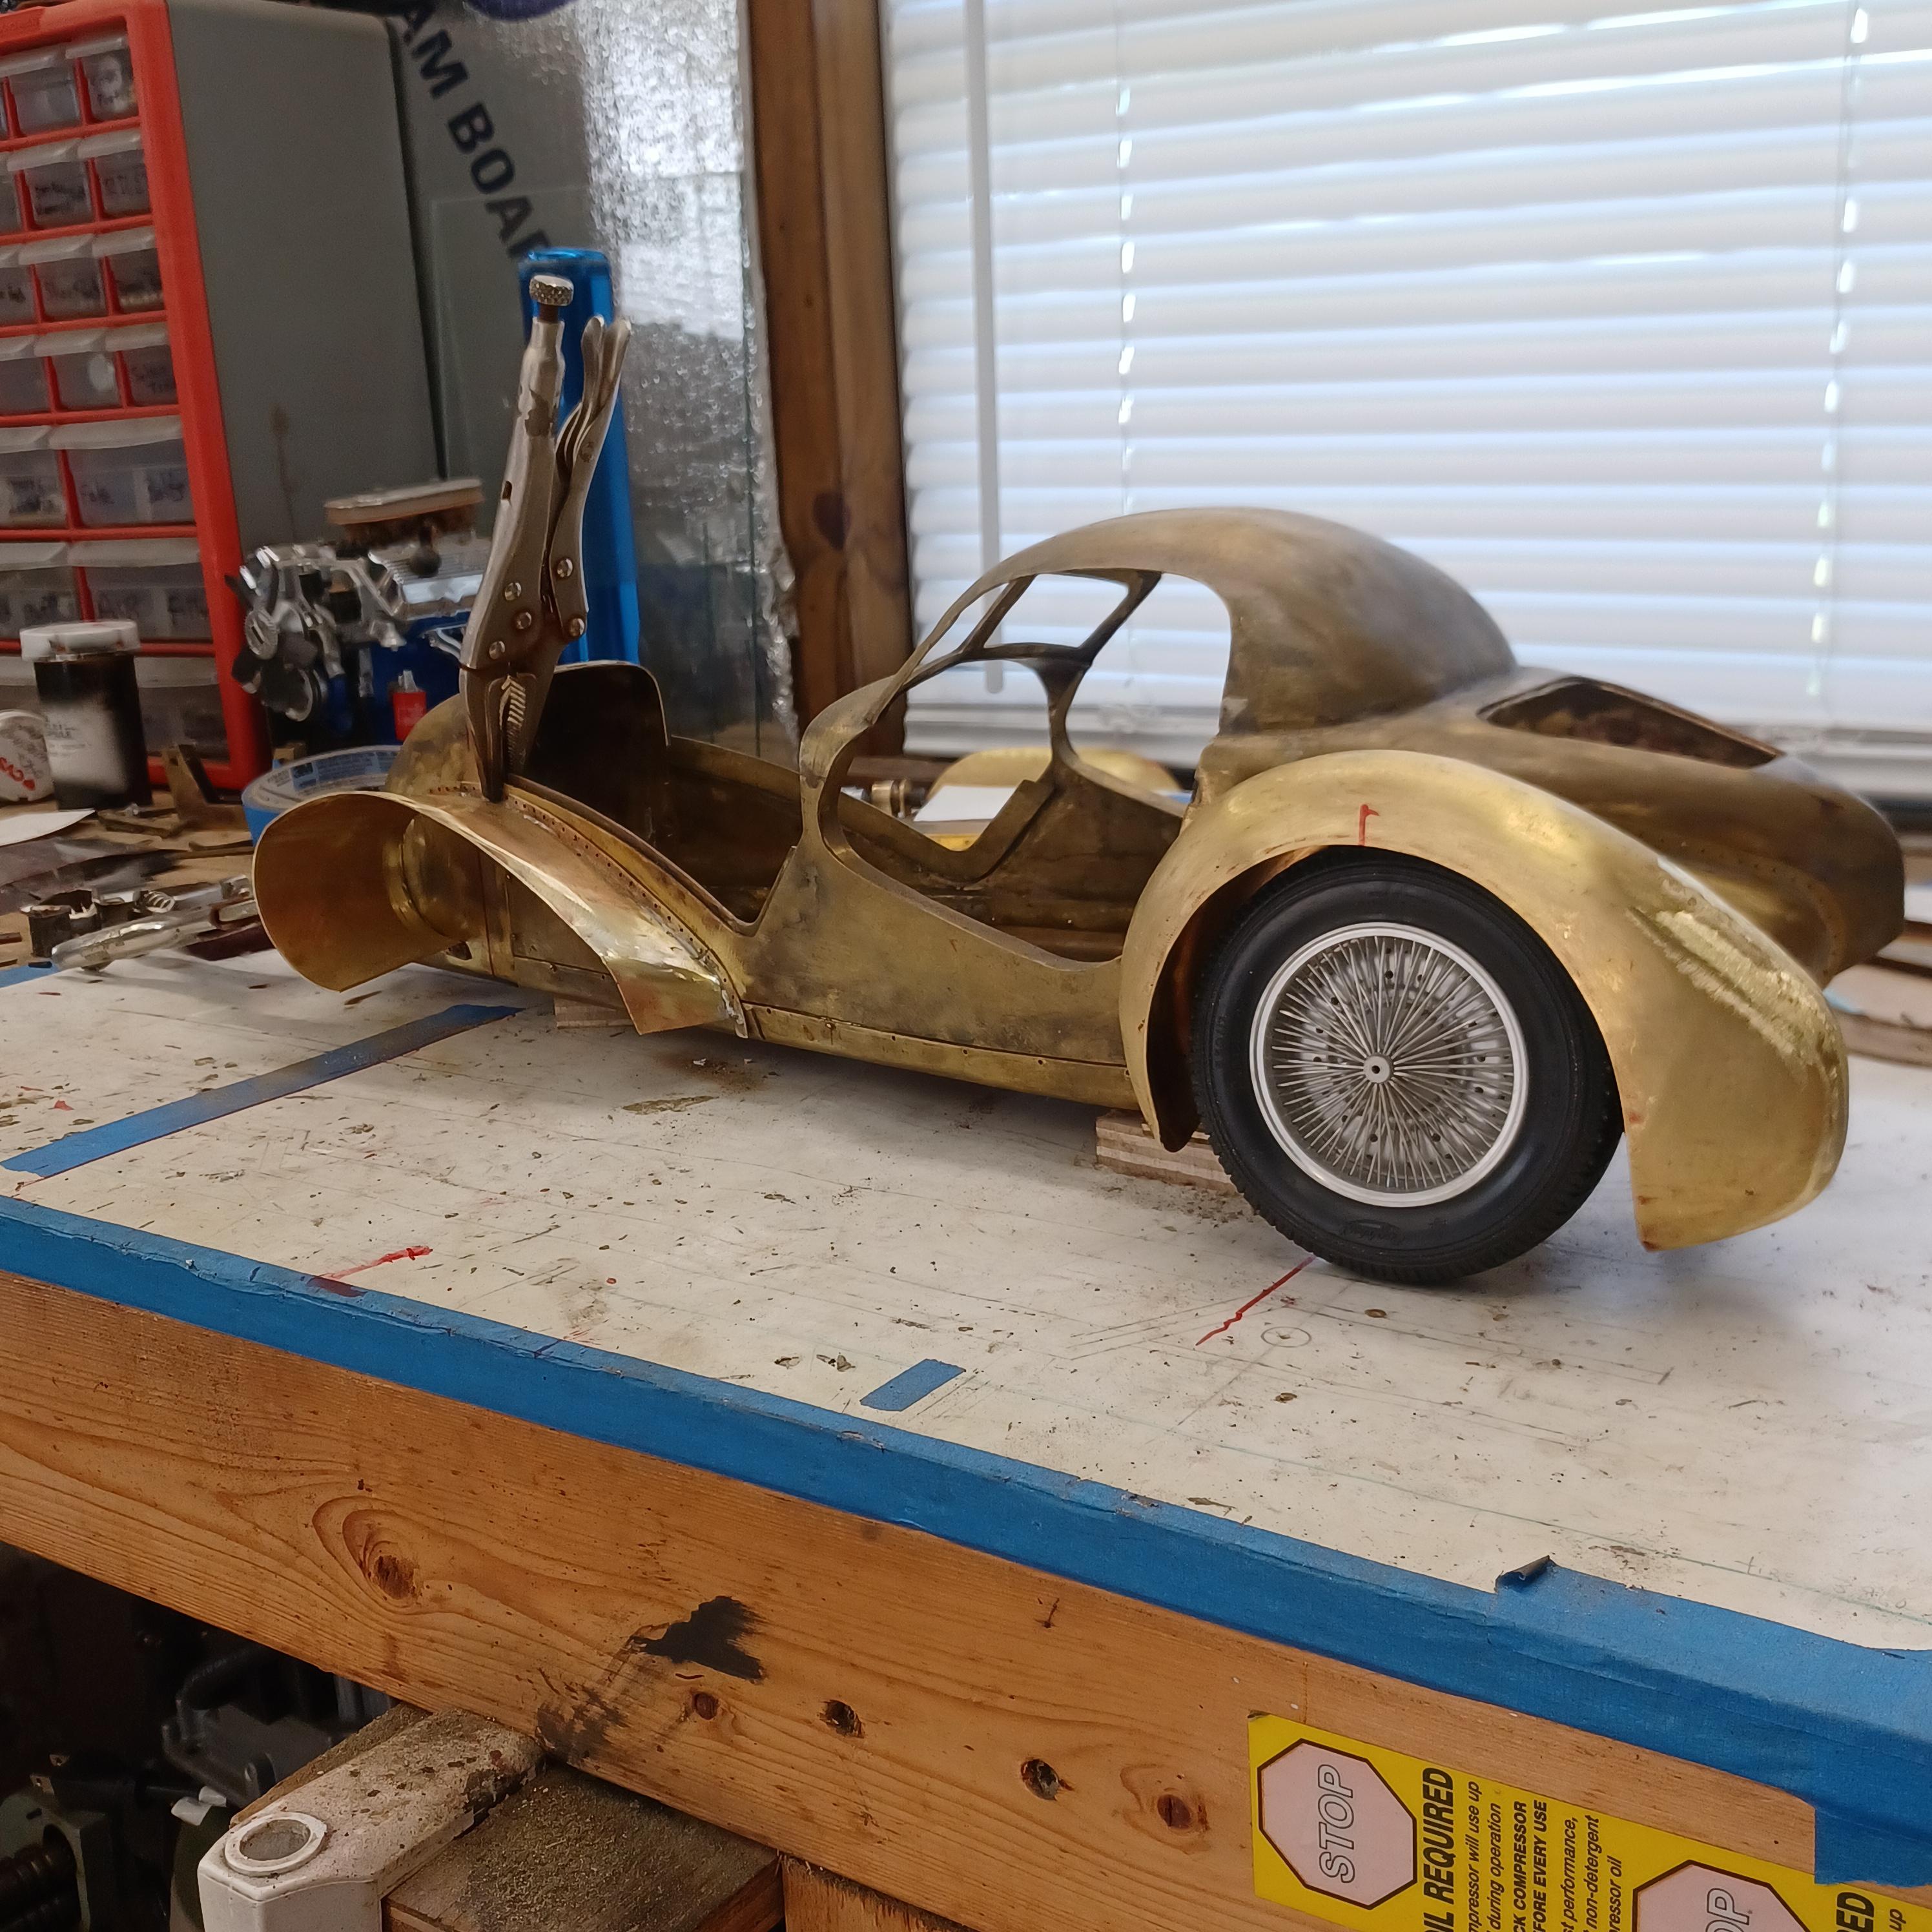
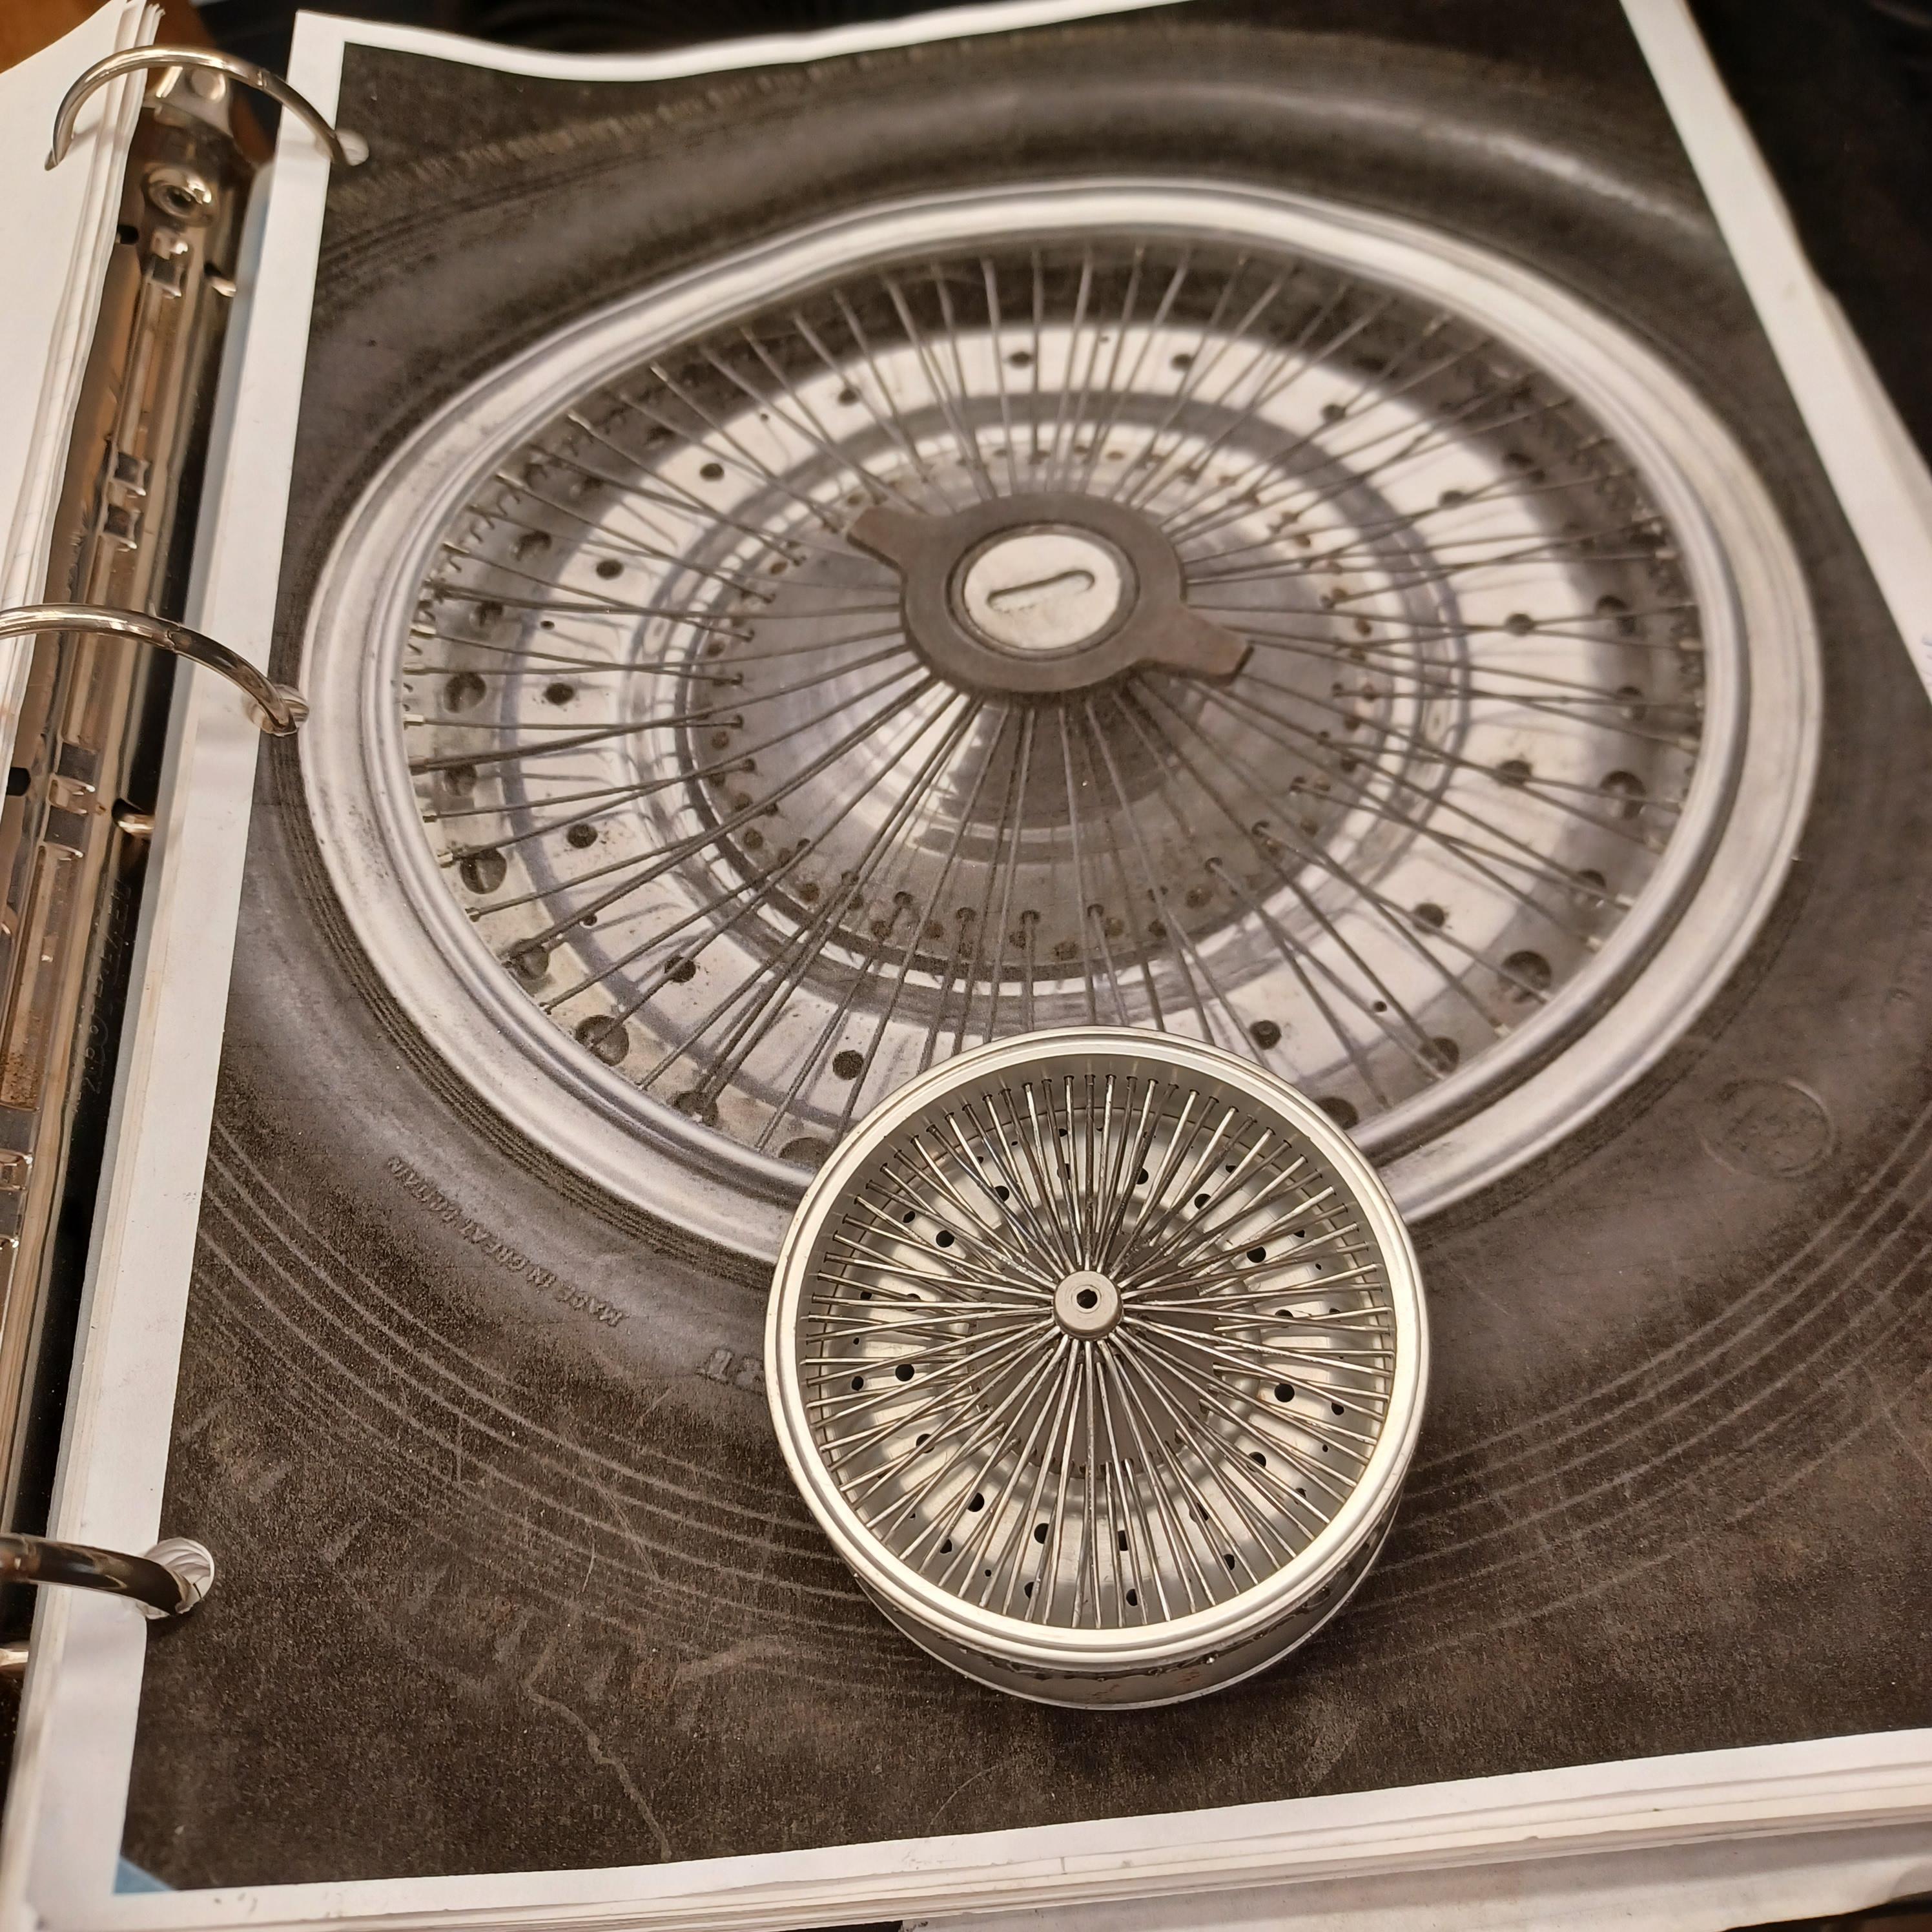
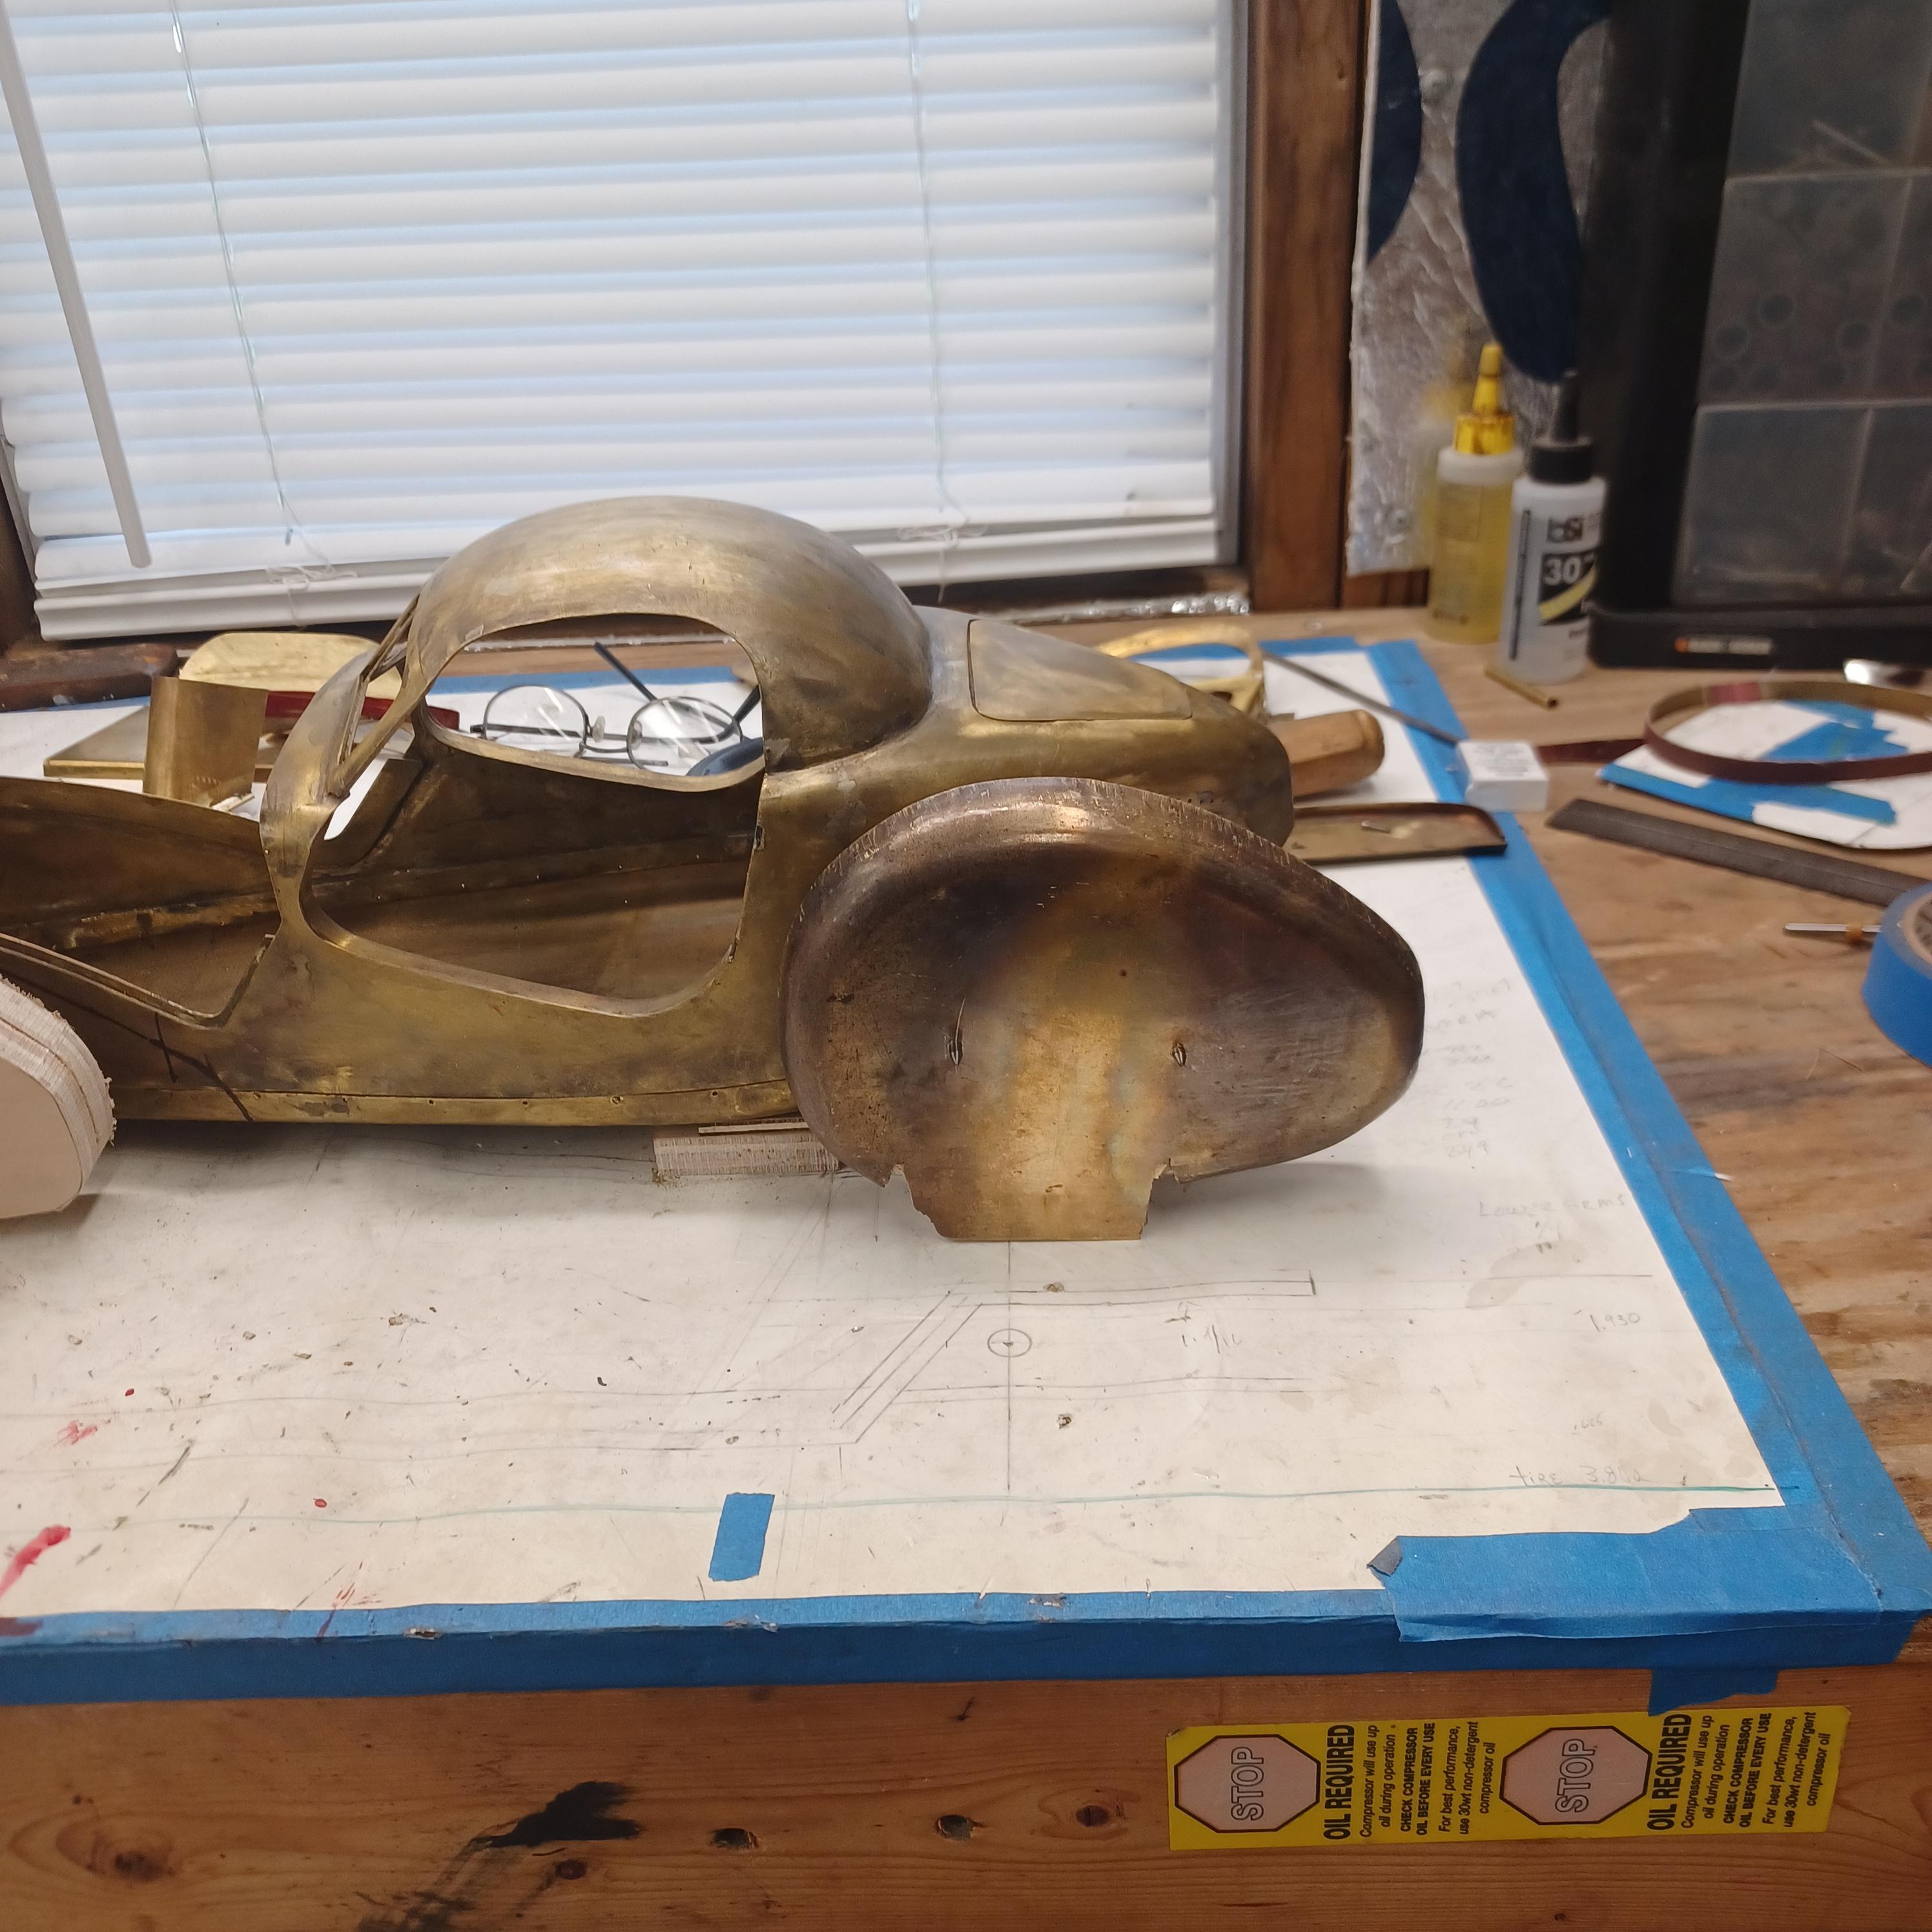
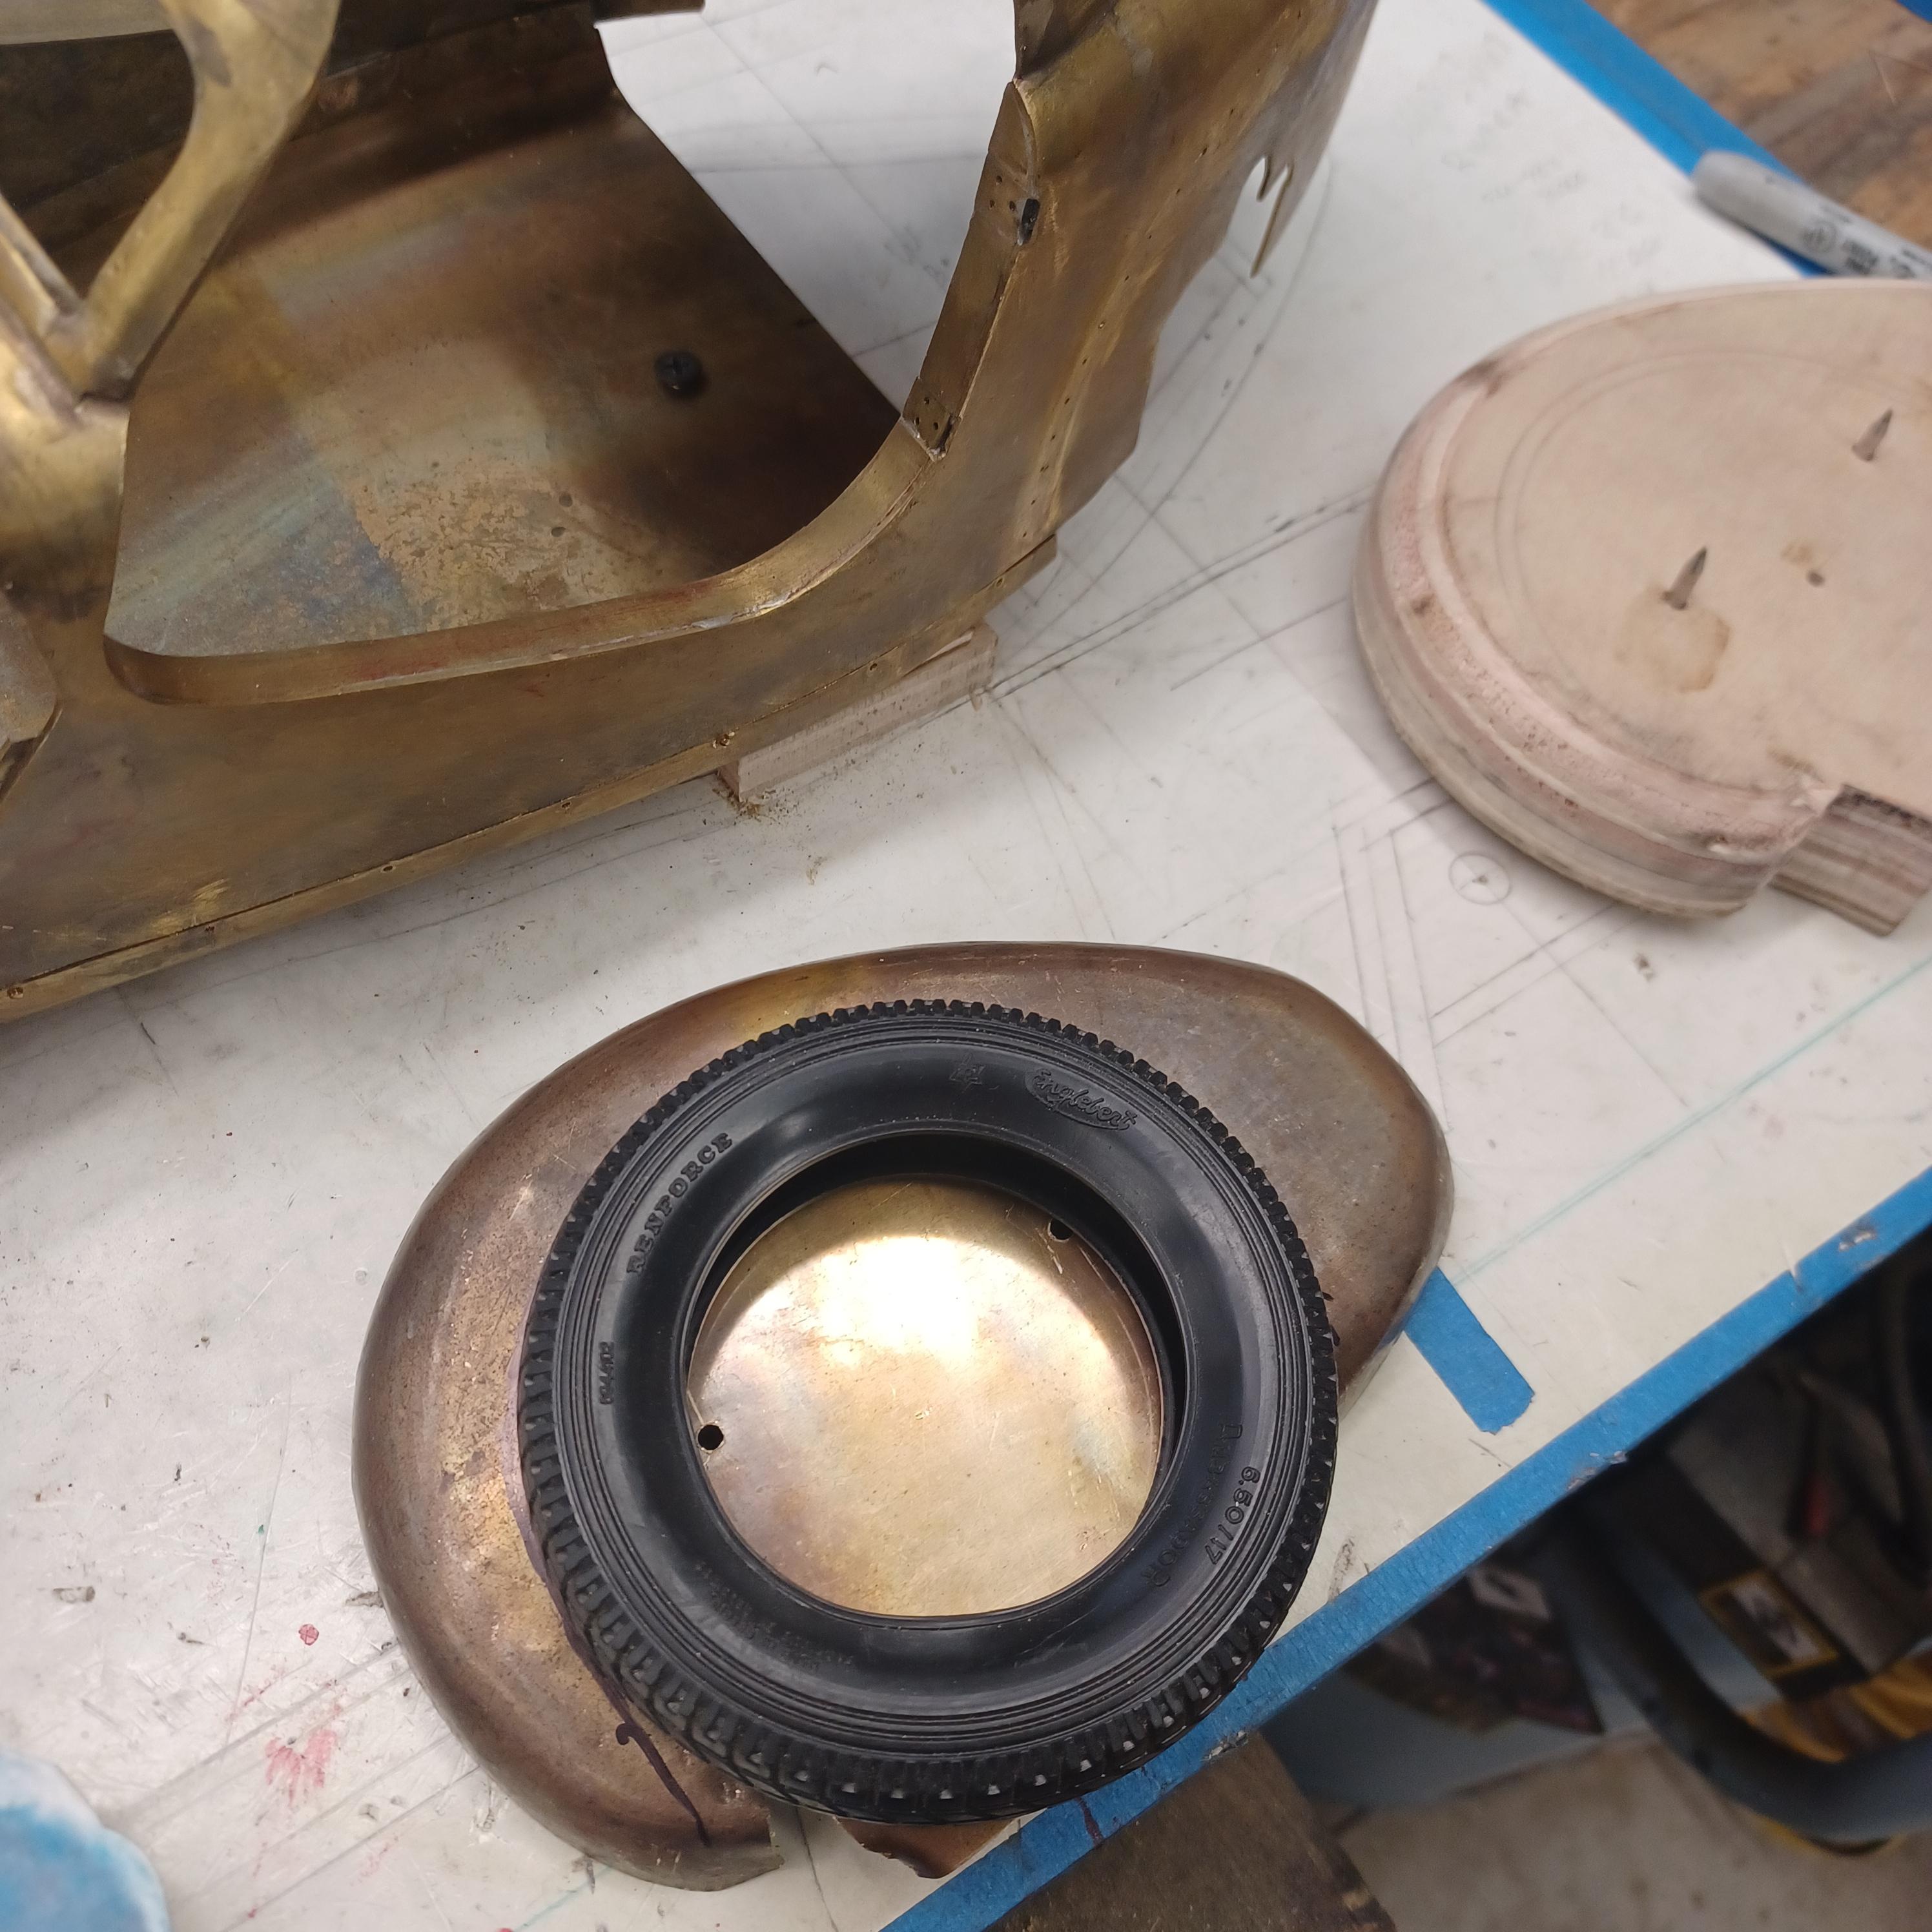
hi francis and randy, still working on fenders . will start on the forth one tomorrow. it takes a few days. i think the tire size is perfect the wheels fit the style of the car well. i am trying to get as close to the pictures as i can. thinking about colors now. got to decide on the engine and transmission and what the front suspension will be. i need the engine and transmission to build the firewall. more pictures when i finish the other fender
-
you don't have enough lotus kits yet? looking good Andrew, keep up the nice work.
-
hi andrew, took about 15 to 18 hours total for each, making the rim, the center the, center hub and drilling 160 holes. cutting and fitting 80 wires. but i think it was worth it. 2 more to go. going back on the fenders for awhile till my eyes come back to normal. i am doing the right rear next. i have the front hammer form shaped. nice to hear from you also mark,thank you.
-
1
-
-
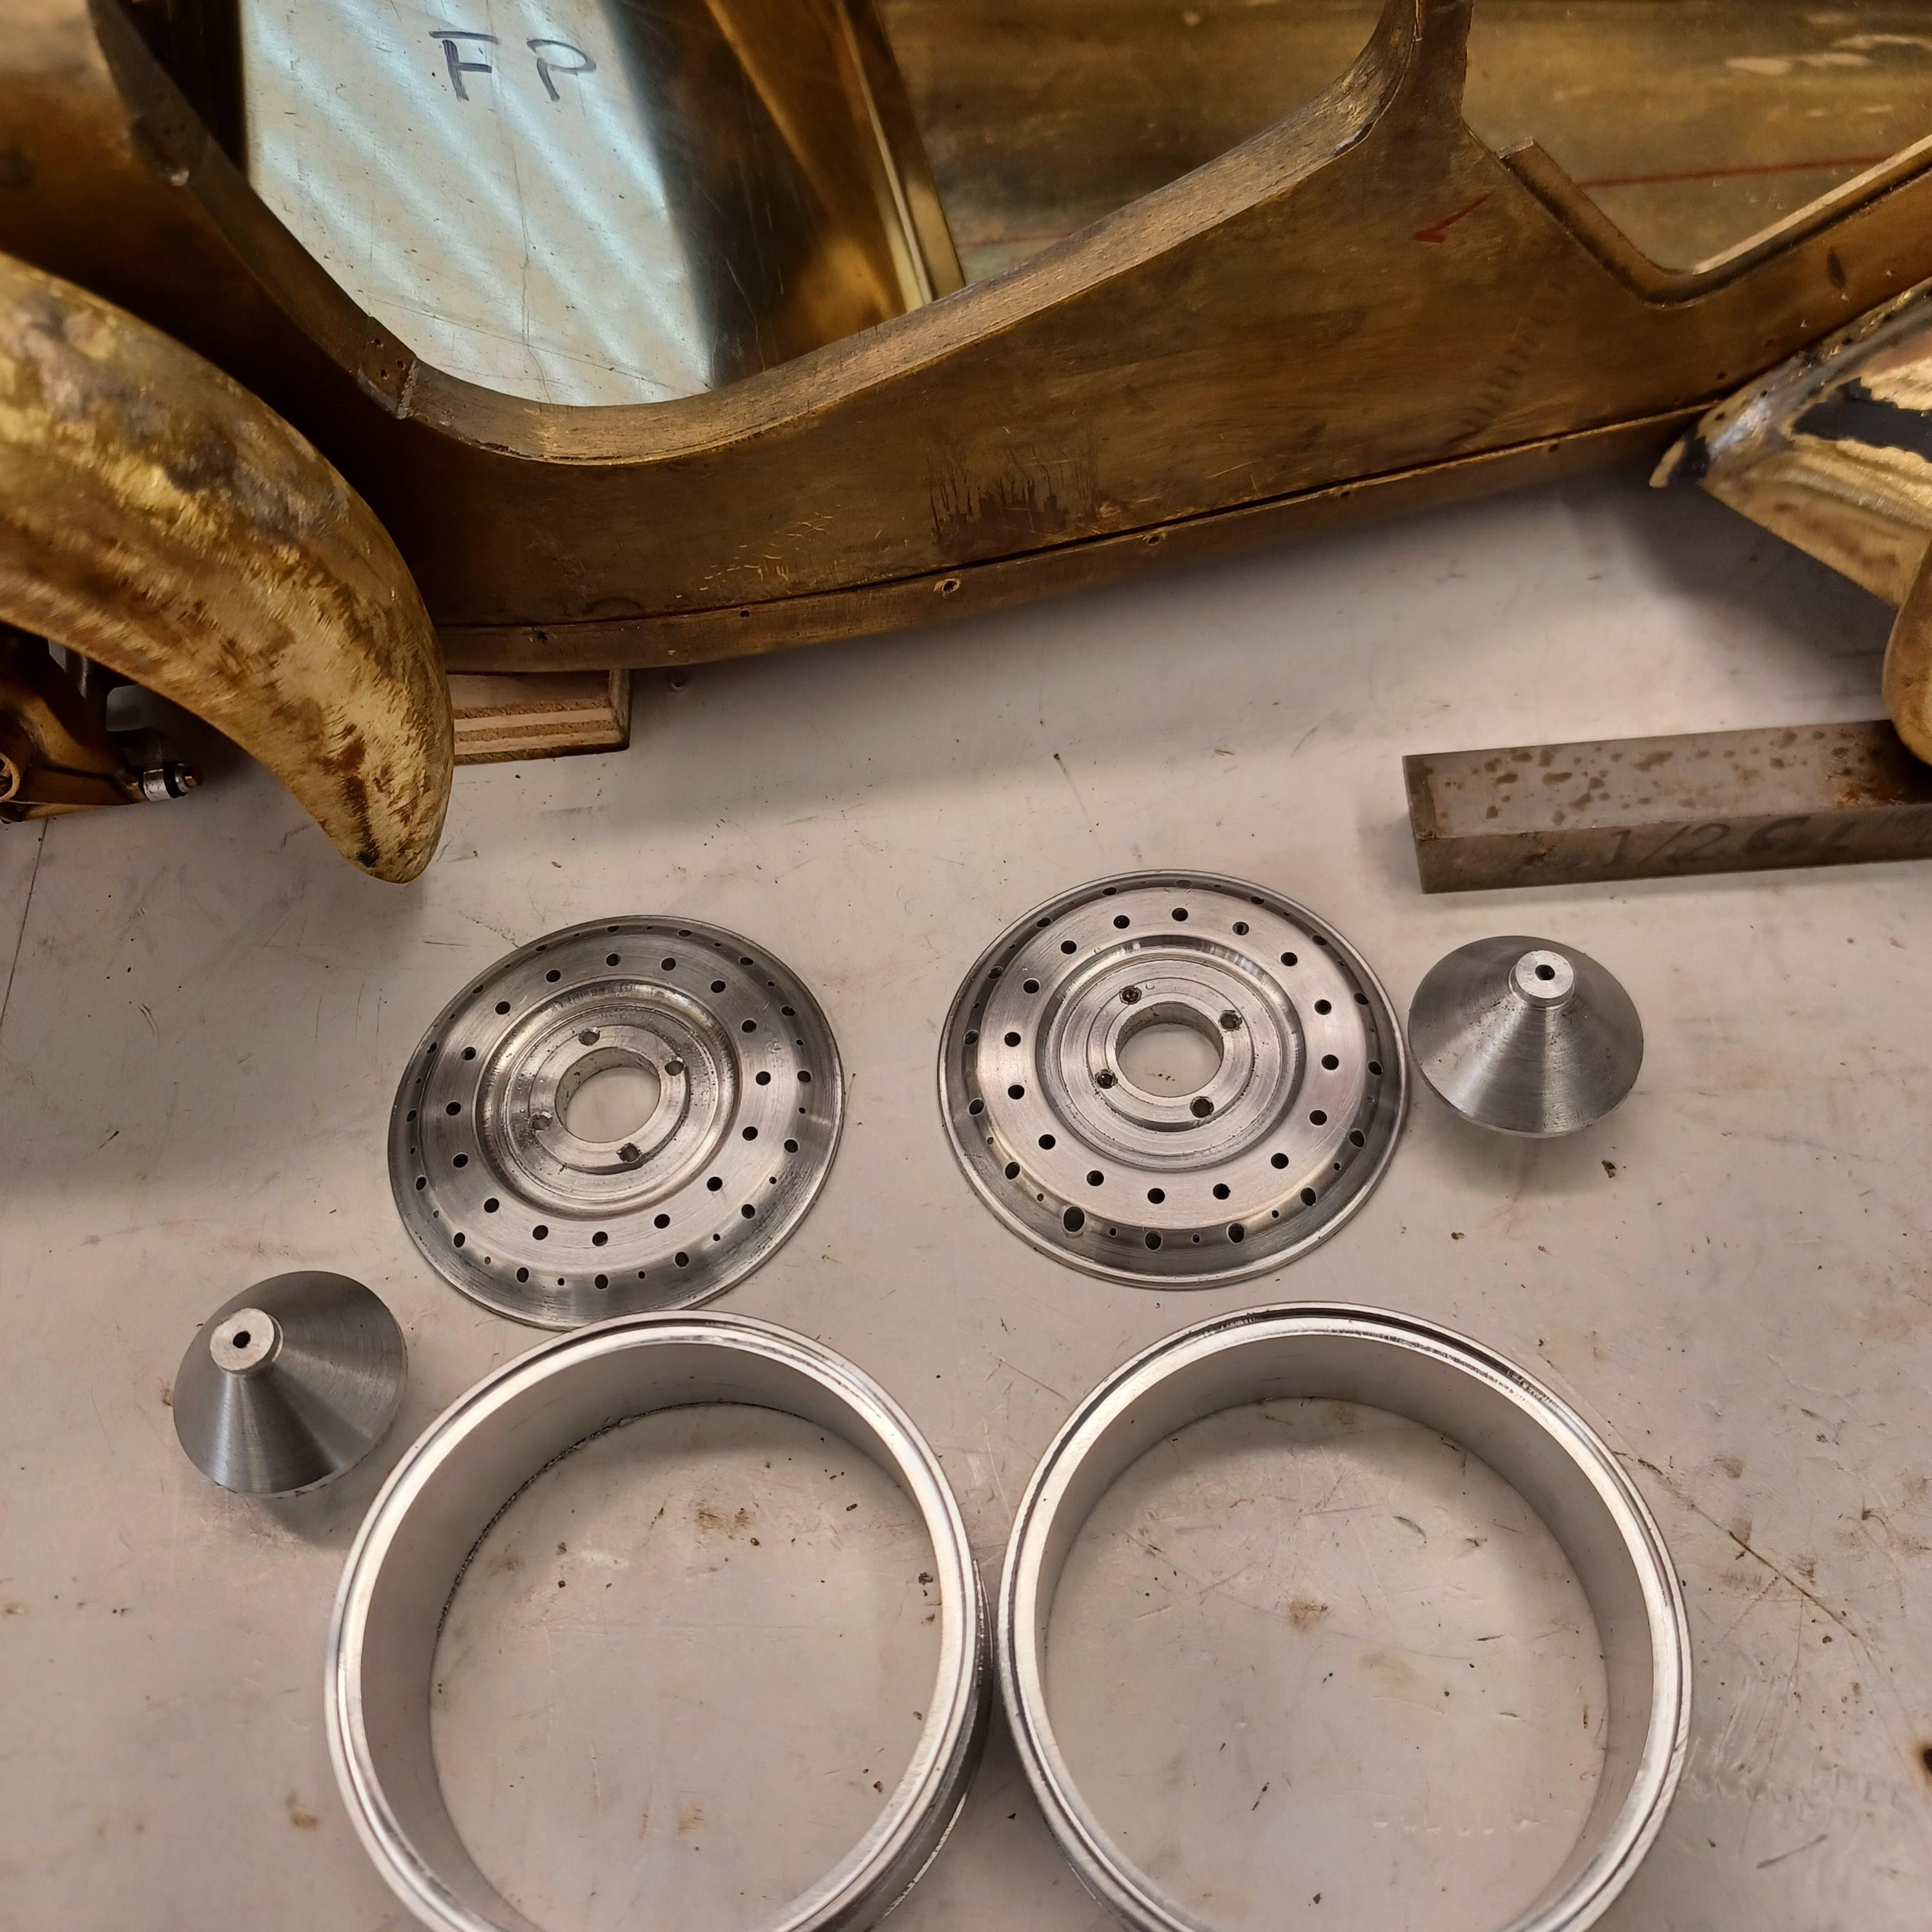
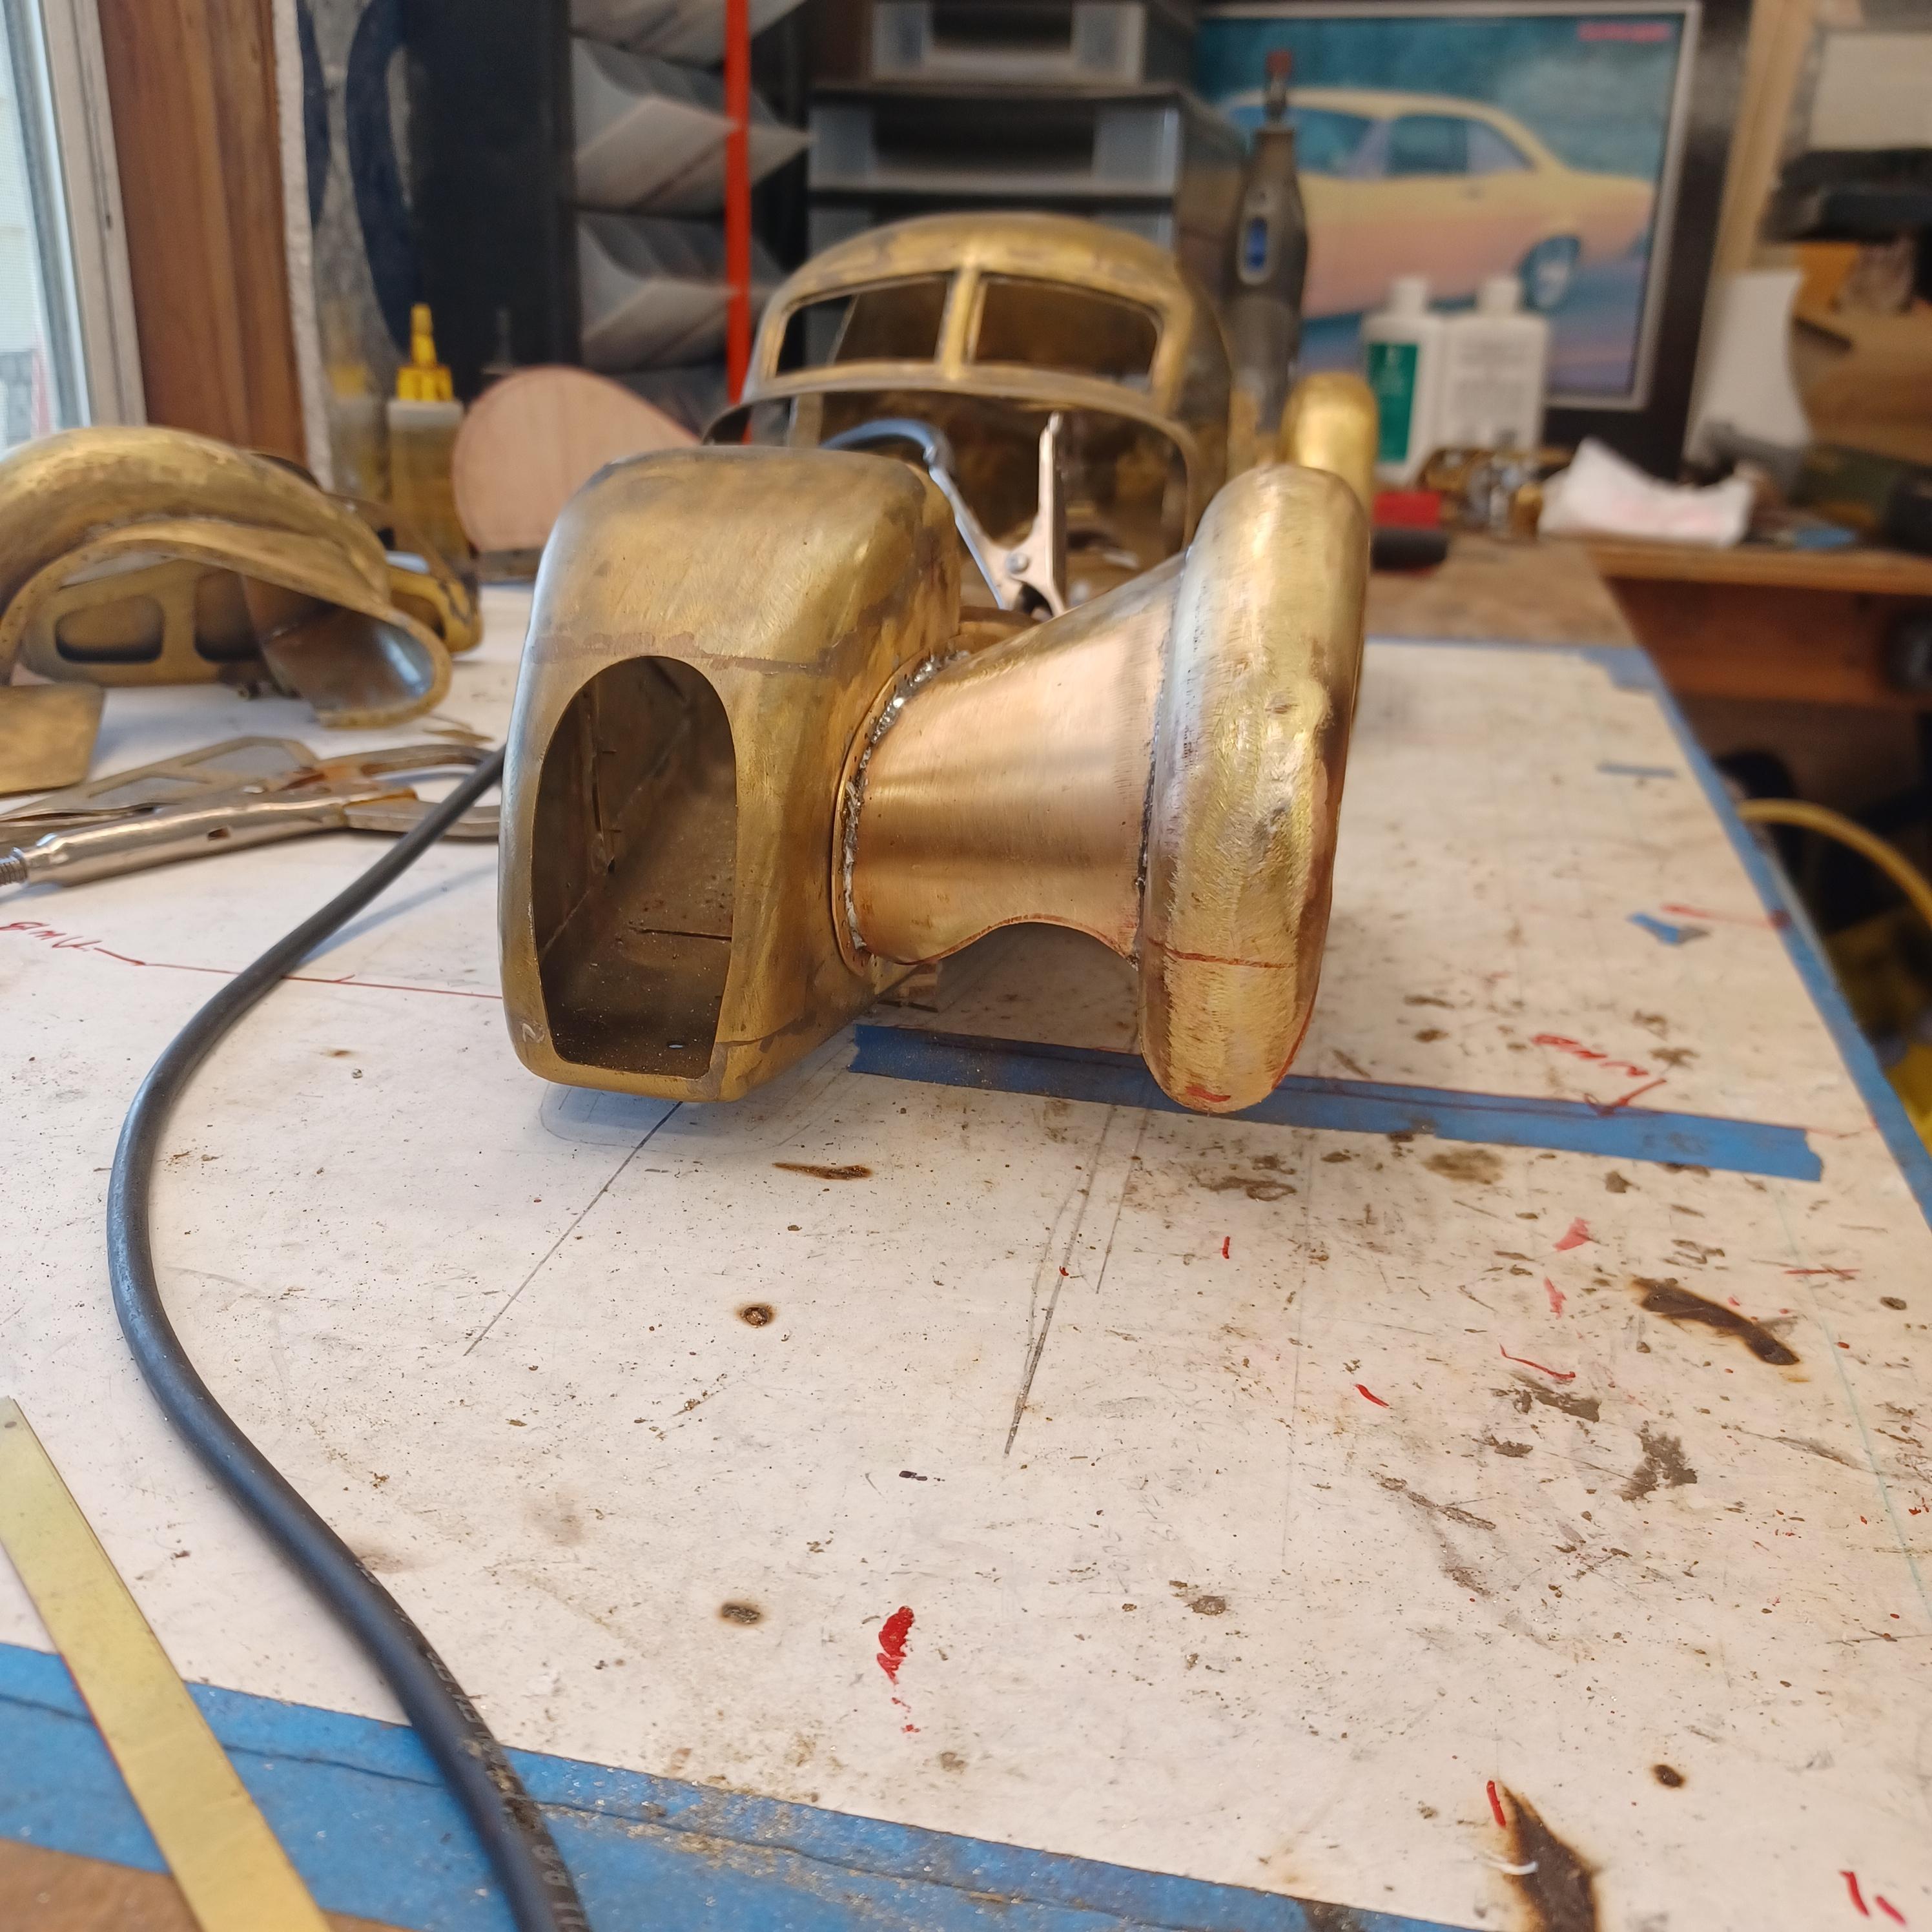
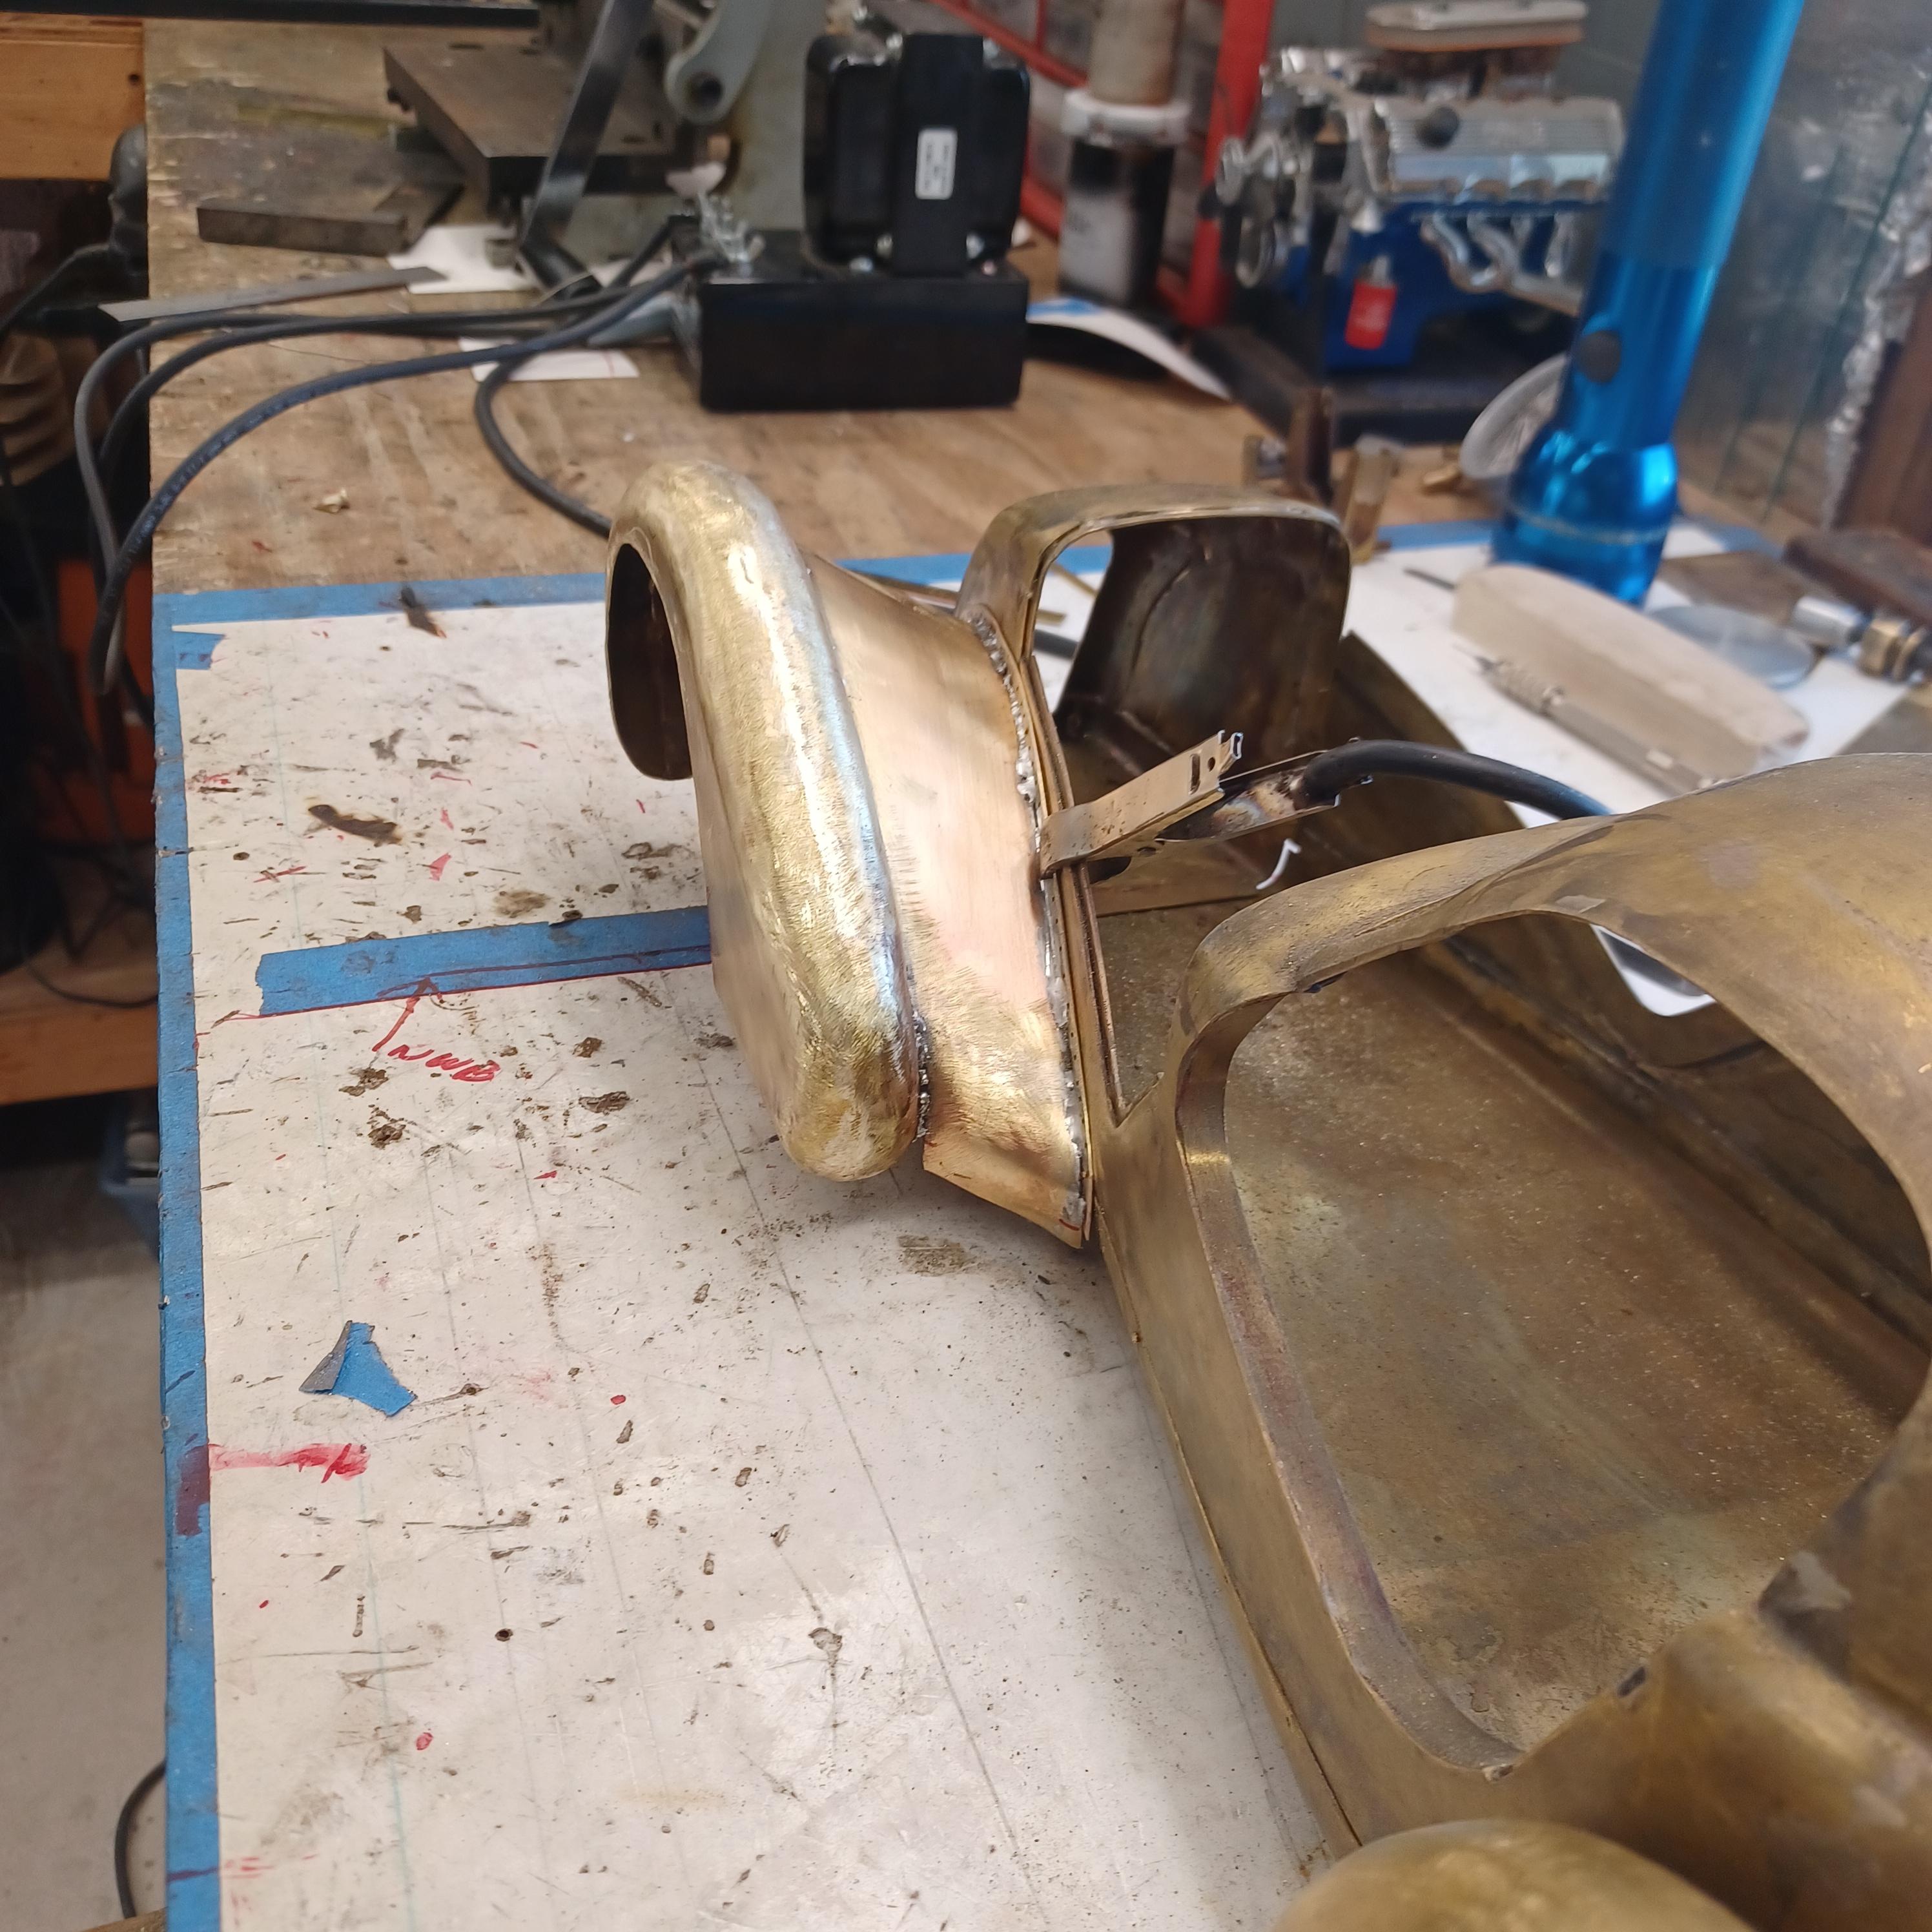
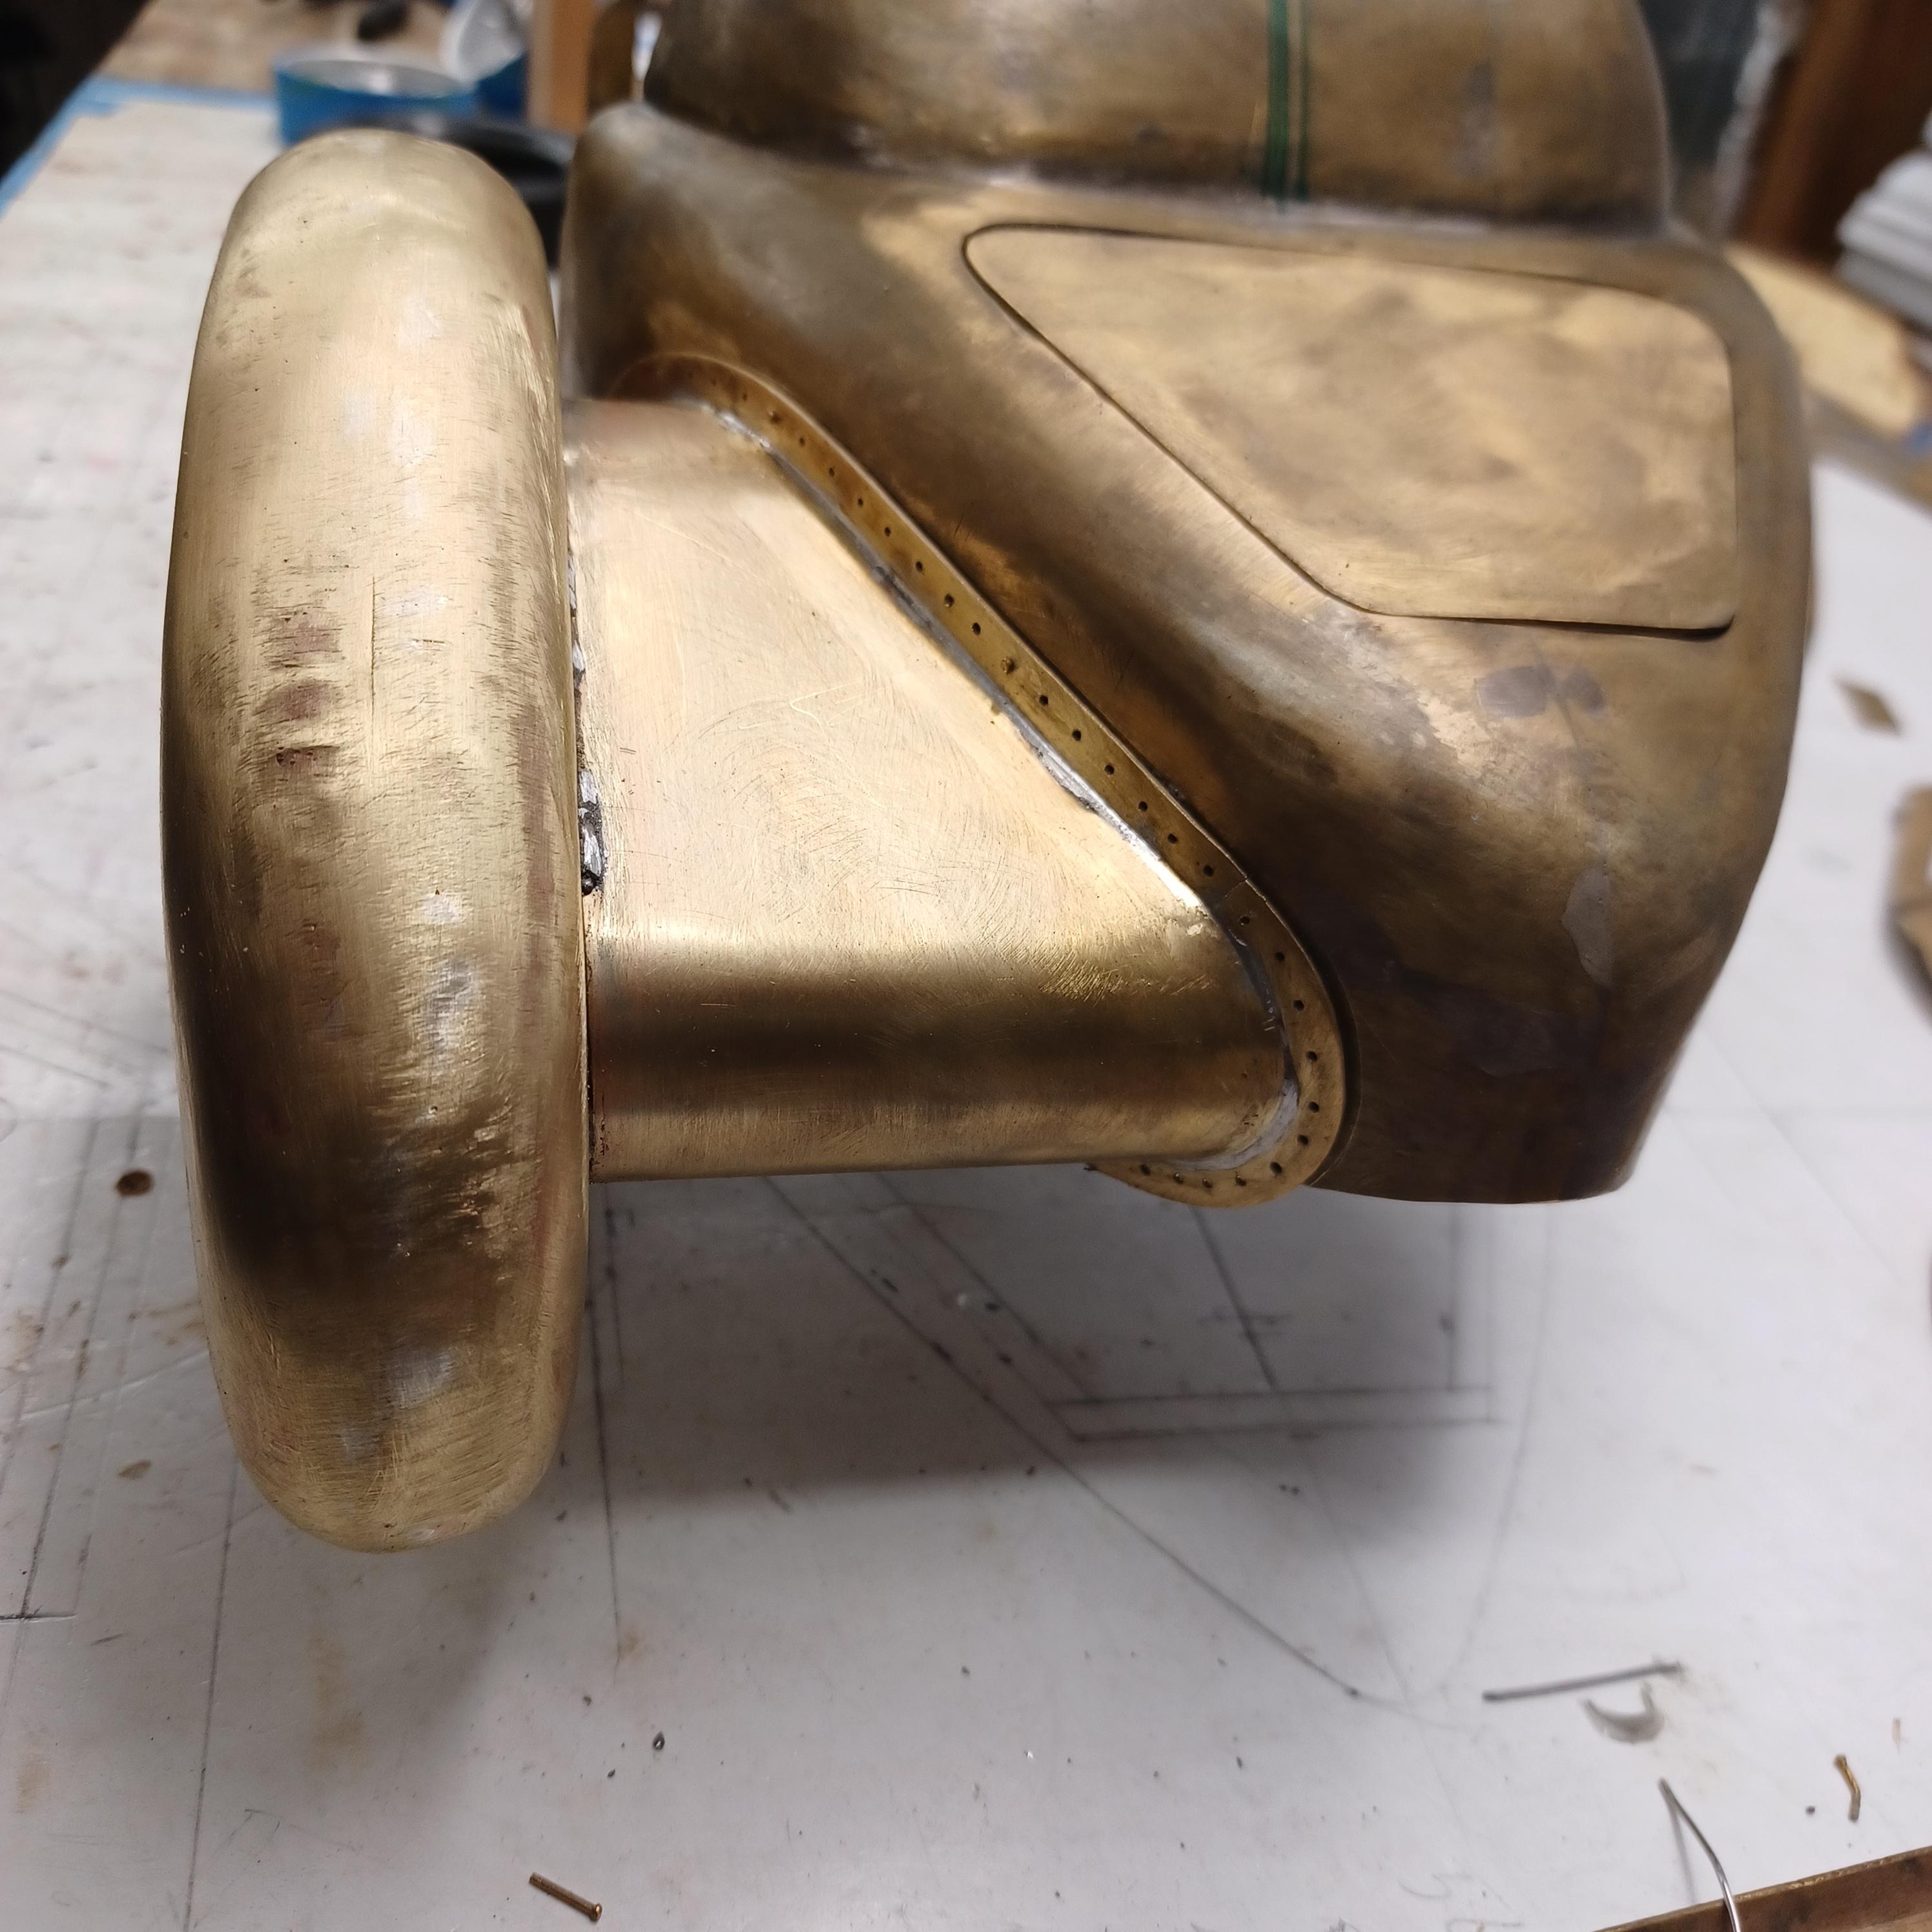
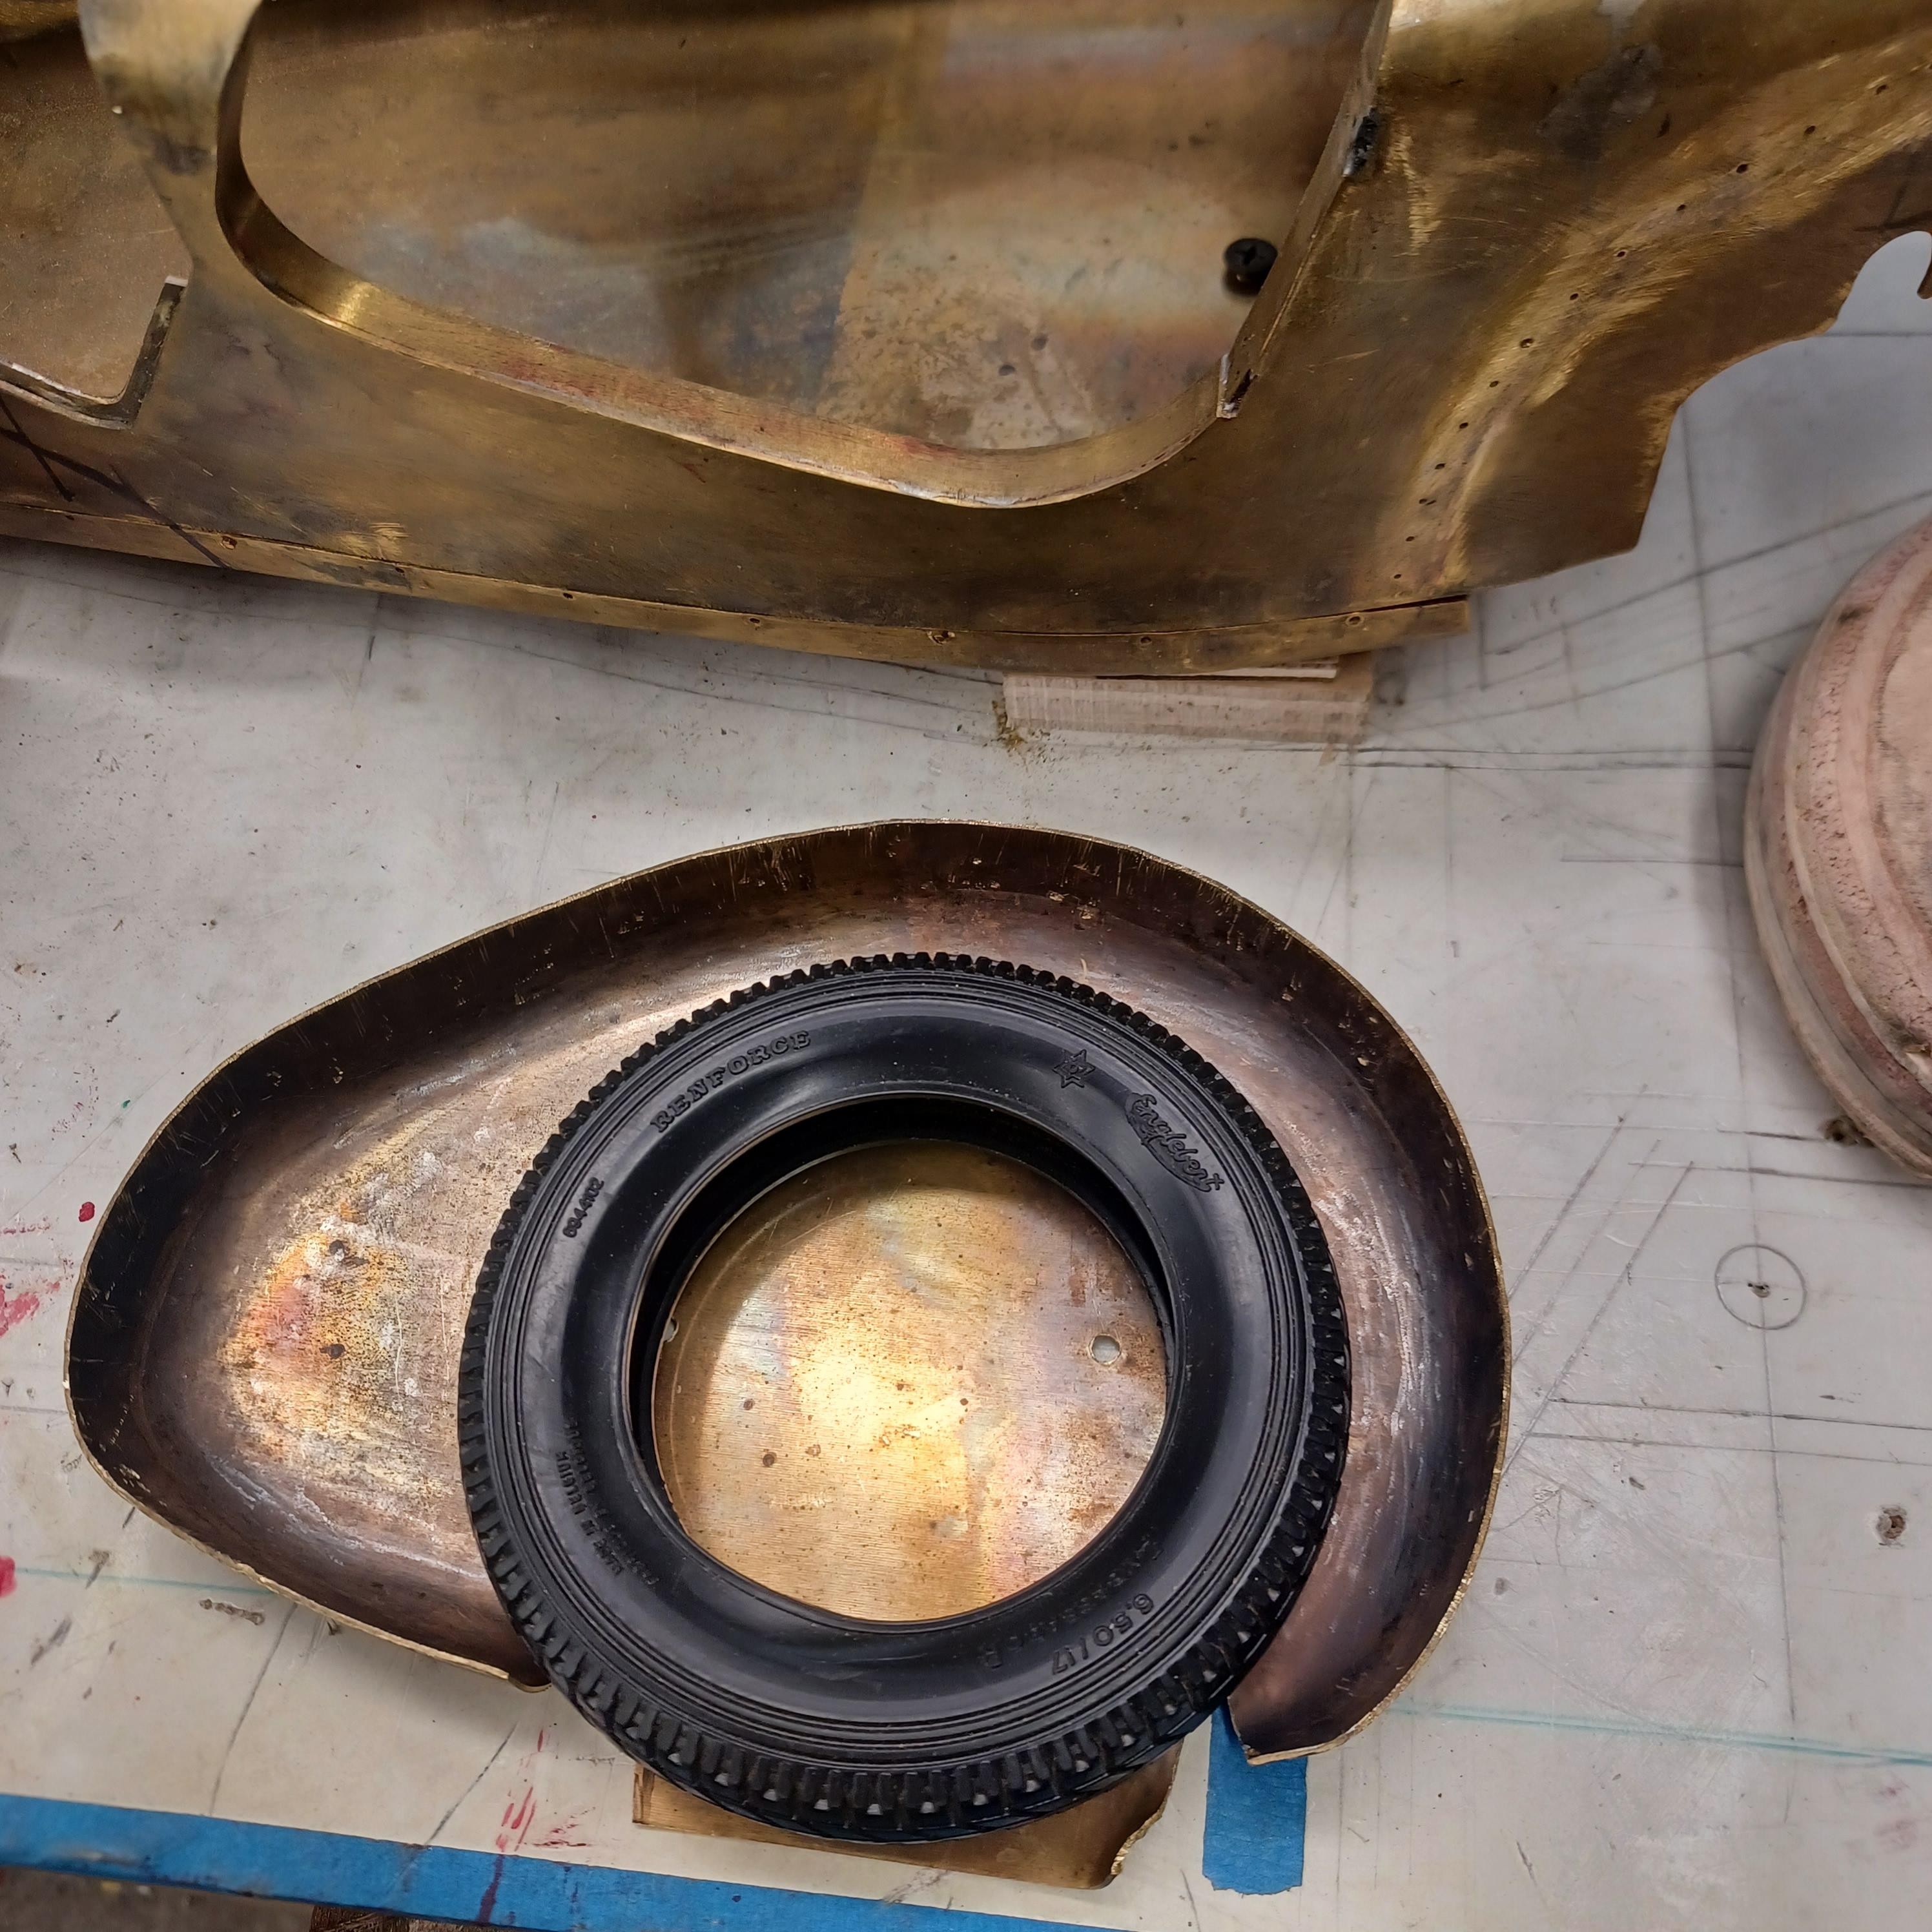
hi mark ,hammer forms have been around for along time. i have been using them 30 or 40 years. i don't know idea they were. hi francis your wheels look great. here are a few pictures of the 2 halves of the fenders soldered together. and the filler between the fender and the body. the inside of the fender in picture 2 shows the solder. this was done with my favorite solder tool the resistance solderer. great tool. the wheels are looking good. 128 holes in each wheel, not counting 80 spot faces on the center hub to give a flat spot for the .035 hole to be drilled. the center hub is bolted in from the backside. they have 4o spokes only half ,40 more to go in each. i dont know why they look twisted in the picture, they are just straight .035 stainless safety wire. i have about 15 to 18 hours in each wheel and i have 2 more to go. i made the bore in the wheel .002 smaller than the wheel center then heated the rim so it would expand and dropped the center in on a spacer for the back space and let them cool. no glue needed.
-
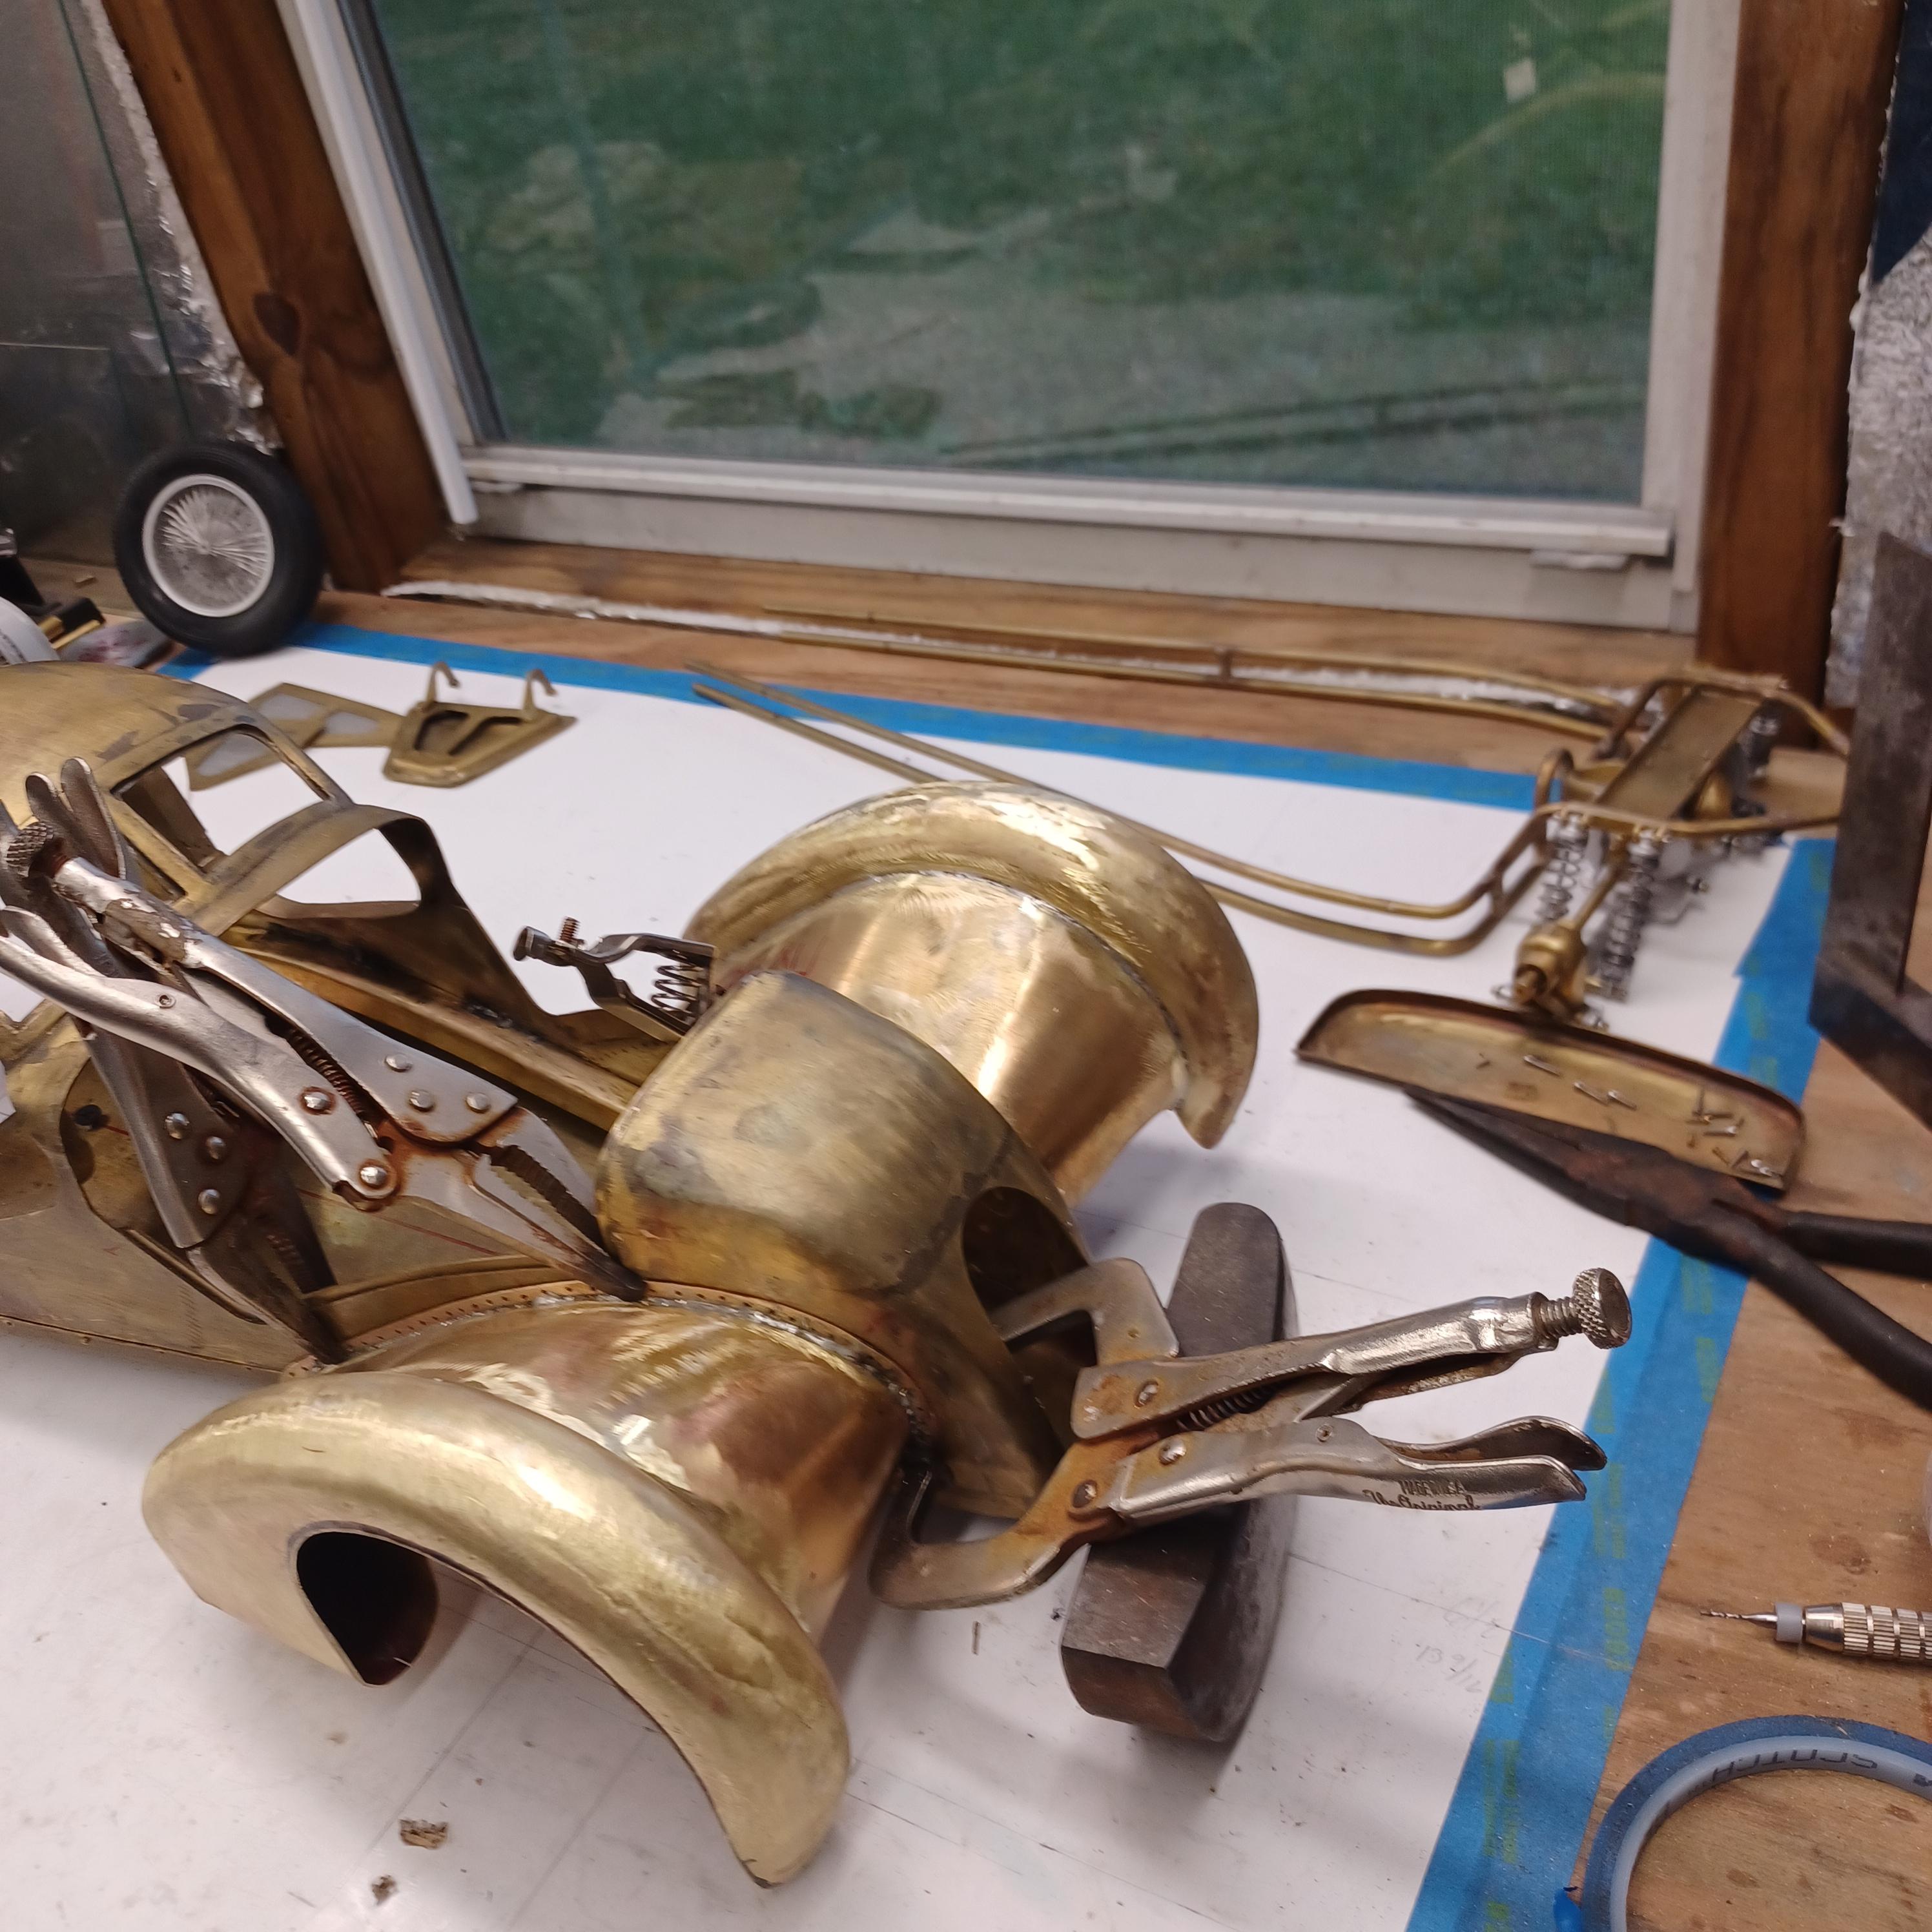
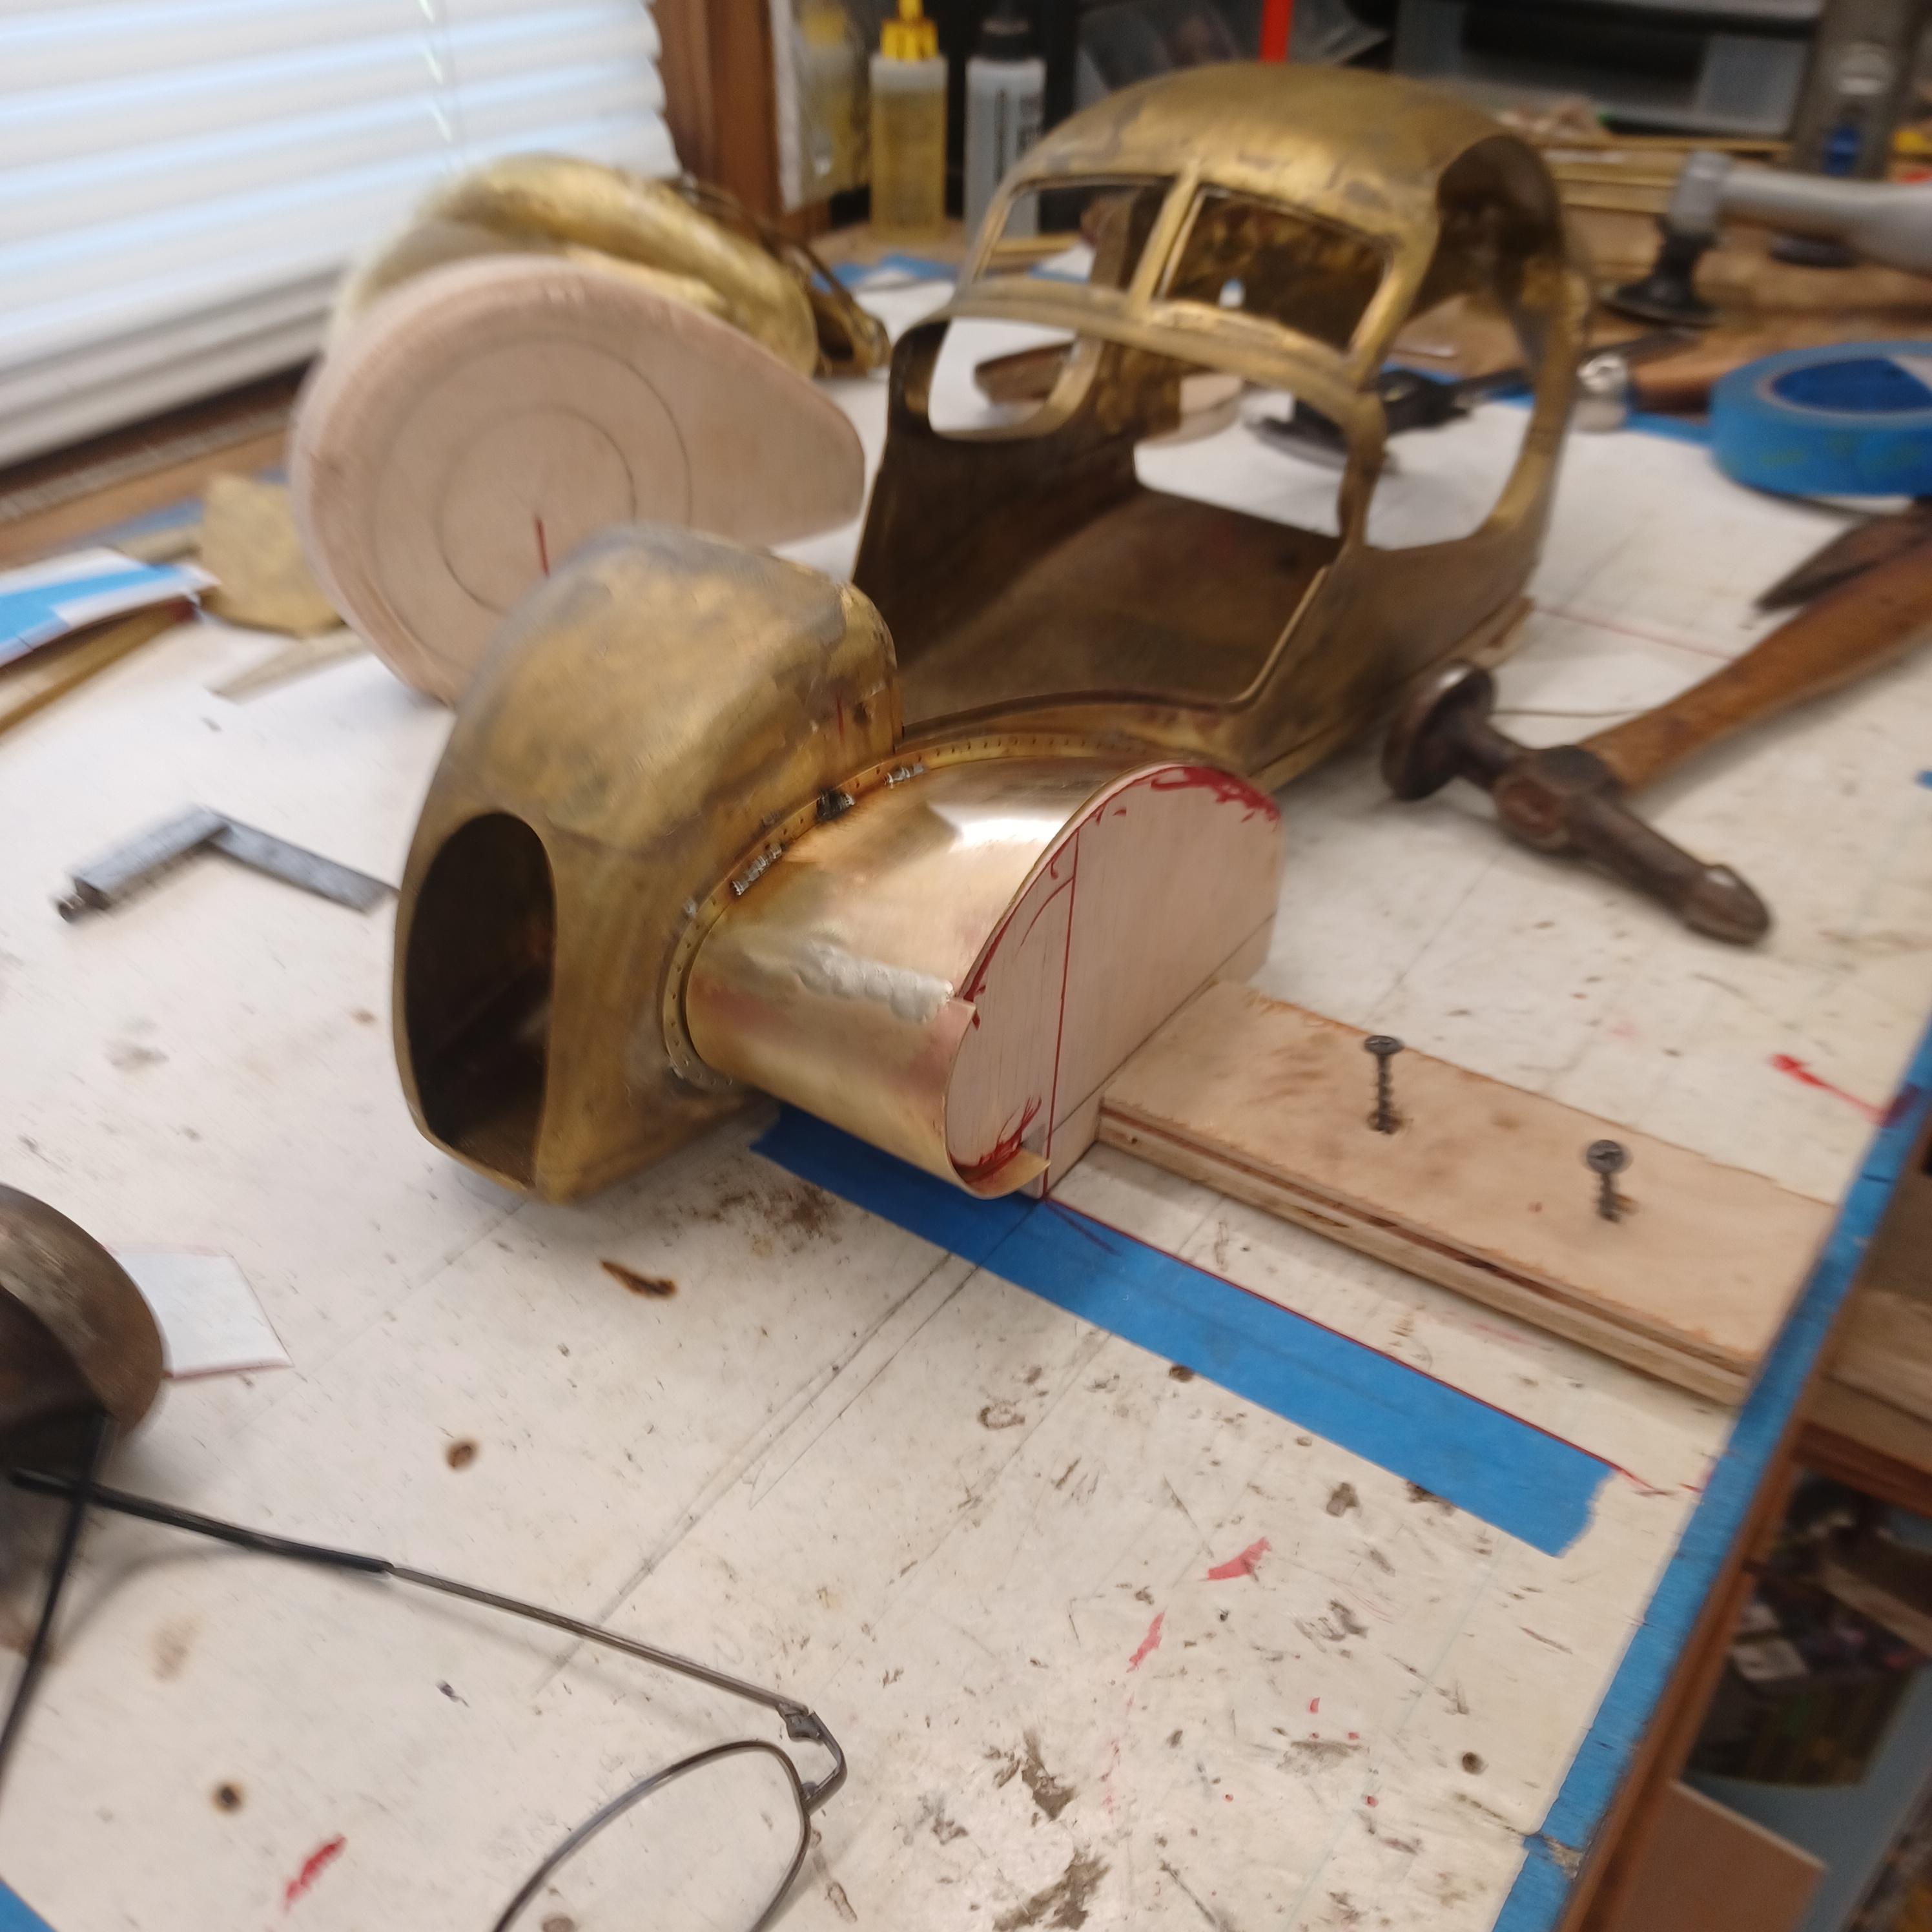
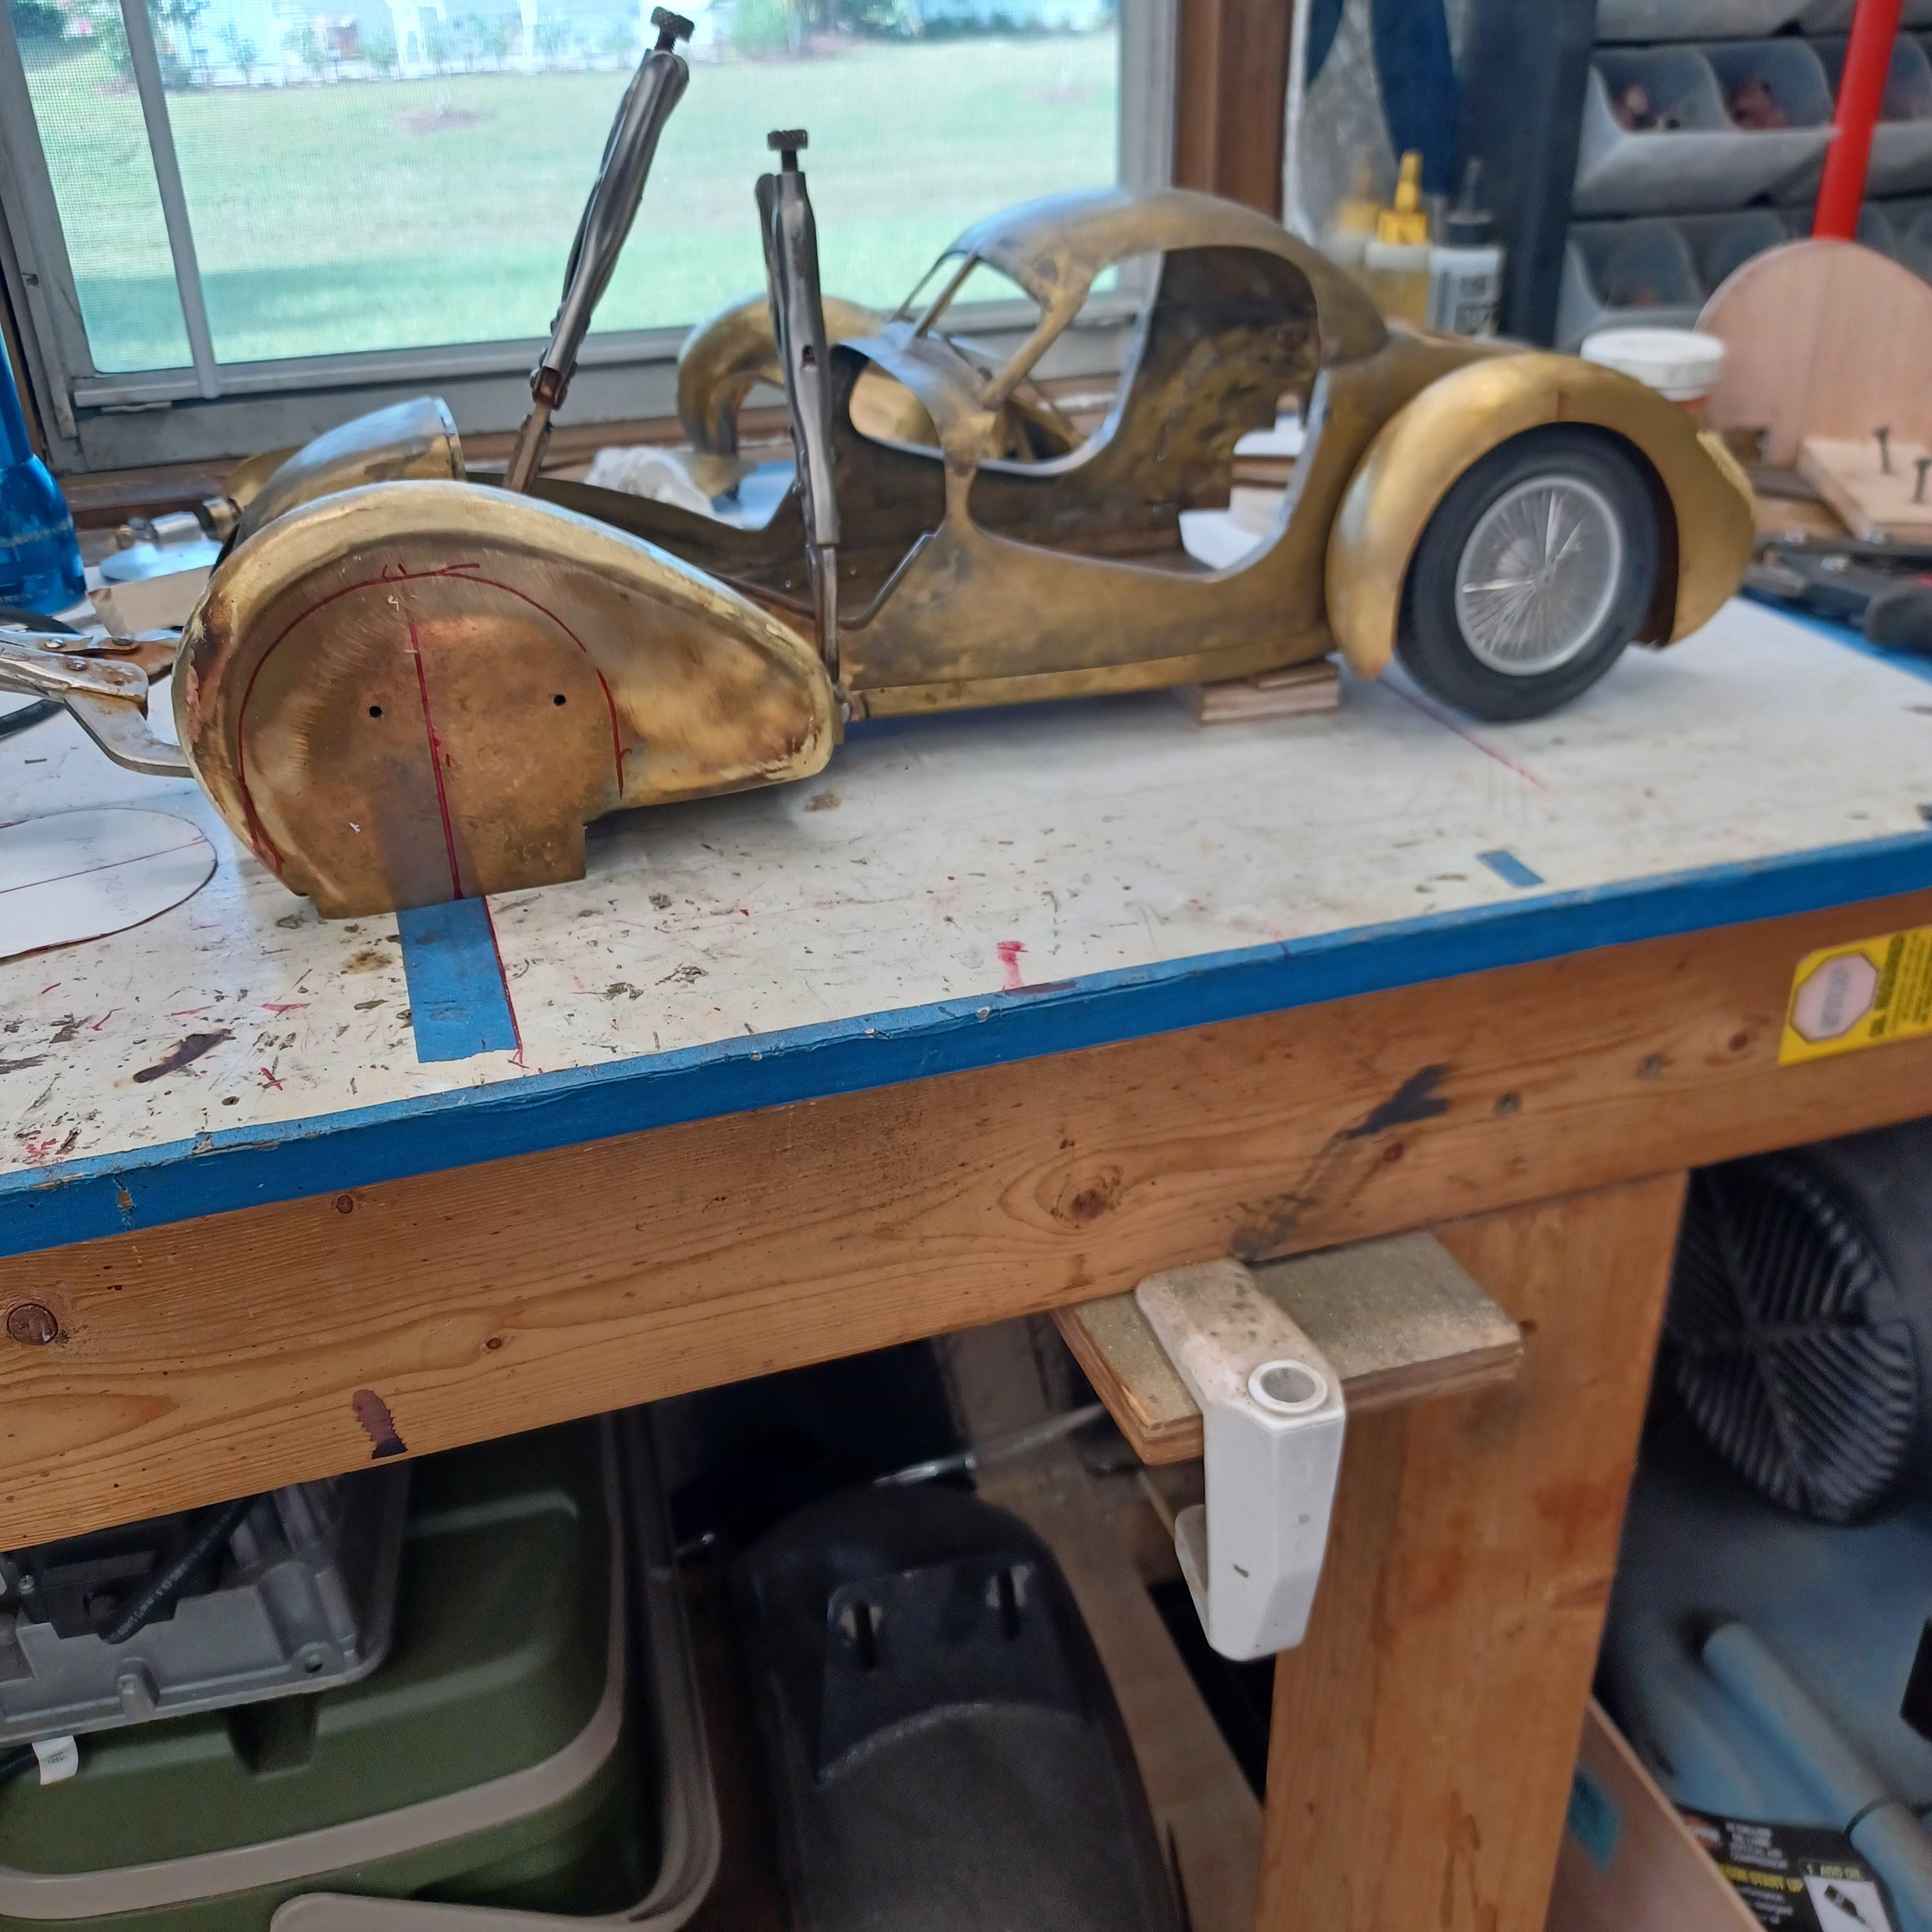
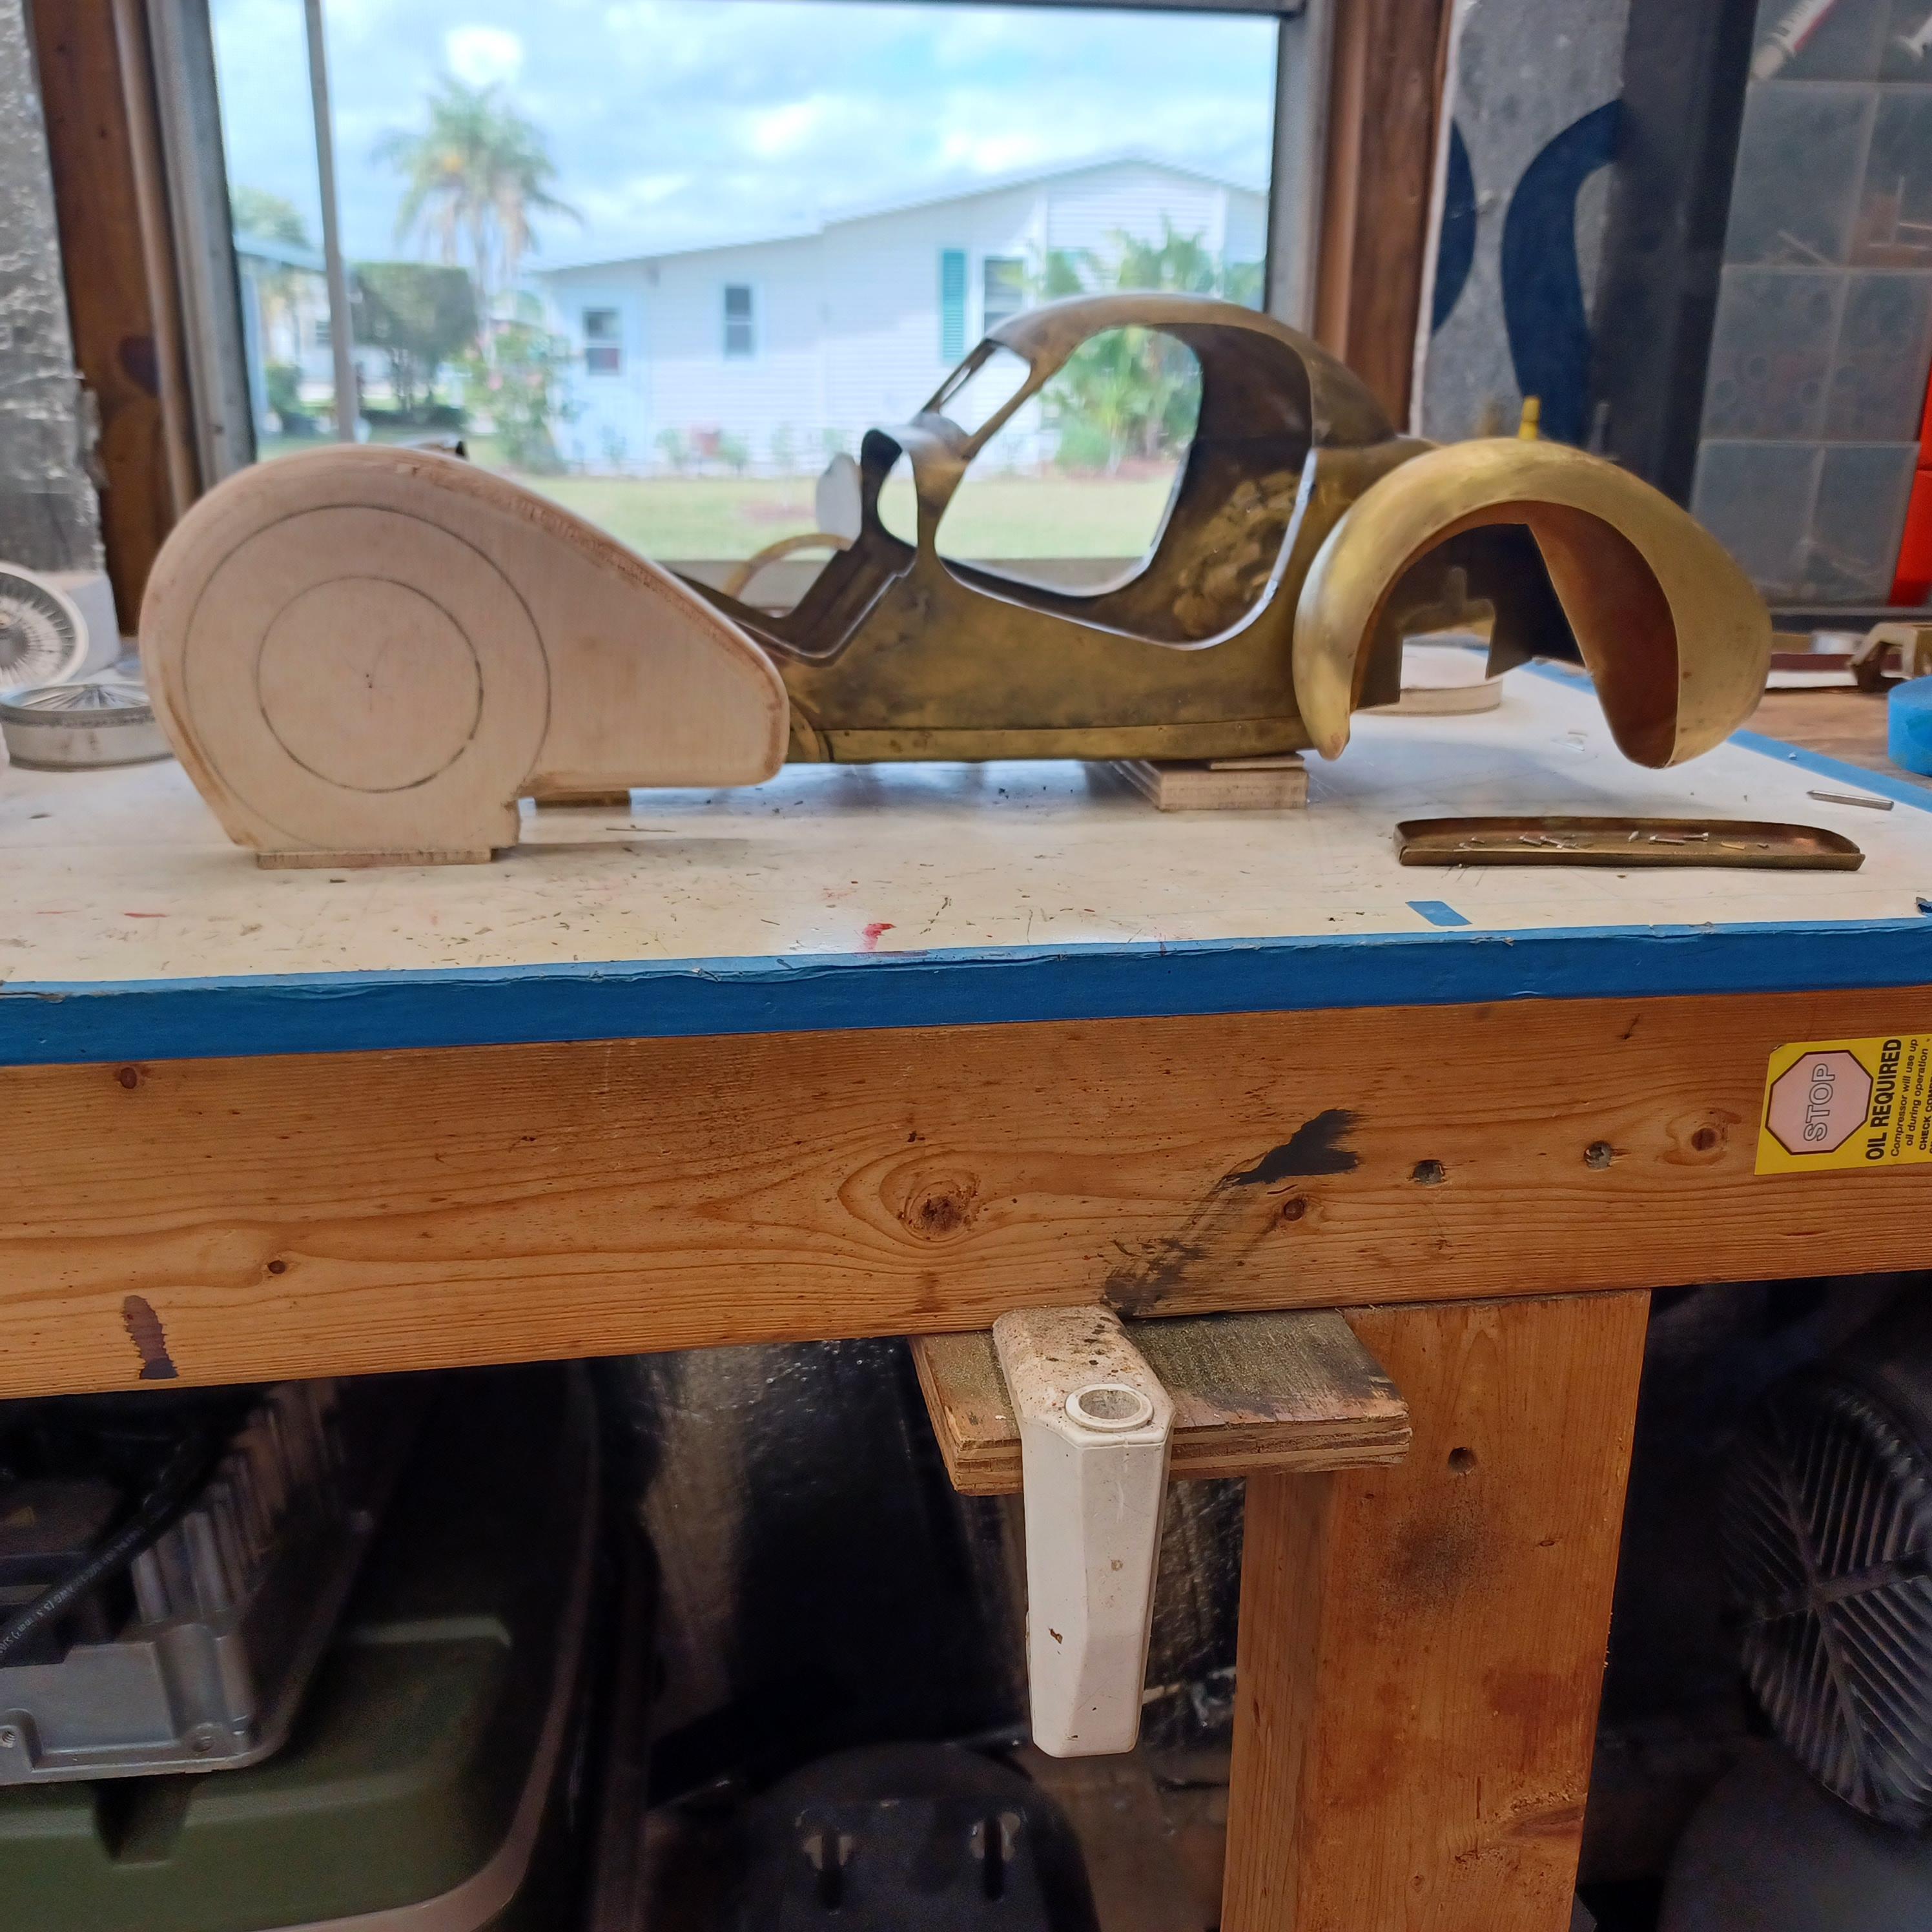
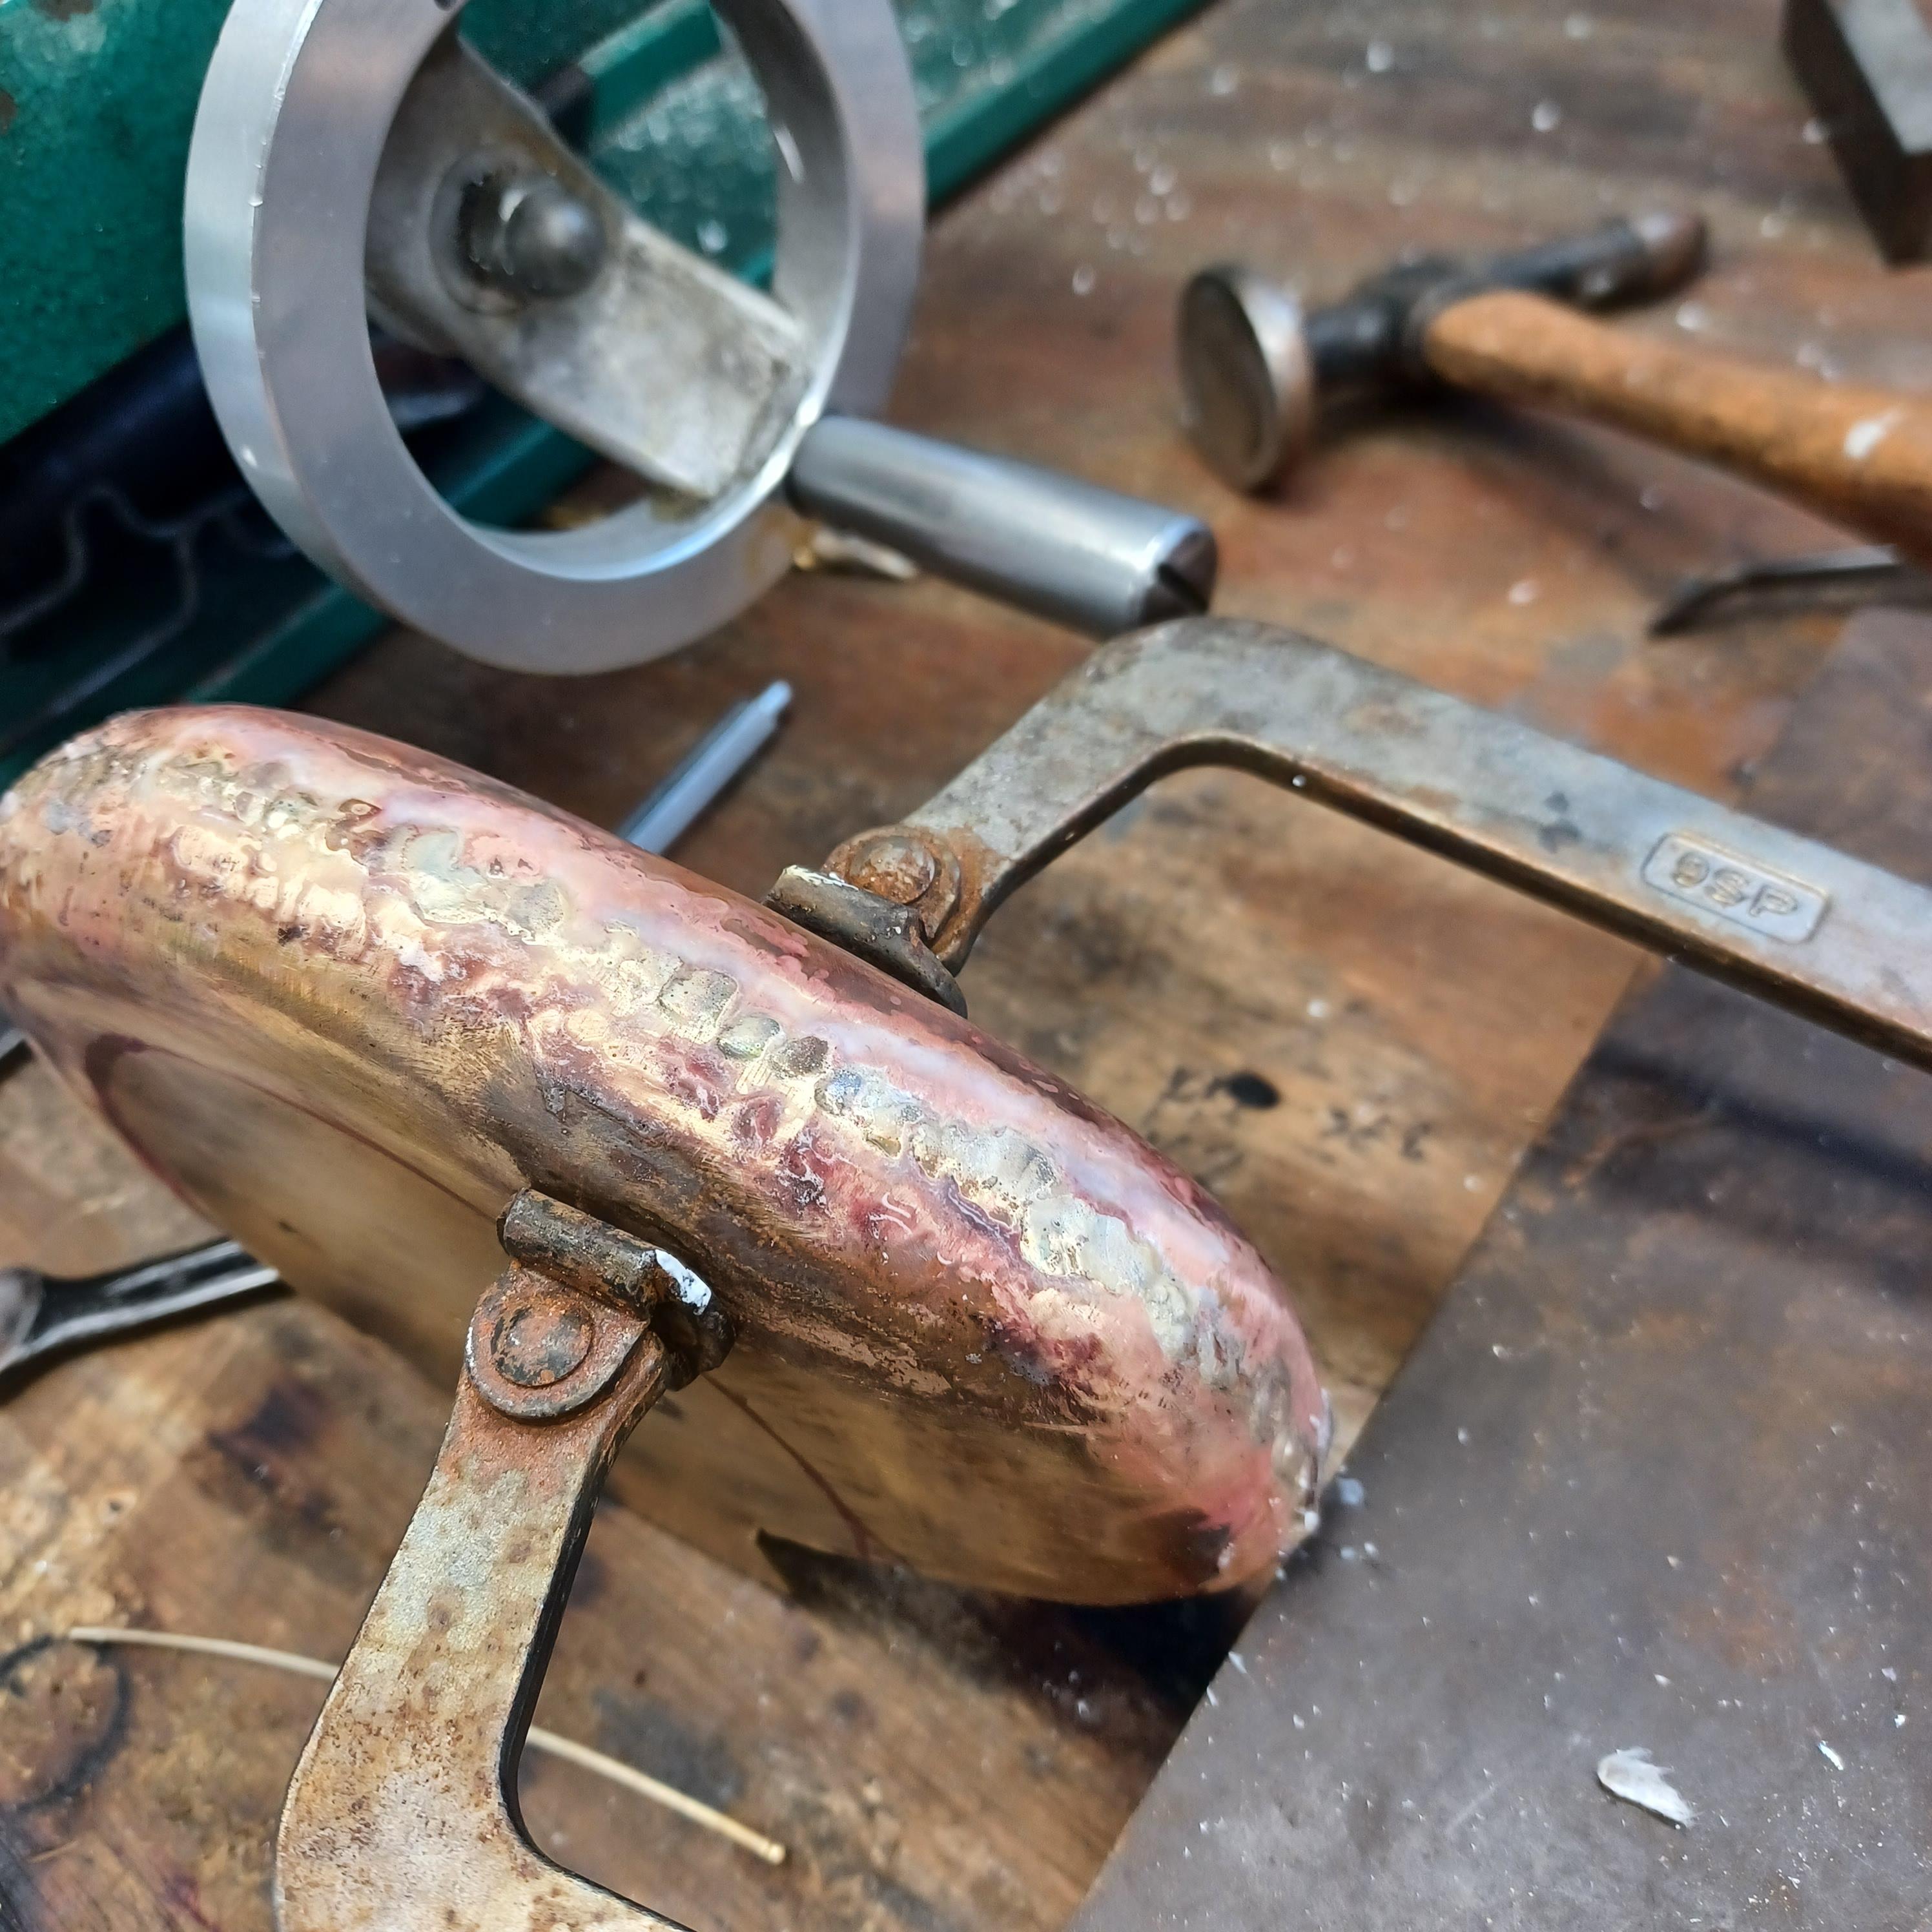
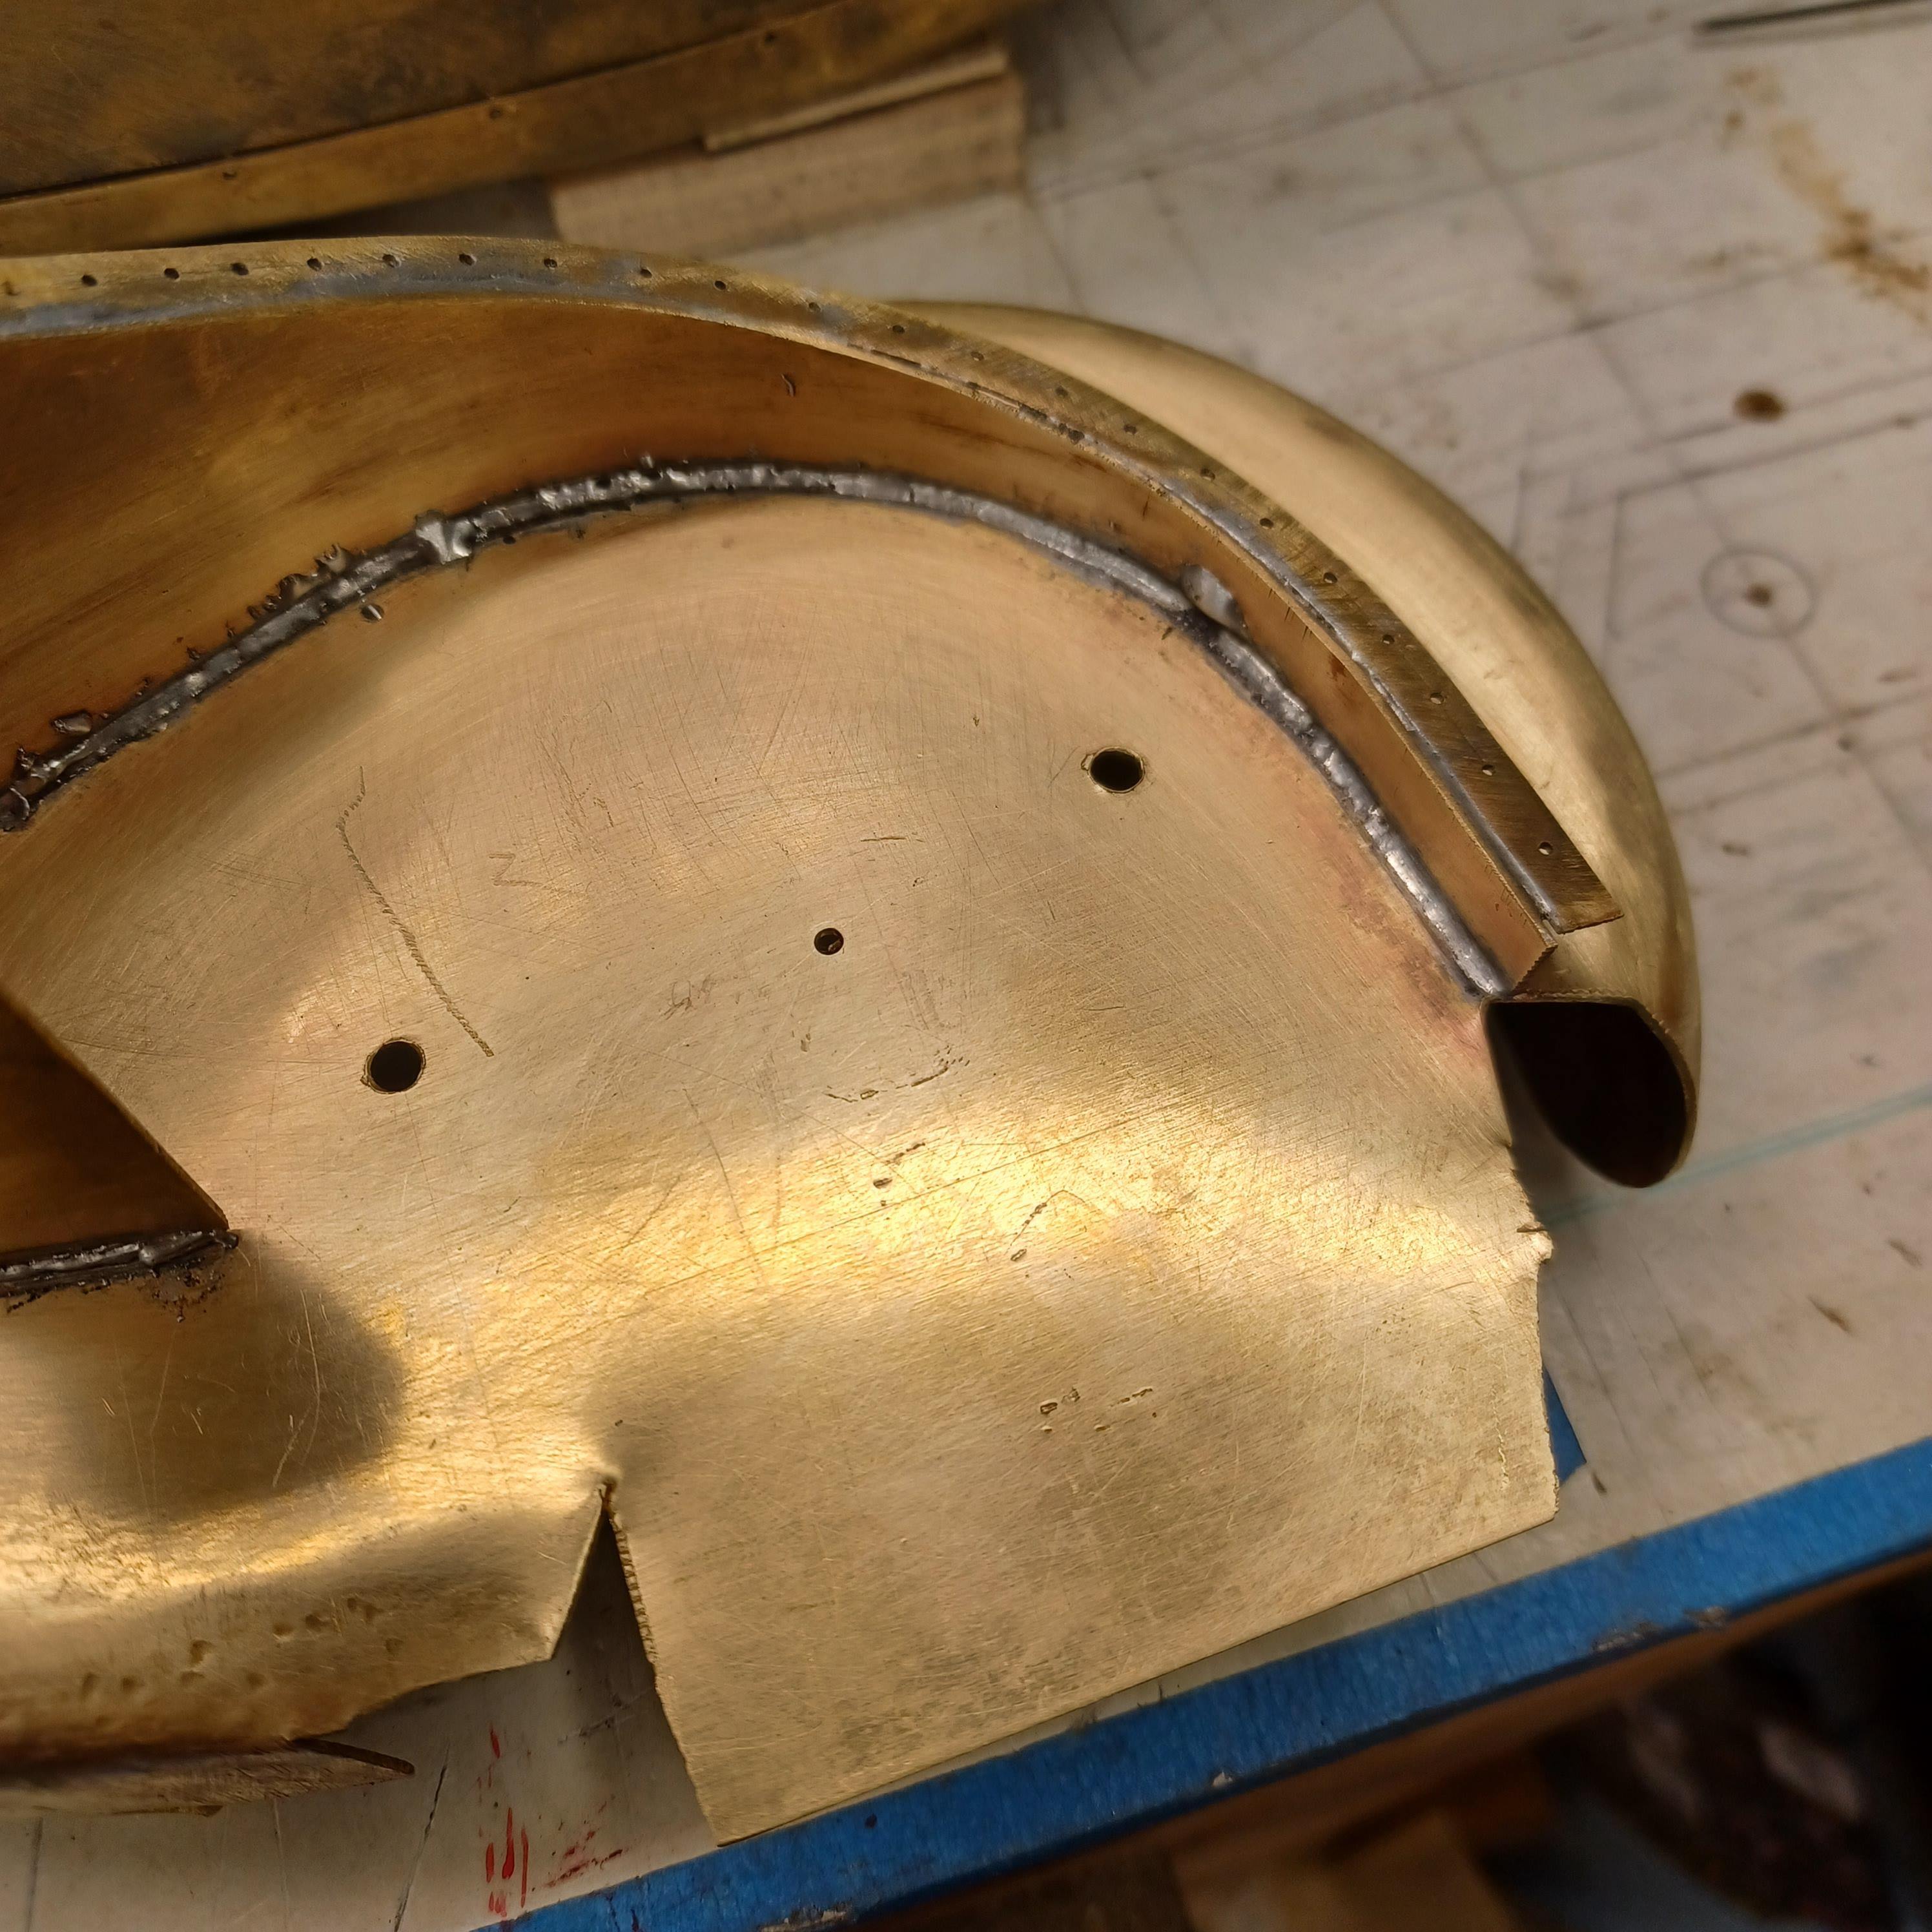
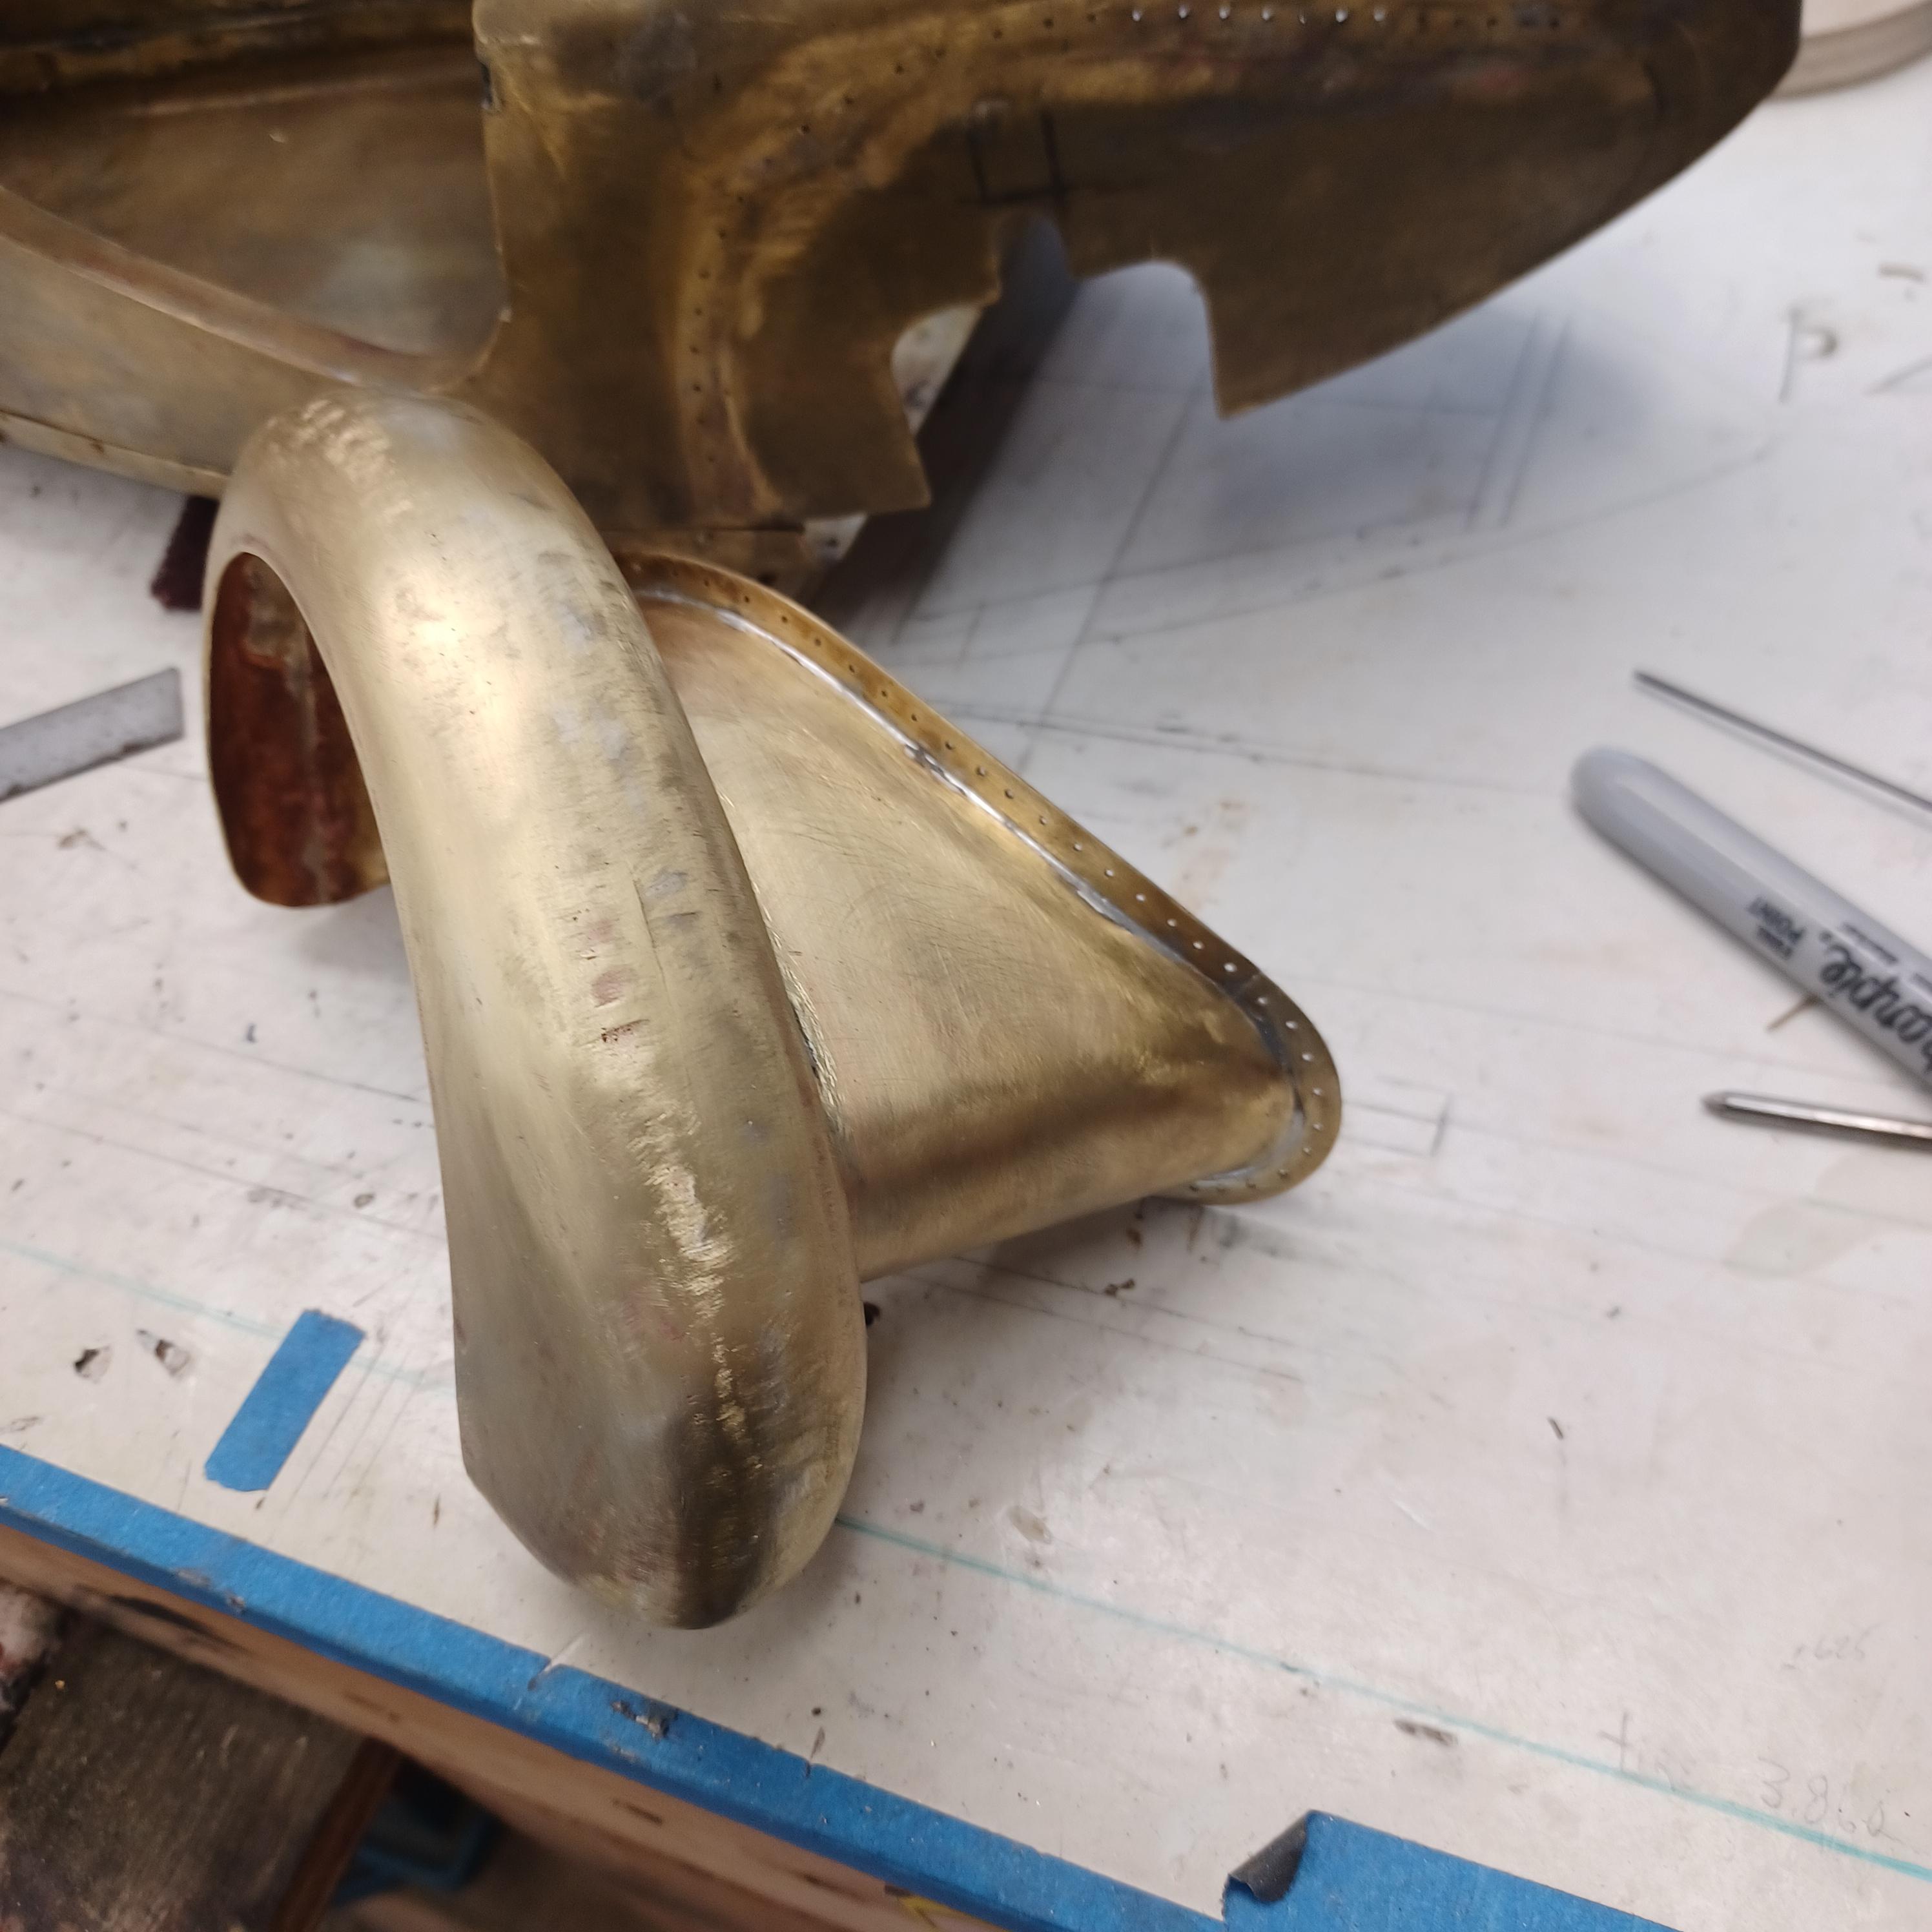
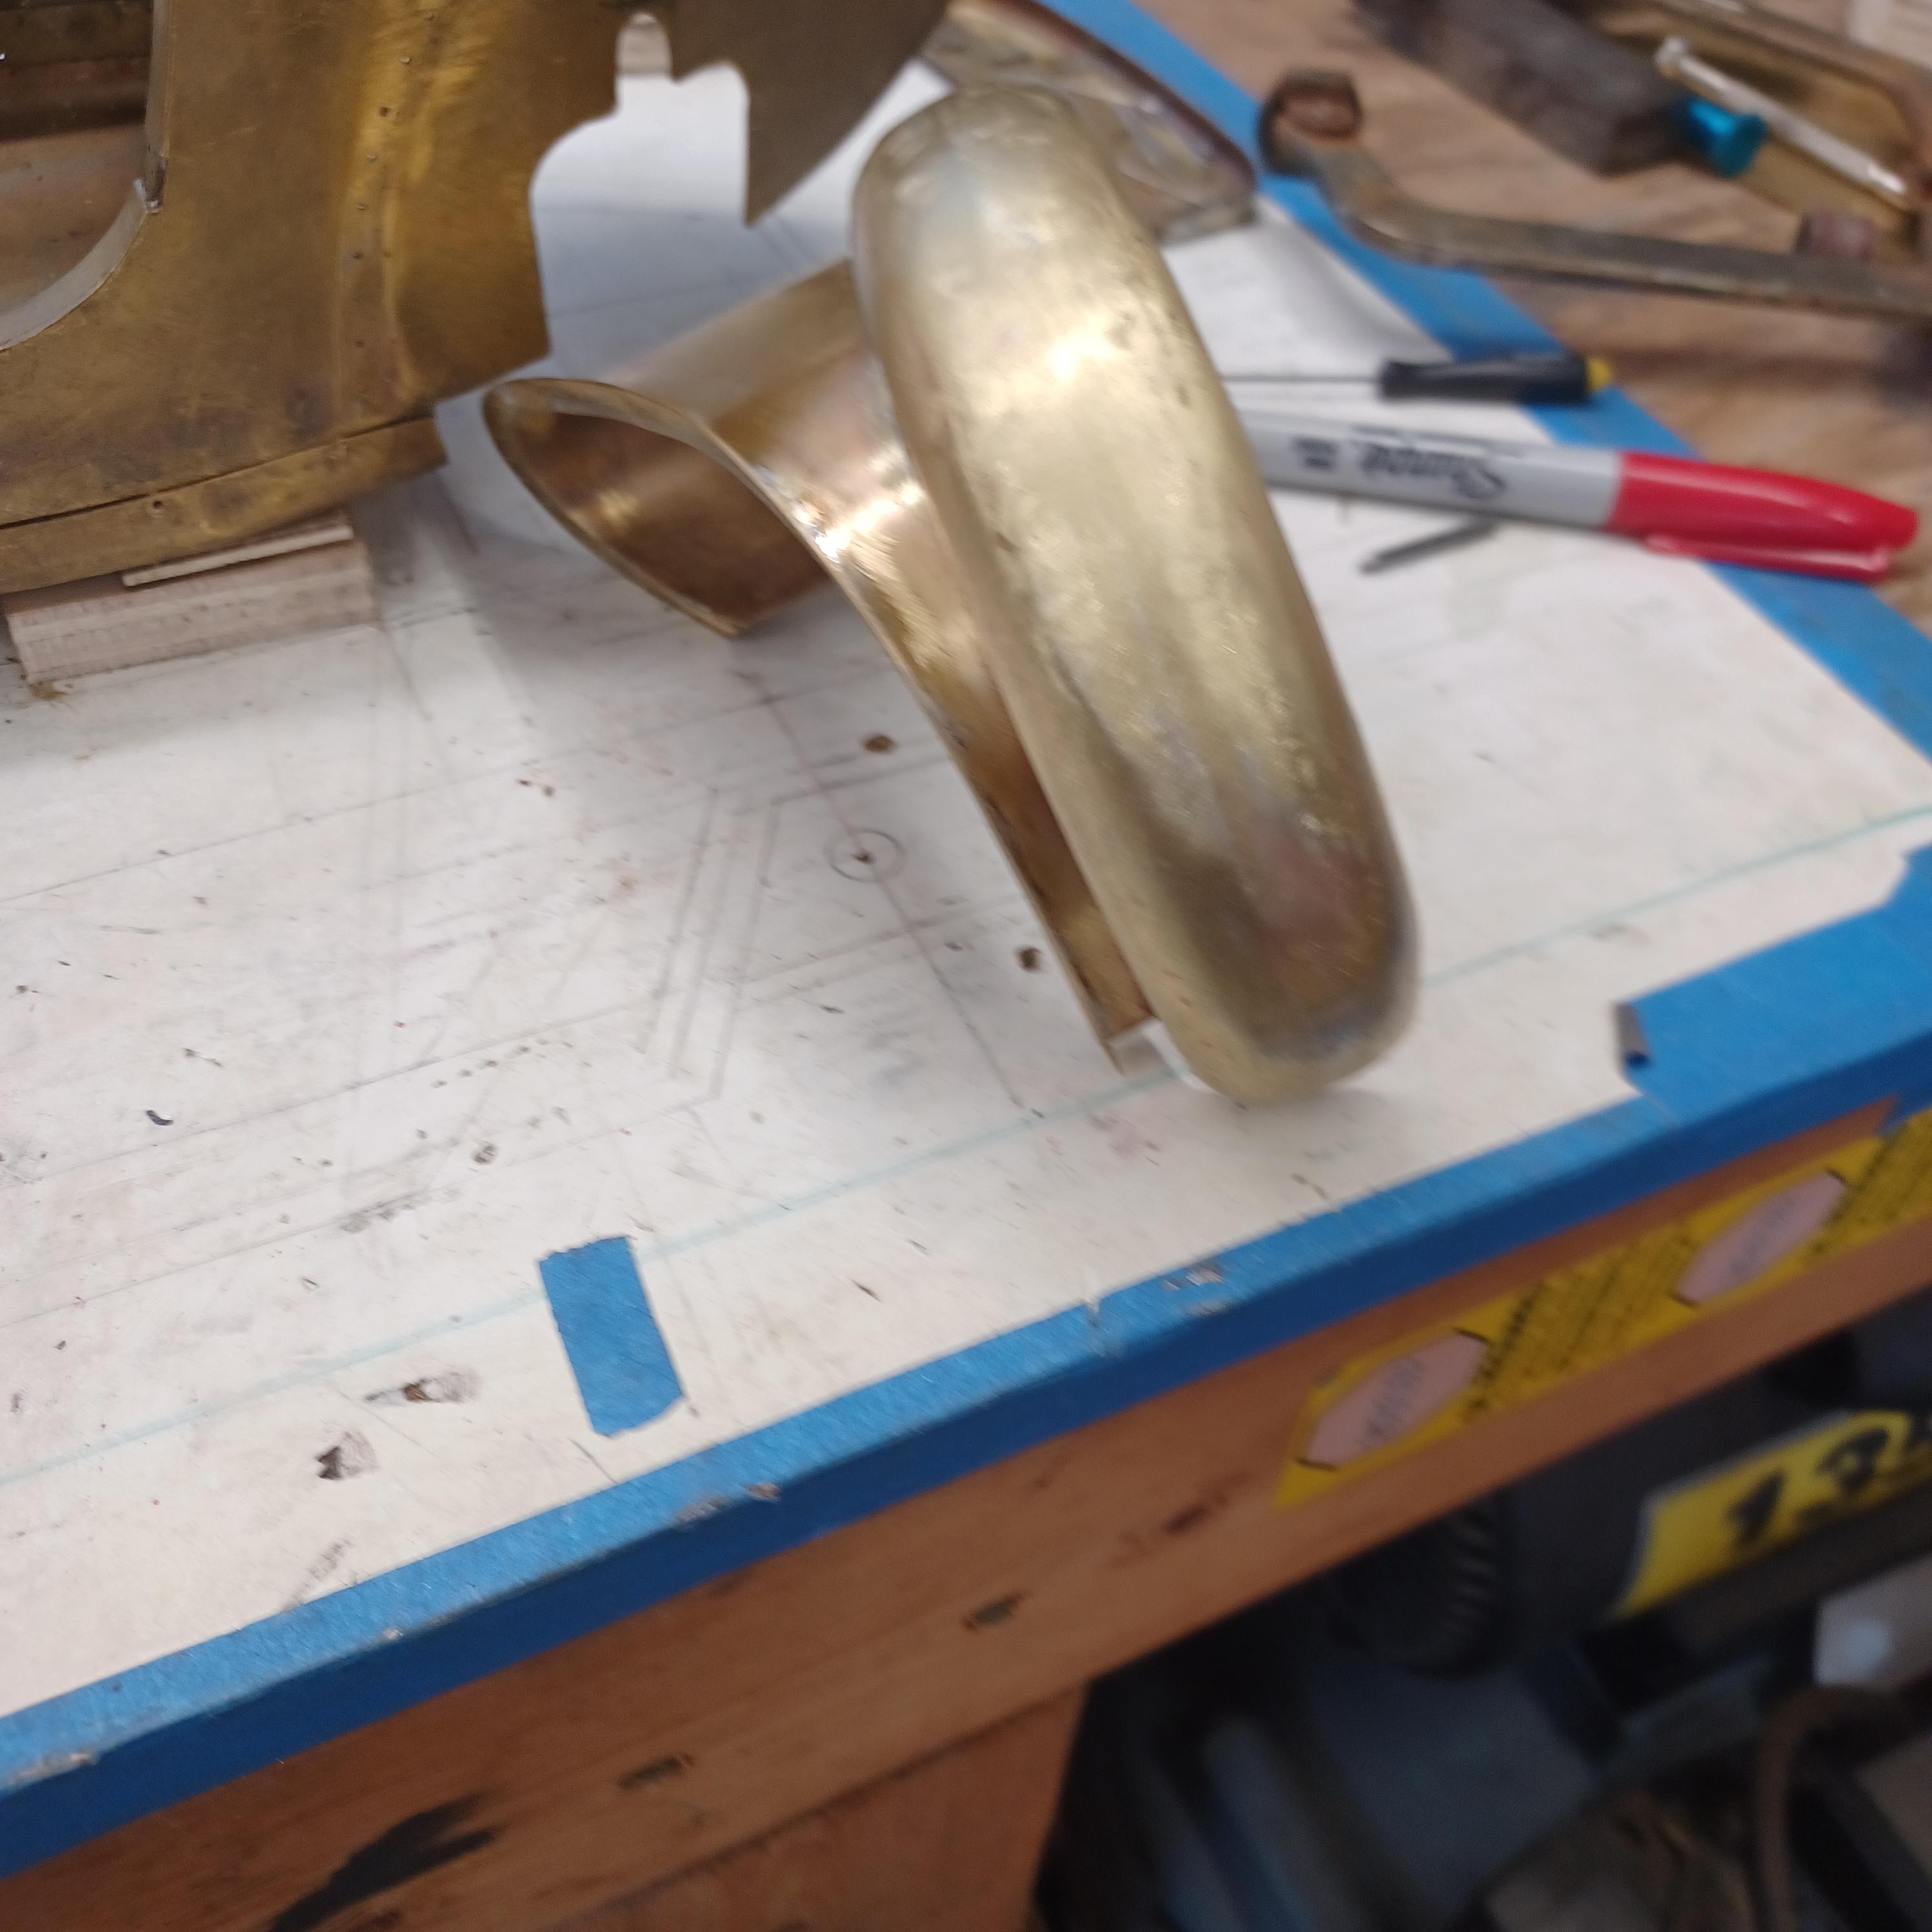
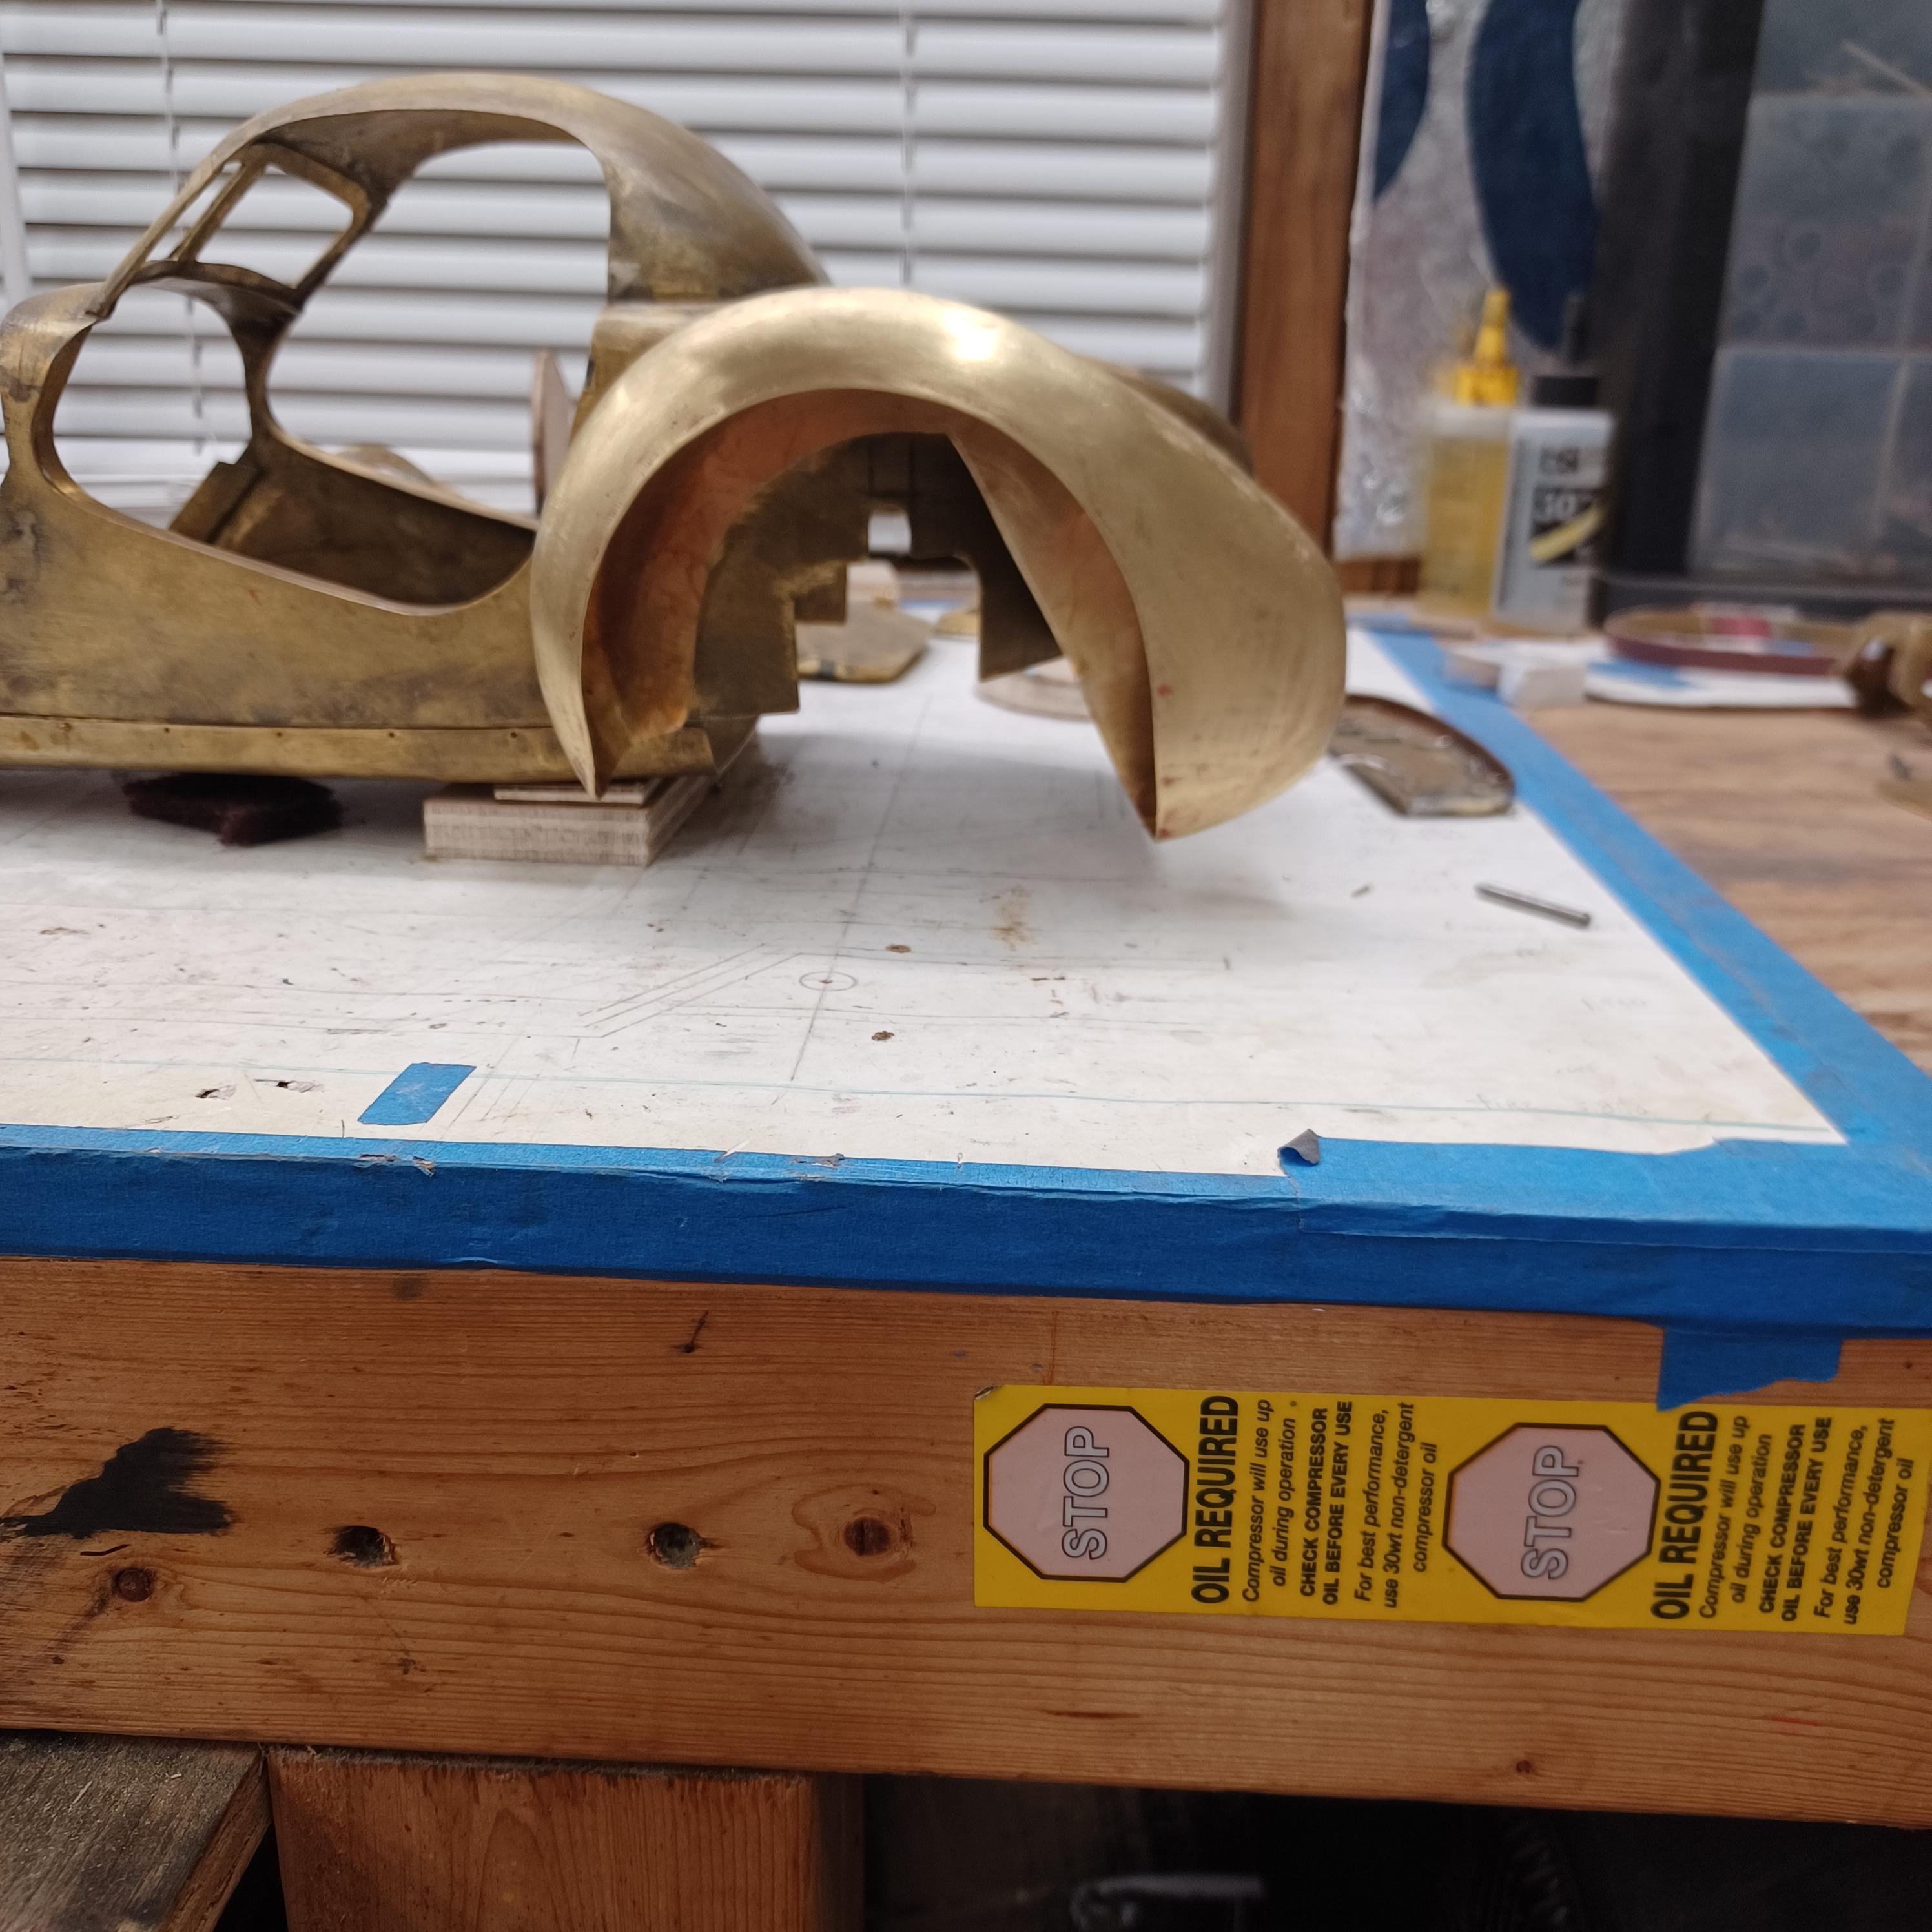
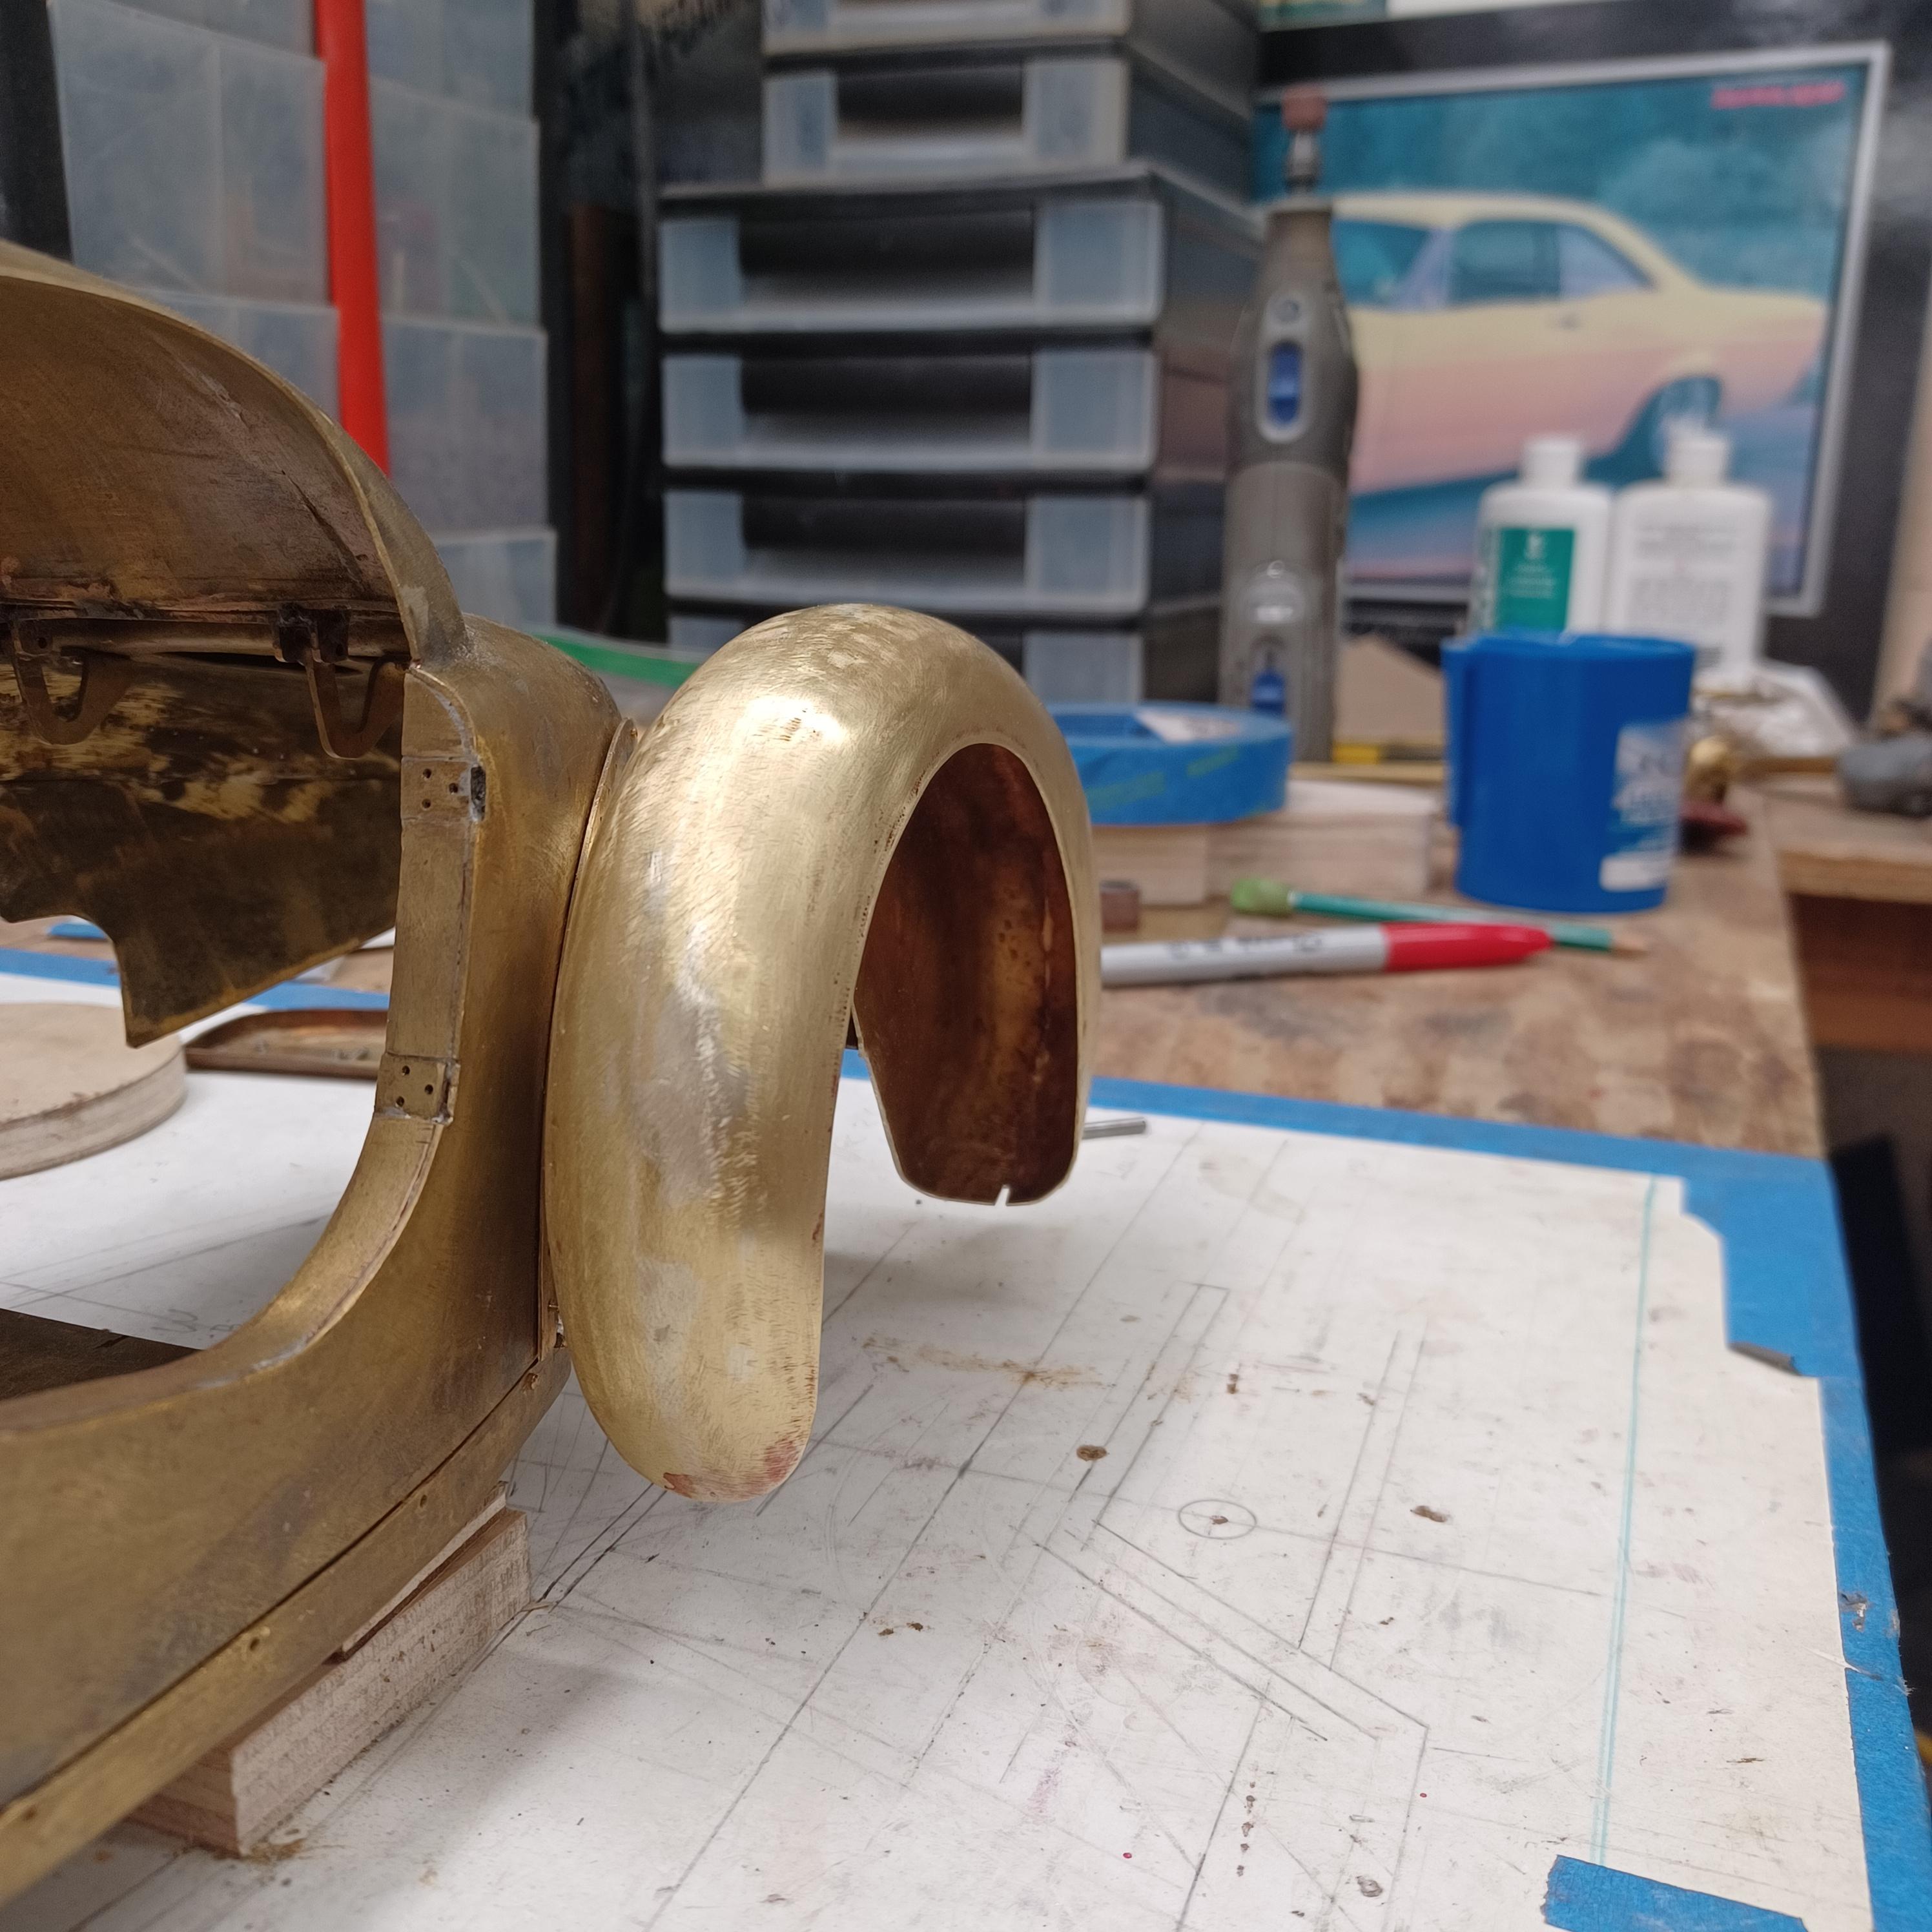
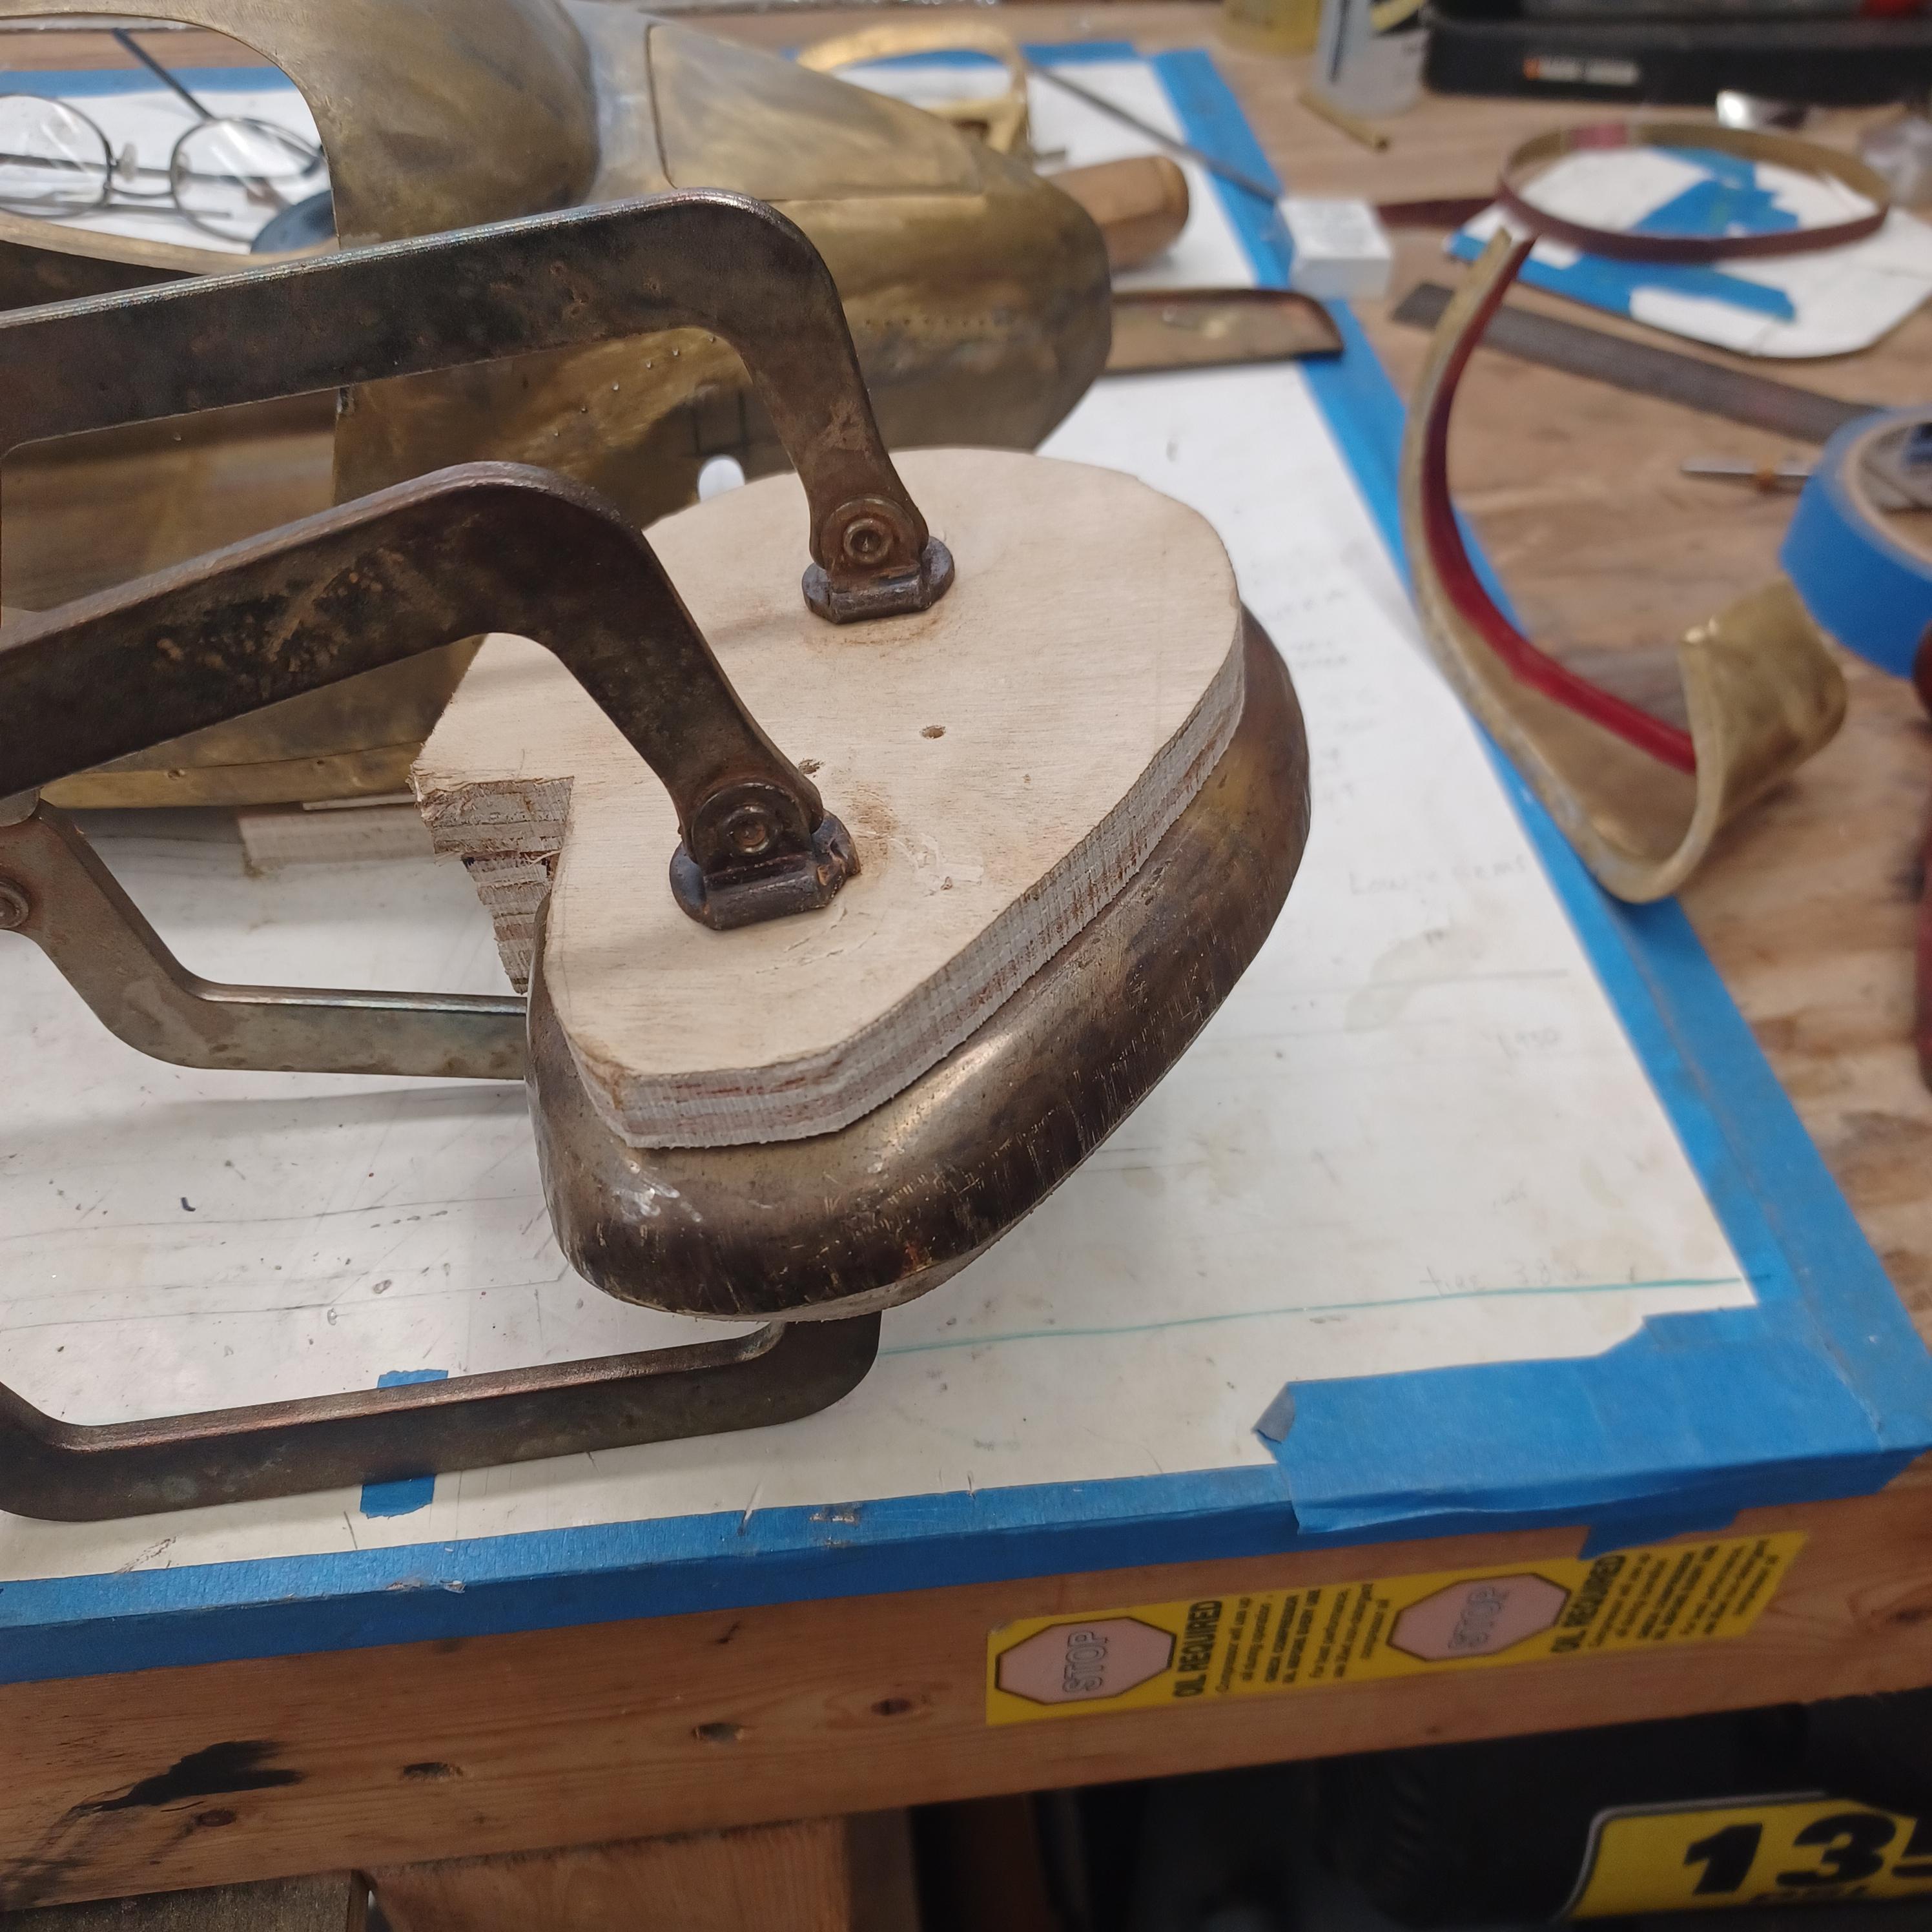
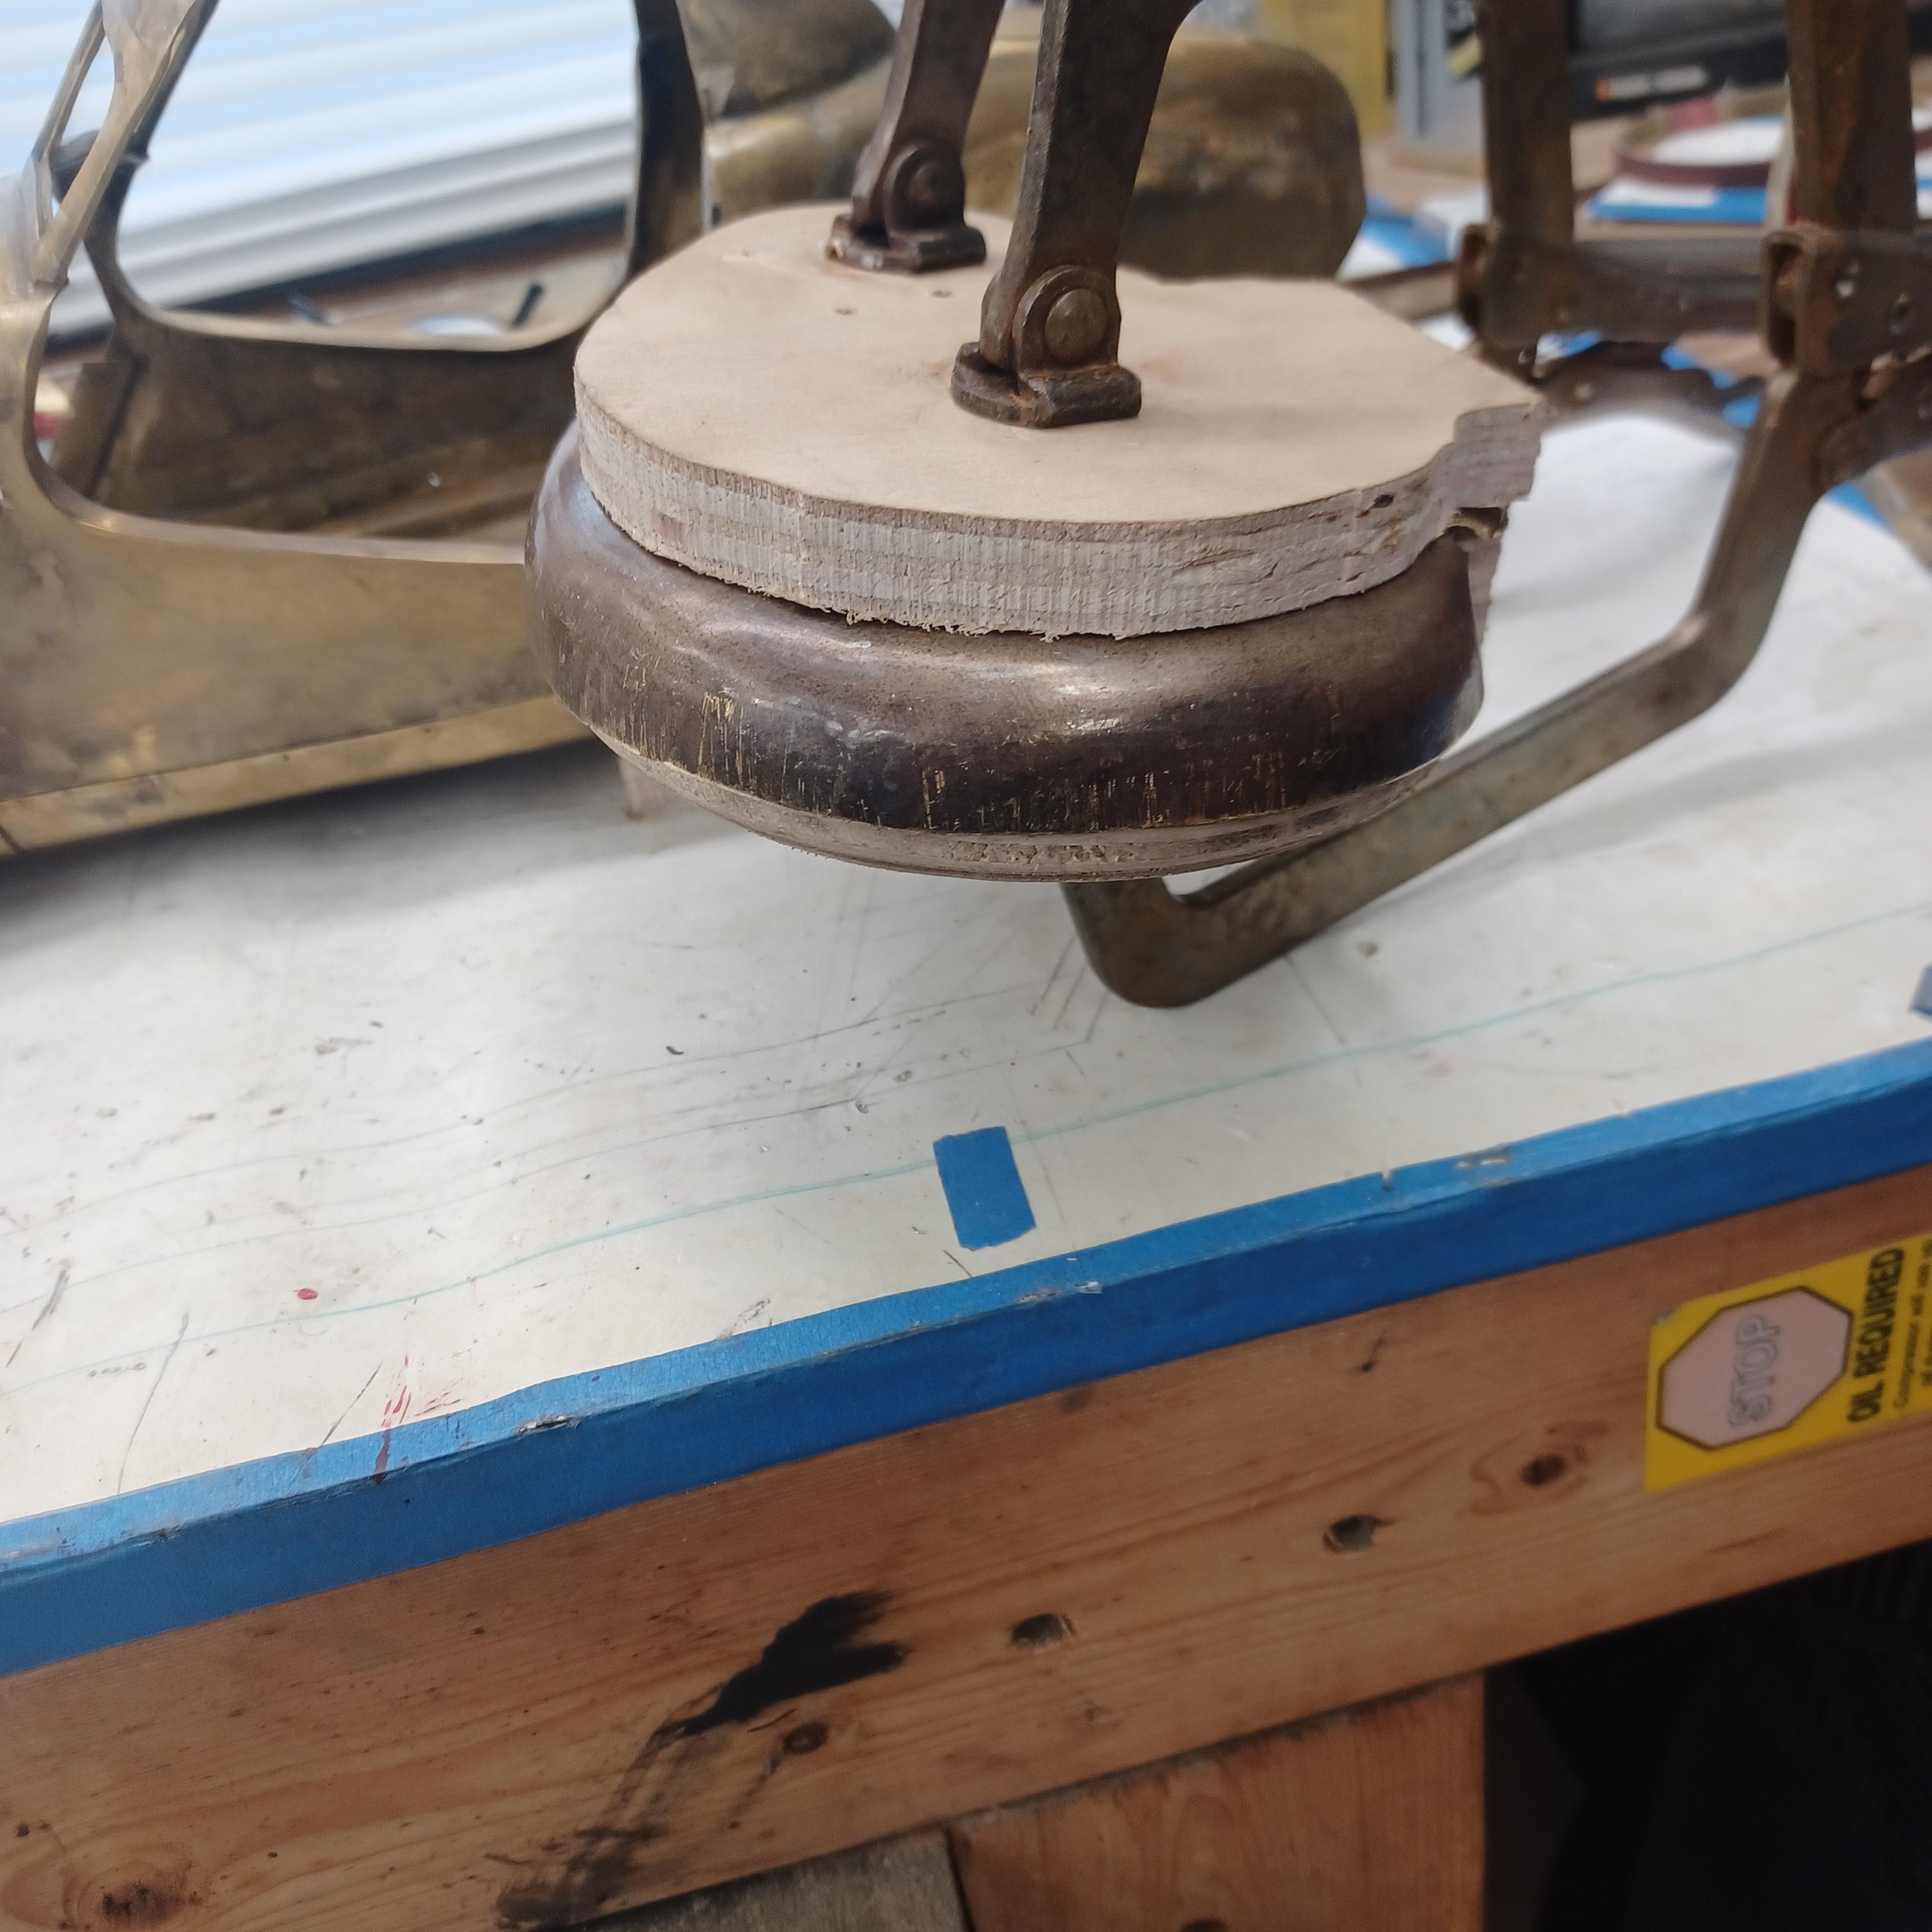
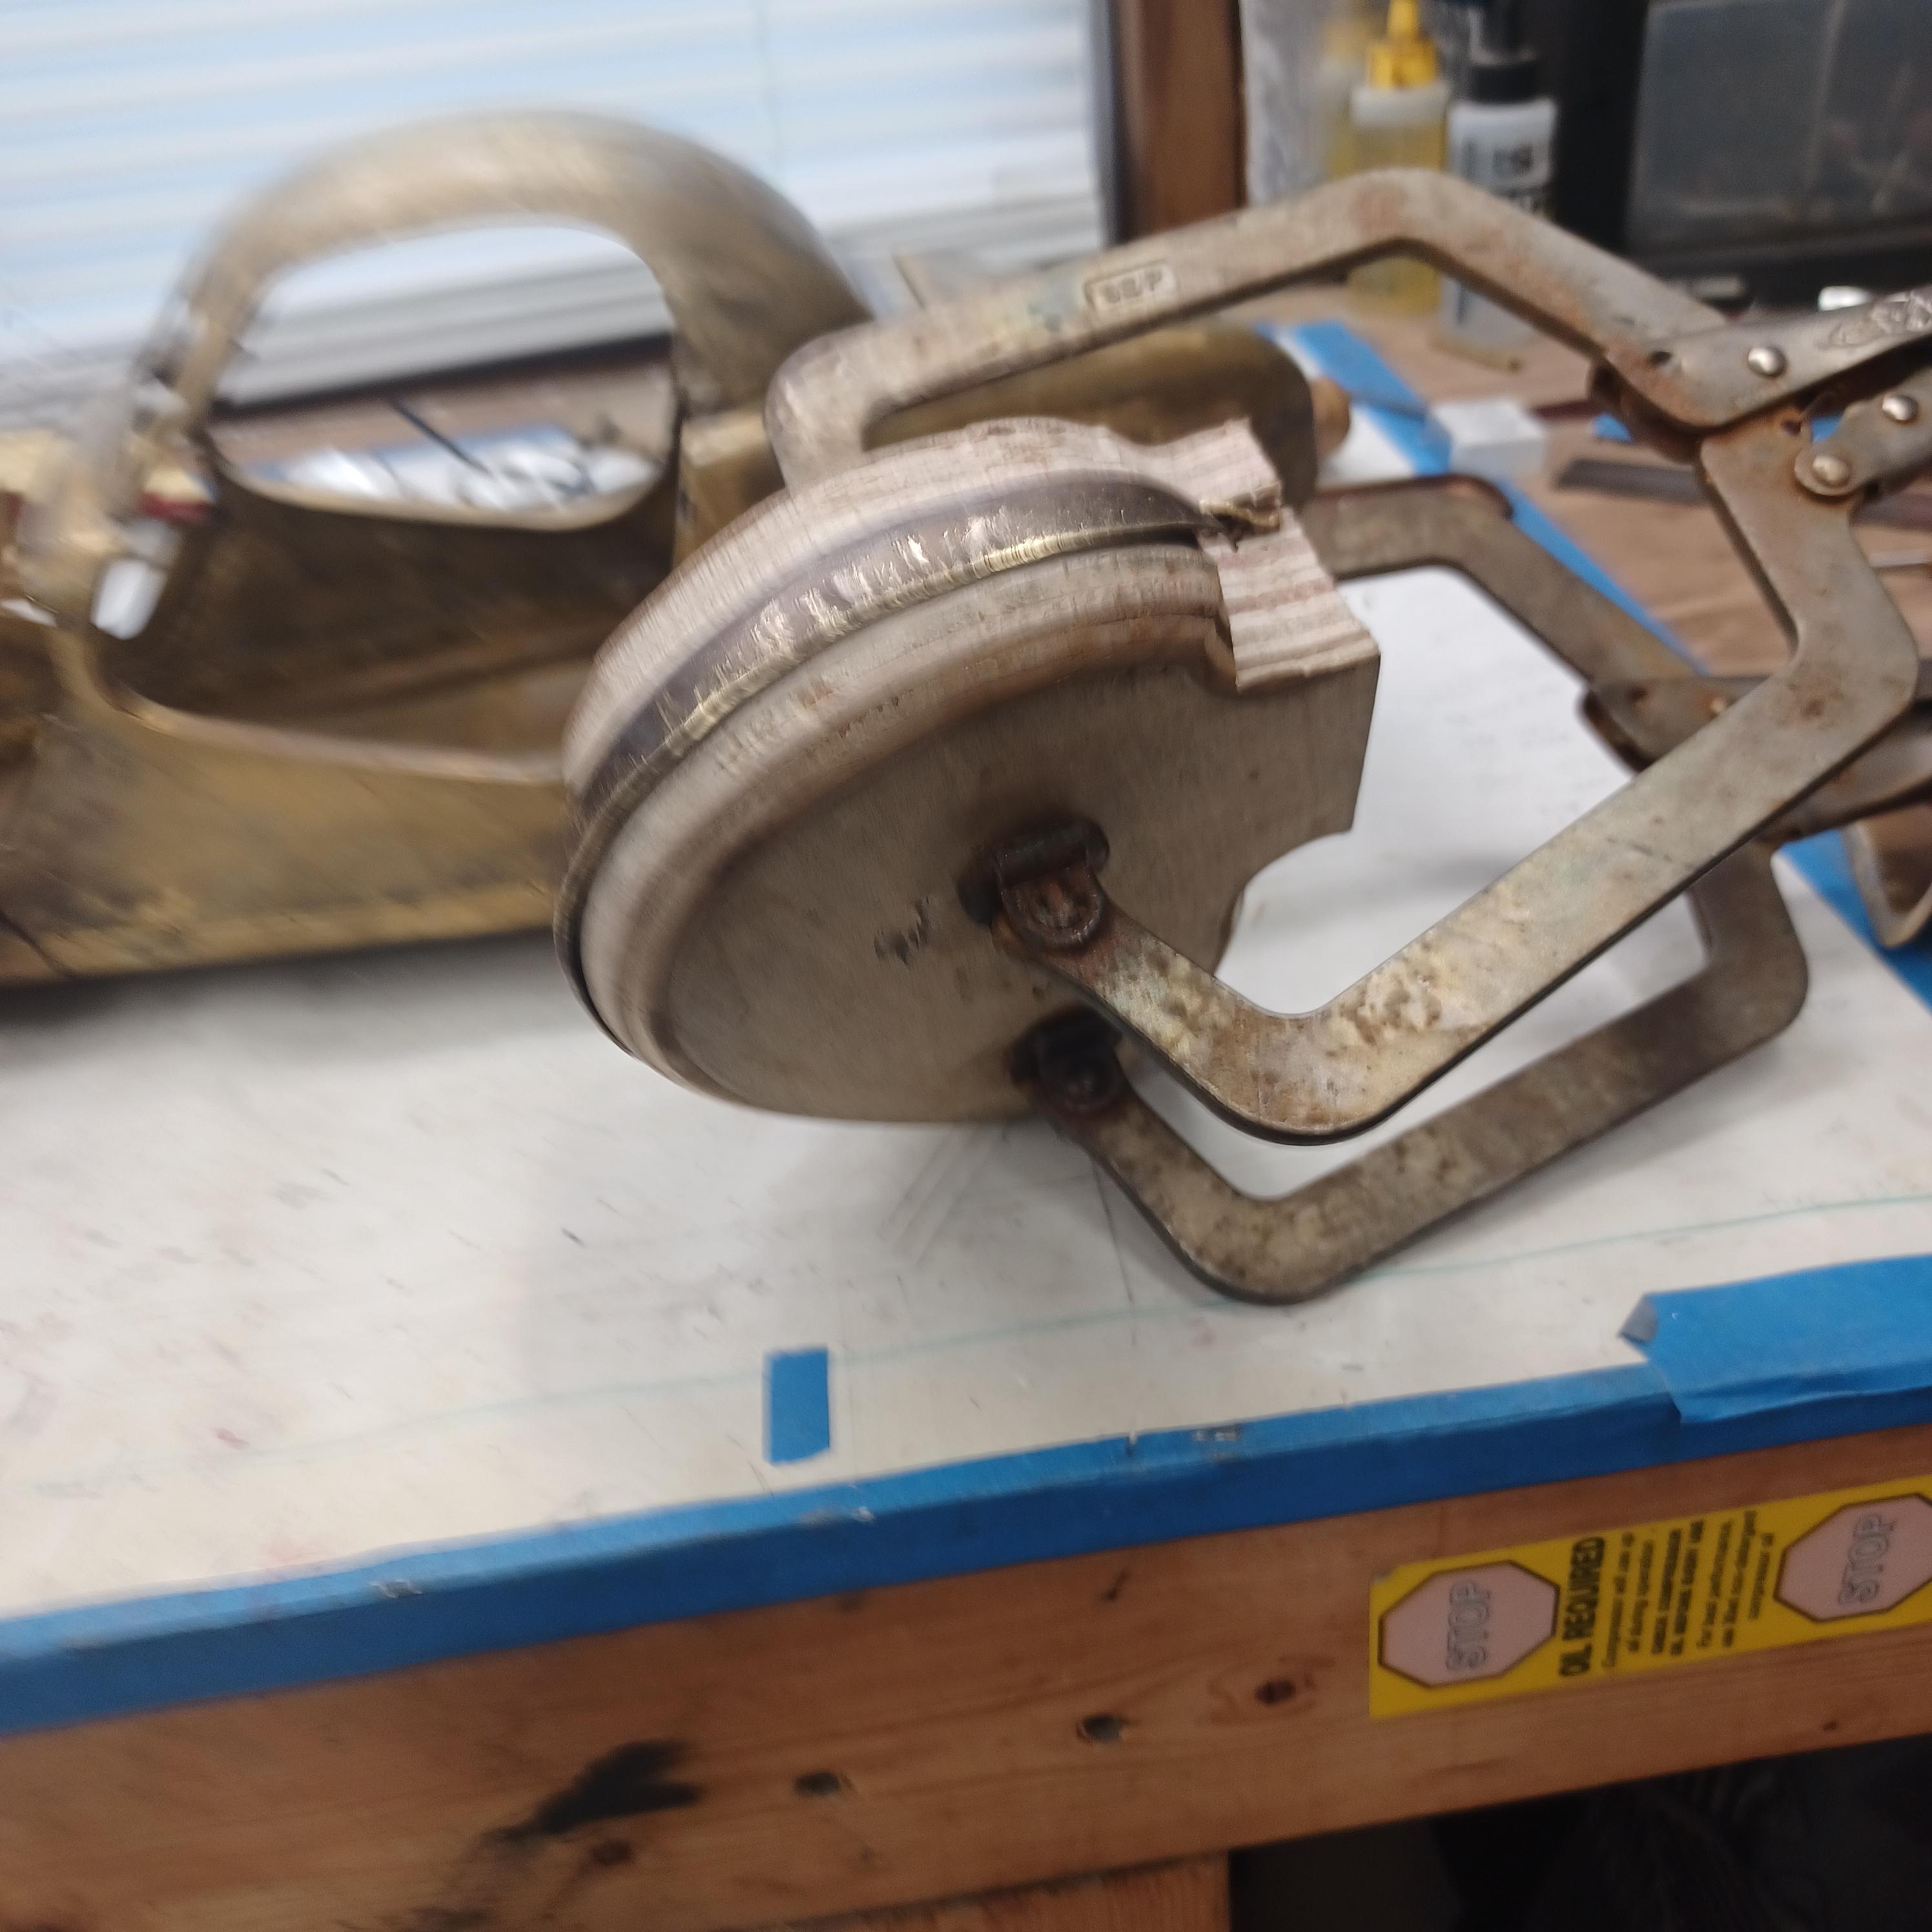
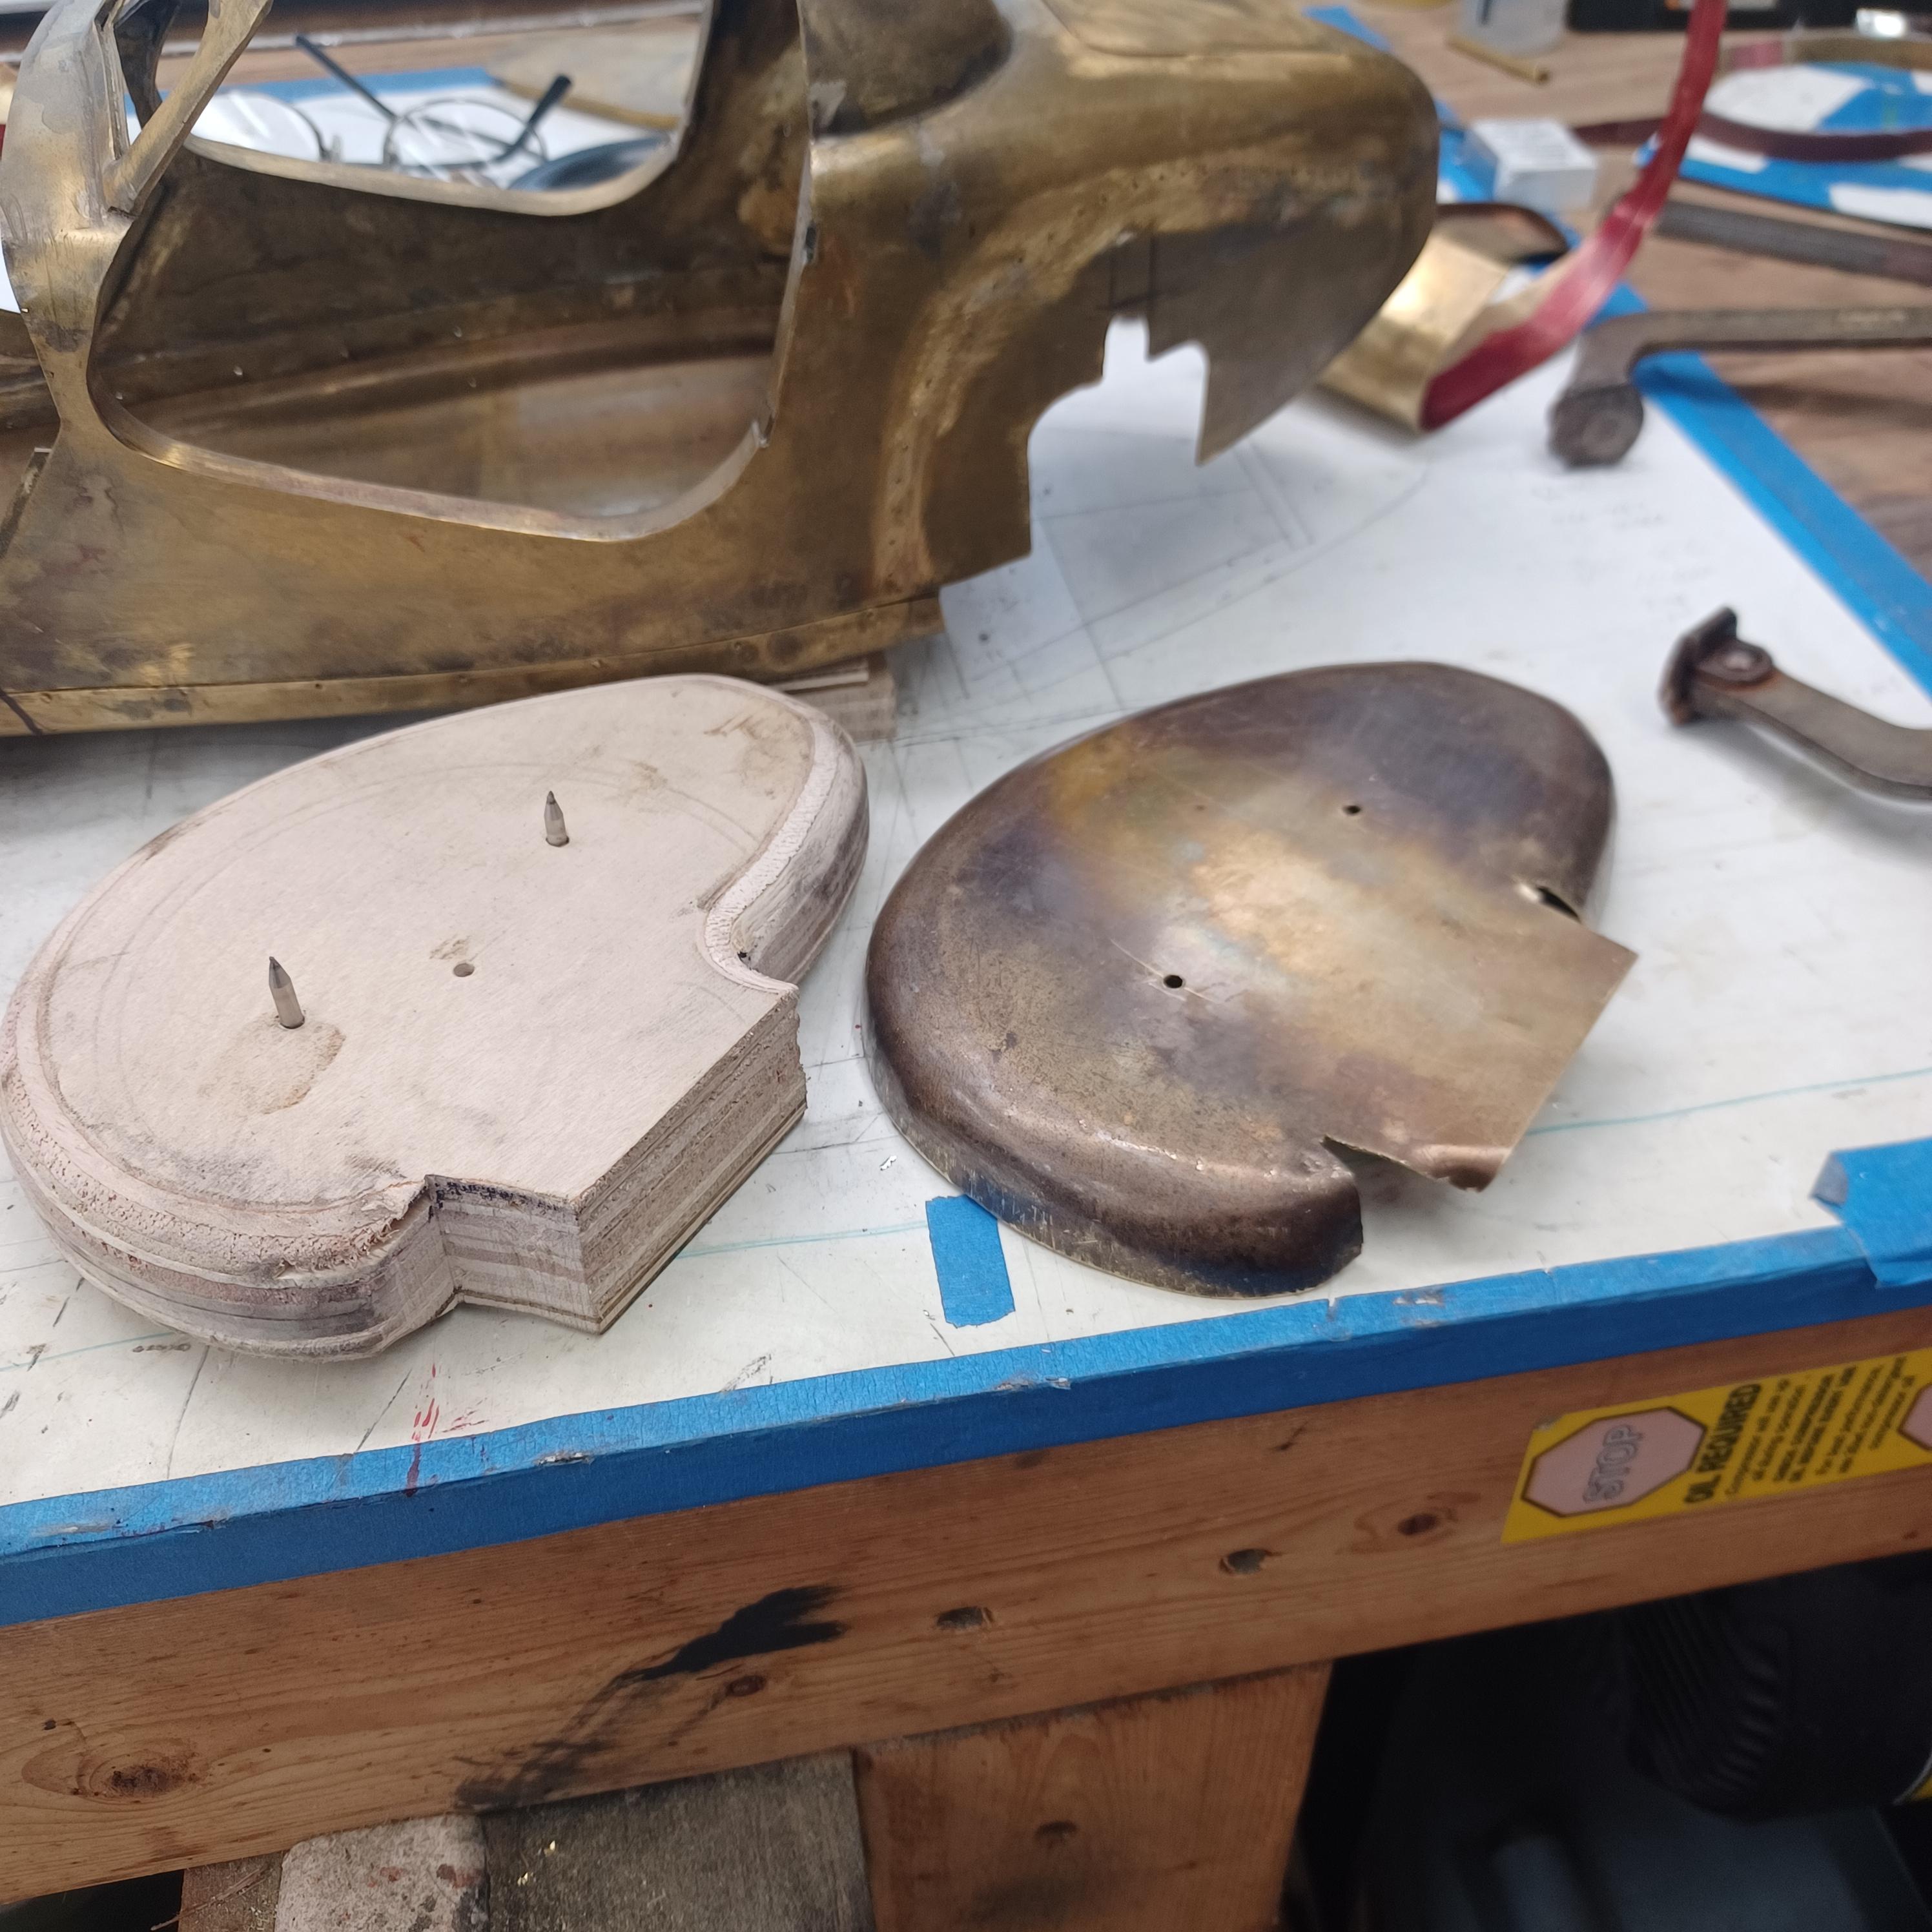
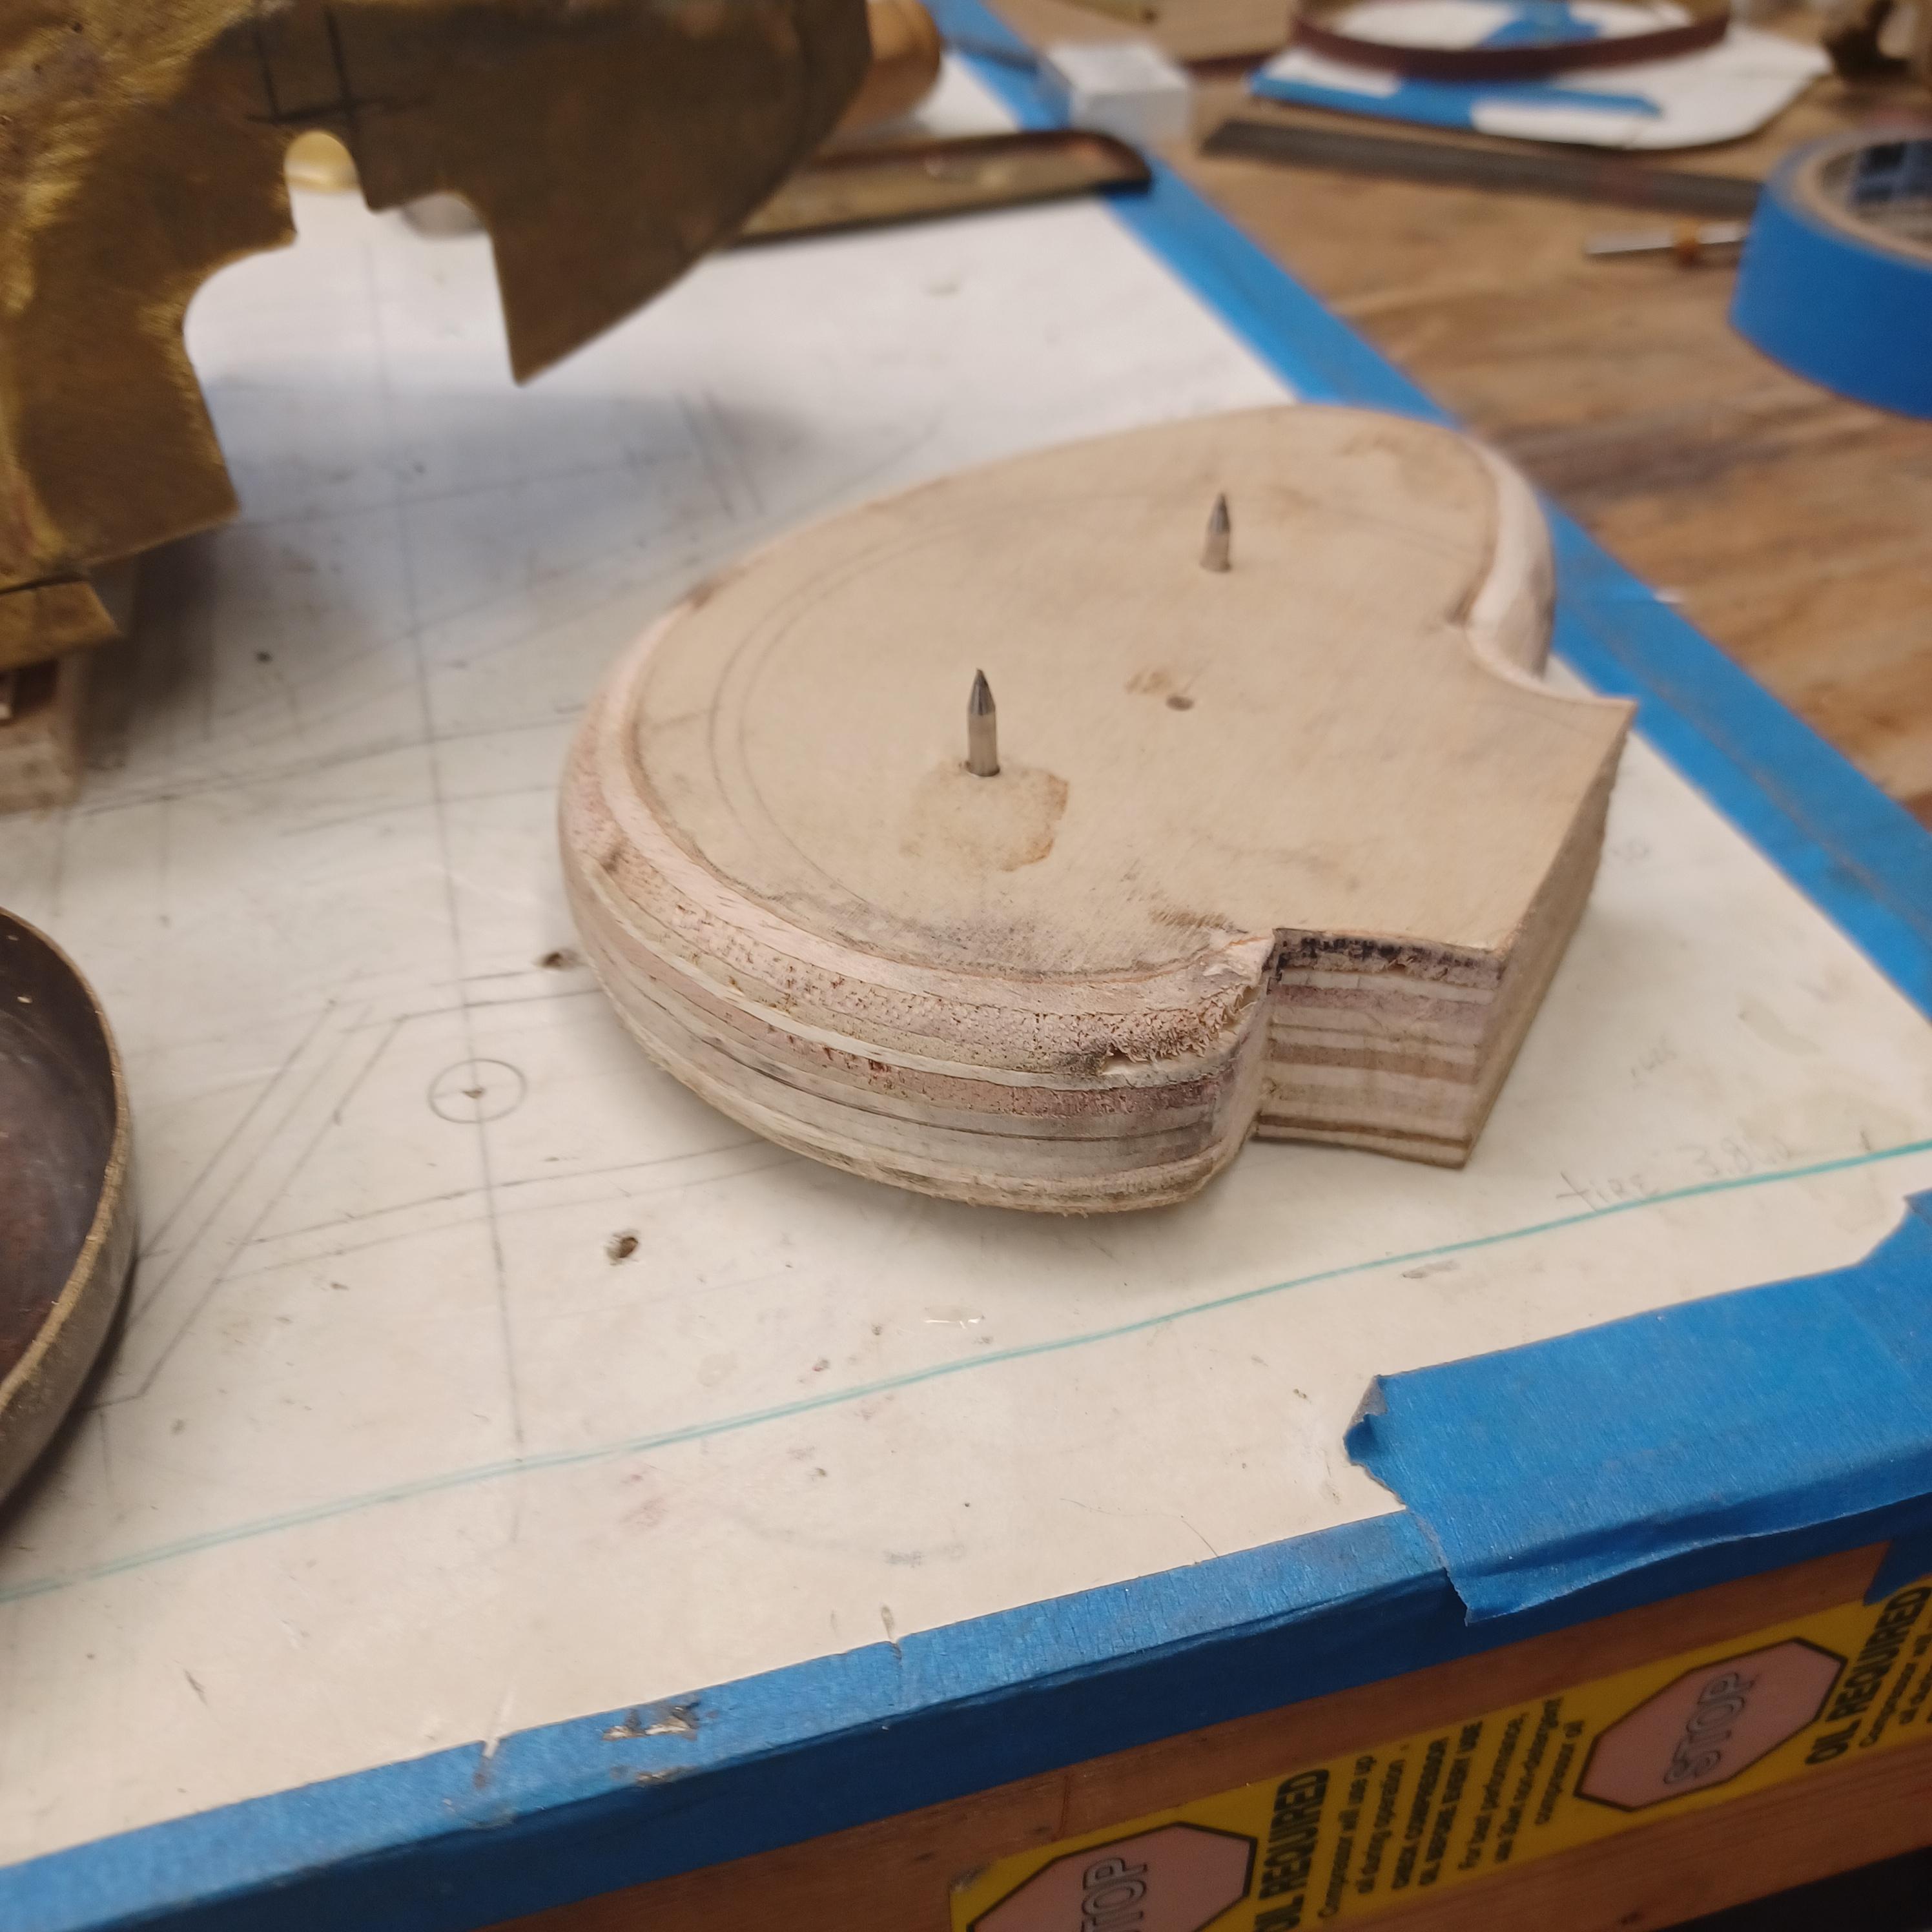
hi mark , i have made spoke wheels before but these will be difficult. machining the angles for the spokes will be the tough part. i went to work on the rear fender today. as you can see i completed wooden buck and it looked about right. i started one half of the left rear and i think it came out pretty good so far. i did not notice that i was almost out of brass Sheetmetal so i ordered more today. this is going to take a large amount of brass to finish. here is a few pictures of the hammerform and the fender half . when i do the other half they will be silver soldered together. it took about 2 hours of hammering and had to be annealed 3 times.
-
3
-
-
hi Francis , your wheels look great. your whole project is as always an inspiration to try harder for me. i hope someday to see one in person.
-
1
-


T41 Bugatti sport coupe
in WIP: Other Racing: Road Racing, Land Speed Racers
Posted
did a little assembly today .i just ordered over 200 screws to finish it. i have over 200 drilled and tapped holes in 4 different sizes,00-90 , 0-80 , ,and 1mm , 1-72. thank you all for your nice comments. i am looking forward to the novi also. long wats off.