e30lover
Members-
Posts
367 -
Joined
-
Last visited
e30lover's Achievements

MCM Avid Poster (5/6)
-
Thank you. I used sanding file to remove all the mold lines.
-
Appreciate the compliment! Thanks. Tamiya body is very sharp and I almost burned through some edges and had to touch it up afterwards!
-
Thanks! Appreciate the compliment! Yes sidewalls are important - I hate seeing these cars sitting on low profile tires! Thank you! Thanks a lot! Thanks! Thank you! Thanks! Thank you! Thanks a lot! Thank you! Appreciate it! Thanks! Thank you! Thanks a lot! I highly recommend this kit - they do know how to engineer an excellent kit! Thank you! If you have any questions lmk! Appreciate the kind words! Good that Tamiya now makes a version with most of those mods included now Thank you! I used to hear body shop guys saying "it's all in the prep" and now I know! Thank you! Thanks a lot! Glad to hear that - I don't think I've ever seen actual ZG with its iconic nose shape, in person. Thank you! Thanks a lot!
-
Here's the full post for the finished build:
-
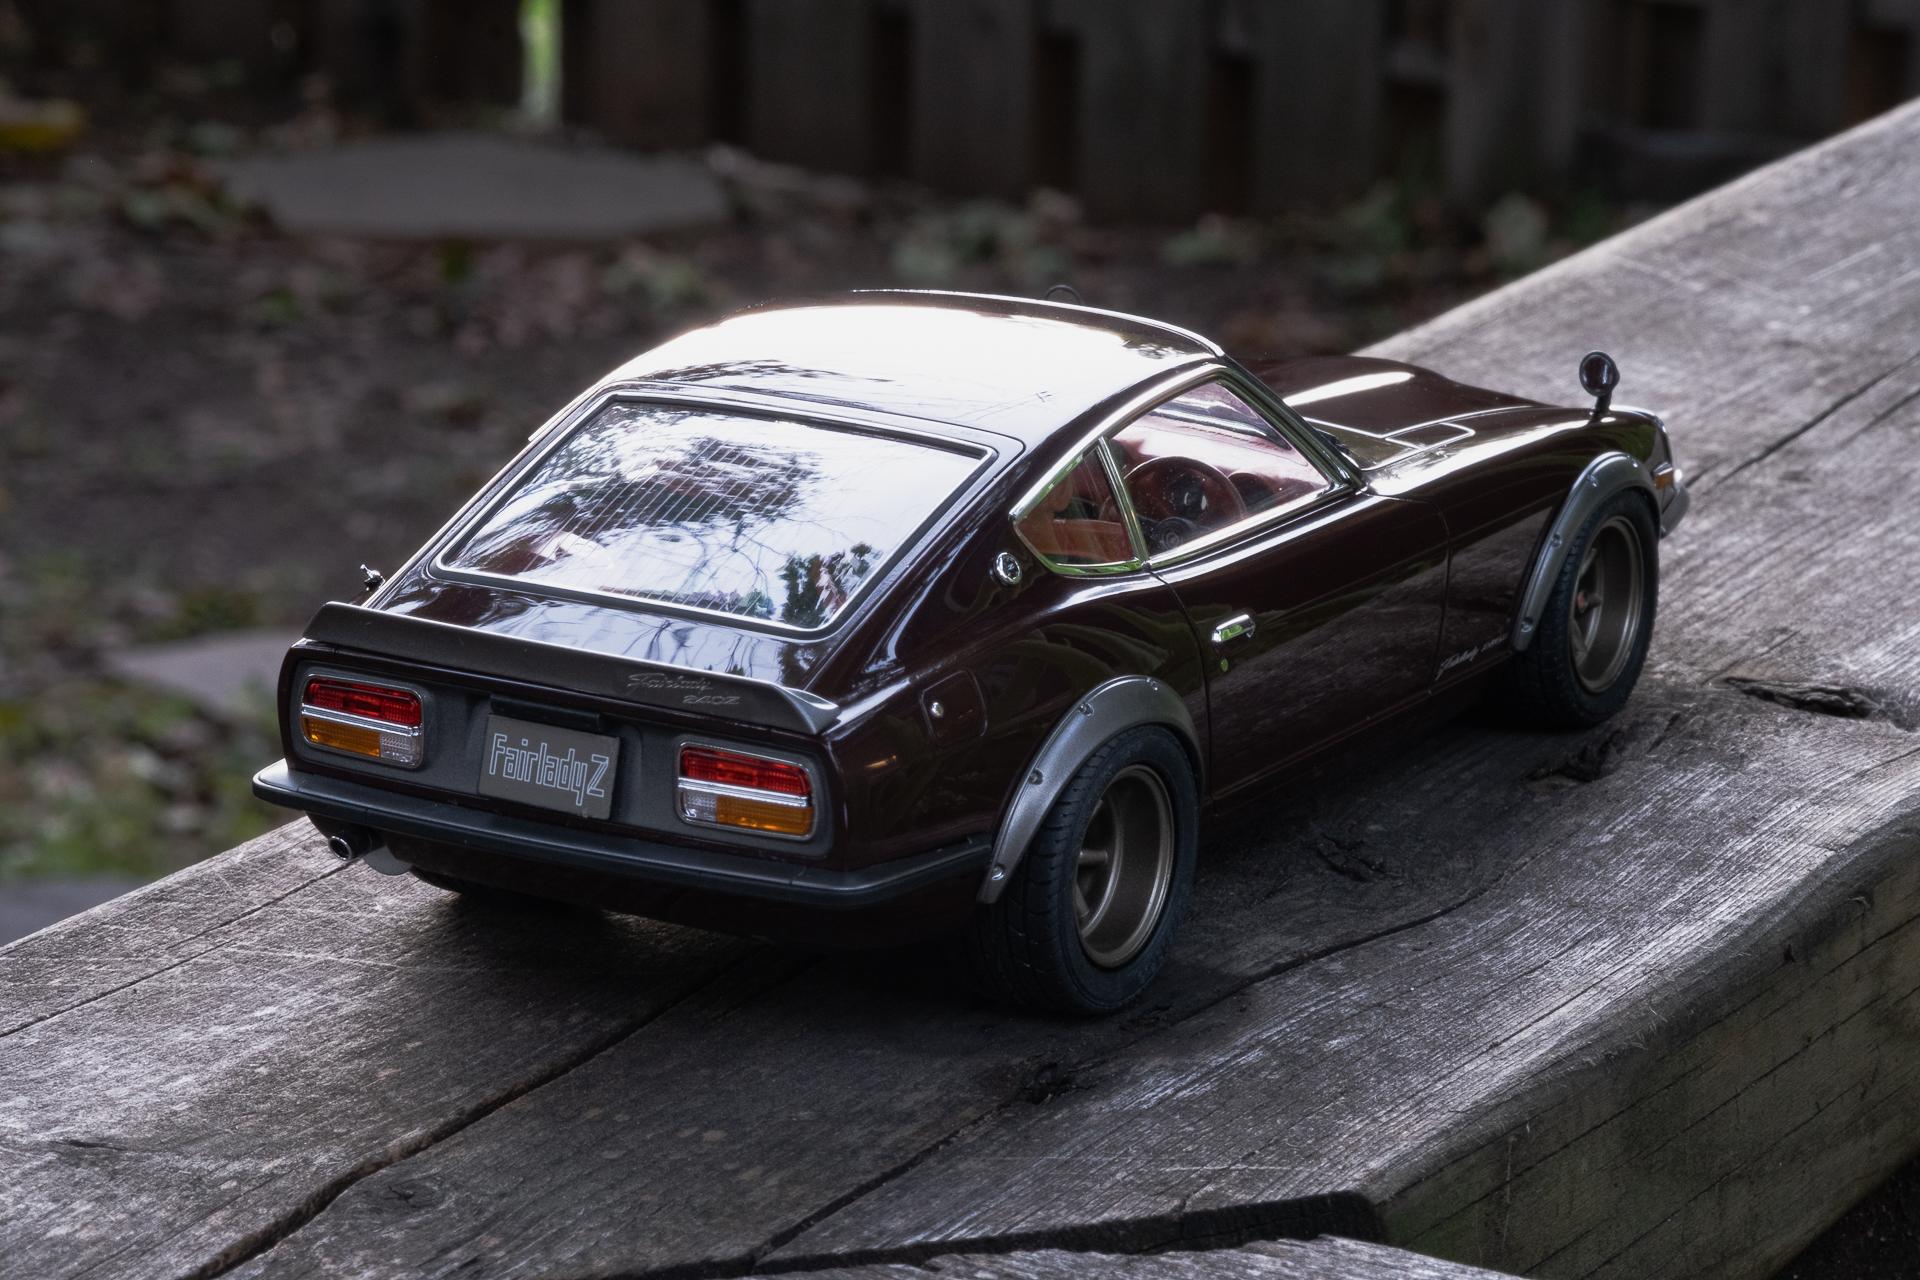
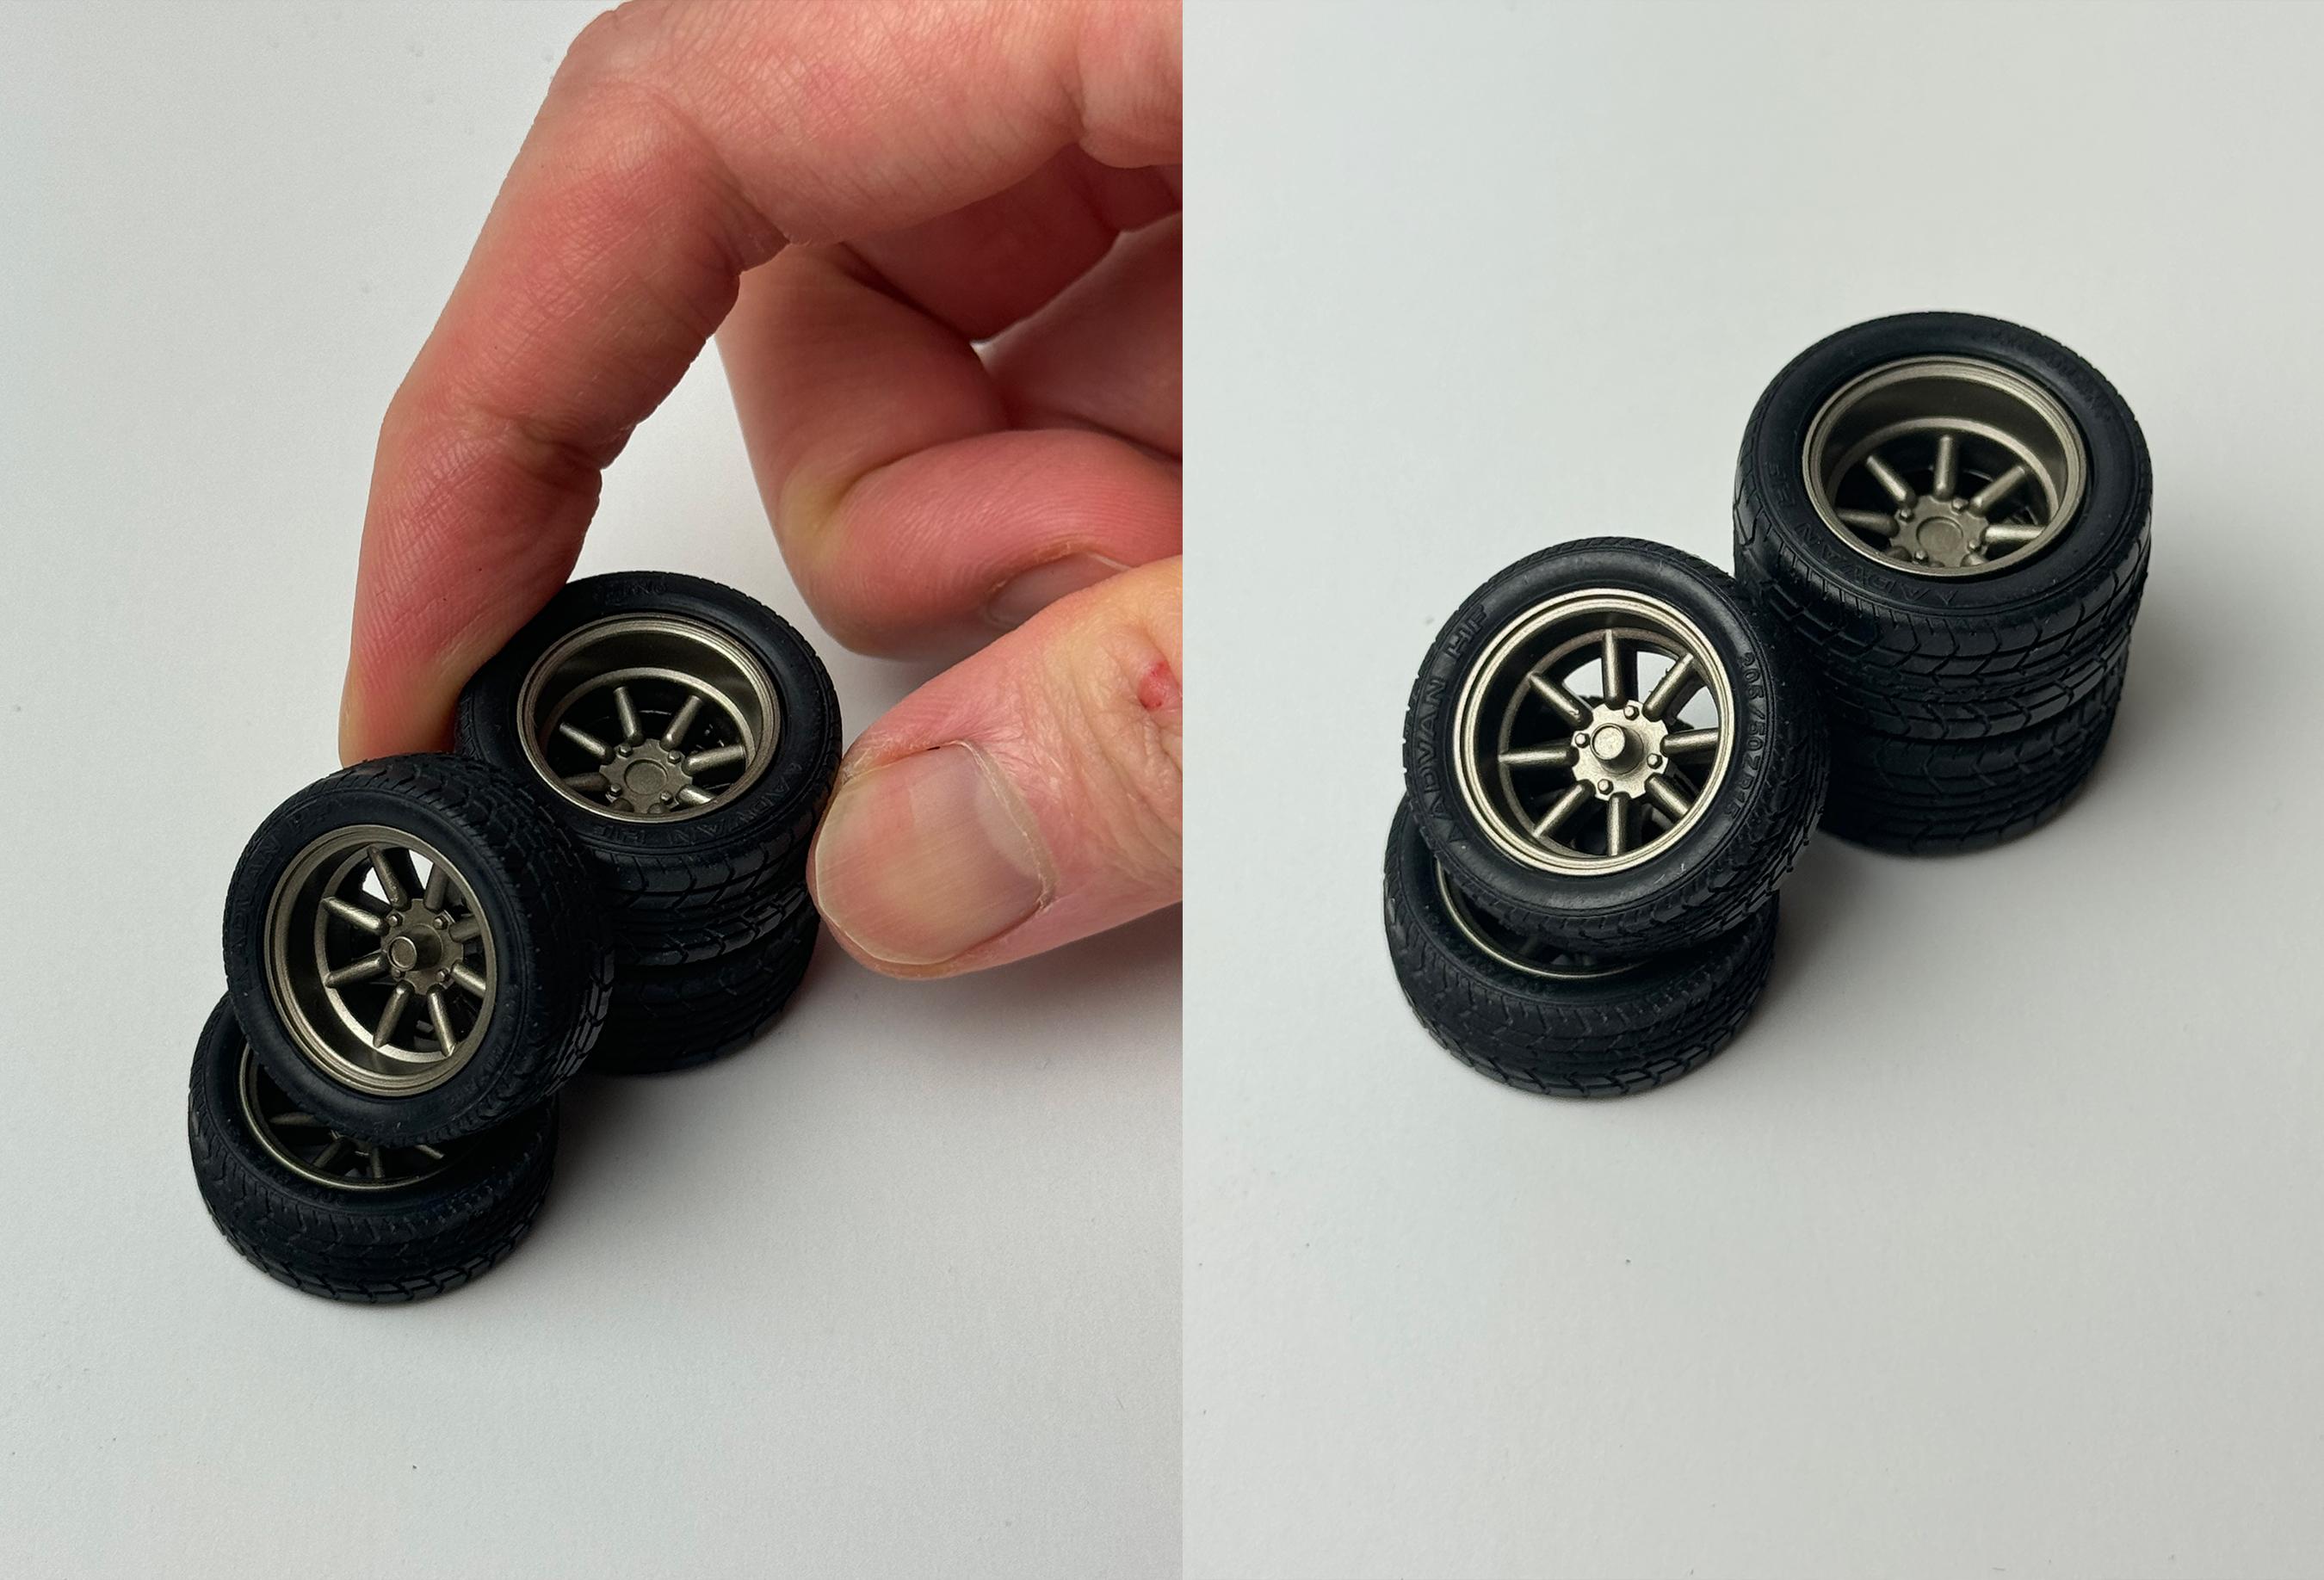
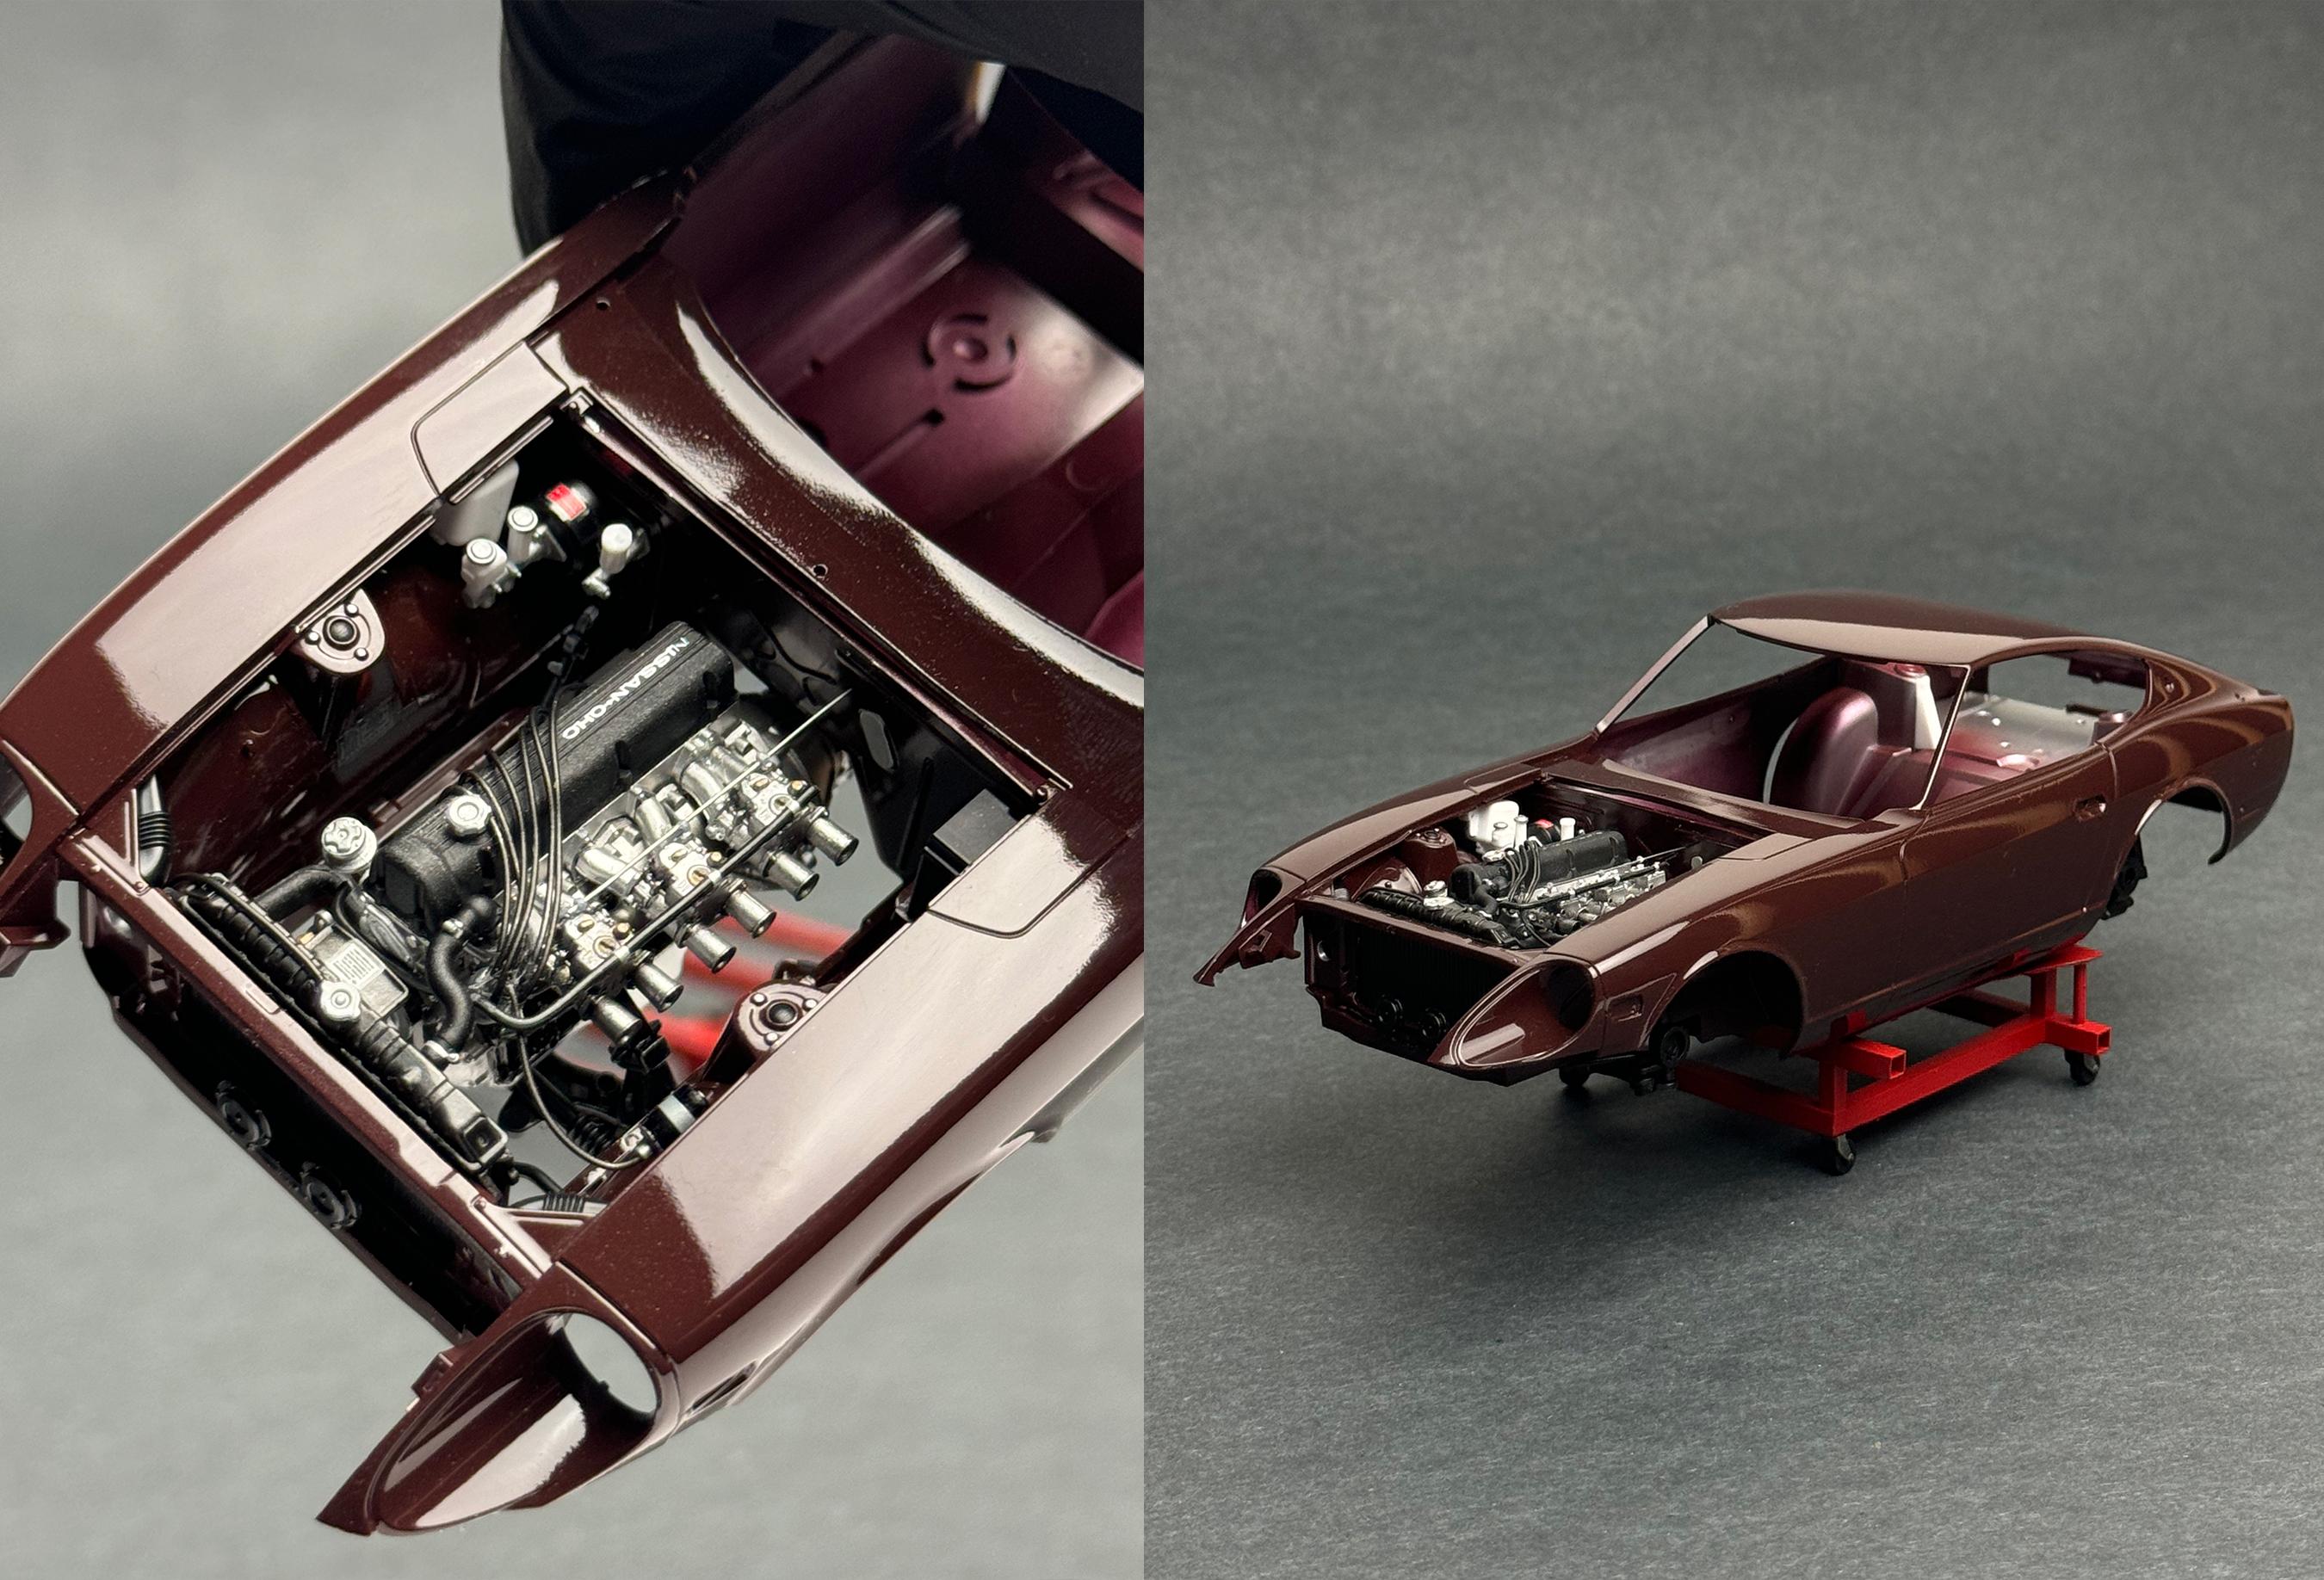
My 1/24 Nissan 240ZG build is now finished! I bought this kit before Tamiya released the “street custom” version that had most of additional items I was looking for, but the street custom version didn’t include the G-nose anyways. My goal was to create period OEM+ look with a bit of enhancements, so I used Scale Production’s weber carbs, Singer-style bucket seats, Fujimi’s Watanabe wheels and meatier tires from Tamiya NSX kit. Here’s the full process: - Scribed panel lines and wet sanded with 2000 grit - Painted silver then wet sanded with 3000 grit - Mixed red, blue and black to simulate maroon then laid 2 base coats - Laid 2 clears (Super Clear III), wet sanded with 3000 grit, then laid 3rd clear coat - Cured paint for more than a month - Wet sanded with 3000 > 6000 > 8000 grit then polished with Tamiya 3 stage compounds and Hasegawa ceramic compound - Cut wheels to fit them within the fenders and painted with mixture of gold, silver, flat black - Added weber carb, intake manifold, fuel line, throttle cable, ignition wires and ignition coil - Painted interior with mixture of red, yellow and brown, flocked the rear trunk area and laid flat clear on top - Lowered suspension As usual with Tamiya’s newer releases, everything fit perfectly and intricately engineered parts really elevates the finished look.
- 34 replies
-
- 19
-

-
Final assembly was actually somewhat challenging as there were so many parts involved! Brake light assembly is like 10 parts, all chrome trims are separate parts but it's now finished.
-
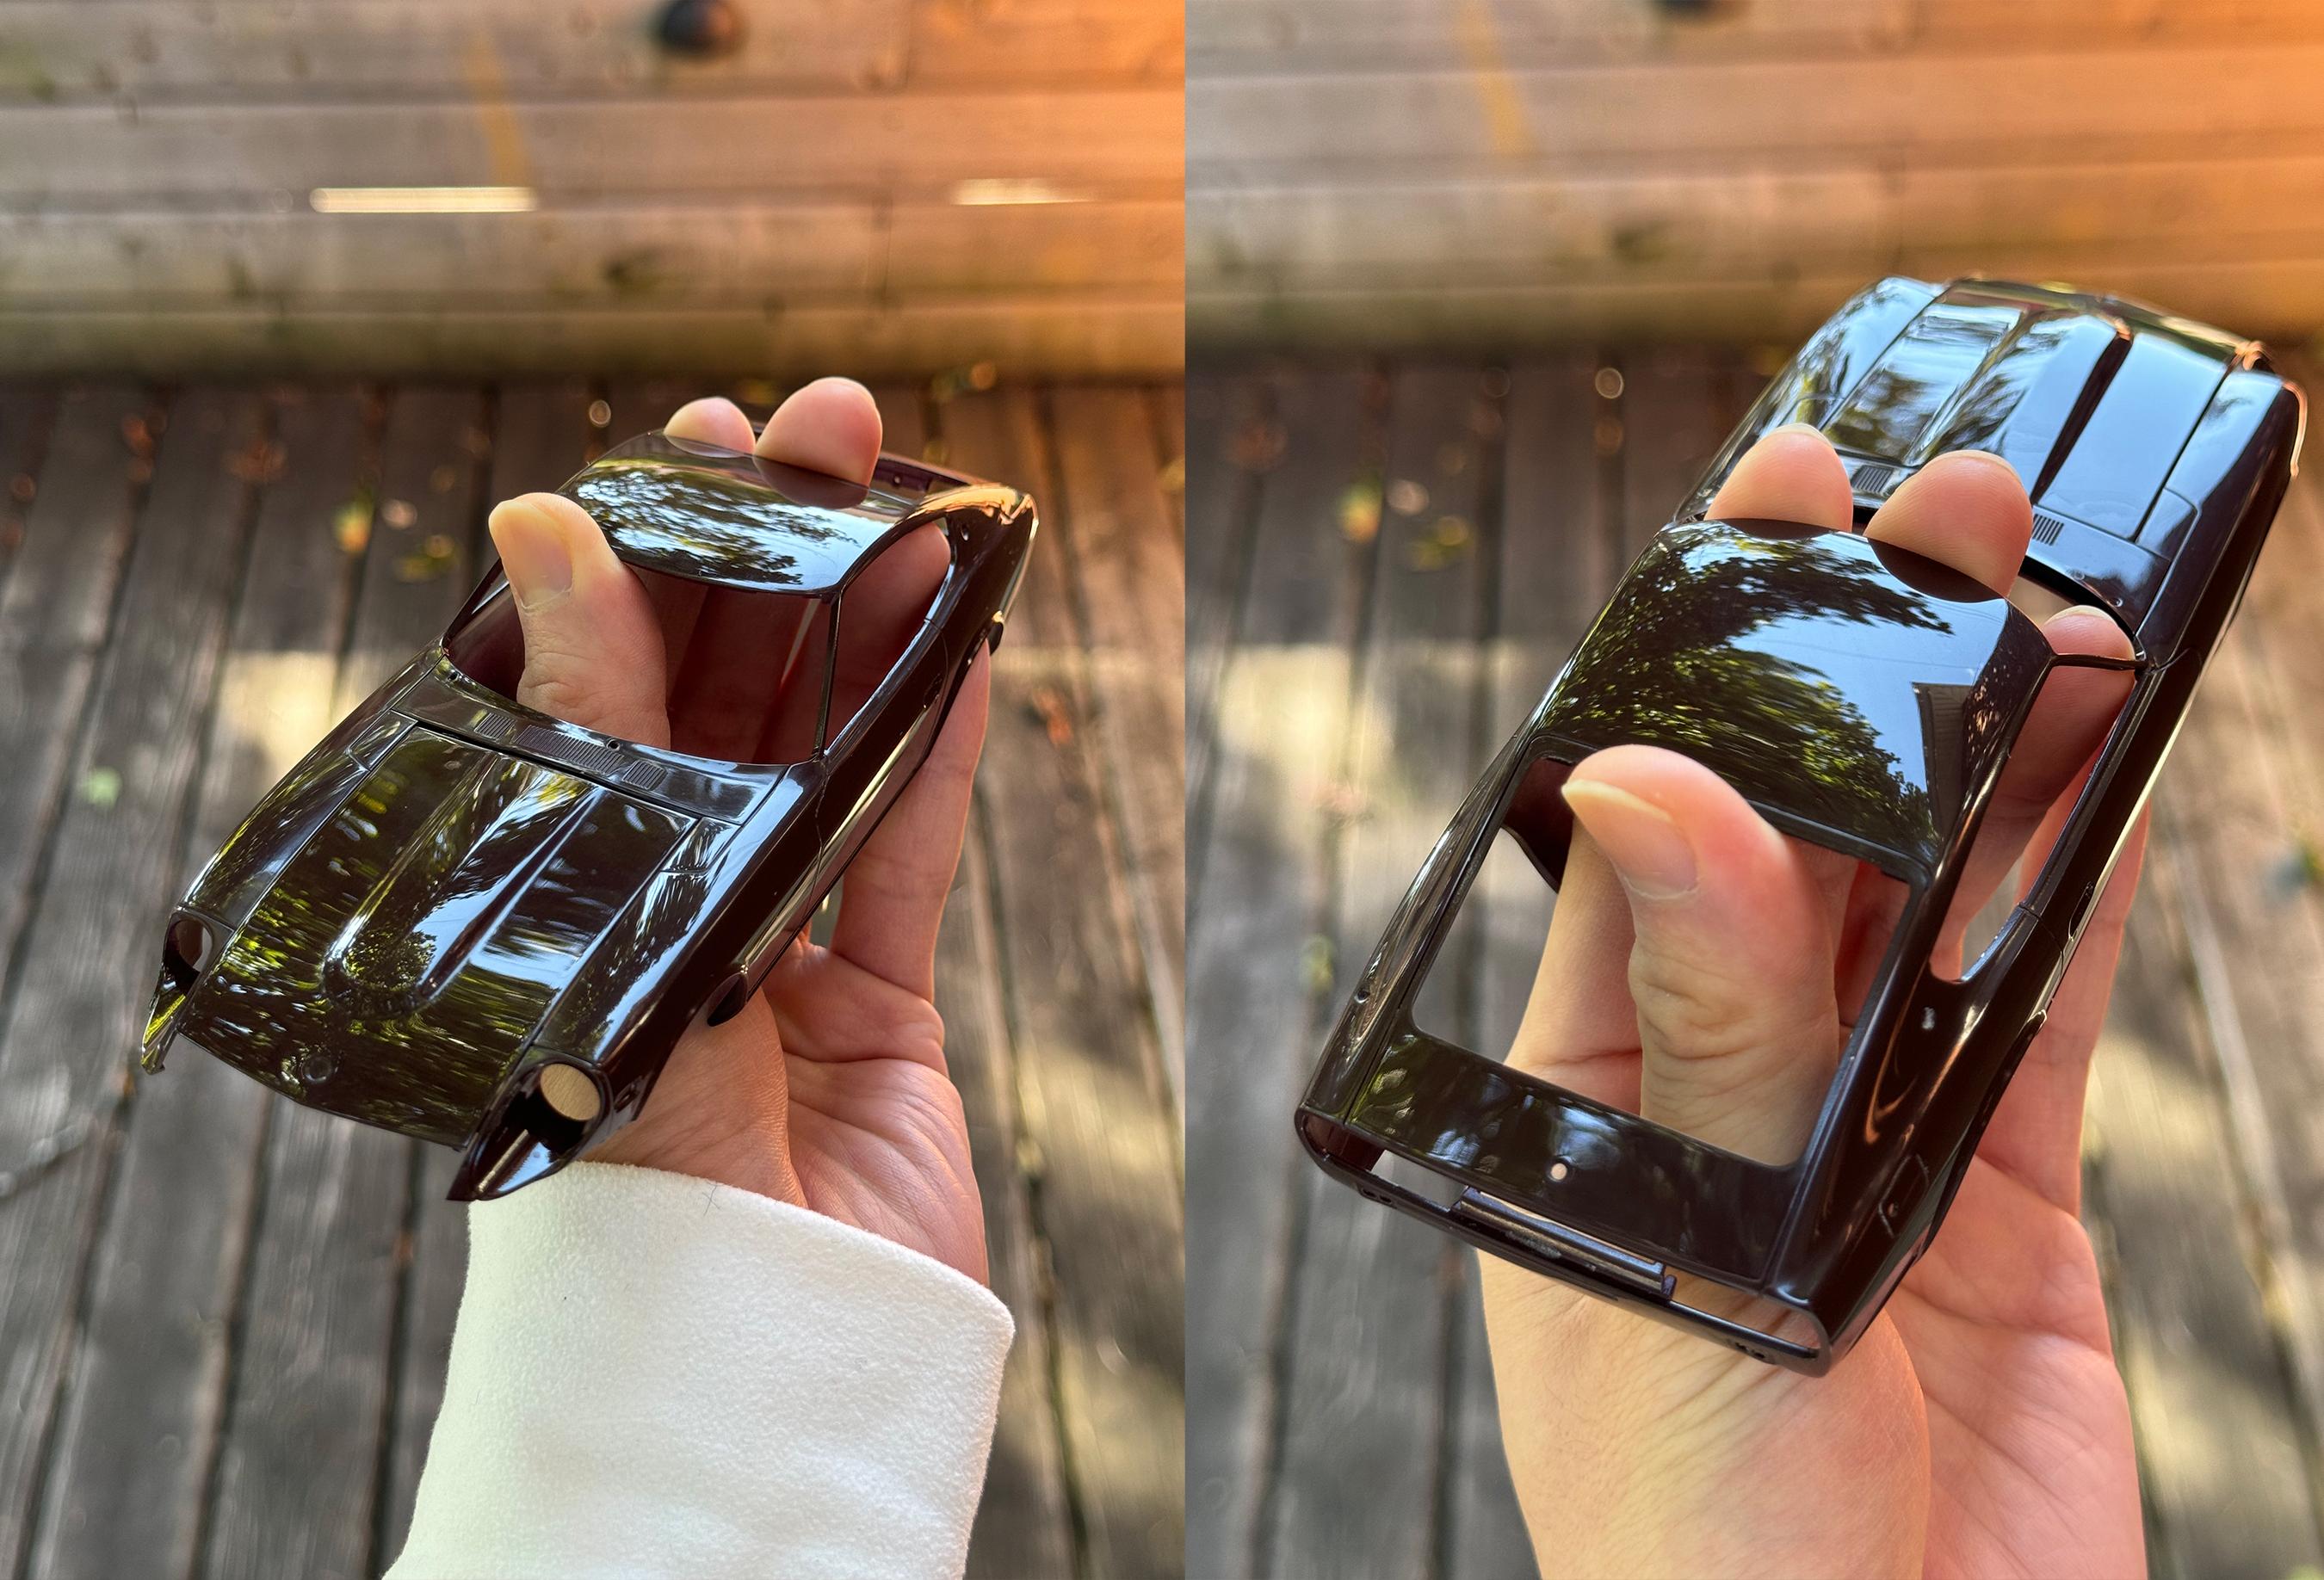
Once paint was fully cured (+1 month curing at minimum) I started wet sanding with 3000, 6000 and 800 grit . Then I polished with Tamiya 3-stage compounds and Hasegawa Ceramic compound. This is what the surface looks like under the natural lighting. Not too shabby!
-
Thank you! Thanks a lot! It's a Fujimi 15" RS Watanabe! It's got a nice dish but way too wide for most street cars. I tried mixing a lot of variants but most browns just make them dull - primary colors are way to go! Thank you! One of best accessories I bought! Thank you! That's very cool!
-
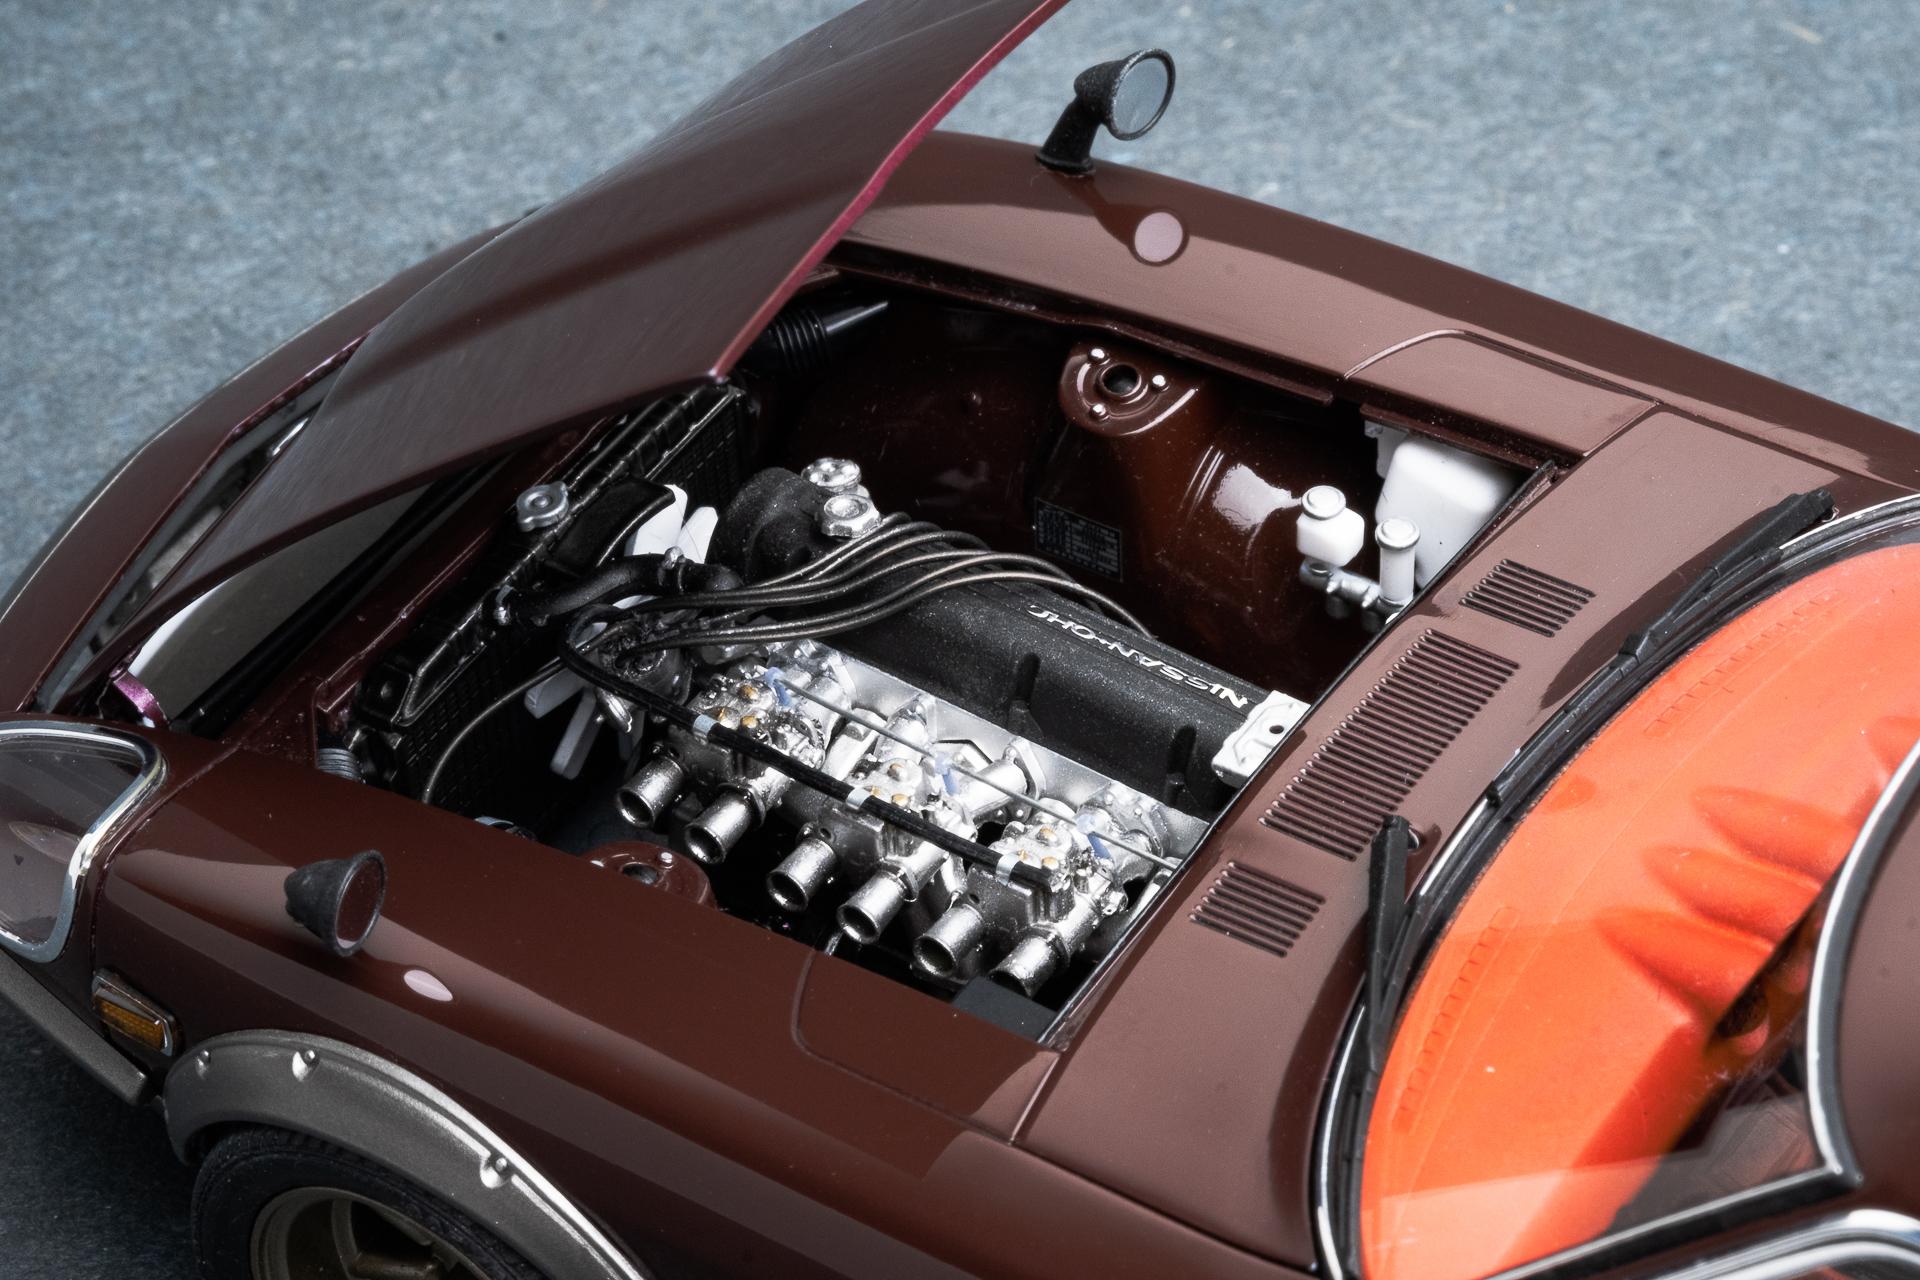
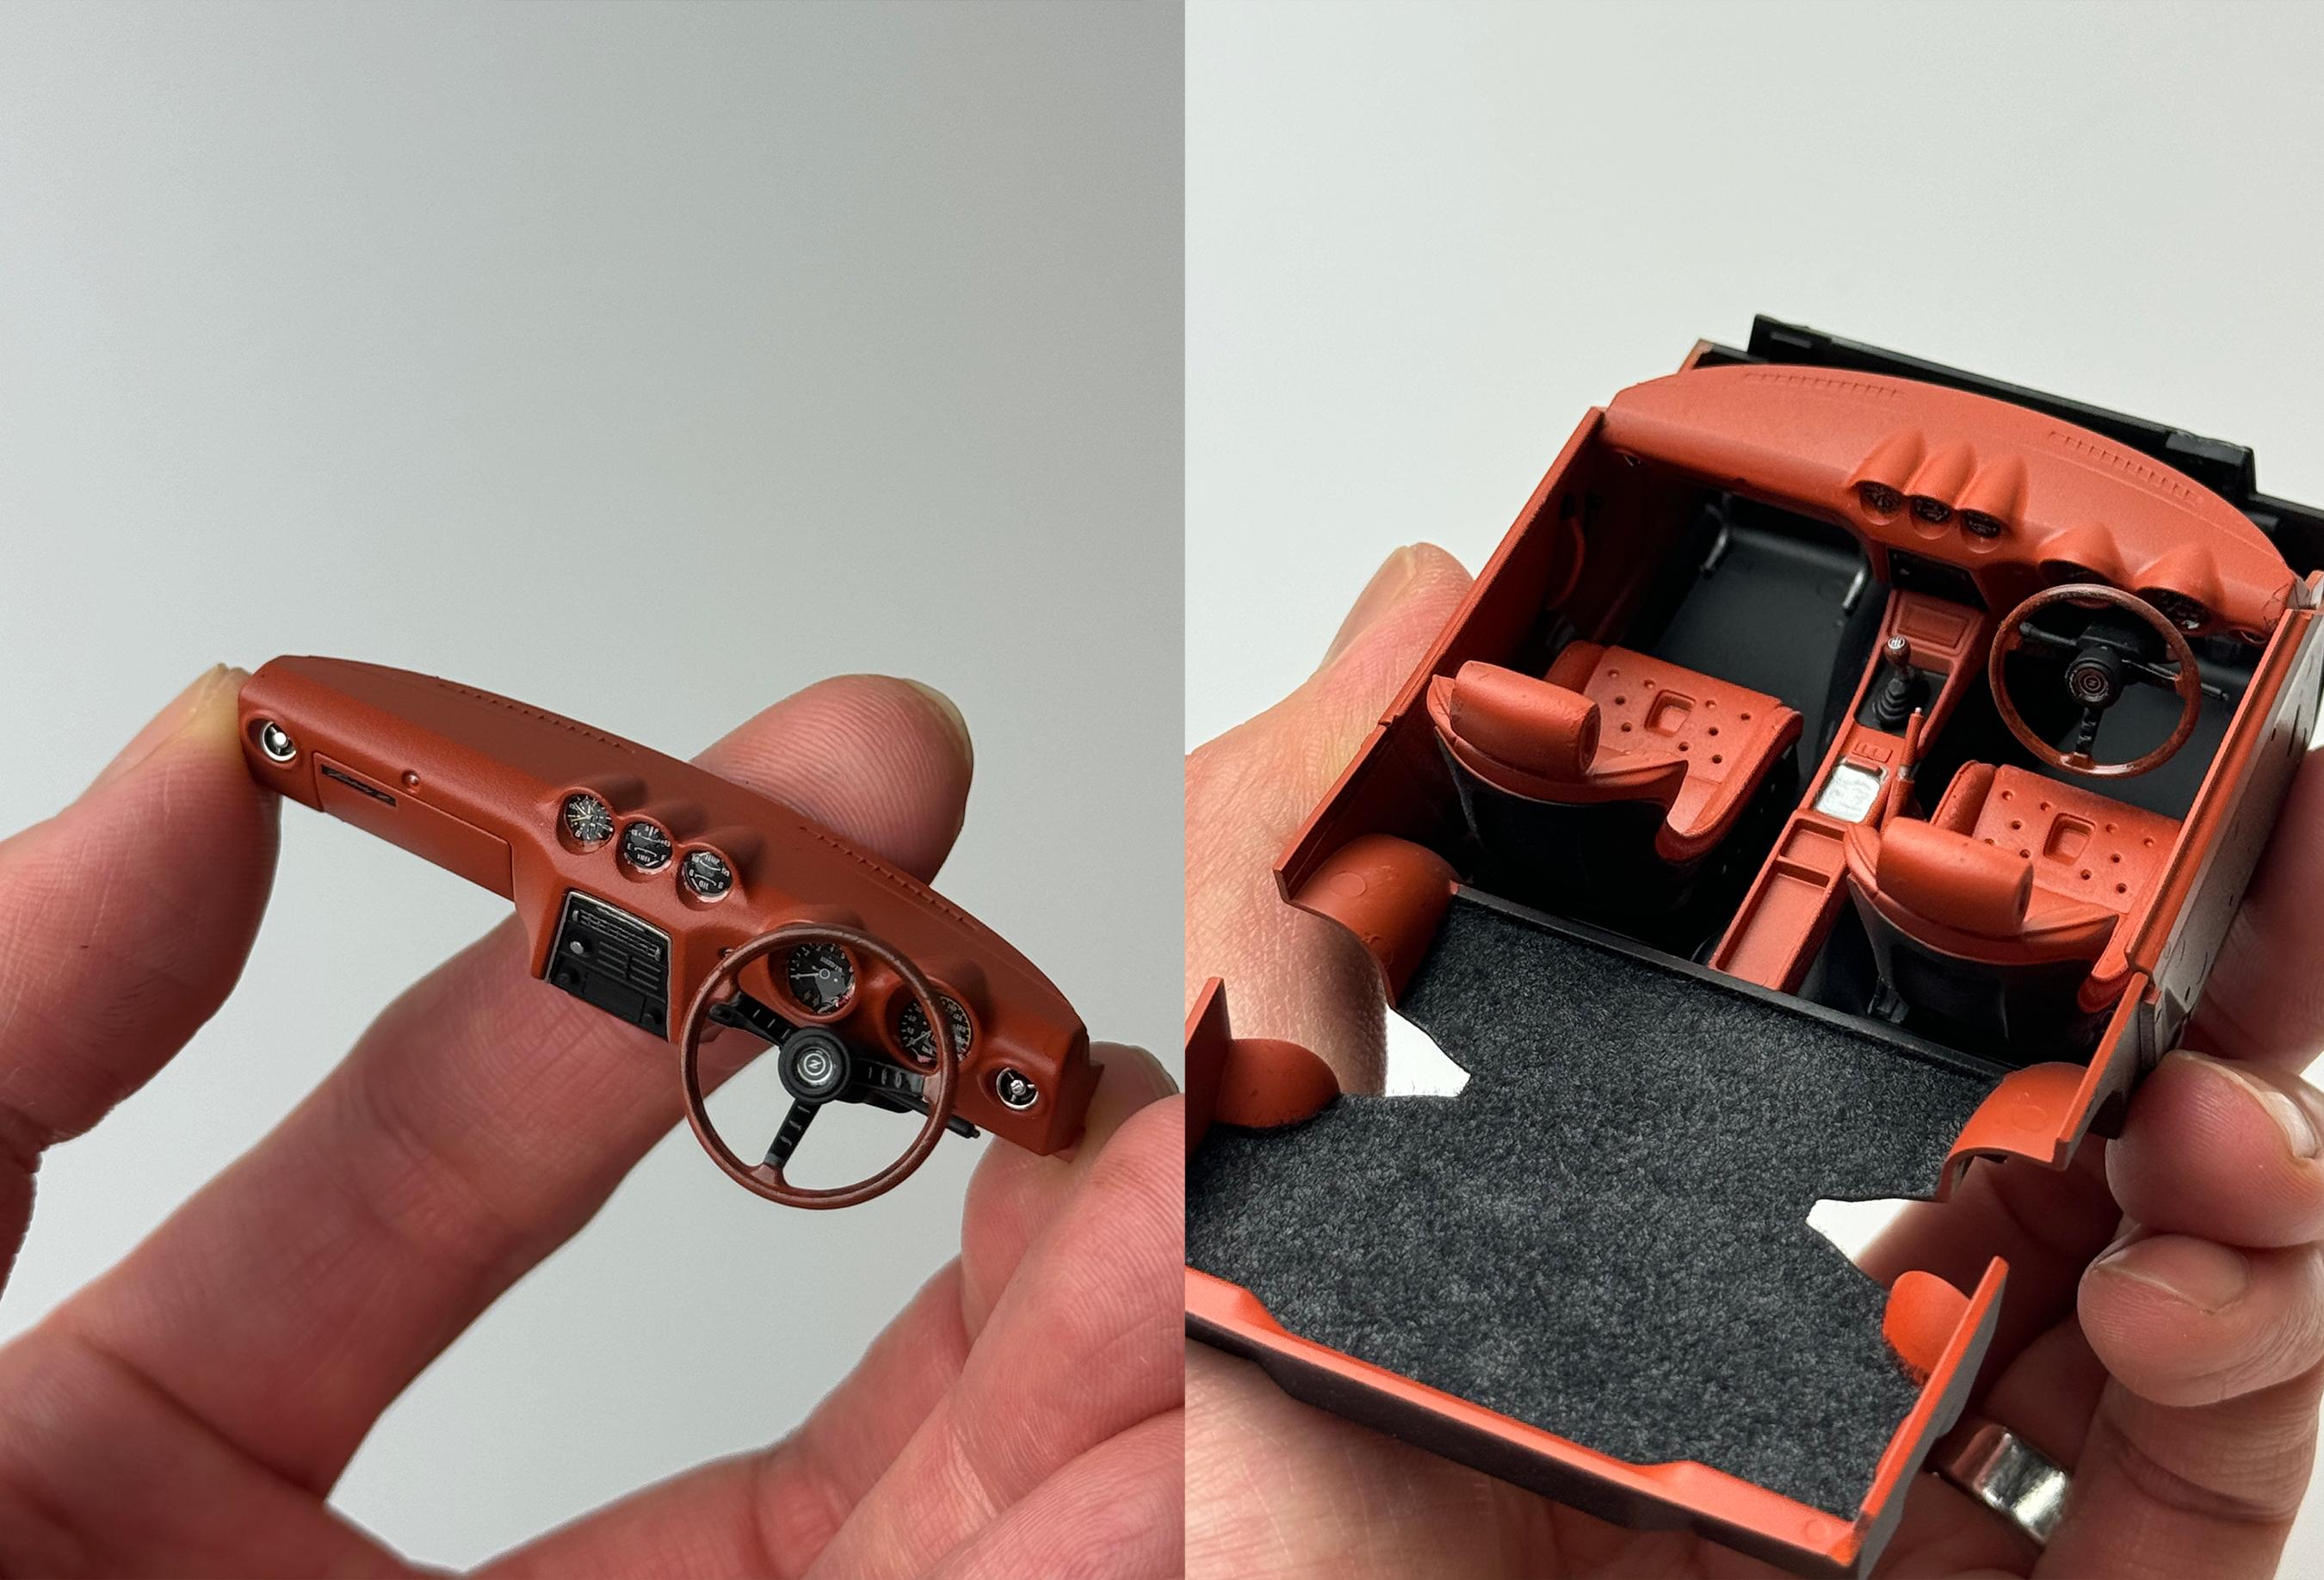
I bought this kit before Tamiya released the street custom version that had weber throttle body.. so I used resin weber and made my own intake manifolds using leftover parts, and added ignition wires. Then I used couple of small brackets, drilled them and put thin metal rod across to simulate throttle cable, and added radiator overflow hose as well as fuel line. I also made ignition coil as kit didn't come with one. I mixed brown, red and yellow to create saddle brown colour for the interior. Seats are aftermarket singer-style recaros. I used leftover GT2 shifter boot instead of stock one, masked the interior to get two-tone look then flocked the trunk area. Watanabe wheels were painted with mixture of gold, silver and flat black to get titanium-like finish.
- 32 replies
-
- 10
-

-

-
Thank you!
-
Thank you! I love maroon. My pleasure. Thank you! Thanks a lot! I usually glue all the non-movable body panels (as long as I can actually assemble bottom without breaking) first to make sure I don't rub any paint or get glue marks. Cutting the roof support was dicey but looking at the spruce location I had to cut it to make sure none of them are visible after painting. Sometimes I break A pillars but this time I was super careful!
-
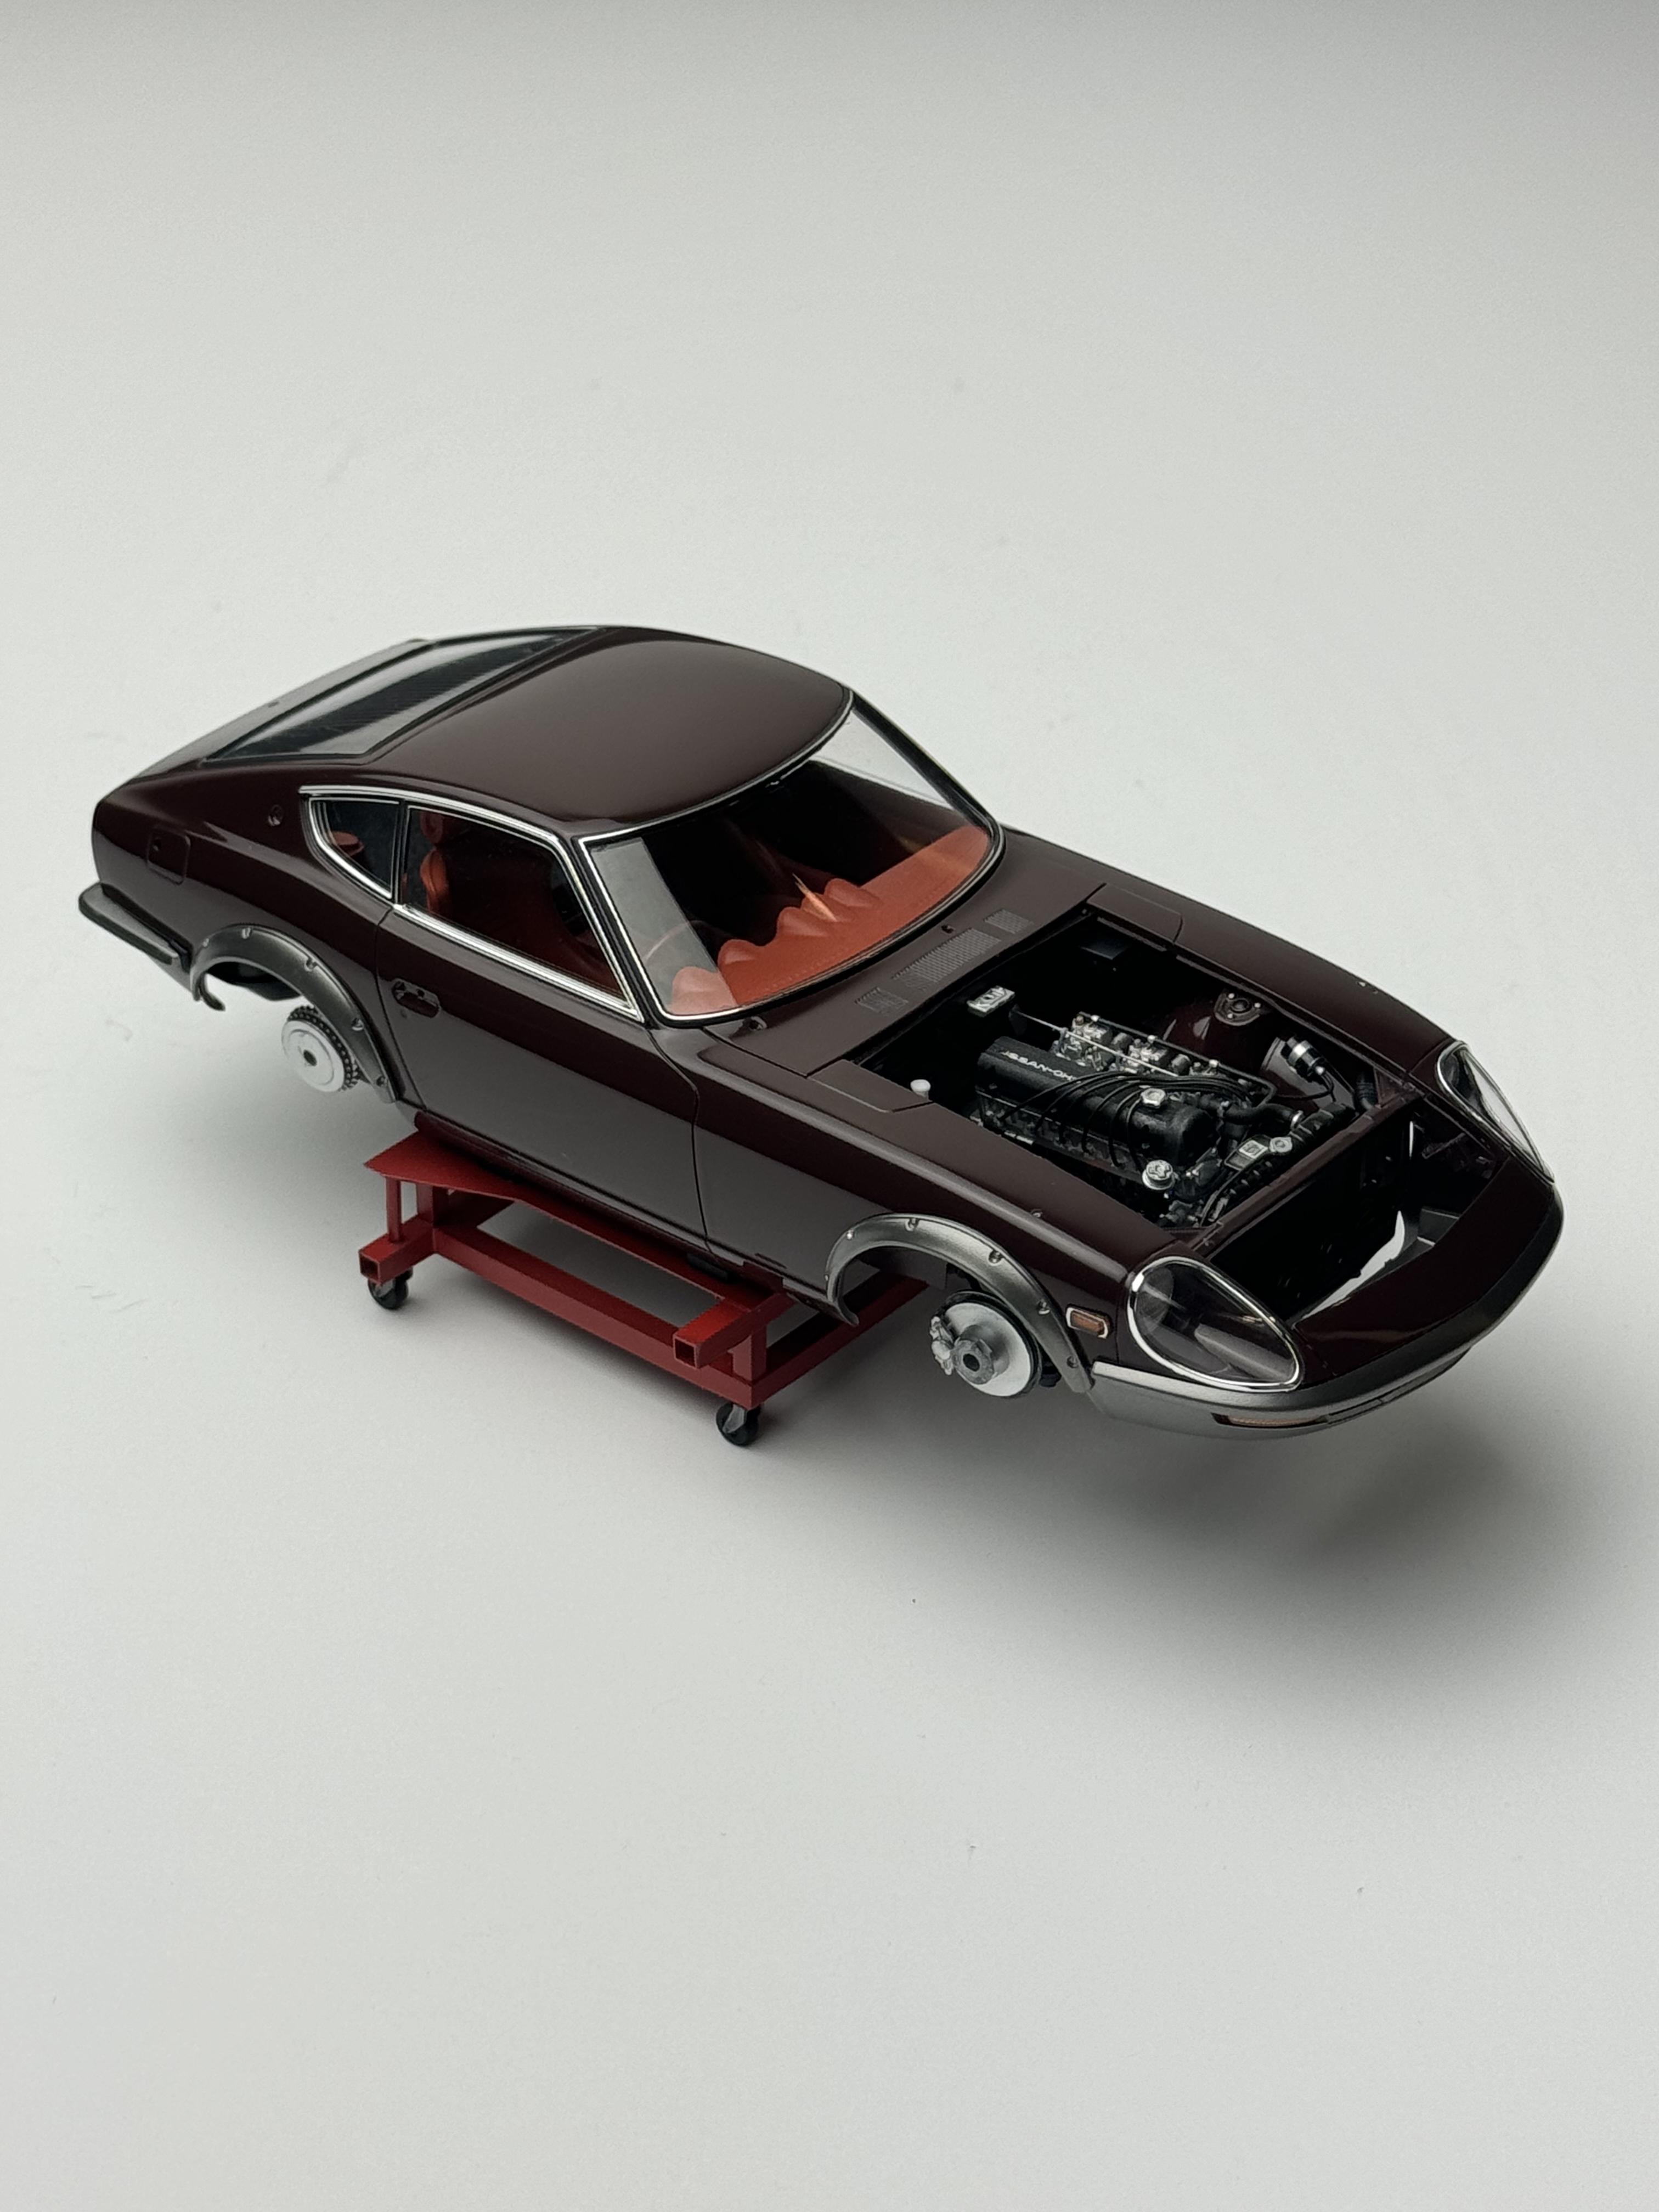
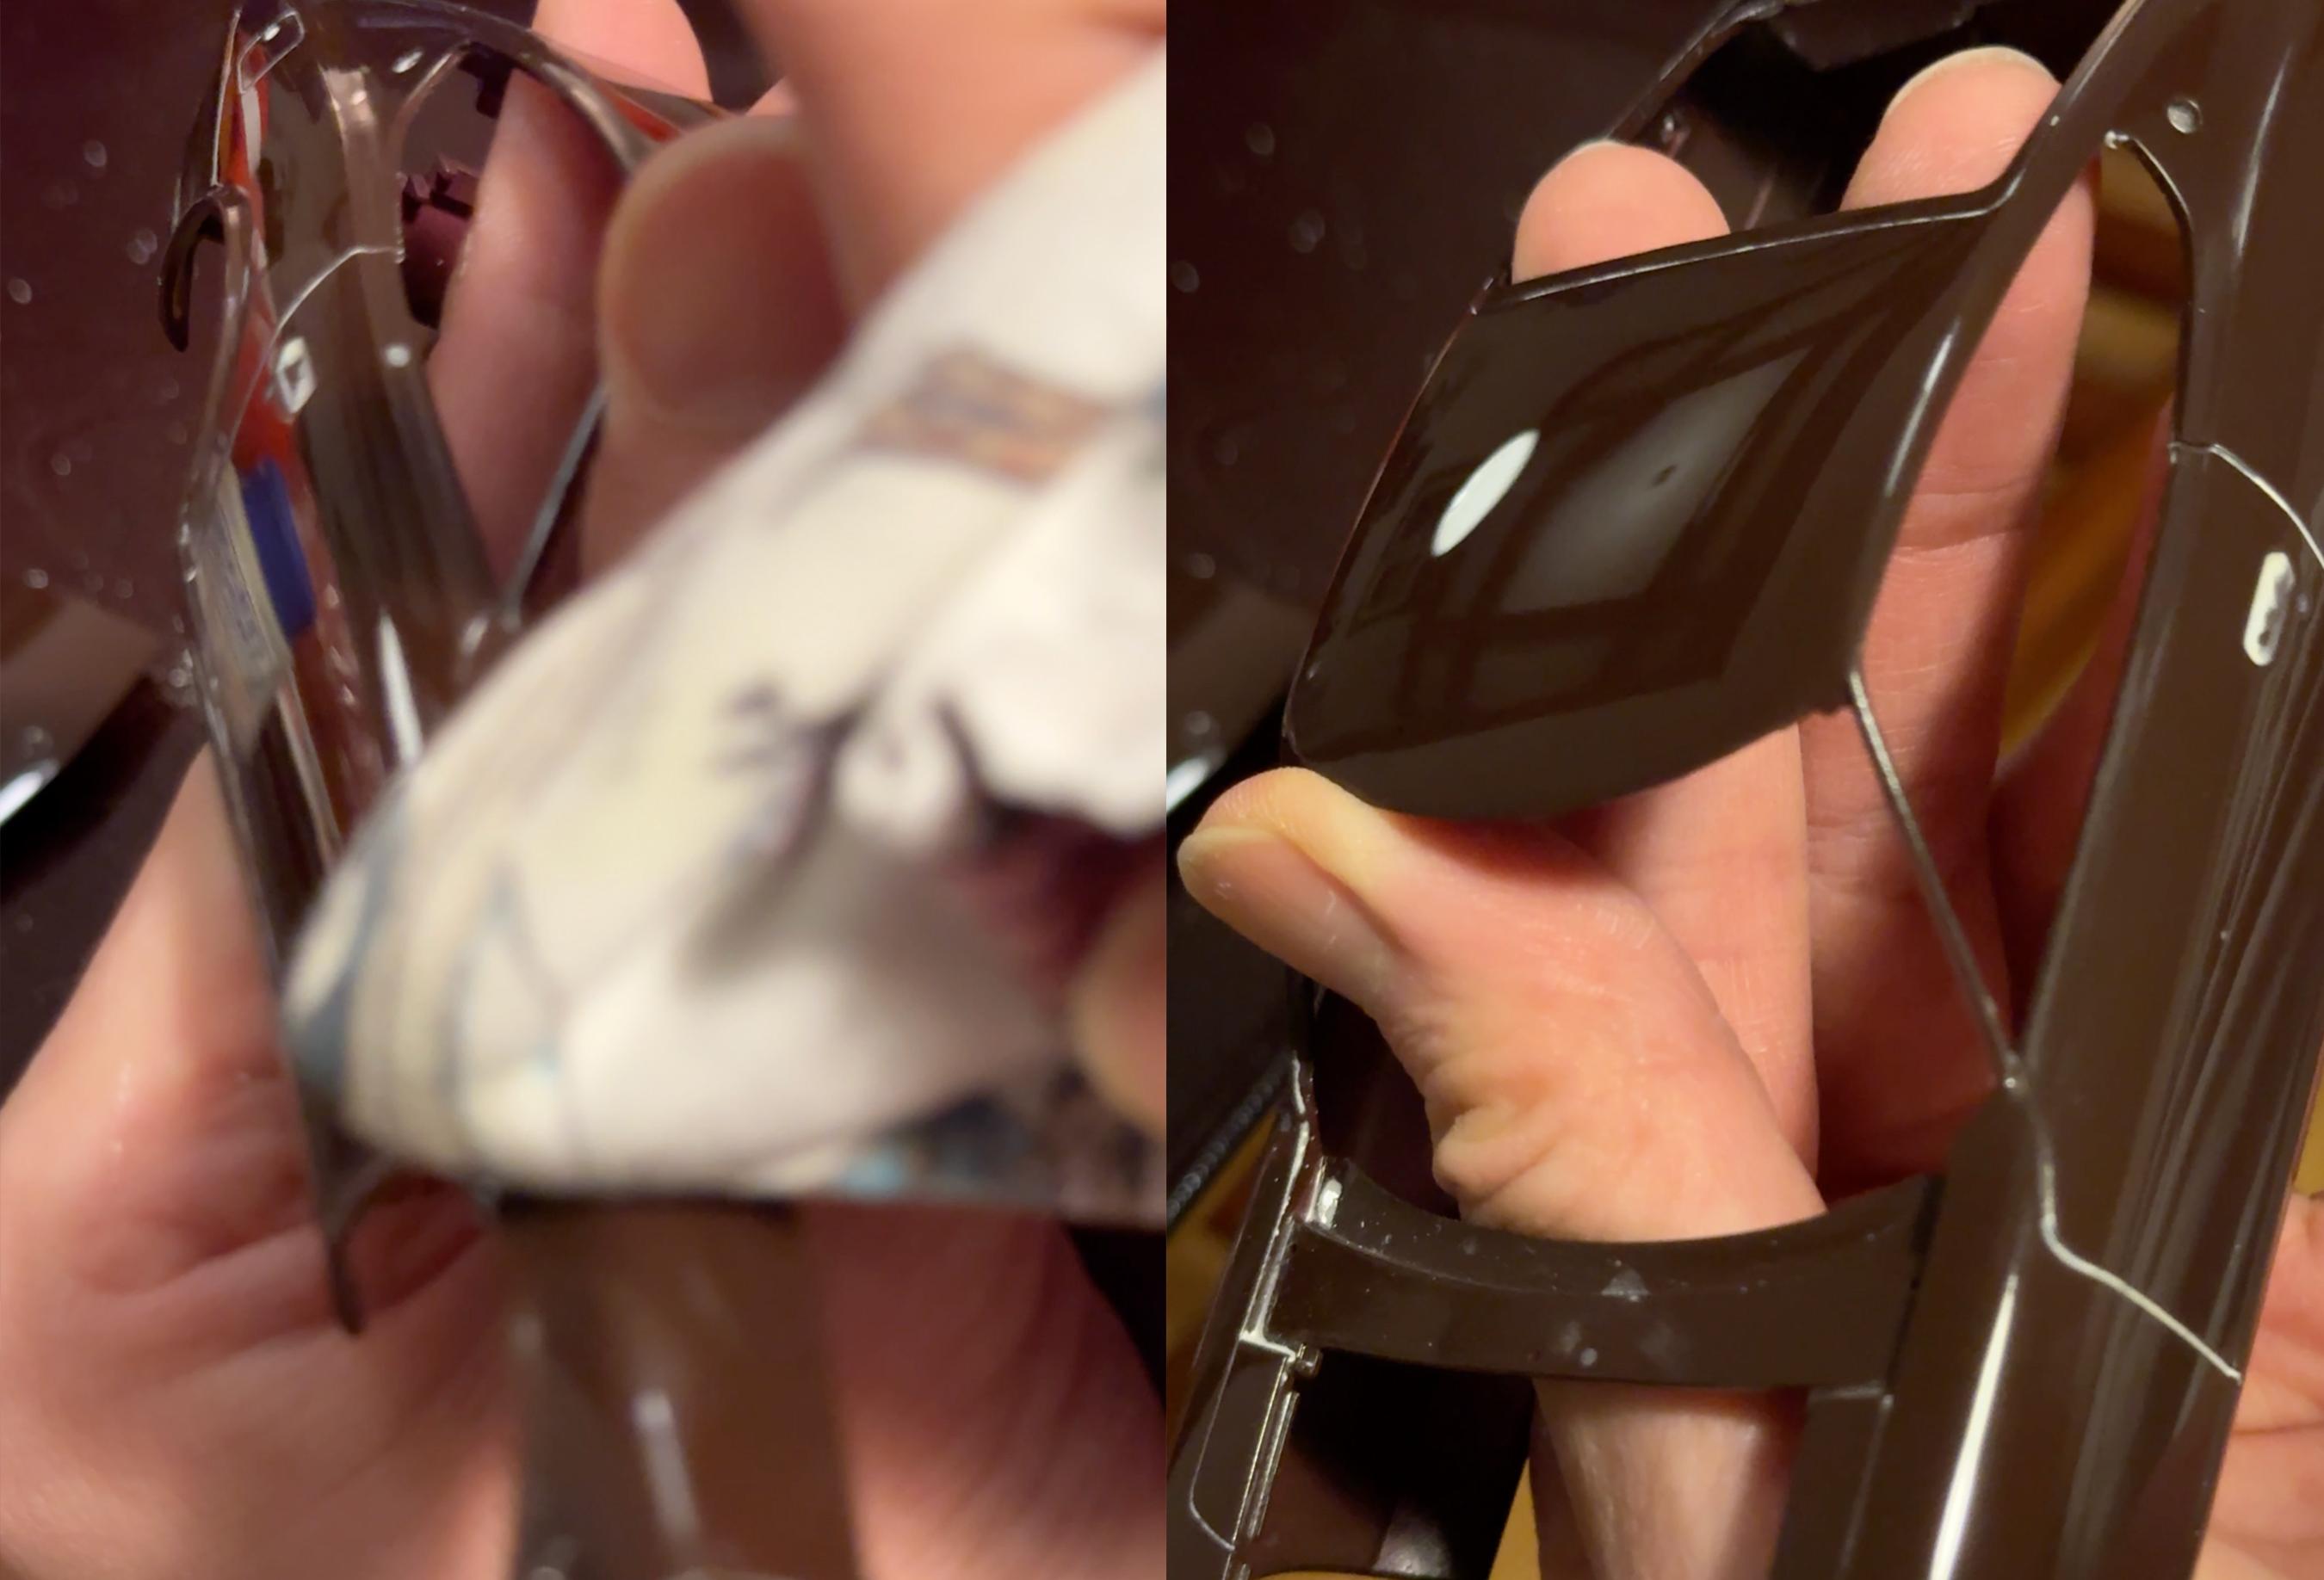
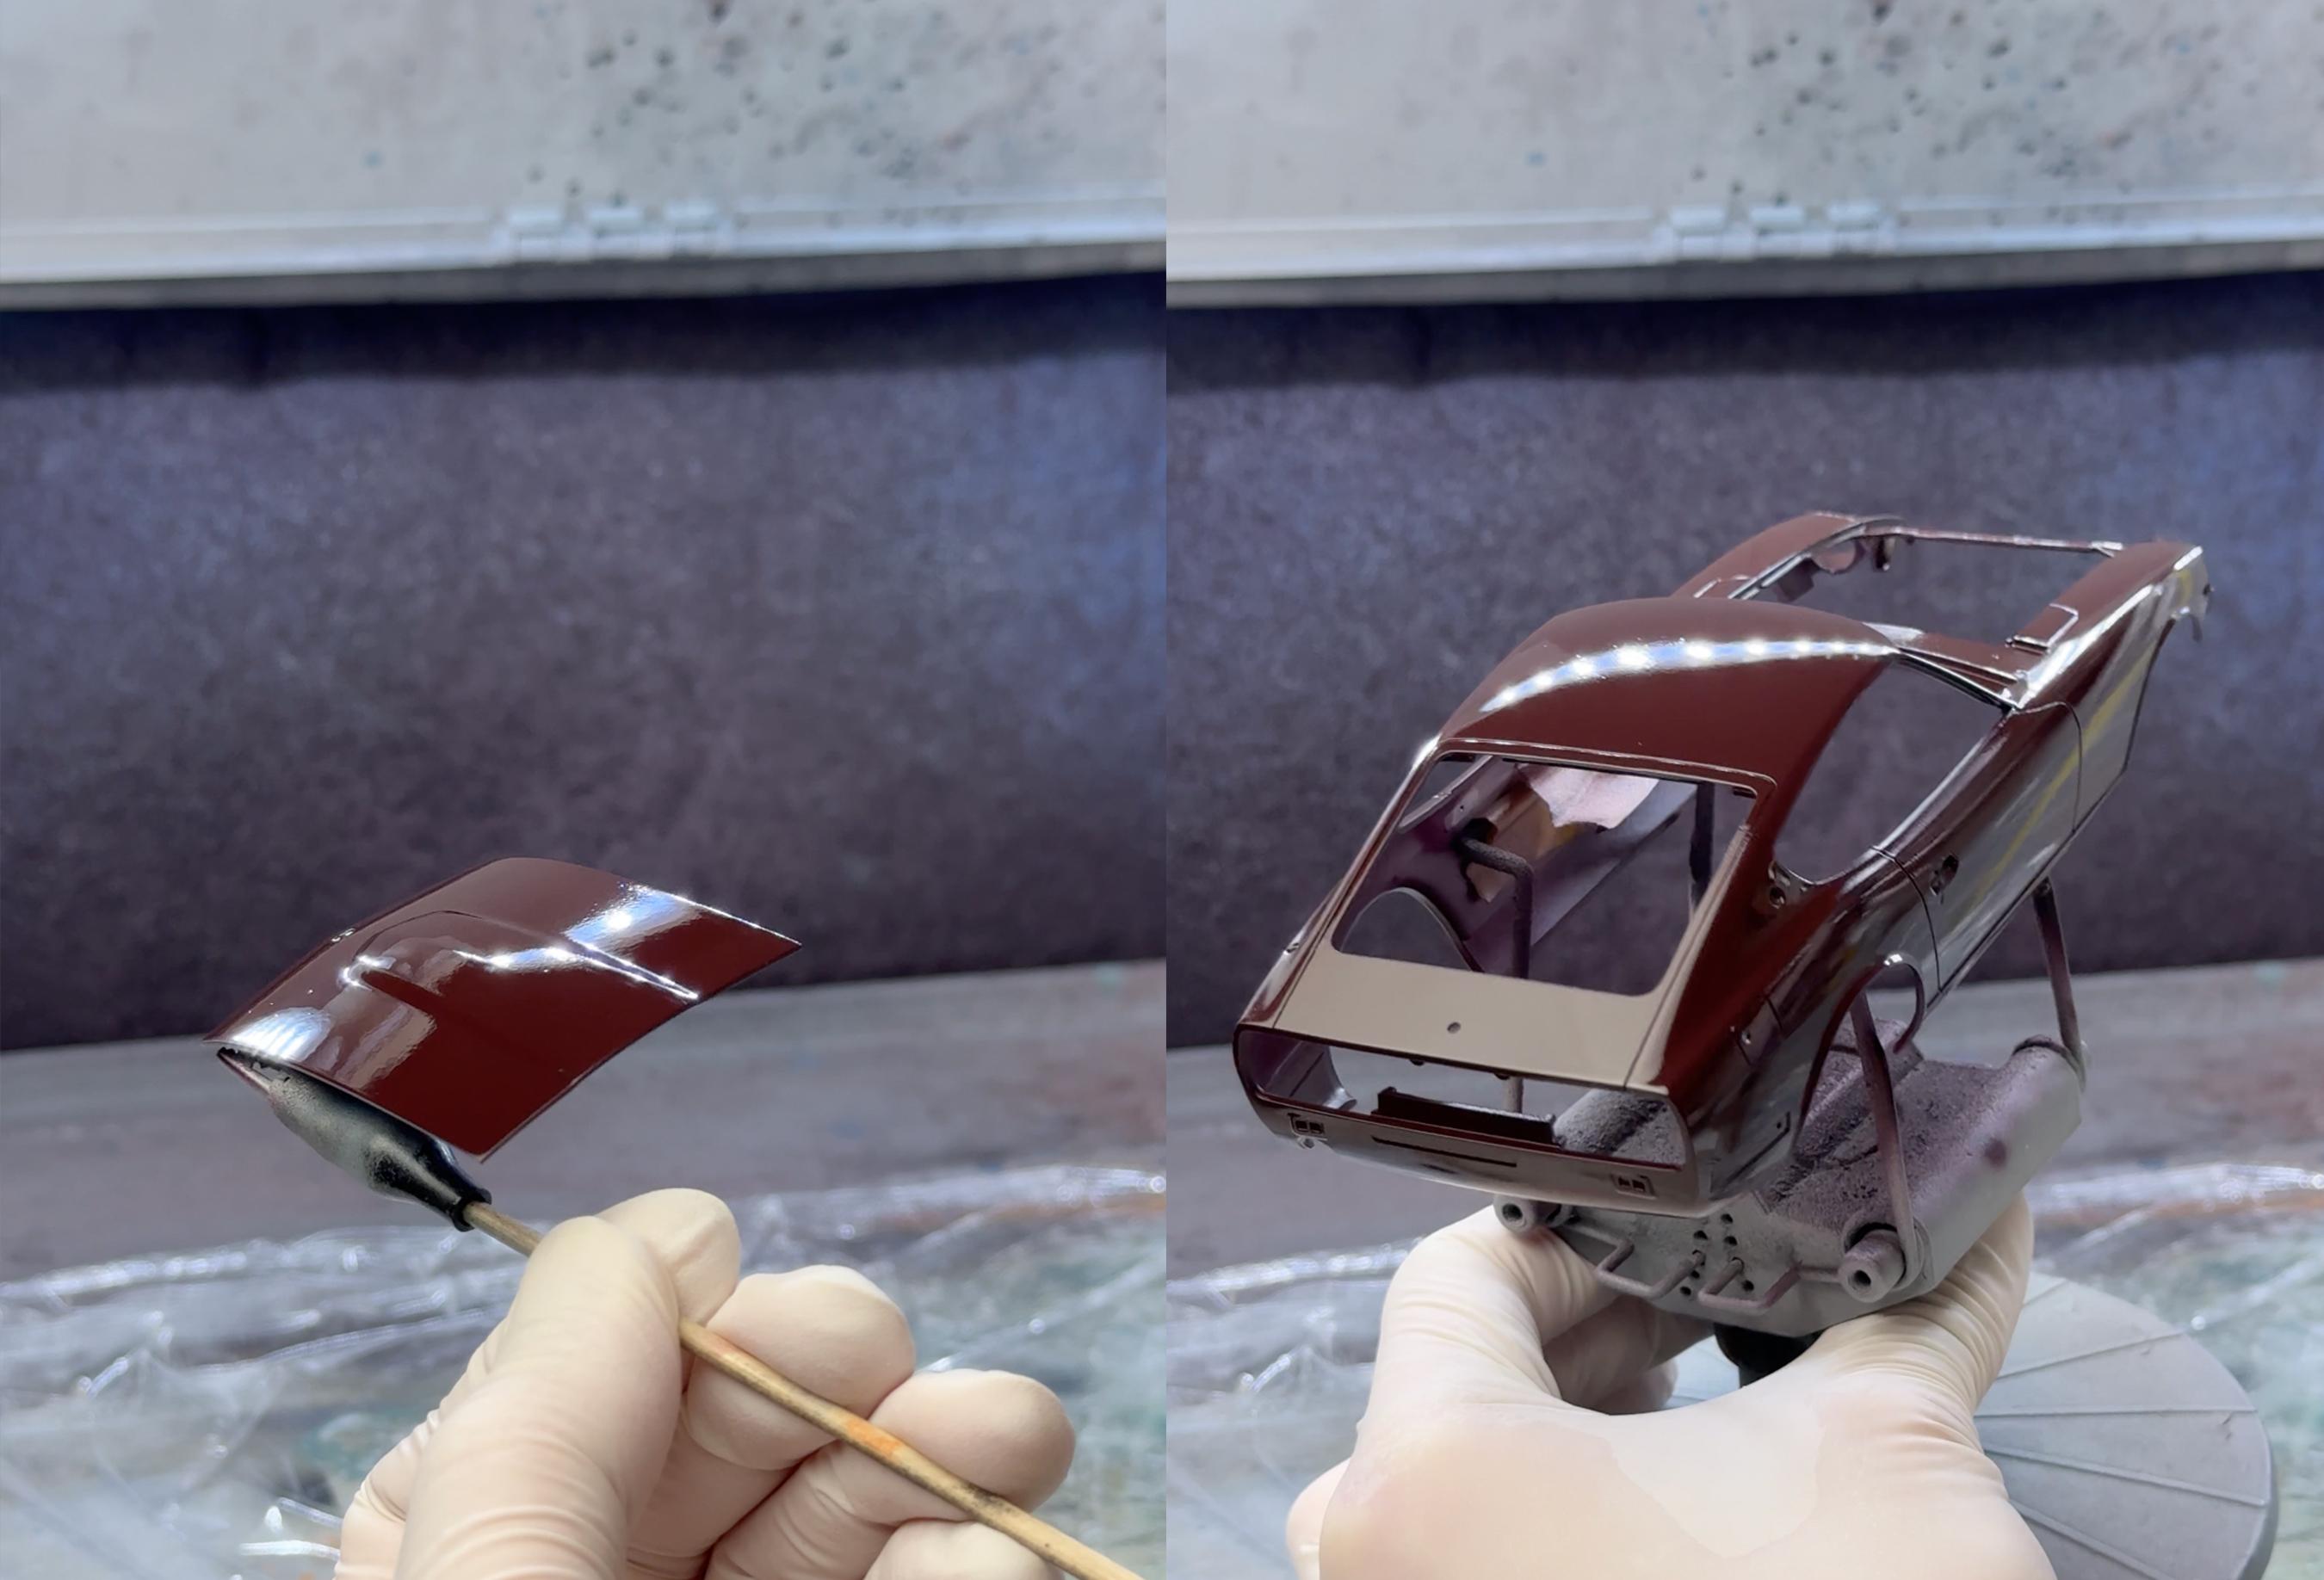
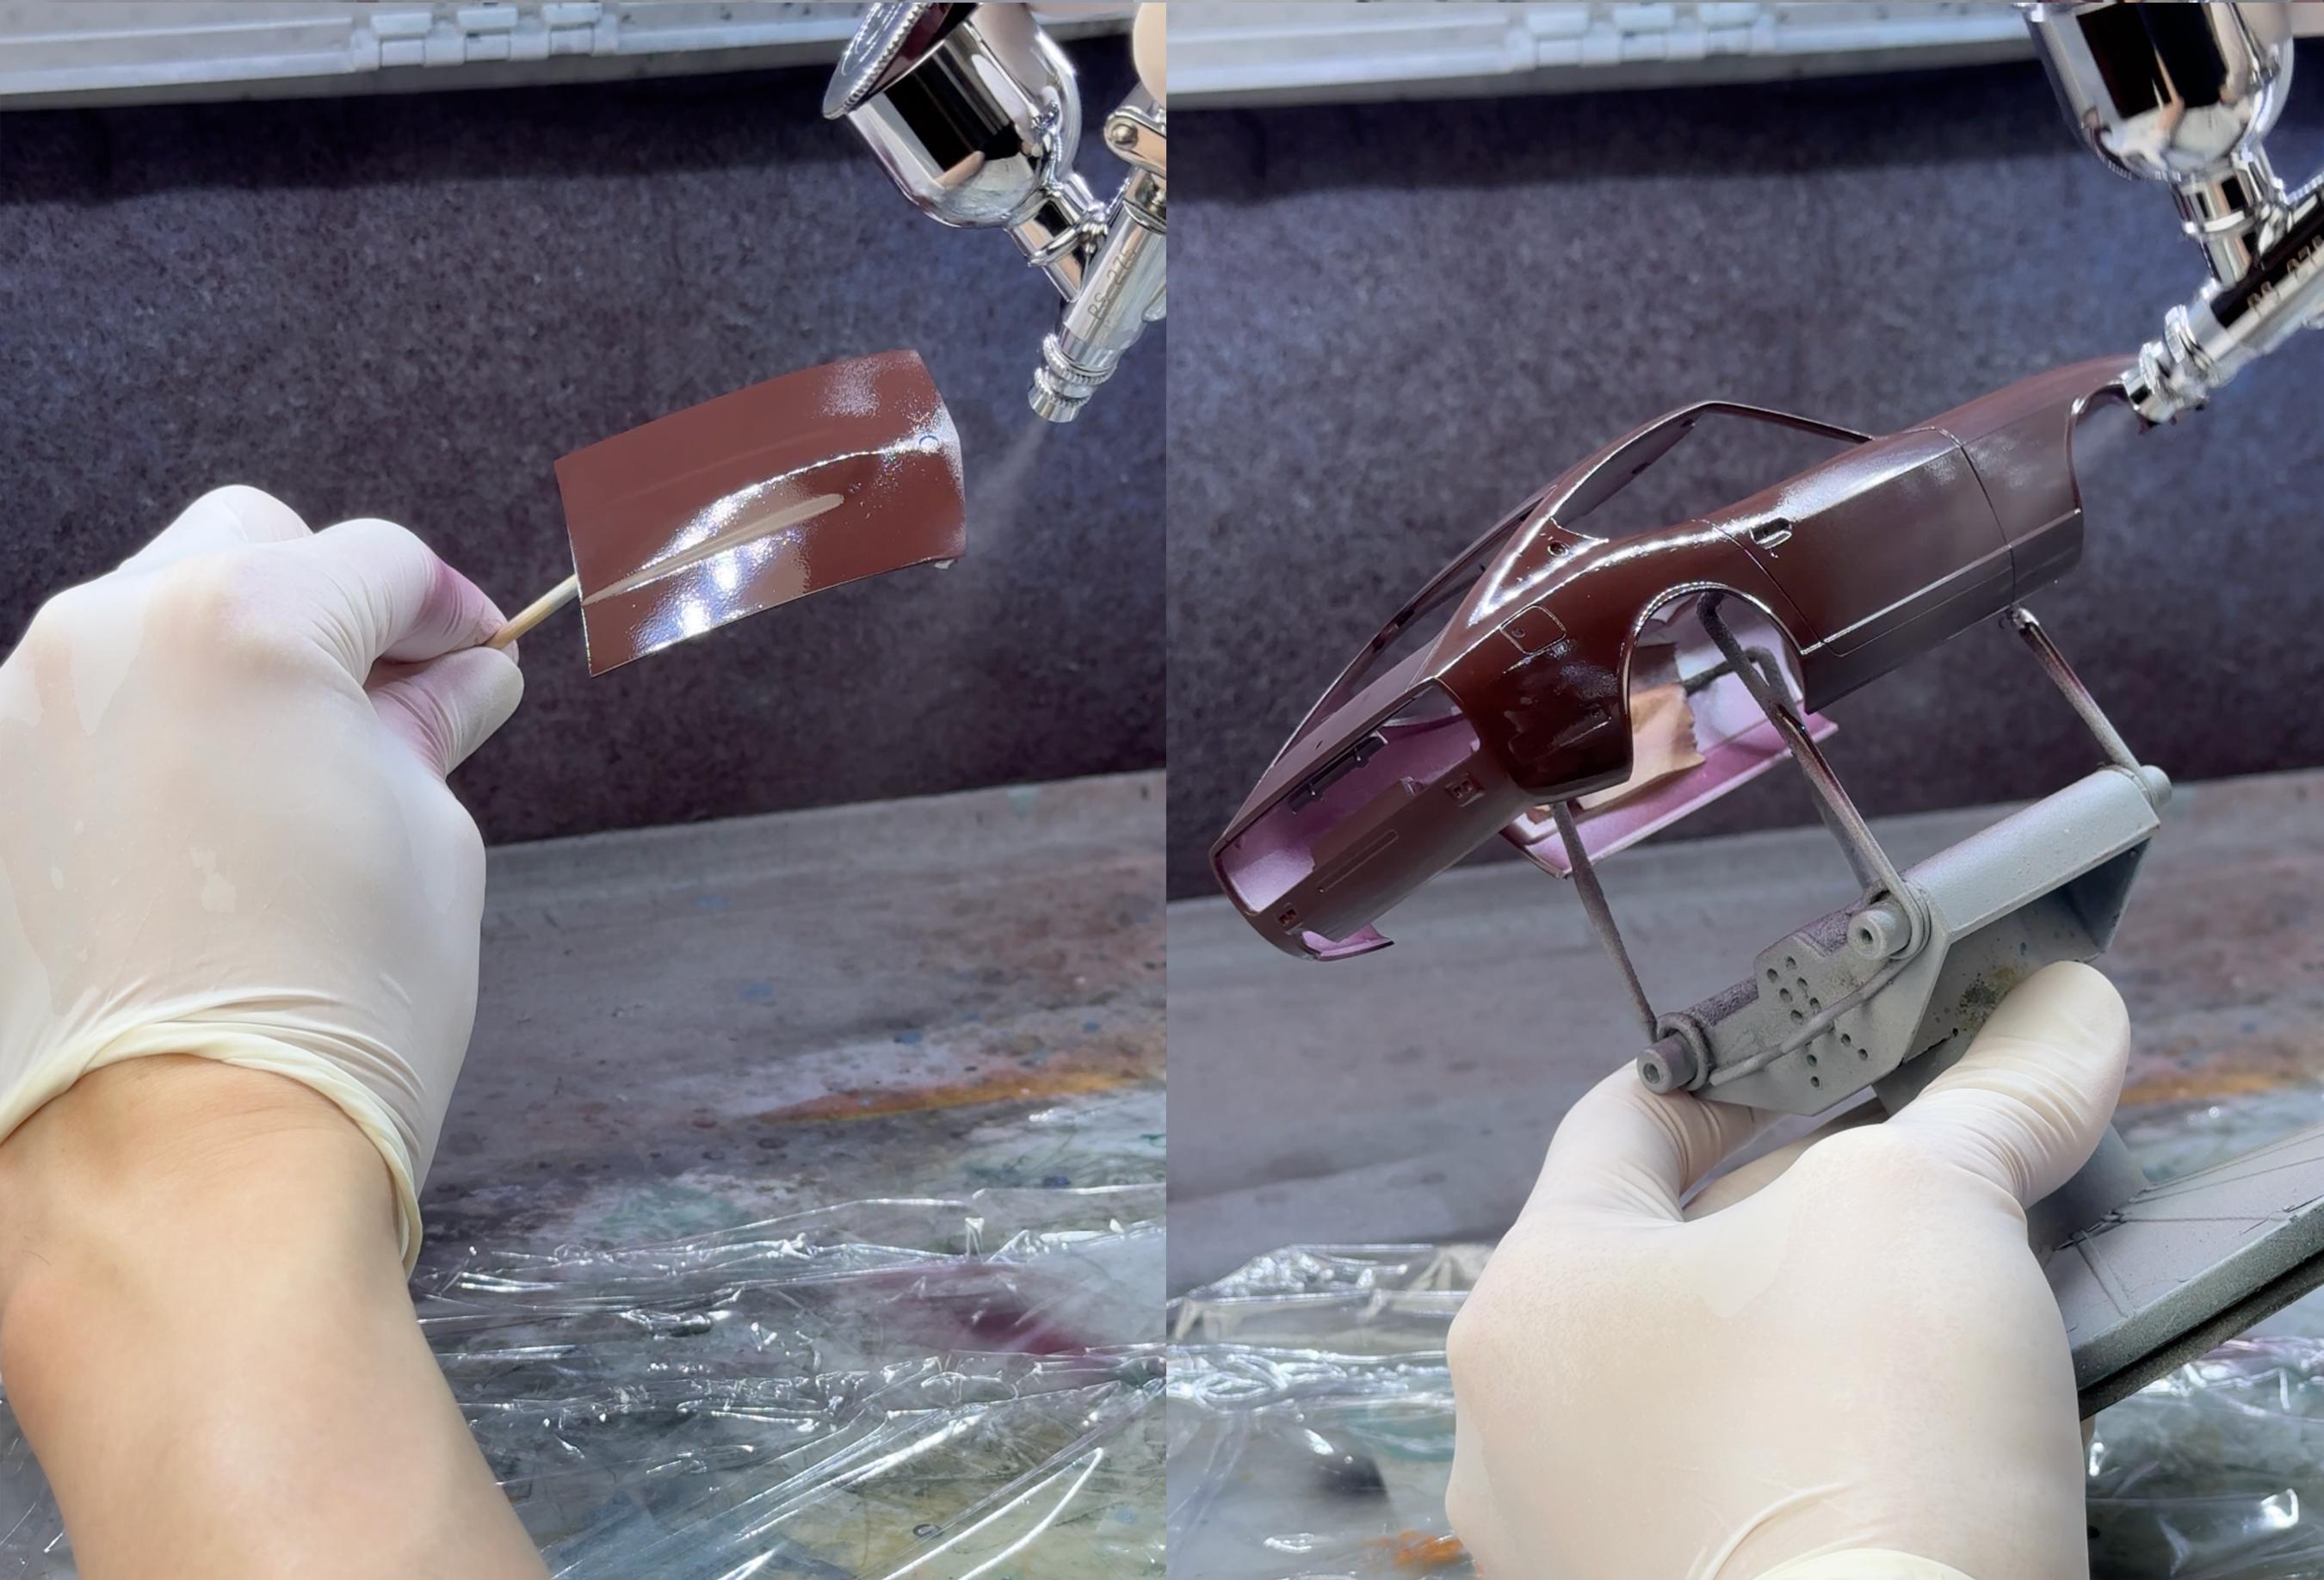
Hi gents, here's the build update! I started painting the body with maroon colour. I mixed red, blue and black until I got the shade I wanted and laid two base coats: After that I laid the first clear coat (mr color super clear III with self leveling thinner) Once the first coat dried, I wet sanded with 3000 grit sandpaper until all the surfaces especially around the panel lines are completely flat. Then I laid 2 additional clear coats, with non-metallic colours I can go pretty wet without disrupting the metallic flakes. Next up will be engine bay and interior!
- 32 replies
-
- 11
-

-
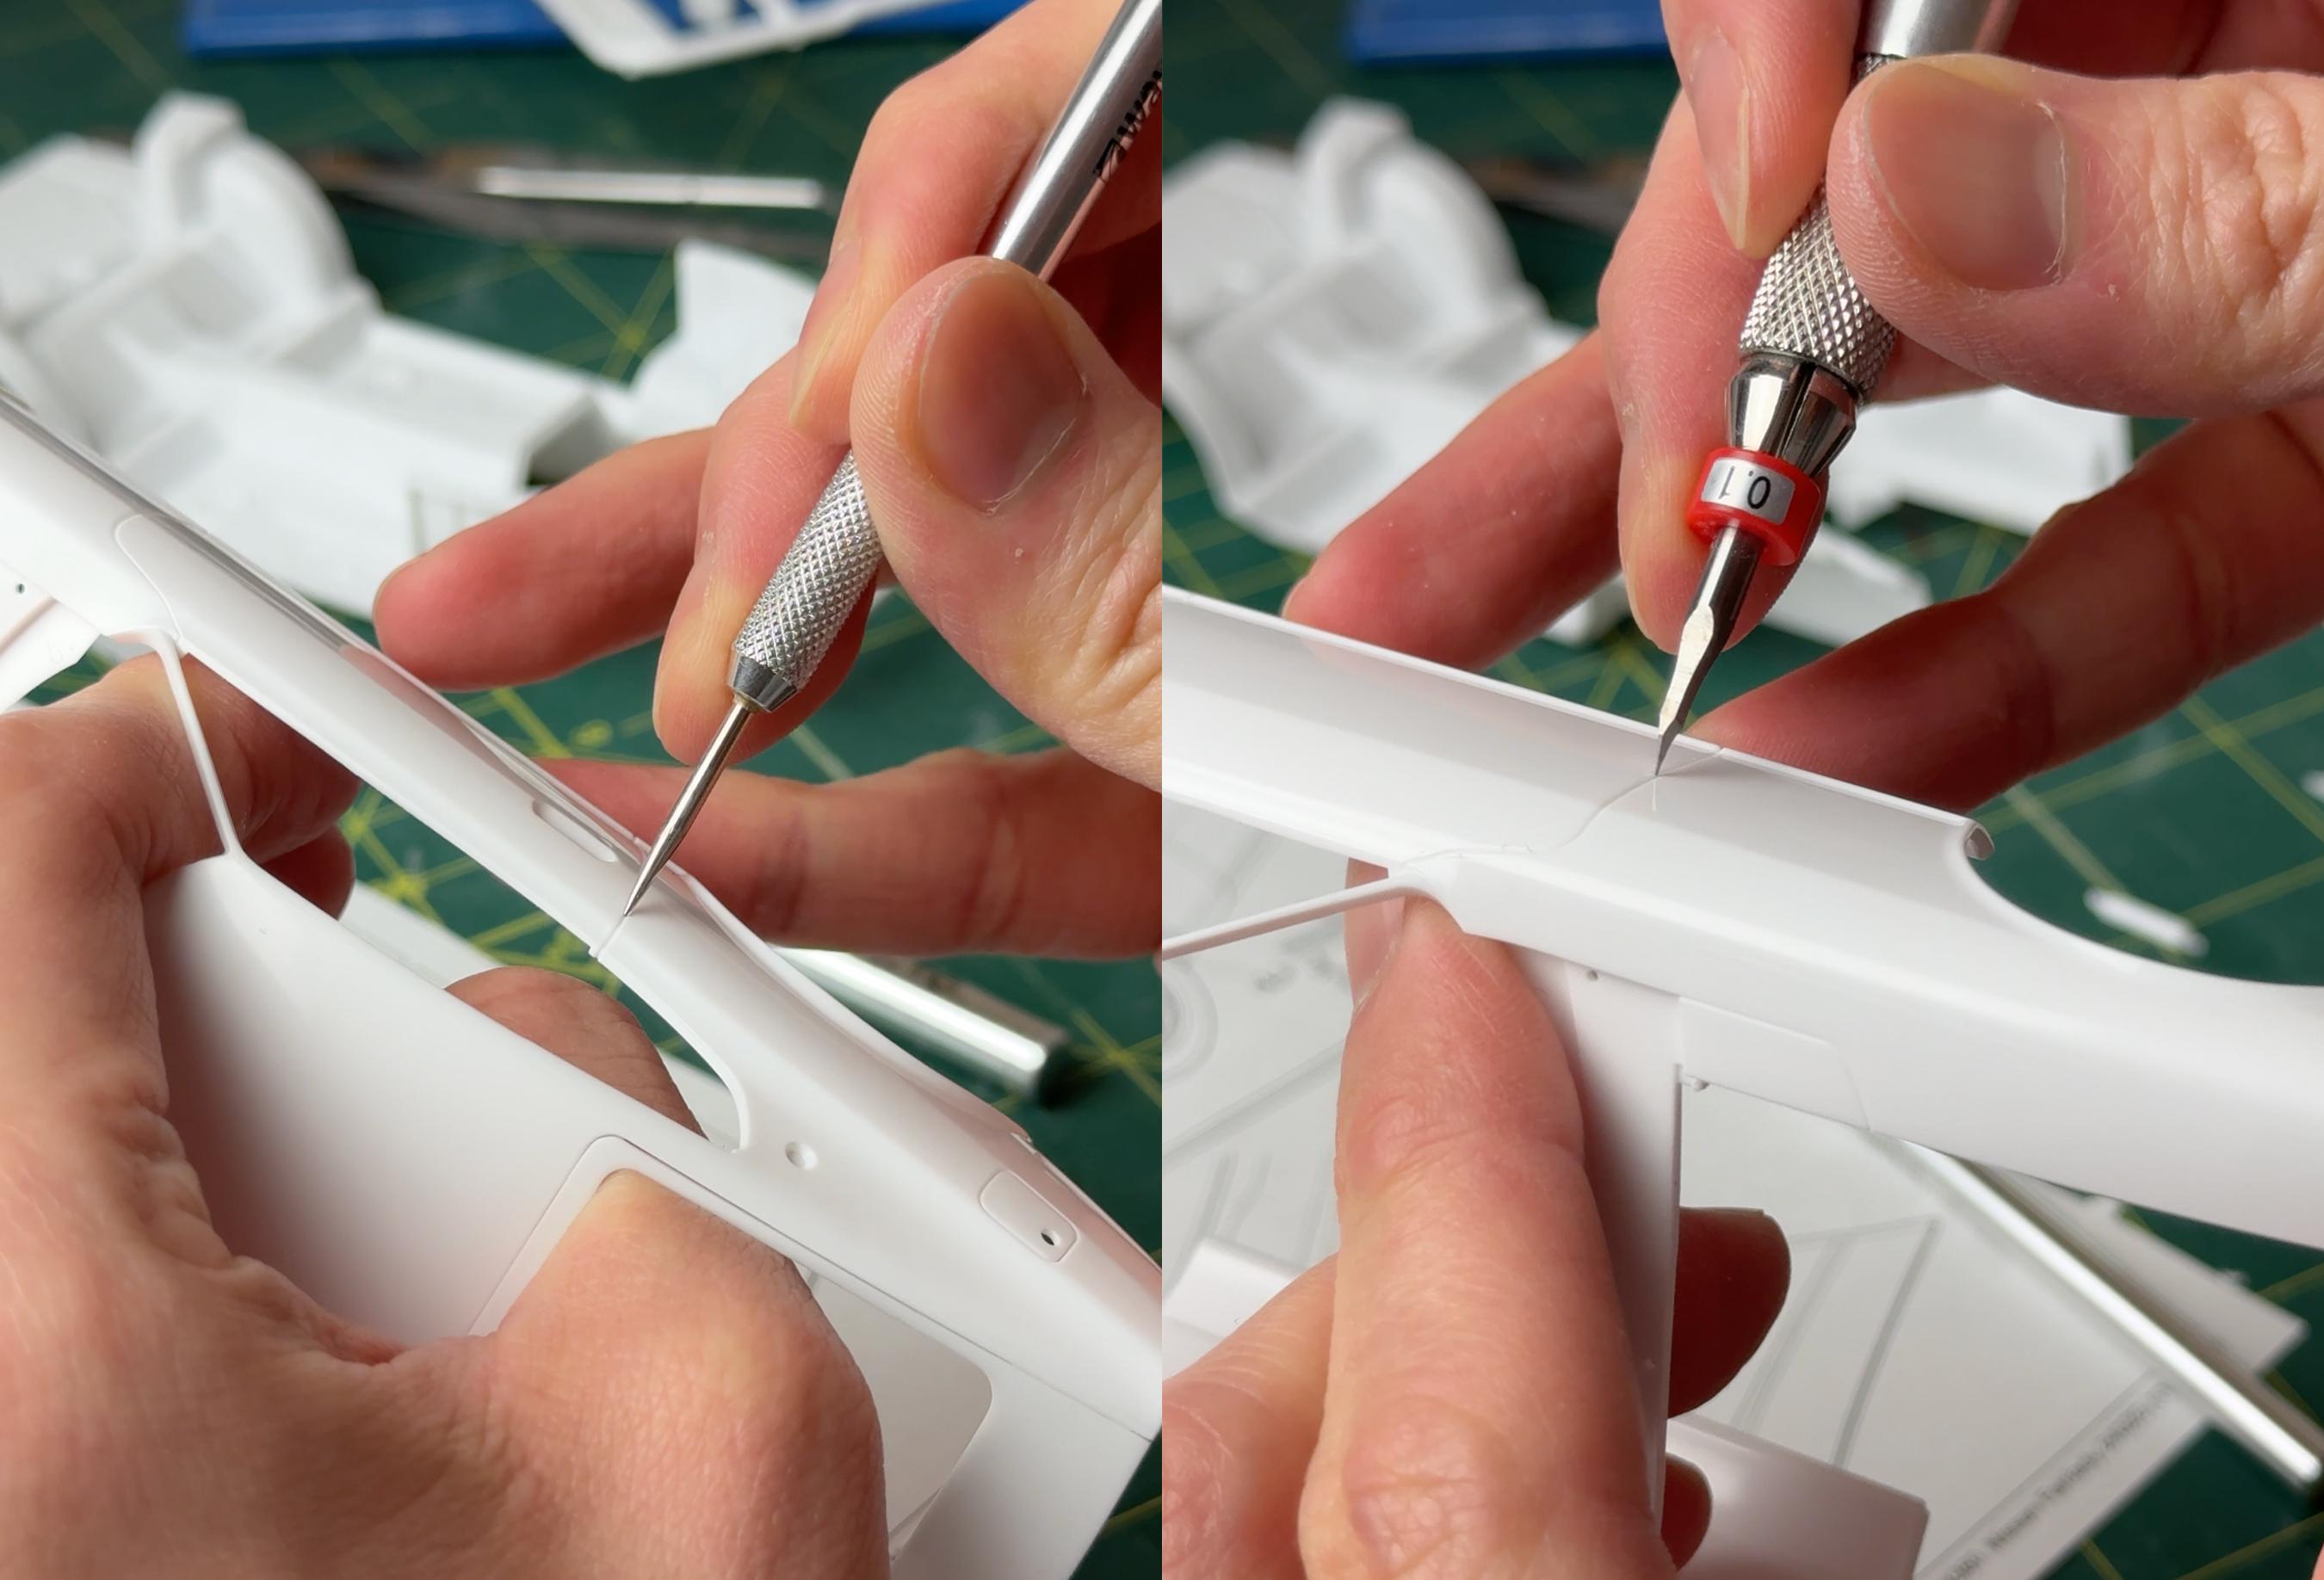
Always! Thank you! Thanks! 🍿 I use Wave materials carving needle and Funtec scriber with interchangeable blades. These two are what I use! https://www.plazajapan.com/4580488730751/ https://www.plazajapan.com/4943209382538/ Thank you!
-
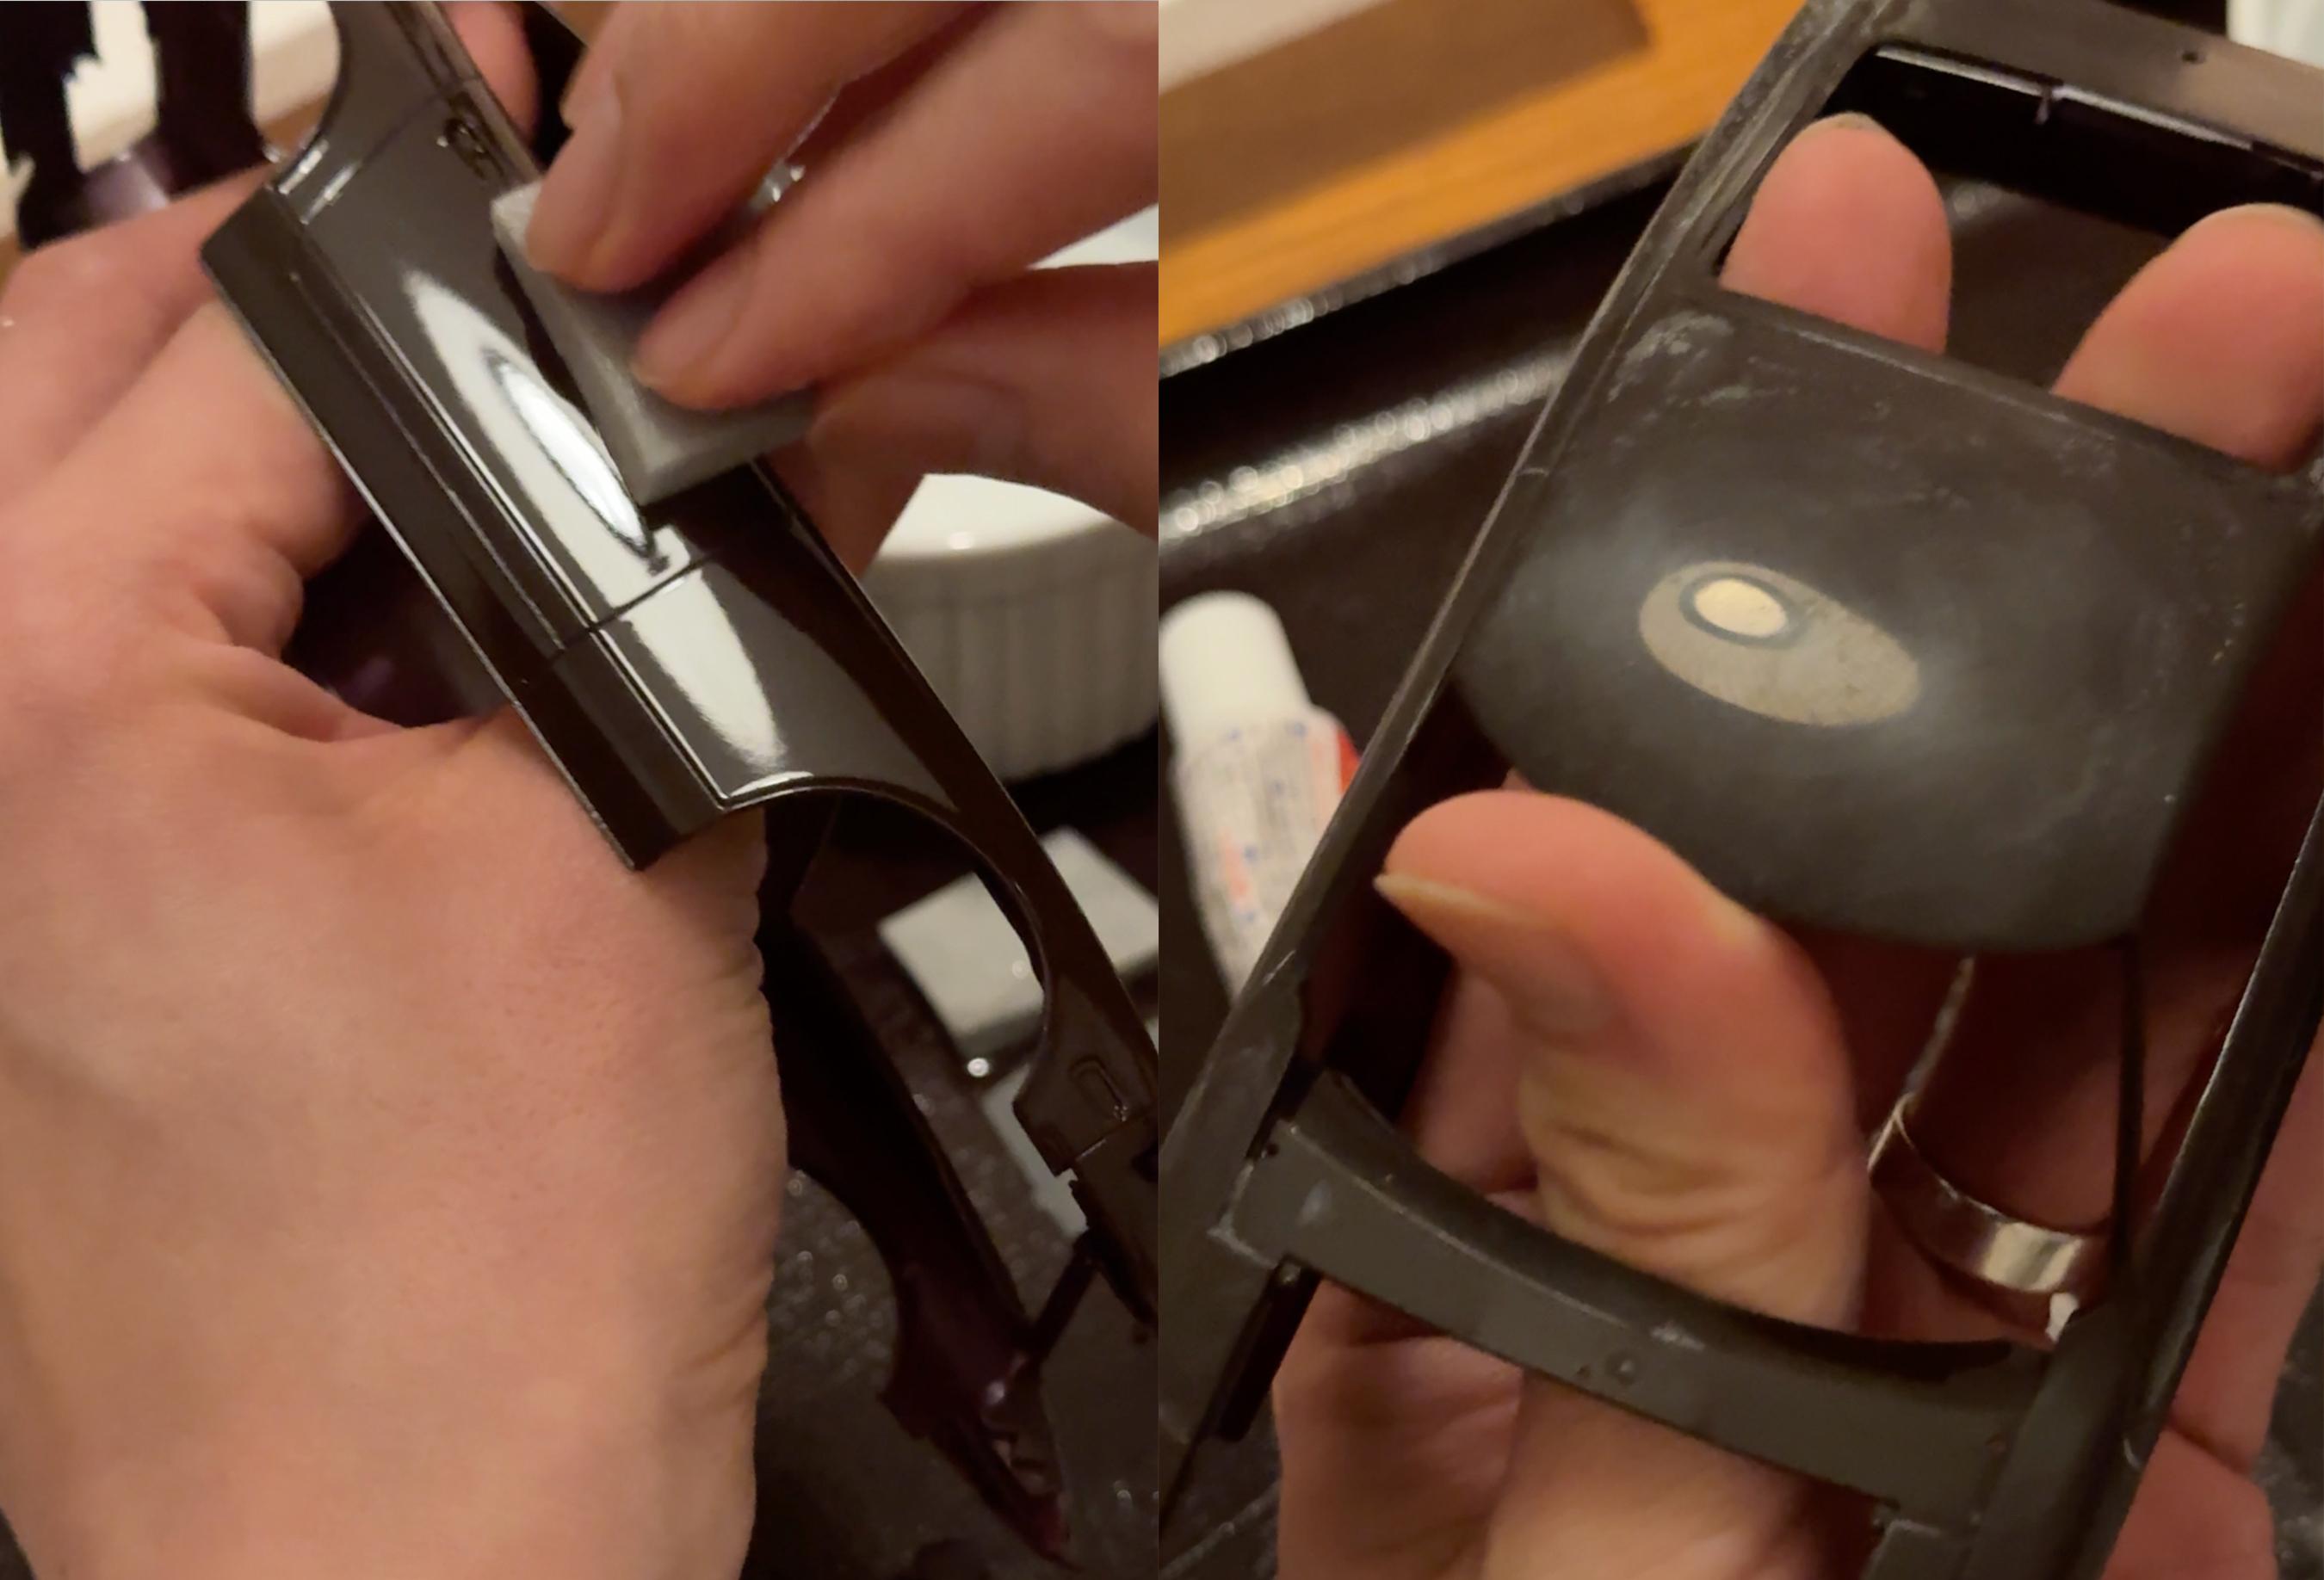
Hi everyone, After building Fujimi EM series B7, I needed an easy kit to build so I started Tamiya's 240ZG kit. My build concept is to keep it OEM+ by adding wider period wheels & tires, weber carb, and some nice seats. As usual I started off by wet sanding the body and scribing body panels. Fujimi's watanabe wheels I prepared were so wide I had to cut them to fit. I chose Tamiya NSX tires to achieve staggered setup that has some serious tire walls. I painted the body in silver (great way to check for small scratches and completely seal the body while keeping the paint super thin - but the painted surface isn't as sticky and strong as surfacer) then lightly sanded the body with 3000 grit to make sure I have a clean, flat body to lay base coat.
- 32 replies
-
- 19
-

-
Thank you! Thanks a lot David! Appreciate it! Thank you! Appreciate it! Thank you Steve! Thank you! I like smaller, more nimble cars but E24 is an exception. Thank you! A lot of Fujimi EM kits have incorrect wheels so updating them really makes the difference. I mostly shoot with narrowest aperture possible but I might give this a shot! I can't imagine what these cars would've felt when they were brand new. I recommend dry fitting everything then sand parts accordingly to make sure everything fits like they should, reinforcing rear window frame (Mine snapped when removing masking tape, so I had to do a partial respray to fix that) or any weak spot with thin metal wires, and using correctly sized aftermarket wheels instead of kit wheels. The way that EM kits assemble it's difficult to get the right stance - you might see a lot of EM builds with inconsistent camber or suspension height - and the best way to achieve right stance with EM kits is to dry fit the suspension and cut struts/spring until you achieve the right suspension height, glue brake/wheel hub with rim first, then use glue/putty to put all four wheels to the chassis and keep adjusting the camber while the glue dries and hardens (I put thin sponge to lift the car up a little to make sure all four wheels sit correctly).
