radiohd10
-
Posts
276 -
Joined
-
Last visited


radiohd10's Achievements
MCM Avid Poster (5/6)
-
love it! the required work doesn't make me want to build one but the results certainly do. awesome job!
-
Nice! Looks awesome. Scratching new shifters is such a great way to clean up the interiors. I do it on all my builds now...and it only take s few minutes! thanks!
-
Thanks - its actually a decal that came with the kit. I made the handle out of a tailoring pin i dipped in epoxy and painted black. it took awhile to get the decal in place but it worked eventually lol
-
Thanks everybody!
-
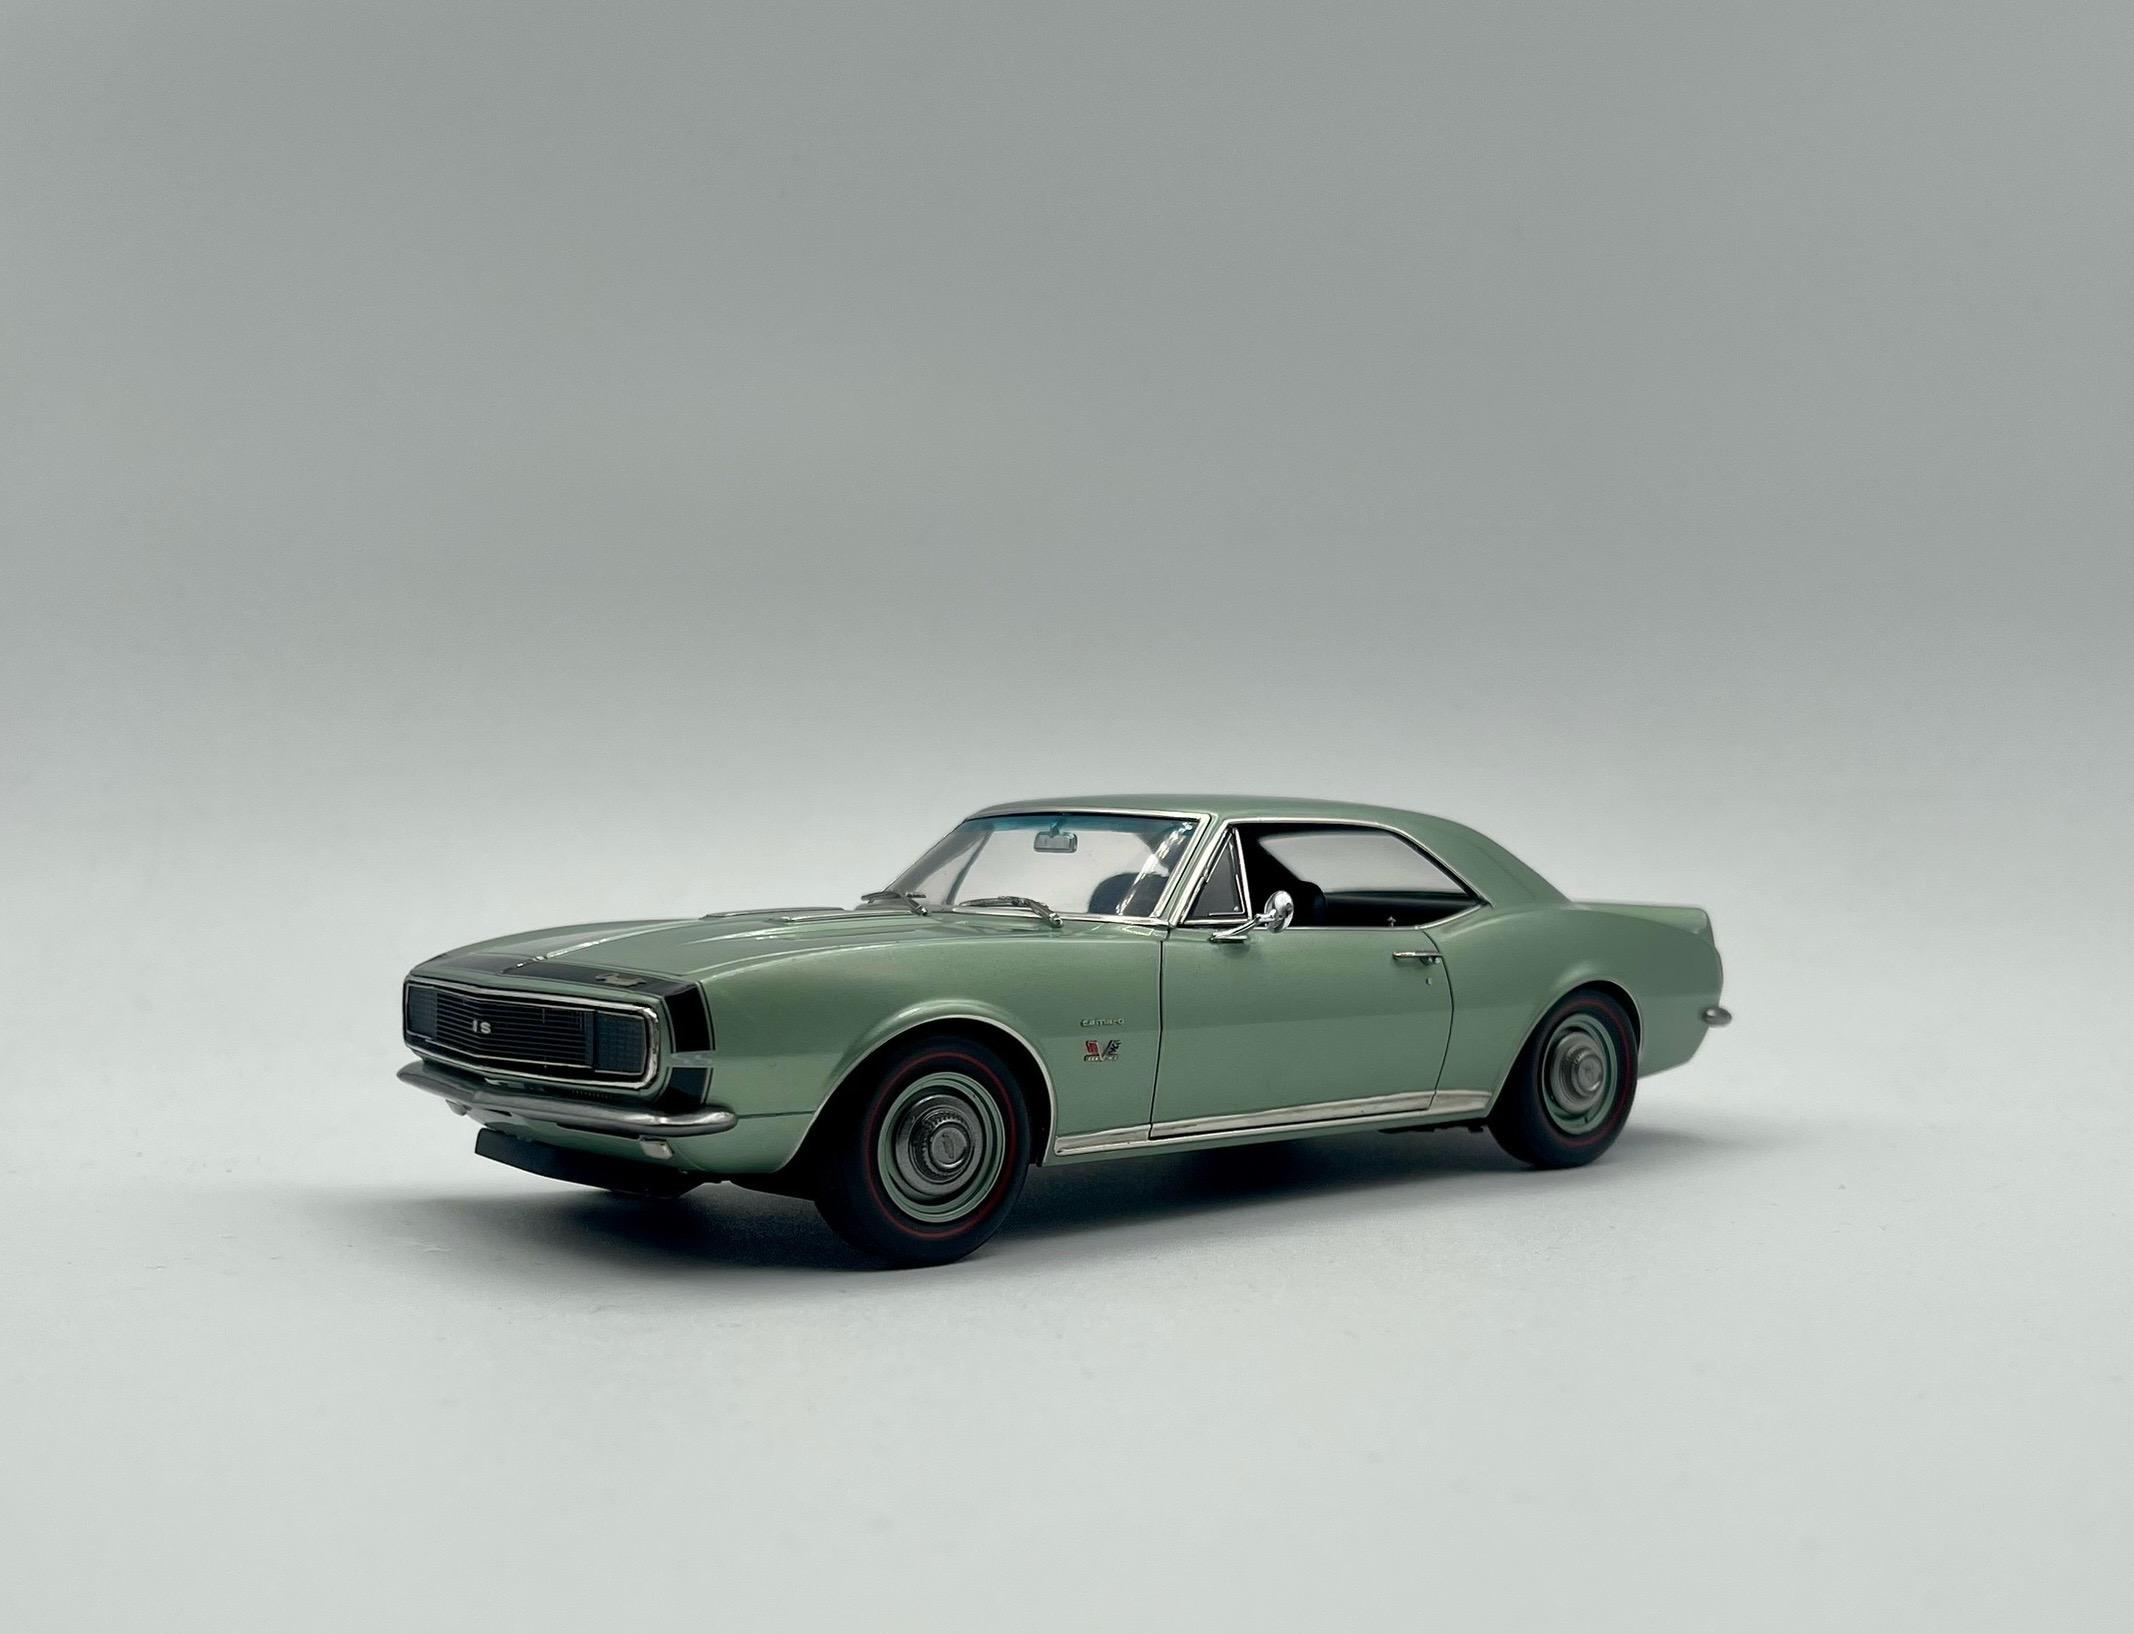
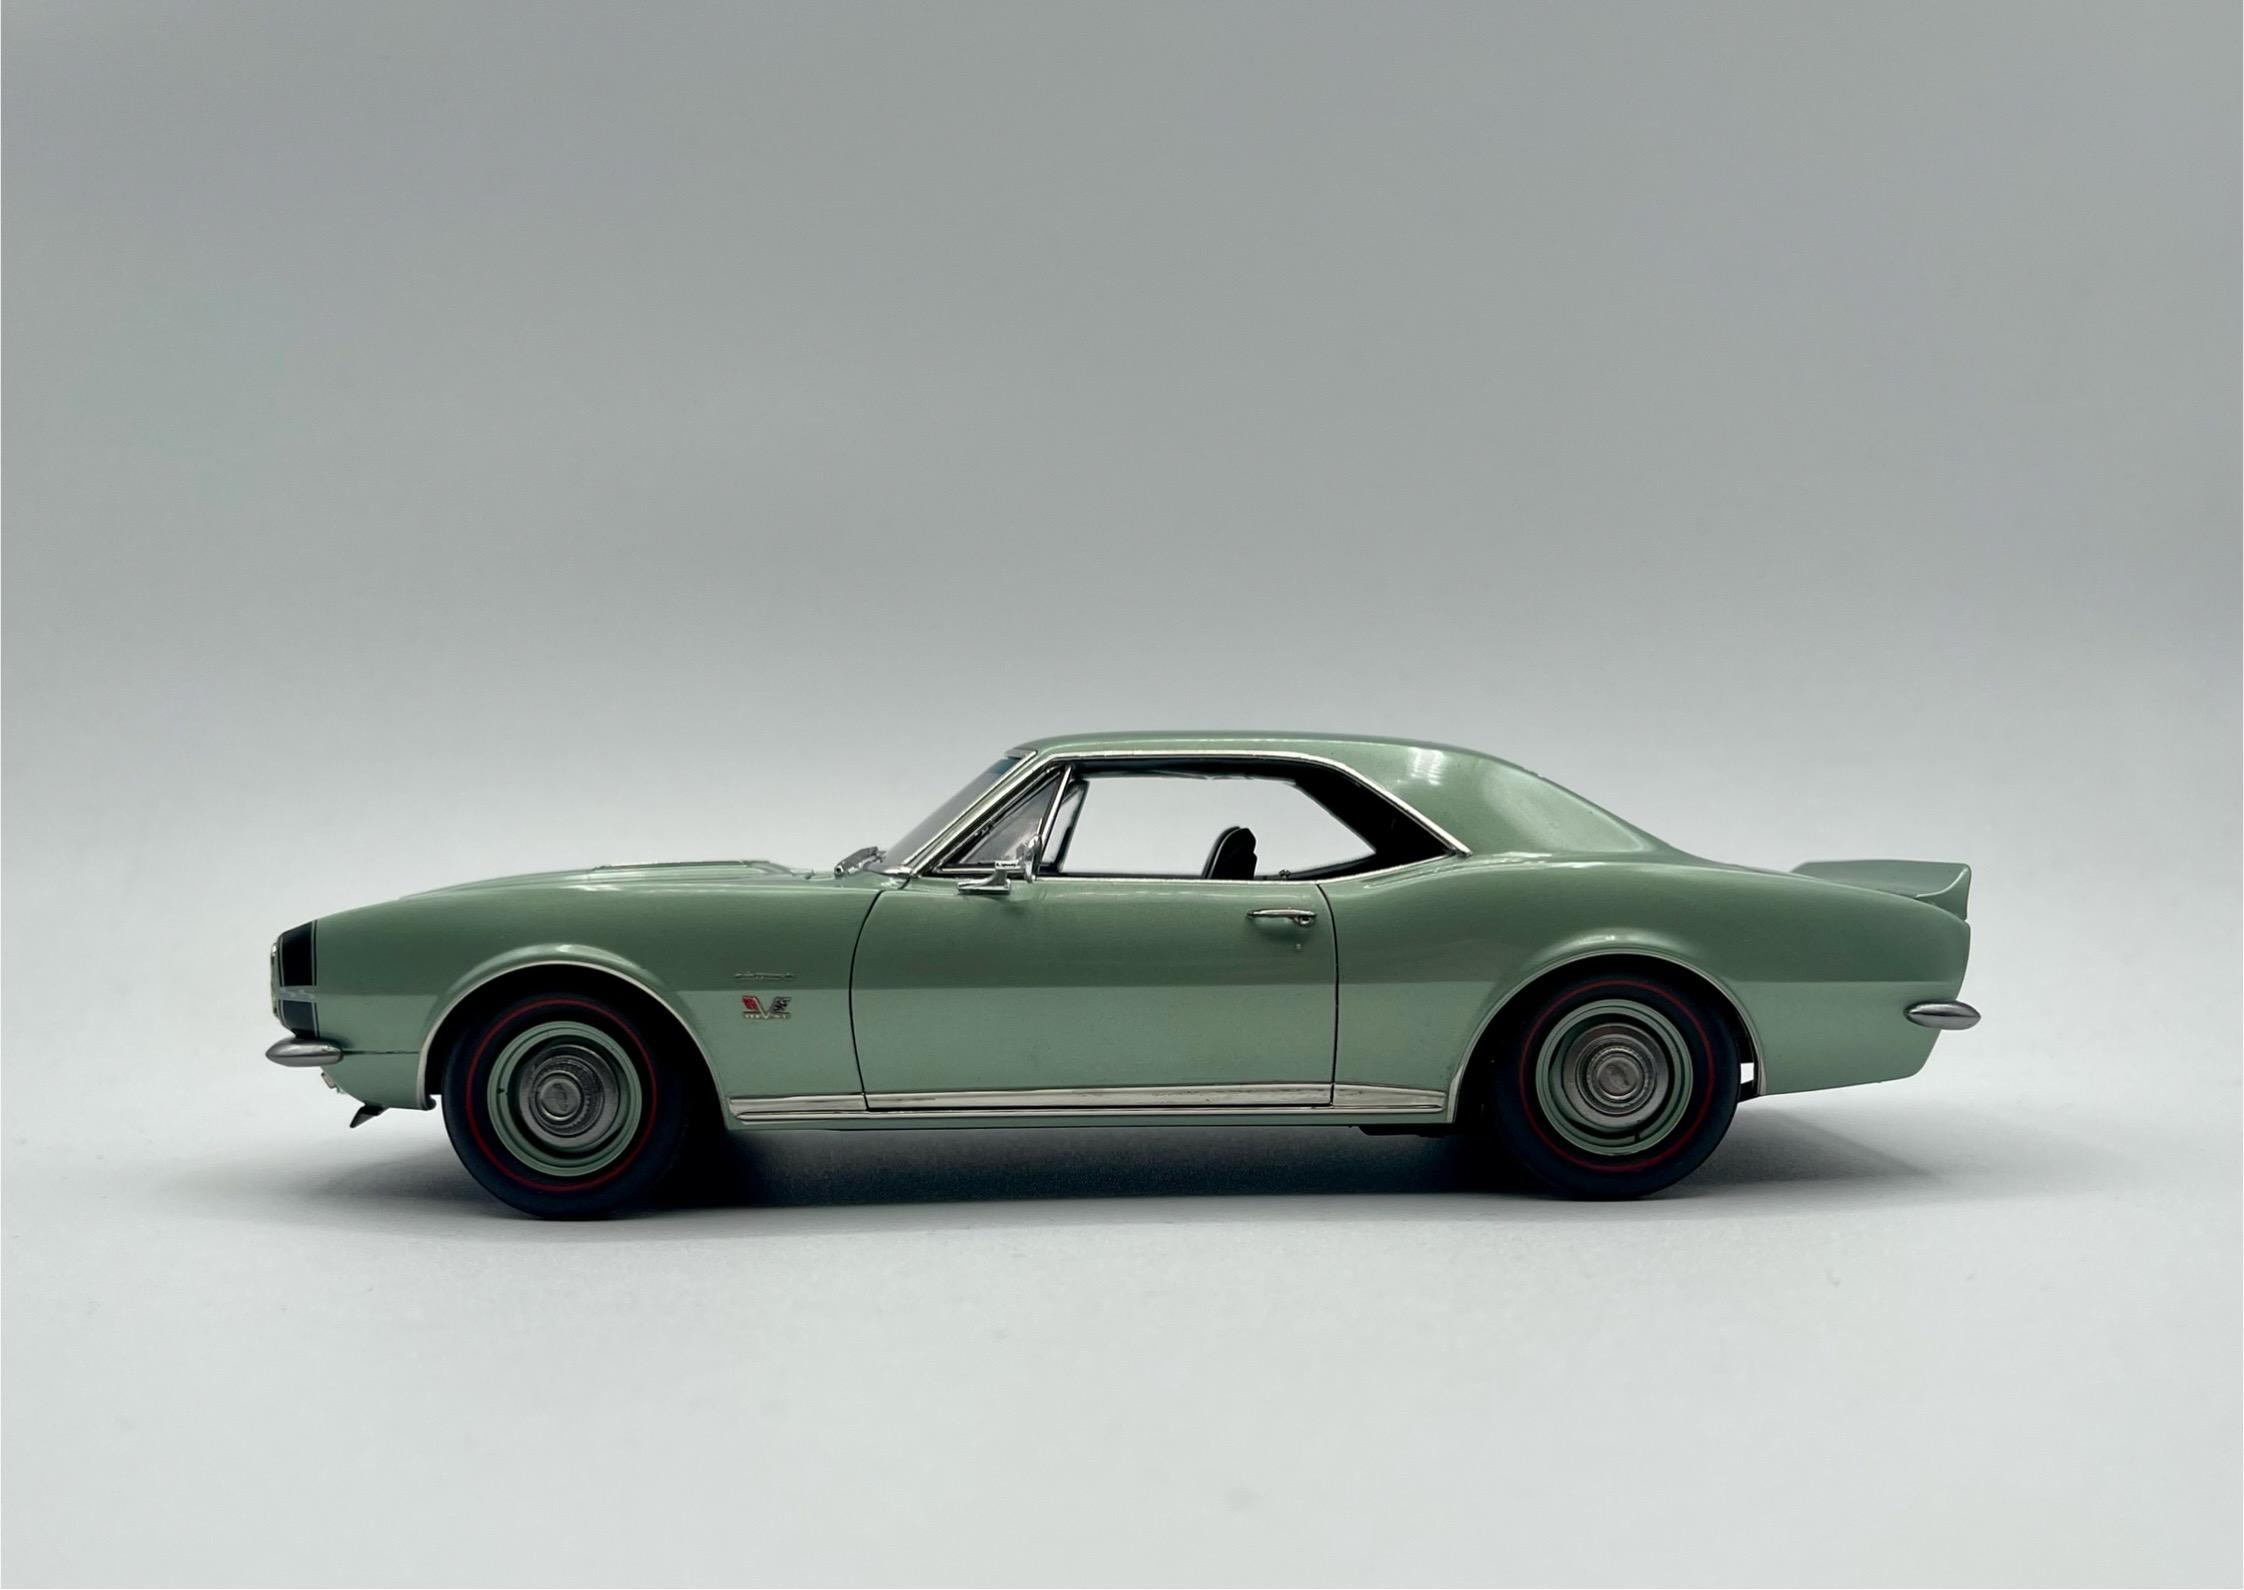
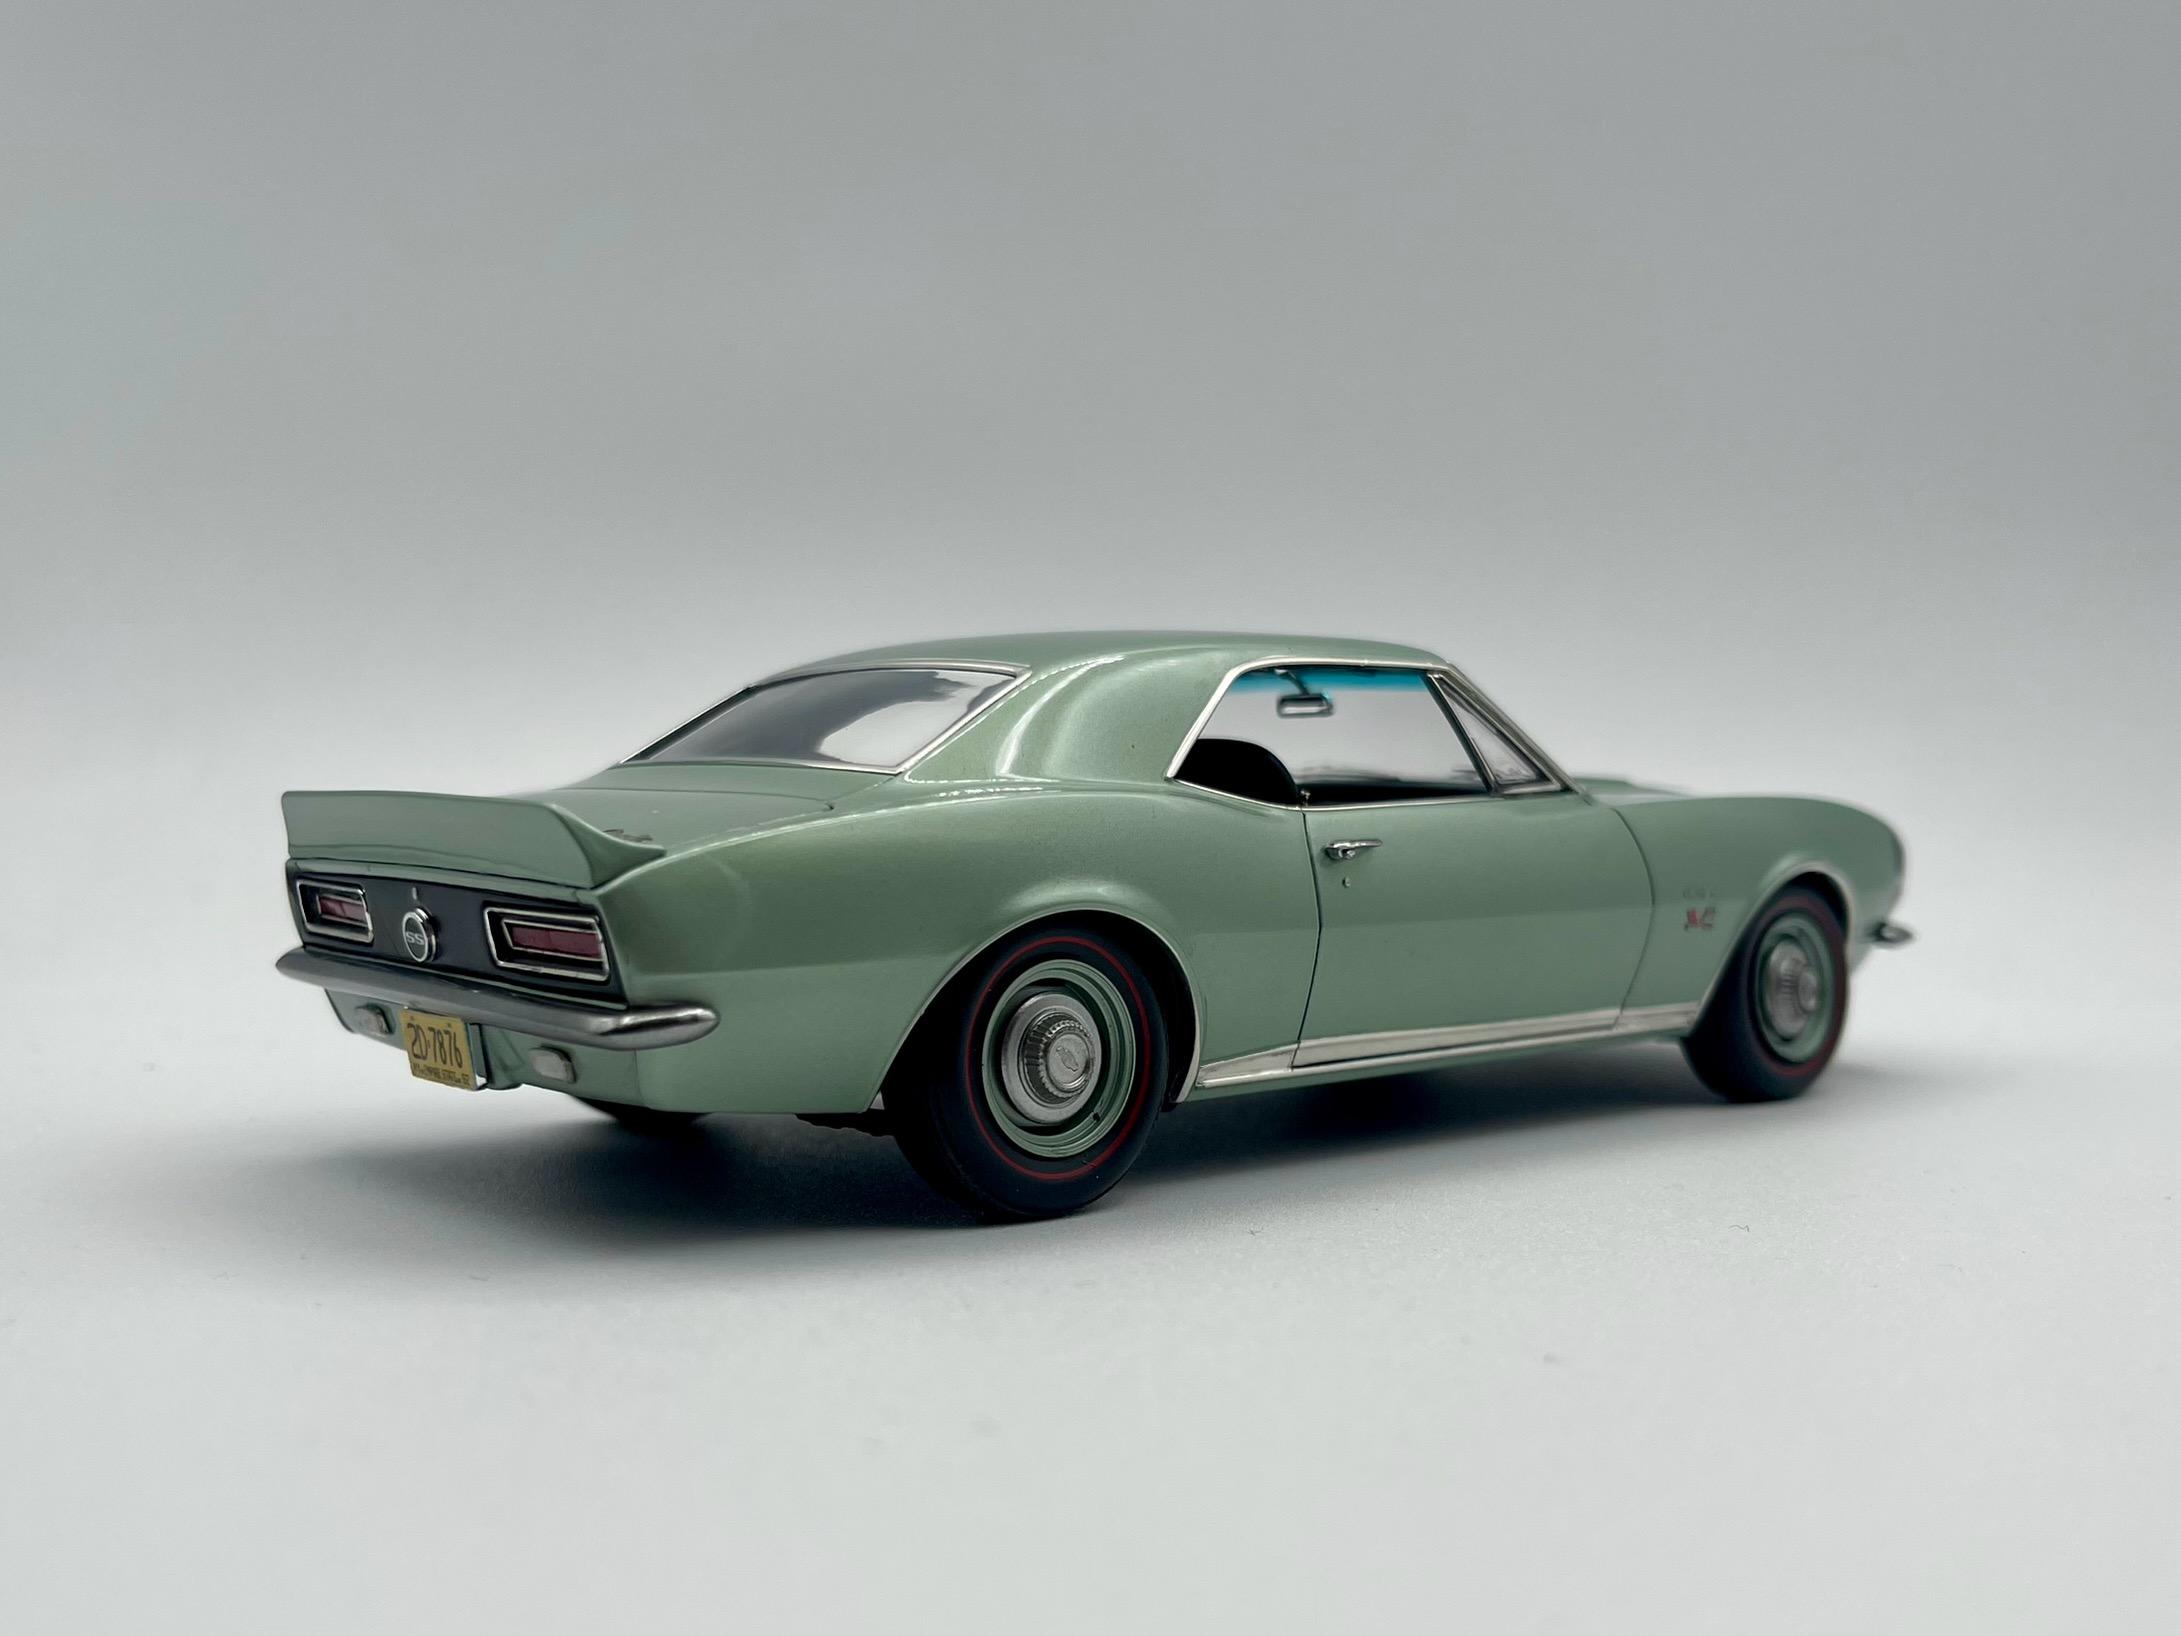
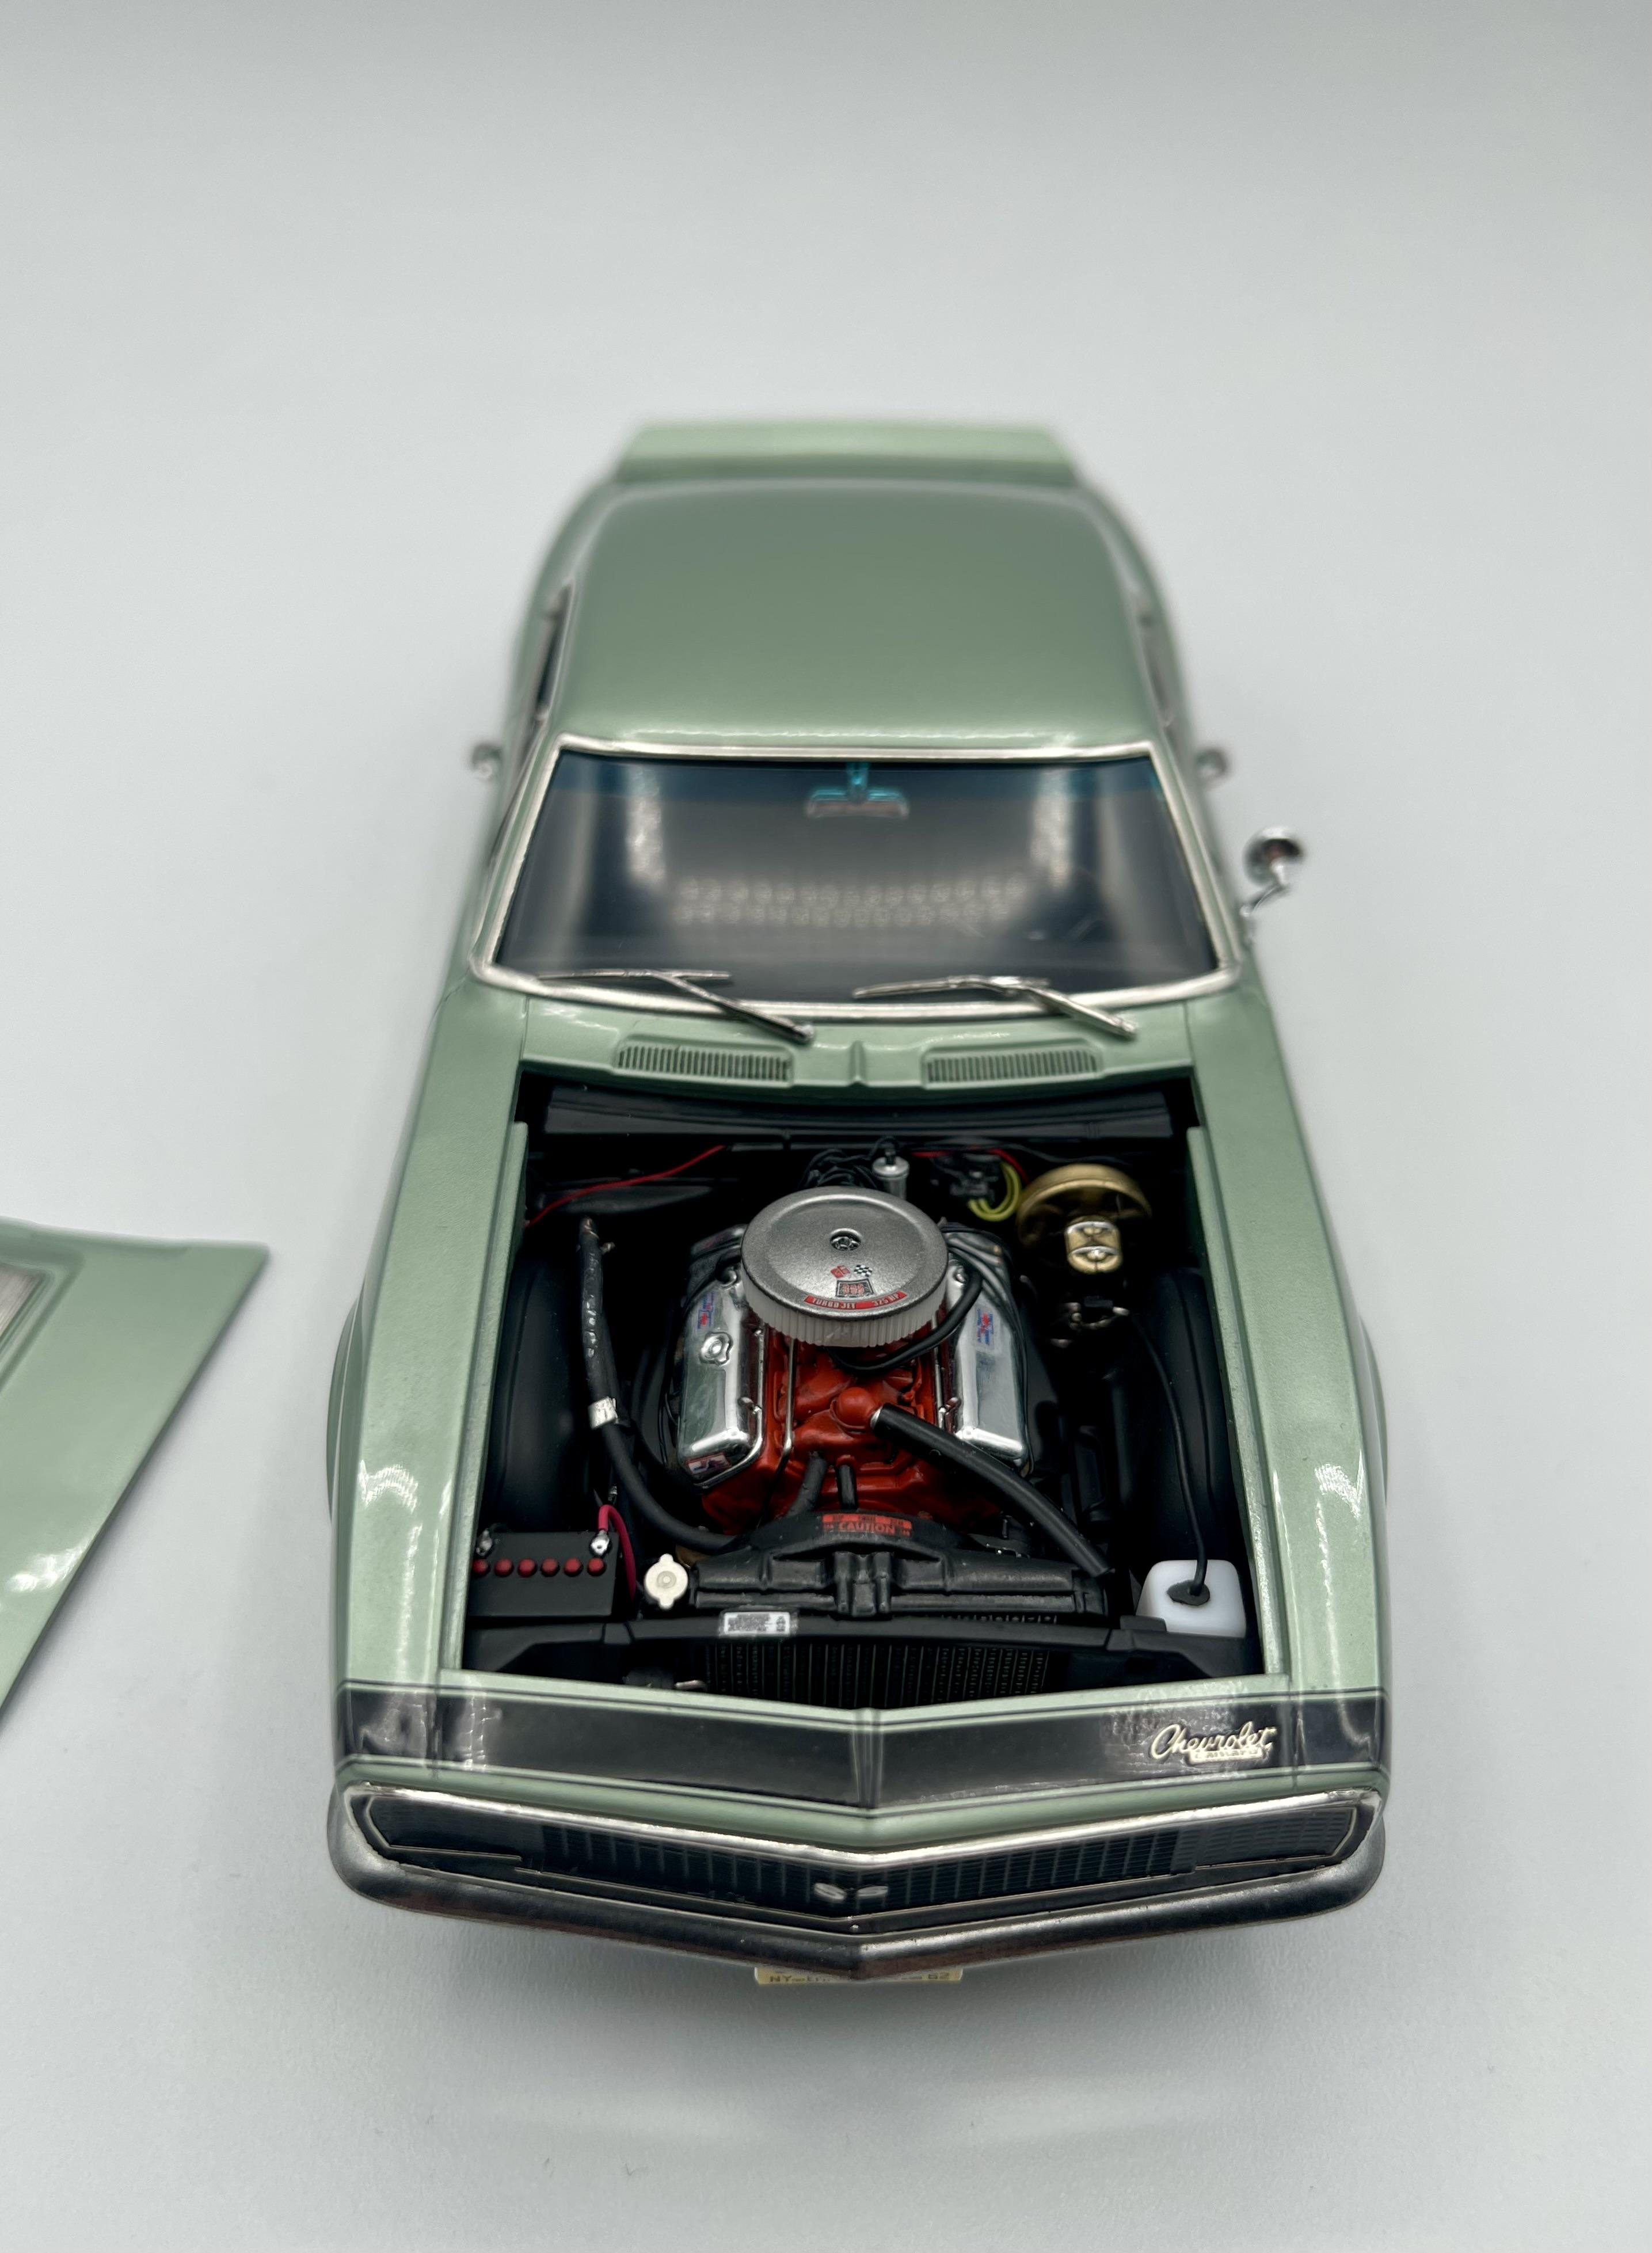
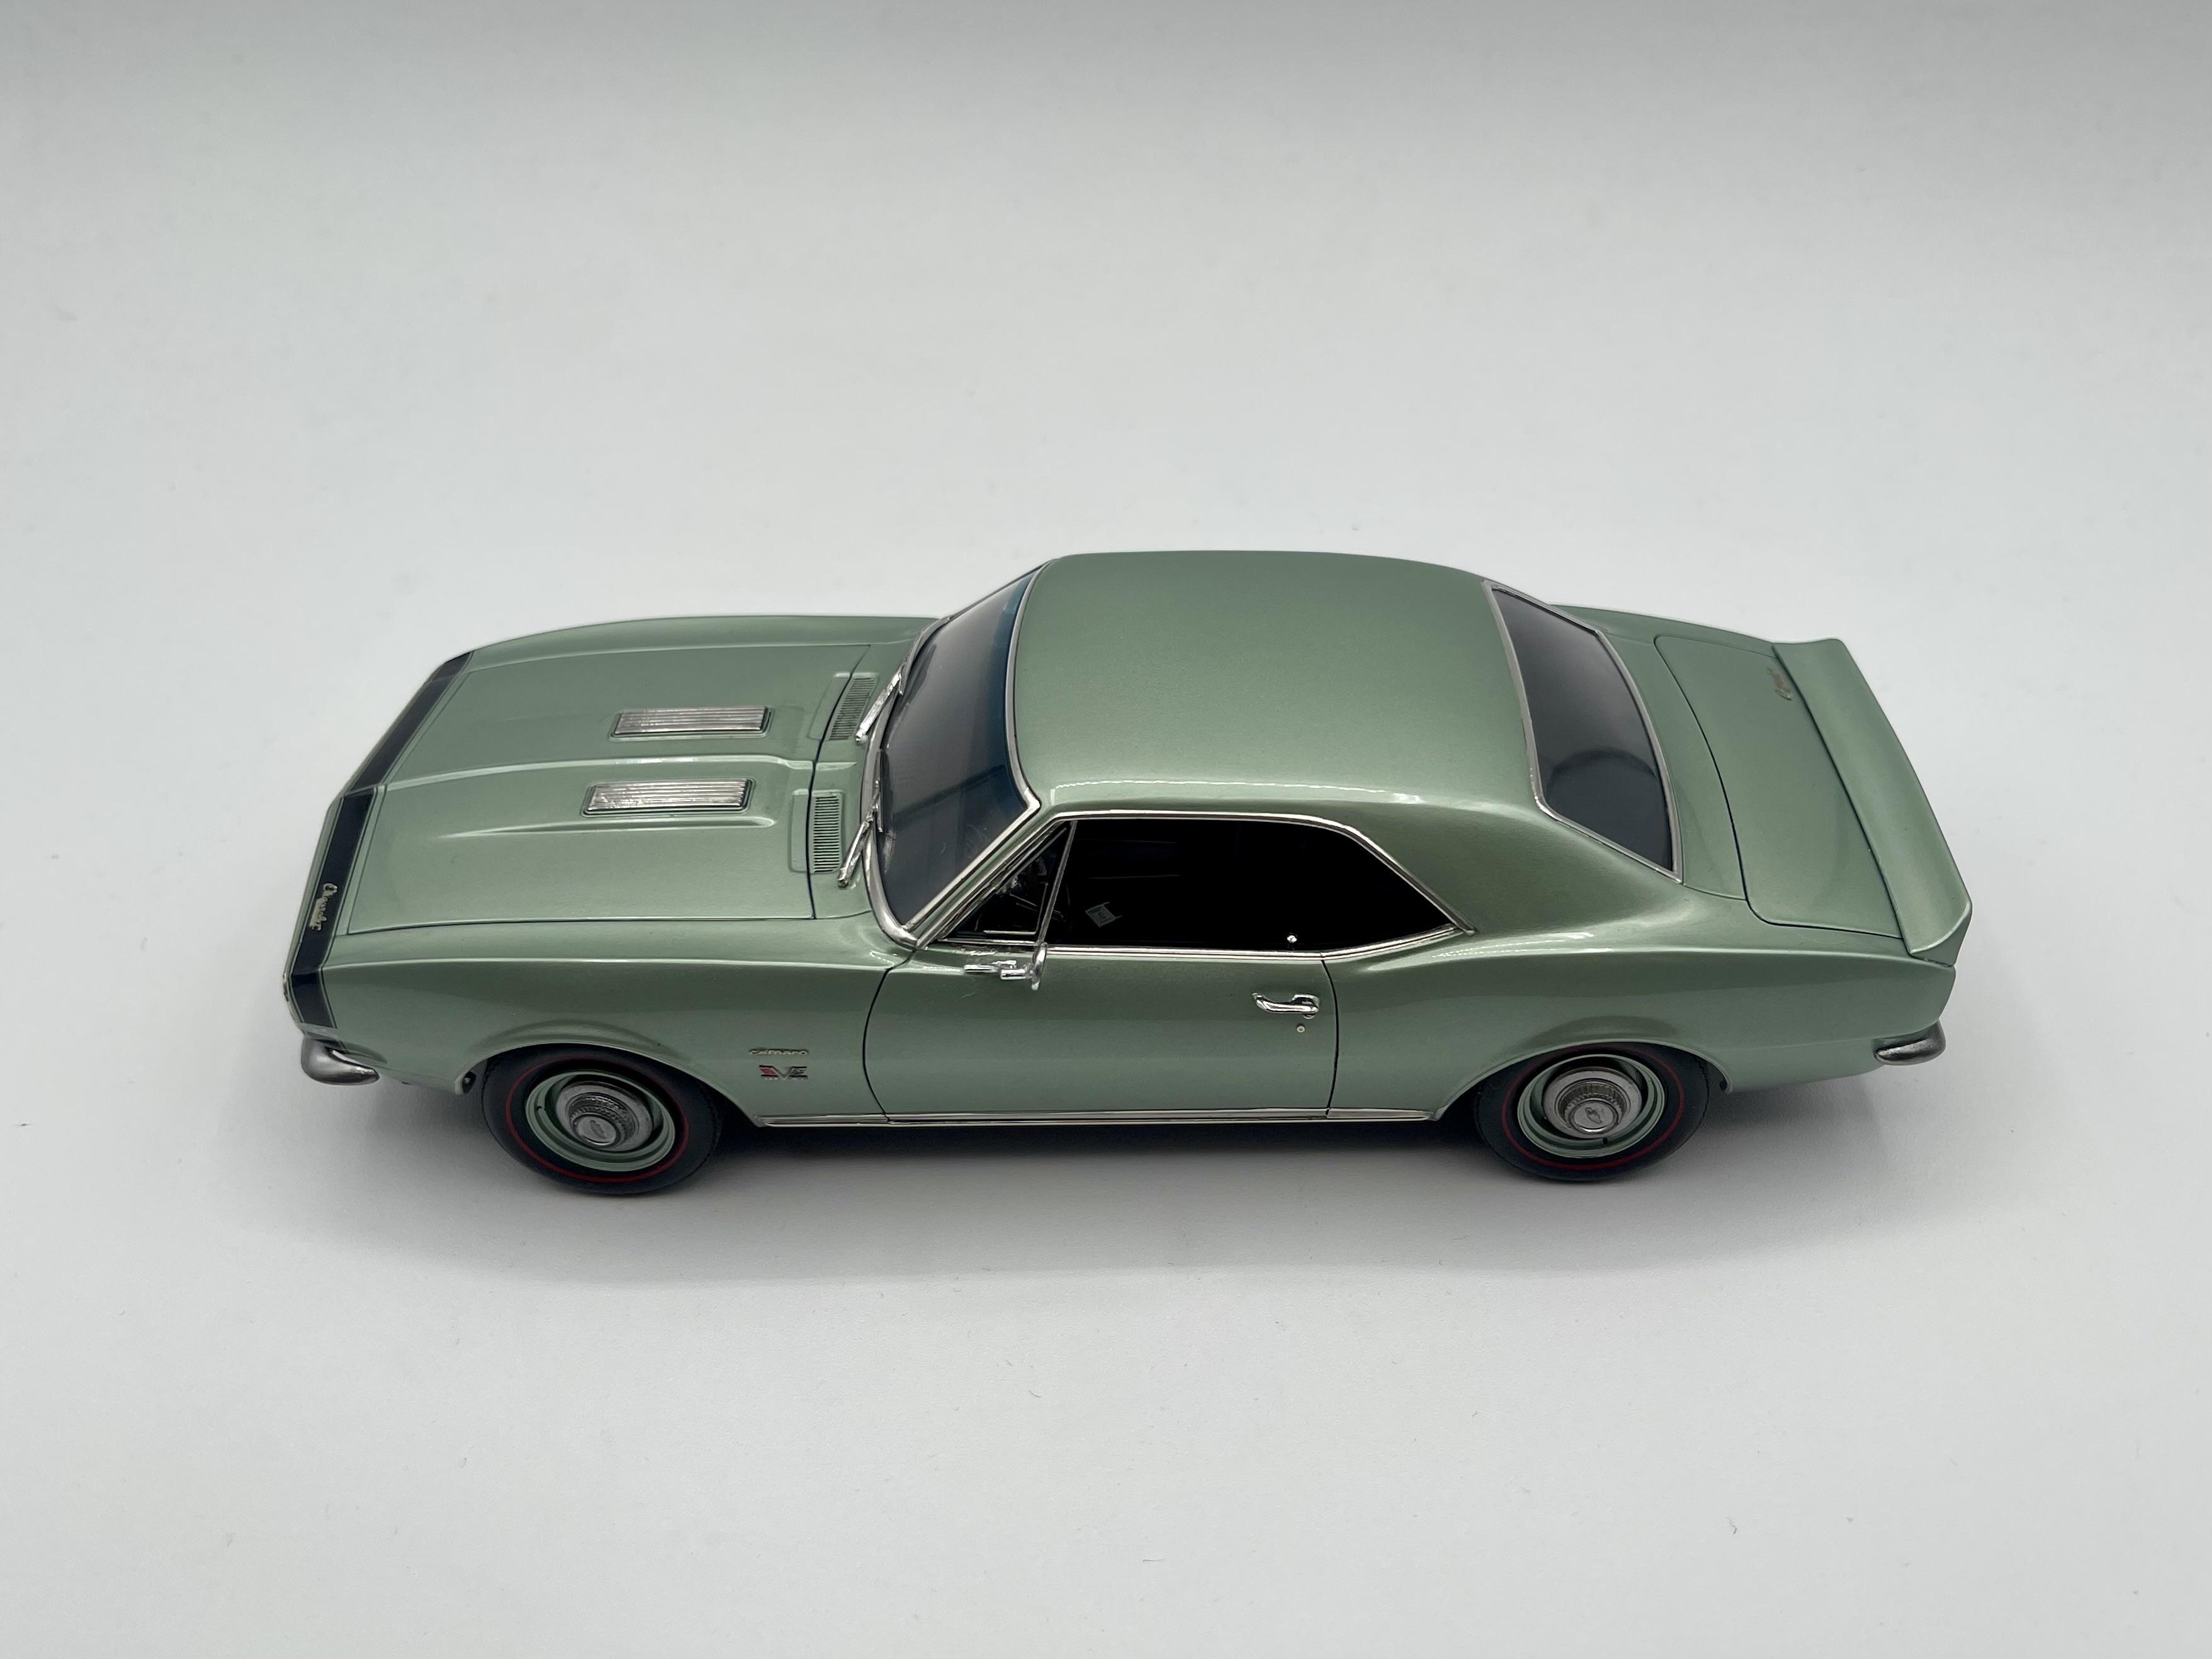
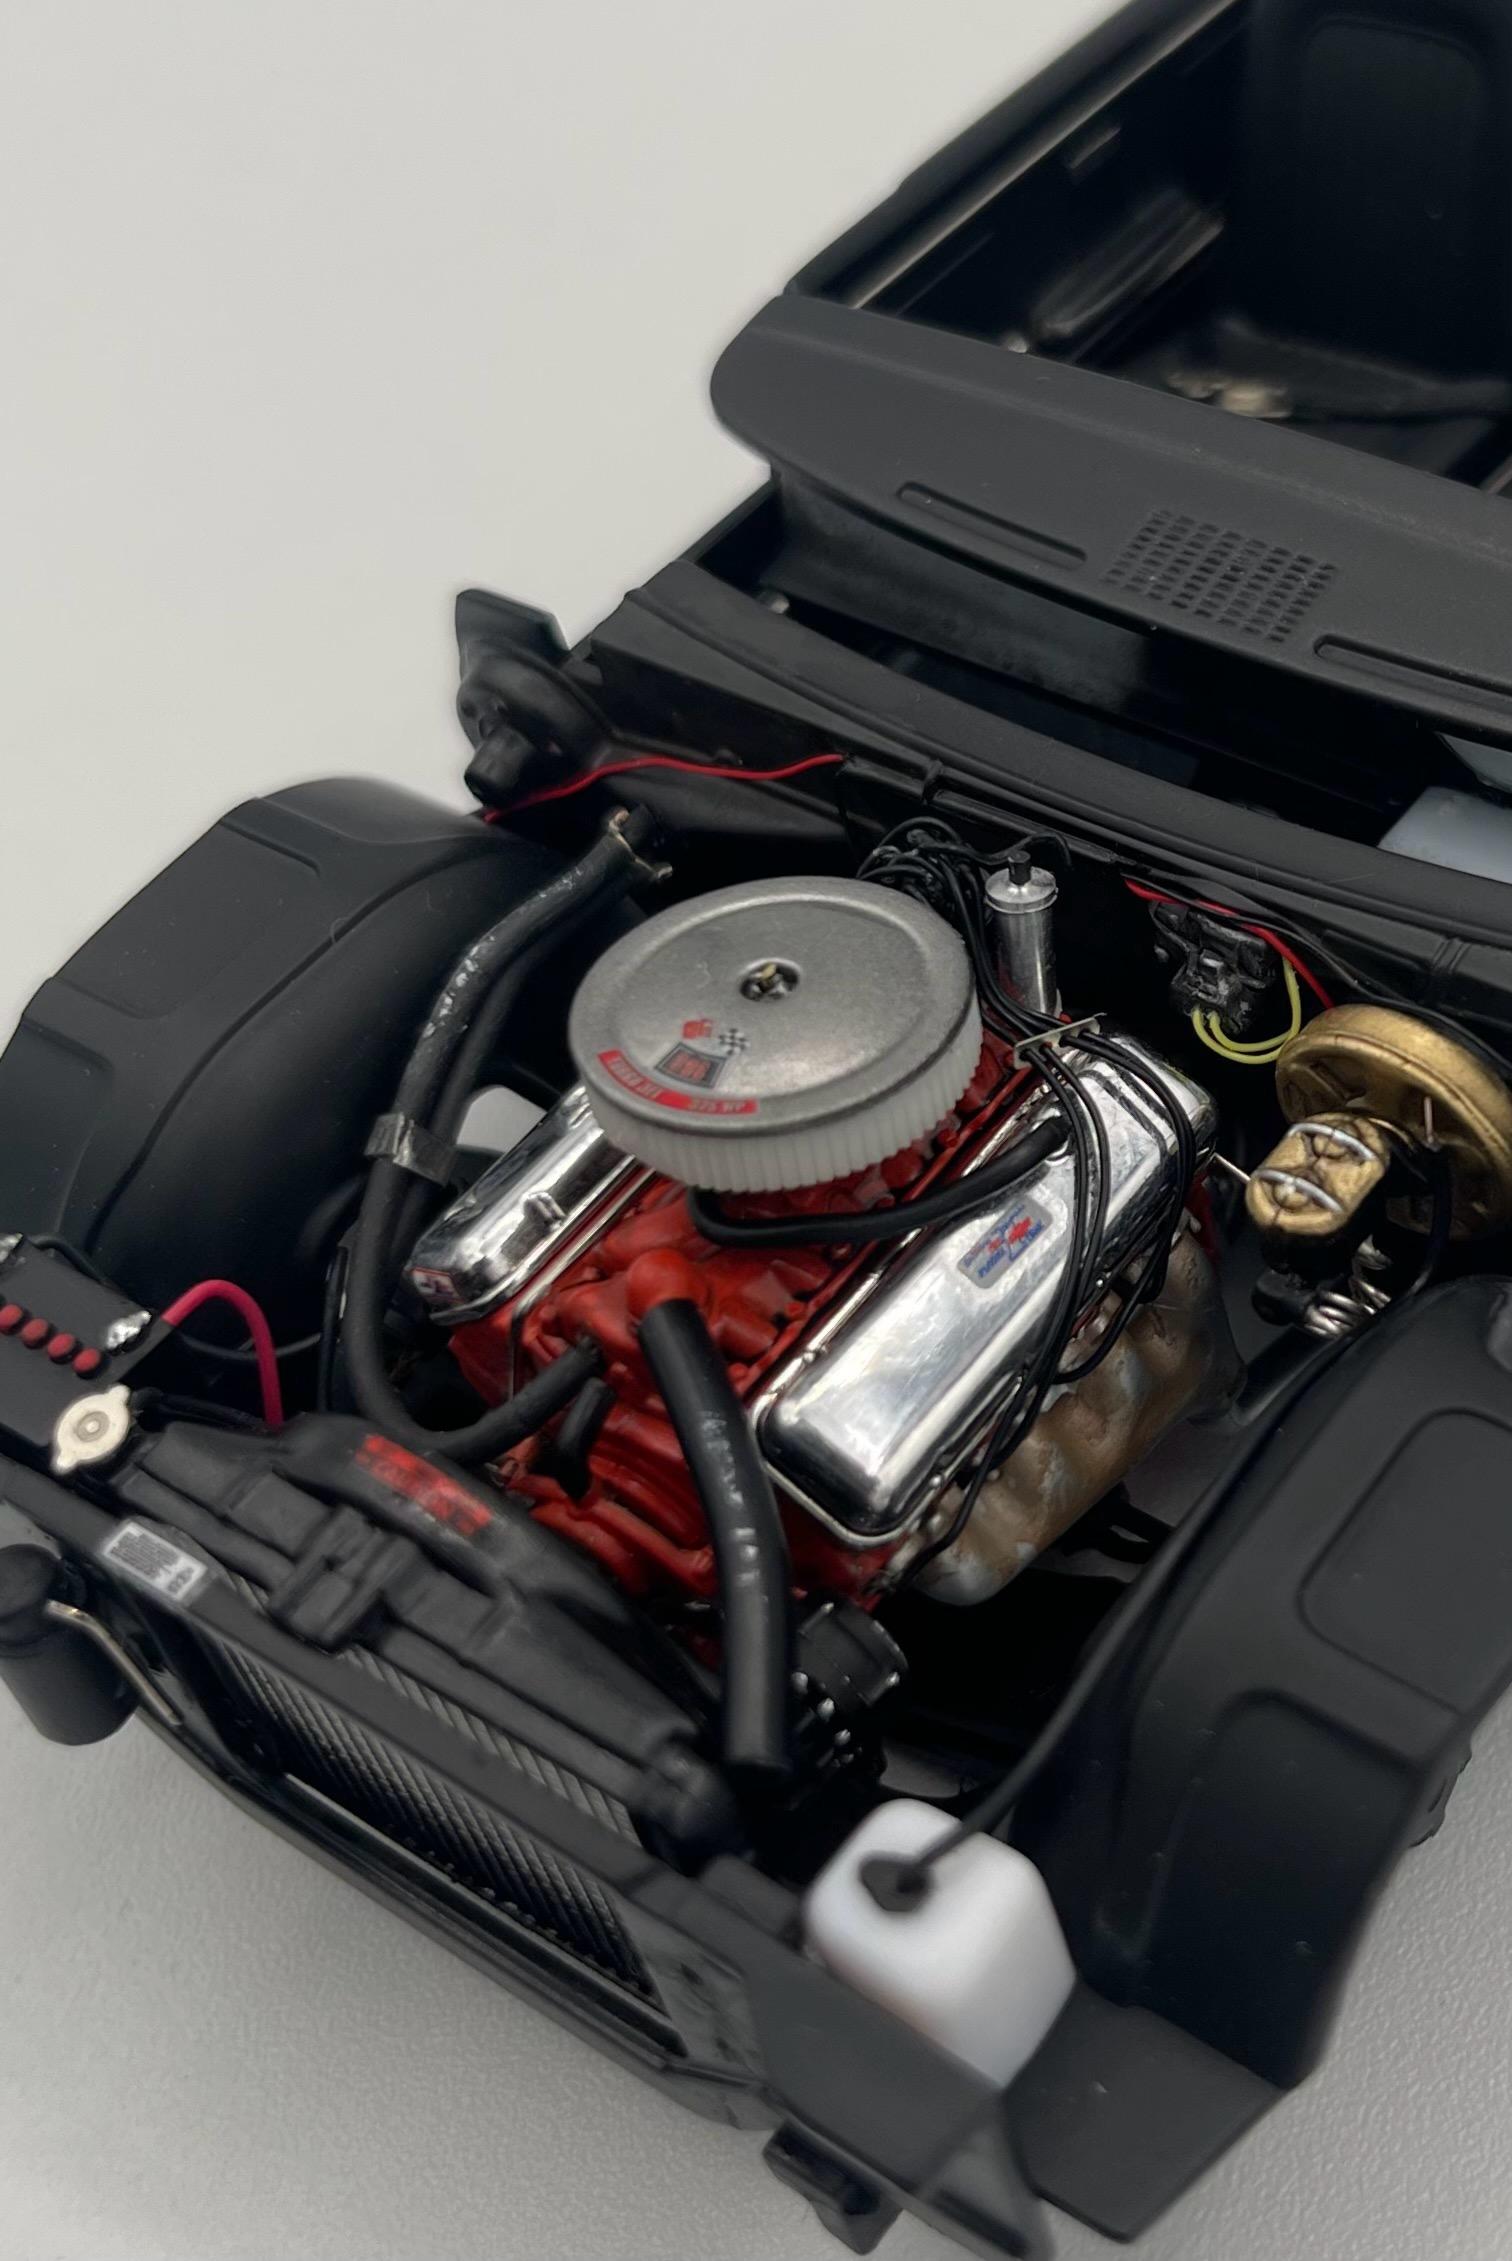
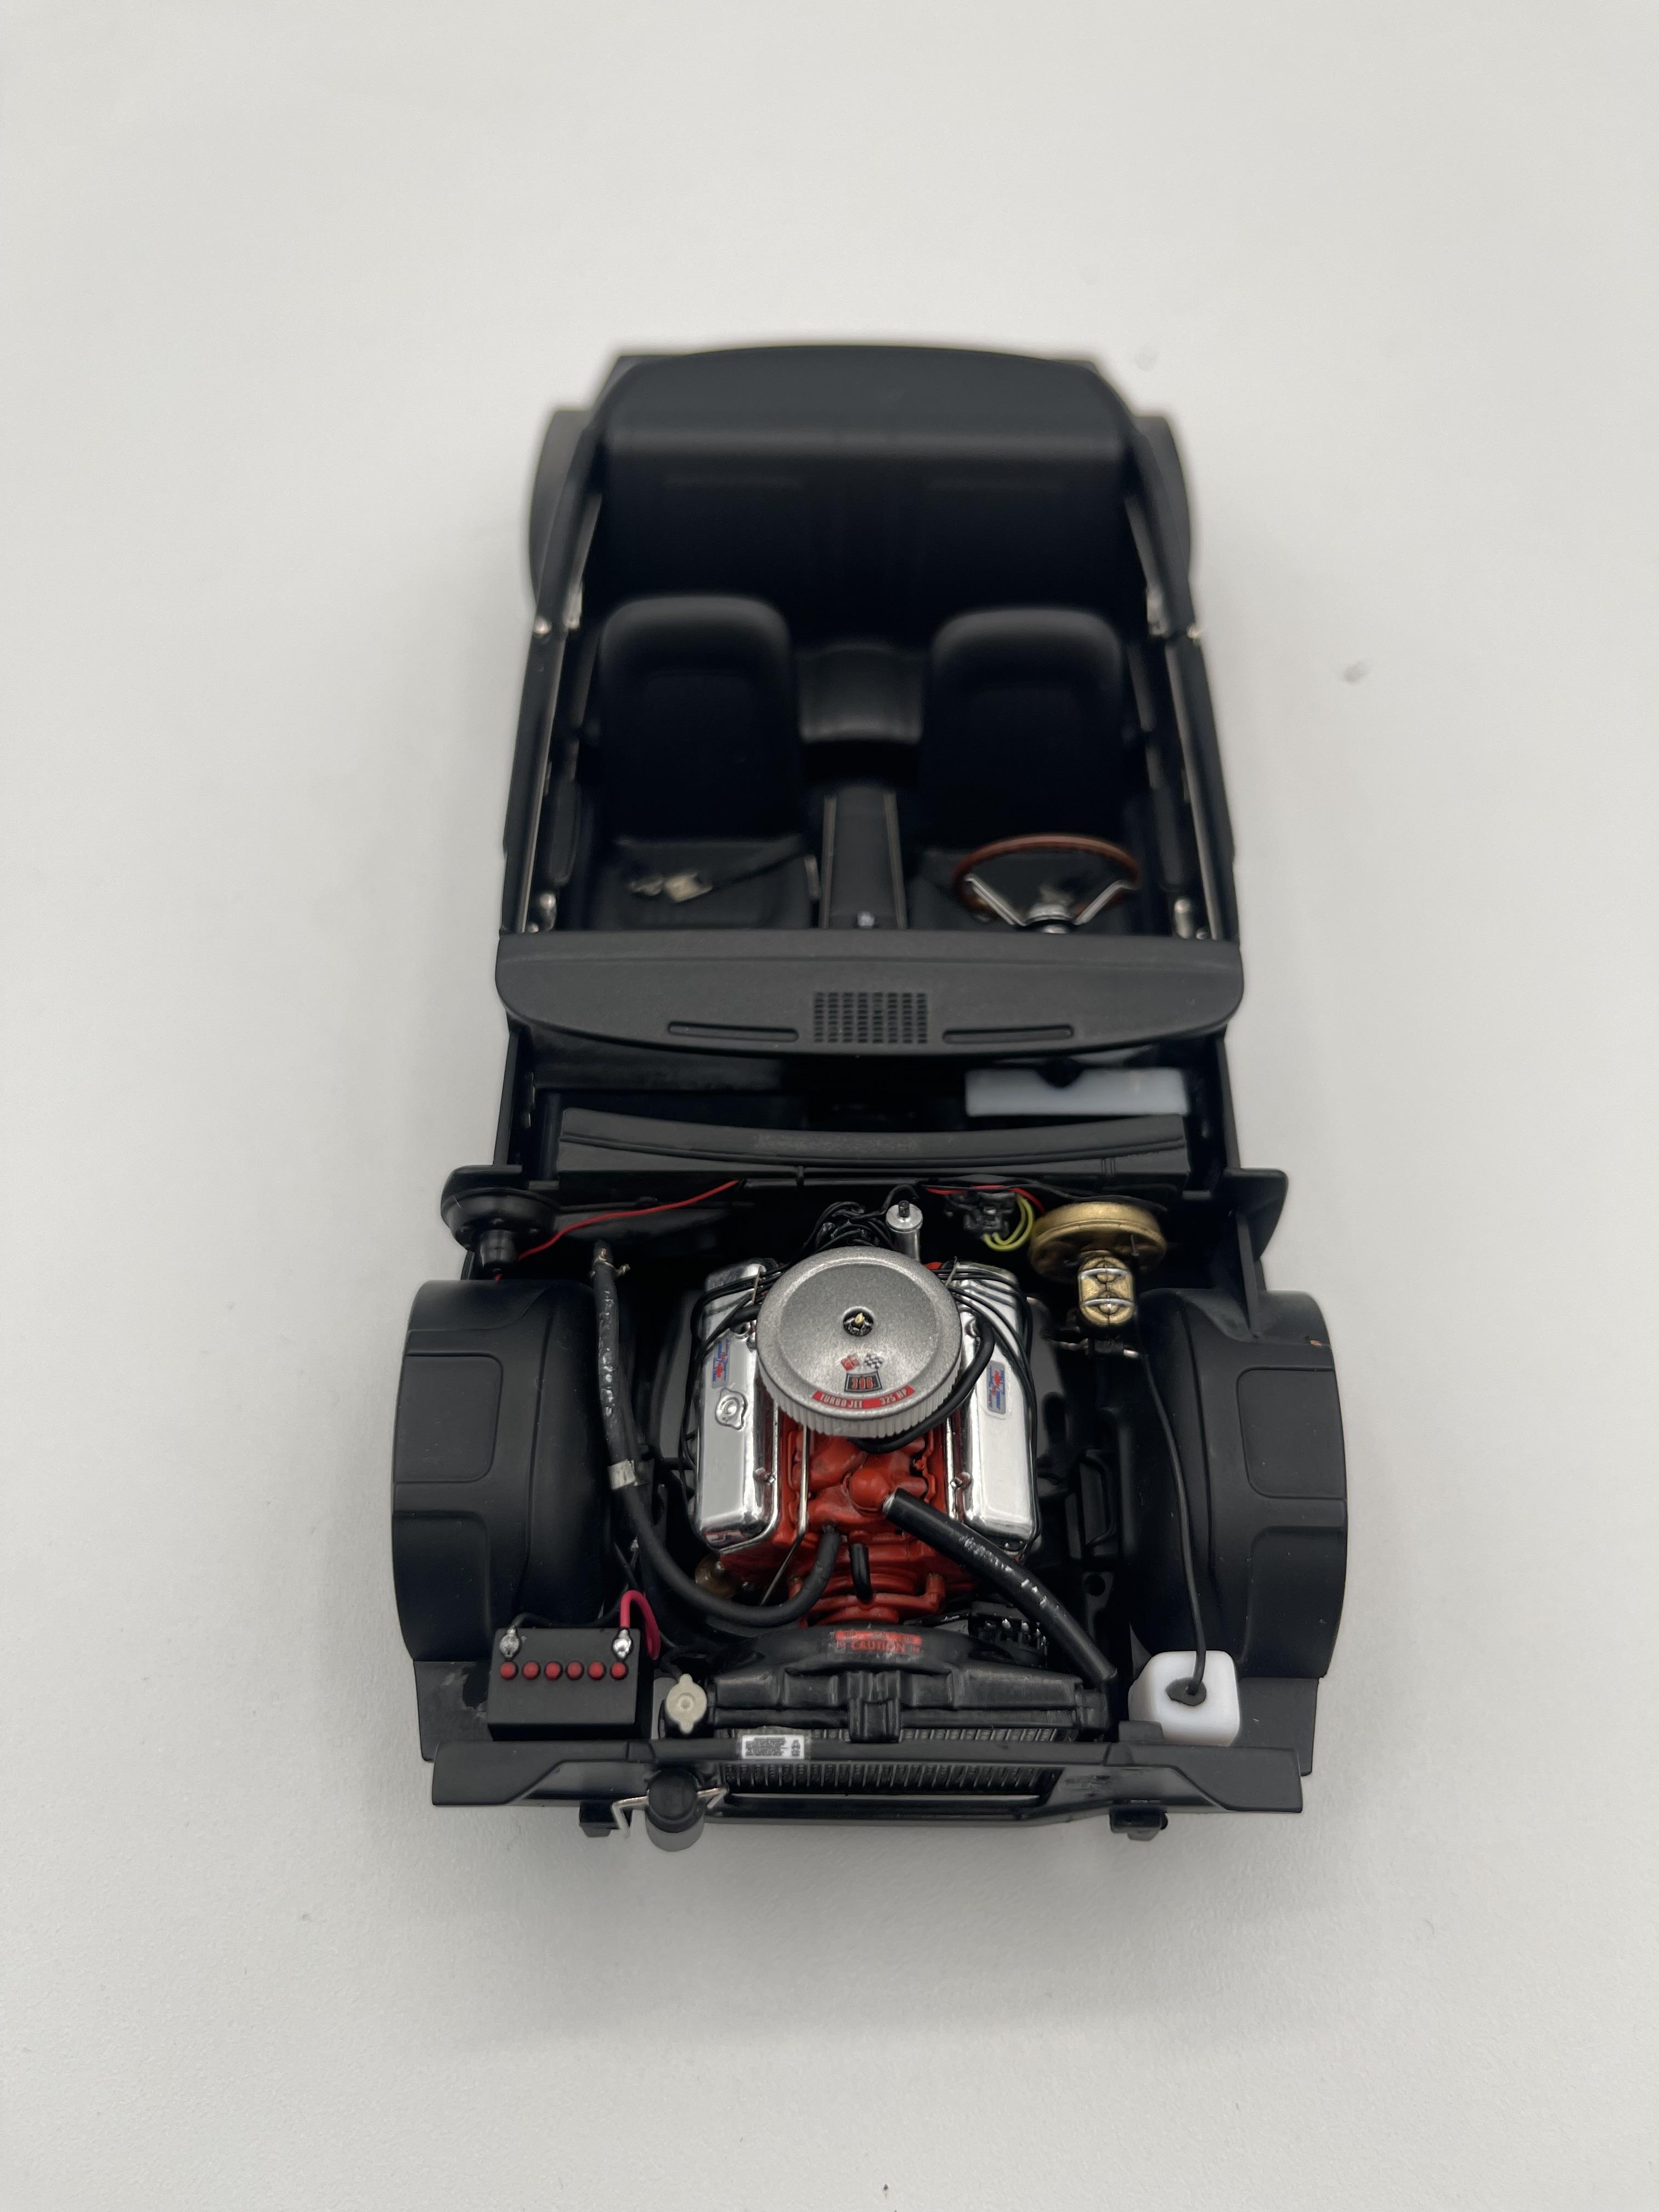
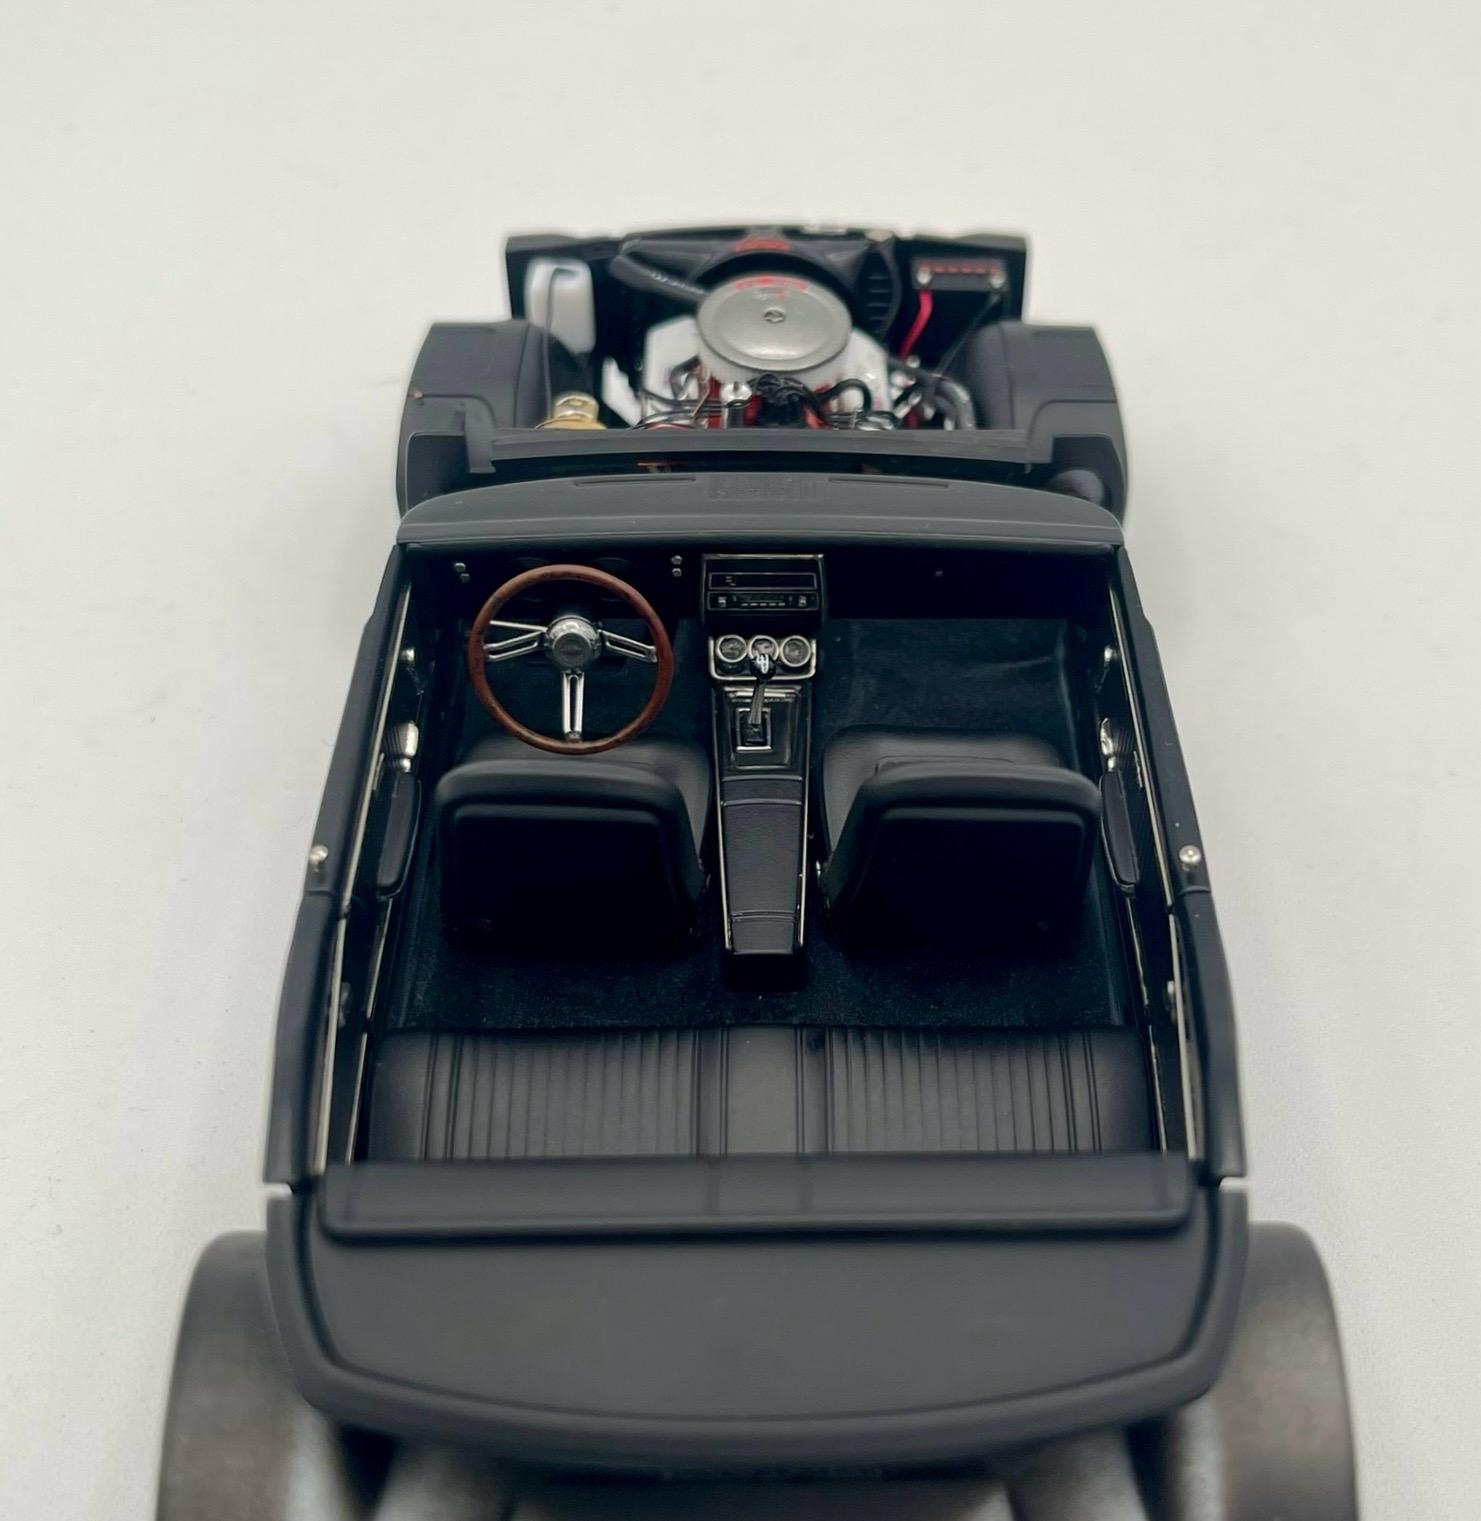
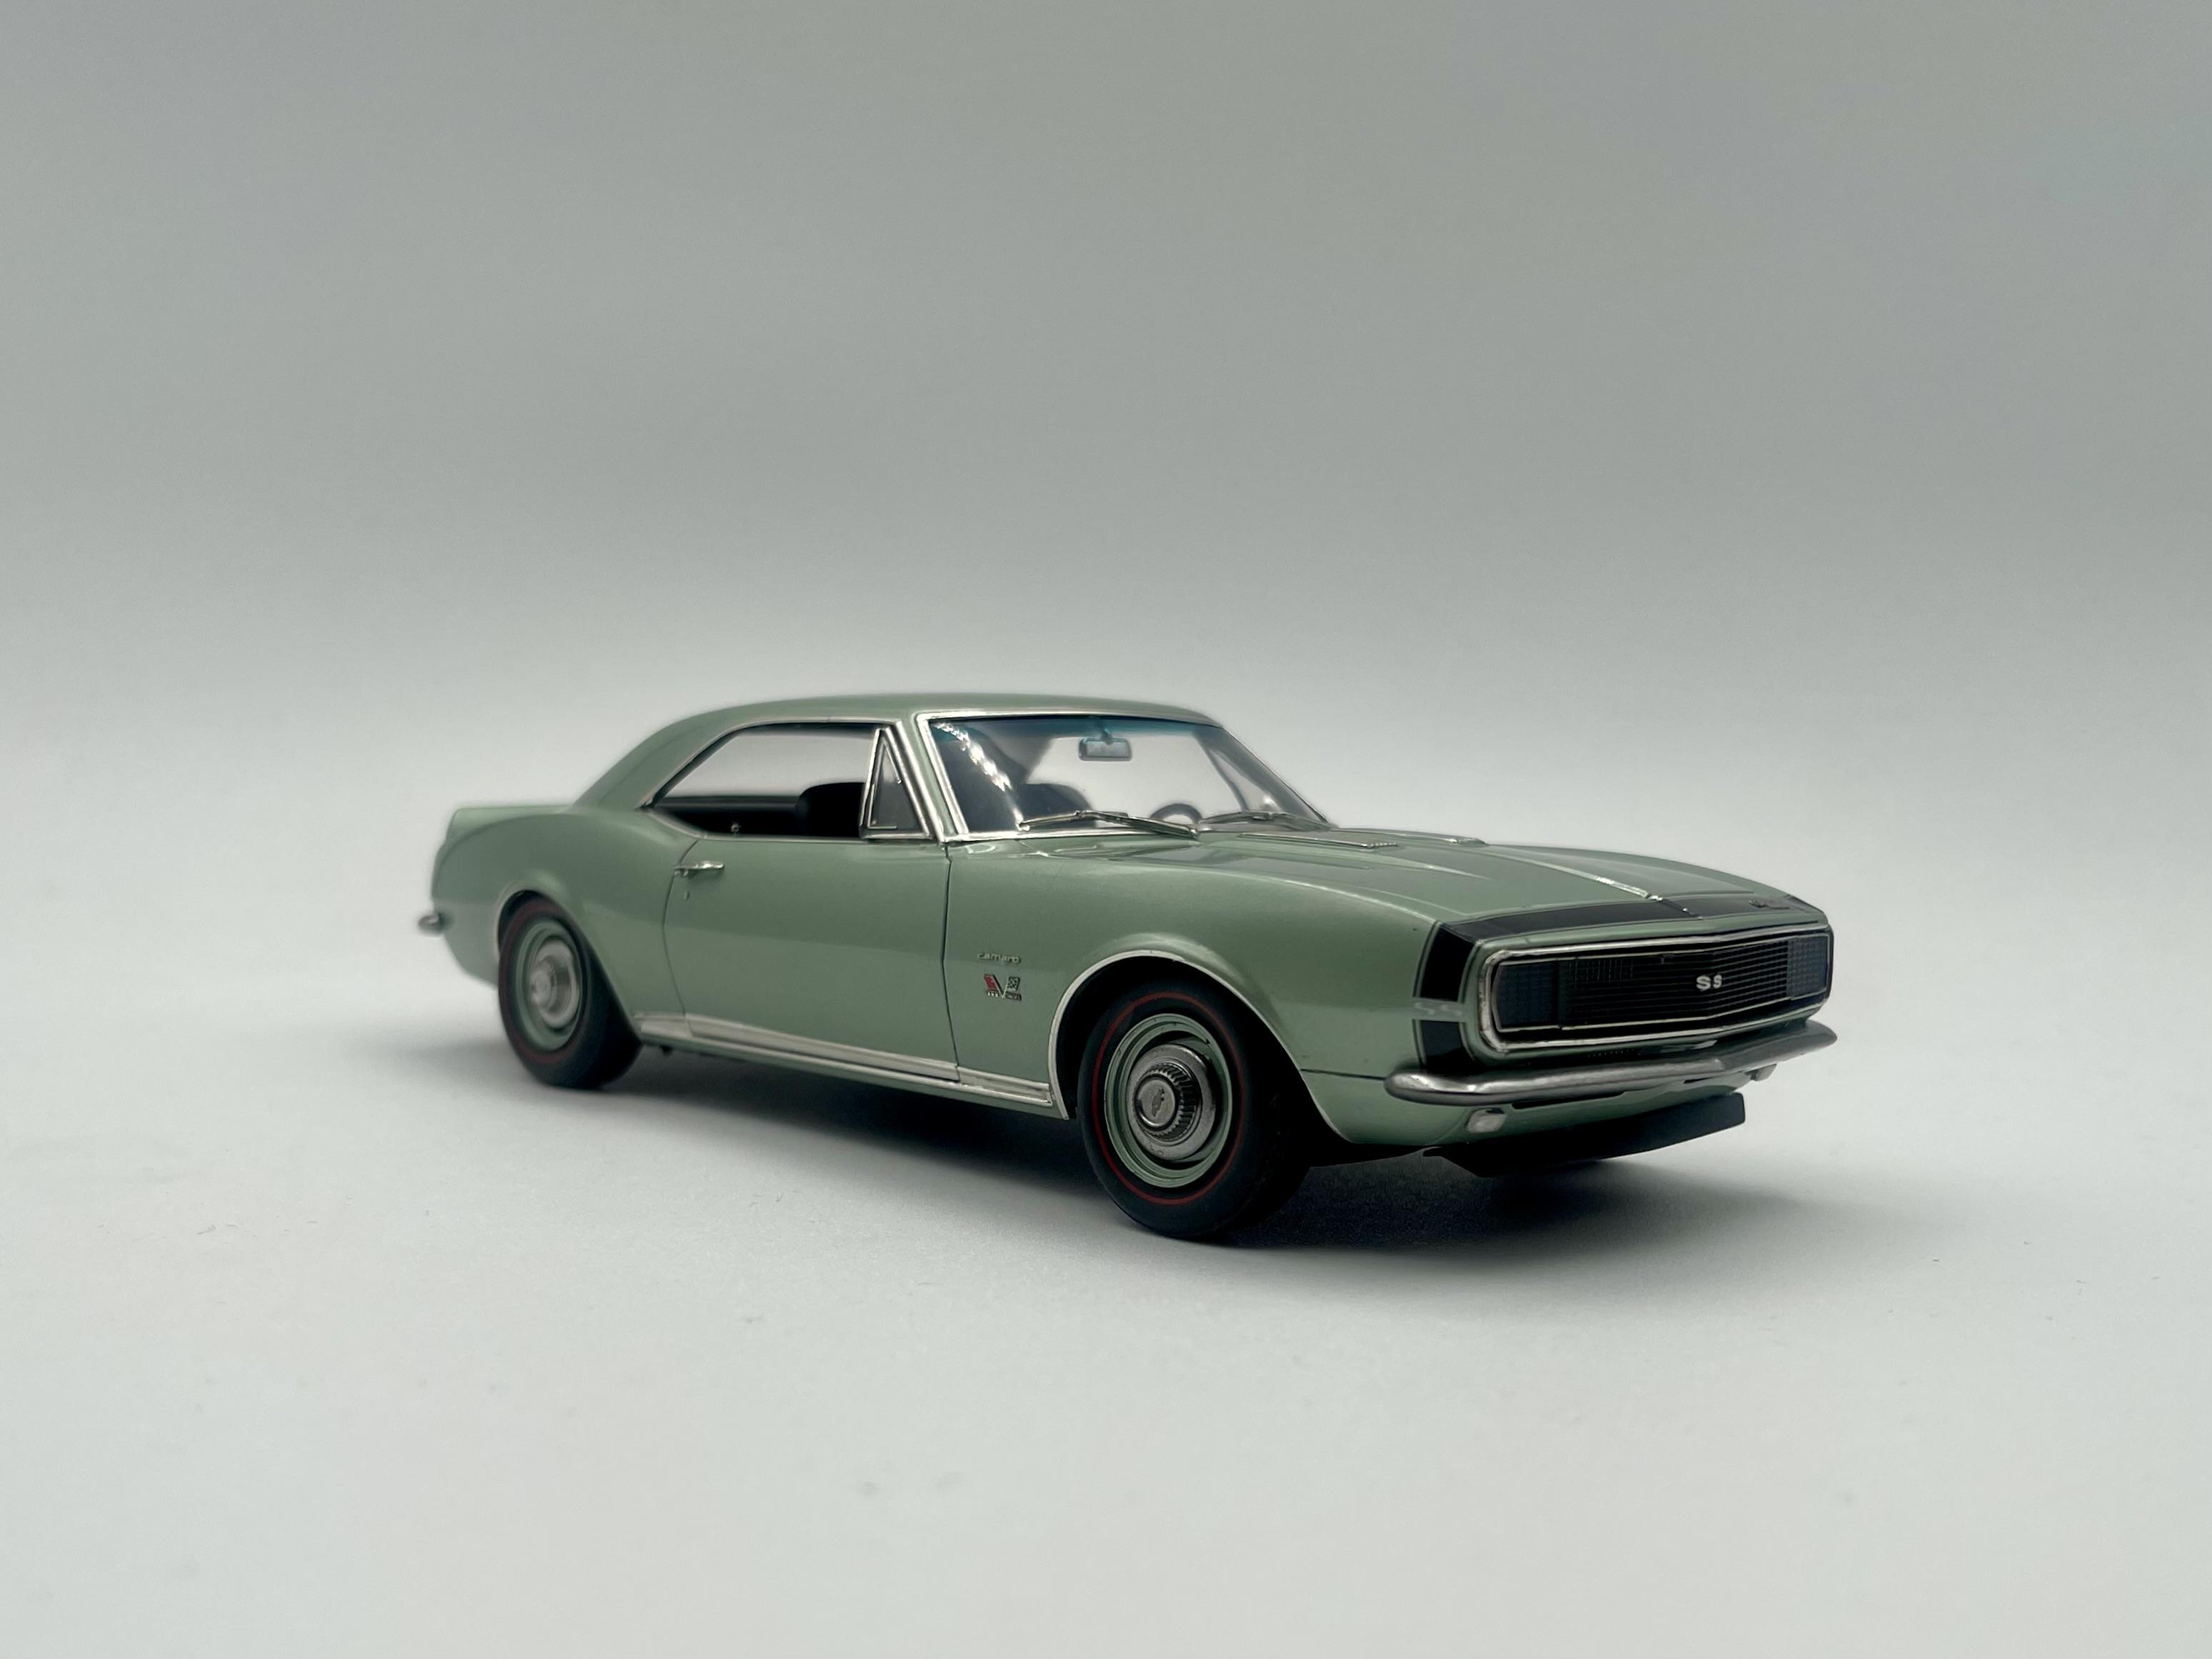
If you’ve built this one before, you’re well aware of the kit’s inaccuracies. I tried to address most of them, but I left the seats as is…we’ll say the owner replaced the originals with a kit set 🤷🏻♂️ I built it as an rs/ss because I didn’t want to fuss with the side trim. The body was a mess out of the box and required significant amounts of scribing, sanding, and puddy - this is my only real complaint aside from the obvious part omissions. The steering wheel, badges and grill are from the model car garage photo etch set. I made good use of various gauge insect pins for trim on the grill and interior. I found the pins are much easier to work with than the jewelry wire I’ve used on previous builds. I also added some random detail to the engine bay and had to restructure the fan because the kit fan had the alternator on the wrong side for some reason. The carpet was done with black jewelry box liner with a dusting of gray primer sprayed across it. A method I’ll be using for all black carpet moving forward. Super easy. The bumper chrome, hub caps, and some engine bits were done with Alclad and the rest of the trim is BMF. The body paint is Splash Paints Mountain Green under Mr Hobby UV Cut gloss clear. Been loving every bottle of Splash i’ve used so far - especially their well-scaled metallics. The interior was done with Mr Hobby black primer and various glosses of clear coat. The wheels and carburetor (not pictured) are from fireball. Had to scratch build the front and rear lights with clear plastic since the kit didn’t come with any. And that’s about it…overall, an amazing little kit. I didn’t take any of my usual outdoor pics because I haven’t had time but I will eventually. Planning on bringing this and a couple others to NNL East on Saturday so we’ll see how it goes… Have a great week everybody!
-
Finally finished this ‘67 Camaro by Revell. Been wanting to build this for awhile but the work ahead was a little intimidating. I hope it gets a reissue soon because I’d love to build another one, now that I know the pitfalls. Build notes below 🤘🏽

- 32 replies
-
- 10
-

-
great job!! i have one of these in the stash and now i can't wait to tackle it
-
wow beautiful job. love it!!
-
phenomenal, as always. i love the subject matter you choose almost as much as the builds themselves. beautiful work.
-
thanks dudes - haha ok the wheels stay
-
Q thanks guys! This kit is up there with my all time faves.
-
Thanks fellas! haha thanks dude 🤘🏽 It only comes with the gasser kit unfortunately. I found the top for like $10 on eBay thanks man! With some kits, you know the extra work is gonna pay off while you’re building it….this was one of them. I never tried the amt version but yeah, the Revell seemed like it had way better detail so I went with it. Thanks for the kind words guys! thanks Steve! Good eye on the wheels…I hit the chrome with tamiya smoke and panel washes. Thanks guys! Really appreciate it
-
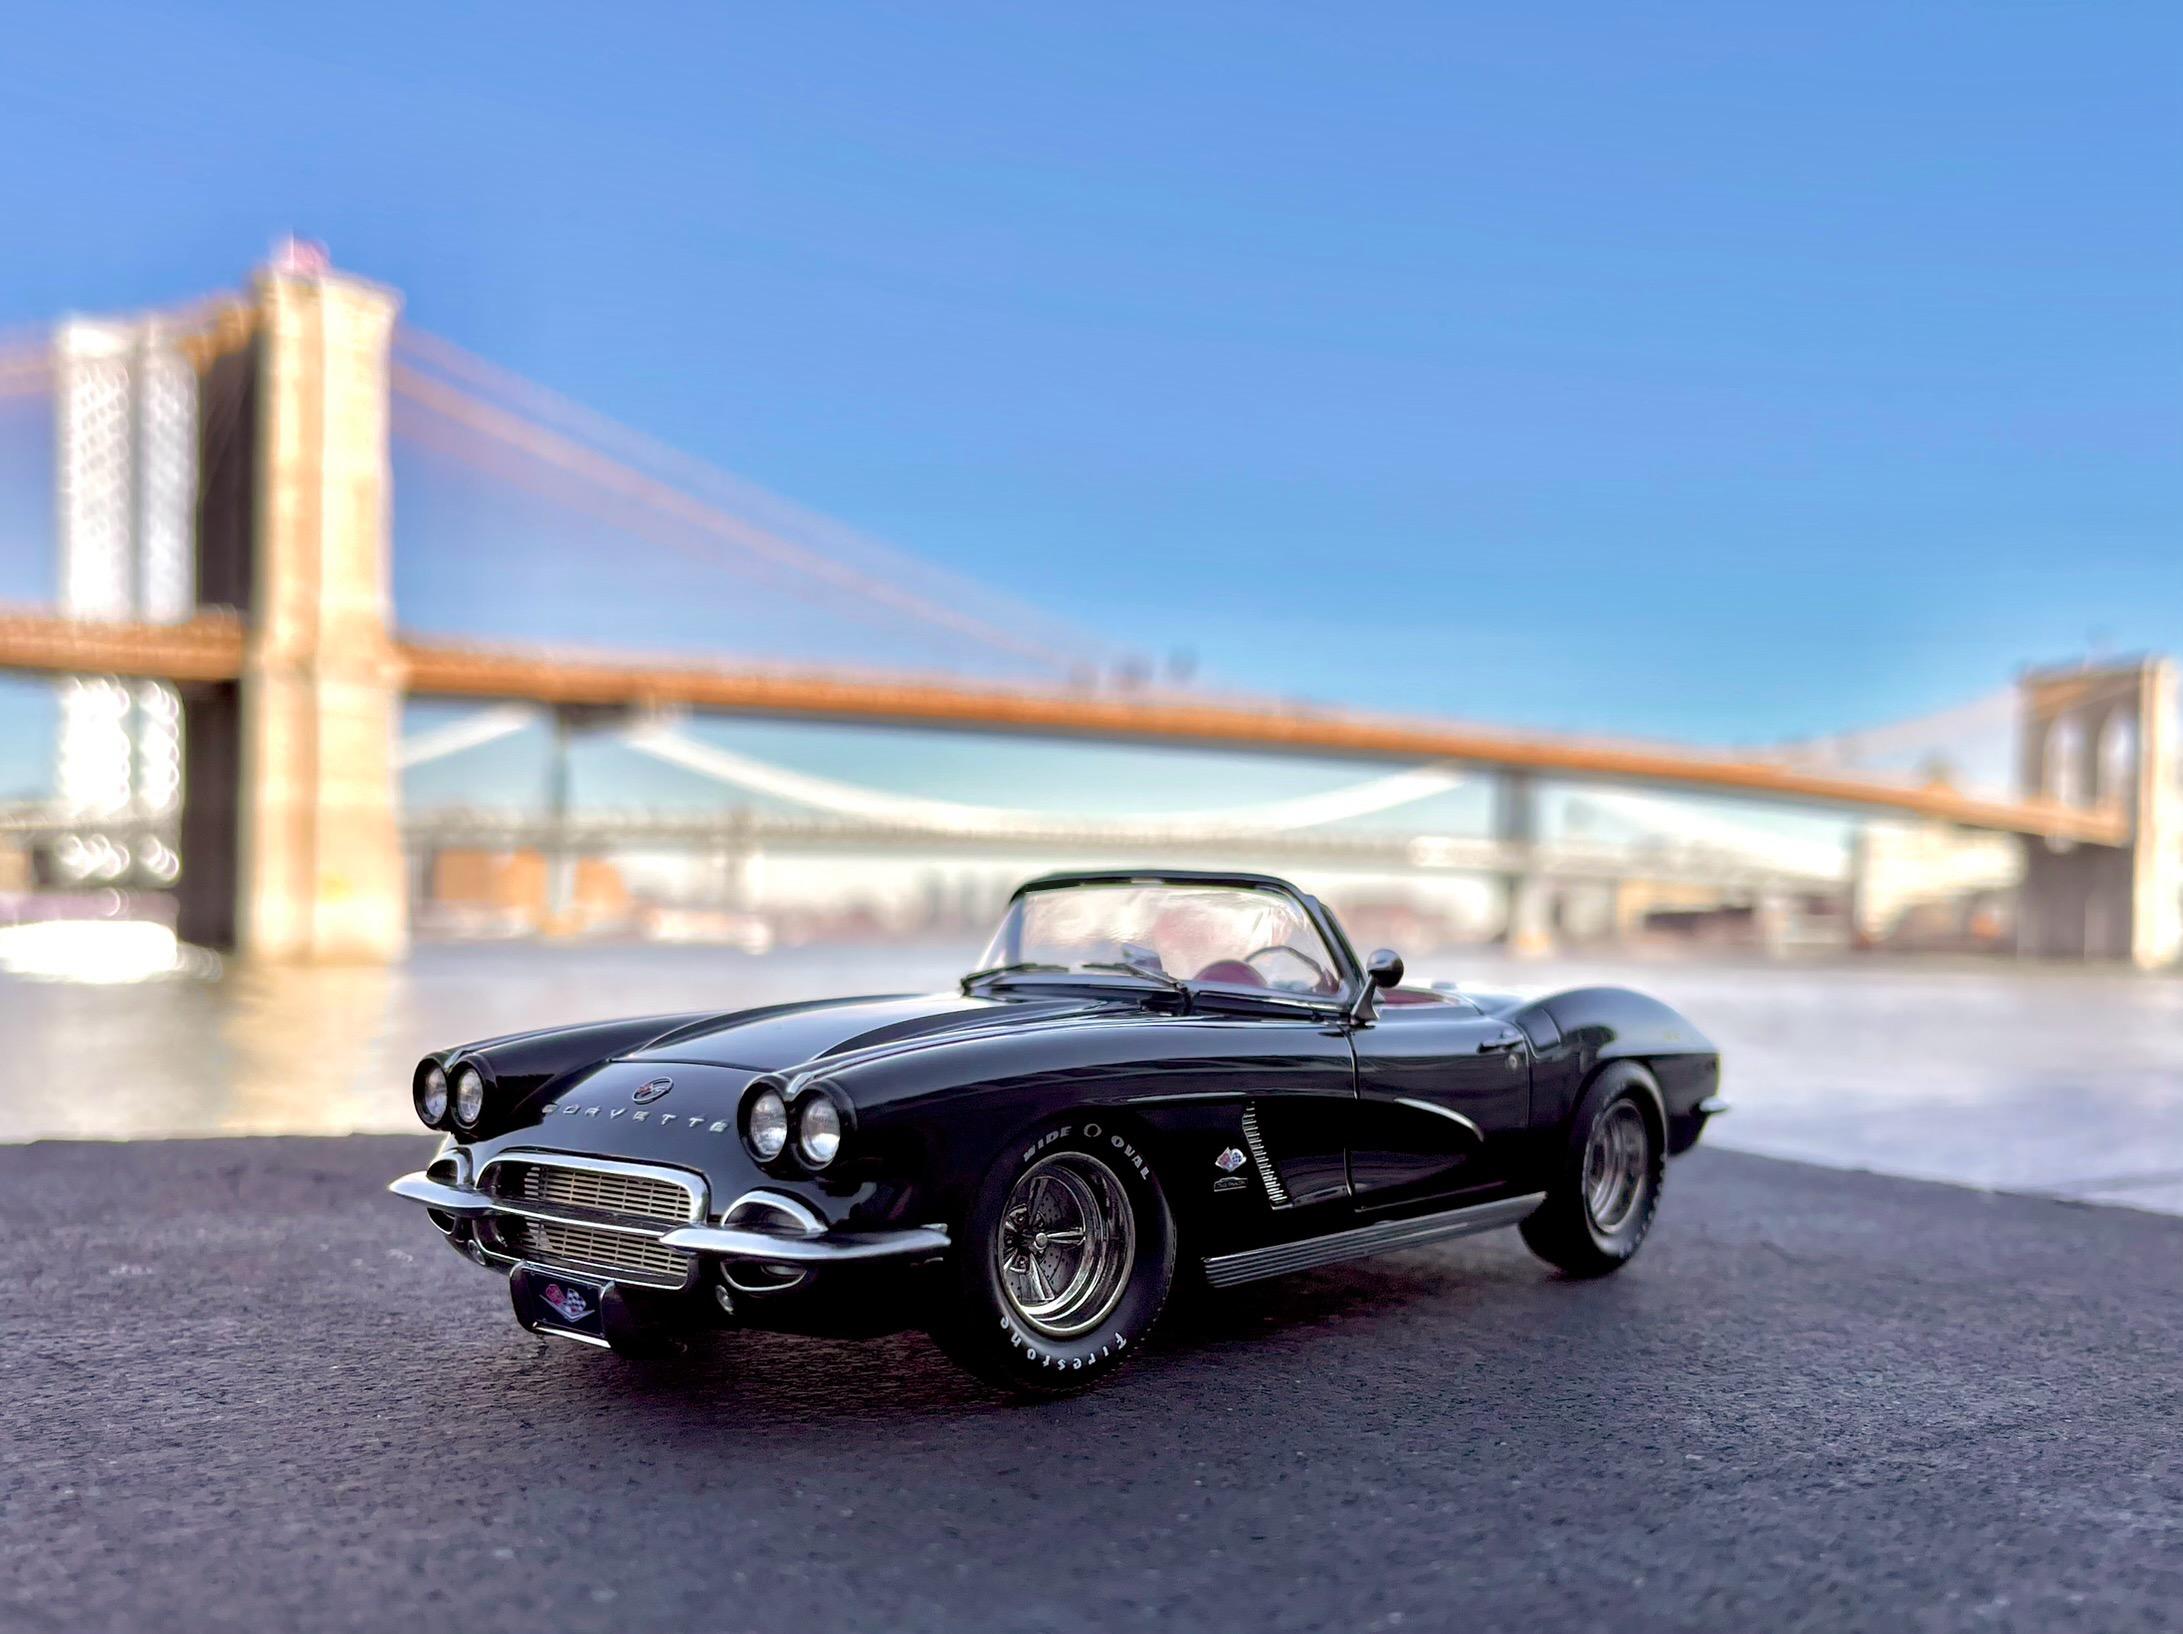
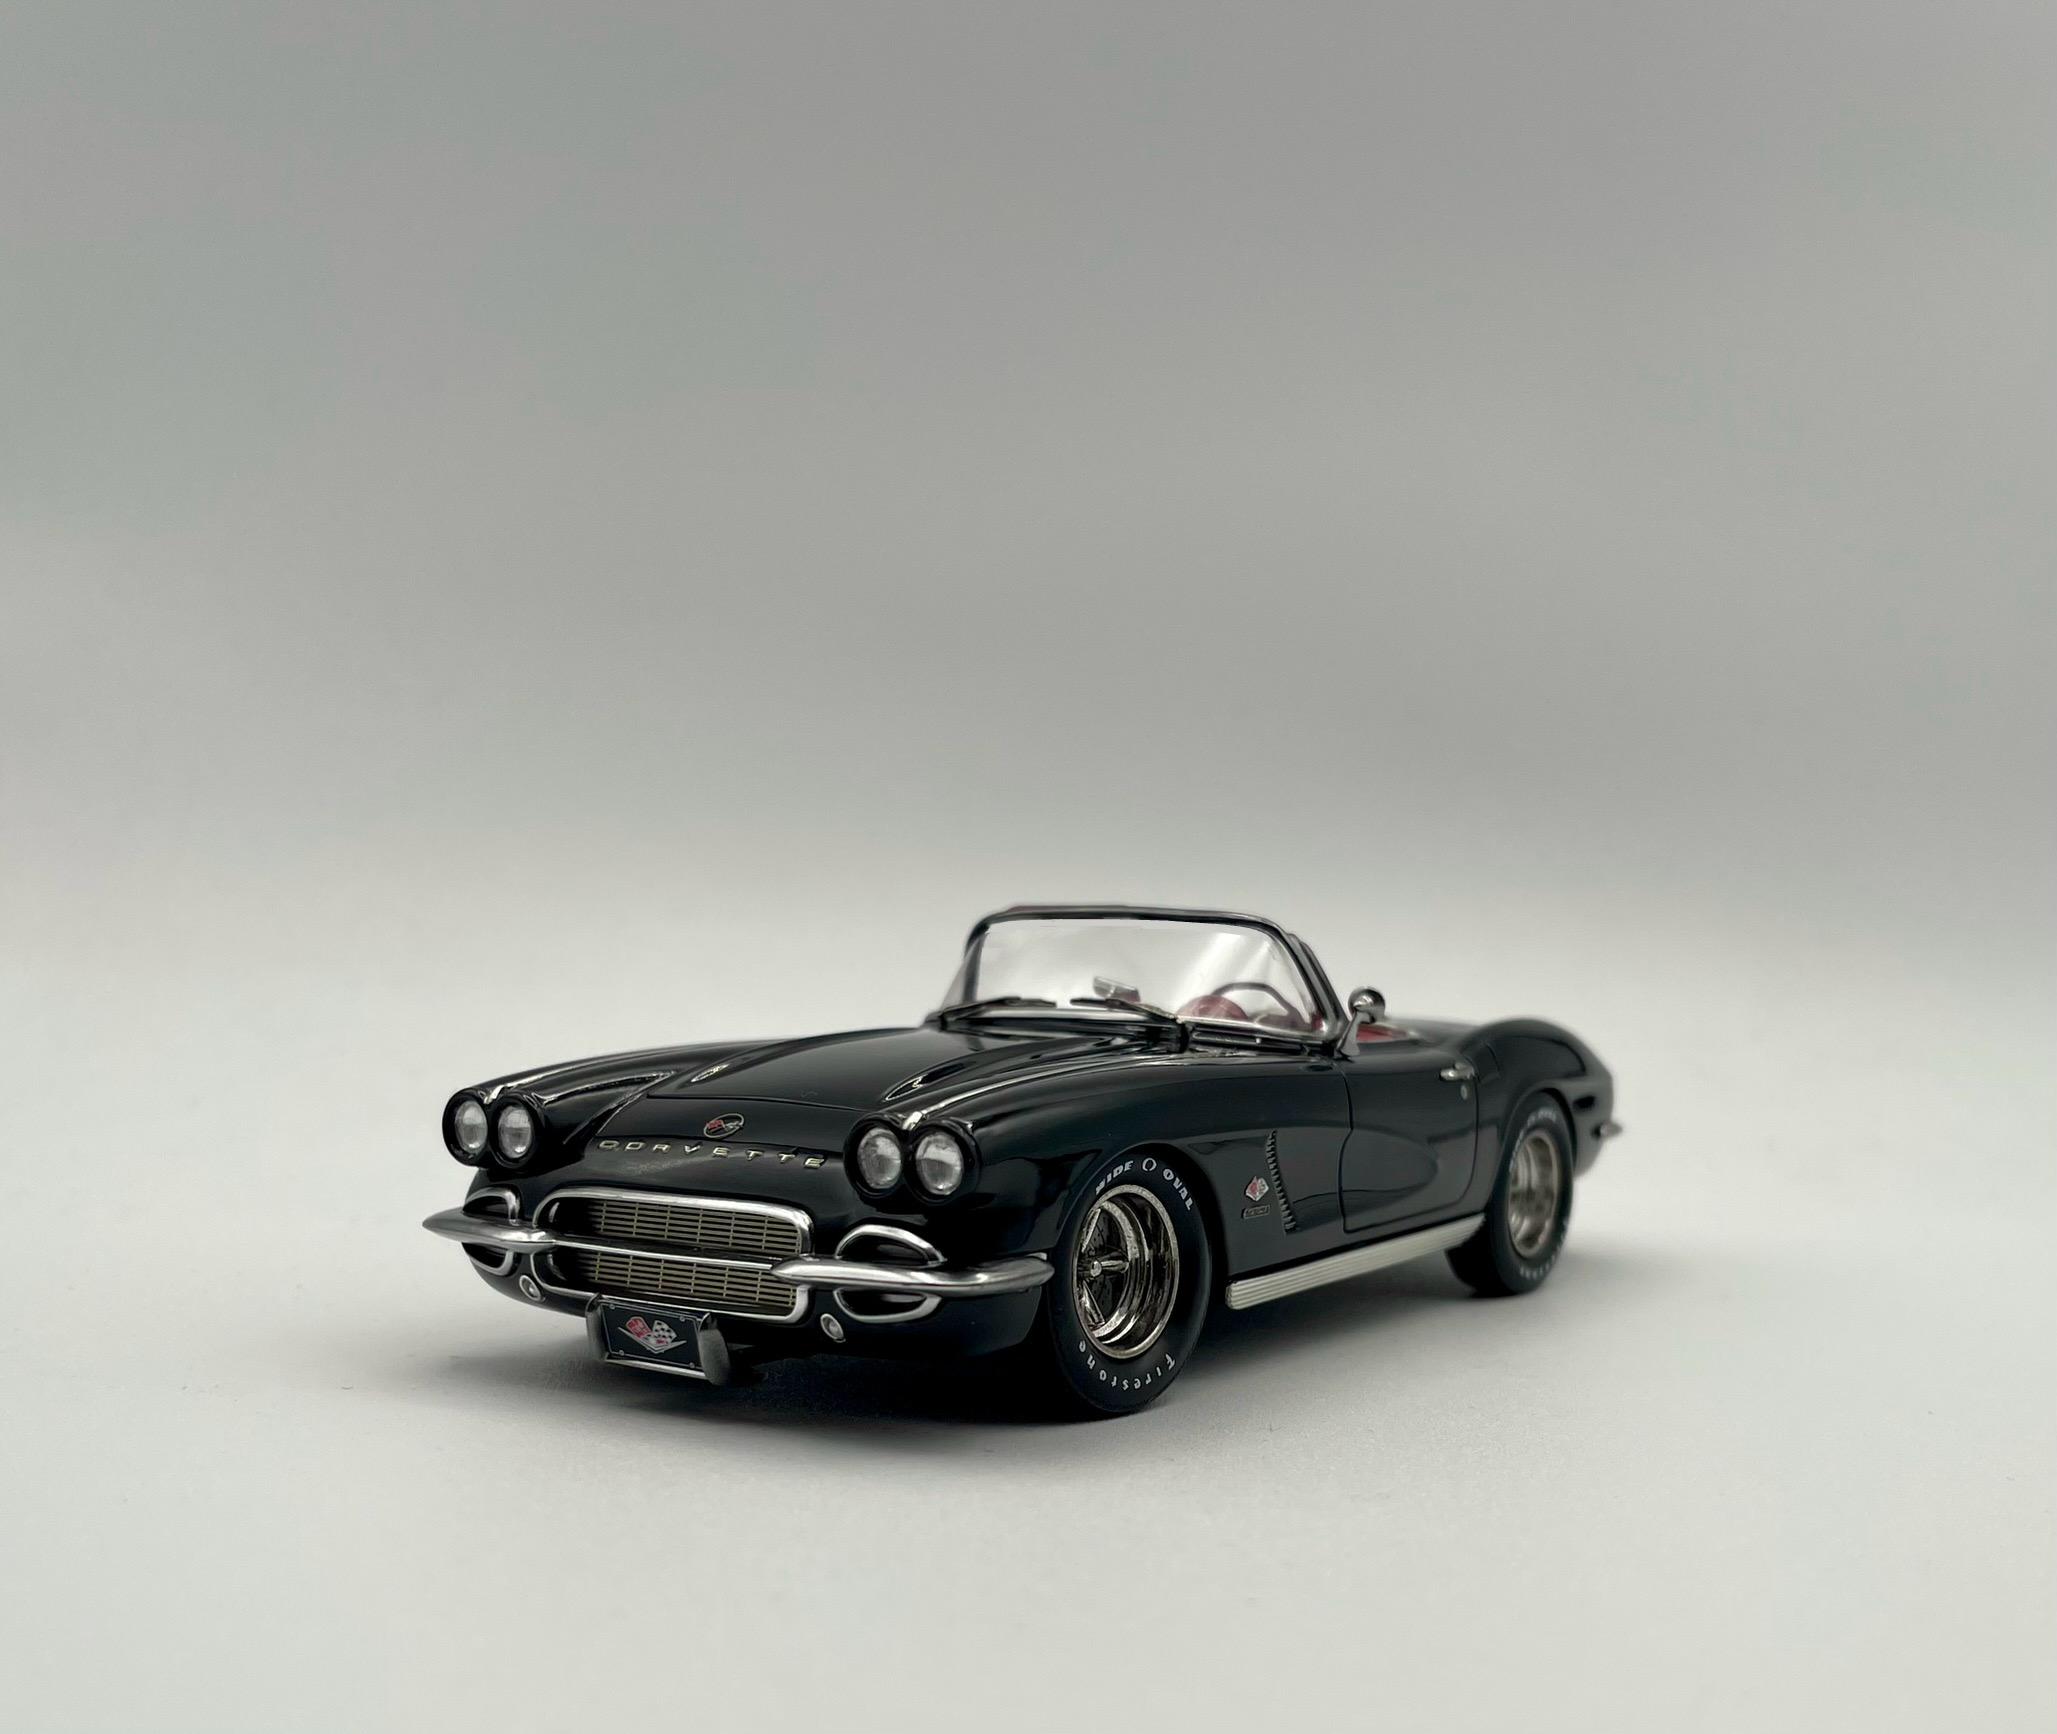
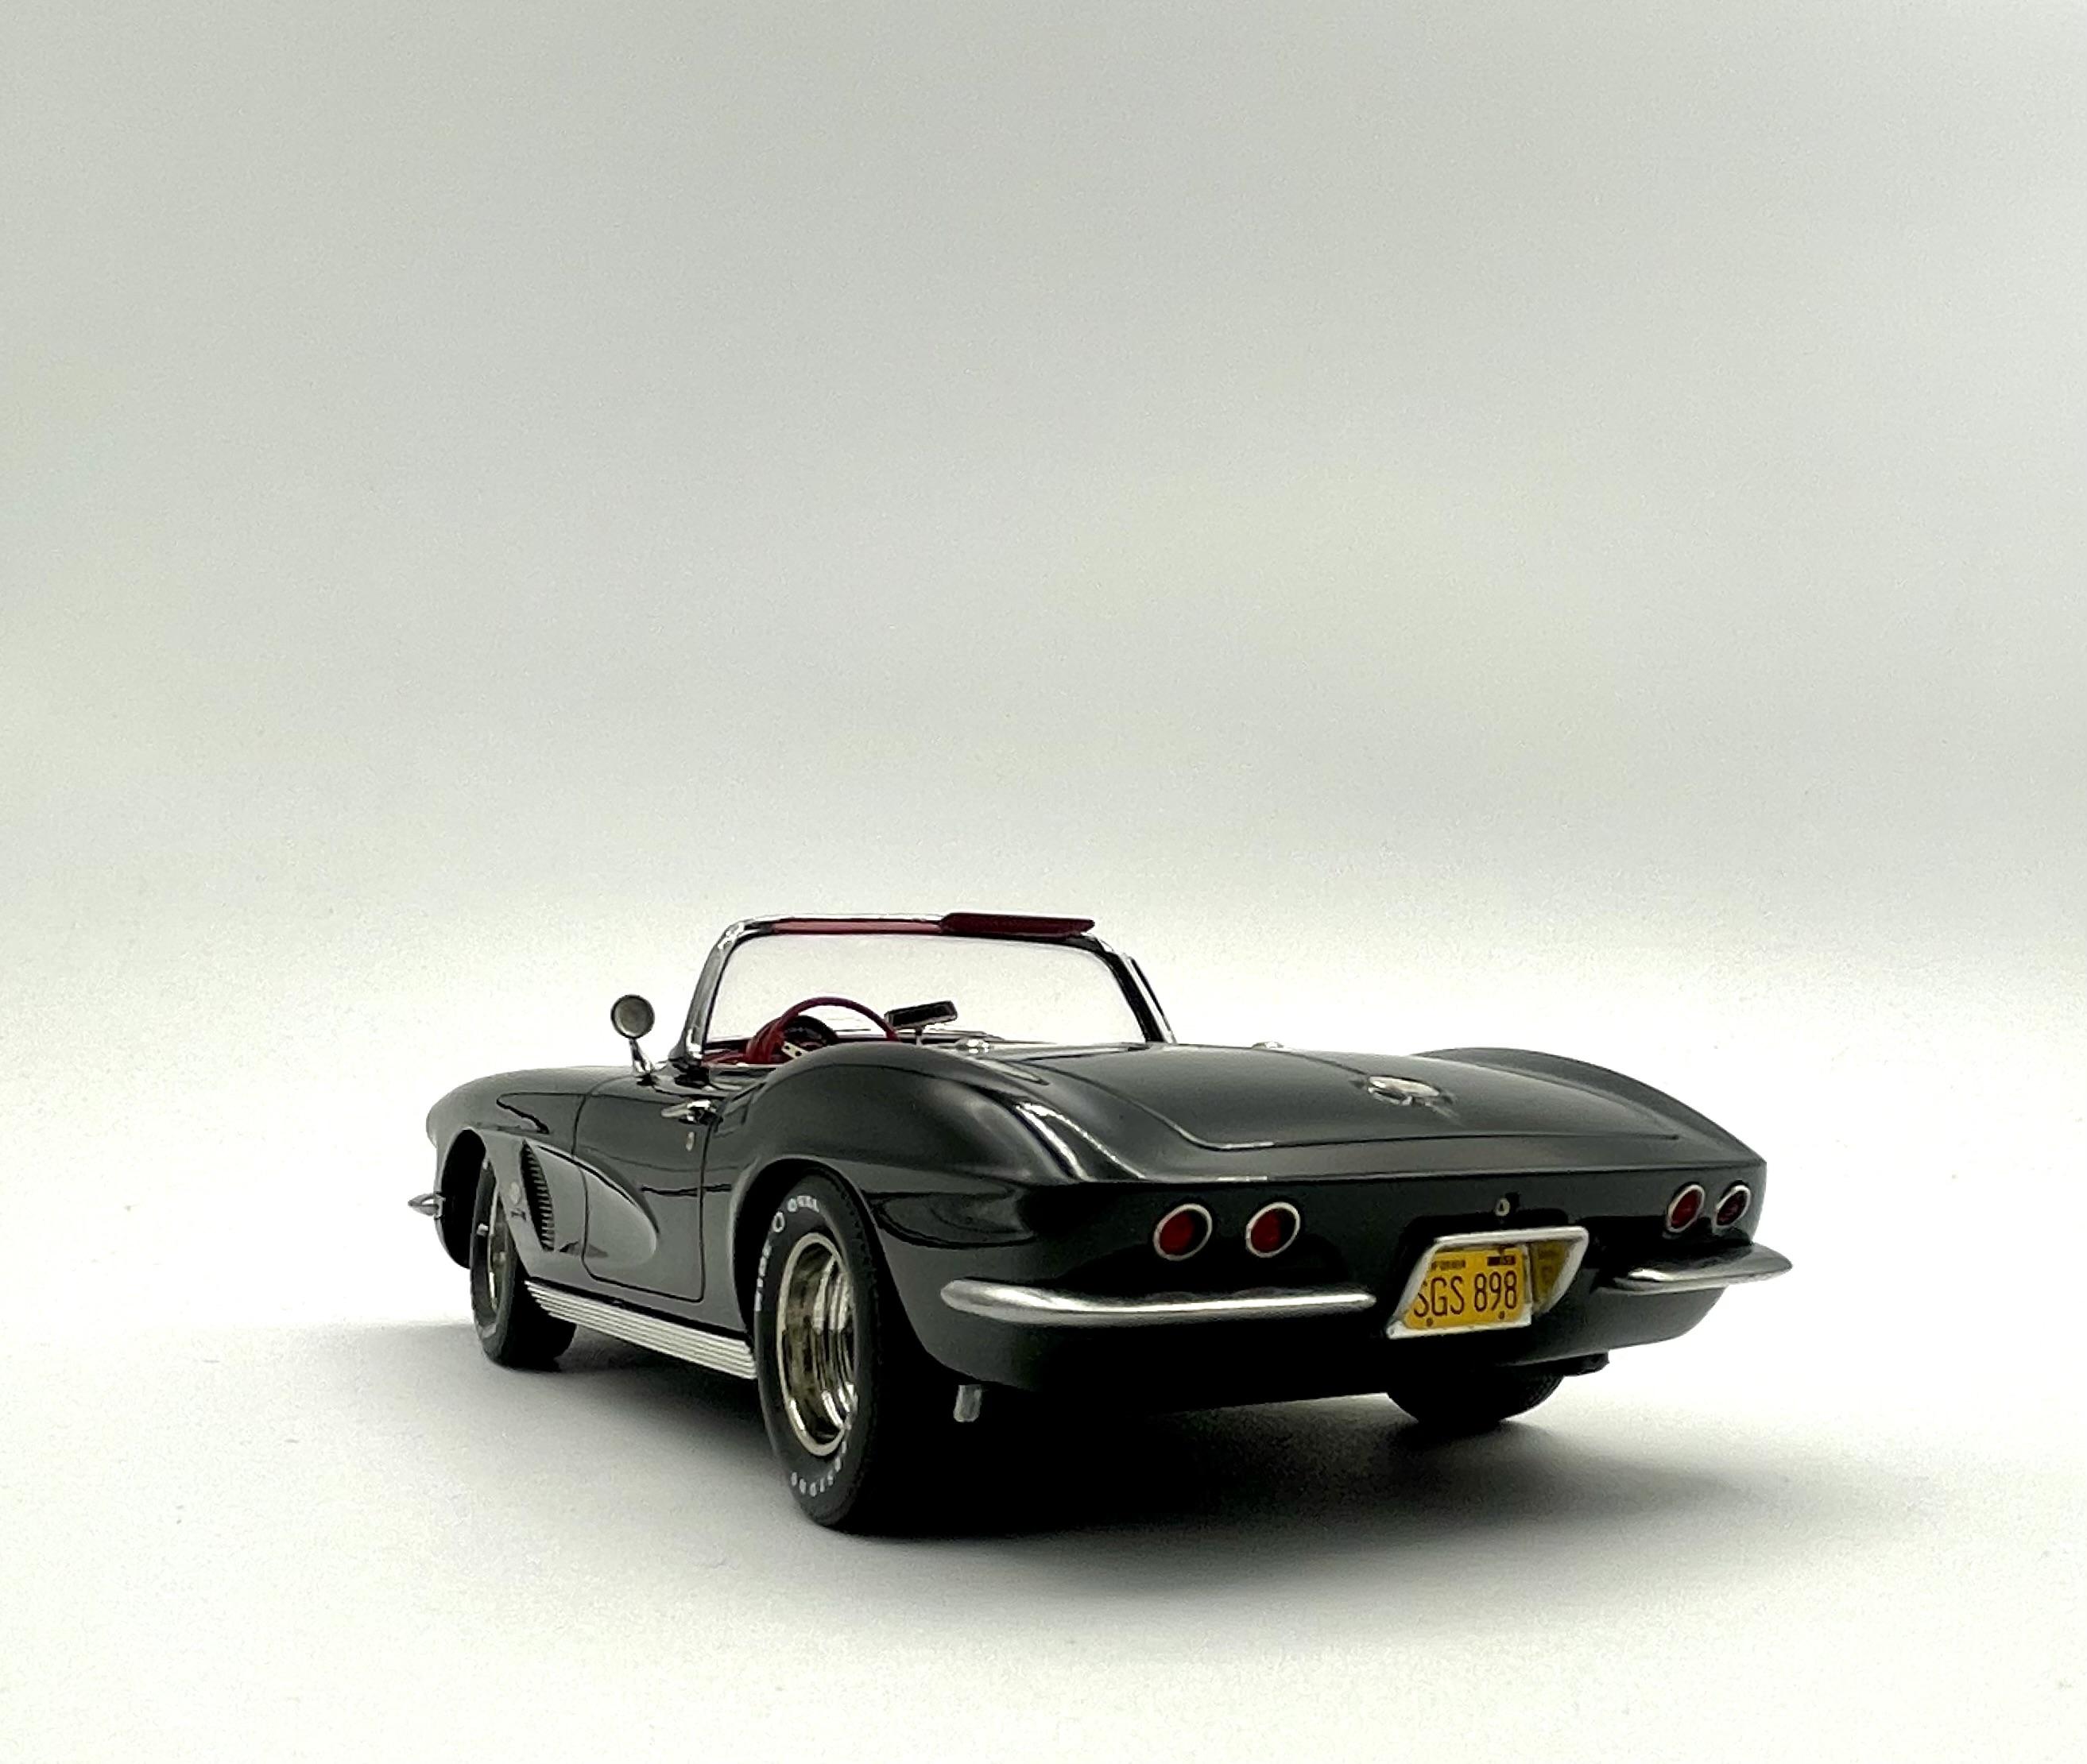
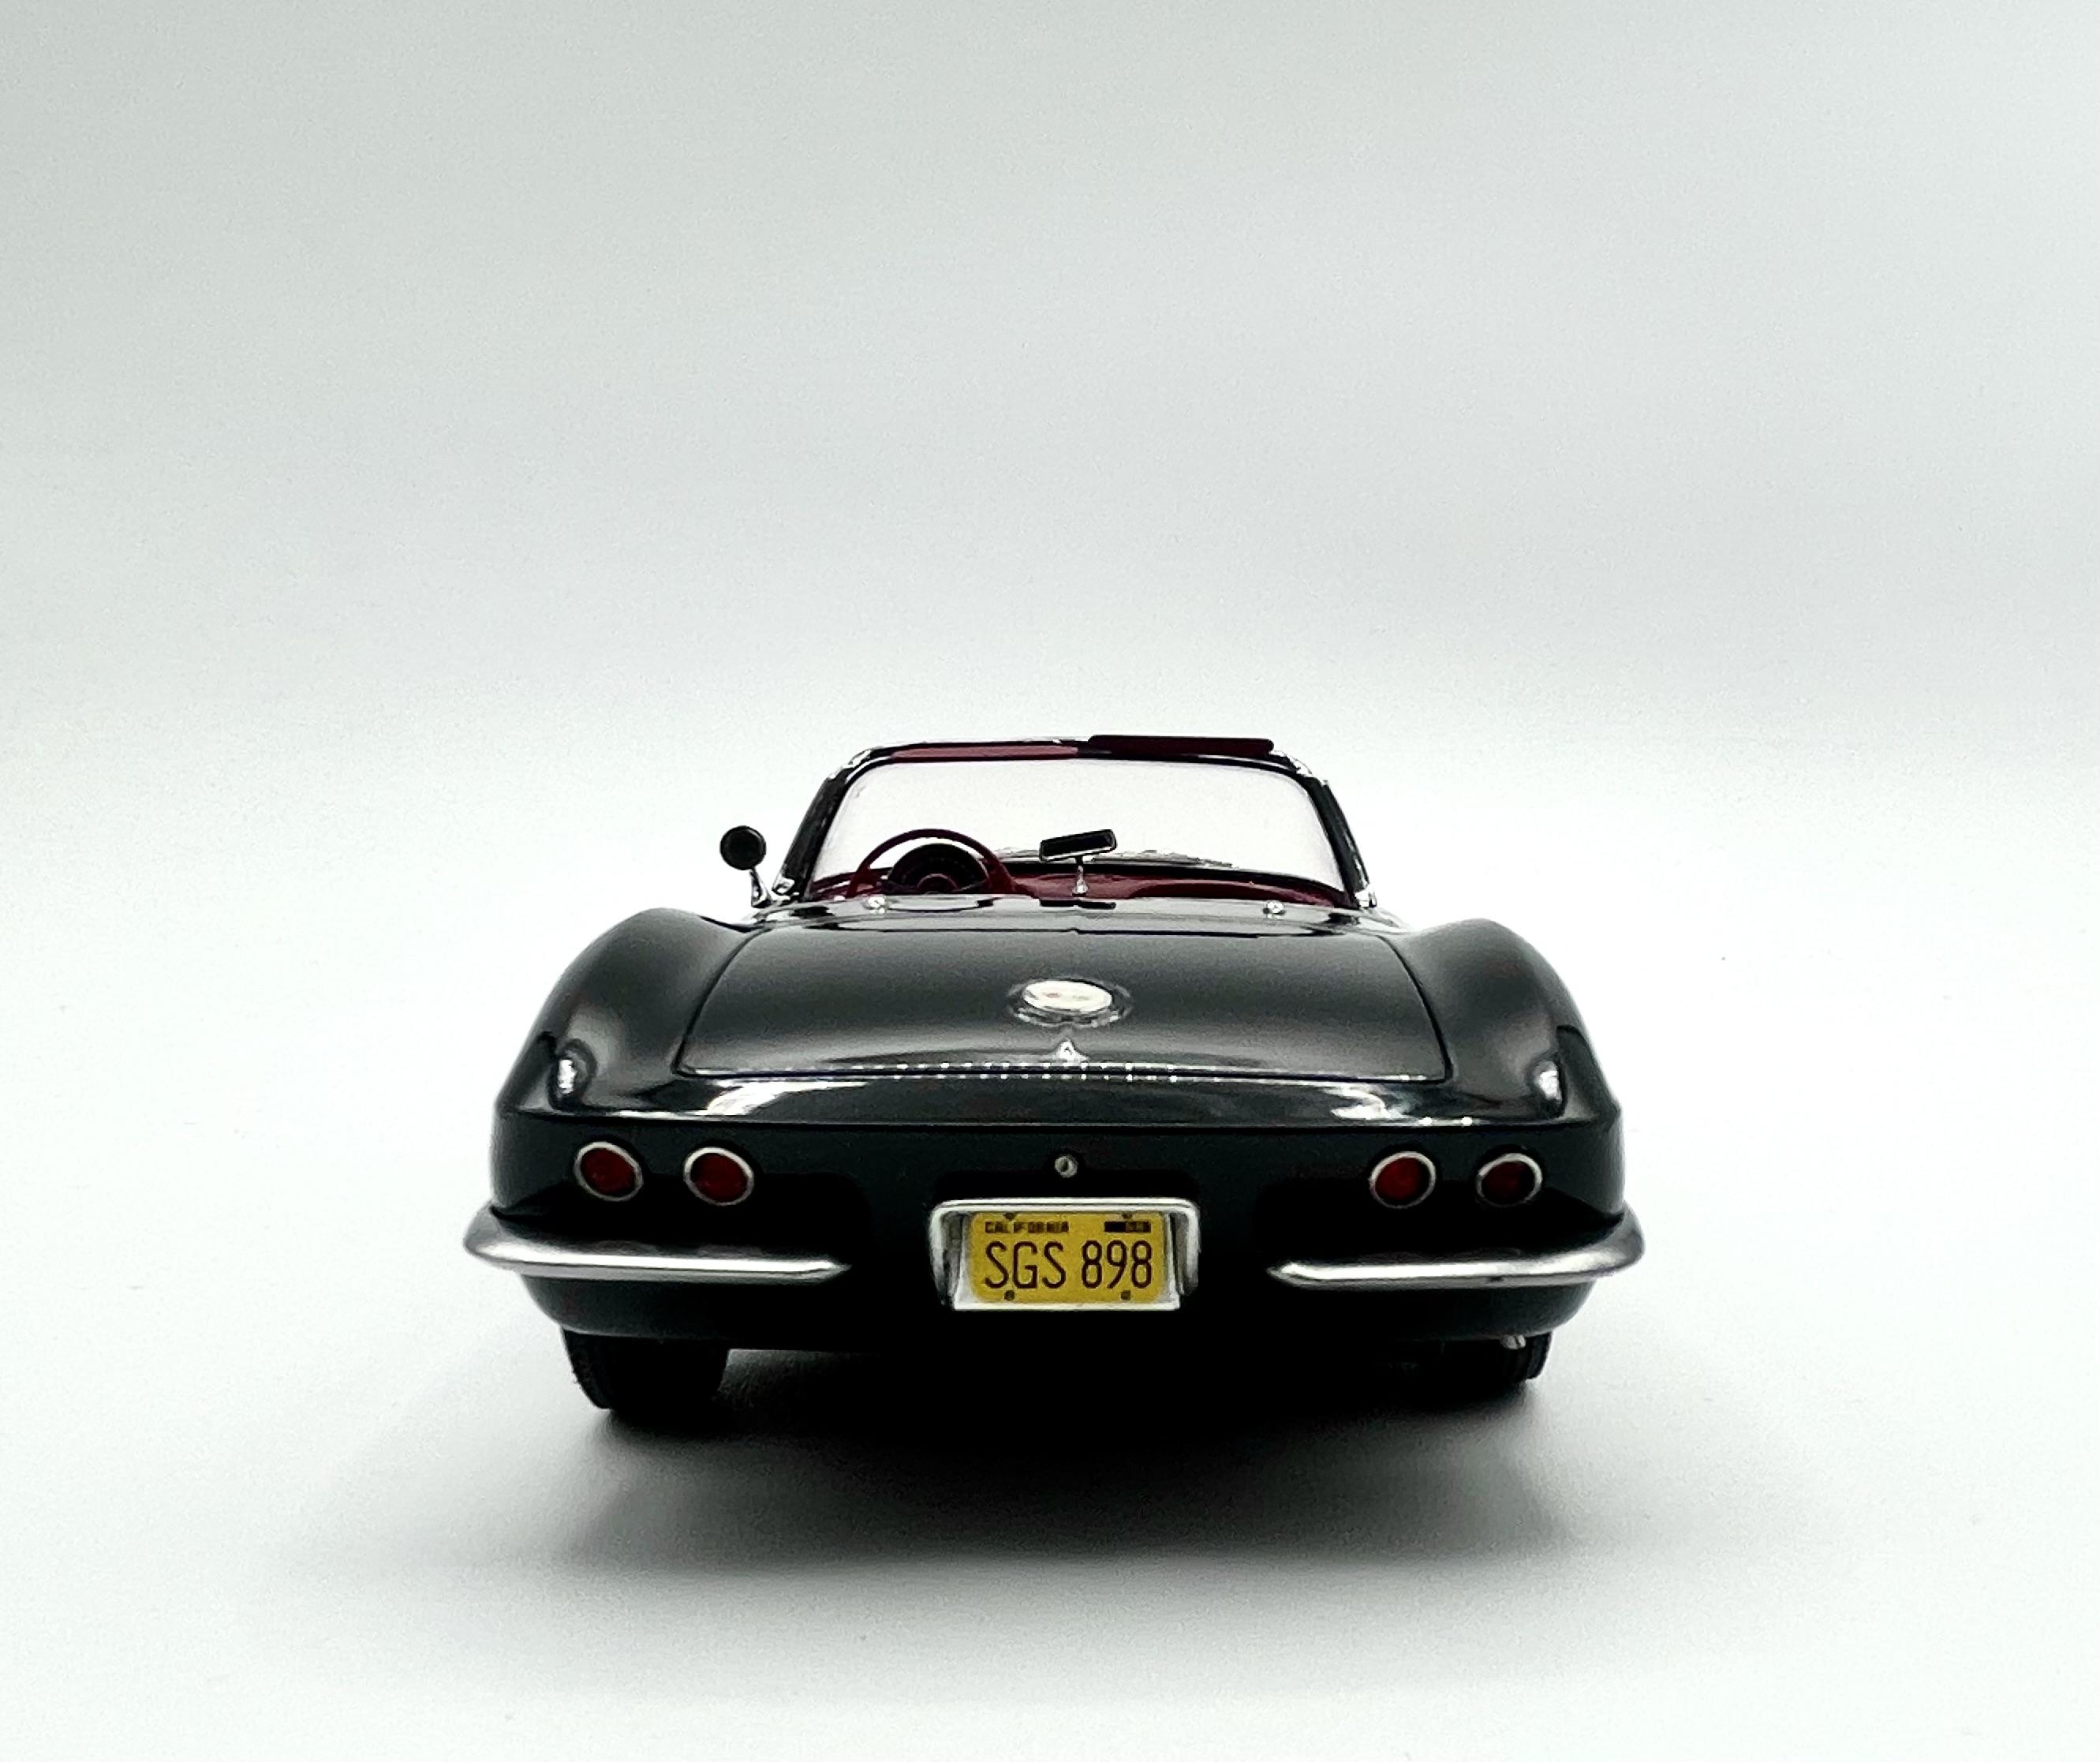
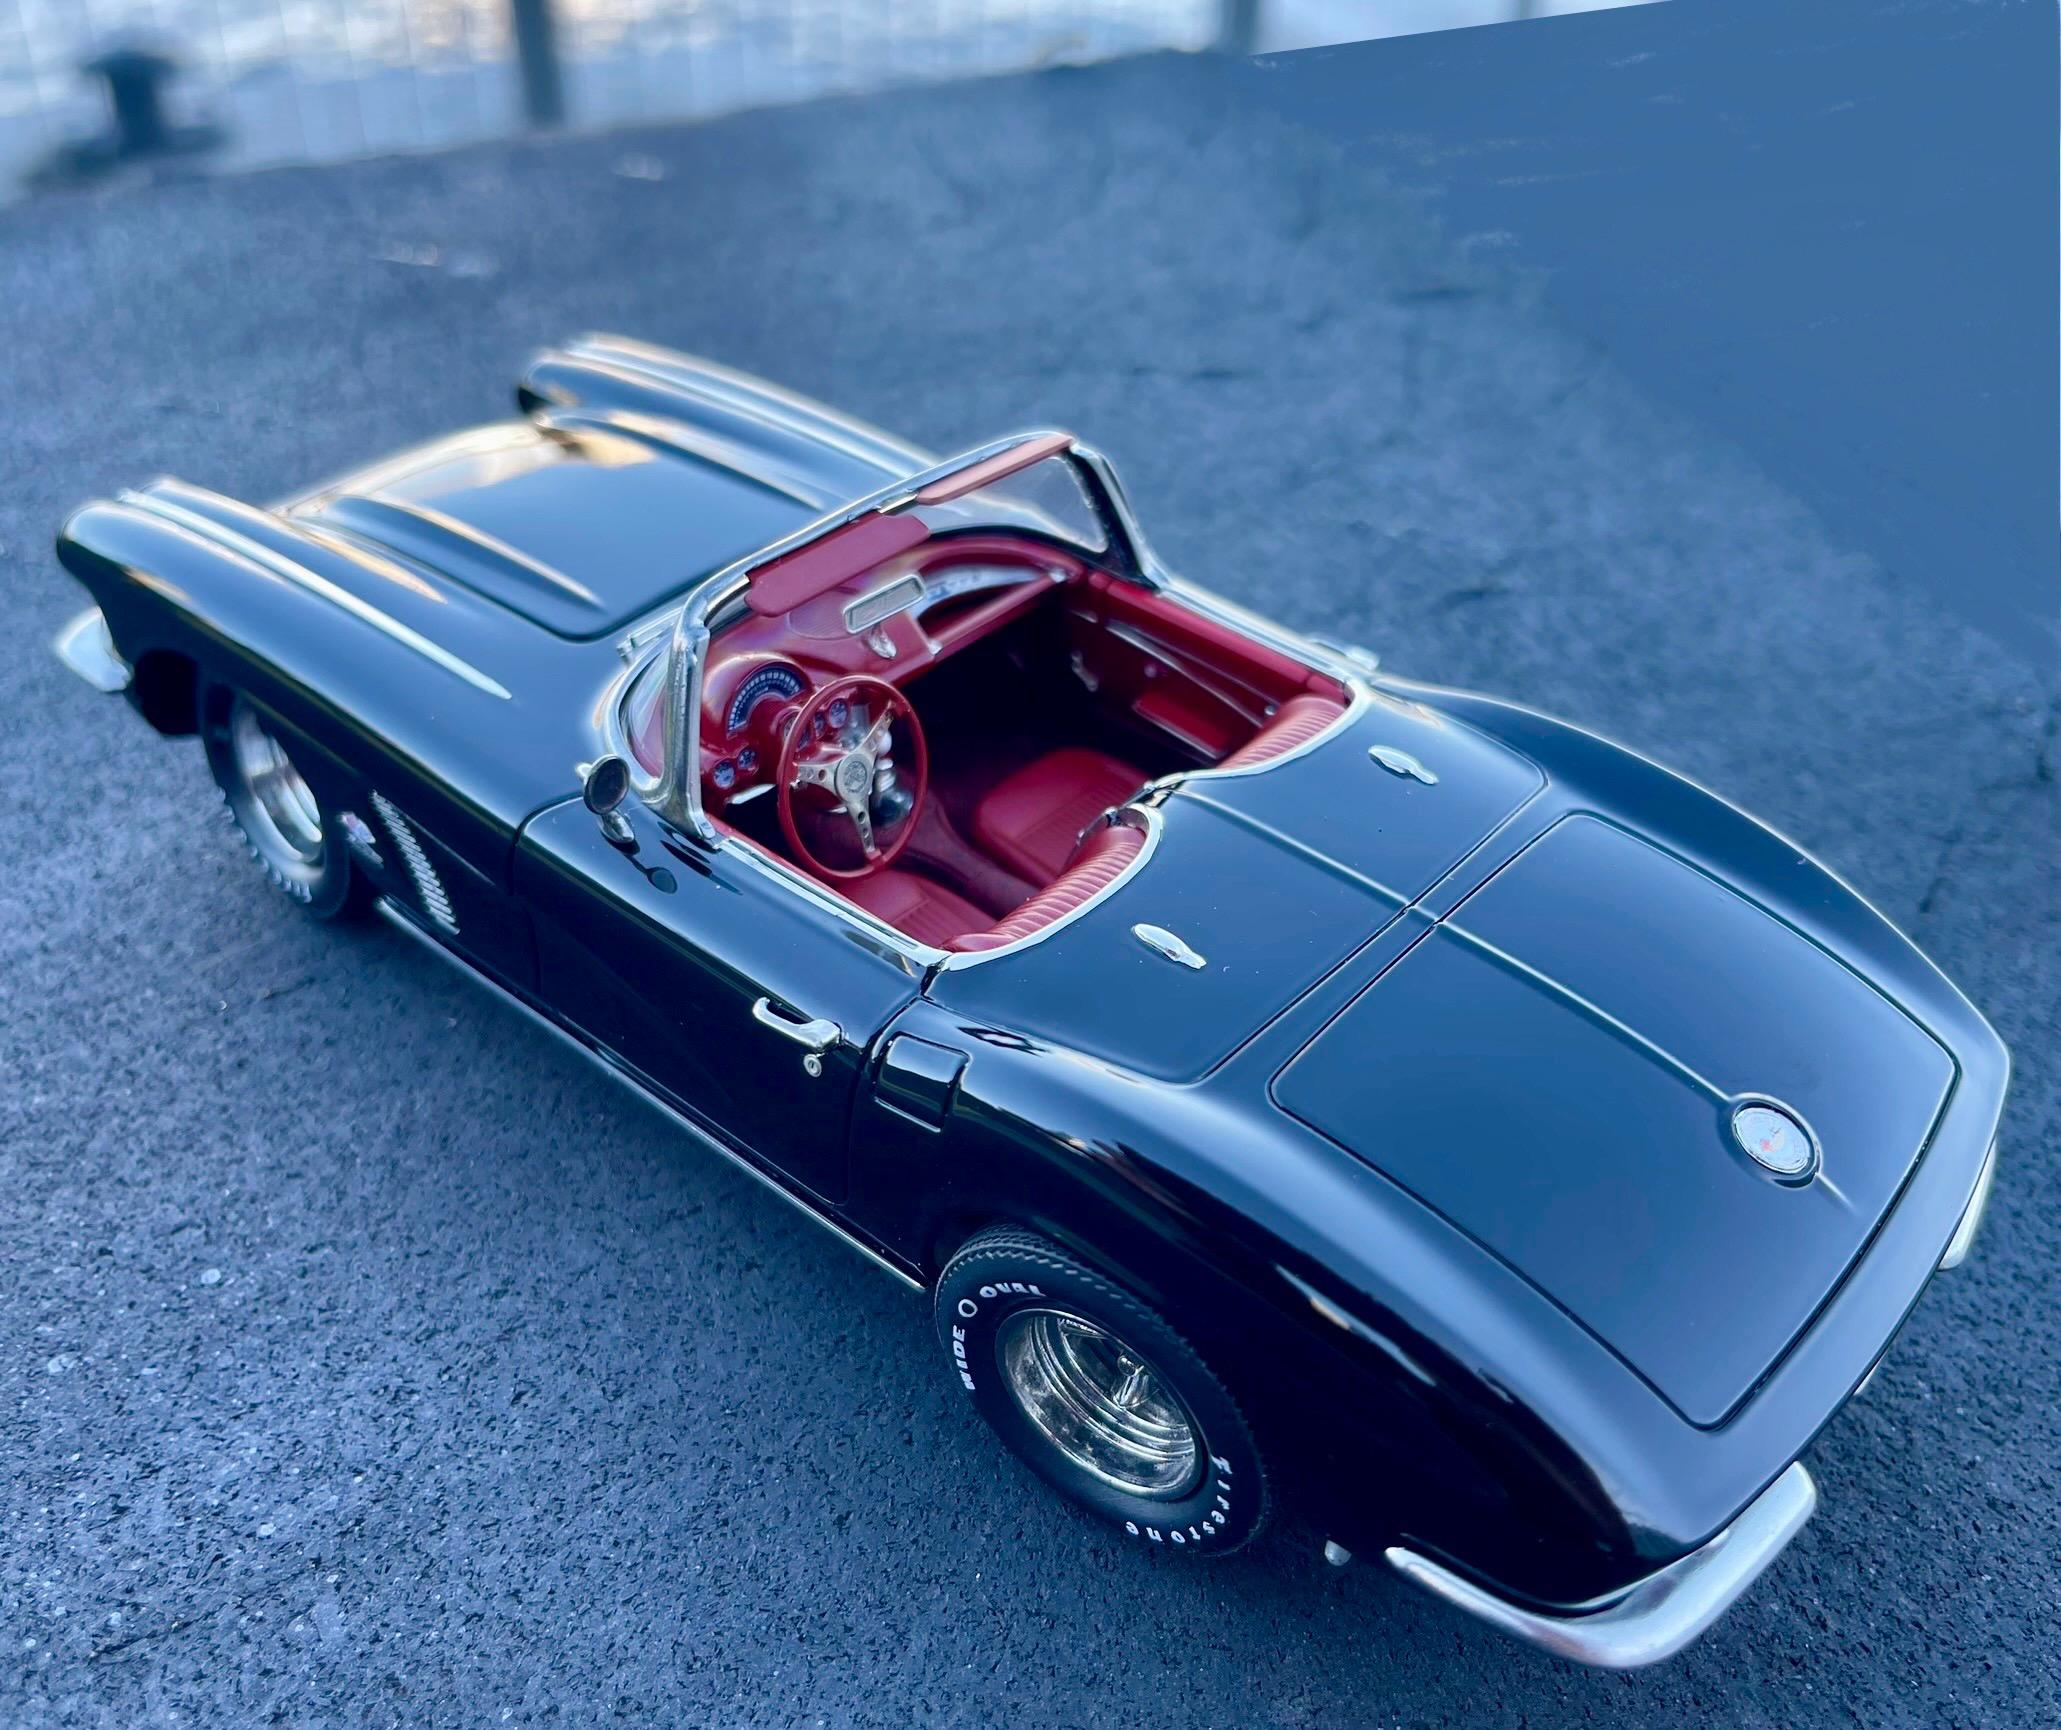
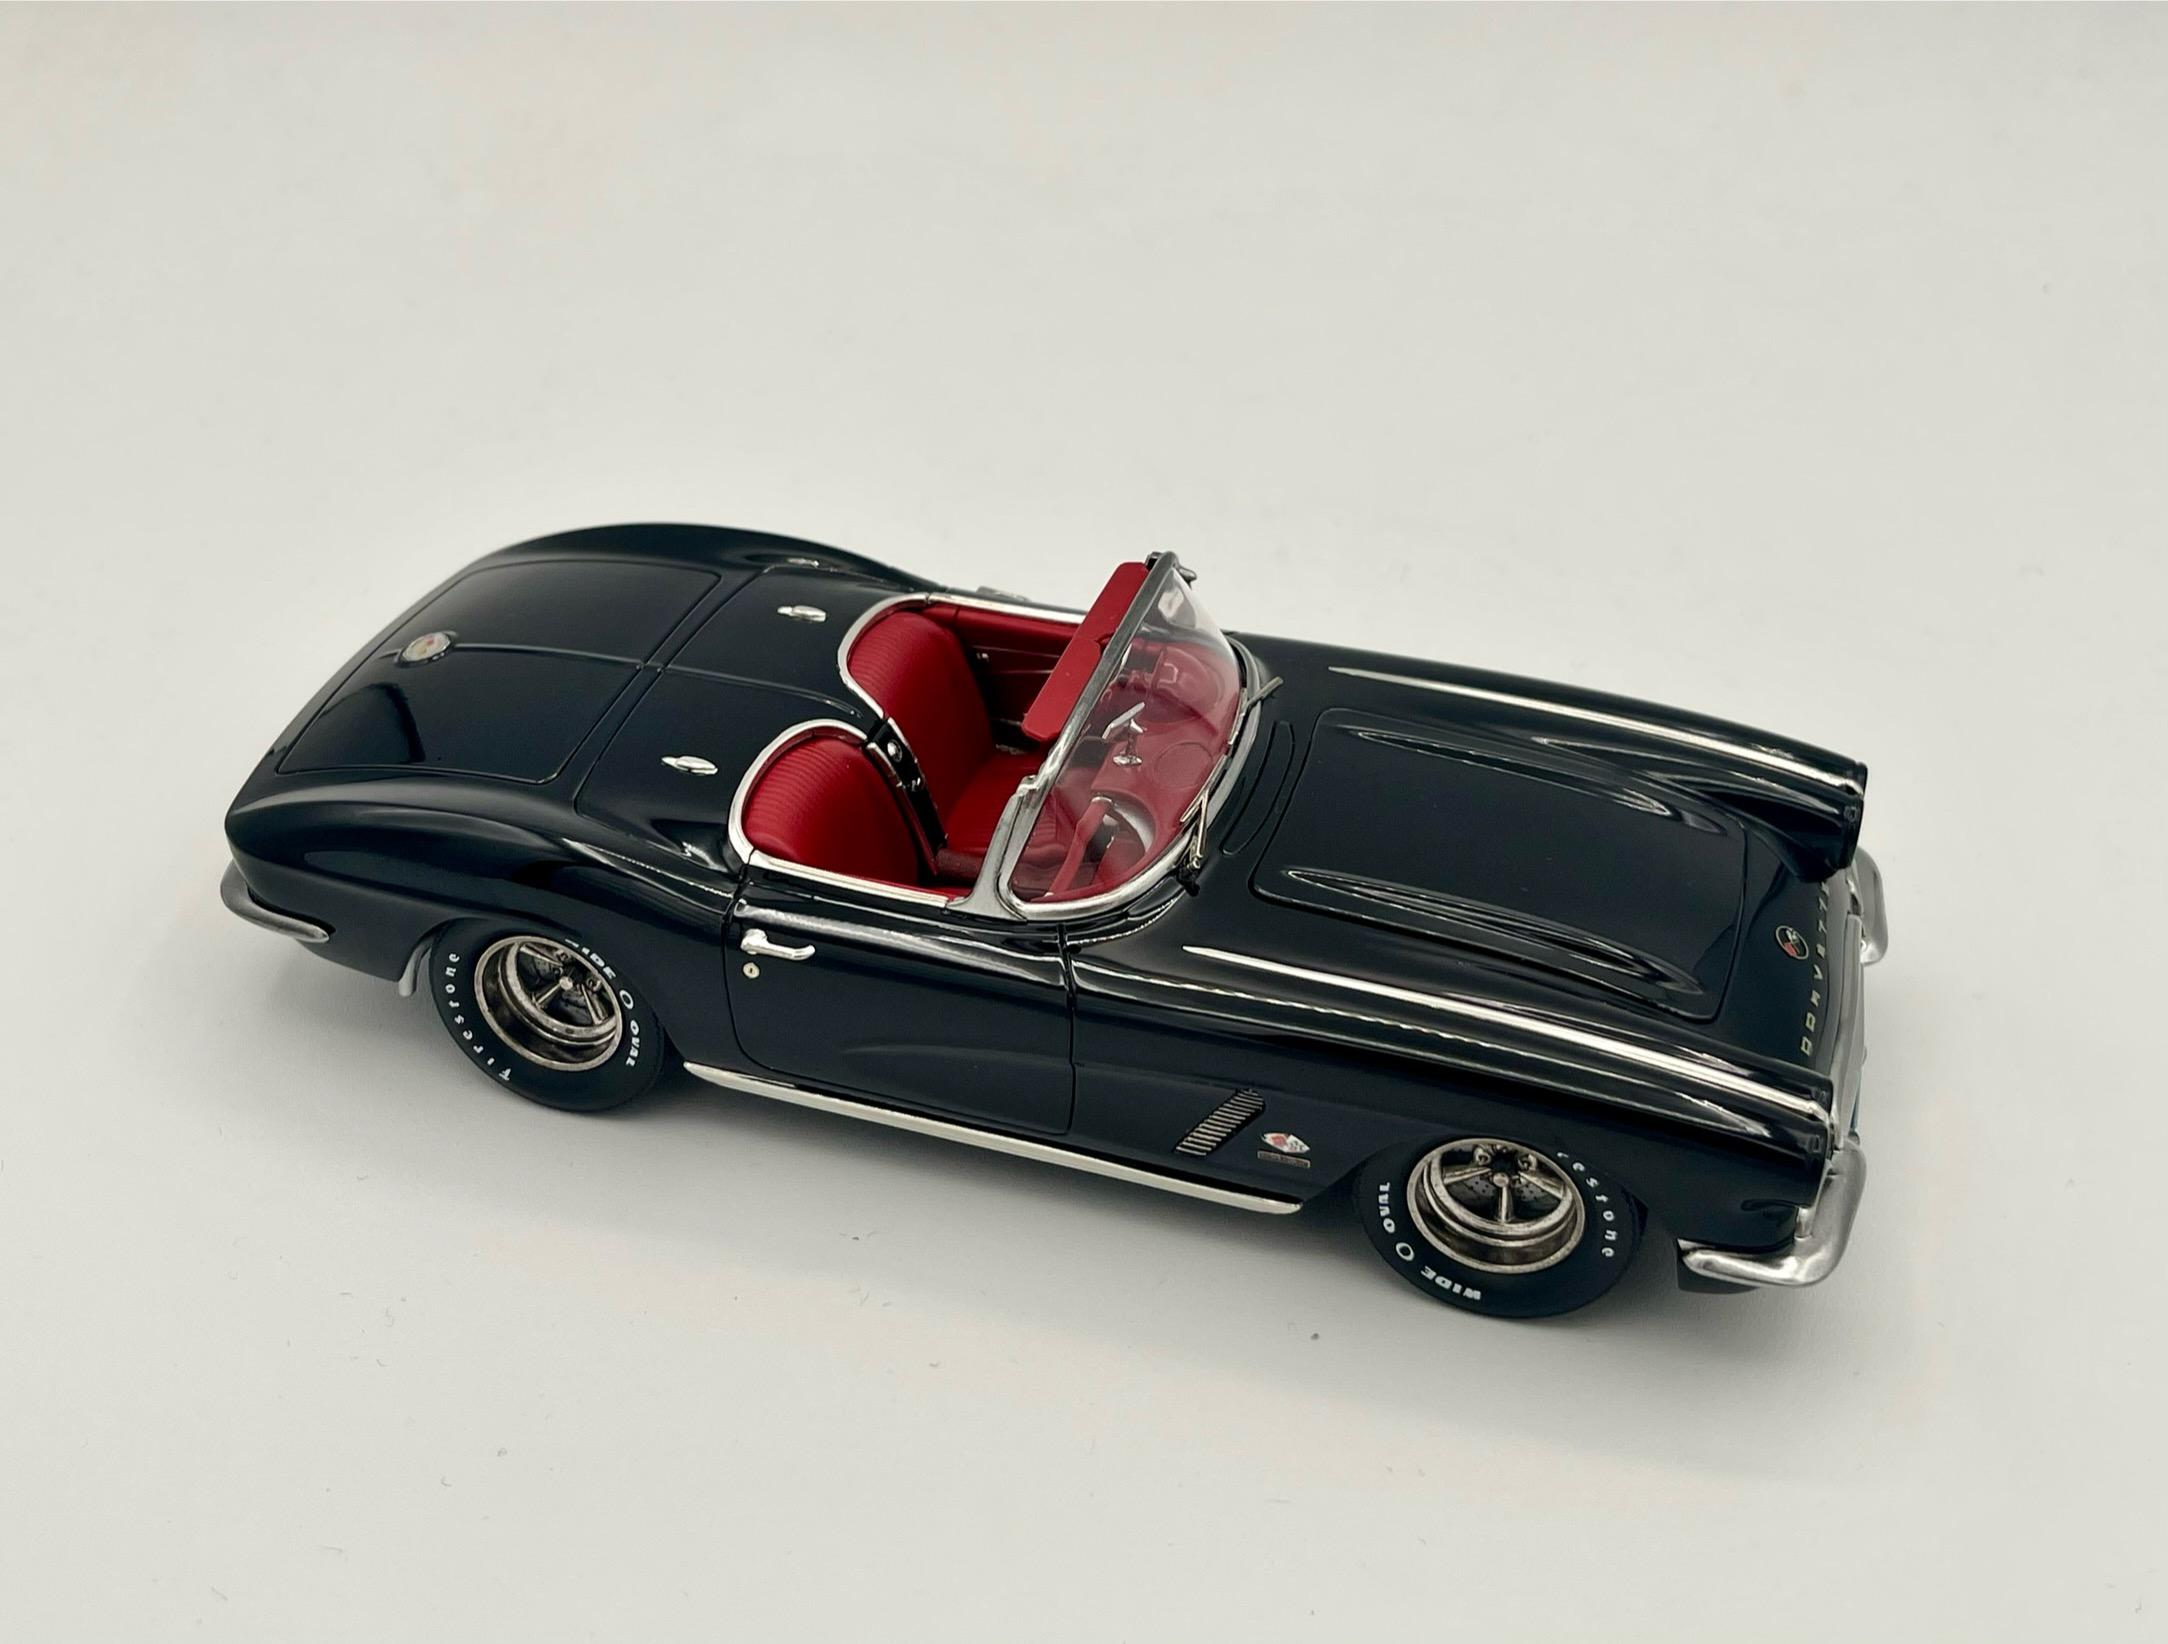
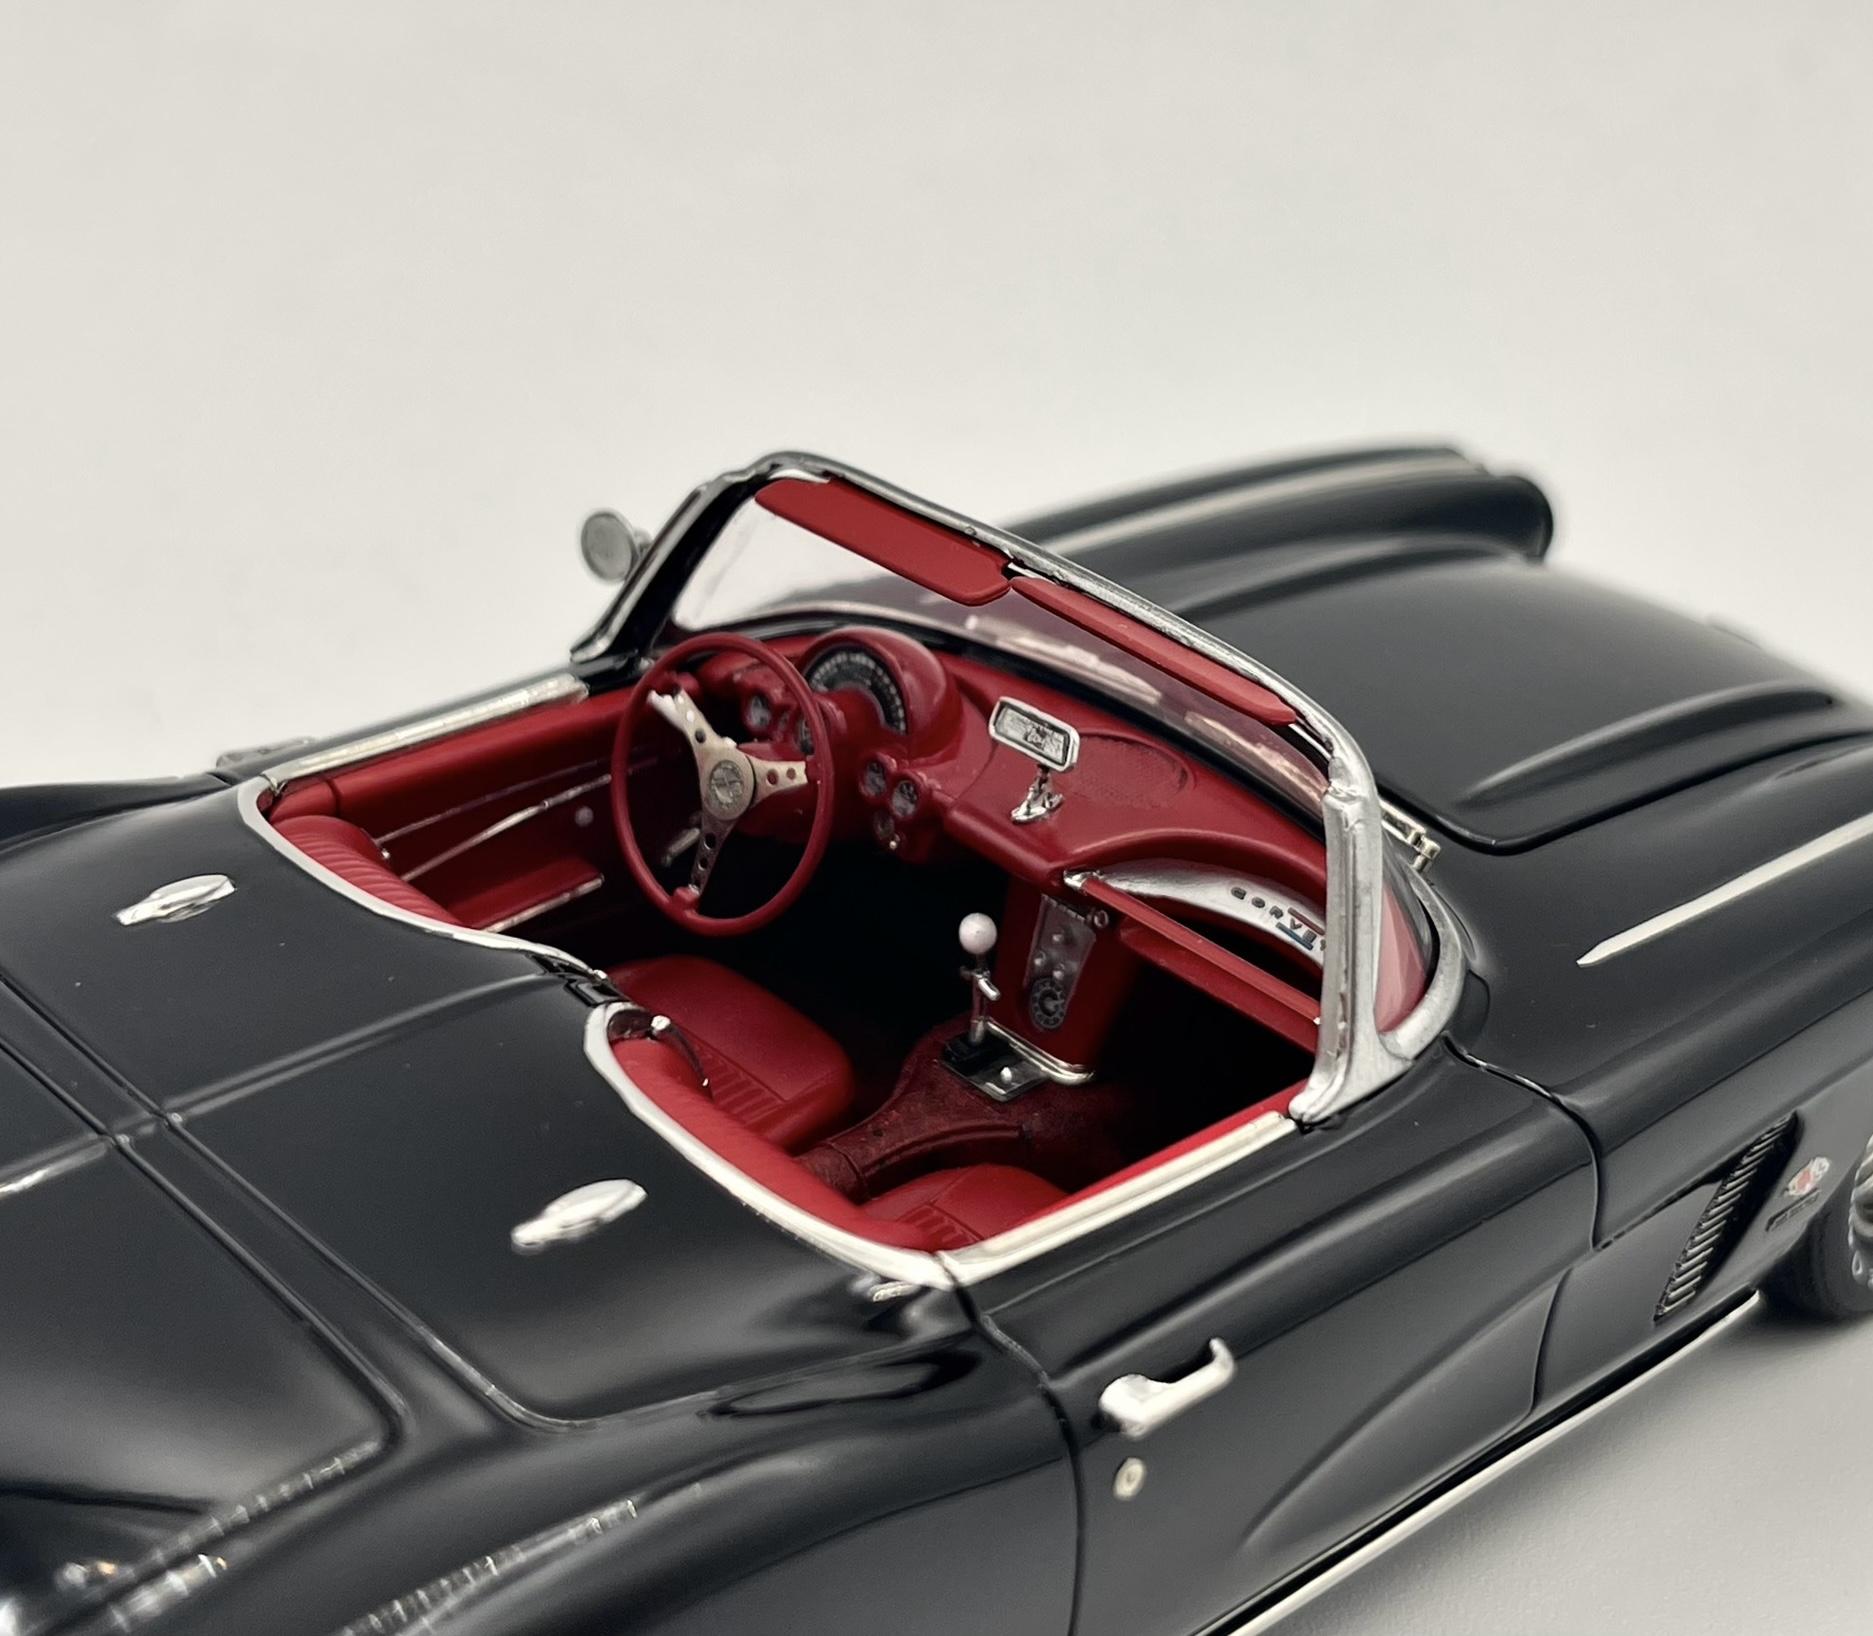
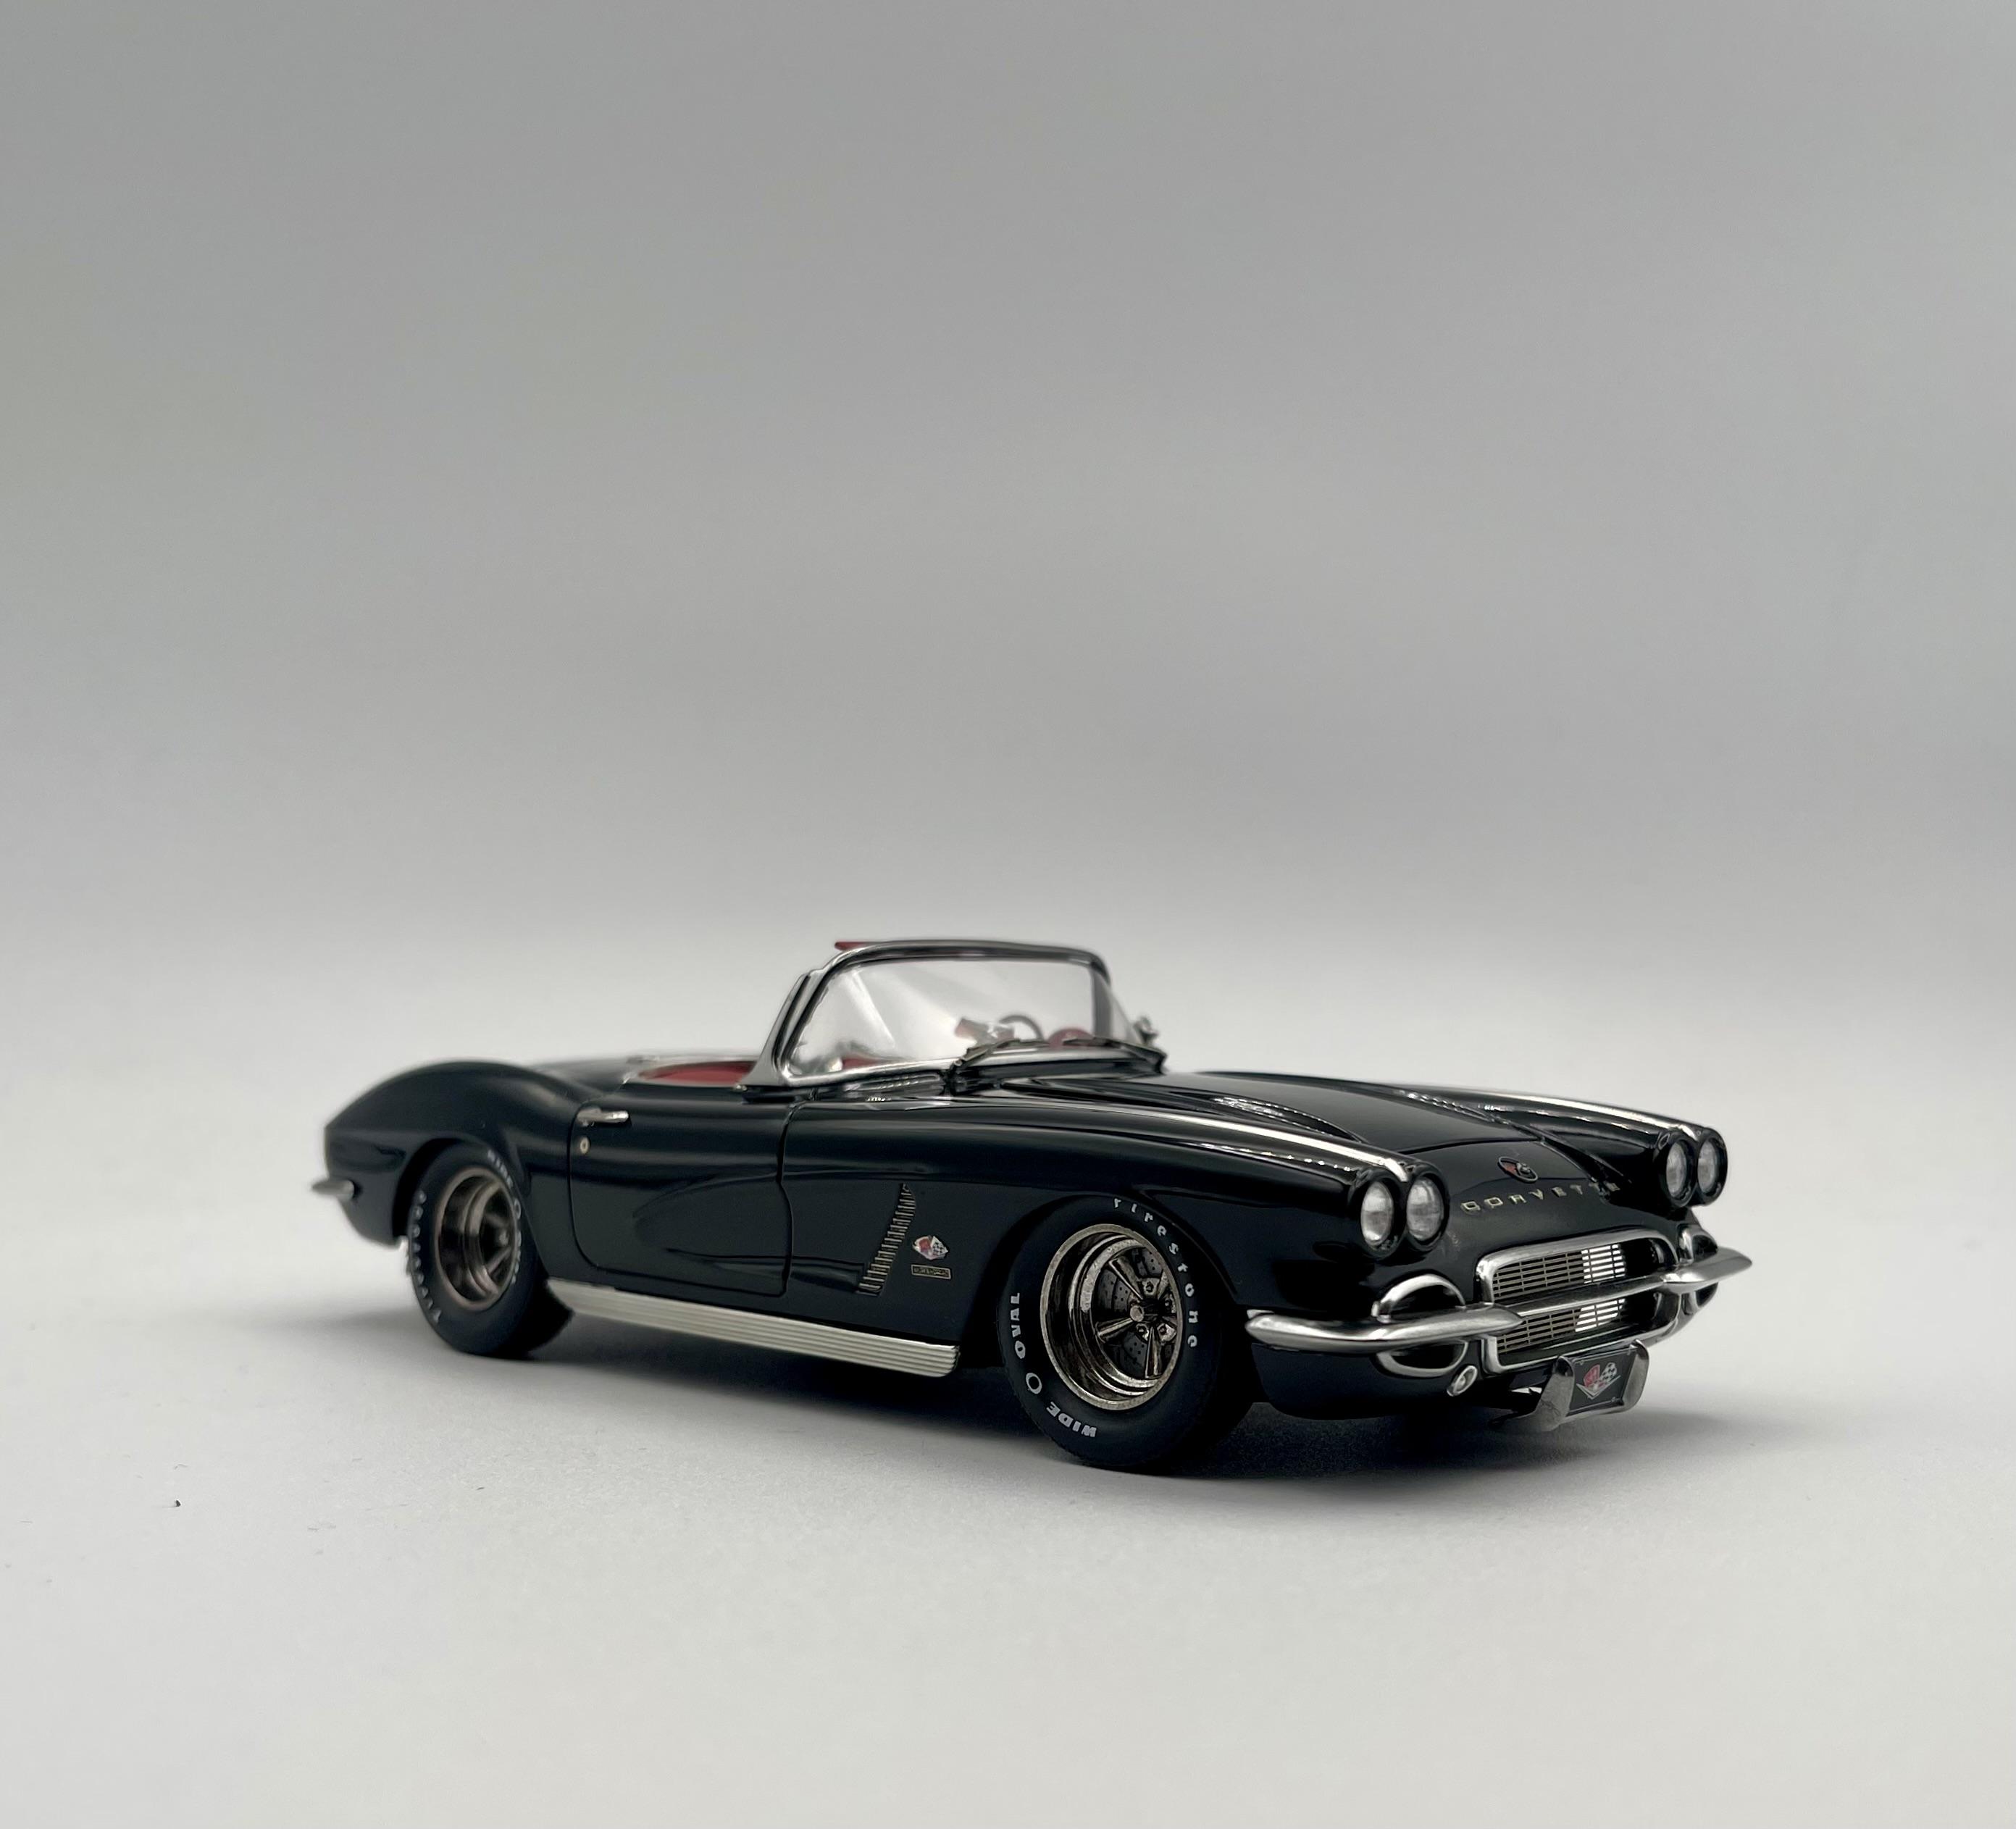
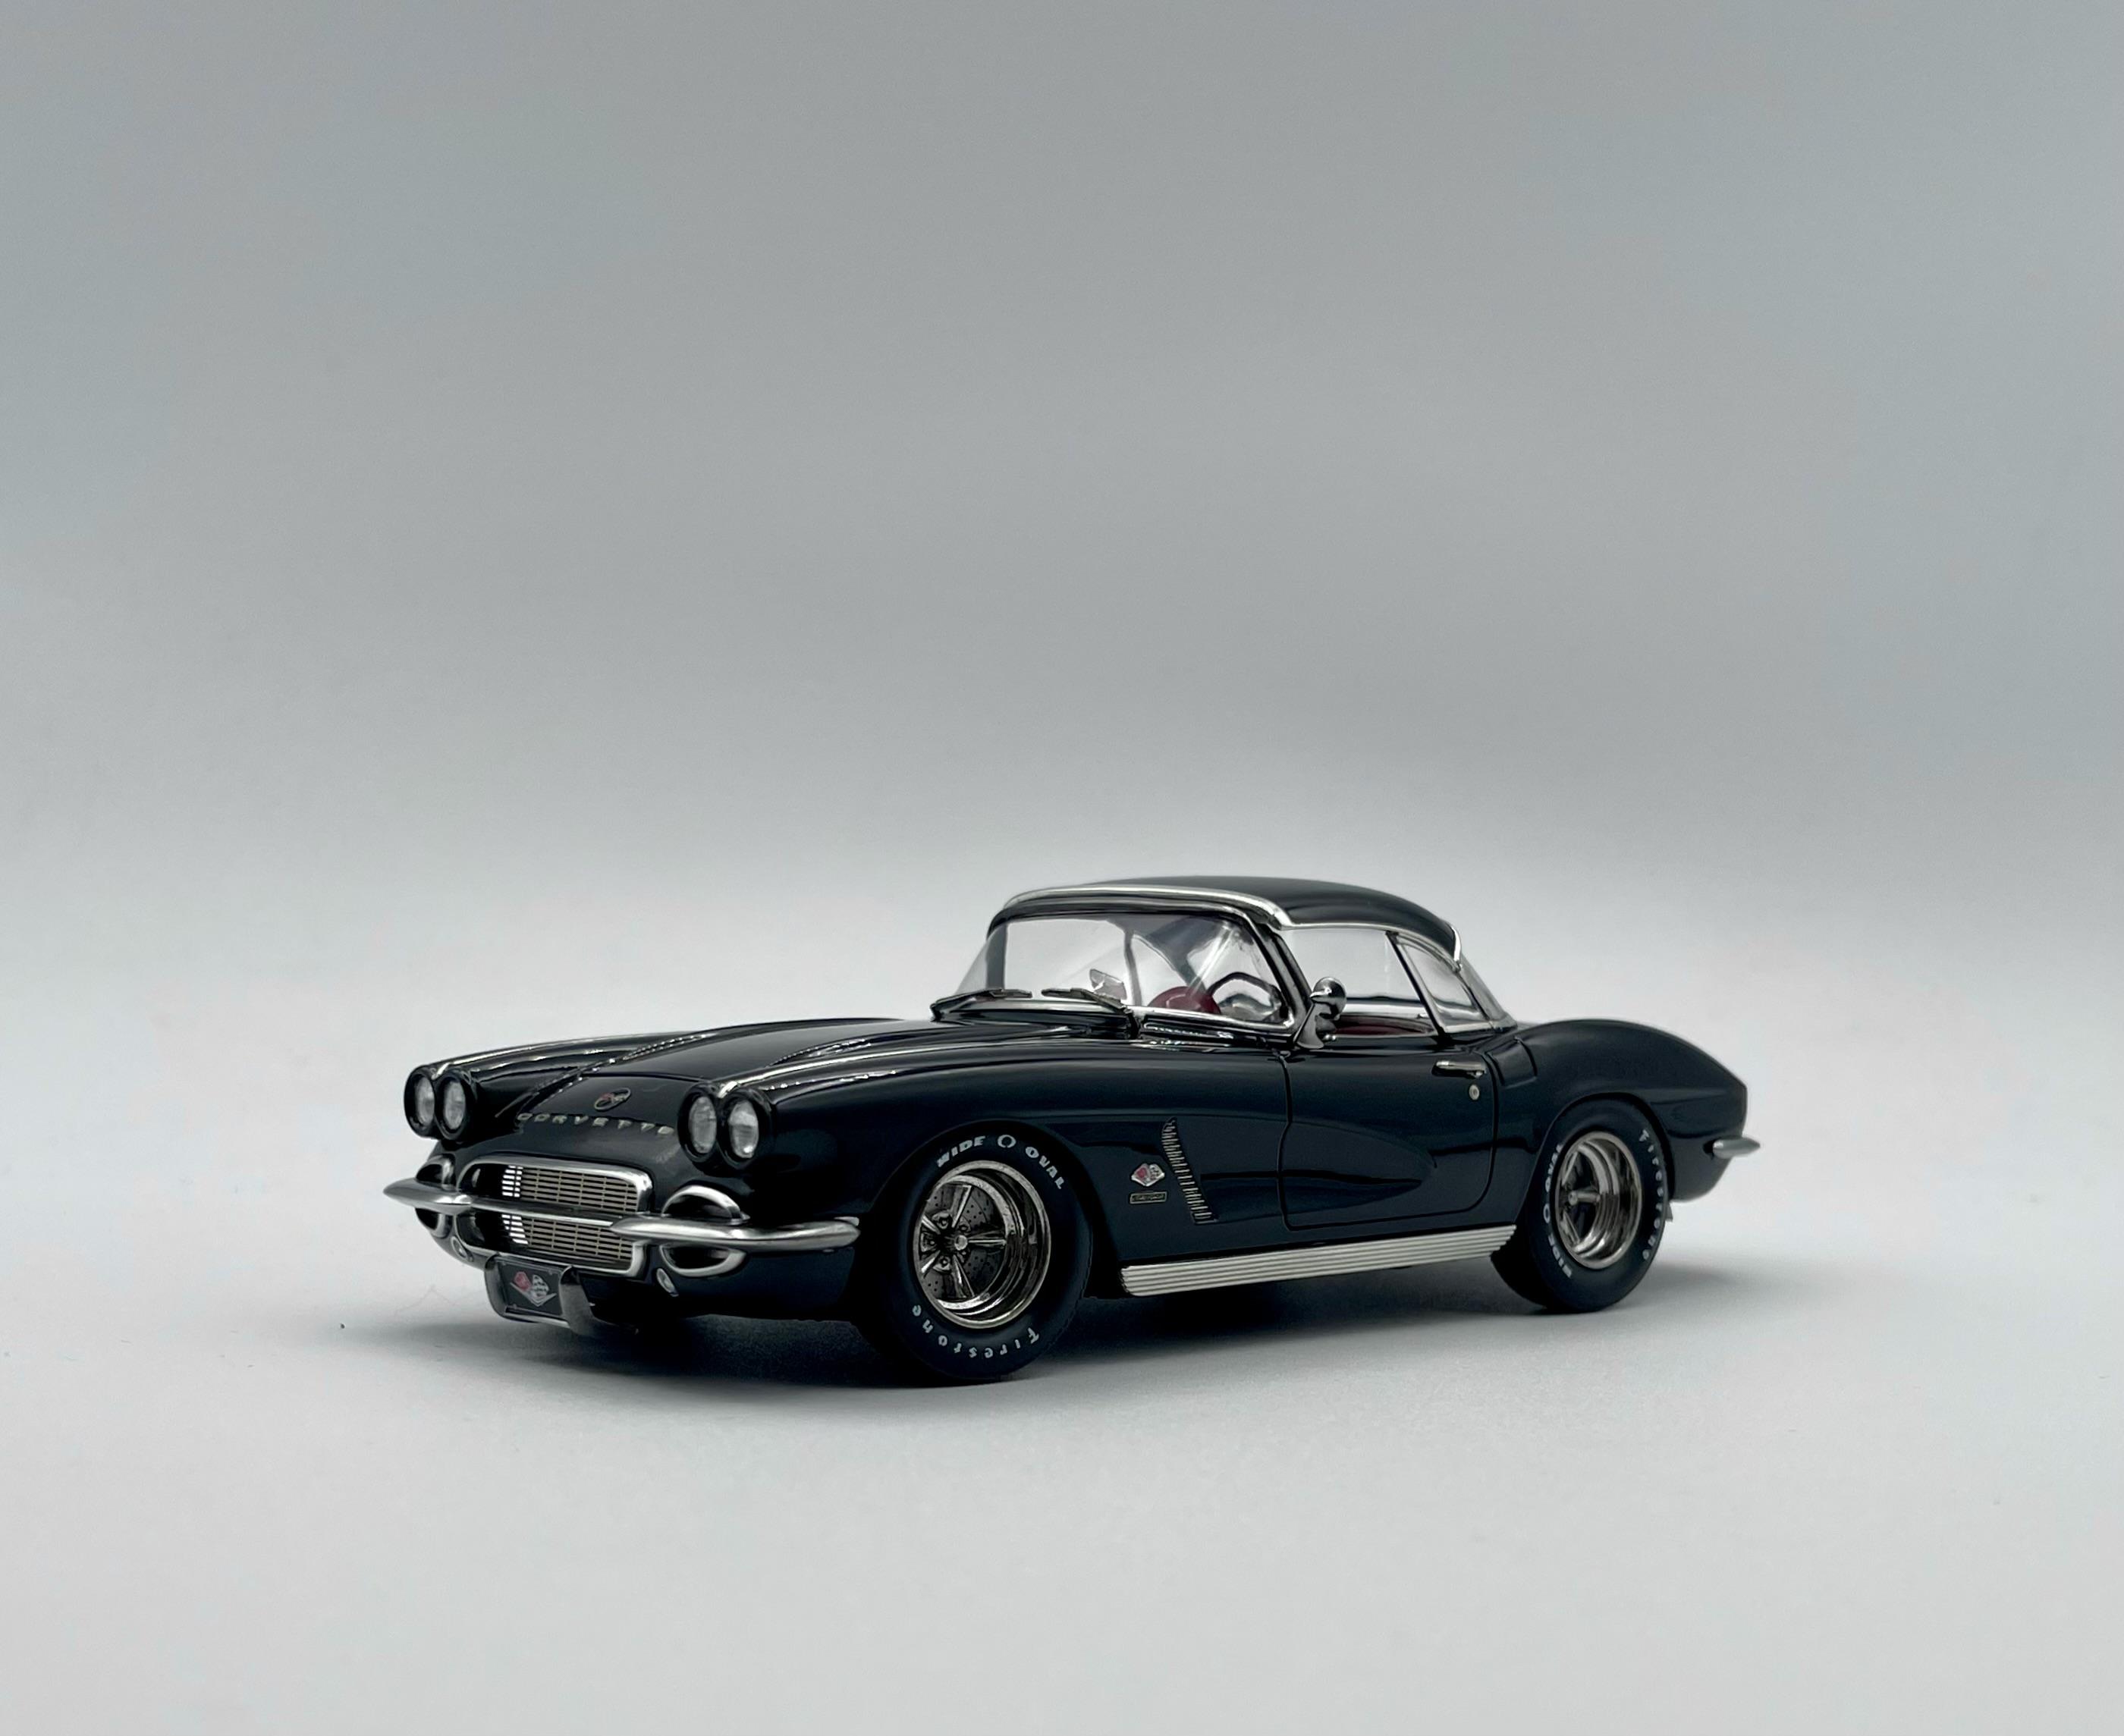
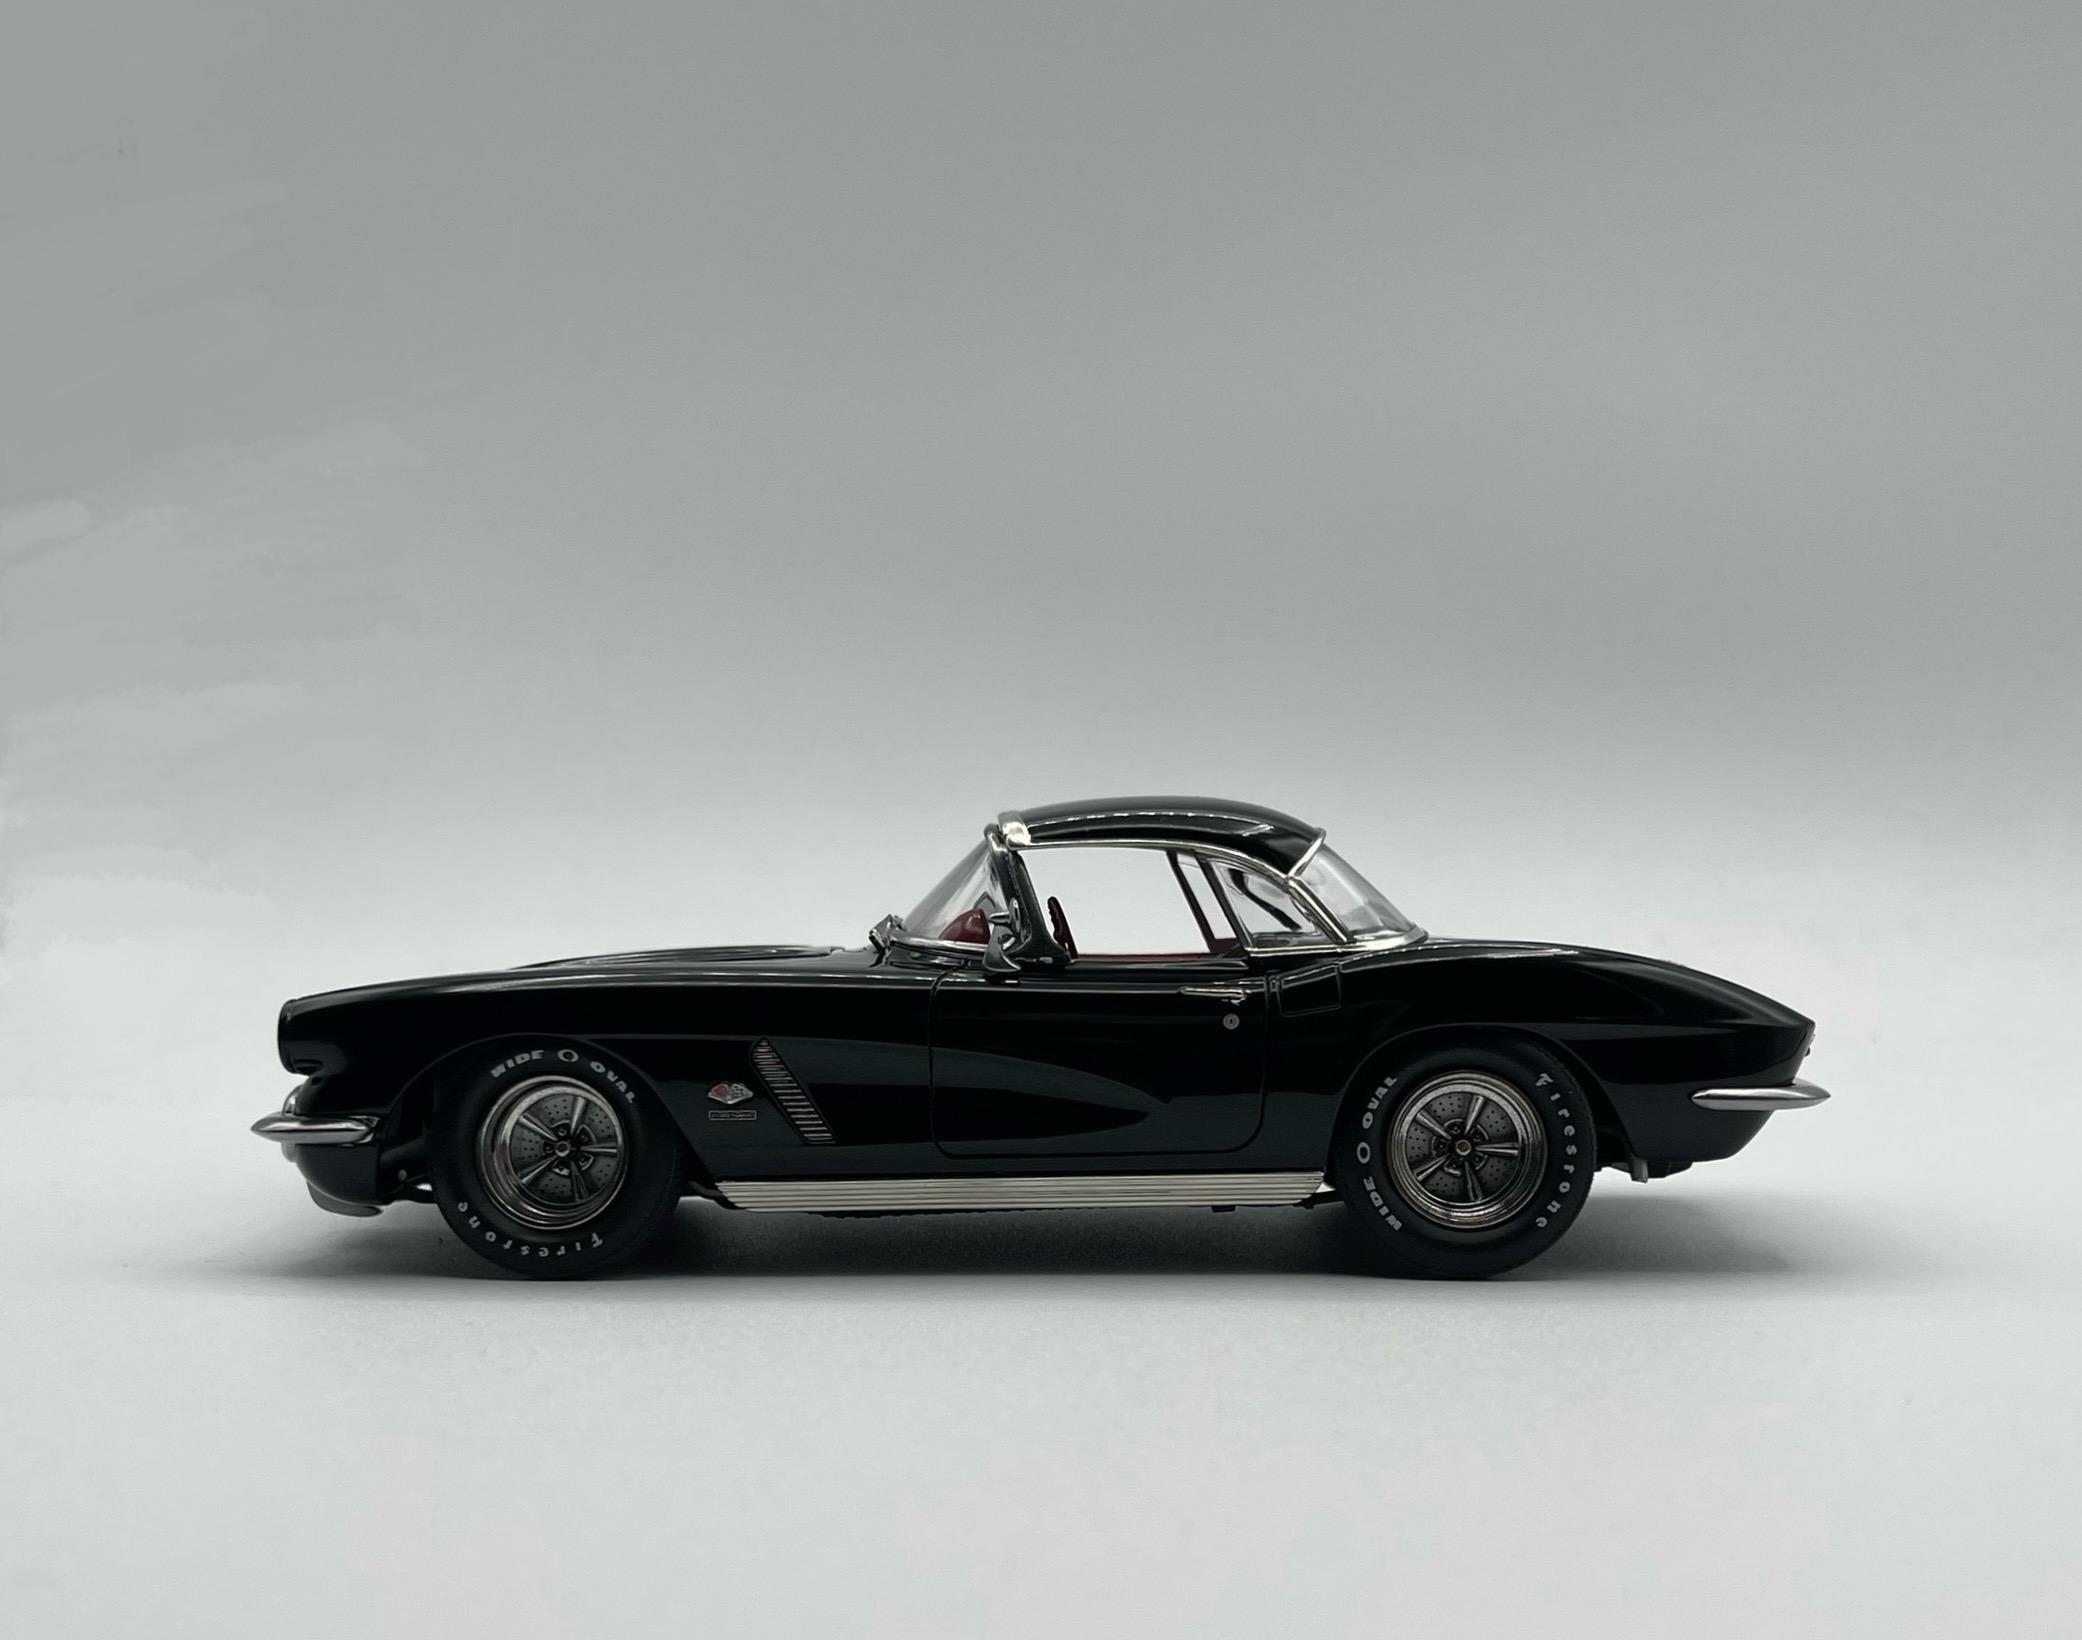
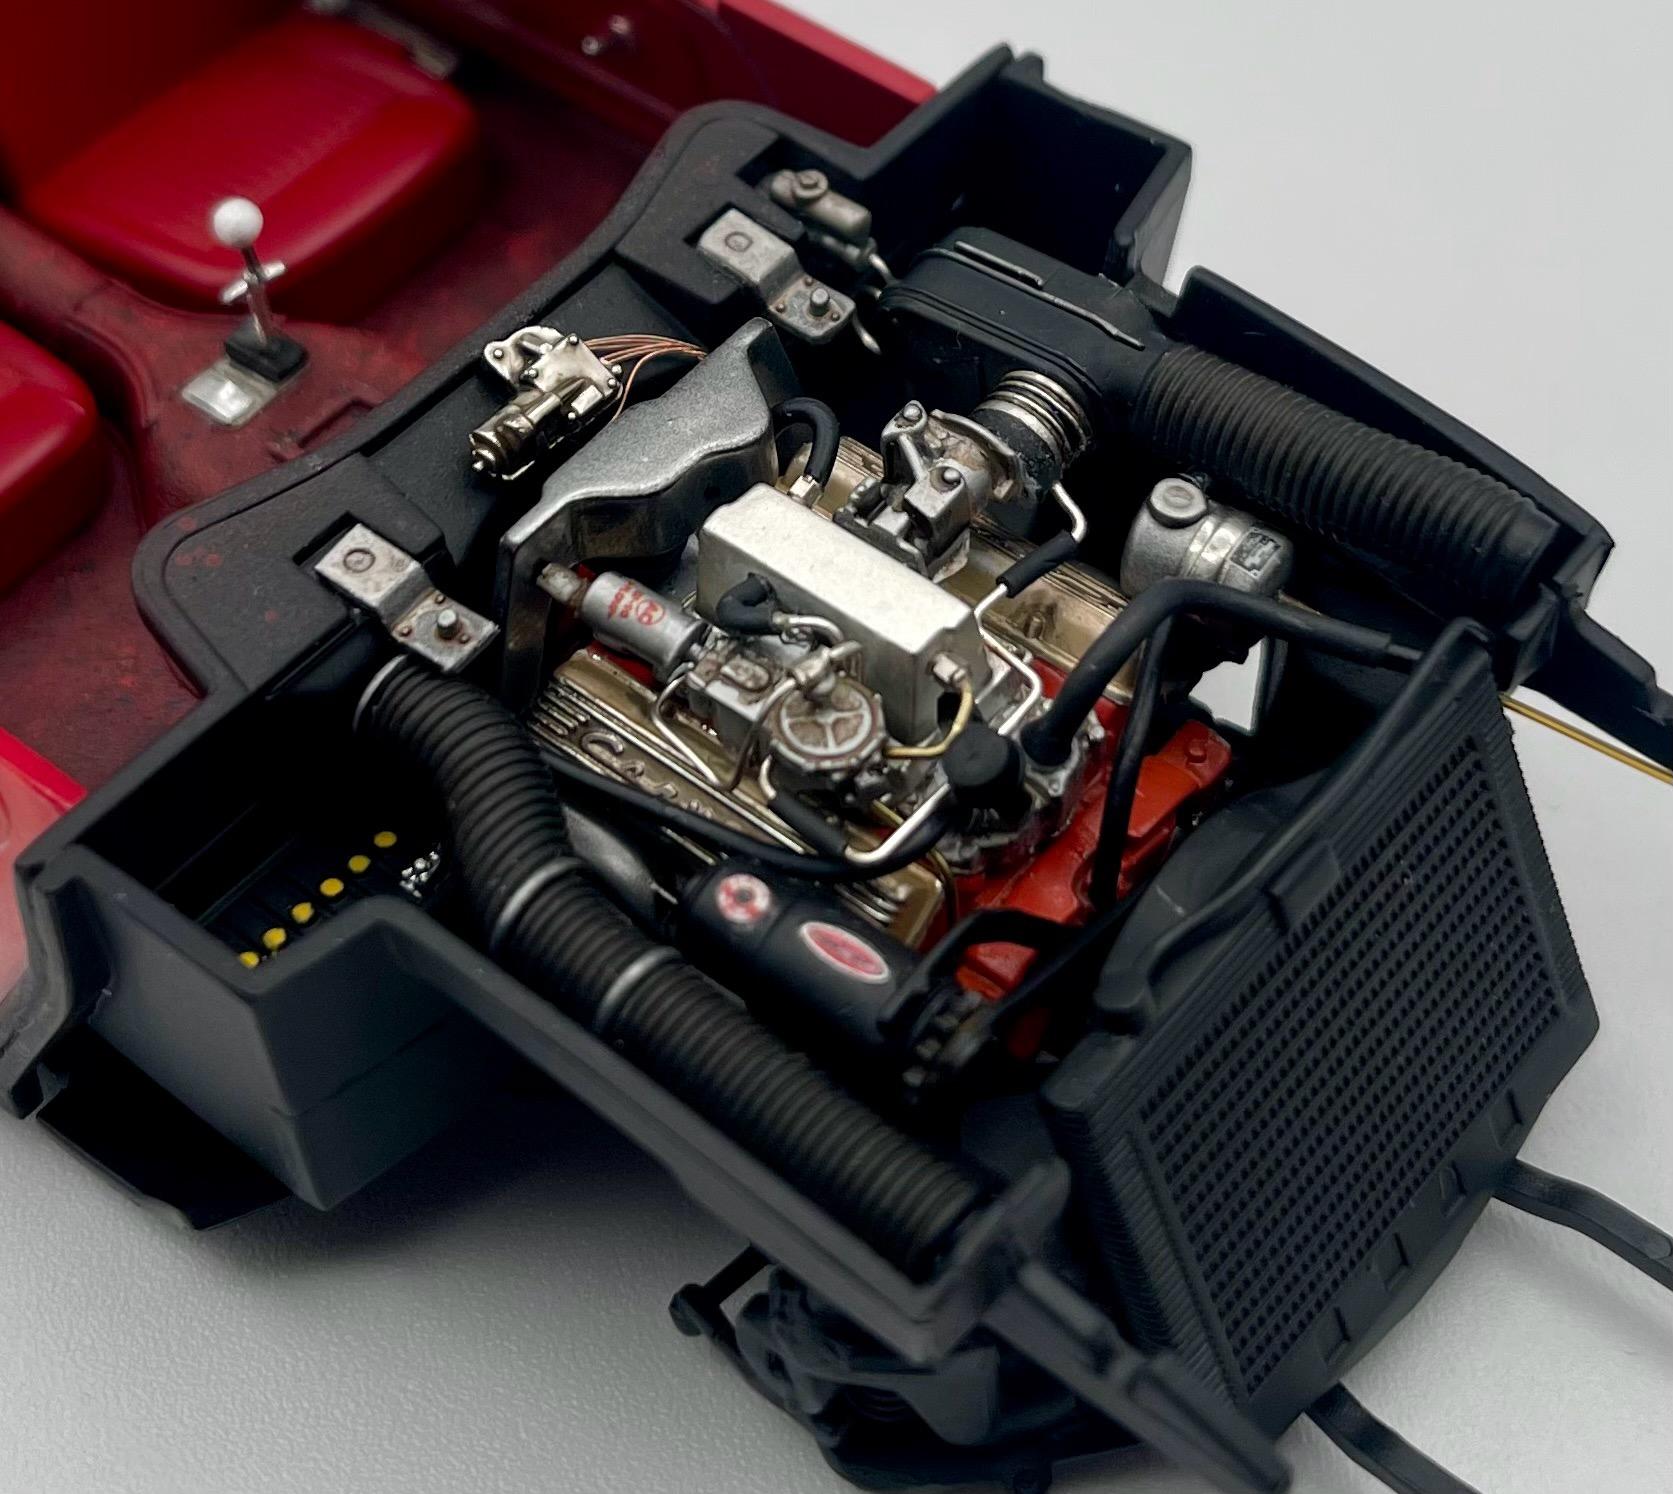
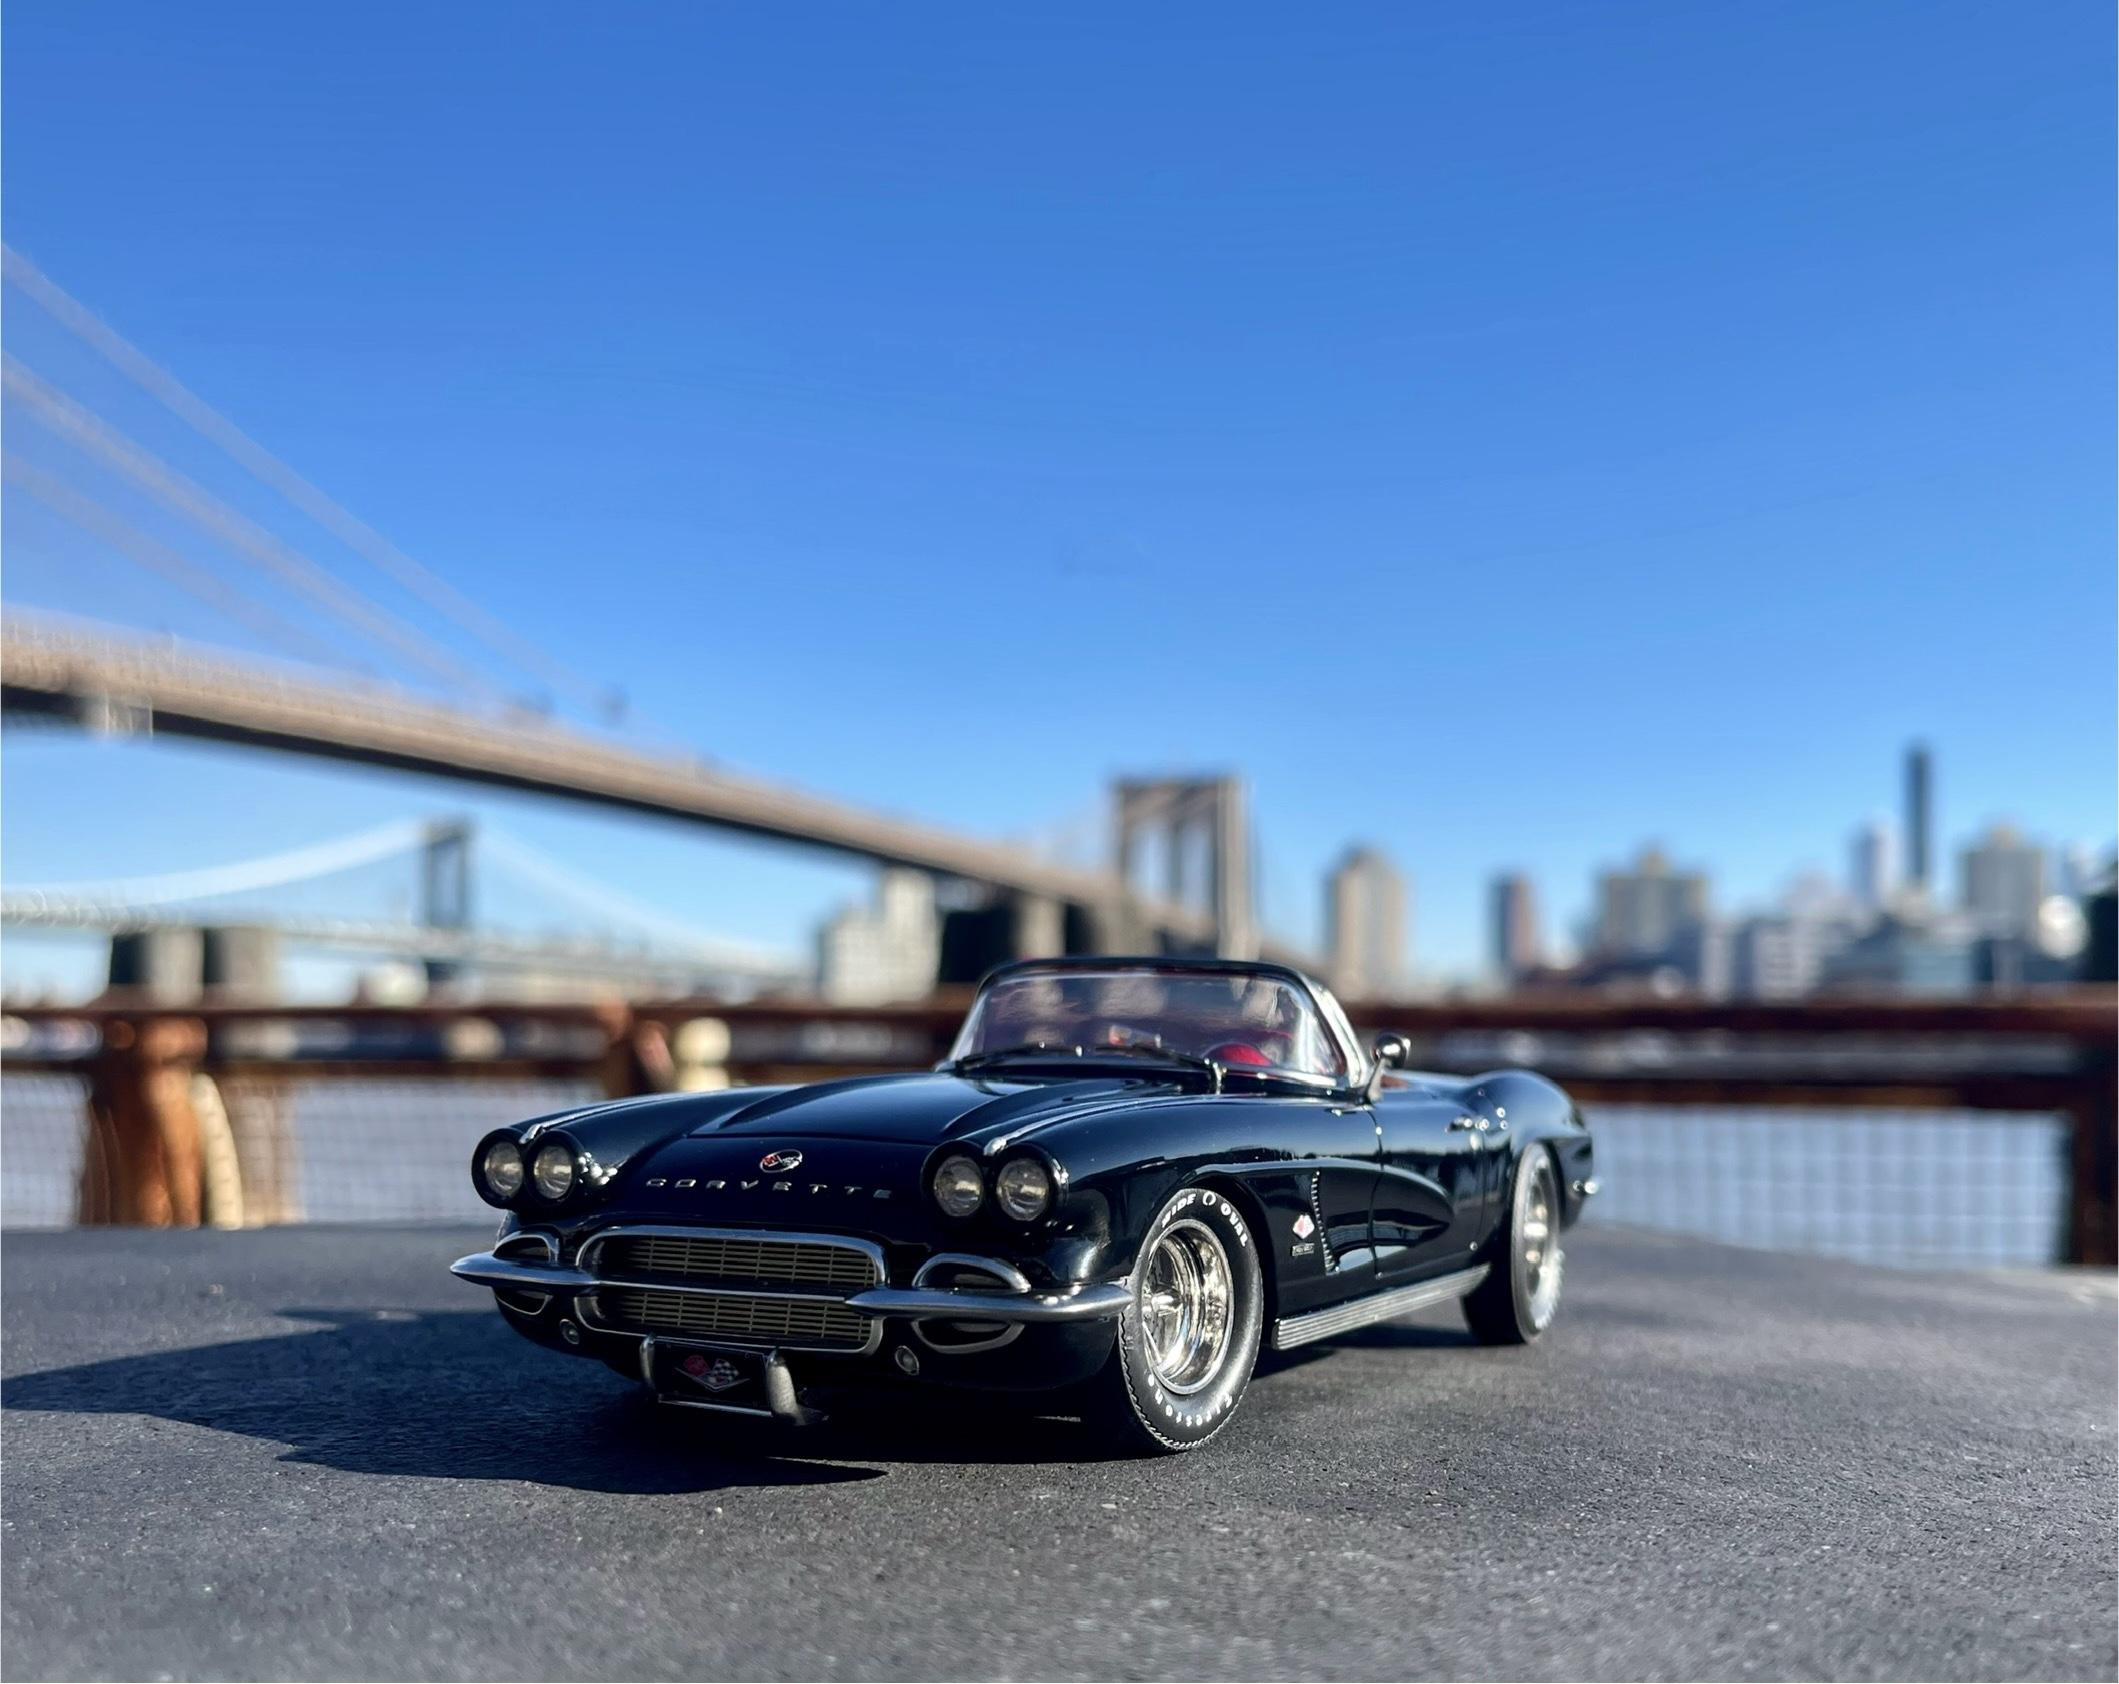
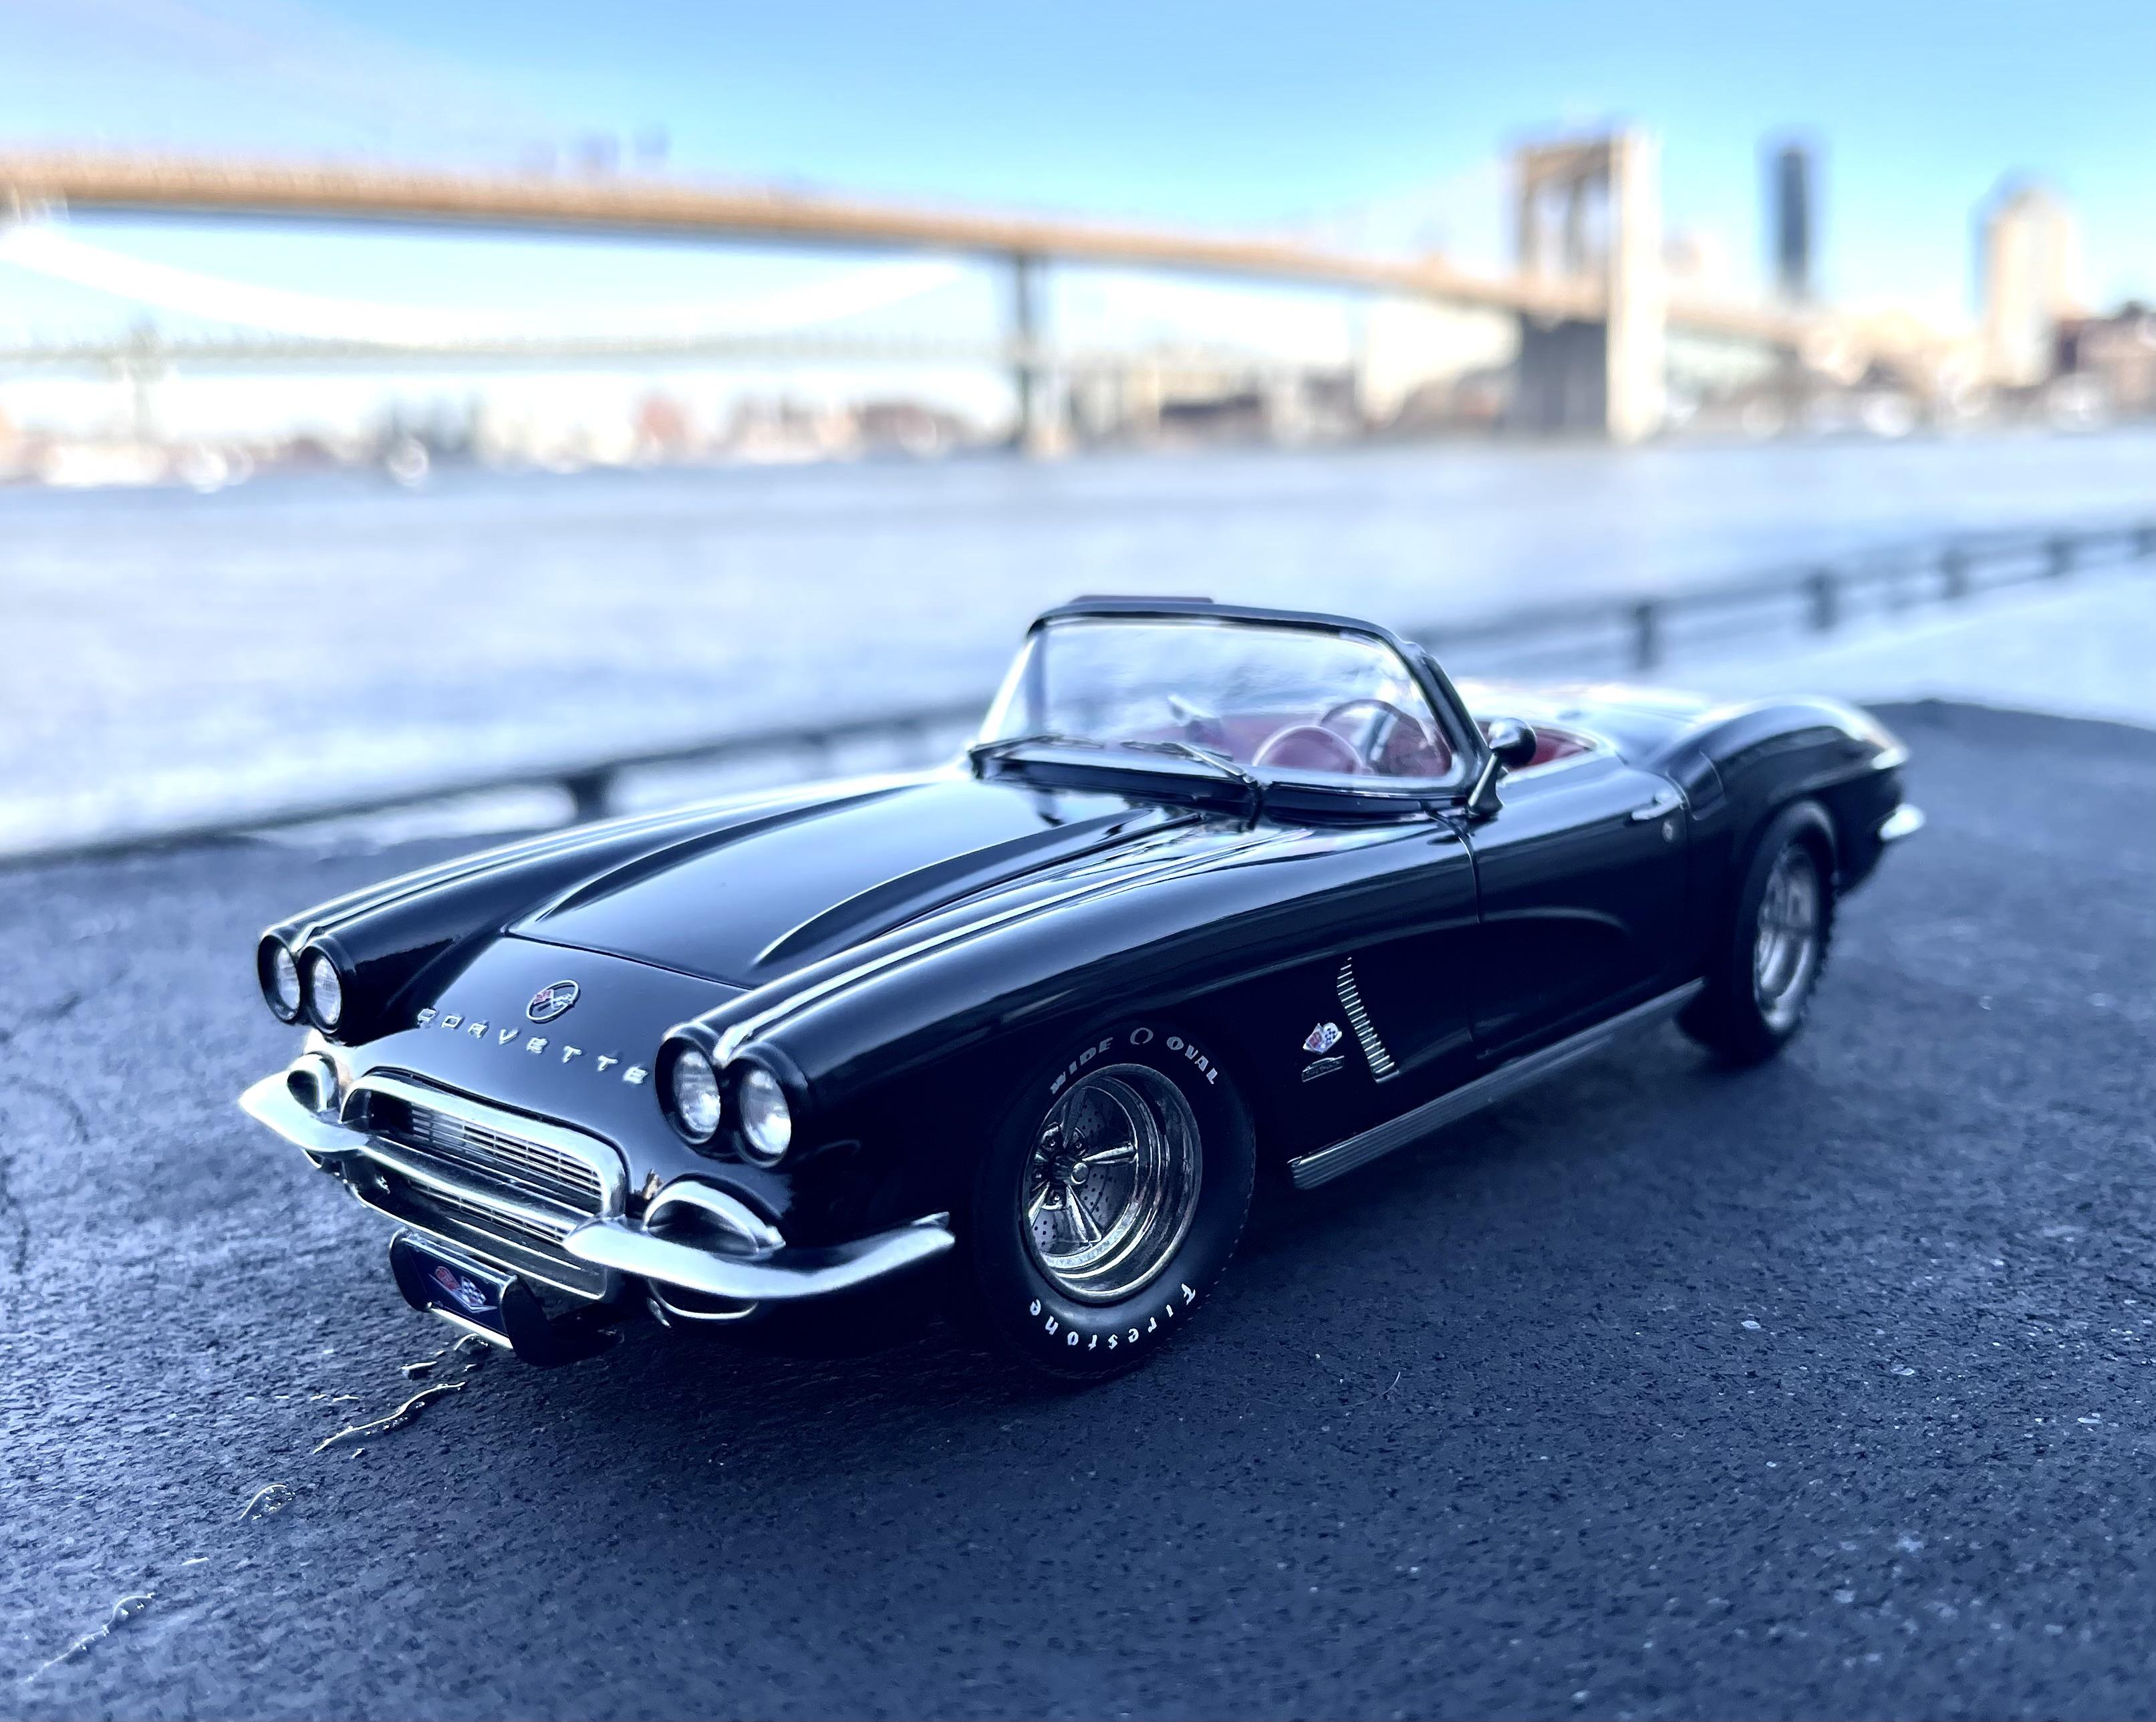
The exterior paint is Alclad gloss black base under Mr Super Clear UV Cut gloss. Interior is Ferrari Anny Red by splash paints with some matte, semi, and gloss clear coats. Interior trim is BMF. I used some rivets for the dash knobs but they’re tough to see in the pics. I opened the front grill and chromed the bumpers and side mirror with Alclad. I added some side brackets to the windshield to give it better definition, before hitting that with Alclad as well. The rest of the chrome is BMF. The grill, emblems and some interior detail come from the model car garage photo etch set. The tail lights were scratch built with polished aluminum tubing and clear plastic. It’s hard to see, but I also had to scratch a better steering wheel attachment point and graft the Speedometer dome to the dash, since on the 1:1 it comes in one piece (the dash, steering wheel, and windshield looked really toyish to me without some big adjustments). The front and rear suspension had to be shortened and lowered significantly to fit the wheels (I think they’re from Pegasus). I attached them with white glue as I may end up changing them out at some point. I found the hard top pieces on eBay. And I think that’s about it! Gonna take a crack at a ‘67 Camaro next 🤘🏽
-
Finally got my first build of ‘24 finished and photographed. It’s the Revell ‘62 Corvette - an awesome kit. I needed to make a few big mods, but I tried to keep it as close to box stock as possible. Wish I had better outdoor pics but it’s been freeeeeezing cold in nyc, especially down by the river. Anyway, thanks for looking! Build notes down below.
- 45 replies
-
- 12
-