dsummone
-
Posts
241 -
Joined
-
Last visited
dsummone's Achievements
MCM Friend (4/6)
-
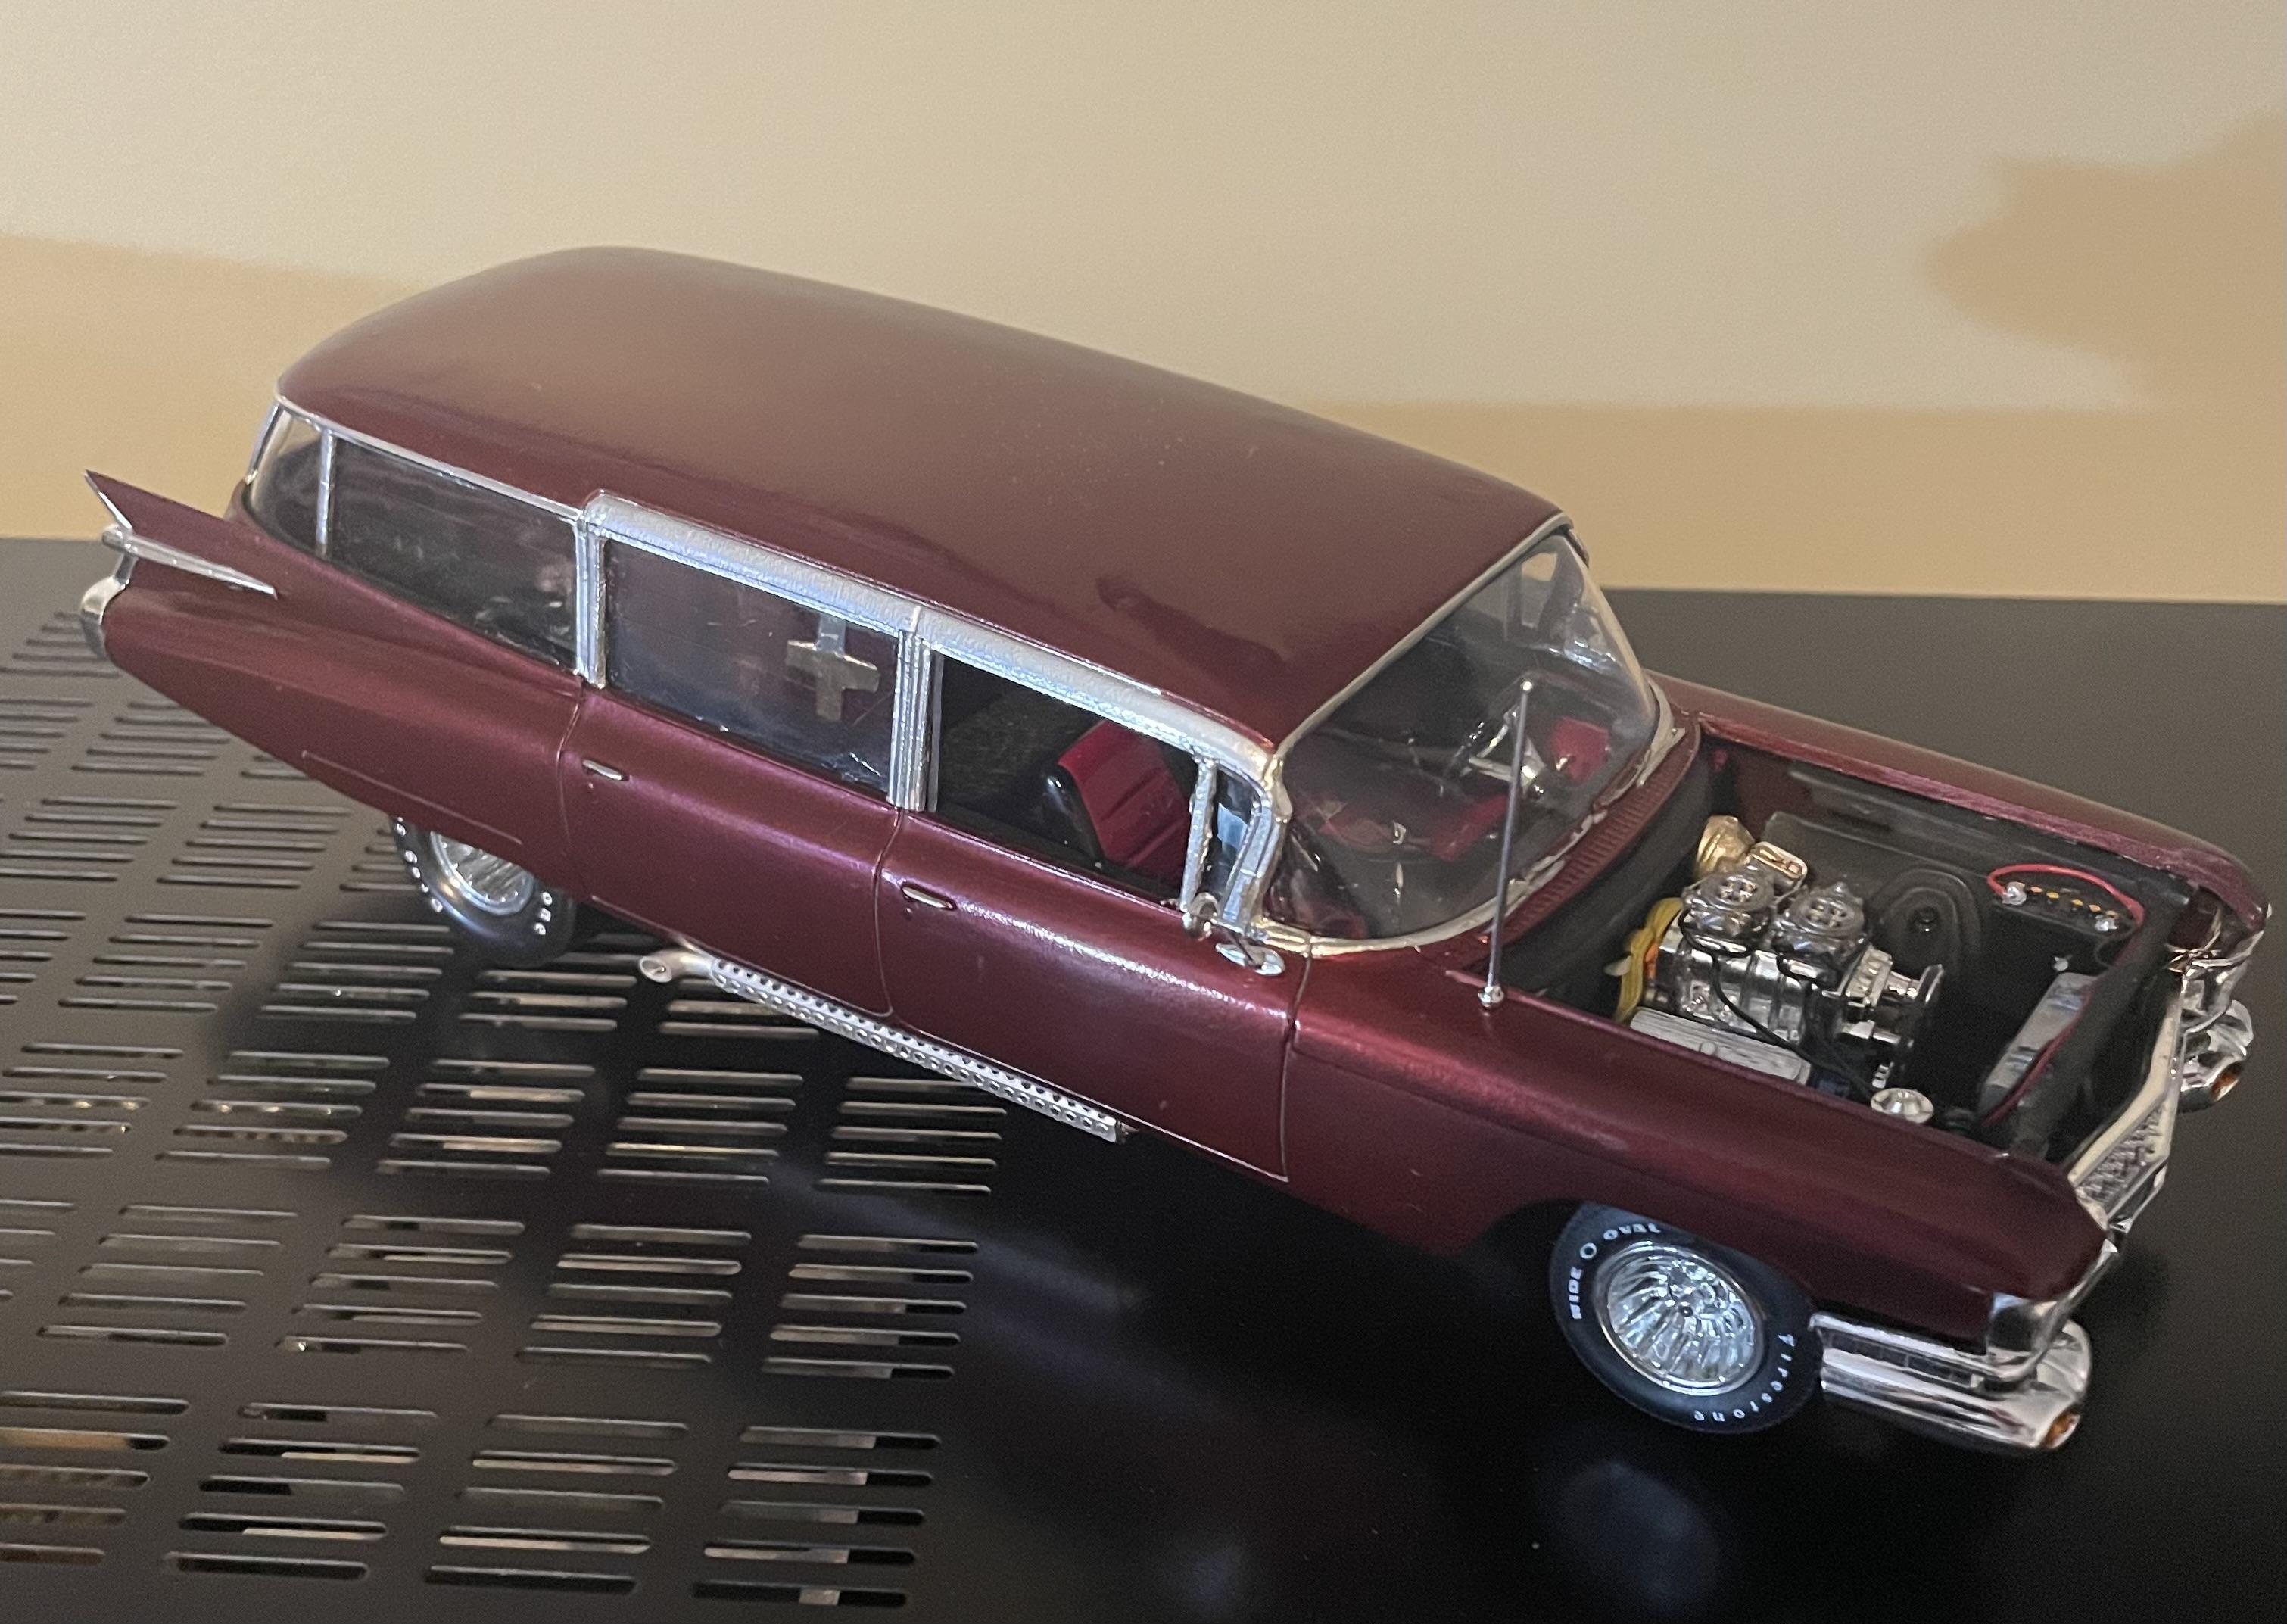
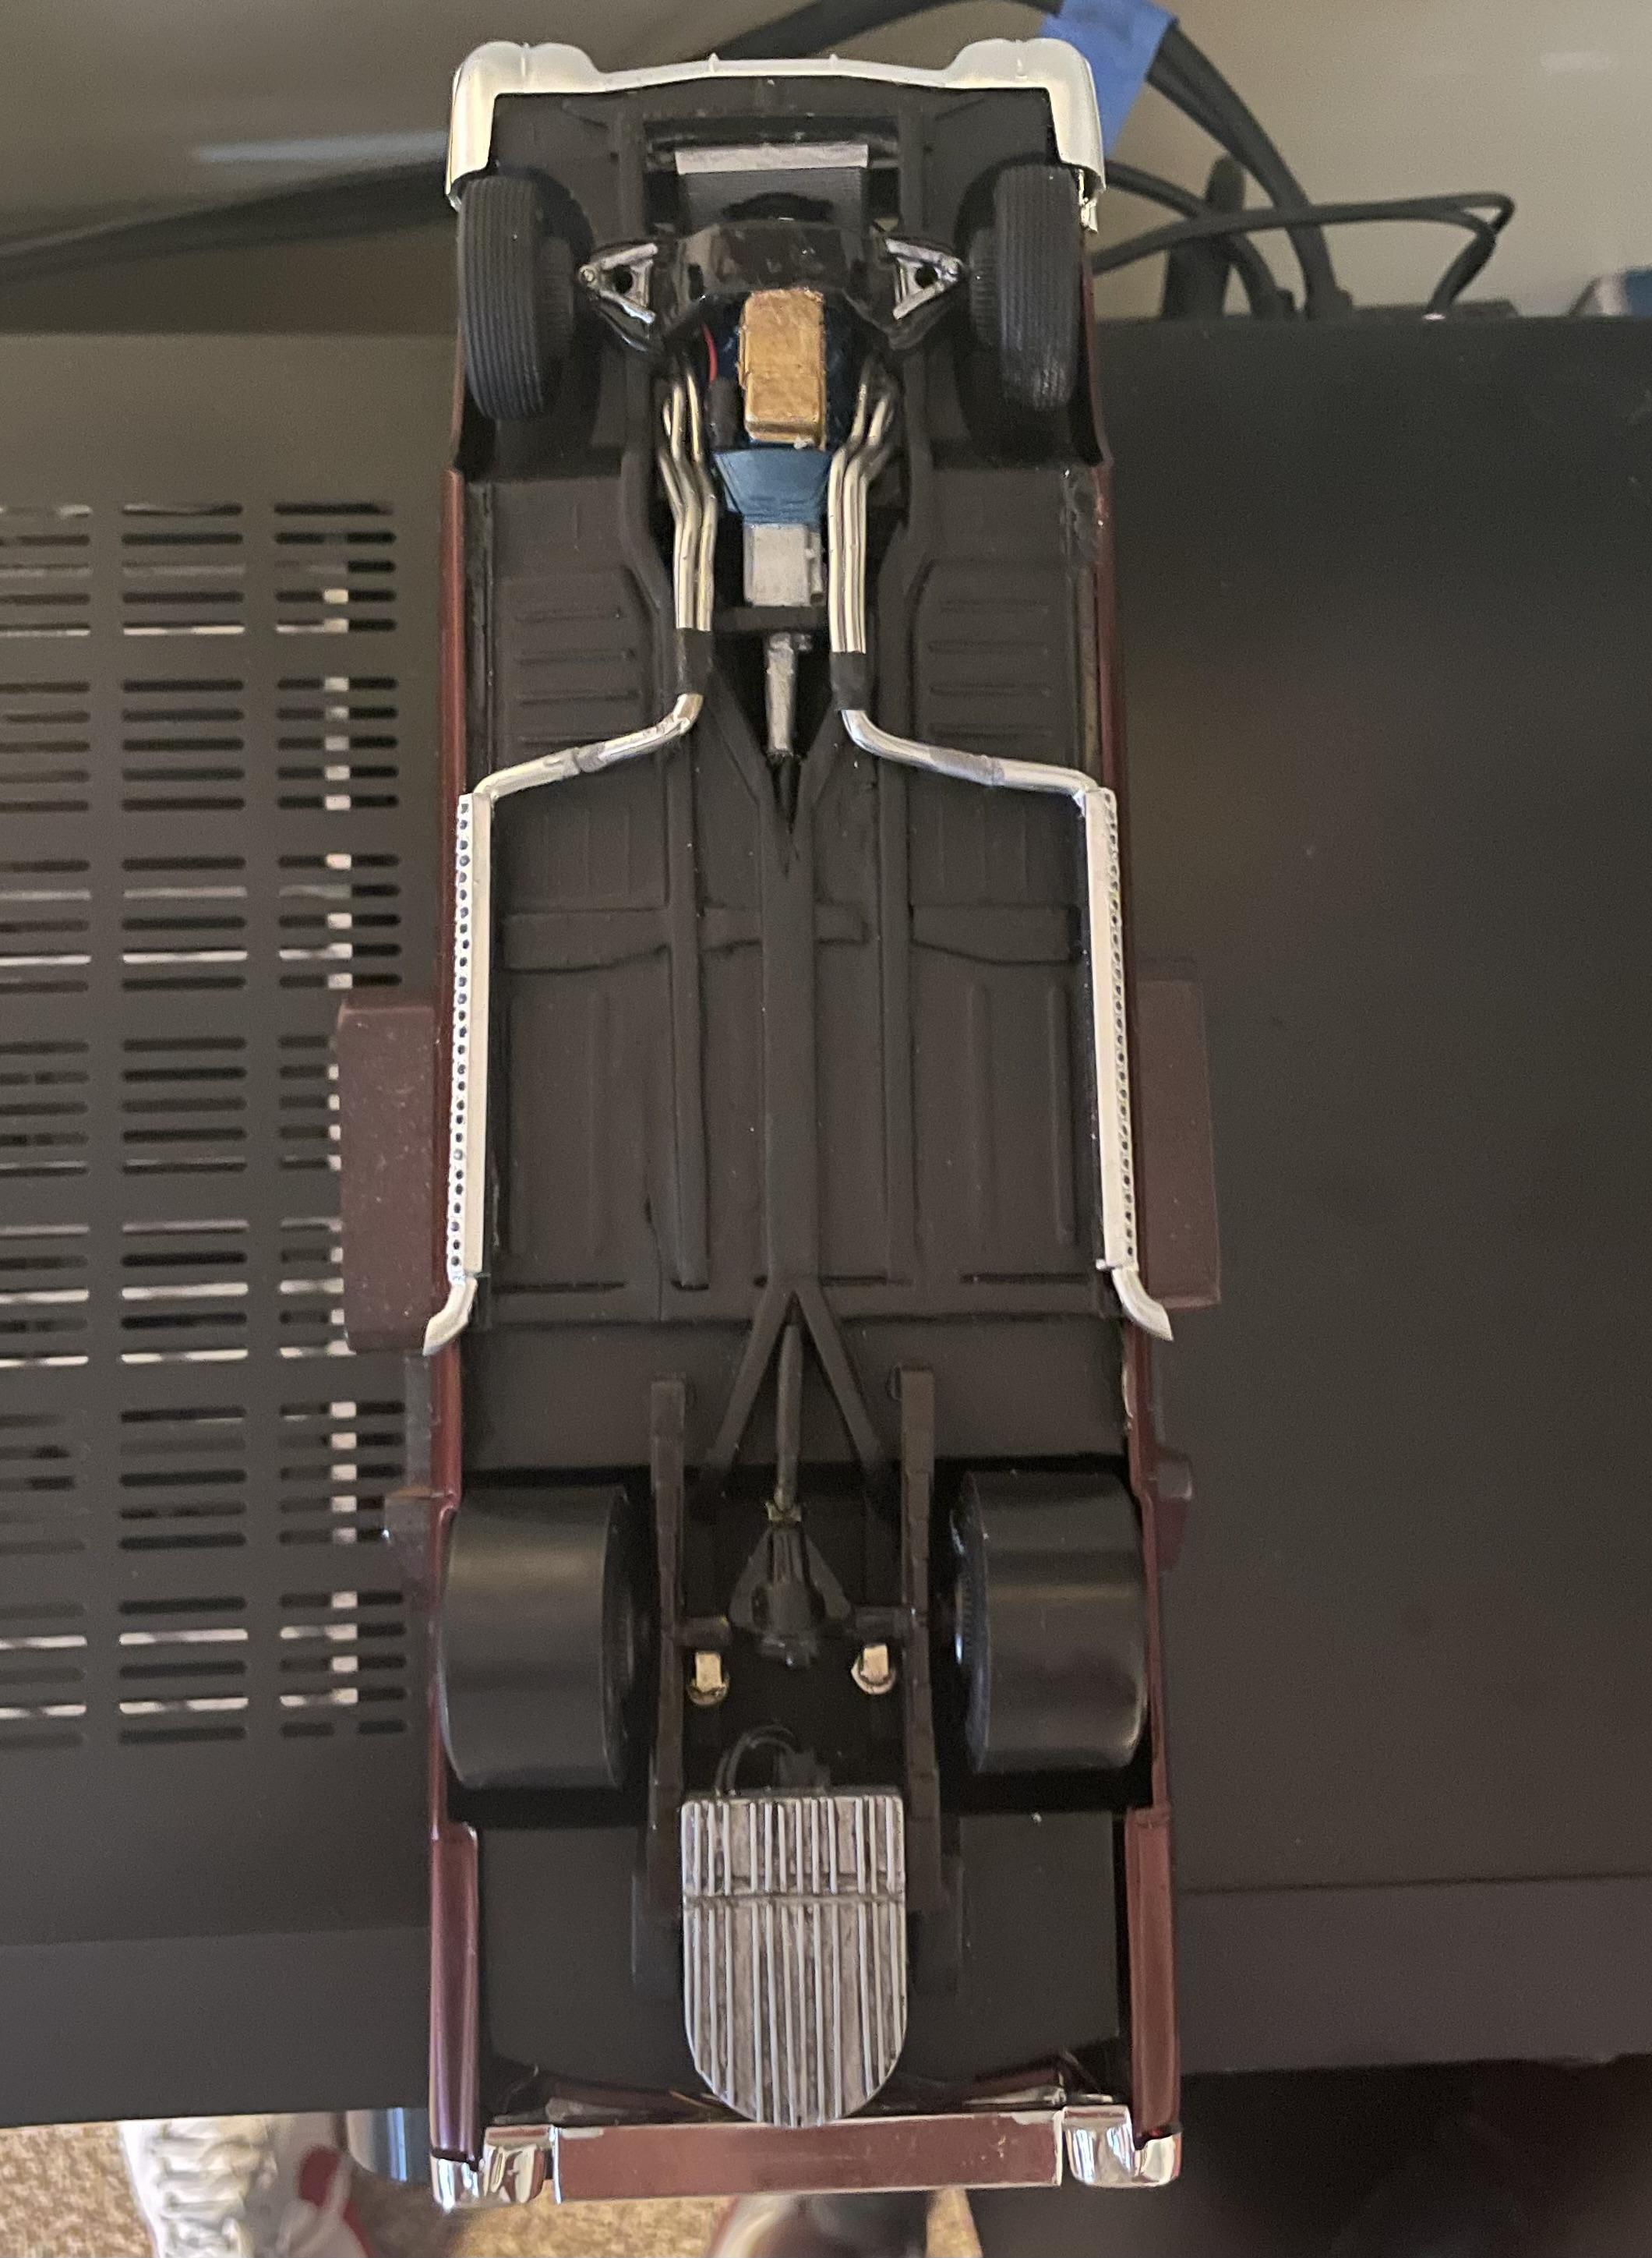
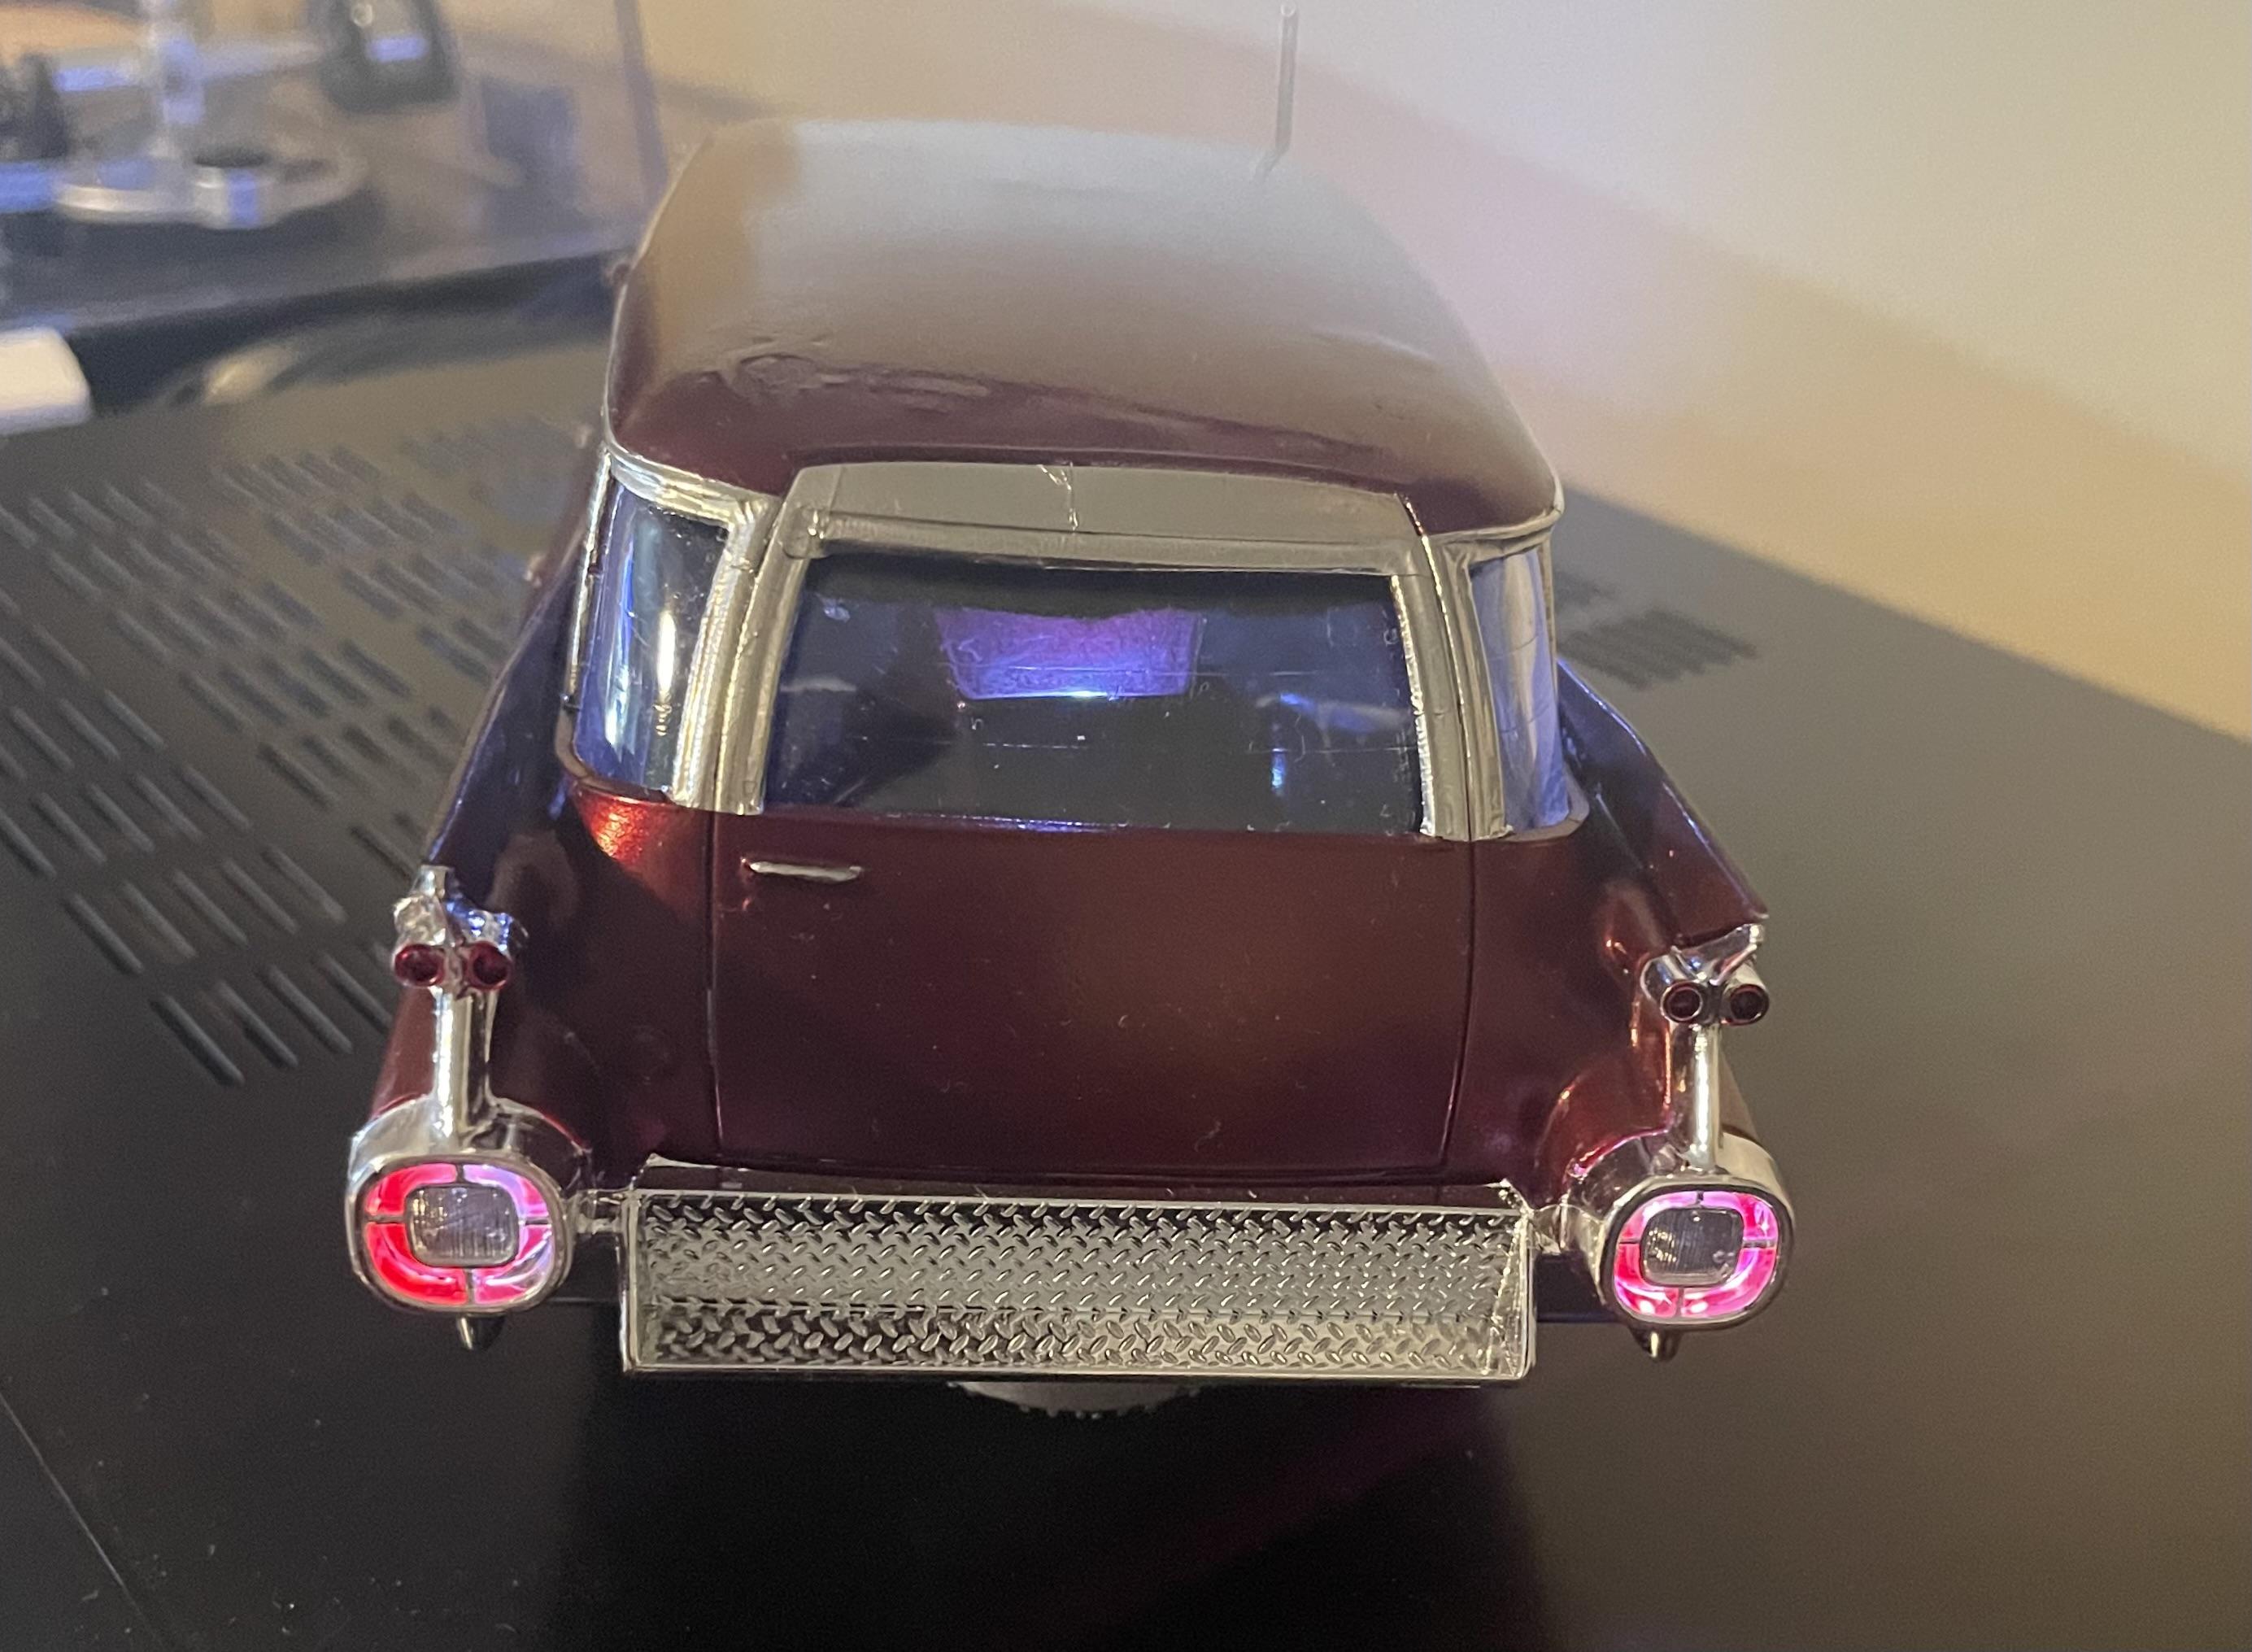
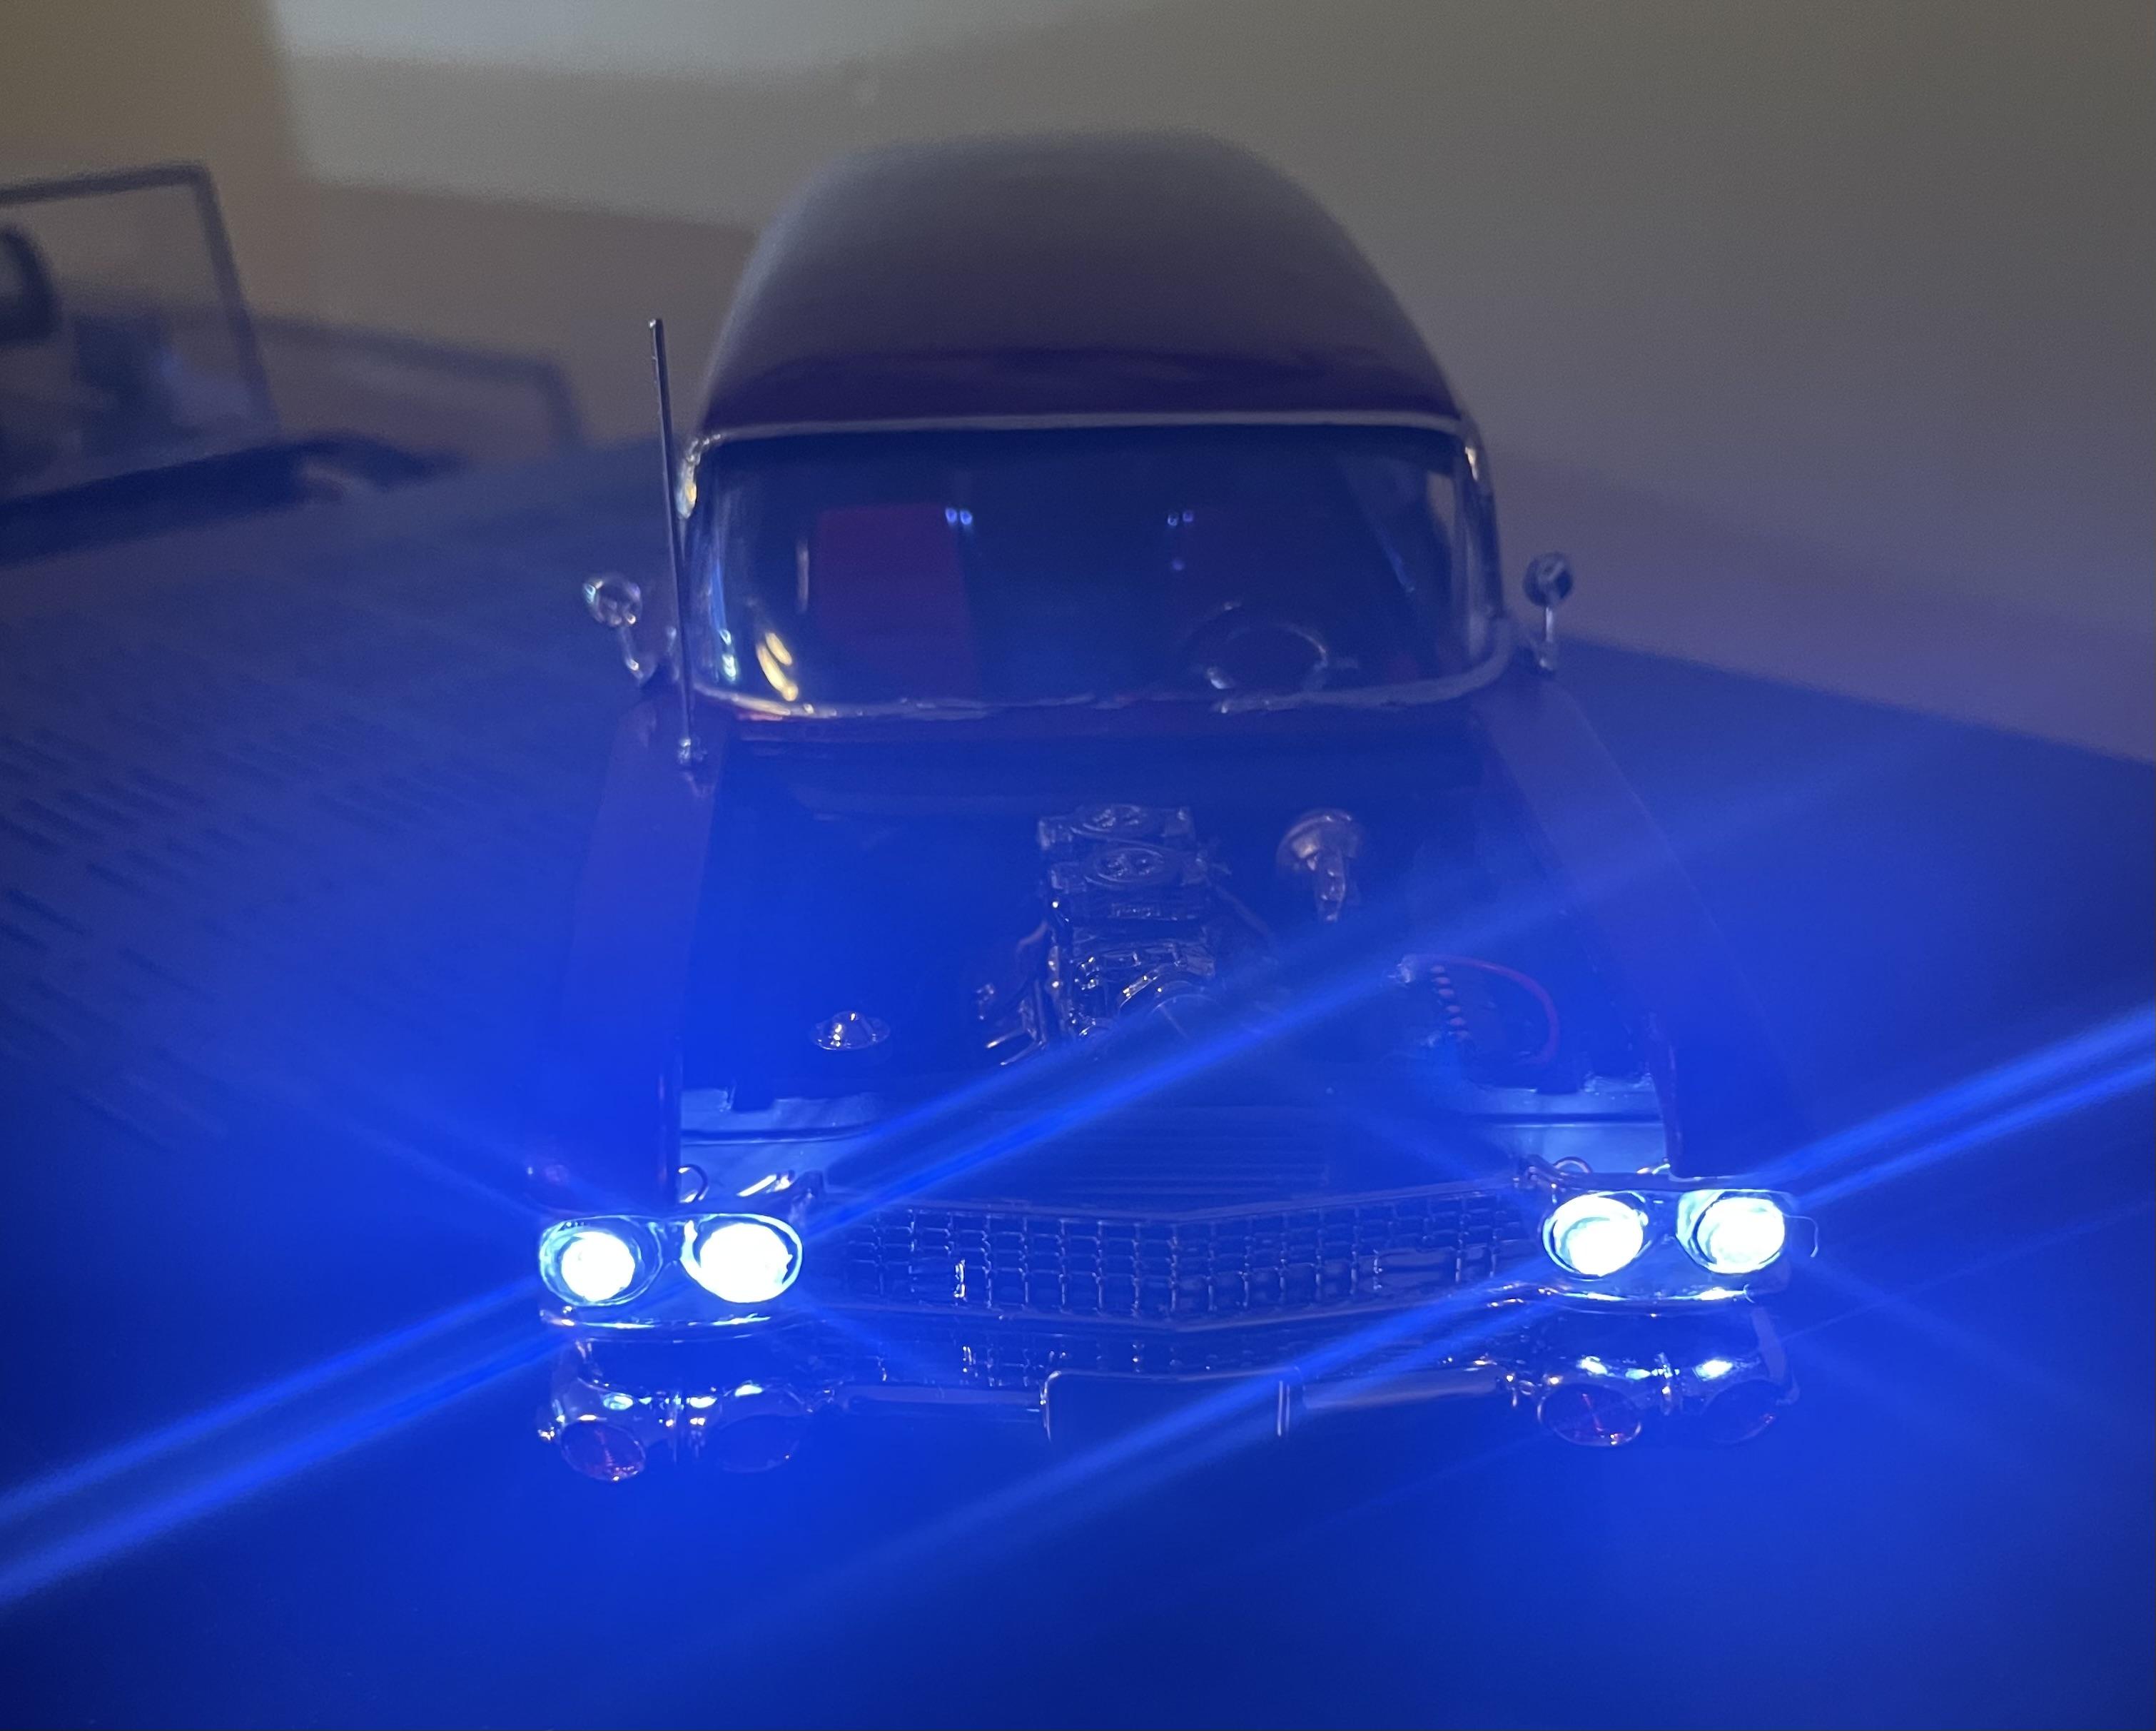
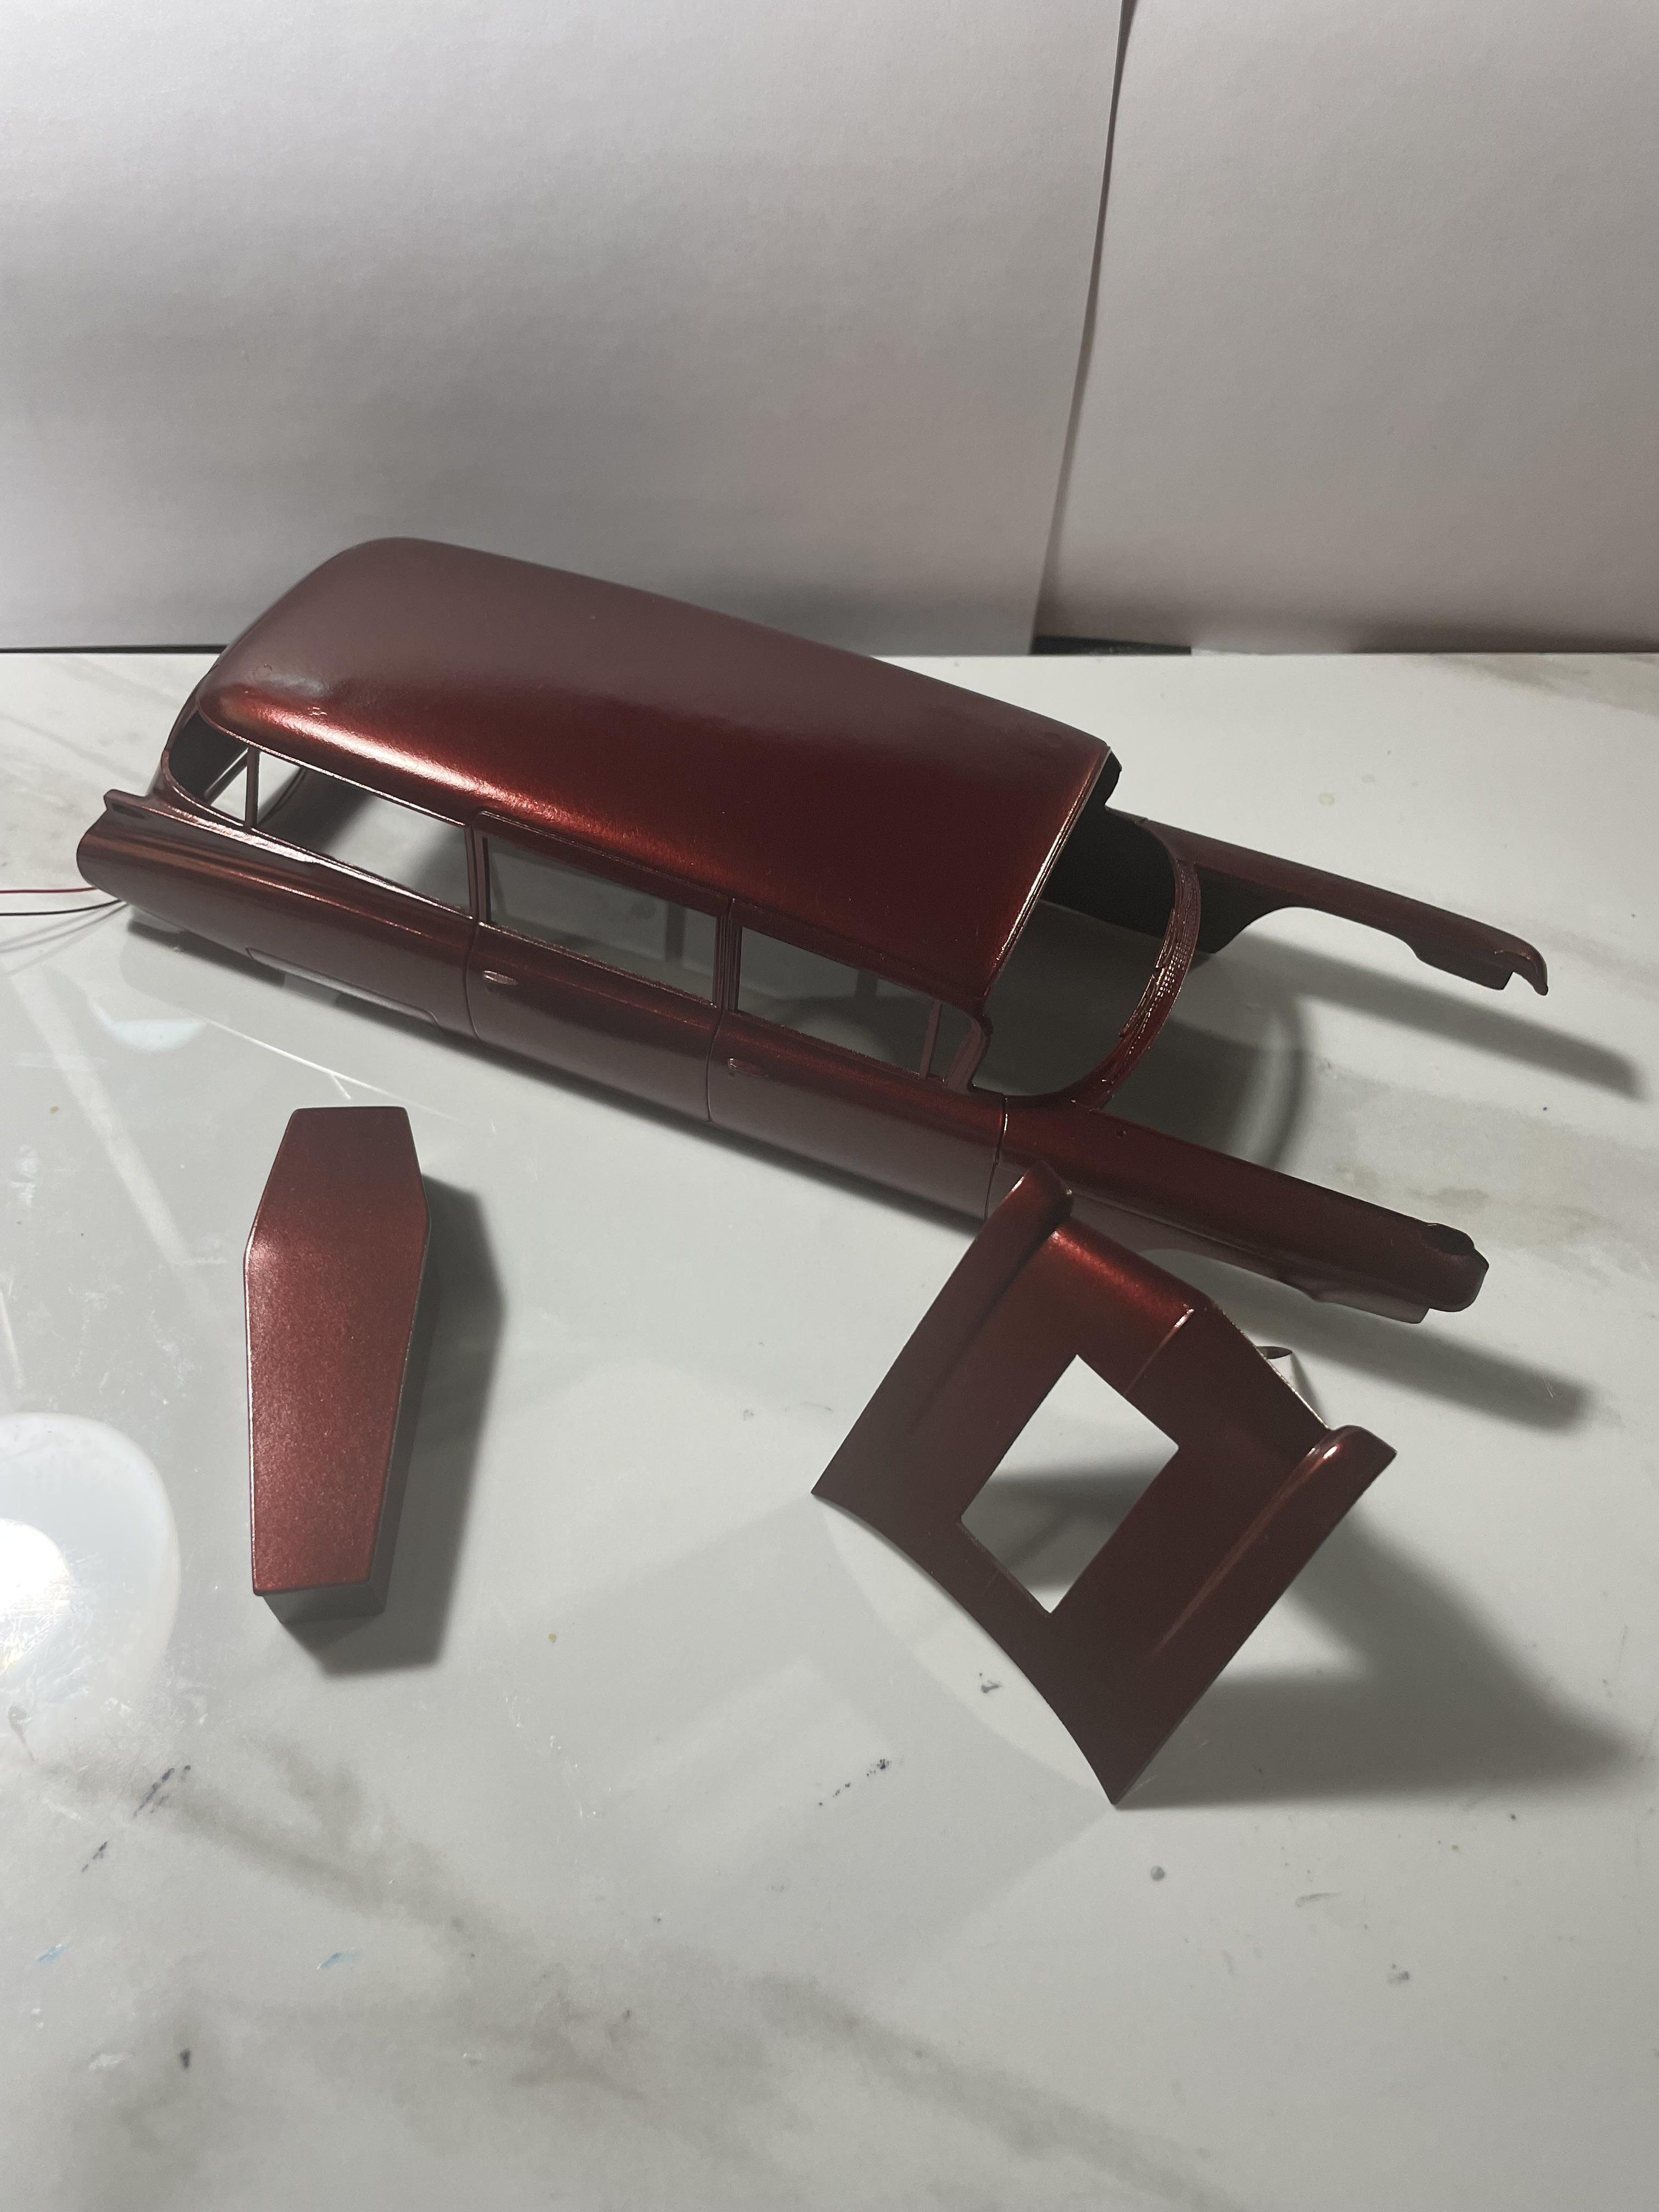
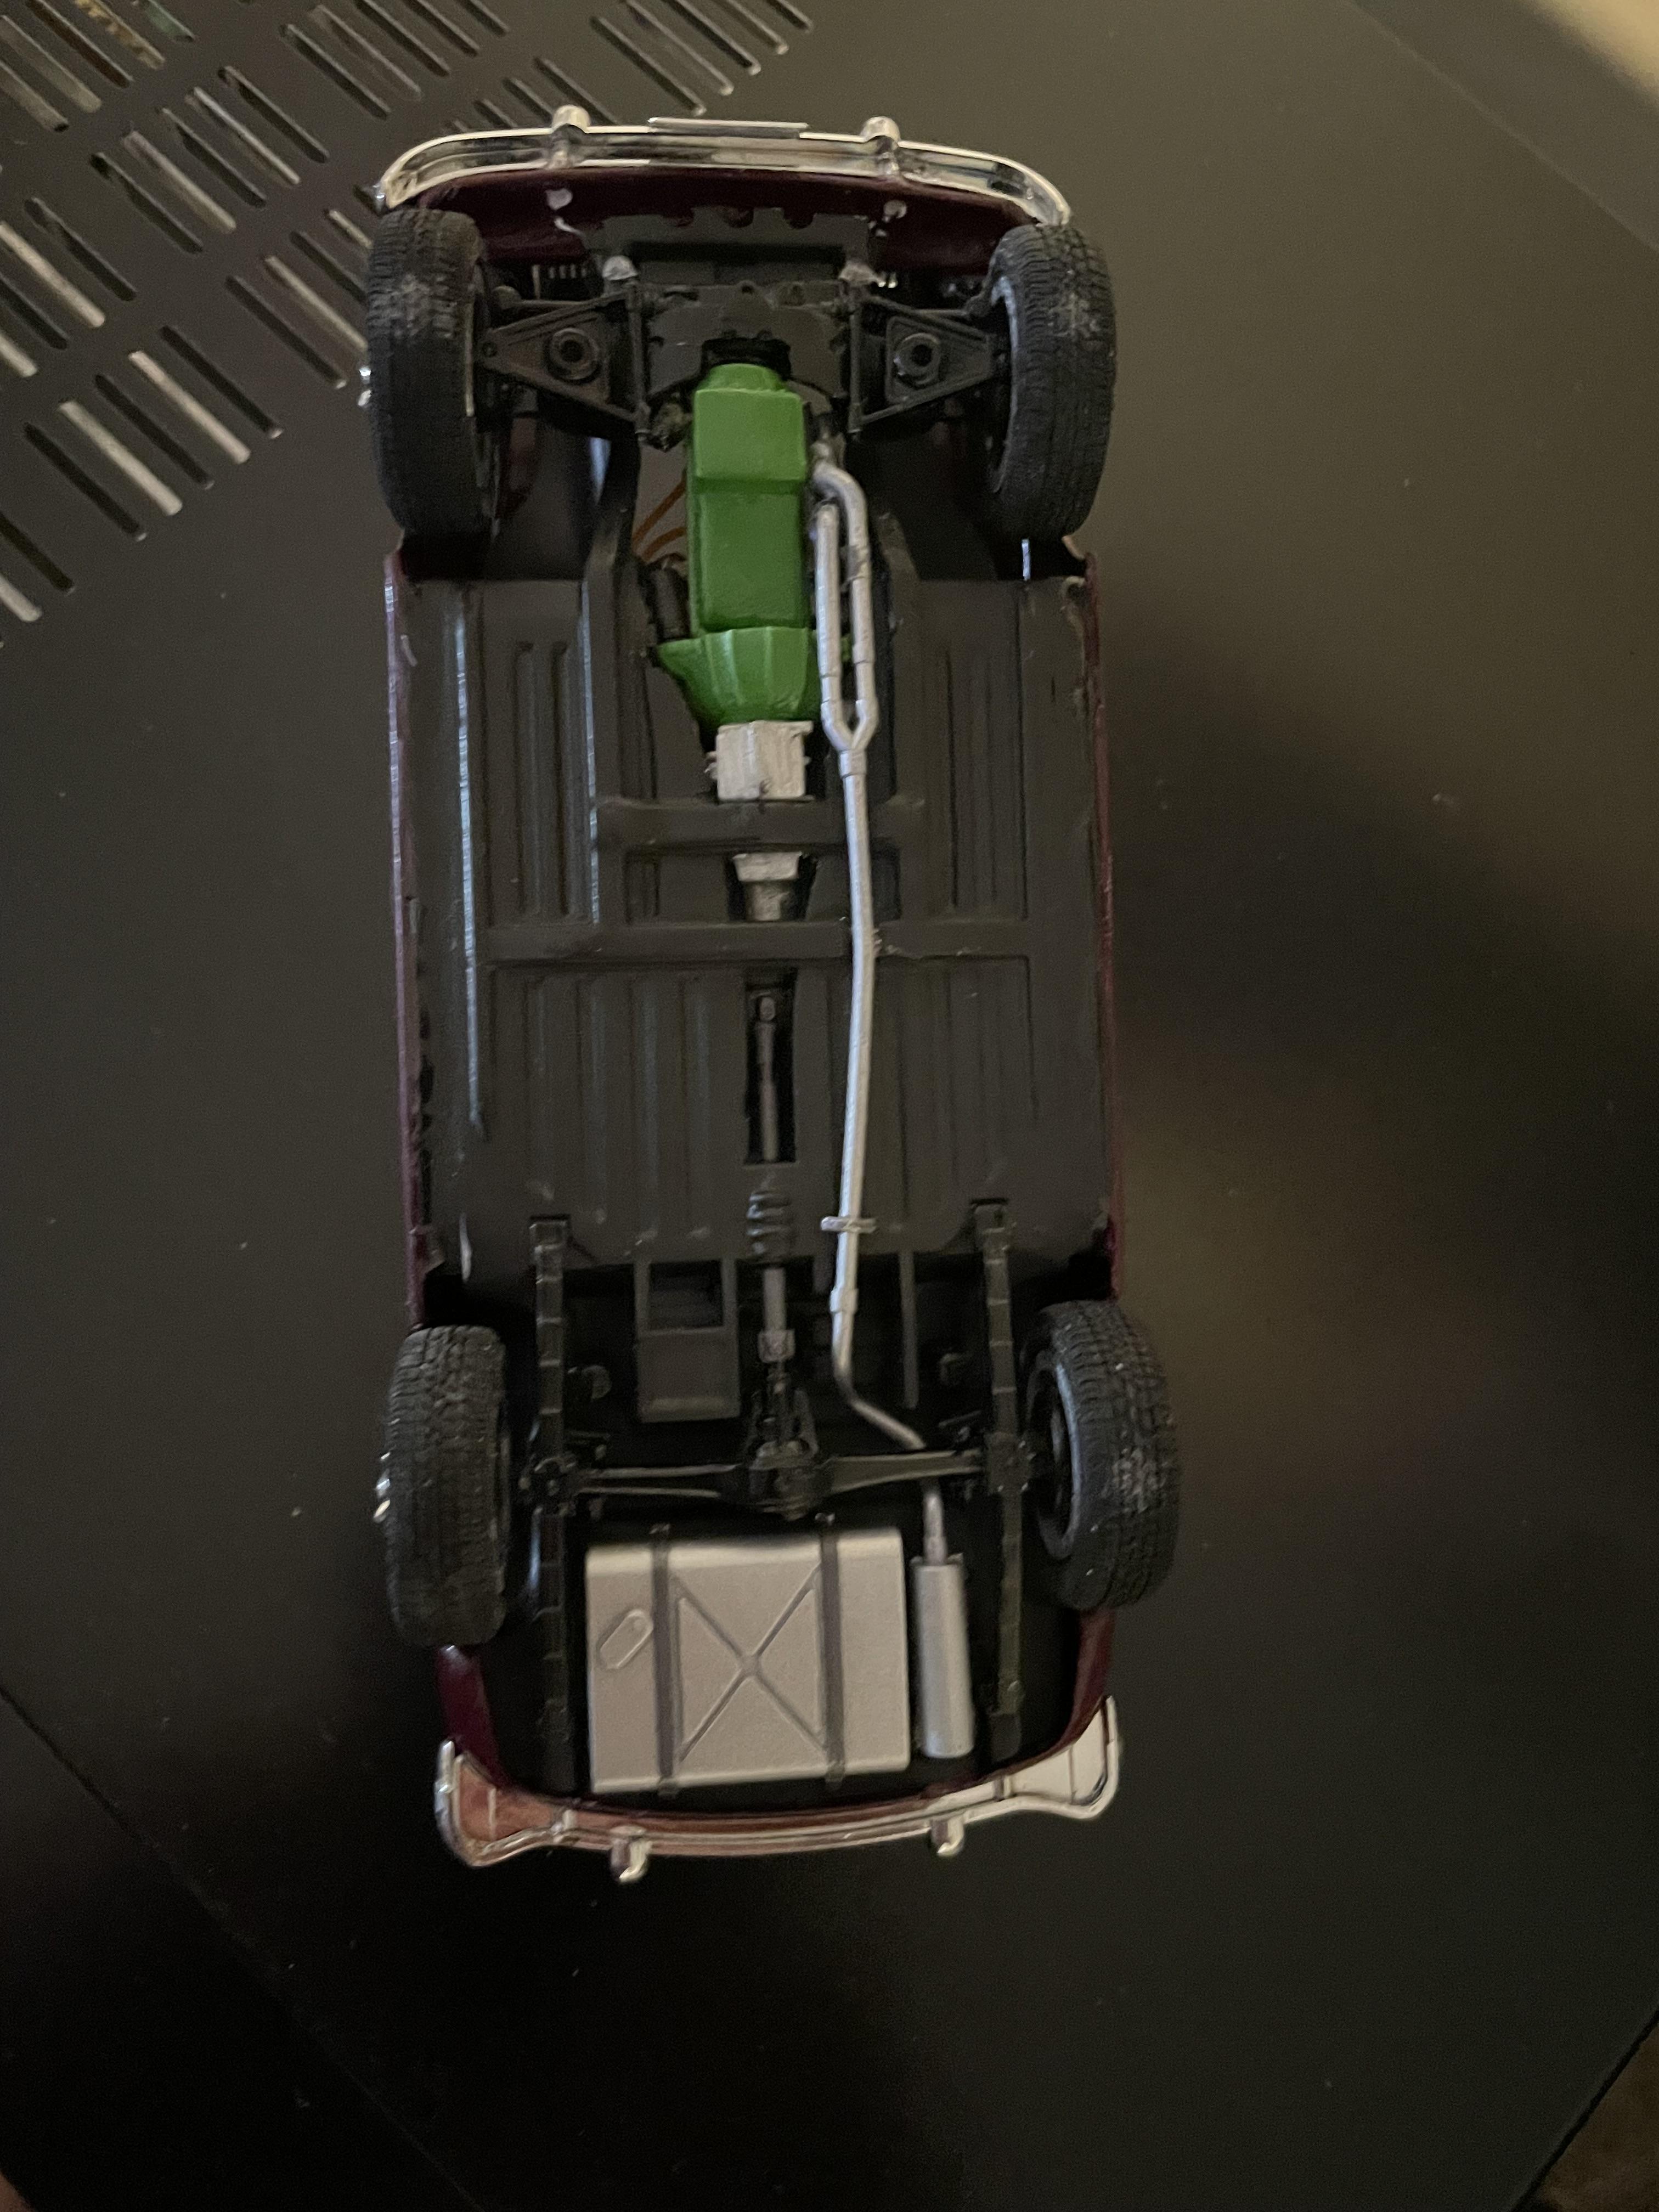
Waiting on the hood but thought I’d update the progress. This kit had all kinds of fitment issues before I cut the hood open and just got worse from there. The chassis was warped about 1/4” I tried putting it in hot water and reshaping it but ended up having to twist it and glue it in the body. The points where the roof rack was supposed to mount showed up in the paint… I had tried to smooth them out but my body work kind of sucks. The fuel tank is the battery holder for the lights and works good. All in all it was a fun project but this following after the MG I am looking forward to something much more straight forward. Dave.

-
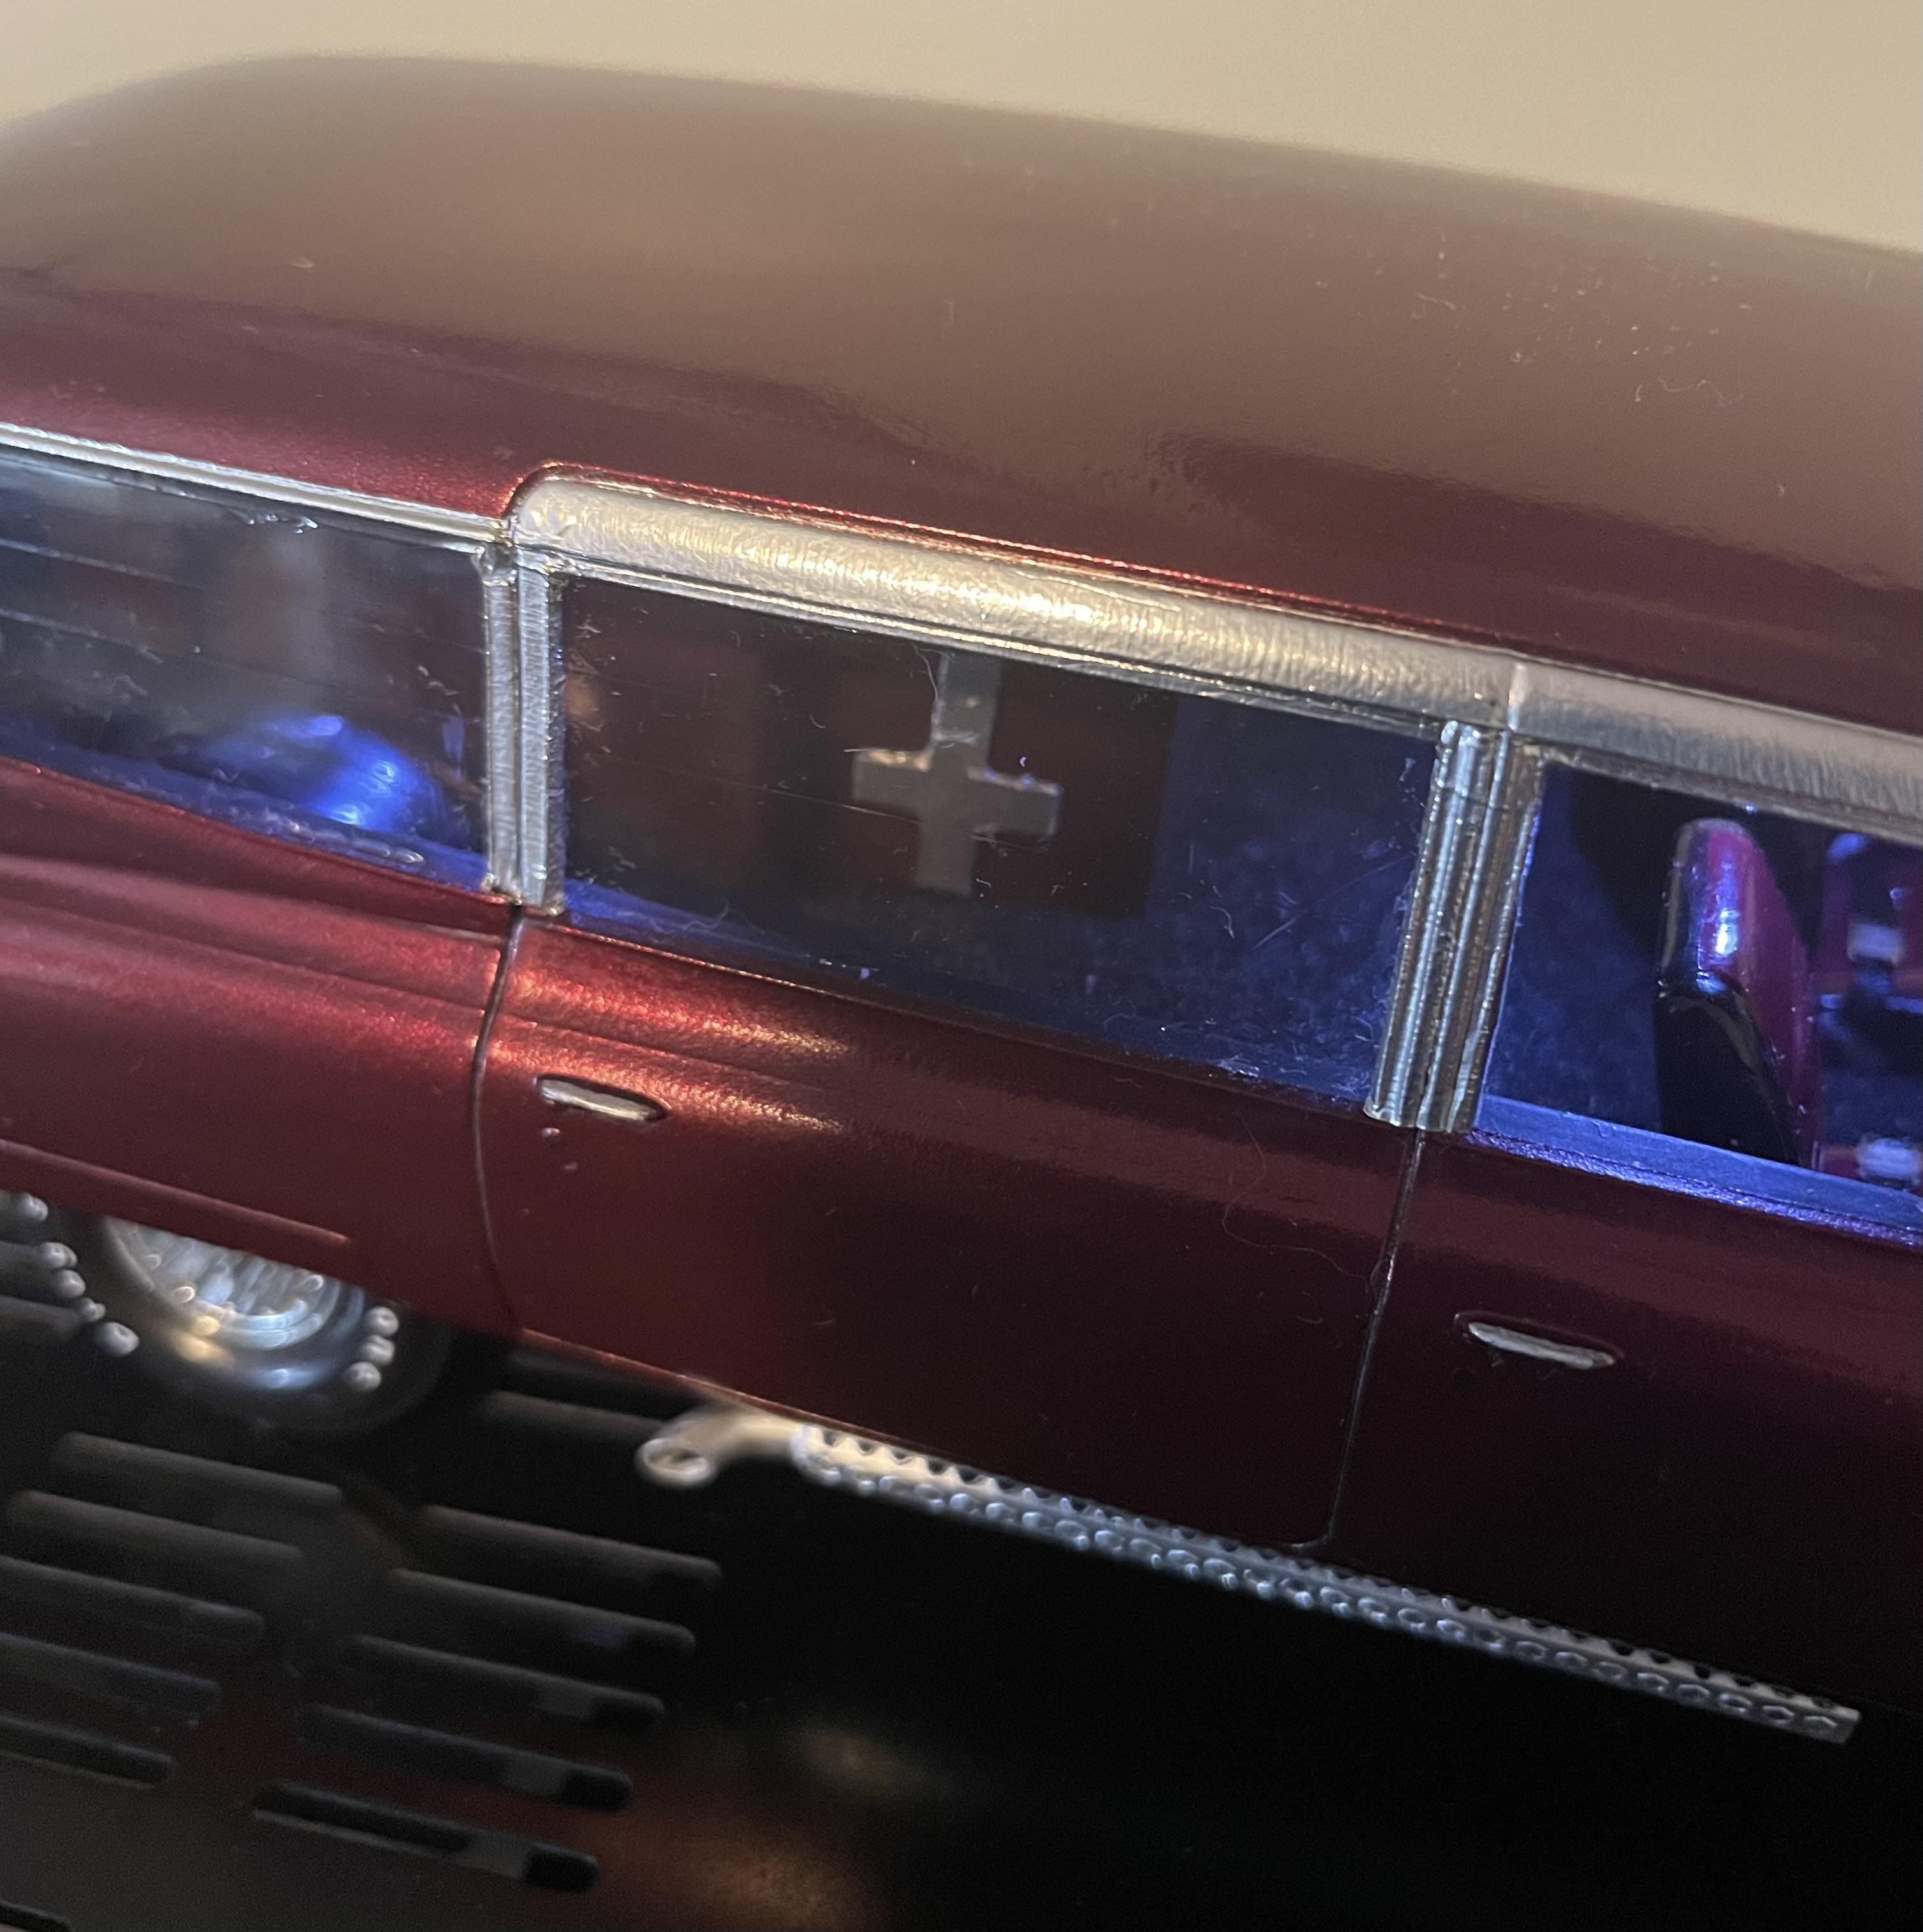
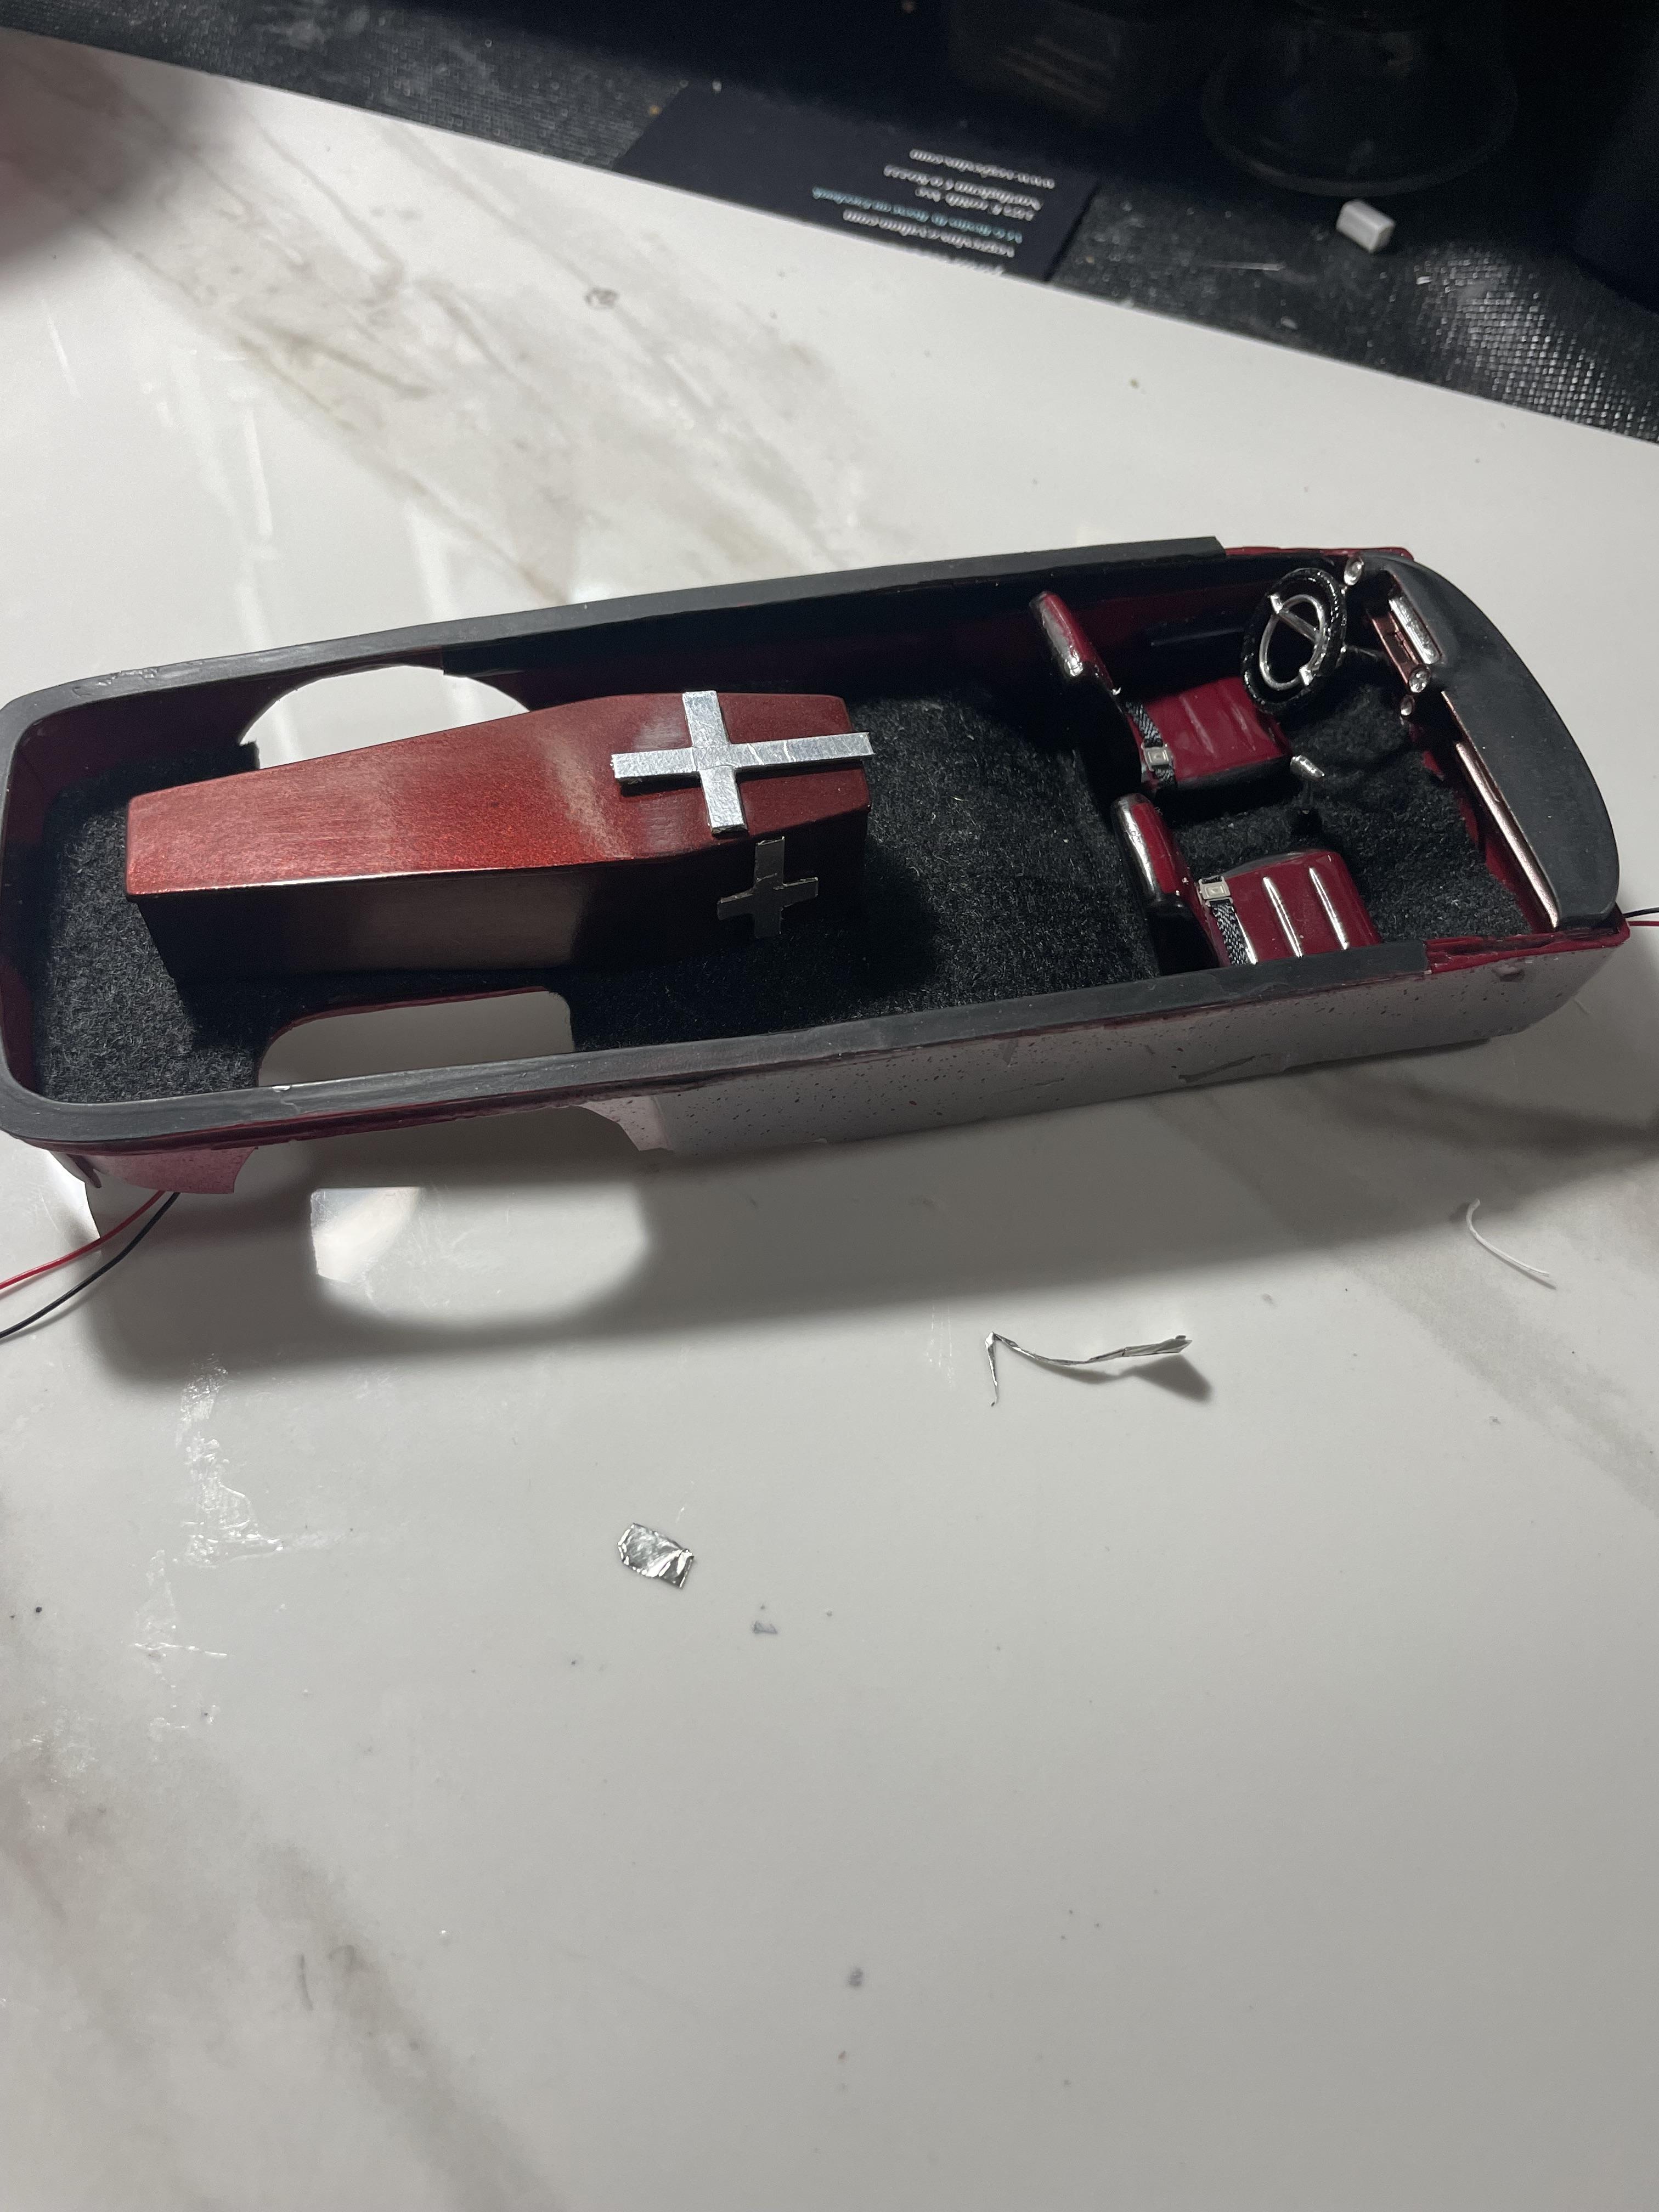
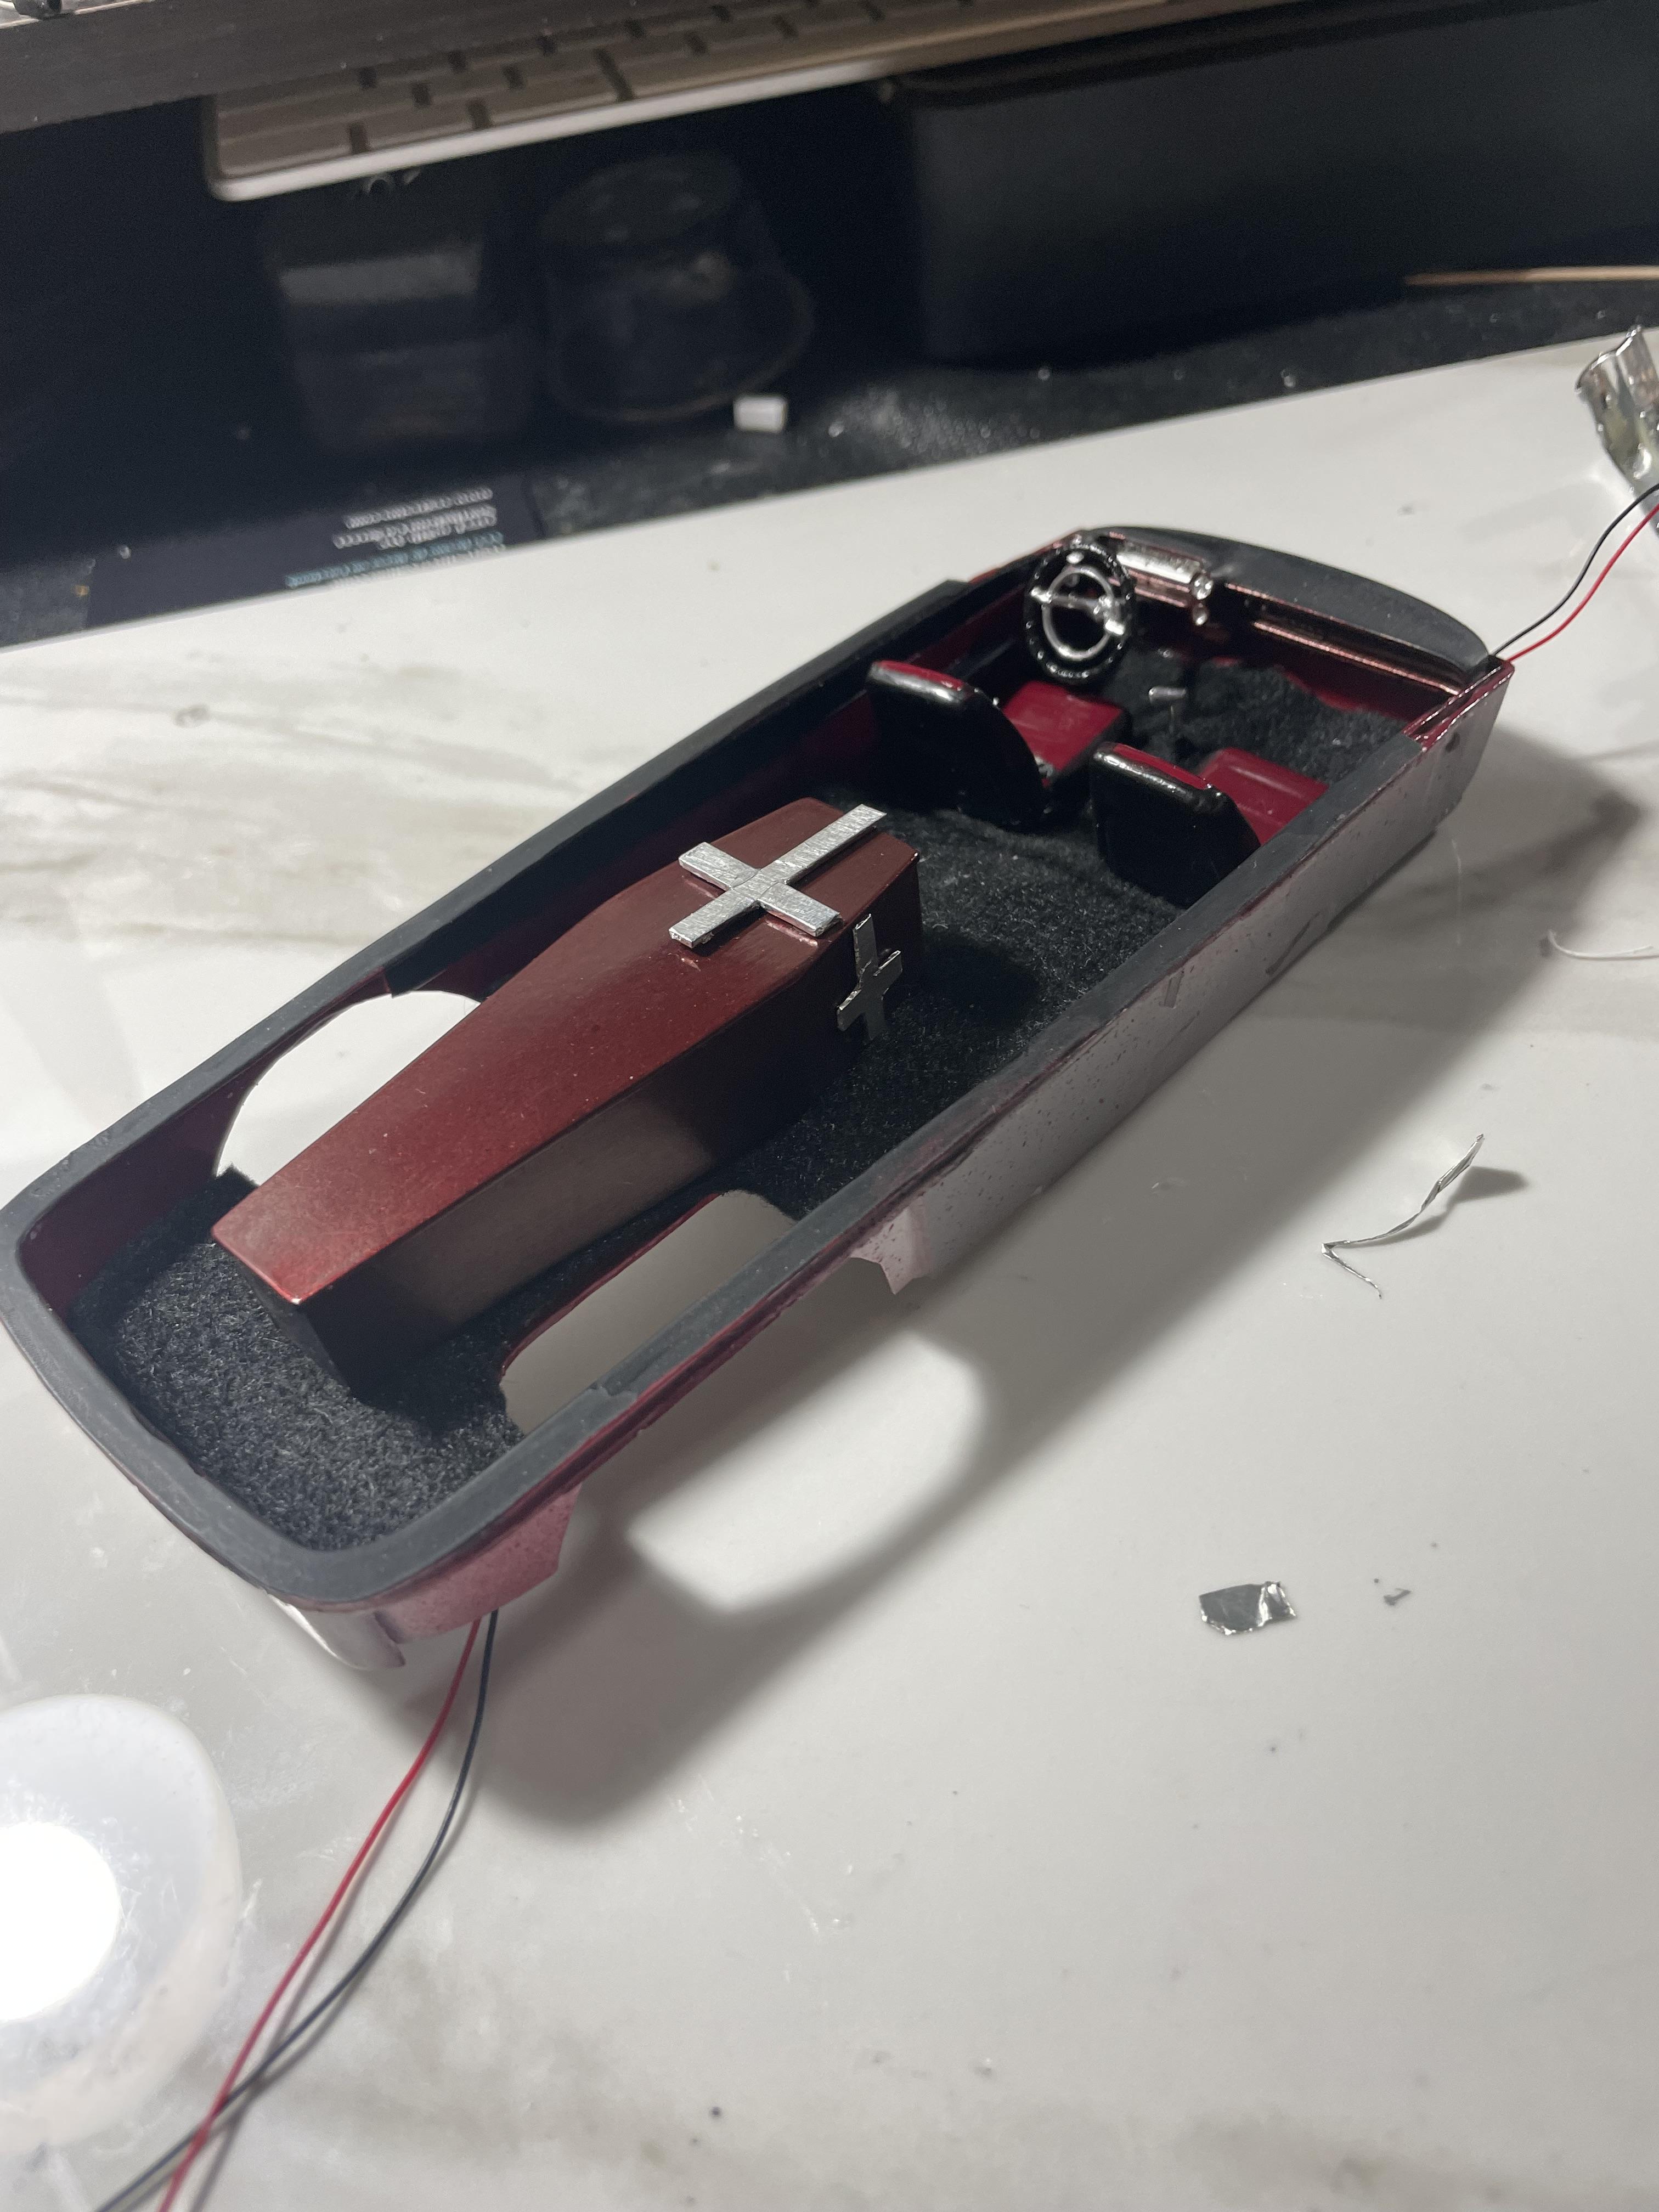
Interior is ready, the casket turned out a little big but I’ll just pretend I’m carrying Andre the Giant.
-
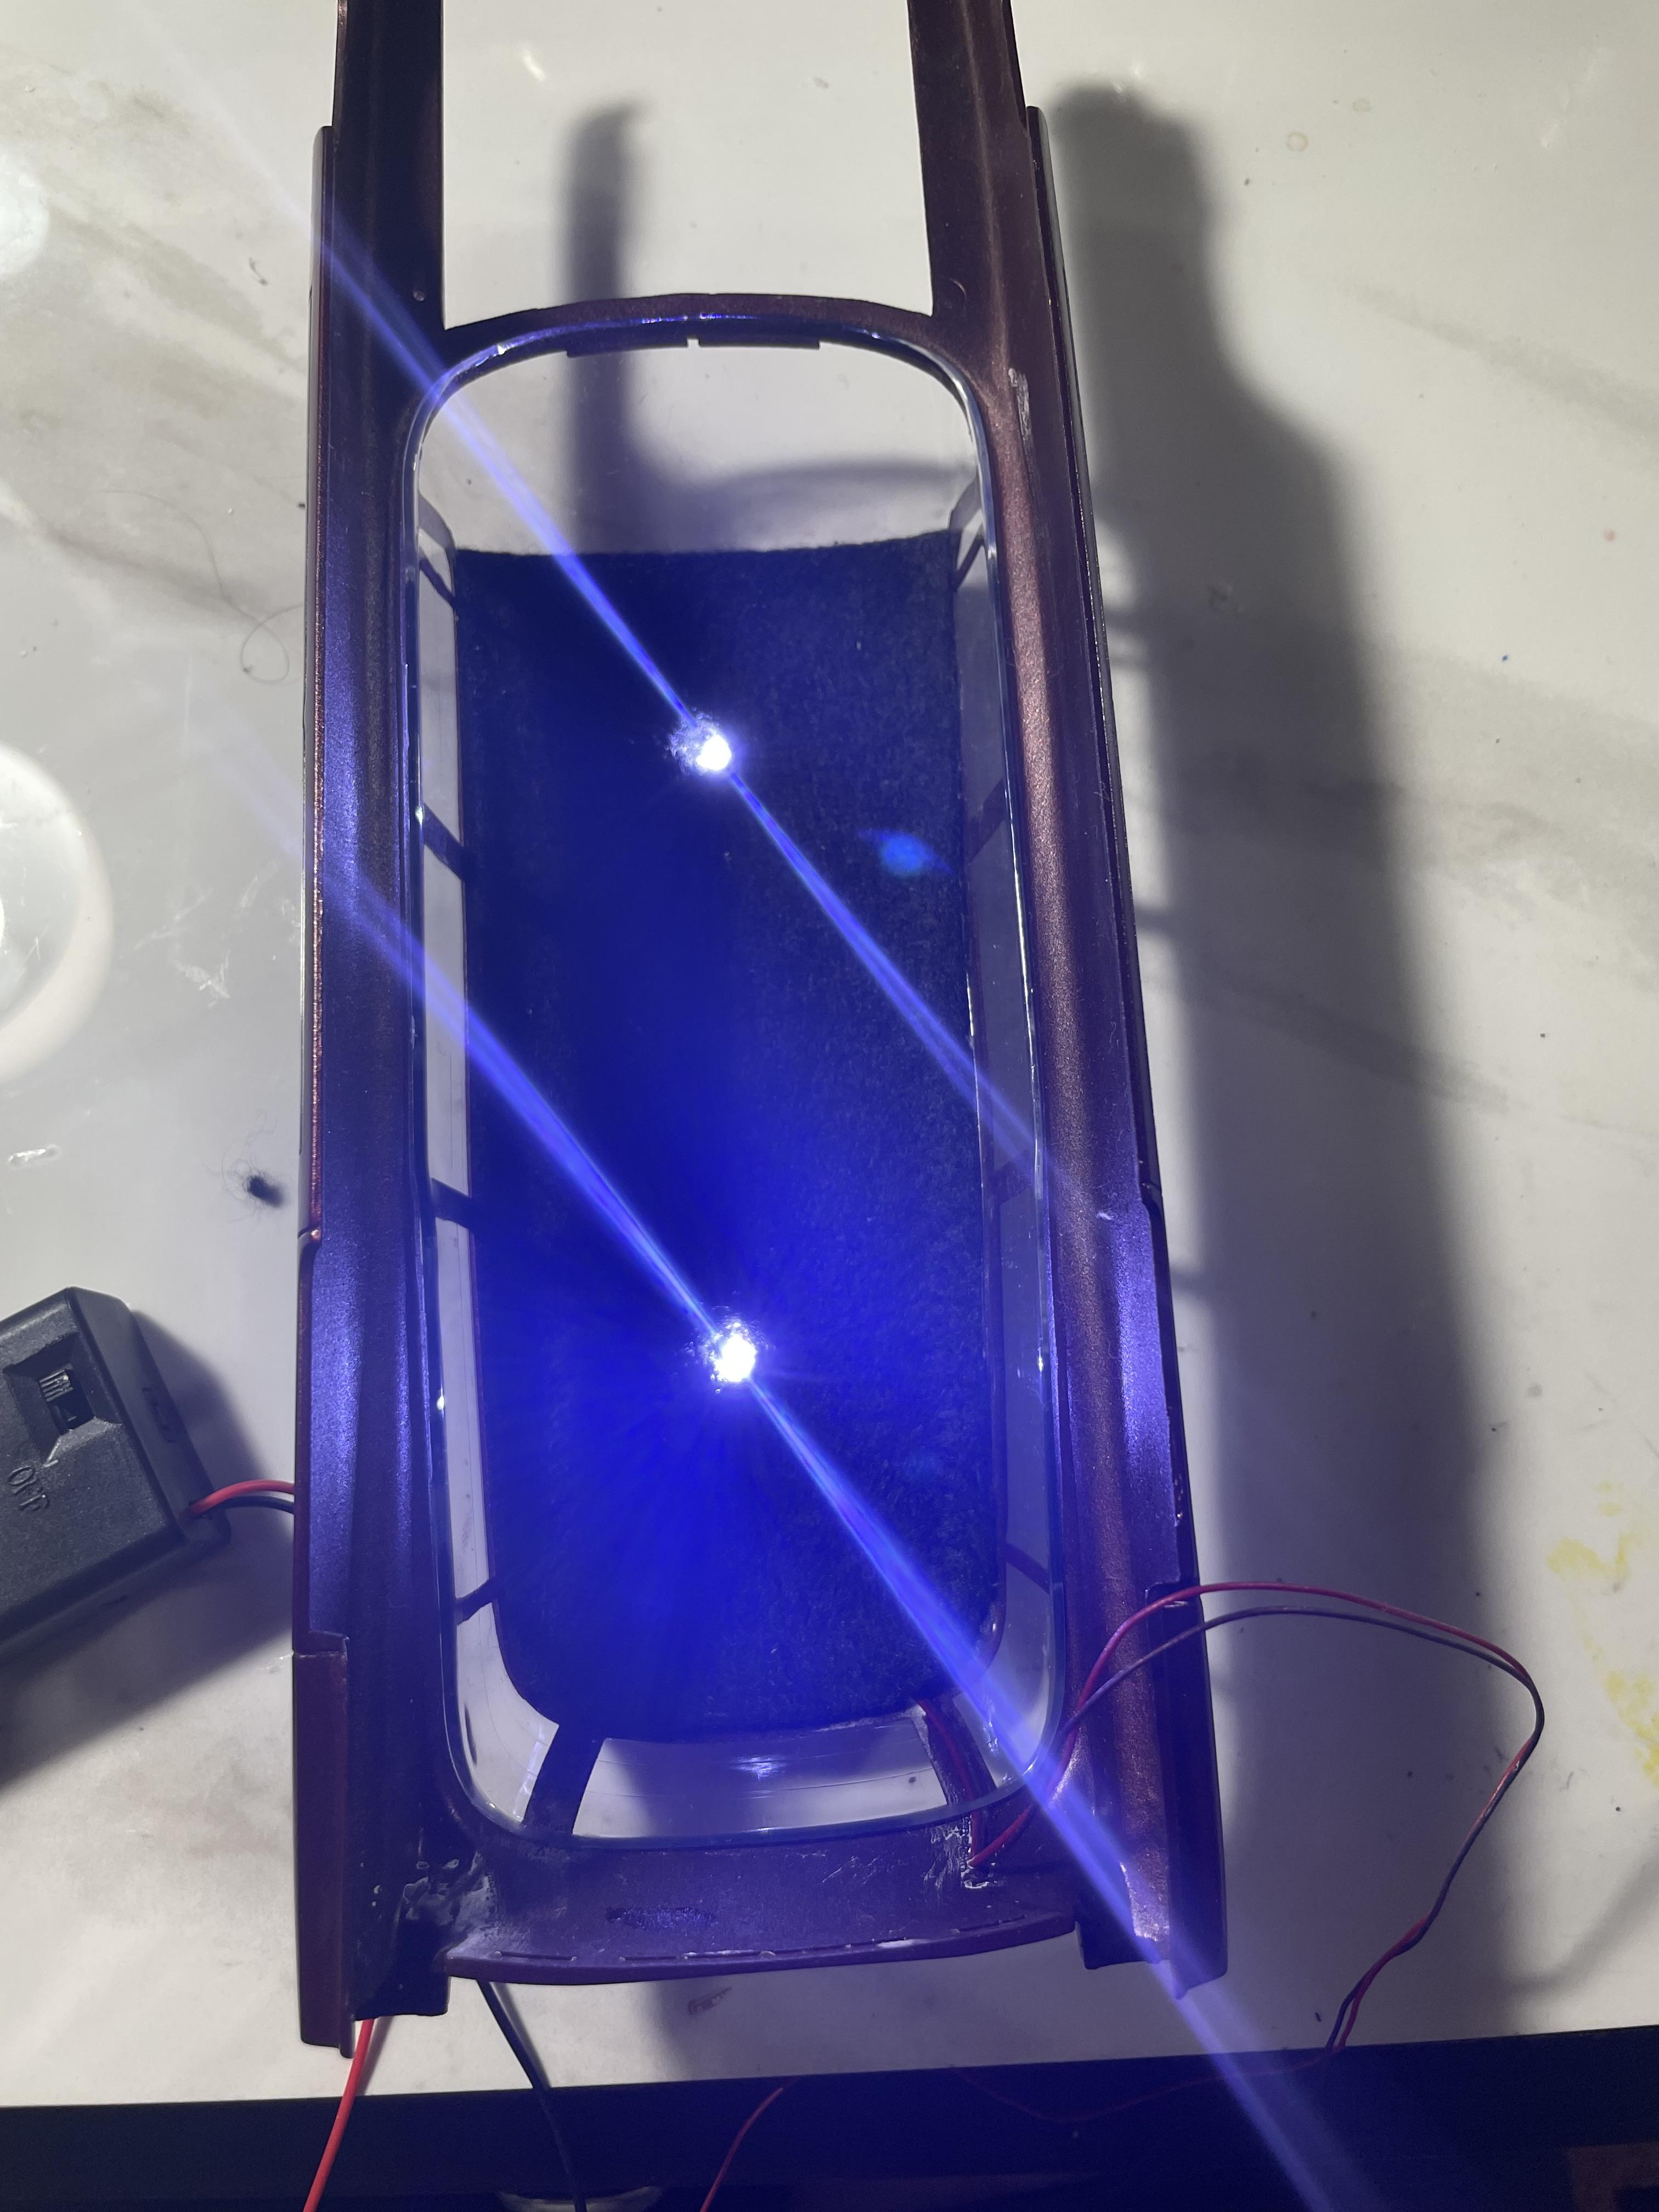
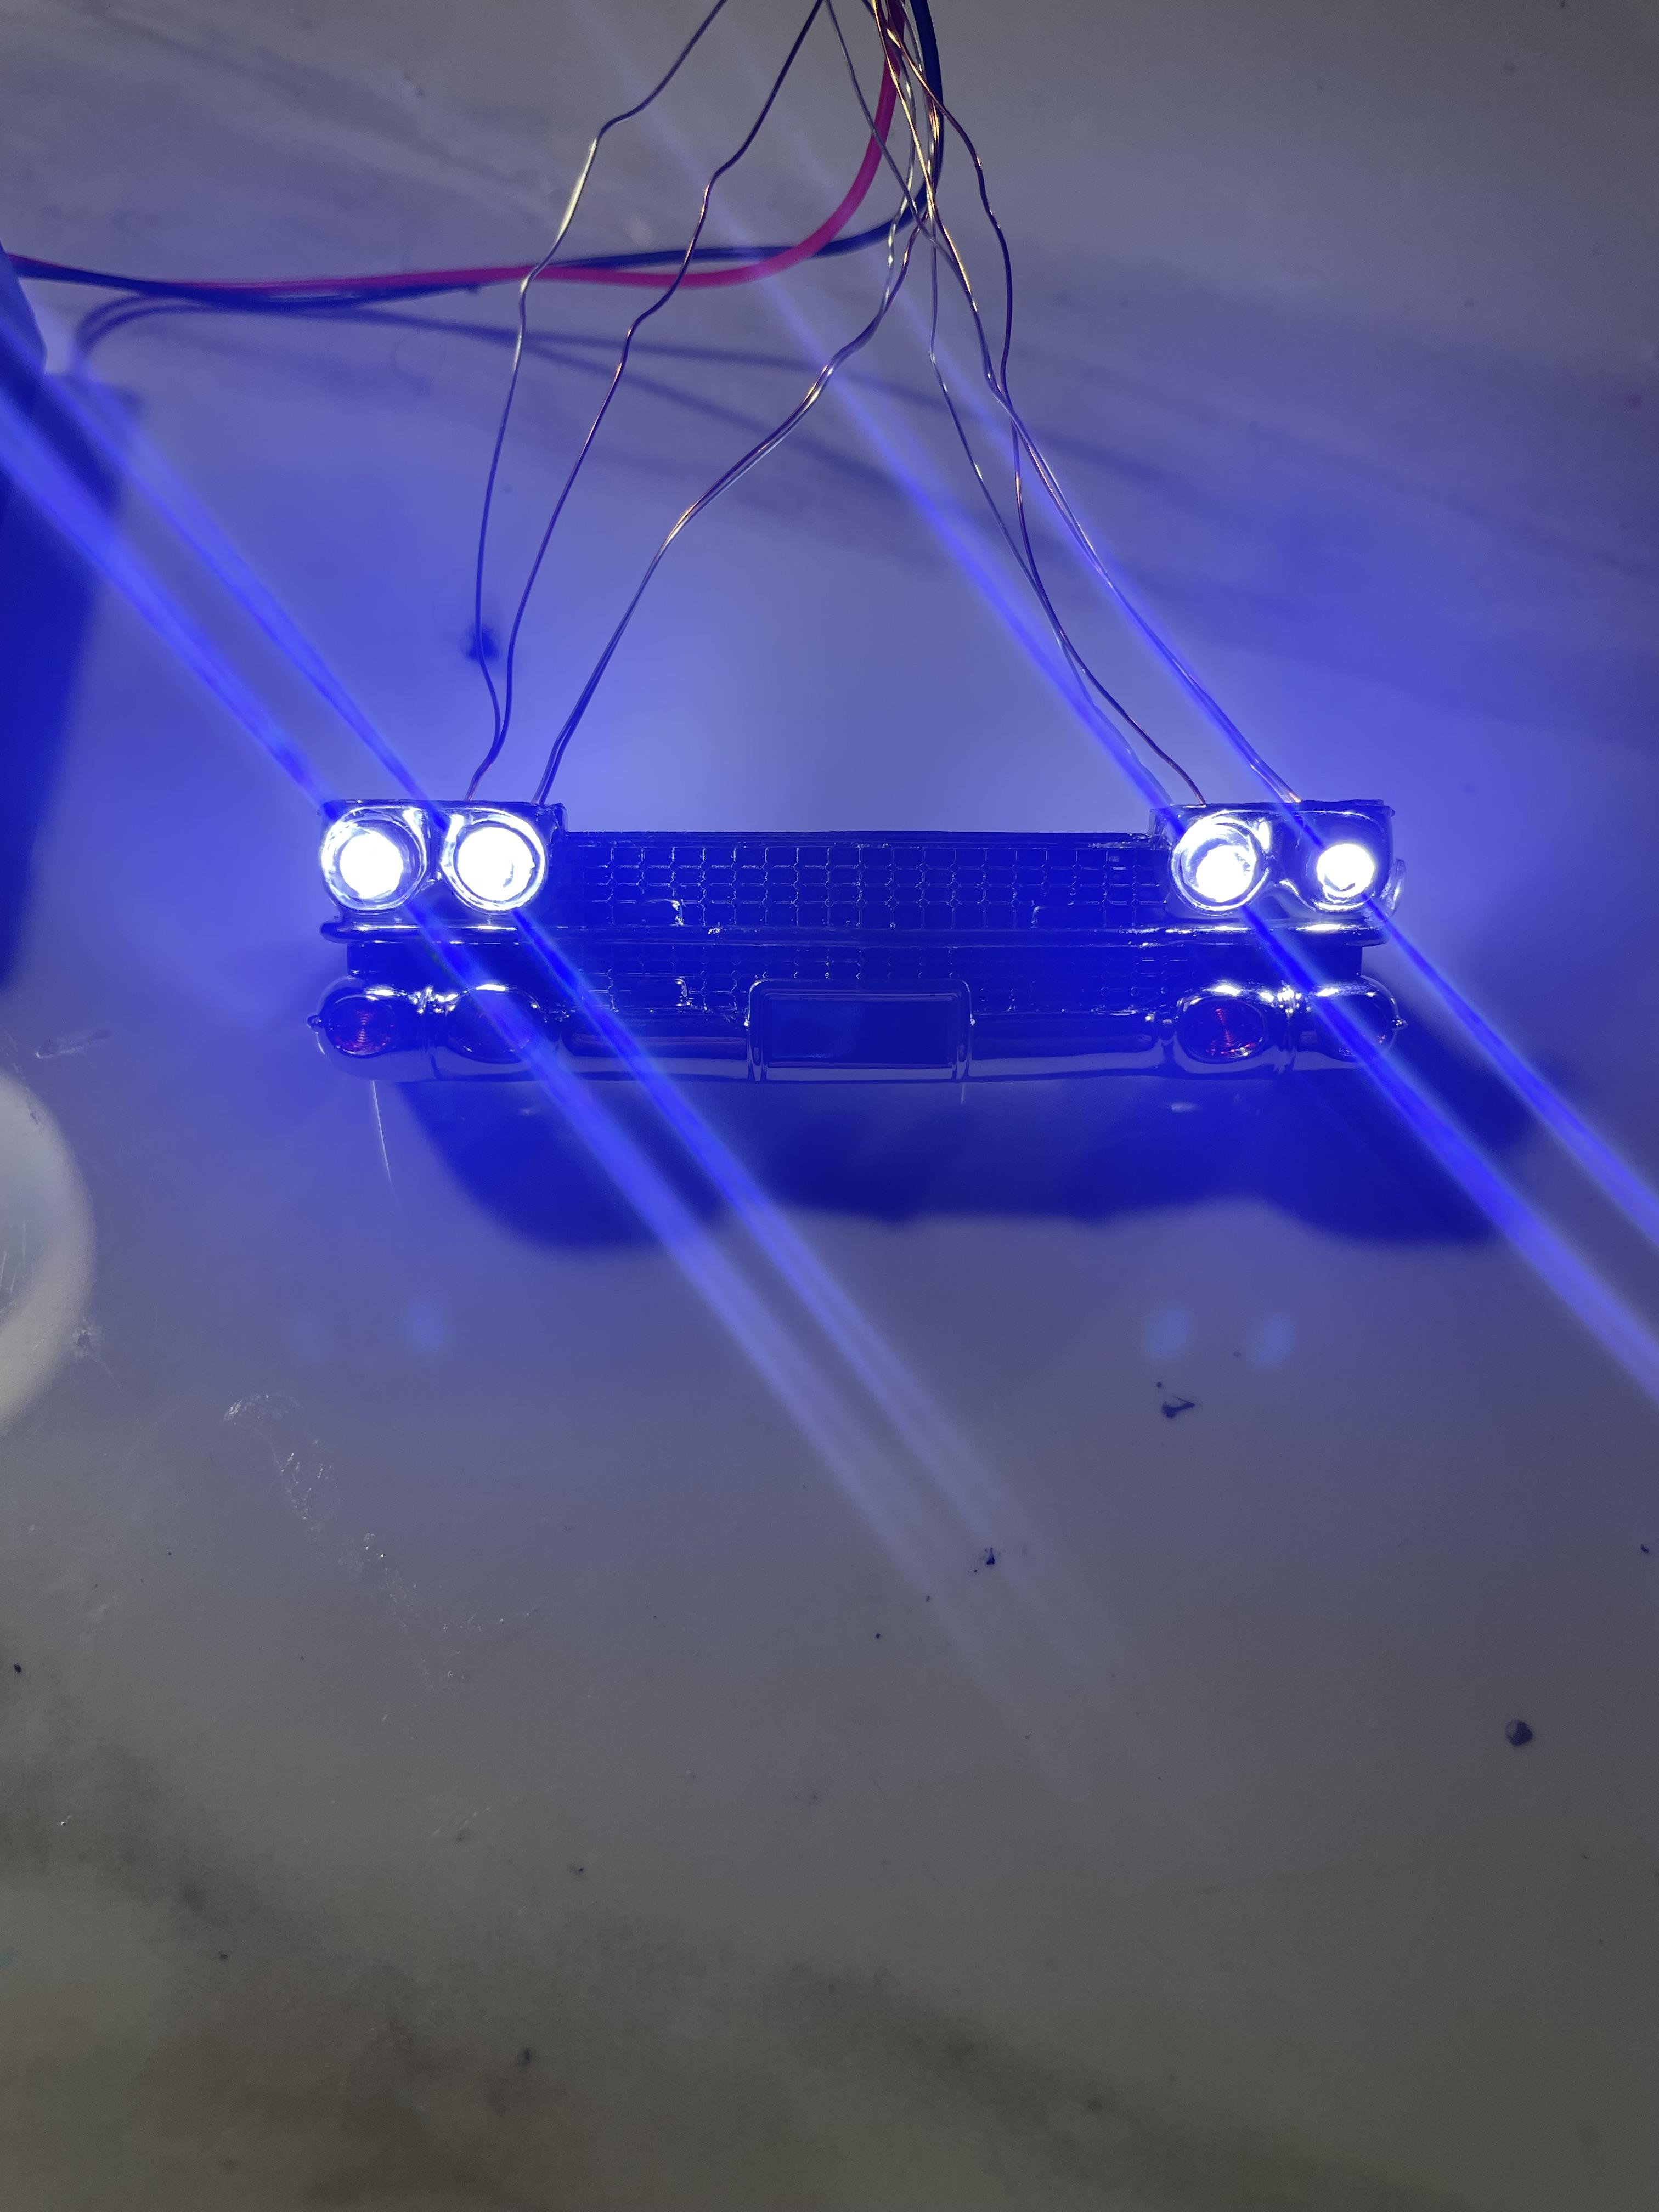
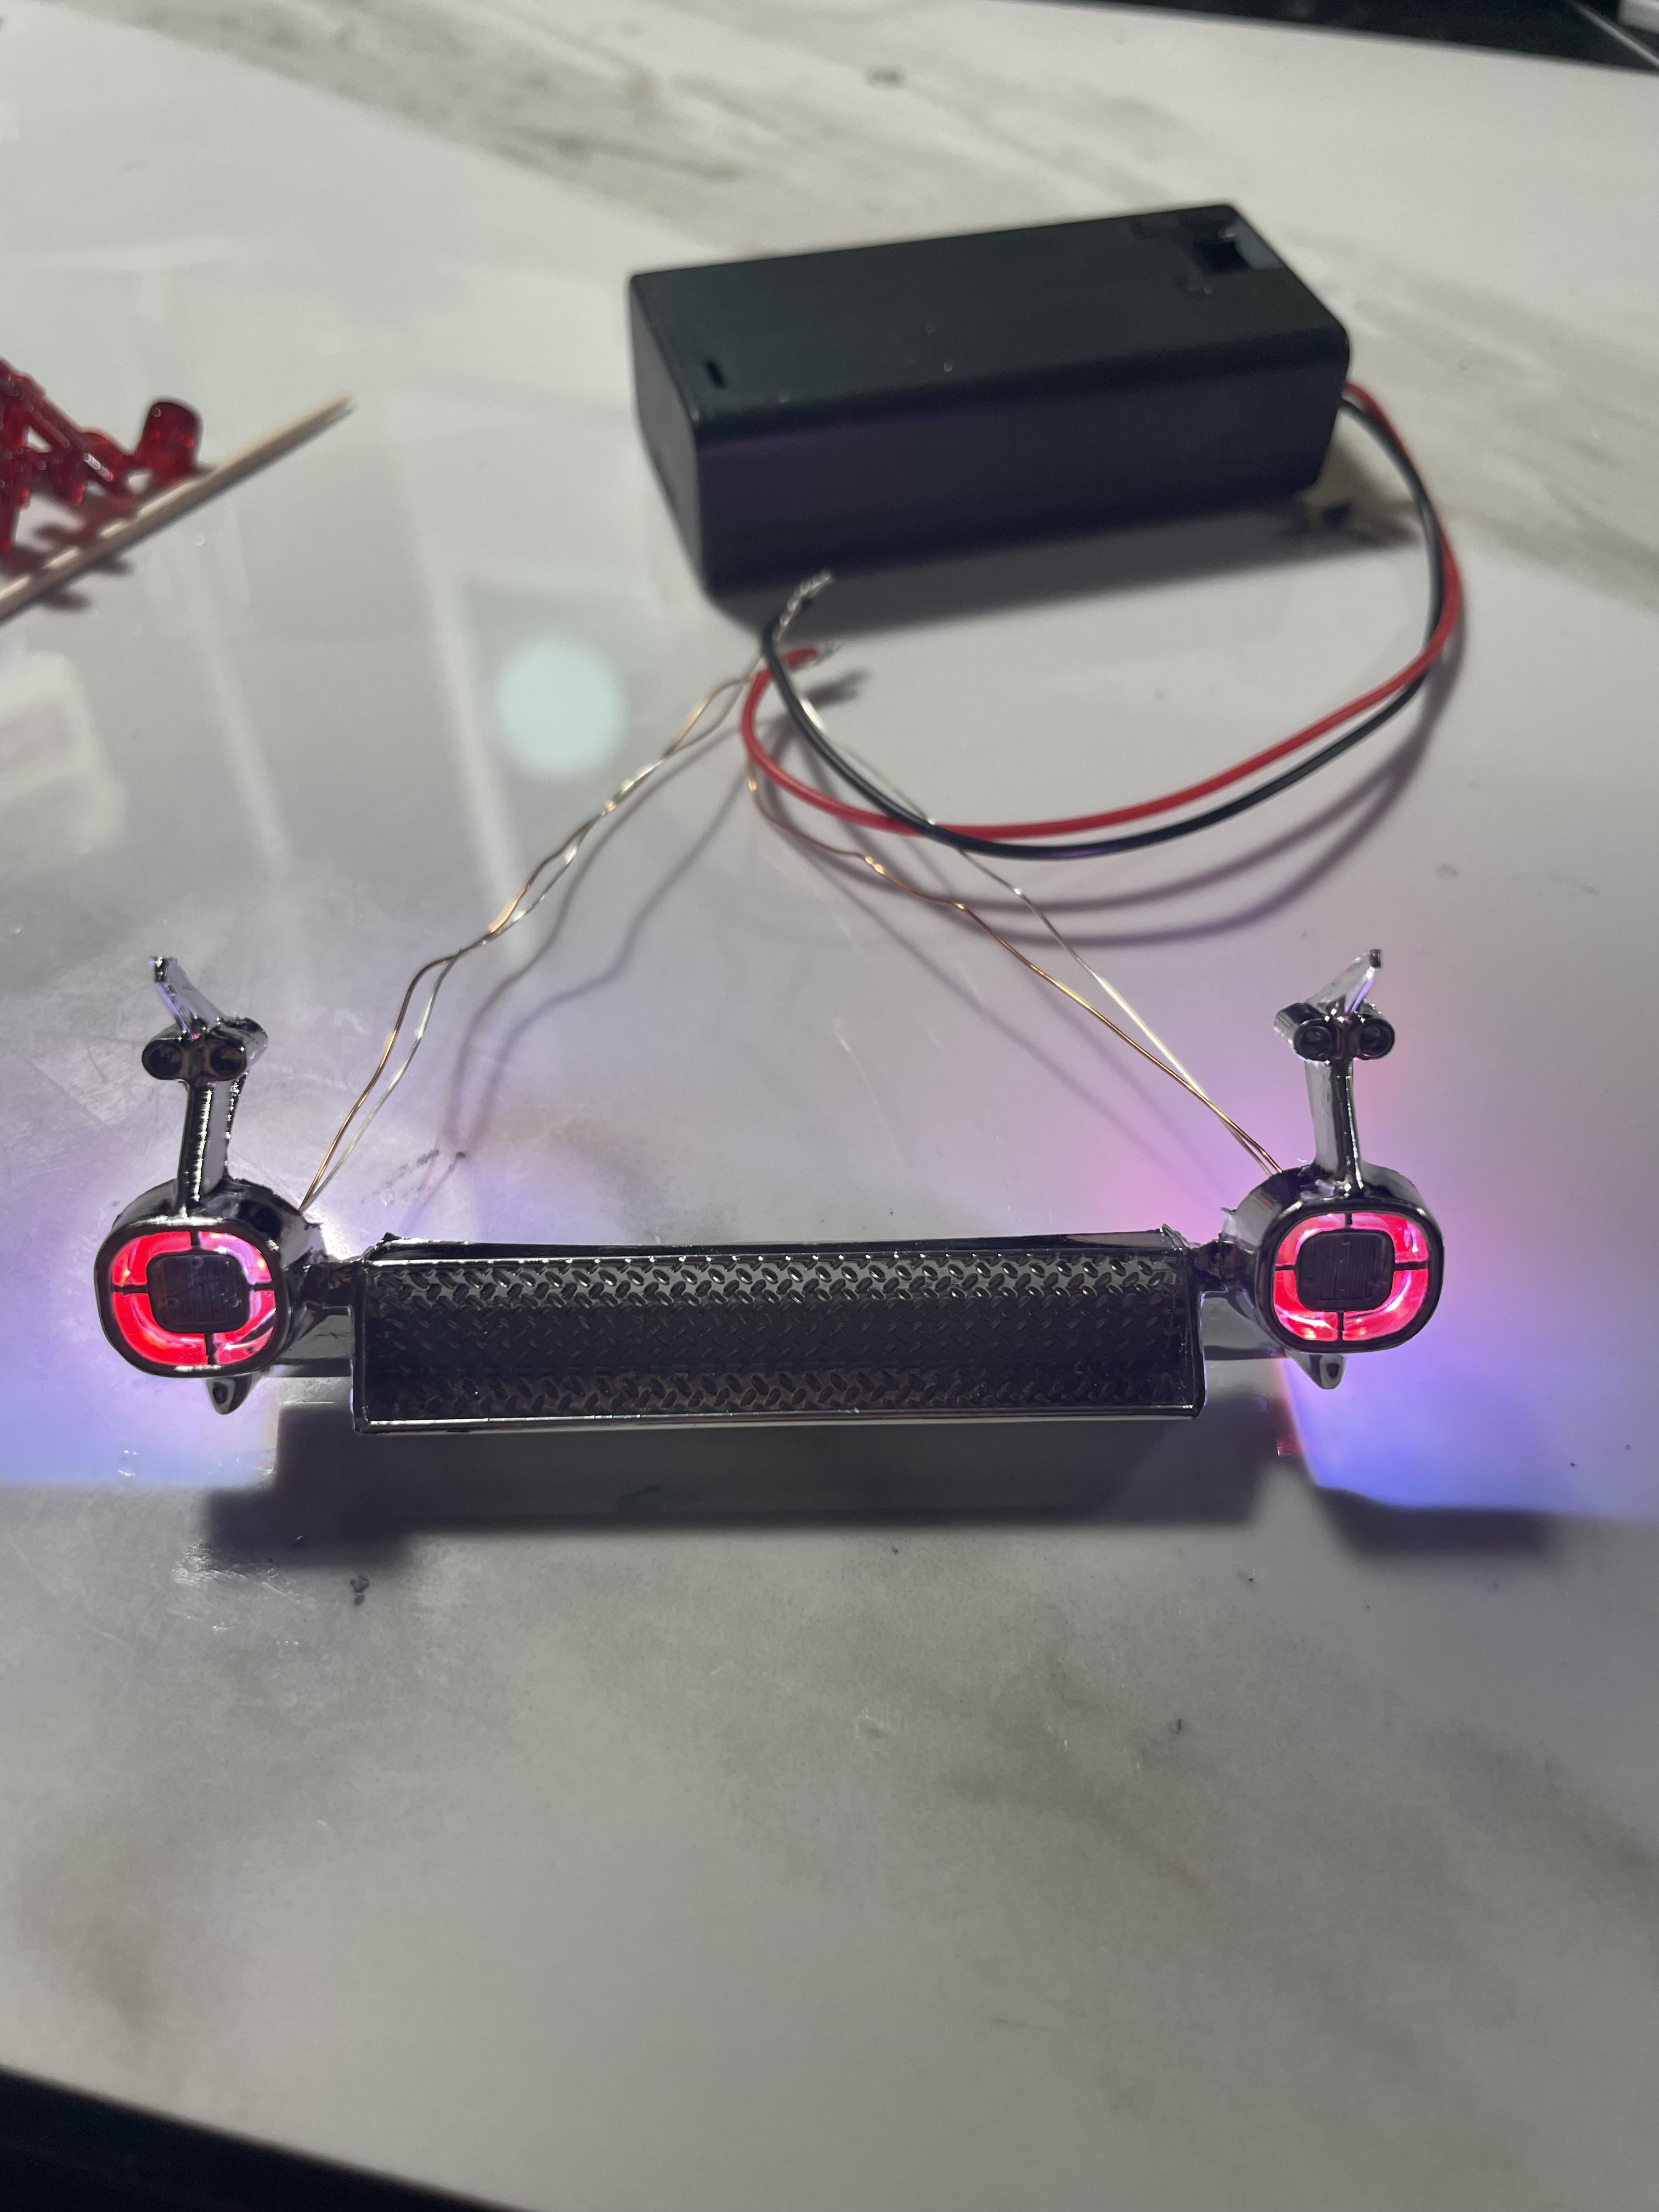
I got the headliner and interior lights installed as we as glueing up the headlights and taillights.
-
Yes, but it is a curbside kit. No engine or trans.
-
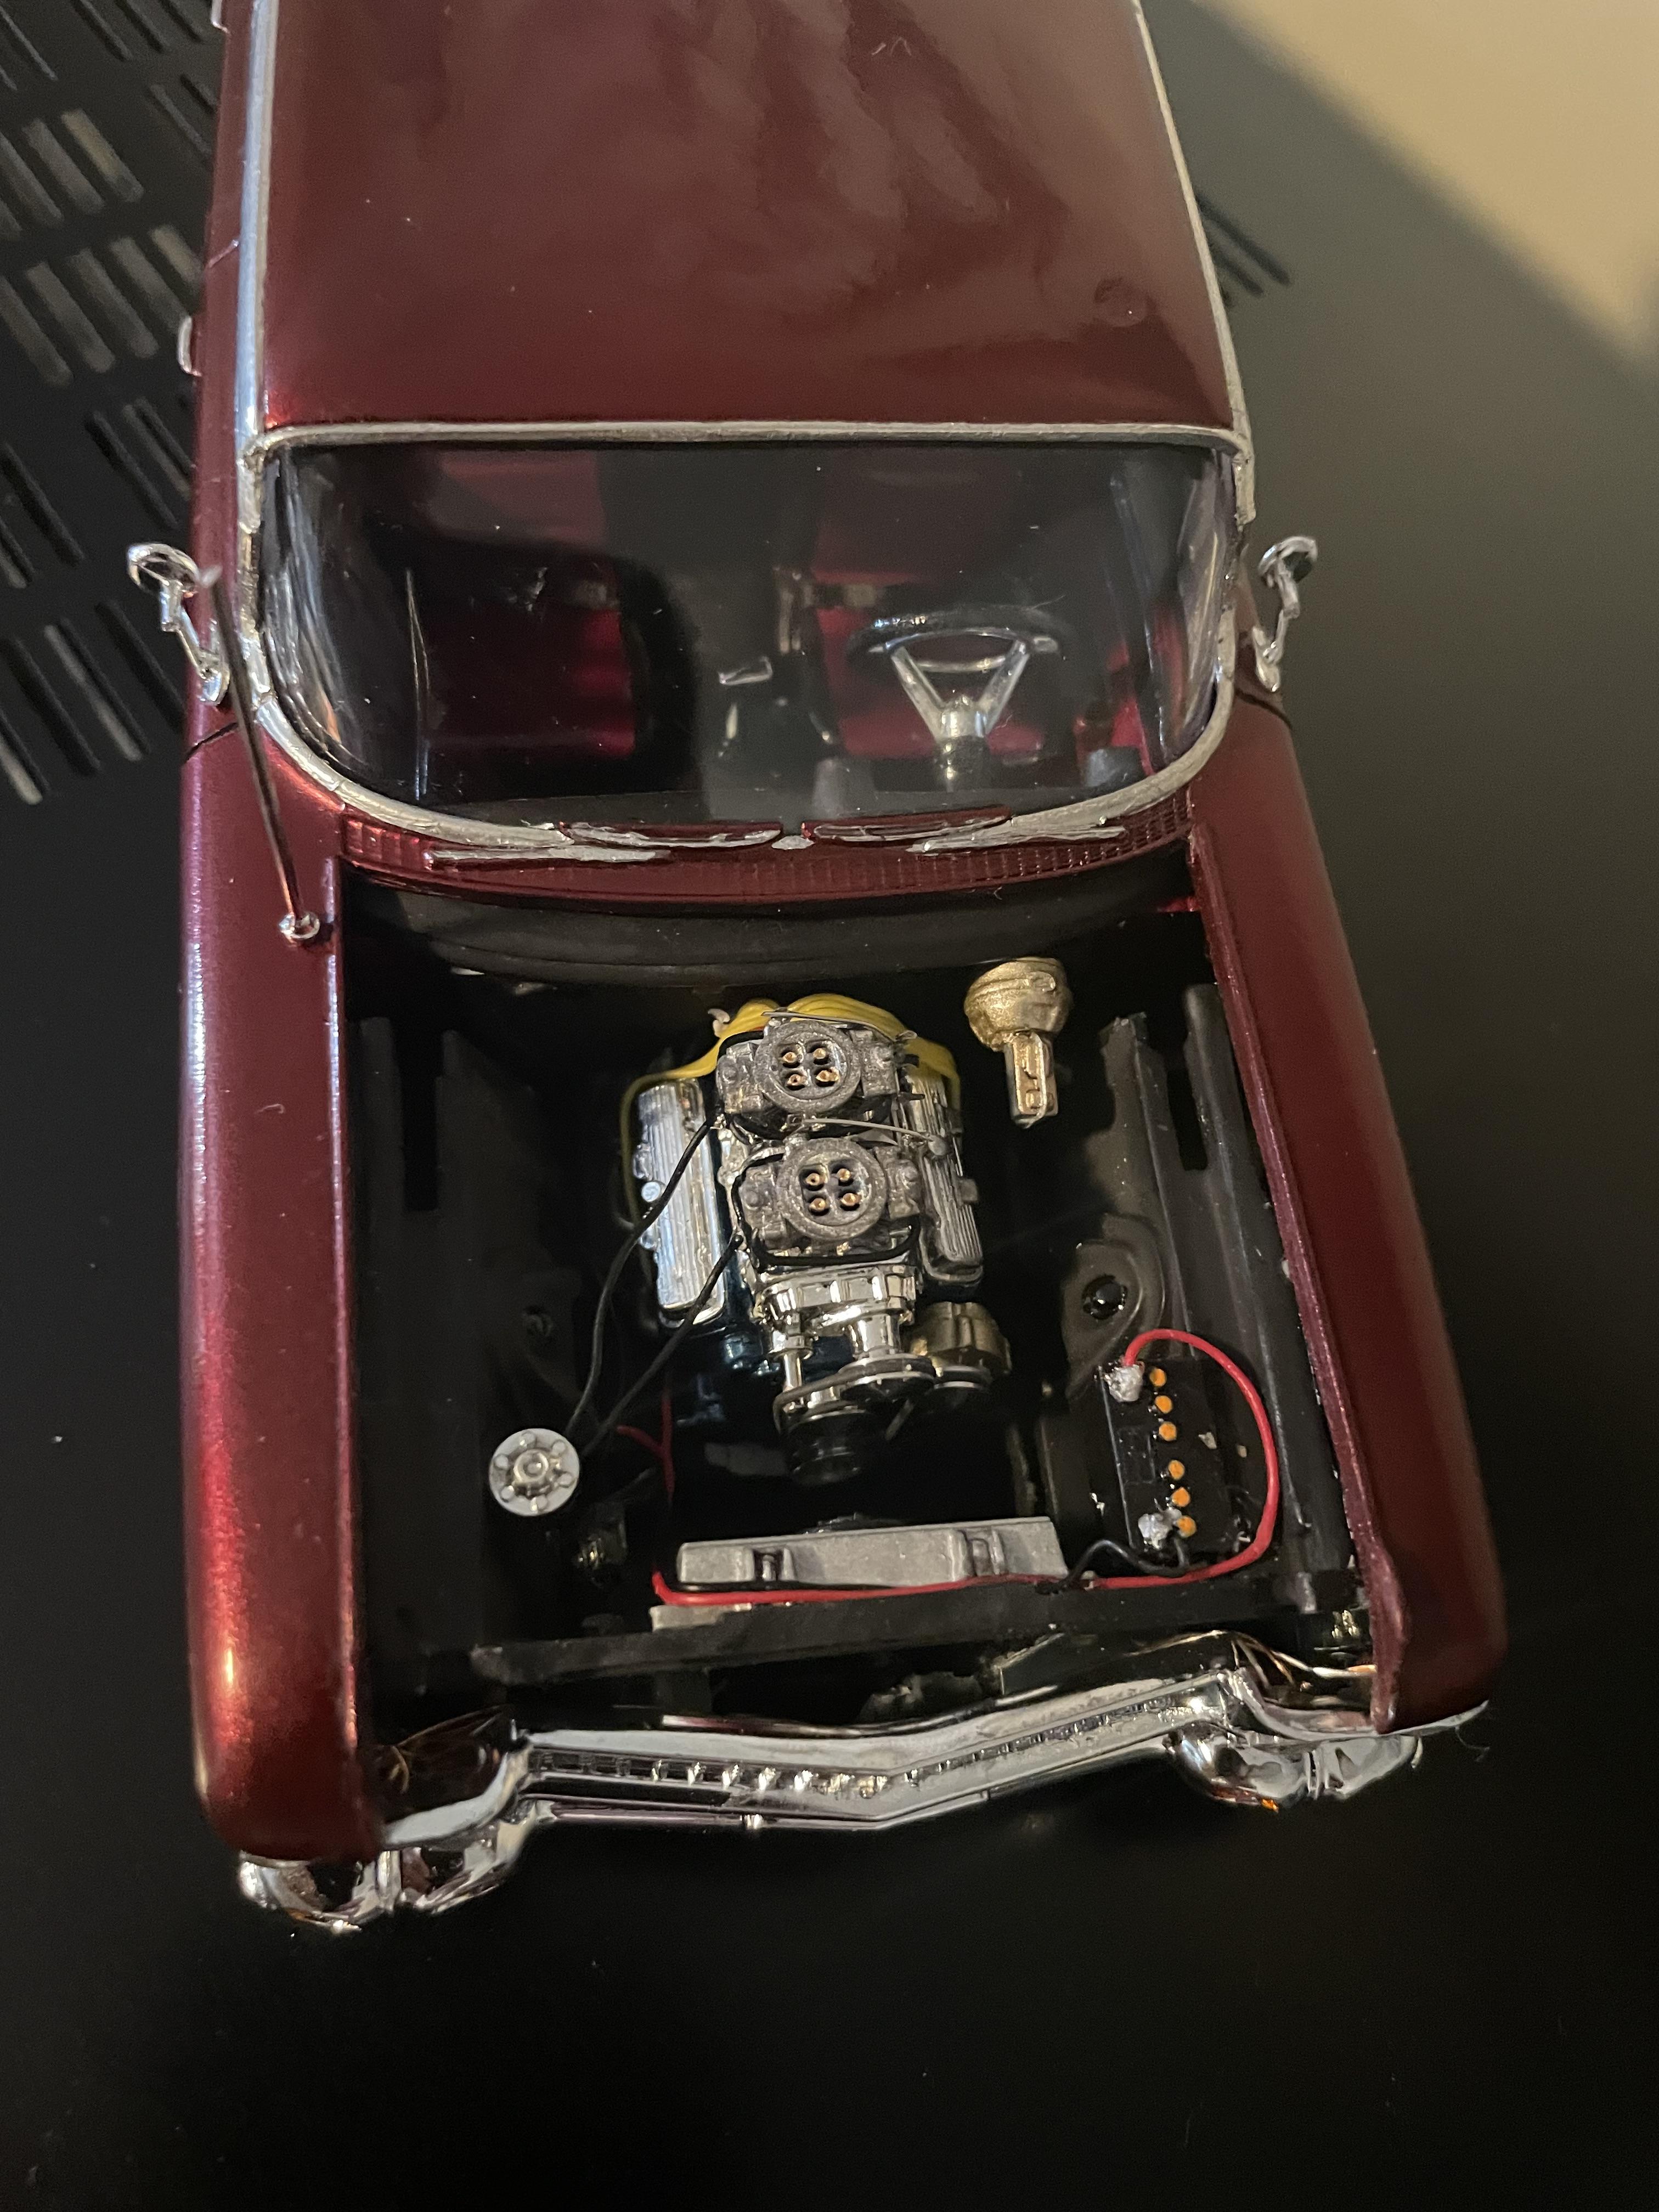
I’ve been working on this one for a bit. I’ve always wanted to do a hearse and this kit fit the bill. I opened the hood up and added the motor and drivetrain. The plan is to add led headlights, taillights and interior lighting.
-
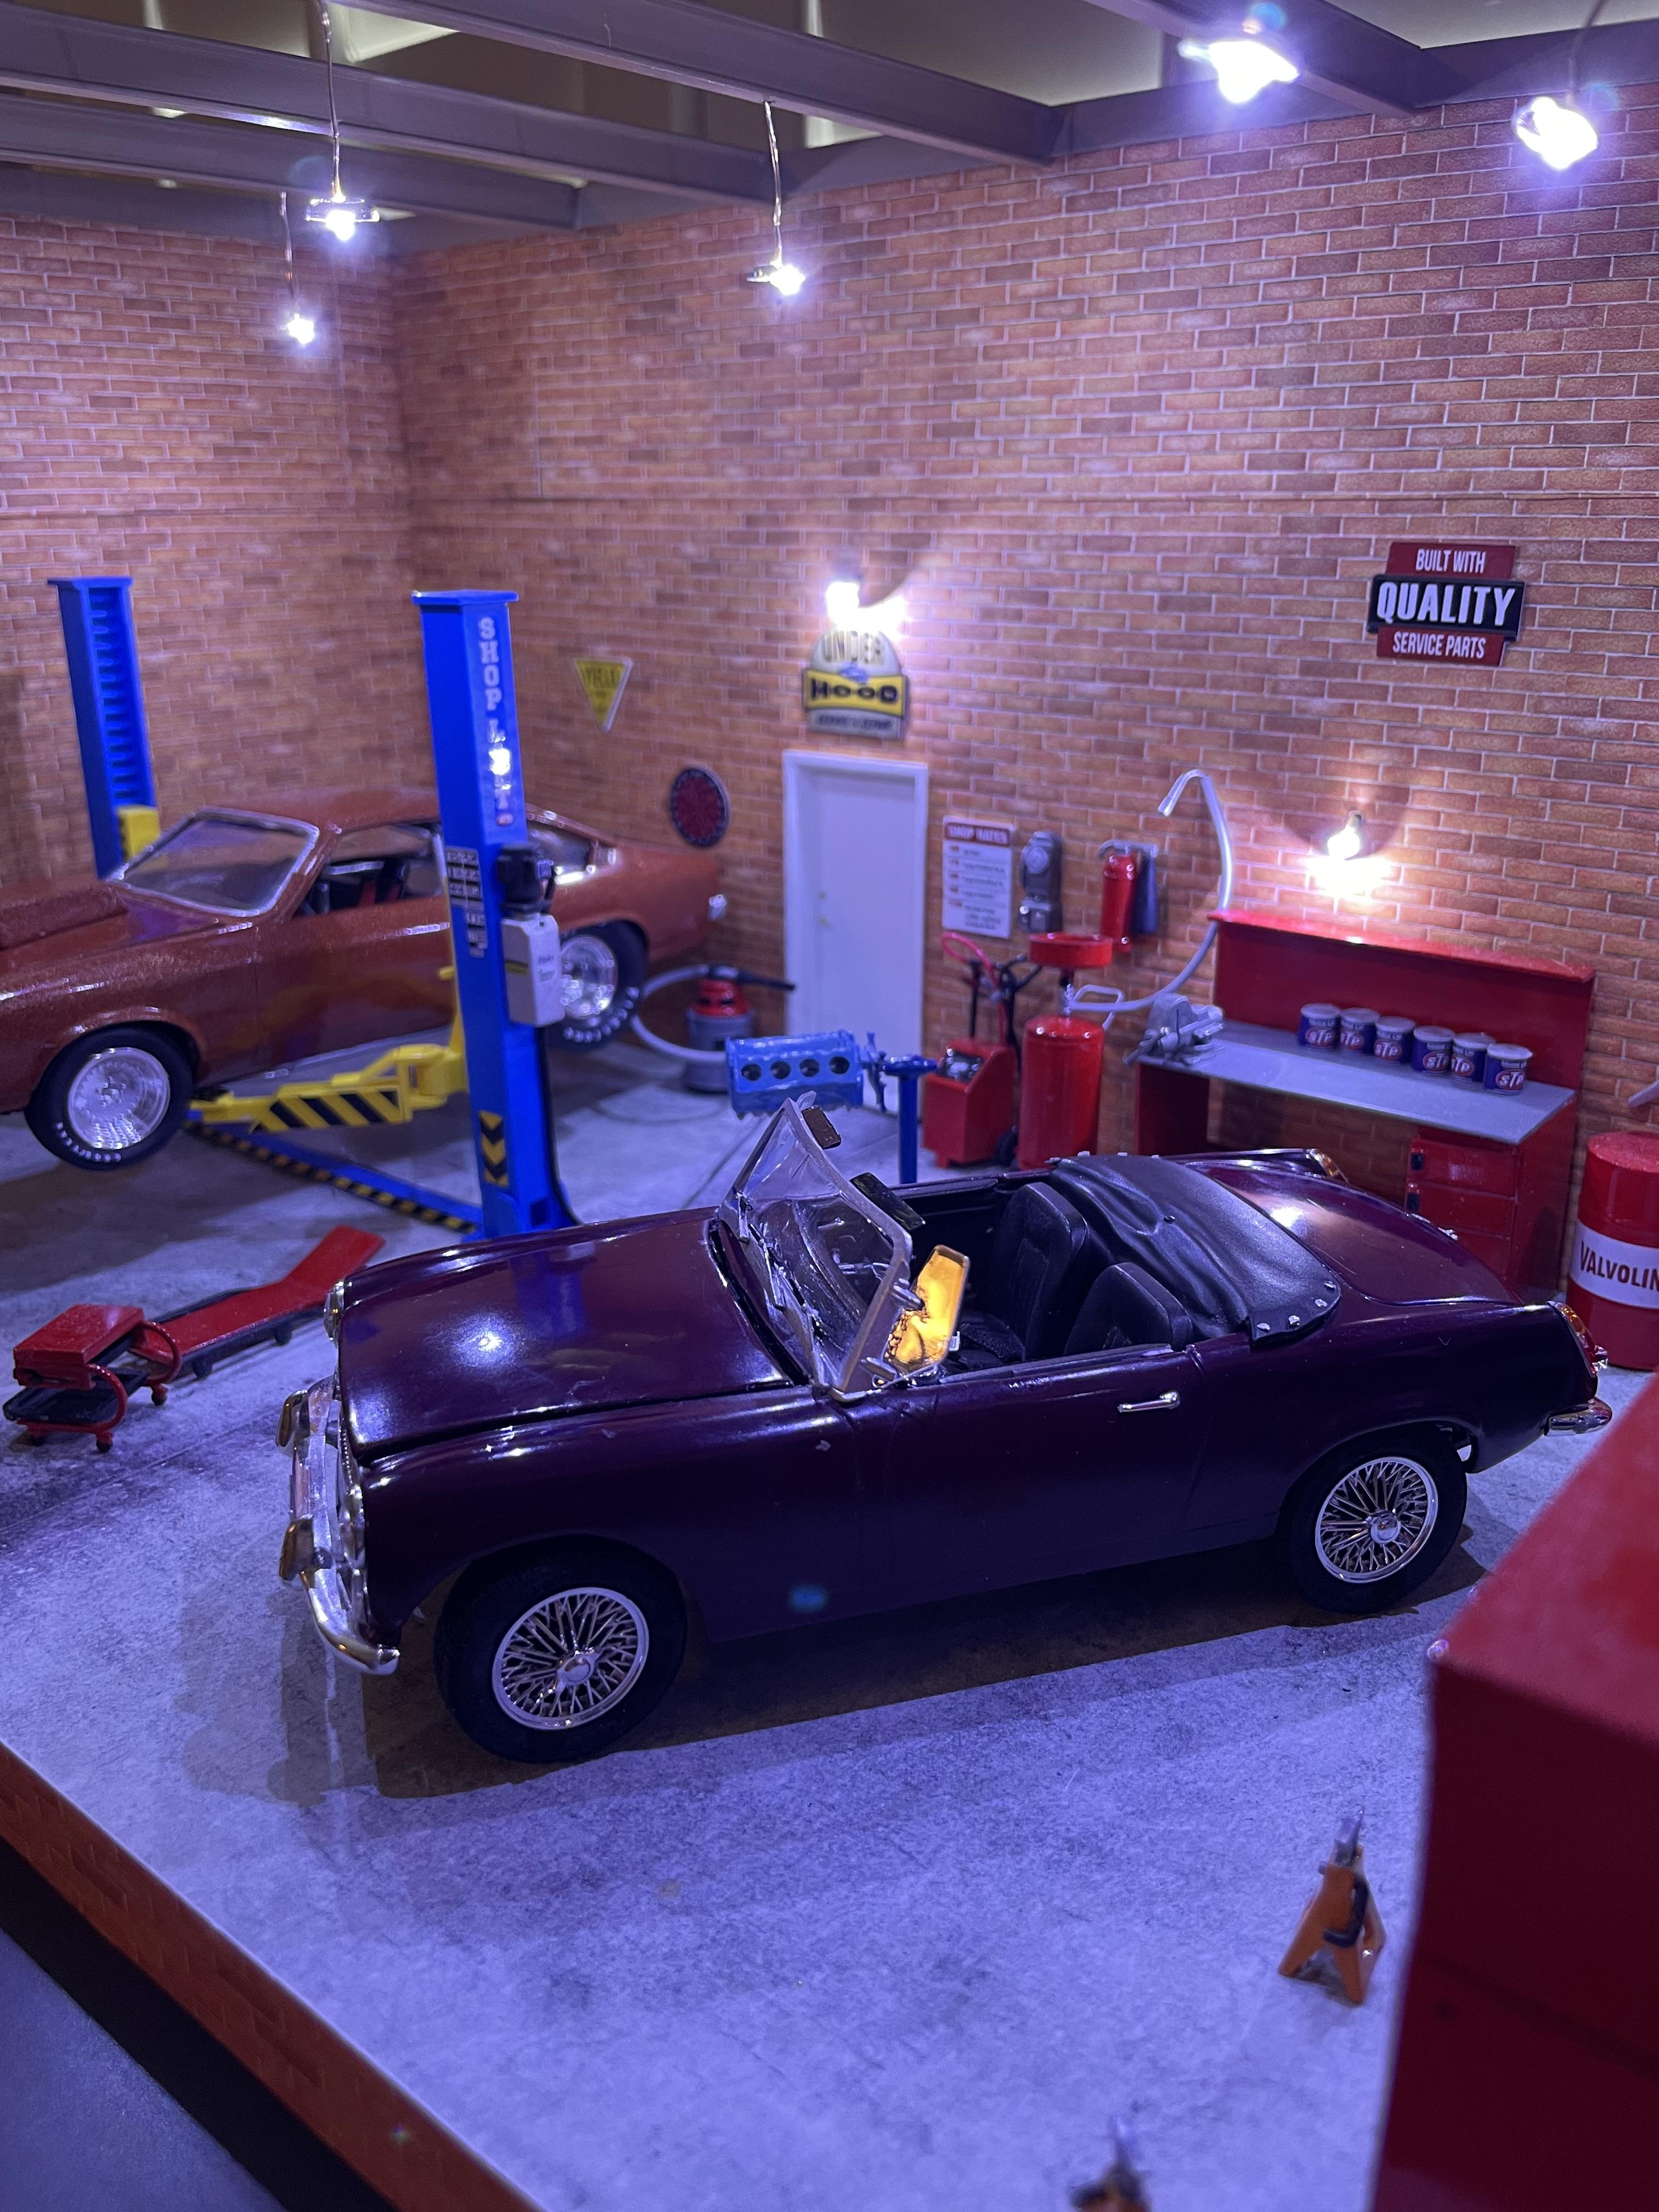
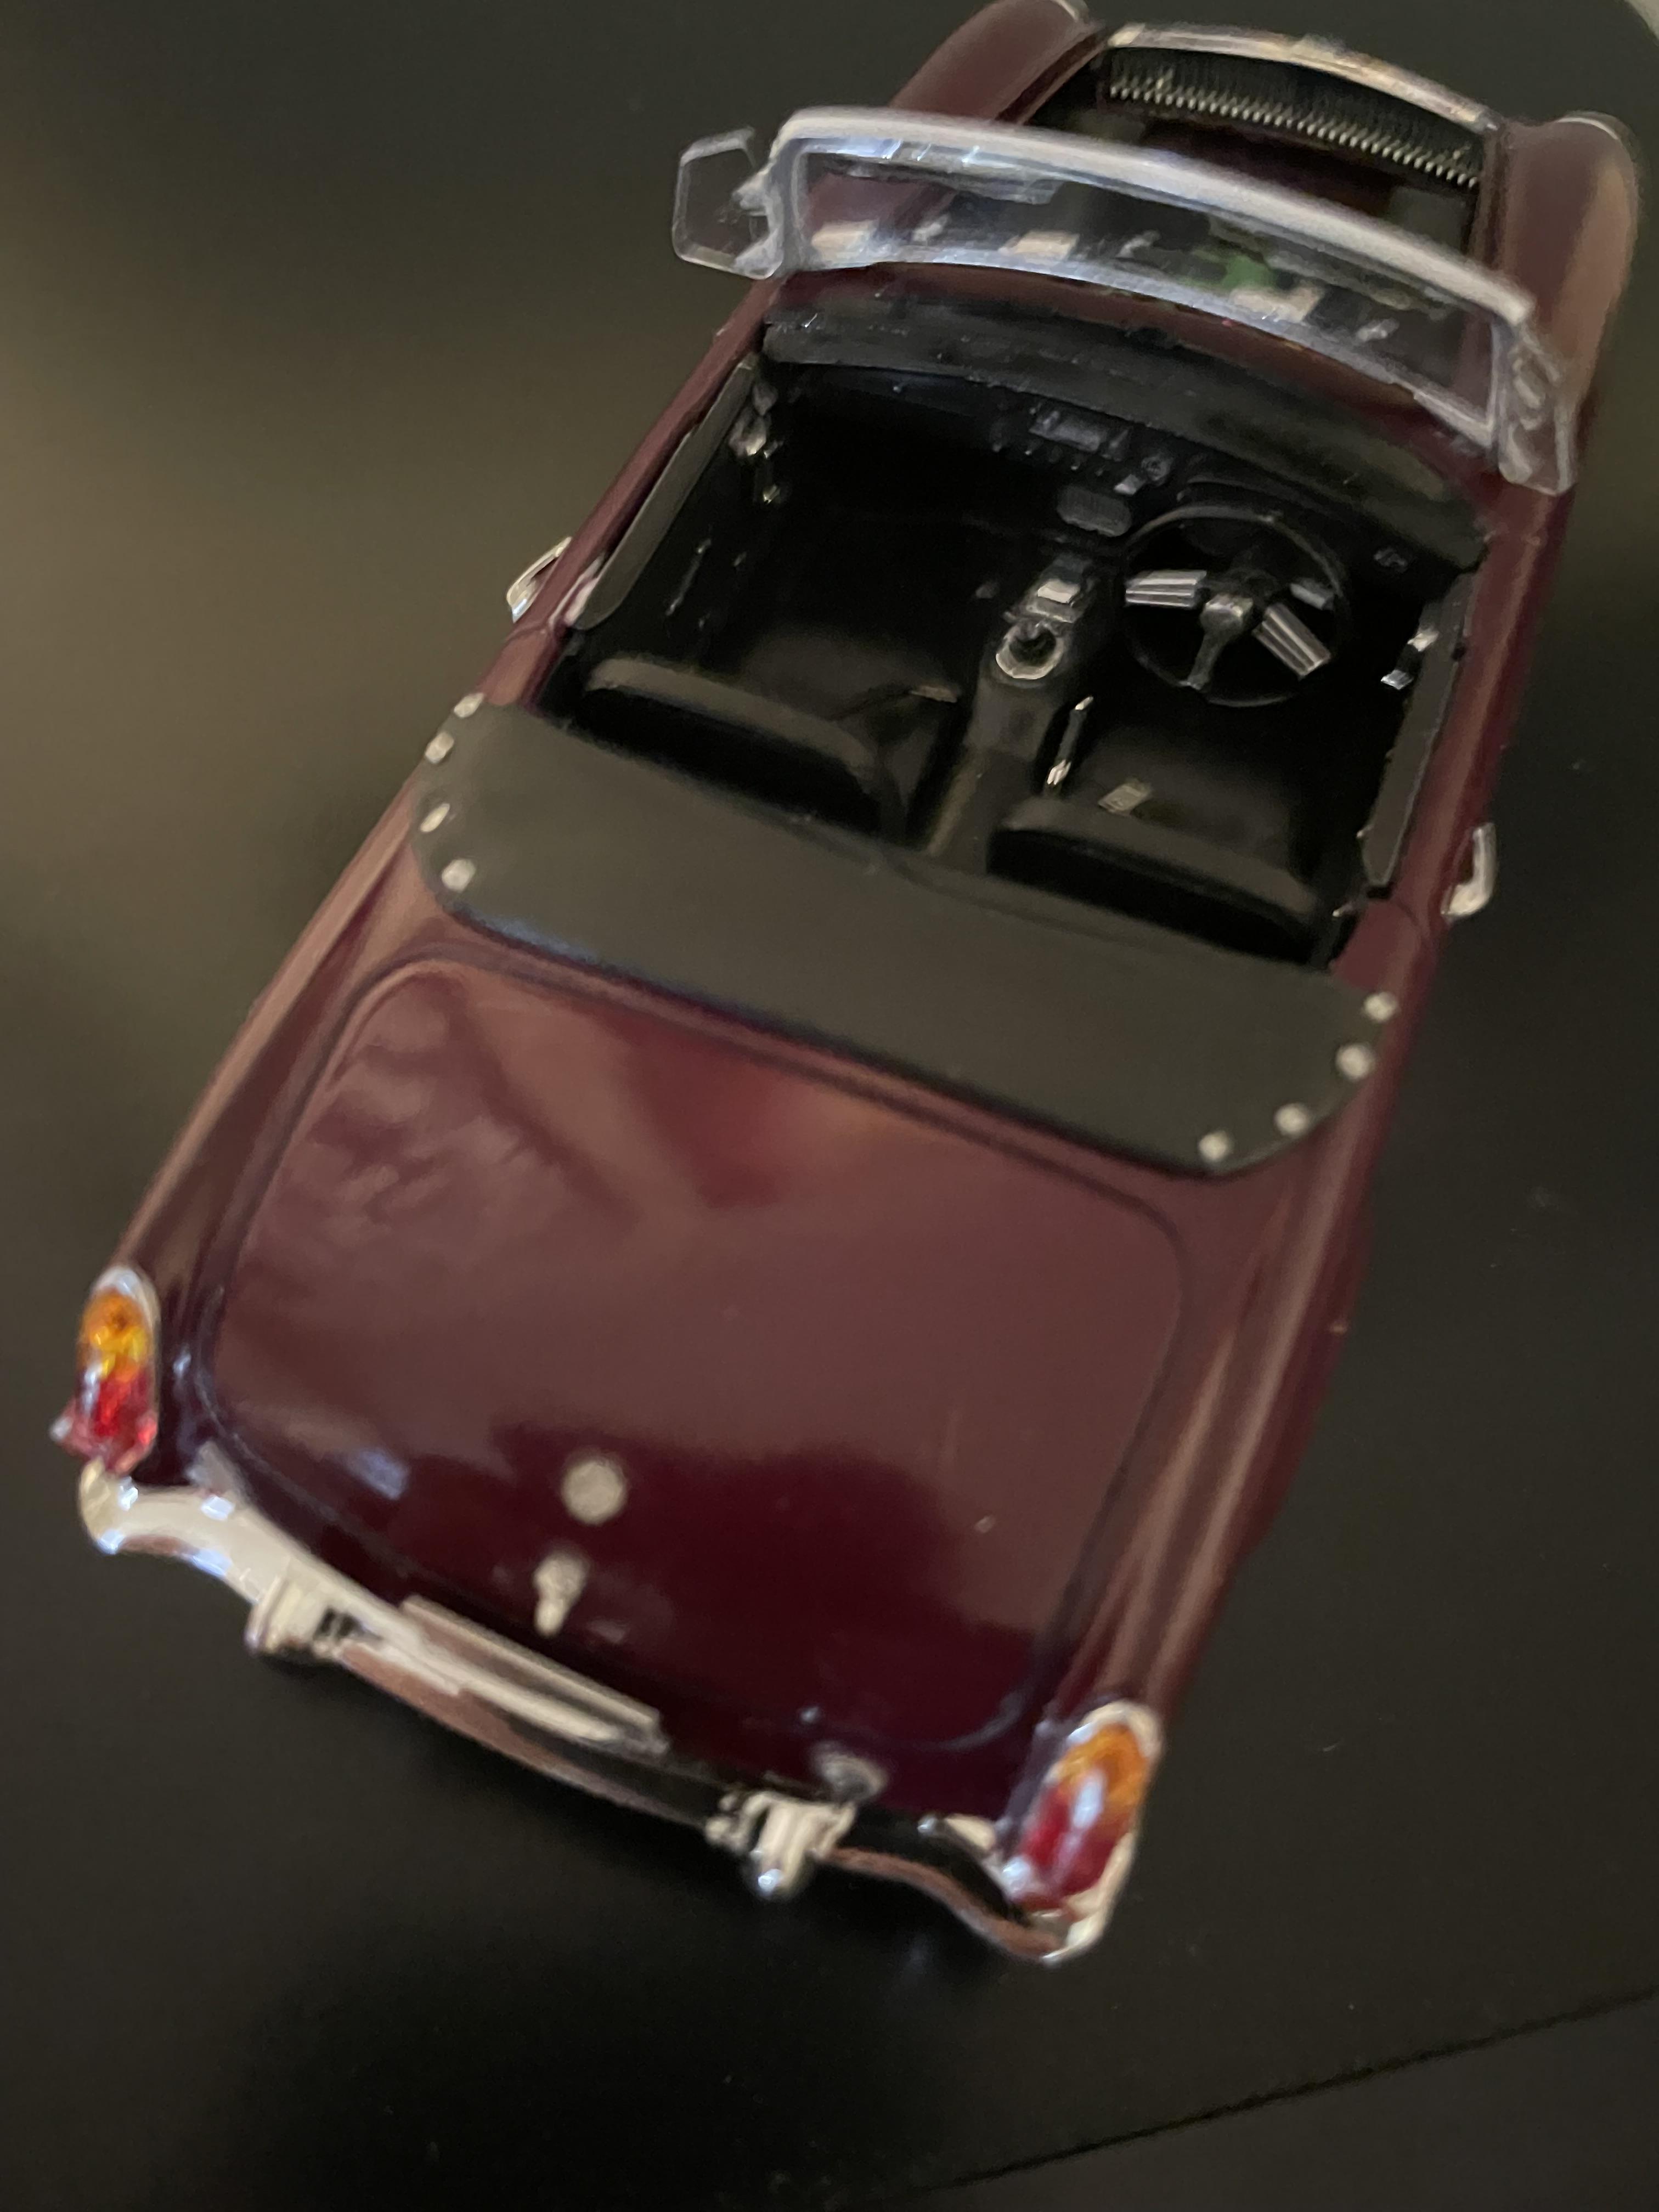
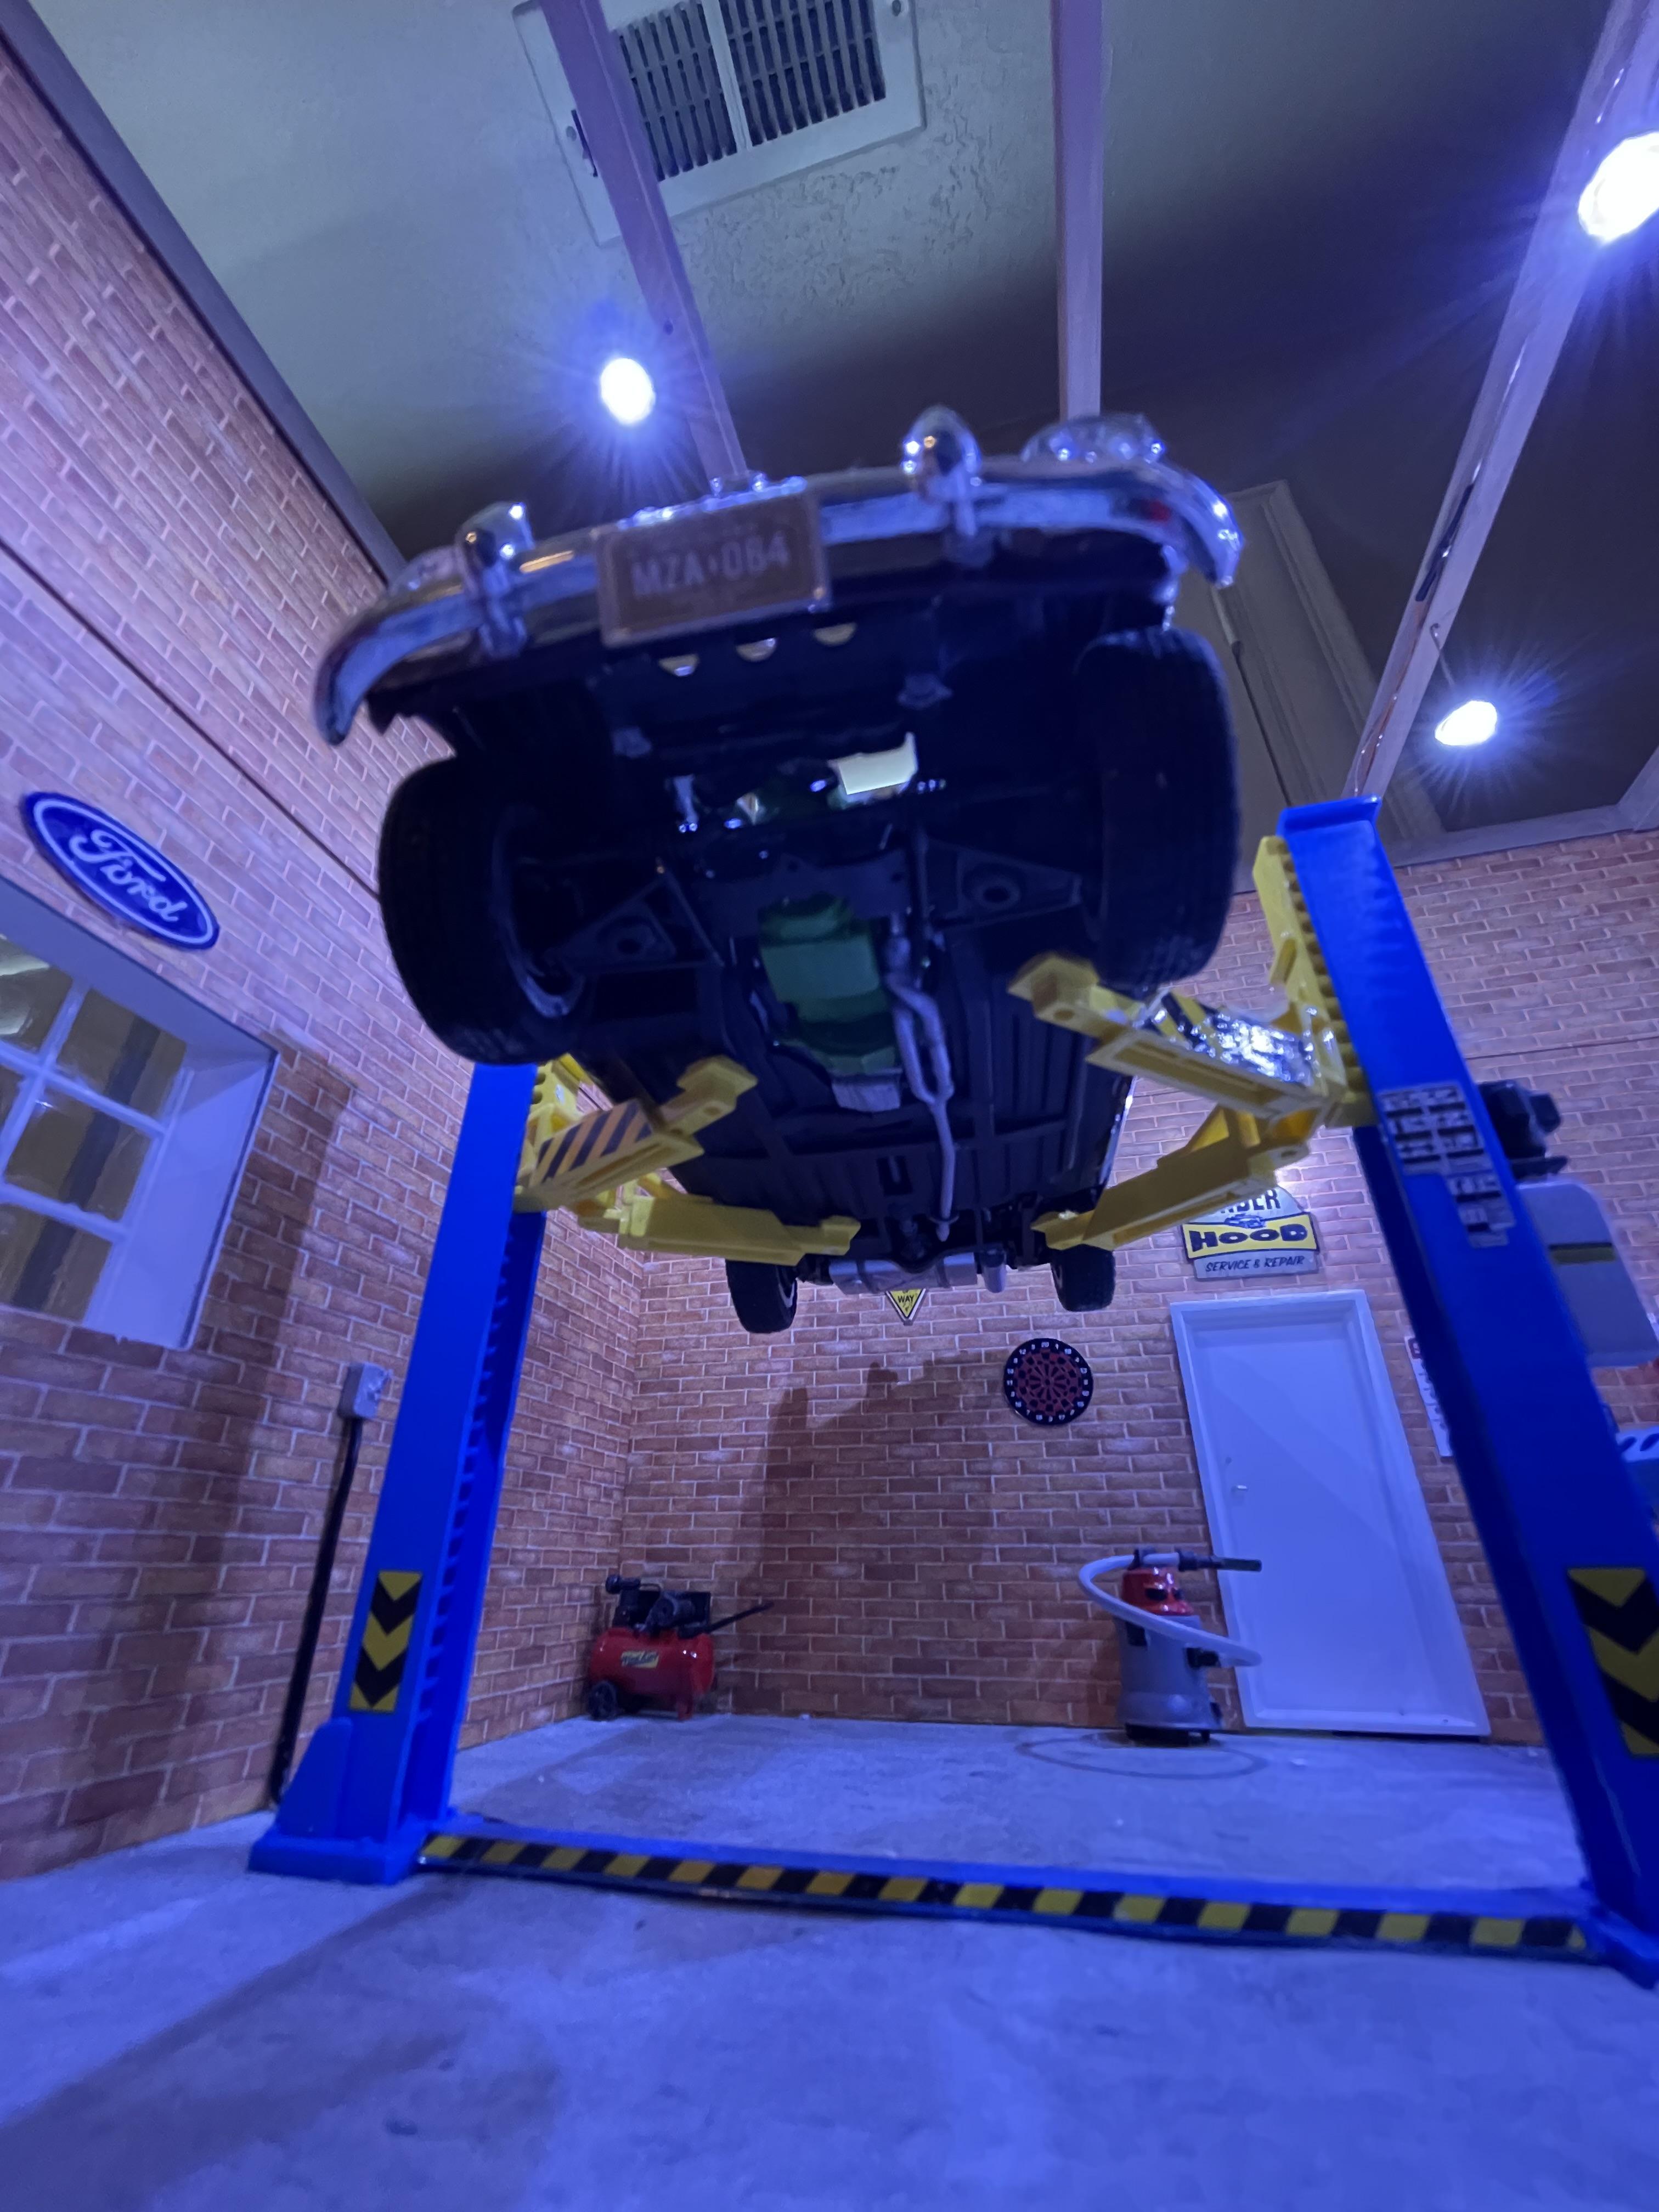
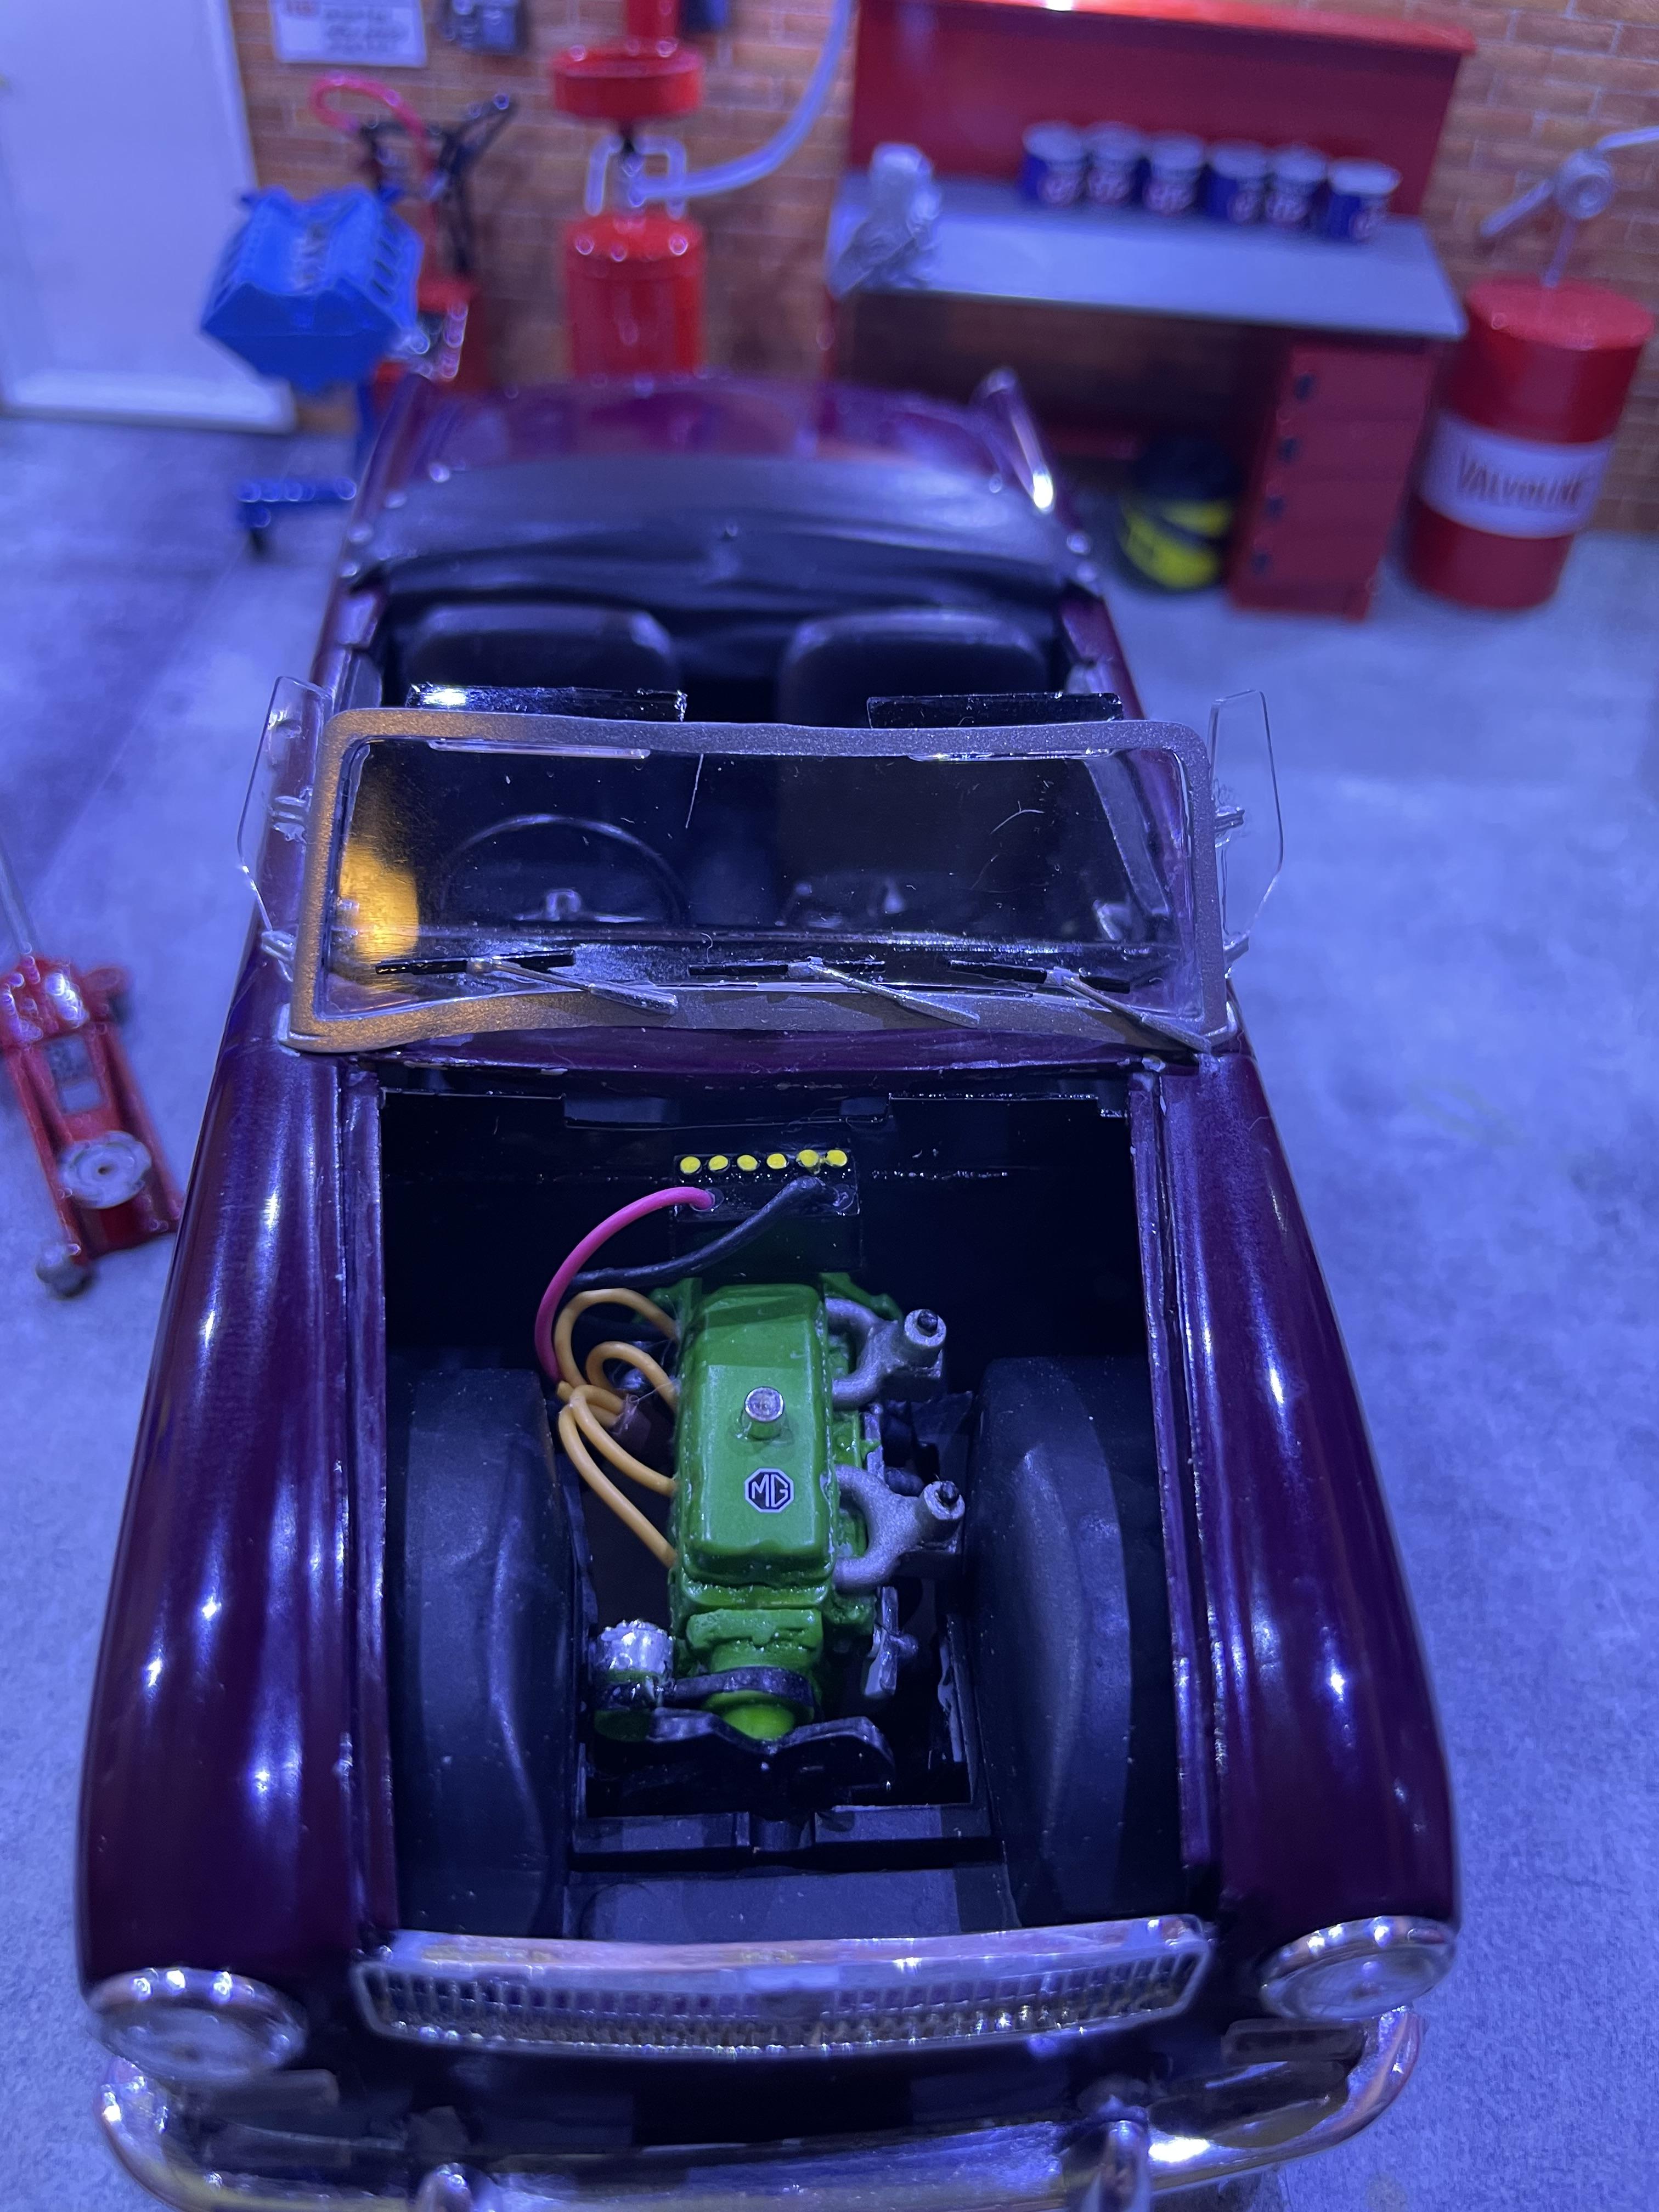
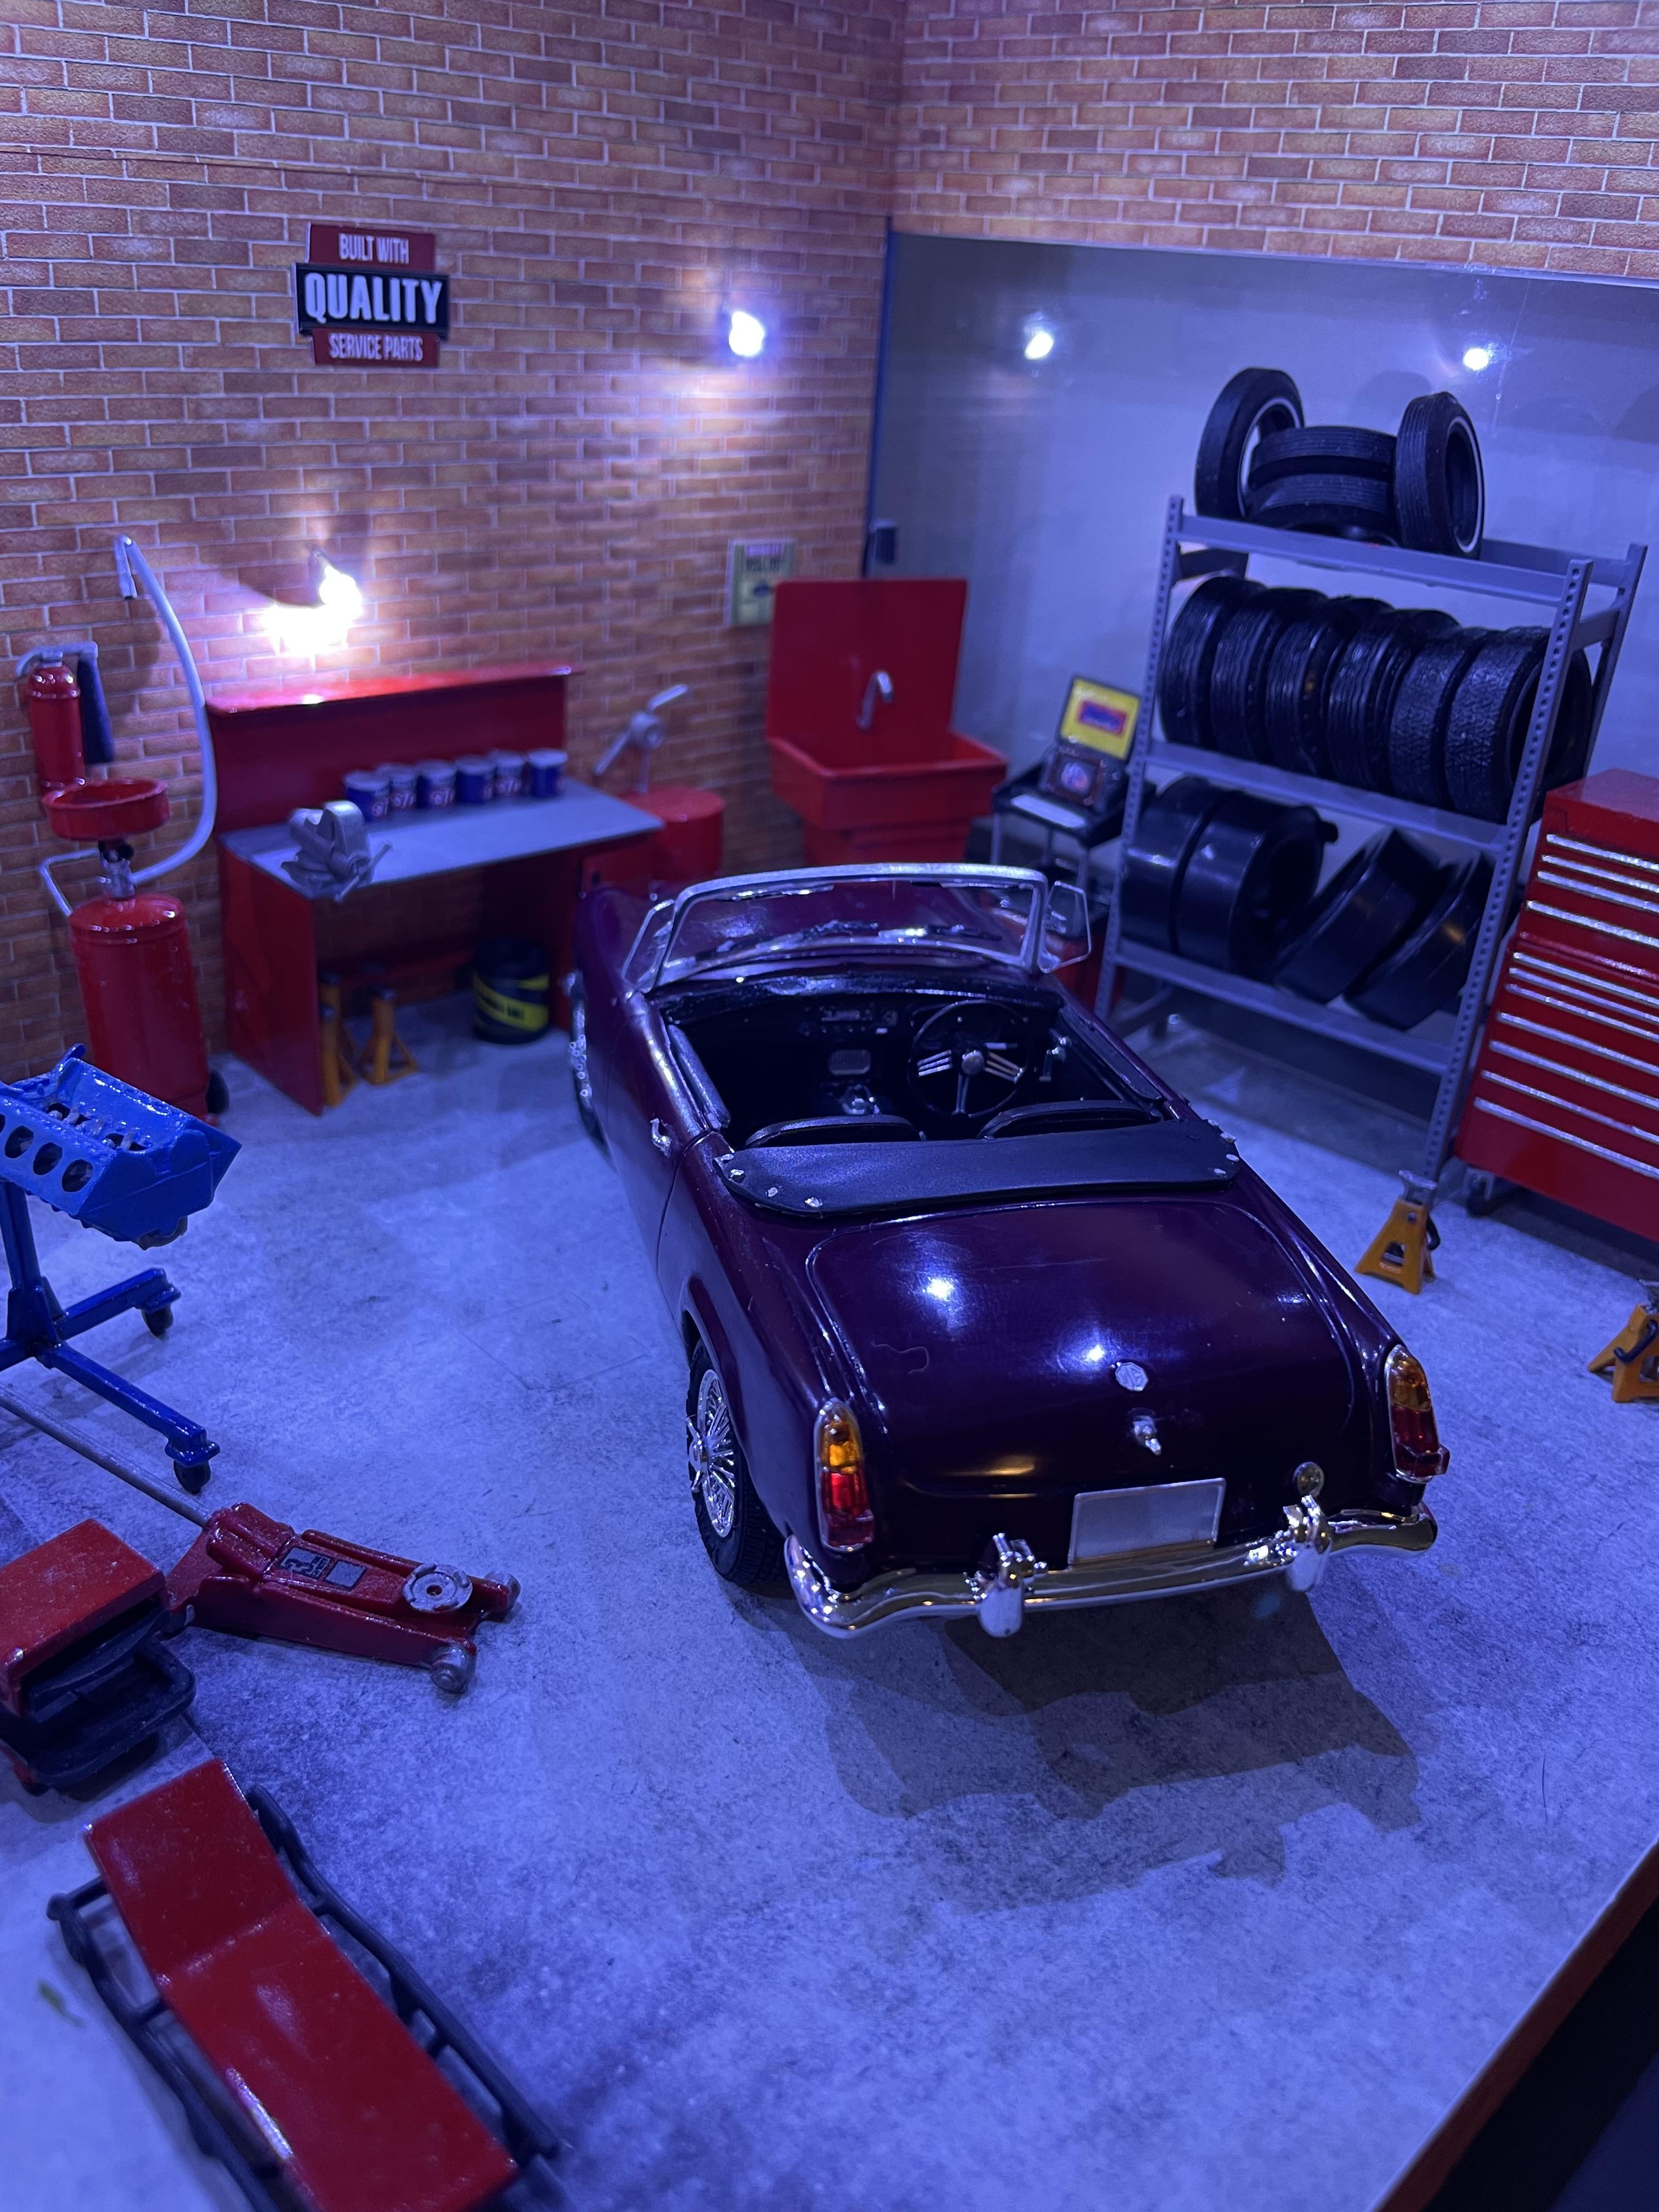
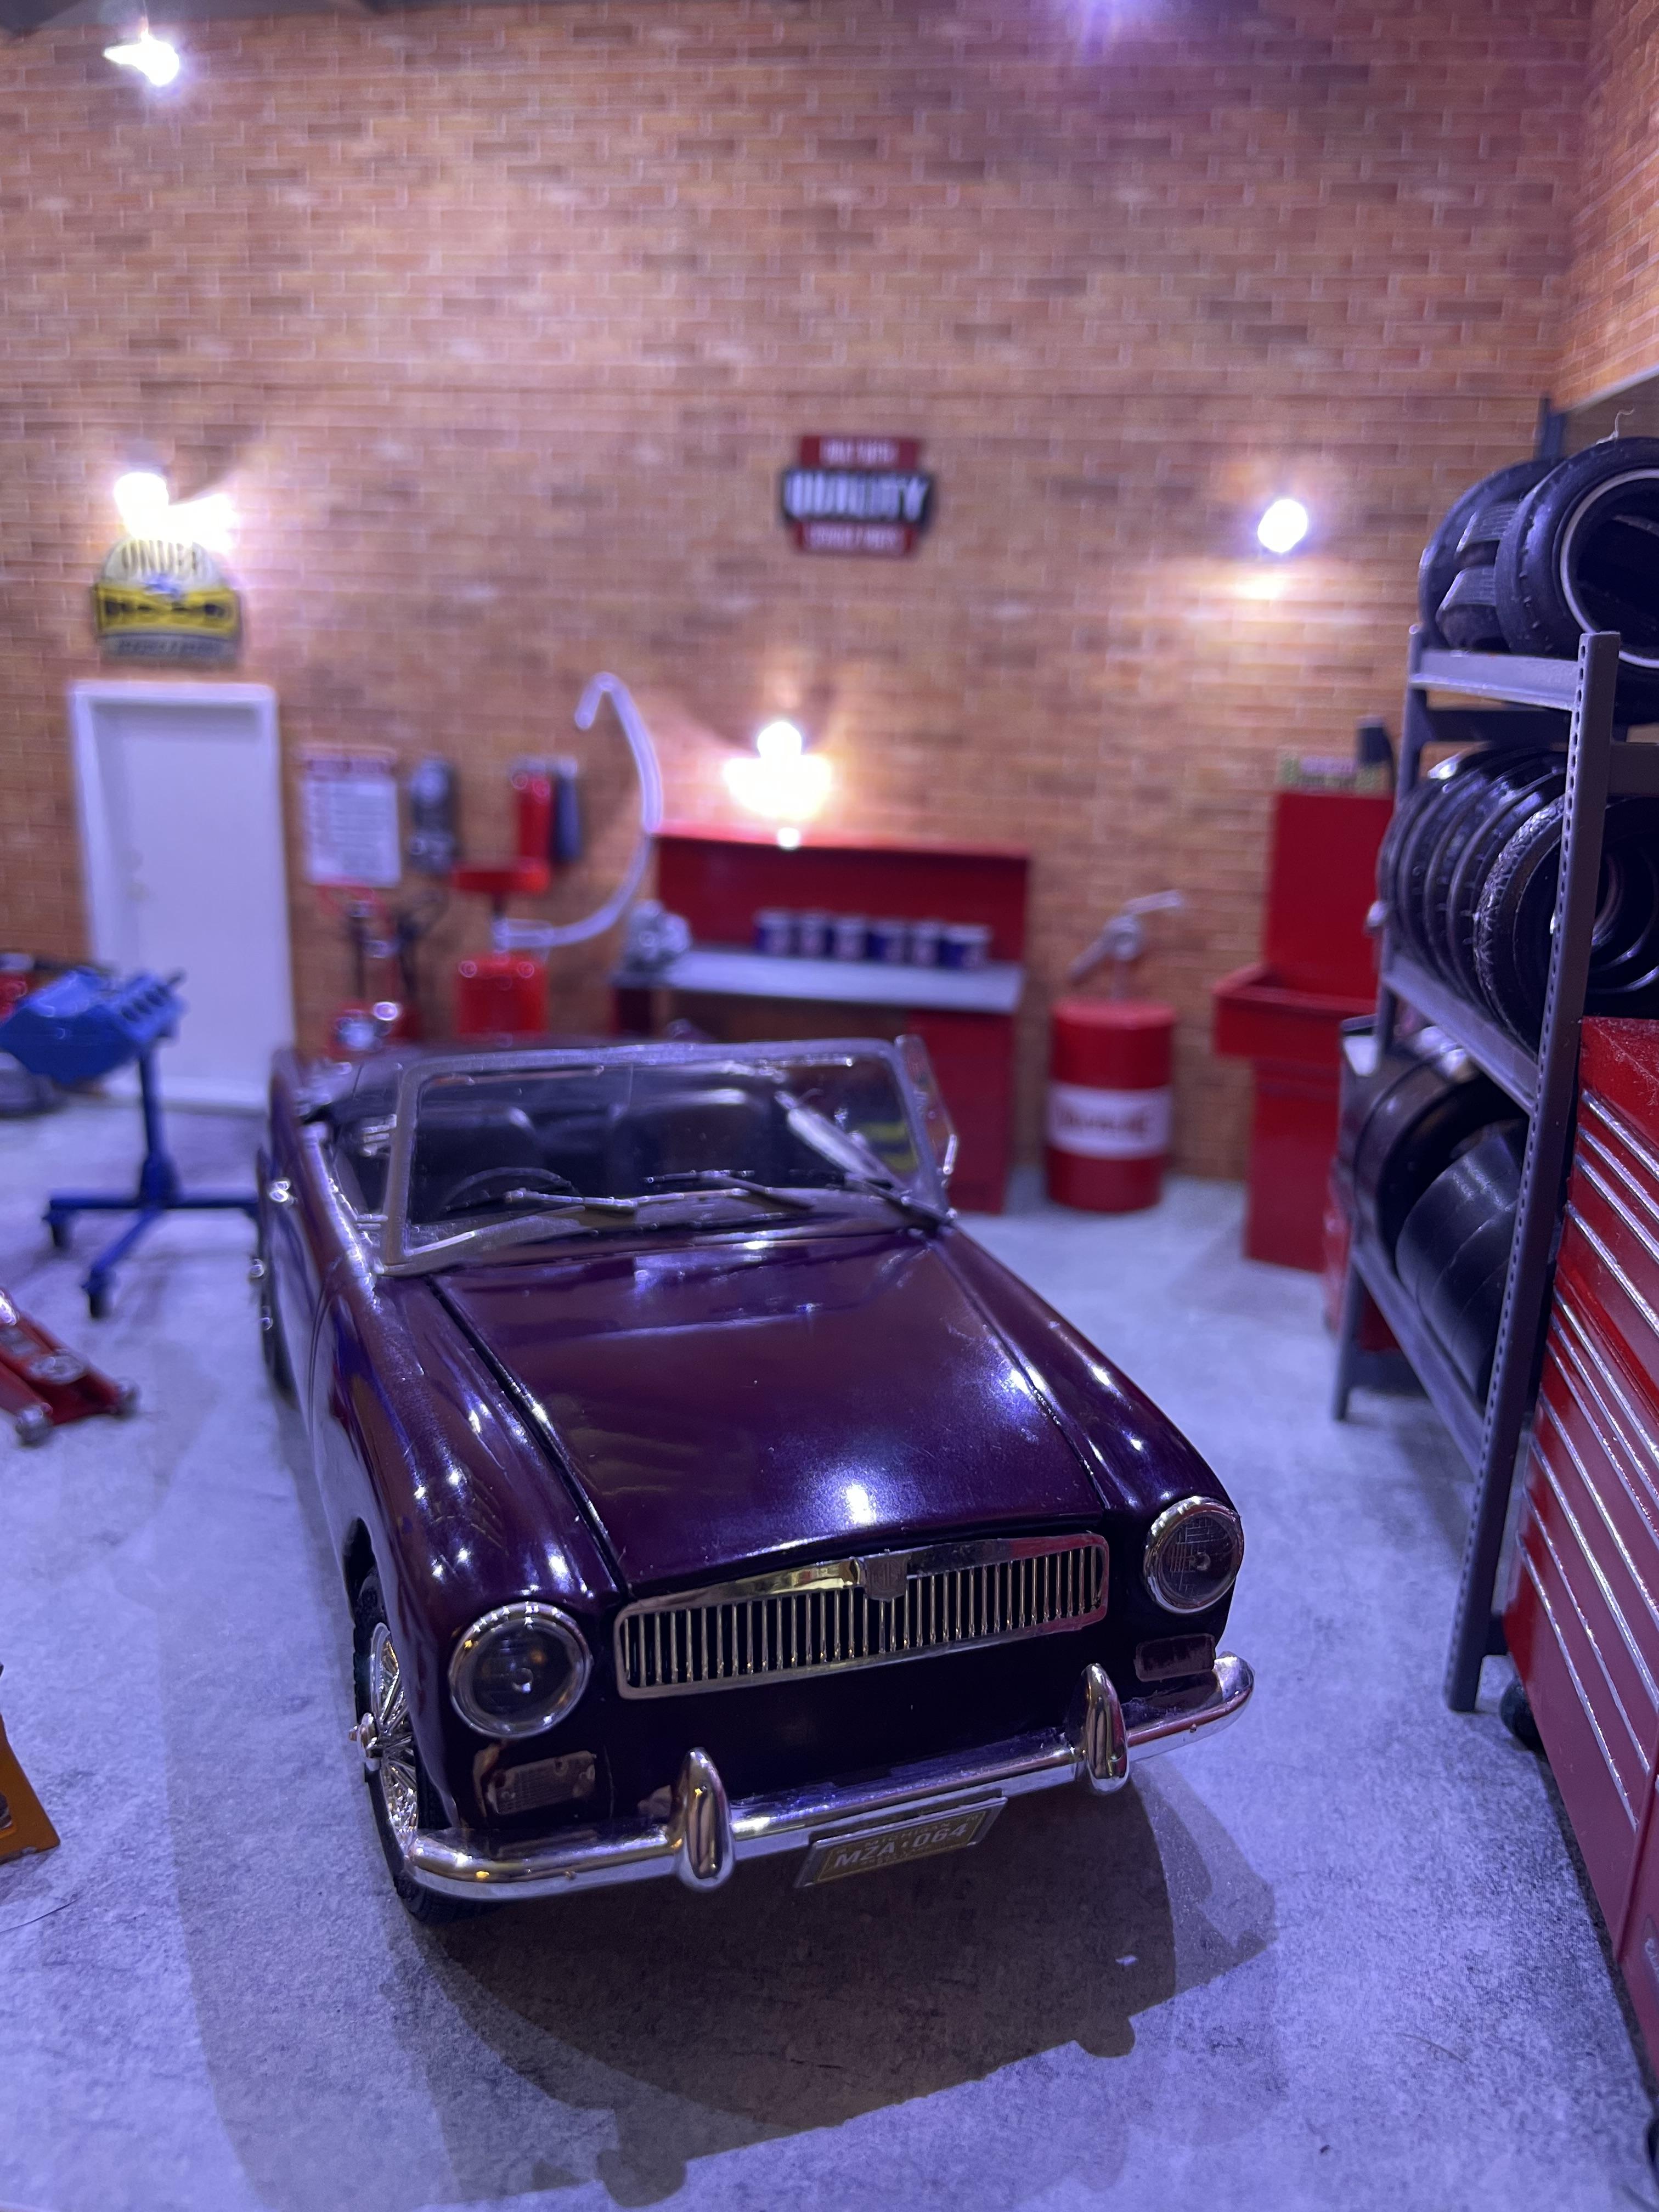
Well summer has kept me away for a while but I think the MG nightmare is over. Im not going to do those kind of modifications for a long long while. The paint didn’t turn out as good as I would have liked but overall it does resemble a midget. The original windscreen was too curved for a midget so I used one from a junk cobra I picked up at a yard sale. All of the modifications aside, the Aoshima MGB kit was really well made except for being a curbside model. Hope you like it and go easy on me Dave.
-
Well, it’s been a while but I finally get midge painted and rubbed out.
-
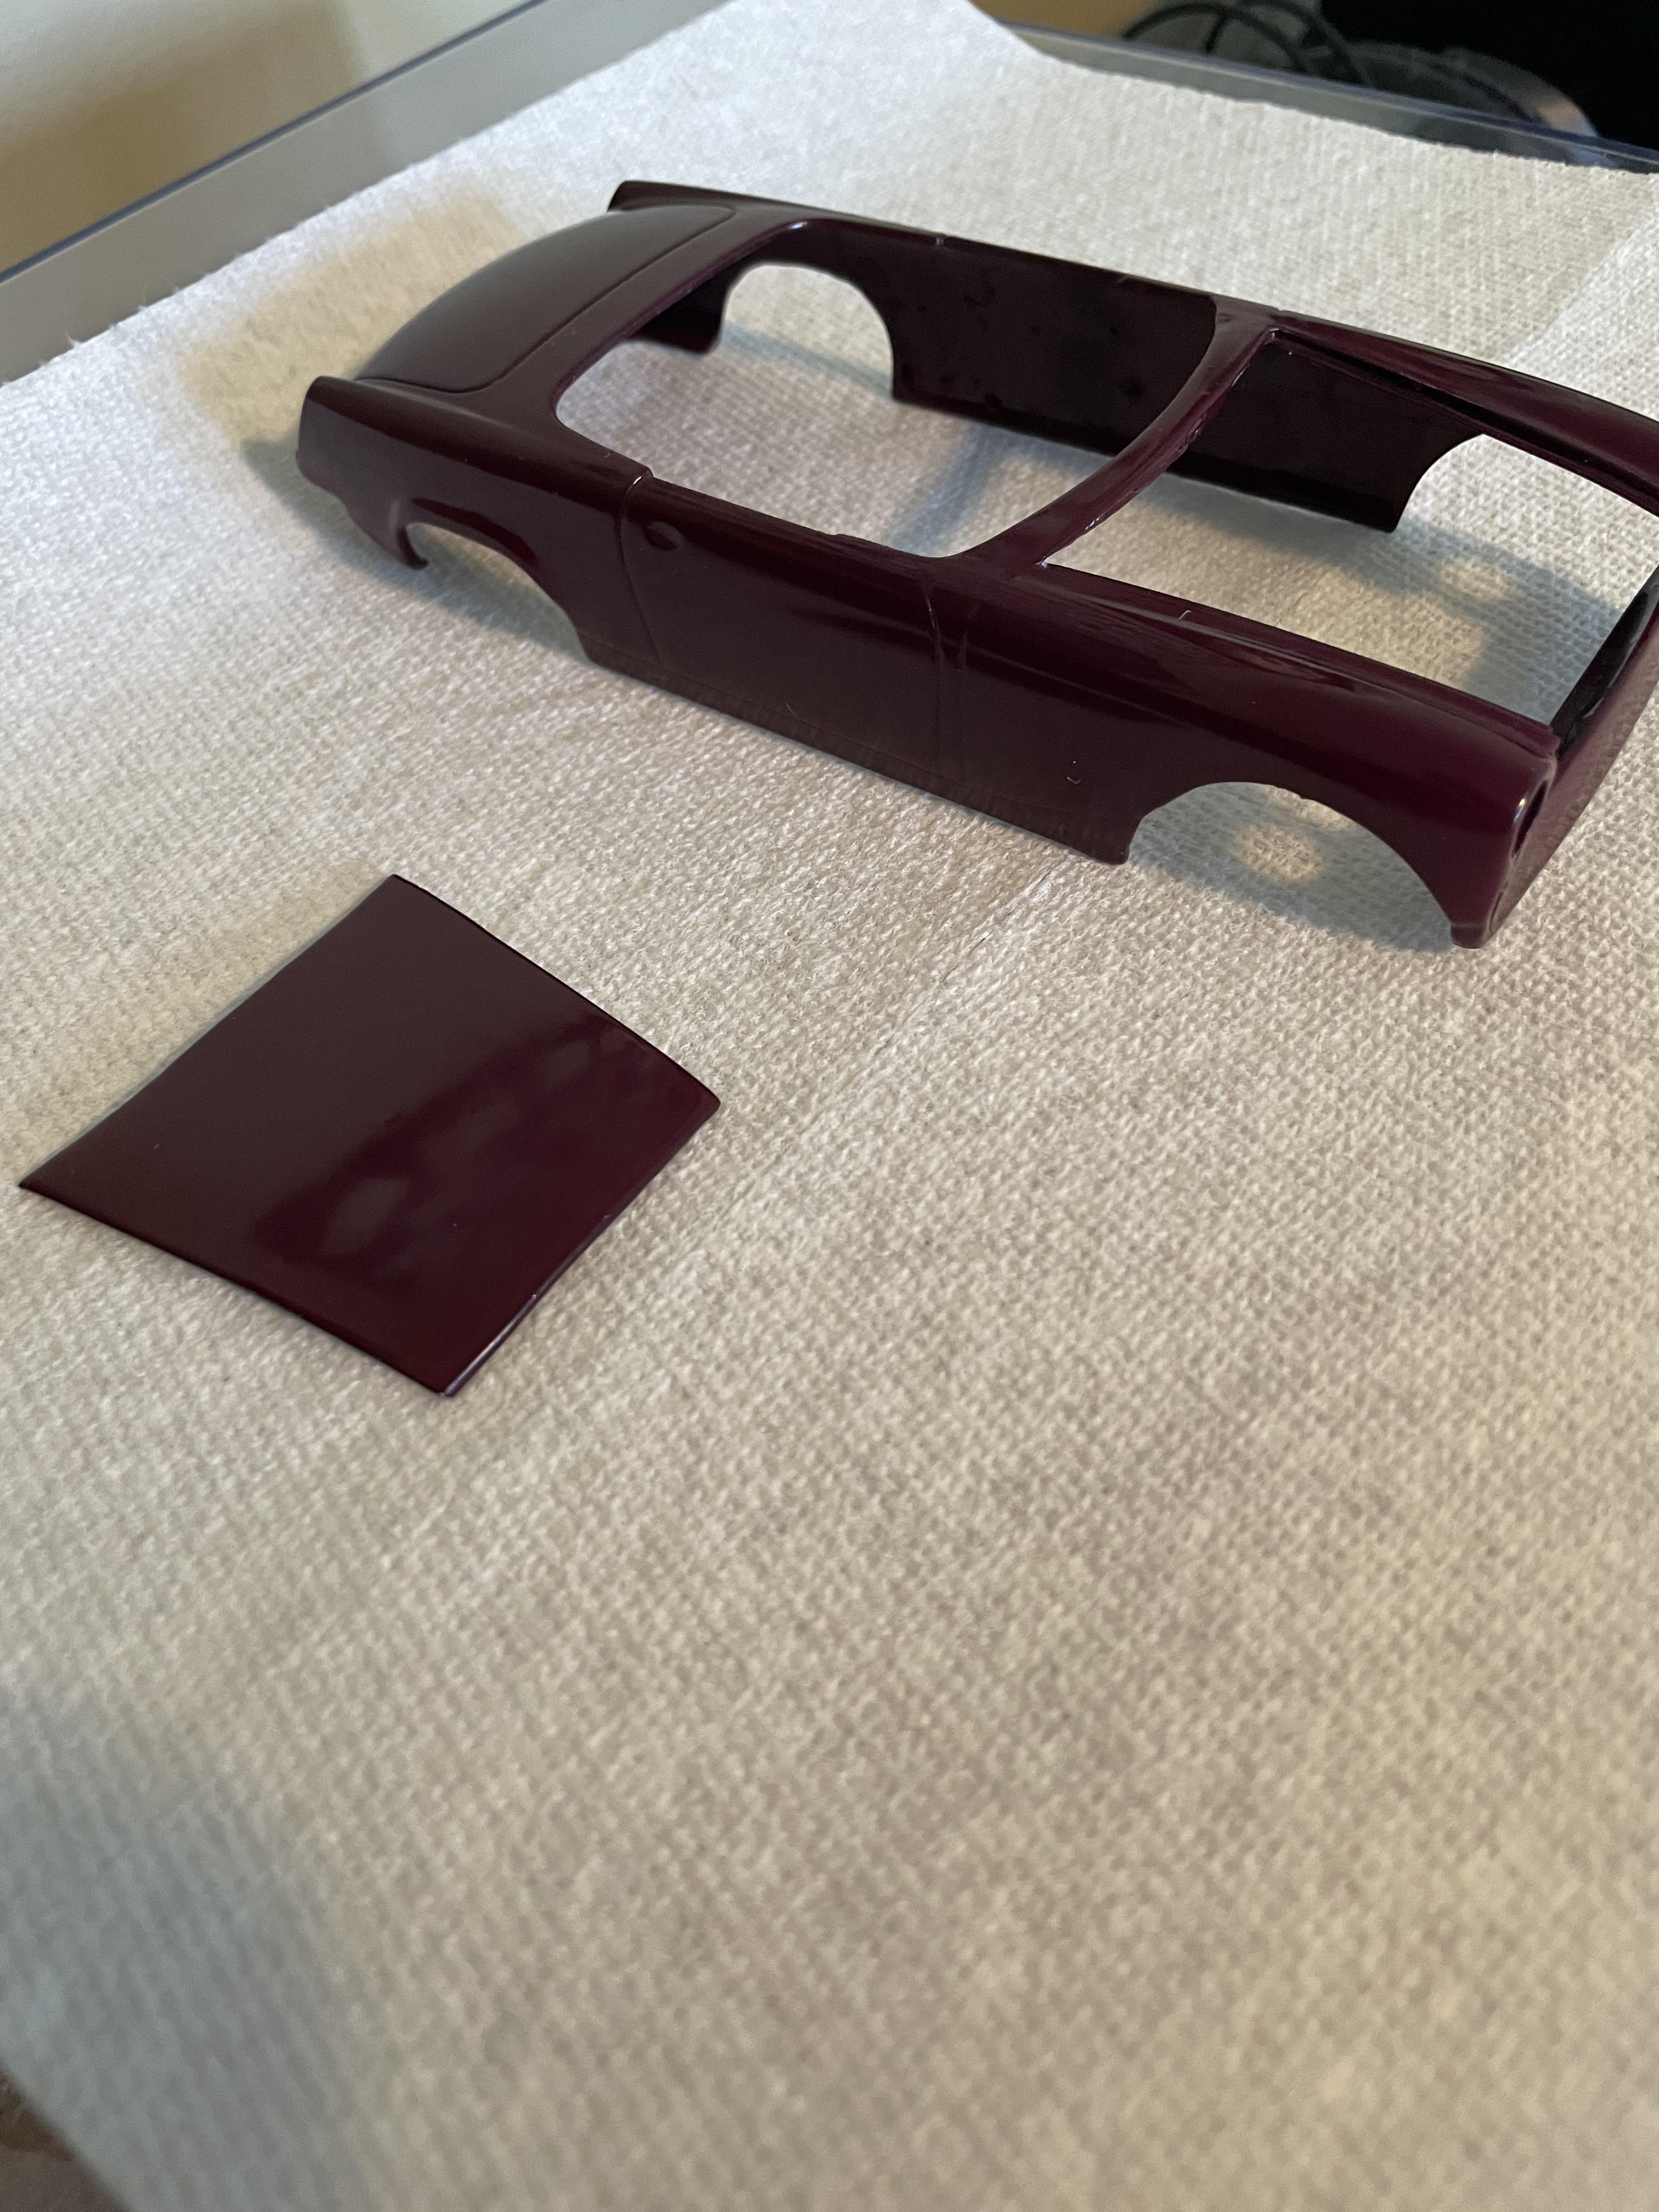
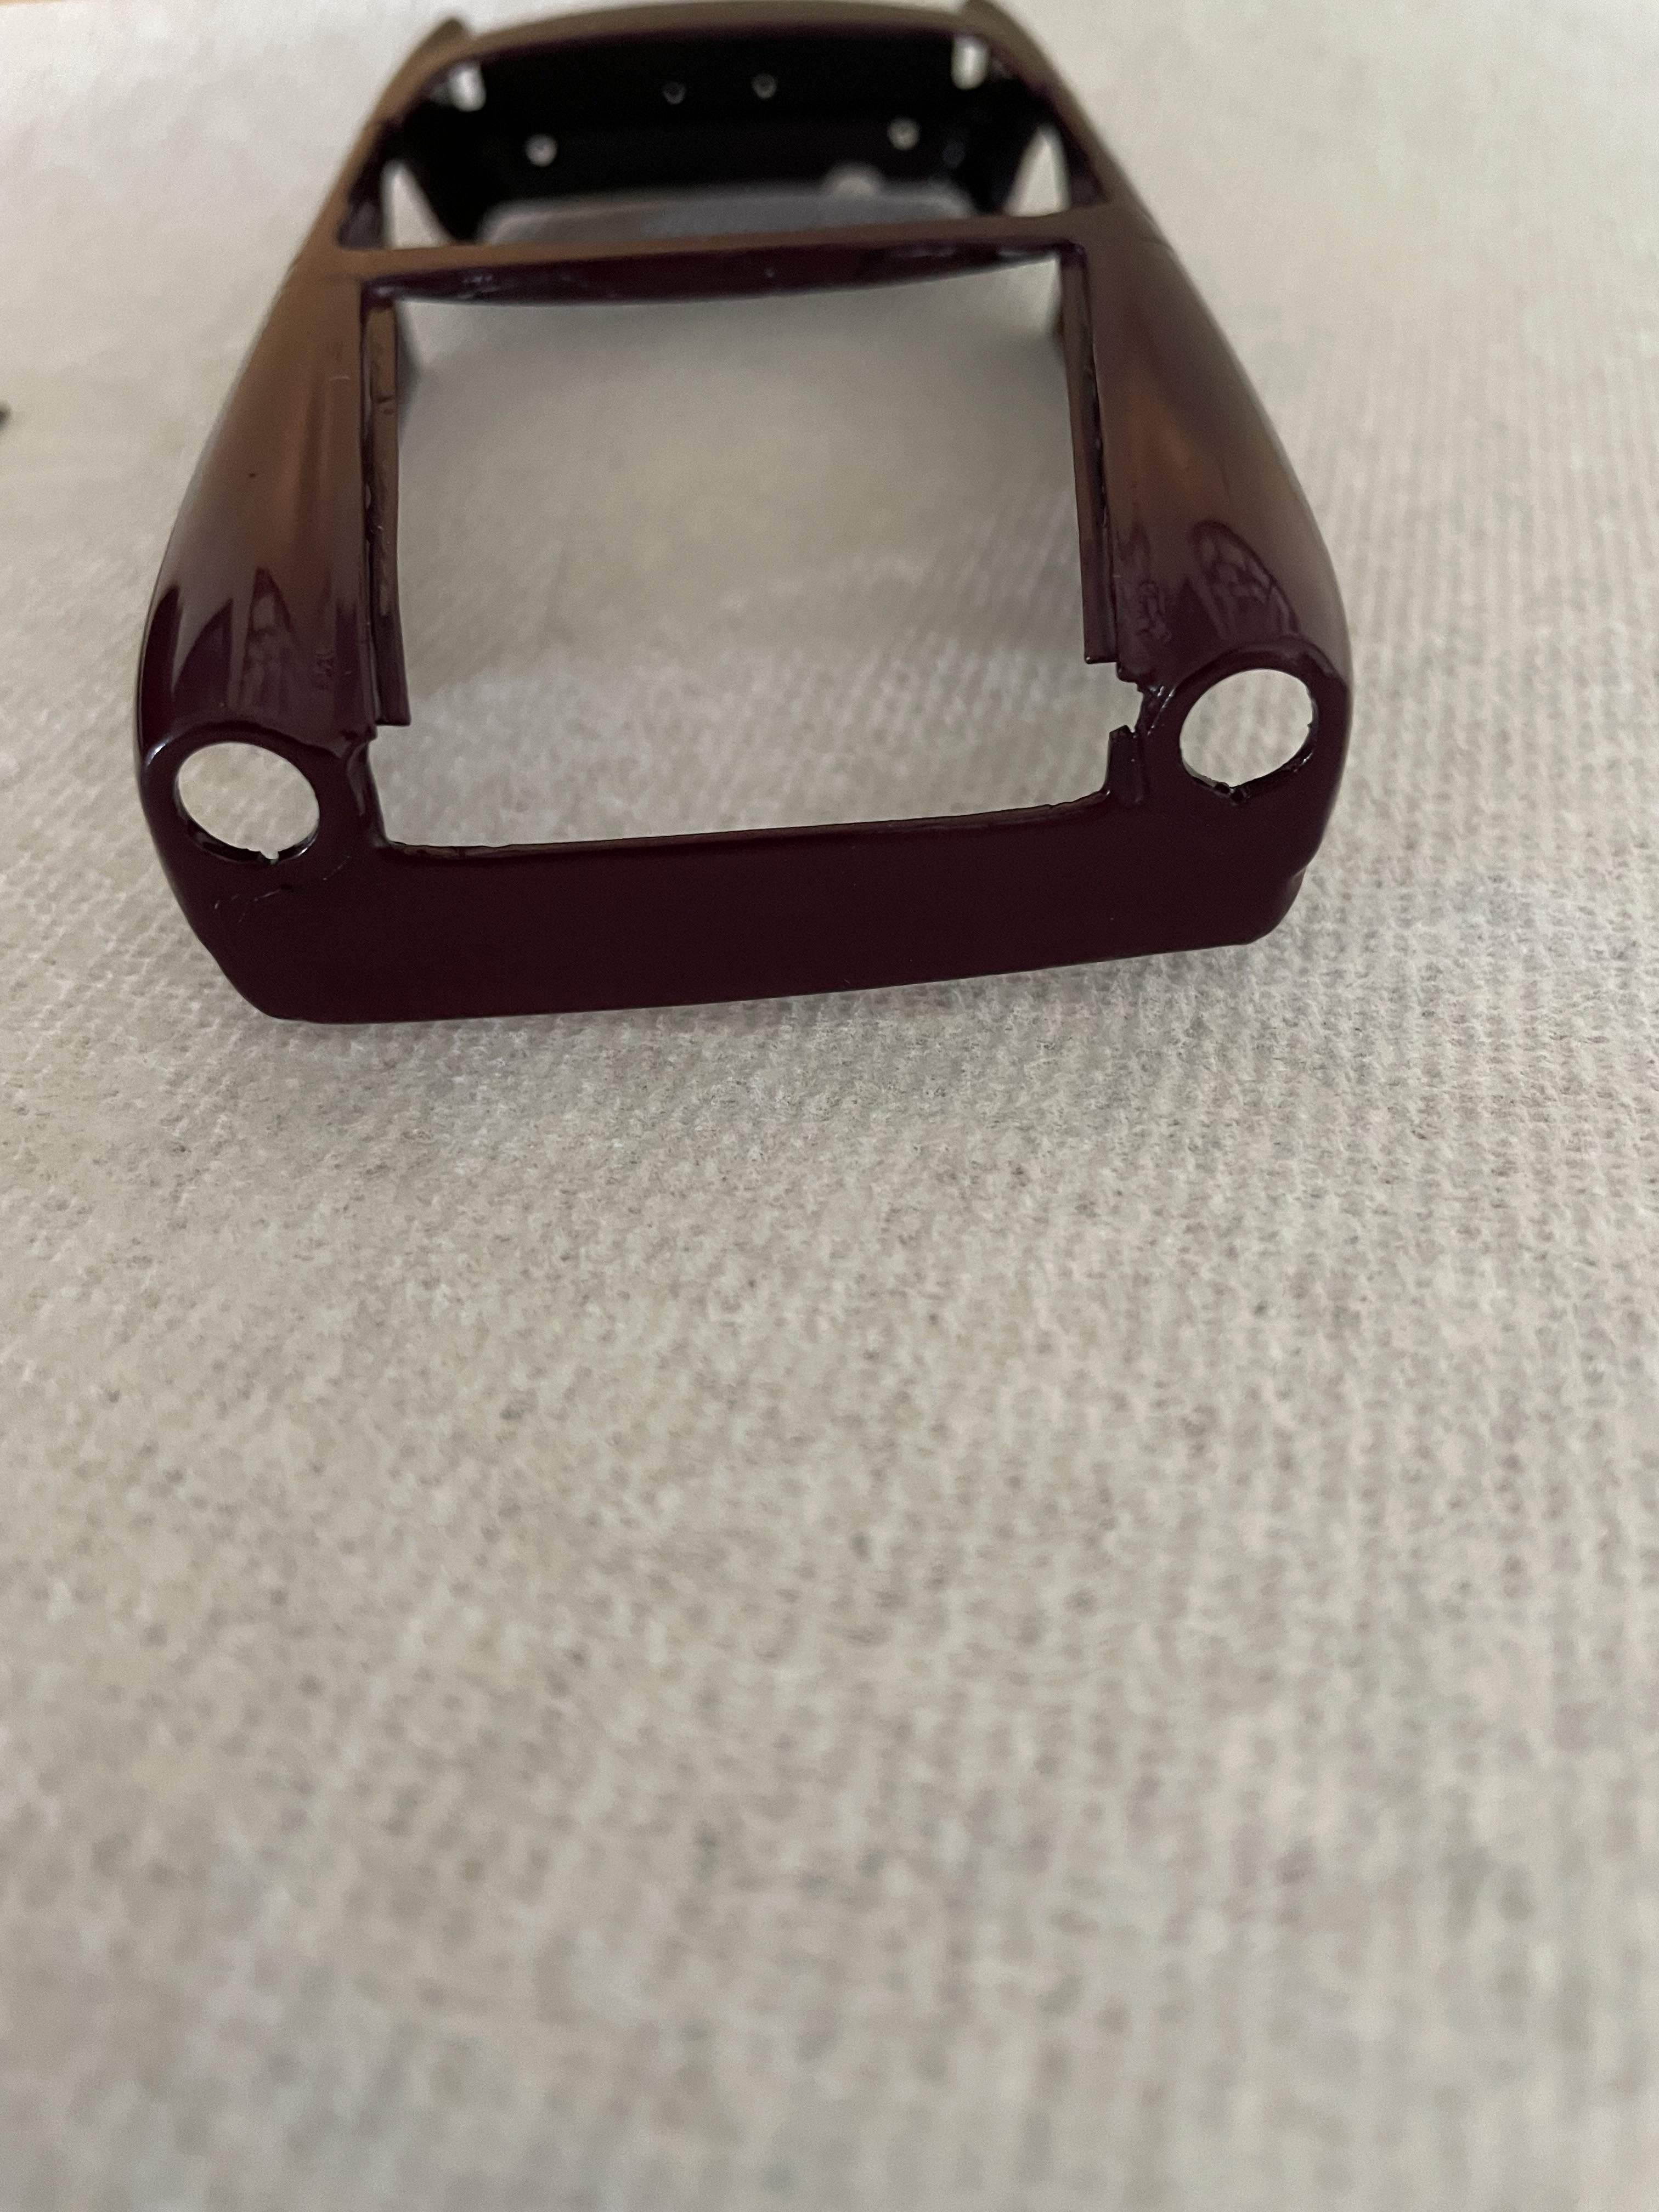
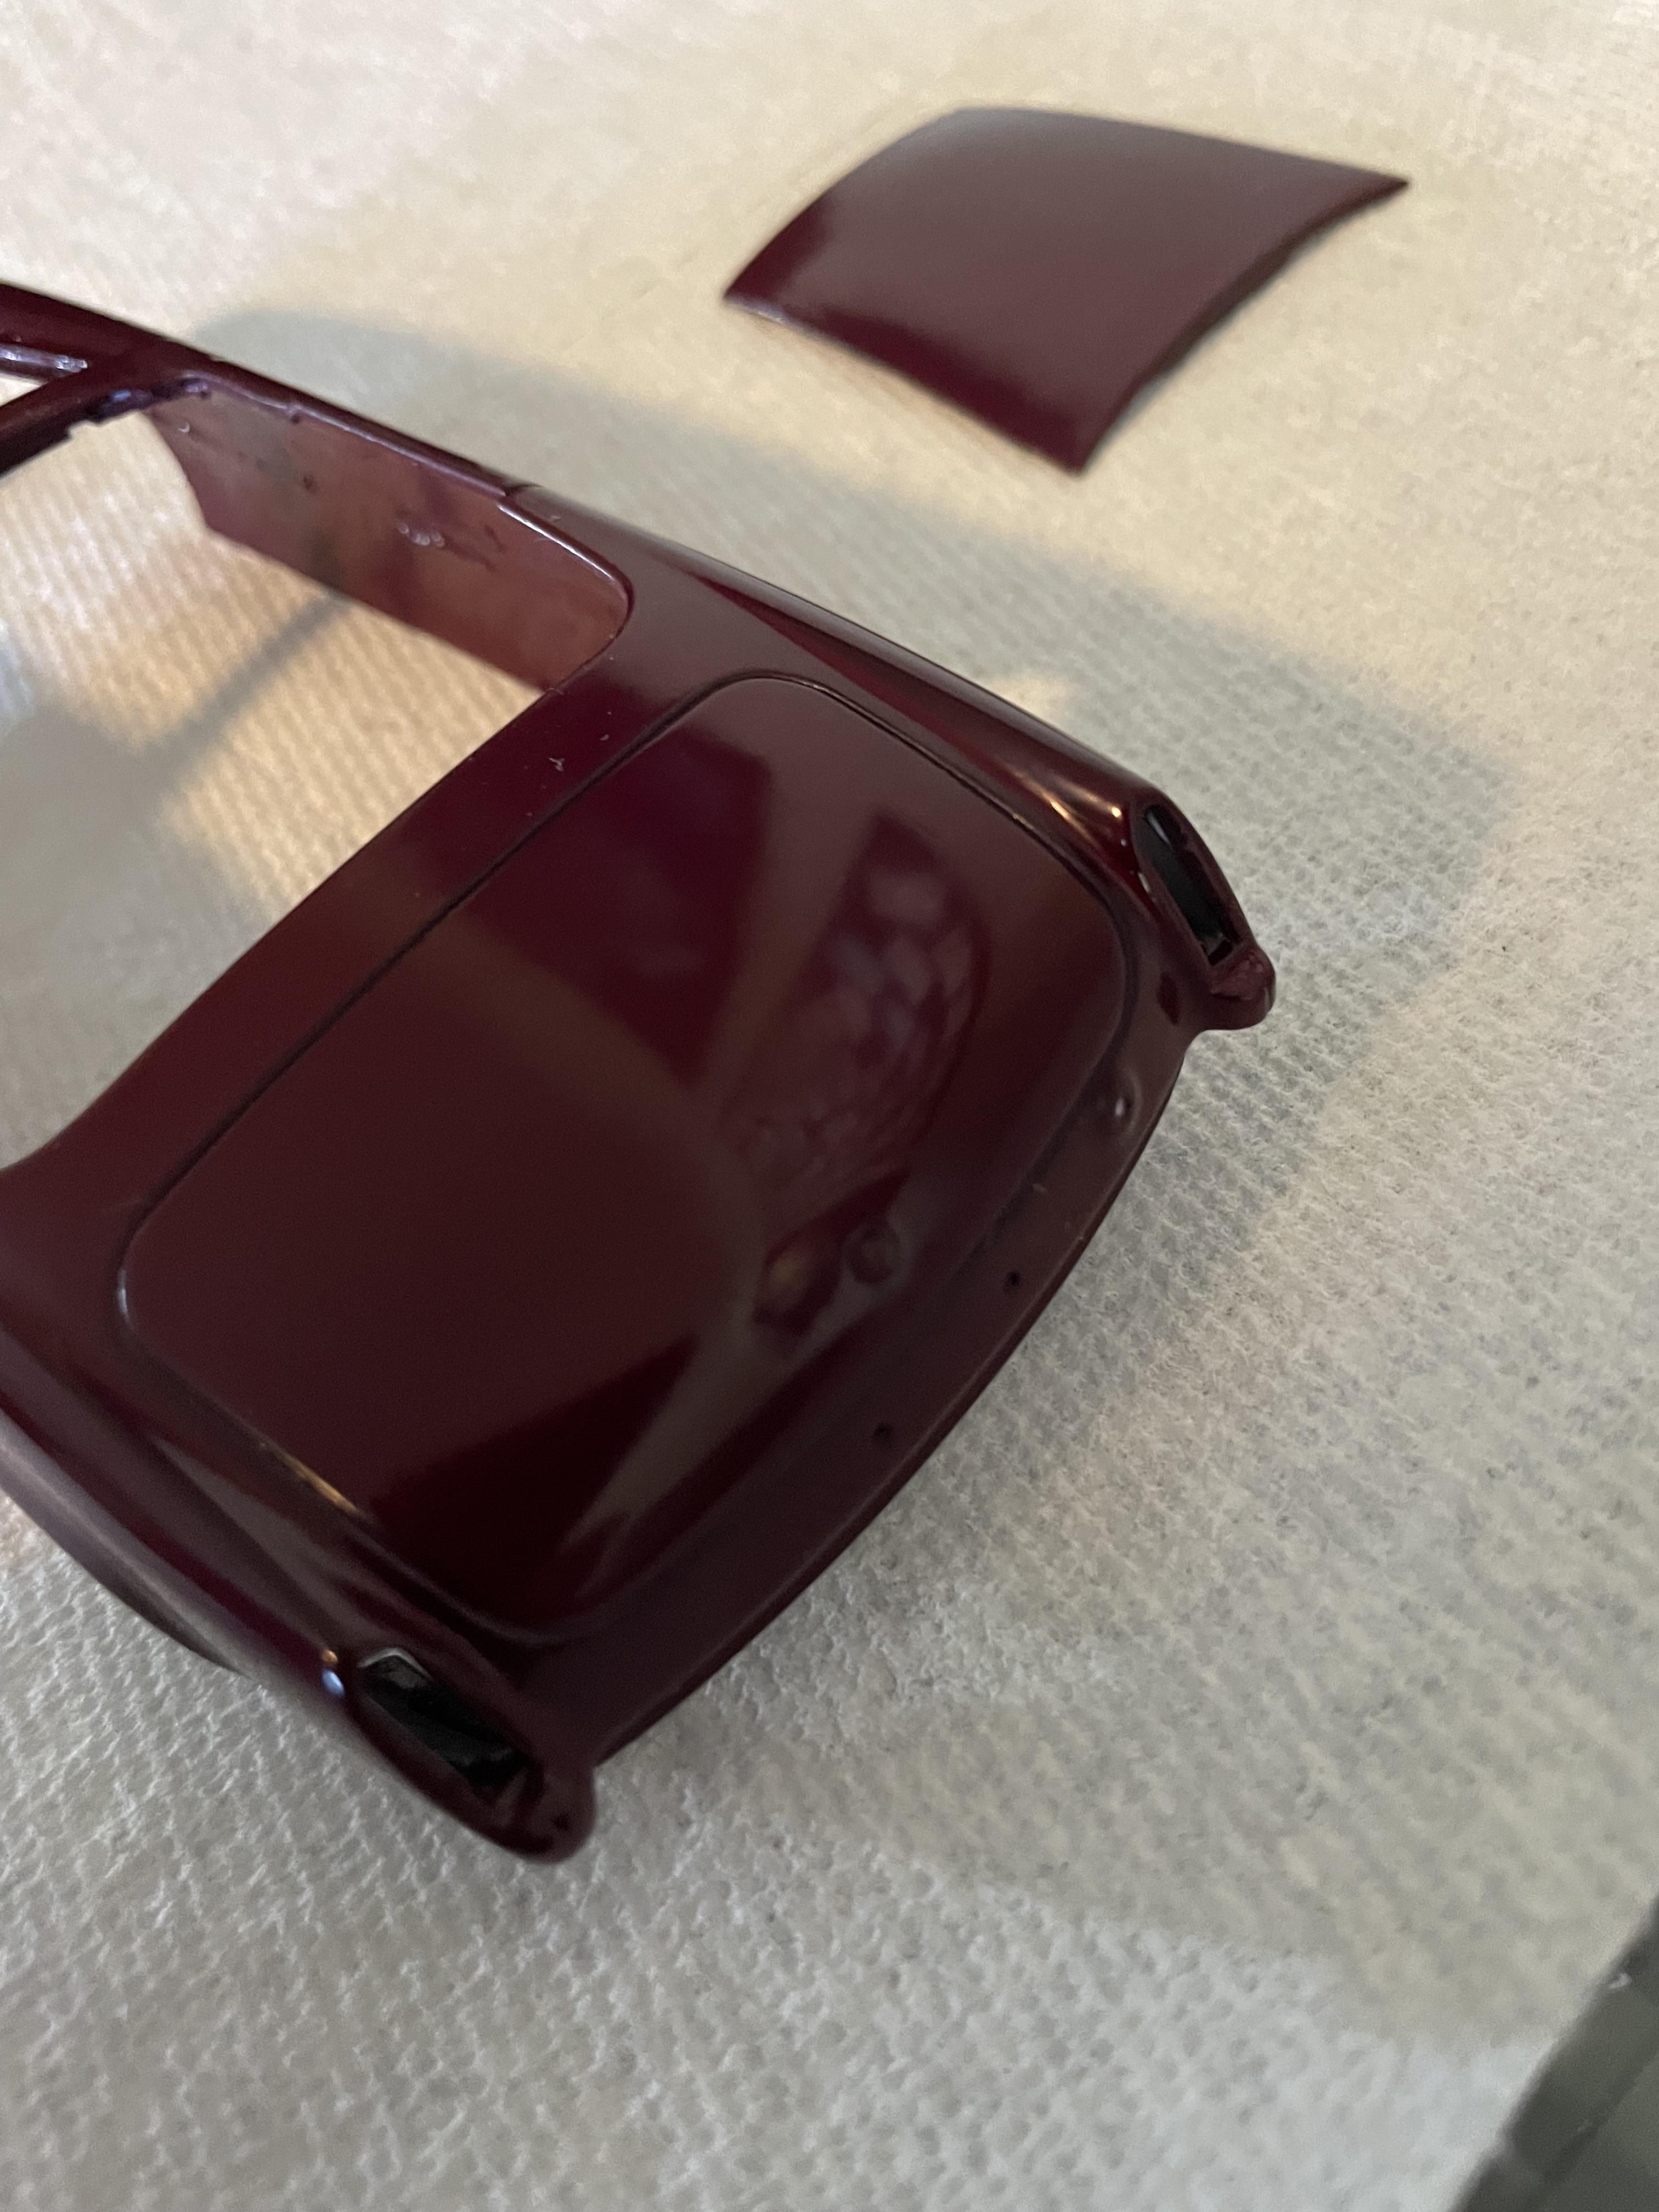
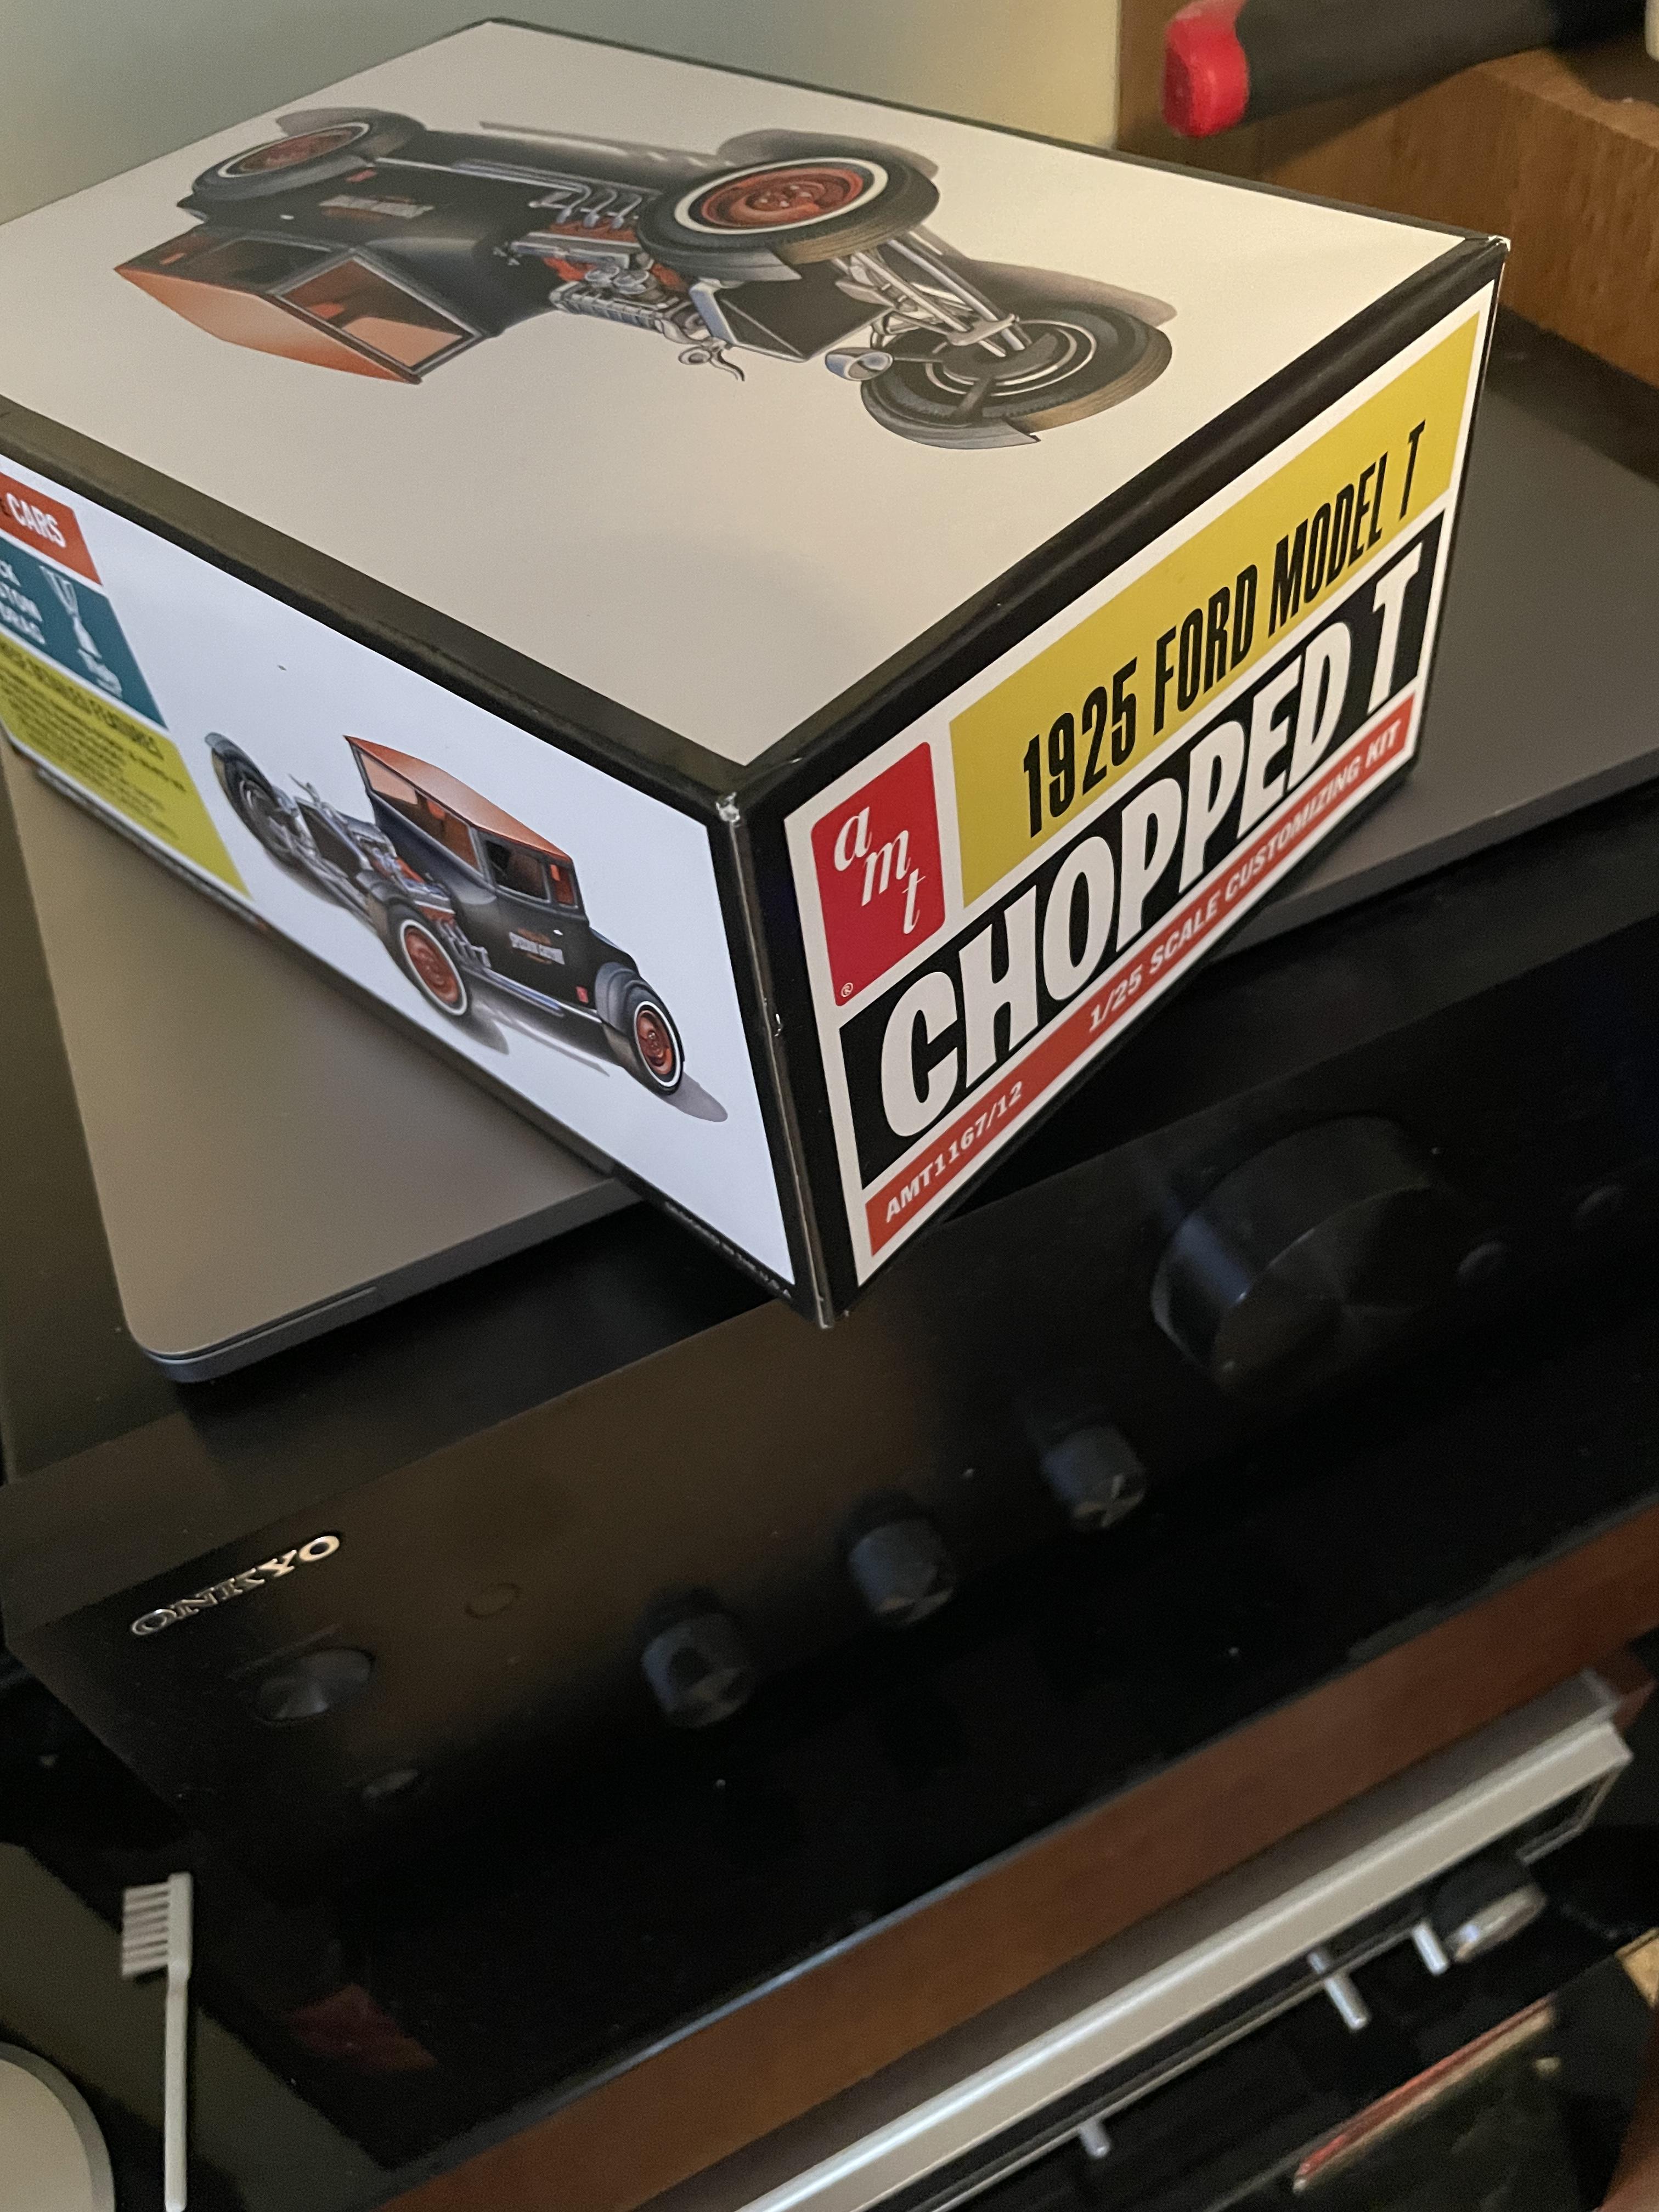
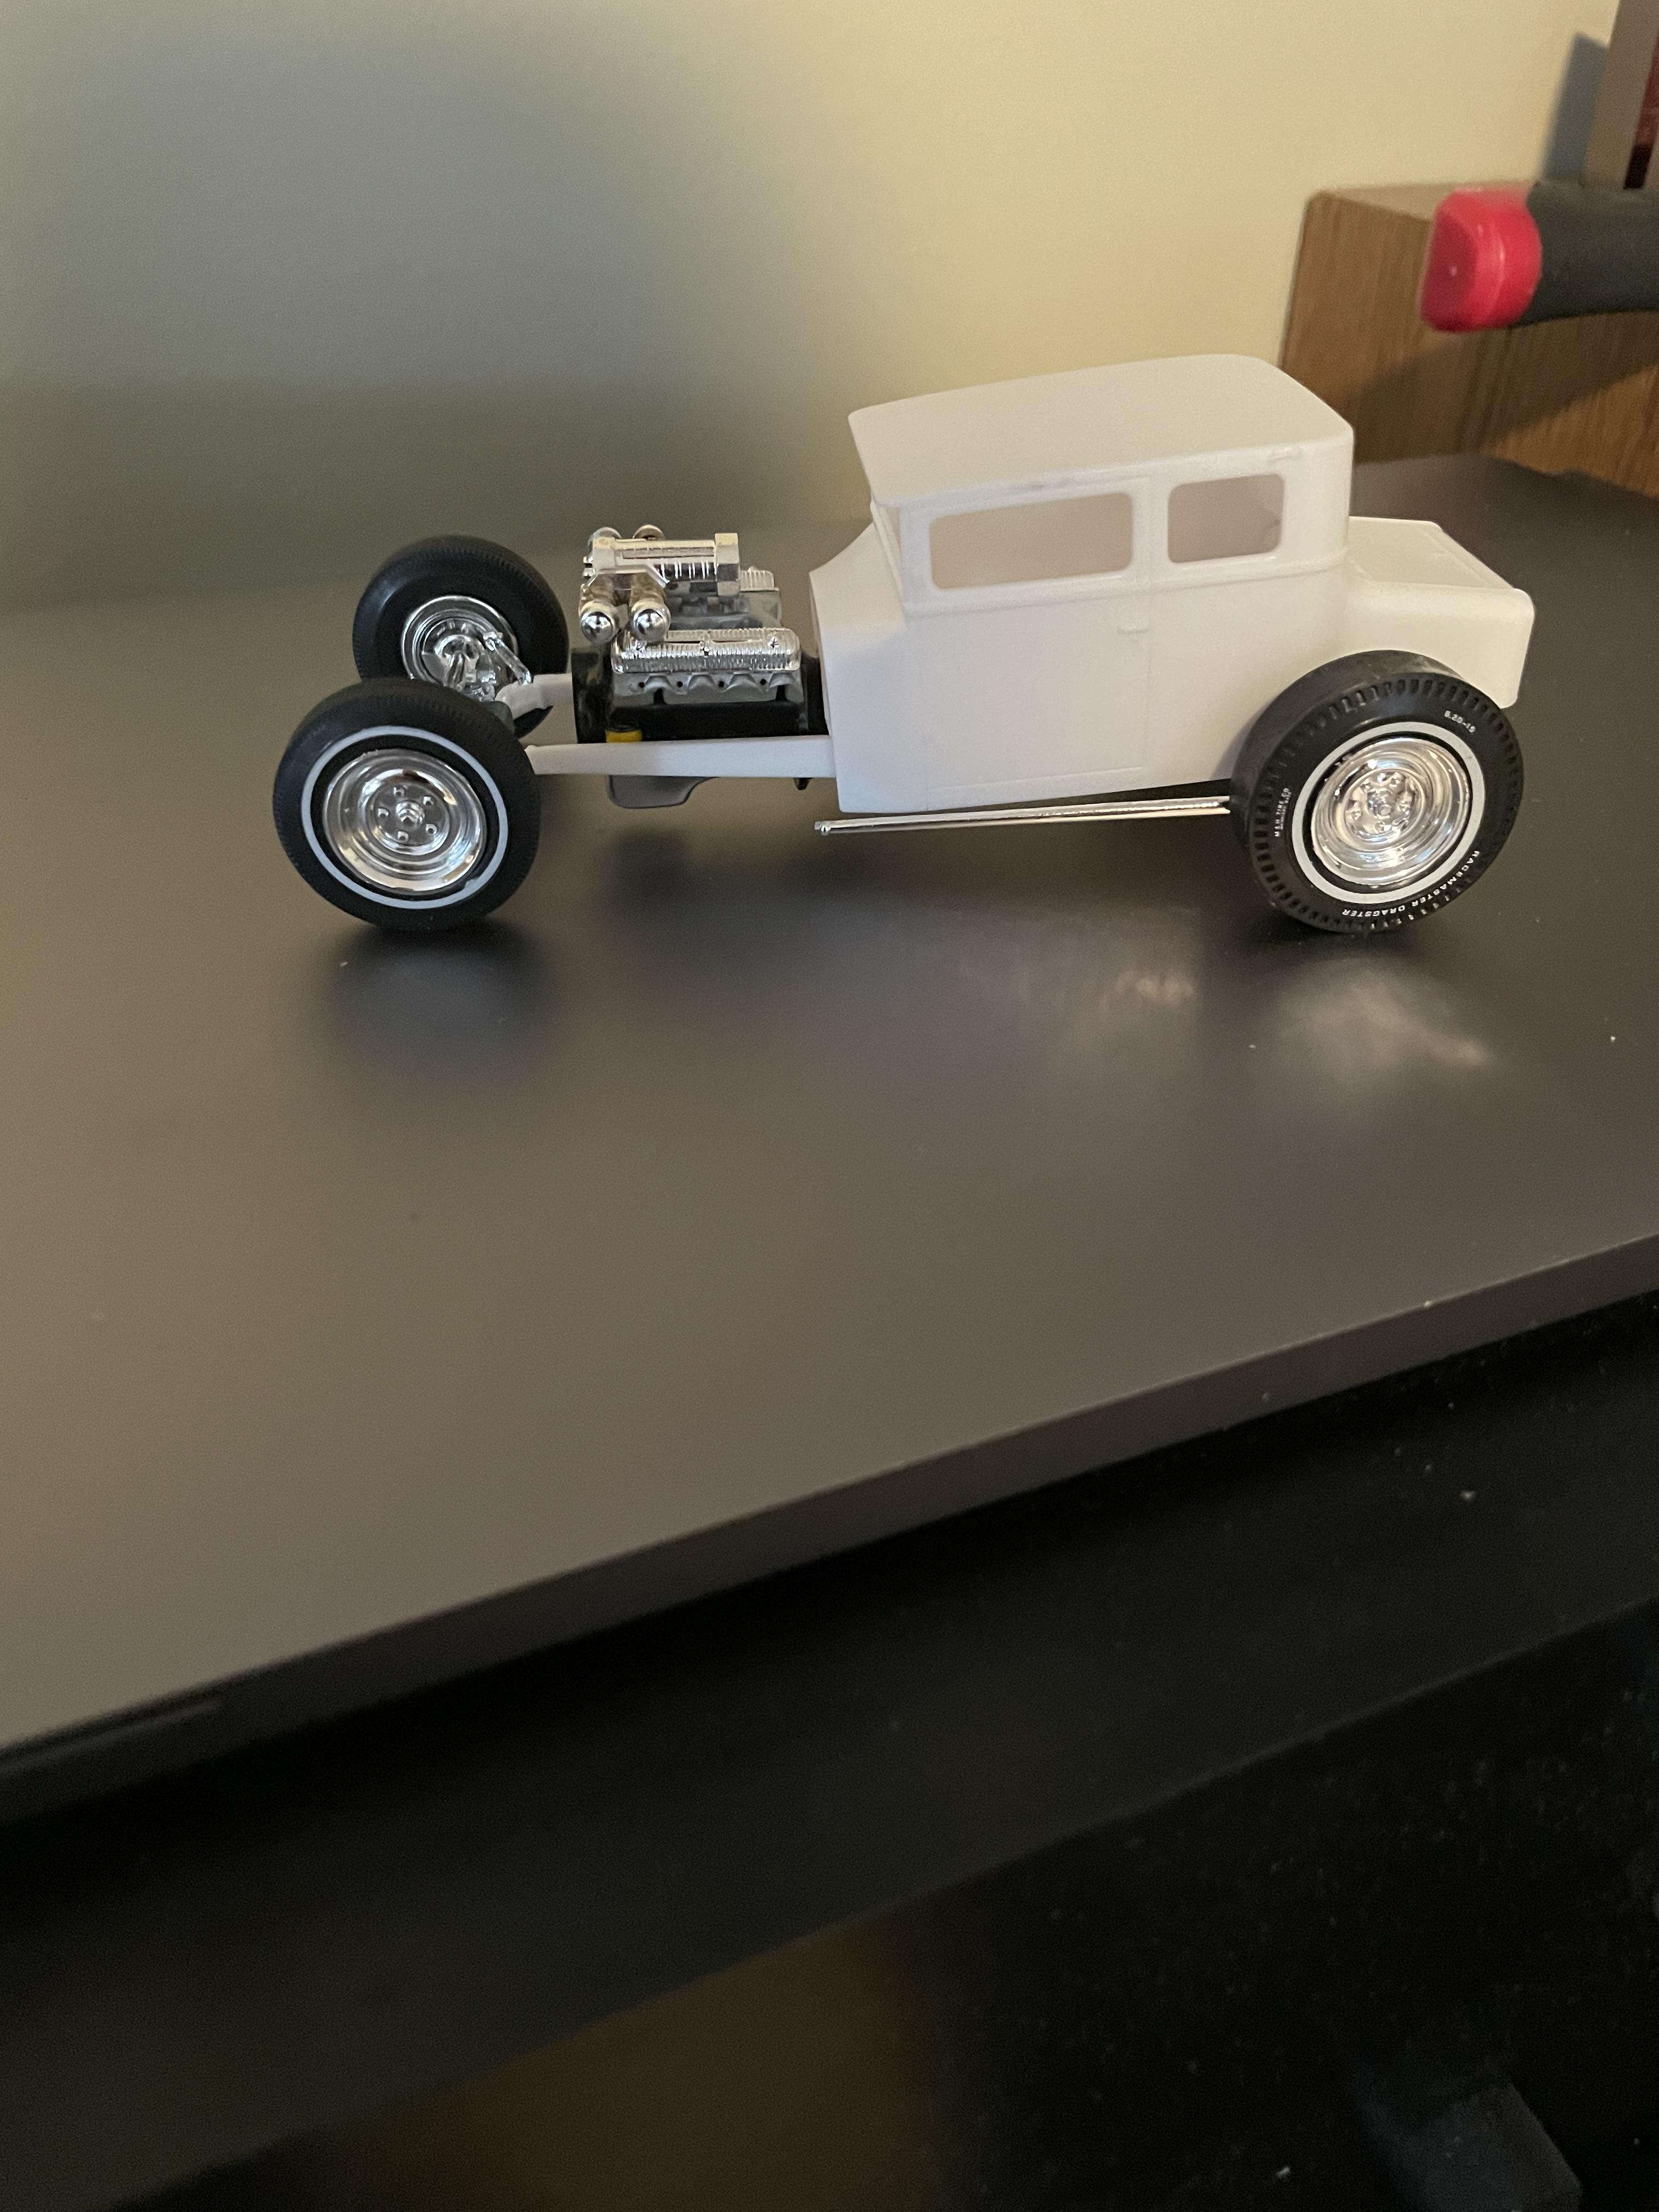
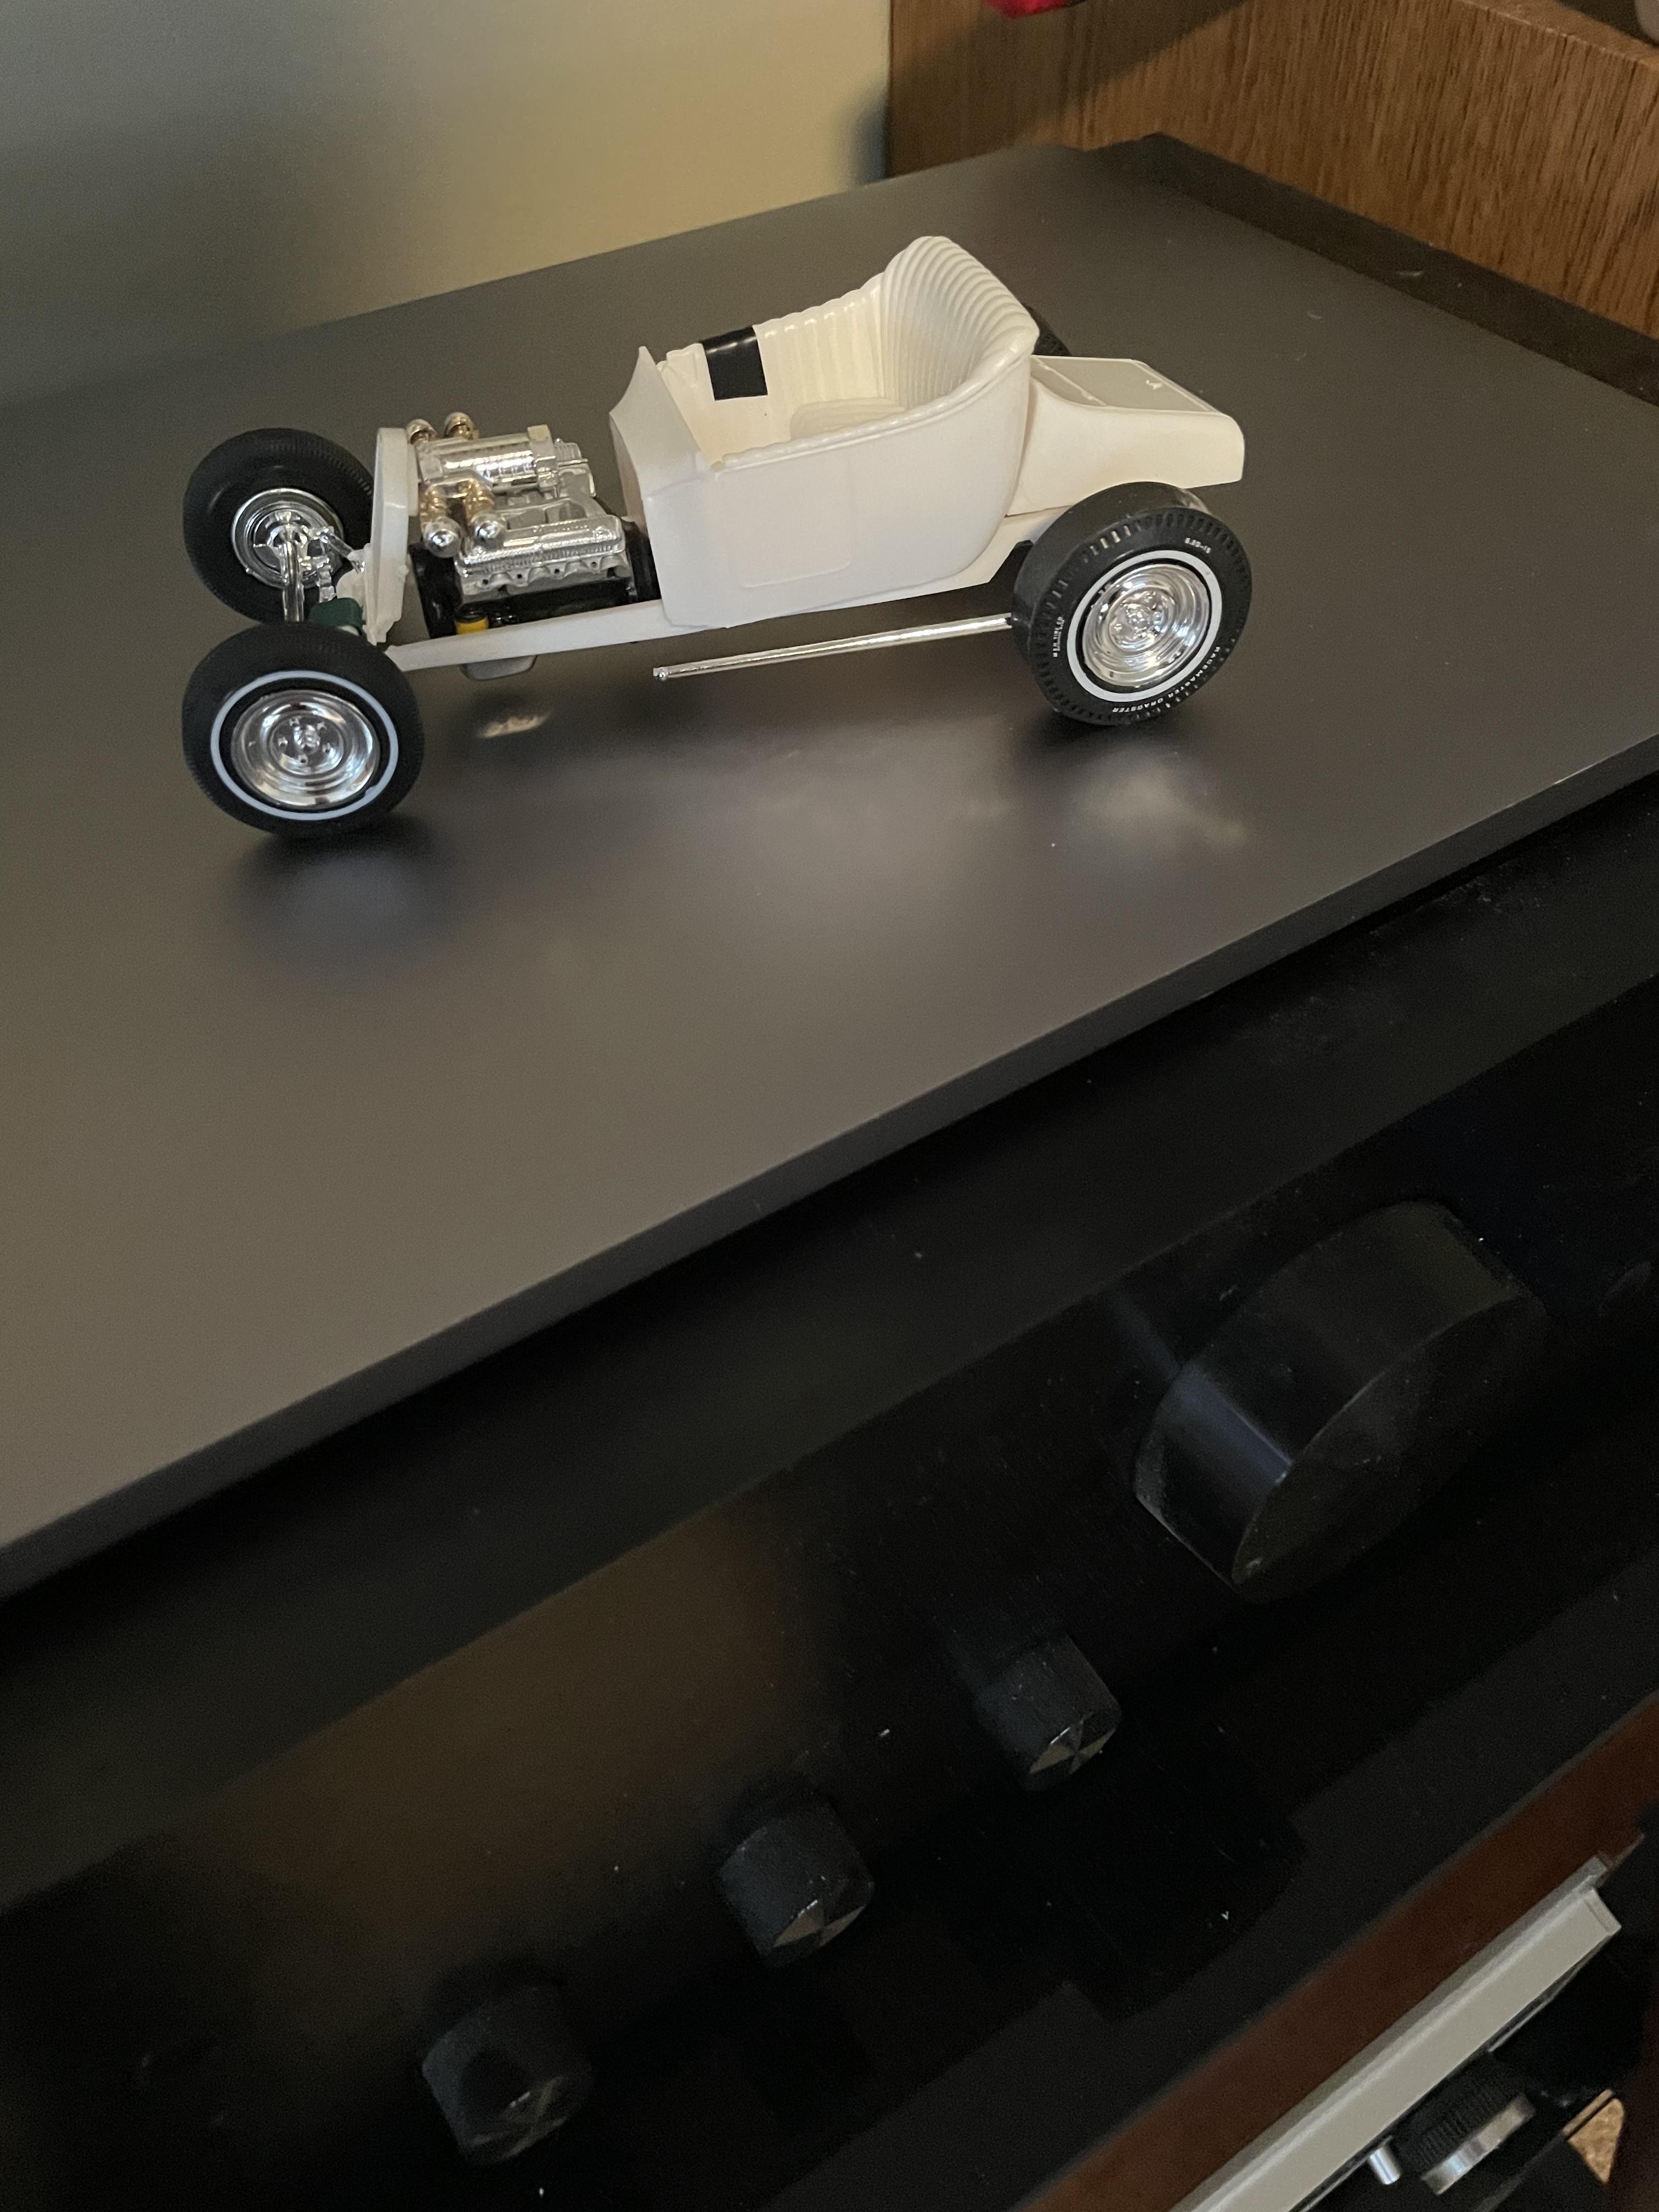
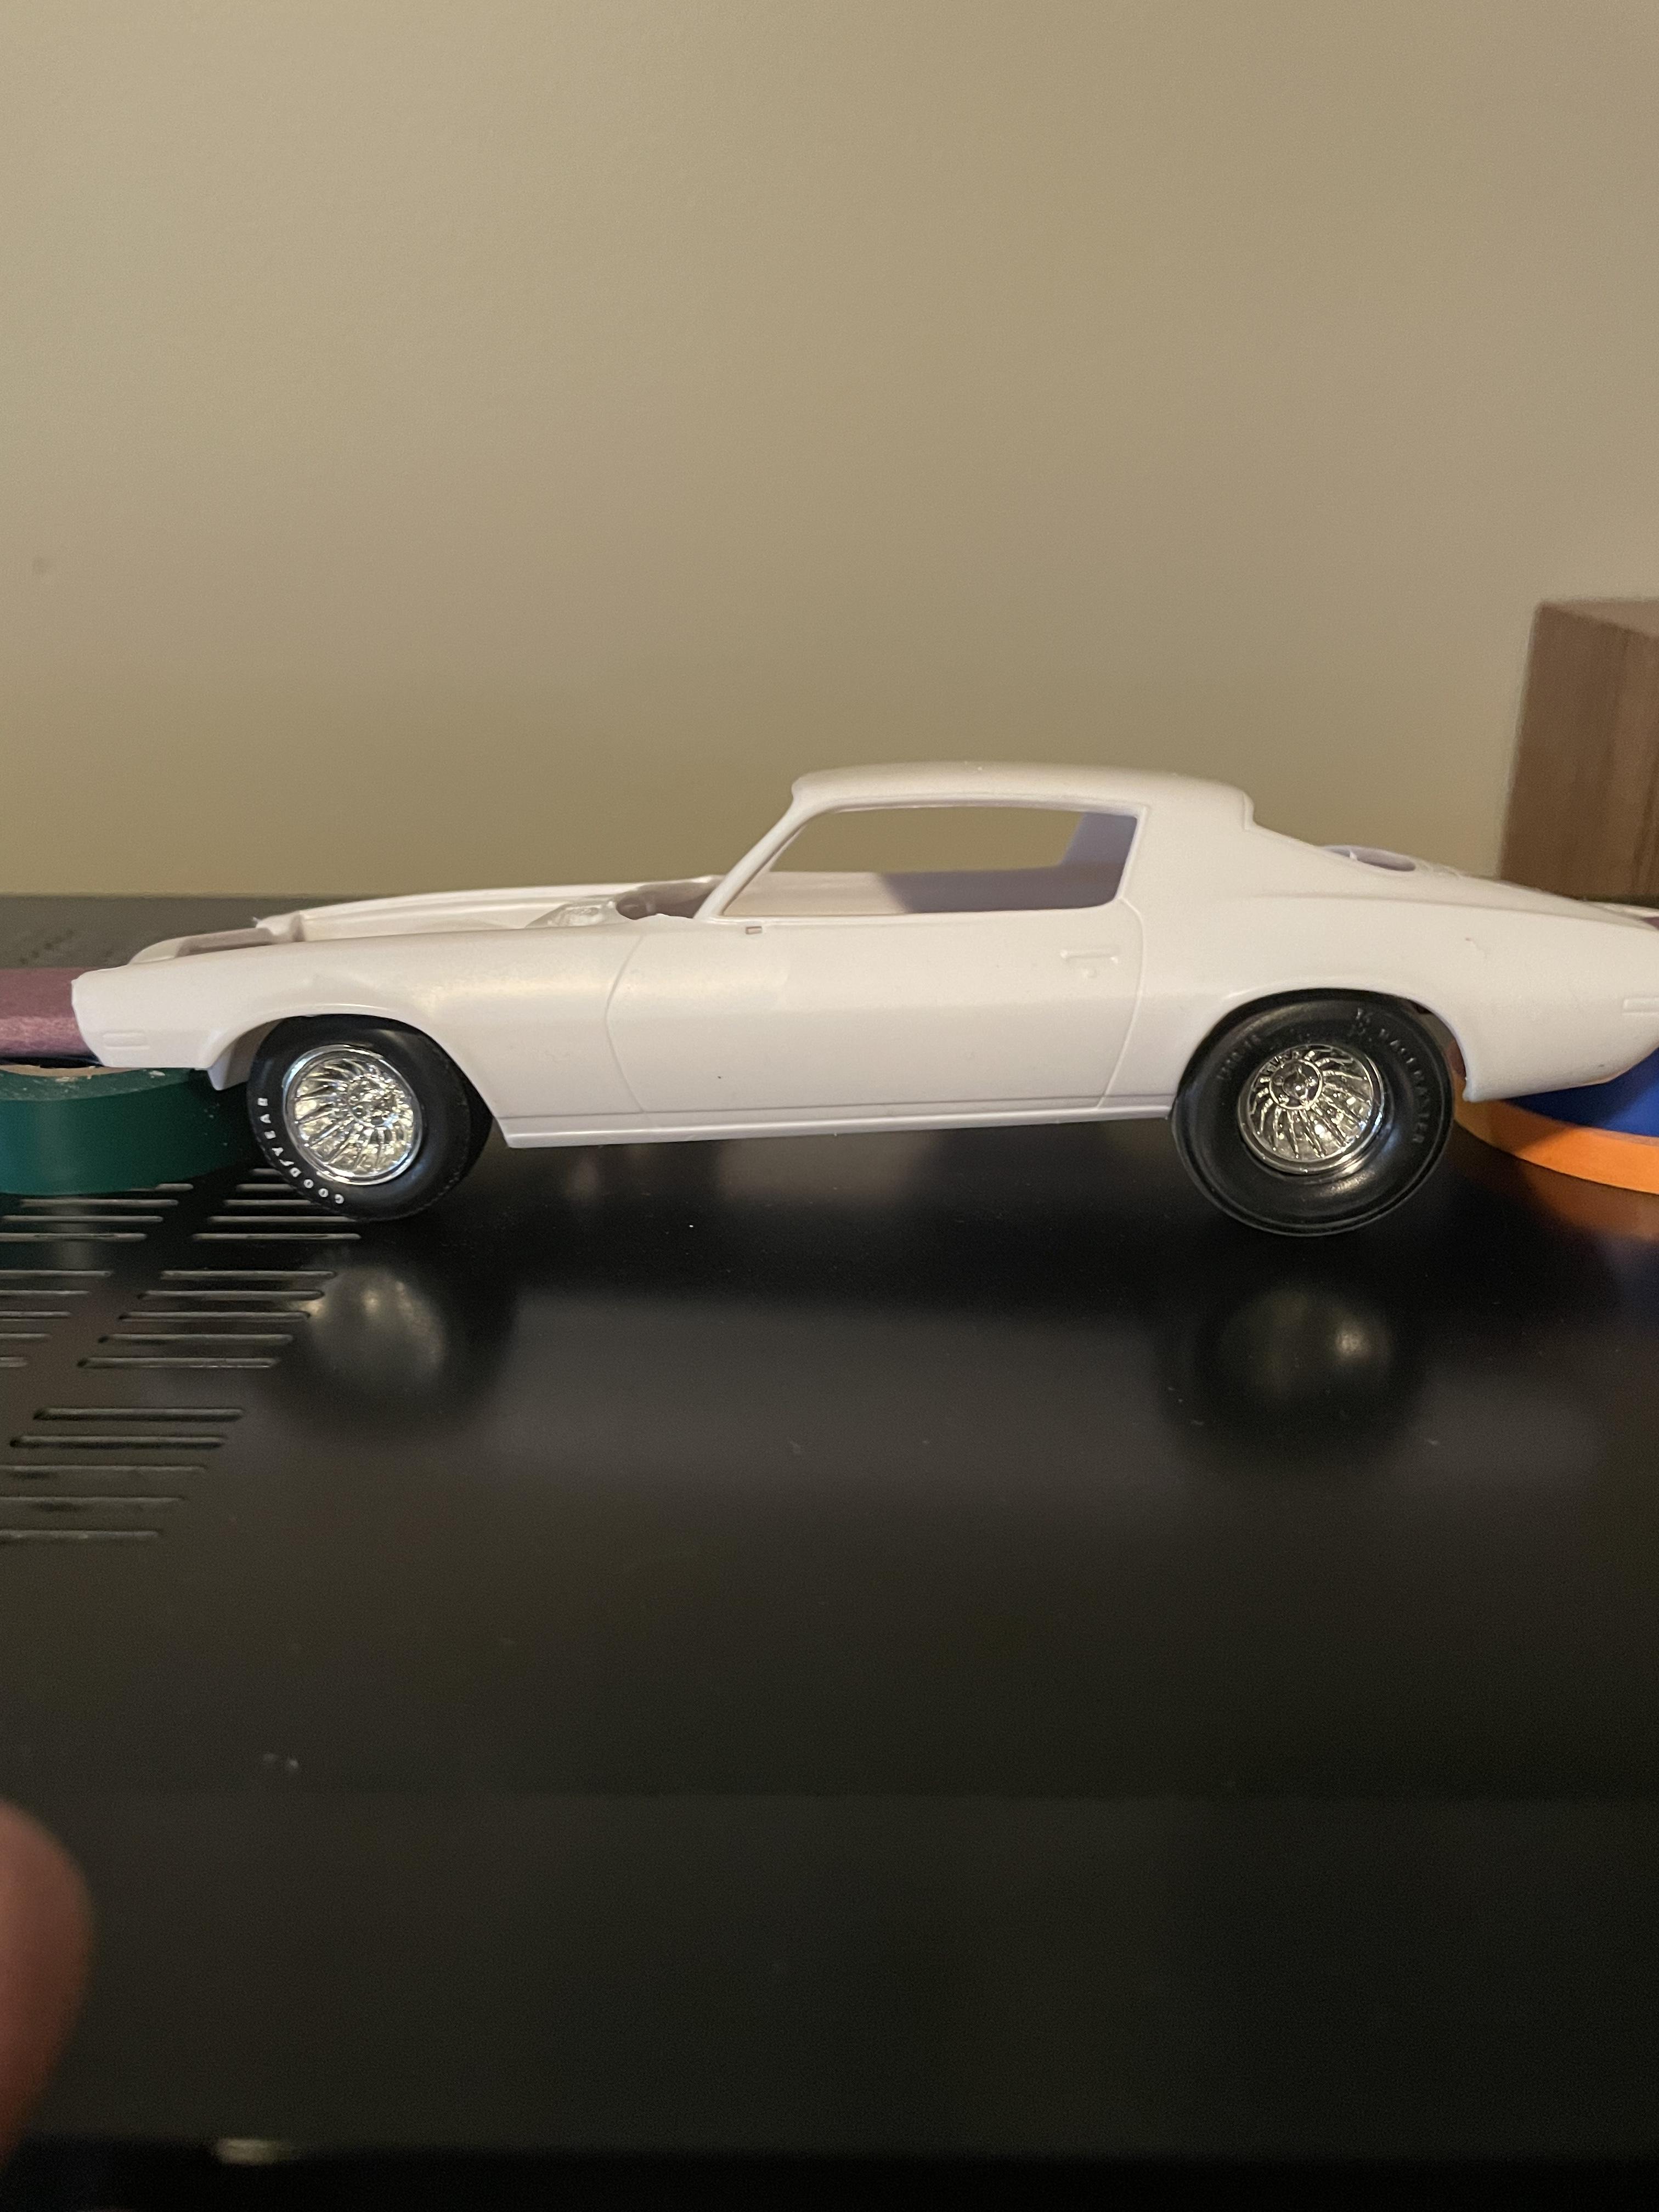
Winter has been long and cold here in Utah and I’ve got about 7 projects on hold for paint. My son got me this one for Christmas and I thought I’d mock it up a bit and try to decide what to do with her. I like the chopped top look but it will be impossible to really see the interior so I’m kind of leaning towards leaving the top open… thoughts or suggestions? Dave.
-
From the looks of your picture I’d say it had the typical 70’s Camaro tire setup. Either 70’s up front and 60’s on the rear. Or 60’s for the front and 50’s for the rear. Either way, the rear wheels are going to have a deeper offset than the ones you found. I have a set of unpainted grey centerlines that were donated to me by Mike on these boards. They would look perfect with a coat of aluminum paint and I’d be happy to donate them for your project. If you want them DM me and I’ll drop them in the mailbox. Dave
-
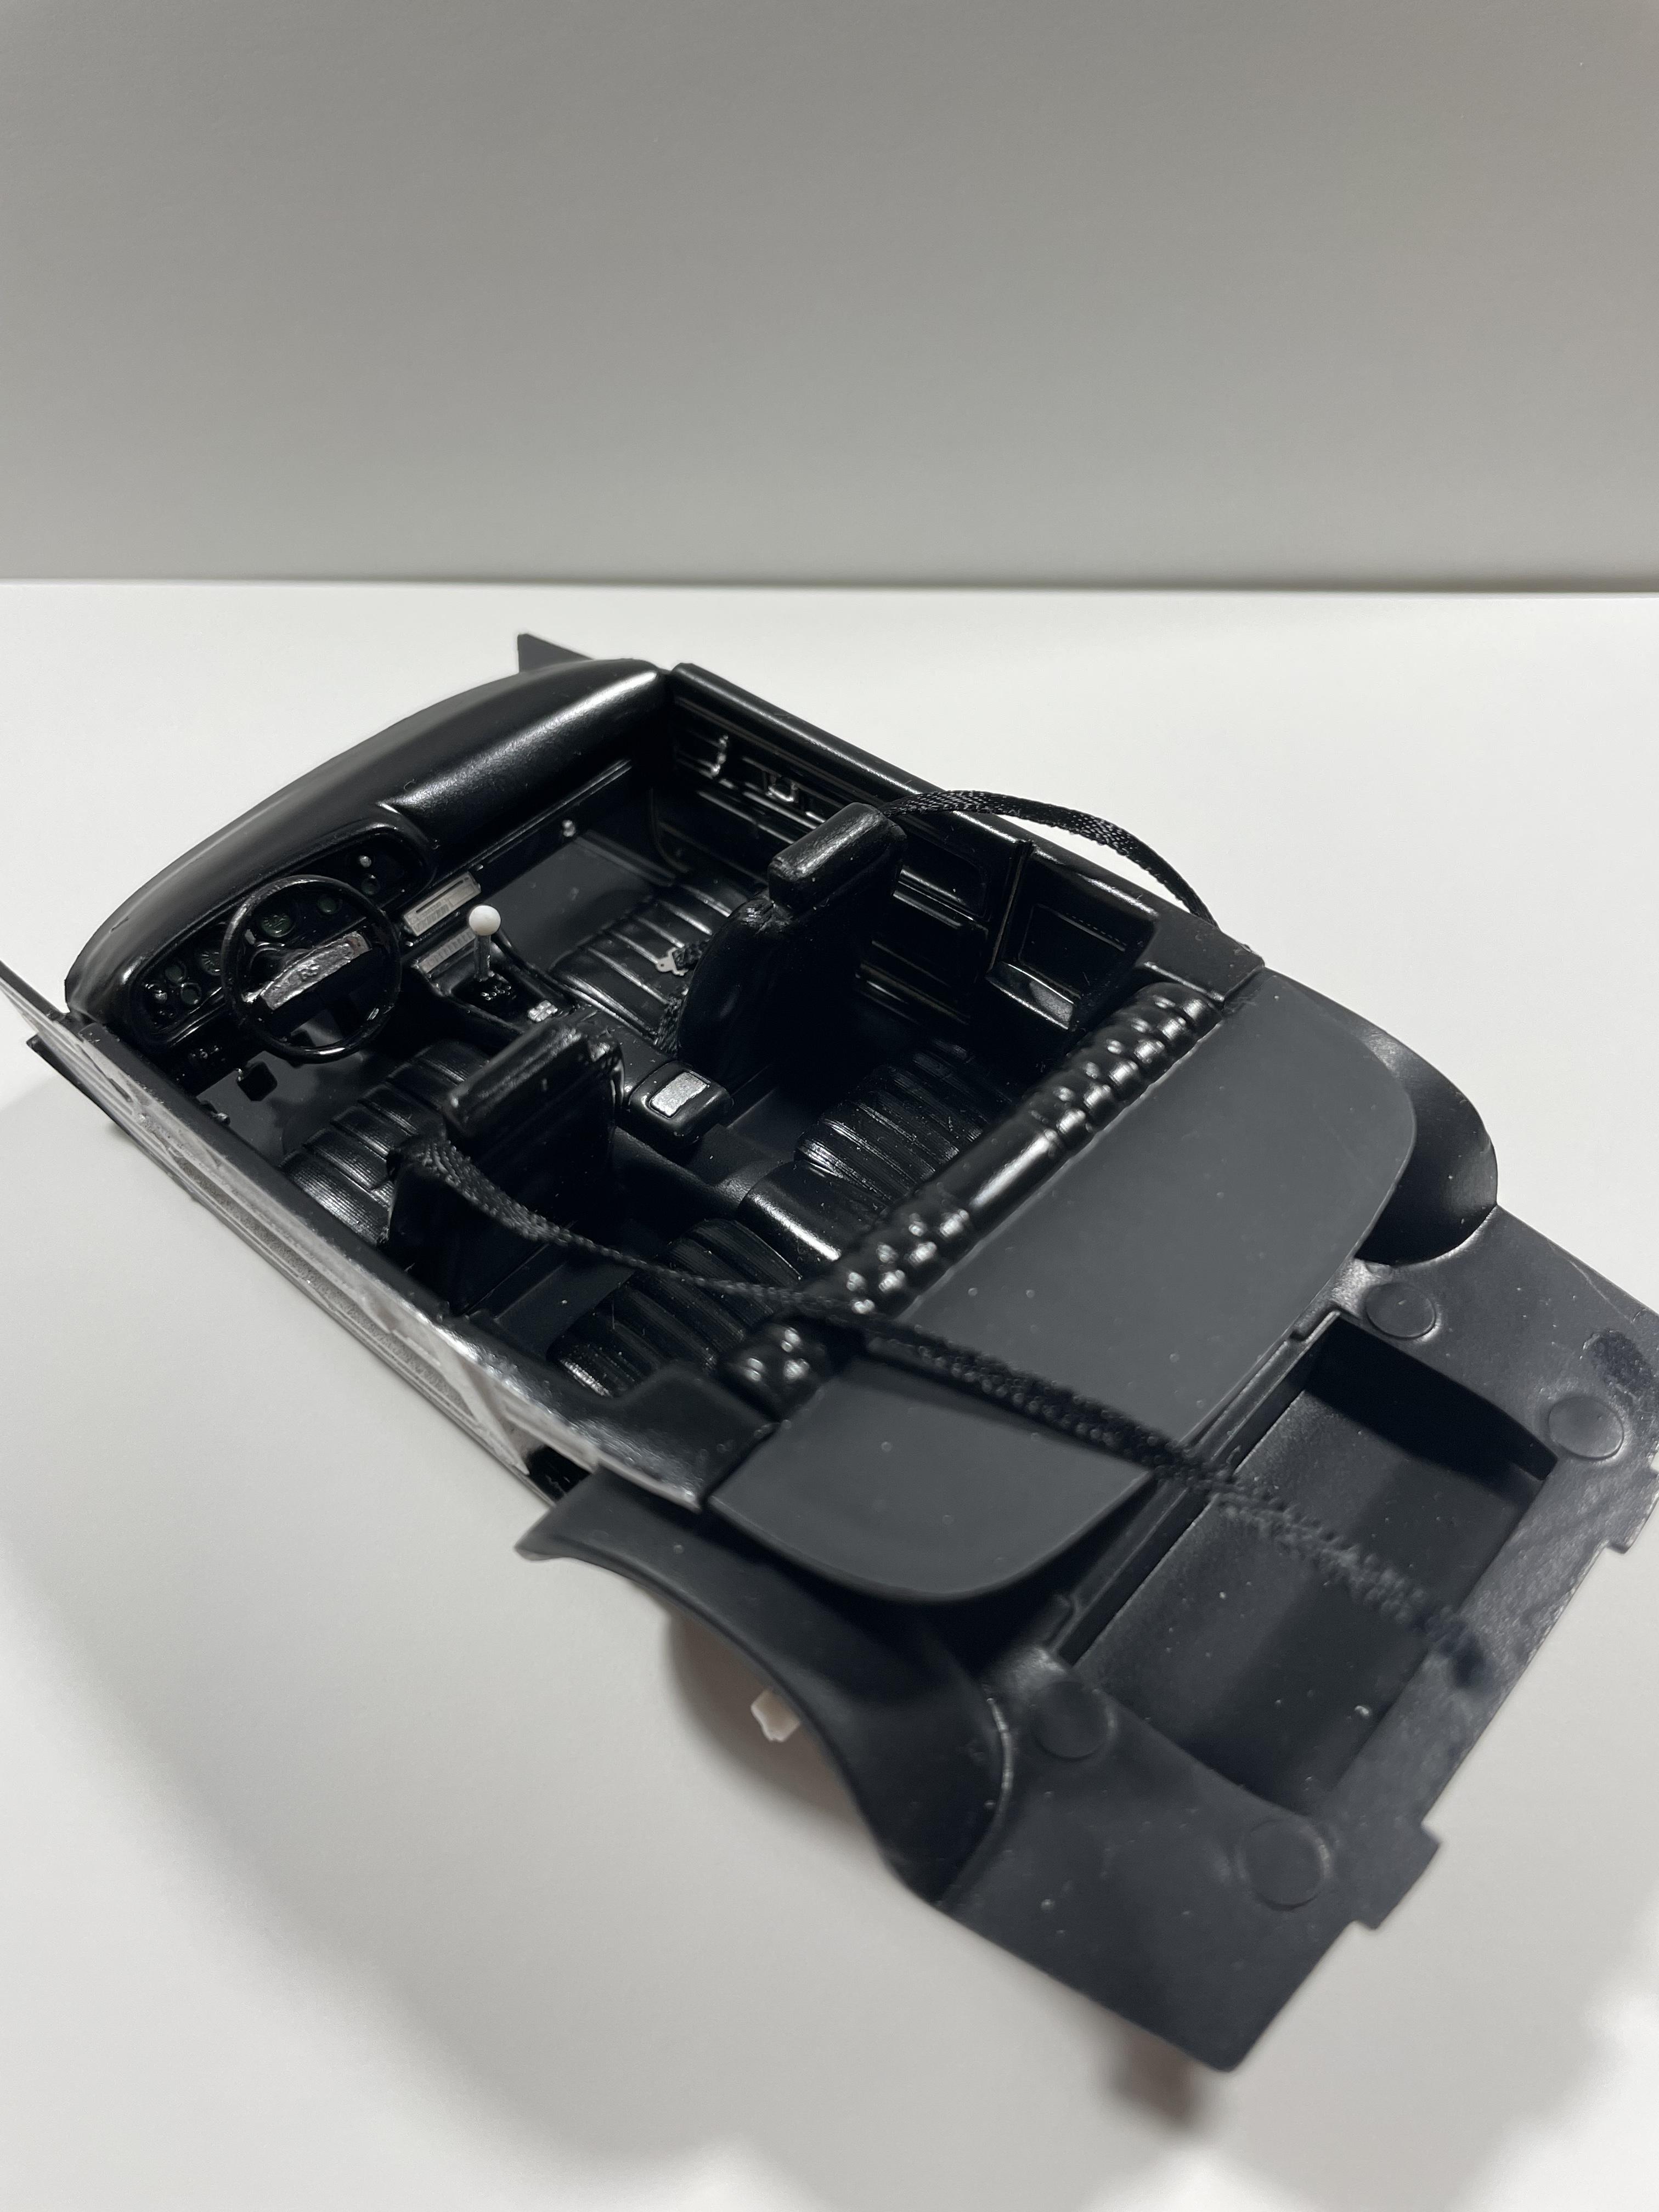
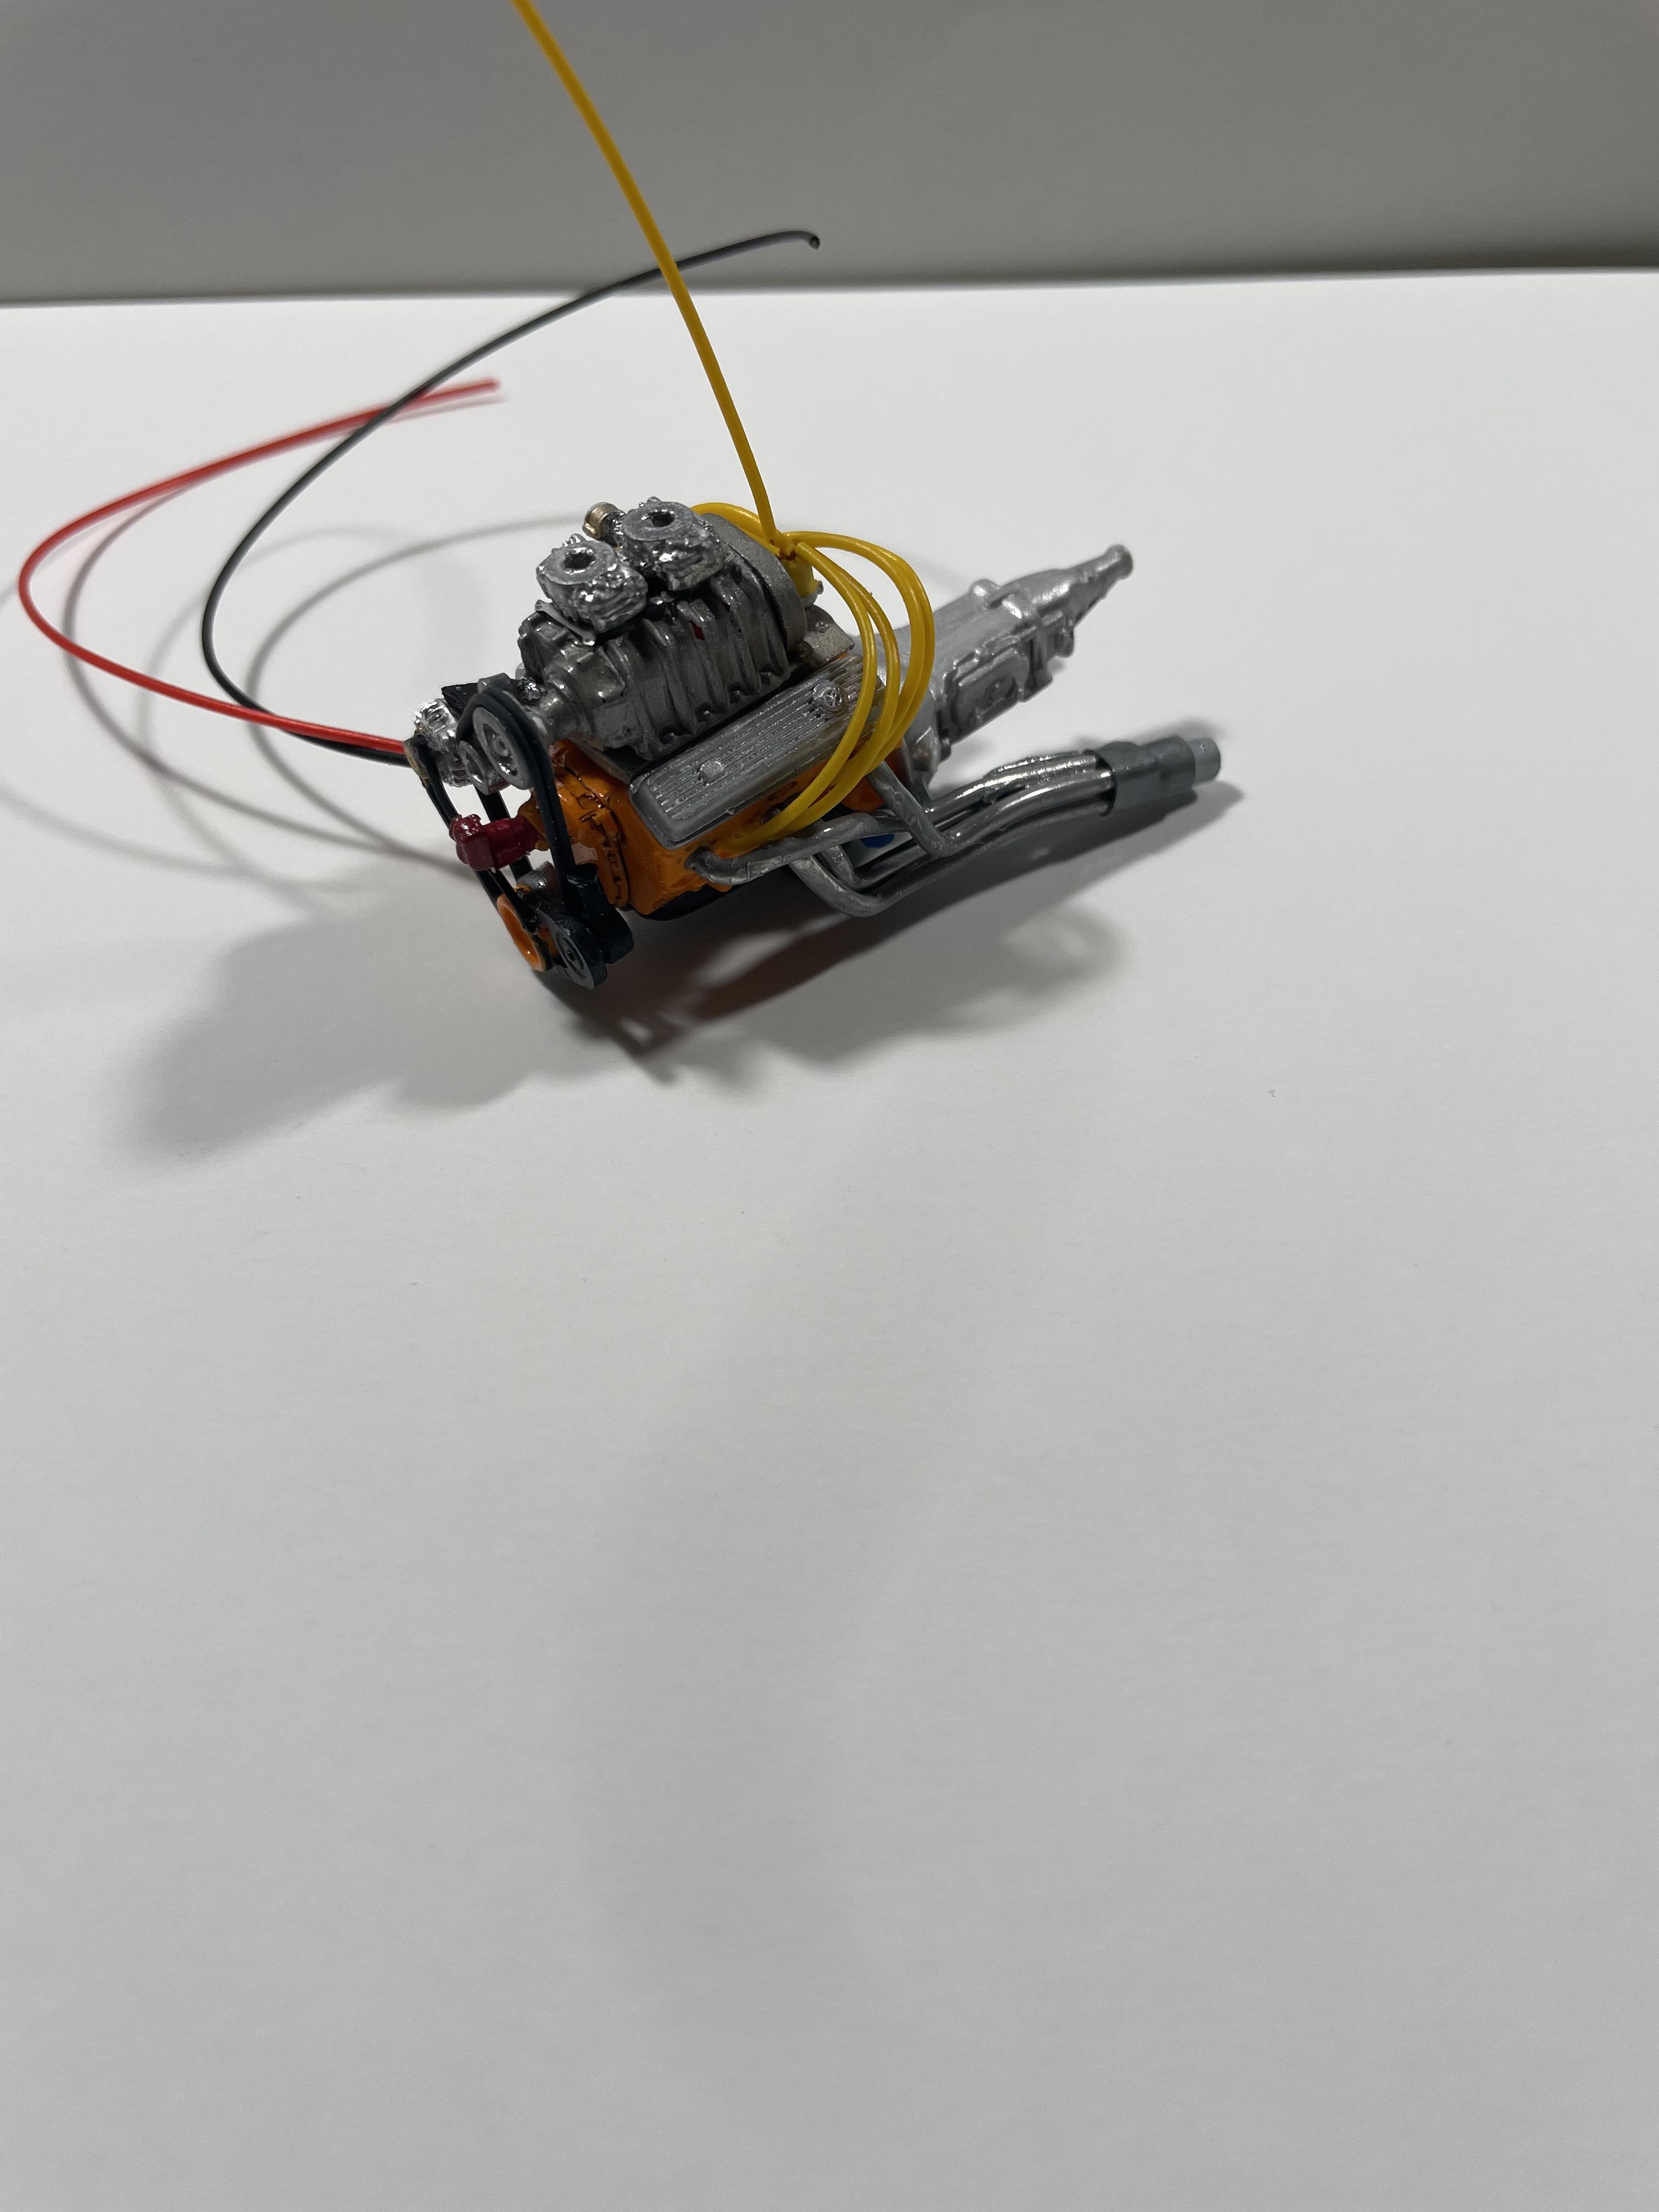
Interior is done, I left the shoulder belts long and will figure those out later. Used a set of ladder from another kit and the engine is wired and installed with solder headers. I’ve got a lot of work to do on the body, there was a big divot in the front fender and then this one goes into the pile to be painted once the weather warms. Dave.
-
Thanks, I removed it.
-
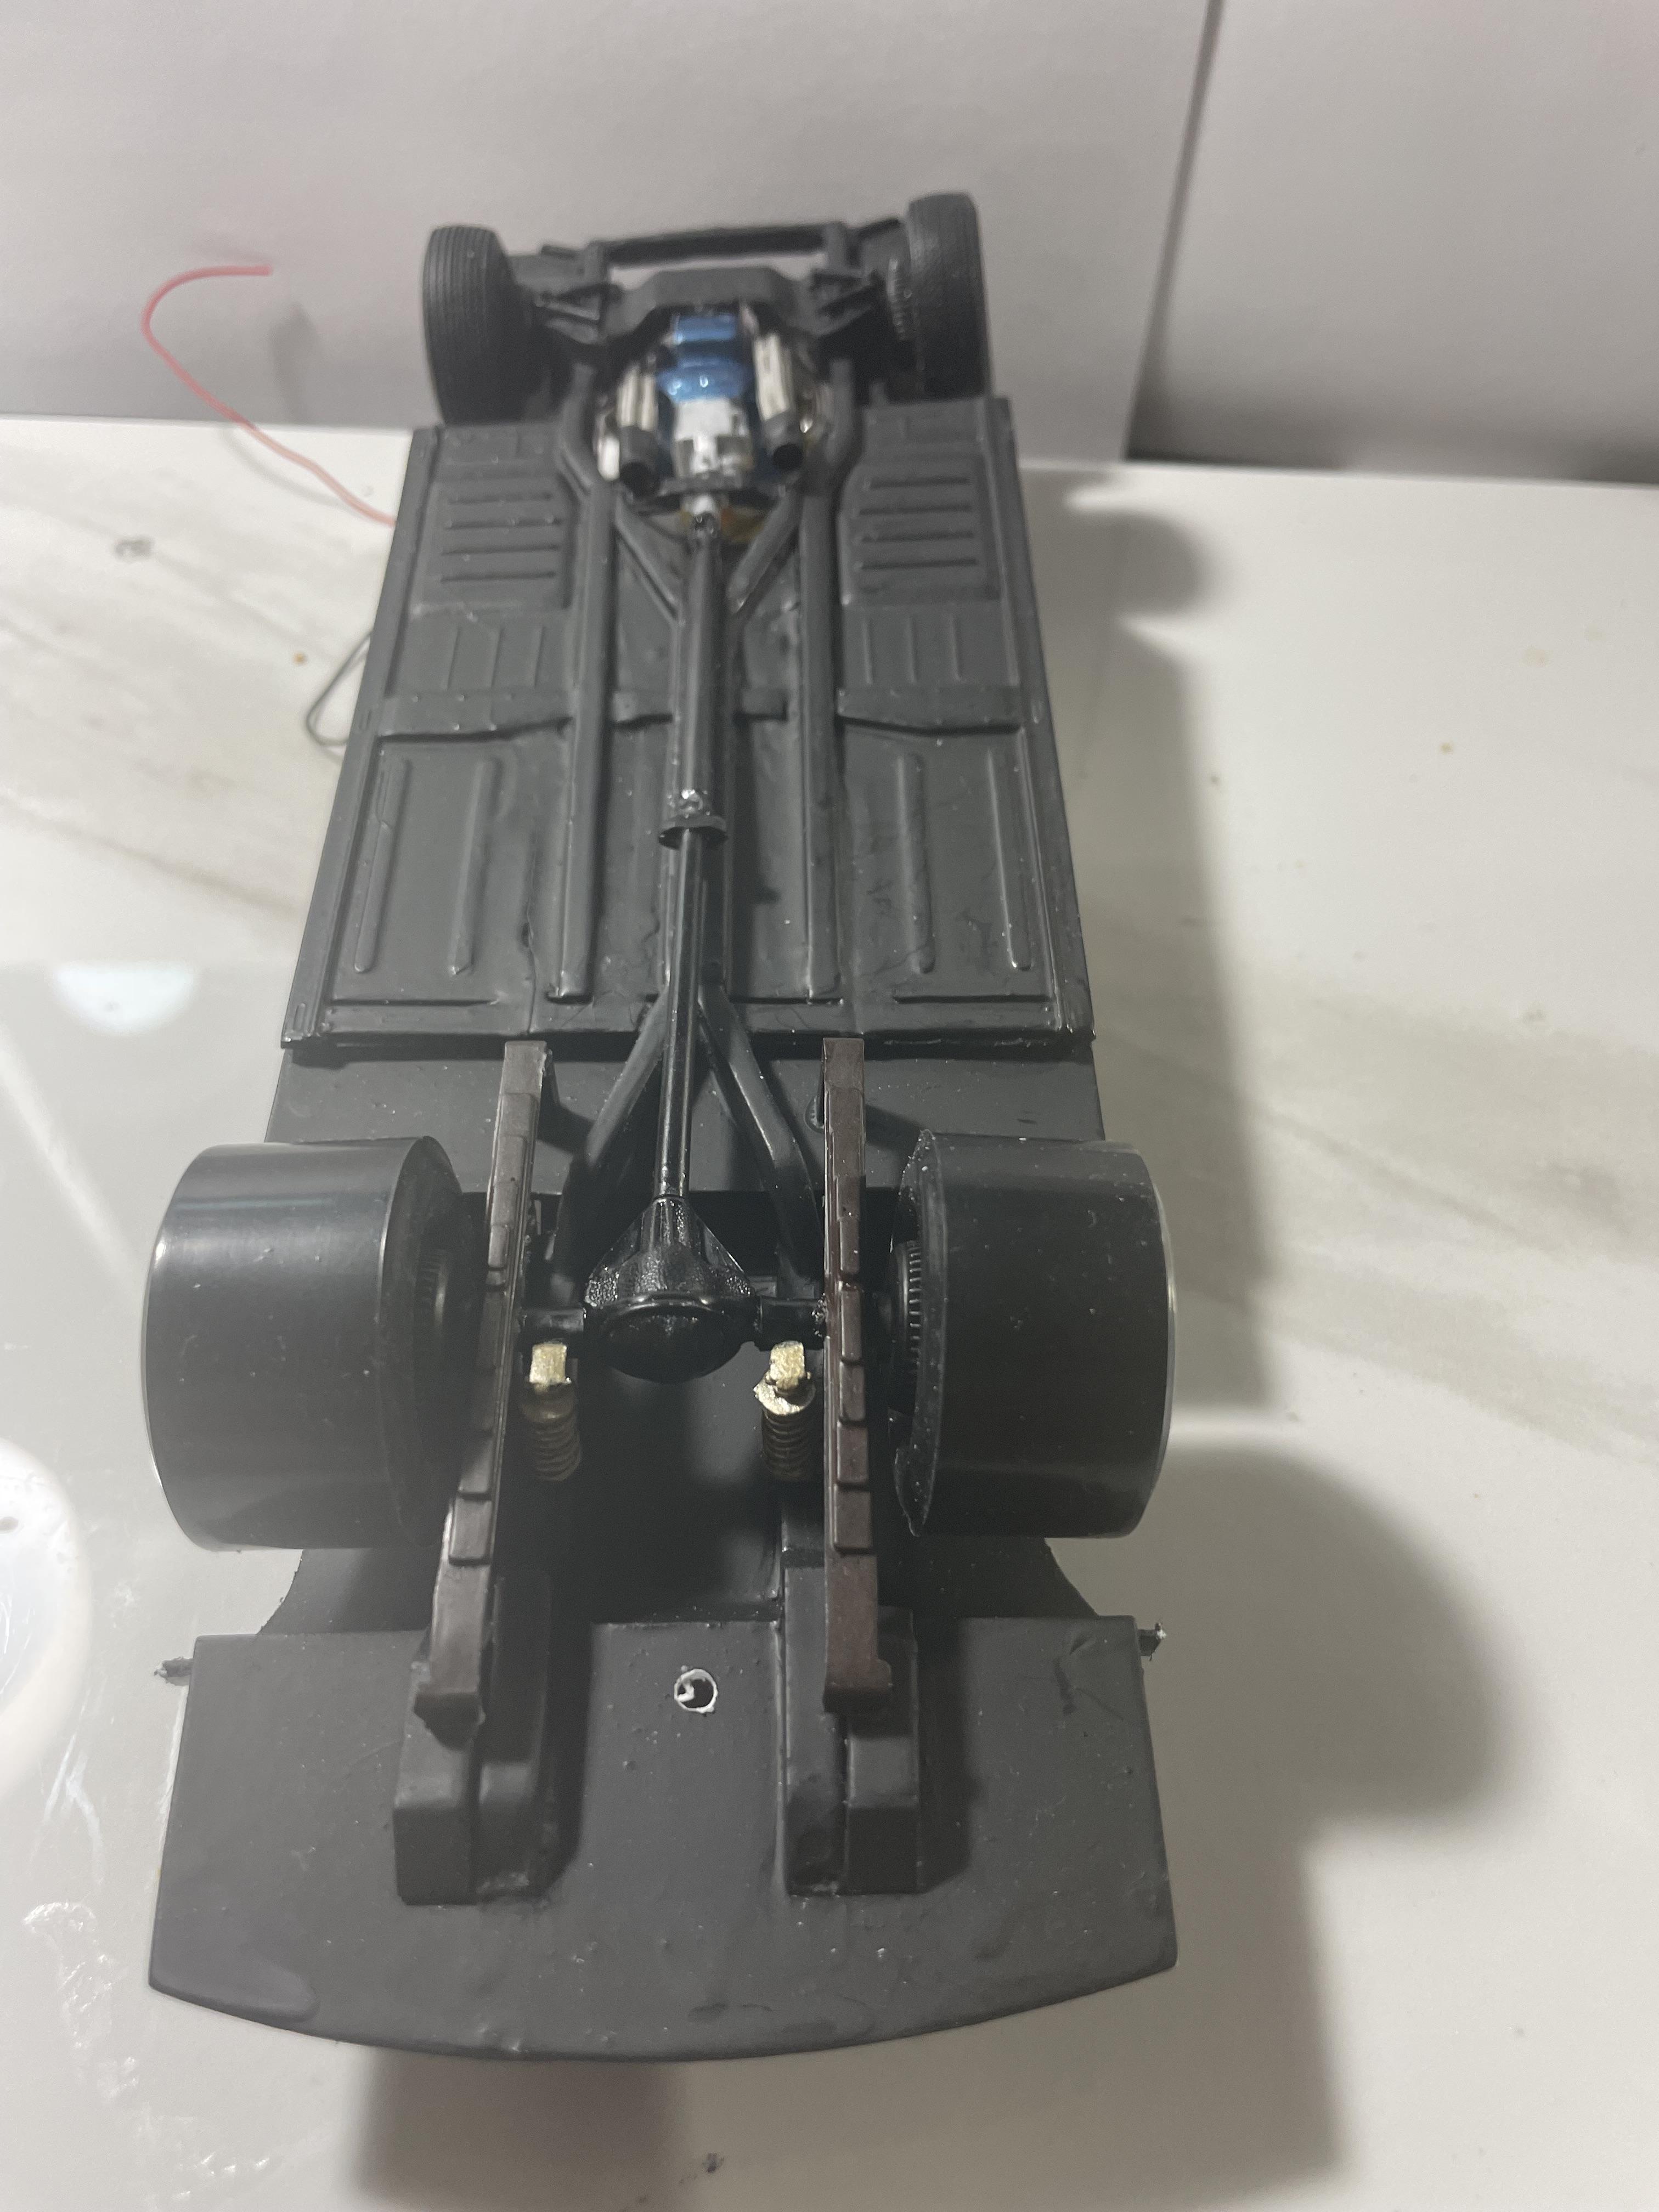
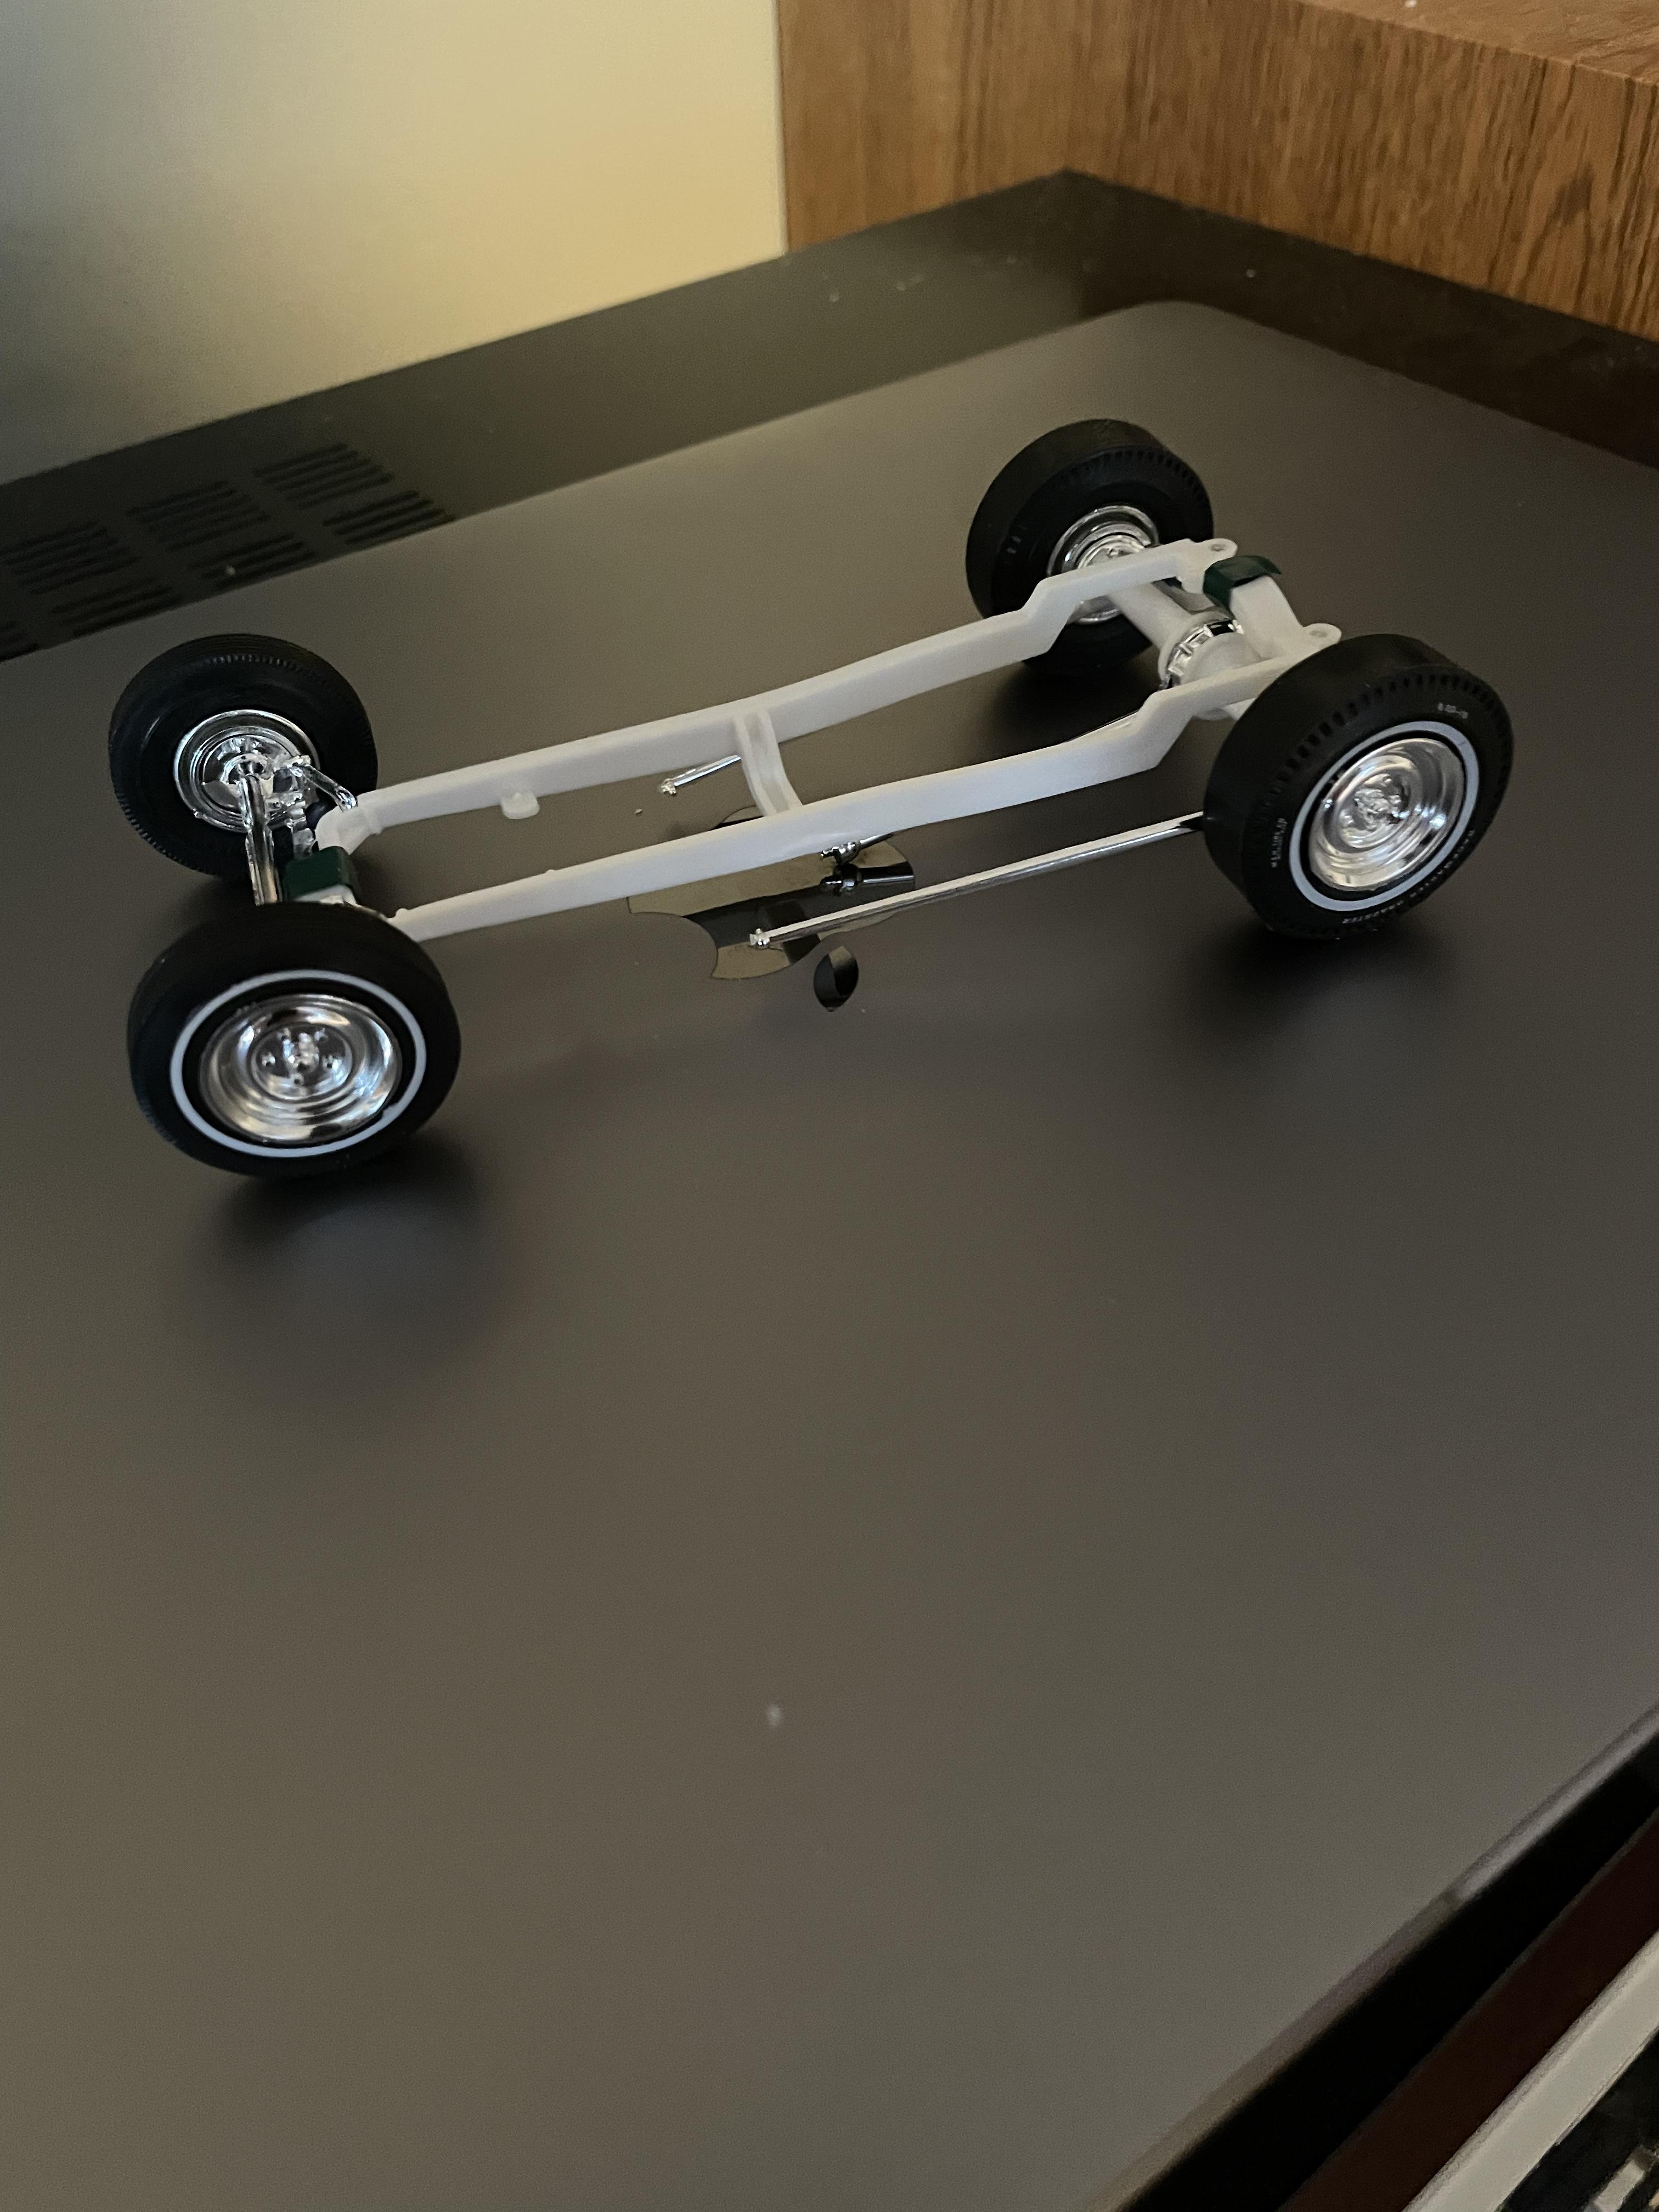
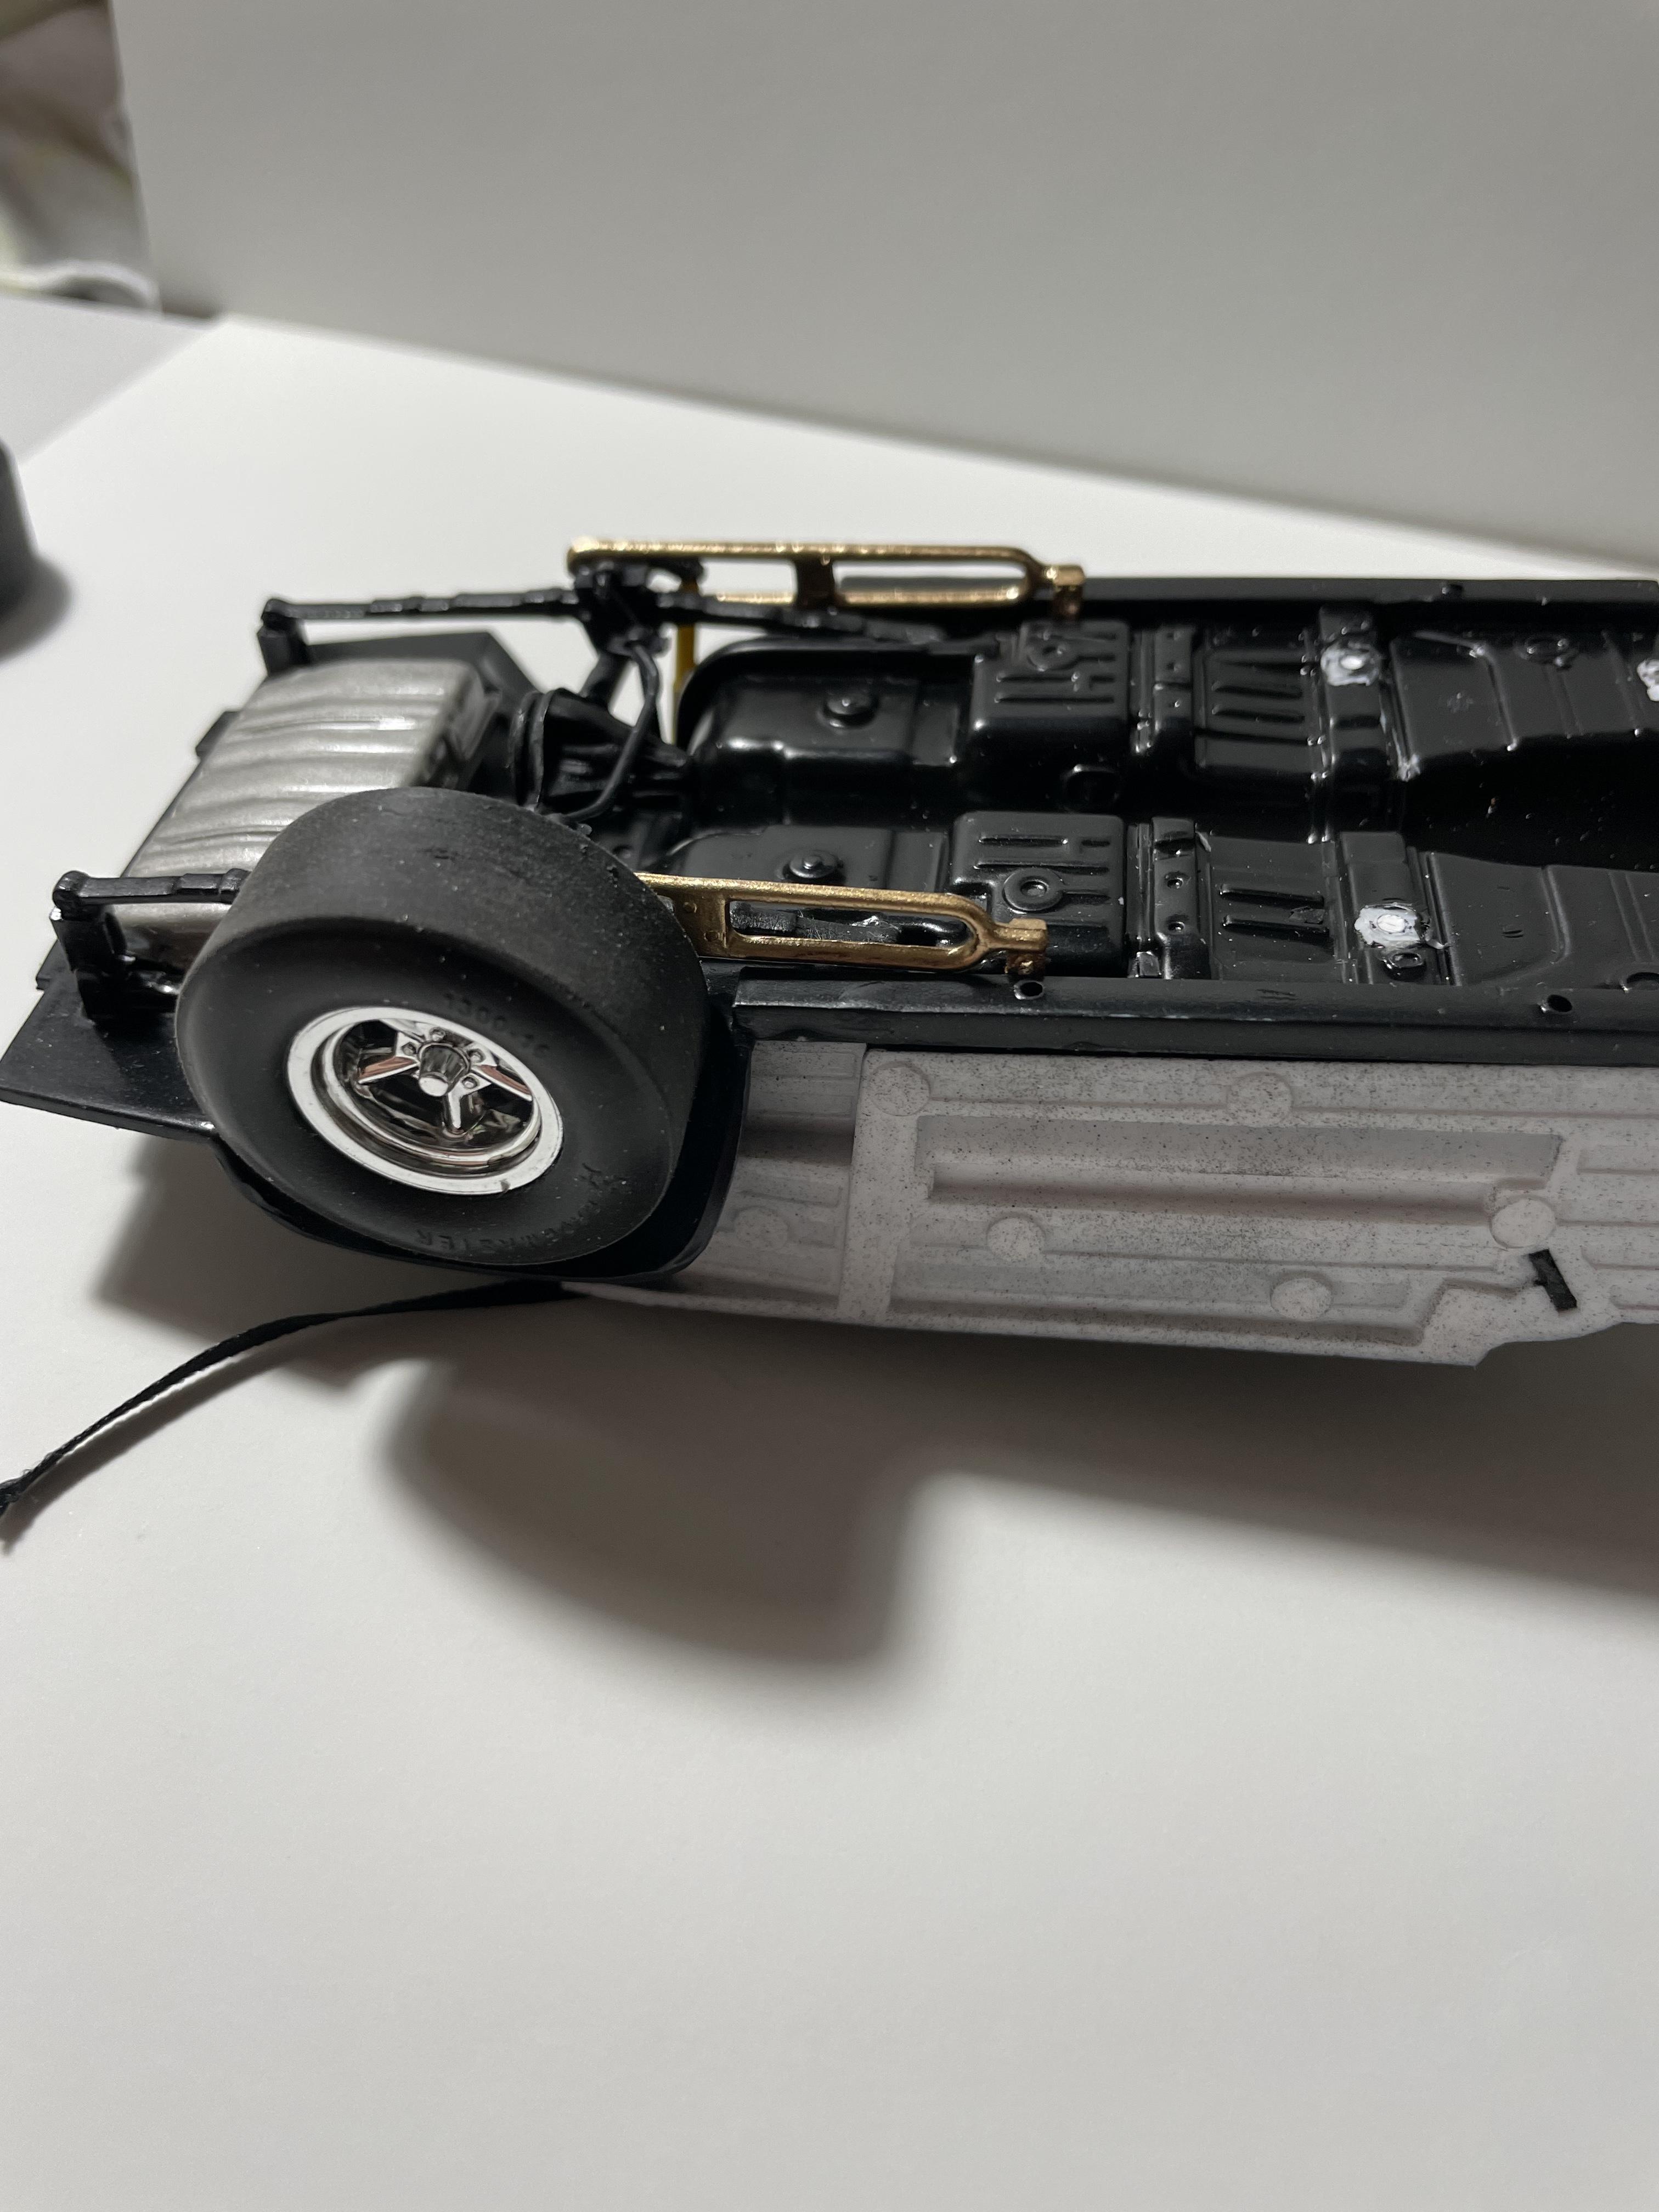
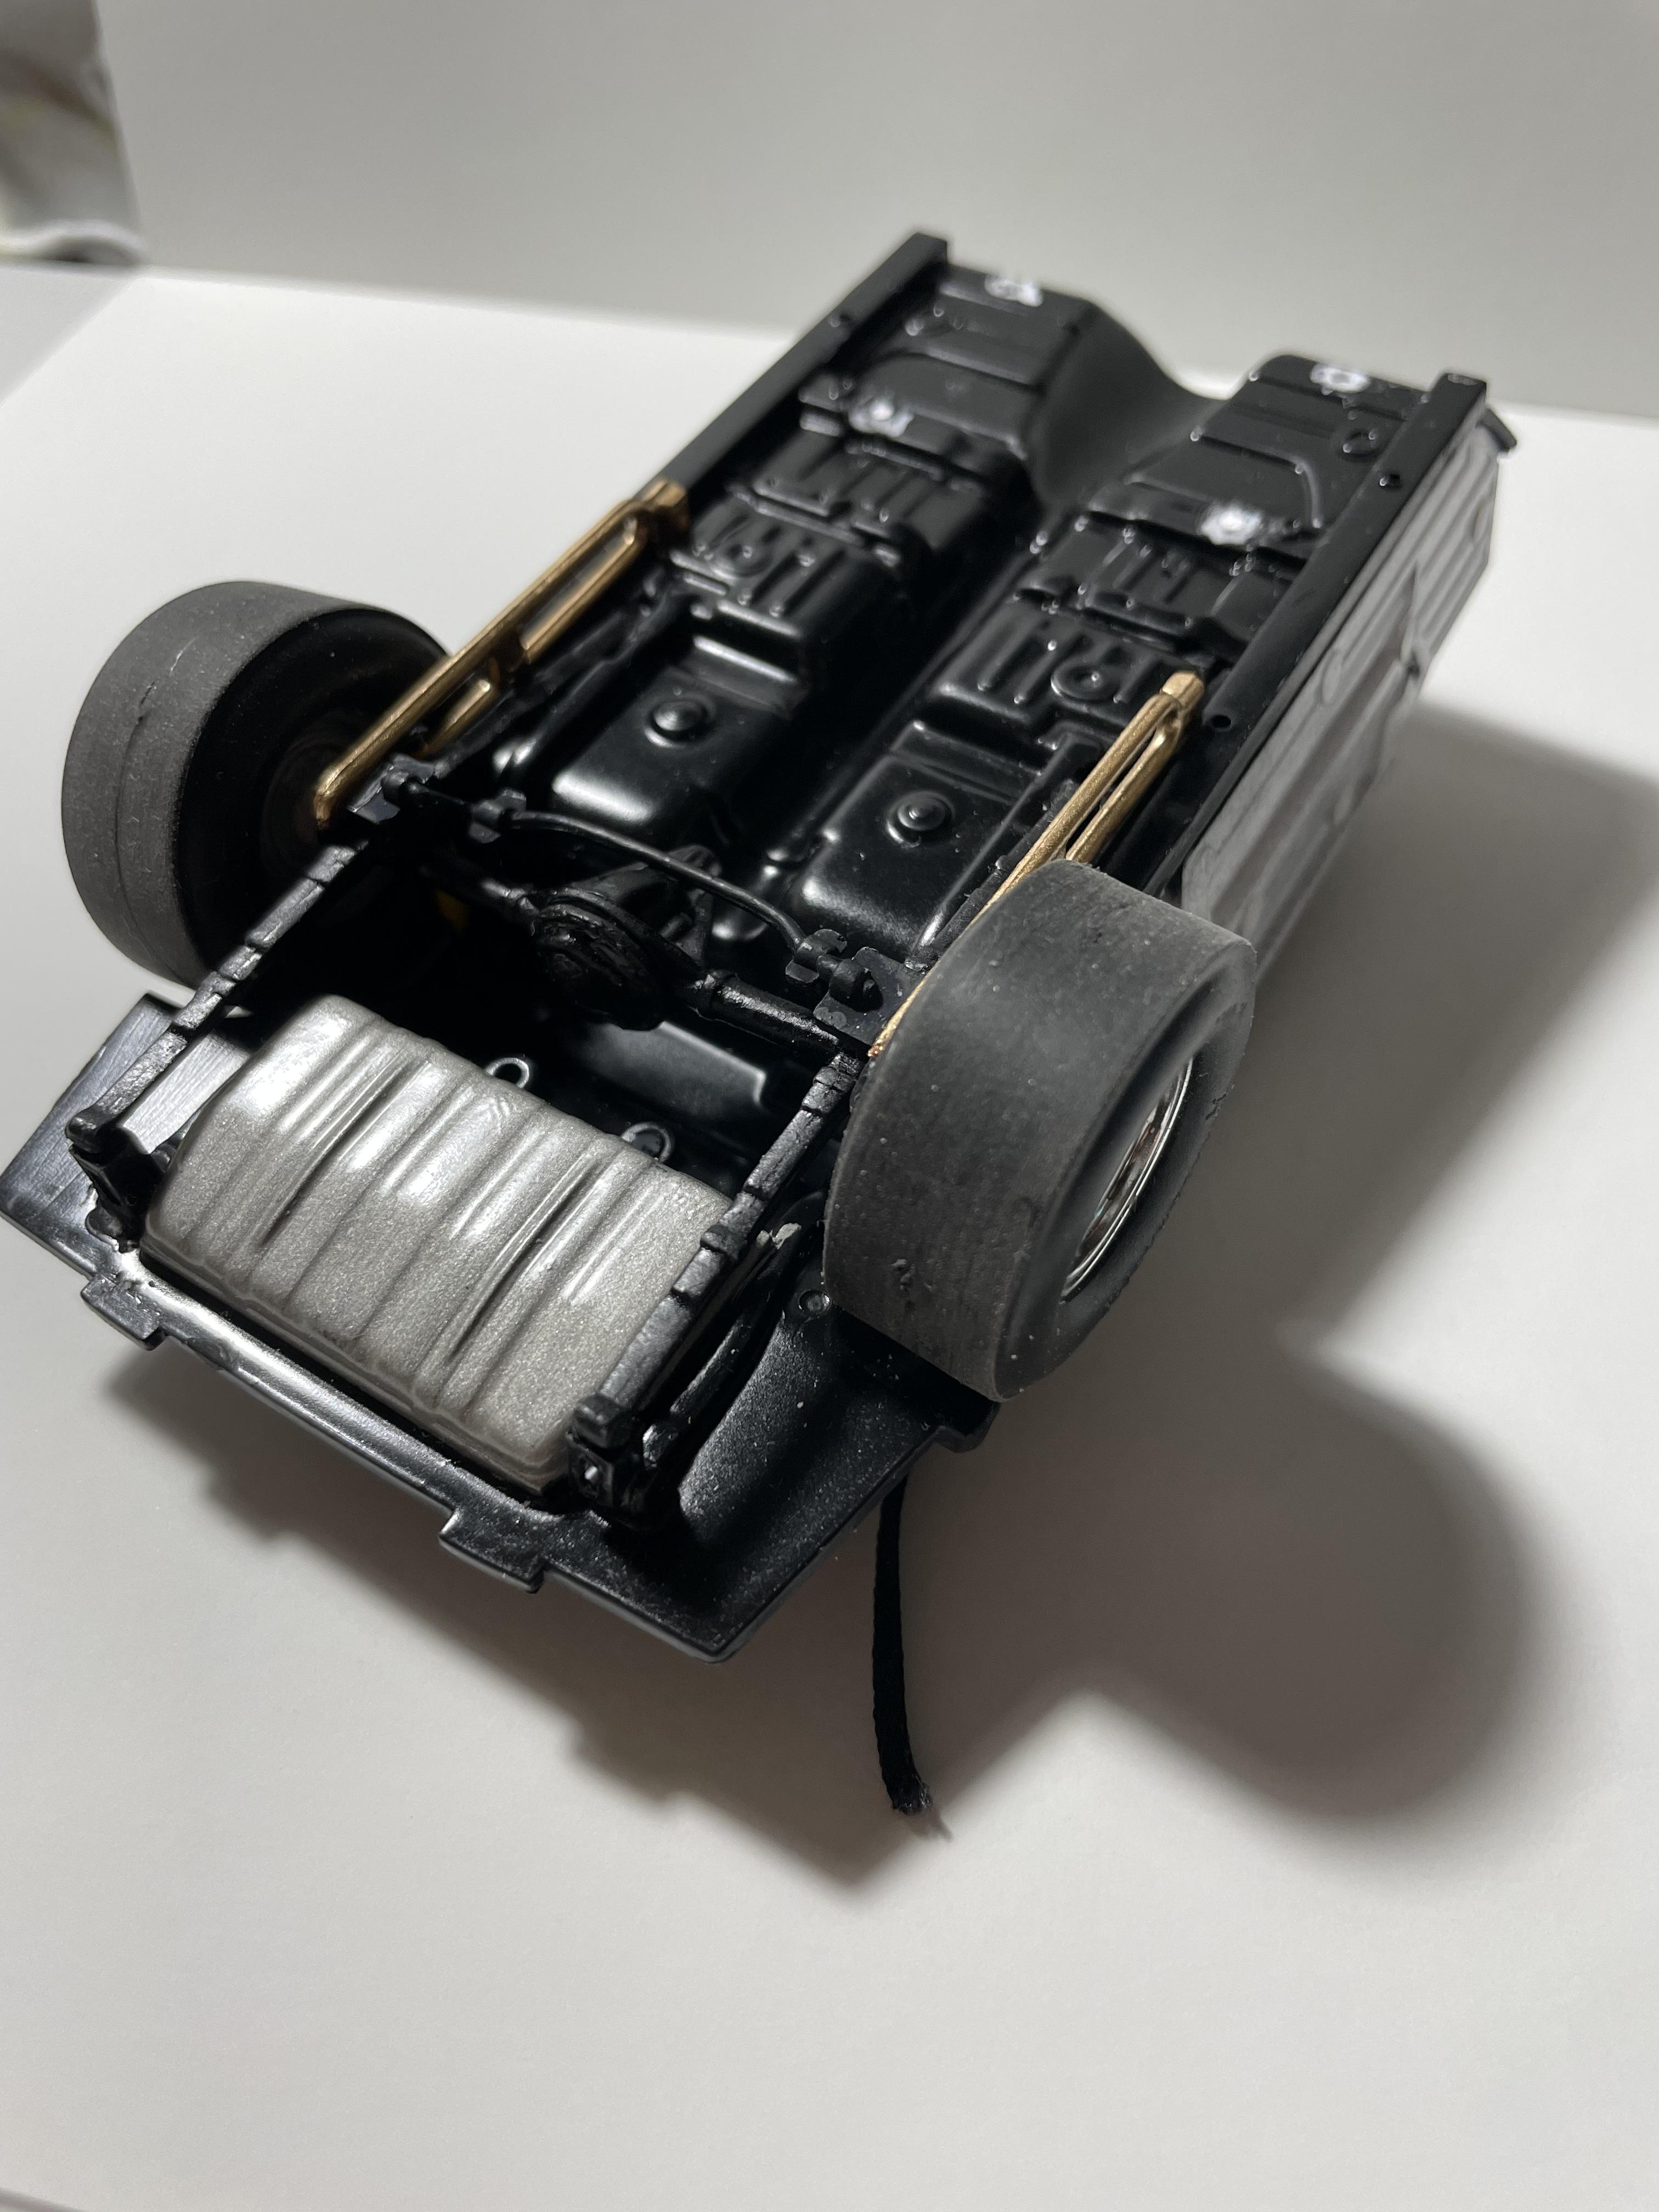
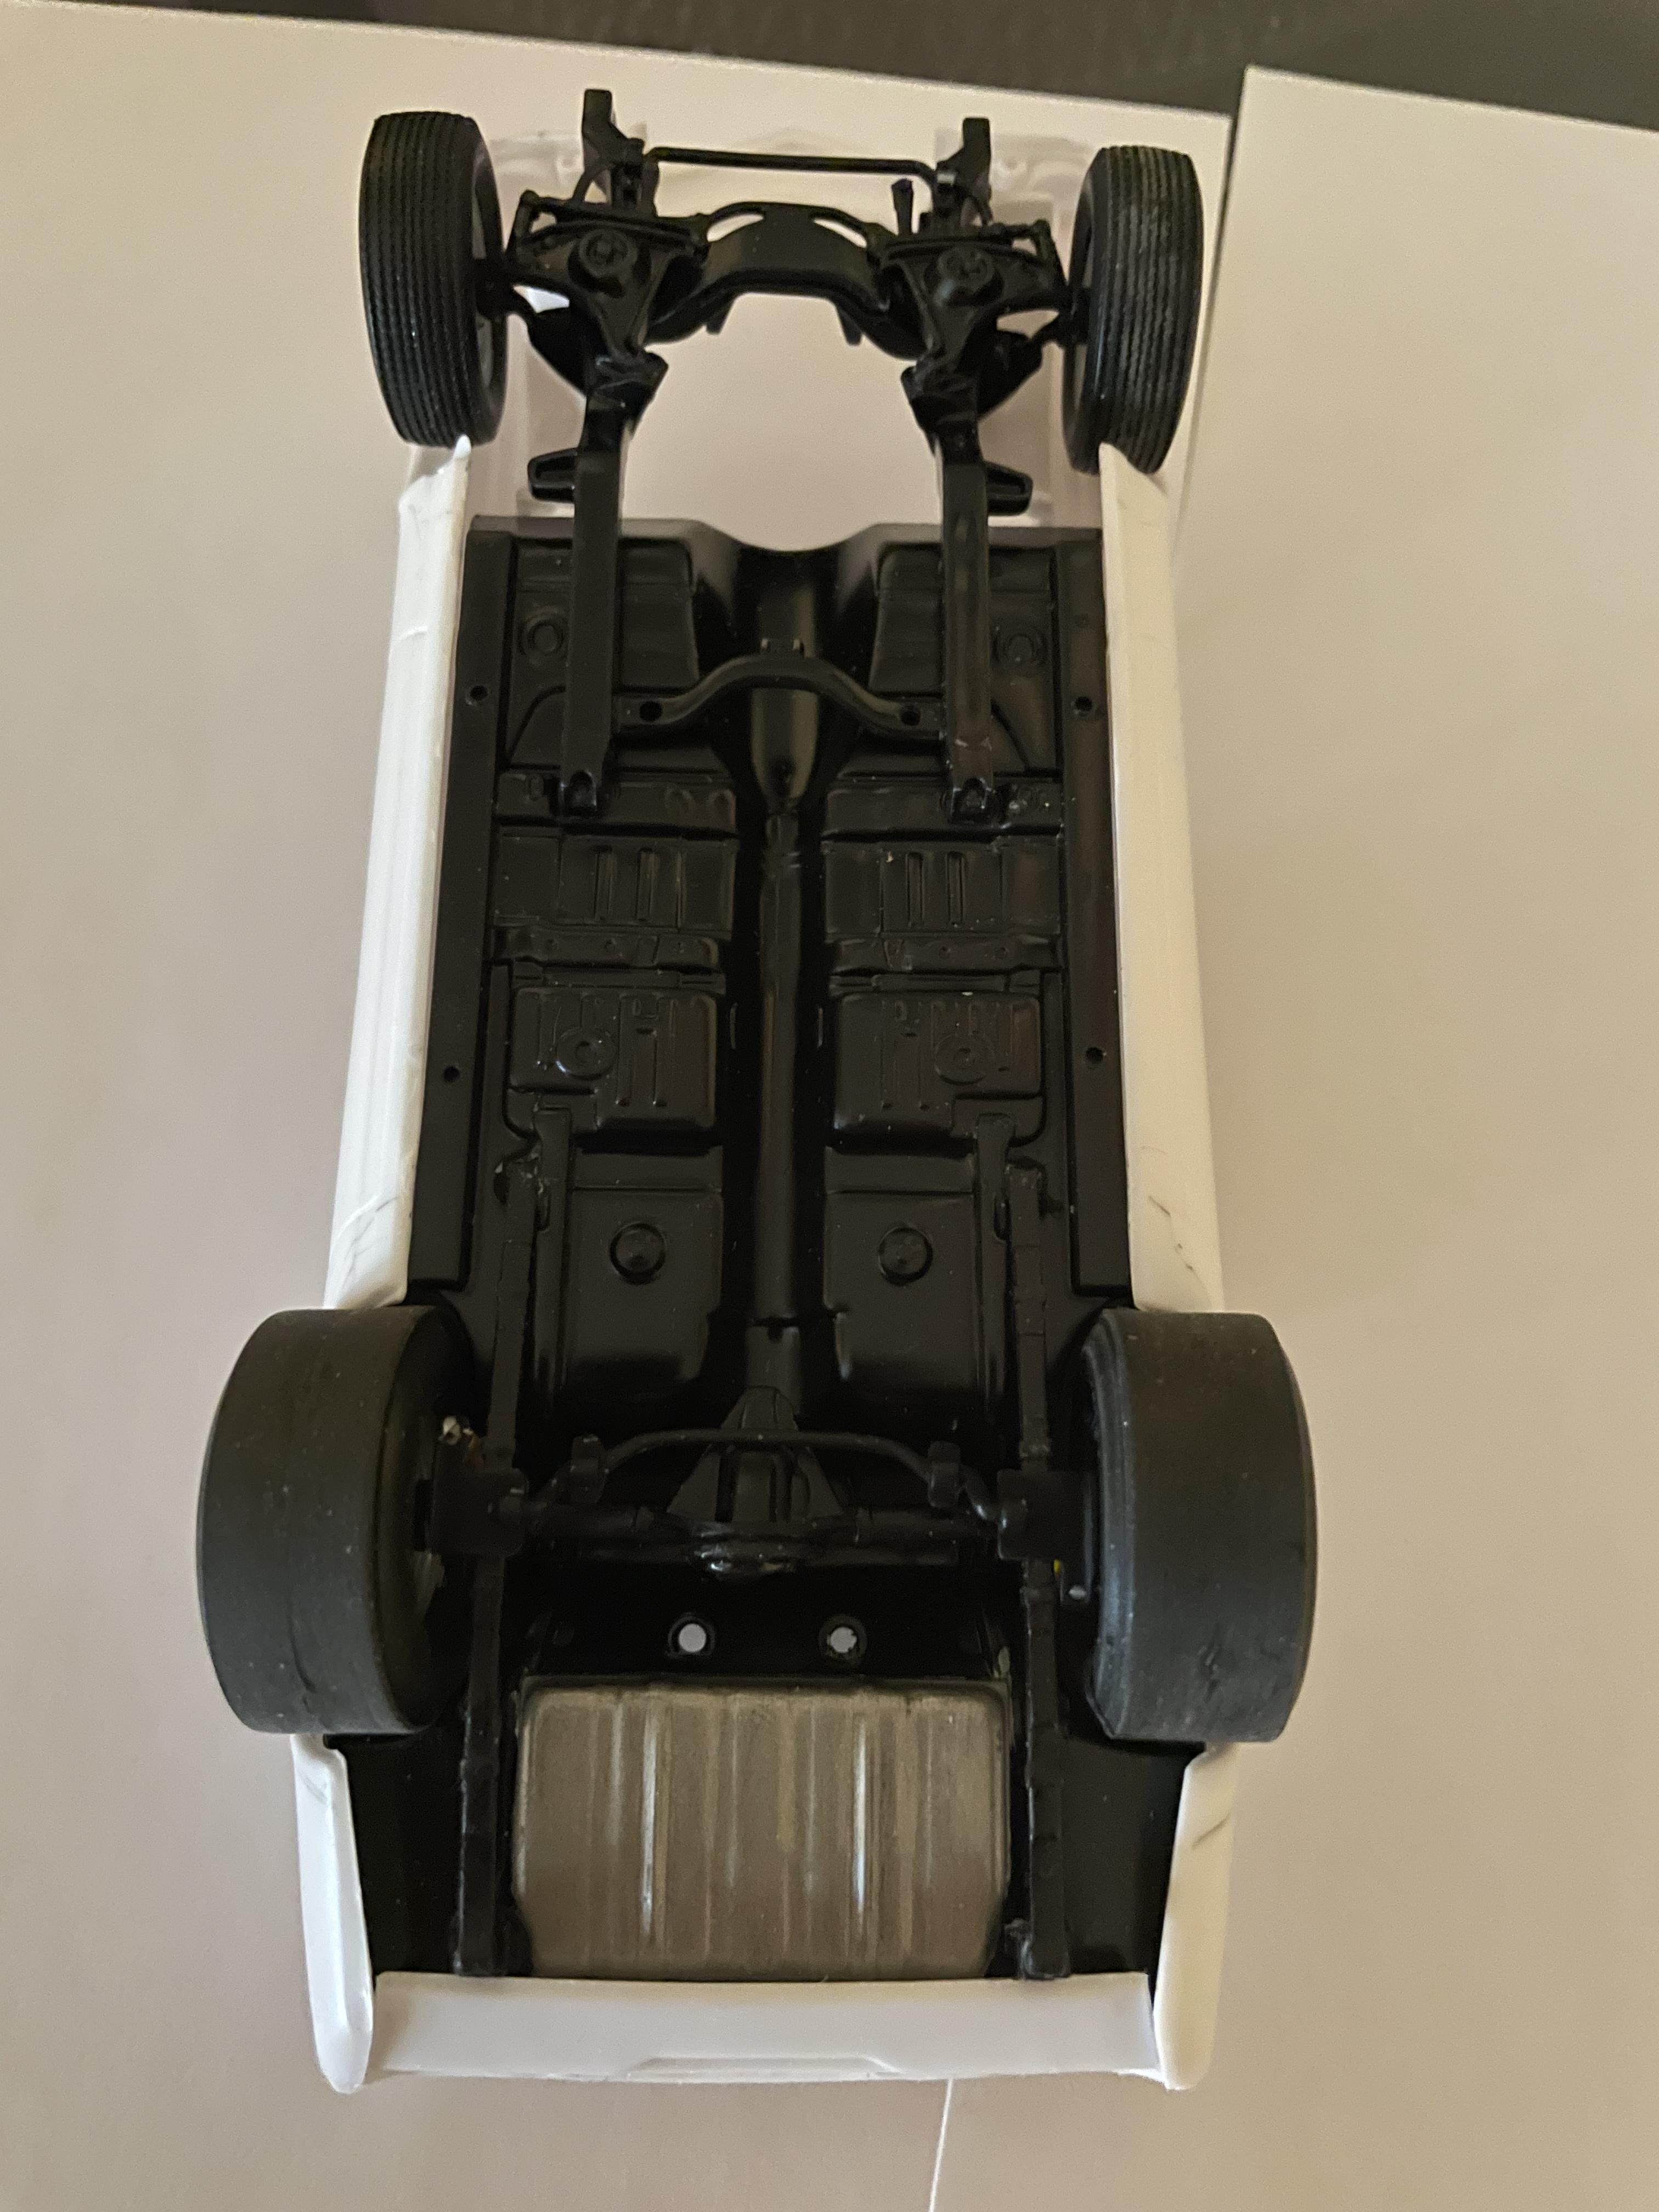
The front suspension and the rear is installed and the stance is right where I wanted it. I’m working on a set of traction bars and I’m going to have to open up the rear wheel wells just a bit, but I don’t think it’s going to be enough to be real noticeable. Engine has decided it wanted to be blown so here comes a hole in the hood. Dave.
-
I found some cragars as well, I think I’m going to go with them and save the Centerlines for an upcoming El Camino. Yours looks fantastic, I wish I could get decals to lay down like that, they are decals right?
-
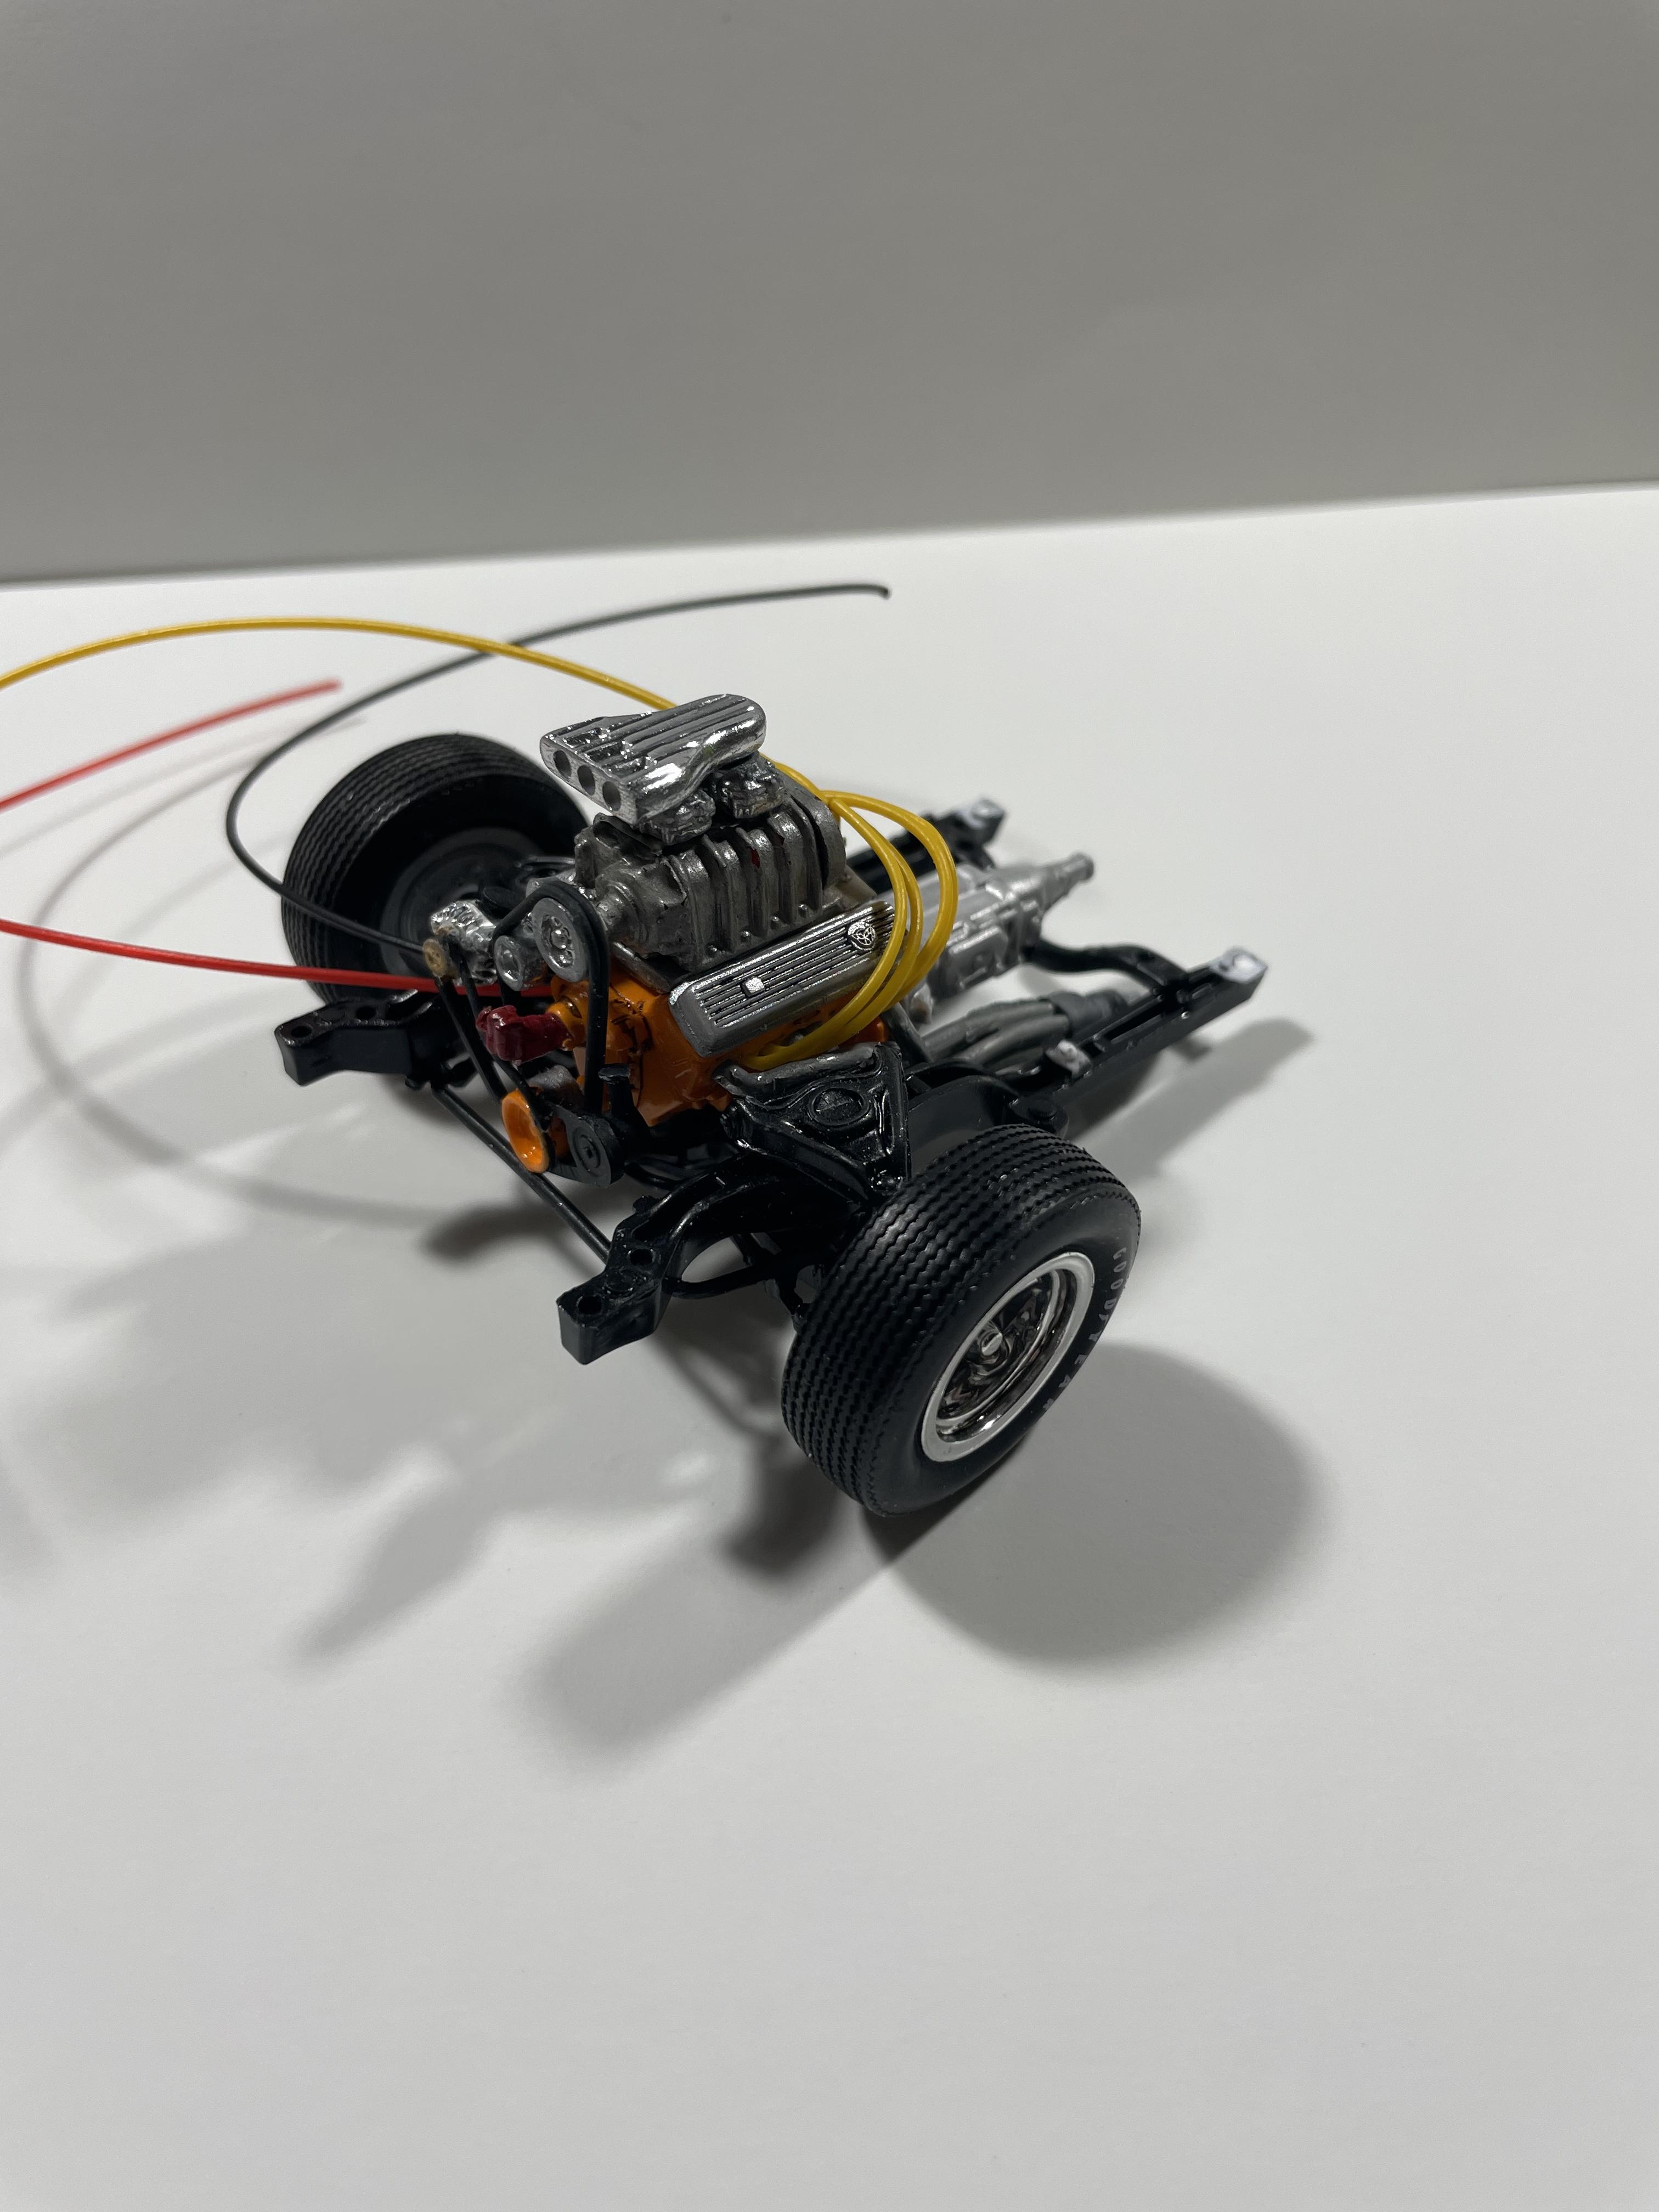
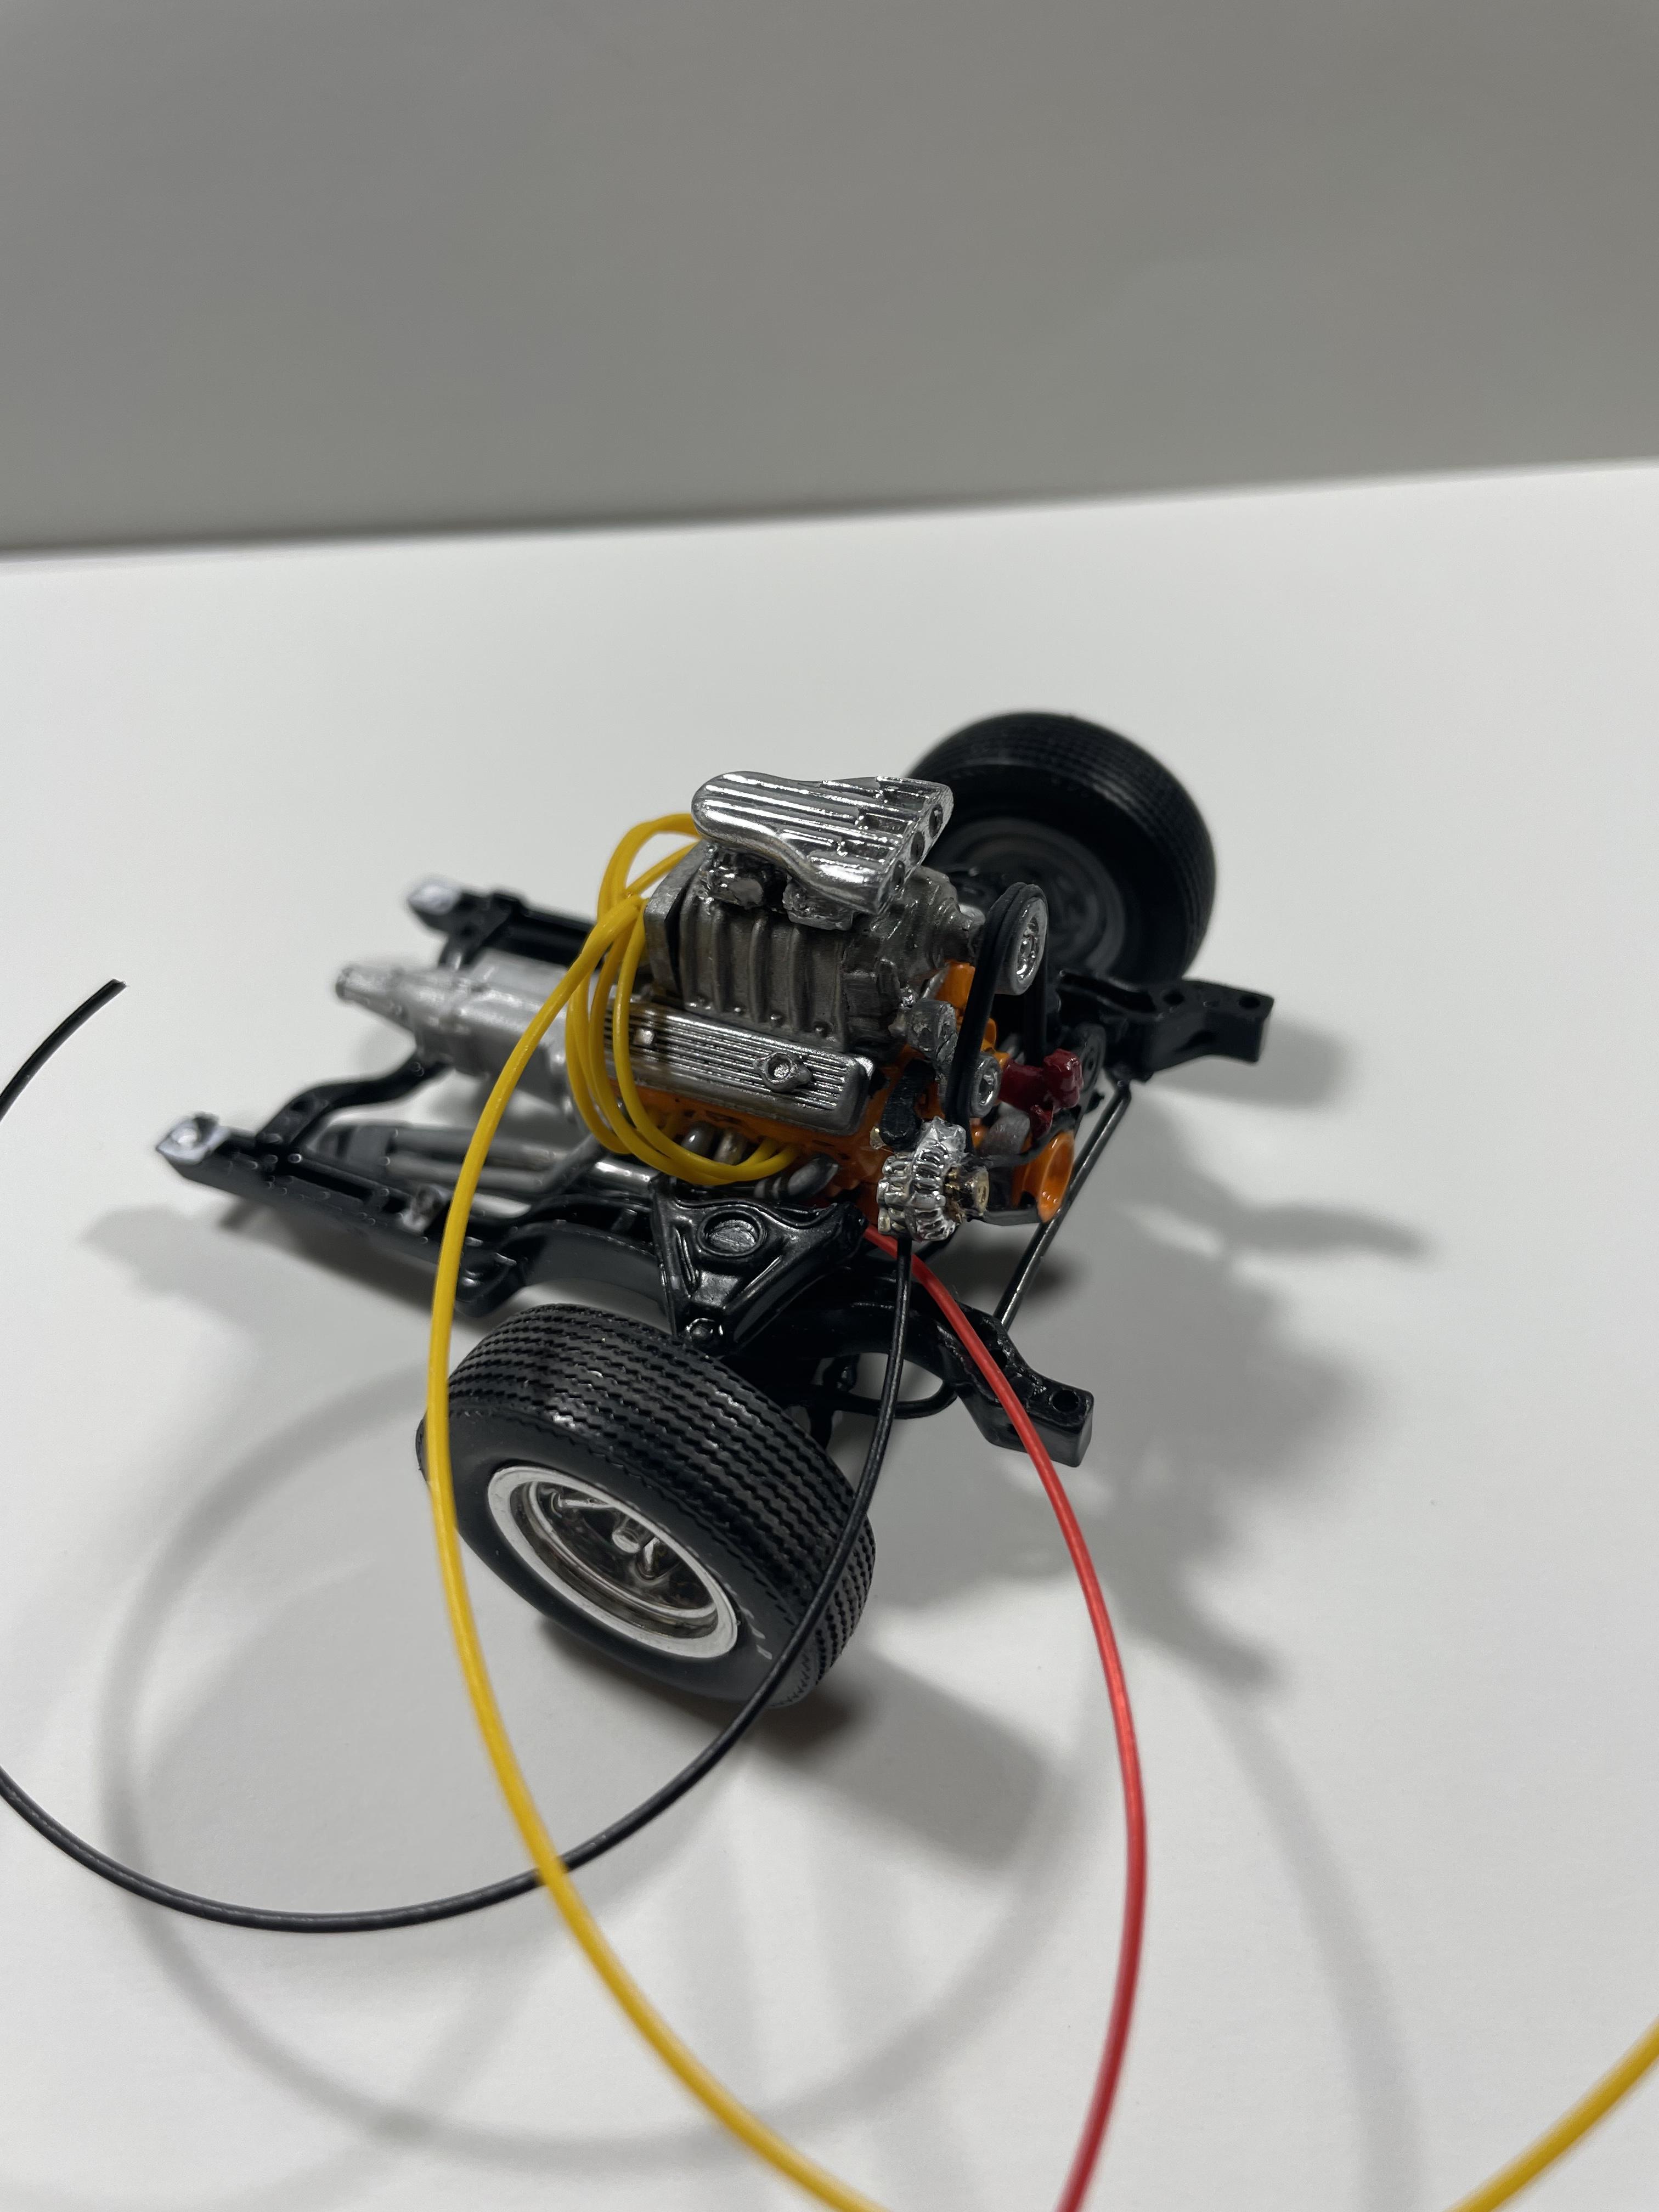
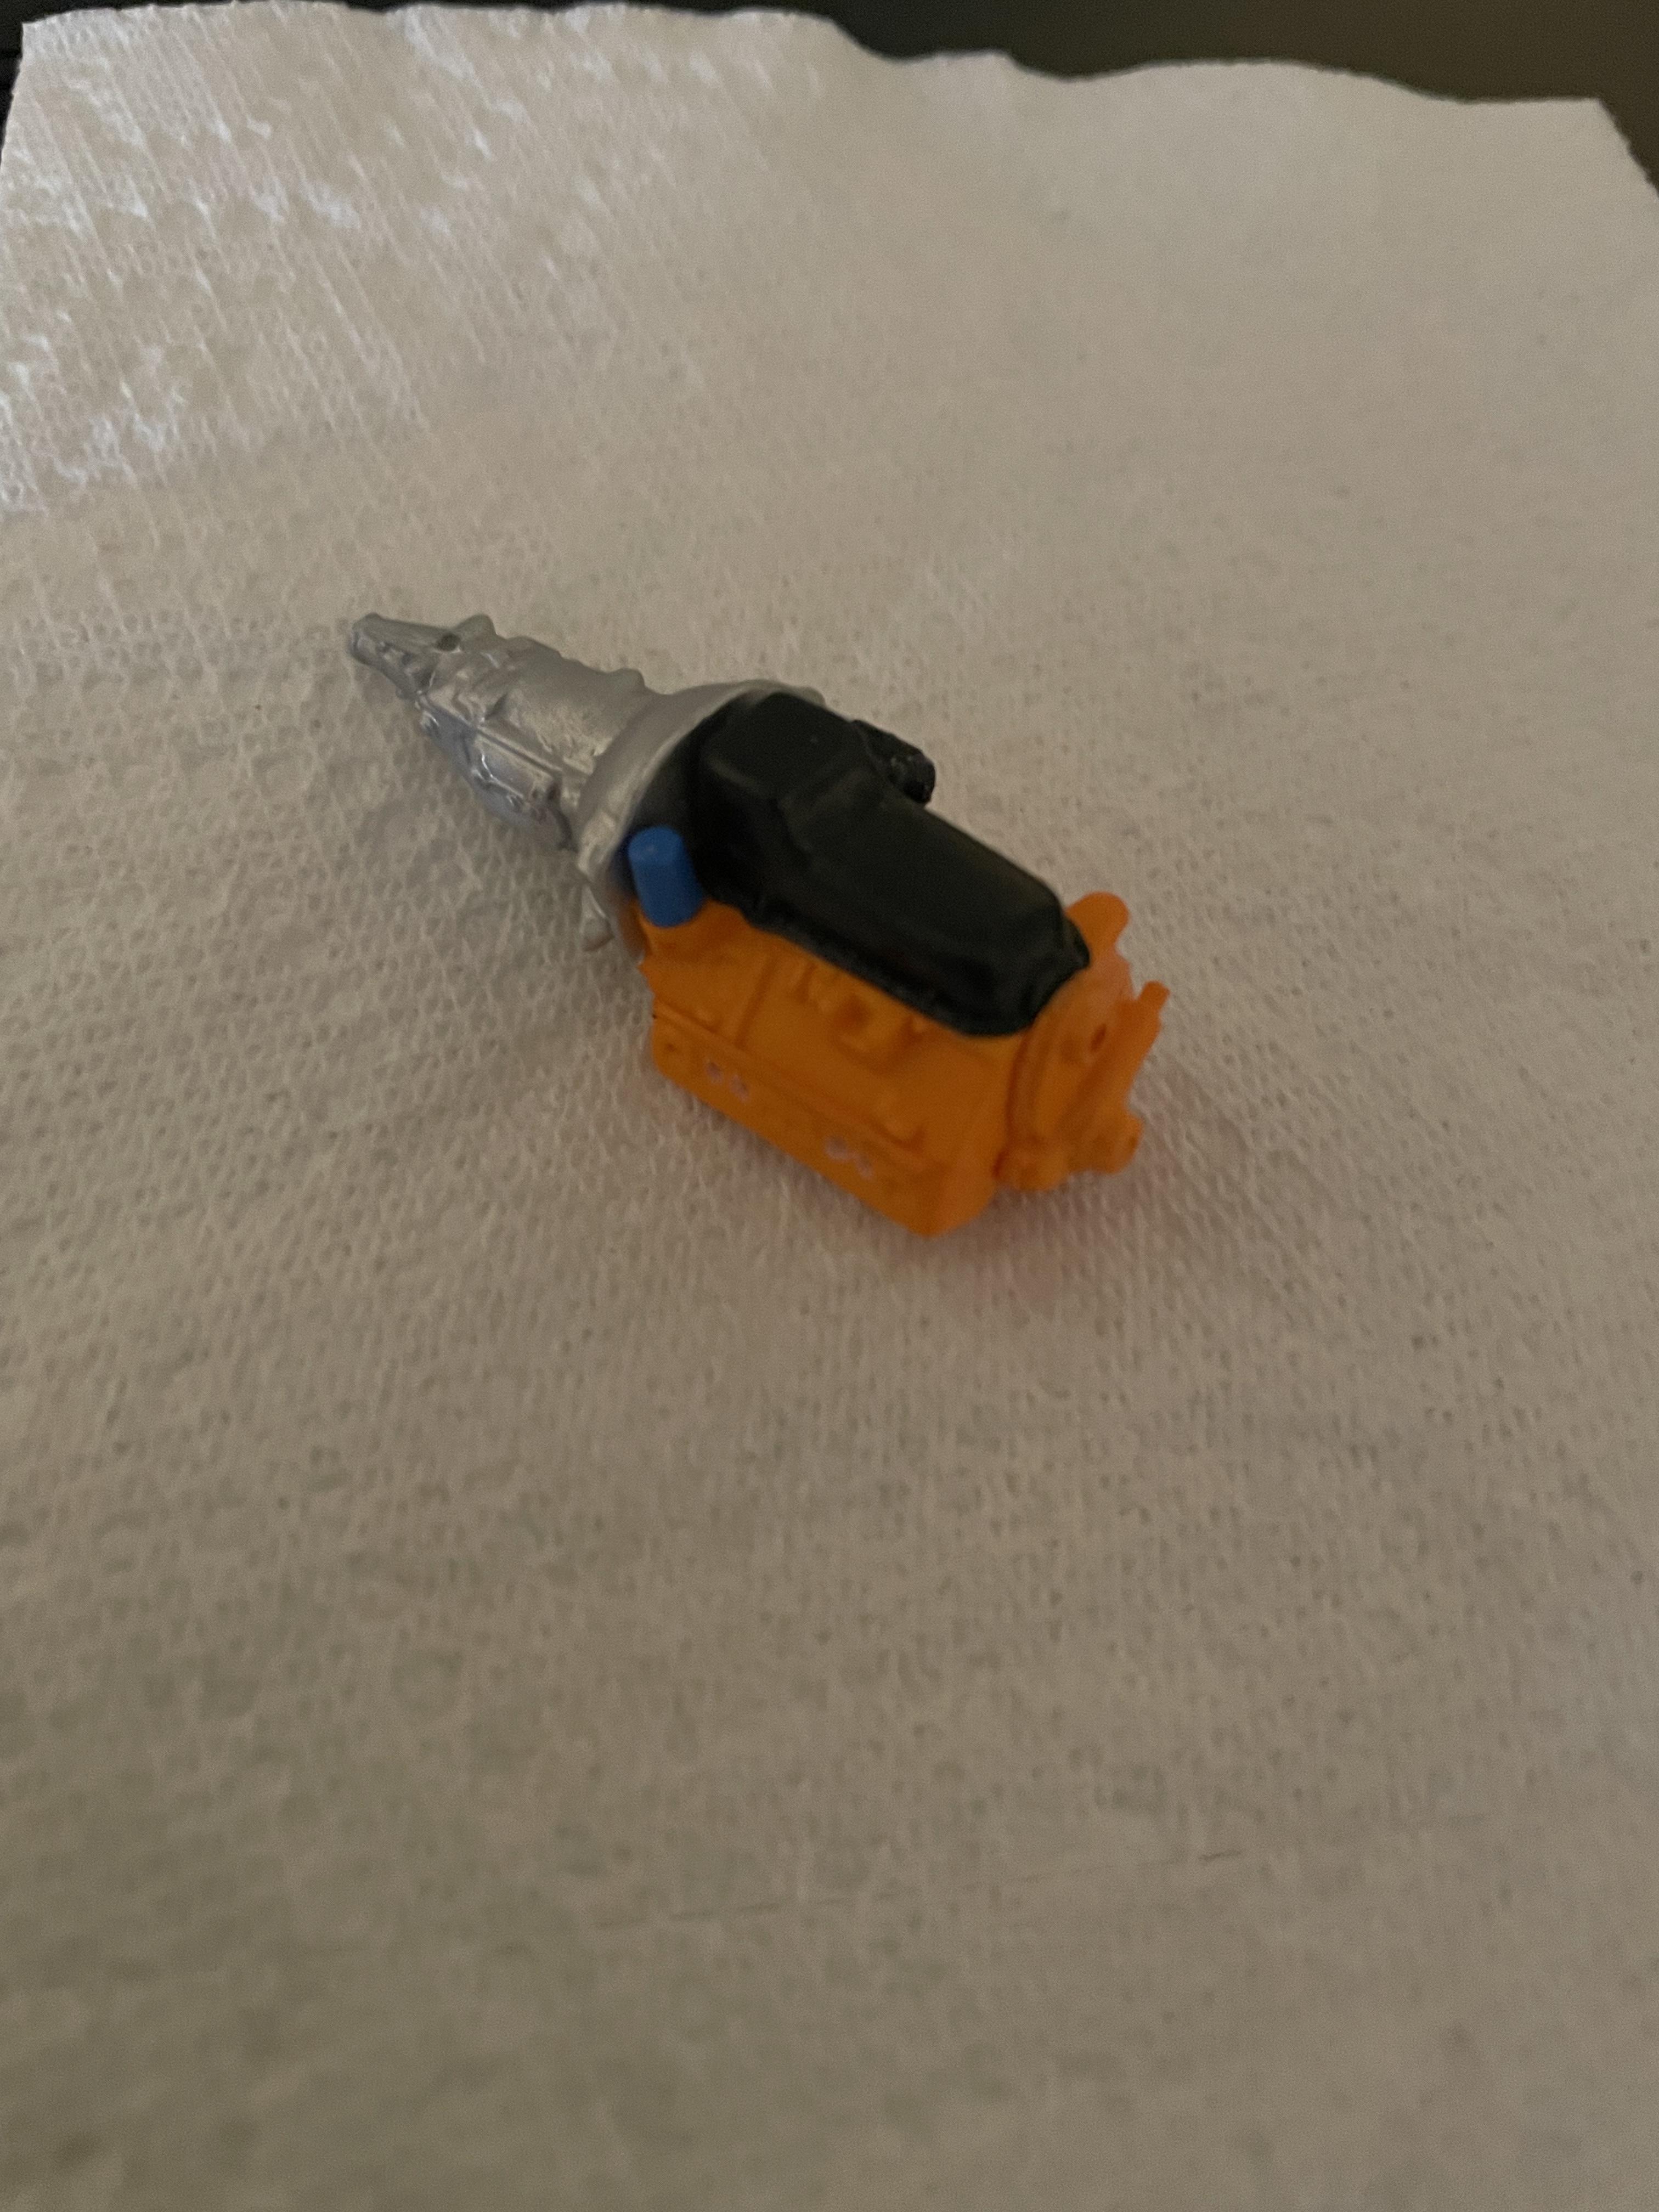
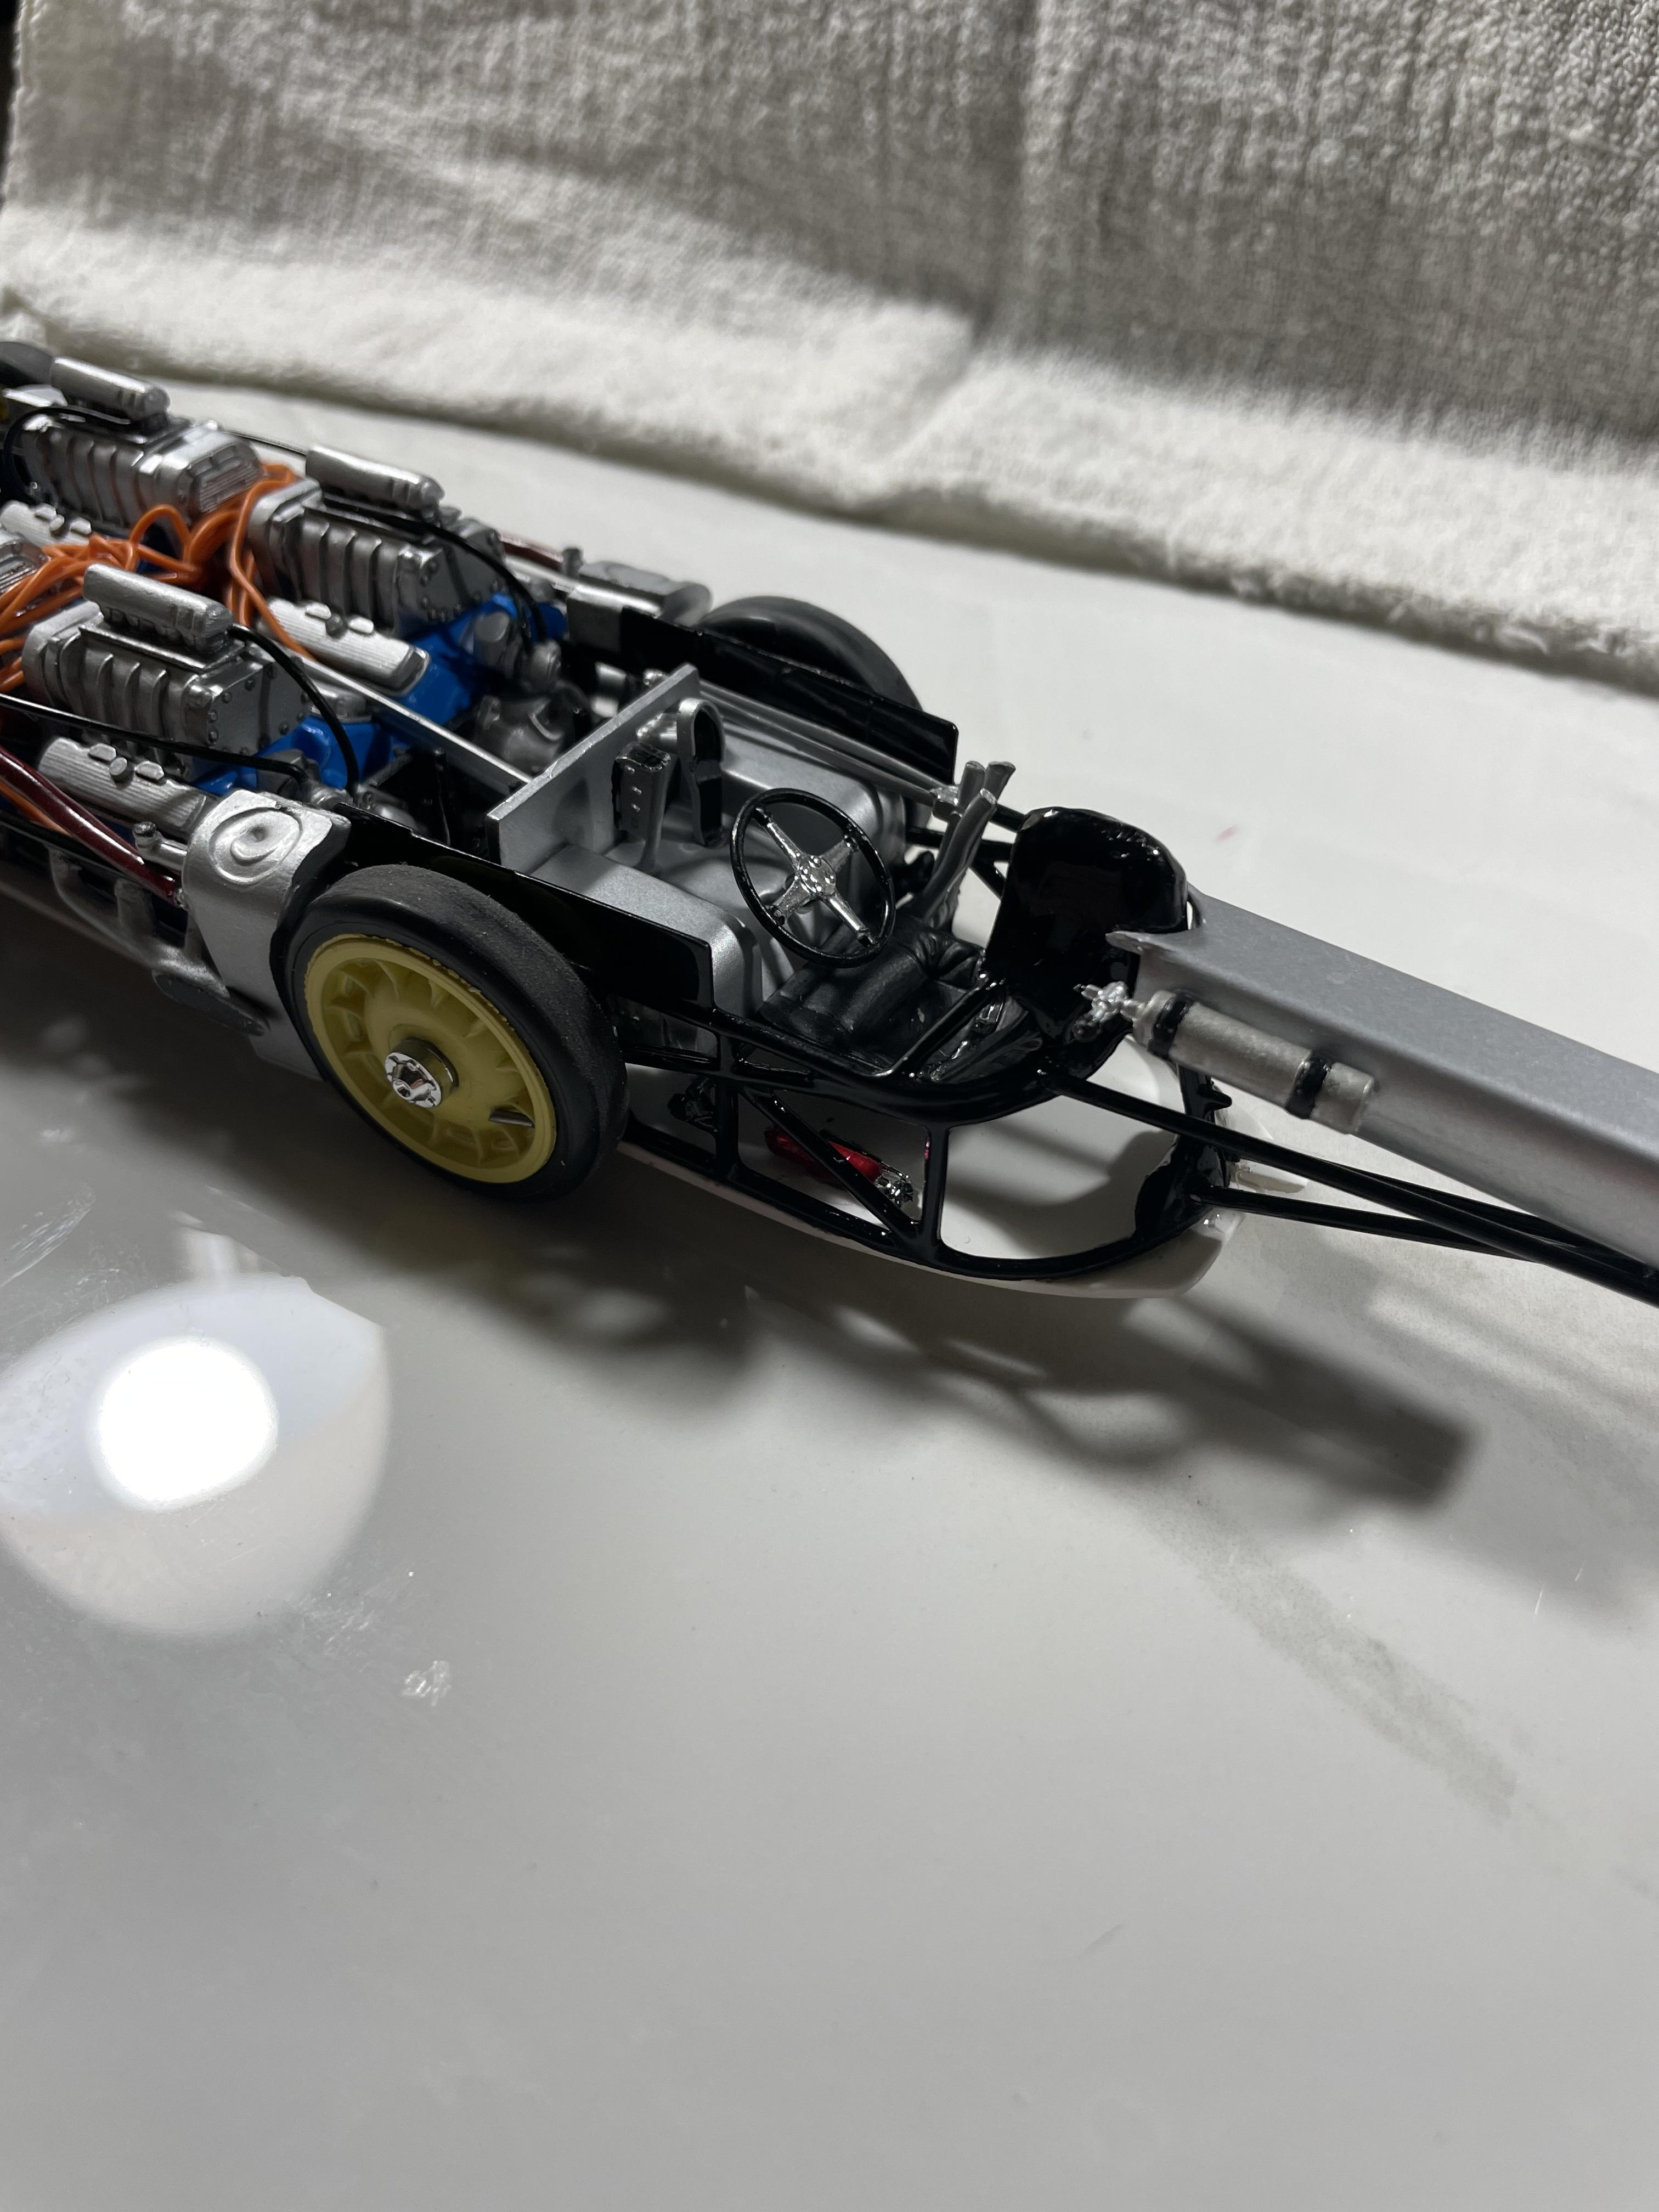
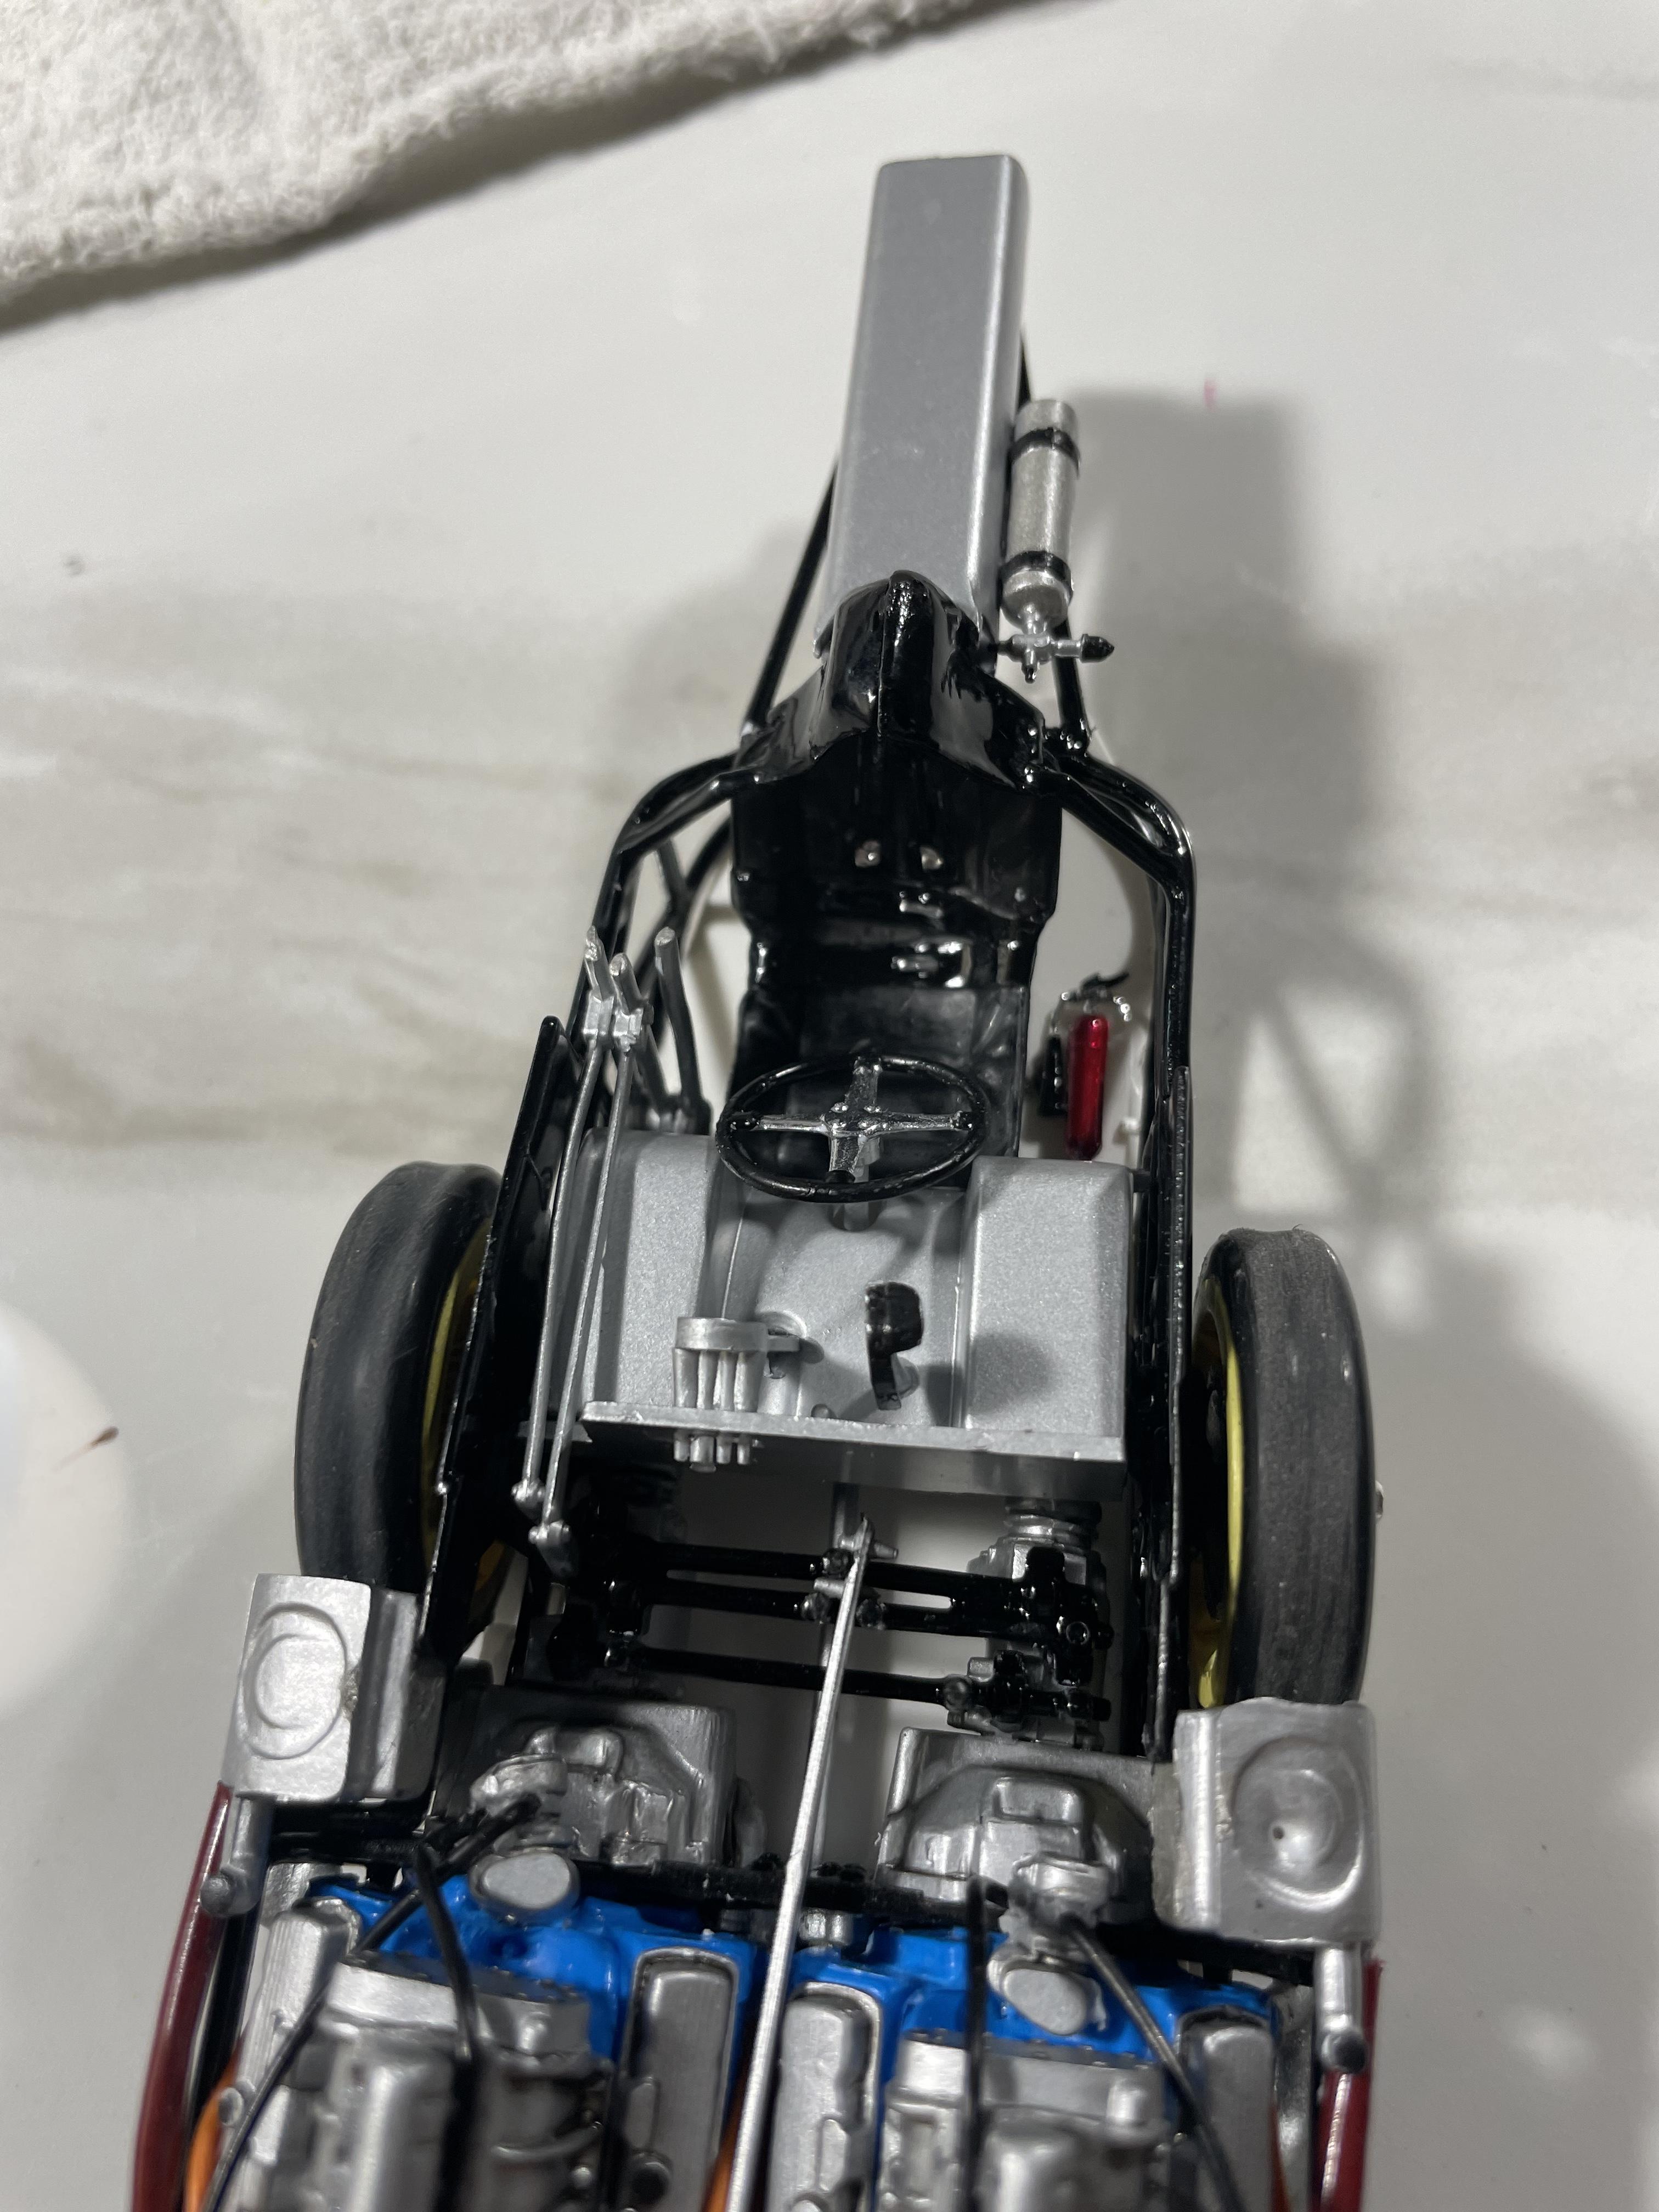
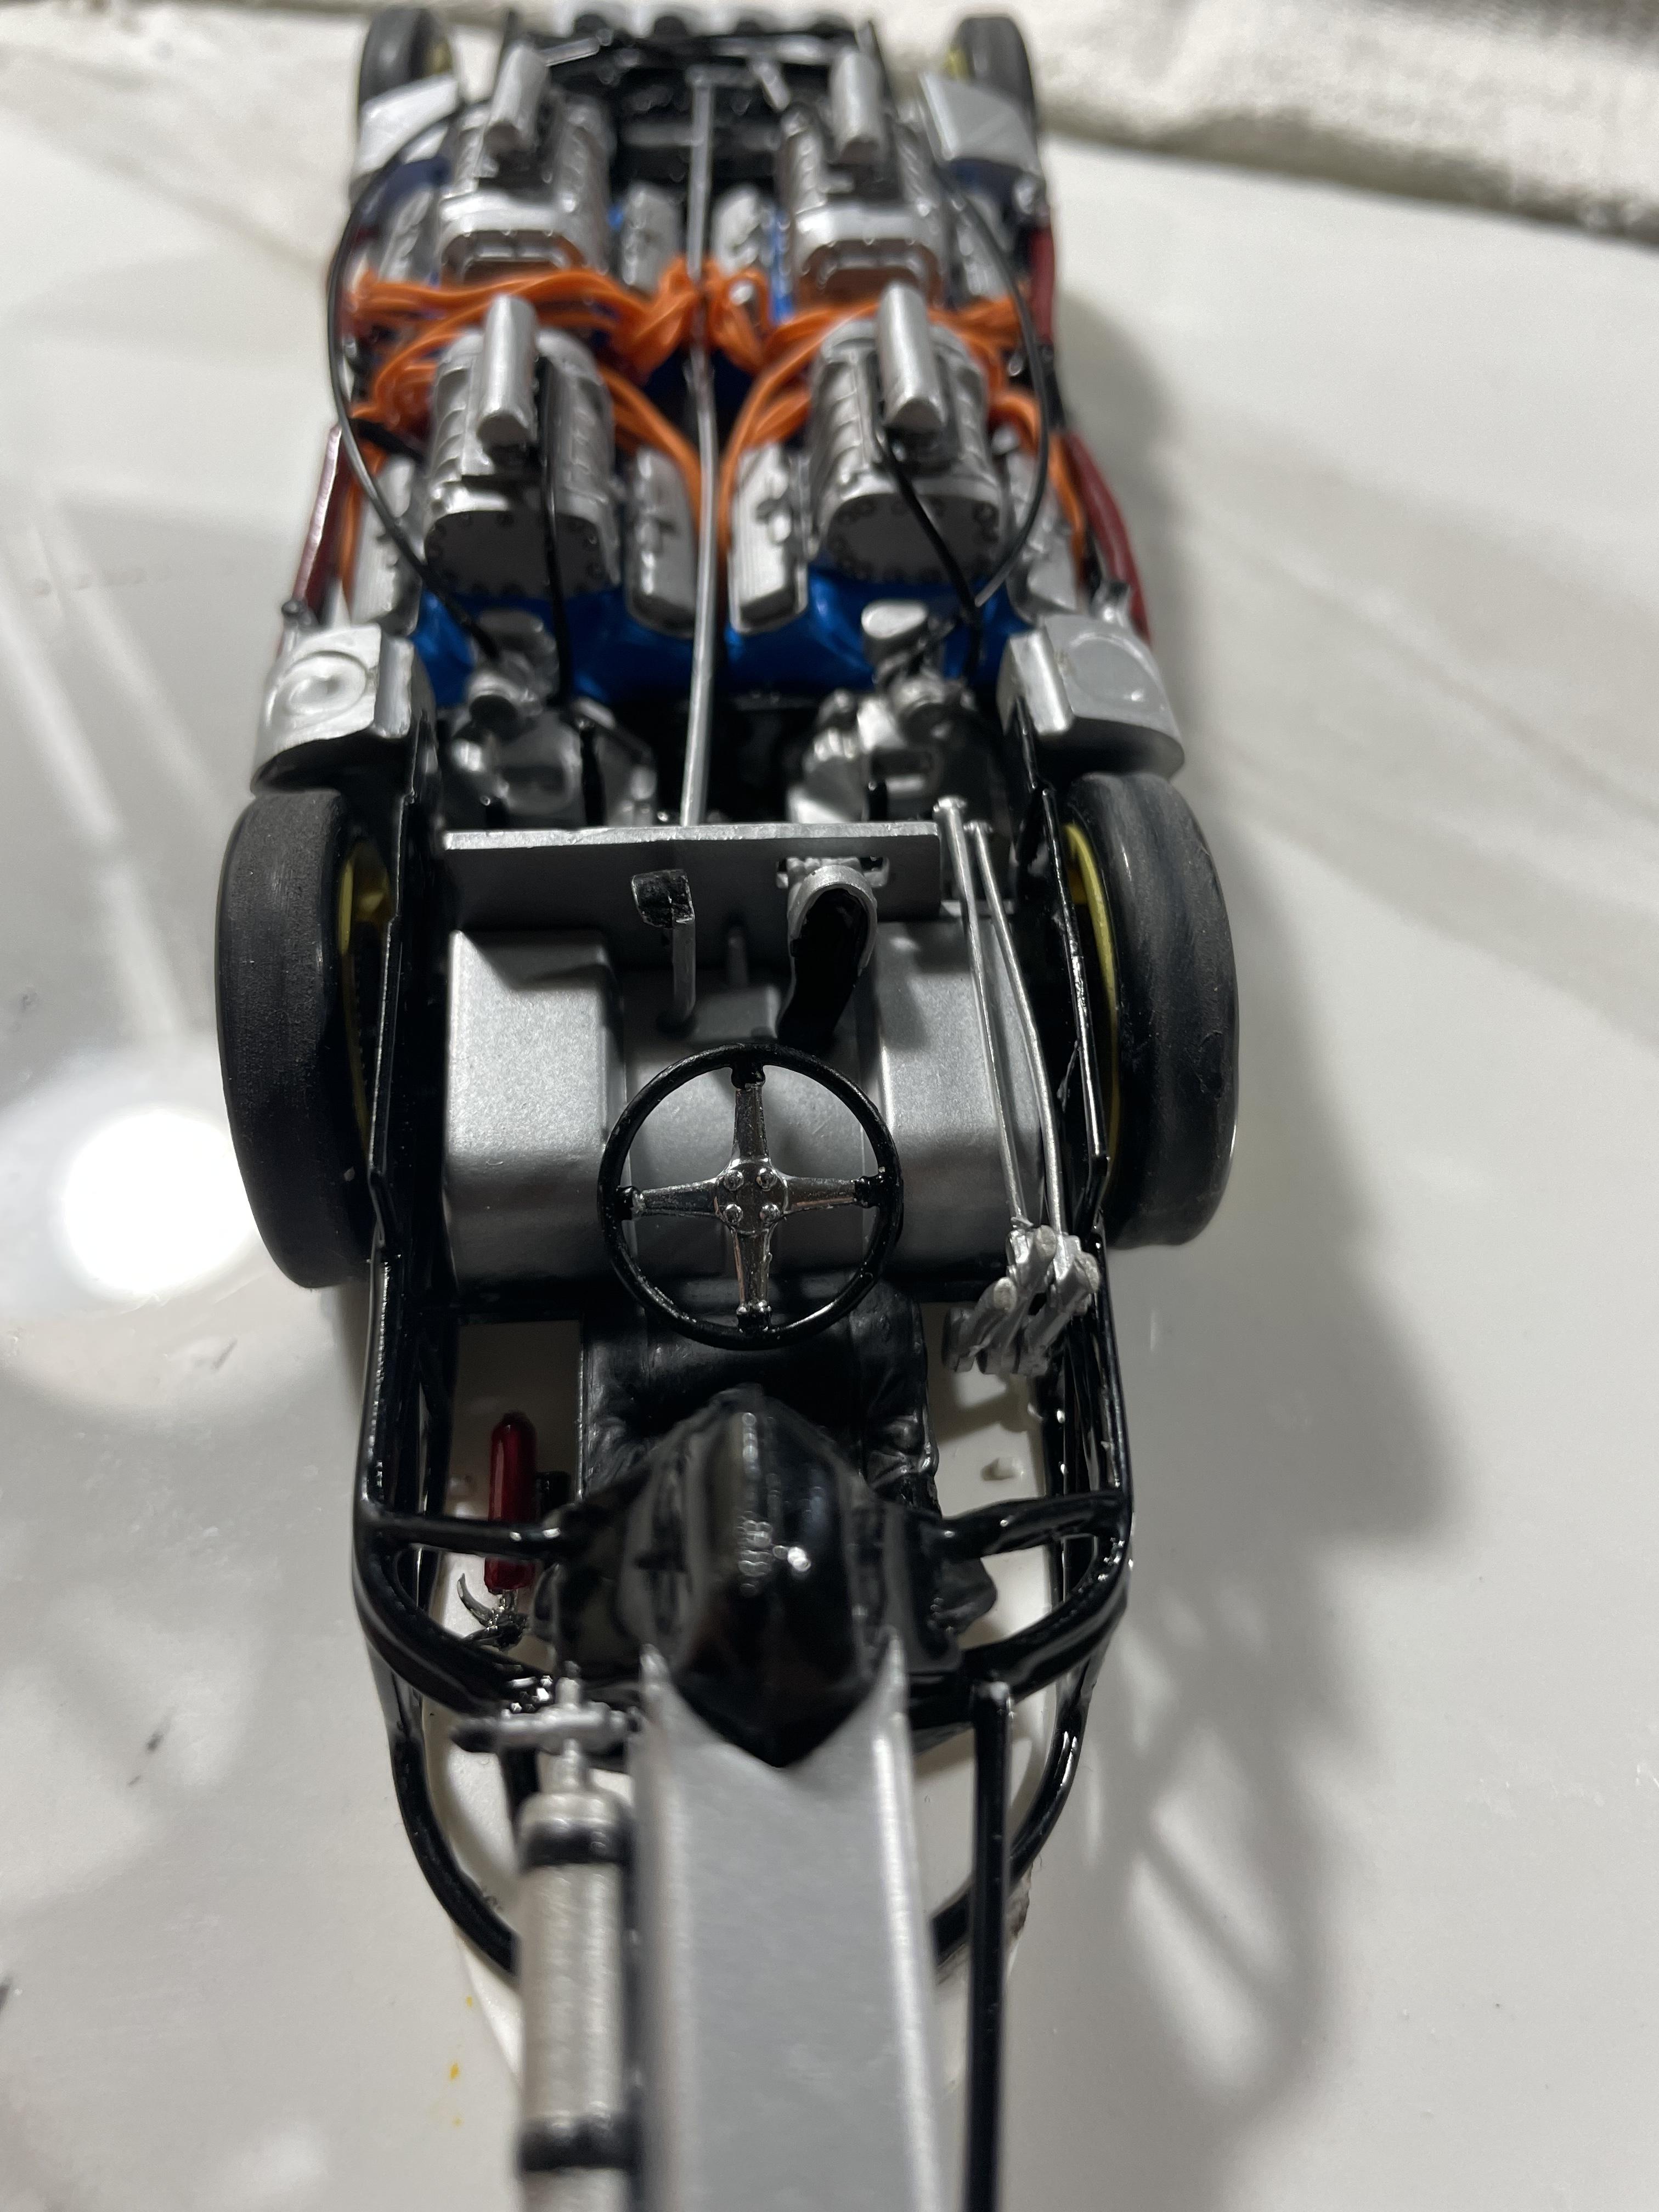
While I wait for warmer weather to paint the bodies of Mickey Thompson Challenger, a 63 Vette and my Midget, I’m going to start playing with this Camaro. I’ve got the engine started, I’m going to have to make a set of headers for it and I’m making my own intake manifold from two so that I get a sort of hi rise look to it. Like usual the stance will be eighties big tire and jacked up rear. I haven’t decided on the wheels yet, but I am a sucker for Centerlines. My plan is to paint the chassis flat black as it’s a little more temperature compatible and maybe try the interior in a semi gloss black. It’s going to be mid fifties tomorrow and I’m hoping that if I keep the paint cans warm and move the painted parts inside as soon as I spray them it will turn out. Thanks for looking and comments welcome. Dave.
-
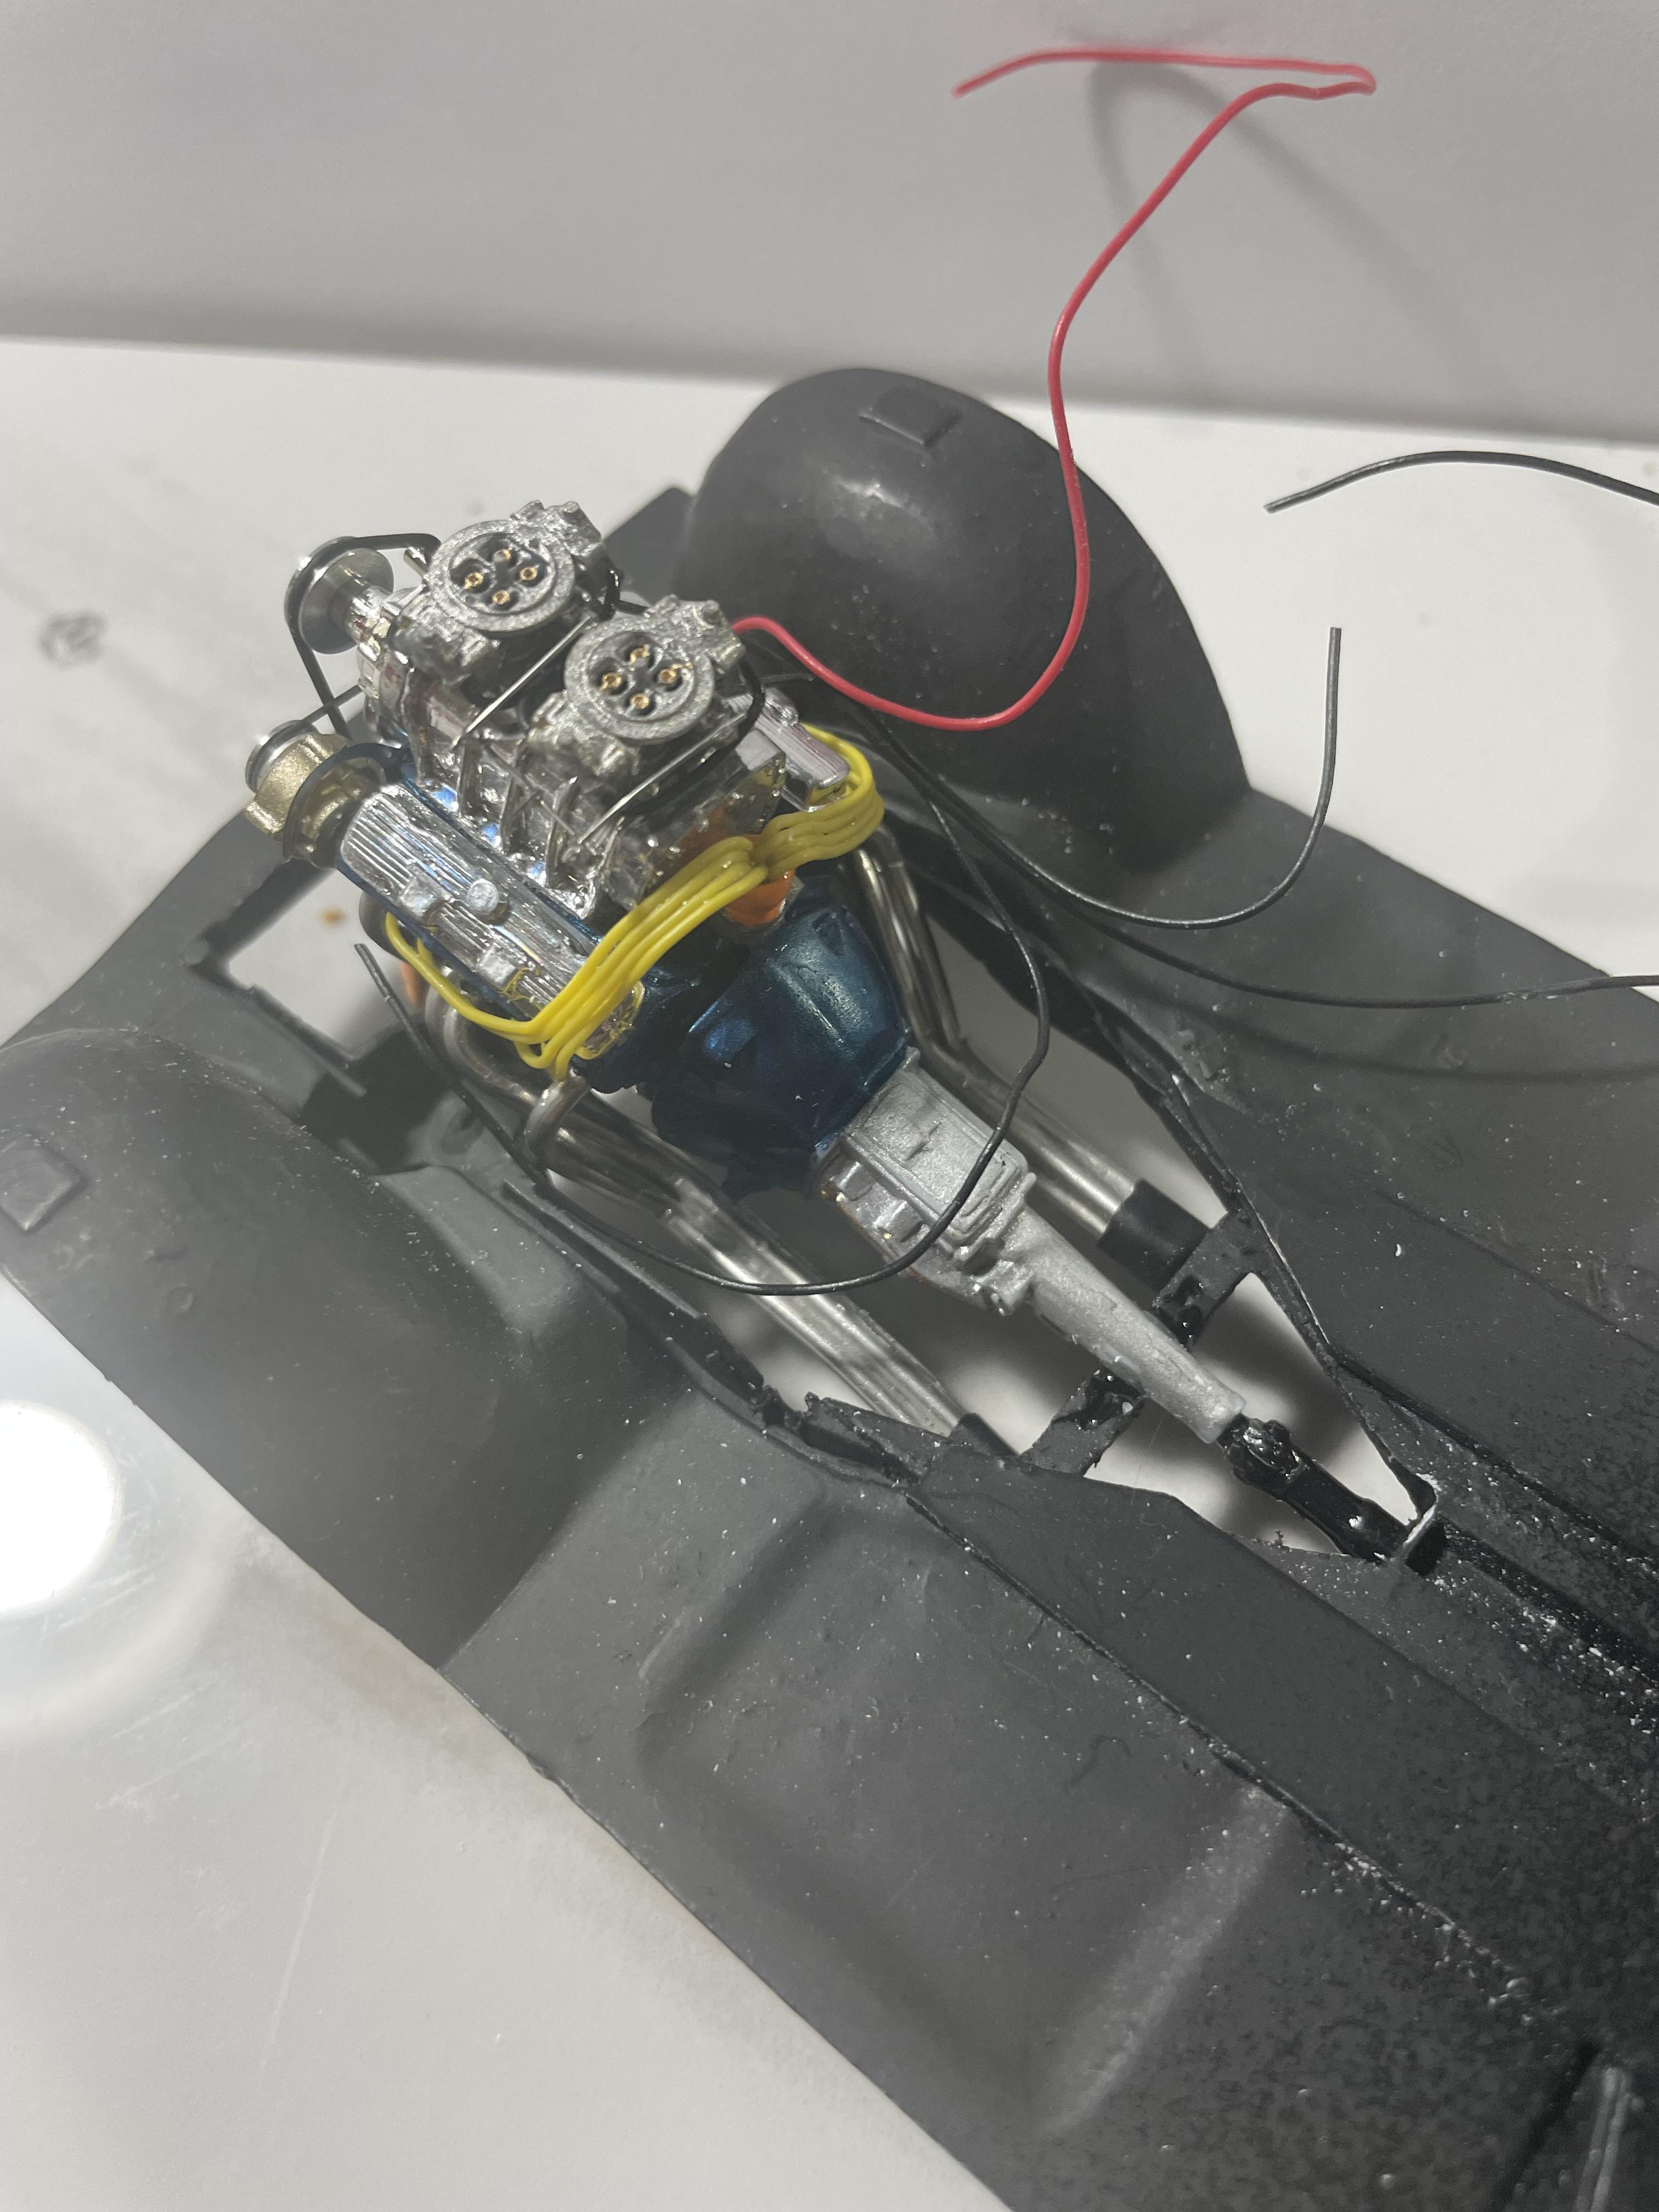
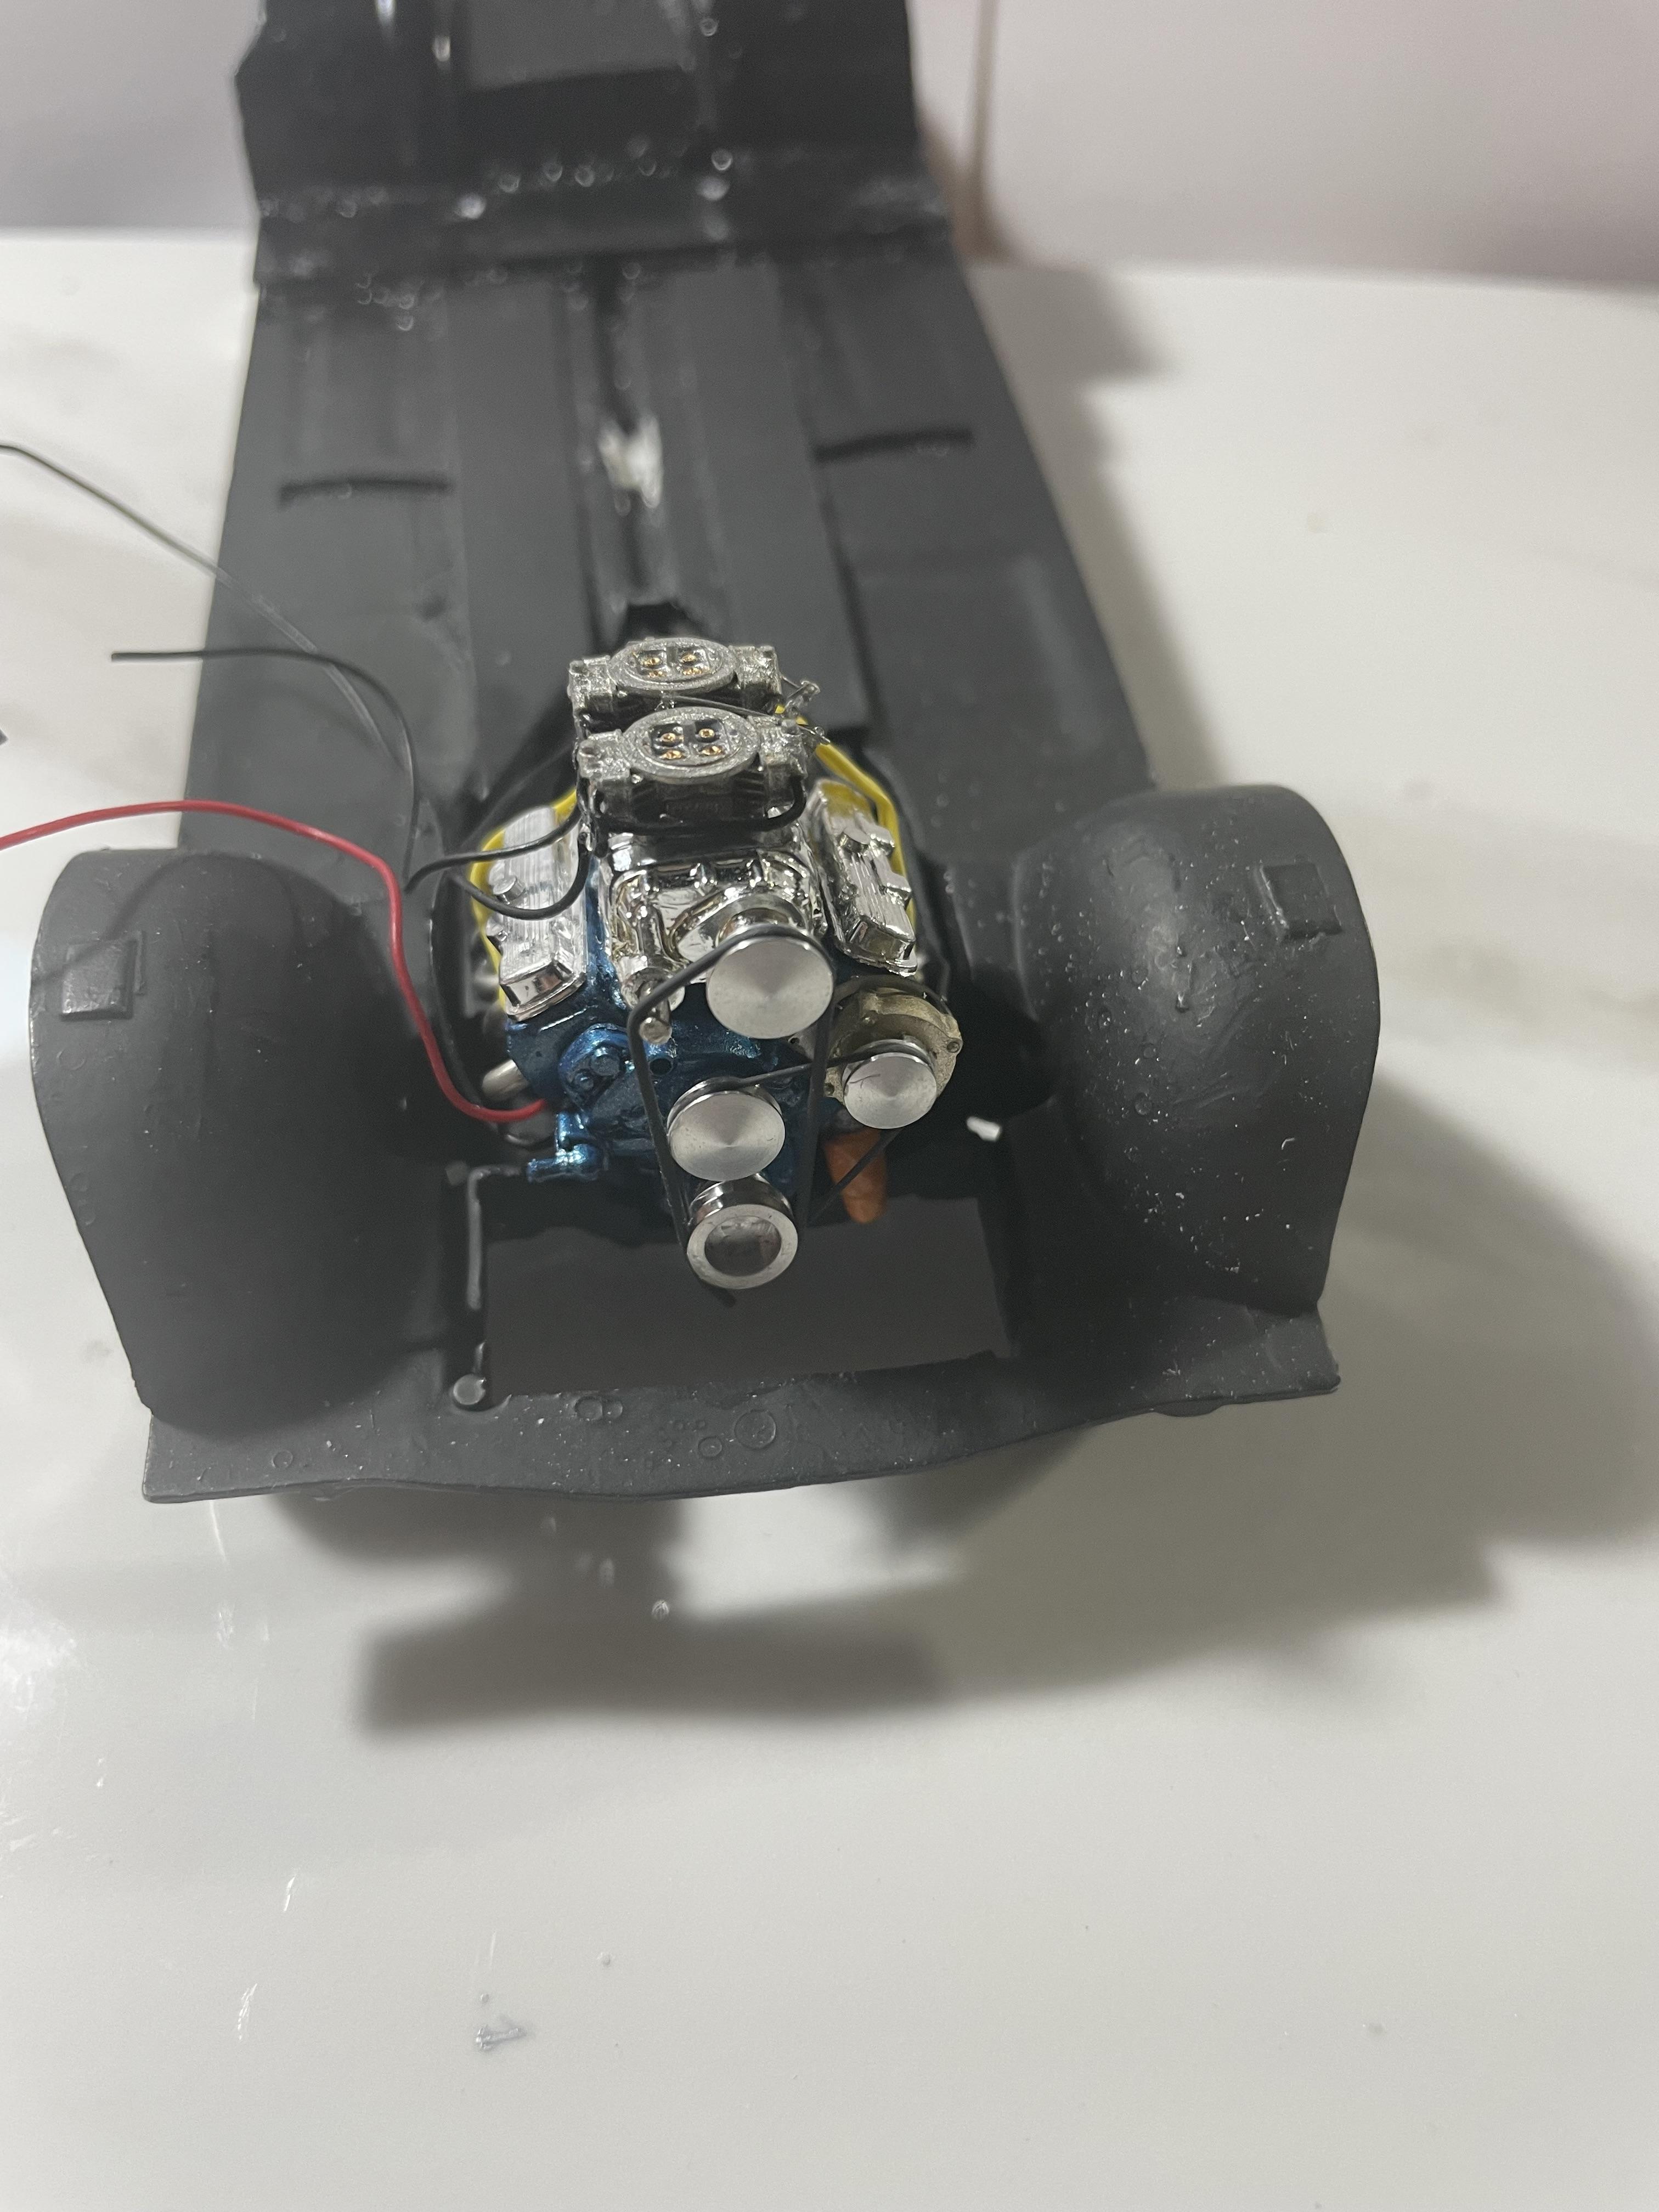
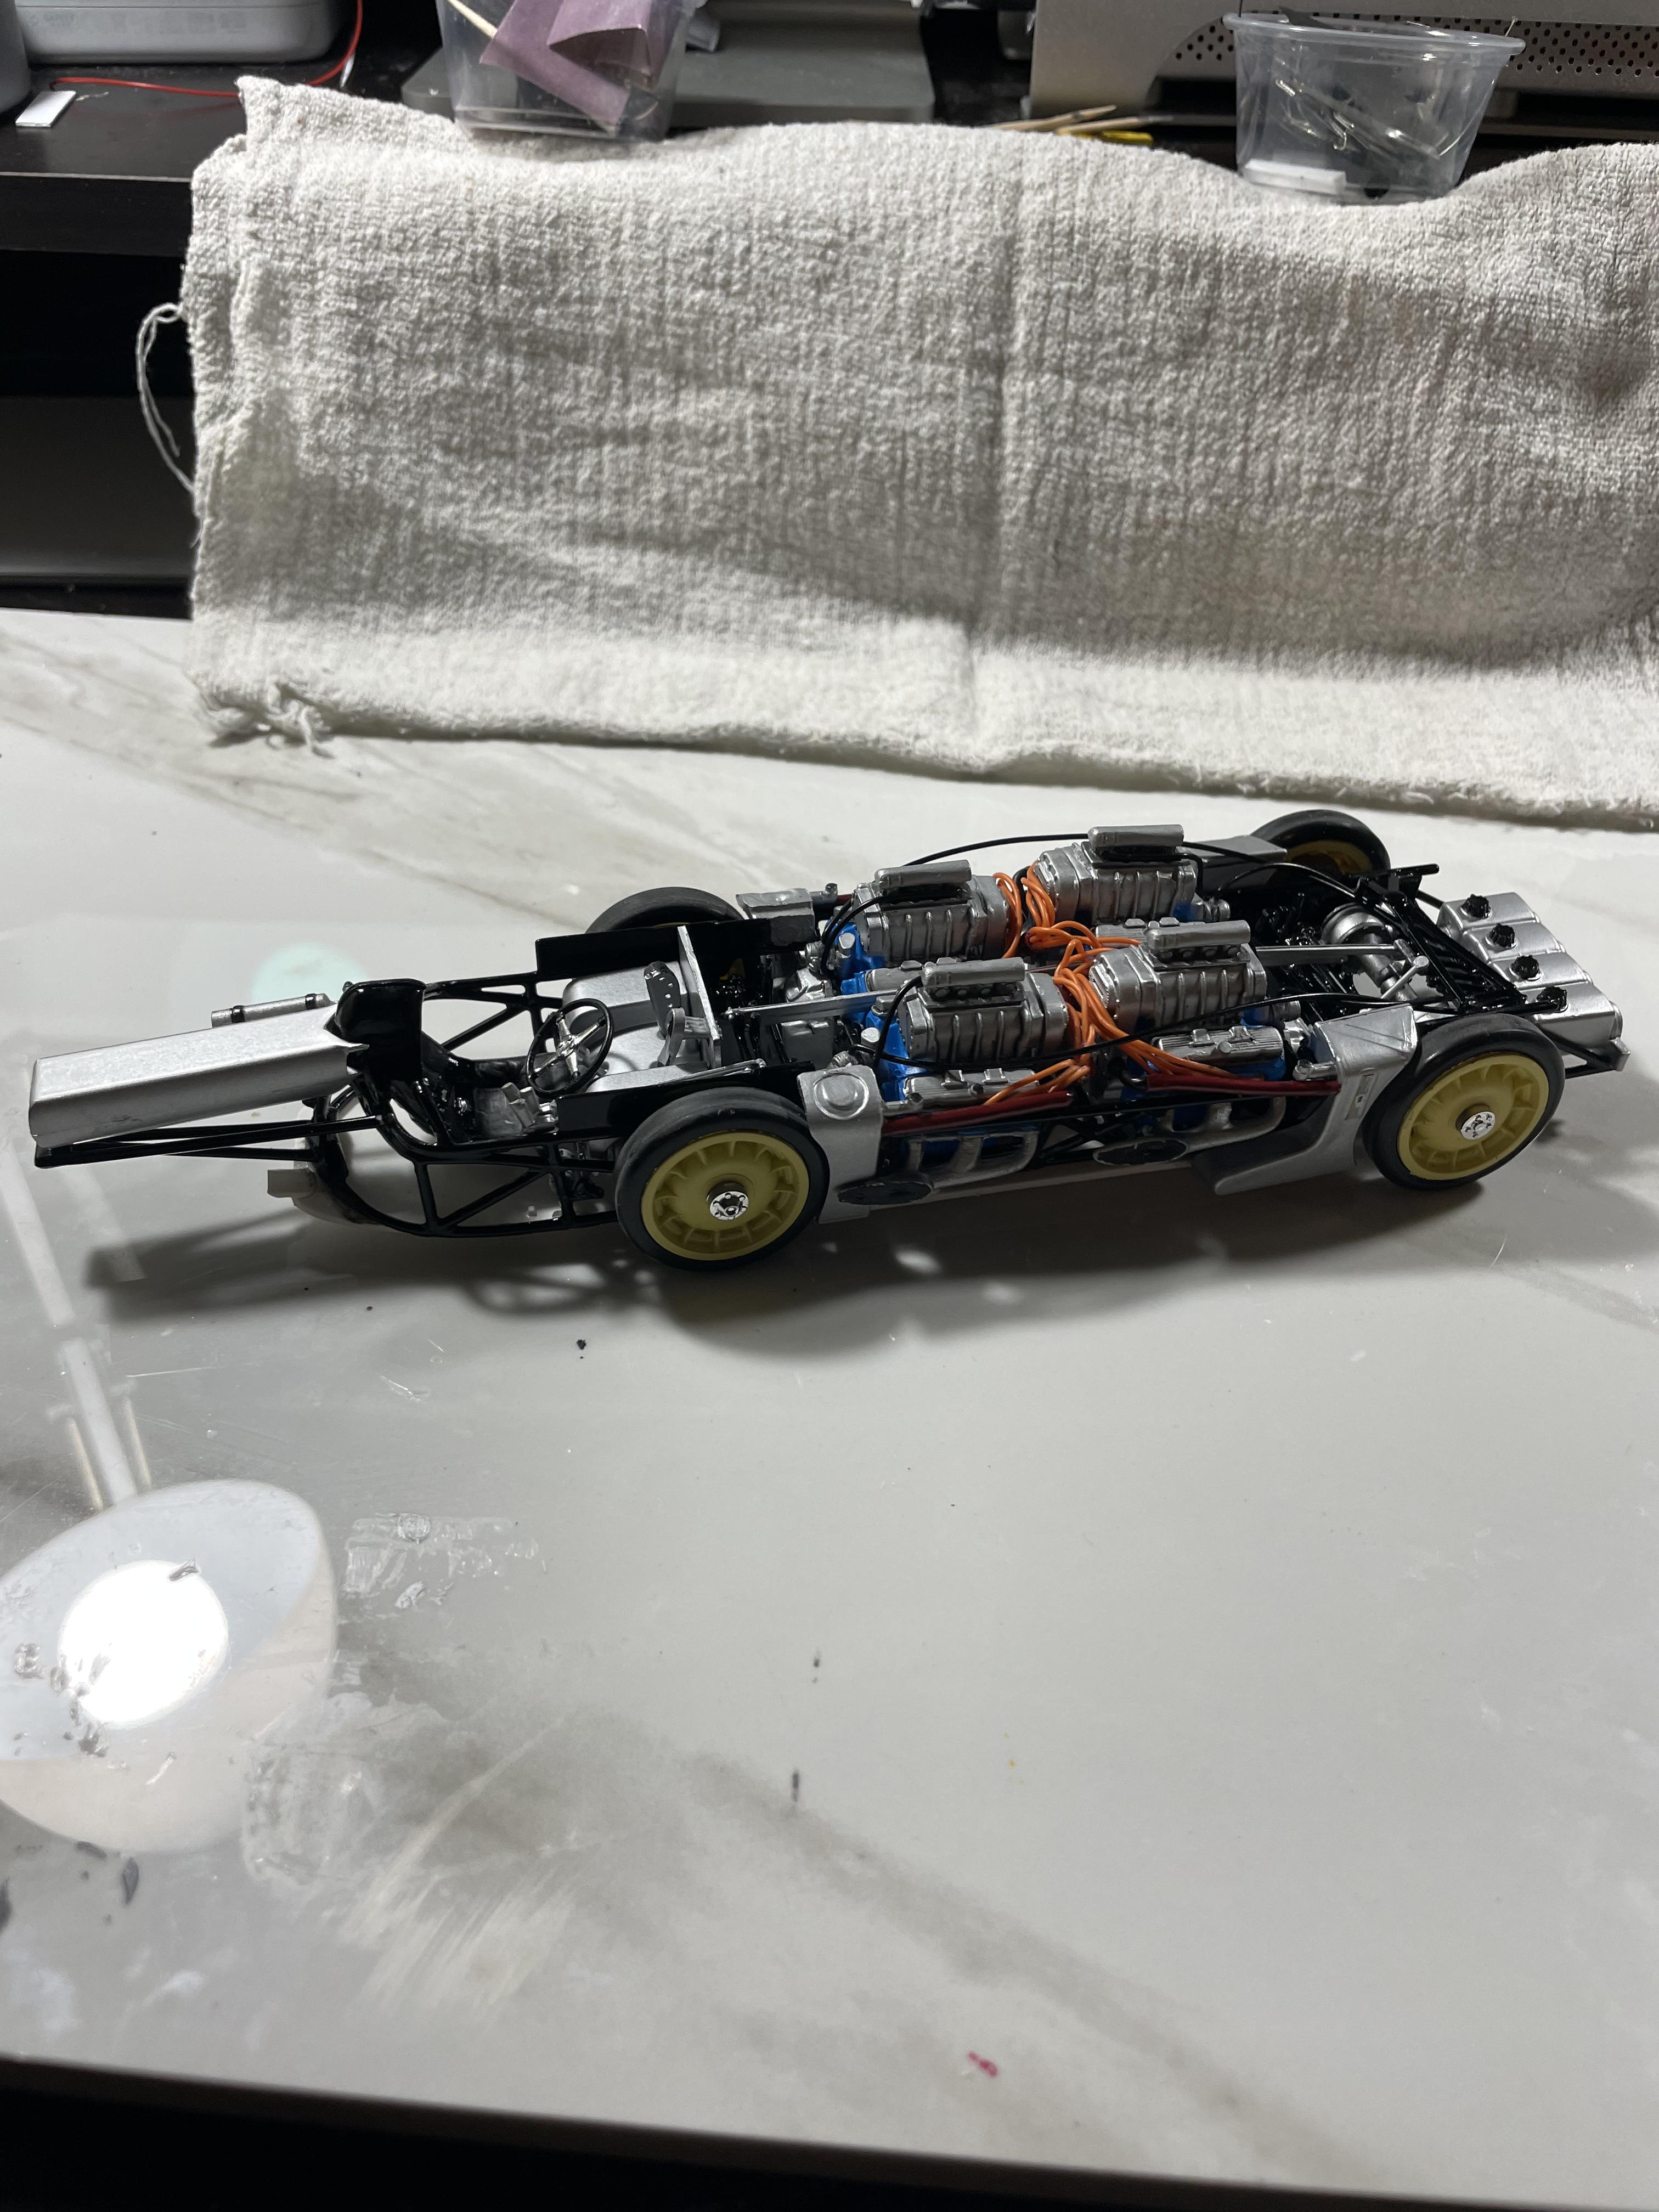
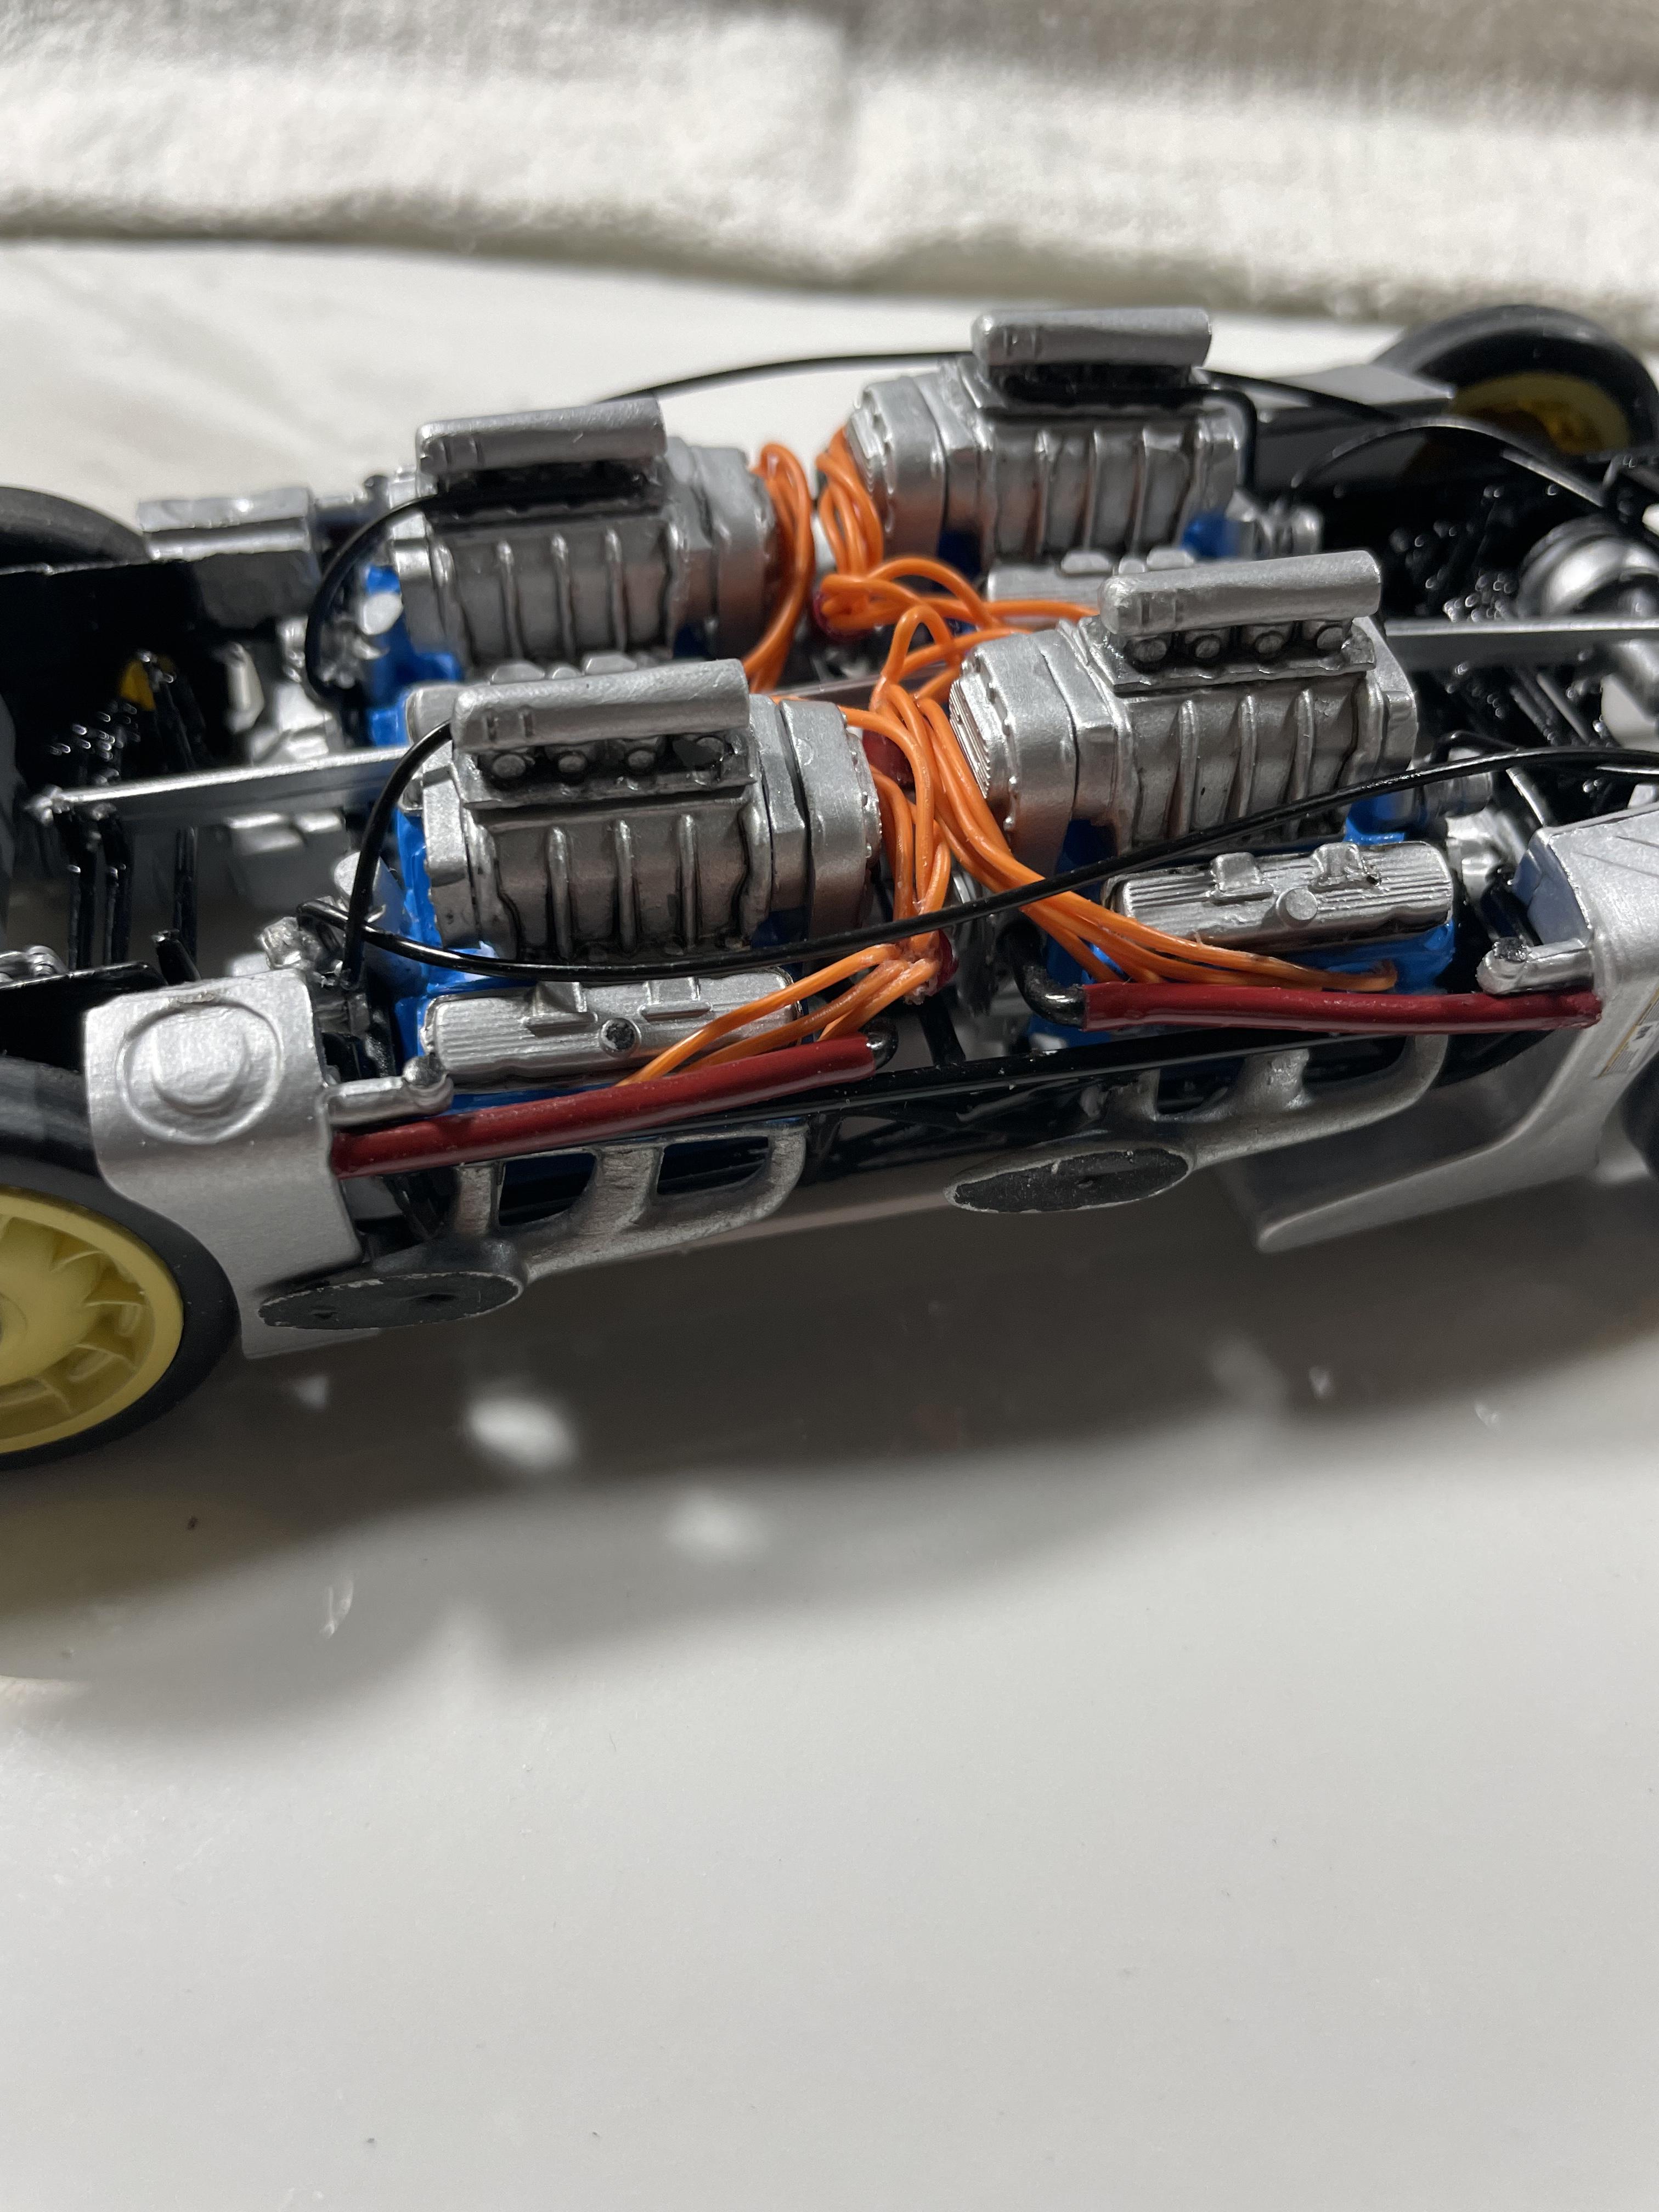
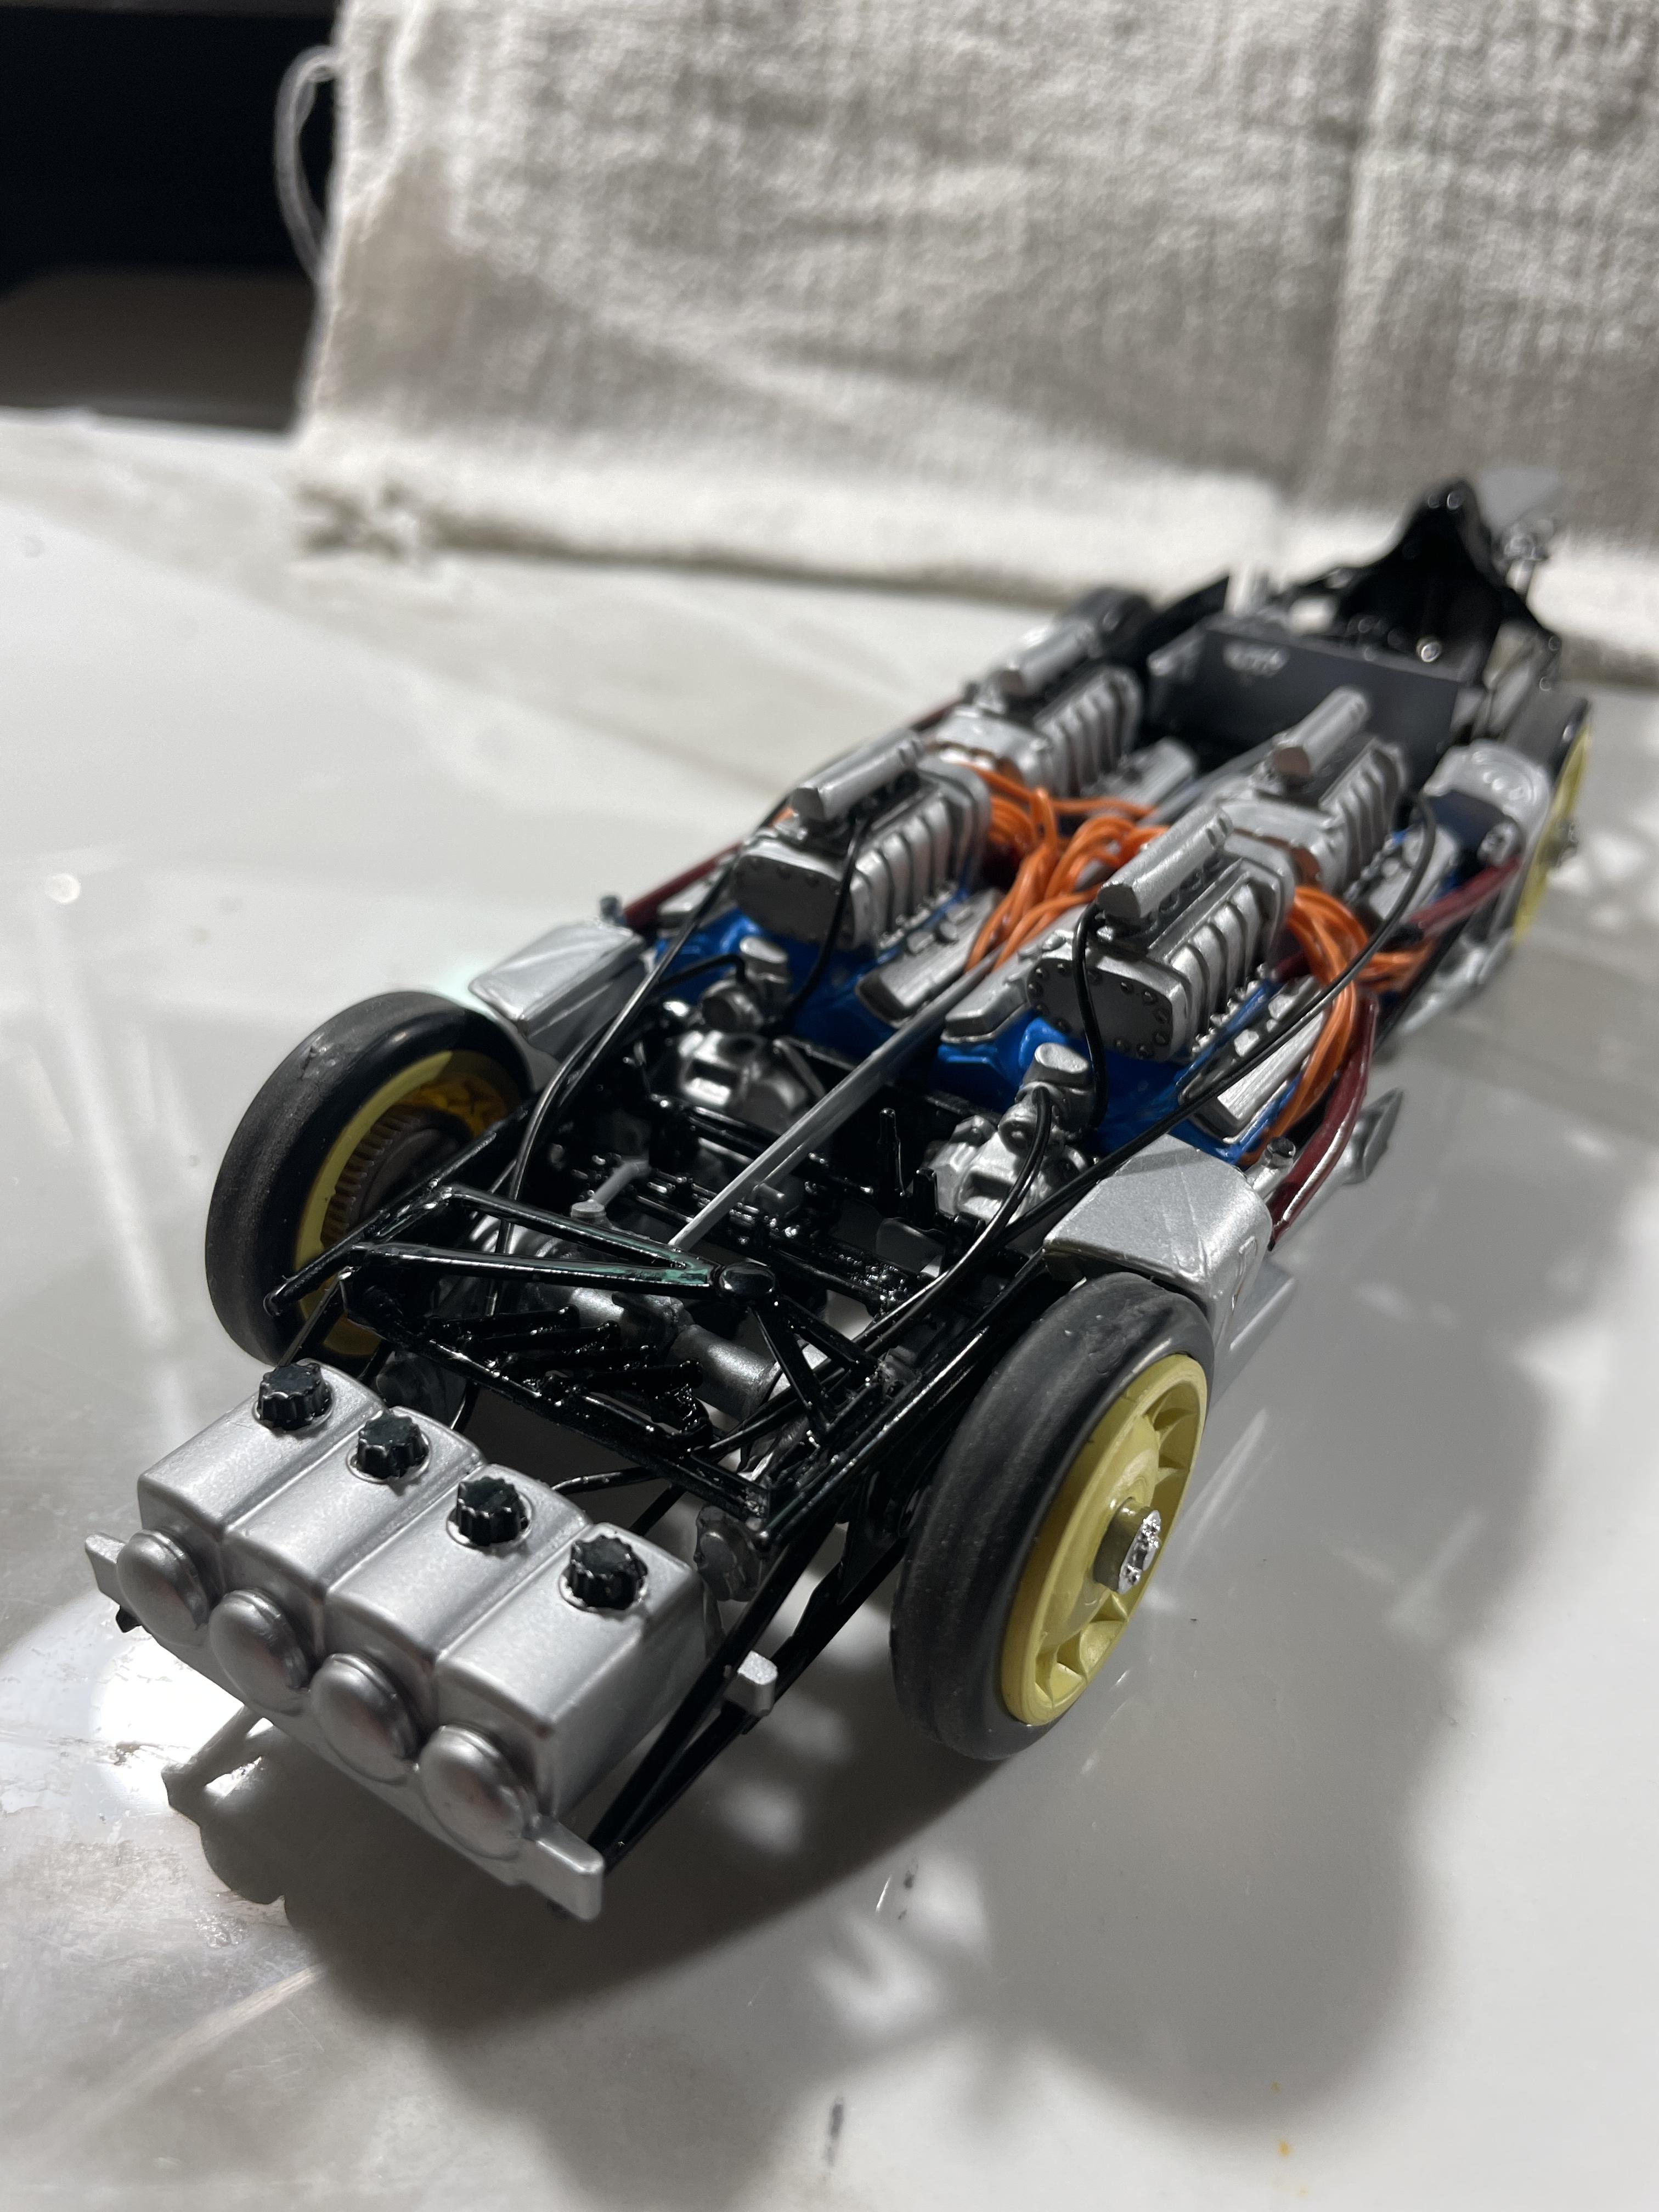
Well, that’s about it for this one until the weather warms and I can paint the body. The fuel lines (black) had to be rerun after I installed the last bit of the frame and the water lines (red) are run. I did find that the extra bit of width caused by the plug wires are going to force me to add a small filler strip down each side of the floor pan to make up for it, but it doesn’t look like it will affect the body fitment at all. Will post again when I can… now I think I’ll start a Camaro project. Dave.