Carlo.d
-
Posts
37 -
Joined
-
Last visited
Content Type
Profiles
Forums
Events
Gallery
Everything posted by Carlo.d
-
Many thanks to all of you.
-
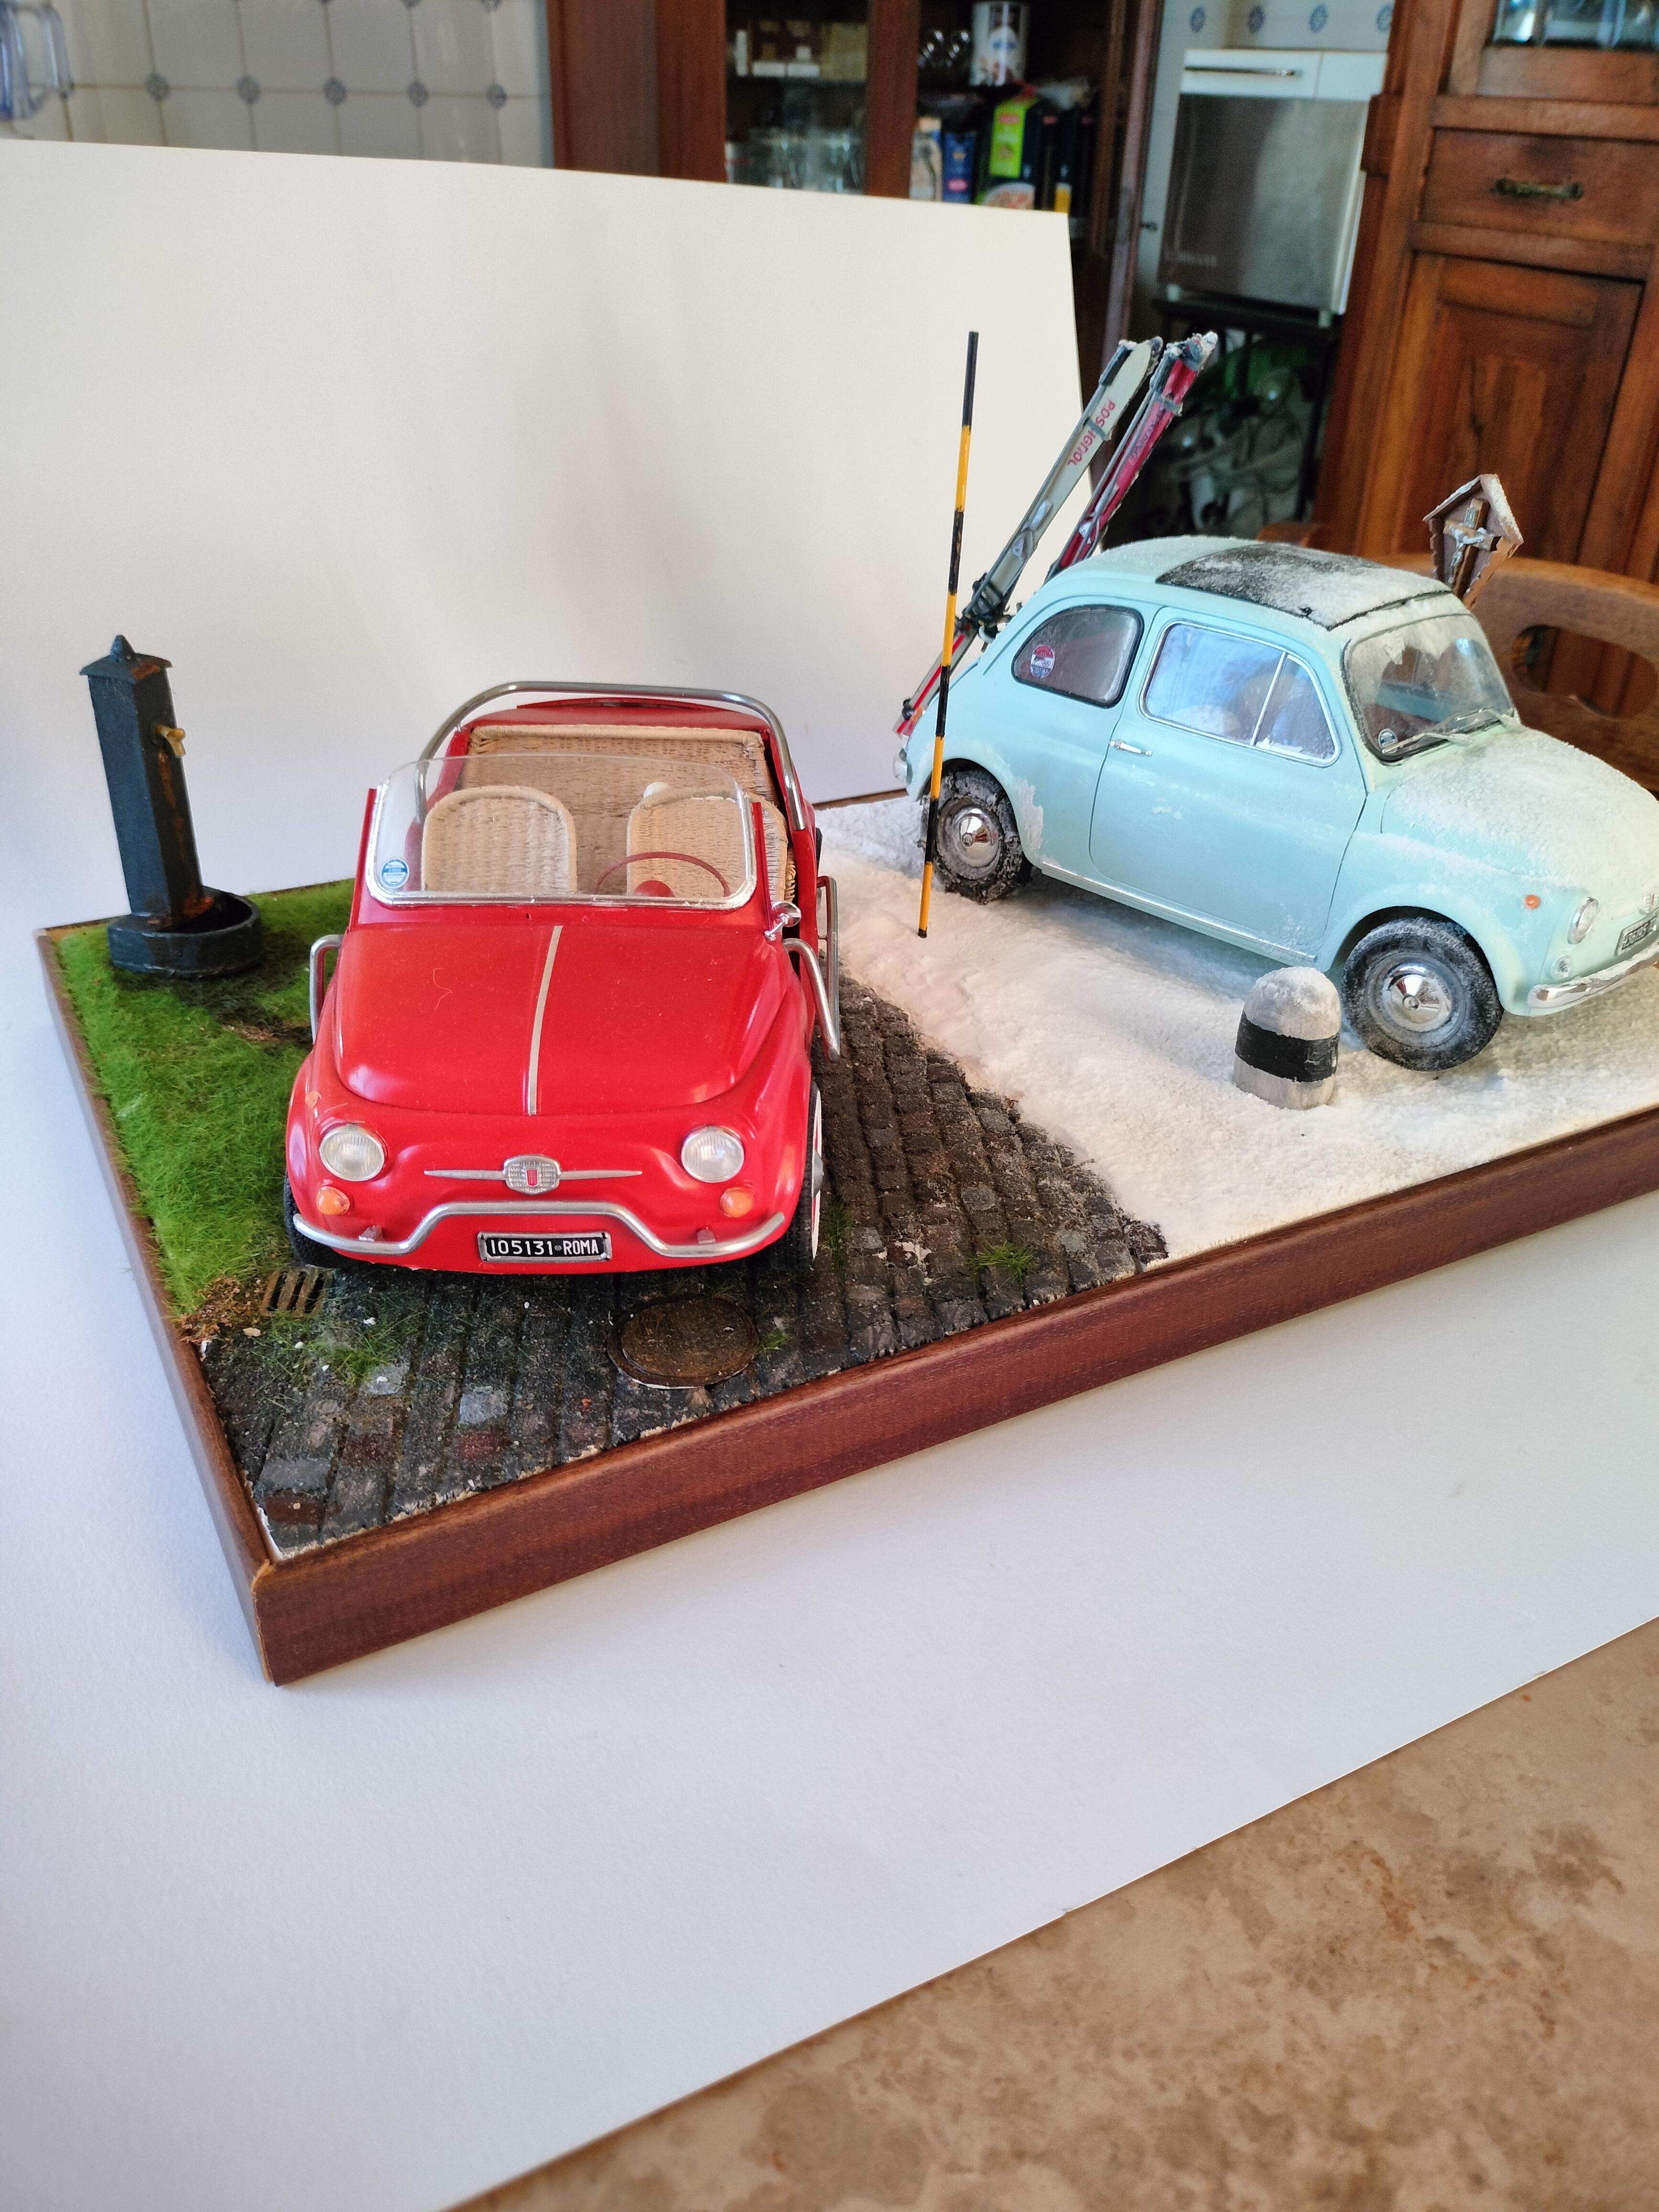
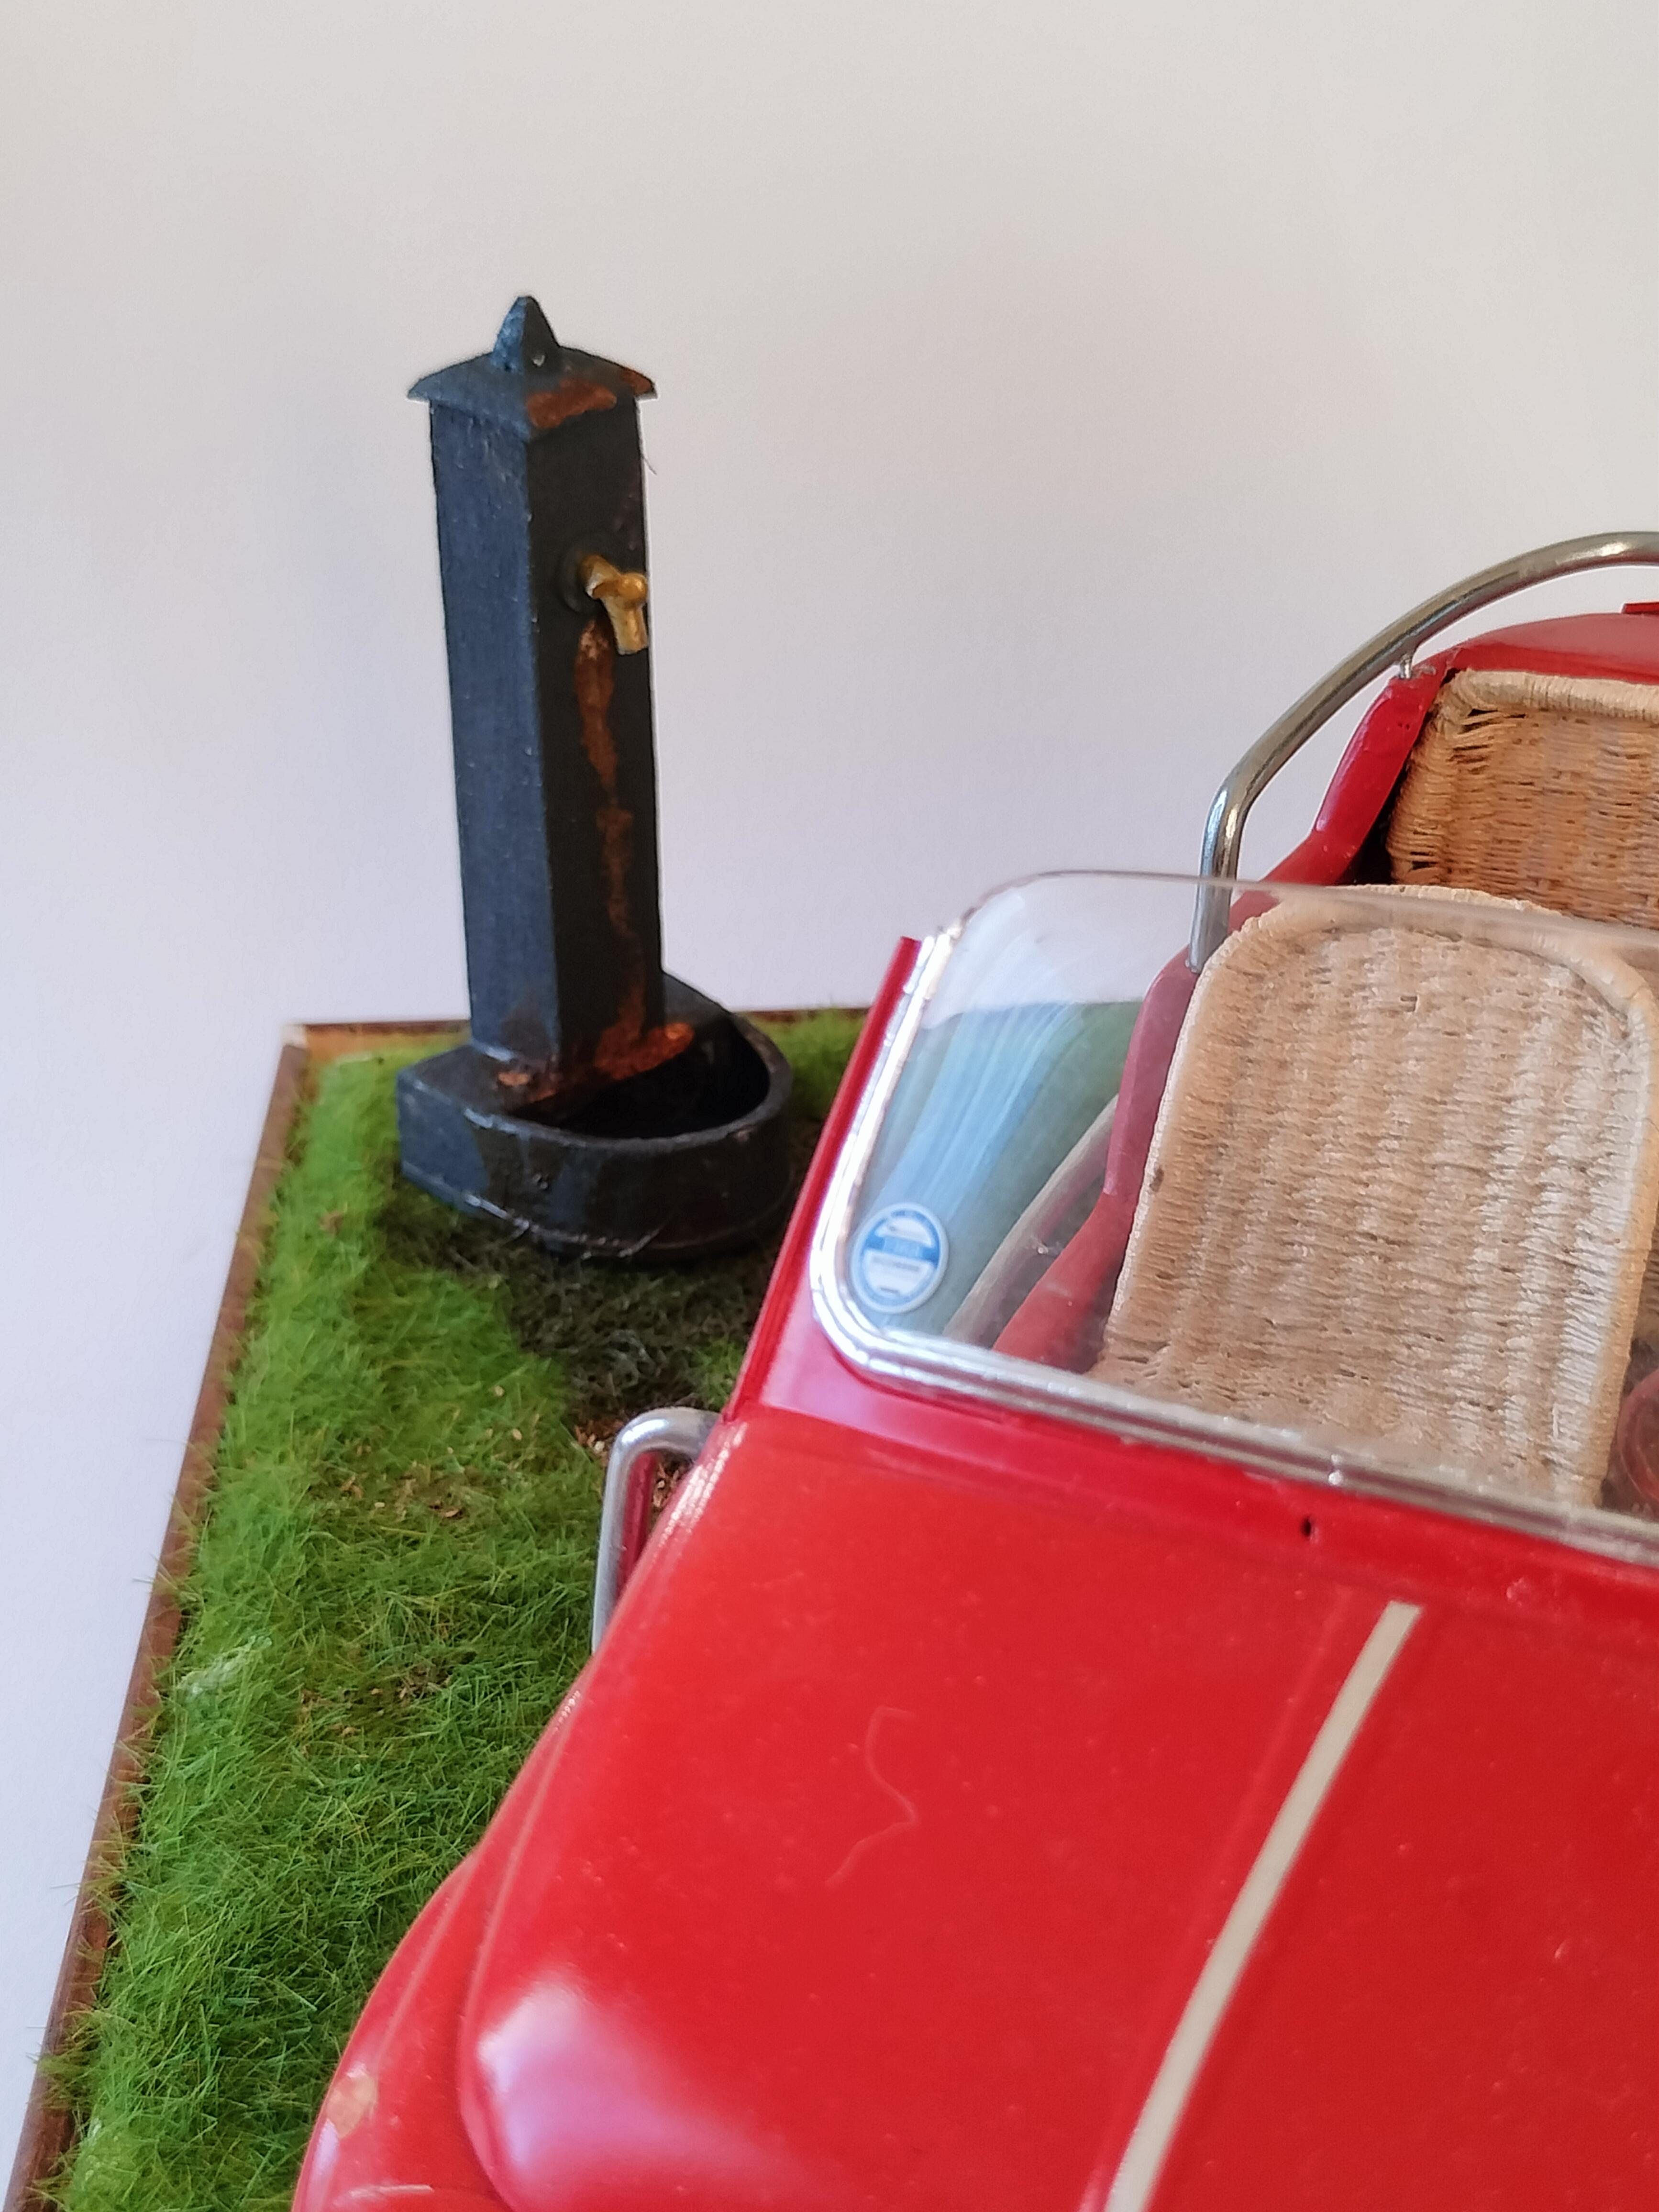
Good day. The obvious translation of the Italian title is: Fiat 500 summer and winter. I already posted the wip concerning two different Fiat 500. Once I had the finished models on hand, I decided to show them together in a rather striking way. So I prepared a base divided in two parts, summer and winter. The summer part is a stone paved road with some grass and a fountain. The winter part have a stone post, a tabernacle typical of mountain small roads and, obviously, some snow. I am glad to report that this diorama received many praises and I am the proud holder of some gold medals in various local model contests.

-
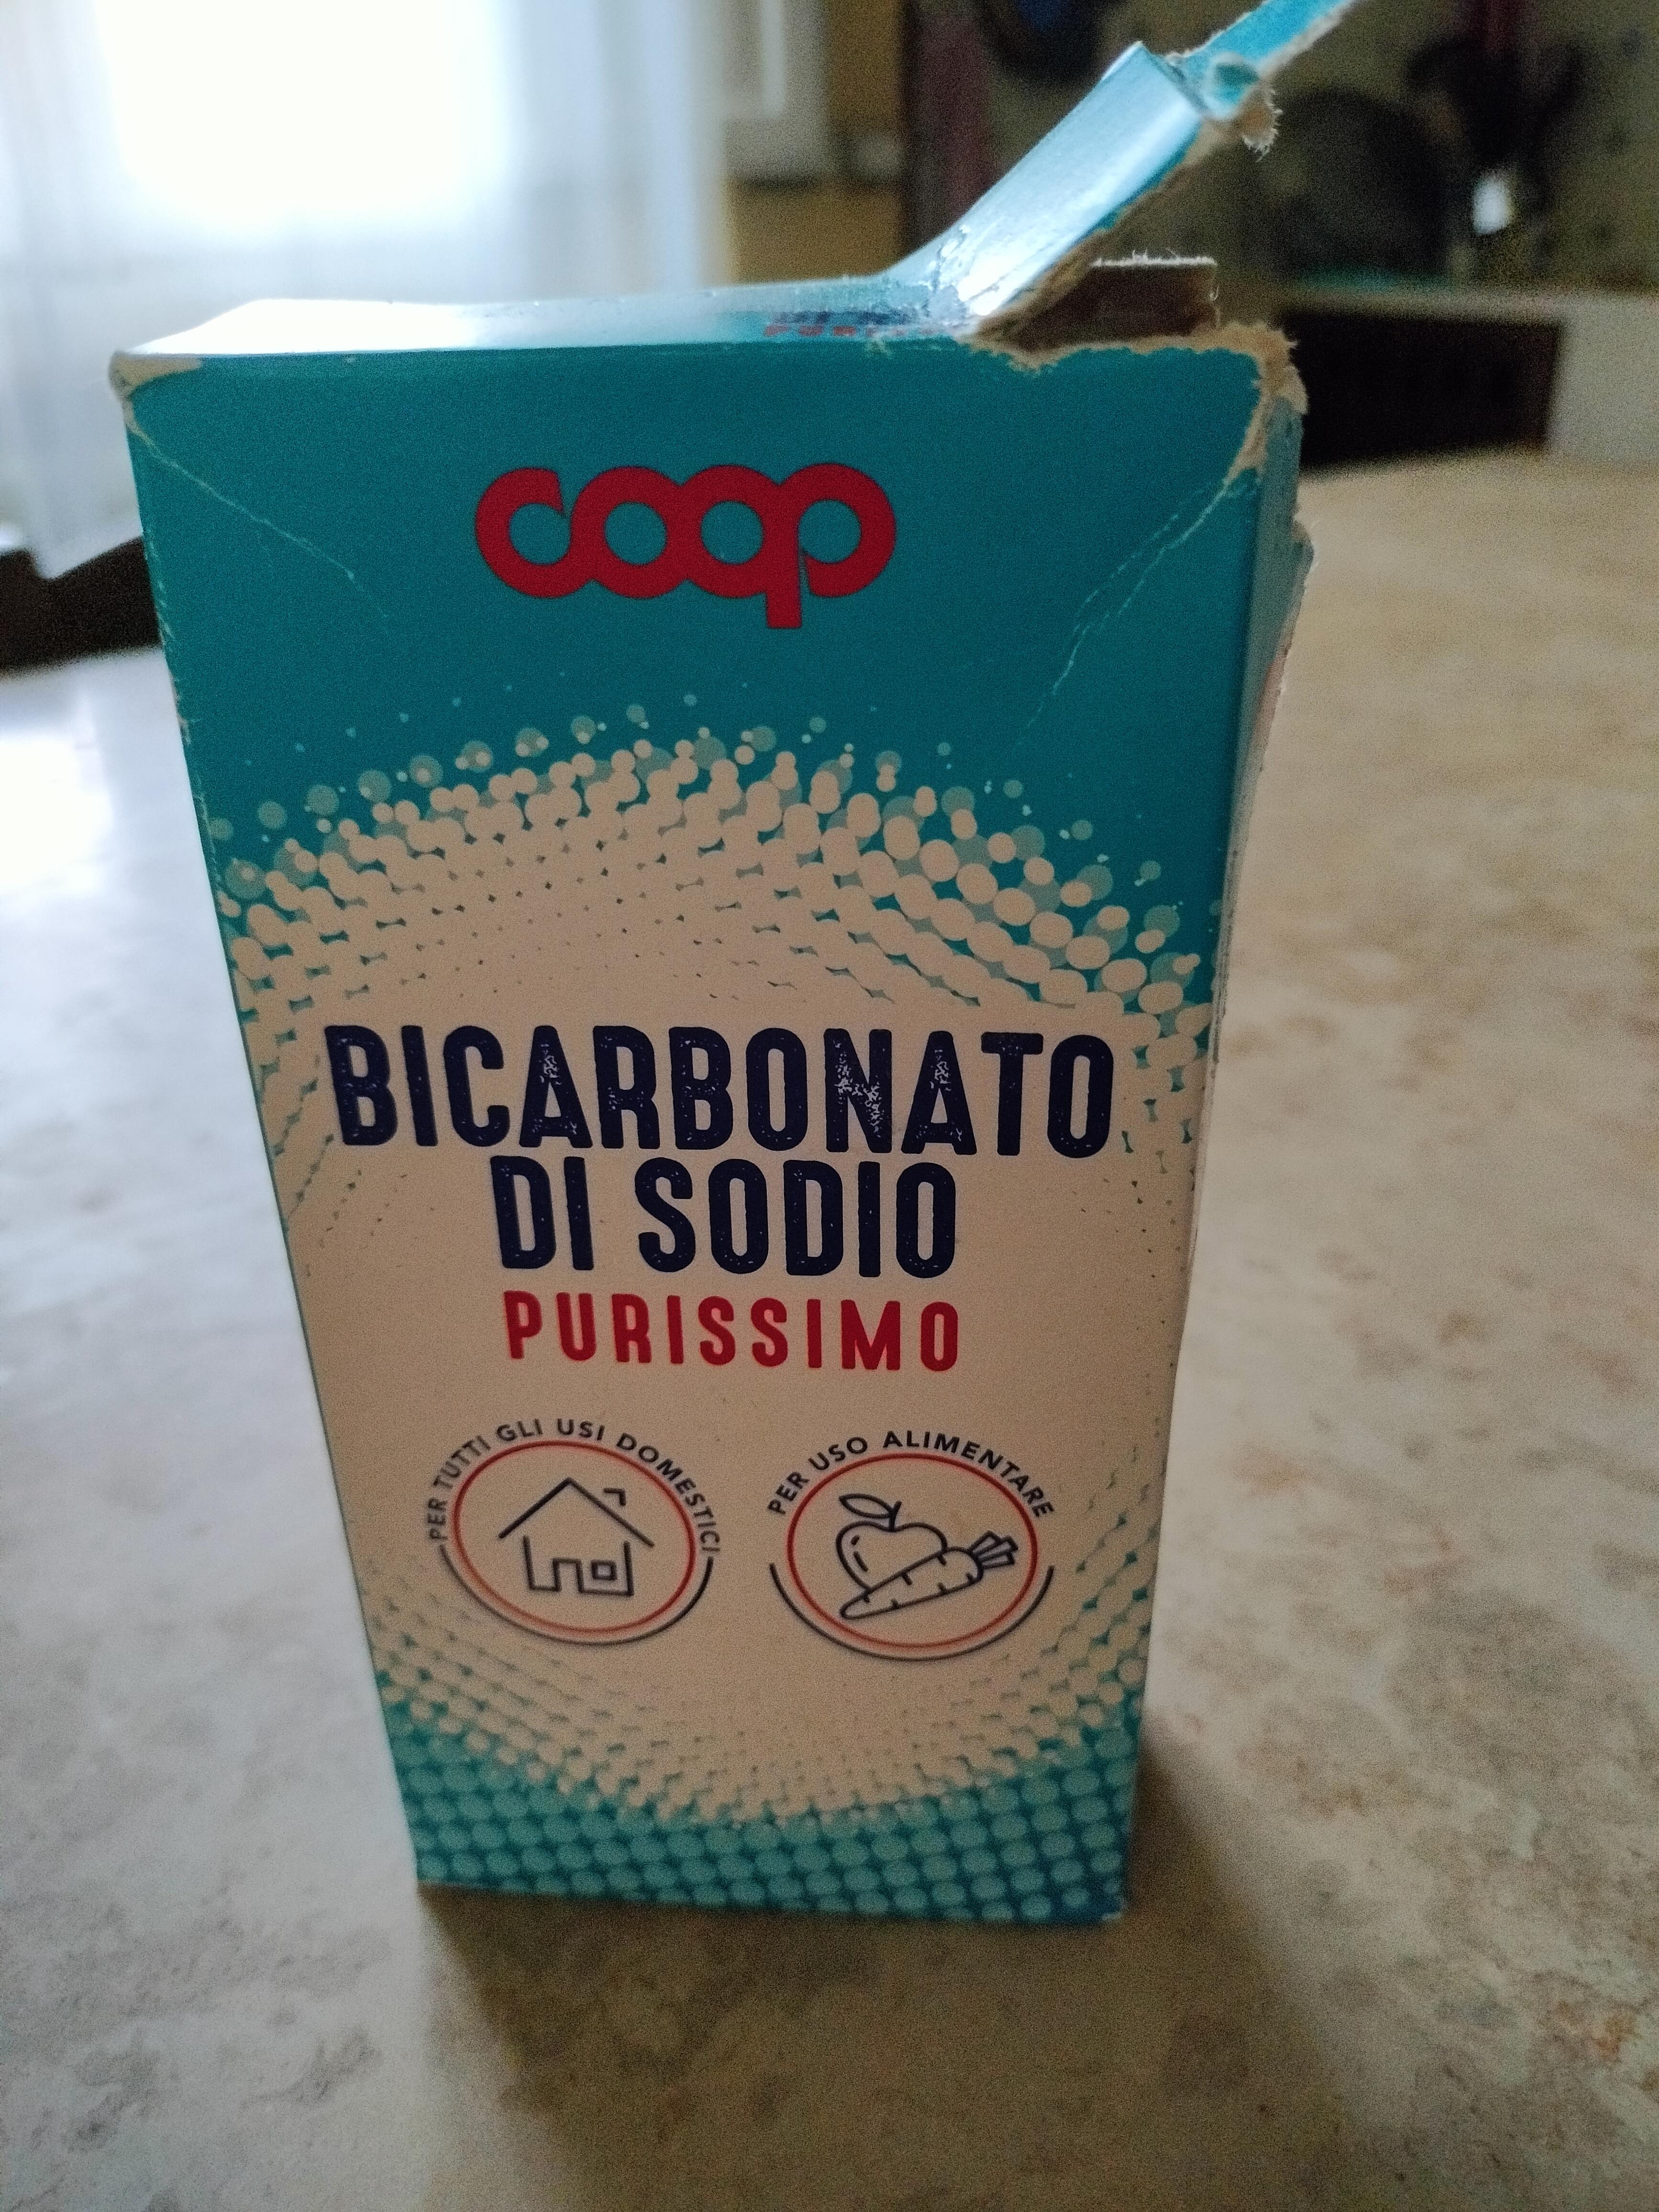
To tell you the truth, the snow Is the easier part of the build. You just need vinyl glue Some baking soda And a tea strainer You just mix the glue with some water and brush it on the car. Then you spread the powder through the strainer. Once the glue is dry, you shake the model to remove the excess and you're done. With the brush you can easily choose the places where you want to leave the "snow".
-
And now..... Let it snow ! With judicious use of vinyl glue and baking soda I obtained a true snow storm. The wip is now completed. Thanks to everybody for your attention and support.
-
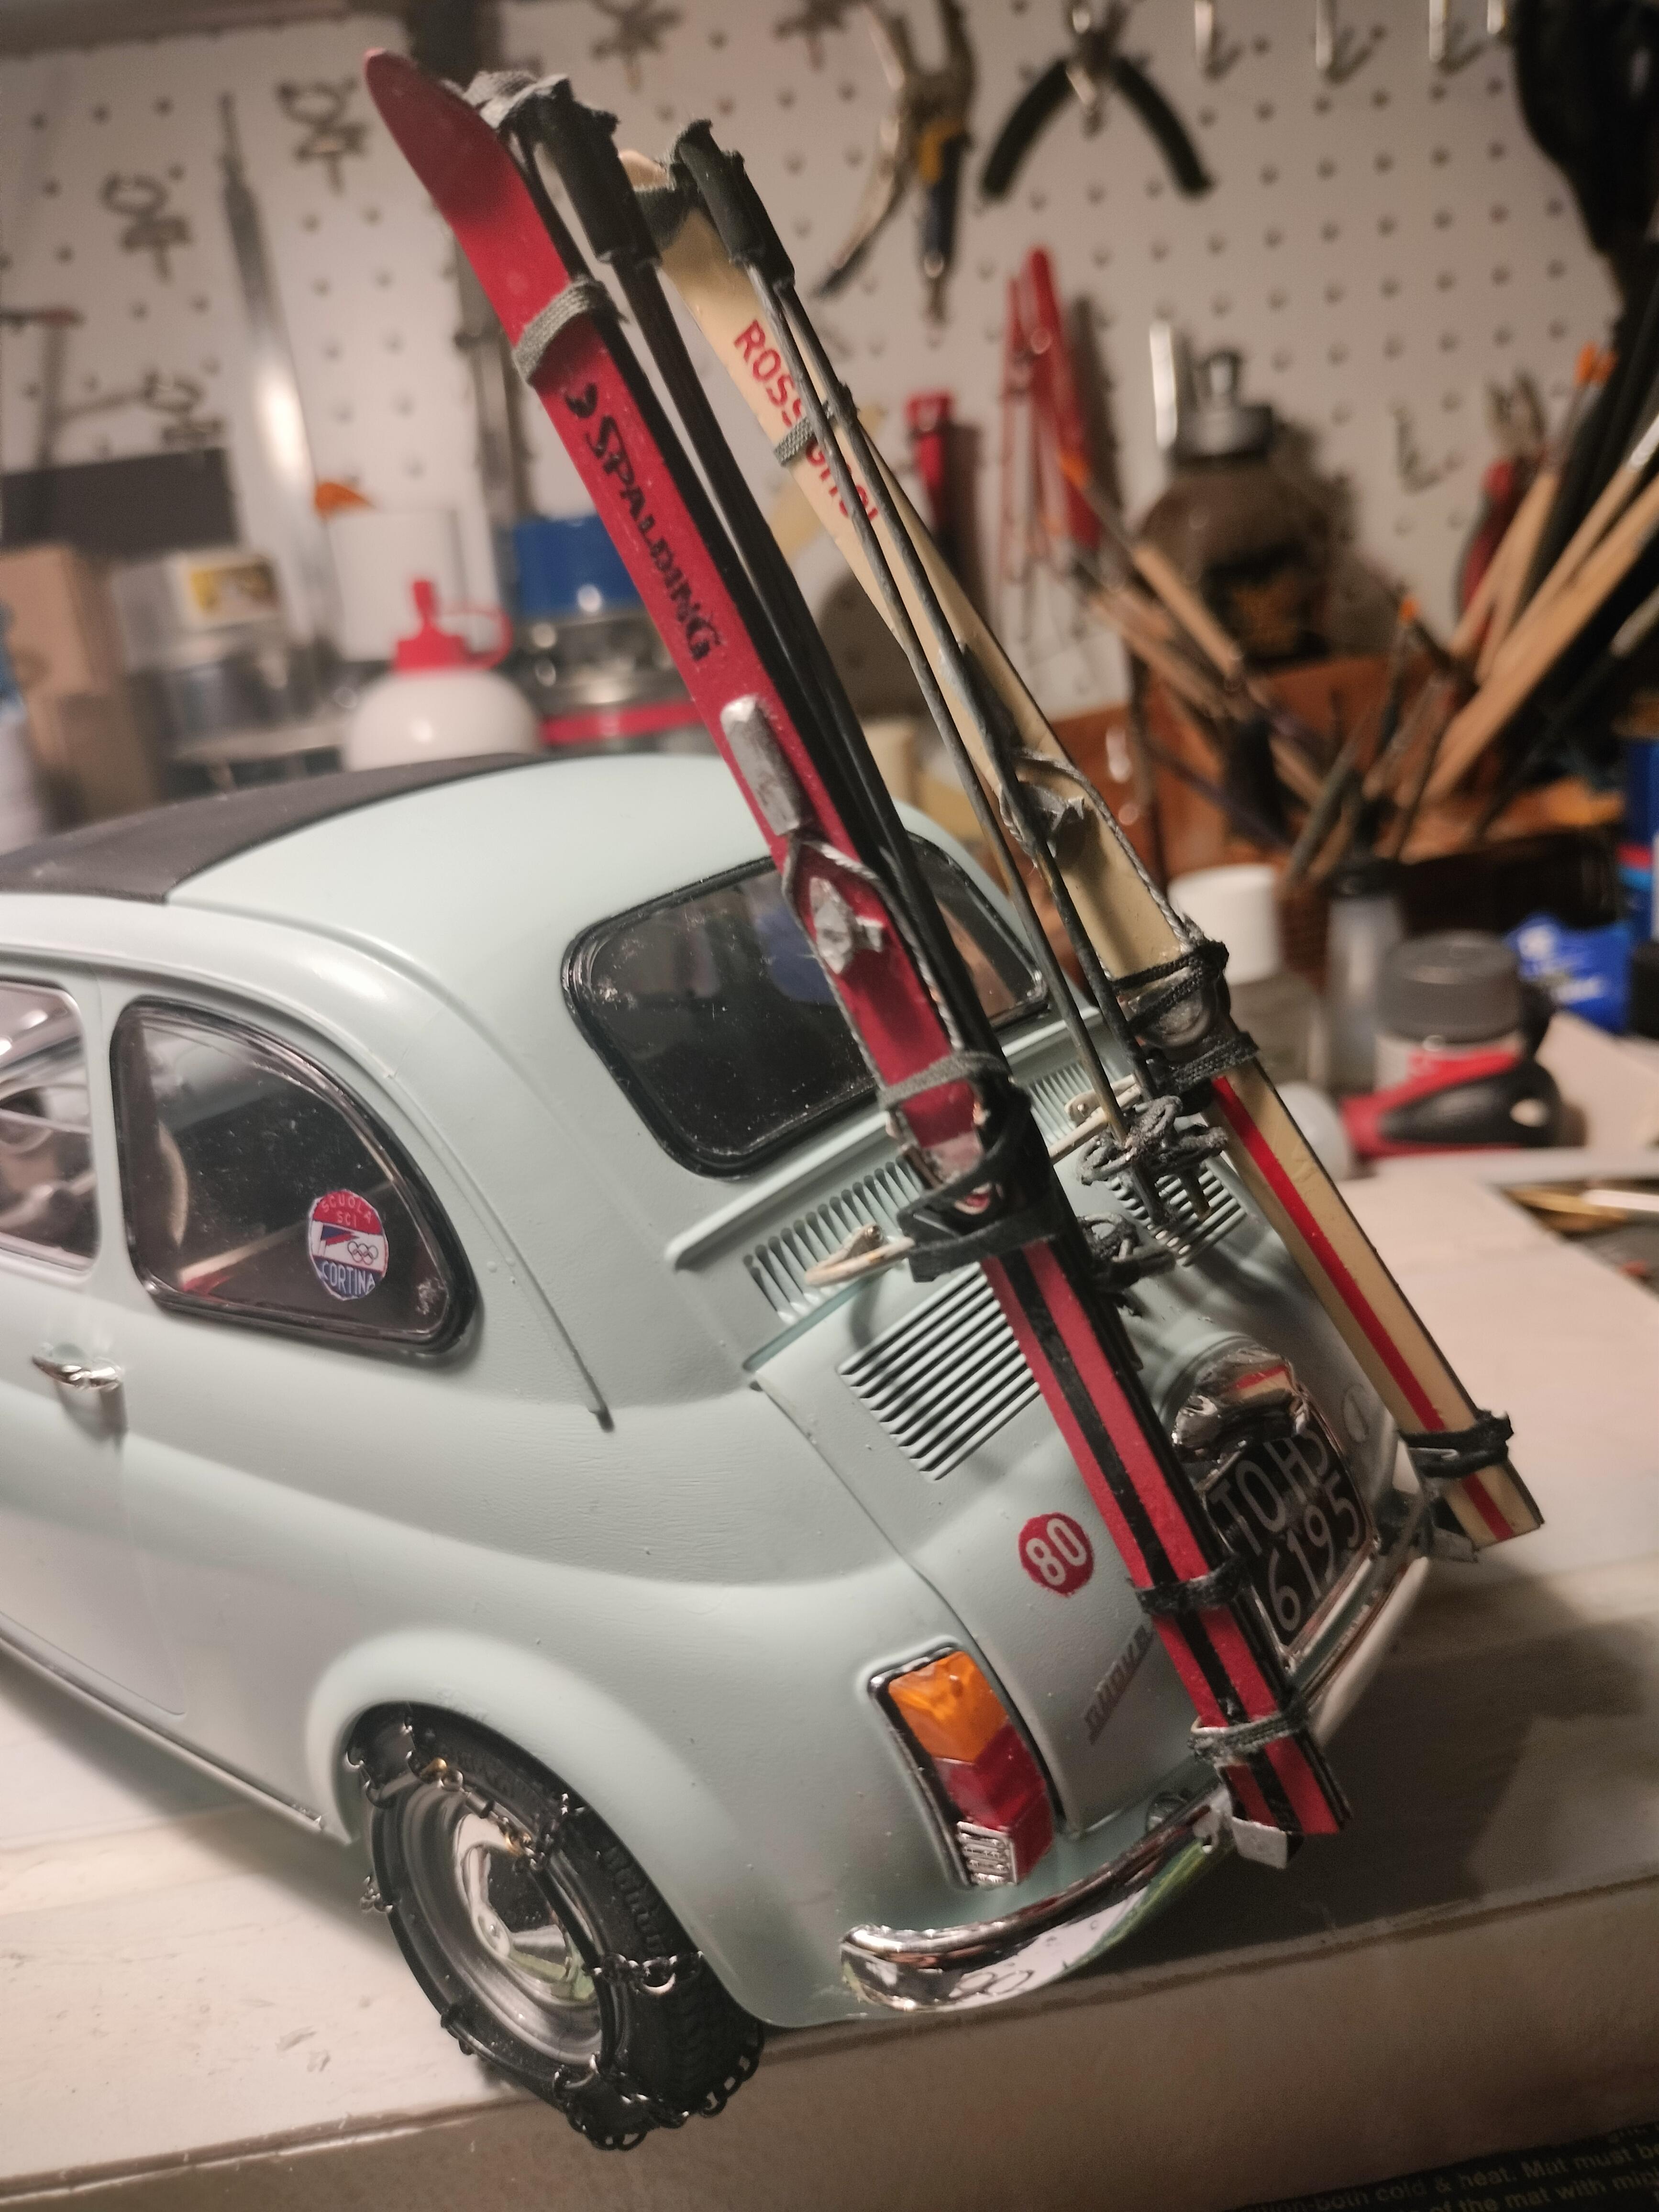
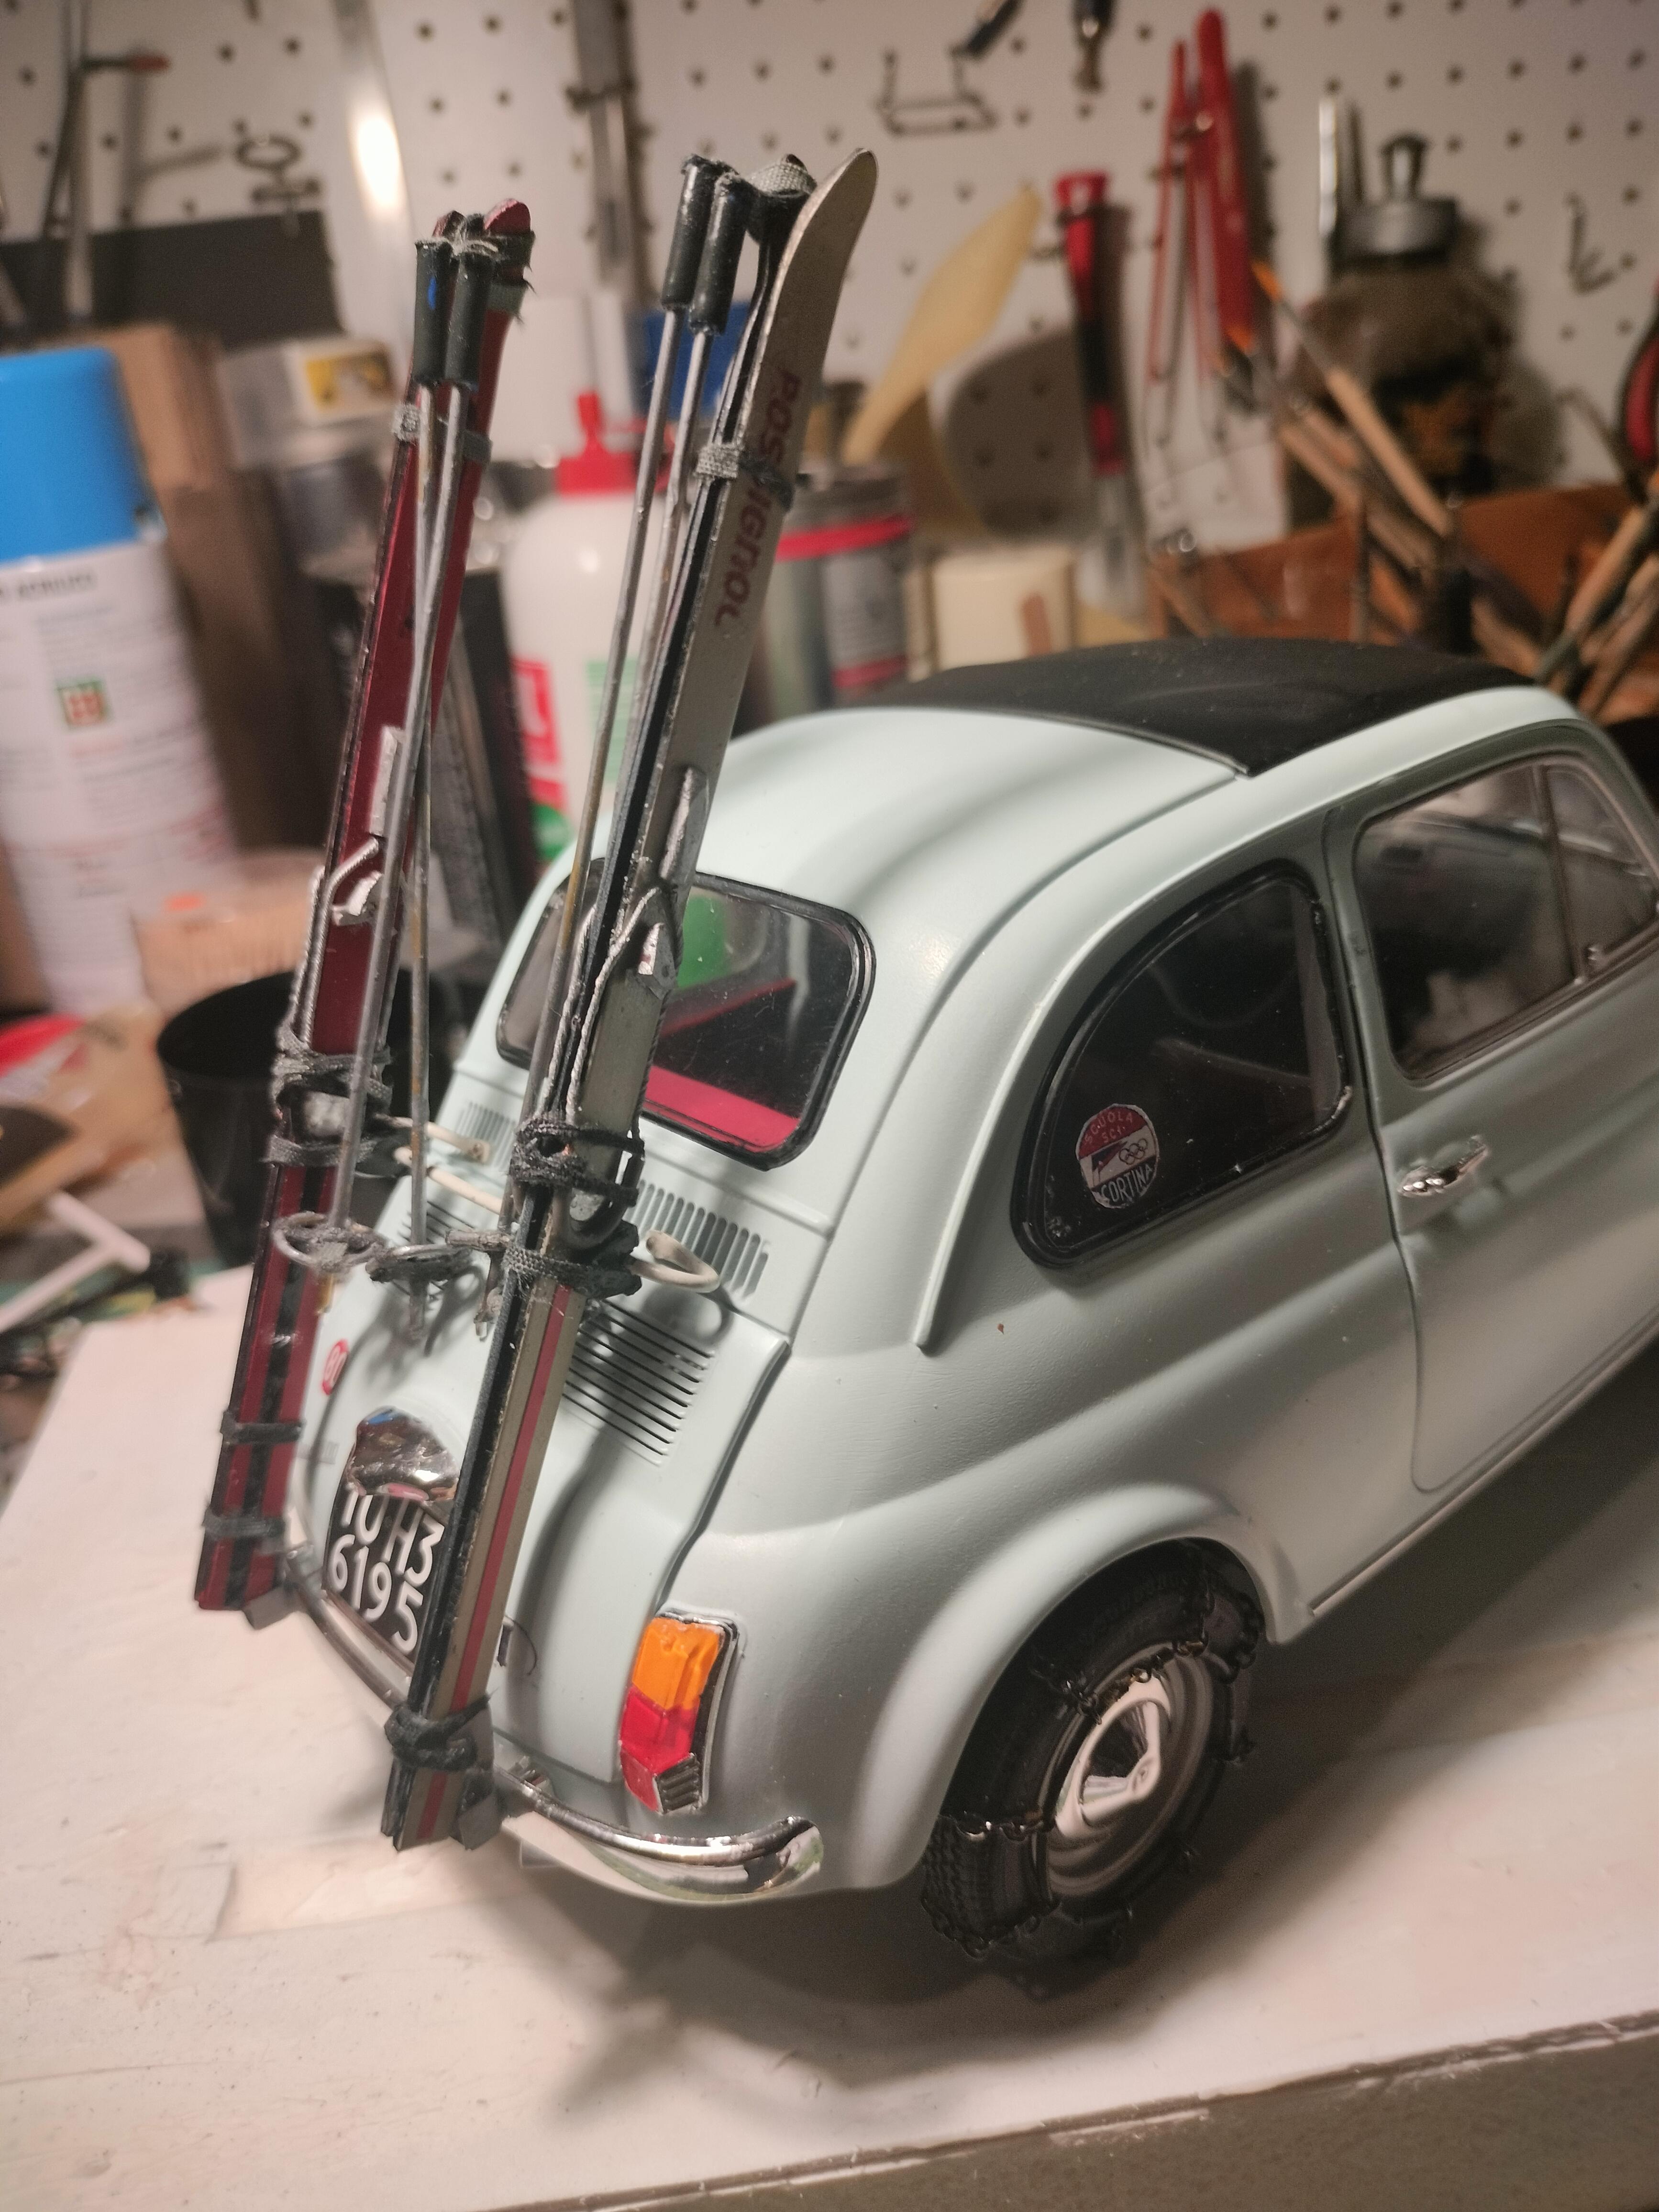
Thank you, friends. The skis are gone, now it's time to put them on the car. When I was young and impecunious, I simply put a normal roof rack and I tied the skis with some rubber bands. But for my model I decided to replicate a rack custom made for the Fiat 500. Here below you will find the car completed with the ski equipment. Later on i will prepare a proper base.
-
Well, you can't ski without skis. So I scratch built a couple of skis out of plasticard and the ski poles. This is a first trial. I wasn't completely happy with the result, so I produced some diy water slide decals with logos. Much better.
-
Well. The model is quite completed. But now let's go to the mountains. As I sad before, this wip is largely autobiographical. In the period when I was driving the 500, I lived in the outskirts of Venezia. From there, in a range of 100 / 150 KMS there are various ski resorts in the Dolomiti mountains. Such a distance was well suited to my small car, so that - money permitting - I often went there in the morning, spent a good day of skying and went back home in the evening. So my model must be well prepared to face the adversities of a winter journey. First of all, we need the snow chains. To make the snow chains I used some chains sourced from naval models and some small connectors coming from fishing tackles. The result was quite nice.
-
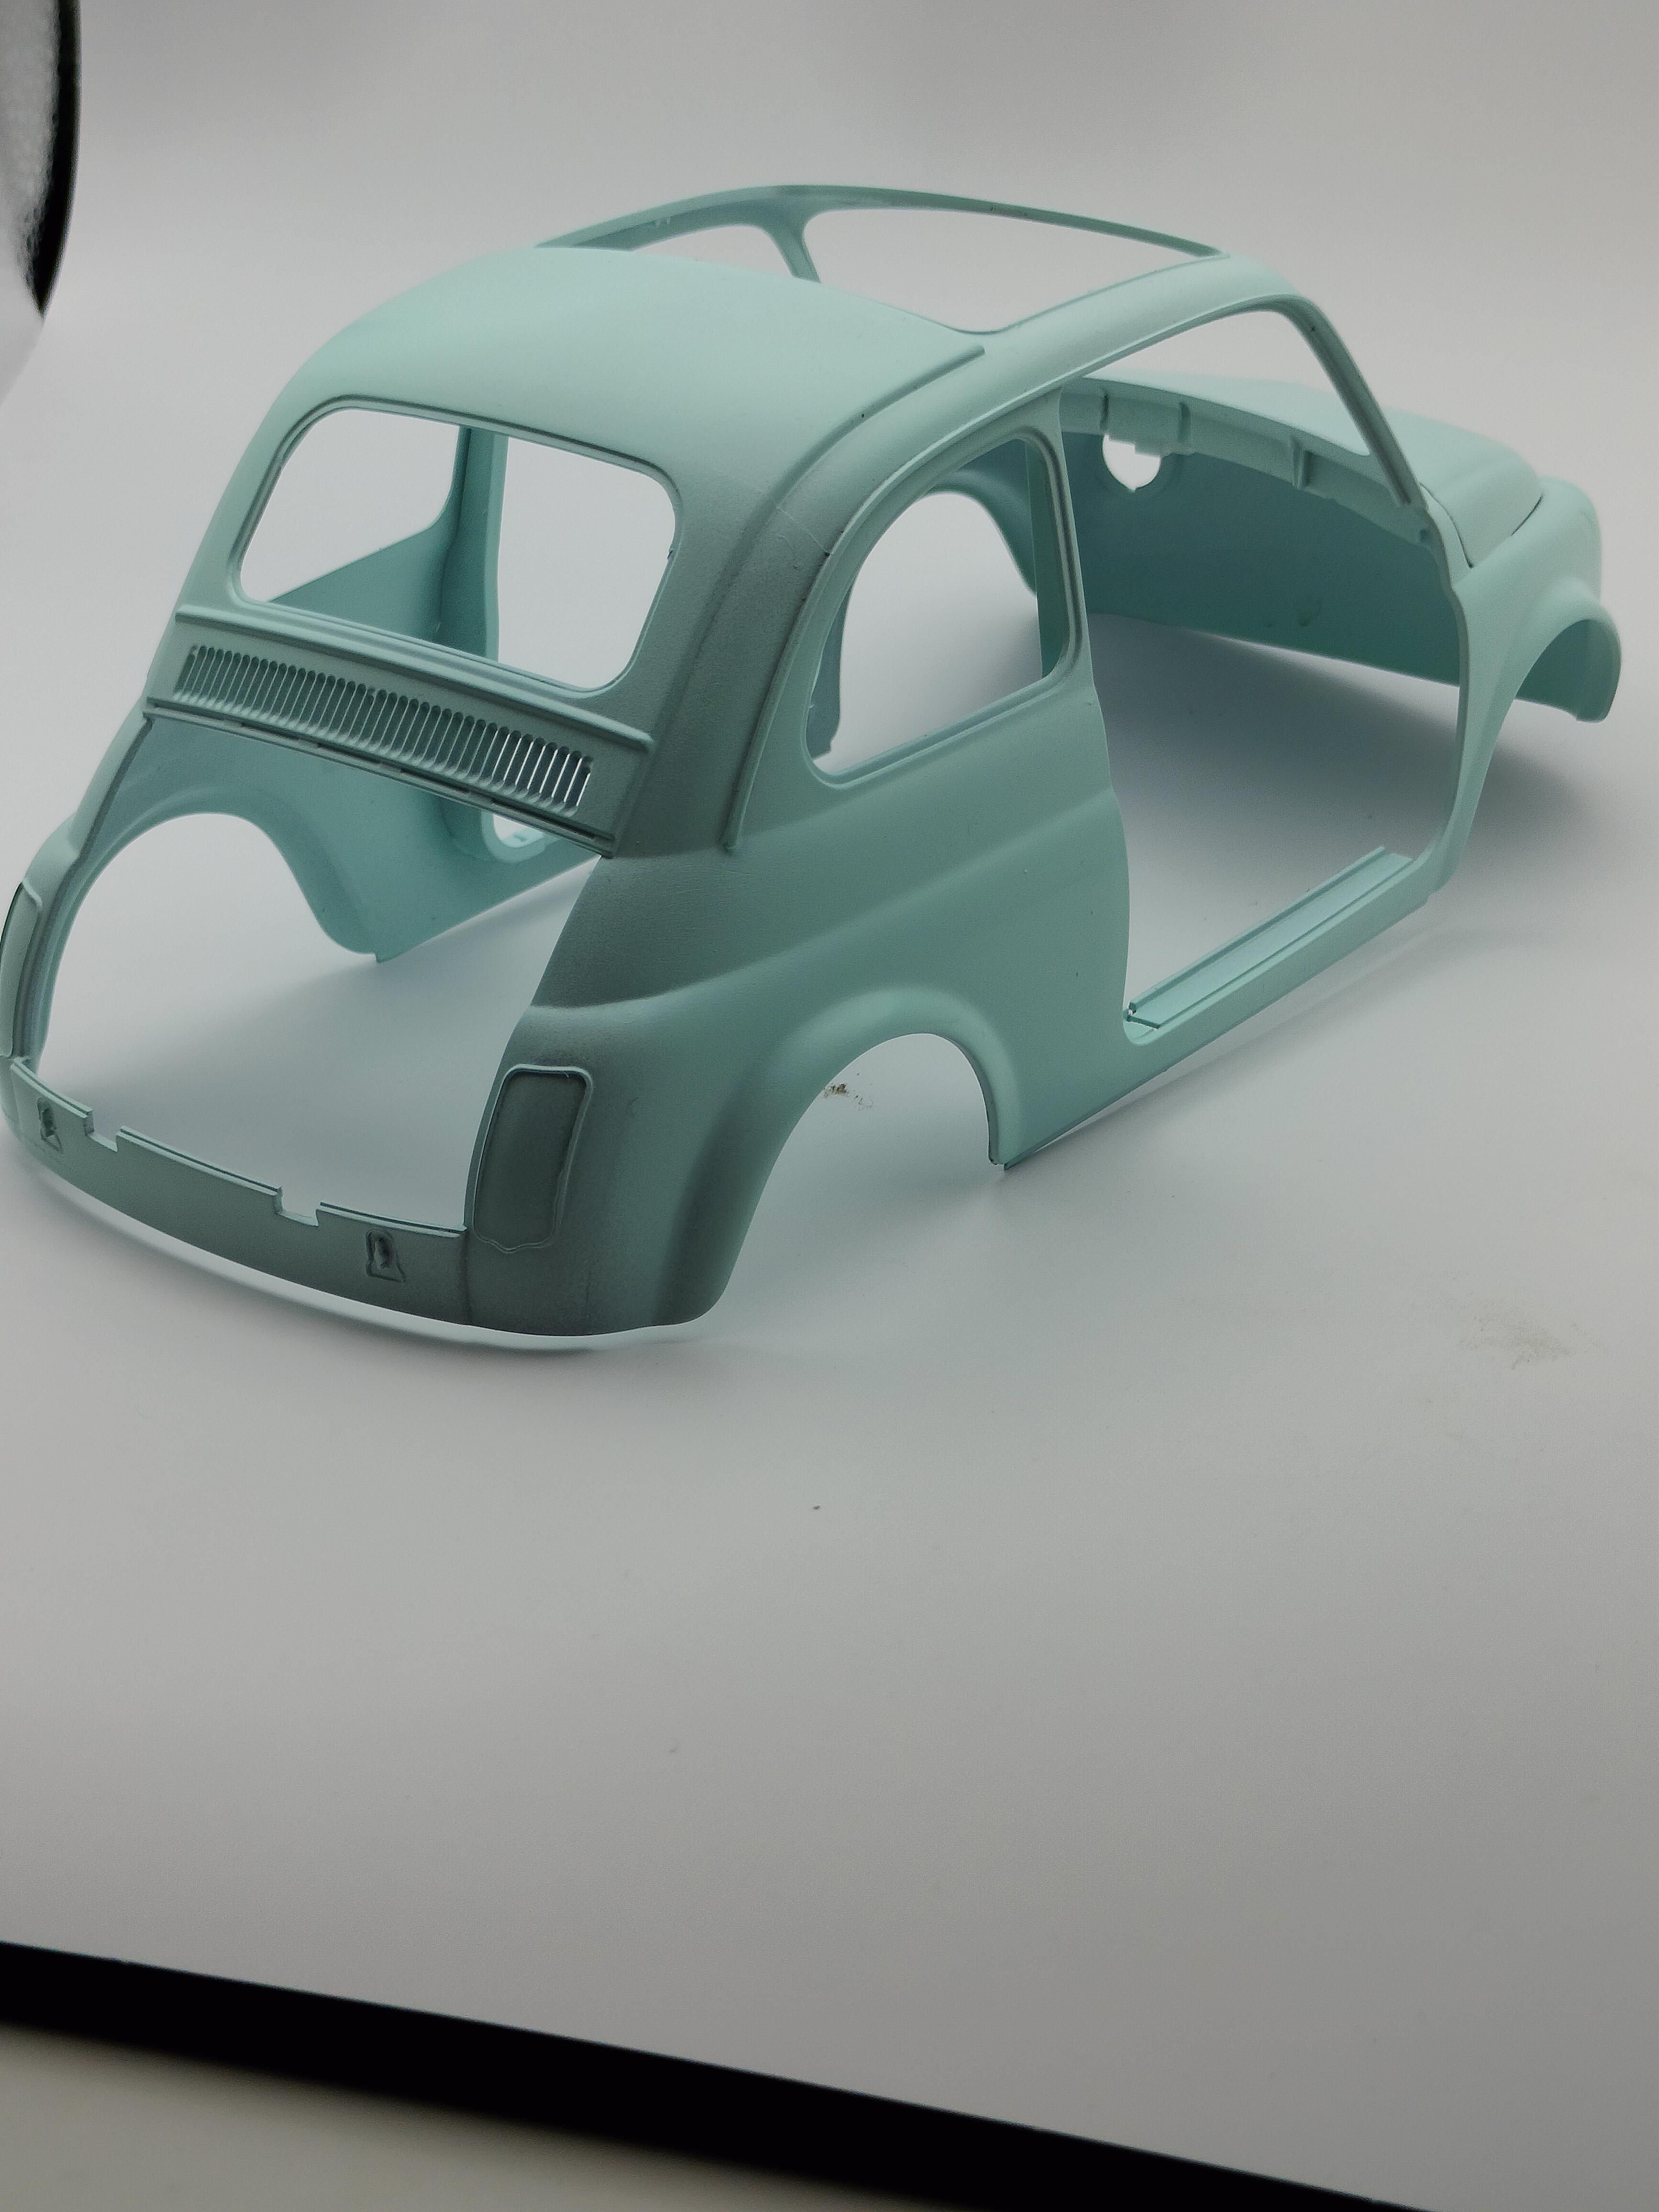
Here is the body just painted. The roof will be closed, I'm going to the mountains.
-
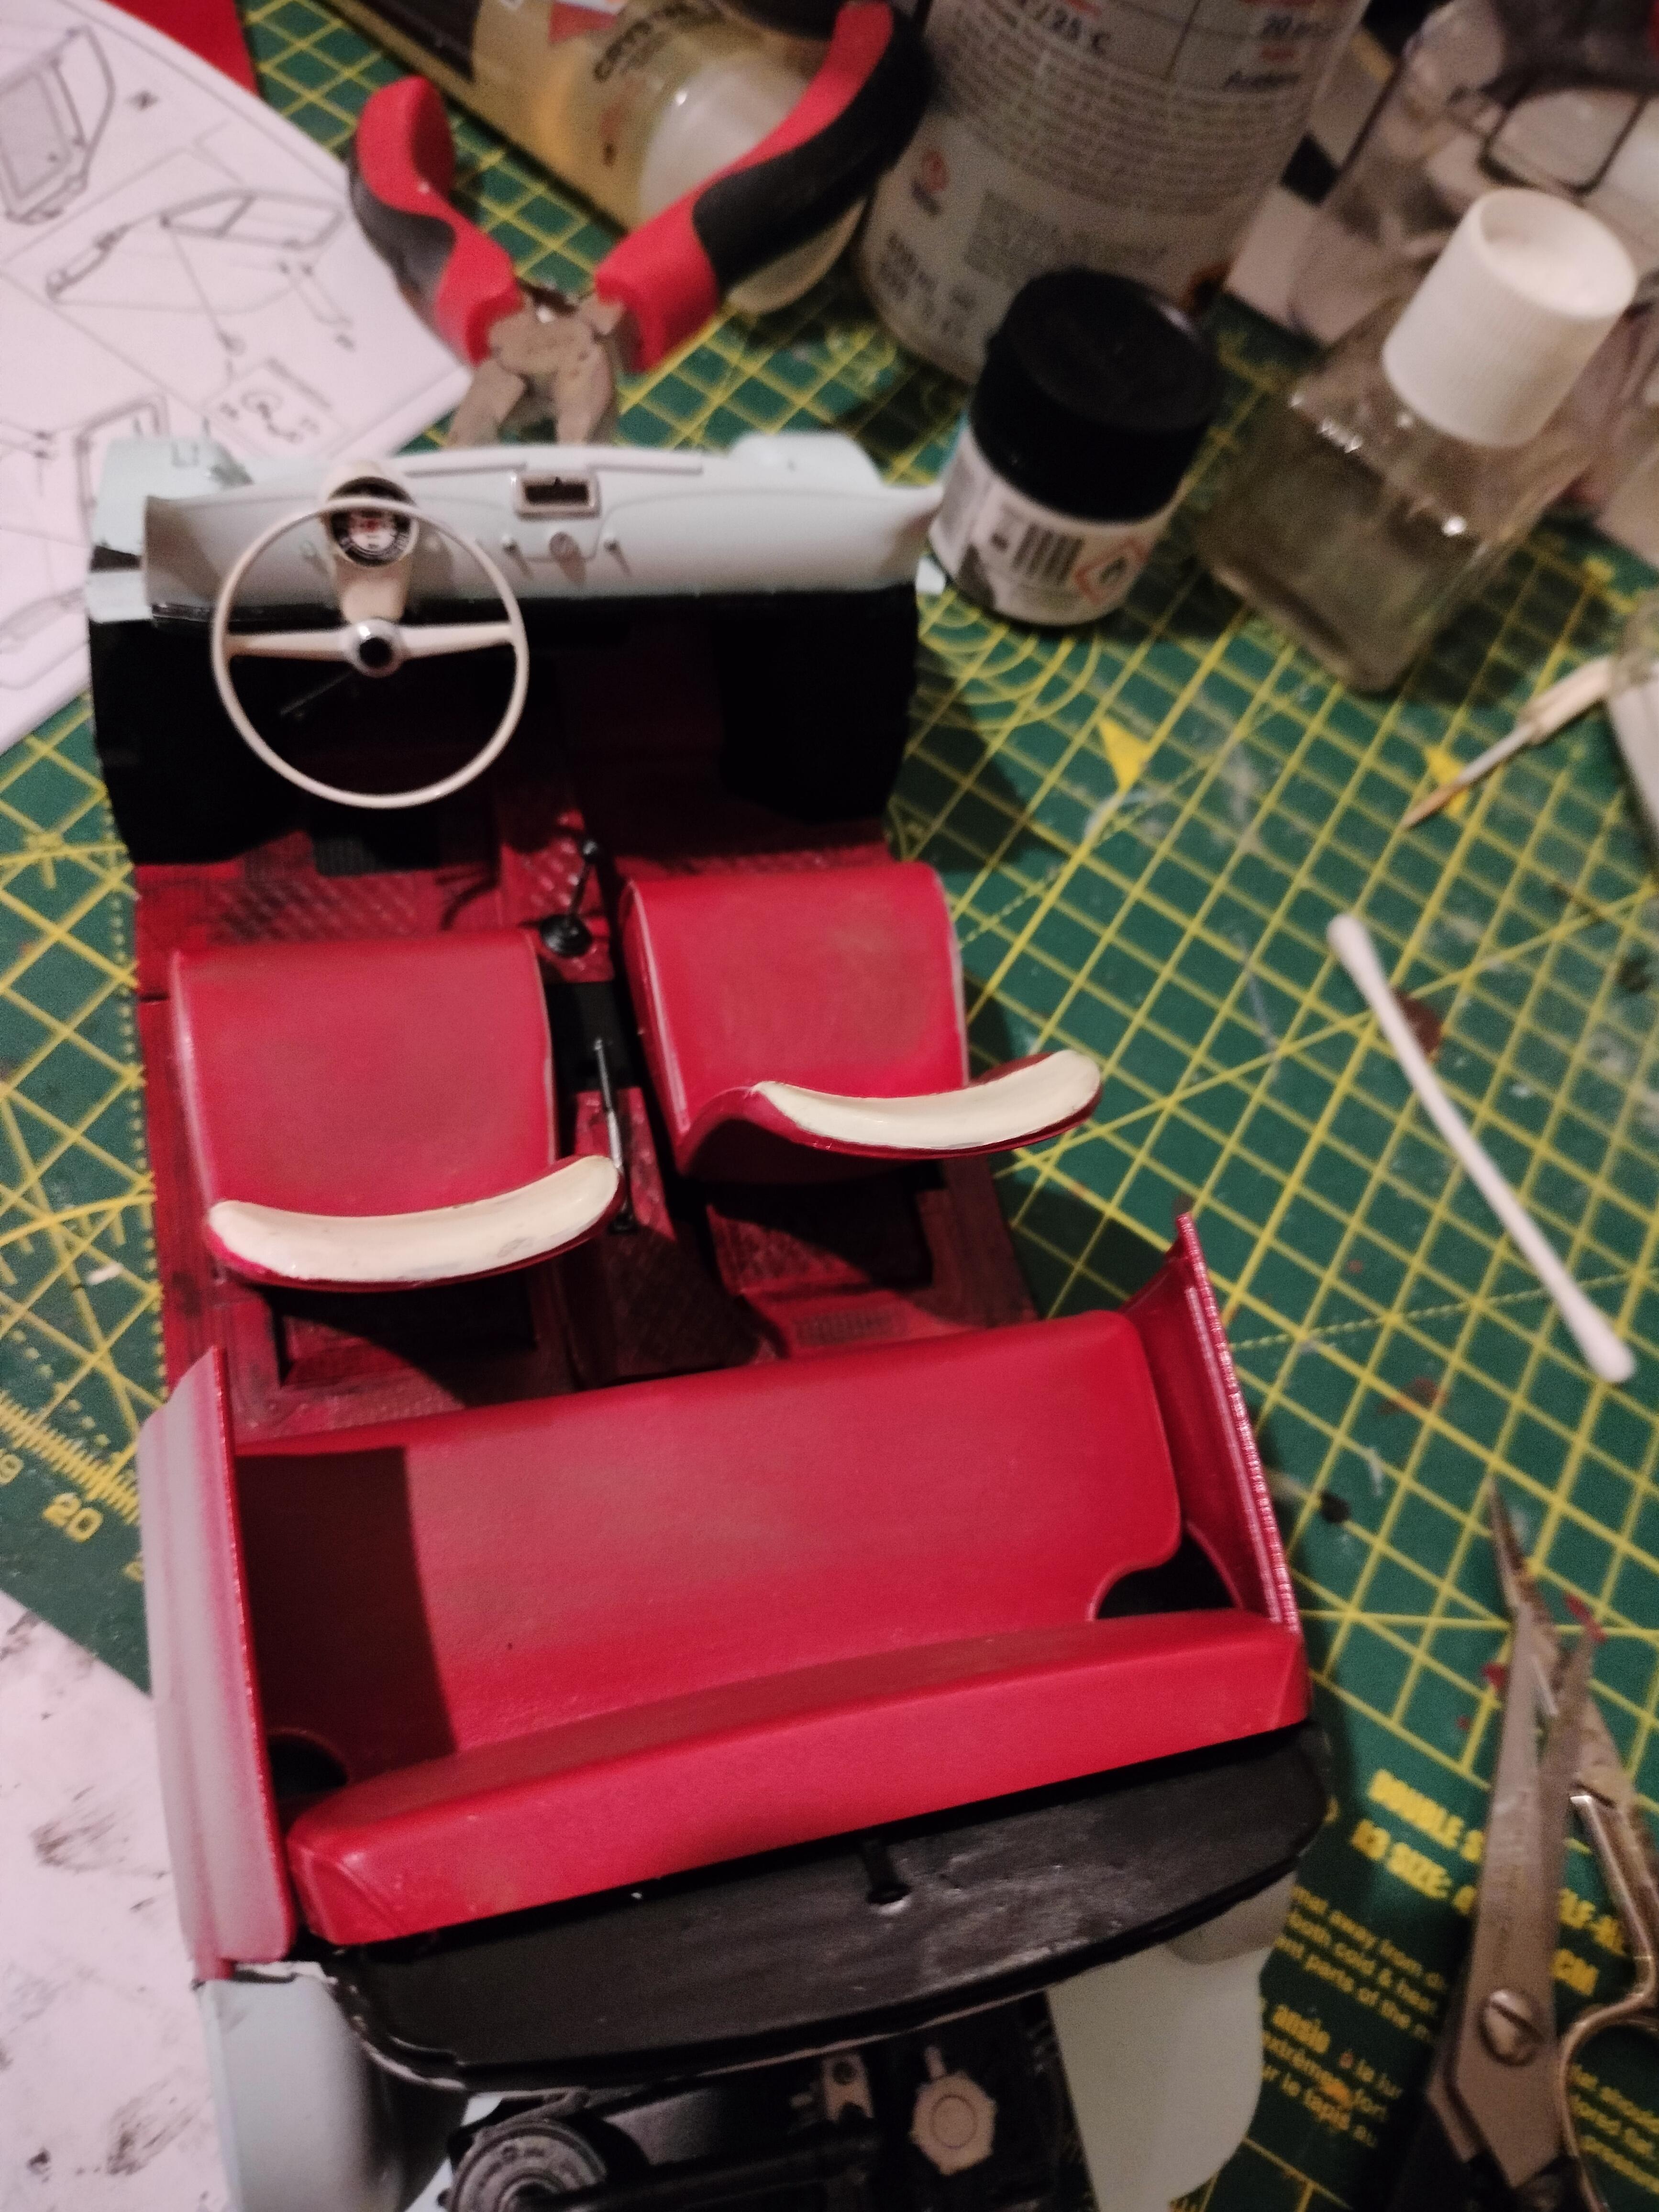
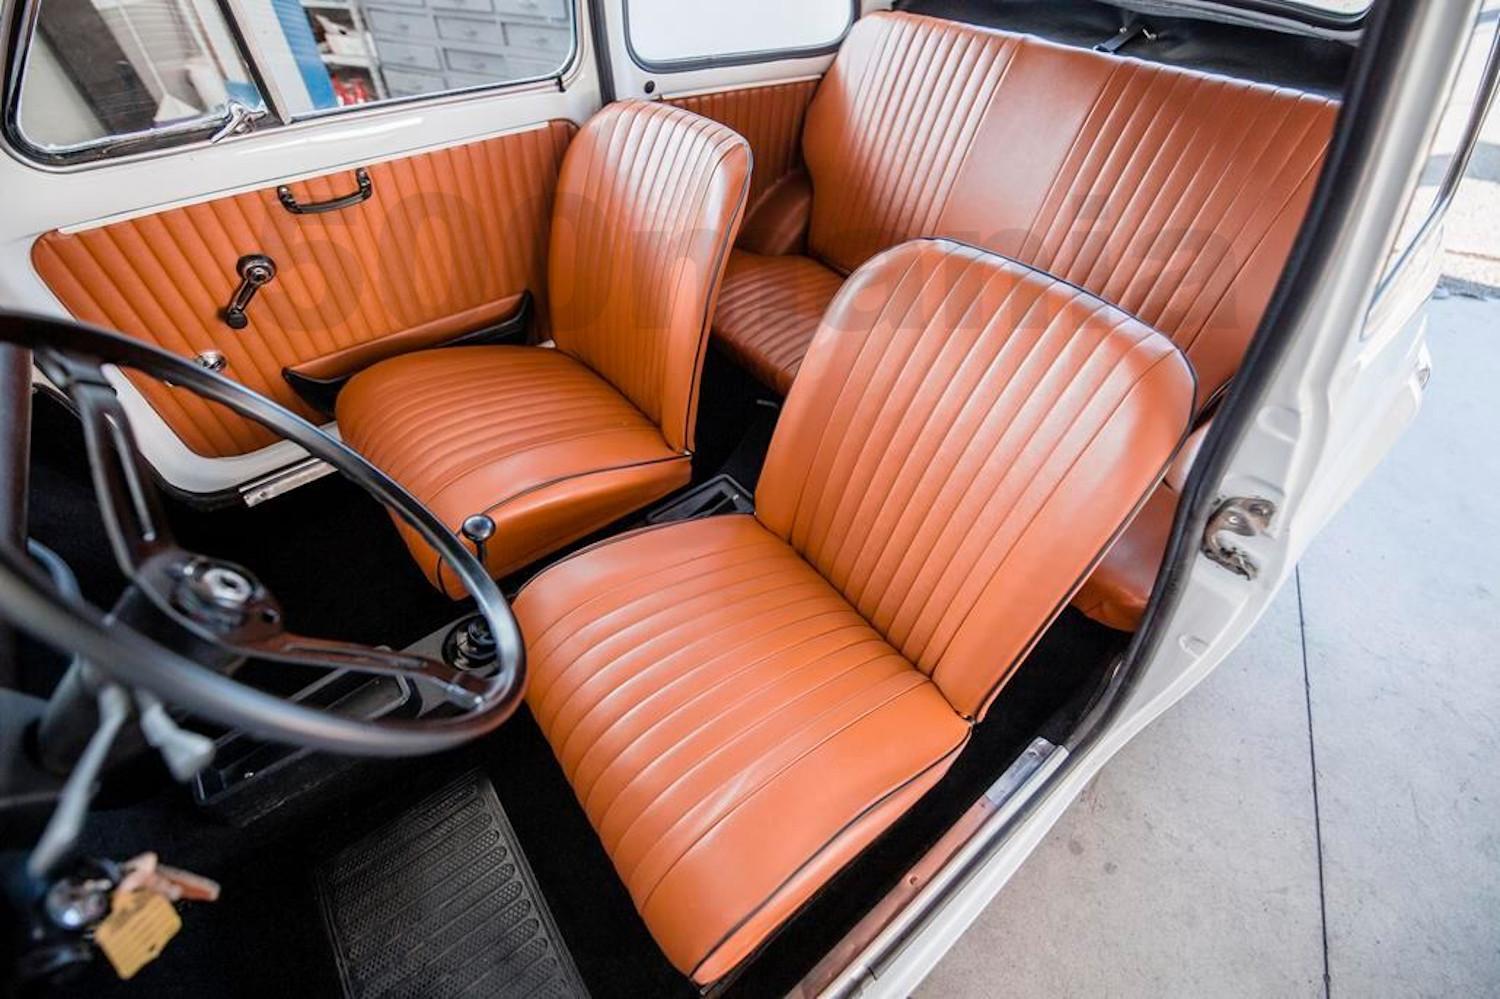
Good day. Here are some pictures of the interiors. Just like to point out the marvelous naivety of the dashboard: one switch for the lights, one switch for the tergi and the keyhole. That's all. Just plain sheet metal, no padding whatsoever (obviously no seat belts either) and the windscreen washer activated by a small manual pump: a rubber button to be pressed vigorously in order to spray a feeble jet of water !
-
Painted the seats and the door cards. The colours are correct enough. Obviously in this case you don't have any colour code as a reference, so I used some pictures from the net and my memory.
-
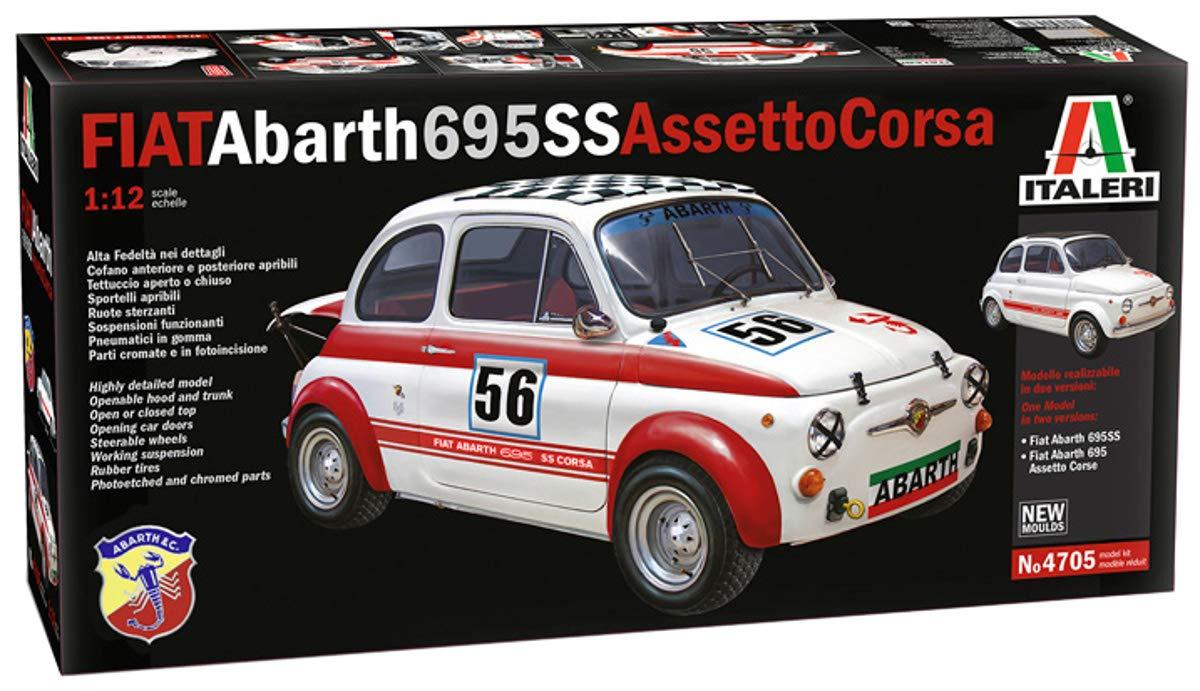
Last, don't forget that Italeri made a nice kit for the Abarth.
-
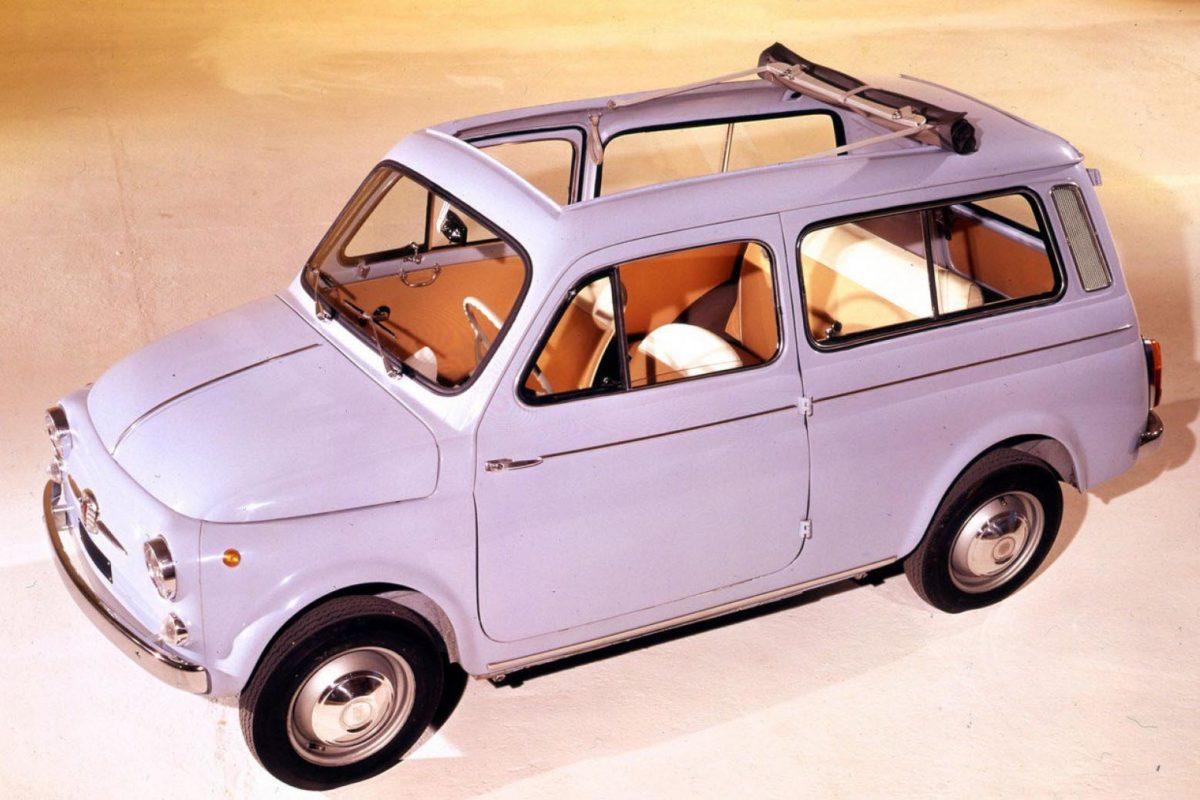
Another variant is the giardinetta, a minimal station wagon. To get a roomier cargo space the engine was modified to reduce his height. I was thinking to realize the giardinetta, but this Is a rather complicated mod, involving heavy changes: roof, rear door, longer wheelbase.
-
Khier, i appreciate your intention to make several variants. I may actually produce a 500 L, the luxury model. It's quite easy to do, the main difference being the bumpers with some tubular additions. On the inside the seats and dashboard gave a better appeal to this small car. It is interesting to point out that the tube on the bumpers were there just for show, they were rather weak and easy to break. The 500 L was very popular as a second car or as a gift for wealthy students. The seats were folding back, so really useful for covert night activities.
-
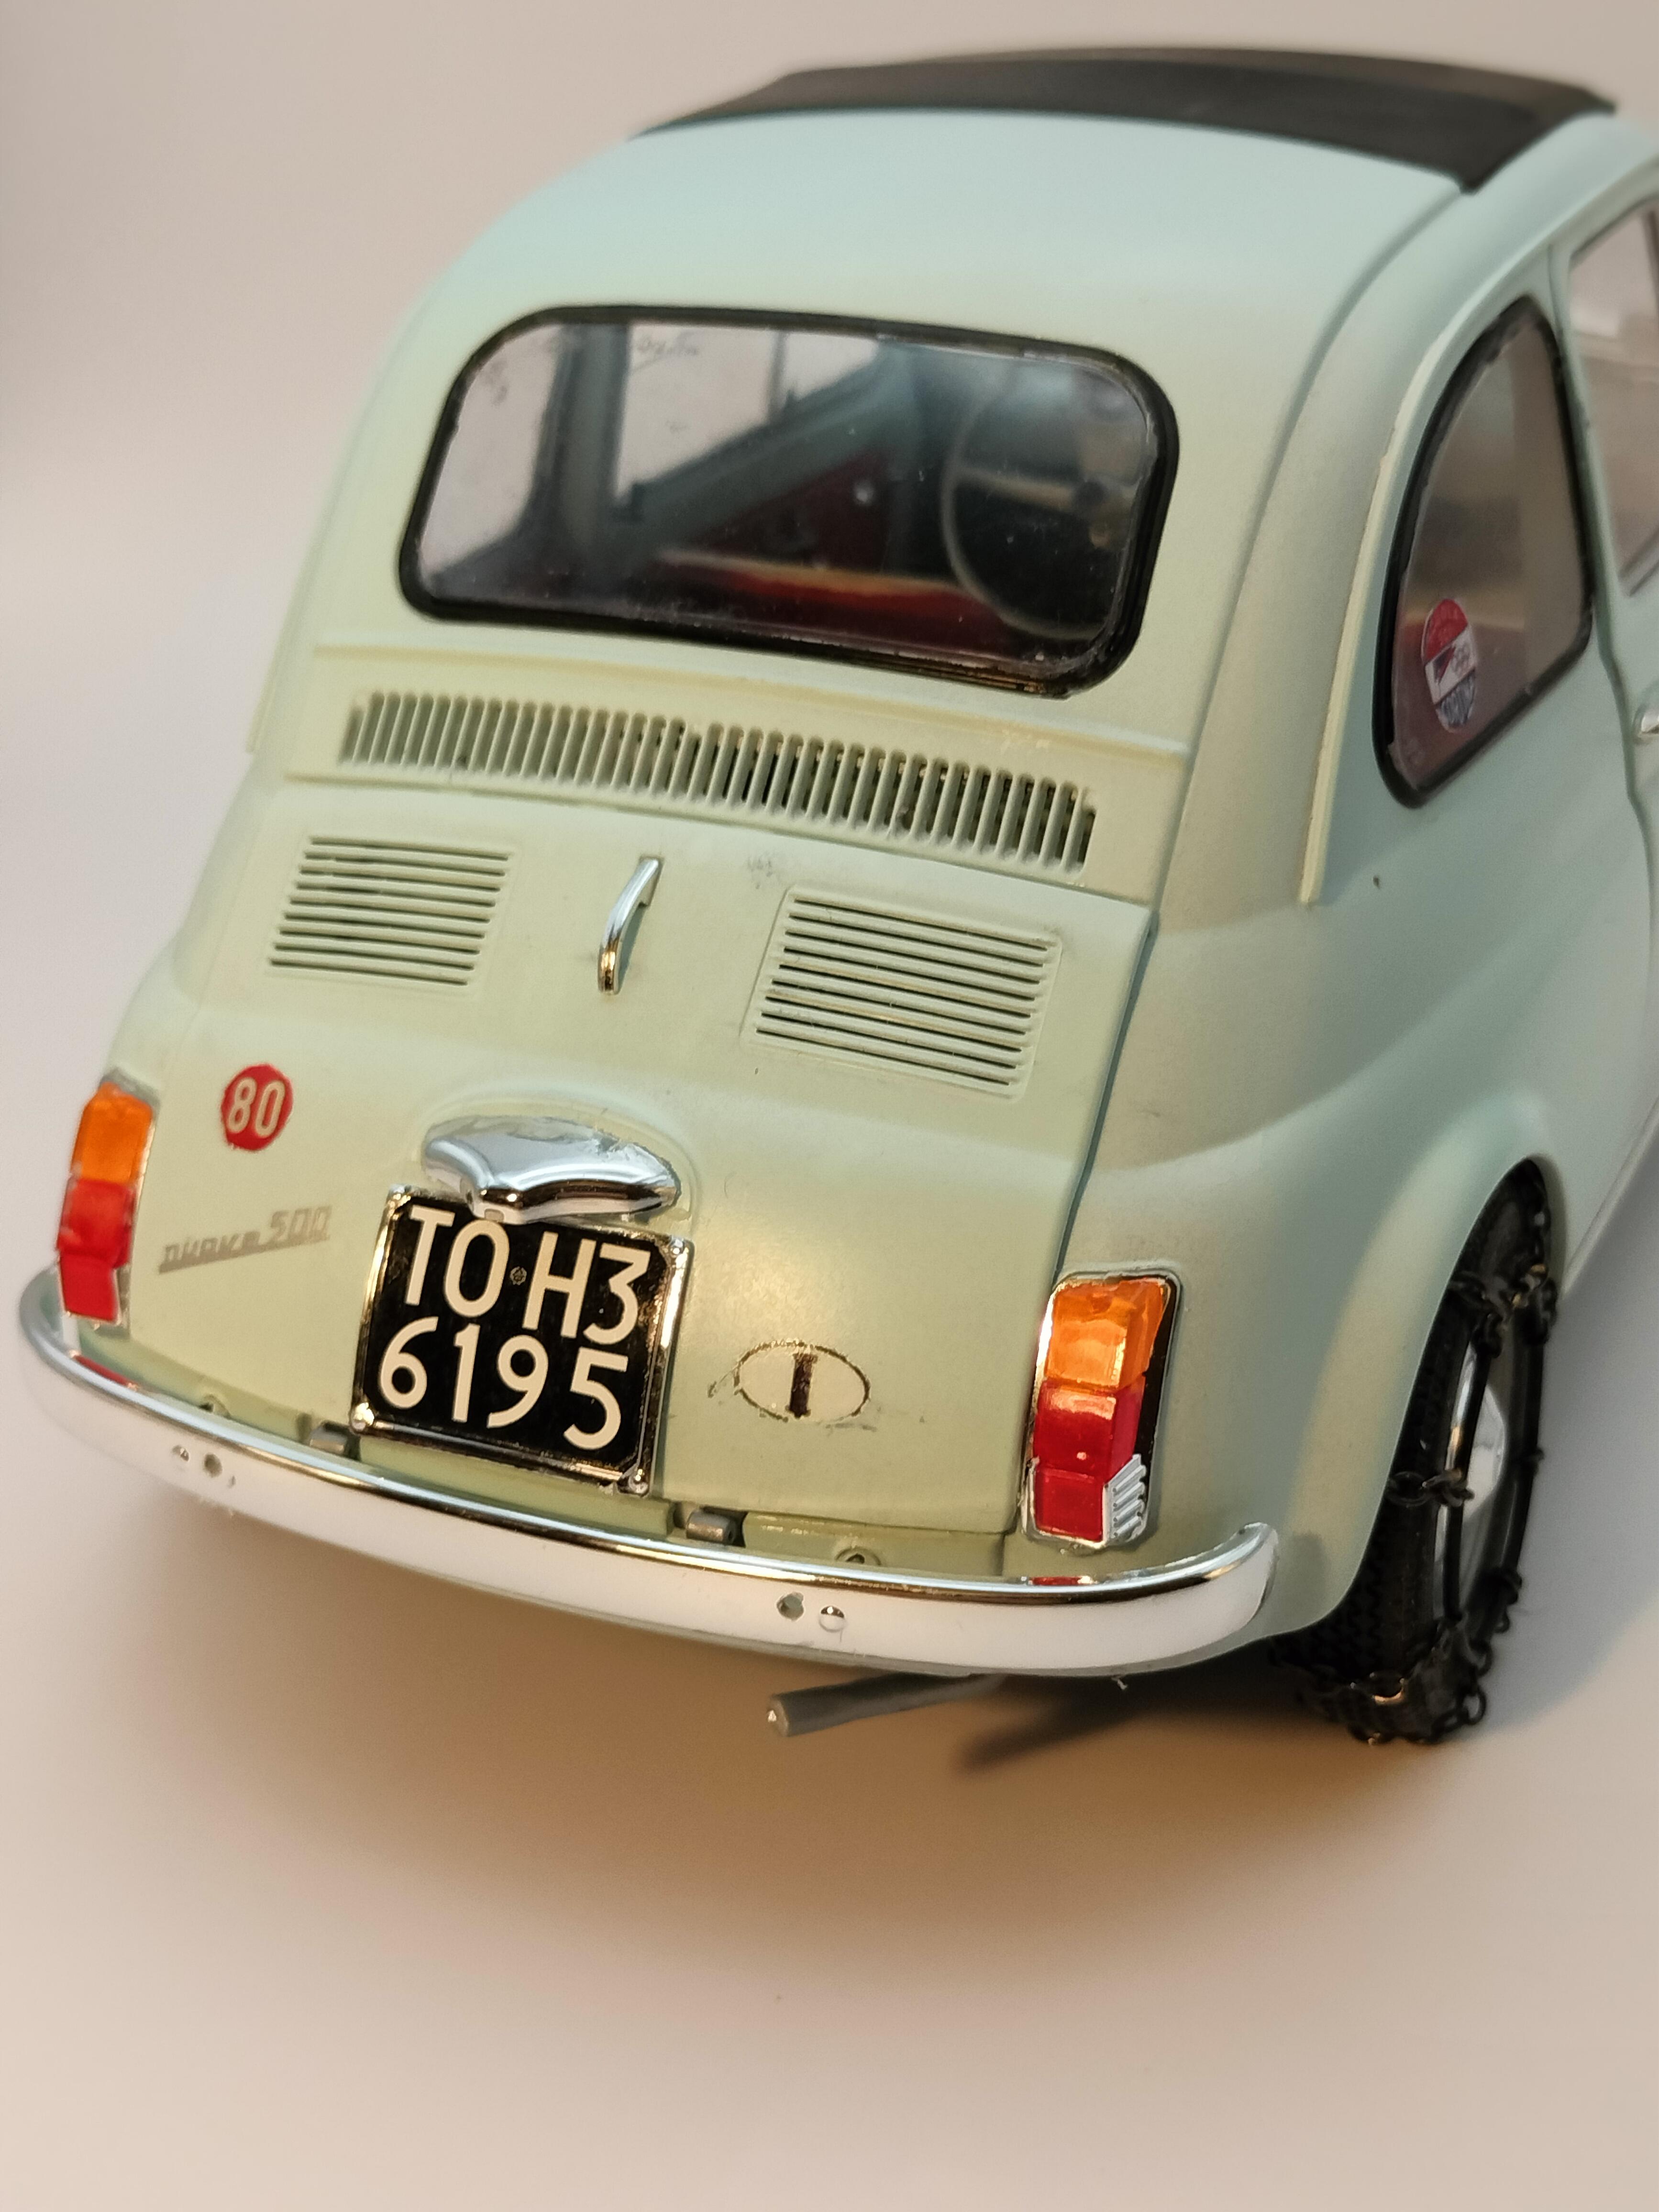
As I said, this is a autobiographical model, so my 500 had to be painted in original colour. To avoid any mistake, I found the proper colour code as supplied by one of Fiat 500 owners Club. The colour is "Celeste acquamarina", roughly translated as seawater light blue. I had one spray bottle custom mixed in a local shop and I was quite happy with the result.
-
Bugatti Fan, nice memories. By the way, I confirm that the kit can be done in both right and left hand drive. All pieces, including UK plates, are in the box.
-
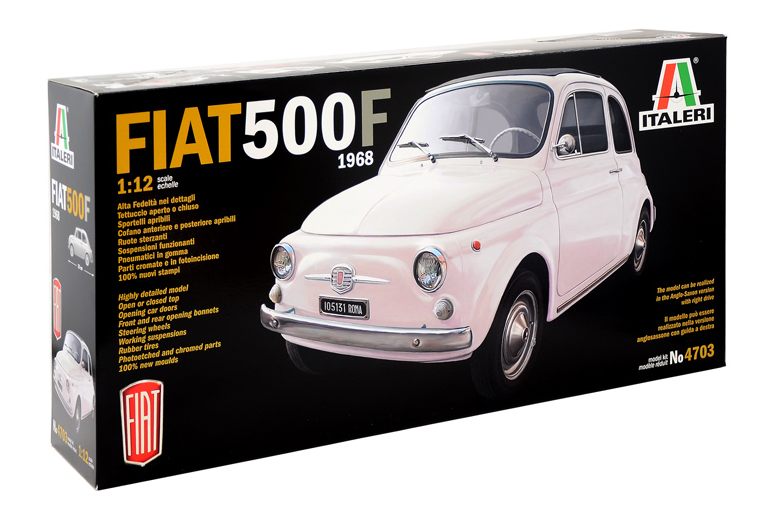
Good day friends. I am still trying to educate you people to our small cars. Just think that the total displacement of the Fiat 500 engine is less than the displacement of just one cylinder of your big V 8 ! Never mind. This wip is rather autobiographic. Actually this model is a copy of the 500 i used to drive as a youngster. The starting point is, again, the Italeri kit scale 1/12. The kit is a good one, the only blemish IMHO is that Italeri decided to have some moving parts in the suspensions and the steering system. Apart from the fact that nobody in his right mind will try to play with such an expensive and delicate model, the result is that the suspensions are rather weak and can break very easily. Apart from that, the kit is spot on and the shape of the car is reproduced in an excellent way. The build will be "out of the box" and i will add some accessories.
-
 Thanks to all of you.
 -
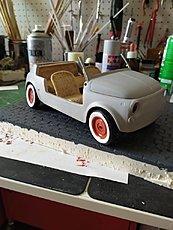
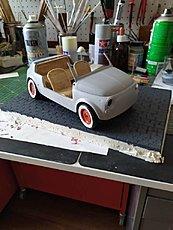
"Some painting required". This is the step where I fail in a miserable way. Nevermind, better to do a fair wicker work than a monstrous lady in swimsuit.
-
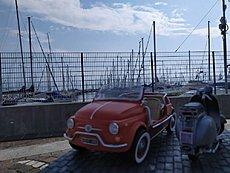
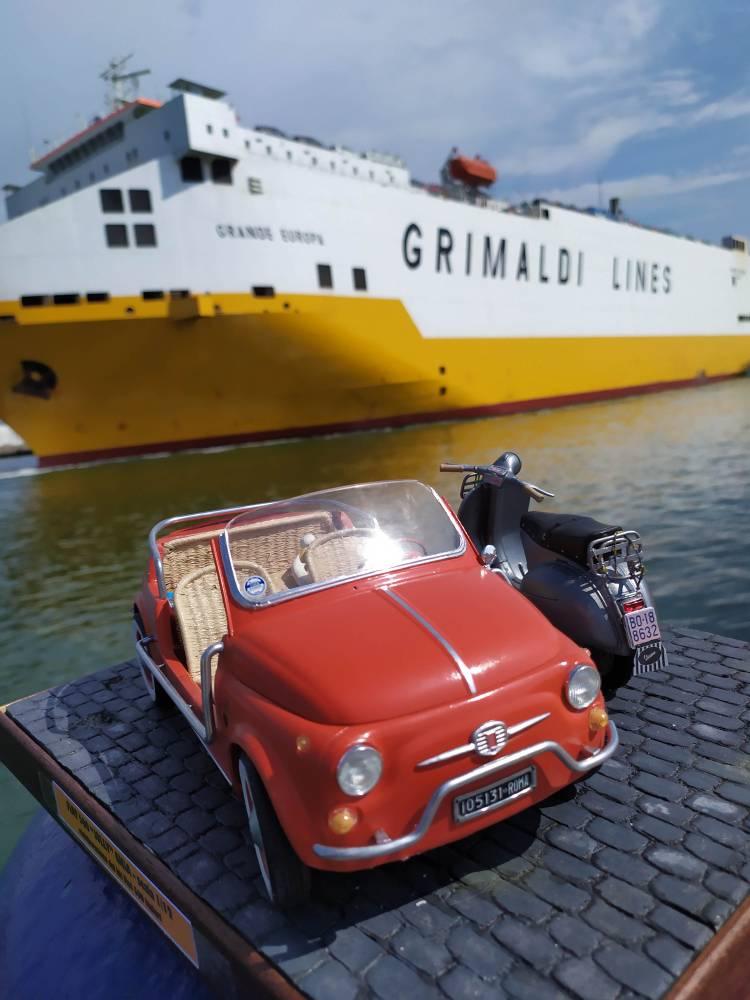
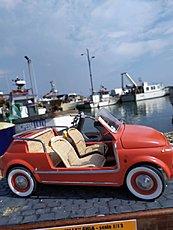
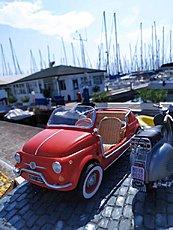
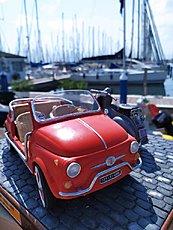
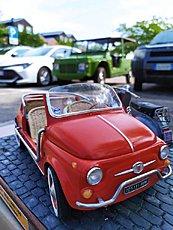
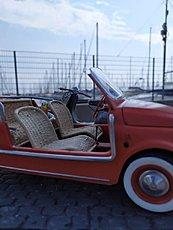
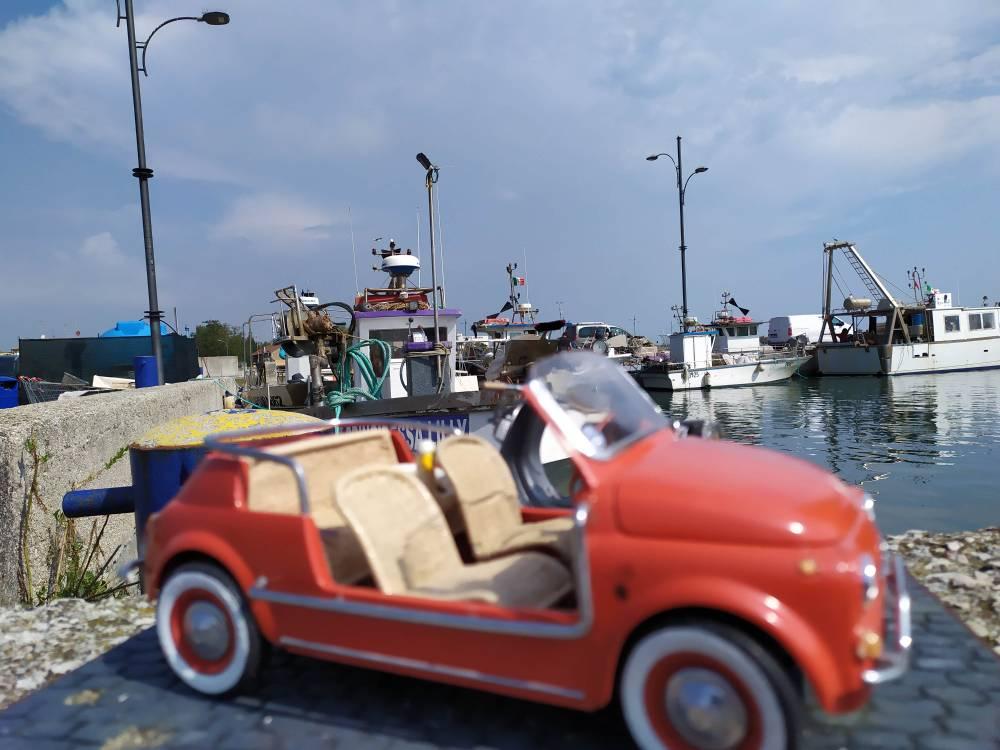
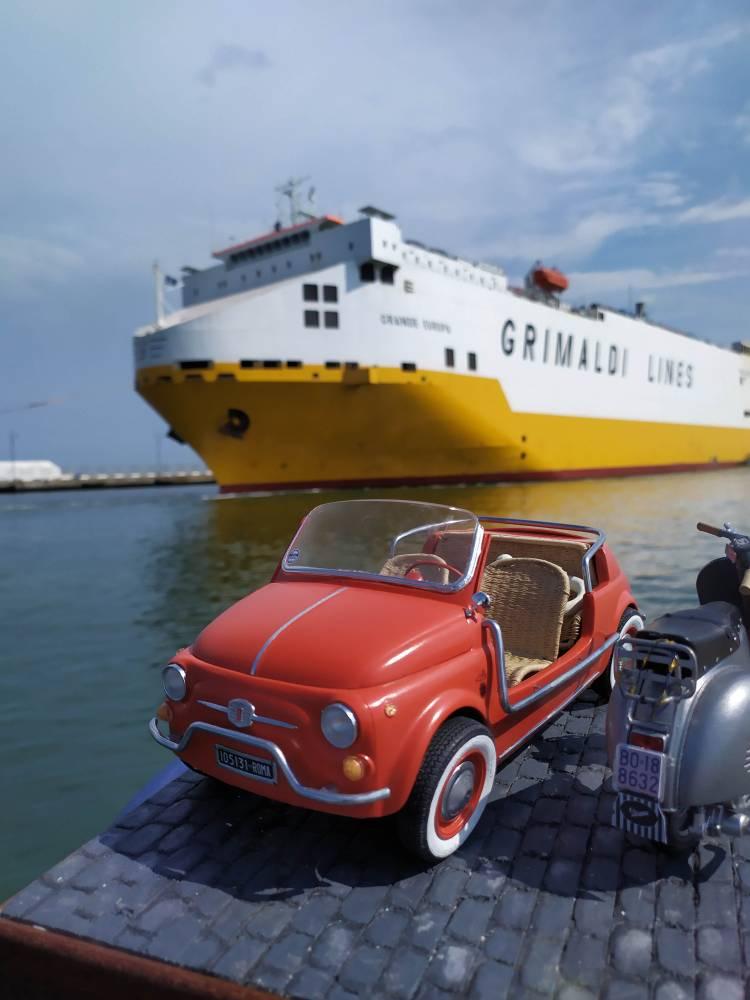
Well, my Spiaggina is completed. I just like to show her in a proper environment, at sea. Here I enclose some pictures taken at Marina di Ravenna, the Place where I live.
-
Dear Espo, regretfully every time I try to produce some figures, I fail in a miserable way and the figures look like ugly monsters. Better to stick to cars.
-
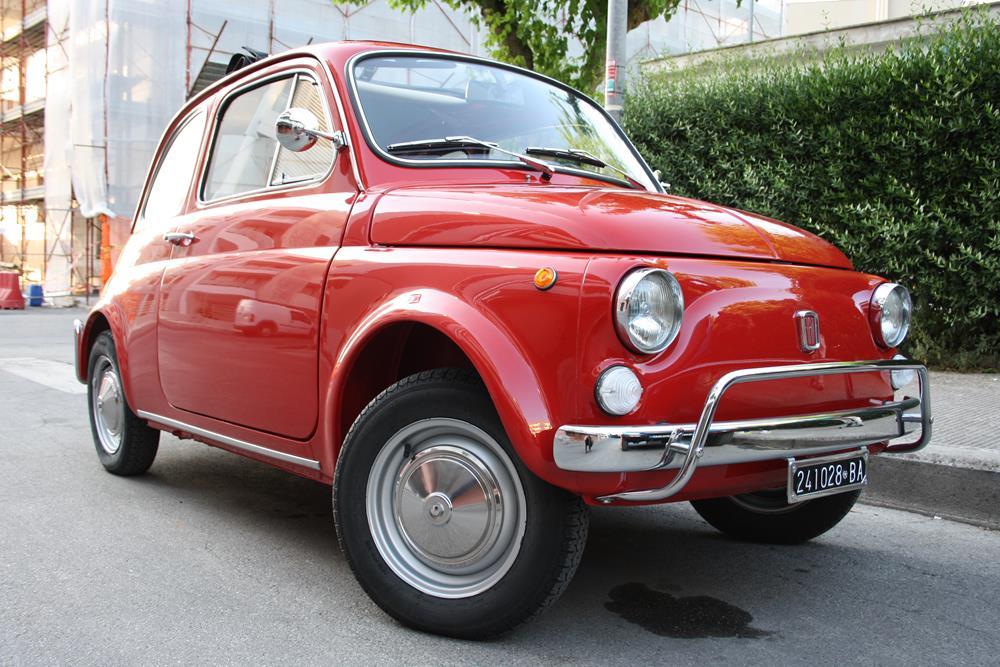
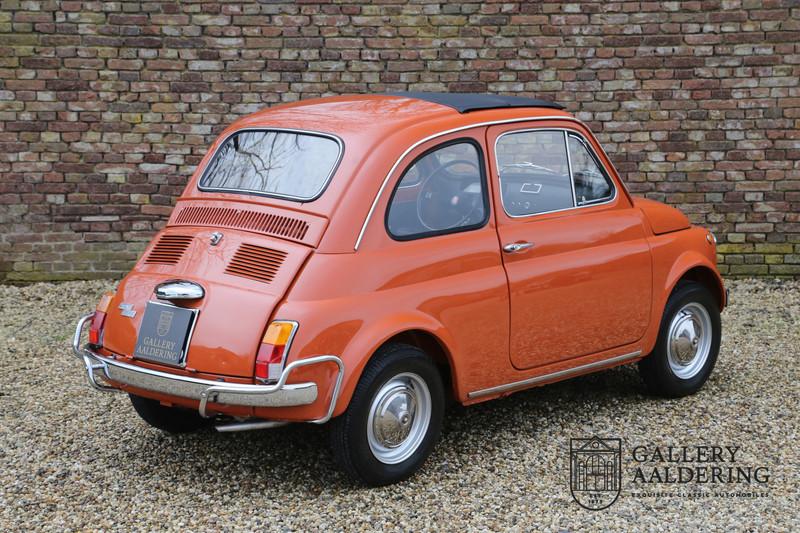
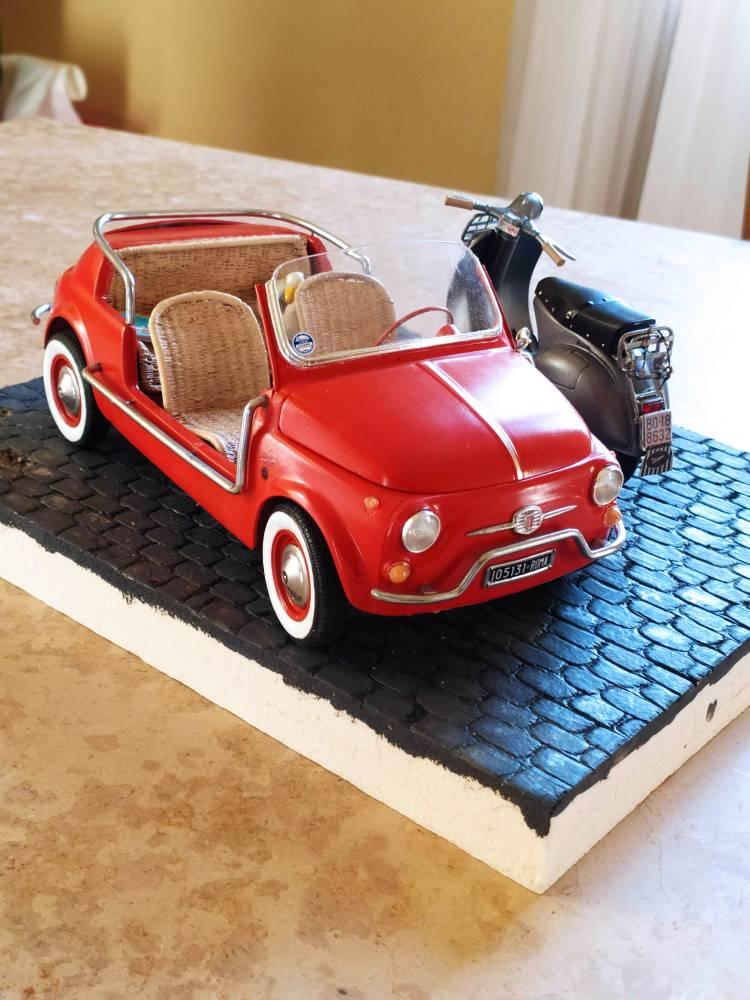
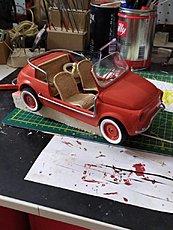
Now let's paint the car. I had the possibility to choose any color, these cars were custom made and the buyer was able to decide is own color, as long as he paid the bill. Mi choice was an original Fiat color, "rosso corallo" easily translated as coral red. I have to admit that I don't use the aerograph. First of all, I am lazy and I hate the boring procedure for cleaning the device. Also my air compressor is down in the basement, too many stairs. So I normally use spray bottles. In this case I found the color bode through a Fiat 500 owners club and I got a spray bottle mixed for me by a local shop. These are some pictures. We are at the last steps.
-
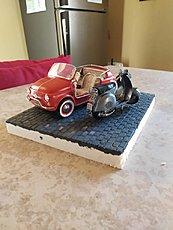
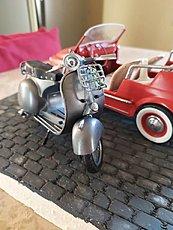
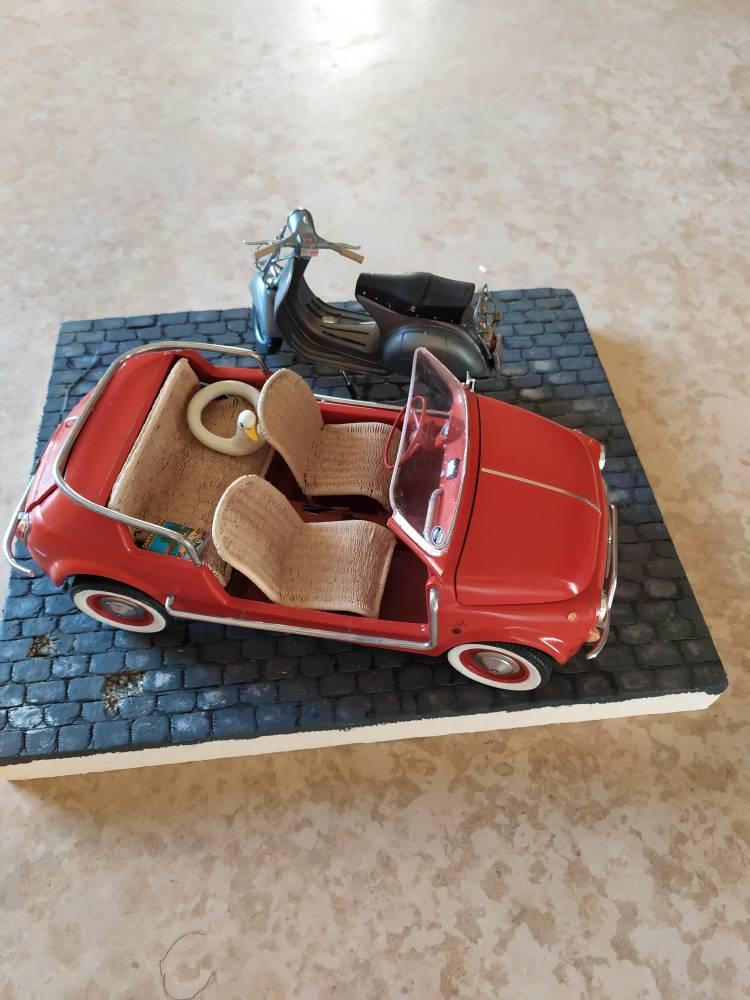
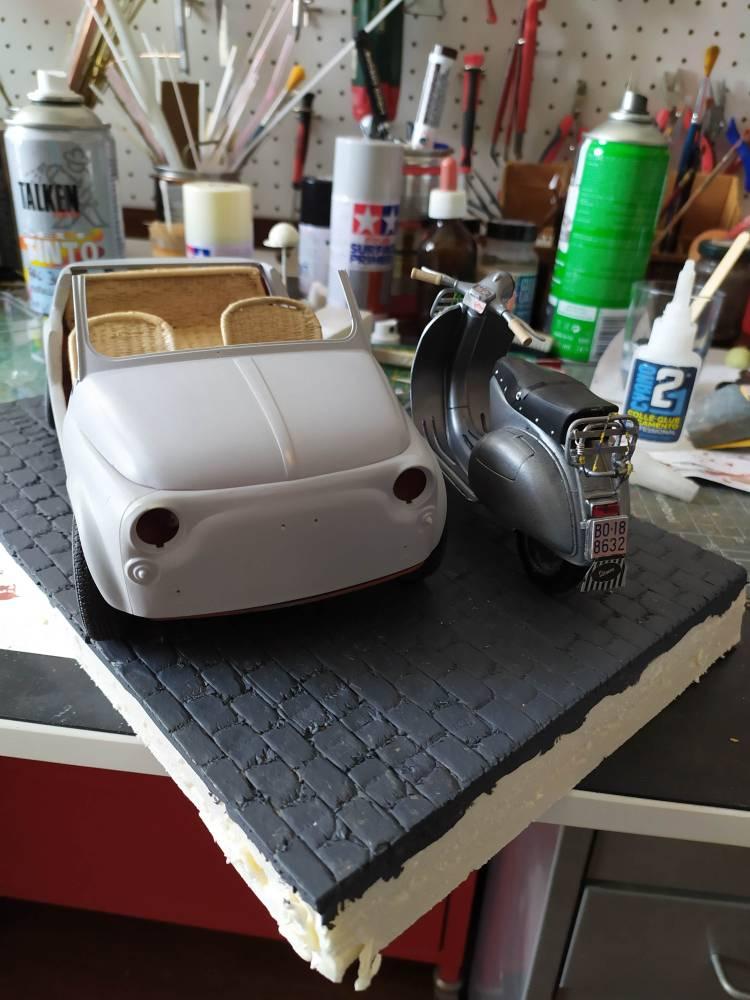
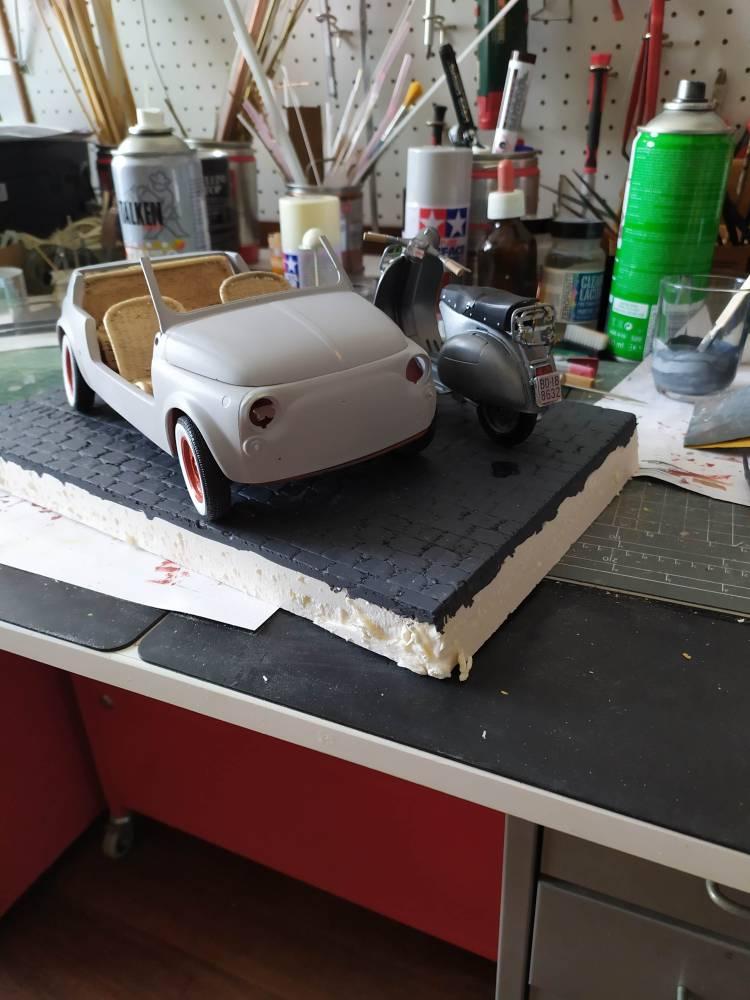
Here I made a first try to see if everything is in order and all parts match. This is a further trial. I made a base of polystyrene engraved to reproduce a cobblestone road. I also parked a Vespa 150 GS near to the 500. The Vespa is a simple die-cast, but I improved it with a new coat of paint and some accessories.
-
Tom Geiger, to build the wicker seats in 1/24 is an absolute nightmare, unless you have a grandma well experienced in embroidery. I believe that the only possible solution is to 3d print them.
-
Many thanks to all of you for your support.
-
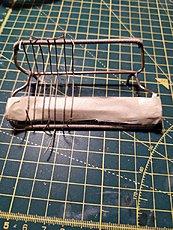
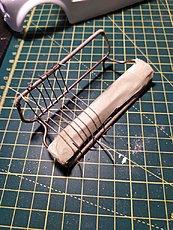
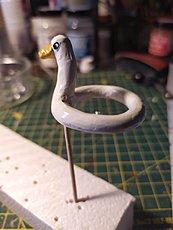
Thanks for your approval. Here below I enclose a couple of pictures that I failed to post. This is the rear bench seat. You can see how I made the wicker seats. Some vertical wires (0.75 mm) were glued to the brass frame with CA glue. By trial and painful errors I learned that the vertical wires must be a odd number. If the number is even, the wires will cross in a wrong way and you are forced to undo your boring work and to restart from the beginning. Once the vertical wires are in position and well glued, you take a big sewing needle and the wire (in this case 0.5 mm) and begin to pass through the vertical wires. Just to relax myself I prepared a funny item: a lifesaver made out of Fimo clay.