-
Posts
102 -
Joined
-
Last visited
Content Type
Profiles
Forums
Events
Gallery
Everything posted by Igor
-
OK, I'm done. Happy that I had the chance to close this post. Looking forward to posing a new one soon. Hope you all are keeping safe and healthy. Be safe, be well.
-
-
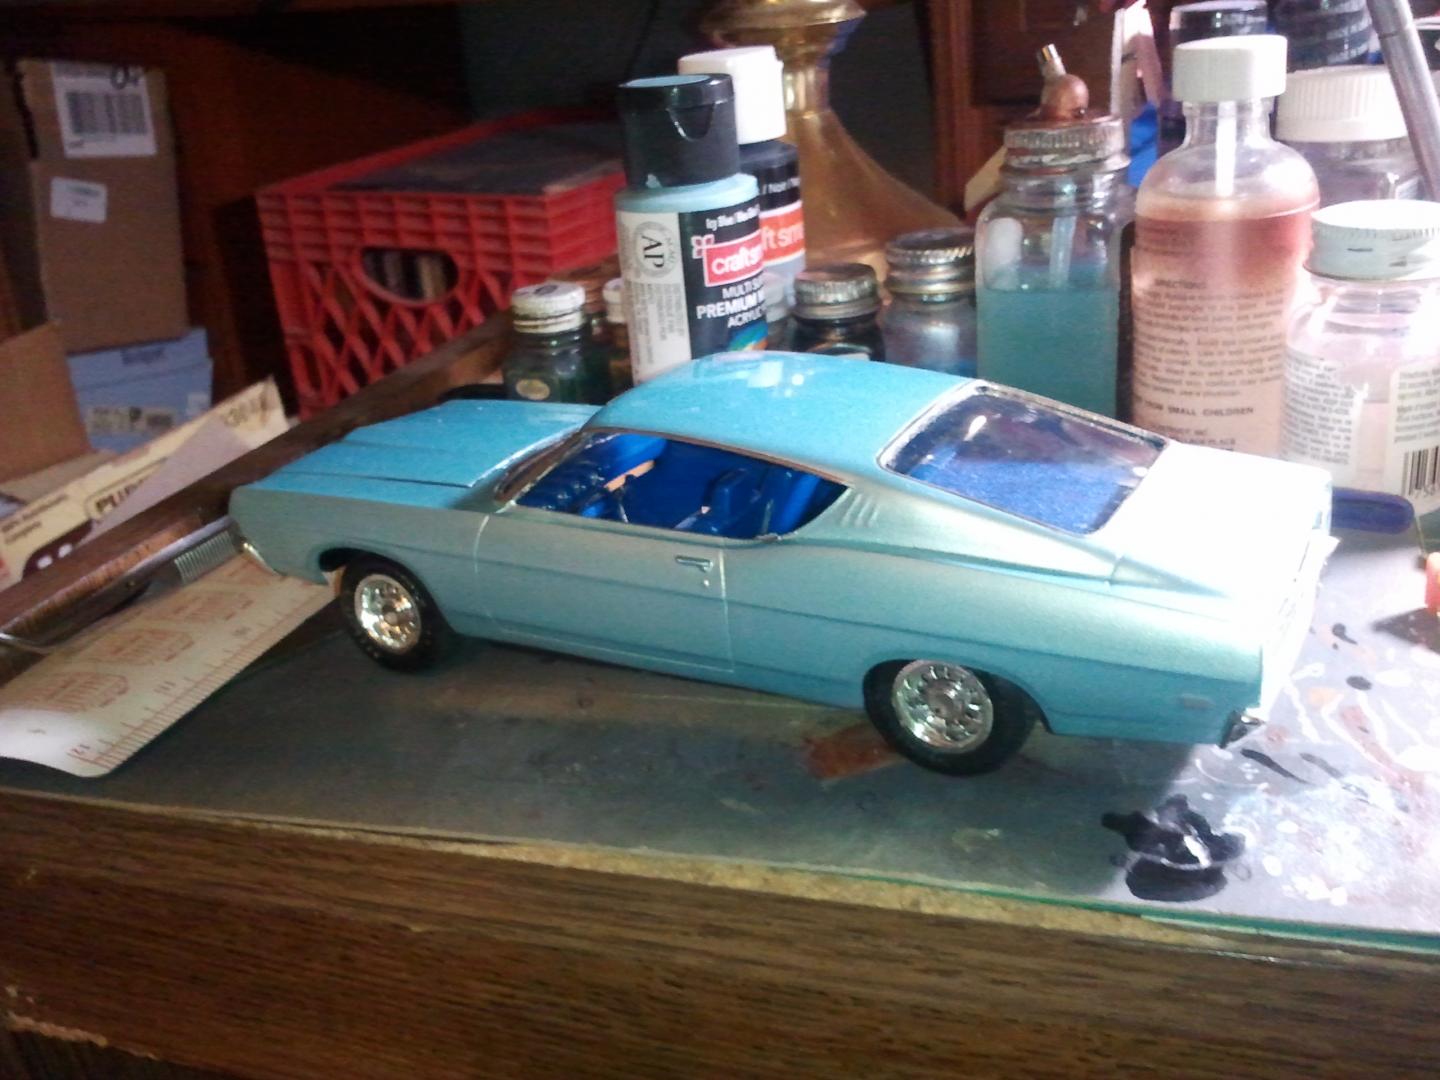
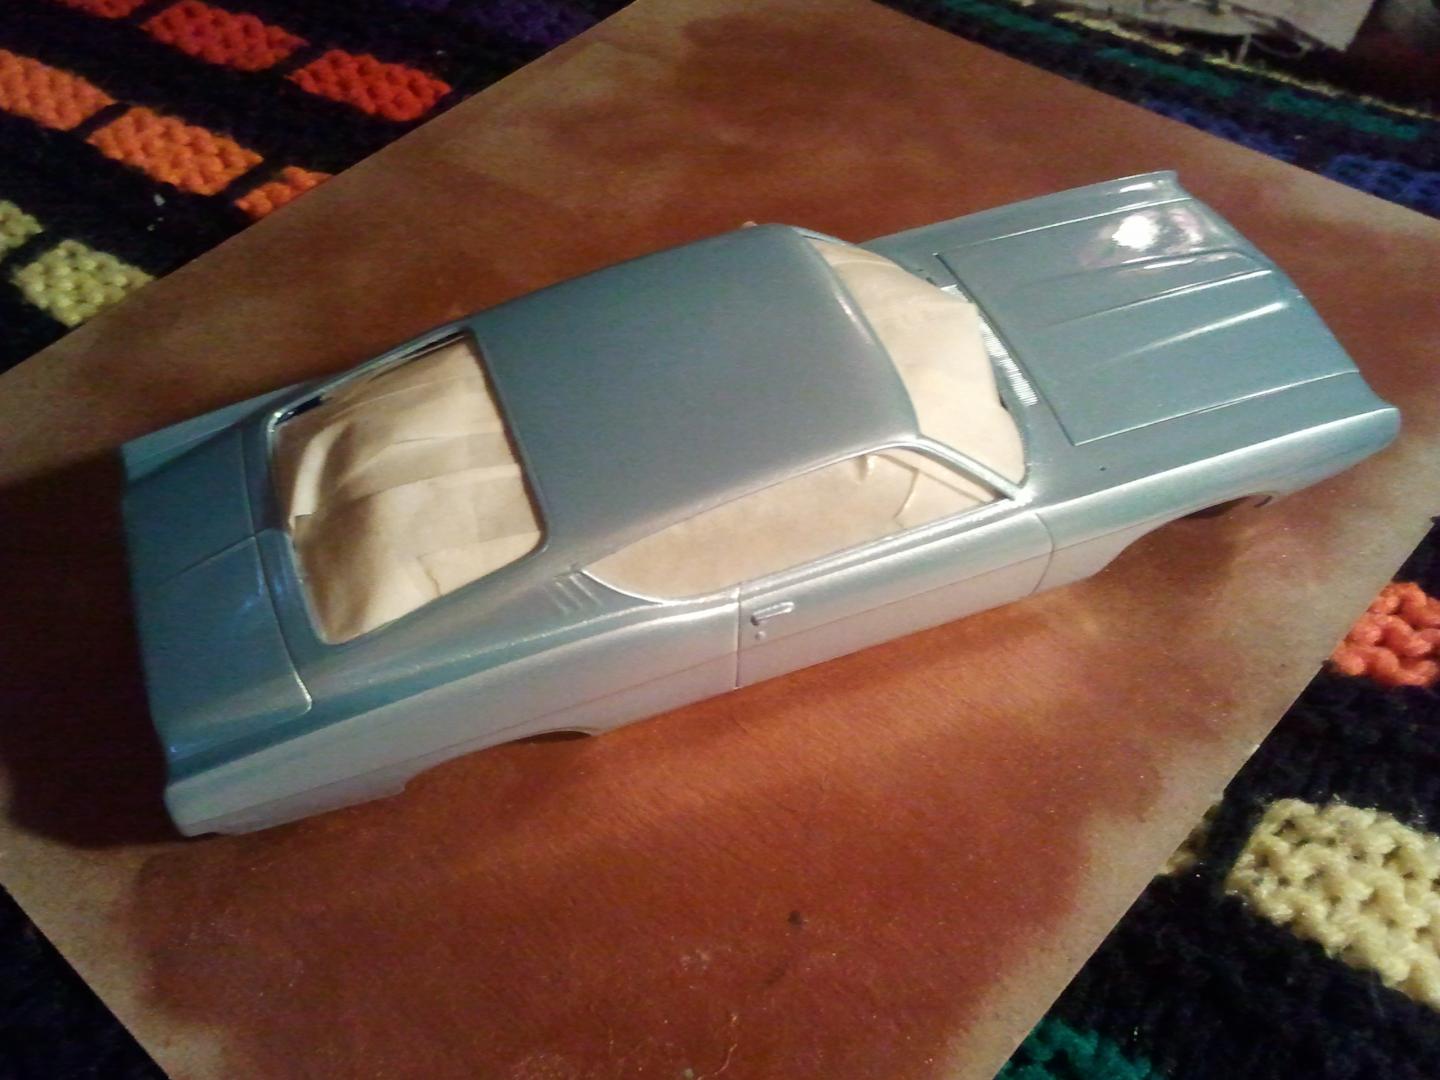
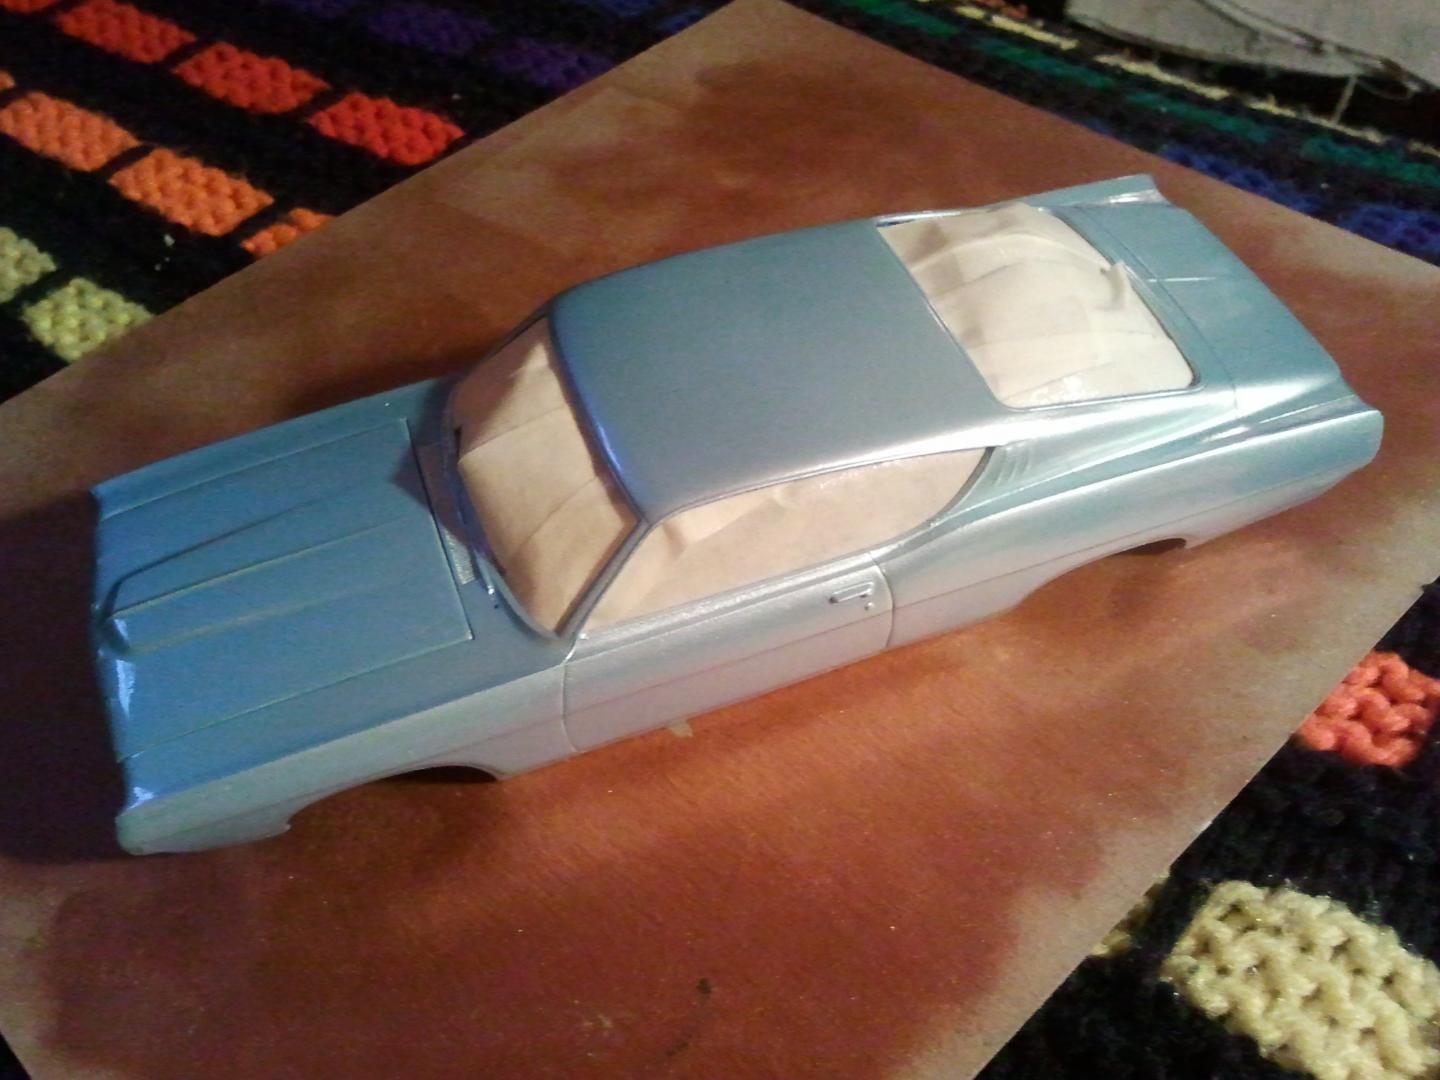
Sprayed some color on it. It is supposed to be a color-shift purple, but it's hard to see in photos.
-
-
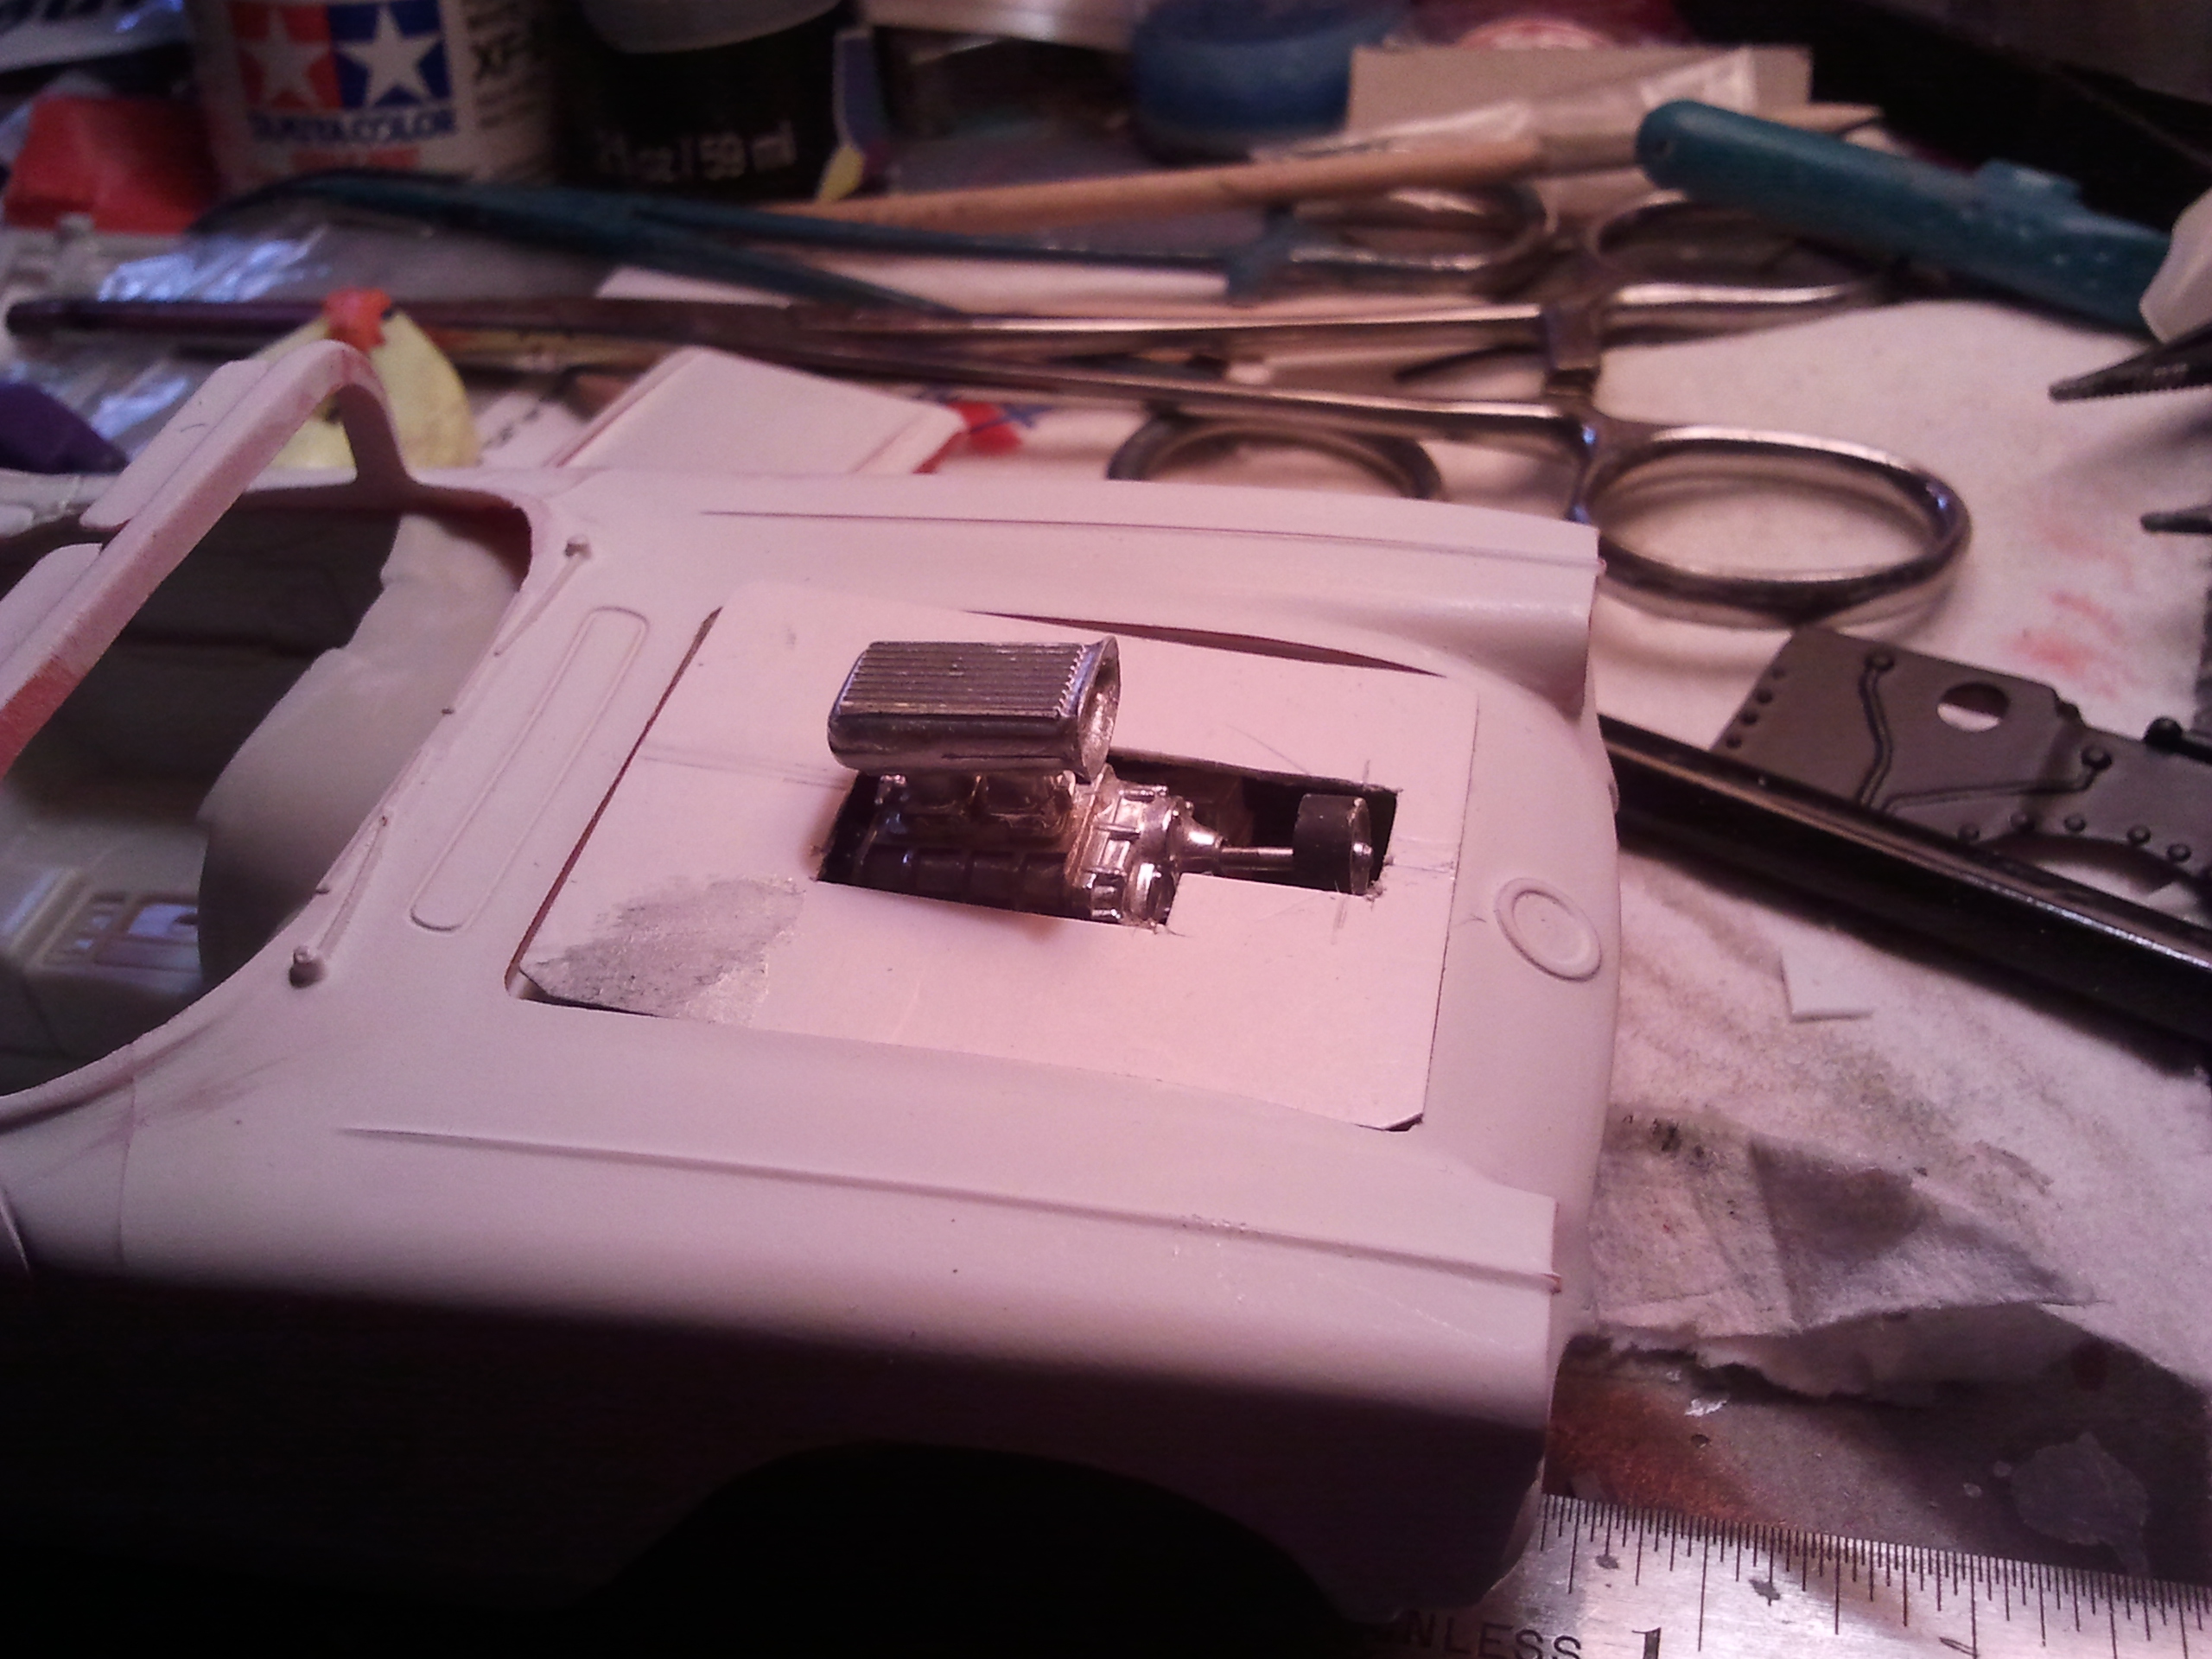
Turns out the engine was a little big, I didn't want to cut the hood without checking clearances first, so I made a test hood out of cardstock.
-
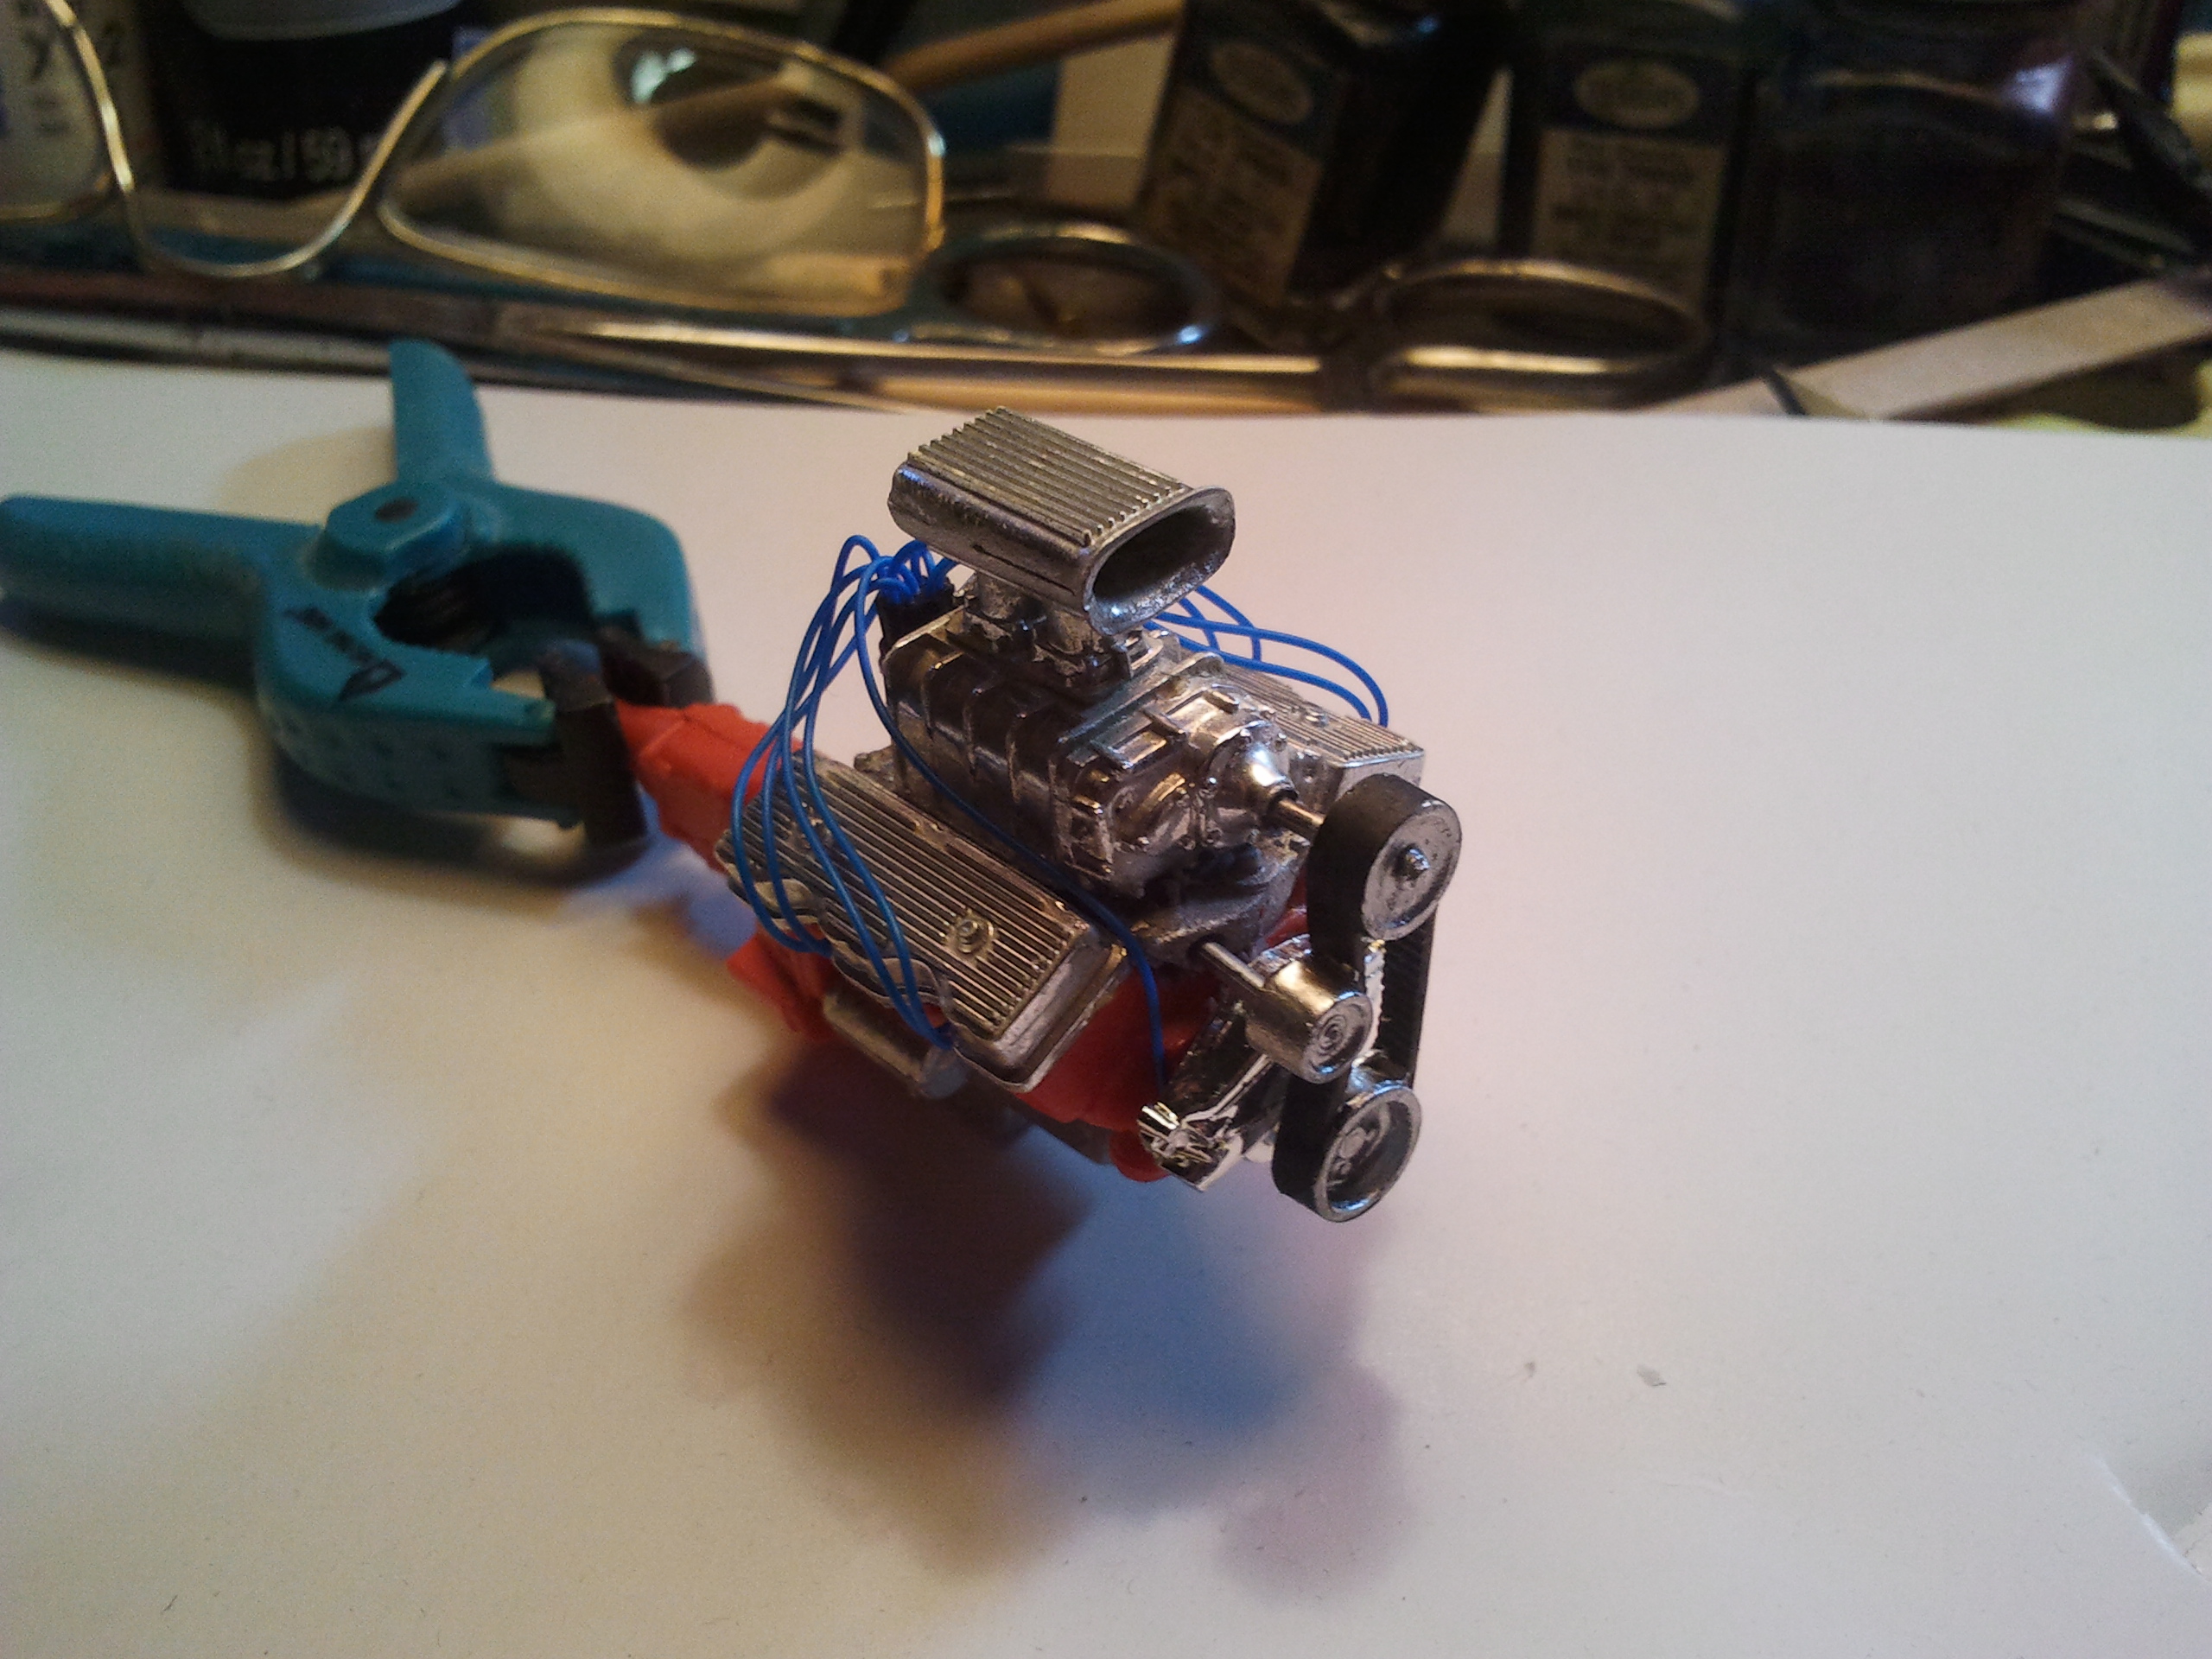
I tried to salvage as many pieces from the original engine as I could, replaced the block and such from the 409 from the AMT 57 Chevy...
-
Anyway, the story of this build starts with an engine. Years ago I built the AMT 1964 Chevy, I loved the 409, thought it was the best engine I had ever built, and held on to it for years So, it turns out that it wasn't as good as I remembered.
-
So, I emailed myself all the pictures from my phone (which, surprisingly, is still going strong, other than the fact that nobody, including Verizon, supports it anymore)
-
Hey guys! I'm back! Long story short, my phone quit letting me upload photos to this forum. And then my computer died. My sister bought me an Amazon Kindle for Christmas, so I decided to check back in, realized I never finished this post. I decided to resurrect it. Please be aware, this build was finished, like, three years ago...
-
Maybe I will try to update from my computer... But my computer is older than my phone, so I wouldn't count on it.
-
Ok, forget it... I can't upload photos from my phone to this web site anymore... It just doesn't work with my phone. It's not the website's fault, my phone is old and a piece of garbage. So you are just going to have to see it when you see it.
-
So, once again, we are getting closer to the NNL East, and so it is time for me to try and get a model together before the show... Since this year's show is focused on 1959, I picked up a cheap model at the last show, hoping to finish it up before the next show... So here's what I'm starting with...
-
Welcome! Yes, this is a great place to hang out... A lot of great people with a lot of great suggestions, but feel free to take them or leave them, we all have to figure out what works best for us! BTW, I tried to figure out how long it will take me to build all the models in my collection, at my current rate, and I would have to live to 160... :-) Not that I won't try...
-
I had the same idea. I am a fan of the craft paints as well, and I have a couple of "yuk" greys I was thinking about:-) two-toning something. Maybe that 55 Chevy sitting on the shelf.
-

1969 Torino Fastback - Almost finished (plus some commentary) - 04/20/17
Igor replied to Igor's topic in WIP: Model Cars
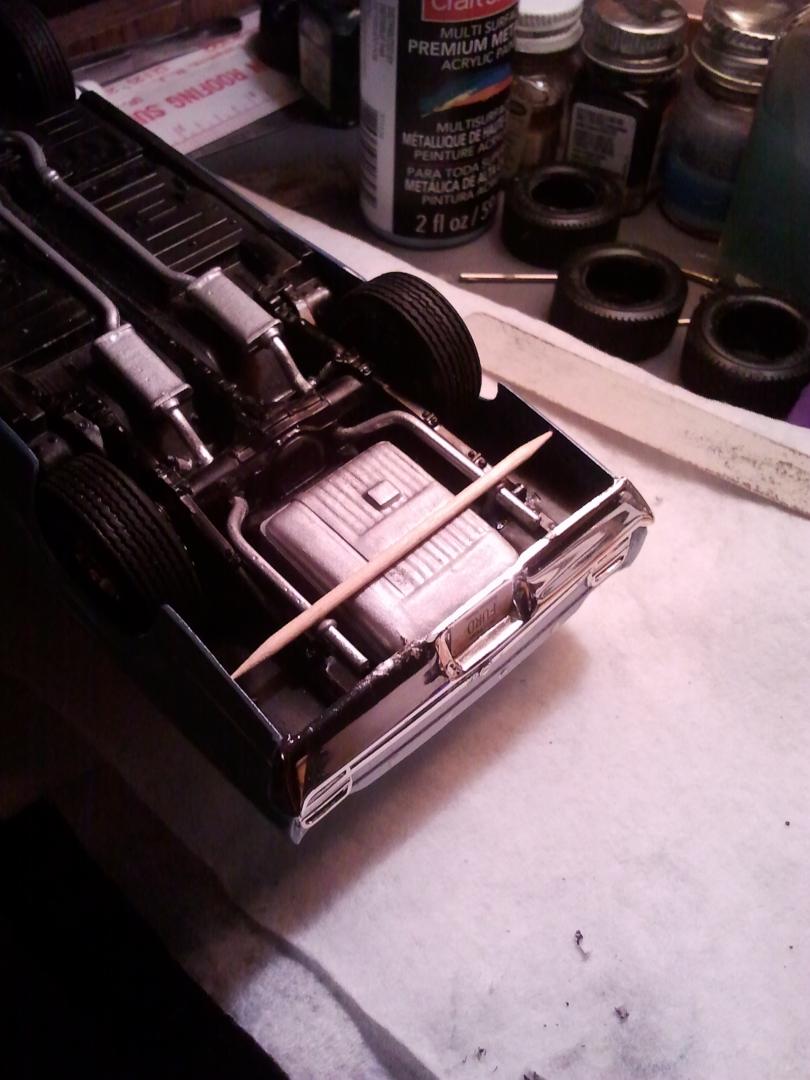
By the way, just to clarify, the toothpick was only left in to let the glue dry, it's out now -

1969 Torino Fastback - Almost finished (plus some commentary) - 04/20/17
Igor replied to Igor's topic in WIP: Model Cars
Looking forward to starting something new on Monday... -

1969 Torino Fastback - Almost finished (plus some commentary) - 04/20/17
Igor replied to Igor's topic in WIP: Model Cars
A whole lot of time and work has been put into what was supposed to be a quick and simple build (see first post). It has taken me about two years, on and off. But, despite it's problems, and there are many, I think, if I was to build a second one, right now, knowing what I know about building this one, twice, I think I could turn this into a decent model. Not one of the greatest ones out there, and definitely not one that a beginner would want to cut his teeth on, but, with some time, effort, and research into other's experience with it. I think it can be used as the basis for a decent model. Not by ME, of course! -

1969 Torino Fastback - Almost finished (plus some commentary) - 04/20/17
Igor replied to Igor's topic in WIP: Model Cars
So, I'm willing to say that it is about 99% done. I guess I jinxed myself and will be working on it the night before the show... -

1969 Torino Fastback - Almost finished (plus some commentary) - 04/20/17
Igor replied to Igor's topic in WIP: Model Cars
-

1969 Torino Fastback - Almost finished (plus some commentary) - 04/20/17
Igor replied to Igor's topic in WIP: Model Cars
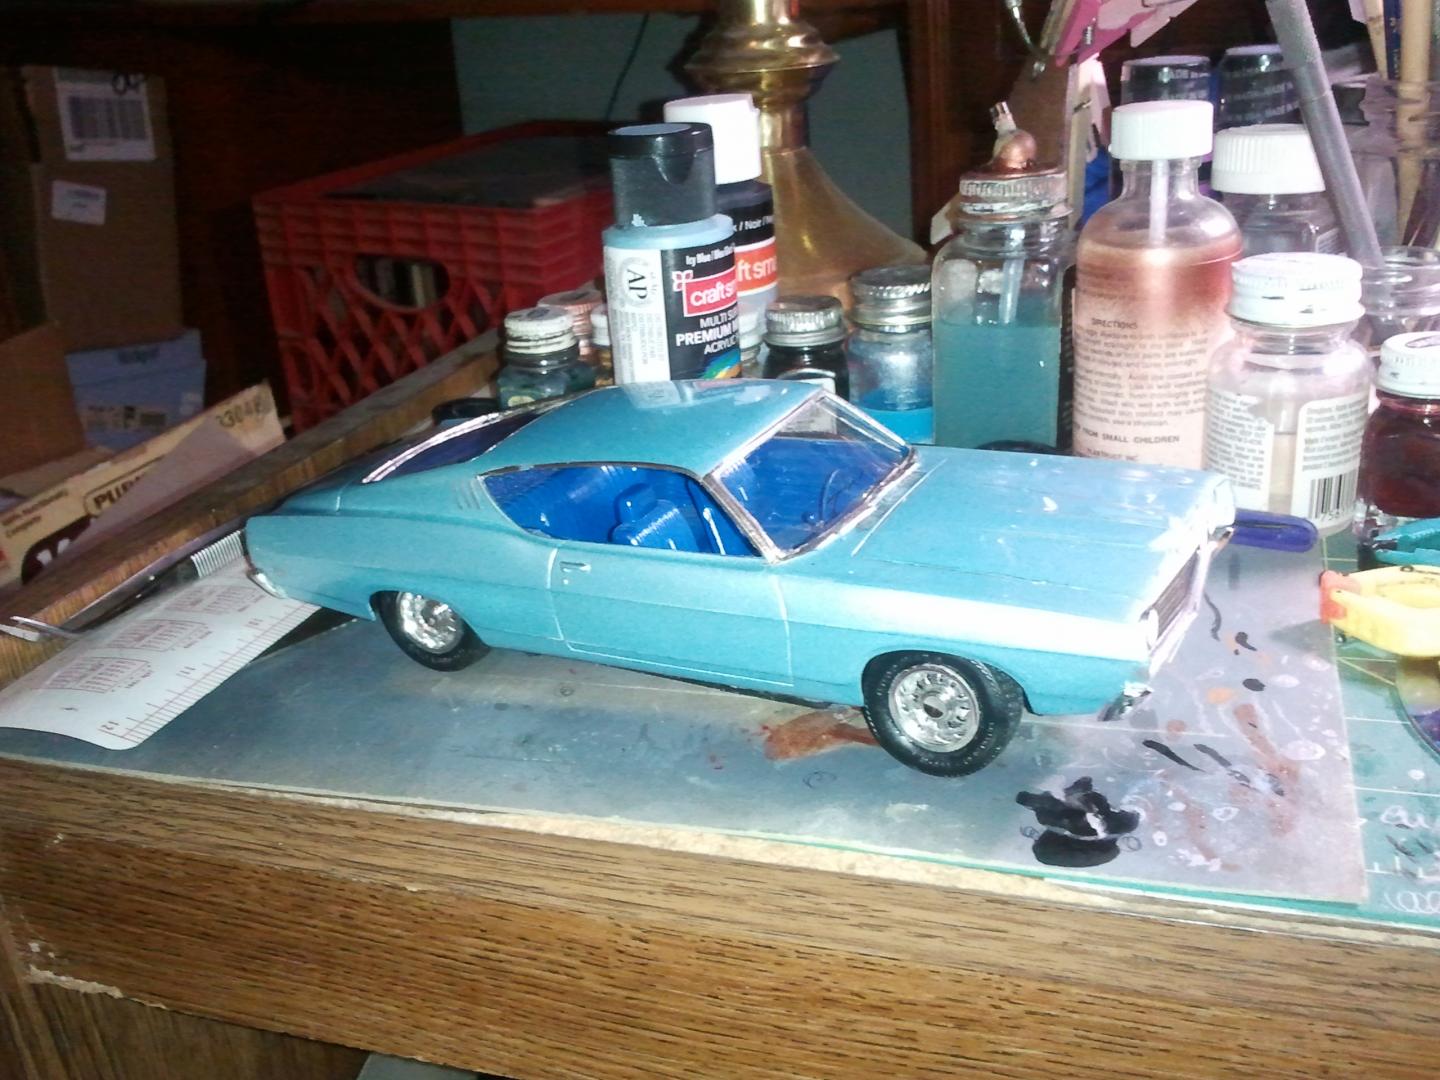
Update: I got almost everything finished up yesterday, still have a couple of little things that I would like to take a look at, but not tonight. As for the frame (bottom plate)... Yeah, it doesn't really fit well, especially when I decided to glue the back bumper/facia on last night. In order to get the bumper to fit, I had to use a toothpick to hold the frame up far enough, which makes the rear end sit a lot lower than I would have liked. If I had time, I would take it apart and cut the frame some. But, I do seem to remember that these cars tend to sit down low in the back... So, it's prototypical? Photos to follow -

1969 Torino Fastback - Almost finished (plus some commentary) - 04/20/17
Igor replied to Igor's topic in WIP: Model Cars
Haven't had a problem, yet. I'm a little bit away from final assembly at this point. Had a little problem during the mock up, but I think if I get the interior further up into the body everything should fit OK. -

1969 Torino Fastback - Almost finished (plus some commentary) - 04/20/17
Igor replied to Igor's topic in WIP: Model Cars
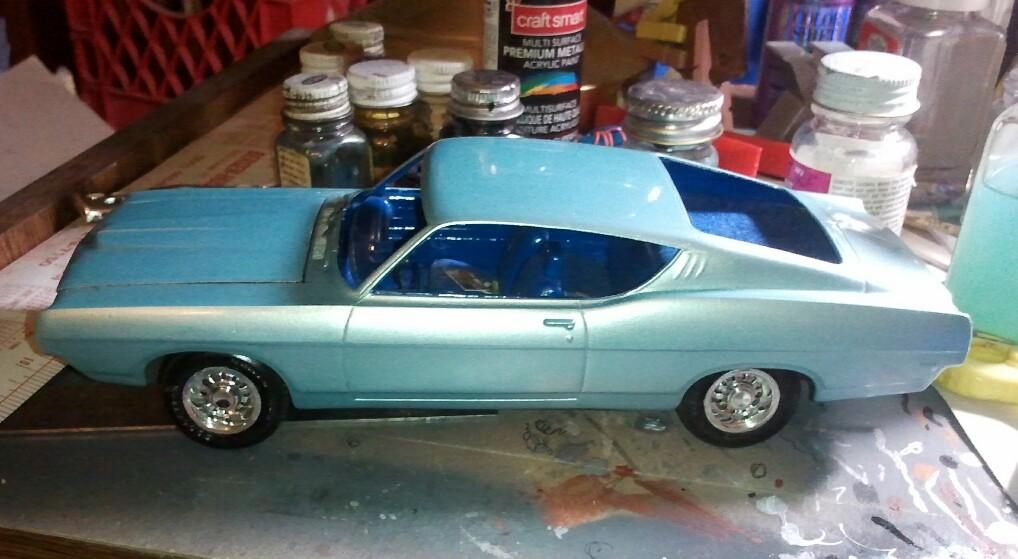
Quick mock-up just to see how everything is coming together. I still have a lot to get finished, but I am off tomorrow, so I am hoping to get most of it done. I don't want to jinx myself, but this may be the first model in,as many years where I am not still working on it the night before the NNL East. -

1969 Torino Fastback - Almost finished (plus some commentary) - 04/20/17
Igor replied to Igor's topic in WIP: Model Cars
I have not mentioned until now that this model kind of holds a special place for me (which is why I am spending so much time trying to get it to look right). The first car I remember us having when I was growing up was a 1968 Ford Fairlane 500 station wagon, medium blue metallic with a blue interior and a 289 HiPo under the hood. That car took us from Maine to Florida, and I can remember Dad "dusting" a few cars that thought it was just a pokey station wagon! -

1969 Torino Fastback - Almost finished (plus some commentary) - 04/20/17
Igor replied to Igor's topic in WIP: Model Cars
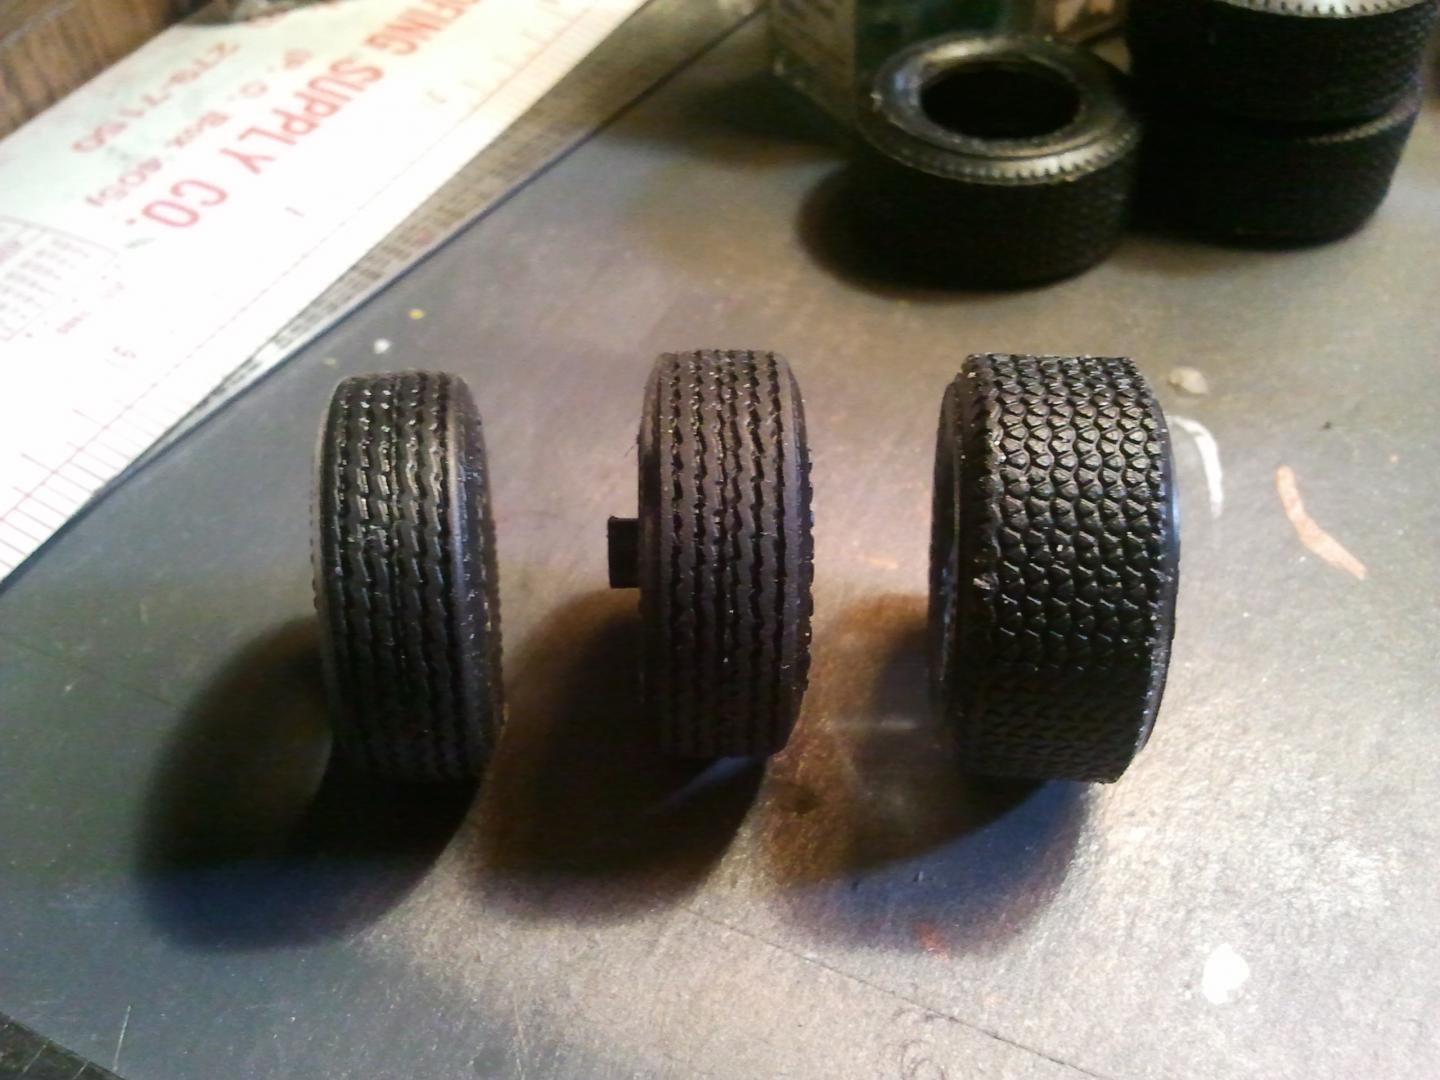
Unfortunately for every 3 steps I take forward, I seem to always take at least one step backwards. I masked off and painted the under hood area black the other day, and somehow I managed to get some black paint on my shiny paint job. I guess I should have painted the back first and masked that off and painted the body after, as I usually do. Oh well, live and learn. I managed to clean it up and get everything back to where I was before. I decided to mock everything up last night, and discovered that while the tires from the Joker Goon car fill out the wheel wells, they do it a little bit too much, in the rear they hit the fenders. So I dug through the parts box, and found a set that I think will work better. The tires on the left side of the photo are the ones that I originally had on the model. The ons on the right are the ones from the Joker Goon car. The one in the middle is the one I'm going with. They seem to be very similar in size to the originals, but the wheel backs I am using this time will push them out a little further (I hope!). -

1969 Torino Fastback - Almost finished (plus some commentary) - 04/20/17
Igor replied to Igor's topic in WIP: Model Cars


