

Dave B
-
Posts
948 -
Joined
-
Last visited
Content Type
Profiles
Forums
Events
Gallery
Posts posted by Dave B
-
-
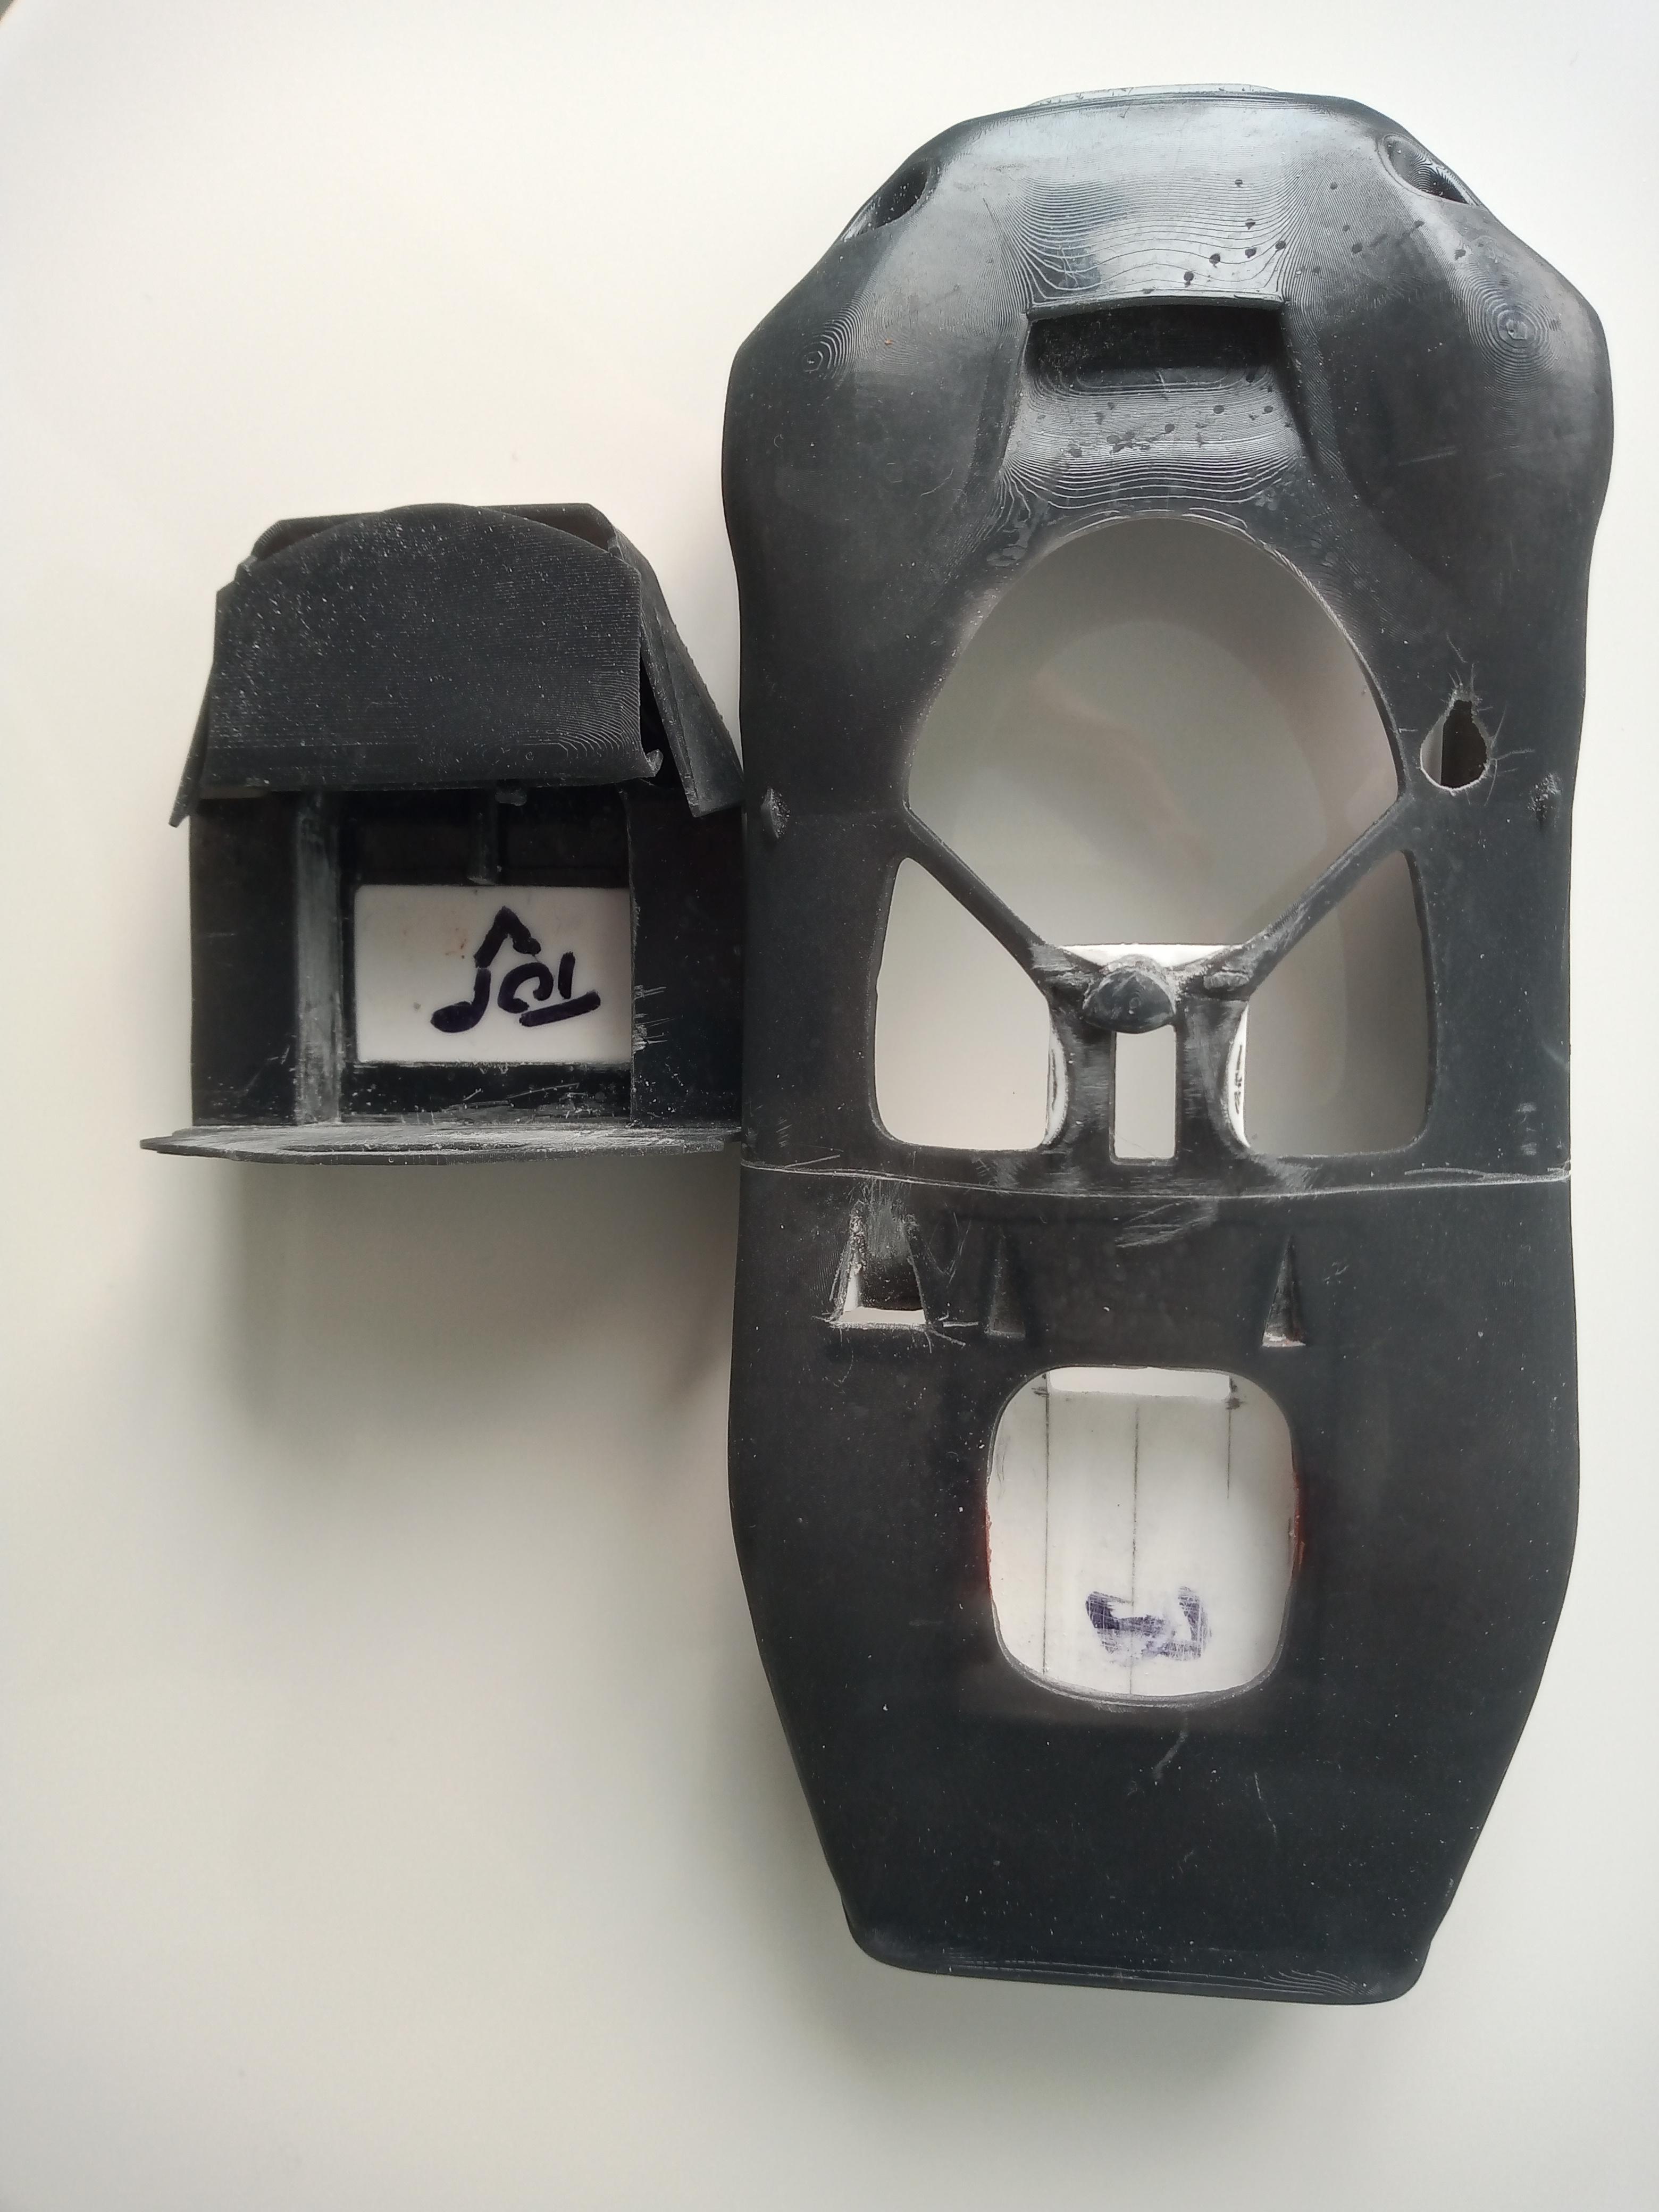
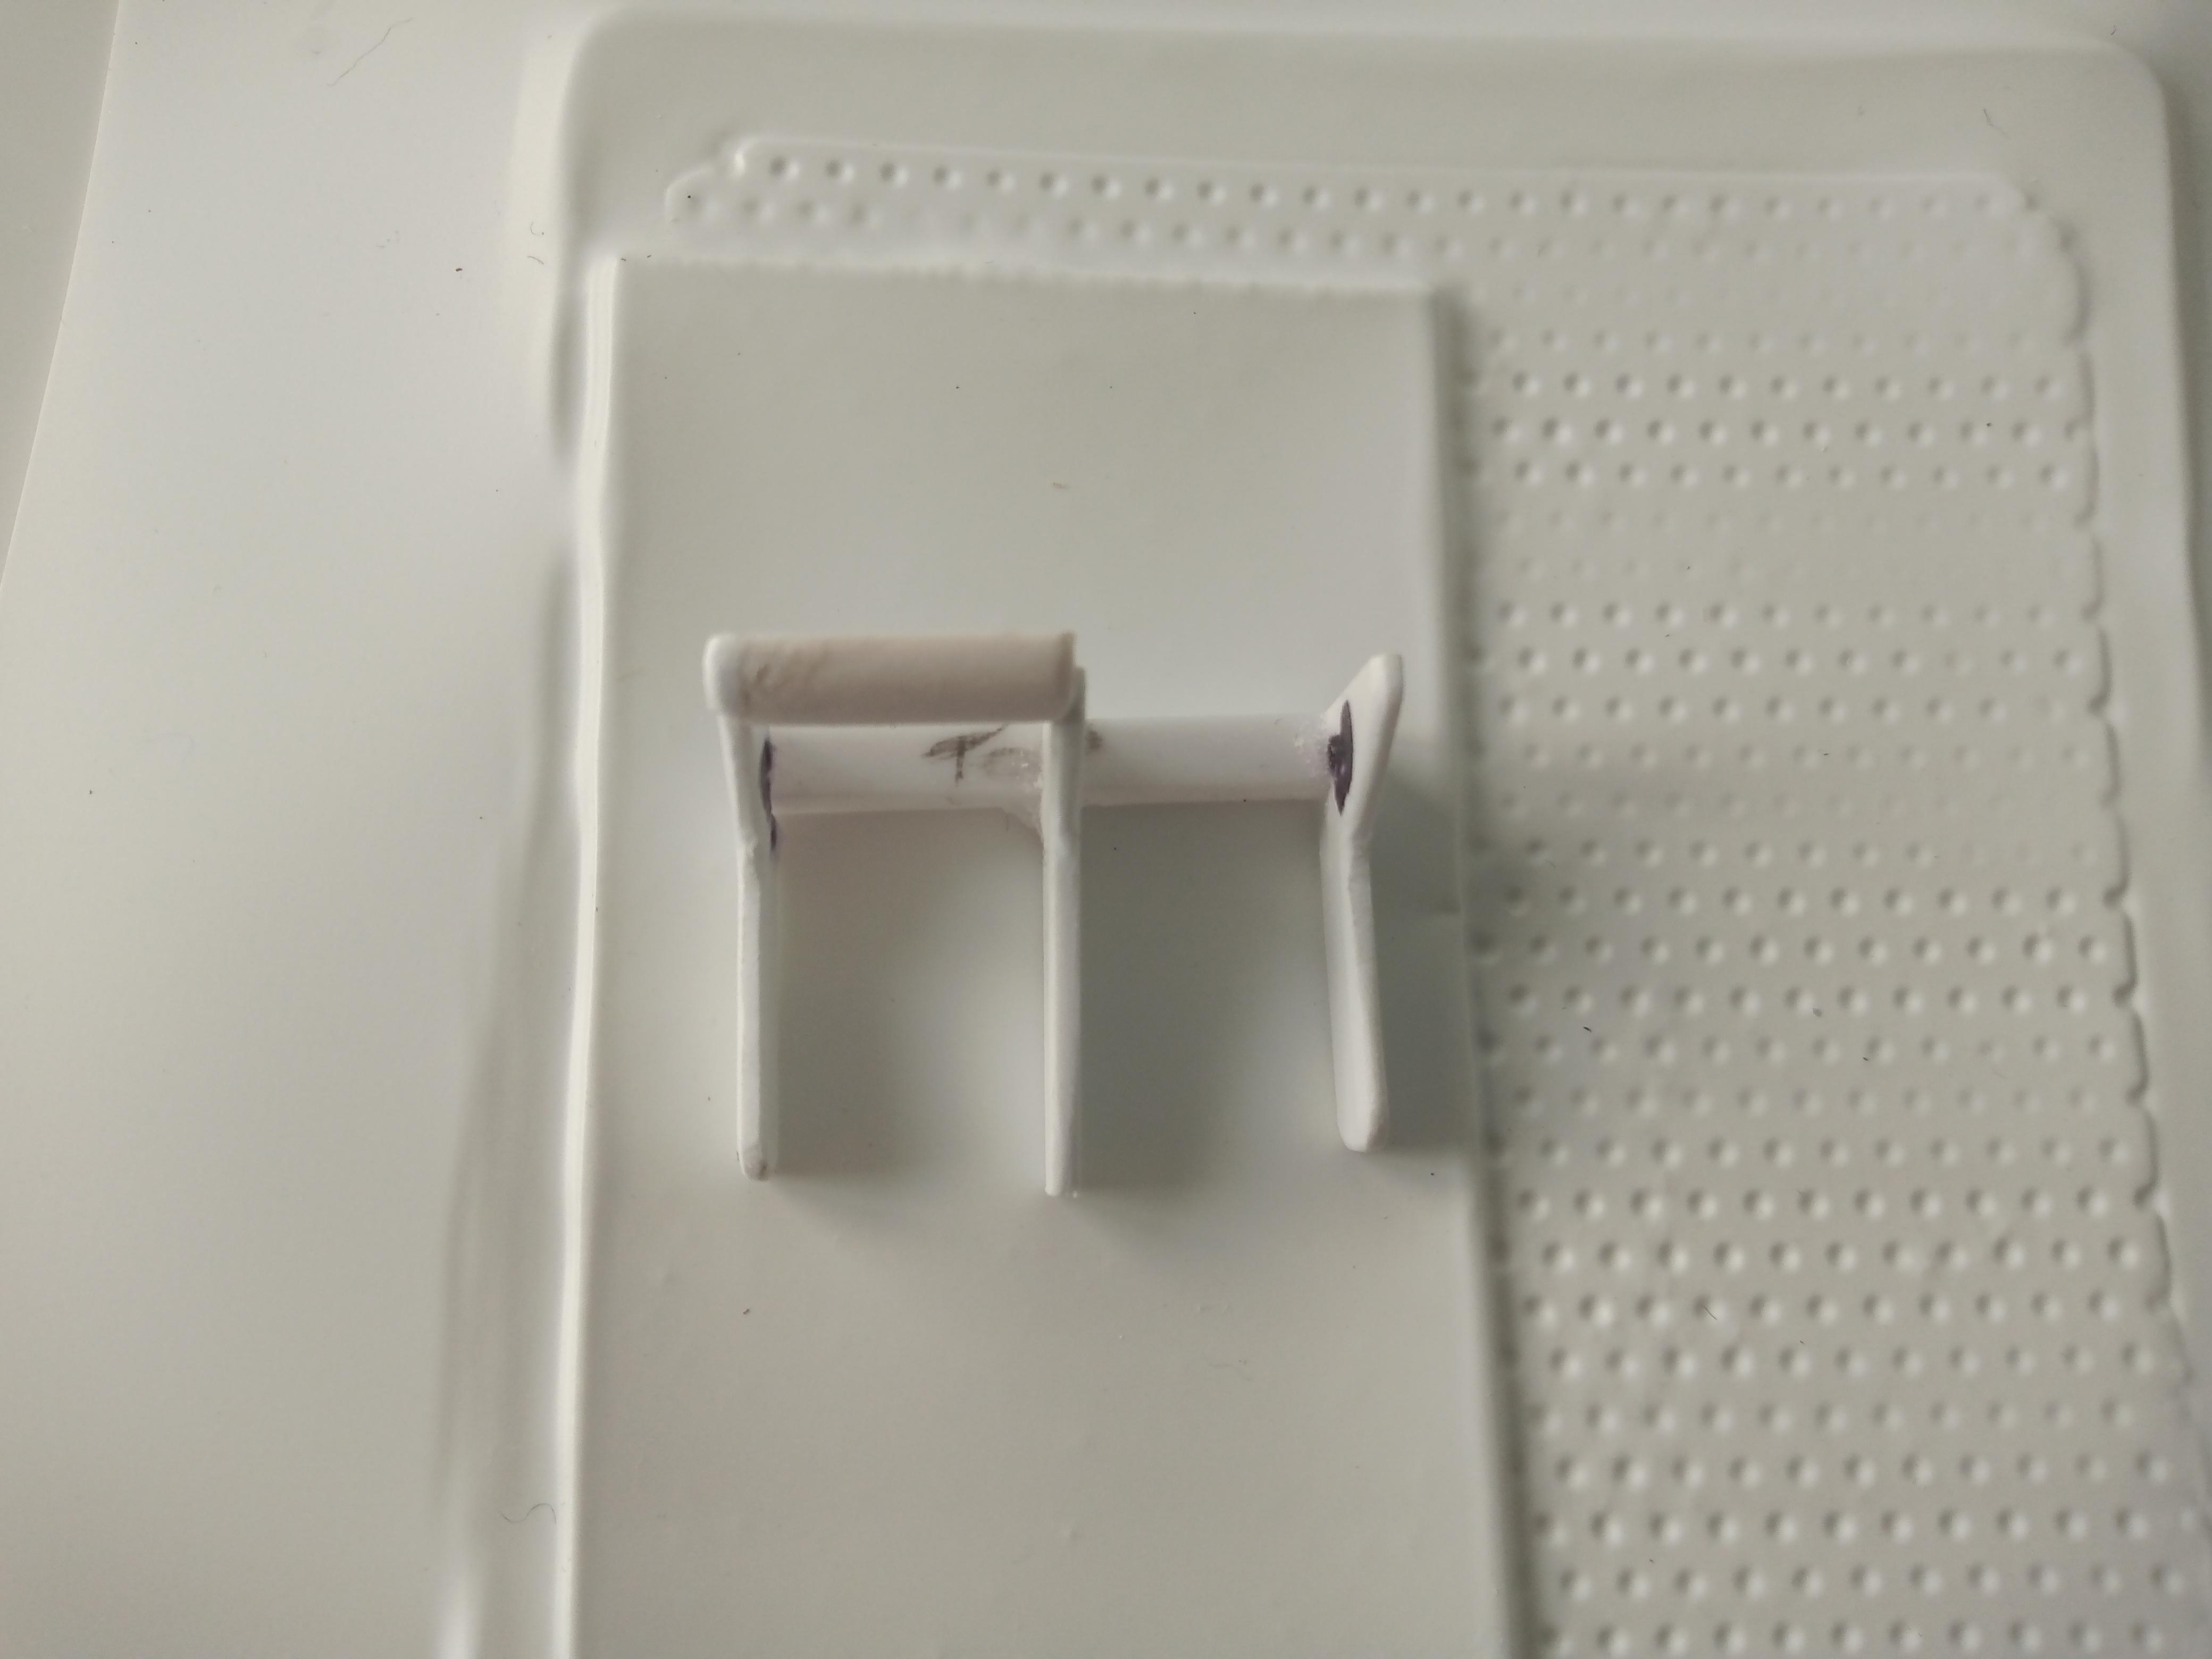
Update time. I had already added the large rear vent, correct engine cover tray and scribed the rear body panel when originally posted. Photos show where I have depended the body sides and reduced tuck in, filled in top of side windows and windscreen as they were too rounded. Interior wise I had already discarded the 50's bucket seats and I have now made a frame for my GT40 style drivers bucket seats and plain passengers. I wondered what to make the seat face out of and remembered my vacform box had small round indentations. Put in some .010" styrene and it should work.
Being the eternal optimist I have also found some appropriate 3 eared knockoffs for the wheels!!
Body looks slightly distorted as I used phone. It's not.

Dave B
-
 1
1
-
-
This looks great assembled, my mate has it although his is Wills Finecast, same kit, different name.
Looking forward to seeing yours finished as my mate is a rather hasty builder!!
Dave B
-
 1
1
-
-
1 hour ago, kensar said:
If I remember correctly, Profil24 did one of these in resin in 1/24 scale some time ago.
Pretty sure they still do, expensive but nice! It wouldn't be a challenge either.
Dave B
-
5 hours ago, 1959scudetto said:
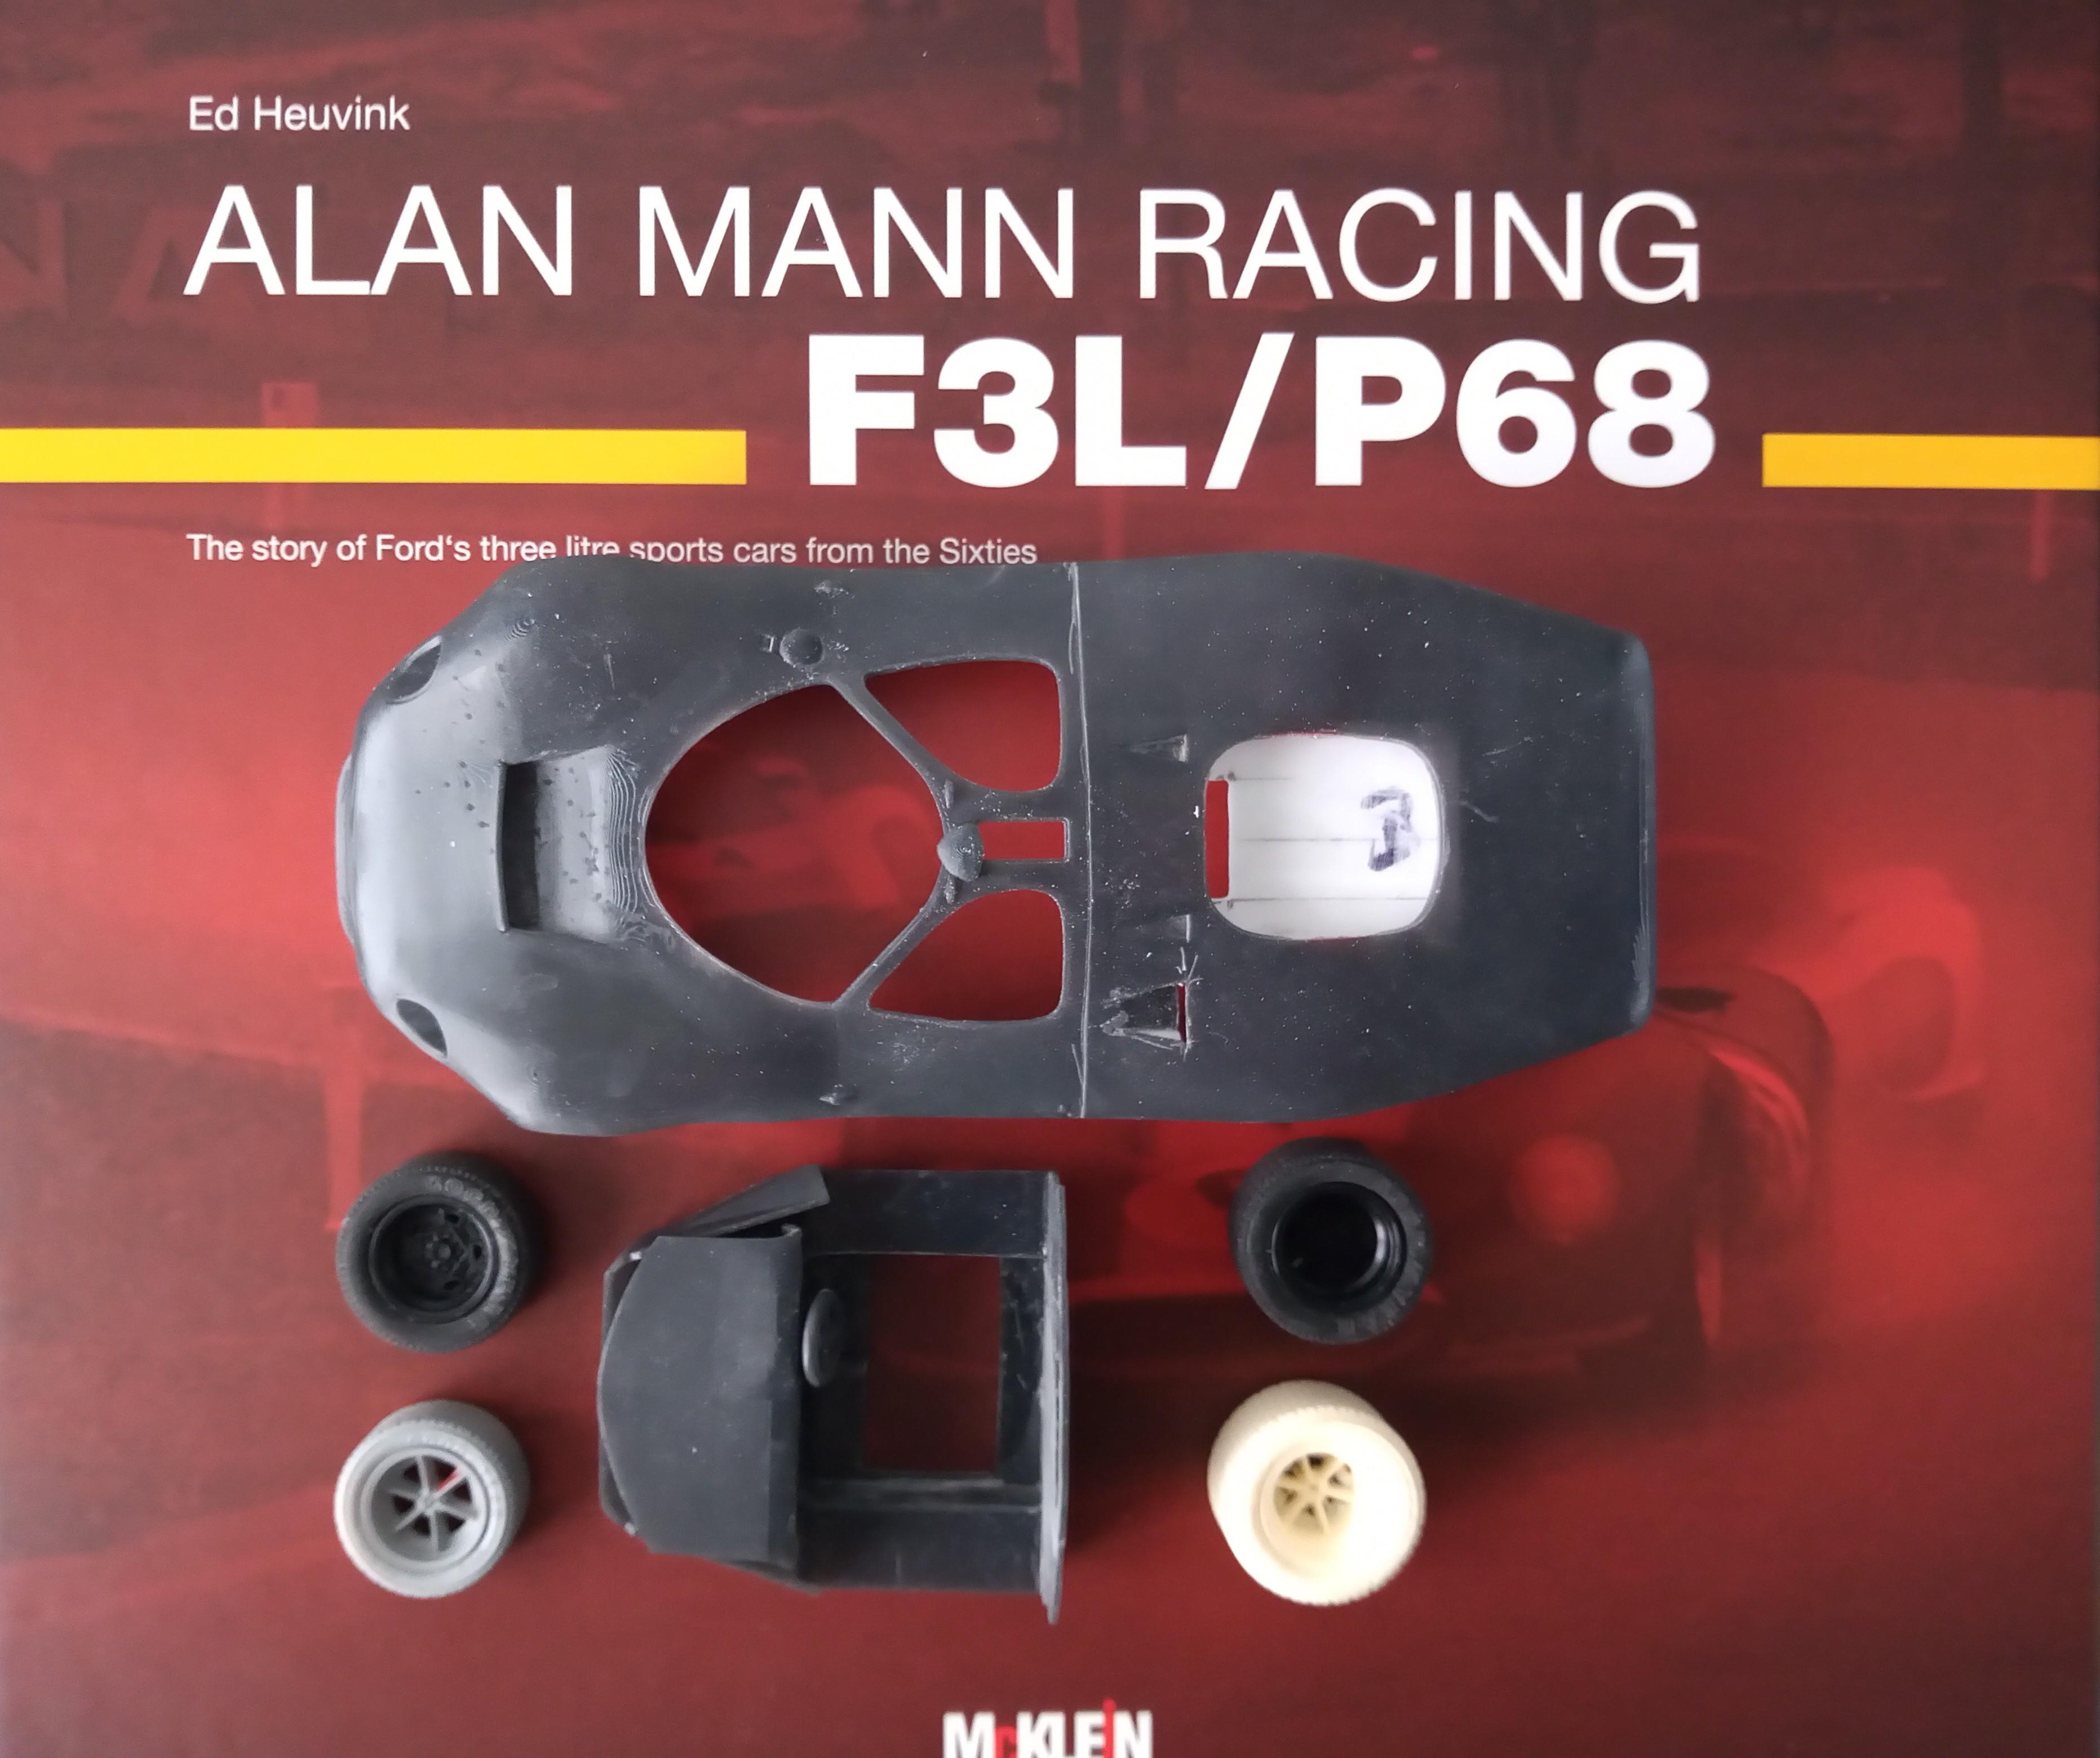
Dave, I will be following this one - the 3L/P68 is one of my favorites - I have the very same book in my library and a 1/24 built kit that I will disassemble and re-do with correct colors and markings (BOAC 500, Brands Hatch 1968) - I will take yours as an inspiration. Here is mine (as it came via ebay Italy, bought 5 years ago) :
Hi Helmut, looks like Tamiya's especially as it's moulded in green.
Am I correct ?
Dave B
-
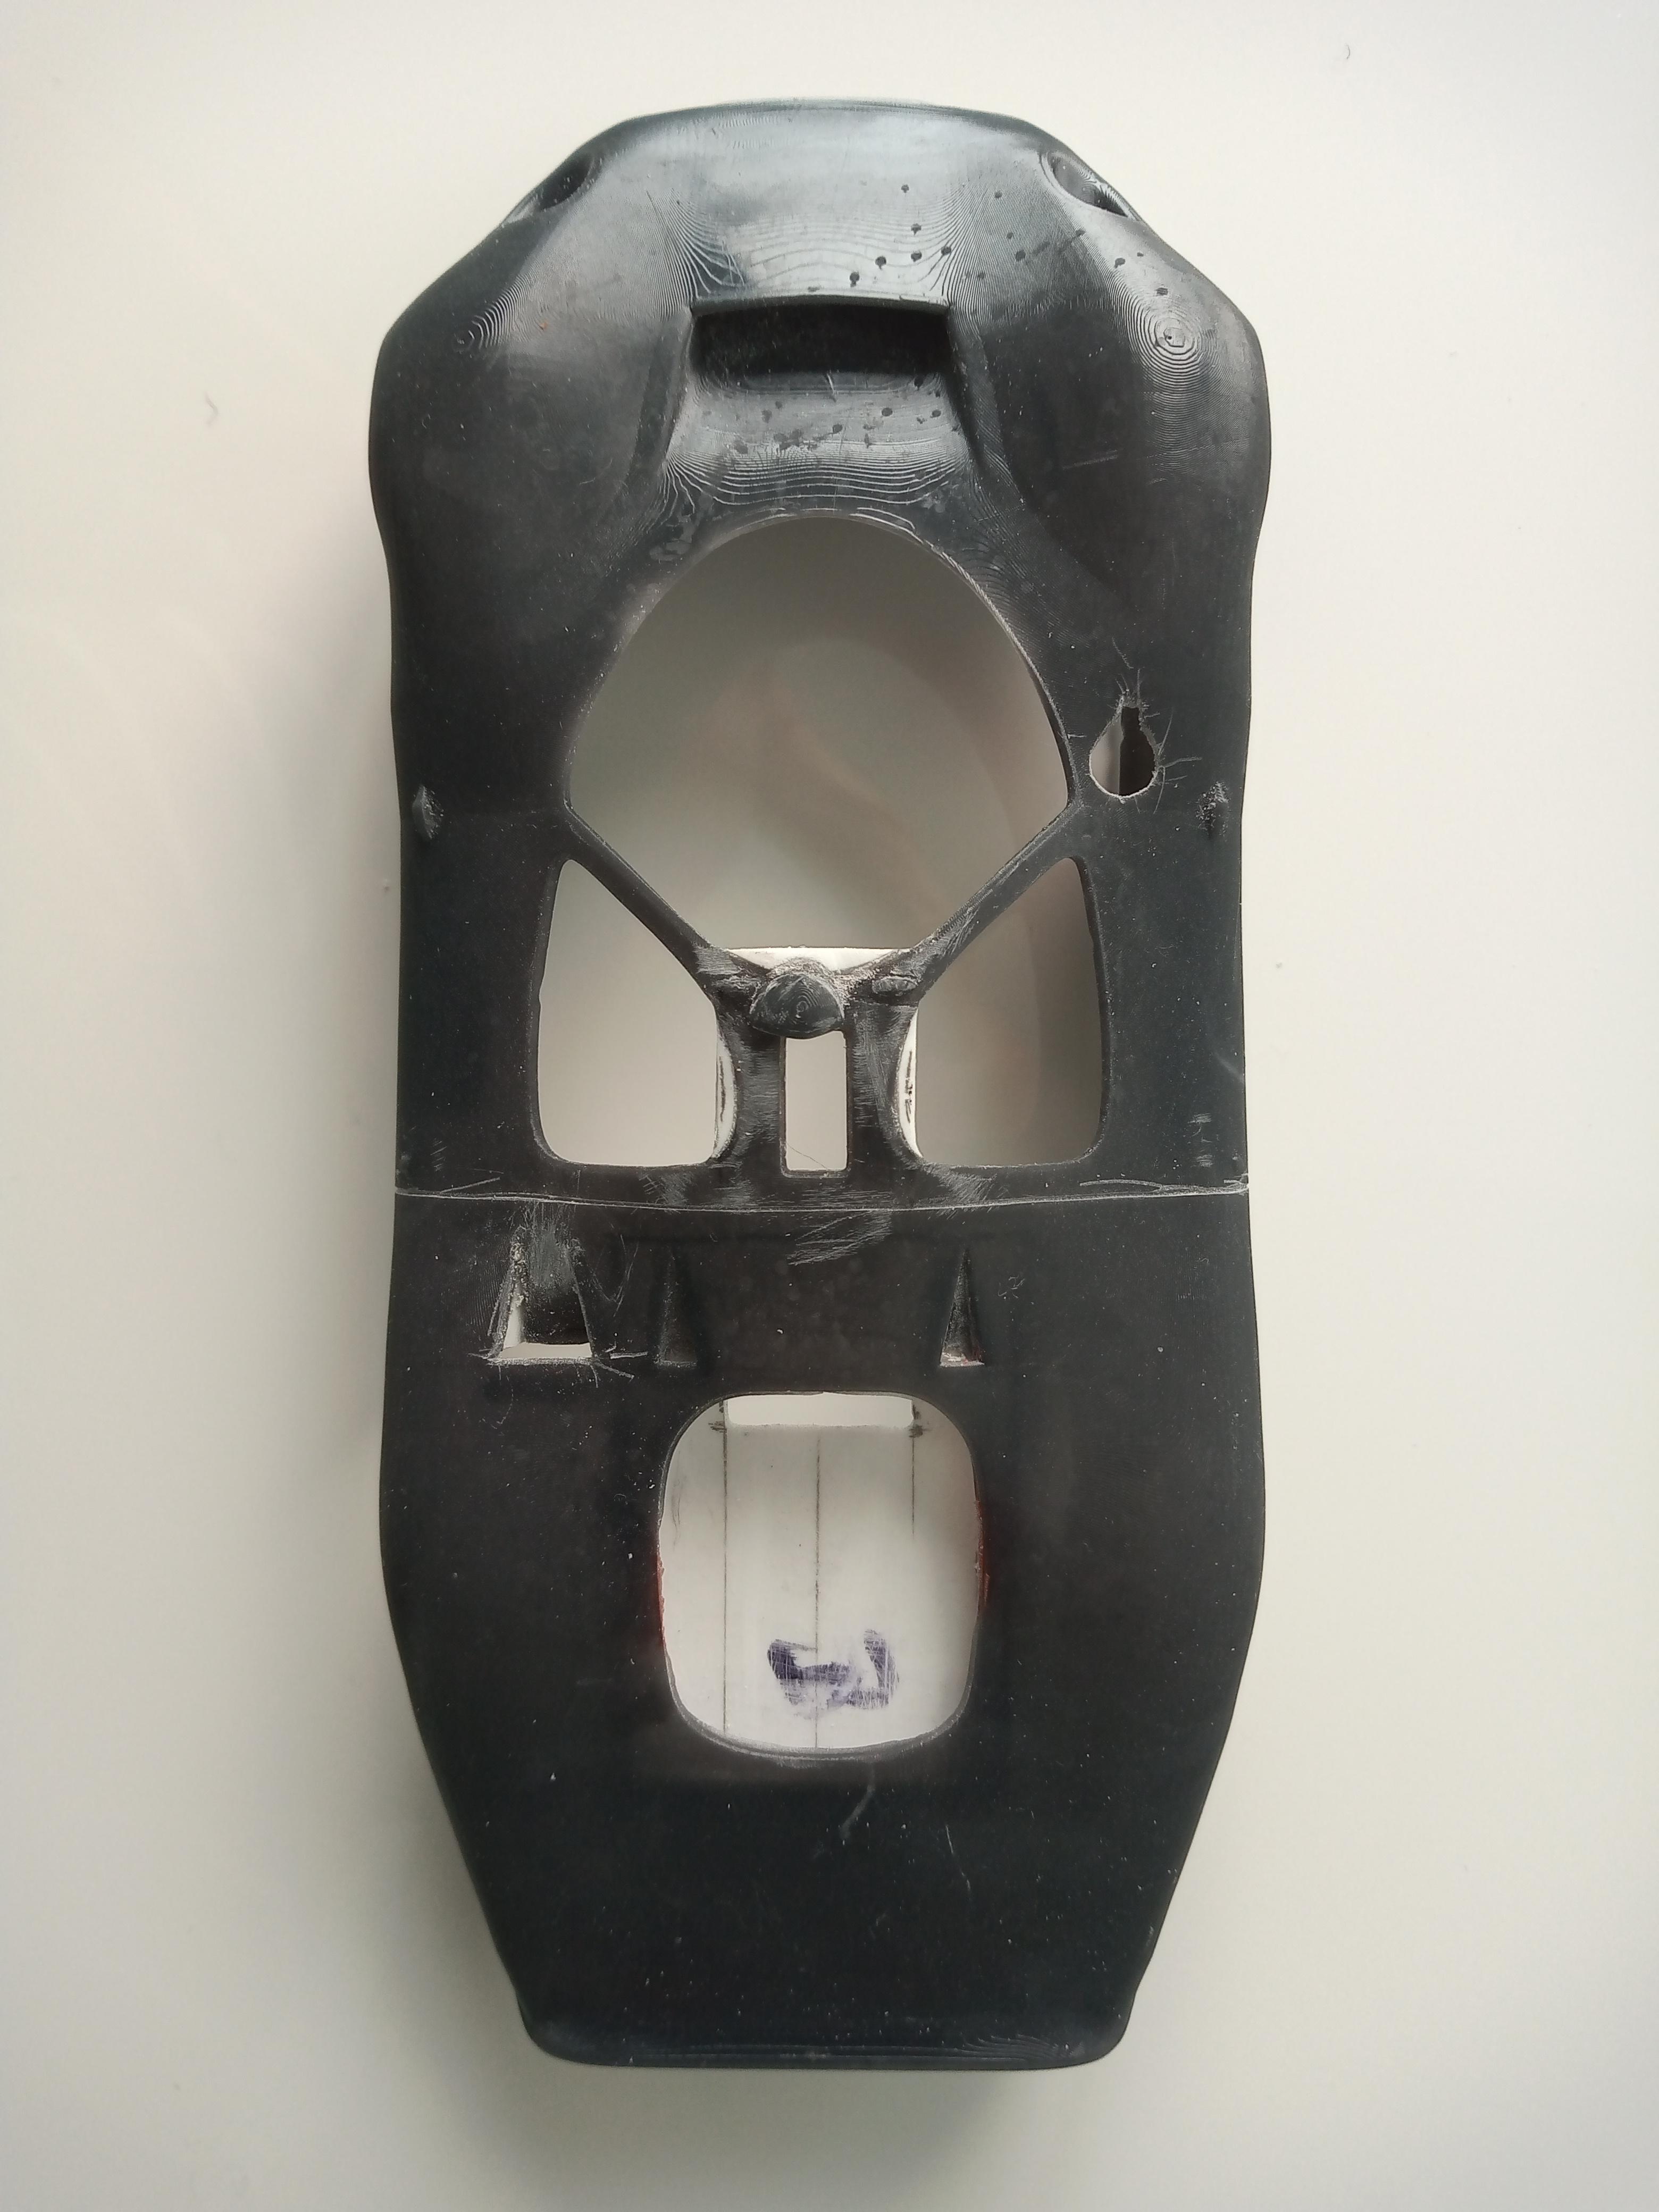
Late last year I bought a 3D file for this car as it looked reasonable.
Sucked in. The view under the rear window was a set of V8 injectors, right where the gearbox should be, the seats looked like they were out of a 50's sports car and the wheel/tyre combination didn't have any centres.
It's not going to be super detailed but it needs the DFV injection in the right place, GT40 style seats and home made wheels using something basic and of the correct period so I can add the 5 spoke centre.
The body is basically pretty good although probably a little shallow in the rear, particularly as I have "pulled" the sides down marginally.
Going to take some time.
Tks for looking
Dave B
-
Before and after pics.
Dave B
-
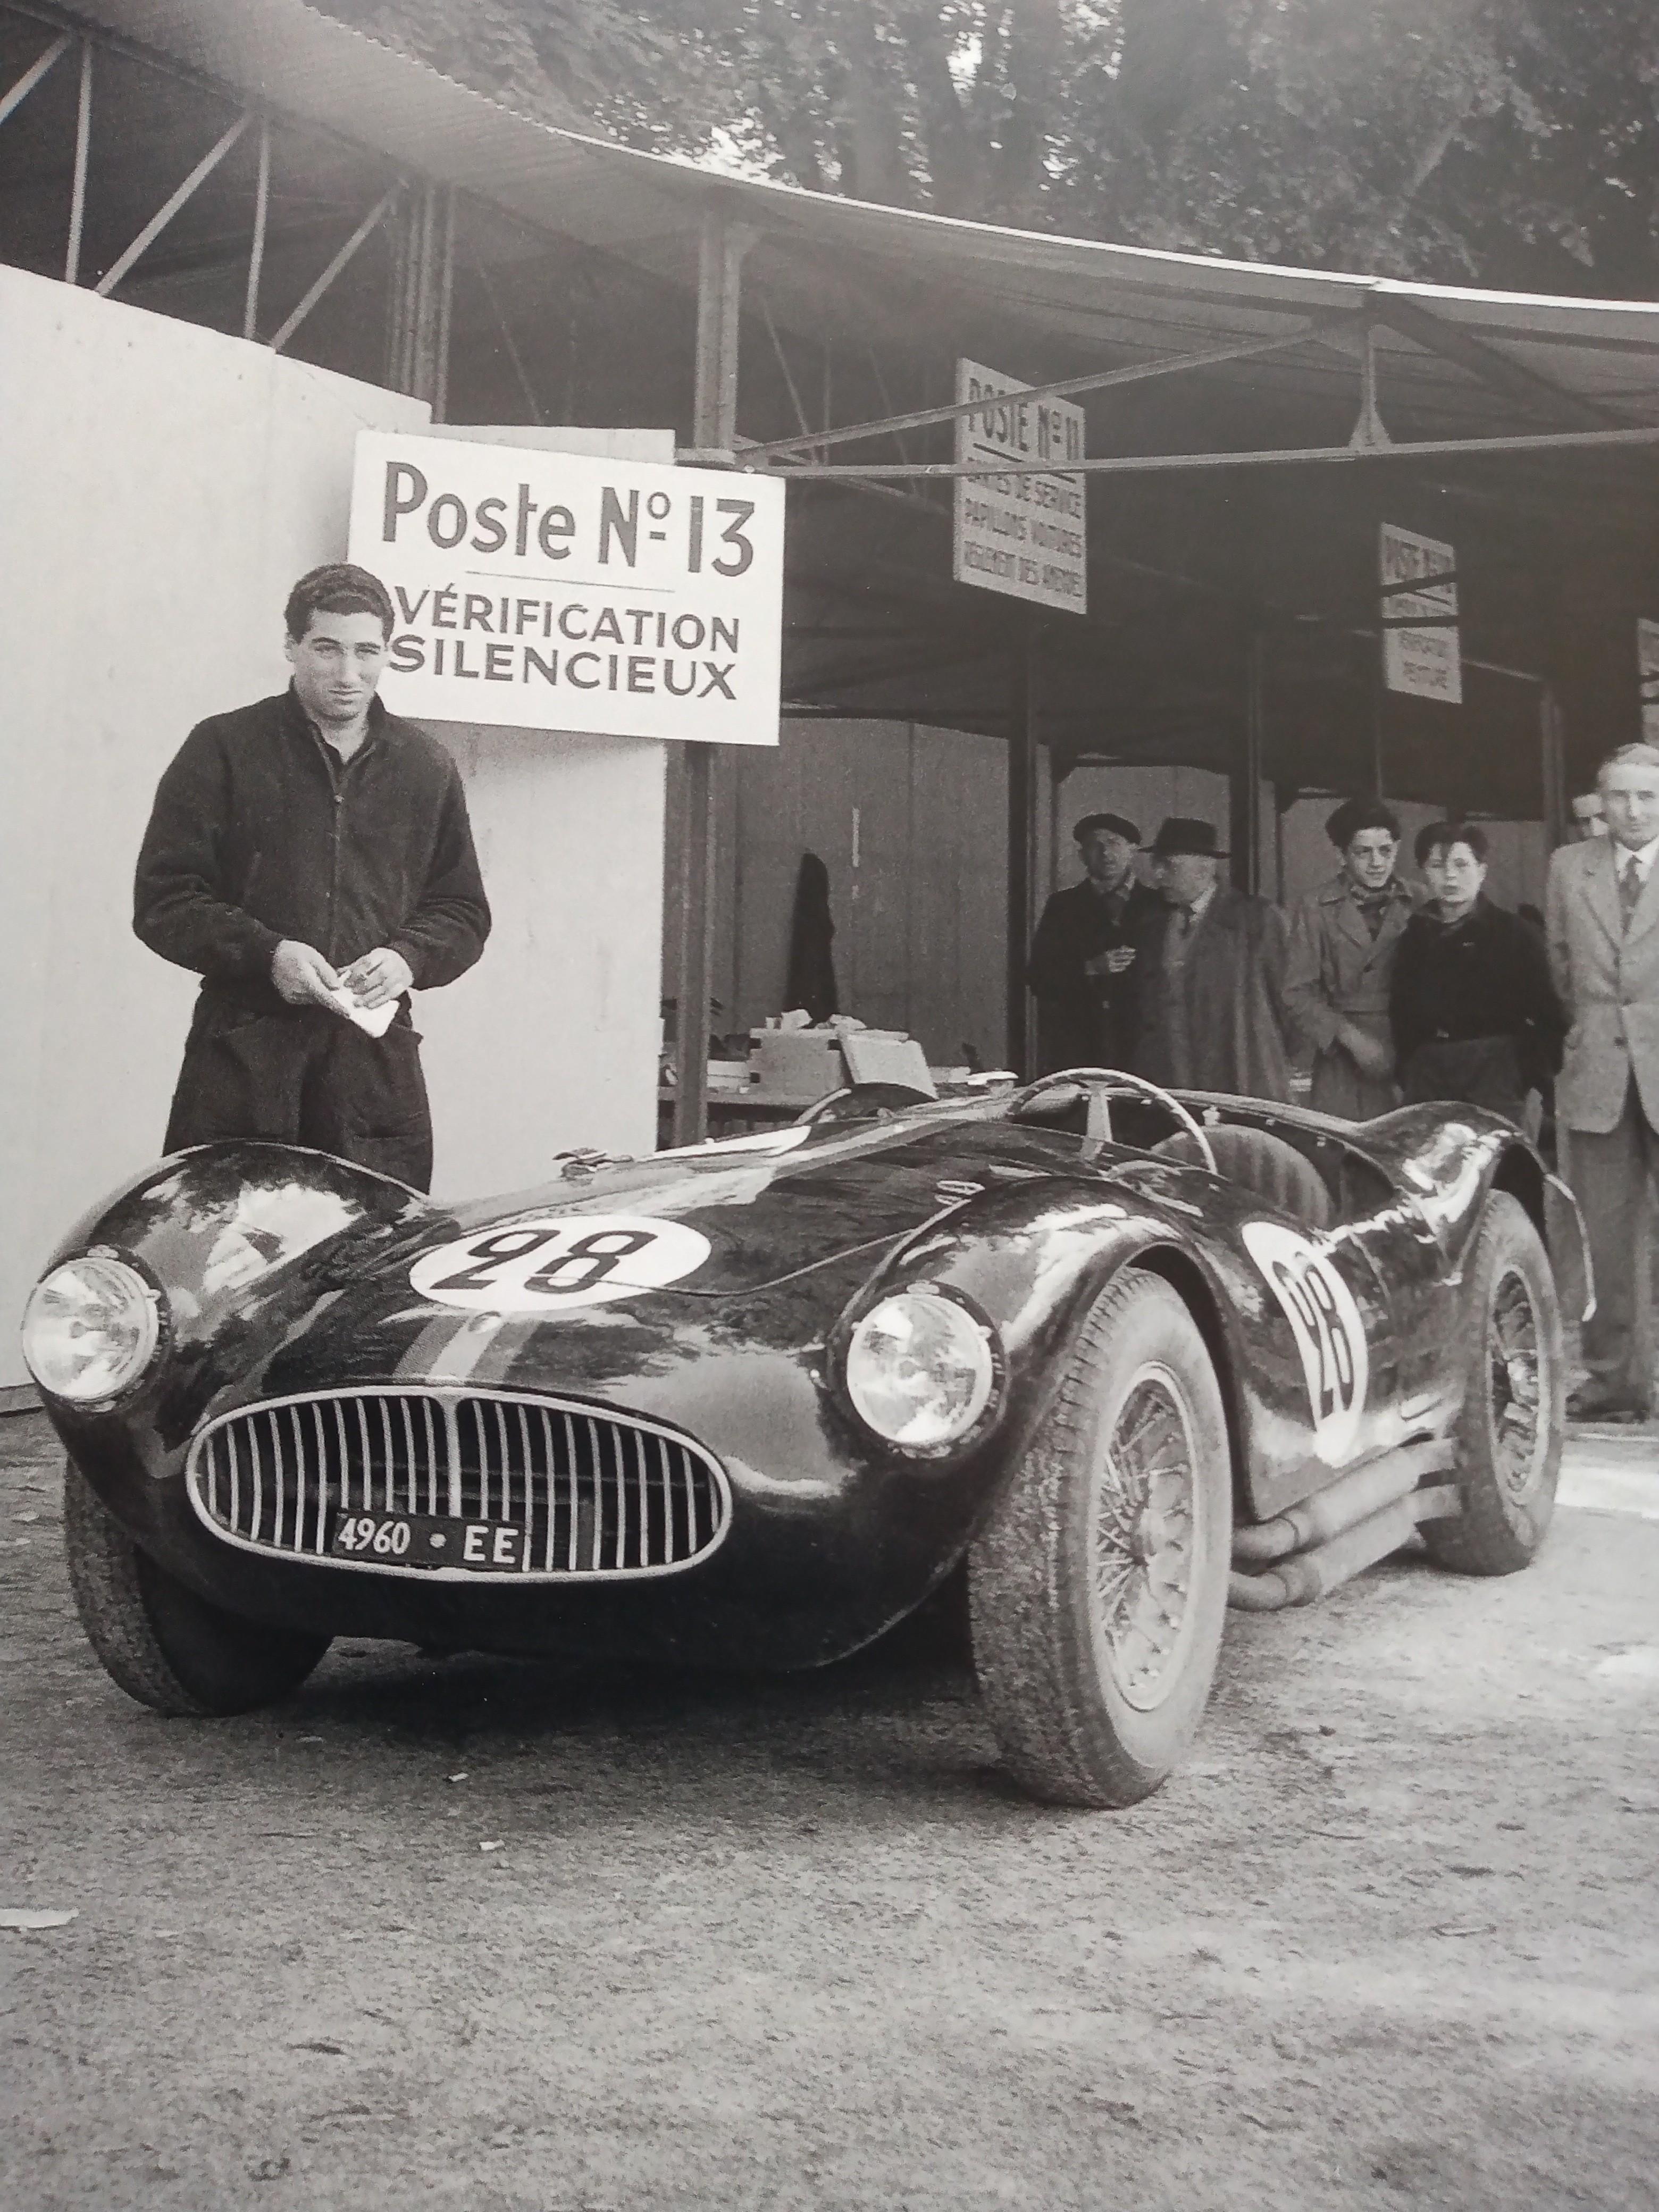
This is my take on the A6GCS Fantuzzi Spyder, modified by Fiandri, purchased by Alfonso (Fon) de Portago on April 27, 1954 and delivered May 27, 1951. It was only entered in 3 events by Fon and I have depicted his entry for the Circuit de Metz where wearing #42 he finished 1st outright. His only other 2 outings, Le Mans and Reims, resulted in DNF's. The car was then sold to Pierro Airaldi who managed to right it off at his third event.
The body and wheels are resin prints by my mate Phil, tyres are old Merit's and the interior is from my resin stash. Grille and headlights were home made from fuse wire (grille) and aluminium tube (headlights obviously!!)
Body painted in auto acrylics and clear coated.
Tks for looking
Dave B

-
3
-
-
Hi Pierre, this is a decent kit, built an OOB years ago and Ace Garageguys comments are spot on. Looking forward to seeing it finished.
Dave B
-
Great build Rich and it's great to see your trademark front wheels turned!!
I loved building mine and I was lucky enough to hear a pair of the sports cars at full noise at Phillip Island Historics a few years back and managed to take plenty of pics to help my build.
My mate took a video on the main strait, it's on YouTube and worth a watch.
Dave B
-
Great looking build Thomas, and something different.
Tks for sharing.
Dave B
-
1
-
-
They look really good Pierre.
The last OOB I built was a resin 917LH but I even mildly altered the nose intake on that!!
I do however have some plastics in my cupboard downstairs, who knows, one day I might even build them.
Dave B
-
They are beautiful builds Bill and a credit to you.
Would you mind telling me what resin you used?
Dave B
-
10 hours ago, Pierre Rivard said:
That's a very cool duo Dave. The freedom to mix up parts from a kit and the spares box creates a nice change of pace from our usual chase for historical accuracy.
Question about the gauges, do you se a particular epoxy formulation to achieve the clear glass effect?
Hi Pierre, I just use white glue to attach the fuse wire gauge bezel and drop clear 5 minute epoxy onto the decal, I always use a brand over here called Selleys 5 minute epoxy.
Dave
-
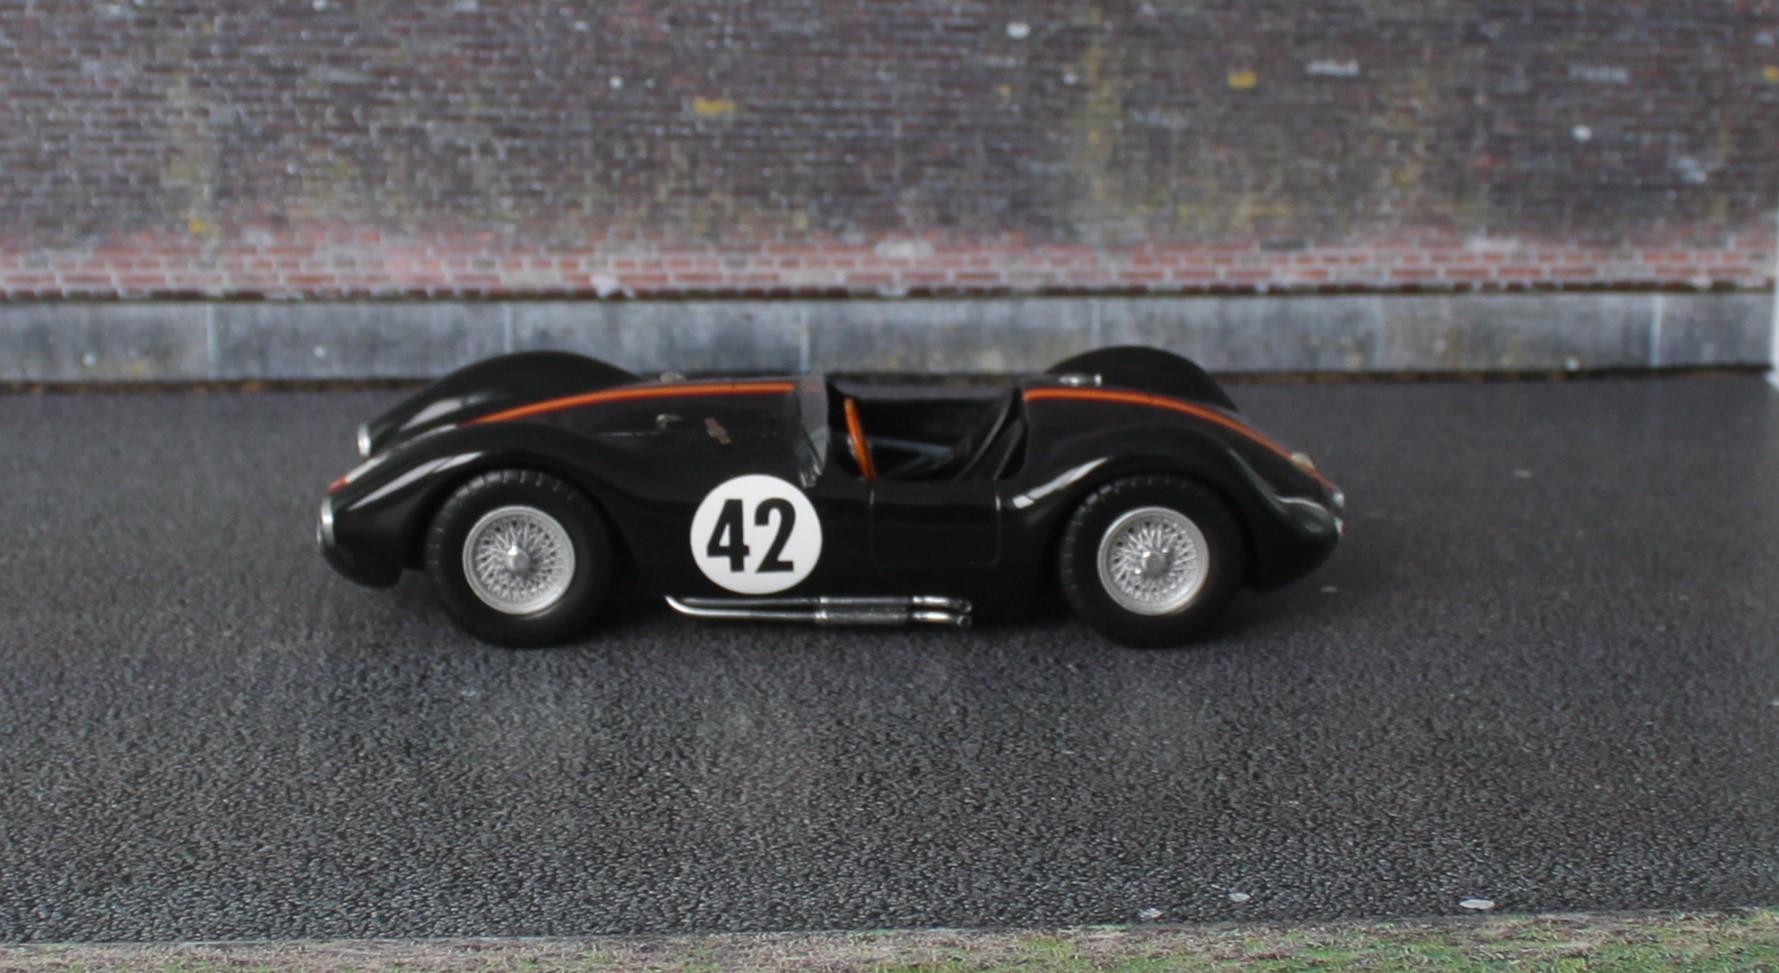
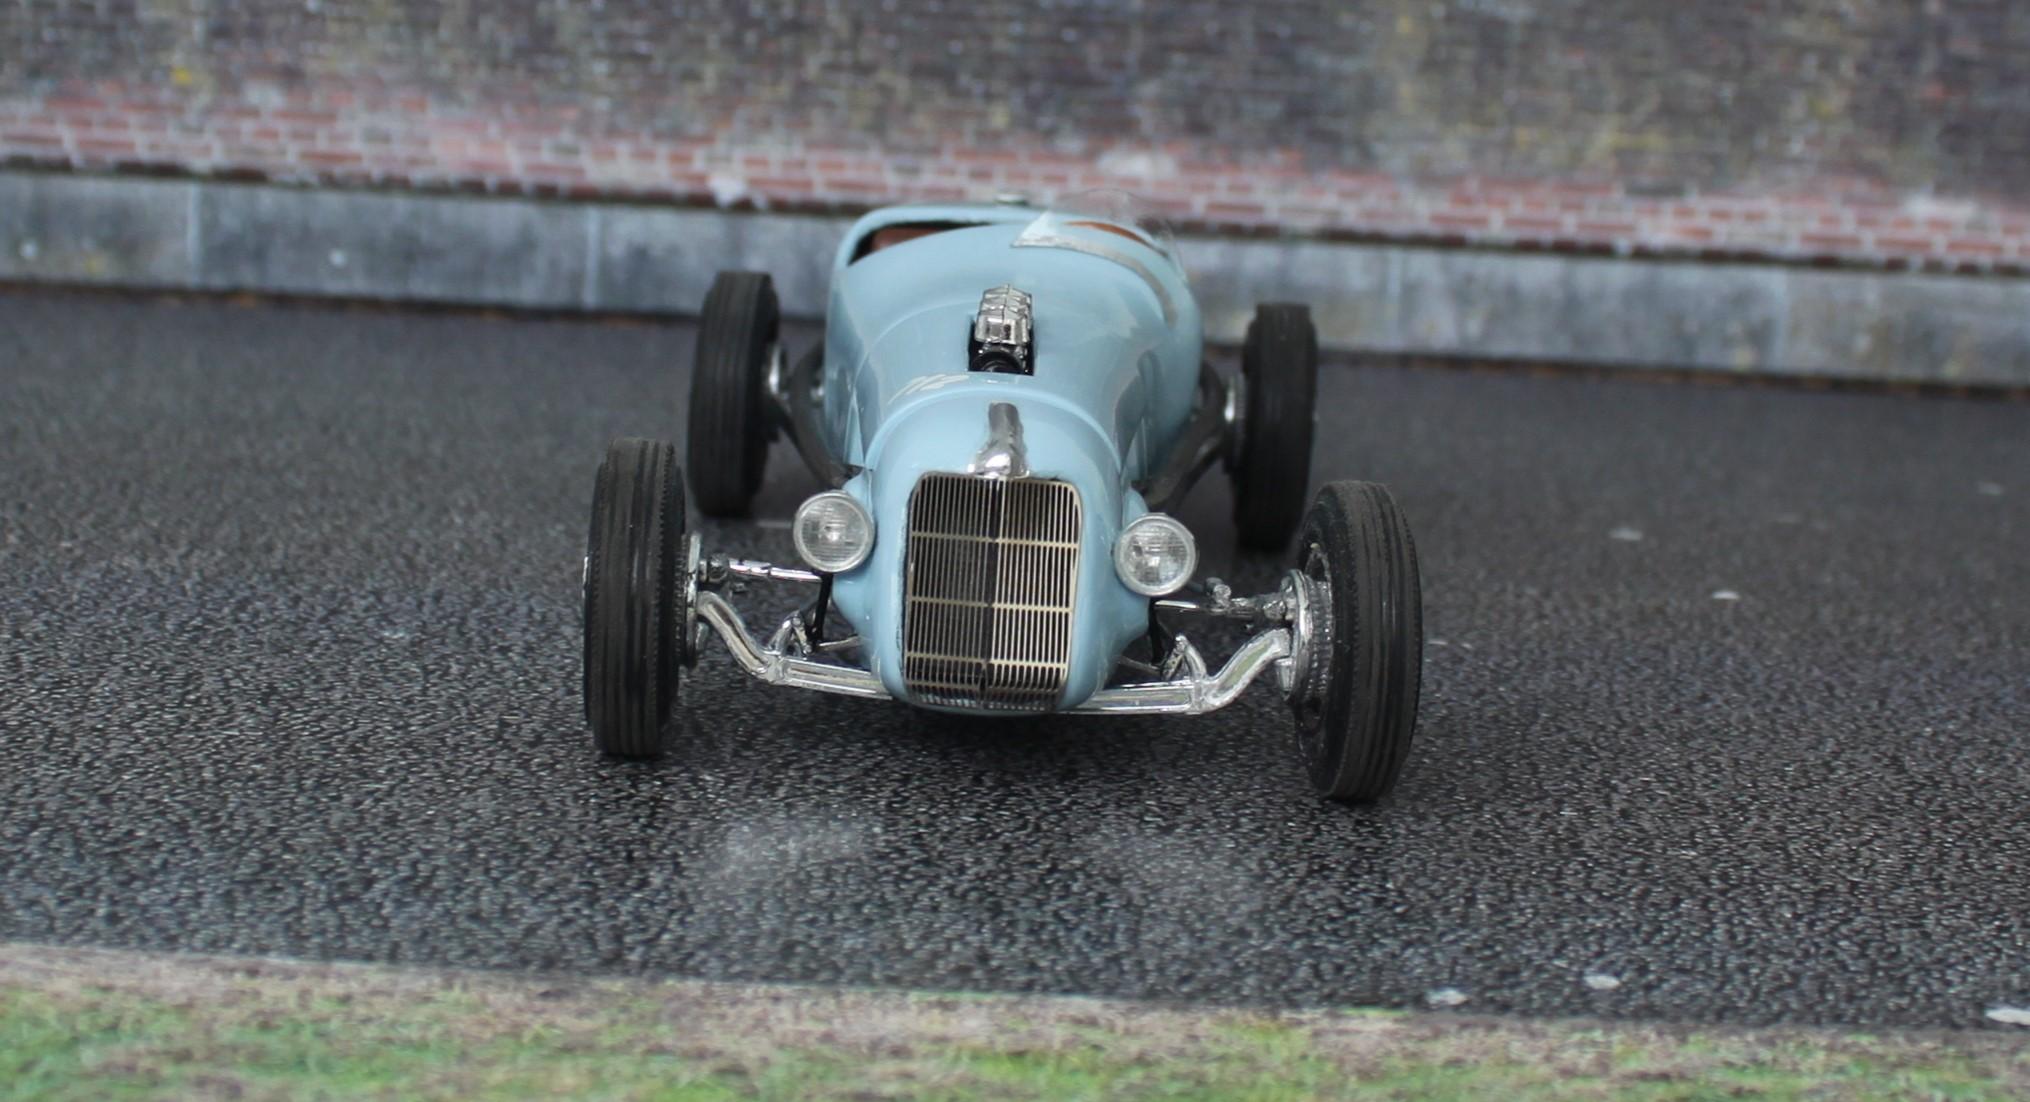
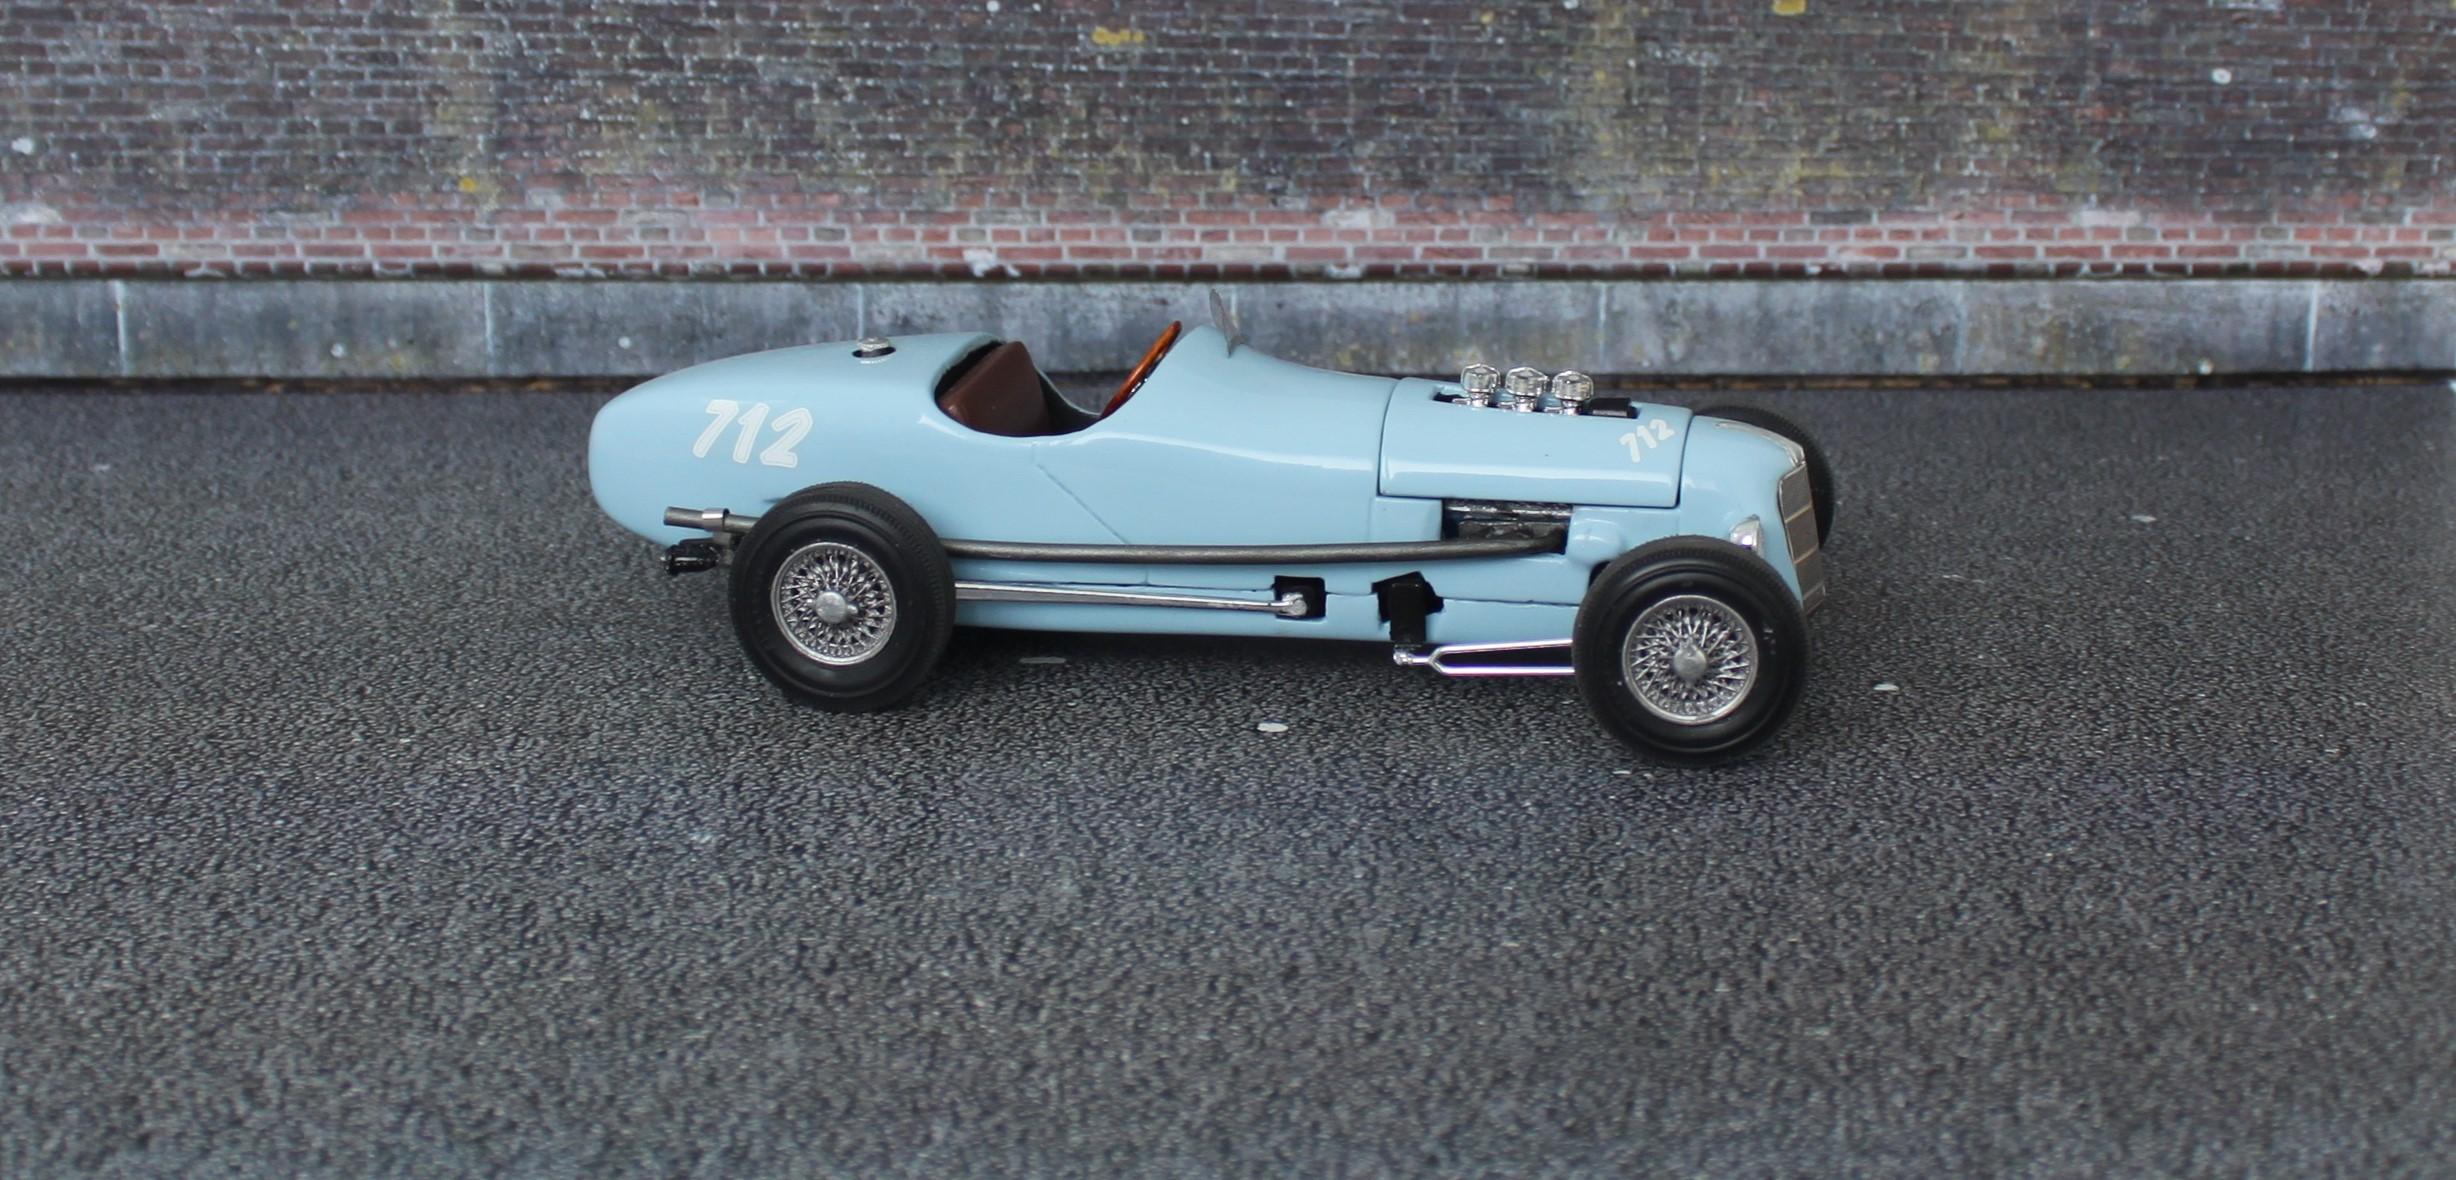
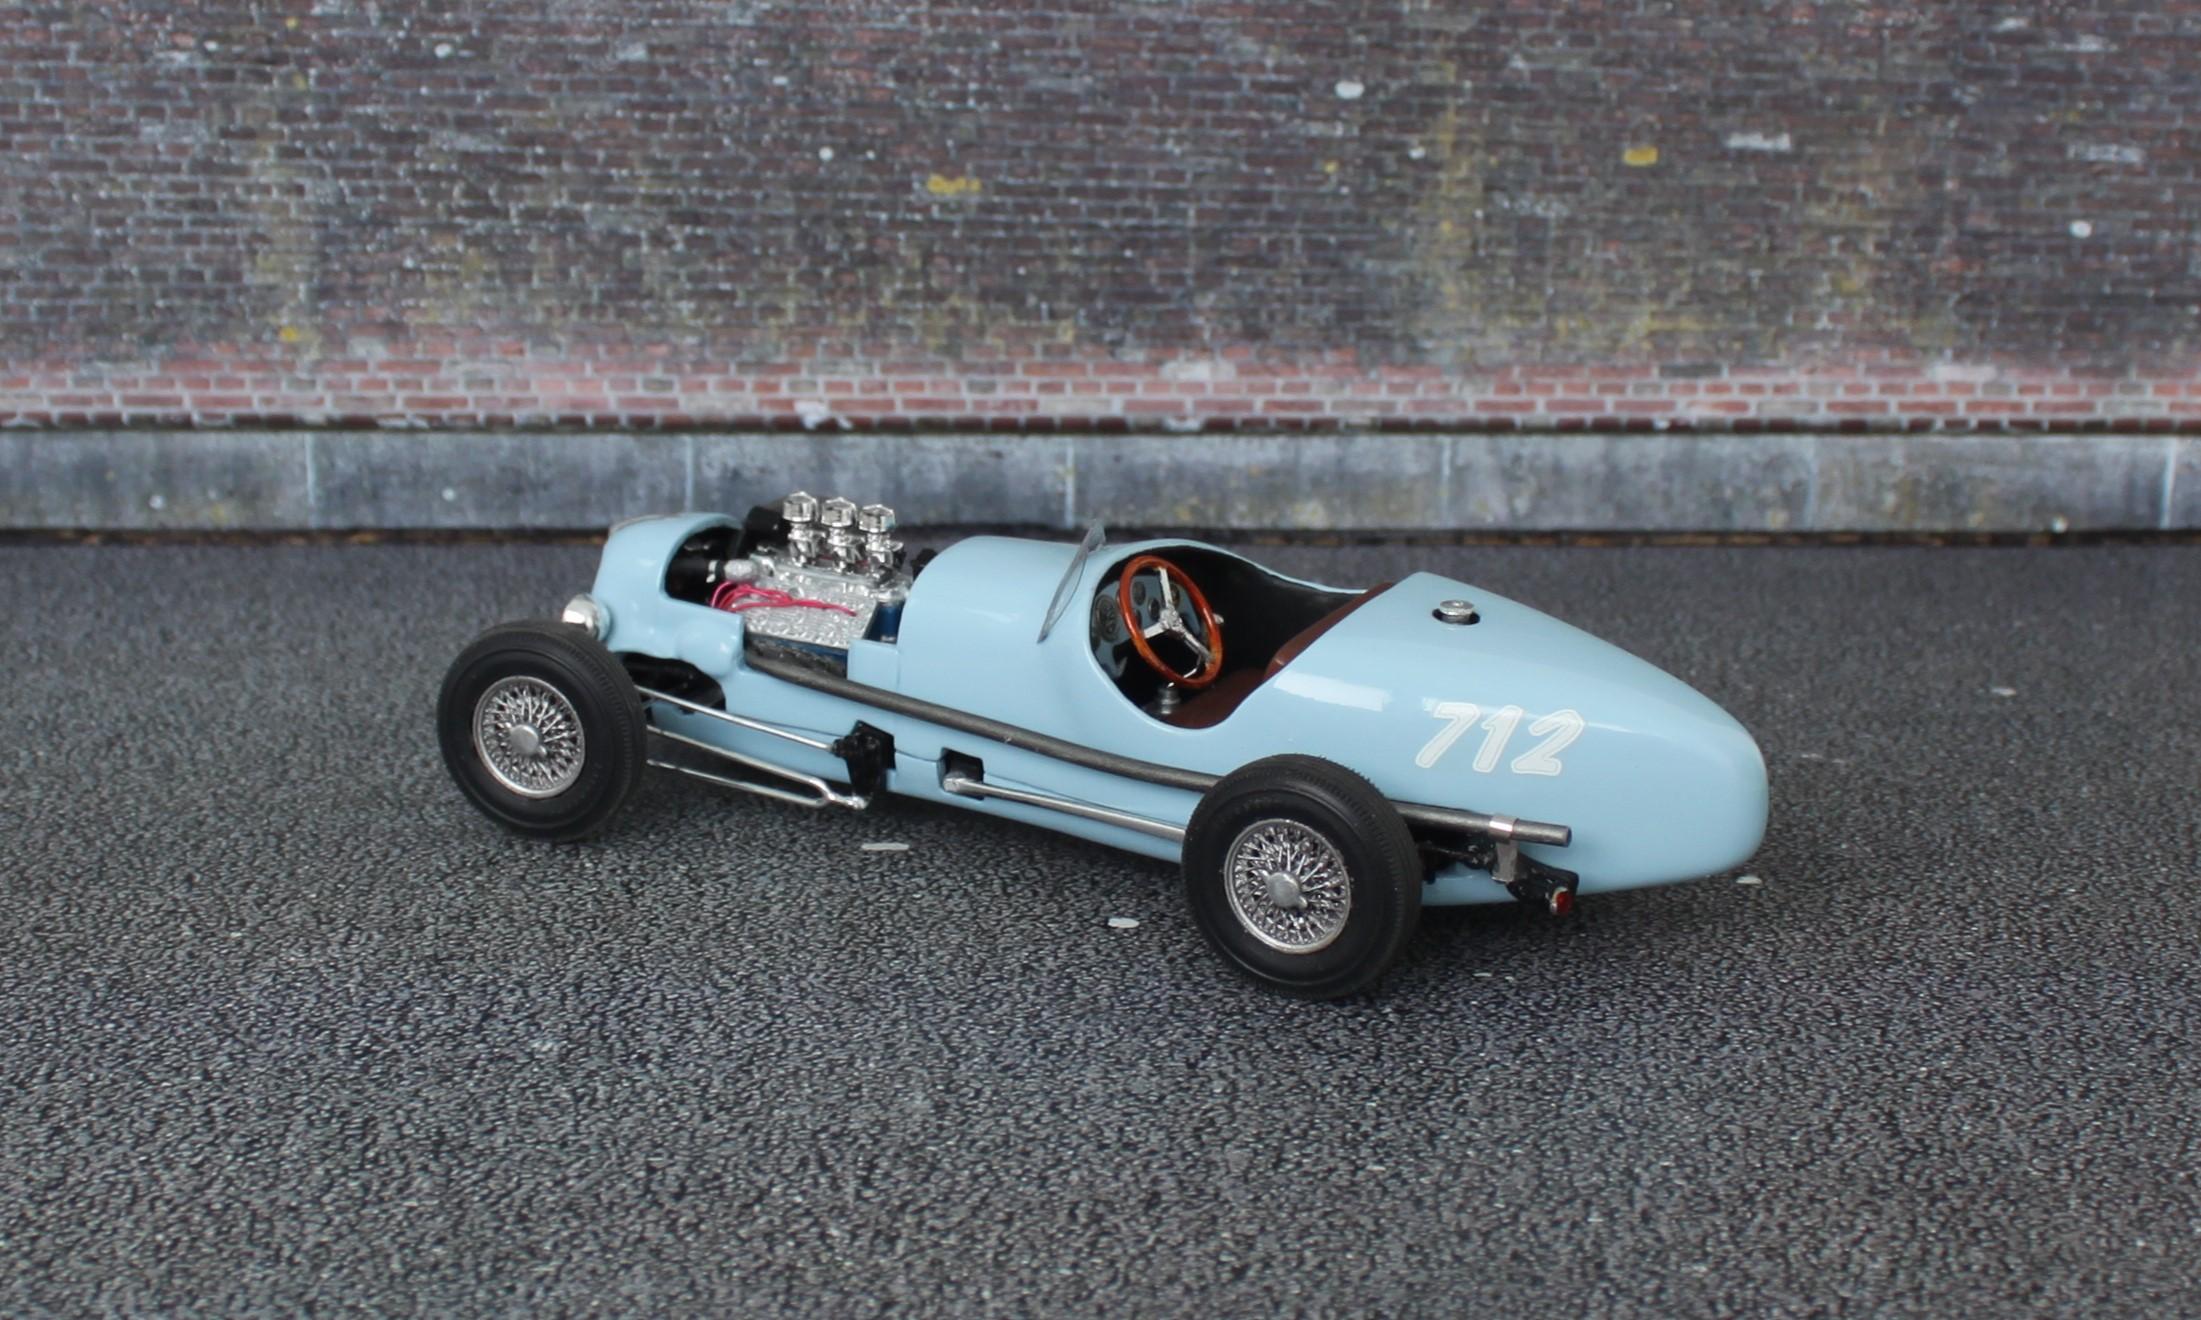
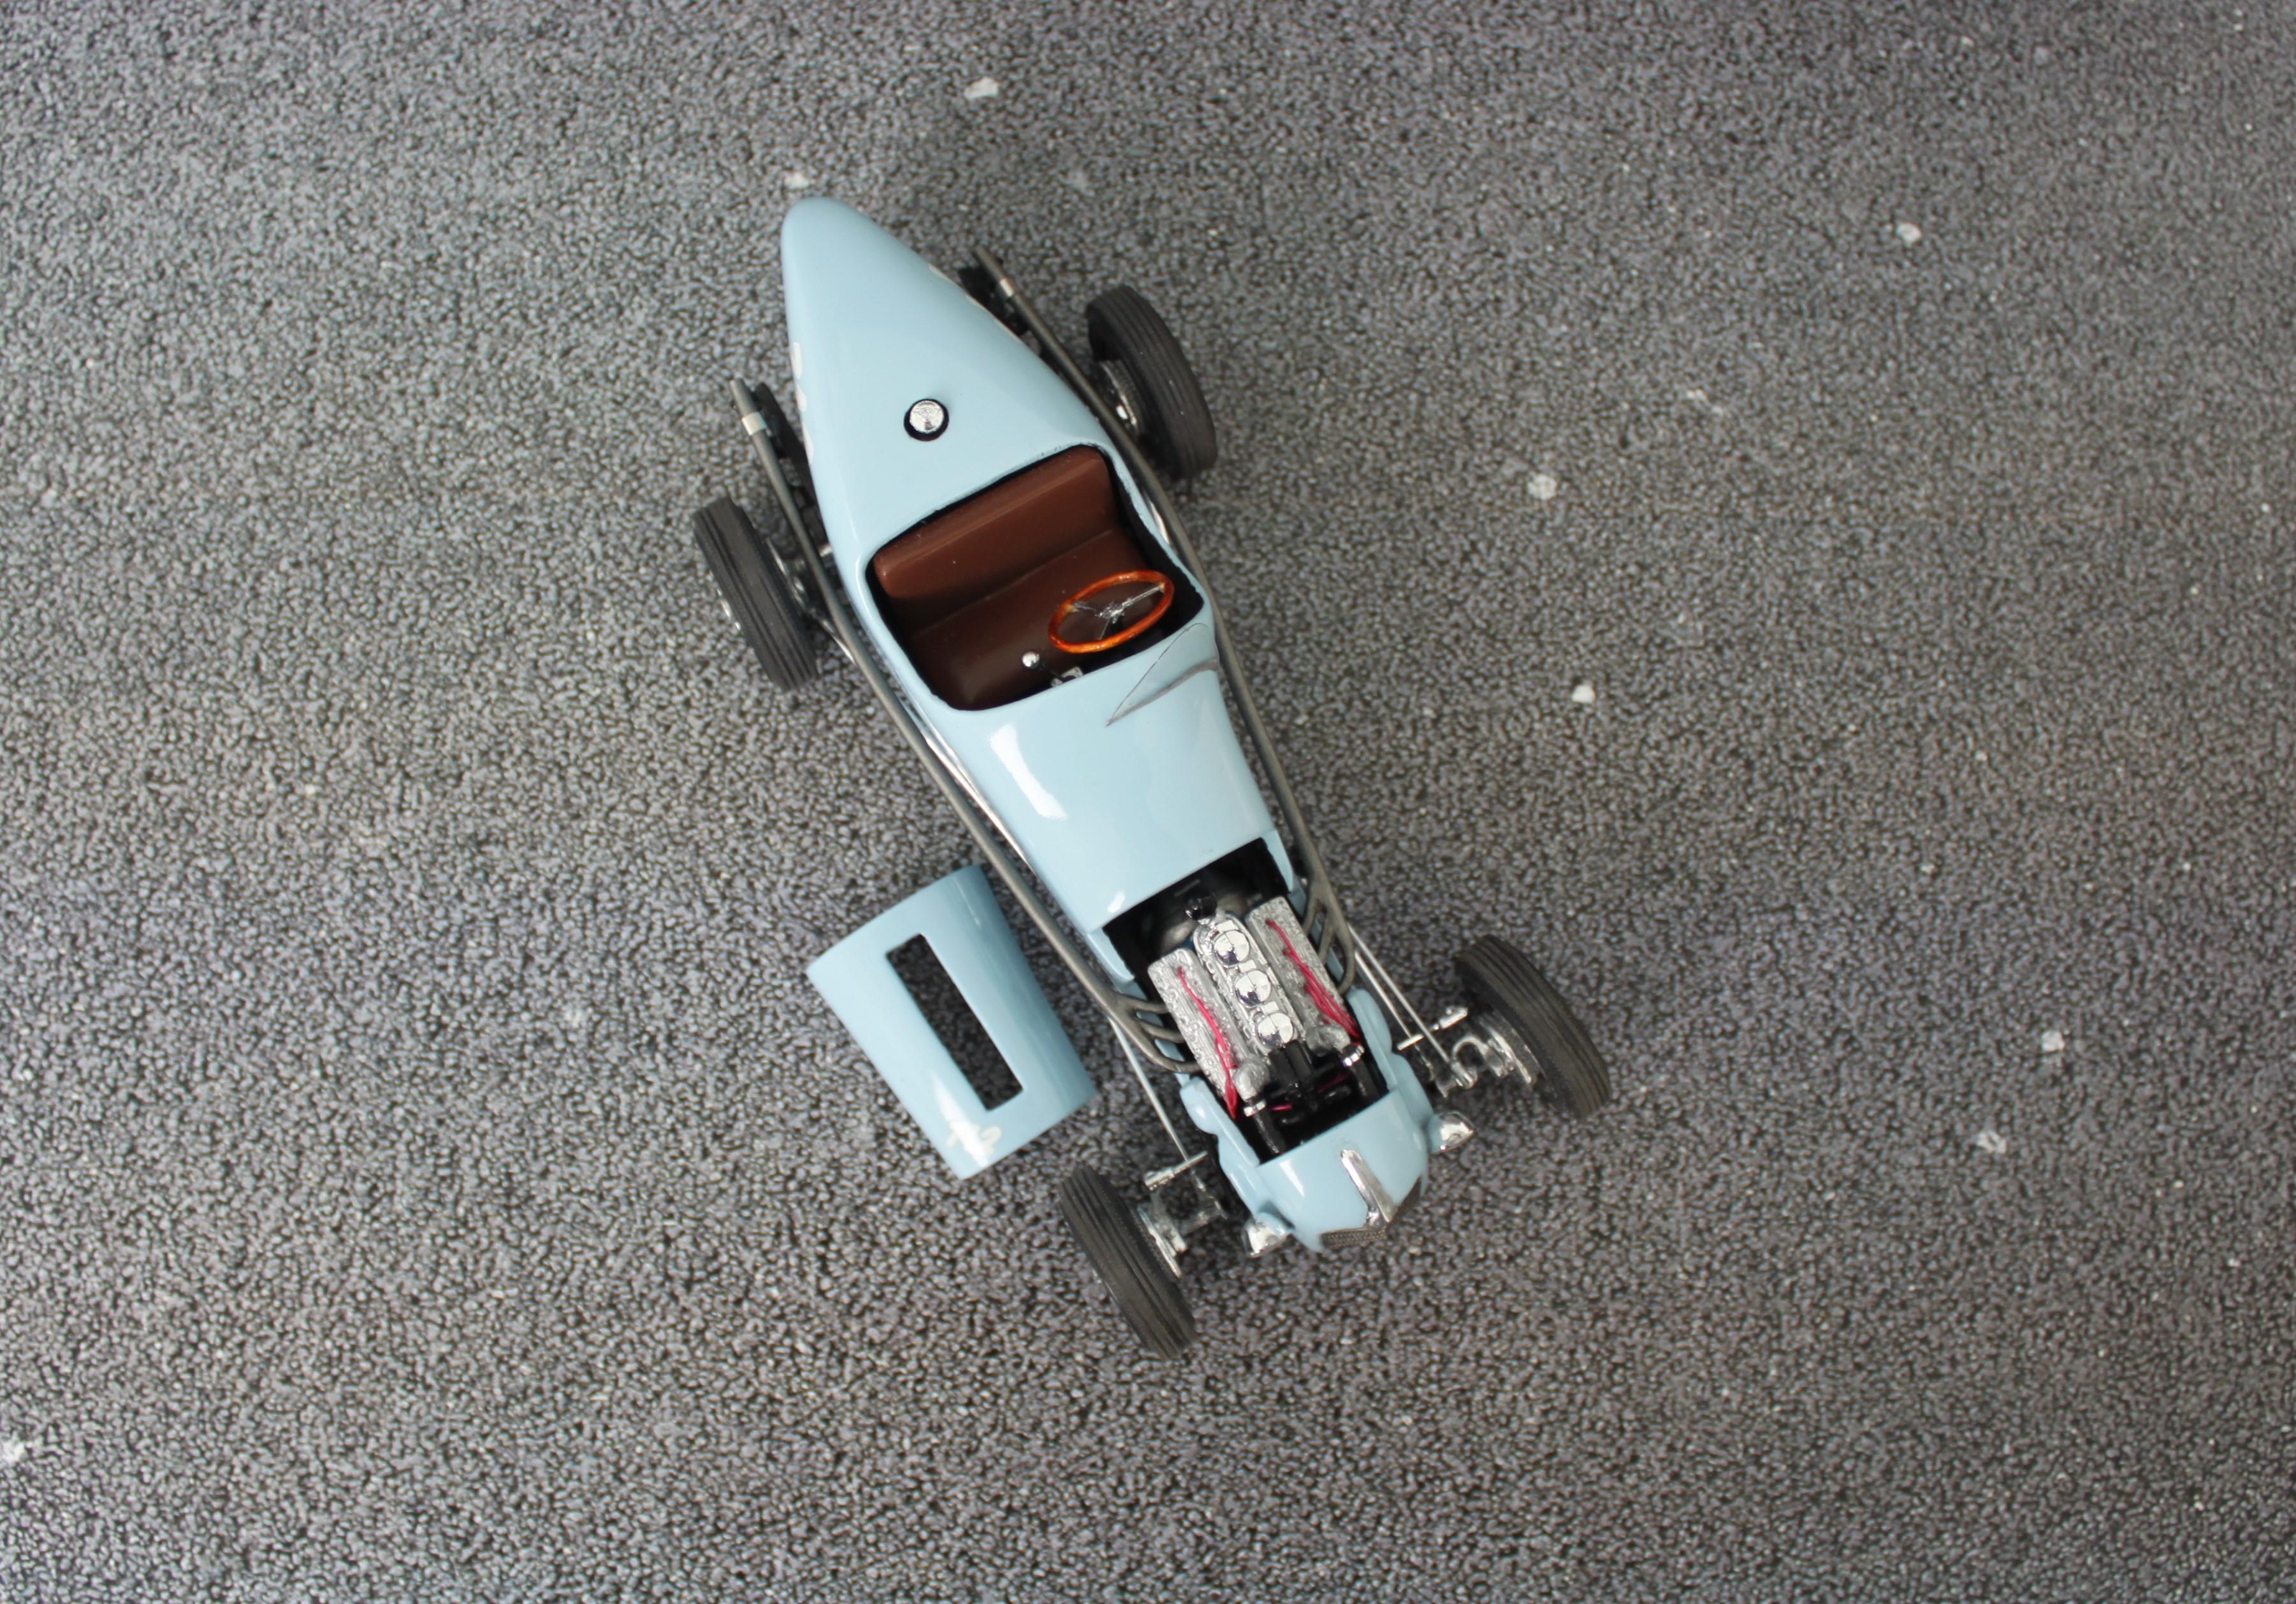
I always wanted to build an early race car that a young guy with a bit of loose change could build and run at Bonneville or on one of the many runway circuits that were prevalent in the States in the 50's.
The opportunity came when a mate gave me a resin Indy Car Legends '35 Miller Ford.
Heading to the parts box I found a suitable early Ford frame, front and rear suspension, motor, head and tail lights and interior seat. Styrene tube made up the exhaust system and styrene sheet the bulkheads and dashboard. A few decals, a bit of fuse wire and some epoxy made the guages with a dressmakers pin for a gear lever. Sort of the equivalent to going to a wreckers!!
The body took a bit of work to widen the rear, create a lift off bonnet and relieve areas where the suspension had to go.
Havlng run at Bonneville, as per the decal on the dash, our young guy is now driving home from a road circuit. The custom Ford pick up could be used to dead mans tow it so this young bloke was obviously cashed up!!
Great fun to build, tks for looking.
Dave B
-
8
-
-
Another great build of an Aussie racer, tks for sharing
Dave B
-
Great build Shawn, I must have seen this racing as I watched all the Bathursts back in those days. Just don't recall seeing it!!
Tks for sharing.
Dave B
-
Looks great Pierre, especially the weathering. It's also nice to see something other than the Moss/Jenkinson 300SLR.
Dave B
-
3 hours ago, Kolu said:
Looks as though it could be the de Portago car . . .
Well picked.
Dave B
-
Hi Pierre, not a kit. I bought a 3D file a few years back but it turns out it was solid!!
A mutual friend of my printer mate hollowed it out for us but made it so thin it printed full of holes in resin and not much better in filament.
What you see is the filament body coated internal with epoxy and externally with body putty.
Just had to have an A6GCS!!
Dave B
-
1
-
-
Hi Andrew, for the grill I shaped a thick piece of styrene slightly larger than the grill opening. I then wrapped 8amp fuse wire around it and soldered. I then added a central vertical bar from 8A wire and soldered. The remaining vertical bars are 15A wire and attached with permanent epoxy.
When set I gently folded the grill across an Exacto blade to get it concave.
The car was ordered as pictured by the owner and never raced down under.
It was written off by it's second owner after competing in only five events.
Dave B
-
Ok, it's all a bit rough at the moment, painted black this morning, but here it is.
It will depict a specific car and race, more to follow.
Dave B
-
Ok, some time ago I posted this as a project on the go.
Well, it stalled until my mate could print me a grill, which it turns out he couldn't.
I've ended up making the correct grill for the car I'm building from fuse wire so I'm back into it.
More to follow shortly.
PS, it will be no where near as good as Andrew's!!
Dave B
-
1
-
-
That's a great build Shawn, pretty sure I saw this very car racing at Longford in Tassie
Dave B
-
They're exceptional builds of what appears to be a very nice kit Doug.
Tks for sharing.
Dave B


Alan Mann Racing F3L/P68
in WIP: Other Racing: Road Racing, Land Speed Racers
Posted
Starting on the wheels. Went through what I had and found a set of Pantera Gp5 wheels and tyres from a cheap Jap rendition. Rim size and tyres look pretty good so I've cut out the centres and about to consider alternatives for the centres, short of making them. Luckily I had some cast resin knockoffs that will look good.

Dave B