

Brutalform
-
Posts
2,259 -
Joined
-
Last visited
Content Type
Profiles
Forums
Events
Gallery
Posts posted by Brutalform
-
-
Sad to hear about Bruce passing. Great guy to deal with. He used to be a partner with Decals By Lucas, many years ago, and I was dealing with them both before he ventured off to do his own, SMP. I just received an Ulrey Brothers Fairlane decal last month. His passing will be a huge loss to the modeling community, as he made decals no one else does, or will.
-
On 5/11/2024 at 8:01 PM, Erik Solie said:
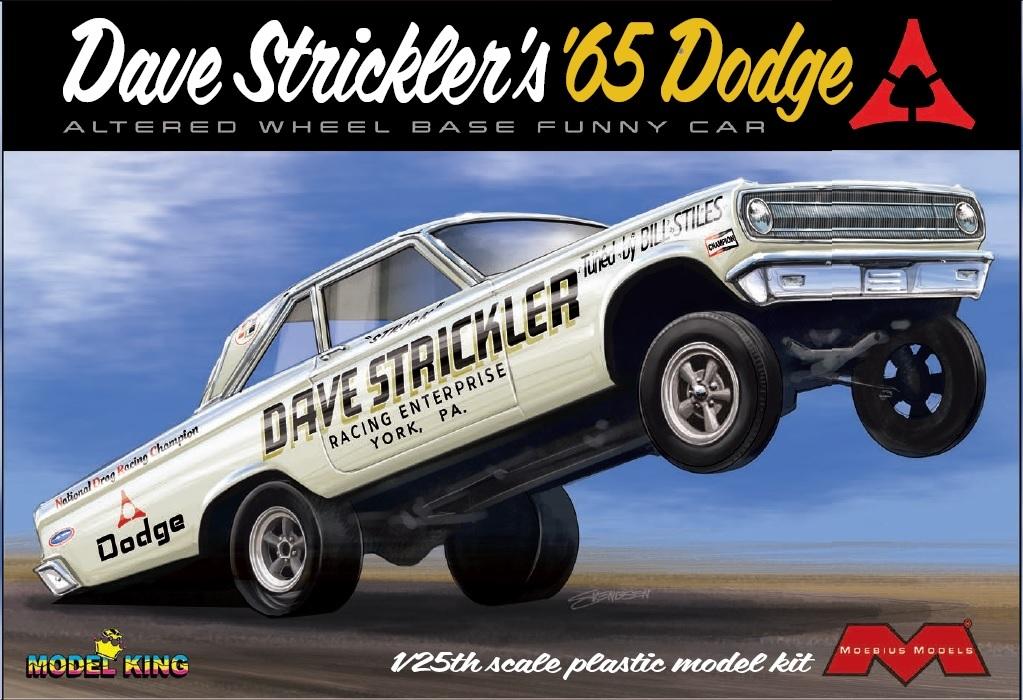
We're getting really close to getting these out the door. All should be showing up at the same time. The AWB is a Model King release.
Thanks,
Erik
Moebius

Any idea when we will see them on shelves?
-
Mega Hobby has a preorder, but it’s just to let you know when they will be in via email. Says October 2024.
-
Thanks everyone!!! Much appreciated.
-
8 hours ago, bobss396 said:
Pro Tech has some really cool stuff out. I find myself finding and using more and more of their products, like hood pin plates, t-fittings for carbs, etc.
I like the lug nut ideas. I used some Detail Master fittings on my last stock car, not cheap either at around $1 per lug nut. I used that with small diameter aluminum rod. Either .020" or .025".
The ProTech aluminum nuts are not inexpensive either. But I get it, as they are small, and made of aluminum, and the tolerances are right on, so I expect to pay for quality. I was looking into RB Motion, but their website is kinda funky, I had read that they are WAY behind on orders. I might assemble my wheel lugs tonight. I have the studs (rod) tips painted, and the wheels drilled, thanks to some helpful info on here.

-
 2
2
-
-
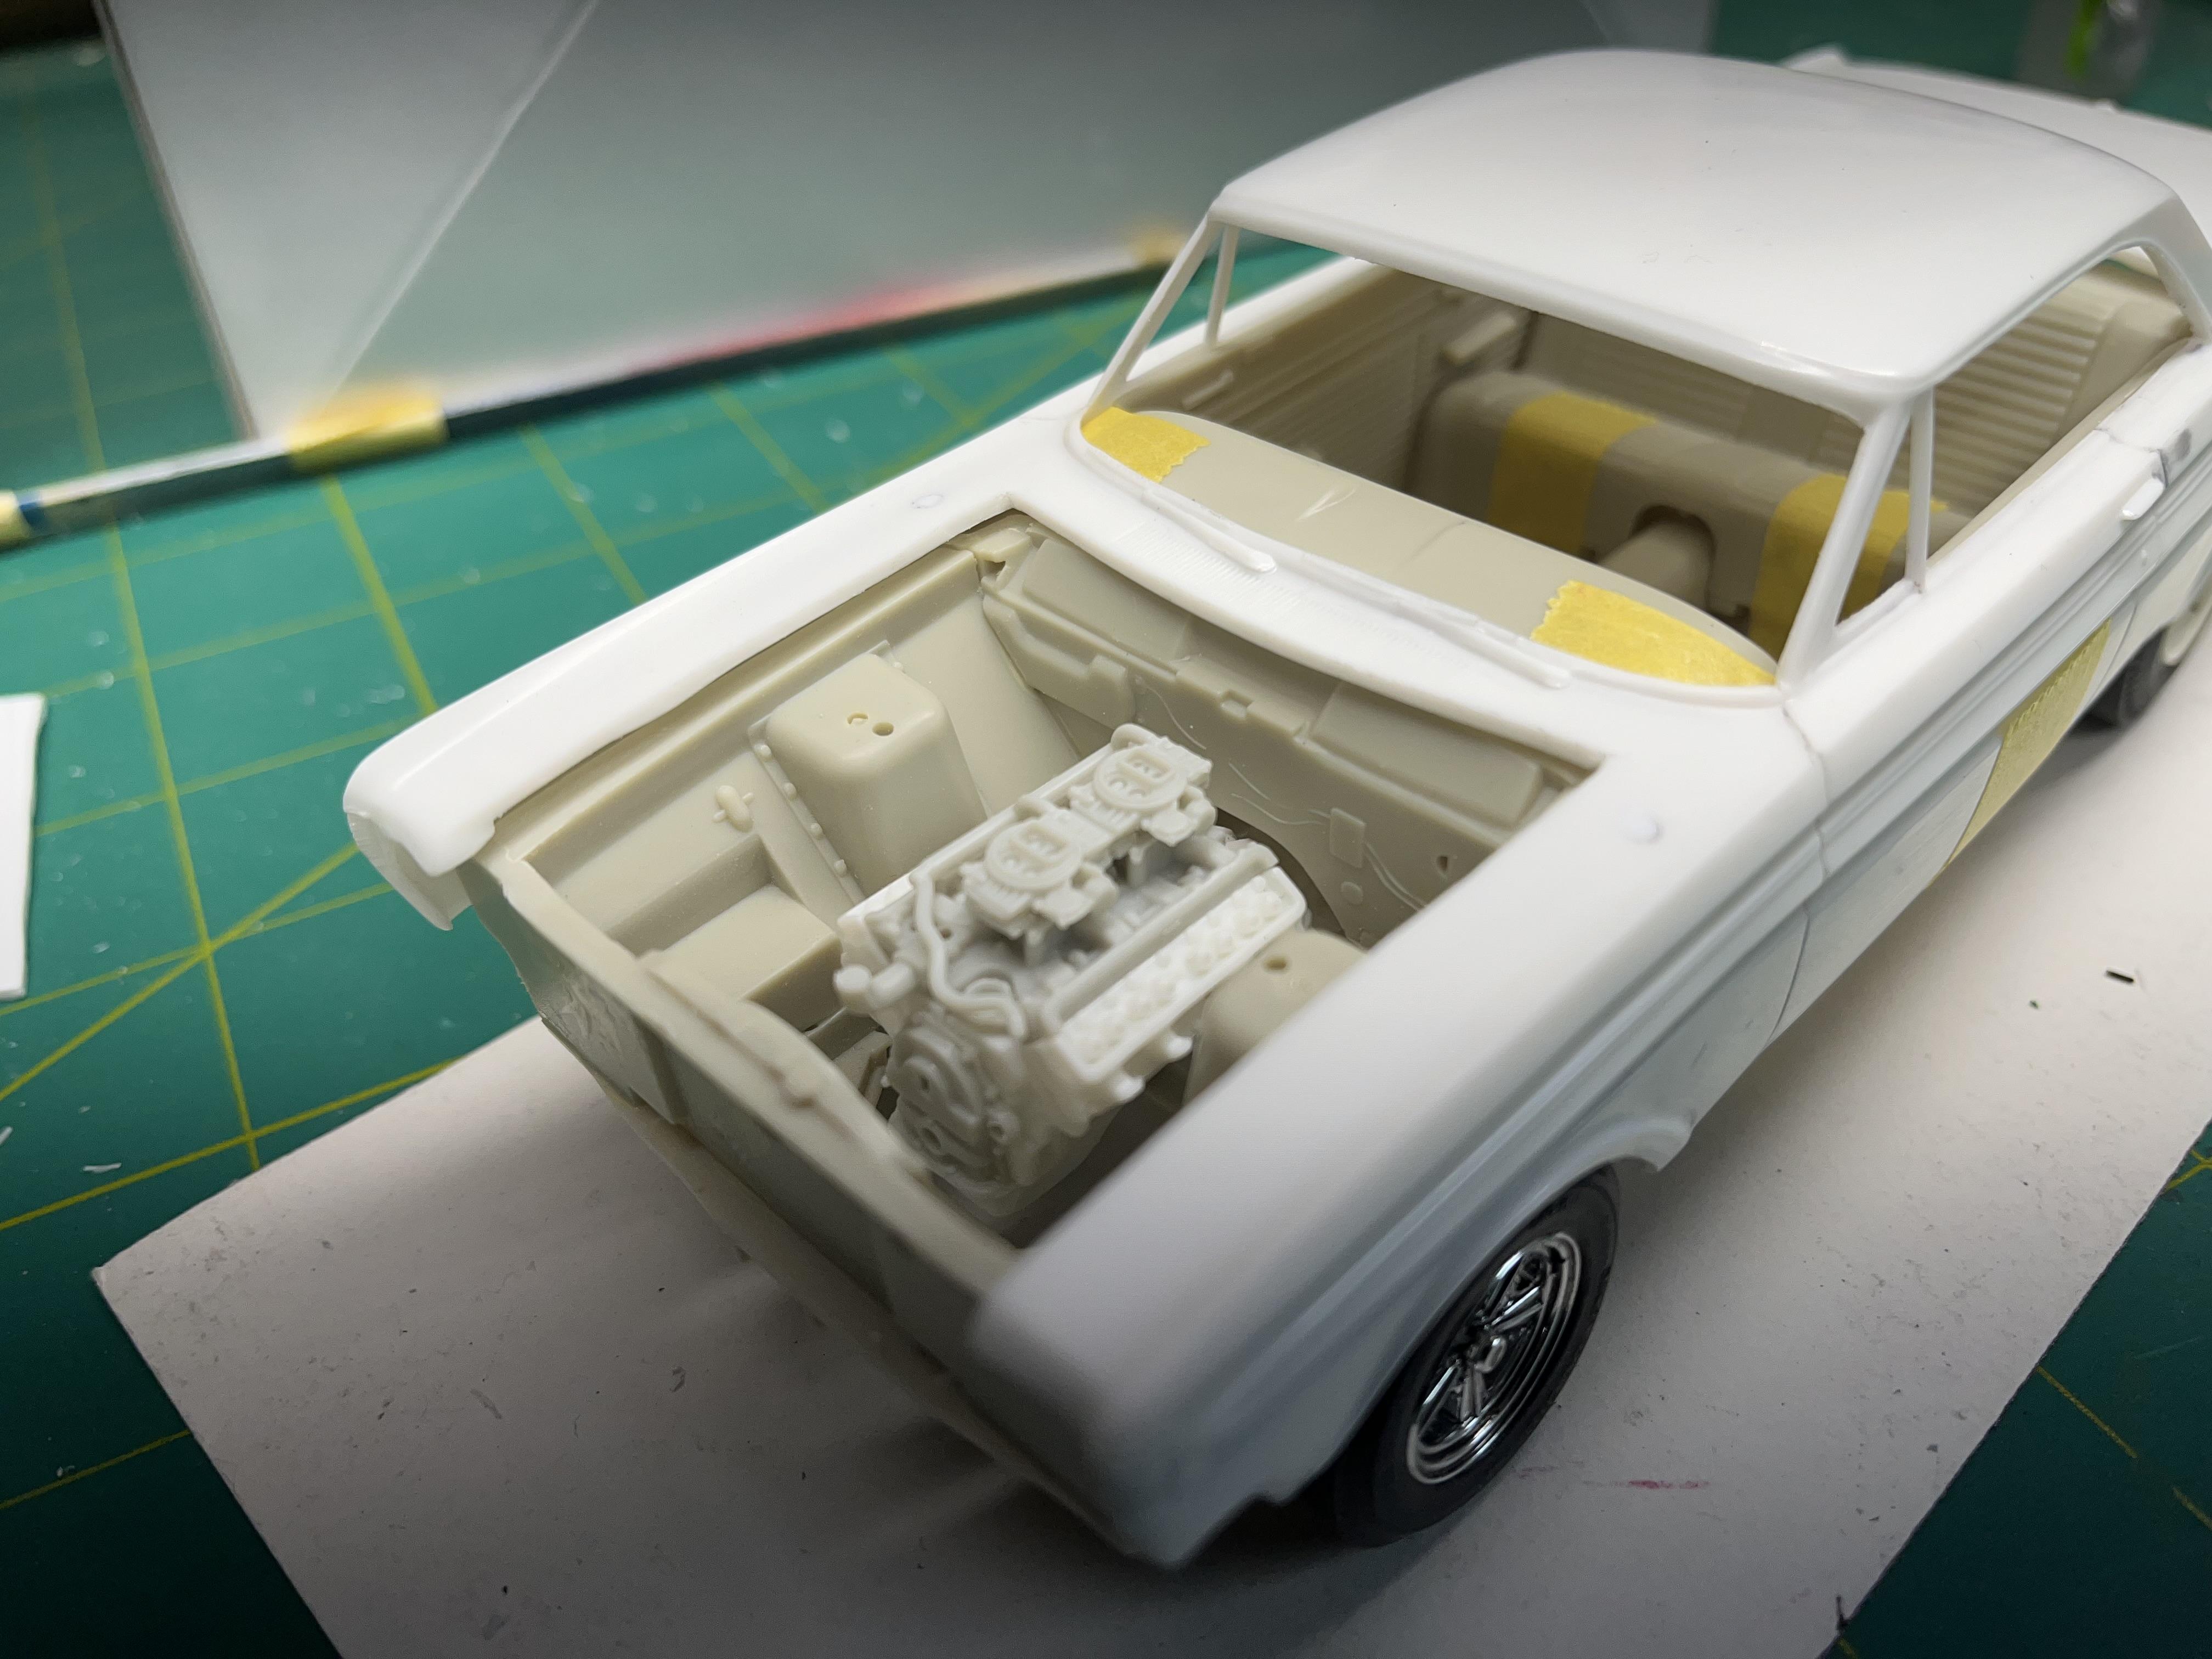
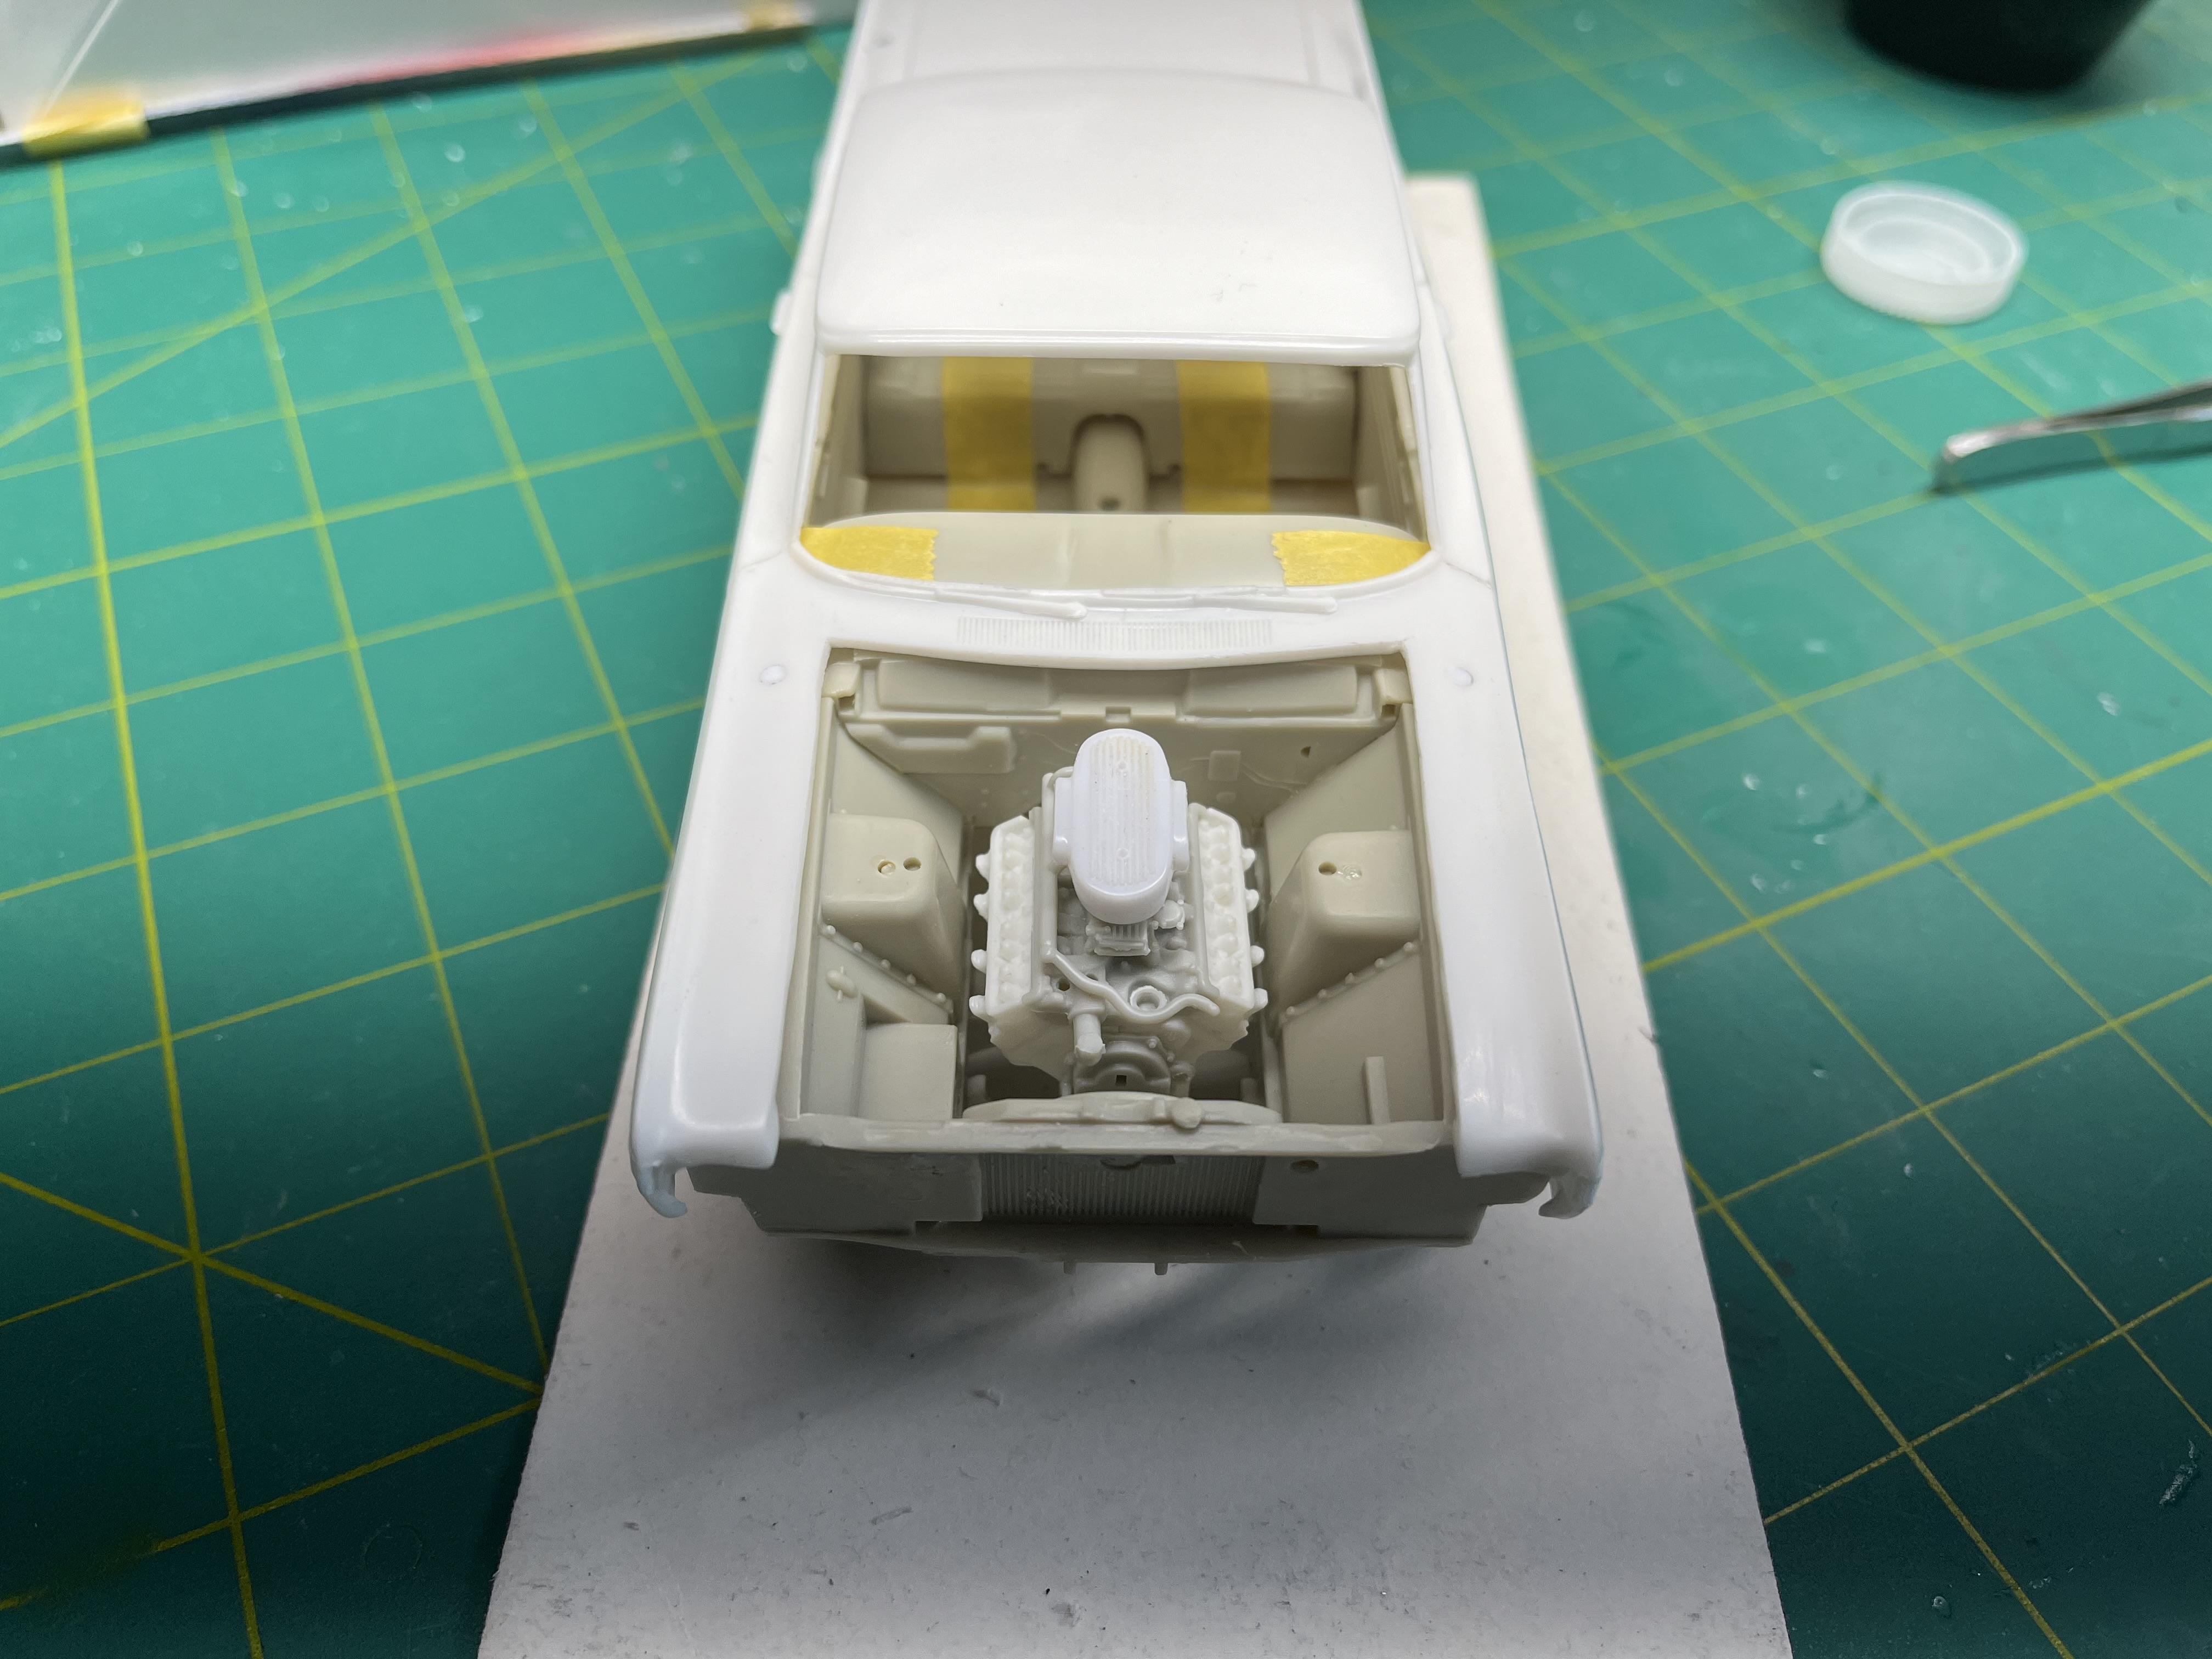
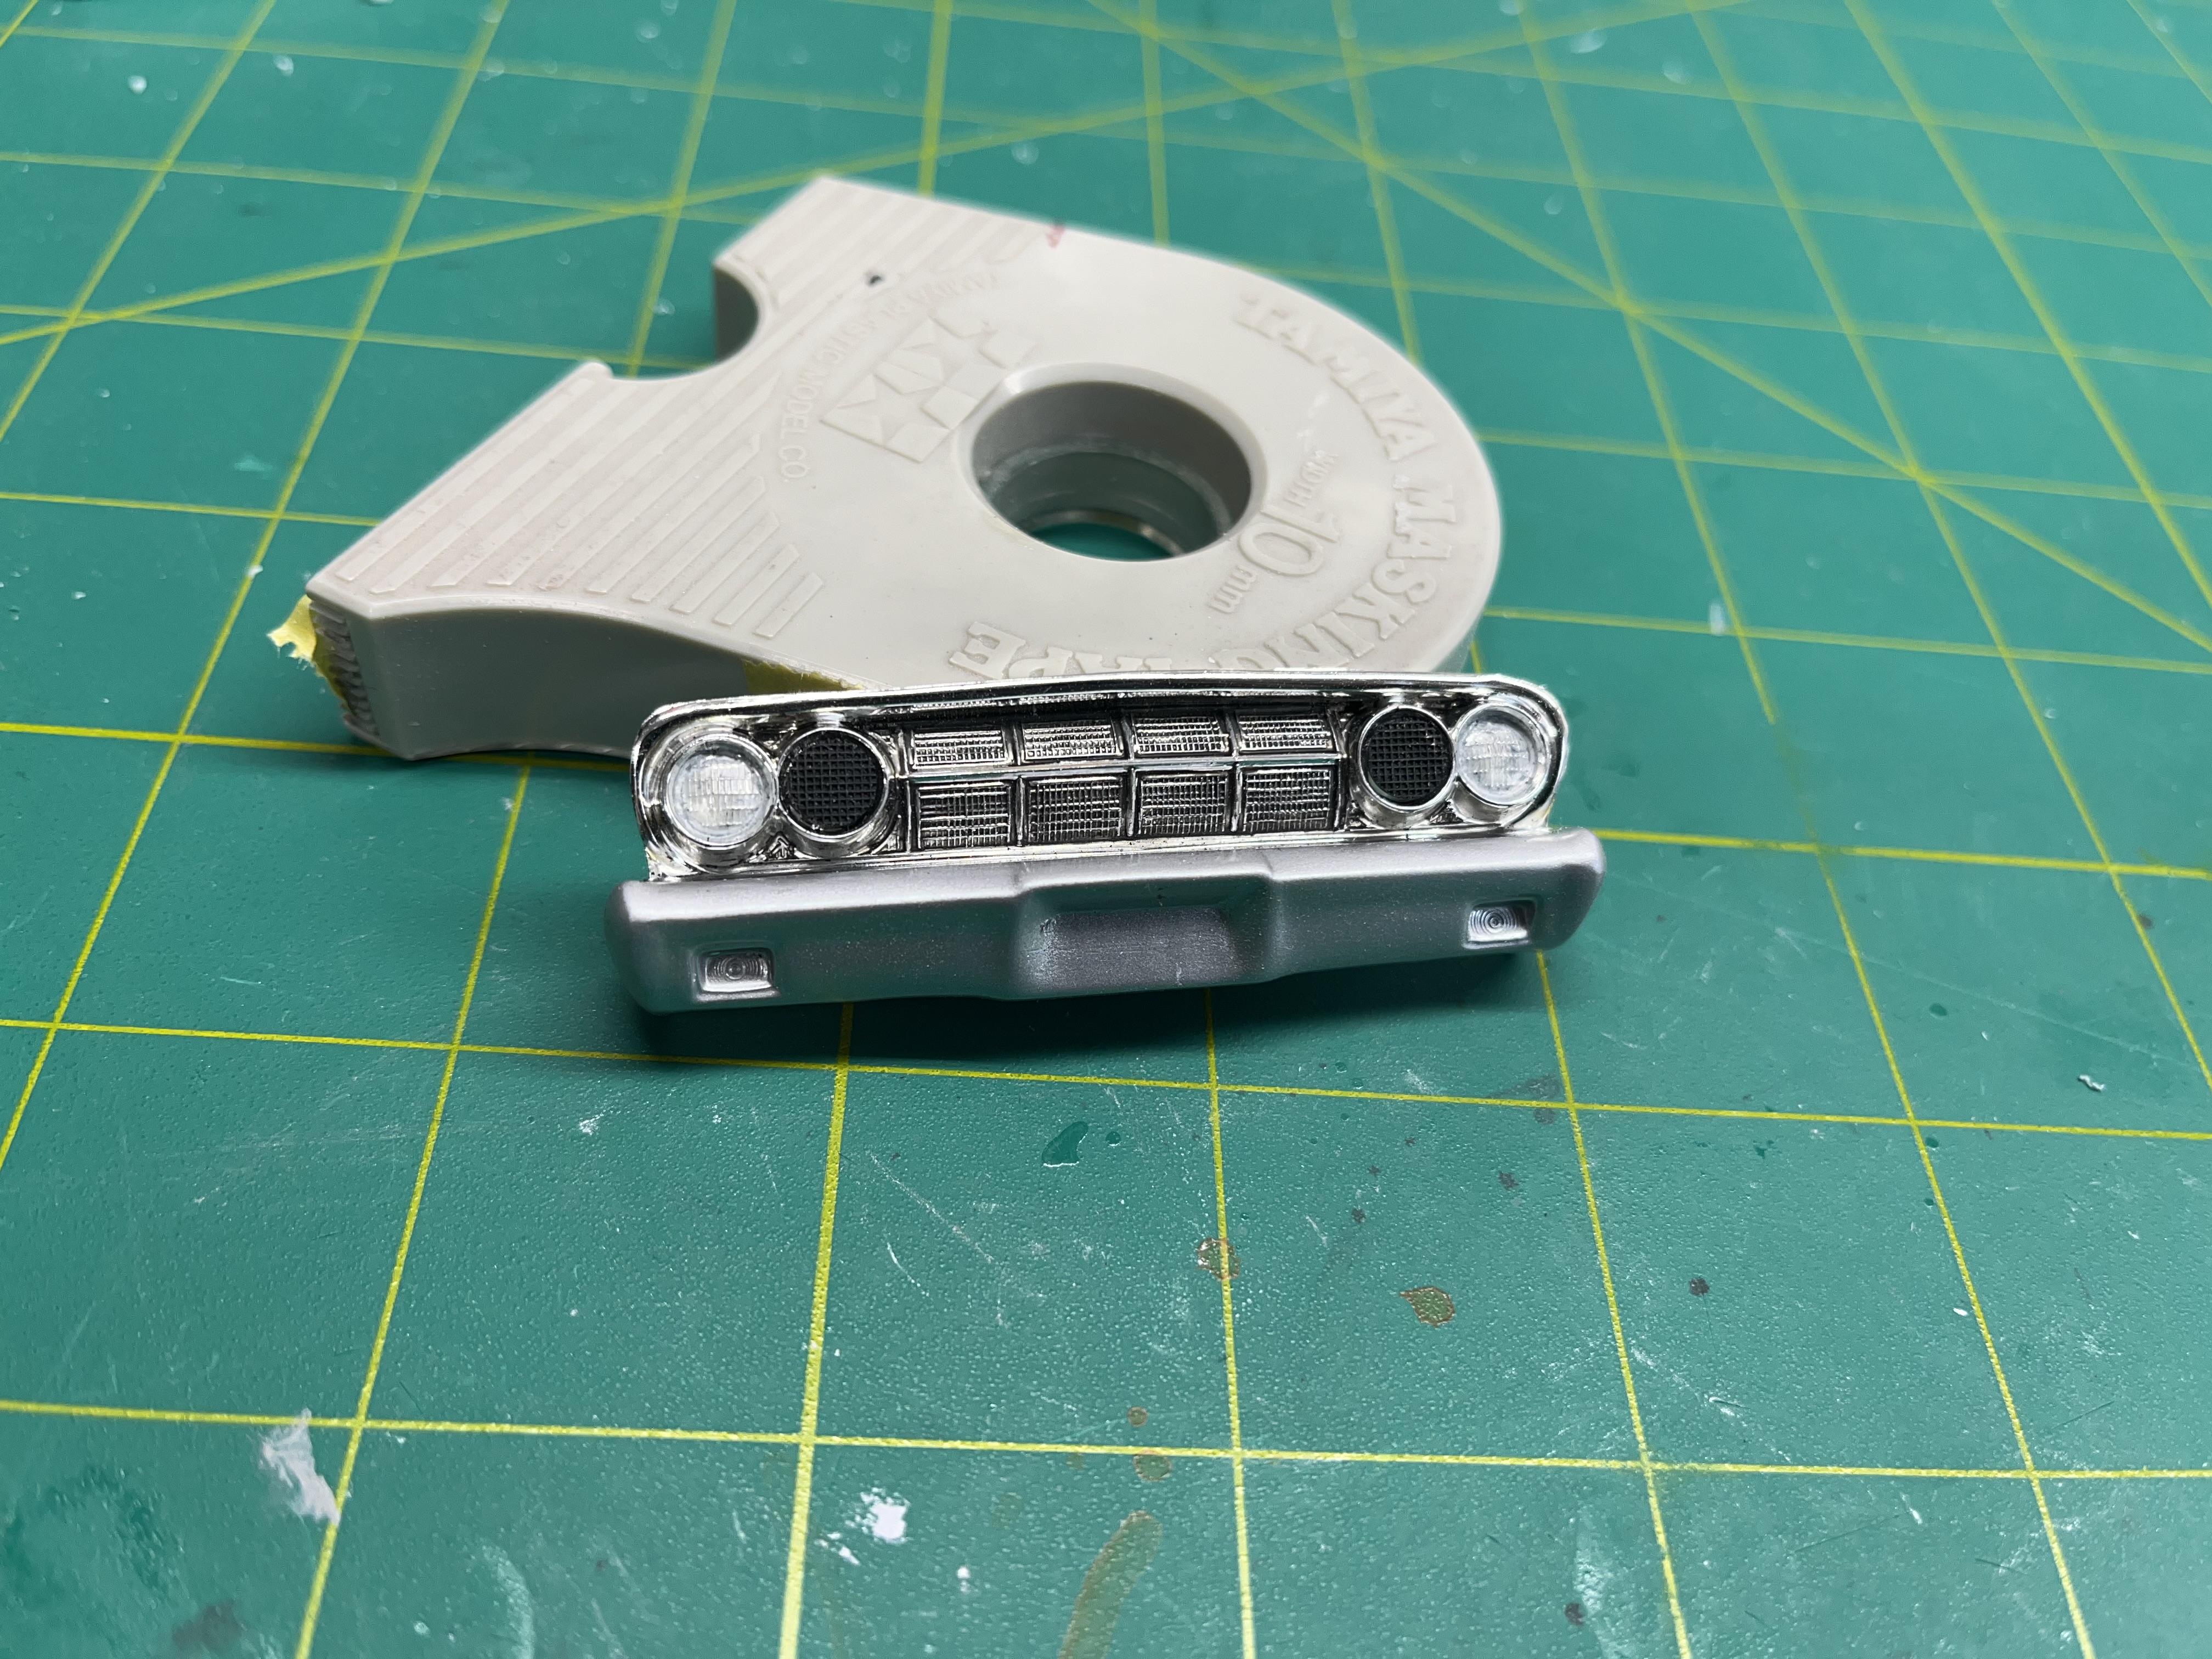
Just a mock up of the engine bay, and the modified grill with air screens. Pretty much is where it’s at right now.
-
4
-
-
The hood was removed, and overall this body requires a lot of work. The underneath of the hood had huge thick mold lines, post that needed to go, and then before you add the teardrop scoop, the hood is so thick that it was a little bit of a pain removing the styrene for it. Then when you factor in the panel lines need to be deepened, and sometimes missing with the blade, causing scratches, that had to be puttied, it’s a pain. Also the mirror mounts on the front fenders, and antenna mount on the rear panel was filled. The “Caliente” emblems were removed from the front fenders, and “Comet” removed from the hood. Hood still needs a little more sanding and putty, and cleaning up. Man, do I hate putty! Probably more than foiling.!!
-
3
-
-
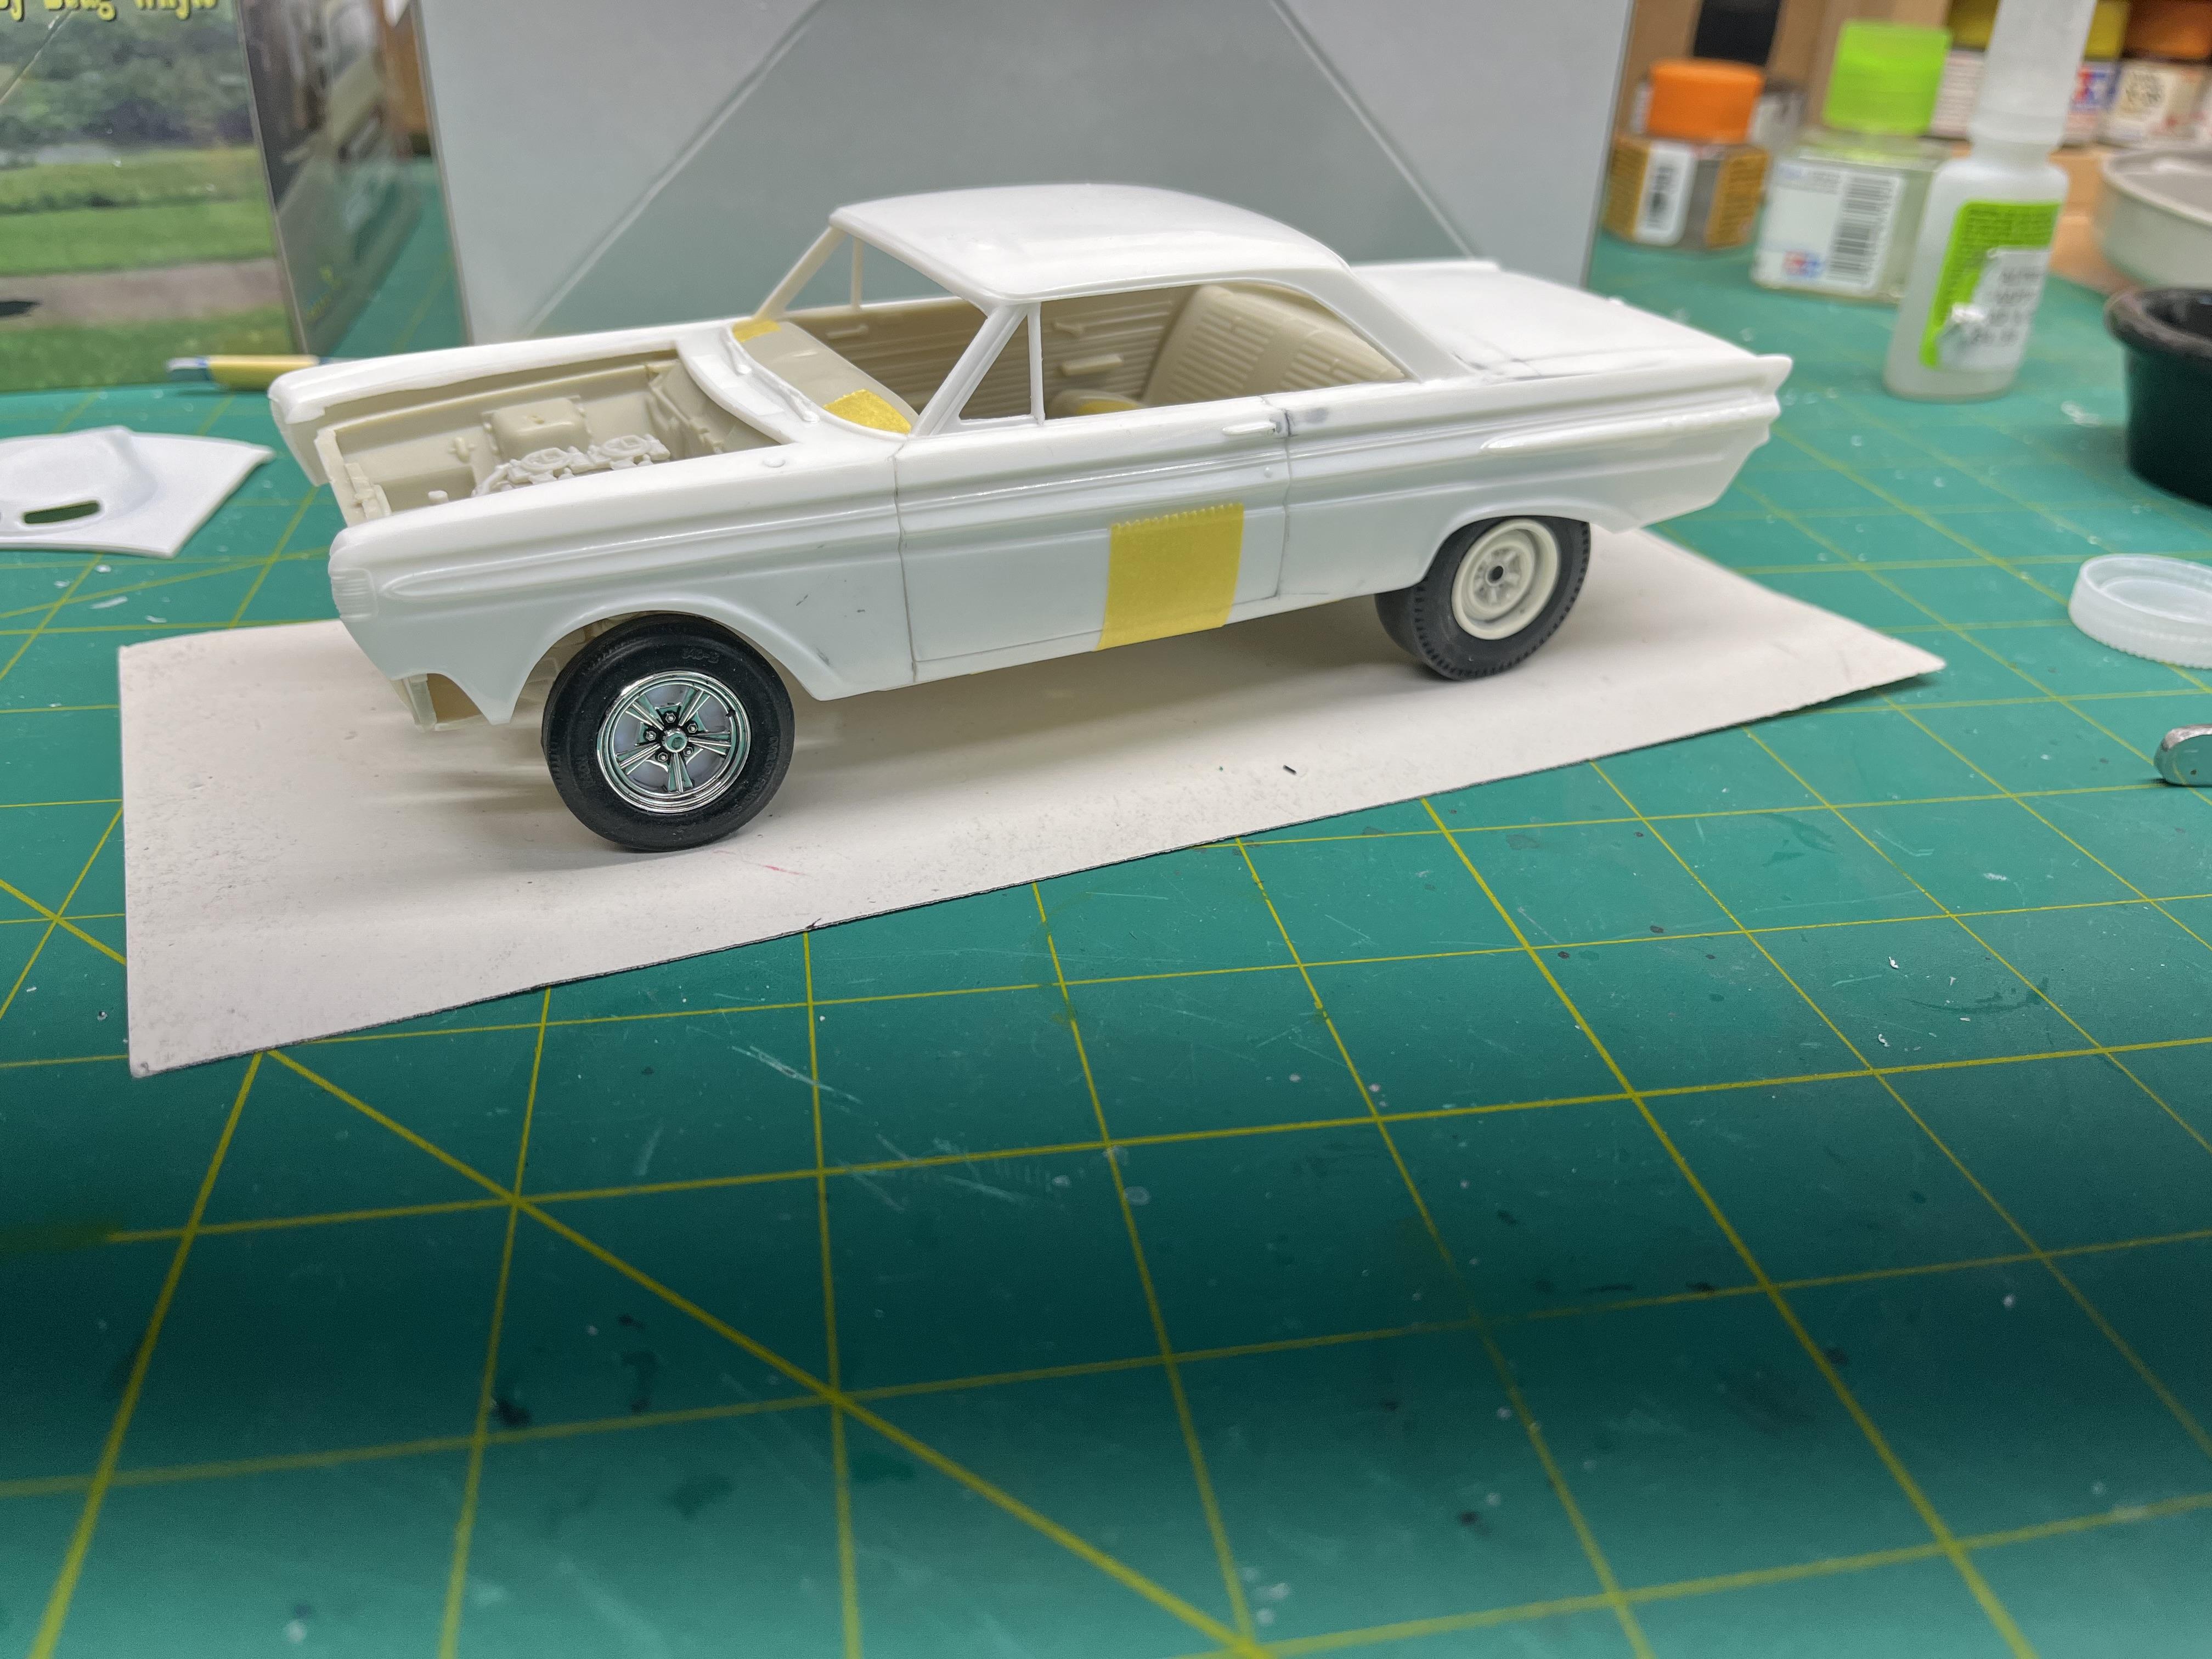
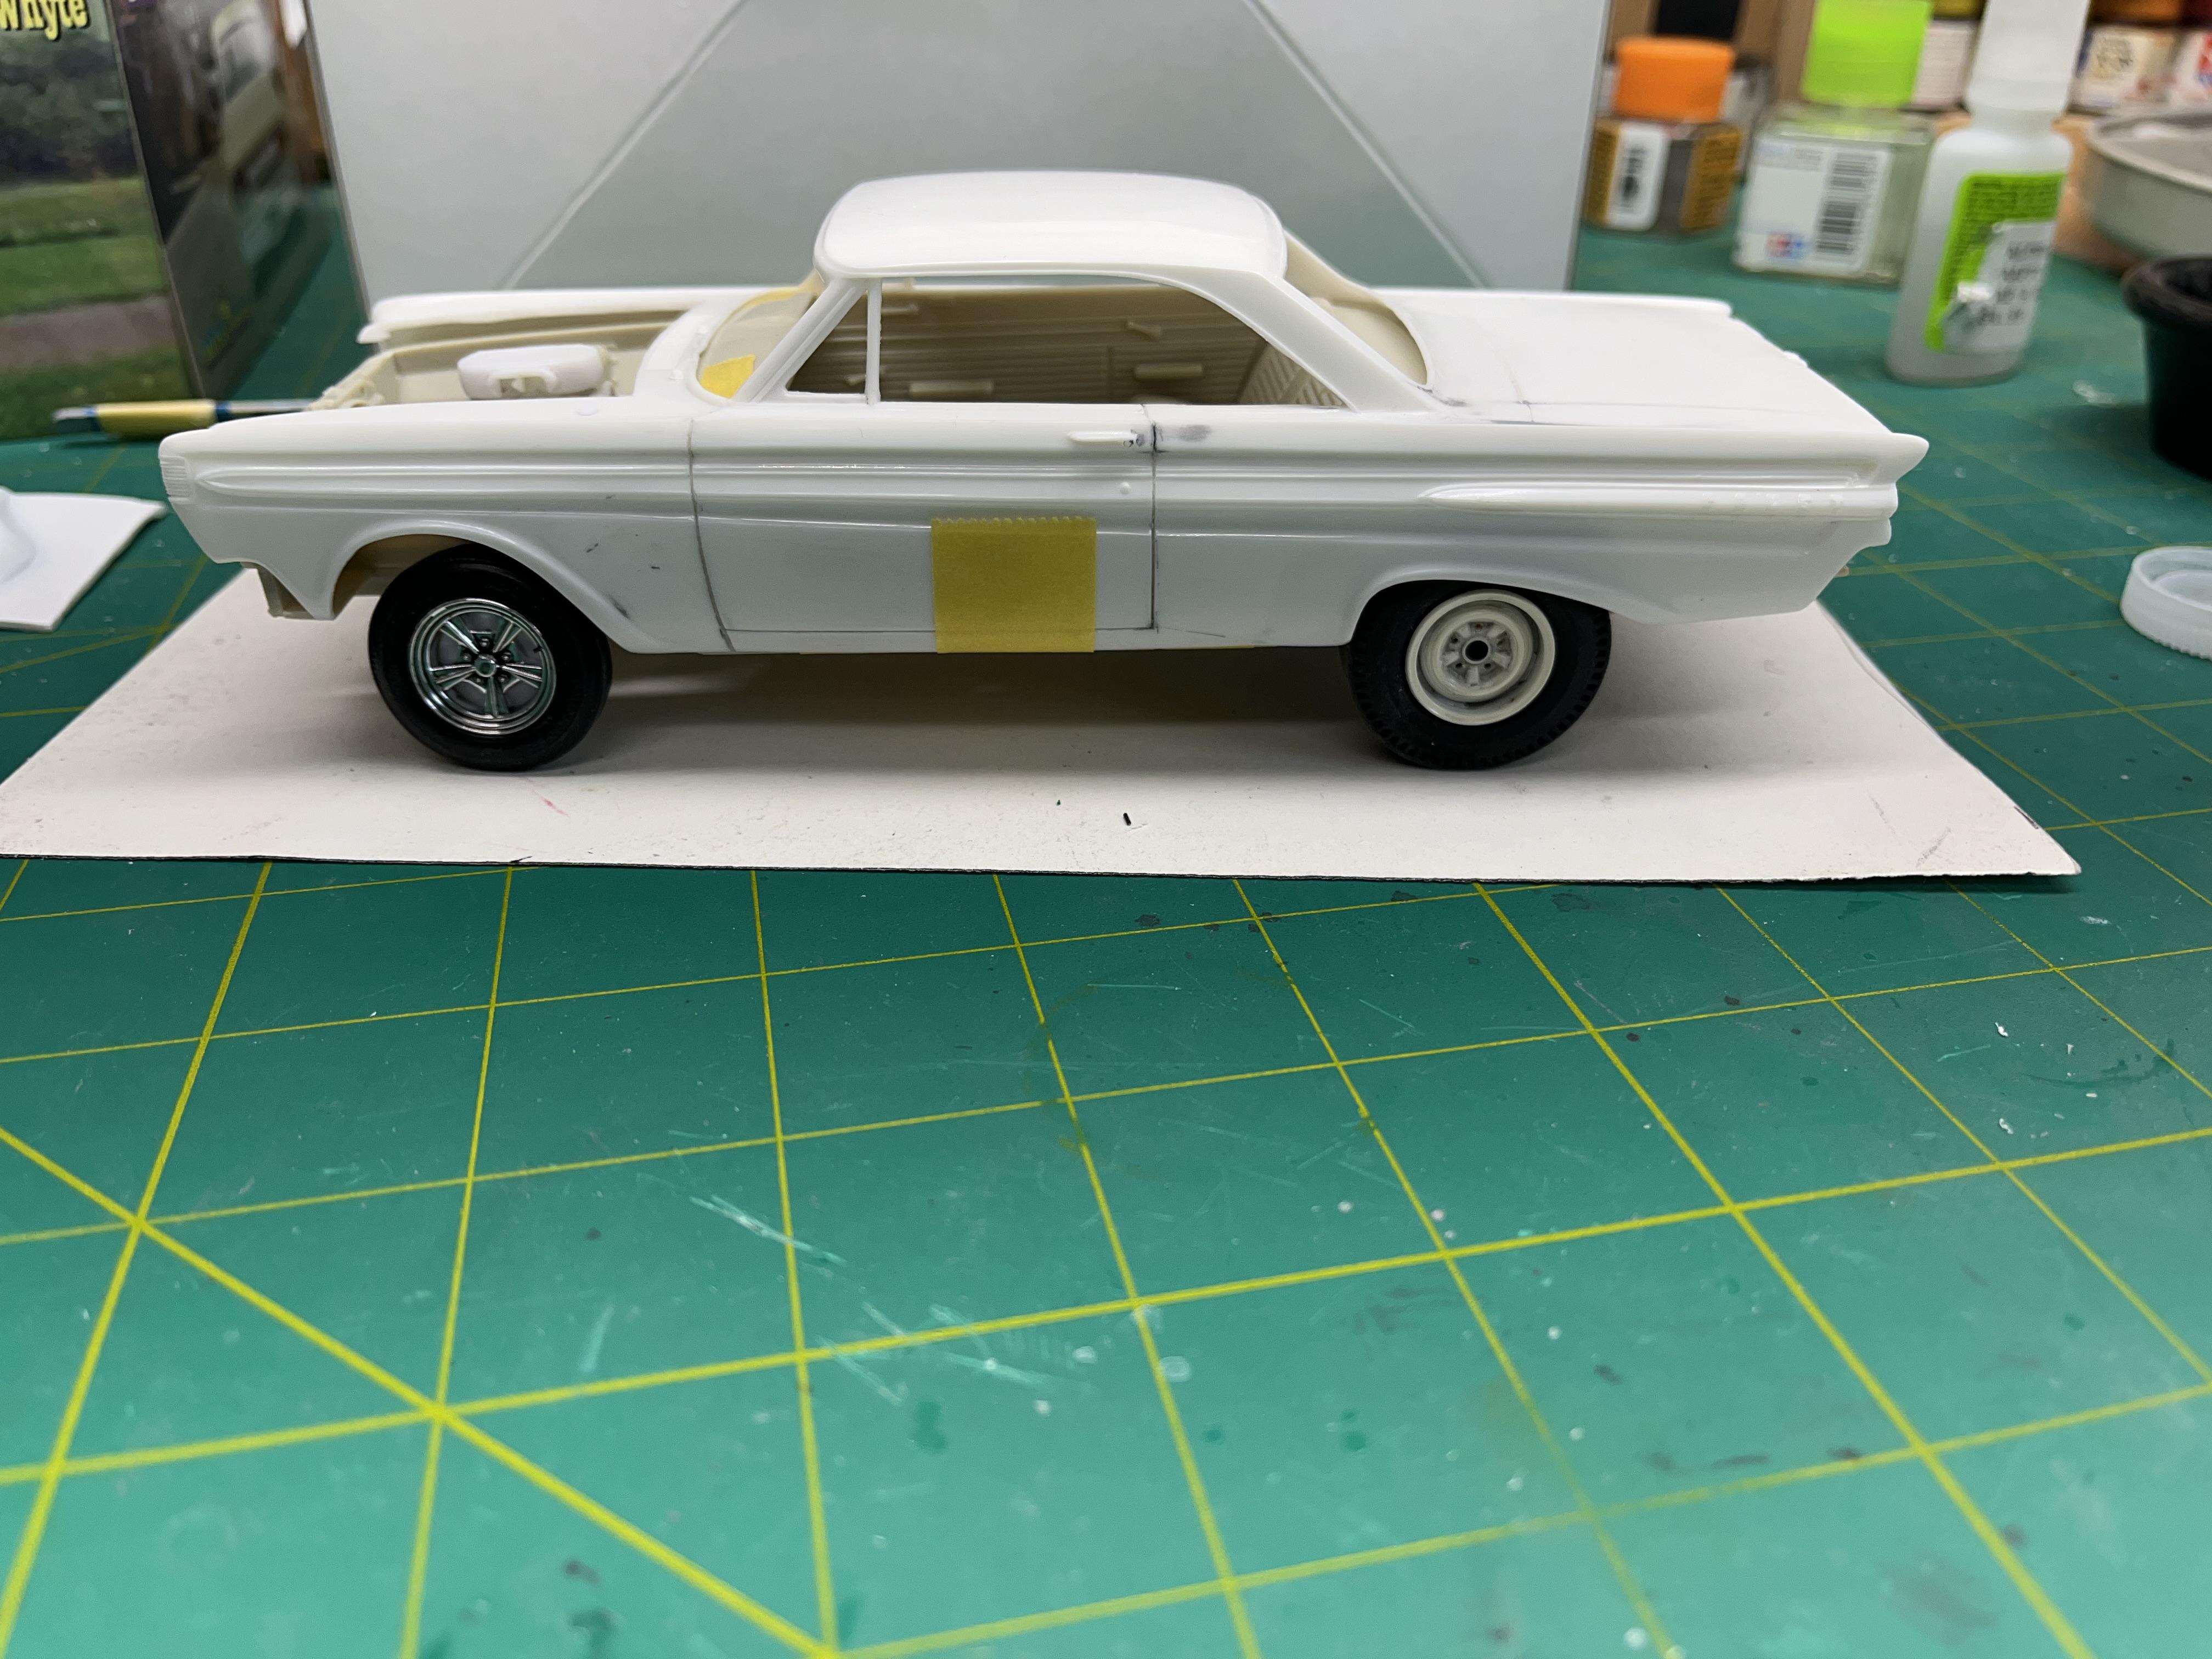
Just a quick mock up of everything. Don’t mind the wheels as they are just resting on there. The cars front will be a tad lower in assembly.
-
3
-
-
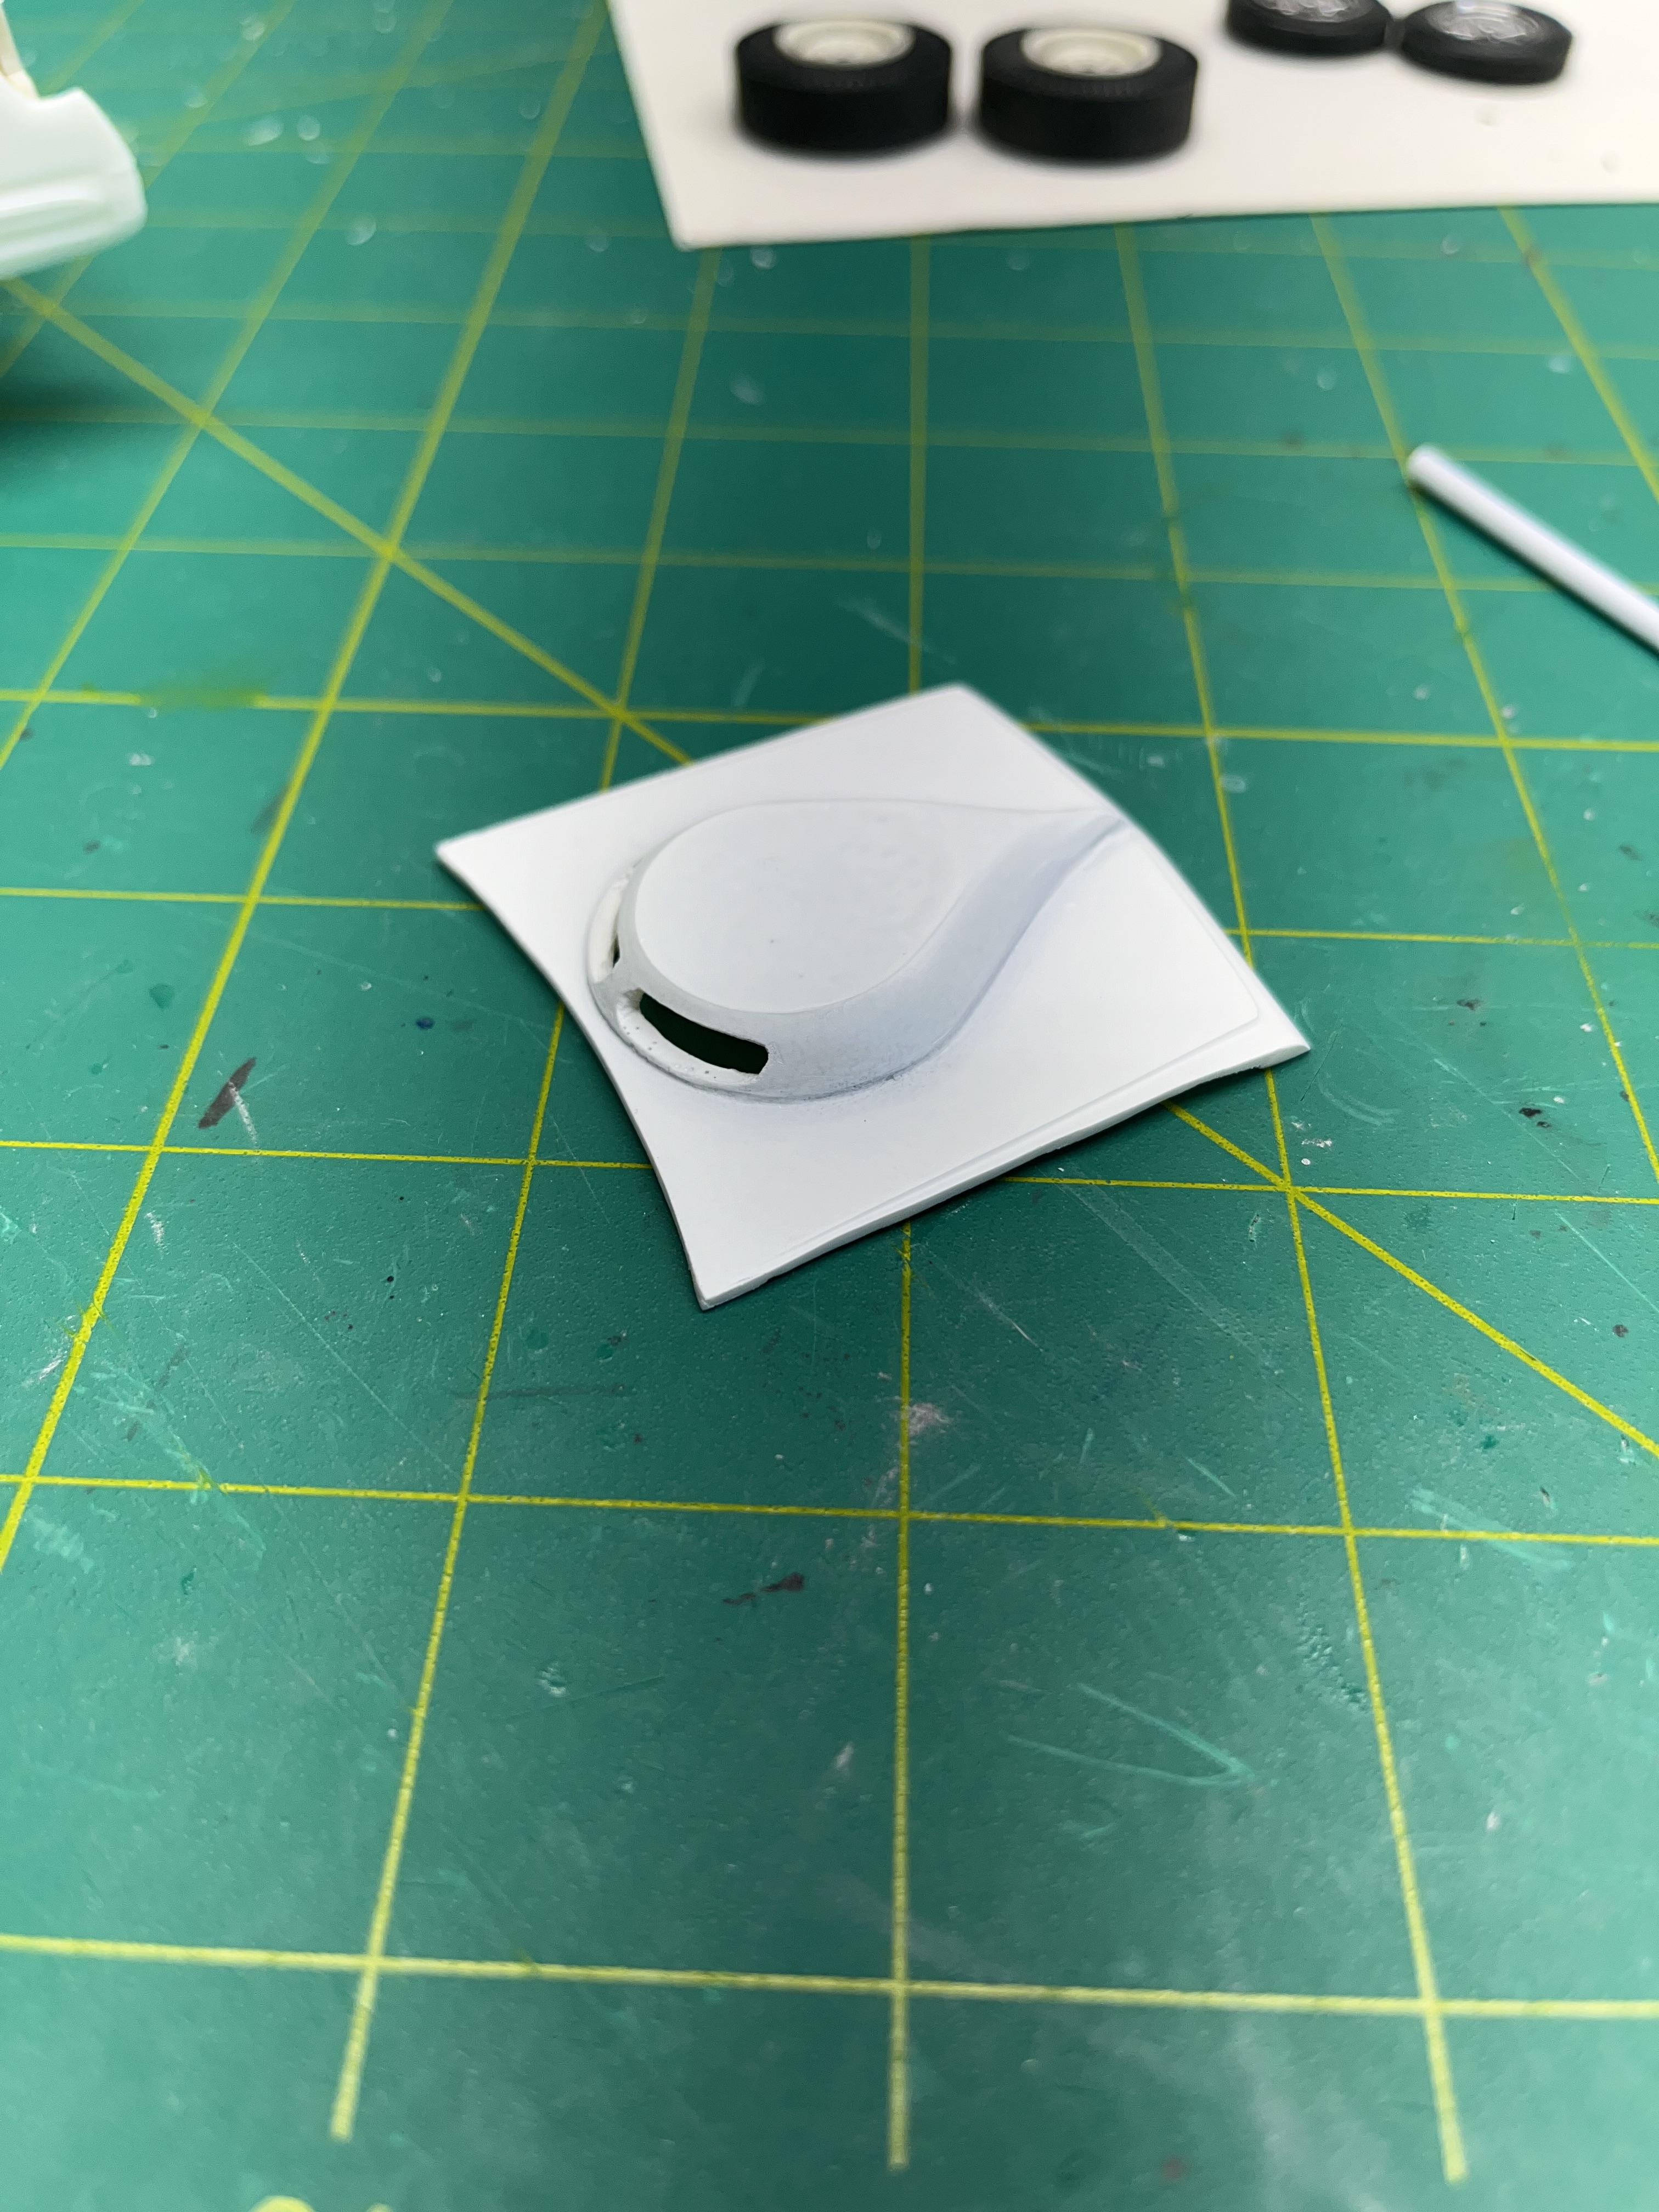
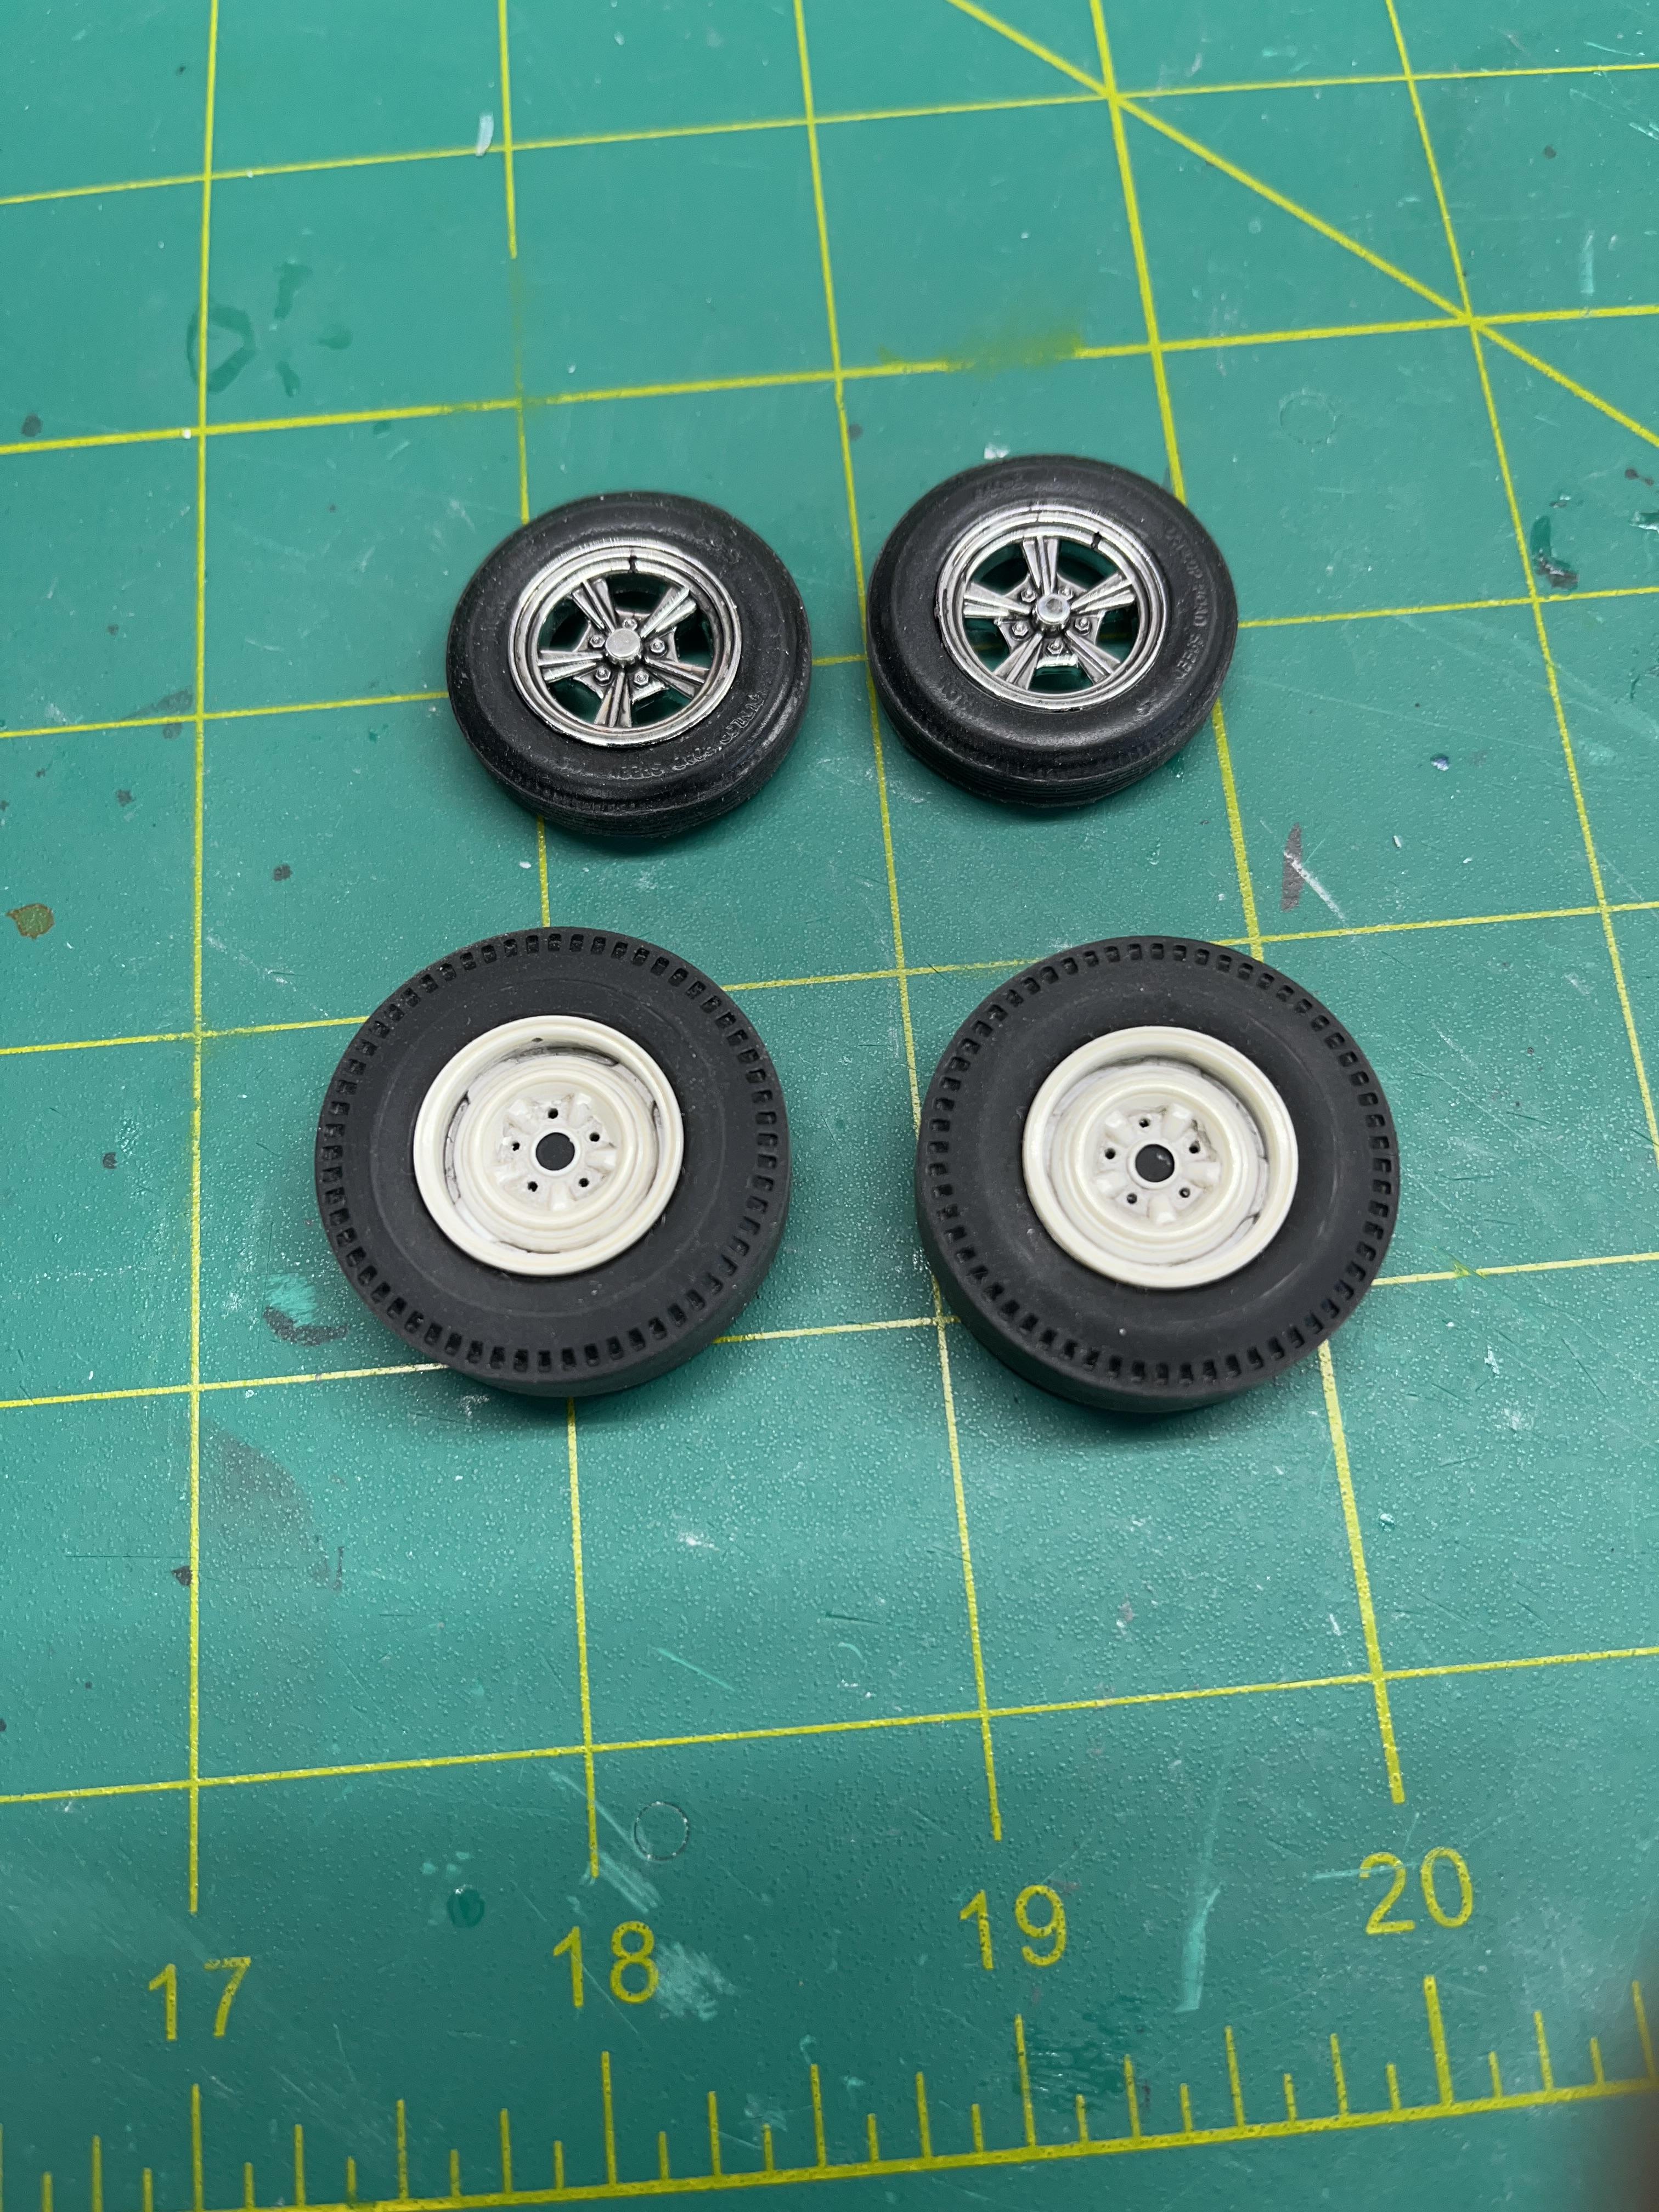
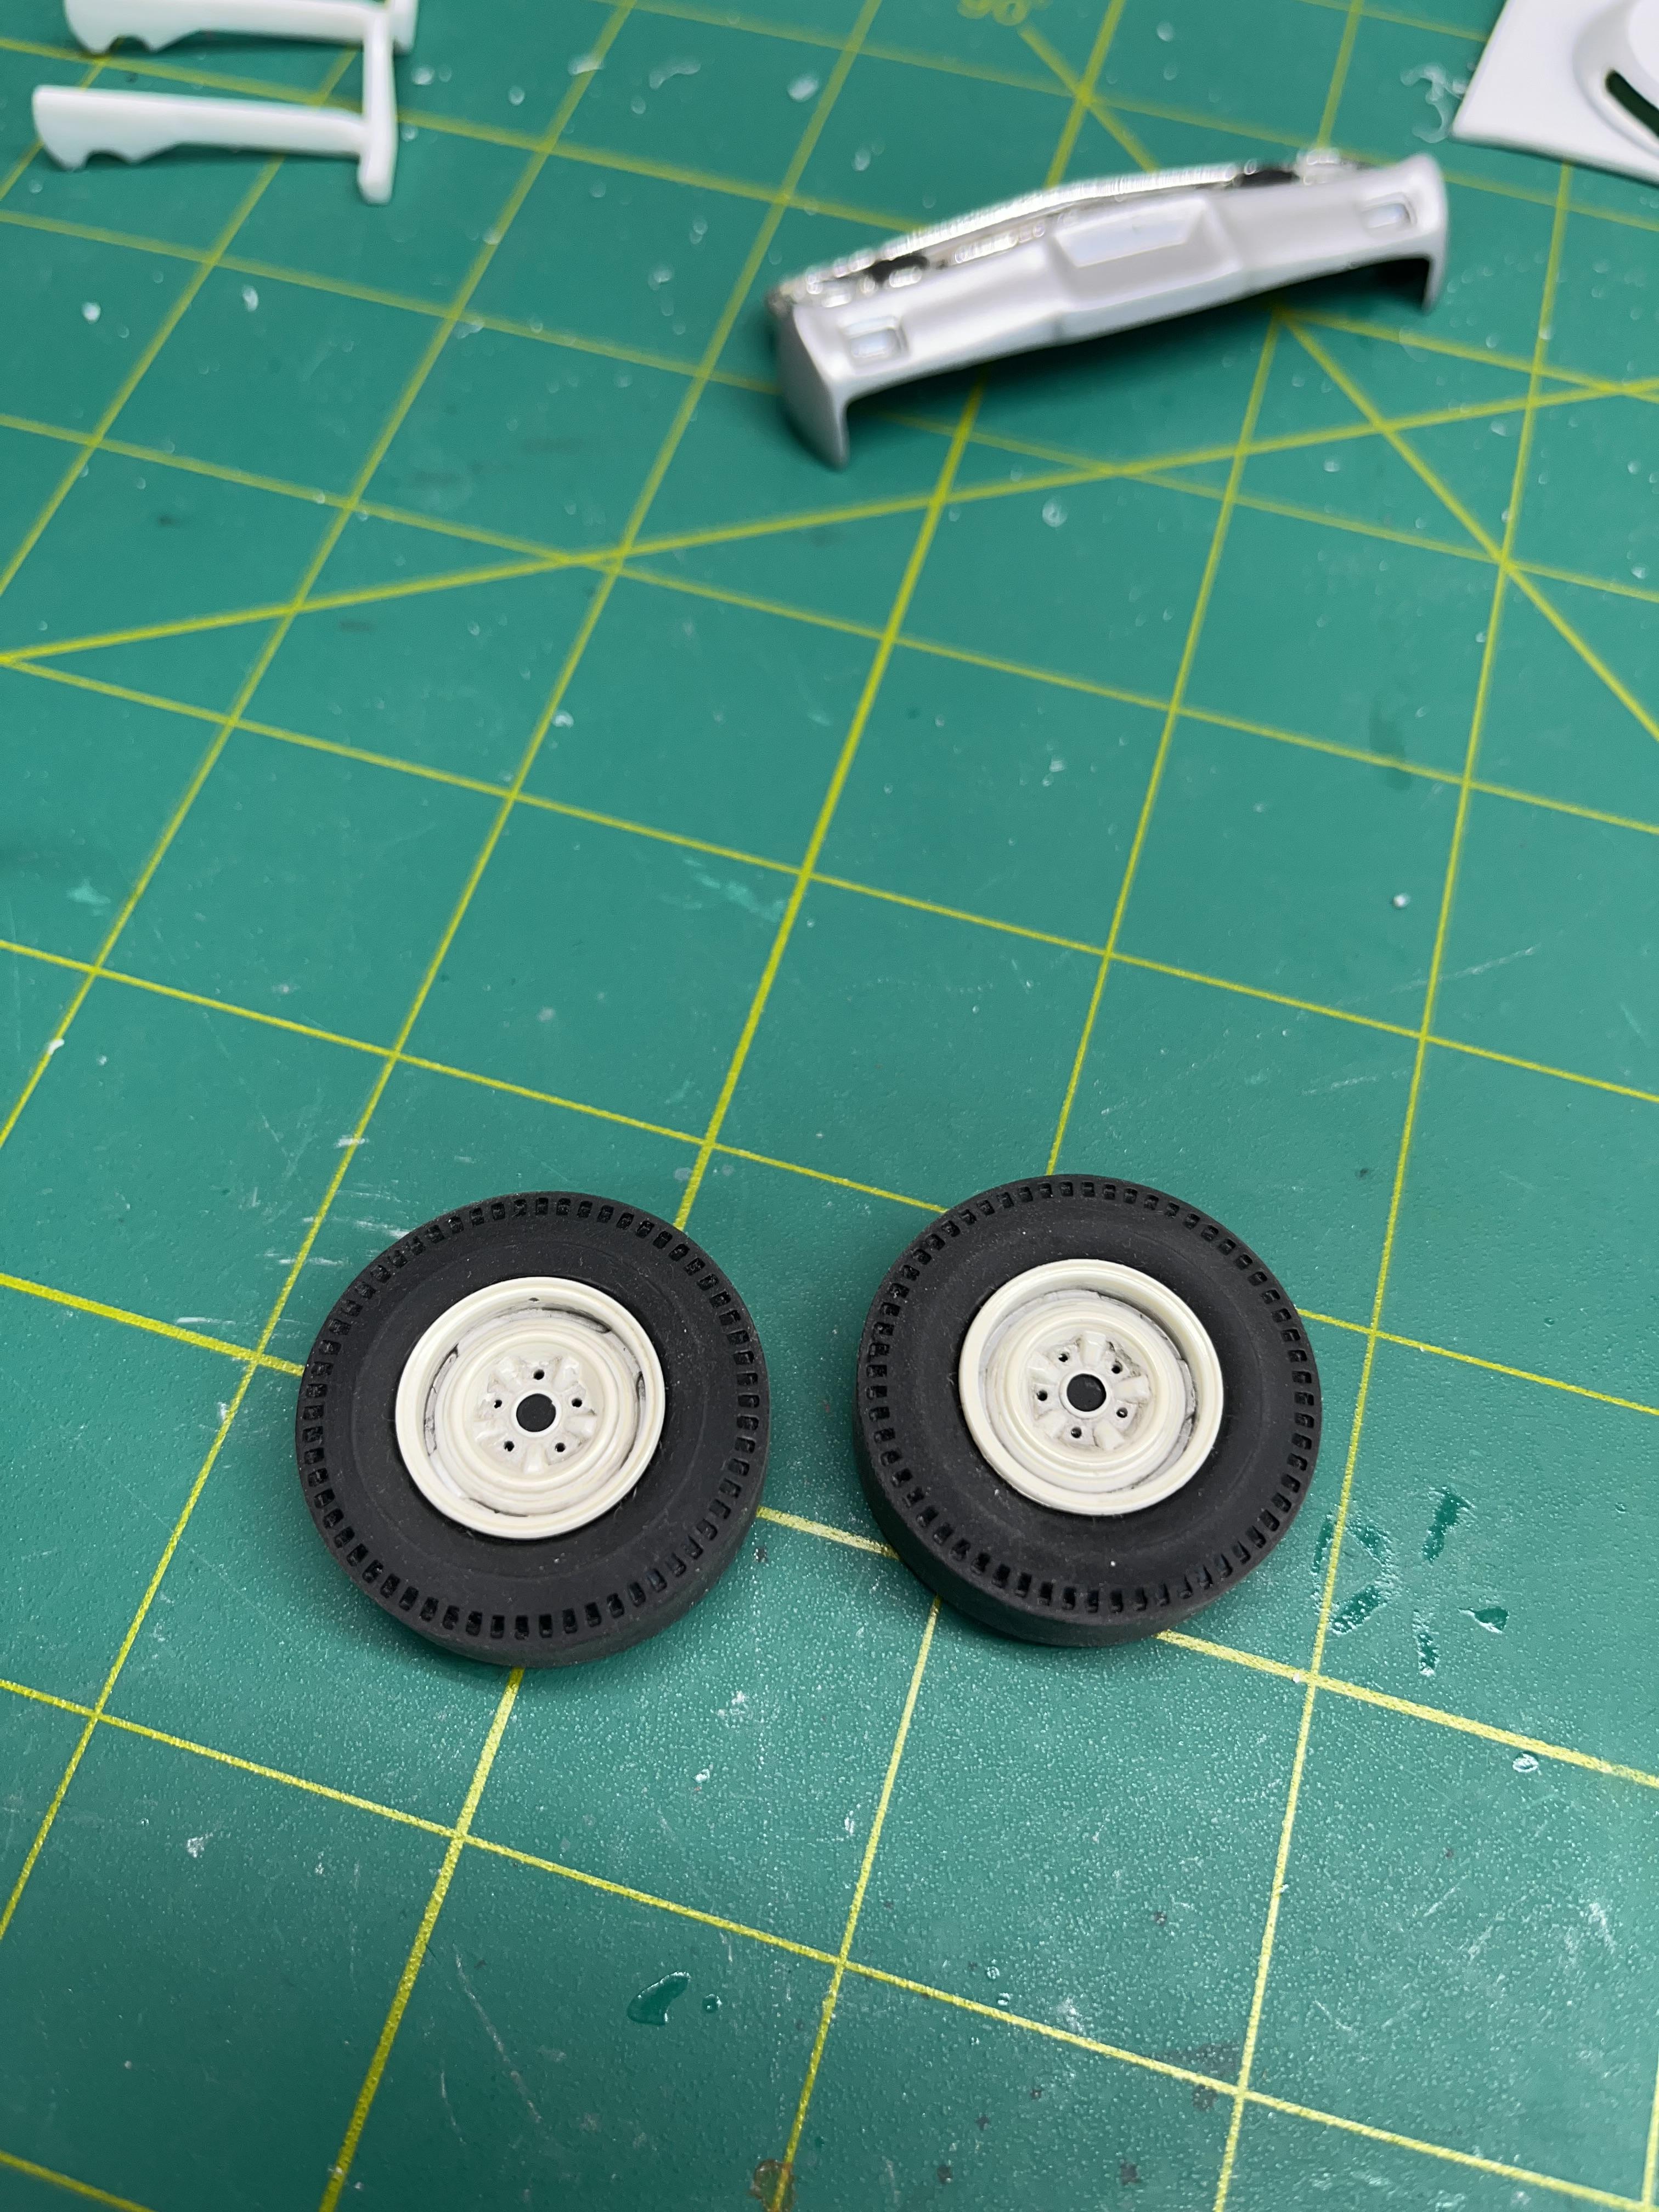
I grabbed two Thunderbolt front rims and two steel rims from the parts bin. Added some panel line accent to tone down the chrome. I drilled the rears so studs and ProTech lugs can be added later. Slicks are AMT parts packs sanded with 400 grit paper.
-
4
-
-
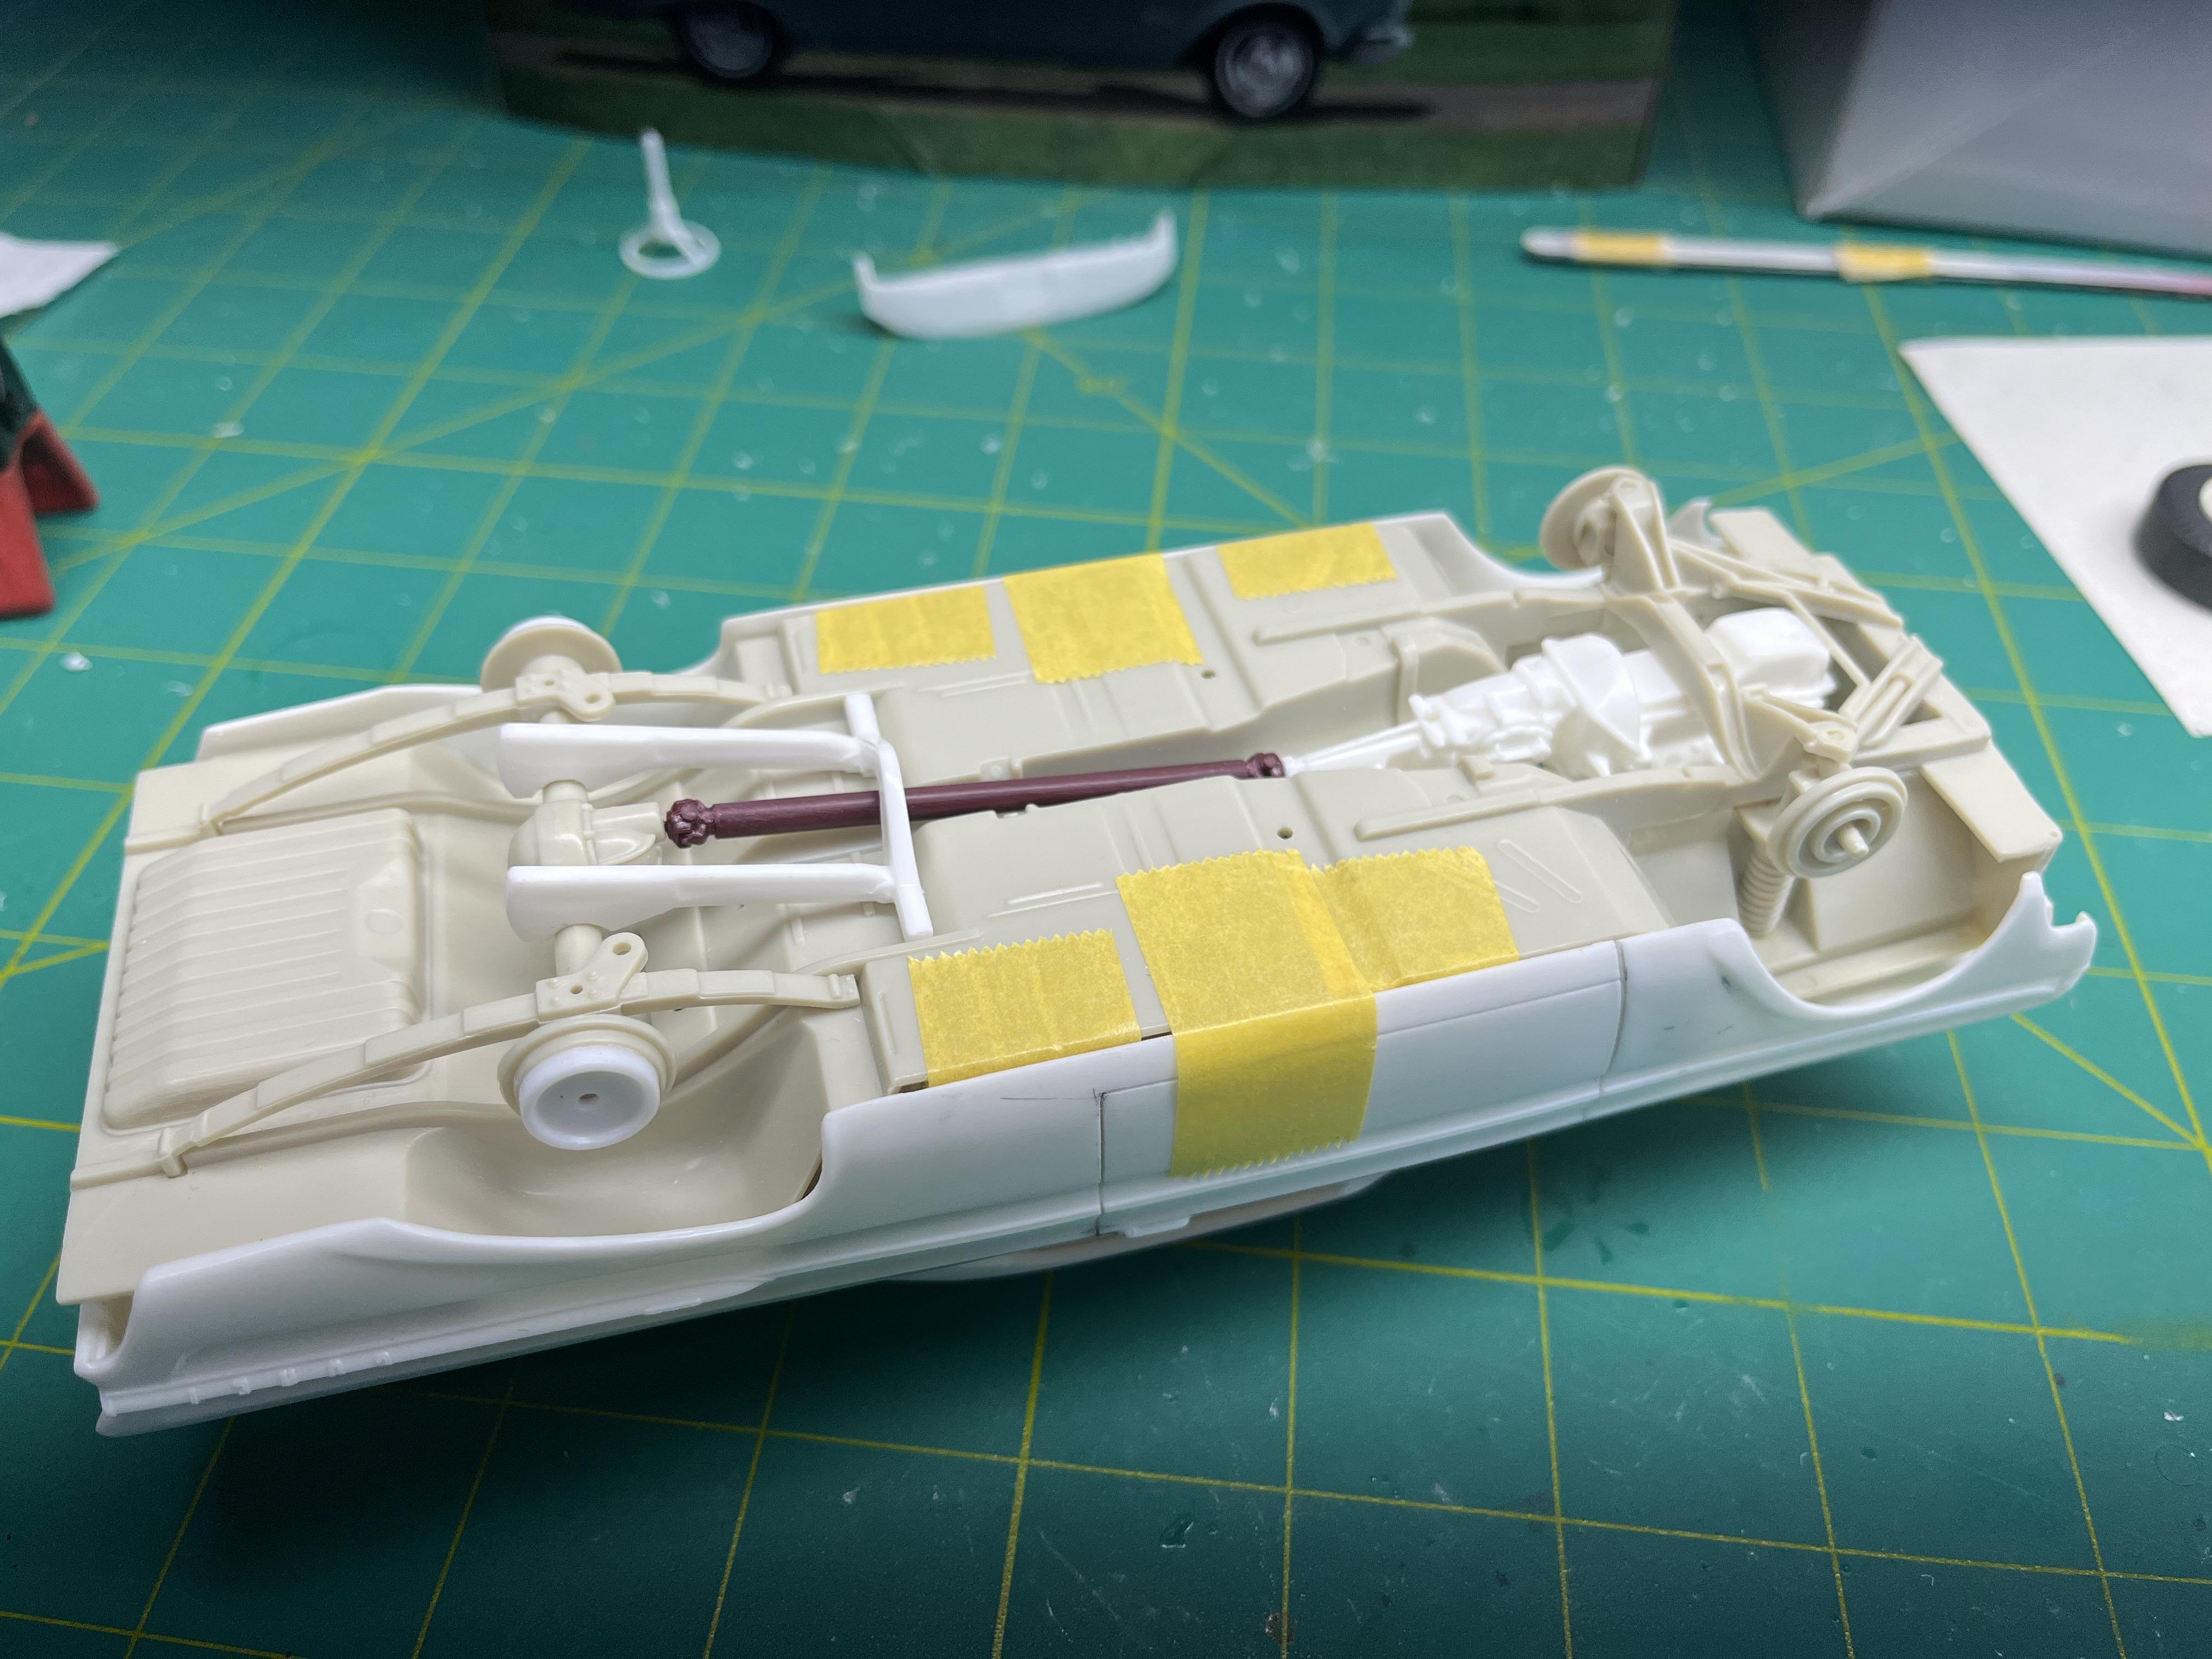
The 60 Starliner donated the engine and trans. I’m using a few suspension parts from the Thunderbolt. I drilled the appropriate sized holes in the bottom of the oil pan, and top of the trans so it would be located in the Comet chassis mounting points.
-
3
-
-
After the big move, I finally got a little bench time in. I saw a YouTube video of this car, and I have one in the stash, plus many of other parts for the build. The 65 Moebius Comet was used for the interior, and floor pan, with the firewall, and fender wells intact, to see how it will all fit. The only problems I encountered was, a little trimming of the rear seat package tray, and the tops of the door panels needed to be trimmed down and sanded smooth. They stuck up past the doors when it was seated into the body. They also needed a little trimming where the panels met the seat. I will be using the 64 dash and steering wheel for obvious reasons as the 65 dash is different.
-
5
-
-
I’ll get a few pics tonight, with a mock up, and the few things I have done already.
-
 2
2
-
-
35 minutes ago, FoMoCo66 said:
Nice model room! Looks like you got room for everything.
Just one question, whats this project🤔?
That’s a 64 Comet A/FX I’ve been messing with. Looking to build this car pictured here. Using the 65 Moebius, chassis, with some TBolt parts, and interior, except for the 64 dash and steering wheel. The 60 Starliner engine with the dual quad set up with a TBolt air intake.
-
2
-
-
Ahh, I see you posted the link David. Yea, pretty much what I just said. Sorry I didn’t see your post first.
-
2 hours ago, 58 Impala said:
There is a how-to for what you're trying to do on Pro Tech's webpage.
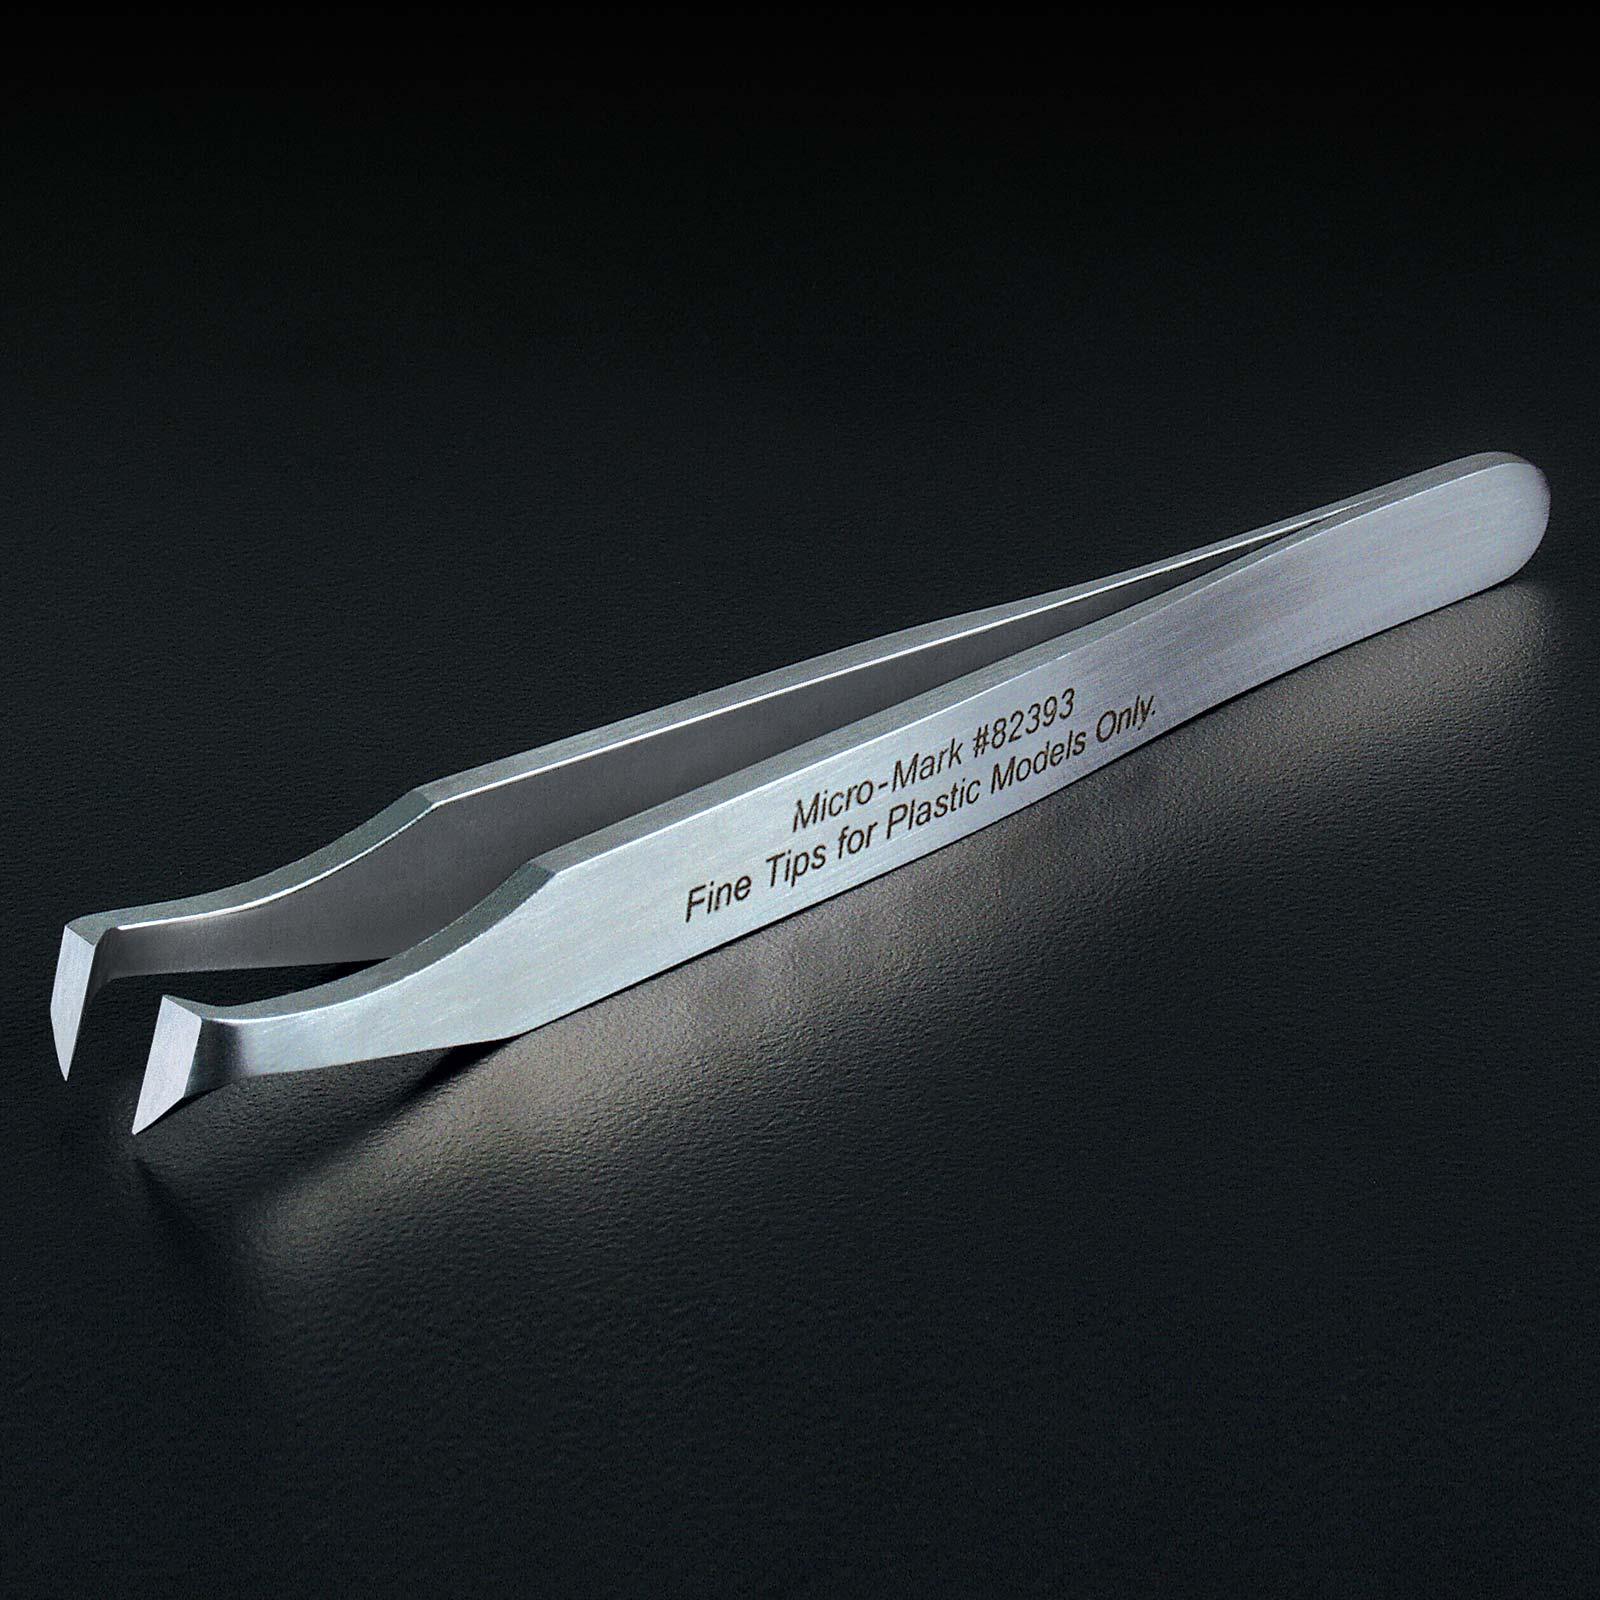
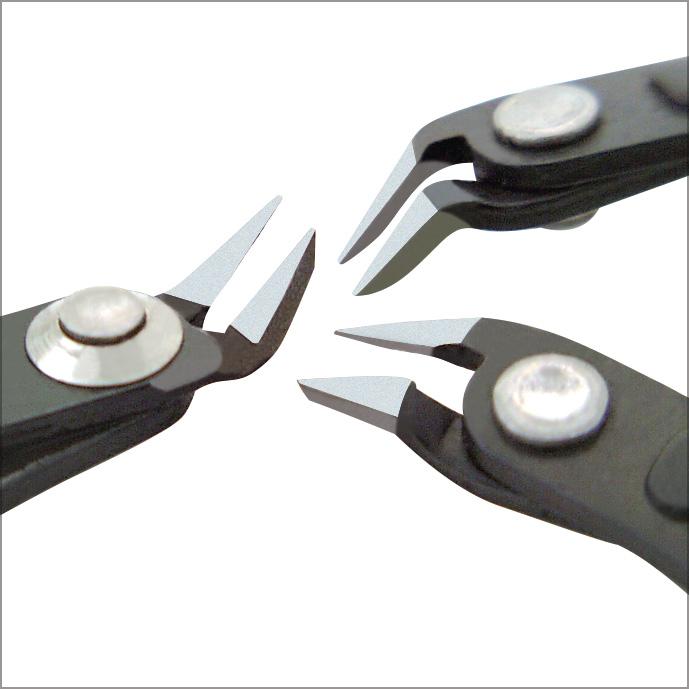
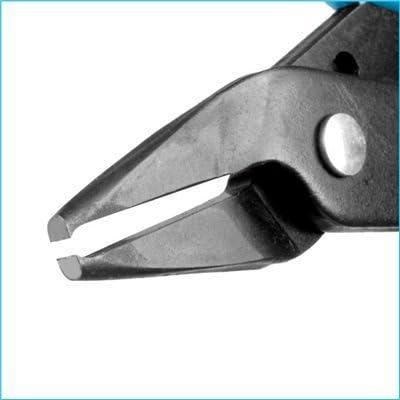
That’s what got me wanting to do it. I did do a set for the 62 Catalina rims, but maybe they aren’t the best rims to do, with the lugs being extra tight. They actually look like a small bolt pattern Mopar wheel now. The website says use a #69 drill bit and .025 rod and ProTechs .025 aluminum nuts, which I have many of. Not really showing the best way to remove the old ones though. I just did a set of Ford rear rims for a 64 Comet A/FX I’m working on. We’ll see how these turn out when finished.
-
4 hours ago, R. Thorne said:
You might consider one of these options.
I did consider using some type of nippers, Ron, but figured I’d still have to deal with the limited space problems.
-
4 hours ago, NOBLNG said:
Maybe practice on some junk wheels to see what works best before trying it on the ones you want to use.
I already have a couple rims waiting for the practice run. Thanks for the reply!!
-
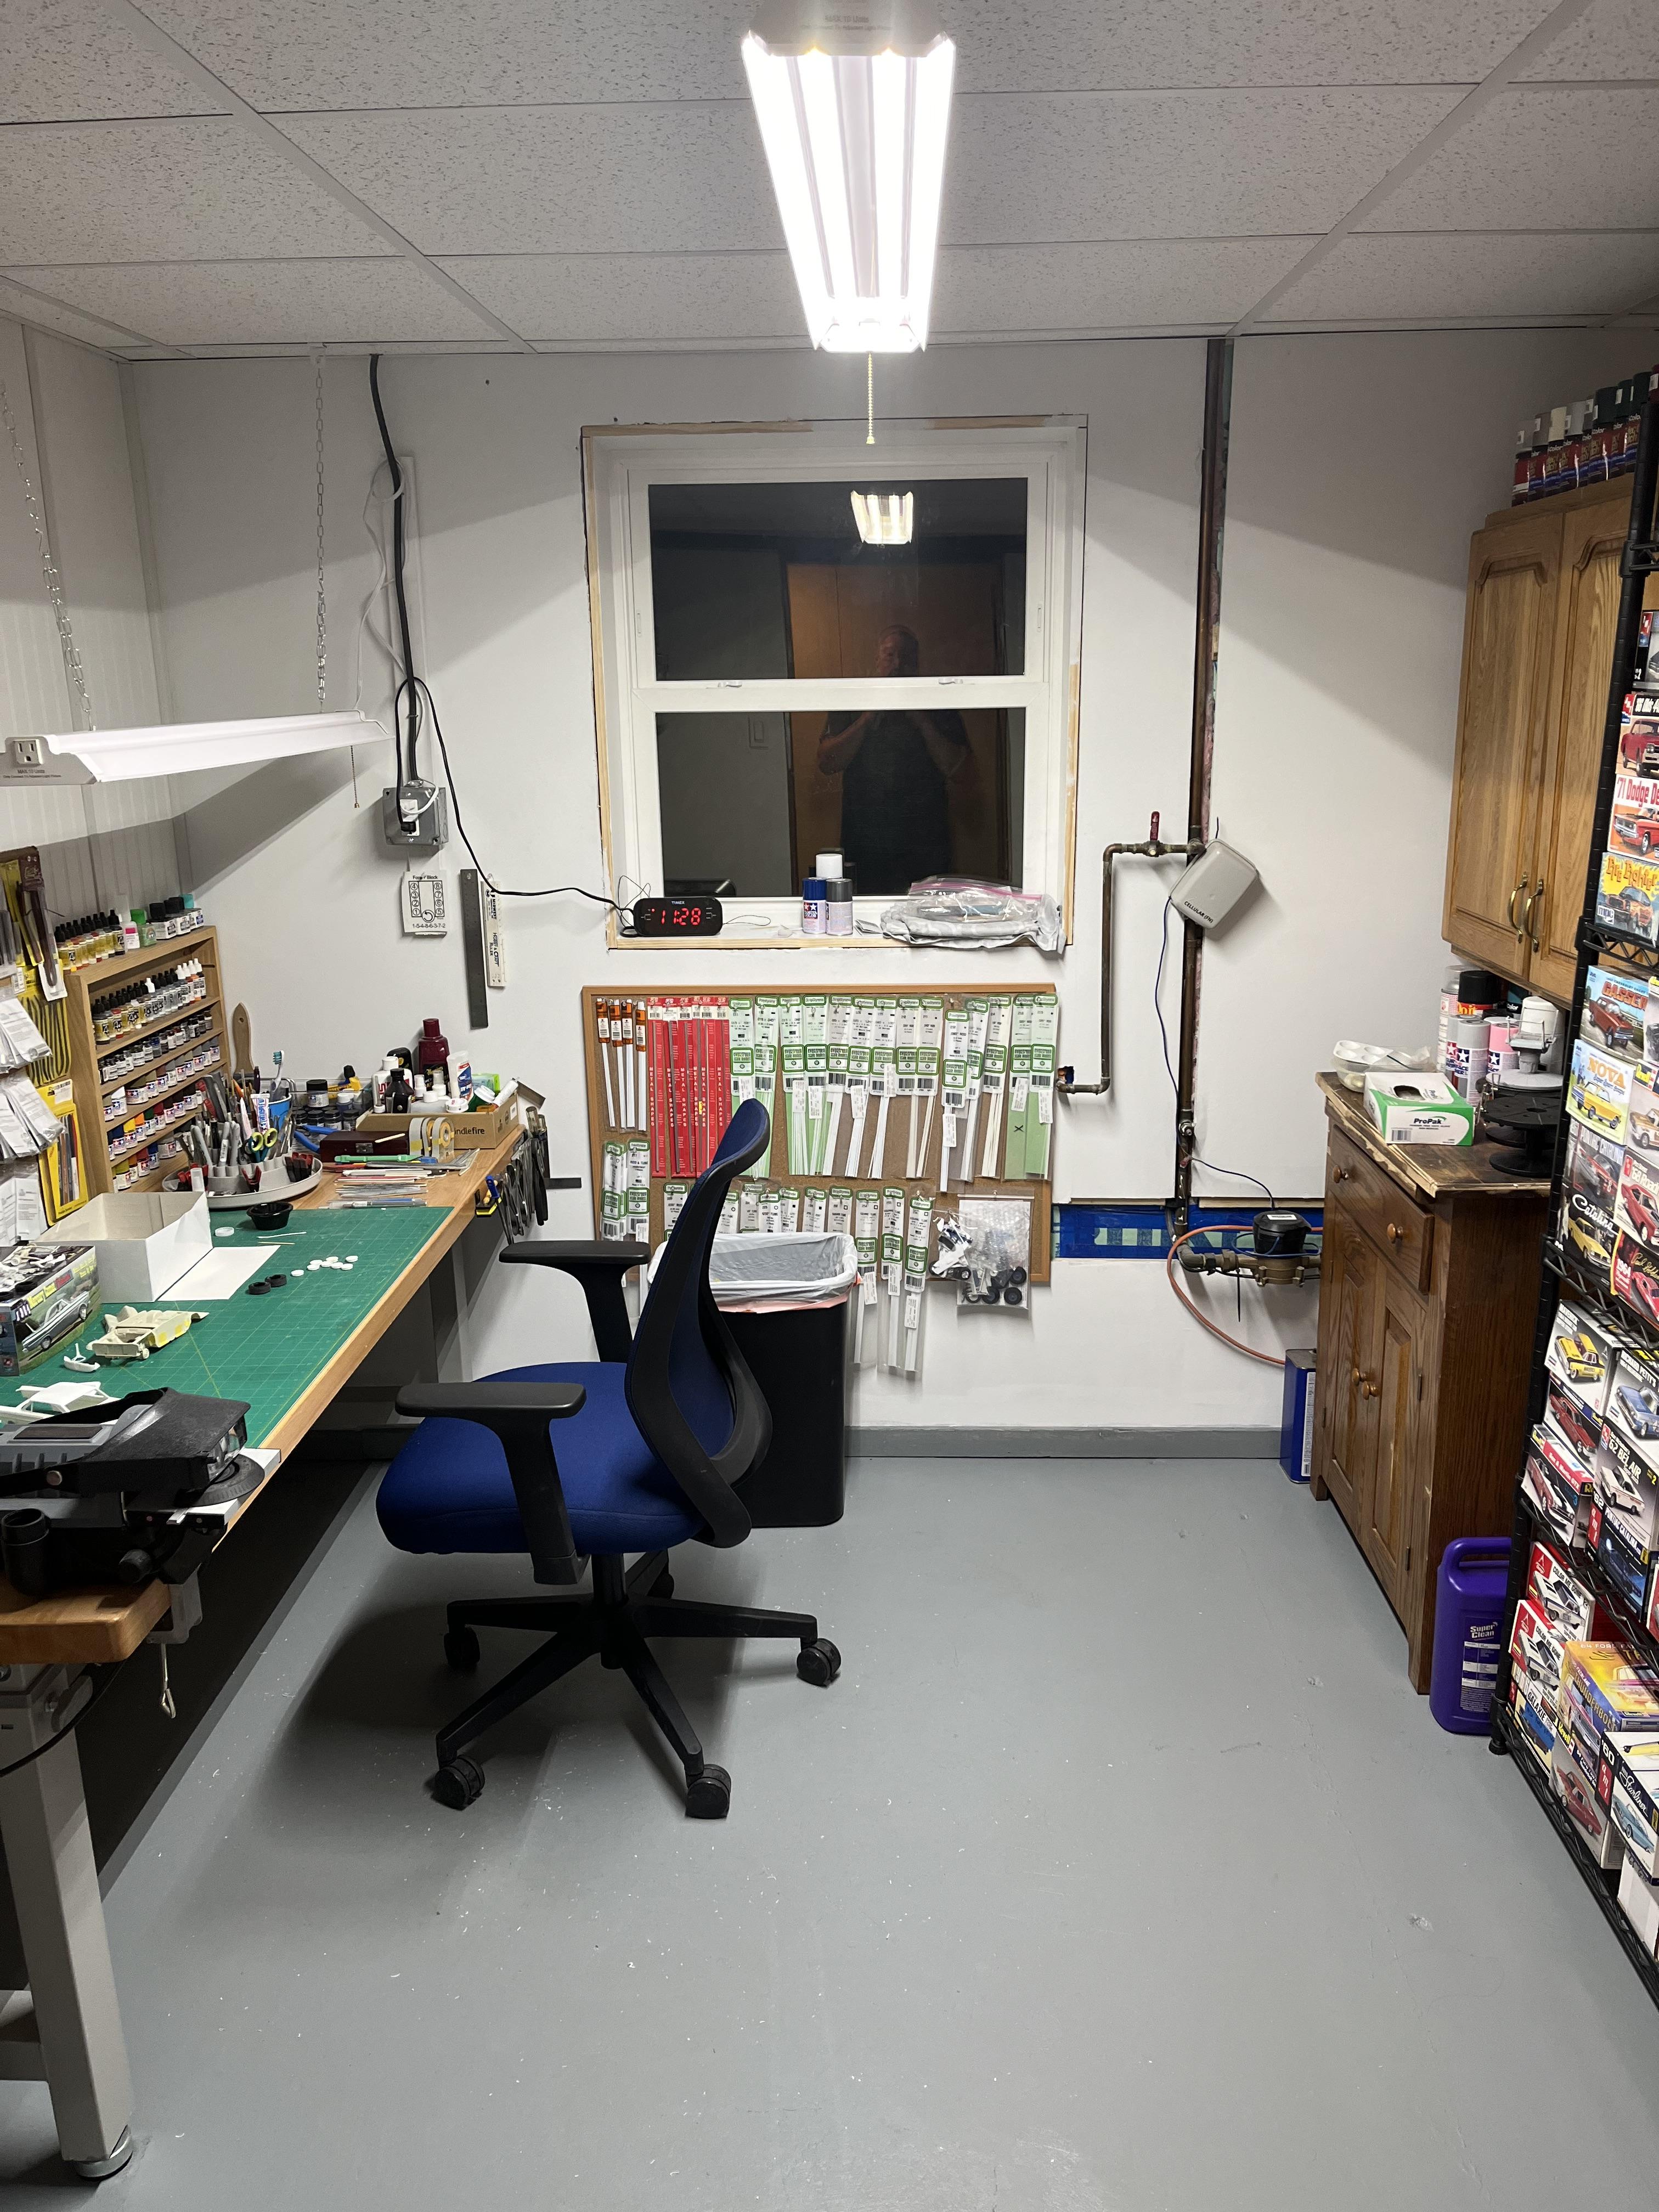
Still have to do the flooring in the basement hallway, laundry room, and basement family room. And window, door and baseboard trim throughout the basement. When that’s all done, it will be paint booth, and airbrush time.
-
1
-
-
Thanks for the replies. I was kind of upset that my Pontiac Ventura drag car WIP got ruined, and two Thunderbolts that were built, and a couple of resin bodies. But I’m gonna move on with some new builds. Most of my other WIPs are fine though. I guess it’s not too bad considering the move, the storage, and things getting bumped around.
-
1
-
-
I hear ya. I was away from the bench for about a year, as we just bought and totally renovated a house. Now I’m getting into work in my new model room. Still have to do vinyl flooring and underlayment in the remodeled basement but at least I have some model time.
-
Thanks everyone! All great ideas! I enjoy getting input on the different ways people get their projects done. I will definitely try them. Like I said I did perform this mod, but, if one lug nut is slightly off, it makes the whole wheel look horrible. Now I have some good suggestions on which way to go about it this time.
-
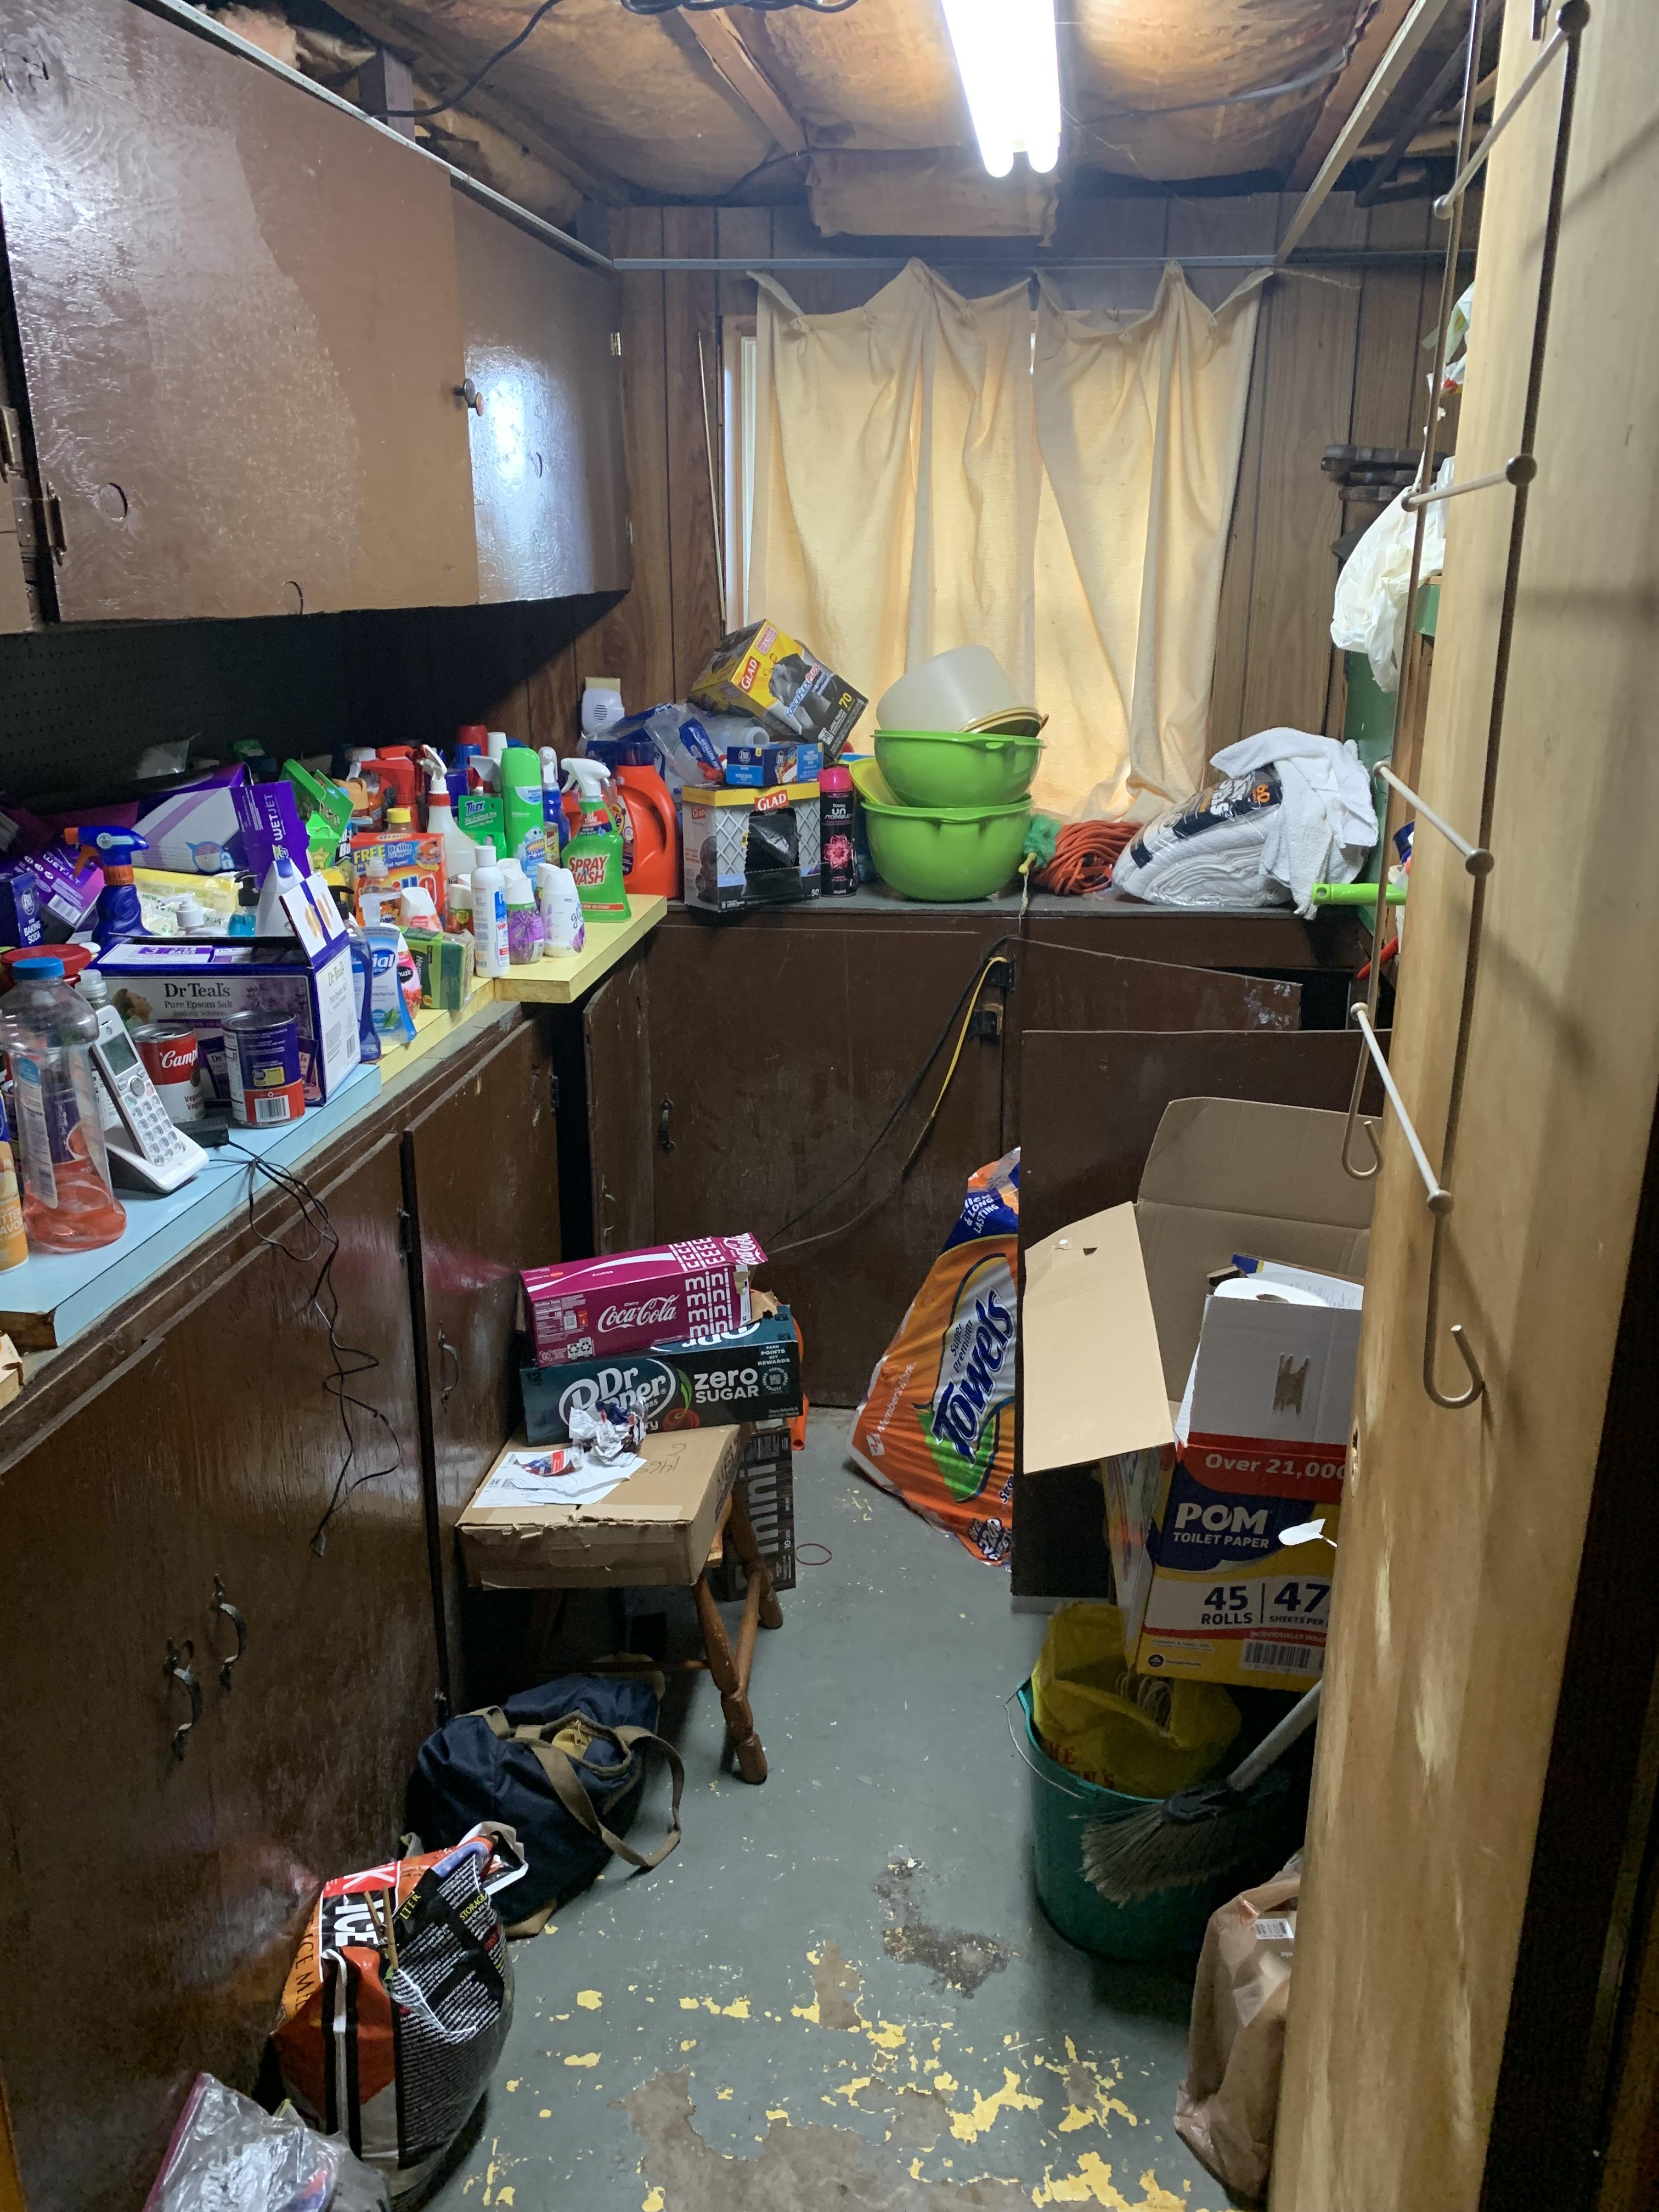
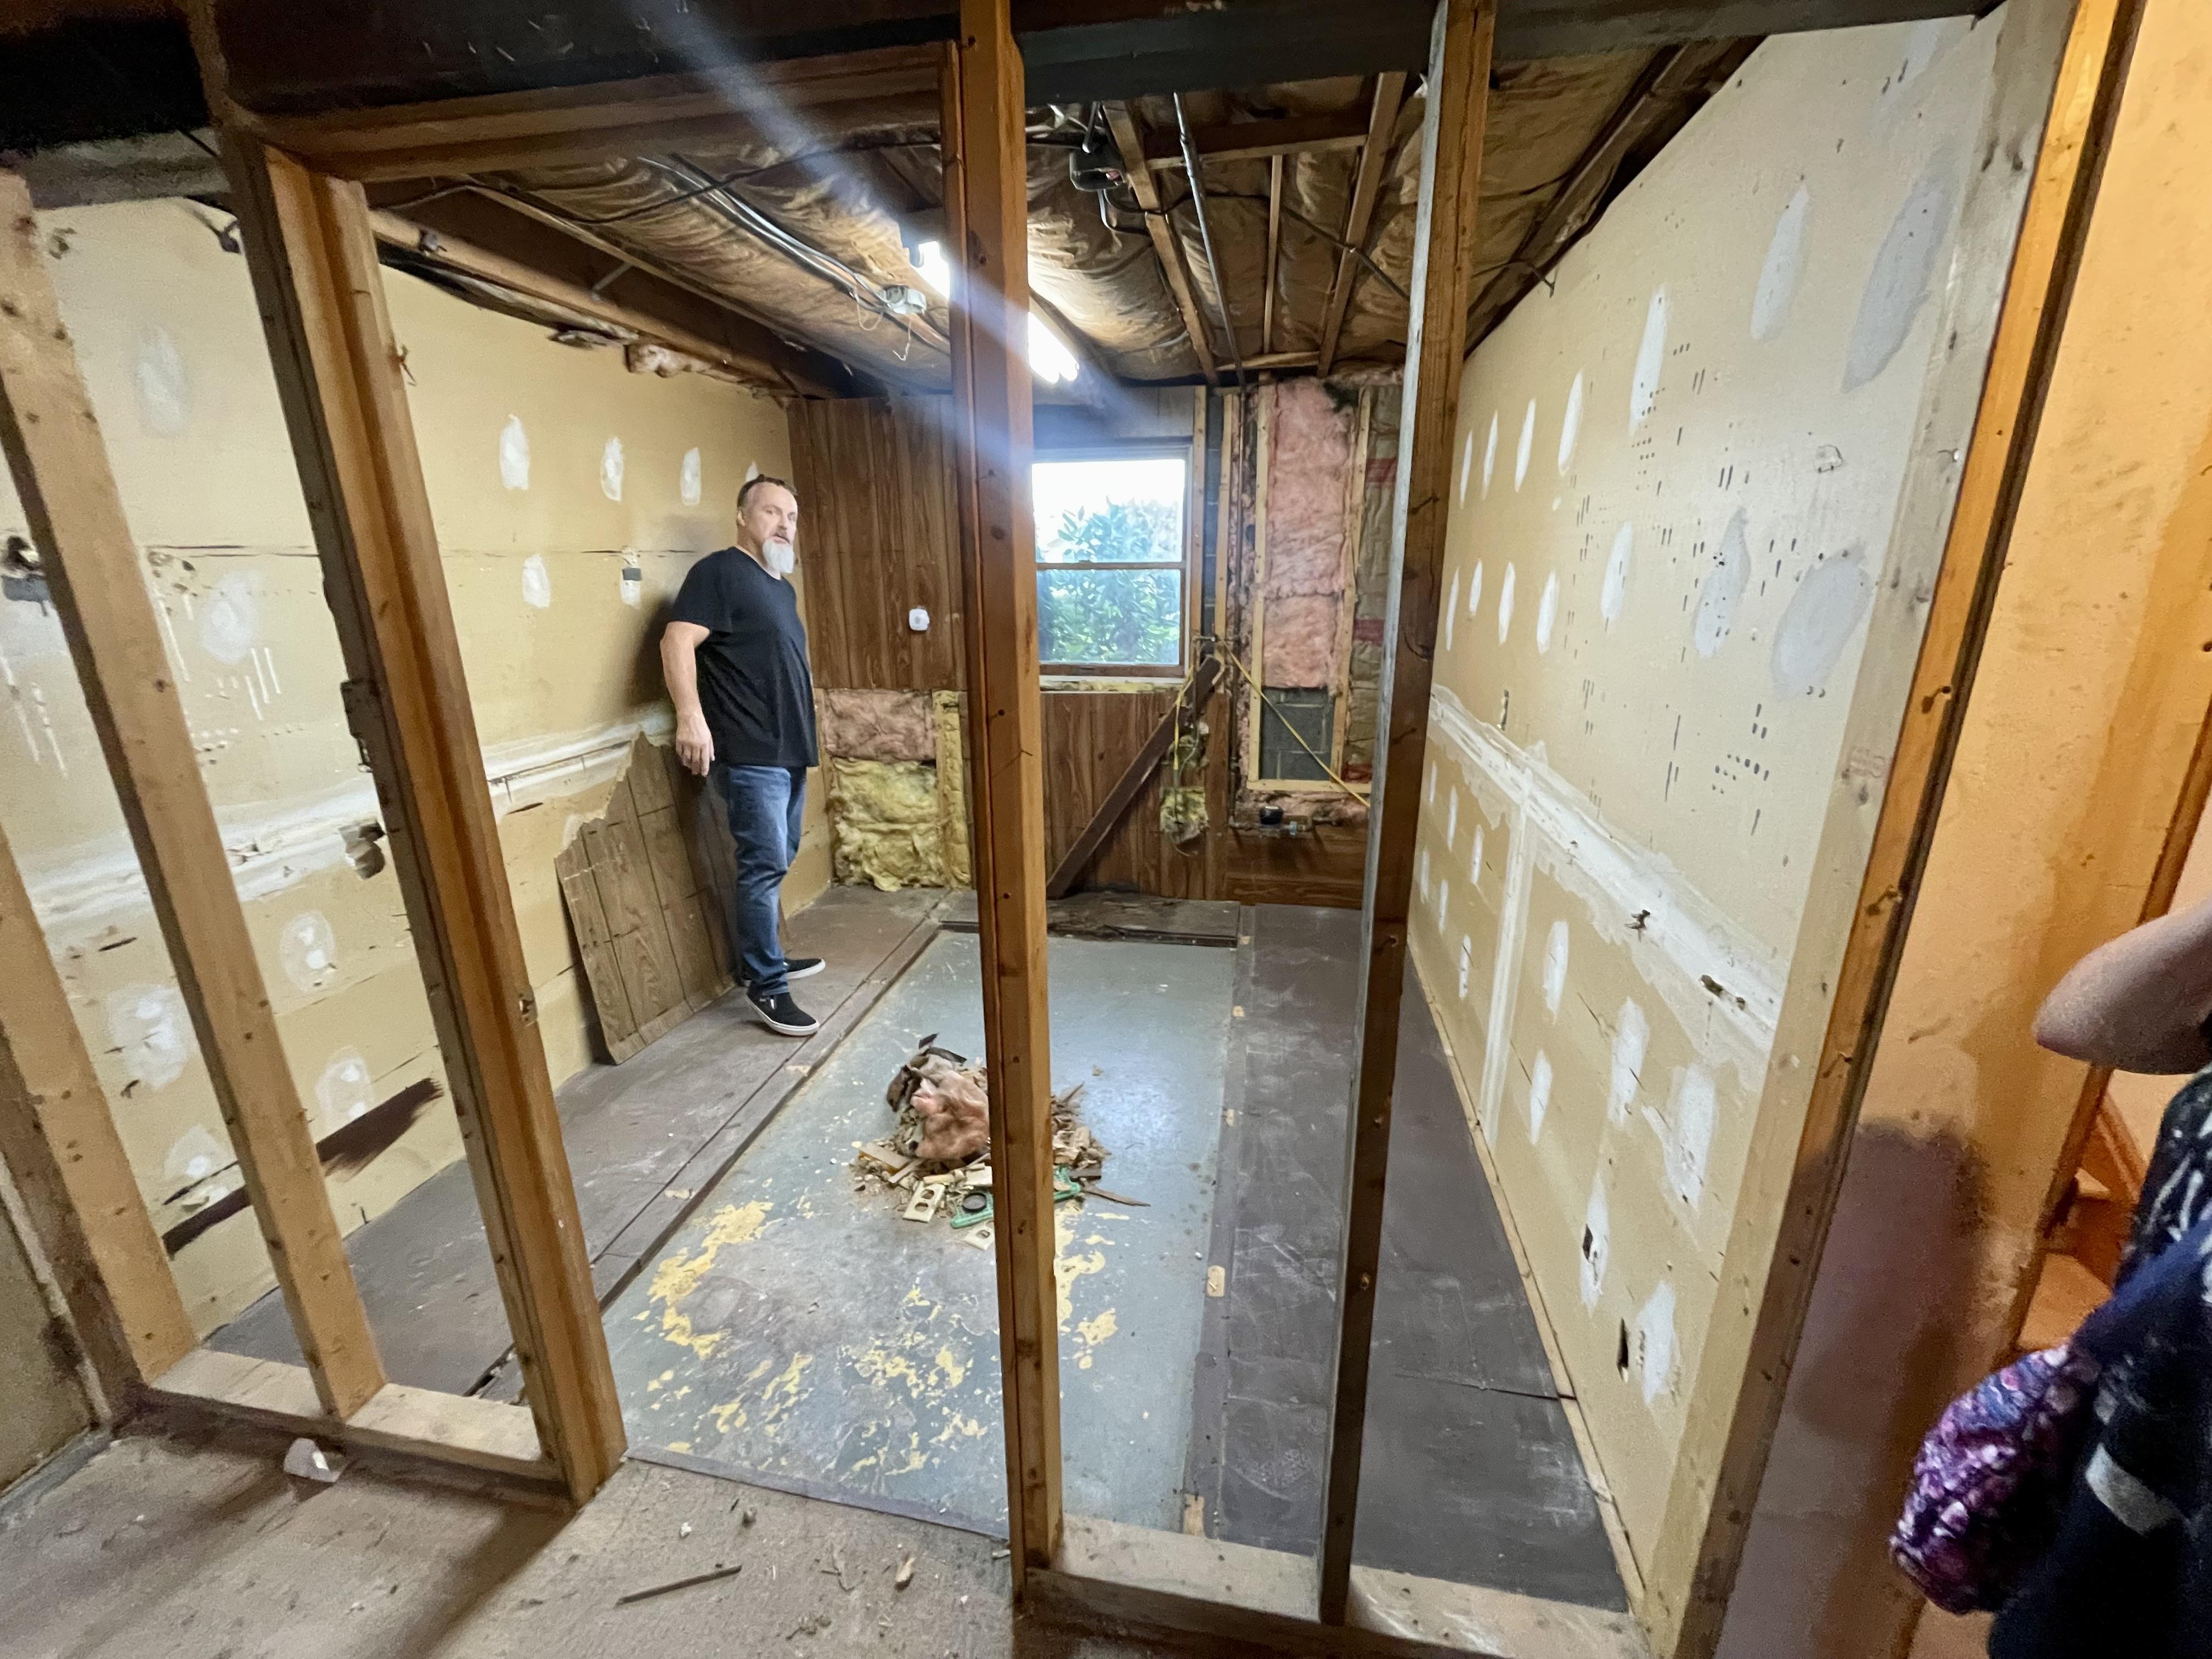
I haven’t been away from the board, as I have been checking in from time to time. But the last year was pretty busy for us. We sold our old house, and bought a newer house built in the mid 70s. My wife’s best friends mom sold it to us. It appraised for double of what we paid, but it still needed a lot of work. The only thing that was not involved in the renovations, was the electric water heater. Everything else from the roof and gutters, to the windows and doors, flooring, and a complete kitchen remodel was done. Now I’m at the point where after three dumpsters of demolition, the only thing left now, is the basement vinyl flooring. It’s been a crazy year, but now we are in the house completely and enjoying it. I finally got the model room “almost” finished, as I still want to install a spray booth. You know how it goes, the hobby room gets to be finished last, being on the back burner. Here are a few pics, of what it looked like before all this demo, and during the work process, and where it is now. It’s a great neighborhood and I’m totally happy with everything. Hoping to get some modeling done now. A couple of my builds and WIPs didn’t fare well with the moving, and storage. But I’ll get over it.
-
10
-
-
Personally, I believe there is a bigger picture to this whole post office thing going on.
-
1
-
-
Coming together nicely.


Sad News About SMP Decals
in Links to Aftermarket Suppliers
Posted
https://obits.andersonfcs.com/obituary/bruce-sadewater