
vwdave92
-
Posts
191 -
Joined
-
Last visited
Content Type
Profiles
Forums
Events
Gallery
Posts posted by vwdave92
-
-
I've been asked to build a 1990 Mustang GT to copy a 1:1 that was lost to the owner many years ago.
1. What is the best fox body mustang kit?
2. I'm looking for specific wheels from the 1:1 car. Where can I find these?
Thanks in advance peeps!

-
WOW!!! That is amazing!! What kit?
-
thanks for the build up thread. I just ordered the kit from my LHS (Ron's Hobby Mundelein, IL) and the Linkin Park livery set from www.hiroboy.com. That Acu-stion set looks great...
-
Great job setting up the poll. Thanks to everyone for moderating this. It's a great event and I/we do appreciate it
Now go vote for my F40
-
9 hours ago, Mixalz said:
Thanks for looking and the comments!
It really isn't visible in the photos but a few issues:
1. During my clear painting I got a speck of dust on the surface. Normally I would either: A) leave it and polish it later or,
pick it out with fine tipped tweezers if its protruding into the air. This time it looked like it was protruding so I went to grab it and it wouldn't lift out. So I tried again and again each time grabbing closer to the paint until I inevitably touched the surface and creased the paint. It polished out about 70% so there is still some texture which I'm annoyed with.
2. Putting the model down inside a cardboard box. This is how I store models during construction to avoid dust. Picking it up and putting it down resulted in the pain on the side skirts rubbing off down to primer! Lesson here is use paper towel or similar for cushioning.
3. Polishing through sharp edges. Had to re color coat the model during the polishing stage (prior to clear) due to primer being exposed on the edges. Any suggestions here?
4. Snapped off a mirror. Lesson learnt drill holes and use a pin/rod
5. Gluing in mirrors (the "glass"). What glue do people use. Because you have to basically drop the mirror insert in, the problem I get is glue seeping up on to the "mirror" surface. Again not in the photo but its there on the model
That is about it. Not major problems but I'm slowing aiming for perfection.
OK I can help with a couple. For mirrors, windows etc you can use white glue (elmers) or Micro-Clear (special glue for windows) or Testors window glue. I also use tamiya's clear acrylic for attaching small parts like body badges etc. Dries clear and doesn't mess up the surface.
Pin/rod for attaching things... I use stick pins from the sewing department
Storage in cardboard boxes. I use empty baby wipe boxes. Plastic, perfect size, indestructible. Once the body is painted I work over / on / store in old tshirts. The cotton is soft and easy to find.
Polishing and sanding etc... I'll have to leave that to smarter people
-
Looks great.
What did you not like about the outside? You made a comment about not ruining the out shell; maybe we can help?
-
Thanks again everyone. Voting in the 2017 Cannonball will open next week in the CBP section. Check out the builds and vote for your favorite cross country racer
-
nice work. I'm hoping to build a few of the DTM kits. It was great to Revell kit those cars
-
This is going to be SWEET!!! Might take a bit to find the kit I need but it's a car I've wanted to build for a LONG time. E26 M88/1
-
OK here we go
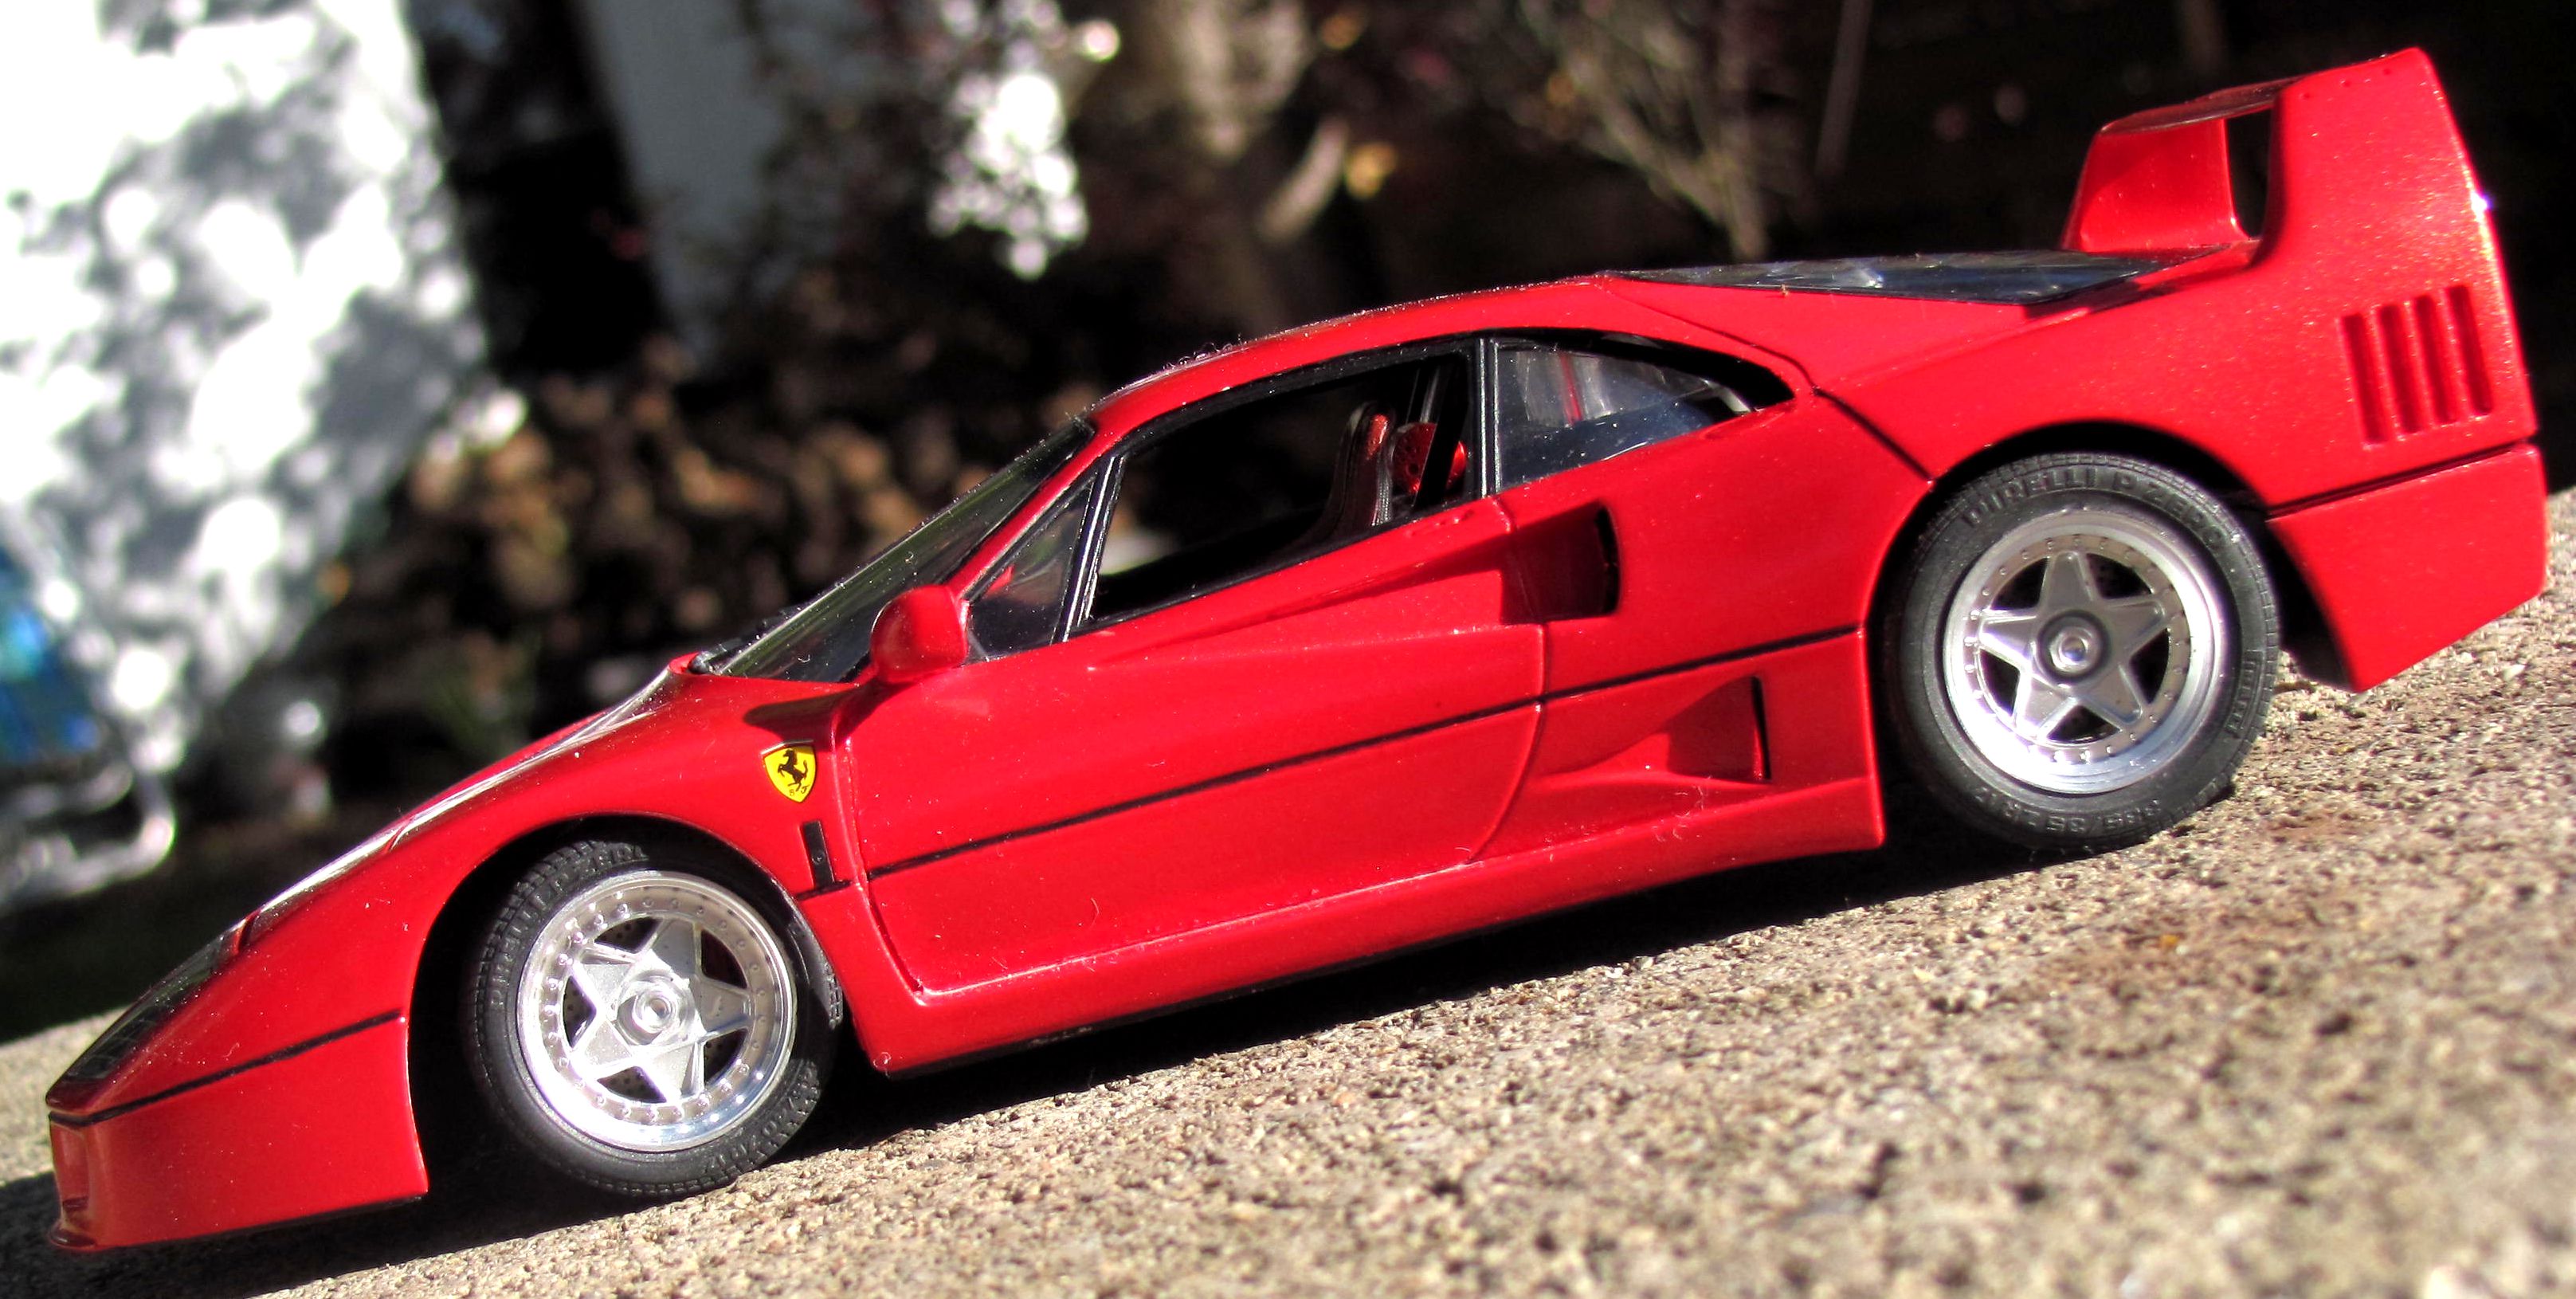
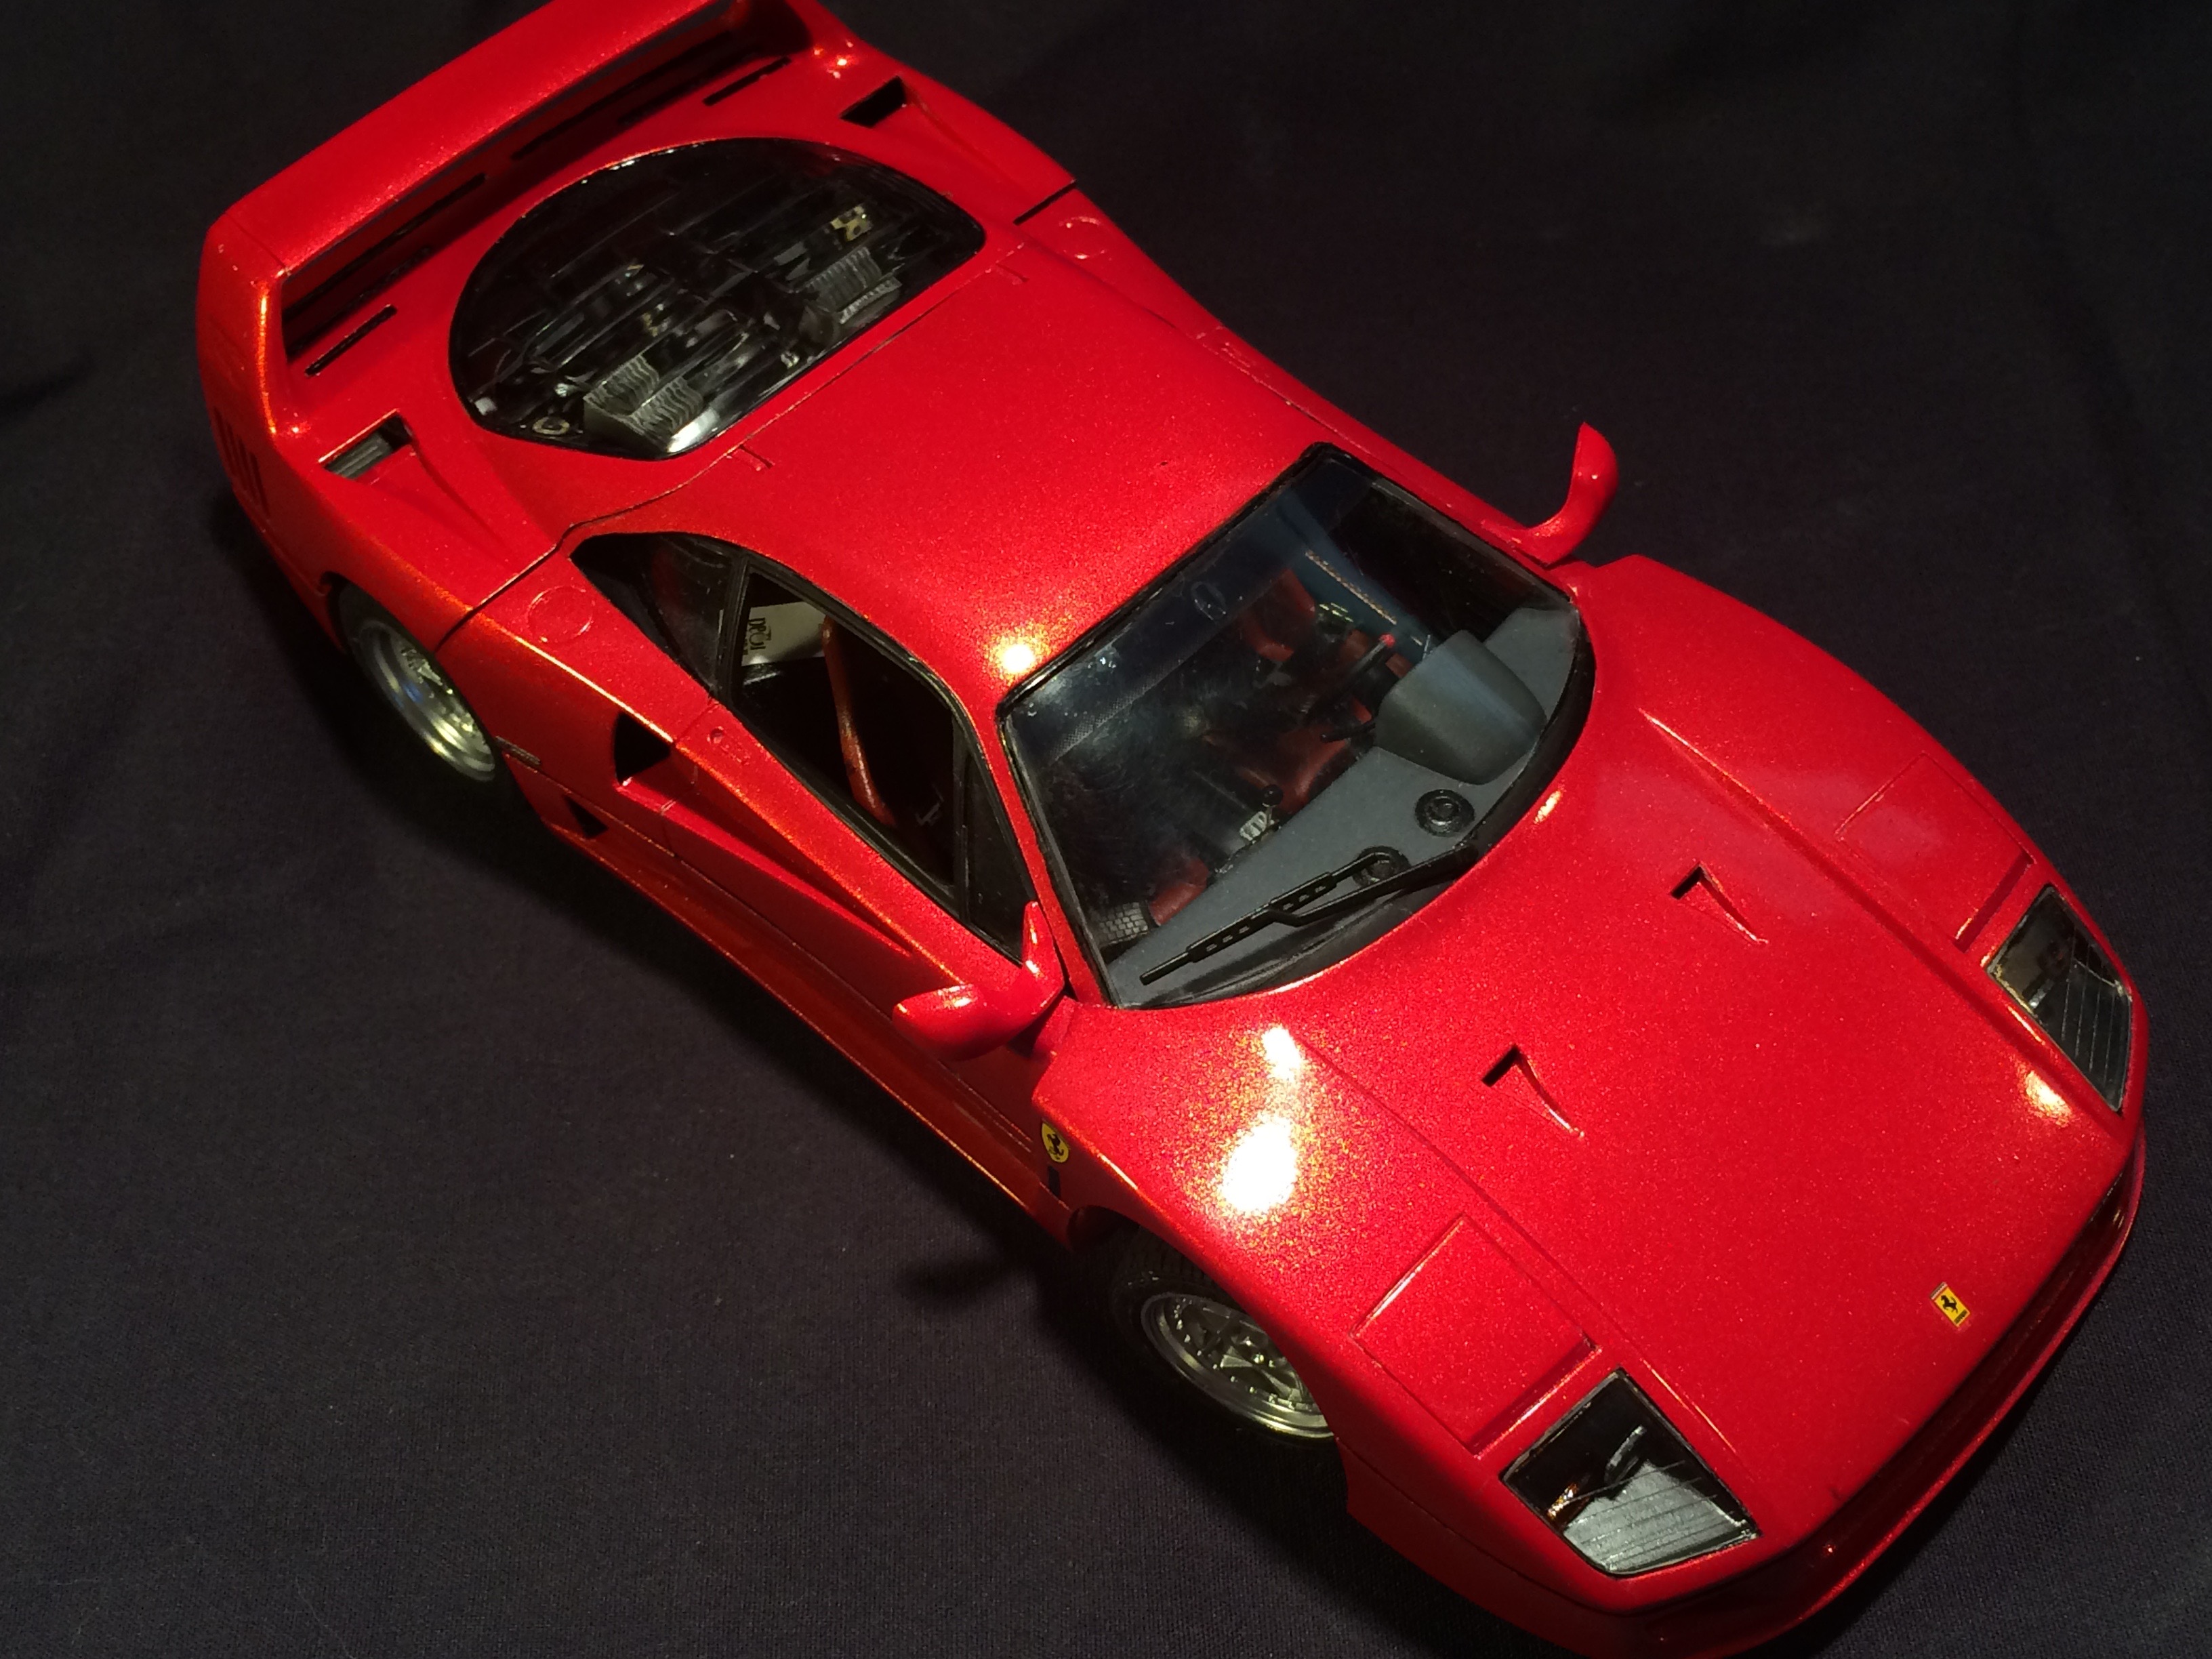
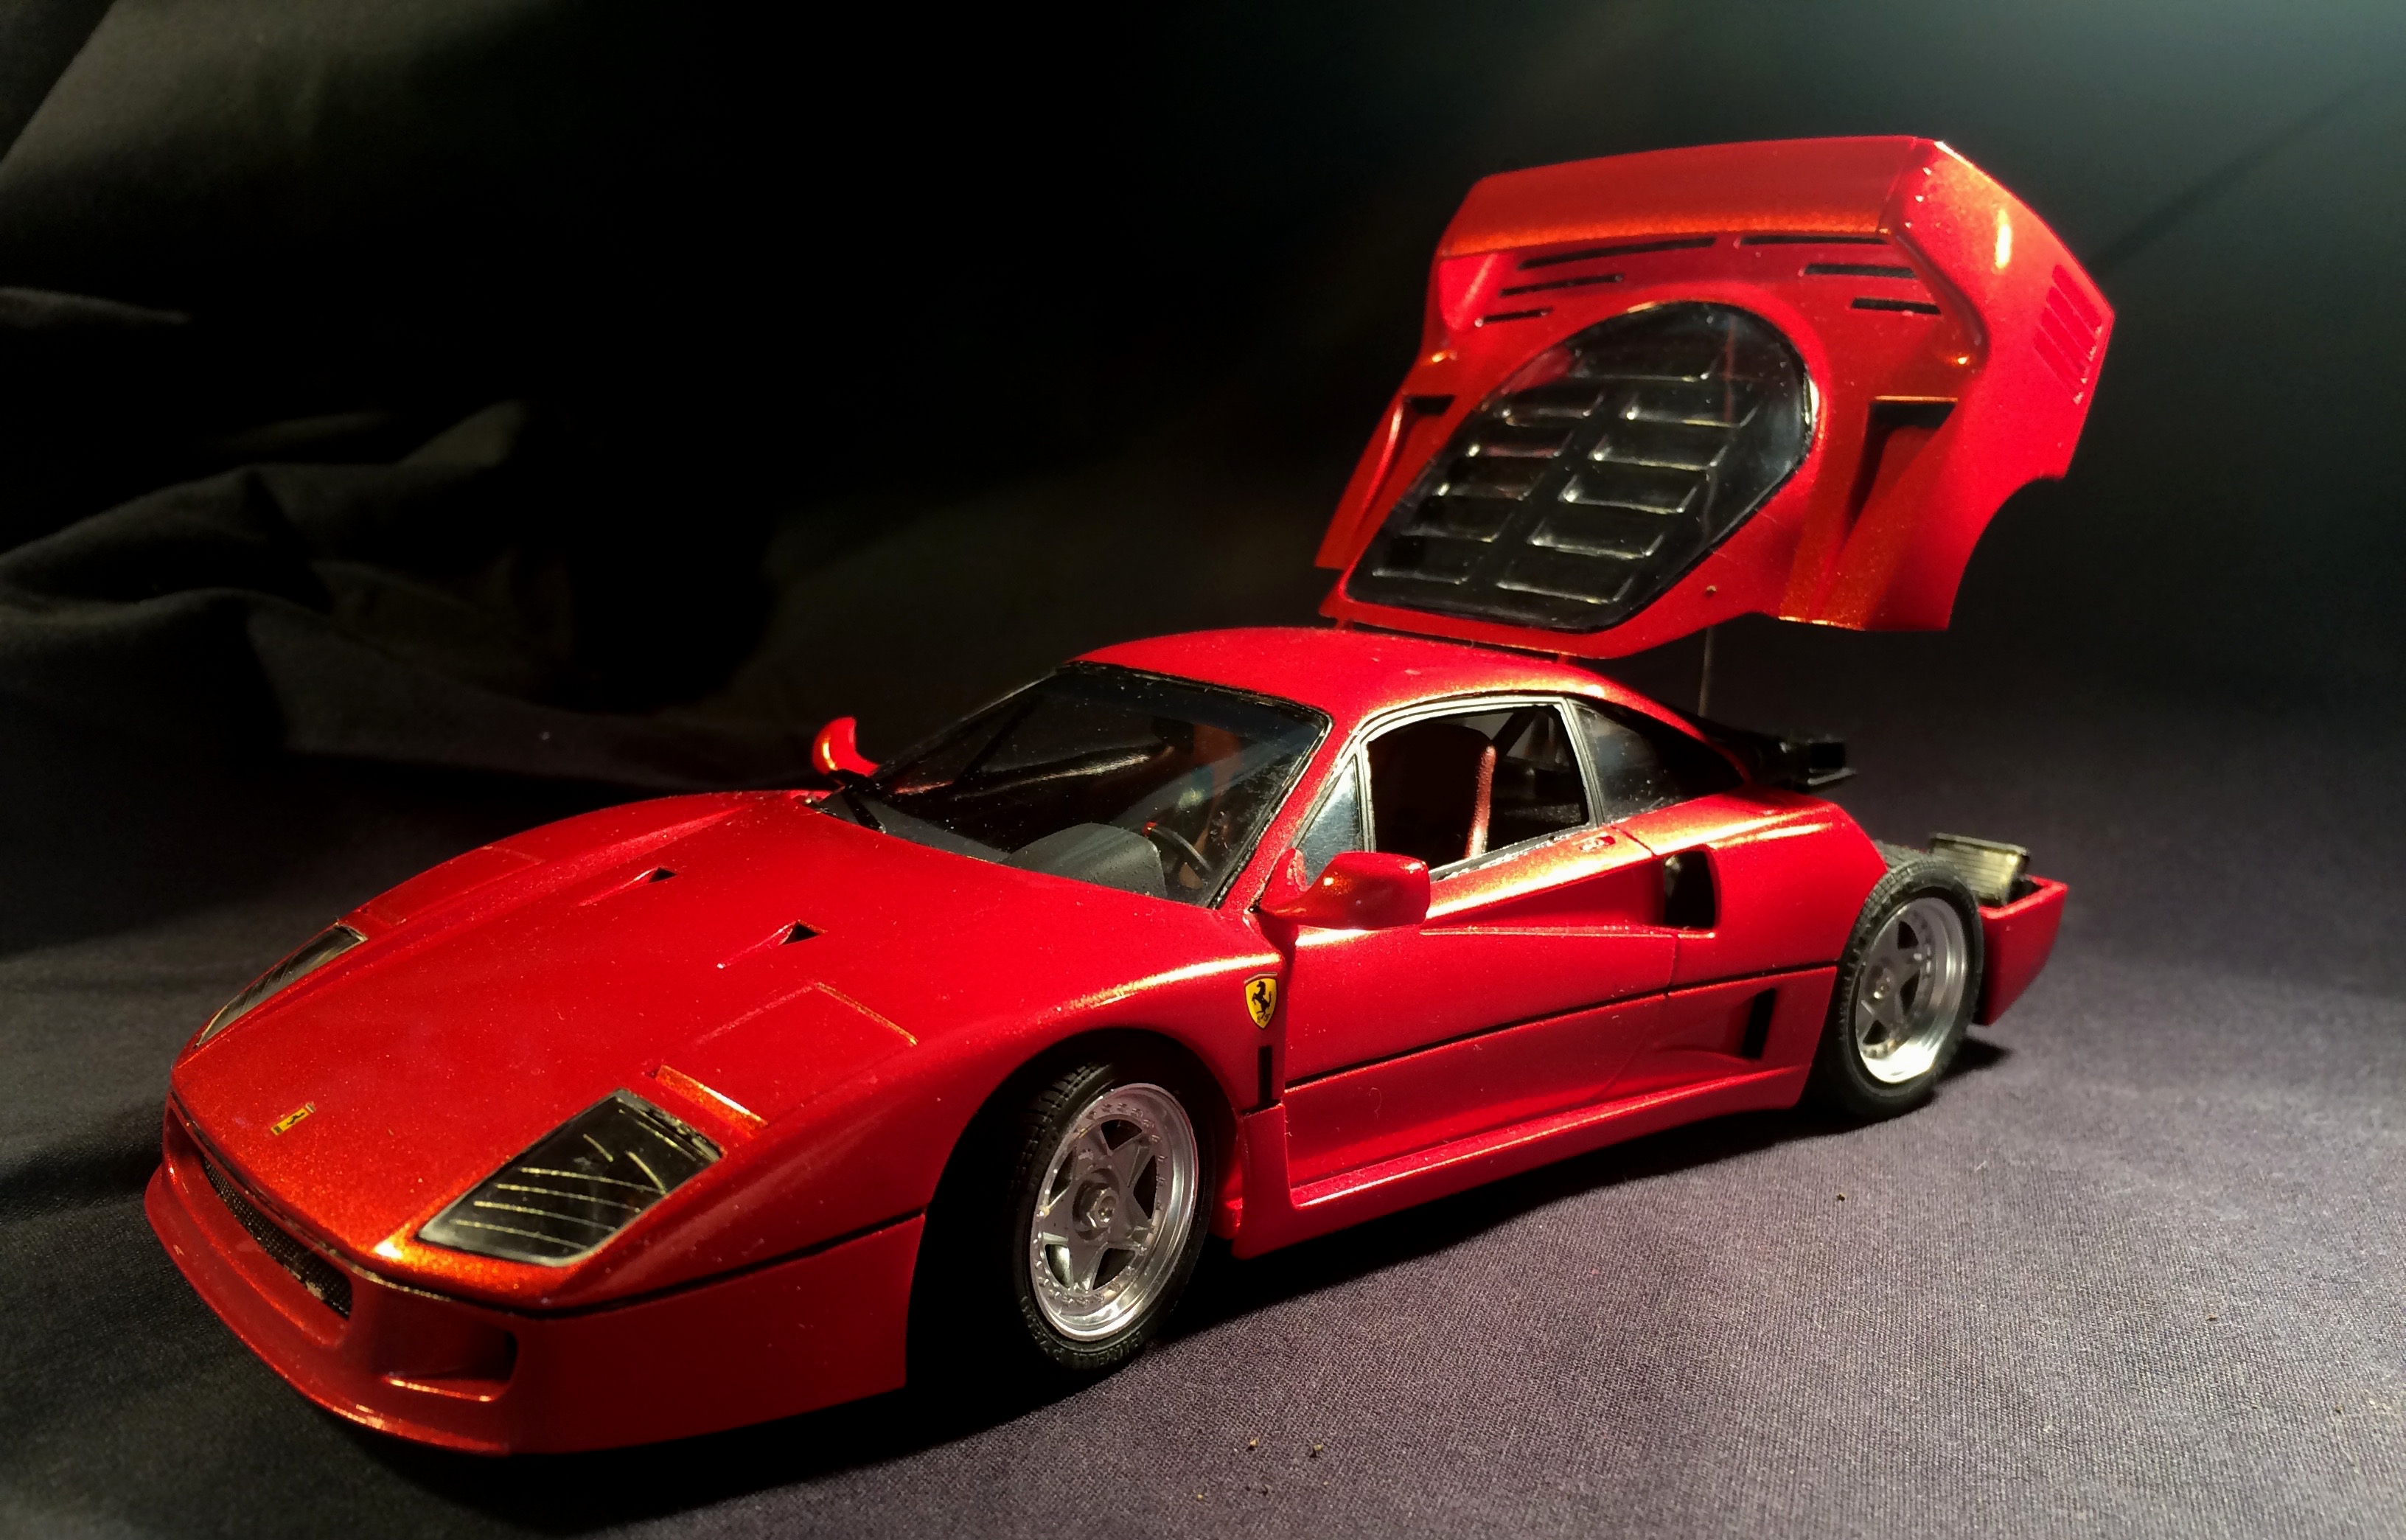
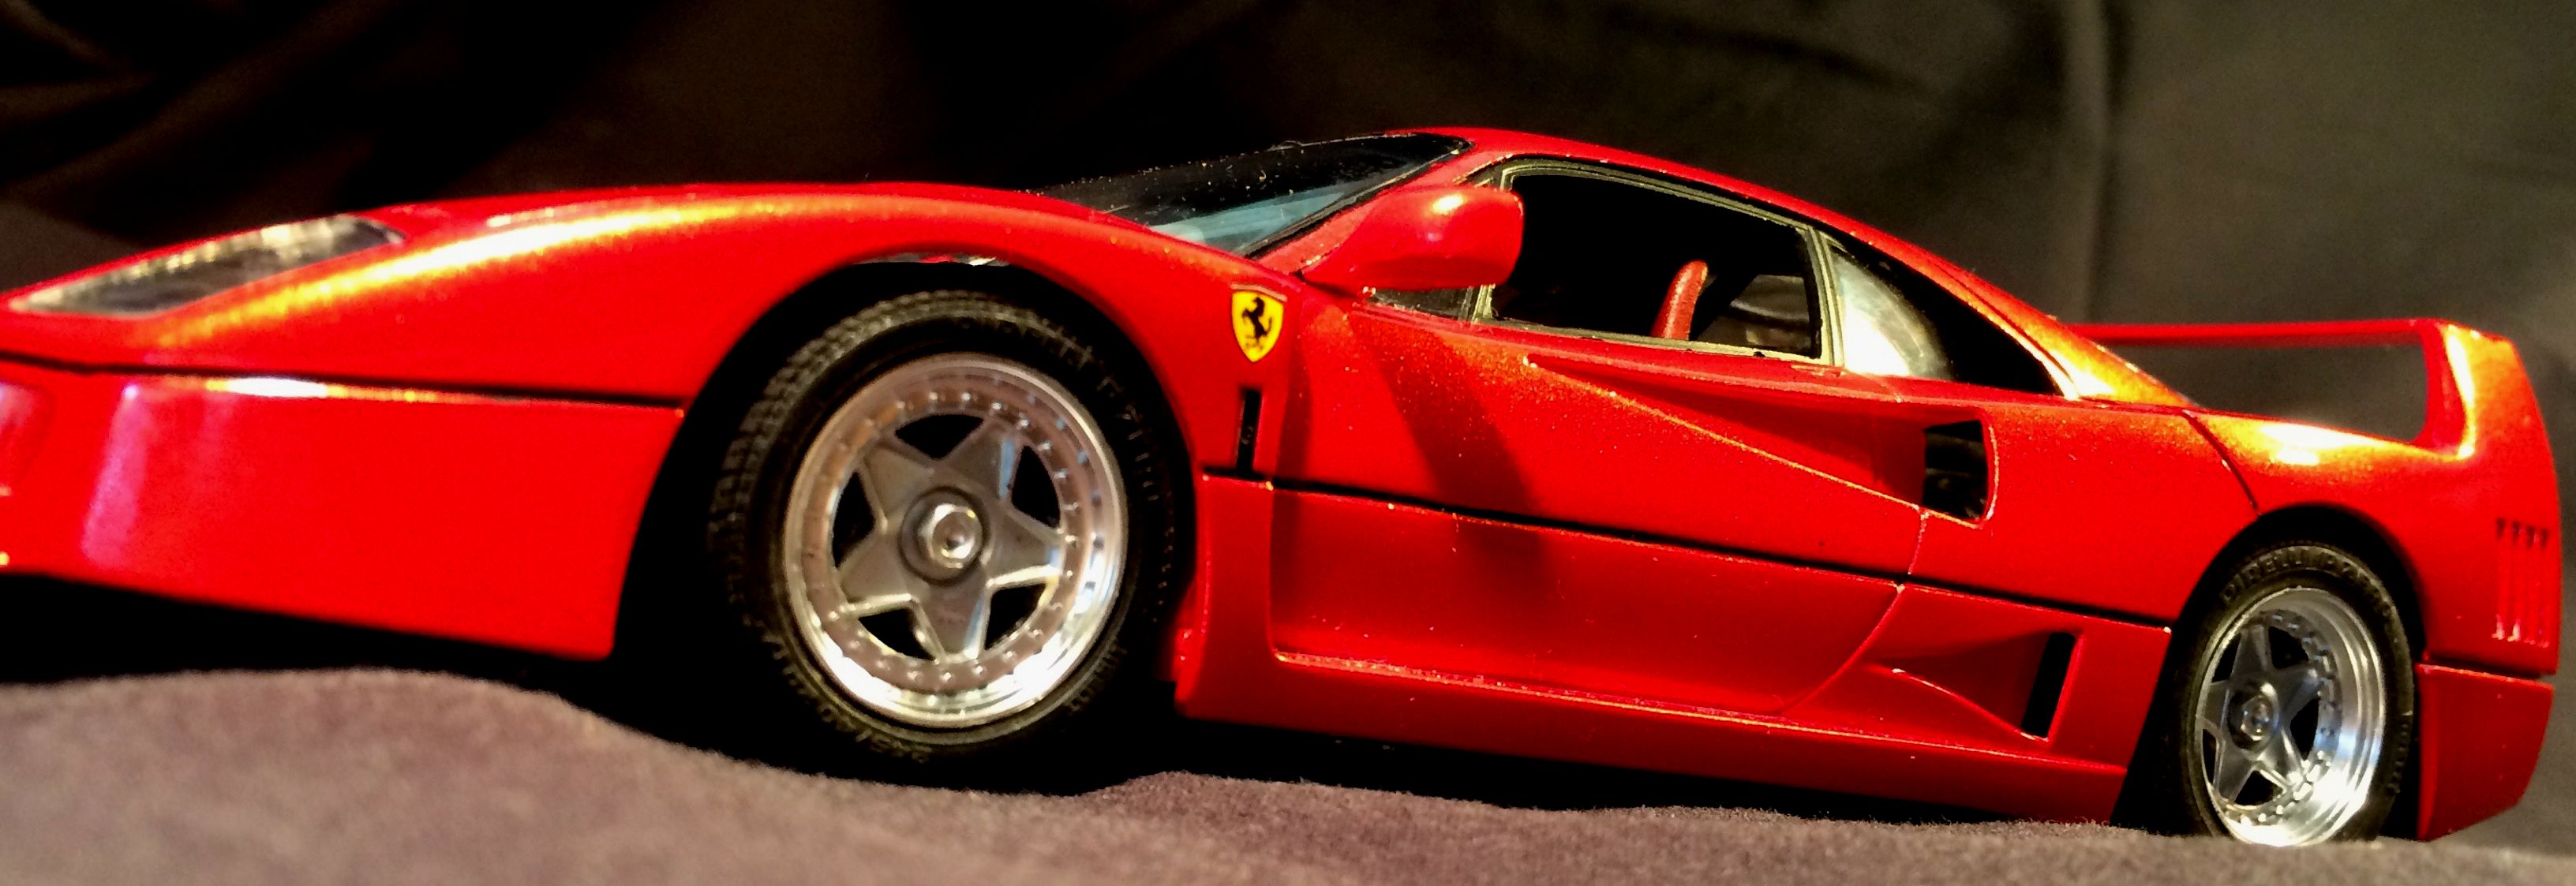
- Tamiya Ferrari F40
- Paint is Testors Aztek Red Pearl over Red base. That is NOT orange peal. That is the metallic orange when the light hits it... hard as hell to photograph
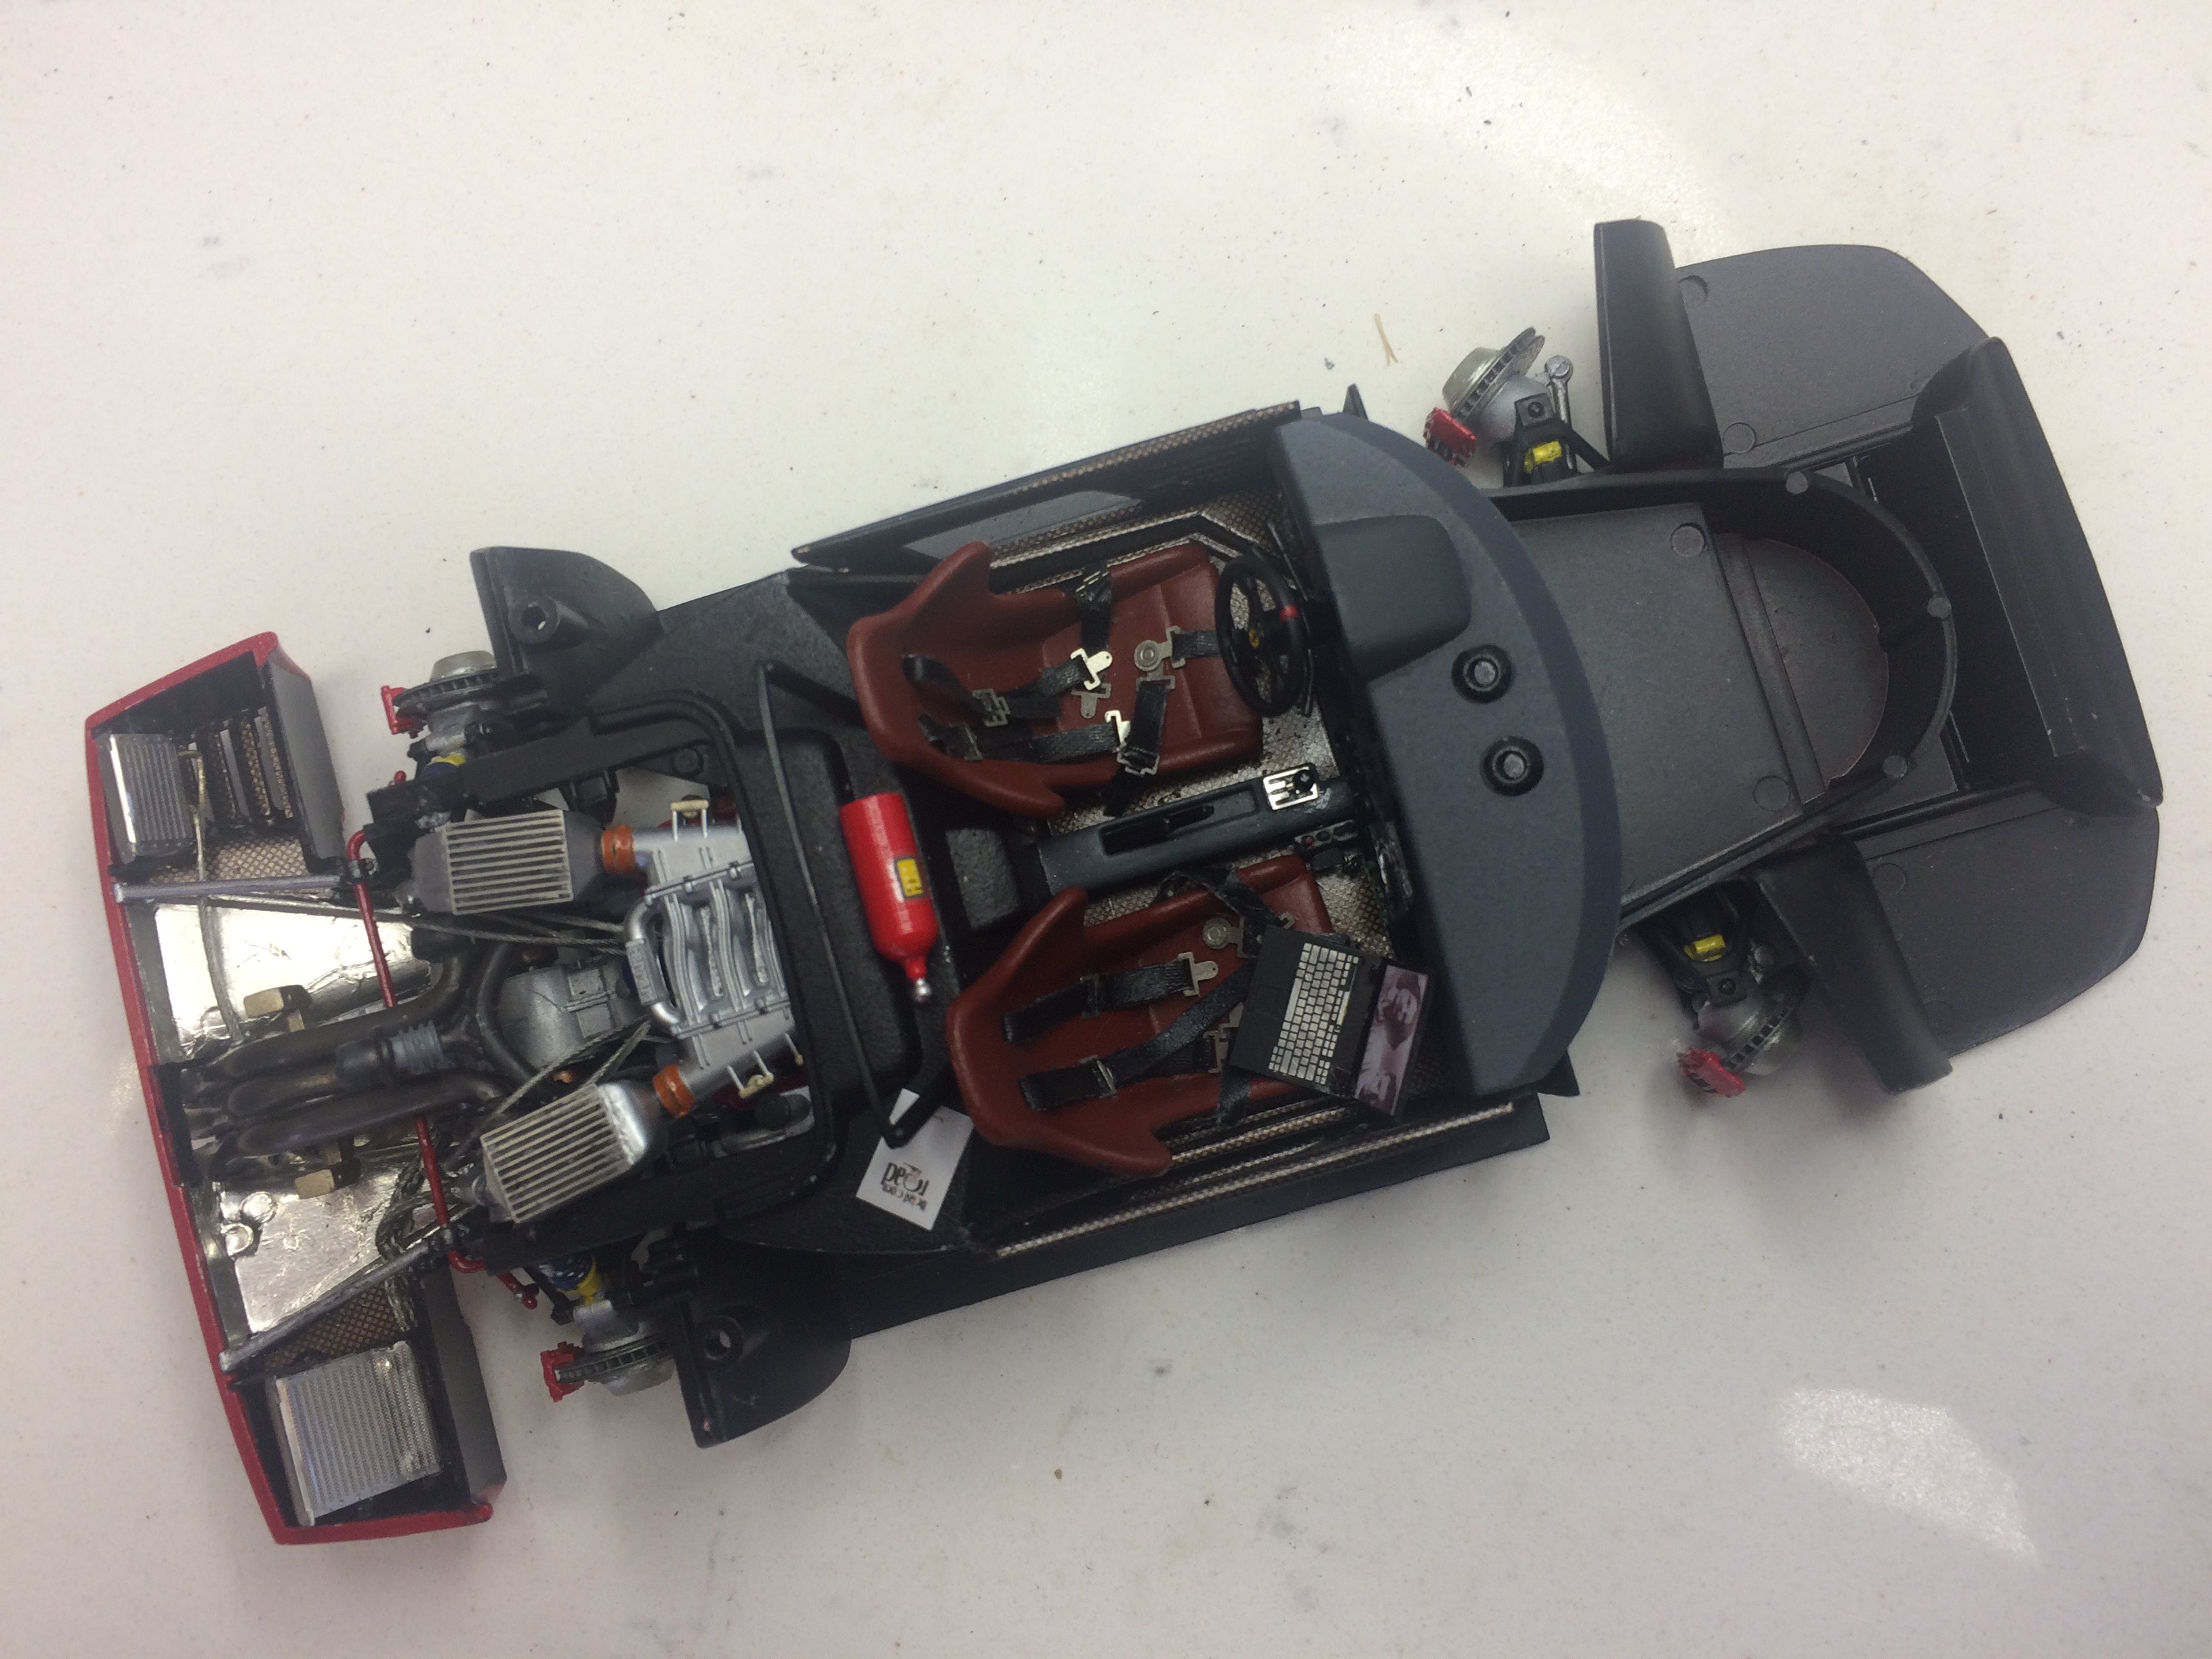
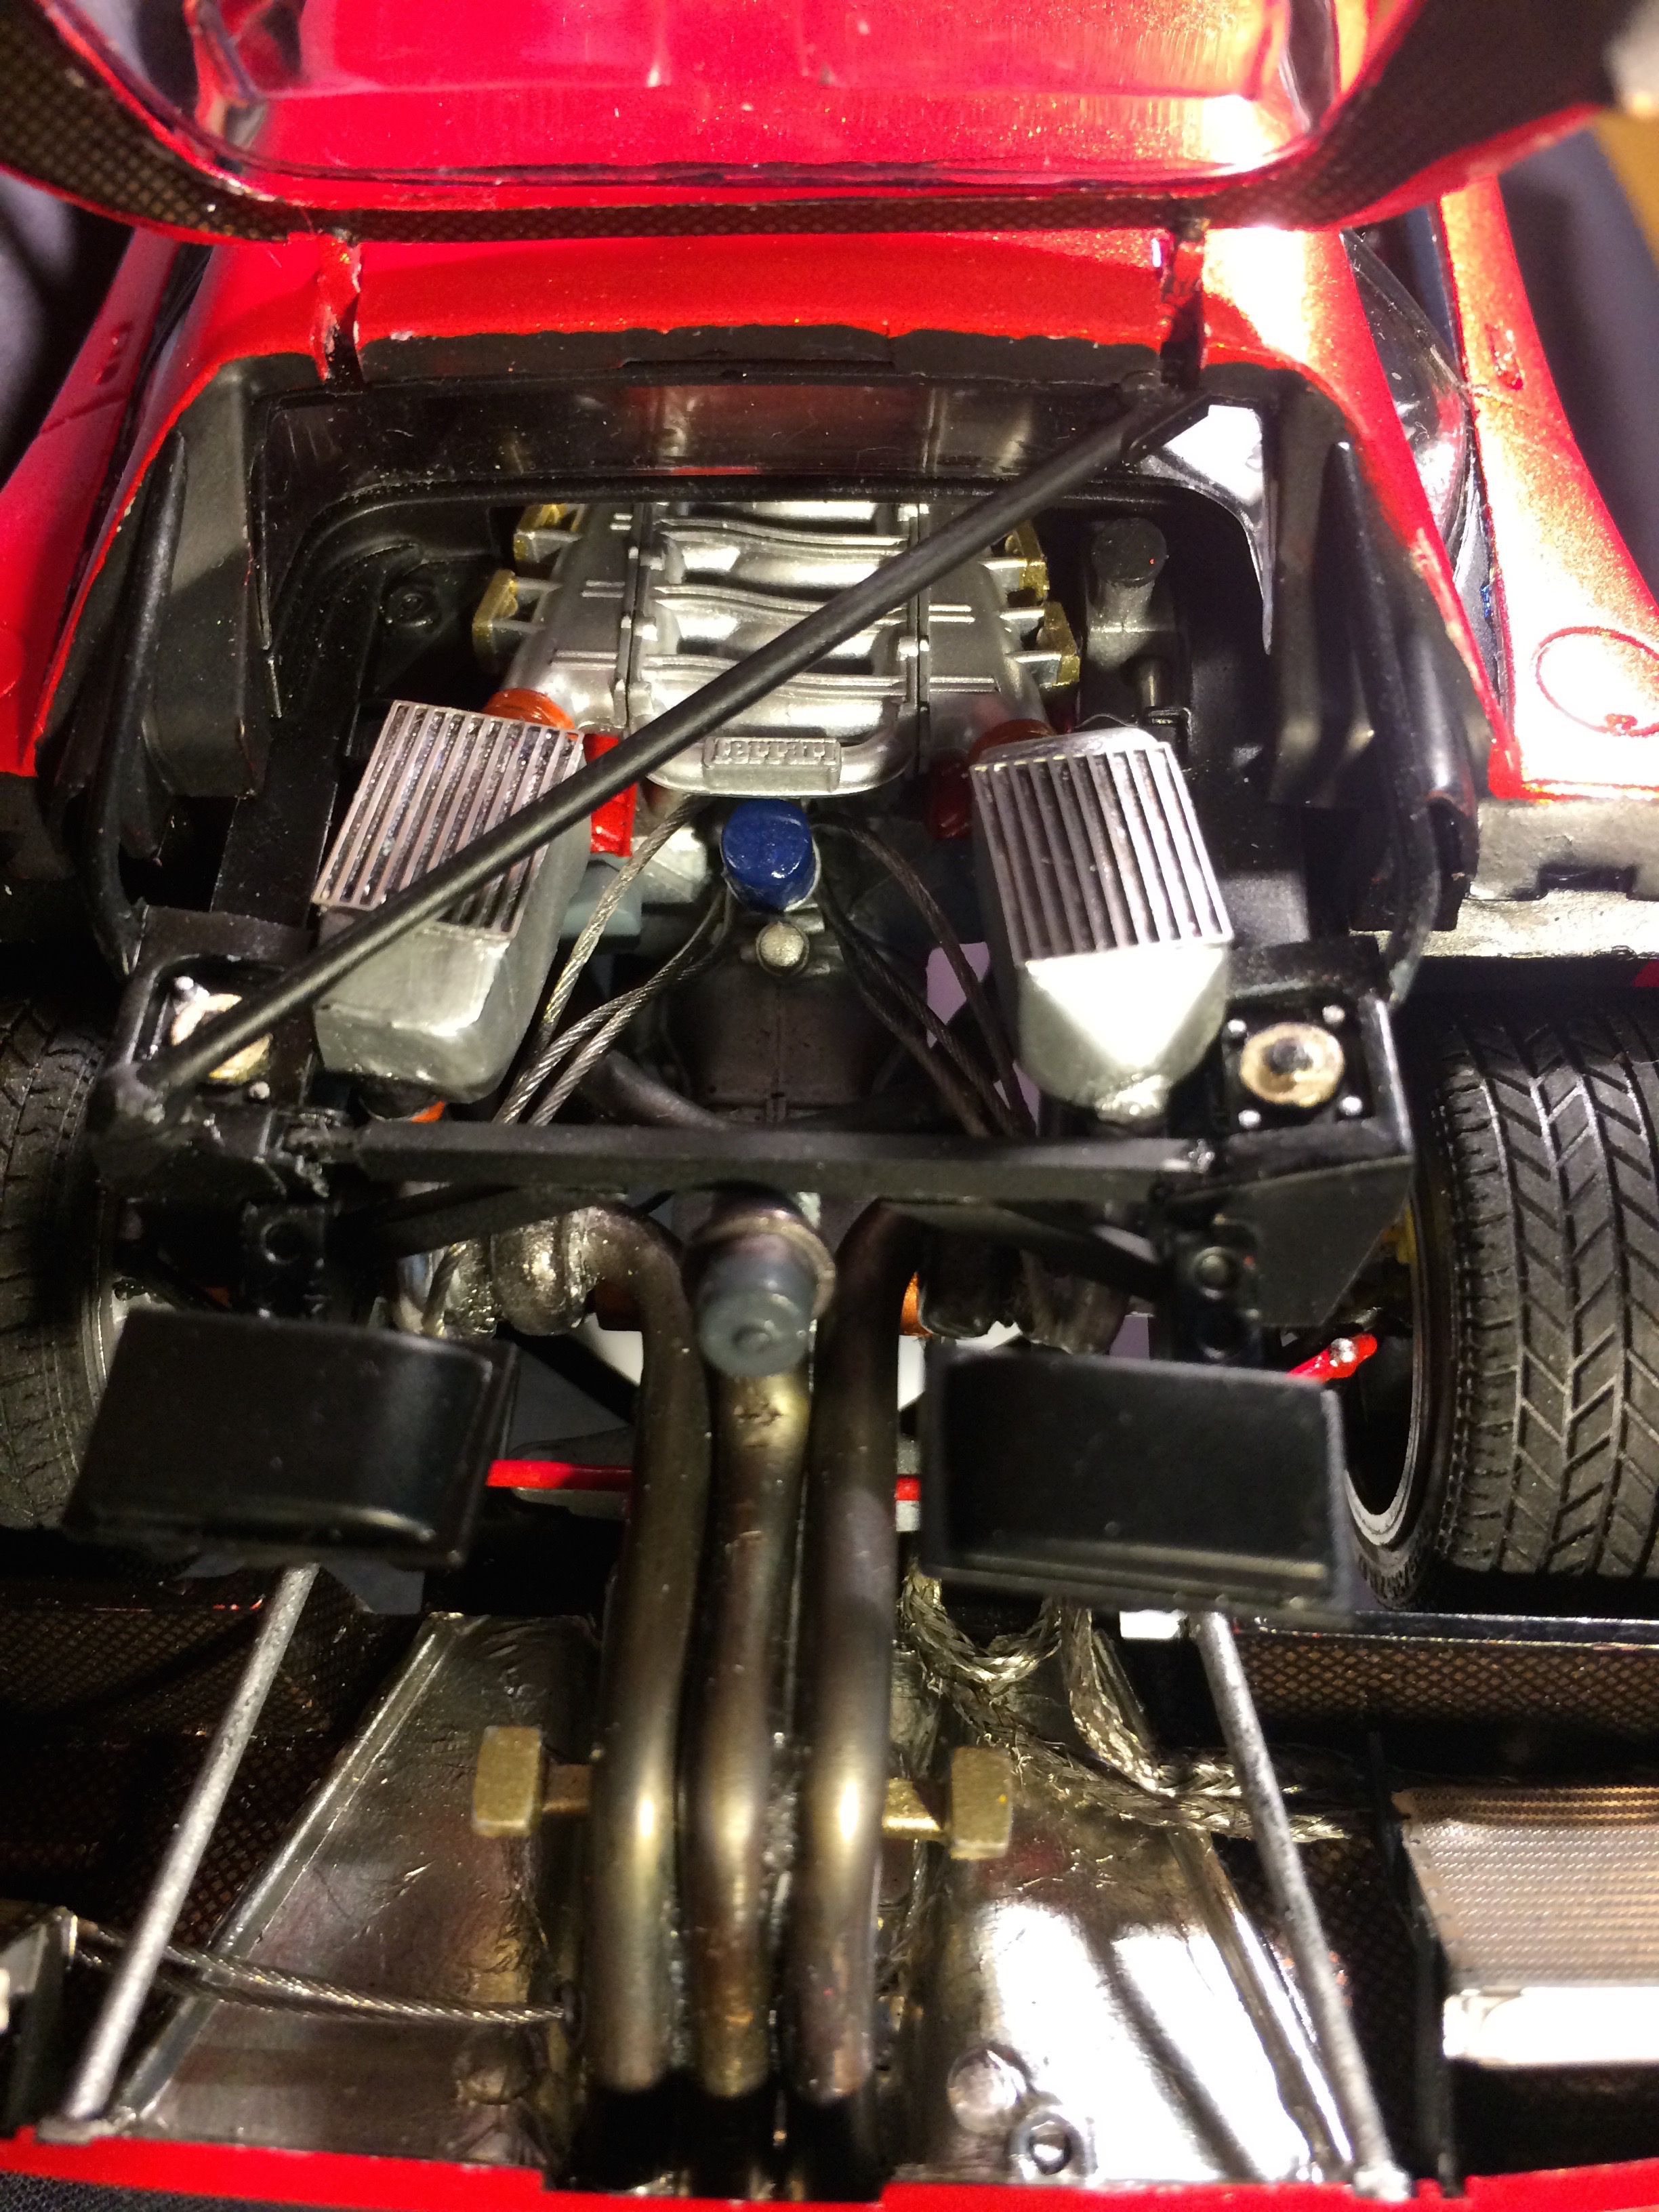
- aftermarket turbos, custom intake and exhaust plumbing from stainless steel tube then heat stained with a torch
- photo etch brakes and screens
- plumbed turbo oilers and coolers. Plumbed diff cooler and oil cooler
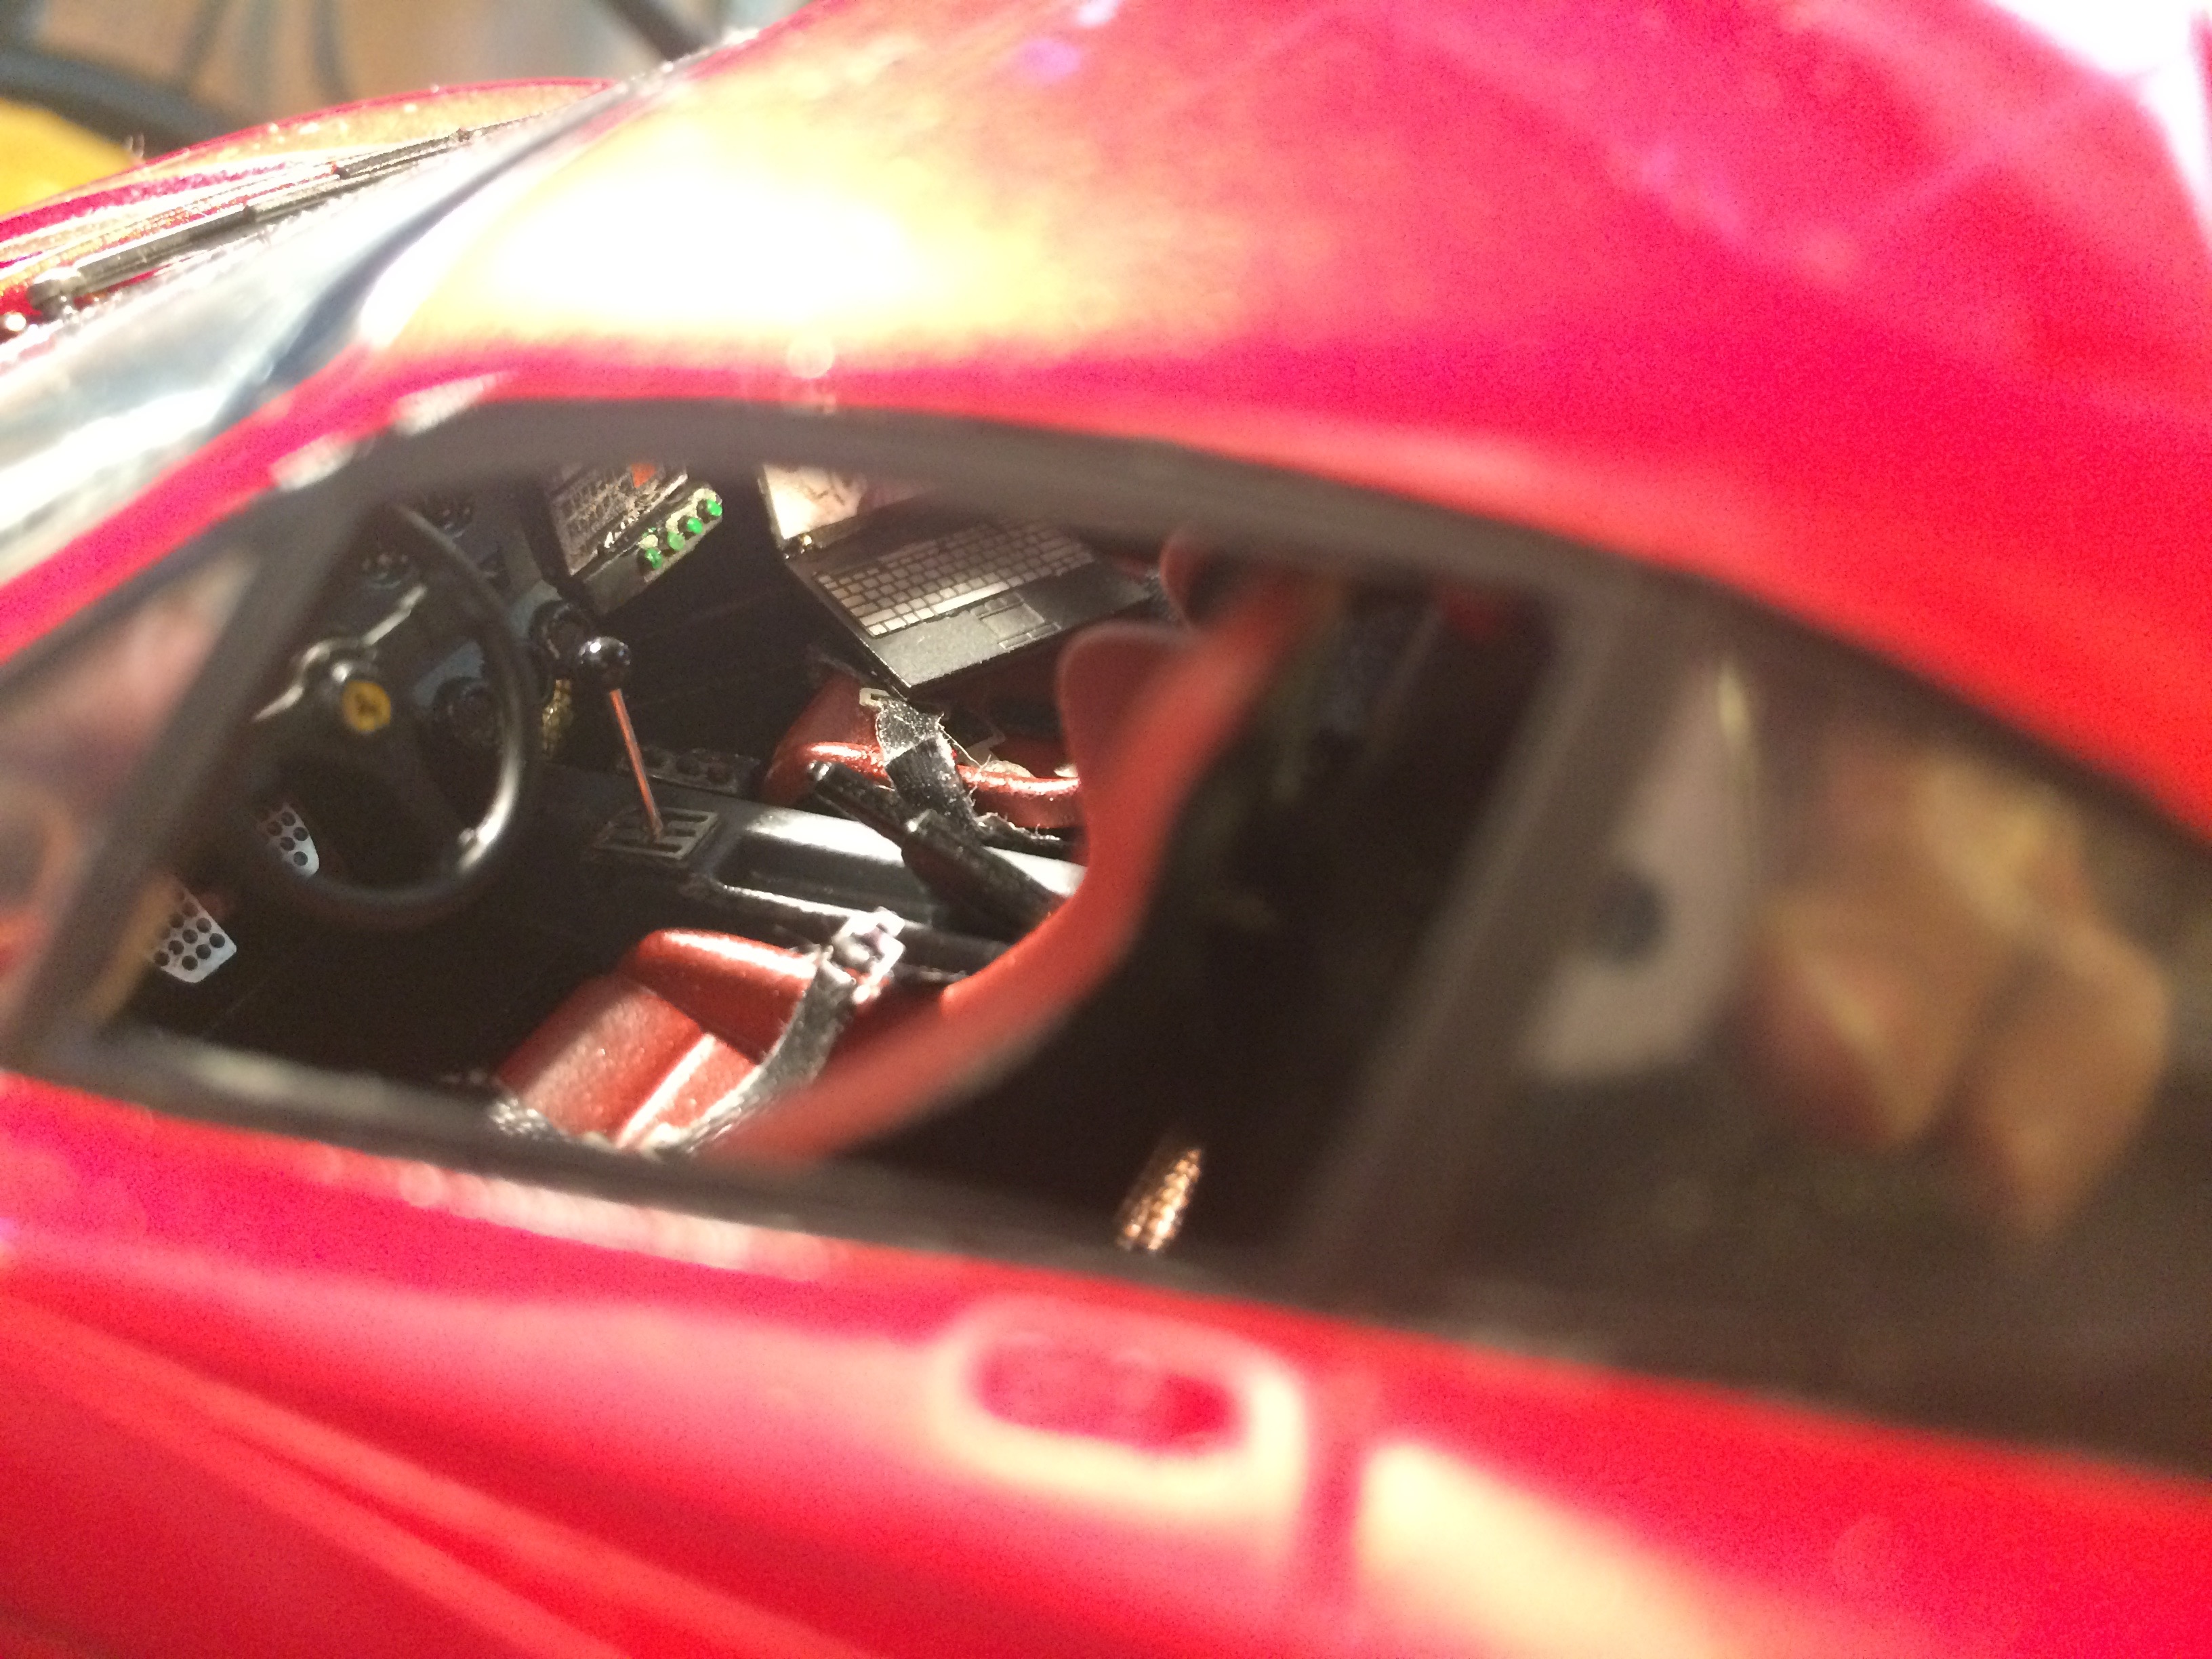
- full carbon decal engine bay and interior
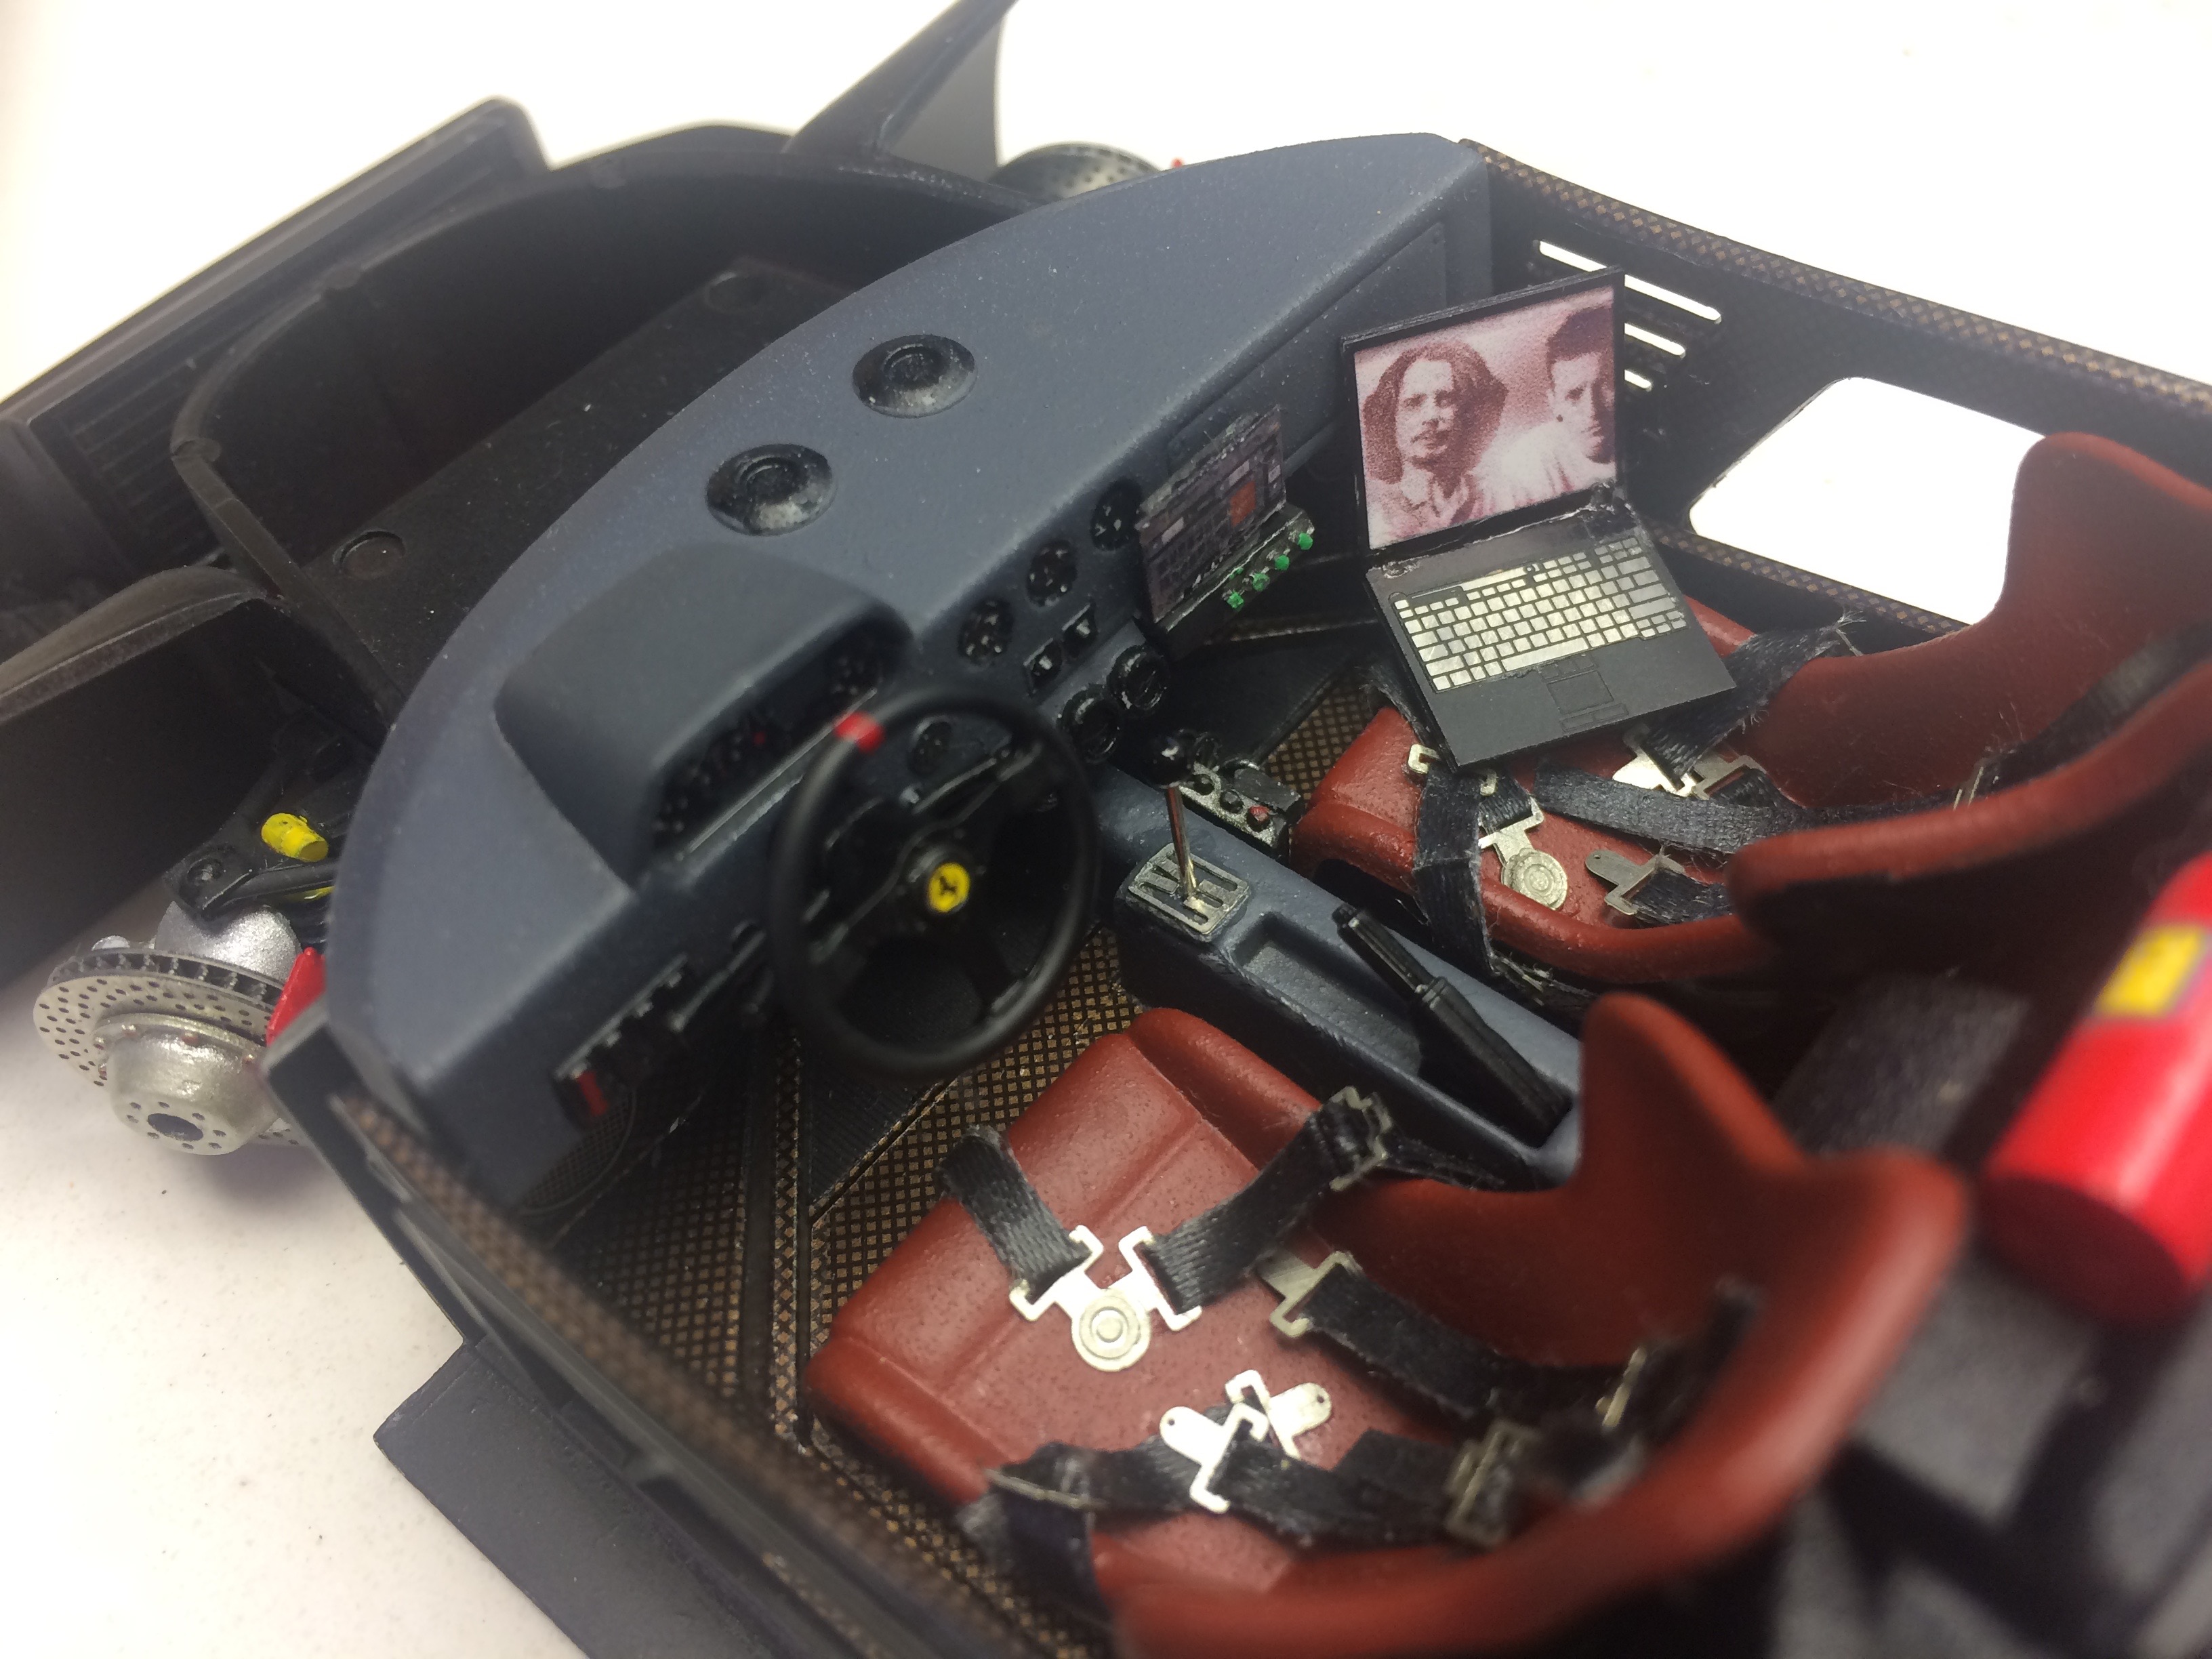
- lap top with screenshot of home laptop for screen, CB, harnesses, window cranks (opened windows), radio w/ speakers, fire suppression
-
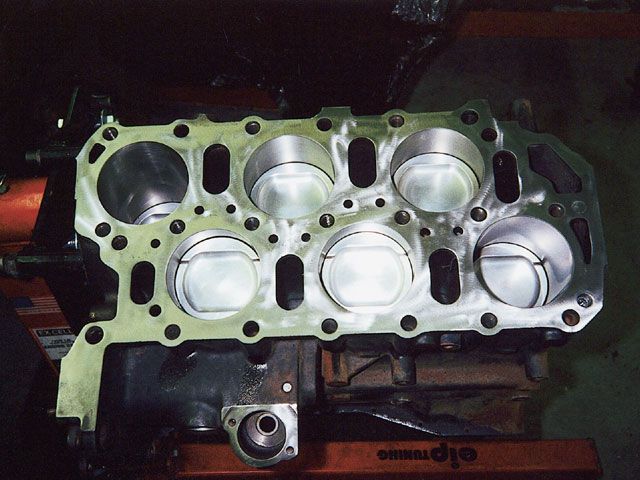
so about VW's AMAZING VR6...
Kidding... mostly... This was more for Zenrat trying to connect more than one inline
-
looks awesome Zenrat!! To me the interior of these cars... showing you plan on racing it... is as important as the rest.
-
belugawrx where did you get the "shark fin" antenna? That is SWEET!!!
-
Belugawrx I LOVE the clipboard!! Those little touches that make these cars looks "used" are great!!
-
Everything looks amazing. Trouble with finishing early is seeing all the other great competition come in and wishing I had done something different! LOL
-
Thanks for the compliments guys! Much appreciated.
-
Done and in the "under glass" section
-
The exhaust tubing is amazing as is the rest of the detailing.
Thanks. The exhaust is 3mm stainless tubing. I used a propane torch and needle nose pliers to bend it then more torch to even out the heat stain. Cut it down and flared the tips with a dremel tool and hand files. I'm happy to report the burns on fingers have healed. Even using gloves, once or twice I grabbed a hot pipe.
-
Is that chris cornell and chester on the lap top?
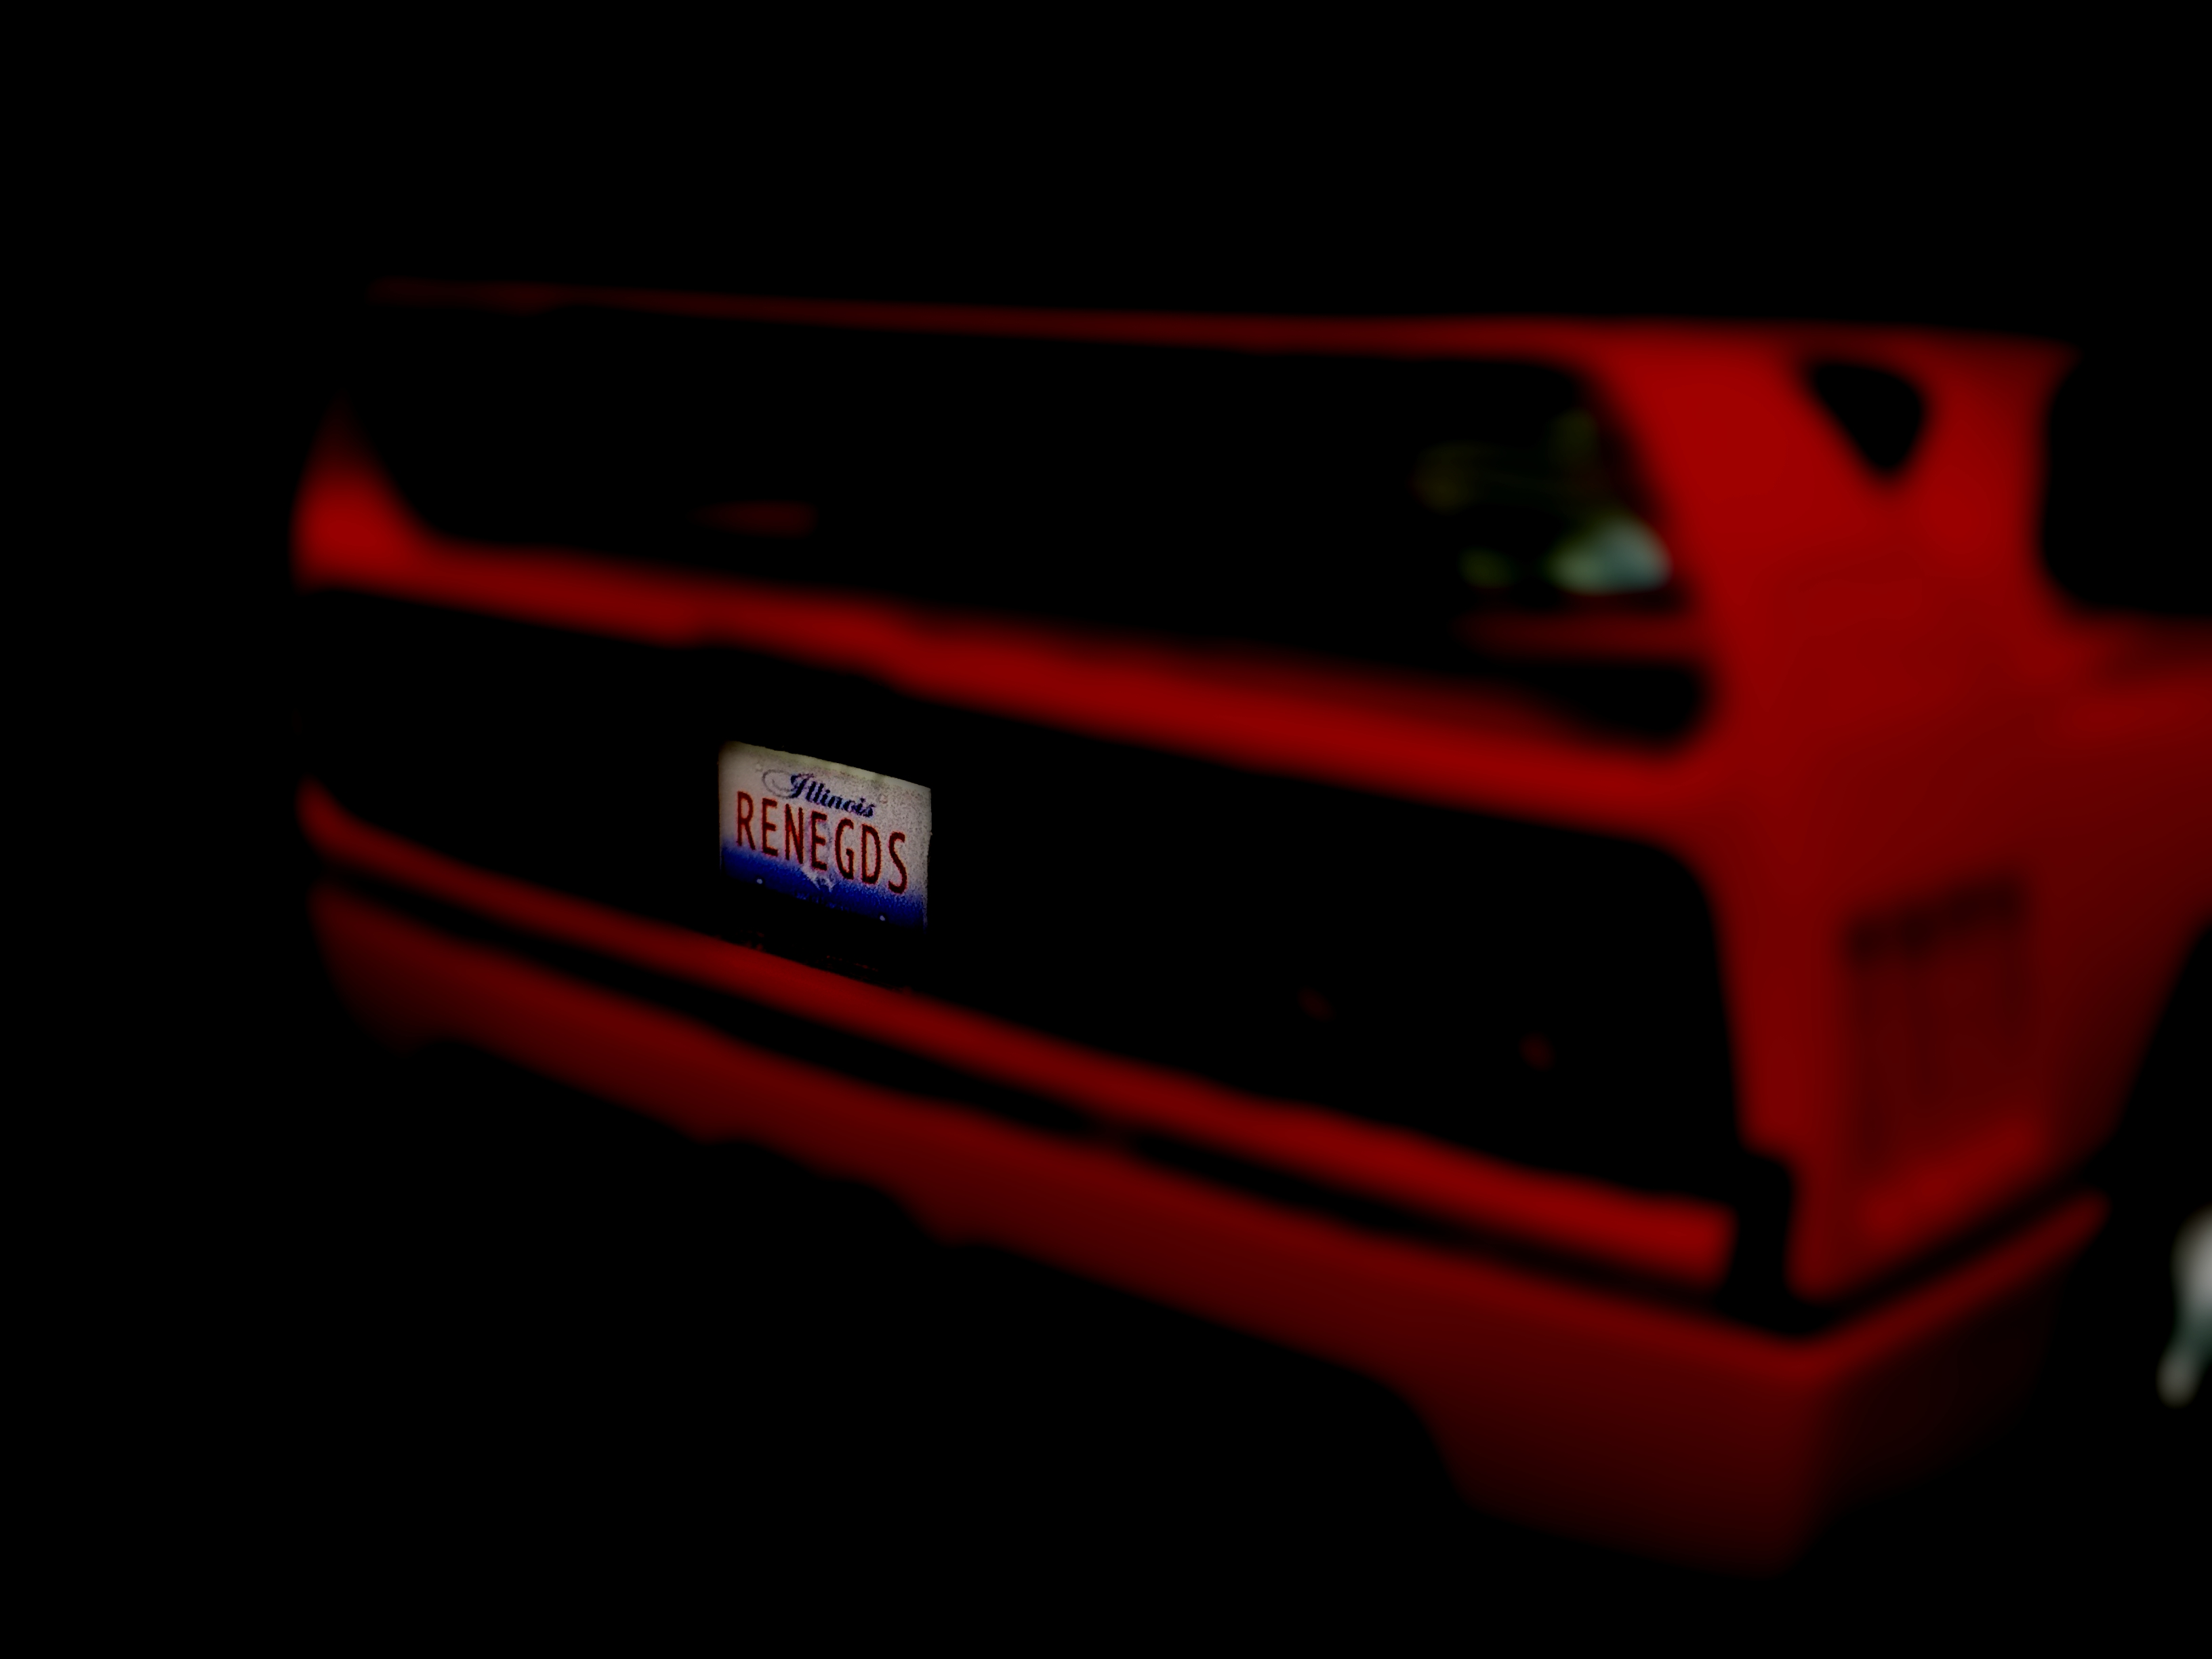
Yes and yes. The meaning is as deep as it could / can be. Both were amazing artists and both lost during the build of the car. Both broke molds which seemed to fit with the last car Enzo was alive for. Plus the F40, Soundgarden, then a few years later Linkin Park, all came around at a very impressionable times for me. The license plate "RENEGDS" is for the X Ambassadors' song "Renegades" which pulled it all together for me. Thanks for noticing.
-
super clean! Nice build
-
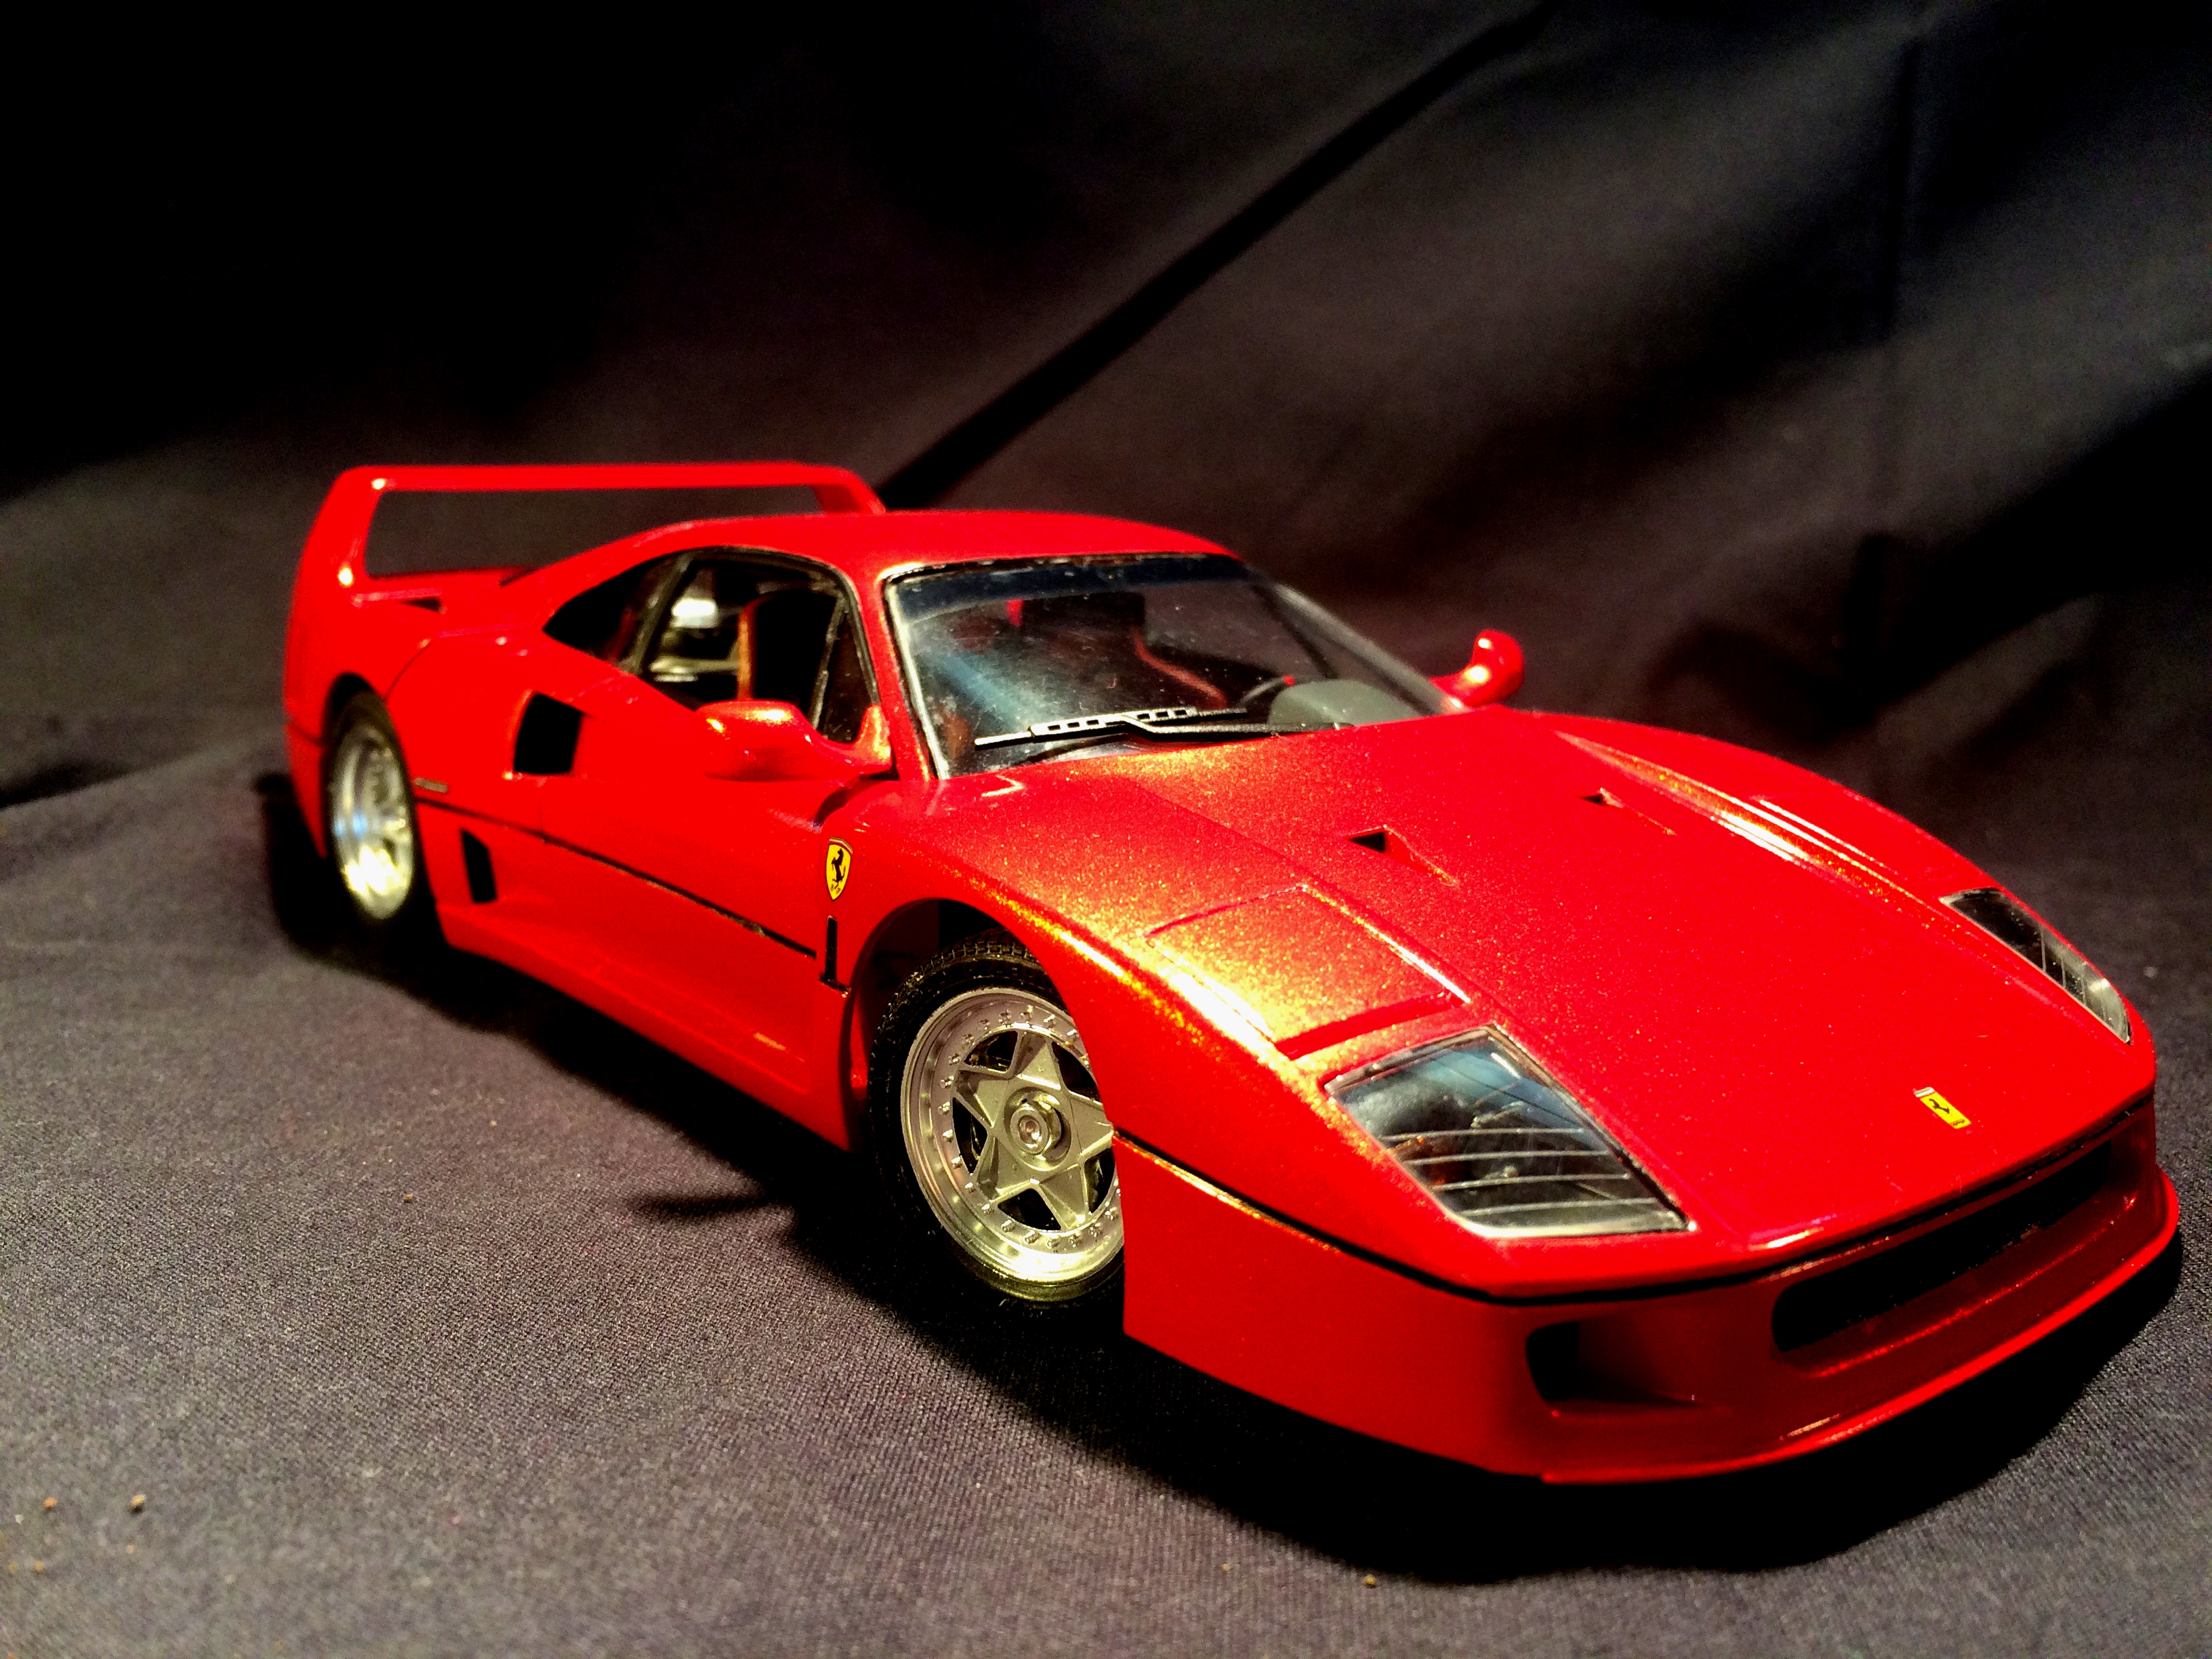
Here are finished pictures of Tamiya's Ferrari F40. I wasn't happy with the kit turbos so I swapped them out then built all the intake and exhaust plumbing. The exhaust pipes are real stainless tubing bent with a torch and heat stained naturally. The oil cooler and dif cooler were both plumbed and plug wires were added. A full sheet of kevlar decal was added to the engine bay and interior along with BMF heat shielding.
Because the car will be "raced" cross country per the 2017 Cannonball Run CBP a few things were added to the interiors. I opened the windows, added window cranks, kevlar, CB, stereo (original car had none), speakers, seat belts and a lap top made with a screen shot of my actual laptop.
-
I couldn't wait. Here's four shots of the finished F40. I might use different shots in the "finished for voting" but I'm just too happy with how it turned out to wait.
-
OK I'm done. Here is a teaser picture.
-
I wish the kit was of the hatch back. I had an 80 X-11 and my brother had an 81 X-11 V6 but they are both hatches. Maybe I'll finish the conversion some day.

") pick it out with fine tipped tweezers if its protruding into the air. This time it looked like it was protruding so I went to grab it and it wouldn't lift out. So I tried again and again each time grabbing closer to the paint until I inevitably touched the surface and creased the paint. It polished out about 70% so there is still some texture which I'm annoyed with.
pick it out with fine tipped tweezers if its protruding into the air. This time it looked like it was protruding so I went to grab it and it wouldn't lift out. So I tried again and again each time grabbing closer to the paint until I inevitably touched the surface and creased the paint. It polished out about 70% so there is still some texture which I'm annoyed with.

")


90 Mustang GT
in Model Building Questions and Answers
Posted
Thanks for the all the tips guys. I need the hatchback so looks like I'll be throwing a couple of kits together.
Build thread coming up soon!
Dave