kenlwest
-
Posts
277 -
Joined
-
Last visited
kenlwest's Achievements
MCM Avid Poster (5/6)
-
Exhaust is placed. WOW, the contortions needed to get this located was enough to put Houdini to shame. The pipes are only glued to the manifolds for now, as the rear of the pipes have to feed through the trunk when installing the body.

-
The forward end of the fenders have been roughed in, using built up uv resin. The shape will be finalized with standard putty.
-
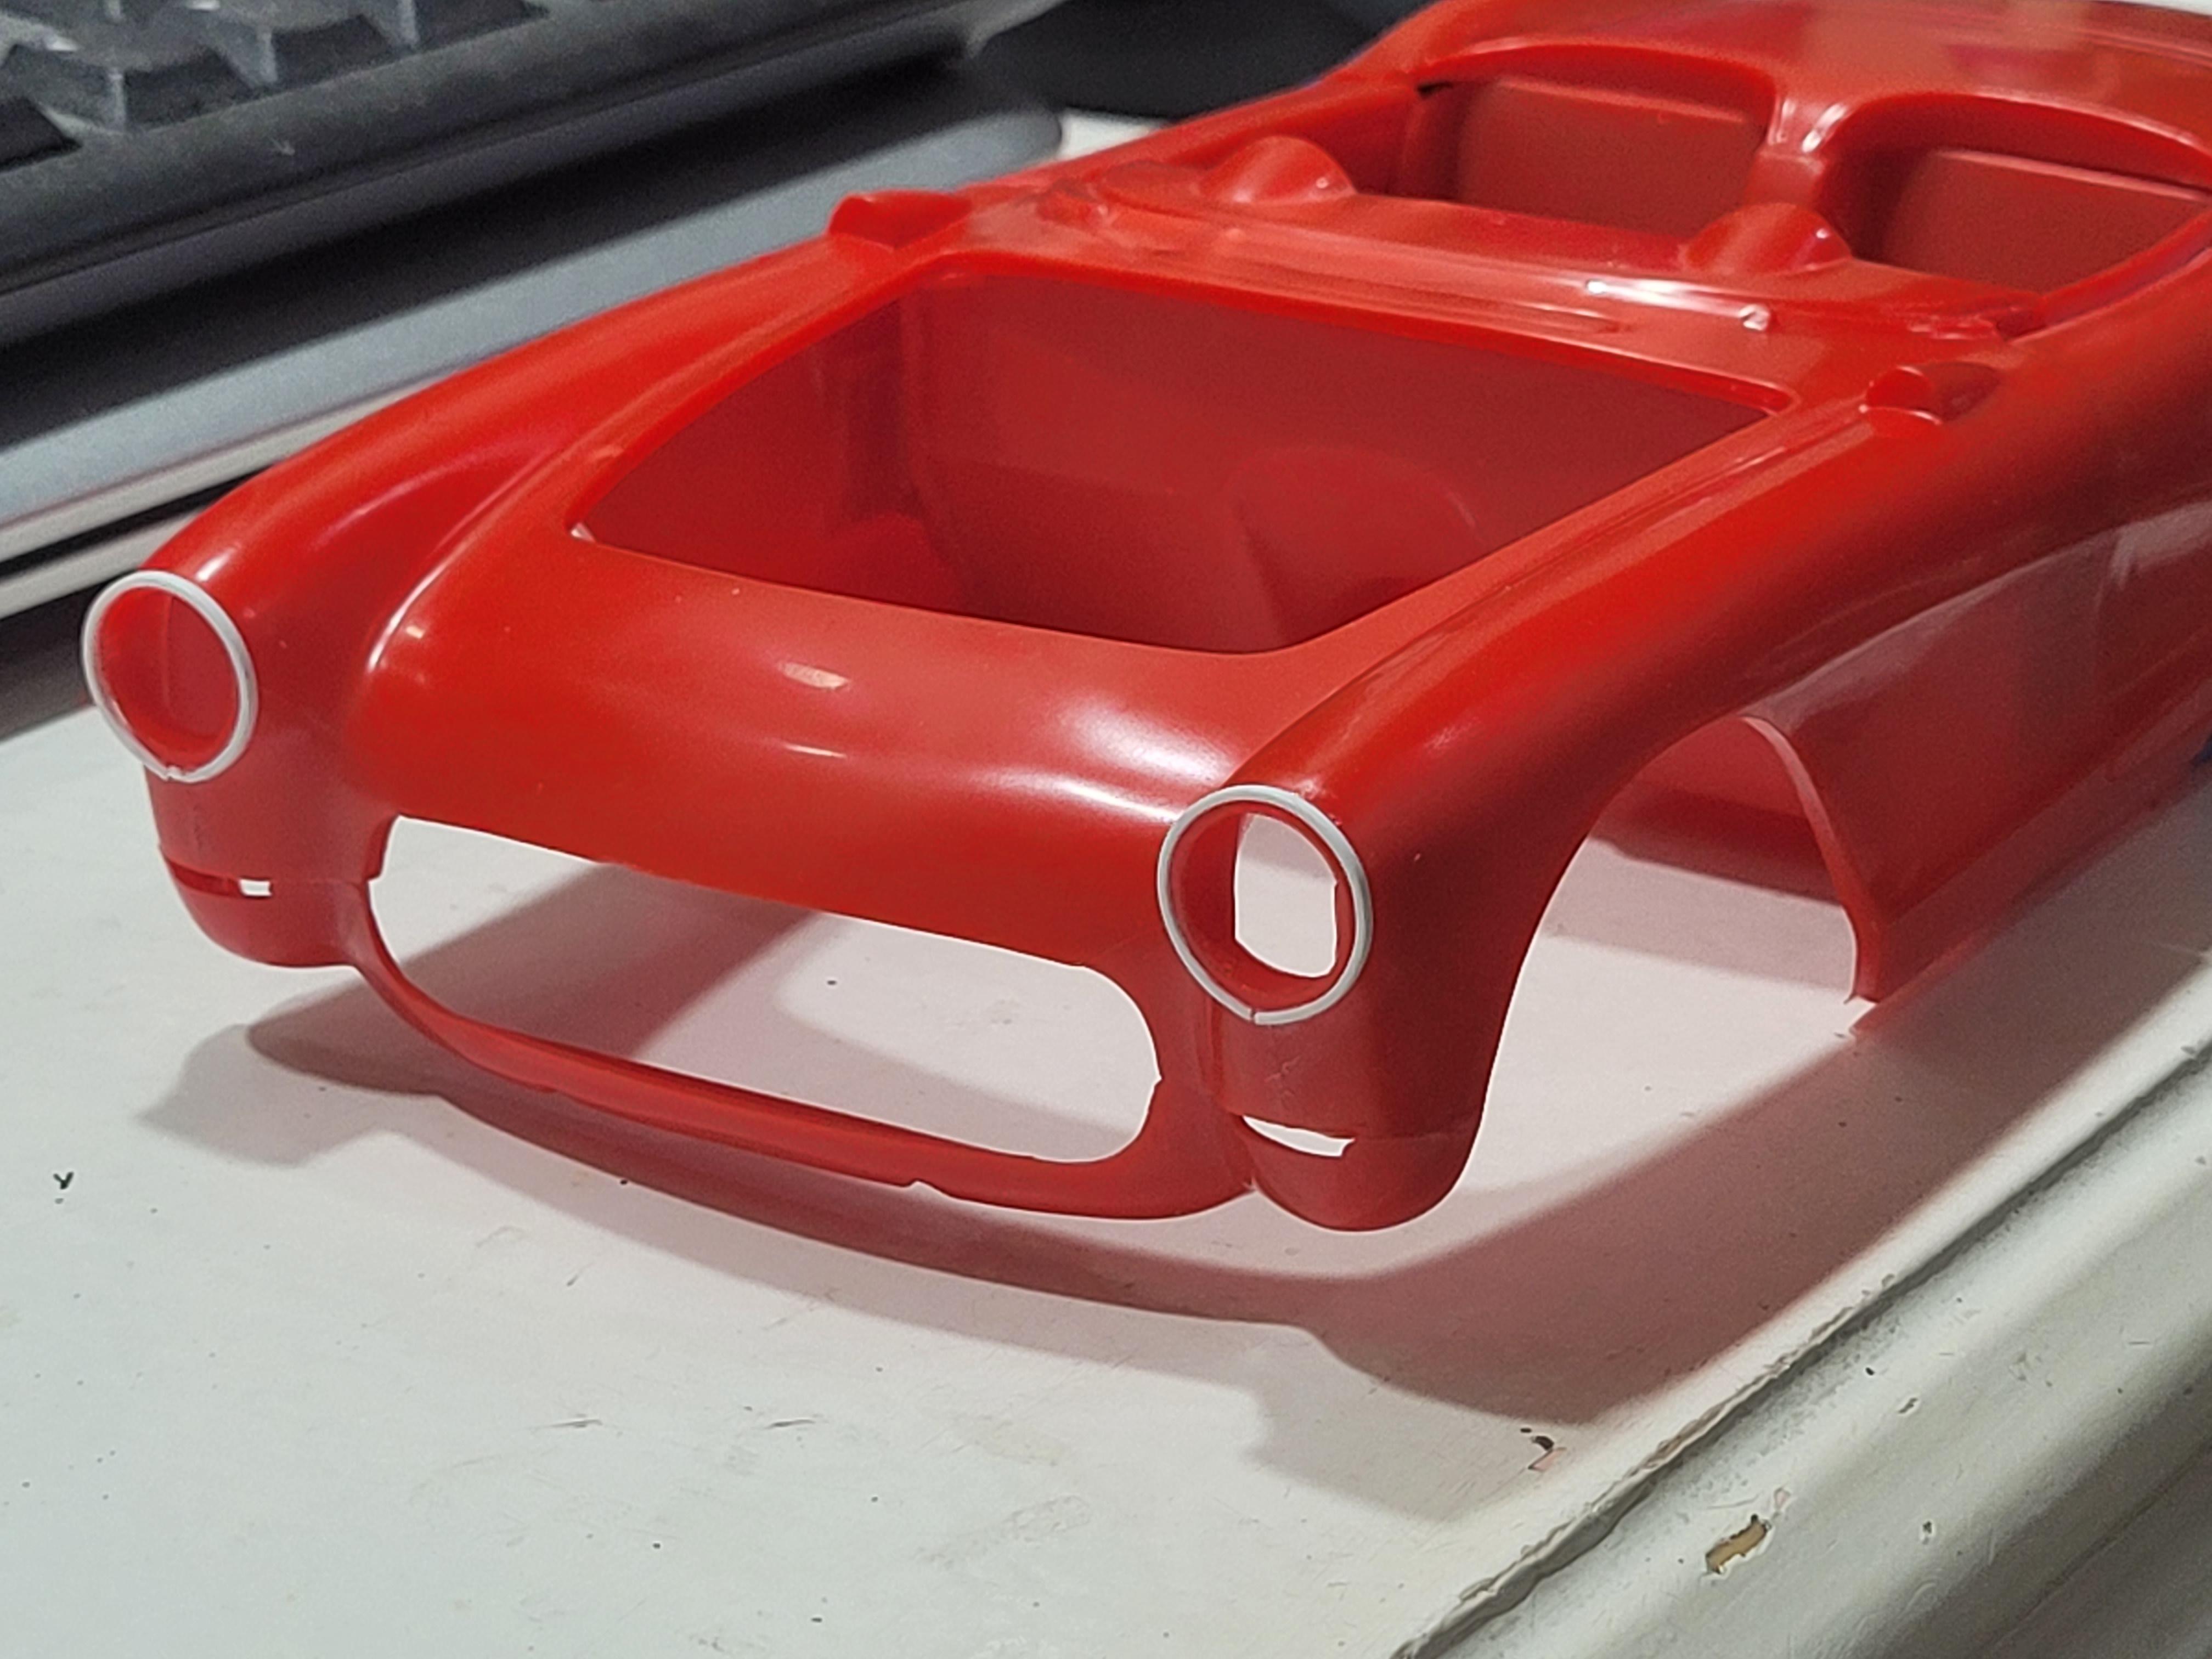
Early in this build, I mentioned that the headlights were too small. To correct this, I wrapped .03 in plastic around the bezel. Next, I will blend the new headlamp openings into the fenders. When I am happy with the shape, I will dremel out the inner plastic.
-
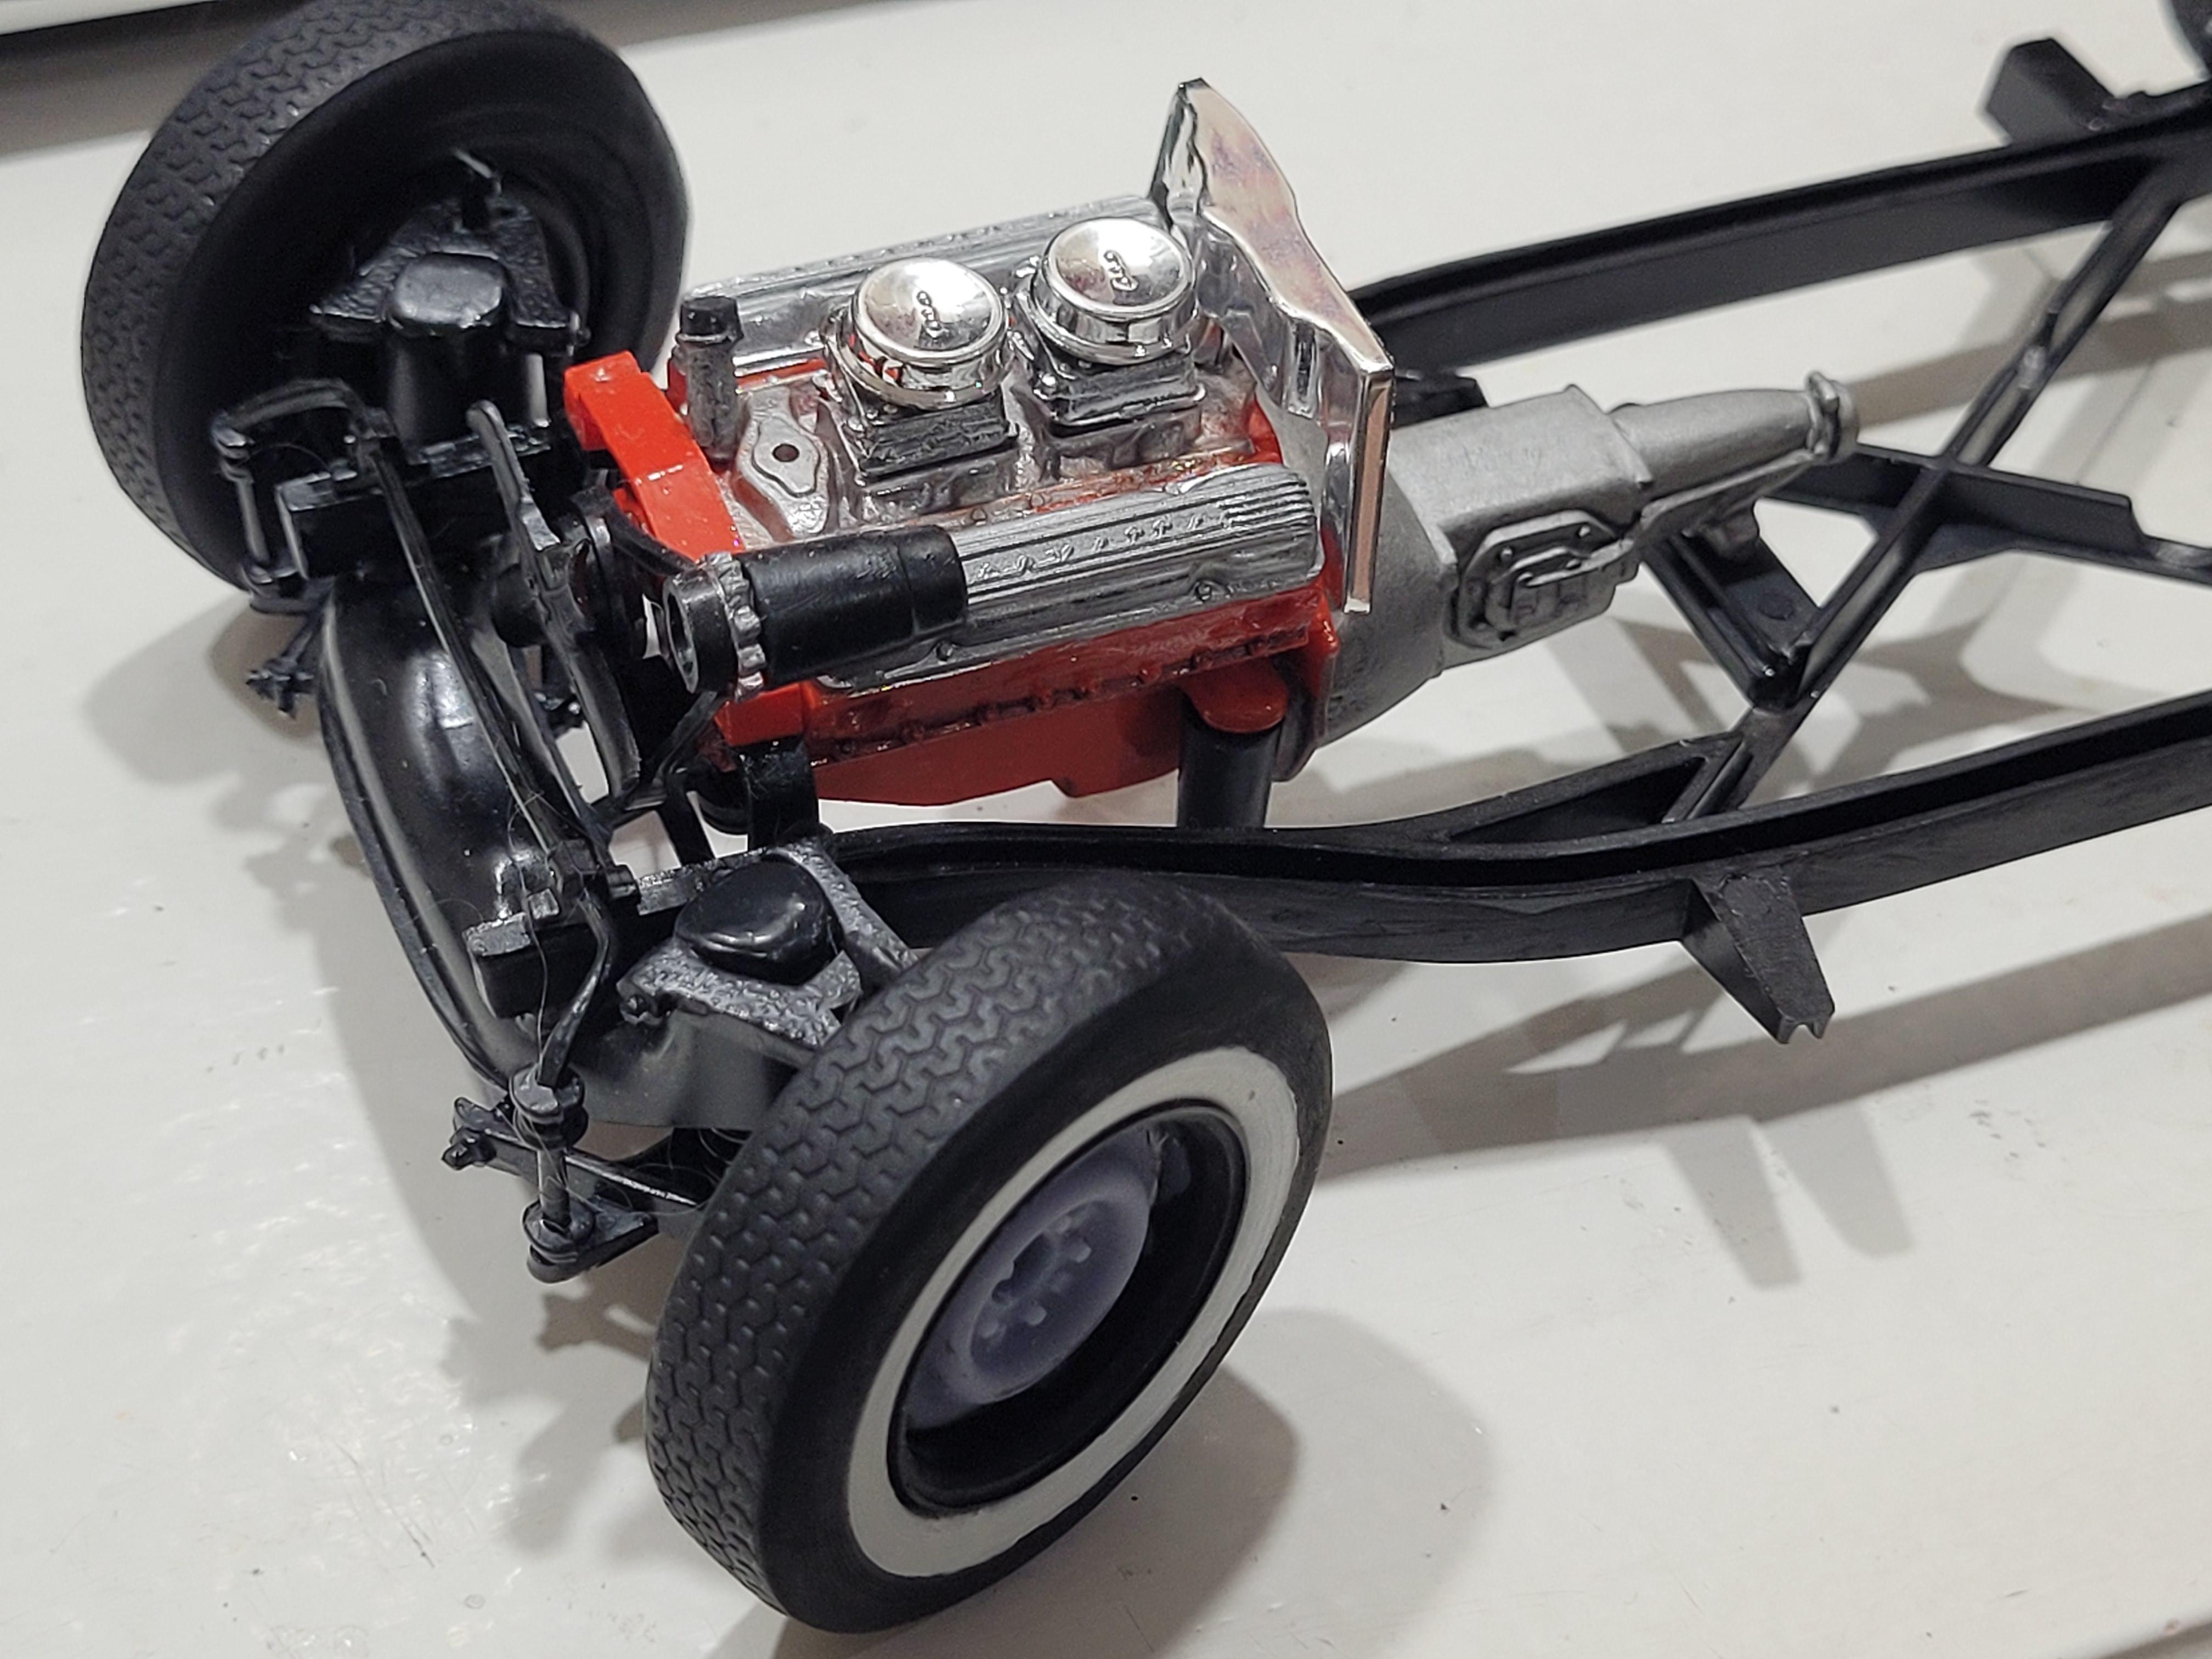
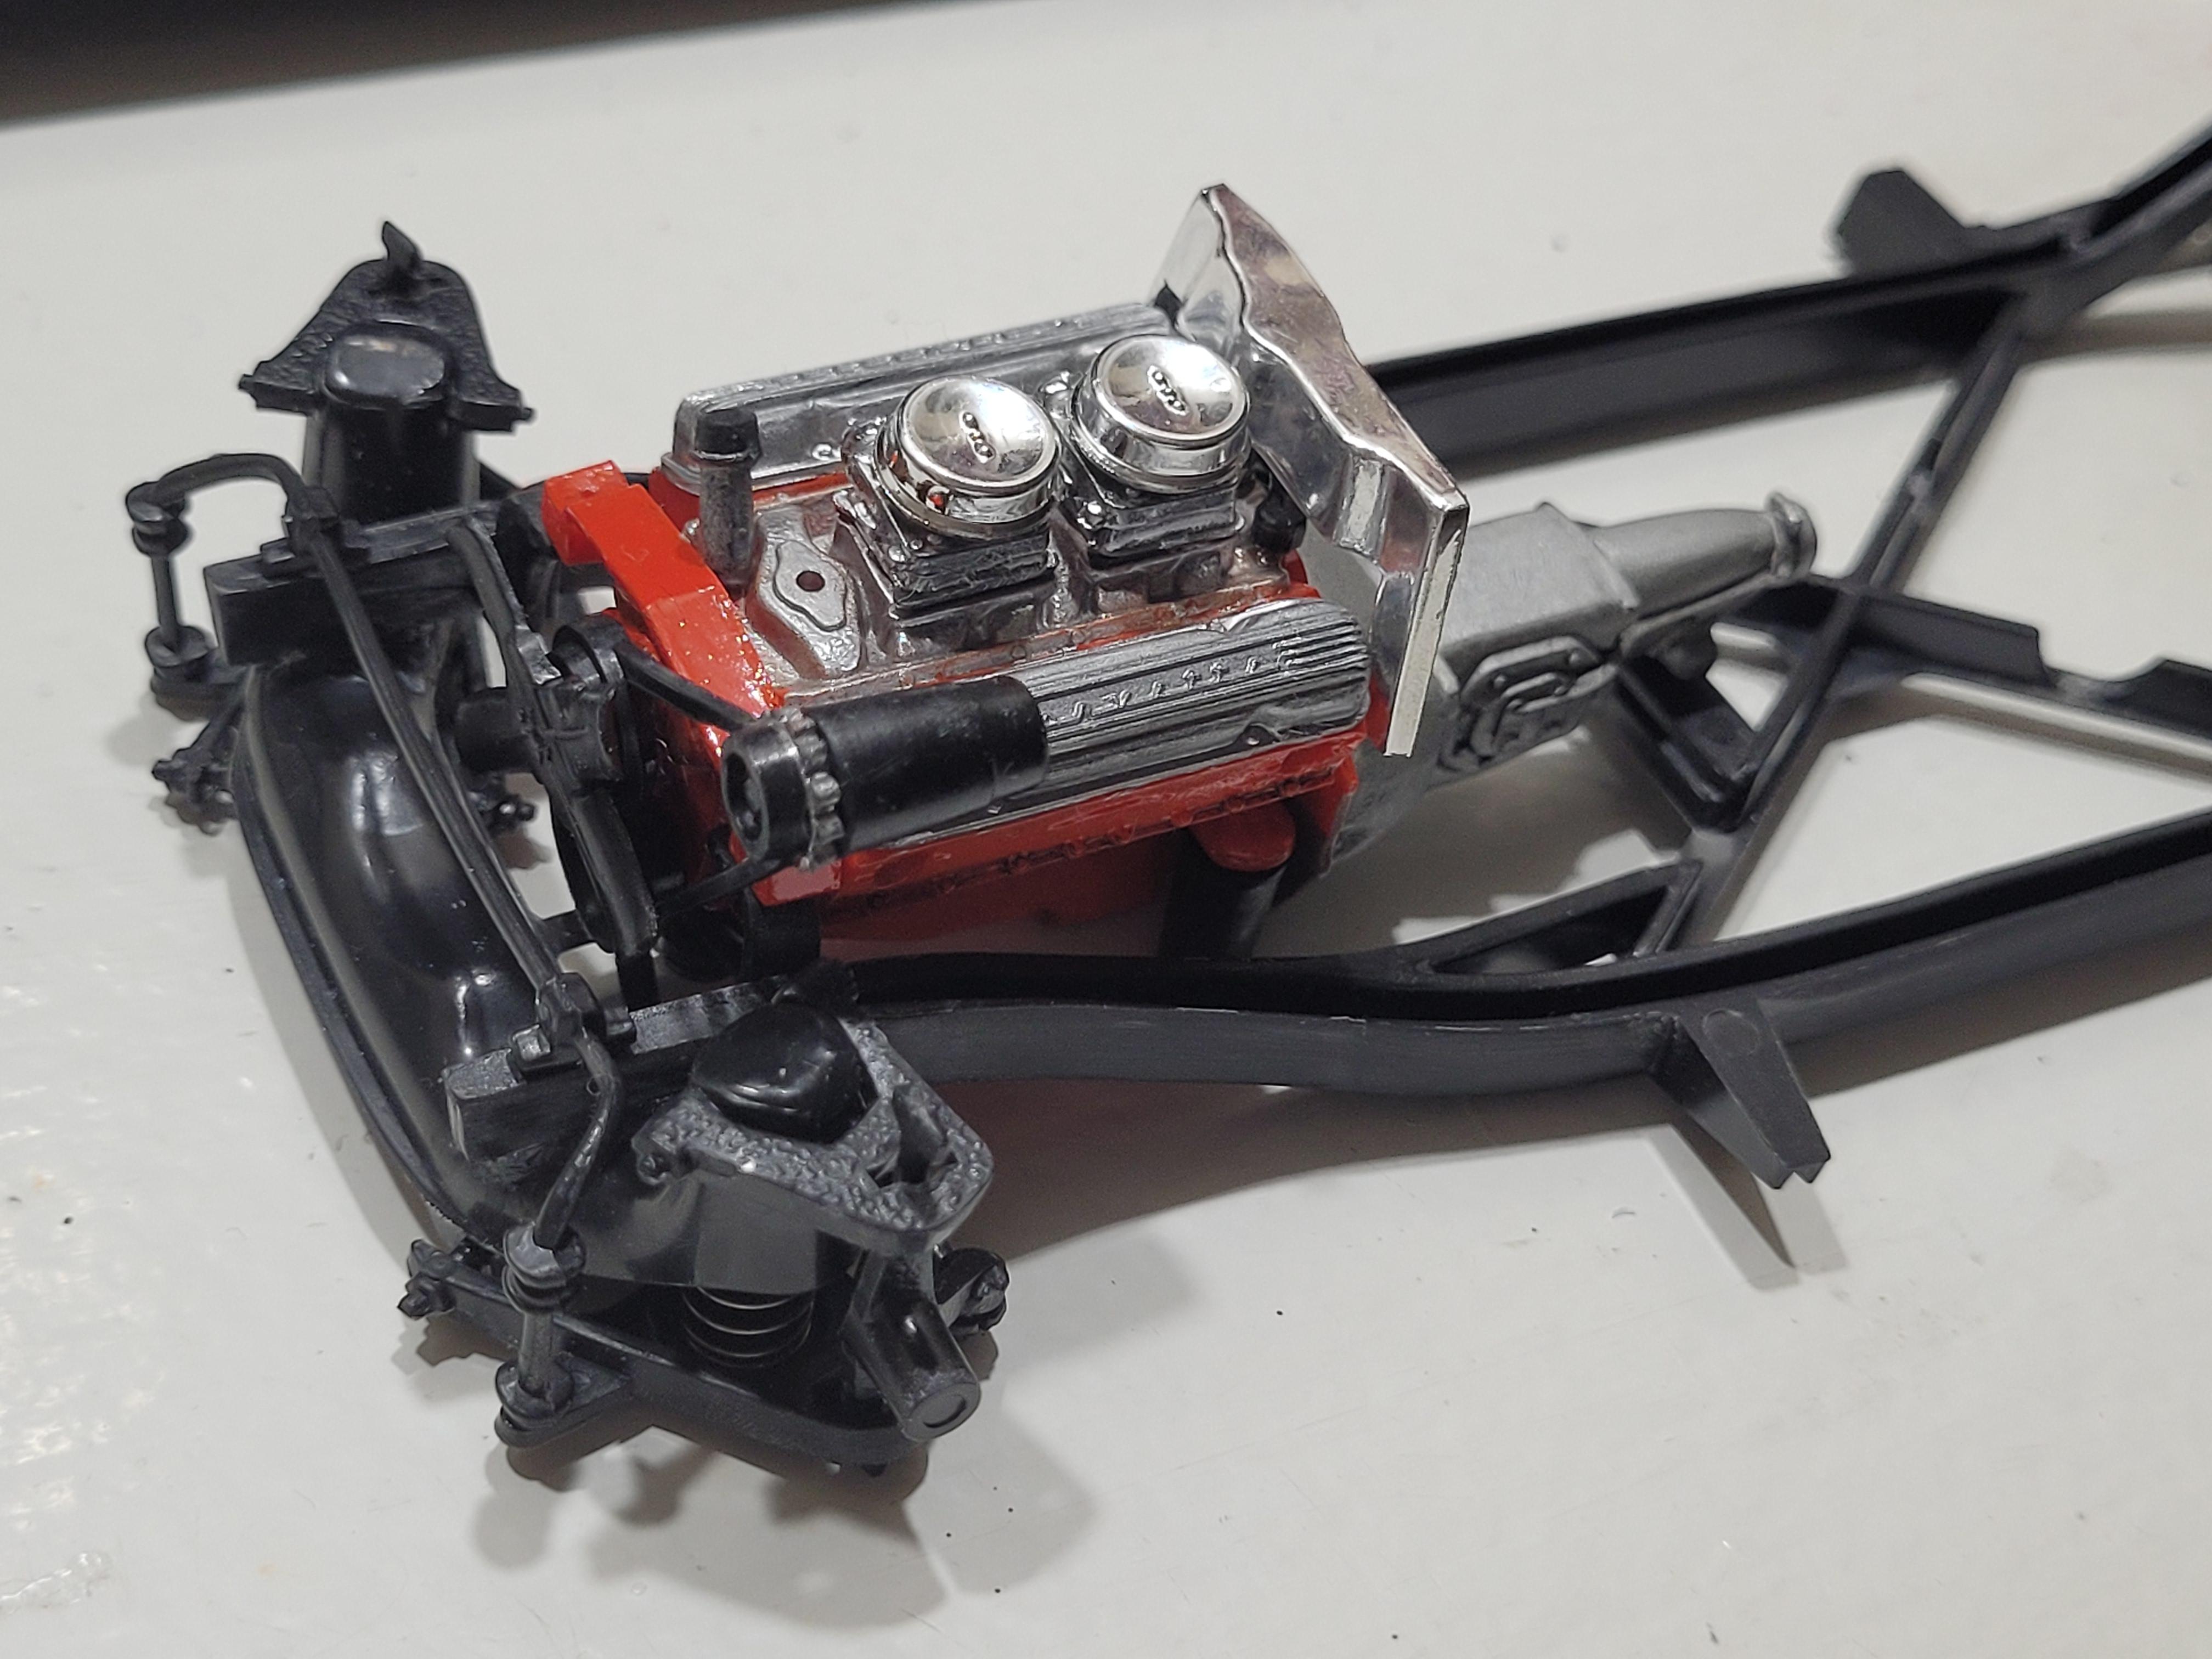
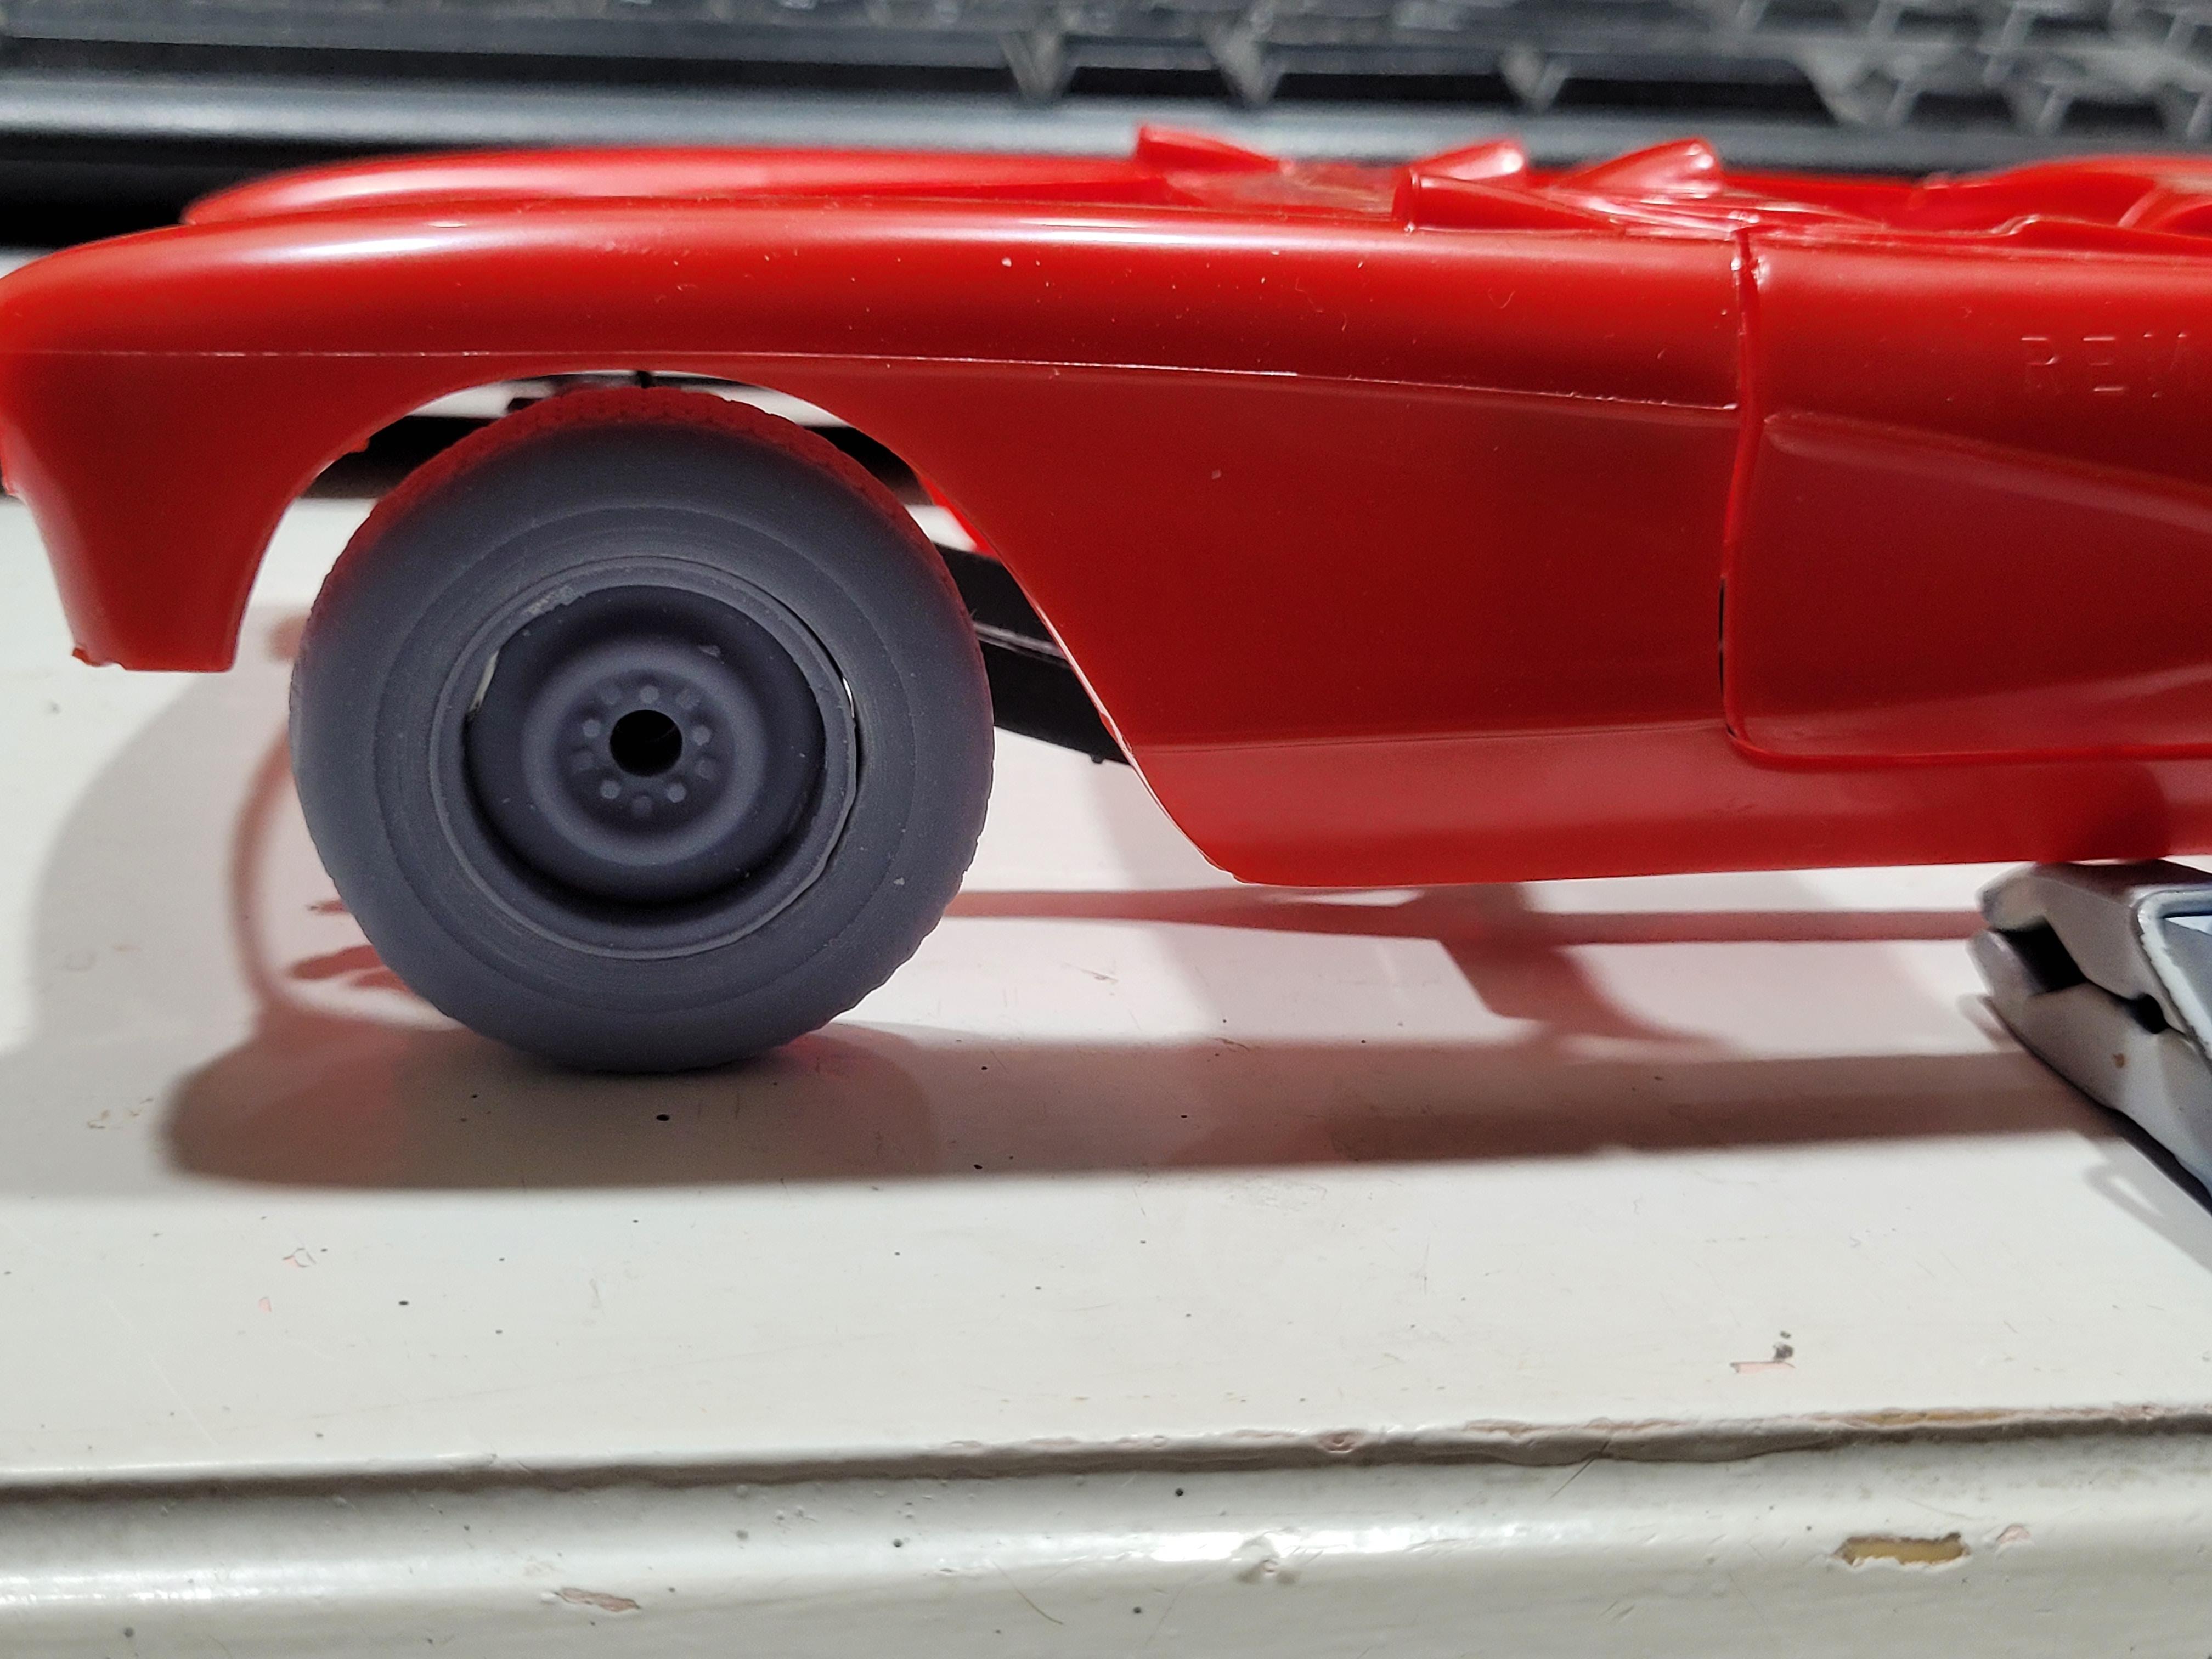
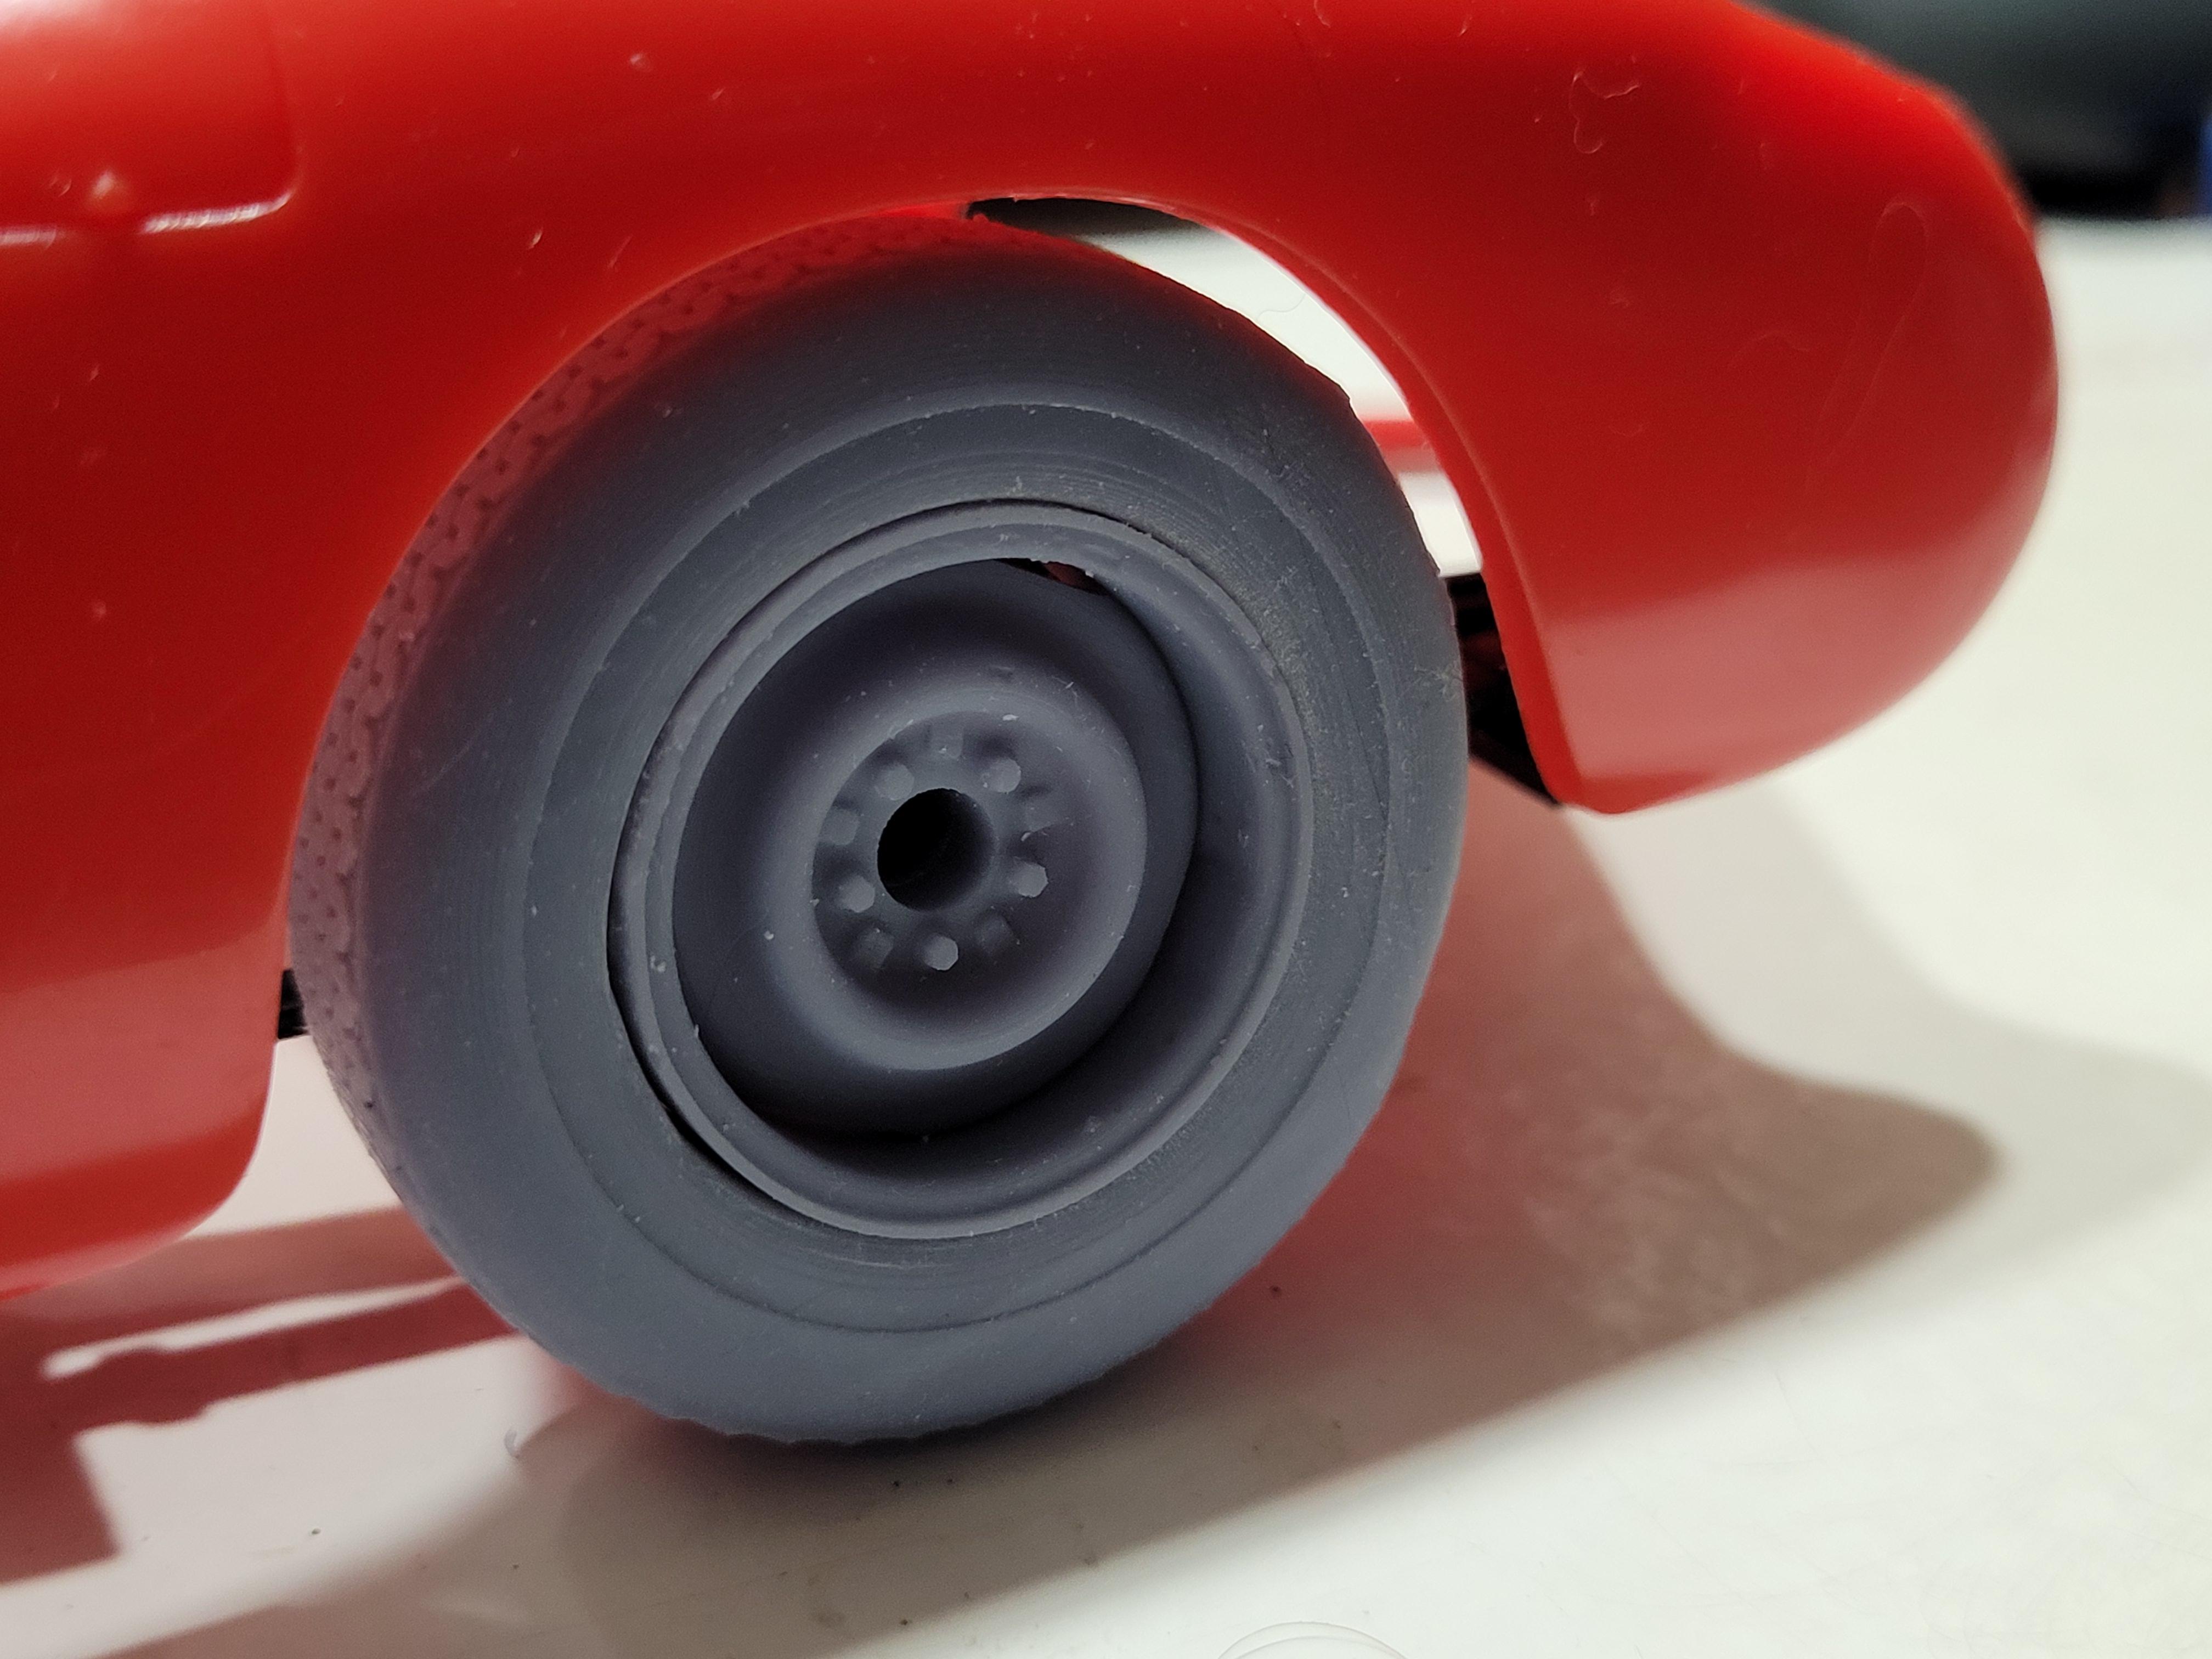
The engine is mounted. The tires were flat washed, then the whitewalls were painted.
-
A little staging fun... I wanted to try out both tops. I did manage to sink the hubcaps into the wheels.
-
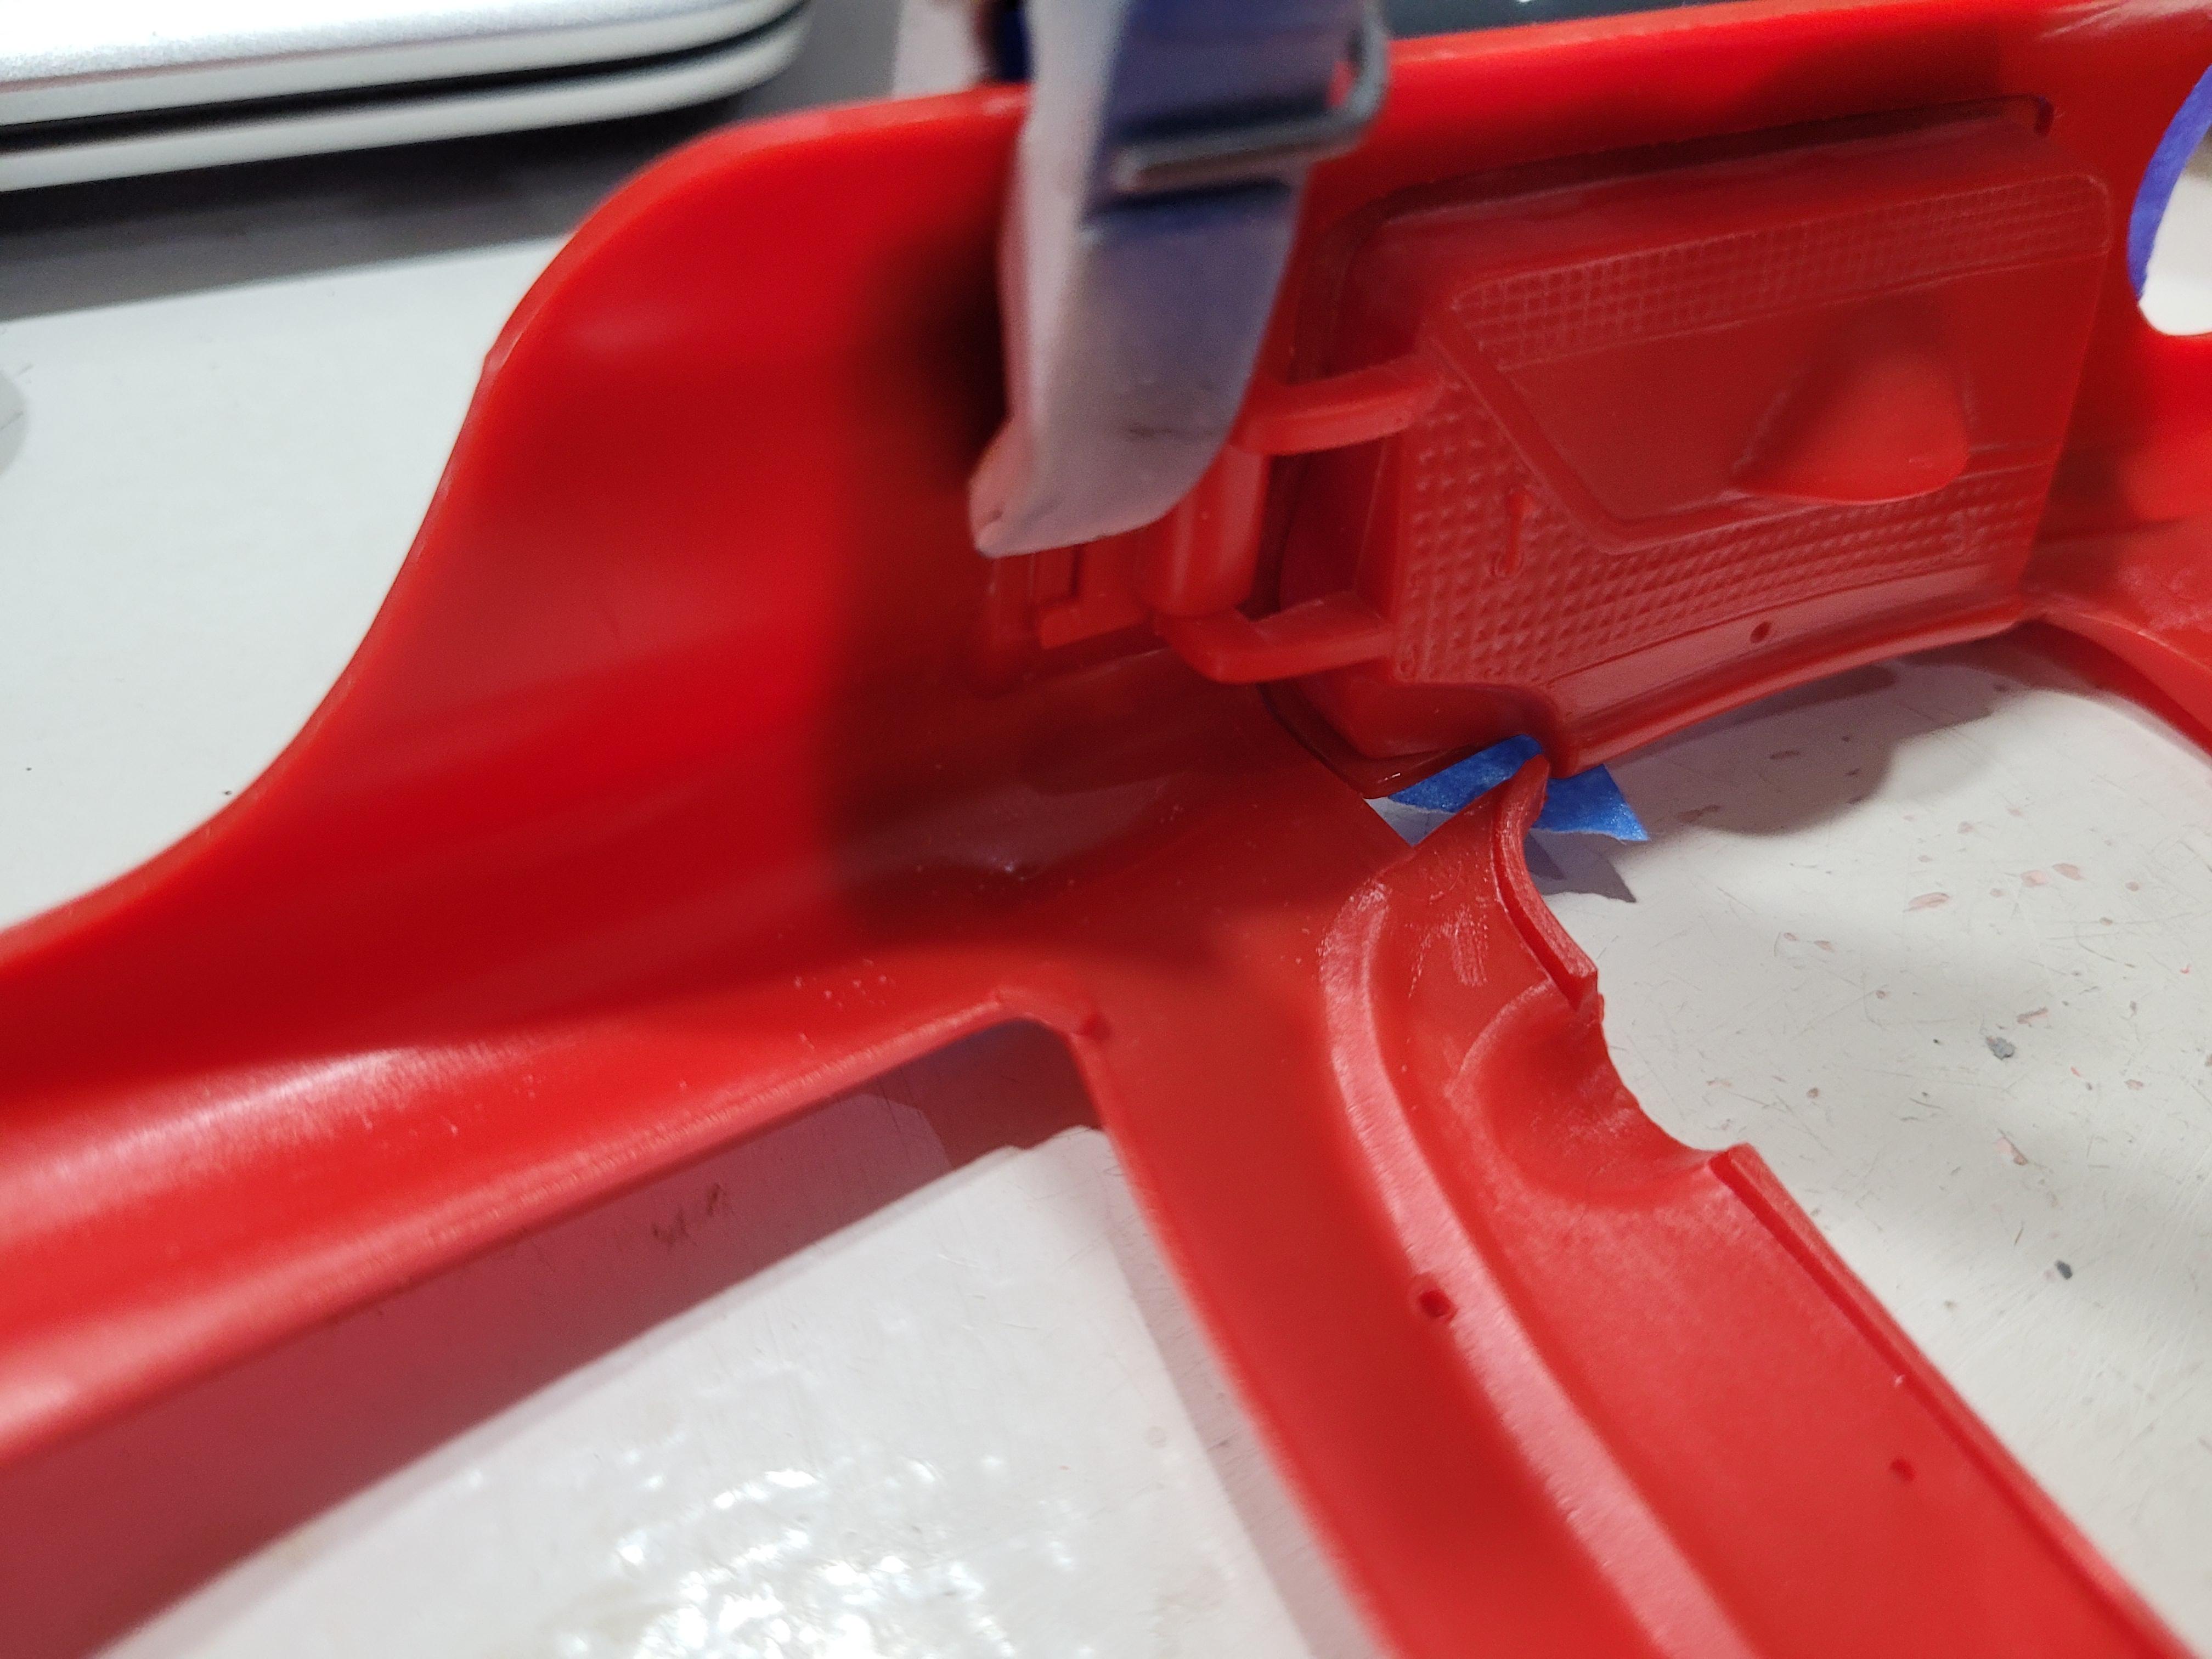
The hood now fits the opening. The pictures really didn't show it, but I would say the cowl dipped about 1/8 inch in the middle, and the sides were splayed out about the same on each side. The body was either pulled out of the mold too soon, or the kit was exposed to attic heat or something similar. The sealed box and parts showed no sign of crush.
-
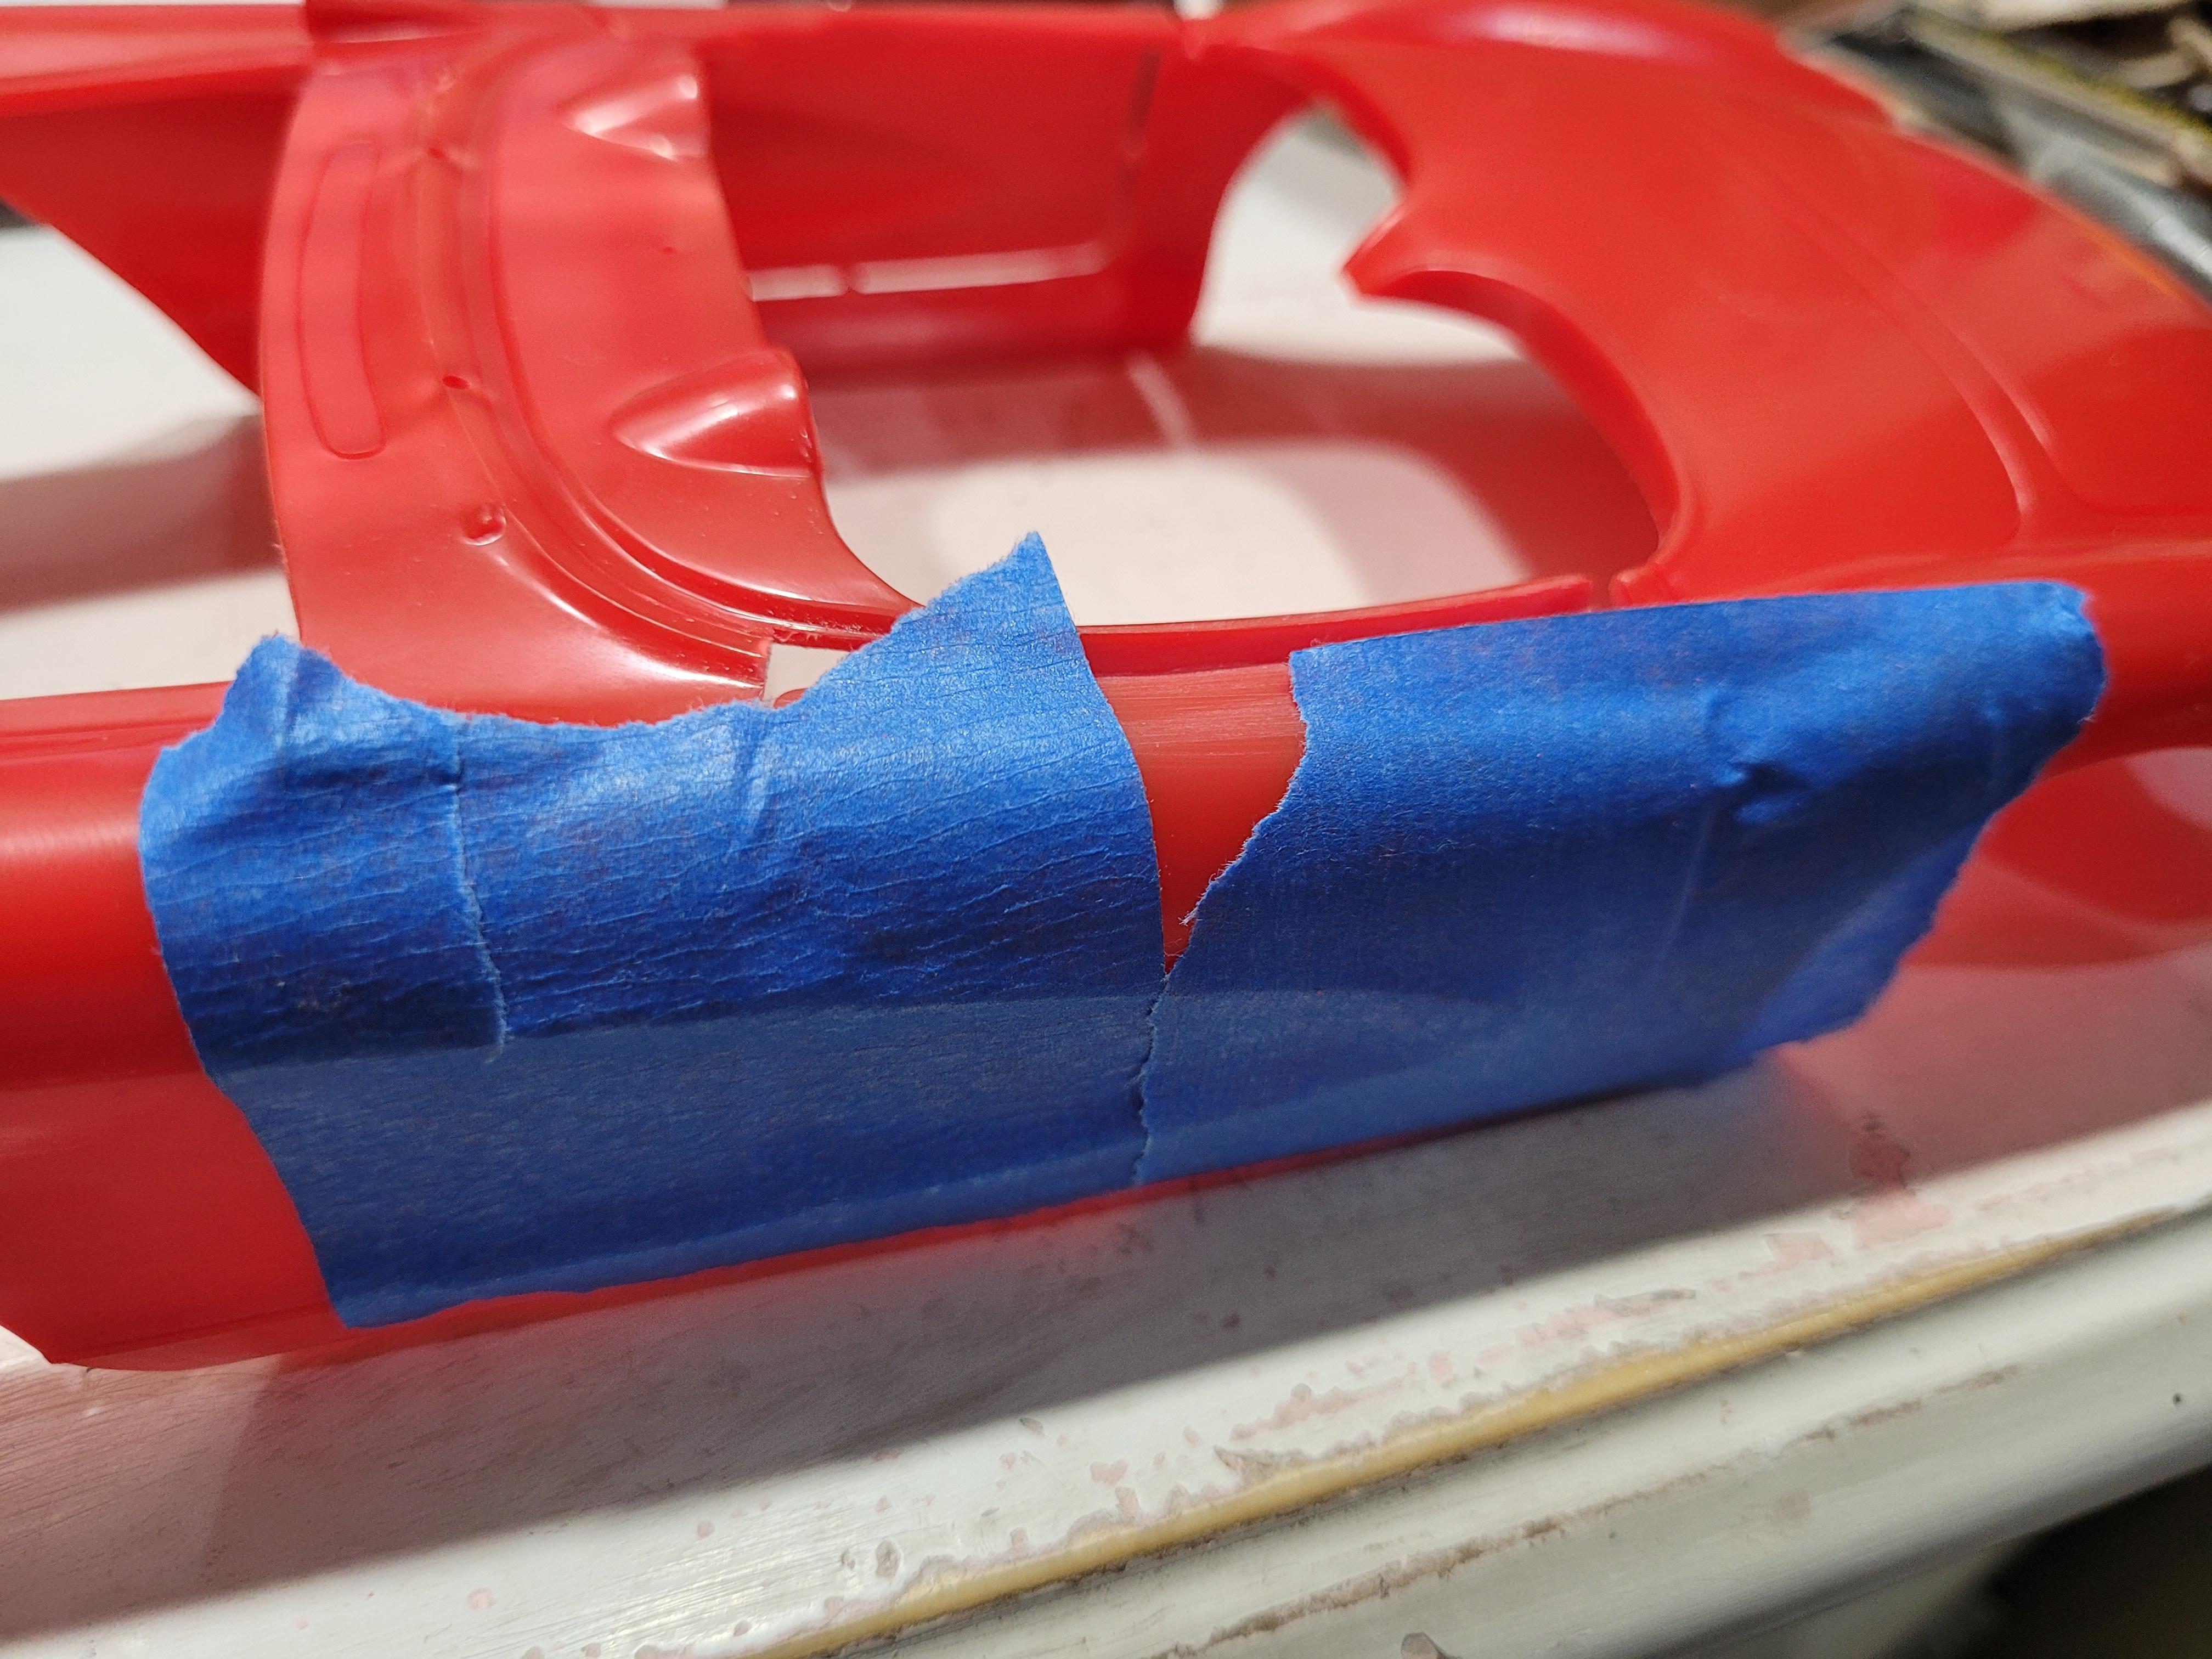
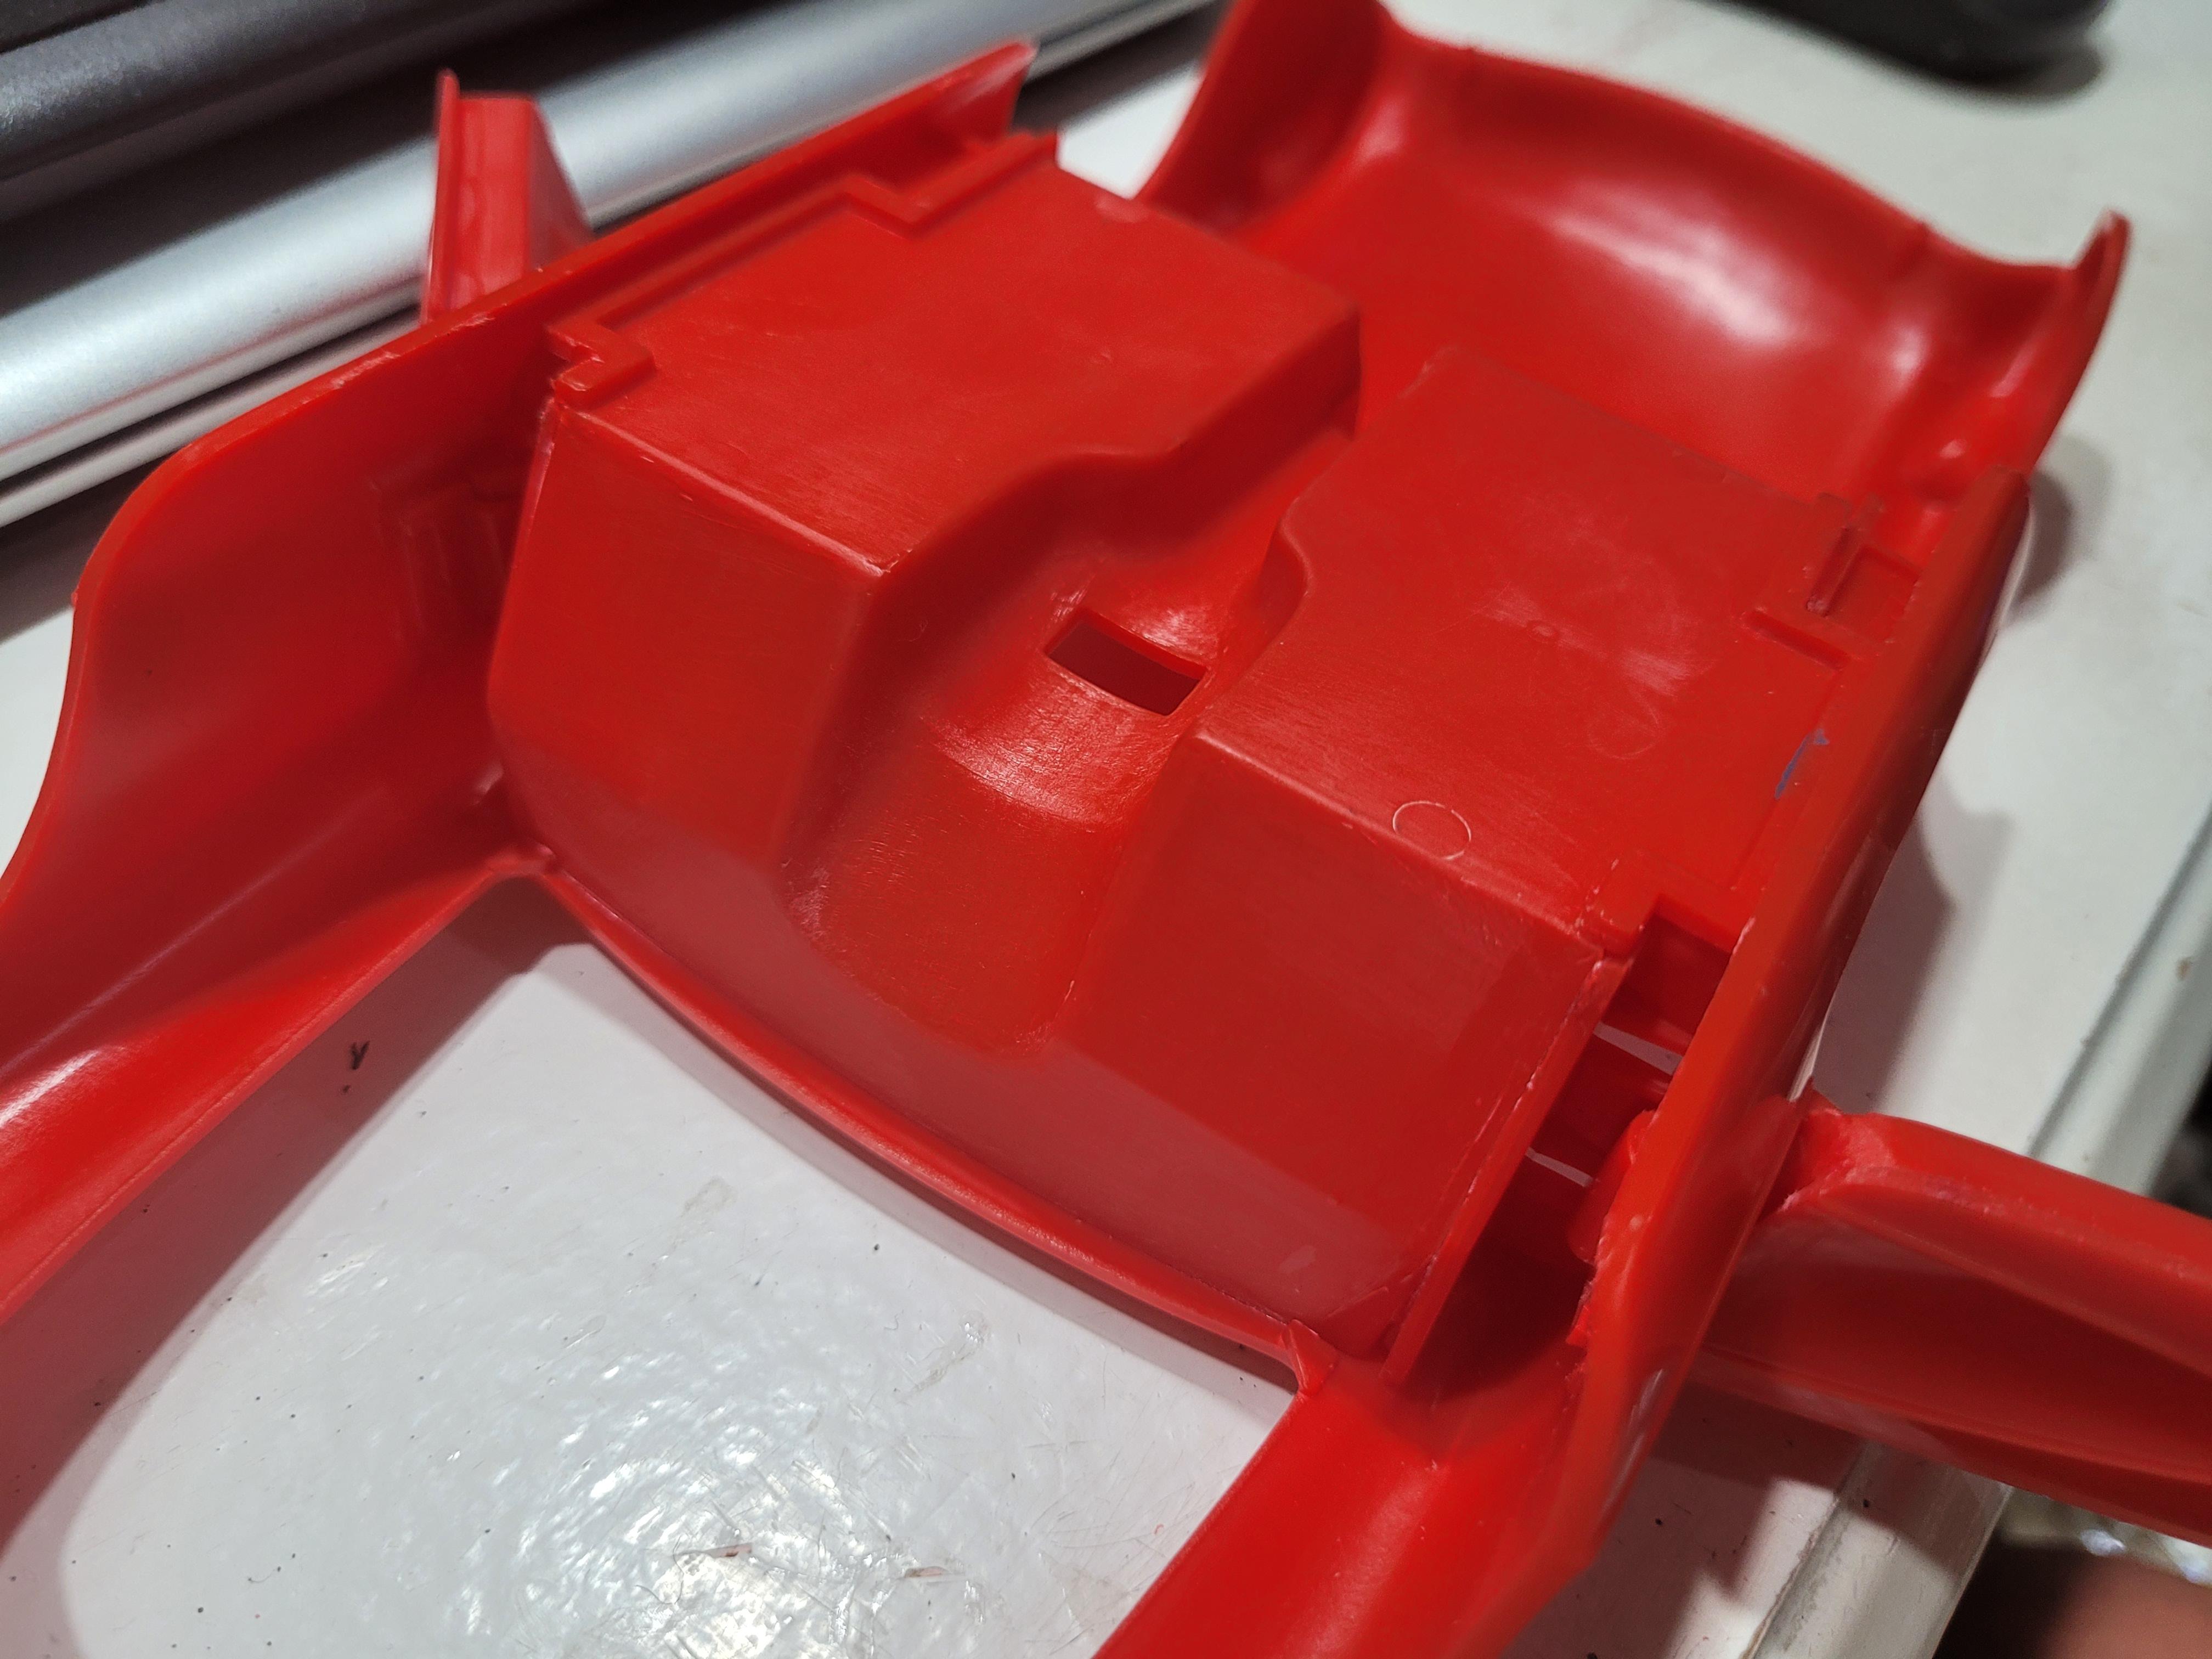
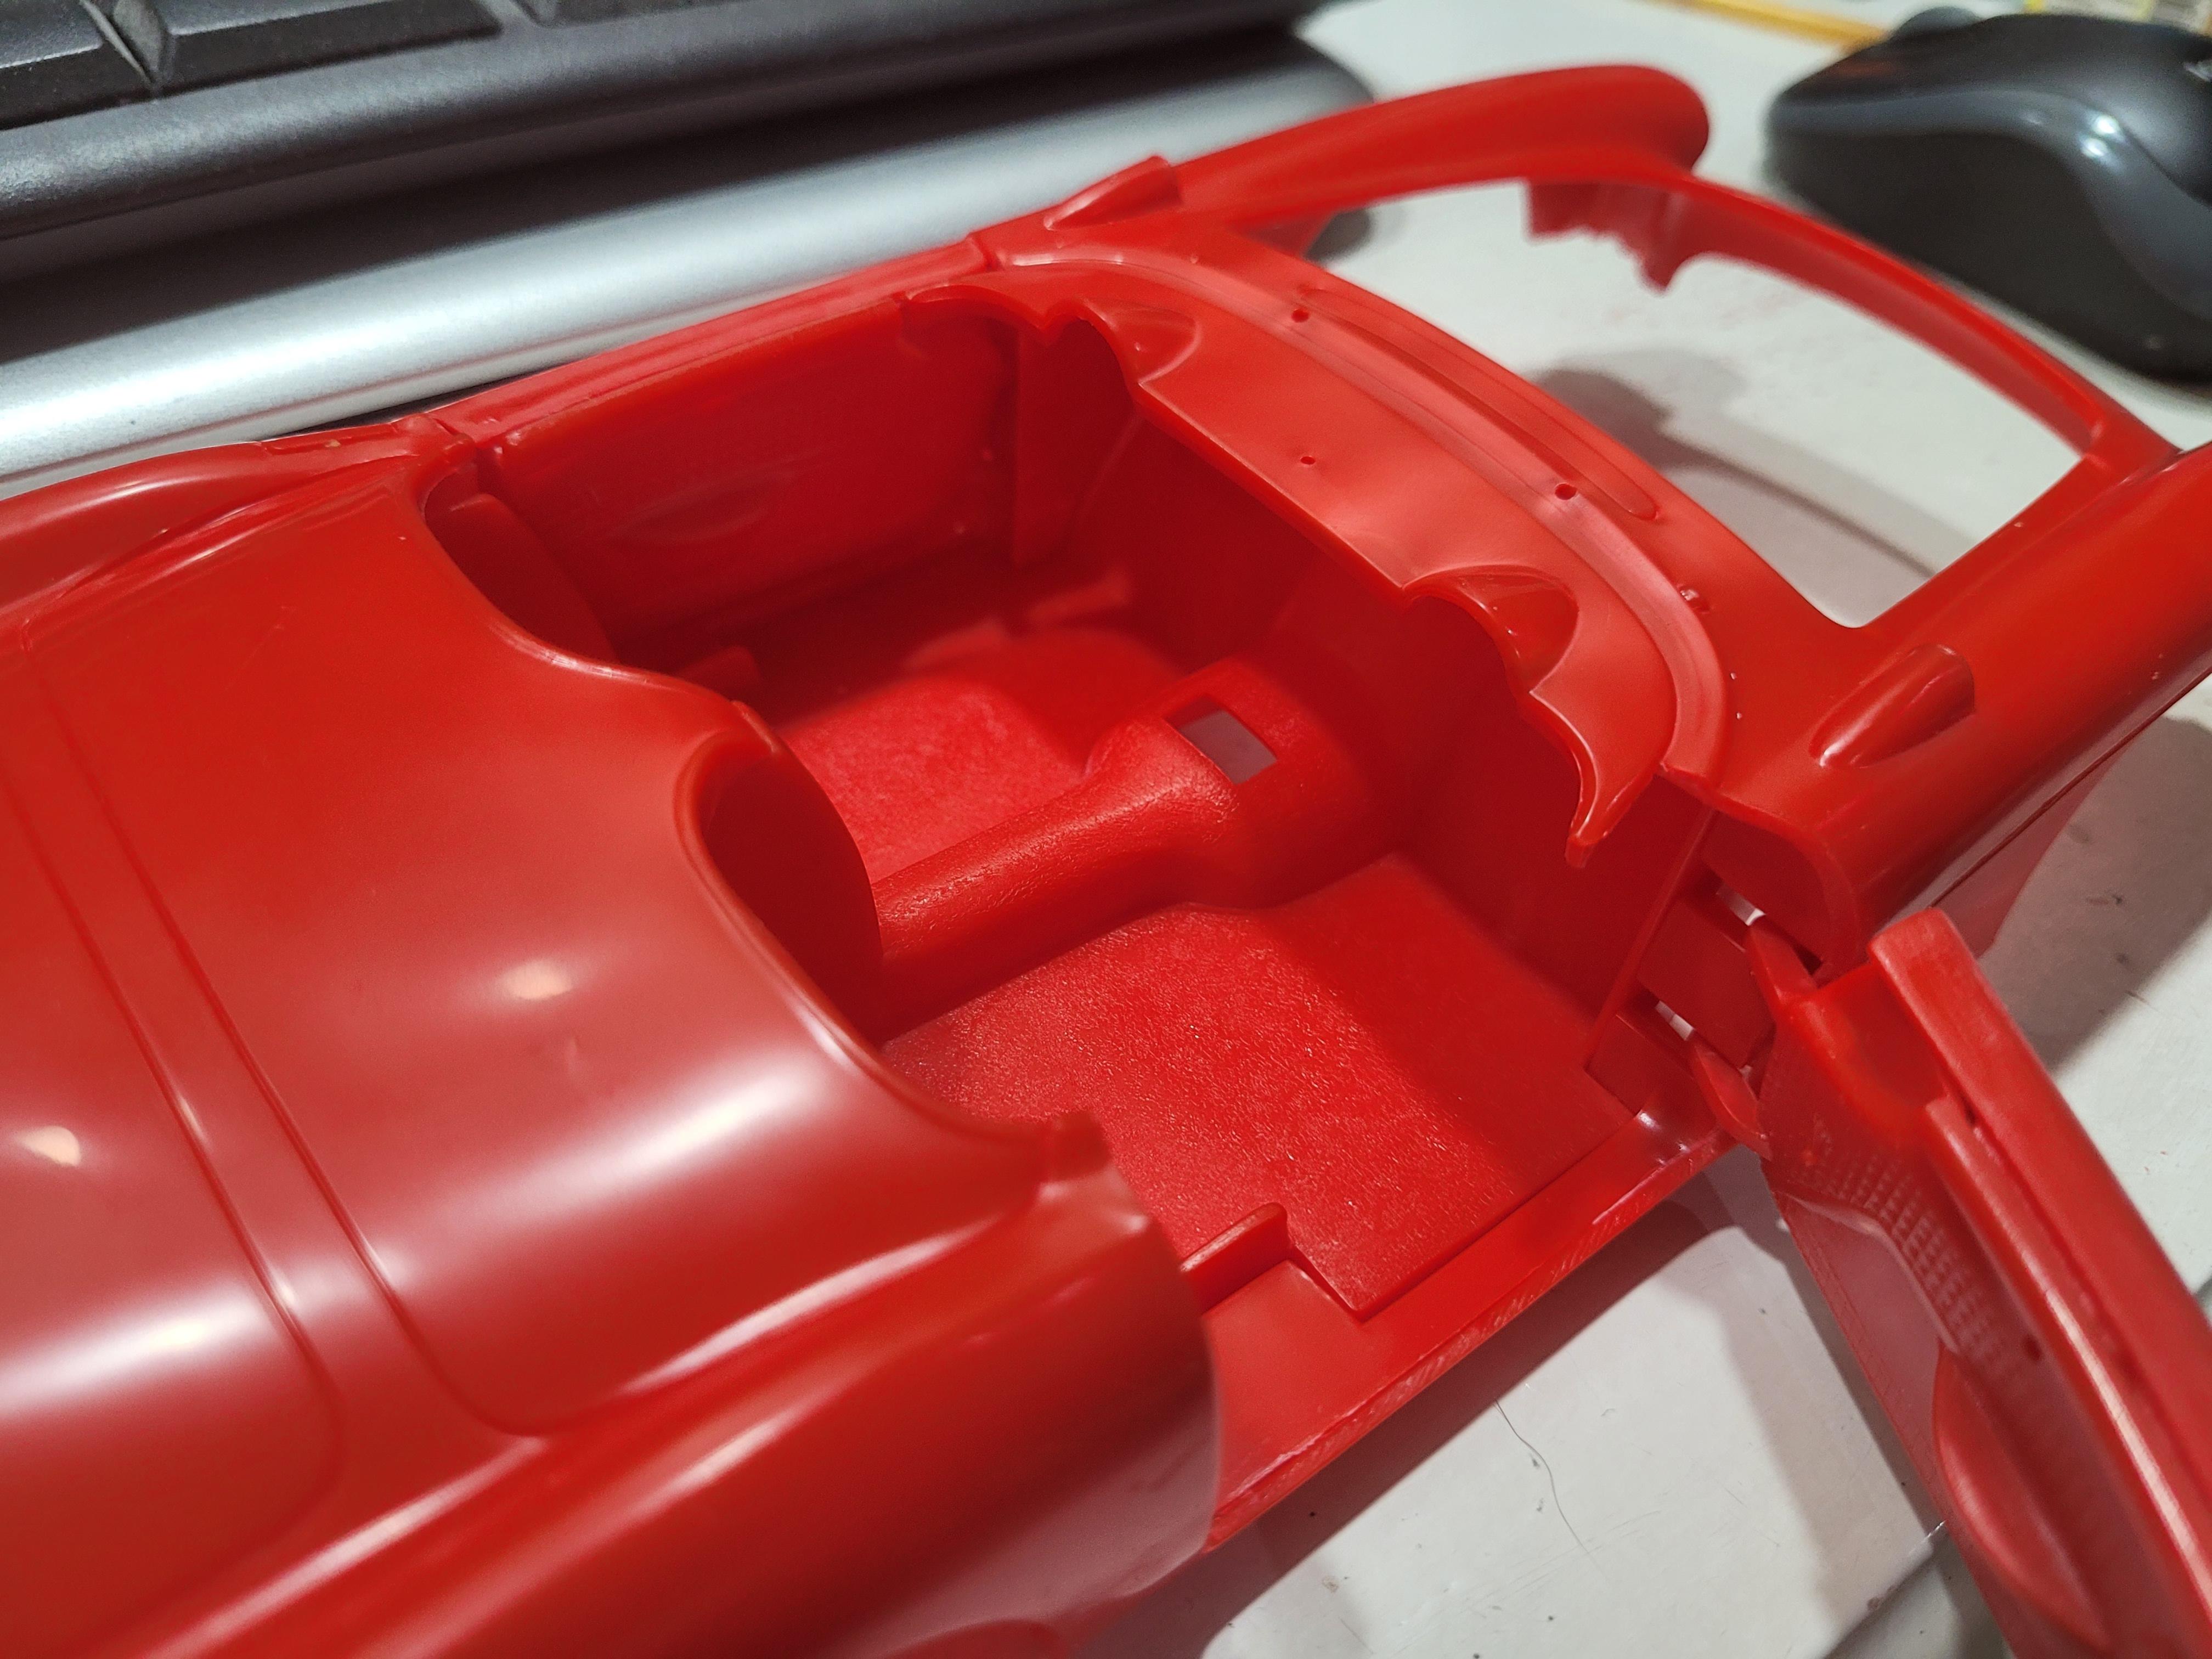
I am back from moving my son and his girlfriend to Chicago. Glad to be back. The body was really a warped mess. The cowl was crushed at some point, and it splayed the rockers outboard. This made it impossible to fit the hood and door jambs properly. Fortunately, the interior tub matches the correct shape of the cowl, so I used it to pull the body into the correct shape.
-
The engine sitting in its place. Also looks like the weight and flats on the bottom of the tires are enough to keep the loose parts on the front suspension stable and straight.
-
Yes, maybe a millimeter or so. Just need to decide whether to grind the rims or reprint modified wheels. Leaning toward reprinting. I appreciate the feedback - nudges me to do what needs to be done. It seems that many amt and mpc 1/16 subject suffer from this.
-
The tire ww's were modeled after the box art tires on the real car. The wheels were modeled exactly as the kit wheels, except I narrowed them to the correct width. This is so that the kit's hubcaps would fit perfectly.
-
Tires and wheels are printed. I staged the left hand wheels on the chassis, then placed the body on top just to verify correct wheelbase. The detents on the tires are where the whitewalls will be painted.
-
I printed the wheels and tires. BUT, somehow they were printed at 1/12 scale. 1/12 is my usual scale, and setting up the printing gcode at 11:30 pm was probably not a good idea. I am happy with the design, but I just need to scale down to 1/16 and reprint them.
-
Just for the heck of it, I painted whitewalls on the kit tires. While they would look good on a 30's or 40's car, they really don't work here. The rims are also too wide. So now I will be printing both tires and wheels!
-
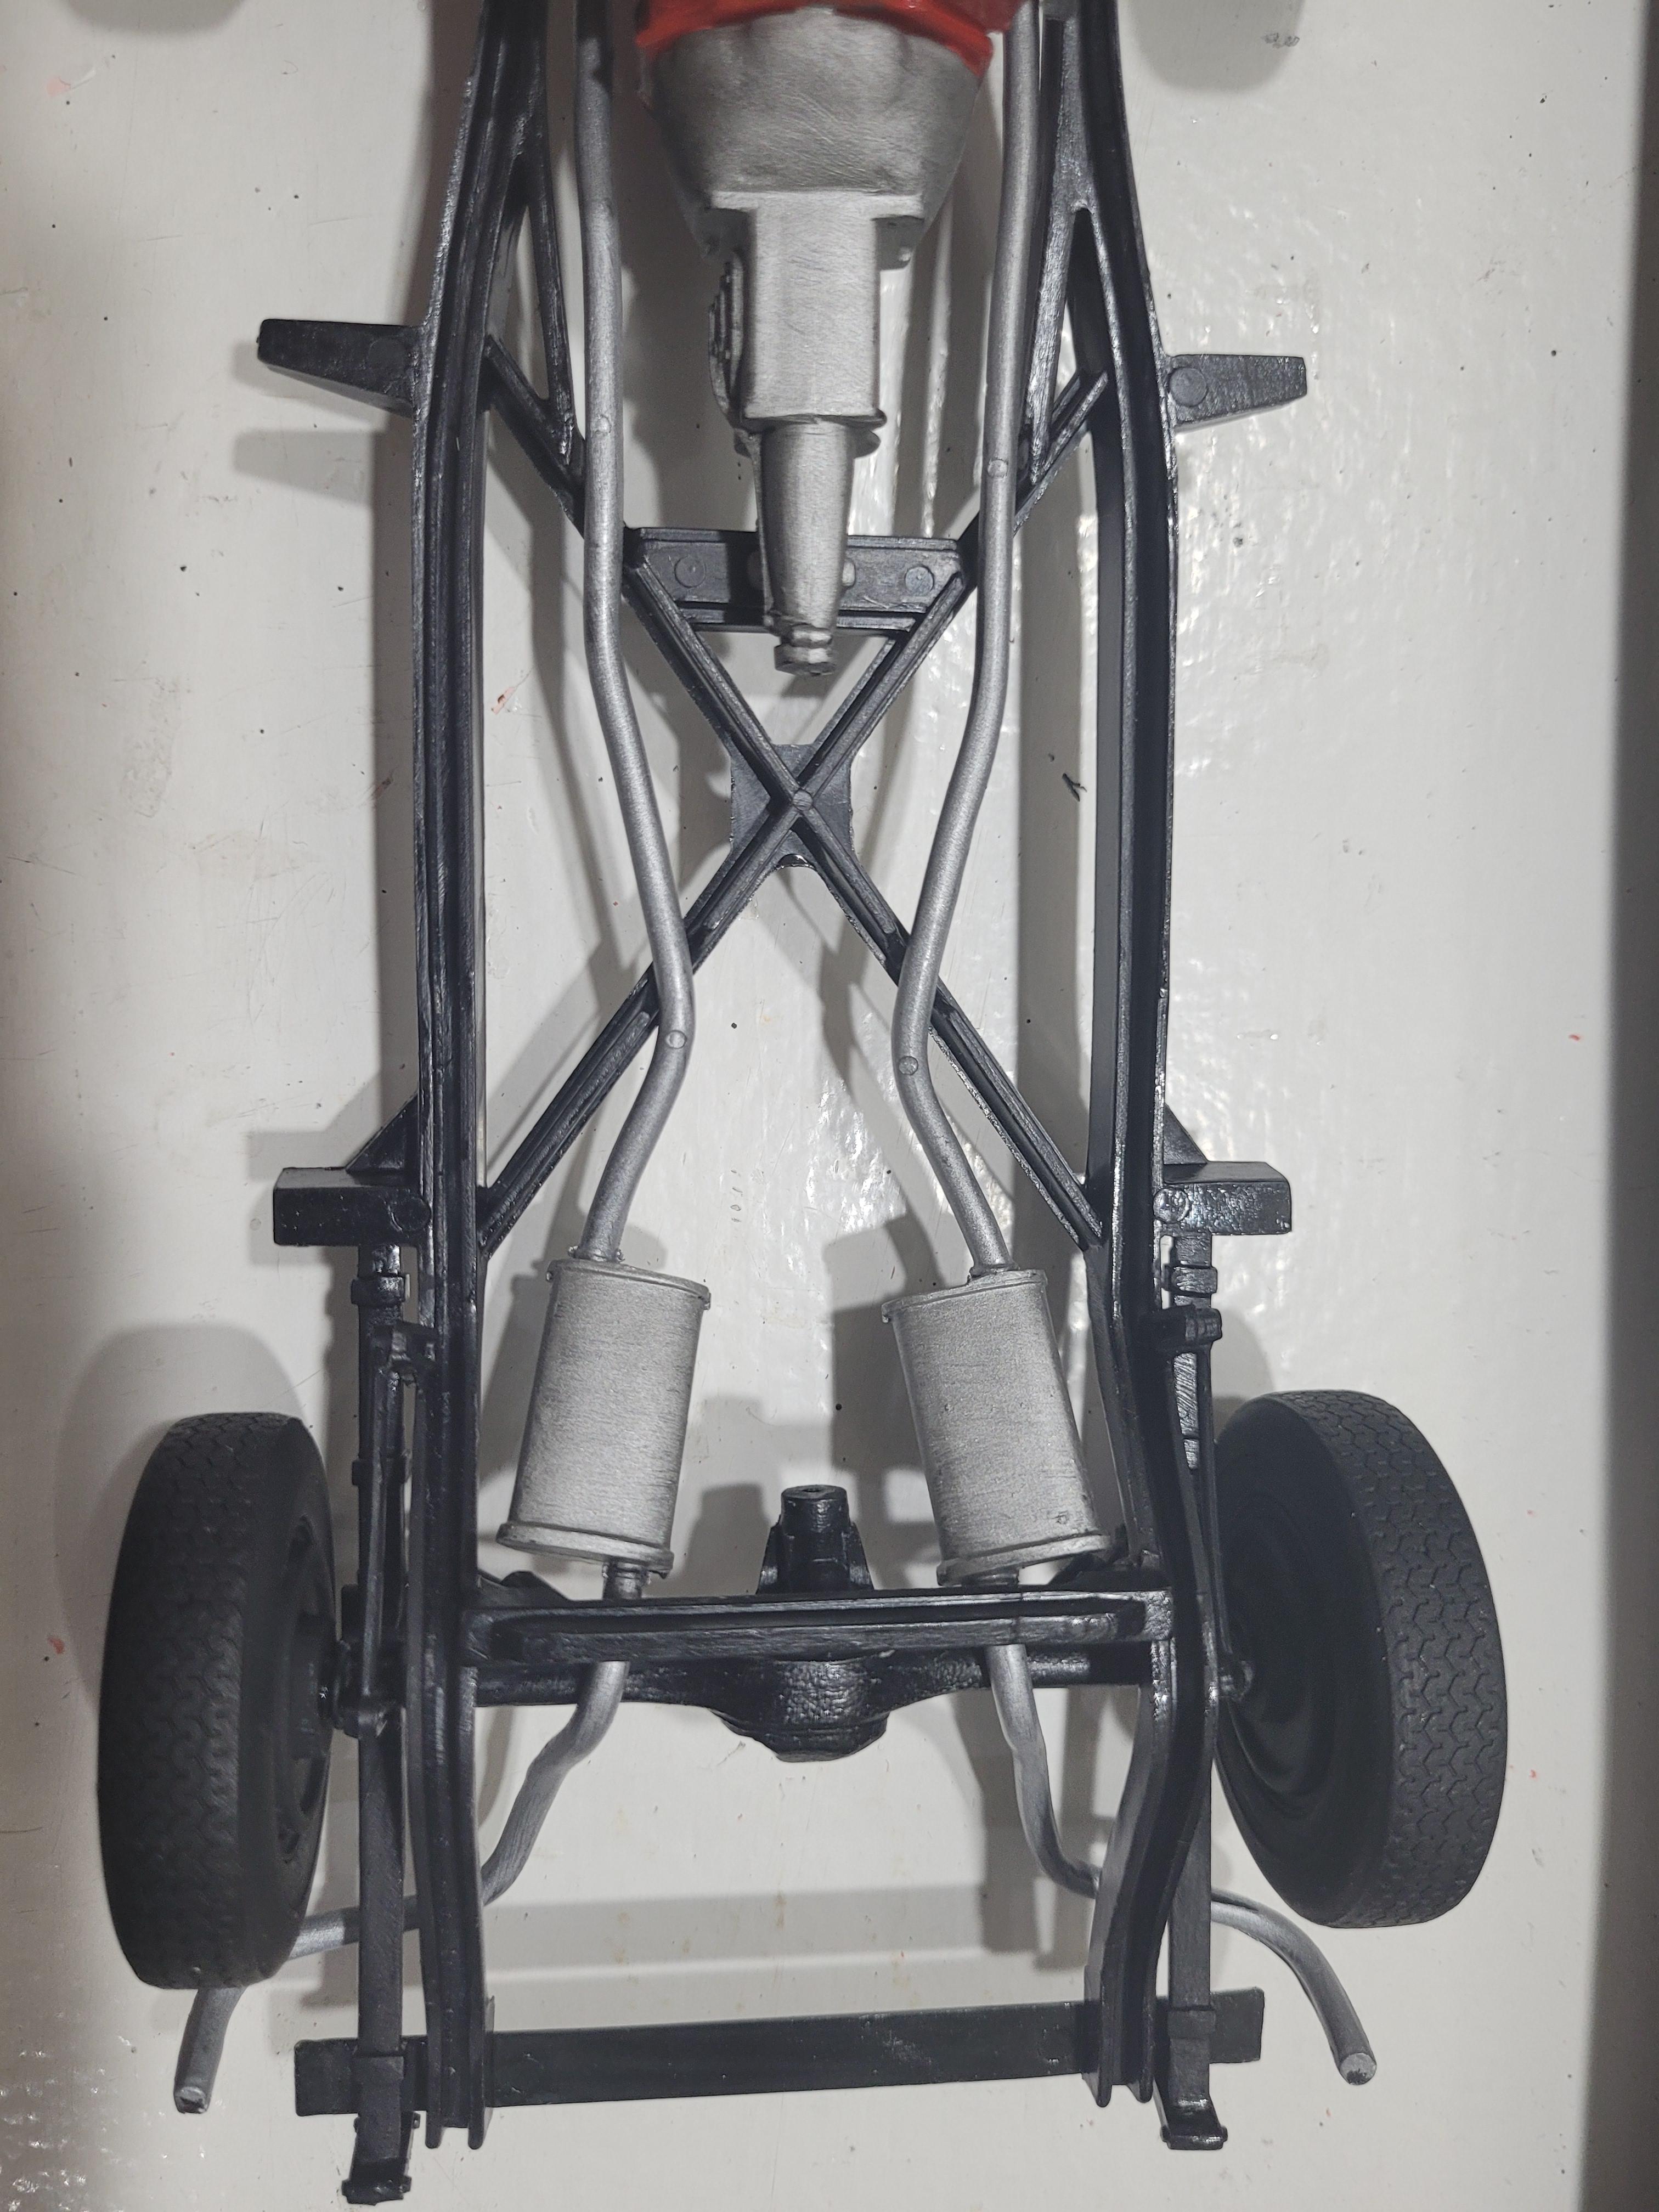
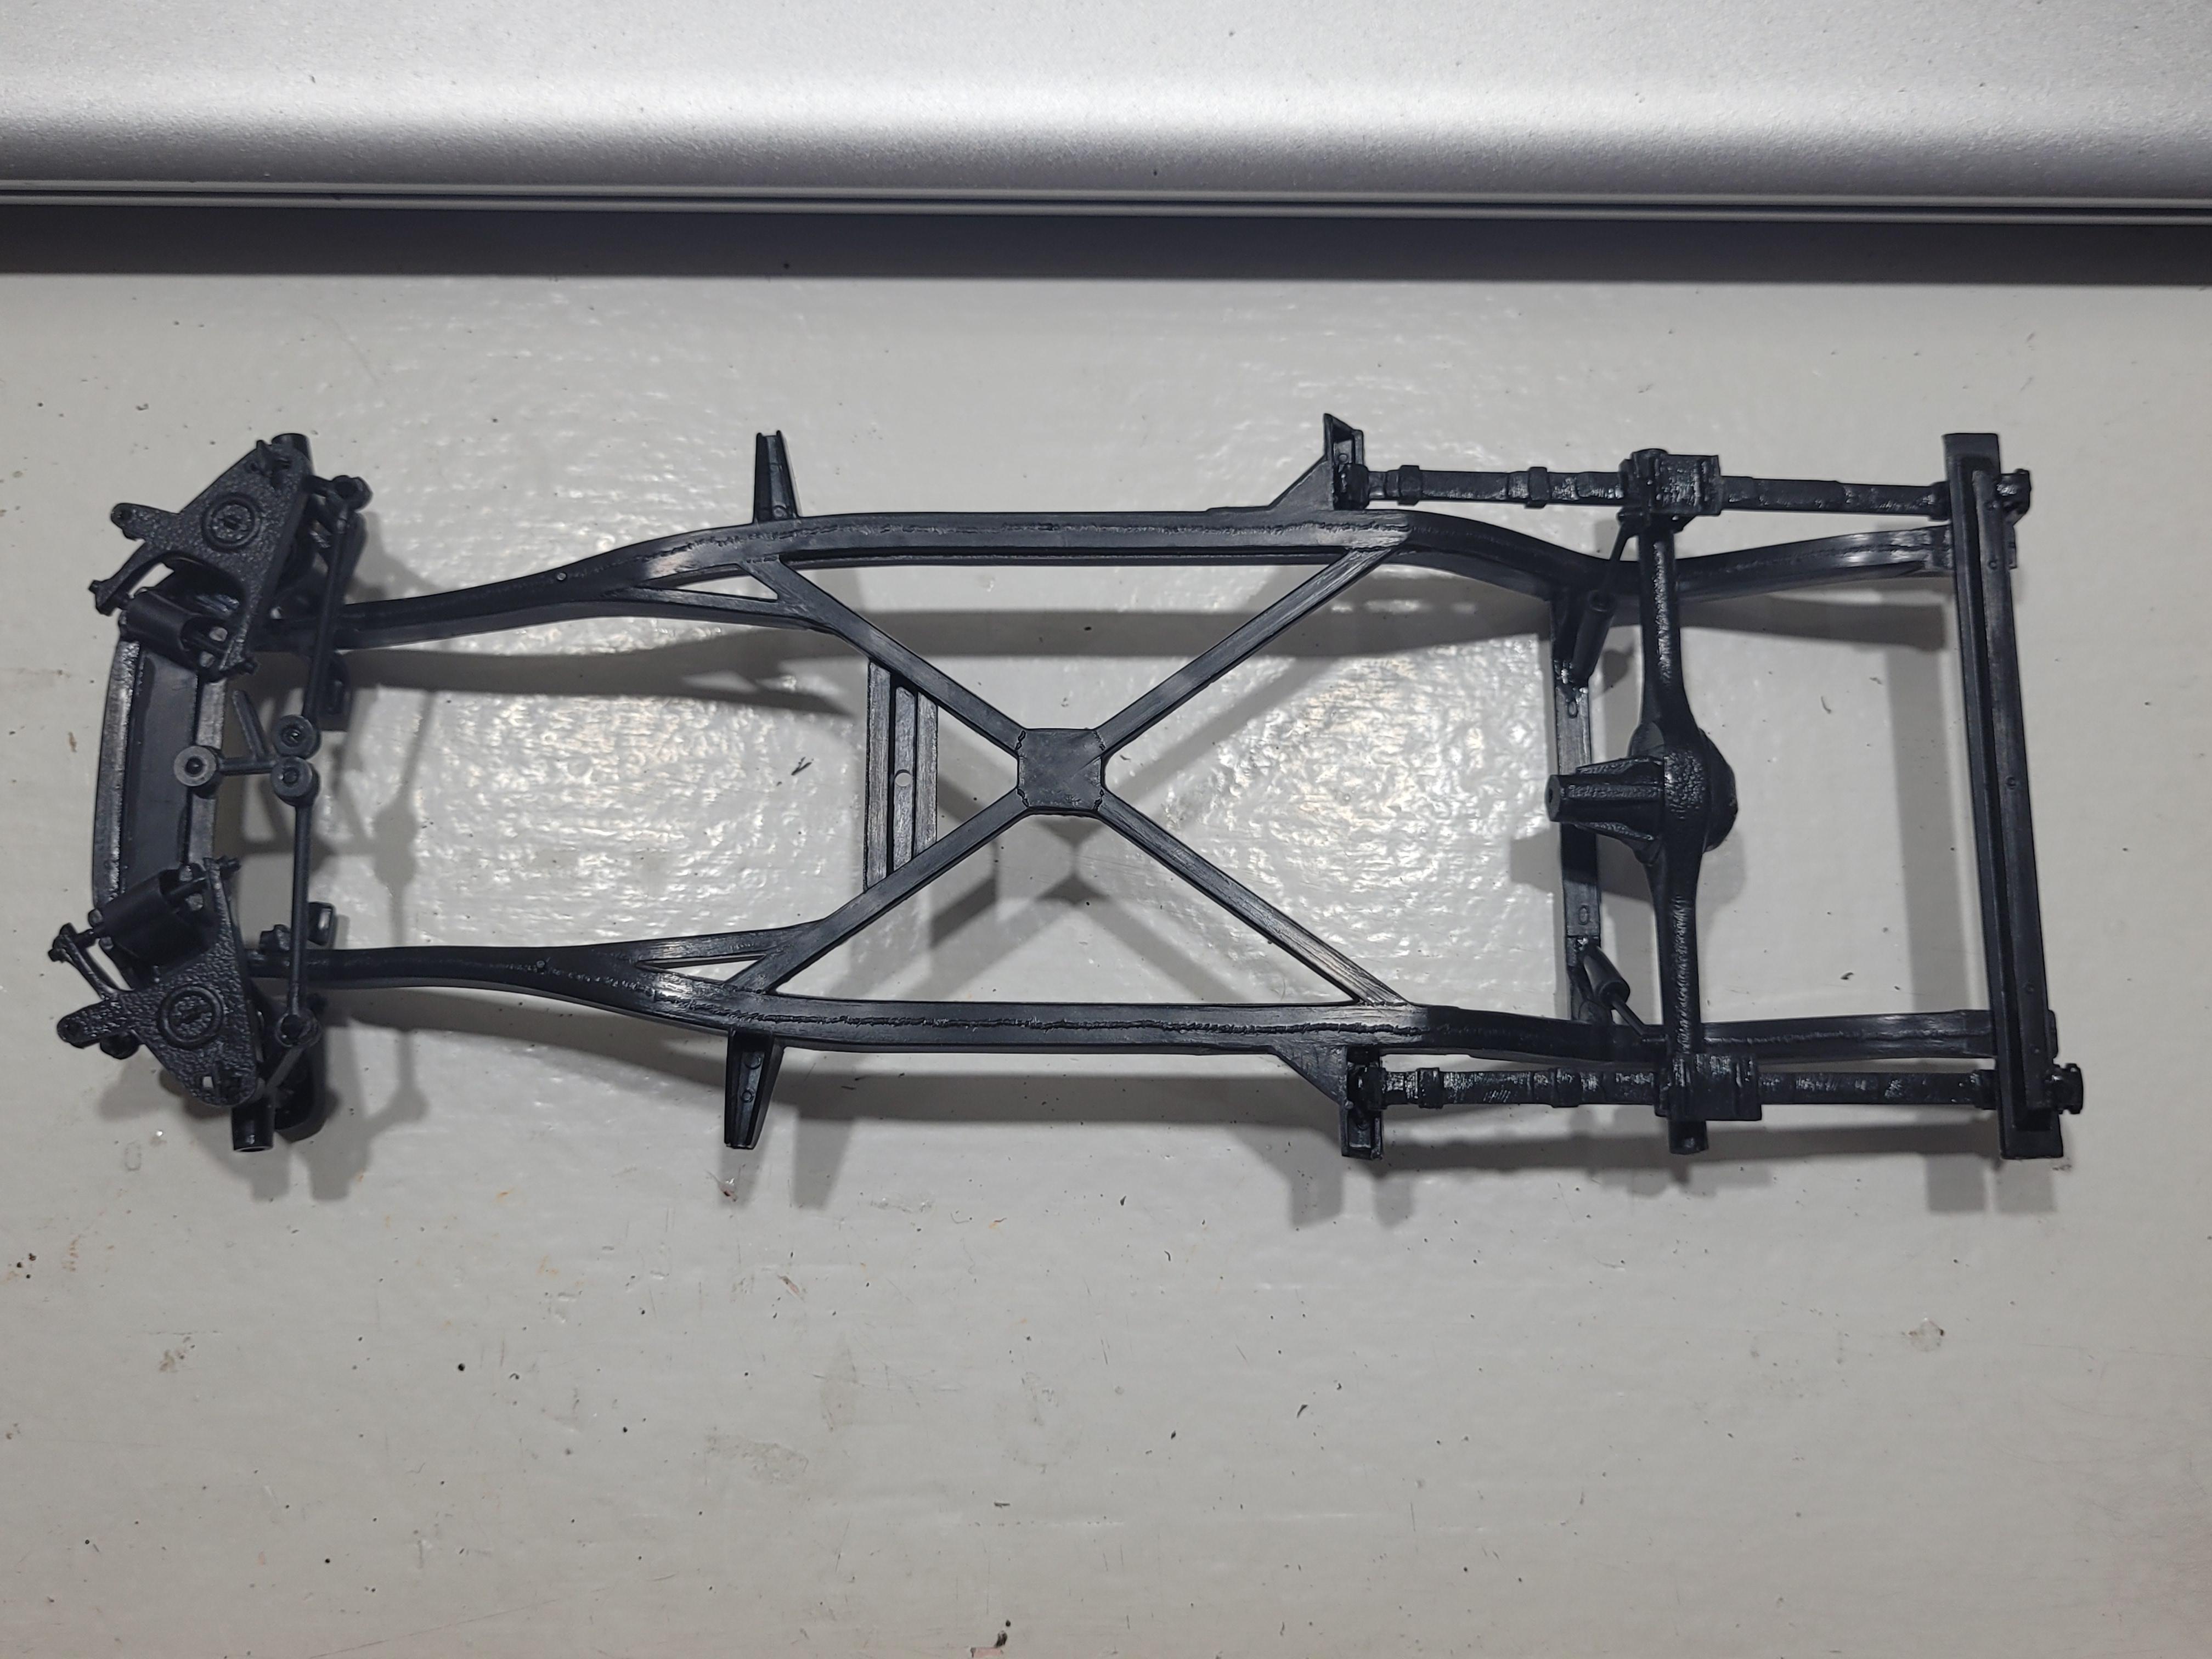
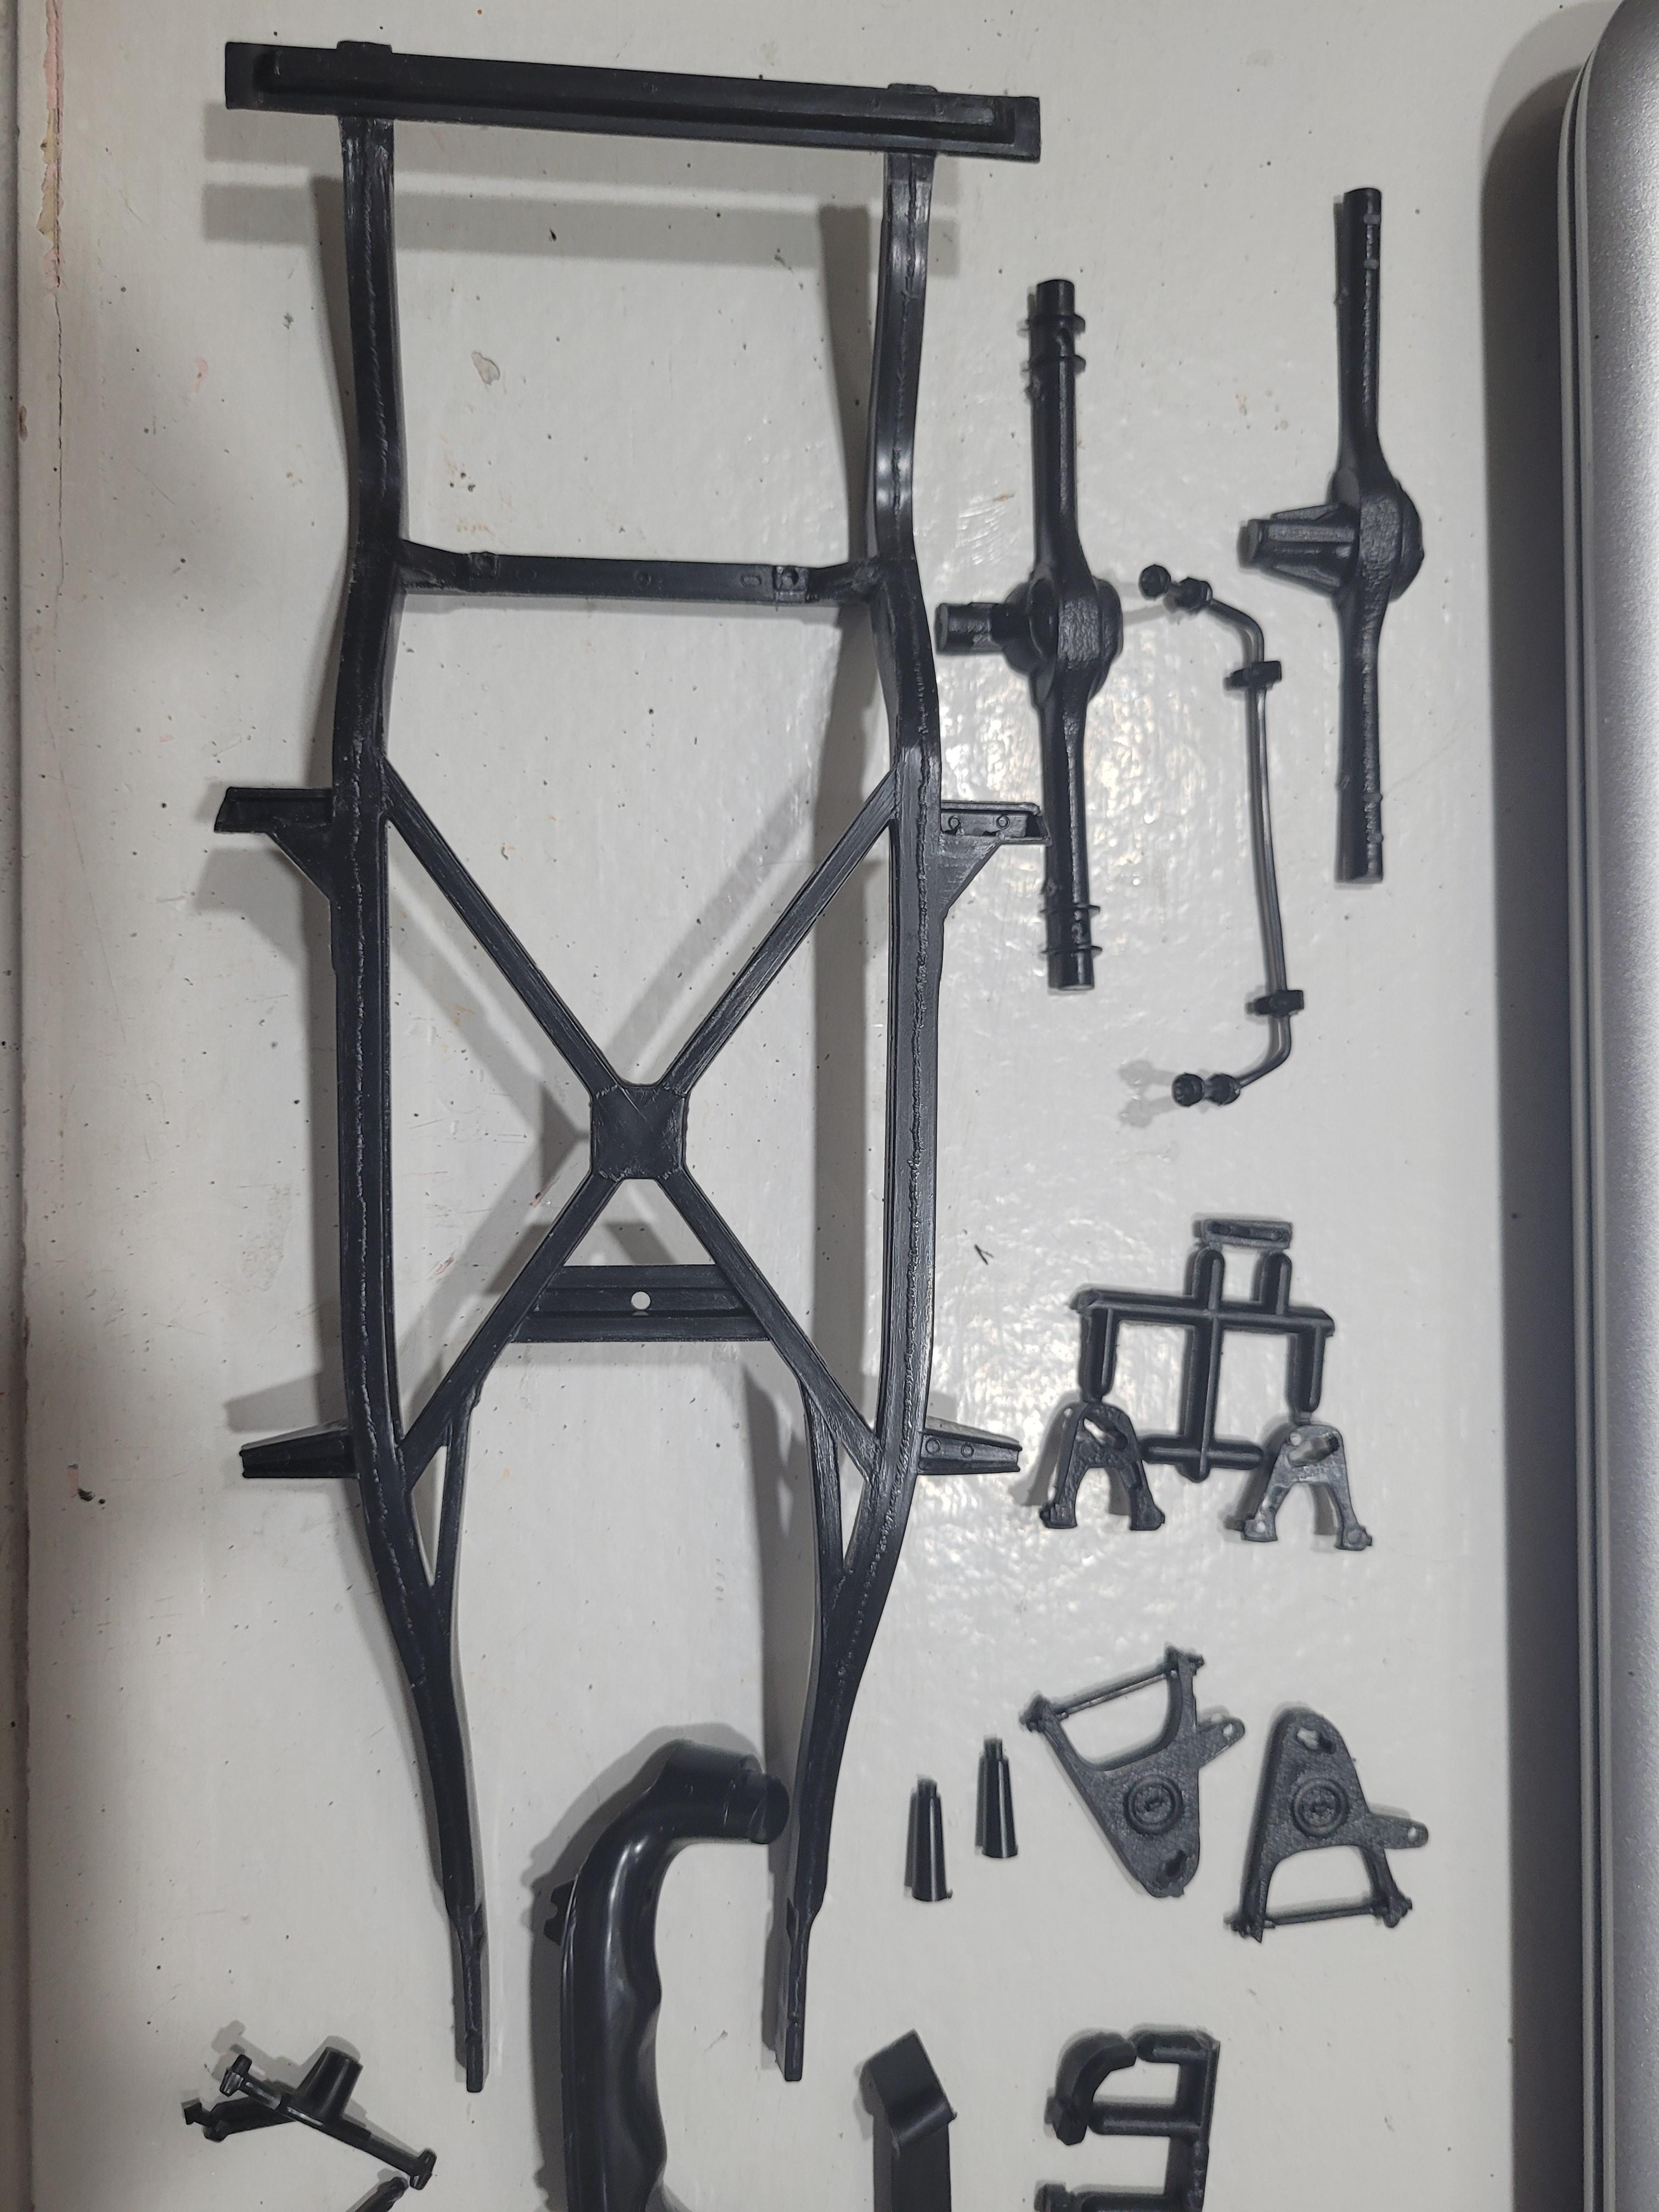
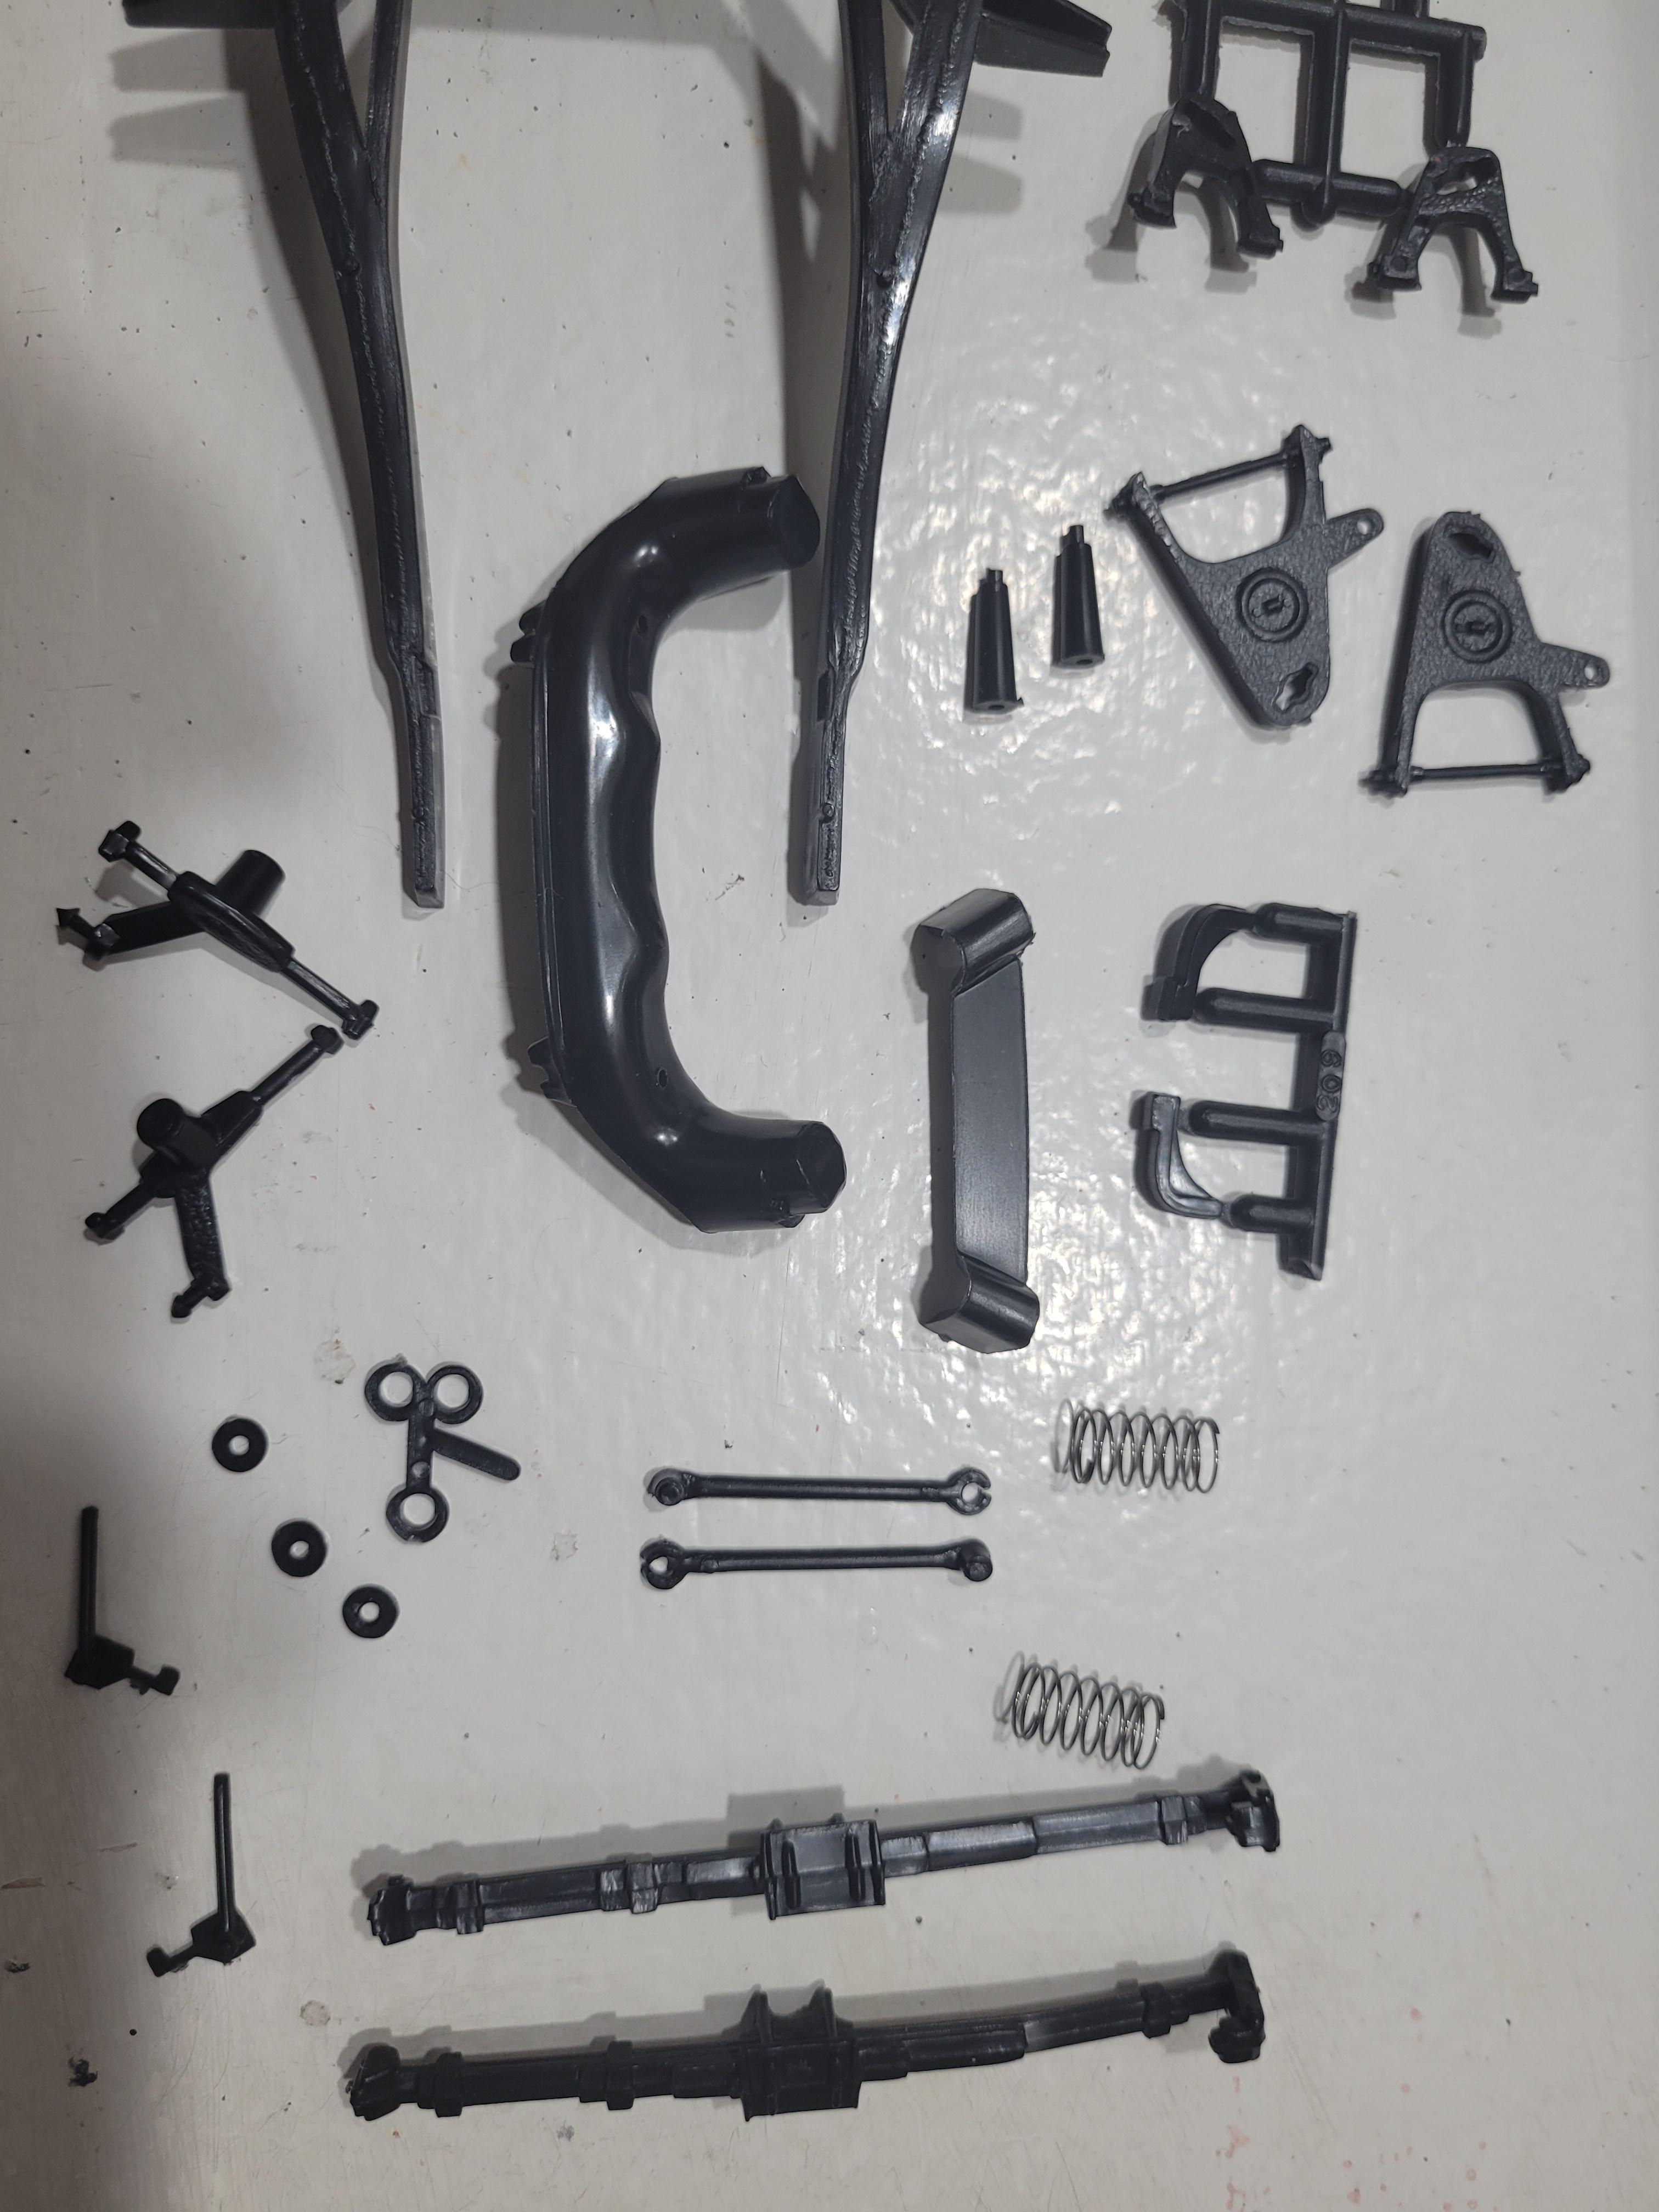
The frame and chassis assembly prior to painting. I had to twist and torque the frame quite a bit to straighten it to an acceptable state. Overall it goes together well. I will have to see if I can keep the front articulated suspension in place after final assembly, depending on the stance. If the front wheels do not sit vertical and parallel, I will permanently fuse everything together.
-
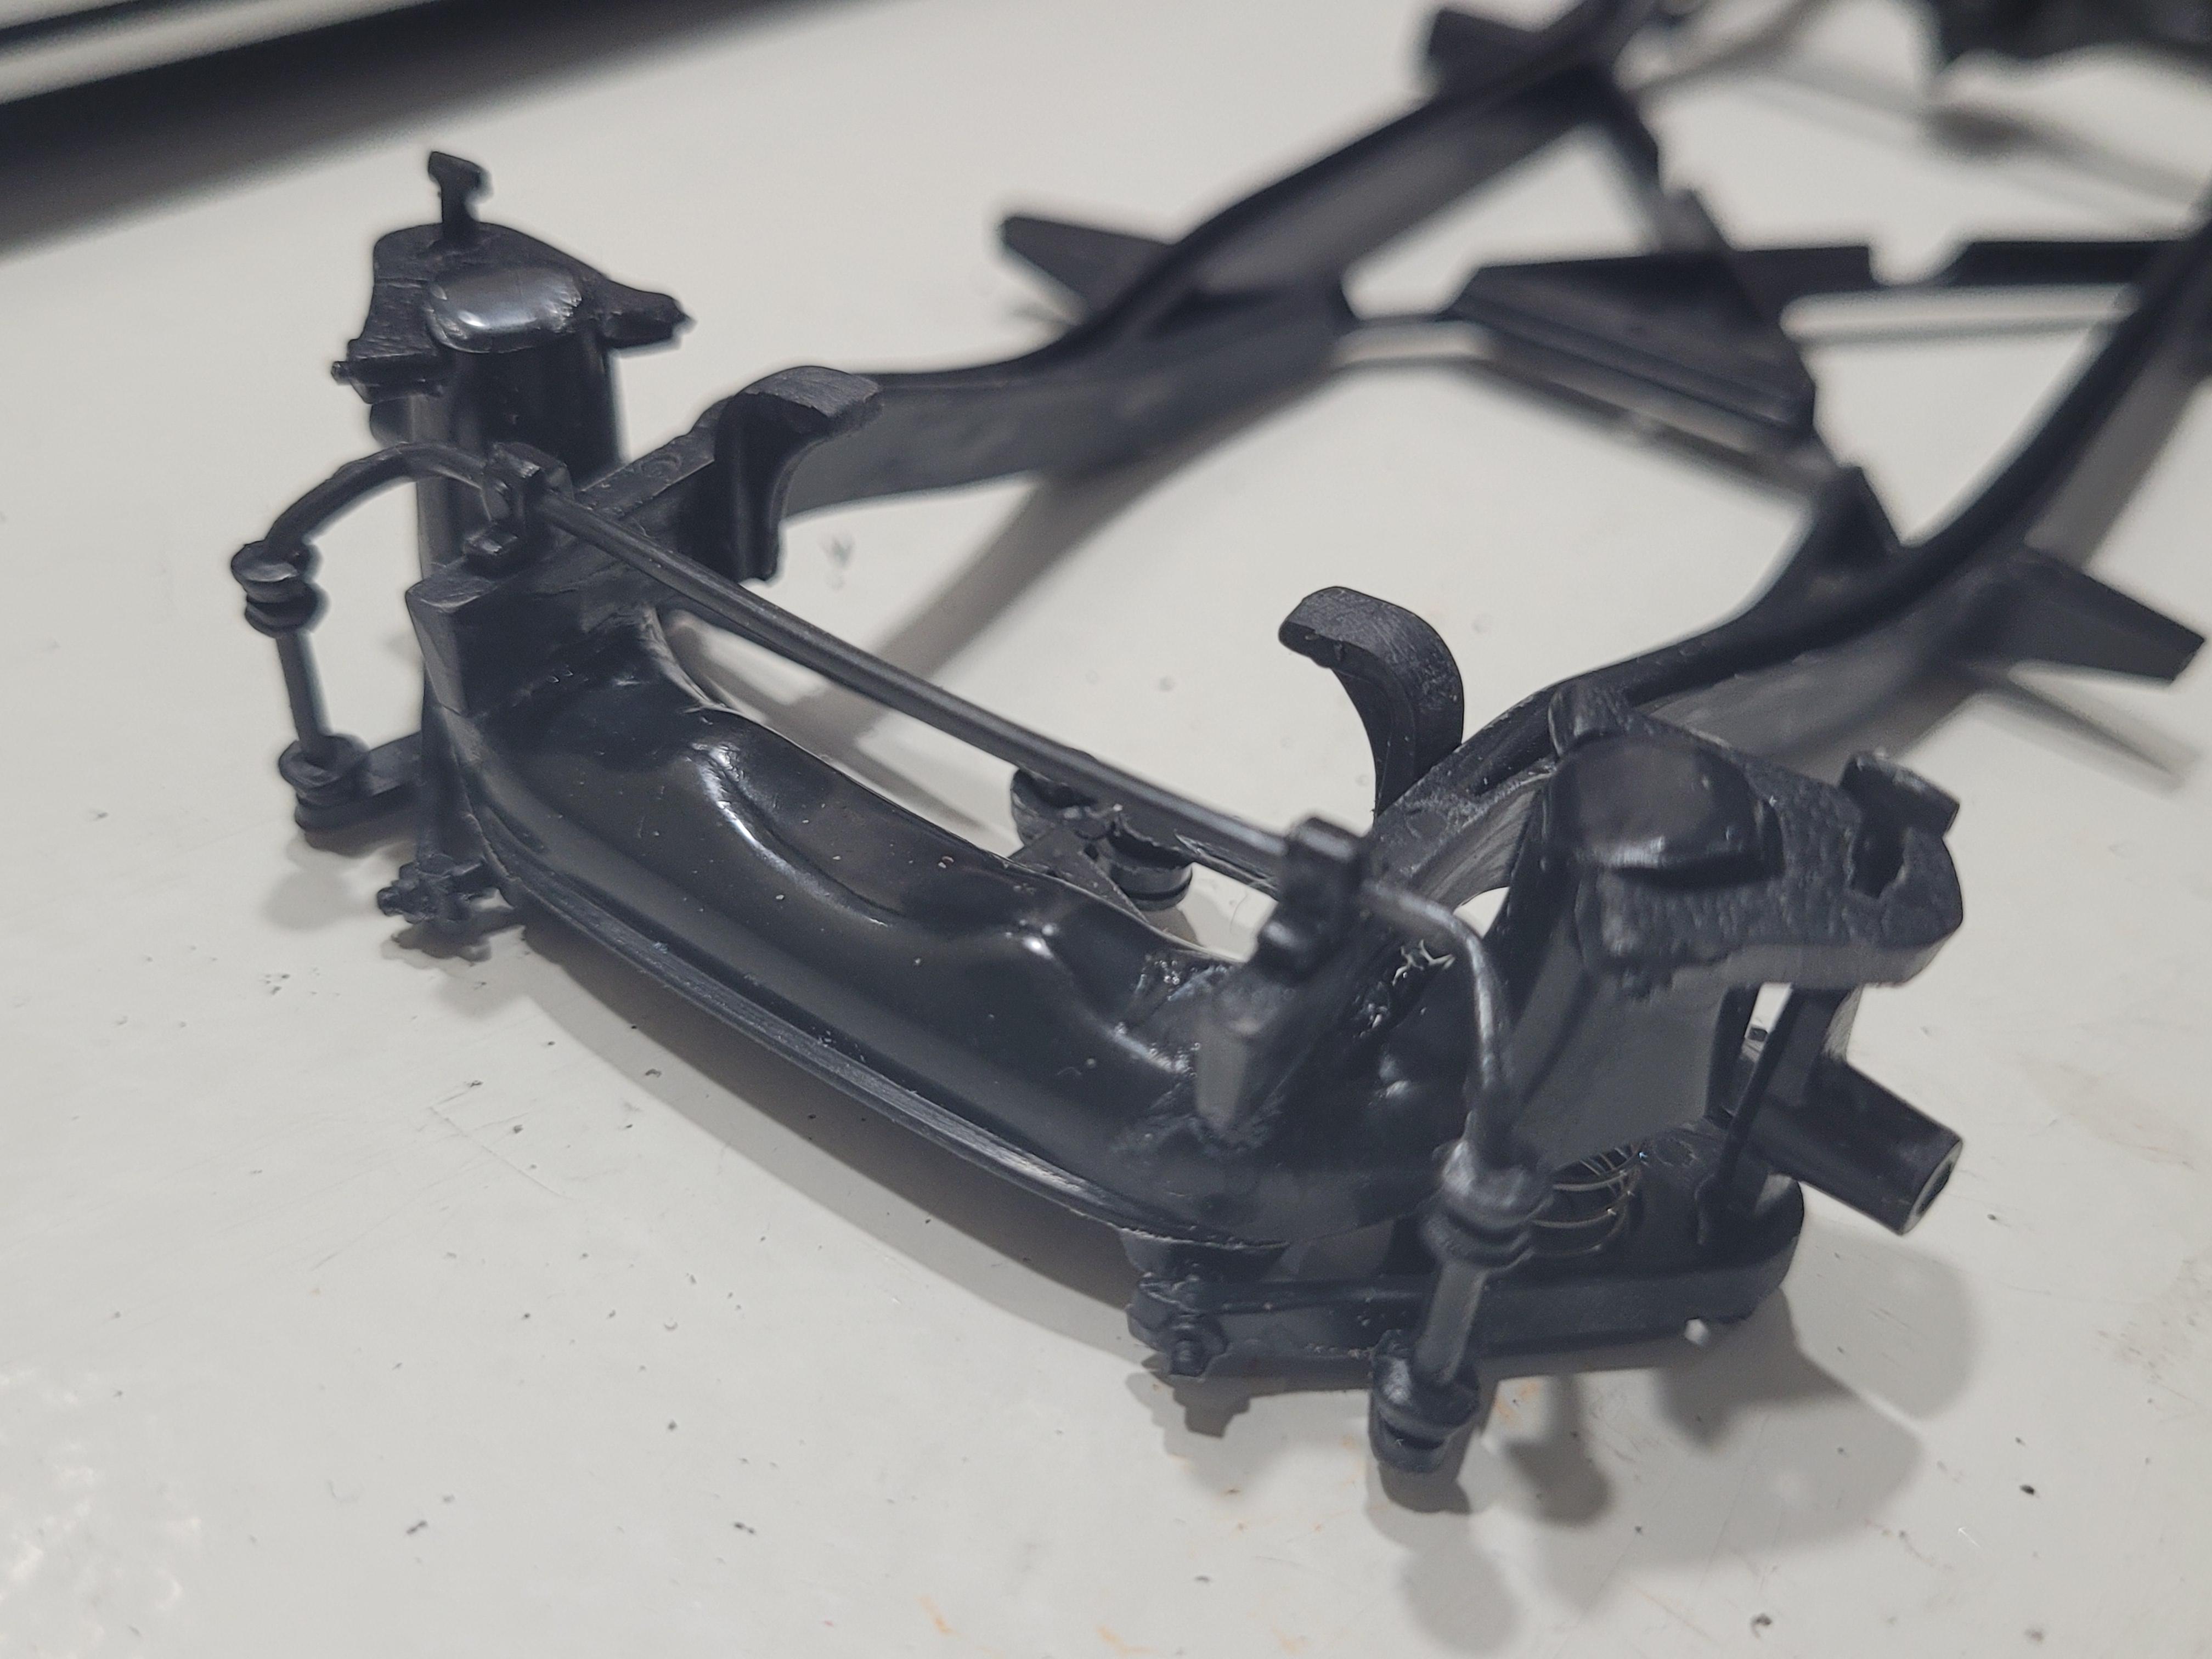
The frame and chassis components are actually pretty good. Here are the parts before cleanup.