Search the Community
Showing results for tags '1/20 aoshima'.
Found 2 results
-
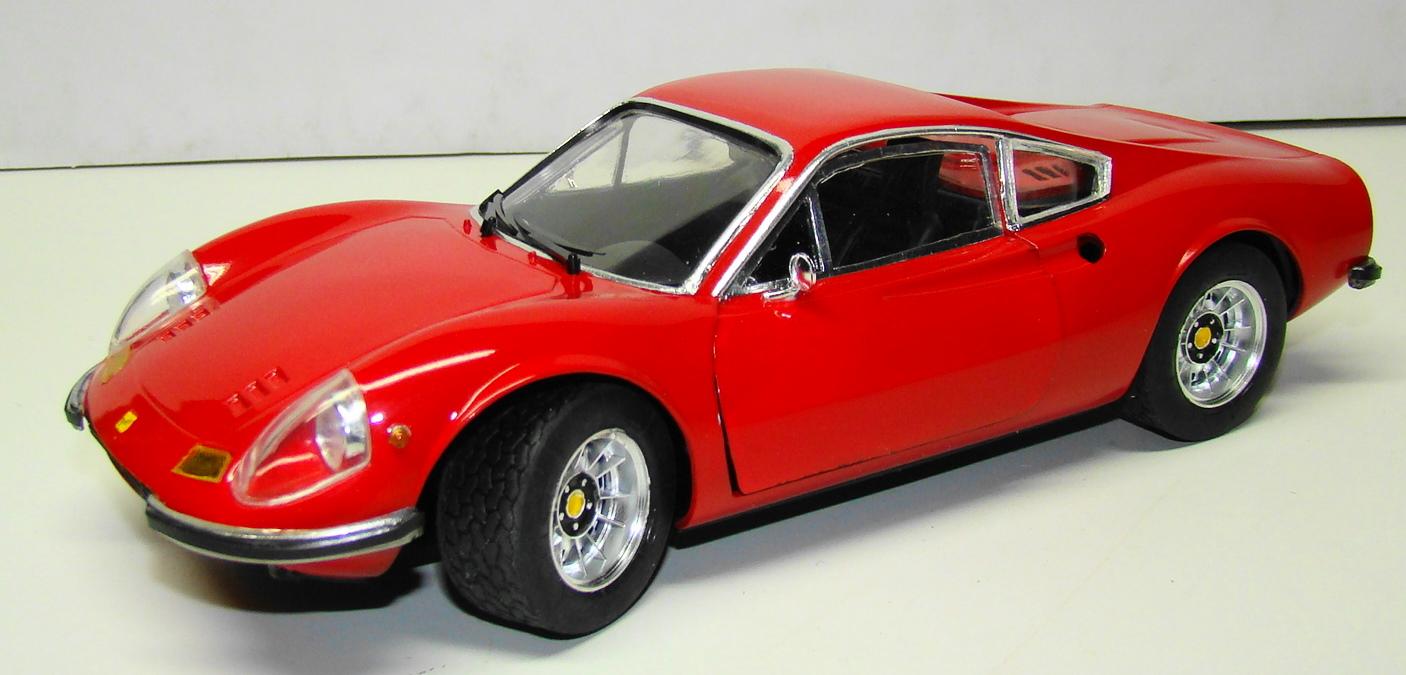
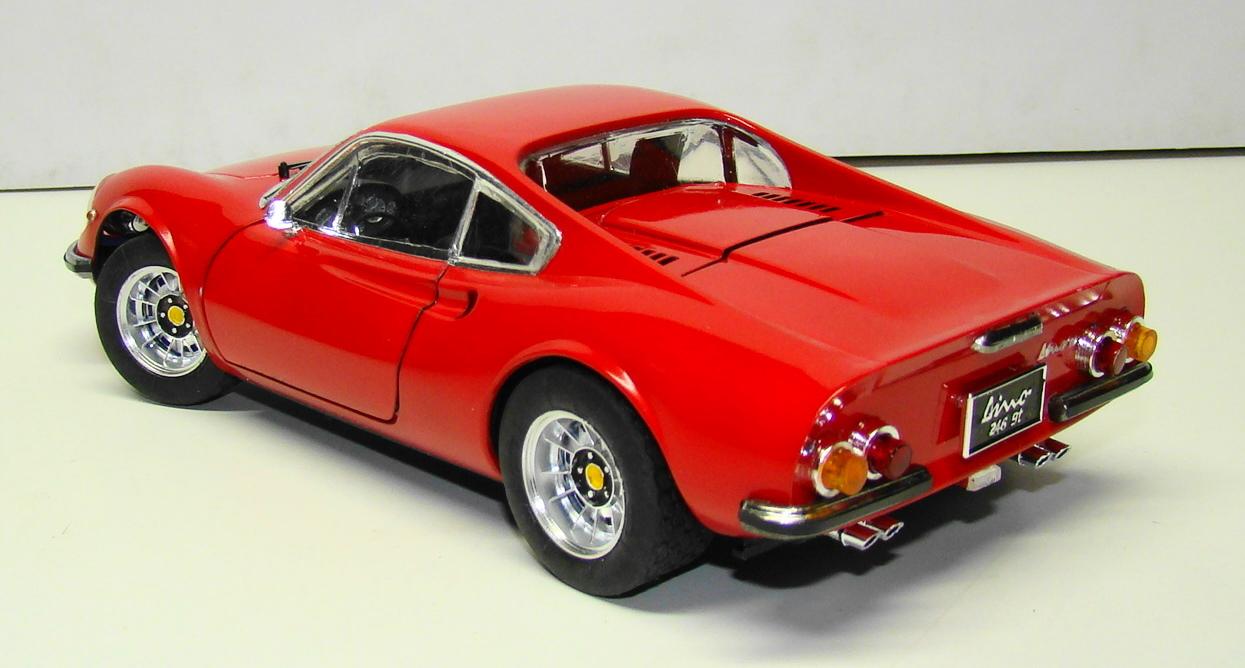
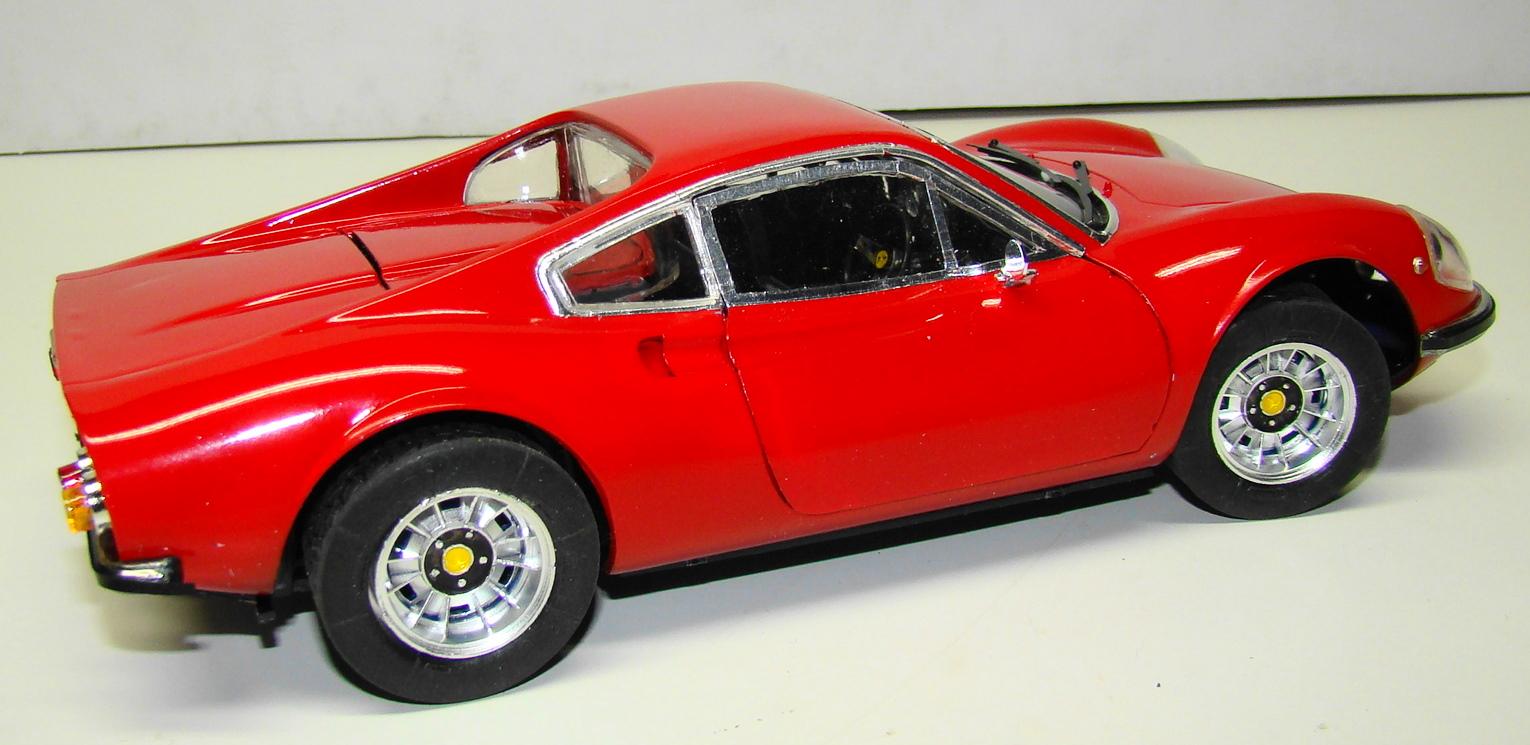
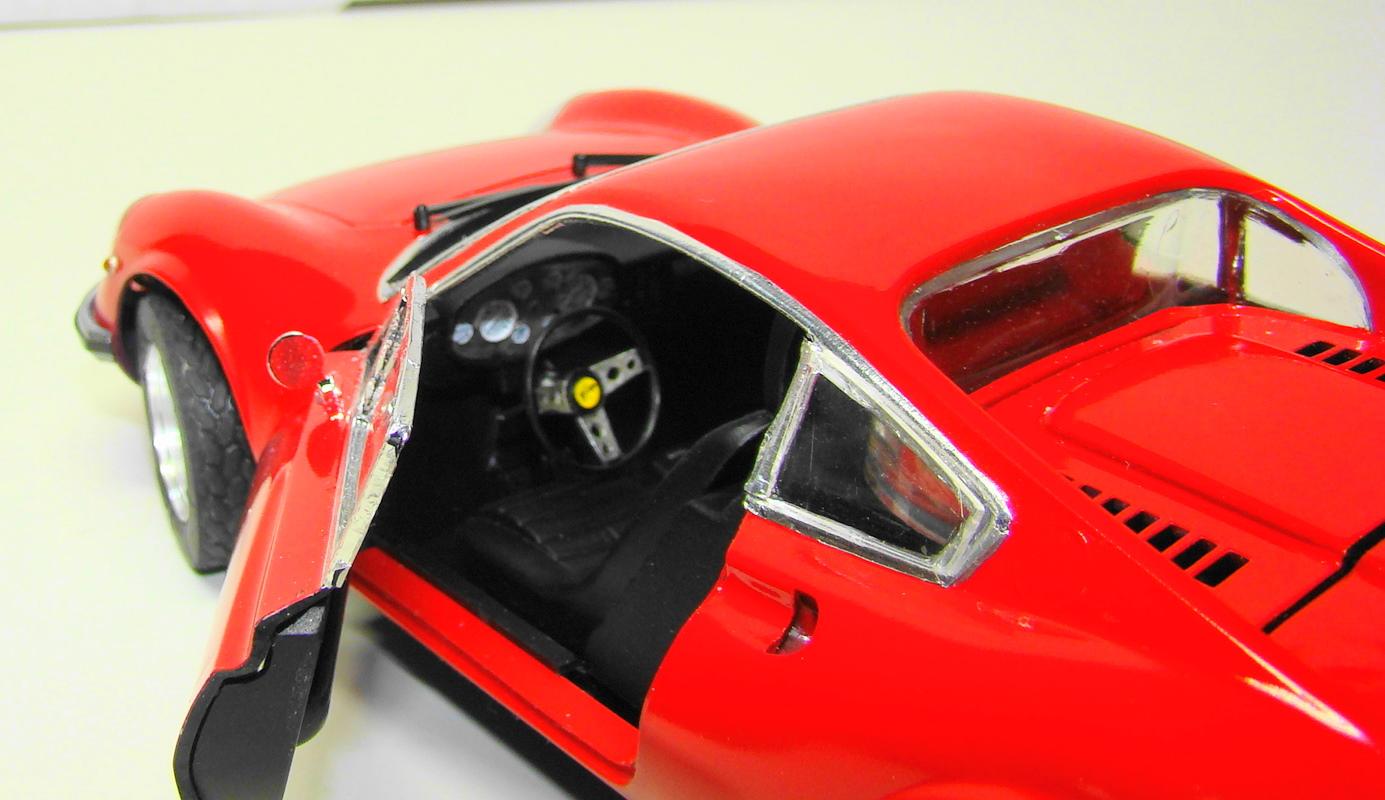
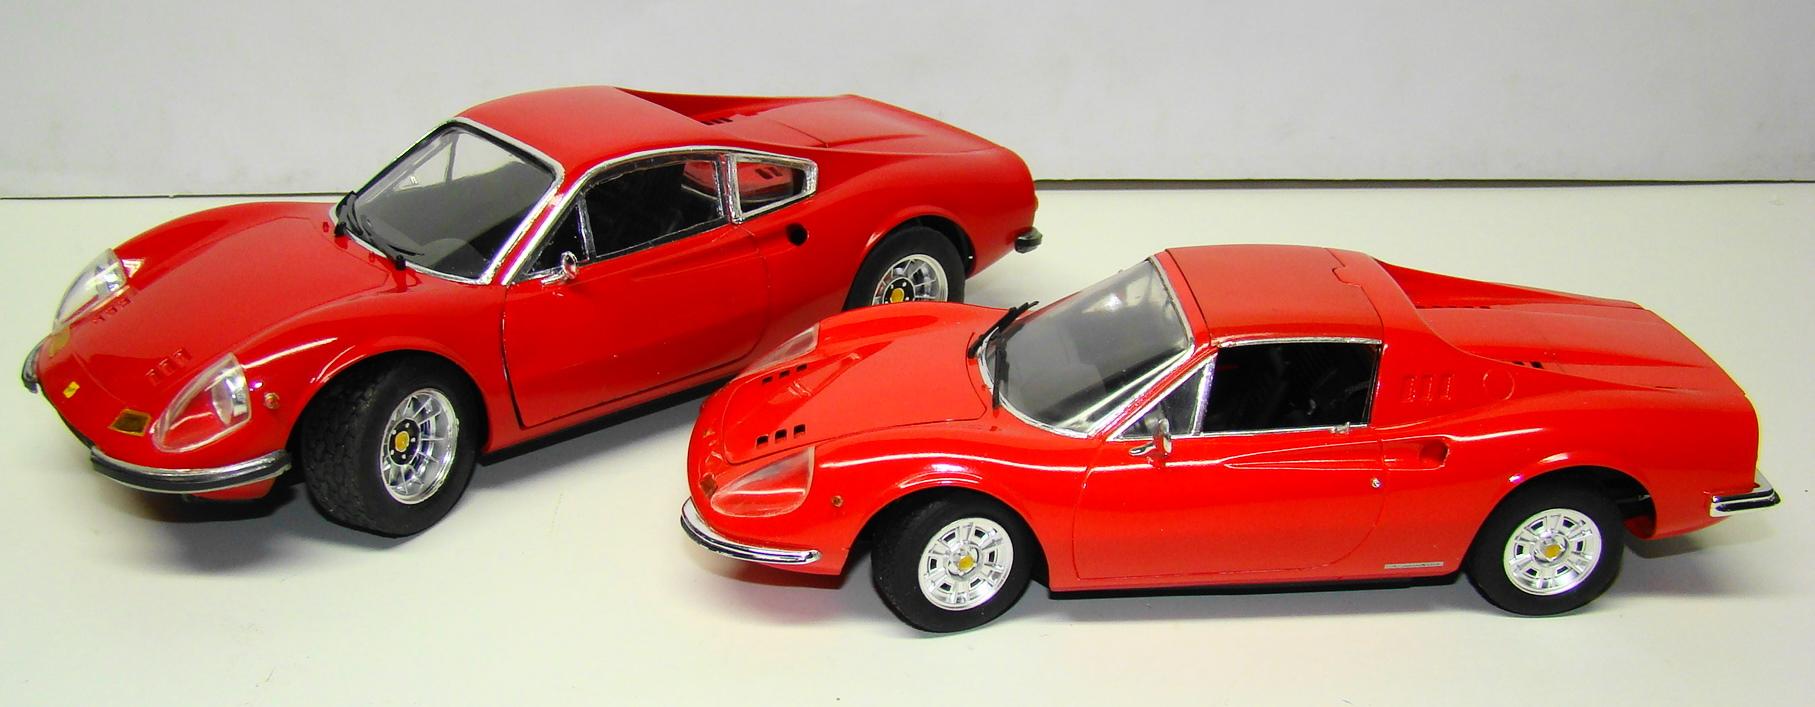
Been in a get something done mode lately and this one hit the spot. This is a fairly rare 1/20 scale kit by Aoshima of a Dino 246 GT. This car was made by Ferrari as most know but it is considered a Dino as there are no Ferrari badging to be found on the car. This was supposed to be a motorized and lighted model so there is no engine to speak of although the engine cover opens and there is a cast piece that sorta resembles an engine. Doors also open to reveal a rather sparse interior but I was surprised to see how well they fit for this older kit. Color is Tamiya TS-8 Italian red. More details in the captions. Thanks for looking and comments welcome. Finished model. Door actually closes better than that. Just got in a hurry when I took all the pictures. There was lots of detail at the back of this kit..all of it included in the kit. I modified the steering a little so it sit better and I could pose the wheels at not too sharp a turn. Dash and steering wheel were well detailed. I had to replace the glass in the doors as they were way too thick. An interesting comparison between my Fujimi 1/24 Dino and the 1/20 Aoshima. Both were painted Tamiya TS-8 although over different bases. The Fujimi was definetly a nicer kit and its from their Enthusiast series.

-
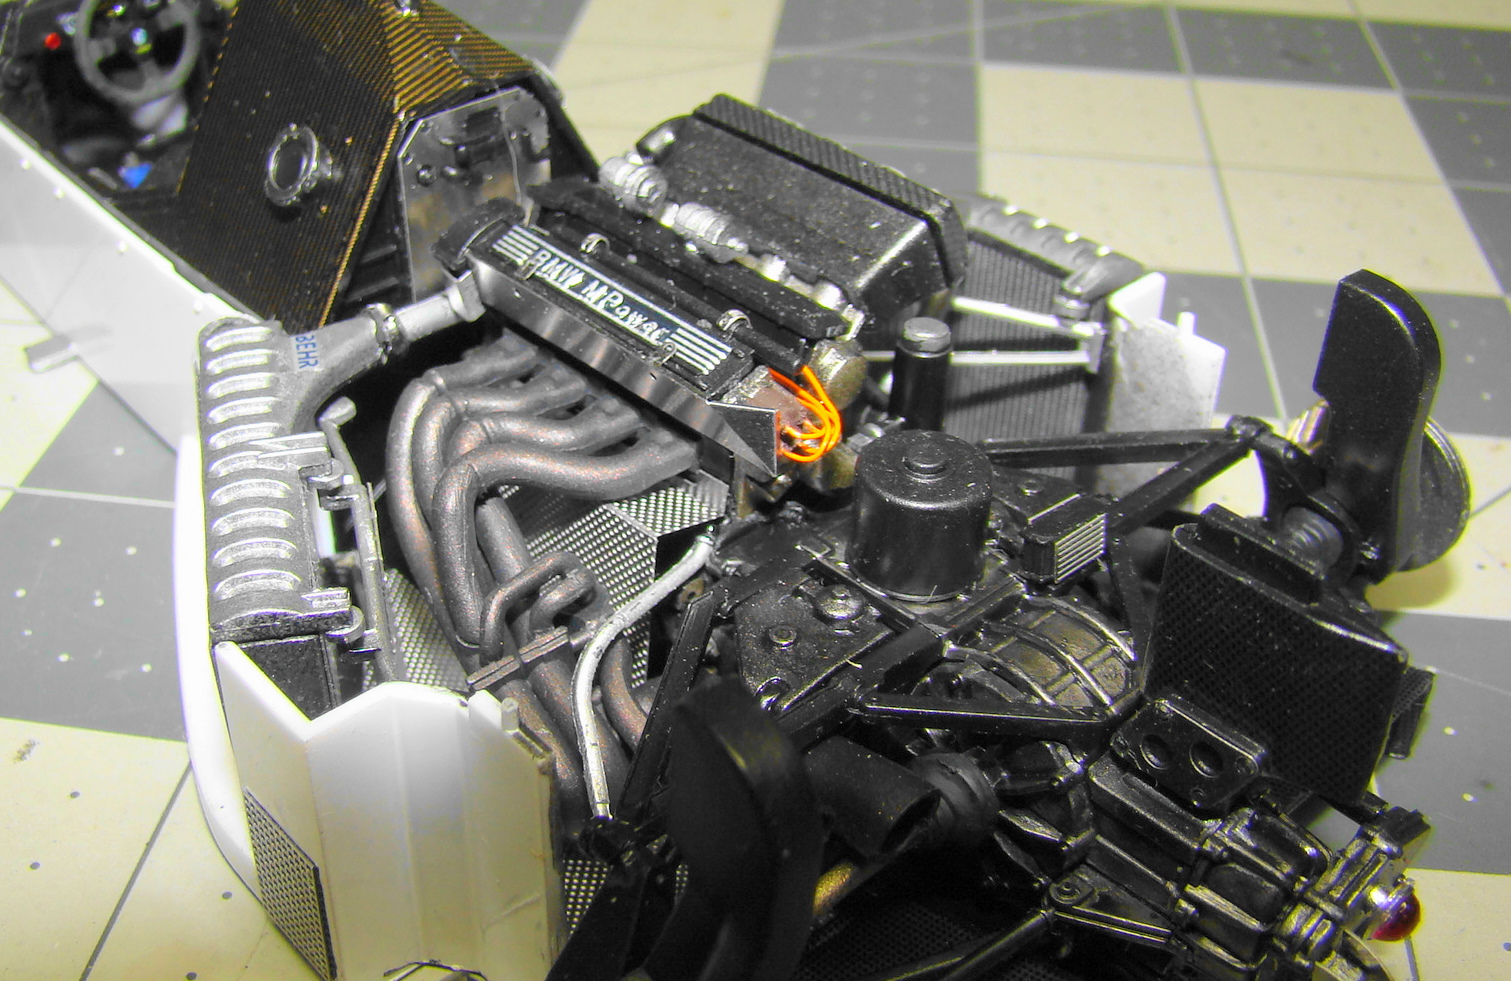
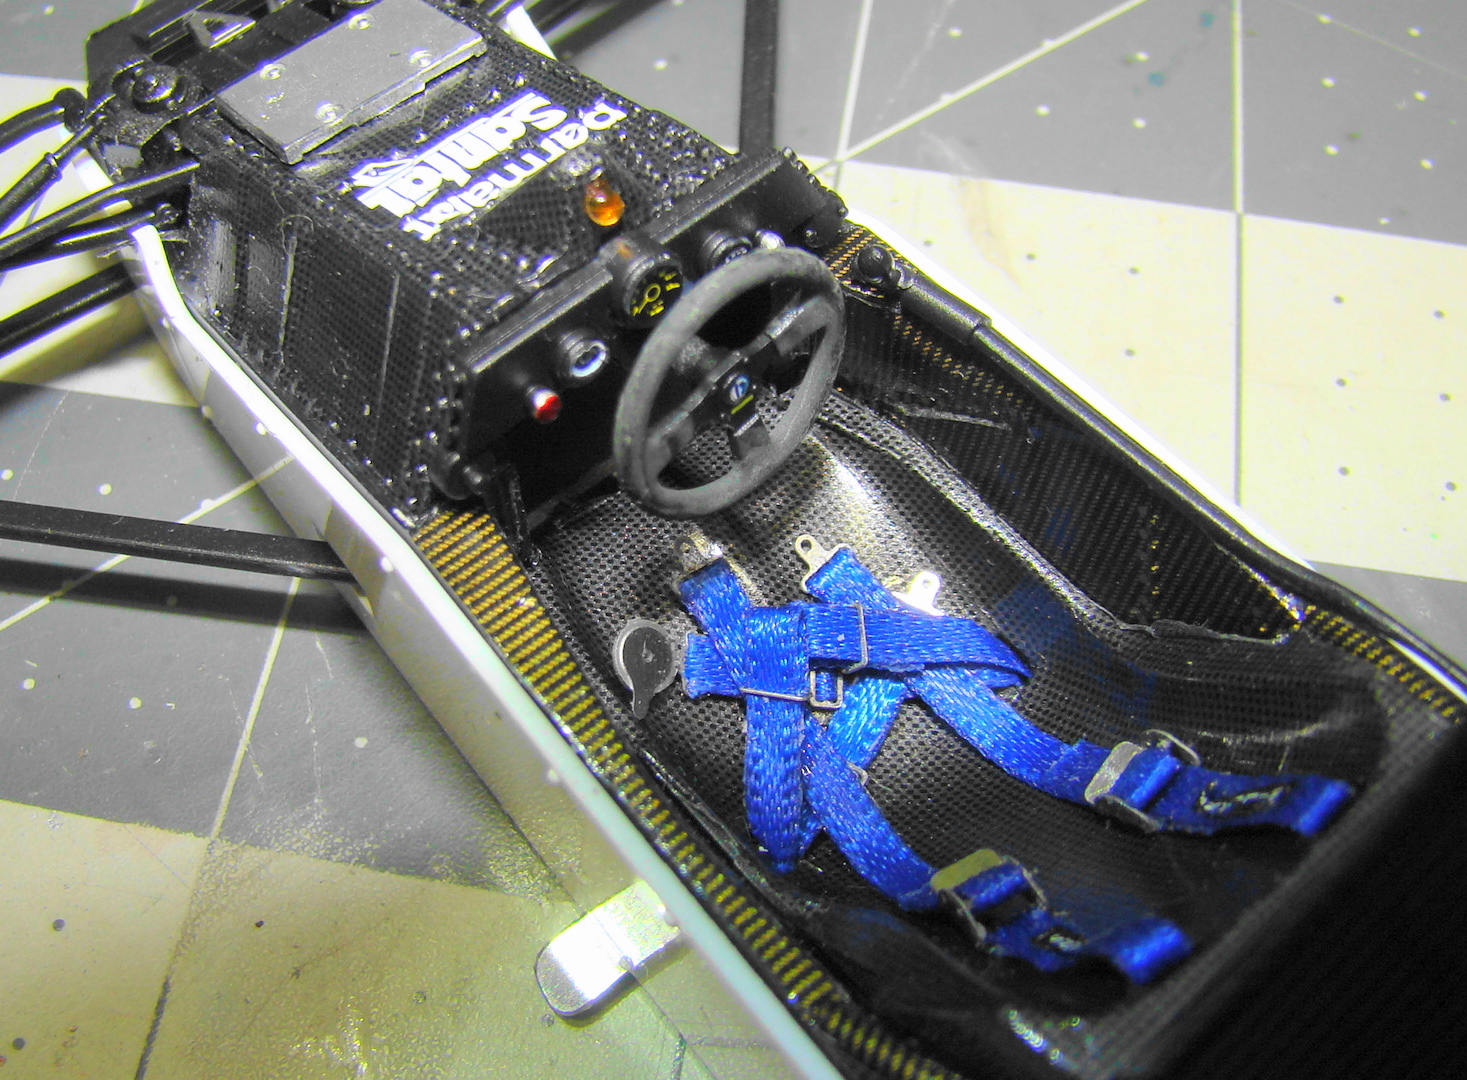
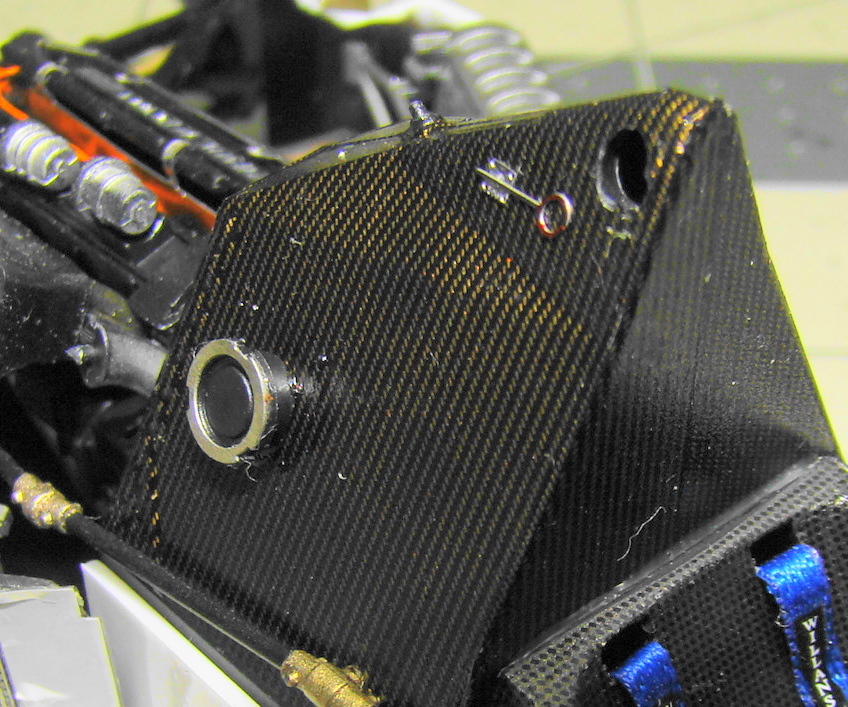
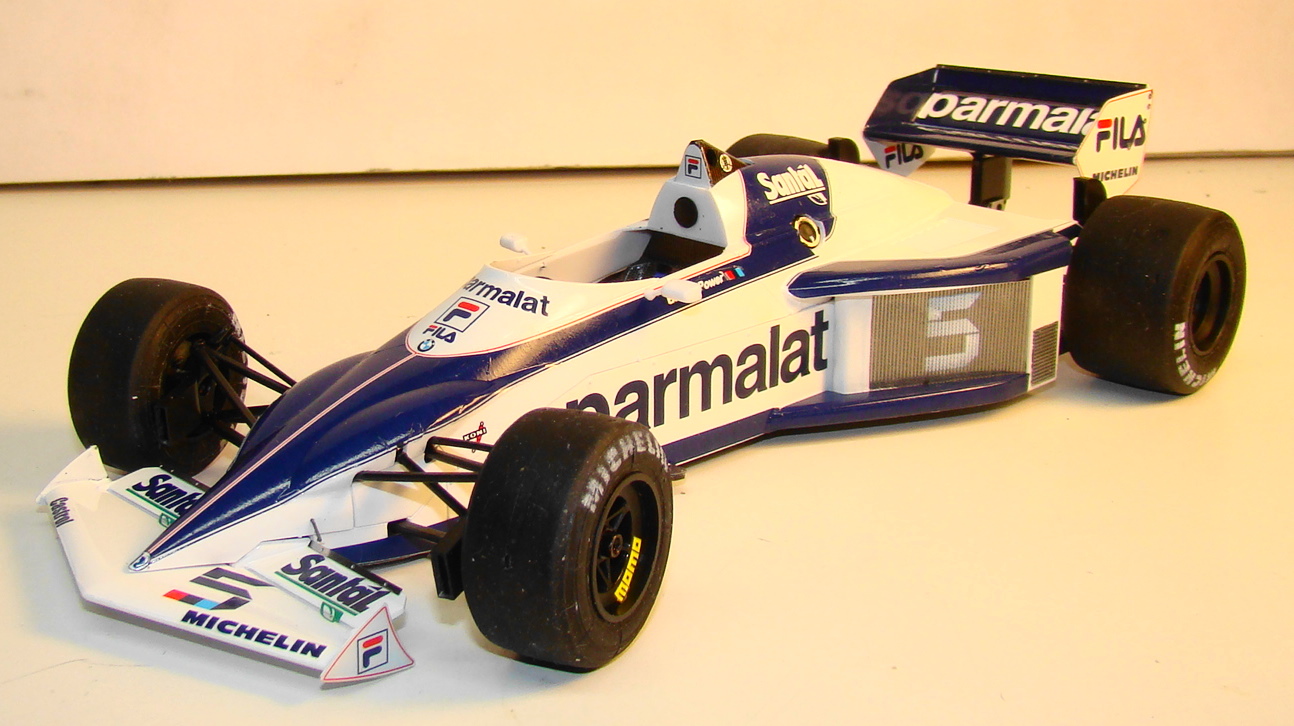
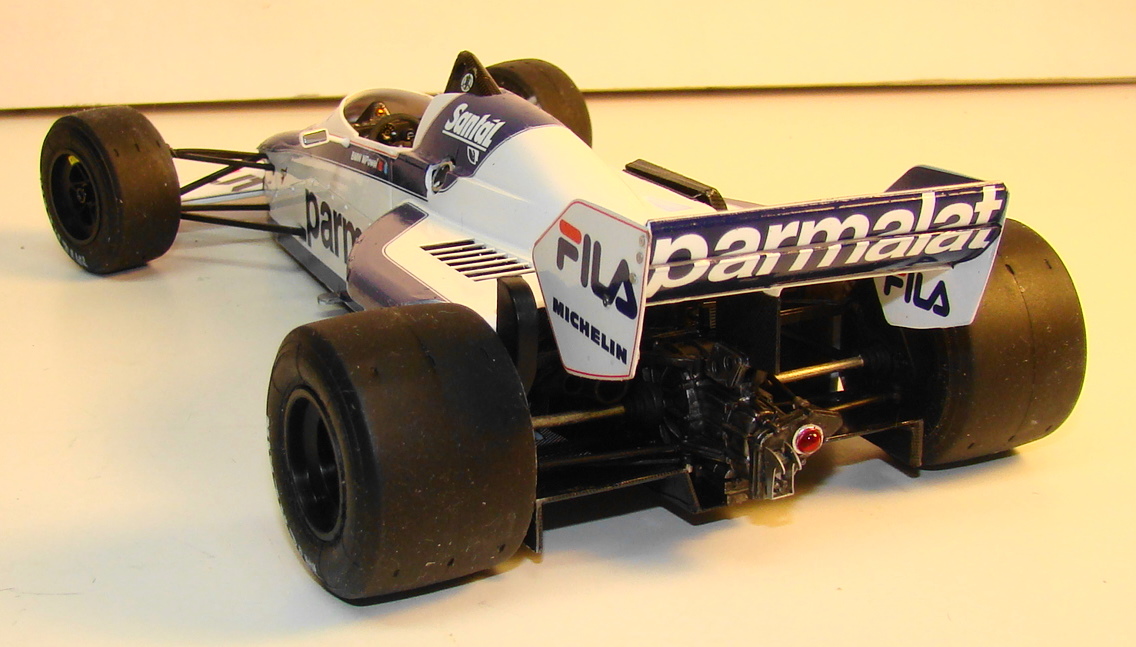
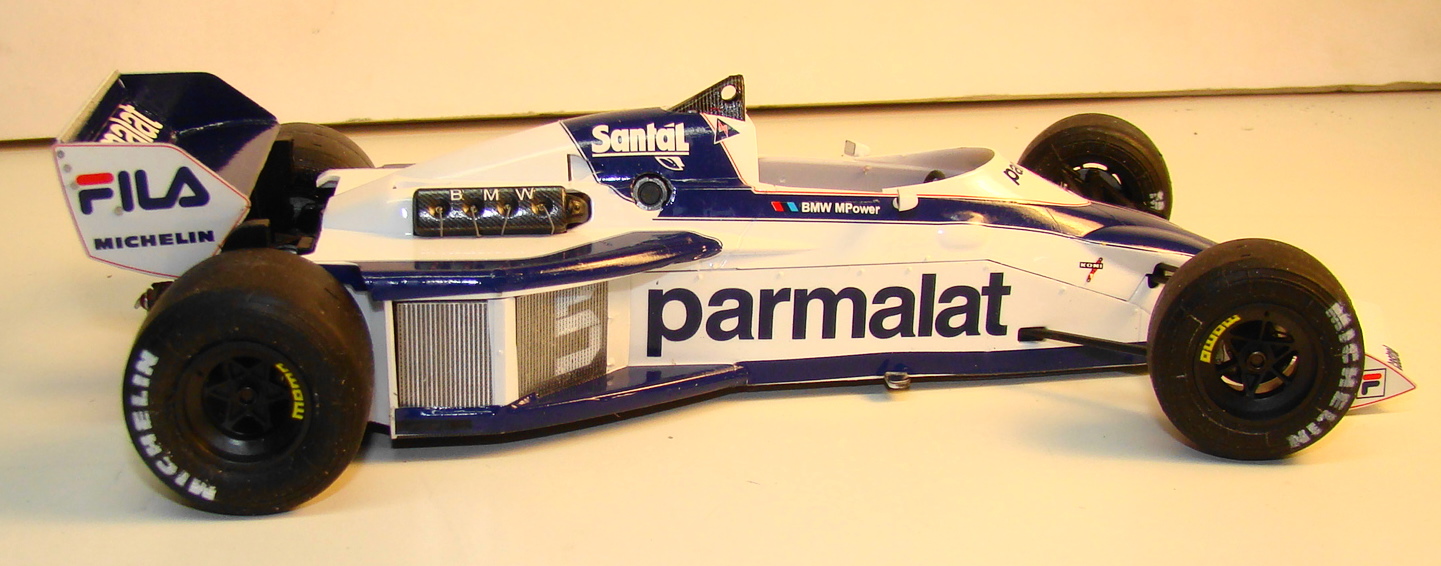
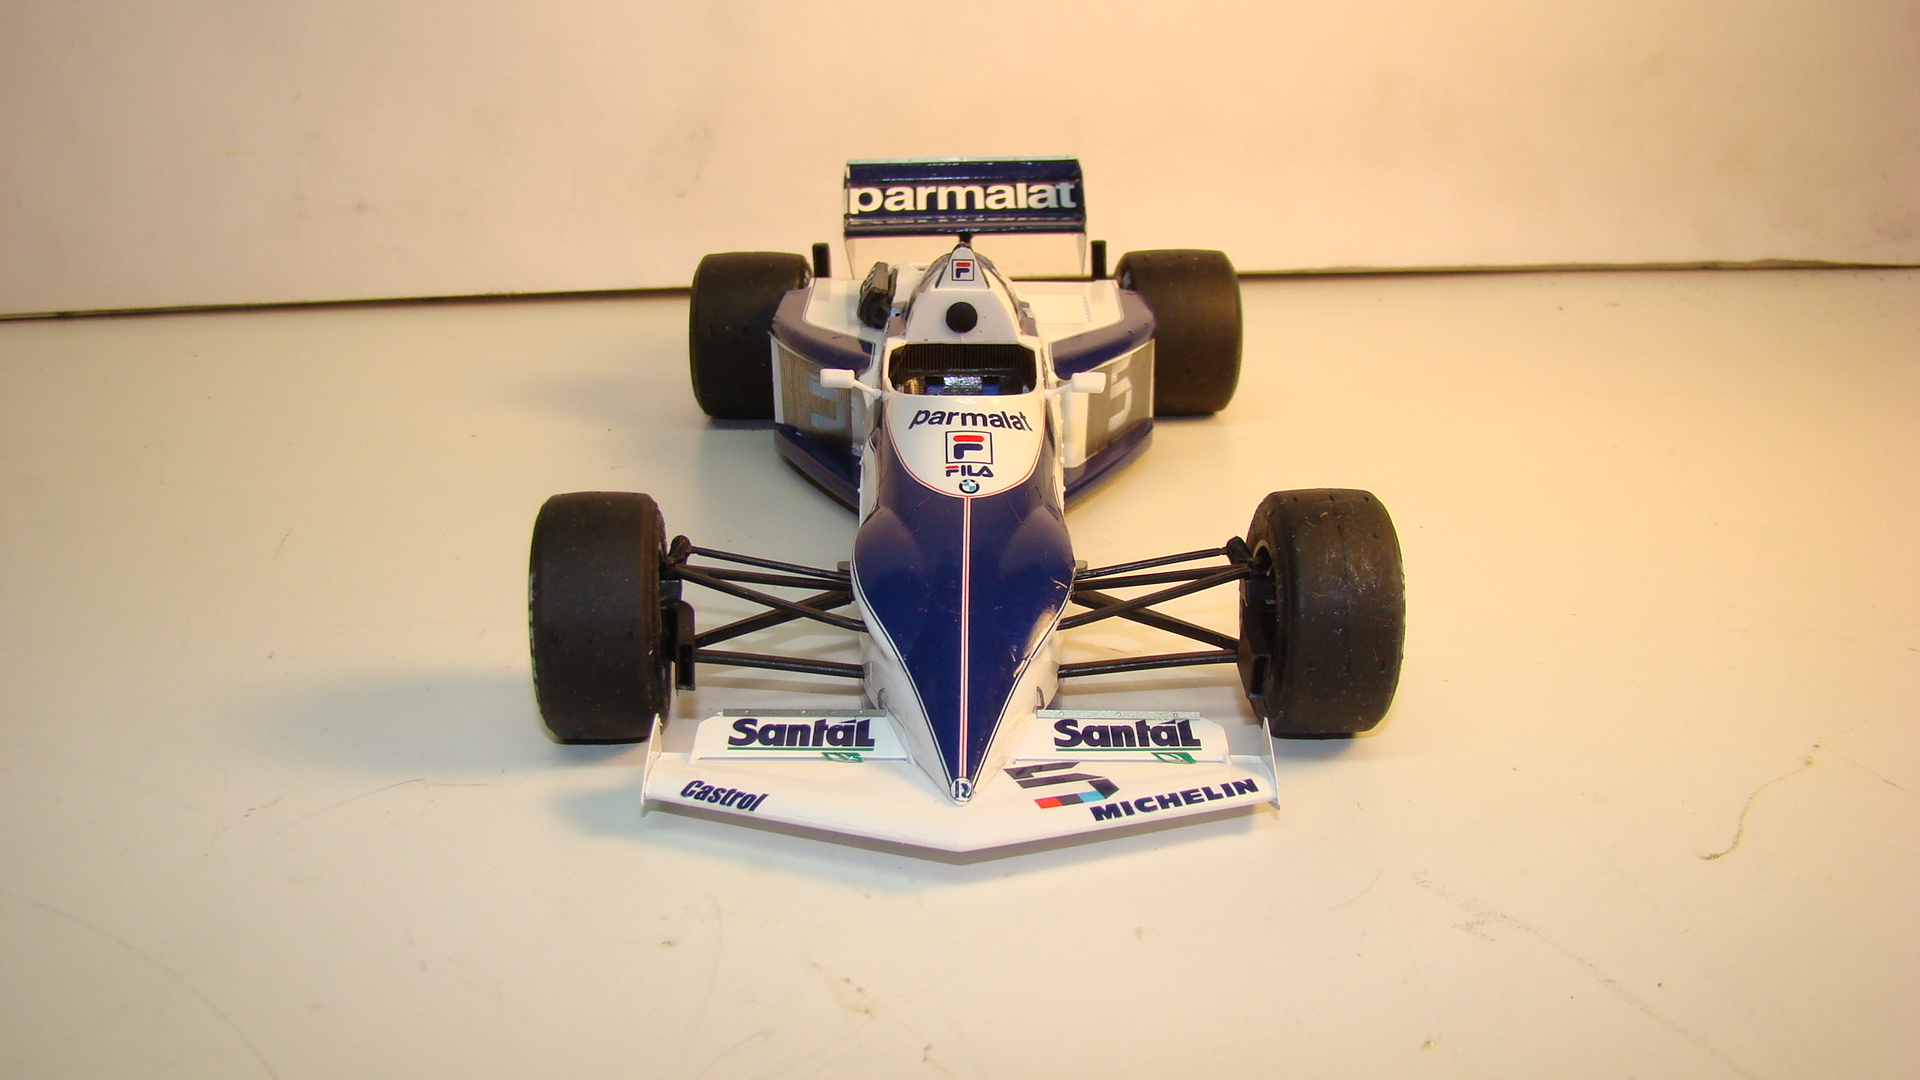
It took forever to find the aftermarket detail up set for this kit. But once it arrived I was excited to get it done. However, as it turns out, this kit is not for the feint of heart. I have built Tamiya and Fujimi 1/20 kit and they were a joy, not so much for Aoshima. It was mostly the small parts and extra details that gave me the most problems. Vague instructions certainly didn't help. But I kept after it and now its done. Overall I am pleased with the result. A lot more detail could have been added but since the upper body is completely removable I will do that when the fancy strikes me. More details of the build are under the picture captions. Thanks for looking. Feel free to comment. Right side engine detail. I added ignition wires and sensor wires to the intake. Note the photo etch clamps. that took some practice to get right. Left side engine. The exhaust and turbochargers were the most problem. I assembled them off the engine. In retrospect, I should have temporarily fastened the engine to the chassis and installed there, There were three locater tabs that I had to cut off and they would have helped in the assembly. Color on the pipes is alclad burnt iron with copper dusted on for effect. Interior came out nice with all the carbon fibre. Seatbelt material came with the upgrade kit and was made out of nylon. Getting glues to stick to it was problematic. This is an interesting detail. The tiny red painted photo etch piece at the top of the picture is the exterior release for the fire extinguisher. It was very tiny and fragile as well as being a two piece affair. Model finished and on its wheels. Before the upper body was installed it had that typical one wheel in the air stance. I thought I was going to have to do some fancy suspension bending to fix it but the upper body had enough force to straighten it out.....whew! Rear end veiw. That wing was several pieces and many more decals. Luckily it had a nice mounting and was easy to install. Note the p/e adjusters on the endplate. A nice touch from the update kit. Side view. I chose to use all the decals for the graphics. Best part of this kit were the decals. They slid off the paper easily, responded to solvent well and laid down nice. I normally paint these because large areas of decal tend to have wrinkles in them. There are a few but a nice coat of future will hide them when they are fully cured. Front veiw of the car that most of the competitors didn't get to see. This car, with its unique front wing design, and very powerful BMW engine took Nelson Piquet to the 1983 world championship.