Search the Community
Showing results for tags '1/24 fujimi'.
Found 6 results
-
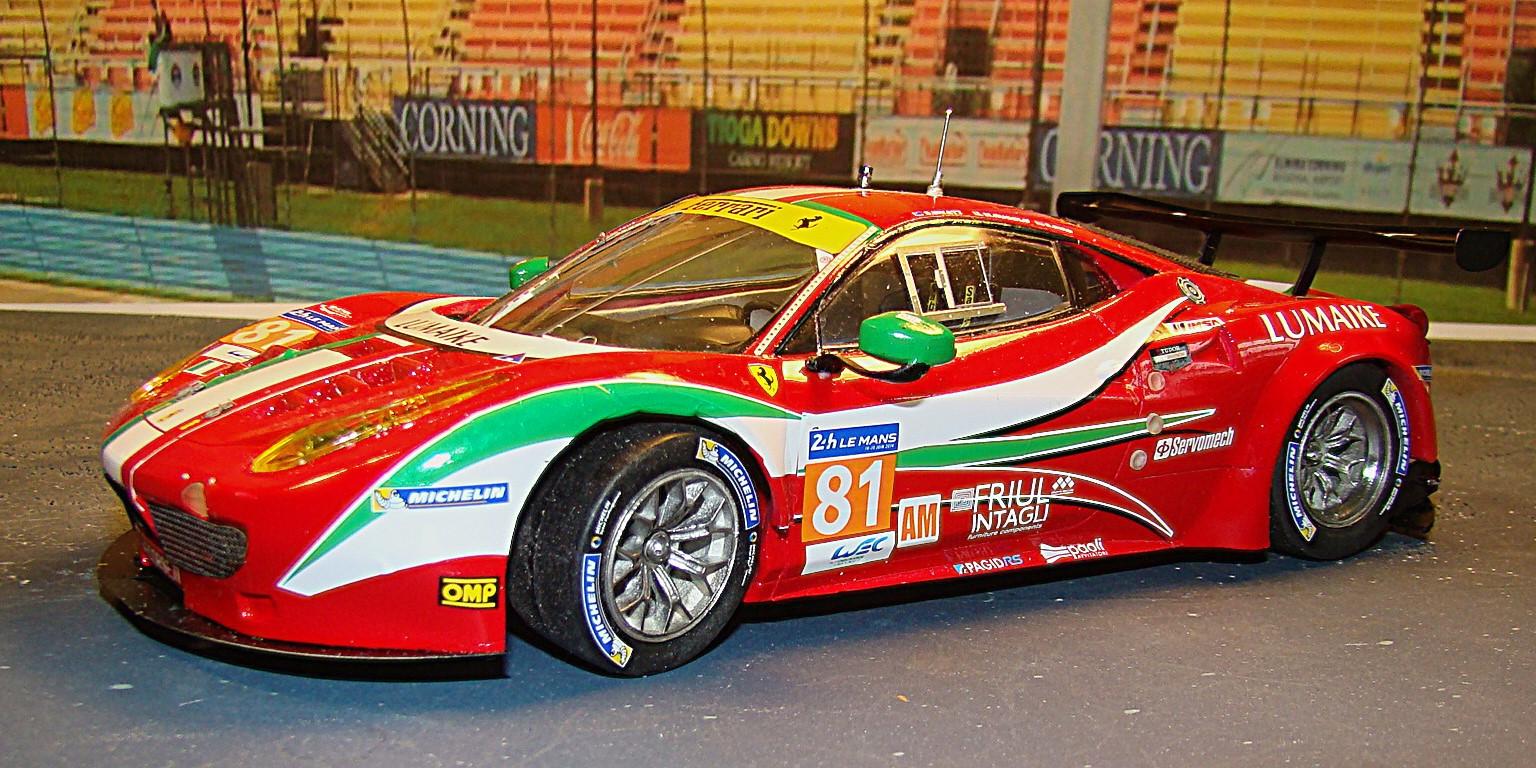
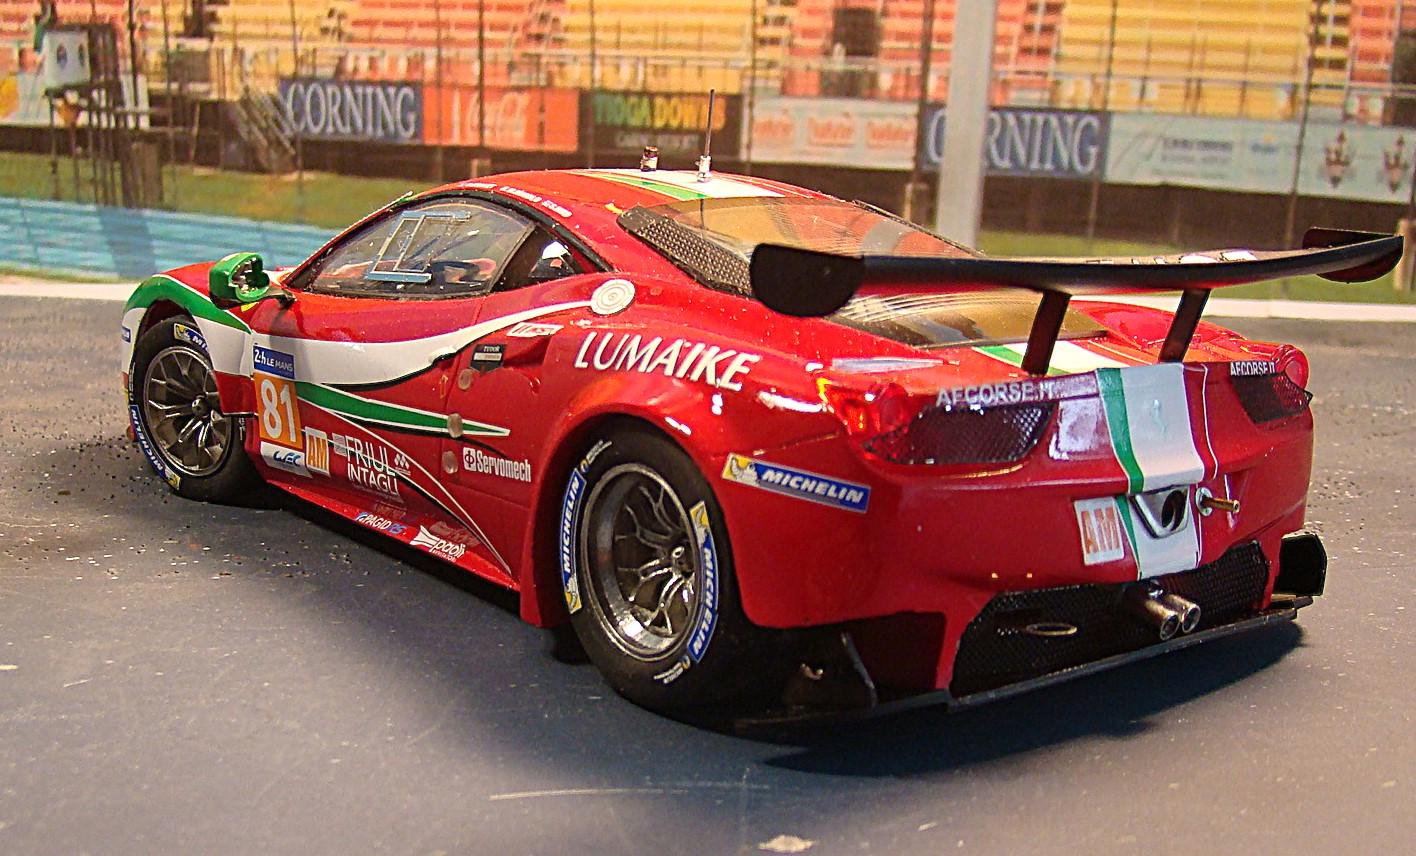
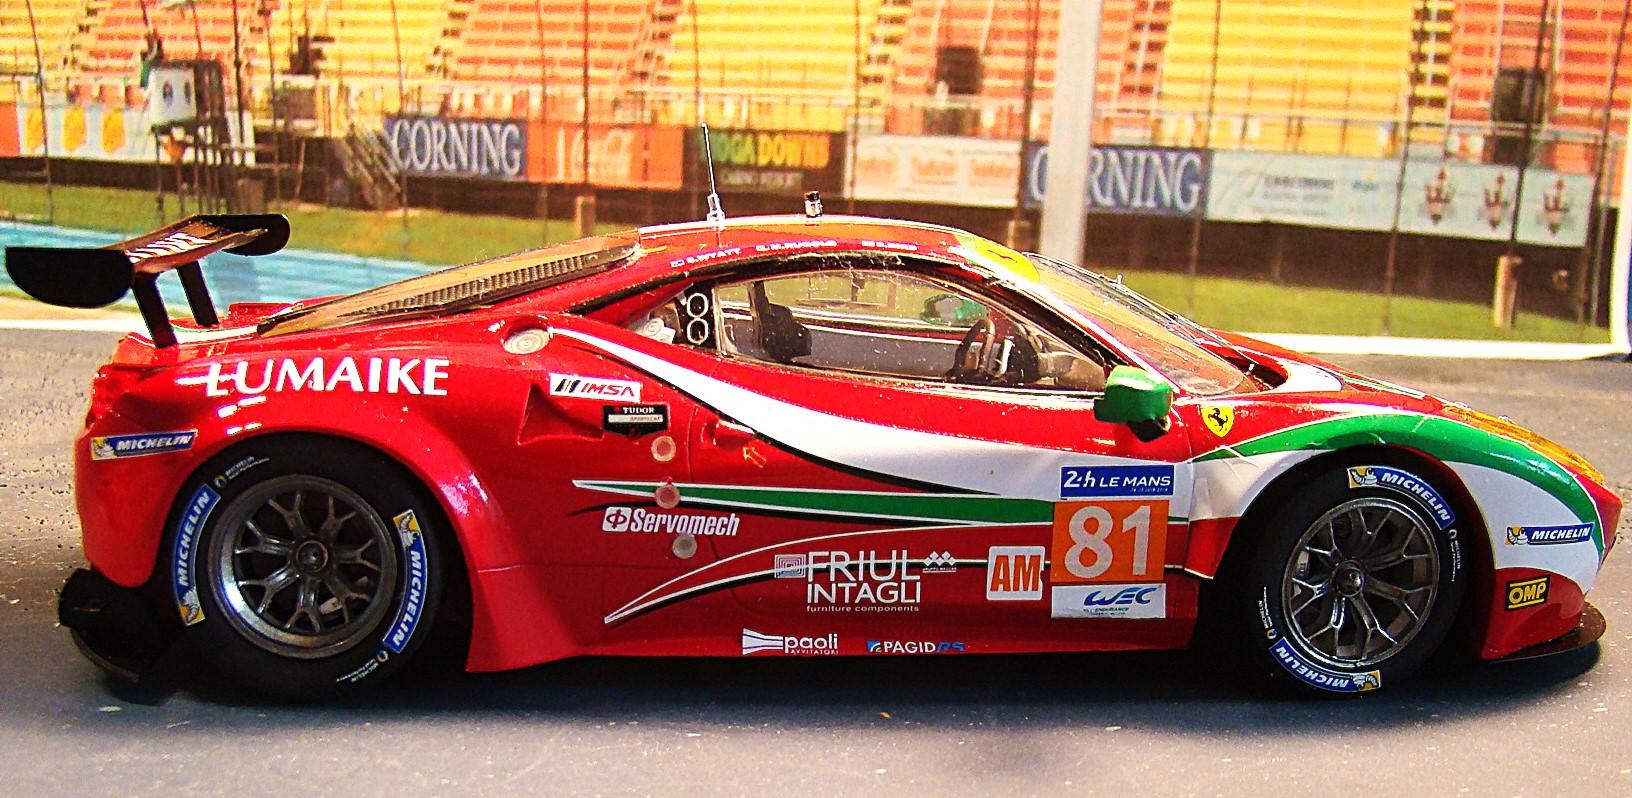
Awhile back I bought a bunch of decals and in that set were some for a Ferrari GT2 racer. I had a Revell kit and swapped out the wheels and a wing from a LeMans Corvette. This project was going to take a lot of mods to the body and is something I can do but am not fond of. Then along comes this Studio 27 resin body kit. Its a conversion and requires a 1/24 Fujimi donor kit for the chassis. Problem solved. Well...maybe. Adapting the chassis, windows and other modifications turned this project inot a lot more work than I thought. But I soldiered on and this is the result. Color is Gravity GC210 Ferrari Rosso F1. I used 2K clear. Below the pictures are more comments on the build. Thanks for looking and your input will be appreciated. Finished racer and detail everywhere. Lots of photo etch in this conversion. I used the Fujimi kits front suspension because it steered. My pet peeve. It had to be lowered almost 4mm to get the stance right. Windows had to be cut apart and then carefully ground down to fit. Rear end detail and lots more PE. That small piece of tubing out the back is for the air jack. Studio 27 decals fit nicely but took a lot of solvent and time to conform. I like the 2K clear for it svery hi shine and the fact that its cured in 2 days. I added quite a bit to this kit. Interior recieved the most with a new racing seat and wired electrical boxes. Glad this one is done.

-
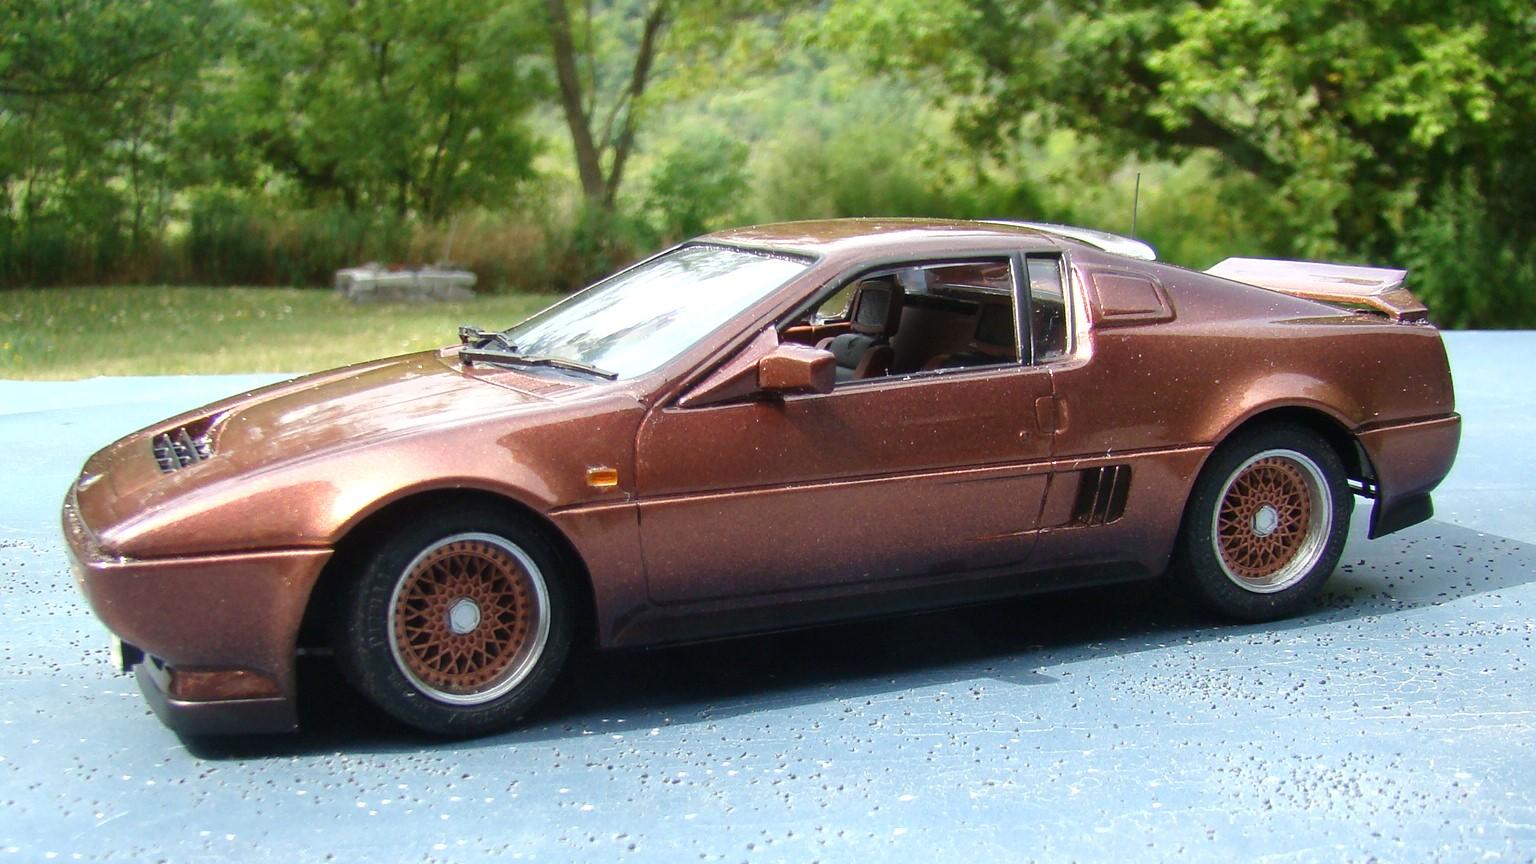
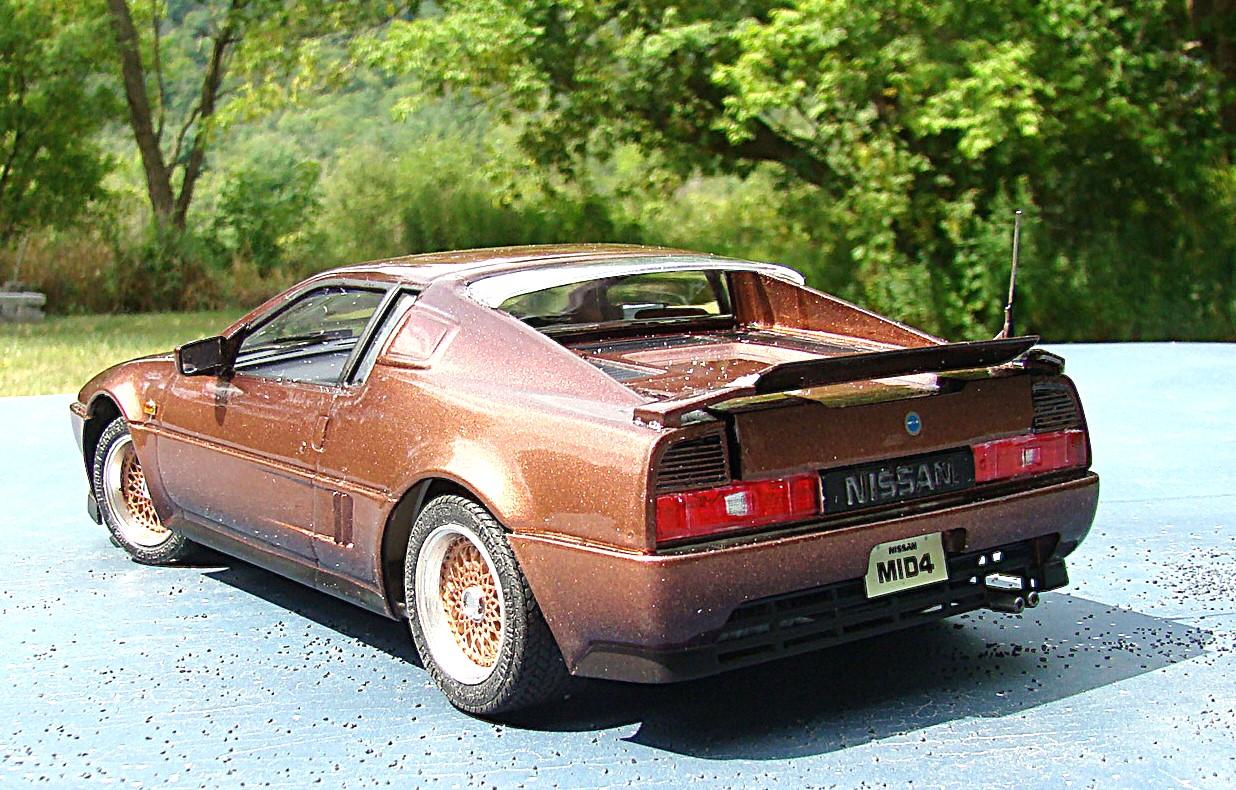
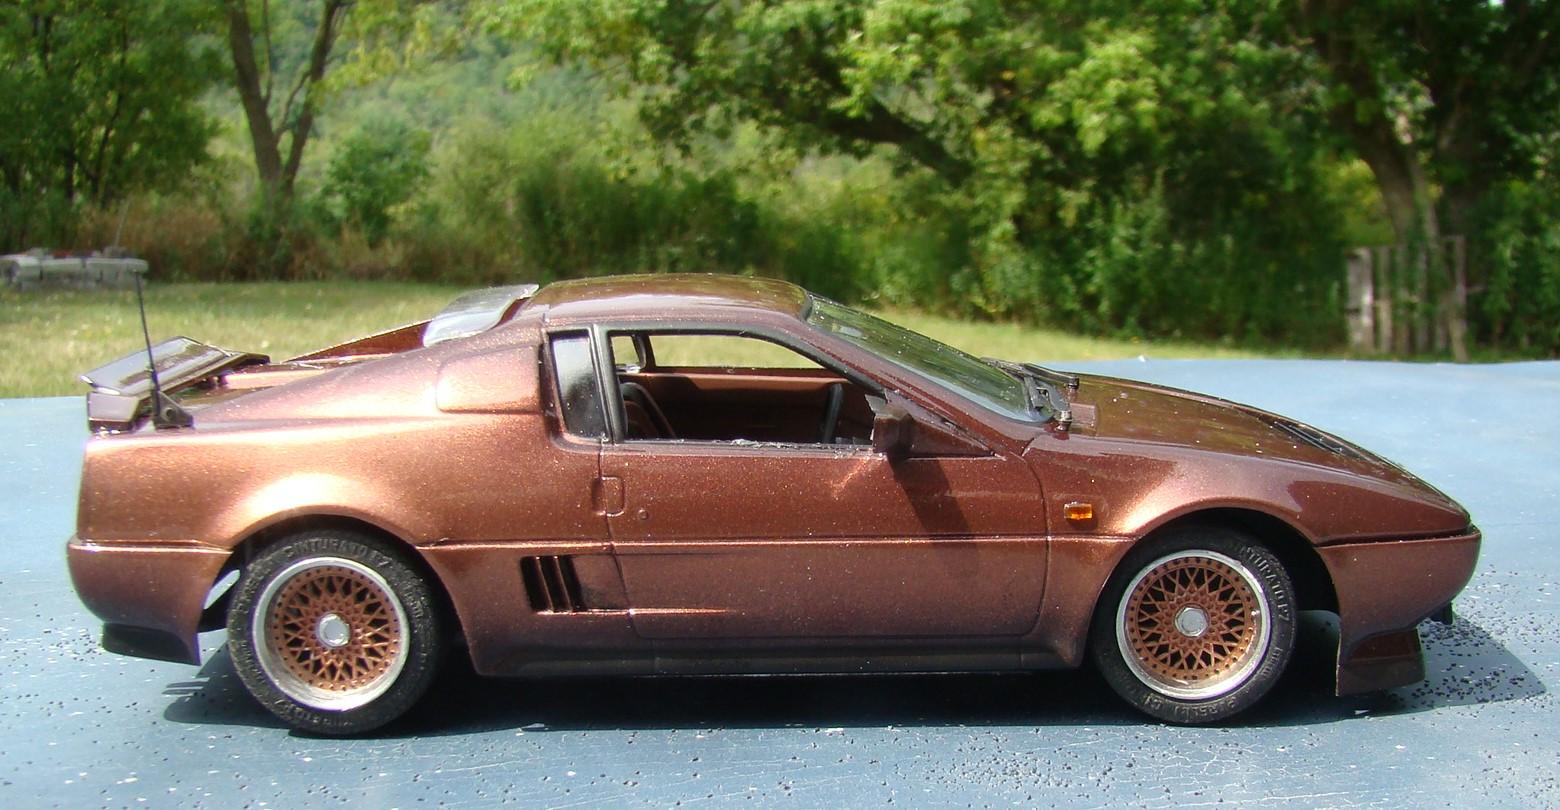
This kit started out as a paint excercise using a dark bronze nail polish. Nail polish is difficult to spray and the Tamiya X13 clear coat didn't help the somewhat bumpy finish. It would require lots of sanding and polishing so back in the box it went. Recently I was using some 2K clear and knew I would have to mix more than I needed. (I had two pre-measured bottles) So i dug this one out and sanded it down with some Tamiya 3200 sponge sanding pads attached to an electric toothbrush. This got most of the bumpiness out and then a quick scrub with scouring powder and the 2K clear did the rest. The result was way better than I thought it would be so I finished it. Kit is mostly curbside but the rear ewngine cover is removable and there is a little bit of engine. More details in the picture captions. Thanks for looking and comments welcome. Got just enough sunshine to take this picture. Paint was fogged with black on the bottom and around some of the other features. Wheel centers were done with the same nail polish but no clear. Interior is Tamiya LS Nato Brown with black accents. Spent a lot of time on the rear end . Engine cover gave me fits but eventually did what I wanted. rear spoiler is adjustable and I broke it off more than a few times. Still works though. The Mid 4 made its debut at the 1985Internationl Motoer Show in Germany. Four prototypes were built. This car was aimed at the Porsche and BMW market but never made it to production. It had a transverse mounted V-6 that put out 245hp. Top speed was 155mph. It had all wheel drive and all wheel steer. Many of the features of this car eventually made it into the Nissan Skyline.
-
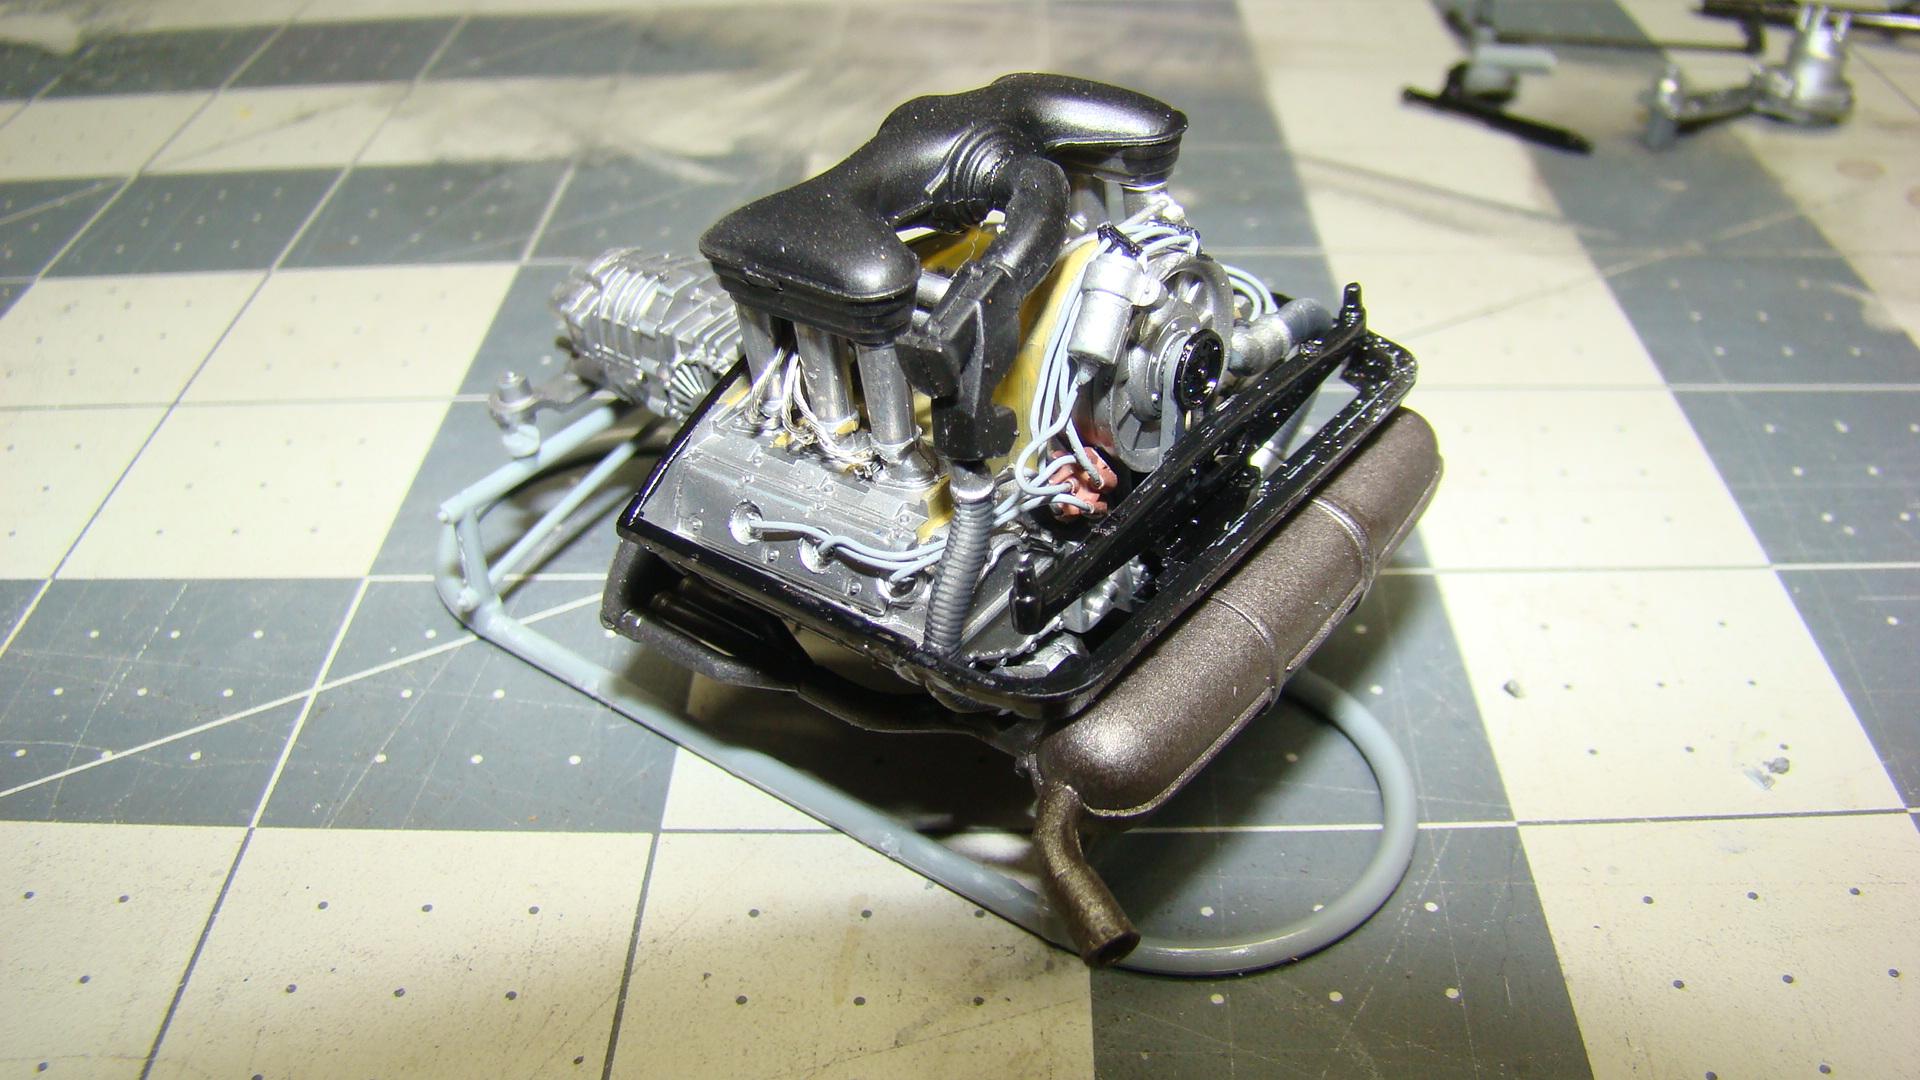
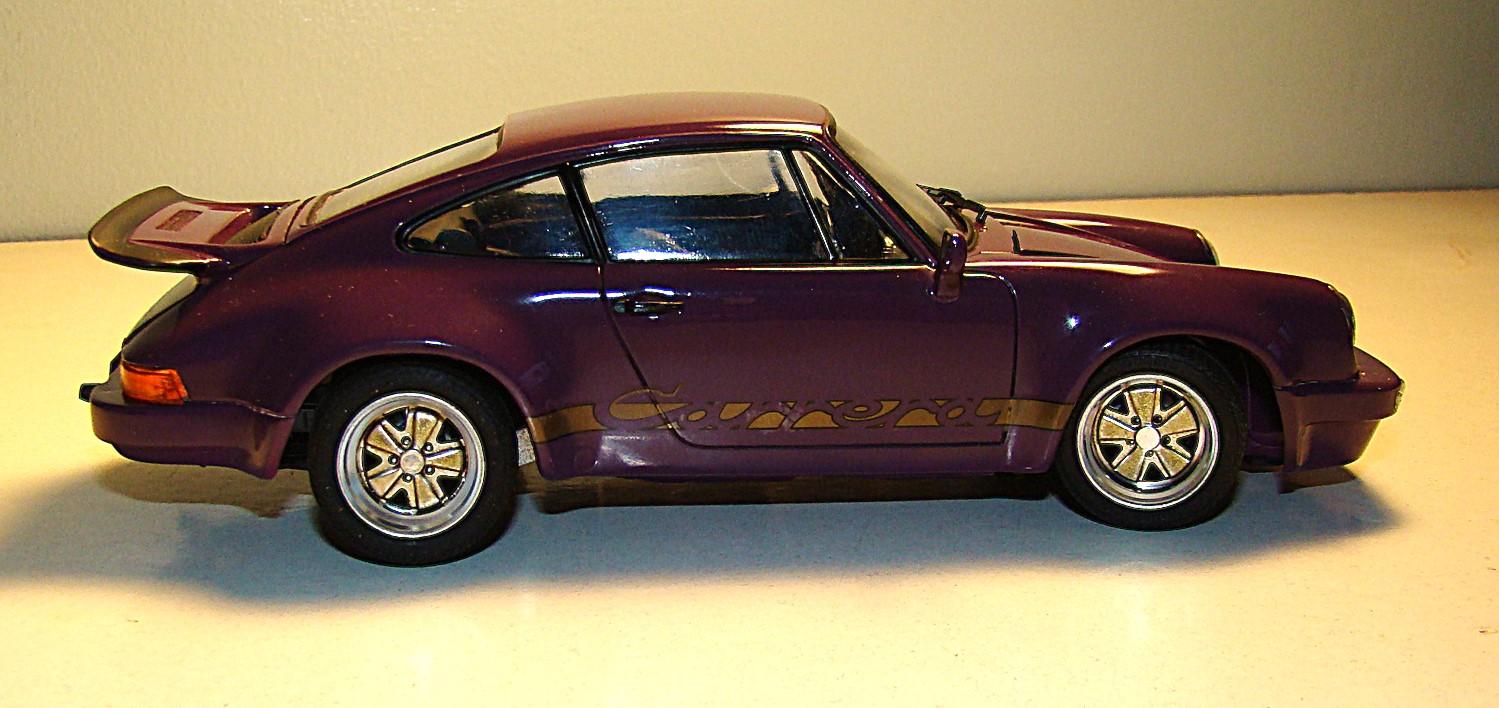
Found this one in the stash while looking to complete my 911th model. Gotta luv the Fujimi Enthusiast Series. So much detail. This one was sprayed Humbrol Purple way back in 2000. Clear coated with Testors Model Master then decalled and polished to a high shine. Don't know why I waited so long to finish this but I have a lot of kits like this and they kinda get lost in the stash. Not much to modify but I did add some extra detail I thought was worthy. Specific details are in the picture captions. Thanks for looking and comments welcome. The engine in these kits is a model all by itself. Careful painting with a variety of metallics and blacks really makes this shiine. This is Porsches 3.0 litre flat six with fuel injection. Engine stand came with the kit. Another veiw of the engine showing off the drilled distributor and plug wirres. Fuel lines are the twisted wire centers stripped out of some very fine wire. Coil eventually had to be moved to allow the engine cover to fit. Instructions were not very specific about the location of the coil. Finished car on its wheels. Decals were buried under clear and the wheels painted to match. The tail light lense was accidentally dropped on the floor and stepped on a long time ago. A few coats of clear red and orange (both sides) filled in most of the scratches and gluing the two pieces in place was the rest of the cure. Can't tell now. License plate is out of the stash and is from Washington DC. Looks like some politician owns this car but don't know what party he is affiliated with. I really like the Enthusiast series but these kits are not for the faint of heart. They DO go together and look well. Two points of contention on this are the way the wheels attach (which is not very secure) and getting the body to snap in place. There were other fit problems but most were easily overcome. Thanks for looking.
-
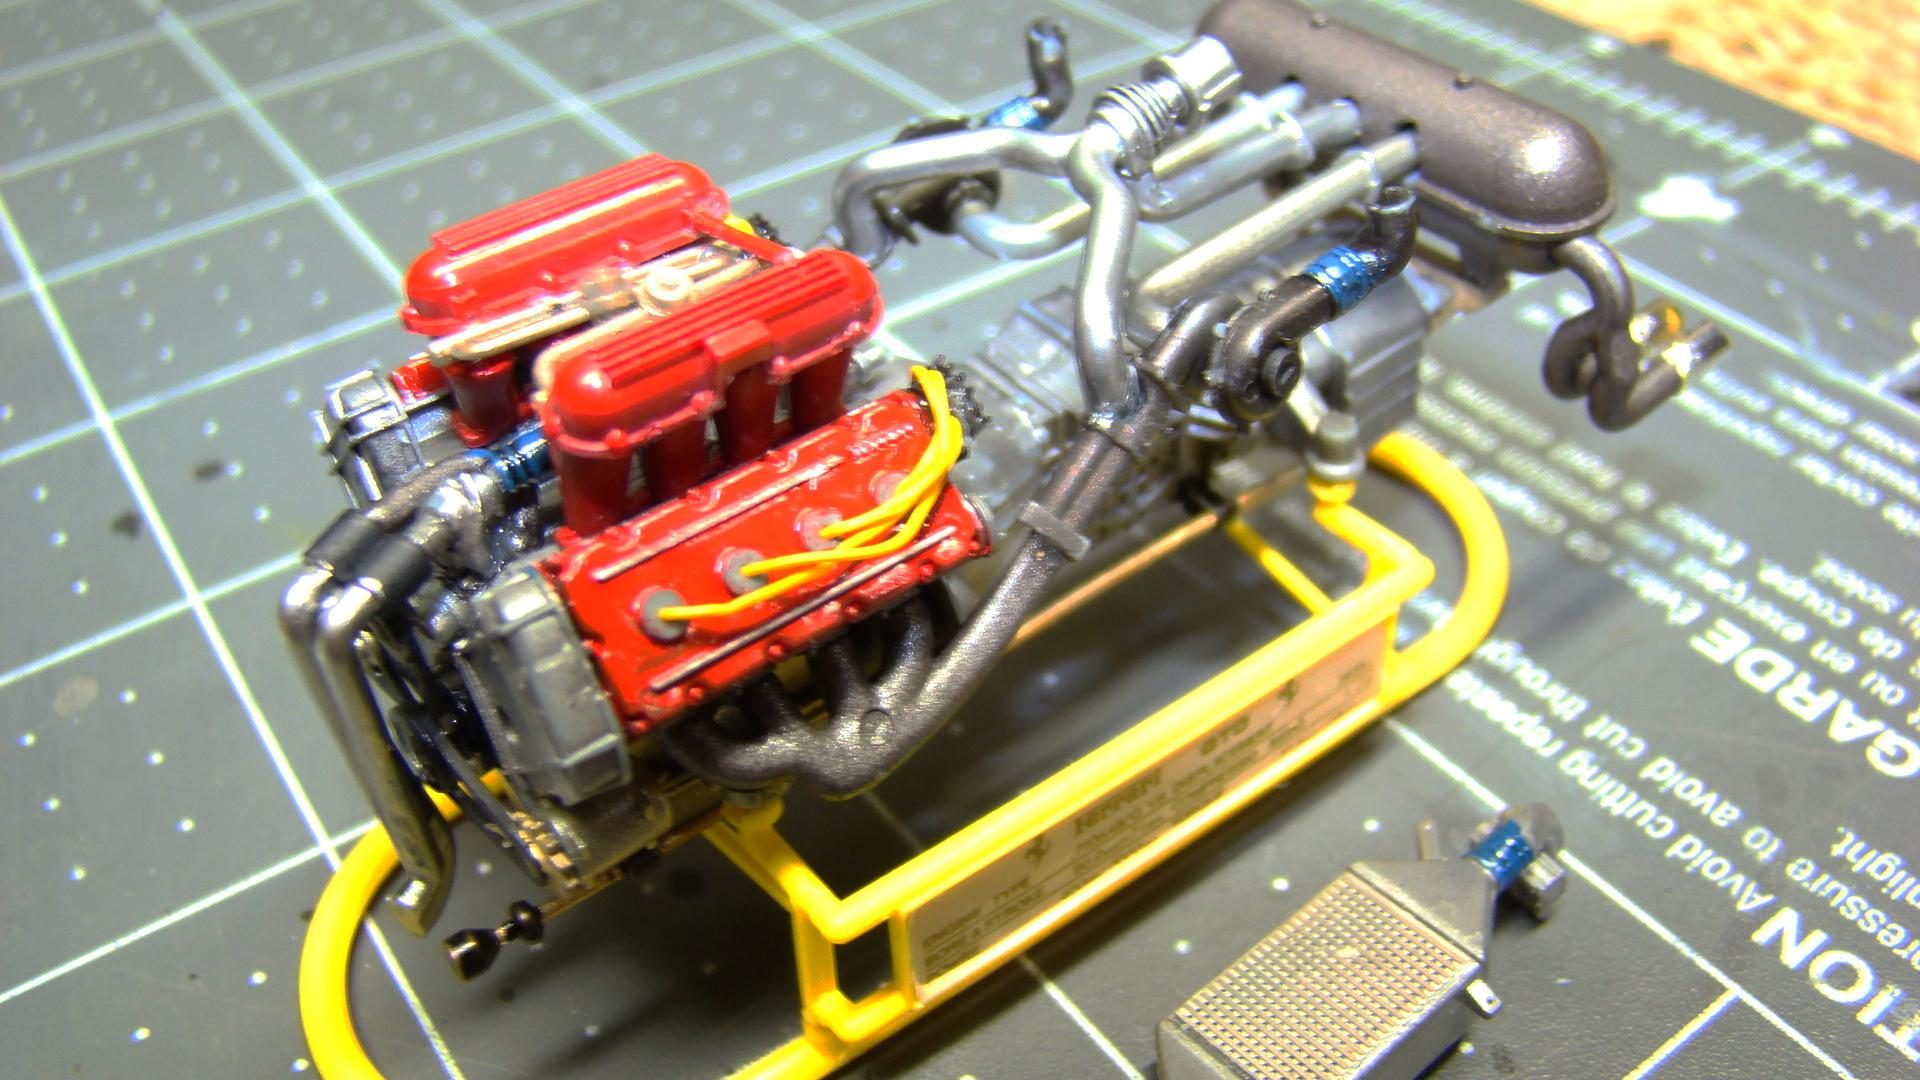
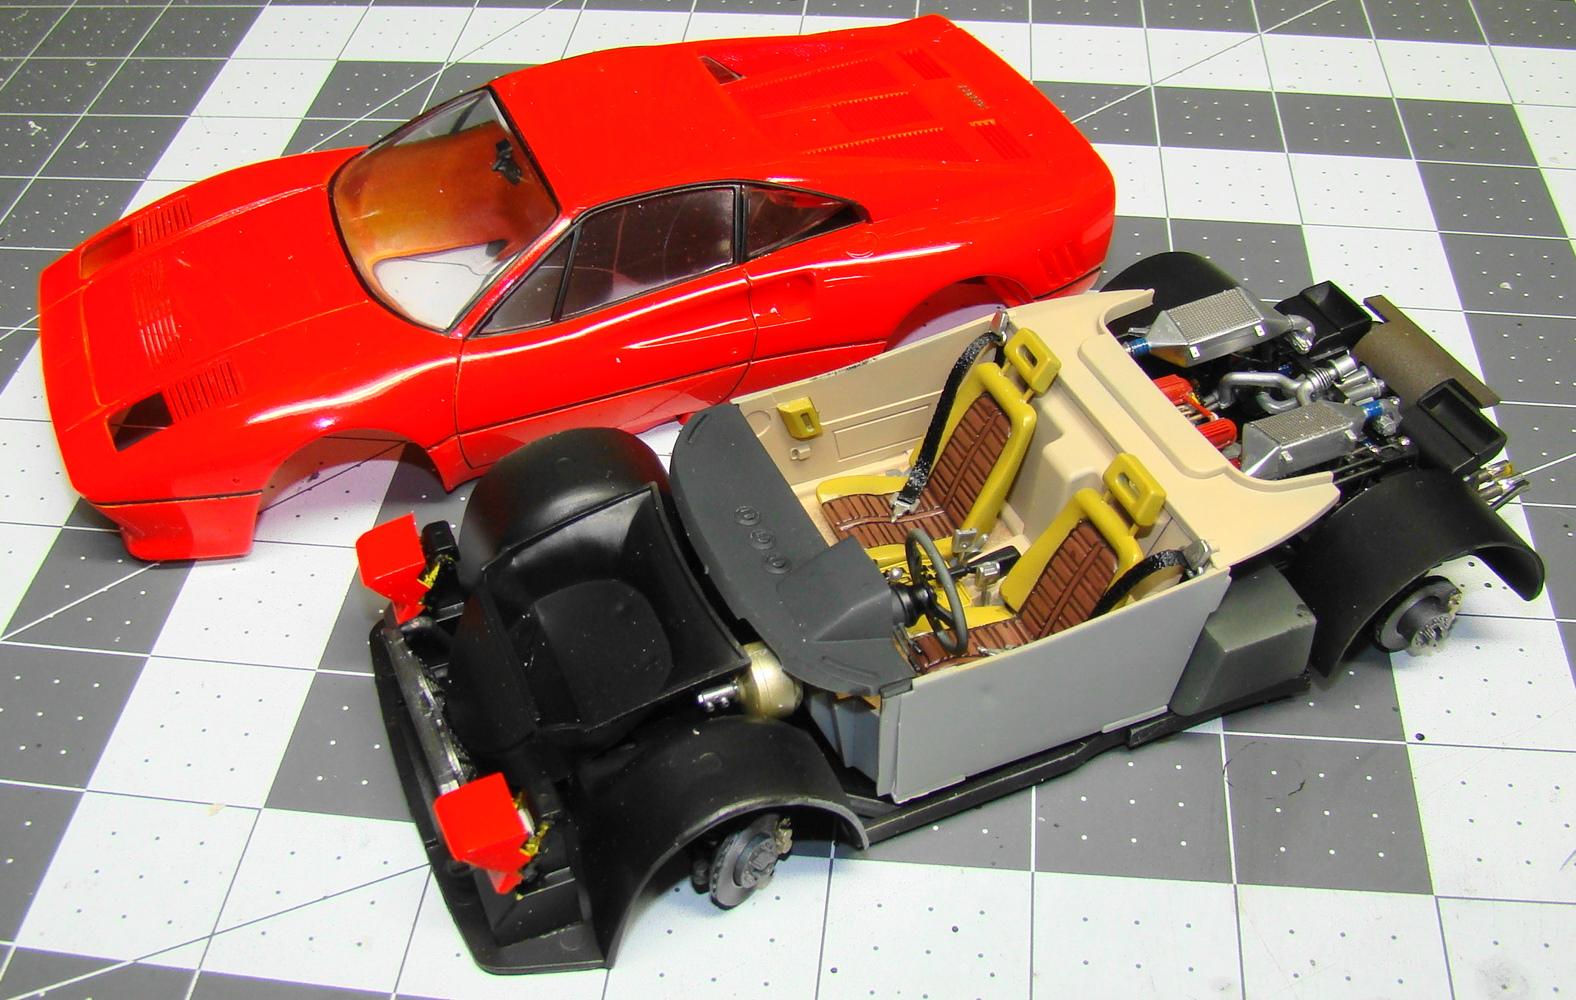
Been on a binge lately sorting parts inot paint bags. Came across this kit and discovered the body hadn't been painted. It was molded in yellow. A couple applications of Tamiya LP-7 pure red later and I decided to finish this one as the paint turned out nice. It was all downhill from there. This is no walk in the part, lots of fit problems, especially in the engine. In tghe end it turned out nice enough to go in the case. See captions below the photos for more details. Completed engine on the stand provided in the kit. Exhaust and turbo chargers were all guess work at this point. Photo etch on the intercooler was out of the part bin. Interior went without a hitch. Gotta fix that steering wheel decal. Black accents in the seats thanks to Tamiya black panel liner. Good stuff. Body and chassis ready to be mated. We call this..."the moment of truth" and hope all that fitting paid off. Engine nestled in the chassis. Intercoolers provided the most headache. I knew they were too high as soon as the body went on. Lowering them proved to be a challenge. Finished car. This was actually done about 10days ago and it spent some time at my local hobby shop. Pictures wern't good enough then. Rear view. Luv the body lines of this car. It looks like a 308 on steroids and it sorta is. I added the script on the rear engine cover. Getting the head lights to function was a real treat. I don't usually do this but it looked like fun...it wasn't. Hope you like this...comments welcome.
- 14 replies
-
- 11
-

-
- 1/24 fujimi
- enthusiast
- (and 1 more)
-
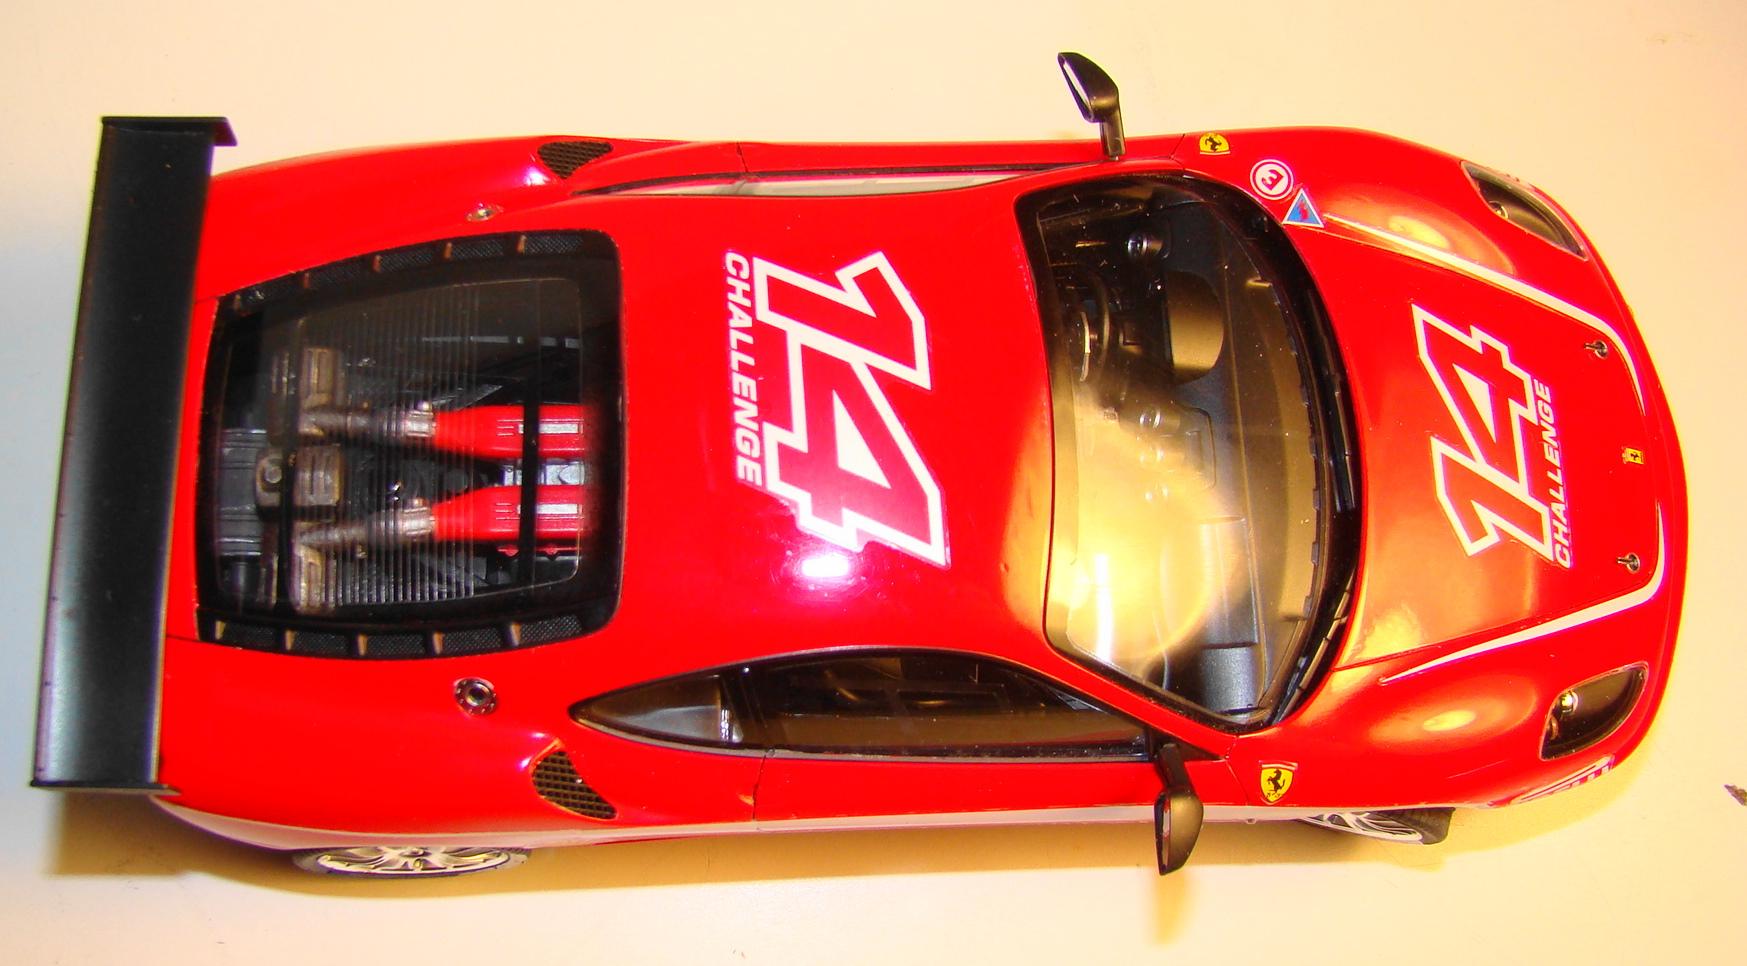
Second completion of this year is this Ferrari F430 Challenge in 1/24. Color is MrColor #3 Red with MrColor clear. Kit is almost a curbside with just the top half of the engine showing through the glass. I had painted this kit some time ago and was waiting for space to clear out in the Ferrari case. Relatively simple kit but lots of nice exterior detail. This model represents a specialy built racing version of the F430 to compete in the all Ferrari Challenge series. It may be interesting to note that Ferrari built over 130 of these but fewer than 5o of these cars survive as most were written off. Apparently they race these pretty hard. More details in the captions. Thanks for looking and all comments appreciated. Finished car on its wheels. The rear wing is actually not used on the racing version. It is on the street version. I liked the looks of it so I put it on there anyway. Looks more like a race car. Rear veiw and plenty of detail here. The body wanted to spring up off its mounting posts in the back even though I was careful to make sure all the interior was seated in place. I drilled the posts out and tapped the holes then screwed it in place. You can just see them in the photo in the undertray. Side veiw. Those decals were a little tricky to get right. Anytime you have decals that come to a sharp point its a challenge. A pun on the name of the car. Top view shows the engine detail through the glass. I went out of my way to use a slightly different color red on the valve covers.
-

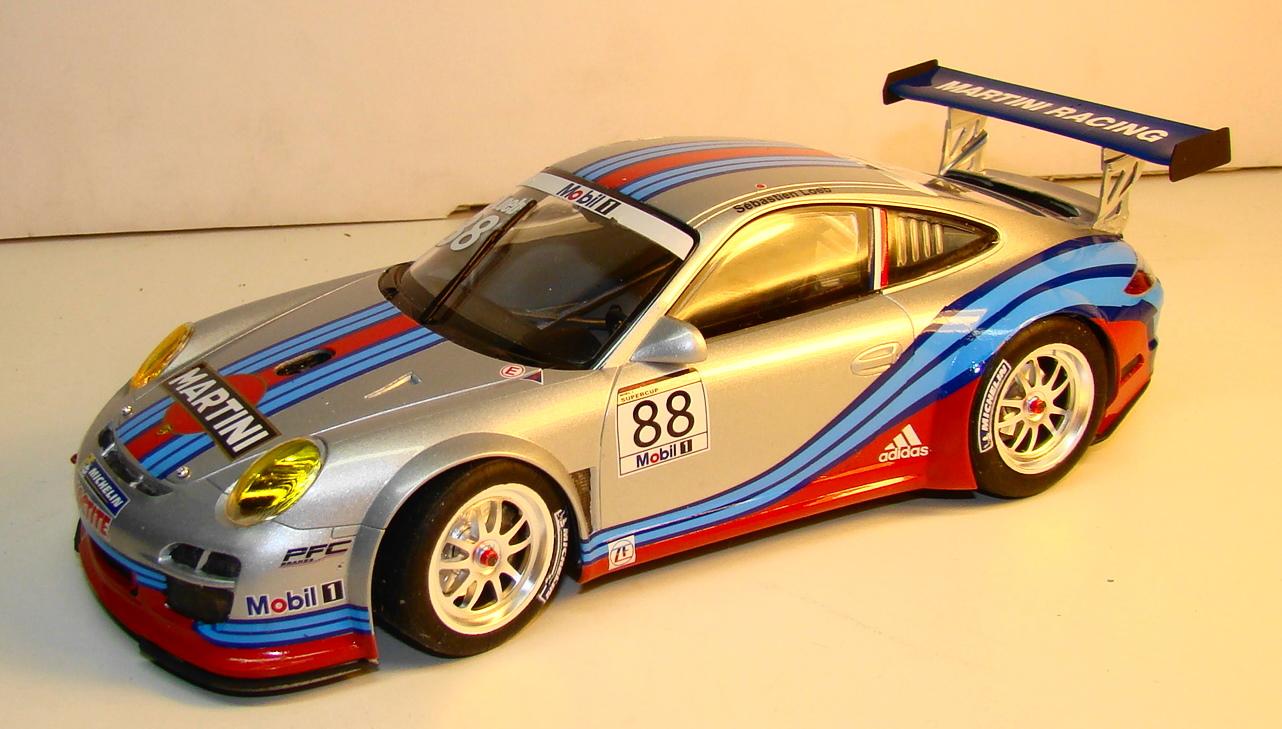
Martini Porsche 911GT3R
Rich Chernosky posted a topic in Other Racing: Road Racing, Salt Flat Racers
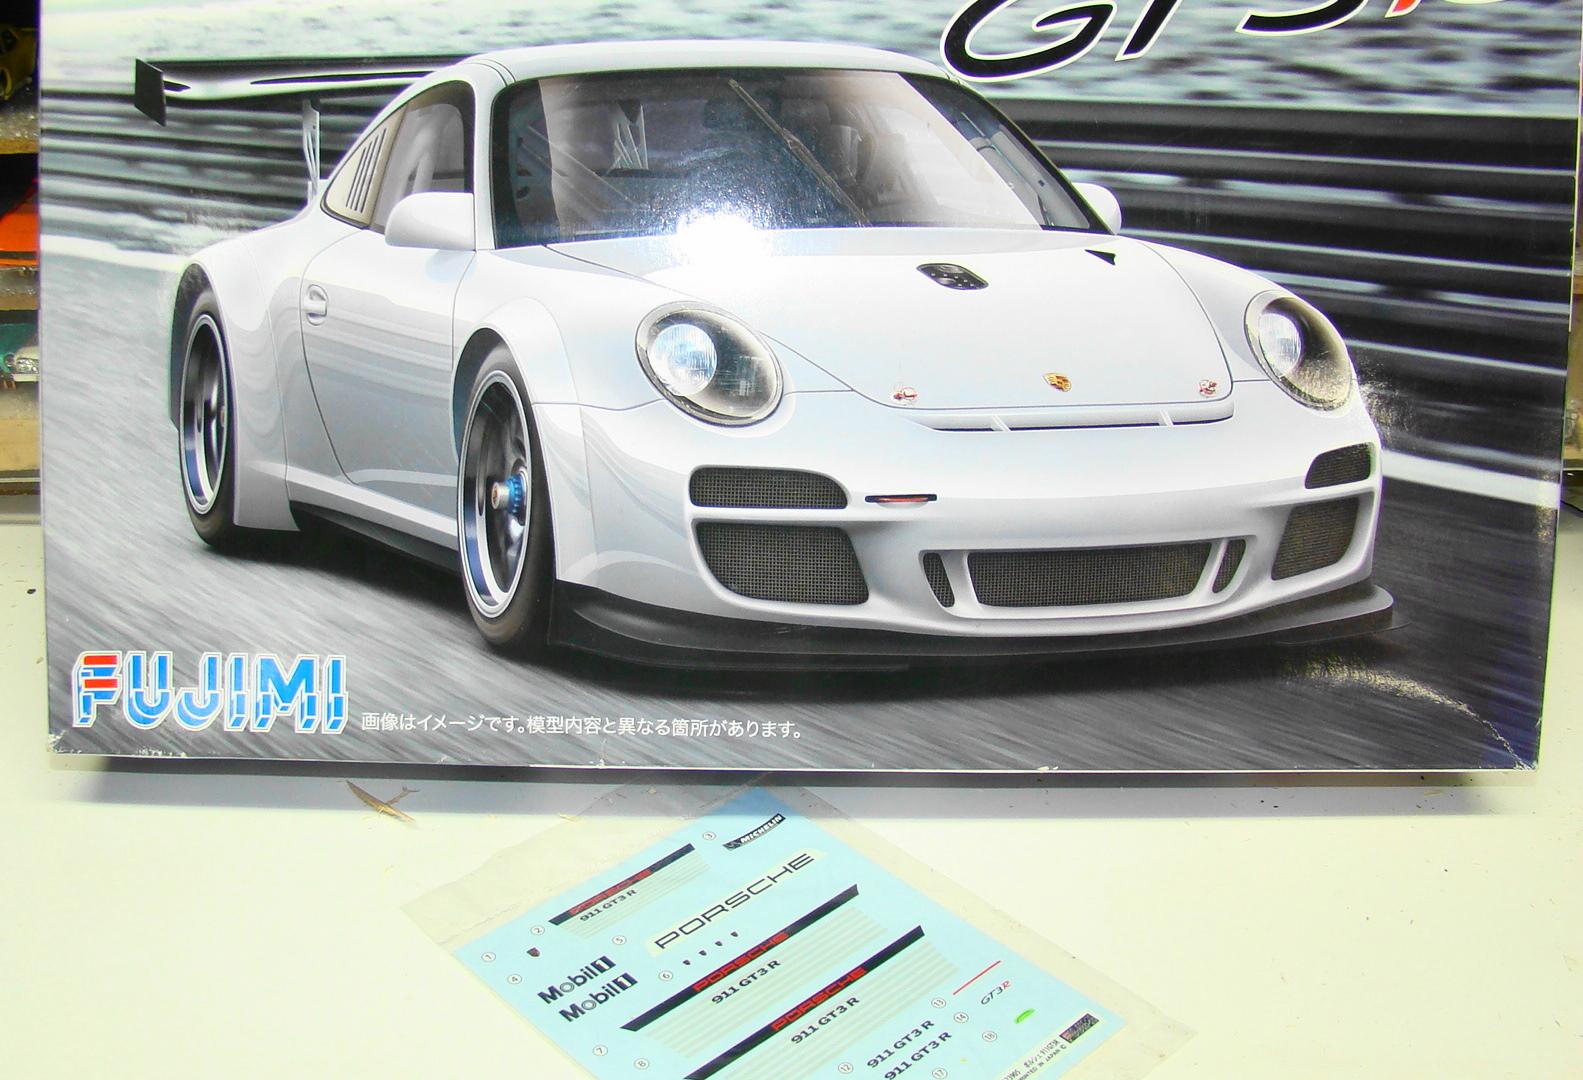
This is a Fujimi Porsche 911GT3R. This is the car Sebastion Loeb (the rally driver) drove in the Porsche Carrera Cup in 2013. Decals are from Studio 27 . The red had to be carefully matched to the decals and the sides are all painted on. The wing was matched to the darker blue. Overall this was a nice kit to do despite some of the fussy details. And it goes in quite nicely with my extensive Martini collection. One of the fussiest details was painting the clear red and blue on the center caps of the wheels. Those decals are 5 seperate pieces per side and didn't go on without a fight. Some Future varnish help hide a lot of the tiny wrinkles. The wheels steer in the kit but they fit in the wheel wells so tight, that they barely steer. Tires and brakes were nice.