Search the Community
Showing results for tags '29 roadster'.
-
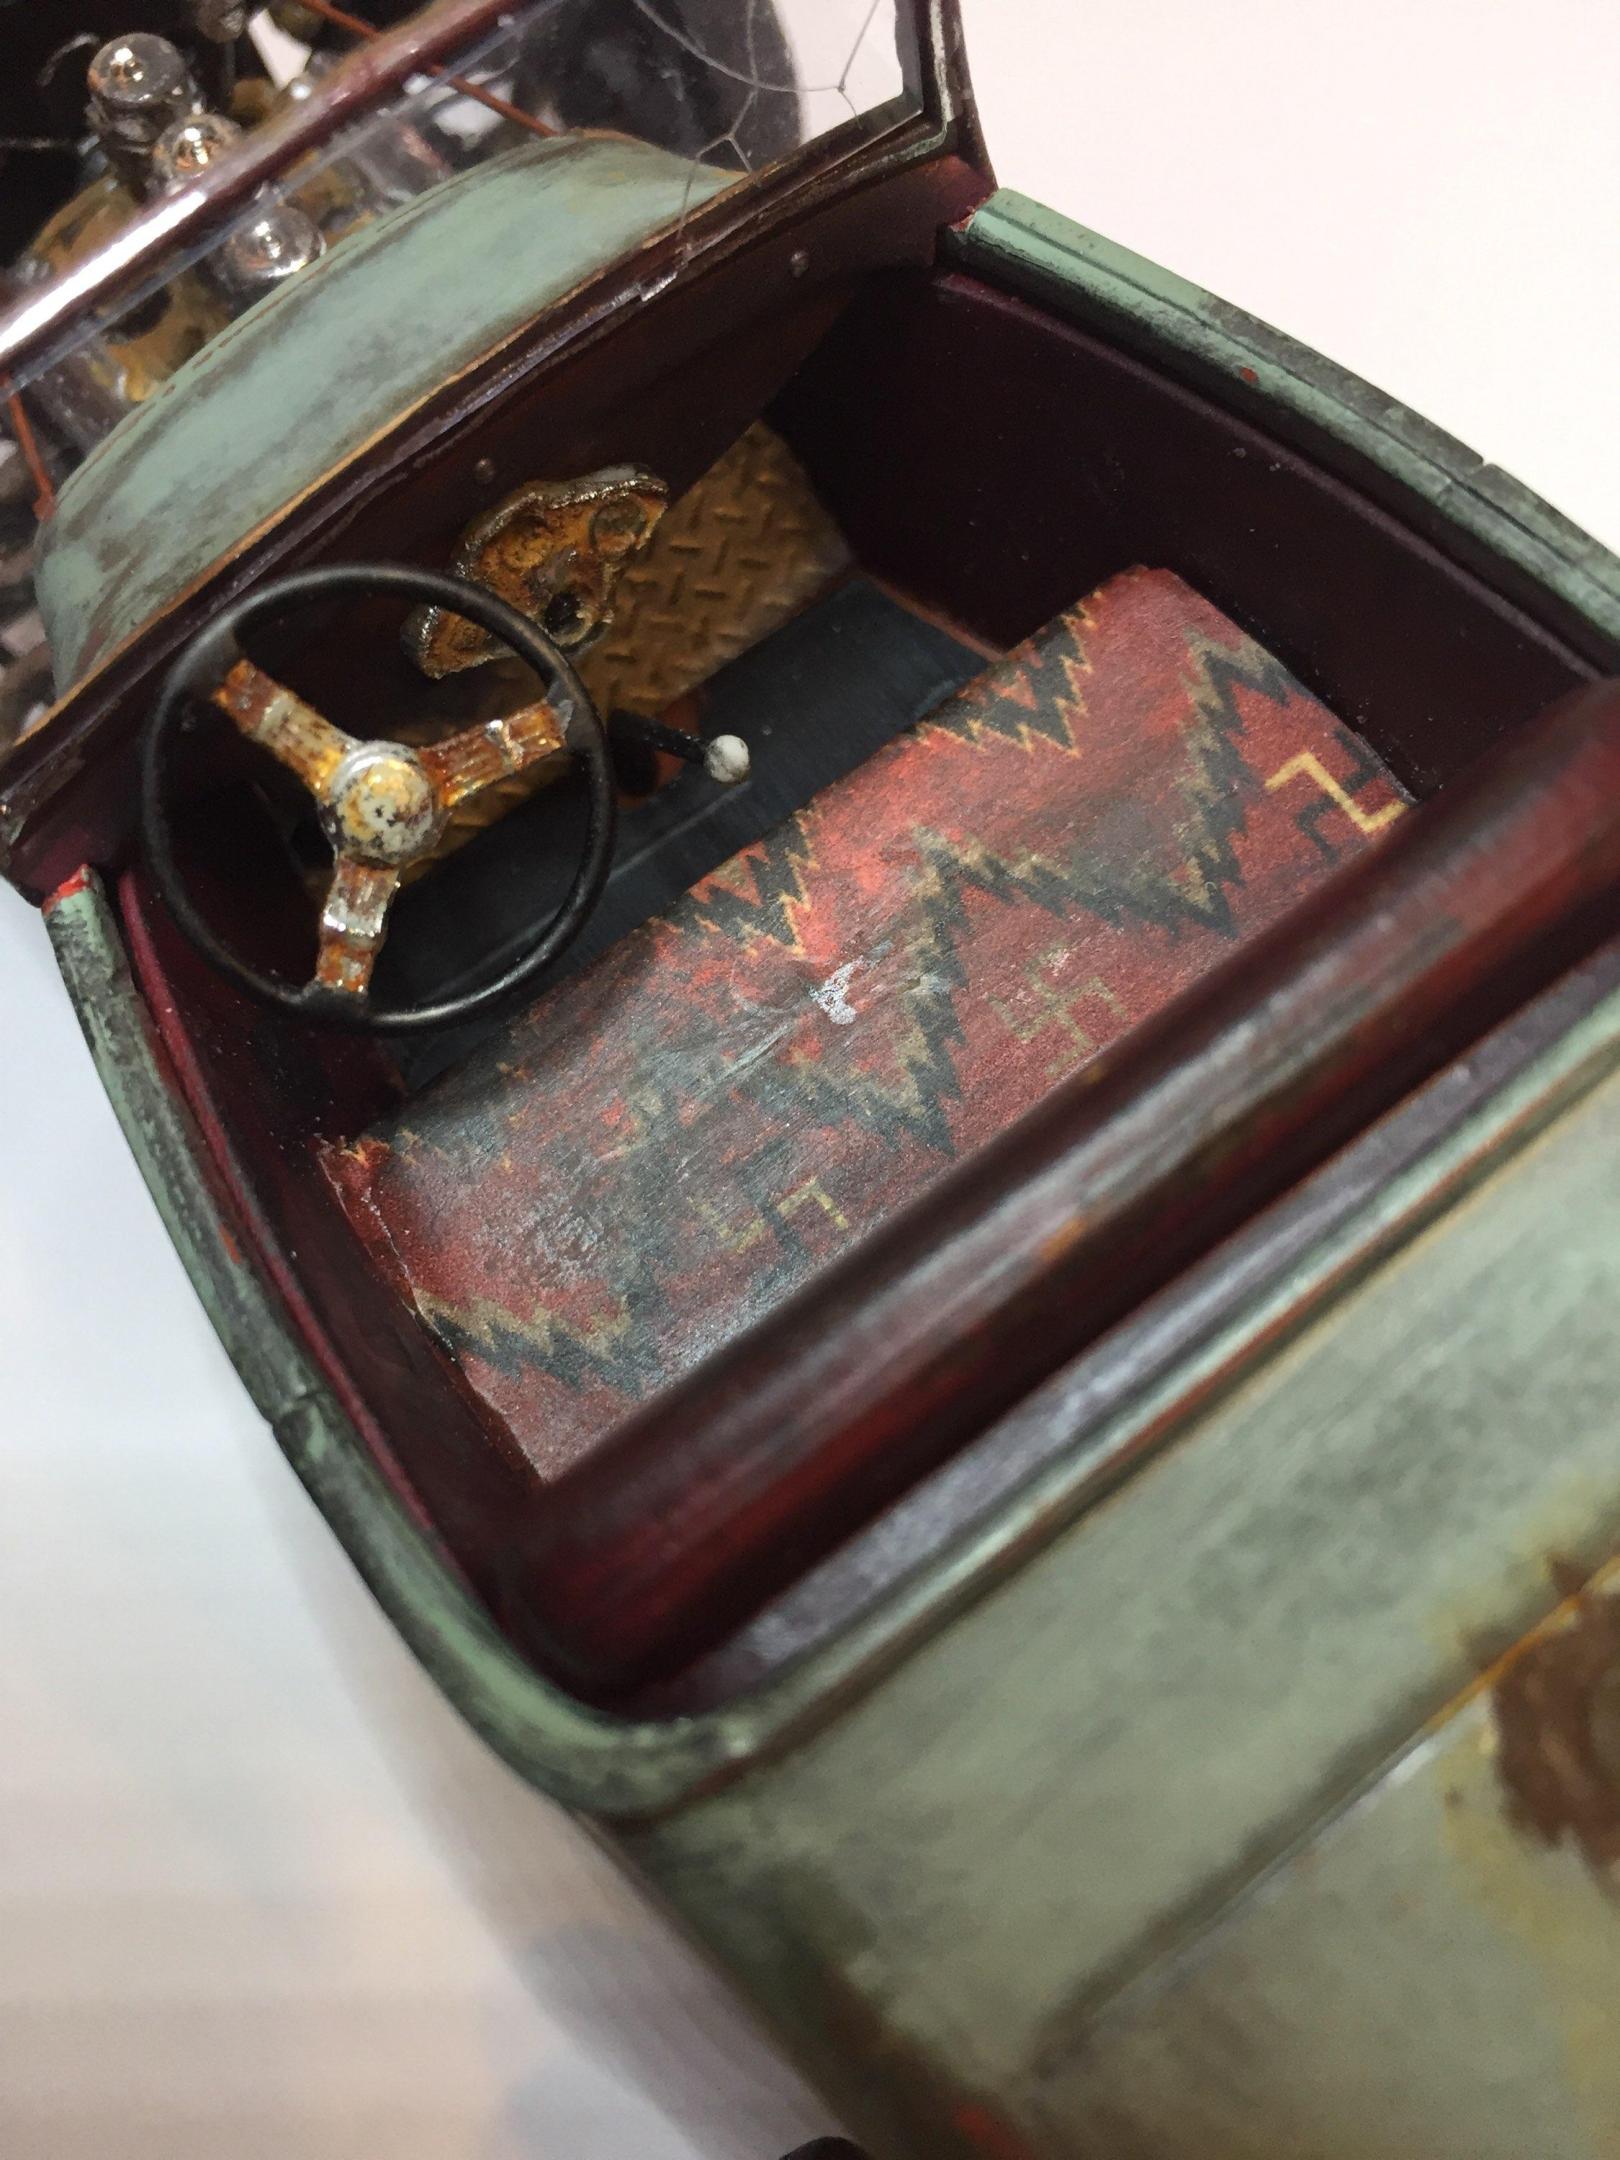
Long story short; I sent these pix to my son and realized I never put this one up here. "Getting a barn-find running" is what I would call this project if I fancied myself an artist. 💩
-
Been bouncing around from build to build. Sat down and got a bunch of parts painted on this one yesterday. Doing this build completely out of the box, which may explain why I am actually making progress. I may add spark plug wires, not sure yet. Gravity Colors Volkswagen Pacific Blue for the body. Clearcoat still on the way. I think I will use Tamiya's clear on this one, but I have trust issues with it. I usually clear parts before using Alclad polished finishes, but it left fisheyes everywhere on the parts. That's why the hub caps and other smooth parts aren't as reflective as normal. I meant to use Alclad Pale Gold for the carbs, but grabbed Gold Titanium instead. I think it worked out ok. I rubbed on some Kosutte Ginsan on the molded in linkage to make it stand out. Not sure if I will use any of the wheel trim parts yet, I like the black look.
- 33 replies
-
- mode a
- 29 roadster
-
(and 1 more)
Tagged with:
-
I got sucked into the hype and bought the new Revell 29 Roadster. The kit is extremely nice, except for the shocks. I couldn't bring myself to use them, so I had to make new ones. The nice thing is that it is fairly easy to separate the shock caps from the body. I didn't intent to do a tutorial, so some pictures are lacking, I apologize. Meh Bought a styrene rod/tube combo pack from Evergreen First I measured the lengths of the kit shocks so I know where I would need to be when done with the new ones. Choppy Choppy. i used a PE saw to carefully separate the caps from the bodies. I then carefully sanded the flat part of the shock caps flat and level. I made new bodies out of the styrene tube I made a mockup to check the overall length. Perfect I started with copper wire, but realized I would have to paint it. I tried solder, it looks like natural metal, but it's hard to handle without squishing the springs. I used the same rod as the shock bodies and wrapped it around, then straightened it out. I left them compressed like this so I could match the lengths exactly. I then carefully sanded the ends flat like normal springs. I left the solder springs on the plastic rod as a support while sanding, otherwise it would just bend all over the place Then I used the shaft of a pick to put in between the coils and spin it. This spaces the coils evenly. I also made shafts that go in inside the tube and will mount inside the holes I drilled in the caps. This way they will be sort of pinned in there with glue for a secure bond. Also, this will keep everything together and elminate the chance of any bending of the solder springs. Here is the finished mockup. I will still need to paint the bodies and caps. I wanted to do the body from Aluminum tube, but didn't have the right size. This is the right solder size for these shocks
- 21 replies
-
- model a
- 29 roadster
-
(and 2 more)
Tagged with:


