Search the Community
Showing results for tags '59 sports sedan'.
Found 1 result
-
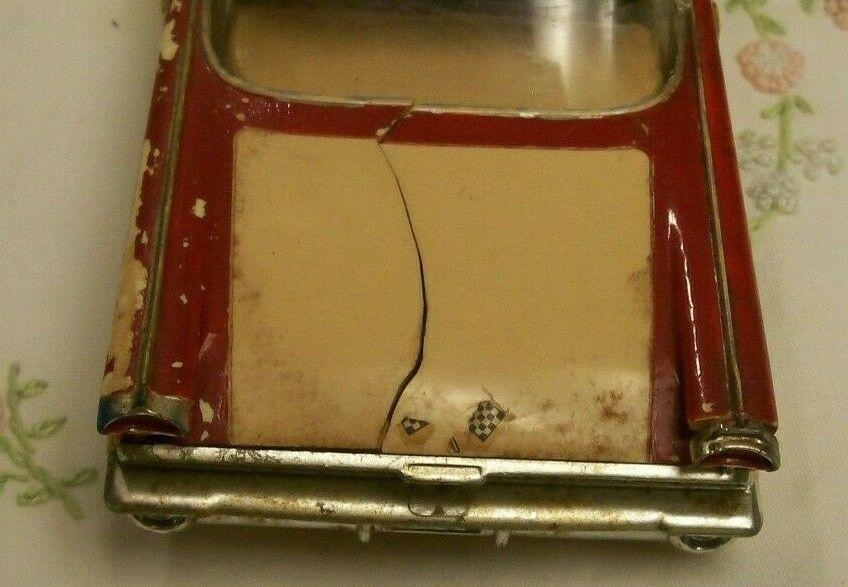
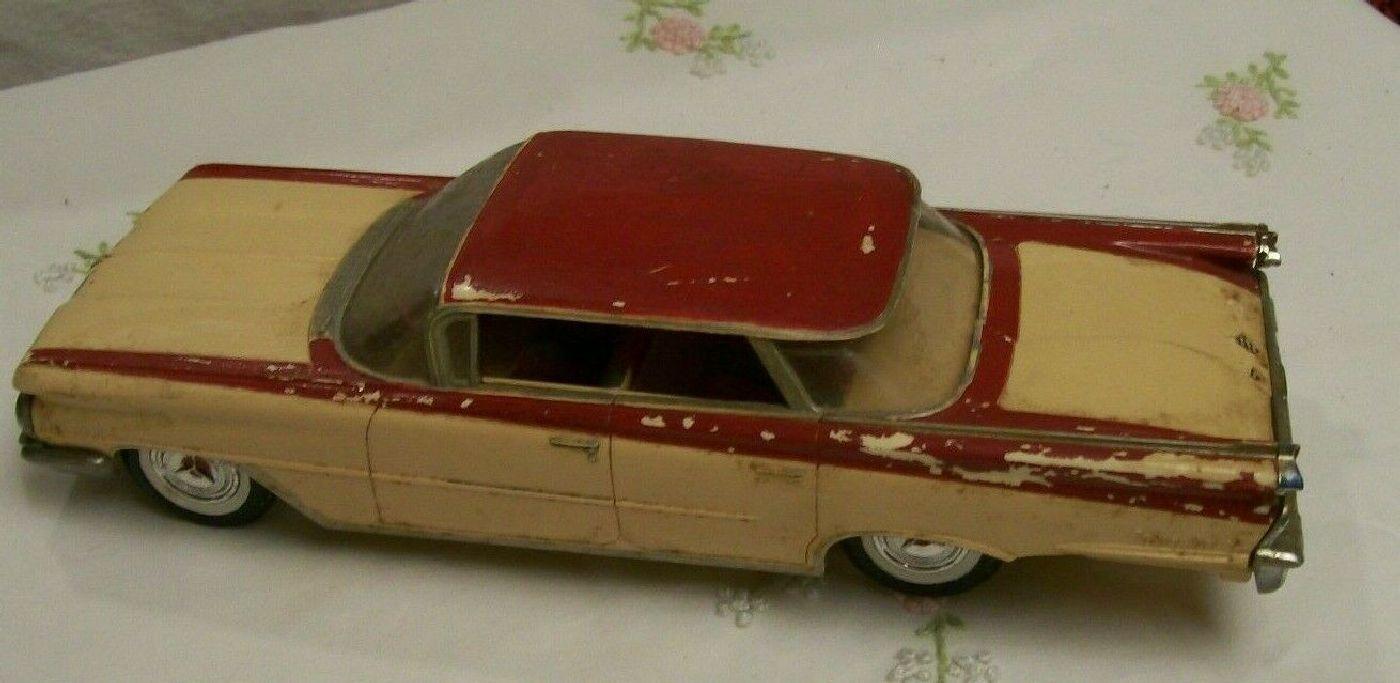
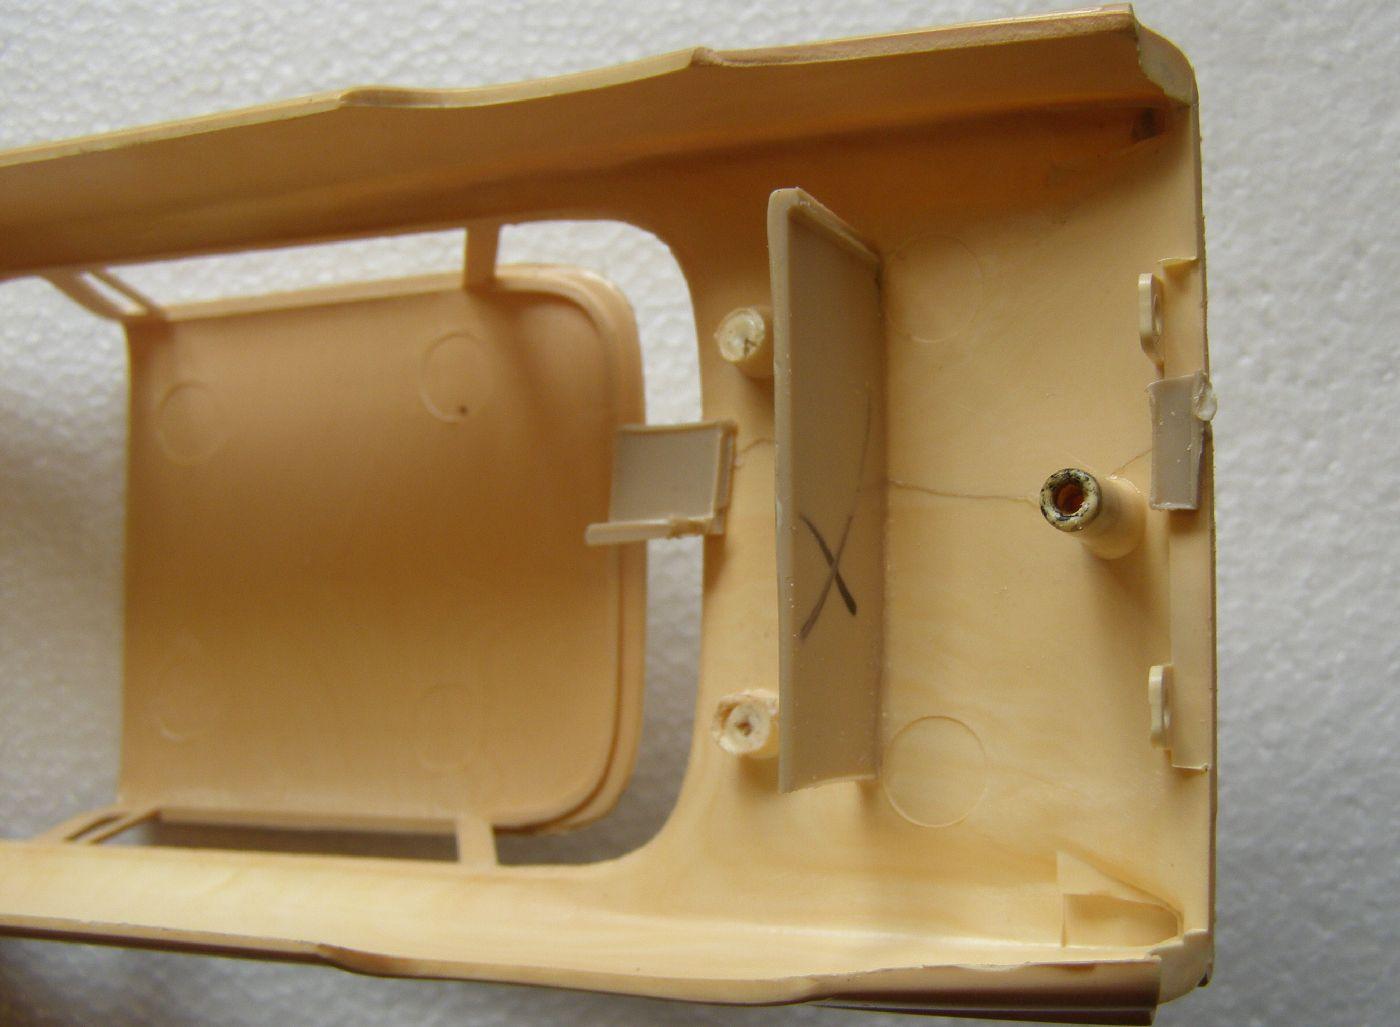
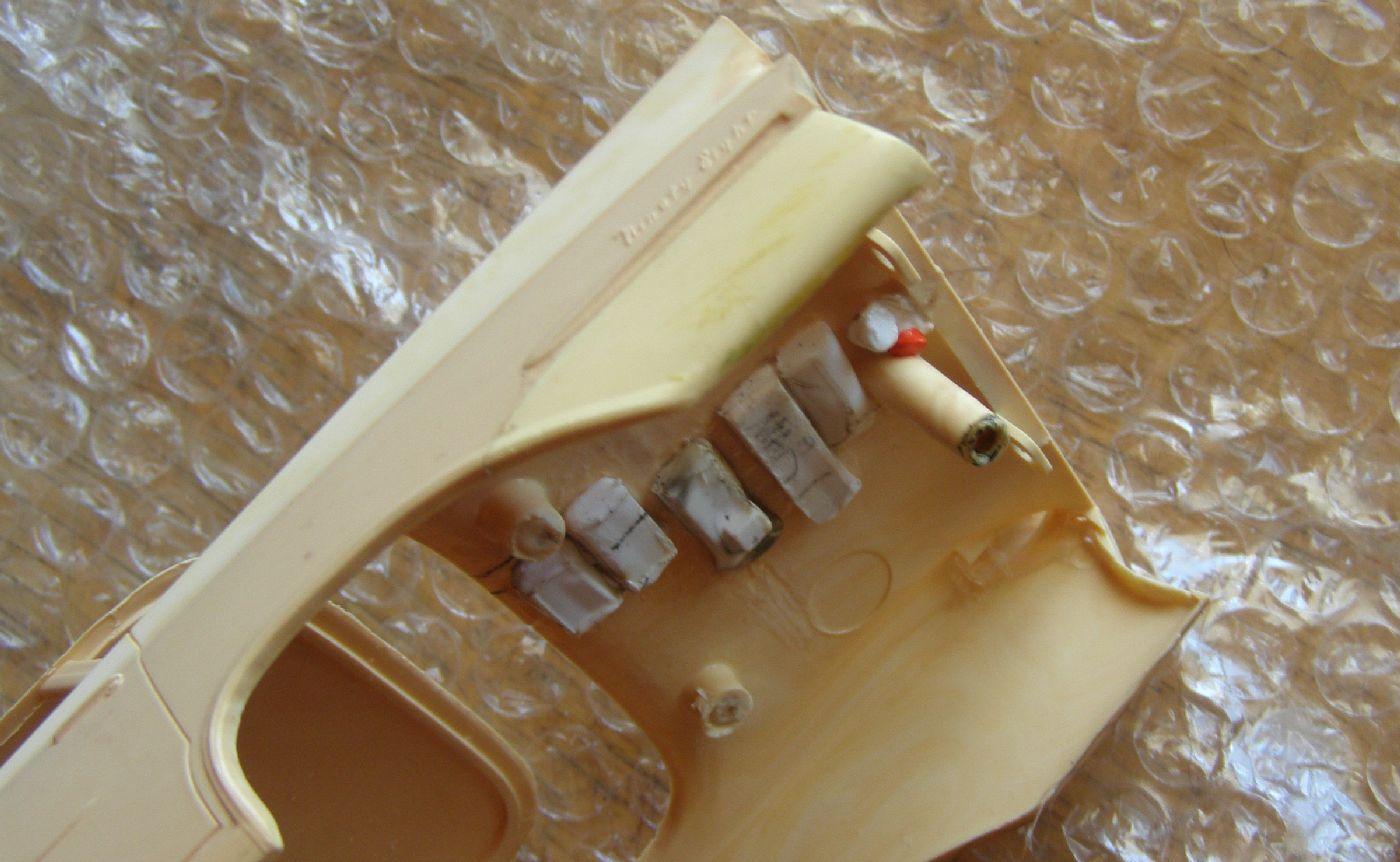
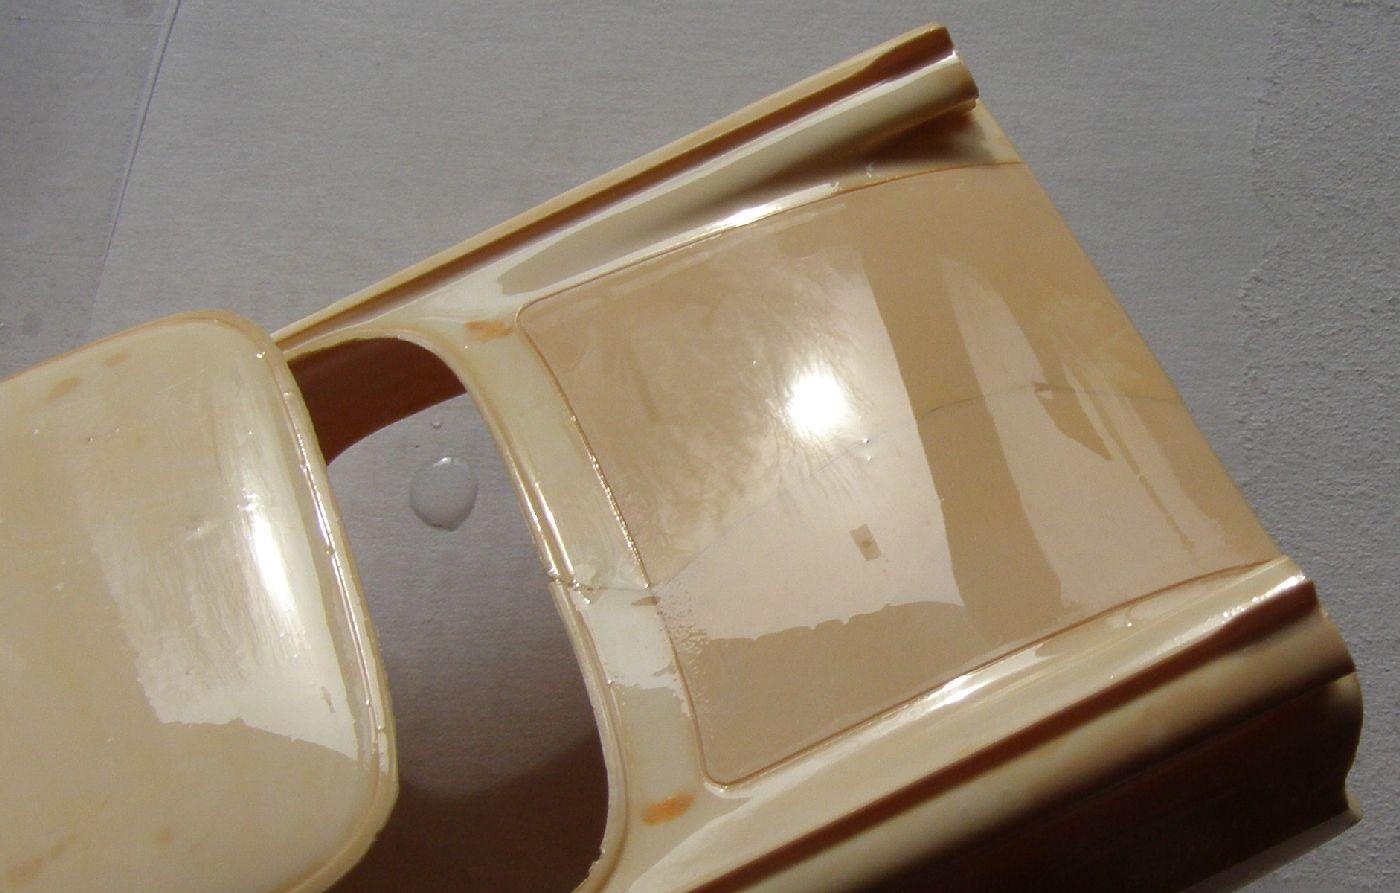
This adventure began about 10 years ago when the Donor fell into my lap out of an eBay junk box buy. It had the door handles and other fine details already carved off. Then began a 9 year search to find an affordable twin to fix. This one popped up about a year ago. Trunk lid broken all the way through, a piece behind the left rear wheel missing from the body. Between the two of them, enough to make one, with leftovers! The Perfect Candidate! -------------------------------------------------------------------------------------------------------------------------------------- While stripping the 60 years old paint The Plan was formulated. Make a template of the underneath side of the Donor trunklid, using those big ejector pin marks as a guide line. Then superglue HALF of the template to HALF of the Patient's trunklid. Once the glue set for a few days, a soupy mix of Testors Red and Testors Liquid was applied to both halves of the trunklid crack. Then superglue applied to the other HALF of the template and then the template was pressed into the trunklid while the other hand pressed the upper quarter panels together. This took a solid 5 minutes on the digital clock. After letting go, i saw that both ends of the crack were slightly out of flush so i quickly made 2 more bridges and superglued them to hold those edges in position. The intent, of course, was to avoid using filler to correct a broken trunklid that was curved in both directions. This is what it looked like: -------------------------------------------------------------------------------------------------------------------------------------- After a few months for the Testors to harden, little bridges were contoured slightly, with heat, to match the curve of the trunklid underside and glued in place with more Testors. Why not superglue? It's way too brittle for something like this. The blob at the trailing edge of the crack is a piece of fat sprue that was heated up and pushed in to deform and match that spot. Then it was pulled off and glued into place. After 5 patches were allowed to set up, the template was ground away and the 6th bridge piece was glued into place. About the same time, the break line in the quarter panel was straightened and squared up. Then a patch cut from the Donor, finessed and glued into place. It still needs some reinforcing on the inside. -------------------------------------------------------------------------------------------------------------------------------------- After several more months for the patches to set, the surplus glue on the topside of the trunklid was carved off then block-sanded. It took only a few minutes. It came out pretty good, IMHO. BTW, that's soapy water.