Search the Community
Showing results for tags 'malibu ss 396'.
Found 1 result
-
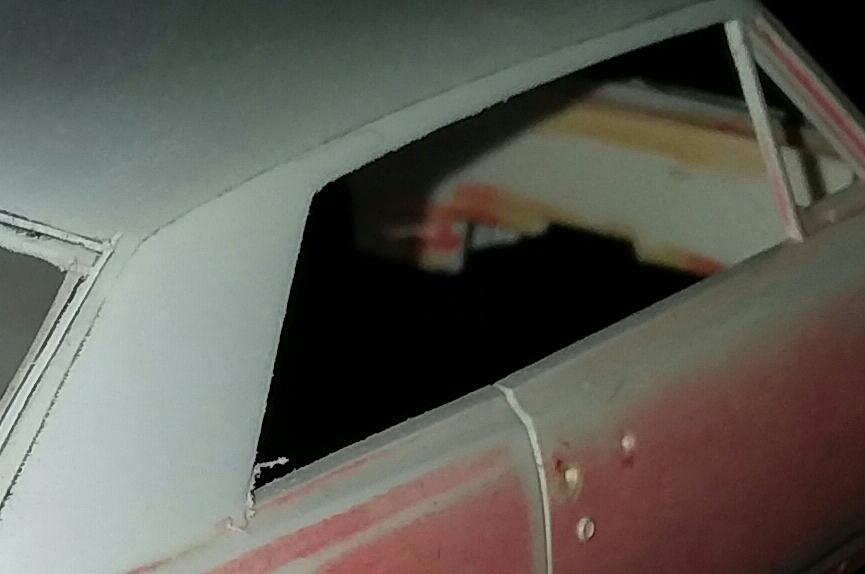
Not sure if this is in the right location. But.... I don't do WIP builds, I just like building. I may not finish the project, but I want to share my techniques and tips for others benefit. So please enjoy! Why does the roof of the Revell 65 Malibu SS look so wrong? Some say it's the curve of the rear quarter window, but its more than that. The roof looks swollen and puffy instead of sleek and graceful. Compare the real thing with the kit I have on hand. Yes the side window drip rails are perfectly straight, instead of curving slightly down from the front to back. But why does the kit roof have so much of a crown? Almost like a sedan roof. Why are the C pillars rounded instead of flat? The roof edges should have corners. And finally, why is the rear window too short for the roof. That one's obvious! First off, I took a sanding stick and flattened out the sides of the C pillars, being careful to remove the drip rail and make corners on the roofline. After that was done, I noticed the drip rail was originally too low anyway, so I took that as an opportunity to slightly raise the side window opening and give it some curve. The lines are drawn on to show where the roofline now has a corner and that the window has the same curve to it. A small strip of evergreen will be attached to replace the drip rail. Notice how I block sanded down the crown of the roof to flatten it and take out the excessive waterfall out of the top of the rear window opening. Before After Lastly, I marked how short the original window opening is by drawing and scribing a line about 3/16" above the window. I personally used a razor saw to run a small groove line where the new window trim will be. Pencil line is drawn where the grooves are. I will then remove the plastic covering the opening up to about 1/16" below the groove. This will be the new trim around the new window opening. Finished results.