Big Ed Sr
-
Posts
6 -
Joined
-
Last visited
Big Ed Sr's Achievements
MCM Member (2/6)
-
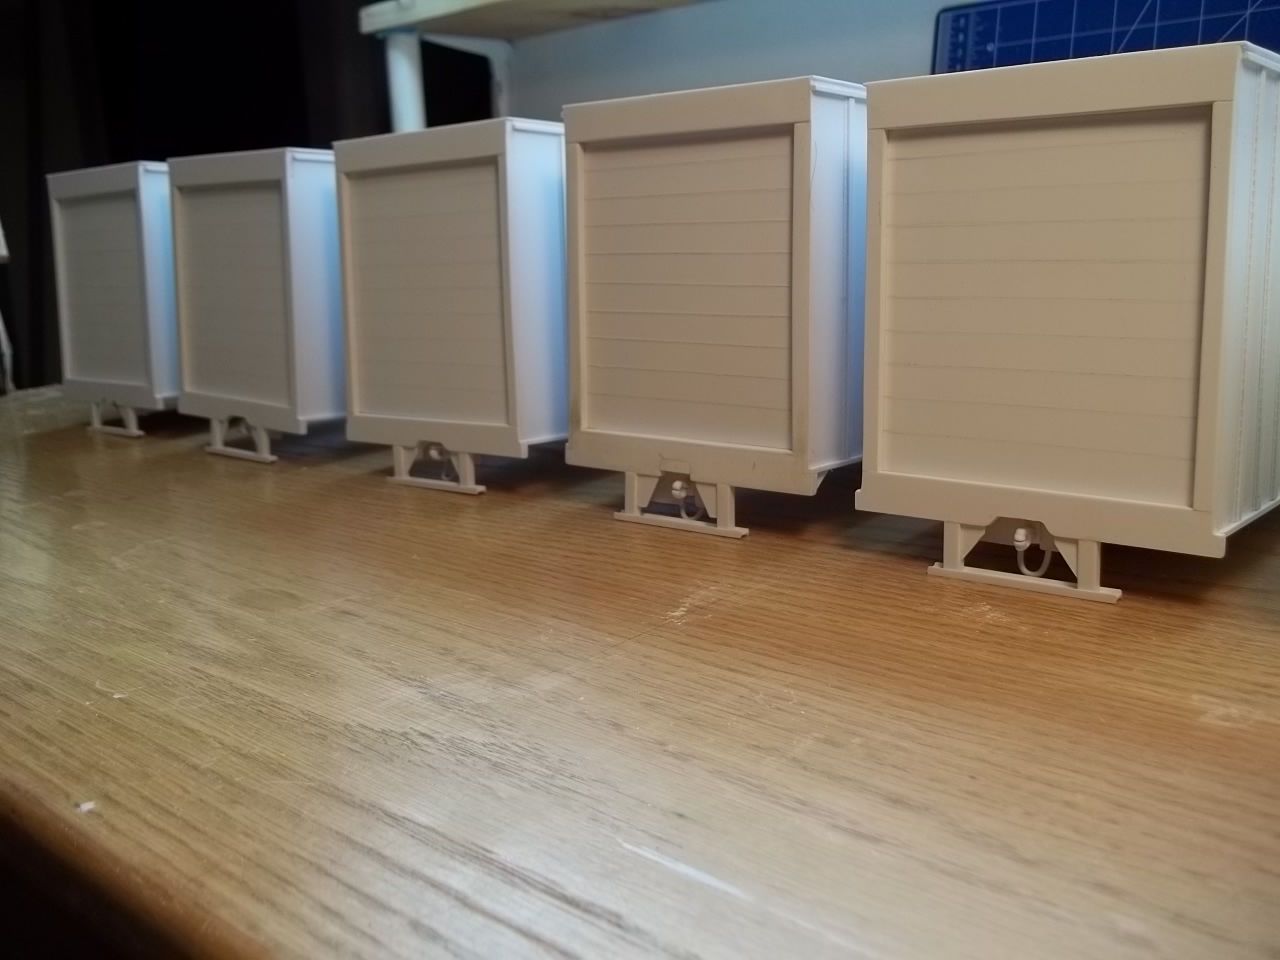
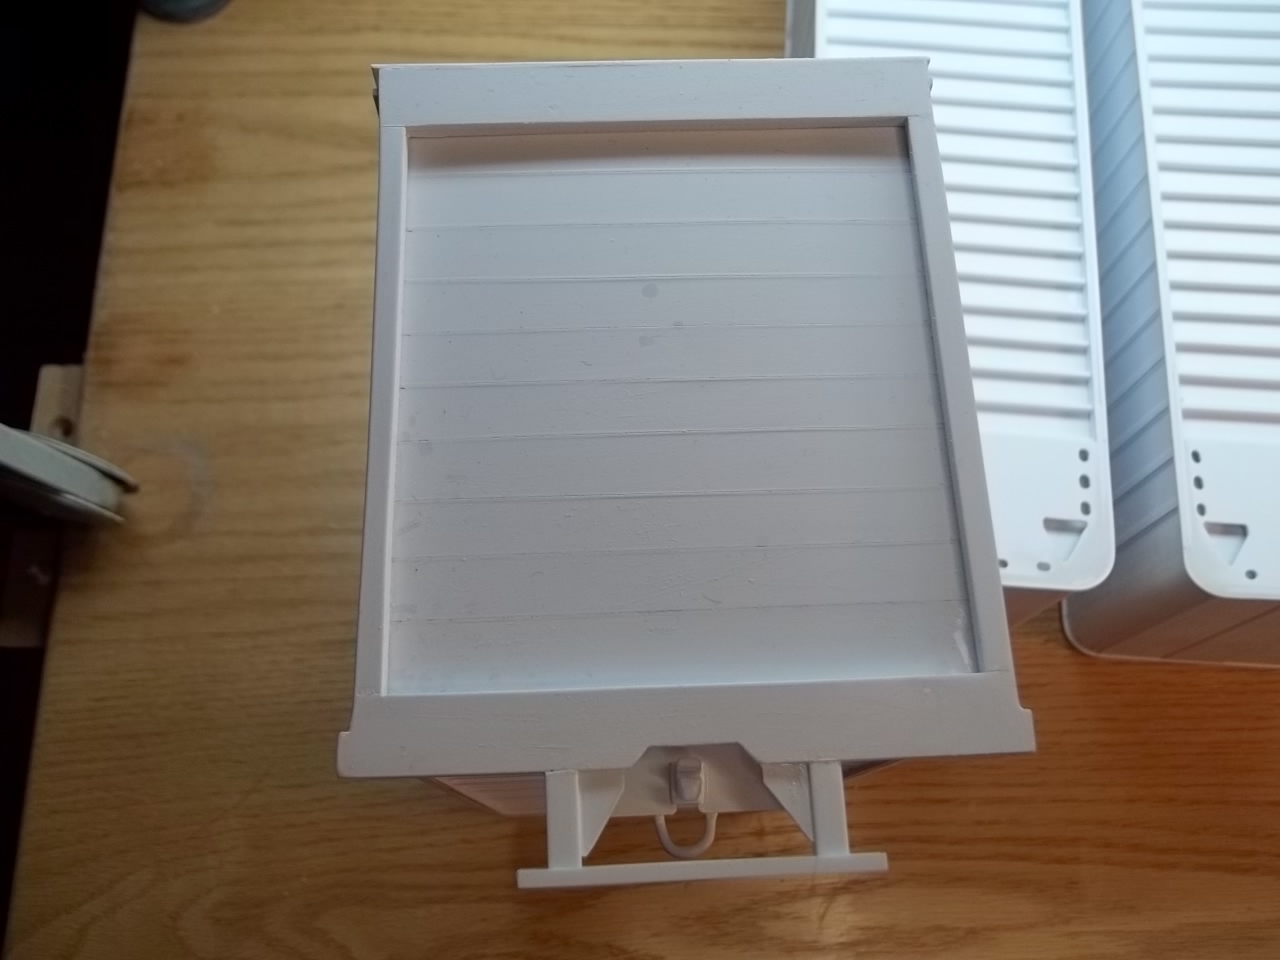
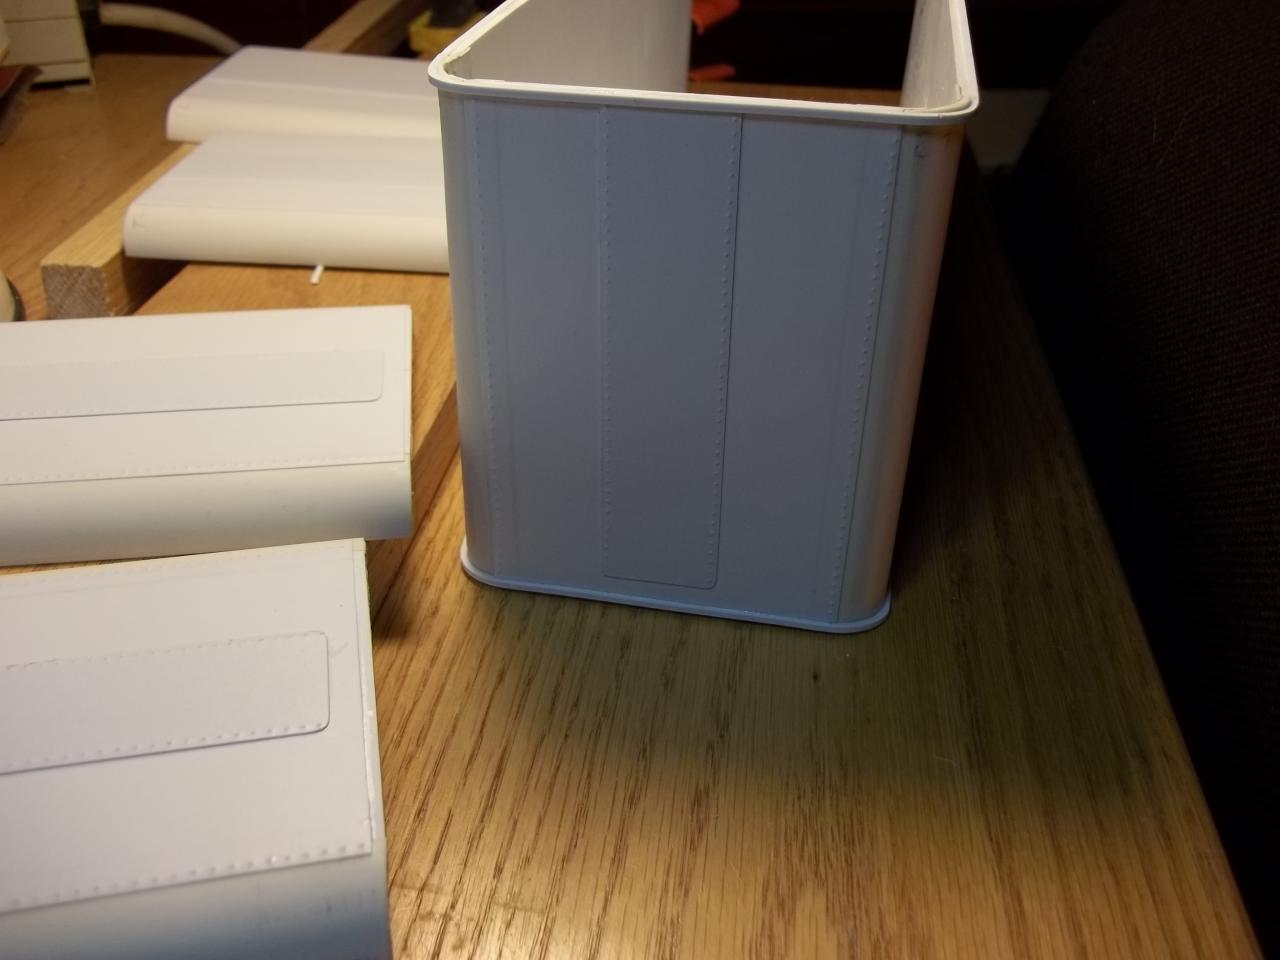
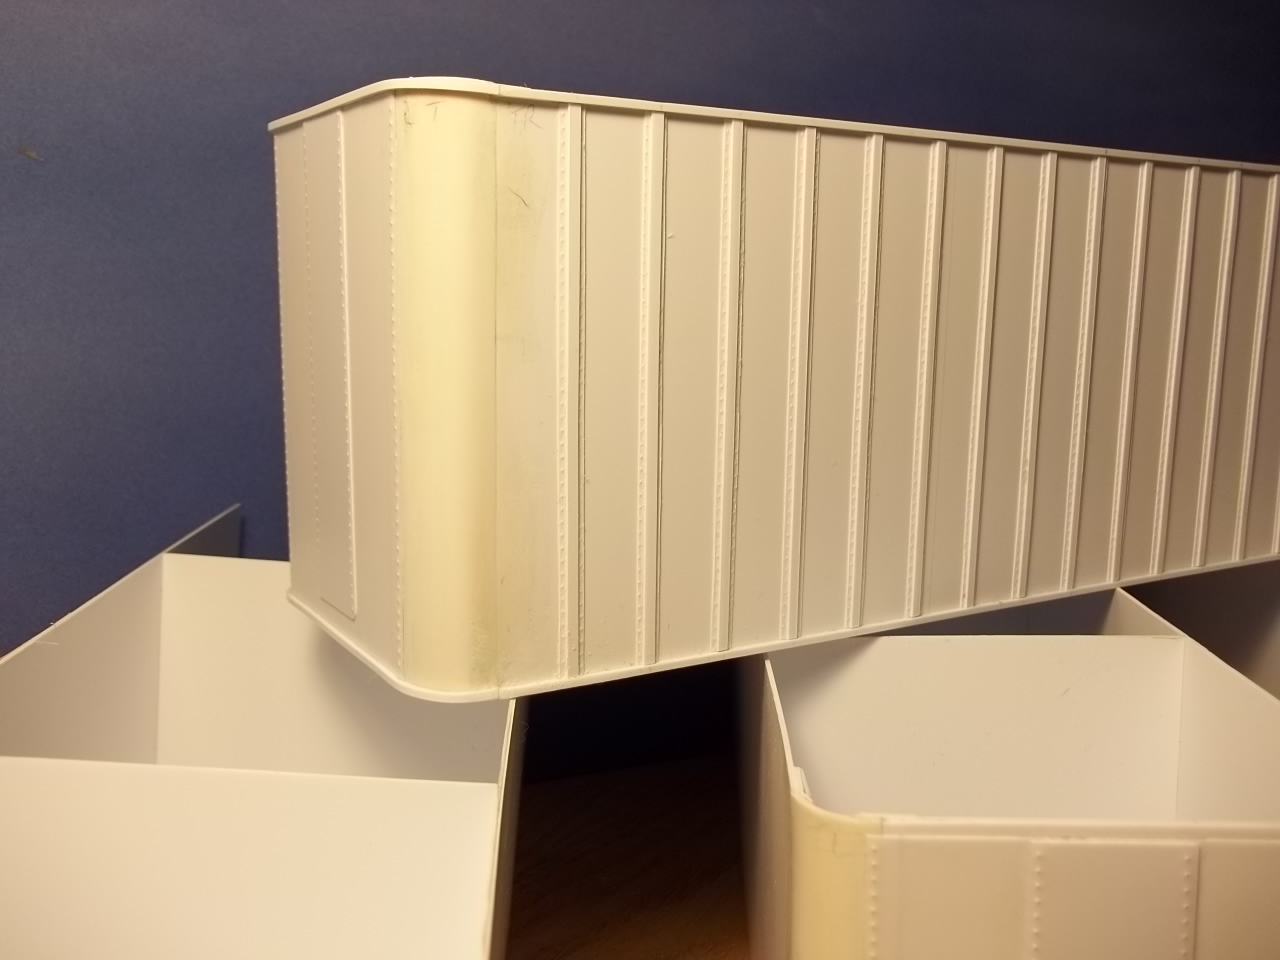
 This is my work to date on the 27' Trailmobile Trailers. I am using the AMT model as the basis for my trailers. I varied a bit on the ICC bumper, reinforcement for the pintle mount and a more robust frame for the rear door, but I have pretty much followed the lines of the AMT. I still have some minor body work to do but the boxes are essentially finished. I'll add king pins where needed then on to landing gear and suspensions. This has taken much longer than I had expected but I'm learning much as I go. I'll have to wait for spring to prime and paint but at the rate I'm going it may be summer!
-
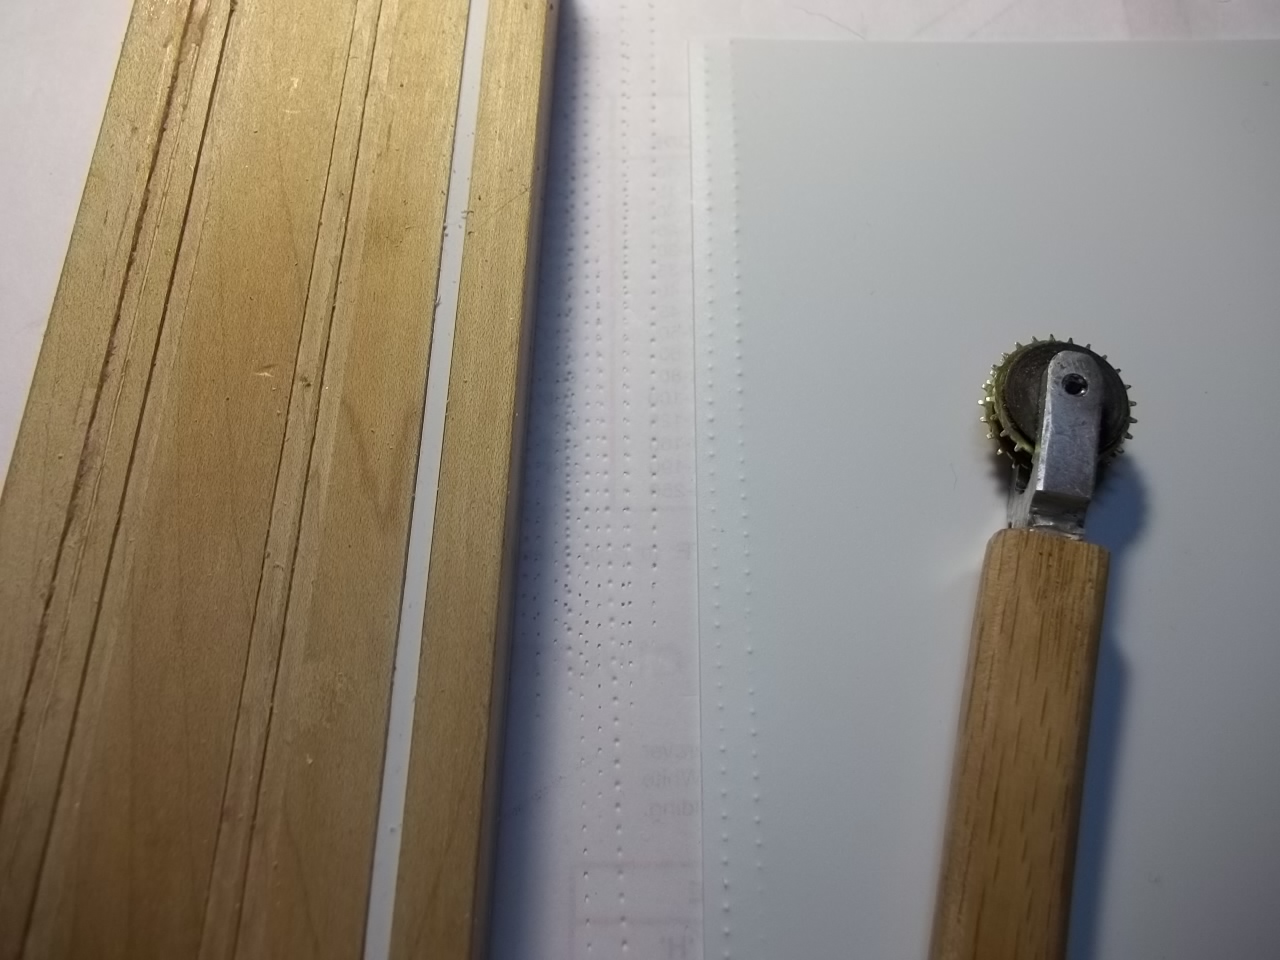
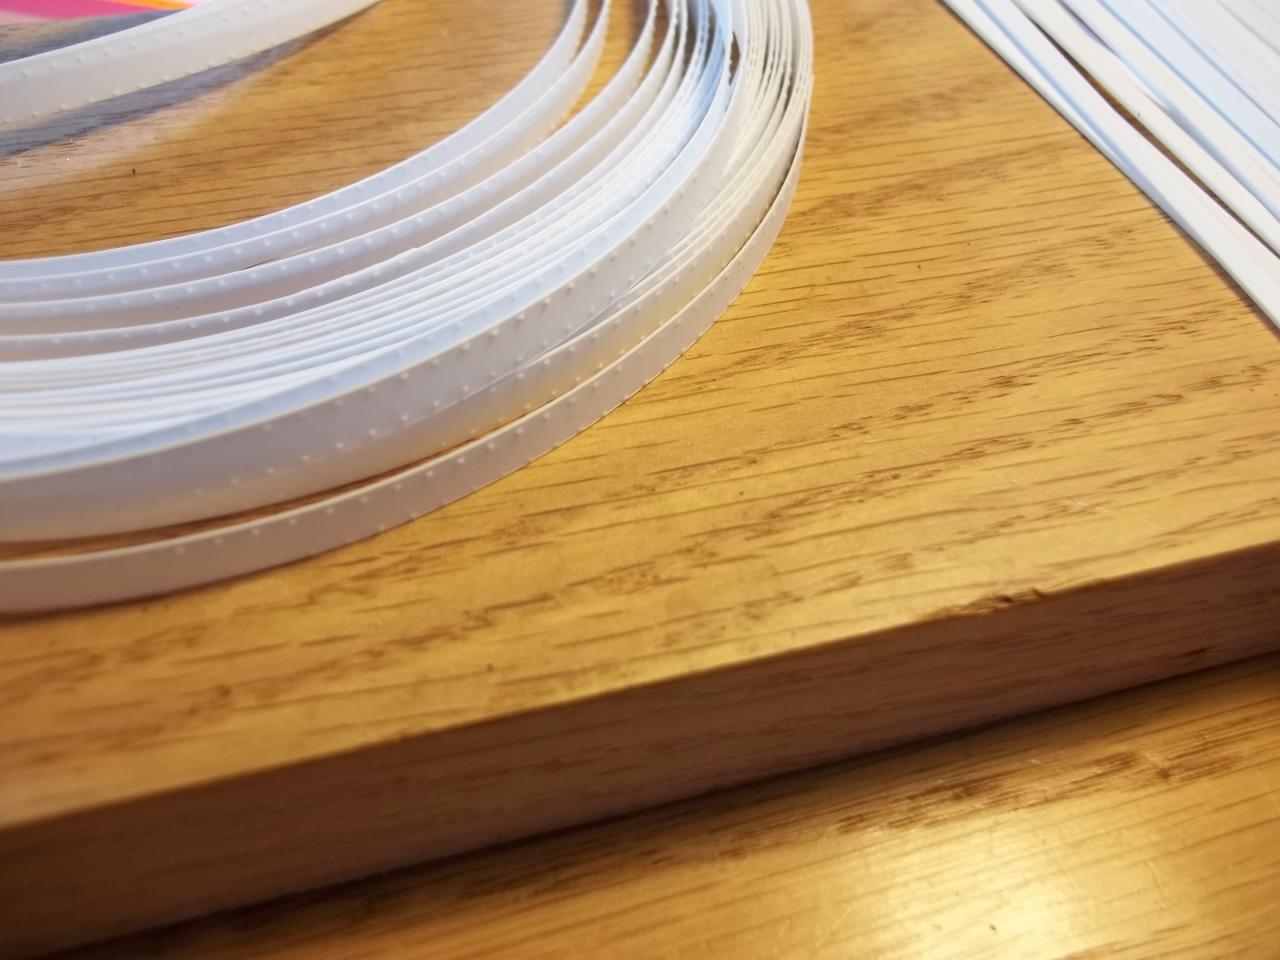
I would describe it as medium even pressure. I went though quite a few trial and error pieces before I got 2 evenly formed rows.
-
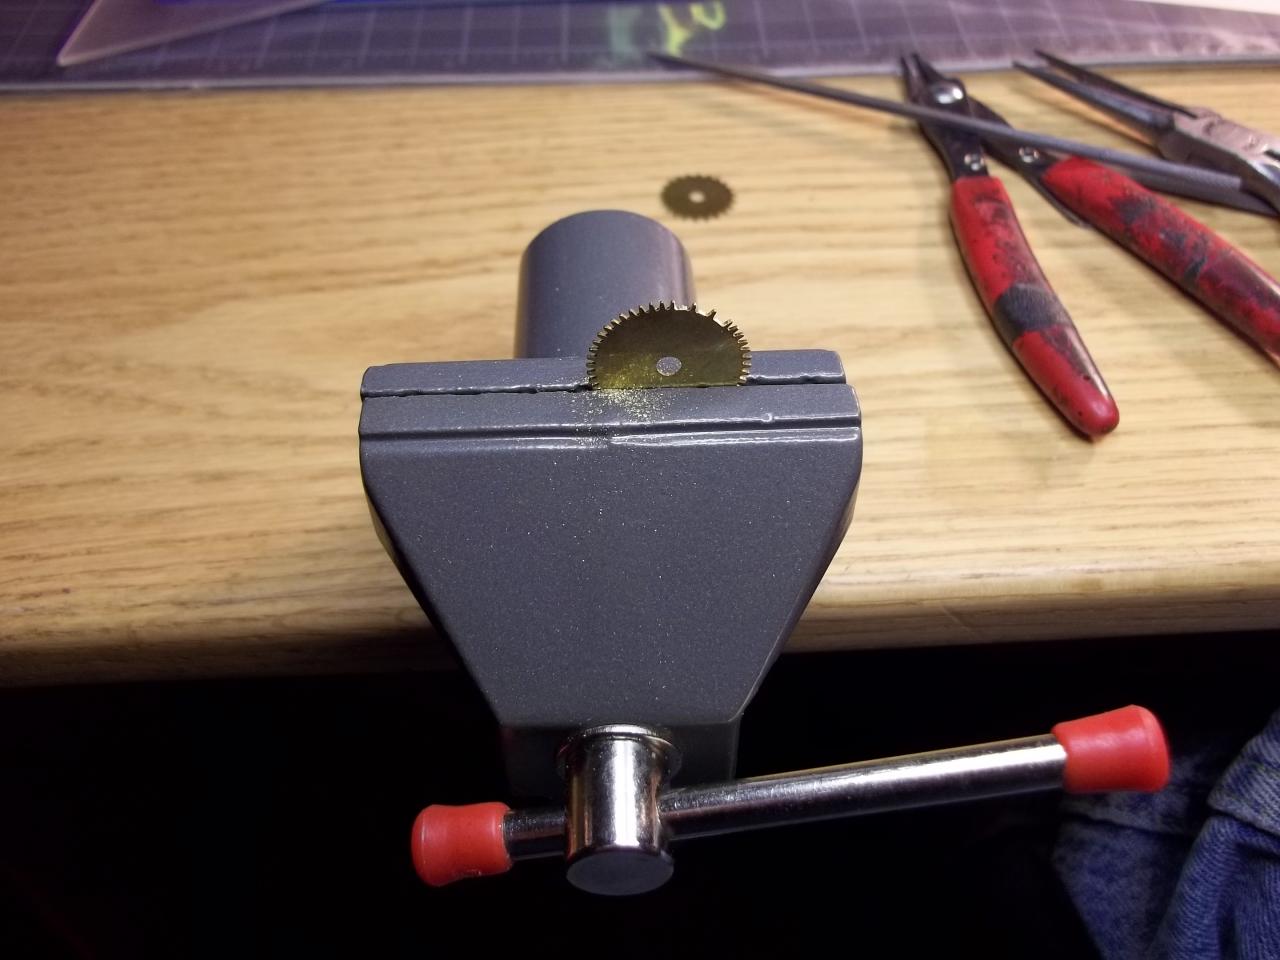
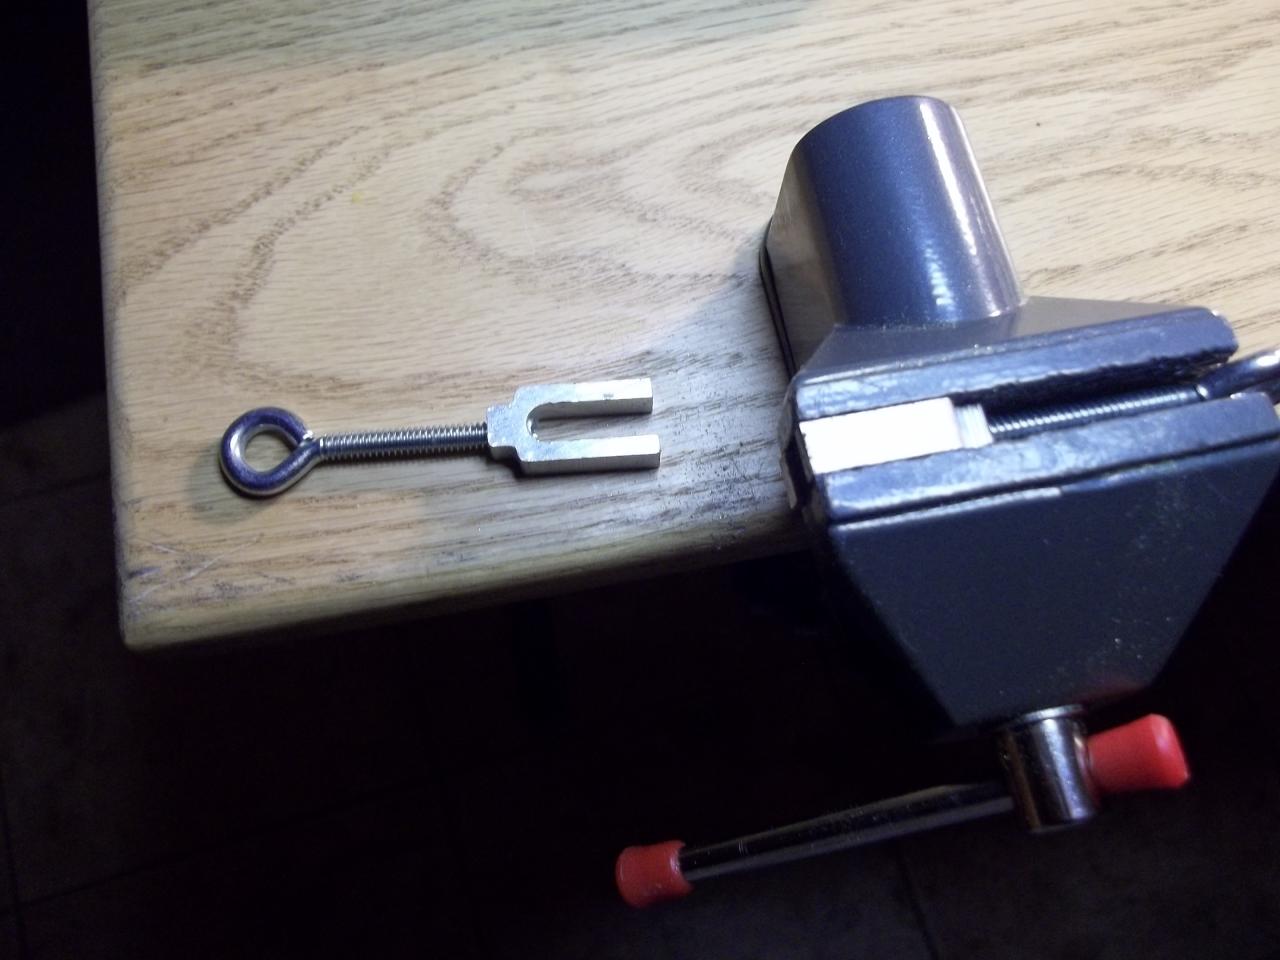
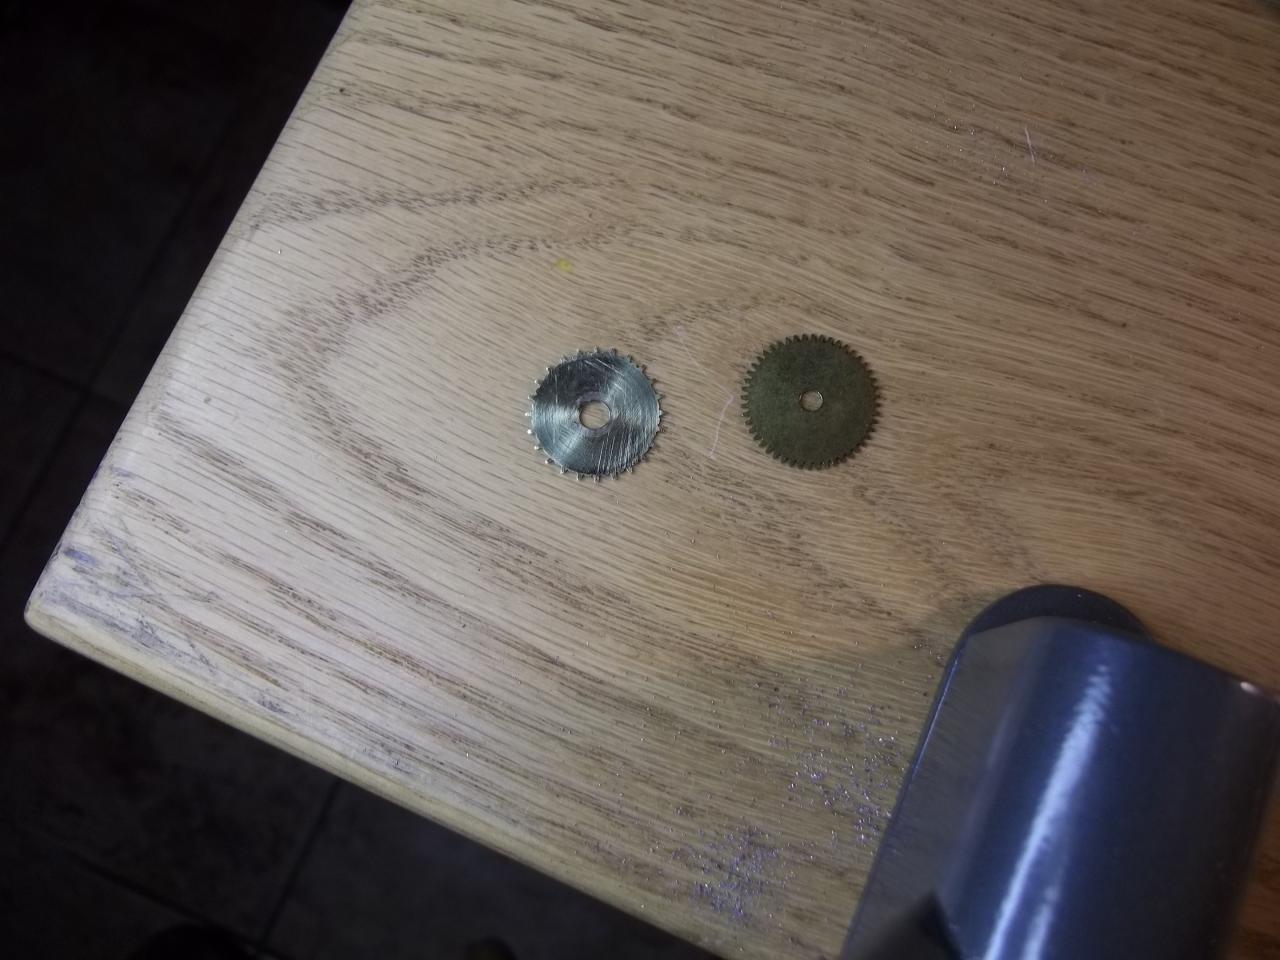
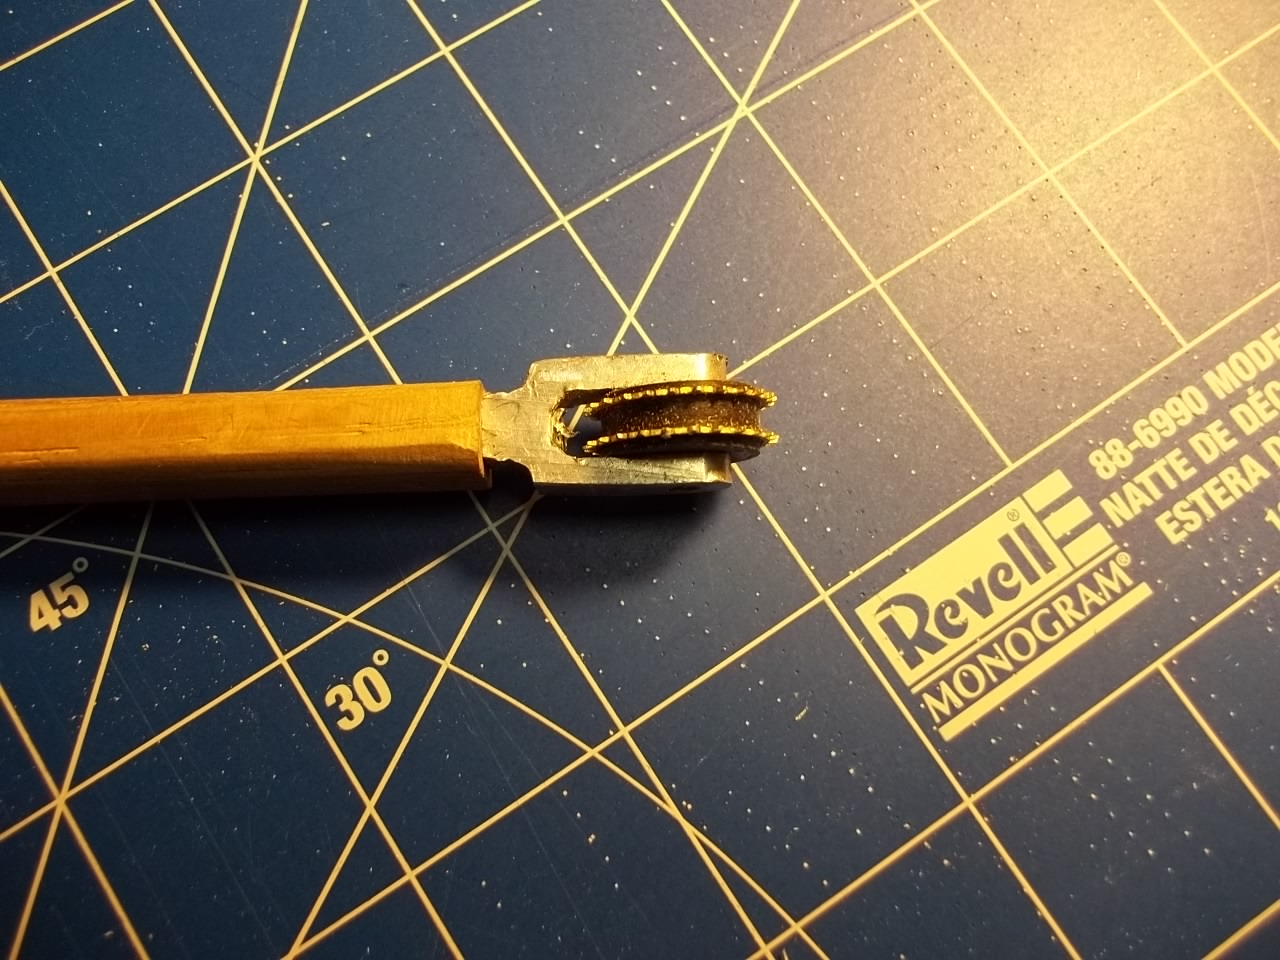
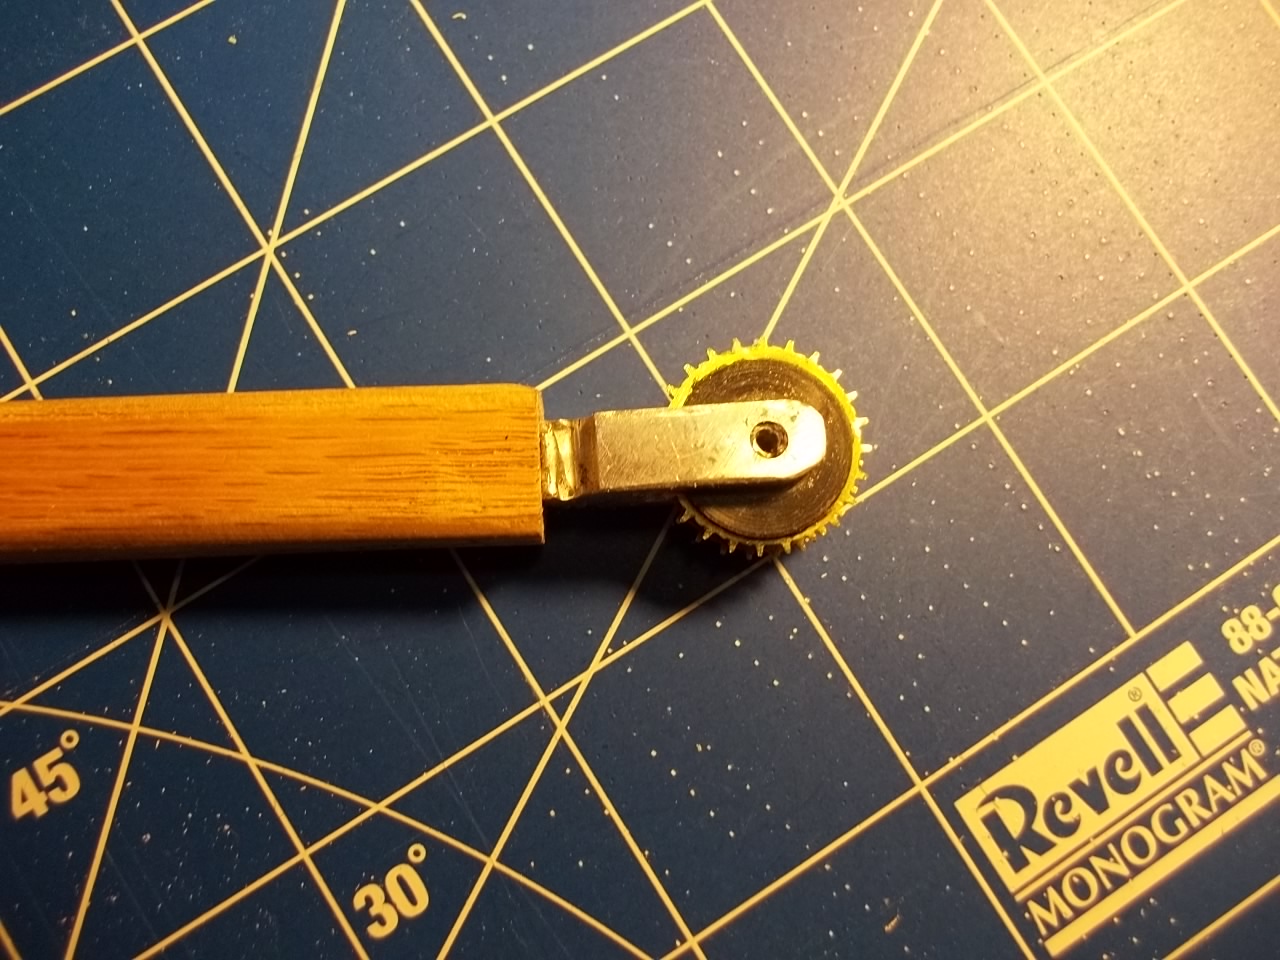
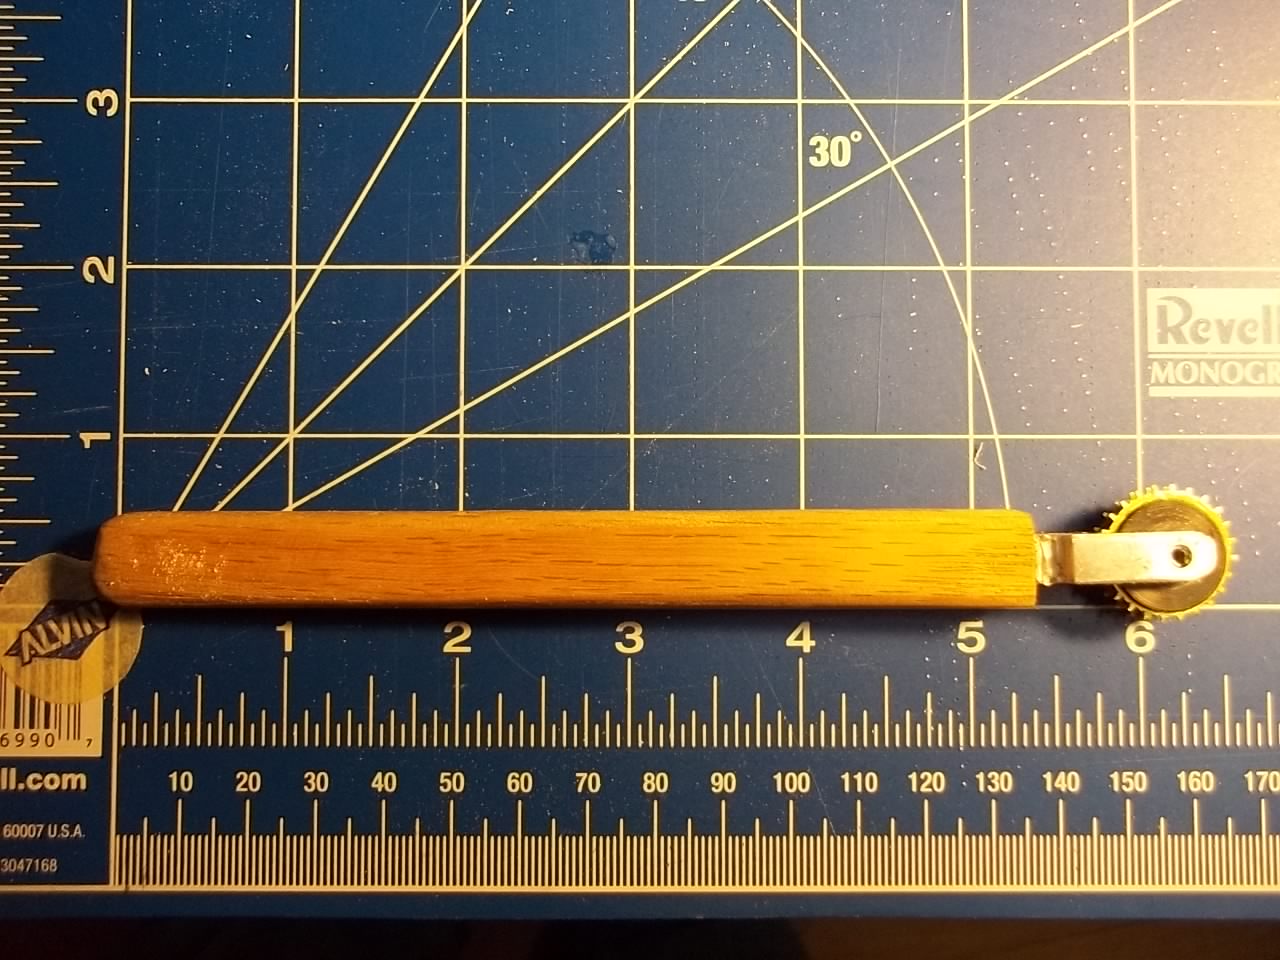
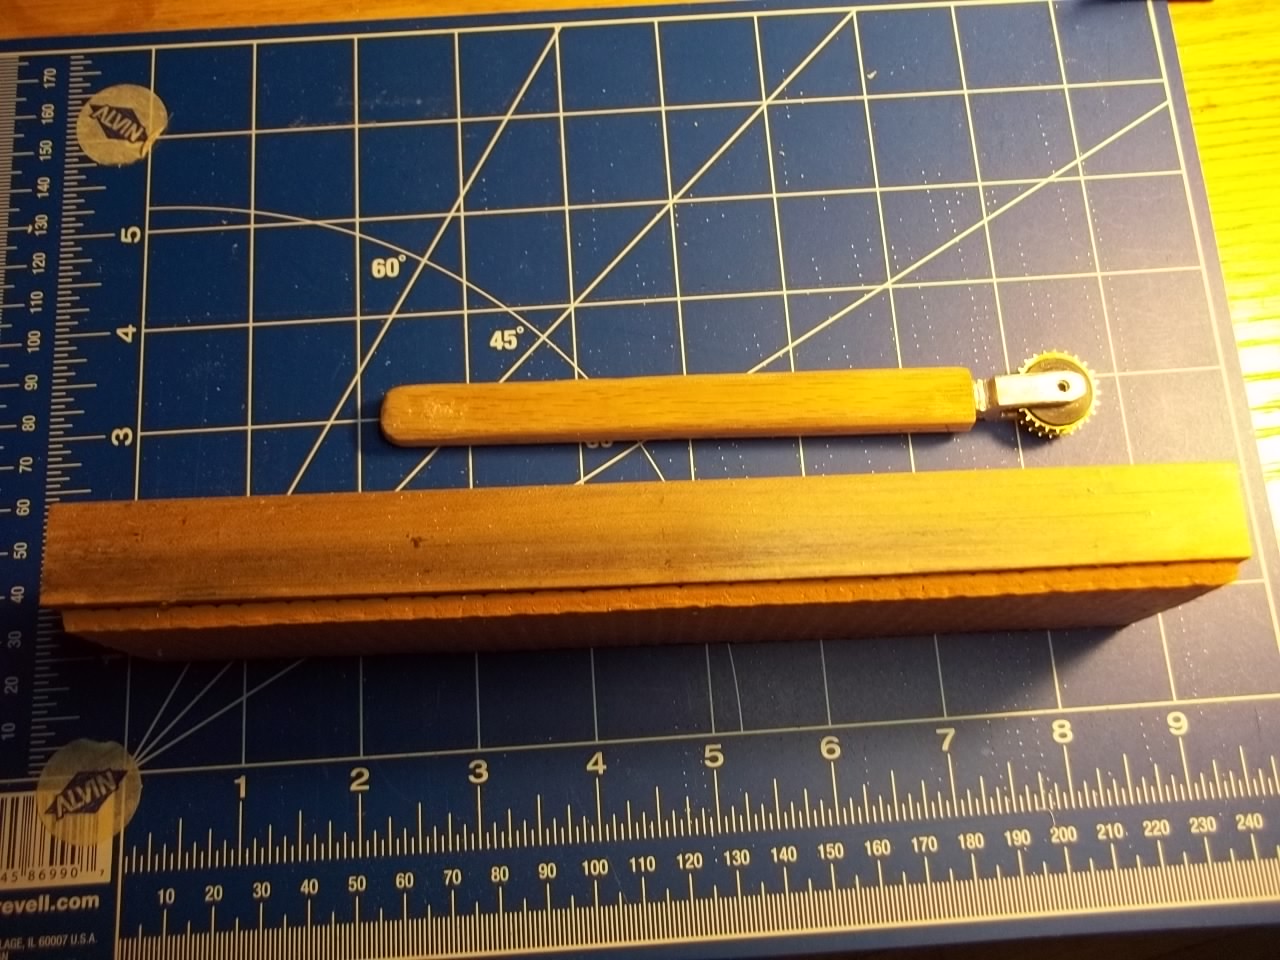
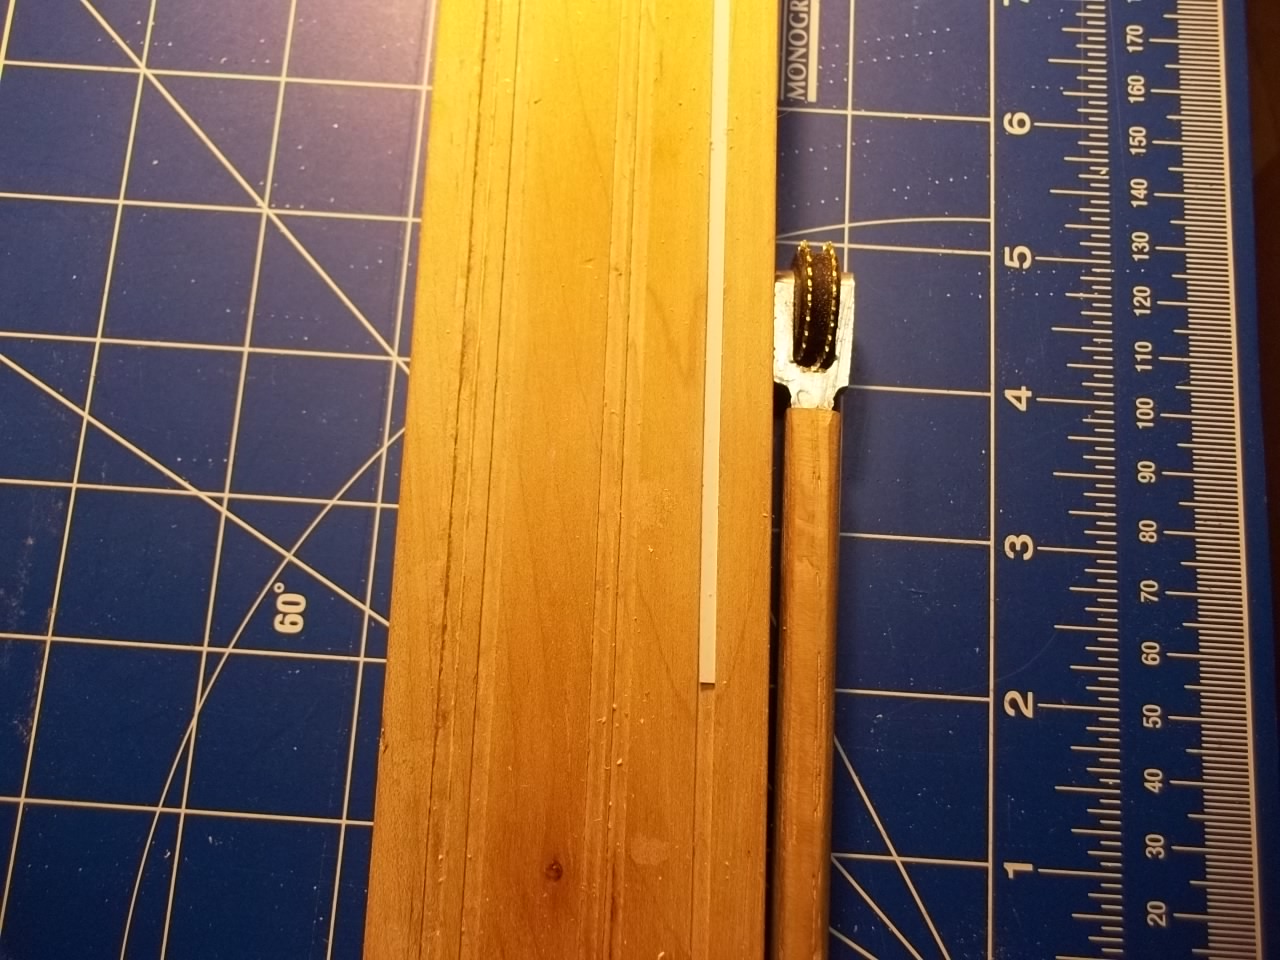
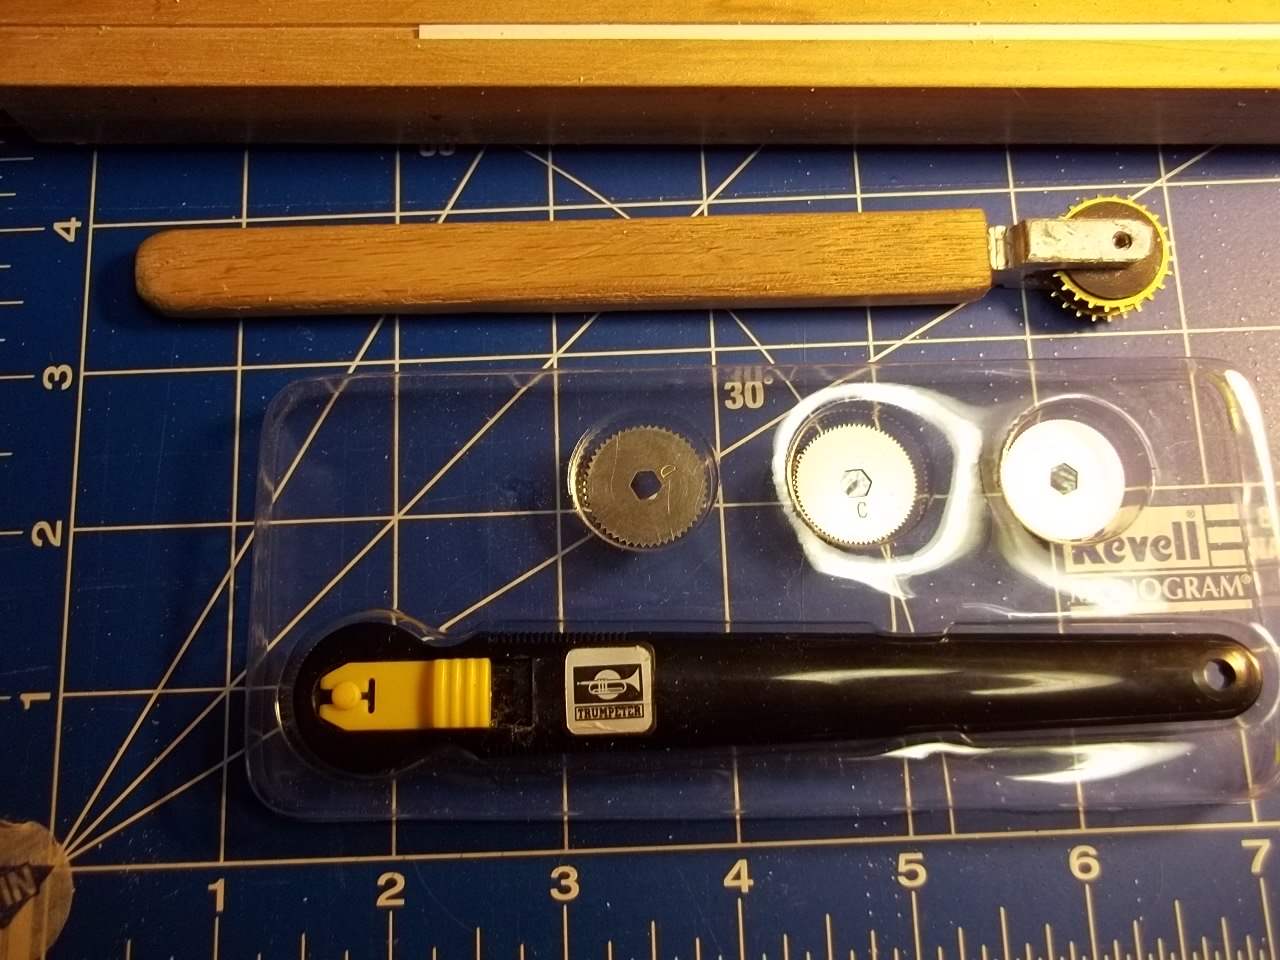
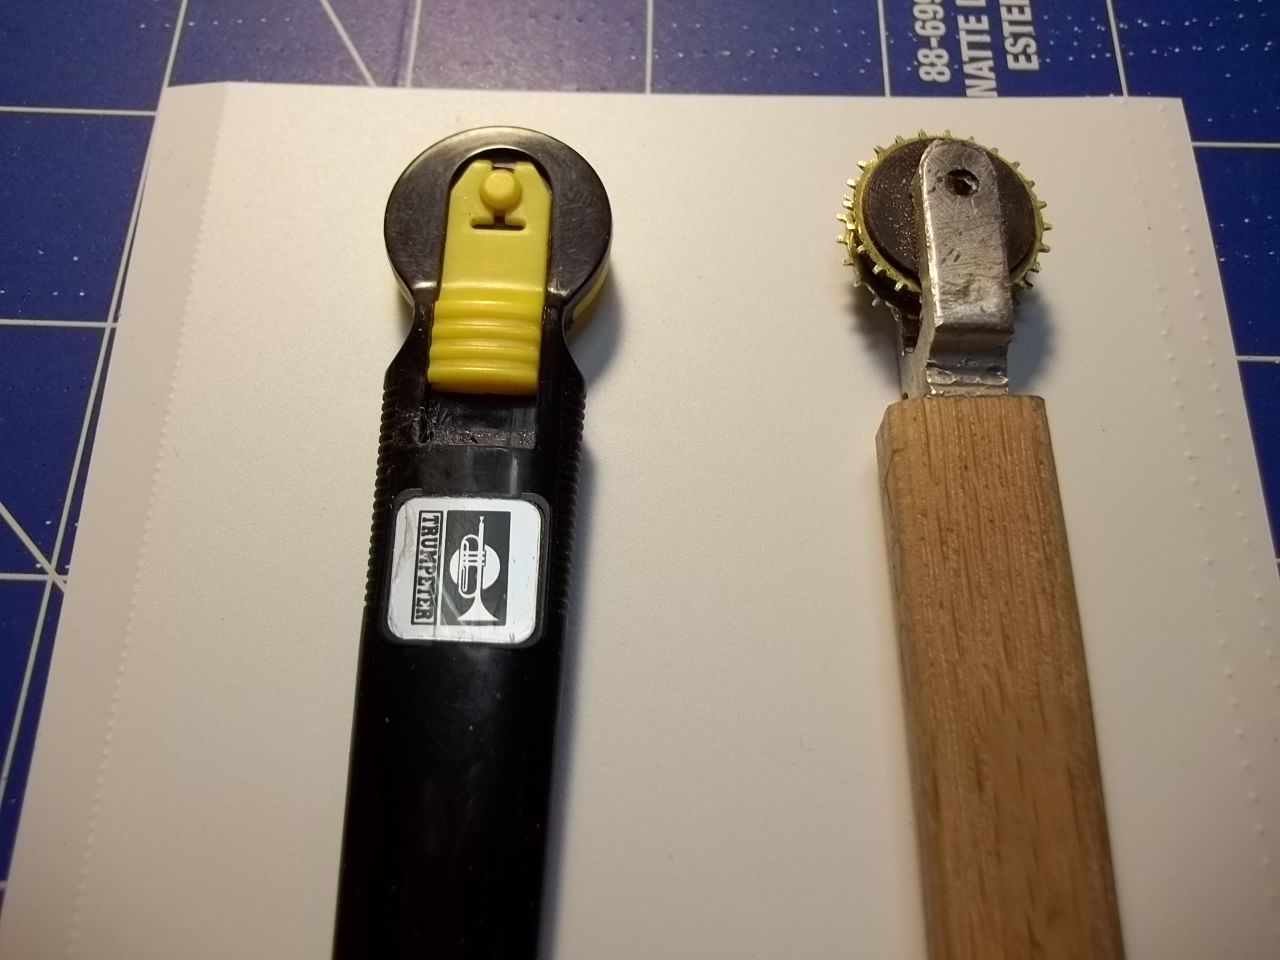
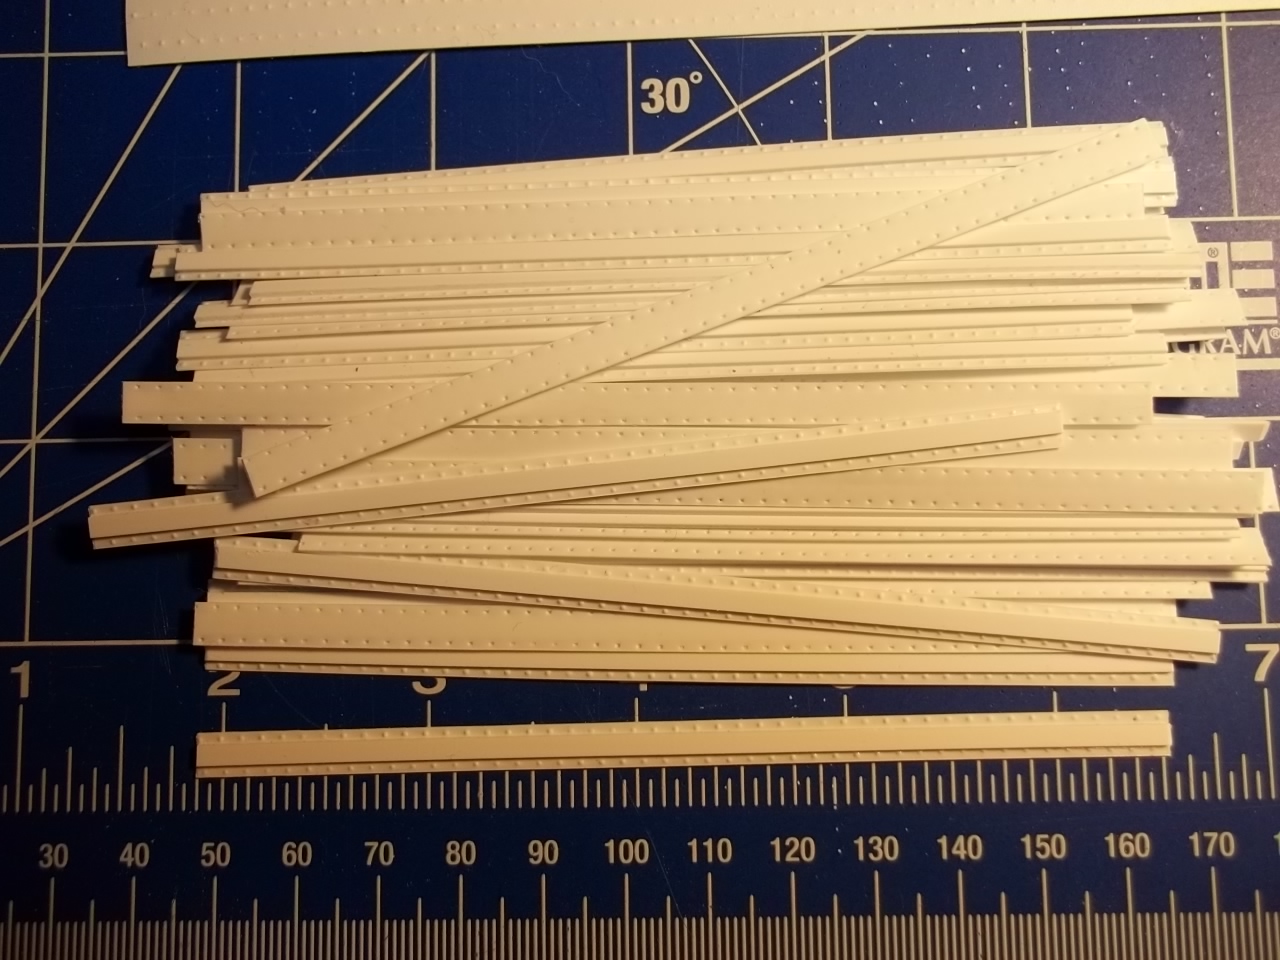
I dove into scratch model building as my solution to the limited choice of trailer model kits in 1/25 and the scarcity of pup kits. I'm most interested in the 60's thru 80's era and the popular style of trailer construction was the exterior post. Adding rivet details became the key to my plan to build a fleet/fleets of trailers. The decal type of rivet details may have worked but I didn't think I could crank out the numbers of of pieces that I would need and do it well. Getting the rivets right was actually where I started. I wanted to model the exterior post trailers and the posts were a real challenge. The posts needed to be essentially a double row of rivets. I tried a commercially made single row rivet tool but the spacing and size were too far off for 1/25 scale and making the 2 rows consistently with the single row tool was impossible. So I ended up making a double row tool to do the posts and I found that I could use just one side of the tool to make single rows of rivets for the panels. The double row rivet tool is made from things that I had on hand but to those who are inclined could come up with a similar tool. The frame of the tool is half of an aluminum turn buckle with 10/24 (I think) thread. The handle is a strip of oak that I drilled and tapped for the screw to attach to the turn buckle half. The rivet detail wheels are brass gears from an old mechanical timer. I filed off every other tooth to get the spacing that I wanted. I used a tiny square rat tail file. Using these gears made this tool possible for me since I couldn't imagine any simpler way of making the cutting wheels. I drilled across the turnbuckle half, (do this before cutting it or use a spacer to prevent flexing when drilling) to provide an axle for the gears. The axle was a 1/8” roll pin. Finally I turned out a spacer and washers from HDPE to align the gear wheels at the proper spacing for the exterior posts. (you could use nylon bushings and/or washers available at most hardware stores for the same purpose) So far the tool has held up well. Using the tool. There was a long learning curve to get consistently well formed rivet heads, so don't get discouraged! I found that making the rivets with the home made tool directly on a cutting mat caused the teeth of the tool to puncture the plastic. Adding 5 or 6 sheets of printer paper as a cushion solved this and resulted in better formed heads. The guide block that I used was made from hard maple. I found that rubbing a candle along the edge of the wood first helped the tool to track better. The bare wood guide alone didn't hold the plastic firmly in place so I used a scrap of yoga mat glued to the bottom. I've been able to form rivets in .010 styrene for the backs of the exterior posts and .010 and .020 styrene for panel details. Again there was a long learning curve for me to get consistent results. If you are a scratch builder or want to add variety to your models try adding some rivet details.
-
These are a few more pics of my process and the rivet detail tool.
-
Getting the rivets right was actually where I started. I wanted to model the exterior post trailers and the posts were a real challenge. The posts needed to be essentially a double row of rivets. I tried a single row rivet tool but the spacing and size were too far off for 1/25 scale and making the 2 rows consistently with the sinlge row tool was impossible. So I ended up making a double row tool to do the posts and I found that I could use just one side of the tool to make single rows of rivets for the panels. I'll attempt to add a picture of the tool.
-
Hey all this is my first post as a new member. This is my first attempt at scratch building and I have not built any models in decades. I got a notion to build models of some of the trucks that I drove back in the 70's and to build models of others that I thought were too cool! I got into the scratch building because I was frustrated by the scarcity of certain kits, particularly the pup trailers. I became inspired by the scratch project of other members so I decided to give it a go. I didn't plan to build the Trailmobiles but I had an AMT US Mail rig to use as an example so I could gain experience before I get into building Pup Trailers from photos. I intend to build a variety of them including bullnose vans and wedge vans to imitate those of Consolidated Freightways and P.I.E.. Anyways, I'll post my progress. I'll start with 5 scratch Trailmobile Dry Vans. I am in the body assembly phase and am as far along as the photos show.