Search the Community
Showing results for tags 'scratch'.
-
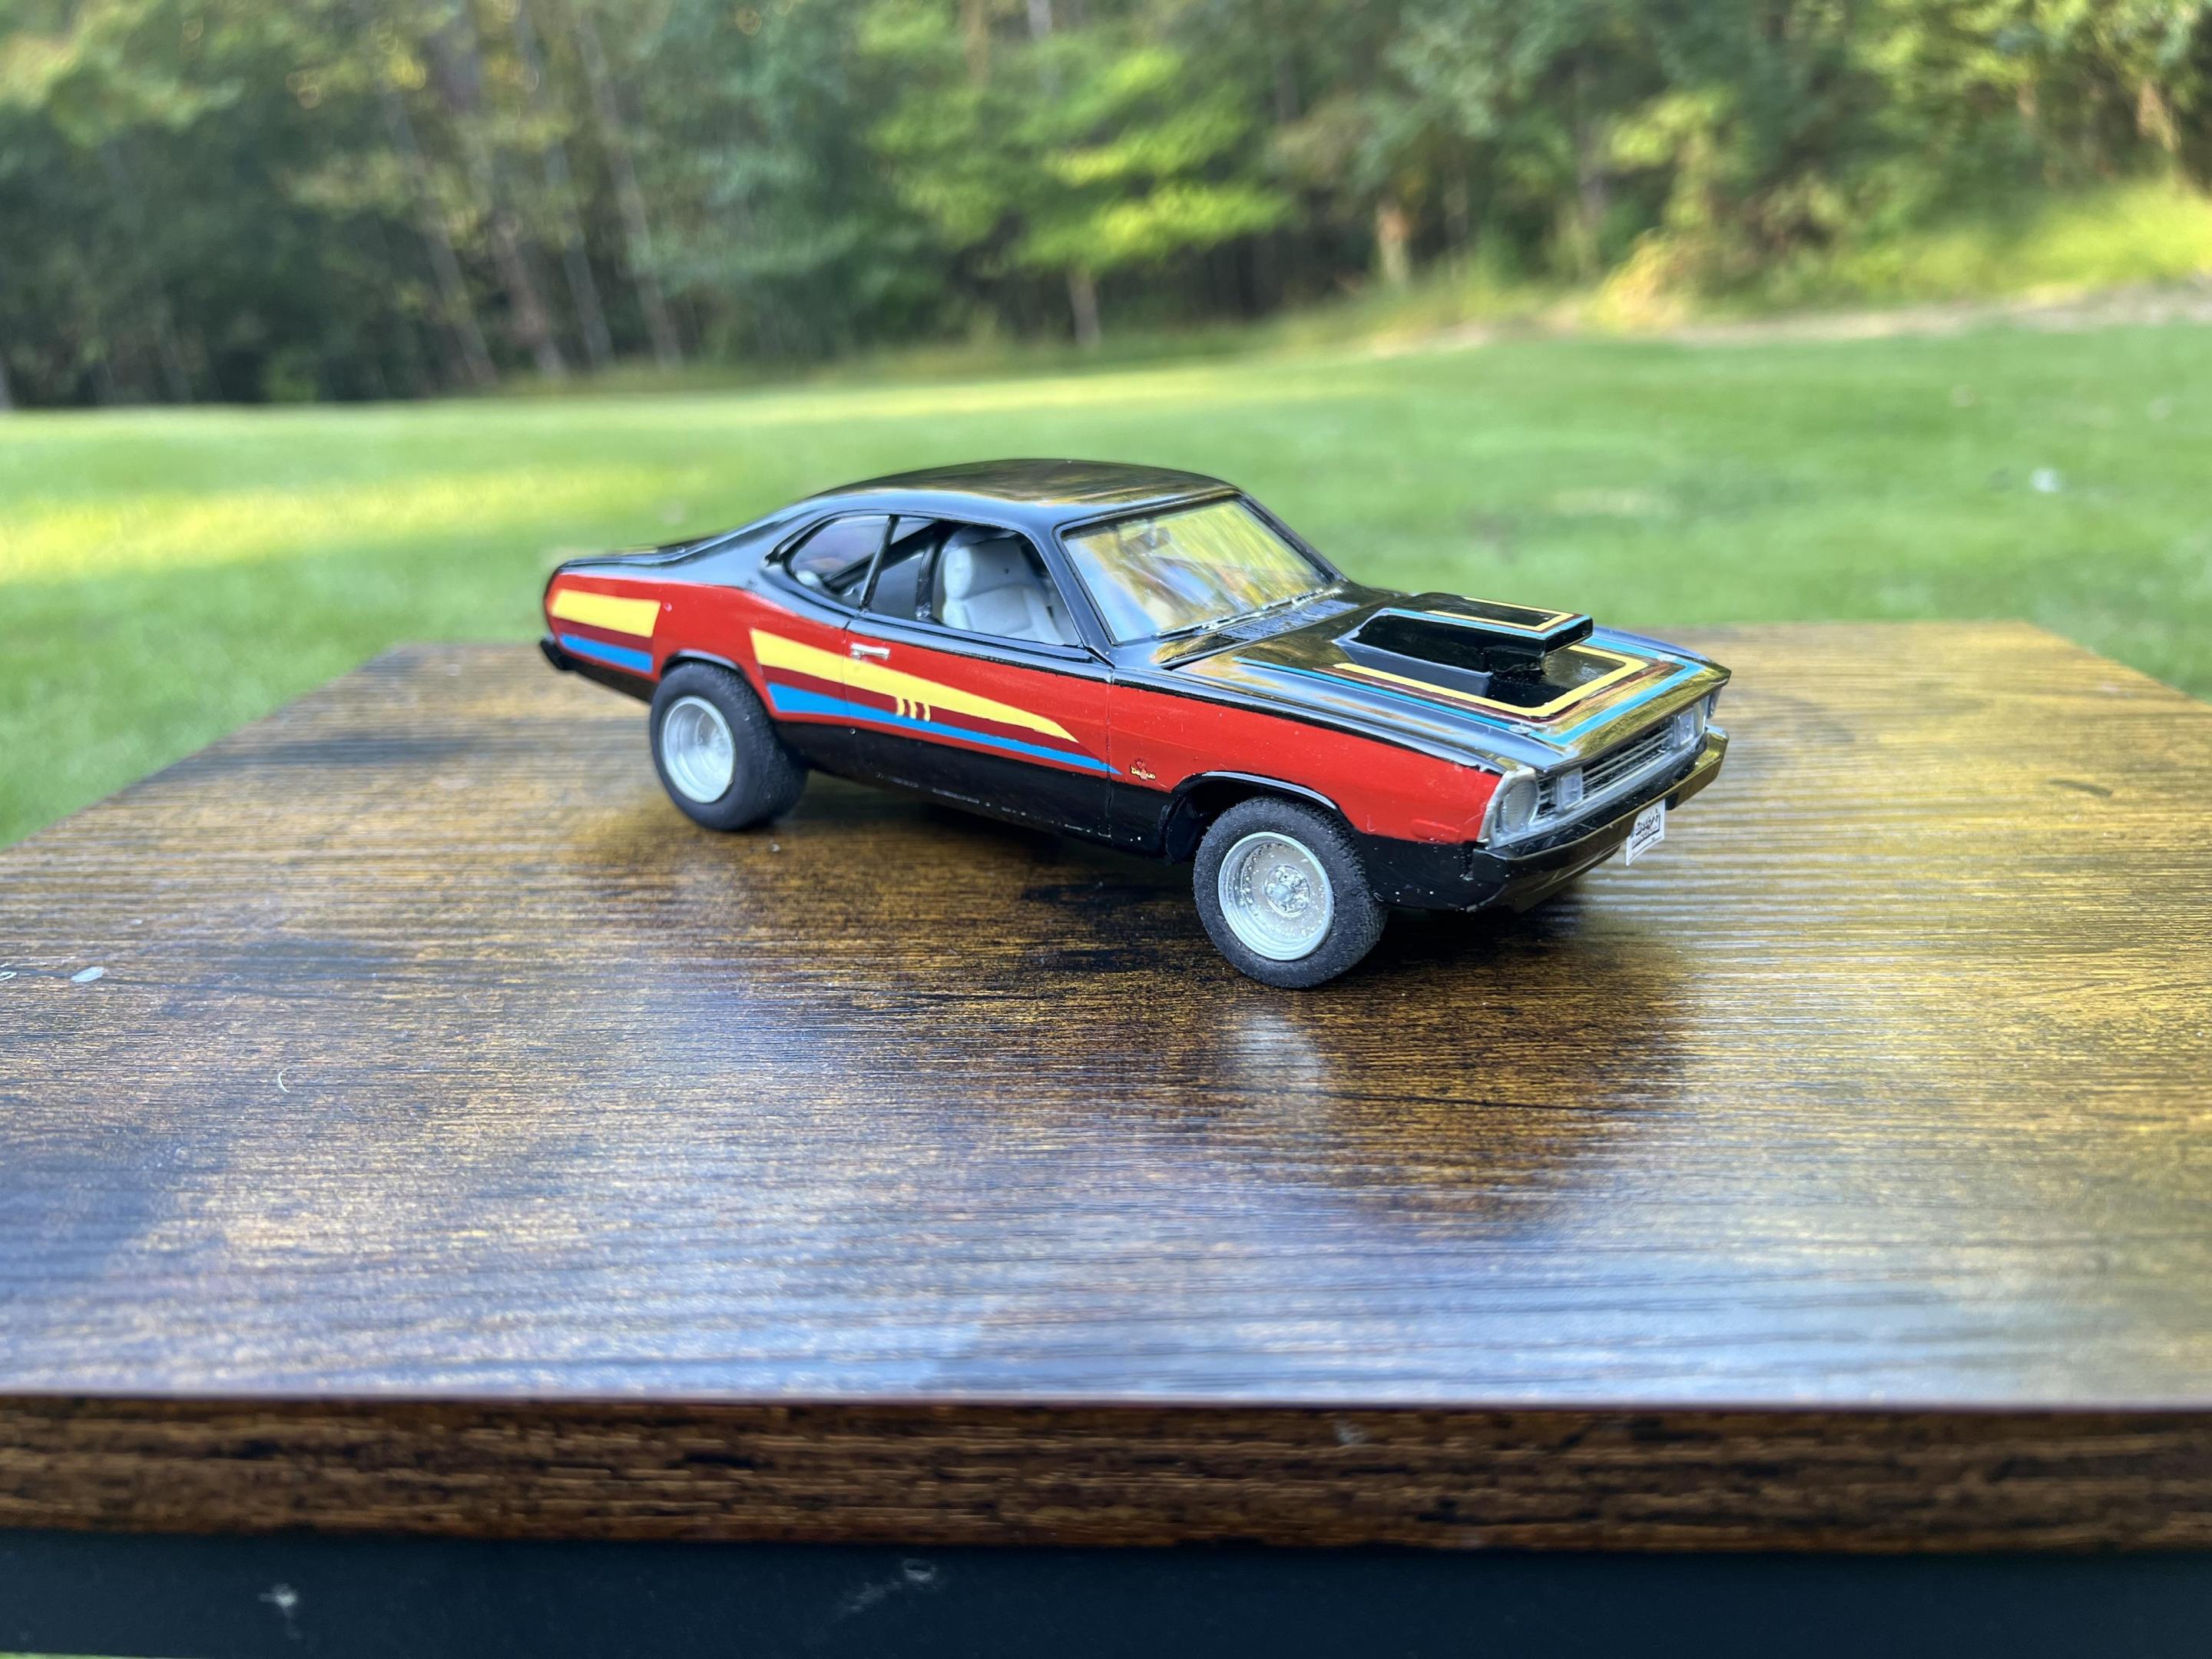
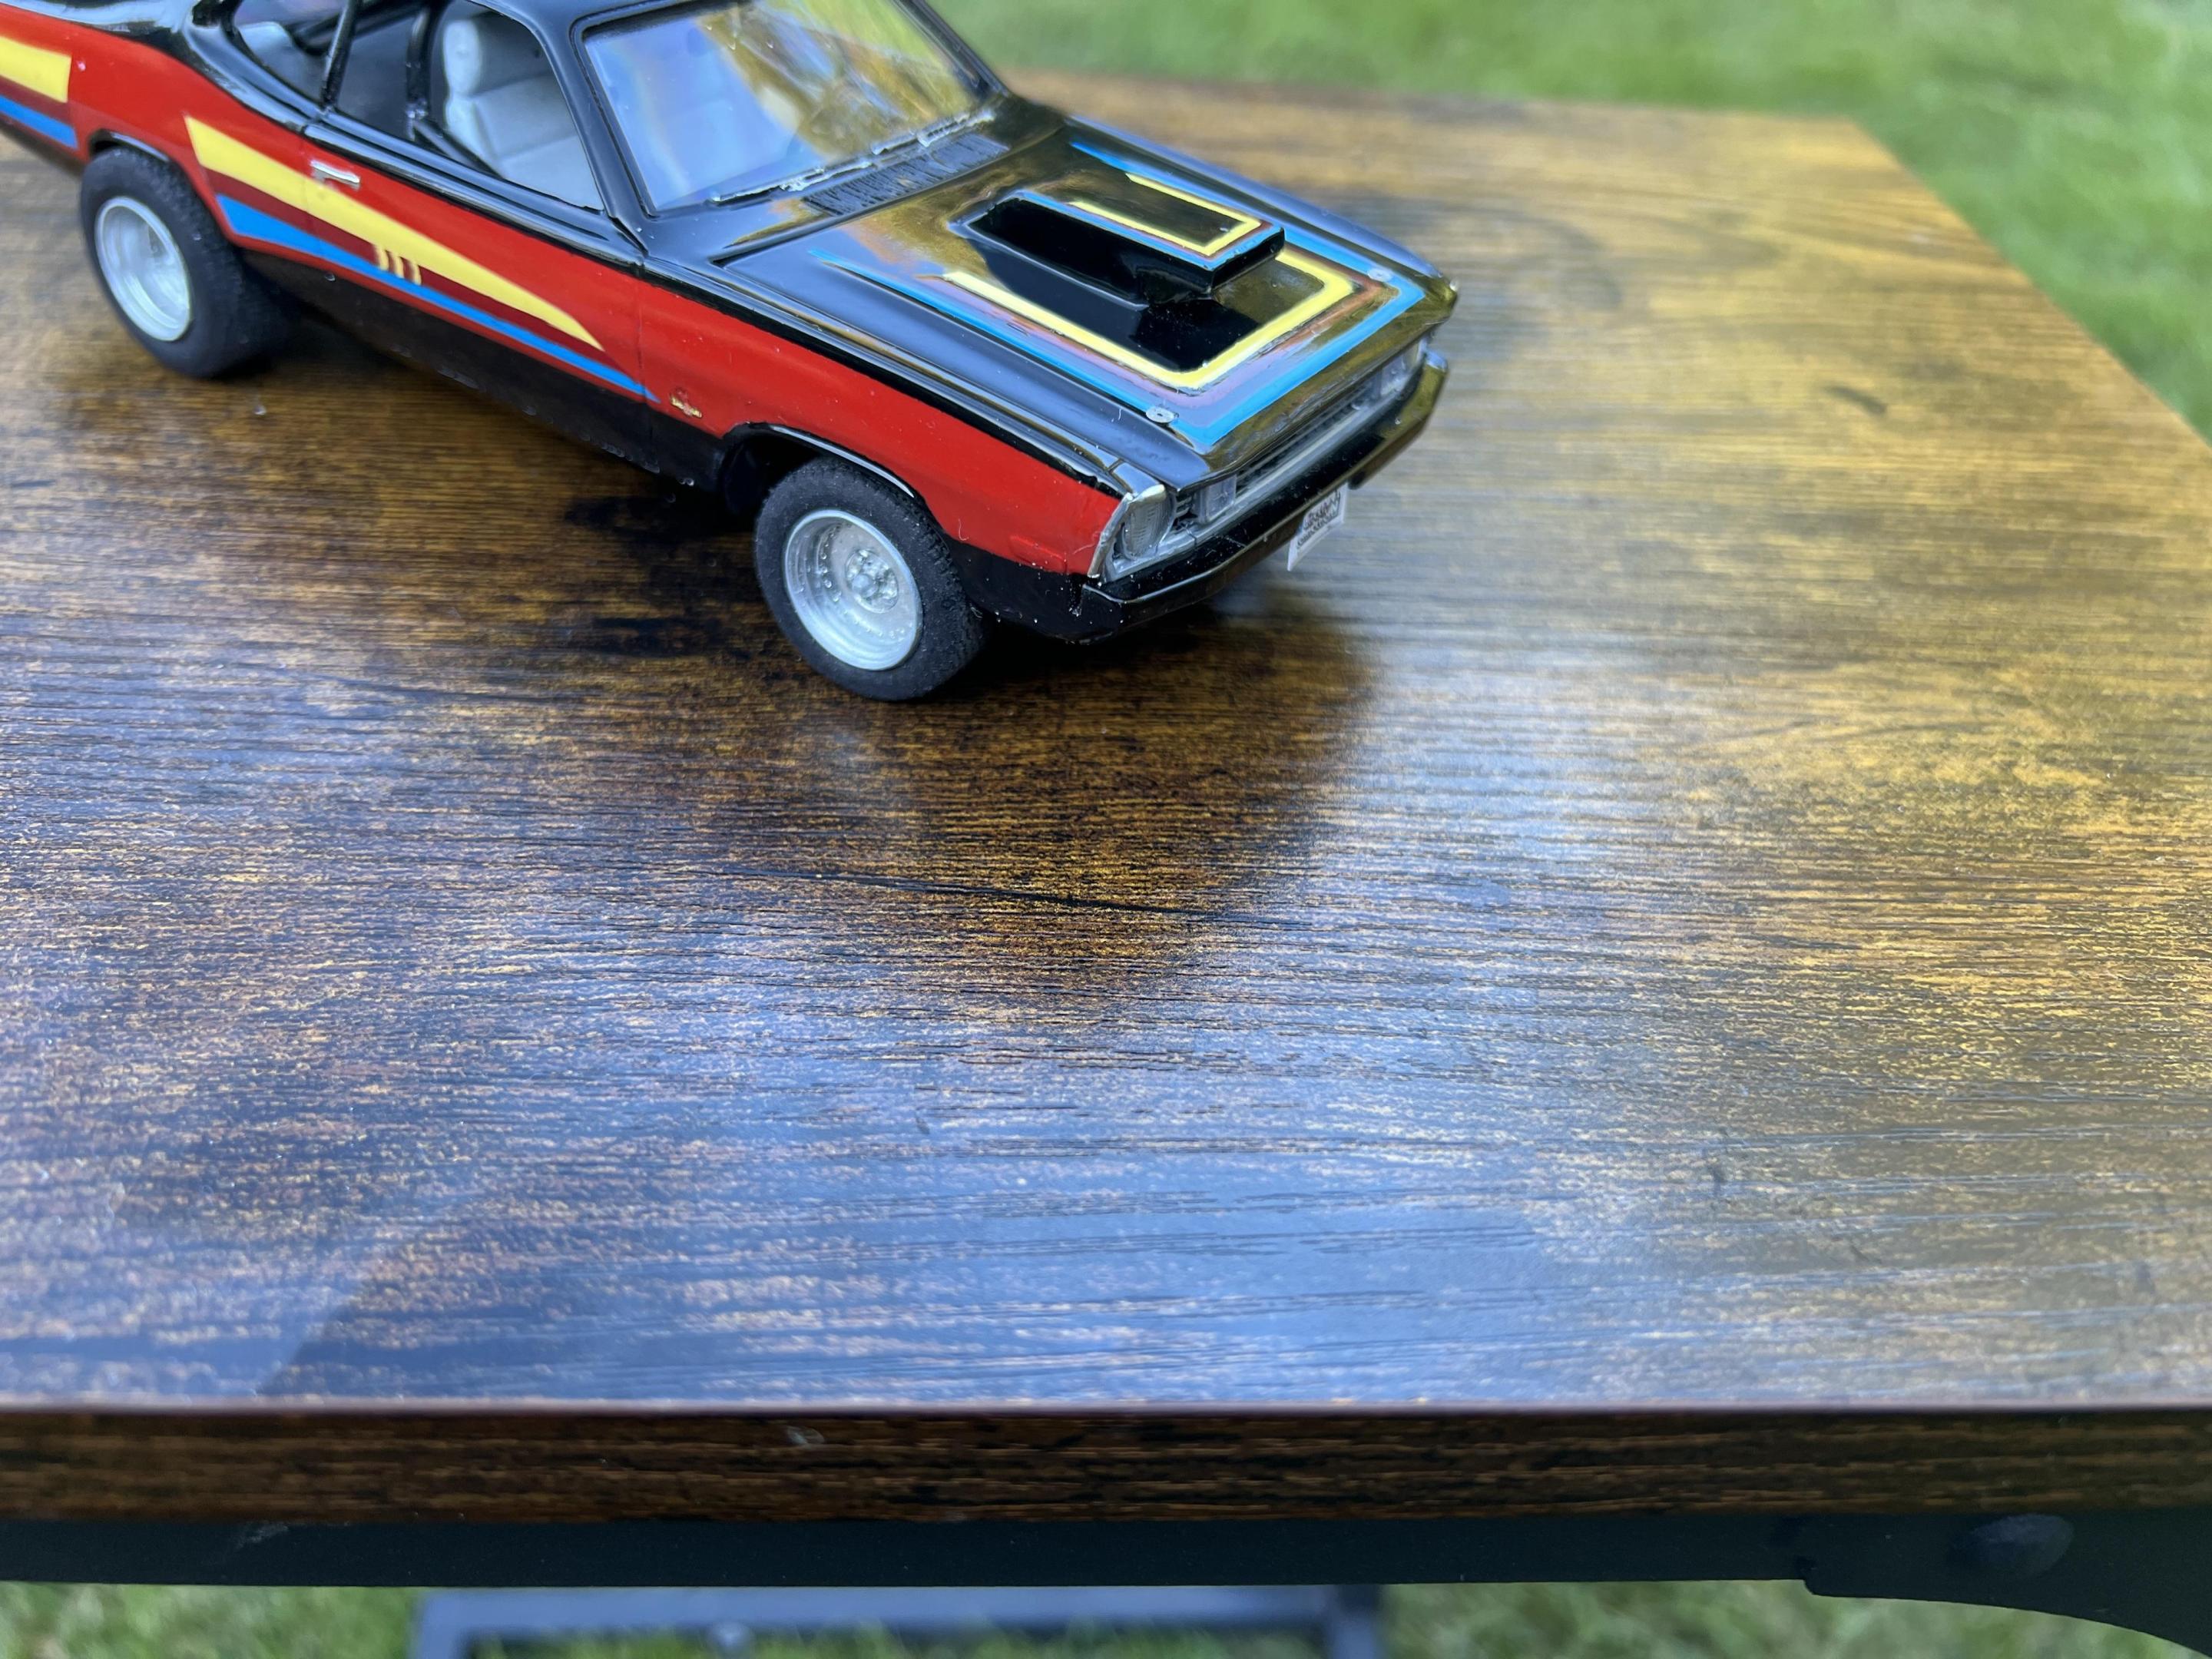
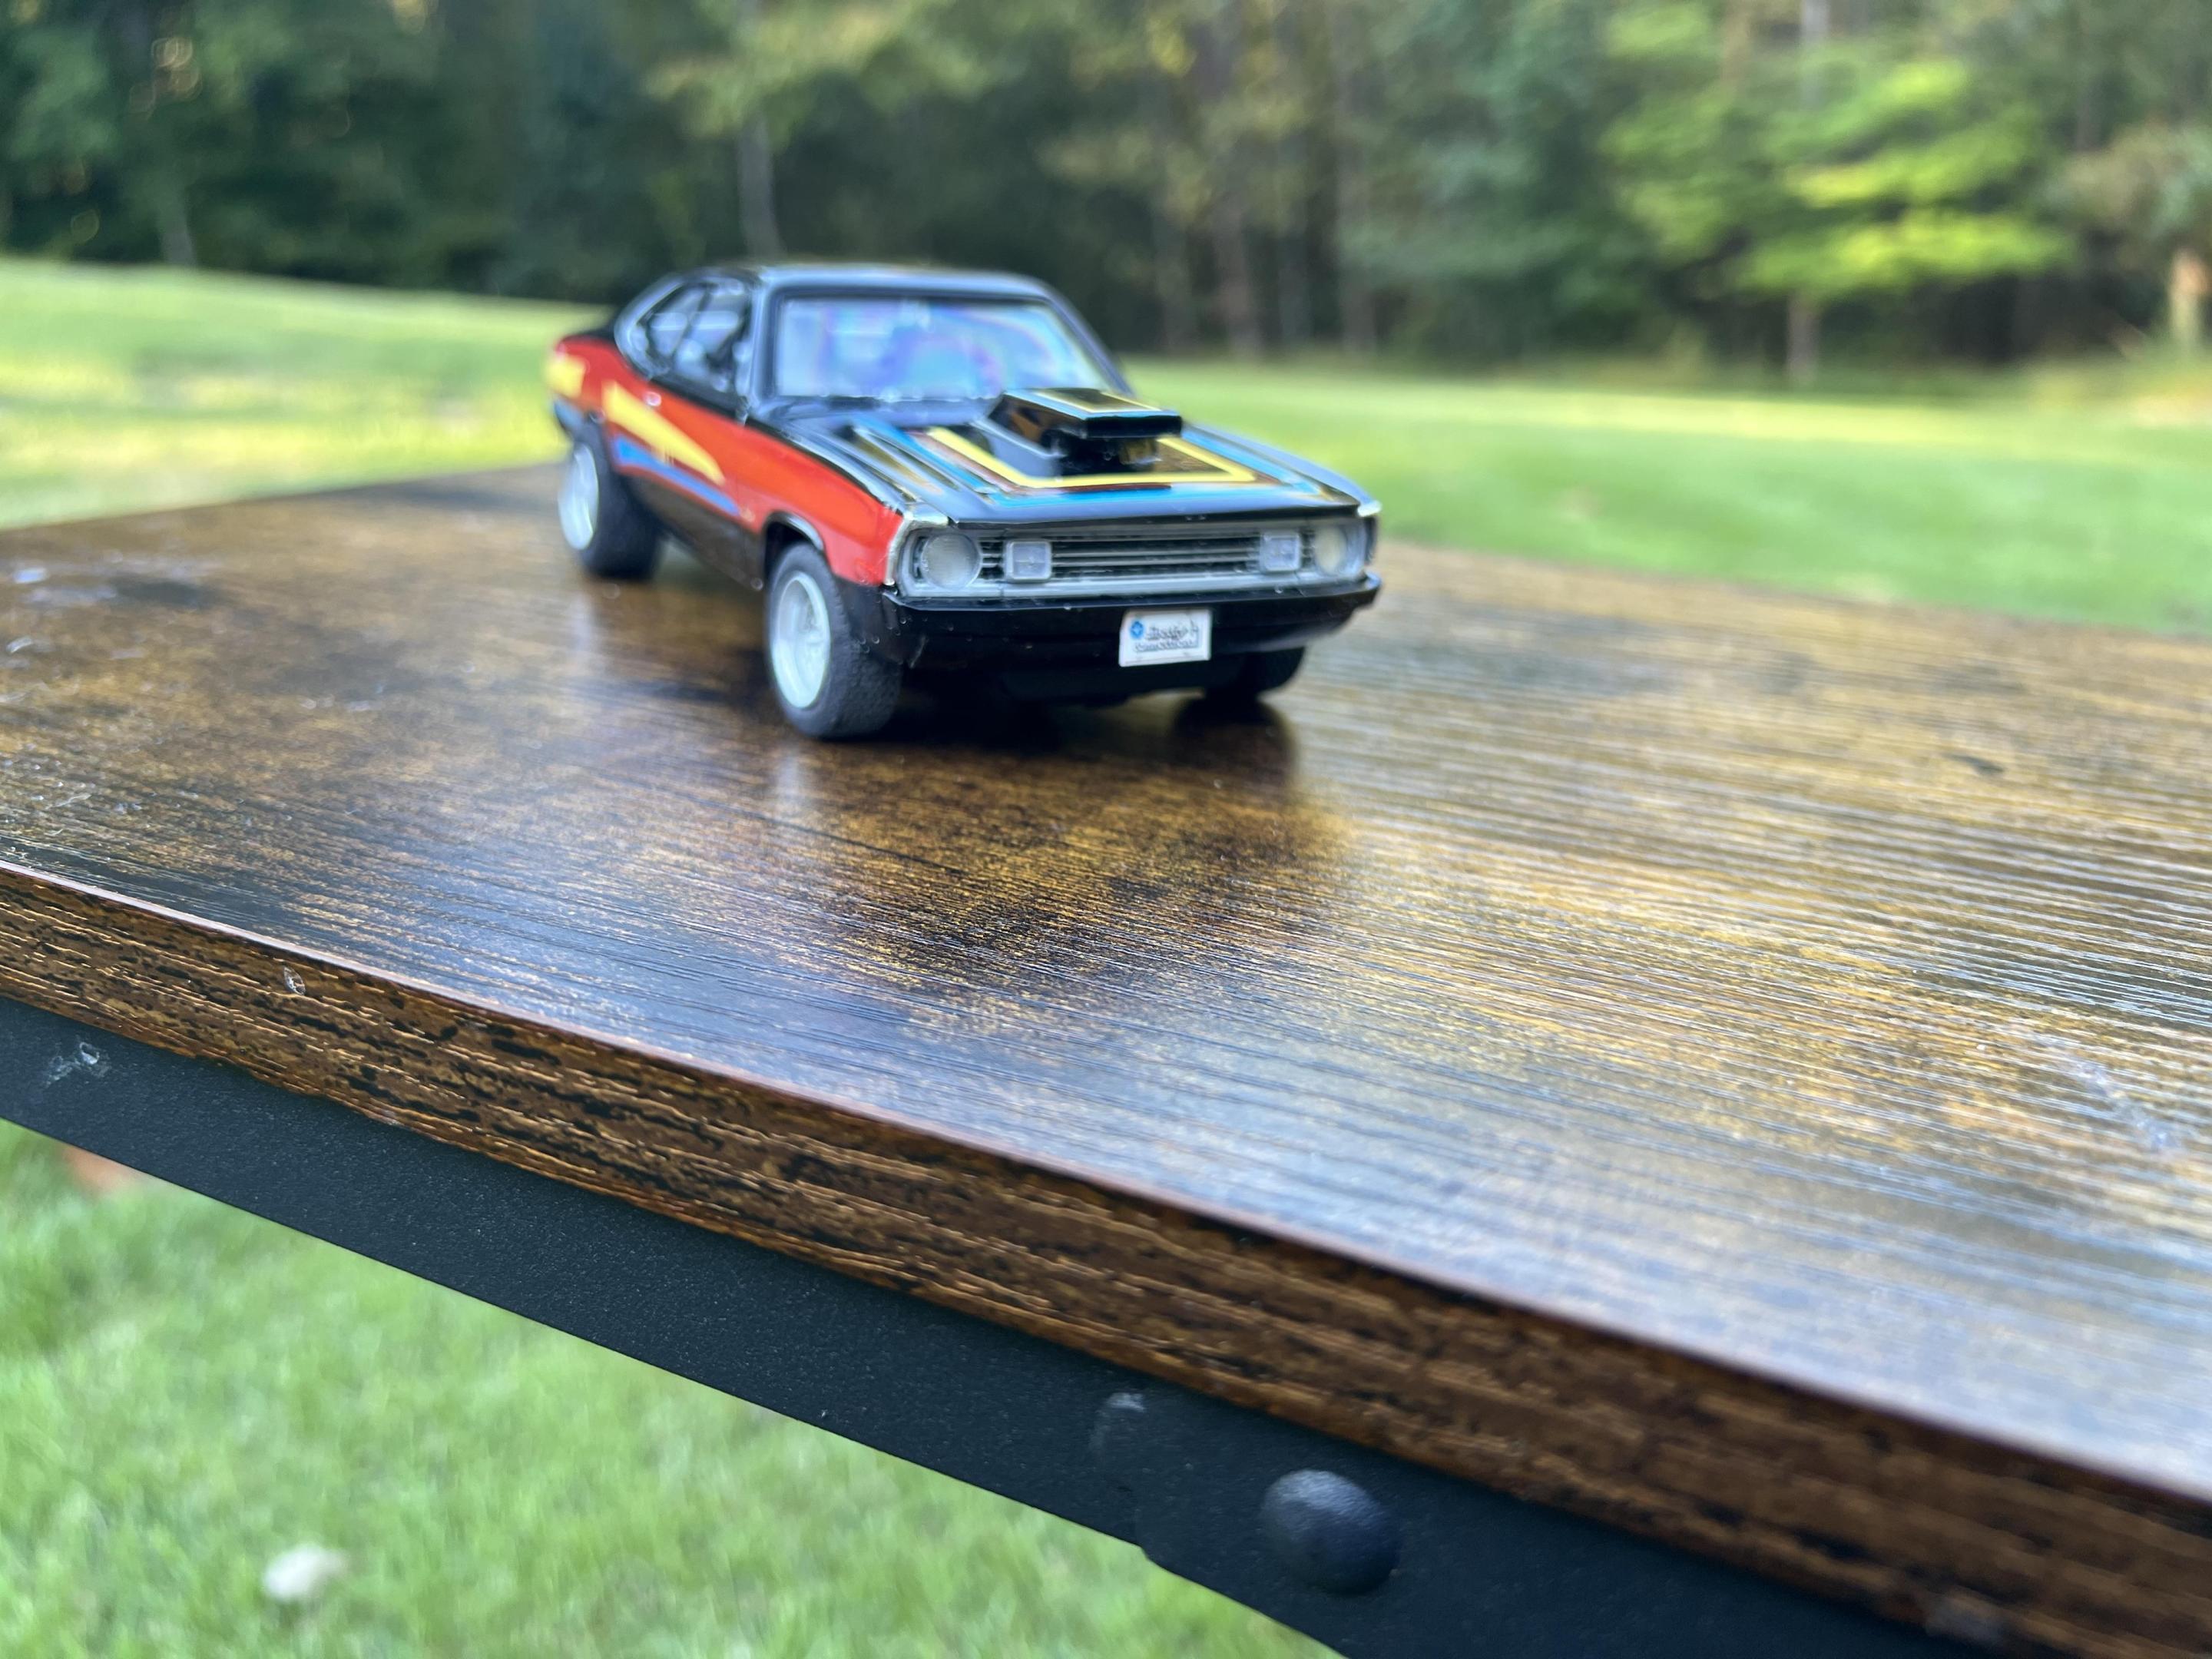
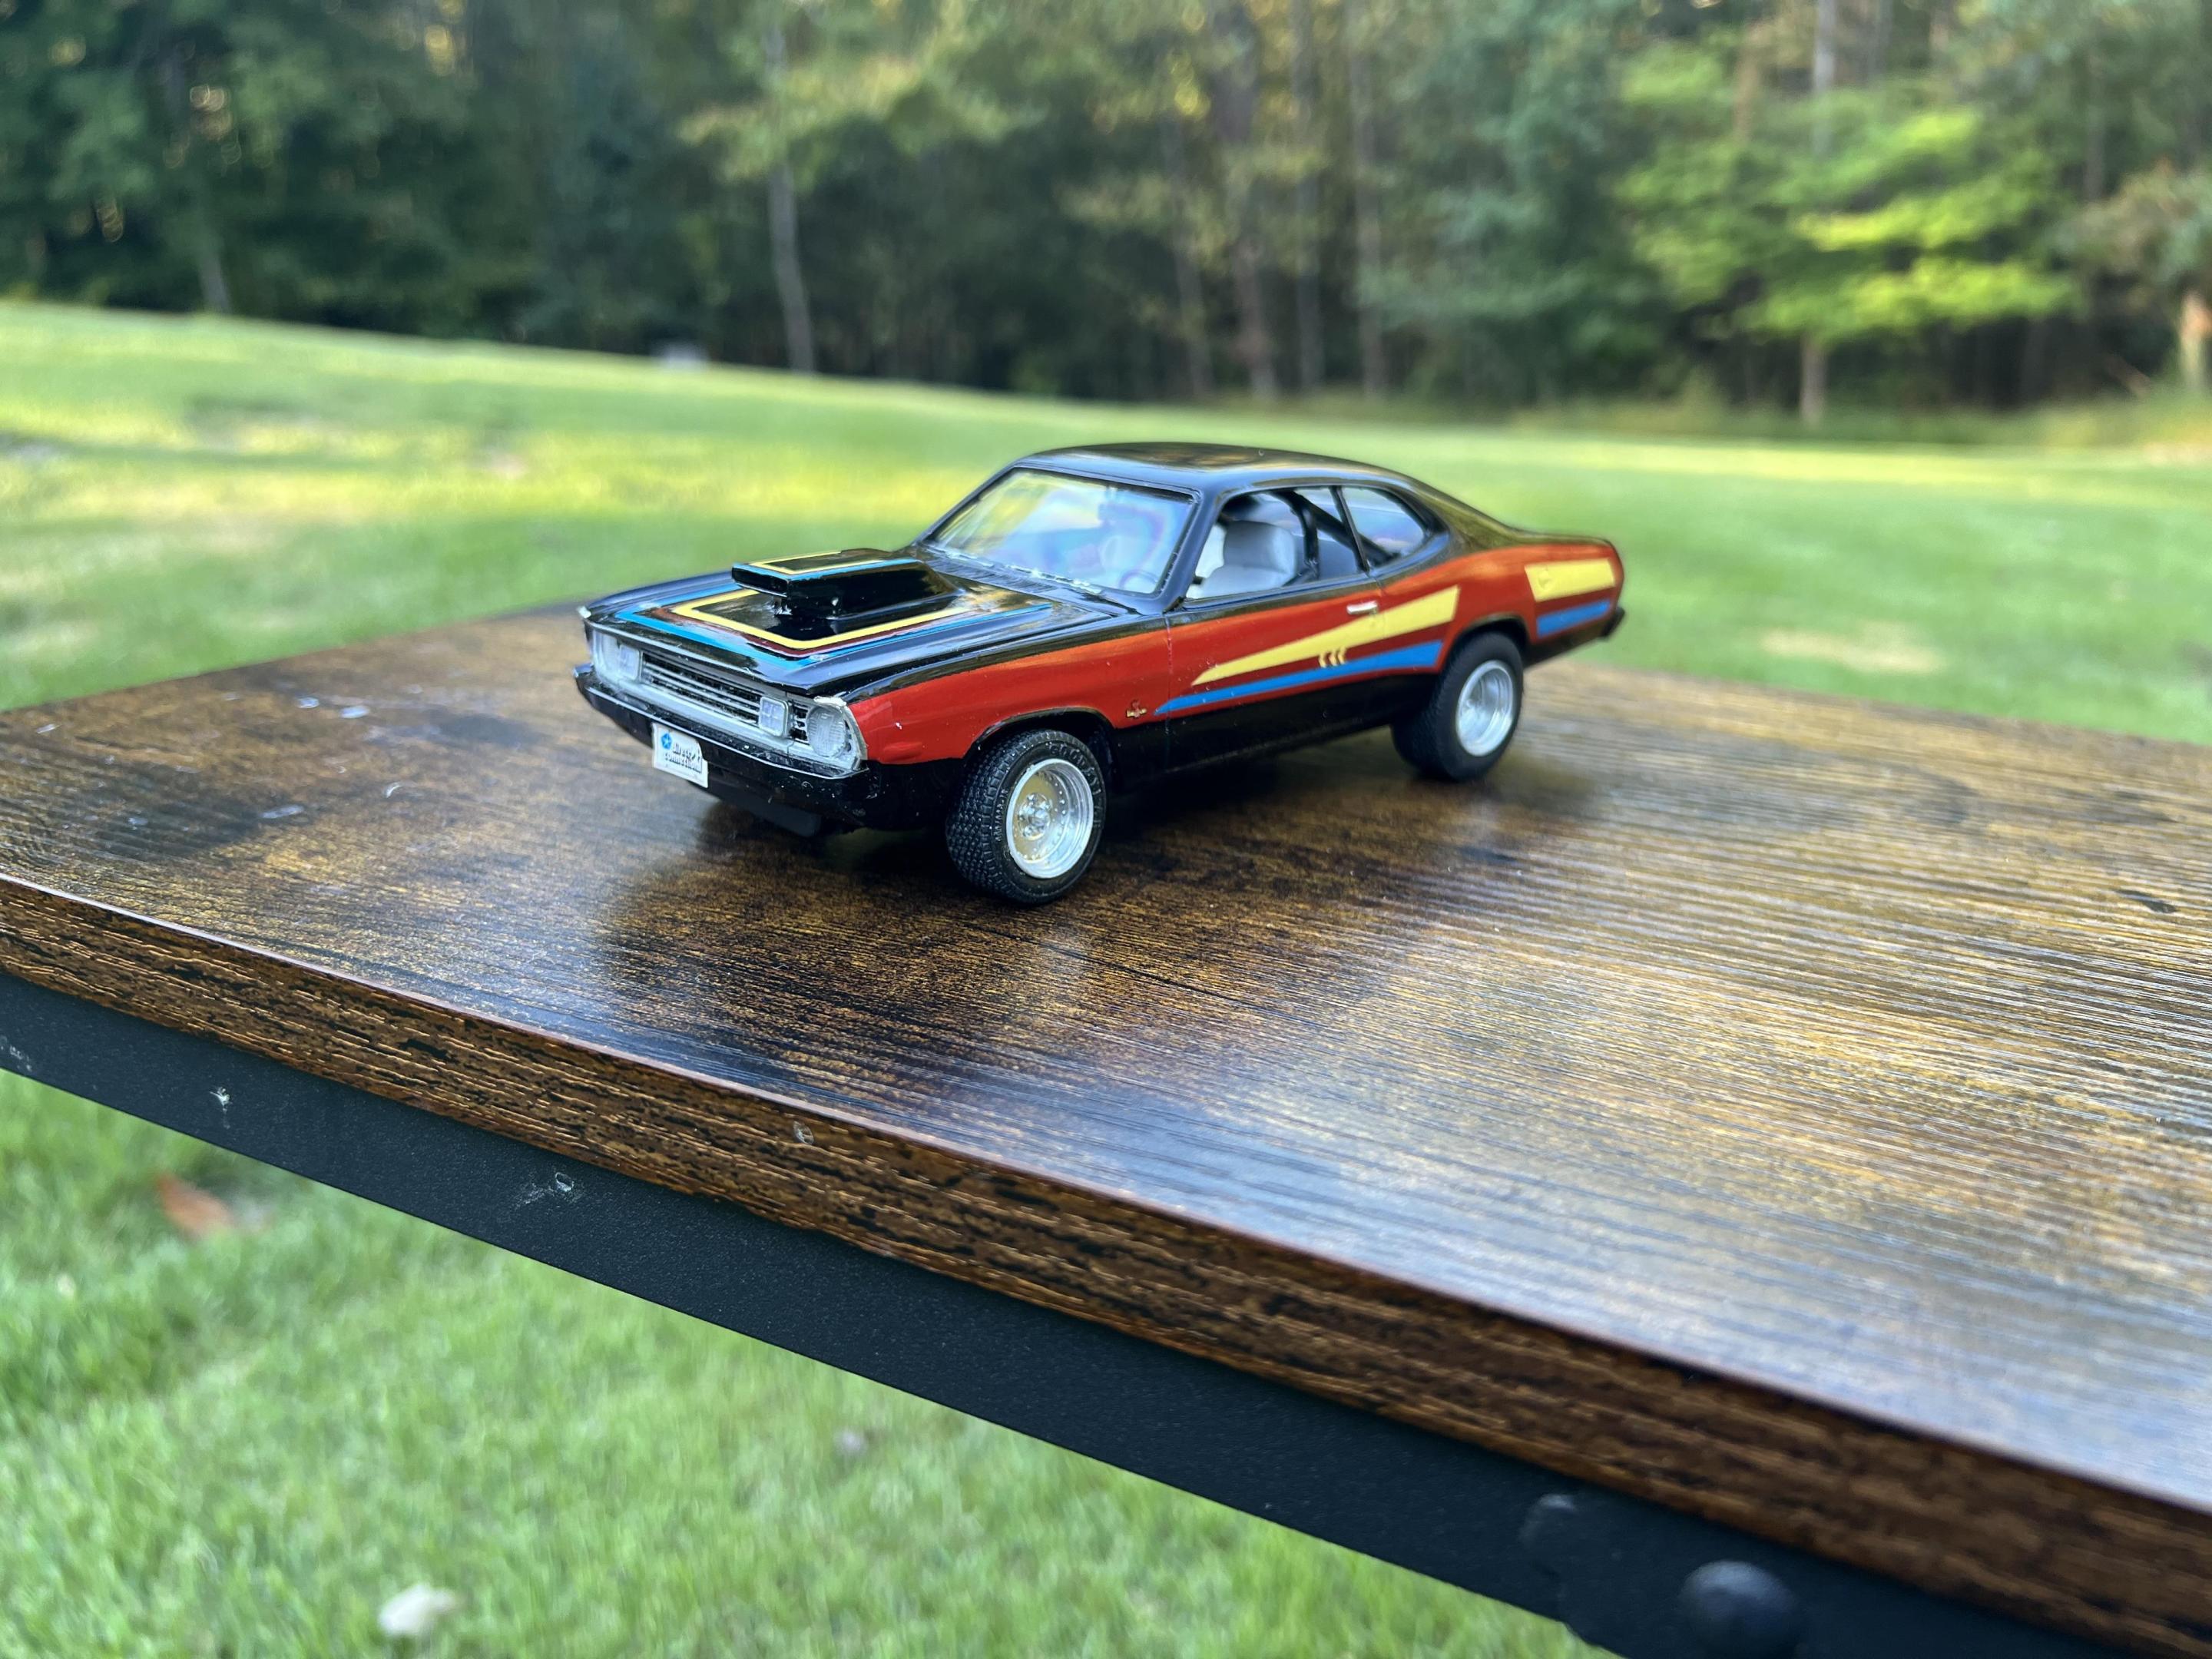
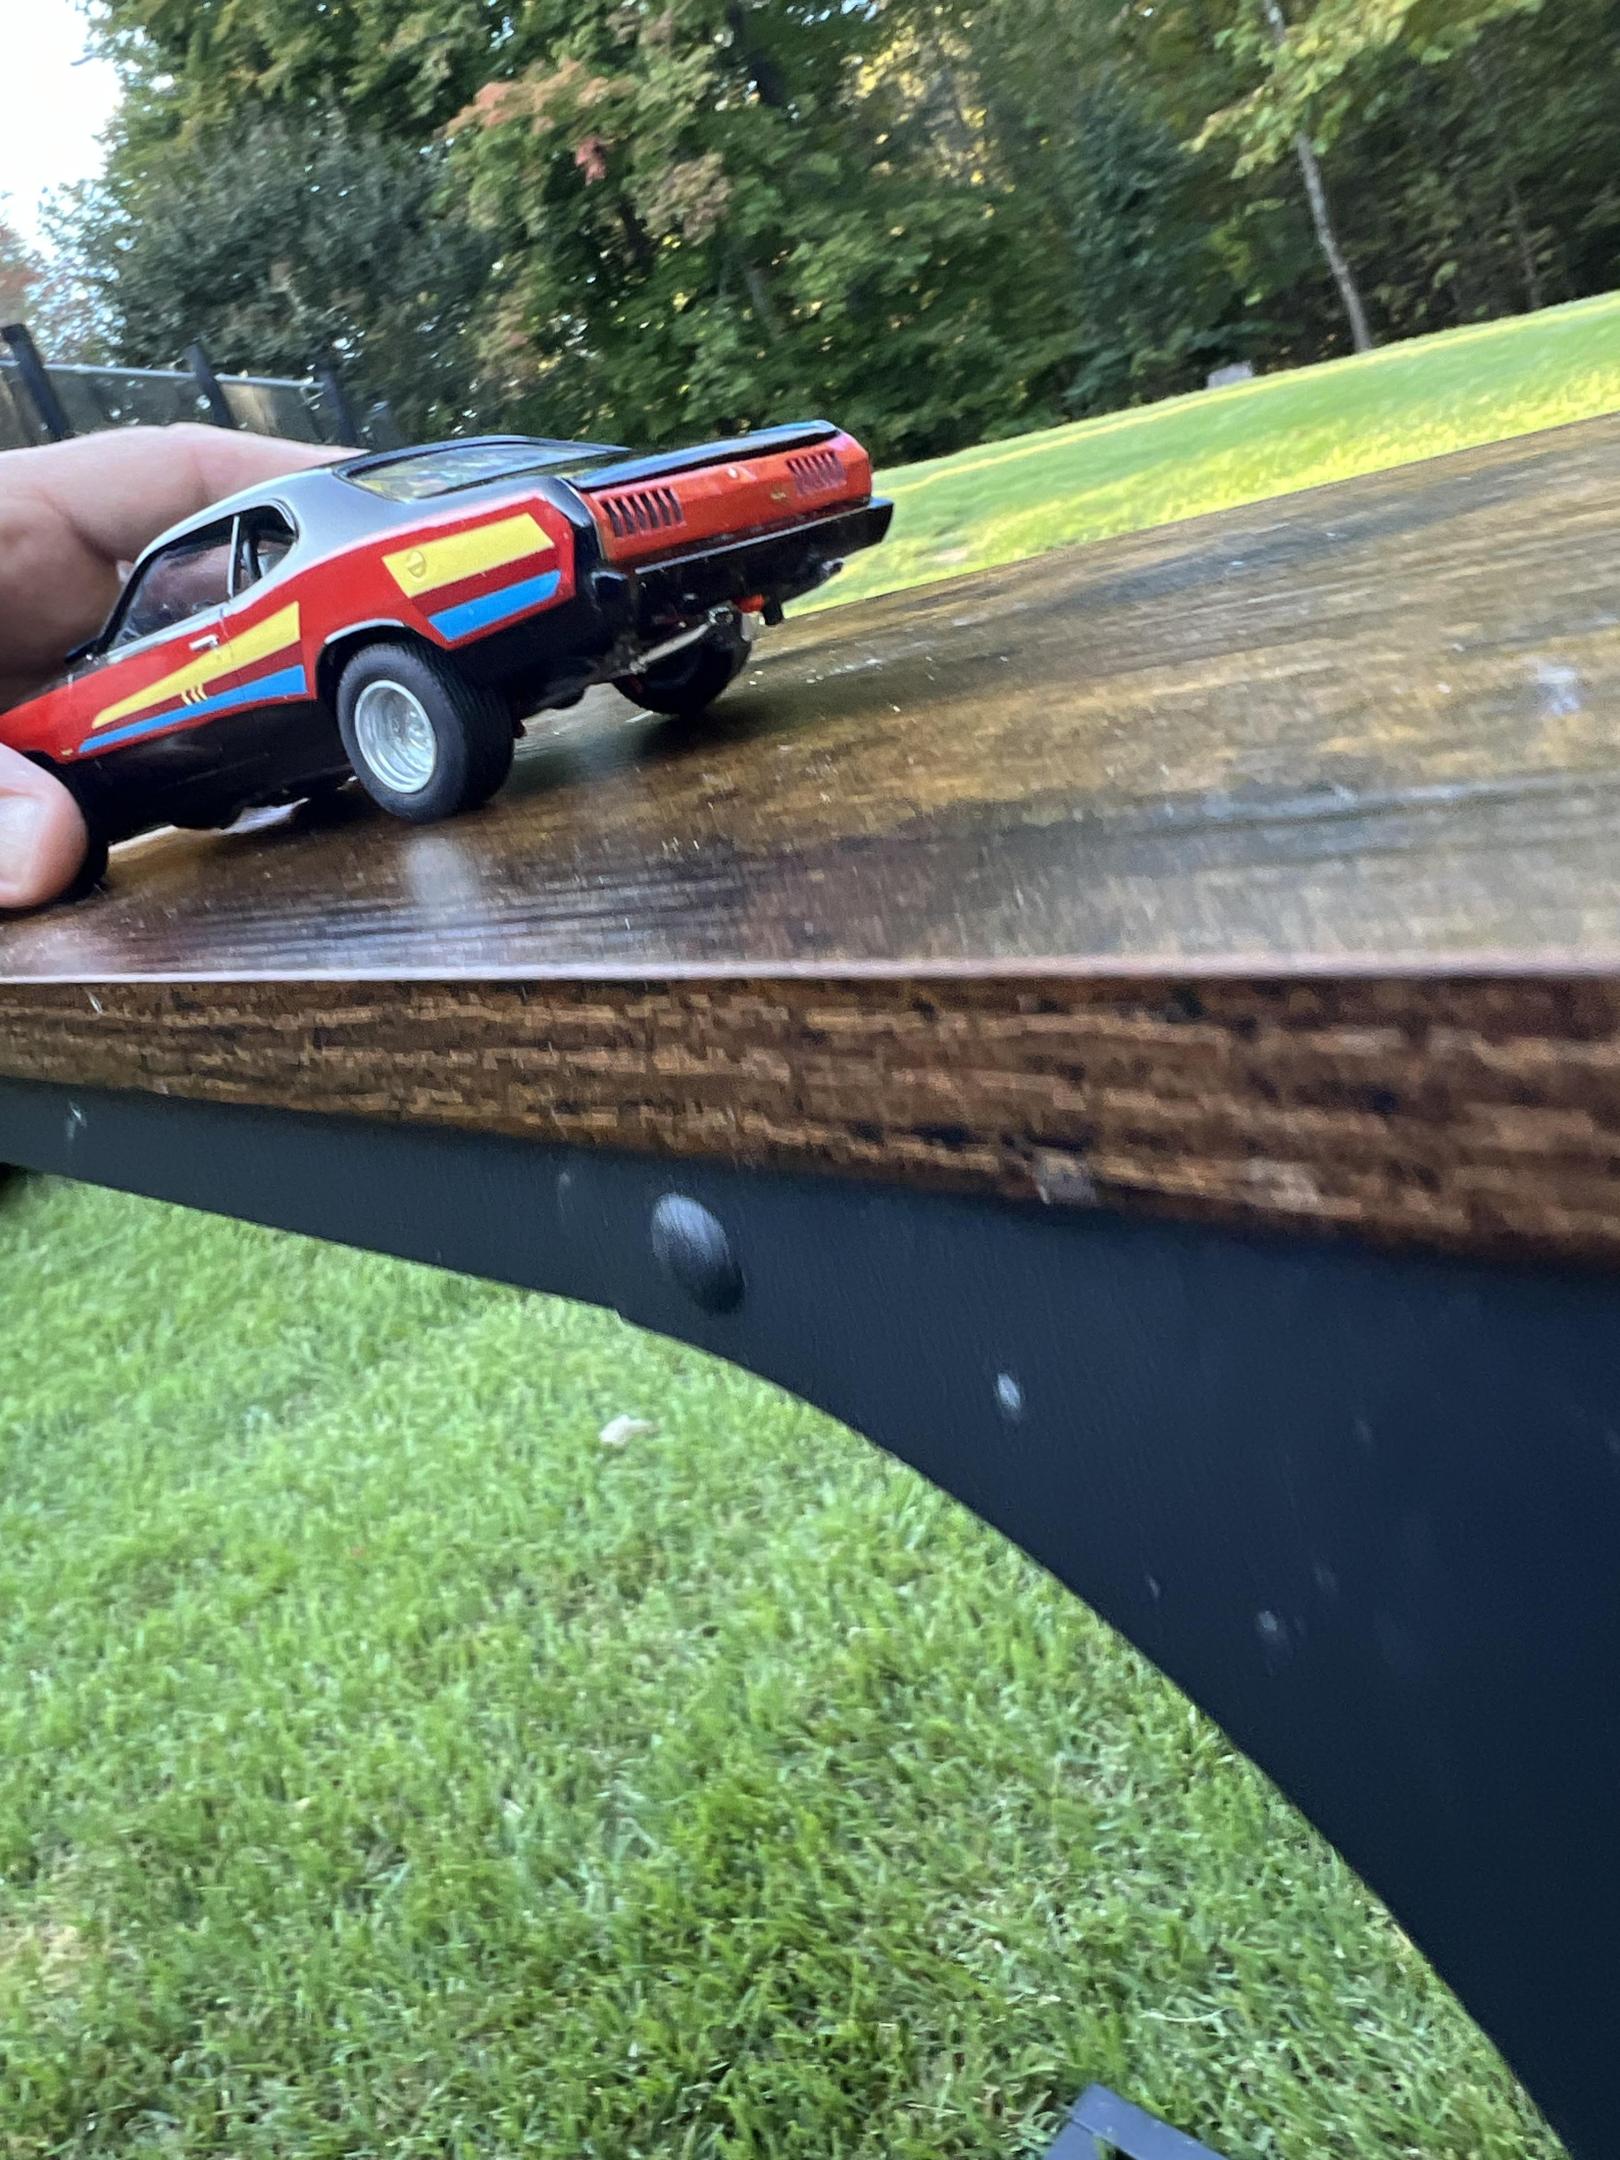
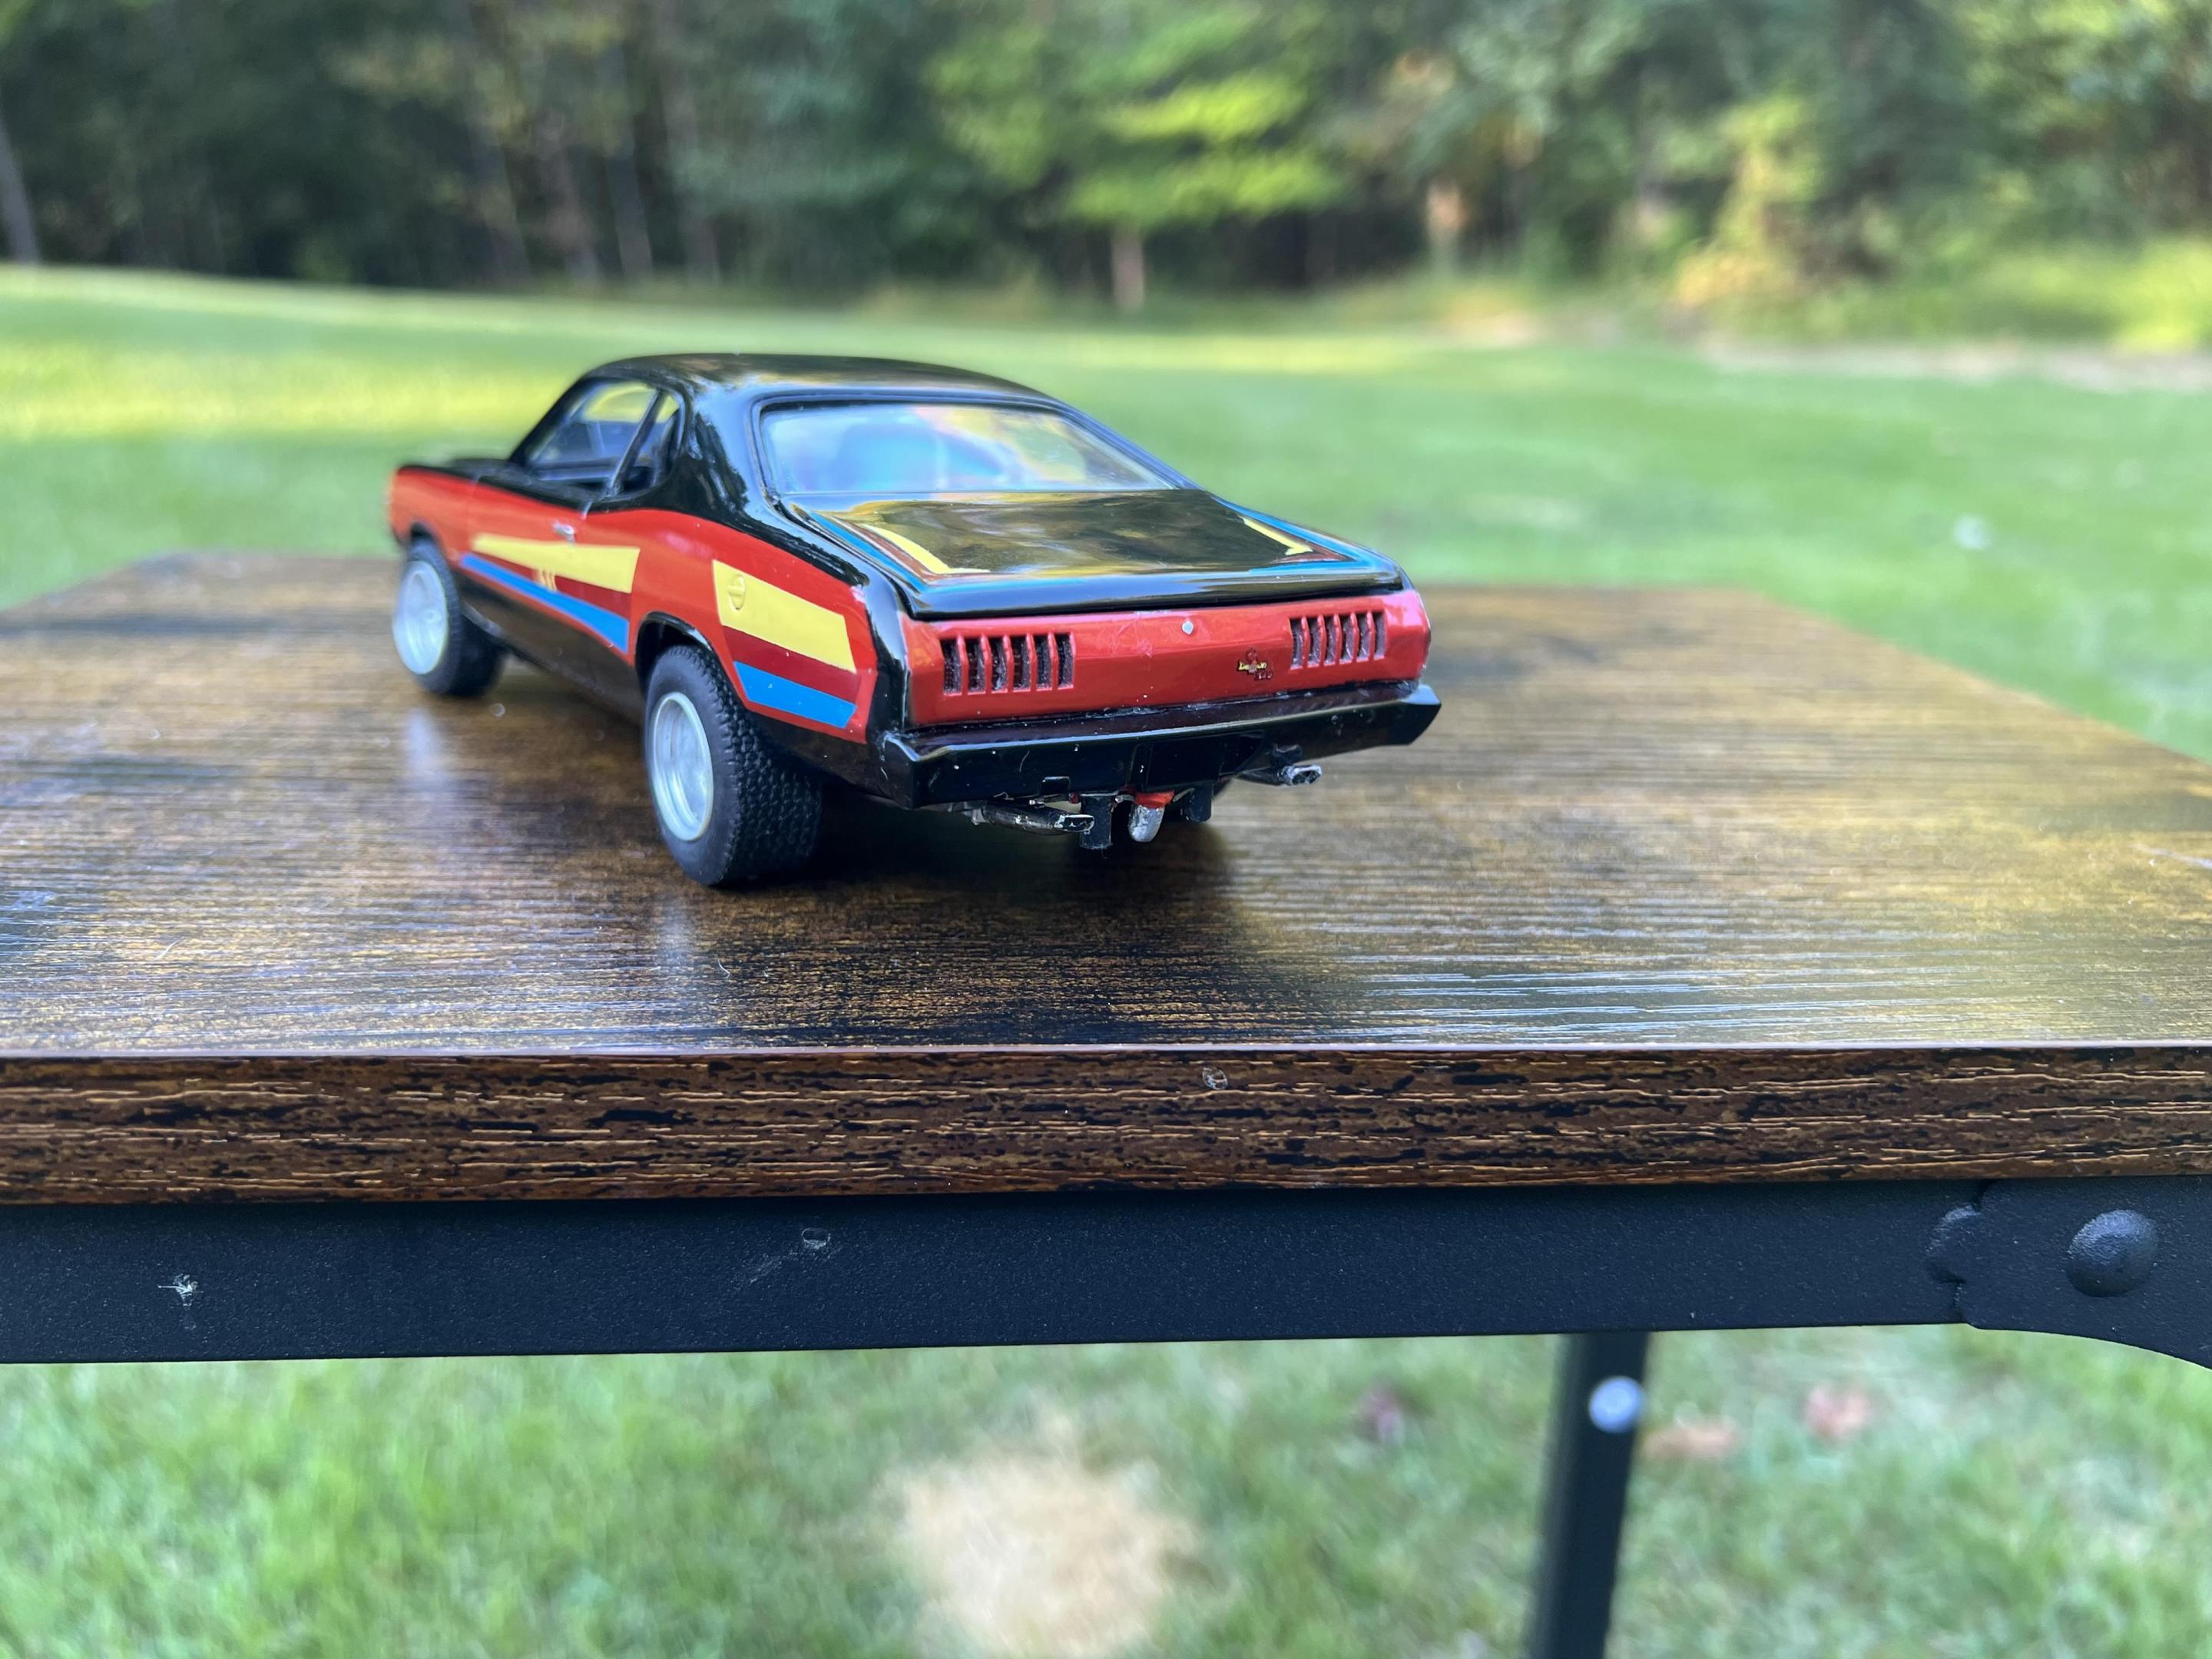
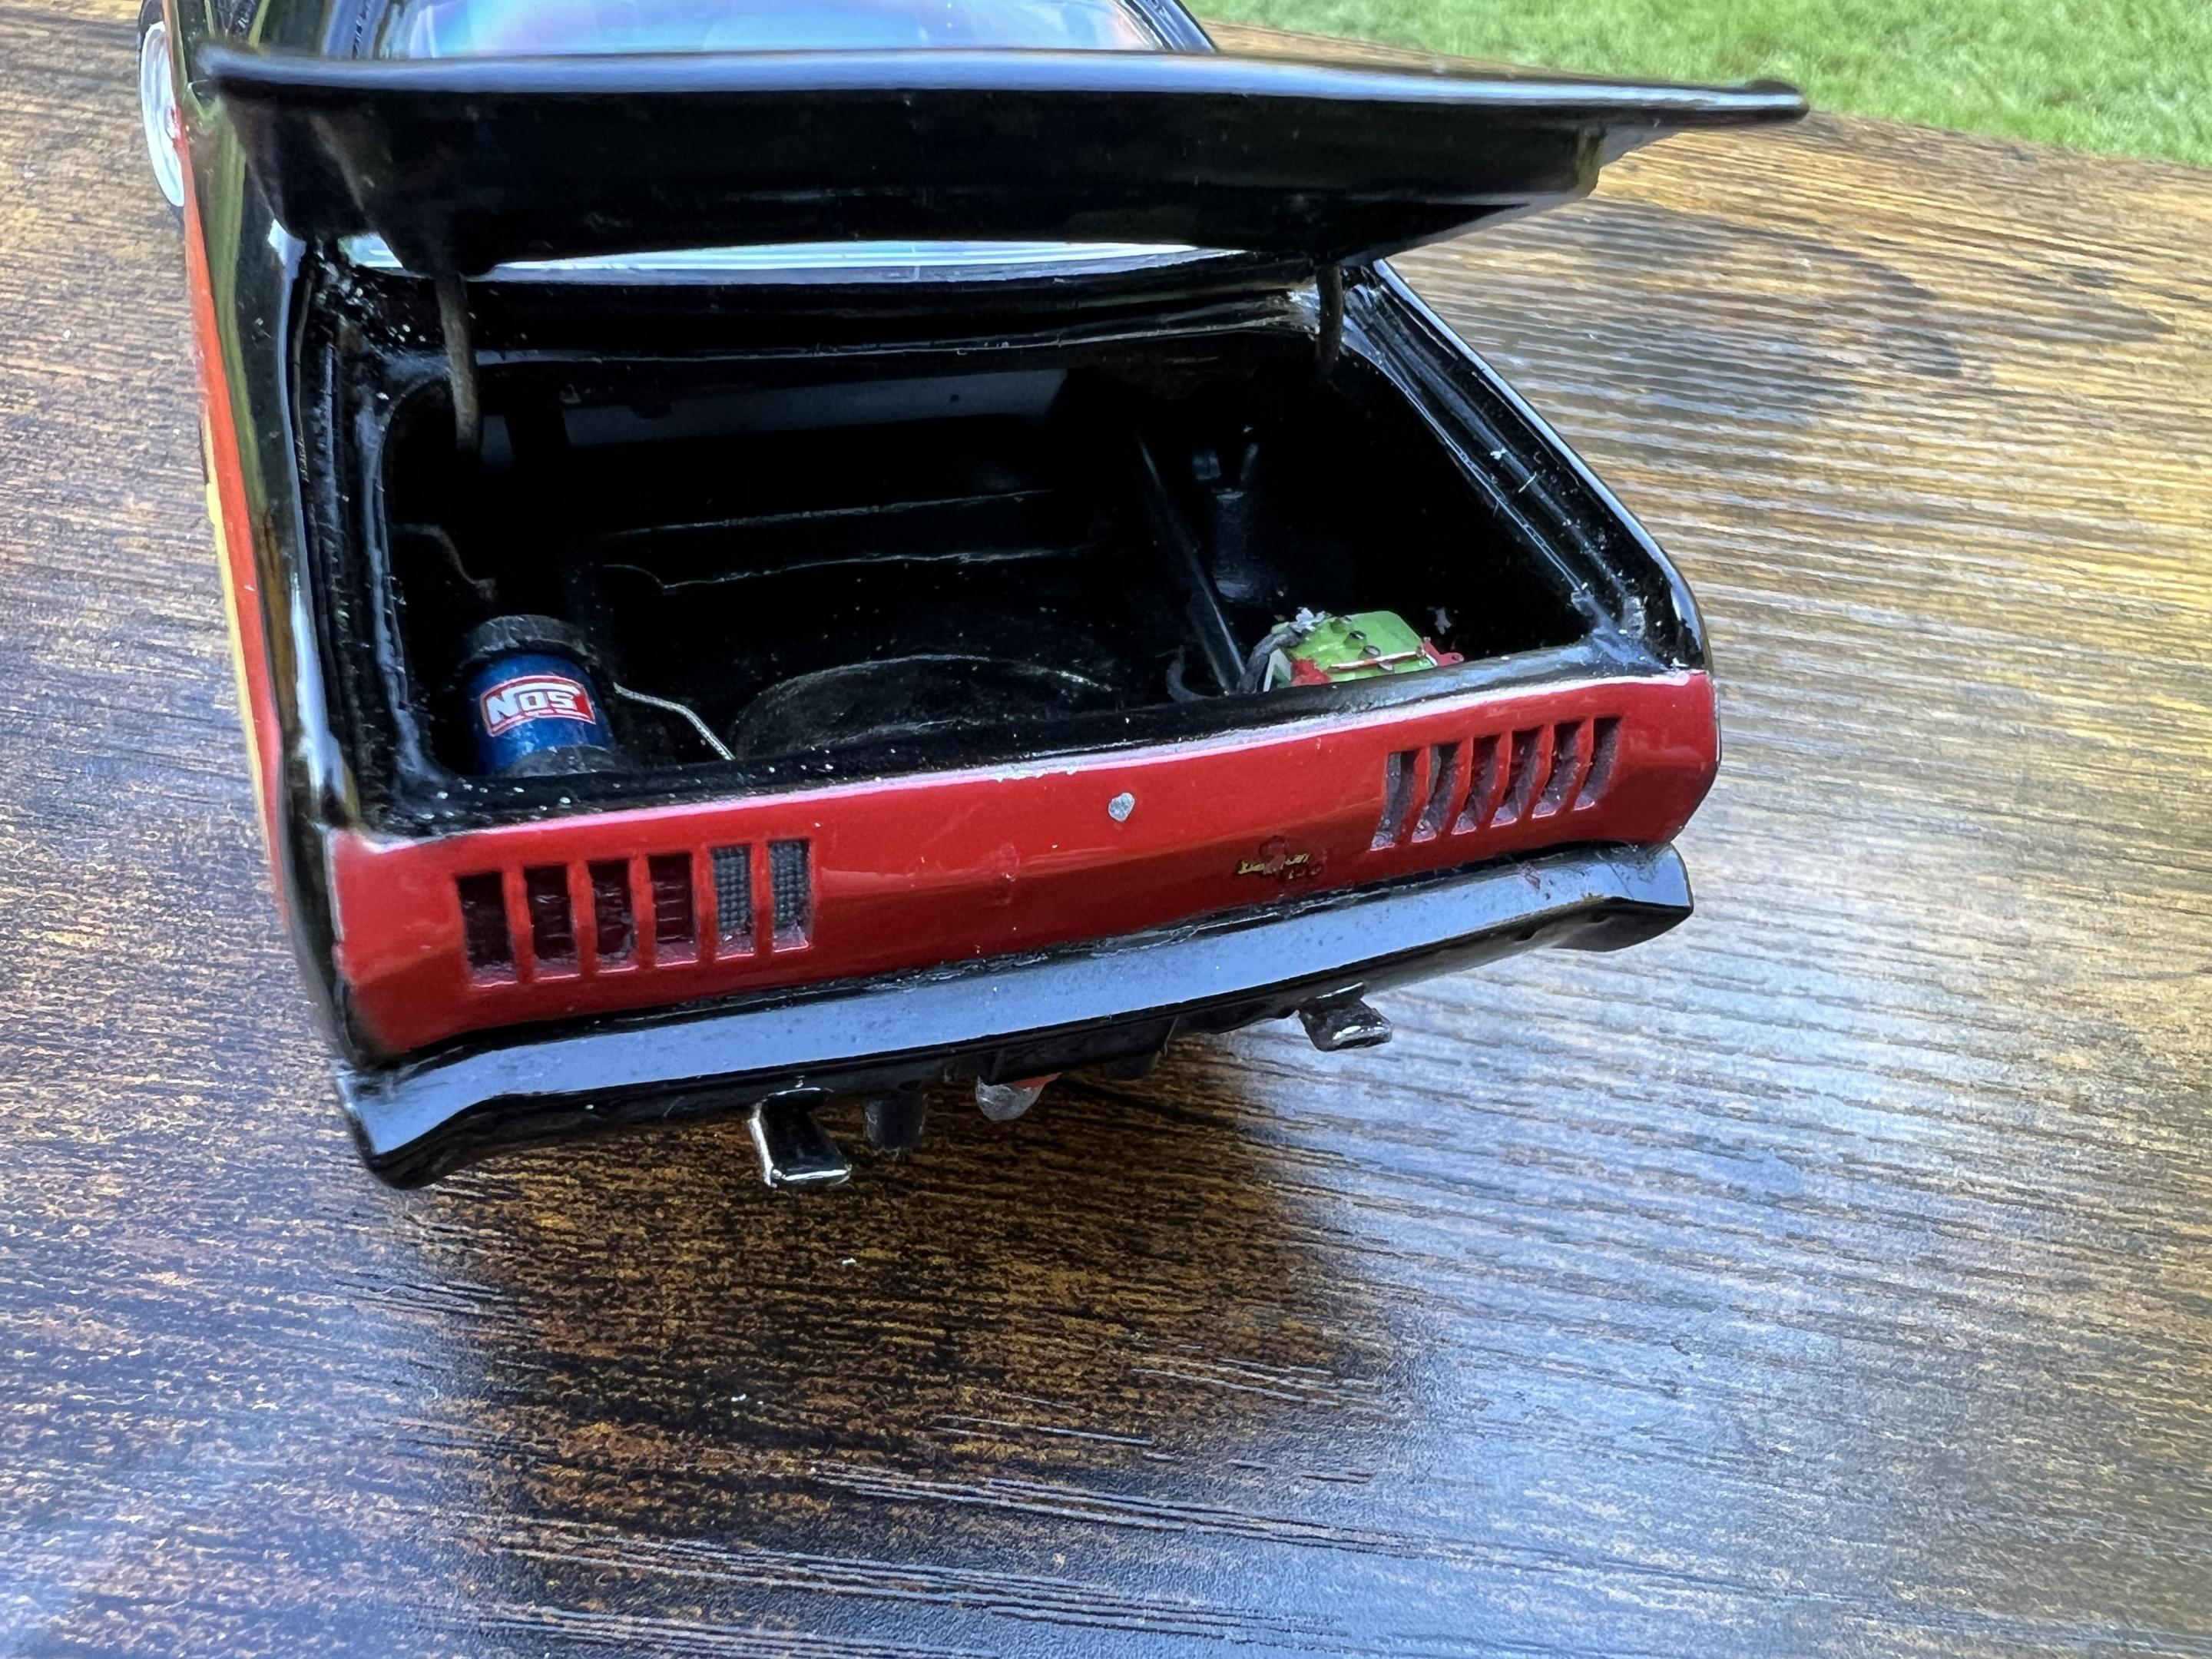
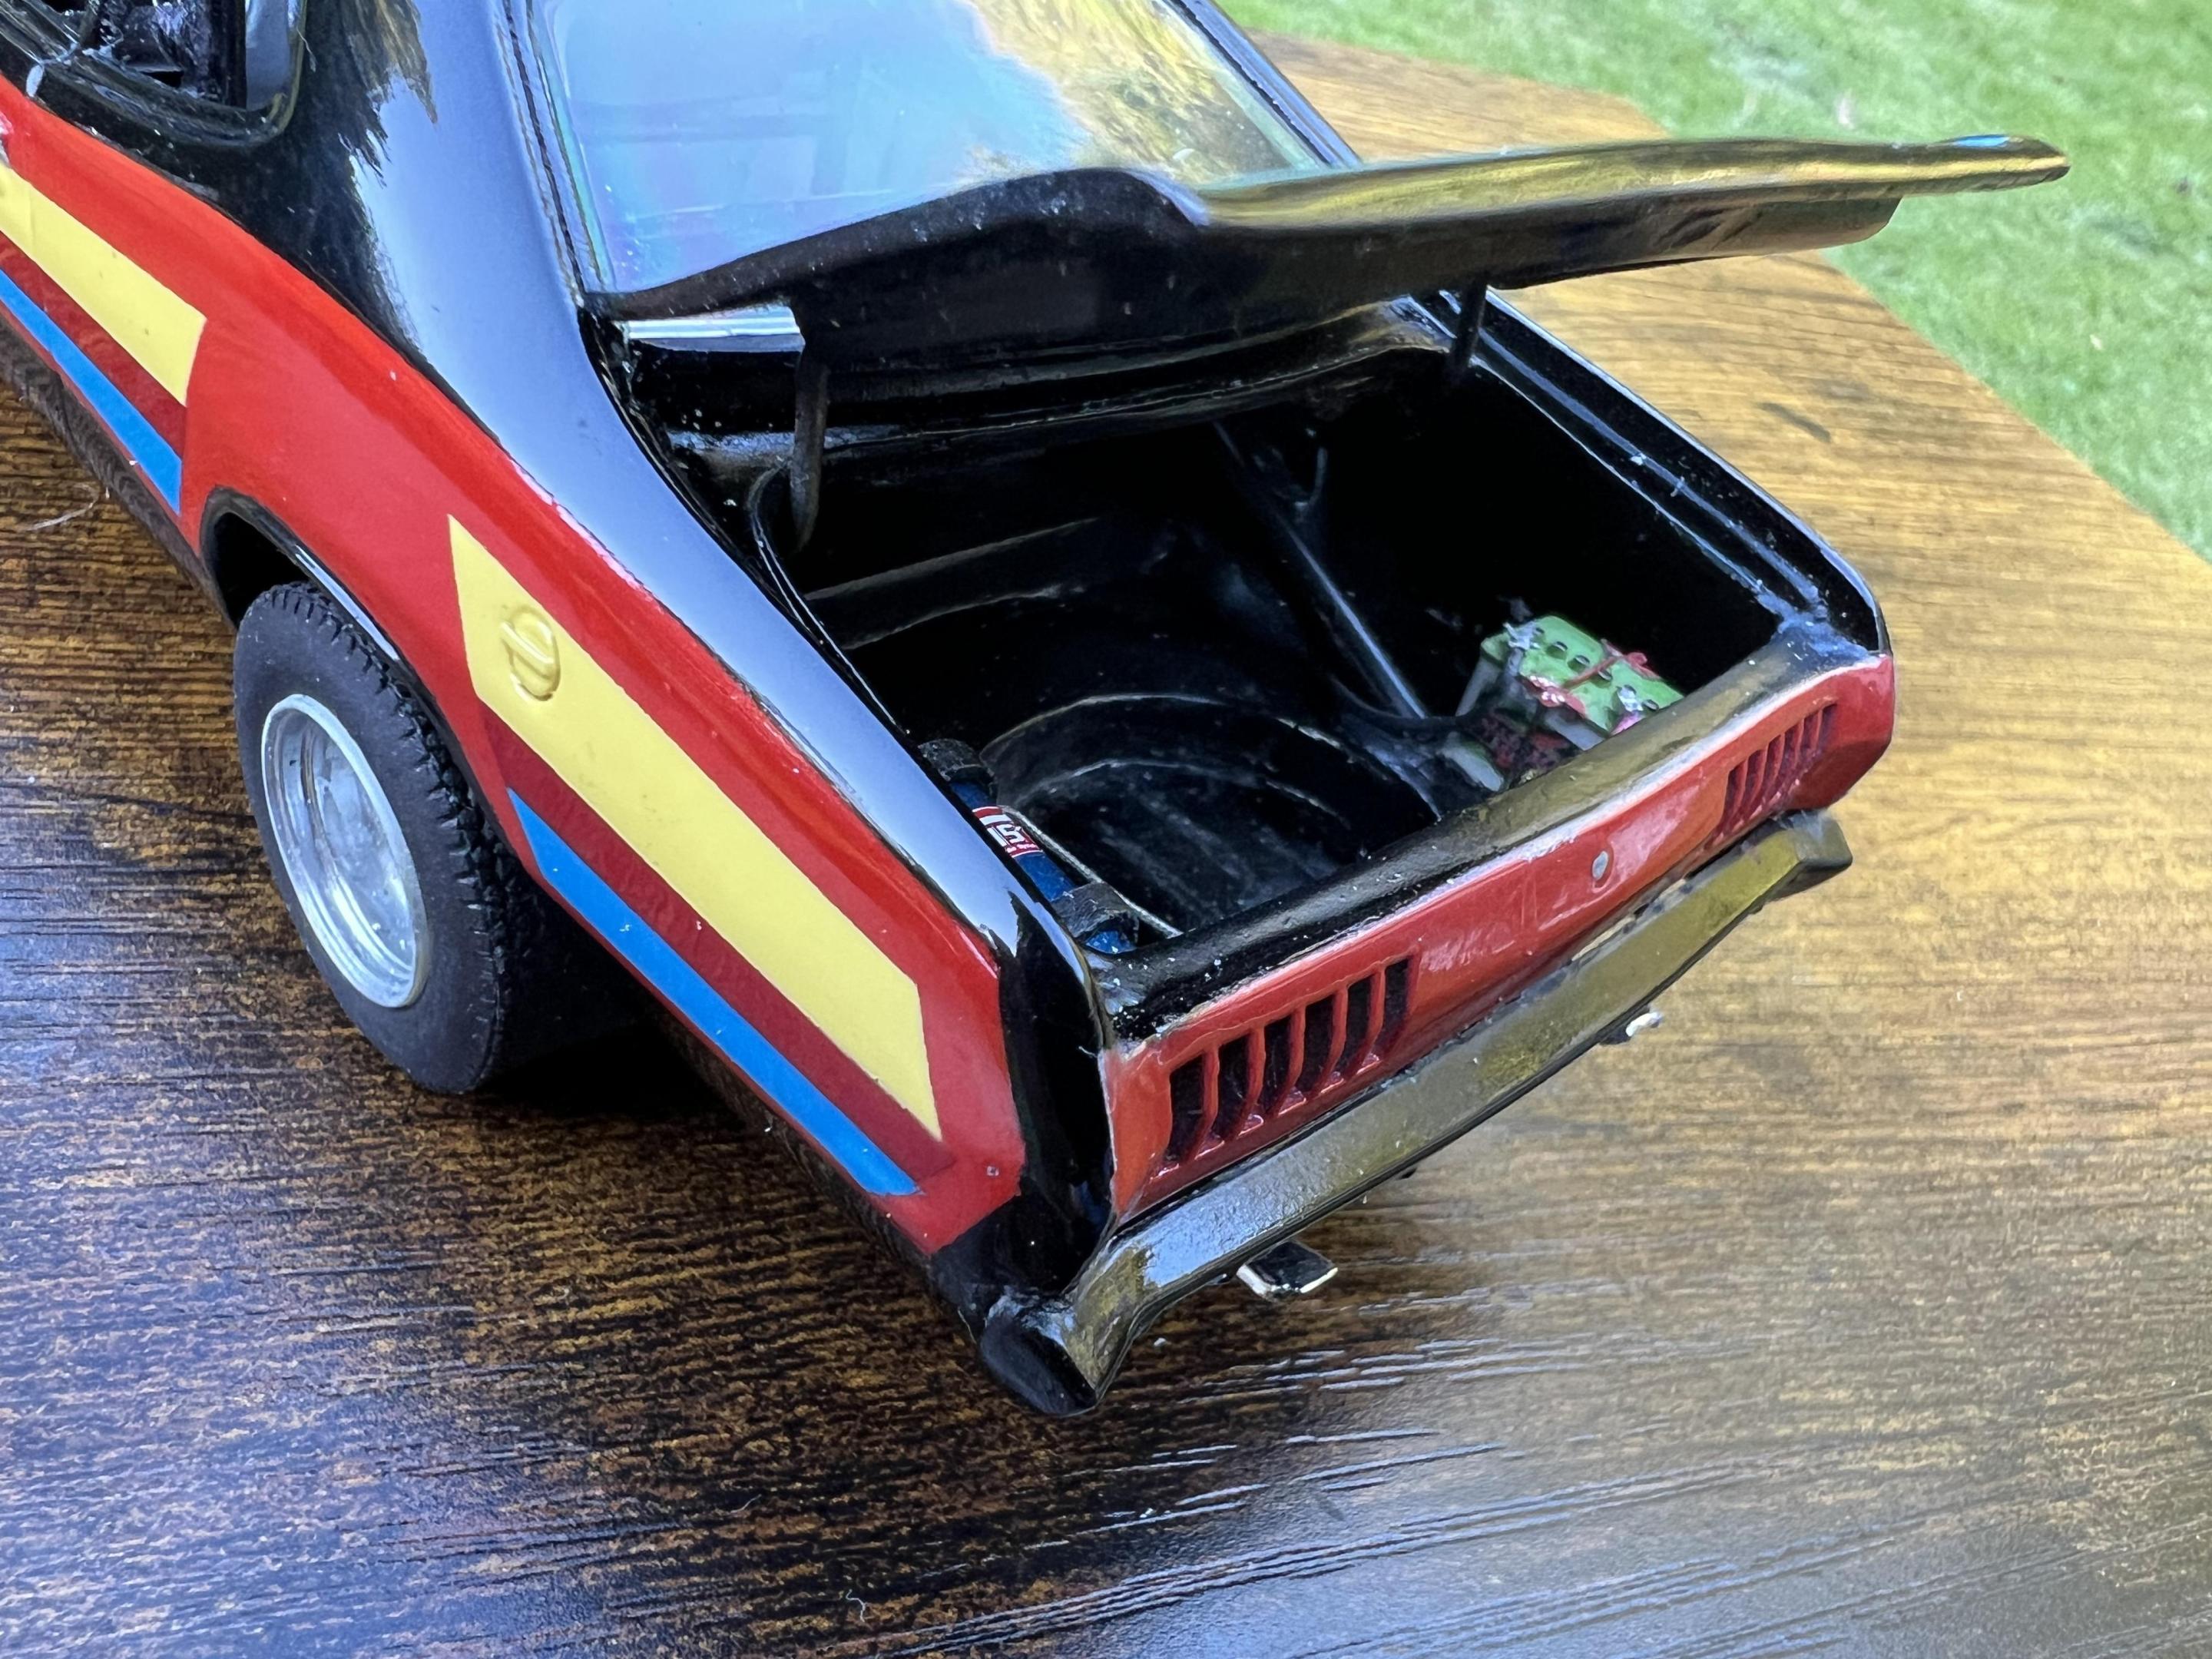
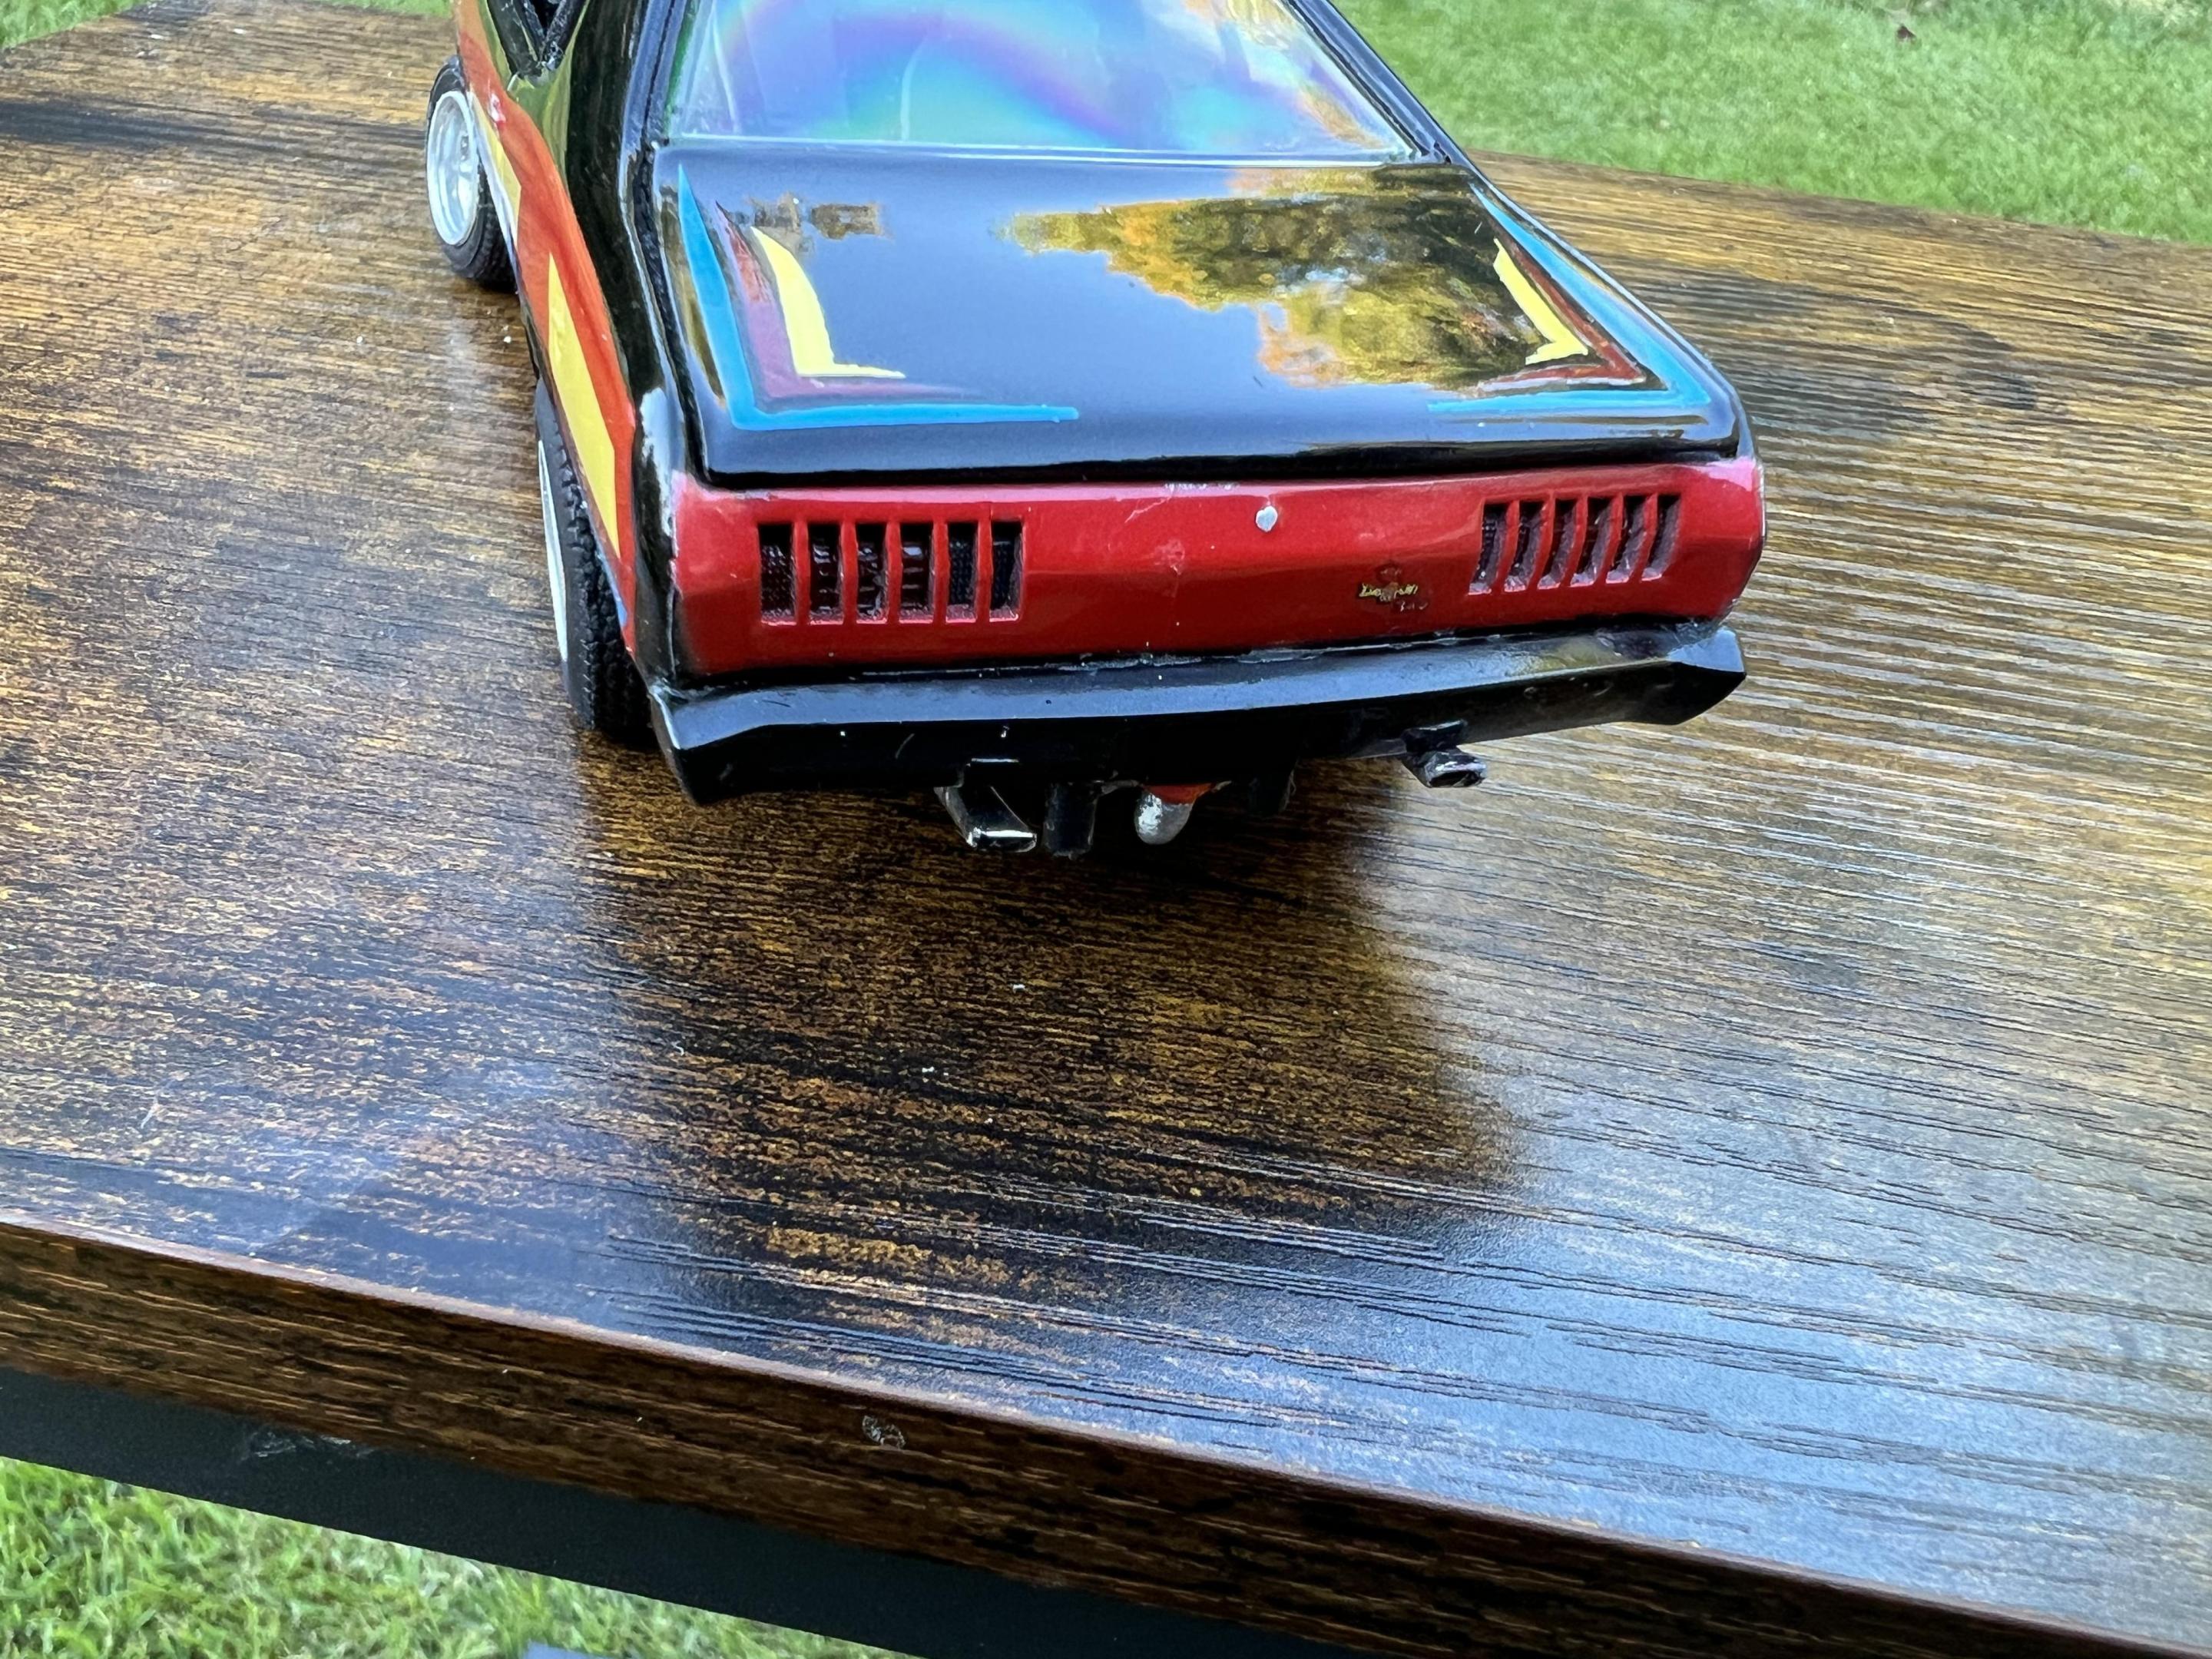
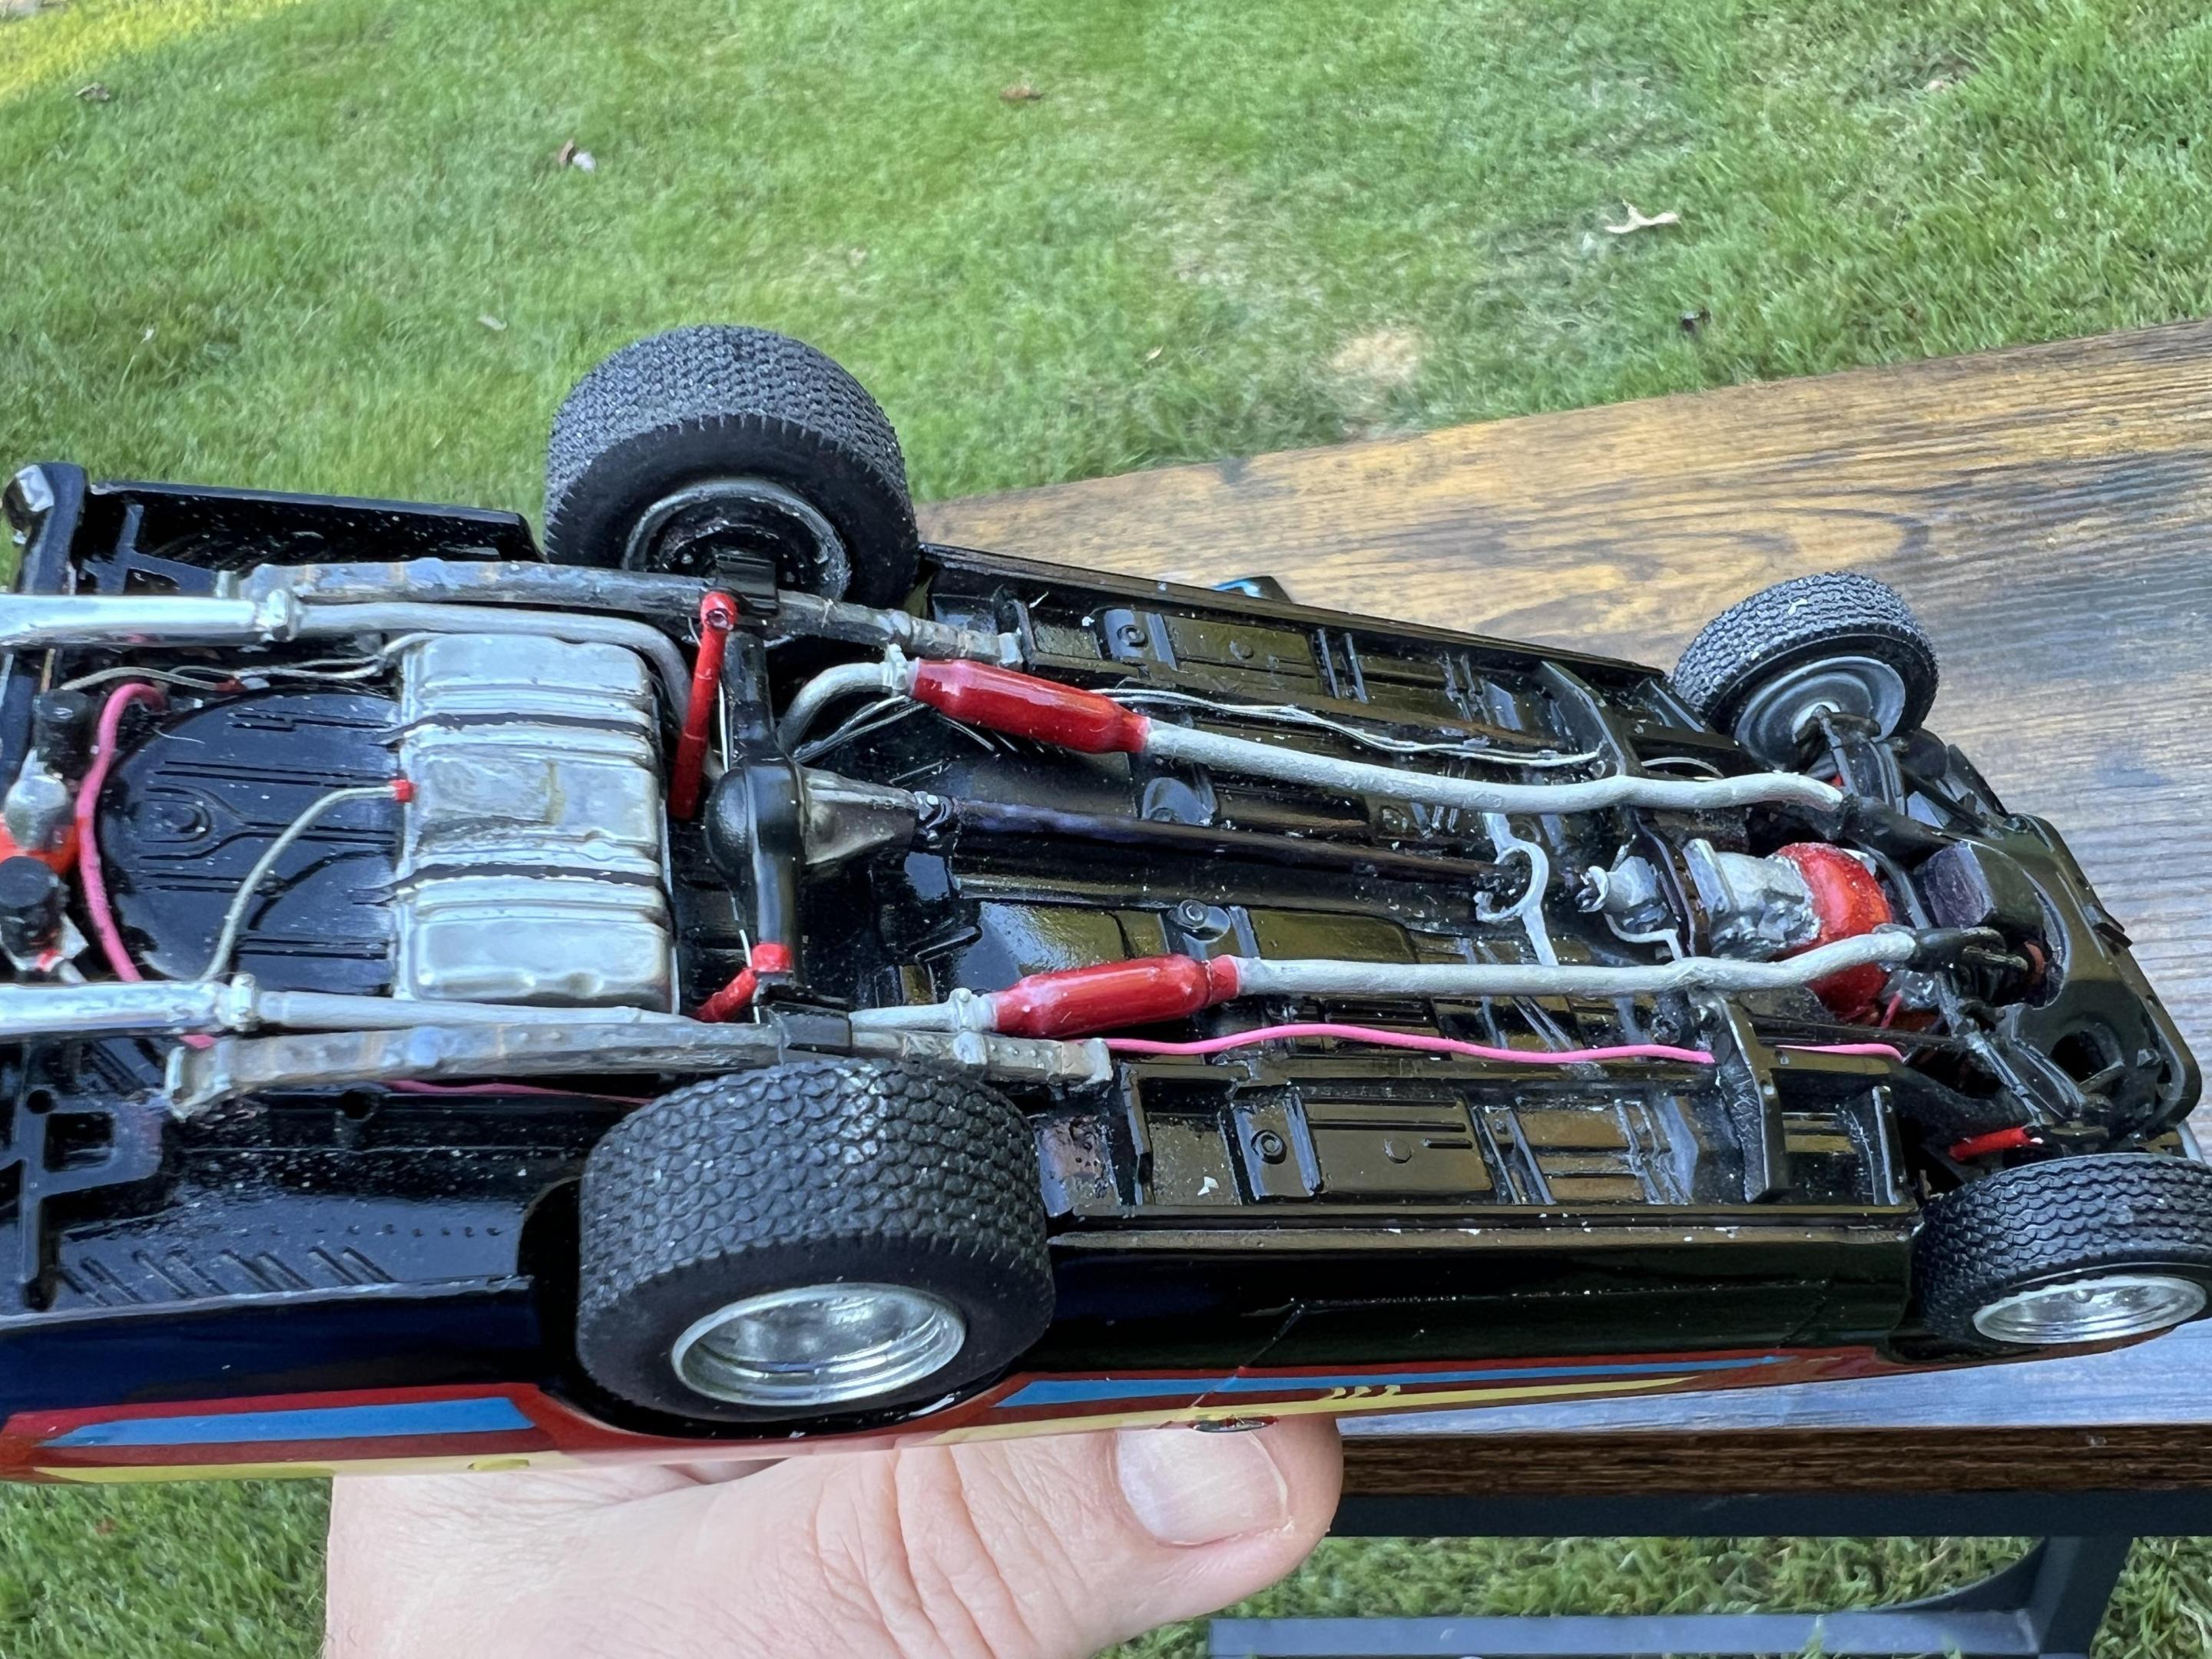
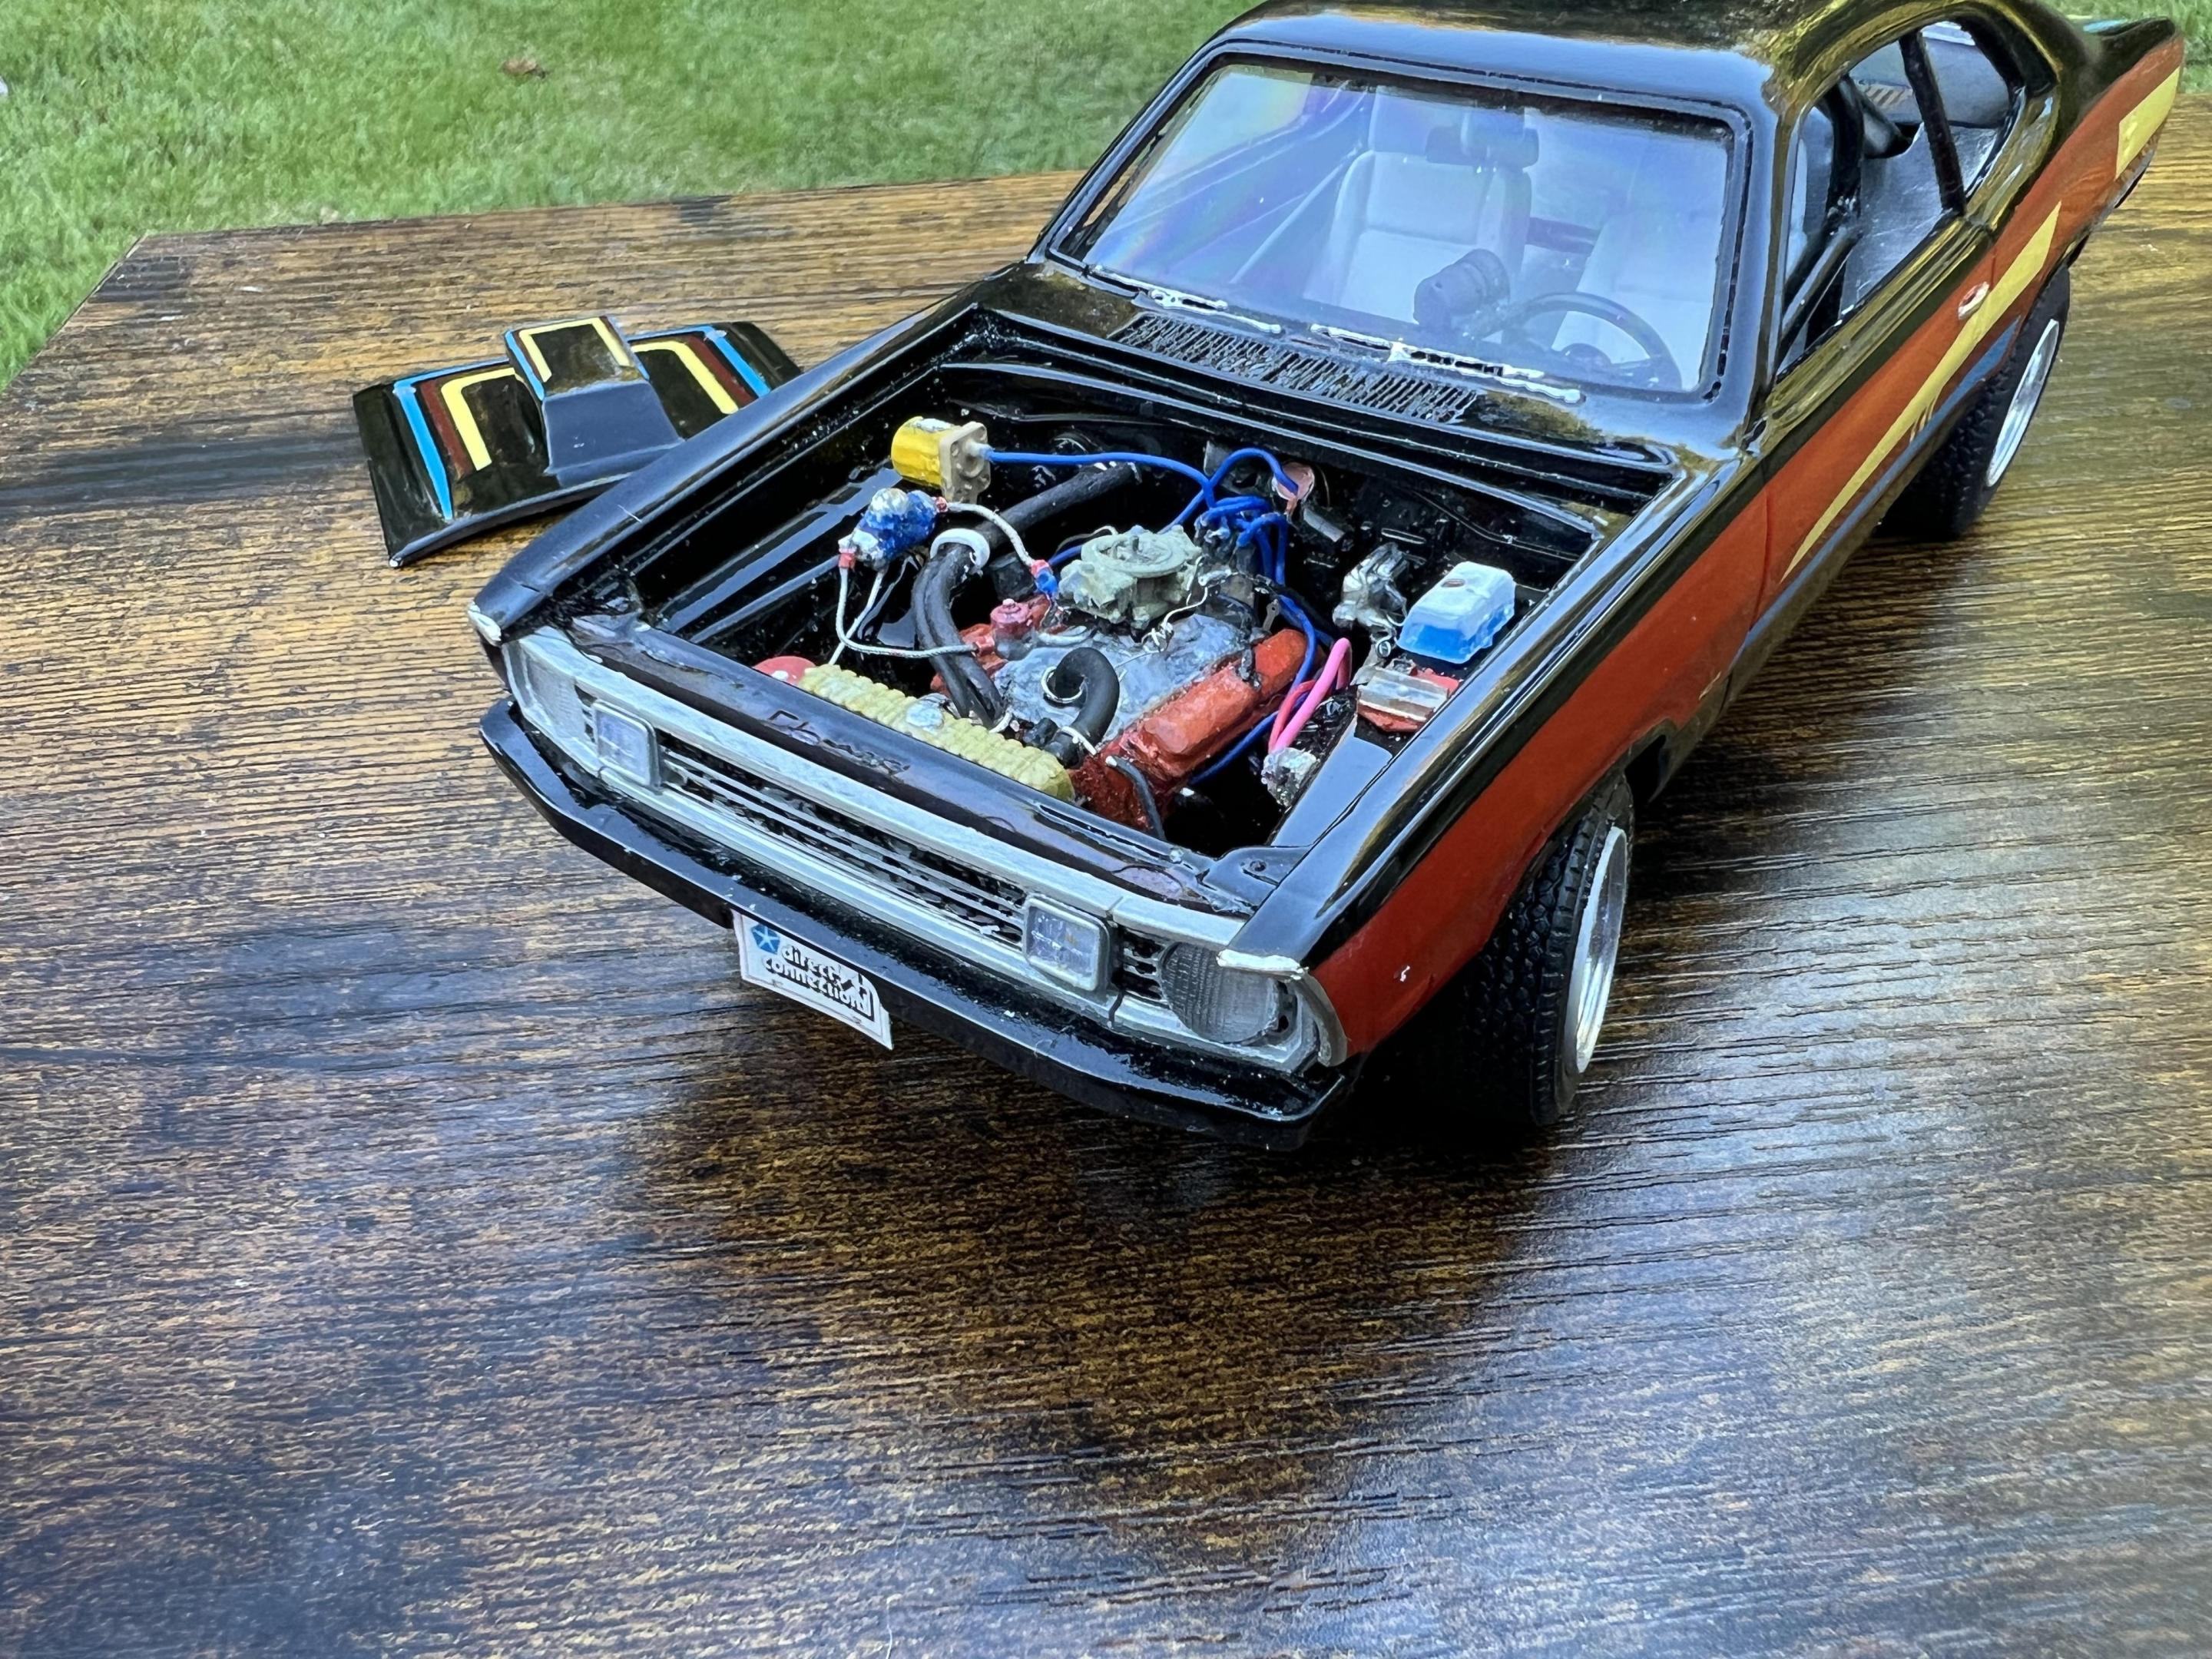
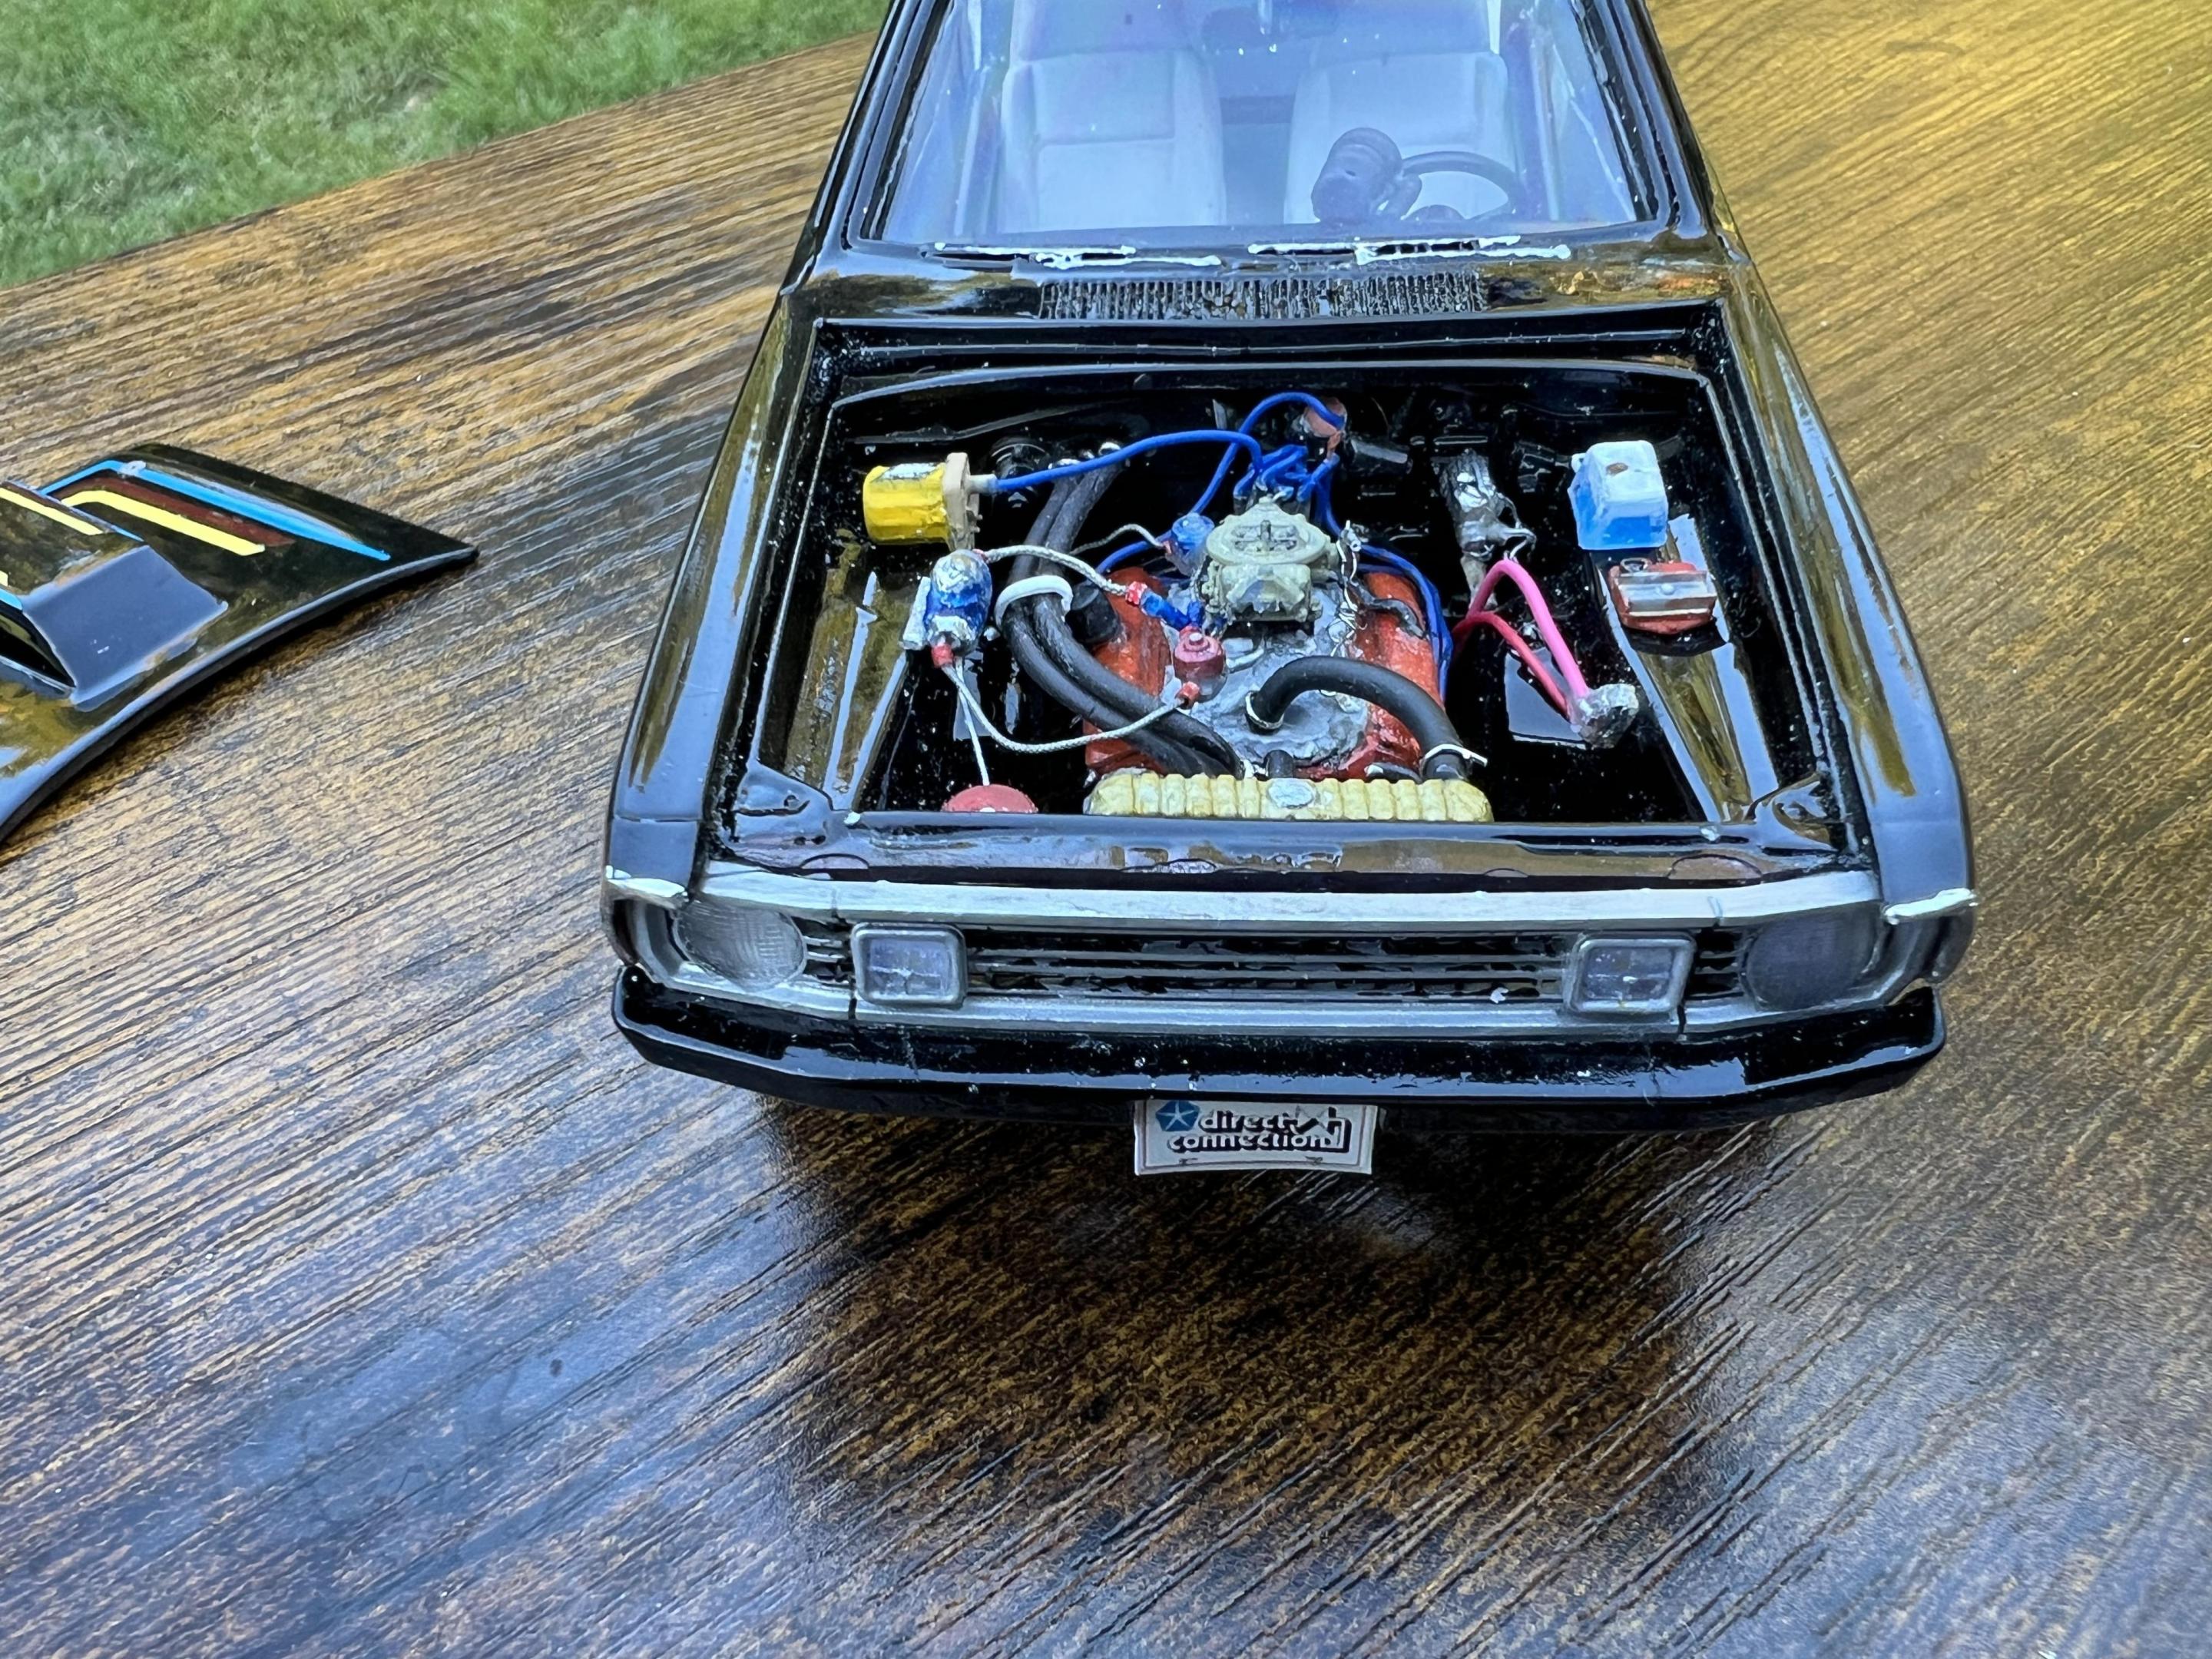
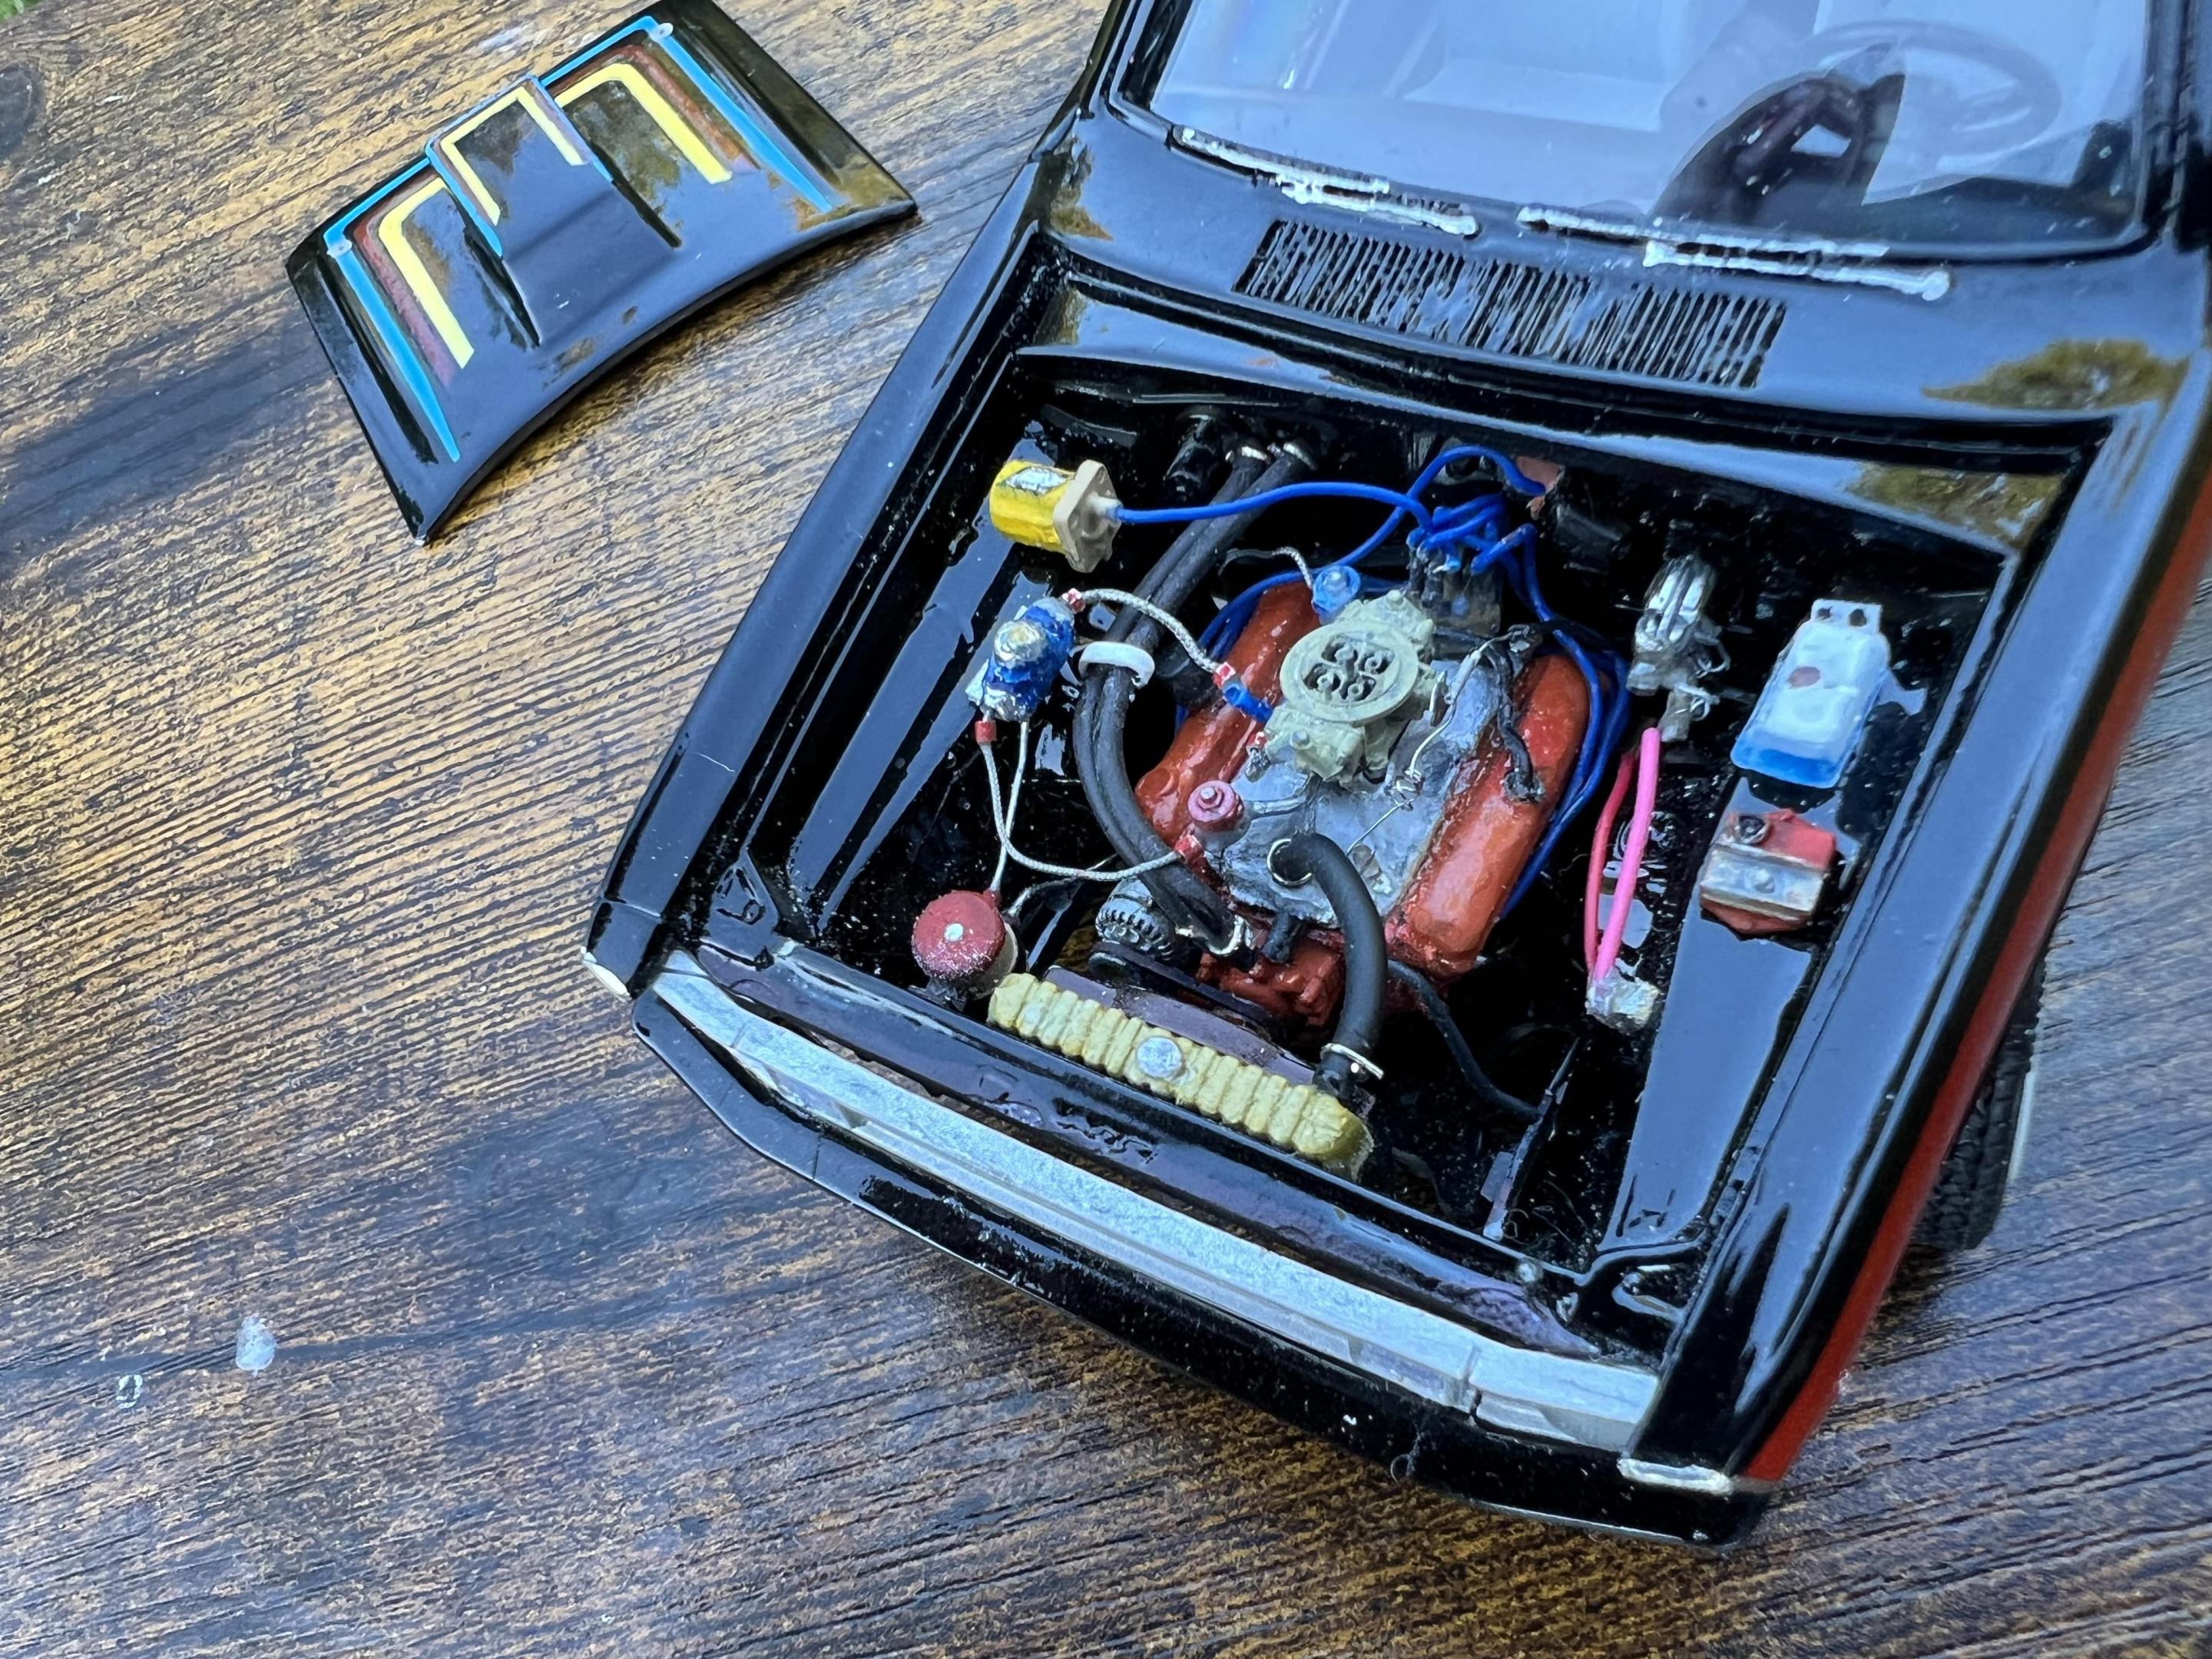
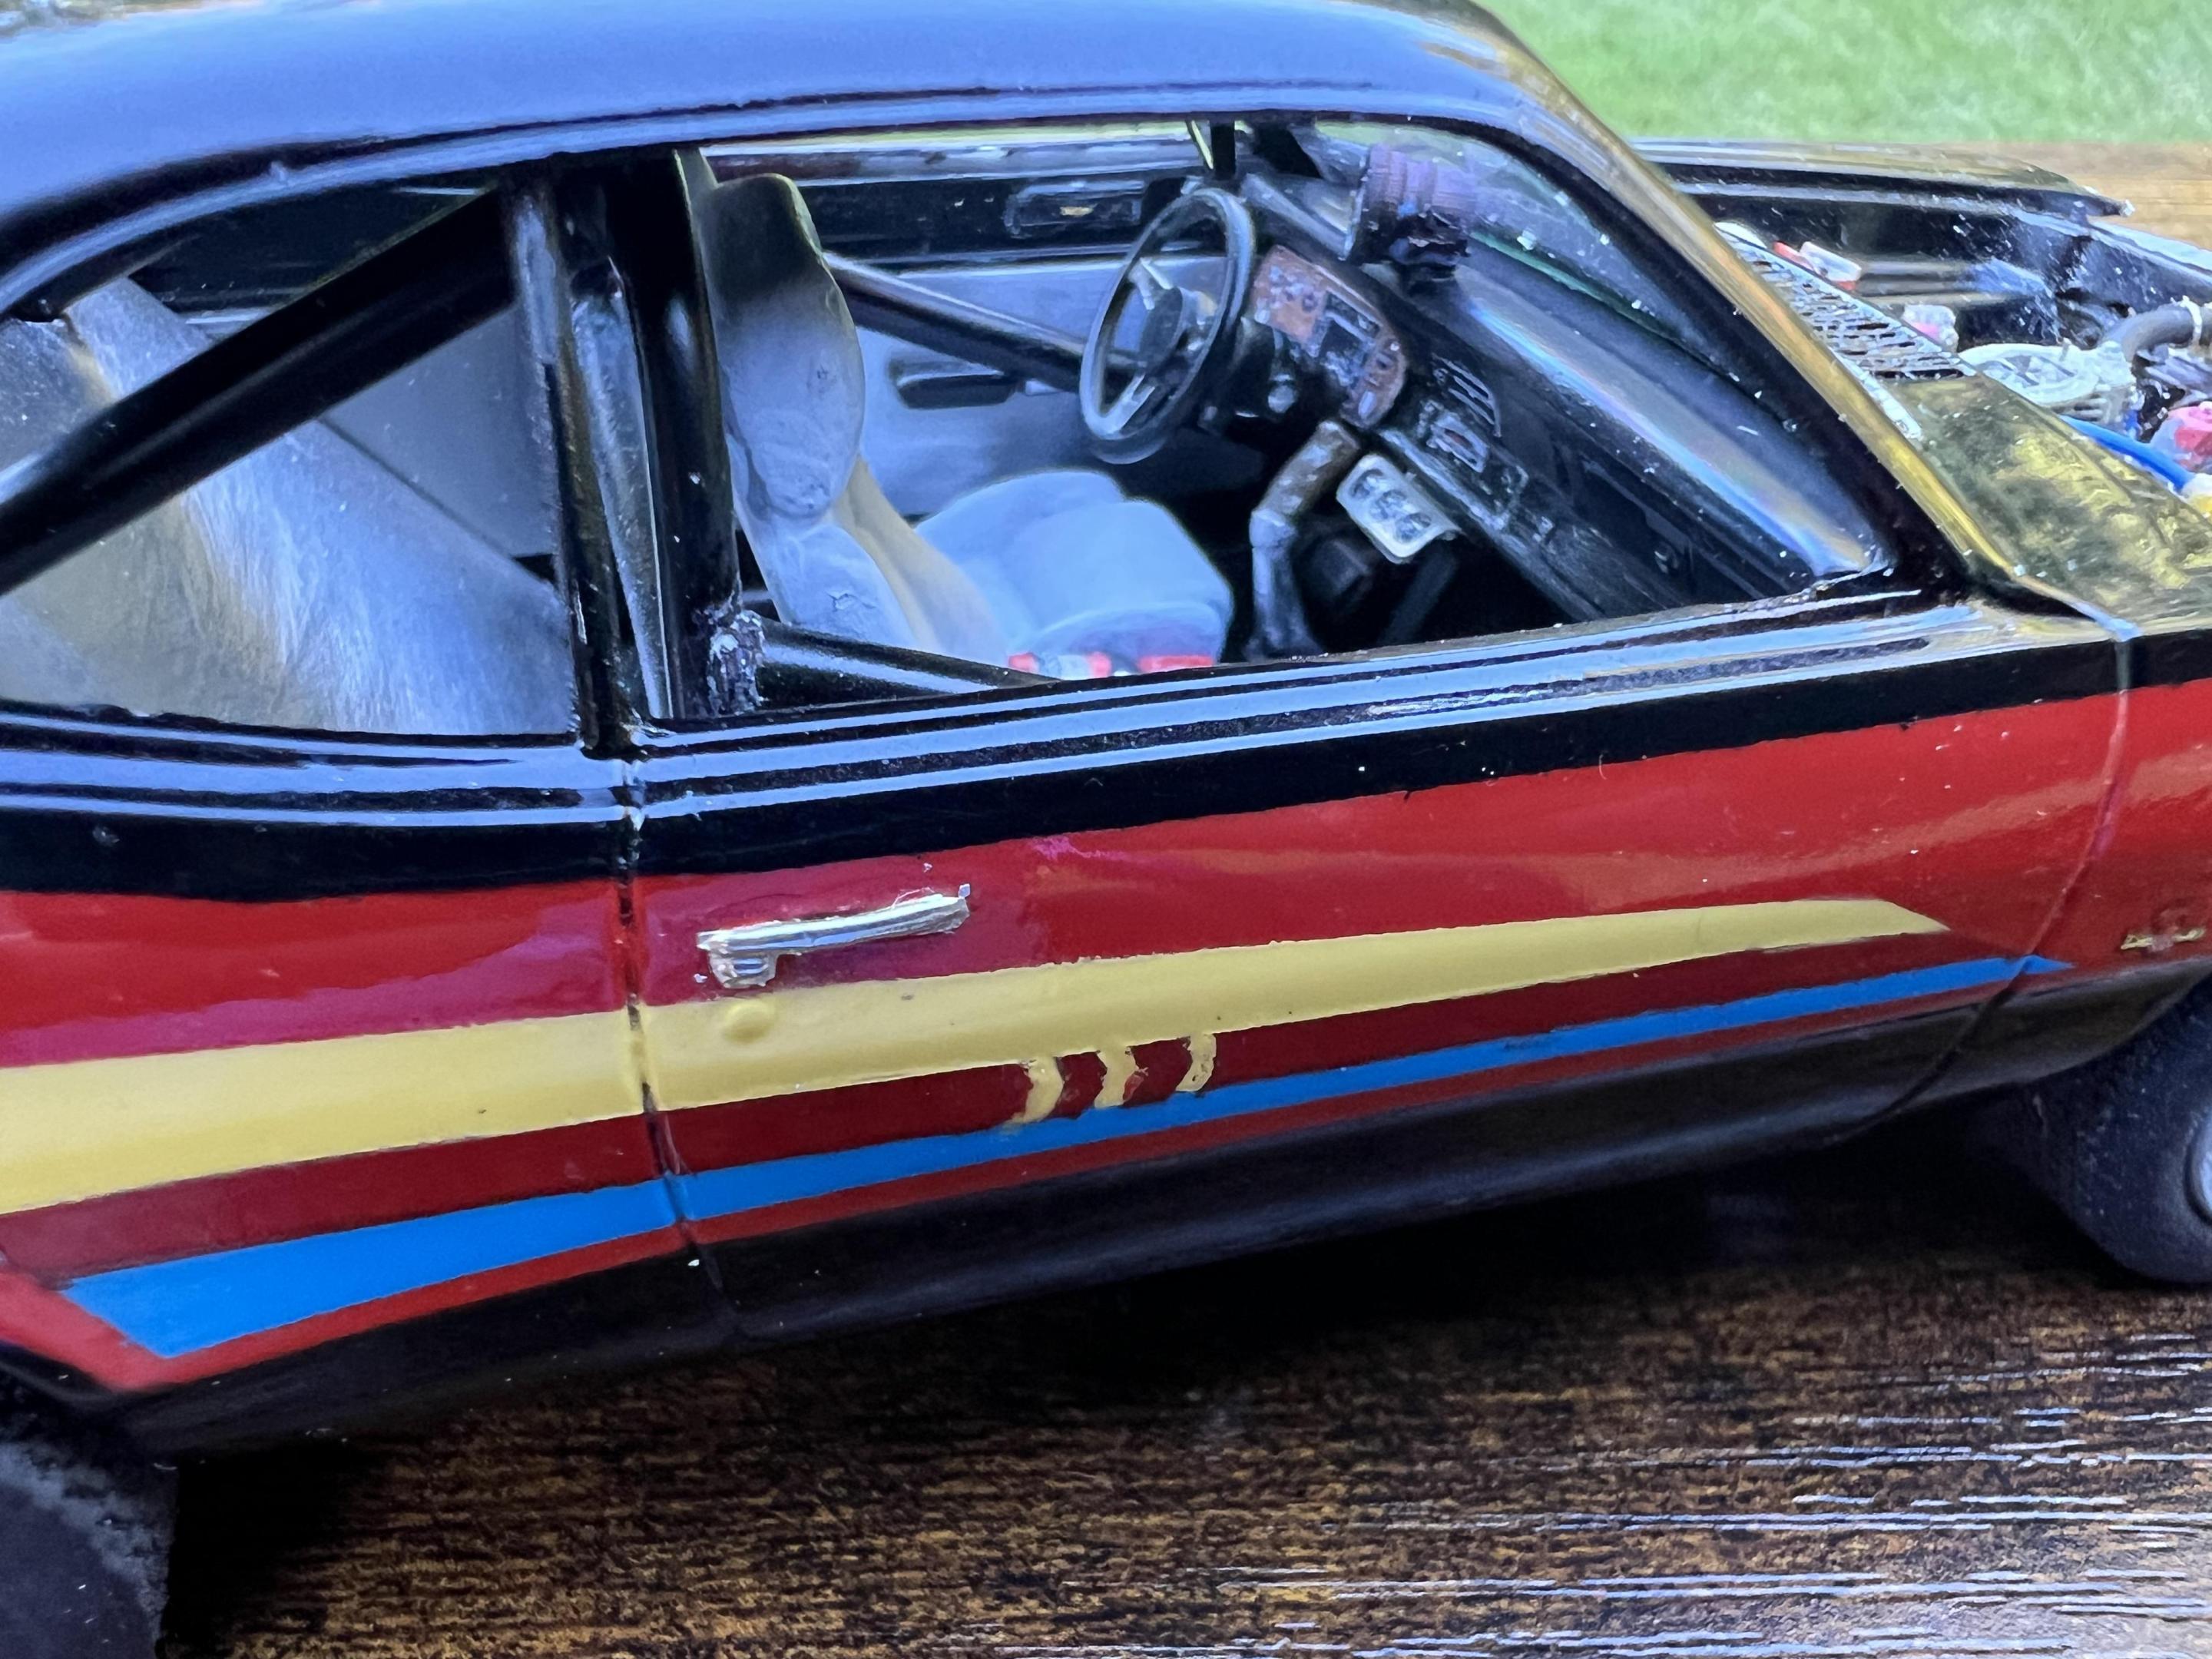
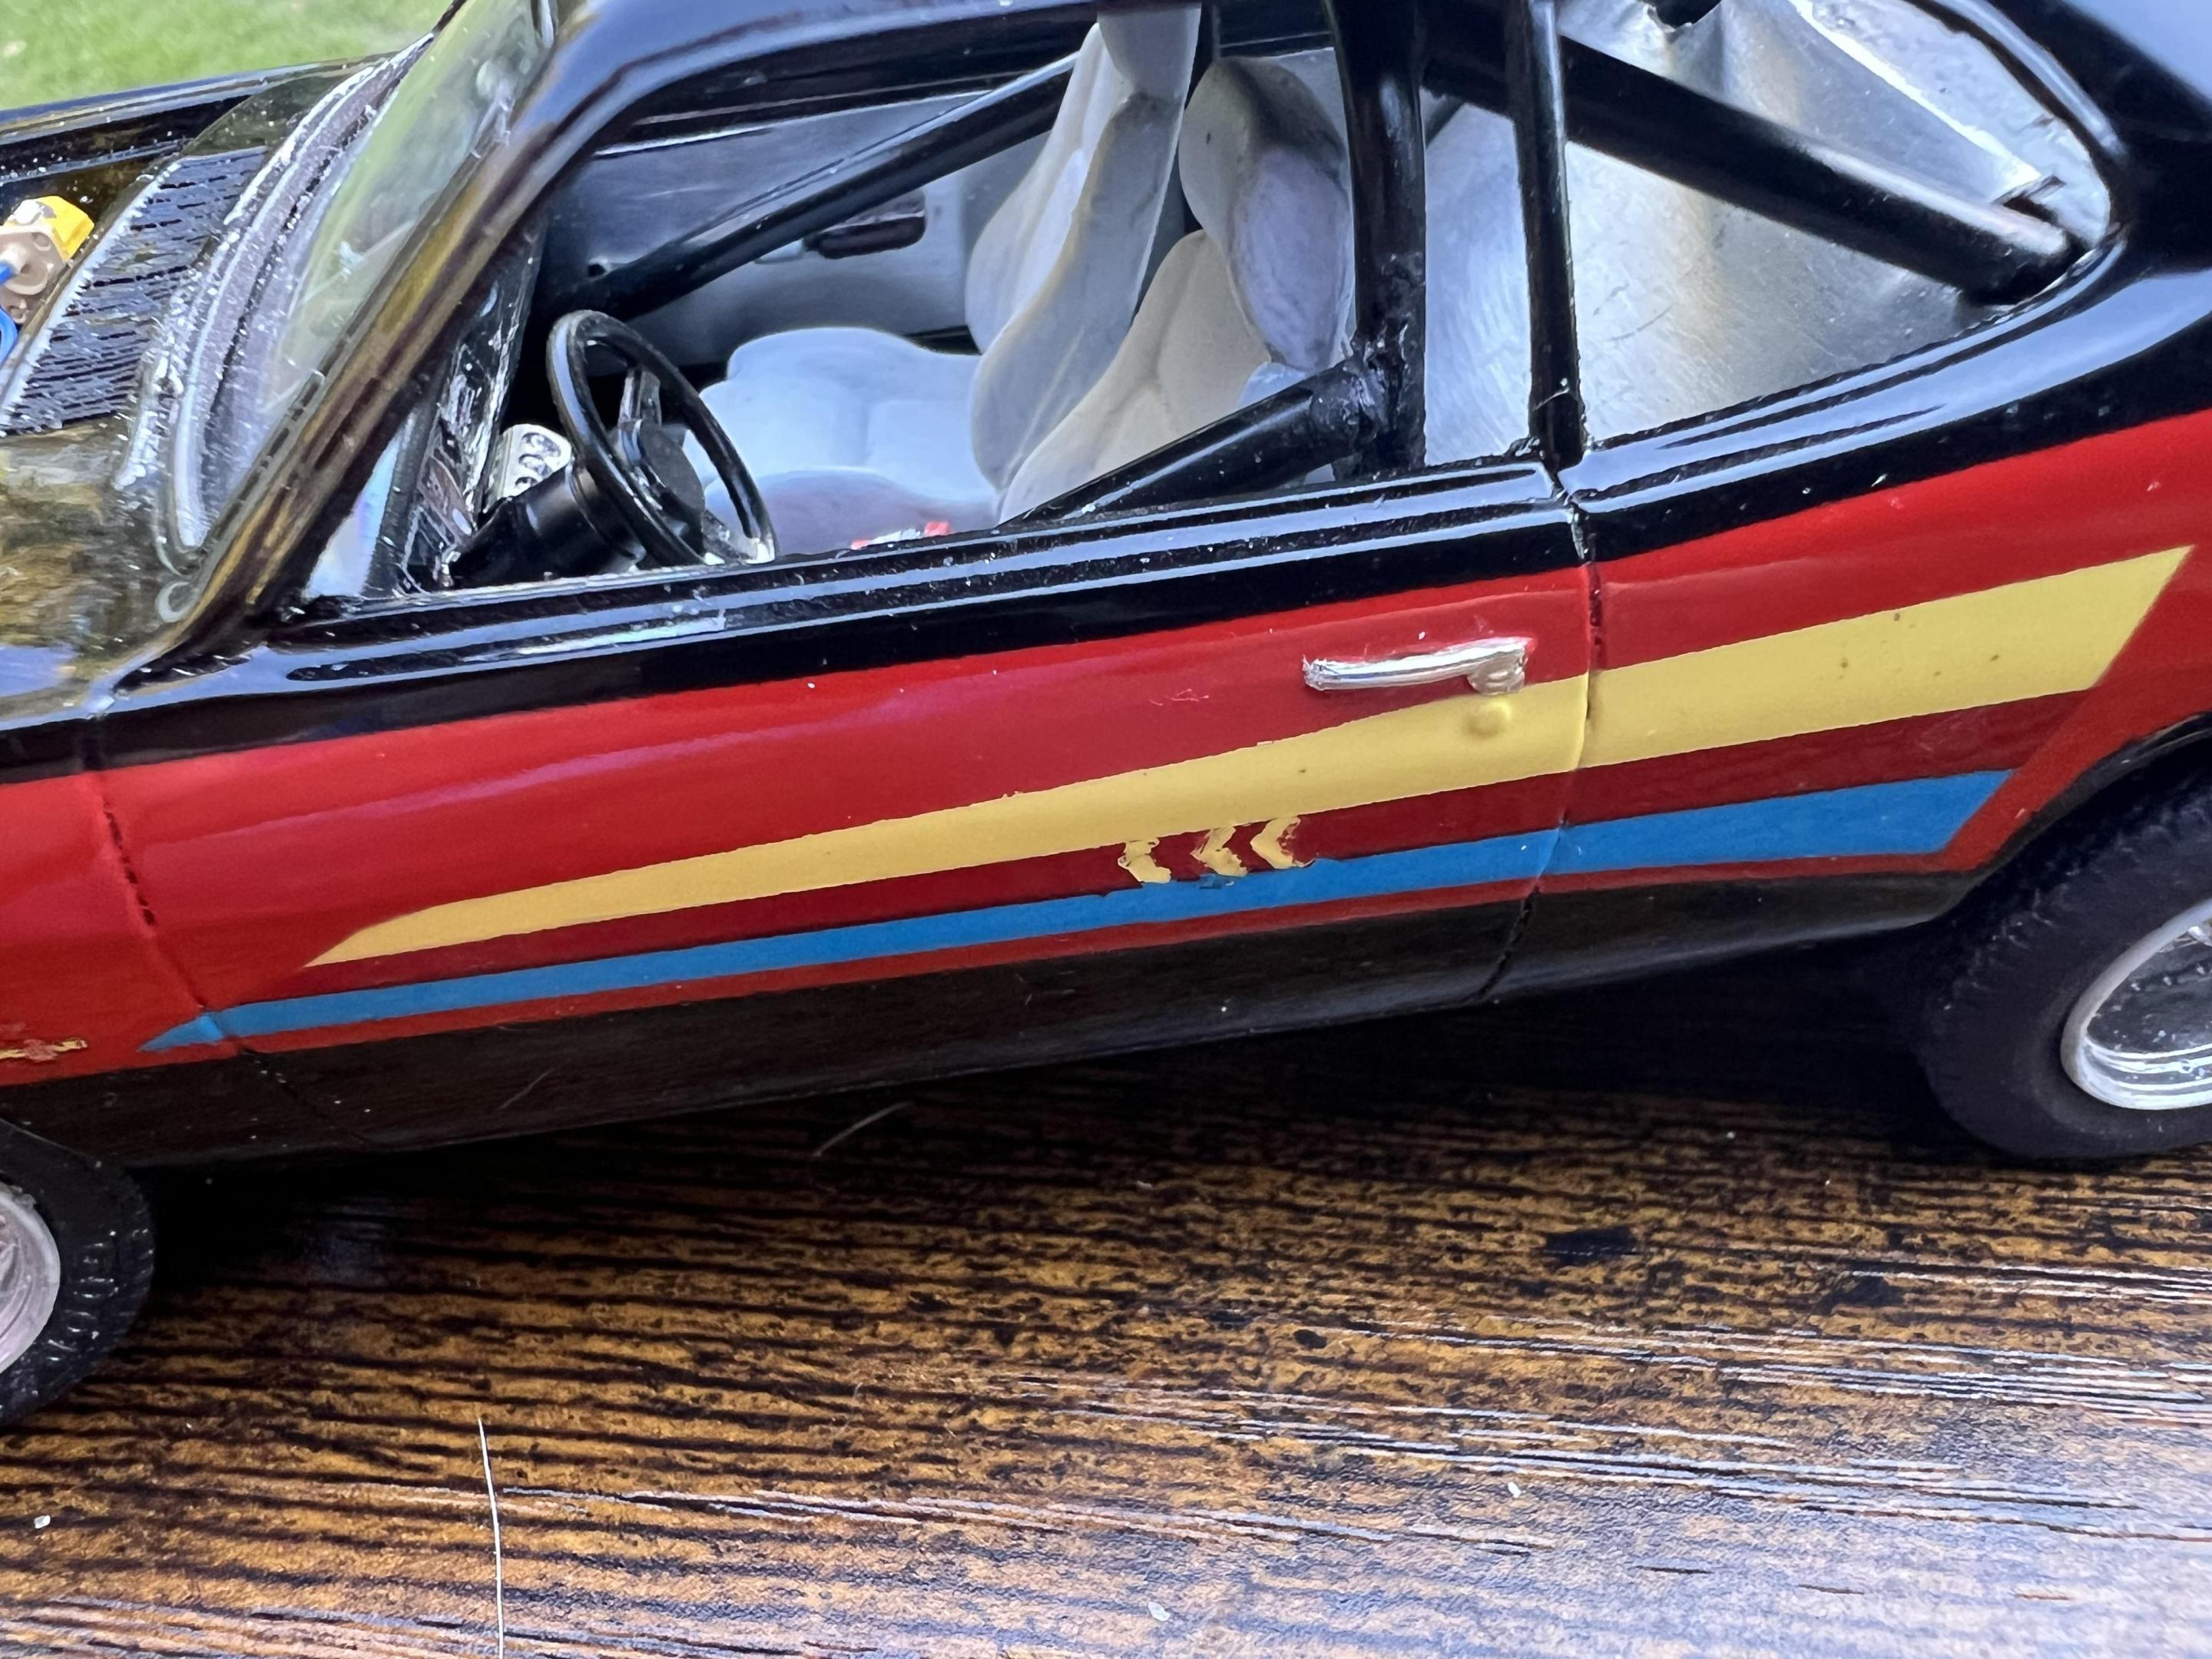
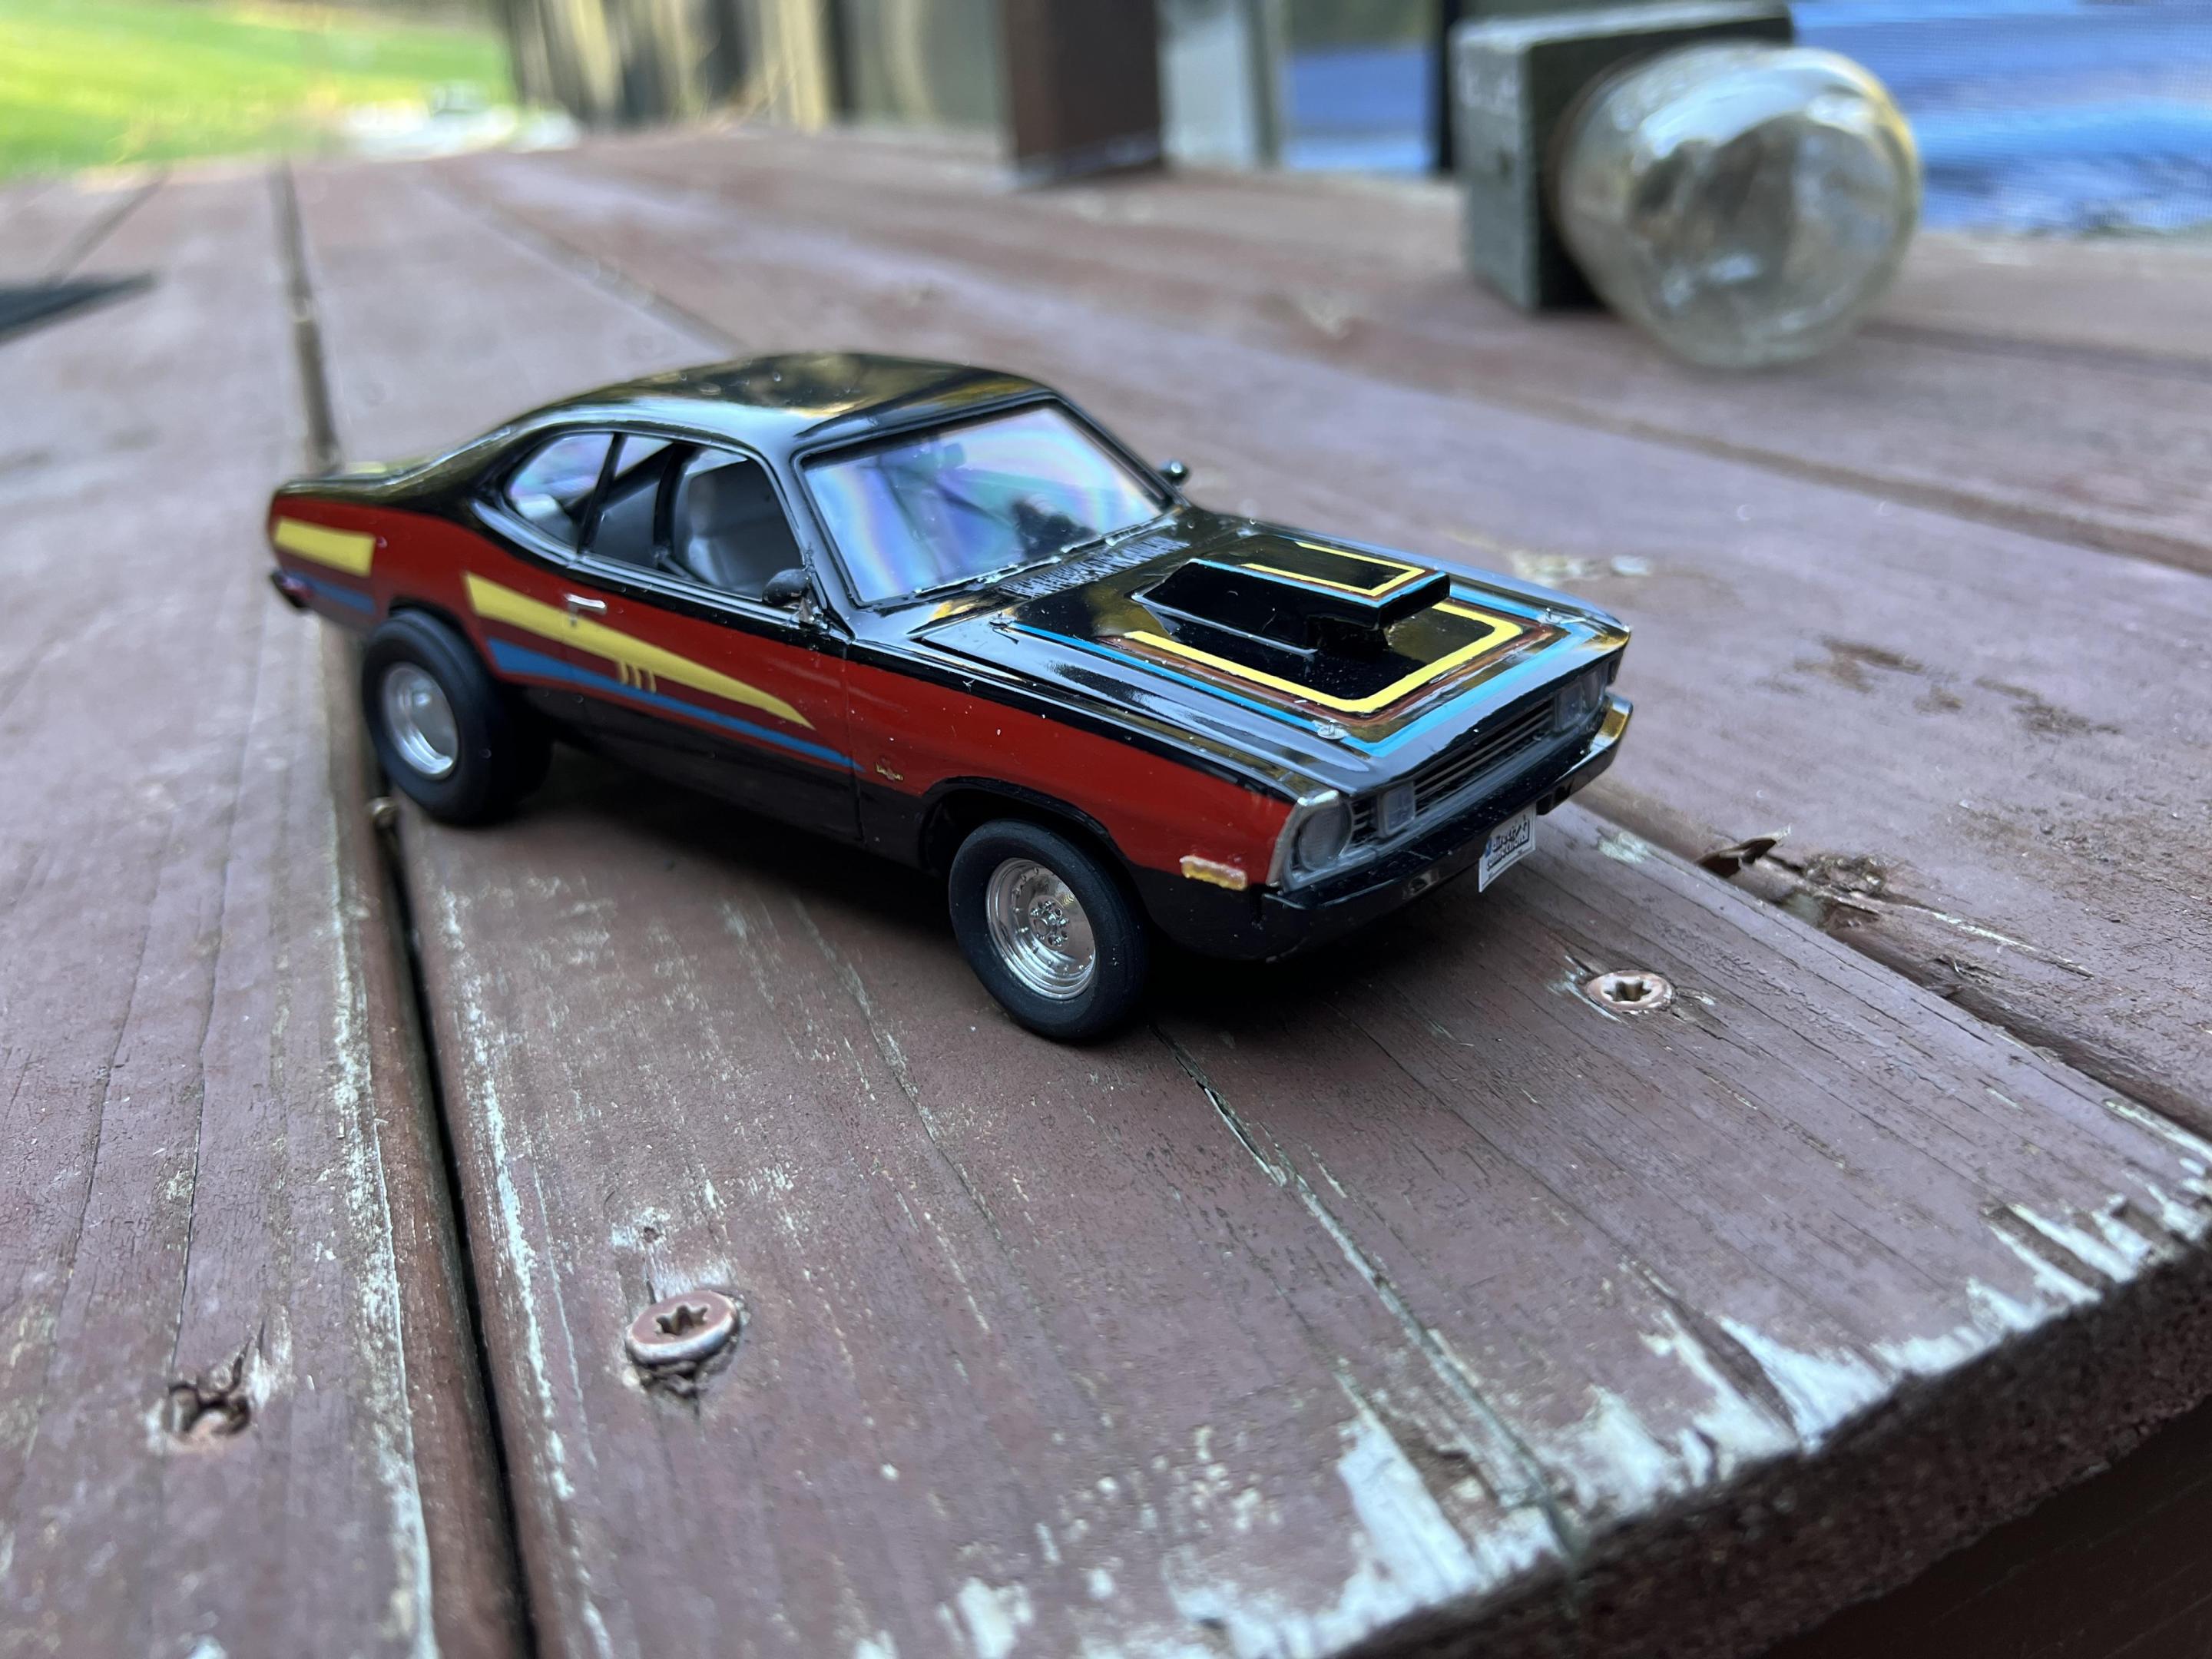
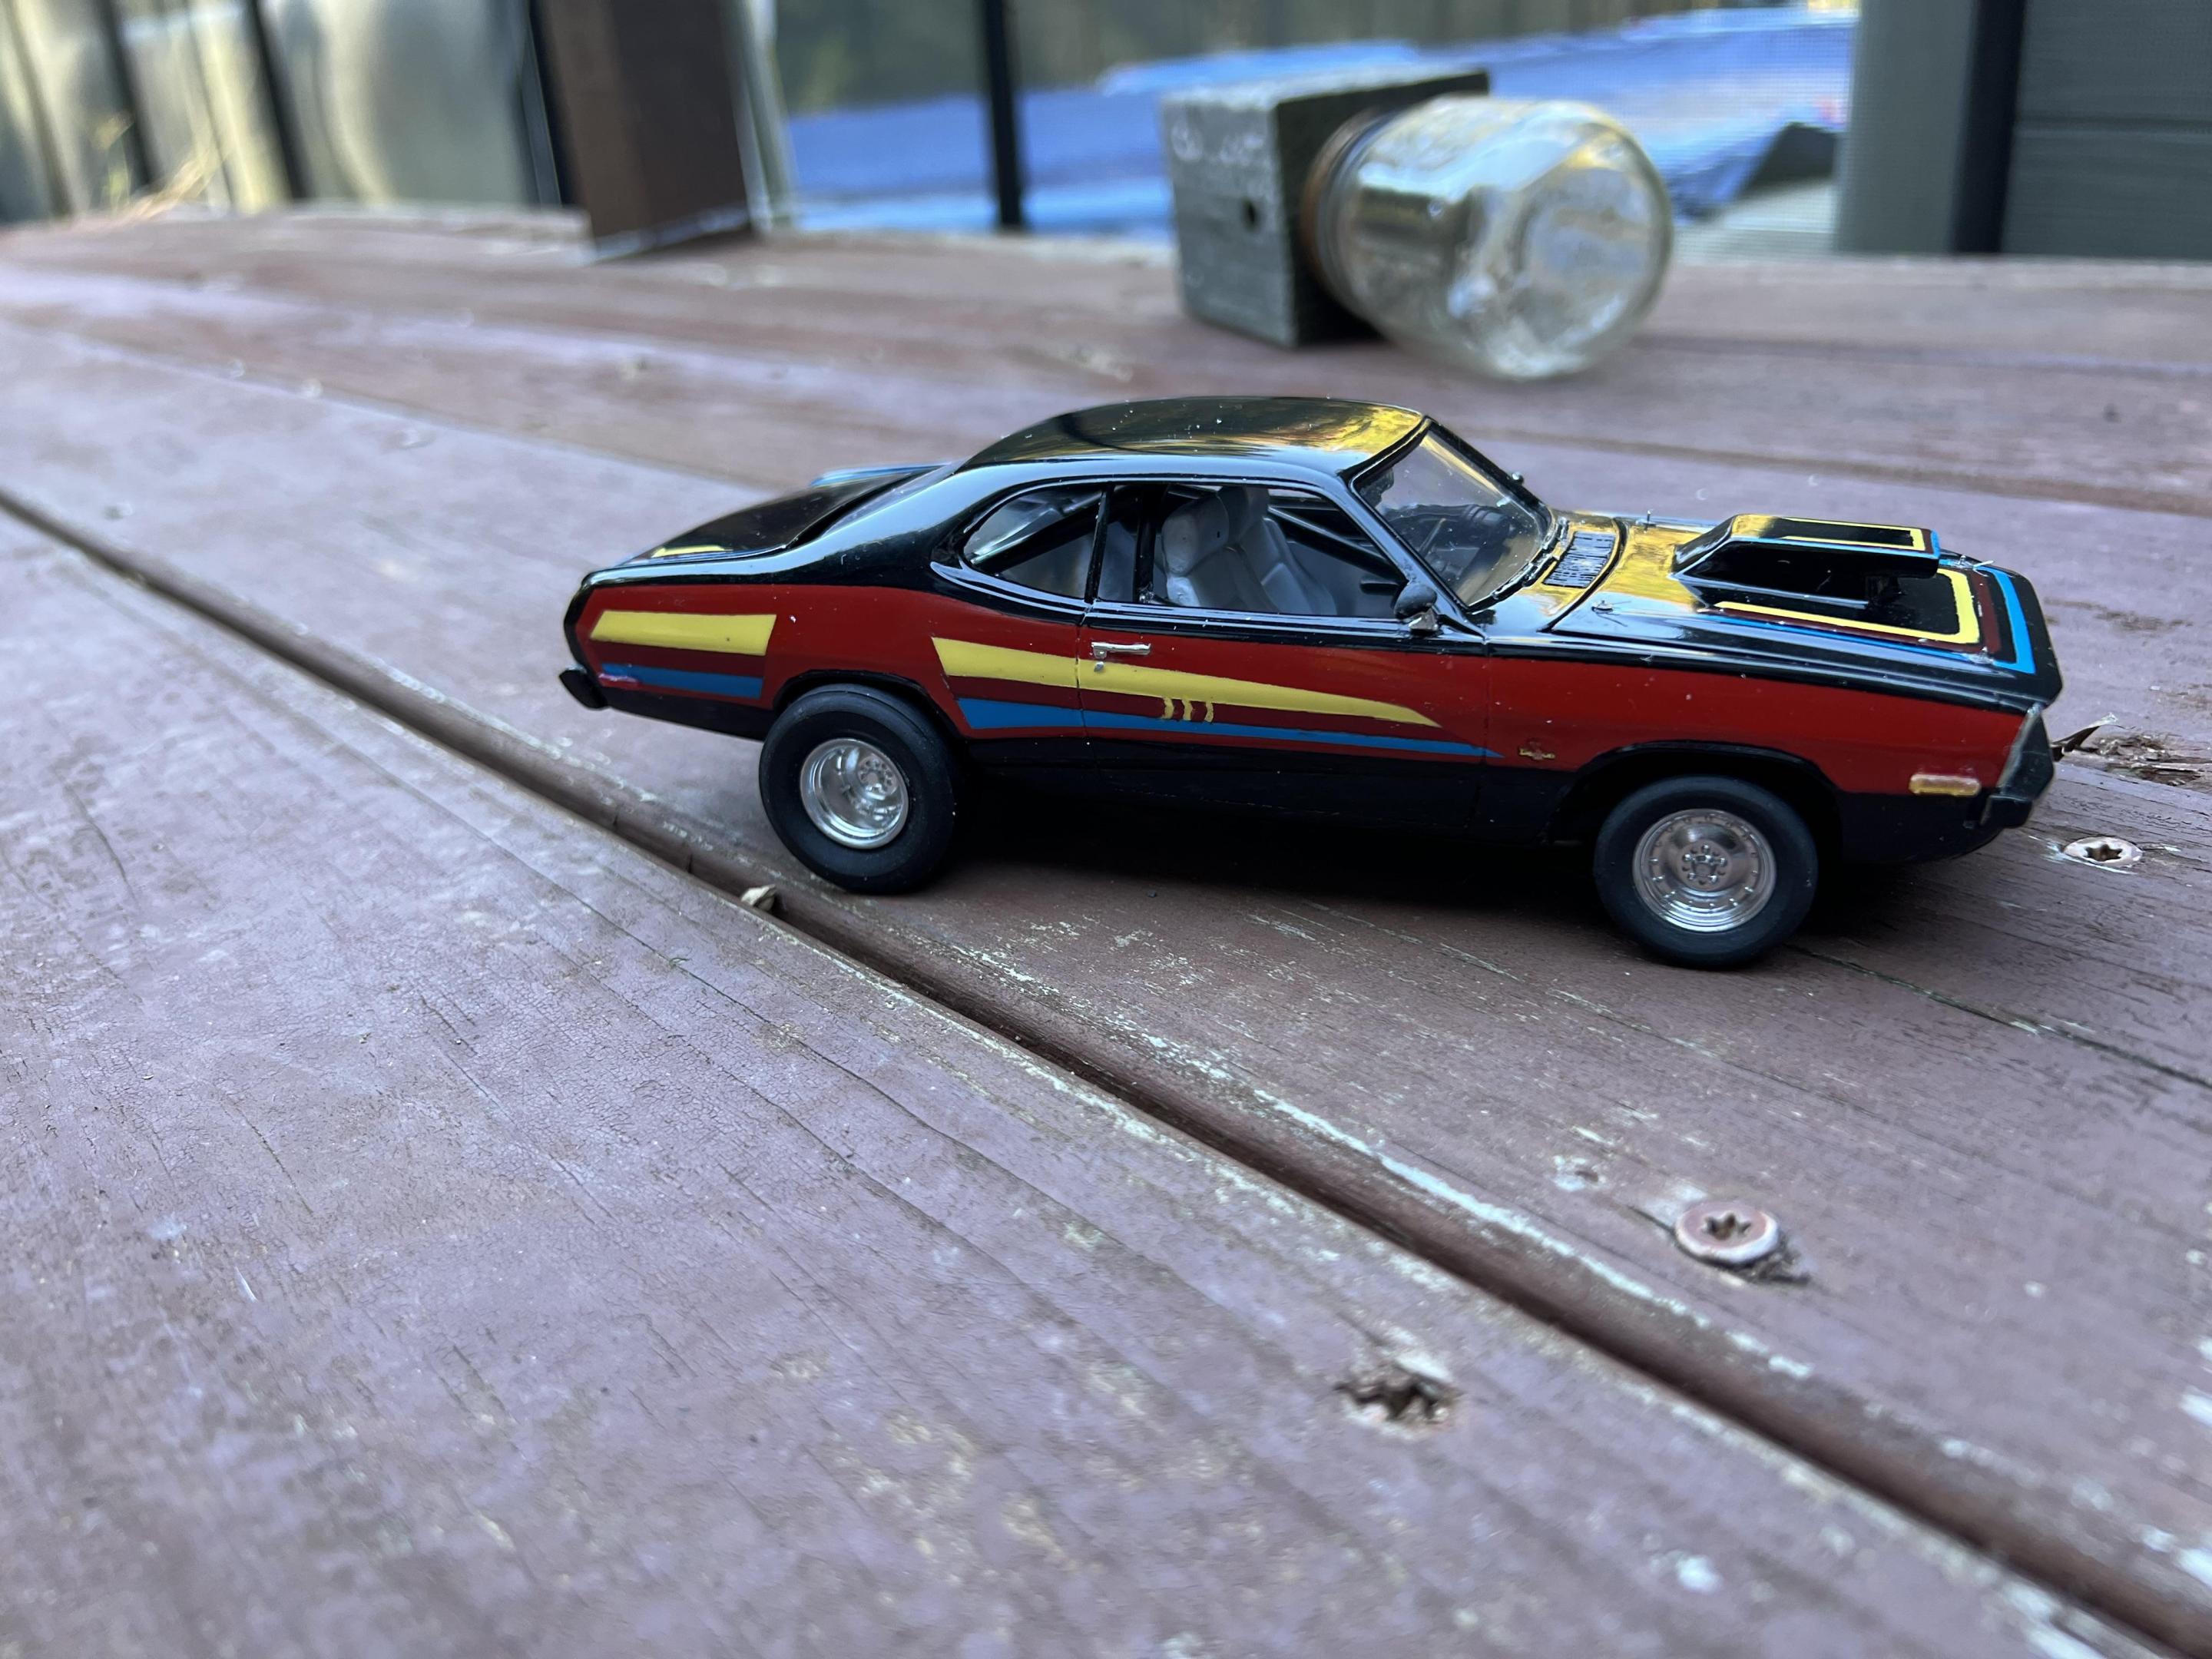
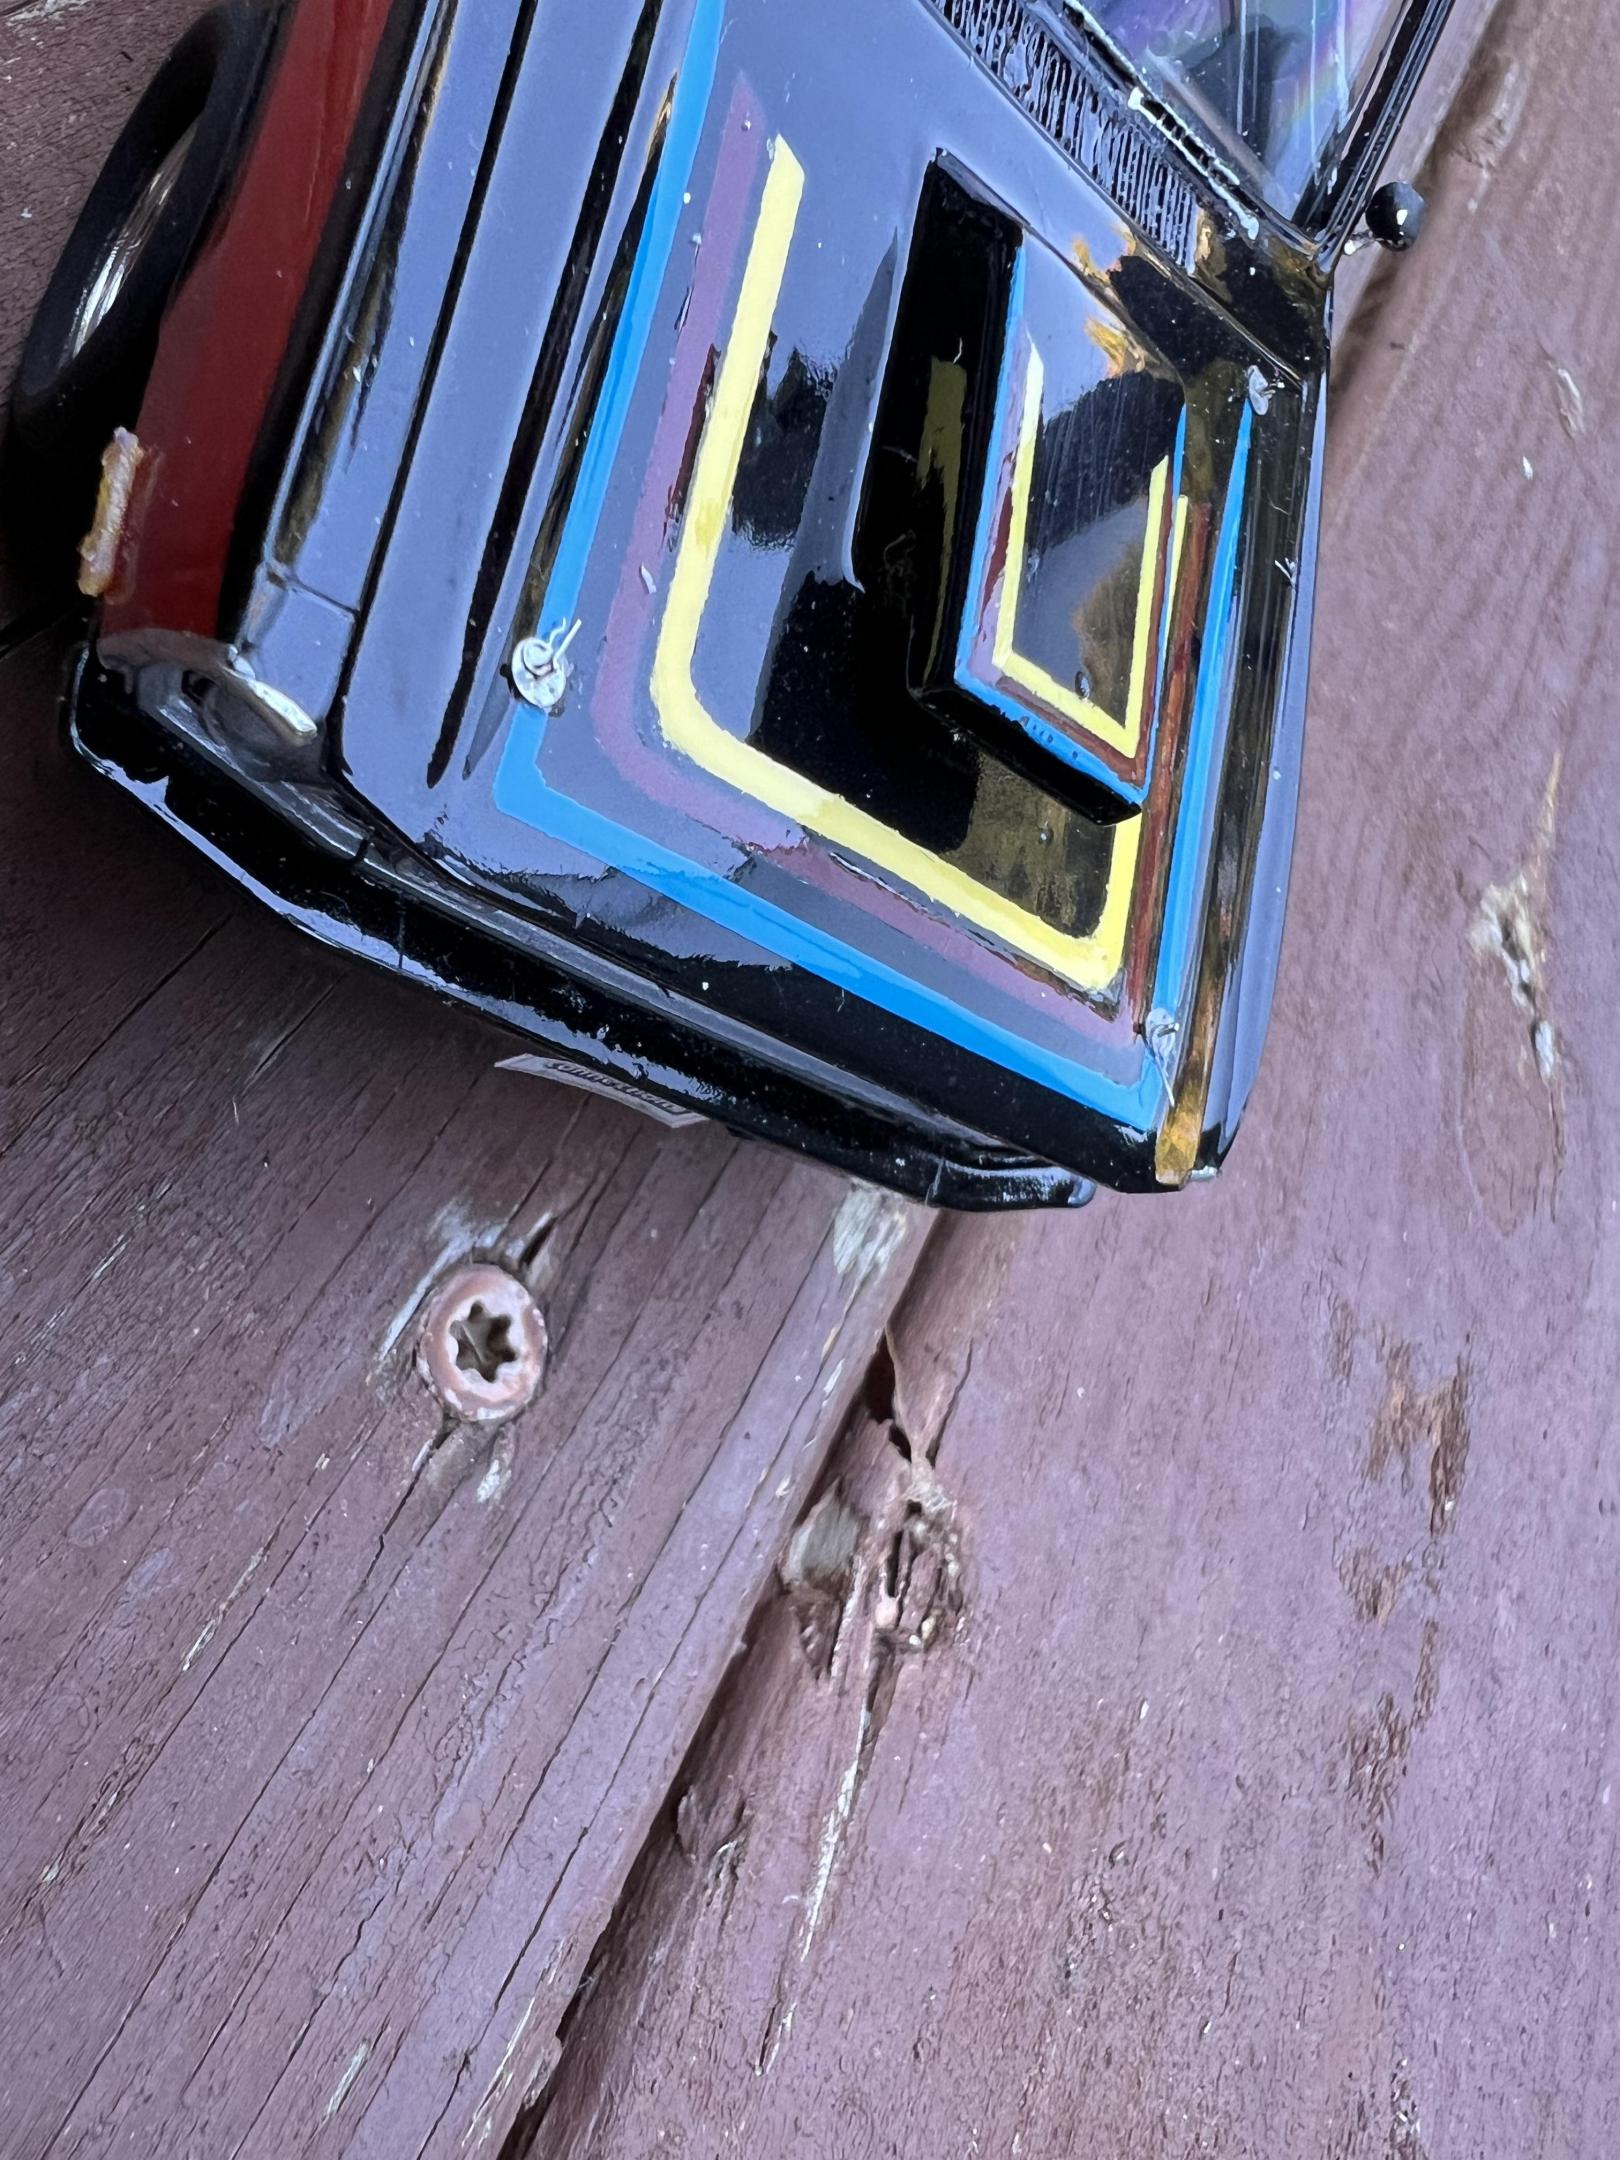
This build is a replica of the 72 Demon I owned for about 15 years. It was born a 340, 4 speed, B5 Blue car. That did not last as seen. It was custom painted black with Candy Tangerine panels with ghost stripes / images with blue, red, yellow designs. The original 340 went bye bye, in its place was a .030 over 68 340 with higher compression pistons, professionally balanced, custom wild ported X heads, Comp cams 292 duration cam, Edelbrock Victor, NOS nitrous system, tweaked 750 double pumper fed by 1/2” aluminum fuel line with twin black Carter pumps through a Fram HPG1 fuel filter. A Lakewood scatter shield, slick shift modified 833 trans, 4:10 sure grip. The springs were Superstock and moved inboard 3” and had an adjustable pinion snubber. All interior panels were aluminum, rear seat removed, 6 point cage. The seats were from a Fiero GT. On to the build: I started with a resin body I bought on EBay many years ago. The chassis is from the AMT 71 Duster. The engine, trans, carb, nitrous bottle are VCG Resins. The seats are from a Fiero kit I found on EBay. The shifter is from Harts Parts. The hood scoop is from the Monogram Camaro. Much of this kit was scratch built using styrene sheet, rod, aluminum sheet, tubing. All the braided stuff is from Ted’s Modeling Marketplace. I cut out the trunk to make access to battery, nitrous, cage. Designing the hinges drove me nuts, as there was no solid place to mount them. The paint was another story all together, as I had a Candy Tangerine disaster the first time. I still have to paint the marker lights, the Moroso air cleaner once it gets here, and do the rear hood pins on the hood. Edit, second set of pictures are with mirrors, hood pins, marker lights installed. It is also pictured with the strip tires and rims I forgot, grille and marker lights are the new Few Sprues Loose items.
-
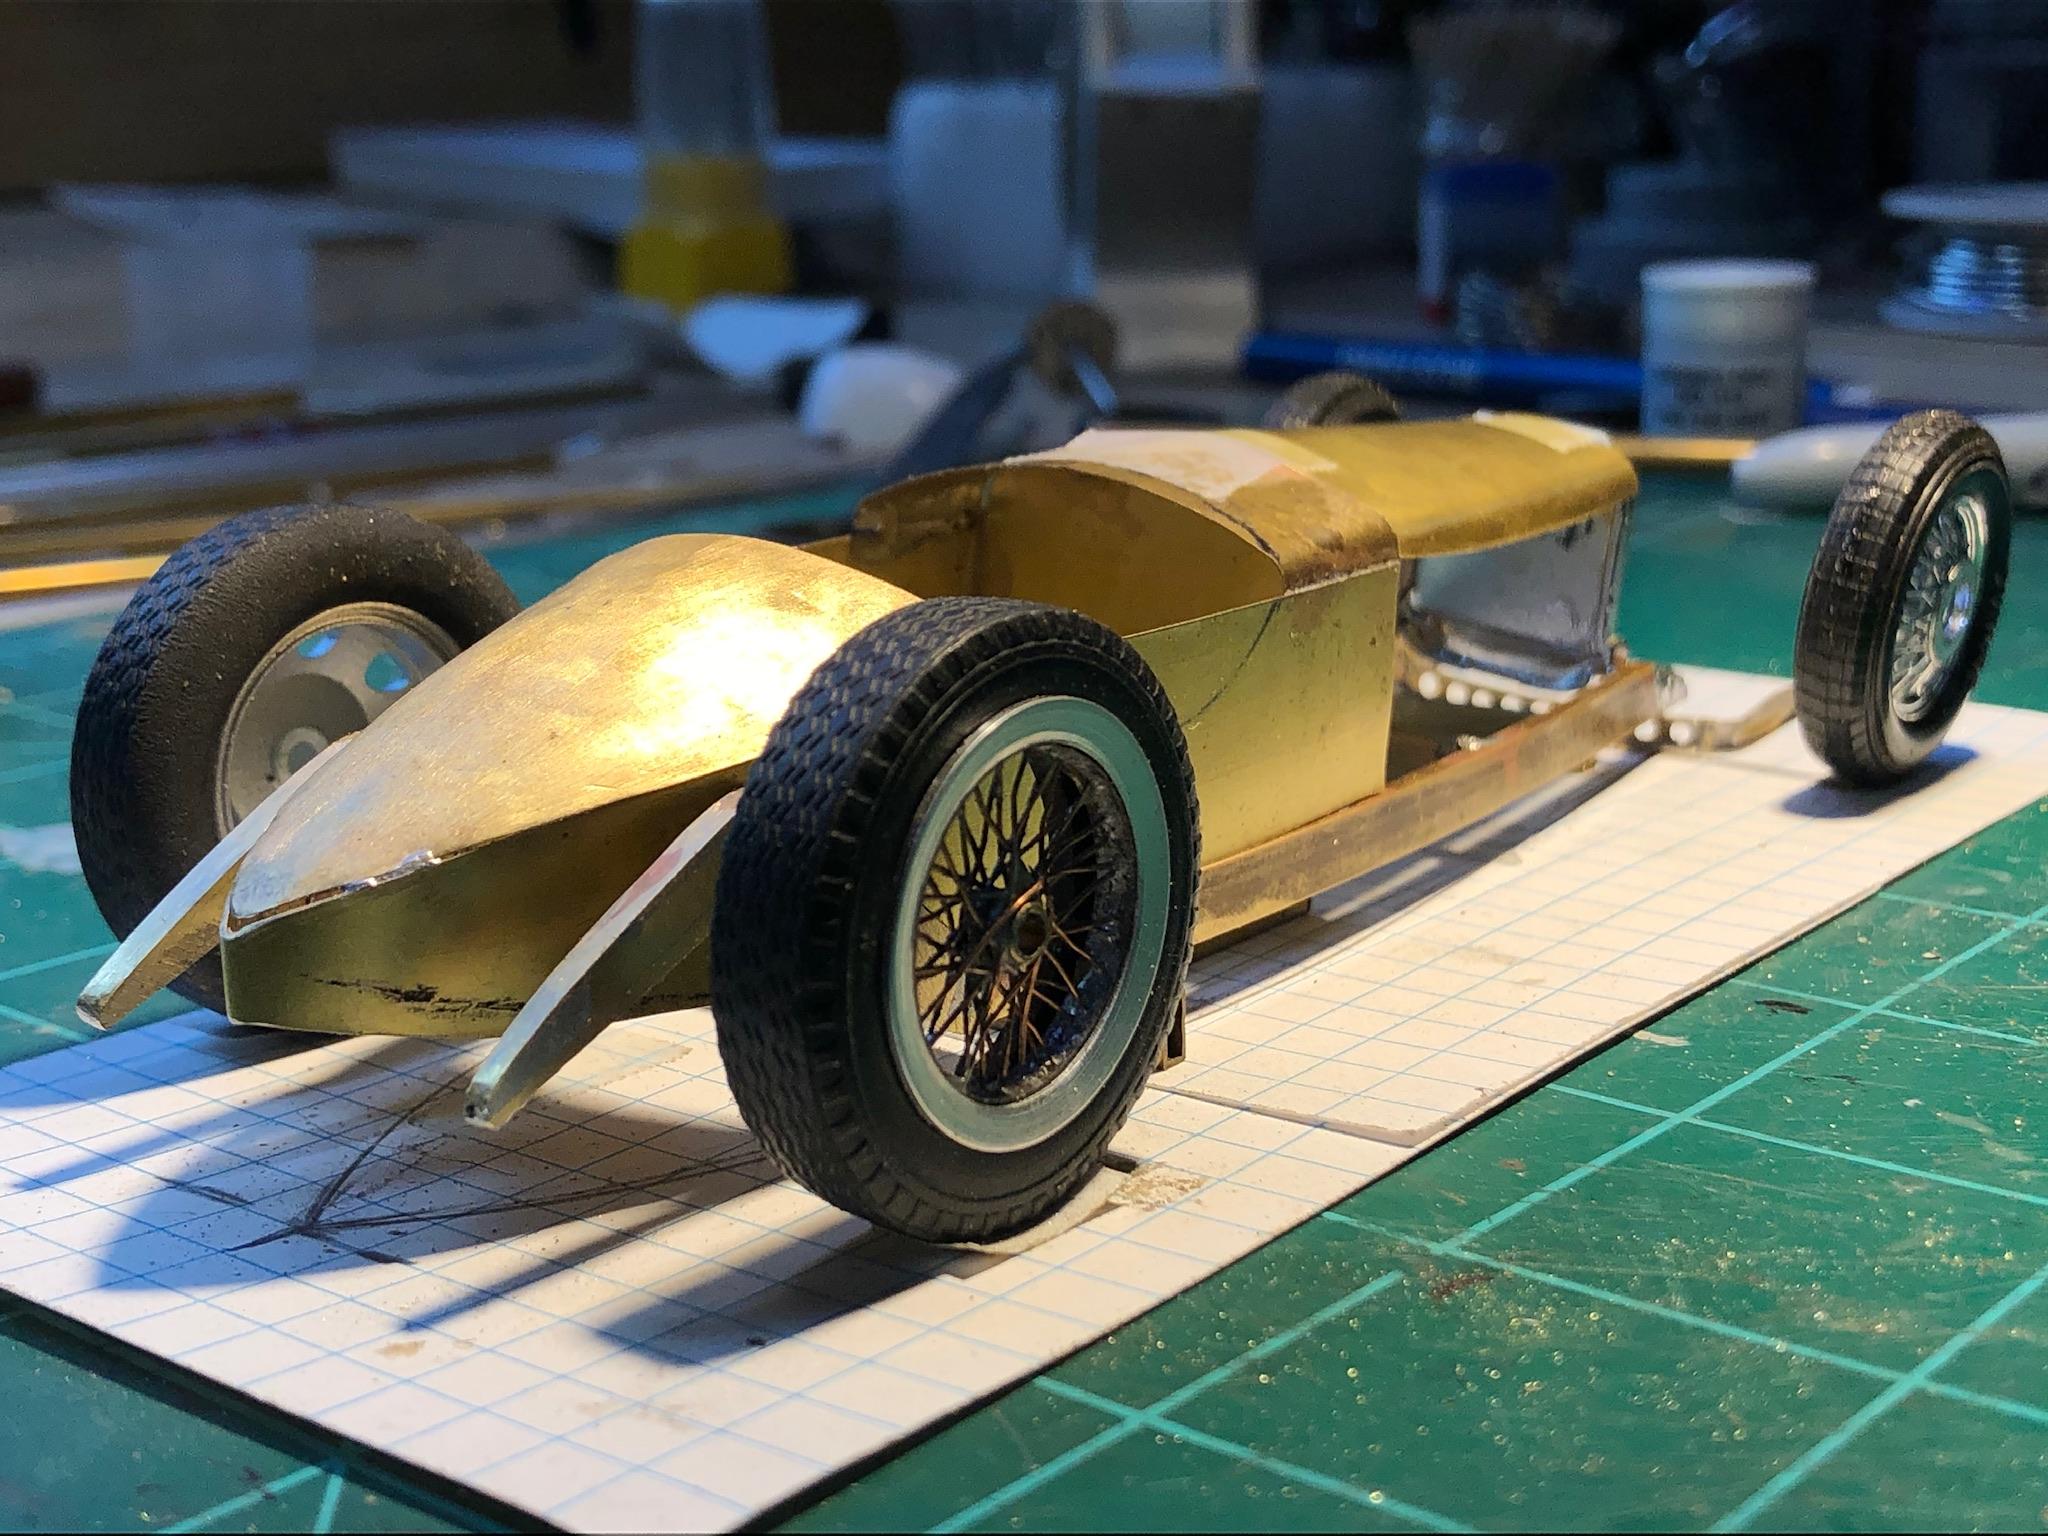
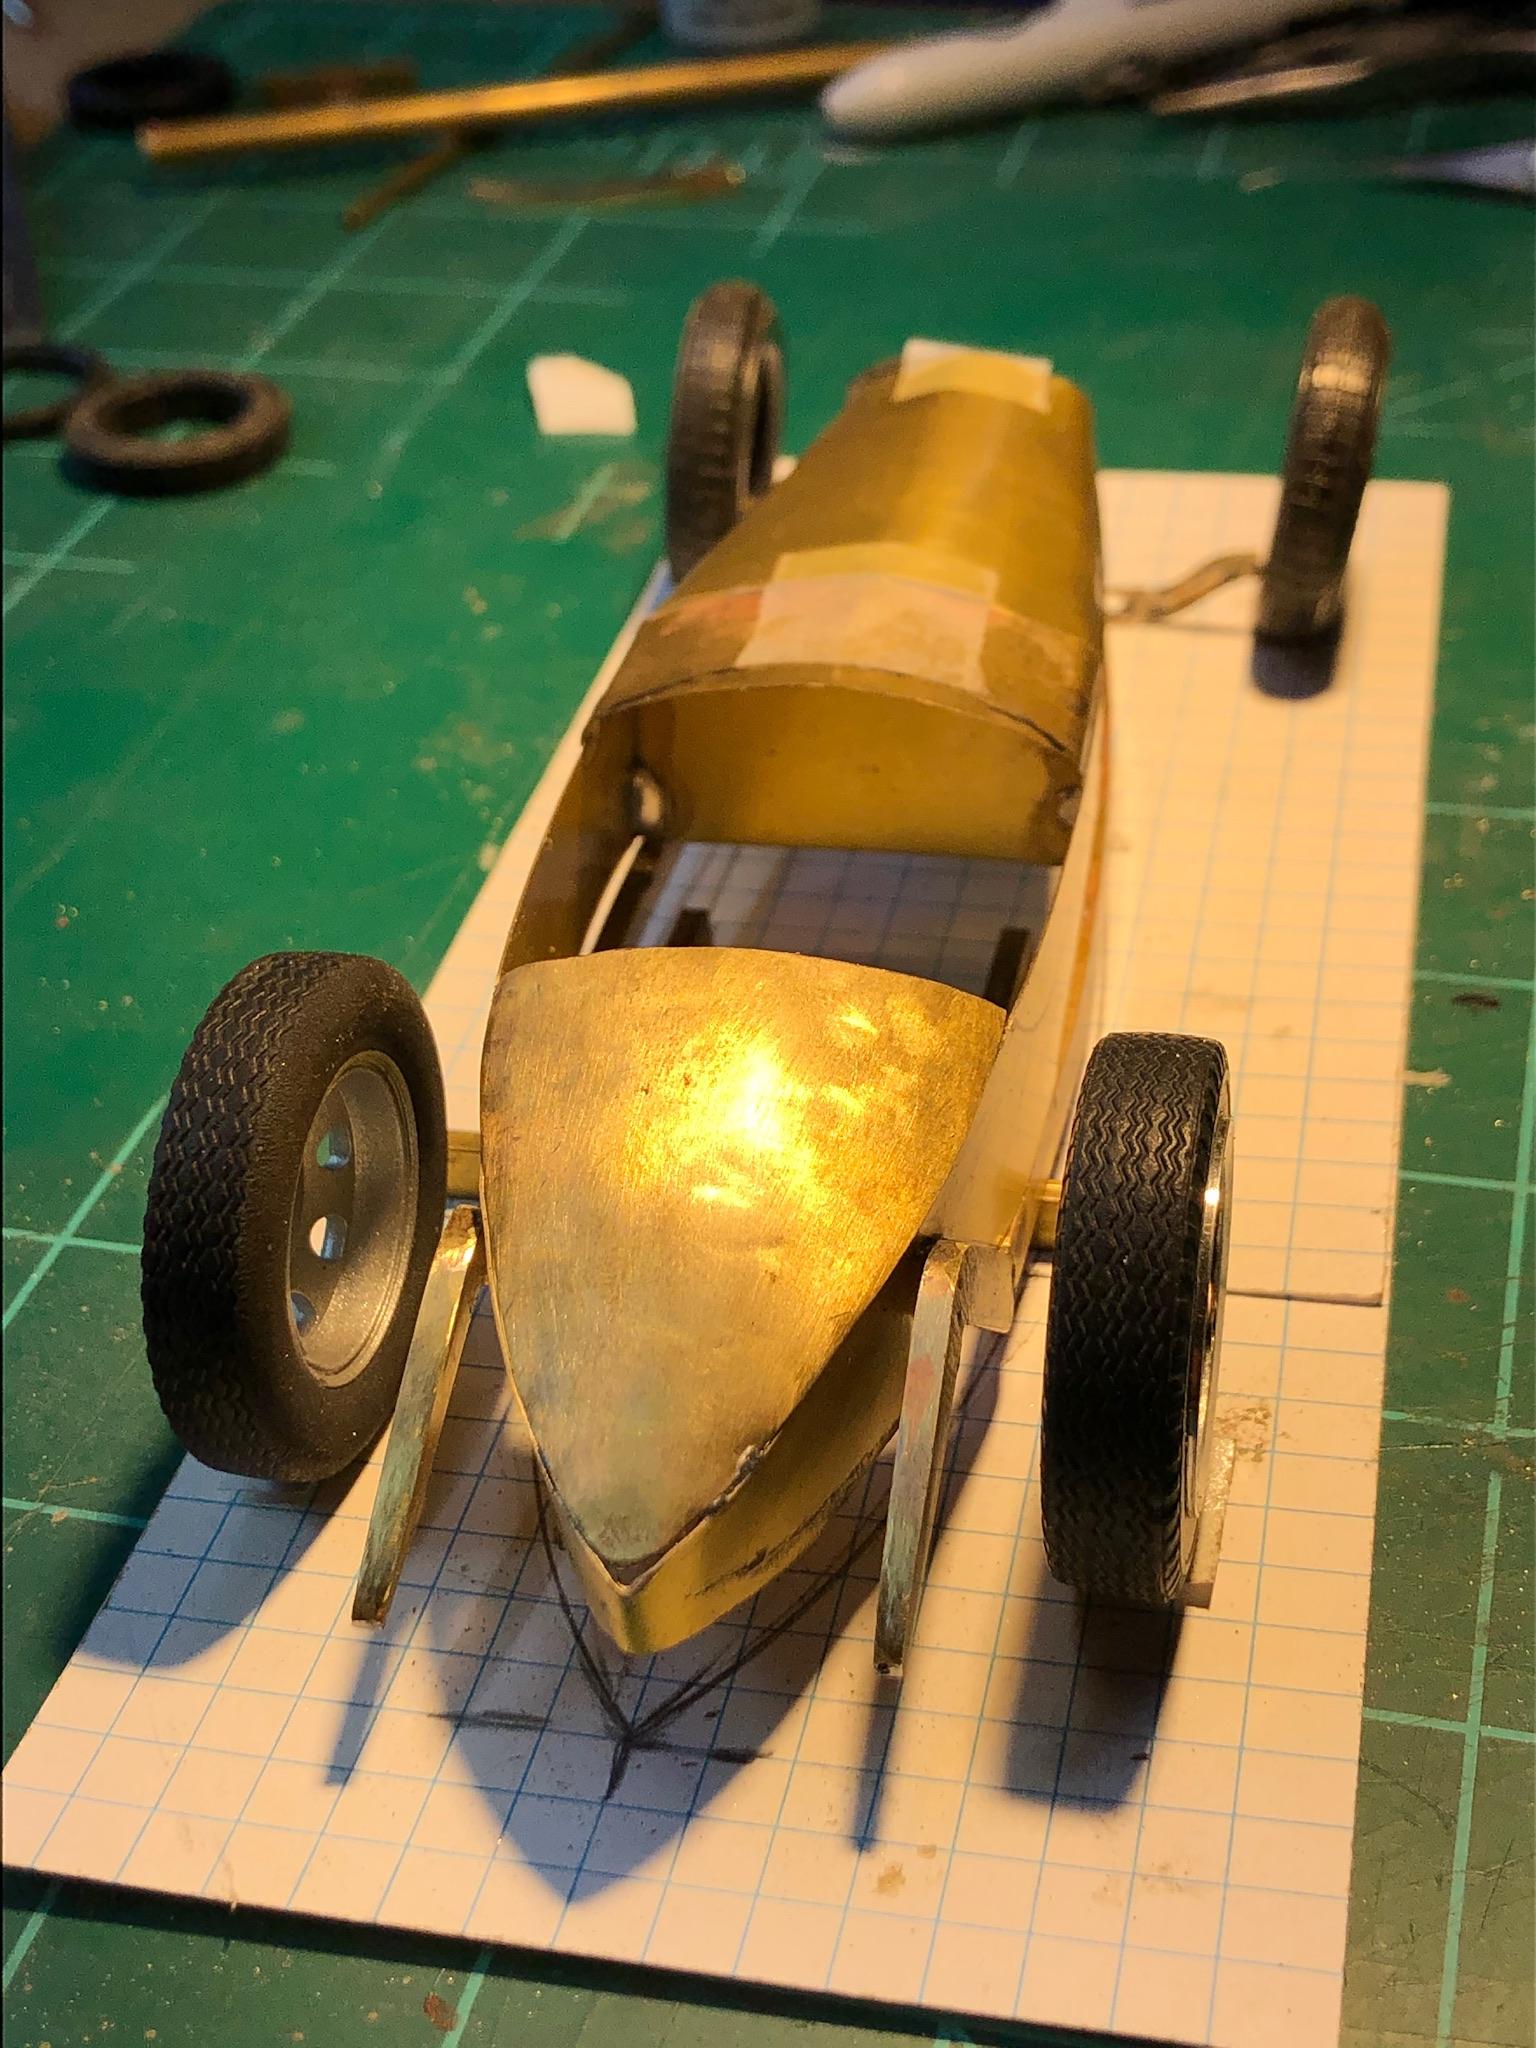
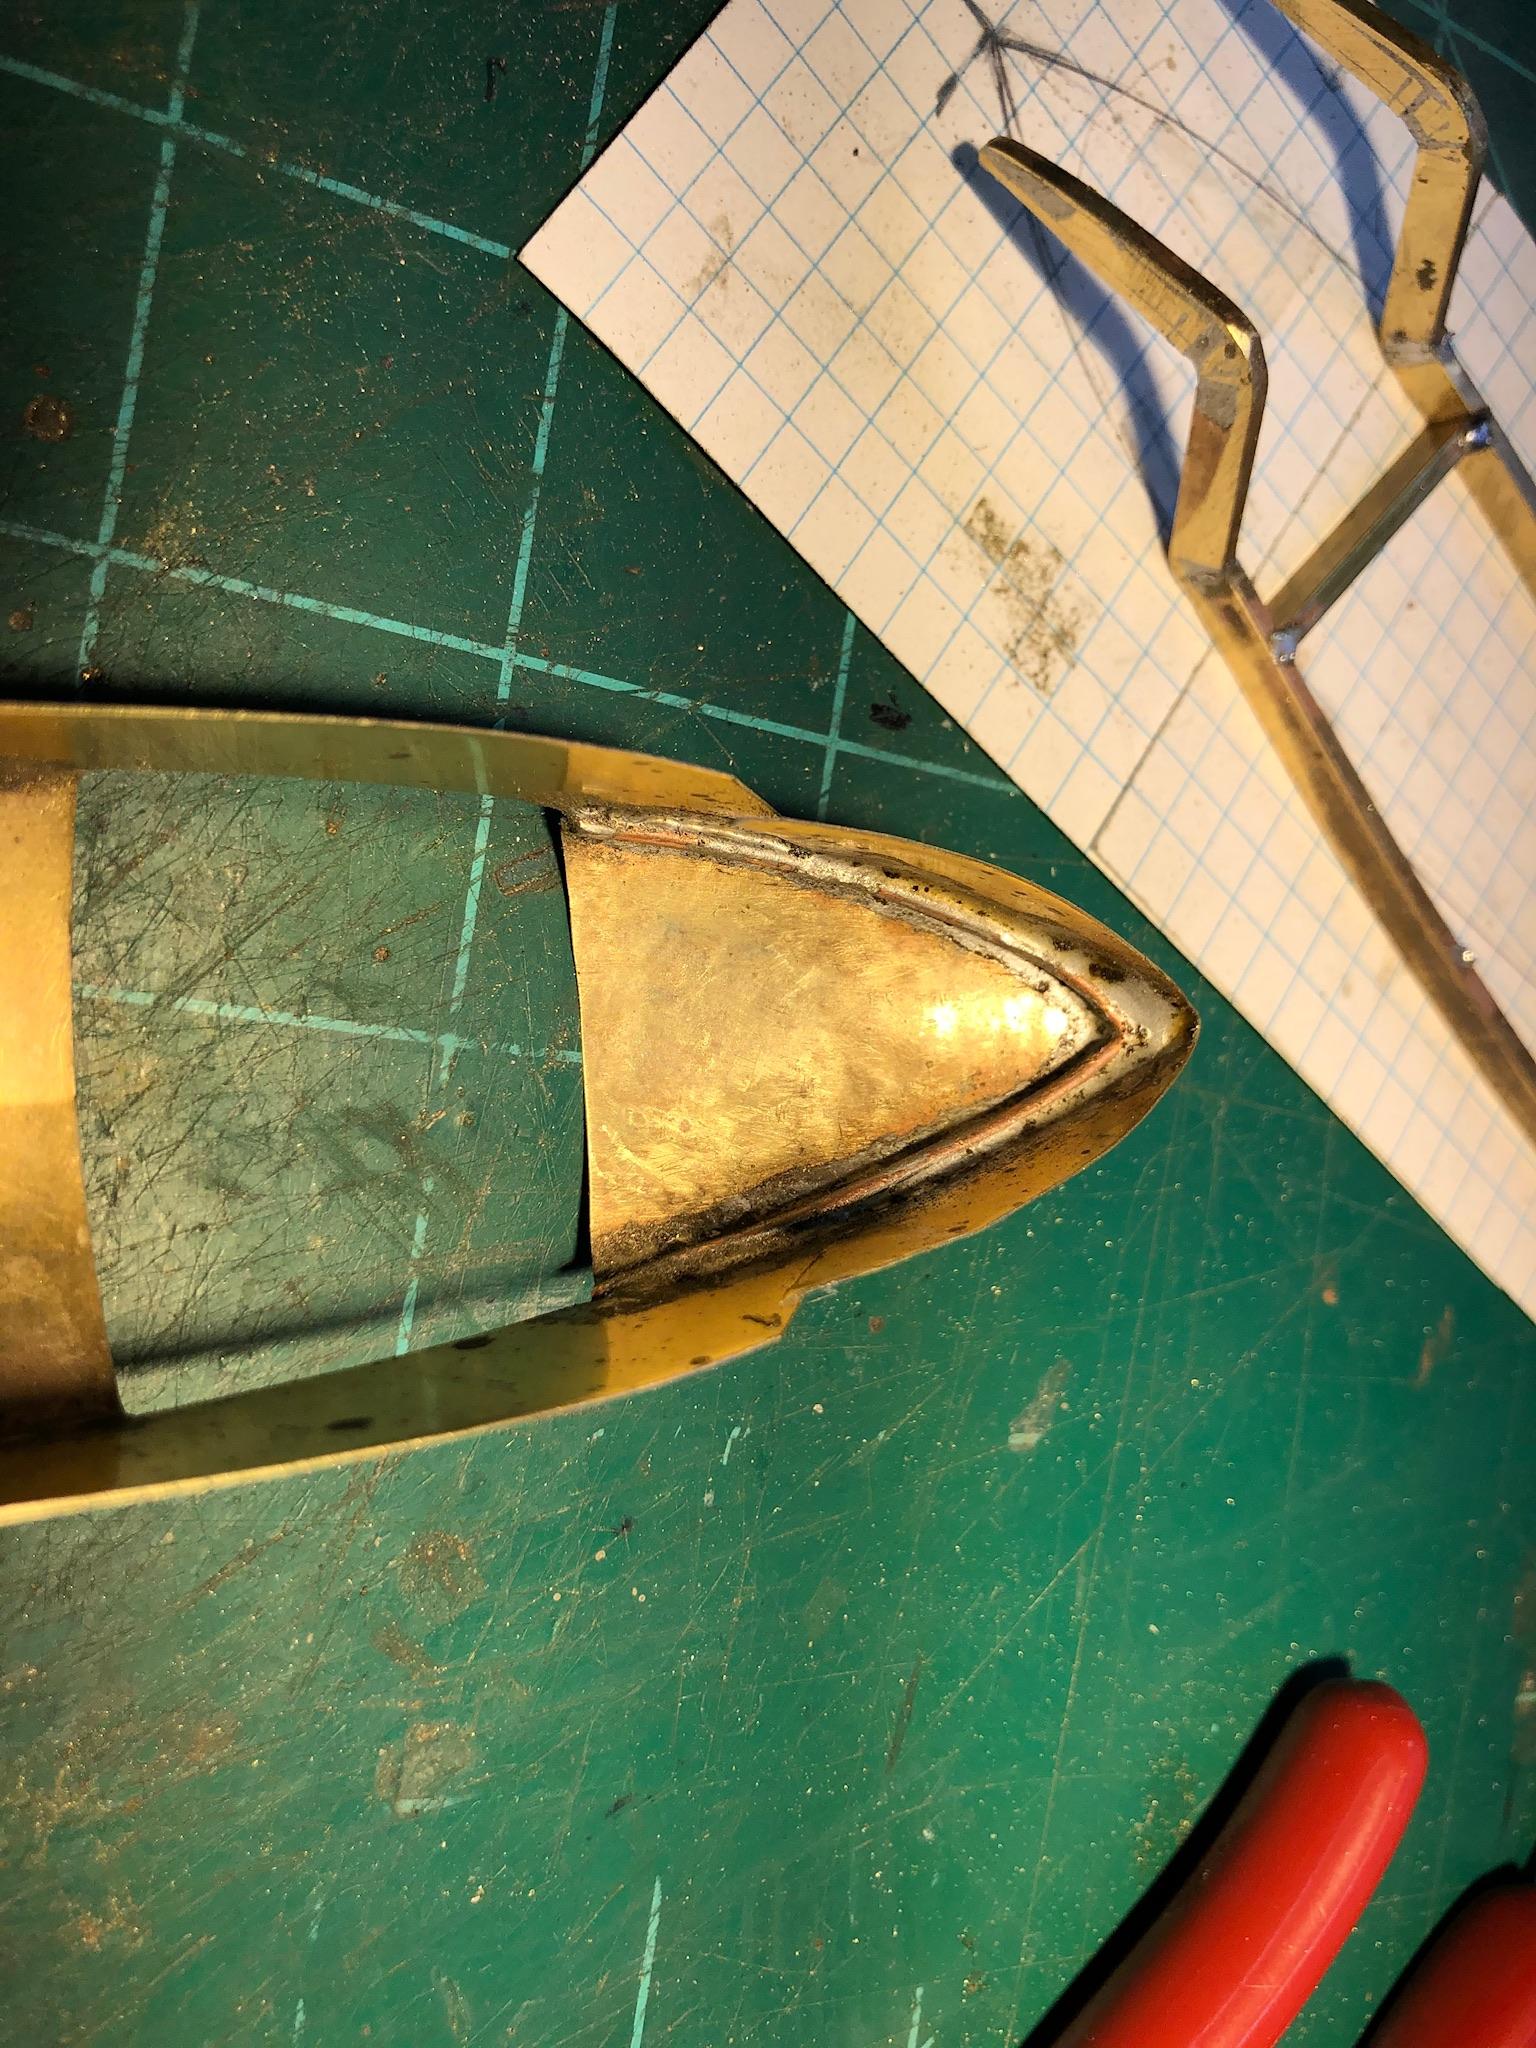
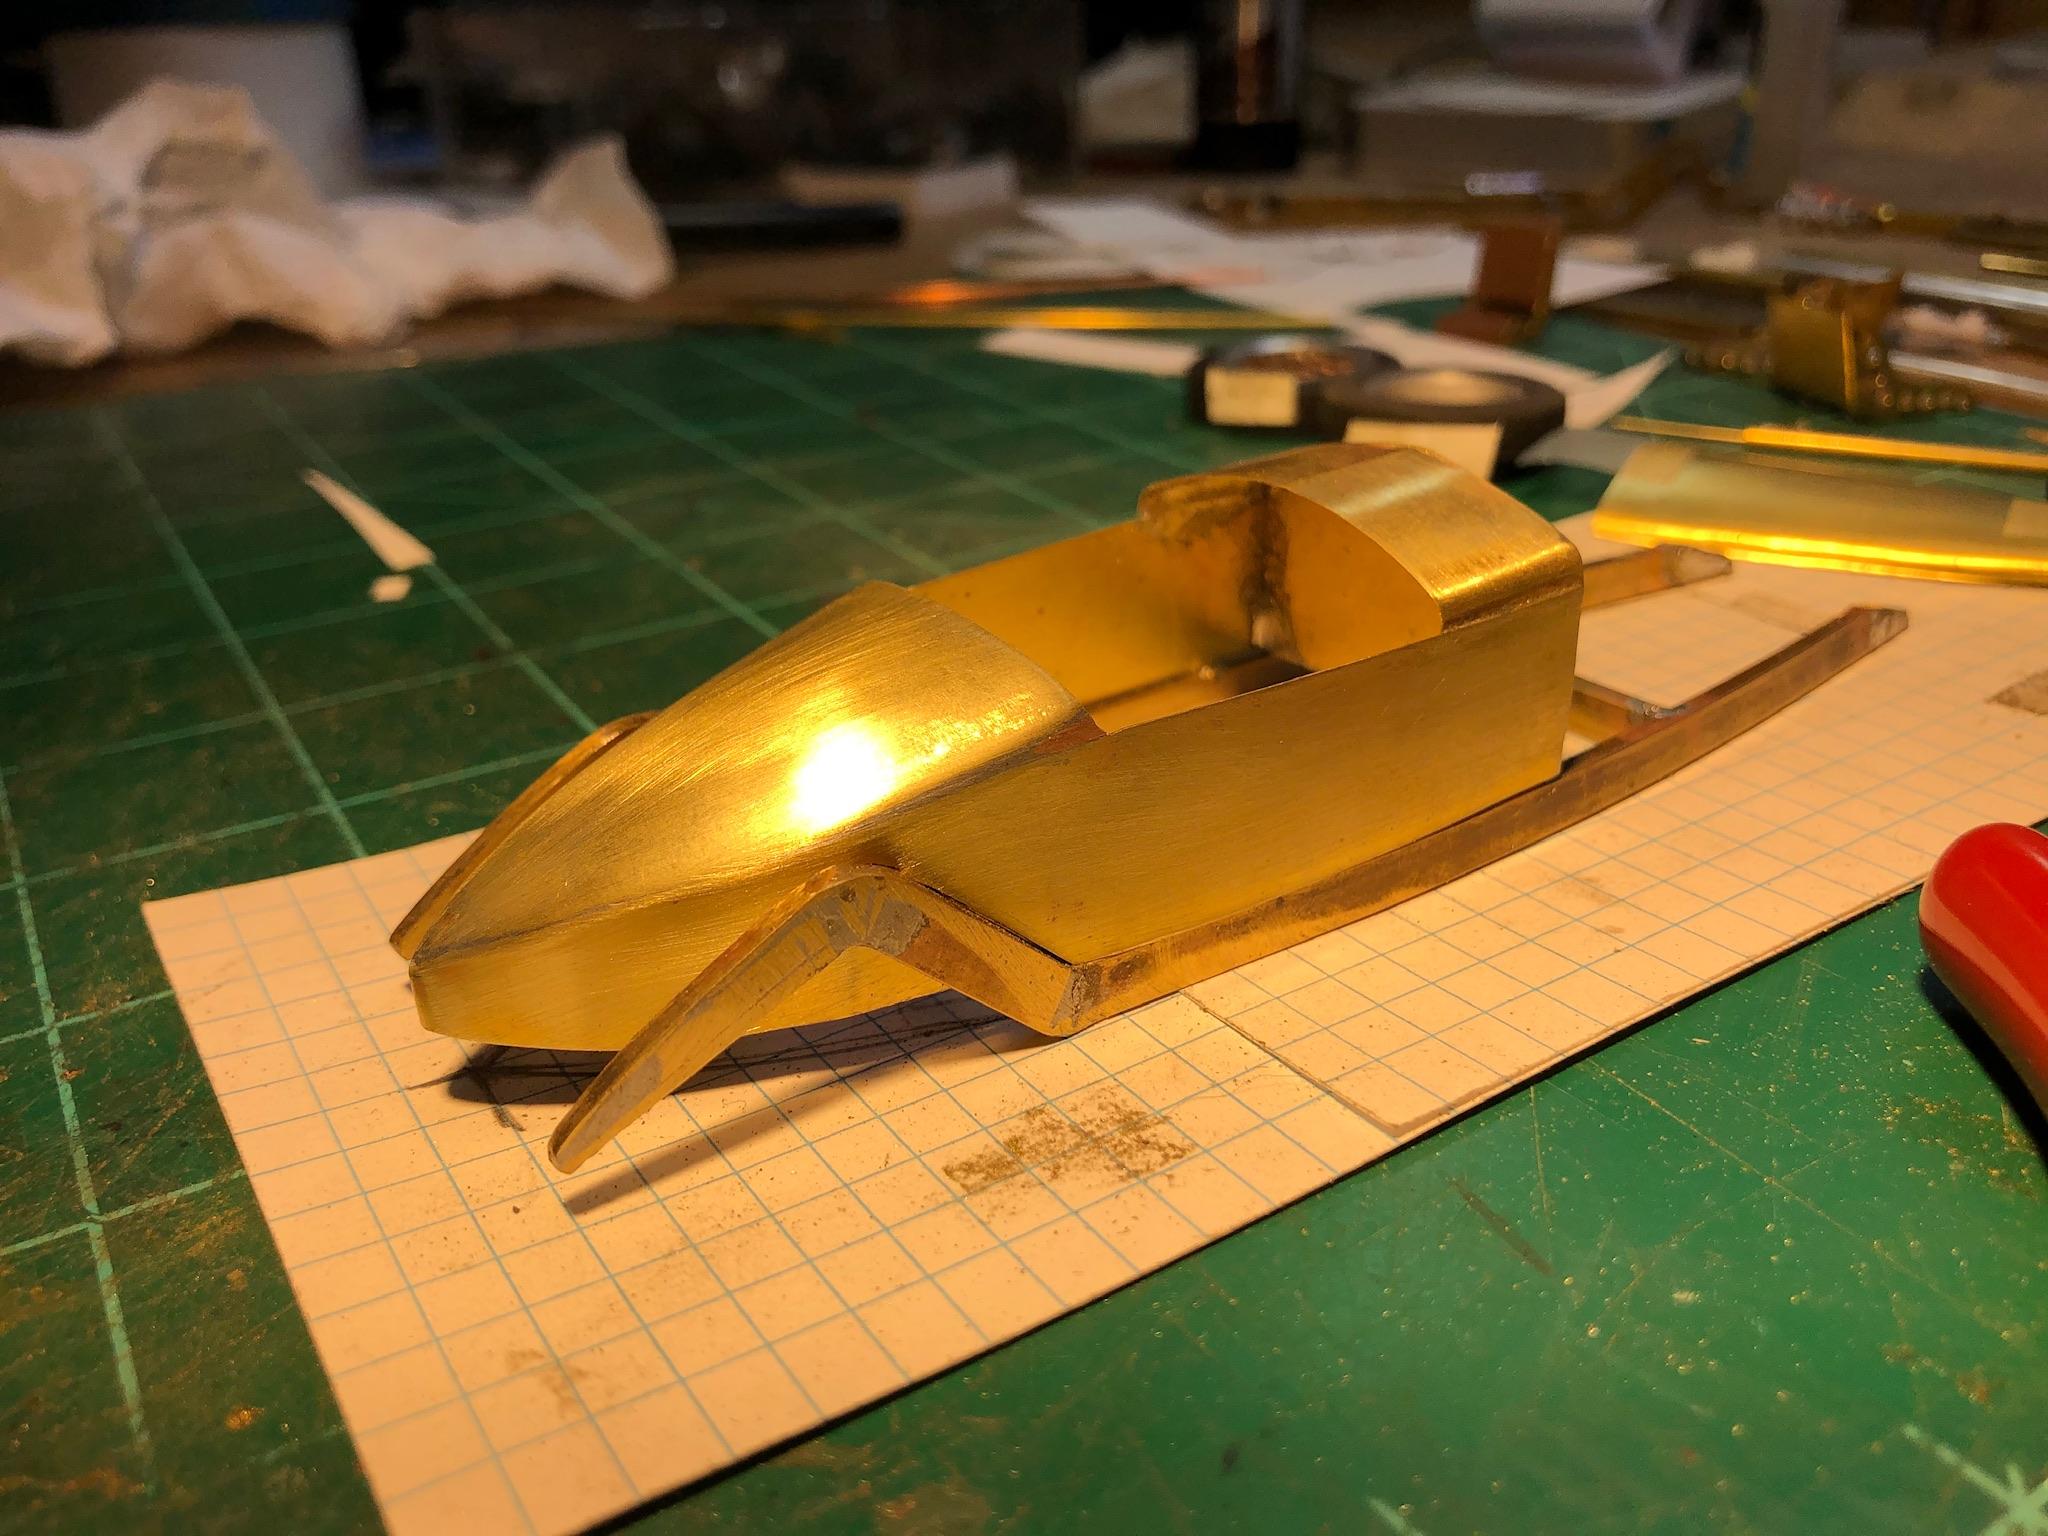
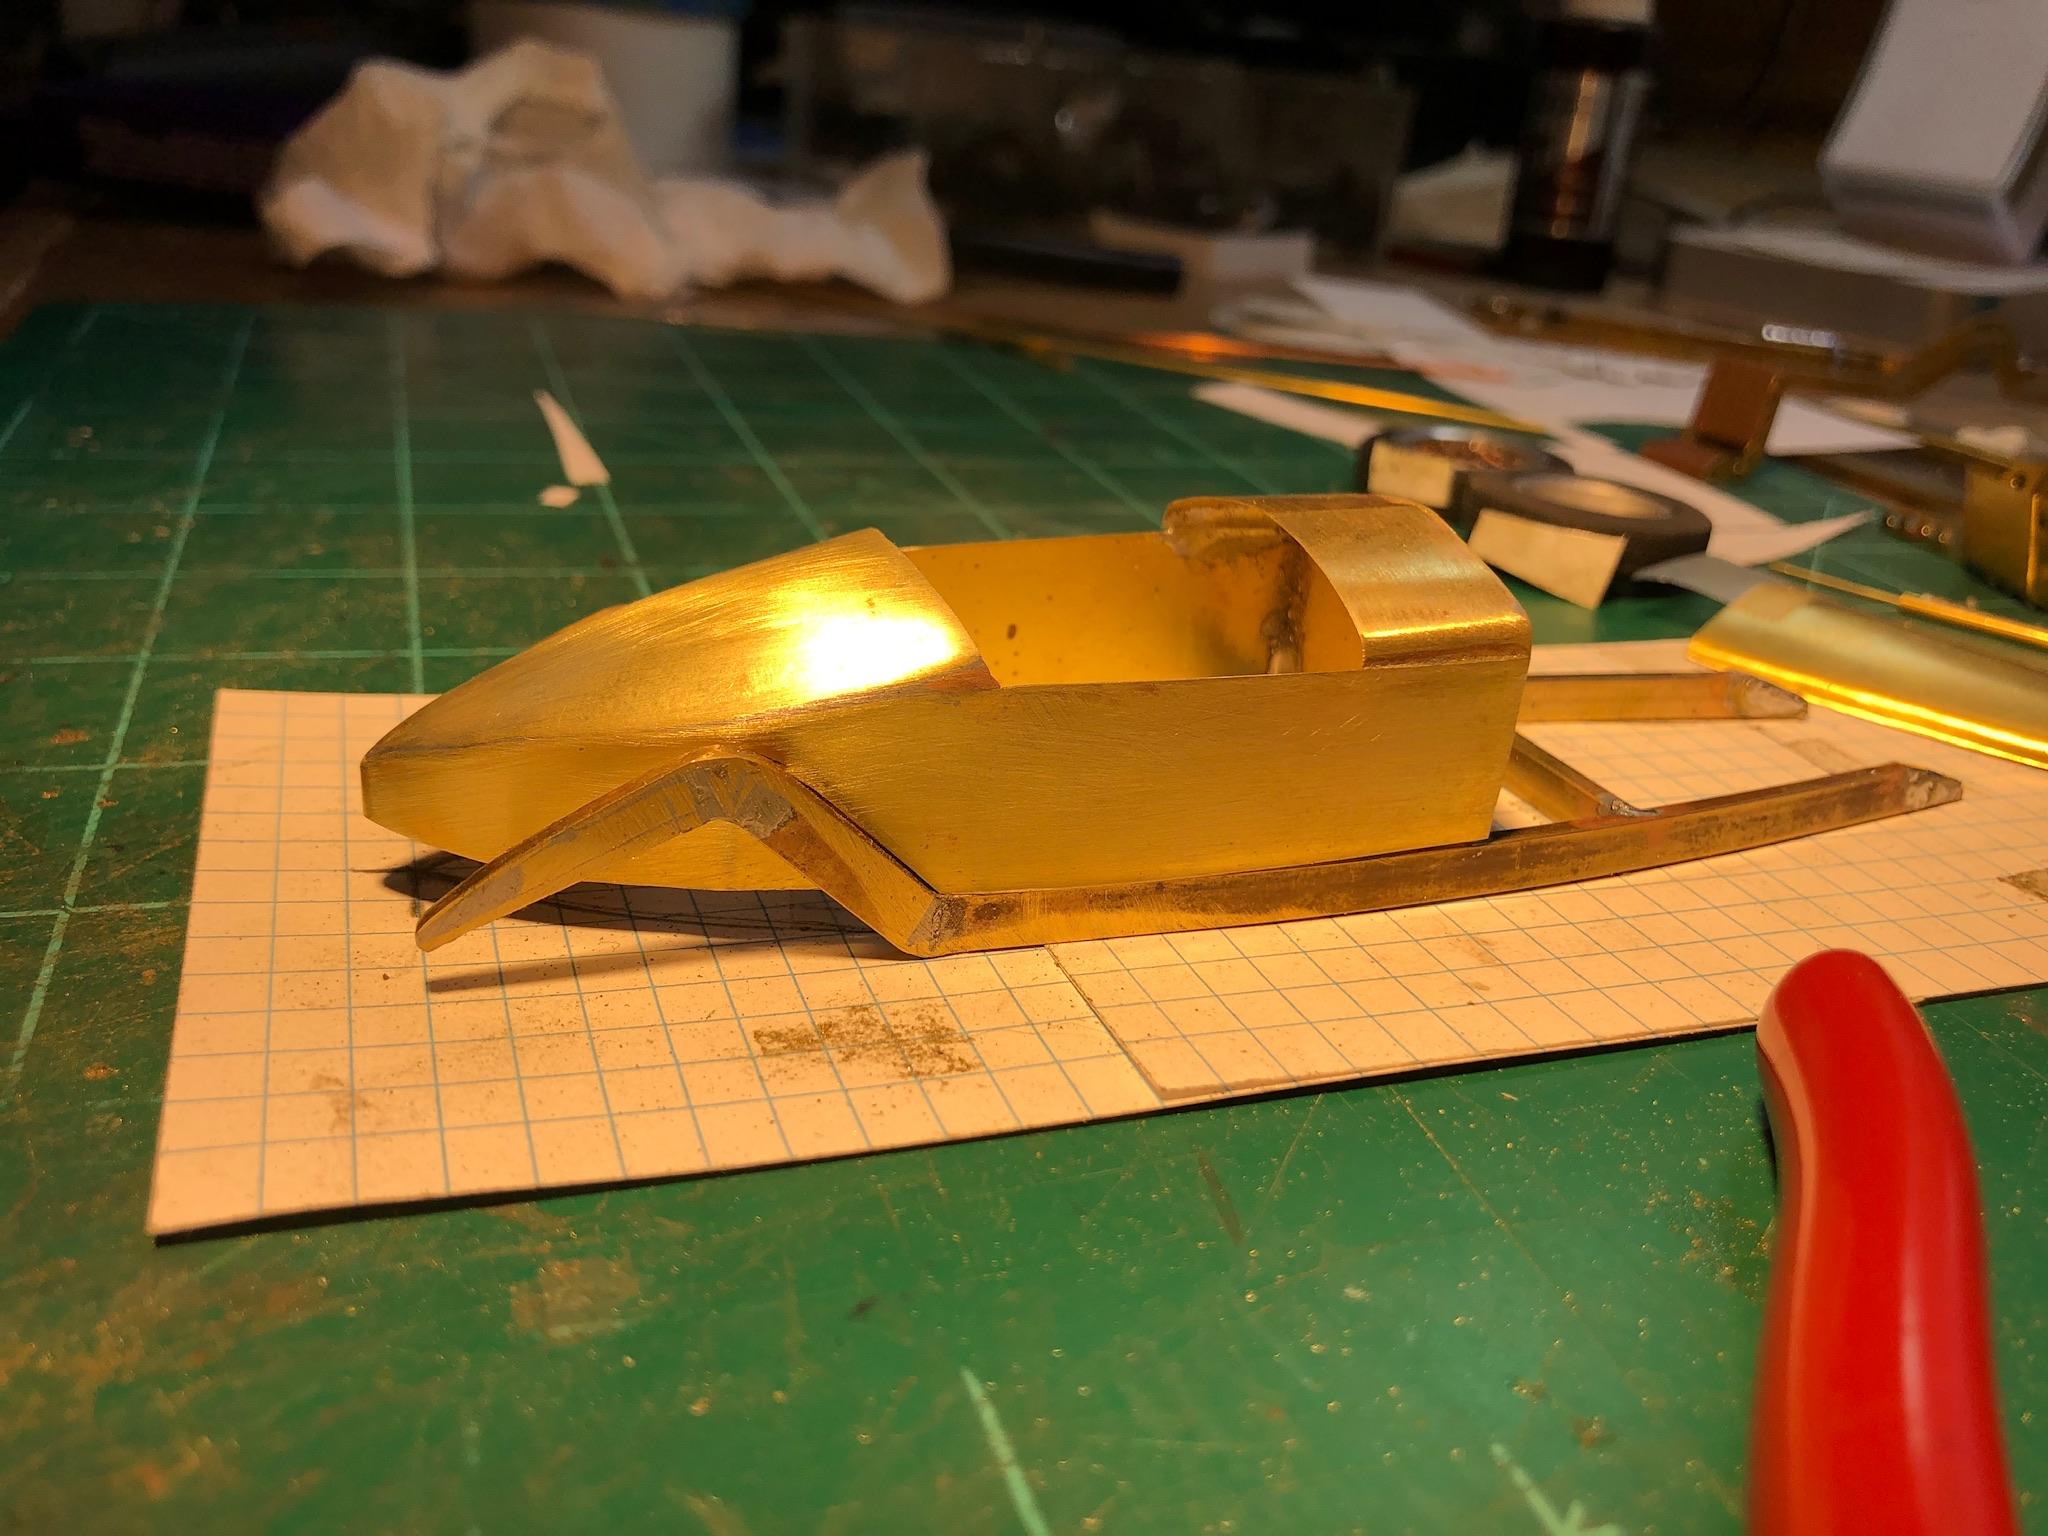
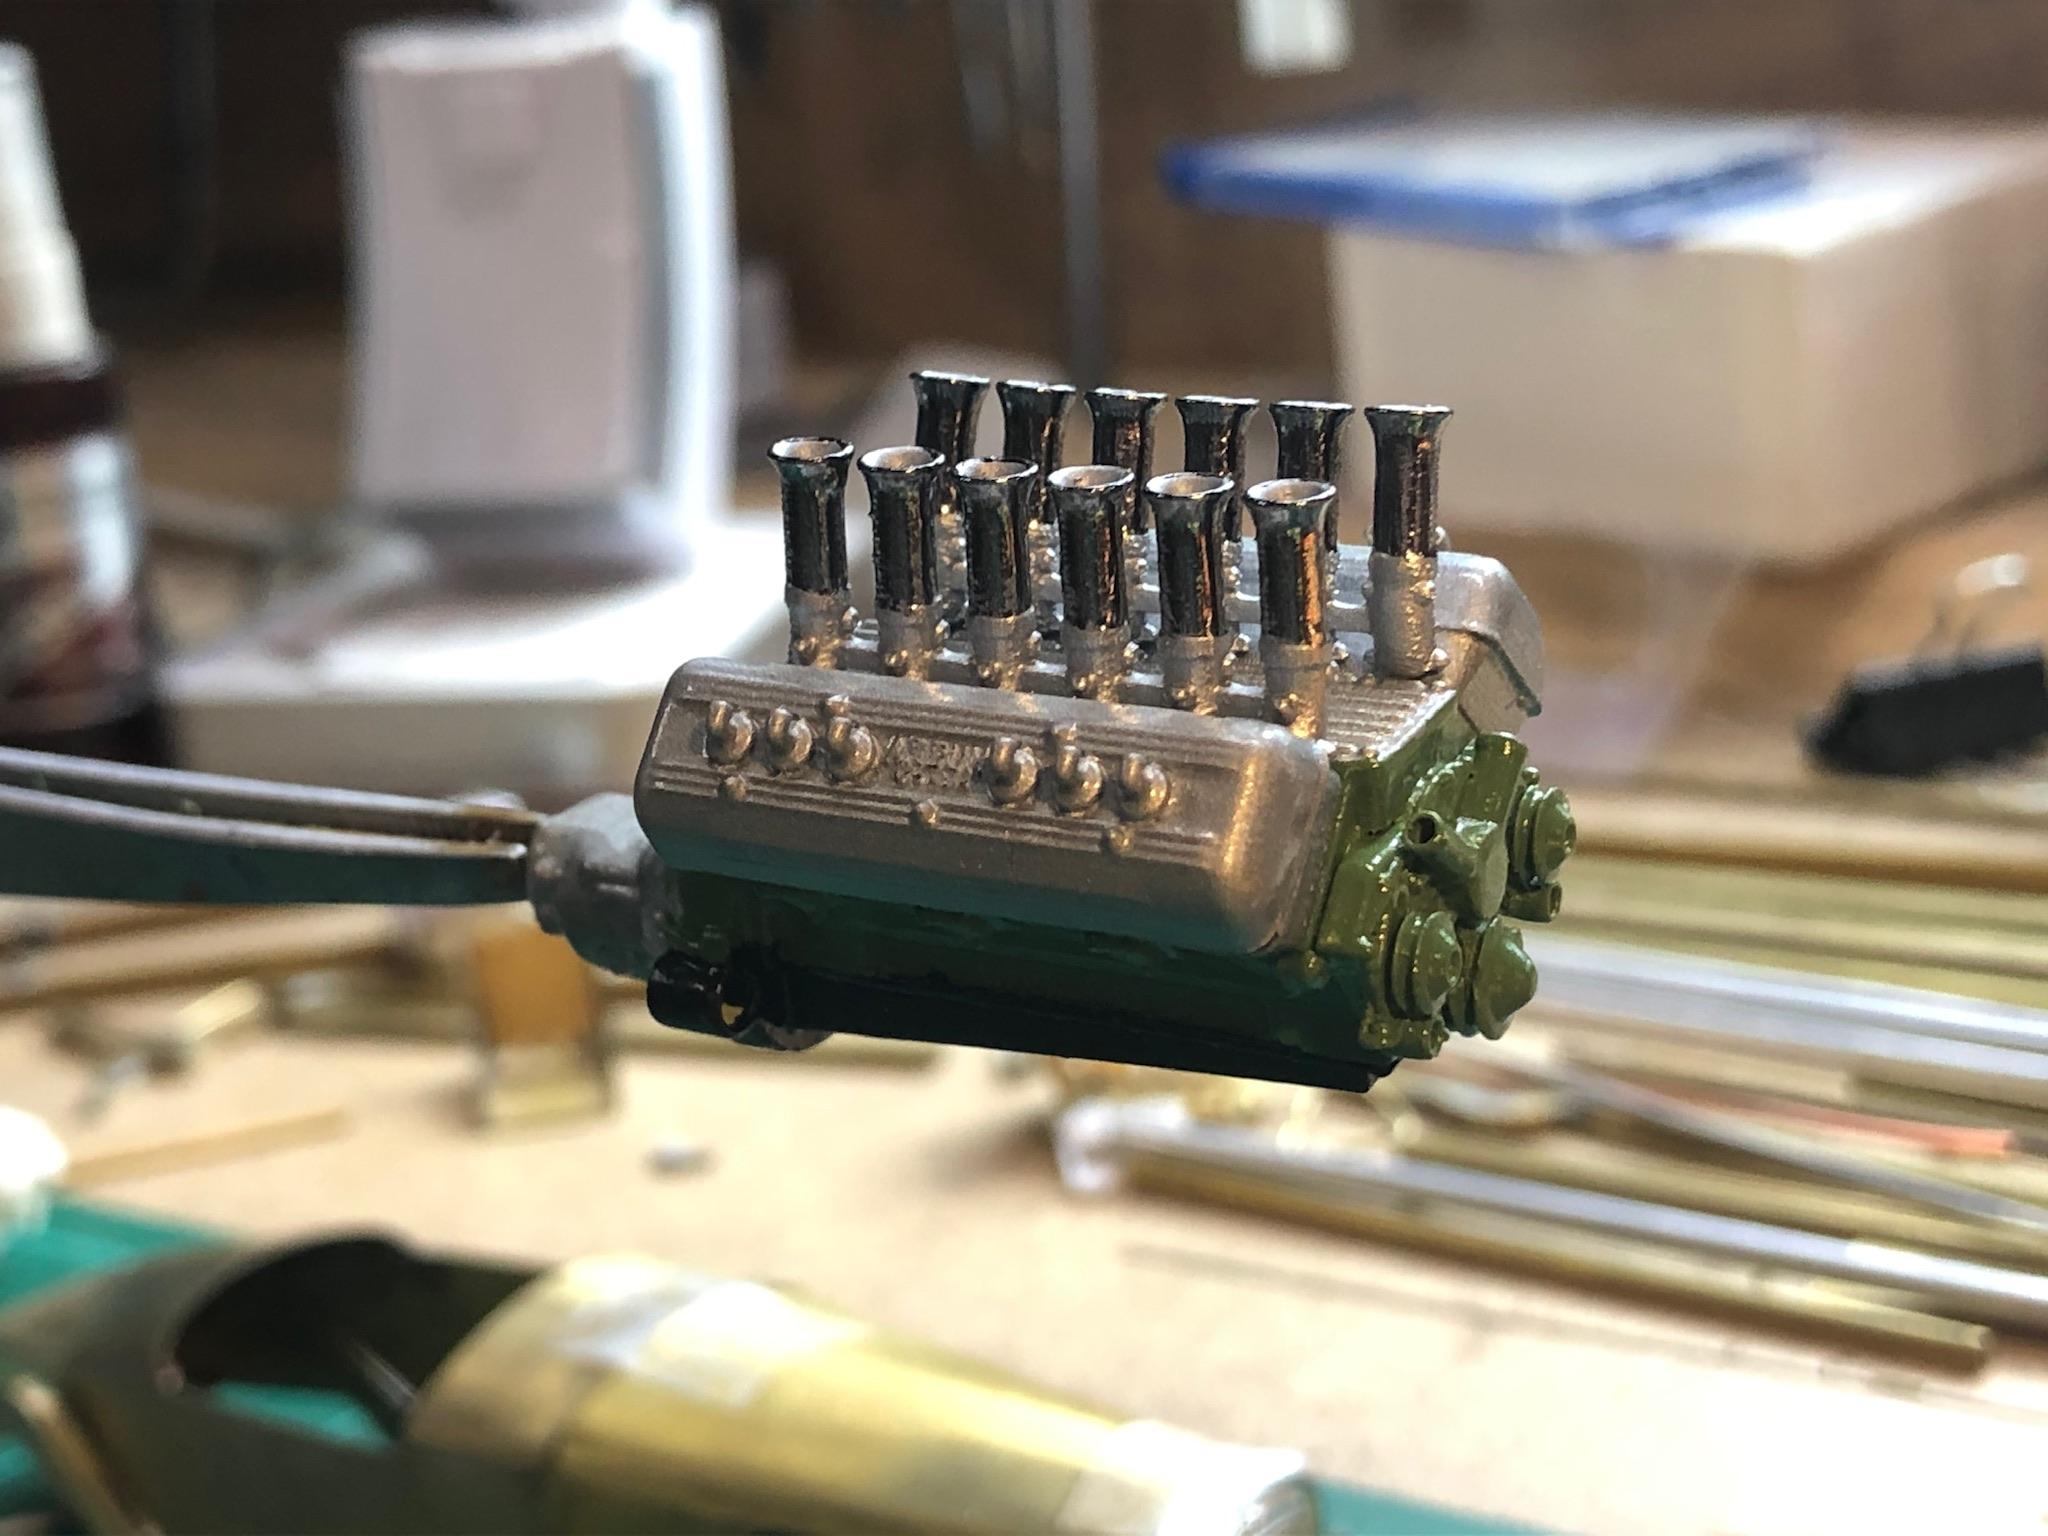
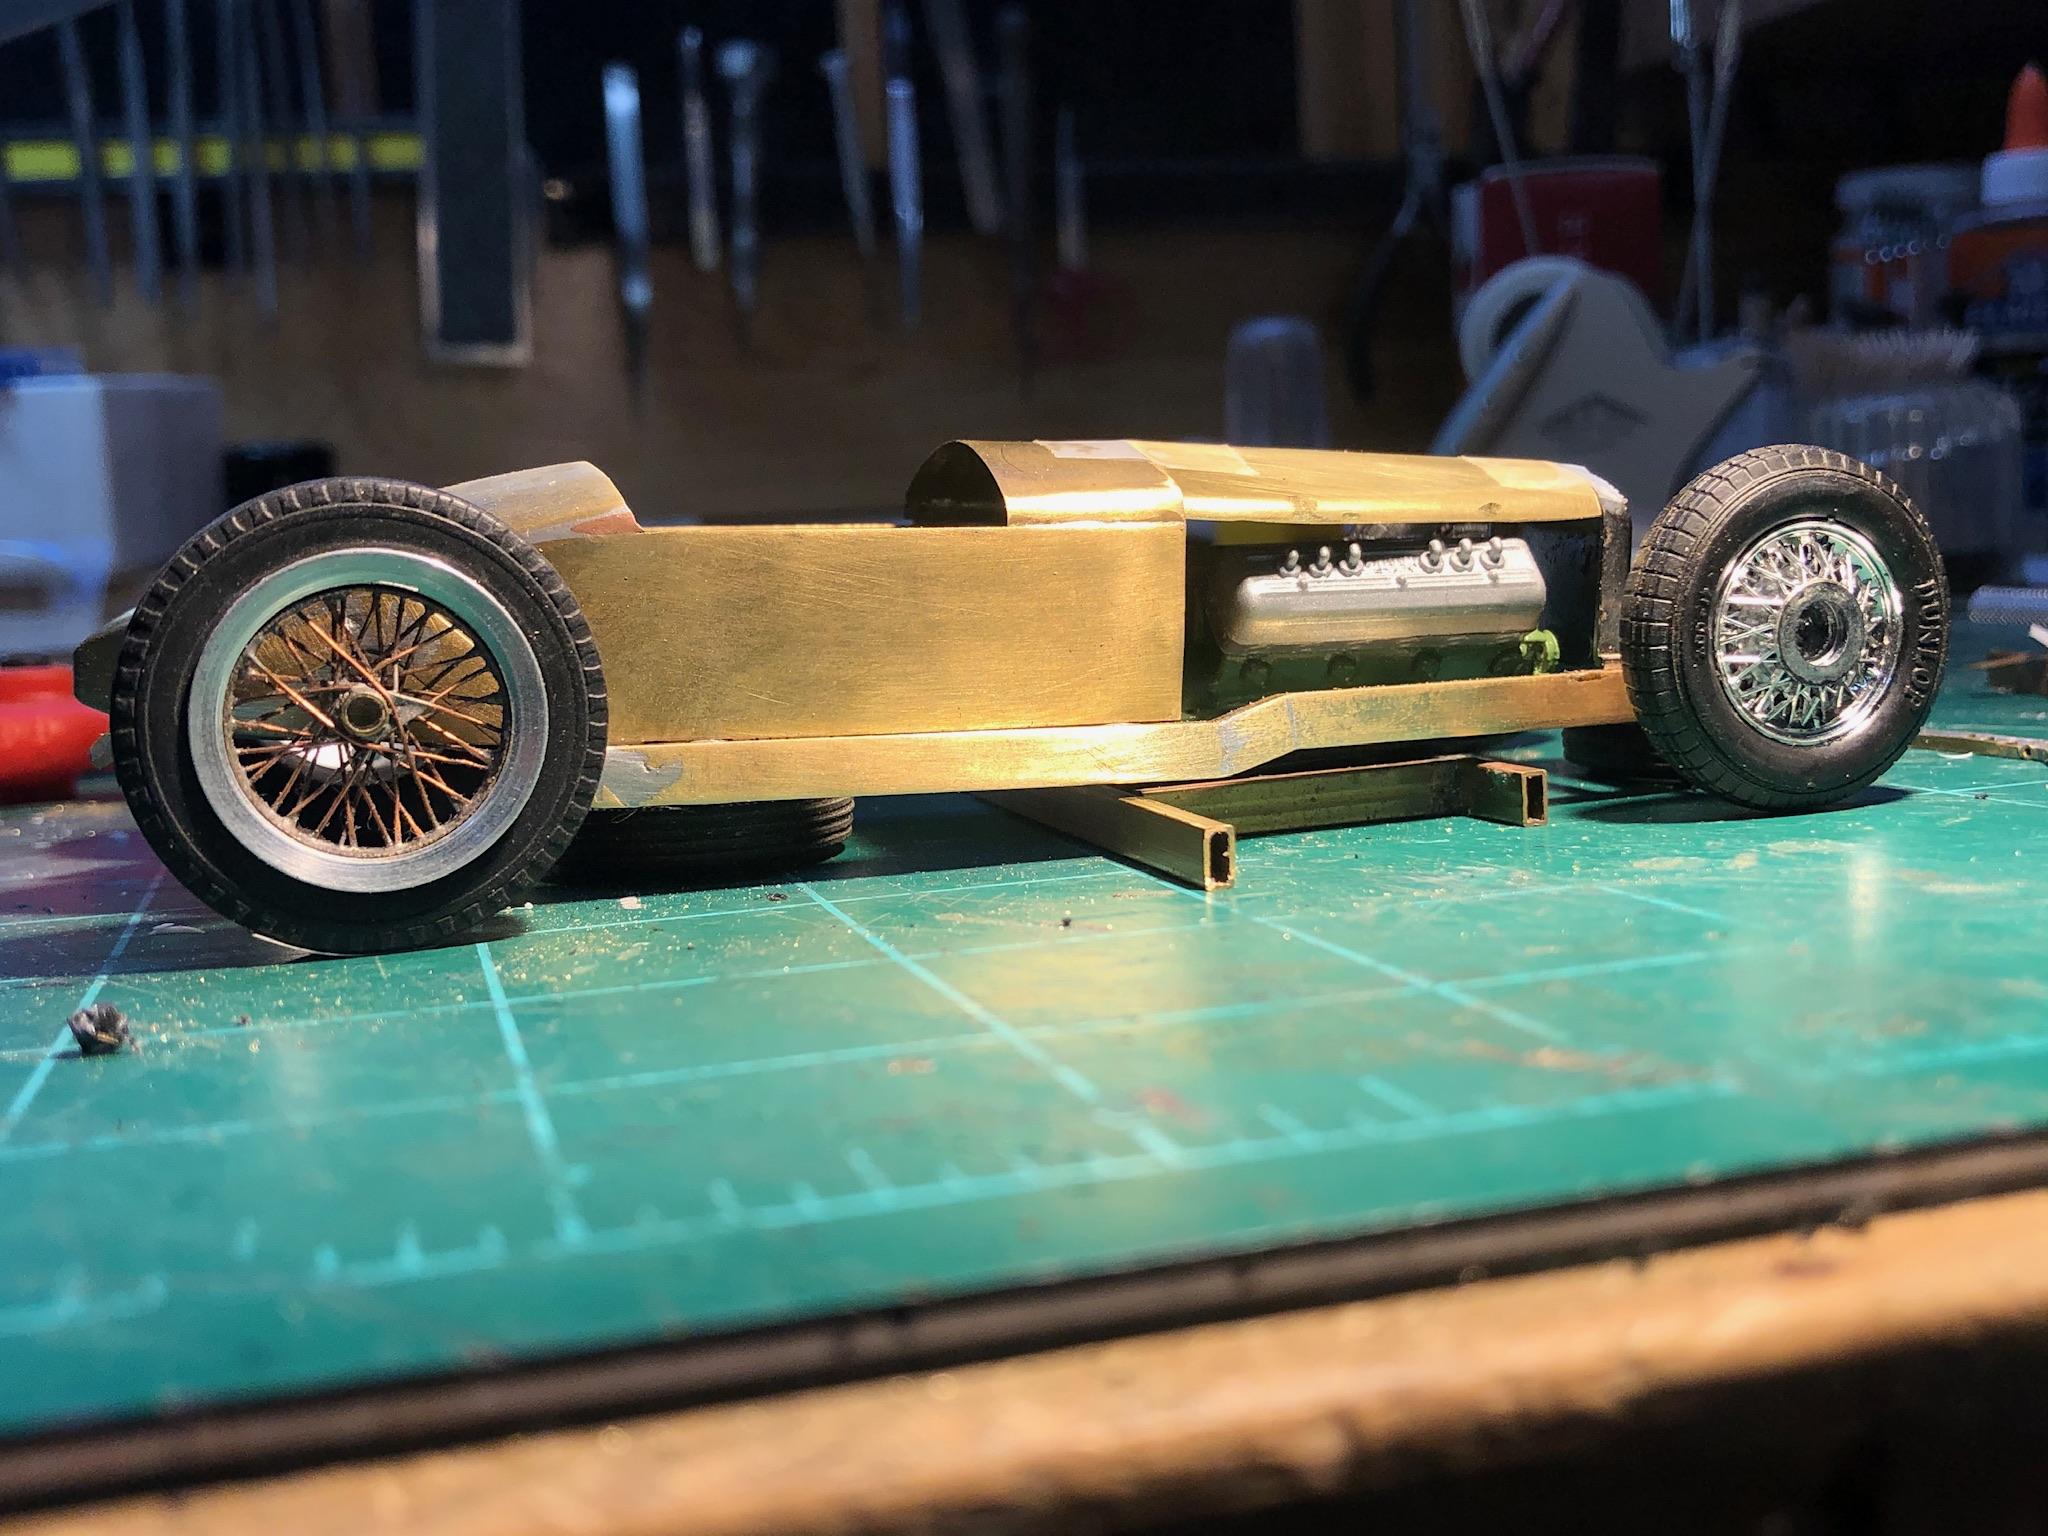
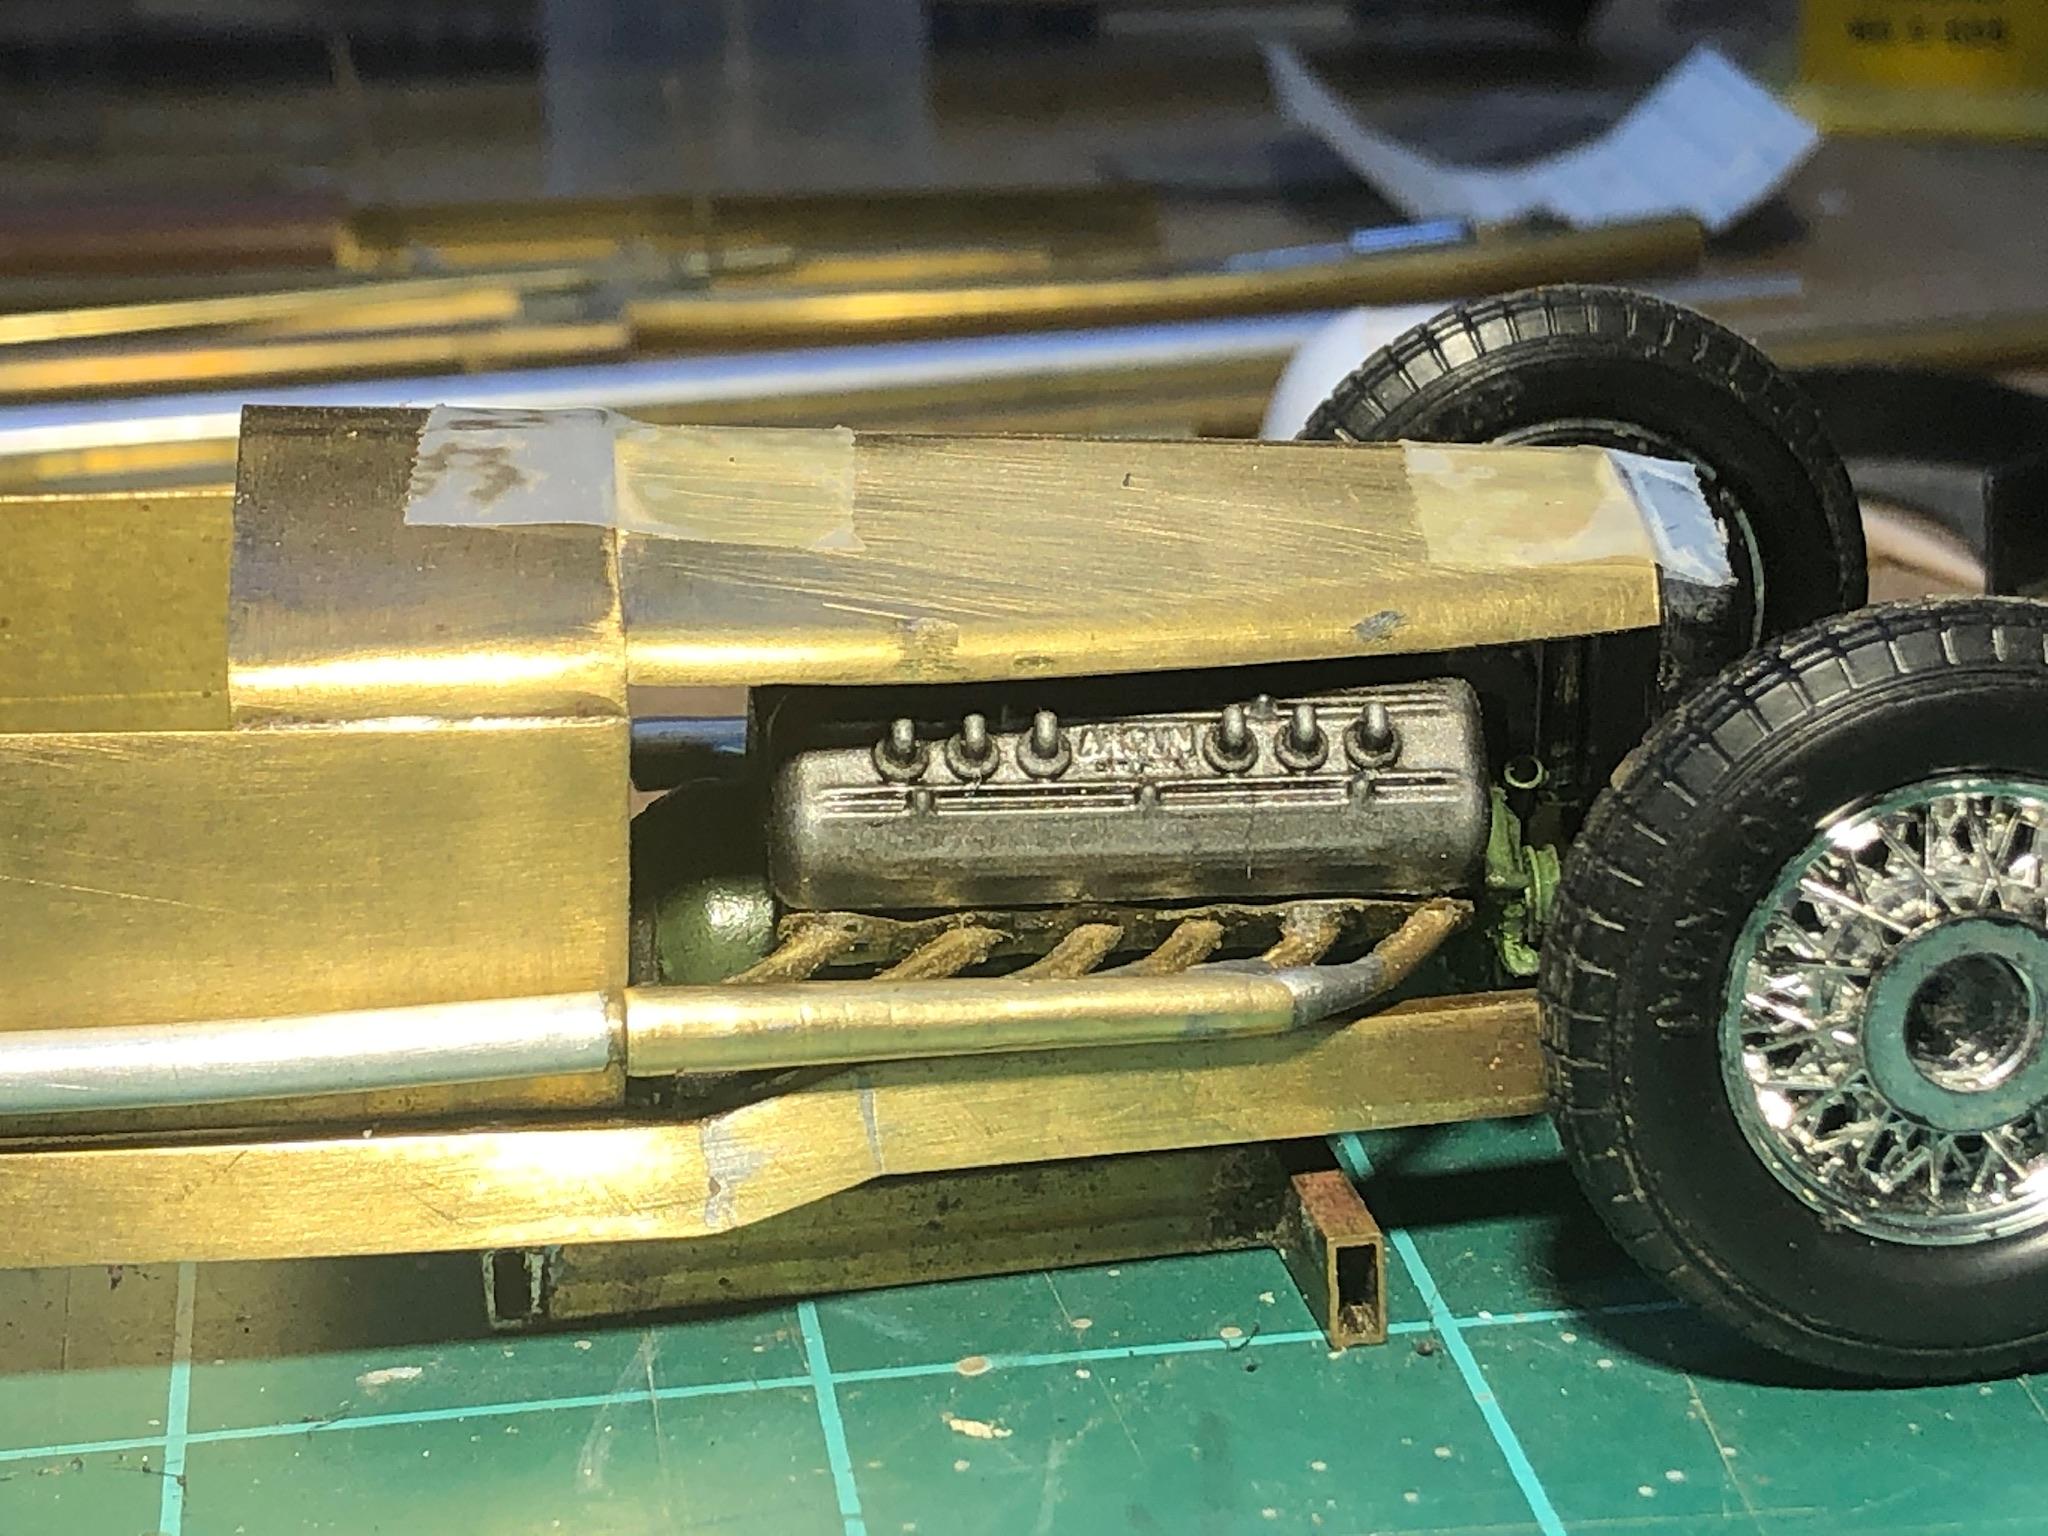
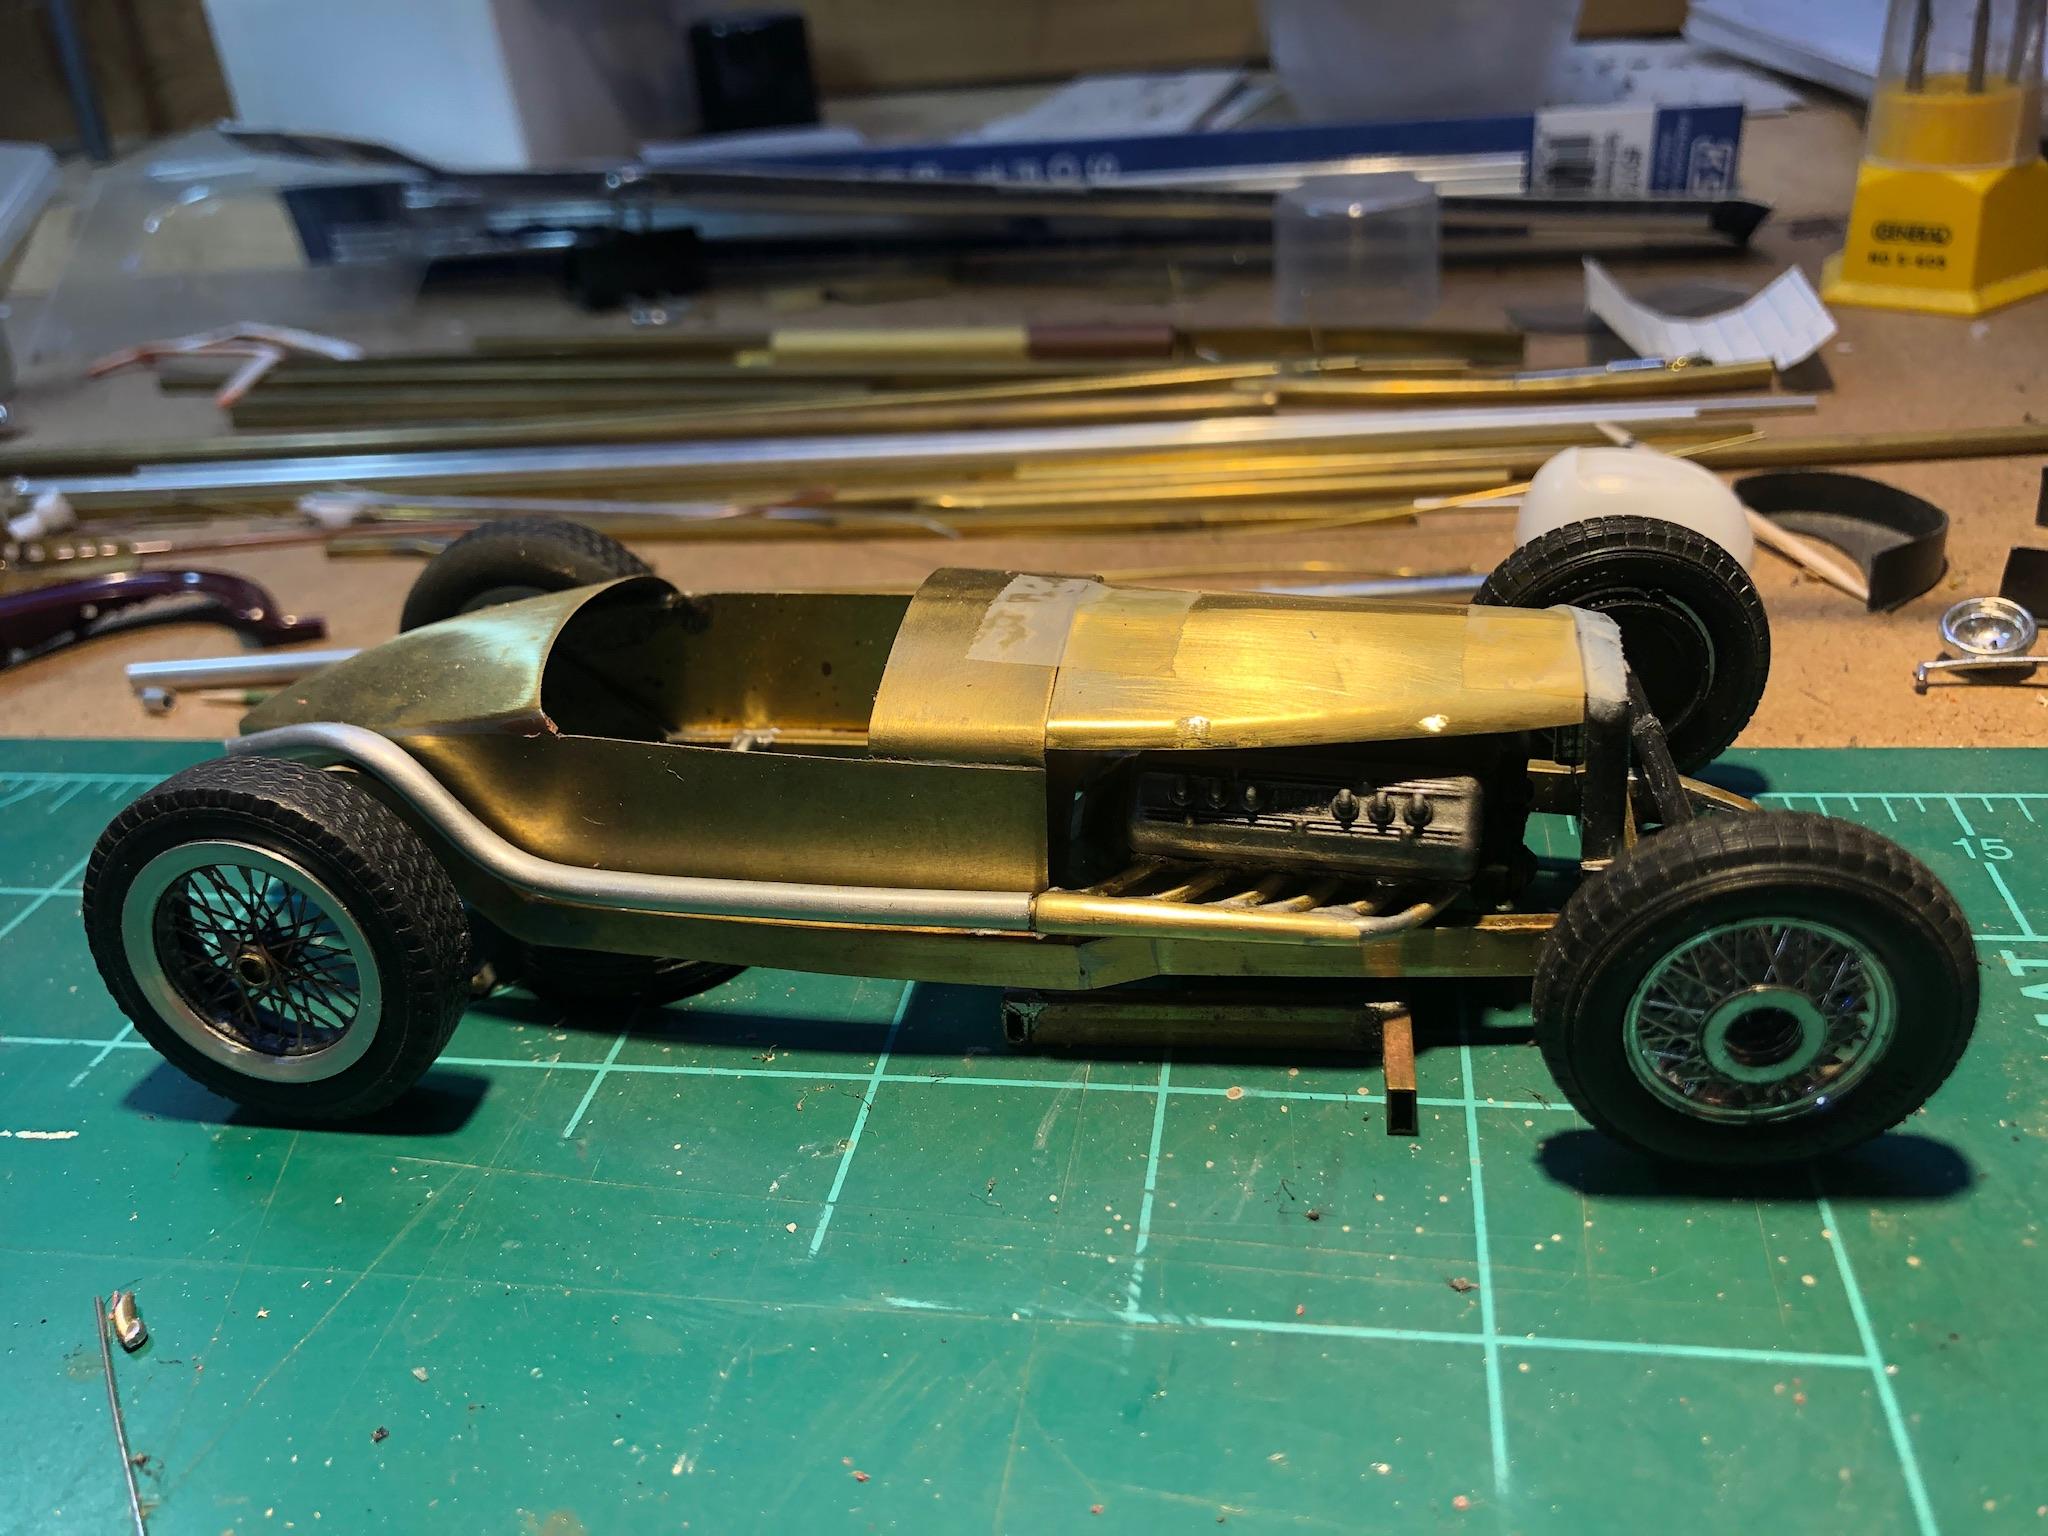
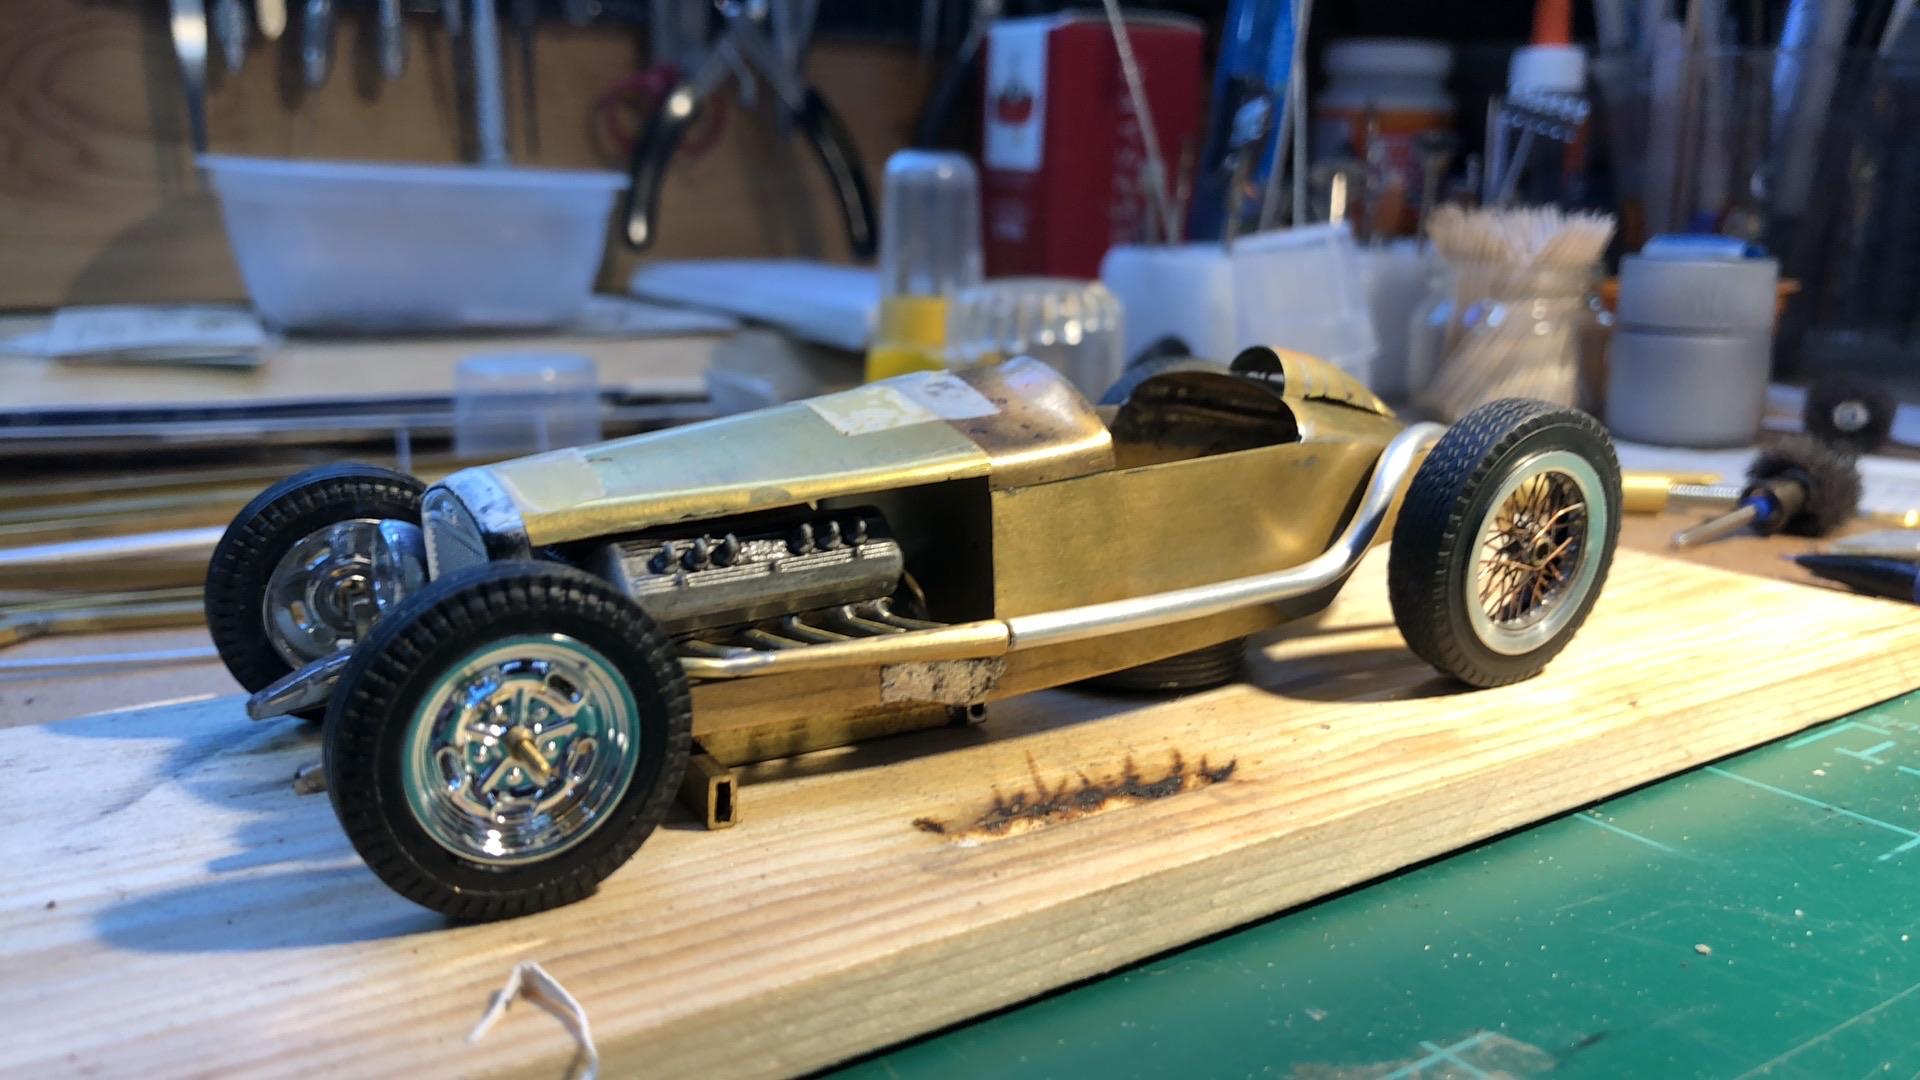
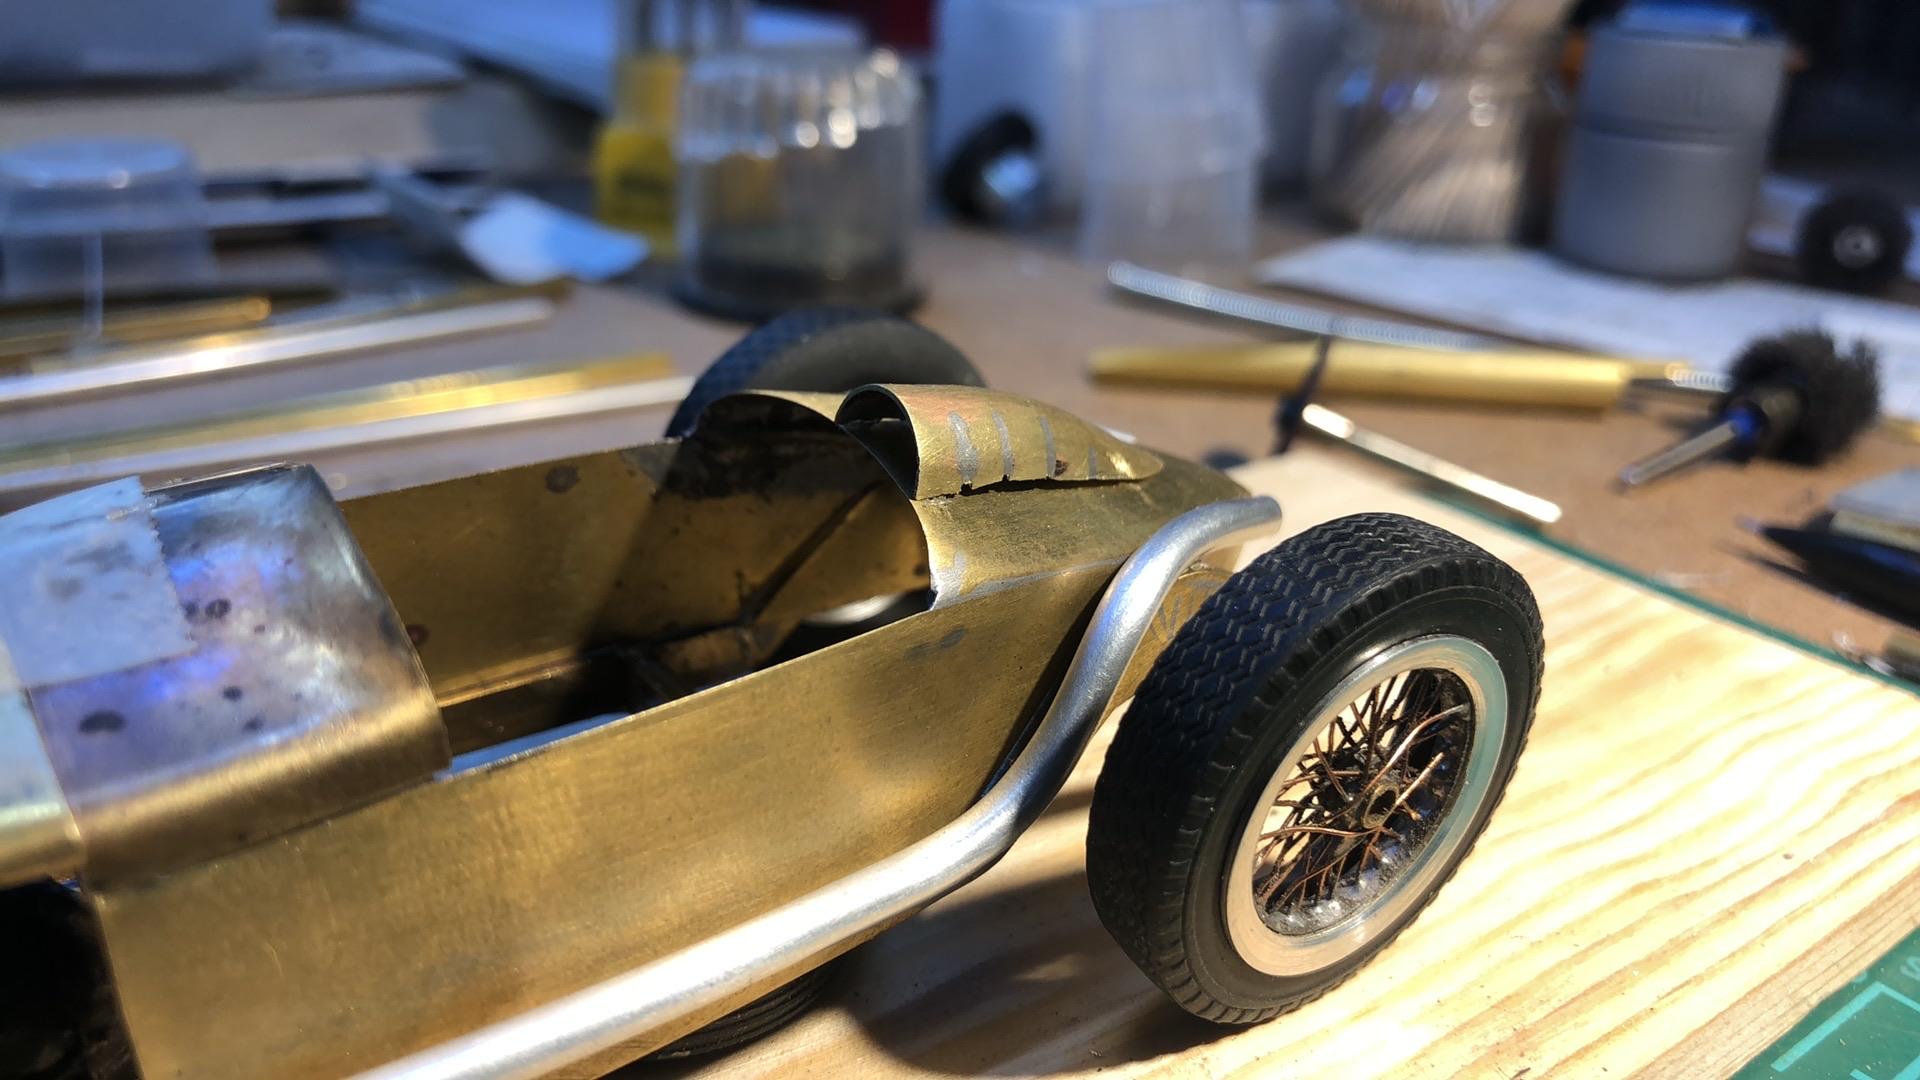
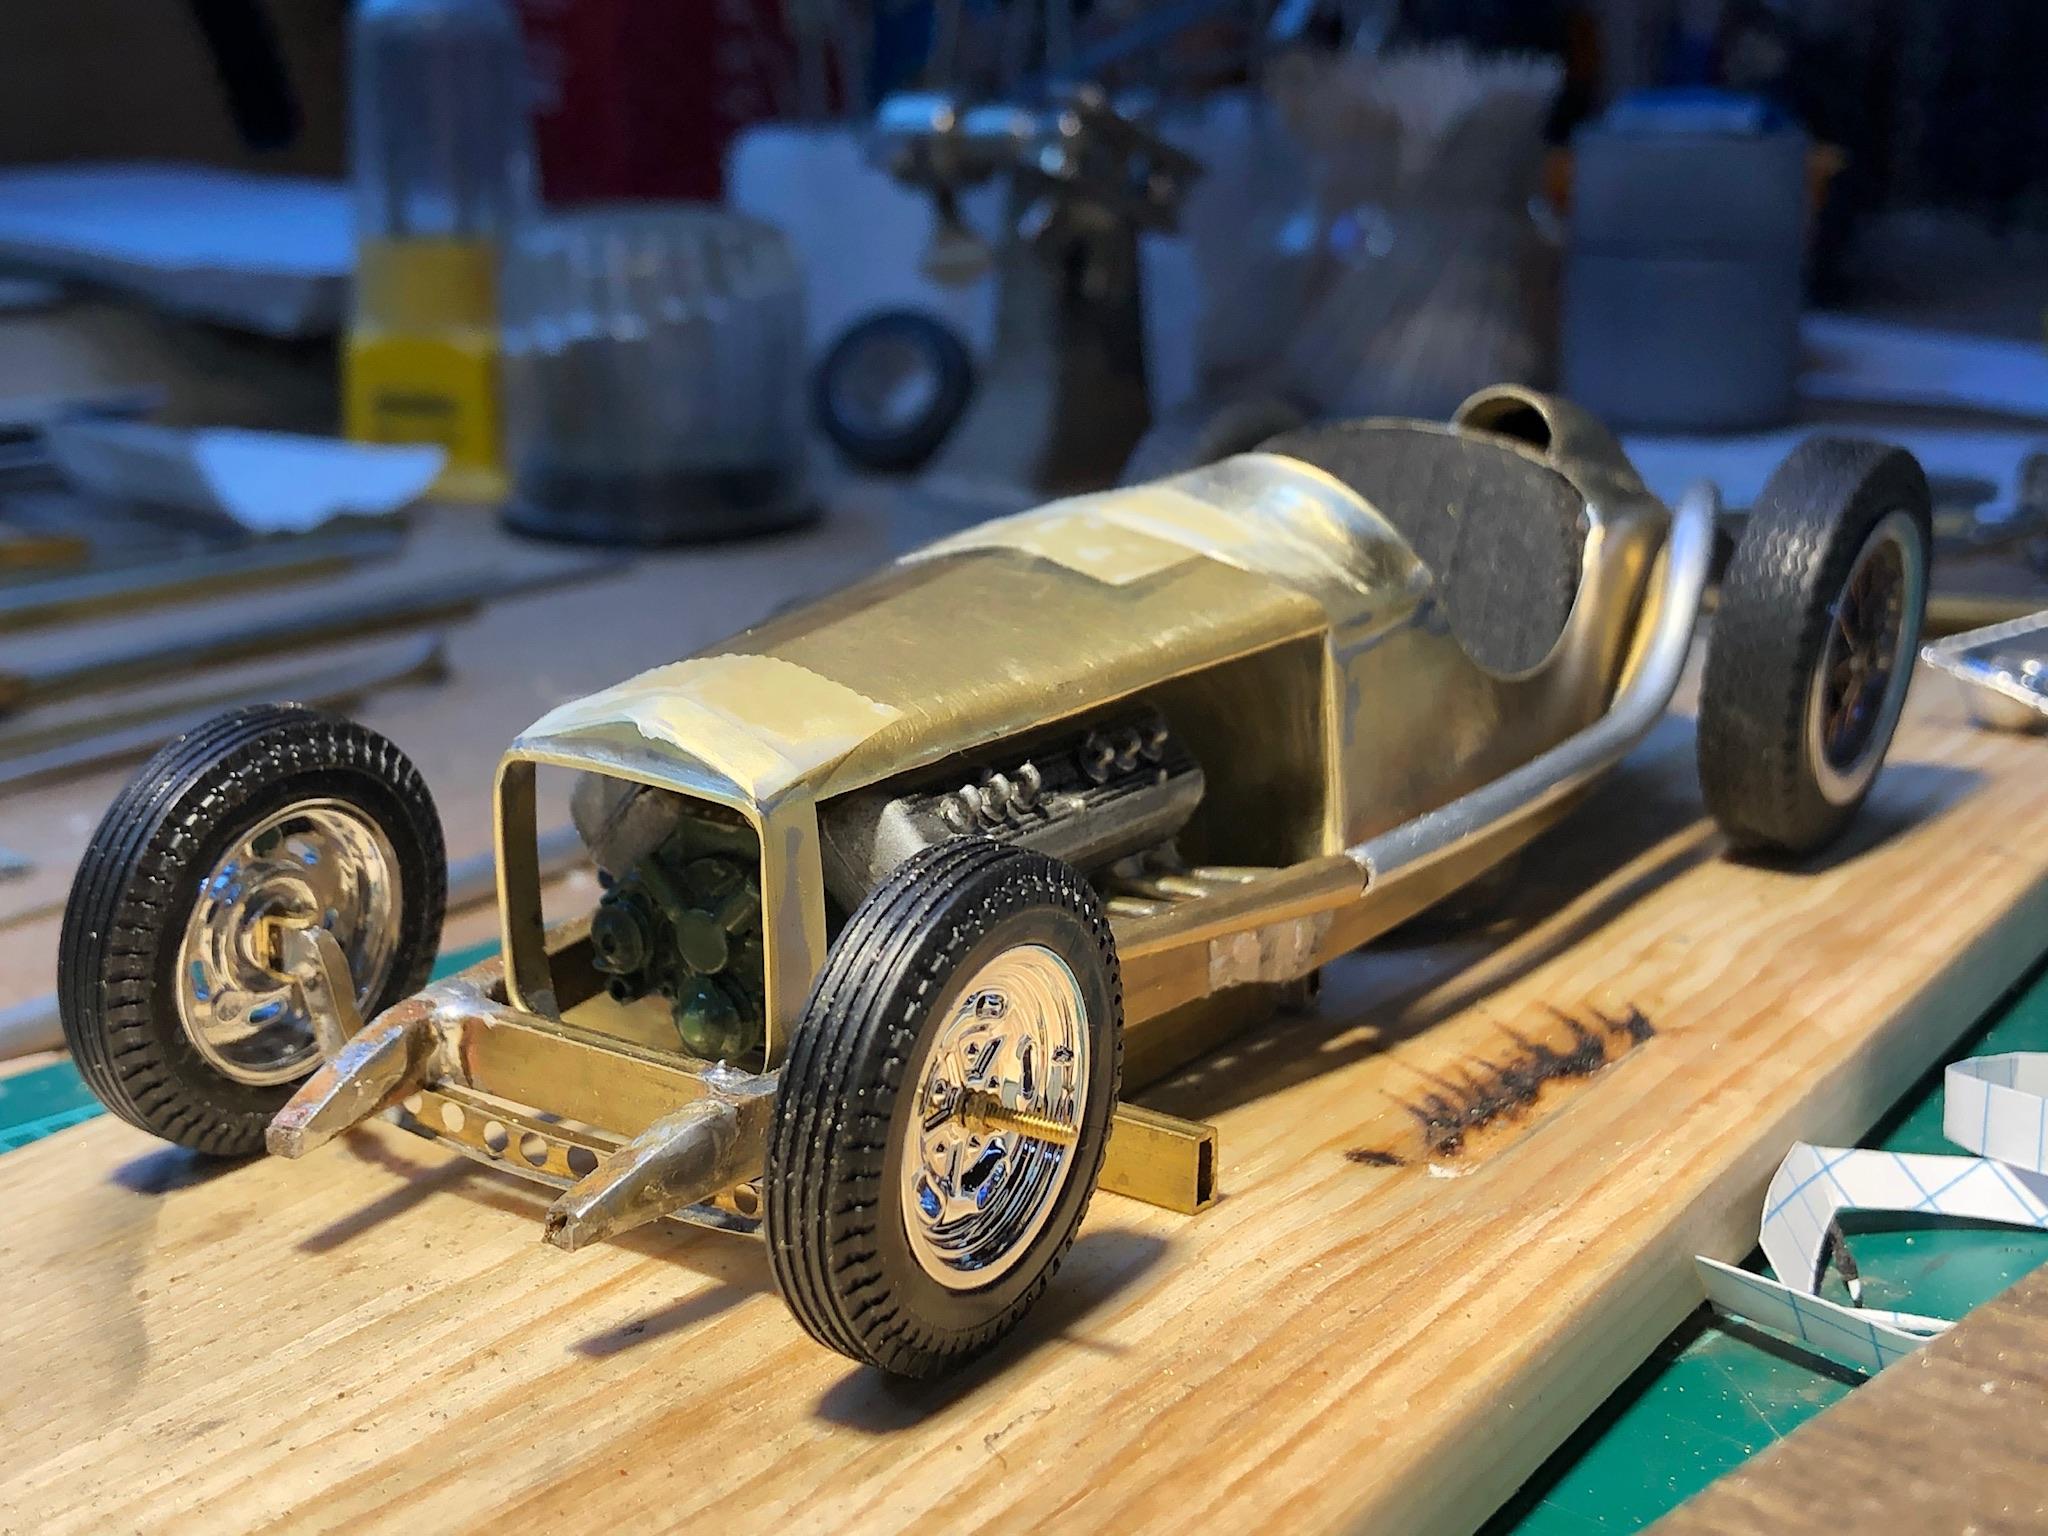
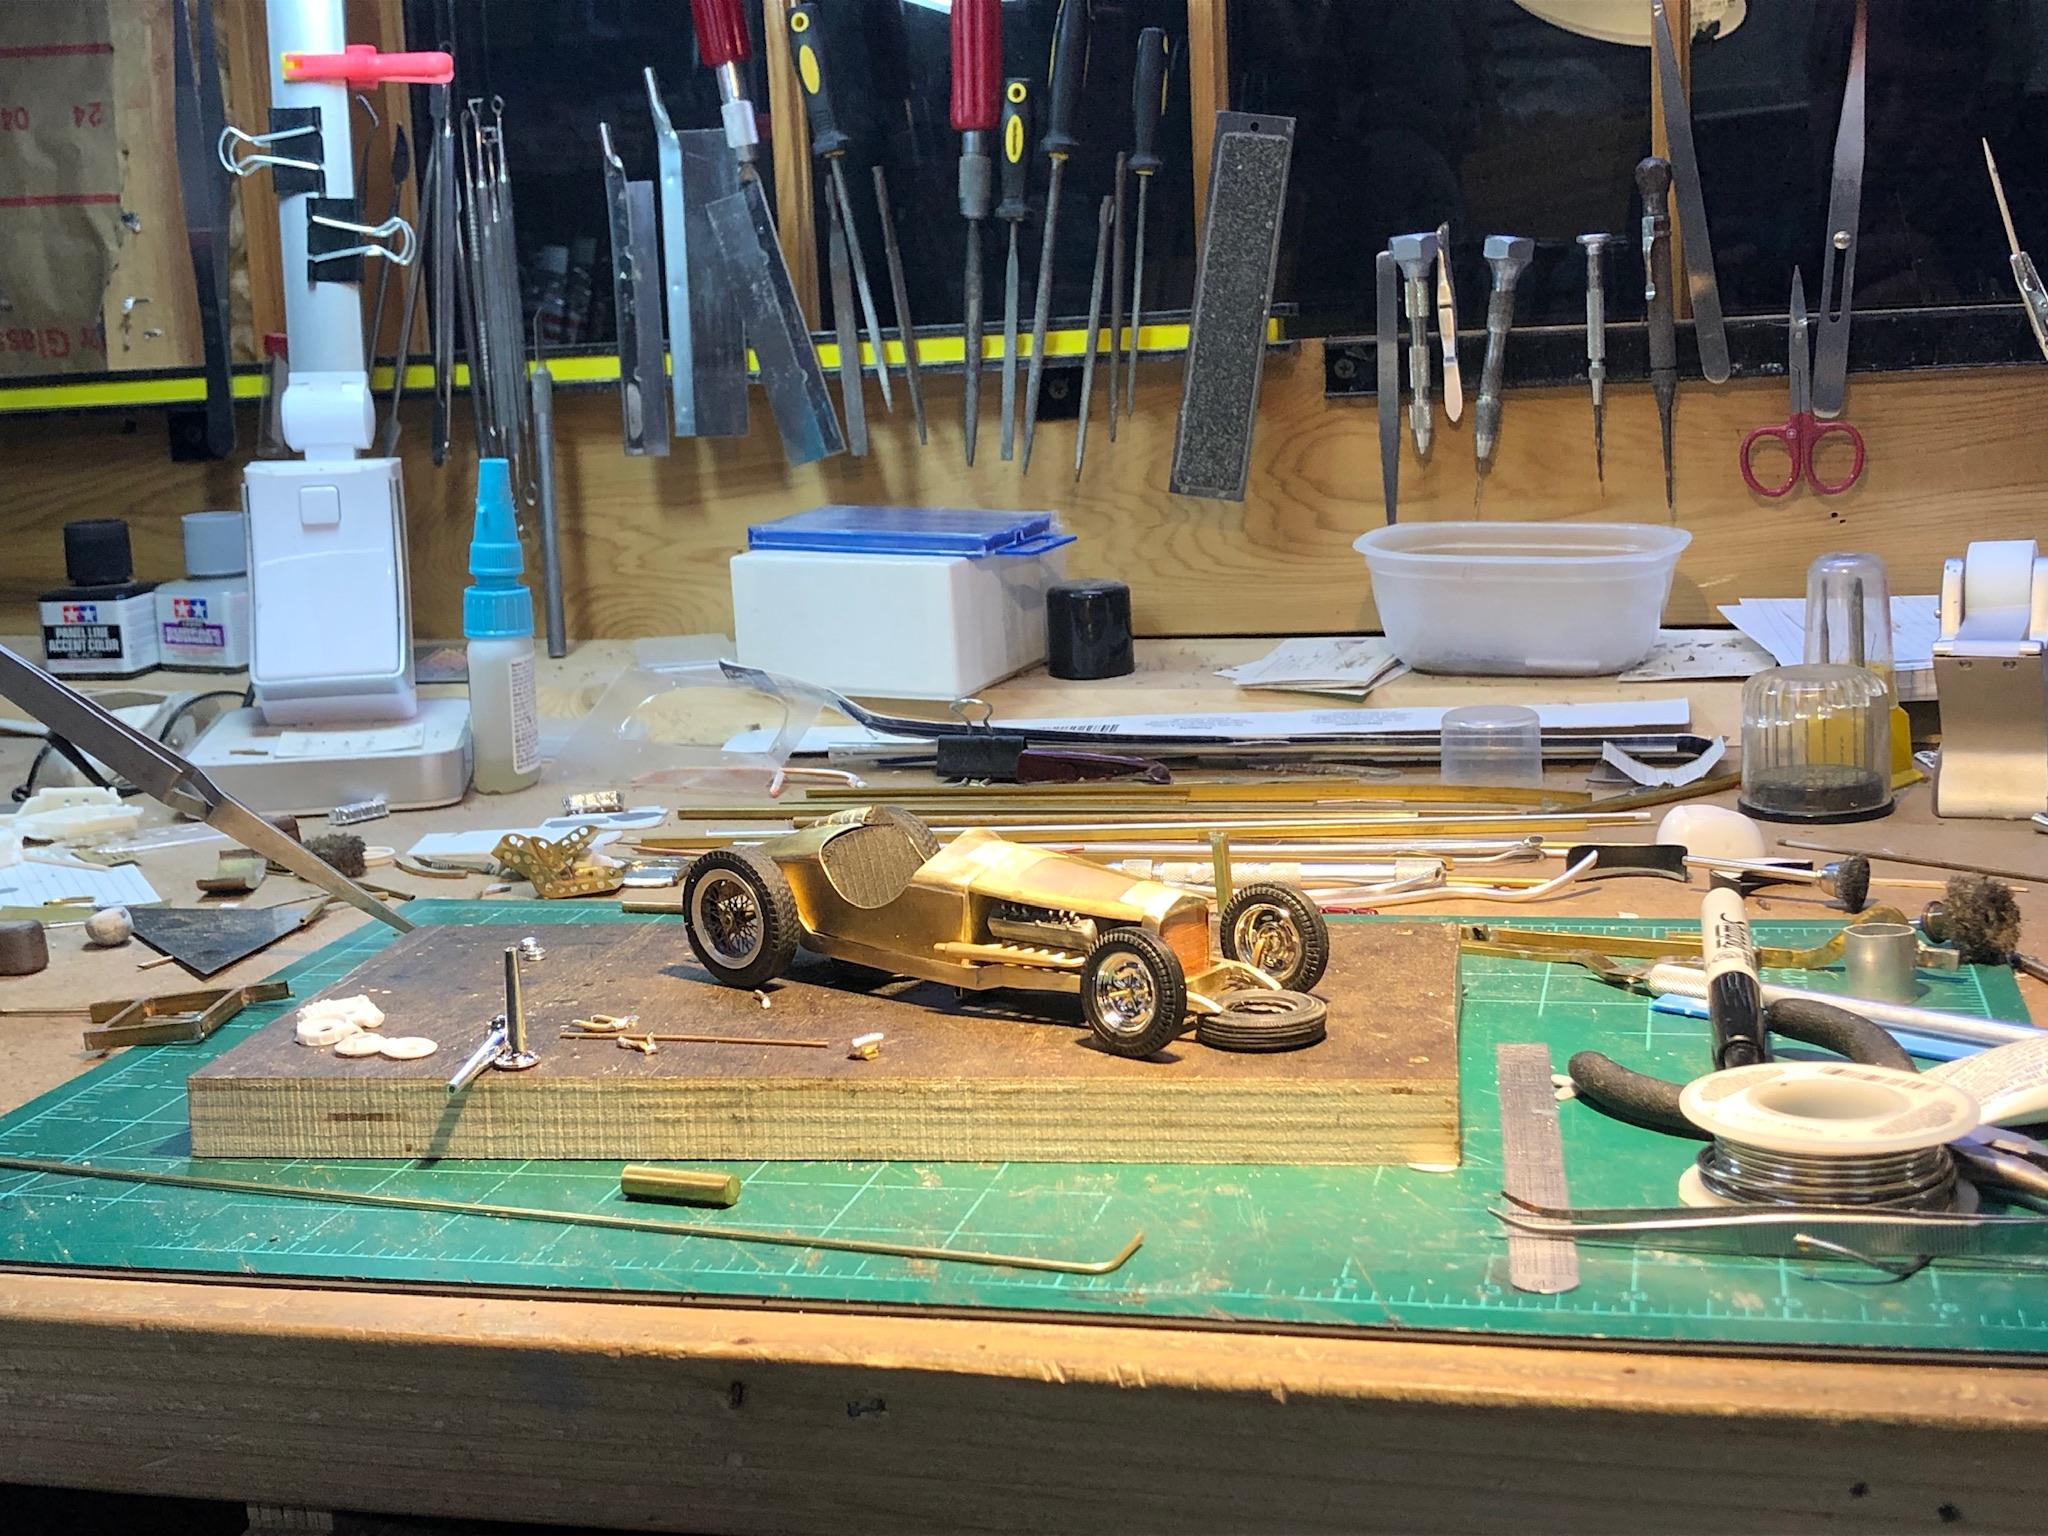
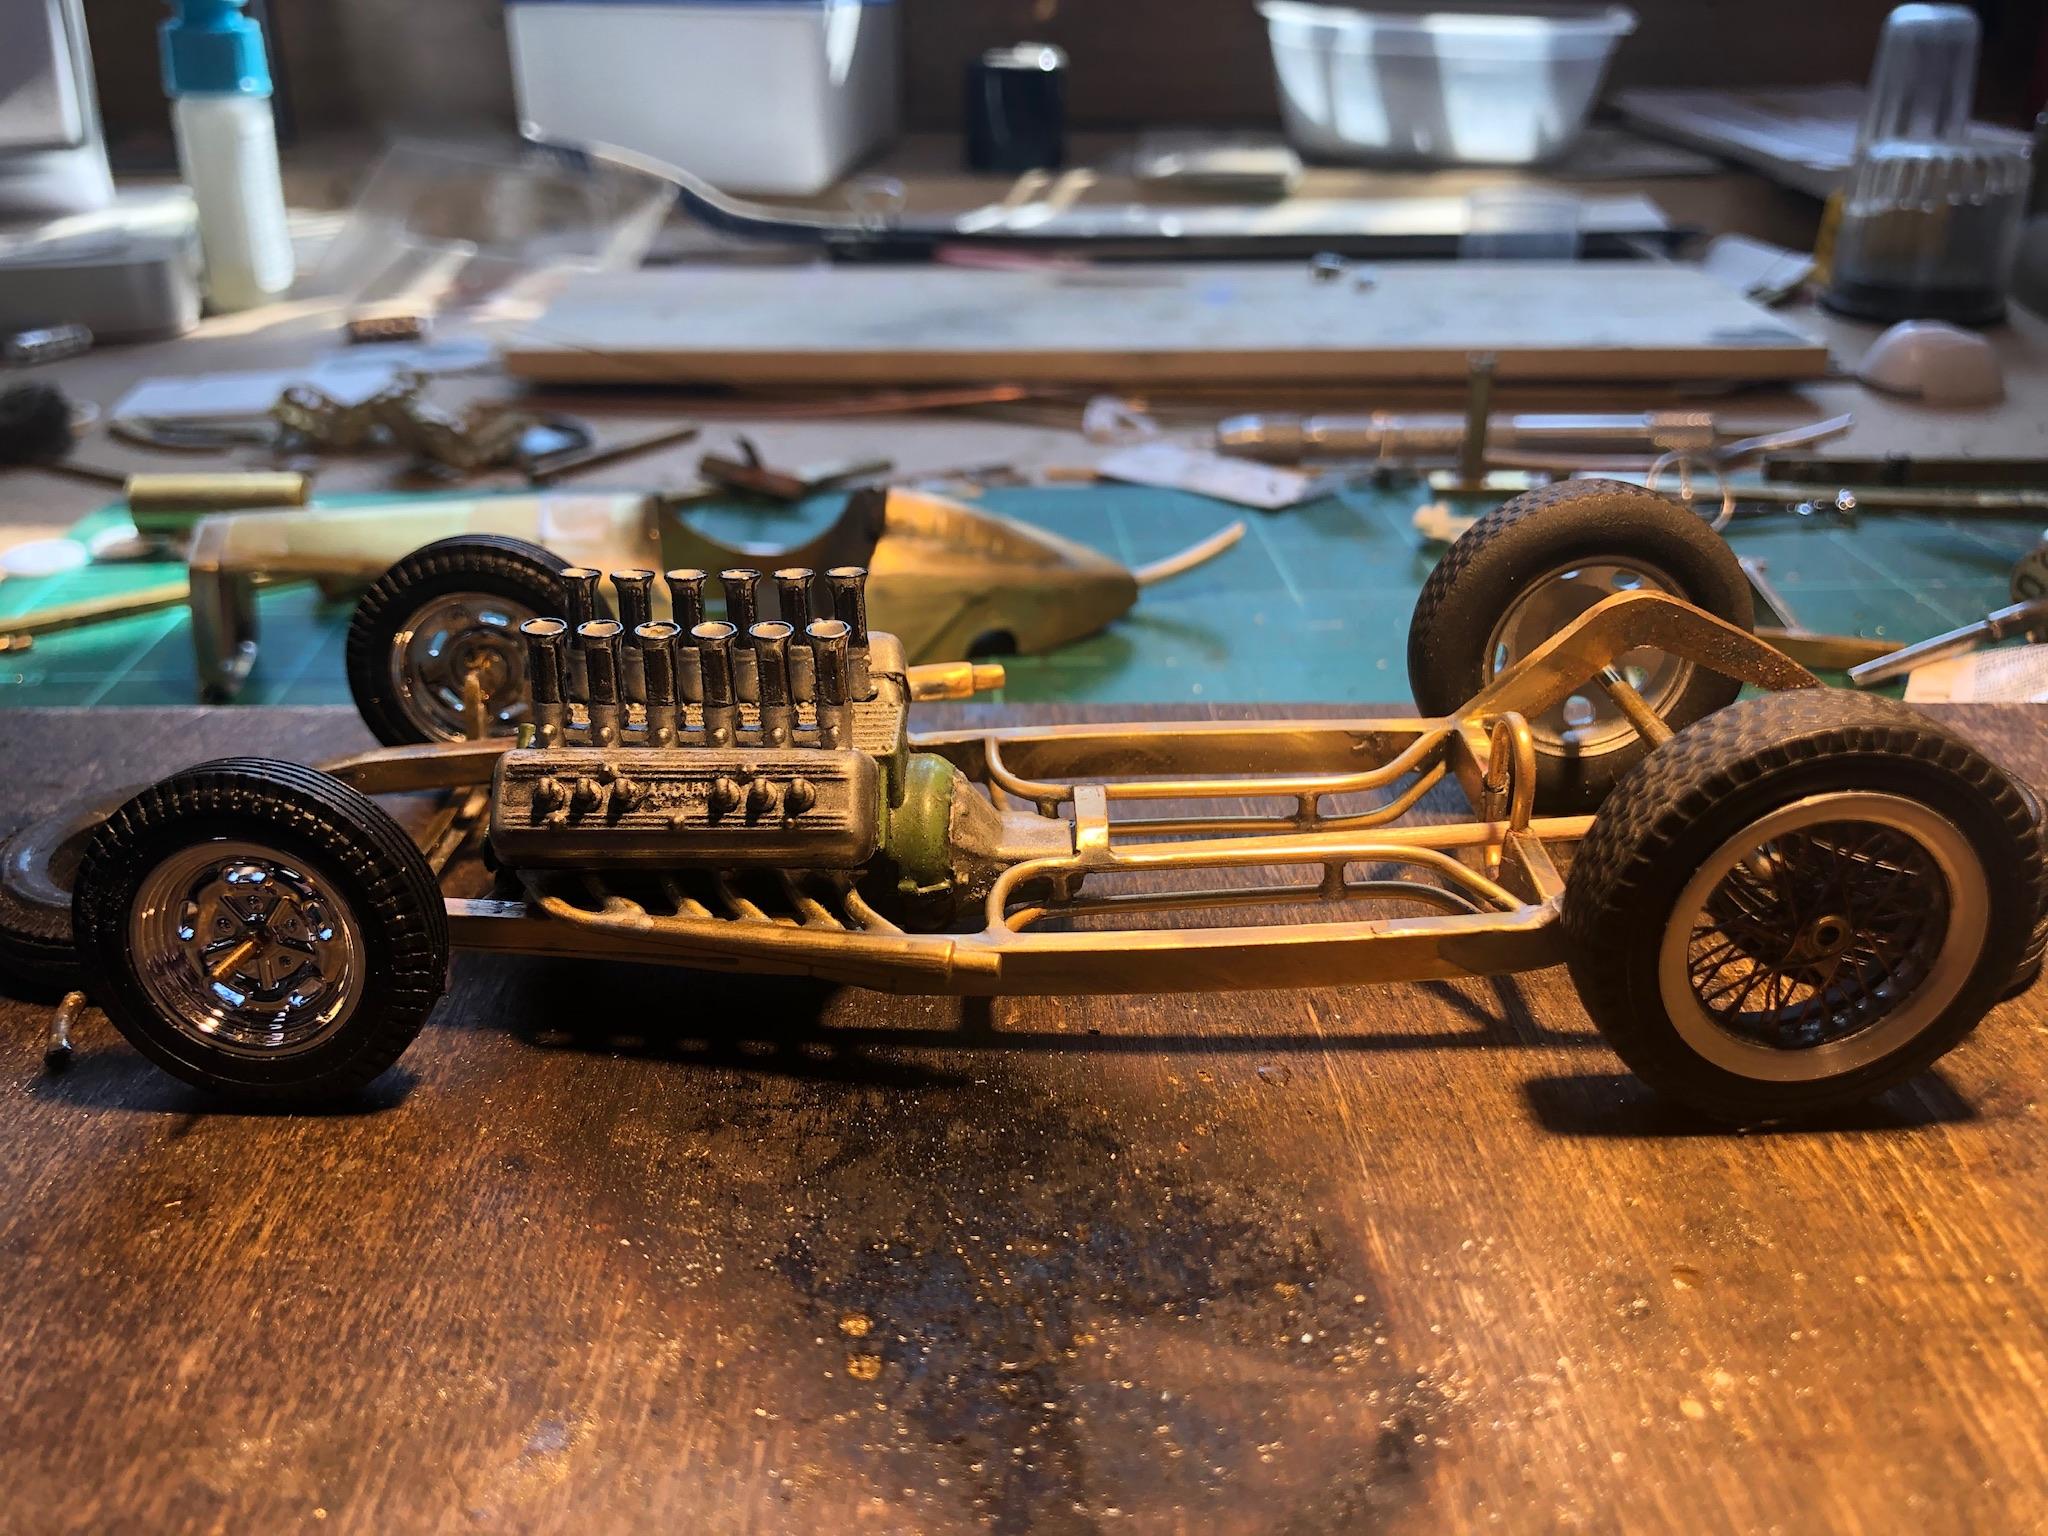
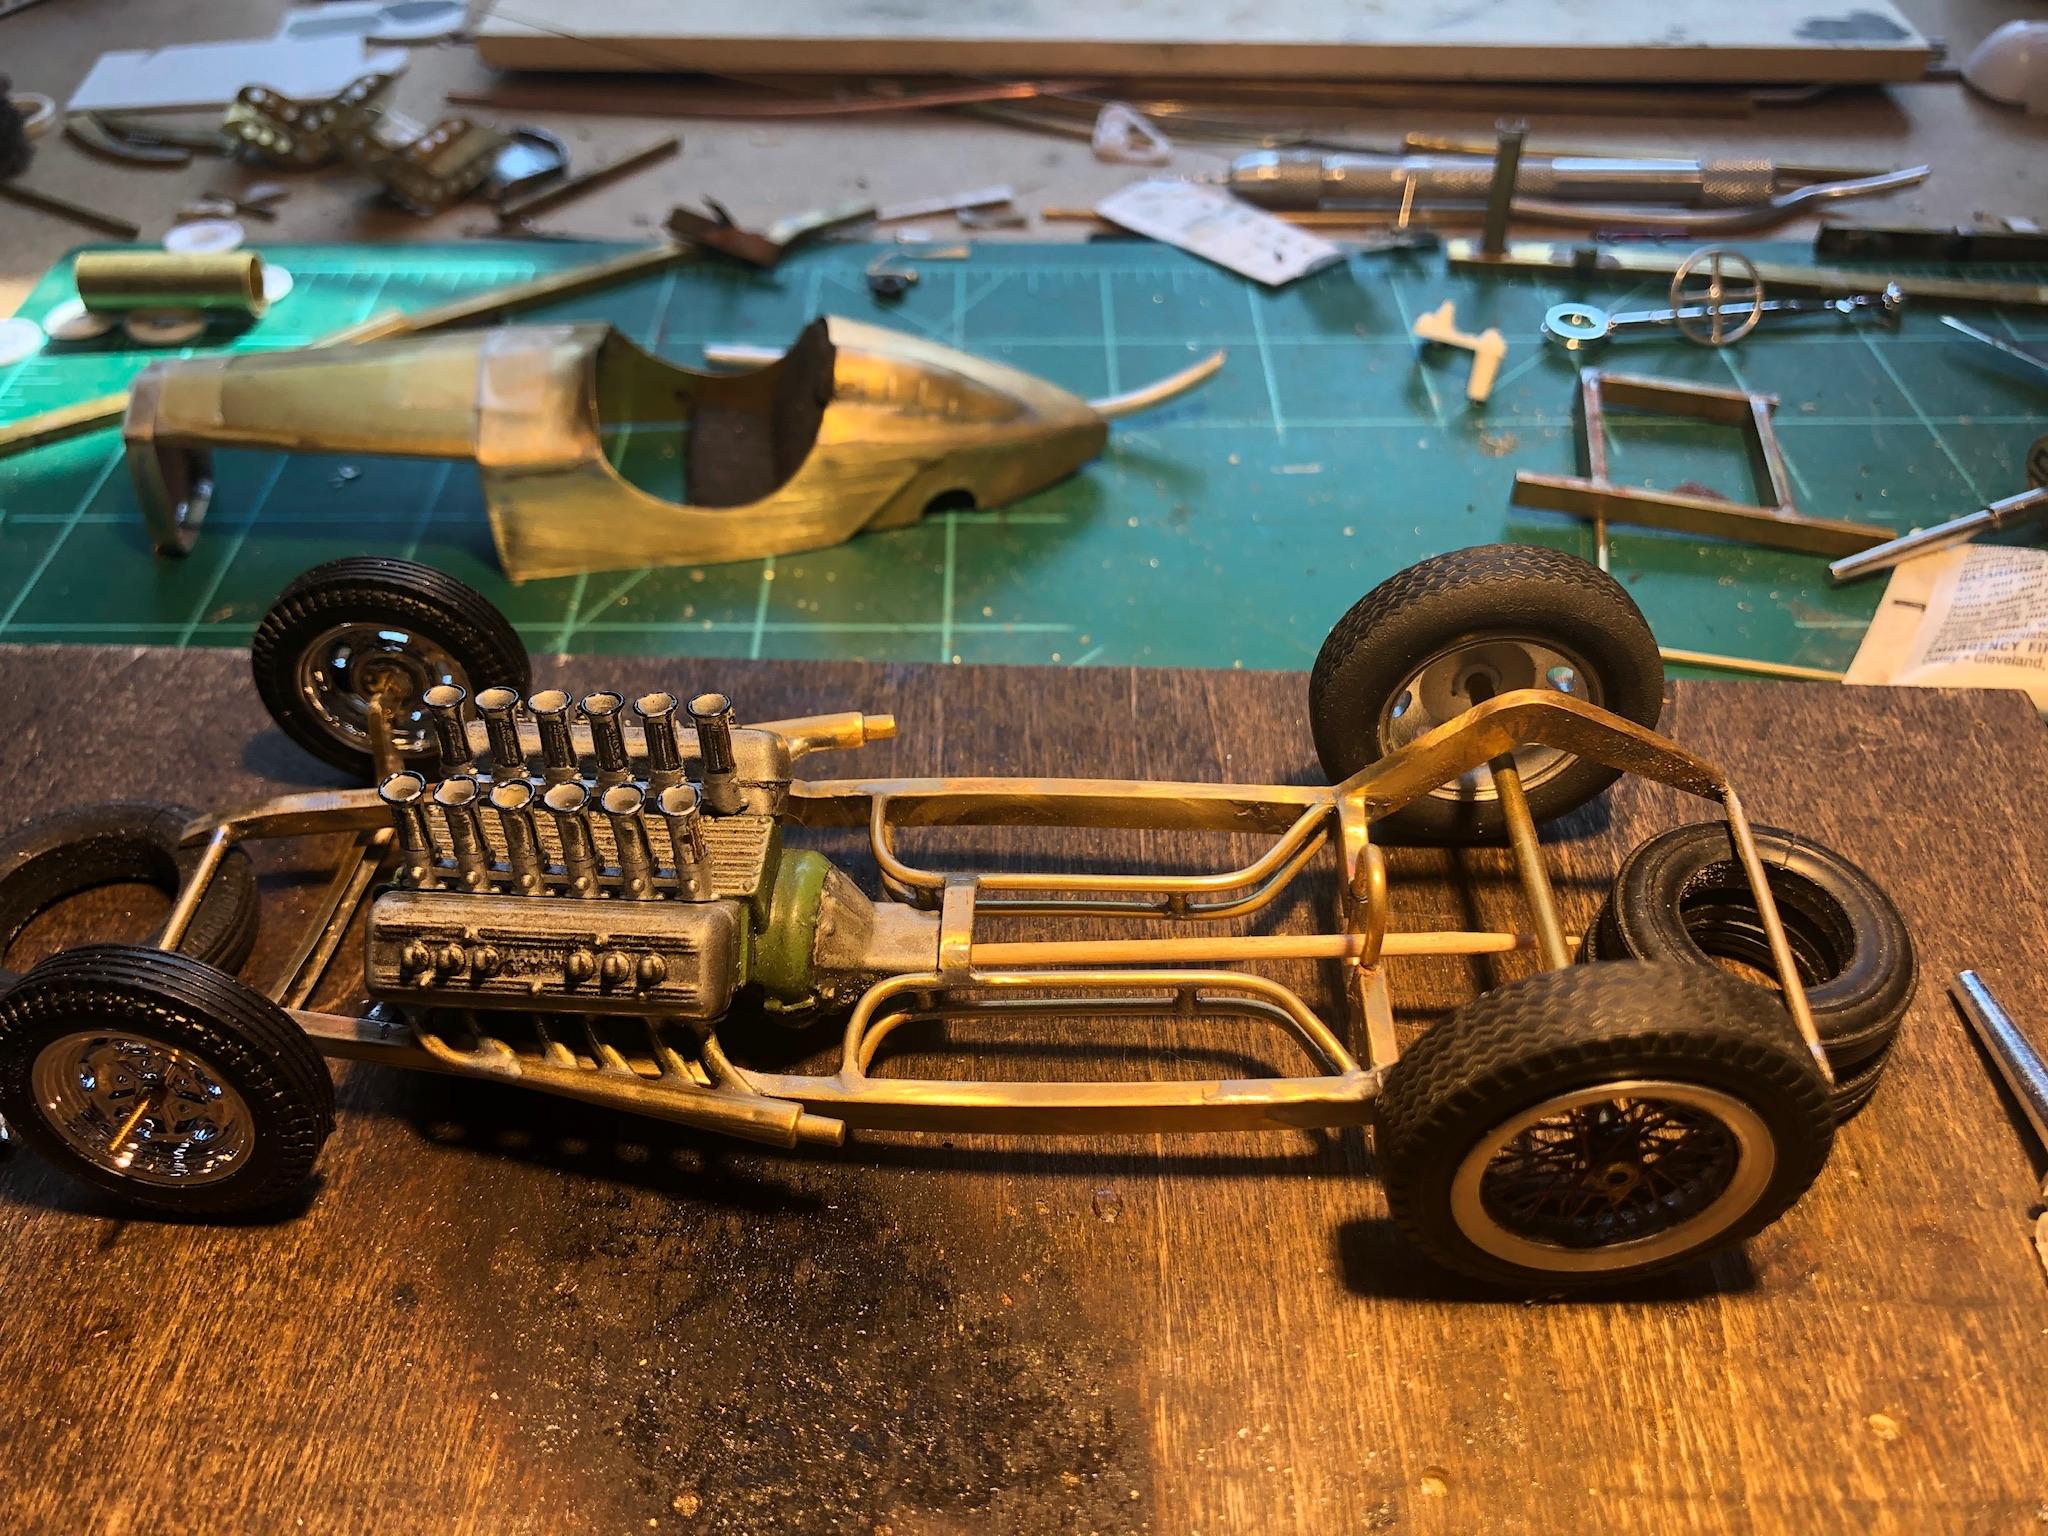
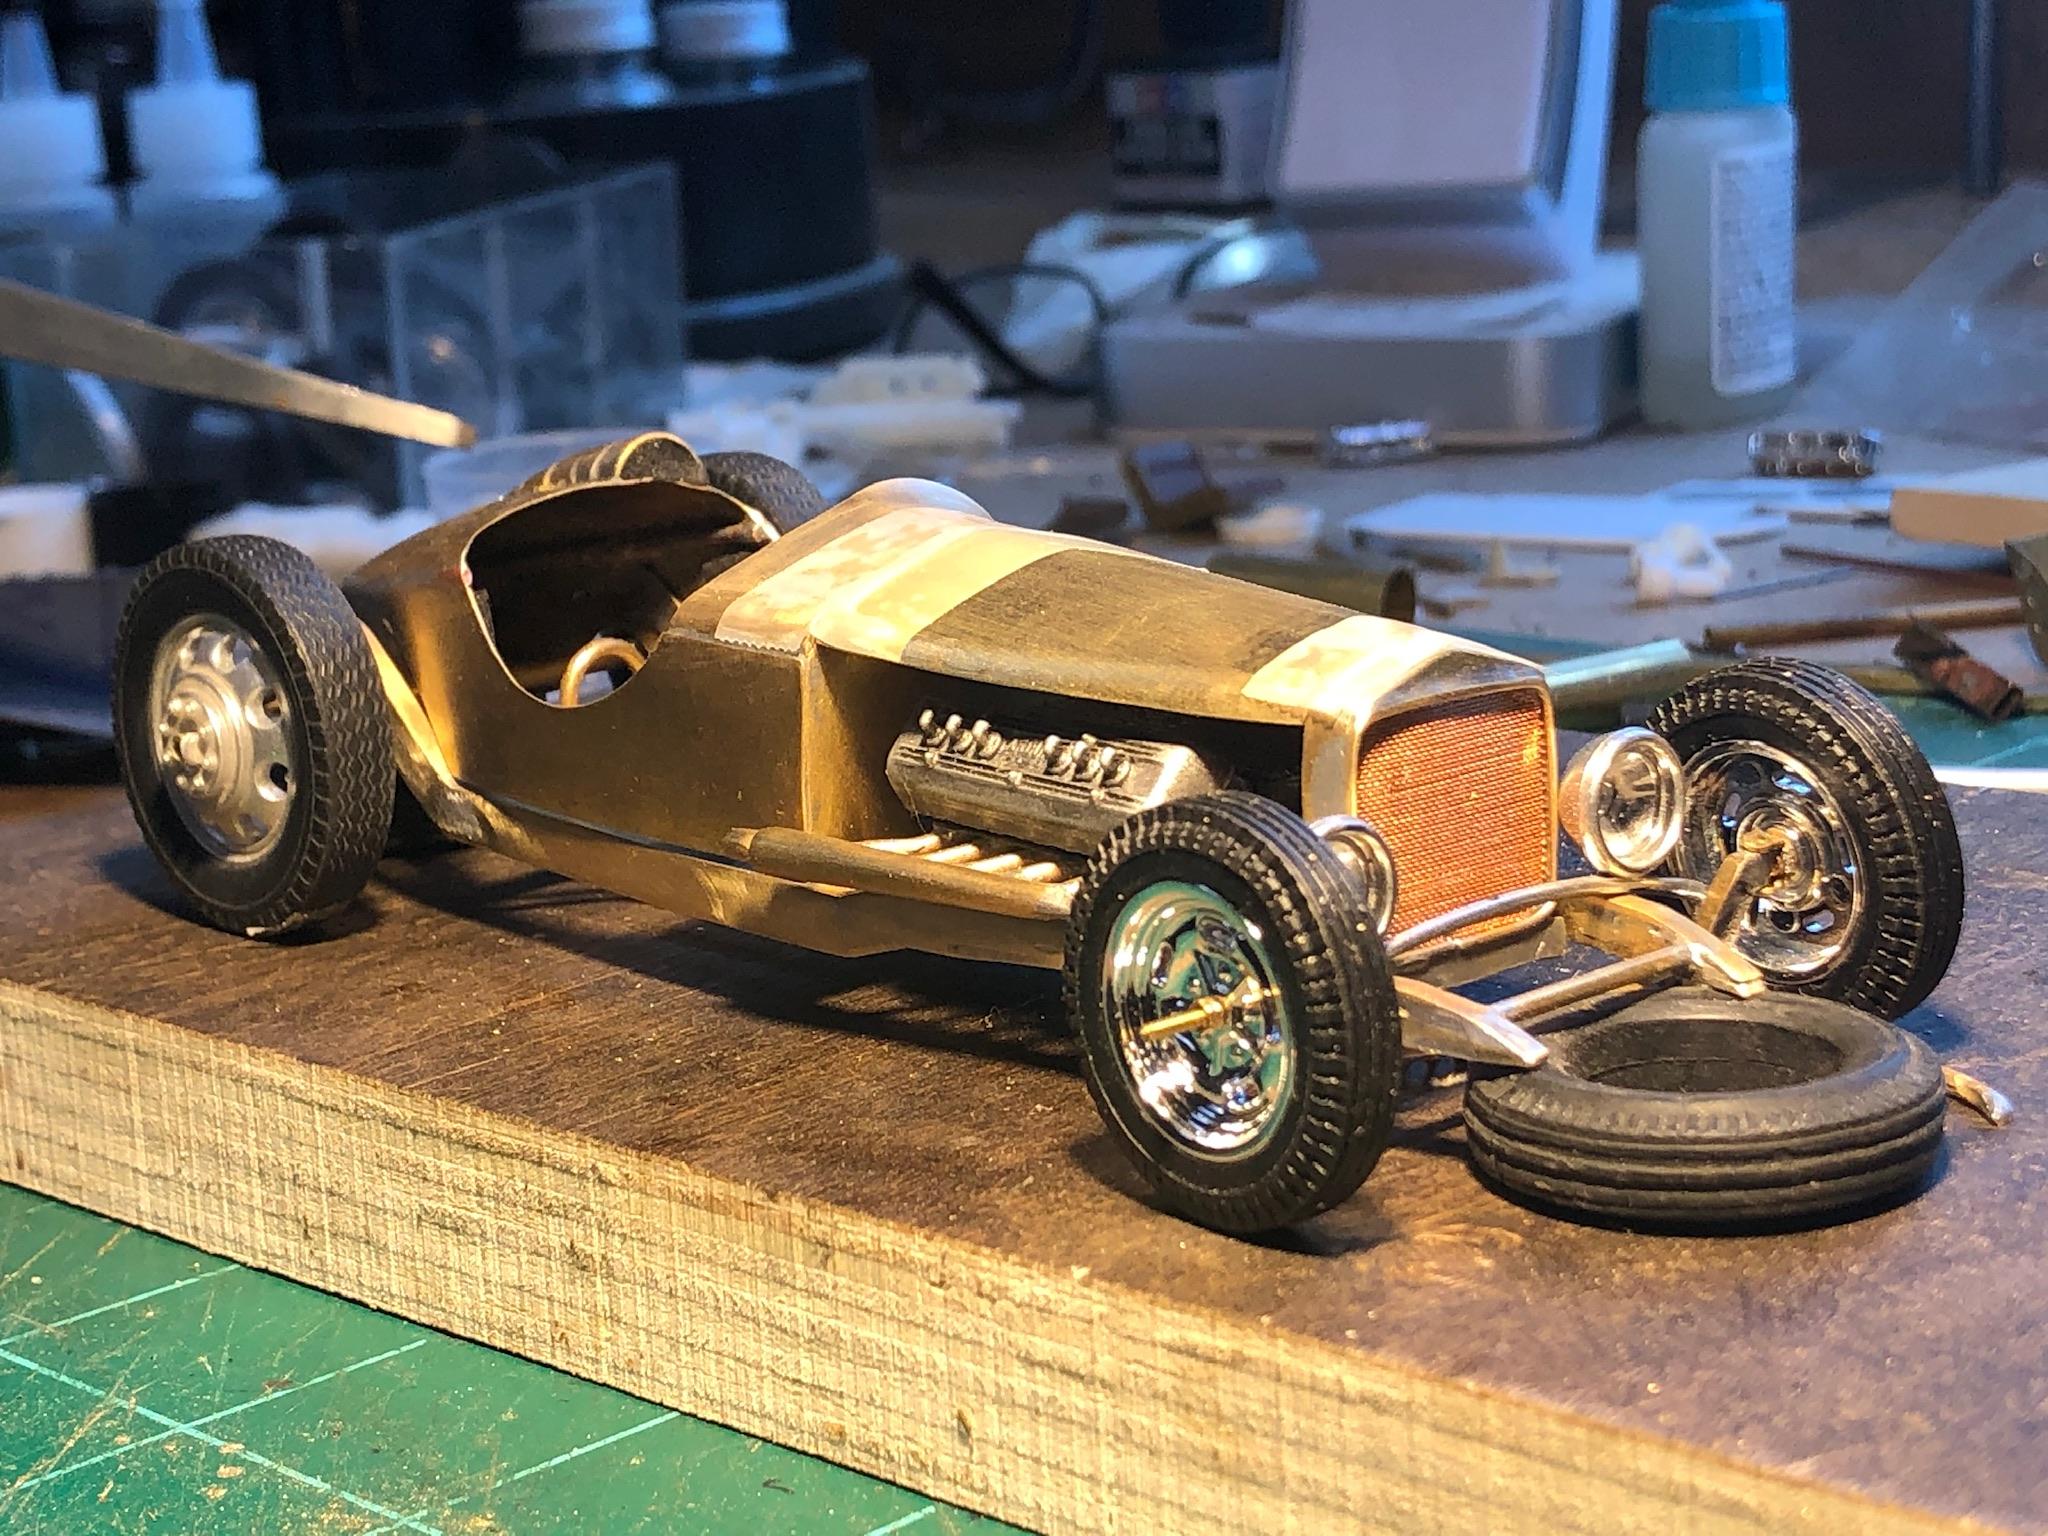
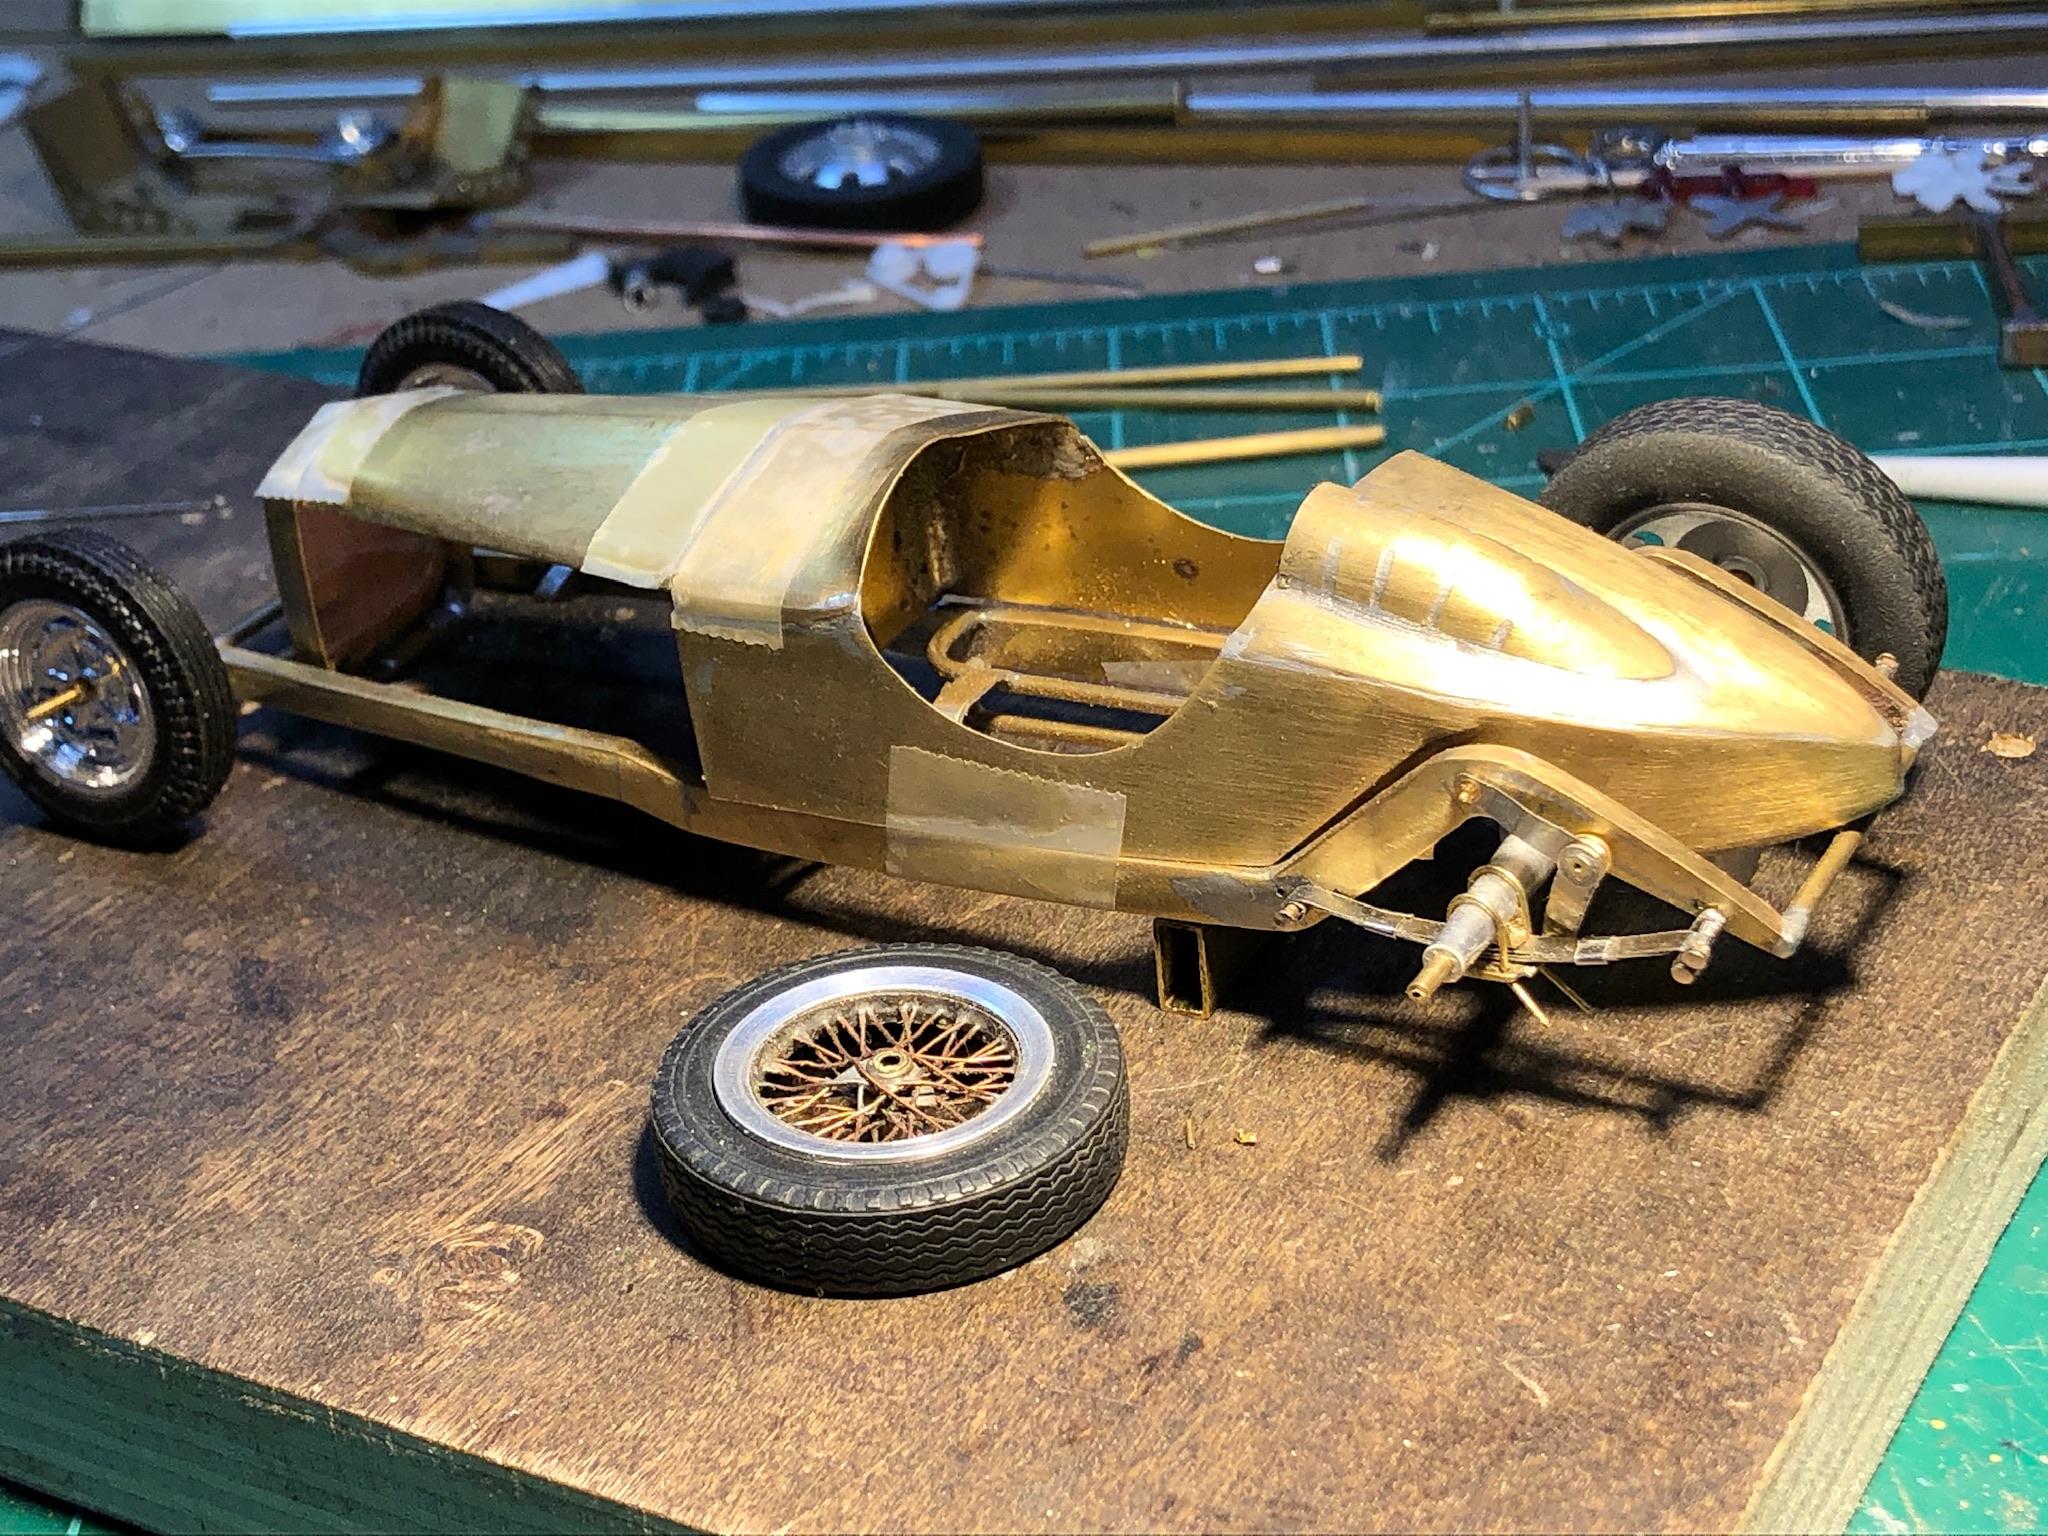
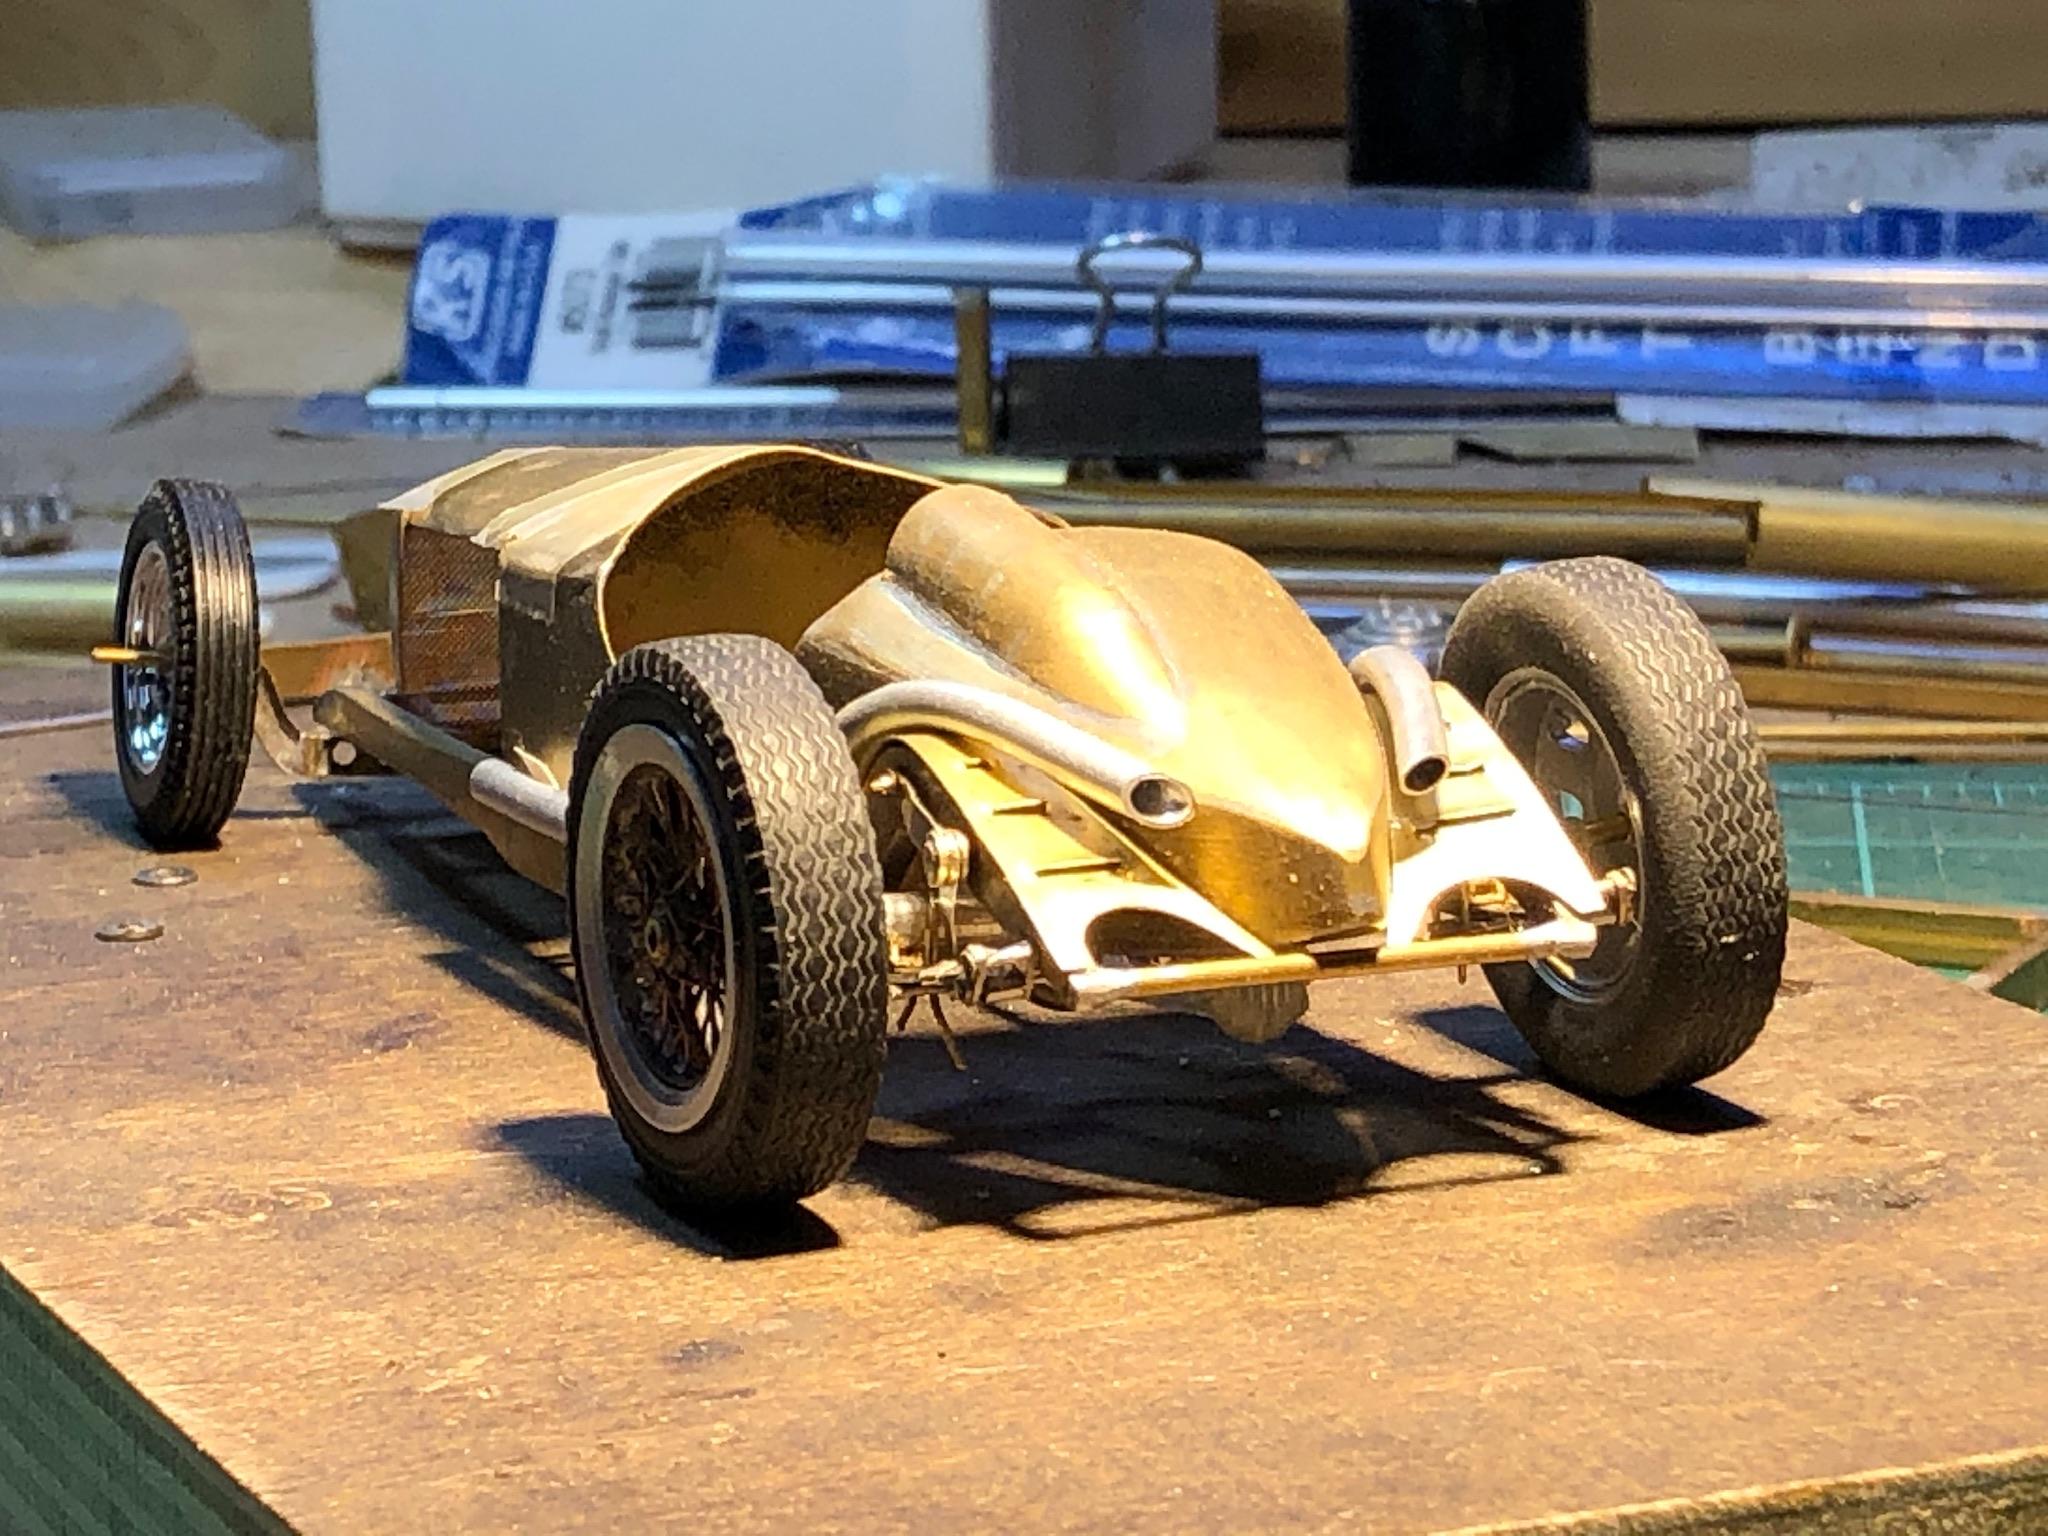
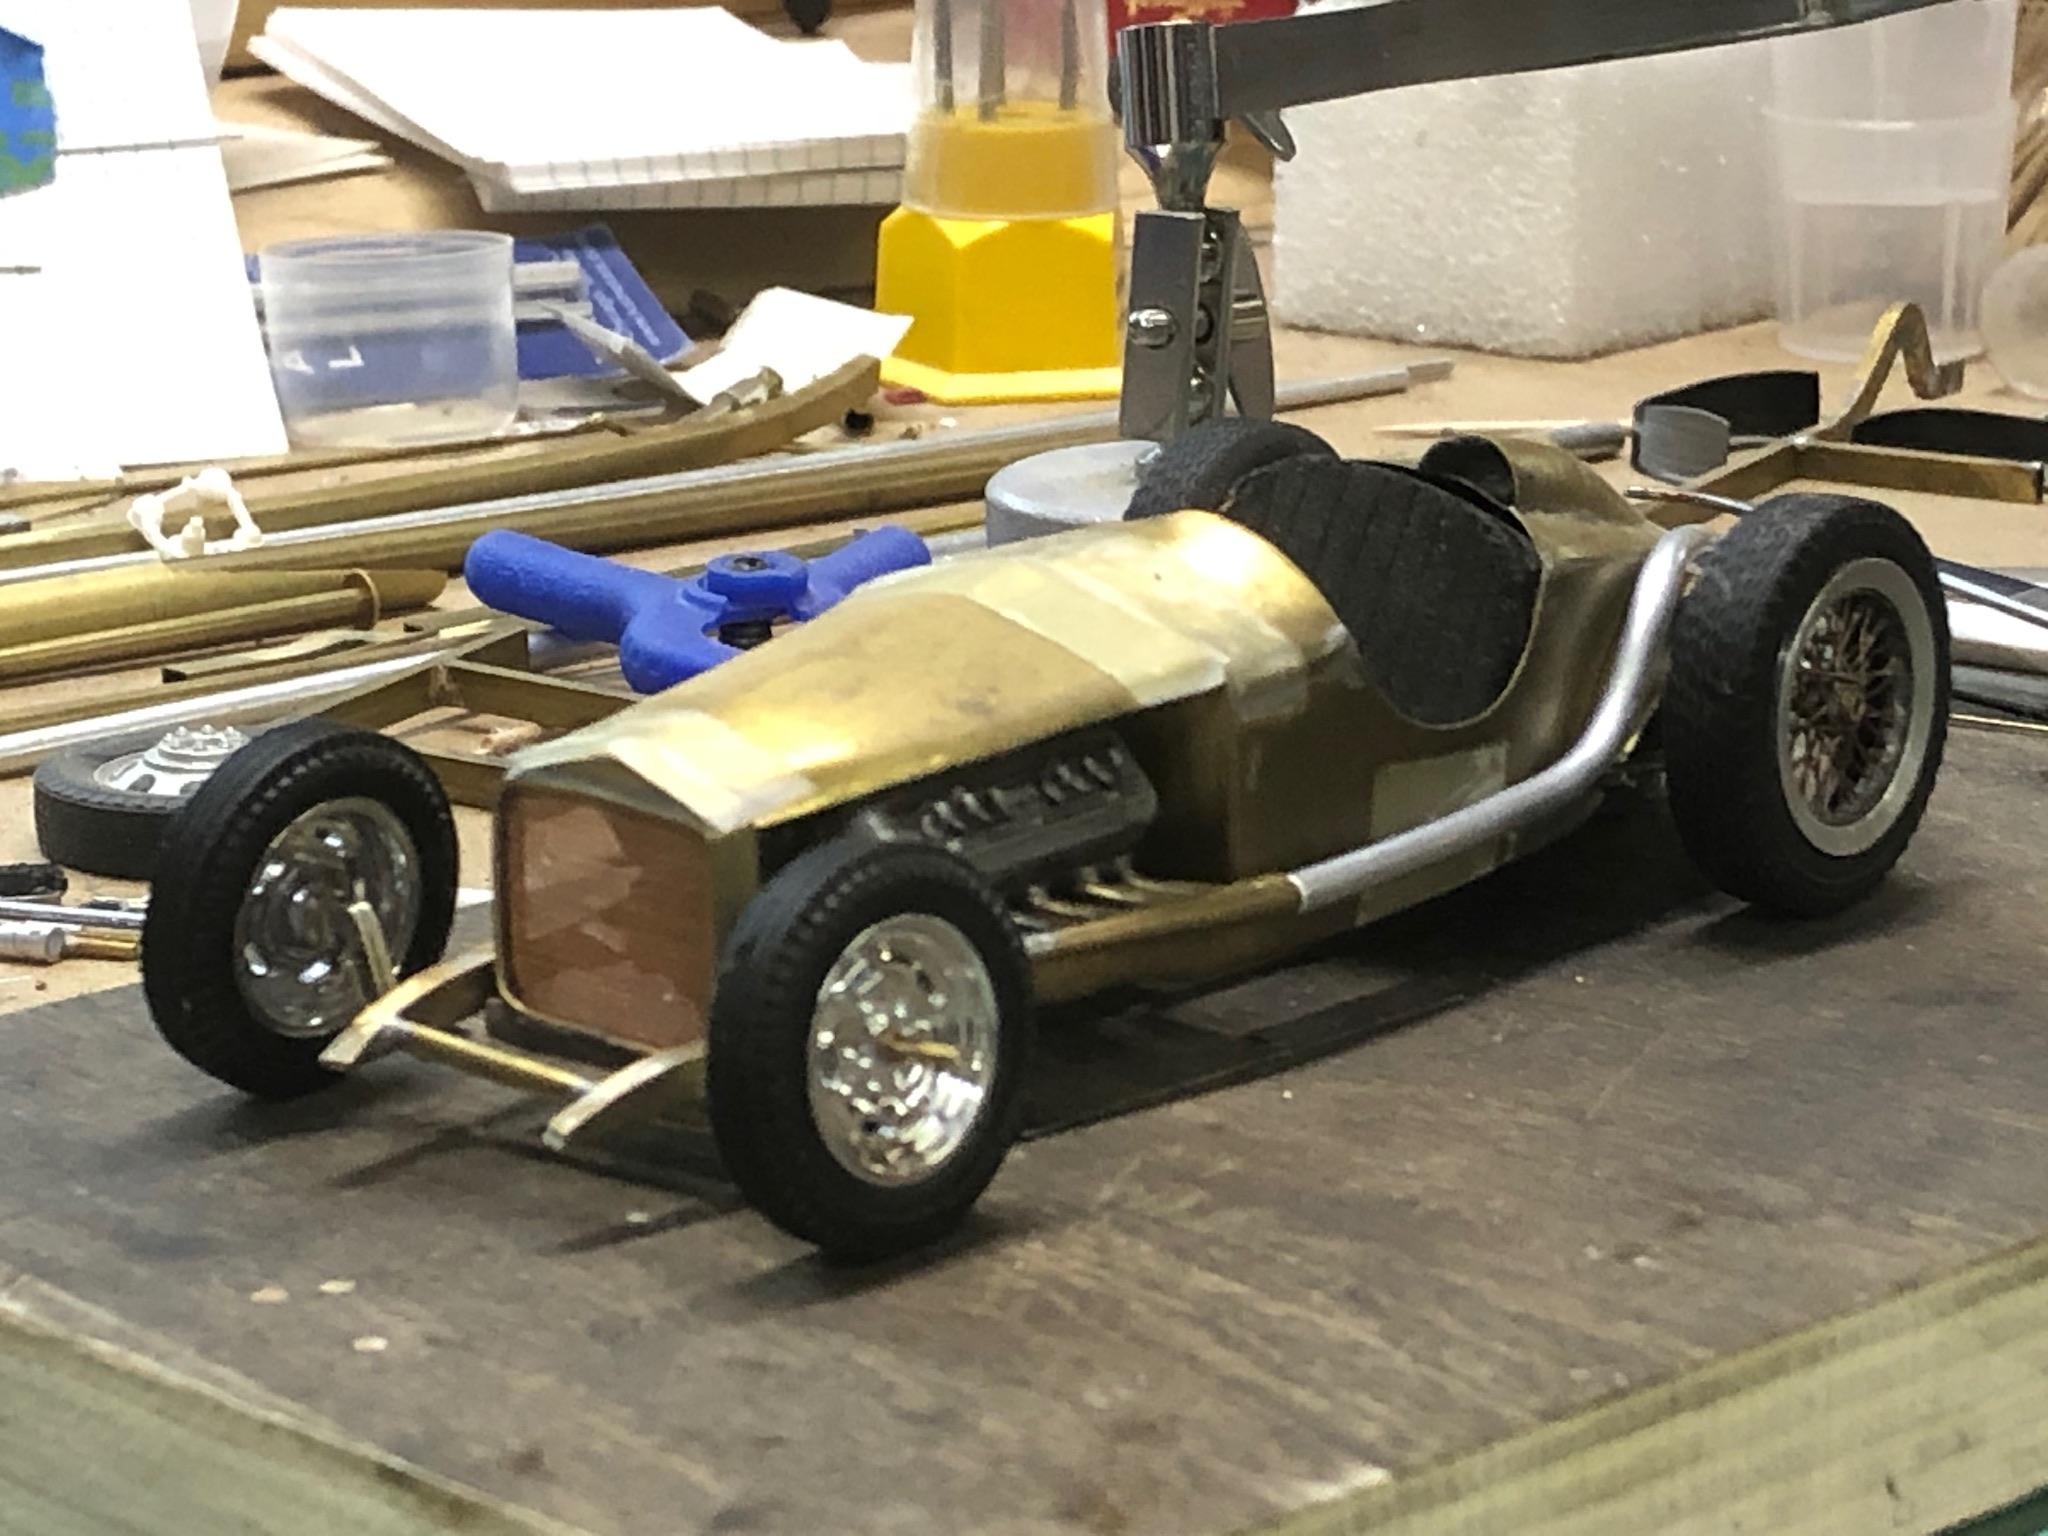
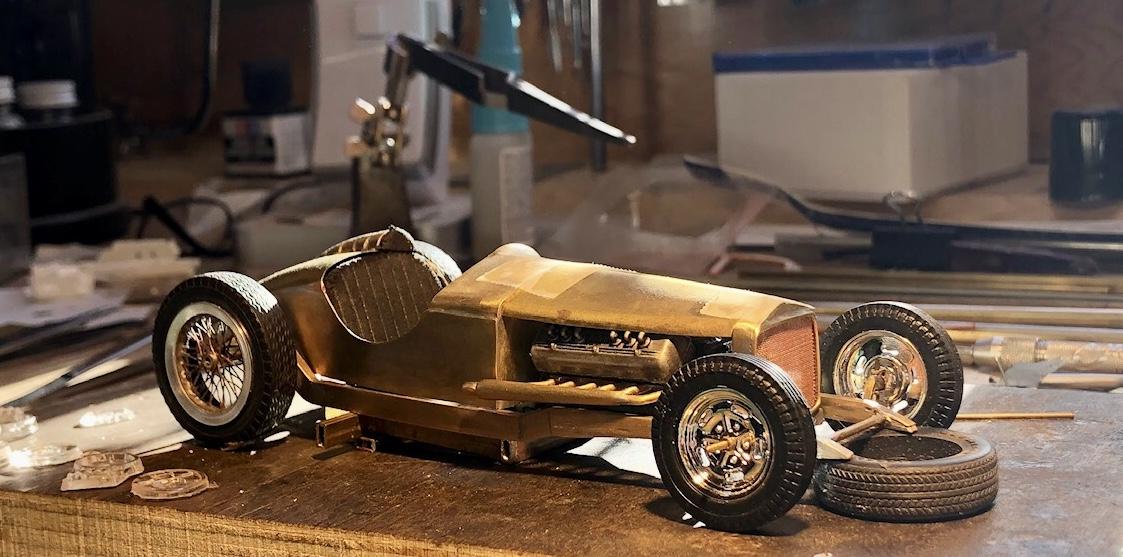
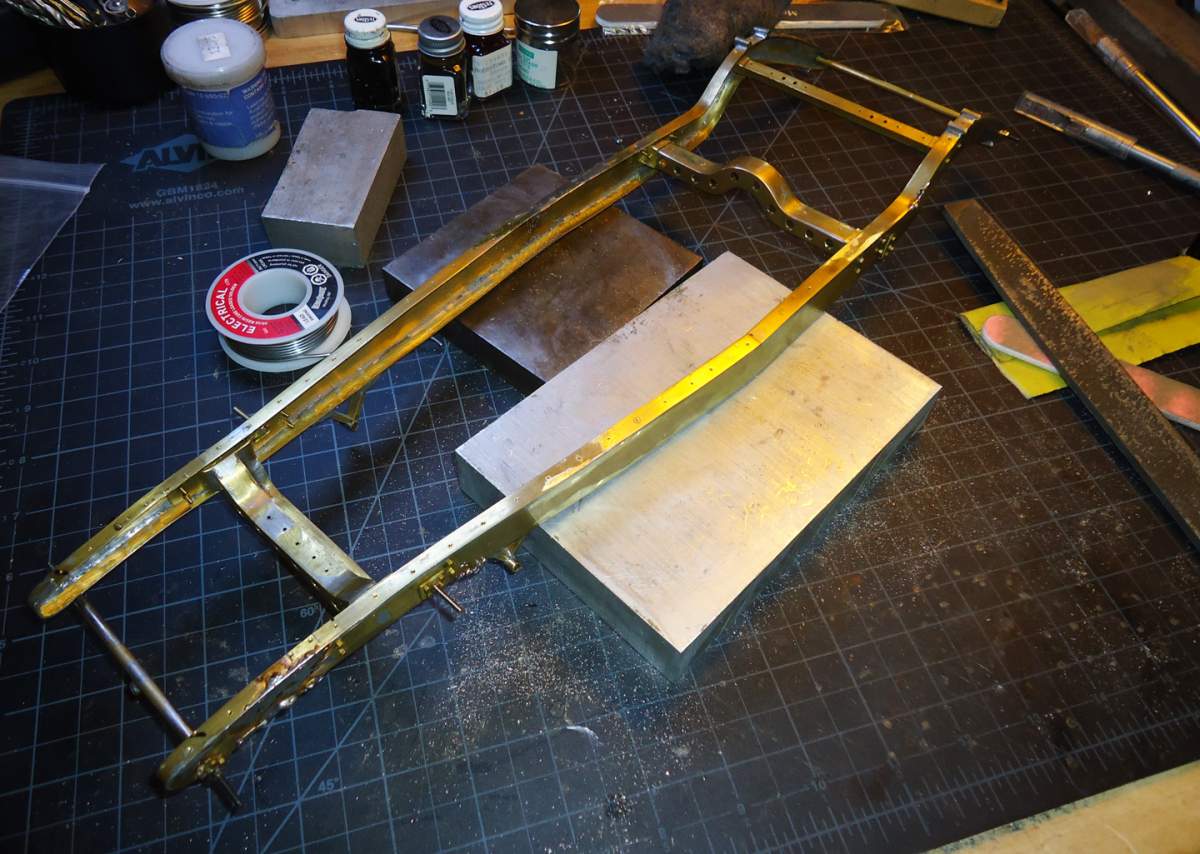
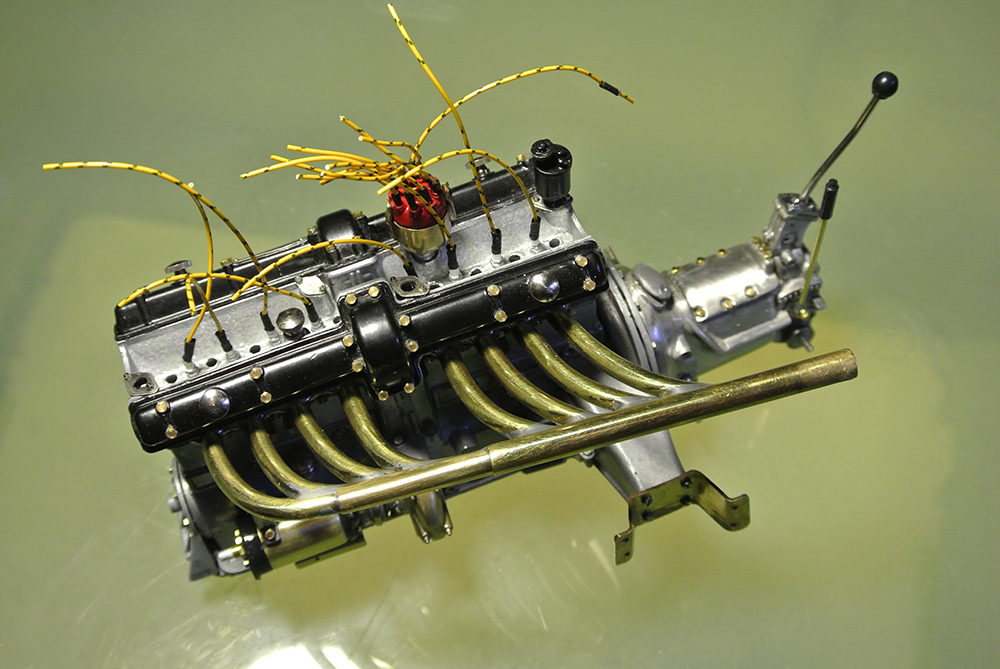
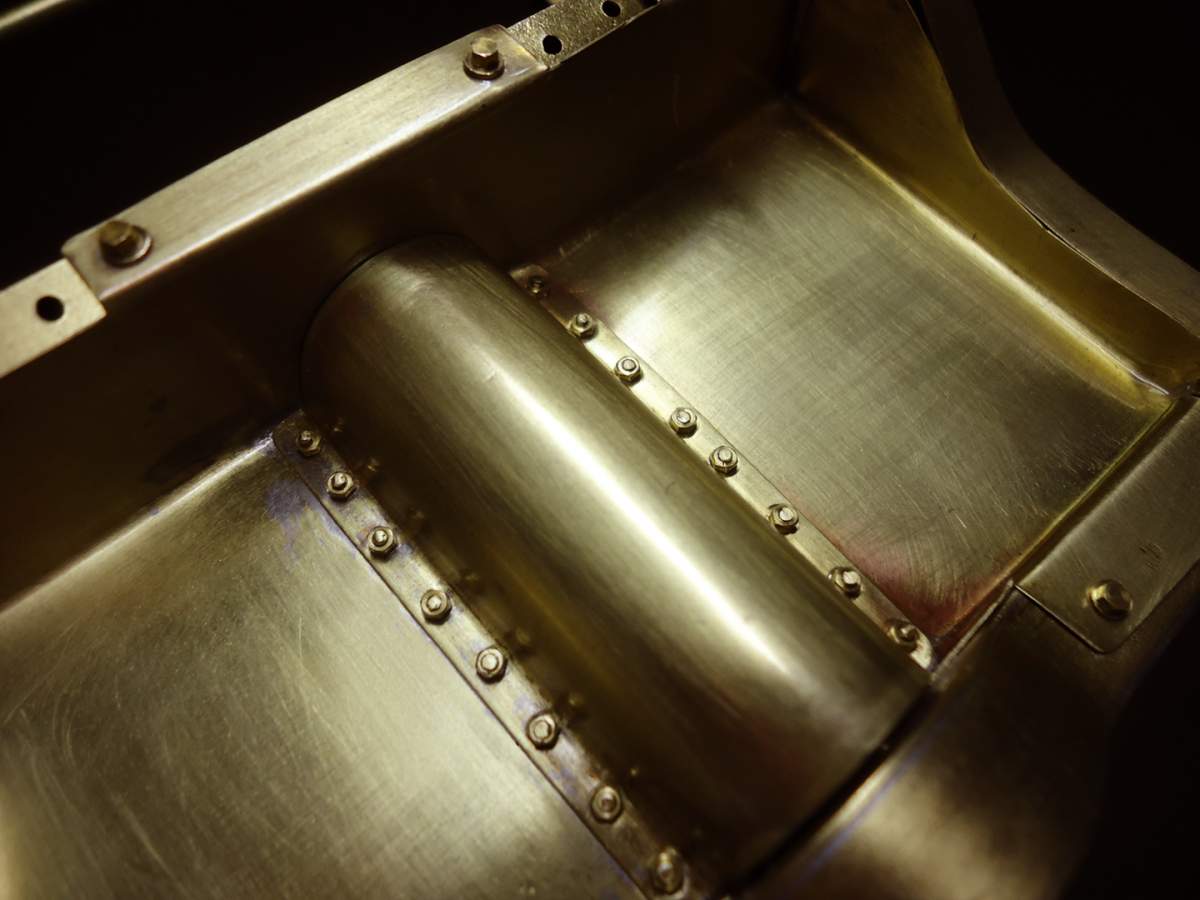
So I had this cool 3D printed Lincoln Zephyr V12 Flathead, with Arden heads by Ron Olsen through Shapeways, and I wasn’t sure what I wanted to do with it. I knew it needed to be some kind of hot rod that would show off the motor, and I had in my head that I wanted to do a build using as many brass and aluminum scratch made parts as possible. I’ve been intrigued by the Speedster style hot rods for a while, and I thought a boat tail might be kind of cool, but I also wanted it to be low. I built up the motor to the point where I could use it for mock ups, and started to mock up some frame rails, using 3/32’ X 3/16” rectangular brass tubing. Then I picked out some wheels and tires, and using sheet brass, started to shape a body on top of the frame. The sides are pretty straight, but the compound curves in the top of the boat tail had to be hammered and stretched freehand and soldered on top of the sides. I soldered a piece of 1/16” solid brass rod along the seams inside the boat tail. The seams were rounded and the top of the boat tail was smoothed by grinding and hammering.. Basic body shape on frame rails. The frame had to be slightly Zd just in front of the cockpit to help achieve the desired stance. Using a 23T grill shell, I shaped a hood by bending a crease into the center of a sheet of brass, and hammering the edges over a solid bar in a vice . The sides of the hood are slightly curved from front to back, to match to shape that I bent into the frame earlier. Also in this pic is one of the two headers that were made for the V12. Two pieces of aluminum tubing were bent to hug along the sides of the body, and rise over the frame step ups, for the exhaust. At this point I decided to choose a lower profile and skinnier set of front tires which were mocked up onto the dropped front axle, to help further lower the front of the car, All of the wheels in these pics are temporary. I will be stringing a complete set of wire wheels similar to the one in back for the final assembly. Also seen in this pic is a flair that was hammered into the cowl on the driver’s side, and a head rest fairing behind the driver. A new grill shell was scratch built from brass to take the place of the plastic one I had been using for mock ups. The sides of the body were reshaped at the cockpit. Also visible here is the dropped front axle. Time to take a step back and see how the overall shape and stance is coming along. Up to this point, the frame consisted only of two rails, and a couple of temporary cross members. It was time to add some structure. 1/16” brass tubing was bent to shape and soldered in. Coming long. Time to start working on some suspension parts. Stainless steel leaf springs, with quick change rear end and solid axle, and friction shocks. Louvers were punched into the filler pieces between the rear frame rails and the boat tail. That gets us pretty well up to date. Rear suspension is complete. Front suspension will be next when I get back to this build, which I hope will be pretty soon. Thanks for stopping in. I really hope you have enjoyed the project so far, and will join me for the completion of this build. Thanks! Tim Slesak.
-
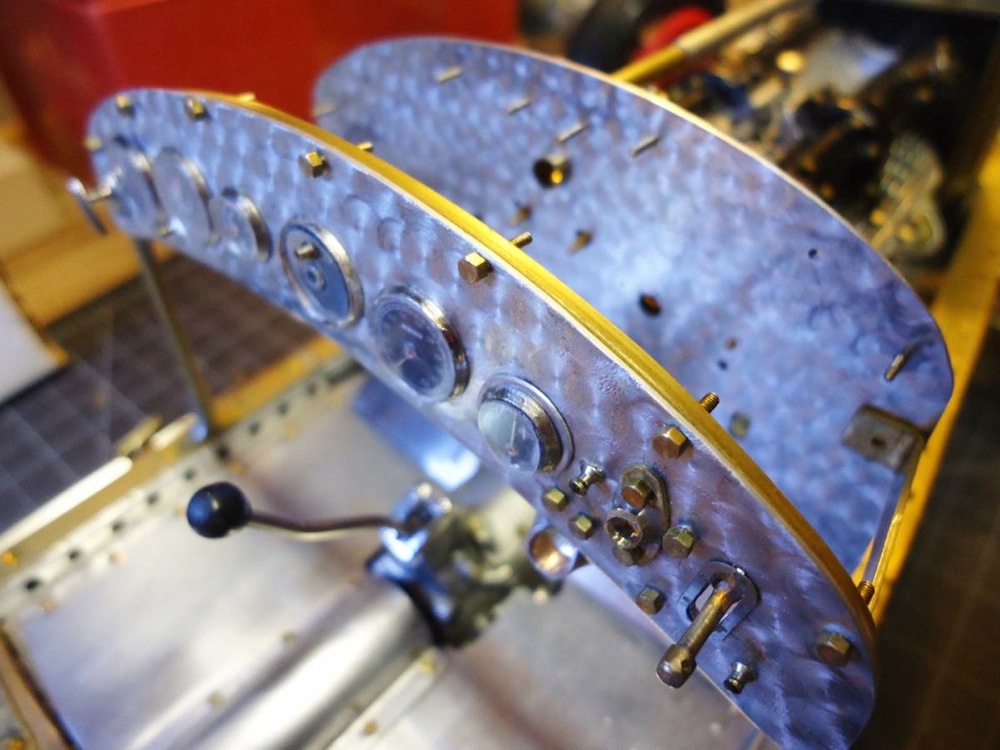
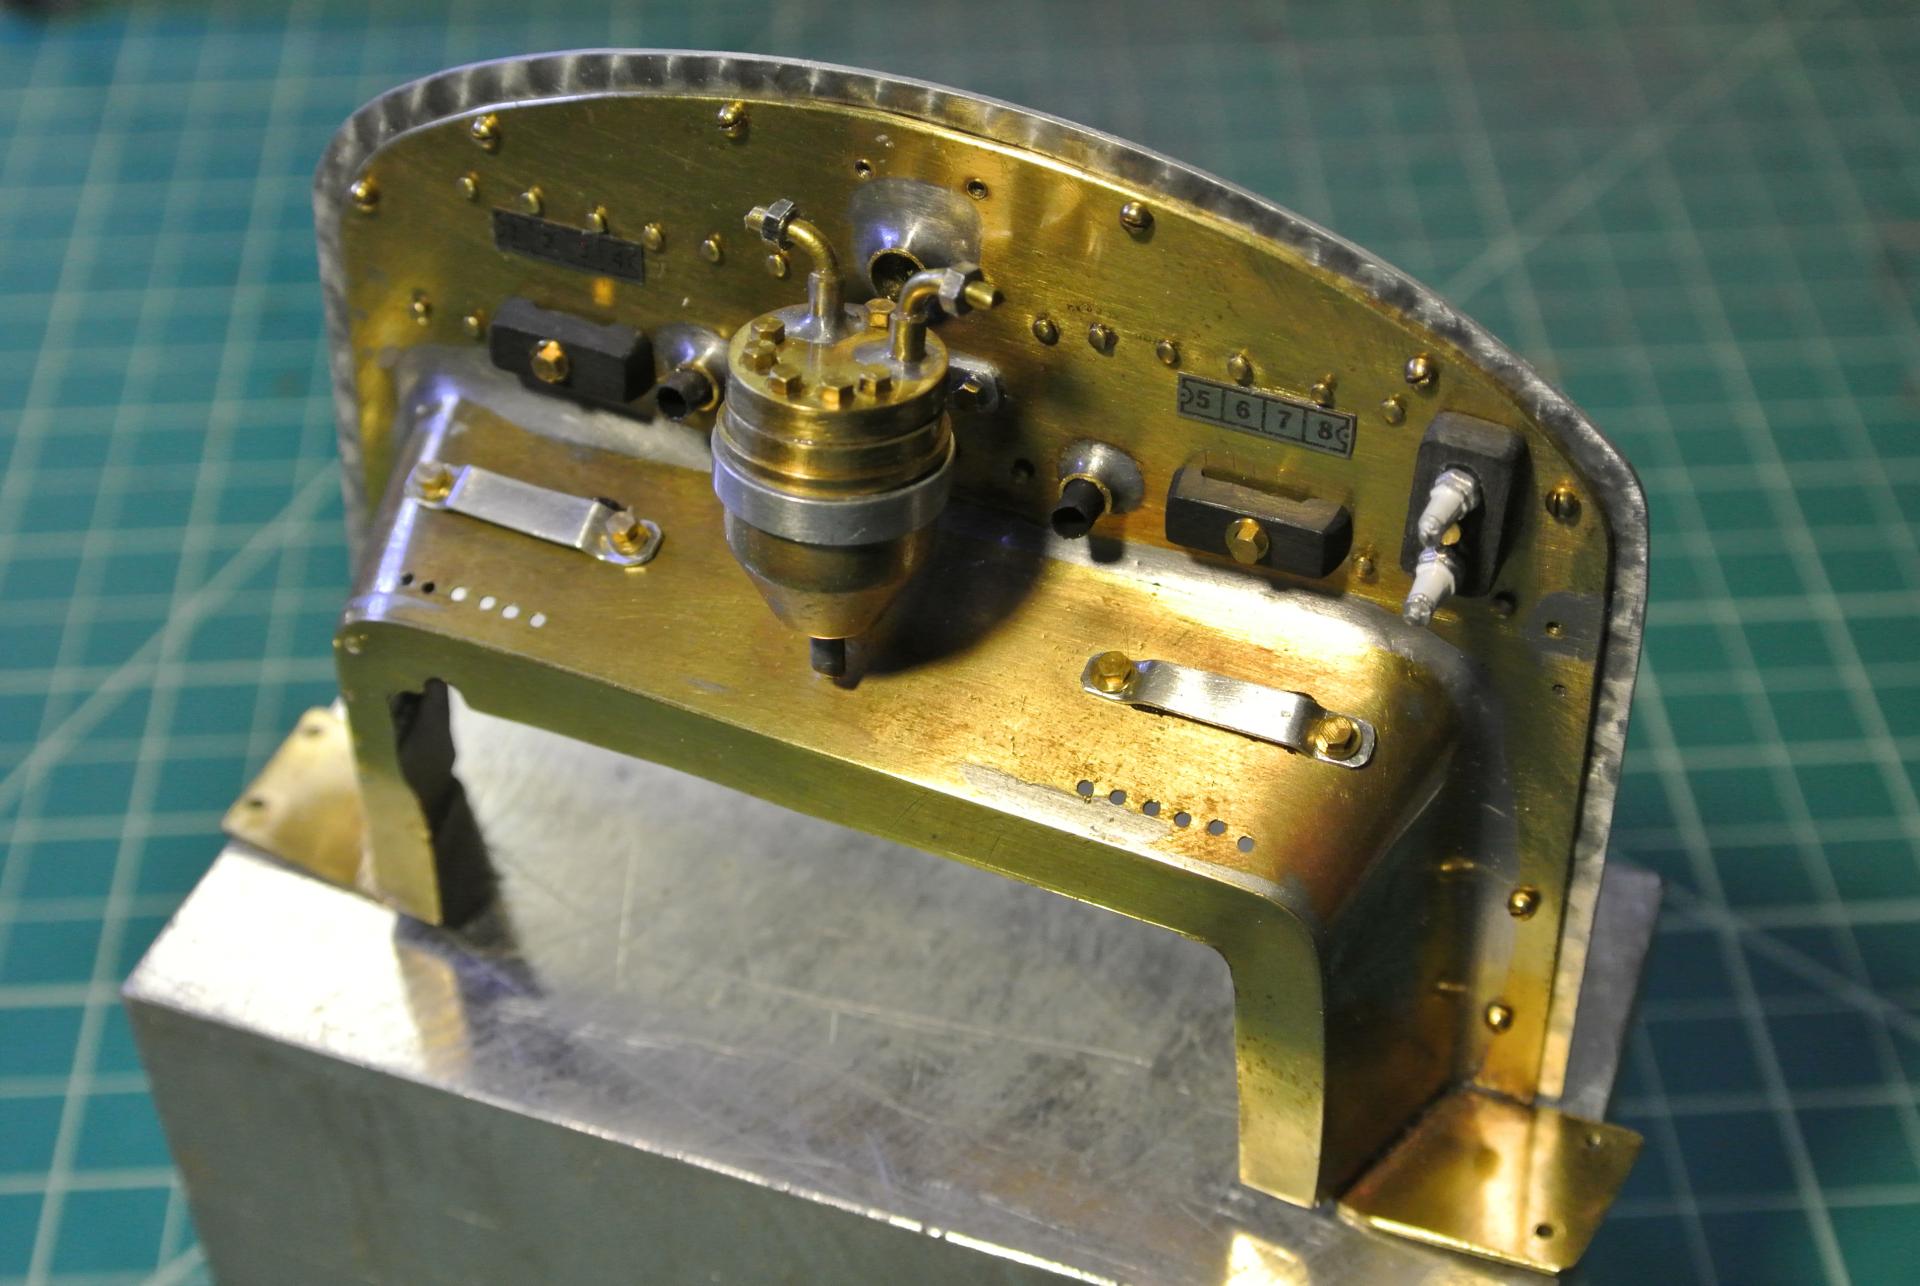
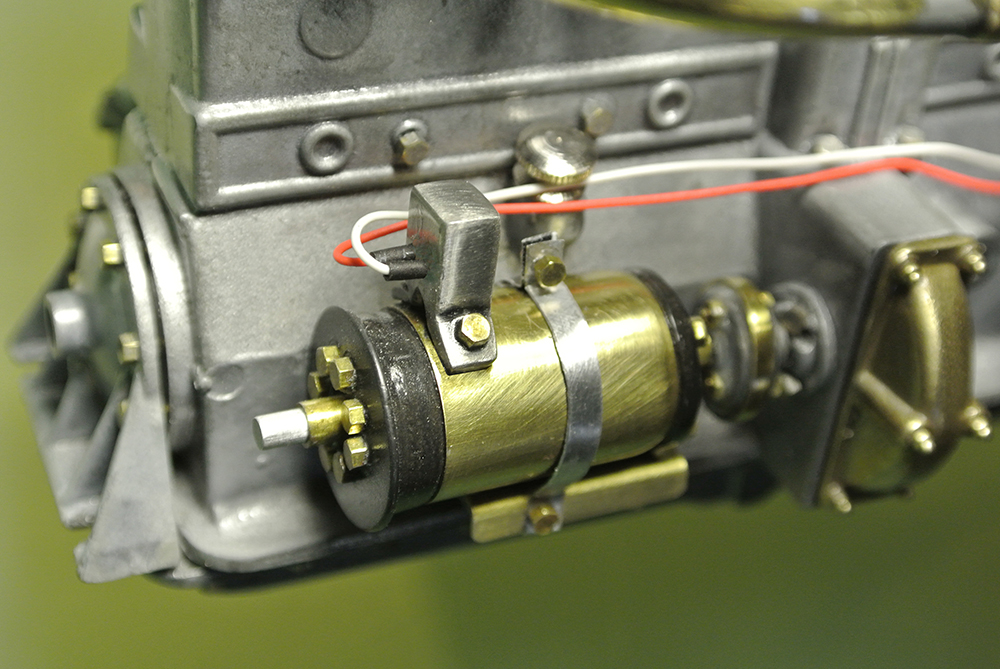
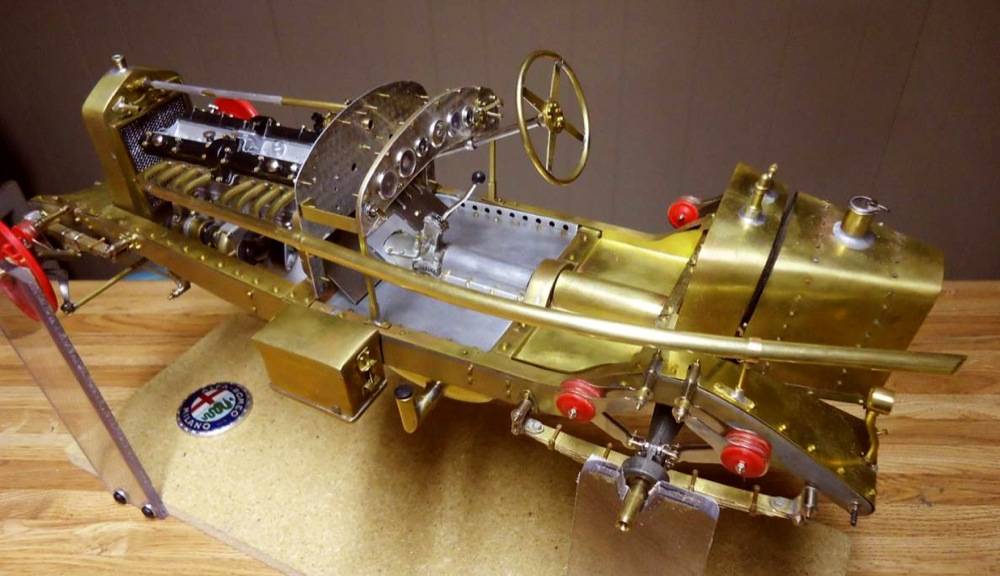
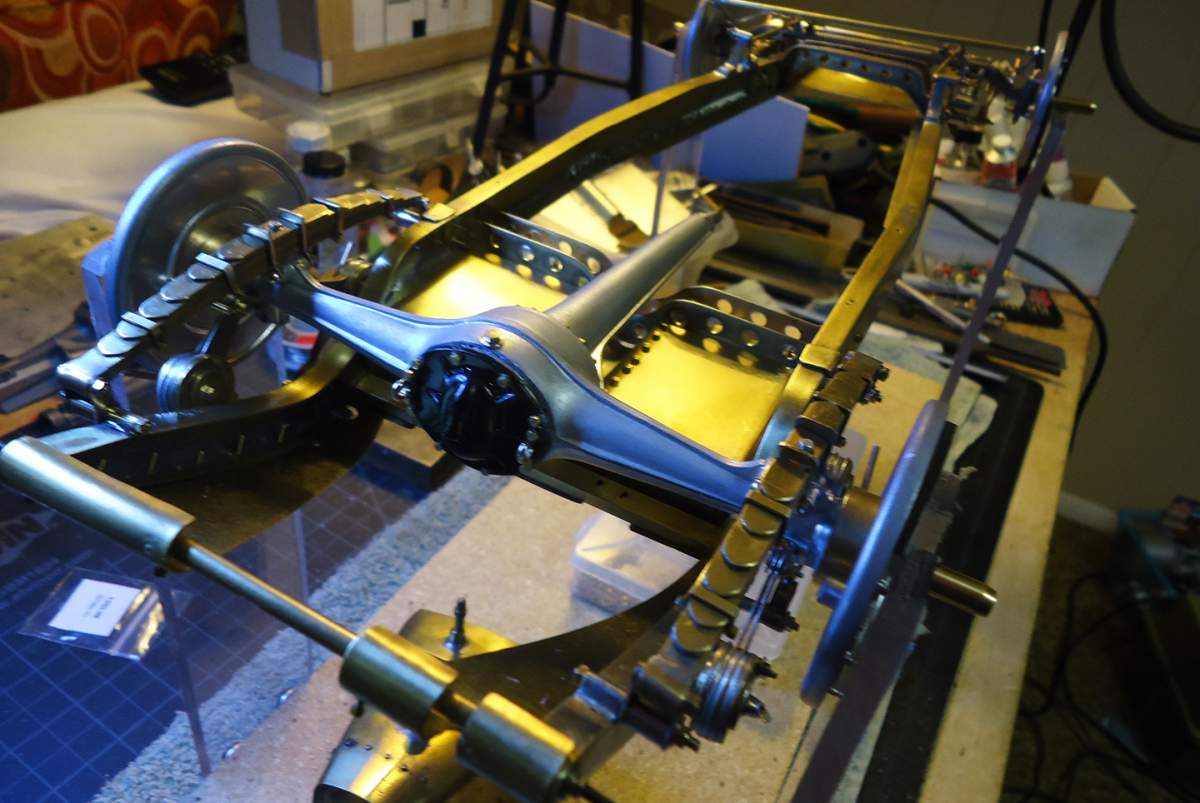
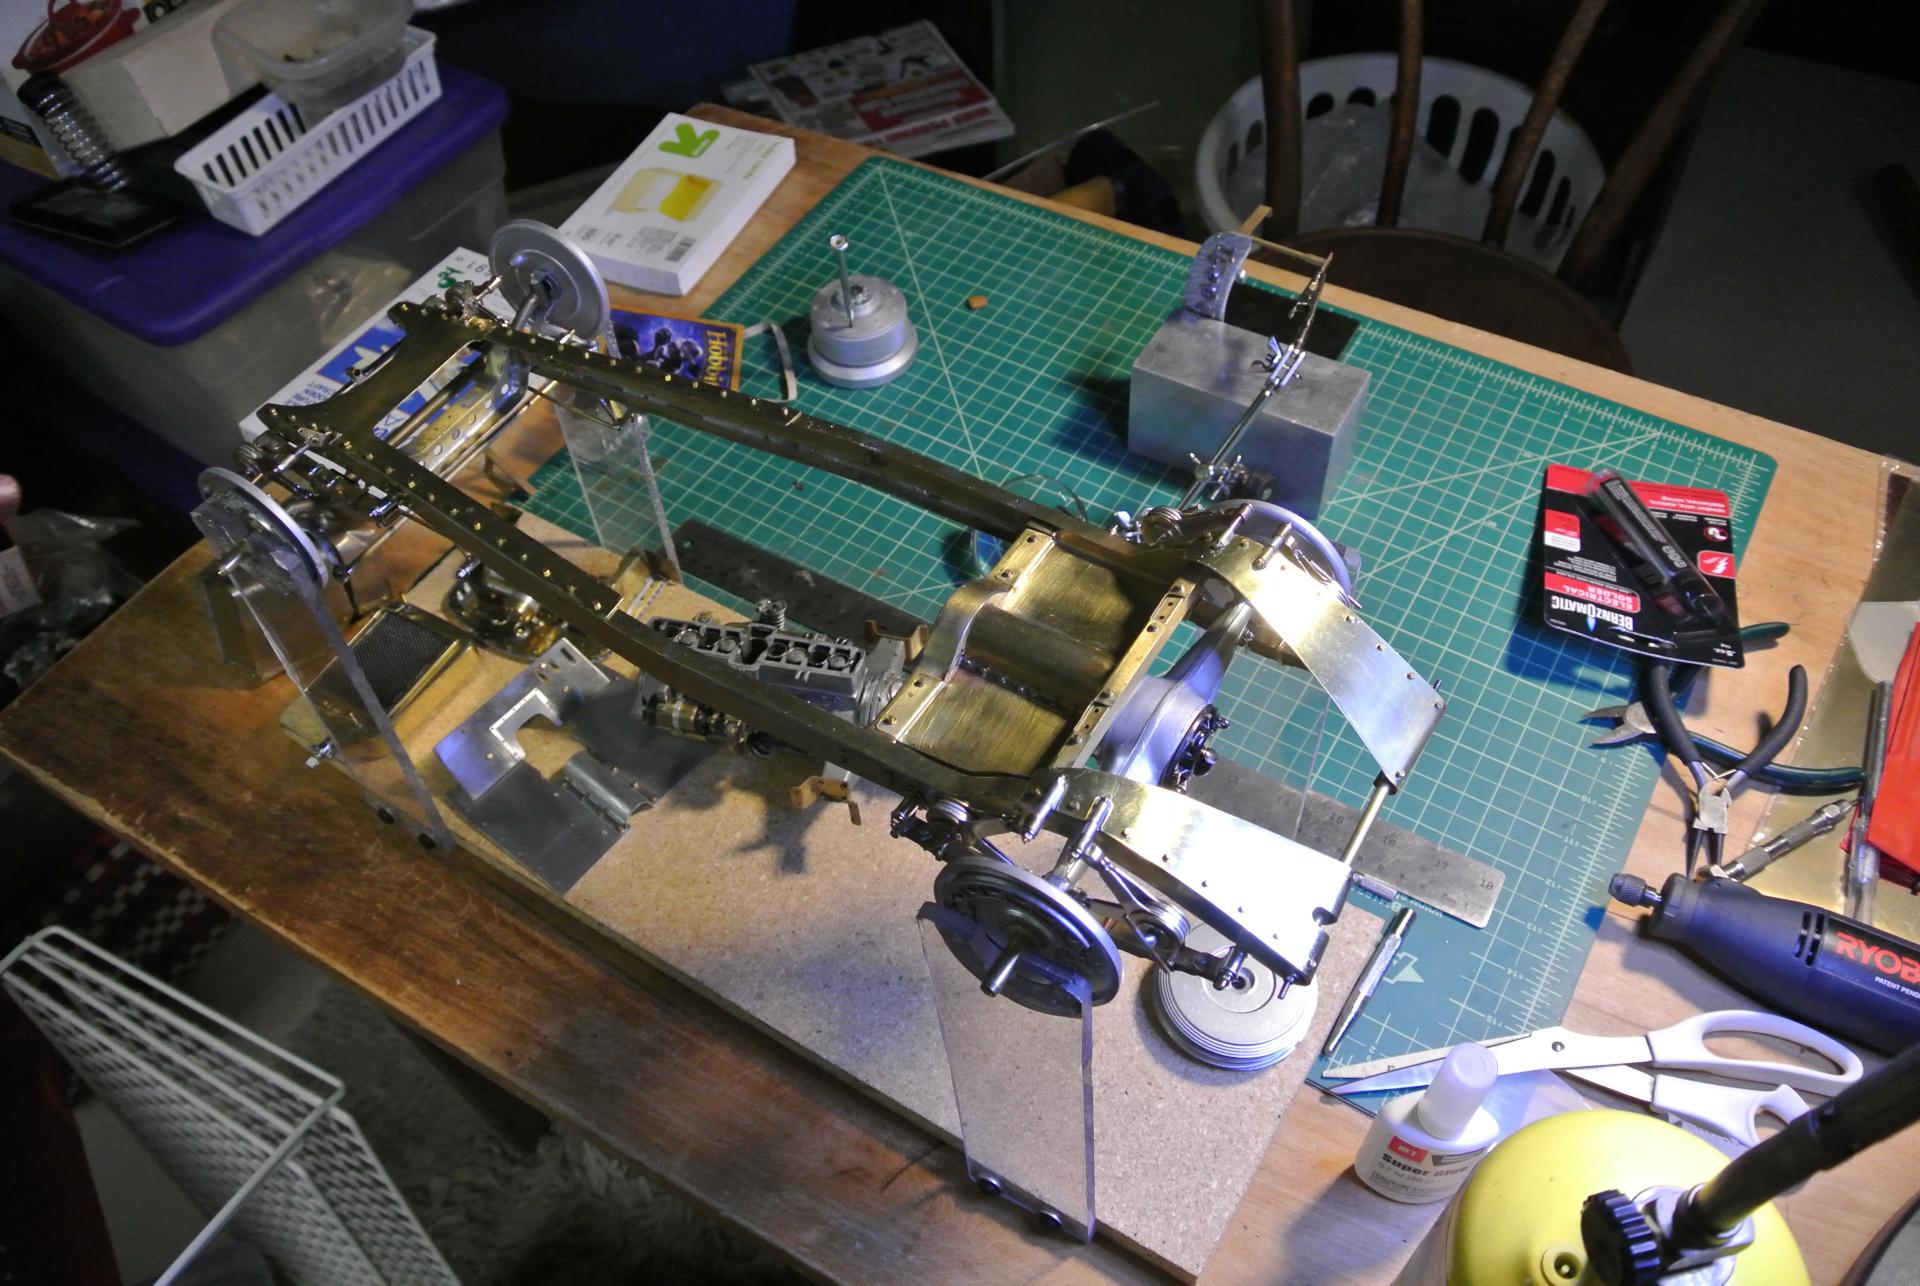
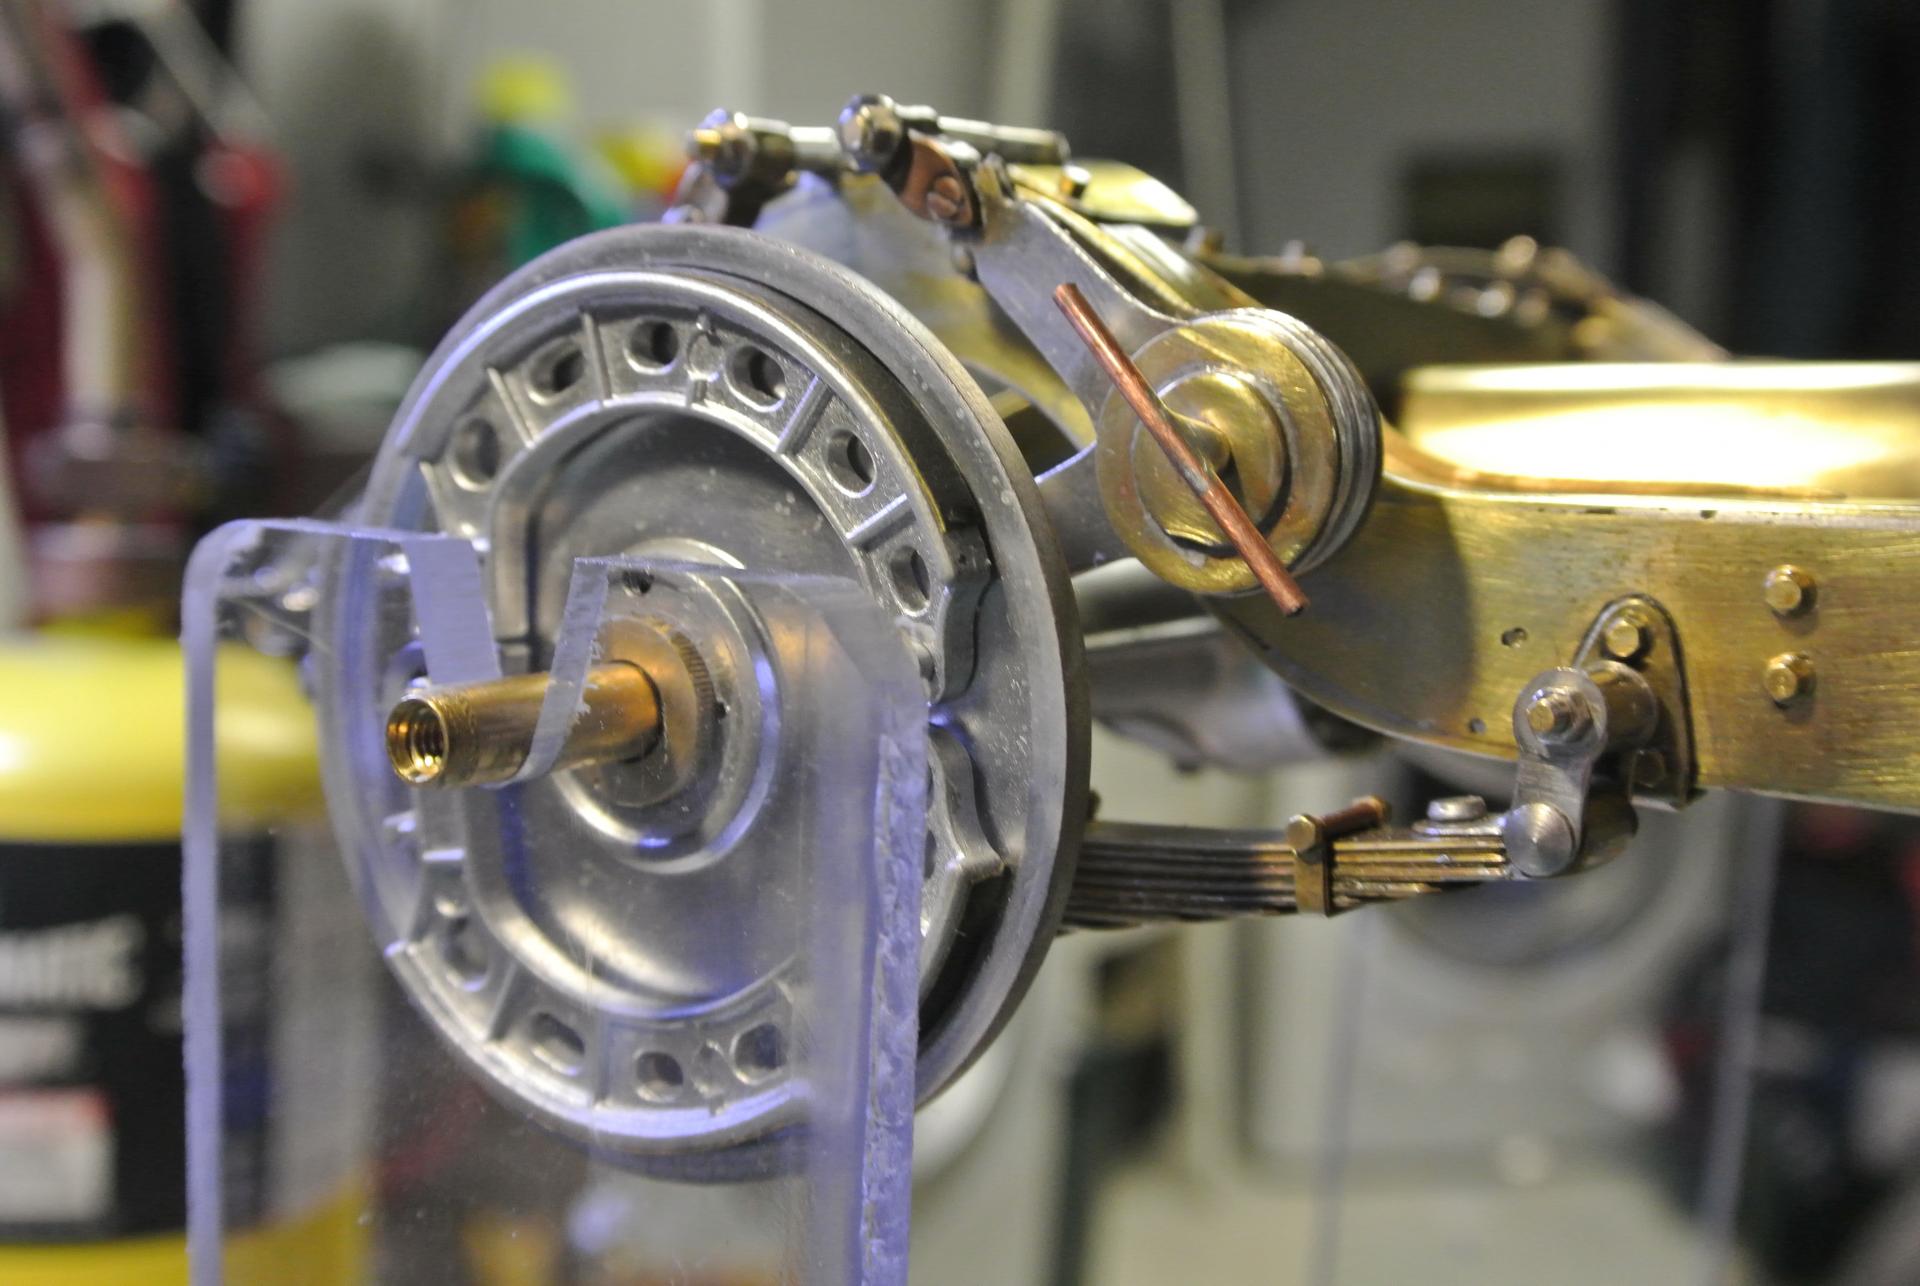
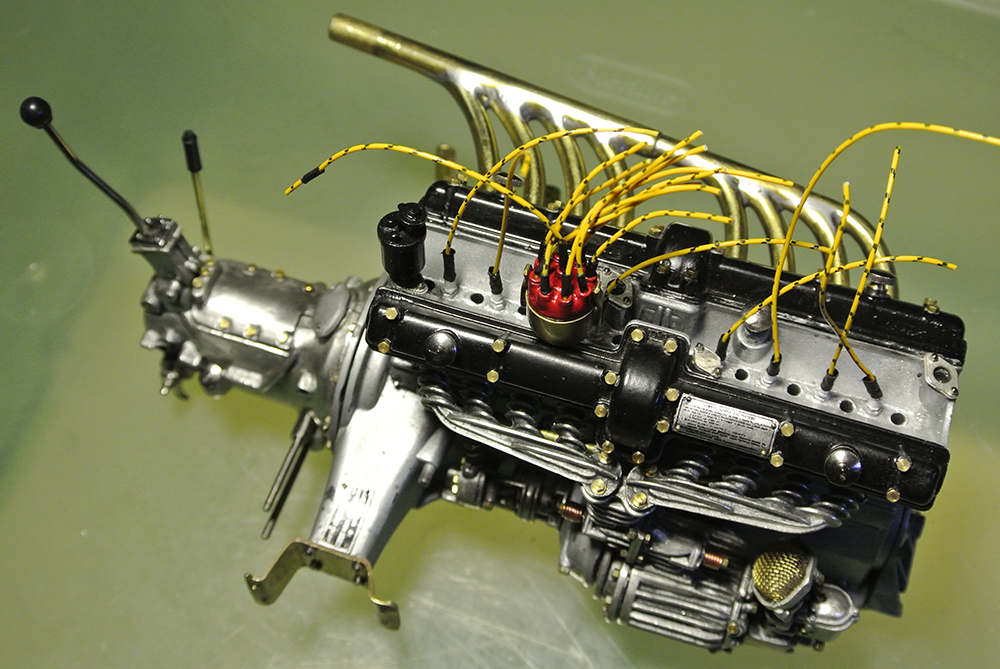
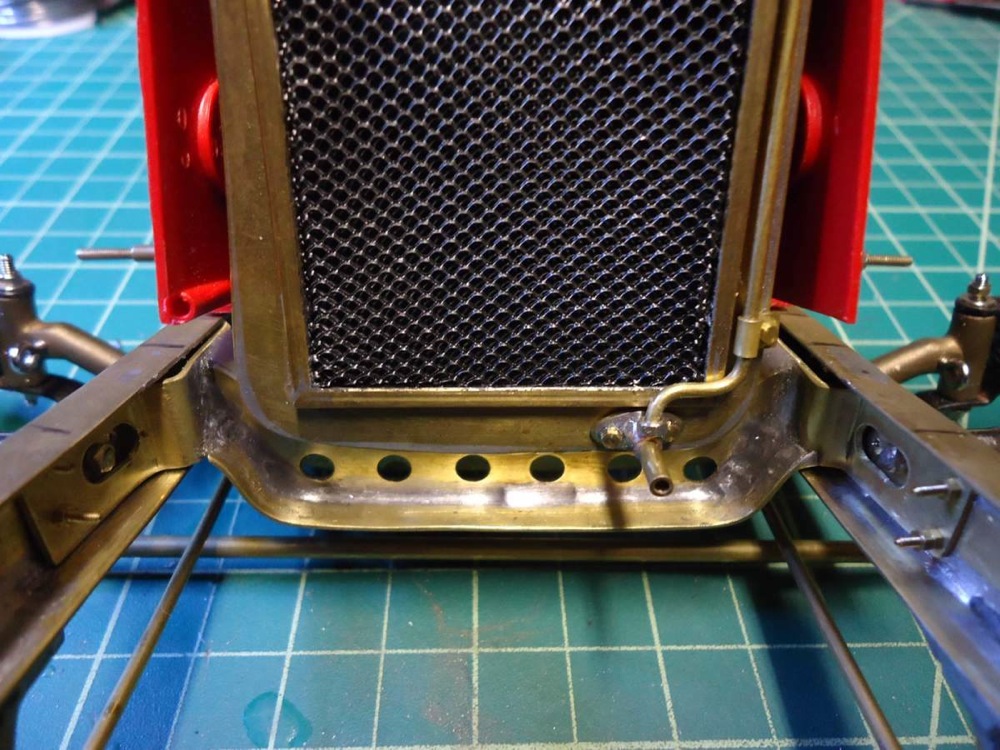
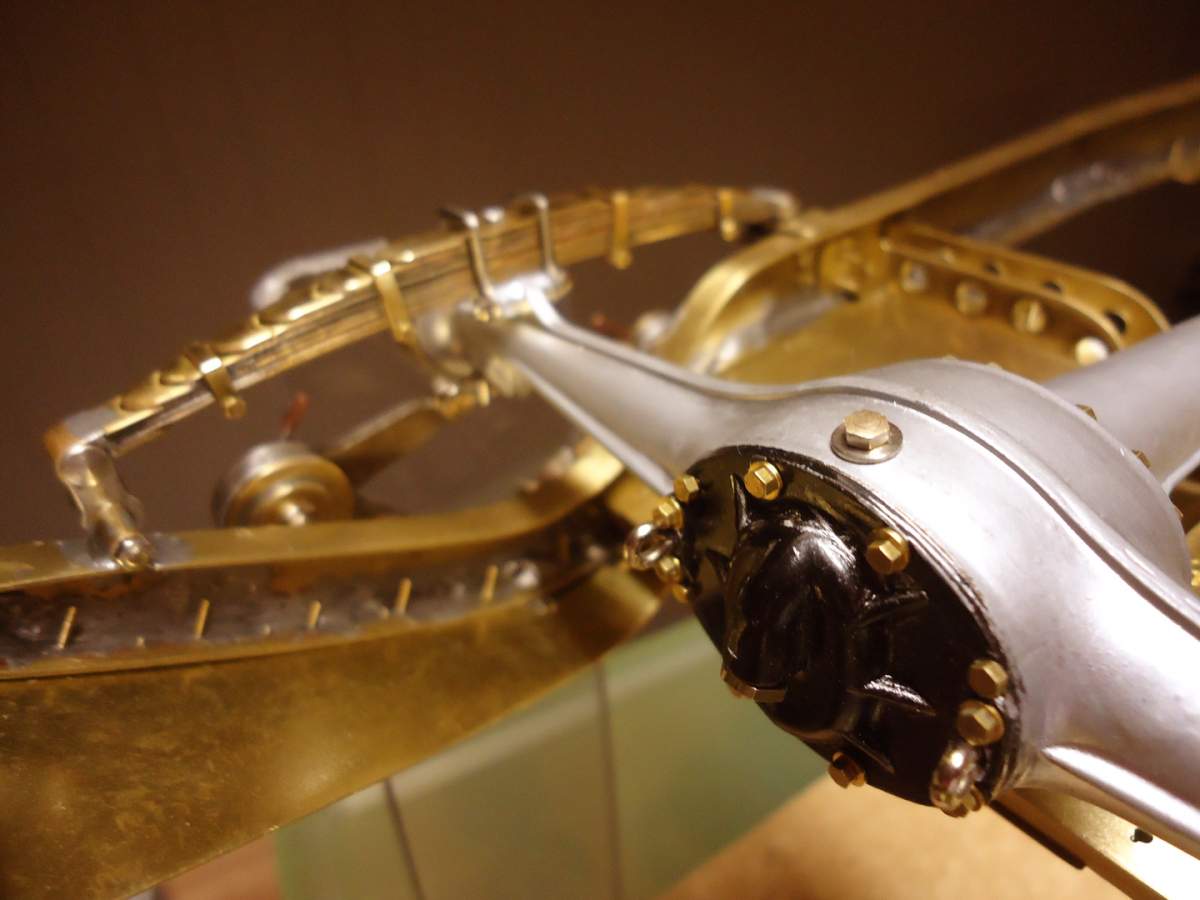
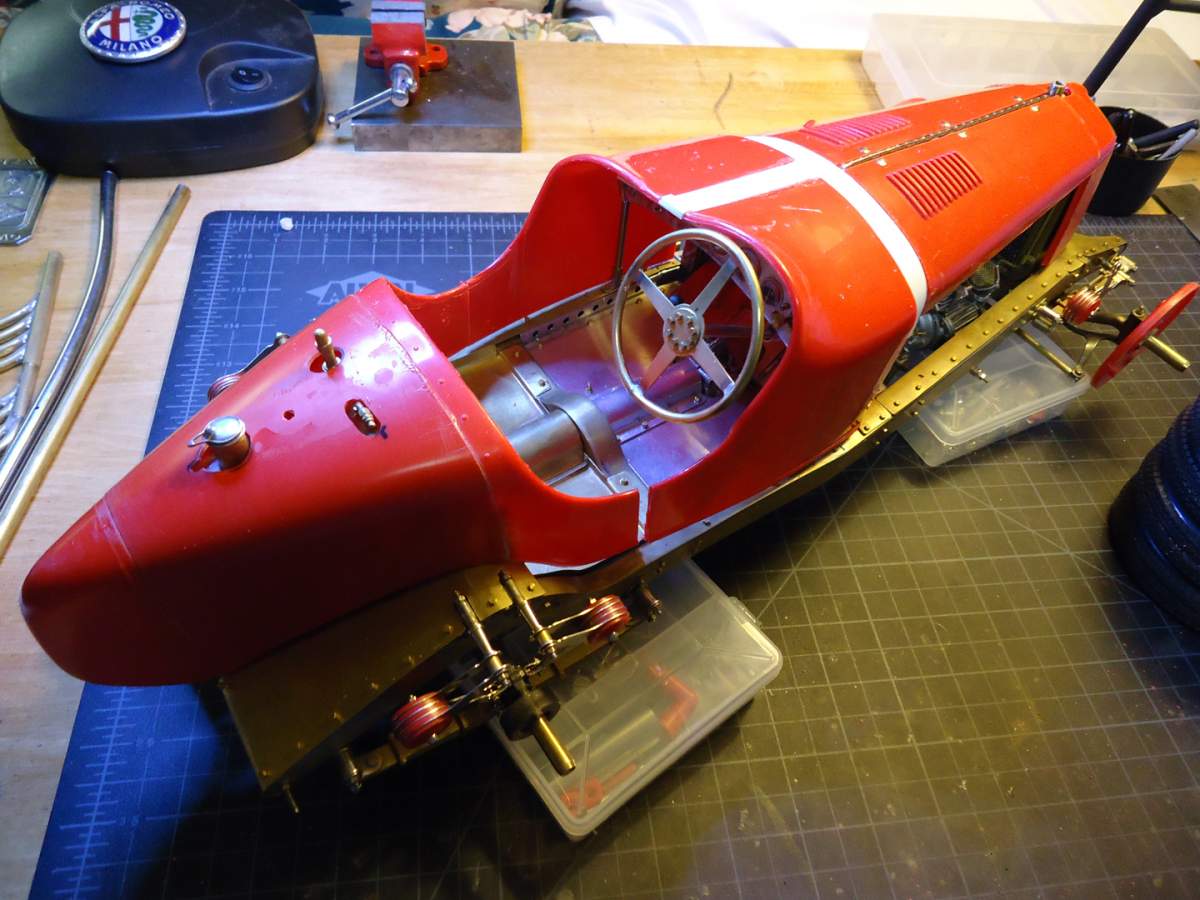
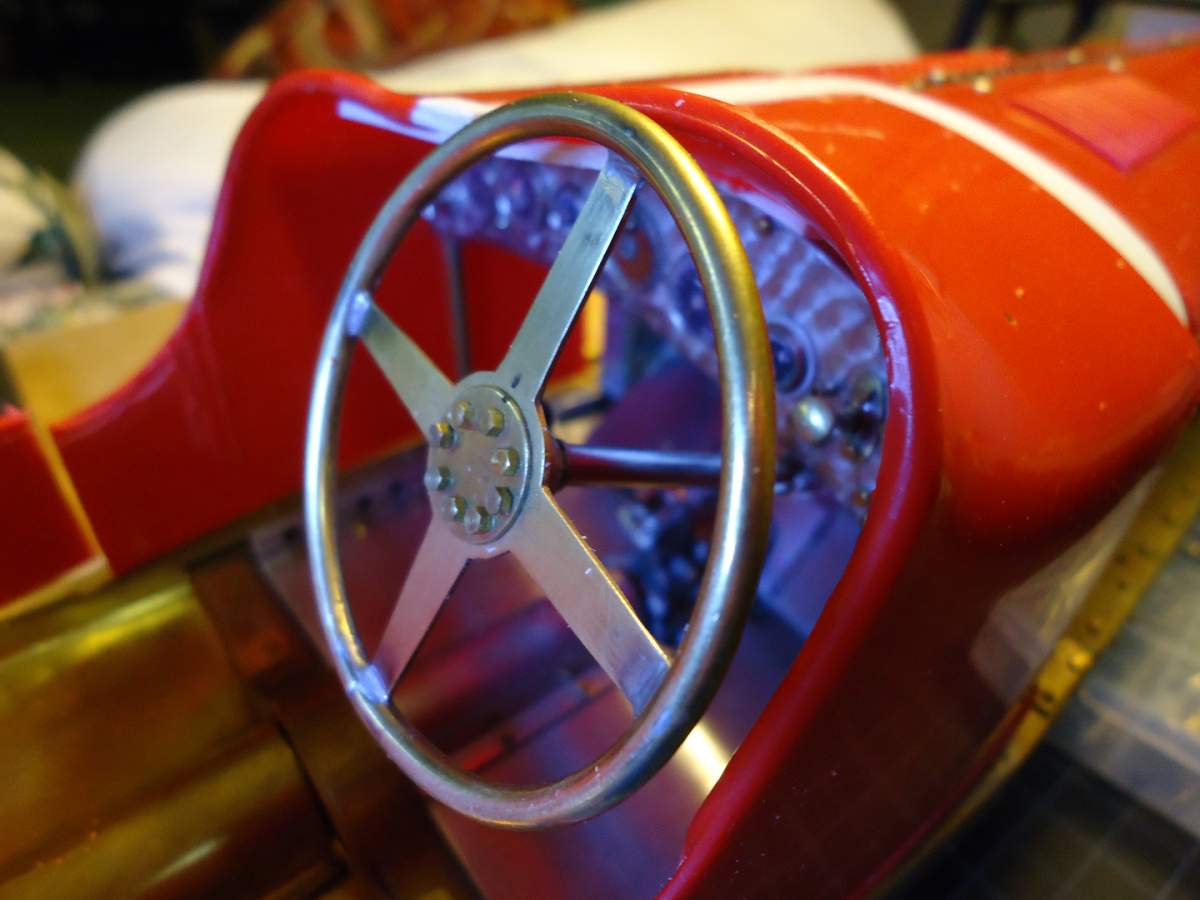
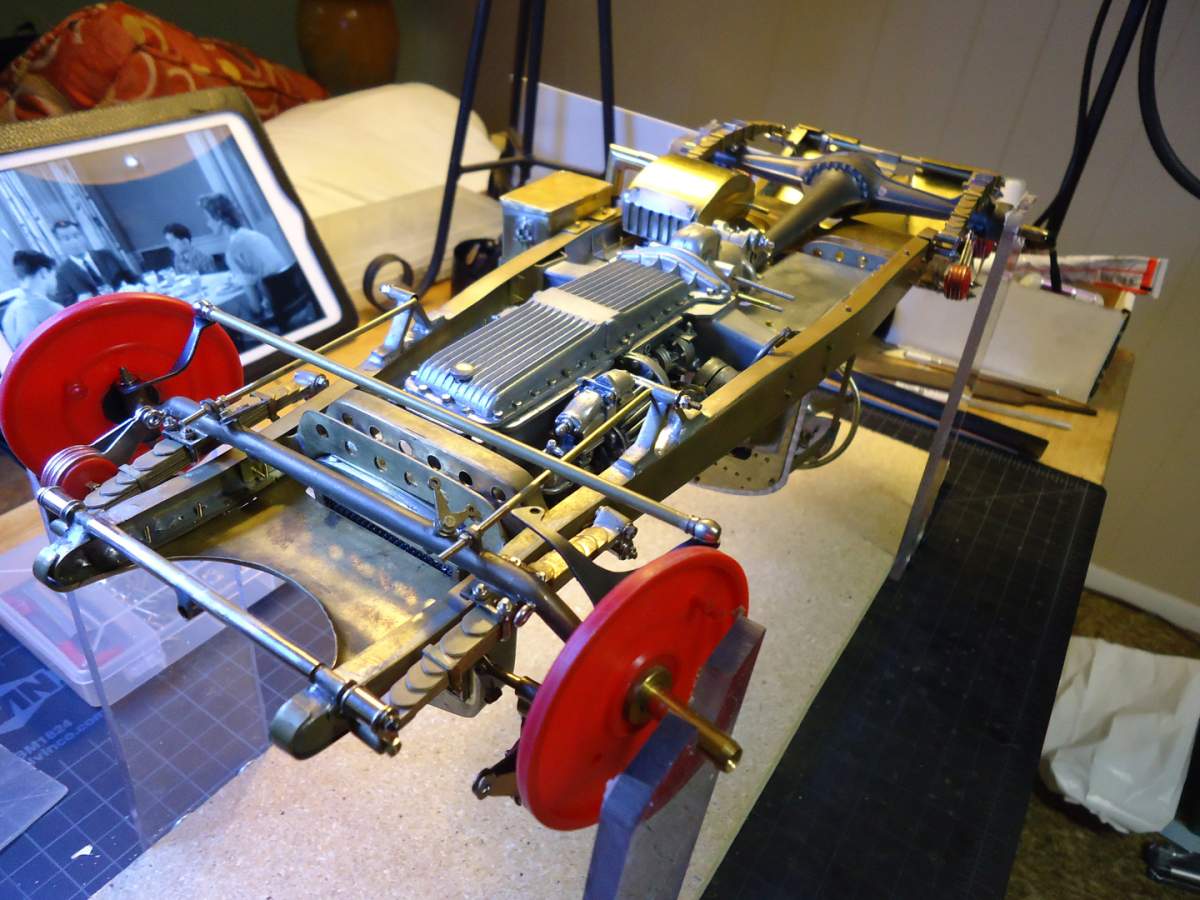
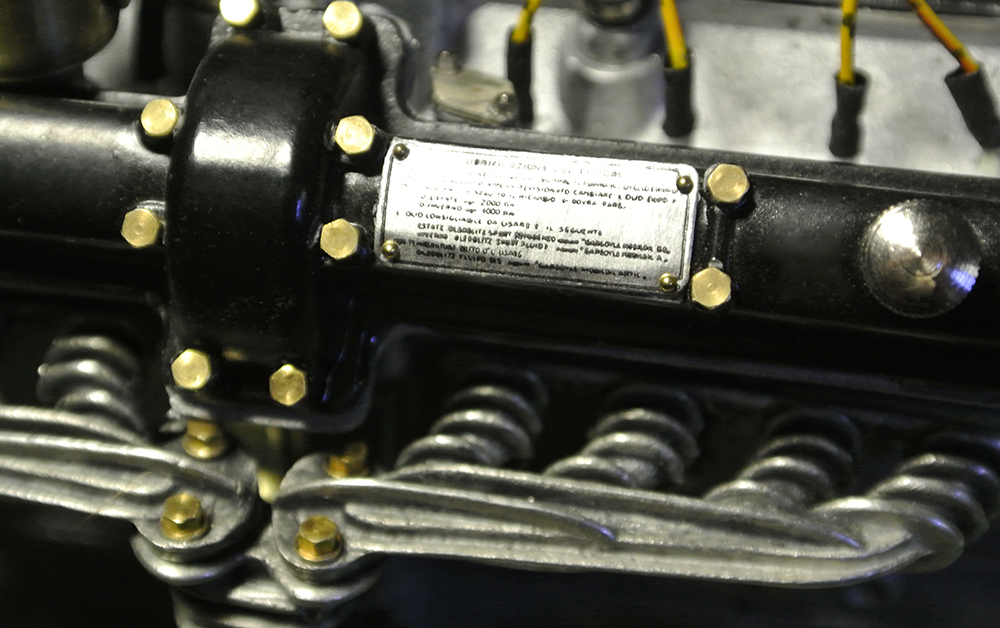
The Project So Far... This project started as a Pocher Alfa Romeo 8C 2300 Kit in 2011, but has grown into a mostly scratch build in brass. I thought I’d post a few images of the build for the fine Modelers on this forum. Very few of the Pocher parts remain; the engine block halves are the original Pocher parts, but most other engine assemblies have been cast in white metal or built from scratch. The terrific Pocher wire wheels are being used as well as many metal fasteners. This car is an amalgam of my favorite features from several of the surviving examples. The cockpit panel is aluminum with machine turning details from a Dremel and small brush. The firewall is brass featuring a vintage Autovac unit, cast extra spark plugs, and wiring busses. The scratch built brass radiator with plumbing. Most engine parts are cast or scratch built. A brass alternator with wiring. The manifolds are cast from white metal. Supercharger details... The start of a brass chassis... Suspension assemblies are mostly scratch builds... The brass cockpit floor with scale hardware. Leaf spring assembly... The Pocher body is used as a body buck for fitting components. Brass steering wheel... The chassis is assembled. I will next add wiring assemblies a construct a metal body.
-
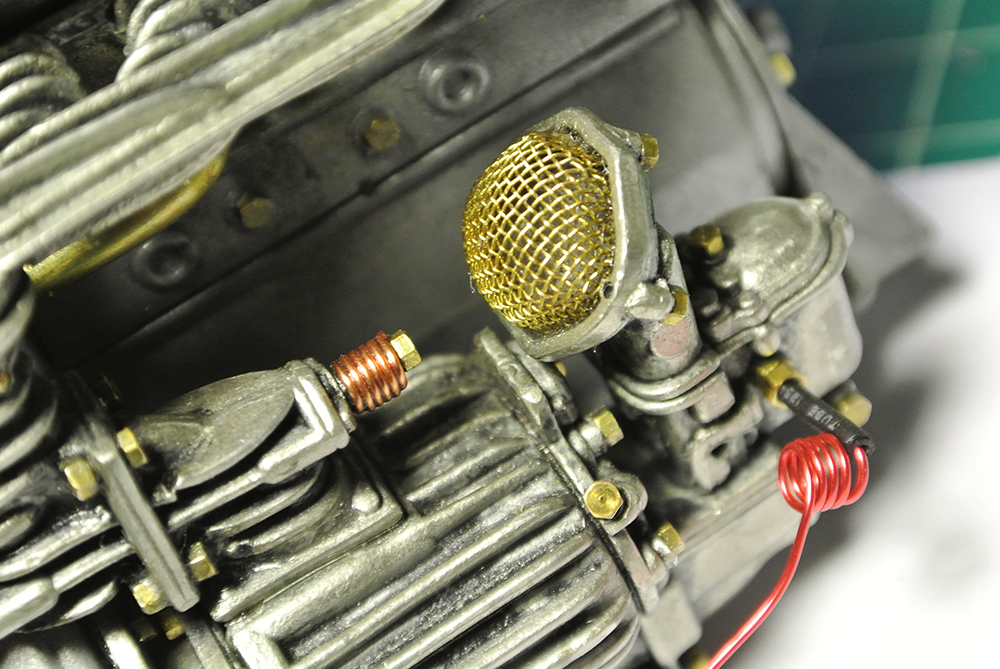
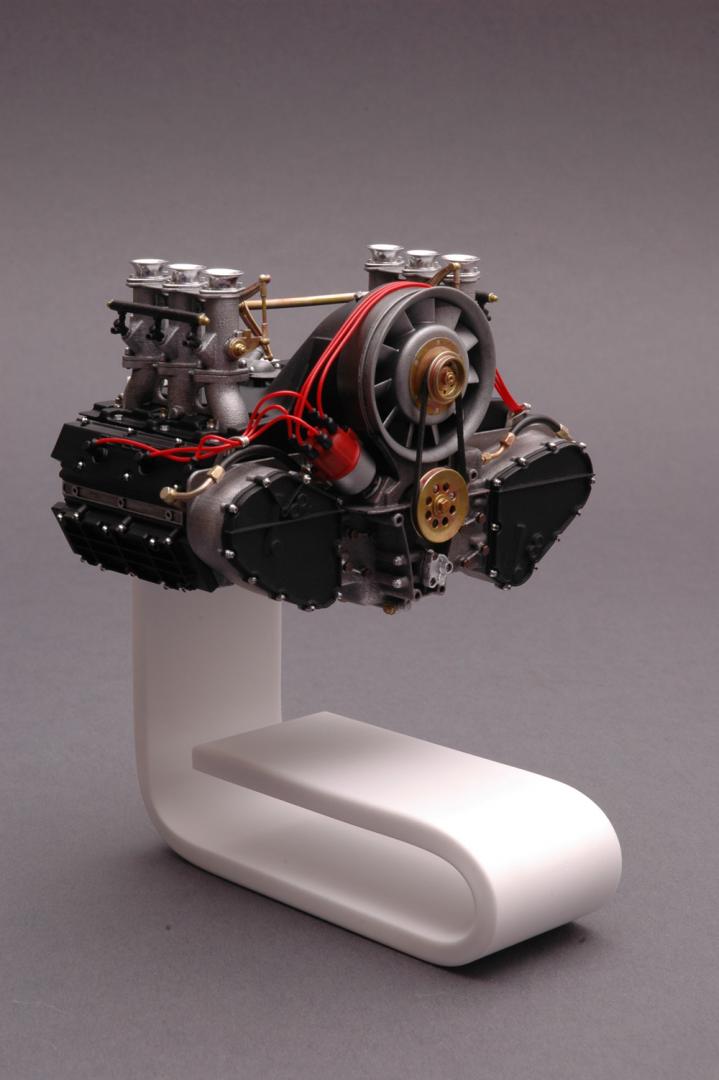
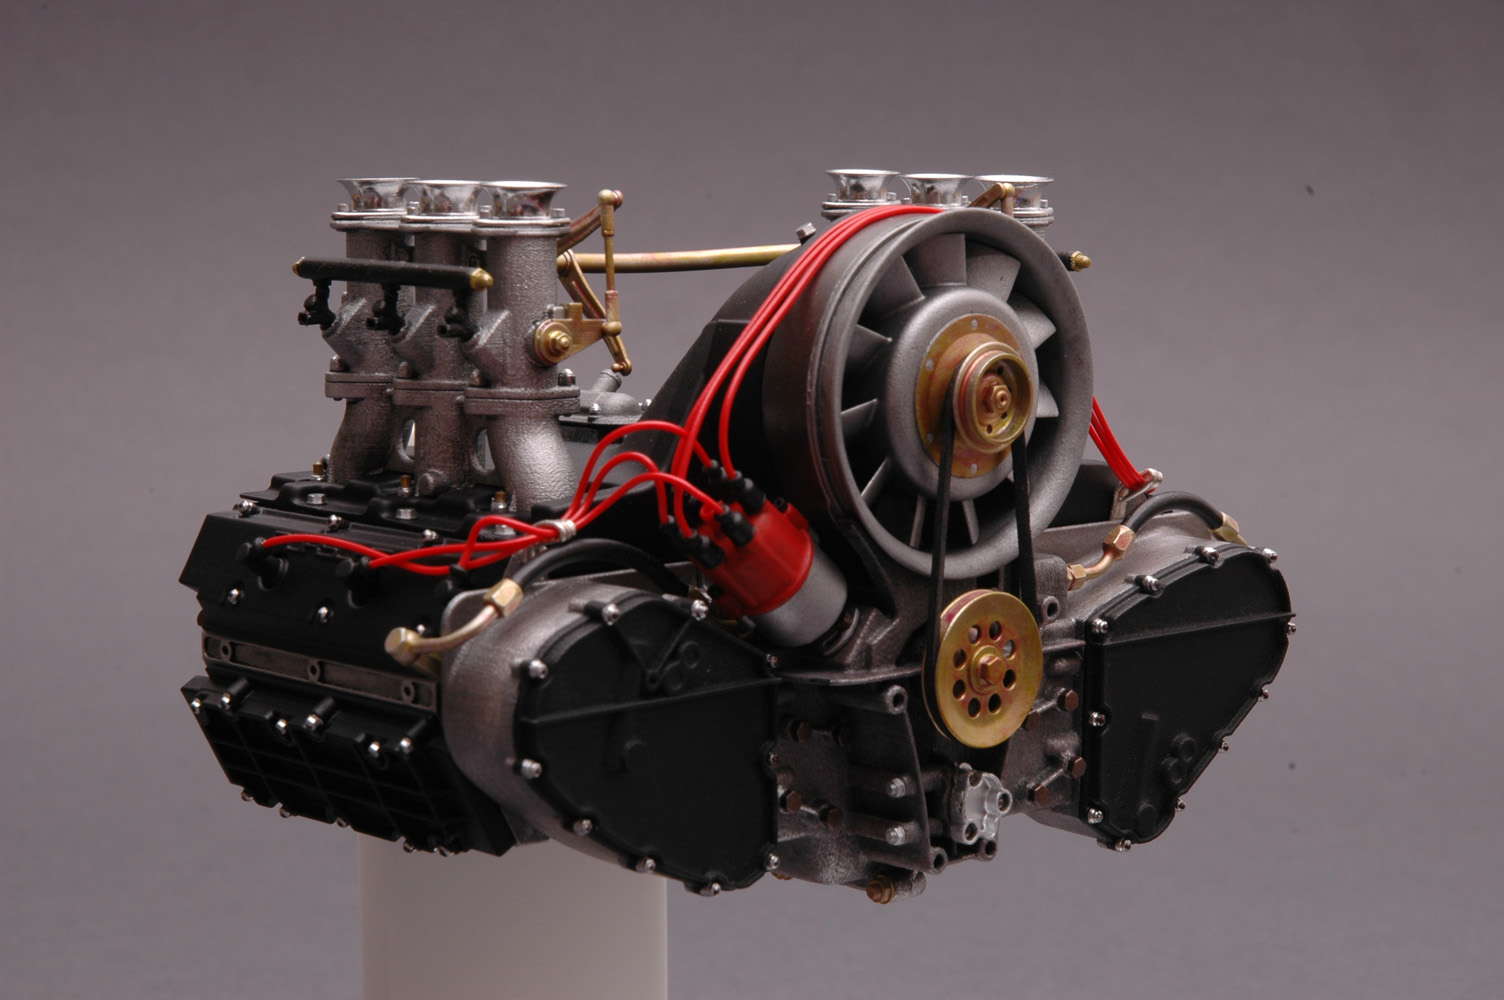
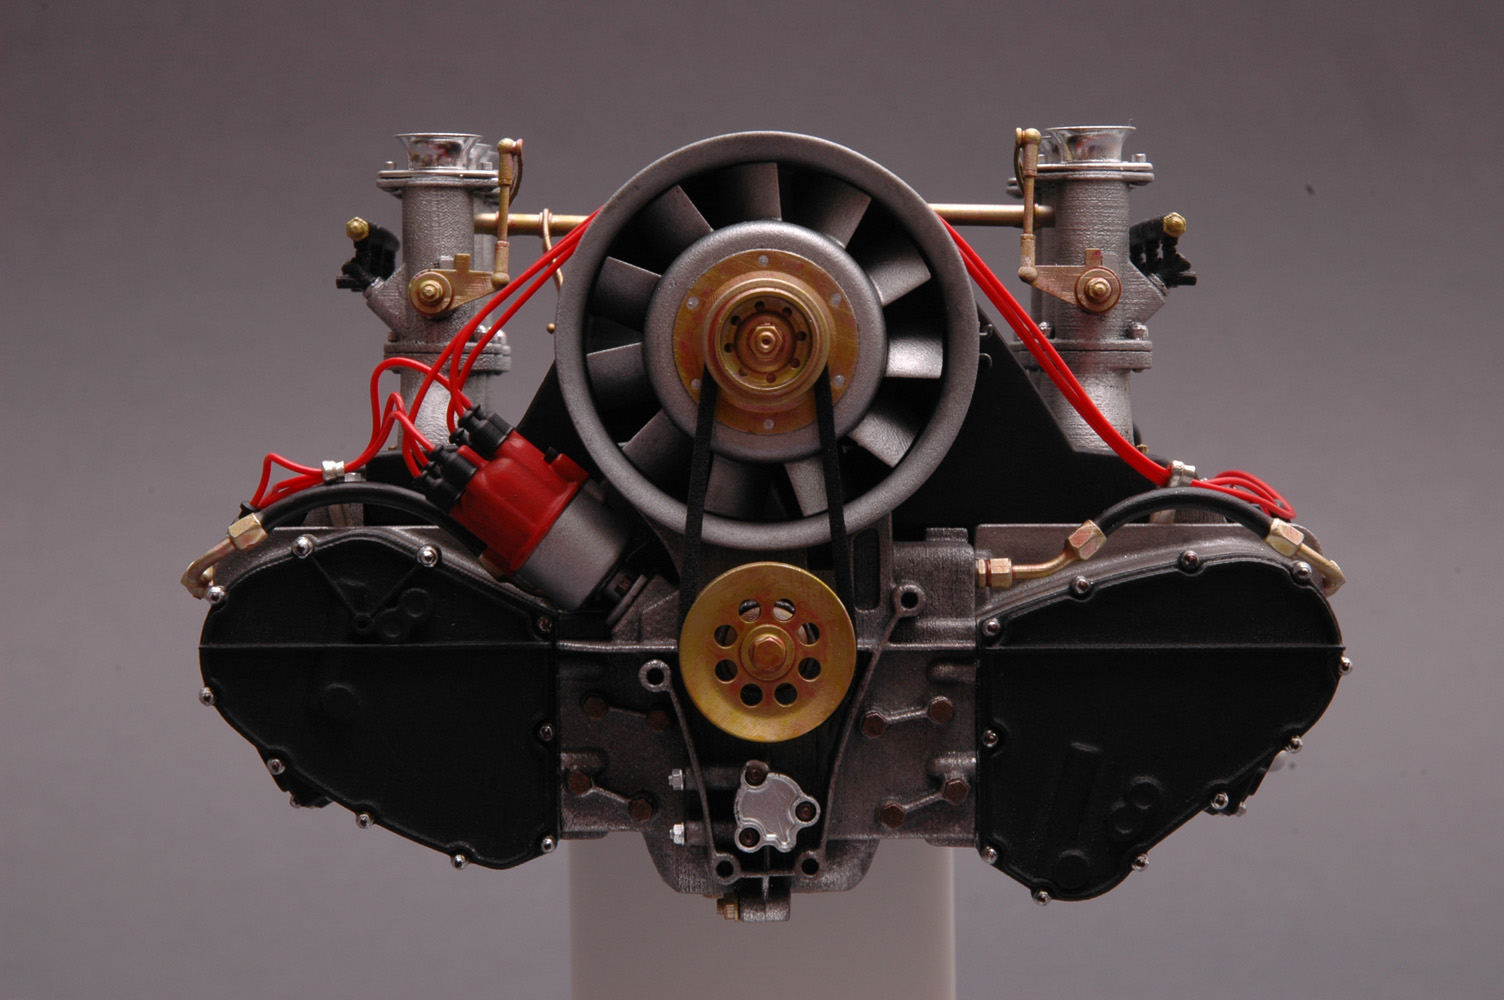
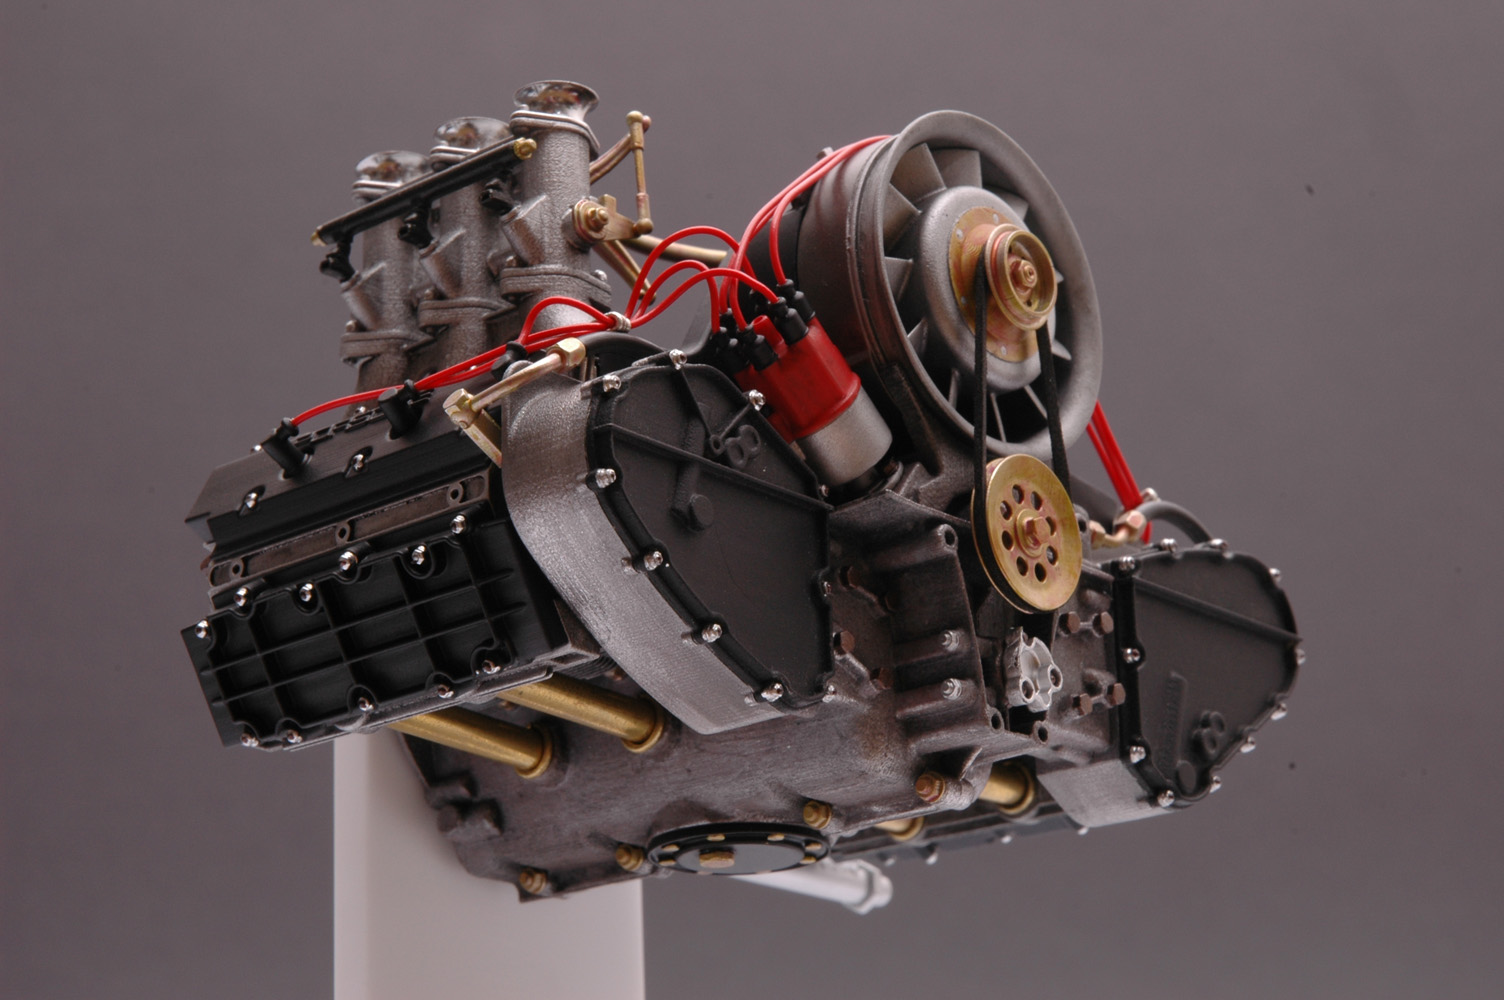
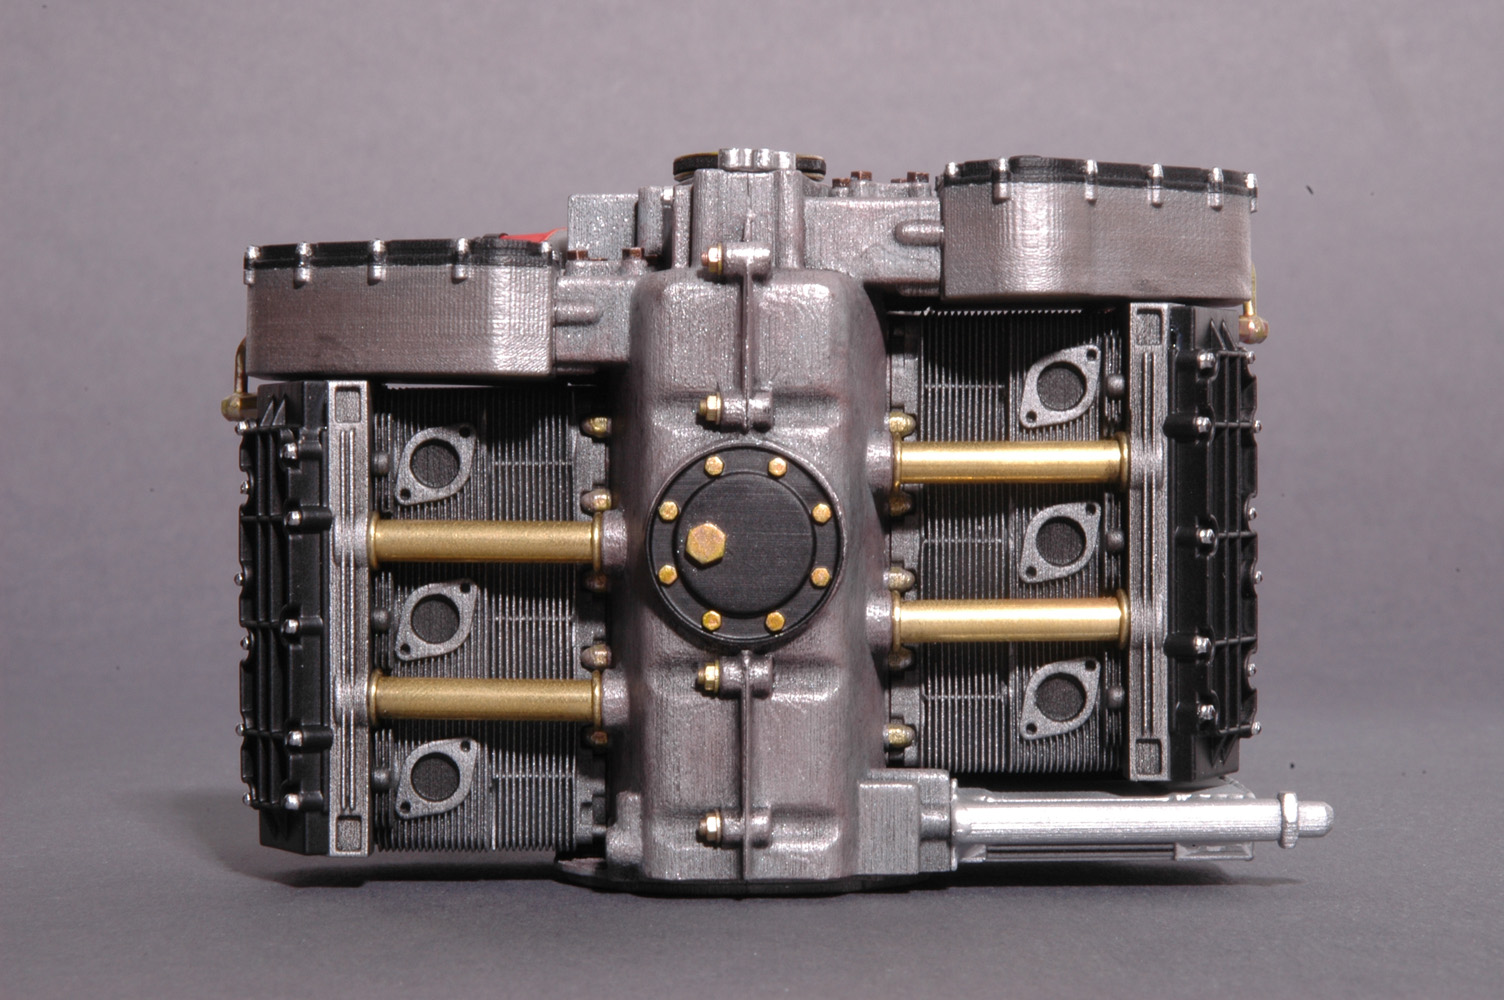
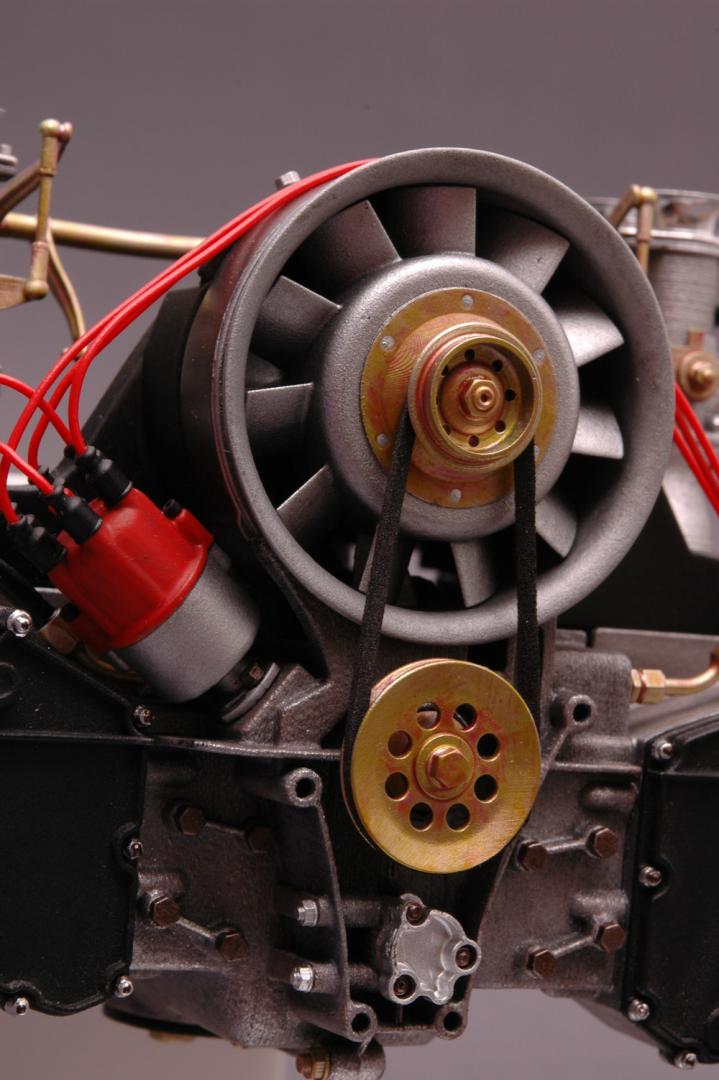
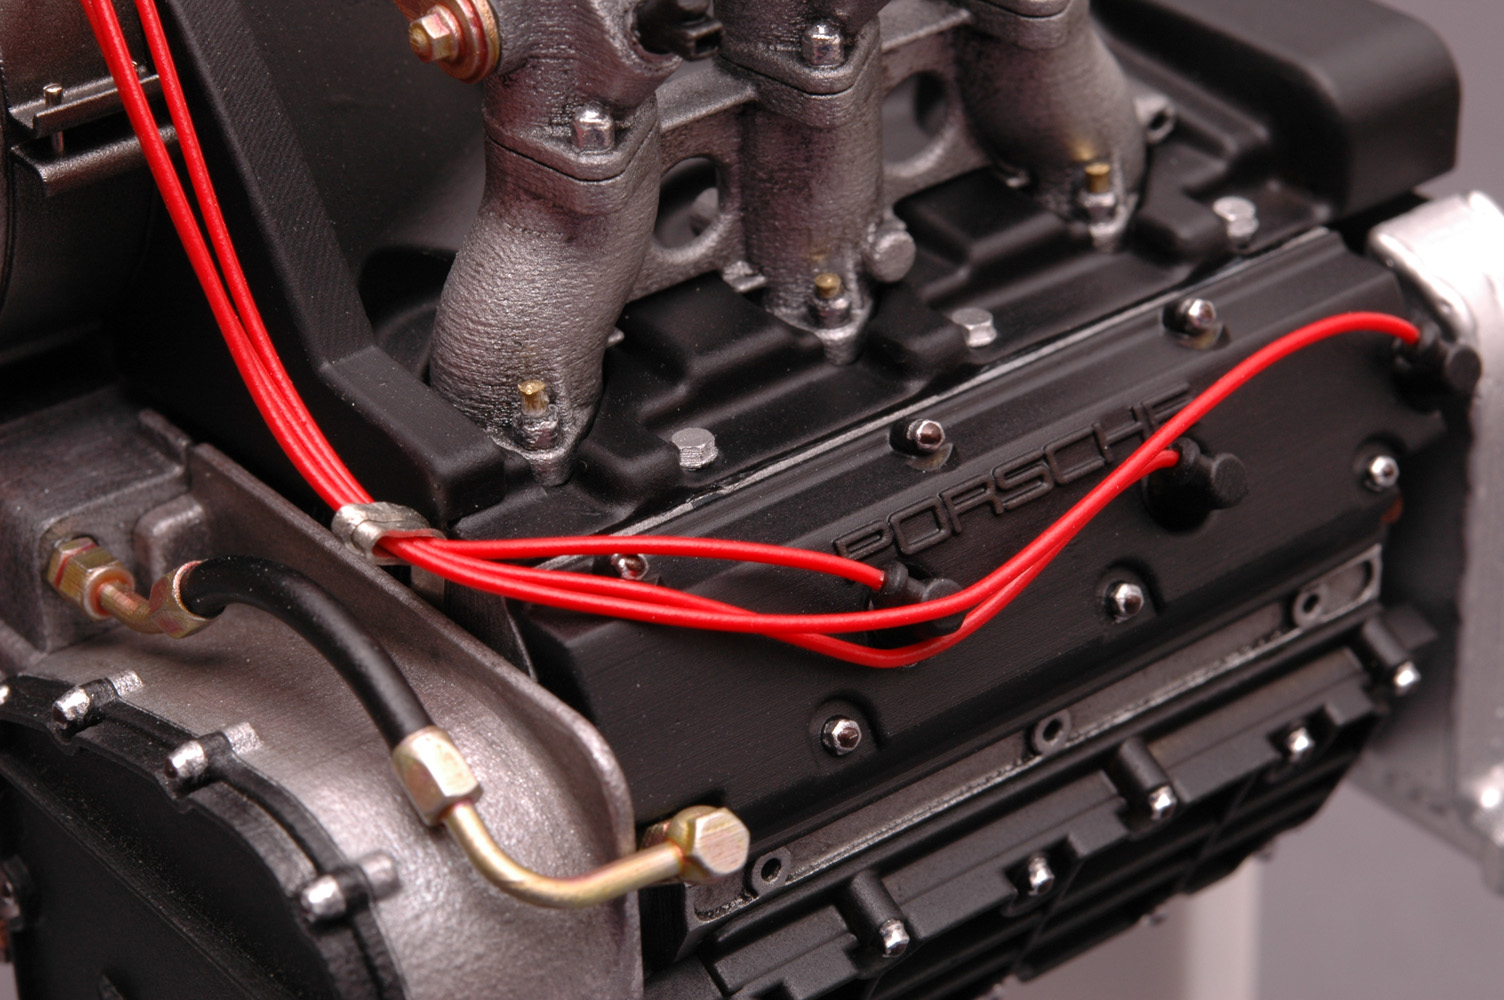
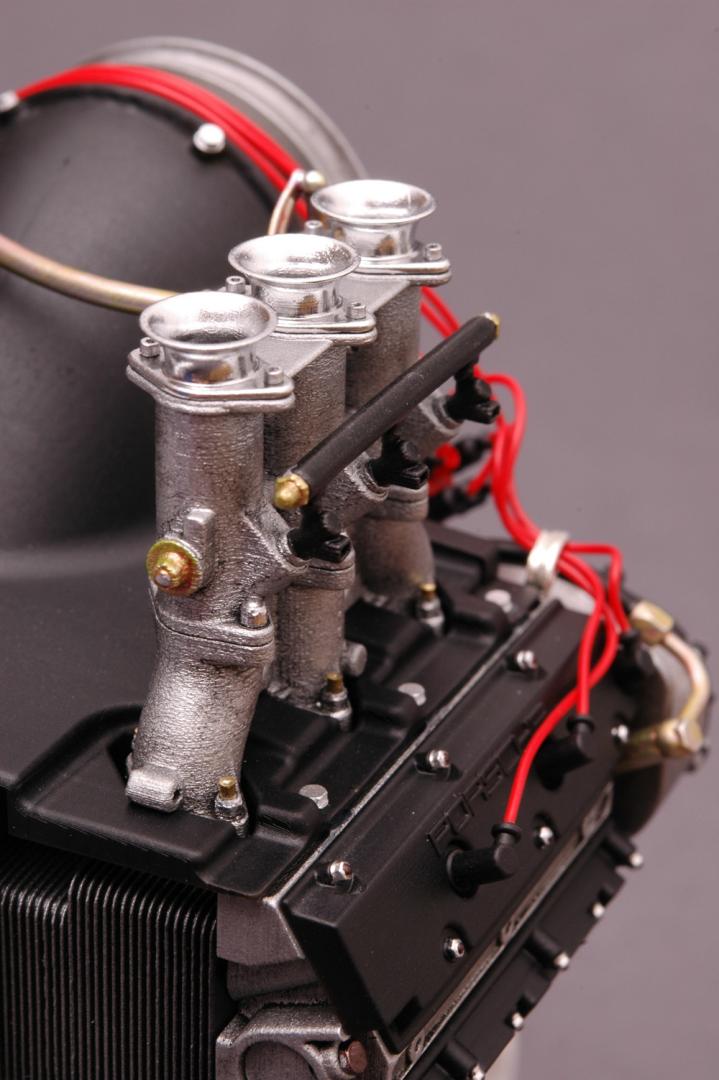
Hello everyone and merry Christmas! I'm back with another engine model, some might say that this one is two cylinders short of being a real engine... It's from a Porsche 911 Carrera, around '70, and of course it's an air-cooled flat six. There were no Marushin parts involved (did you see what those cost now? WOW!), it's all scratchbuilt. The bigger parts were 3d printed on an Objet/Stratasys and the smaller ones on my Asiga, as you can see in the stepping. I sandblasted the Objet parts, their rough surface looks a bit like sandcast metal, and on the Asiga parts (like the linkage) I did no finish at all, just painting. Primer ist flat black AutoK spraycan (turns out semi-gloss, see the hood), paint is mostly Alclad (I love their dull alu) and some Citadel for details. I'm especially proud of the yellow anodized parts and the sandcast look on the fan! Thanks for looking, and have a nice holiday!
-
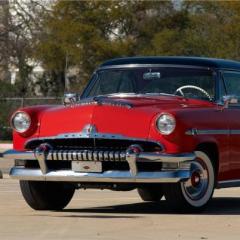
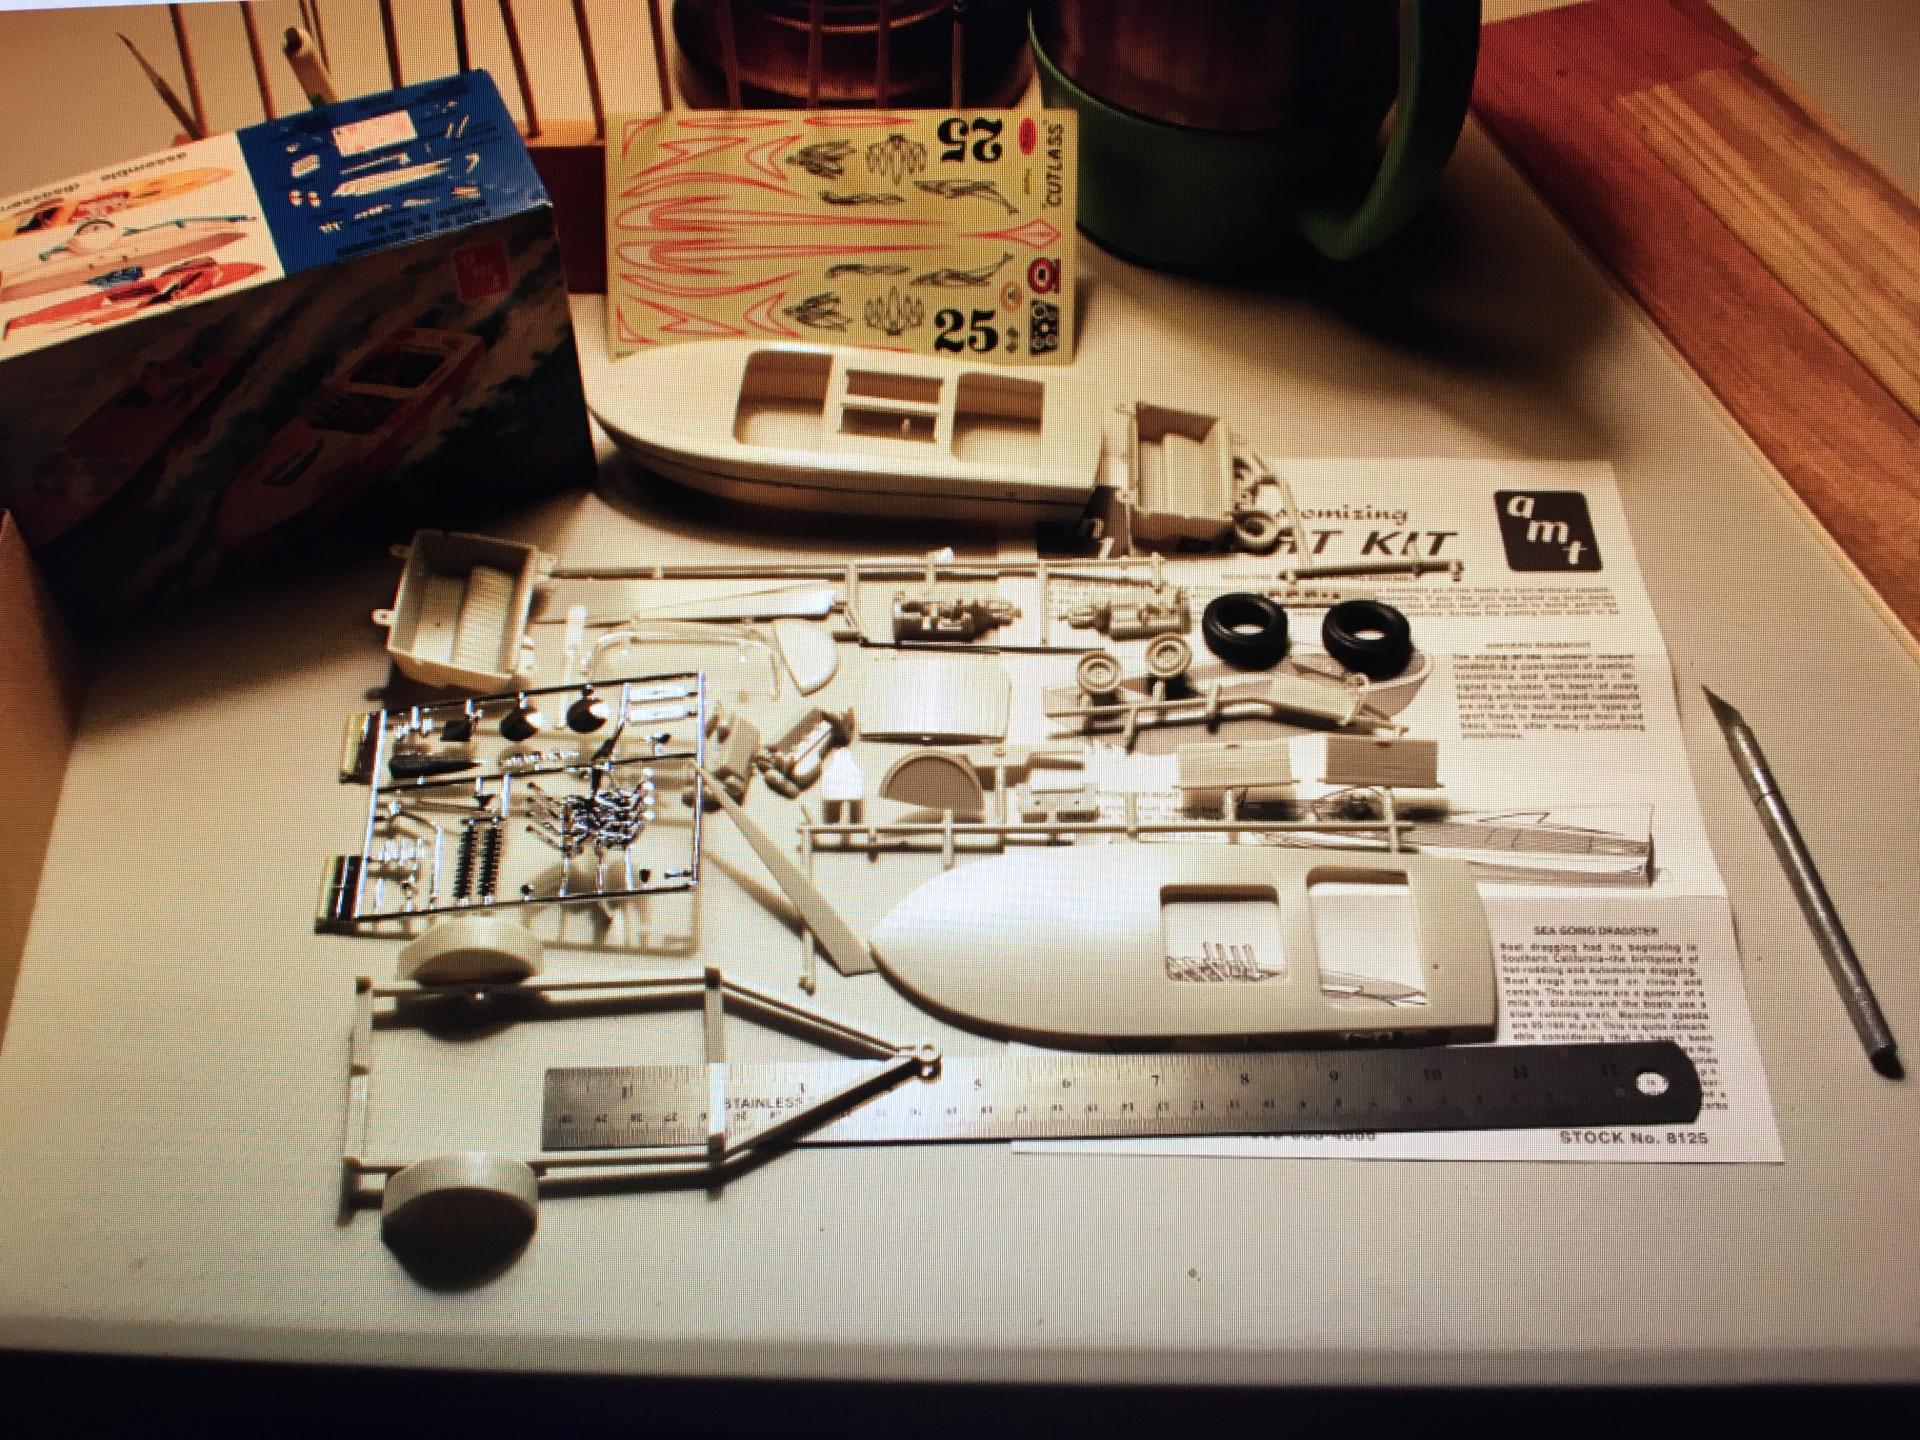
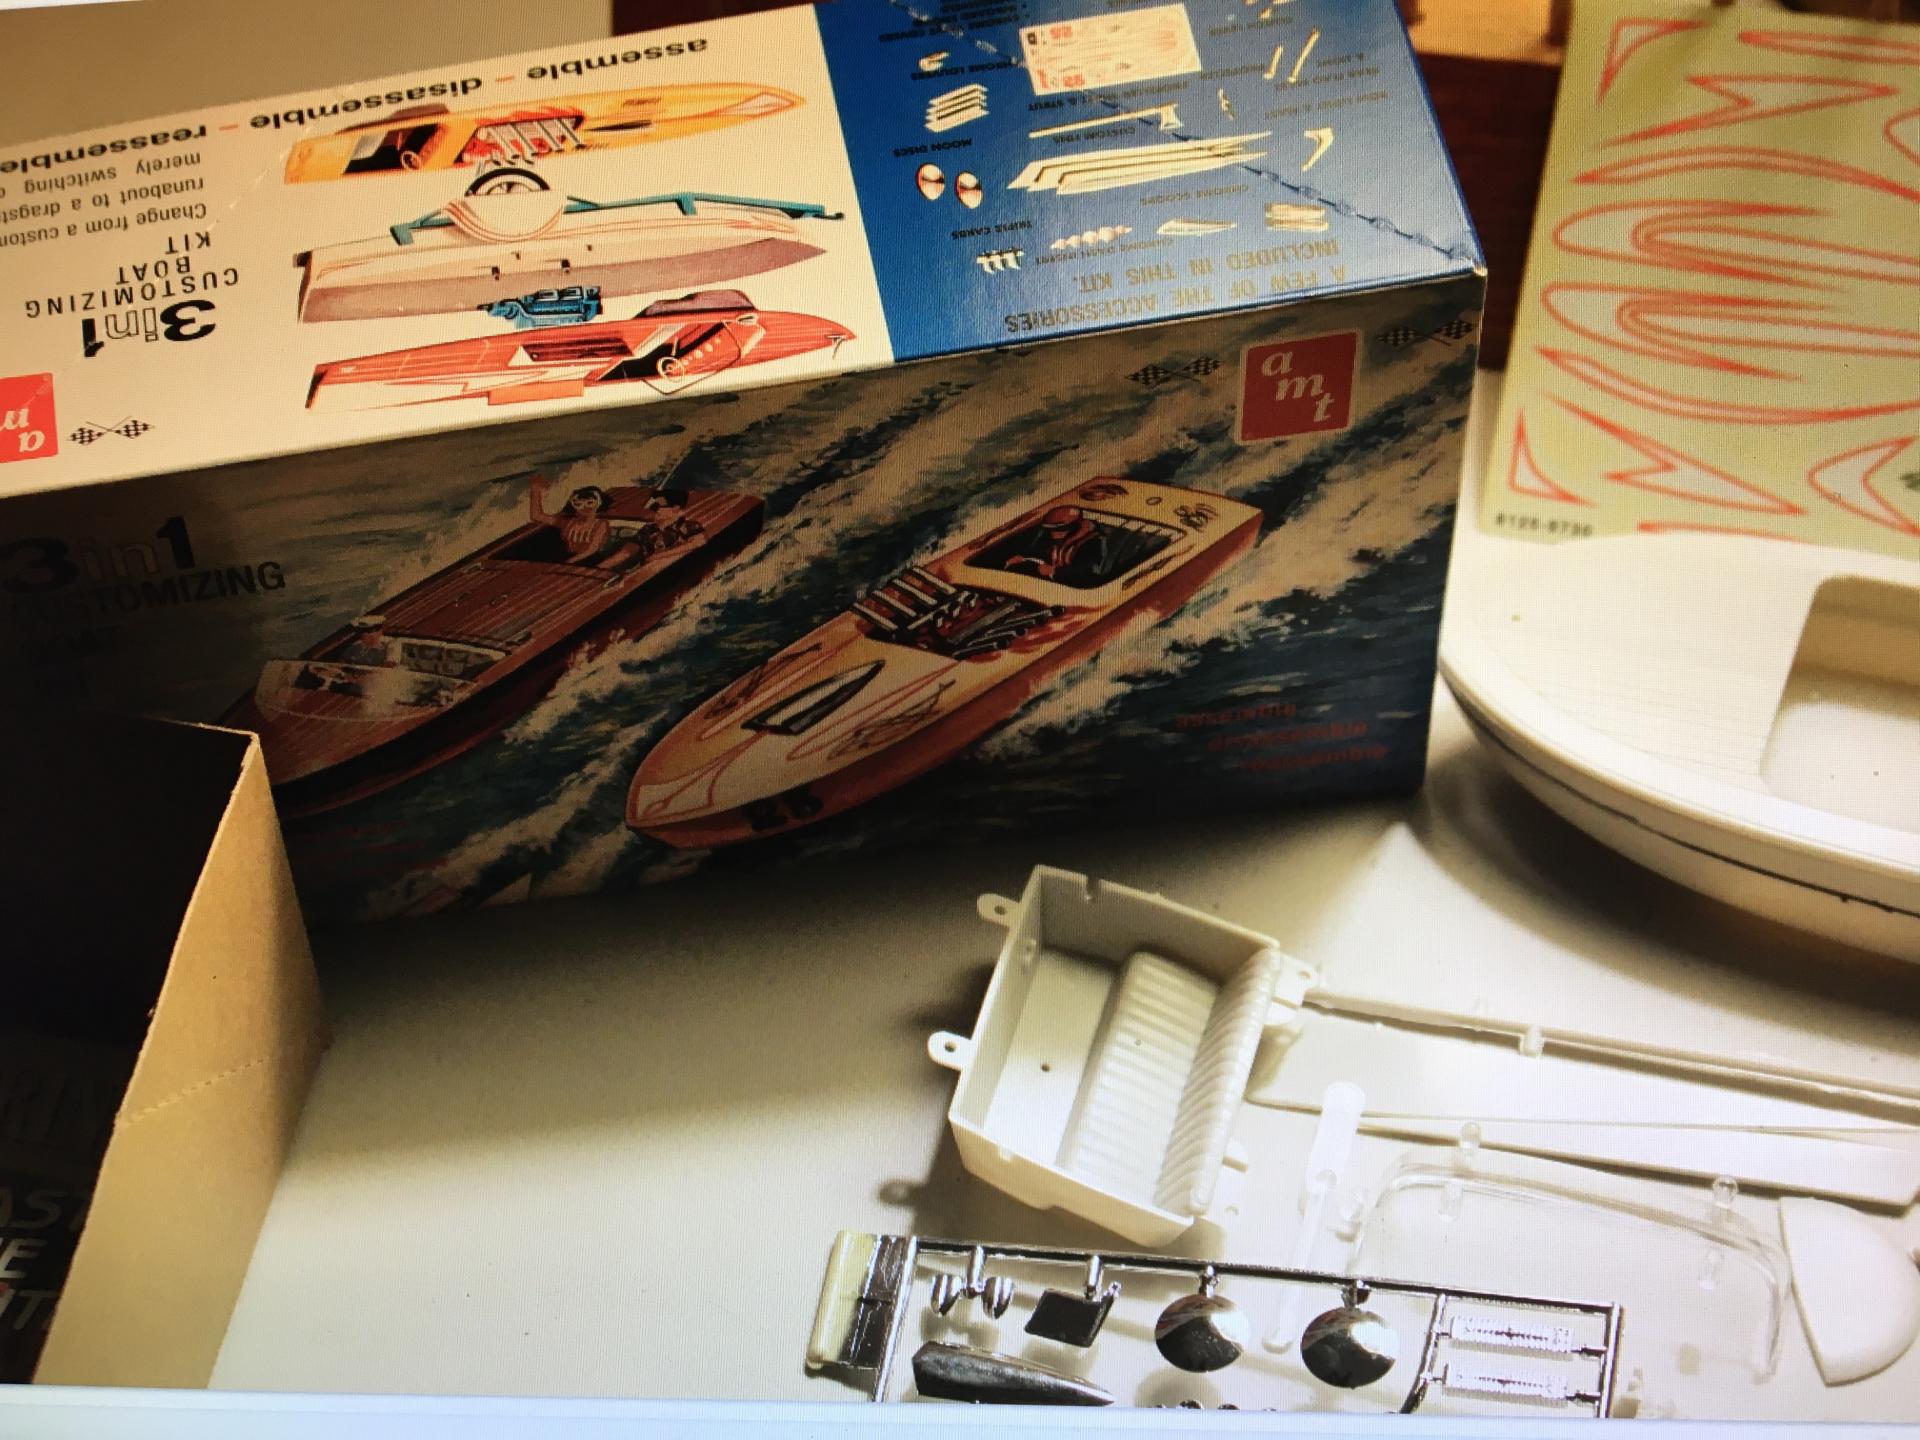
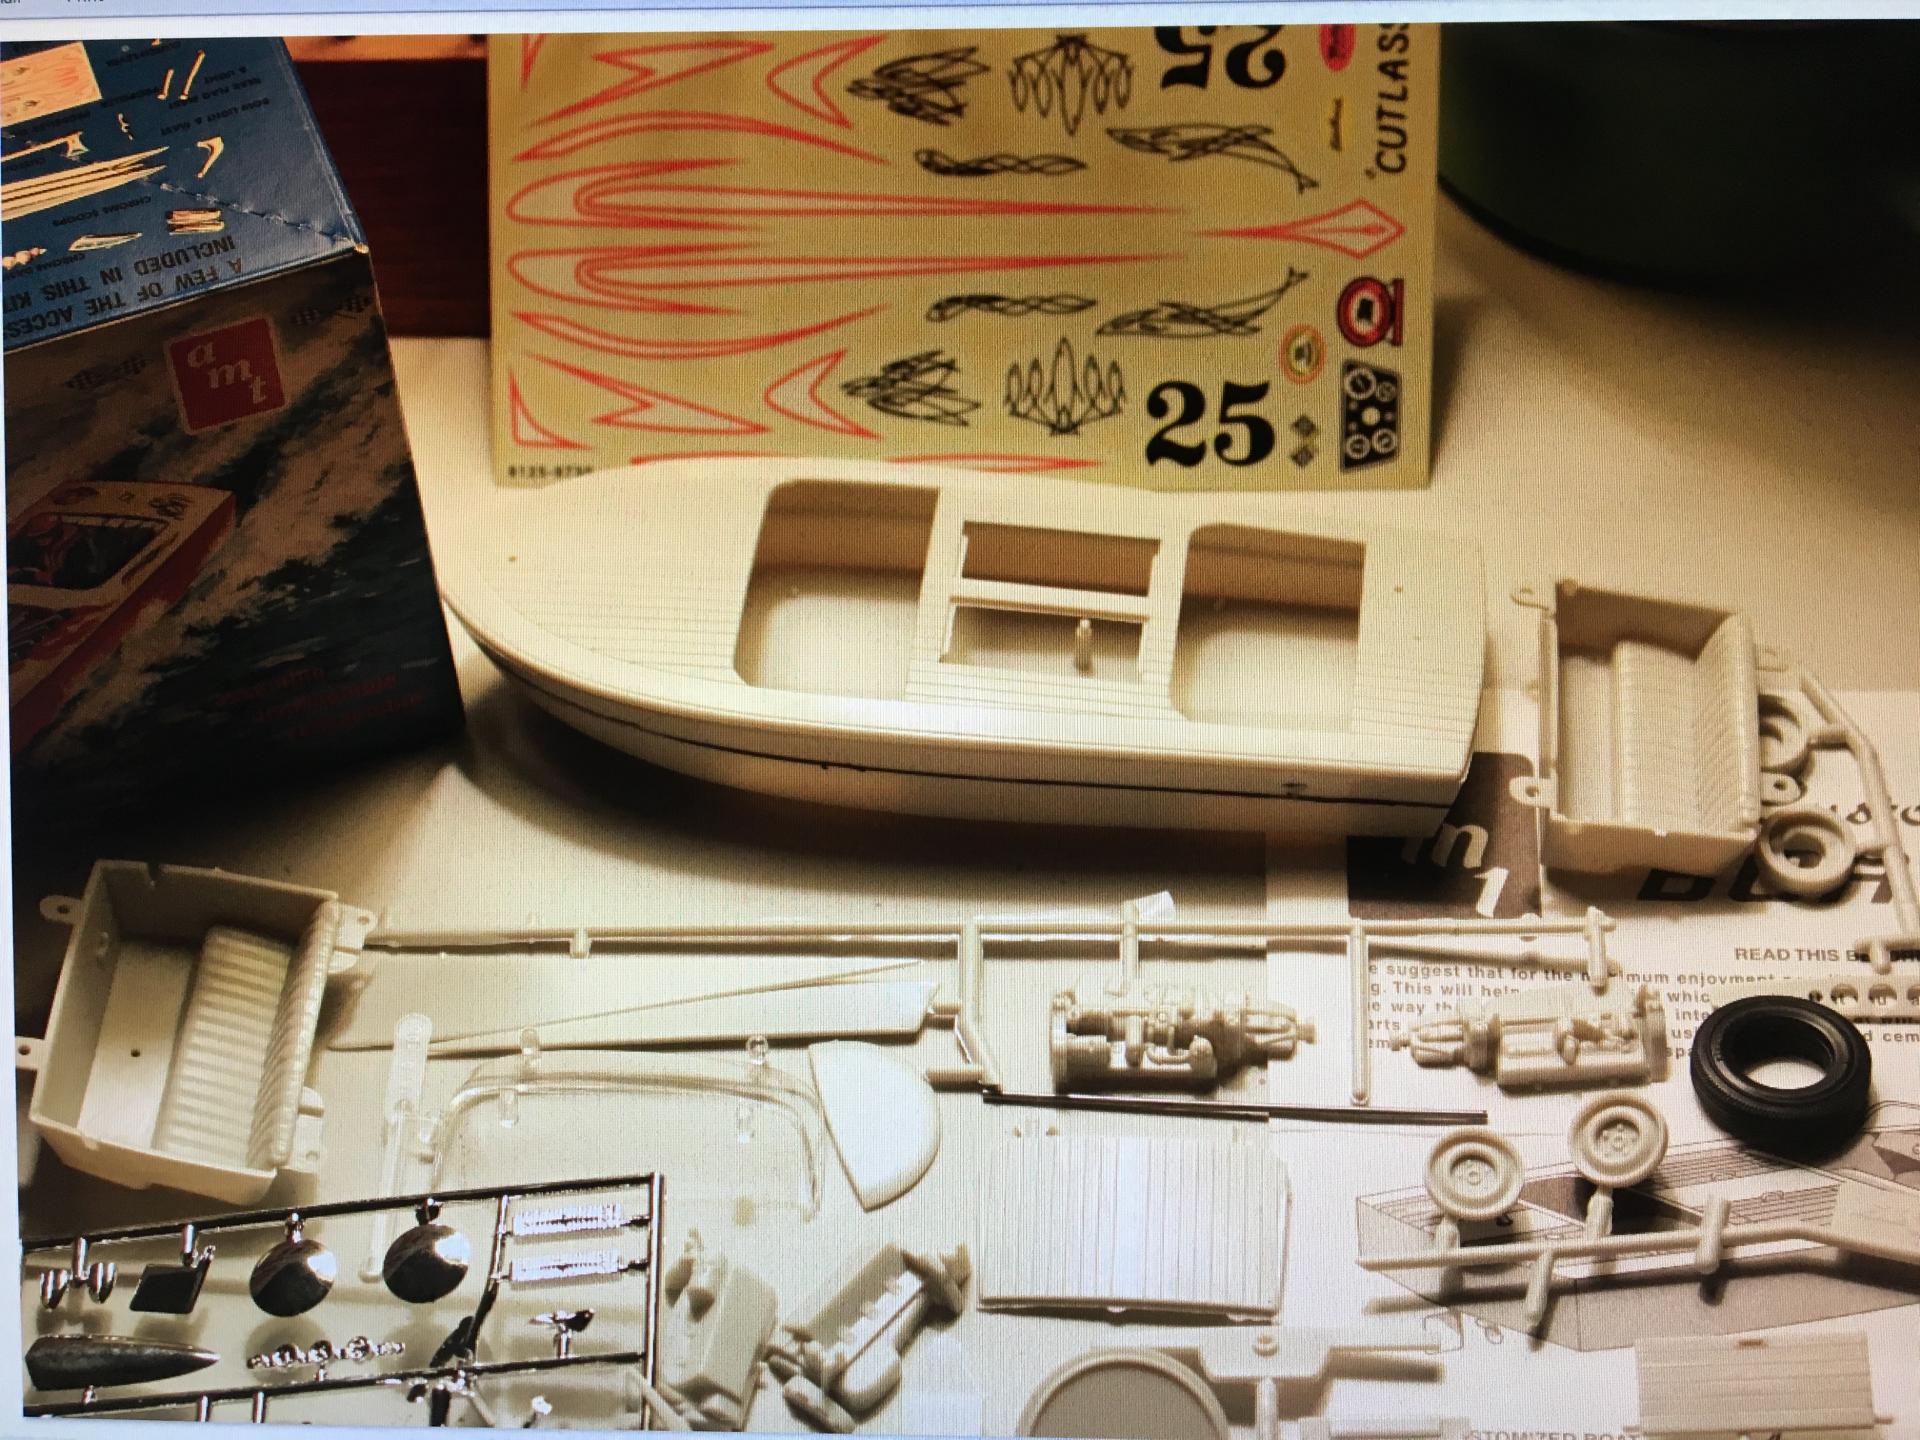
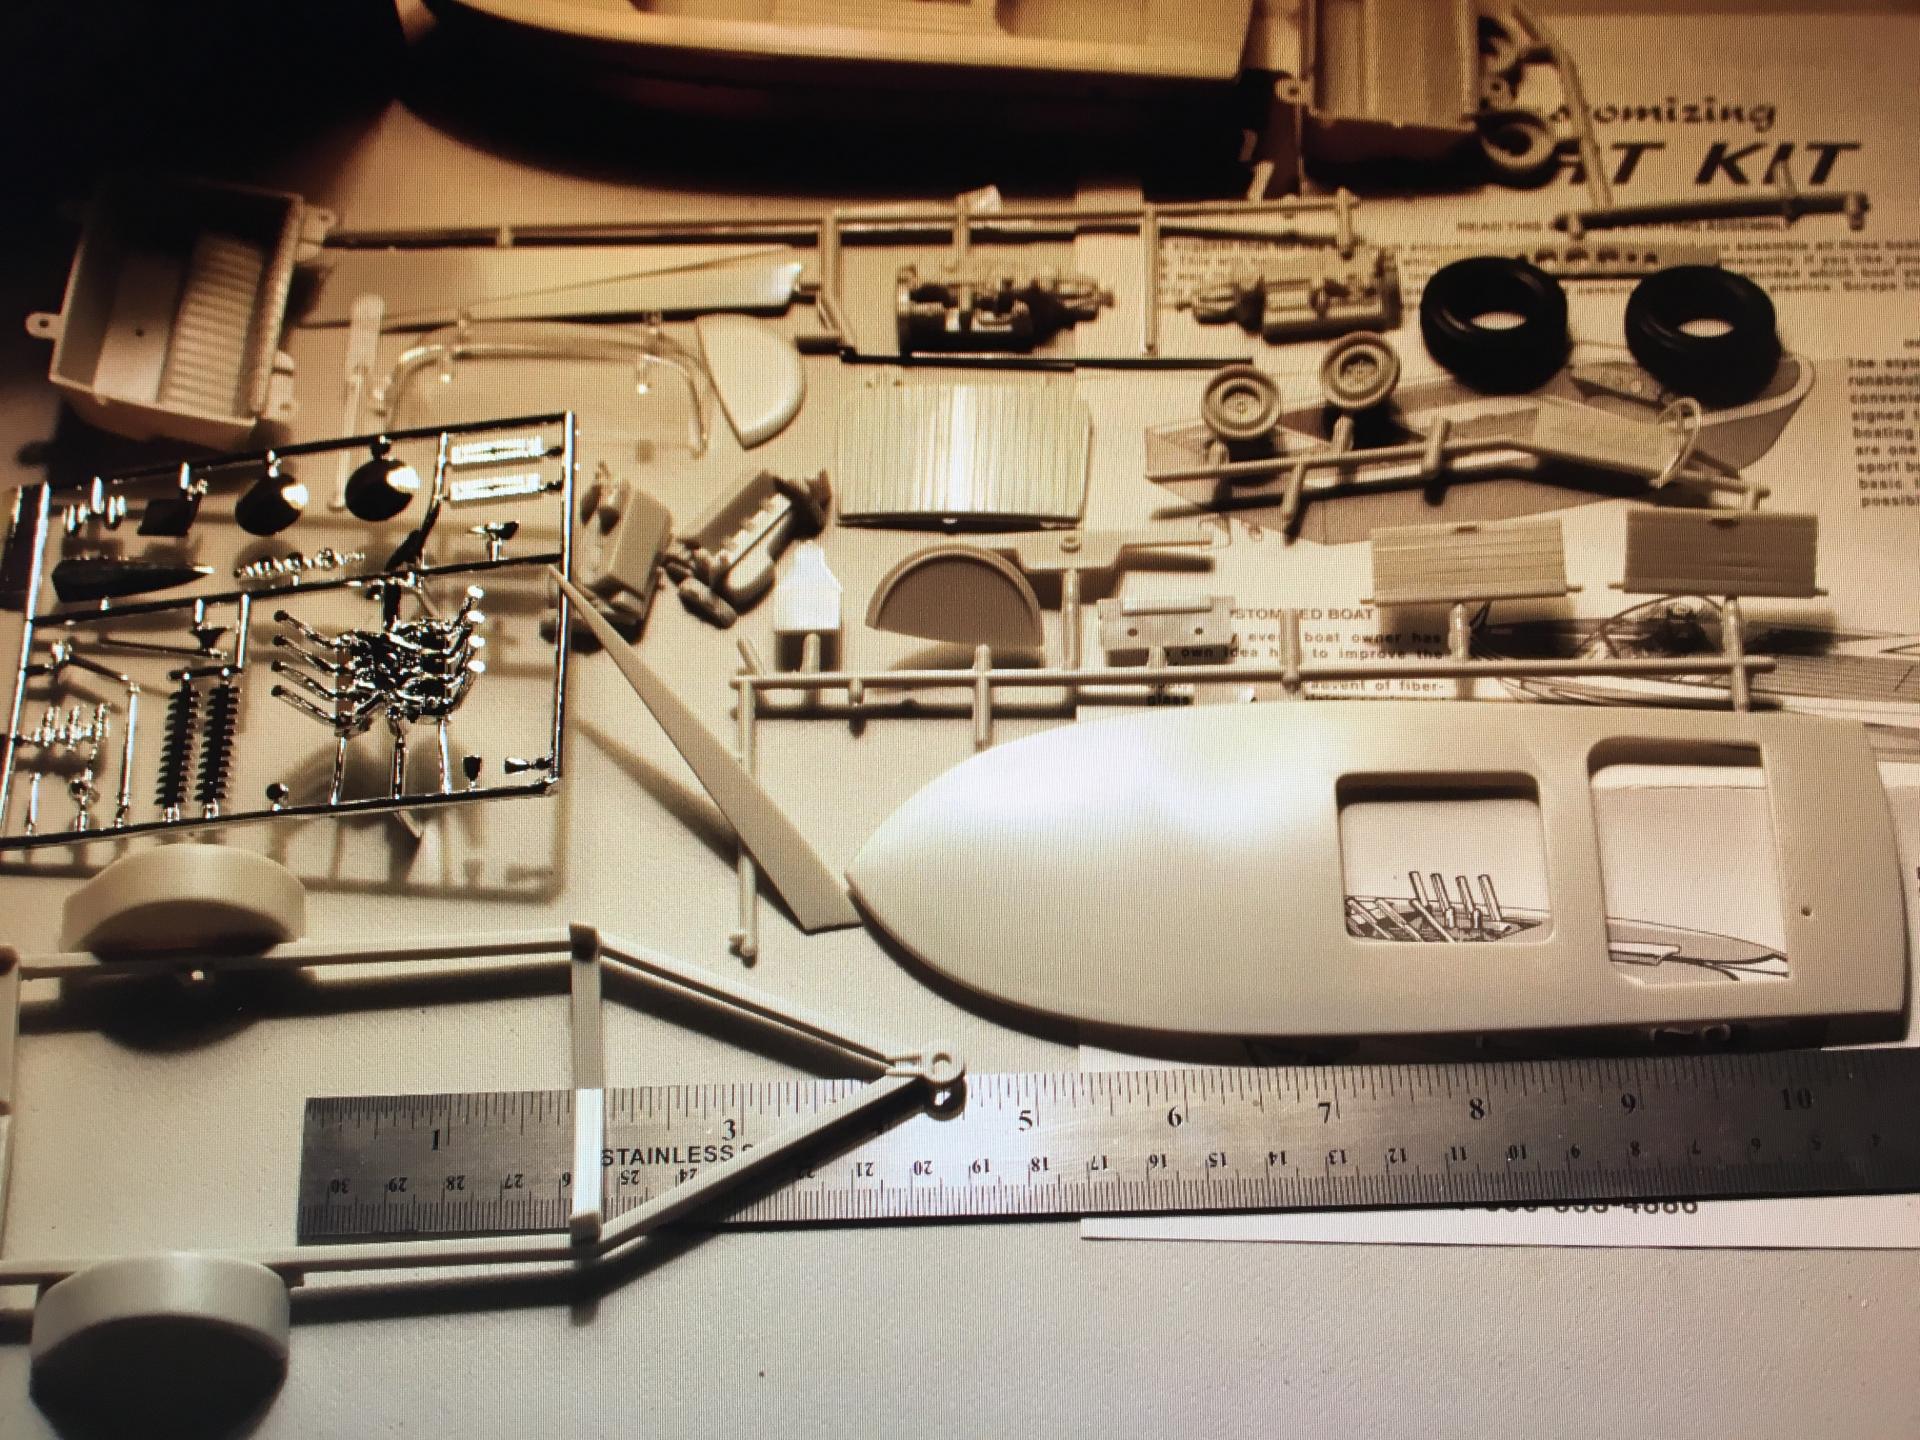
I’m starting a build post on the AMT boat kit. The kit is based on a Chris-Craft boat. Some of you may have already seen some pictures of my boat in progress. Some in the post about th reissue of this kit, the one I’m building is from the Buyers Choice issue. There are also some pictures of it in my 1954 Mercury Woody Workbench post. Thanks for looking. Dennis
-
Hi Here I show you a model made to scratch, is the engine of the ballistic missile V2. As it is much material to watch here in a forum I leave the link so that you can see it complete, the manufacture and painting of the different parts that made up the engine of the V2. A greeting and I hope you like it.
-
I have looked and cannot find if anyone has custom built Nitrous Oxide (N2O) bottles. Has anyone ever tried to scratch build bottles? If so could you please point me in the right direction. Thank you
-
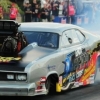
Datsun 510 Pro/Stock "SWEET PAIN" COMPLETED BUILD
LeadFred posted a topic in WIP: Drag Racing Models
Hi, It´s been a long time since i´ve post some builds here on the forum, so it is really fun to share some pictures of this build and tell you what i have done. I wanted to build a very small car with so much drag parts i could put in to this little body,and this is how it started. I posted for a long time ago the first pictures of this build in the workbench column but i closed that tag,just because i realized that it would fit in better in the dragracing column. In the beginning of this build i started to cut out doors and all body panels that i wanted to view the details for the spectator to. When i had did that….????? i start to wonder if i really could do it as the plan i had in my head. after cutting the hole body in pieces the project went back in the modelkit box for a year. But the following year, I could not quite let go of the thought of my little Datsun. When the time is getting ripe and I had built the building in my head over and over again as the box went up again and the building began to take off. This is the first pictures of ”Sweet pain” The name is well an explanation of what I thought the building was. I took, for example, assume that Revell kit was symmetrical. and it caused problems, including the big wheeltubs,built symmetrically from the start, but did not sit symmetrically in the body when it was mounted. it meant I had to change a lot to get into a chassis that has the proportions that I wanted them. It is not the best picture,but the rear piece that have the taillights moulded in white plastic,I have replaced with my own cast in clear plastic that I have masked the rear lights and then primed the body panel to get a better sense of realism, The kit's rear panel look more like a toy. I have not yet cut off the front. I probably forgot to take a picture of the back panel when it was completely unassembled and unpainted, but this picture shows the original panel to the left and my copy of clear plastic assembled and primed. the tape is on the back just for it not to get paint dust on the inside of the rear lamp glass. Here you can see the mounting holes for the original rearbumper, as you can see, it is not very symmetrical, and then you can understand that maybe it came unexpected problems later. This is the first try of my chassie,but the engine did´nt fit correct with the headers mocked-up, so i had to change the front frame next. this is the frame from the kits chassie,but it was to small for a 351 cleveland V8 pro stock engine ,just wanna show you what problems i had before i change the front. Comments are welcome and more to come.... Fred. -
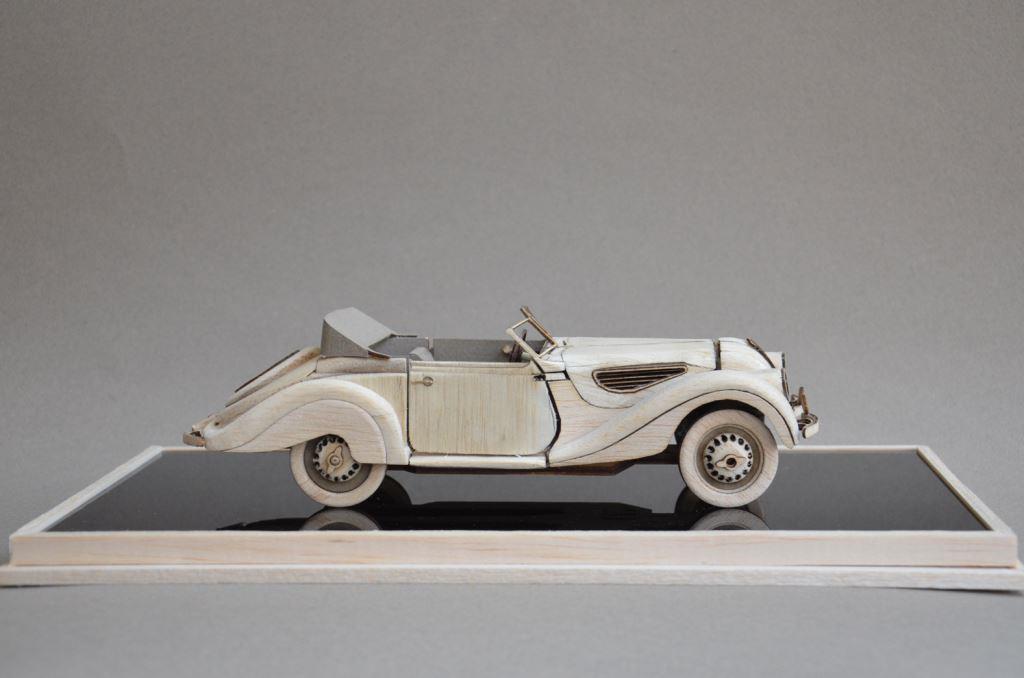
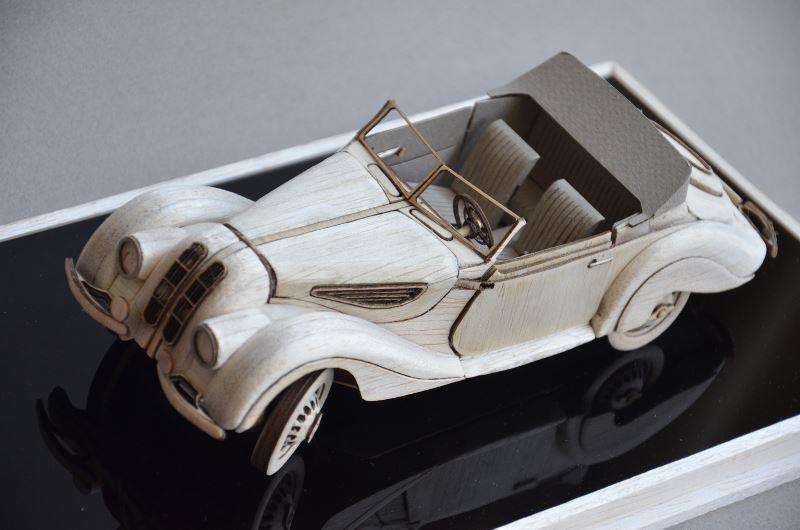
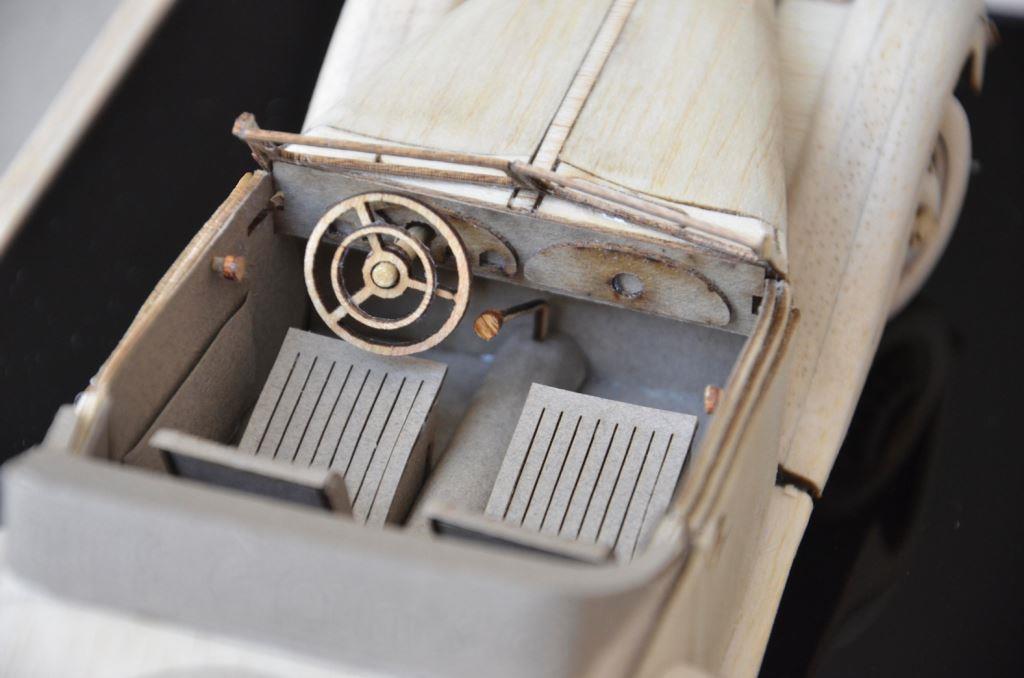
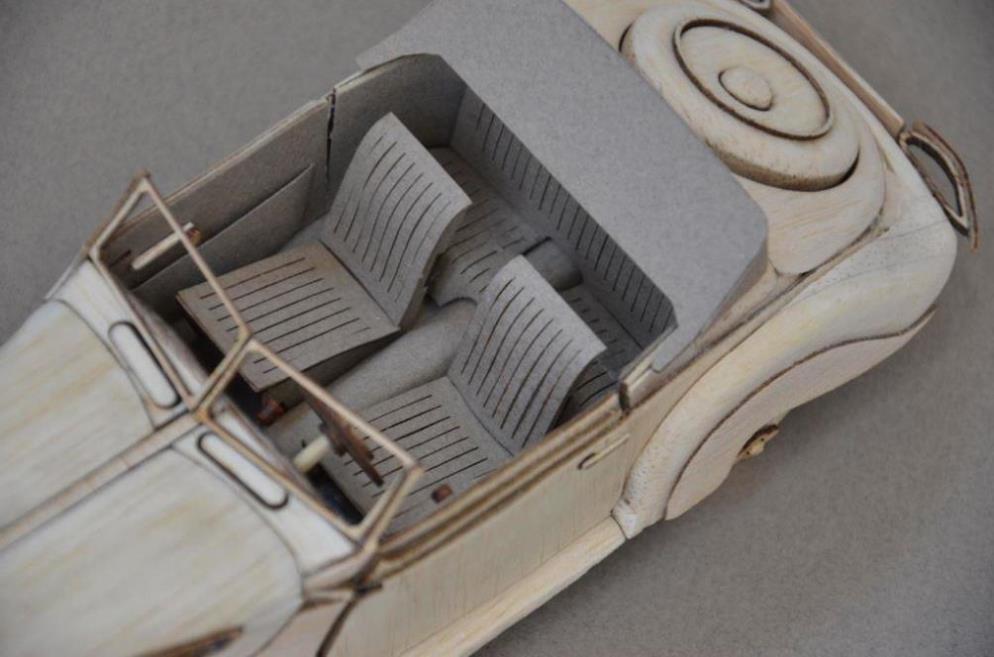
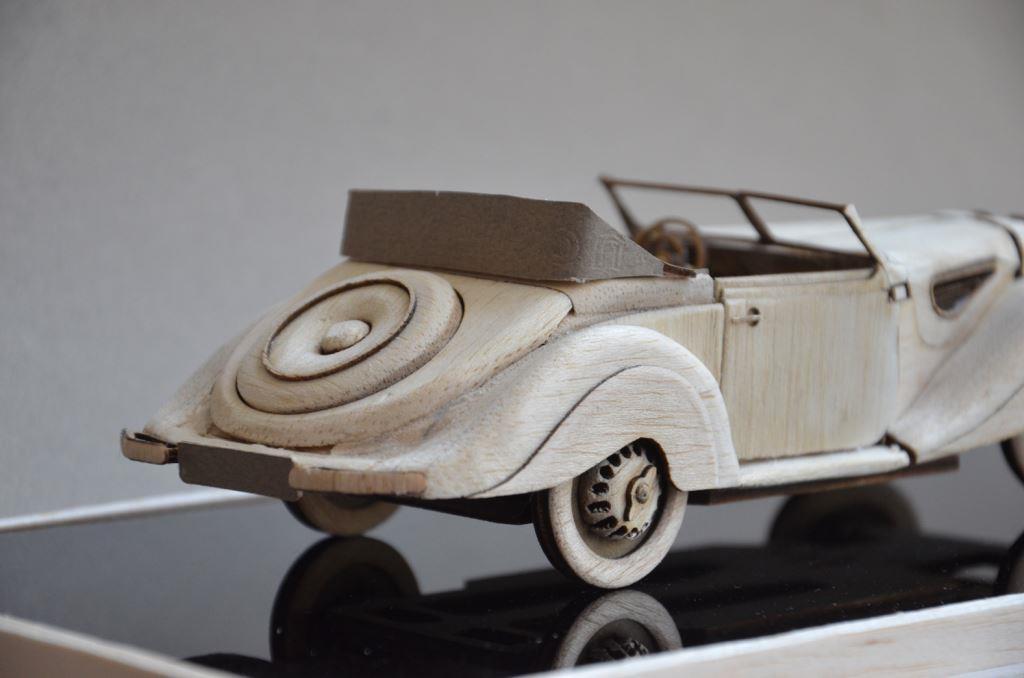
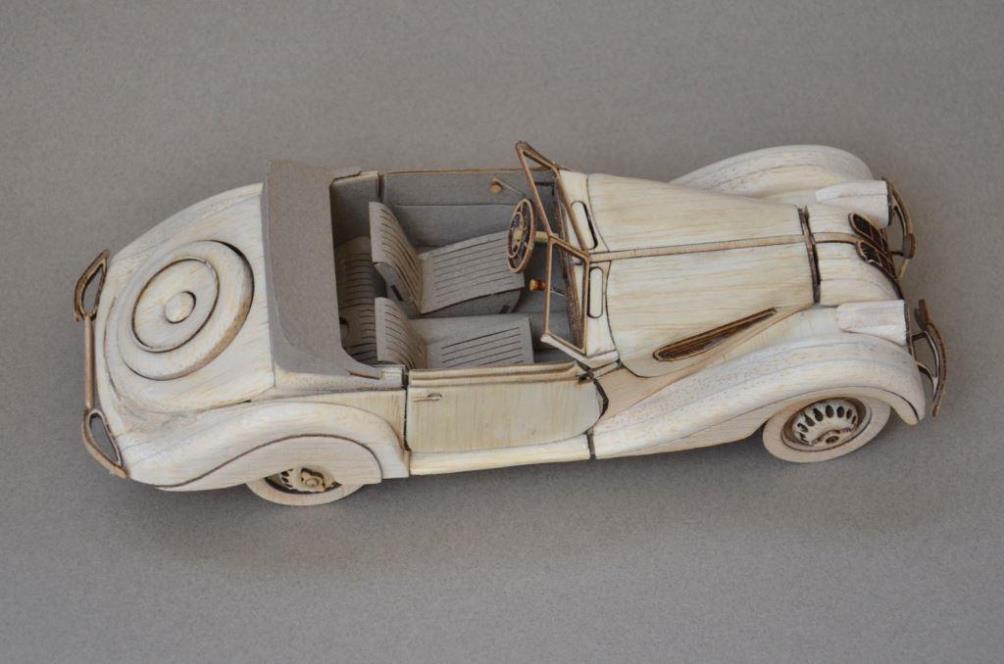
Hello ... finally finished. Final details took a lot of time, also because had a funny custom build in the middle. Perhaps I show this later. Here the link to WIP: http://www.modelcarsmag.com/forums/topic/112970-bmw-327-roadster-from-1939-scratchbuild-in-balsa/
-
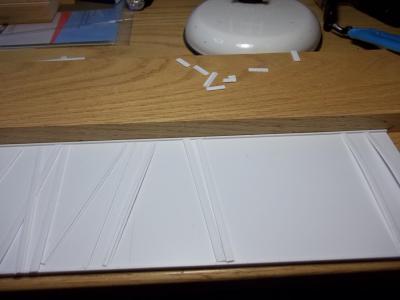
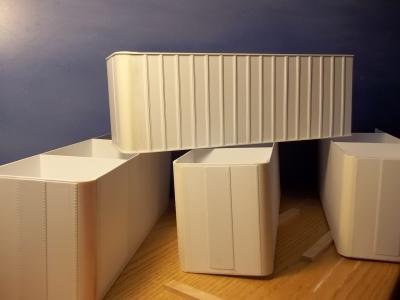
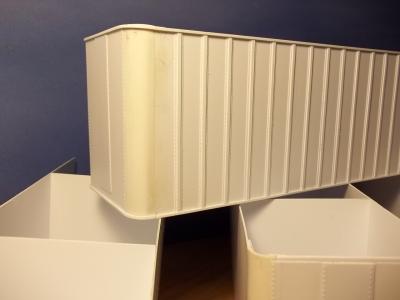
Hey all this is my first post as a new member. This is my first attempt at scratch building and I have not built any models in decades. I got a notion to build models of some of the trucks that I drove back in the 70's and to build models of others that I thought were too cool! I got into the scratch building because I was frustrated by the scarcity of certain kits, particularly the pup trailers. I became inspired by the scratch project of other members so I decided to give it a go. I didn't plan to build the Trailmobiles but I had an AMT US Mail rig to use as an example so I could gain experience before I get into building Pup Trailers from photos. I intend to build a variety of them including bullnose vans and wedge vans to imitate those of Consolidated Freightways and P.I.E.. Anyways, I'll post my progress. I'll start with 5 scratch Trailmobile Dry Vans. I am in the body assembly phase and am as far along as the photos show.
-
Oh yes i went there after all these american vehicles i'm scratch building an import pickup. I honestly think that stakes work for it too. what do y'all think? Now this is my first scratch build attempt so don't expect perfection. It is in the very early stages of being built, what im doing is tracing the body panels onto thin plastic then cutting em out and tracing those onto thicker plastic then cutting them out, i know there will be some freehand panels that cant be made tracing. It will scale out to be 1/25 maybe a little smaller but should be close enough.
- 8 replies
-
- scratch built
- scratch
-
(and 2 more)
Tagged with:
-
I started a Facebook group for Customs and Concept models!Come join and show off your skills and what you are creating! https://www.facebook.com/groups/customsandconcepts/
-
I built this car about a year and a half ago, but it's never been an MCM WIP, or shown in the Under Glass section. A couple of MCM regulars asked me if I had a few more pictures to share, so I thought that a mini WIP would provide them with some added pics and info on the car. So, to begin, I started with Revell's excellent 1:25th 40 Ford kit. The first order of business was to give it a hair cut. I sliced some Tamiya 6mm tape in half to create some ~3mm strips. These were used to remove a consistent scale 3" from the roof pillars. After adding some length back into the roof panel, it looked like the fit was close enough to continue.Notice how the B pillars were removed just below the drip rail in a "T" section. This will allow the pillar to be aligned with the lower pillar in the fore-aft direction. Still no putty yet. At this point the plastic used to lengthen the roof panel was filed down and primed. The roof was then glued in place with some liquid styrene cement. Considering I haven't reached to putty stage yet, the roof was looking pretty good. Still no putty yet. A layer of sheet styrene was added at the C pillar to provide enough material to level the roof panel with the stub on the body.
- 111 replies
-
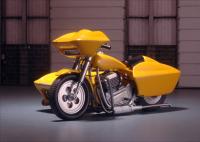
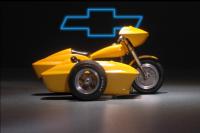
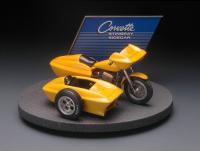
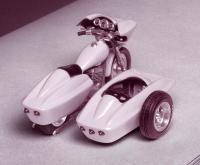
Hi guys, I made this Corvette Stingray Sidecar concept out of two AMT kits, cutting apart the fender corners and bringing them back together. The tank, basic engine block and front tire are from an old (Entex?) Kawasaki street bike that I found in the parts box. The PE front disk and two other tires are orphan parts. The rest is scratch built. I turned aluminum wheels, gas cap, instrument pods and trim rings out of aluminum and turned some red toothbrush handle for the tail lights. The instrument faces are just reduced laser prints that were gotten from the VDO website. The front forks are telescoped brass tubing, while the exhausts were bent from solder. My fake display base is balsa wood painted with hardware store speckle paint with a styrene + laser print display panel. Paint is airbrushed Testors Yellow #1114 from the 1/4 oz. glass bottles. Thanks!
- 14 replies
