Search the Community
Showing results for tags 'scratch built'.
-
This is my latest project and perhaps most ambitious. I have wanted to build this car in 1/16th literally for decades but it always got put off of for one thing or another. The major hurdle was finding a 1/16th Trams Am body that was suitable and also gathering enough reference material to allow me to do justice to a car I saw run on numerous occaisions and also one that I was familiar with most of the people involved. The car was run primarily out of the Edmonton Alberta just less than 200 miles from my home and we ran at the same tracks several times. The car itself was alway one of my favorites and Gordie was one of the most personable people I have ever had the pleasure to know. Close friends, no, but we did talk during the race weekend more often than not. Late last year Nick Bradshaw of Flashpoint Resins solve the body issue with a very nice resin cast 77-78 Trans Am. It was going to need some substancial alterations to back date it to resemble the car above but at least I now had a starting point. The other stumbeling block was the Swindahl chassis which as far as I know has never been represented in kit form. I also have never seen anyone model one (but there may very well be some out there) and finding photos of the correct version of the chassis has been difficult. Swindahl was primarily a Top Fuel chassis builder who eventually revolutionized how Top Fuel Chassis were designed and built. This particular chassis was as far as I can tell only used in this form for a handfull of Trans Am and Corvette funnycars over a two or three year span. I have studdied many photos over the last few months and have come up with what I think is a fairly close approximation of that chassis but I am still researching, as there are a few minor areas that have not shown up in any of the photos I have seen. I chose the car as it was campained in 1978 because it to me has the most personality. It is truly a weapons grade competition car, not much chrome, simplified graphics, non polished mag blower, natural cast injector and barely polished hat as well as a very unique front suspension and steering system. I hope that you will like where this build is going, and I will also include how and why some of the details and finishes were accomplished. At anytime please feel free to comment on what you see and if something I'm doing that is not correct let me know as I do not know everything about this car or its history.
- 151 replies
-
- 2
-

-
- scratch built
- brass chassis
-
(and 1 more)
Tagged with:
-
This project started out as a 27" x 16" X 13" high white feature less shelf. I have no photos of it at that stage and as this is a perminate feature none will be forth coming. It needed to be at least this size to properly photograph 1/16th scale modes (its primary purpose). It was not intended to be a detailed model in itself, just a back drop void of full scale tools and windows. Along the way I had aquired a few shop pieces from previous projects, nothing major but it was a start. Now the shop is getting life of its own and I find myself adding more and more items to enhance the illusion. How far this will go is anybodies guess but I think it will become far more than first intended. This photo is the most basic picture I have of the space being used, the green door is just a green file folder cover, everything shown are parts left over from previous model projects except the tool box which I printed from Ron Olsens STL files. The work bench scratch built from left over model railroad materials and the black set of drawers are a leftover from a Hotwheels formula 1 set.
- 6 replies
-
- scratch built
- 16th scale
-
(and 1 more)
Tagged with:
-
1/16th Scale 1988 rear engine dragster, 282 inch wheelbase
Ian McLaren posted a topic in Drag Racing
My tribute to Eddie Hills "First in the Fours" 1988 dragster. For as famous as this car is, there is not a lot of detailed information. I talked to many people about specific information on the car, including some of the crew members from that year, gathered as many photos as I could find and came up with what I believe is a reasonable overall representation of the car. Areas which I could not document, I used era appropriate systems or parts from similar cars from that year. The engine with its dual barrel valve fuel system is quite close to the original. The model is almost totally scratch built, chassis, body, differential, rear wing assy,drivers seat (aluminum), exhaust headers (brass), fuel tank and many of the accessories. Parts 3D printed by me include, slicks, rear wheels, bellhousing,reverser, 14-71 blower, ignition coils and mags,and so on. The decals were drawn on GIMP and printed by myself., After market parts were from RB Motion, Future Attractions, Perfect Parts and Ron Olsen. -
1/16th Scale Top Fuel Dragster Eddie Hill 4:99
Ian McLaren posted a topic in WIP: Drag Racing Models
Started this one over a year ago before we moved, found the chassis in a box a few weeks ago, made some changes to incorpperate the 13 inch front tires that were in vogue for a while. In as much as I'm not terribily familiar with the Top Fuel cars of this era, I'm going for a representation of Eddie Hills First in the Fours Super Shops sponsored car to try out some new techniques. This is the chassis as I rediscovered it,with added 3D printed wheels befor the decision to go to the short front tire style Started on fabricationg the body, partially done and on chassis, and where it is now with the body contours roughed out still more to do on the nose but that depends on the the front wing mounting. CcBody- 78 replies
-
- 4
-

-
- scratch built
- super shops
-
(and 2 more)
Tagged with:
-
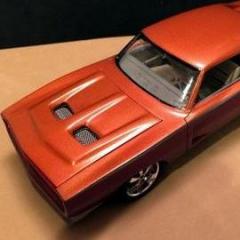
11 month project starting with the Monogram 1/12th scale 69 Camaro Z/28, only kit parts used -- body, front bumper, rear bumper, rear spoiler, tail lamp assemblies, dash pad and windshield. Scratch built, hood and scoop, chassis (brass), wheelie bars (brass), front and rear suspensions, intake and Nitrous systems ( fogger nozzeles Printed by Nick Bradshaw), all interiour tin and rear tubs, Electronics suite, steering rach, master cylinder, line-loc, parachutes, shifter, delay box, Nitrous shutoff valves, adjustable peddle assembly and various detail items. Wheels and tires by Jeff Faris. Paint is Tamiya Mica Silver with gloss black stripes topped with Tamiya Pearl Clear and additional Clear top coats
- 32 replies
-
- 6
-

-
- brass chassis
- scratch built
-
(and 1 more)
Tagged with:
-
This is the starting point, likely the only major kit parts that will be used are the body, front and rear bumpers, tail lamp assemblies and rear lower valance
- 352 replies
-
- 3
-

-
- brass
- tube chassis
-
(and 2 more)
Tagged with:
-
Hello Everyone! Done, Terminé, Completado, Abgeschlossen !!! It's over guys, after 4 years on my bench, I can now say that this adventure is over. For all of you who have followed this build from the beginning, I cannot express how grateful and honored I am to have received your feedback and support. Since the beginning of this long project, I have met an incredible number of passionate people here, learned many new techniques and found an inexhaustible source of advice from all the talented modellers on this forum. I can only wish long life to this forum and this wonderful hobby ! With this build, my first goal was to reproduce in Styrene the body and the interior as close as possible to the original based on pictures and references found on the internet. The mechanics and chassis components are pure fantasy and some technical aspects have been addressed and modified with the help of comments from friends more knowledgeable than me on the subject. This unlikely truck is a mix of everything I love, that sixties body style, a big healthy engine, a flashy color and wide tires. The real connoisseurs will probably find a lot of technical flaws, but it's just a hobby that allows me to satisfy my search for precision and to make my brain work during my too short moments of free time, obligations and responsibilities of life come first ! Now it's time to clean my bench and think about my next project. It will be strange for me to not see this thing on my workspace anymore but it's high time to move on. This is a good time to get it over with as summer is not my most productive season with all the maintenance work that the summer season brings, it will give me time to find motivation and choose the next subject as they are rather long on my workspace. Thanks, Francis For anyone who is not familiar with this project and would be curious to know more about the construction steps, you can find the WIP thread here :
-
This model has been finished this year, end April. It took me 2 years, give or take 4 days, with many interruptions along the way, to assemble this very difficult Heller kit. Everyone here and elsewhere who assembled it has experienced mishaps, disappointments, and probably some anger too, and has solved or tried to solve, each in his own way, the major problems of body parts adjustment, especially the bonnet. 2 kits were needed to make one, because of broken or damaged parts during assembly, as usual. This kit includes 160 parts, I replaced some of them, and added probably as many, both scratchbuilt from various metals, plastics, fabrics, UV resin, and modelled with Fusion 360 and 3D printed with an Elegoo Mars Pro. The windows were shown open, the bonnet was articulated in 4 parts with 3 functional hinges, the bonnet retainers when open, as well as the bonnet latches to close it were added, and the engine compartment was highly detailed. The spoked wheels themselves are 3D printed. I tried to take the utmost care in making the smallest exterior details, the ones that make the model look bad when they are roughly made or not added, but that bring the model to life when they are right (I'm thinking in particular of the front and rear lights, the side indicators, the bonnet clips, the exhaust line that has been redone in aluminium tube). I was greatly helped by the abundance of documentation that can be found on the Internet, sometimes by searching a bit for precise details... And now, a flurry of photos, some outside in day light and others in my spray booth with additional lights: You can see more following my thread in Britmodeller.com WIP section: Delahaye 135 1938, coachwork Henri Chapron 1:24 Heller - WIP Hope you enjoyed the journey
- 26 replies
-
- 4
-

-
- delahaye 135
- scratch built
-
(and 2 more)
Tagged with:
-
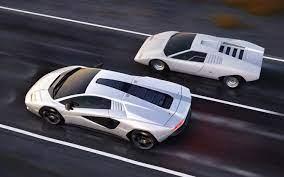
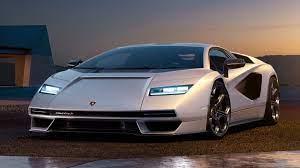
When the new Countach first came out, i had several friends ask me what i thought of it, since the Countach is my most favorite car ever. I was excited...until i saw it, then i got sick. I dont even know where to begin. With it being arguably the most iconic super car, wouldnt you think that it deserves its own new identity? Lamborghini did what most domestic car companies do...use a platform for multiple "different" cars. I just want to start off saying that i love the Aventadors, but this new Countach is nothing more than yet another version of the Aventador -how lazy, and boring. Not only is it a rubbish attempt at a Countach, it does the Aventador a huge disrespect. It takes more than a few body tweaks, bucket seat padding, and a nme plate to make a proper Countach....so its got some EV -big deal. There are a few concepts out there that would have been better, but mine will still be different, and will make the fans of the original prototype, pariscope, and useless wing/fender flares lovers ALL happy. This car will be made from all the latest technologies to compete with top Hyper cars. It will have a Lamborghini 7 liter V-12 with quad turbos, active aero front, and back, and you wont have to sit on the sill to back it up...in fact, all the horrible rear view issues will be fixed with the use of cameras. It will also have an 8 speed tranny, and AWD.
- 65 replies
-
- 1
-

-
- lamborghini
- countach
-
(and 1 more)
Tagged with:
-
Hey, everyone!, I just wanted to show you the shifter I made for a friend. It was a fun project - in itself...a model all its own...Hope you like, thanks for looking!!
-
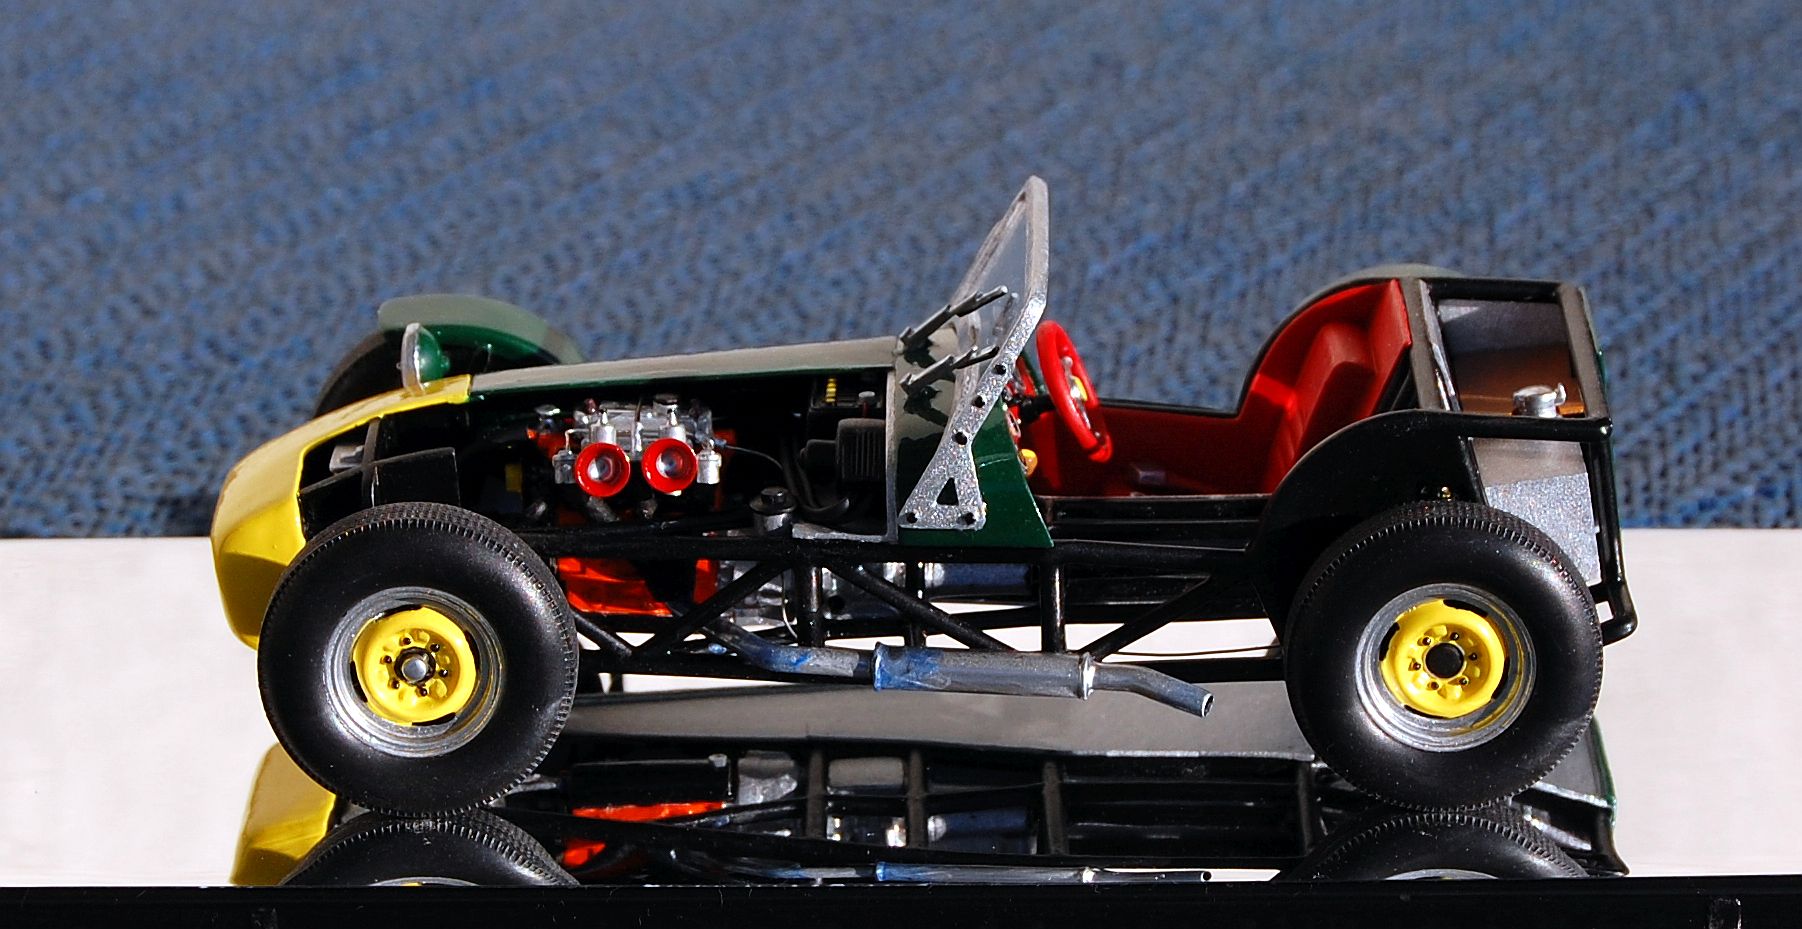
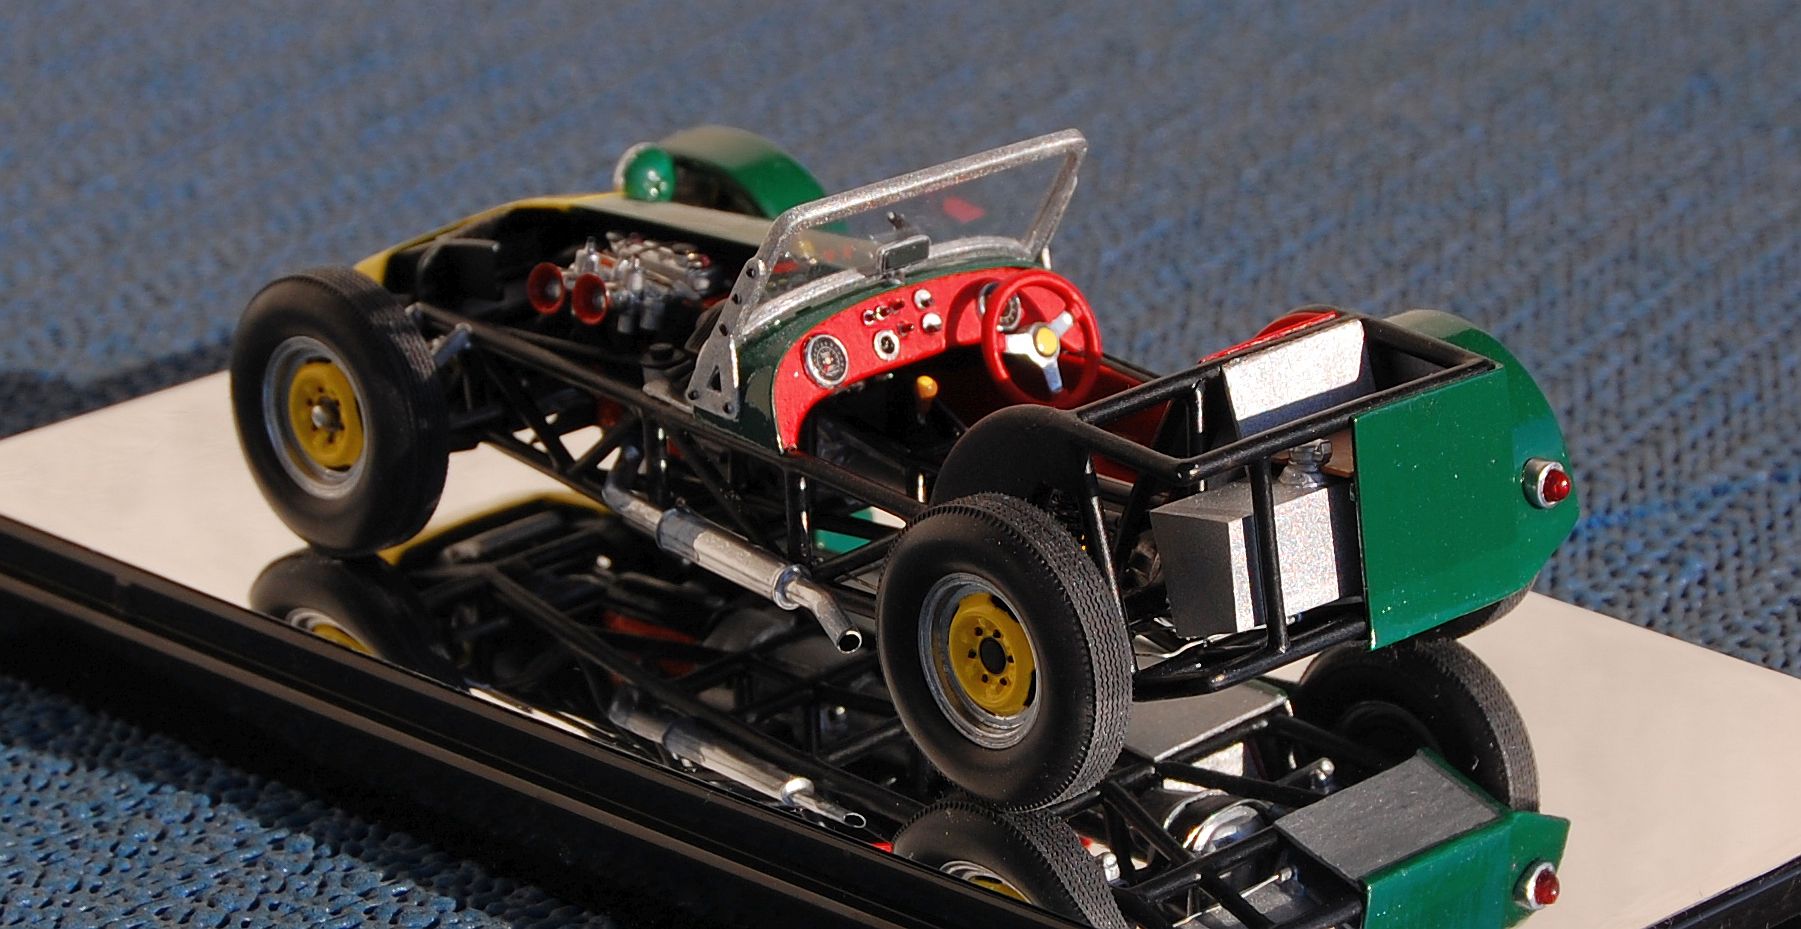
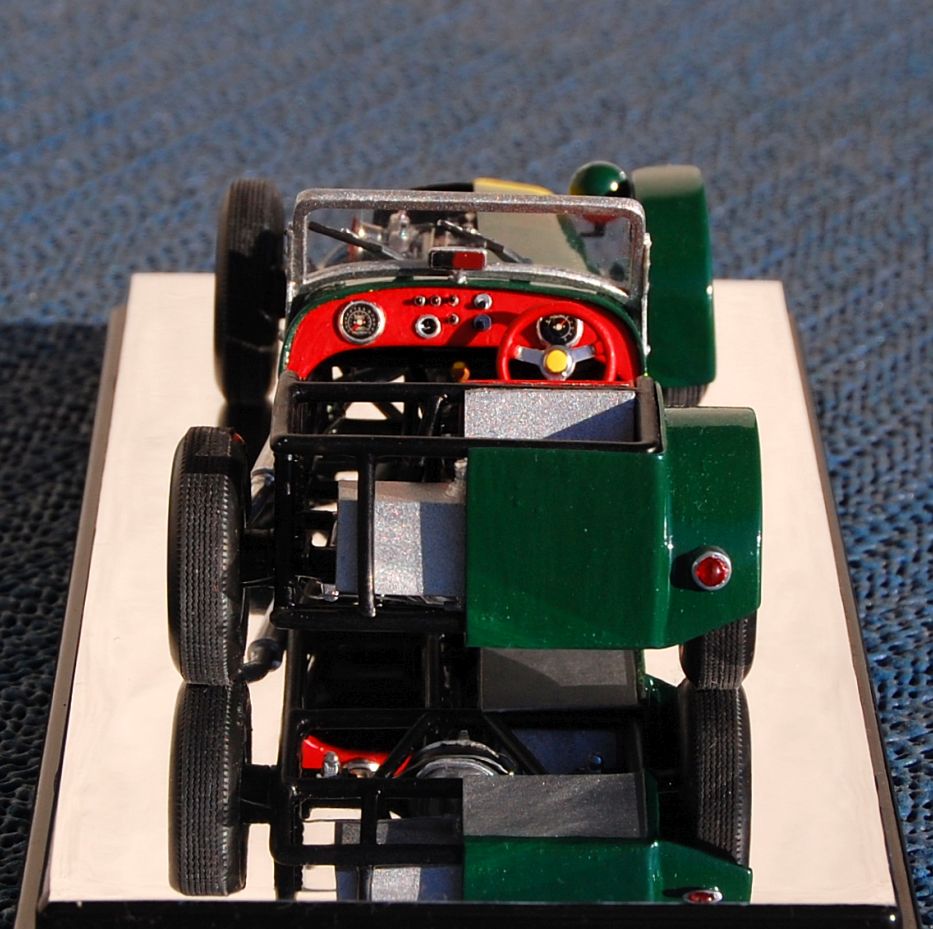
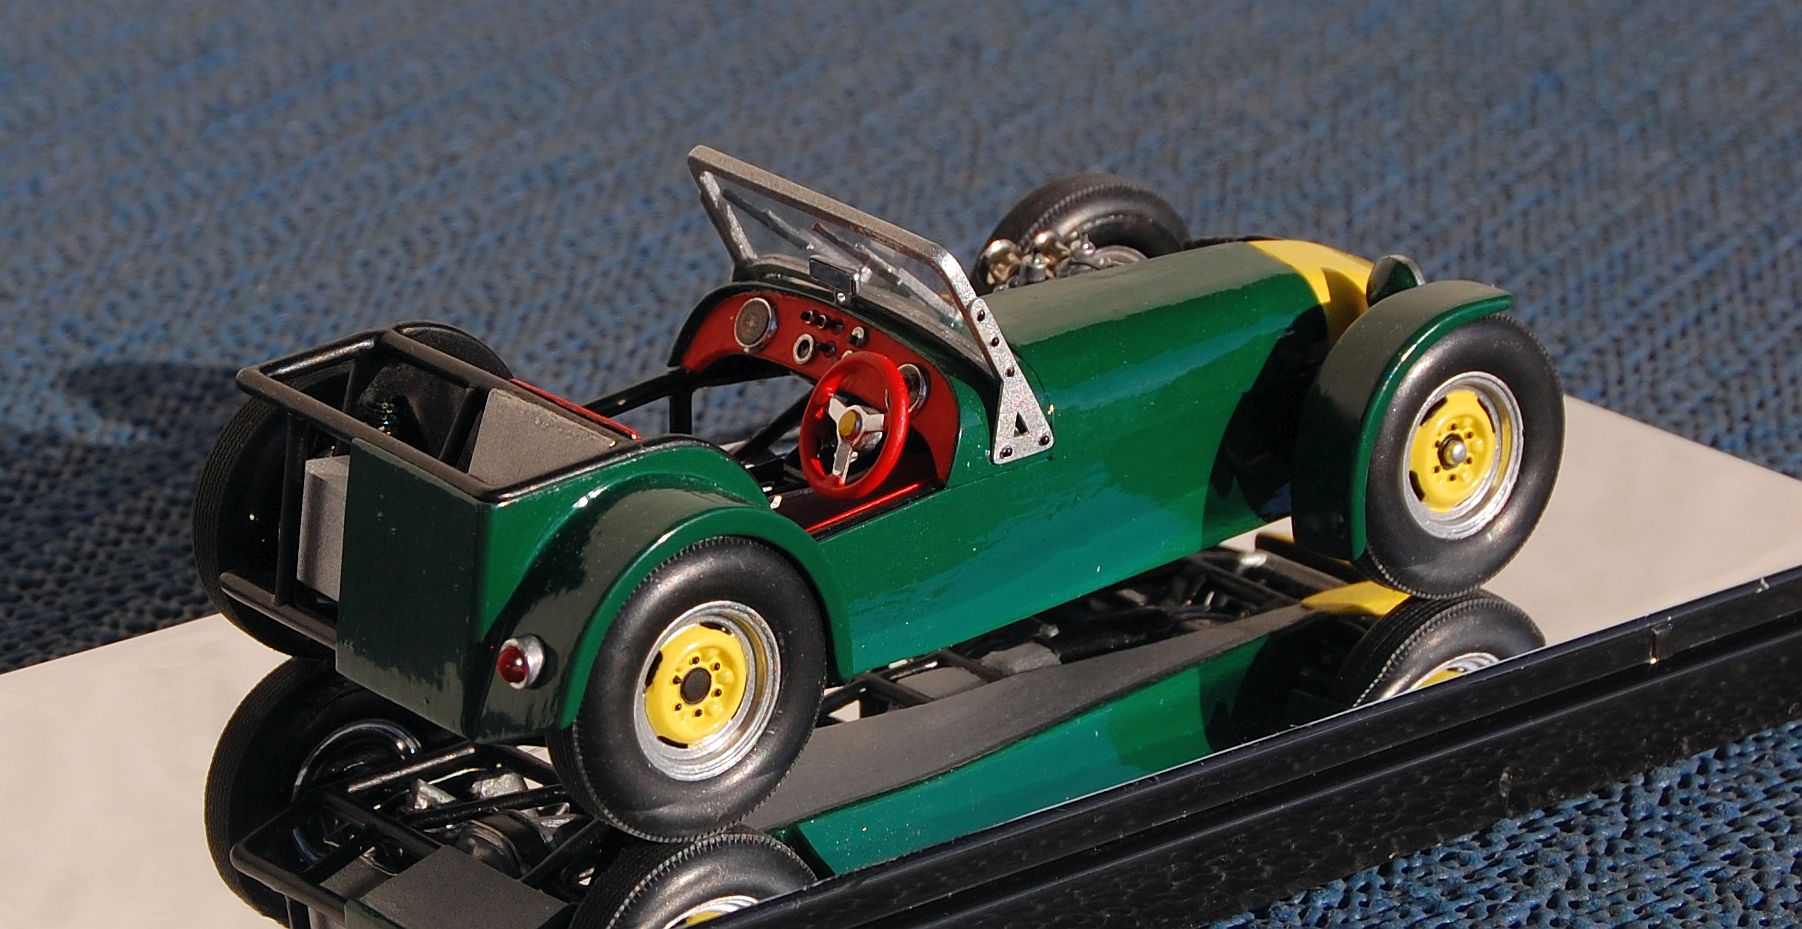
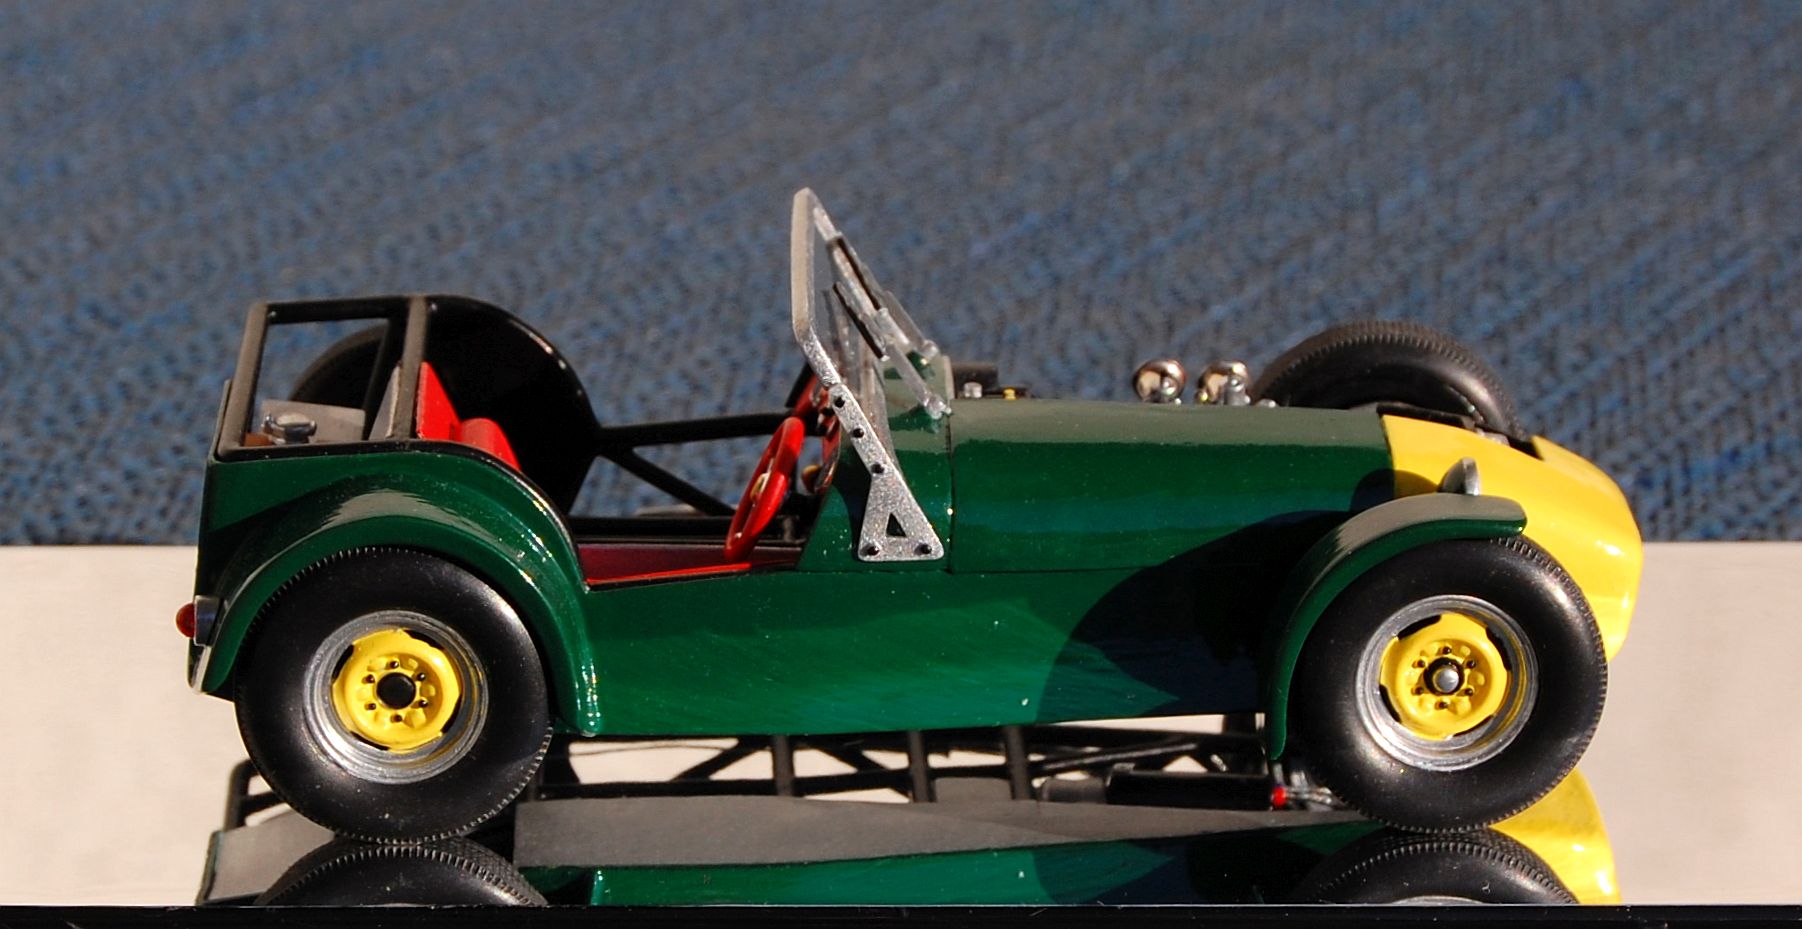
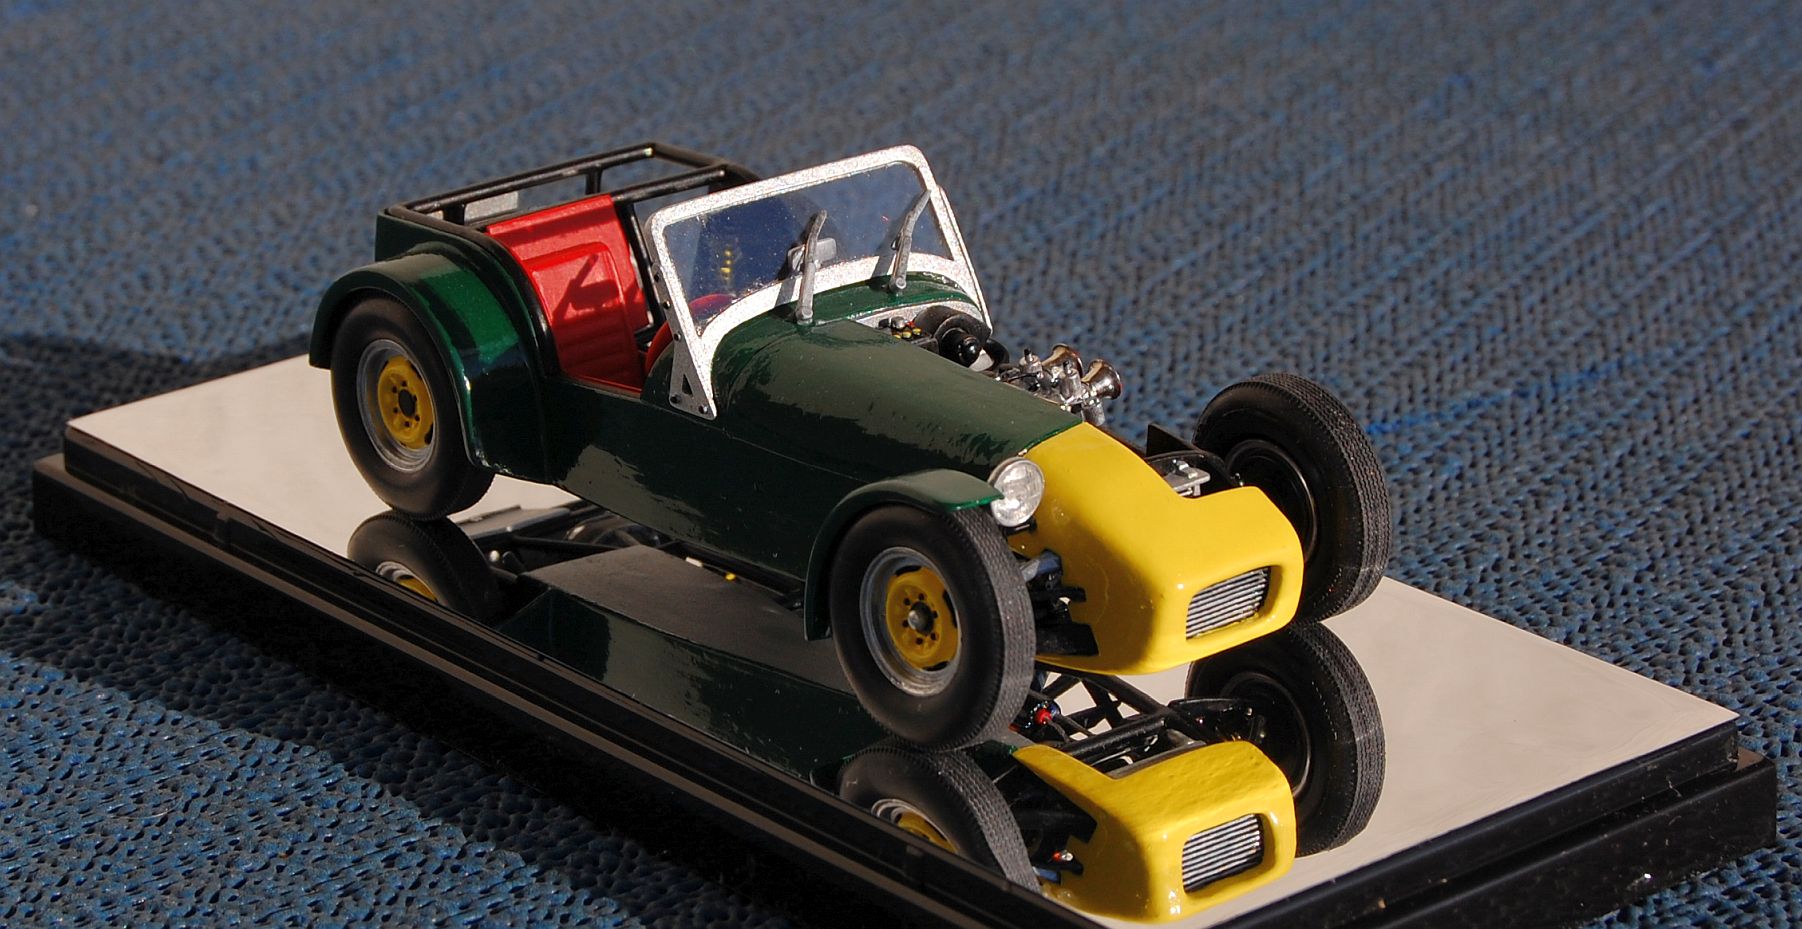
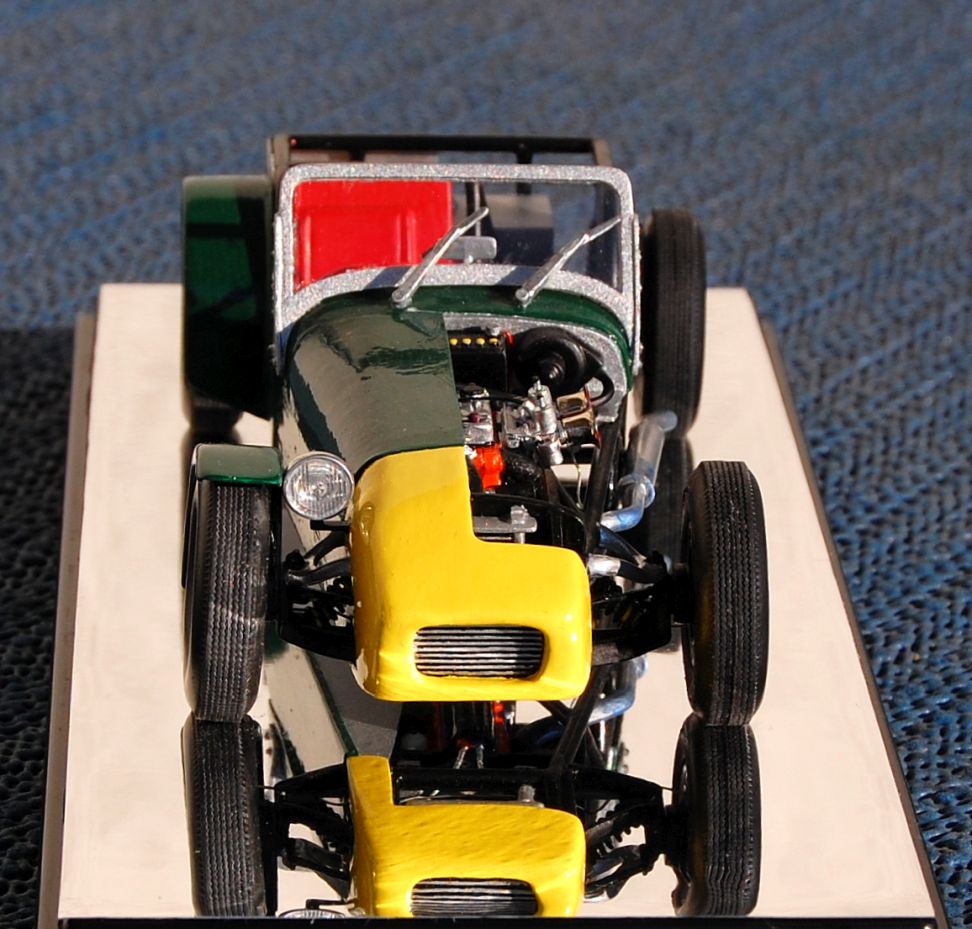
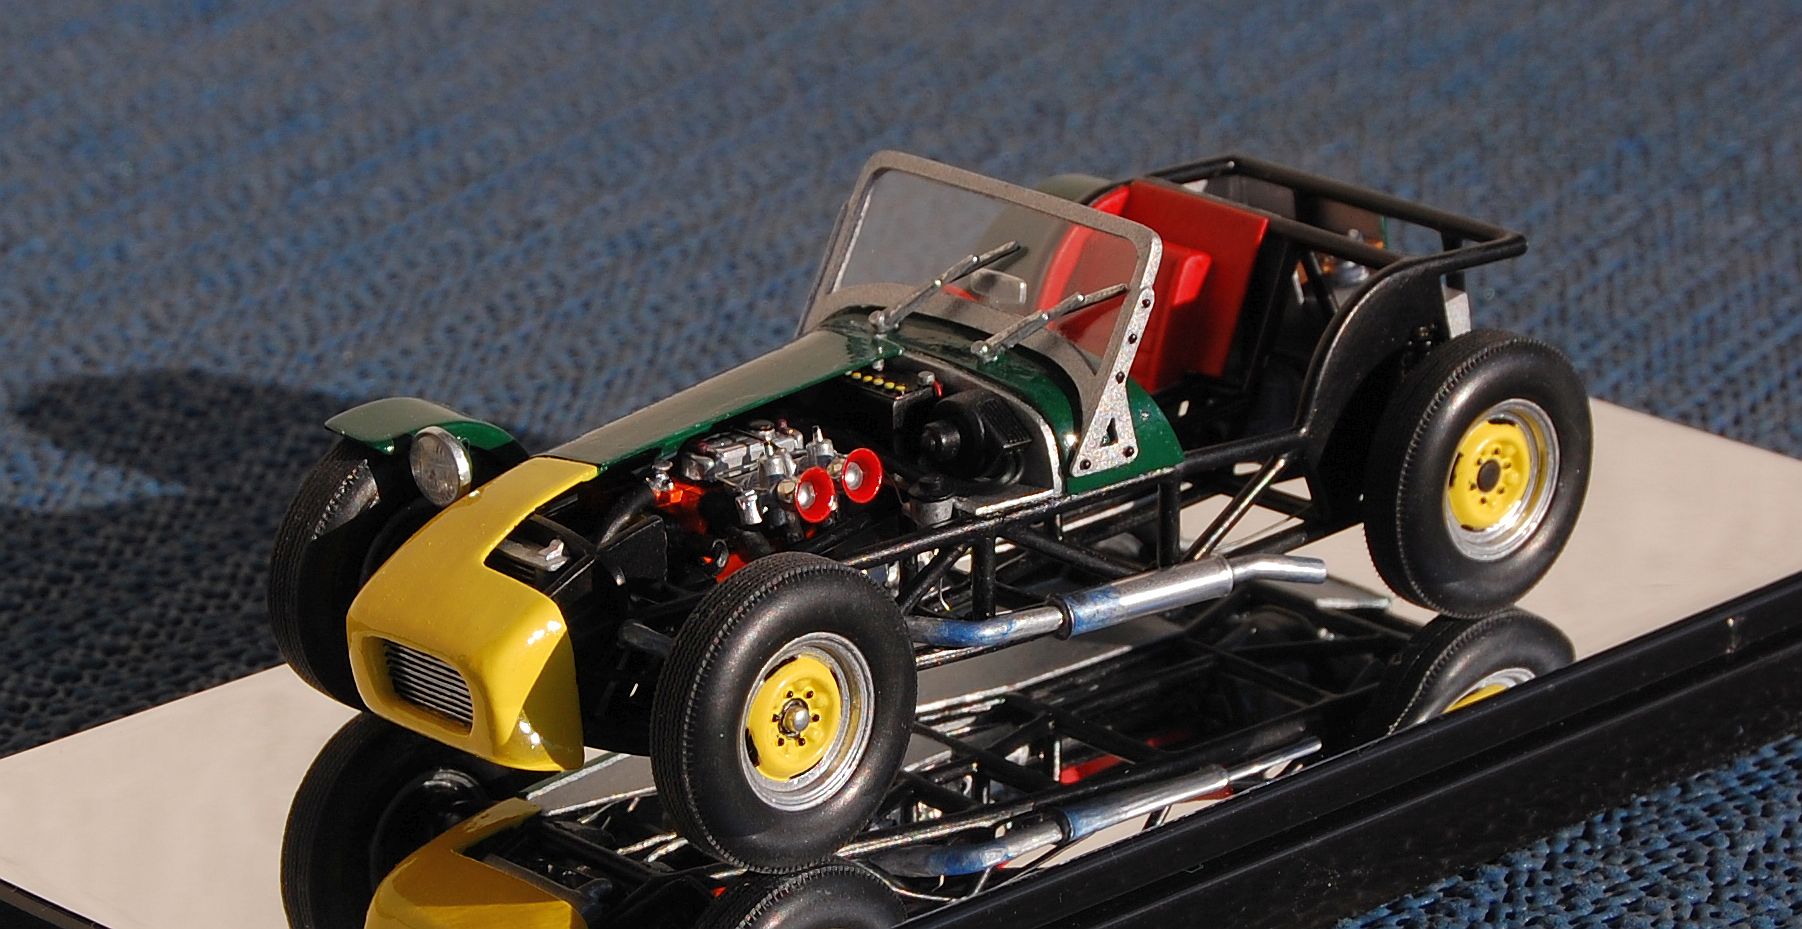
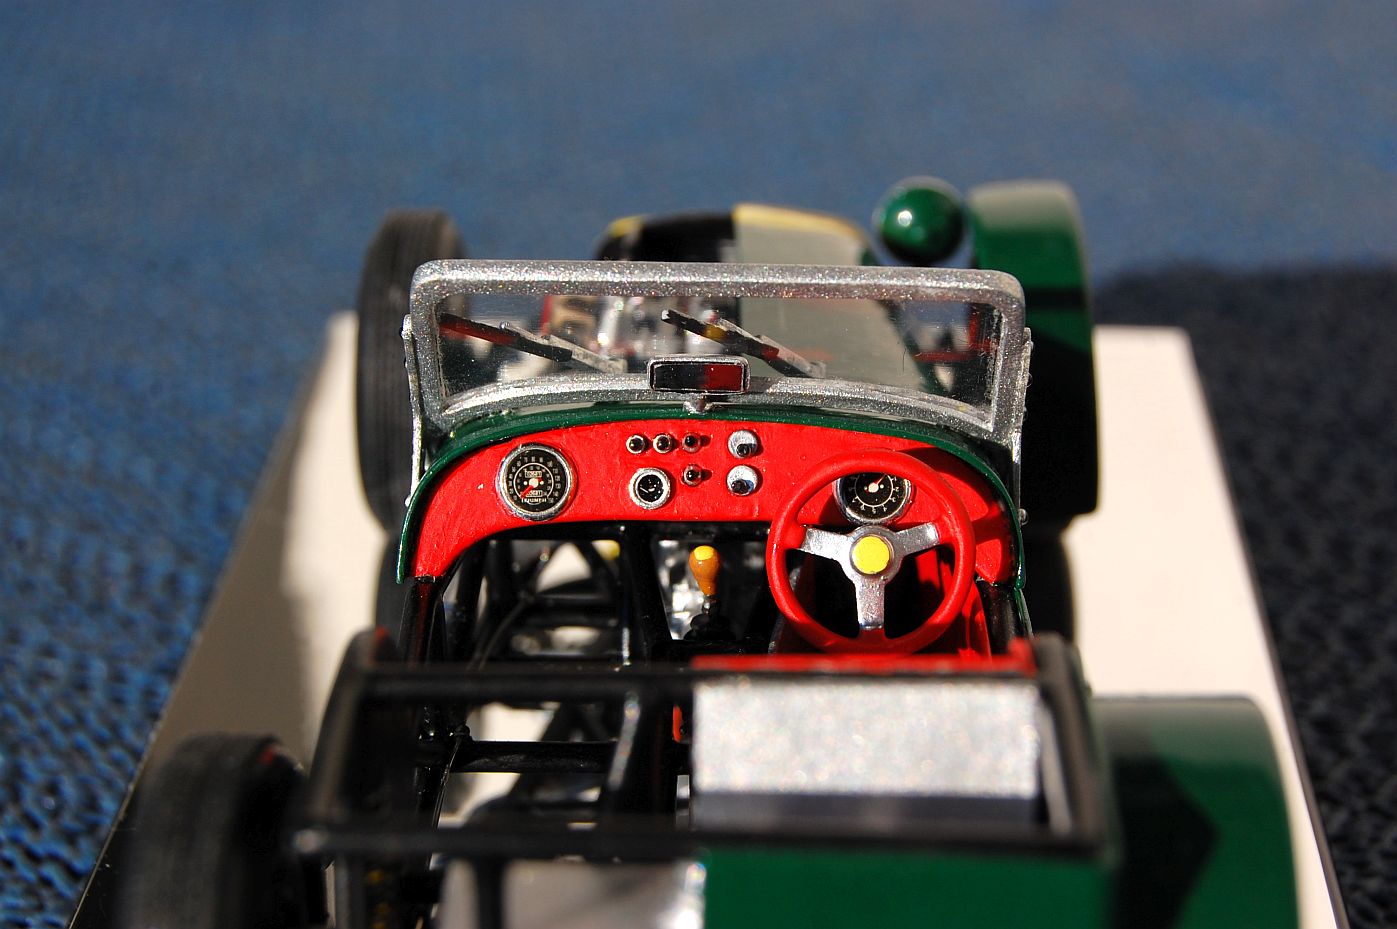
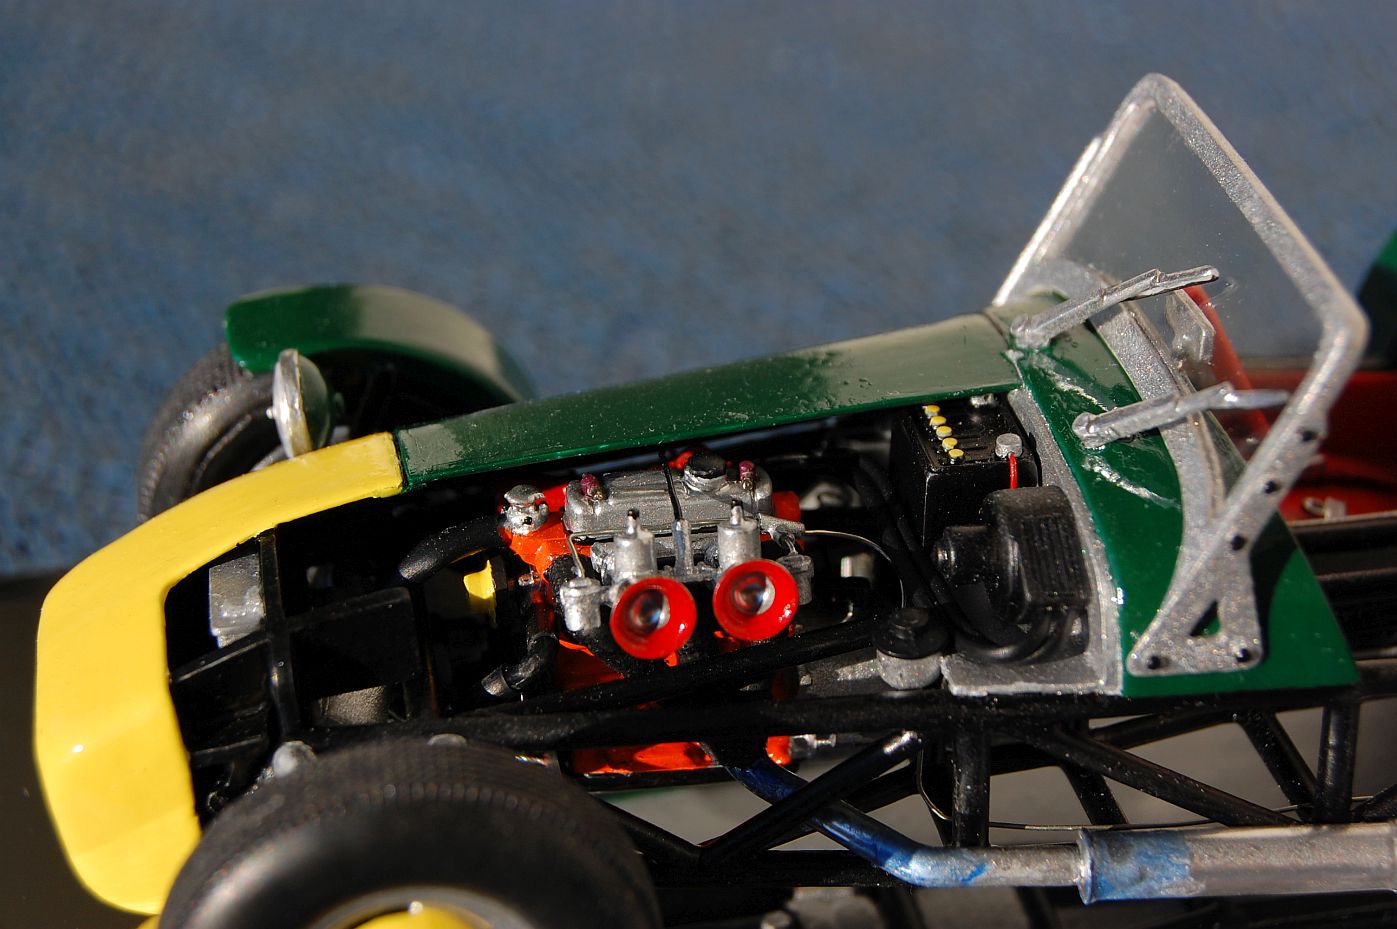
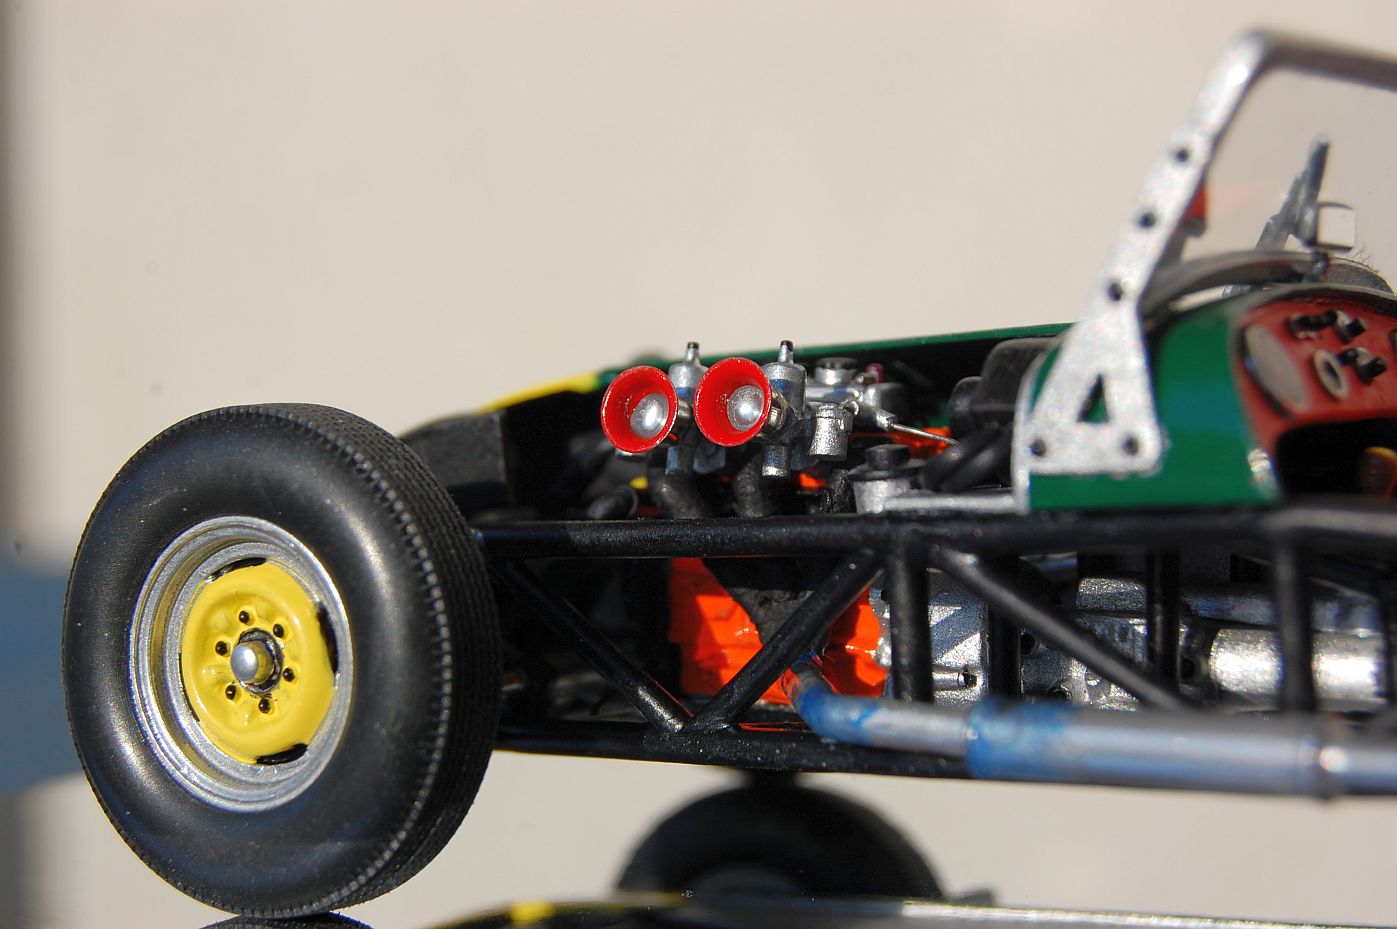
Finally i managed to shoot some outdoor pics in the sun. For all who are interested in the story behind this build, just check out my WIP: Lotus Seven Replica - diary of a build
- 2 replies
-
- scratch built
- cutaway
-
(and 1 more)
Tagged with:
-
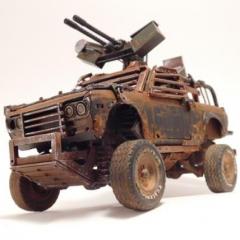
It's been a few years since my last post apocalypse vehicle. I had originally built this model back in the early 90's. It was sitting in a box in my basement for the past 20 years. It's been repurposed into a post apocalypse recon buggy. The engine is from a Cadillac El Dorado kit that was in the same box in the basement. Might as well use it! The engine cover is from a Peterbilt semi. I had 5 wheels and I really wanted the spare to be mounted and visible. It sticks through the hood next to the intake that cools the 50 caliber. The gas tank is behind the passenger seat. I got the 50 caliber guns from Shapeways a few years ago. It came with 2 sets of dual machine guns. This was the 1st time trying to weather seats to look torn. Thanks for looking!
-
Here's a follow up to a 37 Chevy Jet Rod I made and posted on these forums over a year ago. I don't even know what to call it....Steampunk, meets rat rod, meets nostalgic race car. It'll be dirty and used. I can have fun with that. Still in the early stages. Here's some of the mock up photos. Sorry for the bad pics.. I imagined some hanging hydraulic lines and fuel lines from the bottom of the vehicle. I thought by adding the 2 pipes out of the "passenger" side would help with the asymmetry, as well as give it some nostalgia.
- 65 replies
-
- scratch built
- hover car
-
(and 2 more)
Tagged with:
-
This was my senior year of High School 1979 drafting design project. I drew it, built it from sheet plastic and plastic-wood with squadron green putty. There are a few kit parts, tires/wheels, interior, engine from an old F1 racer but other than that, this one is all my design and build. I was very lucky to have it survive nearly 40-years and still stay together.
-
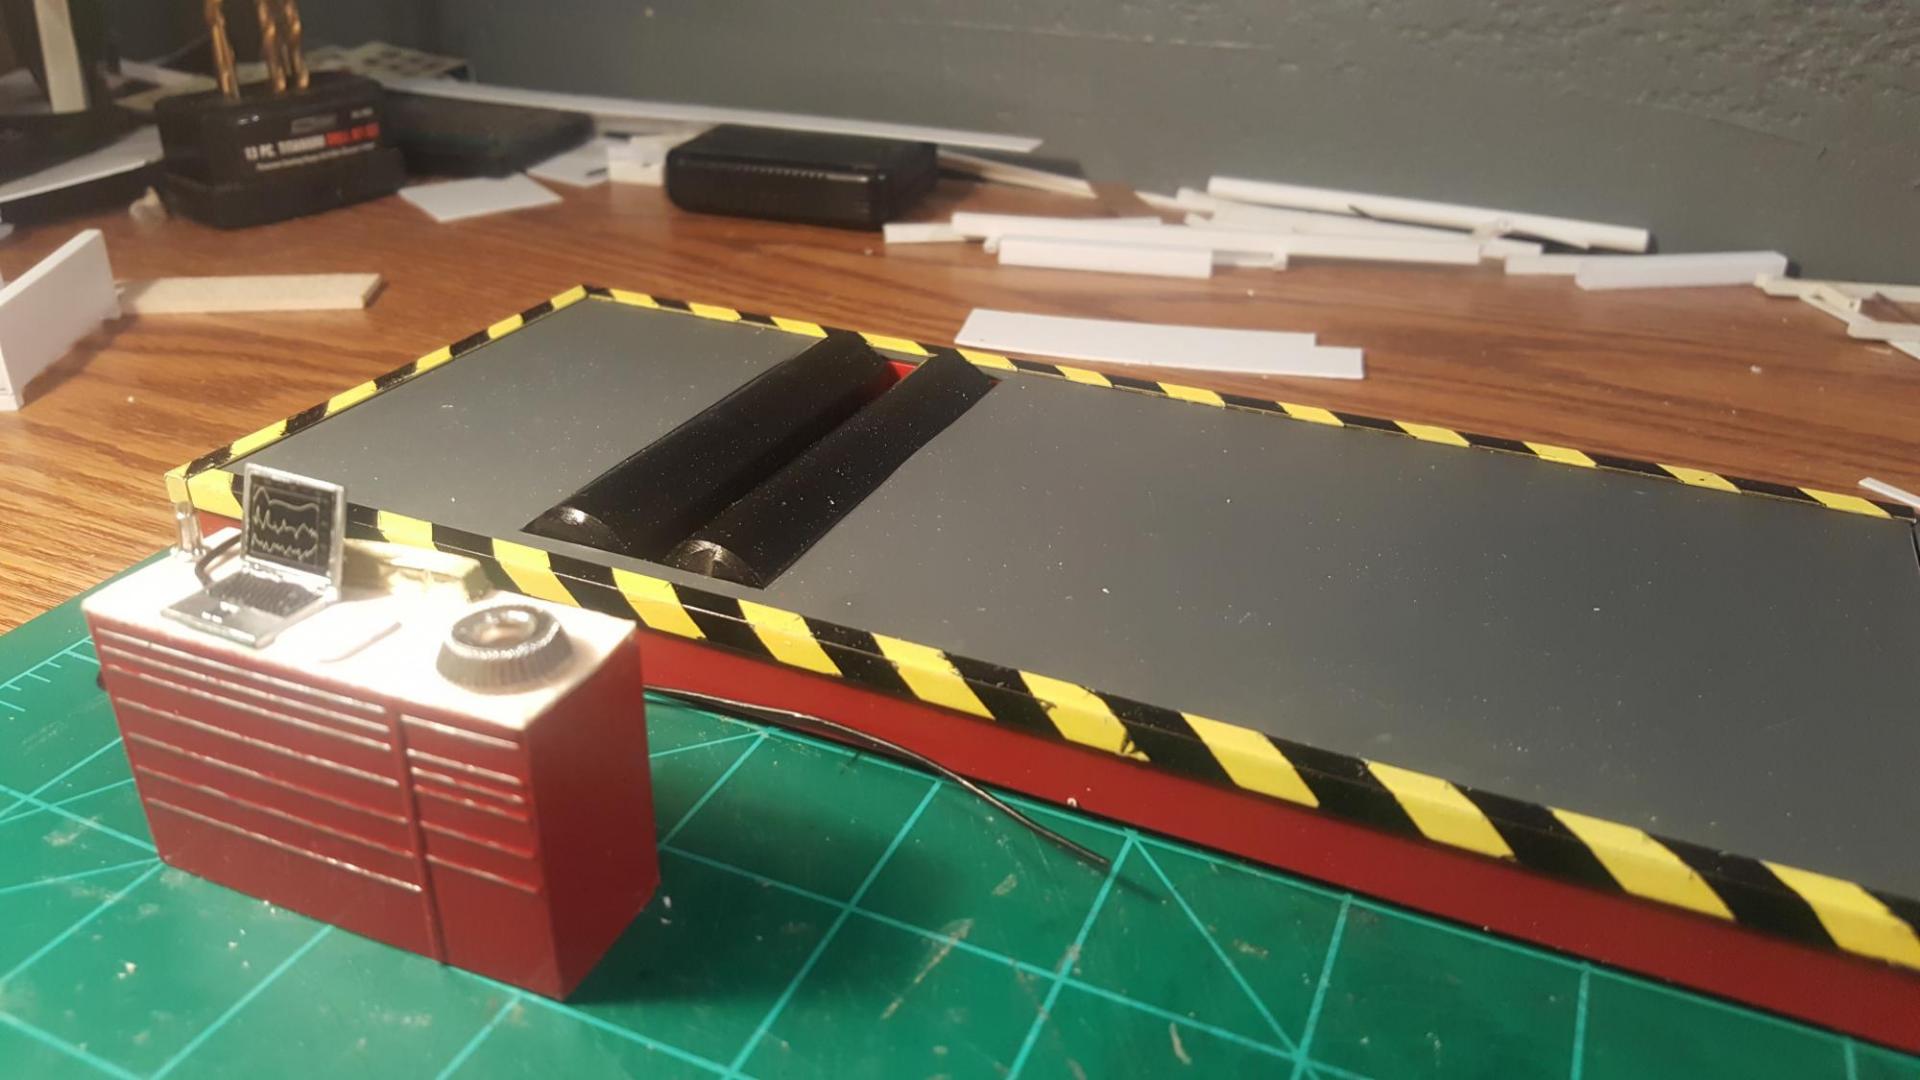
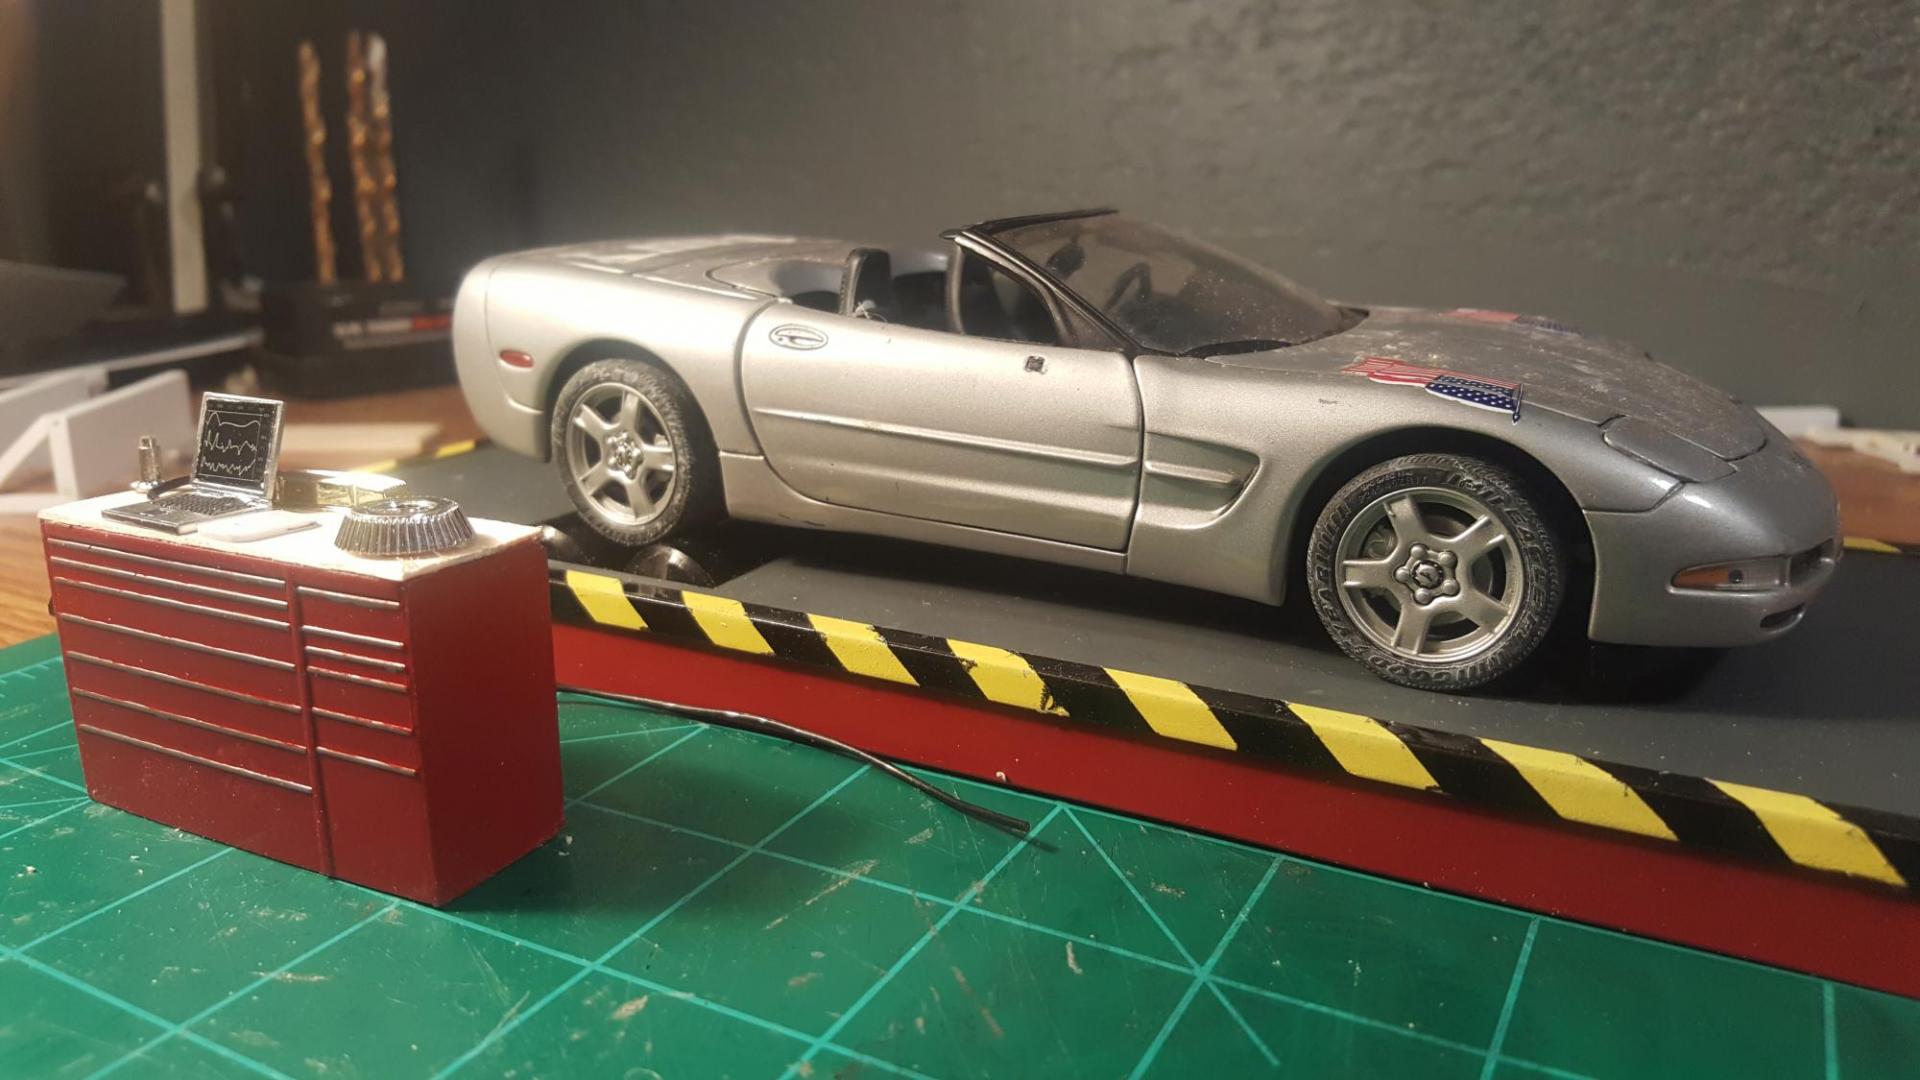
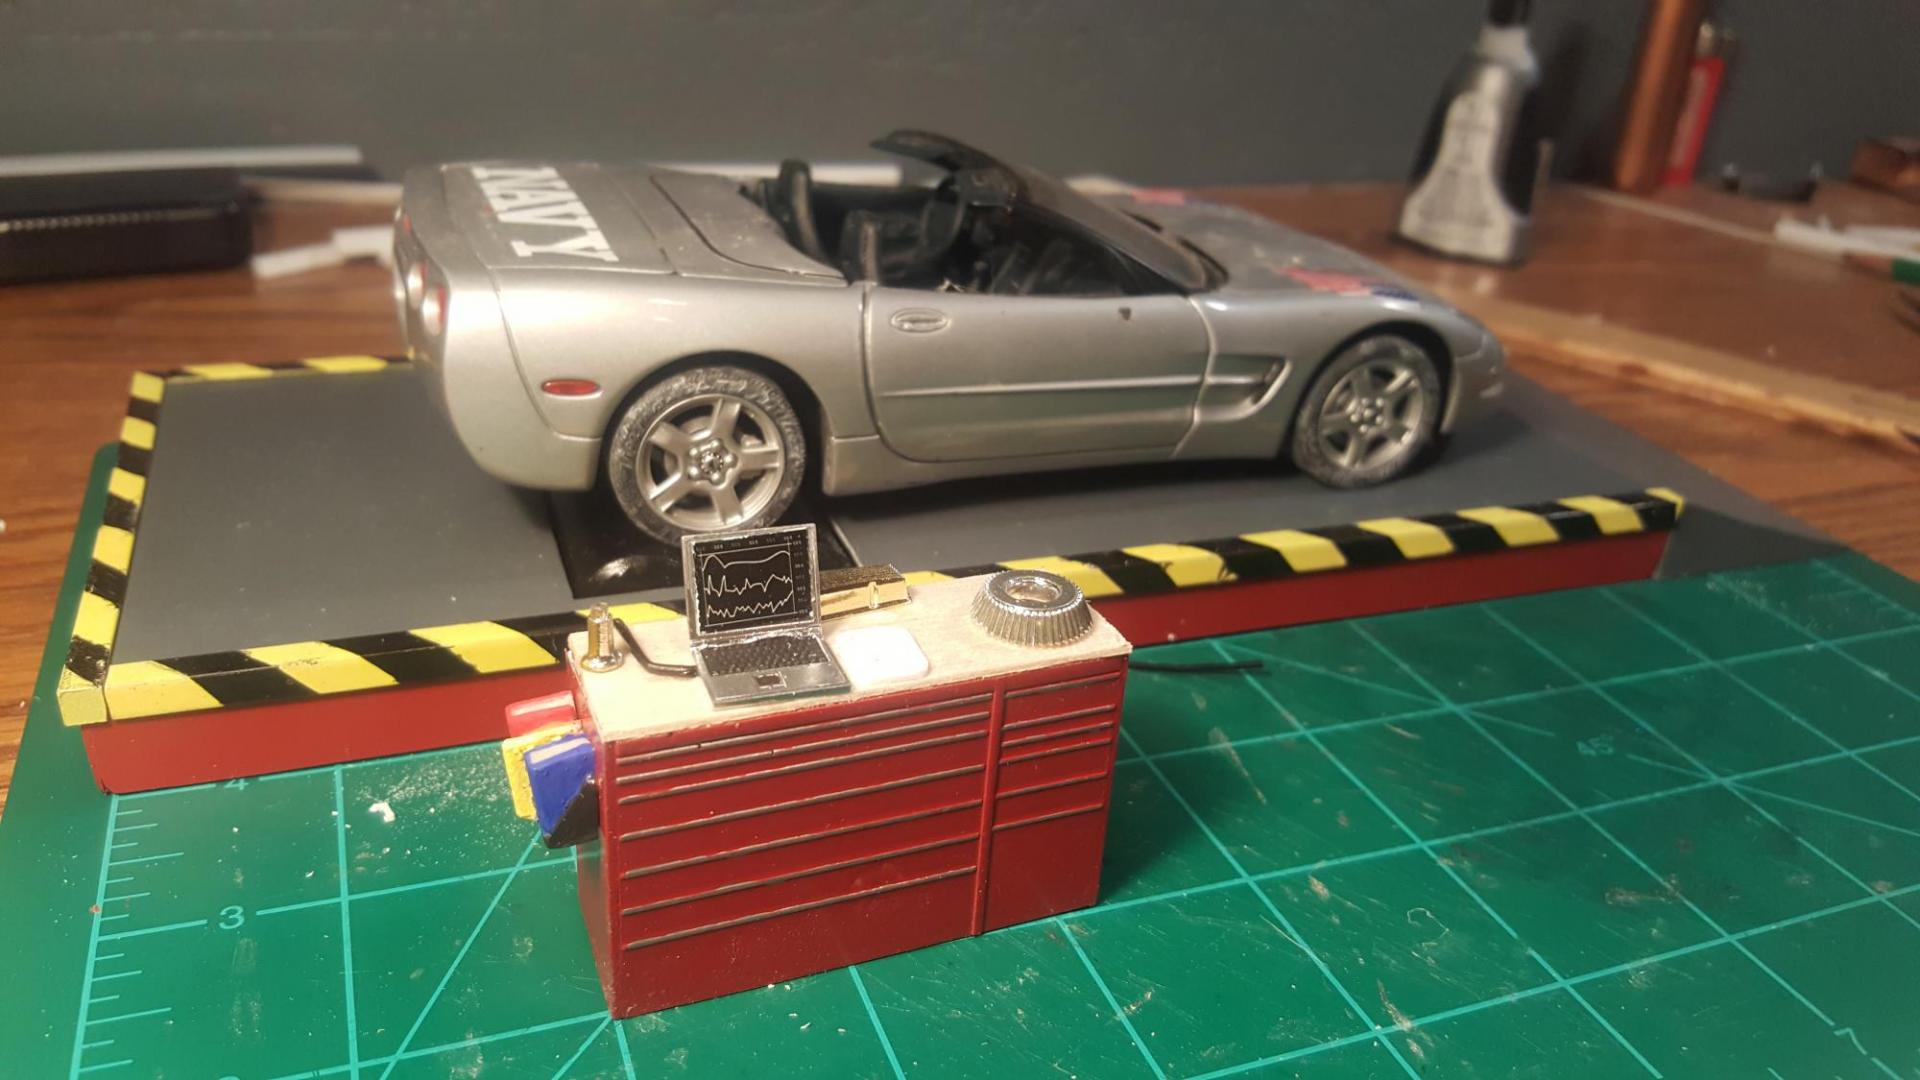
A friend asked me to build him a Dyno tester to display a funny car he is building. He wanted it to show it being tested as if he was working on the motor. I am not quite done as there is no sending units for which the computer can take readings from. They are outside drying and will be installed tomorrow. Then I will be able to connect the wire from the lap top. Any thoughts ? I also have to touch up the black and yellow caution paint as I had a little trouble with the tape lines. No biggie !
-
Oh yes i went there after all these american vehicles i'm scratch building an import pickup. I honestly think that stakes work for it too. what do y'all think? Now this is my first scratch build attempt so don't expect perfection. It is in the very early stages of being built, what im doing is tracing the body panels onto thin plastic then cutting em out and tracing those onto thicker plastic then cutting them out, i know there will be some freehand panels that cant be made tracing. It will scale out to be 1/25 maybe a little smaller but should be close enough.
- 8 replies
-
- scratch built
- scratch
-
(and 2 more)
Tagged with:
-
I have a hard time resisting the urge to buy kits that I built as a kid. The AMT double T kit is one of them. I saw this one on a vendors table recently and had to grab it. Unfortunately, it only had the parts for the stock Model T. That's cool. I'll build it. This will be the pickup version and will also include a wrecker boom. Here's a mock up of the basic parts: Like many other kits, the rear axle is open on the top. On most models however, the axle is tight up against the underside of the car, so you'd never notice. On a Model T, the top of the axle is highly visible. Some plastic tube was cut in half and used to cover up the gap. Some scraps were also added on the top of the differential housing and used to fill in the gaps in the brake backing plates. The axle is not done yet, but starting to look better. Since this truck will support a wrecker boom, I scratch built some heavy duty tires using slices of PVC. I'm using basswood for the bed floor. The wood is stained with Minwax Provincial # 211. This will eventually get a clear coat. You don't usually see the doors opened up on the Model T roadster body. They're so small. The real Model T's I've seen have a passenger side door only. This one will have that door opened up. With such a small door, the challenge will be to make hinges small enough to look in scale. These will be my smallest hinges yet.
-
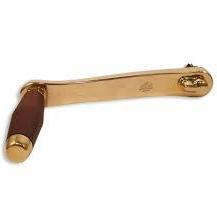
i am trying to post a link to my latest"on the workbench"project,a 1/25th scale 1925 Ford model TT wrecker.The link is in the topic title.
- 19 replies
-
I am starting a new topic today in the on my work bench forum.I am building a 1/25th scale 1925 Model TT wooden cab wrecker truck with a circa 1915 Weaver Auto Crane 3 ton hand crank boom assembly.Here is the link. http://public.fotki.com/misternnk.1925-ford-model-tt
- 3 replies
-
- wooden cab
- model T
-
(and 2 more)
Tagged with:
-
This a 30 photo post on the creation of my first attempt at building a diorama.This is a photo op for photographing my model car projects.It is replicating the two story back side of a fictious brick 1881 factory building.http://public.fotki.com/misterNNL/acme-gear-and-steam-2/
- 10 replies
-
- scratch built
- foamboard bricks
-
(and 2 more)
Tagged with:
-
Here's the newly improved version of my scratch built go-kart. I put it under glass a few weeks ago, but some good eyes caught the lack of a fuel tank. I added that as well as numerous other details. Very worth while, as the added detail has really brought this thing alive. So here's the completed model: and finally, one more parked next to my new fence...
- 22 replies
-
Here's my entry for the Revell/Gearz contest. At lease I hope I'm entered. There's no acknowledgement after you press submit. Paint is Tamiya Purple and Racing White; my first two-color paint job.
- 10 replies
-
- 32 Ford Sedan
- flathead
- (and 7 more)



.jpg.bce249e183674192c2cb1040b2717d0a.jpg)
.jpg.857599cc7f2f1ecda526f8355f31772a.jpg)
.jpg.501e6ccf60baaa8931c628f3cf923e01.jpg)
.jpg.001502135c4ae042d285b5111cc80a8b.jpg)
