Moparman18064
-
Posts
228 -
Joined
-
Last visited


Moparman18064's Achievements
MCM Friend (4/6)
-

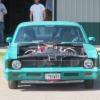
’72 Dodge Demon Drag Racer 1/25 scale
Moparman18064 replied to AmericanMuscleFan's topic in WIP: Drag Racing Models
Phenomenal! -
What a cool concept, something I never thought I would see!
-
Roger, on my 72 Charger kit bash, the problem was moving the wheel back to fit better in wheel well. I tried flipping side to side and turning upside down, very little difference, as pin for wheel attachment was much closer to centered on spindle. I ended up cutting .020 flat stock, butting it up against the flat pad where existing pin was, then cut a groove behind it in spindle to brace it with a slightly larger piece of .020 behind it for strength. I then cut off existing wheel attachment pin and made a new pin of same size(.080 I believe) and installed in new position.( I drilled and pinned it through the flat stock) I then smoothed everything out so it would only be noticed by pointing it out and wheel would clear properly. It may sound complicated, but it was easier than rebuilding upper and lower control arms or cutting a piece out of chassis. Since you are only looking for a ride height issue, this is why I suggest using the spindles from Charger kit if they will fit between the control arms properly. The difference in height by flipping control arm is not as much as the A body spindle in kit, you might get lucky, not having to go through what I did or remaking completely new spindles.
-
Ron Mancini's 68 L023 Dart #2
Moparman18064 replied to Scott Eriksen's topic in WIP: Drag Racing Models
Looking great Scott. Nice touches on the interior with the window straps, lock out,etc. -
’72 Dodge Demon Drag Racer 1/25 scale
Moparman18064 replied to AmericanMuscleFan's topic in WIP: Drag Racing Models
Do you sleep next to that machine Francis? You just keep us all in awe of the product you put into your builds. Are they going to have the Wilwood script on them too? It should be able to stop on that dime! -
Roger, Truly sorry about the news of your mother in law. If you have the 71 Charger kit, they might work, the difference is not as radical. They look similar besides that from what I remember when I did my 72
-
That is one thing I definitely can do. I used to paint cars for a living. If I didn’t have 3 different layers of paint, I would just polish it out and call it a done deal. It will probably need about 7 coats over all between sanding steps. I really get in to the fab work that you create. These are the parts that fascinate me. Your fab skills are amazing.
-
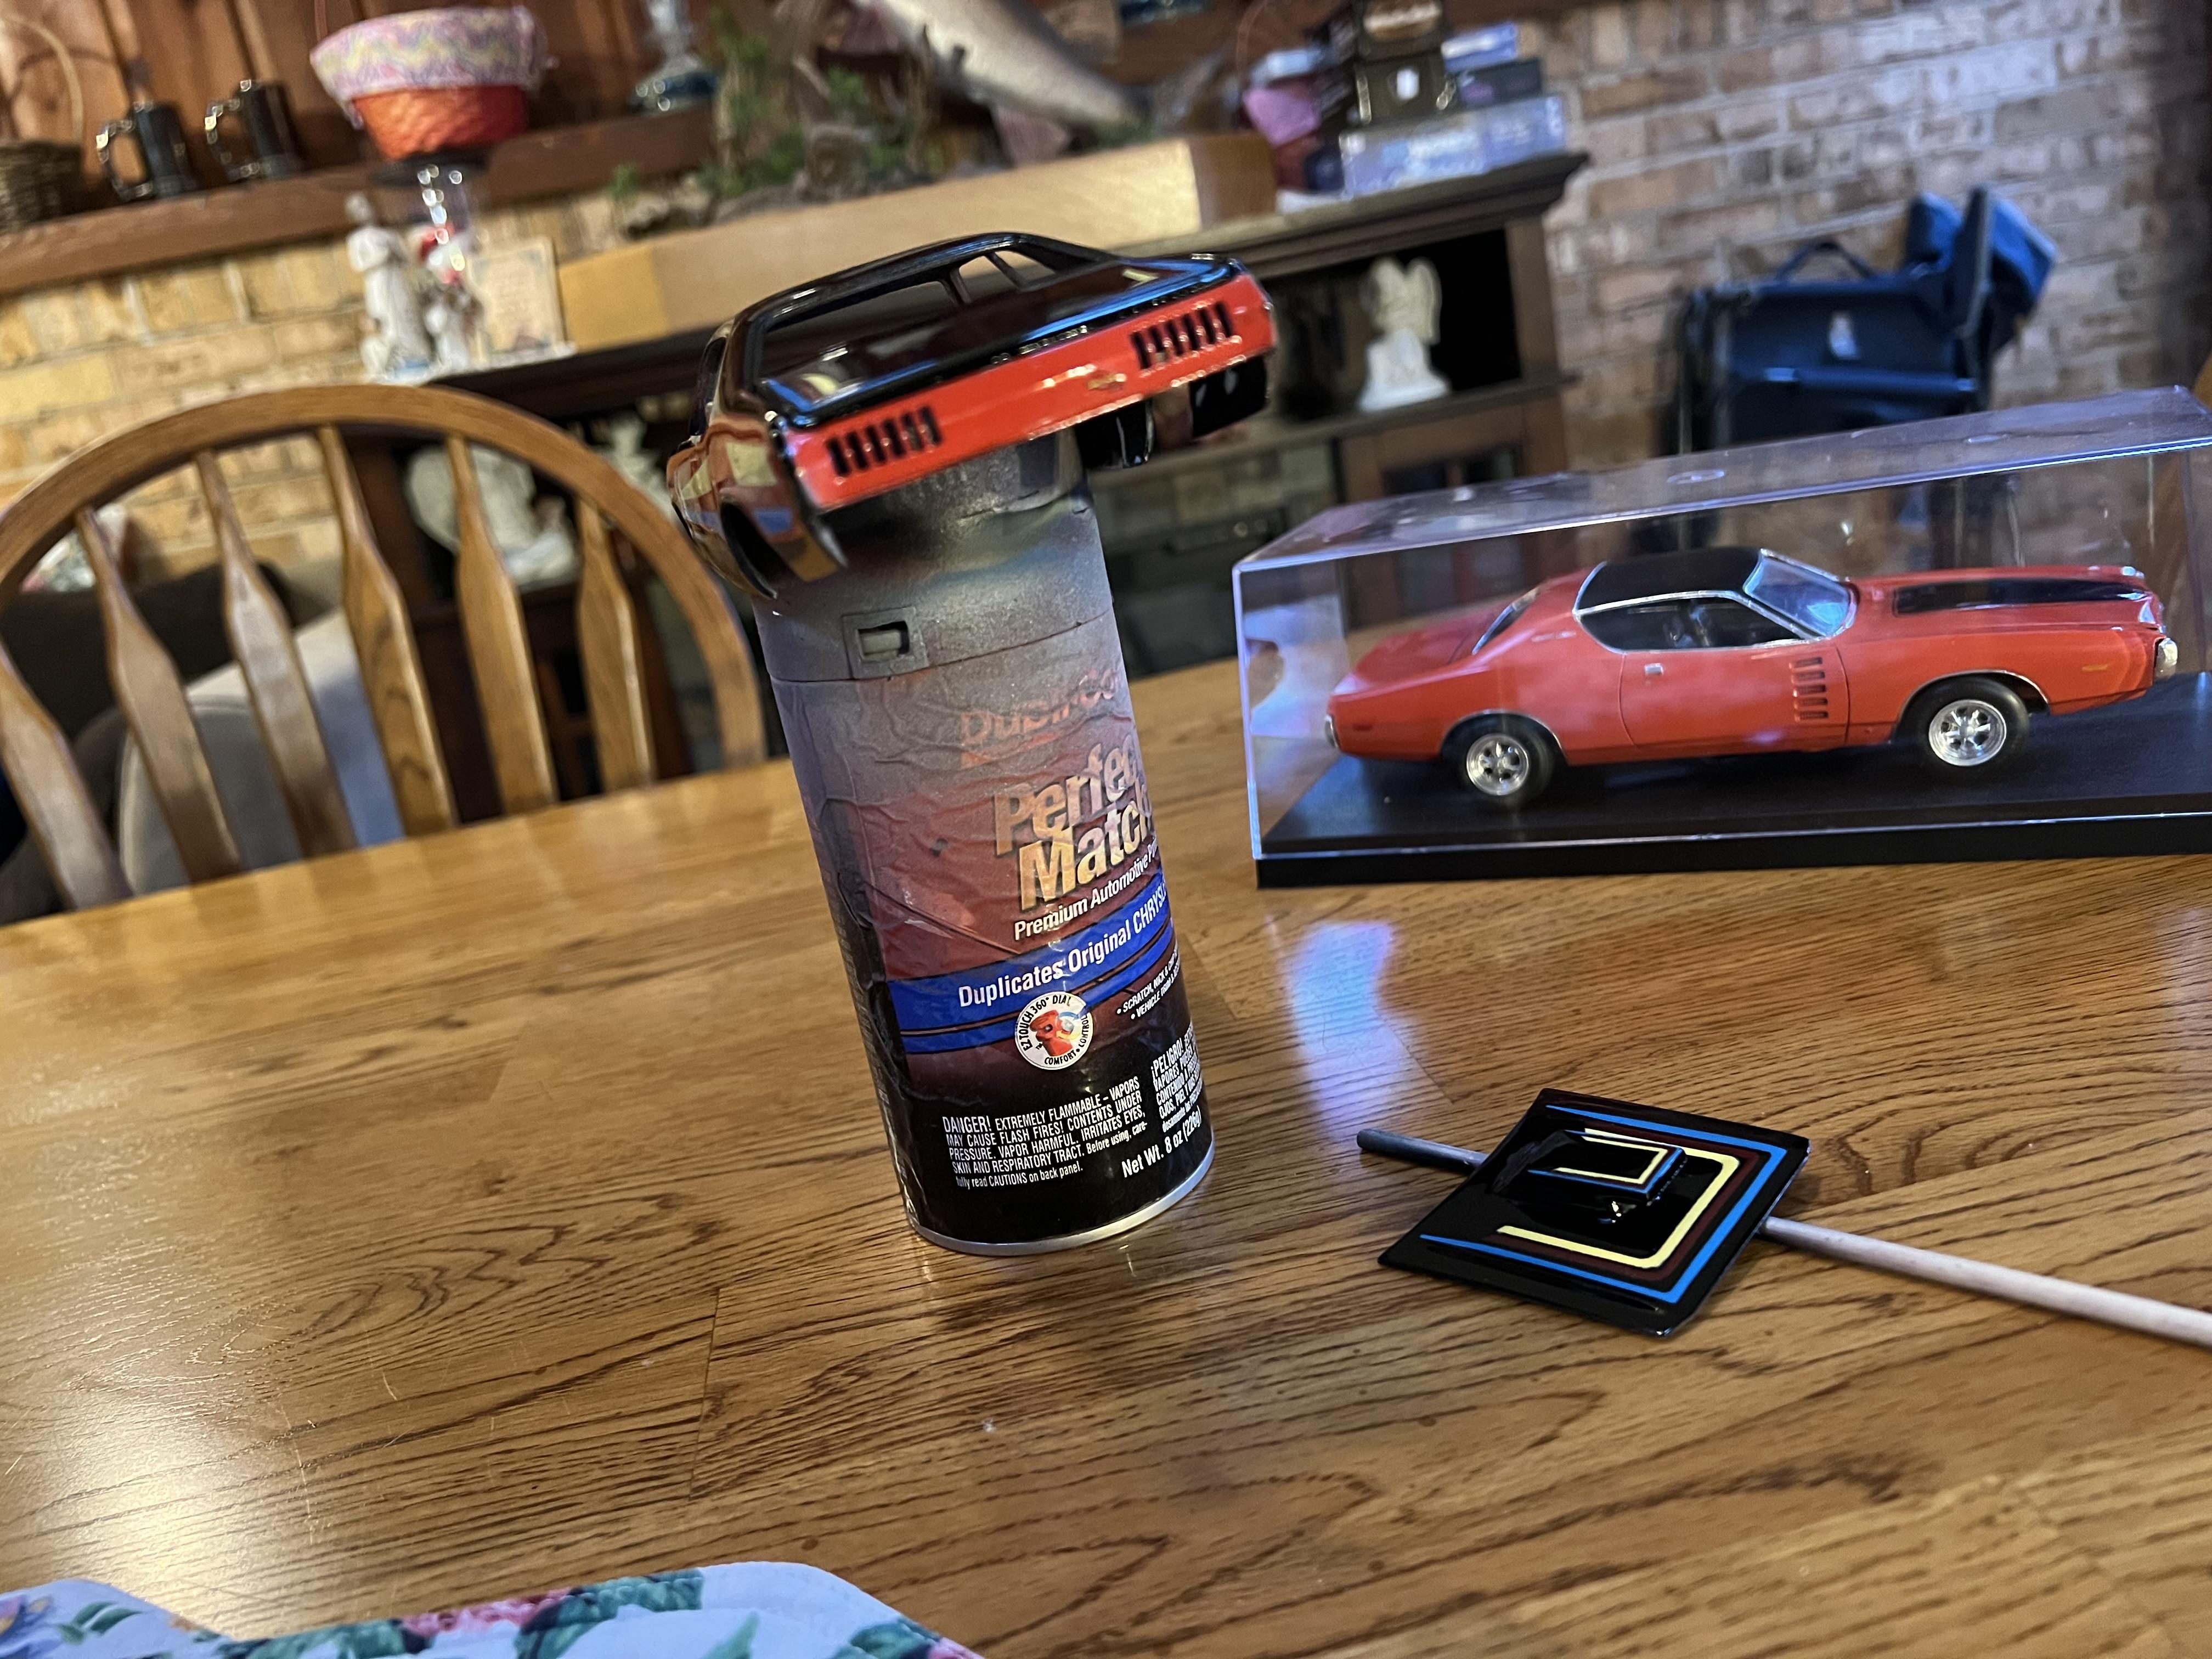
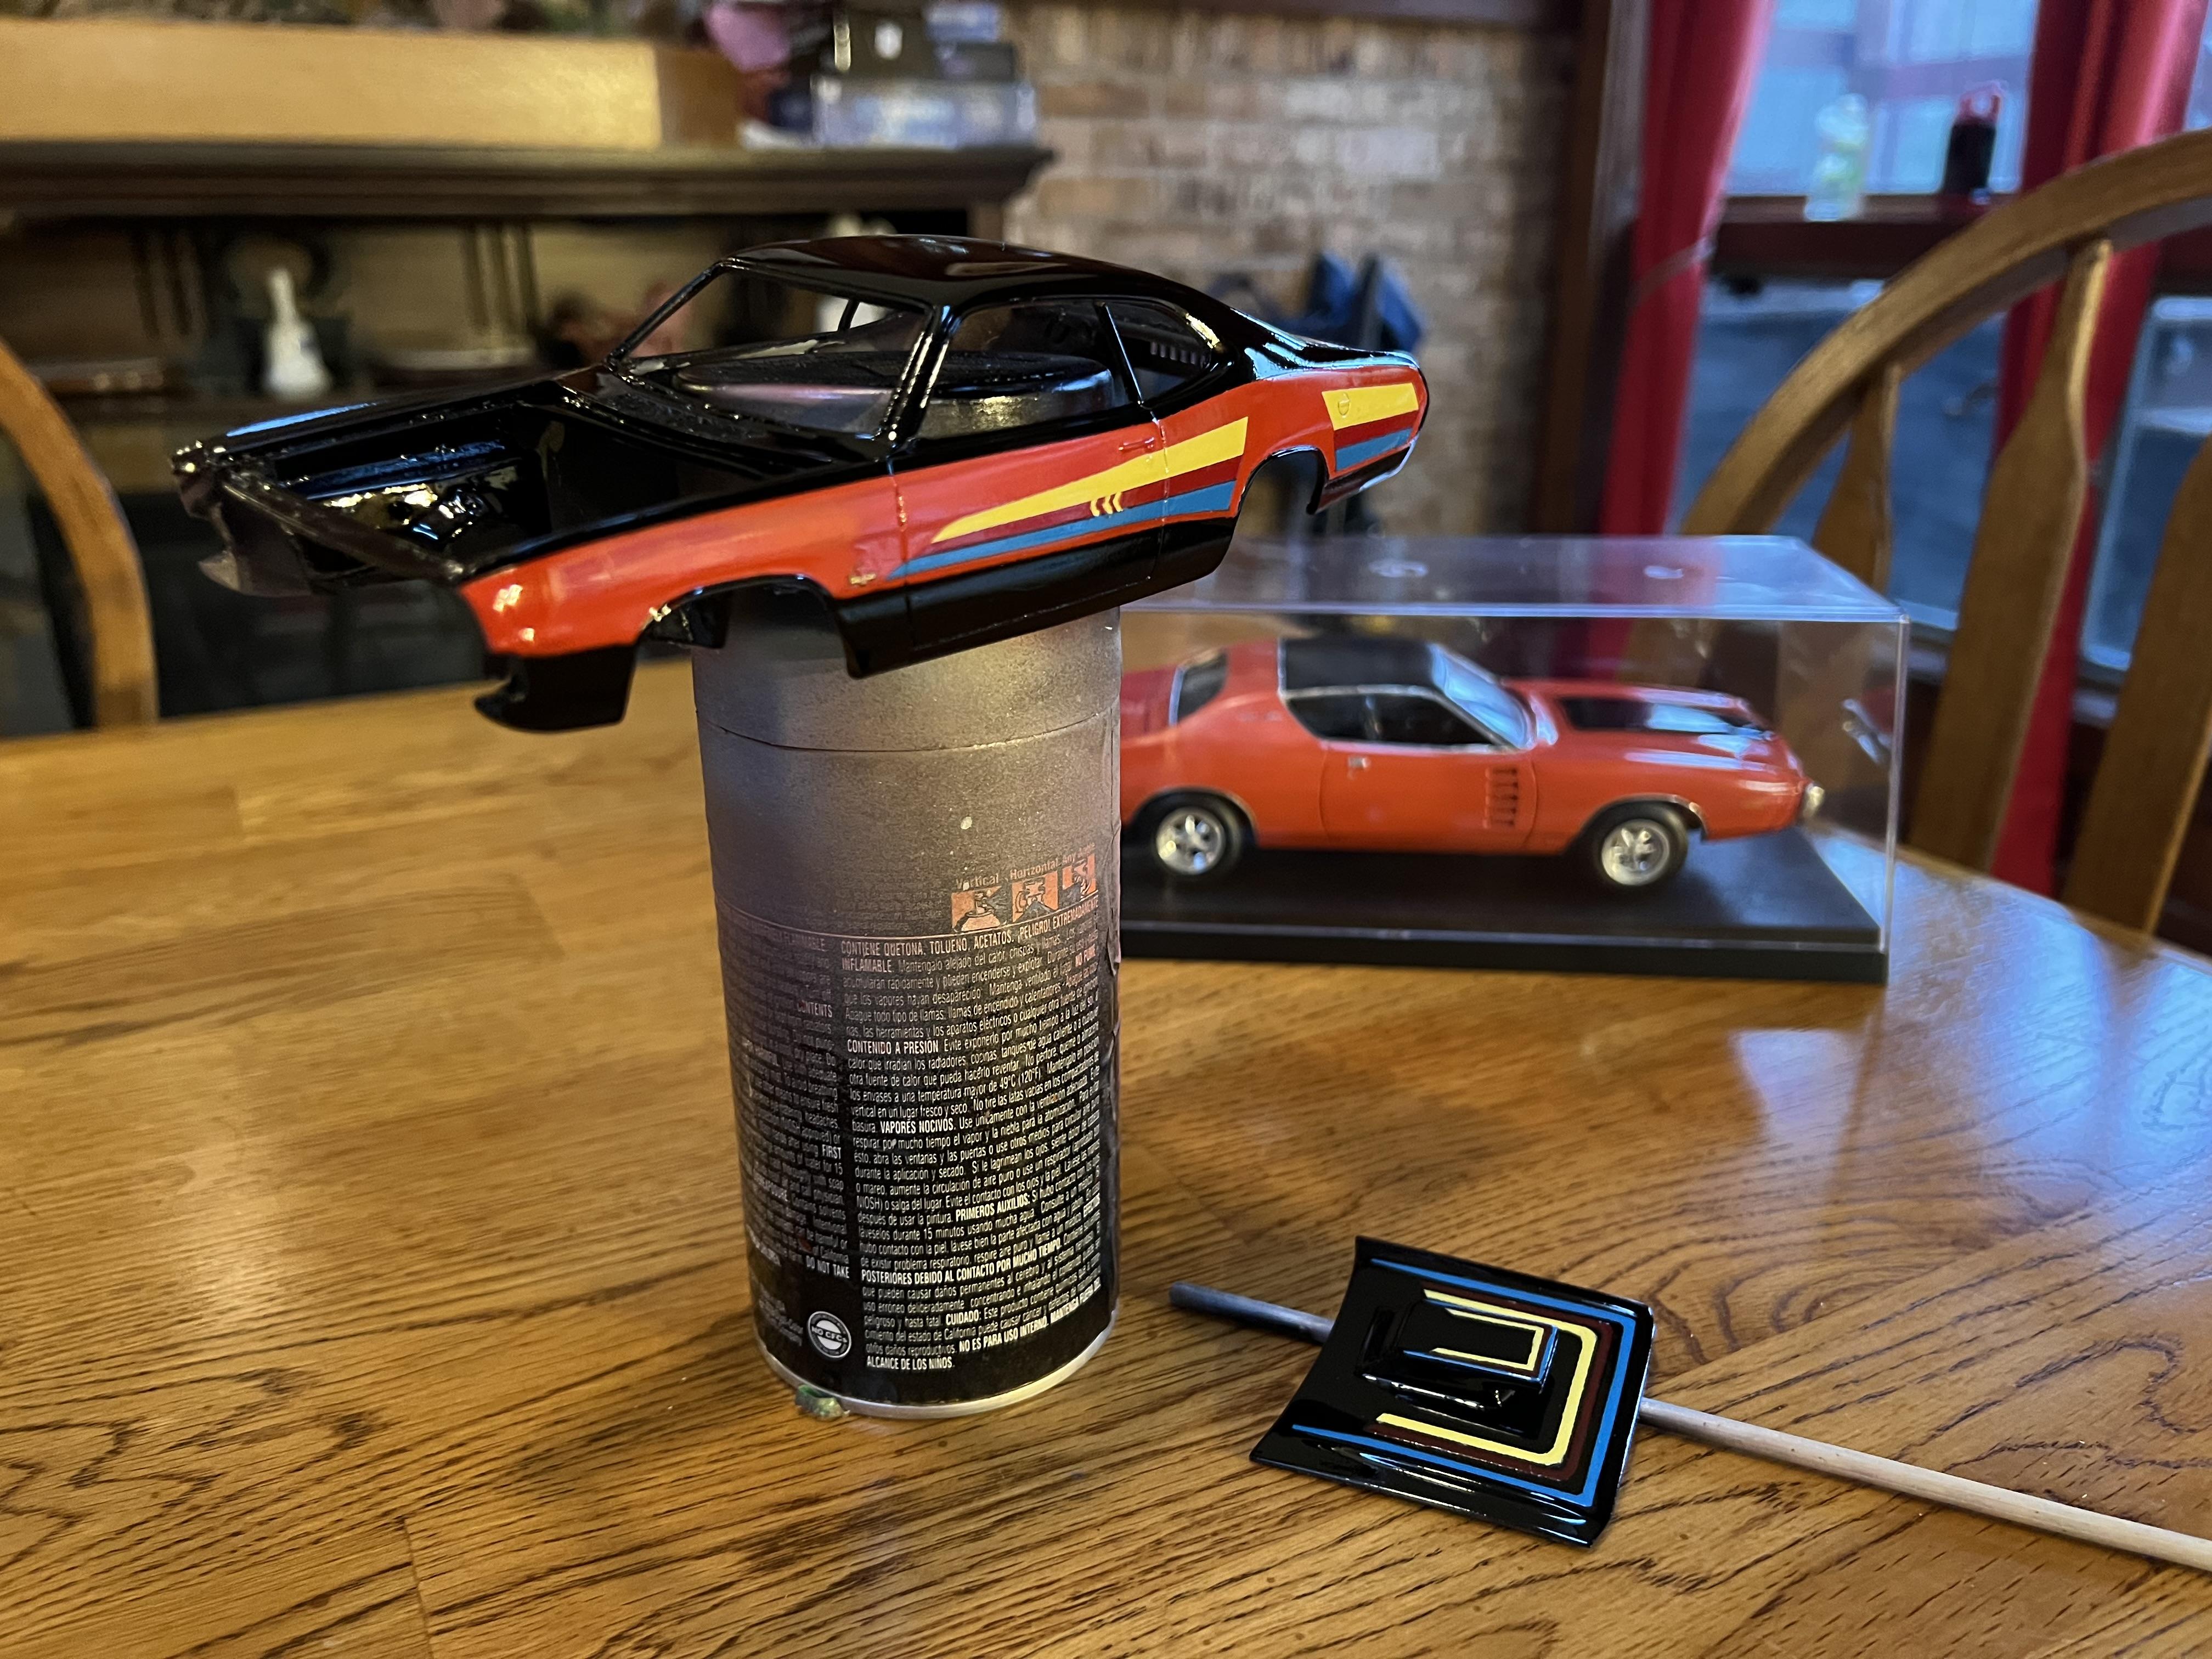
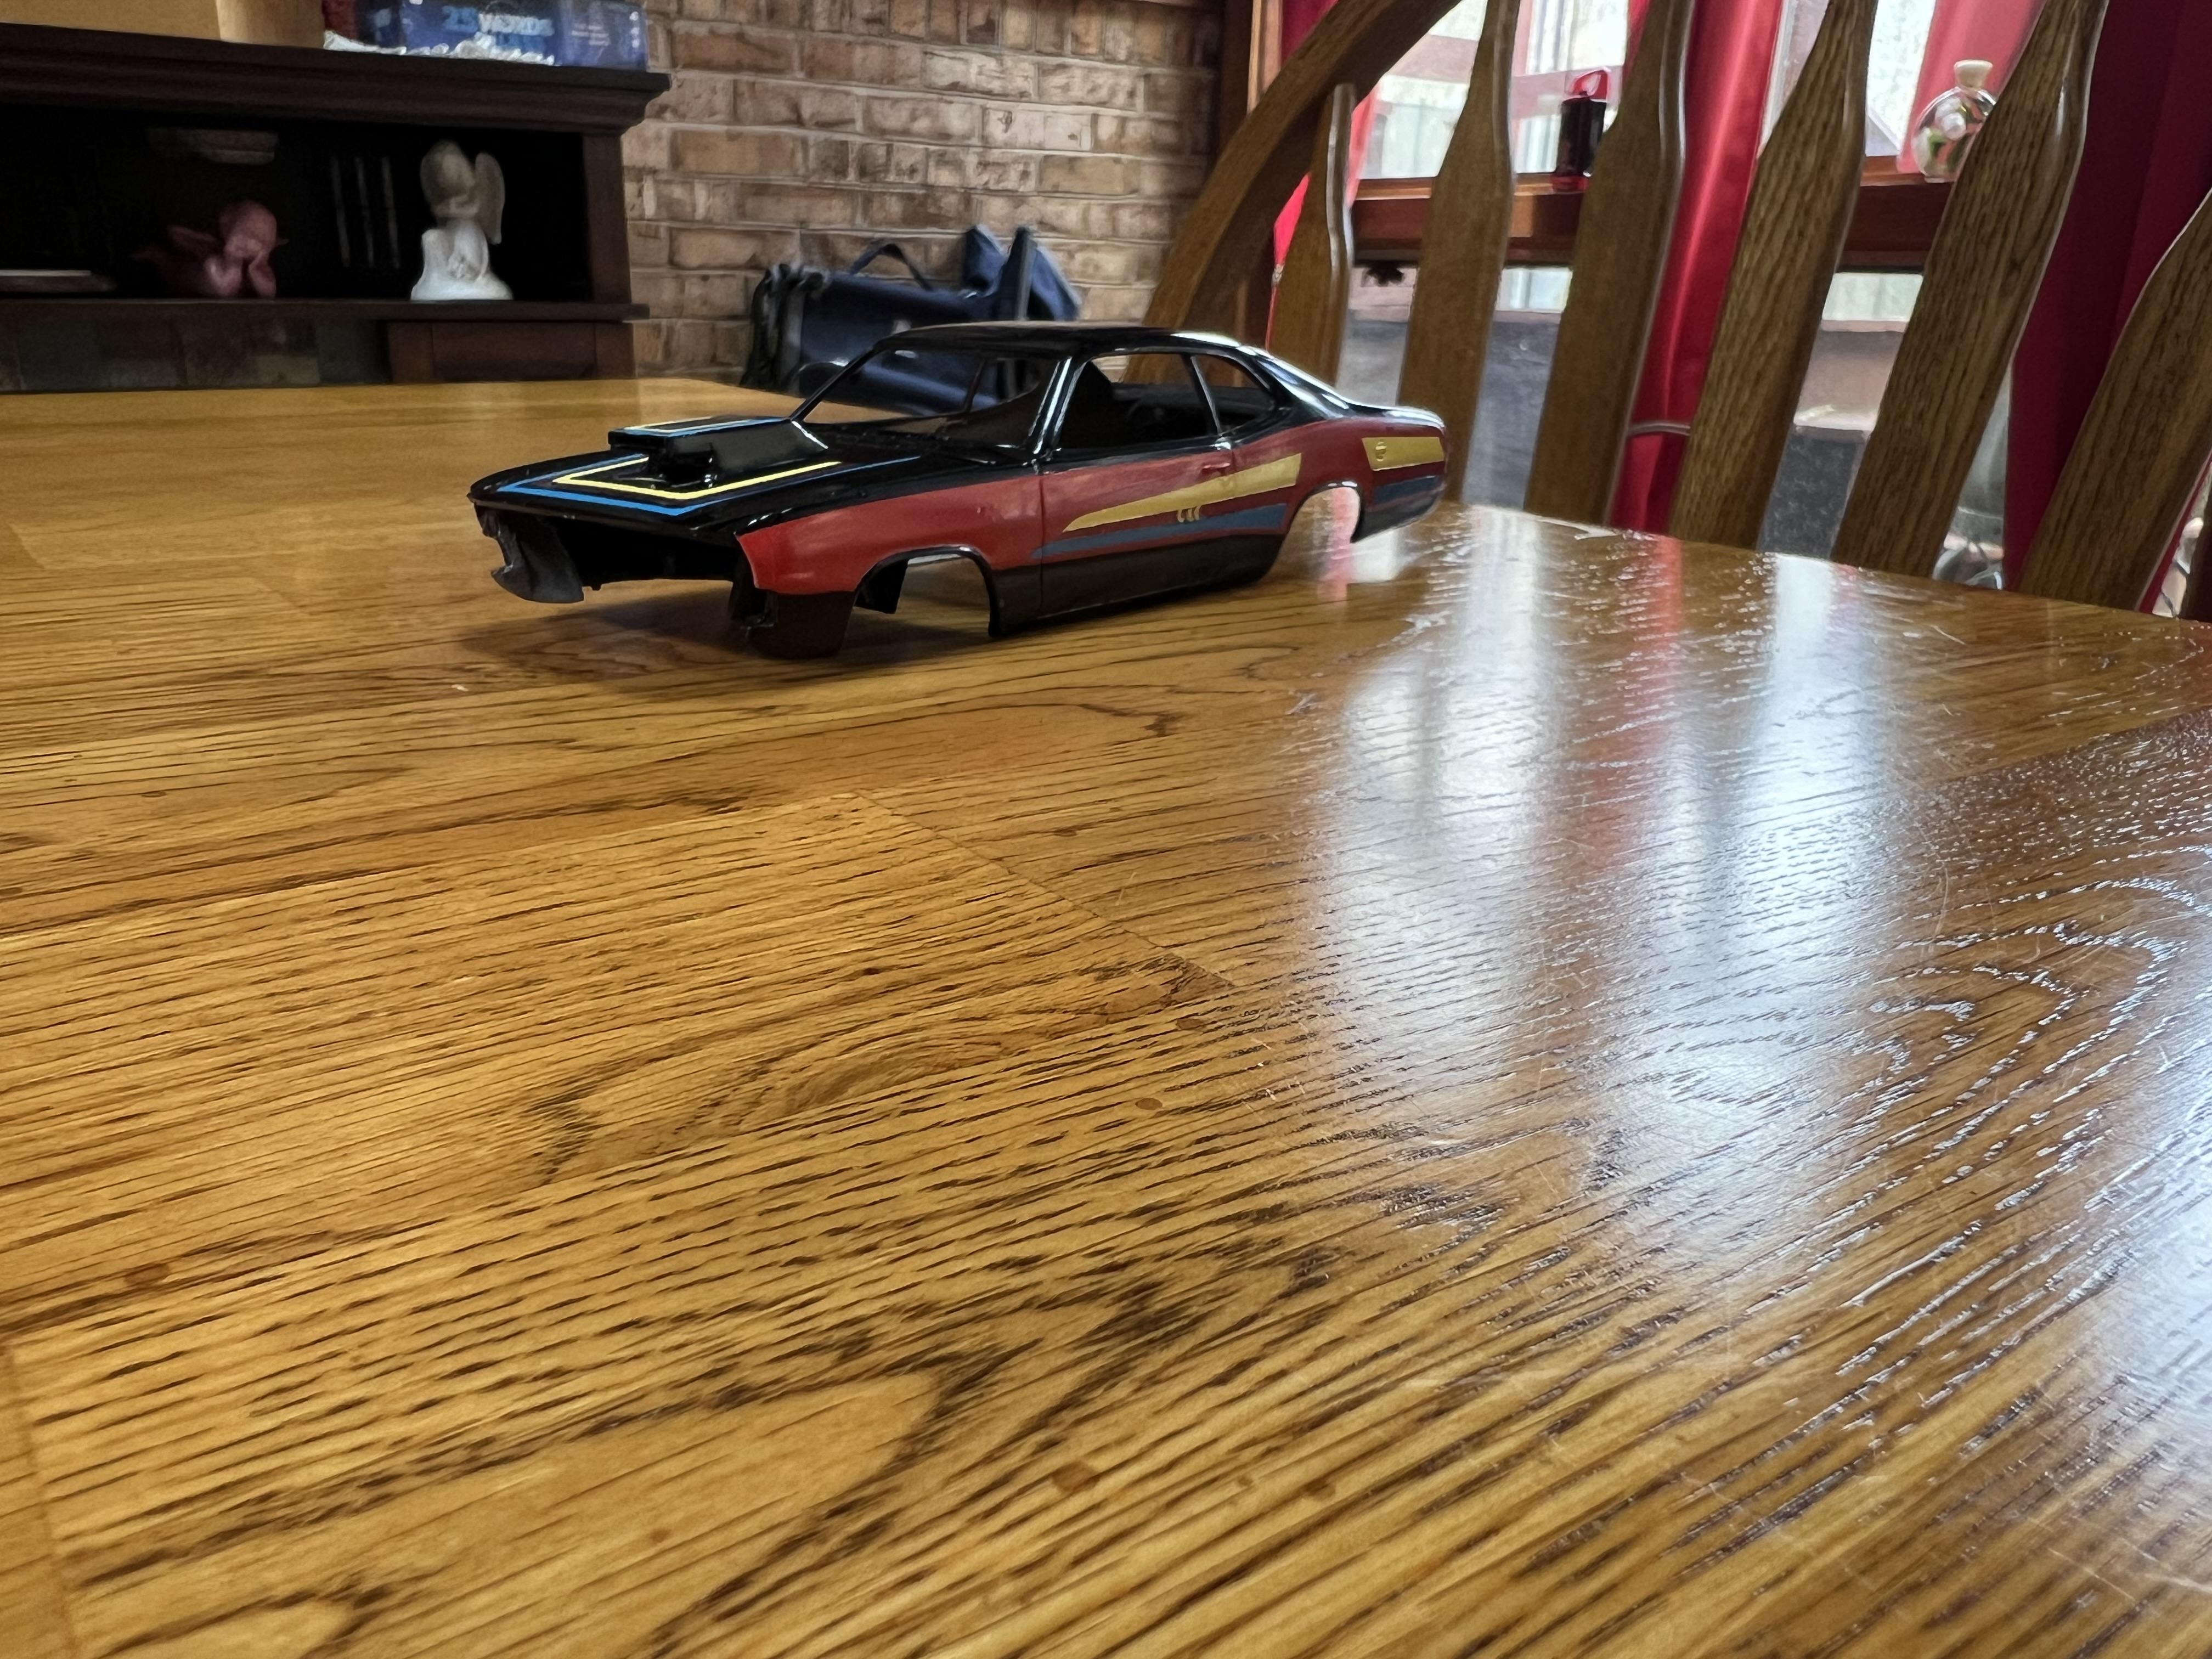
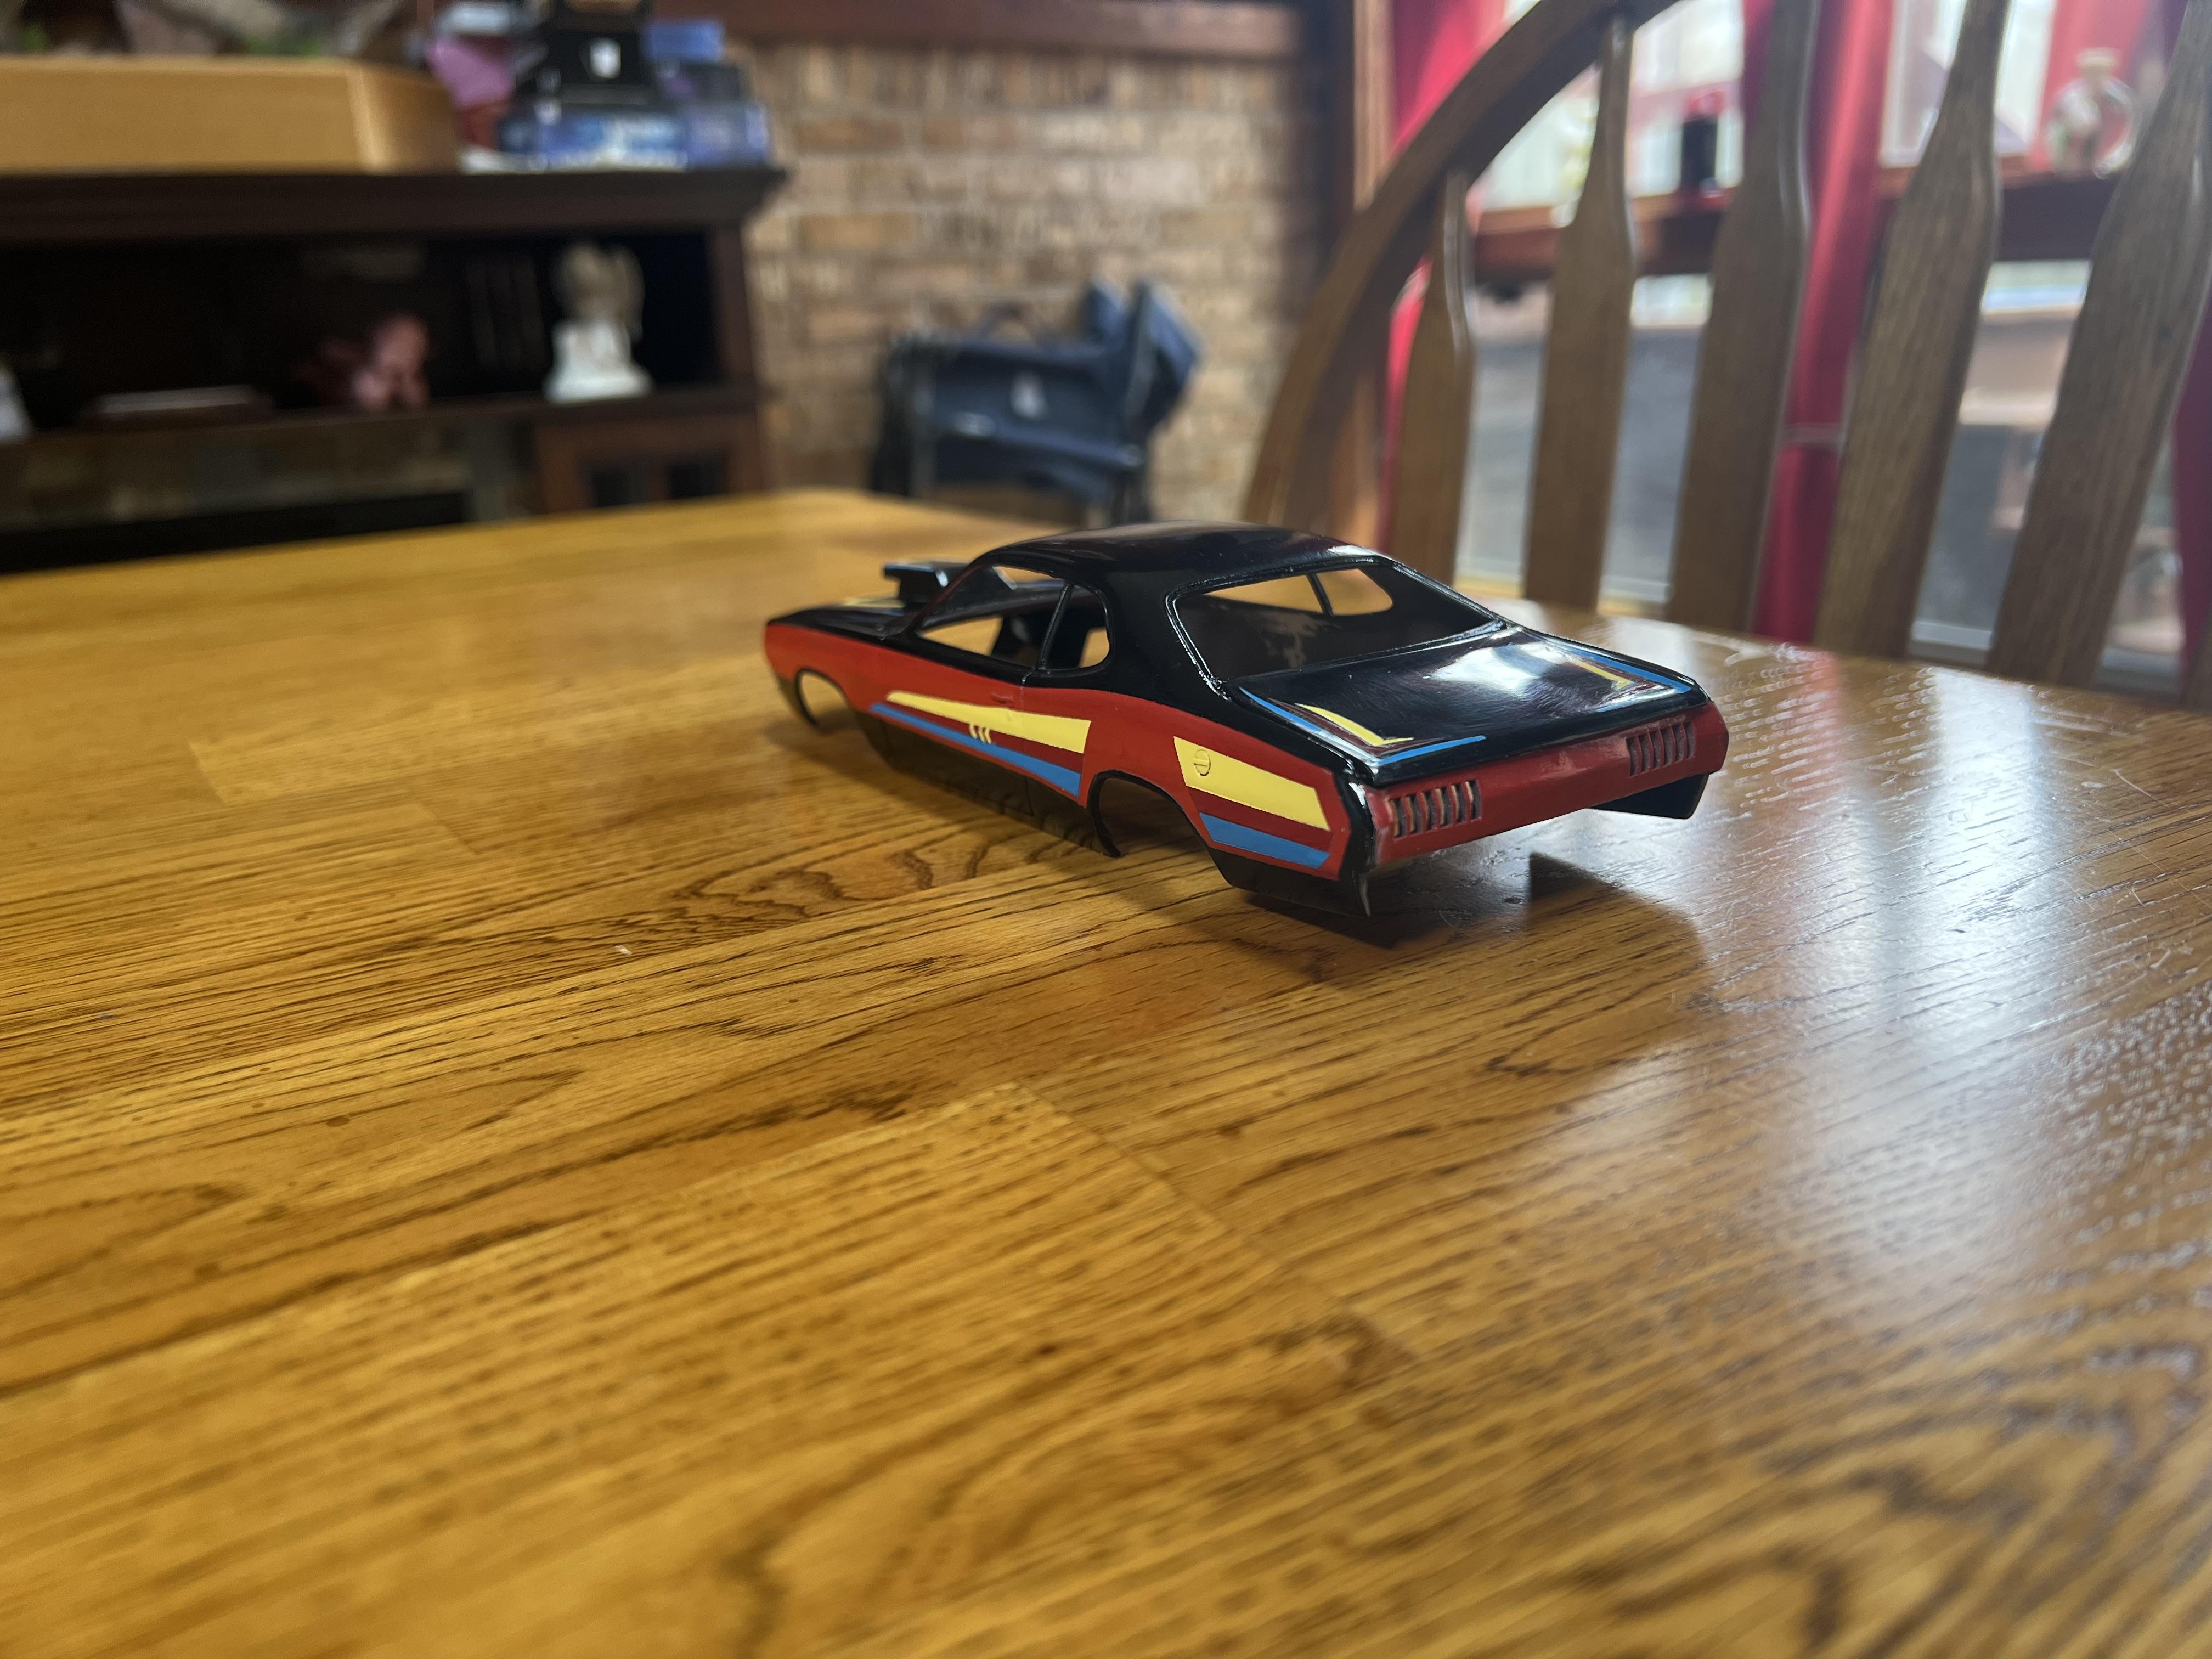
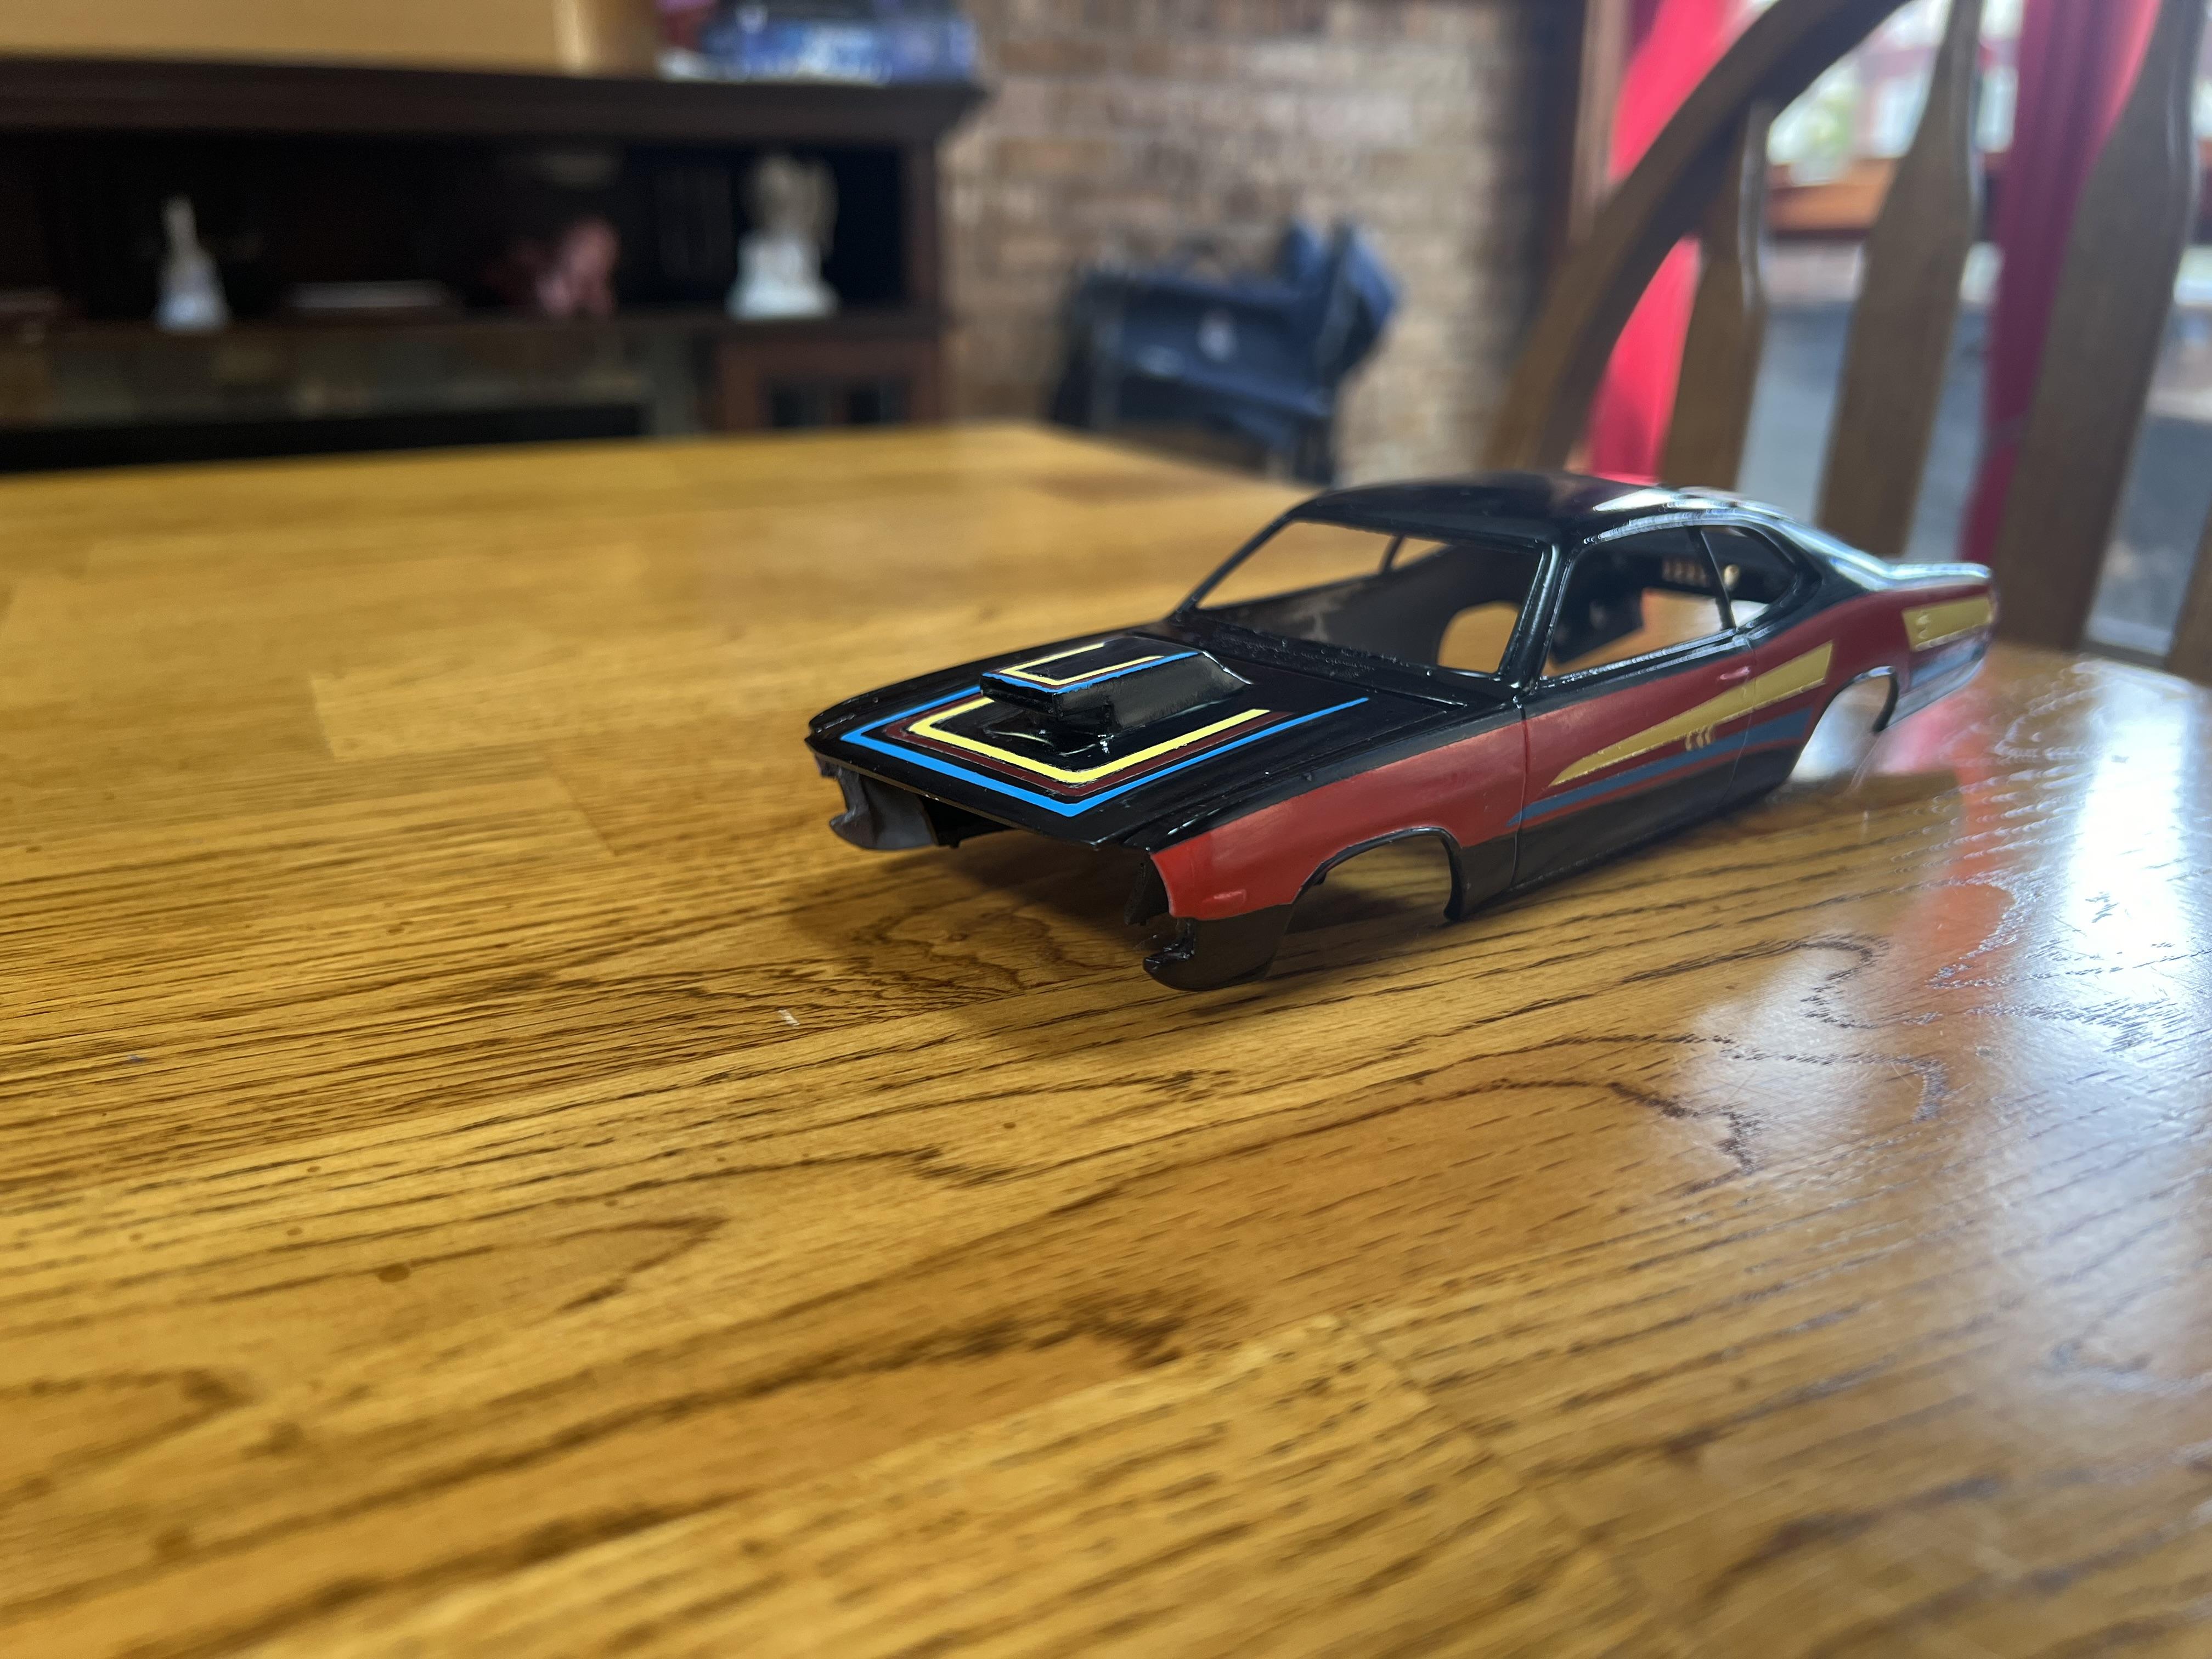
First coats of clear, going to sand lightly to even out layers and clear again

-
’72 Dodge Demon Drag Racer 1/25 scale
Moparman18064 replied to AmericanMuscleFan's topic in WIP: Drag Racing Models
WOWWWWW!🤩 -
Scott, I will try my chassis that I am doing for the resin one I am doing now on the body from my new Demon kit in a little bit. I will take a couple shots and DM them to you.
-
Looking good! Since you are putting decals on after the clear, could you just dull coat the decals on the sheet before applying, and then cut really close to the decal? That way you would not have to worry about the Fred Cady ones. Just a thought.
-
Pocher Rolls Royce Phantom 2 restoration
Moparman18064 replied to François's topic in WIP: Model Cars
Definitely watching, I have to start on my Pocher Alfa Romeo Spyder sometime in near future. -
Thank you Francis. It was not the easiest paint job to be certain. I did mess up though, I should have started the blue between .3mm and .5mm higher, but once it was down, it was staying there. After the adhesion problems and the pinstripes being too wide, I was not about to strip it down again. It is certainly close enough for this build now. Besides, there was no way I was going to get all the ghost highlights in anyway. I don’t plan on doing another resin build any time soon😉
-
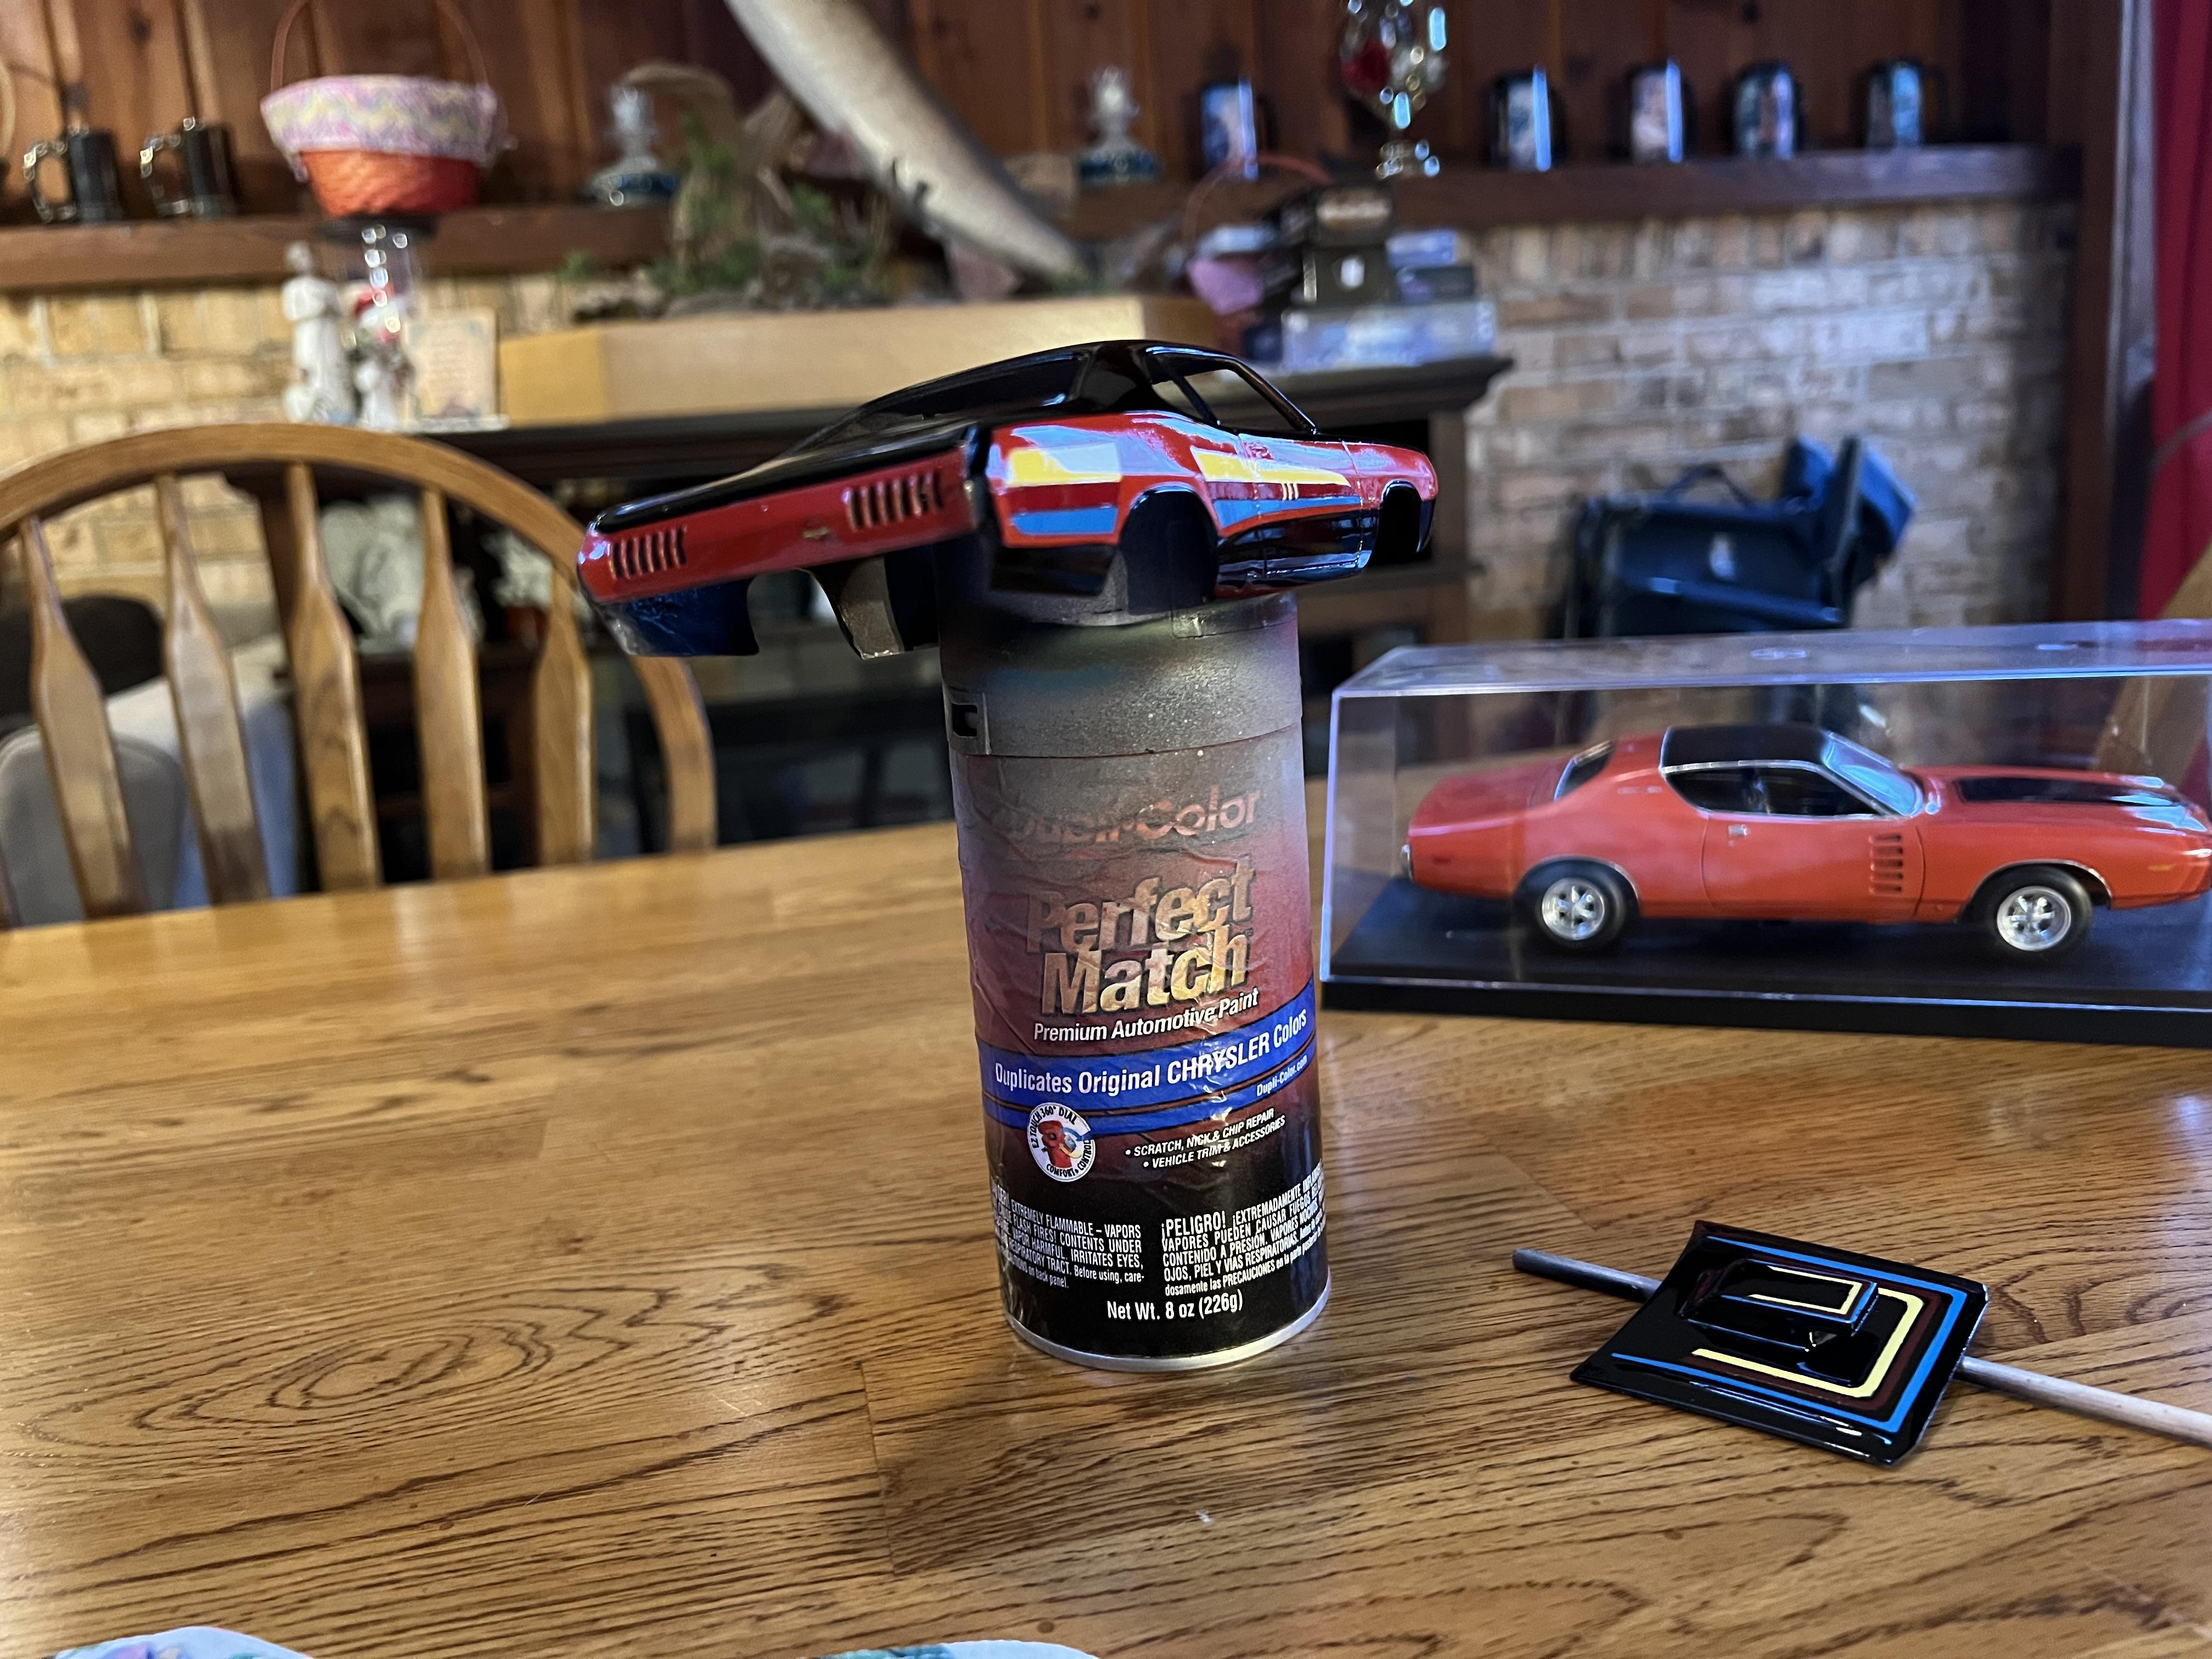
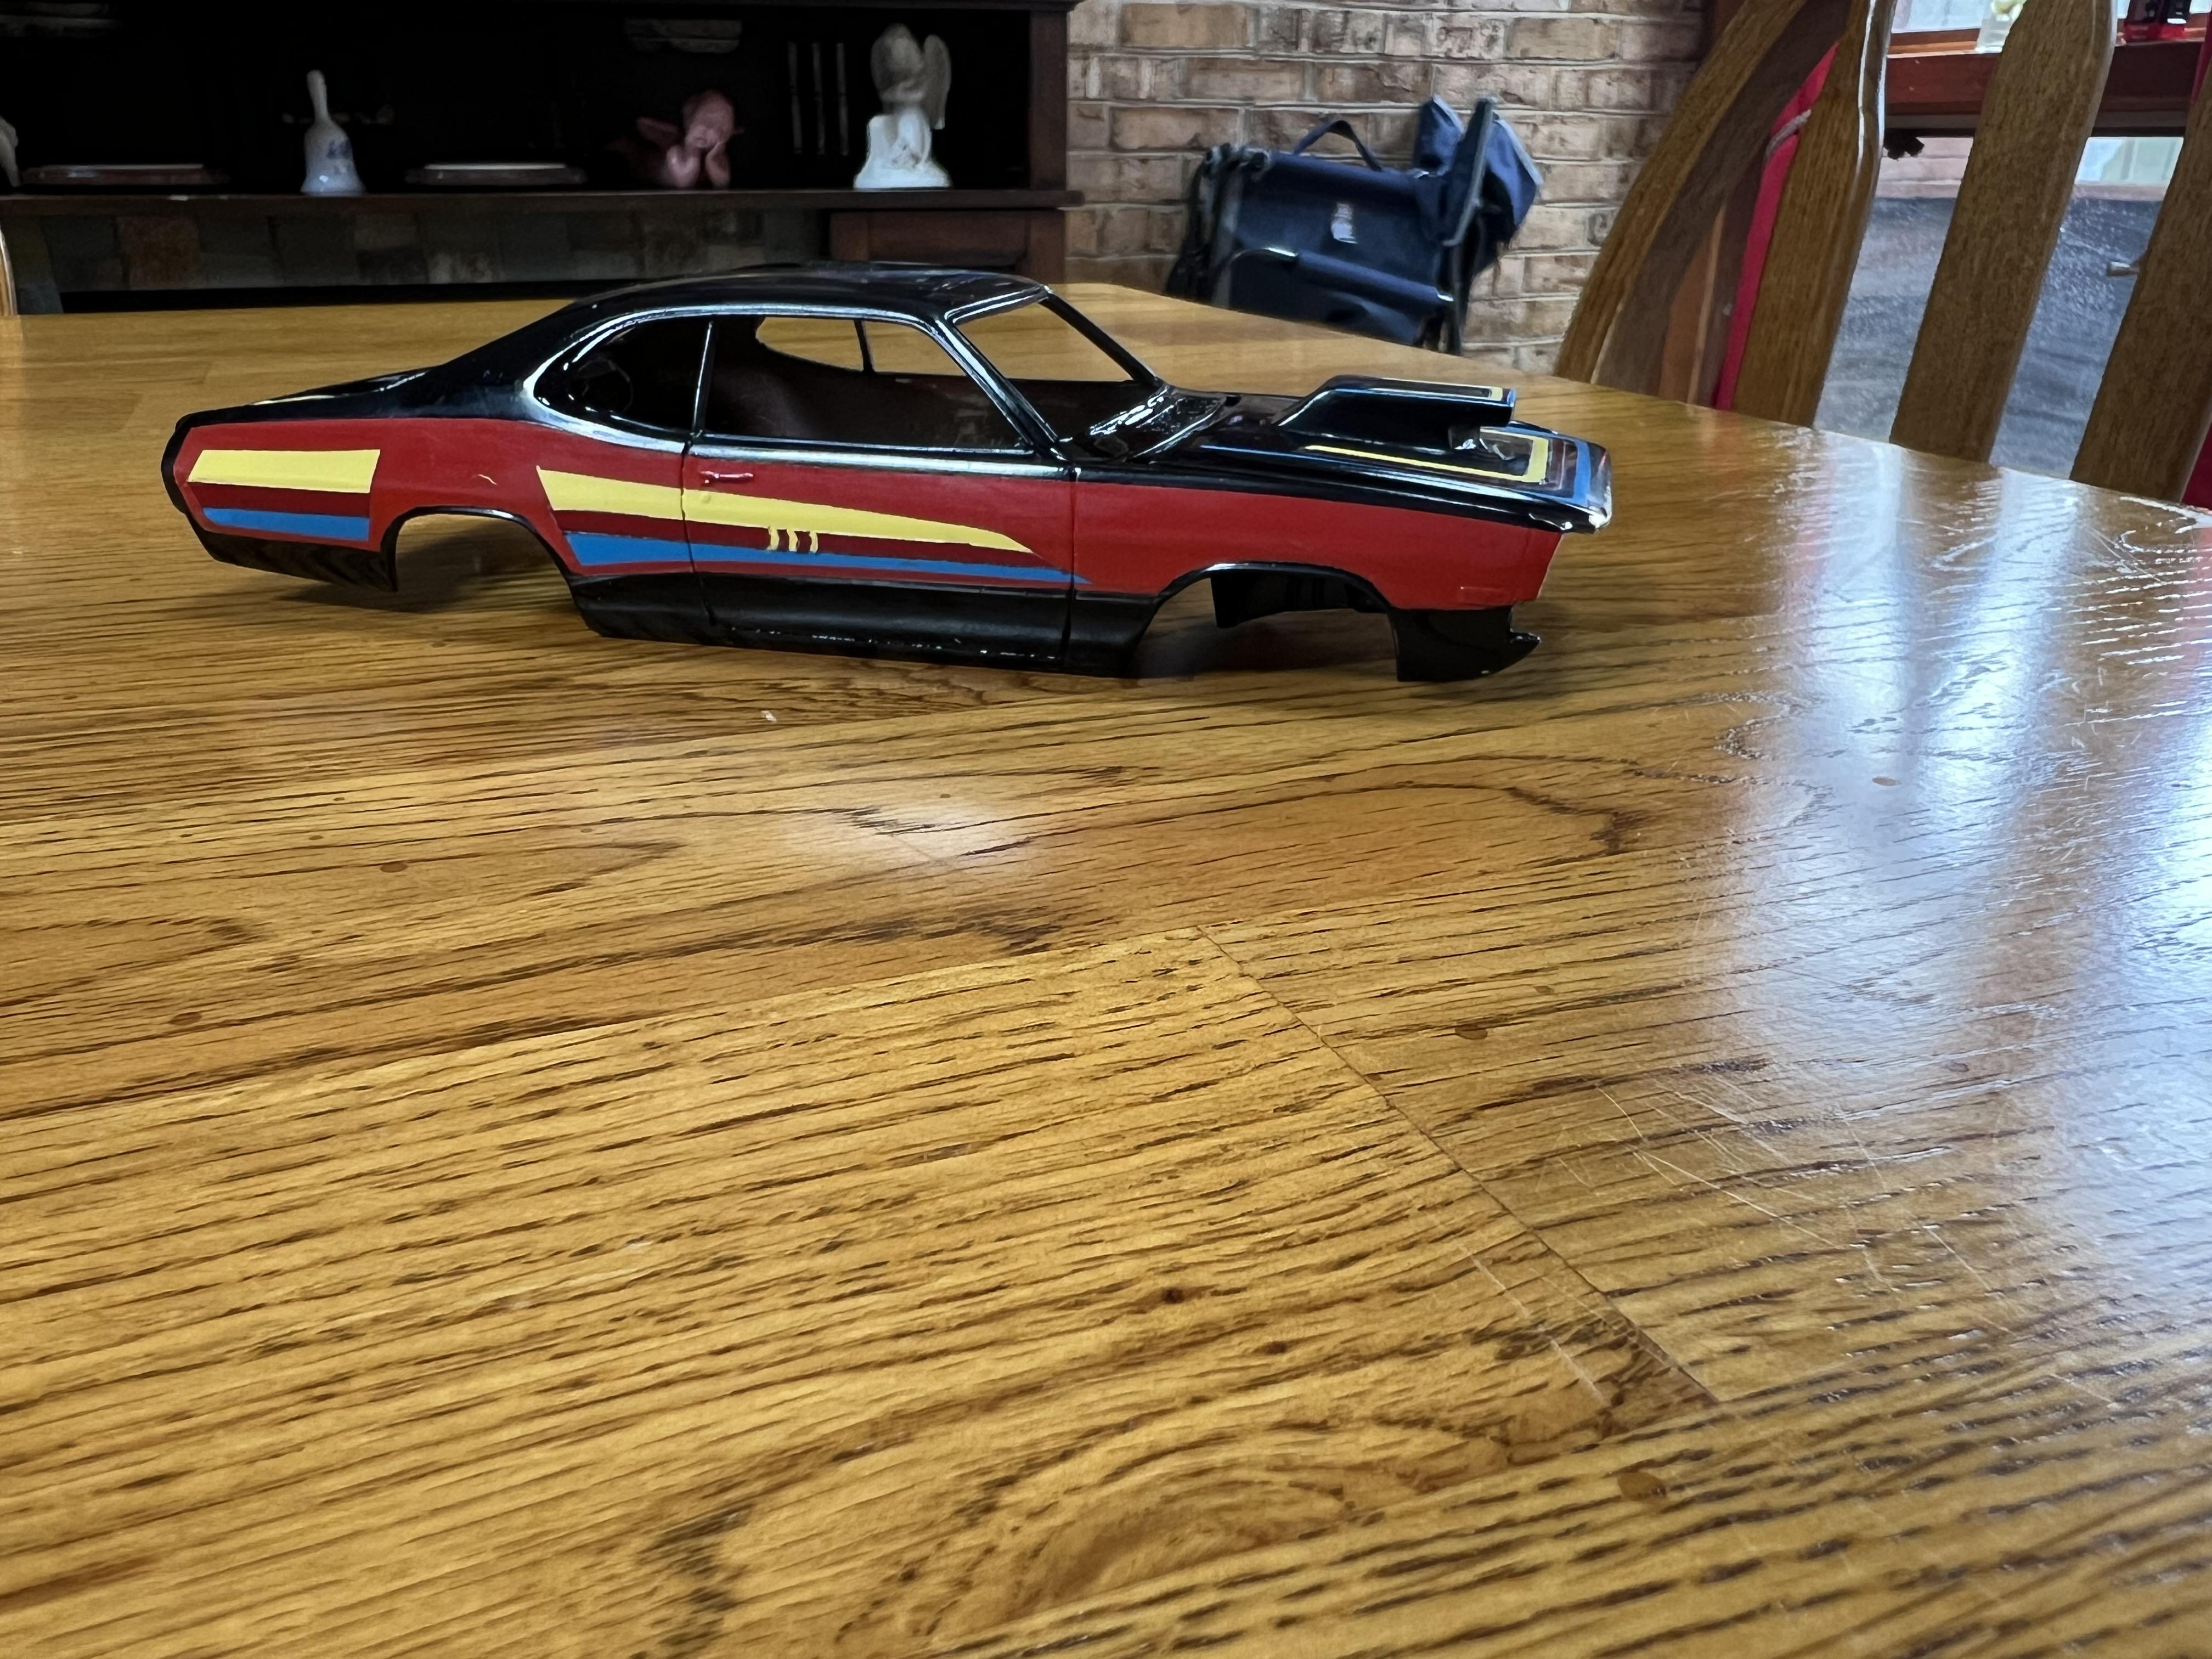
Colors are down now, just finished the Lemon Twist. A little sanding now, then on to clear.
-
Thank you, working on masking out the yellow now.