

beeRS
-
Posts
1,443 -
Joined
-
Last visited
Content Type
Profiles
Forums
Events
Gallery
Posts posted by beeRS
-
-
That is polished to perfection!
The mock up stance looks perfect.
-
Beautiful job.
-
Very nice. Love that green.
-
On 9/13/2023 at 2:23 PM, dino246gt said:
This is a great triple project!
Have you selected three colours?
Can't wait to see more!
Undecided at the moment, but will probably have at least one in the ubiquitous Rosso Corsa.
On 9/14/2023 at 1:53 PM, Justin Porter said:I do really like seeing you continuing this Boxer fleet. I'm going to be particularly following along to see how you tackle the interiors in order to liberally swipe ideas.
Yes - the interior will be a challange. Fujimi have given the exact same door panels for all three cars, but the later car - the 512BBi - has a completely different panel.
-
That is a stunning paint finish. Looking forward to seeing this come together.
-
 1
1
-
-
A truly exceptional build. This is looking absolutely stunning. Can’t be much to do now.
-
The blue finish looks great 👍🏼.
-
1
-
-
Nice work so far. Interior panels are particularly good.
I love resurrecting old builds that a ‘younger me’ started. It’s always fun trying to figure out what you were thinking with the build back then.
I’m not familiar with AK filler primer, but it’s obviously fine to spray over enamel paint. I’ve had awful trouble spraying primers over enamel in the past and I just avoid it now. What type of paint is the AK primer? Can you spray lacquers over it?-
 1
1
-
-
Wow. That looks like a 1:1 car. Great model and great photography.
-
That is just drop dead gorgeous. Fantastic clean build and great photography too. Well done.
-
I’m loving those wheels. Good stance too.
-
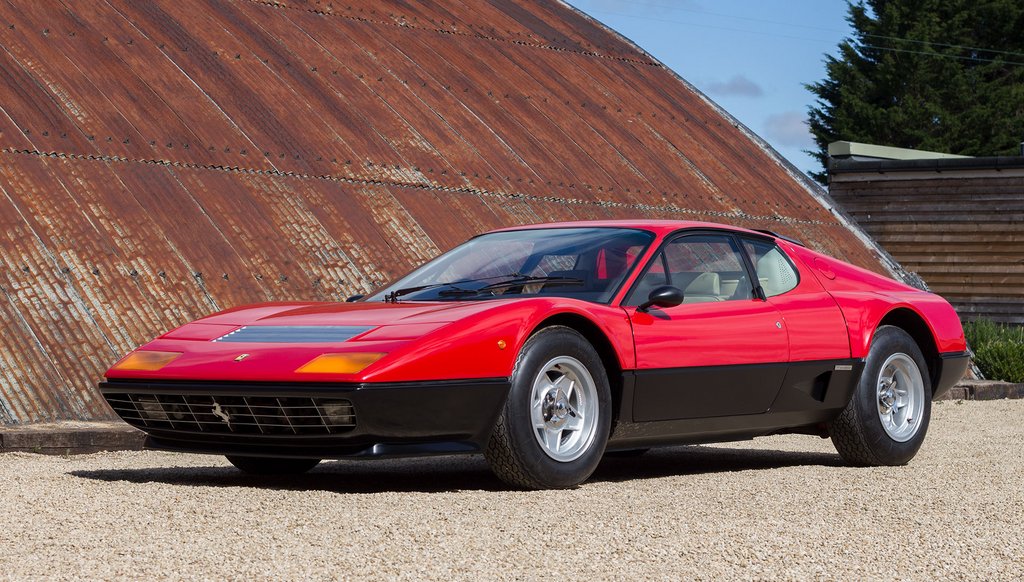
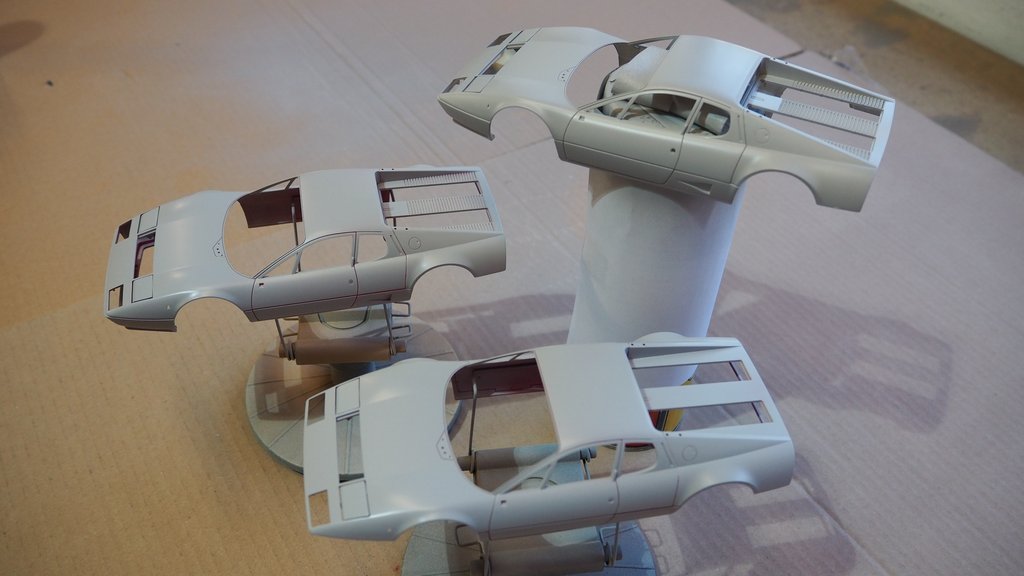
Here's some reference pics of the 1:1 cars I'm building...
First generation. Ferrari 365 GT4BB (manufactured 1973 - 1976). The purest body shape, same size wheels/tyres front and rear, triple rear lights and triple exhaust tips per side.

Second generation. Ferrari 512BB (manufactured 1976 - 1981). Front chin spoiler, NACA duct on side, more cooling vents over engine and dual exhaust tips per side.
Third generation. Ferrari 512BBi (manufactured 1981 - 1984). Different lights in front grill, door mirrors and fuel injection.There are also differences with the interior - some of which the Fujimi kits do address correctly and others they don't. I'll come back to these later.
Work begins, as usual, with the body shell. This is where I tell you that I will NOT be showing the engine on these models!!
I know. I know!
Yes - it's great to see an opening clamshell and see a beautifully detailed engine, but I feel the engine in these kits is not the best. There are a few simplifications, that I just can't un-see and I know that if I start correcting and properly detailing them, I will be here forever going further and further into the rabbit hole, which is a place I don't want to go again. Instead, these three Ferraris are all about getting the body right and showing the beauty of the car’s shape. I hope you'll stick with me.
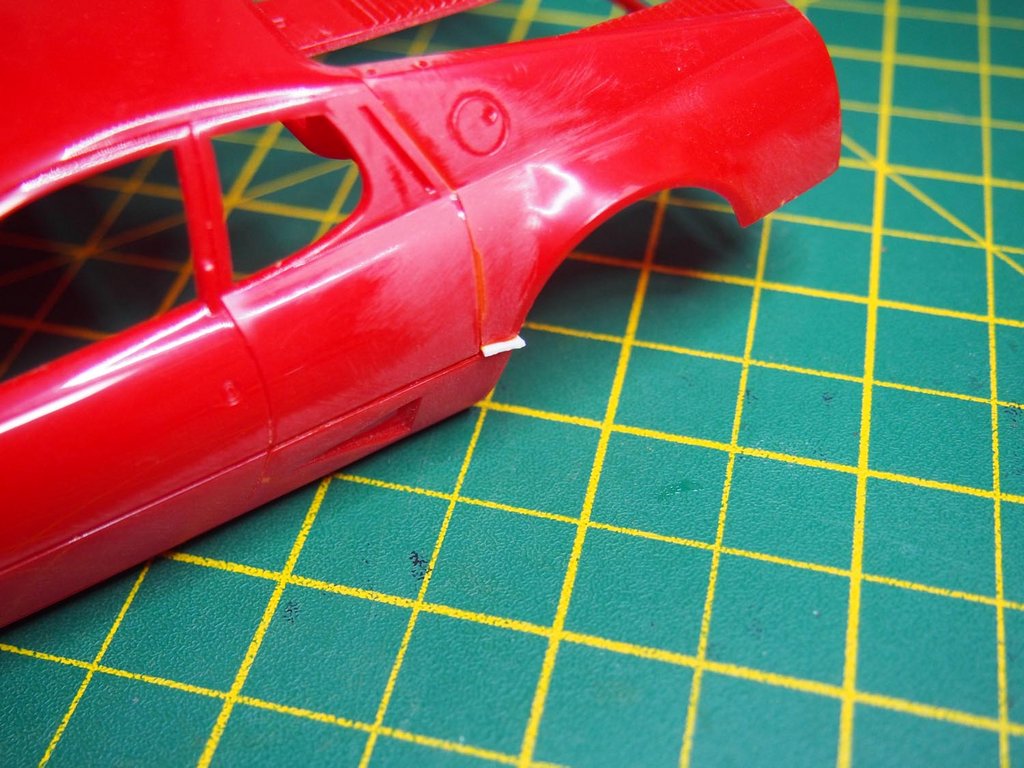
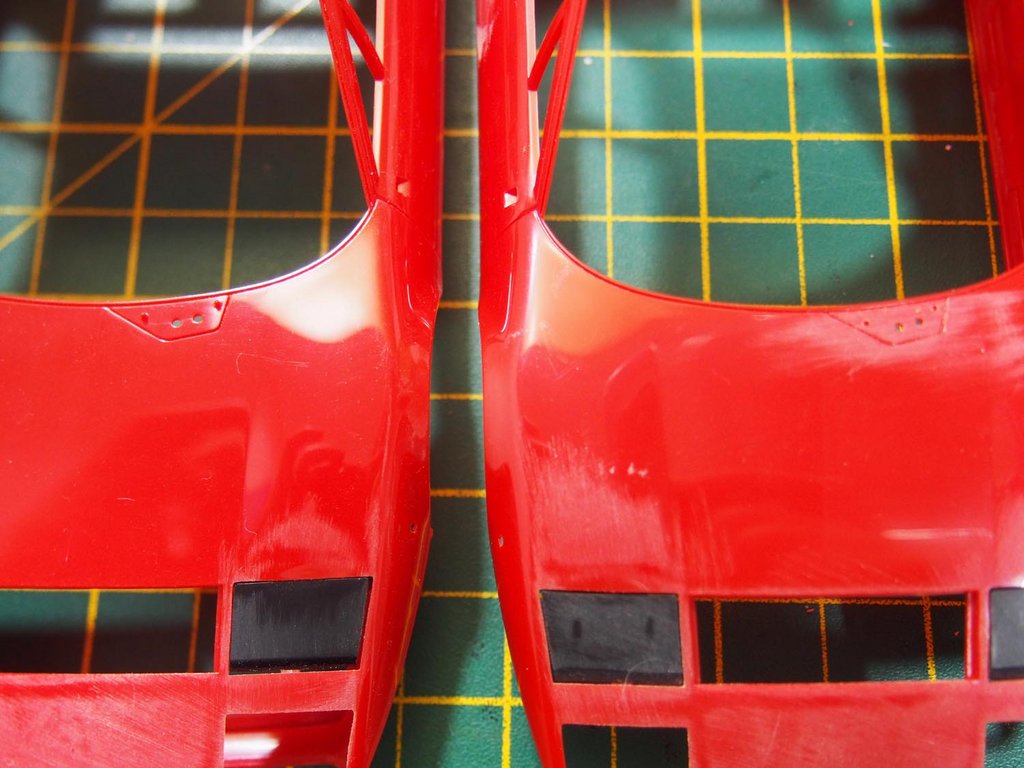
First off was to glue the rear engine cover clamshells to the bodies. I found small fit issues on two out of the three cars. The 512BB is shown below. You can see where I had to add a little plastic to fill the gap.
Neither will I be popping up the headlamps, so they get glued in place too. Looking at reference pics I see that the panel gaps around the headlamp covers are bigger than the ones around the doors, so I've tried to replicate this. Fujimi have moulded the early and mid car in red plastic, and the later car in white. In all three cases Fujimi have somewhat curiously moulded the headlamp covers in black!
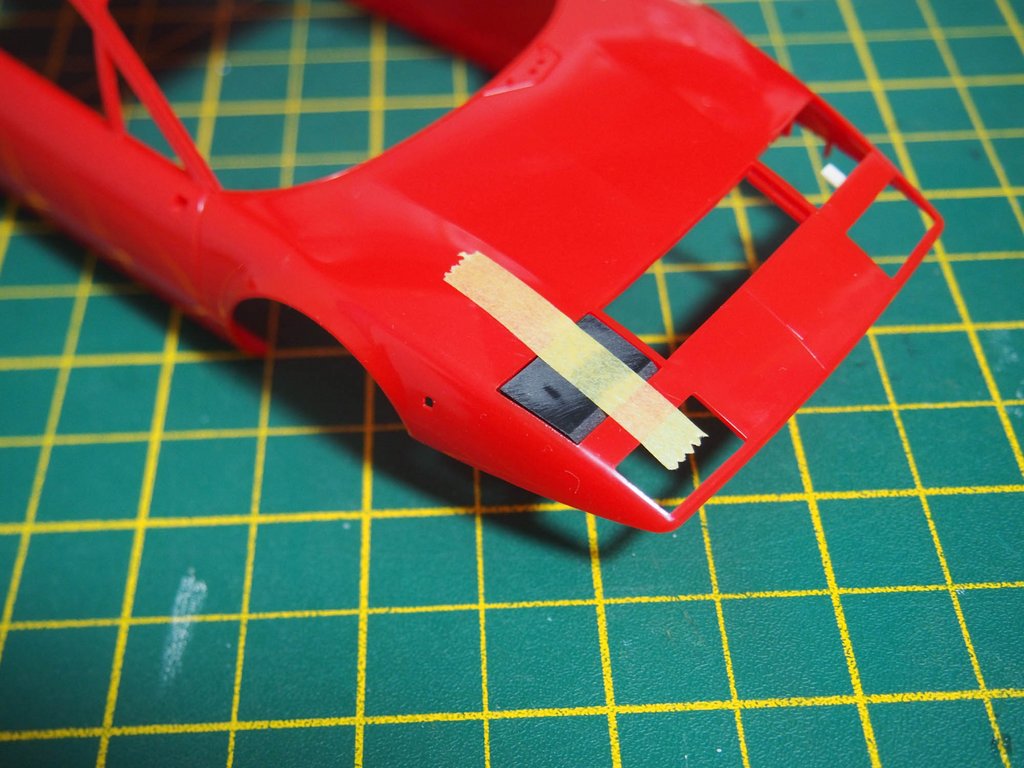
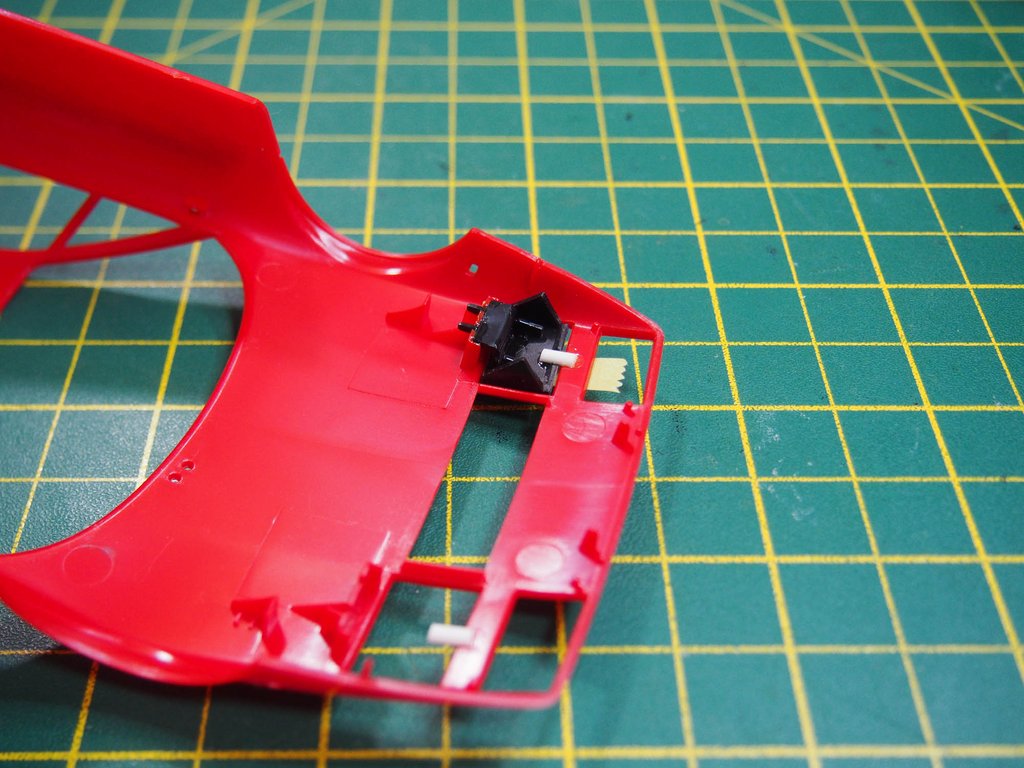
For the early car (the 365 GT4) I have modified the rear bumper where the triple exhaust tips come through. It did not look right to me. For the other two cars the dual tailpipes look fine.
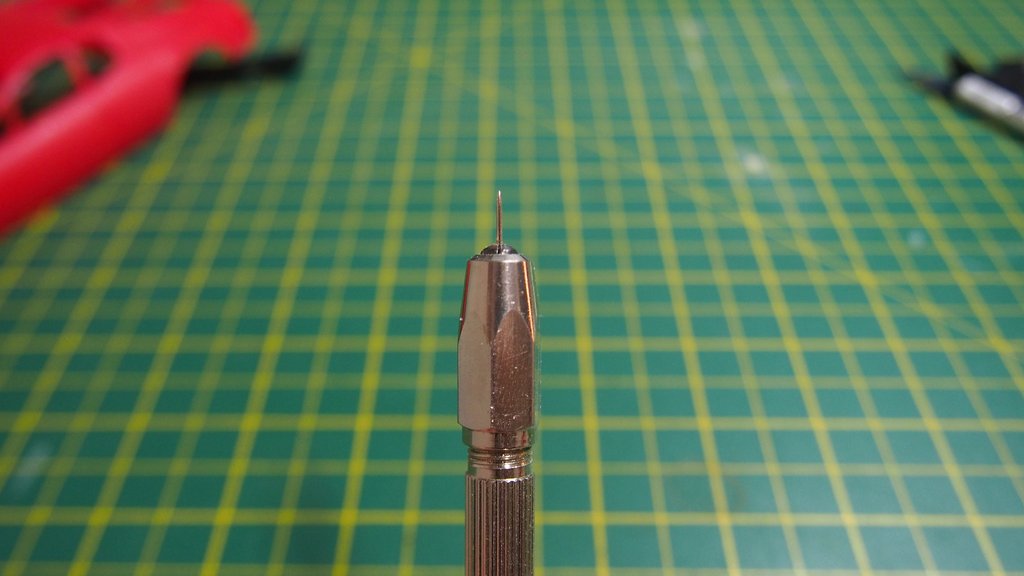
I came up with a good way of scribing the circular fuel filler flaps. I've done this before with the back of a Xacto blade and its not great for circles. This time I cut the head off a pin and put it in a drill vice. It worked great. I don't know why I hadn't thought of this before.
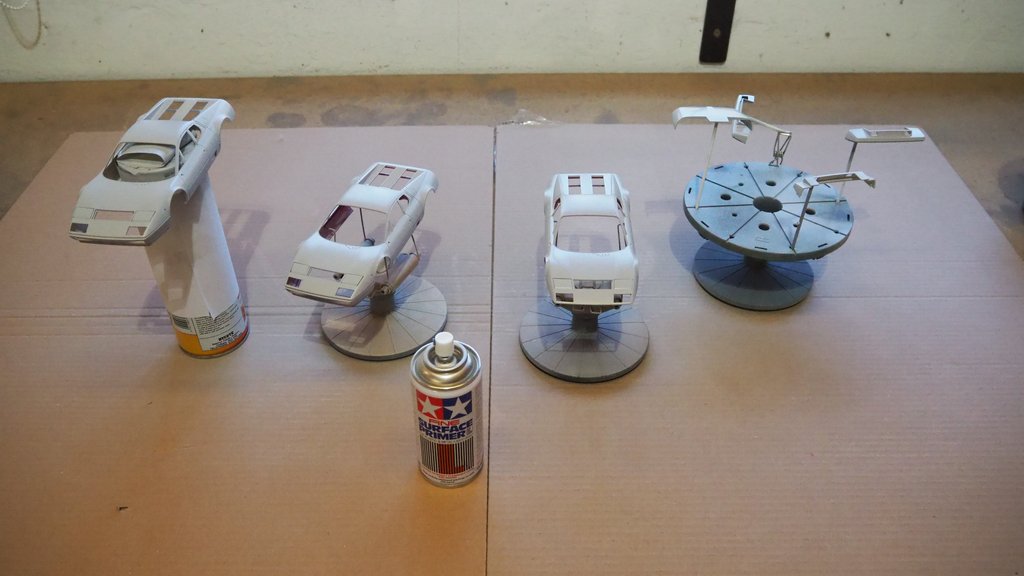
With a few corrections made, and the bodies keyed, I sprayed on a thin coat of grey Tamiya primer straight out of the tin on each. This is just so that I can see the shapes better and gauge what further corrections will be needed to get the bodies perfect.
There’s more filler/correction work to be done. Thanks for watching.
-
On 8/4/2023 at 6:46 PM, Justin Porter said:
The Fujimi Boxers are always fun to see built. You've definitely nailed a fix for the wonky kit wheels. It's nice to see your prints in comparison to the Daytona wheels which admittedly were my thought for the fix as well.
Thanks. The printed wheels aren't 100% right for all three cars, but its a good start. I may still use the Daytona wheels on the early car.
On 8/5/2023 at 12:41 AM, jaymcminn said:Looking forward to this. My wheel fix many years ago was the Fujimi Campagnolo wheel set (same wheels as the 330p4 kit) with the kit tires. Close, but these are better!
Good idea. I think the wheels used on the Boxer cars are Campagnolo too.
On 8/6/2023 at 1:43 PM, dino246gt said:I'm interested in these builds! Love Ferraris of that era, my friend had a 512 BB when I had my 246 GT. I do have one of those kits, not sure which one as I wasn't aware of all three! Build on and please show pics! Ciao!
Wow - you are lucky to have owned a real 246!
On 8/6/2023 at 2:14 PM, Pierre Rivard said:What troubles me the most about this is that you were just 4 years old in the mid seventies. Lucky Sonny! 🤣🤪😃
Never too young to start loving cars though 😃
On 8/6/2023 at 2:34 PM, Ulf said:Wonderful, the wheels are half the car.
The last super sports cars with an adult profile on the tires, a favorite.This is true, however I think in those days the tyres may have been the limiting factor in the performance of supercars.
-
Thats a beautiful 57. A nice clean build.
I think AMTs Pro Shop kit is the best 57 in kit from.-
1
-
-
Interior is looking good 👍🏼
-
Beautiful looking paint. Thanks for explaining your paint procedure so well - there’s always things to learn.
-
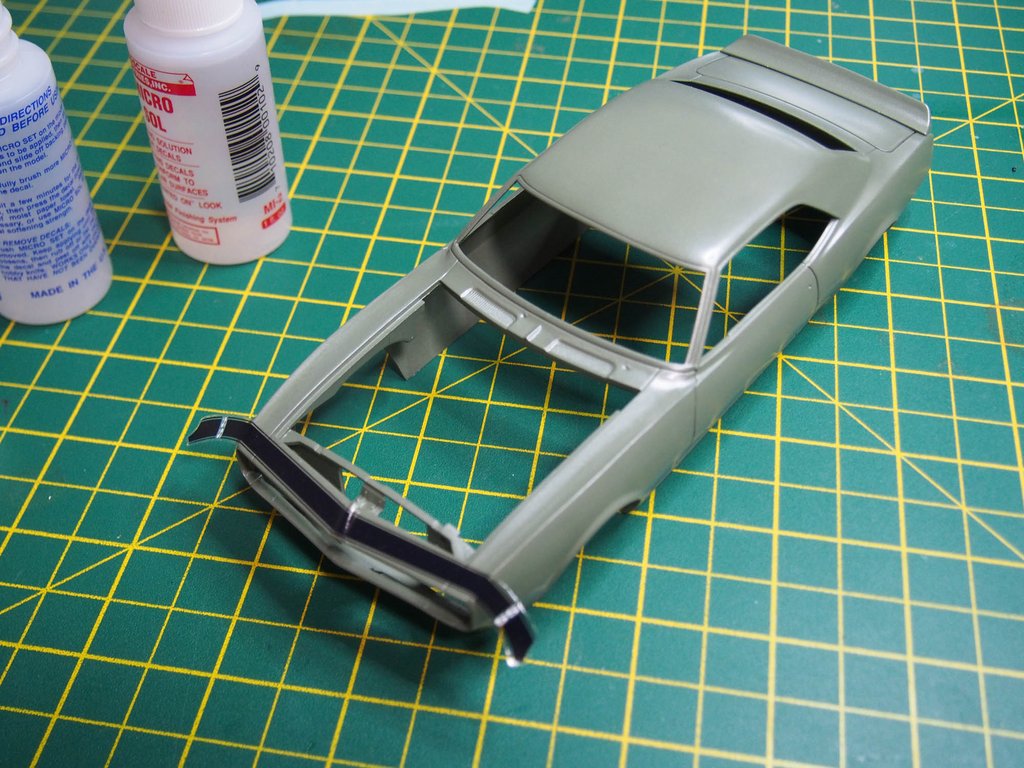
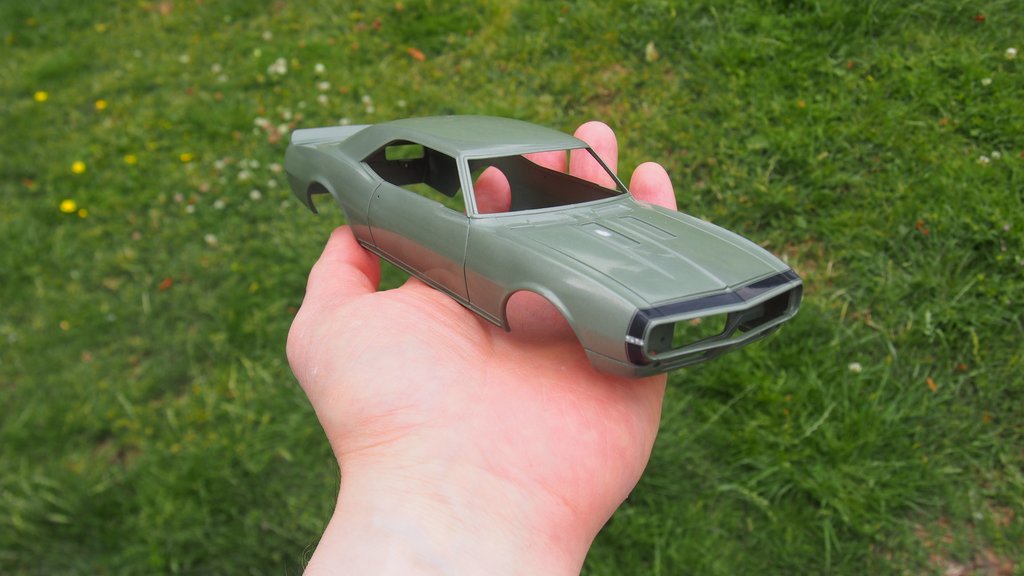
It's taken some time, as I keep getting side tracked by other projects, but I finally got this one painted. One thing I should point out to anyone building this kit is that I have already attached the front and rear body panels. This, according to the instruction sheet, should be done after the floor is attached. I glued these on first as I find it easier to paint the body as a single unit. I have had to shave a little plastic from the front corners of the floor so that it still slots into the body. Luckily the shaved area will barely show when assembled.
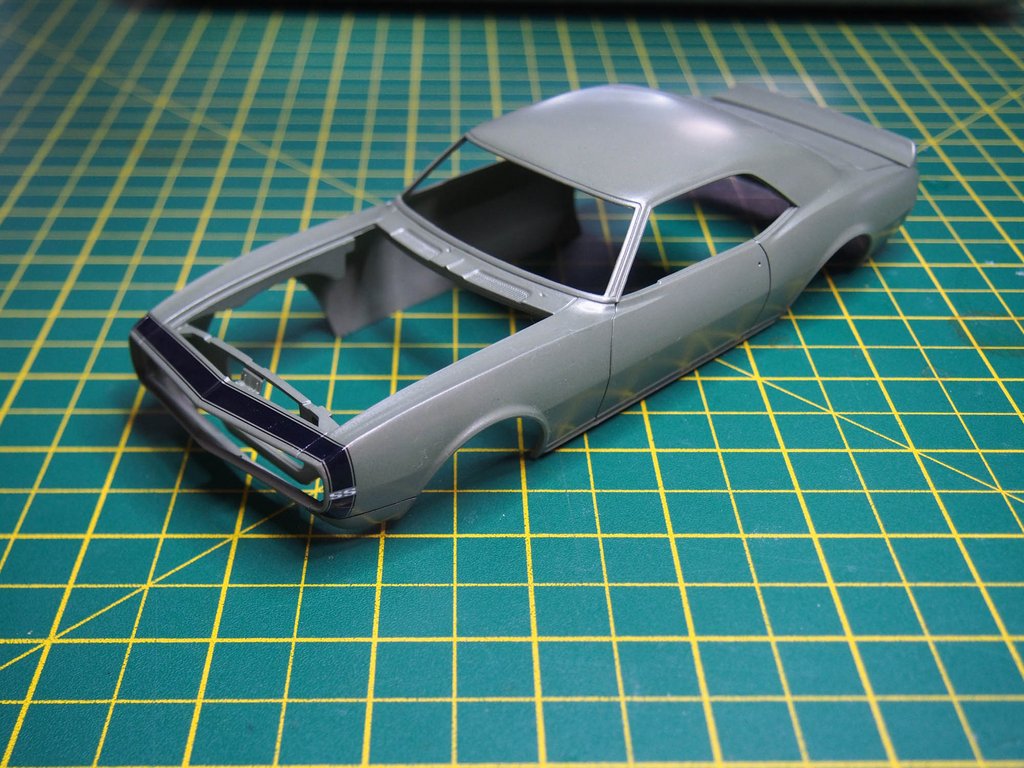
First off is Tamiya grey primer straight out of the can.
The Mountain Green was approximated with a mix of Zero colours that I already had. The SS decal was applied with a little MicroSet and MicroSol. The area over at the top of the fenders took some patience and MicroSol to conform to the sharp edge, but eventually I got there - decals are still my nemesis!
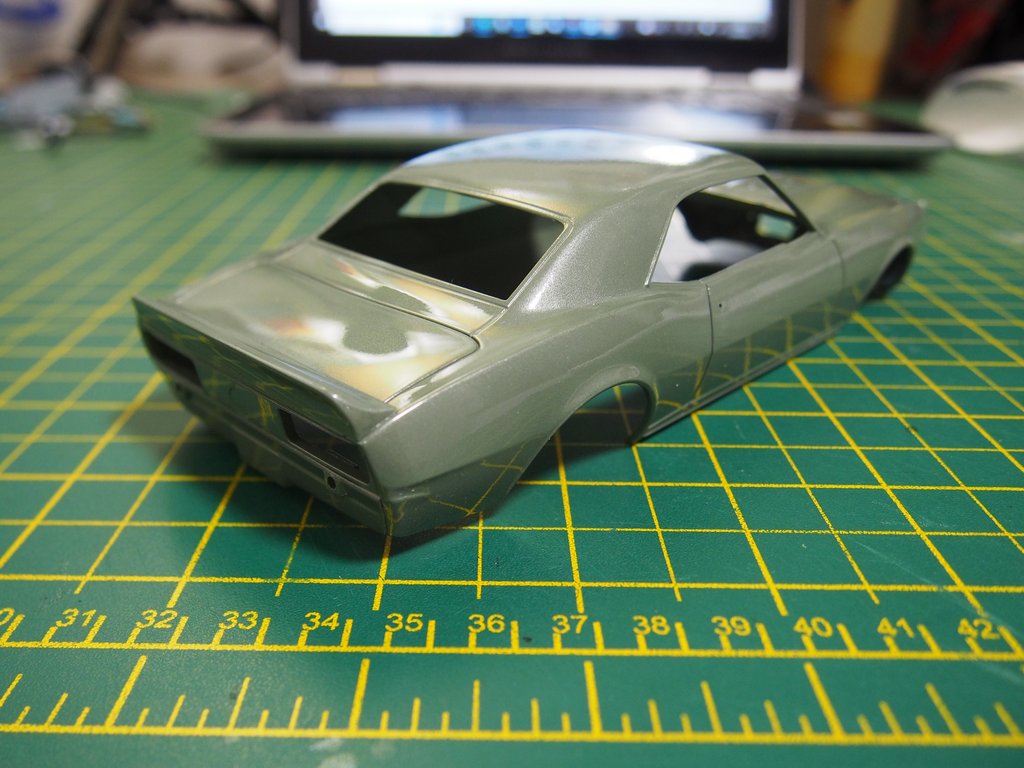
Zero 2K clear applied. Unfortunately, I did get a couple of small specs of dust in the finish. I think I should invest in a spray booth.
With a decent thickness of clear over the decal I have been able to flat the body reasonably well with various super fine abrasives finishing with 12,000 grit and a polish.
I tried to get some pictures in natural daylight to capture the colour.
I don't think my mix of green quite made it close enough to be Mountain Green, but this will have to do. I shall hopefully have some more progress to show soon - if I don't get side tracked by those Ferraris again.
-
2
-
-
Thanks for the tip about the hood vents.
-
That paint finish looks fantastic. This looks like a really nice resin cast.
-
Well done. Stunning model.
-
1
-
-
That’s so cool. A one afternoon build is not something I’ve done since I was a kid. I will have to try that, just to remind myself how much fun the hobby can be.
-
Very nice. Great to see one in red.
-
Sad news about Willow. Sorry for your loss.
The 442 is perfect in every way. It looks great in black and that paint finish is so smooth. -
Very nice indeed. The wheels look perfectly centred in the wheel wells to me.
Thanks for the useful What I Learned tips. I’m guessing this is the Hasegawa kit?-
1
-


b.jpg)
.jpg)


'70 Volkswagen K70L
in WIP: Model Cars
Posted
Interesting project. I never knew of this car, let alone the kit! Nice work so far. Those wheels look great.