wayneman
-
Posts
77 -
Joined
-
Last visited
Content Type
Profiles
Forums
Events
Gallery
Everything posted by wayneman
-
Great work with those decals! Looks good.
-
Sweet looking! More pics?
-
Great looking model. I have done two of these kits, each one better than the last, and none touched yours. Really clean, sharp work.
-
Really like the paint. Super shiny. Super clean build!
-
Love the paint and foil work. Really sharp work.
-
Great job on this cruiser. This was one of the best police cars I ever drove. It would hold the road when the Vics were sliding into the weeds. Didn't heat the brakes up as bad either. Thanks for the trip down memory lane Wayne
-
Very slick. I love the older "daily drivers". You did a great job. Wayne NC
-
Sweet looking car. I am getting ready to start one for a friend as a gift. Hope it turns out this well. Wayne
-
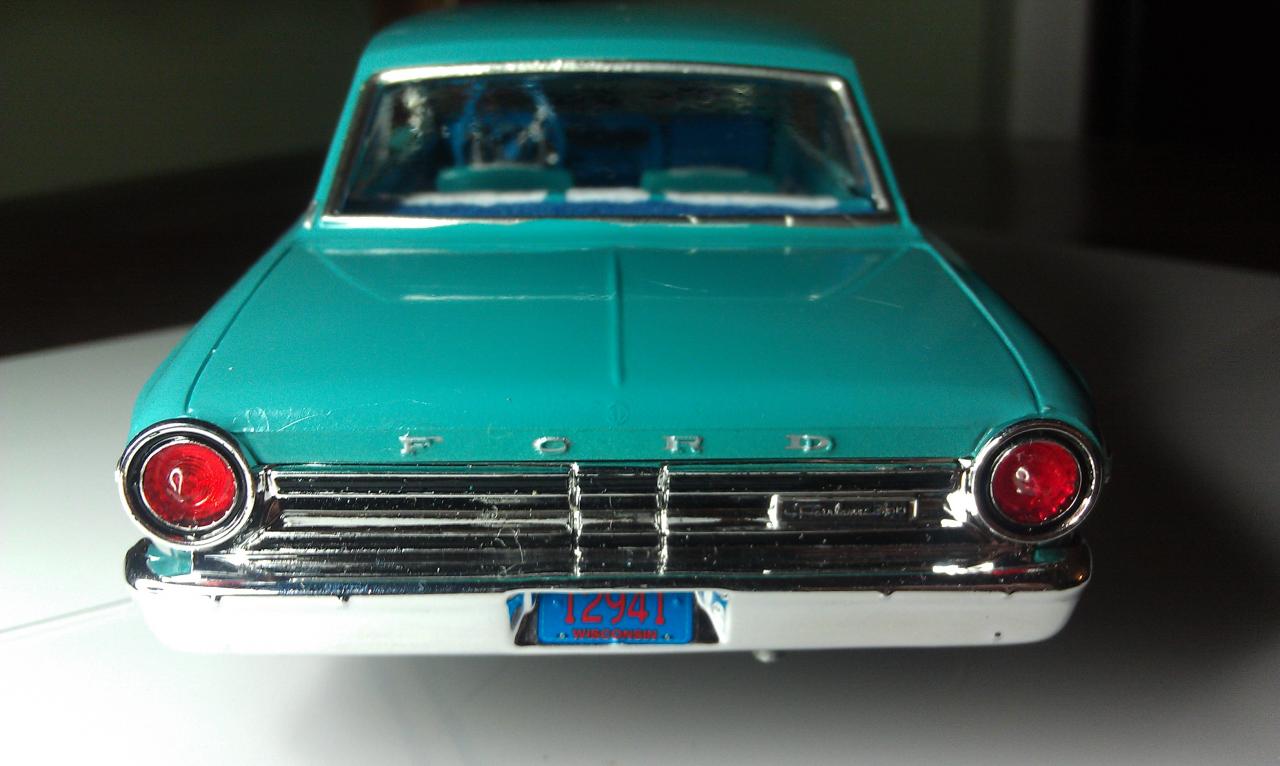
It is the 1964 fairlane 2 in 1 kit by Revell. I cannot remember the name of the blue. I actually painted the body and then got distracted by another project. When I returned to the Fairlane I saw that I had neglected to shot the dash when I did the body. I went through my paints and selected what I thought was the same blue. After spraying it was clear it wasn't and I couldn't find anymore of the original paint. If I figure it out I will message those that asked about the color. All I know for sure is it was a Testors enamel. I really need to get organized. Thanks for the comments.
-
Just finished this one up. I really enjoyed working with the foil on it and was able to bring out some highlights in areas such as the hubcaps and chassis. I screwed up the headlights when I lost a lense (still around somewhere) and could not find a suitable replacement. Thanks for looking Wayne Clayton NC

-
Sweet looking bug. Gotta love that car. Wayne
-
Nice job. I did one a few months ago and had a bad time getting the scoop to sit right (also, I picked the ugliest color combination known to man. Thought it would look good for some reason). Sharp.
-
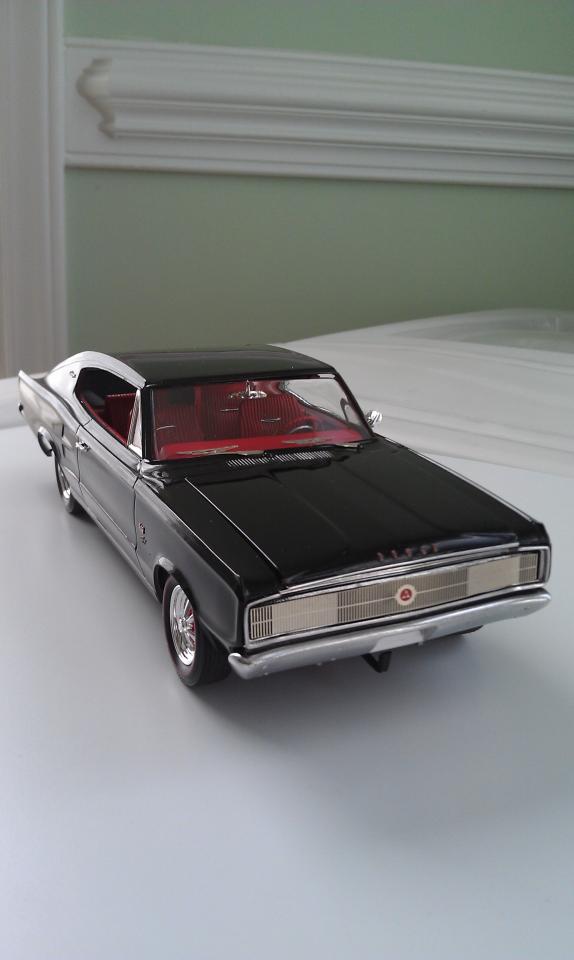
It is. Model Car Garage made a great photoetch set for this model! The "DODGE" on the hood, and the "CHARGER" on the rear taillights are photoetched as well. I painted them and then lightly sanded so that the recessed areas are red (I saw someone on the forum explain that), and it makes for a good look. I am working on a project now that I can't find a set for and I hate that. It adds so much!
-
Thanks. I appreciate it. I am working on a better place to take the pictures. It would also help me if the camera wasn't so sharp (not a normal compalint), It show too many flaws. Looks better in person
-
Hey everybody. I have received much help here in the past and I appreciate all of it. I thought I would post one for a change. This is a 67 Dodge Charger that is "sort of" out of the box. I do have some photo etch, wiring, and weathering of the underside. Thanks for looking and thanks for all the assistance in the last couple of years.
-
painting with gloss black
wayneman replied to wayneman's topic in Model Building Questions and Answers
Thanks to you who tried to help. I think the problem was that the paint needed to cure longer. I only had three days on the hood. I just finished the roof and it came out great. I have my fingers crossed now. The body has been drying/cureing for five days. Wayne -
painting with gloss black
wayneman replied to wayneman's topic in Model Building Questions and Answers
I guess i should have mentioned that I used the MicroMark polishing kit and wax. The paint had only cured out for three days, but it didn't act like that was the issue. The rest of the body now has 5 days of cure time so I may start on it and see how it does. Any suggestions are appreciated. Thanks. Wayne -
painting with gloss black
wayneman replied to wayneman's topic in Model Building Questions and Answers
I have. I thought perhaps the wax gave it the milky appearance, so I went back through the same process again as well as polishing. Then I thought it could be wax residue, so I used some alcohol on the 100 % cotton. Same result. I was wondering if it would lesson when sprayed with Future? At this point I have gone through the paint in a couple of tiny places. I thought I would spray again with less thinner. It was cold in the garage when I sprayed. Do you guys think that the paint has "blushed". I am probably was too picky about my stuff but they're getting better and I'm really getting into it now. I would have posted my last build (paint and plumbing came out good) but the colors were terrible. In my mind they were gonna be great! Wayne -
I have stayed away from painting models black because it gives me so many problems! I am currently working on a Revell old school Charger and thought it would look great in black. I got it sprayed with Testors gloss and then began to sand with progressivelyfiner sand paper until I got a really nice finish. The problem is that it looks milky and discoloured. I really don't know what the deal is with it. Does anyone have any advice? Wayne
-
67 Charger ignition system
wayneman replied to wayneman's topic in Model Building Questions and Answers
Further study of the photograph saved a nasty little mistake. I was about to put the dipstick on the wrong side of the engine. Thanks again. Wayne -
67 Charger ignition system
wayneman replied to wayneman's topic in Model Building Questions and Answers
Thanks everybody. Chuck - That is just what I was trying to find. That photo clears it up. Actually, I think that I will do the engine in those colors. I was going to Alclad the valve covers, but the black looks tough. Thanks. -
This is sort of a stupid question, but if you don't know, you just don't know. I was getting ready to drill my holes for my plug wires and it just didn't look right. I began to do some online research in reference to where the plug wires went on the 67 Charger and it looks like they go into the top of the valve cover. When i pulled the valve covers out of the green bath (taking off the Chrome) they appear to be made for this arrangement. Is this an arrangement for individual ignition modules. If I run the wires into the top of the valve covers - will I be right. Thanks for all the help in the past and future. Obviously, auto shop was not available to me Also, does anyone know of a model club near Raleigh NC ? None listed in the section. Wayne
-
Very cool. I did one this very same color. It didn't turn out as well. Love the color. I had a friend who had the 1:1 that is this cars twin. Wayne
-
what do you use to mask prior to painting?
wayneman replied to wayneman's topic in Model Building Questions and Answers
Thanks. I will take a look and see if I can get some that is really wide. I suppose I could put it down on some wax paper, cut the design, and then "re-stick" it to the model. -
I recently posted a question about airbrushing nail polish and wanted to thank everyone again. Not sure I will do it again but it is better. Just a lot more hassle - to me anyway. So now that I have sprayed sanded and polished I am ready to try some creative designs and I am not really sure what to use to mask the design. I was thinking about using some bare mettle foil, I have sprayed my base color and now I want to lay down the foil , or something so that after I spray the major color, it can be removed, revealing the design. I am sort of worried about using masking tape because it may adhere too good and mess up the paint below. I know the foil is sort of expensive for this purpose. Any ideas? I am open to some commercial masking but what I have found is tape and not suitable for cutting a design into. Thanks in advance. Wayne