customline
-
Posts
3,791 -
Joined
-
Last visited
Content Type
Profiles
Forums
Events
Gallery
Everything posted by customline
-

Next up: '66 Riviera - the last Nailhead
customline replied to customline's topic in WIP: Model Cars
Gotta give credit where it's due so my thanks to Can-Con for setting me on the right path. I looked at the instruction sheet and WHATTAYAKNOW?!?!? Well, you know what they say; when all else fails....no....instructions are just someone else's.....no, no....anyway....I musta missed it ?
-
Next up: '66 Riviera - the last Nailhead
customline replied to customline's topic in WIP: Model Cars
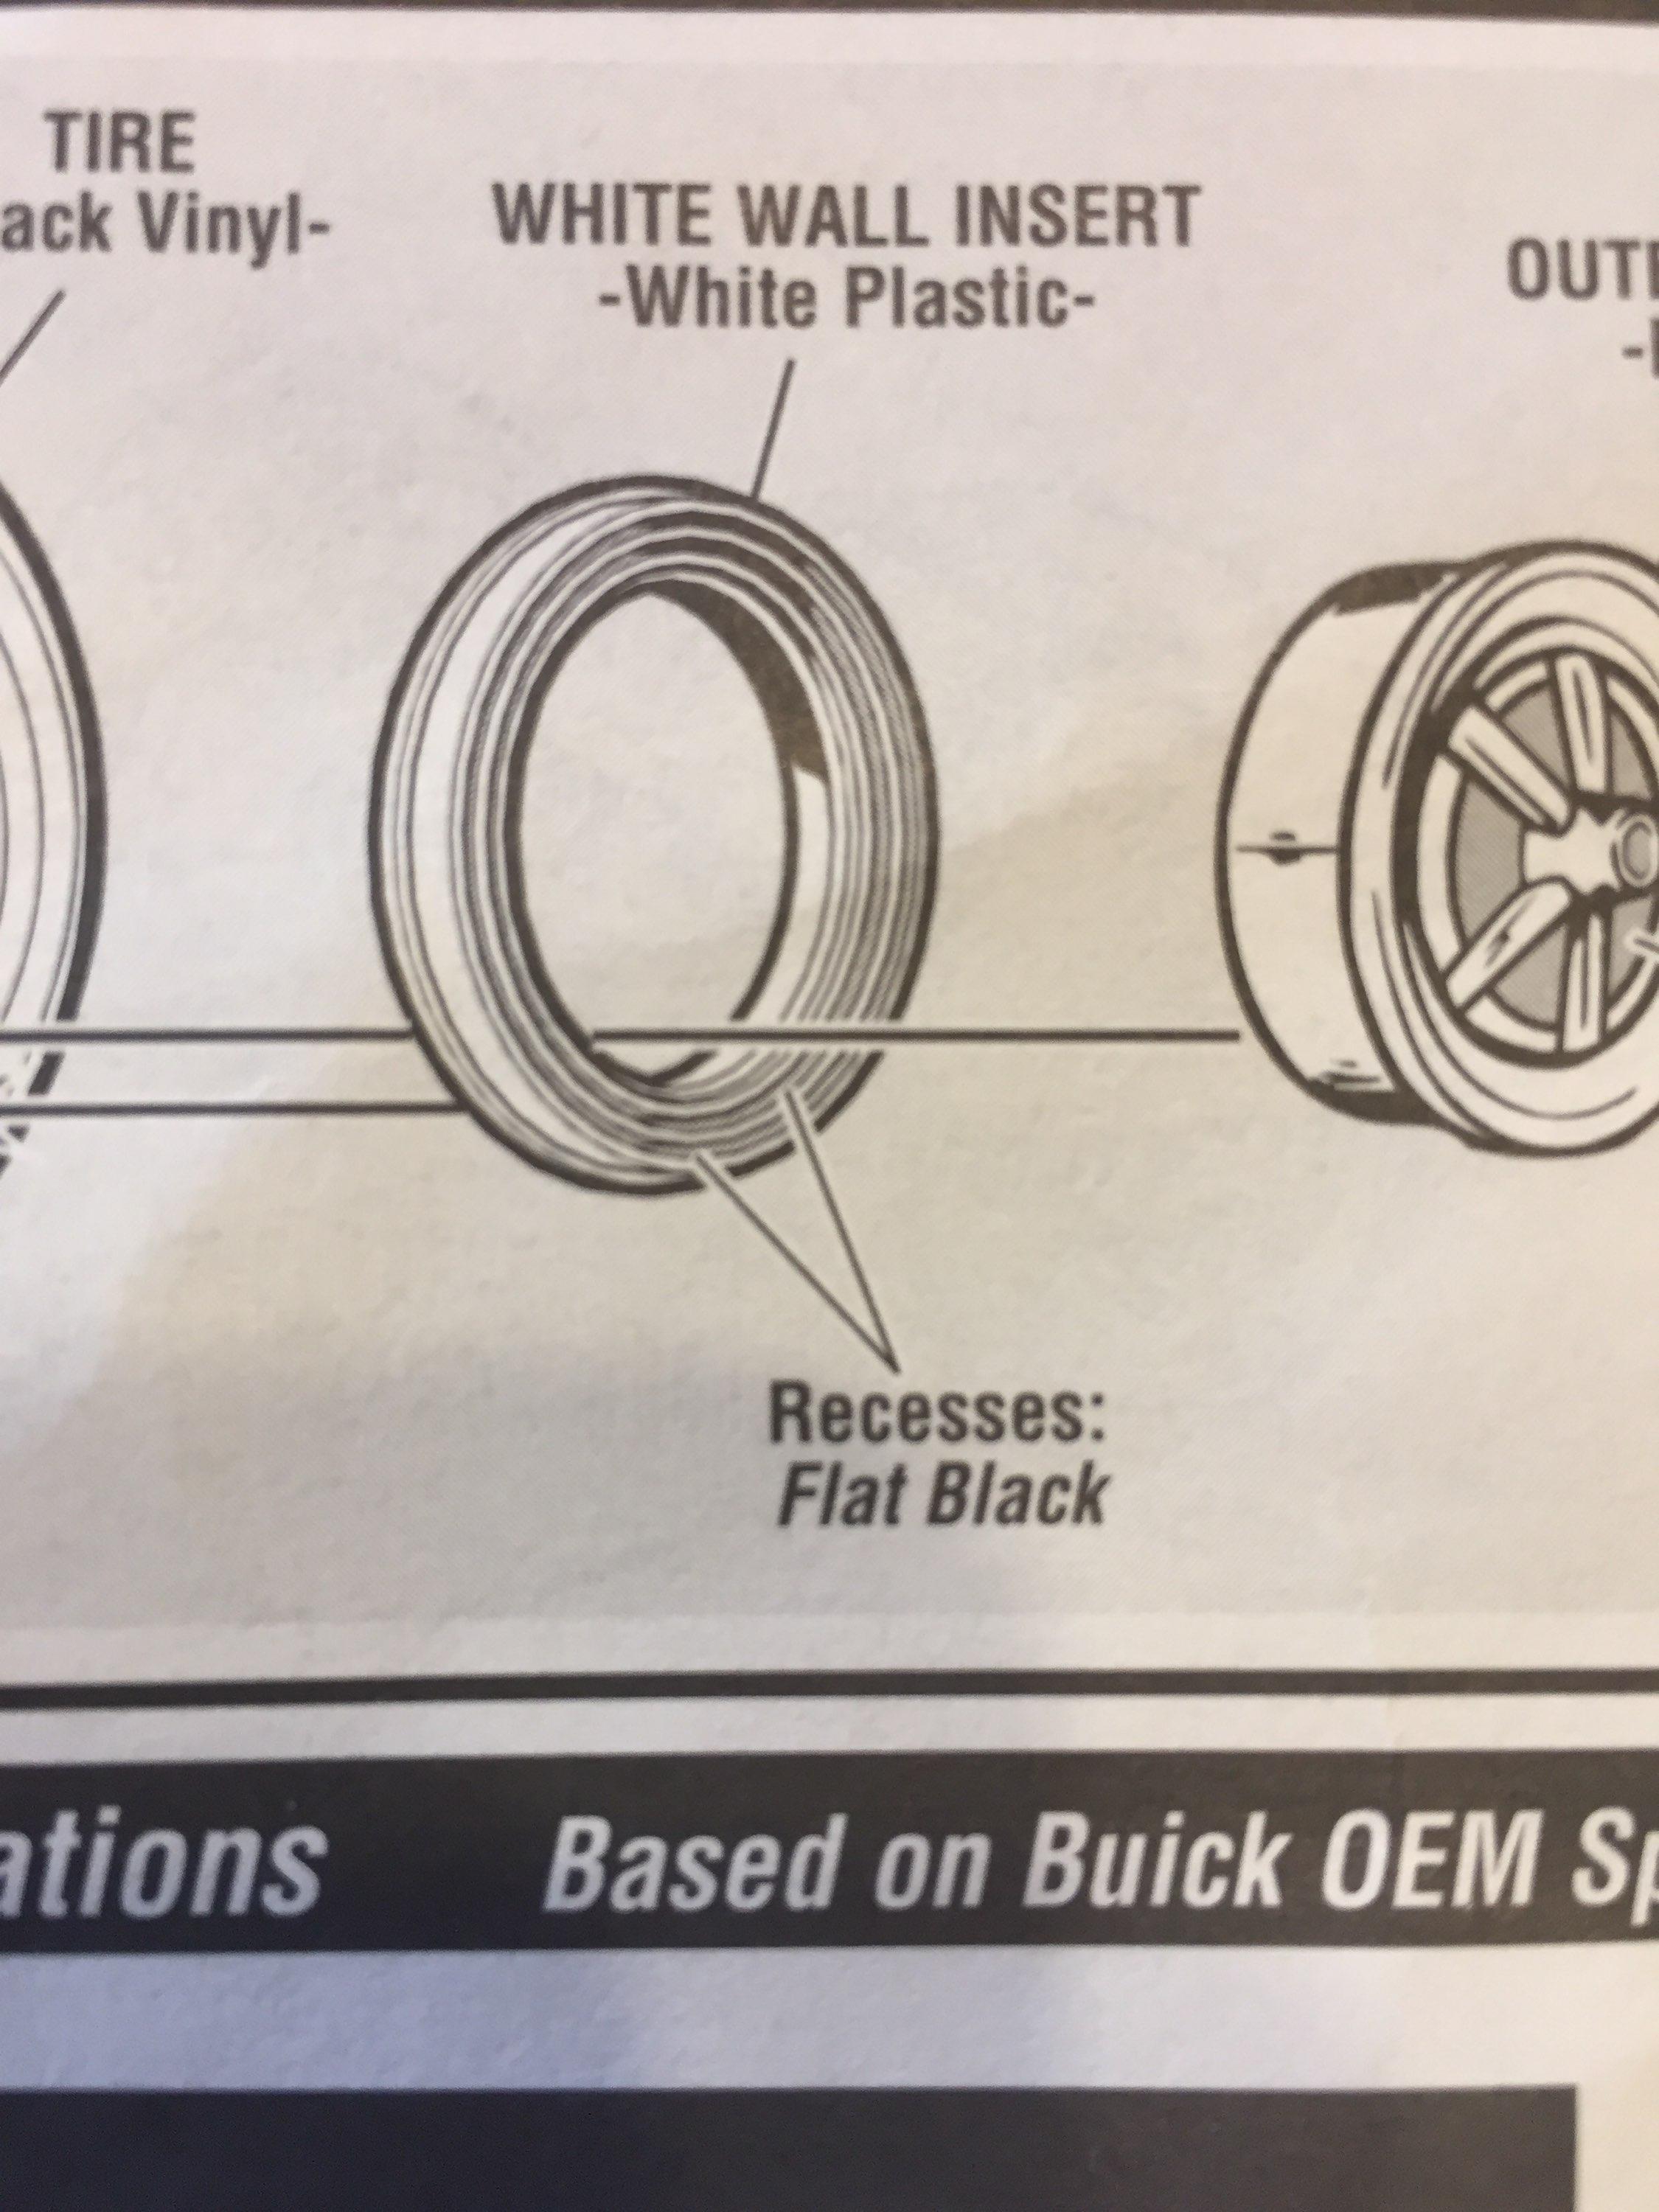
Wow, Steve, that's a revelation! Thank you! I wonder if that's in the instructions. Maybe I should look ? Really, that's fascinating. I thought those white-walls were kinda strange; now it makes sense! ? After assembling the the interior I set the firewall in place in the body and installed the interior/frame assy. into the body and it seemed OK but the glass was not installed. I don't see a problem. Firewall to body looks like the way. Thanks again. -
Radio antennas another dollar store money saver.
customline replied to Mike C.'s topic in Tips, Tricks, and Tutorials
By the way, folks, remember the aerials that weren't telescopic? I remember because I worked in a car wash. ? I consider myself an expert on the subject. I put one through my right hand (the little ball was missing.) Had to shift my 4-speed with my left while driving myself to the emergency room. Yup.? -
Radio antennas another dollar store money saver.
customline replied to Mike C.'s topic in Tips, Tricks, and Tutorials
.....and that's in what scale Trevor? Good gracious ?......although I think I have tweezers that could possibly handle that. No, really.....☺️ -
Cool project, Bob. I'm eager to see the stance you come up with. Great start ? !
-
Next up: '66 Riviera - the last Nailhead
customline replied to customline's topic in WIP: Model Cars
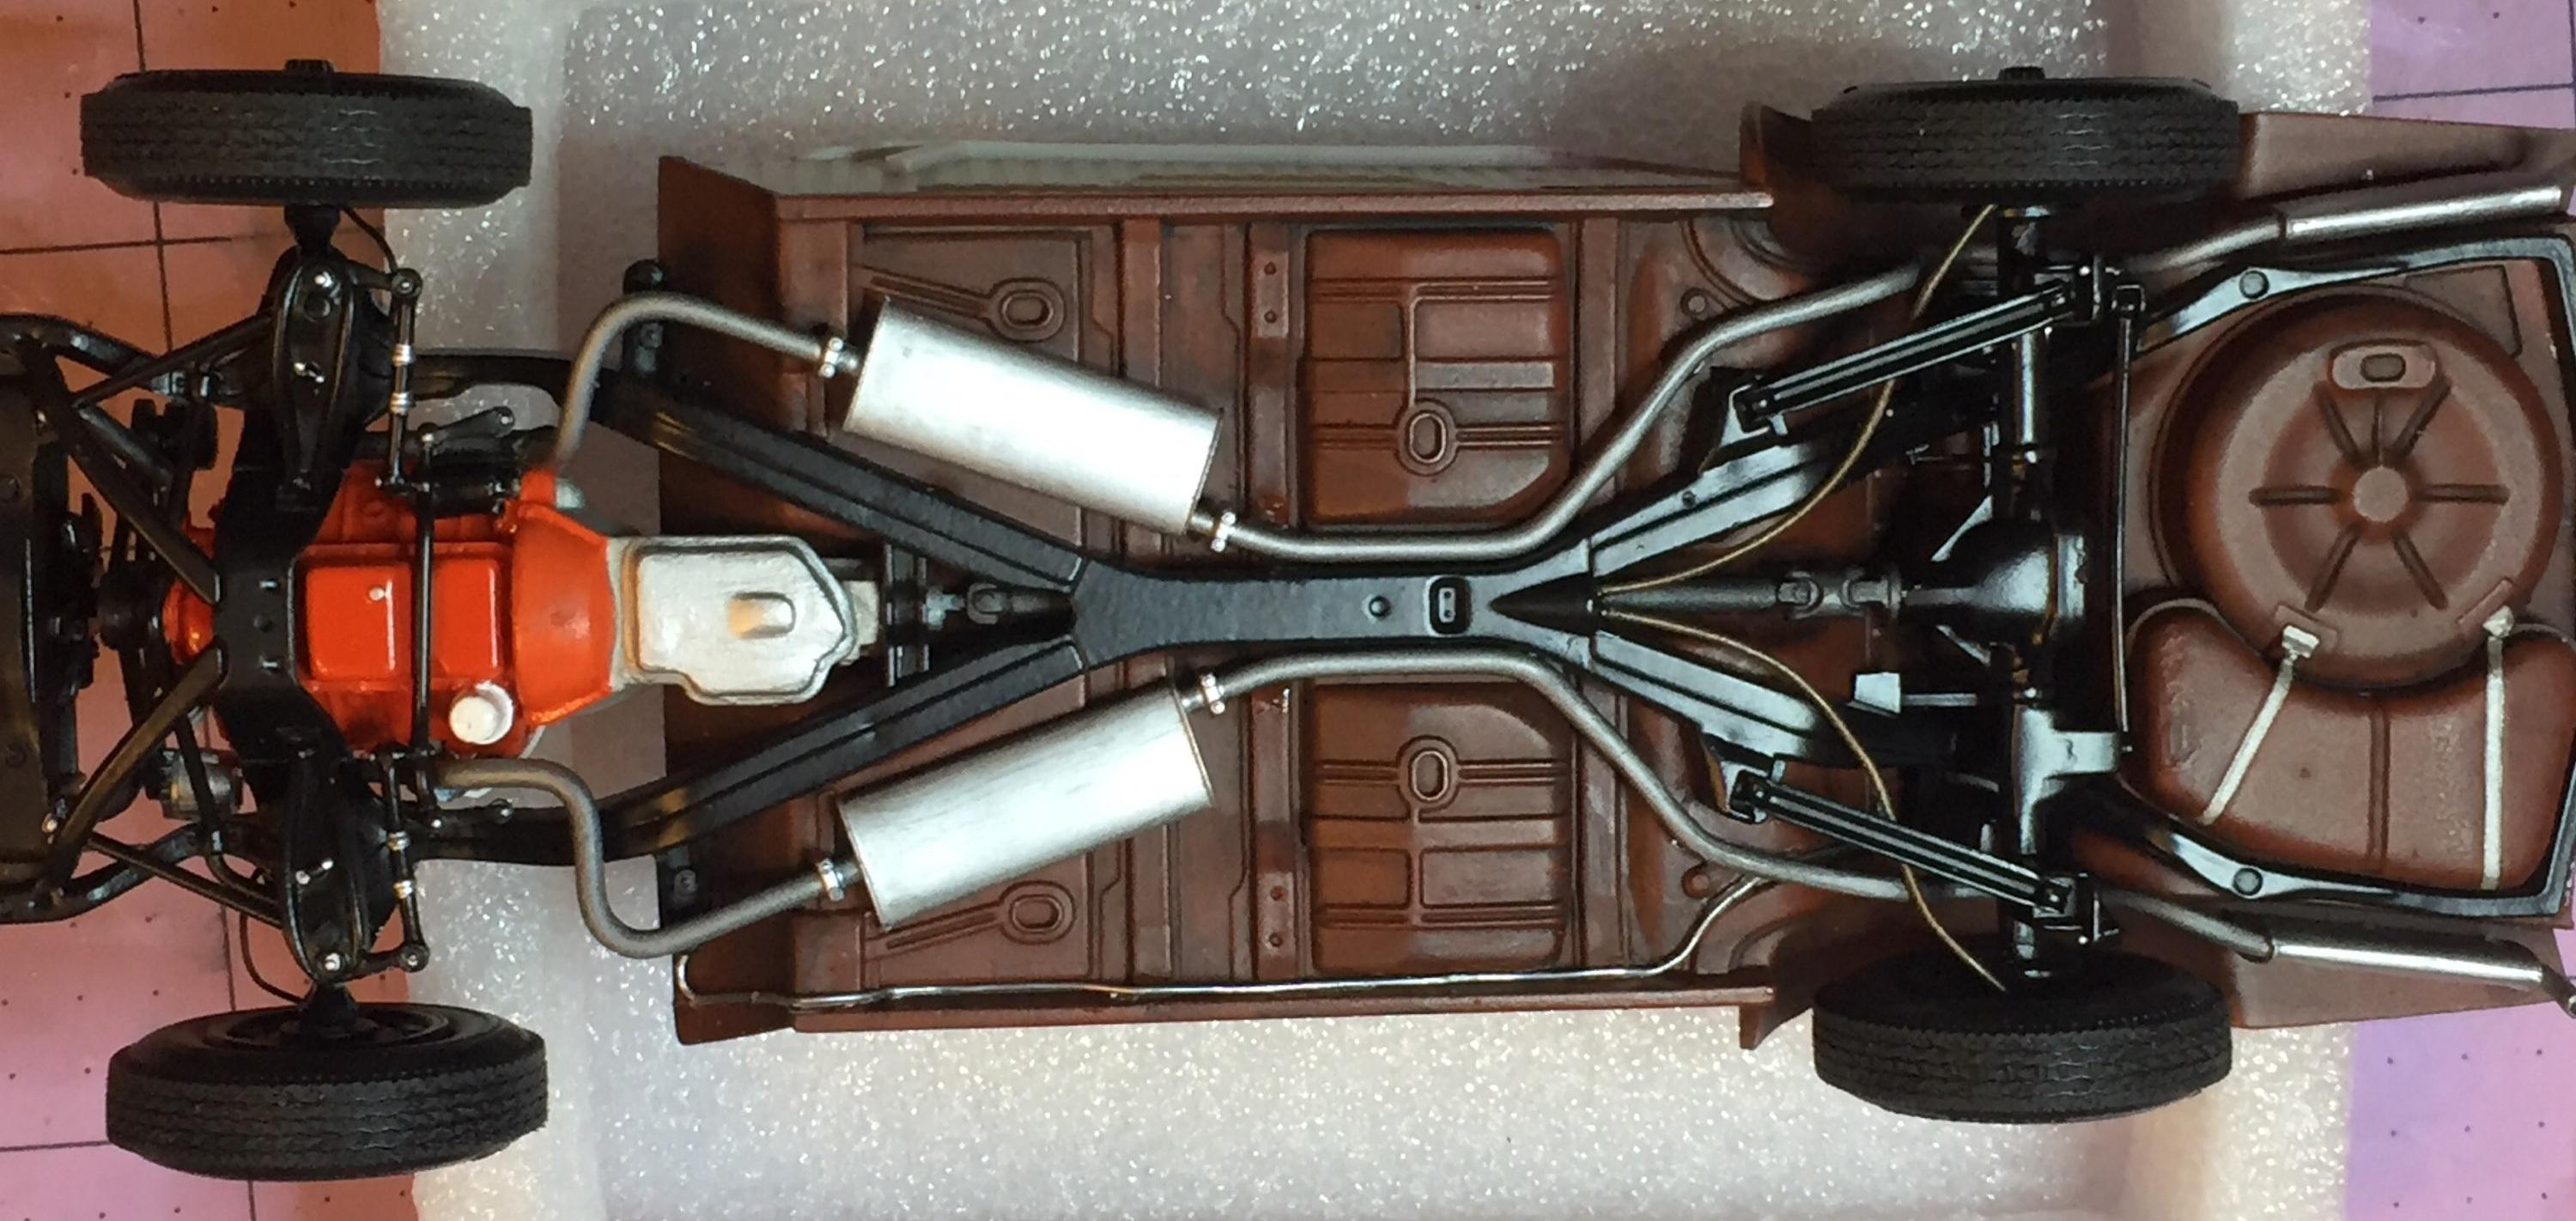
Mini-update: Joined frame assembly to floor assembly ? and installed exhaust systems. Added a little paint detailing to firewall and now I have to decide on the attachment of the firewall. I have thrown the question out there twice now and, as yet, no one has weighed in. I anticipate a fit problem if I go with the AMT instructions. The firewall is shown being glued to the interior assembly but it's not a precise fit - no locators. The fit of the firewall to the body at the inner fenders IS a nice tight fit as if it had been designed that way. I'm inclined to go with that but can't help wondering if I'm not seeing something that I need to before I run up against it during the final fit-up. You all know how that goes. Whomever has built this kit please speak now ? or forever hold your peace. ? The instructions may take into account the placement of the steering box in the sequence of assembly; I can deal with that.
-
Next up: '66 Riviera - the last Nailhead
customline replied to customline's topic in WIP: Model Cars
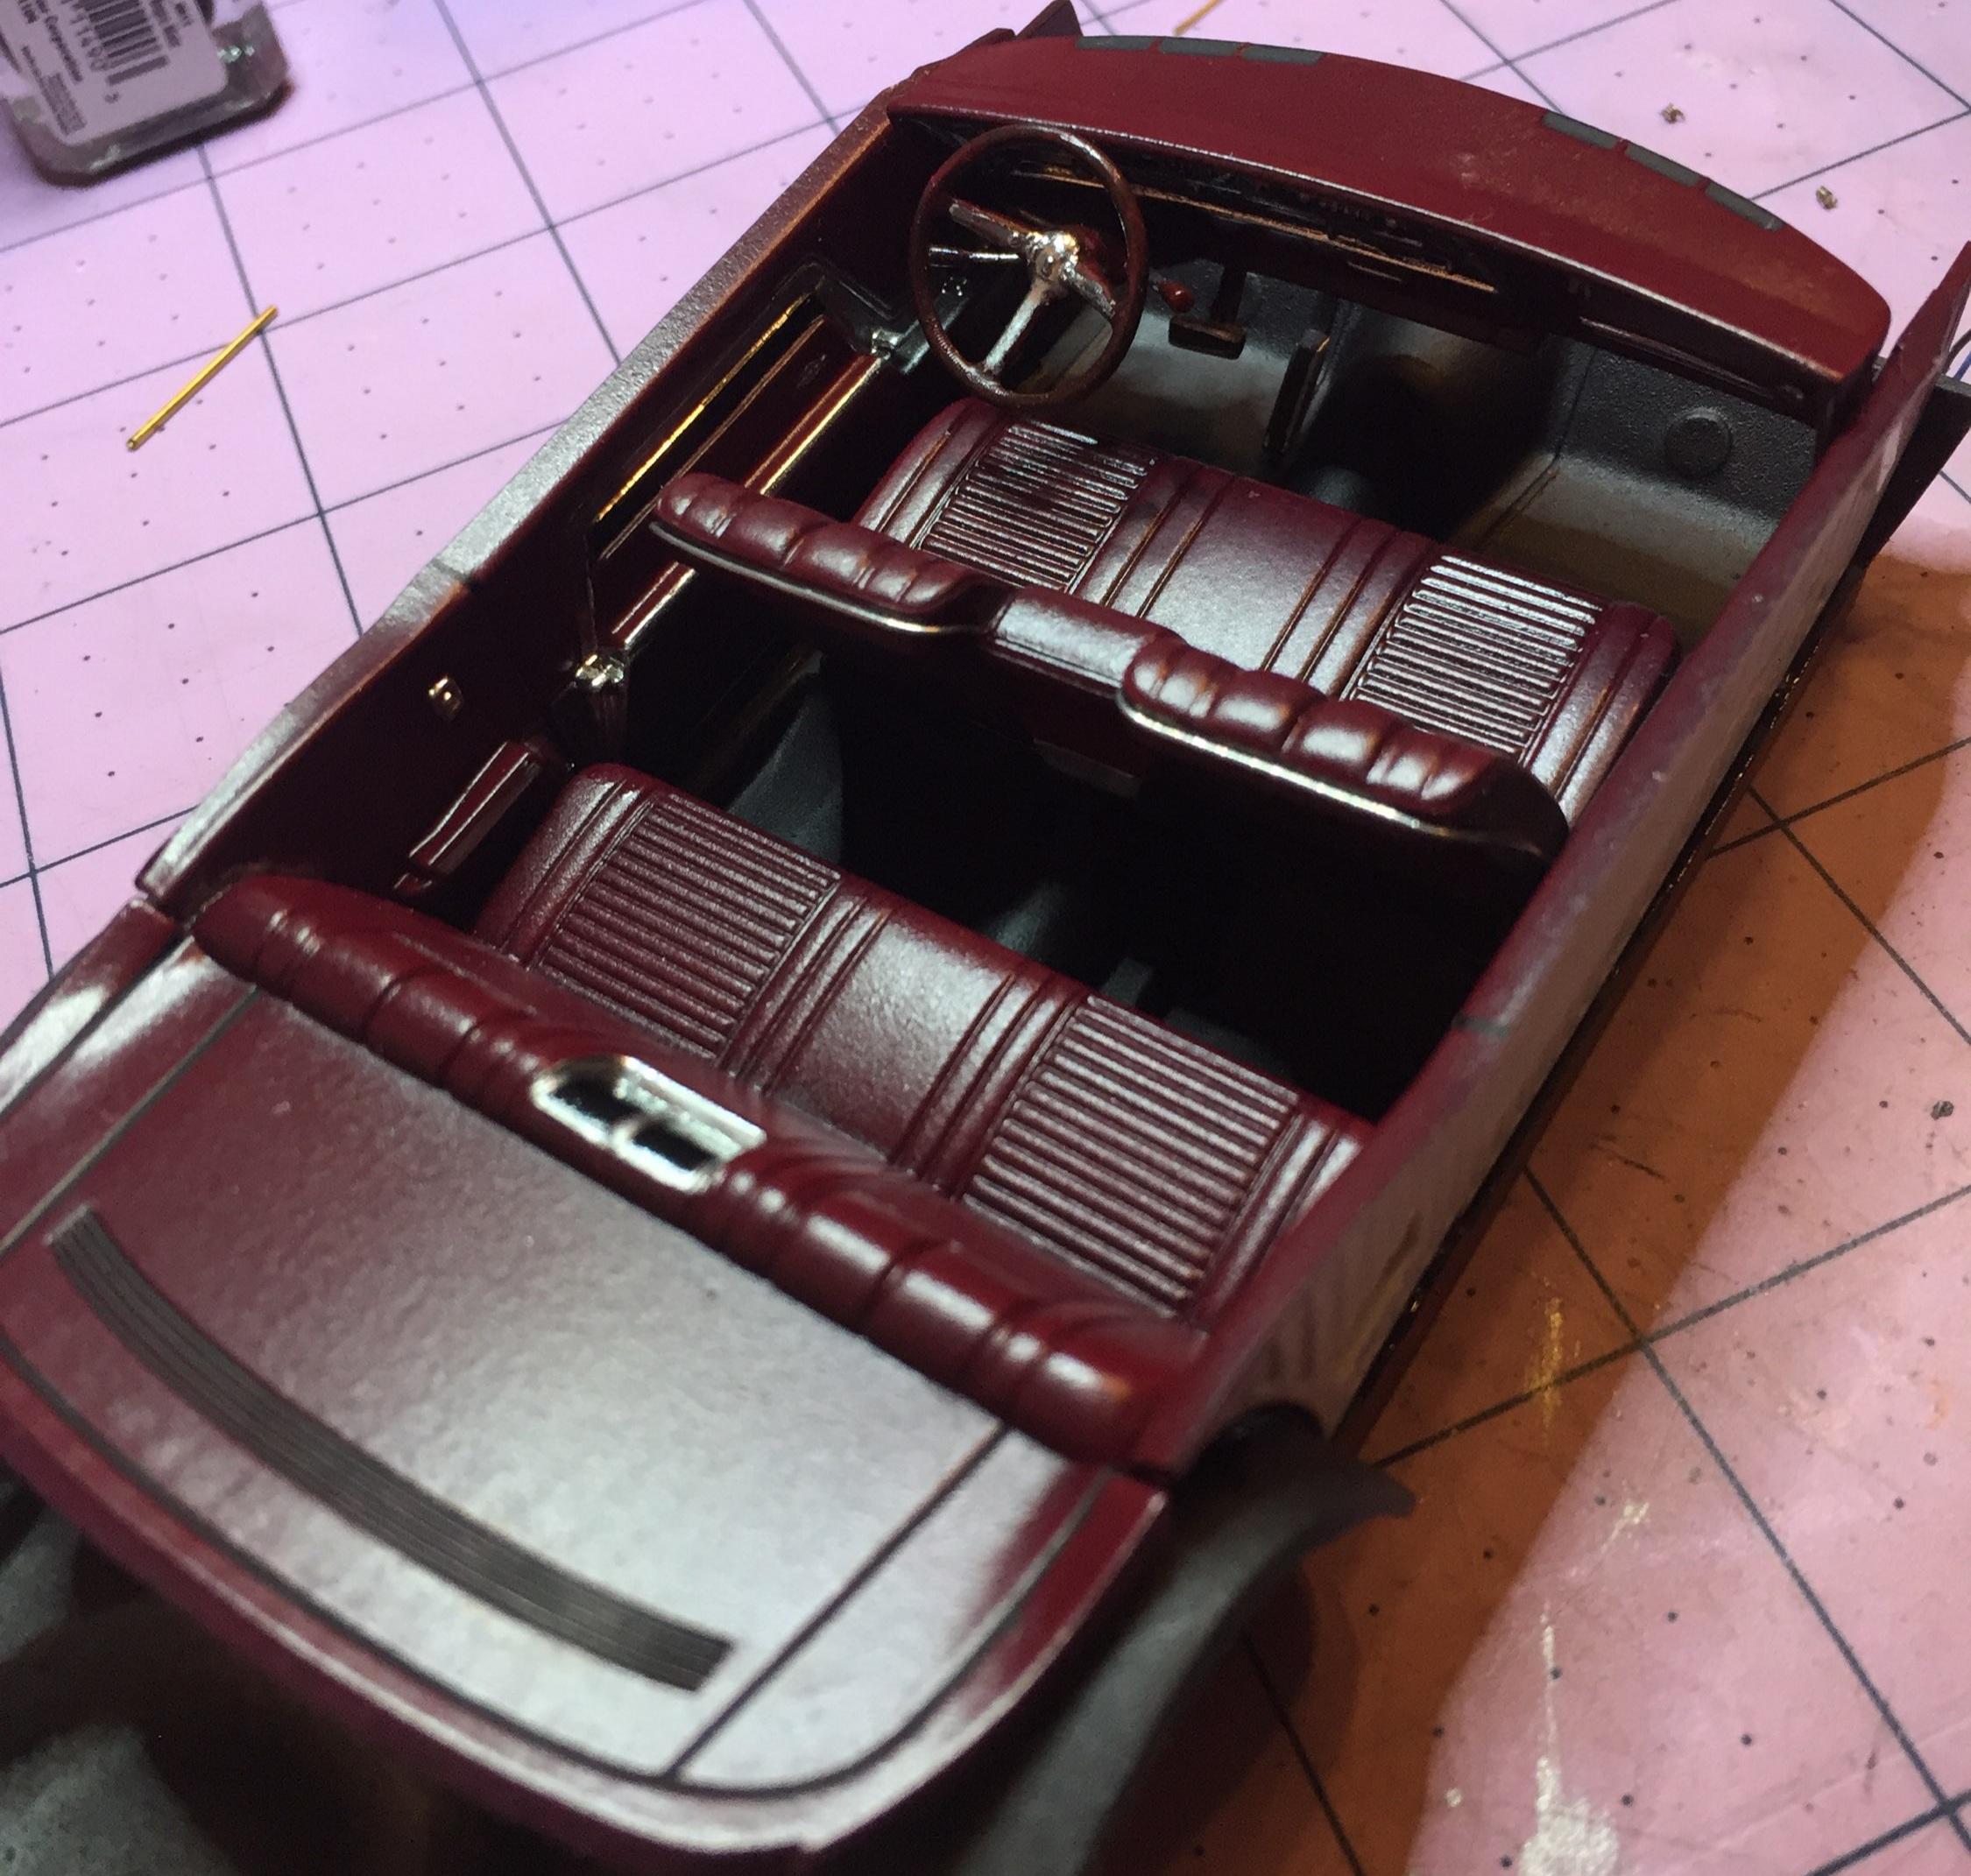
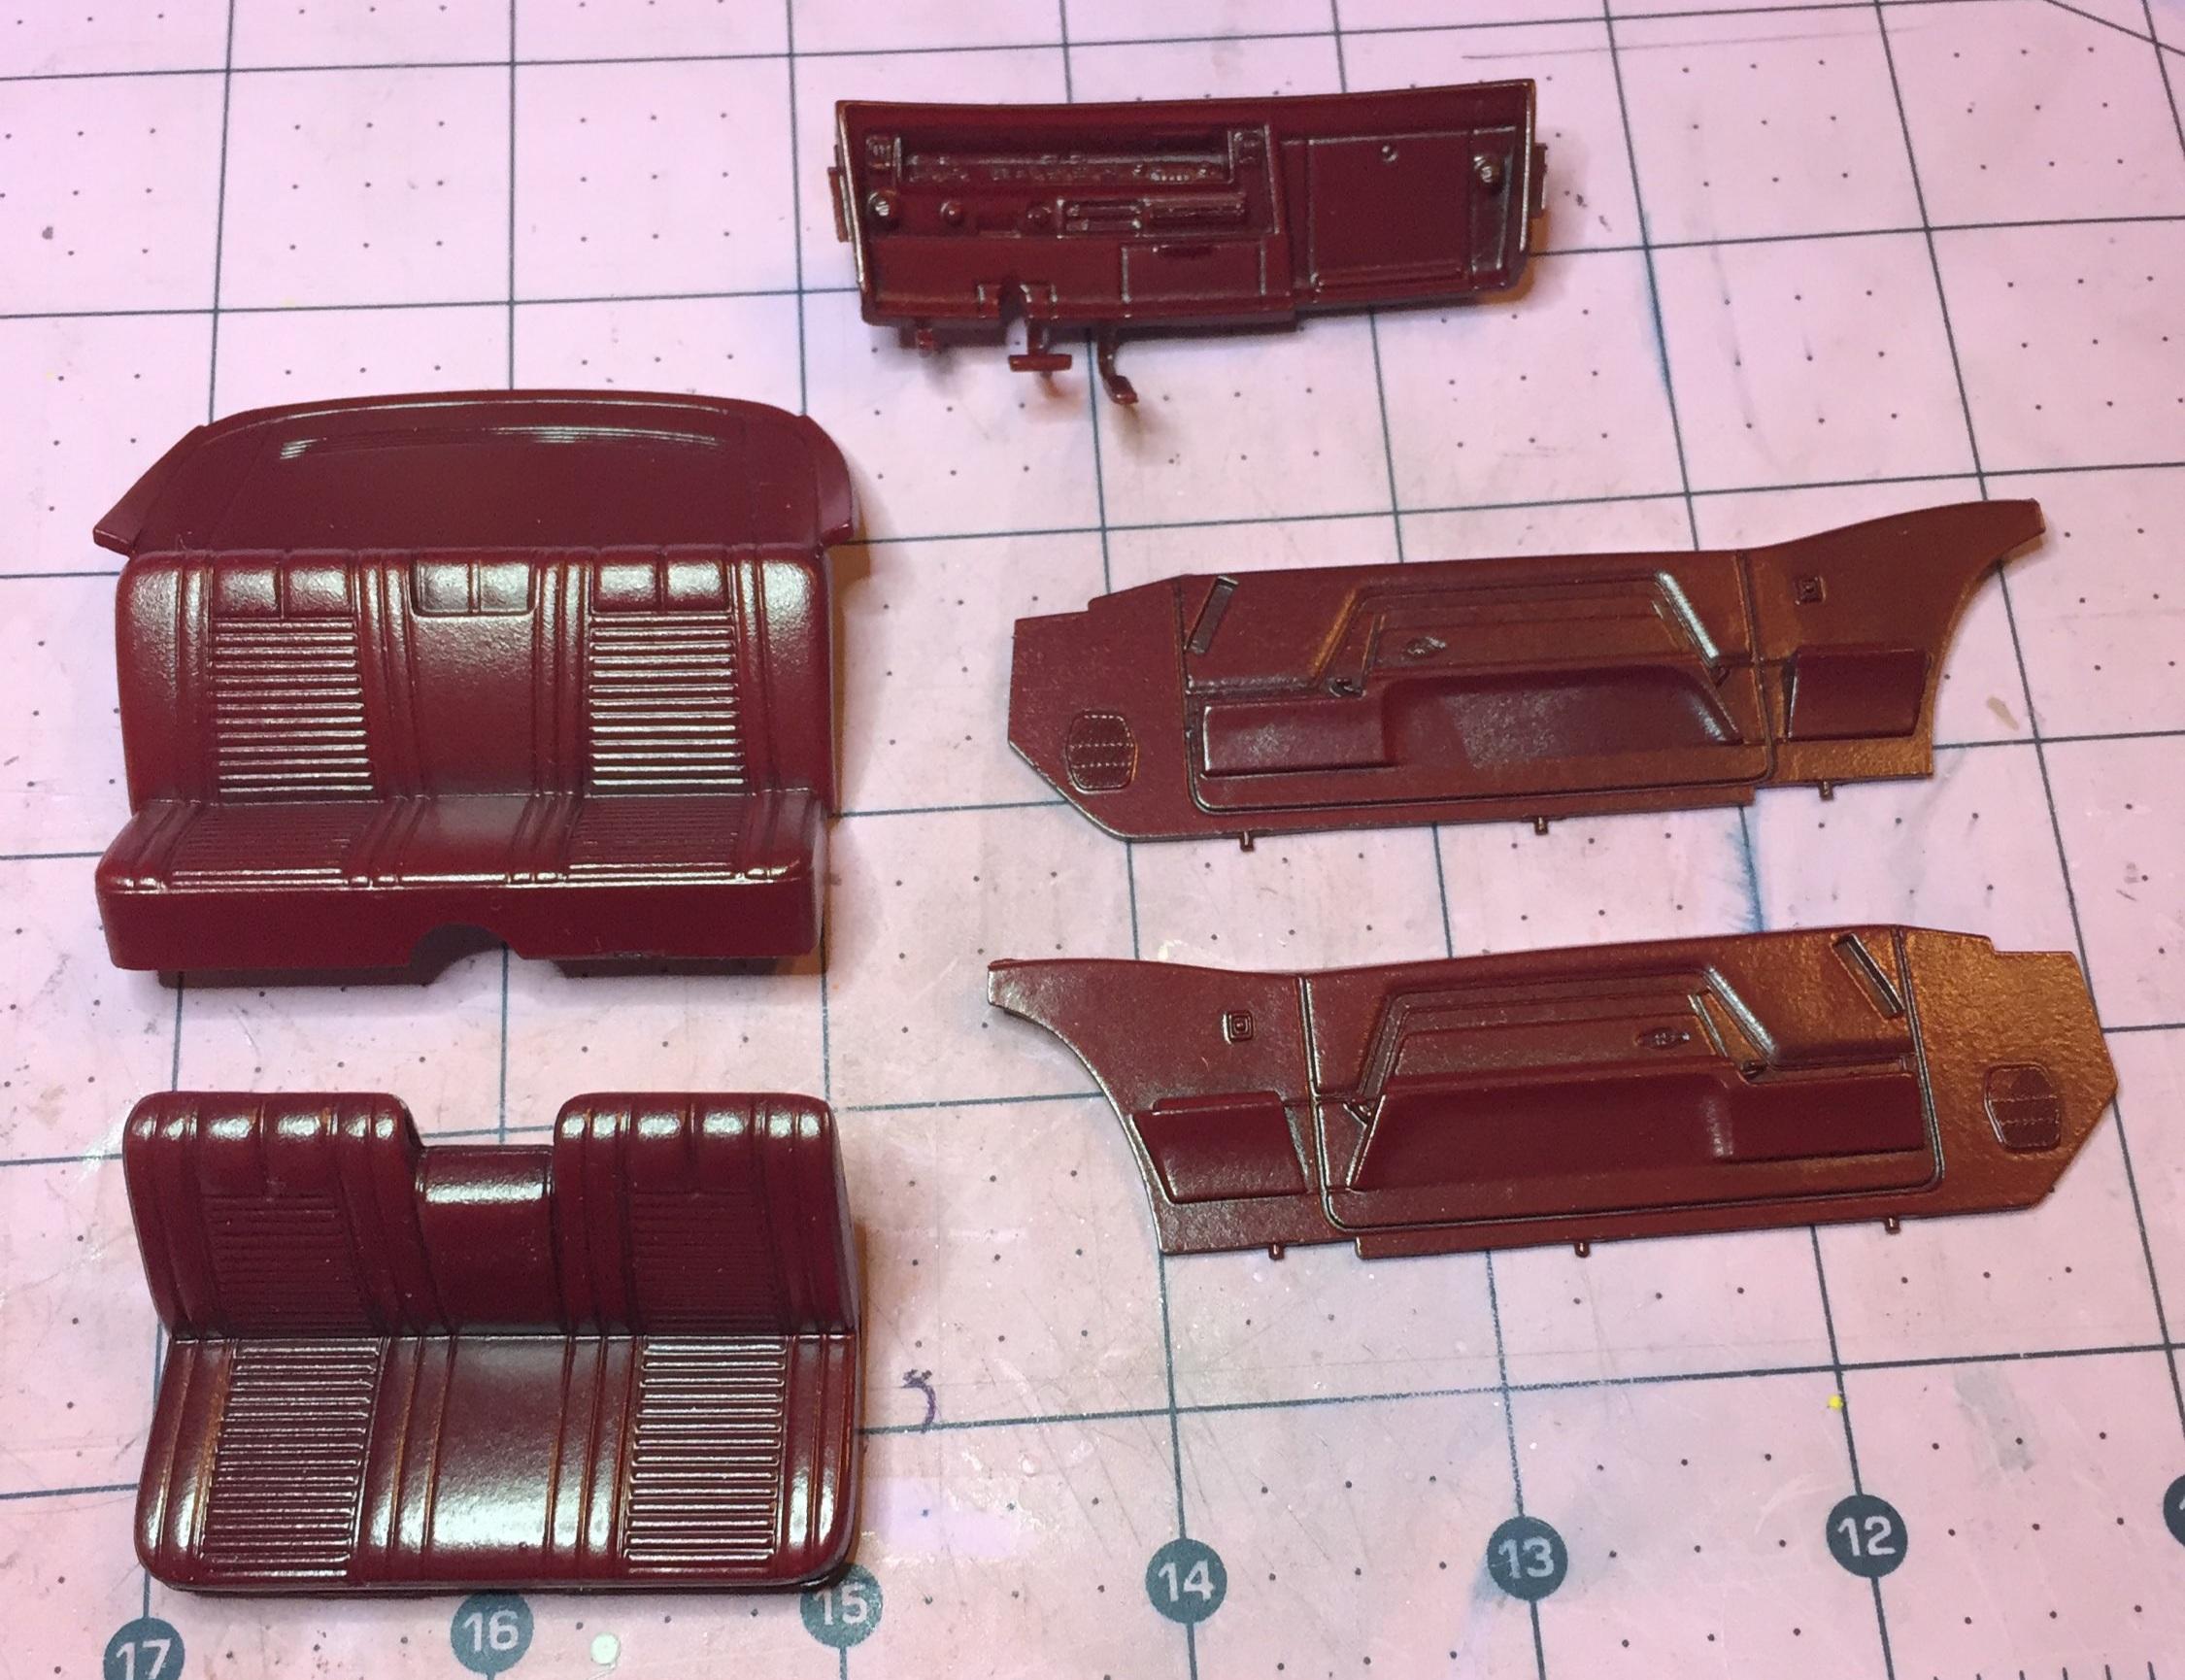
Thanks, Ian and Dave. I like the color a lot for an interior and it's all done with rattle cans in one session. First the flat black which dries fast. Then Krylon gloss Burgundy, no more than two light coats because the black needs to show through. After the burgundy is dry, I hit it with satin clear. Done and done. Results may vary ?. And I think you're right, Ian, that the shine will help to bring out the pleated "upholstery" and the "grain" ; I'm glad you pointed that out. Out in the sun, that color is quite 'purple-ish" but indoors it's good. Below is the first time I did this and it was because somebody on a forum pointed out that what's underneath affects the final color. How right they were. This isn't anything new but it was for me ?. As far as the guages, Dave, I'm a fan of Michael Hanson's work (SEE ABOVE). I buy a small quantity at a time to get the discount and they make quite an impact on some builds where they can be easily seen. I also like that you can get SW in black or white face, and Sun gages too. Great stuff.
-
Next up: '66 Riviera - the last Nailhead
customline replied to customline's topic in WIP: Model Cars
Thanks, Rusty. It's a bit too shiny but think "Armor-all" ?. All that work on the dash and you can't see it! I need to decide how to handle the firewall. My gut says glue it to the body. ? I don't trust the instructions. -
Next up: '66 Riviera - the last Nailhead
customline replied to customline's topic in WIP: Model Cars
Thanks, Anton. Here's more shots from yesterday.
-
Next up: '66 Riviera - the last Nailhead
customline replied to customline's topic in WIP: Model Cars
Thanks, Bil. I can't understand why, sometimes, the photos I post don't end up in the order I had them in when I hit the enter button. Maybe it's this Android thing that I use. I may try a Fire I have. Driving me crazy ? -
Next up: '66 Riviera - the last Nailhead
customline replied to customline's topic in WIP: Model Cars
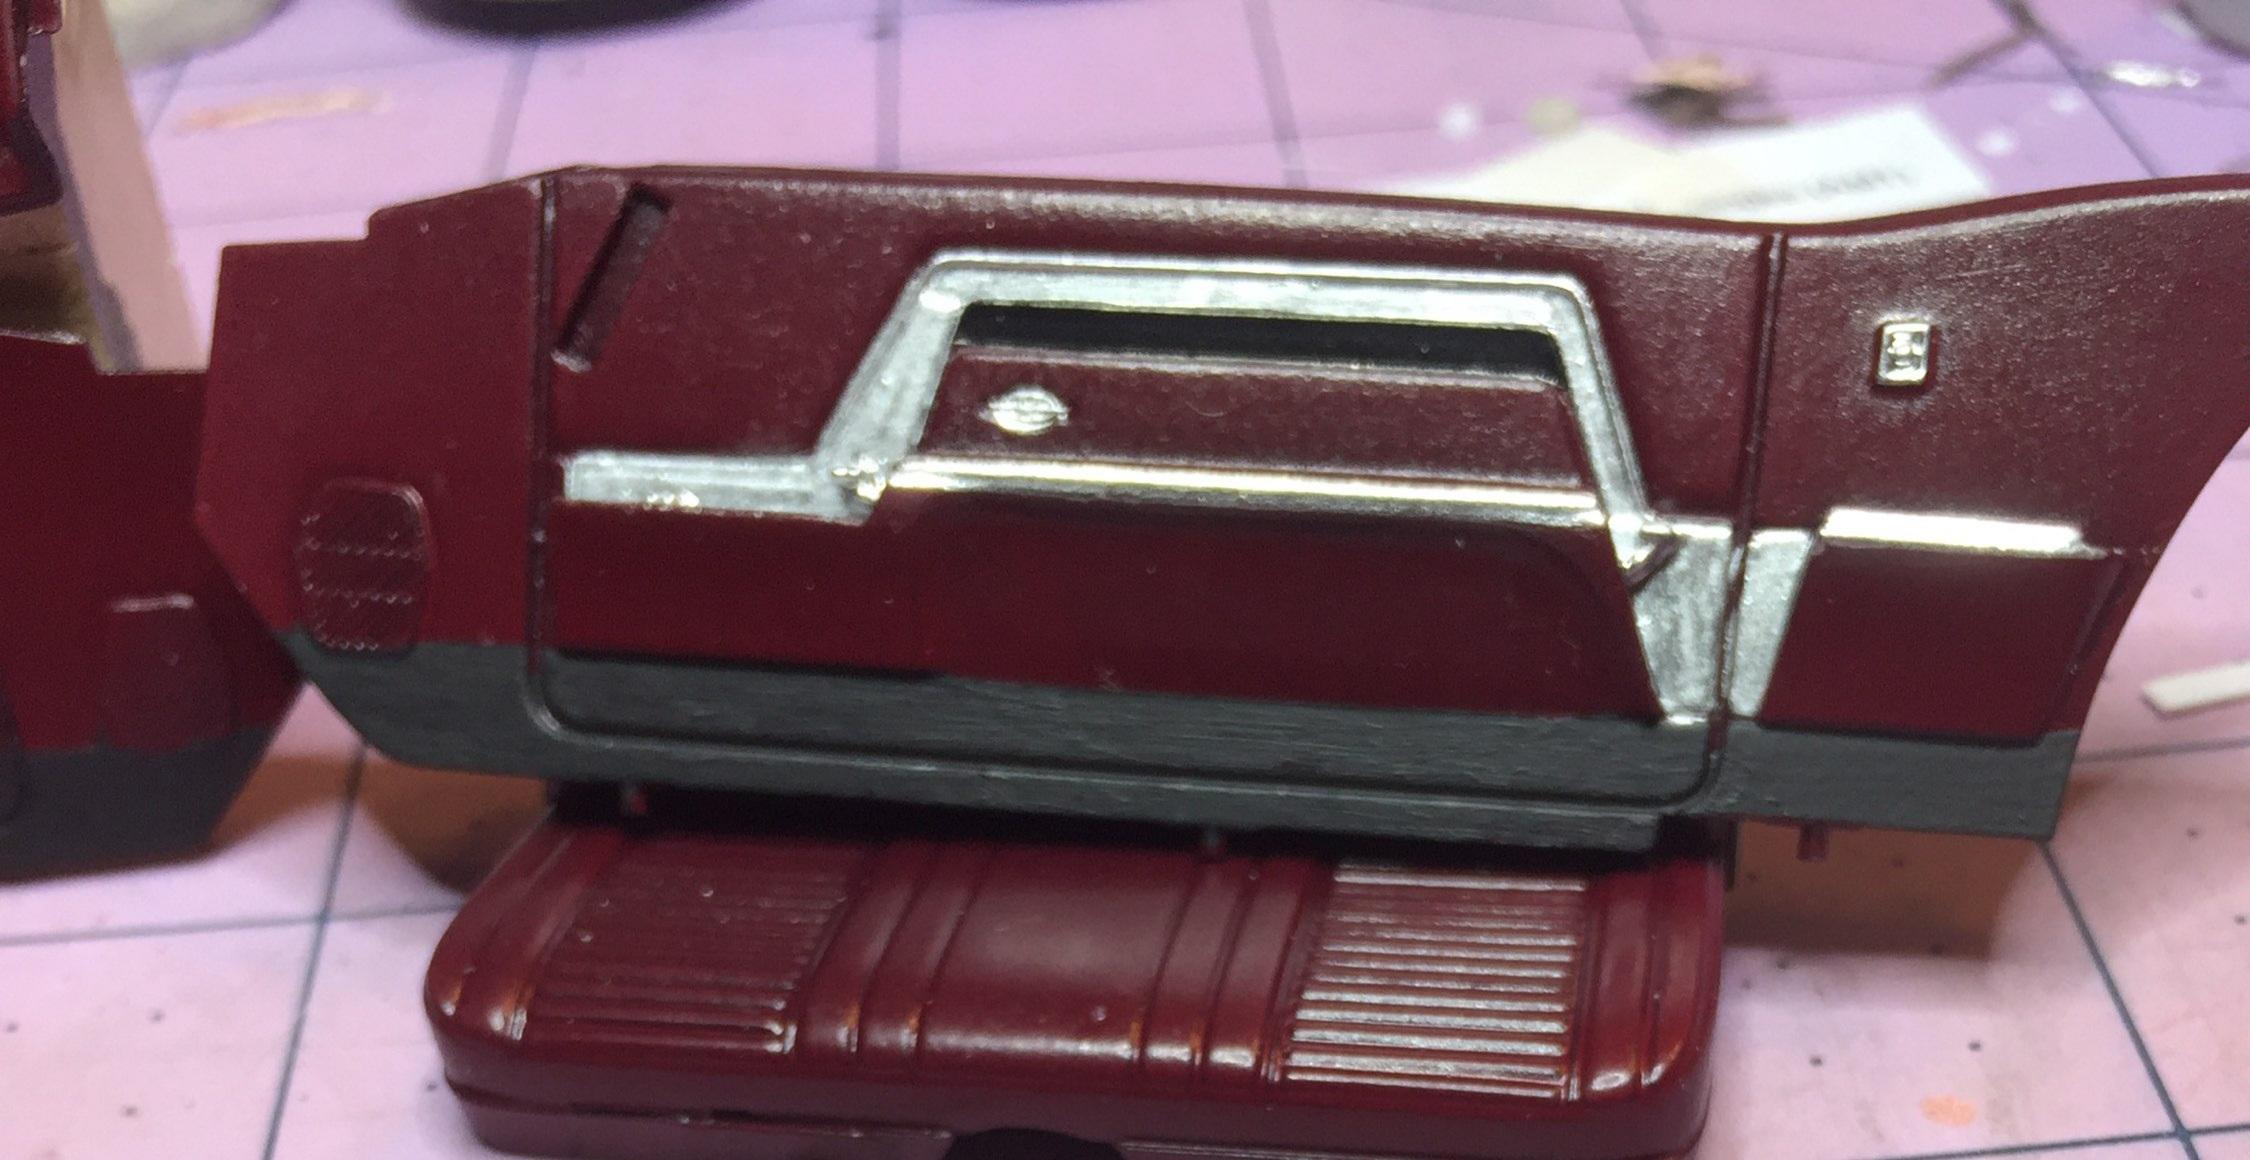
Weekend update: got interior detailed and glued up. I figured the door panels were too irregular and detailed for me to use foil for those big chrome things (I'm sure others have been successful) so I used Molotow and 18/0 and 3/0 brushes along with black chrome foil and flat black paint. The dash is detailed with flat black rattle can, foil, Molotow chrome and Best Model Parts photo reduced guages. I tried to shave off some of the instrument detail for a flat surface to mount the "guages" to but had to settle a bit. A parking brake release was added. The front seat was detailed with foil and .022 solder. Rear seat got black chrome foil and Molotow chrome applied with brush. This interior was difficult, for me, to detail cleanly. There is much high relief, complicated detail molded in to begin with and the door panels would have been awesome with chrome foil detailing but for my limited skill with that stuff. I opted to use foil where I could be somewhat successful in doing so and Molotow for the rest. The closeups are quite revealing of the difficulty level for me but I'm happy with the overall result, the "big picture". Heck, once it's all together you can't see much anyway. Thanks for watching i
-
Radio antennas another dollar store money saver.
customline replied to Mike C.'s topic in Tips, Tricks, and Tutorials
Wow! (And I was afraid it might have been a false memory ?) -
Radio antennas another dollar store money saver.
customline replied to Mike C.'s topic in Tips, Tricks, and Tutorials
I think one of the gas ⛽ station brands gave 'em to customers. -
Radio antennas another dollar store money saver.
customline replied to Mike C.'s topic in Tips, Tricks, and Tutorials
And then there's the ones that come with plastic balls for heads that you can detail to look like the smile face ones people (not me, of course ?) used to find their car in a big parking lot. Usually, they were florescent chartreuse.
-
Next up: '66 Riviera - the last Nailhead
customline replied to customline's topic in WIP: Model Cars
Yes it is, Rusty, it absolutely is. Maybe I should cut back on the brownies ? -
Next up: '66 Riviera - the last Nailhead
customline replied to customline's topic in WIP: Model Cars
OK, I checked out the Buick forum. ? This is making my head hurt. A/C, no A/C, California emissions, mid-year changes.....Ahhhhhgh!!!!!....I have a 1967 Motor manual in the garage that I will dig out today and if I can find anything in it I'll go with that. I need a nap ? Addendum: couldn't find 1967 Motor repair manual. Did not get nap. More research needed. Moving on to exterior paint before time runs out. Detailing interior appears to be a bit too treacherous for foil. I won't risk any of my good foil for that. -
Next up: '66 Riviera - the last Nailhead
customline replied to customline's topic in WIP: Model Cars
Thanks, Rusty, I really appreciate your interest. I'm glad the brake line isn't glued ?. Sorry it kept you up last night ?. -
Next up: '66 Riviera - the last Nailhead
customline replied to customline's topic in WIP: Model Cars
I dunno, Rusty. My gut says the brake lines should be away from the heat but brake fluid is formulated to perform in a wide range of extreme conditions. Then there is the sequence of assembly (Buick's, not mine). Having done body-off-frame work and run brake lines on the frame (a '39 Plymouth, not a "Y frame" Buick) while it was easily done....I dunno ?. Really think the interior color is sexy? Picture it with all the chrome ?. Tomorrow. -
Next up: '66 Riviera - the last Nailhead
customline replied to customline's topic in WIP: Model Cars
I believe you're right and I thought it was wrong but I saw this (below): what am I seeing here? The dark red interior...I'm seriously considering using Boyd's Dusty Rose on the outside. Think about that combo ?
-
Her "sister" would have been featured on the trunk lid. I was looking forward to that. Come to think of it, I spend way too much time trying to make decals ?.
-
Next up: '66 Riviera - the last Nailhead
customline replied to customline's topic in WIP: Model Cars
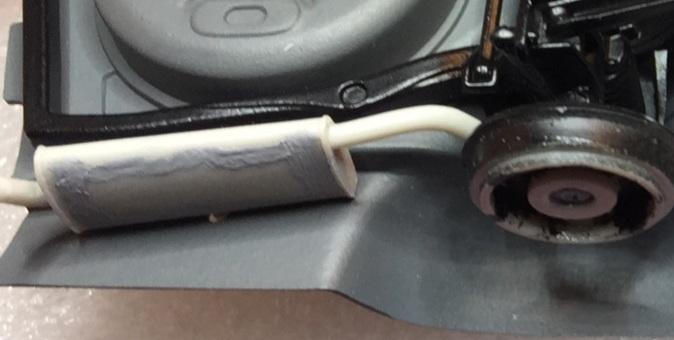
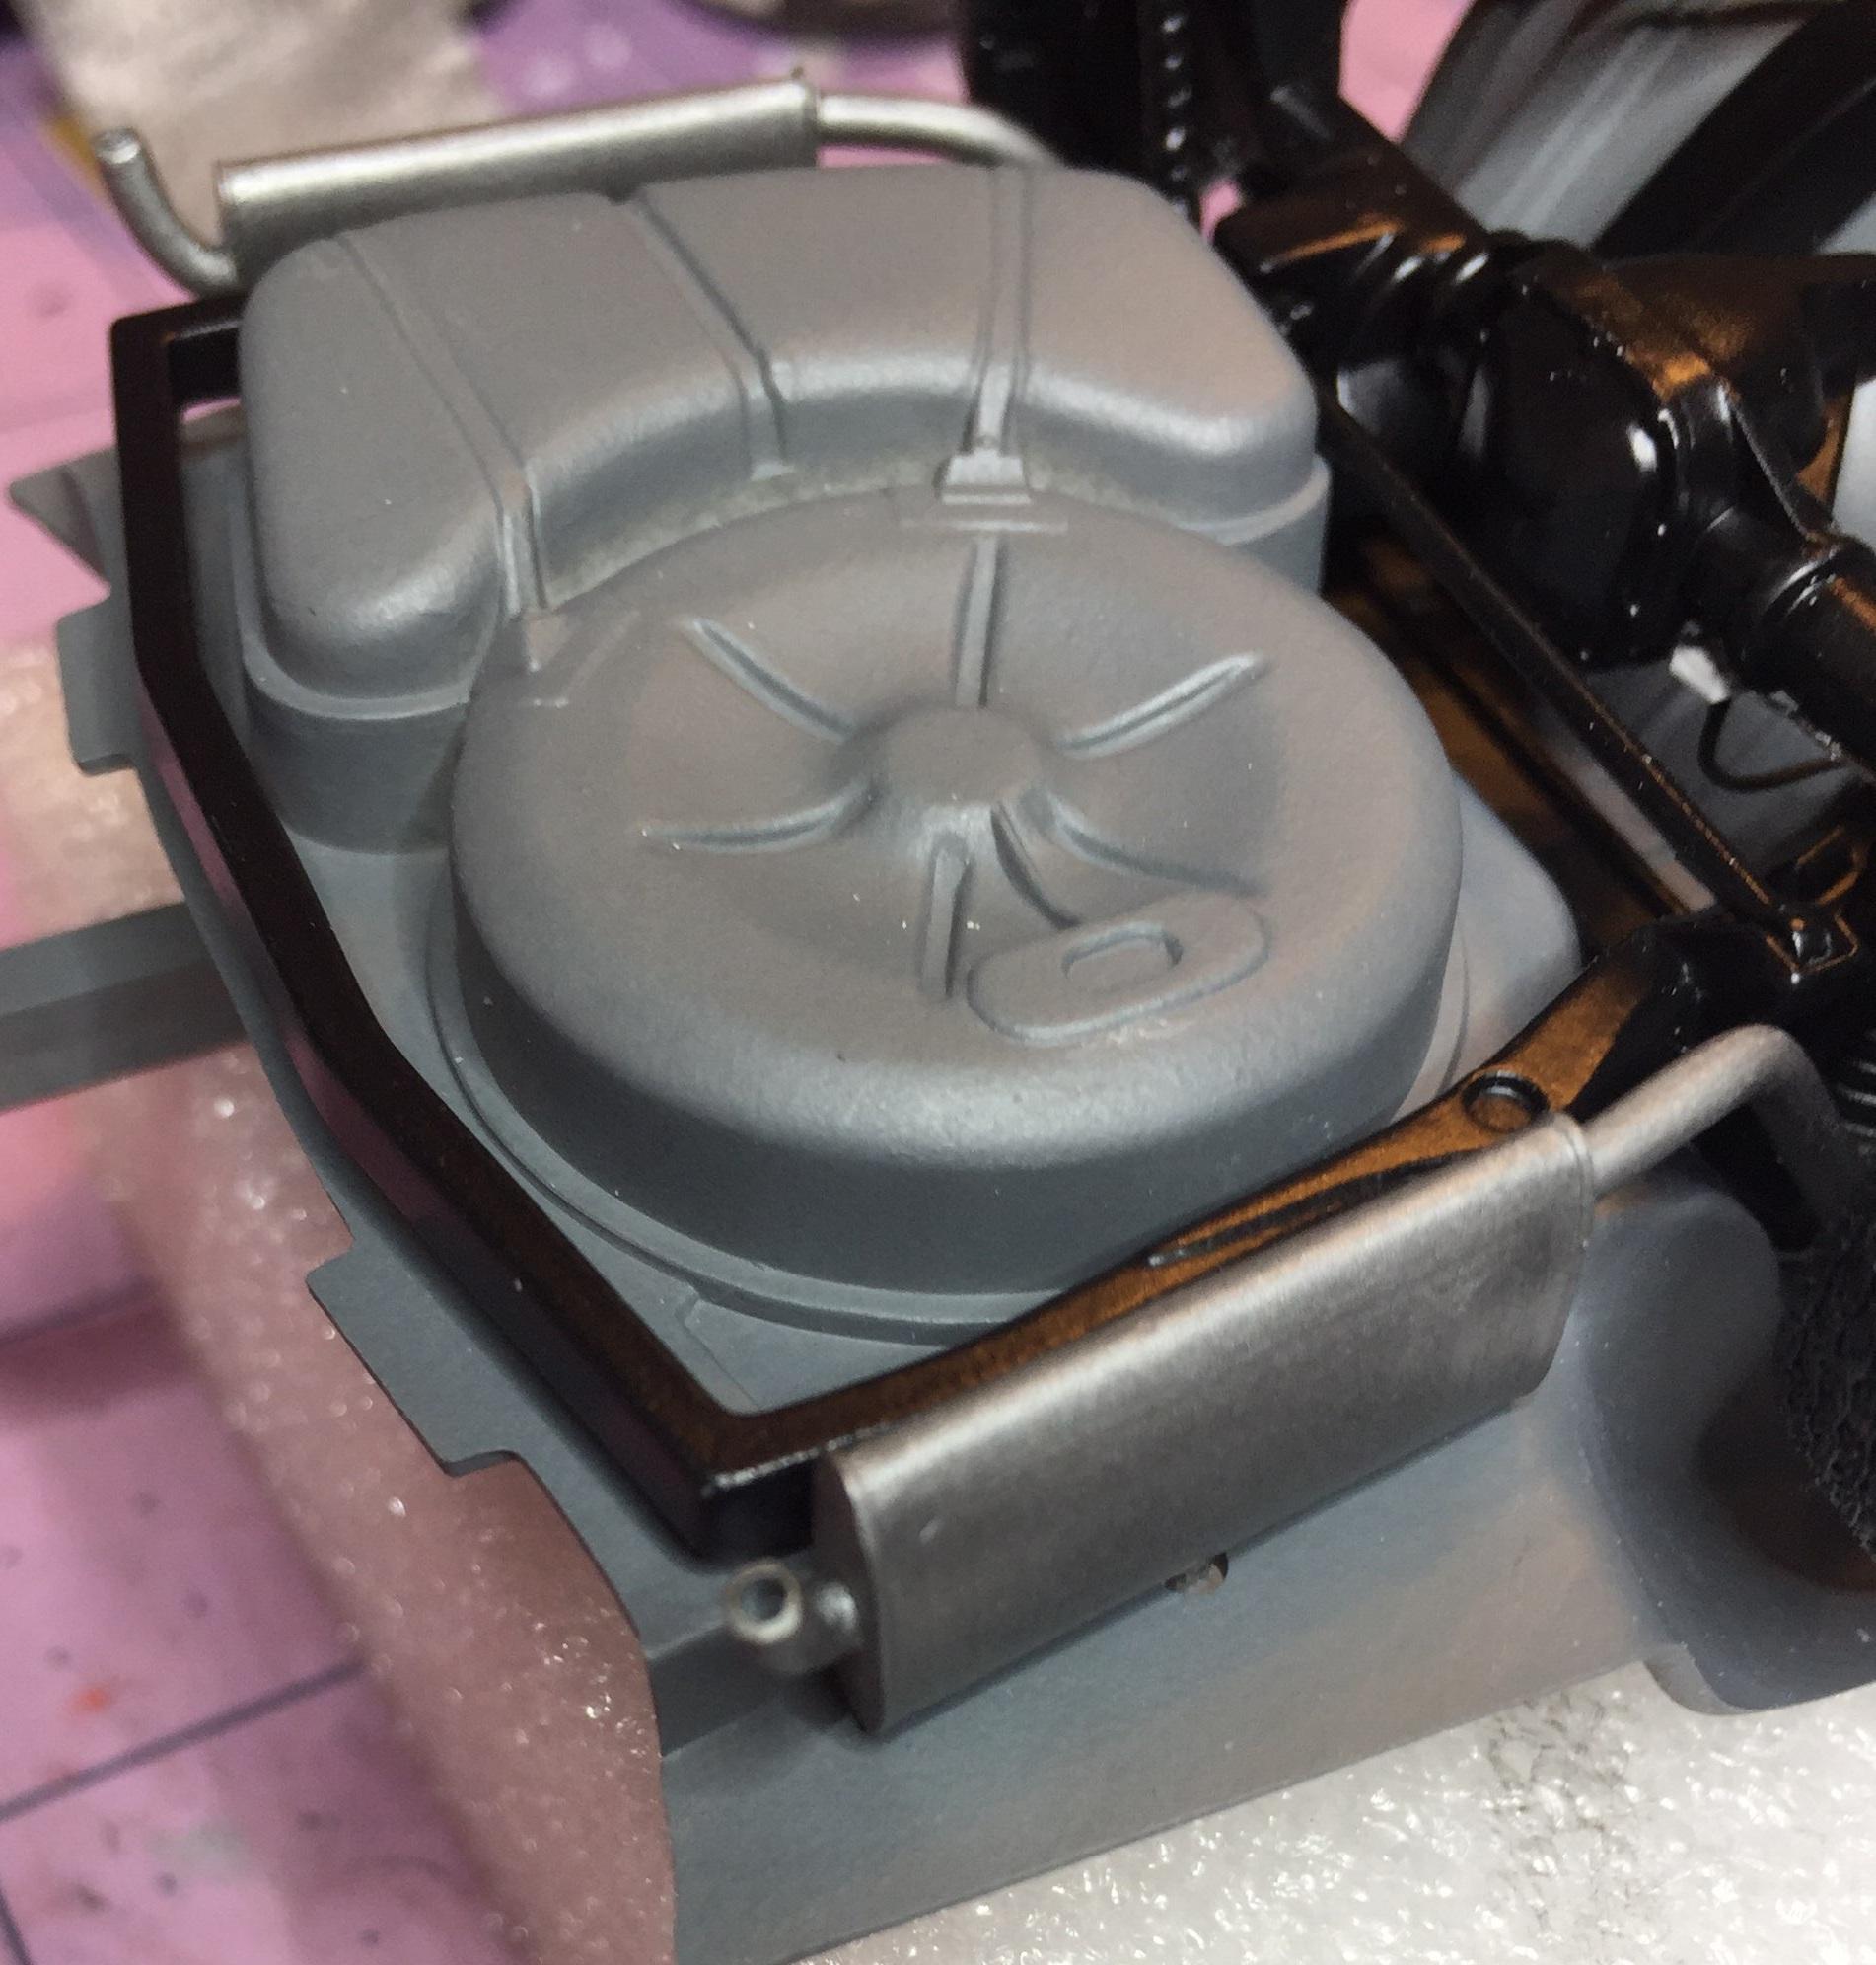
Big day, today....The kit engine seemed pretty decent until I tried to hook up the fuel line to the ....uh.....where's the fuel pump? ?! OK, gotta make one...NP....Next, I got the exhaust system ready for installation by sanding the filler I had to use on the two- piece resonators. Oh, yeah, a new one on me ?. The kit provides "fillers" for the resonators that are cast hollow. But it's not quite a tight fit. Gotta fill 'em. Then on to the hood to block sand the filled sunken areas. Done. Finished brake line install. Mocked it all up and.....behold! the floor bottom will be sprayed with red oxide primer before assembly. I like the way the gray looks but the red oxide may be correct, yes?oh, and I painted the interior pieces. Flat black first, then Krylon gloss burgundy, then satin clear. They should be dulled a bit more. Tomorrow.
-
I'm just happy I didn't waste another sheet of decal paper before I broke the nose. It will probably sit in that box till I need those bomber seats and then the fate of the Wild Kinky Six will be sealed ?
-
Amen, brother! I buried it with the decapitated Camaro ?.
-
Been waiting for this one to show up here, Bil. It's a real nice tribute to the 1:1 that inspired it.
-
That Linkin got PERSONALITY ! I love it! It's refreshing ! And that Extreme Lacquer is awesome, ain't it?


.jpg.671589b16375b0b5835a7f24adefea95.jpg)


.jpg.1a2de00b156f58e41ceb815ee78cce6b.jpg)