crb1024
-
Posts
44 -
Joined
-
Last visited
Content Type
Profiles
Forums
Events
Gallery
Everything posted by crb1024
-
Thanks for the comments. Alcad was airbrushed no buffing, but out side band and top section in front is the brass from the kit. You can see the spray booth in one of the pics. The white cord looks brighter than what it is . It toned it tone it done with some pastel chalk. Hard to see in the pic. Did you read my earlier post about floor finish stripper for removing paint. It really works Great.
-
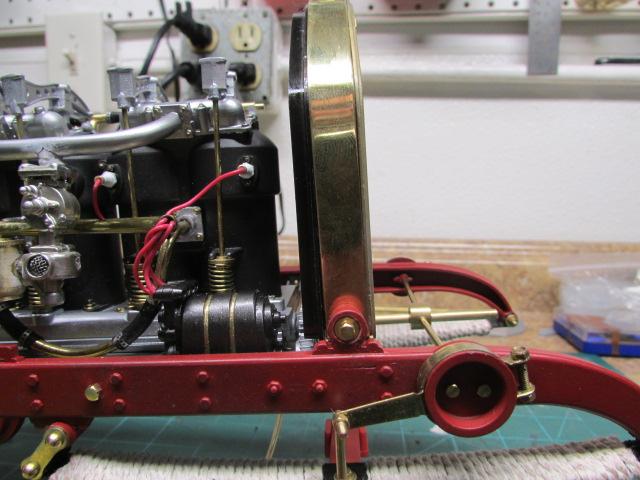
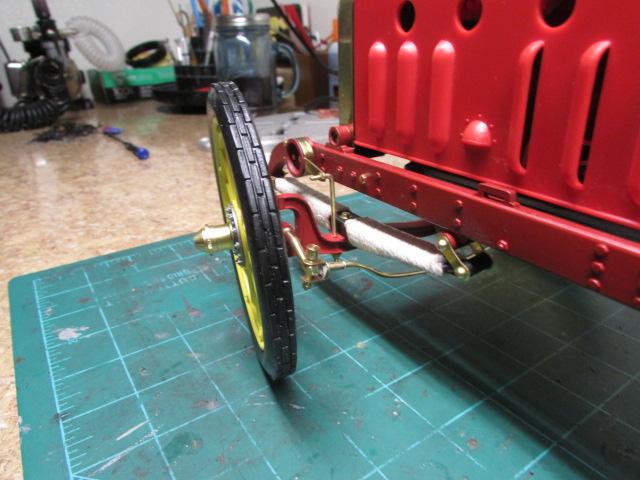
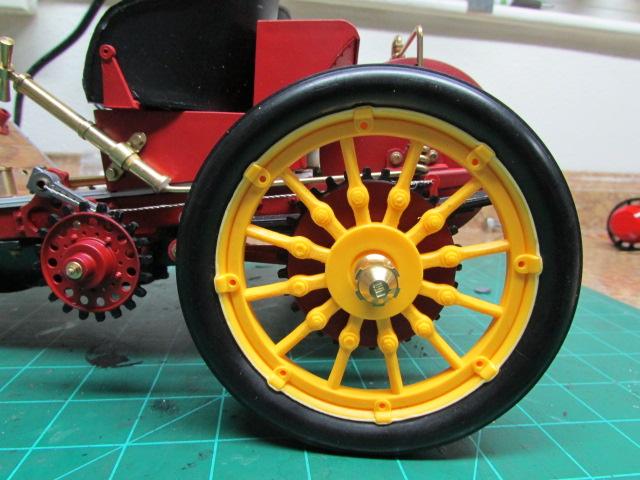
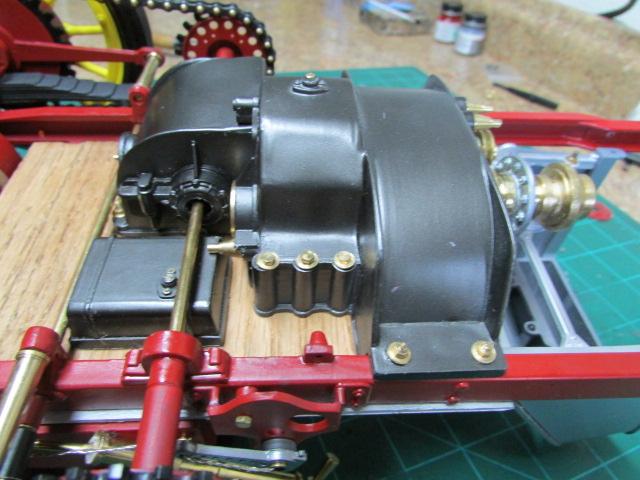
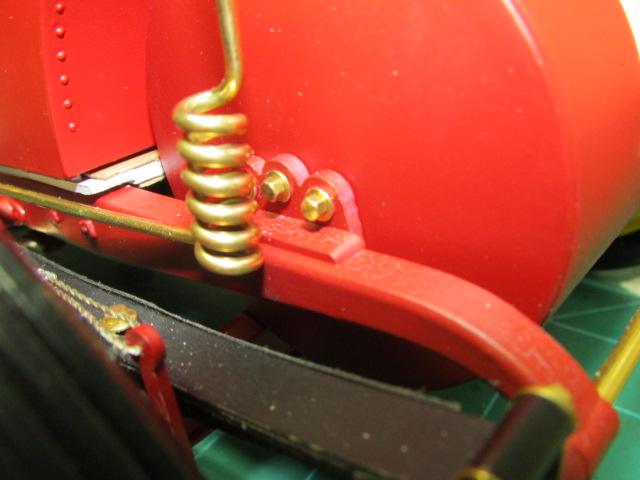
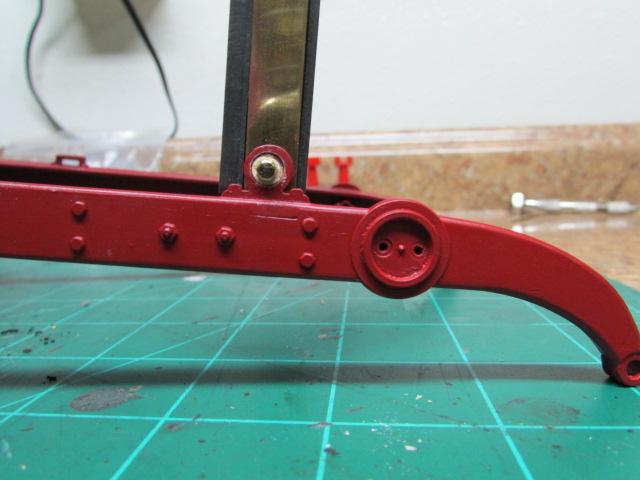
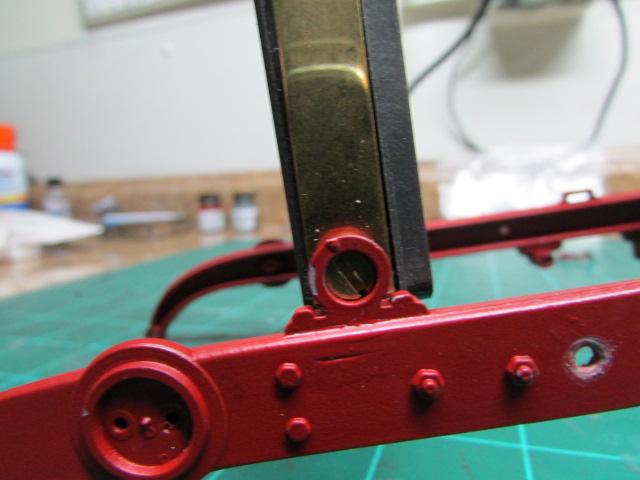
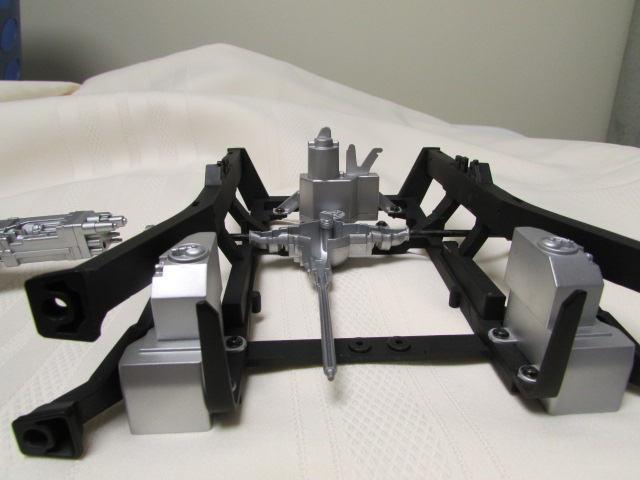
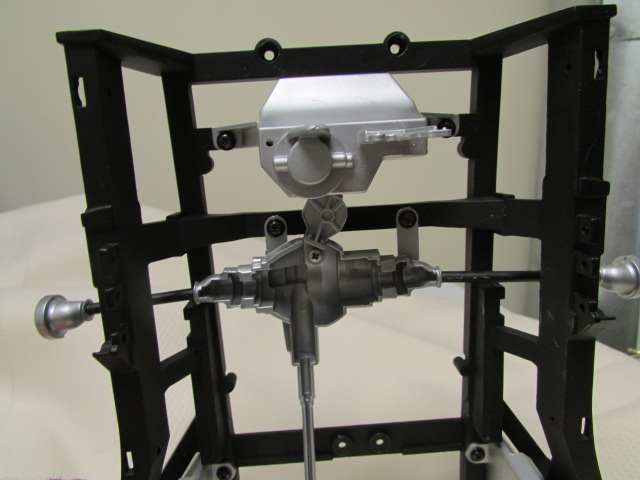
Made some major progress not much left to go. For the rear wheels went back and added a brass washer for each lug. Many of the pics I have seen show the springs wrapped in rope, so I went over to Hobby Lobby and found some cord that was close to scale and wrapped all four springs. The axel and front end went together without any major problems. For the radiator I taped off the core and airbrushed with Alcad brass. I did not like the look of the black screw to secure the radiator to the frame. I reamed out the frame opening and the screw head went in a little deeper. I than took a brass washer and bolt. I trimmed the bolt head flush with the washer and used it as a cover for the screw. The steering system works wheel. I got the rivets from a supplier and finished the other chain. Thanks for looking comments or suggestion are welcome. Next update will be the complete model.

-
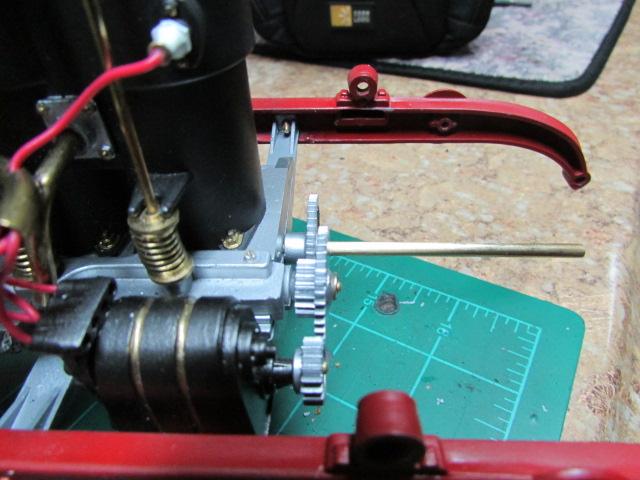
Made some progress Radiator Used Alcad II Brass and Satin Seal. Test fit to frame. Gears Cut the plastic pins. Drilled out the stud and used a brass rivet and washer Chains Completed the chain for the passenger side. Got the 5/64 rivets cut the length to fit. I’m sure this is old news. I have been using commercial floor finish remover for a paint stripper. Zepp at Lowe’s or HD about $10.00 a gallon. It works well on all paints. A little longer on lacquer. I use it full strength, but it could be cut with hot water. It is ammonia free. The pics show the end results. It has not weakened the plastic or etched it. As always comments or suggestion welcome. Randy
-
Made some progress since last post Test fit steering wheel and column. Mounted engine to frame using brass bolts. Hood- You can see the difference in color between the hood and rest of the frame. The screws from the kit are a pan head and would not allow the hood to close. Reamed out the hinge to fit a flat head counter sink screw. Problem solved. Gas line- The line from the kit was why to short so I fabricated my own line to the engine. Made one of the side curtains. The big set back was missing rivets to complete the chain (4 missing). Found a source in England. They arrived today. Why to long but fit perfect once cut down. Chain is done and ready for mounting. Comments or suggestion are always welcome. Randy
-
Source for all things Pocher.. Model Motor Cars Marvin is the source for all good things Pocher. Nuts bolts etc. http://www.modelmotorcars.com/ Paul Koos You can find his DVD’s for Pocher building on ebay. To me they are a must have. He has put a ton of time and effort to make it well worth the price American Model Engineering Supply. http://www.americanmodeleng.com/index.html Macc Models UK Found them on ebay as a source for my missing chain rivets and other fittings https://maccmodels.co.uk/
-
Hi Harry; We should meet some time. I'm in Bartllet. and we both know Big Joe. I have admired your work and try to come close to your level of work Randy
-
Hi Mike; Thanks !!! Randy
-
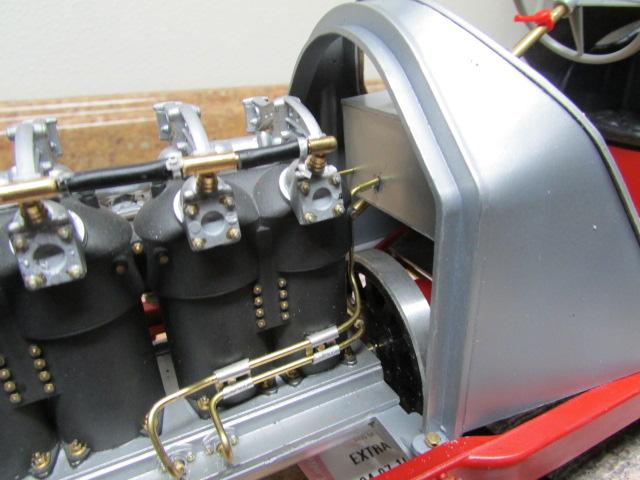
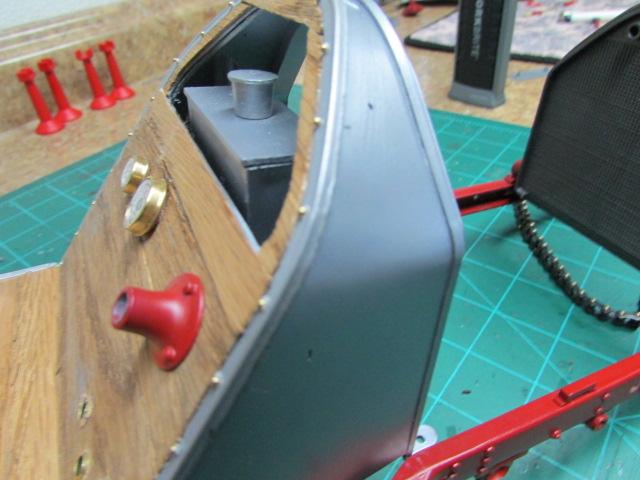
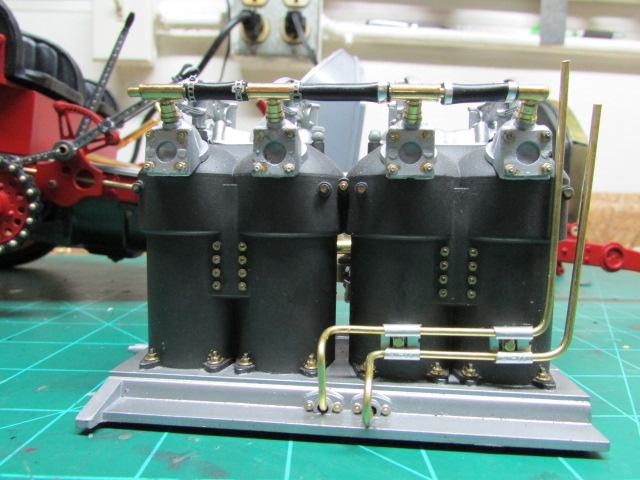
Hello Group; I started this project in late summer. I just realized today to post the project. So this is the project up to date. All red parts where airbrushed using Testors primer and flat red cut with 1 part paint 2 parts lacquer thinner. All the other parts where shot with AlcadII. I tried to replace as many of the screws with brass nuts and or bolts. The molded in bolts and studs for the wheels and trans where all removed and replaced with brass. The floor boards and dash have molded in simulated wood. They where sanded down about 1/32 in. then planks where cut to fit and stained with a Minwax stain maker. The veneer is oak with an adhesive backing The out side edges for the floor and dash panel had the plastic rivets sanded off and replaced with brass and nickel rivets. I was too far into the project and did not replace the molded in bolts on the engine. I used a extra fine point paint maker. I added a wire loom for the plug wires and had it welded by a local jeweler maker for $10.00. The tape used for the hose clamps and being replaced with the PE clamps from Model Motor Cars. The radiator has a black bolt and nut the just doesn’t look good. I had to replace the black screw from the kit, due to the problem of no slot head in one screw with brass. Looks ok but I used a brass washer and bolt. Cut the head flush with the washer it seems to fit and cove r the screw. The screen on the carb came from the wire screen of a faucet arreator. The kit does not supply the lines for the left side of engine so I added lines just to give it a more complete look. The bracket was made using a female end of a spade connector and a brass bolt. The chain is assembled link by link. I as short 6 brass rivets and waiting for a source to sent out more rivets that will need a little modification. Any comments or suggestions area always welcome. More to come as work goes forward. Thanks Randy. .
-
Hi Scott Very nice!!!!!!!!!!! Try Brady at scale auto works.. he might be able to get it or scaledetails.com From what I was told some of his products are pretty good Randy
-
It's a new kit unbuilt. Got a good deal from Brady at Scale Auto. I put it on hold for a while. I decide to go for broke (in the piggy bank) and waiting for the Autograph trans kit from Brady. So it's on hold till I pay the trans kit off it some EZ payments . So it decided to start on the Mercedes 500K Sport Roadster with some upgrades that are more affordable. It's the old version new in box never opened So I think I will post pics and info on that. Randy
-
Well it's done. It was a fun body. Fit and finish of parts was very good. Instructions at this can be confusing, since Pocher had at a few steps reverse the parts and were they go.. test fit every thing twice before you paint or do the final assembly. I would highly recommend the DVD from Paul Koss found on ebay. It was a great help in extra detailing and correcting some of the instruction mistake. Thanks for all your replies and comments. If any one is interested in my next build is going to be the Pocher F40. Let me know if any one would be interested in following it. Any questions you have feel free to e-mail me direct at siteinspect@msn.com Randy
-
I got mine from scale auto works. Brady was great to work with and has better support than Hornsby. It is done I will be posting more pics Monday evening. Randy
-
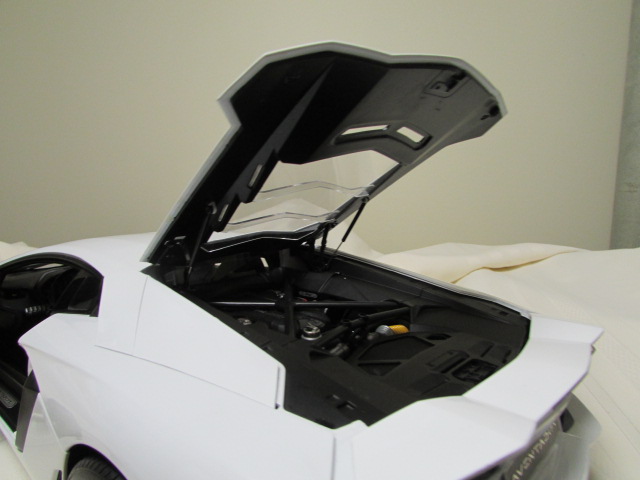
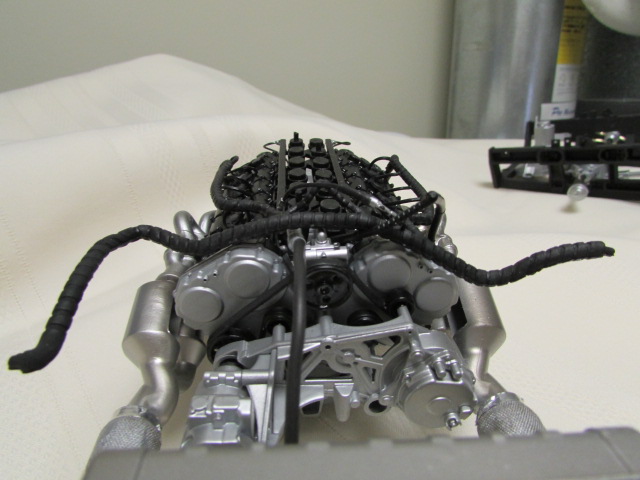
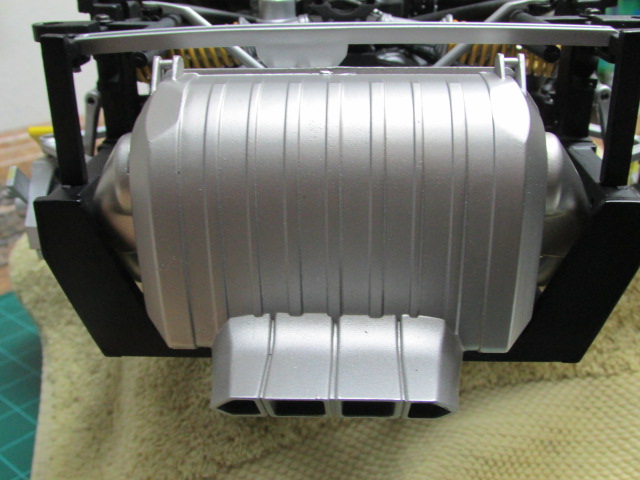
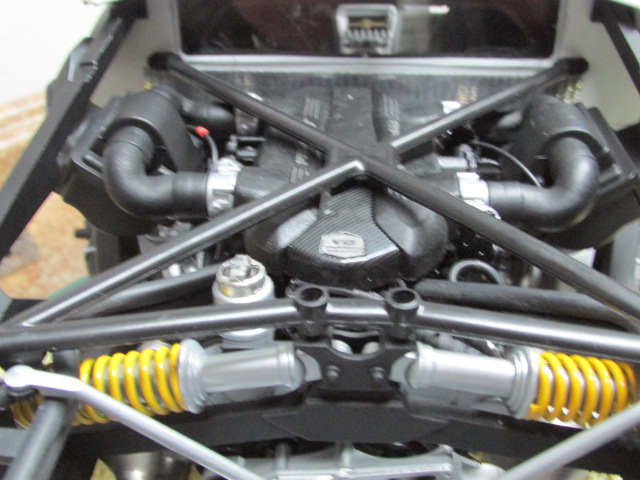
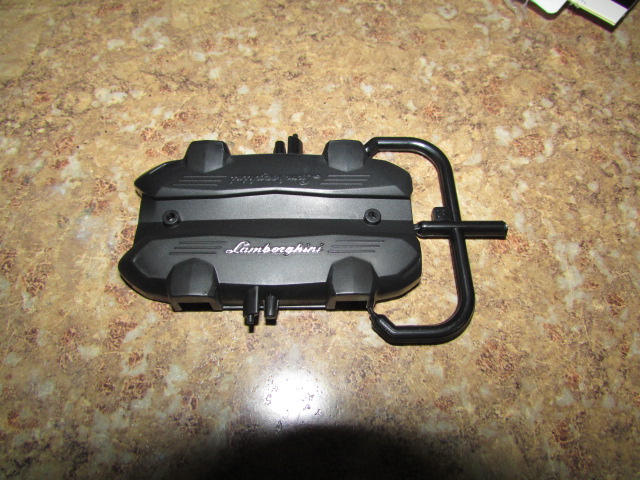
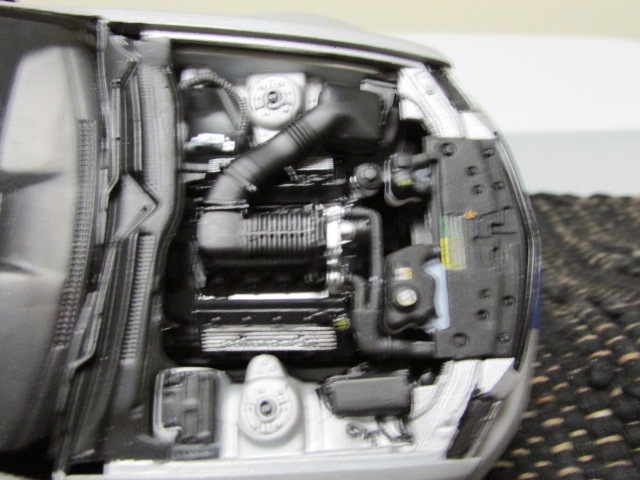
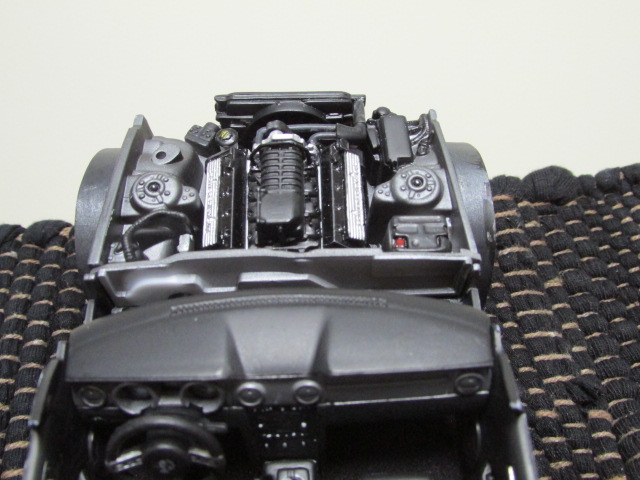
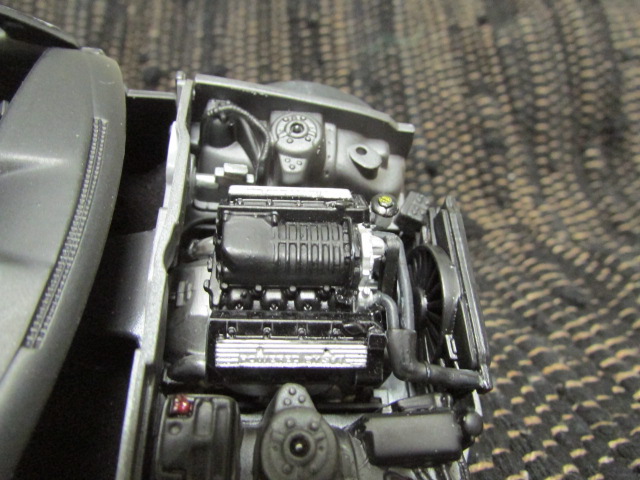
More progress over the last month. Almost at the finish line. ENGINE Assembly was straight forward without any problems. The engine offers a lot of opportunities for extra detailing. My decision was to concentrate on what can be seem, since most of the engine can’t be see once assembled. The intake cover on the real car is a texture finish. I first finished the Lambo script with BMF. I then applied two light coats of Rustoleum fine texture finish. After is dried I wet sanded the script to remove the paint. It seems to match well for the scale. Did some detailing of the bolts on the valve covers using a fine point silver paint marker. The engine and trans were painted with Alcald. I used several different shades of Alclad for the exhaust system. For the heat shield I used a cloth type bandage then painted it silver and added some metal furnace tape to wrap the ends. Brake lines where made using heat shrink tubing. It works great if you first shrink. It bends much better. Not much left to go so it should be done by the first week of April. Any comments or suggestions are always welcome. Randy
-
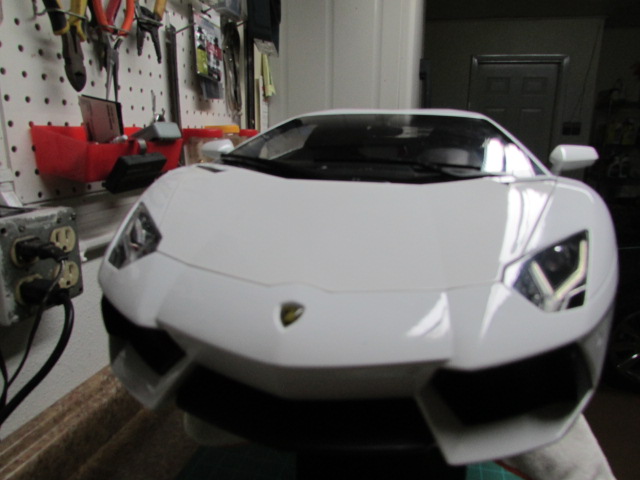
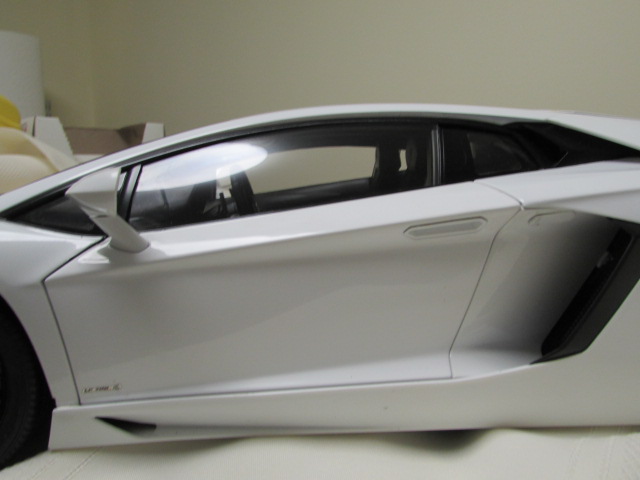
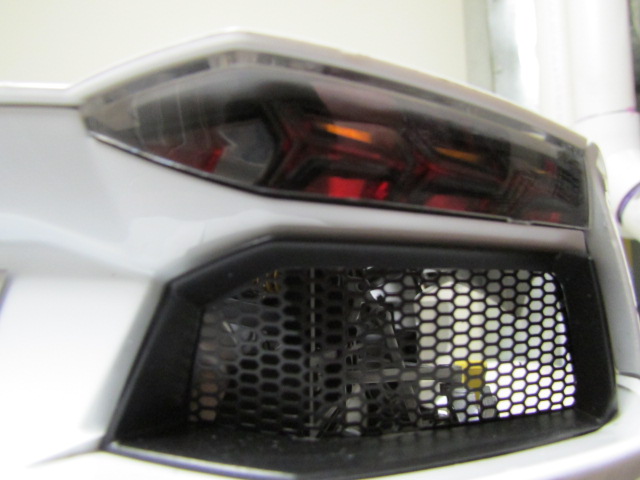
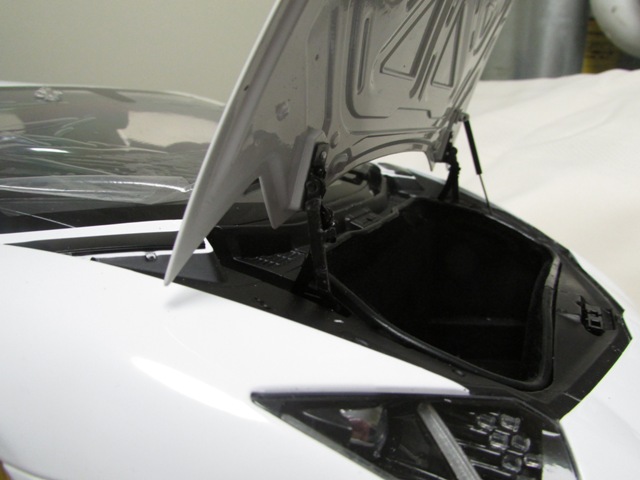
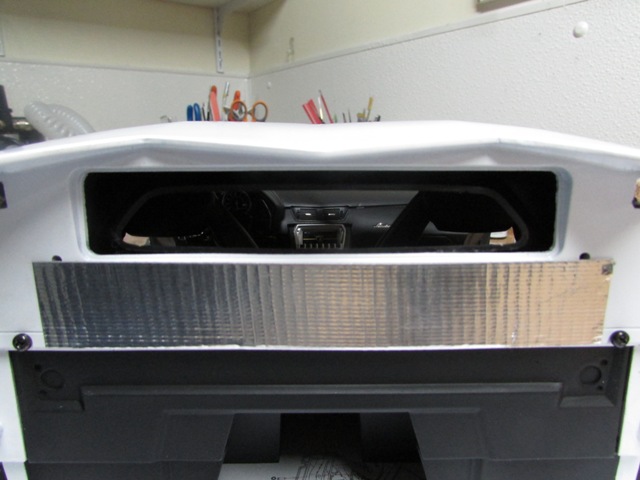
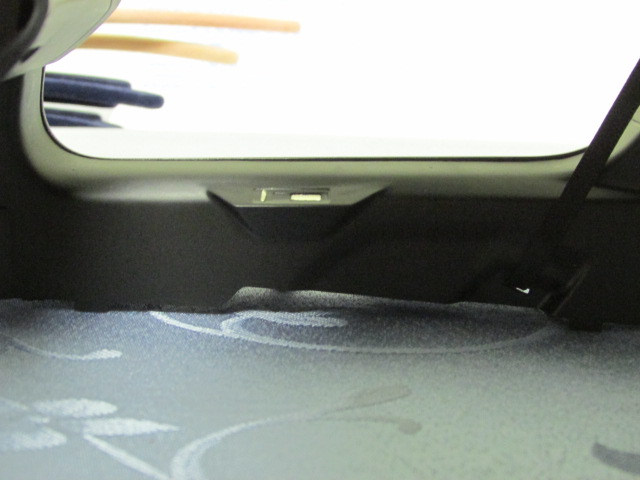
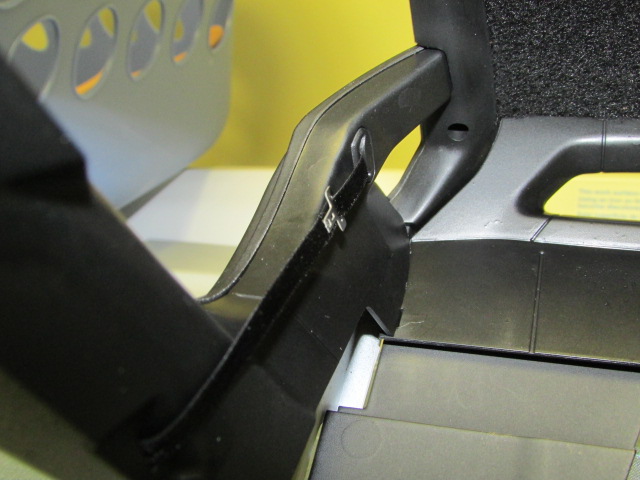
Made some major progress Lights There are 9 lights that can only fit one way. This part was a character builder for sure and they do not give you any extras if you send it to carpet hell. Used a white tacky glue to set in place then sprayed the entire assembly with a clear gloss to help hold in place. I did this before the head light and light bar were installed The "Y" shaped light bar is clear and would not be visible with a black background. I tried some silver paint on the back side, but it did not look good. I then used BMF which worked better. Hood The hinges will rub against the body when closed so I used some clear tape were the hinges rest when the hood is closed to protect the black paint. Trunk The trunk insert is to be screwed in place and not removable. Used the mod provided on the Lambo build DVD to make it removable. Windshield The top side has a protective cover on the top side ..... that stays on till the build is done. All the clear plastic for windows is secured with double face tape that is on one sheet in template form. It work great for the side windows and part of the door glass. The verdict is still out on the windshield.. the black trim on all glass is pre-finished. Doors First thing is the instructions have the part number for the left and right hinges reversed. The hinges can only fit one way on to the body since they are spring loaded for the door to swing up. Once I figured that out everything else went fine. The doors are lining up fine with the front half of the body so far. Rear Heat Shield I added silver duck tape to simulate the heat shield. Hope you enjoy the pics. Any comments or suggestions are always welcome Randy
-
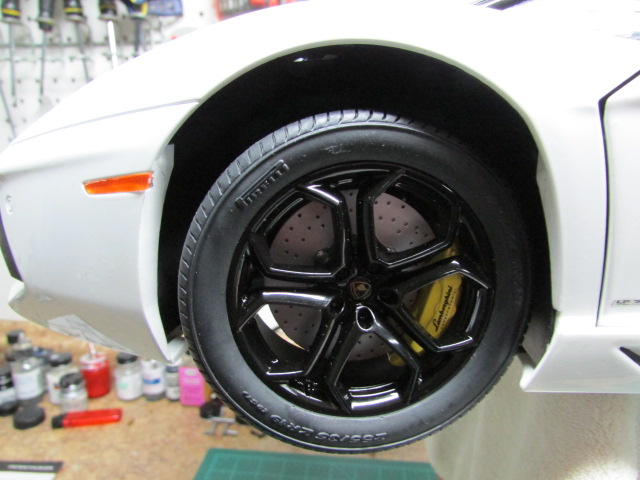
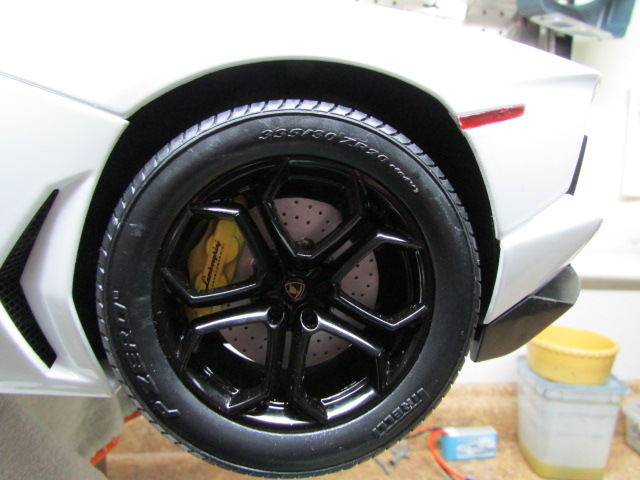
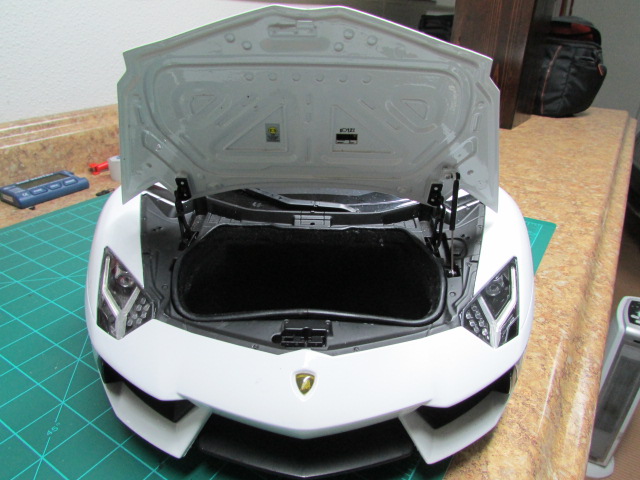
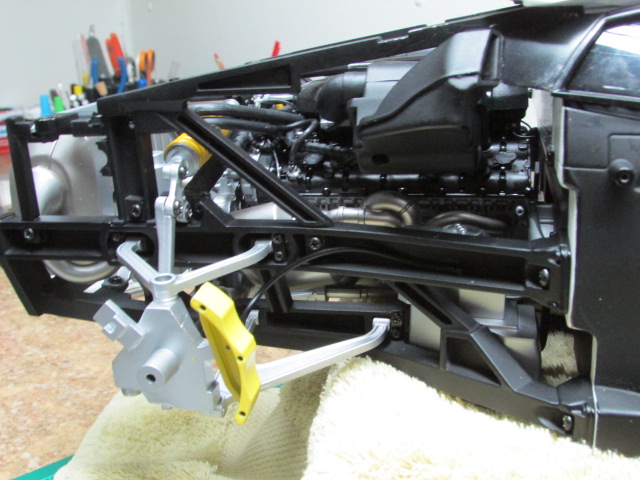
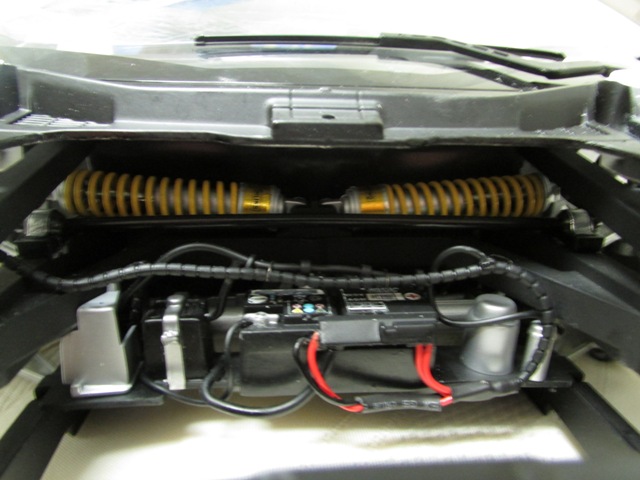
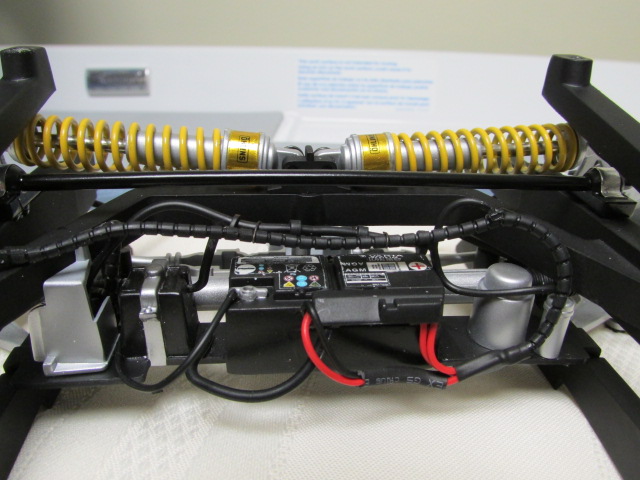
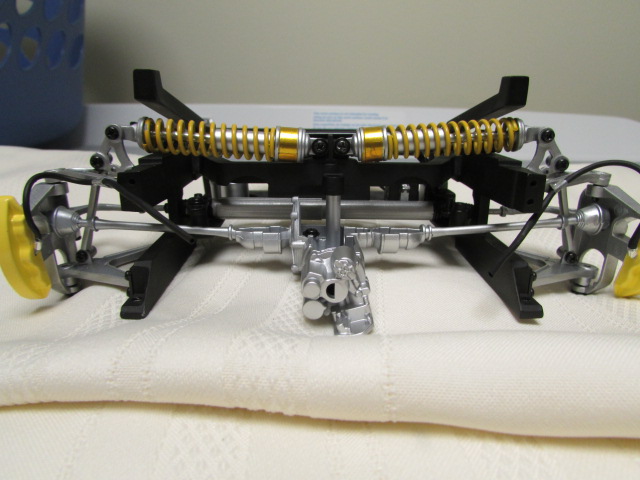
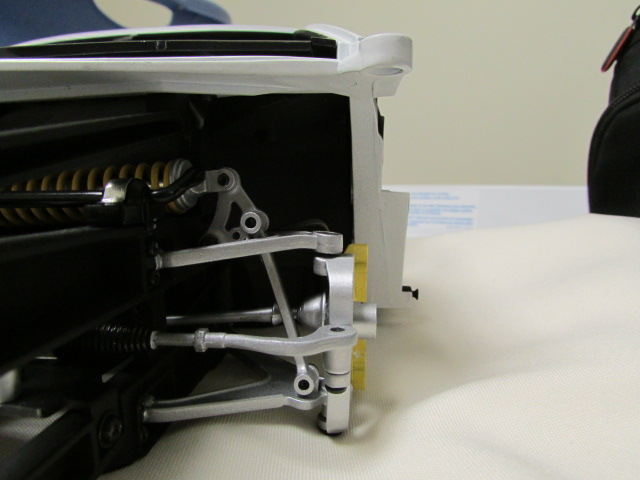
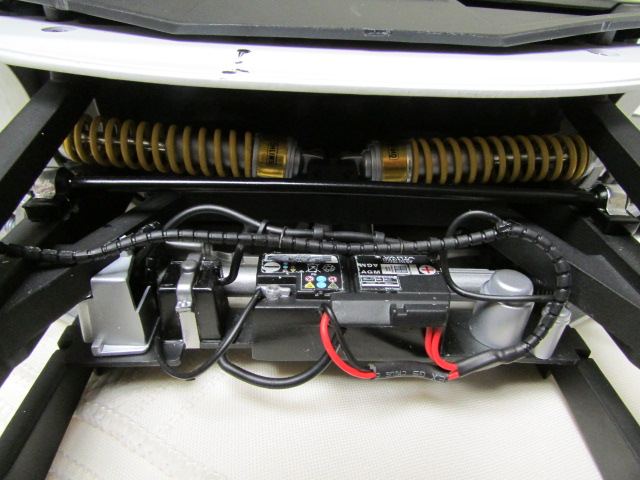
Front end is done. Jumped added to the front build Everything went together well. Did a few extra details. Added battery cable to the stock wire loom provided. I had to use some sheet styrene to fill in the opening for the batteries in the front. Used BMF on the shock pistons. Added the brake lines using 20 gauge wire, heat shrink tubing and some metal tape strips to simulate the compression fitting. Used the decal sheet from Paul Koo, since he provides the correct decals for the shocks and batteries. Any comments or suggestions are welcome. Randy
-
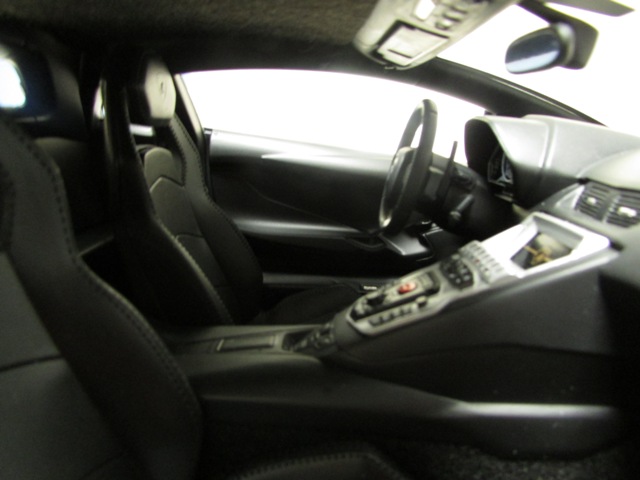
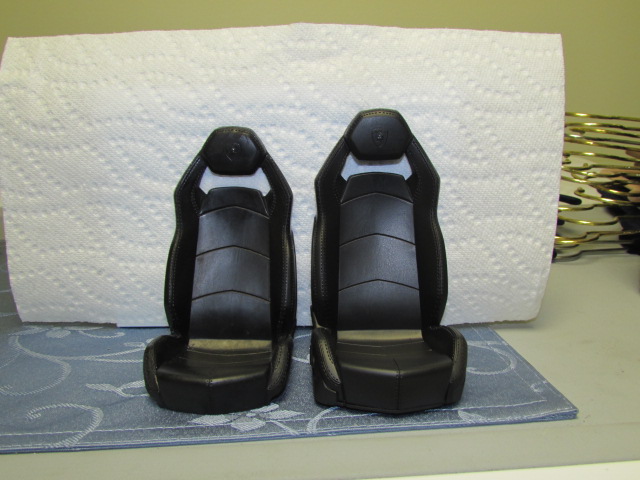
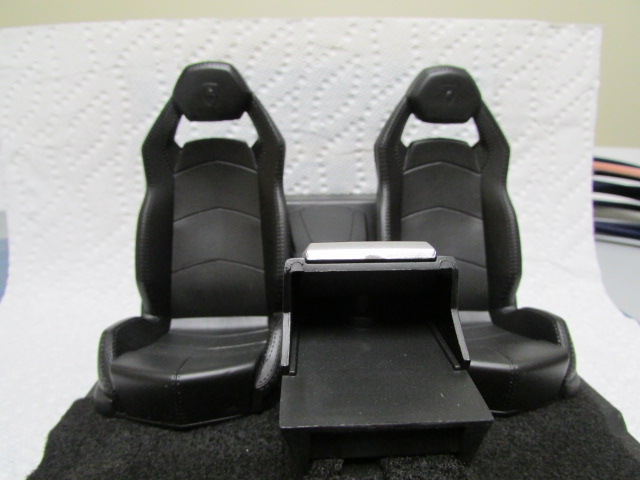
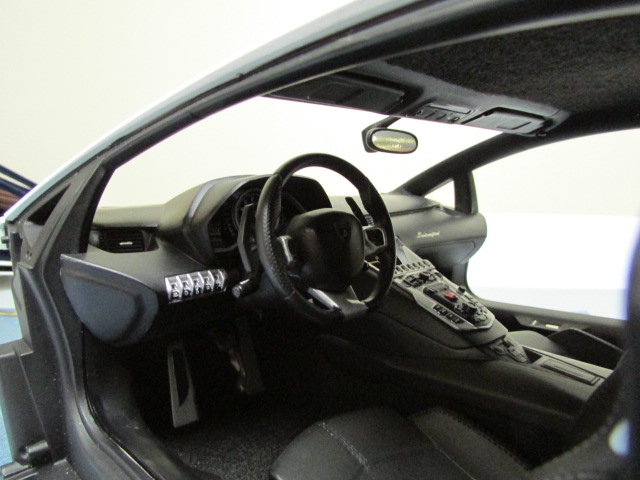
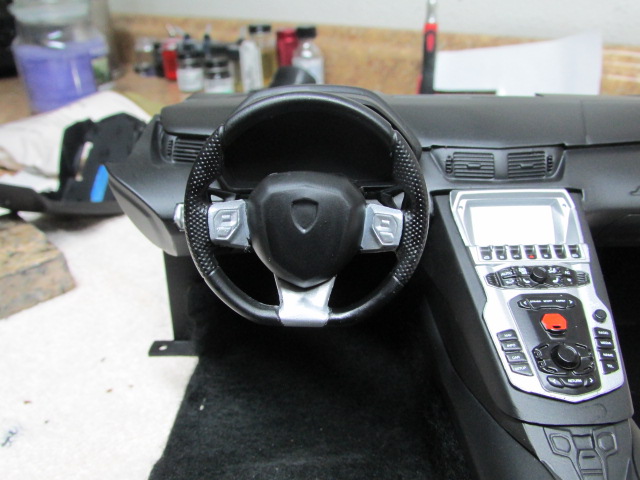
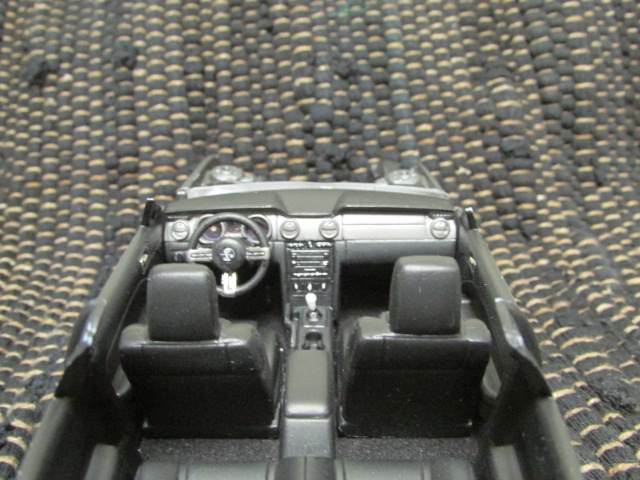
Interior is done. The seats are a soft PVC before painting I left them soak in a mix of water, dish soap and a little ammonia to release any residue. I then applied a coat of Vallejo air brush black as a primer. I holds up an did not lift off when tape was applied, then applied a mix of MM flat with a little gloss black. Decals for the steering wheel controls were from the Paul Koo set, since they are not included in the kit. I cut the carpet back to the slots so the side panels would fit in the slots properly. Pedals were sprayed with Alcald White Alum. The black grip pads were cut out from a template I made. I used 800 grit paper to simulate the glued on. Any comments or suggestions are always welcome. Randy
-
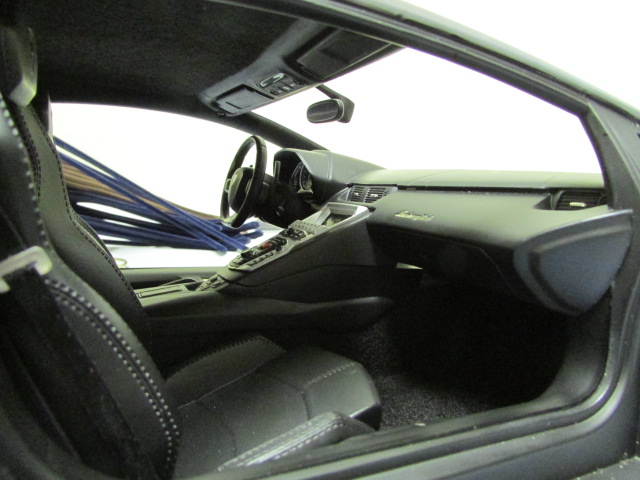
Everything is moving along. Found a few mistakes in the manual. 1 Seat belts in the manual show belts being attached near the door release. The slots for the belts are there so use those. Used a little whit glue to hold the bucket flat on the belt. 2 Air brushed the interior of the body to make sure no white fro the body was showing through in particular around the door openings. 3 Decals for the overhead light console just reverse the numbers in the manual for the correct direction. The center button decal is to large for the button so install as two separate decals to fit. 4 The manual shows the Lambo script decal as #1 it should be #2. I replaced the felt carpet with one I got at JoAnn Fabrics for $1.39 a sheet. Two sheets are all you need . I like it better than the one I installed before form Ebay for a fraction of the cost. Easier to cut and trim has a little of stretch in case you need it and closer to the look and texture to the mats in the kit. I made some templates for the carpet and head liner if any one needs them, let me know. BFM was used for the door release and dash vents. Decals went on without any issues. Any comments or suggestions are welcome. Randy
-
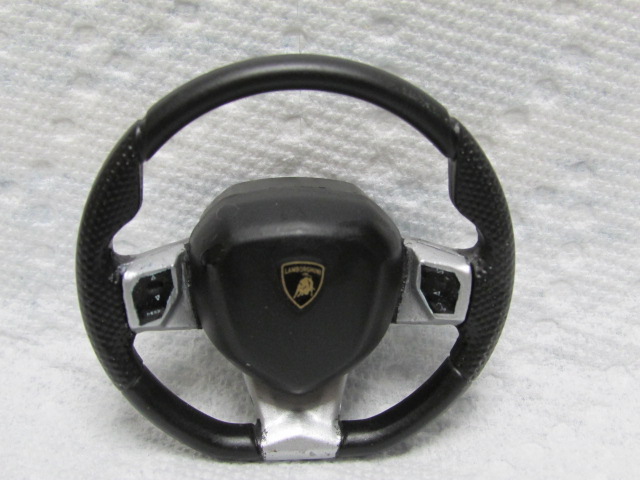
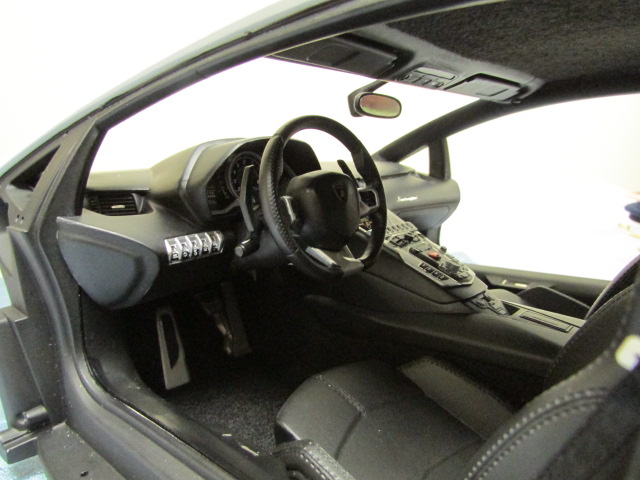
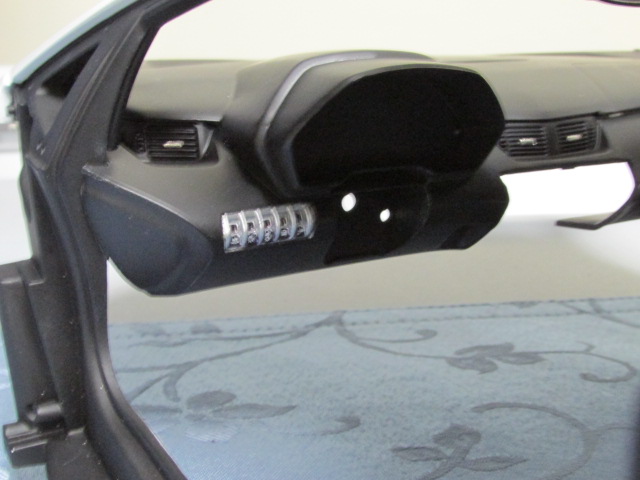
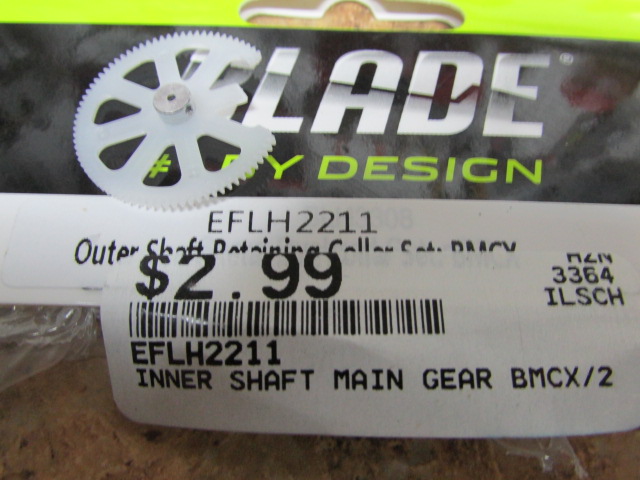
Worked on the dash and interior. The carpet is from Paul Koos. I was going to use embossing powder or flocking, but I think this looks more to scale. It has an adhesive back on it. You have two dashboard options. Left or right. The wheels for the vent louvers are missing in the center and the engraving for the other two is not that good. I had a gear wheel from an RC heli. I opened up the vents on the dash and cut out the gears, keeping the center spoke to set it into the dash. All black parts were primed than air brushed using a mix of 1 bottle of MM flat black and 1/3 bottle of MM gloss black. Both acrylic. The steering wheel is 3 part assembly. Steering wheel and left side button console was sprayed with Alclad white alum. It matched the center console, which is pre-finished from Pocher. Next will be adding the gauge pod and all the decals. Any comments or suggestions are welcome. Randy
-
Worked In the engine intake cover. BMF the used a mix of MM acrylic 2 parts flat 1 part gloss black. Have to go back and dot the "I" s Randy
-
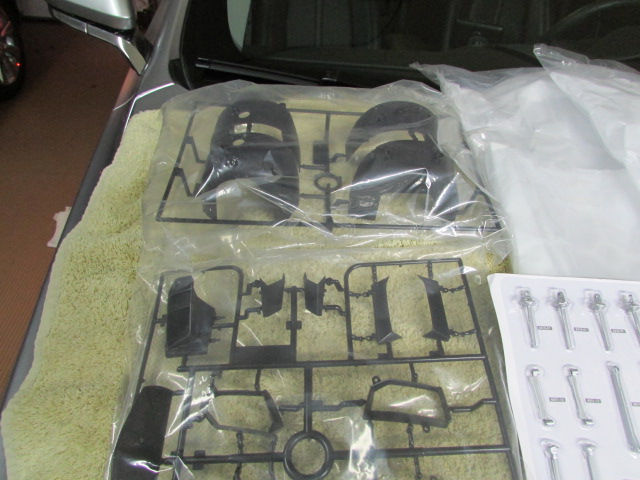
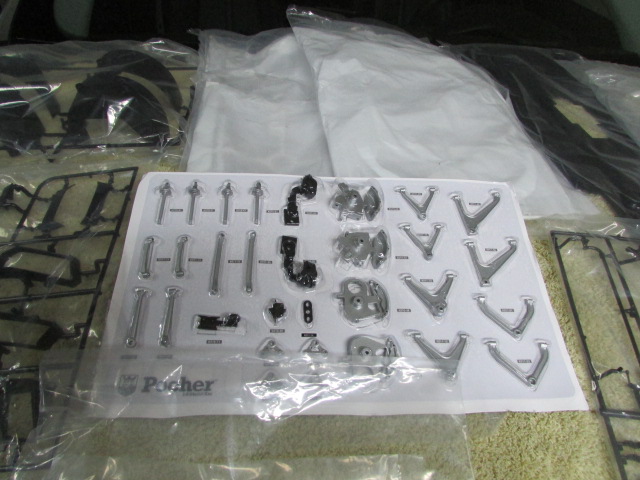
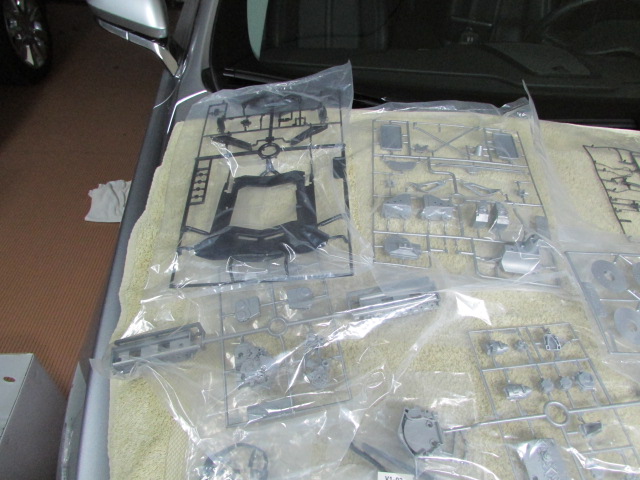
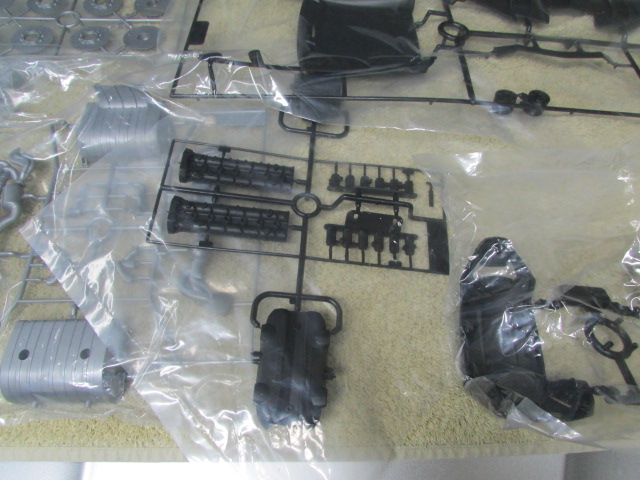
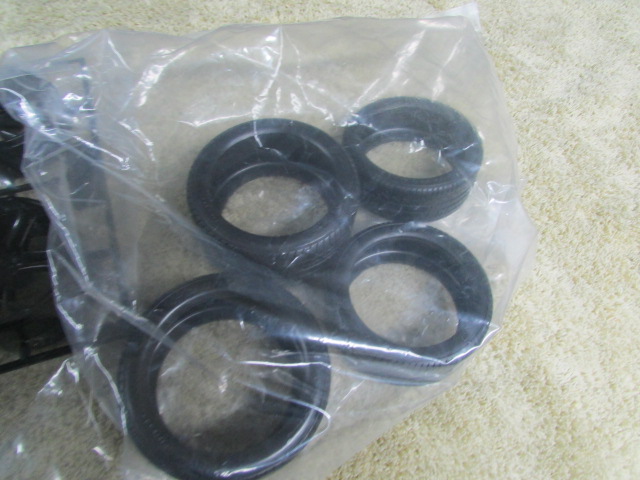
Here are pictures of all the parts. Monday I will be posting pictures of the dash board with a few modes. Randy
-
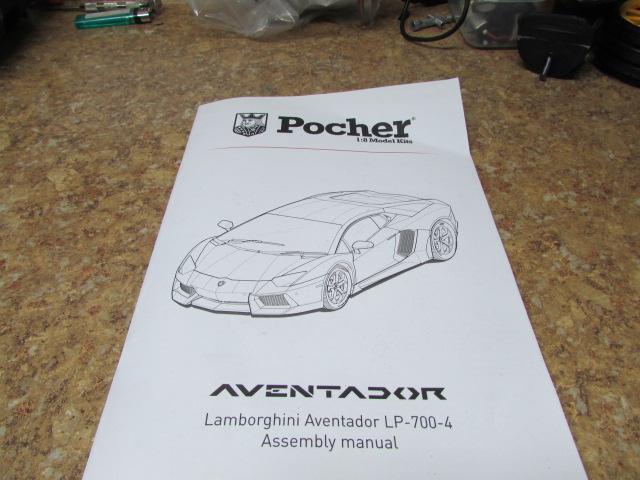
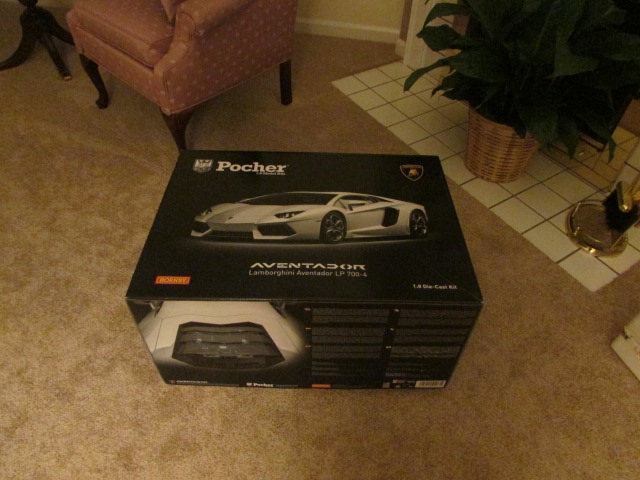
Hello Group; It arrived. The box is large (24x21x16) weights in at 30+ lbs. All parts are sealed in plastic bags then wrapped in bubble wrap. Clear plastic has a protective film and paper to protect it in shipping. The body is sealed in it own shipping foam and separated from the kit parts. The manual is well illustrated and 36 pages long. I recommend the DVD on ebay from Paul Koos. It's loaded with extra info for detailing and assembly tips. Well worth the price. He also has some detail parts for the kit. Here is a web site for a super detail kit . I'm sure it won't be cheap. tommasoiuele.wordpress.com If any one is interested in this build let me know l try to post every few weeks and follow the assembly manual. Randy
-
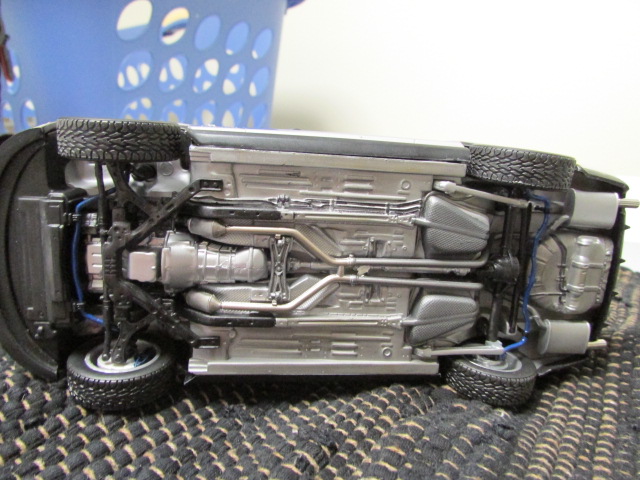
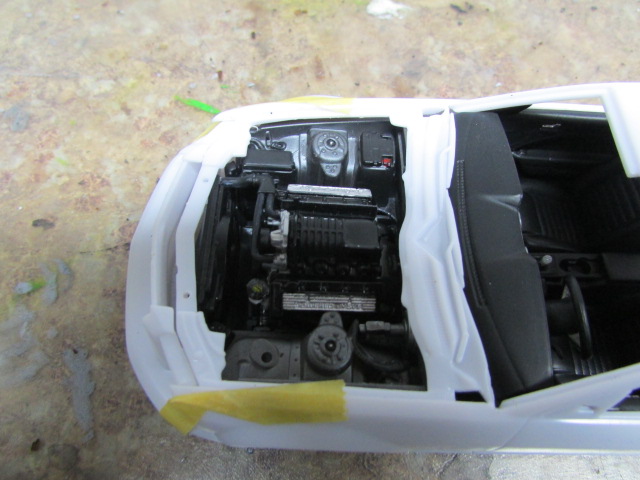
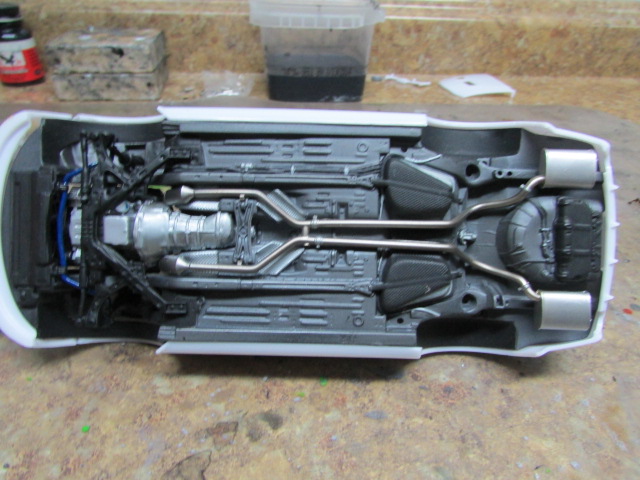
Not my best work on this one. Tried some weathering on the chassis (first attempt) Used decanted Testors Lacquer and CC. Any cooments or sugestions are always welcome. Randy
-
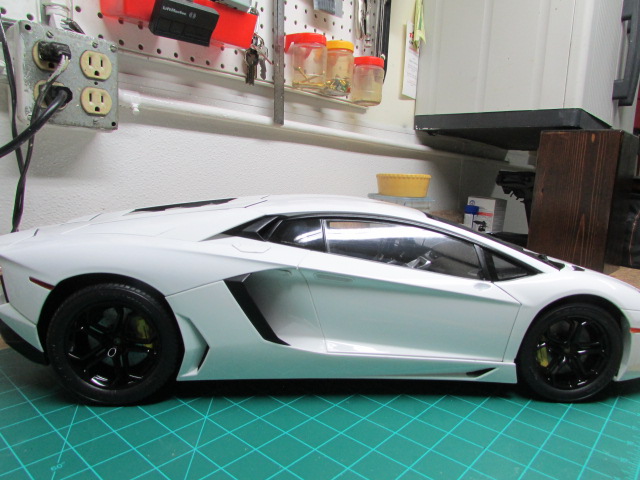
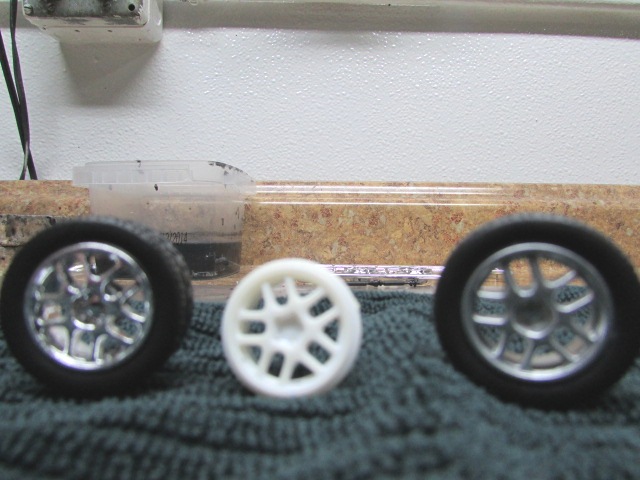
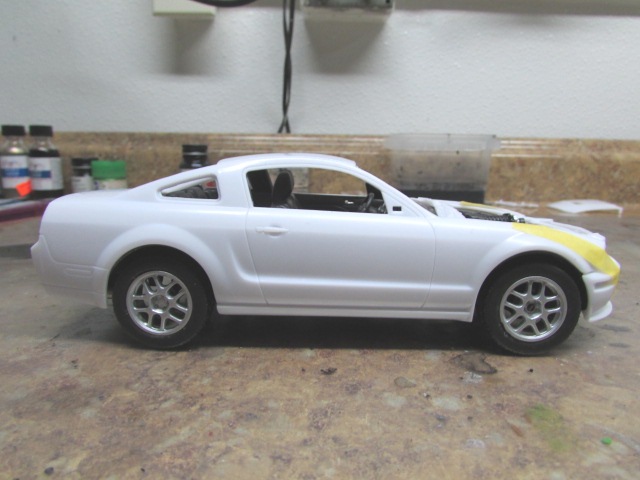
Finished the chassis and exhaust. Used several shades of Alclad on the exhaust. Interior is done used some embossing powder for carpet and rear shelf Stripped the wheels in toliet bowl cleaner did all in about 30min of soaking and no damage to the plastic Sprayed the wheels with a mix of 2/3 alum. and 1/3 chrome Alclad with no primer and it is not peeling. Added some BMF to the rear view mirror. Any comment or suggestions are welcome Randy
-
Finished the chassis and exhaust. Used several shades of Alclad on the exhaust. Interior is done used some emboosing powder for carpet and rear shelf Stripped the wheels in toliet bowl cleaner did all in about 30min of soaking and no damage to the plastic Sprayed the wheels with a mix of 2/3 alum. and 1/3 chorme Alclad with no primer and it is not peeling. Added some BMF to the rear view mirror. Any comment or suggestions are welcome. Randy tachment=53154:IMG_0018.JPG]
-
1932 Ford Window Coupe UPDATED 11/19/13 FINISHED
crb1024 replied to crb1024's topic in WIP: Model Cars
Next time I want to do a little more engine detail Randy