Ognib
-
Posts
784 -
Joined
-
Last visited
Content Type
Profiles
Forums
Events
Gallery
Everything posted by Ognib
-
been a while. Crazy couple of years ! I have another 1:1 been working on and am currently saving up for the next block of parts. So, thought I'd start cutting a better set of rocker boxes for the motor. Got a new tablet it's bit diff than other one plus site is diff too. Pics once I learn new posting procedures.
-
First side securely bolted in place. If you look real close, you can see the hex bolt heads peeking out of the recess pocket.

-

What Happened to Big Boyz?
Ognib replied to Slimguy's topic in General Automotive Talk (Trucks and Cars)
Been wondering the same thing. -
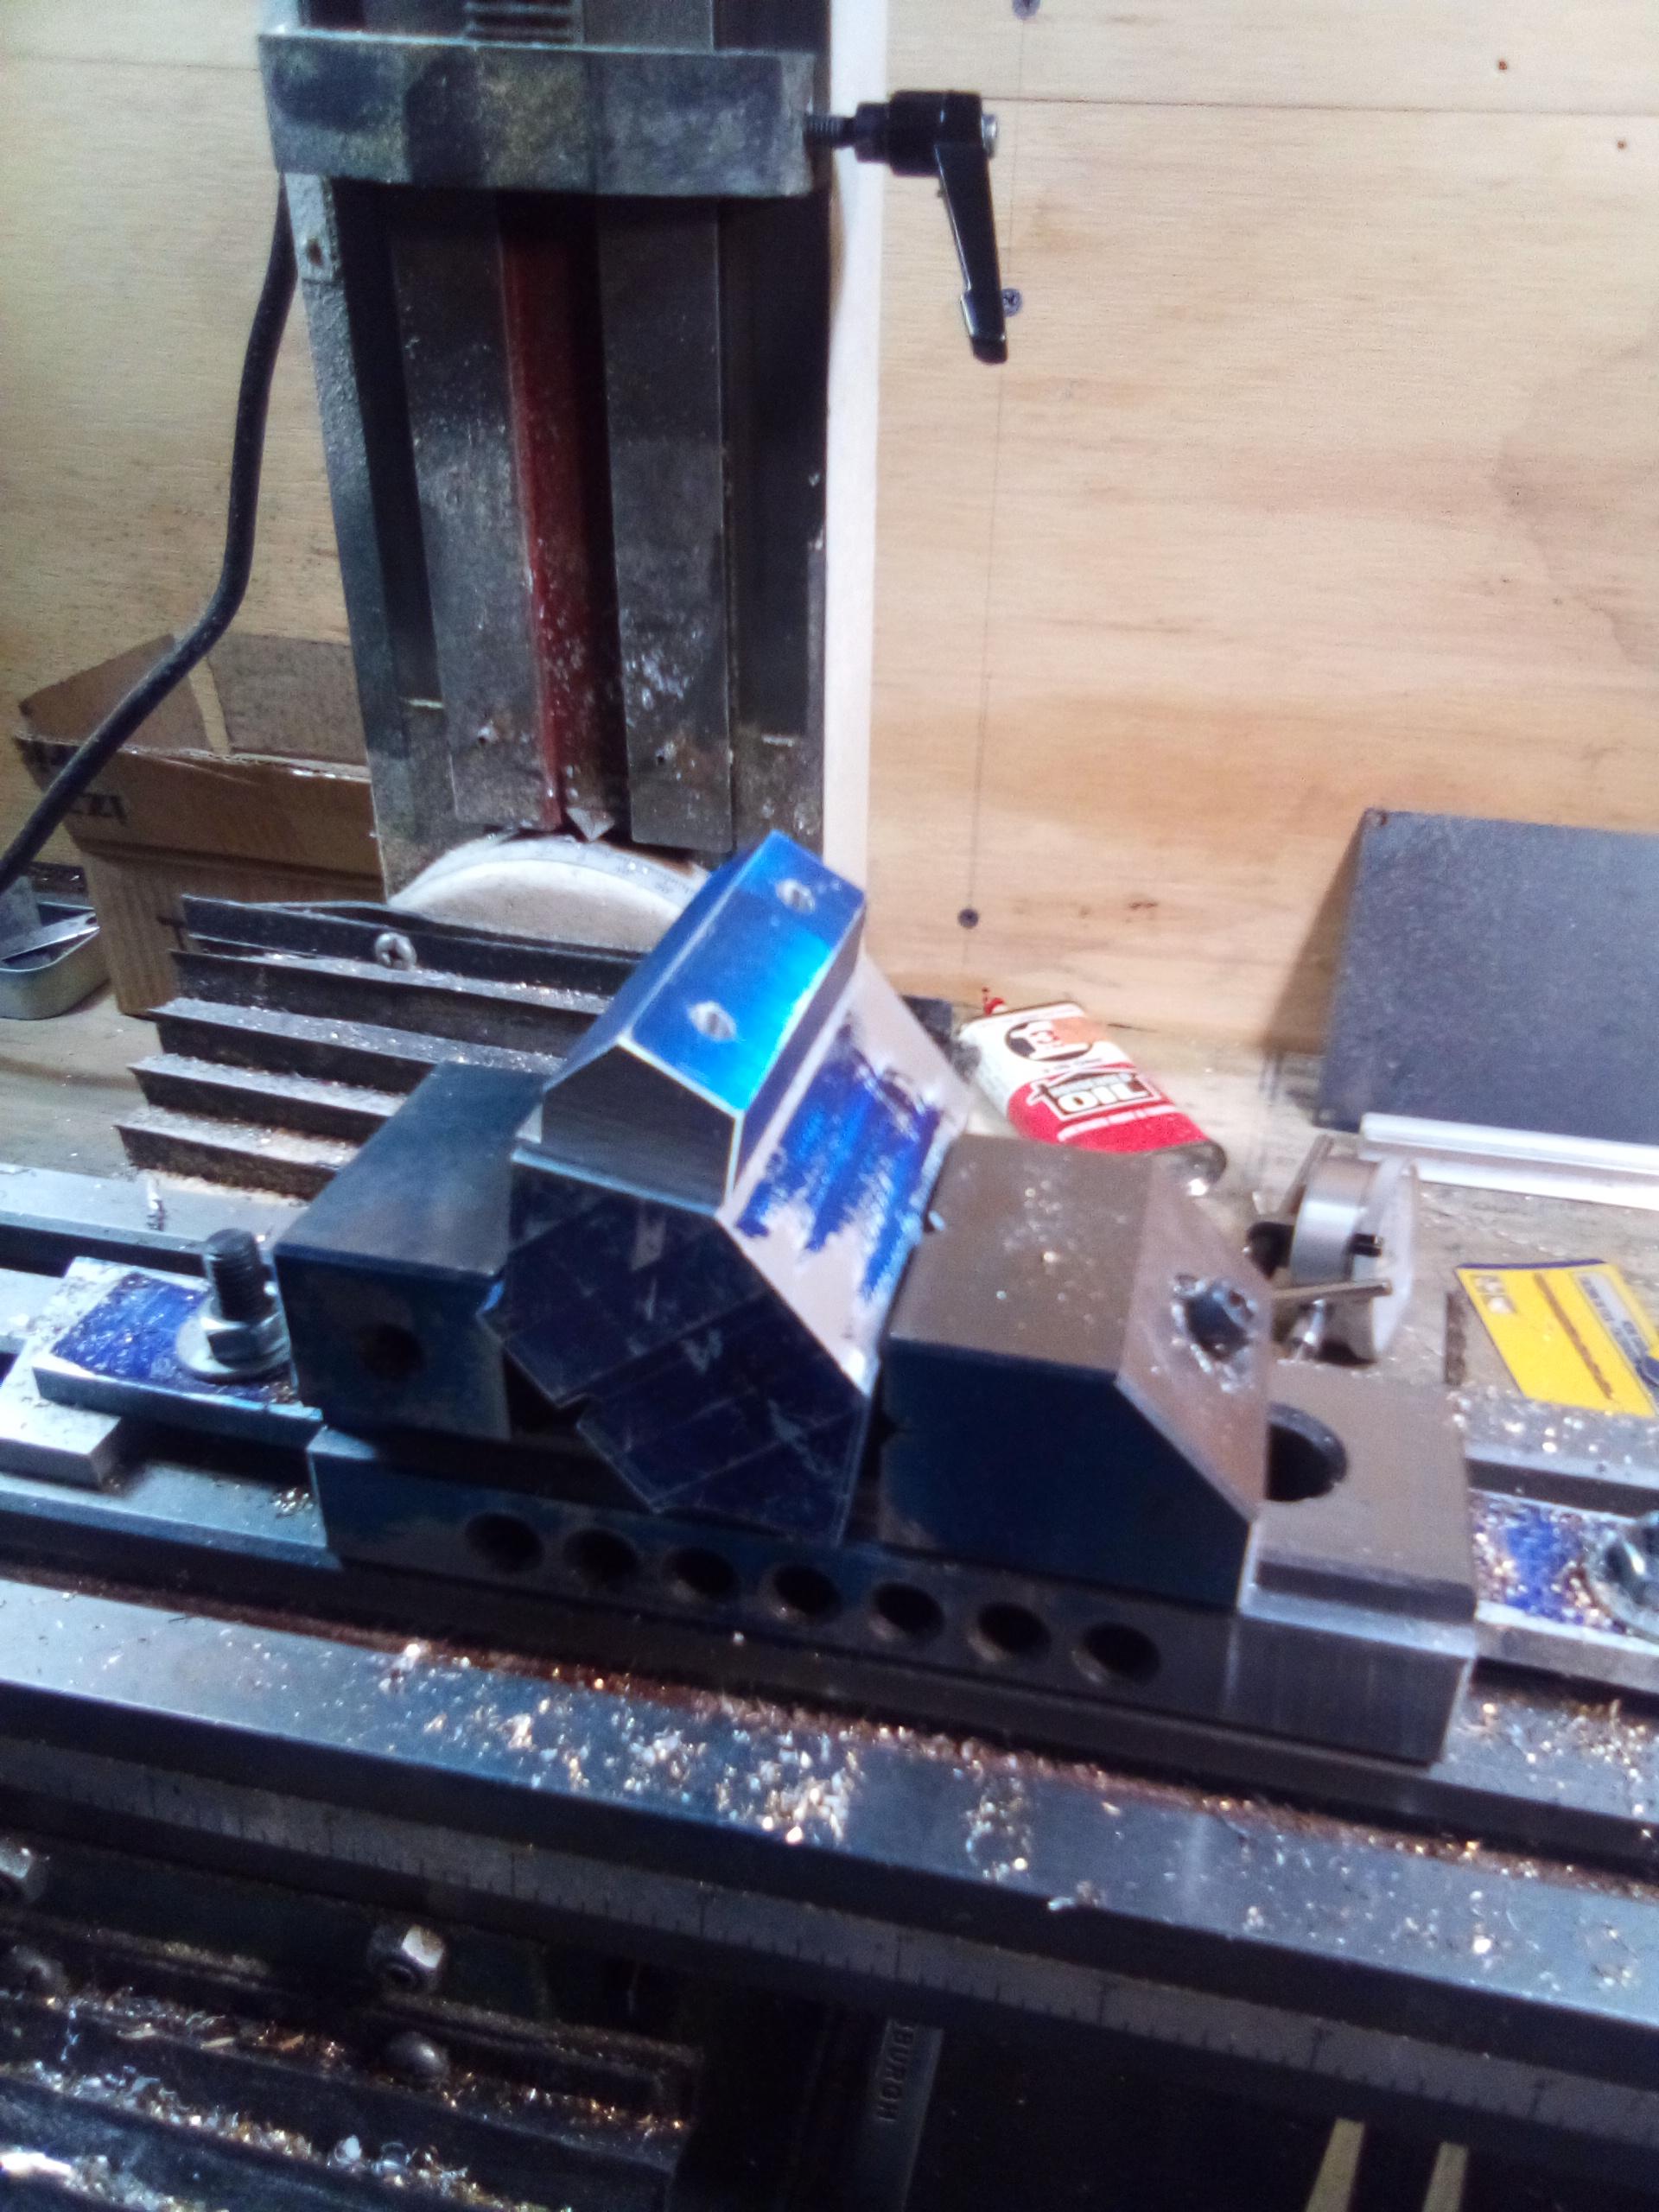
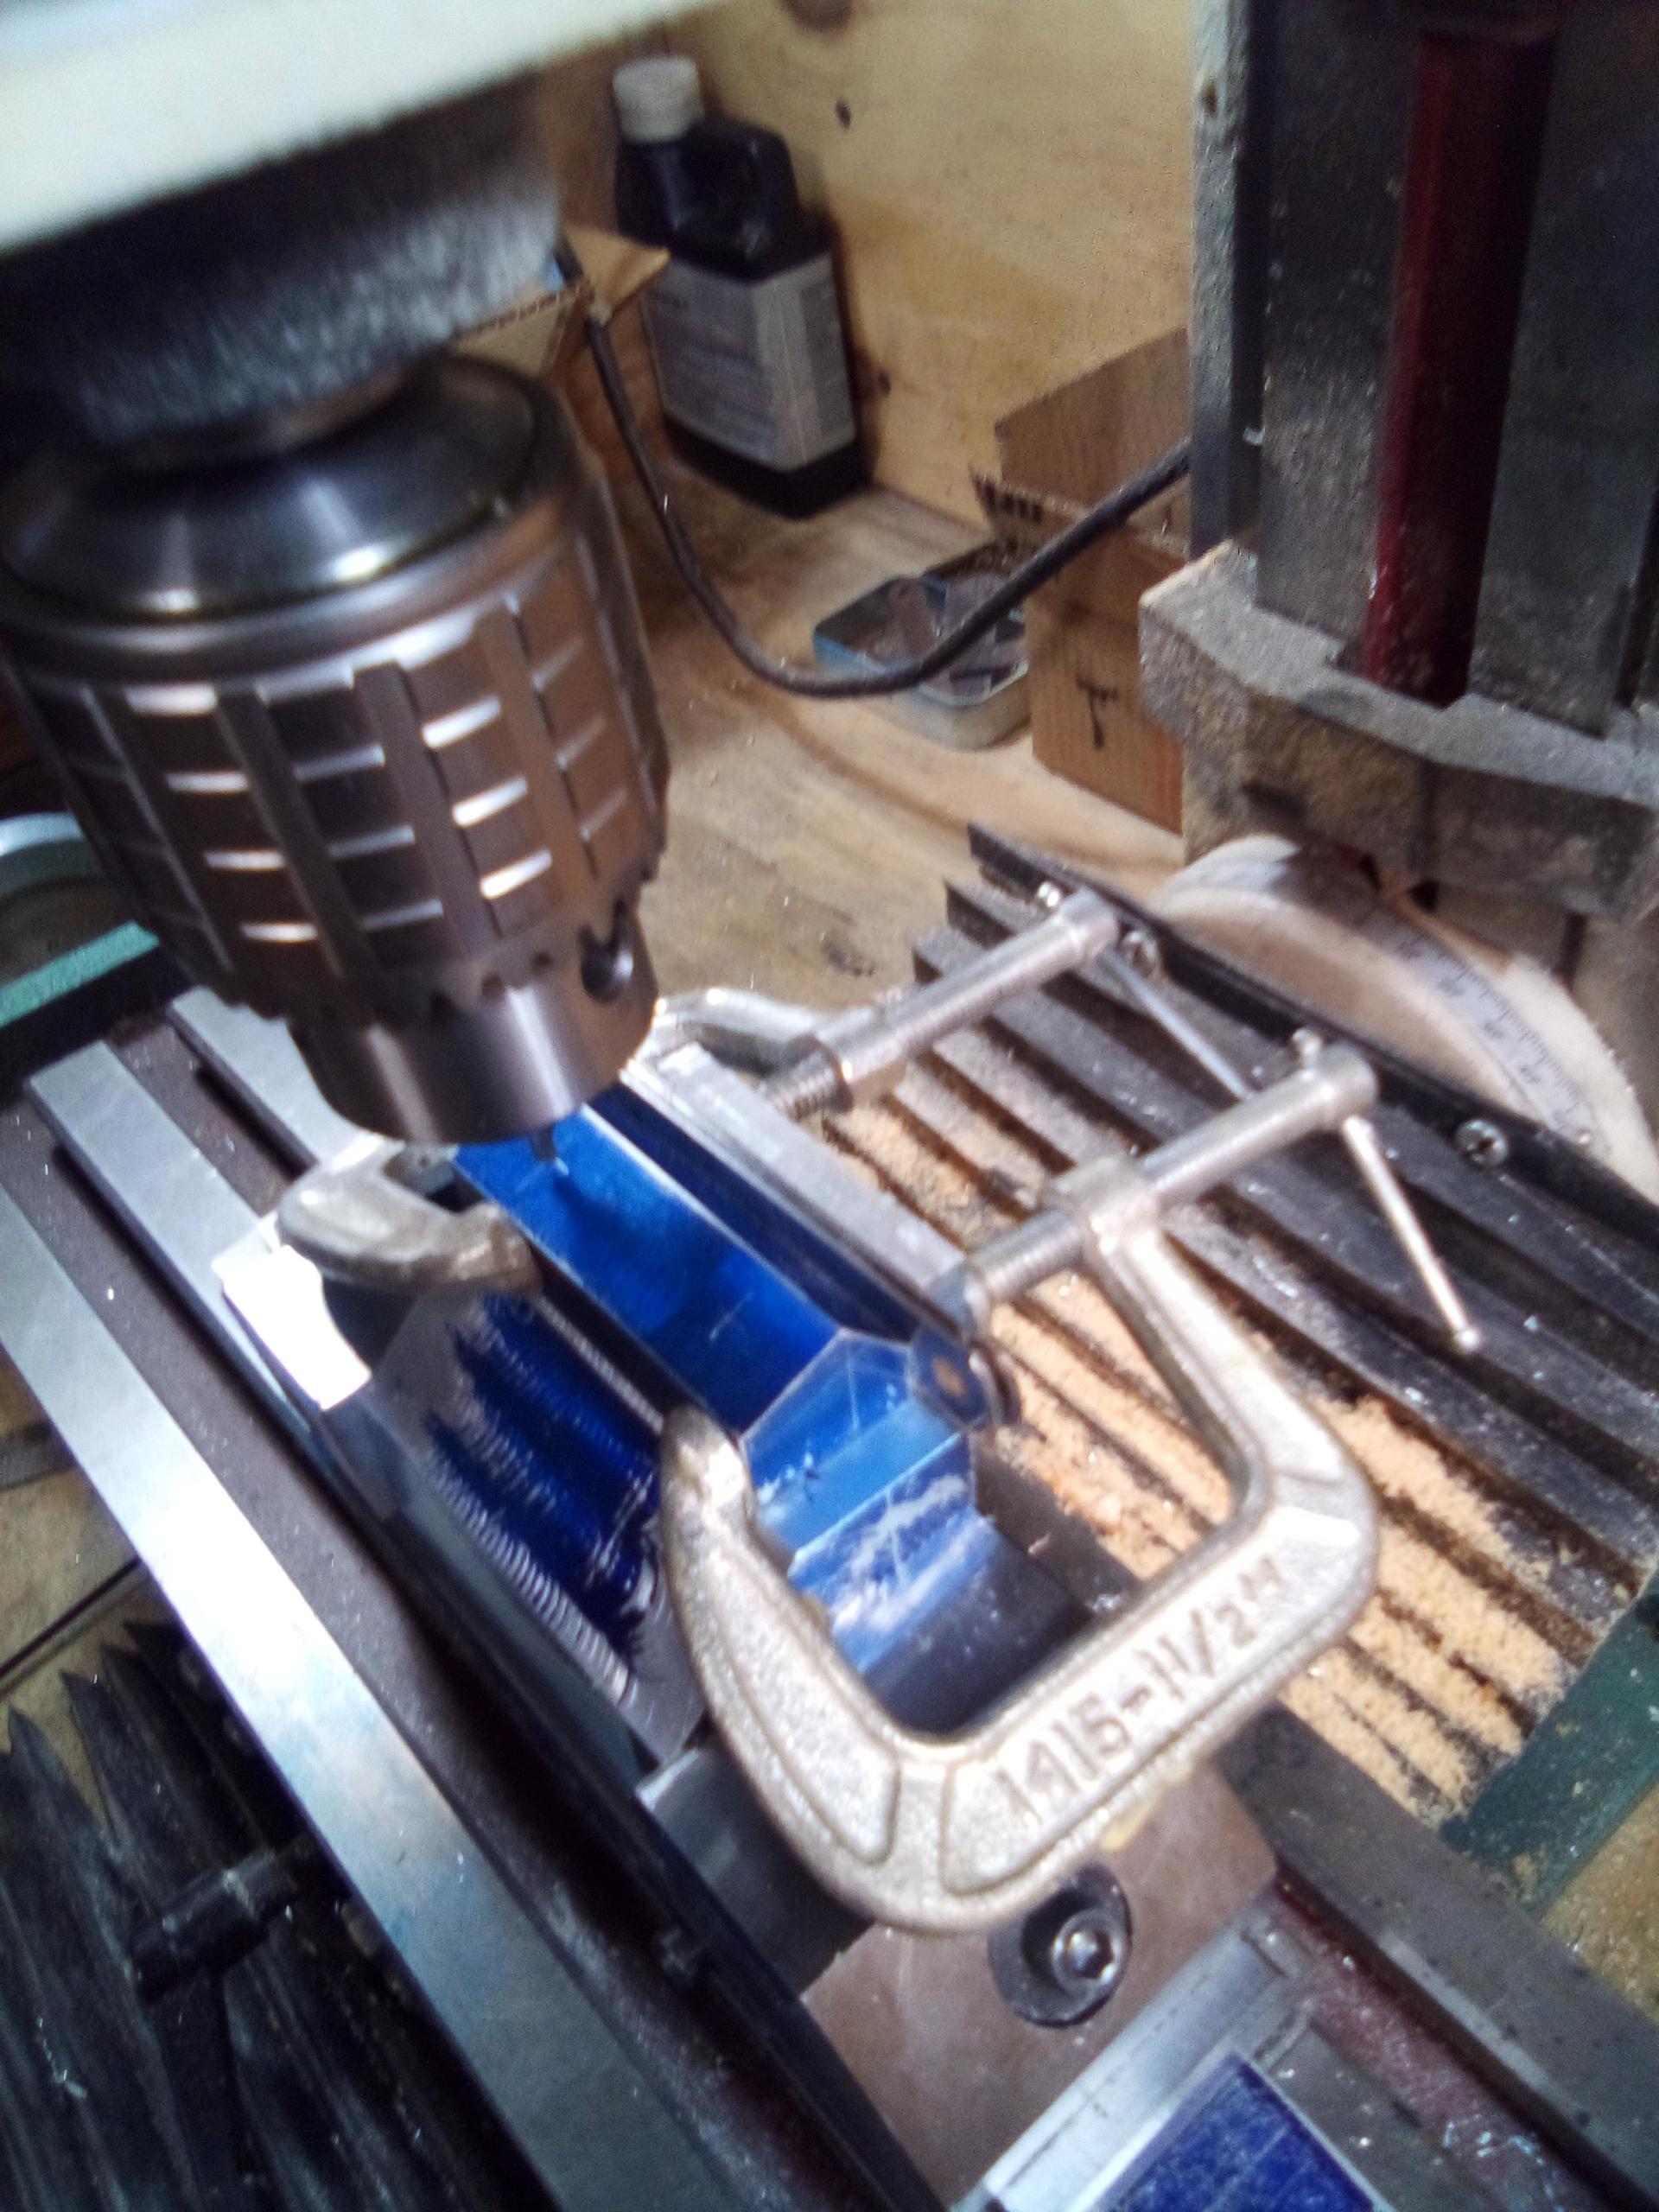
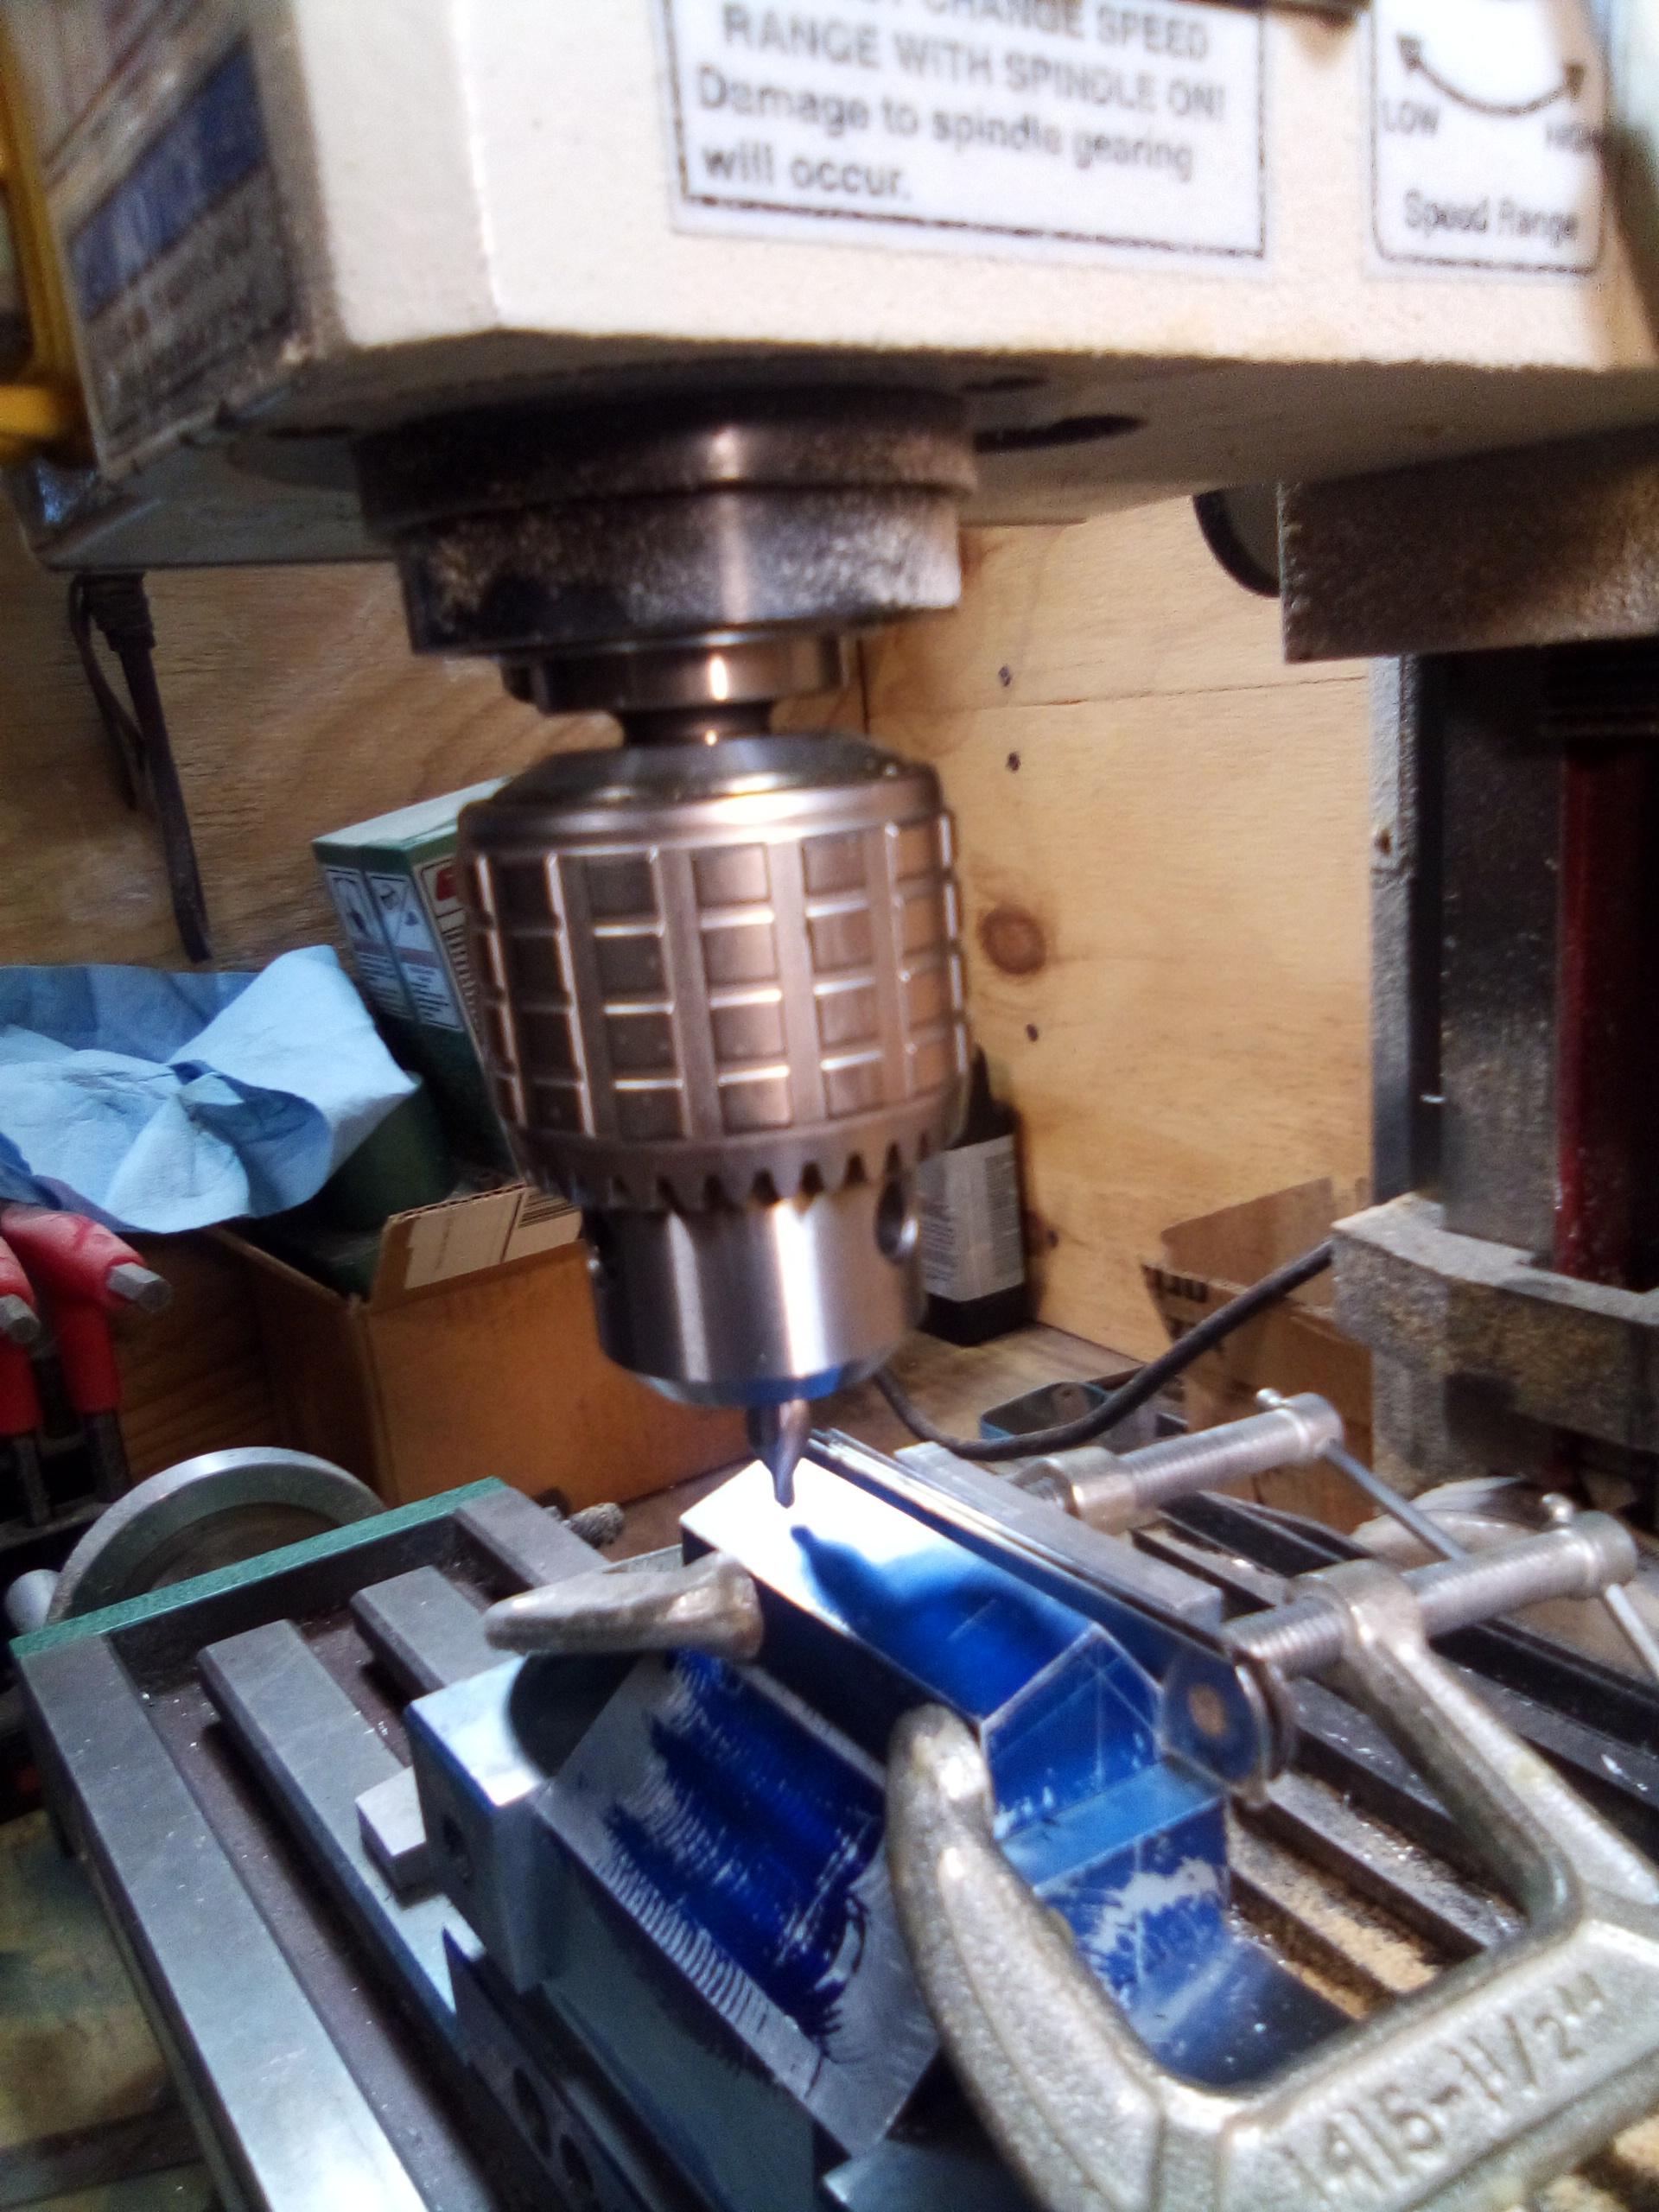
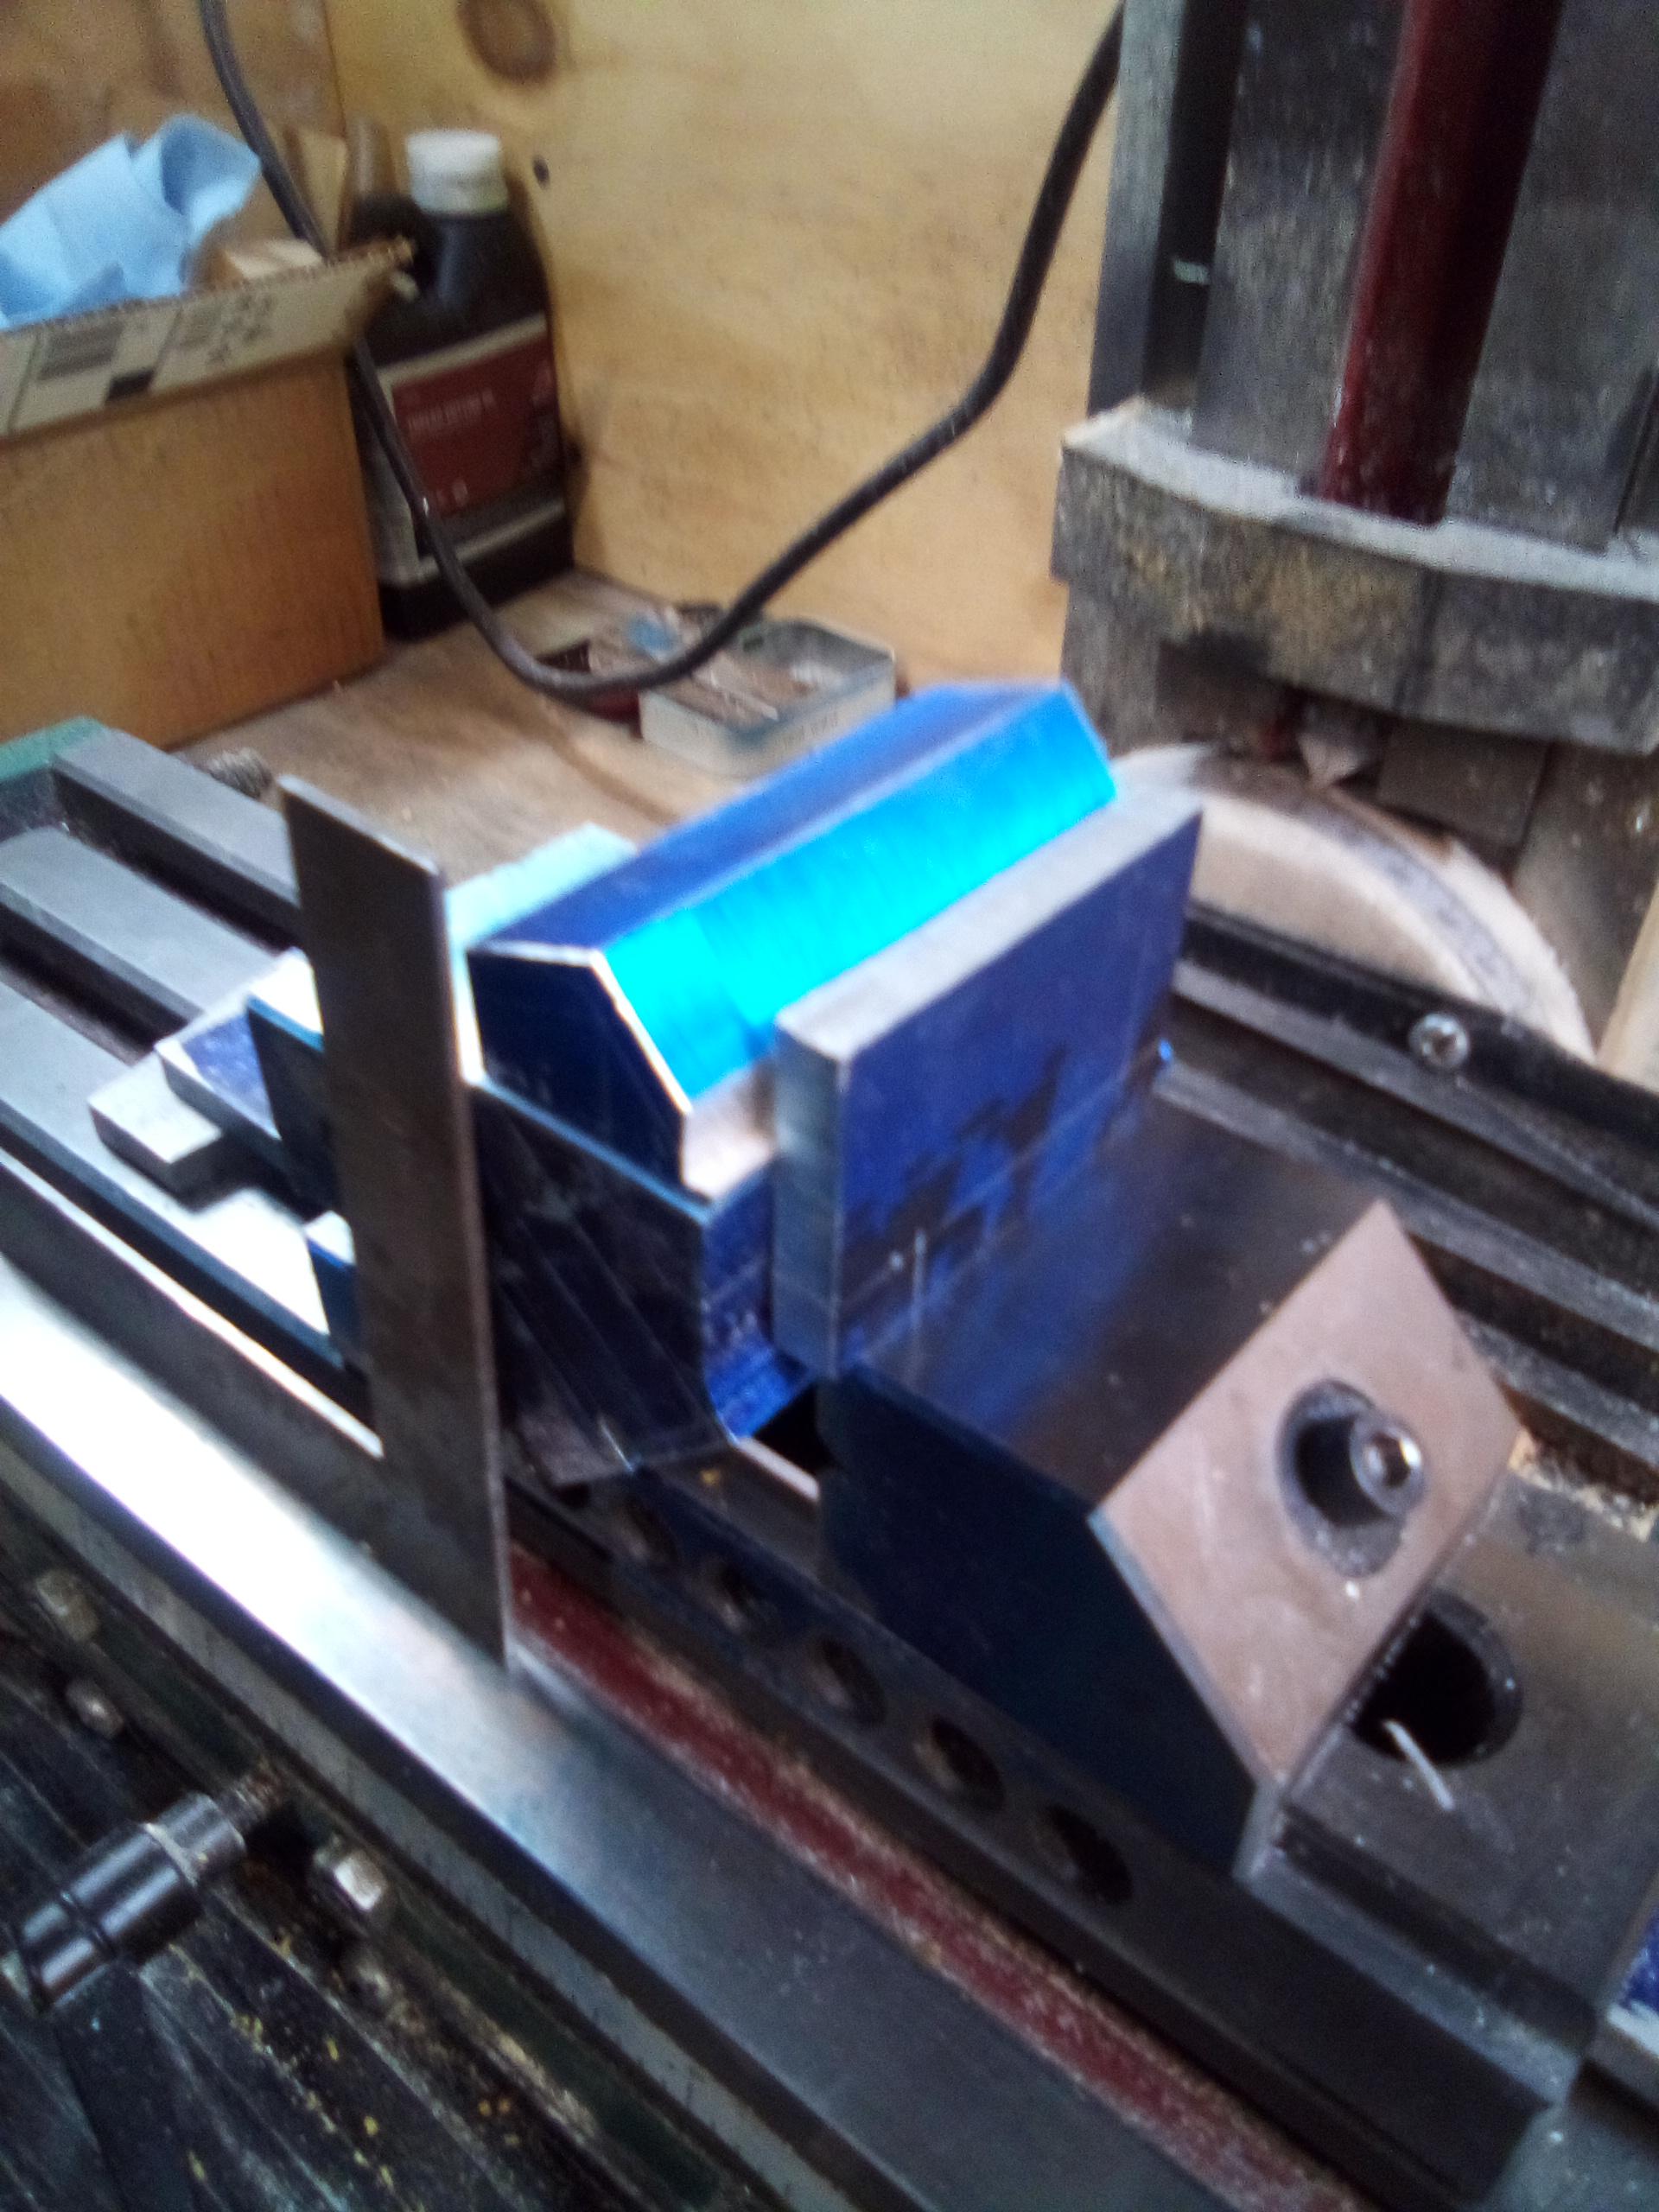
The heads have a lip on them for headbolts. This lip alows the piece to move when in clamps, so I built a shim pack out of feeler gauges eliminating the rocking, allowing a secure clamp up. Using a thick centering bit to cut a drill pocket that is on line with the layout. Starting with the small dimension bit would have caused it to walk off place due to the bevel on the head surface and the bits small size allowing it to flex easily. I might add here that I'm not attempting to model any particular engine here, rather this entire project is to strongly emulate the vibe and ferosity of this type car.,
-
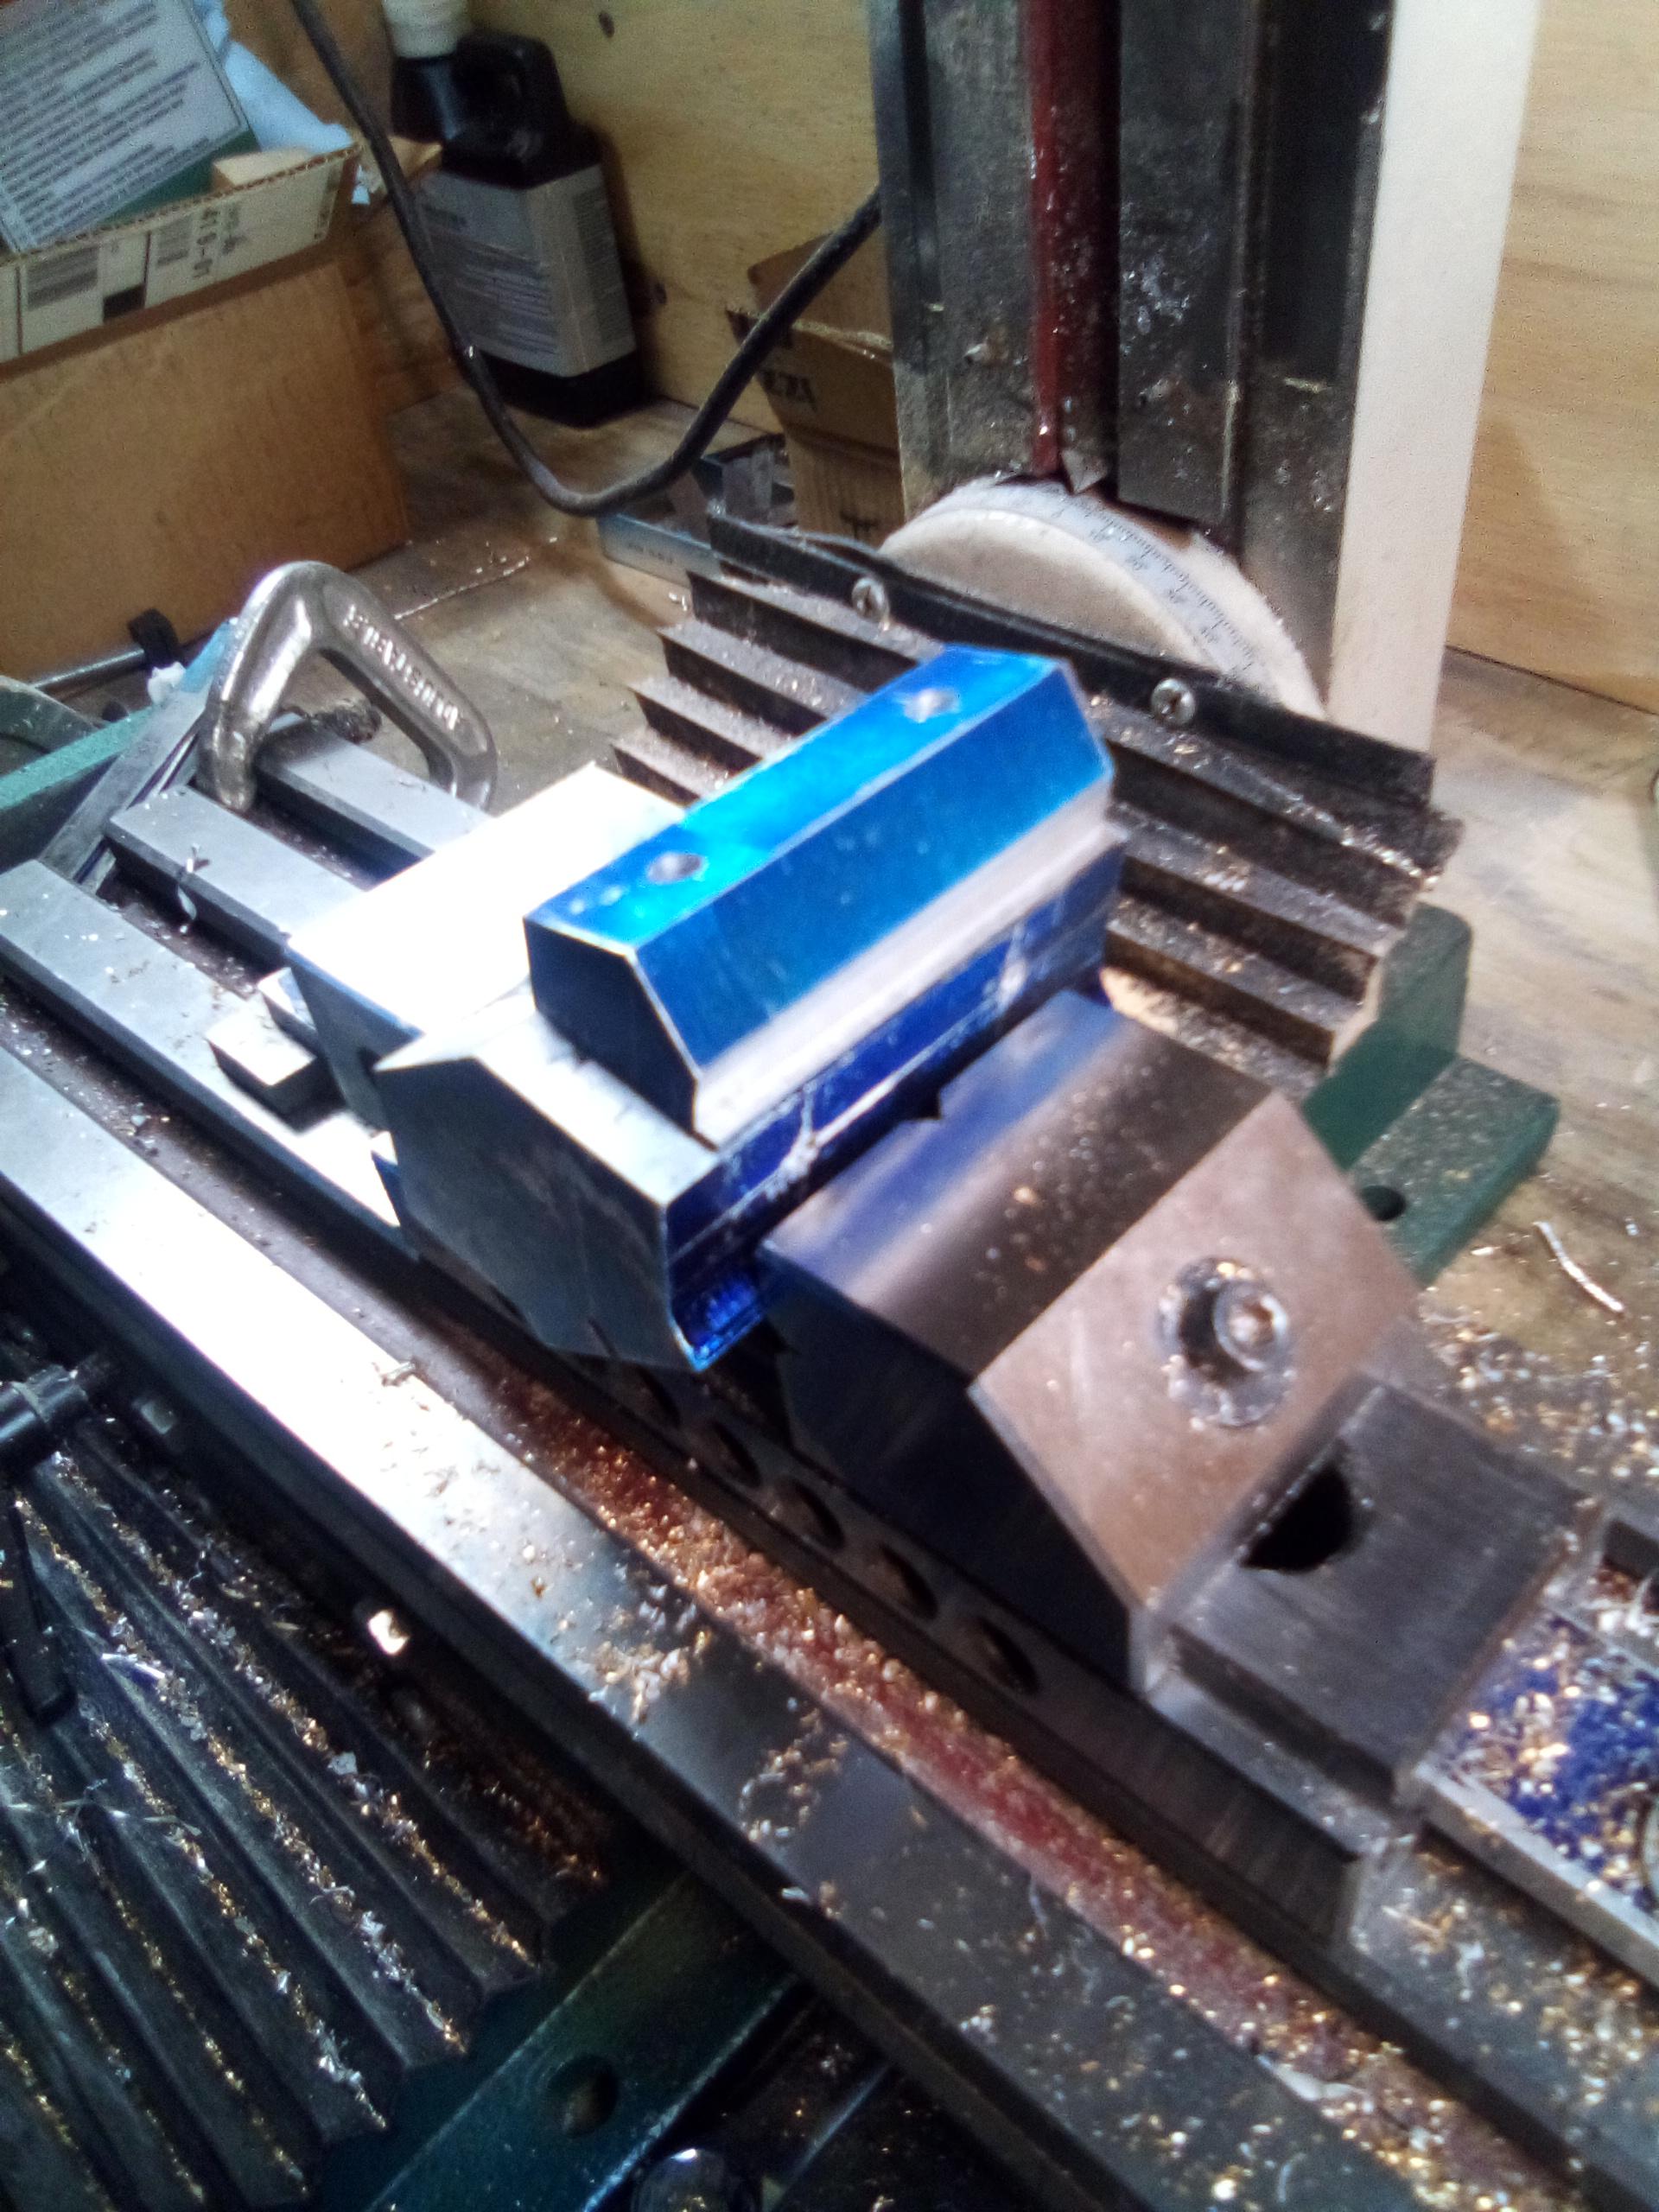
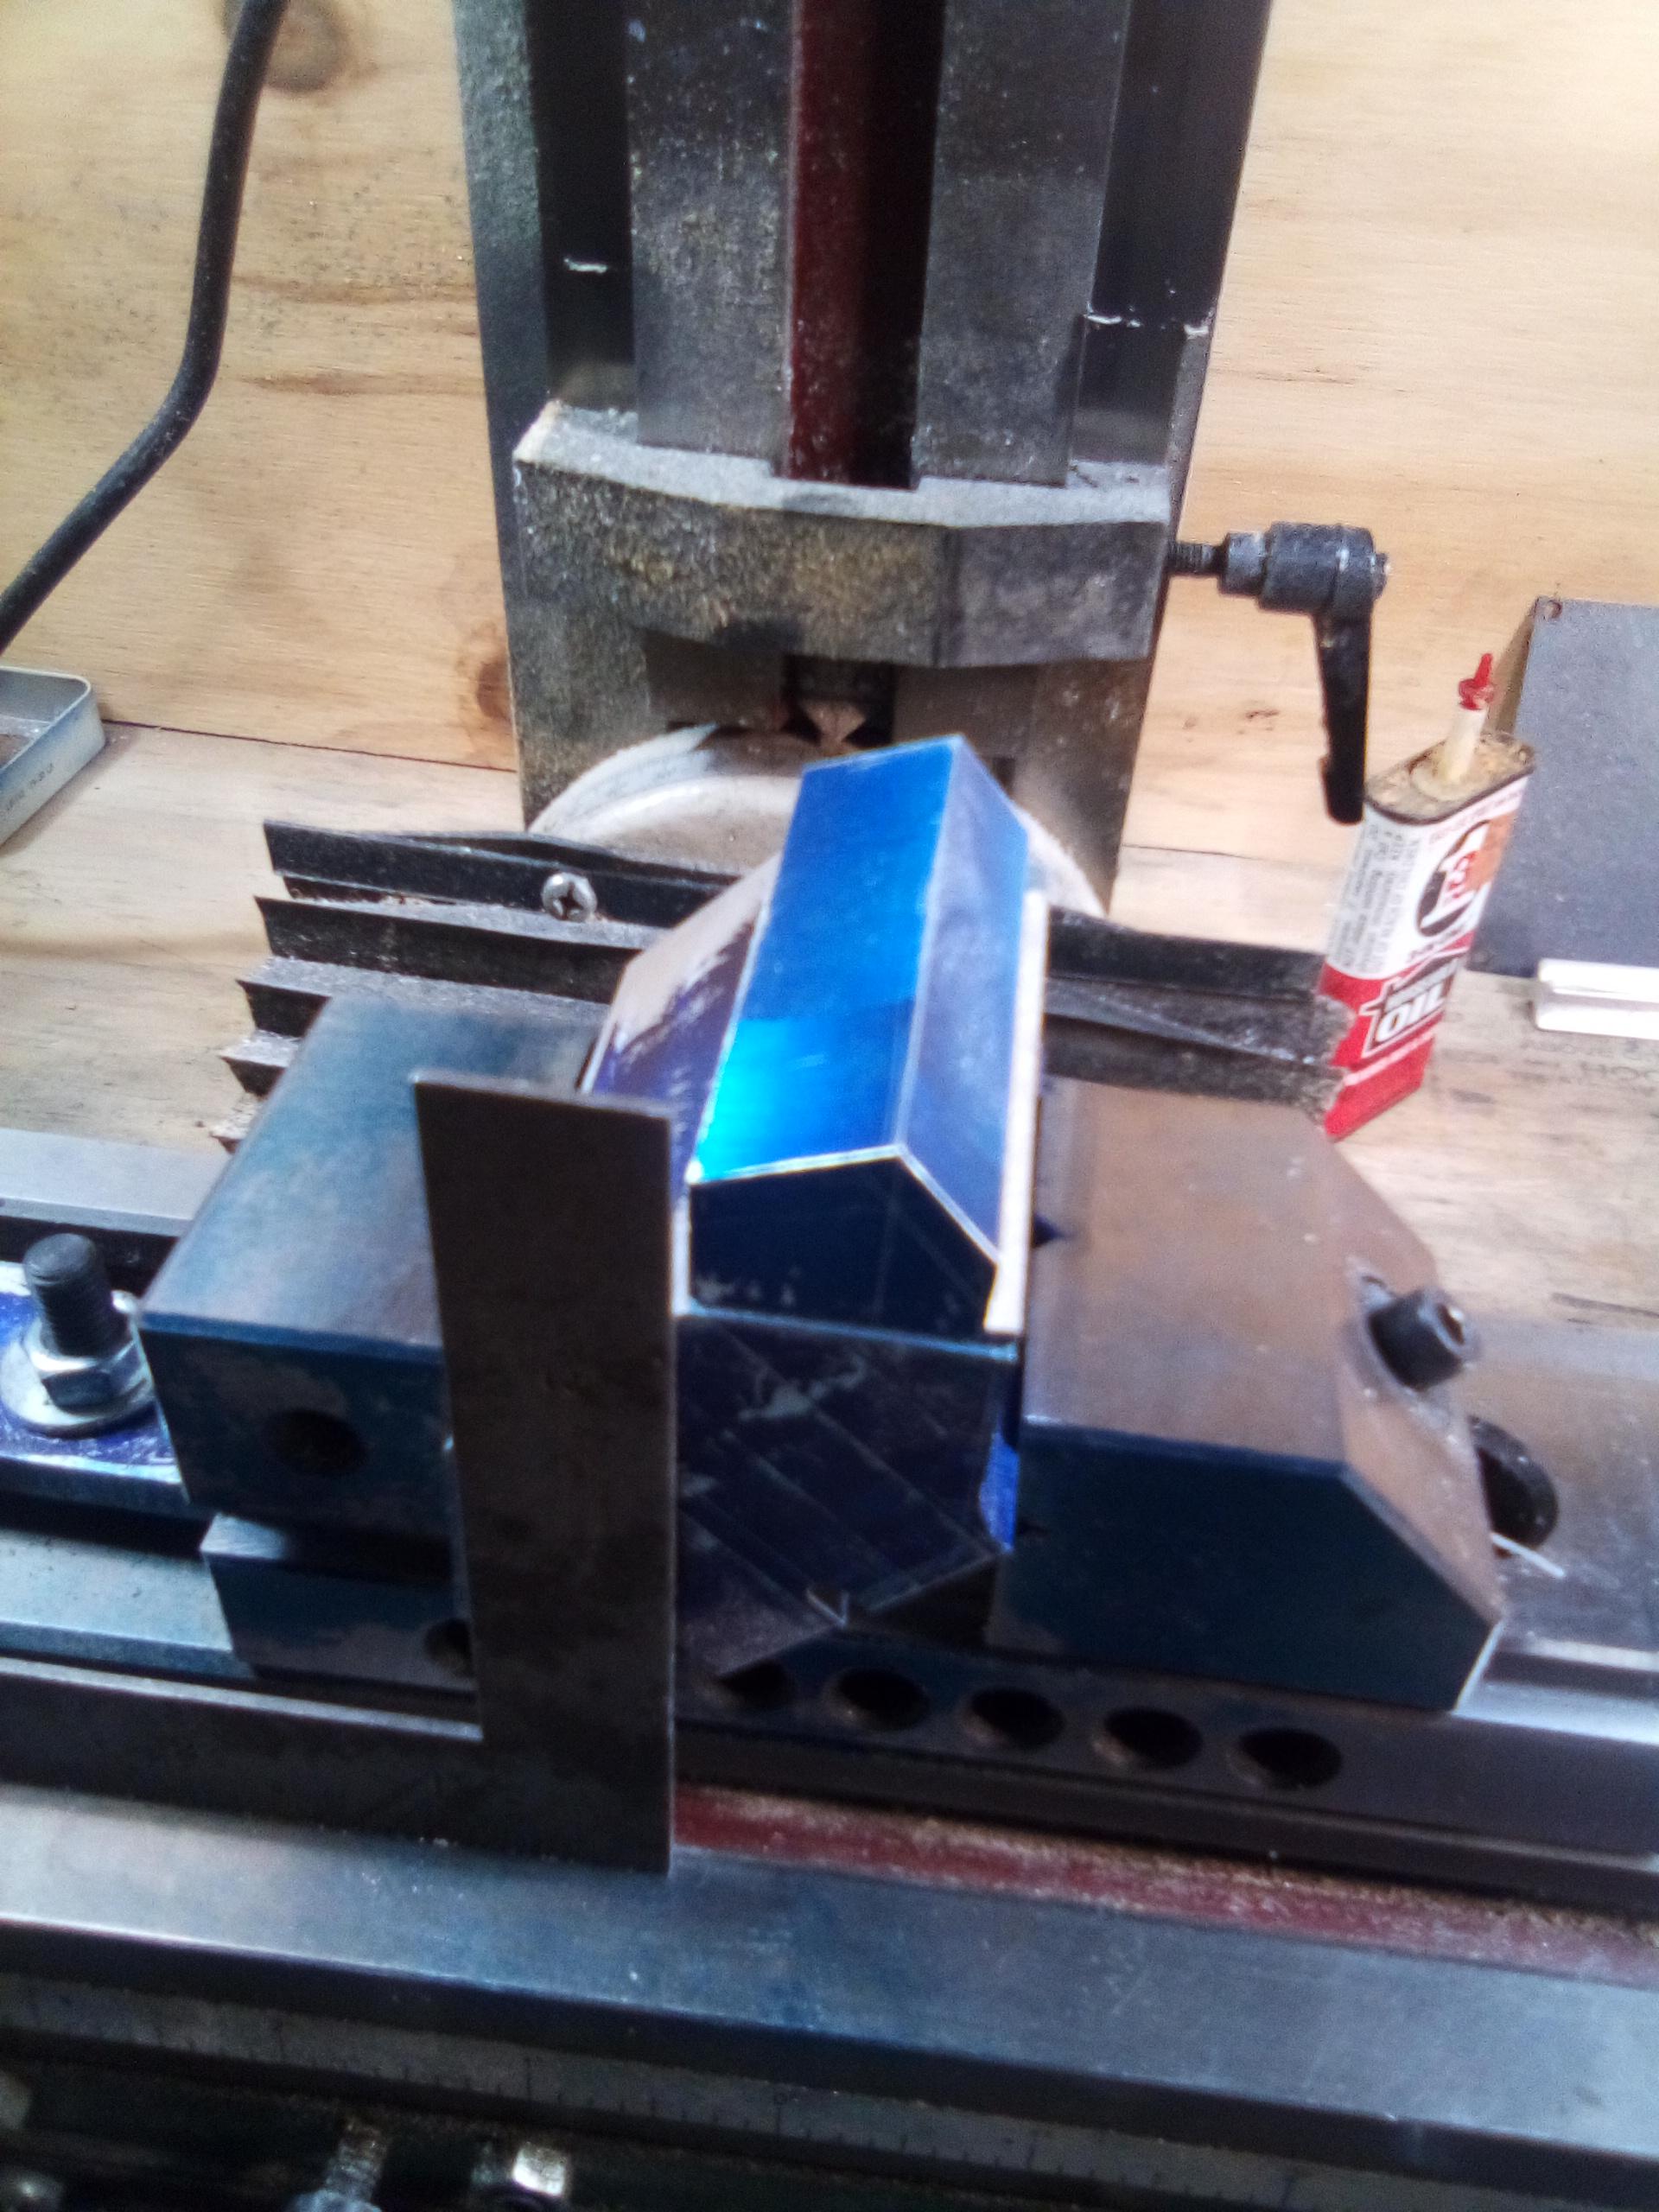
Cutting threads in side of the block. Bolted securely in place. Now have a parallel surfaces to clamp to.
-
What happened to the big Boyz page?
-
In order to drill through the head into the block accurately, the head must be securely clamped in place to prevent movement during the operation. However, there are no parallel surfaces available between head and block. The solution I've come up with is to drill and tap the sides of the block and bolt the small piece of plate to it, creating a suitable parallel across from the left side of the head that's sturdy enough to withstand the demands of the proceedure without moving. Once finished, I'll put some brass plugs in the holes to simulate freeze plugs. ?
-
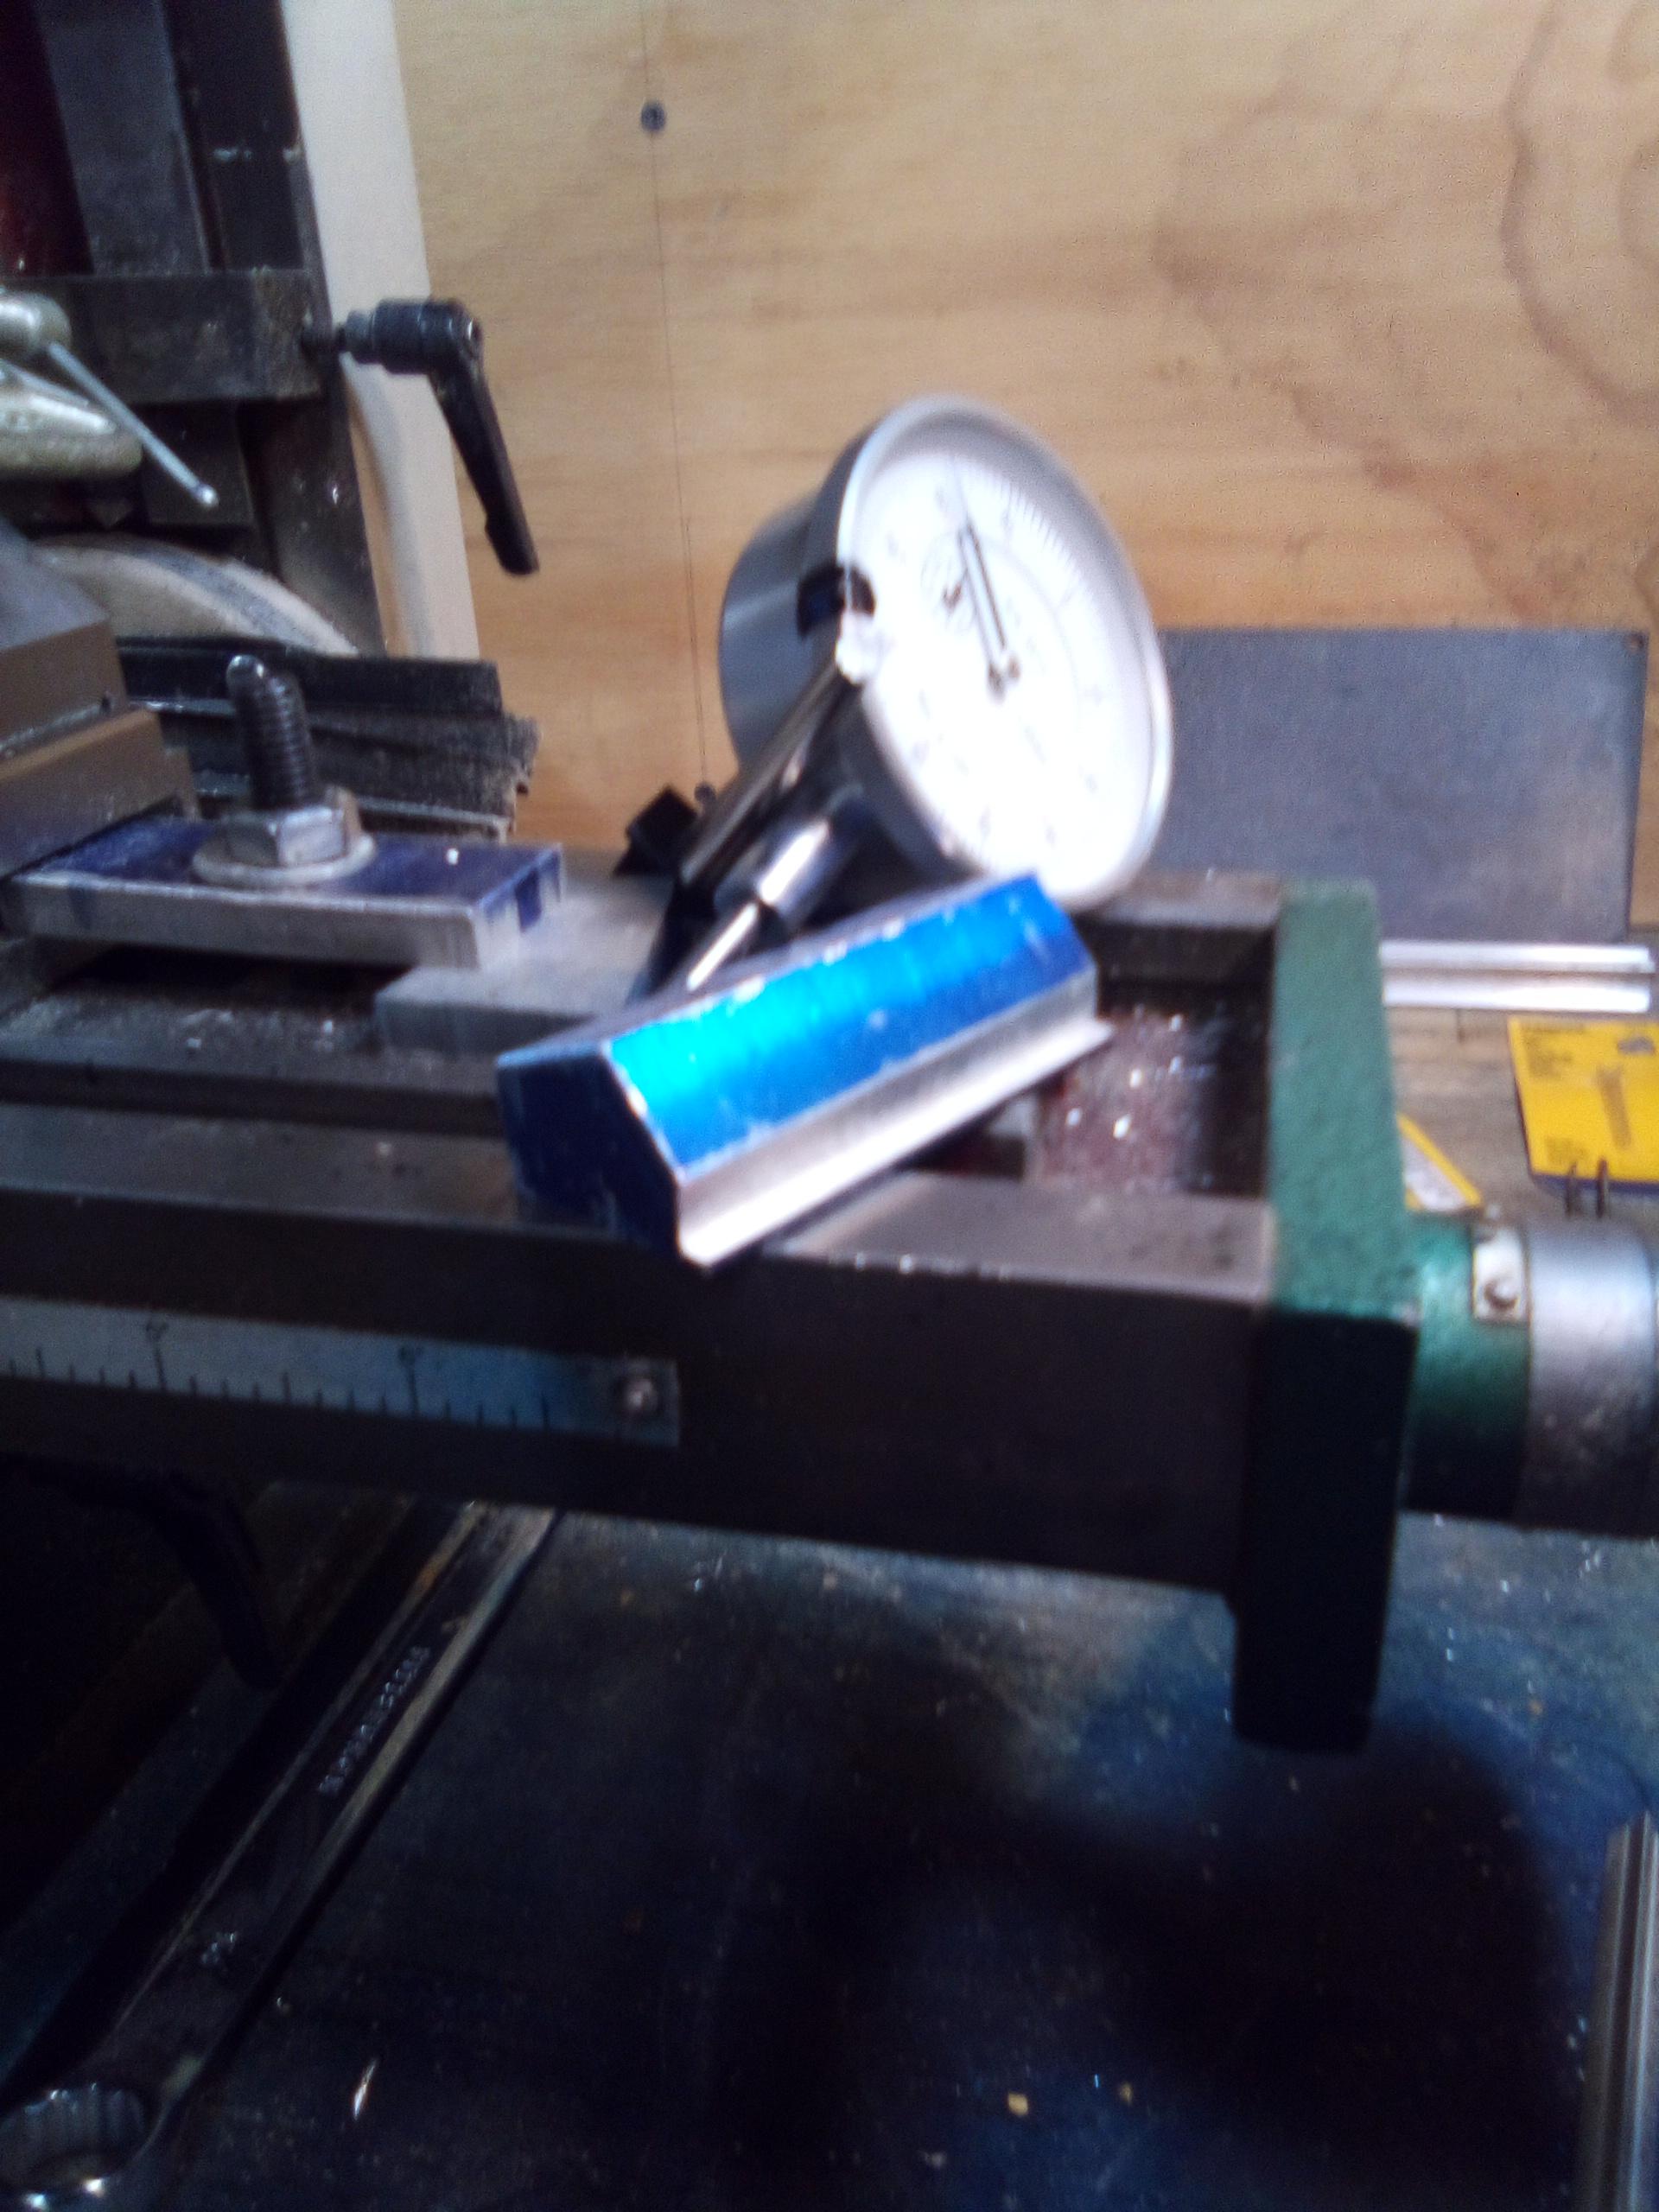
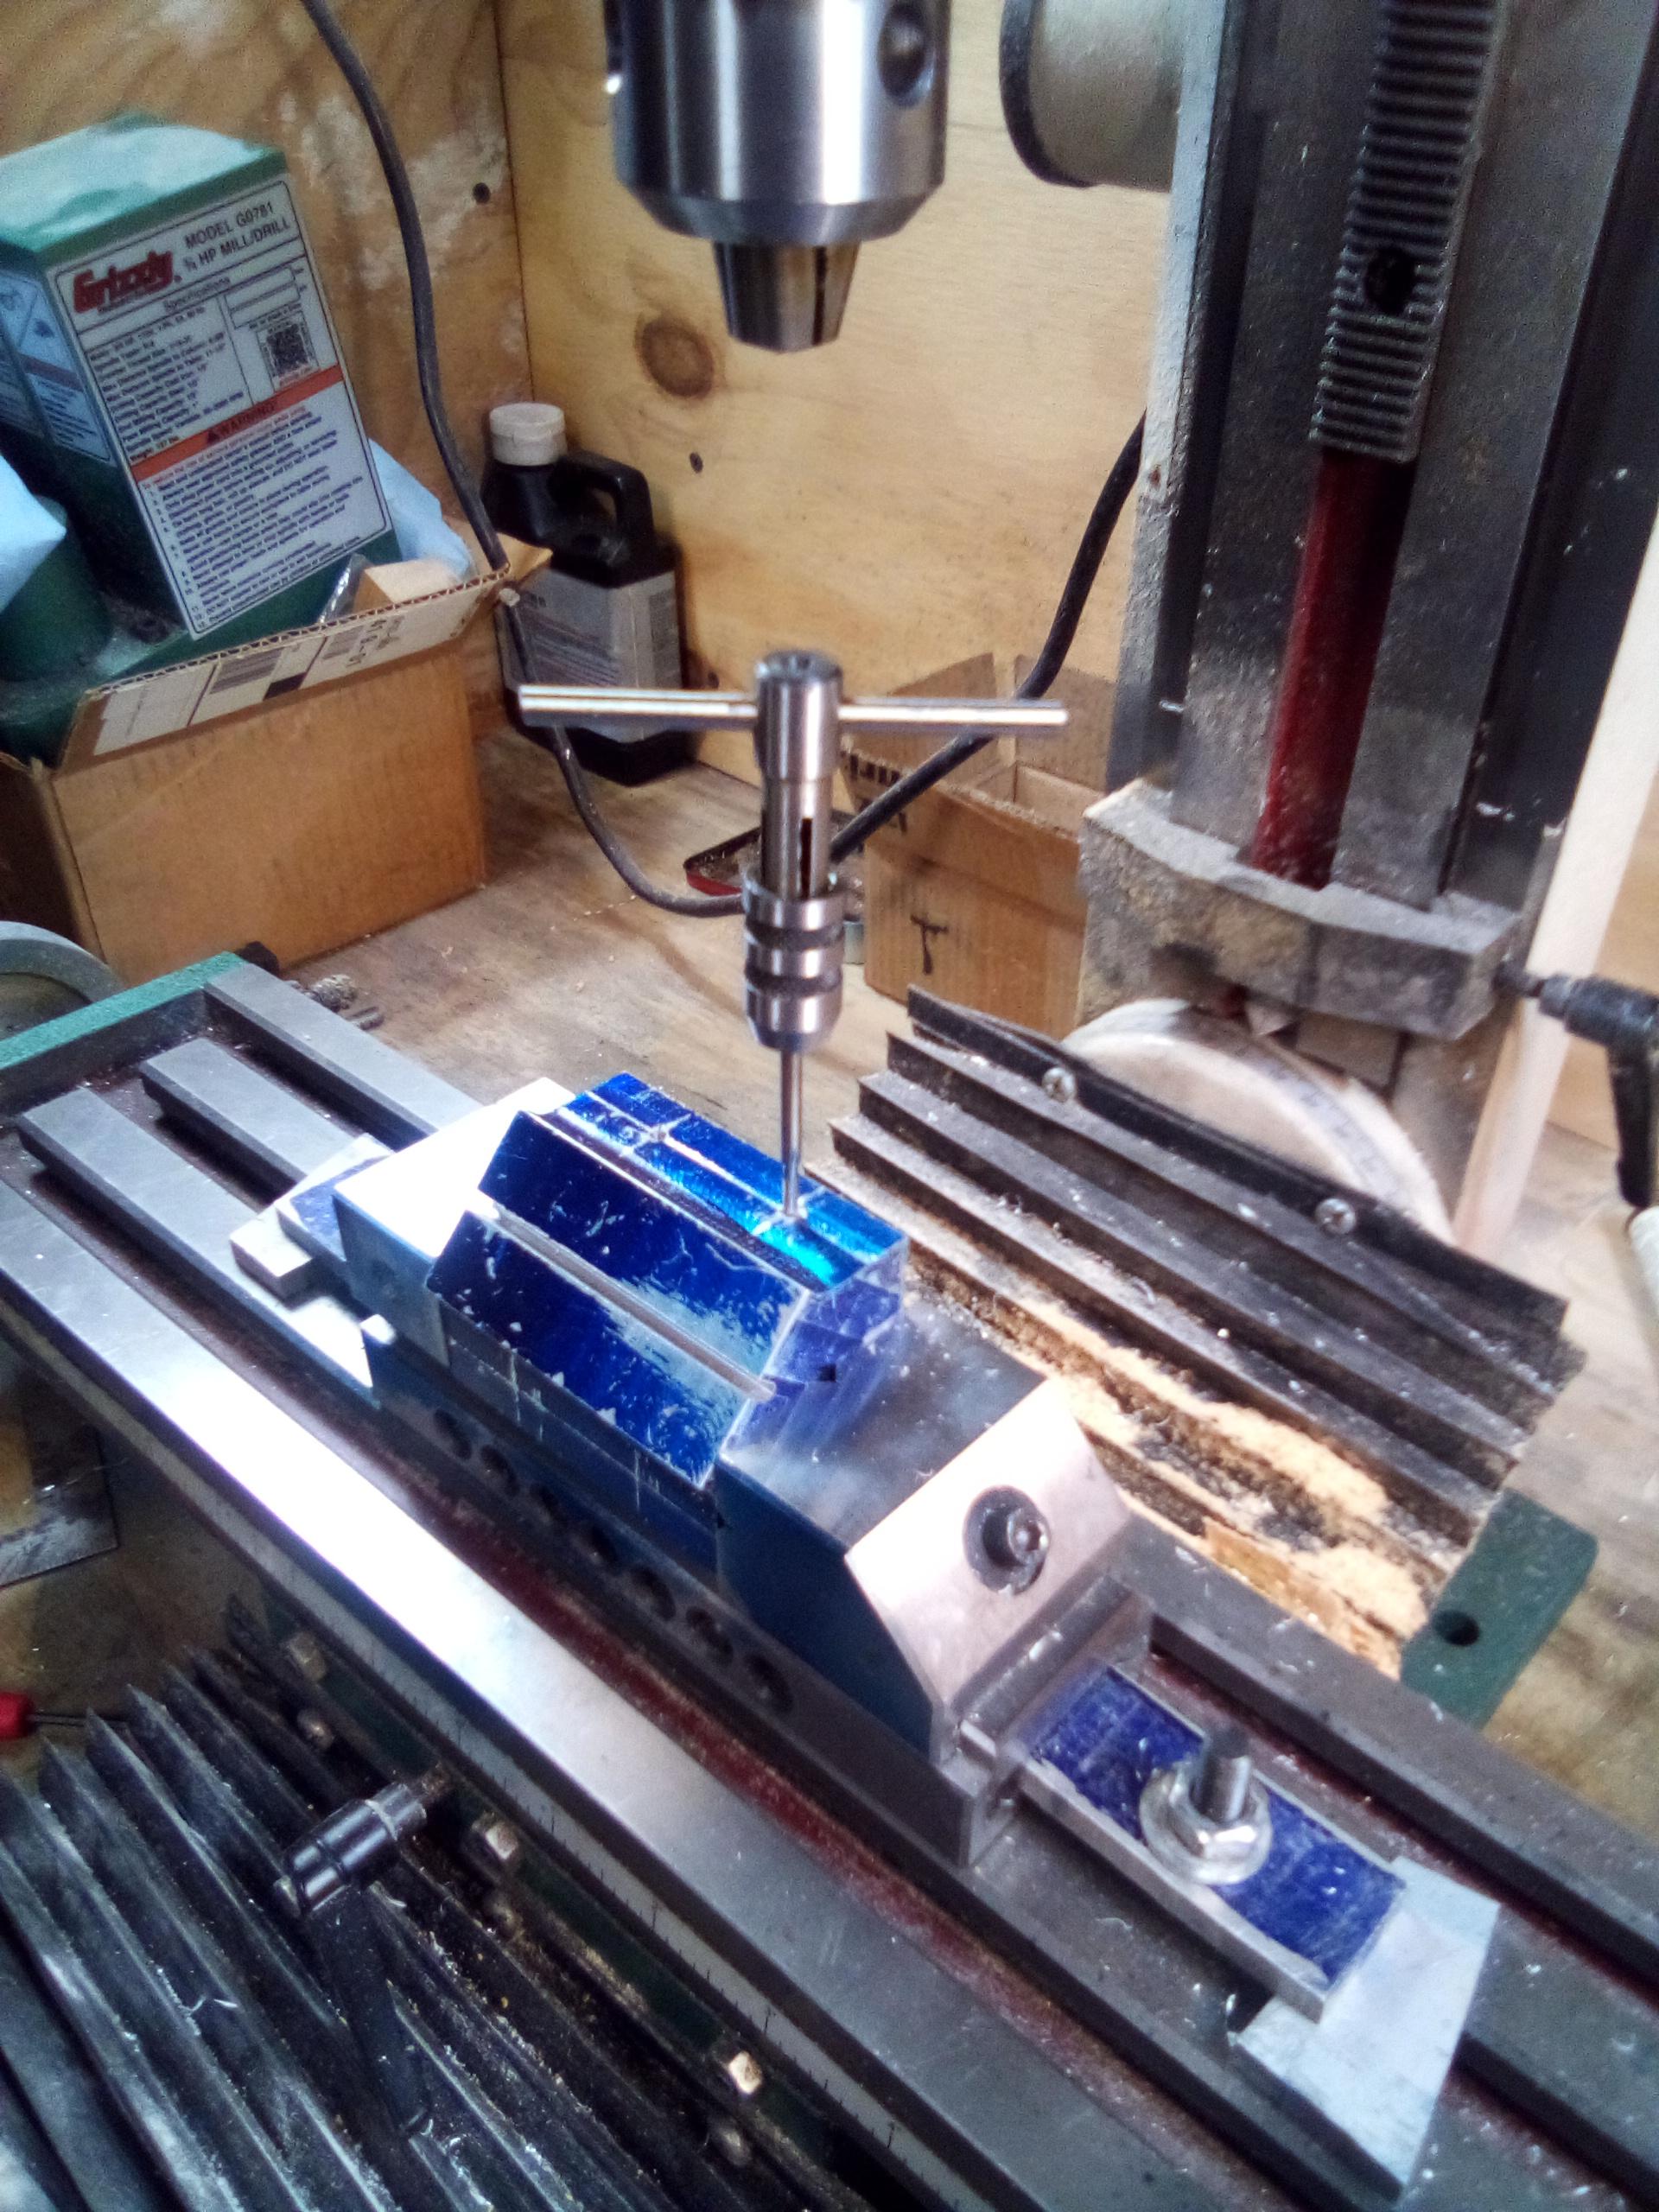
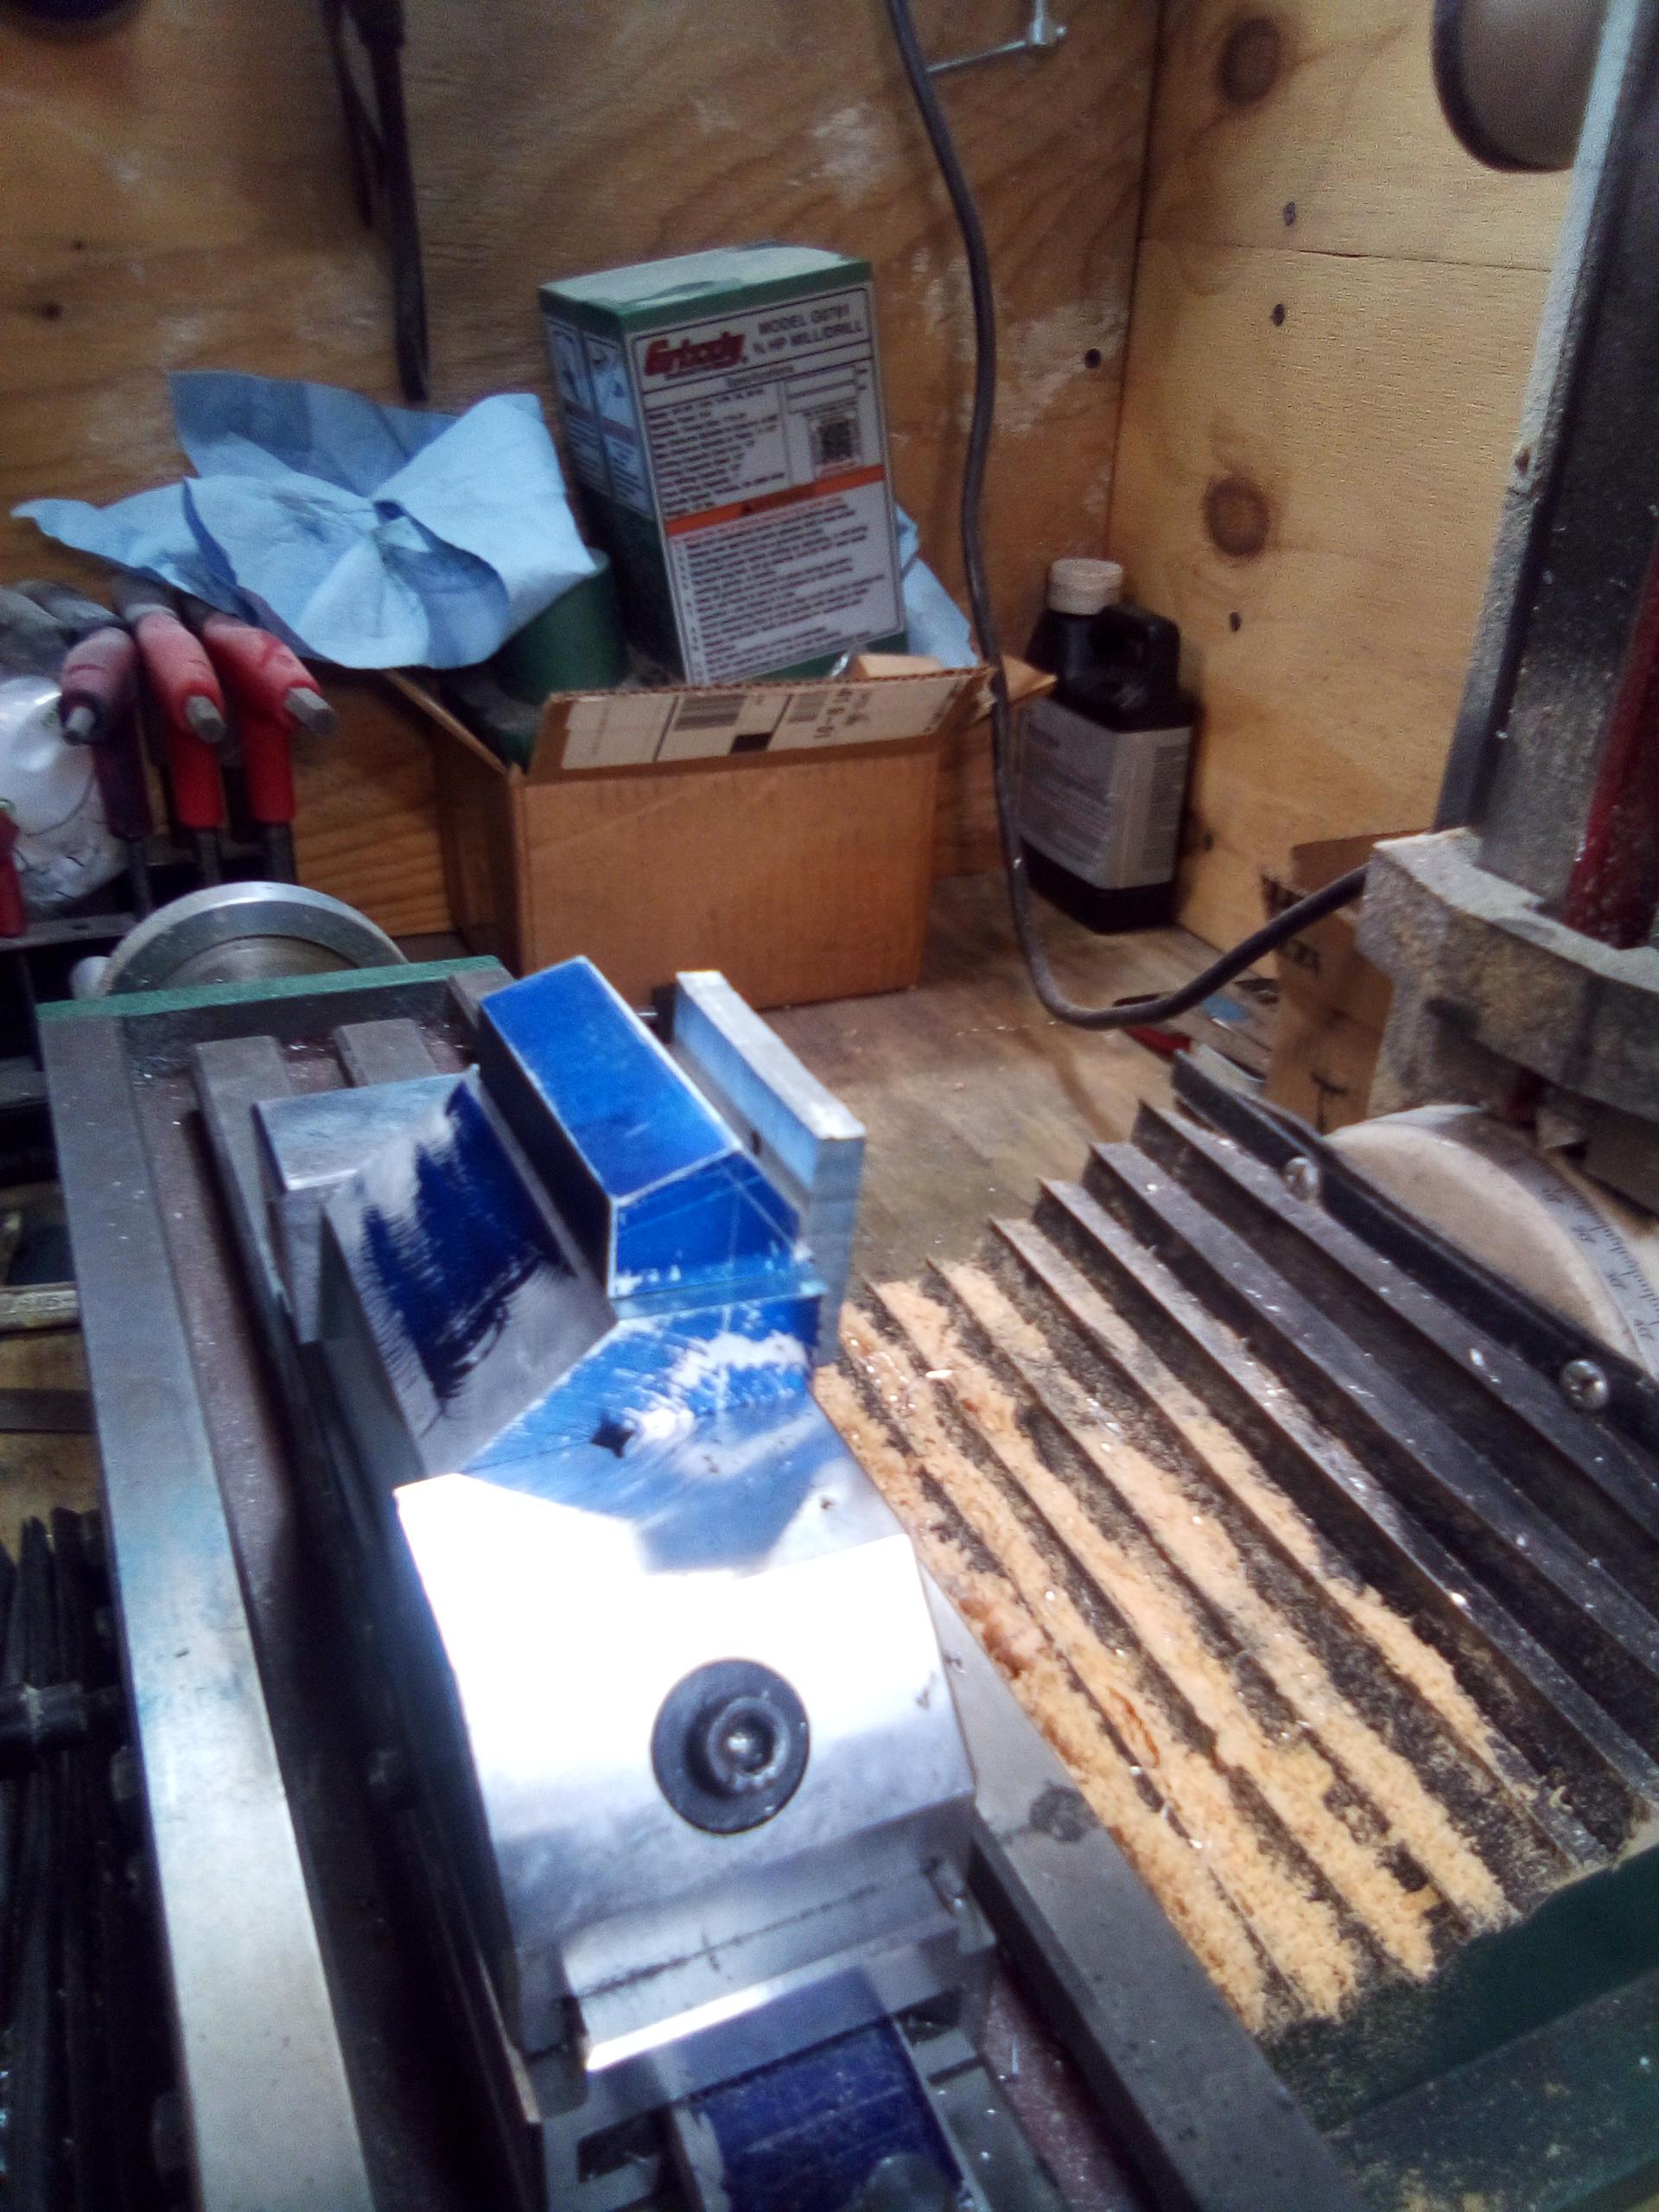
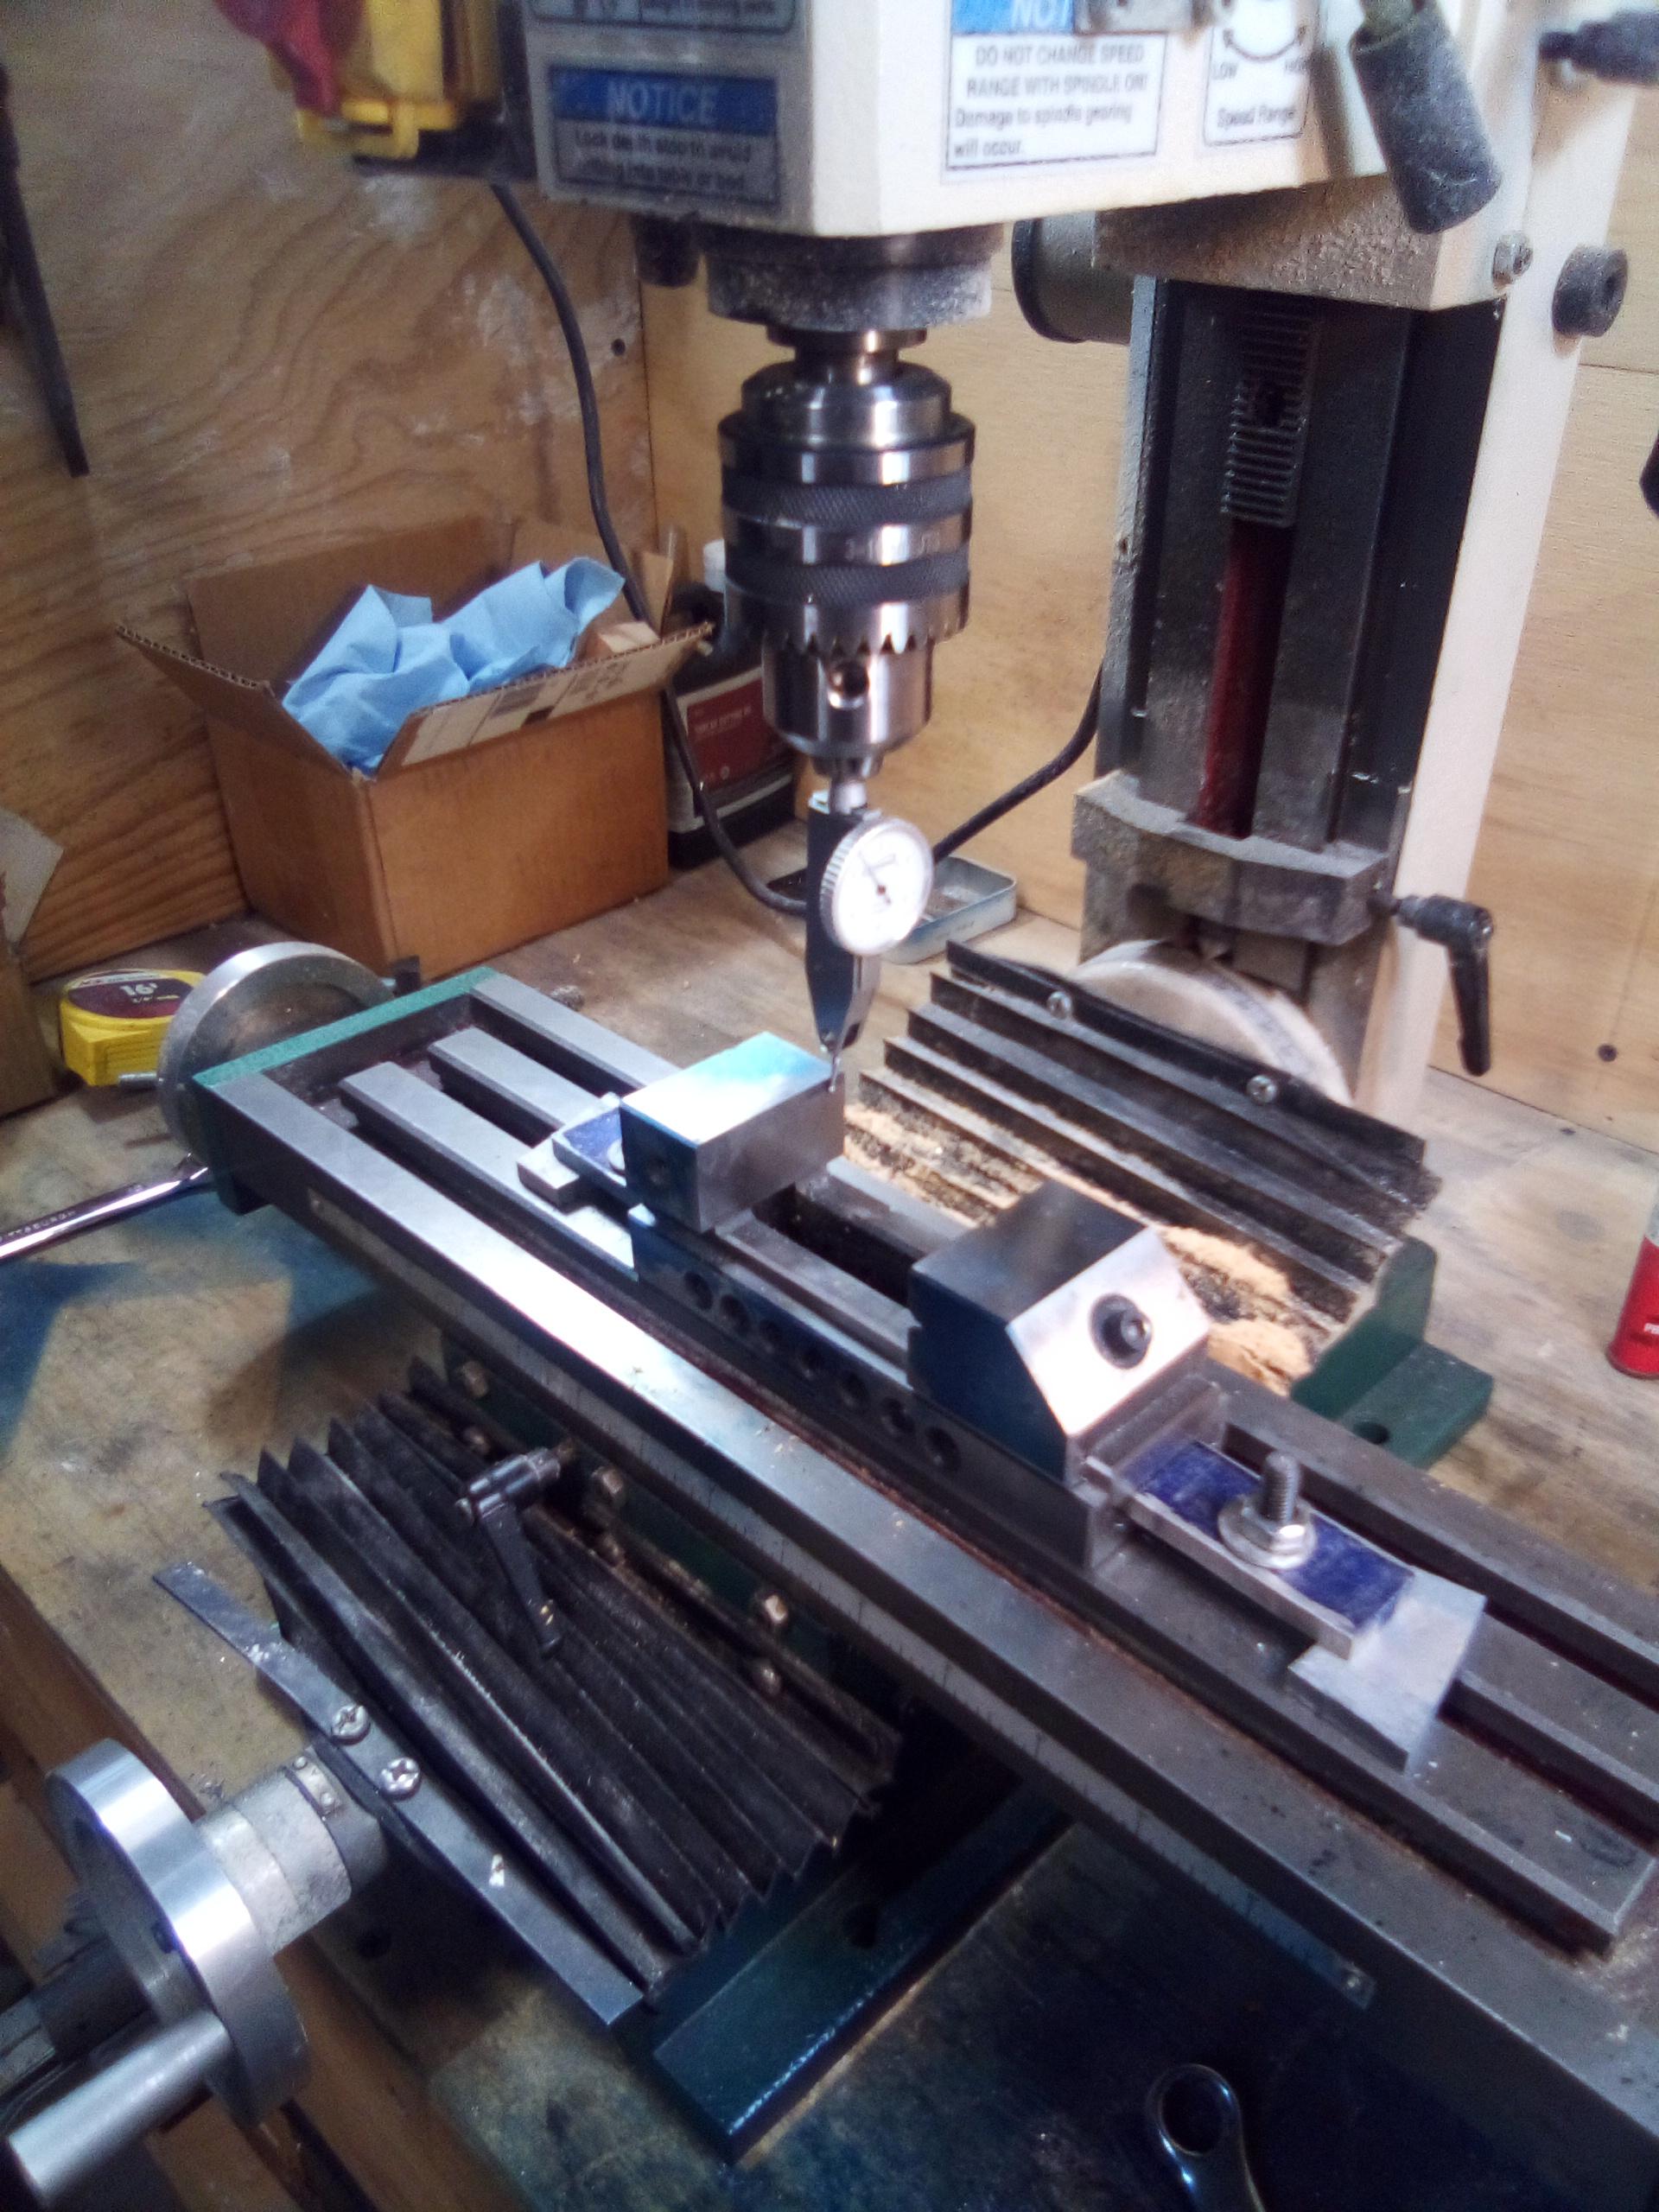
It's a toolmakers vice. I like it in that due to its design, it pulls the sliding jaw down to the base, eliminating jaw lift which can disrupt the setup, causing inaccuracy in the work. When I'm putting it on the table, I always set up an indicator and read both axis. Gets everything squared up with the mill.
-
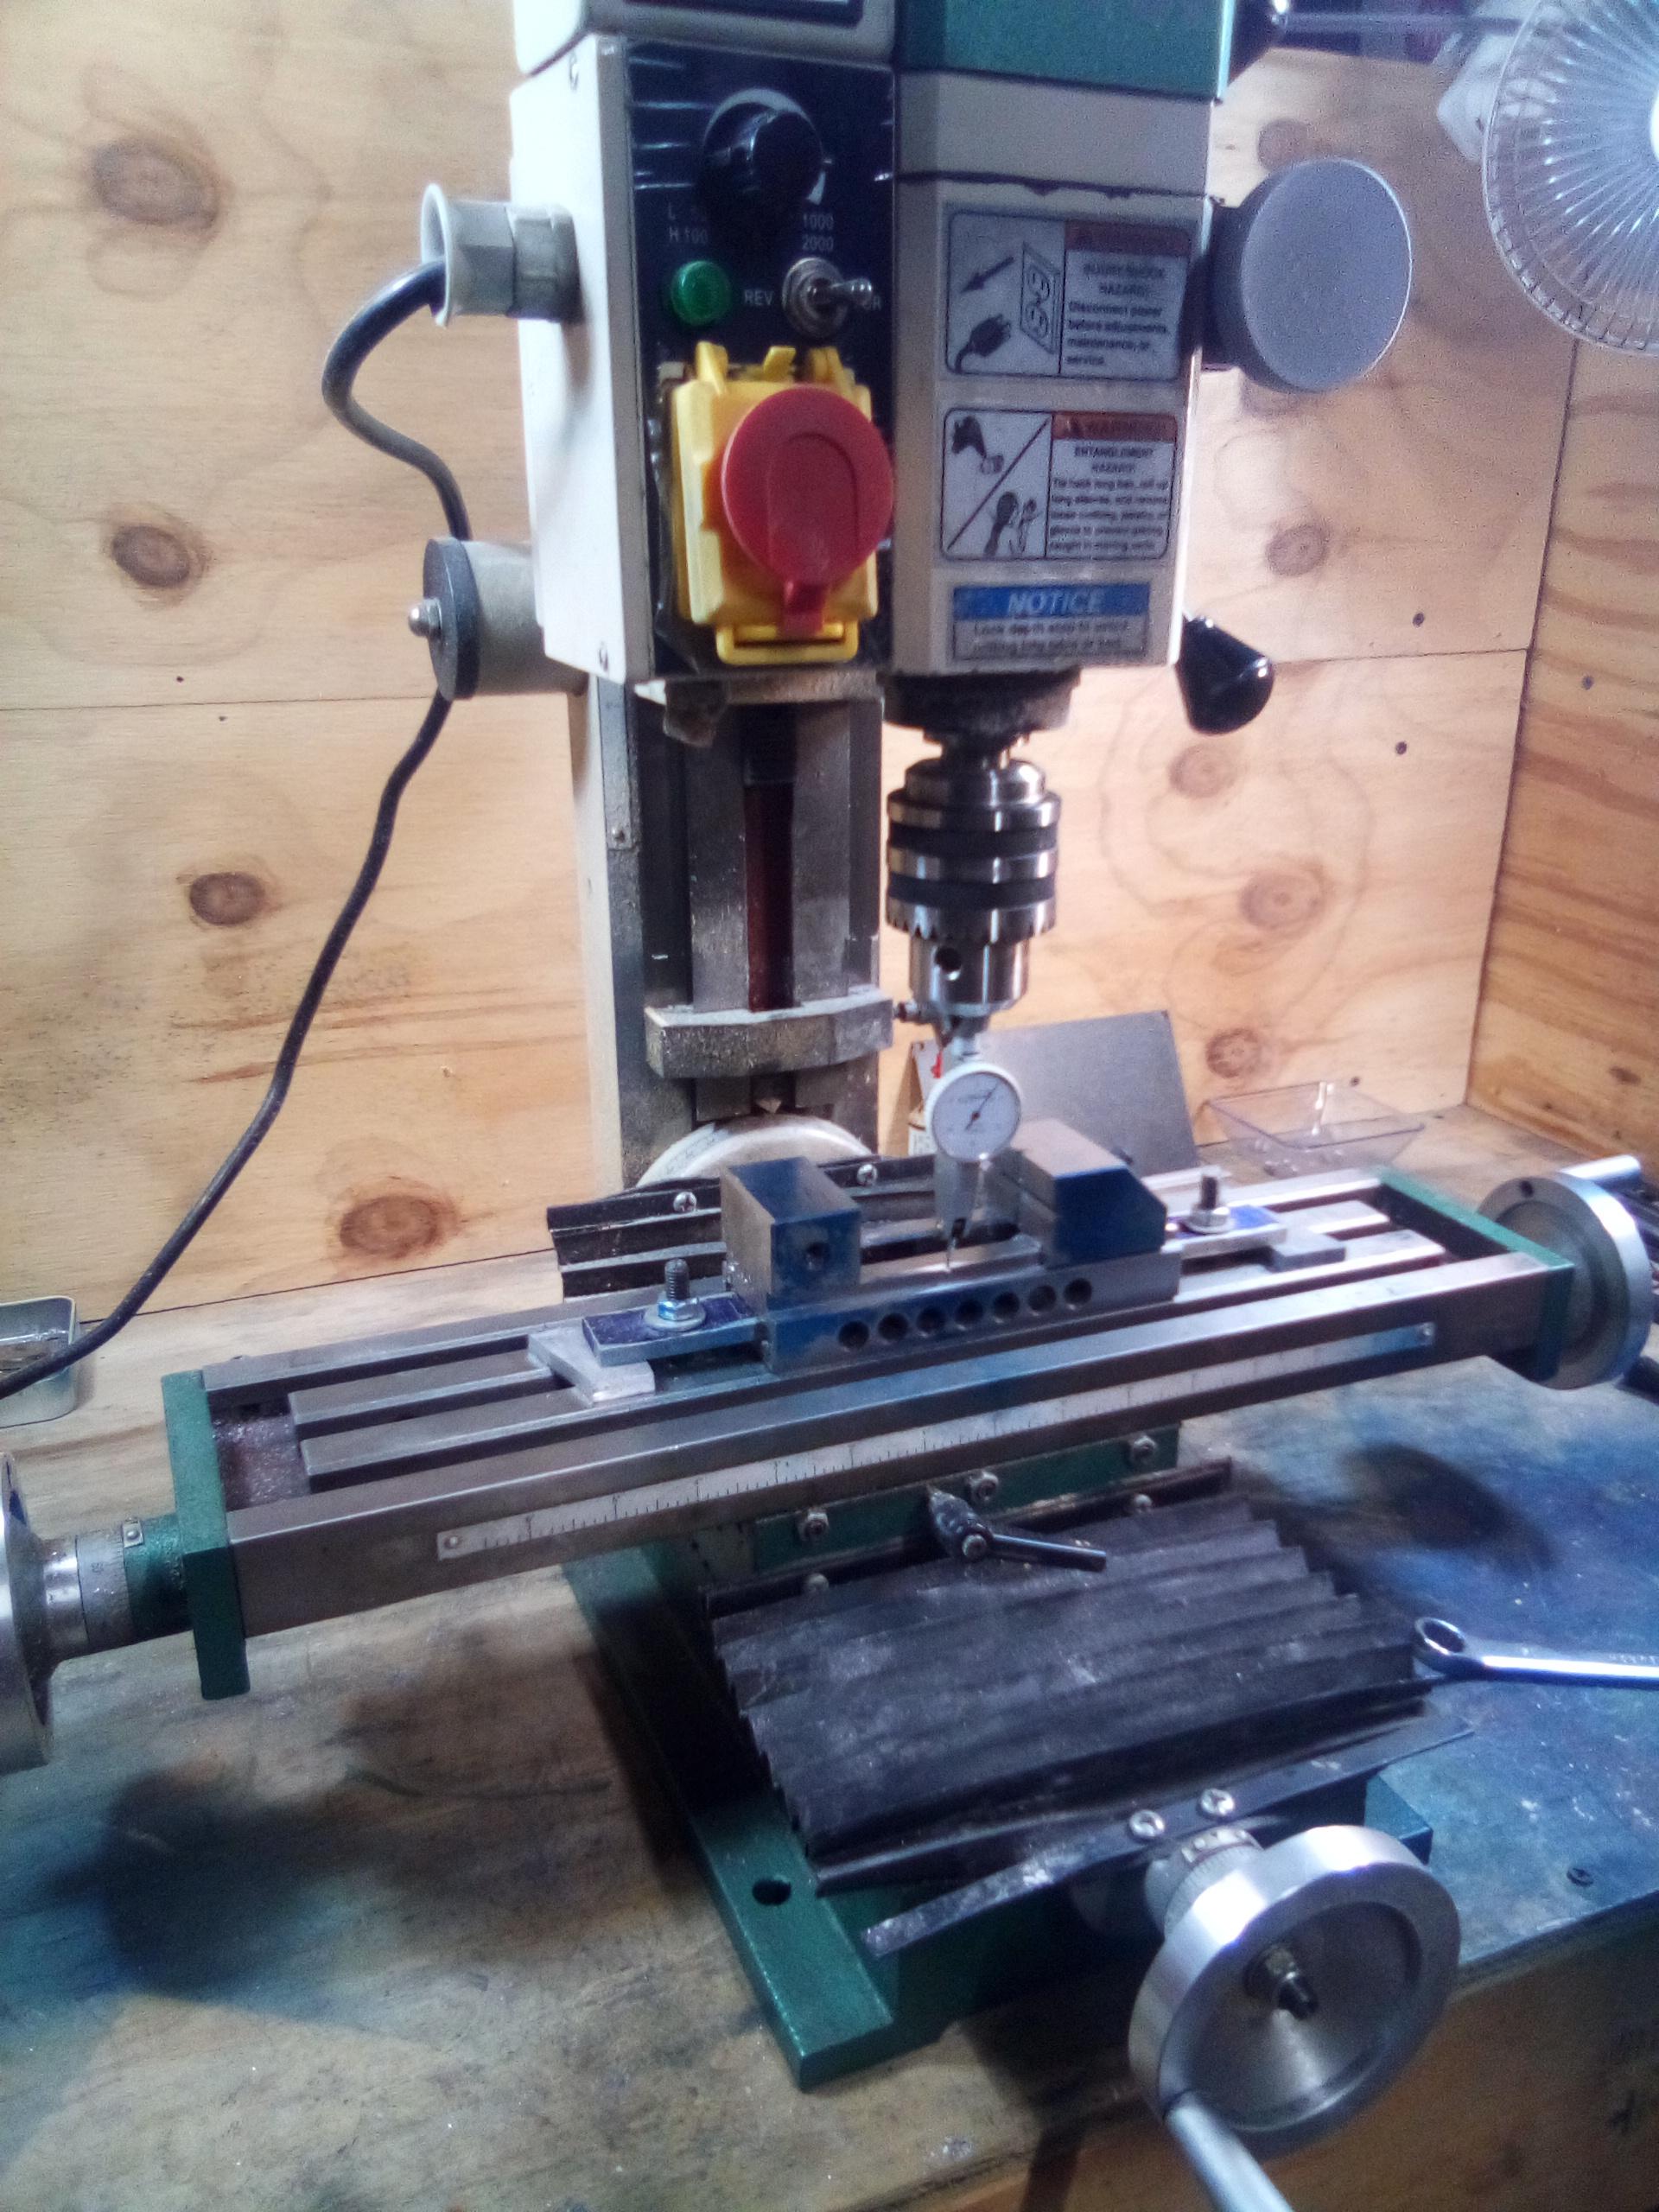
Going to take a break from the body for a while. I'm setting up the mill for drilling some head bolt holes. I have hardware down to 00_90 and I'm going to attempt to bolt the thing together, top to bottom. Stay tuned.
-
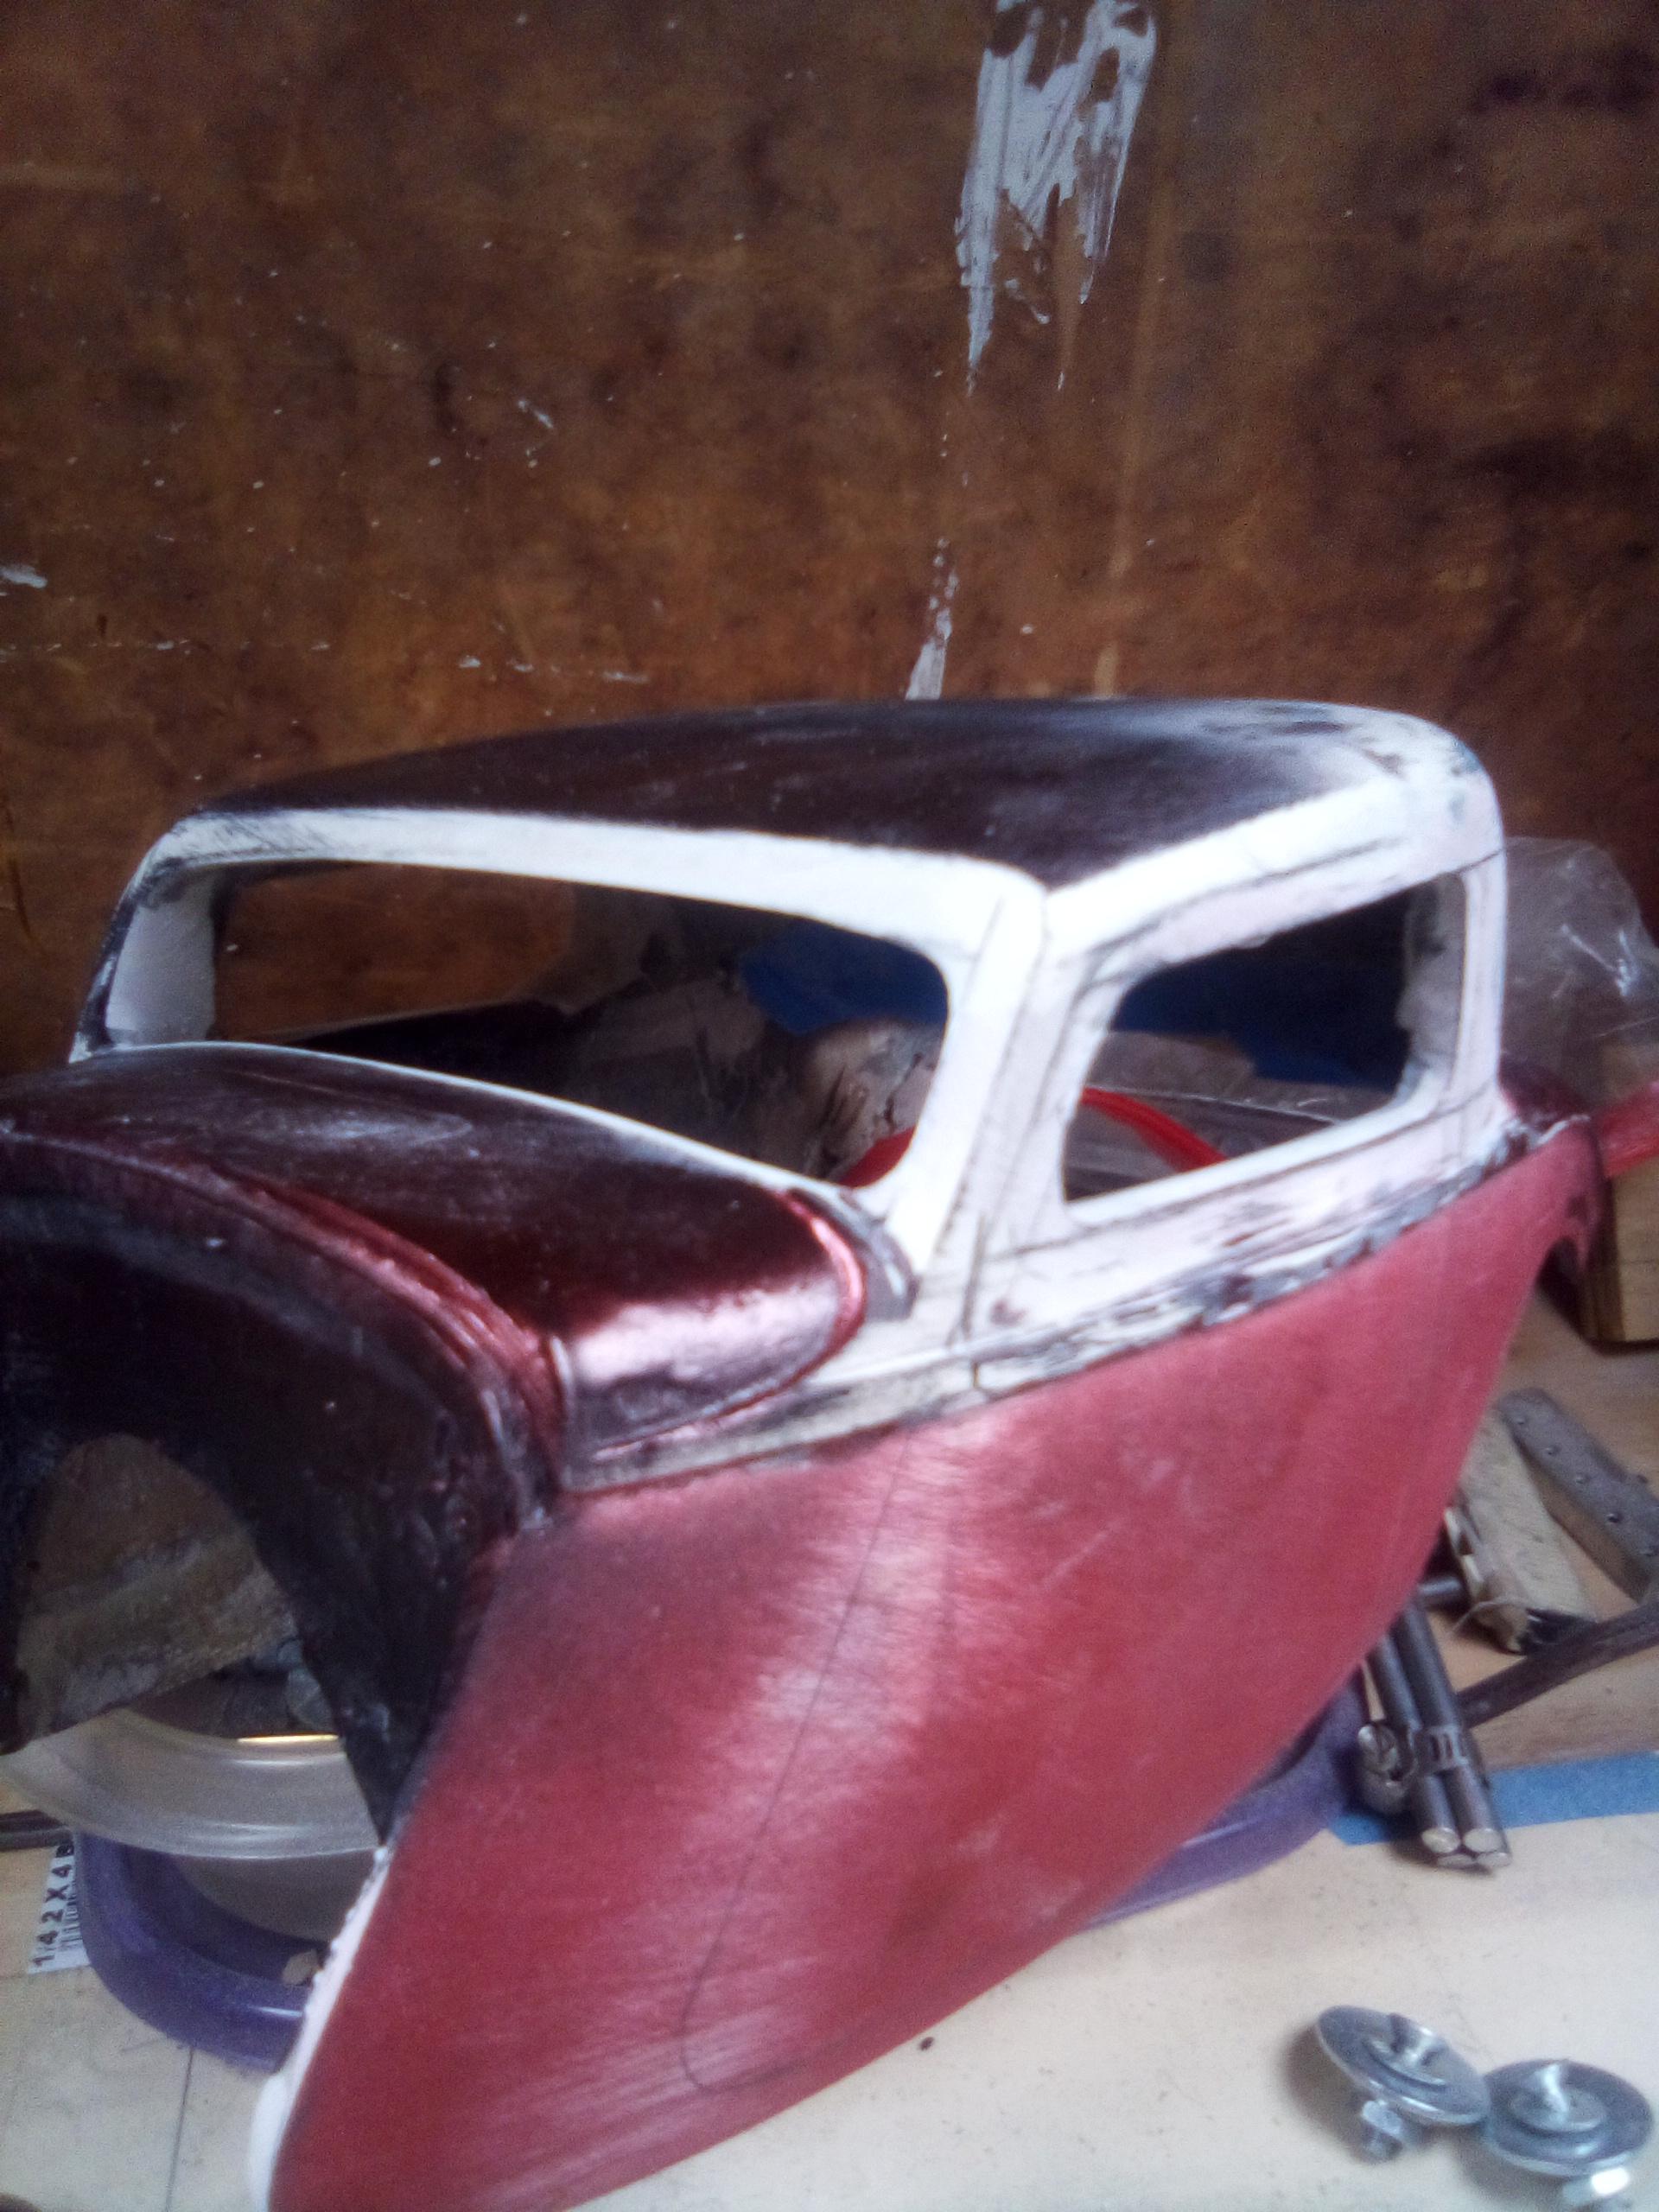
I have 2 main problems with the way the car looks from the side at this point... The radius where the cab back rolls over into the top is too tight needs to be flatter, larger. It's too "peaky" if you will. Upper rear corner of door window opening is too tight, small. Needs to somewhat match the profile of the final radius across the top...ii think... This is the cool factor in scratch building and modding stuff...trying to build what you see pictured in your head. If something's not right you know it but can't always identify it Immediately. Sometimes takes multiple redos on a spot before it clicks.
-
My current inclination in the process of changing the car to more of a traditional style by using a solid axle vs independant and going to a old school style frame is to mount the axle in front in front of the grill shell. Thiswill extend the wheelbase a bit and could be hung on a suicide style crossmember if I decided to go that way.
-
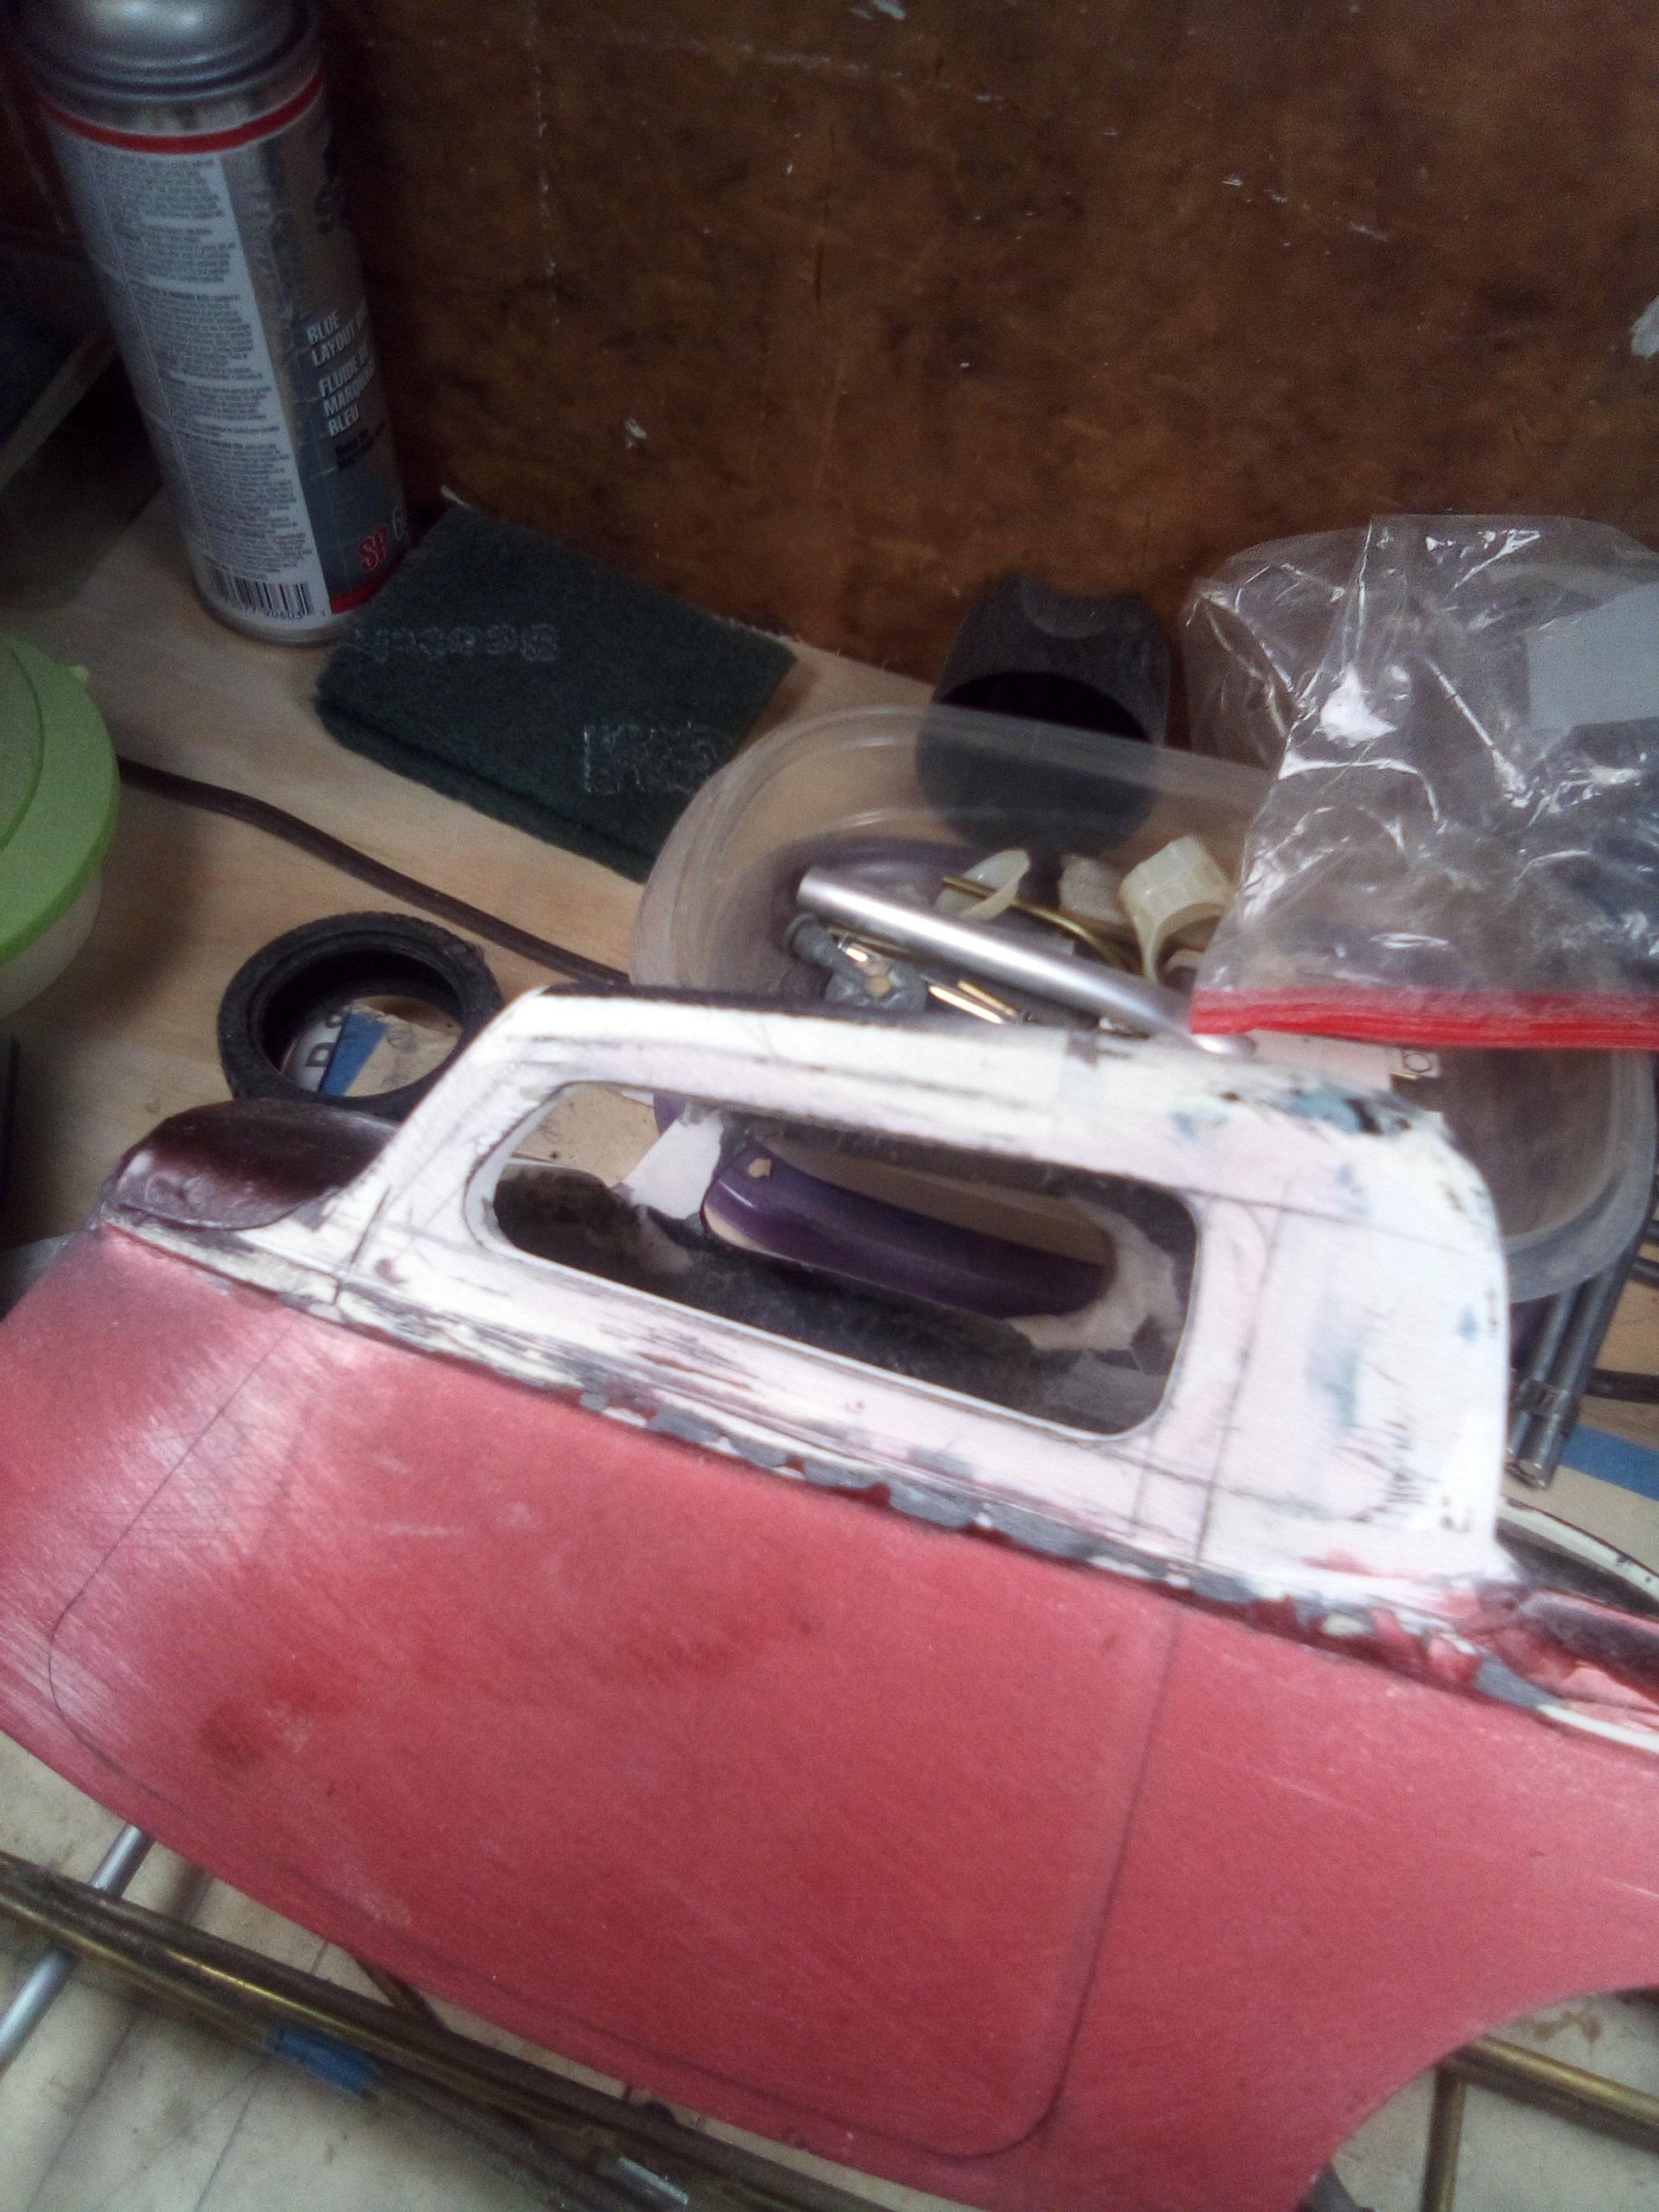
Using the same radius in all the window corners for continuity of design. As the work has progressed, I've been building materiel thickness in areas so that there will be door jams in the body when the doors are cut out. Shaping these areas as well for good inner door detail.
-
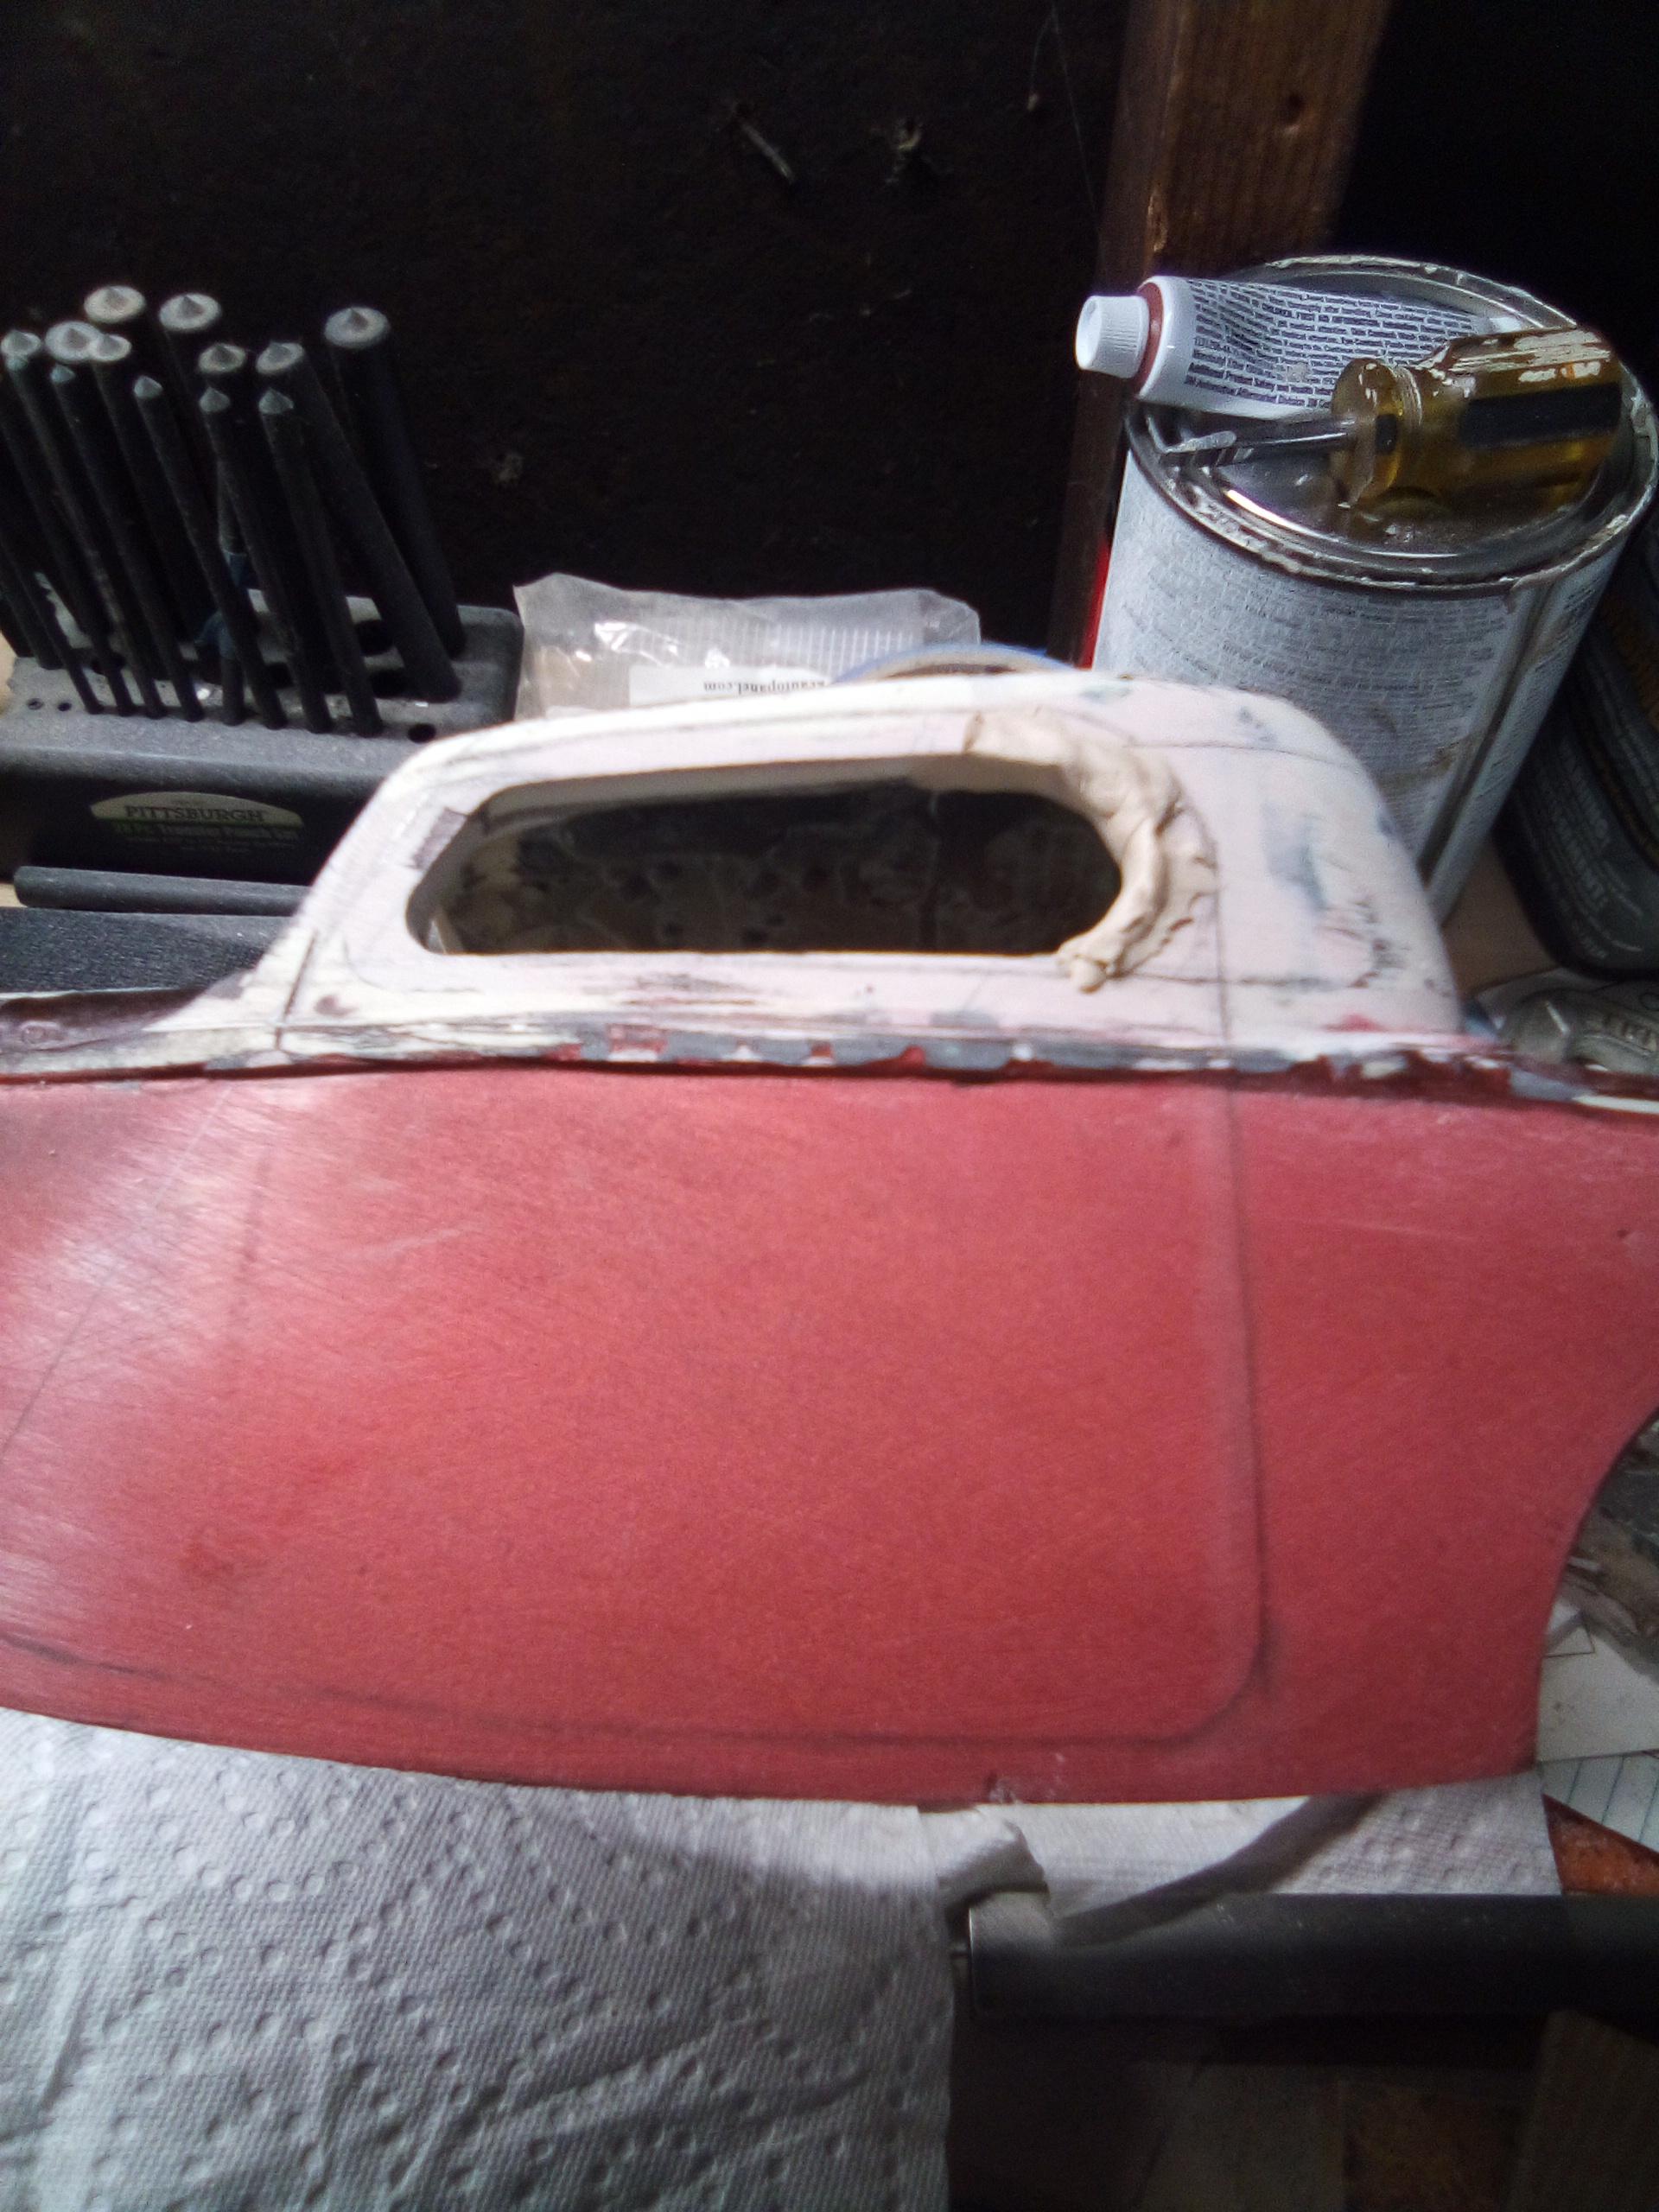
made a mistake, had to add some more material. It's a two part epoxy.
-
Dressing the back of the cab into the corner.
-
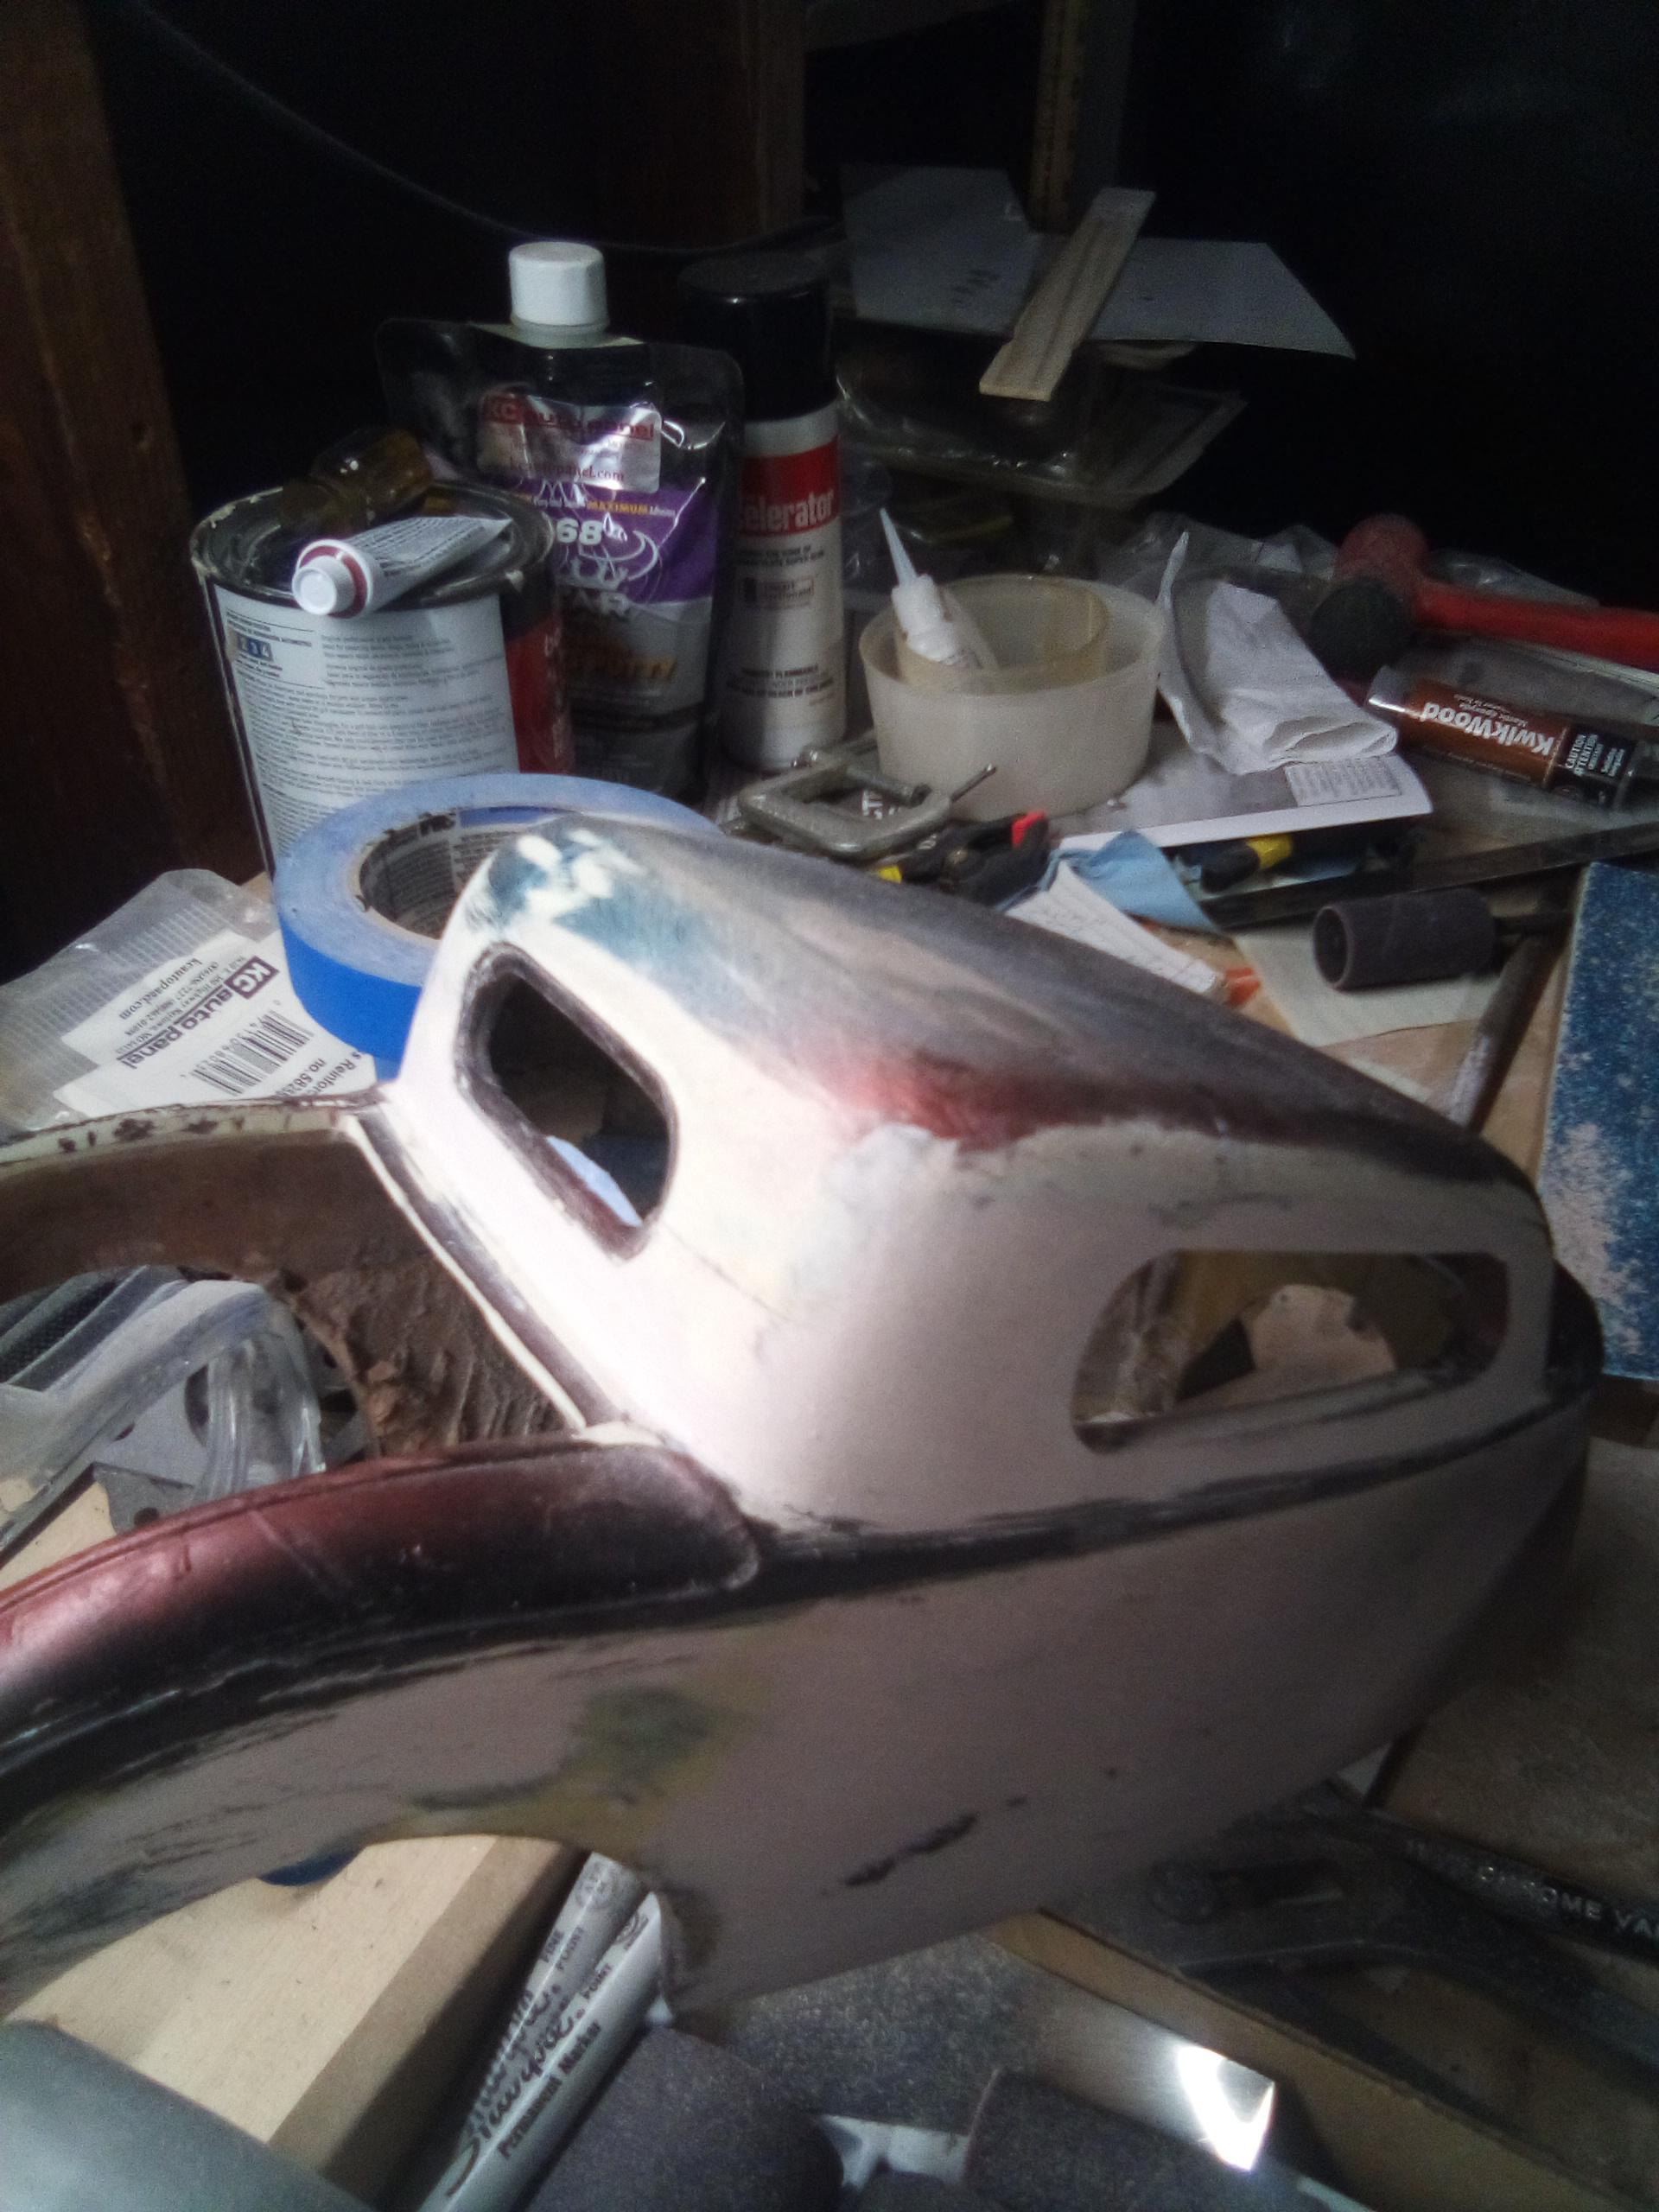
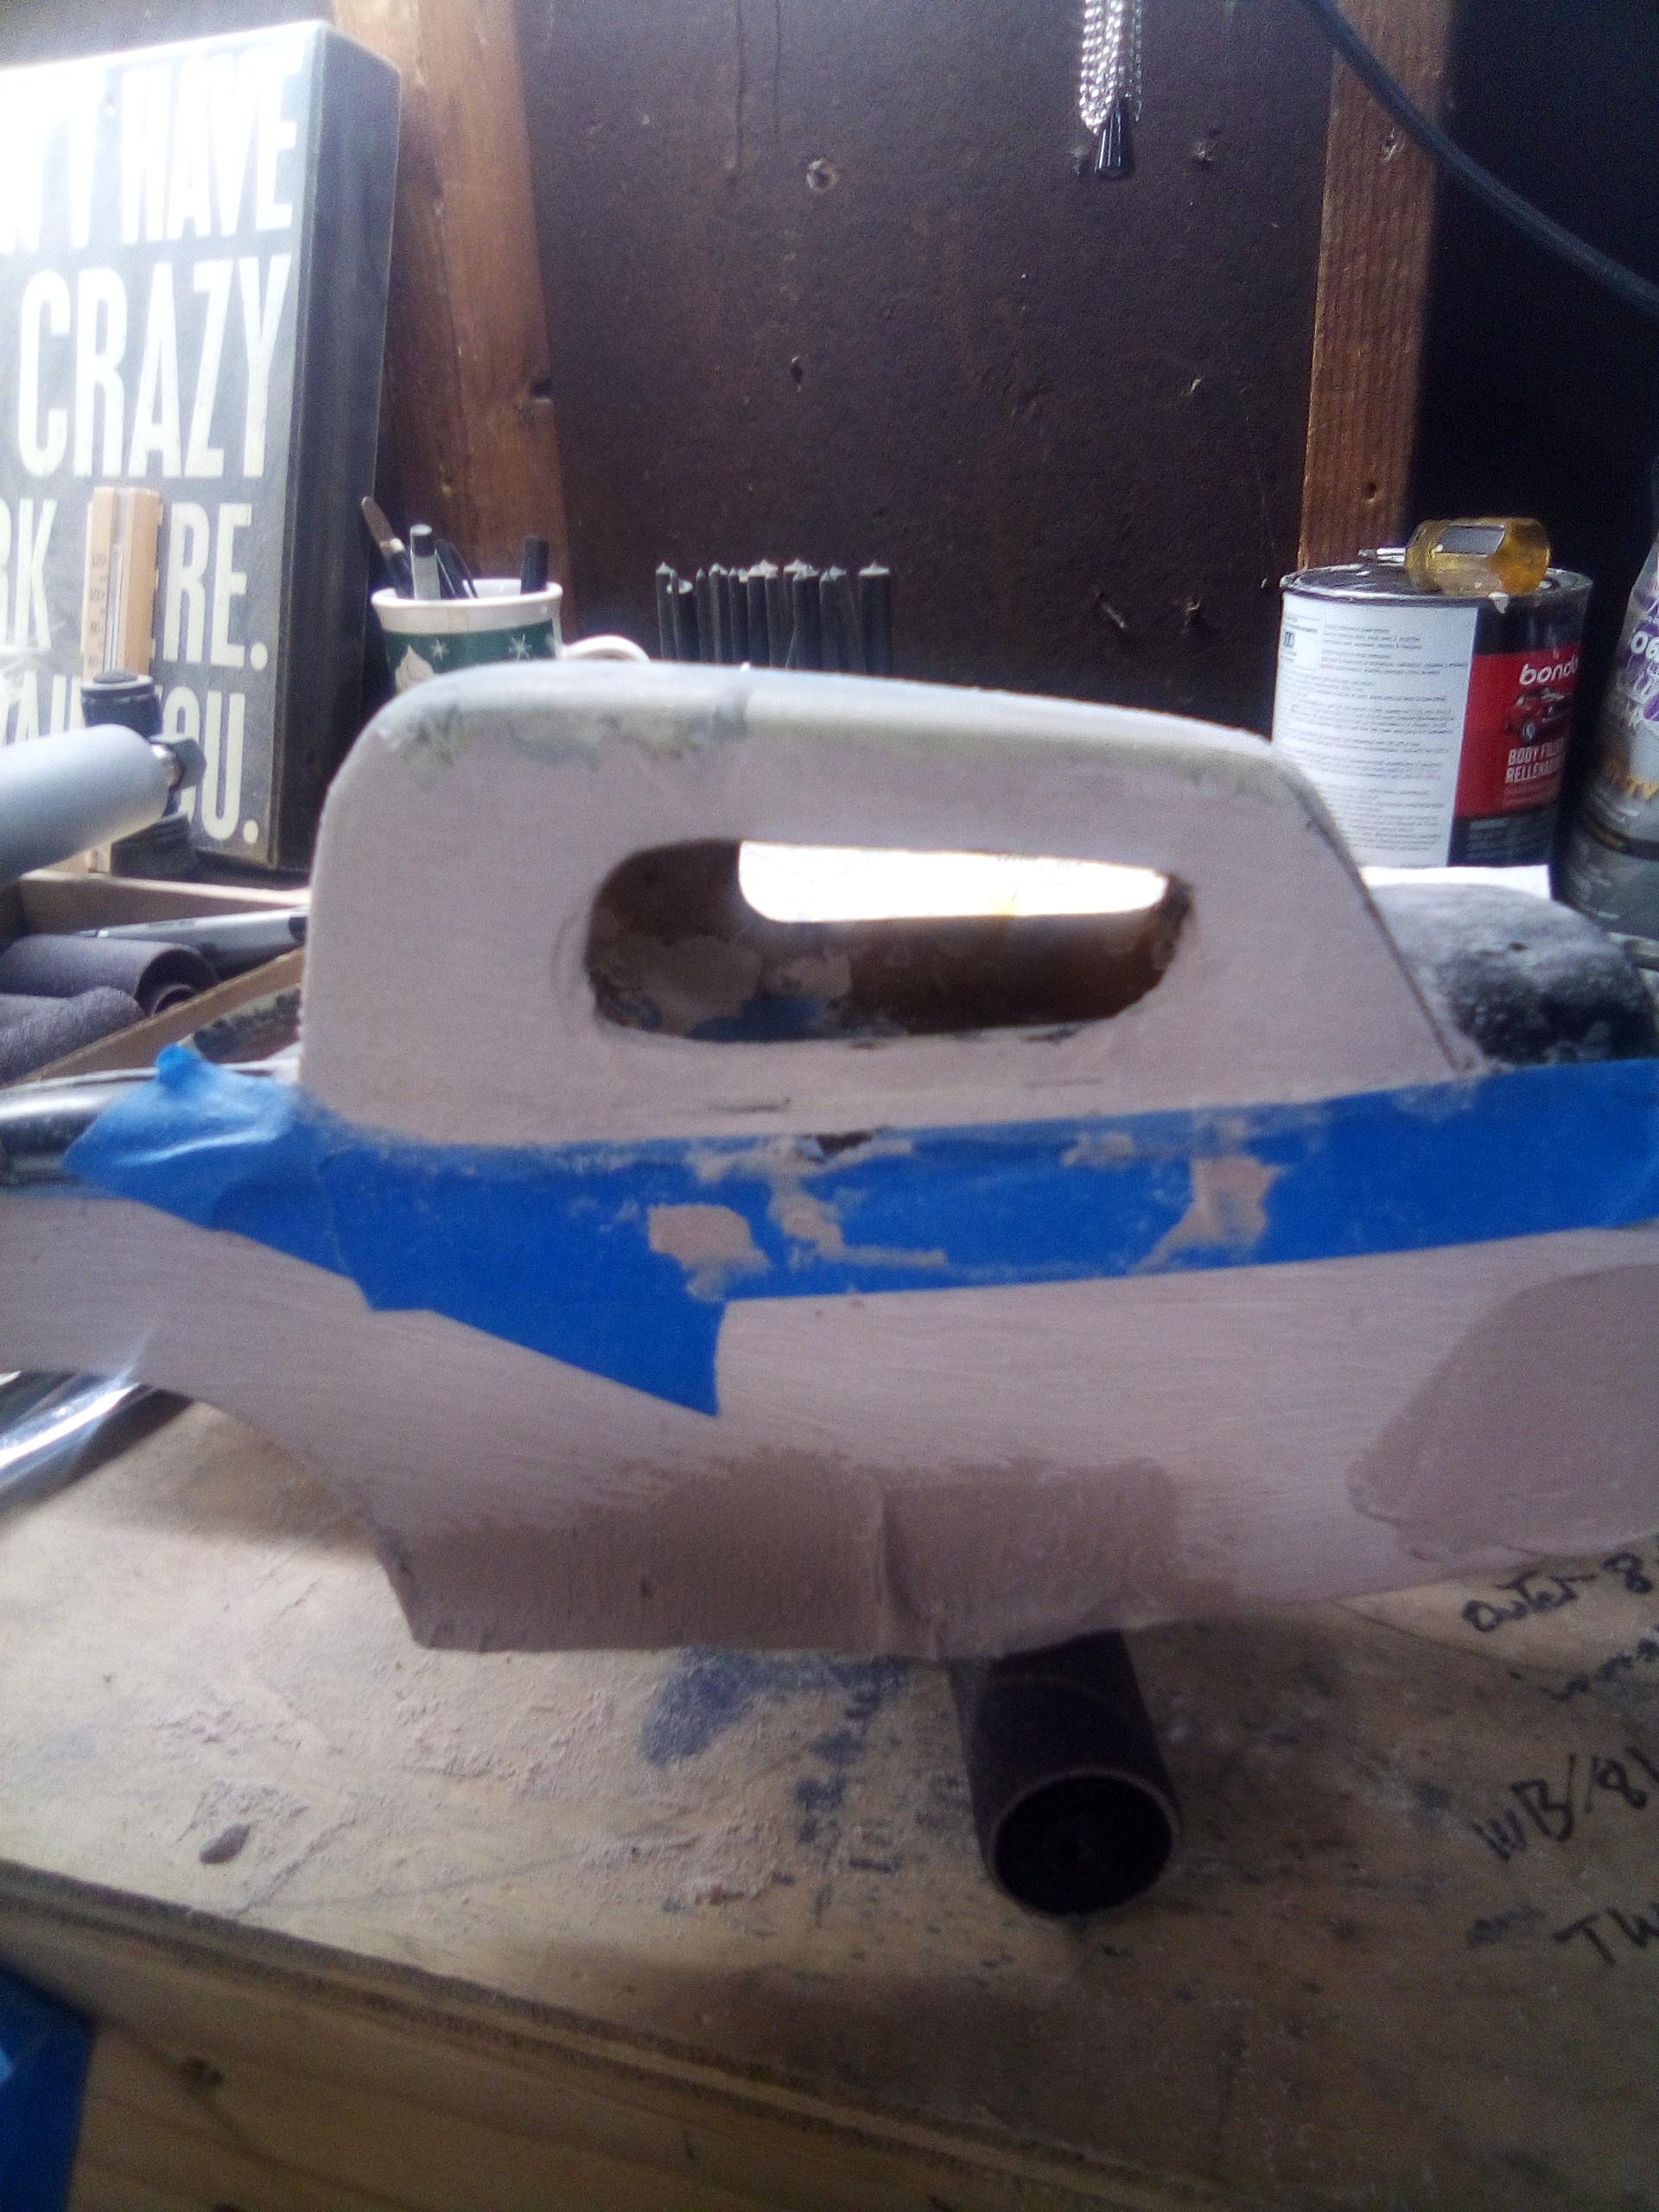
The guidecoat let's you draw lines to see how corners and radius panels are intersecting. Shows where every scratch and variation of contour are located.
-
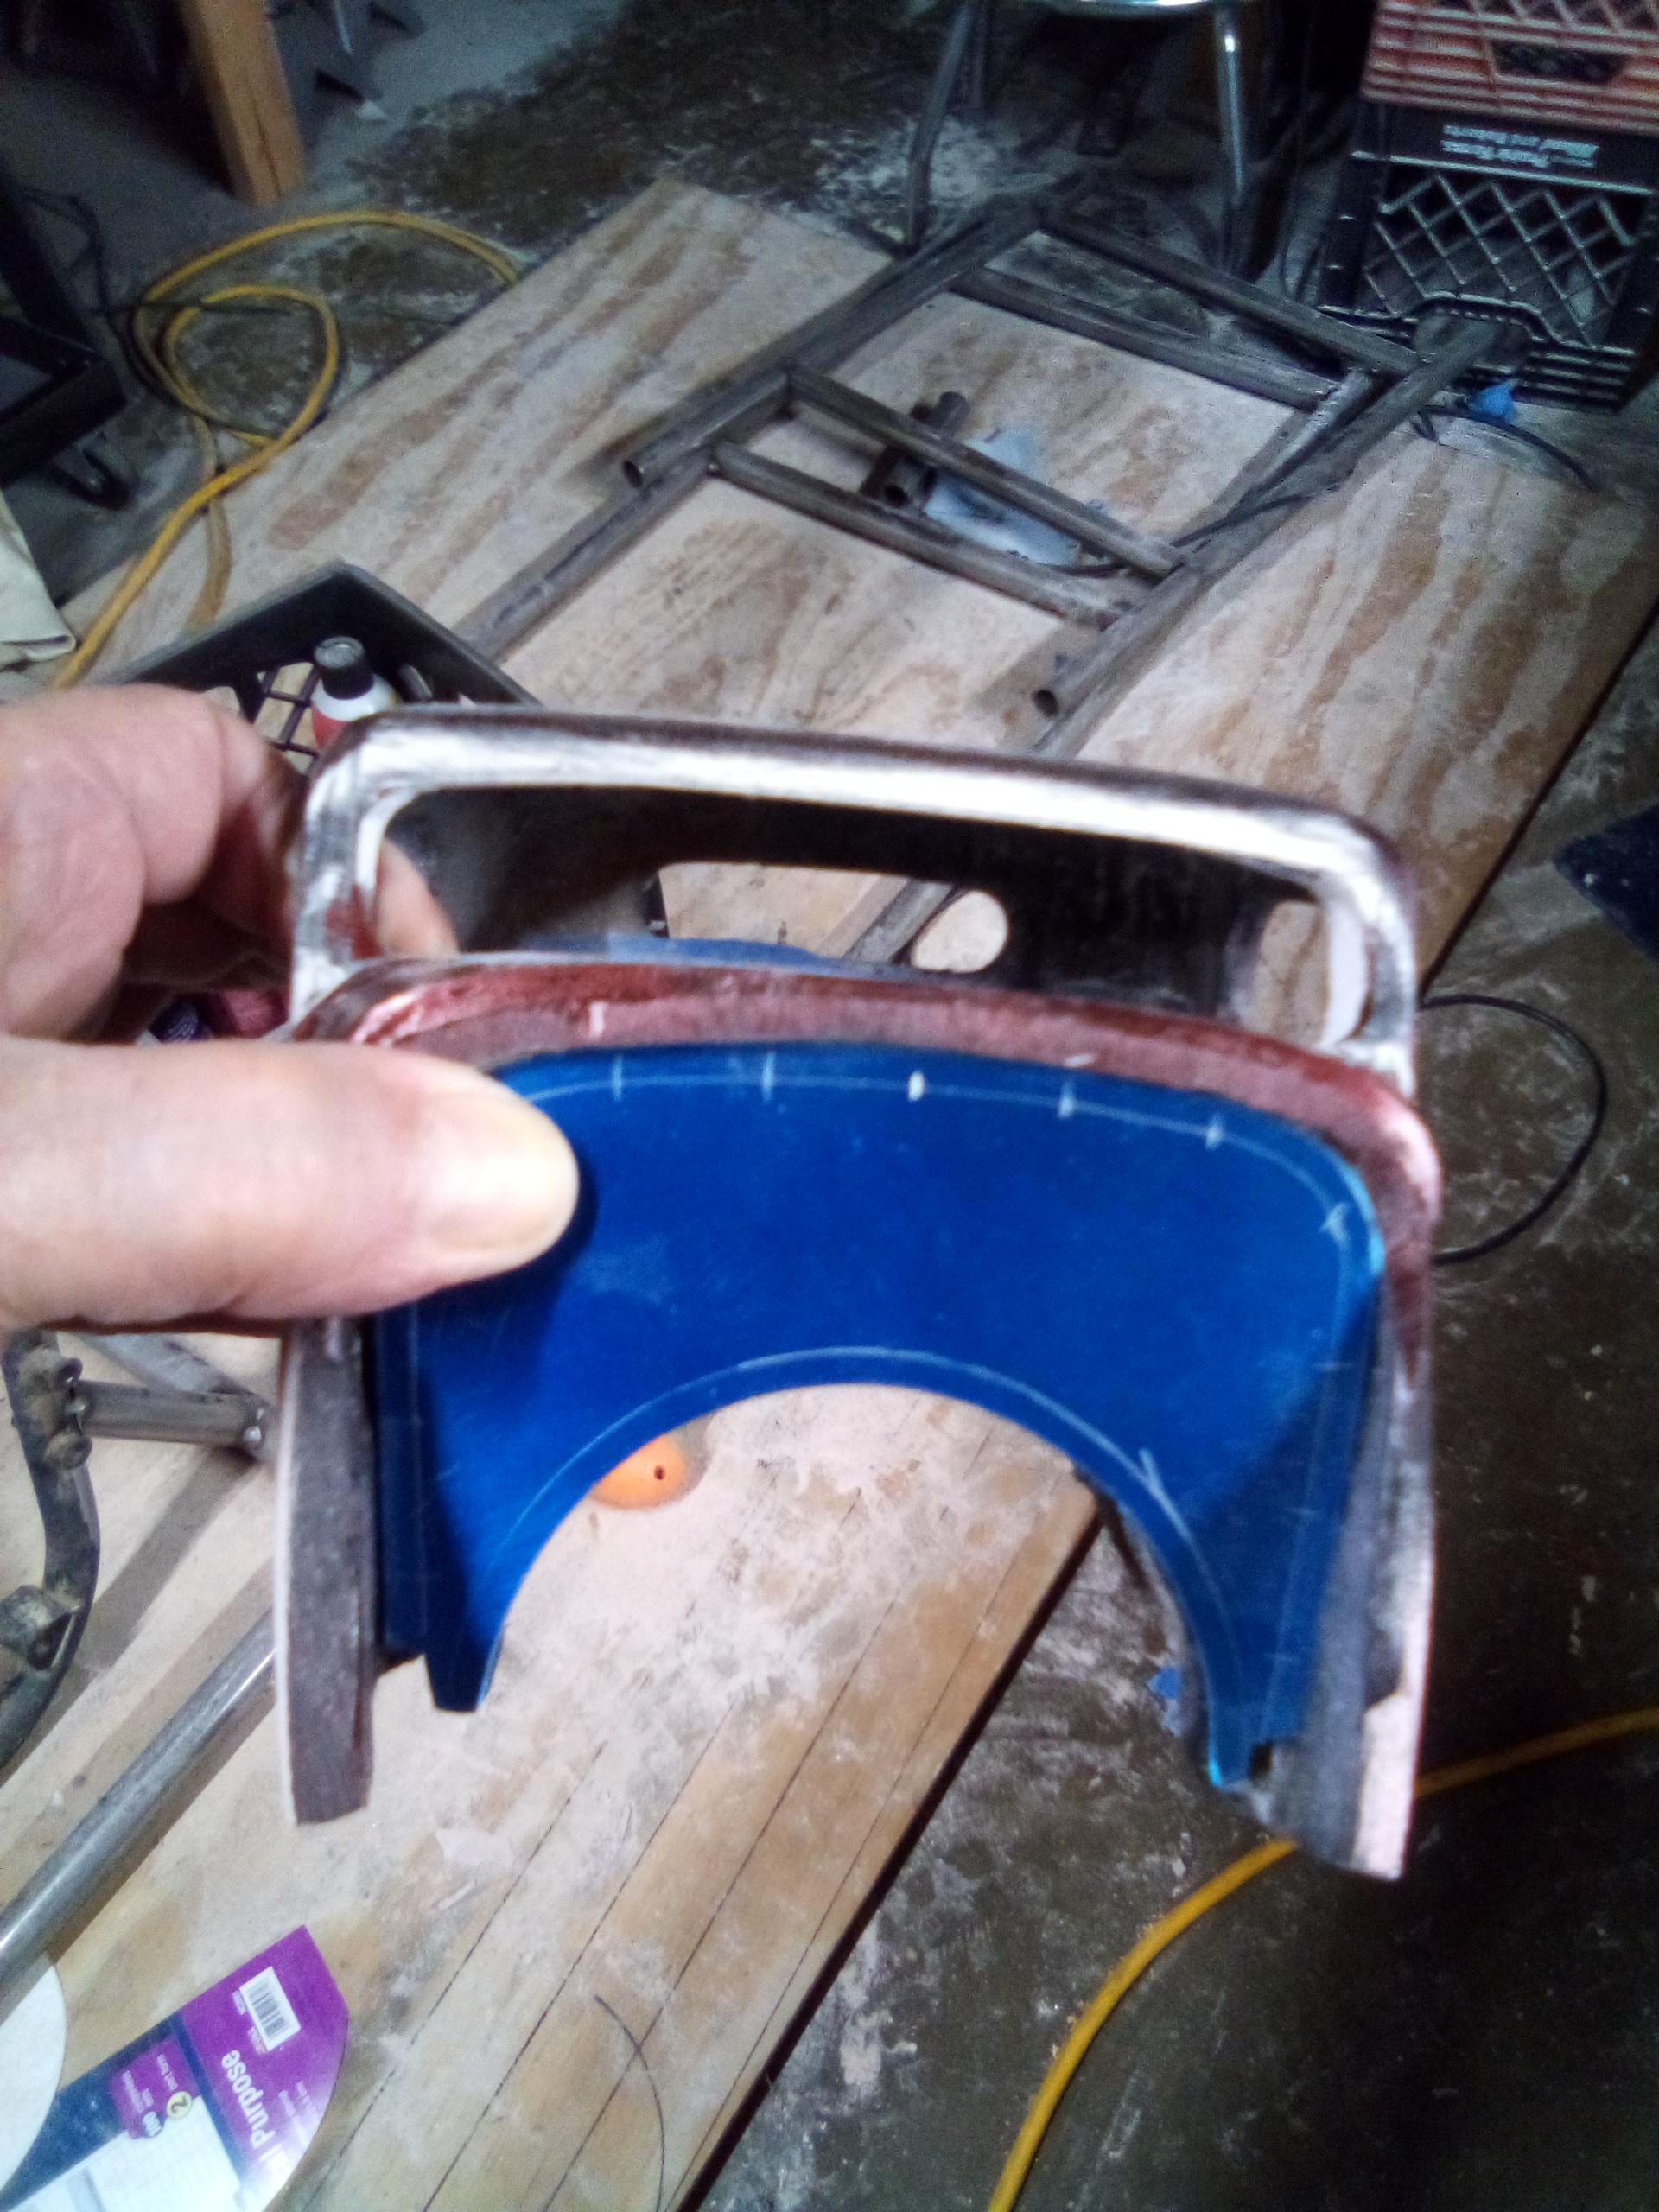
Fitting an aluminum firewall. Coated with layout dye for laying a few lines.
-
The red on the cowl is the same mix as the red on the side shot, above. It is transparent enough that the base color it's sprayed over influences its final appearance. I'm close on the shape I want on the driver's side of windshield opening. Still too rounded on other end. I just stroke it a bit and then set it down and look at it for a while. Make sure I'm getting what I want visually.
-
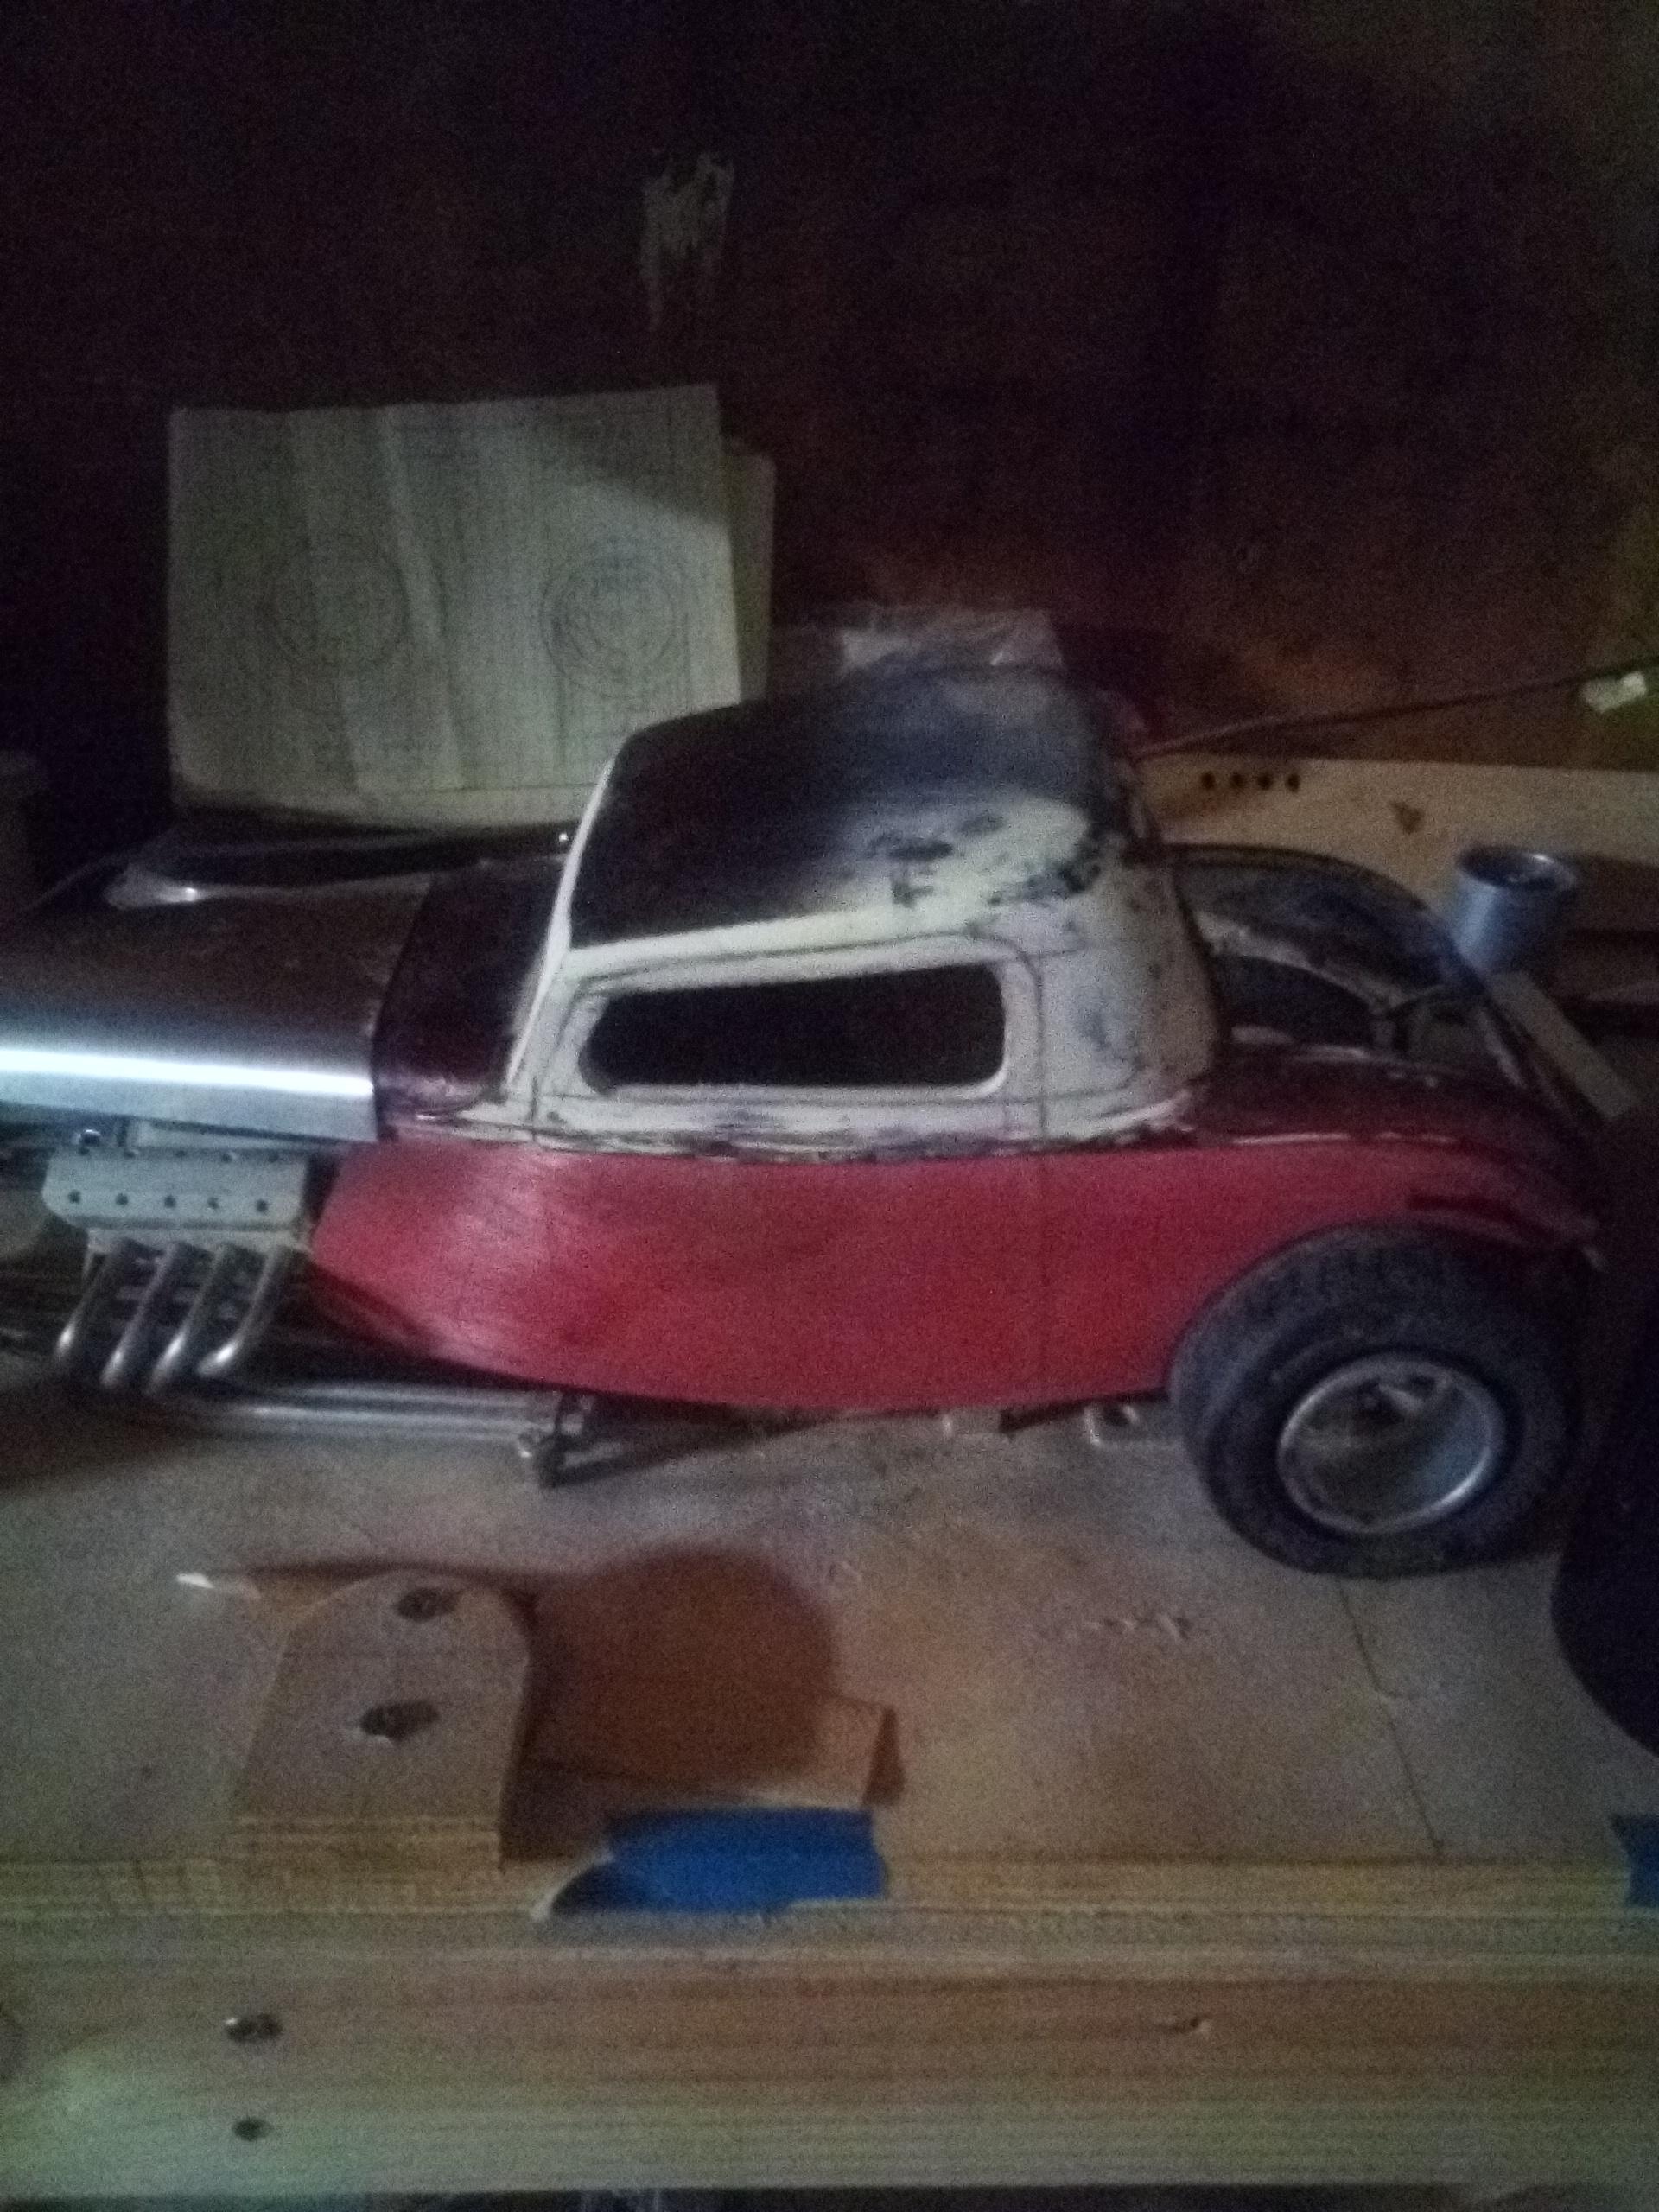
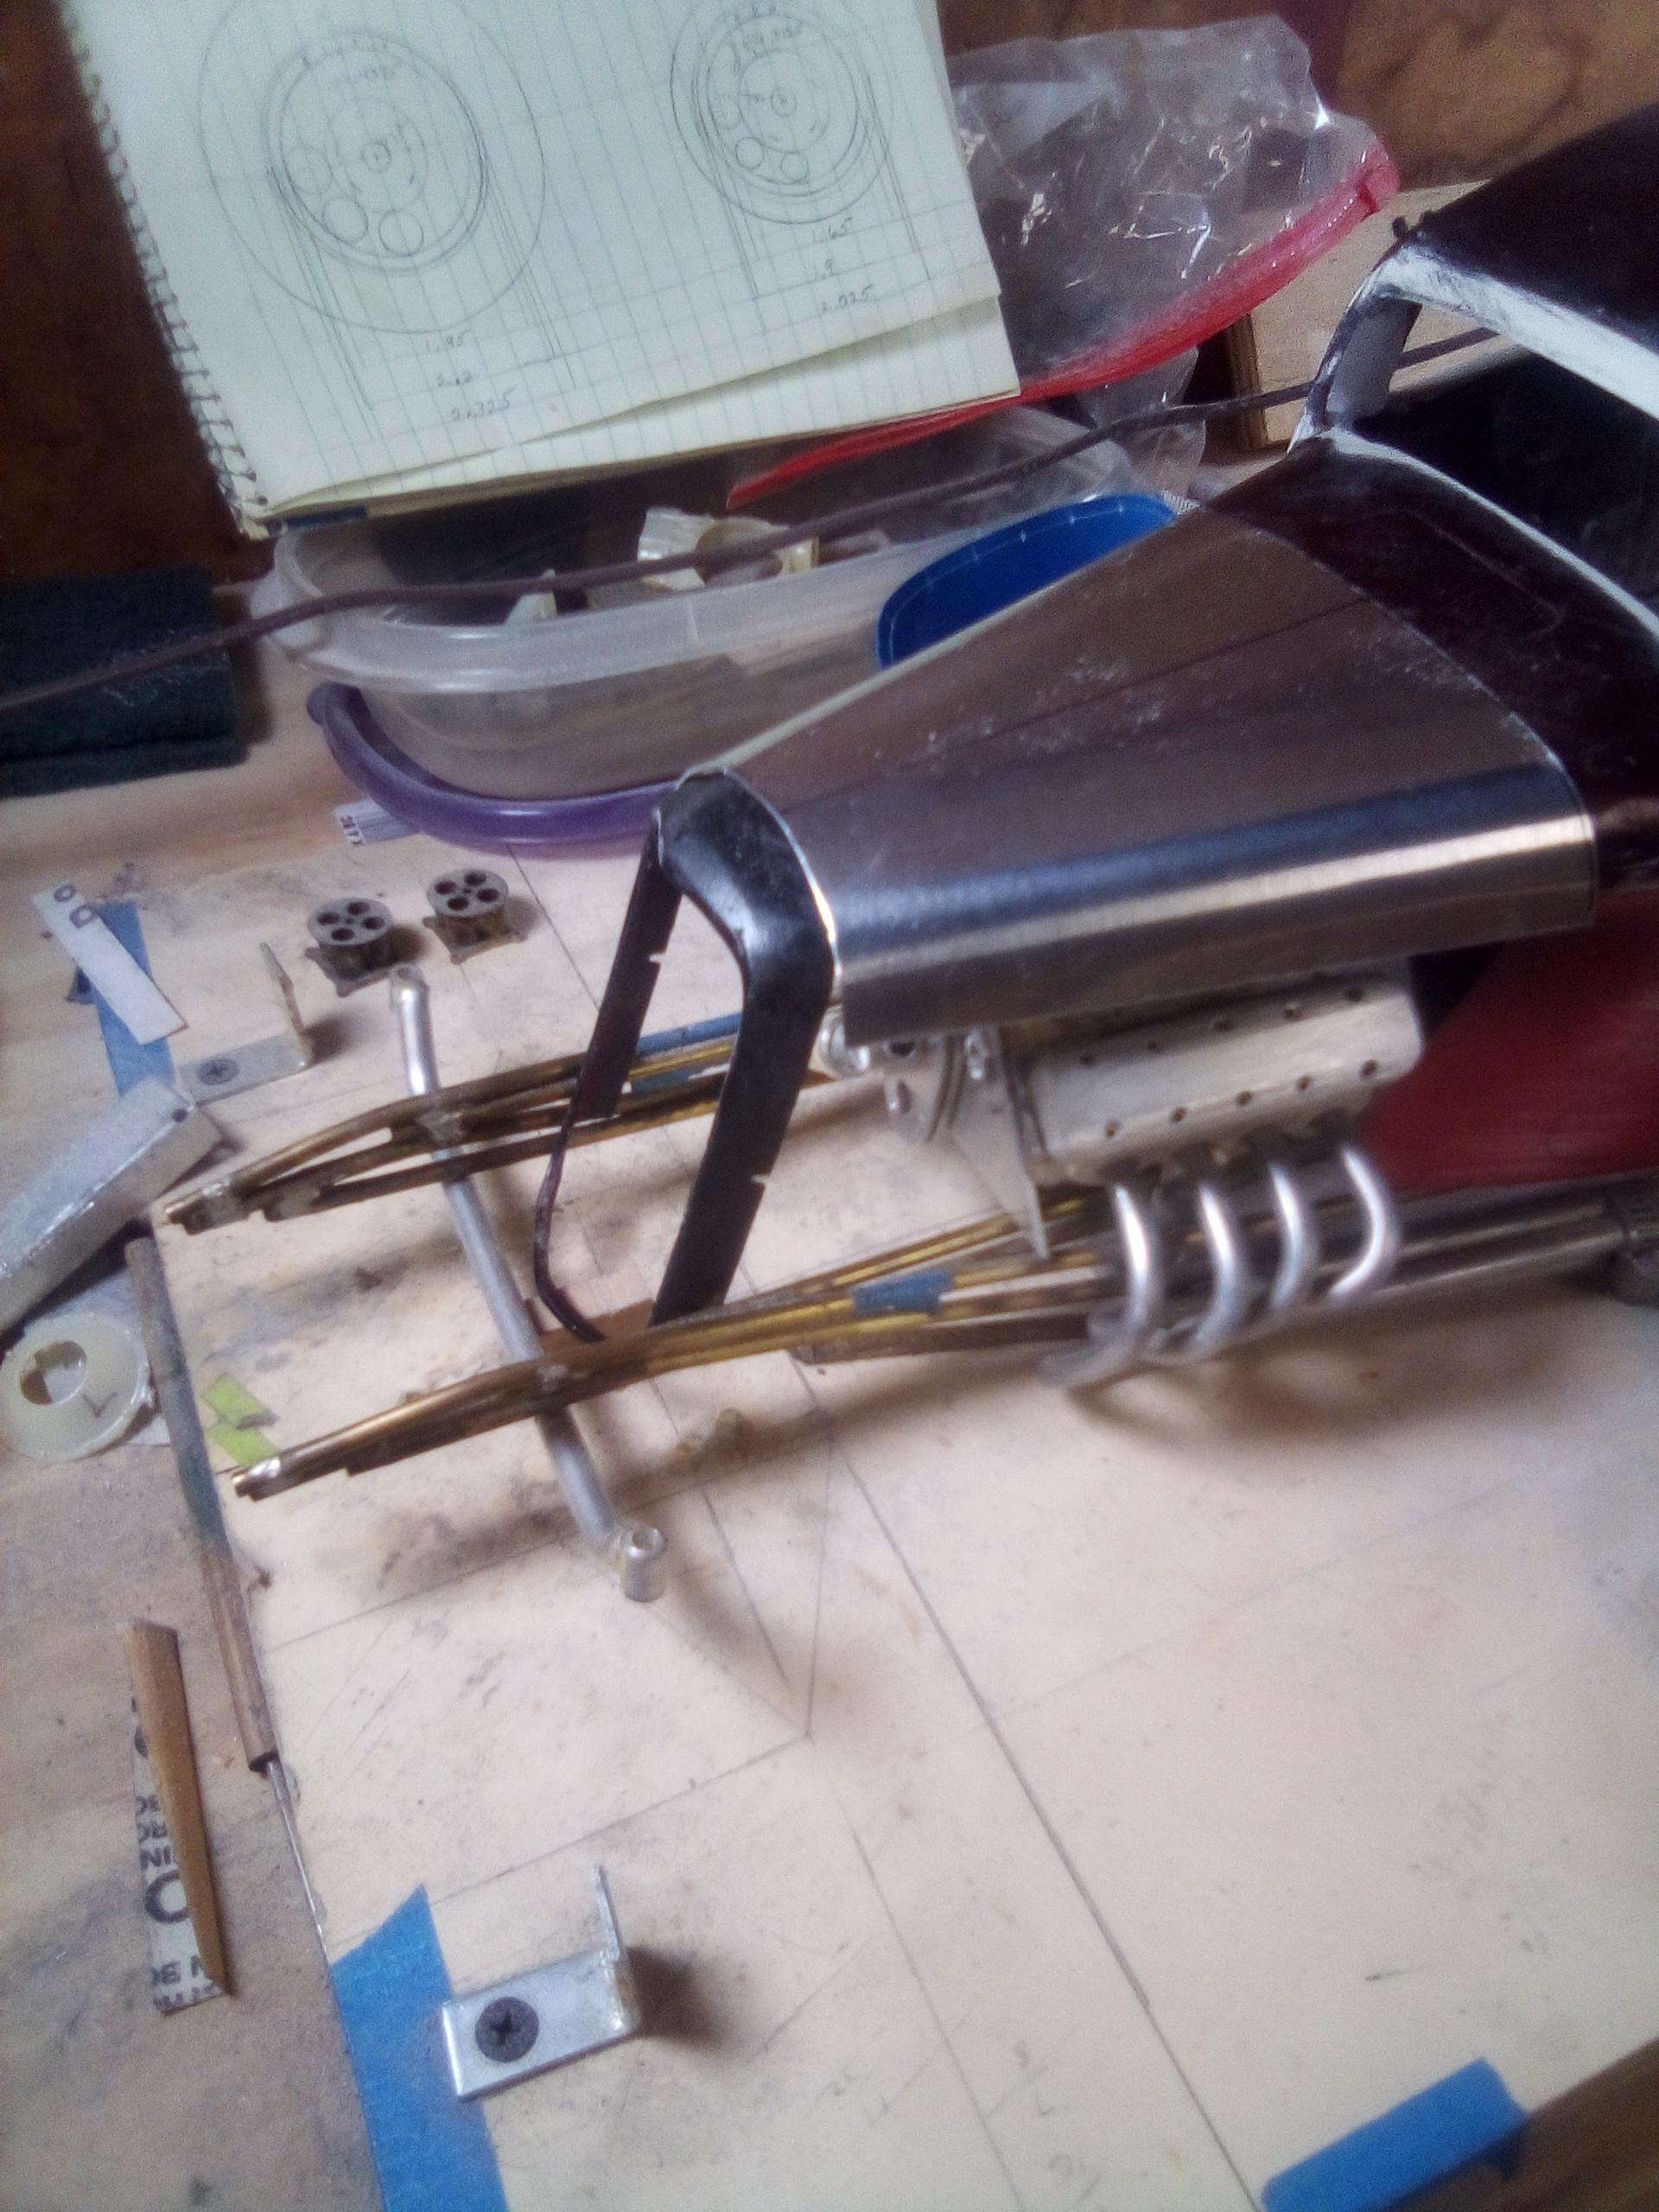
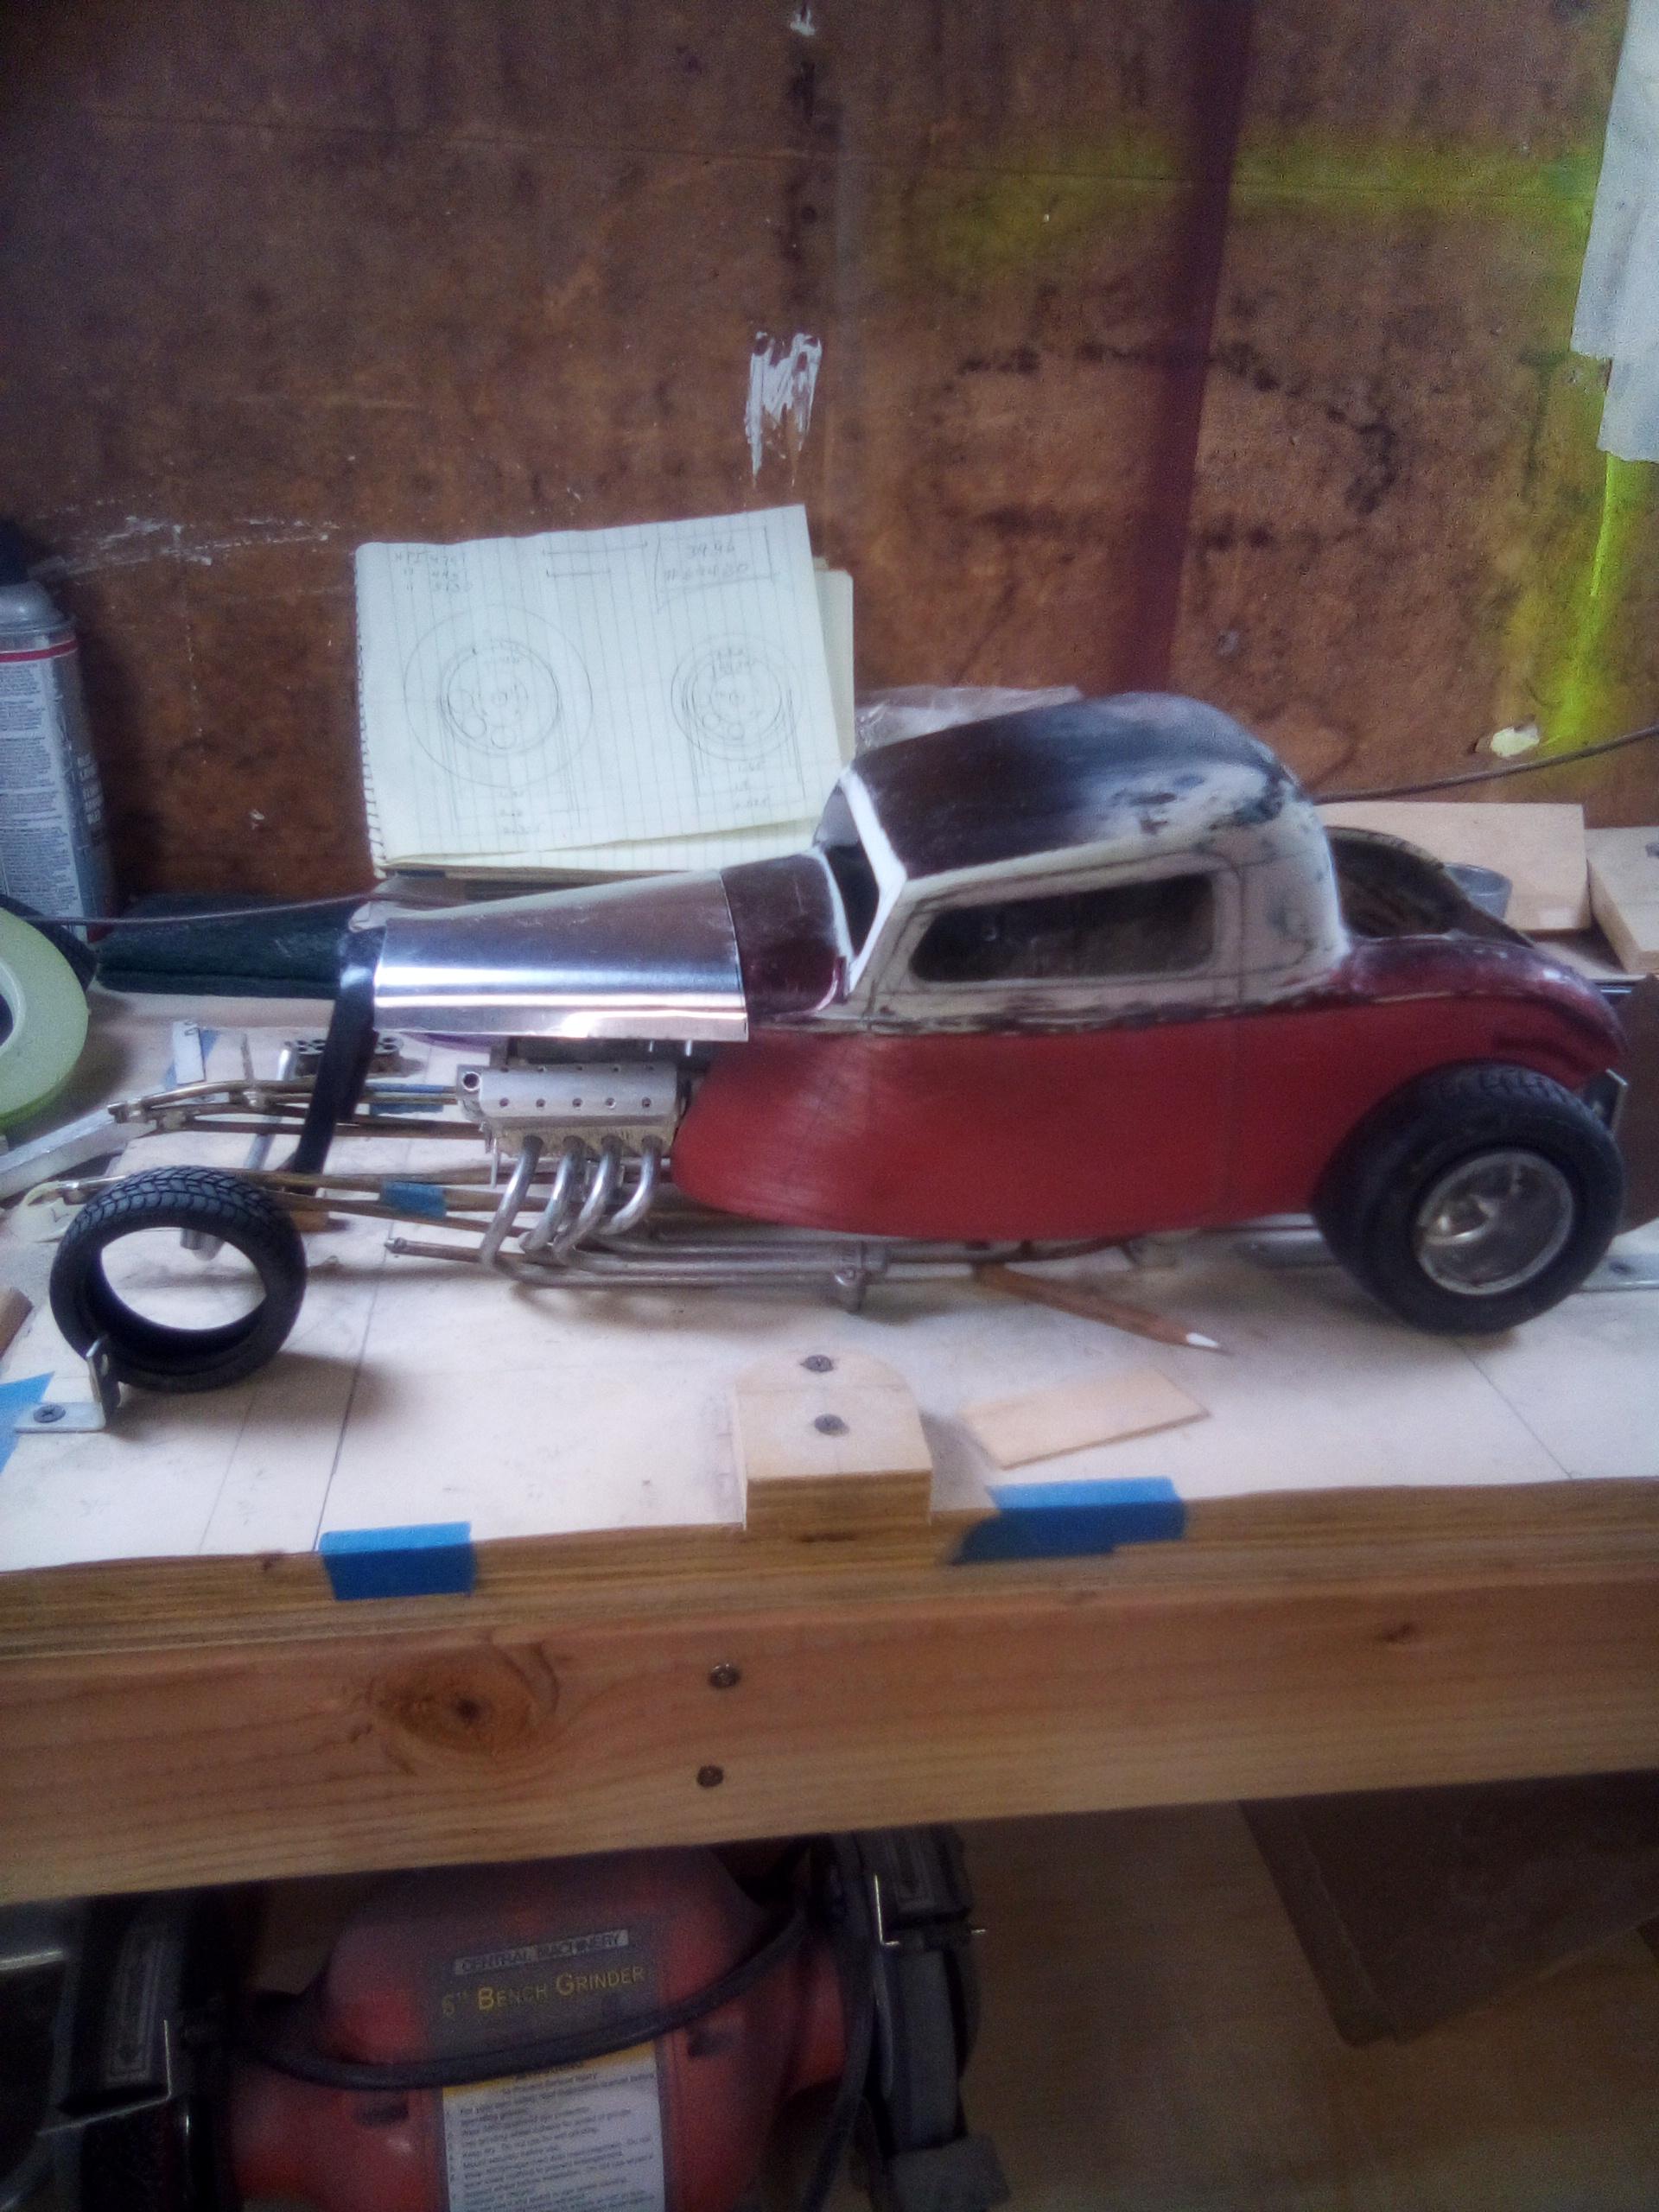
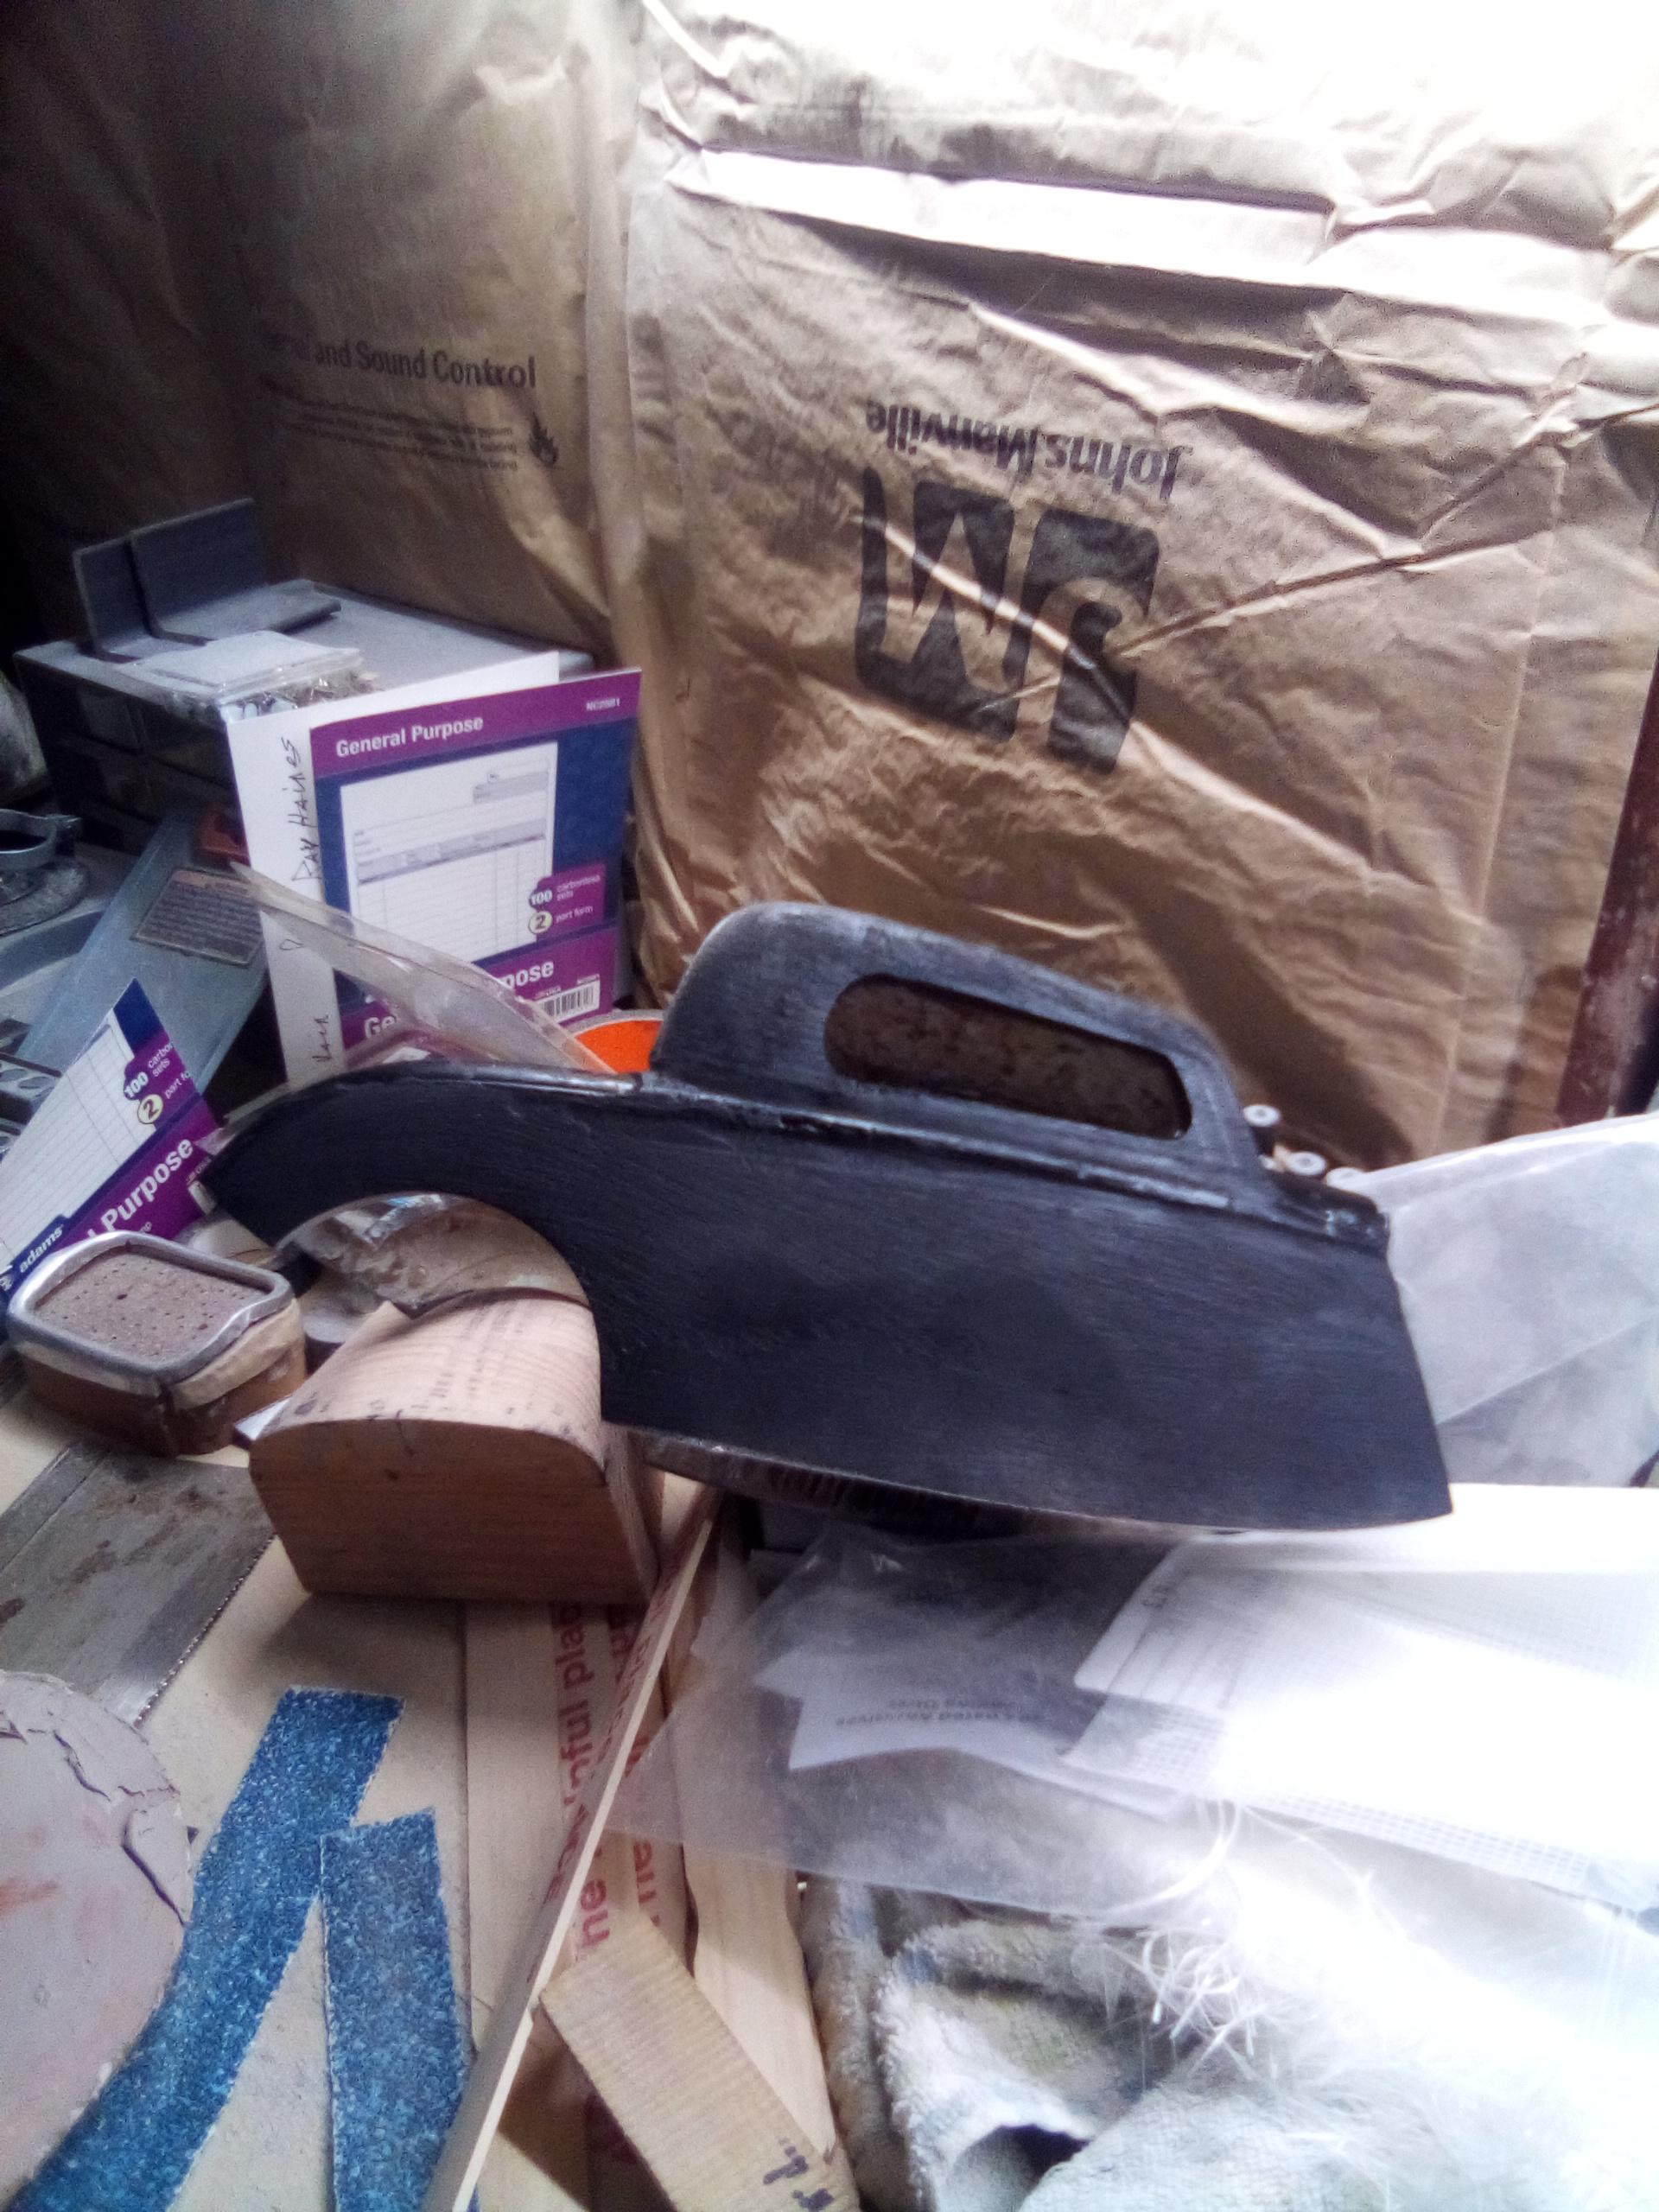
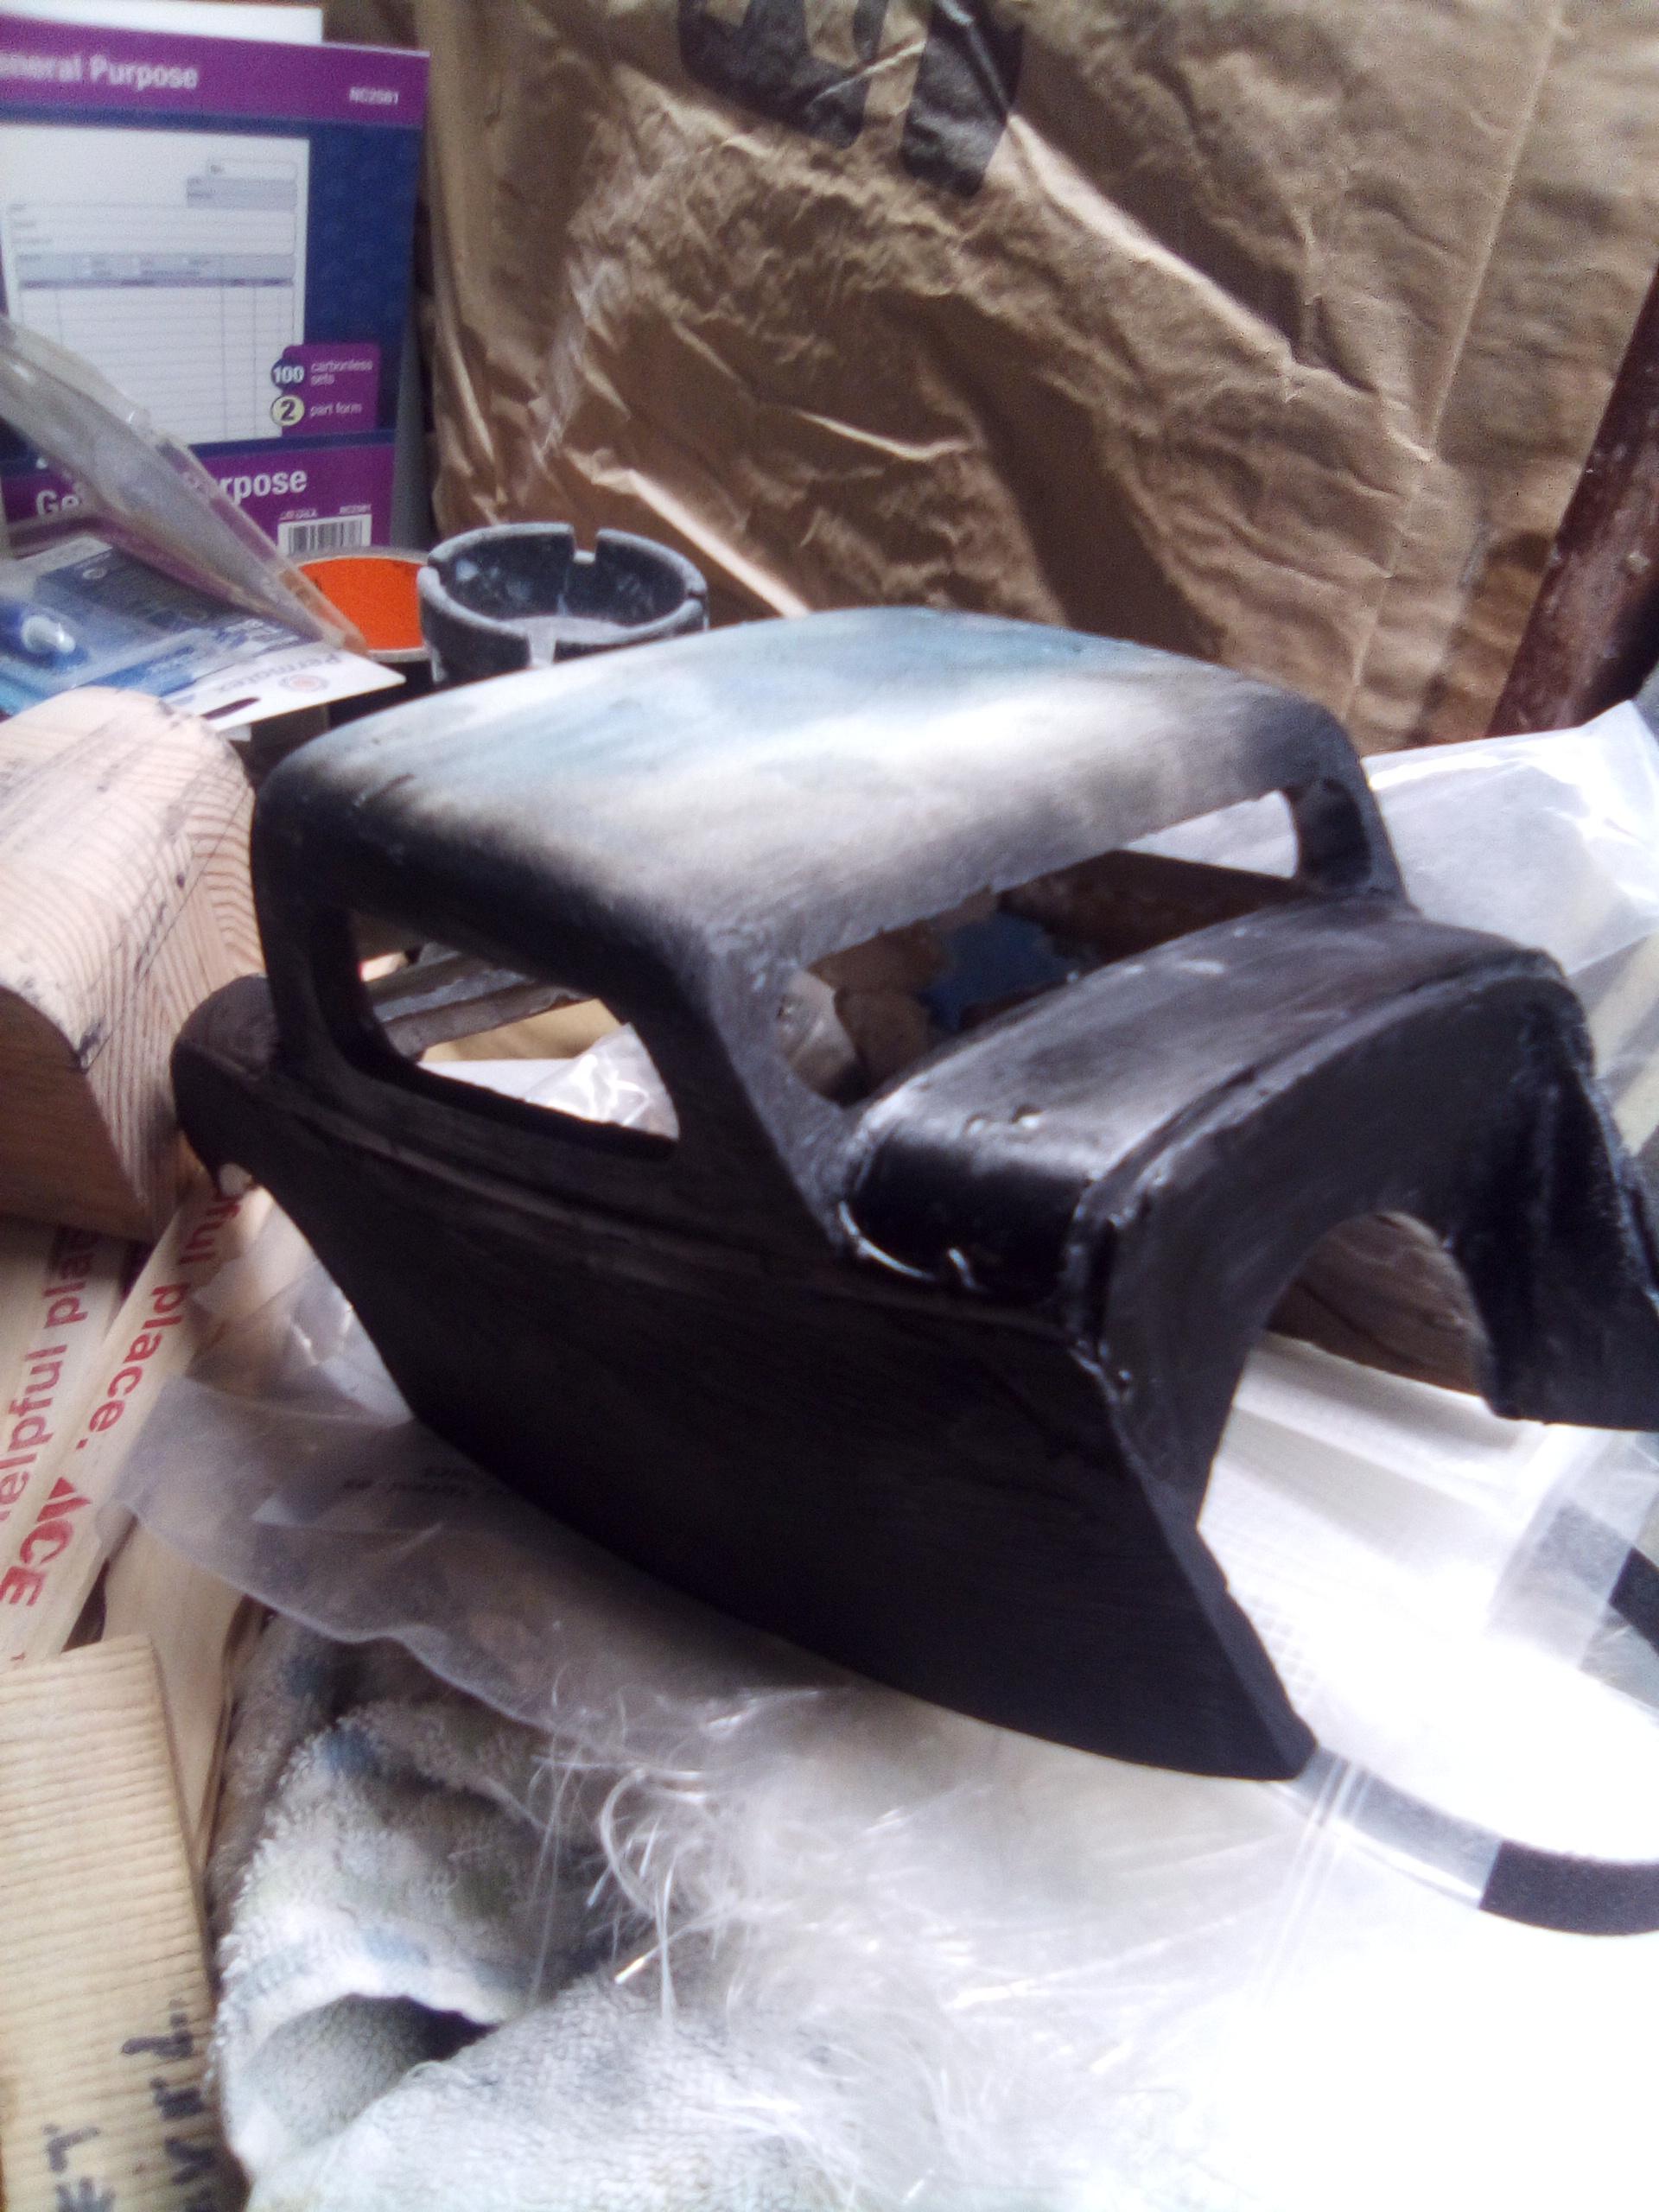
That's a pretty good hot rod look, to my eye. Has the vibe I'm looking for. Been looking for some quarter by half in rectangular steel tubing. Nobody around here carries anyting that small. Ive got seeing it as a eurocoupe in my head from the beginiñg. Want to build a more traditional perrimiter frame with it. The full tube approach isnt right for it. A hot rod musclecoupe, if you will. 70s 80s street wars. The John milner type ride. Strictly business!
-
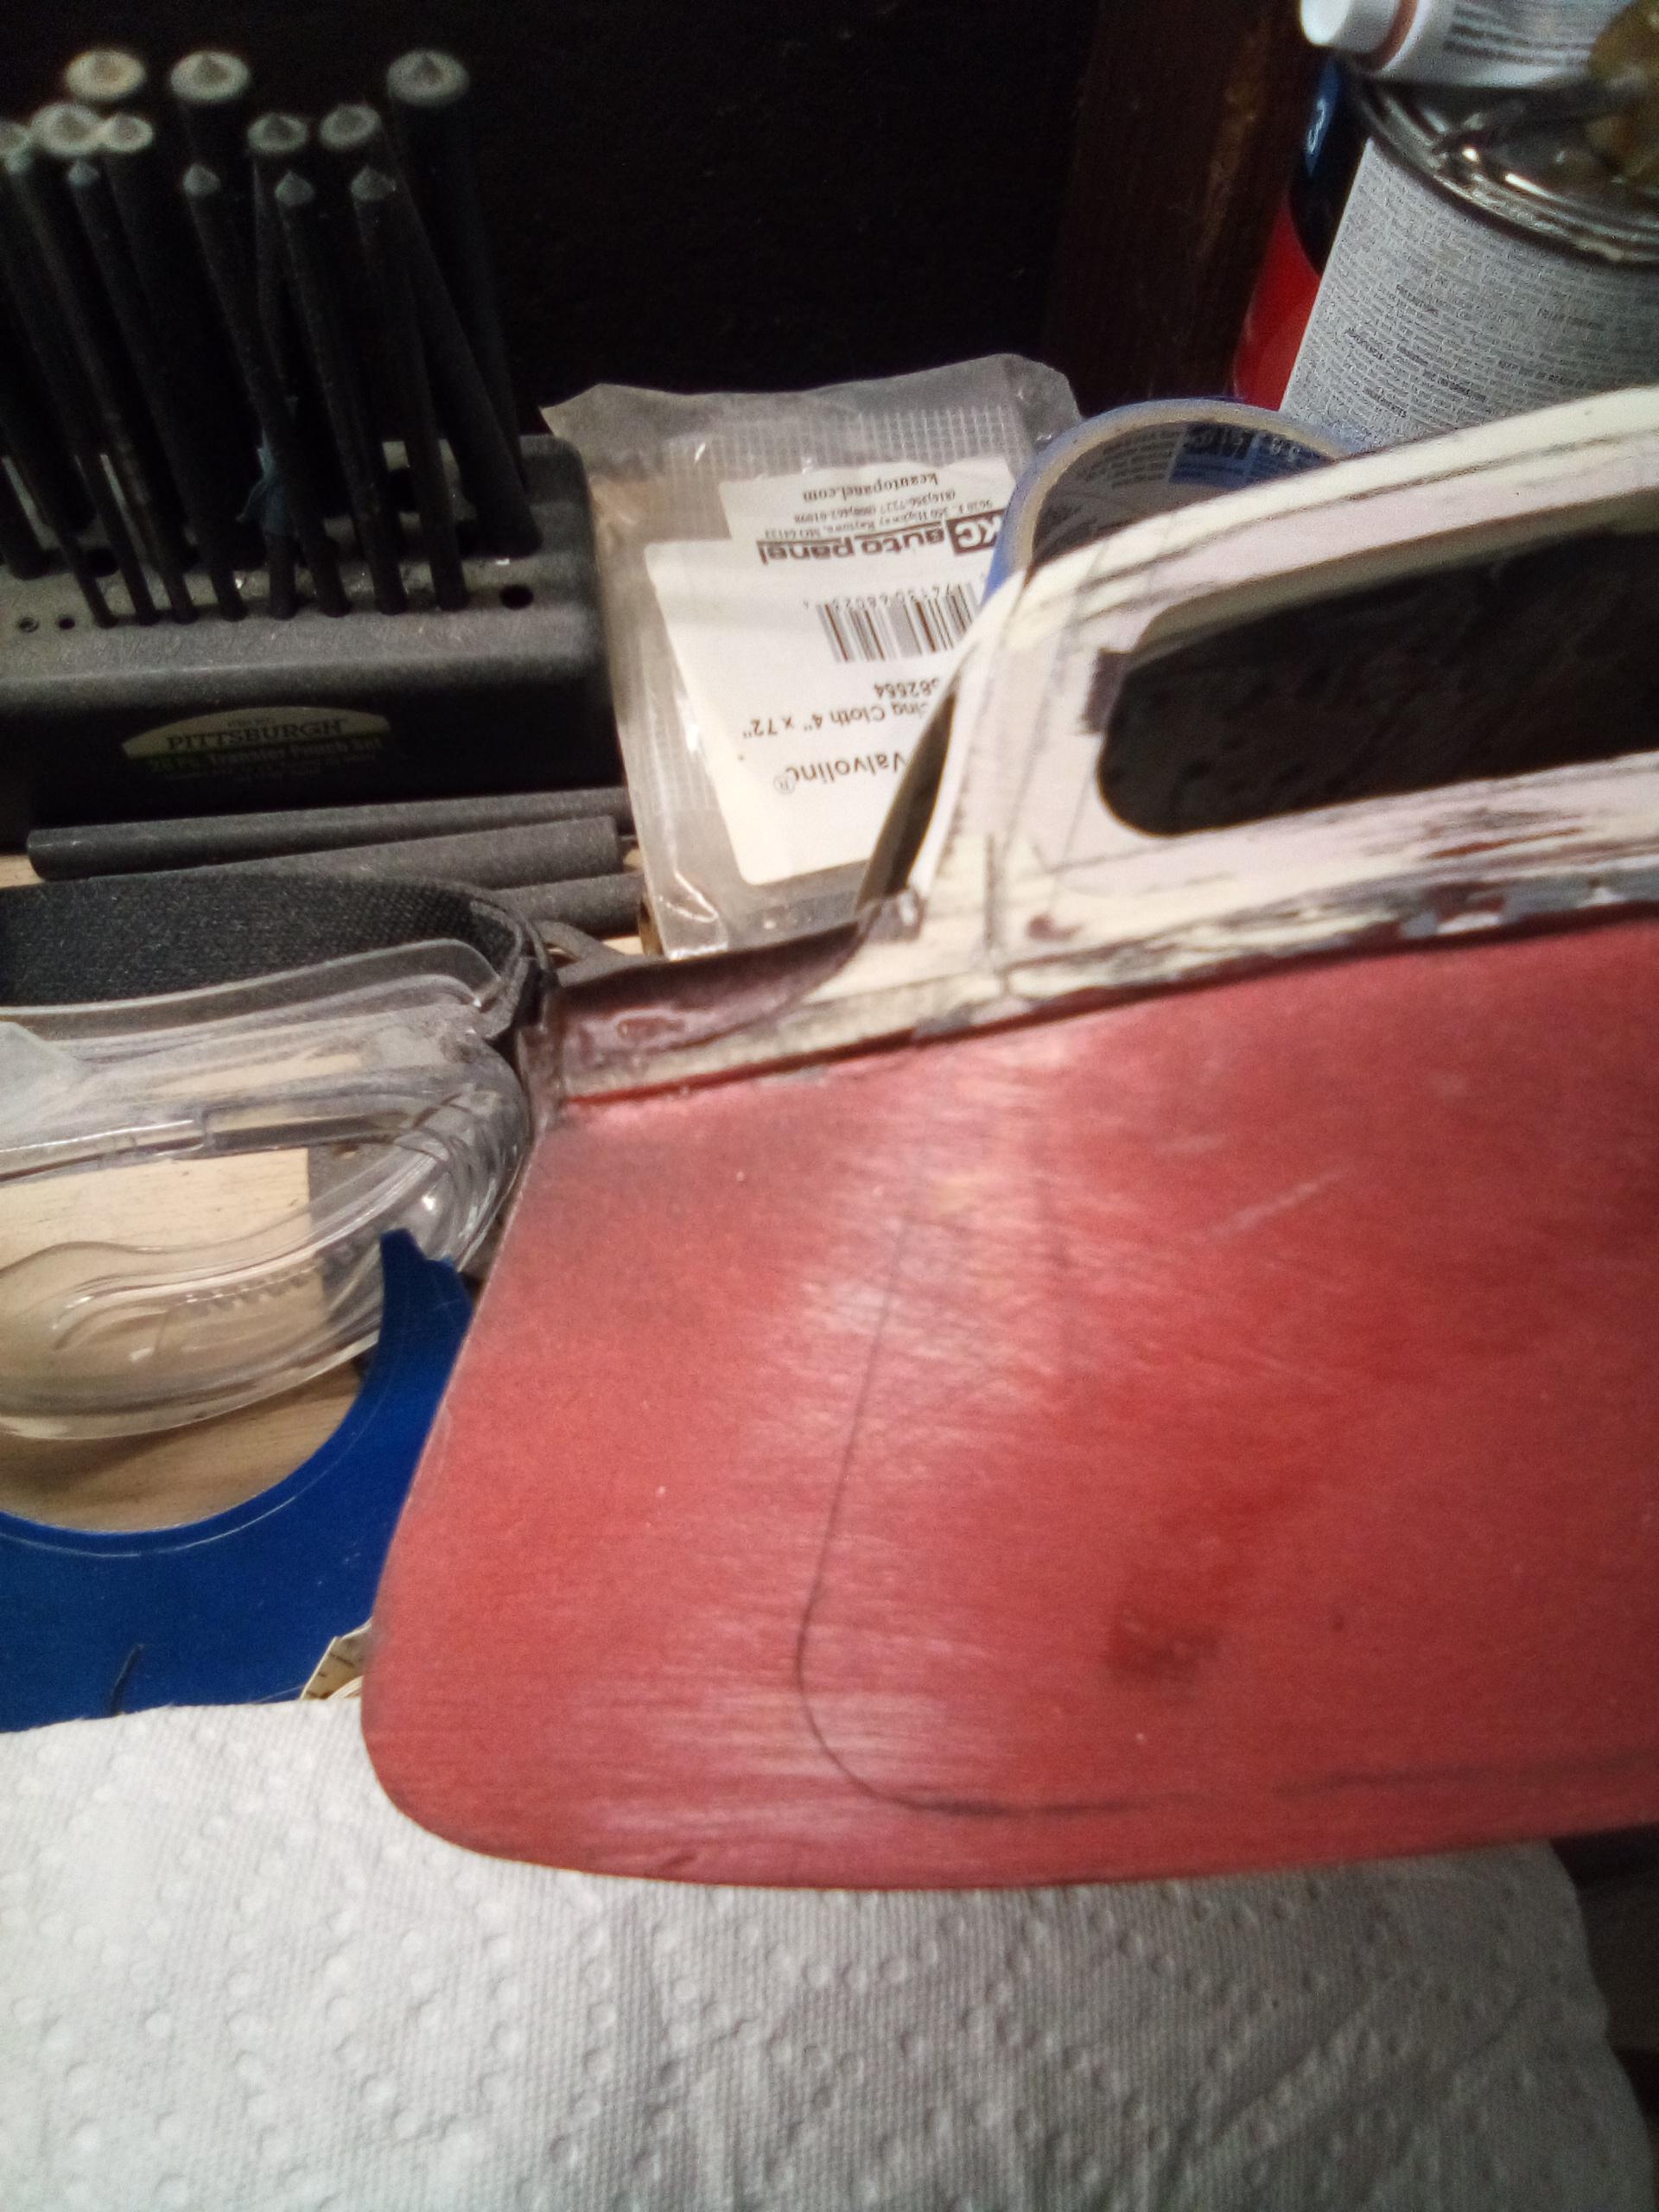
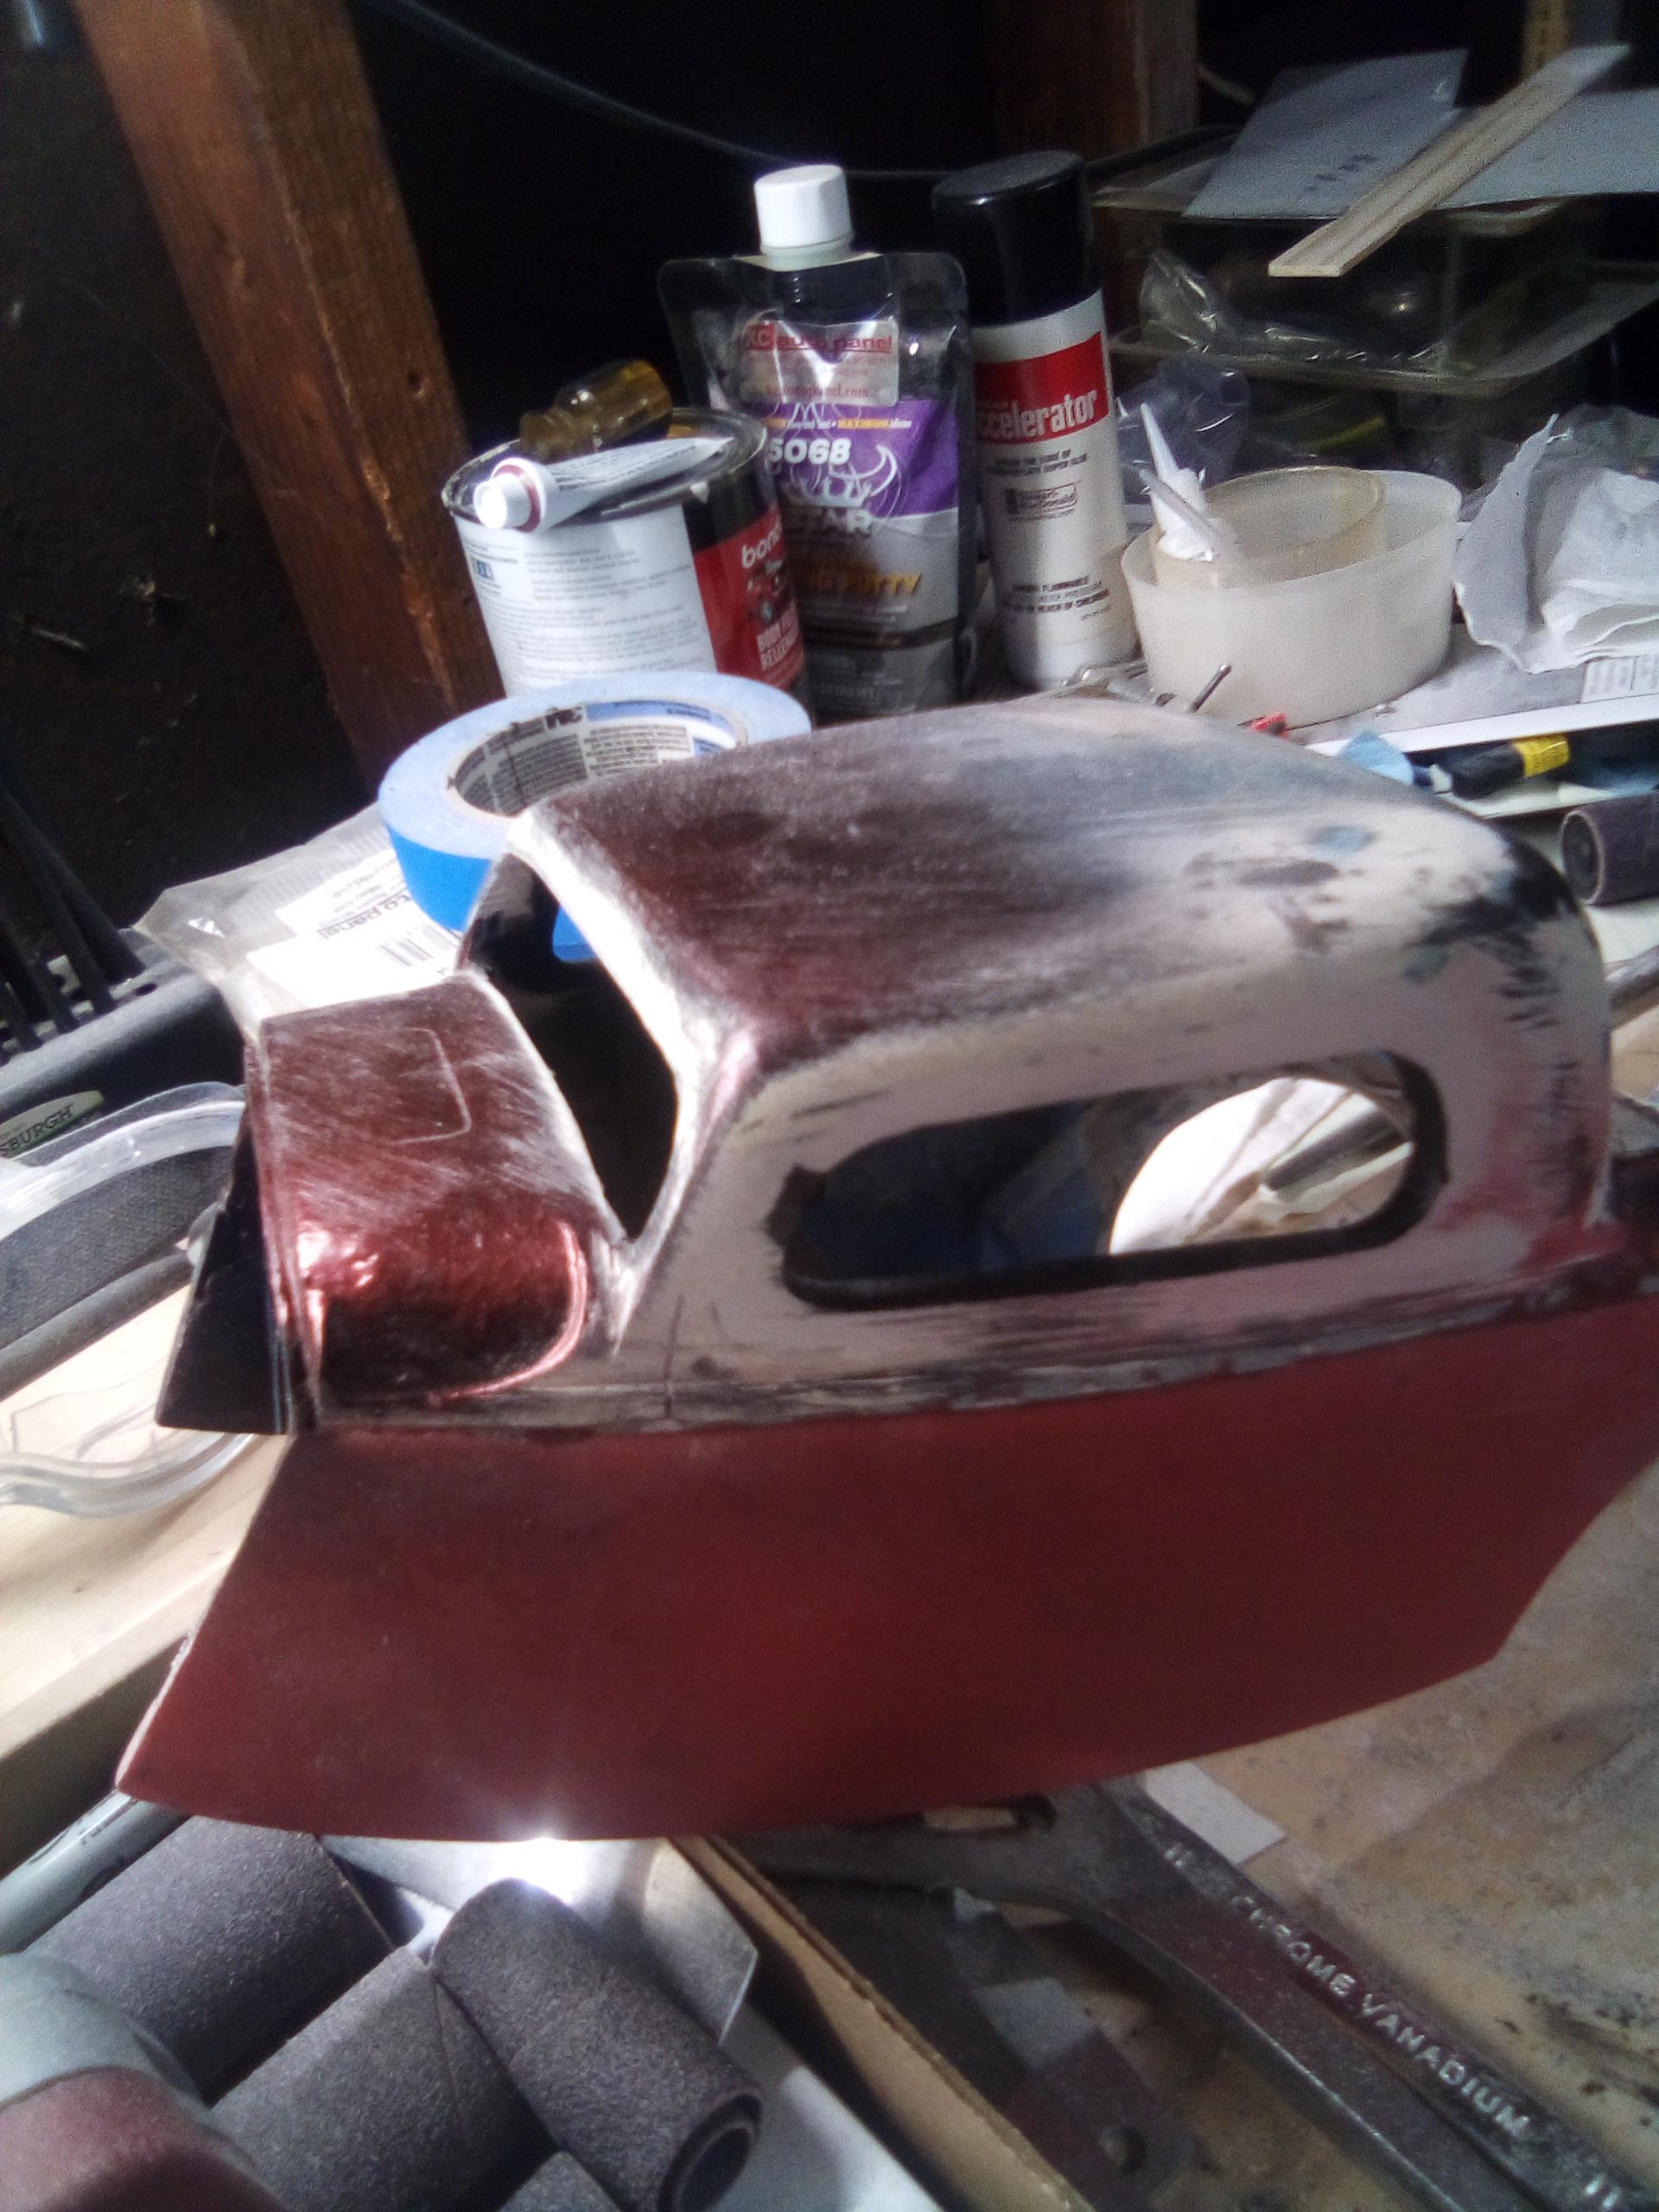
What the panel looks like at the beginning g of a coarse 40 grit block. Can see how the hard block bridges the low areas. Initital rough in was done with a small hand held belt sander. Second pic shows the other side after a second bockout with 80 grit. Have a nice transpearant bronze metallic I'm playing with here as well.
-
Everythings roughed in at this point. Spritzed a coat of black for guide coat. When I sand on it with a hard block, the black will sand off of the high spots leaving color in the low areas as the block bridges across them. Keep working the highs untill they are worked down to the level of the lows, producing a straight panel. The A pillar still needs final profile, as well as finalizing the shape and radius of the upper portion of the windshield opening.
-
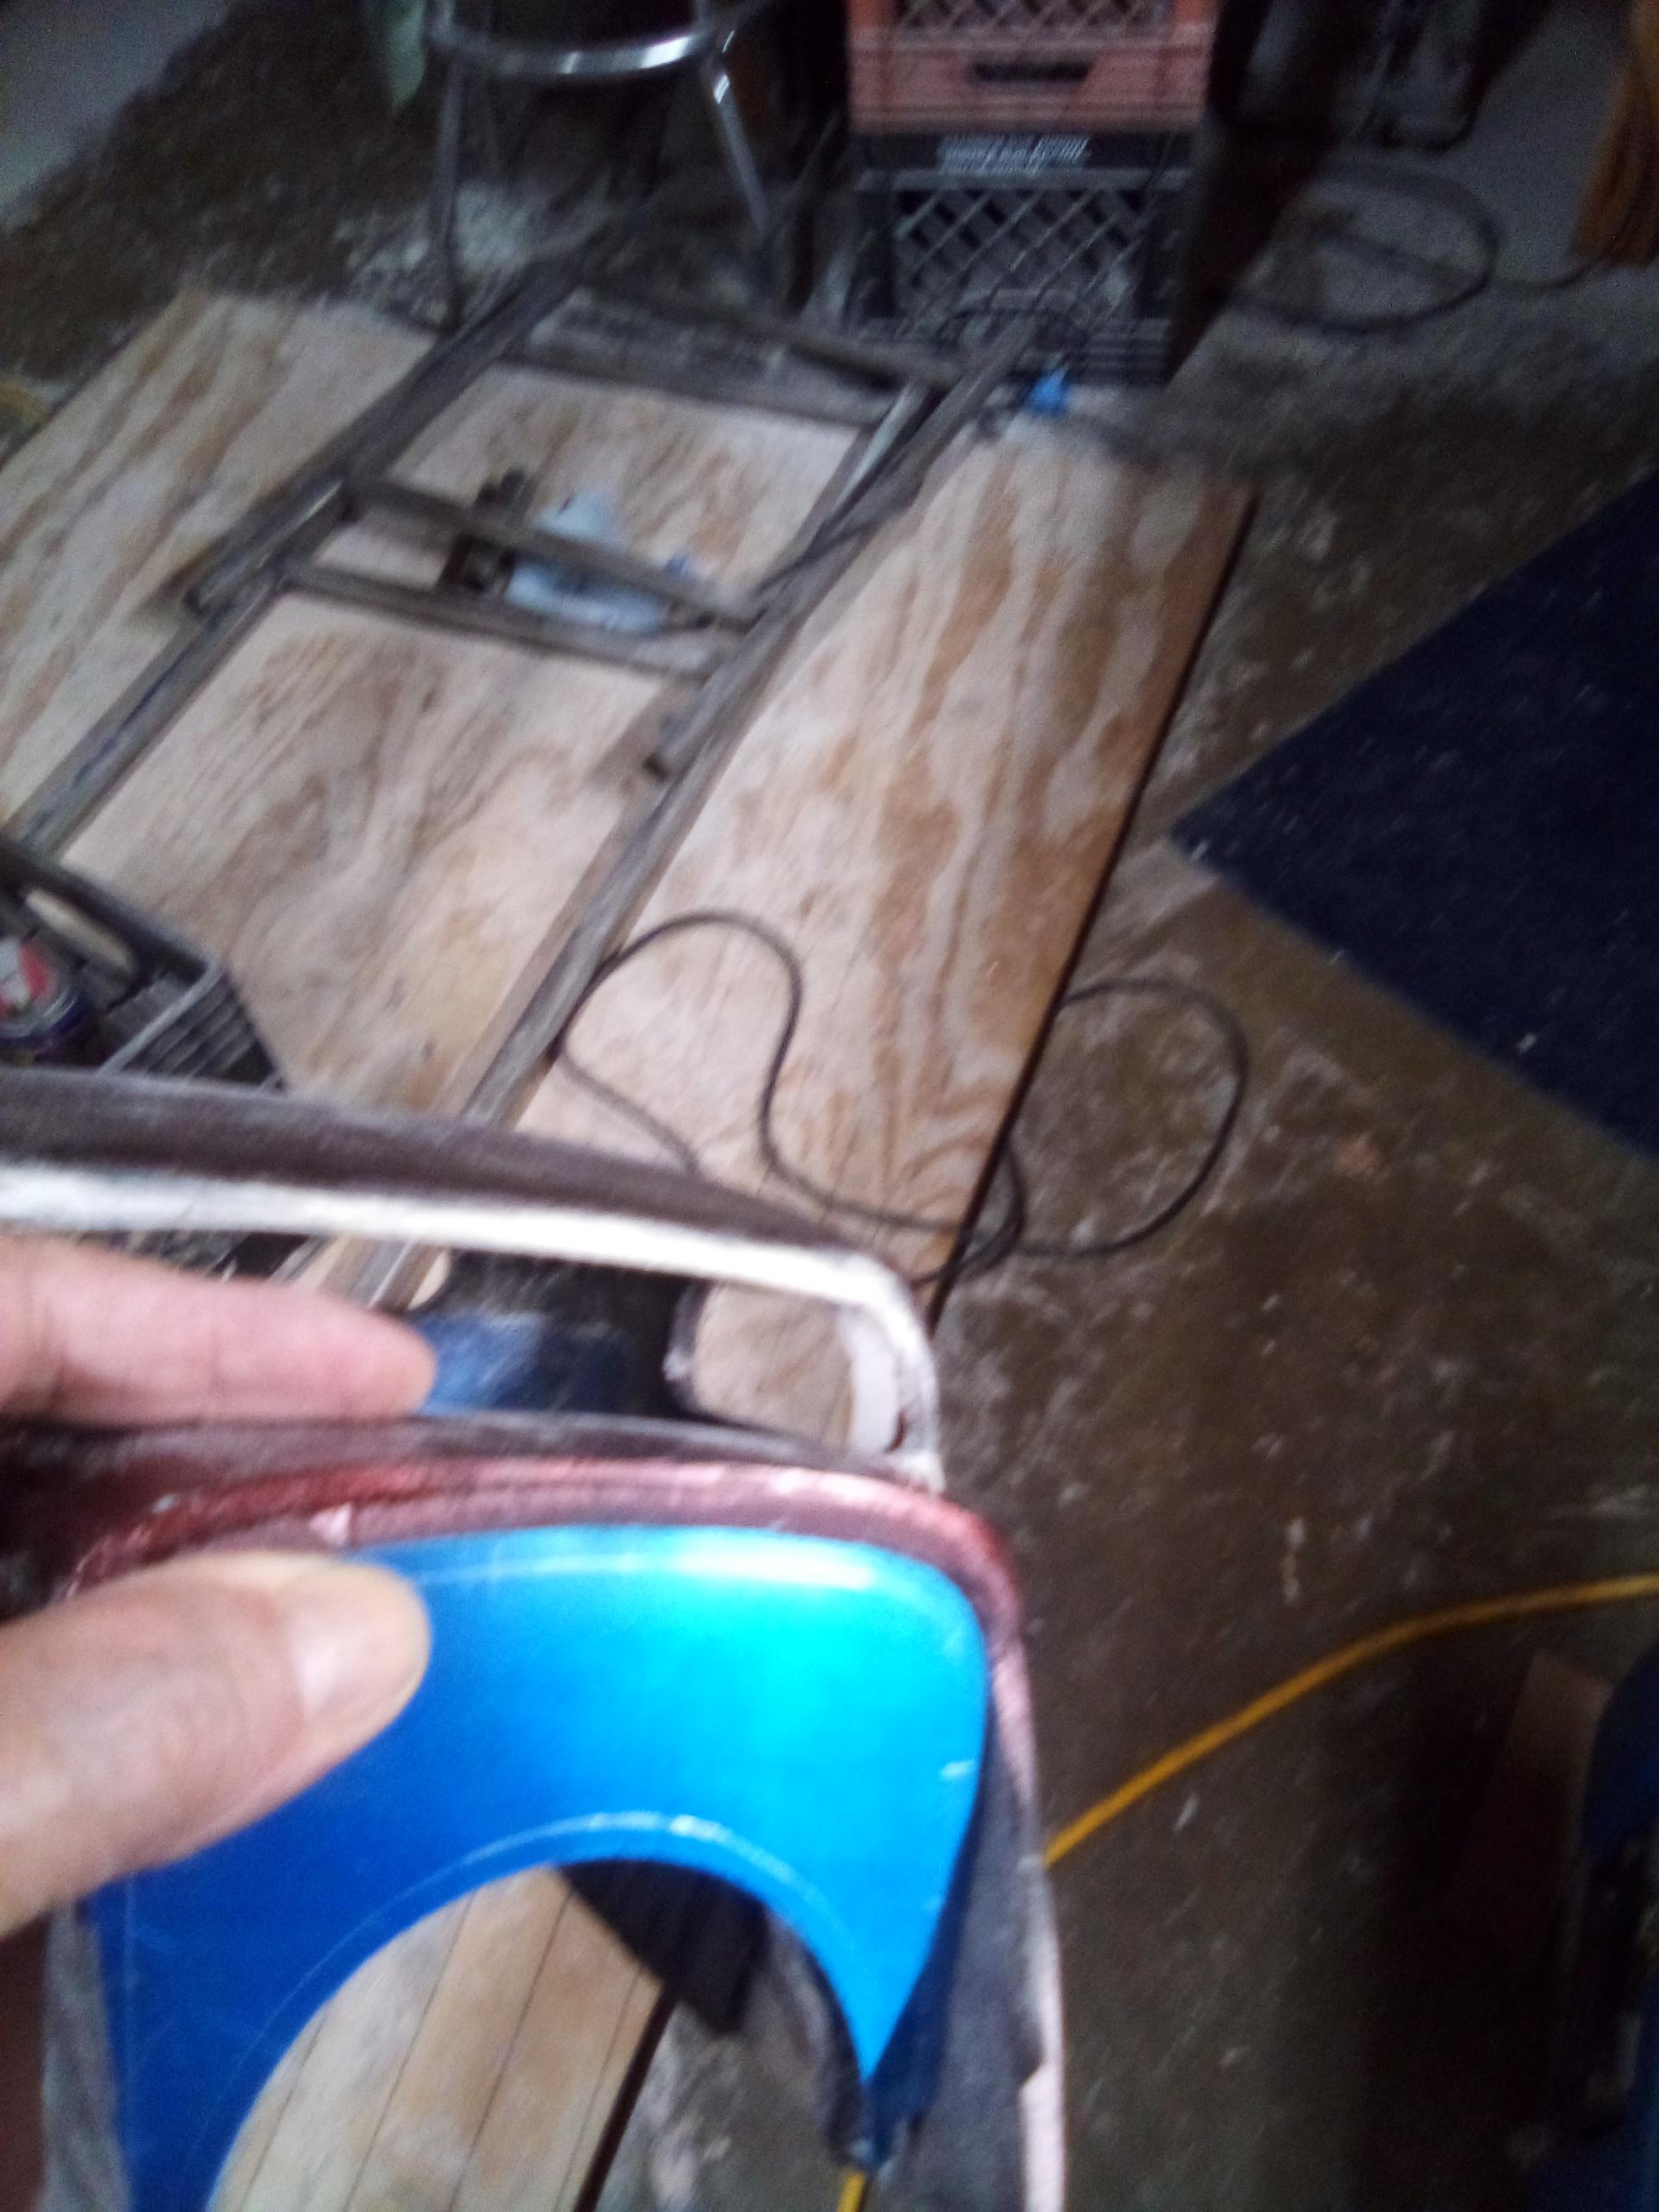
As I think about this, I order my thinking so that my thoughts and decisions are as tho I'm building 1 : 1. original concept for it was Euro coupe, if you will, 4 wheel independent with F1 inspired suspension with tube links. Lots of photo on first few pages of thread. but I don't know, the way it's starting to look to my eye...stuck the axle I bent in the other roadster thread under it to see how it looks.
-
There may be a metamorphosis taking place.?
-
-
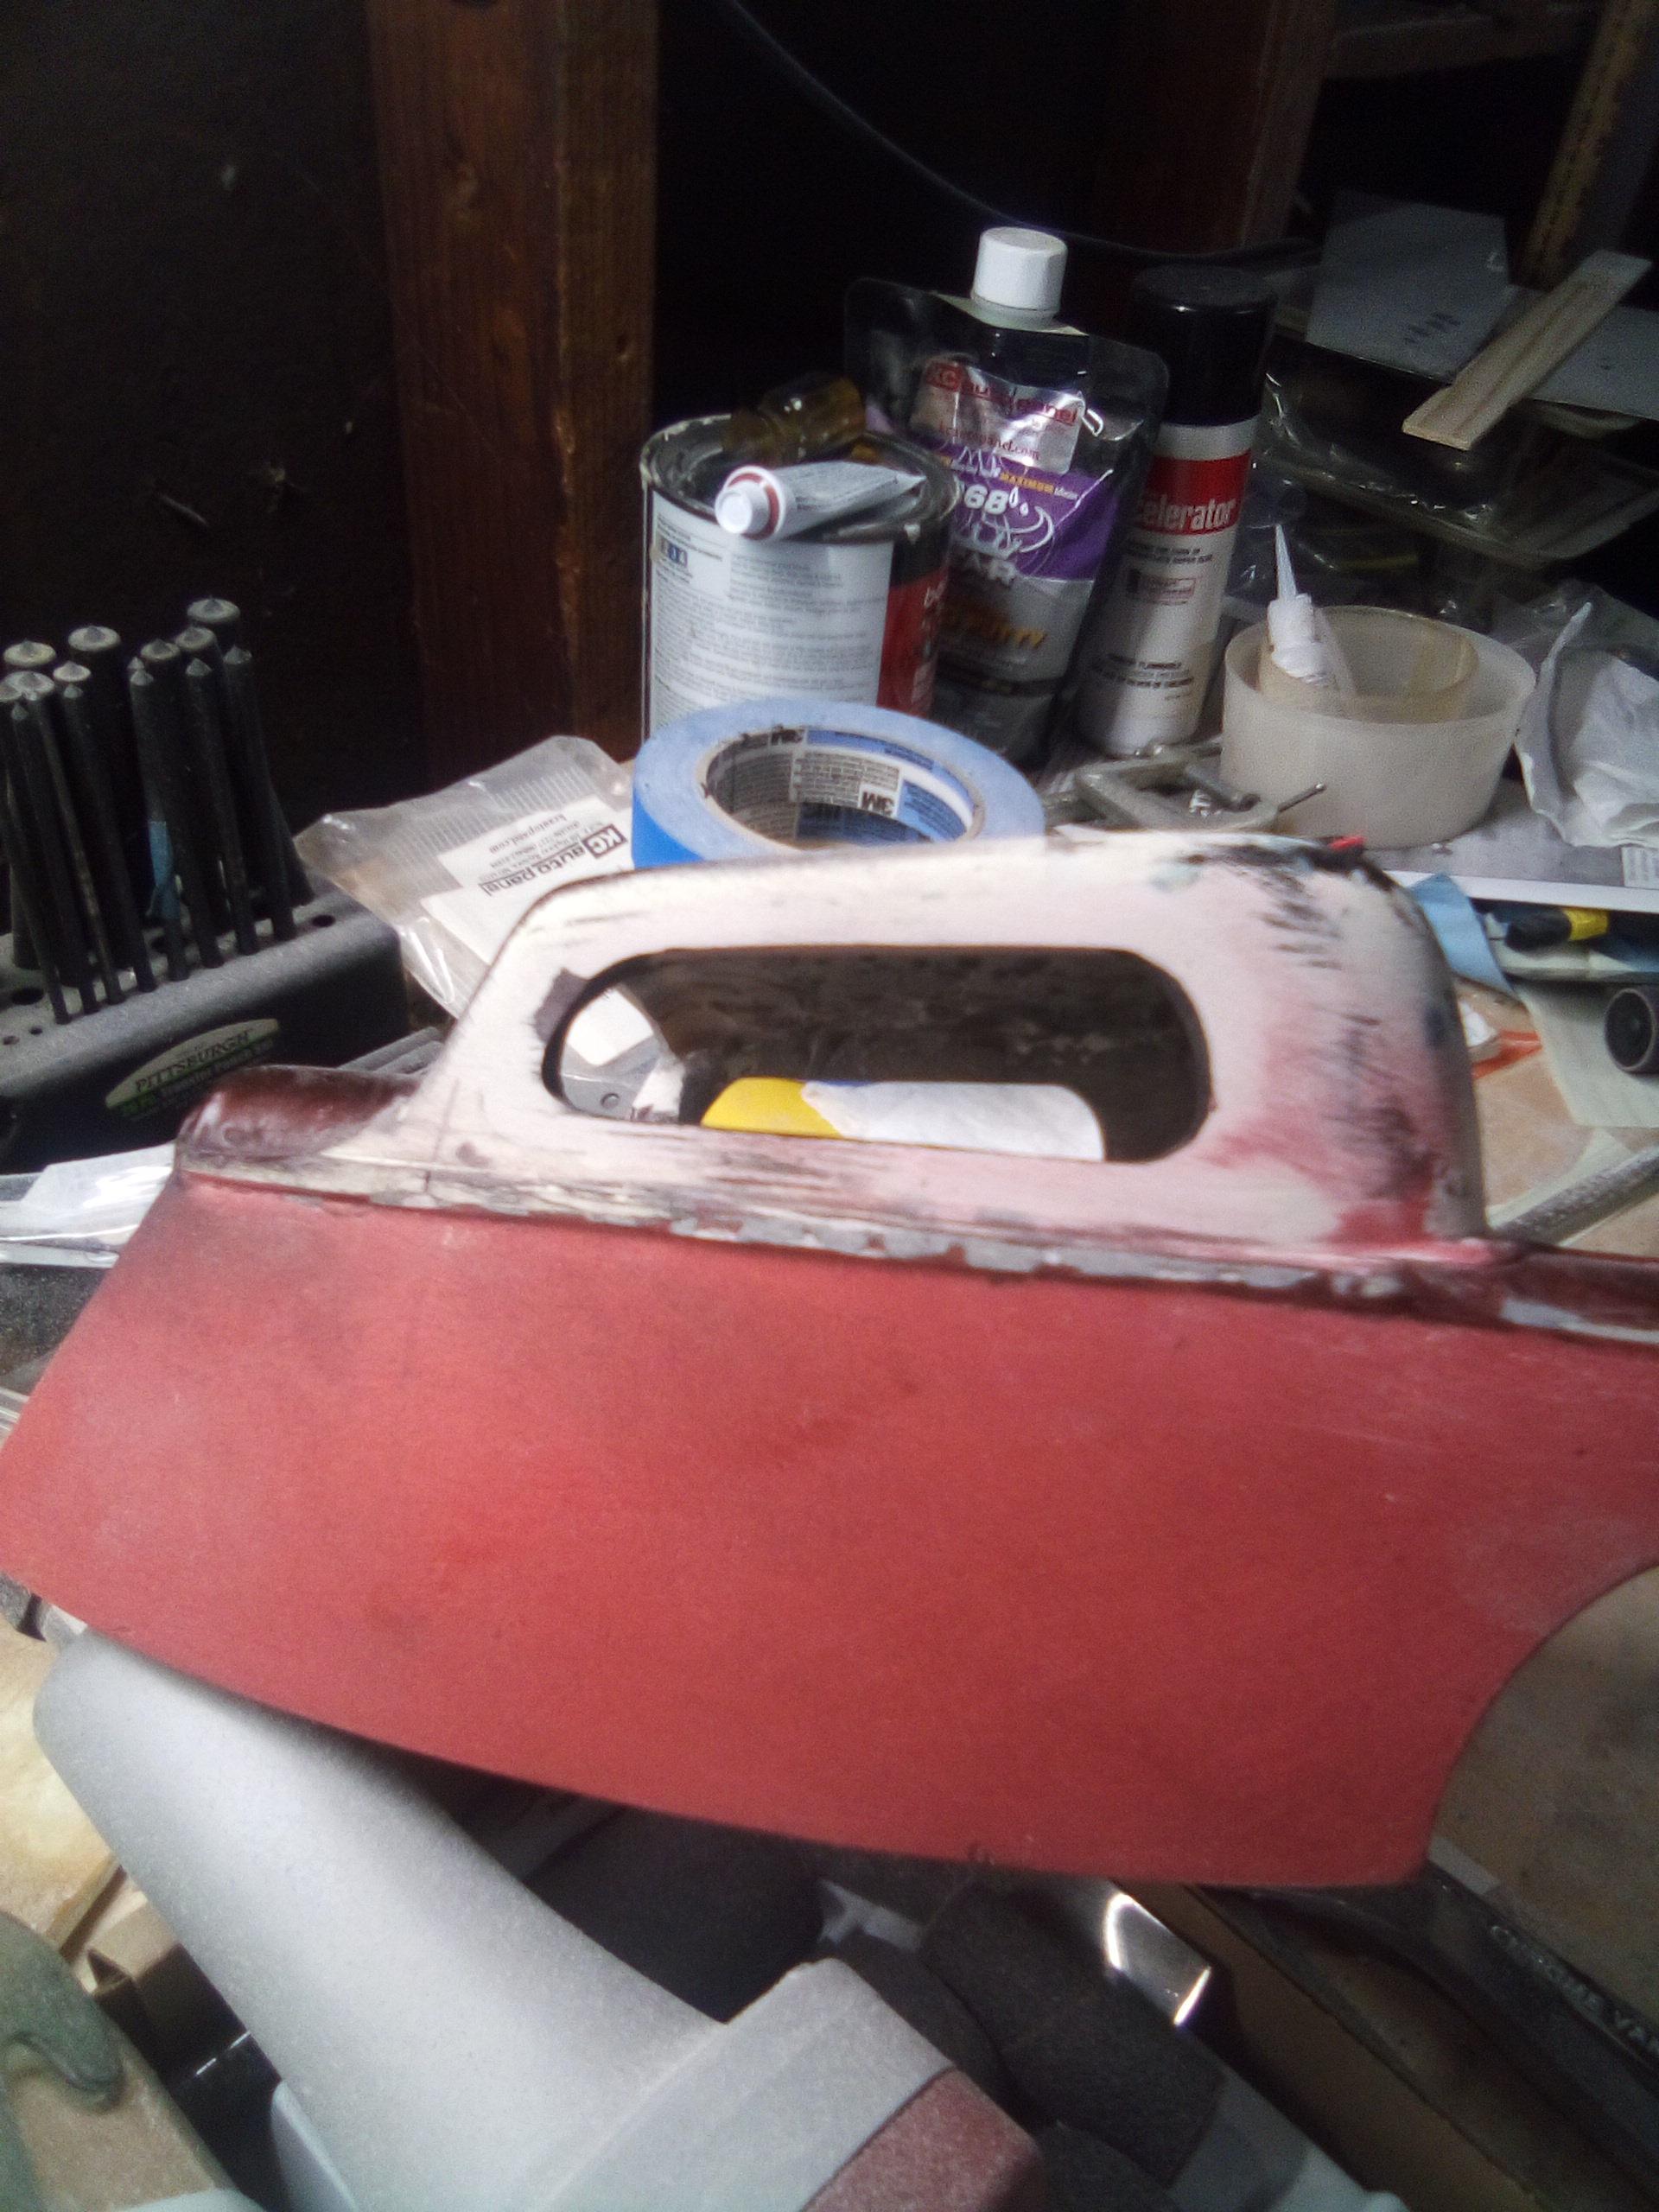
Got the A pillars roughed in on the sides. Drew a few lines...something like this.
-
Trim down the short piece of A pillar to fit. Has to lay to this angle to match the front line of the cowl side.