Ognib
-
Posts
784 -
Joined
-
Last visited
Content Type
Profiles
Forums
Events
Gallery
Everything posted by Ognib
-

1:12 Camaro 3d Print wheels
Ognib replied to mnagatani's topic in Car Aftermarket / Resin / 3D Printed
What's the strength factor of the material that you're printing with...when used on that design. Very nice work! -
Thanks, Henry. Getting there. slow going, time consuming work.
-
Working on the oil pan today. Cutting feature lines in the bottom of it. Camera wobble is a result of turning the feed screw crank with the other hand. Sorry bout that...hope you enjoy anyway. A couple of still shots of todays work.

-
Laid out nice. Are you using an automotive base clear system?
-
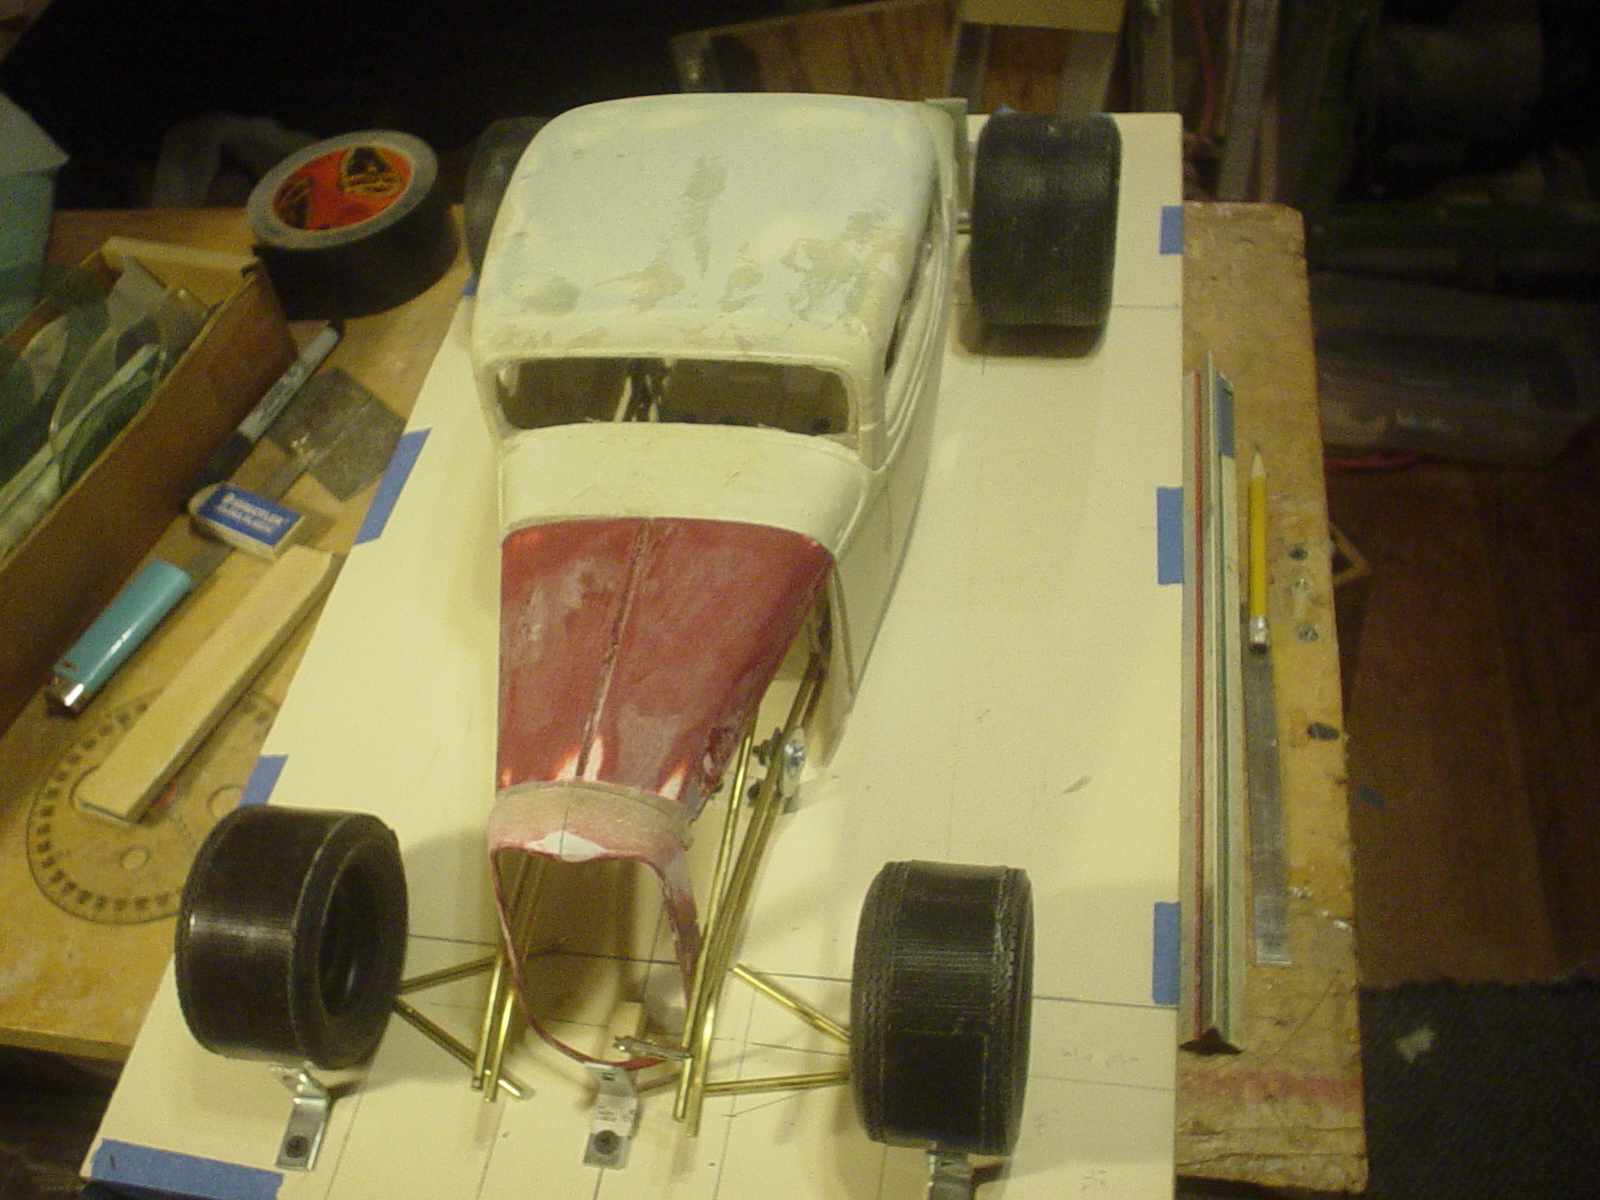
I'm happy with the current configuration of the frame...however... ...I think it is only a prototype. I've been seriously contemplating doing it in steel, just fer grins. More realistic materials. My shop capabilities are so much greater now, after the move & I'm rethinking several aspects of the project.
-
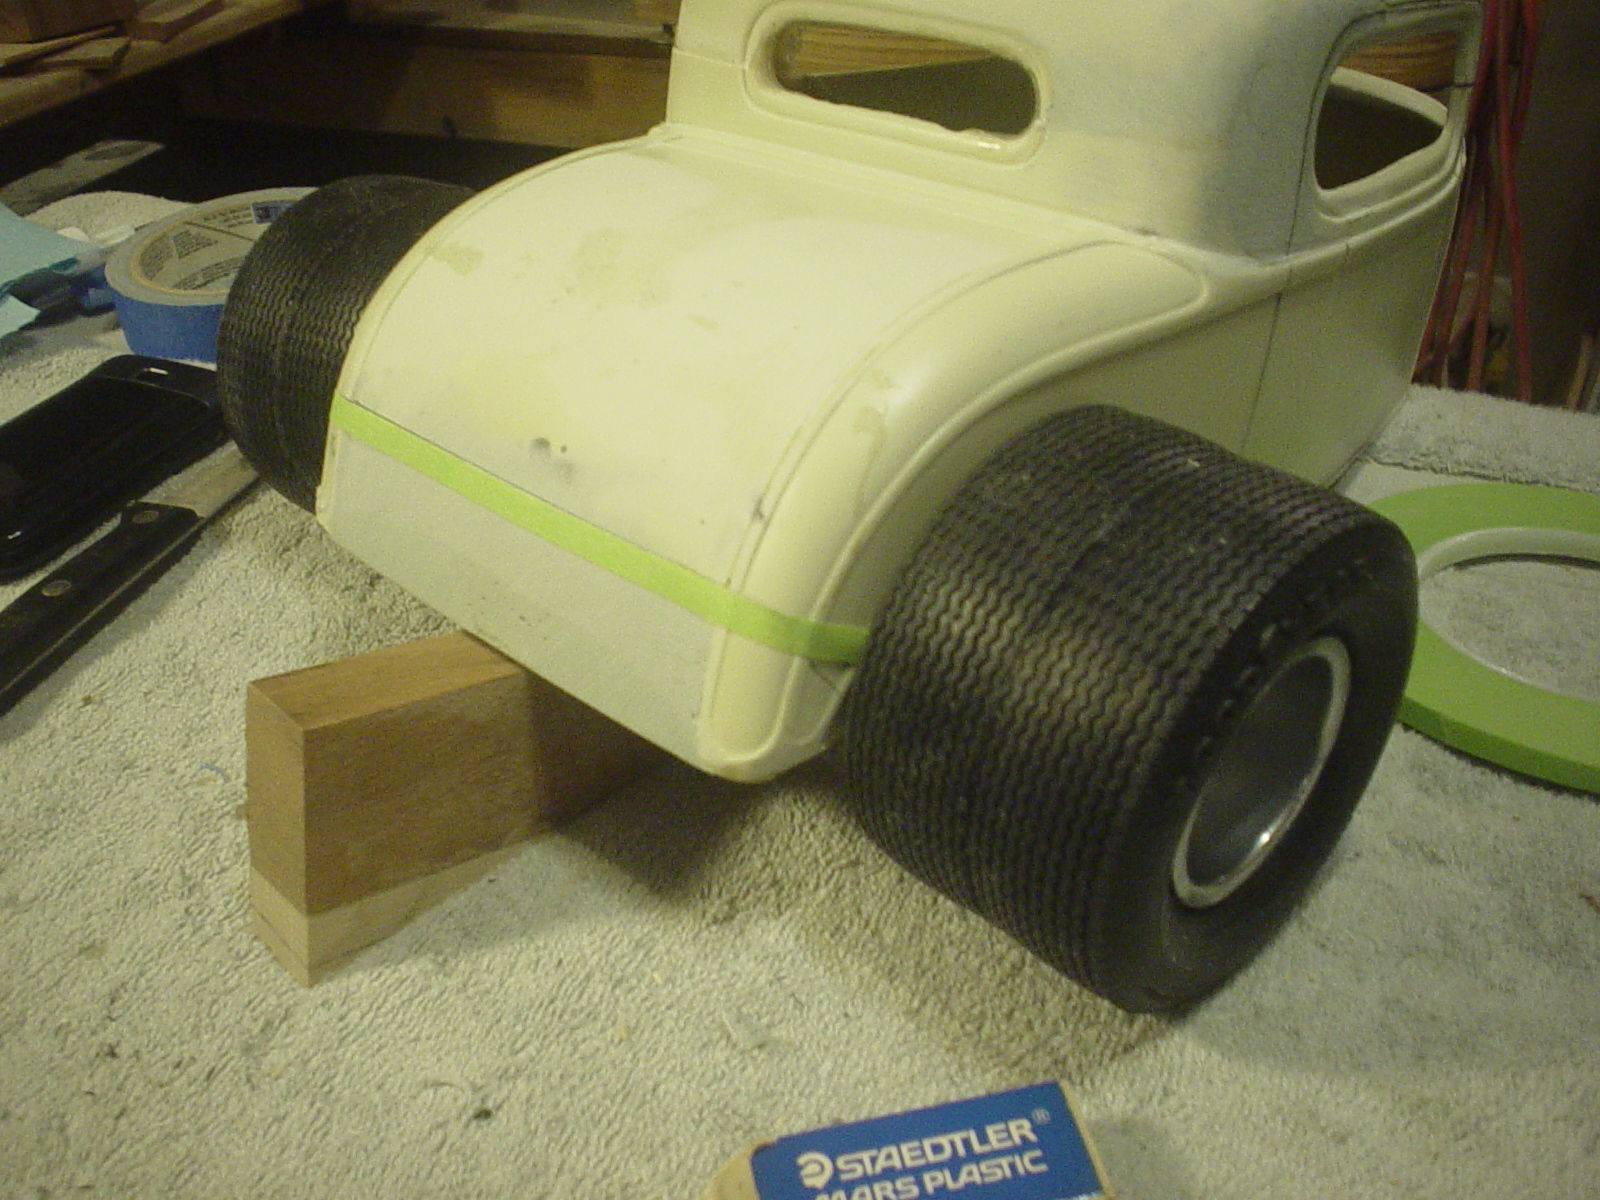
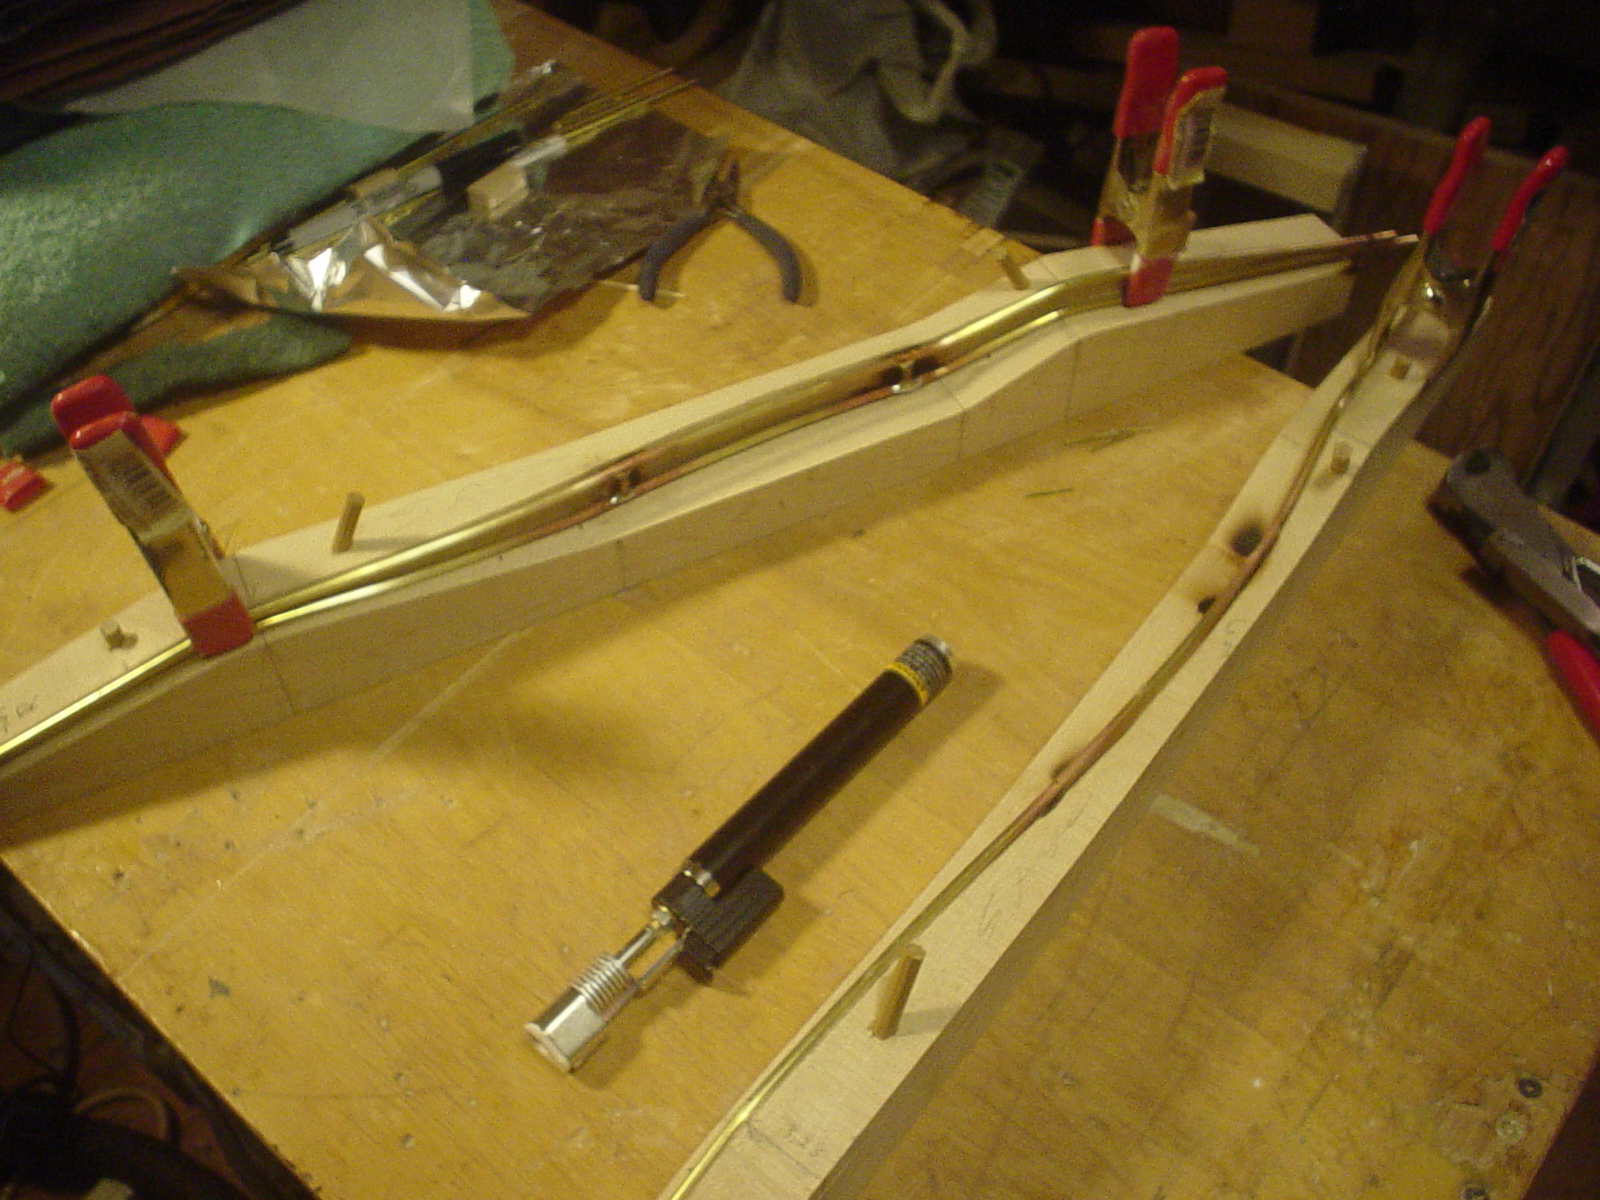
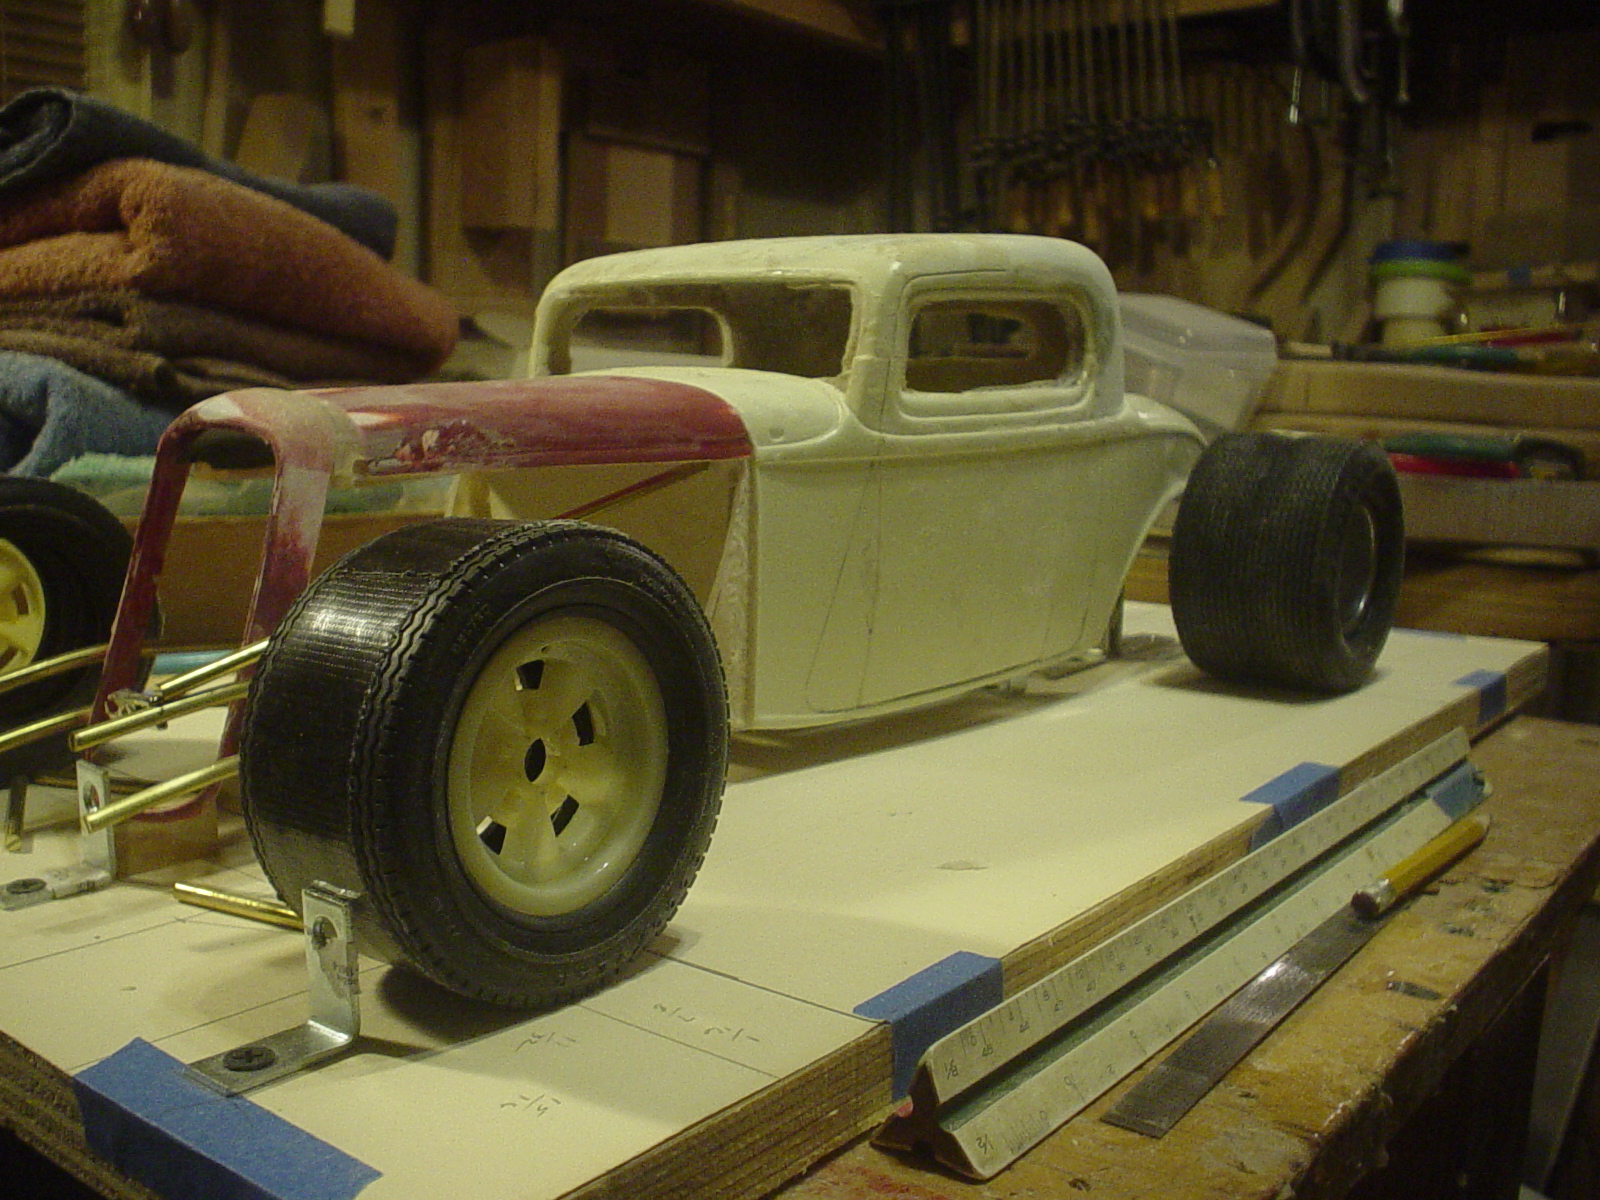
I like a "bobtail" look on an underslung coupe like this. Makes them look more nimble & quick, to my eye, so trimmed off the line along the bottom of the tape to achieve the look. Shaping the frame rods to match the deuce frame profile on the jig I built for it.
-
Hi Mike. Thanks for stopping in & commenting. I enjoy showing my work & it's always appreciated when viewers take a moment to comment on the project.
-
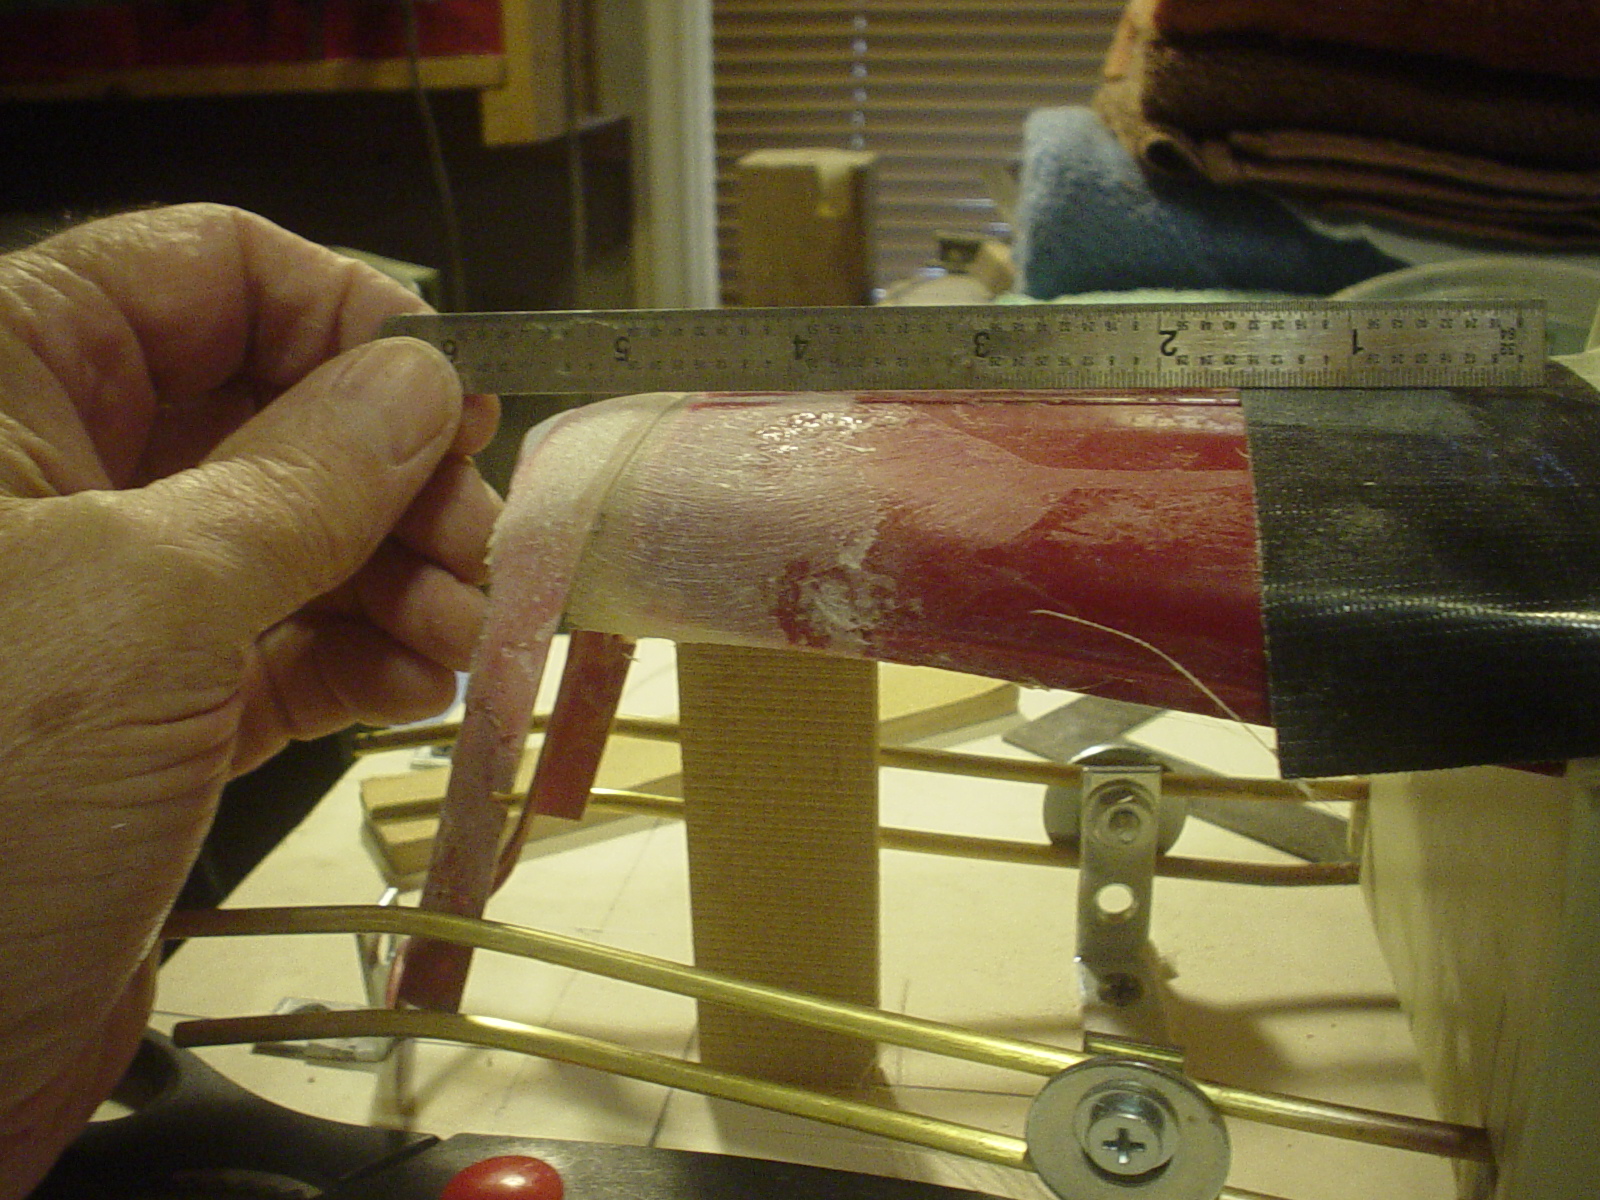
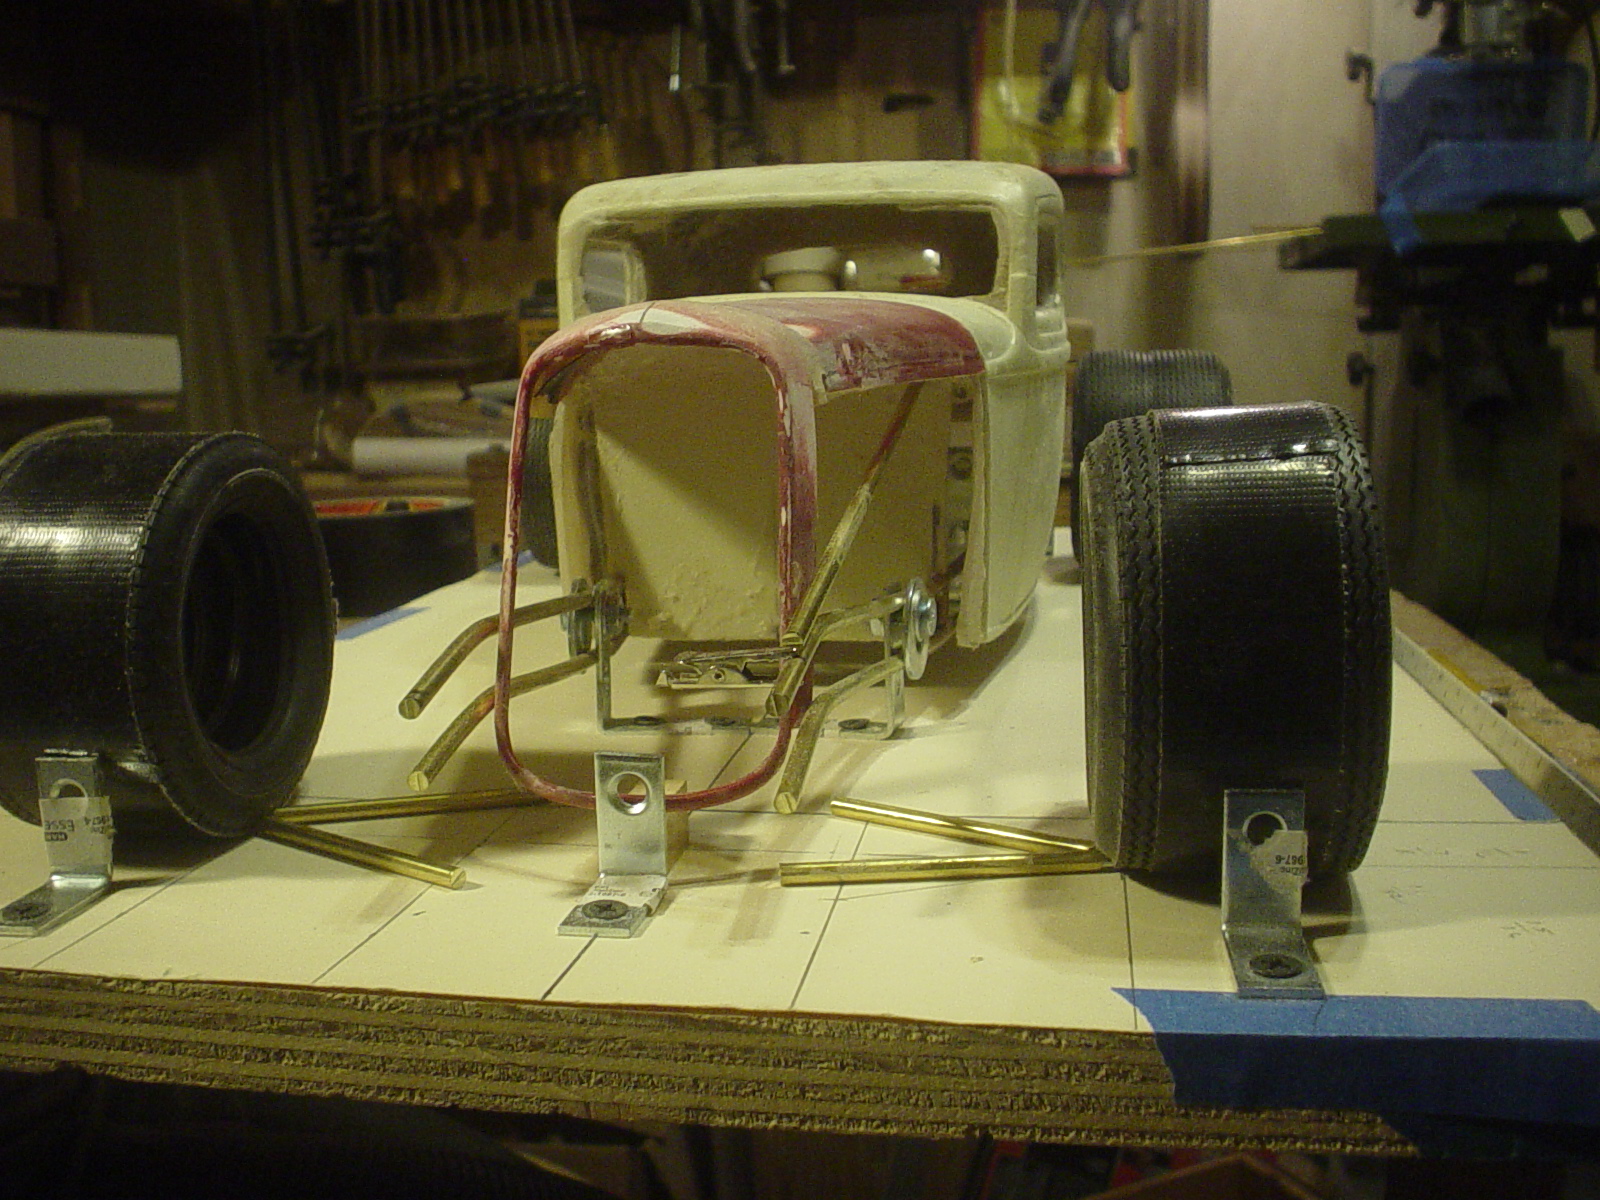
Wanted to lay the grill shell back. Don't see this much on deuces but I like the way it looks. Used mat & resin to rework the front of the hood & shell. Read the angle & transferred it to the front door line & extended the cowl side to match.
-
It was originally a 5w but I like 3w bodies better so decided to do the mod & bring the top down as well.
-
That's coming together very nicely! Are you keeping track of total hours on the build?
-
Thanks for taking a look, Tom. Certainly appreciate the comments. I had noticed that the focus on my first couple of vids was not very crisp. Changed a couple of settings on the camera...see if this helps. Sunday morning thinking out loud on this one.
-
Quick change...current state. With brake rotors.
-
I knew back when I was doing the heads & rocker covers that it would have to all be aluminum. Just had a bit of down time with the move. I mean, where do you quit? Certainly not in the middle of the project...
-
Another short vid. I'm havin fun, how bout you?
-
Finished up the lower portion of the block profile. Start fitting it together. The crankcase area is way too deep...going to cut the oil pan in it & then separate. I like the design & vibe of the intake manifold but am not happy with the execution.
-
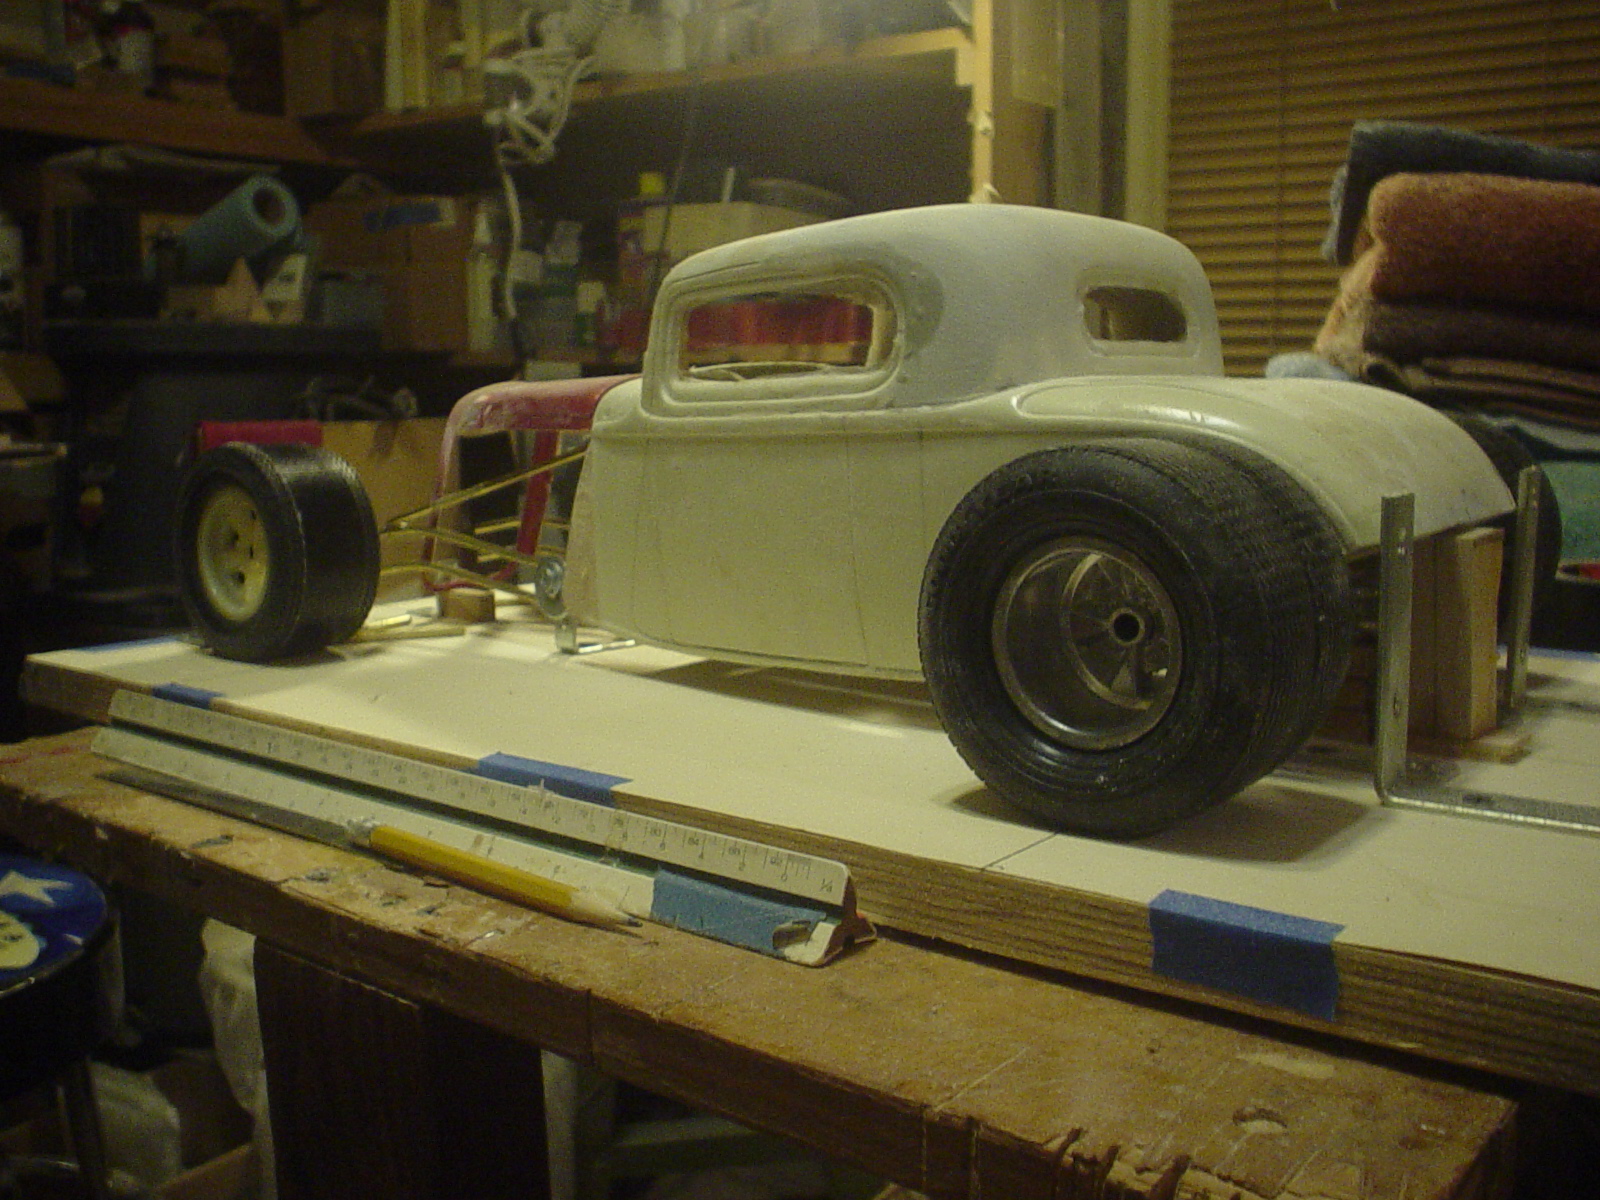
Took a section off of the lower body sides. Want to see the sides of the frame & still keep overall height to a minimum. Also wanted the body sides above the header package. Headers on the car.
-
Foose Hemisfear coupe is a perfect example of the chassis concept for this build.
-
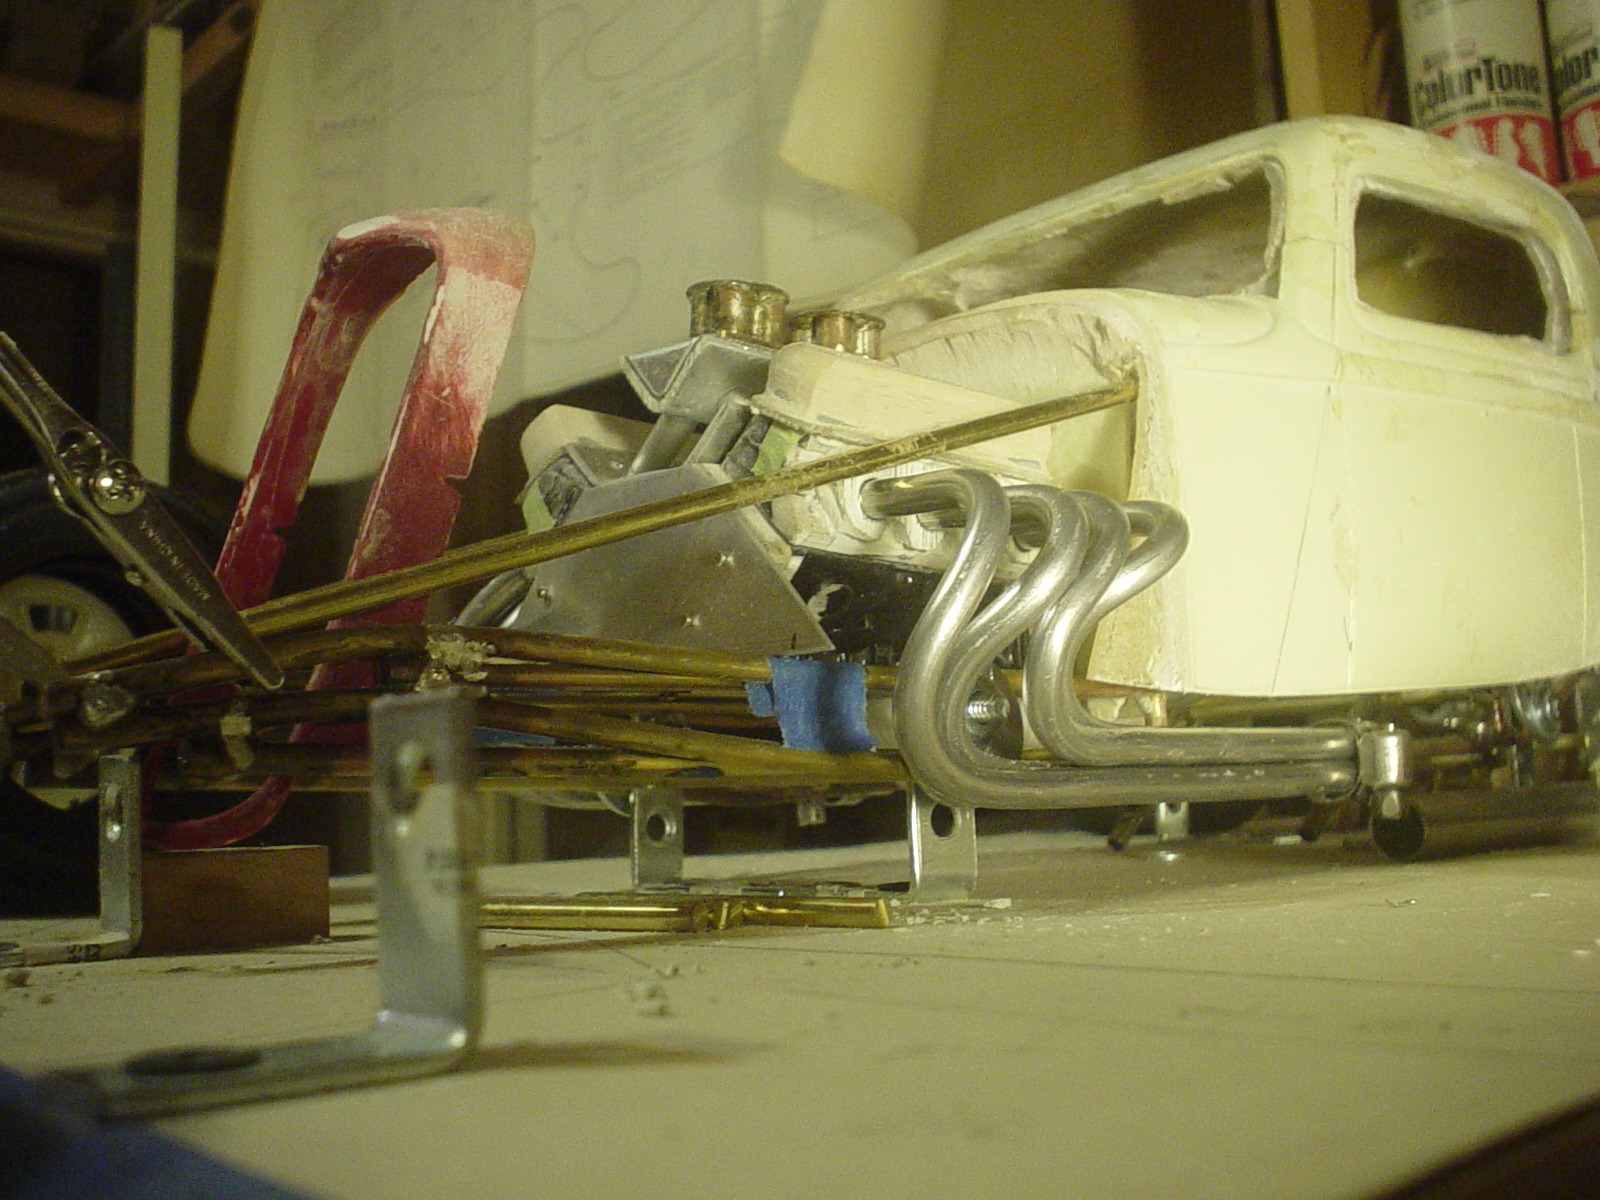
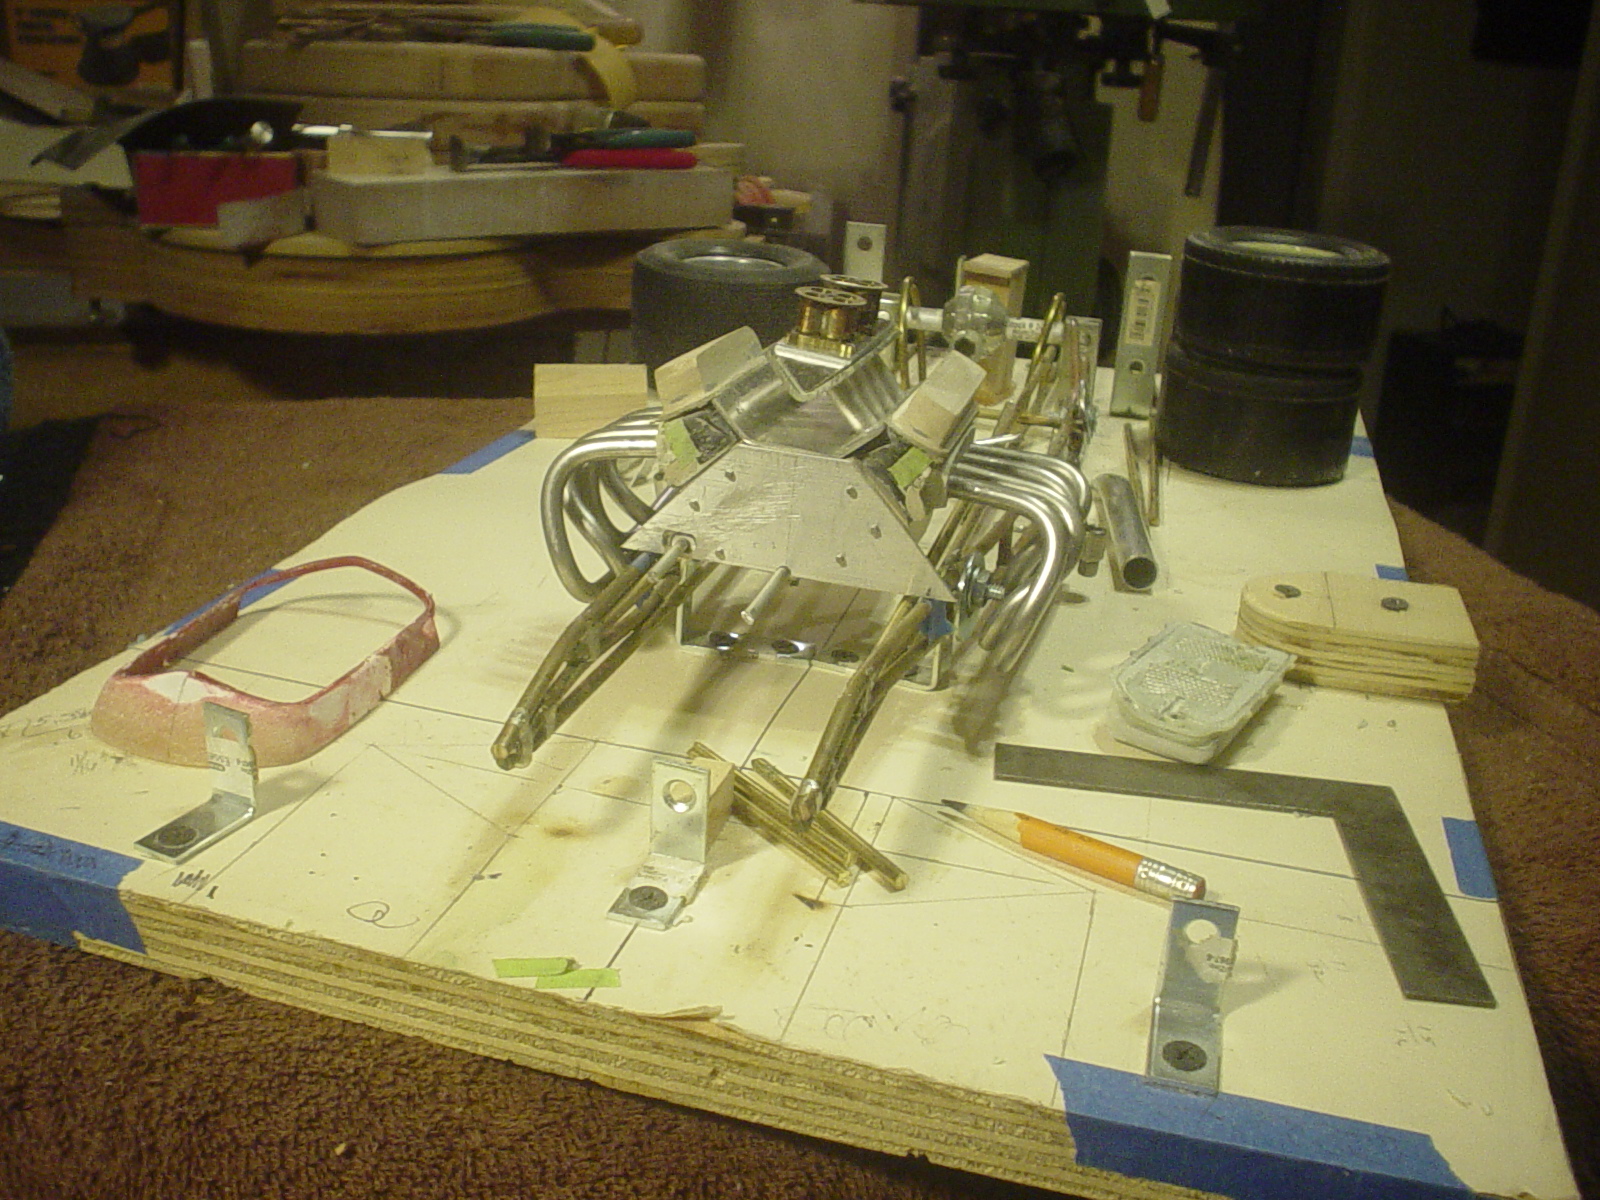
Header development.
-
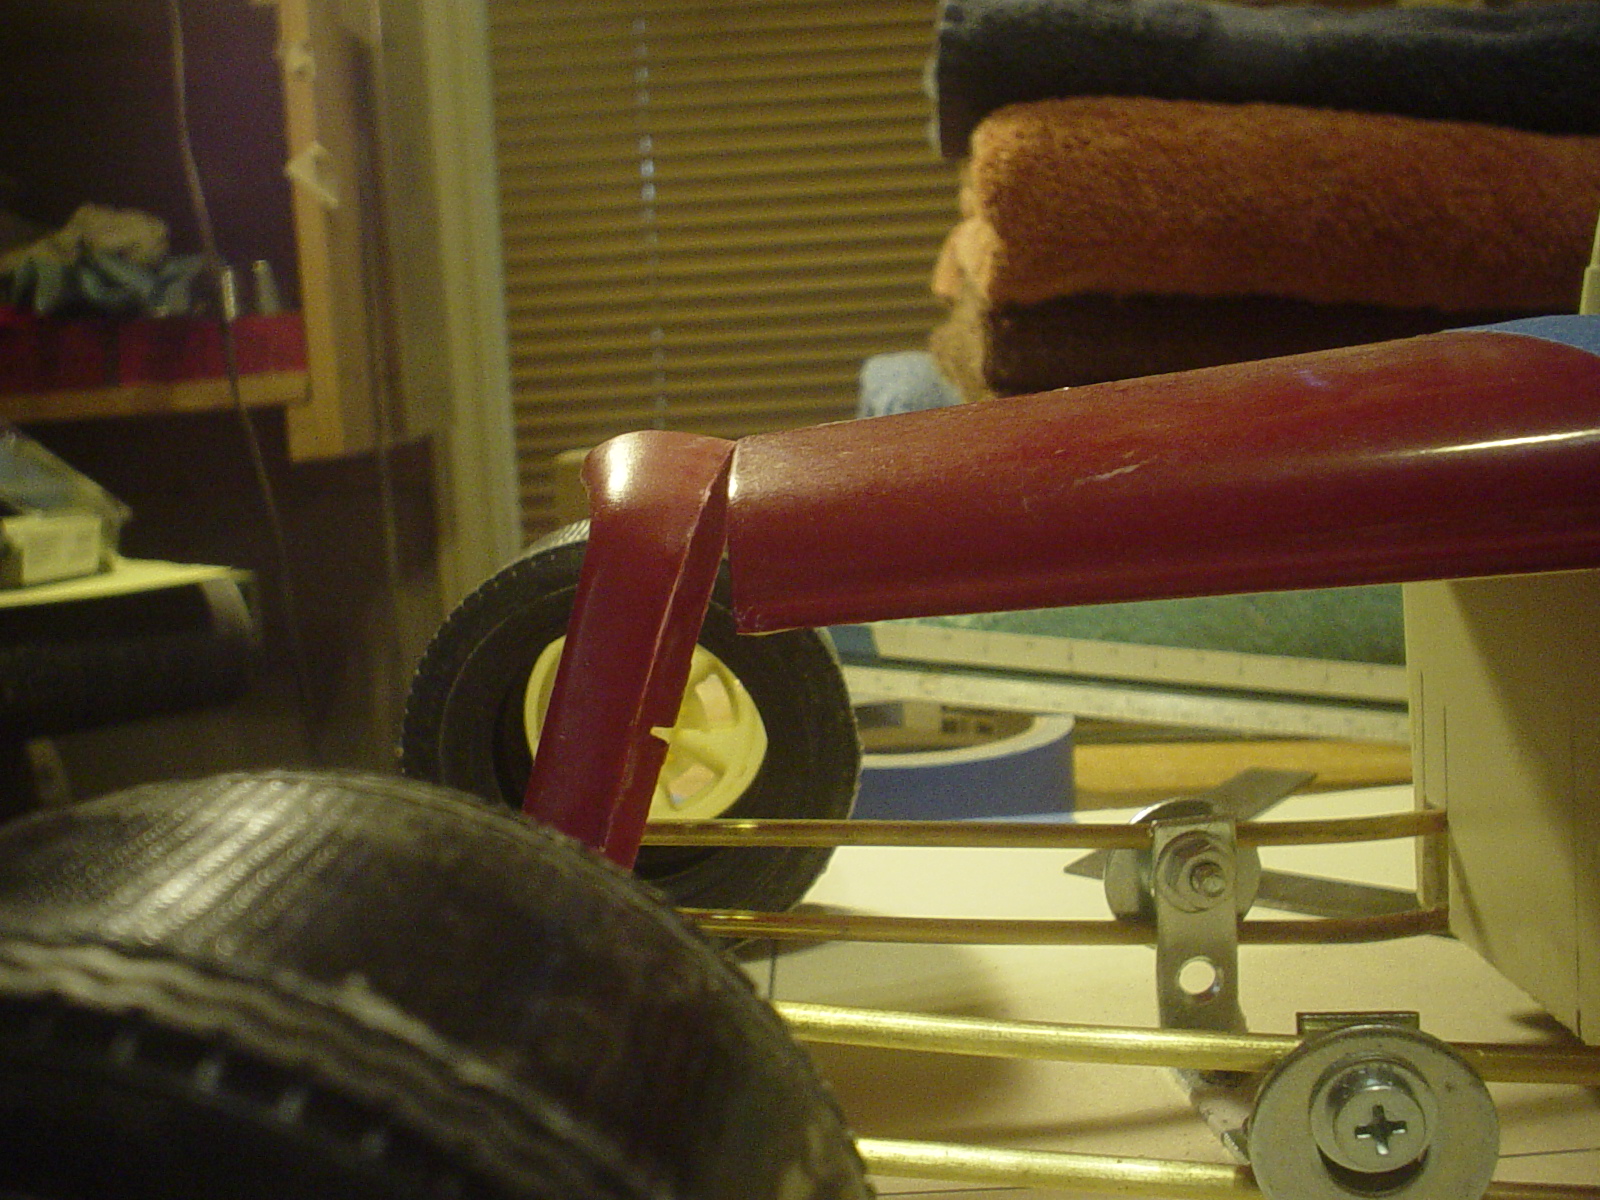
Since I'm reviving this thread...& since the thread no longer has pics of earlier work, thought I'd repost a few shots that will kind of reestablish the basic stylistic concept for the build. It's a full tube frame, full cage car with double wishbone suspension front & rear. The suspension is formula 1 inspired, as I really dig how flatly they skate through the corners. However, much of the science that I'm studying for the build is coming from the roadrace stock car type builds, in that the engines are front mounted vs mid engine. Think NASCAR at Riverside raceway, if you will. Corner cars. It's cool to be in the new digs & finally have things set up so I can get back in the game. Tired of being a spectator!
-
I got a little video camera & thought I'd start shooting some of my projects. My first vid on this project is here: See how this goes.
-
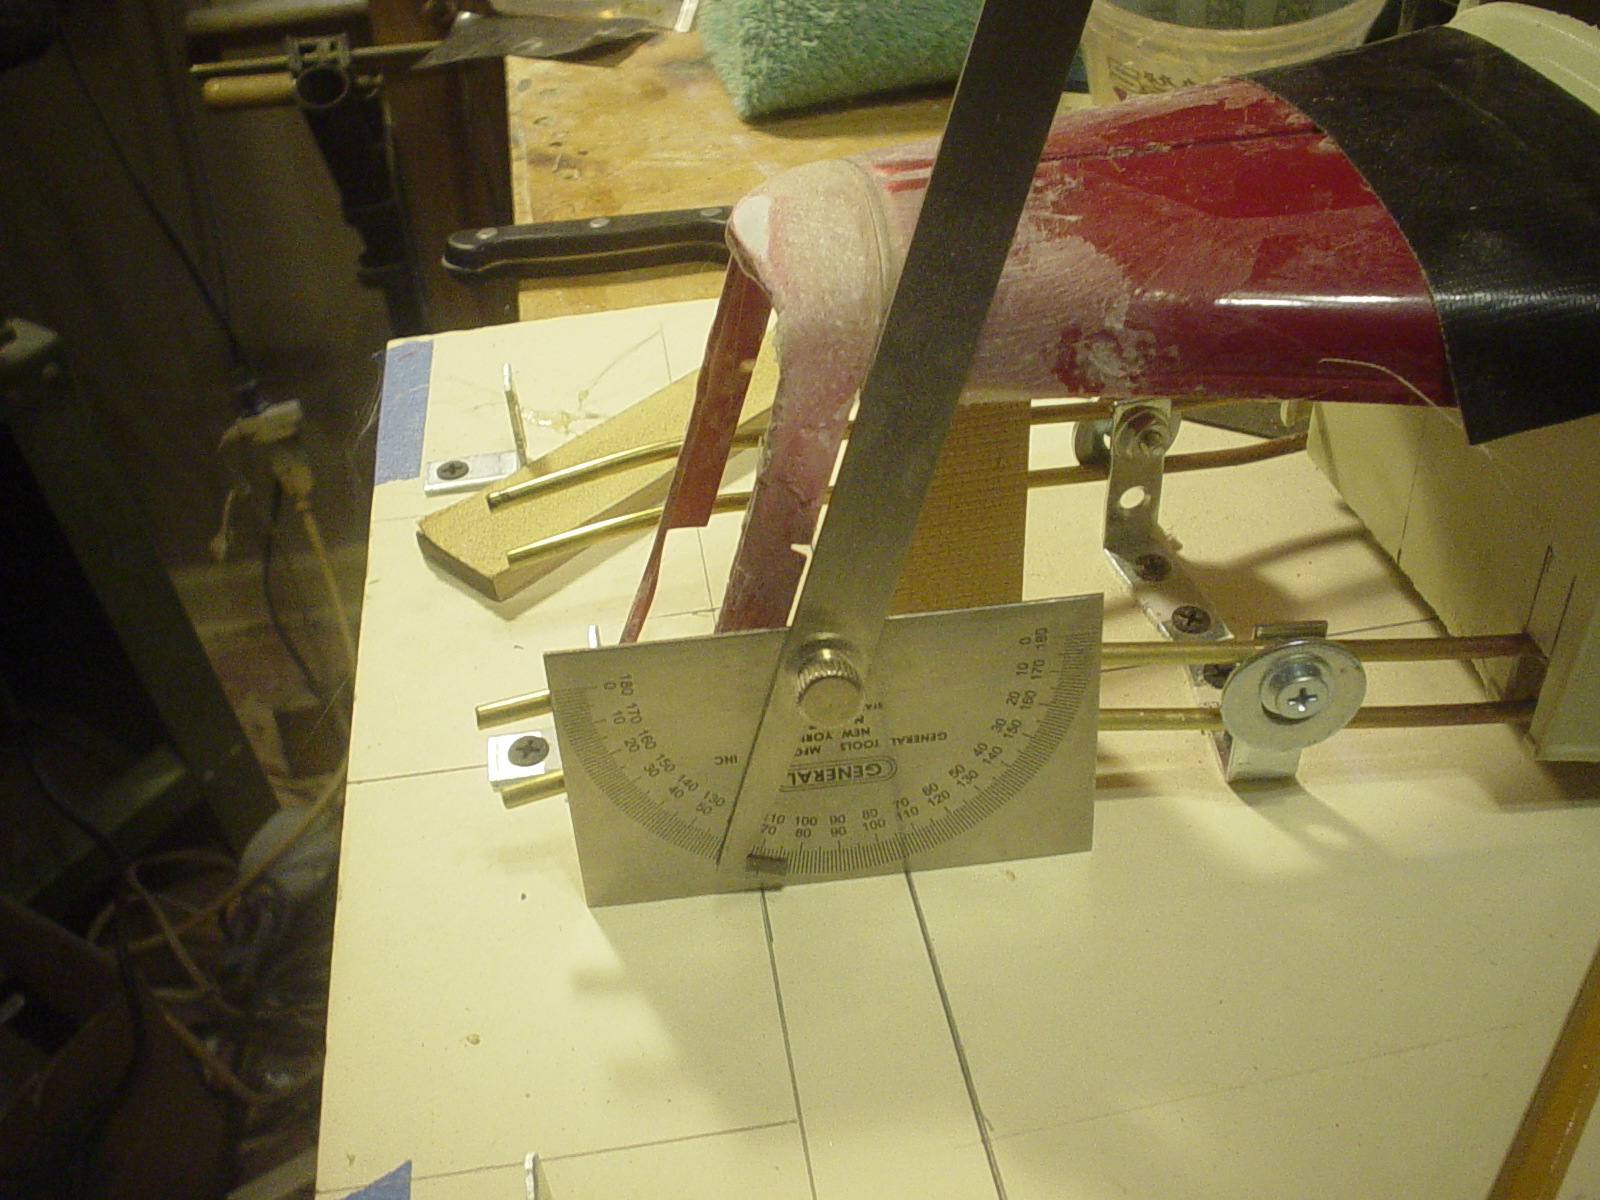
The intake manifold doesn't match the head angle very well on the near side. When I look at it, seems like it may be a bending error on the manifold base plate. Get the angle finder out & check it to know. Also, the heads were shaped free hand on the belt sander & could easily be some slight angular differences between the two.
-
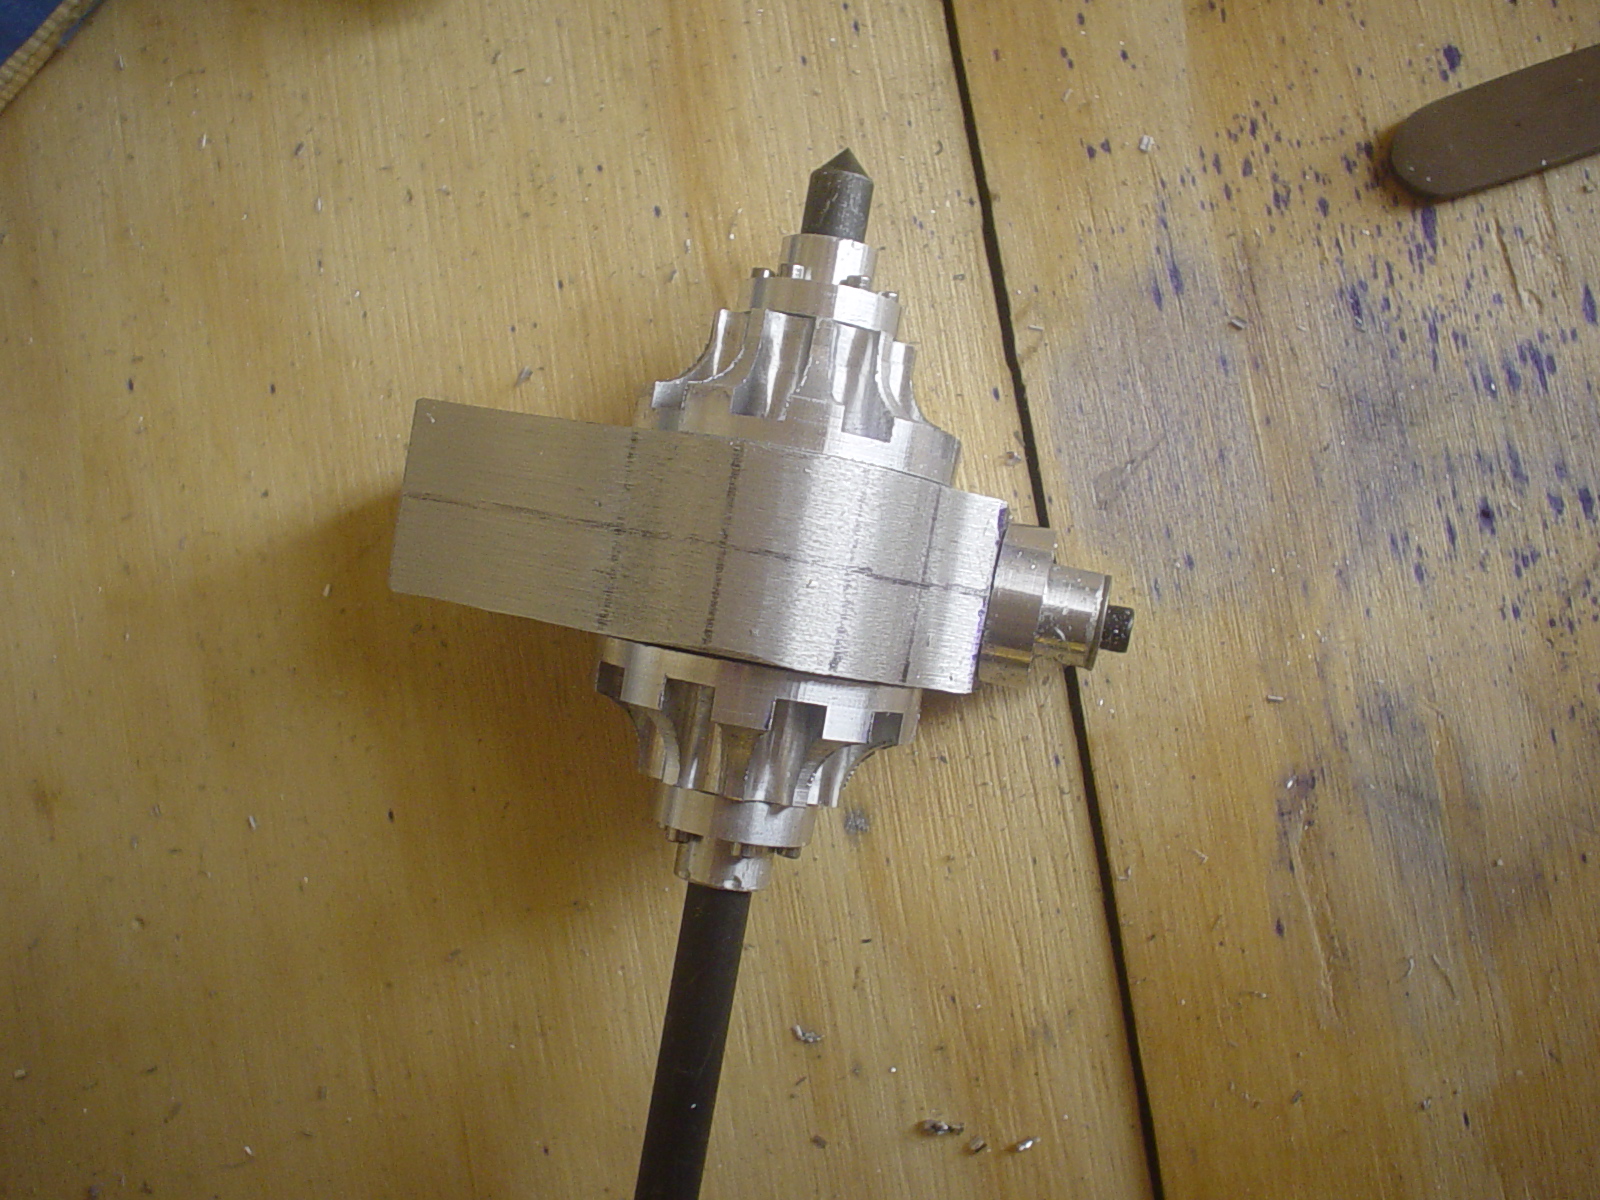
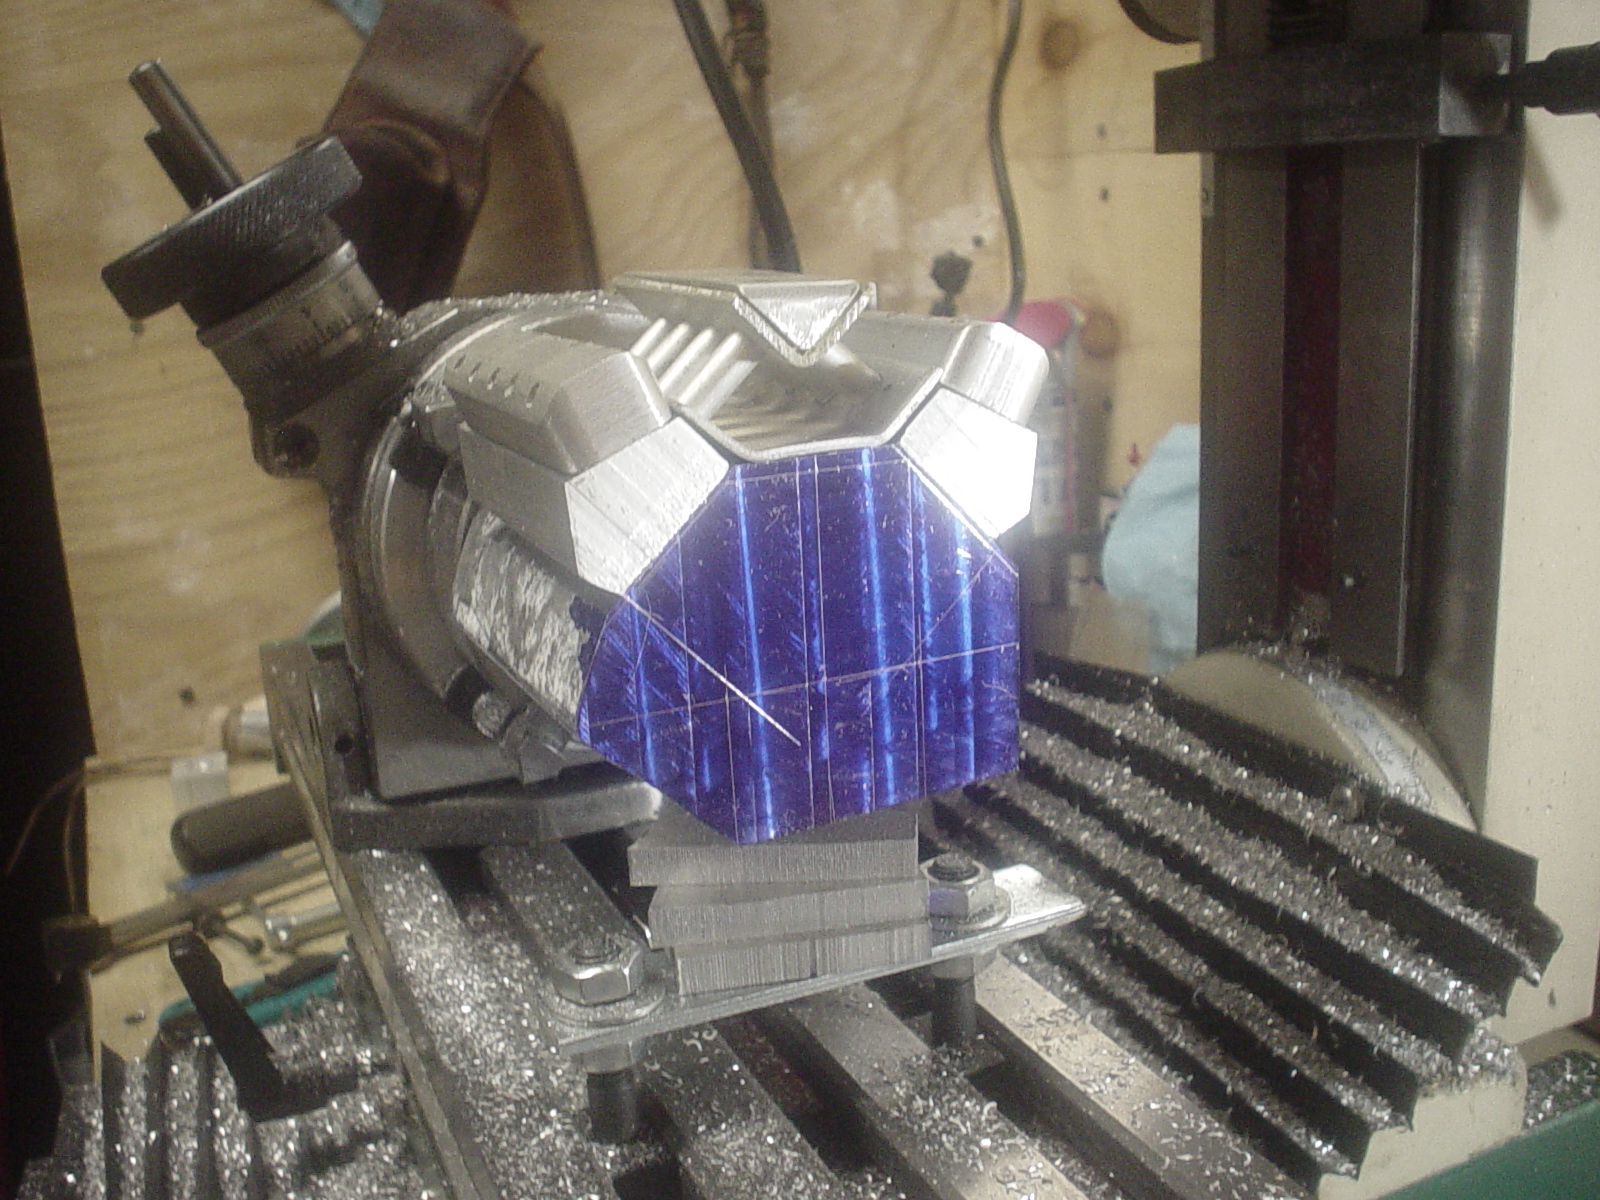
Thanks. Been a fun day. Decided to stop work on the top surface & rough in the cyl. banks. It's square between the face & top & that makes me smile. Rotated the block 45 deg with the table & roughed in a bank. Start mocking parts together while I still have some wiggle room. I have hours invested in several pieces that were built to fit the plastic kit block...manipulate the work on this one, so that it all comes together with good fit.
-
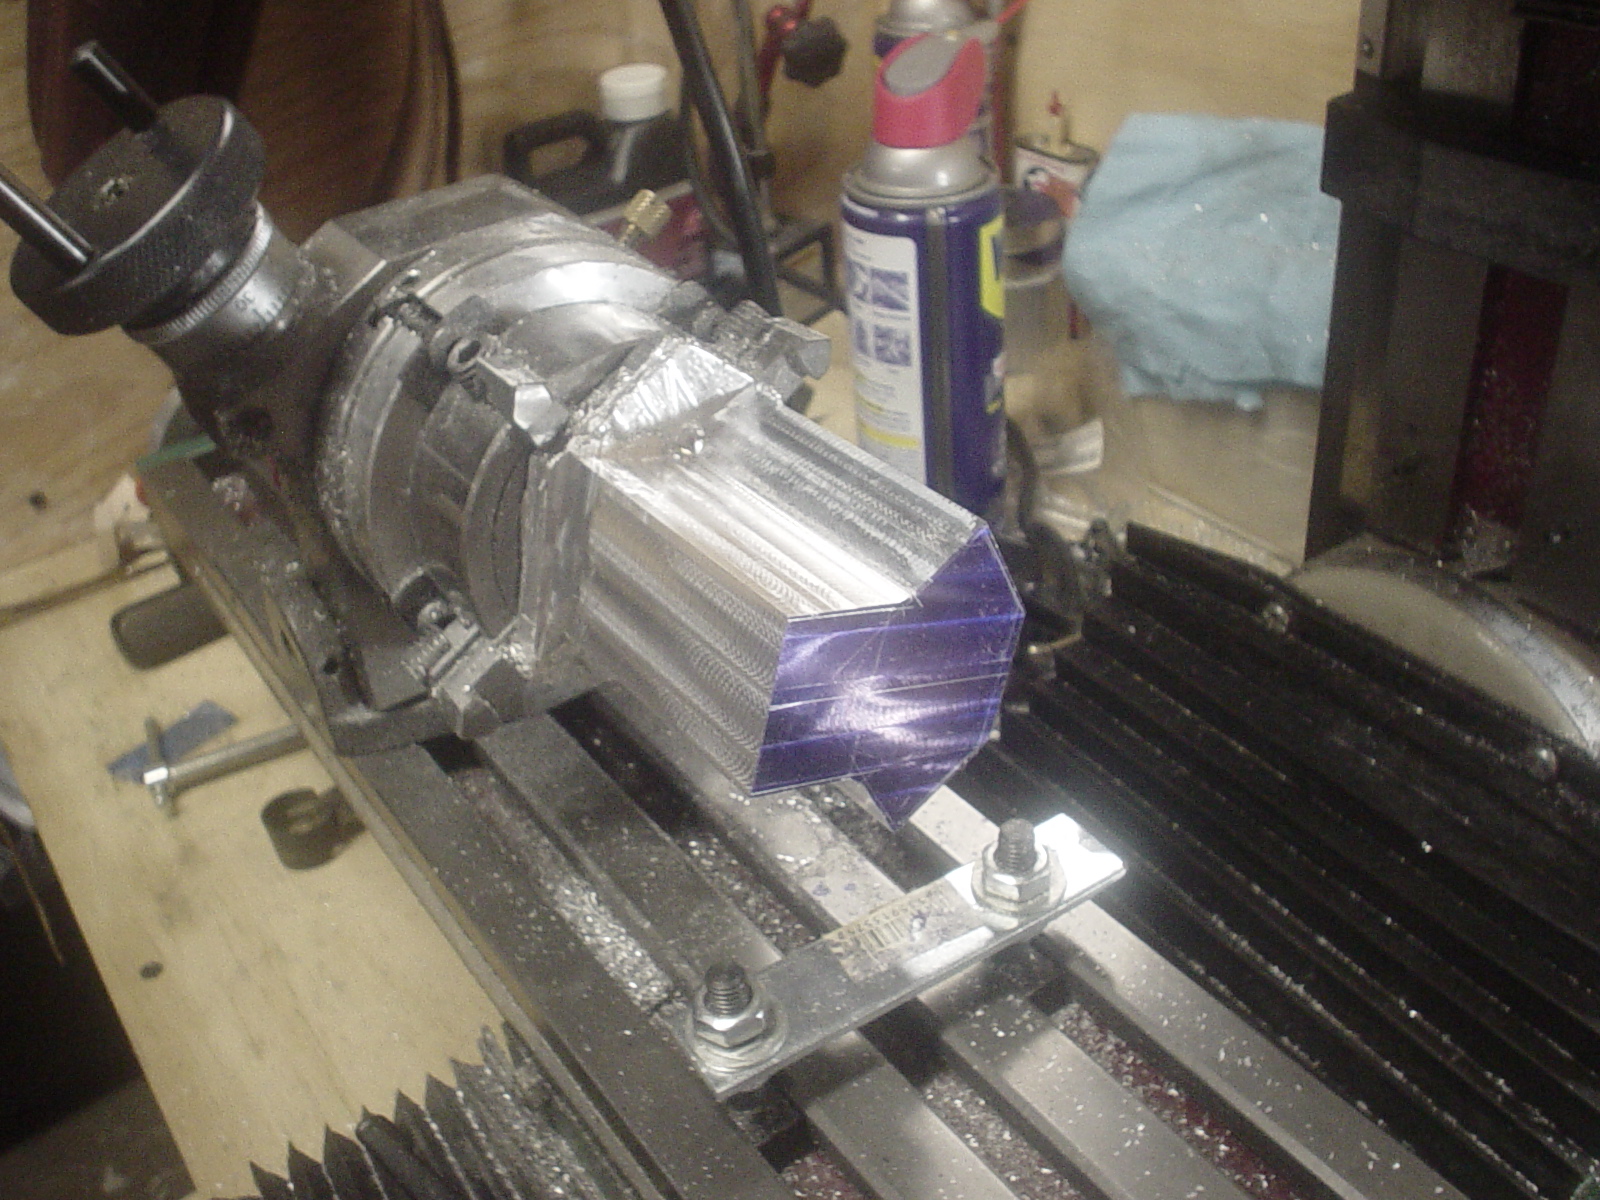
I dug into the moving boxes where this project is stored, again. Looked at everything. Looked at most of the pics taken along the way & kept coming back to the engine as my current strongest interest for the project. Recently did a simple mill job in brass for a friend & am focusing on building my skills & abilities on the mill. So mill work on an engine block...right in line. First pic shows a previous pic of the engine with the plugs roughed in for the heads. Decided the block should be the next piece. Found an odd shaped piece of aluminum that's an off cut from something else & determined that it is big enough. Squared up the ends with a couple of facing cuts, dyed the end & scratched the front shape of the plastic engine block to work to. I've got the rotary table set at 90 deg. A few magnetic welding jigs to help stabilize it & a clamp to help keep the table from rotating during machining. Since it's a fairly large chunk hanging off the front, I fabbed a press fixture to support the front of the plug. Make the setup as rigid as possible.
-
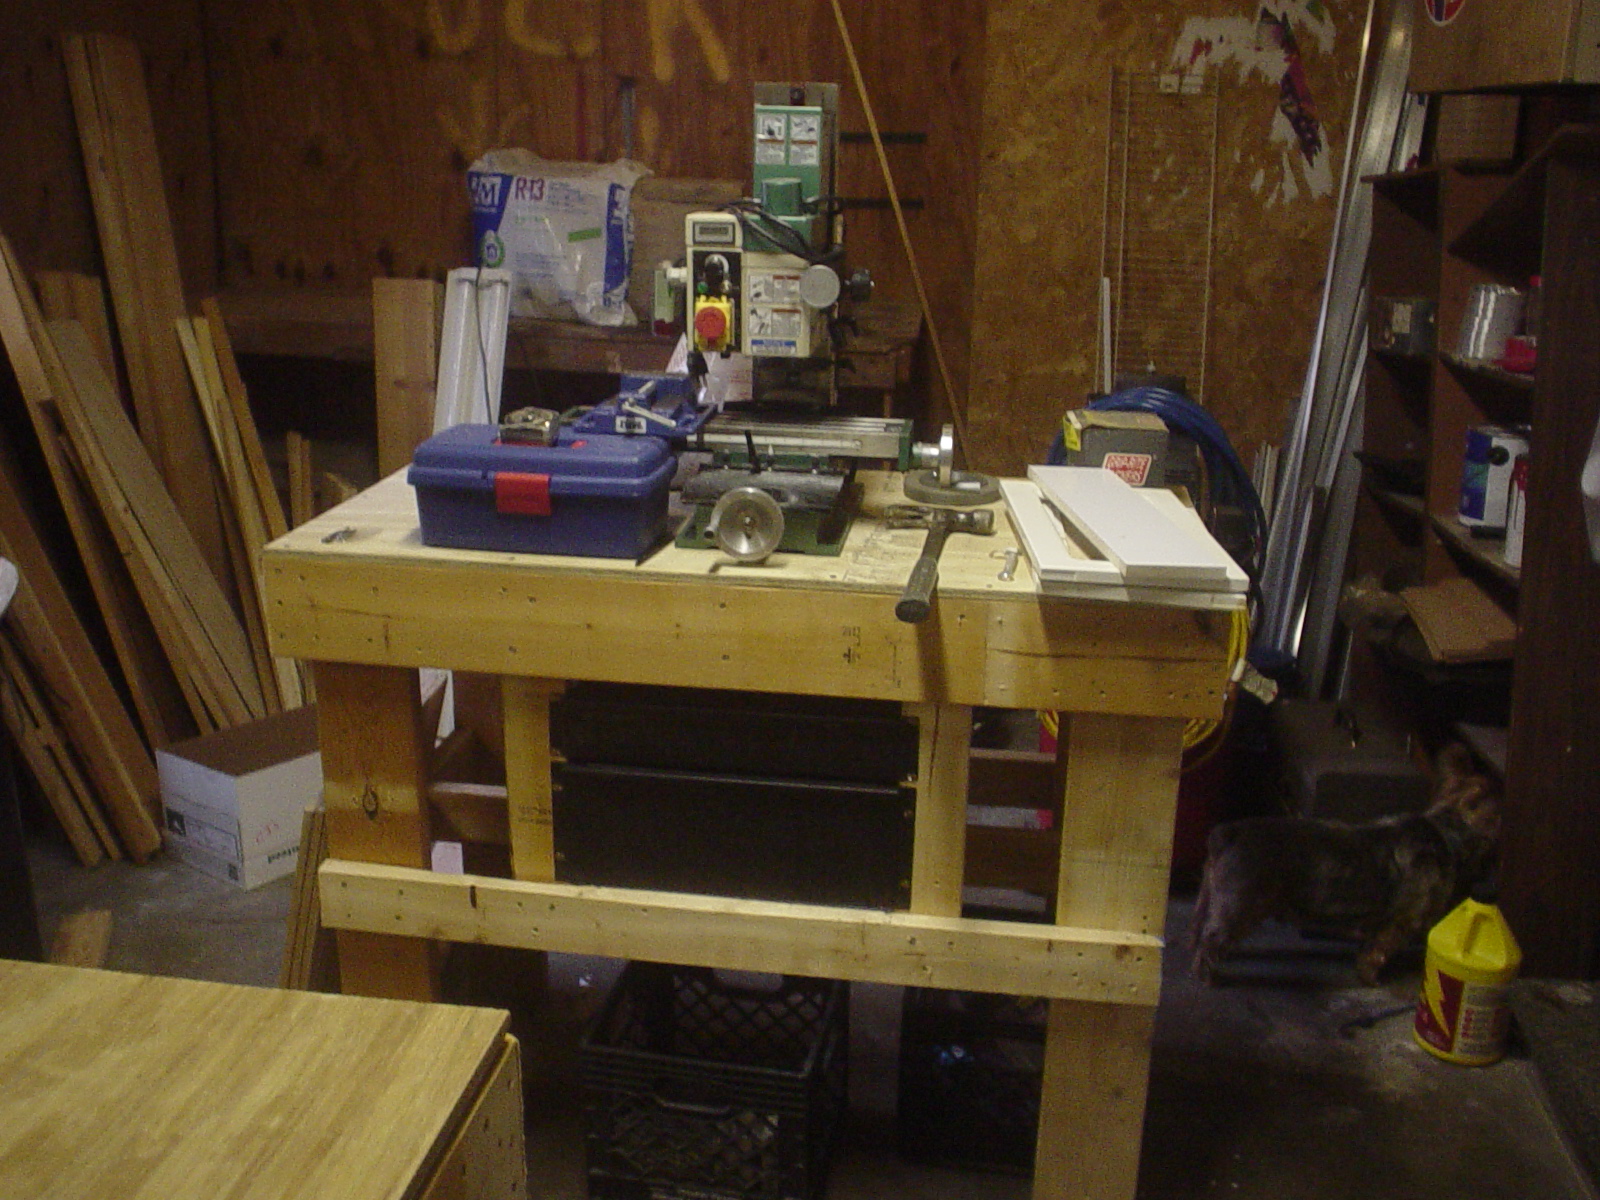
Hey Bob, thanks for checking on me. Hope all is well with you! I moved in Feb & between getting settled in, starting a new veg garden from scratch, building benches & shelves & setting up the shops...guitar shop in the basement & hobby shop in garage, I haven't got back on this project yet. I did look through all the boxes where it is packed a couple of days ago & felt a bit of an emotional tug to get it moving again. Maby this fall. Part of the problem has also been my reaction to the extortion move pulled by photobucket...not sure how I would ever accurately replicate everything in the thread to make it viewable again. Guess I should have been using the attachment feature on the forum all along. Here's a few shots of the garage shop...I'm insulating a bit at a time so I can tap into the HVAC & hold some heat & cool out here...adding lights etc, etc. A lot more room here than in the previous little cubby hole I was working in.
-
scratch building header question
Ognib replied to carcrazy19's topic in General Automotive Talk (Trucks and Cars)
I bent mine out of soft aluminum armature wire. size was determined by scaling down from 1:1 dimensions. I set up a bending jig...laid out & drilled the port spacing as well as drawing the angles for the tubes. All bends were made around a piece of dowel rod for consistency of shape. header on the bend jig. and on the car.