ratchetman87
-
Posts
58 -
Joined
-
Last visited
Content Type
Profiles
Forums
Events
Gallery
Everything posted by ratchetman87
-
Well, its been a rough week all the way around managed to get the block halves assembled and the heads on. Painted the block chevy engine red, the tranny is aluminum, the bell housing will be going gloss black so itll break up all of the aluminum and red. Heres a quick photo of the block and tranny. I may change the heads and paint them aluminum instead, not sure yet. Thanks for looking guys.

-
Hey guys sorry no update yet. Its been a busy week of 10 and 12 hour shifts at work. Im going to start engine work tomorrow and would like to wire the engine bay. Only problem im having is im not sure where to run the positive battery cable to. Been under the hood of a 1:1 thousands of times but never ran wiring before, any advice?
-
Wow very cool erik
-
^^^^ what he said.... unbelievable
-
Wow looks great man. I hope i can hit that caliber of detail and skill some day
-
Progress is being made guys. Got the primer shot on the body shell tonight. I used duplicolors sandable primer decanted into a dual action badger. I shot several dry coats to lightly cover the surface. Once i got full coverage i sprayed one light wet coat to assure ive got full coverage. Next is to block sand the surface to knock down any high spots i may have missed before primer. Then ill shoot one last coat of primer, sand, and then move on to the color, if i ever decide on one. Heres a pic of the impala in primer.
-
lacquer dos and donts... help please
ratchetman87 replied to ratchetman87's topic in Model Building Questions and Answers
Ok i cant thank you guys enough. Heres a photo of my 1960 impala dressed in duplicolors sandable primer. Decanted it into my airbrush and sprayed it about 12 in. away from the shel. Gave it 3 dry coats that barely covered the surface. By the 3rd coat i had full coverage. I did one last slightly heavier coat to get thick enough coverage so that i can block sand and fill any major low spots if necessary. Then ill shoot 1 last coat of primer, sand it, and shoot the gold base coat and top that with either stop light red or a darker hue of green.... any thoughts, comments? Feel free to share all criticism and advice is appreciated.
-
Thanks tom, Im hoping to finish sanding down the body tonight after i get out of work so i can lay some primer down. I would like to have all block sanding complete by this weekend so i can get to the suspension and do some final tweaks before i paint the chasis and then i can move on to my favorite section.... the engine. Still unsure about the color scheme though. I thought about a 2 tone scheme of a darker hue of red for the bottom half and a sort of cream color for the top half using the rear fins as the dividing line. But i feel like its been done too many times before. So then i thought about a dark candy green. But then lol, i came across this plum metallic color and im thinking i may have a winner. But not sure yet, any thoughts and opinions?
-
Hobby Shops... Are They Viable Today?
ratchetman87 replied to Tom Geiger's topic in General Automotive Talk (Trucks and Cars)
Hobby town usa was one of the best lhs ive ever stepped foot in and due to the internet they just couldnt compete. They were very good busy people, were always friendly and very informative. They had a huge variety of items from model cars to competition rc cars. They had something to offer every hobbyist that stepped into their store. I was pretty down about the closing because it was like being a kid in a candy store, now the lhs is about 25 miles away and the selection isnt as good, neither are the prices for that matter. So i would have to say that the internet is a detrimental factor to all hobby shops across the world. -
Looking good man.... keep going
-
lacquer dos and donts... help please
ratchetman87 replied to ratchetman87's topic in Model Building Questions and Answers
Thanks guys. I actually use a dual action badger myself. I also decant a lot of paints into the airbrush so that ill have more control over the pressure and pattern being sprayed. Im just unsure about using lacquers in general because of the lack of experience with them. You fellas seem very knowledgeable on the subject and i really do appreciate the advice youve all given me. Im a machinist by profession and a painter by hobby so i know very little about what paints are safe to use with what thinners and how the overall process of preparing the work piece changes from using the different kinds of paints. Testors and model master enamels are all ive ever shot through my airbrush. Acrylics were used when i was a teenager so the cleanup would be easier. Now i want to start dabbling with lacquers because of the high quality finishes ive seen produced by both lacquers and some very talented people who know how to use them. -
'31 model a tudor (chopped and channeled)
ratchetman87 replied to crazyrichard's topic in WIP: Model Cars
Wow that is some pretty impressive building youve done there -
lacquer dos and donts... help please
ratchetman87 replied to ratchetman87's topic in Model Building Questions and Answers
Im kind of leary with lacquers because i tried using lacuer thinner to remove paint from a set of wheels and it started to melt the details away. Luckily i was able to find a replacement set, but you can understand my nervousness after that experience. I think it was becauseit was straight thinner. Maybe ill just have to take the dive and start experimenting to really get the handle on it. Ive got plenty of sprue and information ( thank you all) to work with... hopefully -
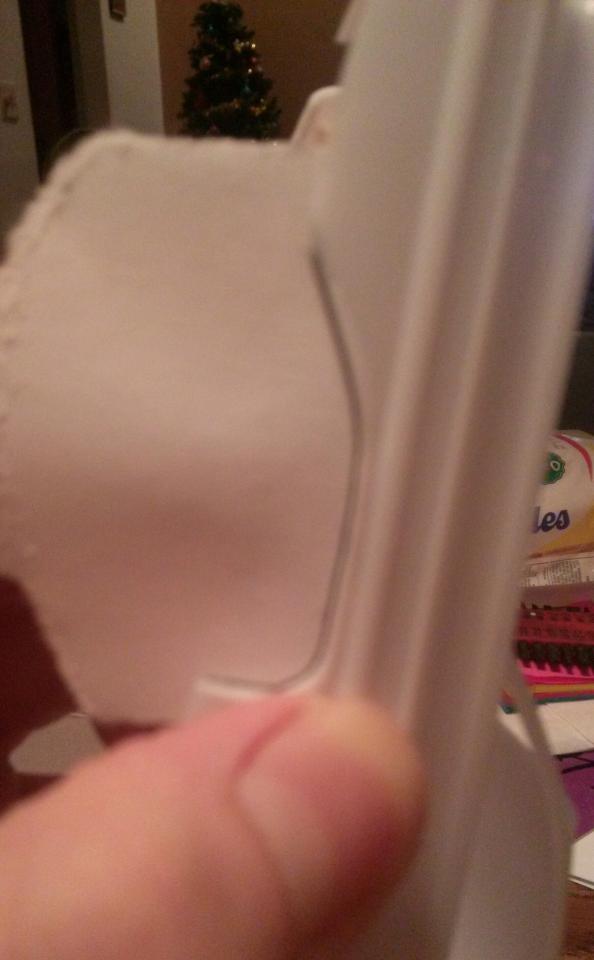
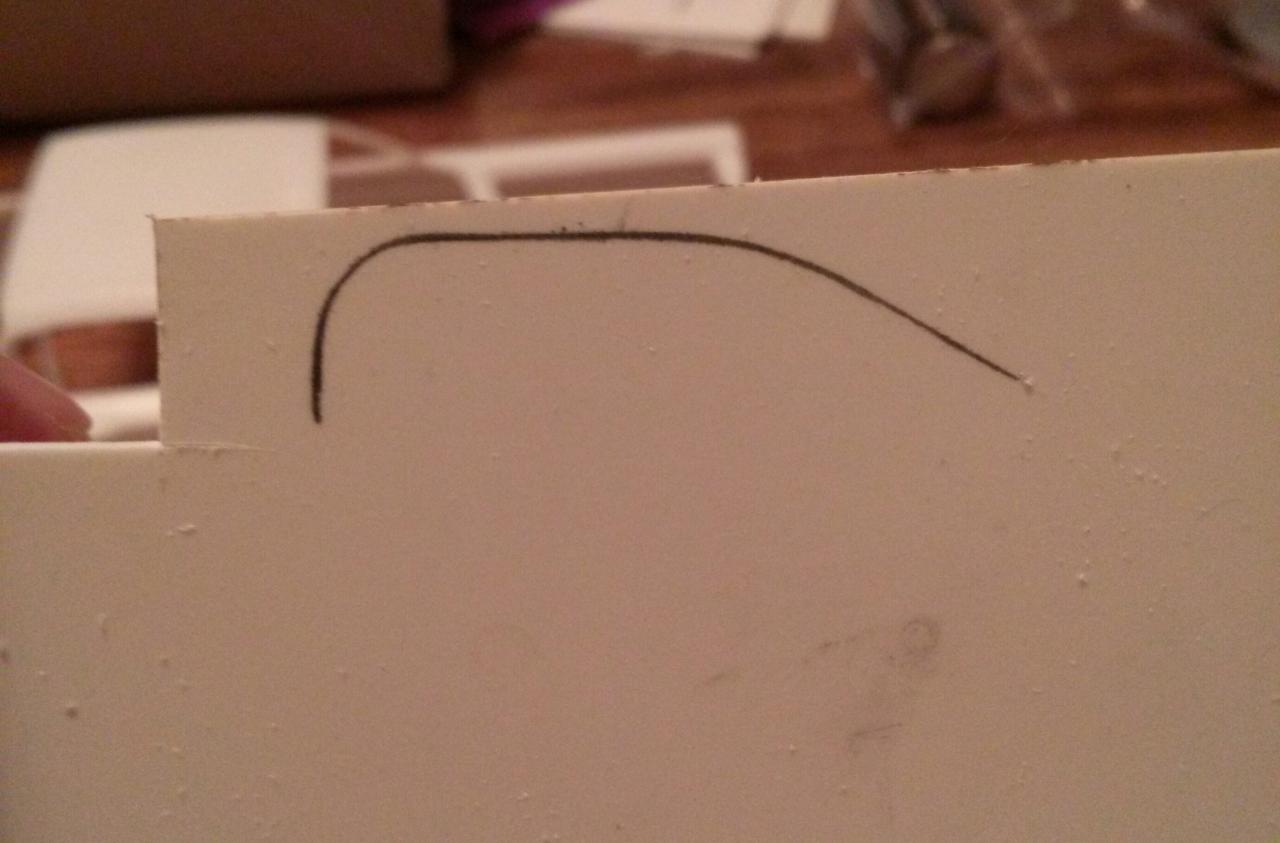
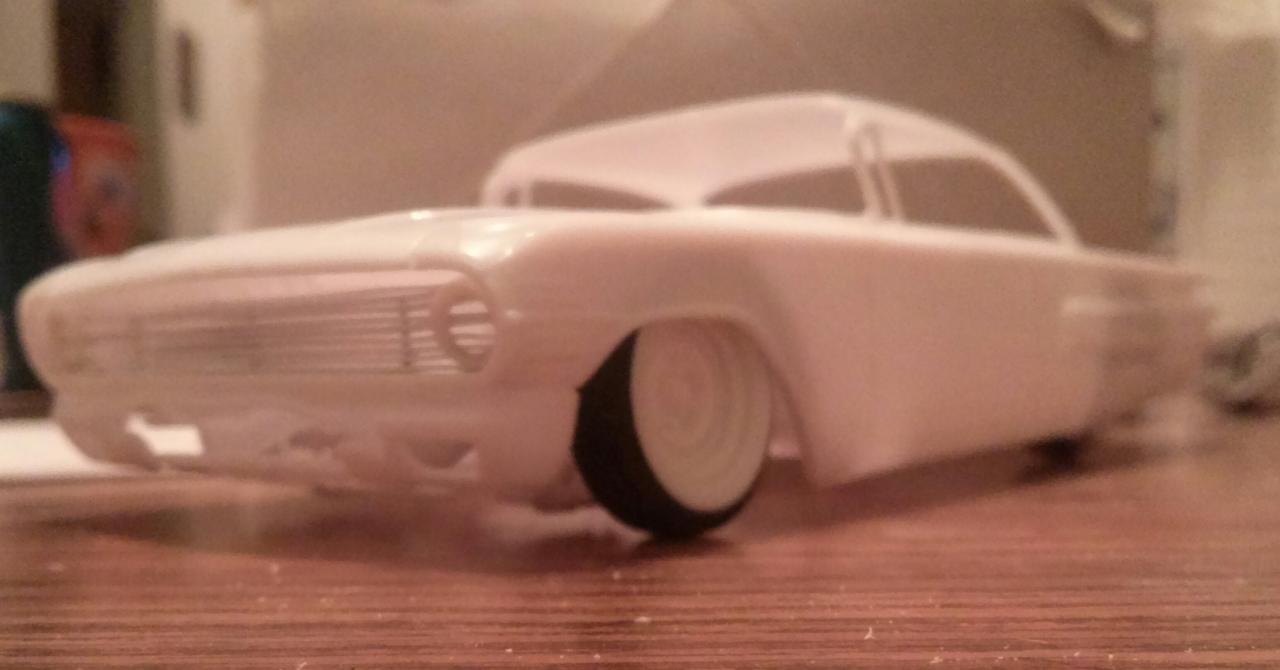
Hey guys a got some work done to the impala this weekend. Not a whole lot but its coming along slowly but surely. Heres are some pics of progress that has been made. I started with making a stencil of the wheel well so i would have a starting point on the fender skirts. Traced the general shape onto the styrene and cut it out. After some serious shaping and fitting i finally got the fit just right I then had to shape the skirts to match the contour of the rear quarter, i used a pencil and marked the shape of the contour to help me see the shape. Here they are side by side 100% completed. The next photos show the stance of the car with the grille mocked up and fender skirts on. Well thats all for now. More to come as soon as possible thanks for looking and as always all input is welcome and appreciated
-
Heres some photos of a grille i recently scratch built out of .015 sheet styrene for a 1960 impala.
-
Hey no problem we all started some where and it looks like youre well on your way. Looking forward to seeing some future builds from you.
-
If youre unsure of how a paint will react you can always spray a sample piece using the sprue so that way if it does react you wont have to strip the body. Also ive heard that using brake fluid can make the plastic brittle and may crack when trying to stretch the body over the chasis. Not sure because ive never used brake fluid. Nice trick with the tires im going to have to remember that one. When building headers you will need some pipe solder from home depot or lowes. Grab some sheet styrene as well about .030 thick. Usually ill use the cylinder head and trace the shape of it to the sheet styrene. Cut this piece out and use it as a starting point and shape it with a needle file. I only do it this way because none of the hobby shops around here carry .250 x .030 styrene square rods. If you can find it in a hobby shop near you id use this vs the sheet because its close to the size nedded just cut to length and do some minor shaping to make it resemble the missing piece. Lay the finished product over another piece of square rod and tiirace the shape of the mouting plate and shape the second piece to match the first. Now for the pipes, grab the solder cut 8 pieces about 1.5 to 2 inches in length. Super glue or krazy glue should hold the solder rods to the plastic, make sure the rod is glued in relation to where the exhaust port would come out the head. After the glue is good and set up you can bend the solder with needle nose pliers (using the pictures in the assembly guide as a reference) to the desired shape. Also i would start in the middle and work my way out. Repeat the process for the opposite side. For the collectors i usually use heat shrink tubing and paint it to match the solder. Before heat shrinking you should make sure the ends of the pipes are cut to equal lengths. Hope this helps sorry about the long post just trying to help out a fellow builder. Just stay patient and persistent and you'll see progress in everything you do. Good luck
-
lacquer dos and donts... help please
ratchetman87 replied to ratchetman87's topic in Model Building Questions and Answers
Thats a pretty good idea thanks ron. Didnt even think about spraying the sprue. -
I promised myself i wouldnt relapse this time but styrene just has a hold on me lol. Yeah those double digit negatives are rough but hey thats ohio for ya. I currently have a 1960 imala and a 29' ford on the bench. The impala is coming along pretty well, theres some pics upon the workbench forum. The 29' ford is currently stalled. It was giving me attitude so i put it in time out, in its box, in the corner, for a year lol. Plus the wife and i have had a long busy year so hopefully 2014 allows for more build and post time. Looking forward to everyones input. Thanks, Jeff
-
Wheel issue is solved thanks to a donor catalina. Got some work done on one of the fender skirts today had to start over cause i botched the first one i made, got kind of file happy. Pics will be up tomorrow or sunday the wifes honey do list is starting to grow. Have a good weekend guys.
-
lacquer dos and donts... help please
ratchetman87 replied to ratchetman87's topic in Model Building Questions and Answers
Cool thanks guys, do i need to use a sealer at all before priming or will the primer act as the sealer to? -
Ok so ive been building models for about 7 years now and have always used enamel or acrylic paints. Im curious about lacquers or at least thinning my enamels with lacquer as ive heard it reduces drying time, however i am unsure of the prep process and whats safe to do and whats not. Id hate to throw a pile of melted plastic away that used to be a model cause i missed a step in the prep work. Any guidance would be heavily appreciated. Thanks, Jeff
-
Bleach works great for stripping chrome, its almost instantaneous and no harm to the plastic that ive noticed. As far as paint ive heard that certain oven cleaners will do the job as long as its not the fumeless stuff. Just be sure to use rubber gloves to avoid skin irritation, just a friendly reminder. Also after stripping paint and chrome wash off any residue left behind from the chemicals with warm soapy water and an old tooth brush.
-
Ok so ive made a mistake by not checking the forum before experimenting with what would strip acrylic paint and apparently laquer thinner is bad juju for plastic. The wheels started melting in a few seconds after applying the thinner with a q-tip. Wheels are shot to hell so i gotta find some replacements or buy another 29 ford just for the wheels. I see a trip to the chapel er i mean hobby store tomorrow
-
Lol ill try chris. Nope theres more than one builder crazy enough to live by the mistake by the lake ( browns) still an avid fan of the brownies. Hey our motto maybe next year lol. Looking forward to jumping in got some ideas that i cant wait to throw into some styrene.