
vamach1
-
Posts
4,992 -
Joined
-
Last visited
Content Type
Profiles
Forums
Events
Gallery
Posts posted by vamach1
-
-
56 minutes ago, kensar said:
Great to see this build here. Do post any issues your guys come across as it will be helpful. I see the build will be of the 1046 chassis.
BTW is the tan underside just a primer?
It will be interesting to see how this group project turns out.
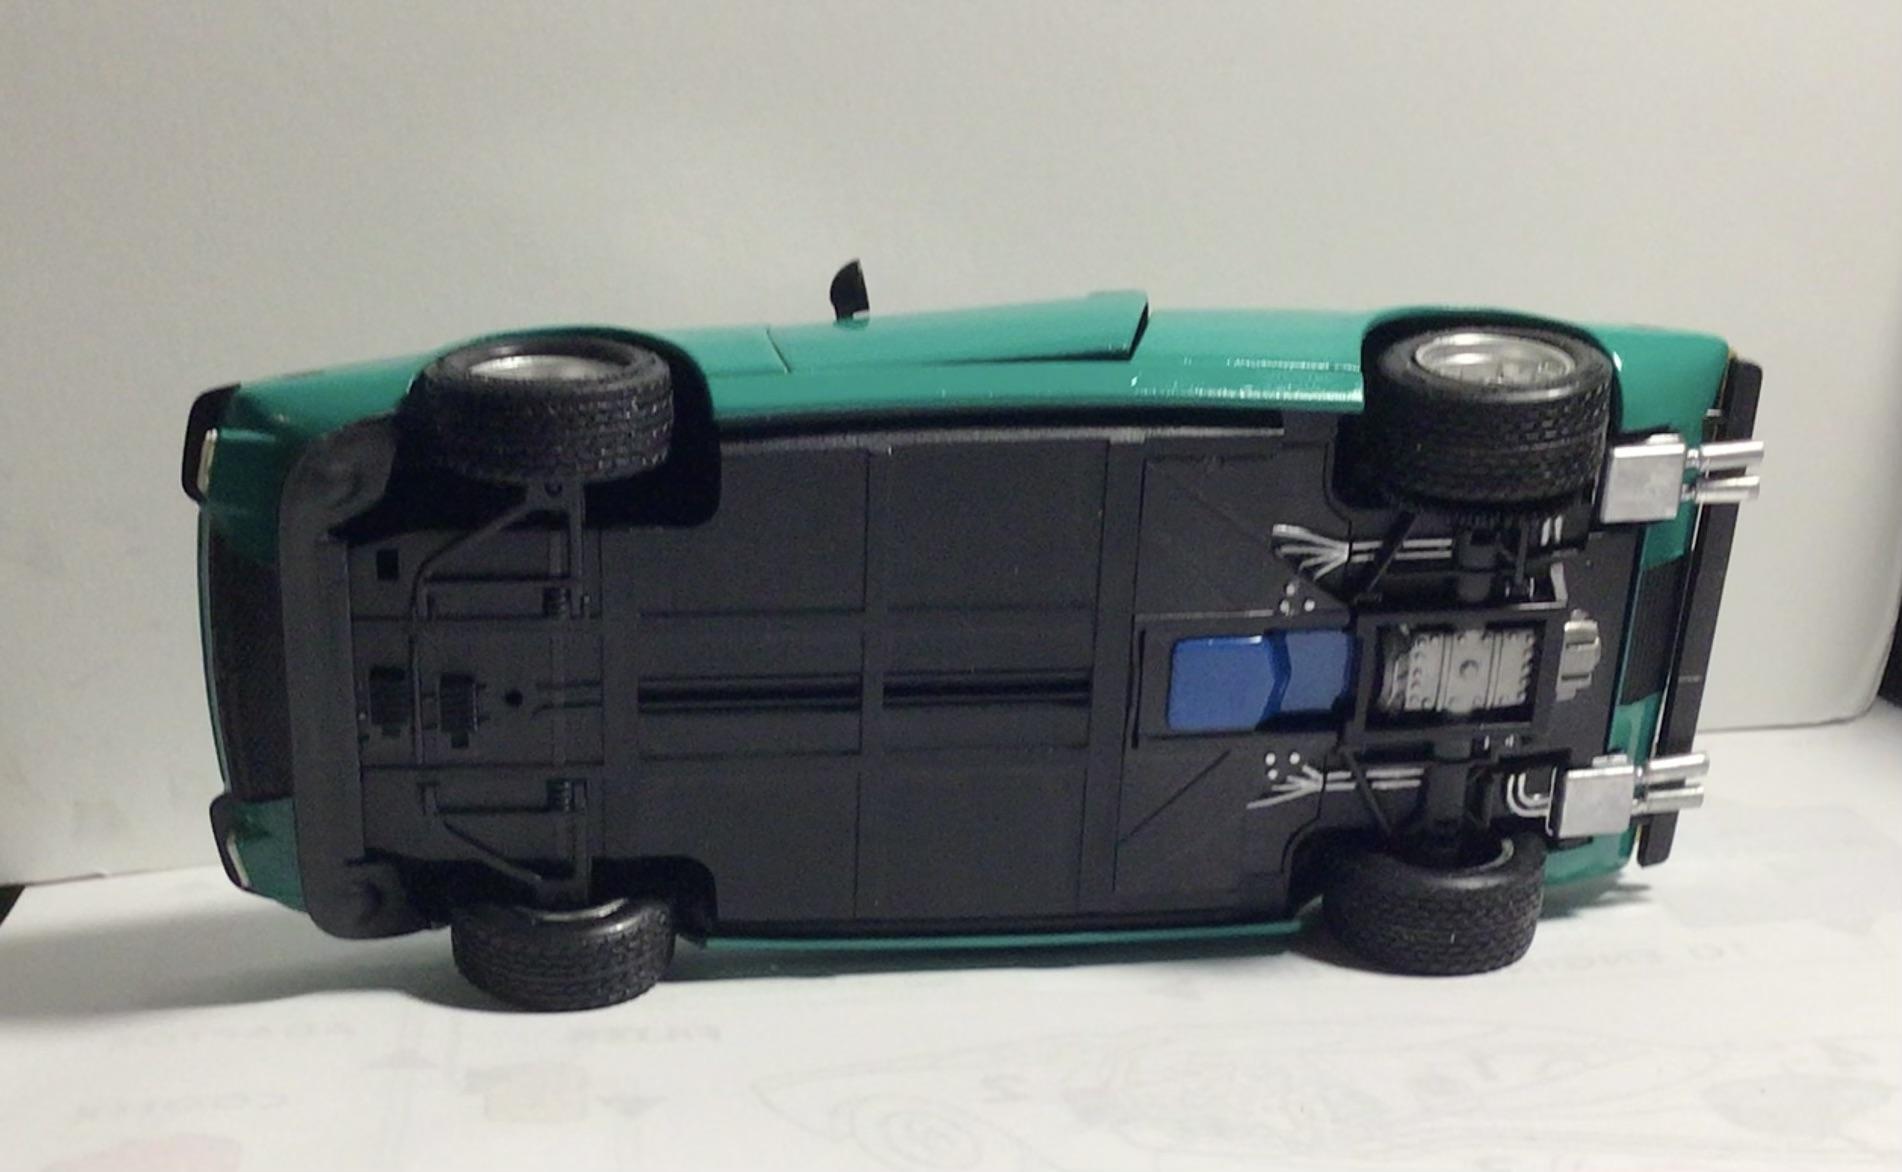
I’ll post any issues that have not already been covered by other step by step builds. Yes the underside is primer and will be painted the dark blue as seen in the restoration of P/1046.
-
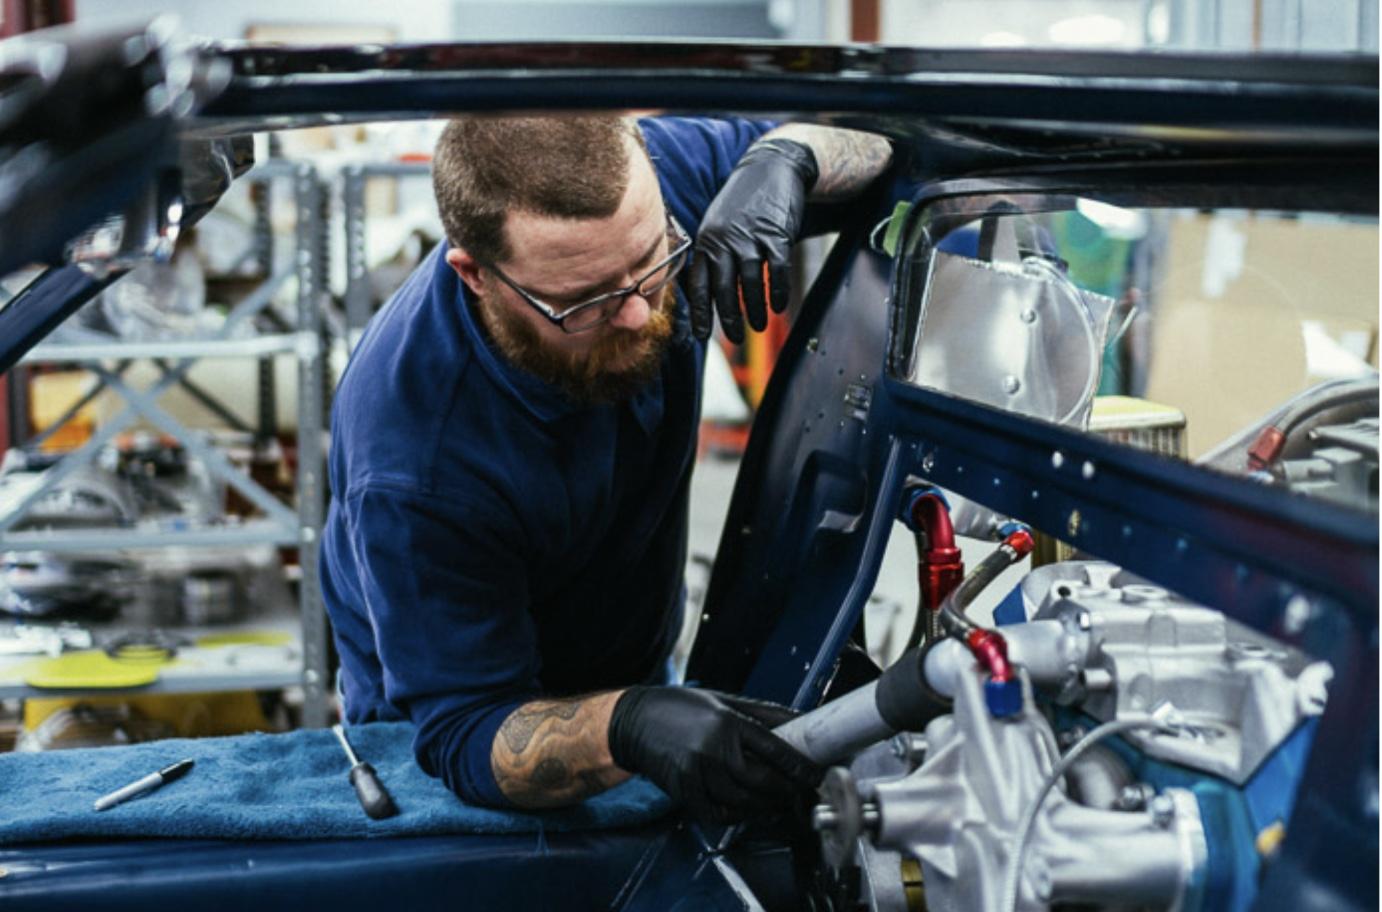
I am one of many that has been following Ken Morton’s build of the Trumpeter/Magnifer kit build which has exposed many known or perhaps newly discovered inaccuracies with the kit. As I coincidently started the kit at about the same time as Ken the information provided by others has been extremely helpful for this group build. The original Trumpeter kit came out in 2008 and under the Magnifer brand in 2020. Given the access to information at the time and the comparatively low price for a kit of this size, it's not too surprising there are some egregious errors and omissions in the engine compartment. I will not repeat the discussion of those inaccuracies on this post. This post will show pictures of the work in process of a group build that will display the talents of several members of the Model Car creations club that is based in Broward county Florida.
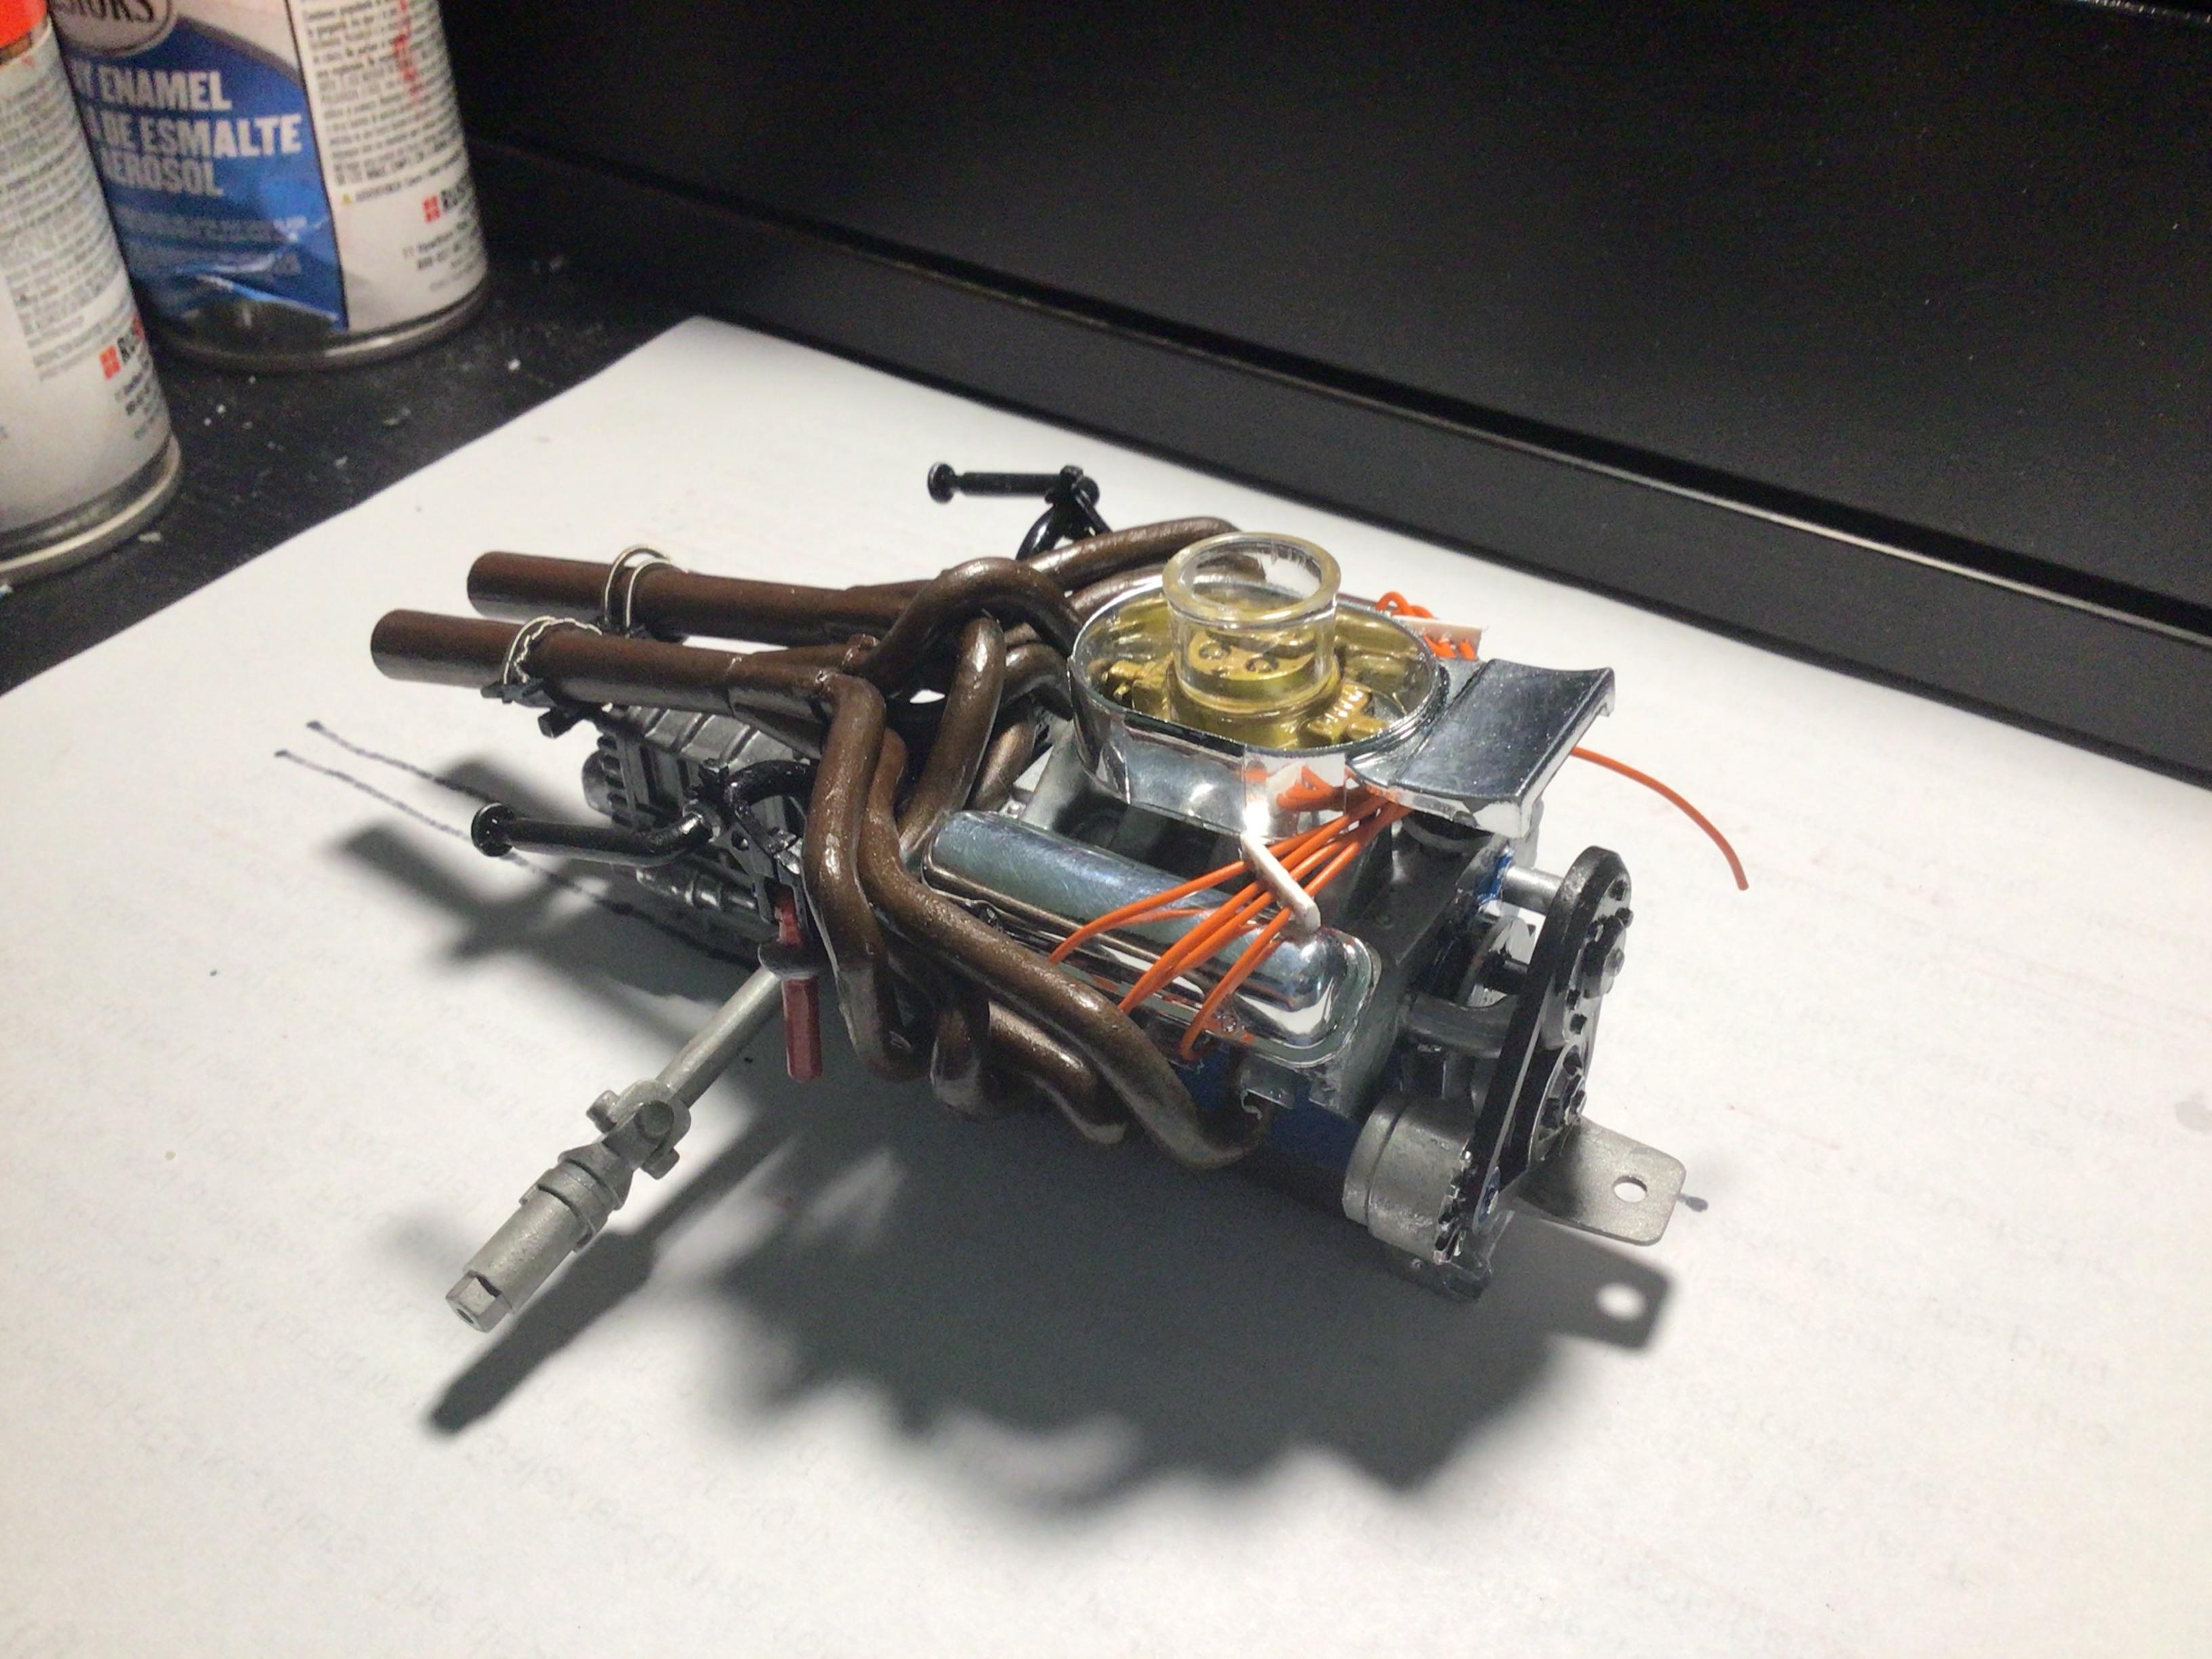
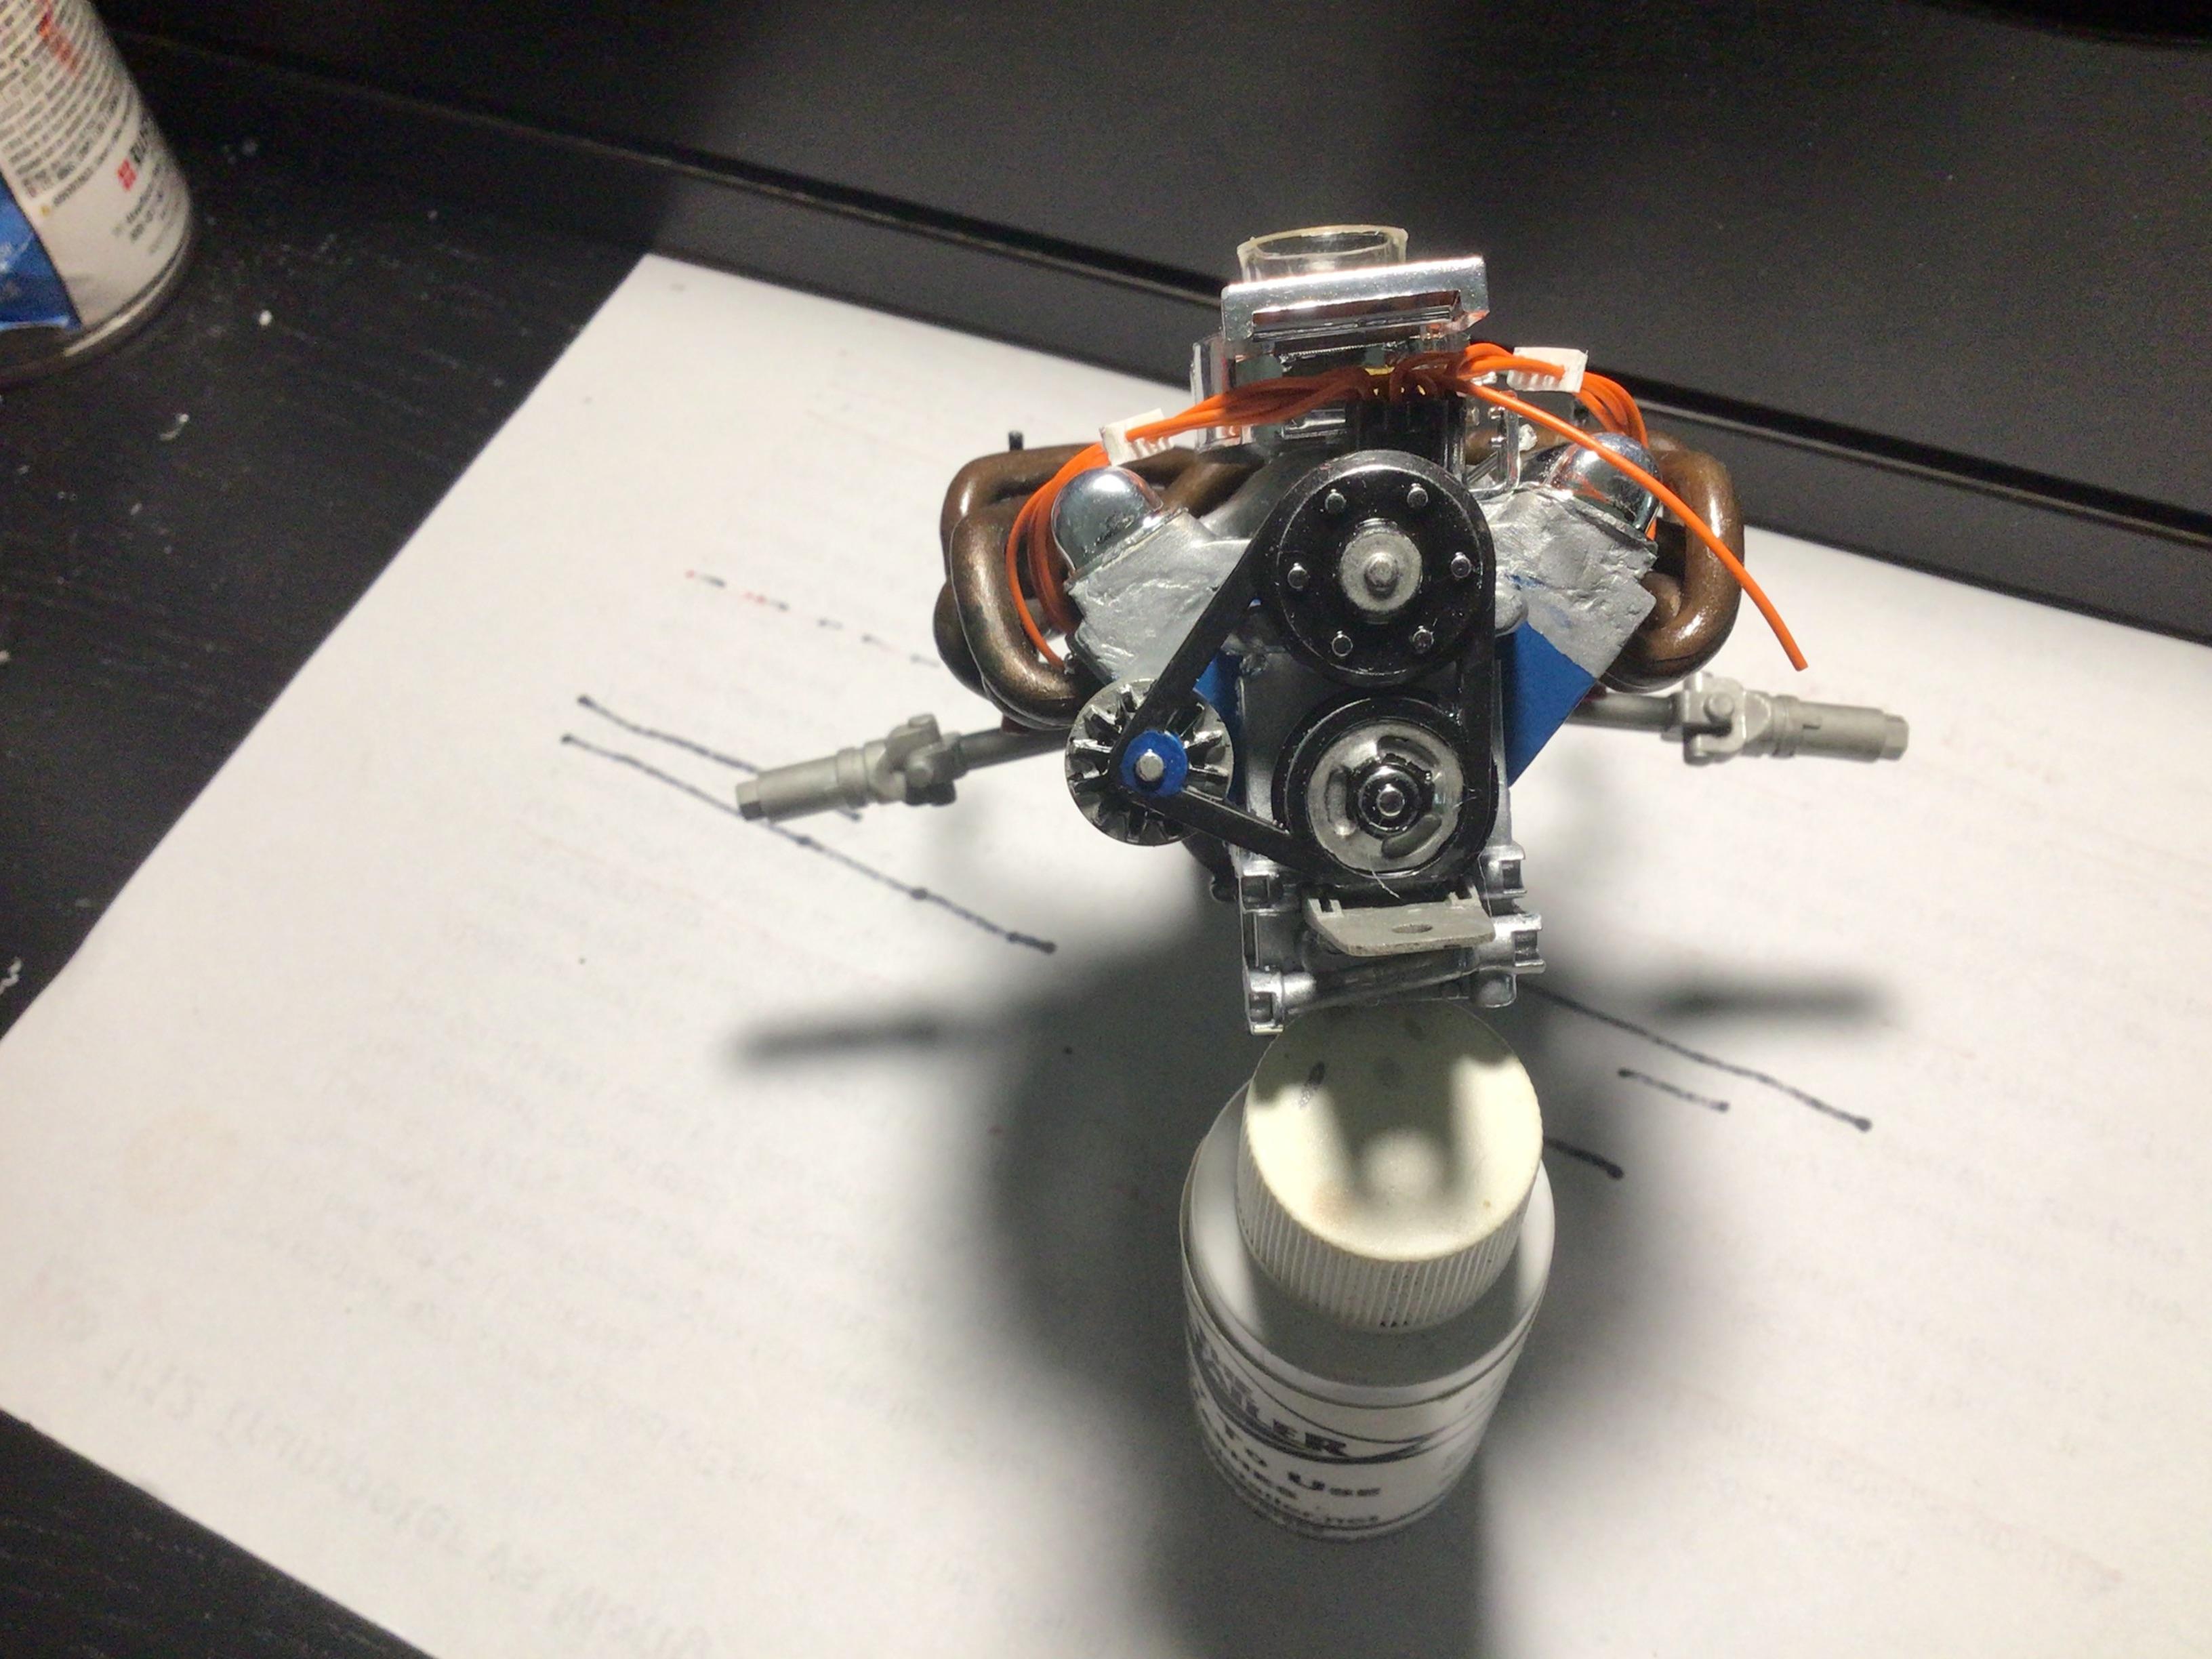
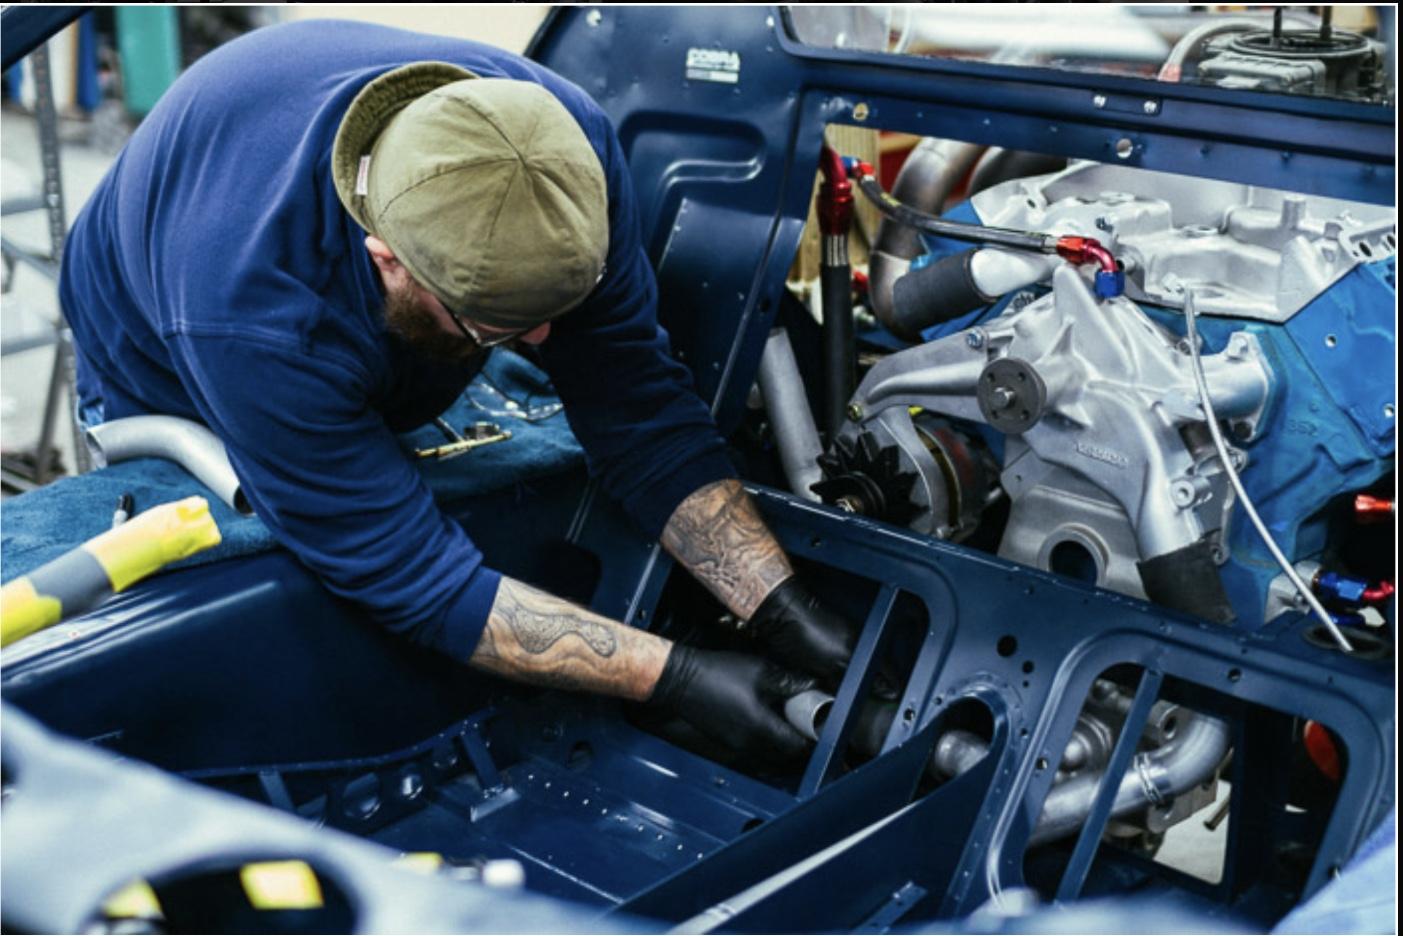
Now on to this build. A distributor was added to the engine as were plug wires. I forgot to take a picture after I had installed several of the oil lines so those will show up in an updated post. The engine has been set aside and the body was given to another club member for painting. The next steps will be assembling the chassis and interior by another club member. I will post updates every 2-3 weeks due to the kit being passed from builder to builder as more is completed. I had hoped this kit would be more accurate and will leave it up to the builder(s) to modify or add parts on their own as we realize there is no such thing as a perfect kit and completing the kit with a lot of modifications could add even more hours to a build that may exceed a few hundred hours. Before the final assembly there may be a chance to make some changes if new information or tips are provided that are compelling enough to go ahead with them. Thanks for following along and any comments or suggestions are welcome.

-
 3
3
-
-
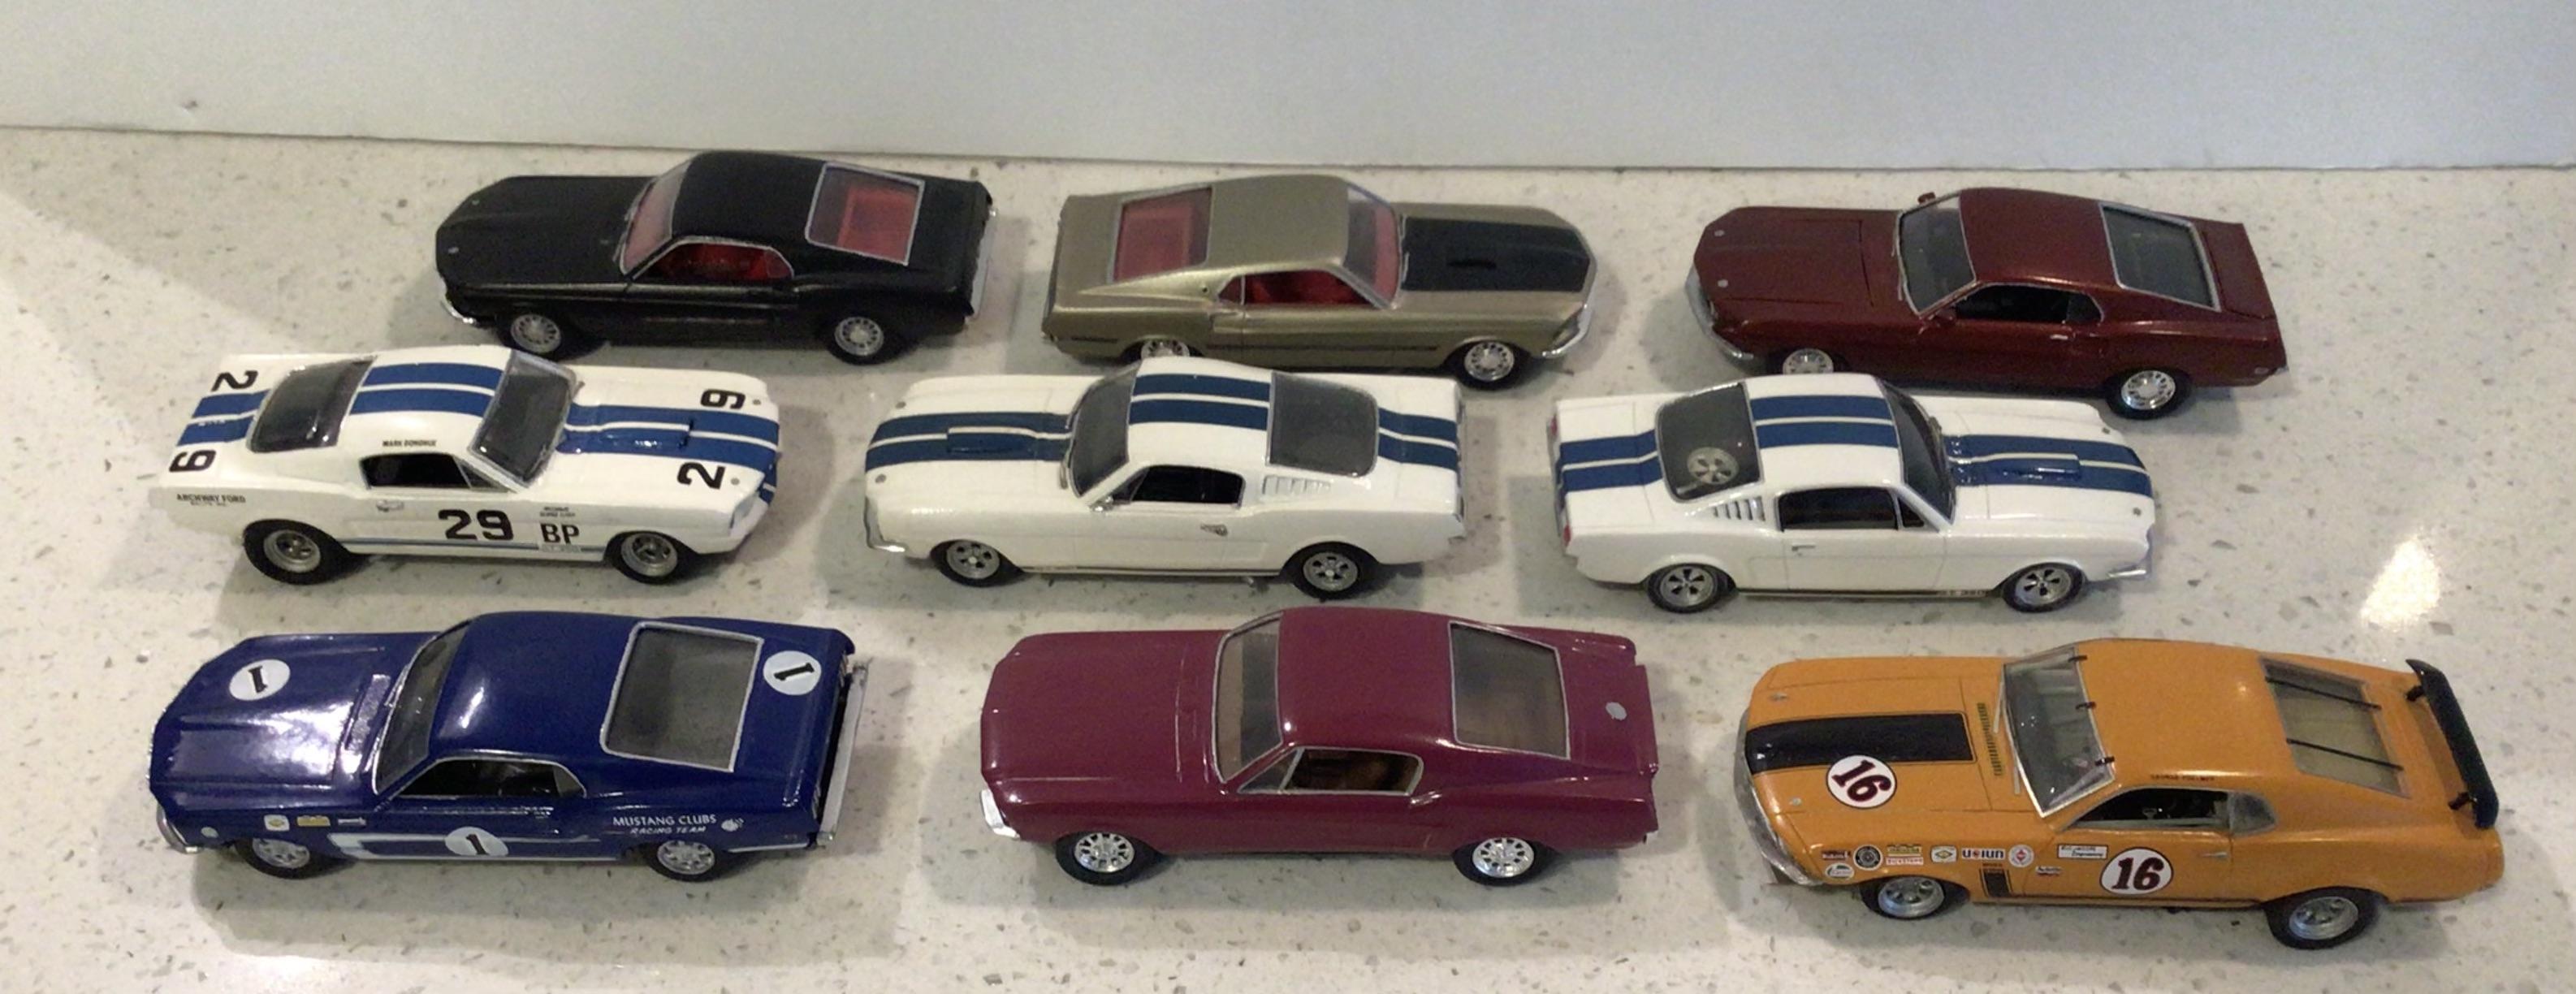
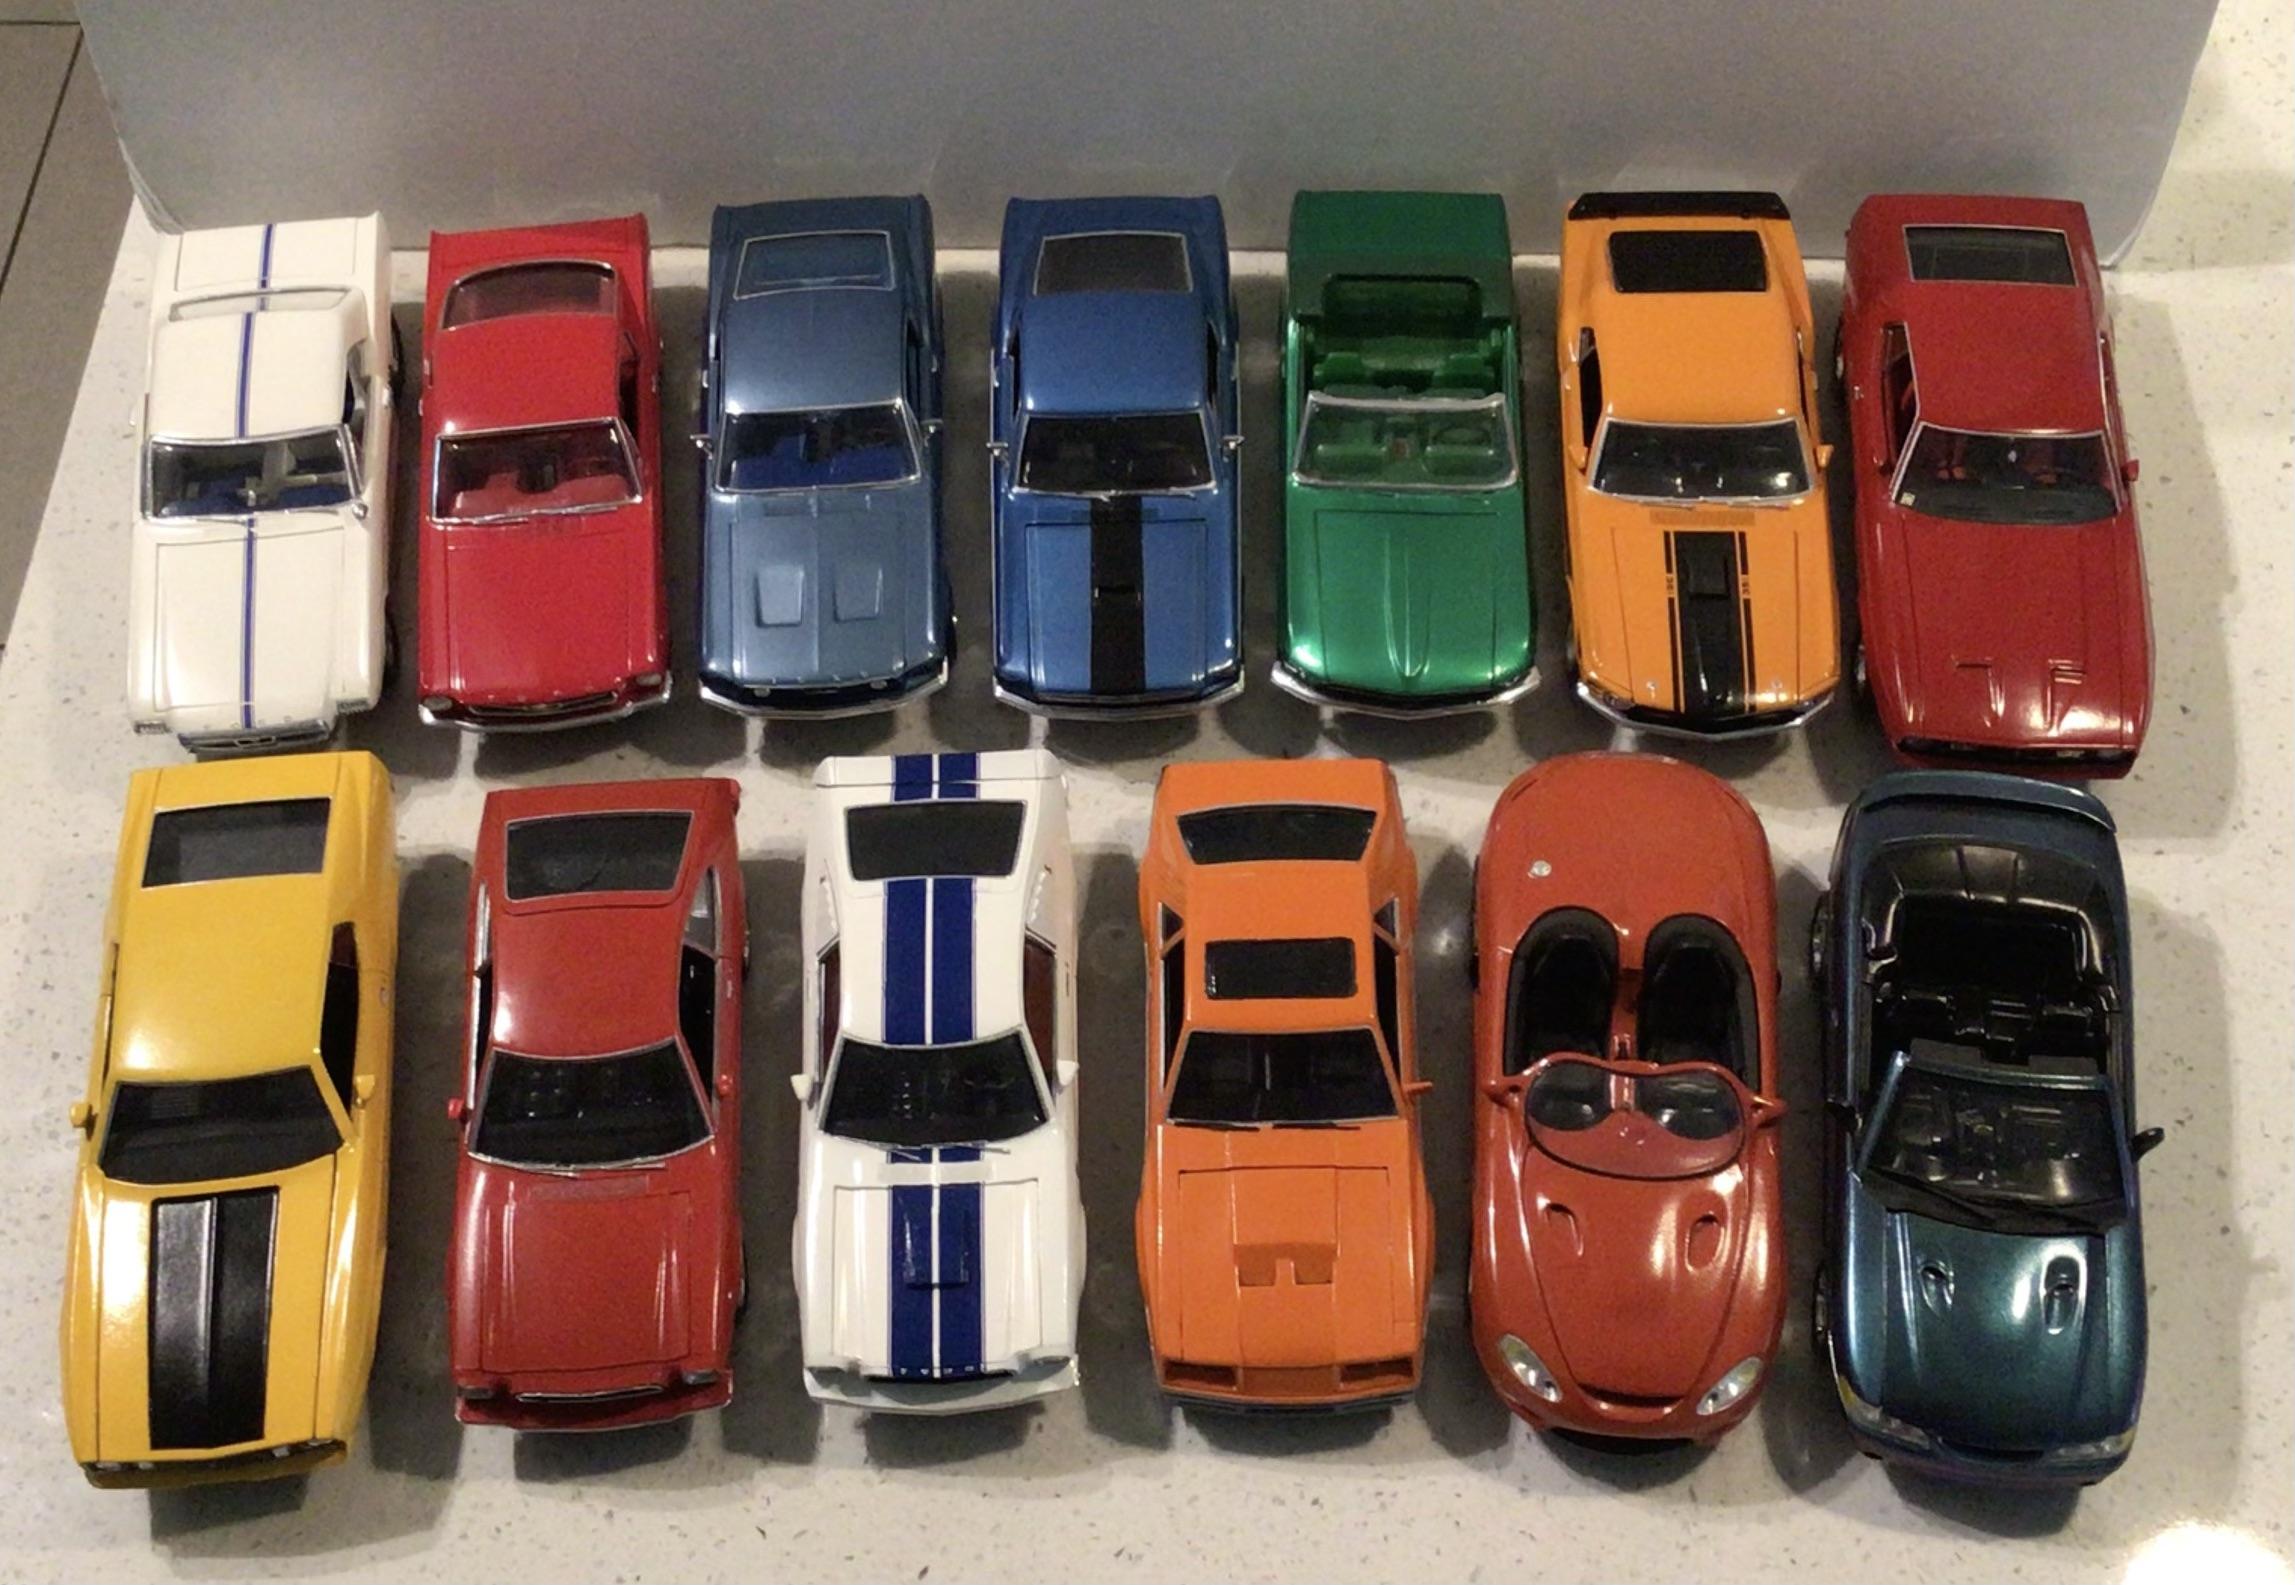
My corral of 1/43 Mustangs.
-
2
-
-
12 hours ago, 1959scudetto said:
Looks good, Rex - I guess this is the tilt/Maruii kit ?
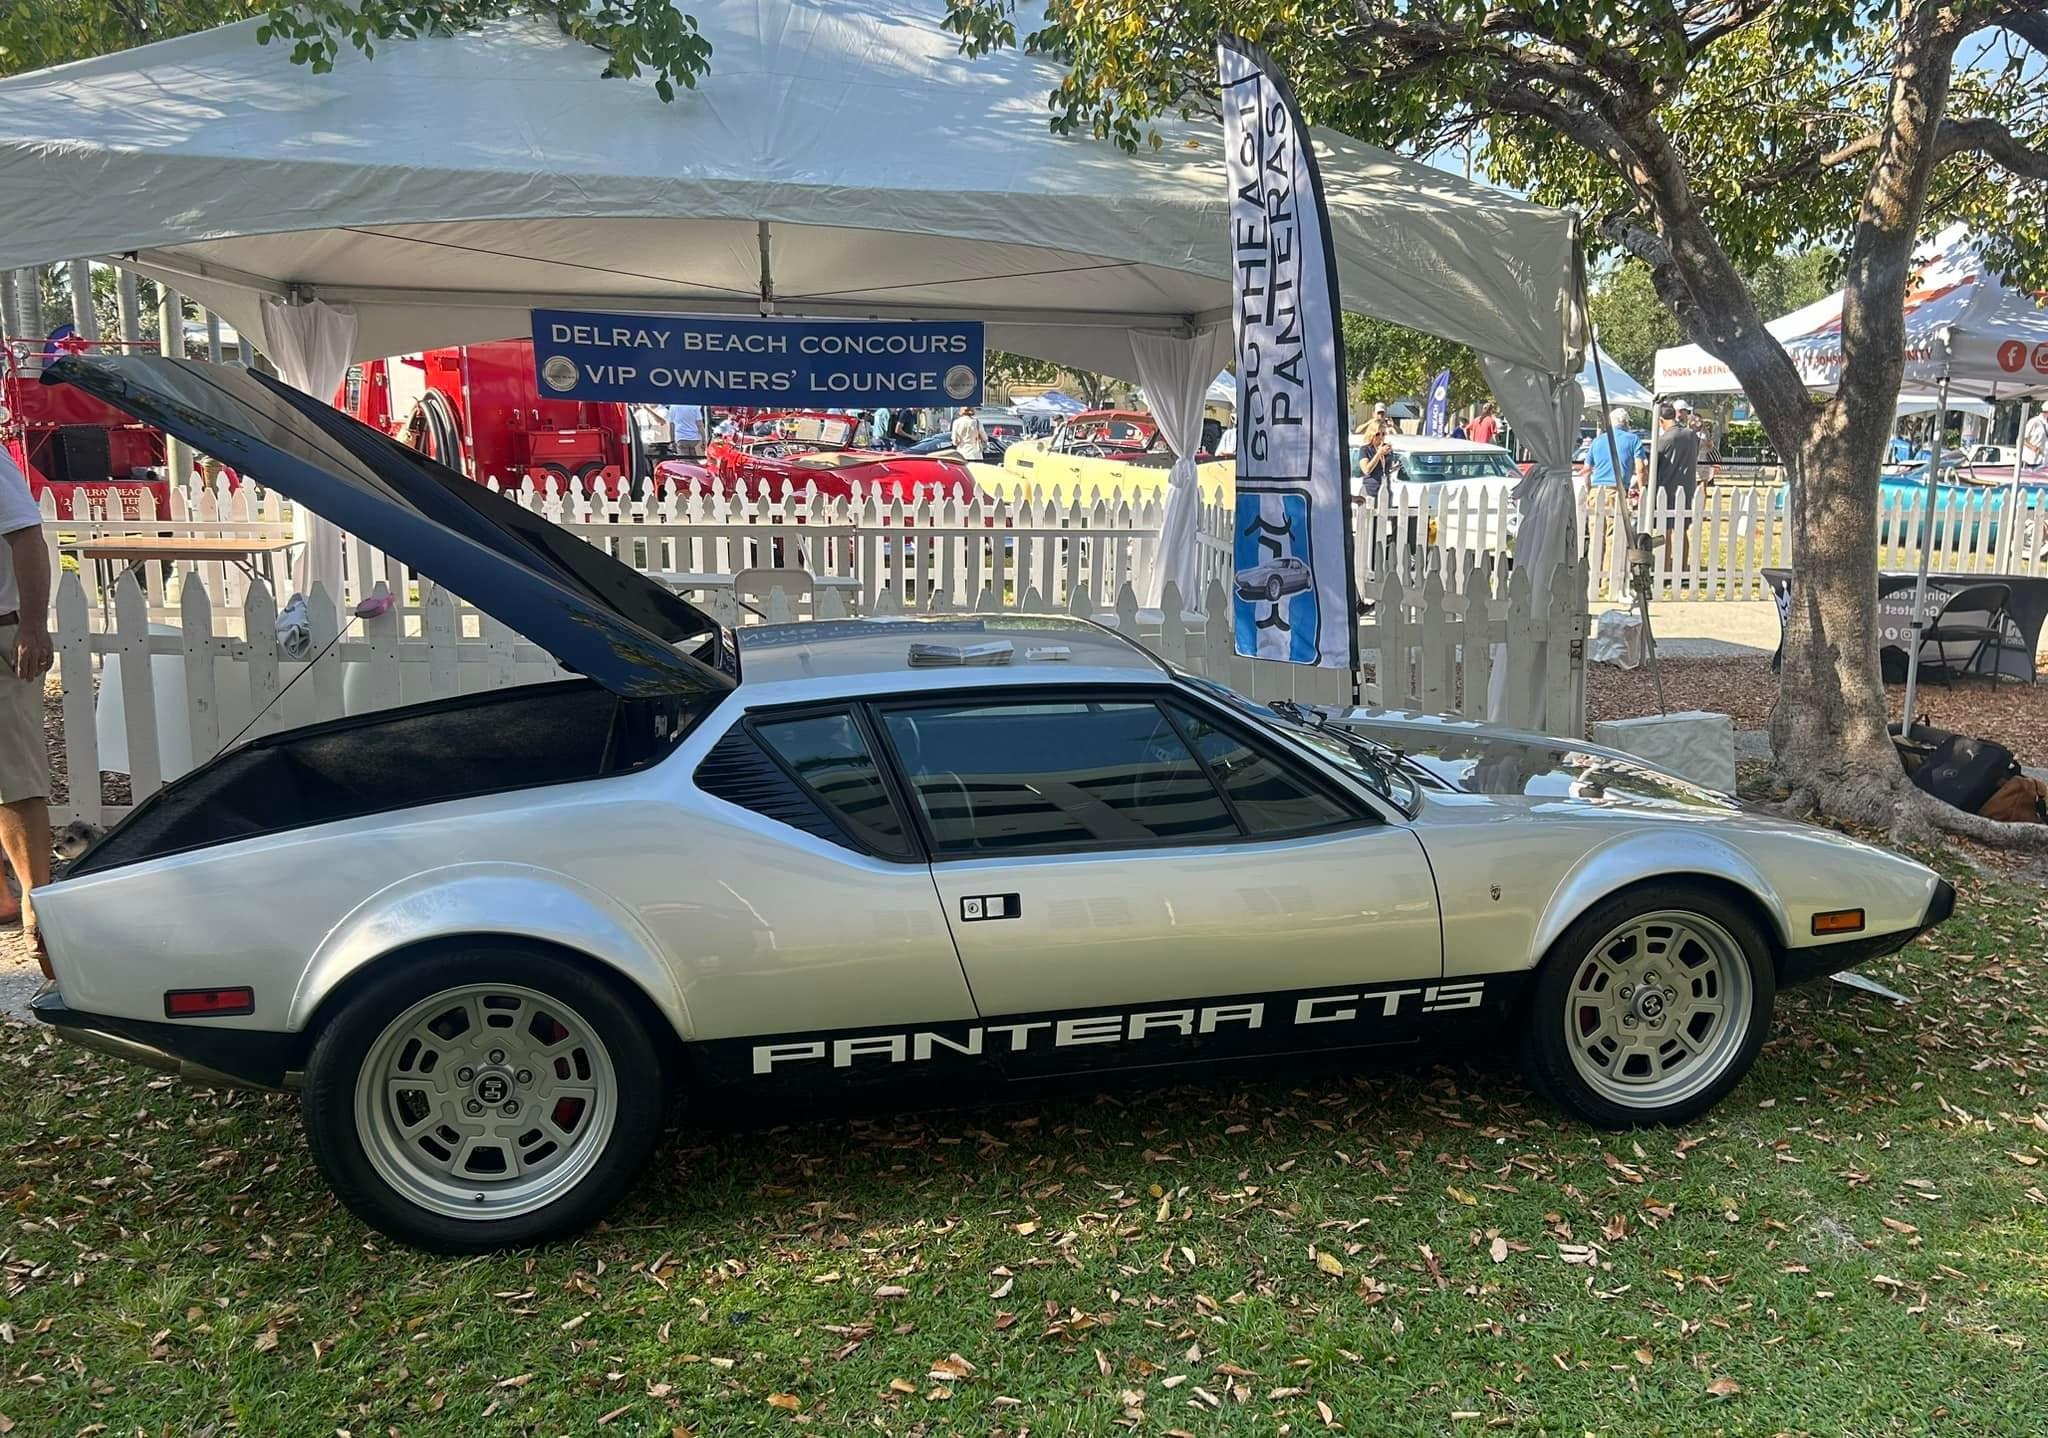
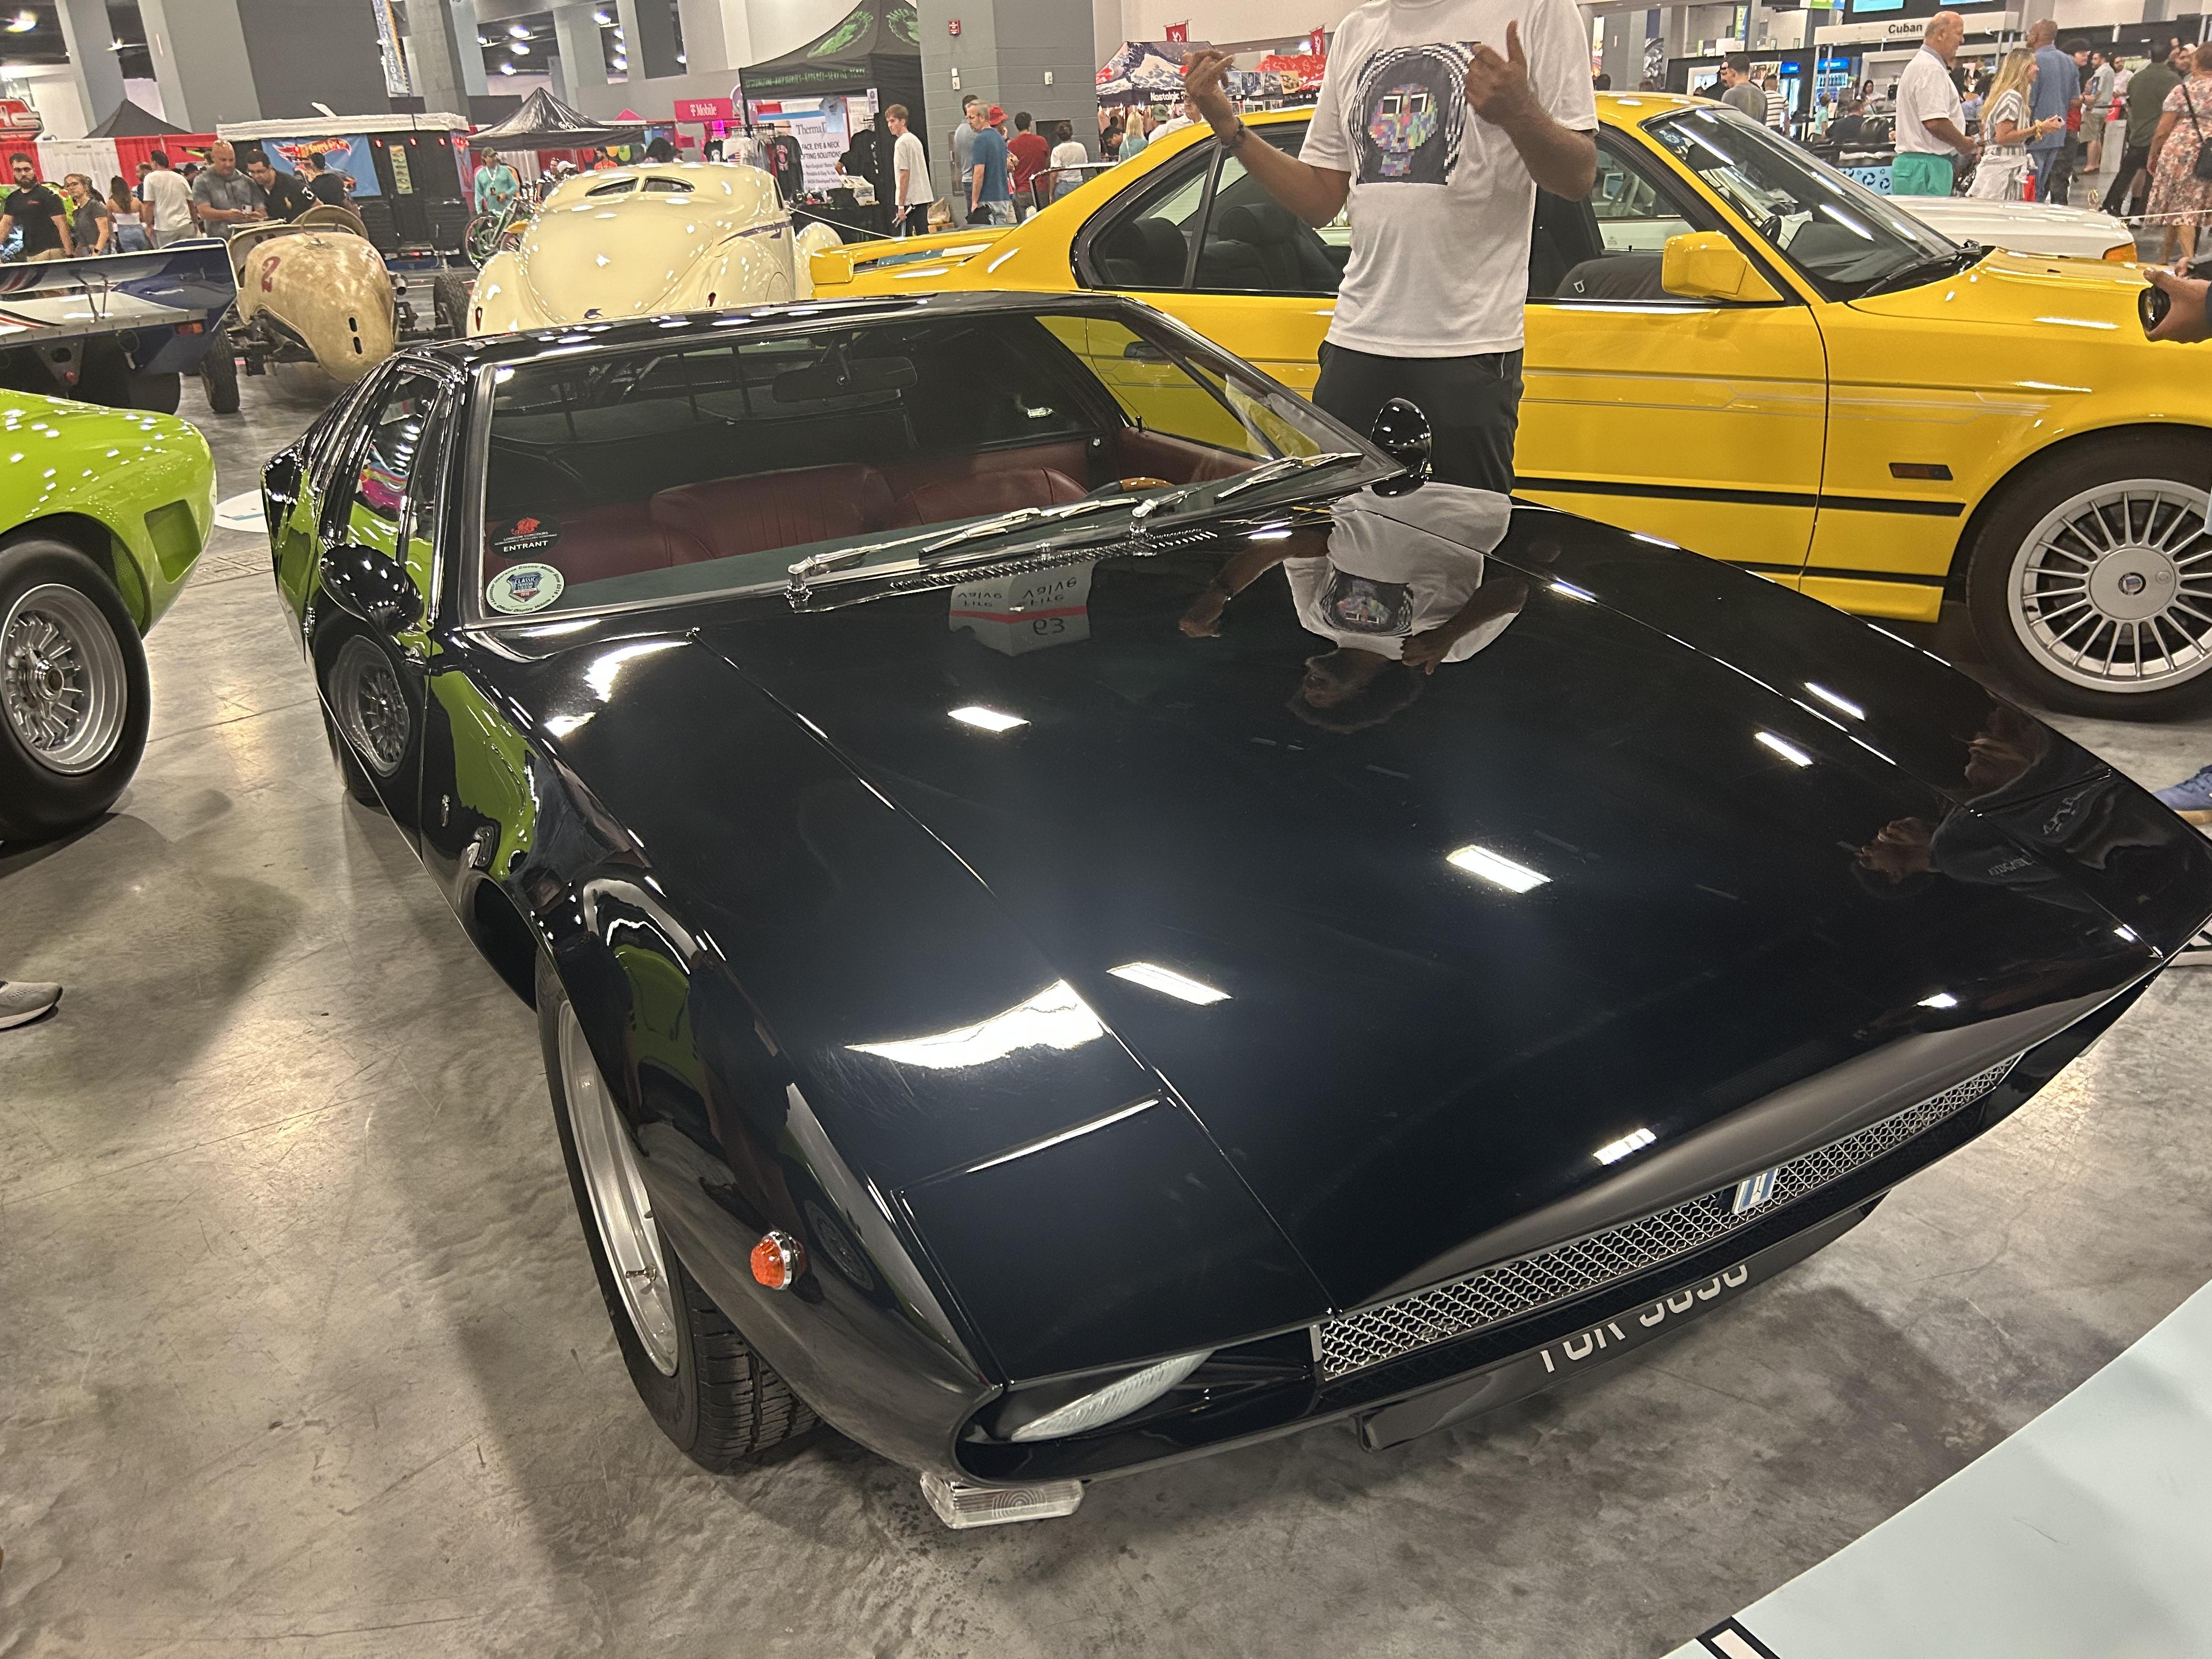
Yes it is that kit. Guess what I saw today at a show in Delray Beach.
-
1
-
-
1 hour ago, Phirewriter said:
I found the Revell '69 Boss 302 is a good candidate for a conversation. The major issue (and is not a difficult modification) is swapping the inner fenders/engine bay. Everything else including the interior is a drop in. The windshield may need some finessing as well.

Good point. I keep forgetting the Revell is 1/25 and is a good option. The interior and chassis and engine compartment are better for sure.
-
2 hours ago, Rich Chernosky said:
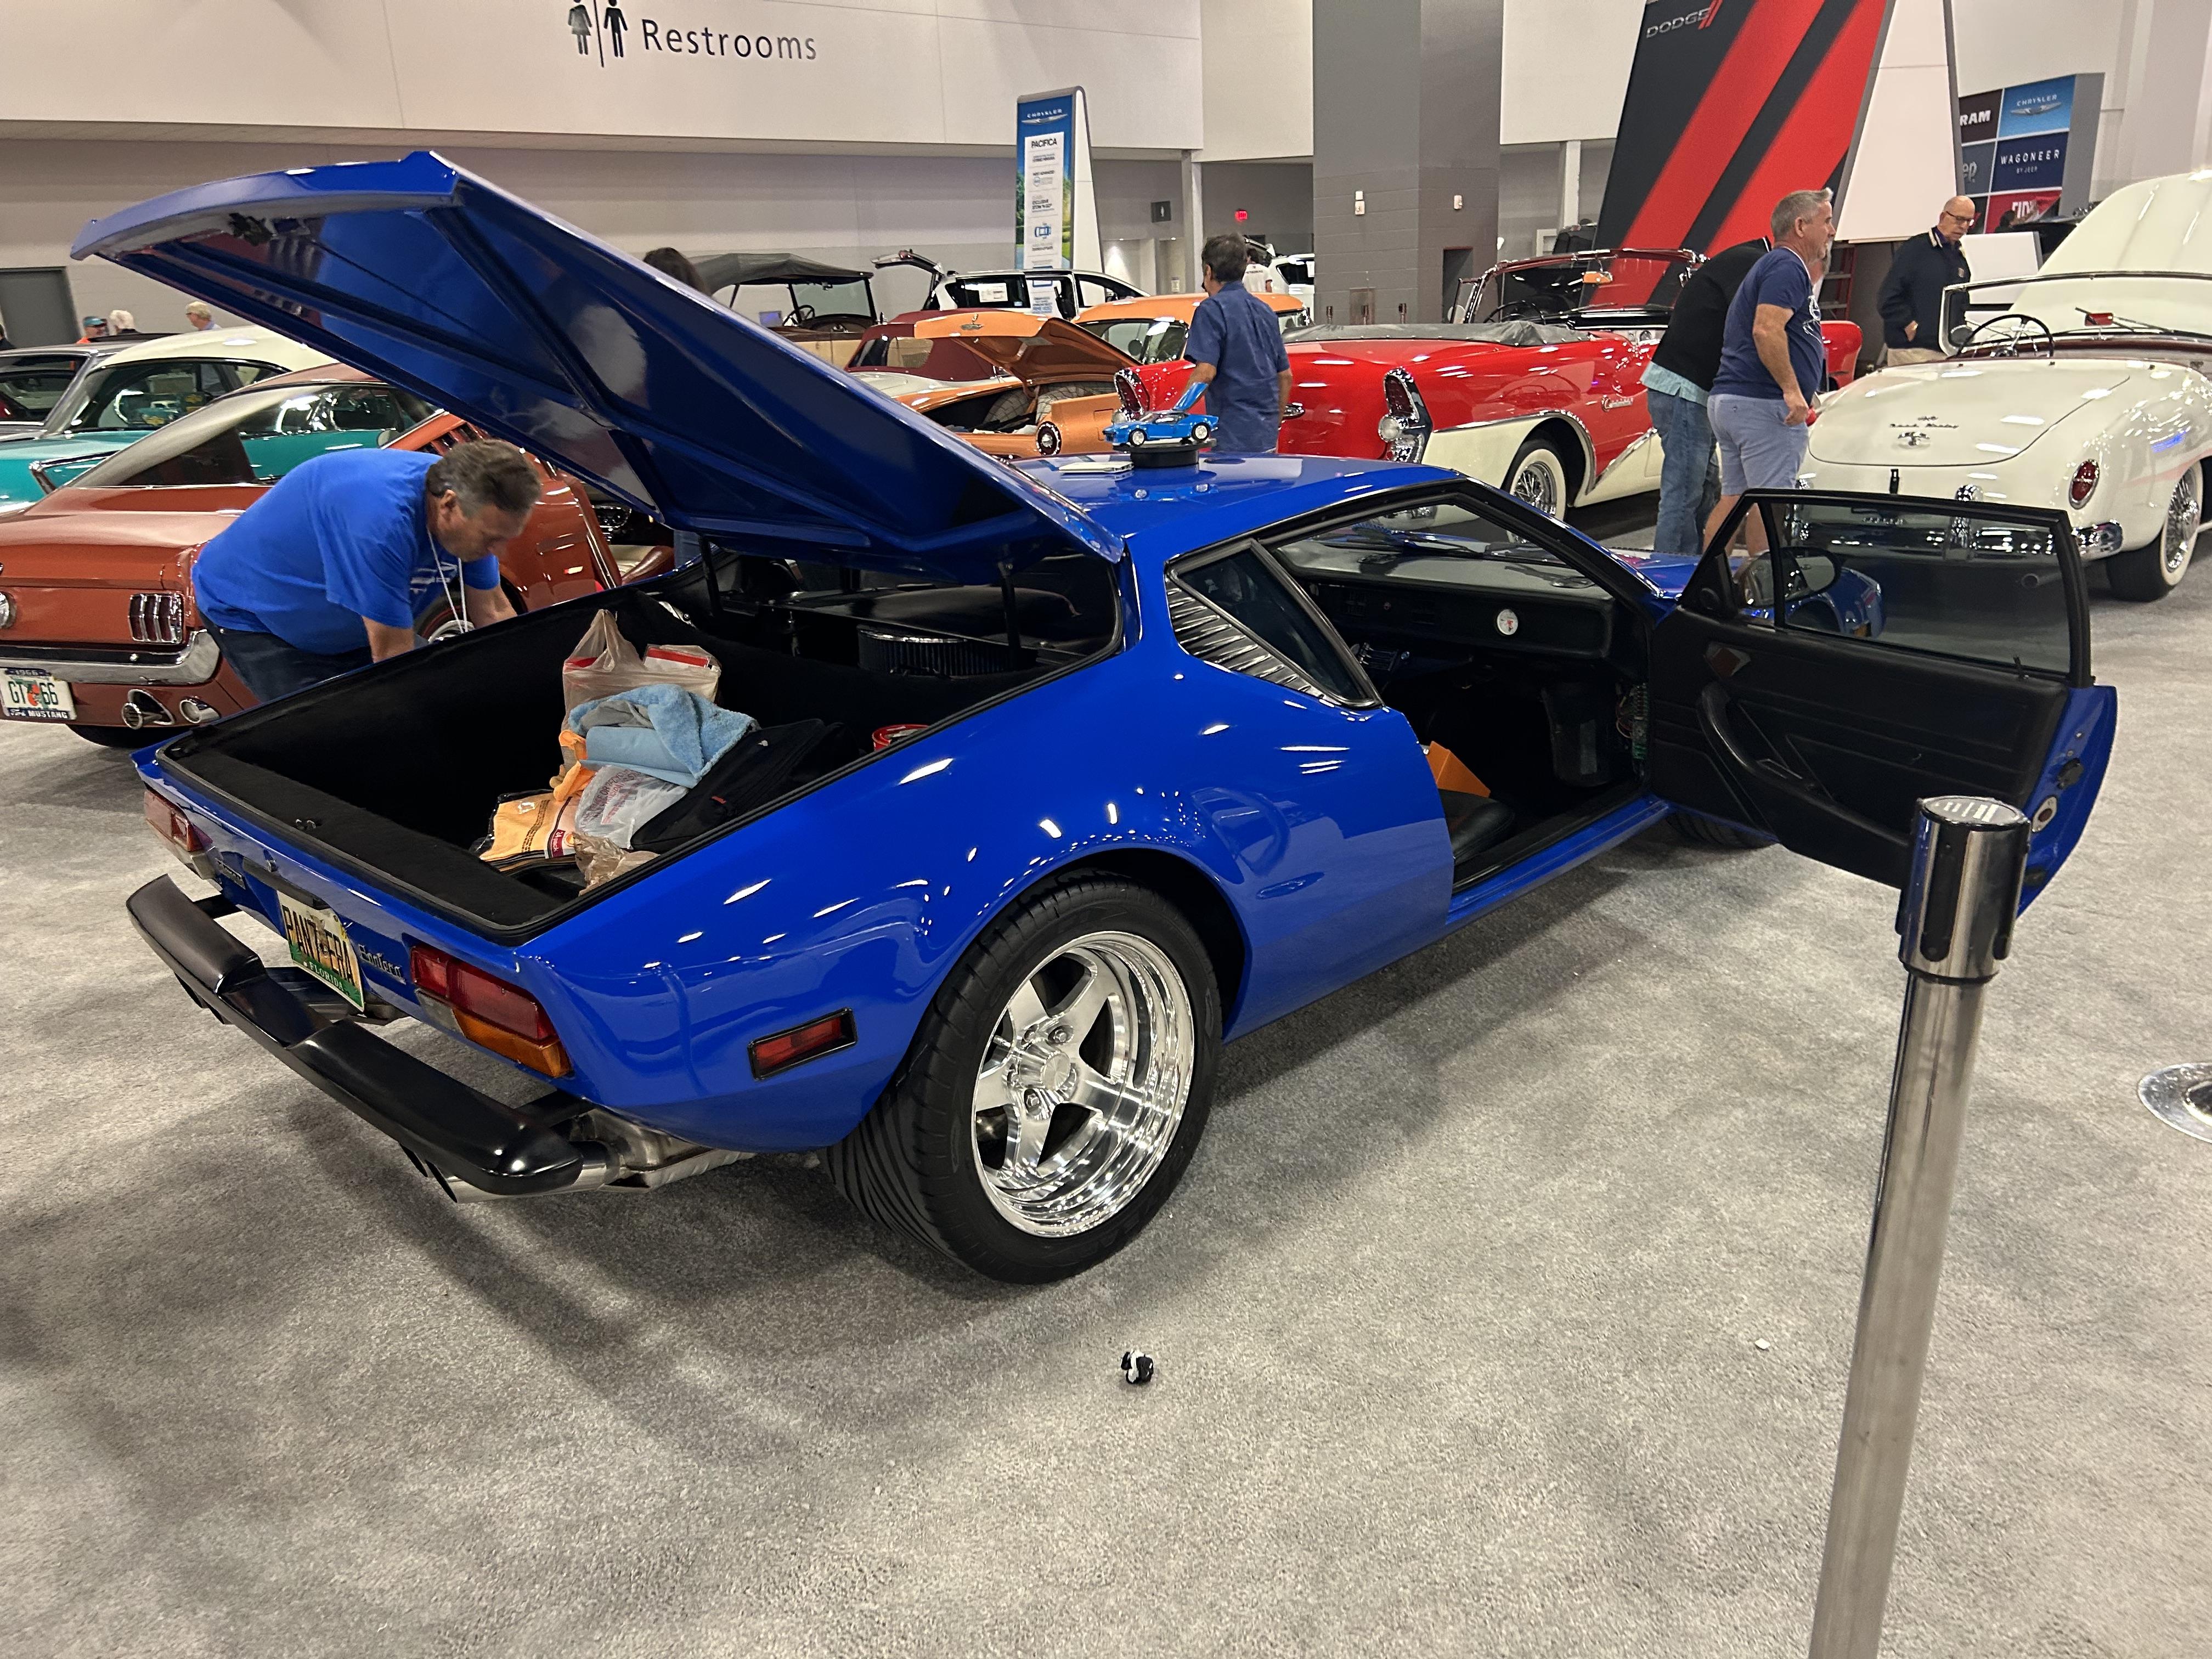
Rex...thanks for the extra pictures and the explanation. Those wheels really are sharp. An interesting story for you. One year we camped at the Watkins Glen Vintage and found ourselves in the middle of the Pantera Club of the USA. There were about 30 members there and just as many cars. The cars were awesome. Those guys were very cool and we partied with them well into the night. I asked the president of the club an interesting question, If I owned a Mangusta could I get in their club. The answer was ...sure...but I would be the only one. Later the next day I spotted two Mangustas and one of them was for sale. Alas...it was way out of my budget. Got a pic of one of them somewhere.
Cool story. I wish there was a reasonable priced Mangusta kit but that is like hoping there would ever be a Pantera kit with an engine. With only 400 Mangustas made they are a rare sighting. I have seen one in Miami and three Panteras.
-
1 hour ago, thatz4u said:
use these 2 kits to build this one ^^^^^^^
The rebranded AMT 69 Mach1 is actually the old MPC 69 Sportsroof GT (hence the gas cap and wheels) and is a little smaller than 1/25. The interior would fit I suppose but Round2 has rebranded a lot of the old MPC kits as AMT. Originally AMT did produce a stock 69 Mach1 but that kit has never been re-released in its original form due to mold changes.
-
1 hour ago, Rich Chernosky said:
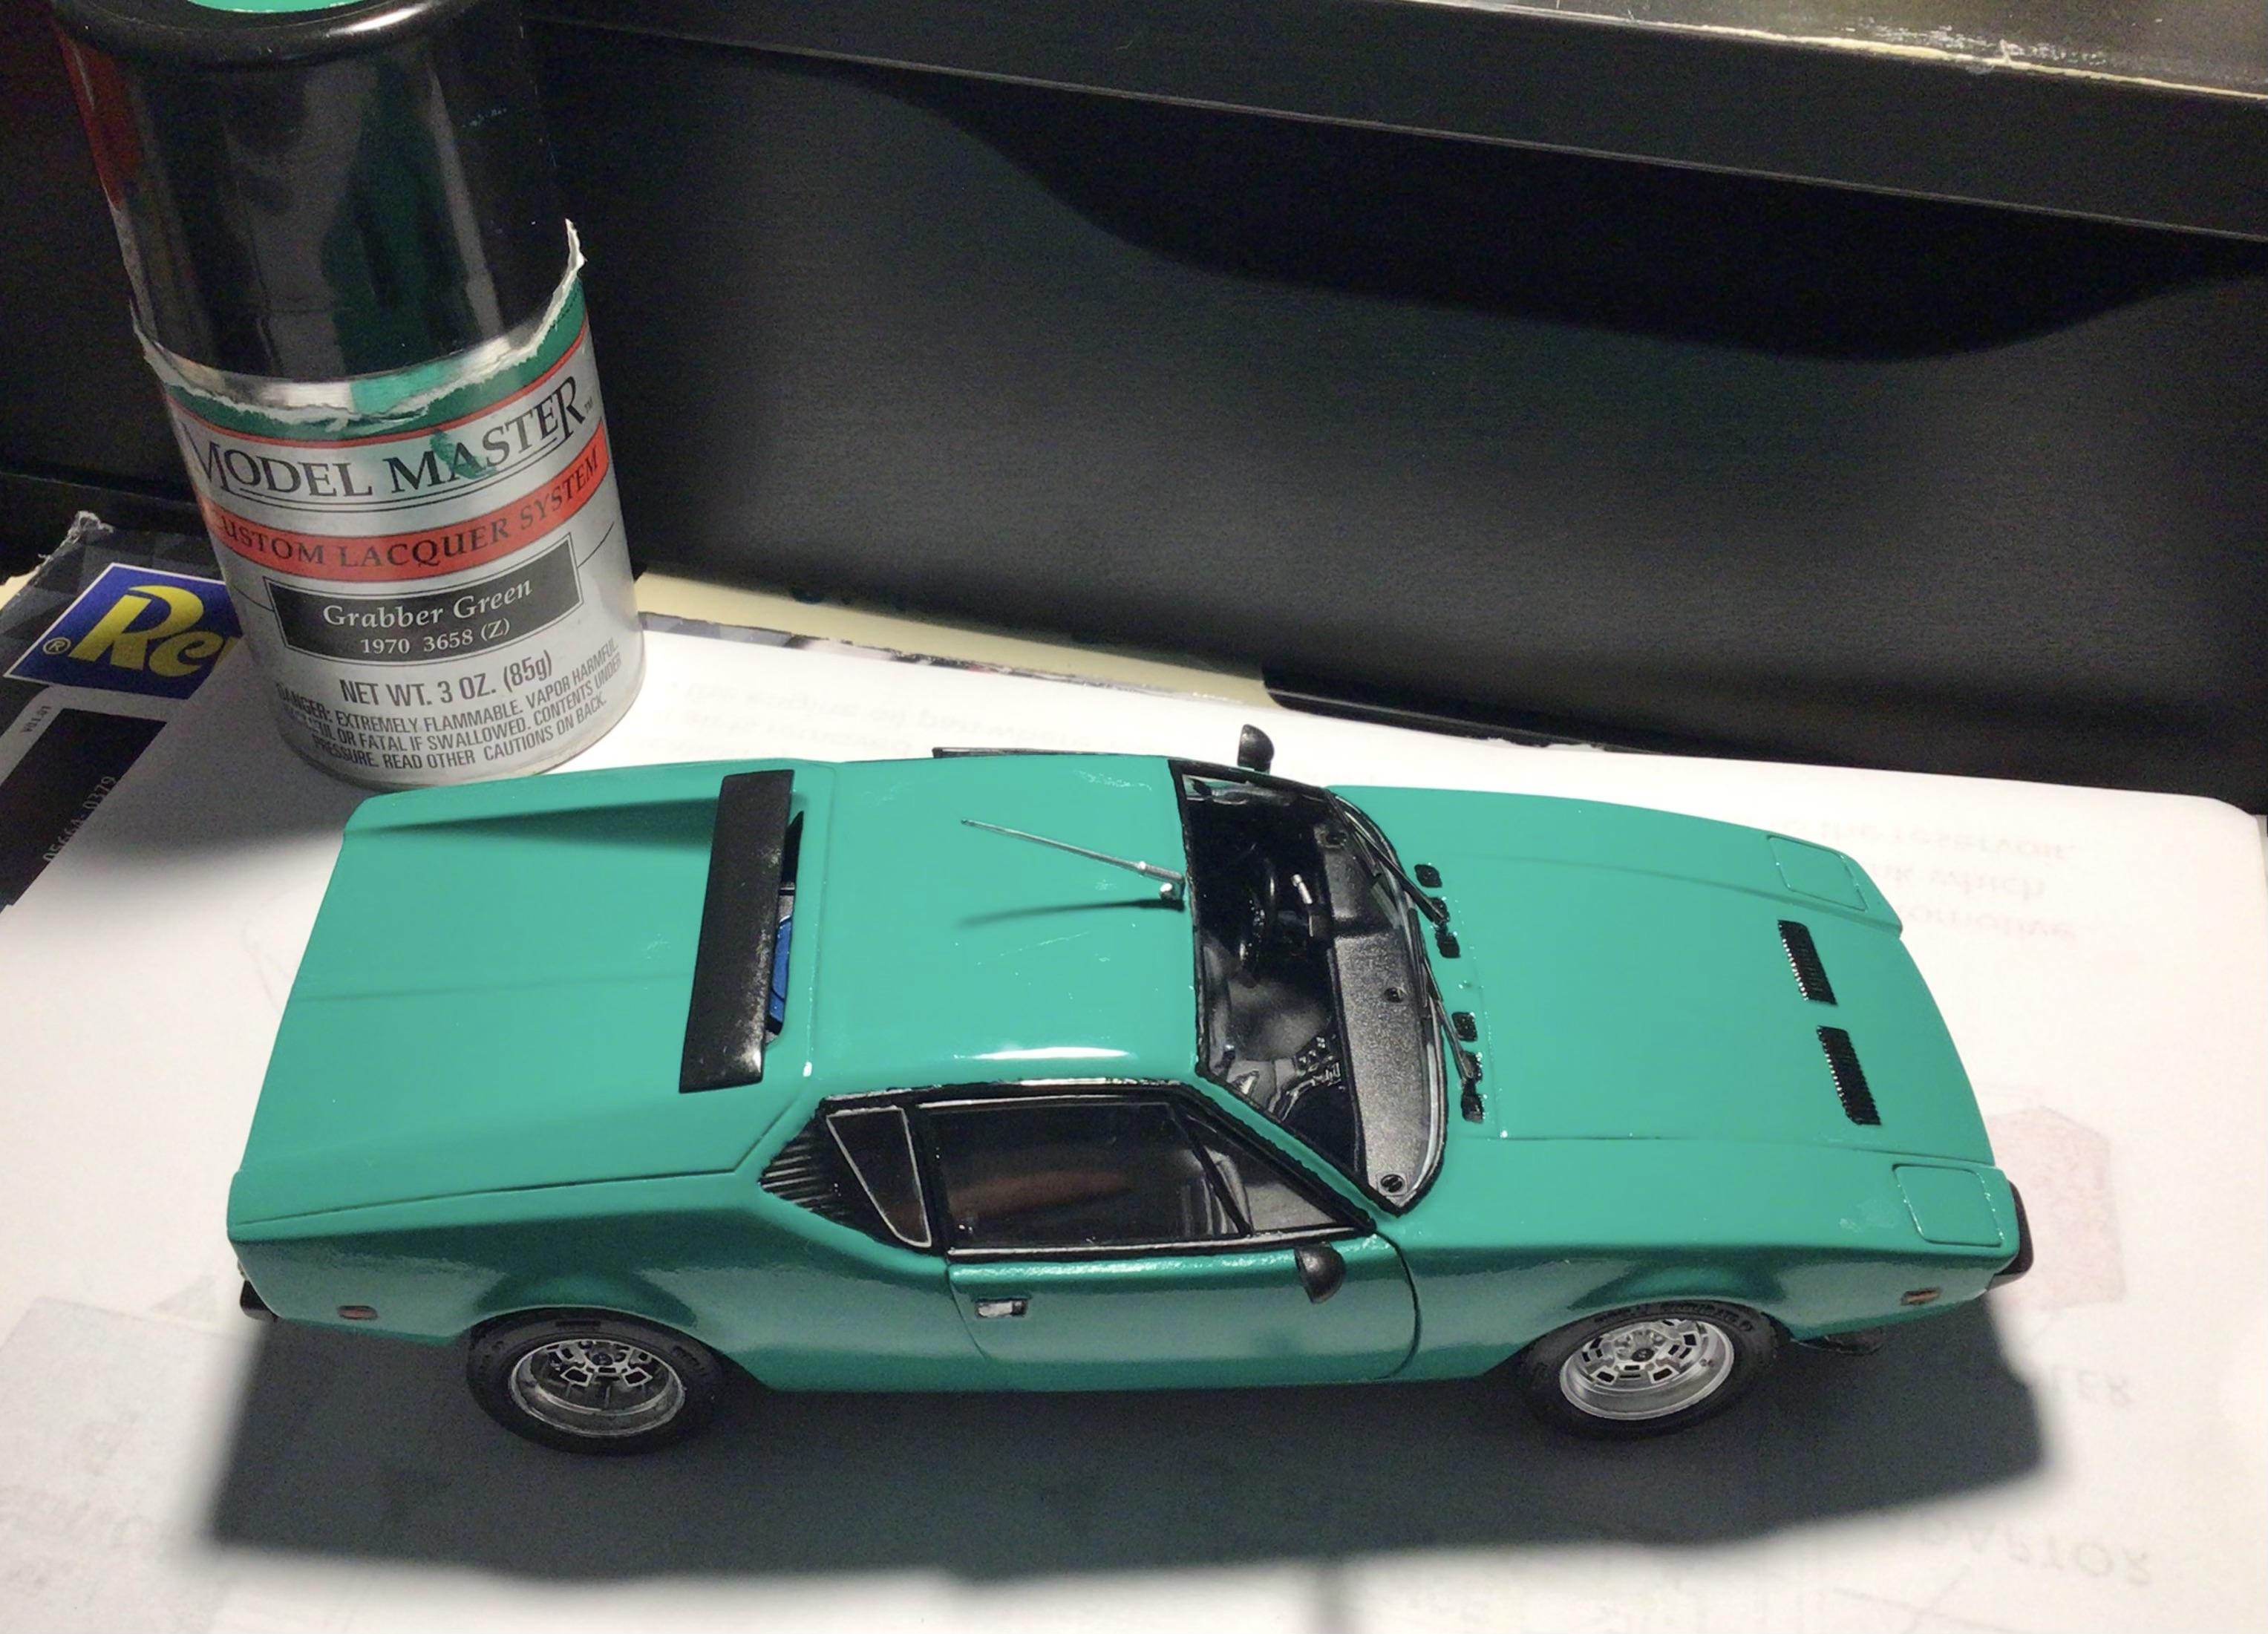
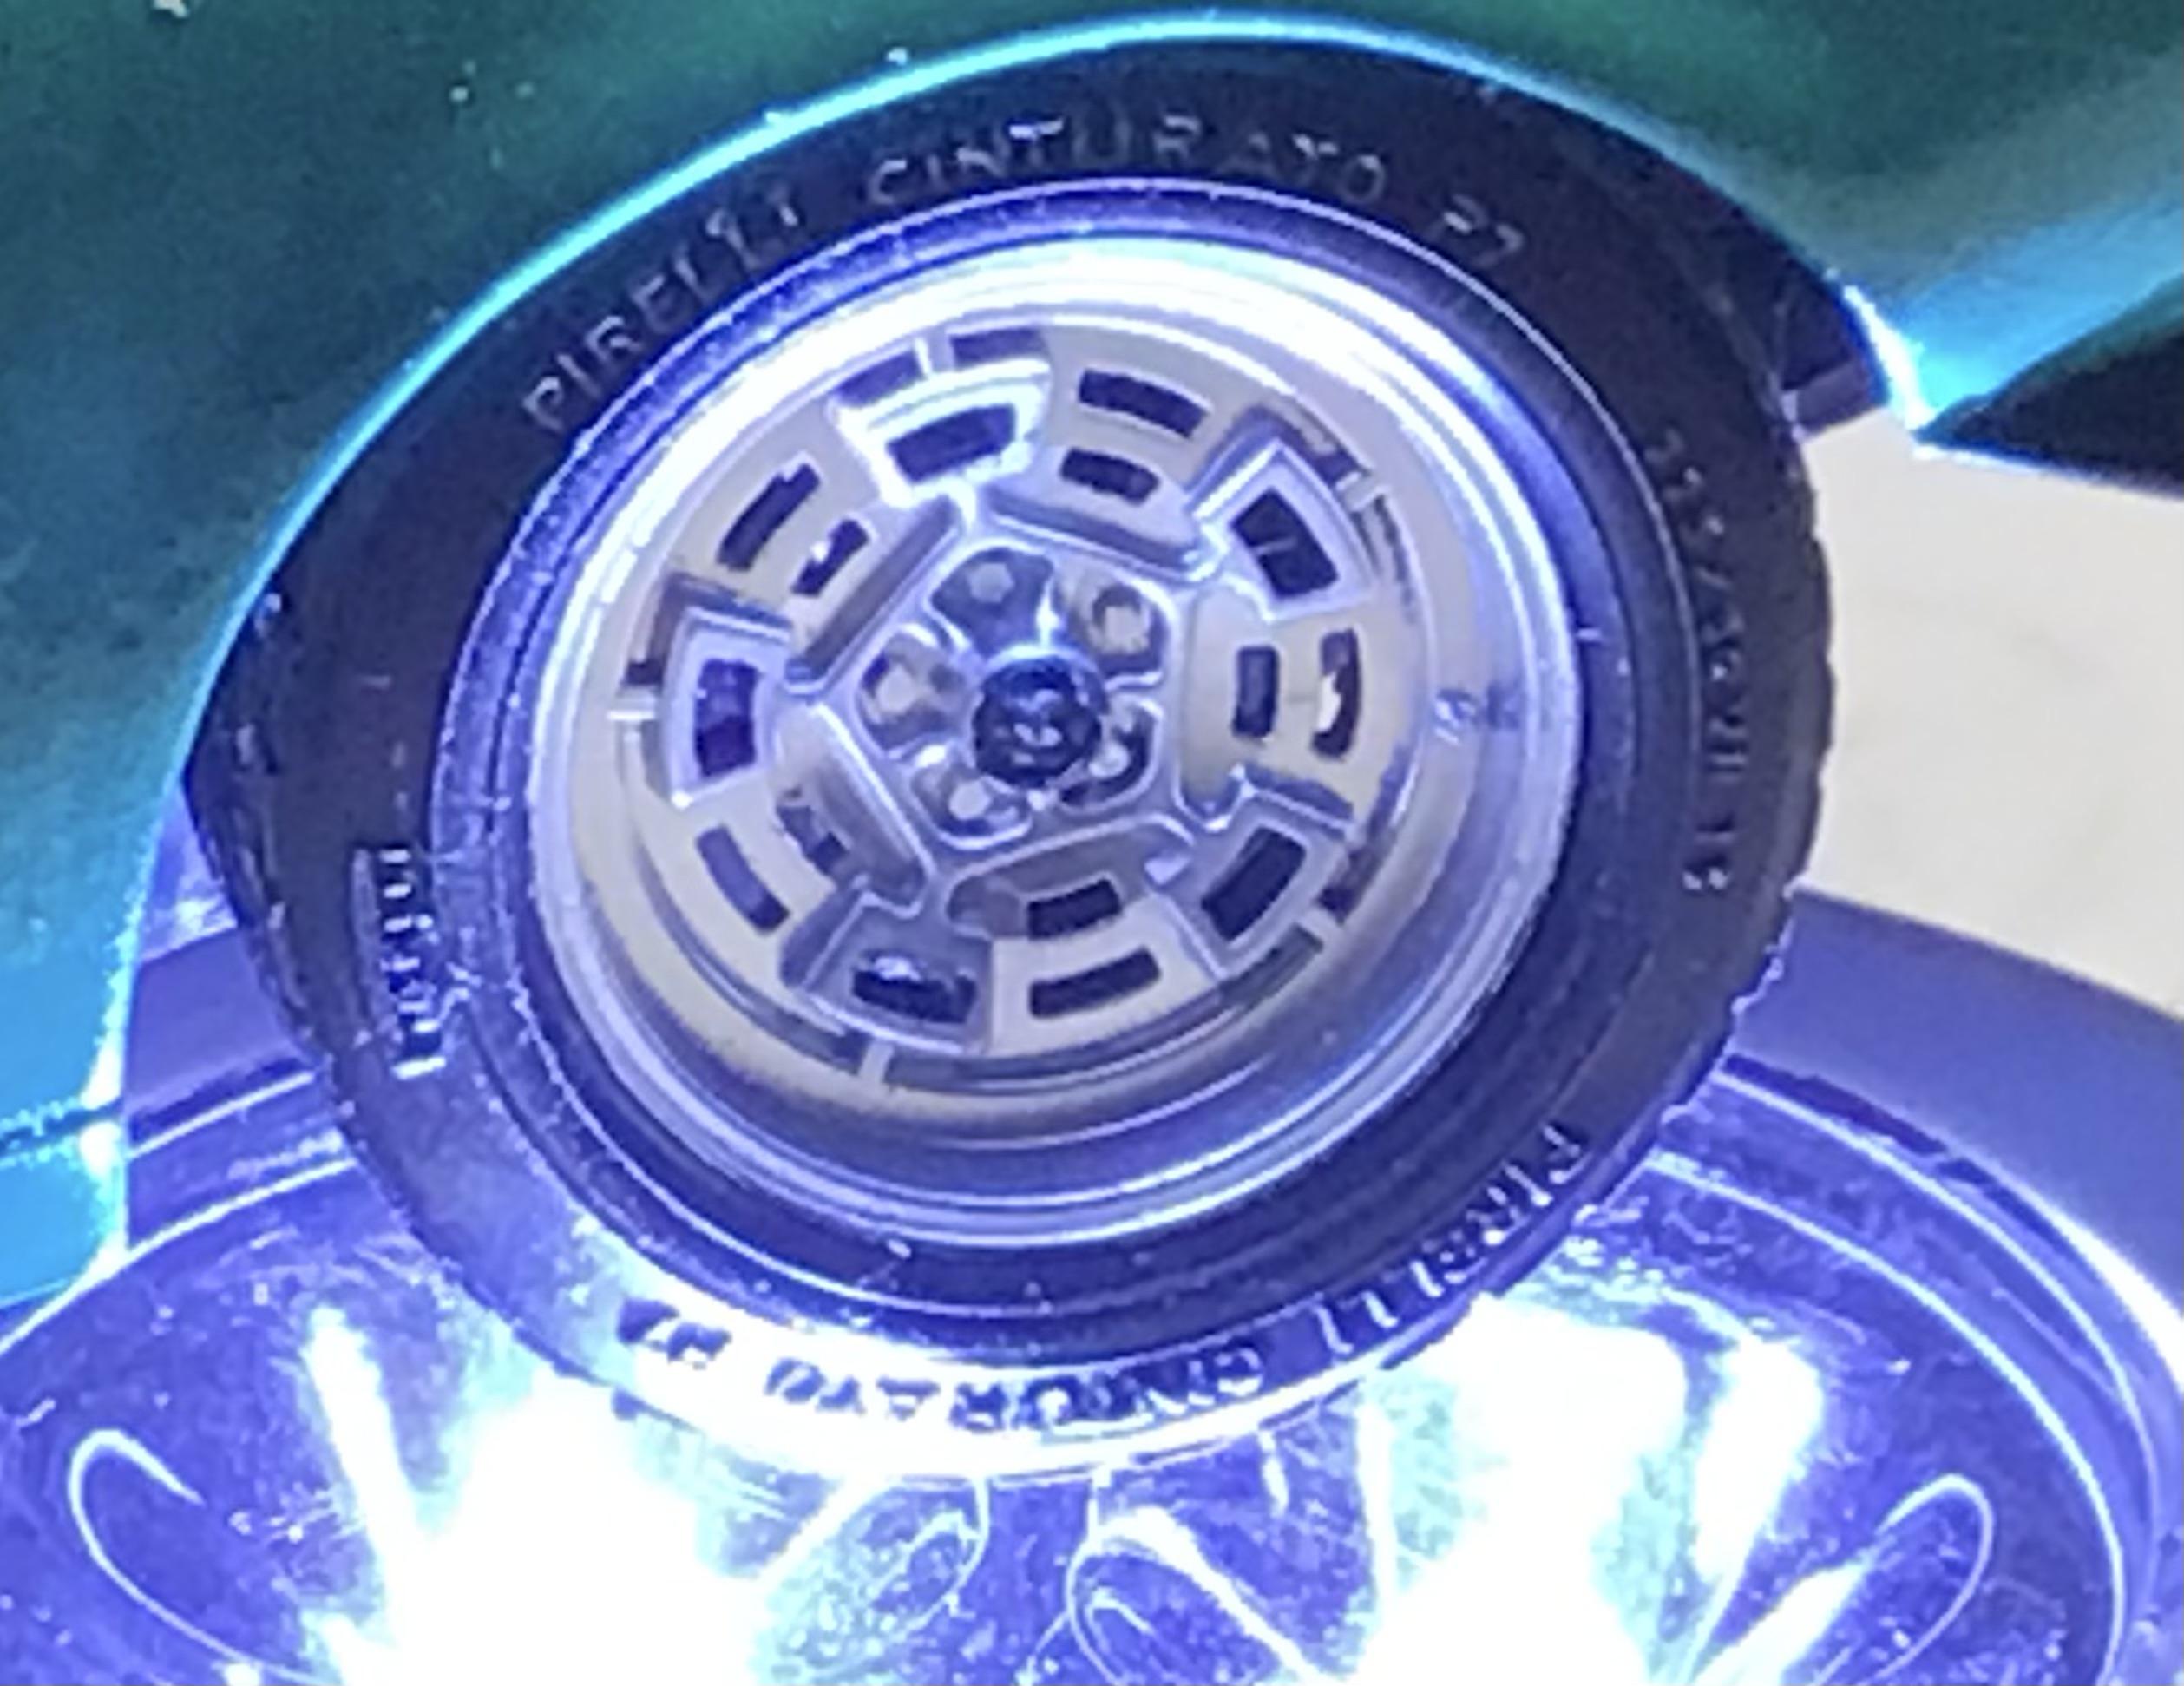
Interesting model and interesting color. Really like those wheels and tires. Did they come with the kit? Good job Rex.
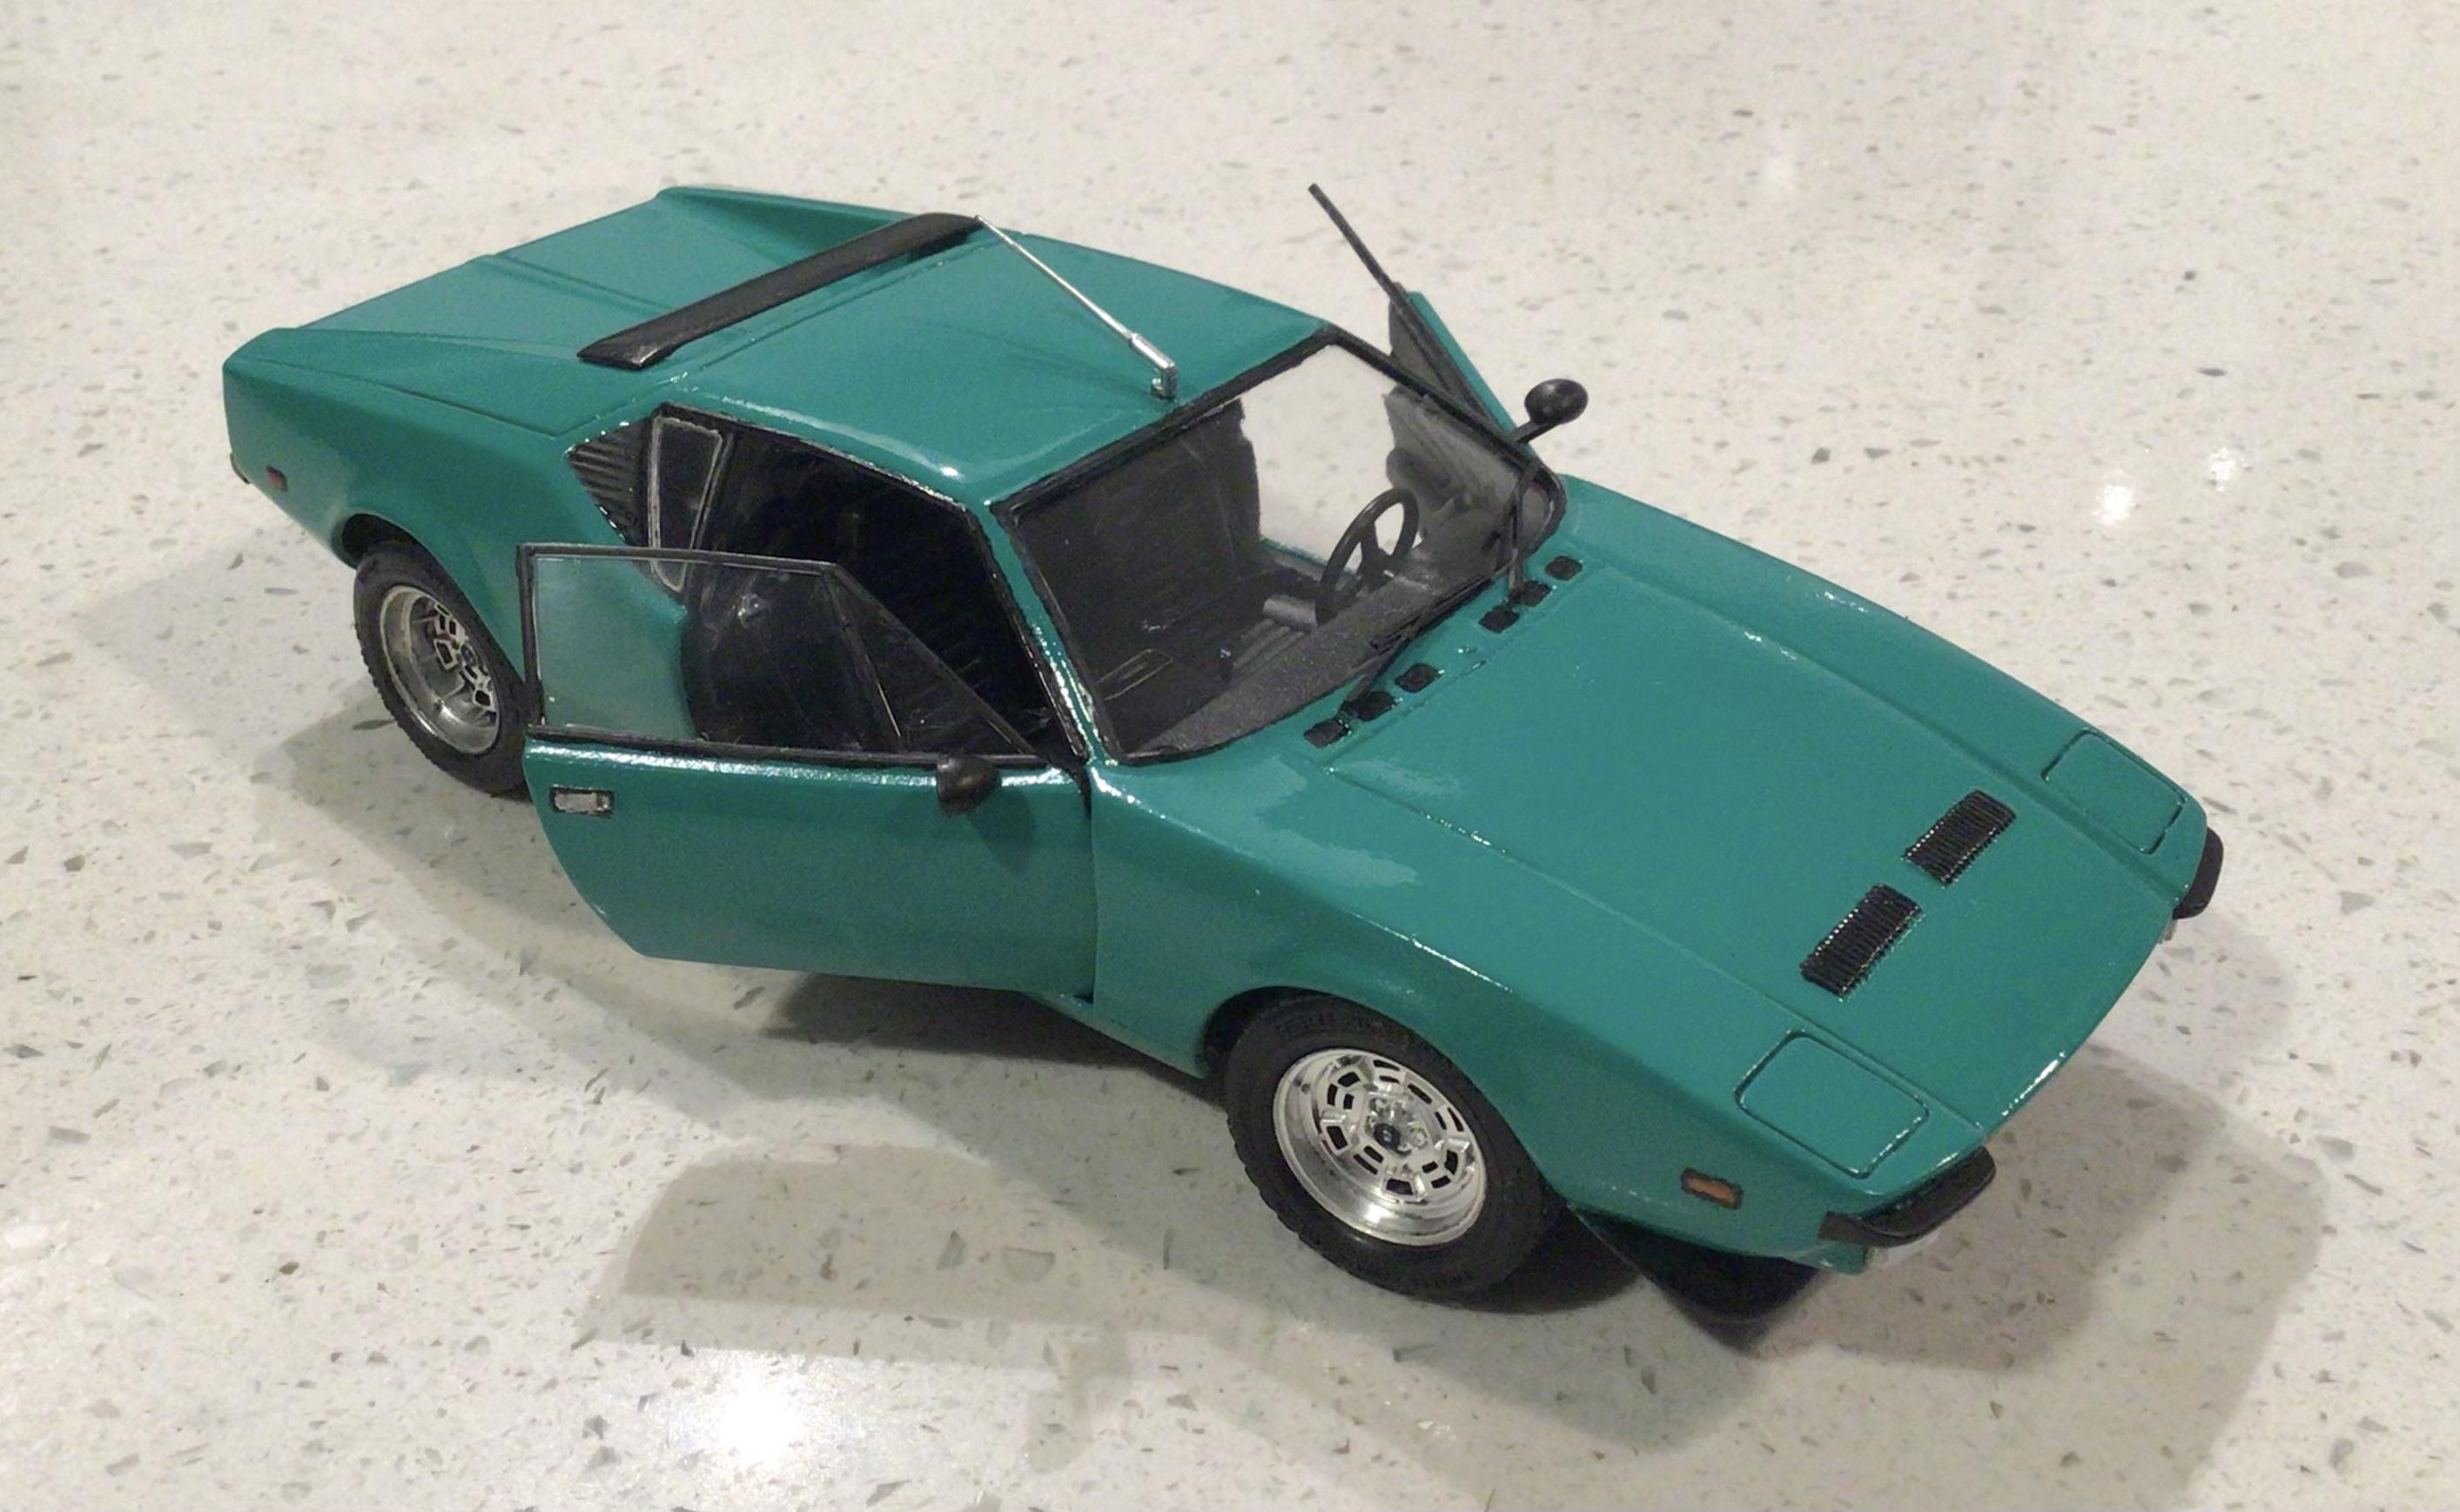
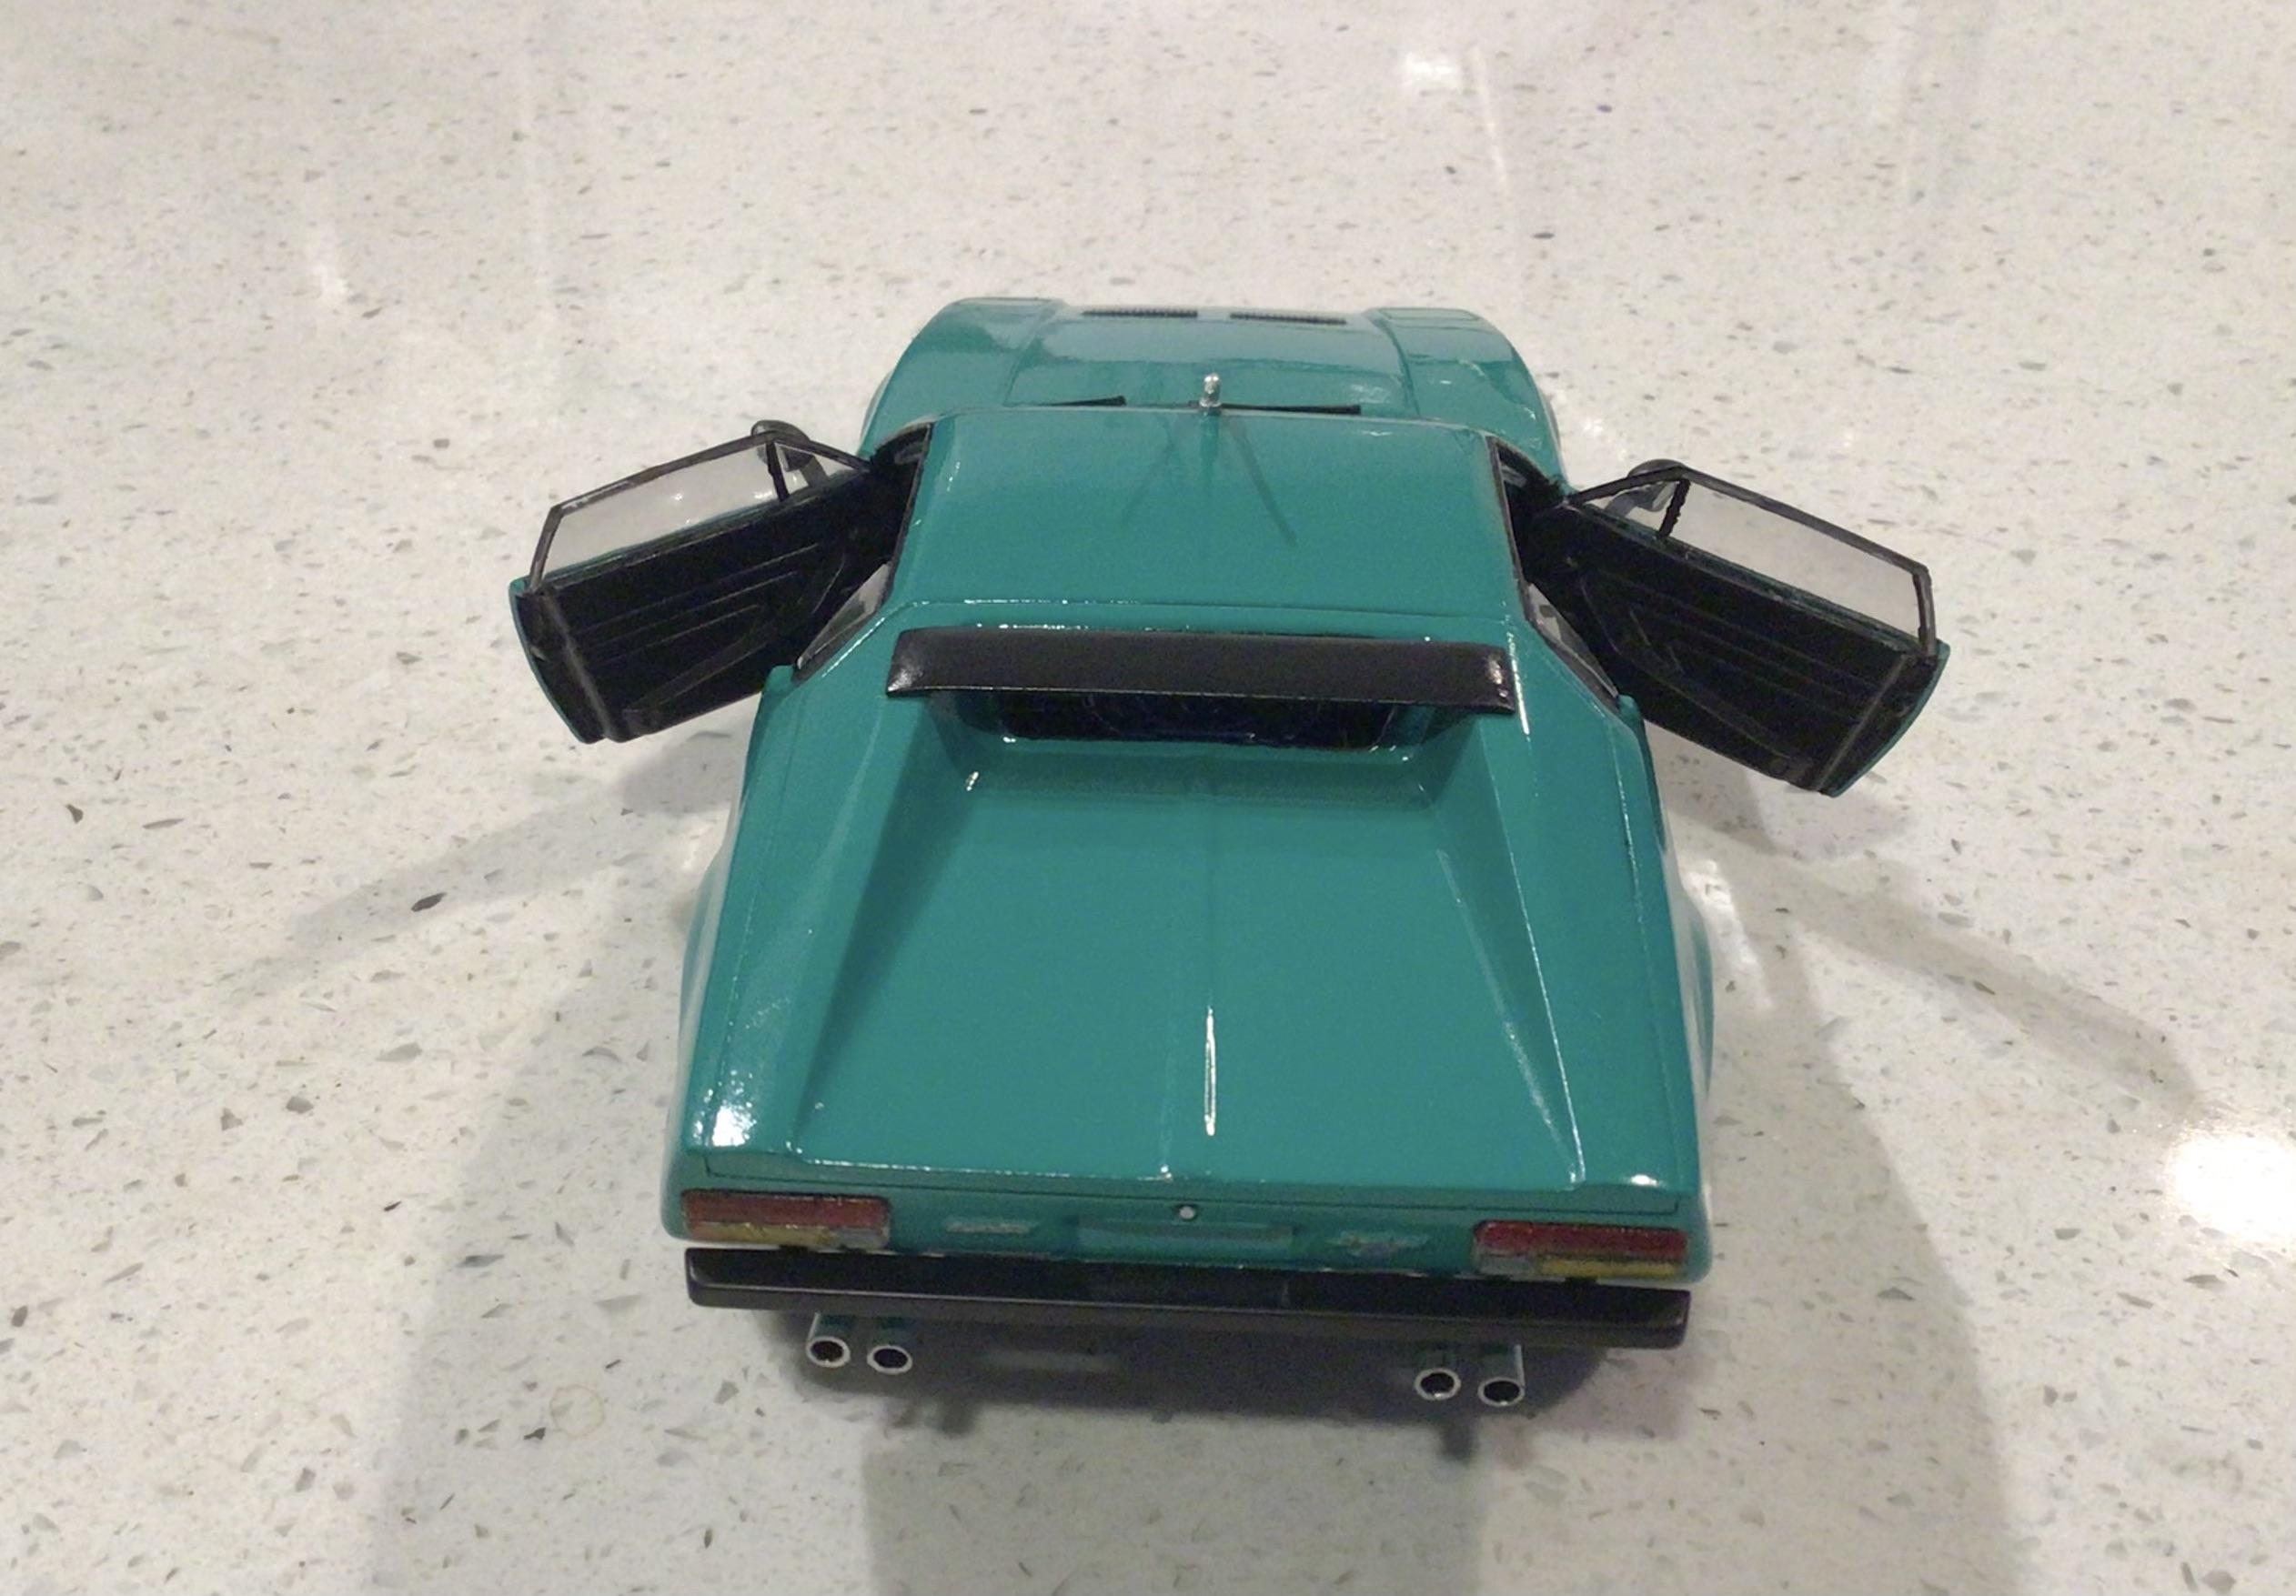
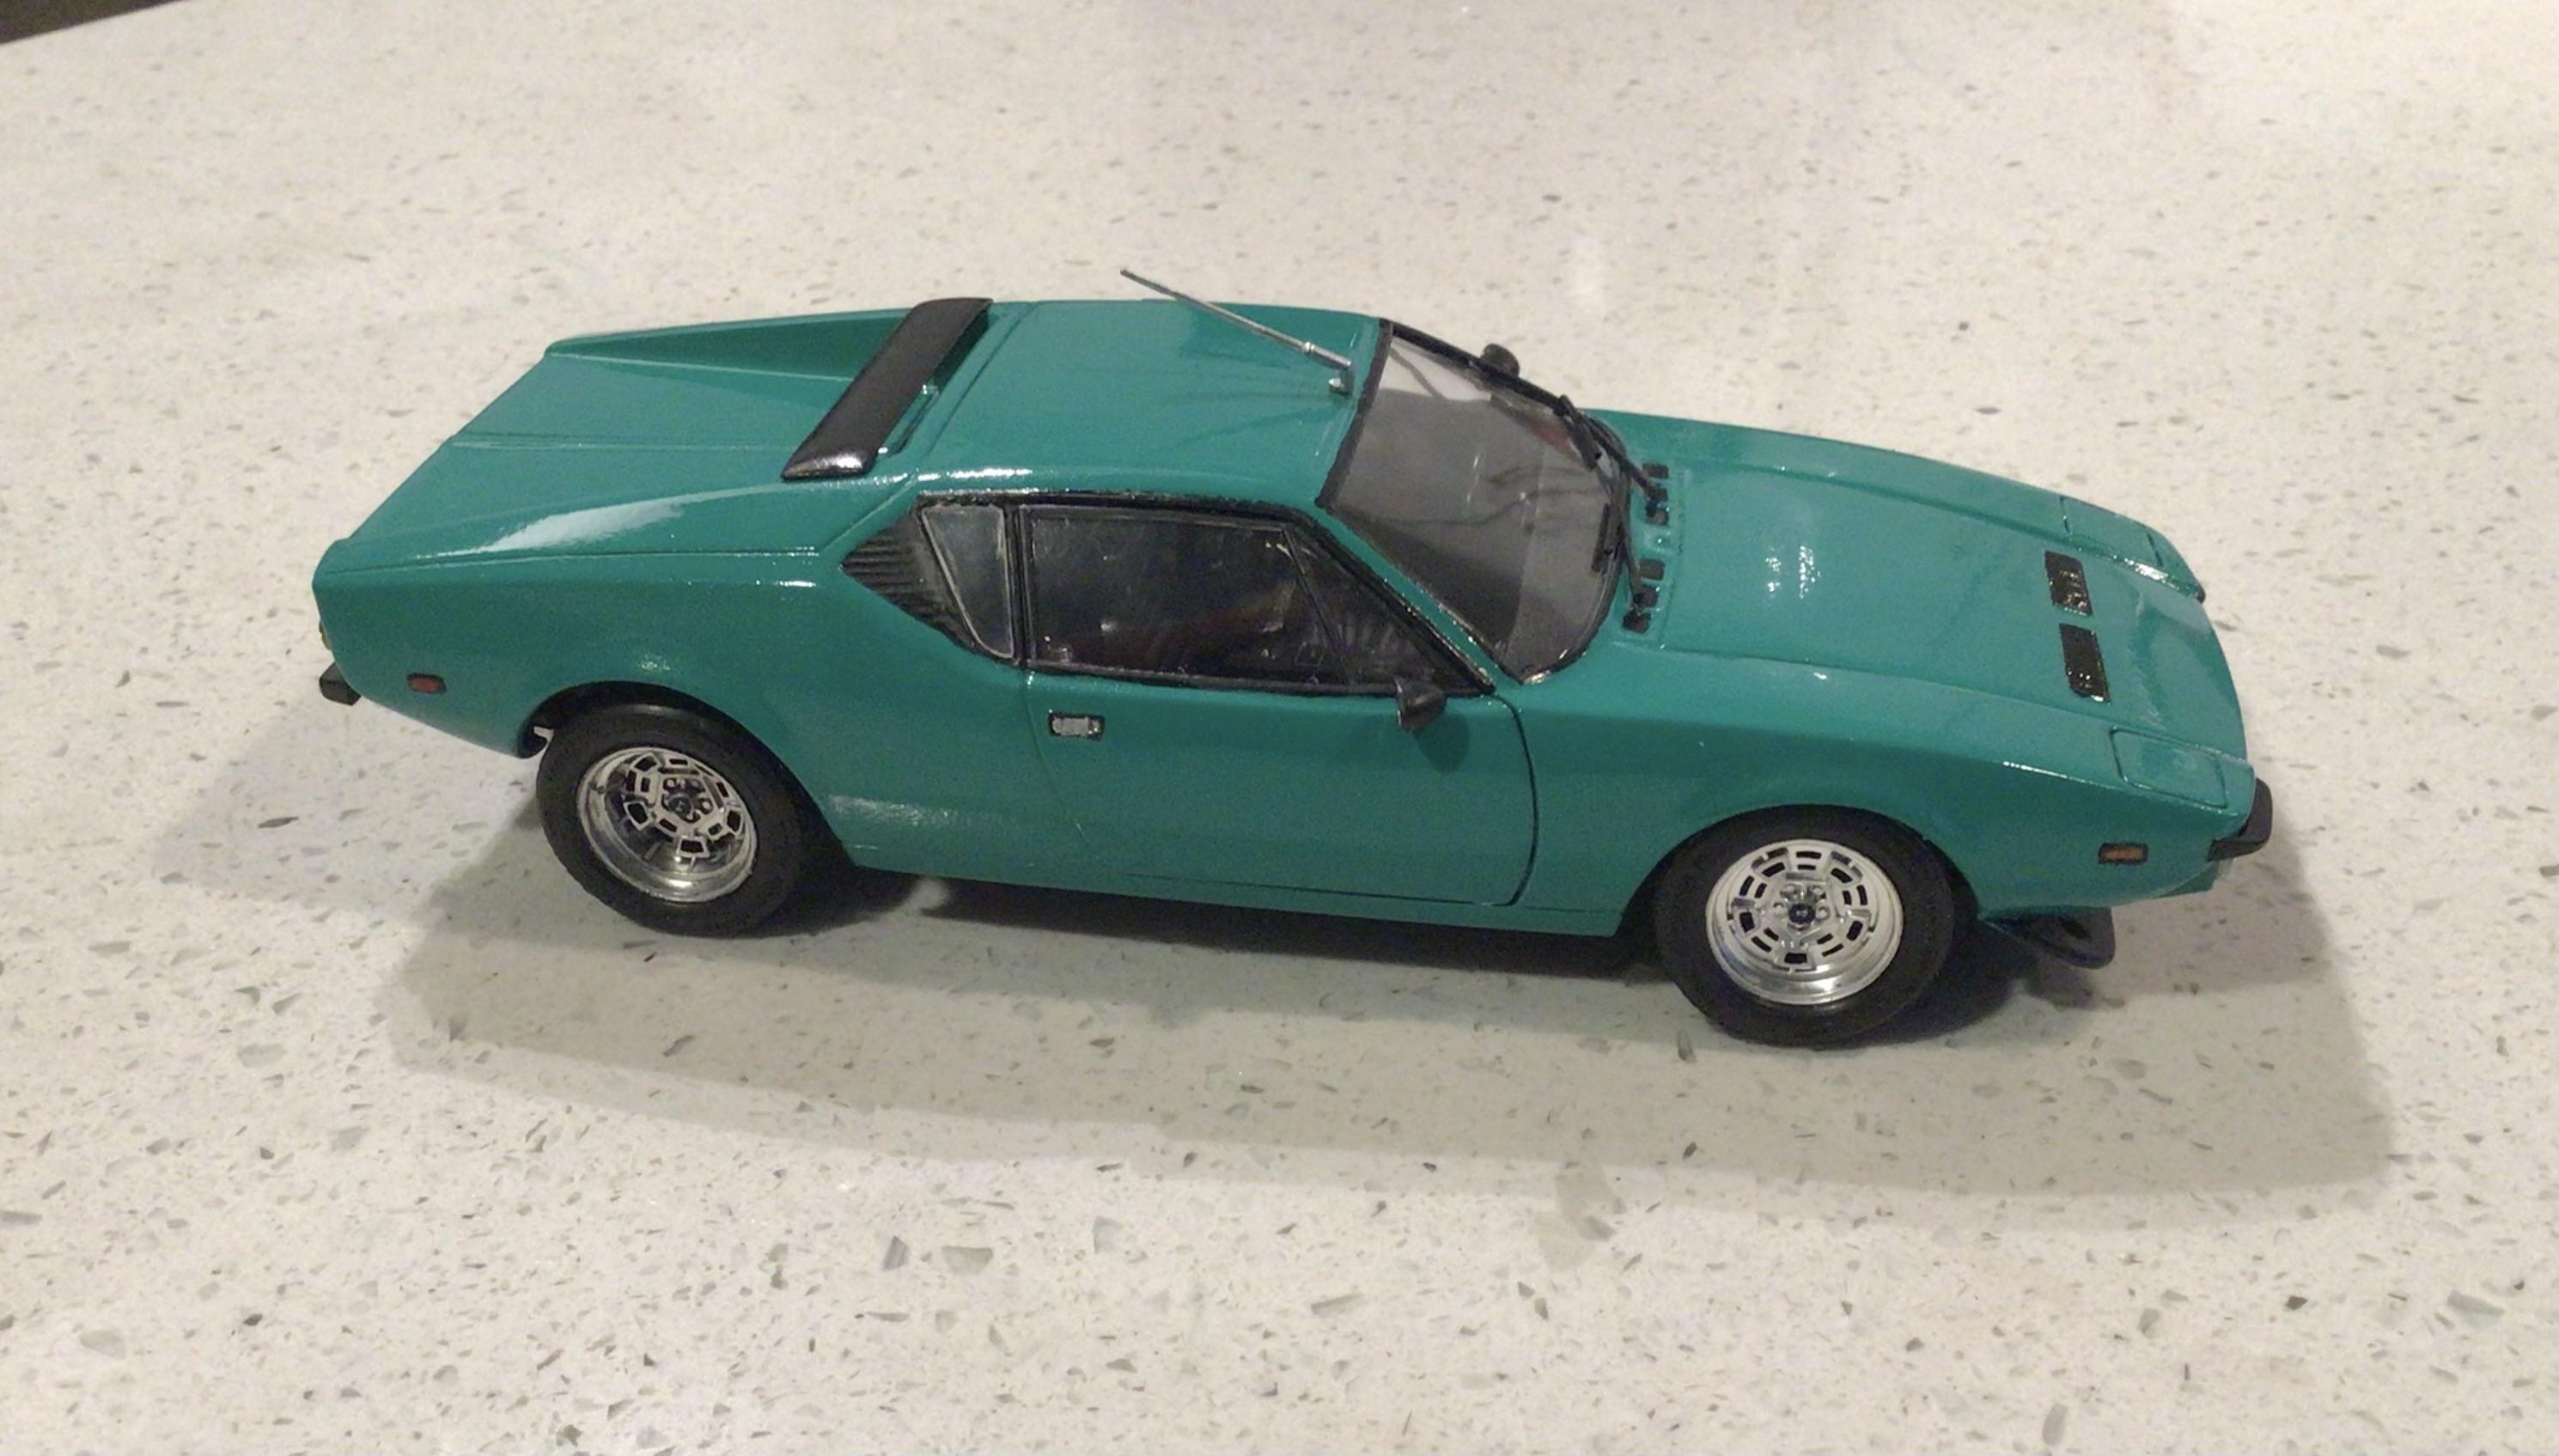
Thanks Rich. The wheels were in the kit and pictures I found indicate they were optional ones with a unique GTS center cap. I had originally painted the kit a standard Testors green but it just did not pop like the non-factory grabber green.
-
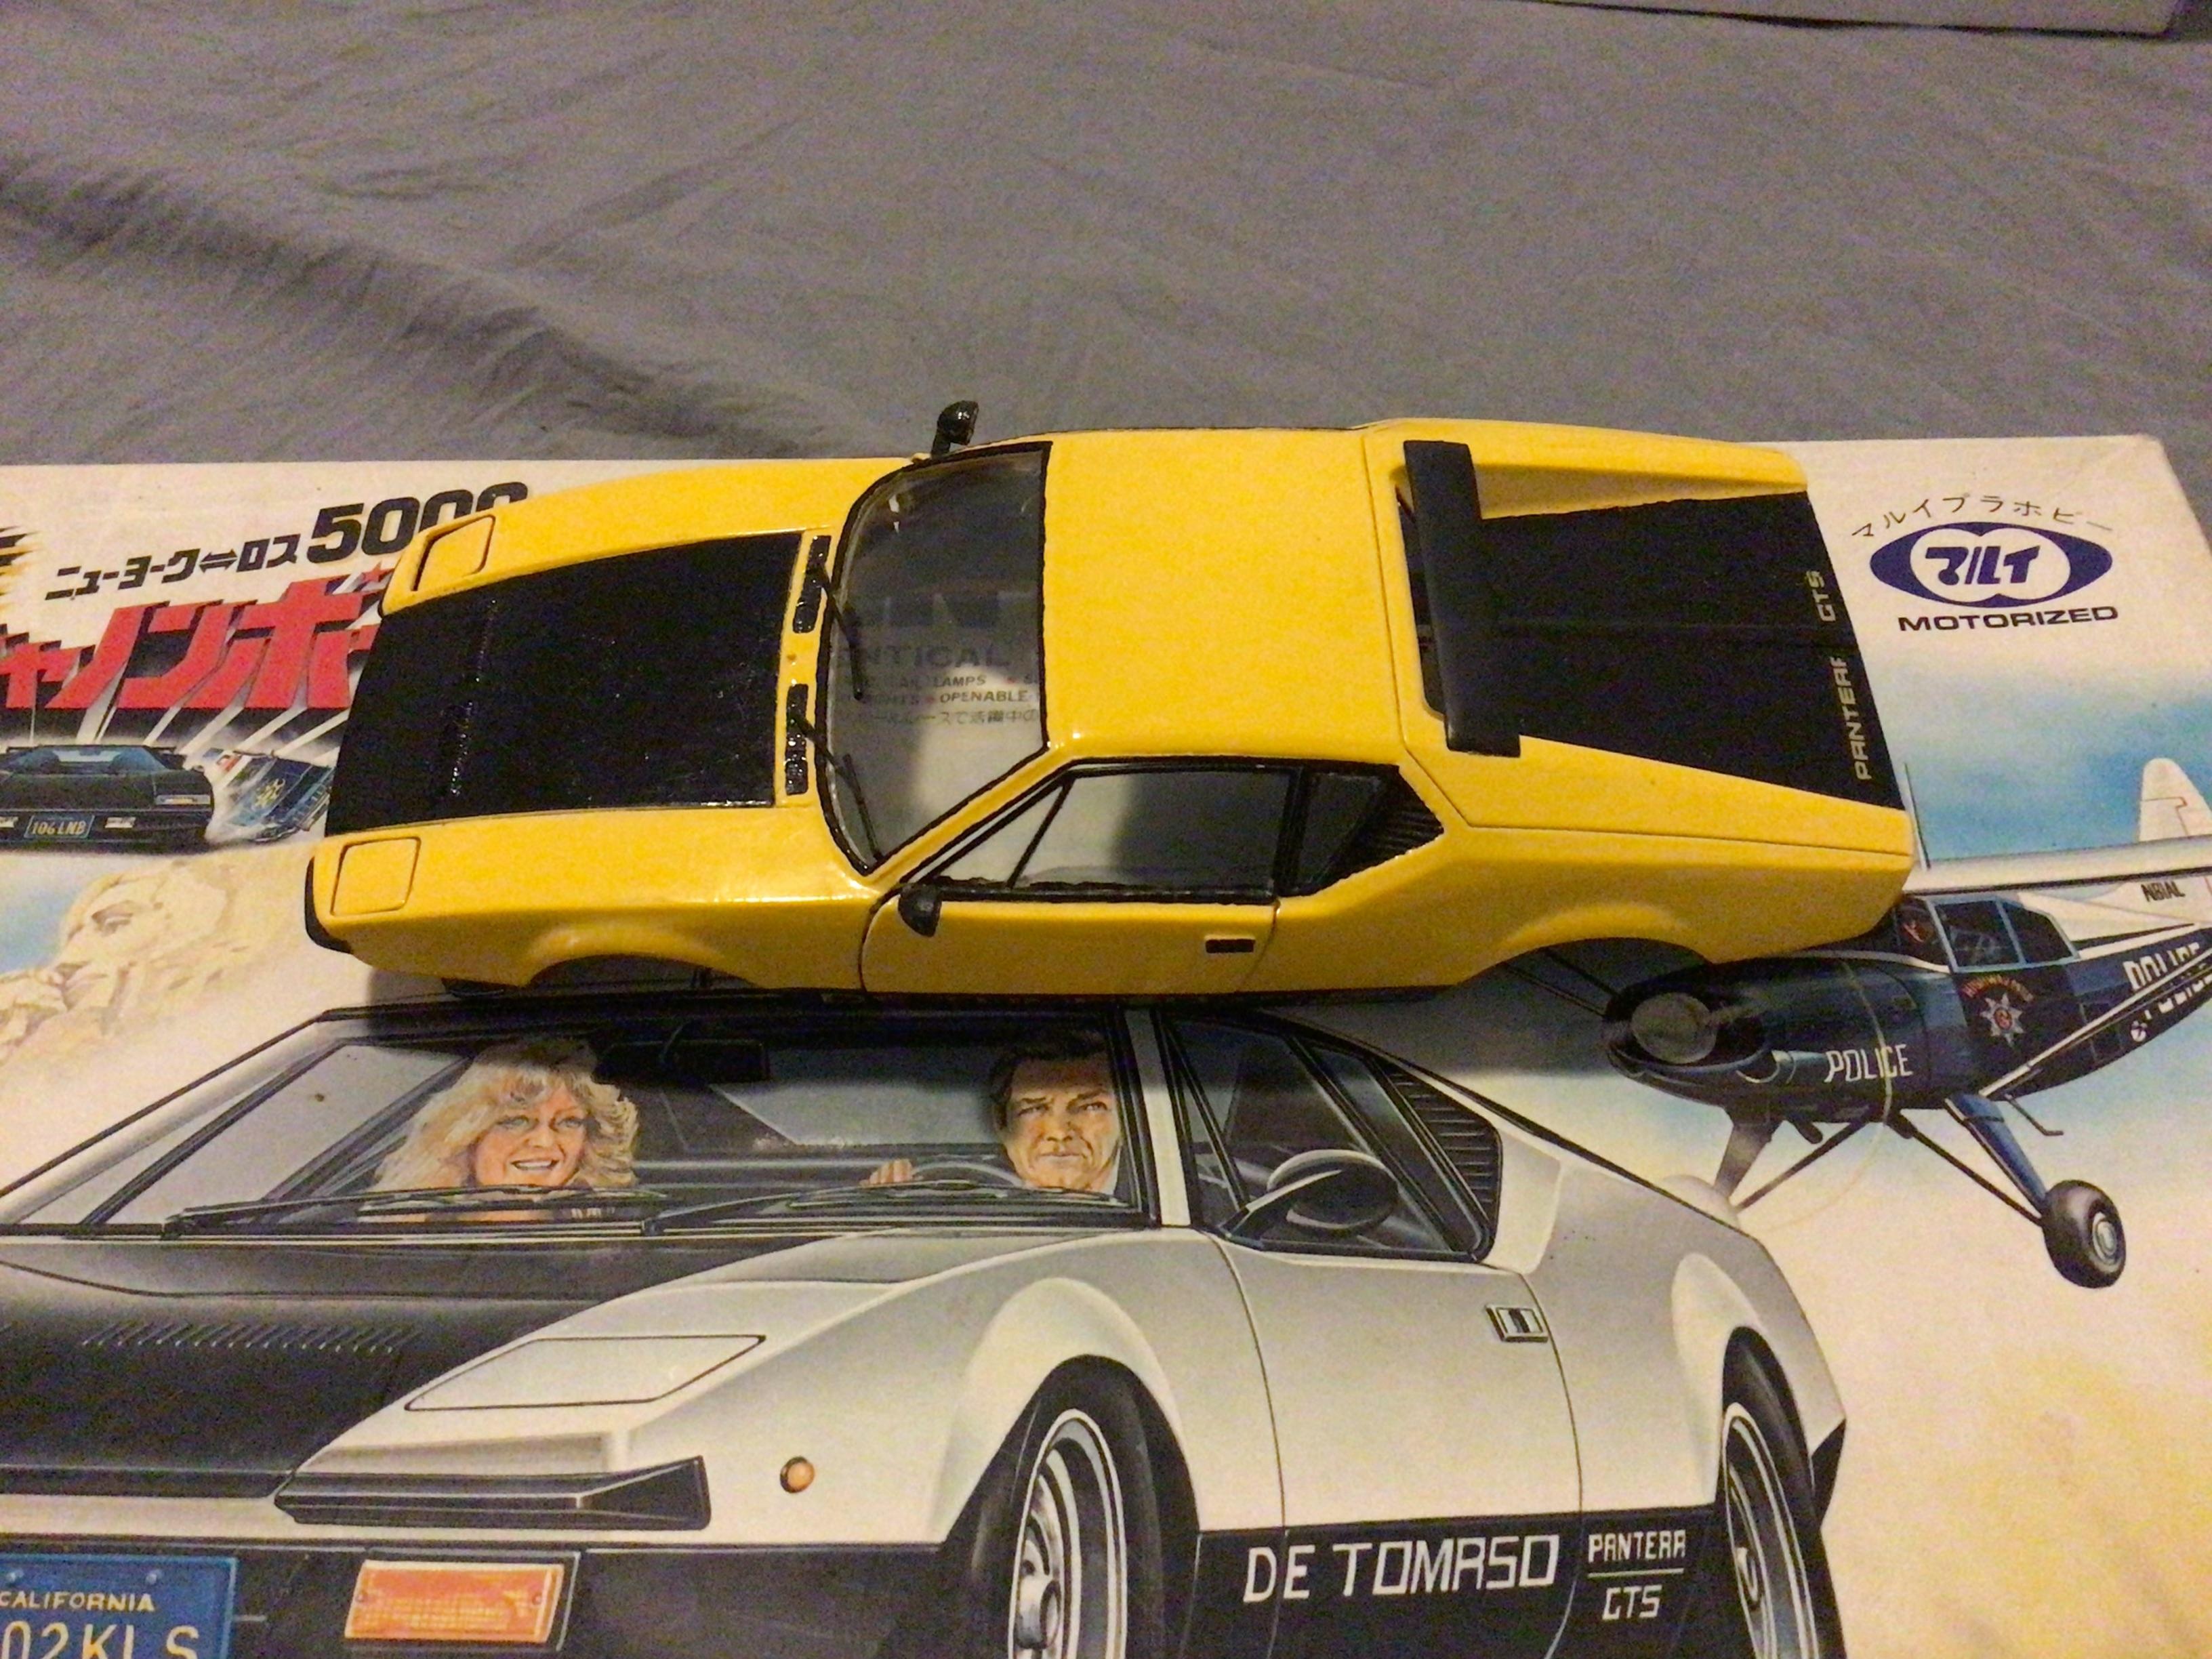
I built this kit as part of a build a foreign kit challenge. The kit is typical for the era with a motor and unlike some of the other makes this was had the option of working headlight and taillights. I had built one decades ago and it was looking kinda sad with the decals flaking. I used the chassis from the first one and did a little more detail painting. Unfortunately the kit decals were too old to be used so I decided to just go with the grabber green paint. The kit came with GTS type wider fenders but I did not glue them on. I did remove the front side marker lights and hand painted front and rear ones. I contemplated a future restoration of the yellow one but I realized the kit dash had gotten lost somewhere so unless I find it that one I will serve as a spare parts car.
-
12
-
-
Some of my Mustangs. Ten years ago I was able to display 50 Mustang at NNL East but I had to include the large scale and small scale builds to reach fifty. I have not counted lately but I hope I am up to sixty built ones.
-
5
-
-
Looks great. Happy Mustang 60th birthday. There are a few original owners out there that still own and drive their 1965 Mustangs.
-
1
-
-
I owned a used CB750 in the 1990s that was maybe a late 70s model but I am not sure as I only had it a few years. Somewhere in the depths of my computer there might be a picture. It was heavy and I rarely got it over 80mph (my choice) and the handling was average. I ended up selling it for $800. Oh well.🙃
-
1 hour ago, Richard Bartrop said:
I sent an email query in February, and still no reply. The parts do look very nice, but if he really doesn't want to do business with me, what can I do?
You might try emailing Norman again with the subject line stating you would like to order R&M co of MD products.
-
Beautiful build. Did you prefer the Cady decals over the Fujumi ones?
-
31 minutes ago, absmiami said:
V - remind me to bring a package to Delray show …
Will do. Thanks. Can I use them on my 351. 😉
-
1
-
-
1 hour ago, Bugatti Fan said:
I like the way all the detail painting in various metallic and other colours really bring the engine to life besides the added details.
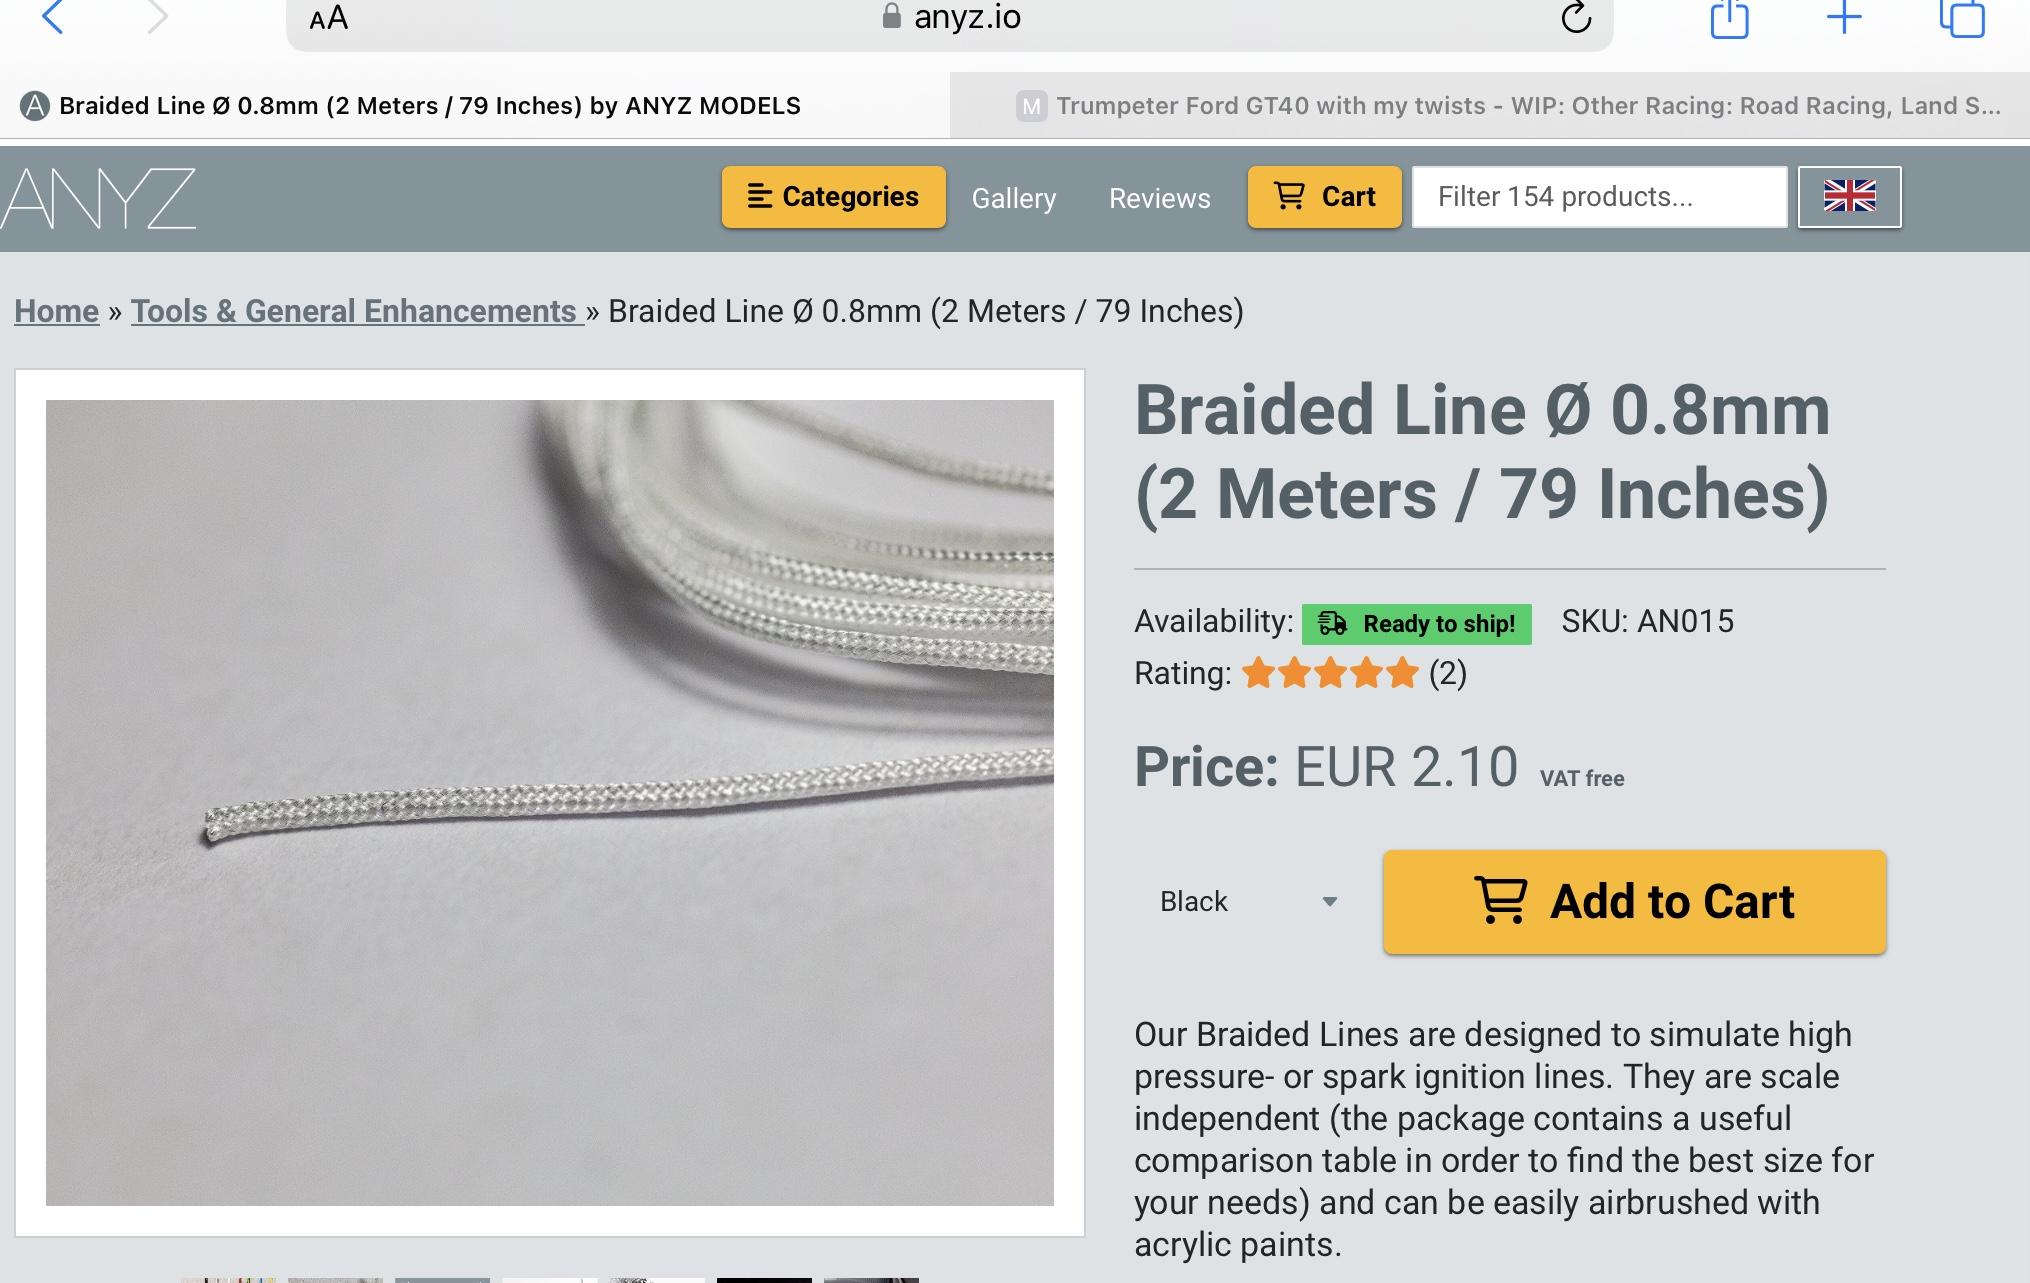
It might be worth a mention about scale braided fuel lines. They look to me like electronic screened cable that has had the outer insulation stripped off it.
Found the s website per Andy’s comment. I think I’ll have to order those once I determine the best size.
https://anyz.io/shop/product/AN015
-
Very nice build with the modifications. I cannot remember if I ordered the Indycal decal set which might be a good backup if there are issues with the kit ones. They include decals for the tires also. Starfighter makes the decals for the Mercury MkIIs also.
-
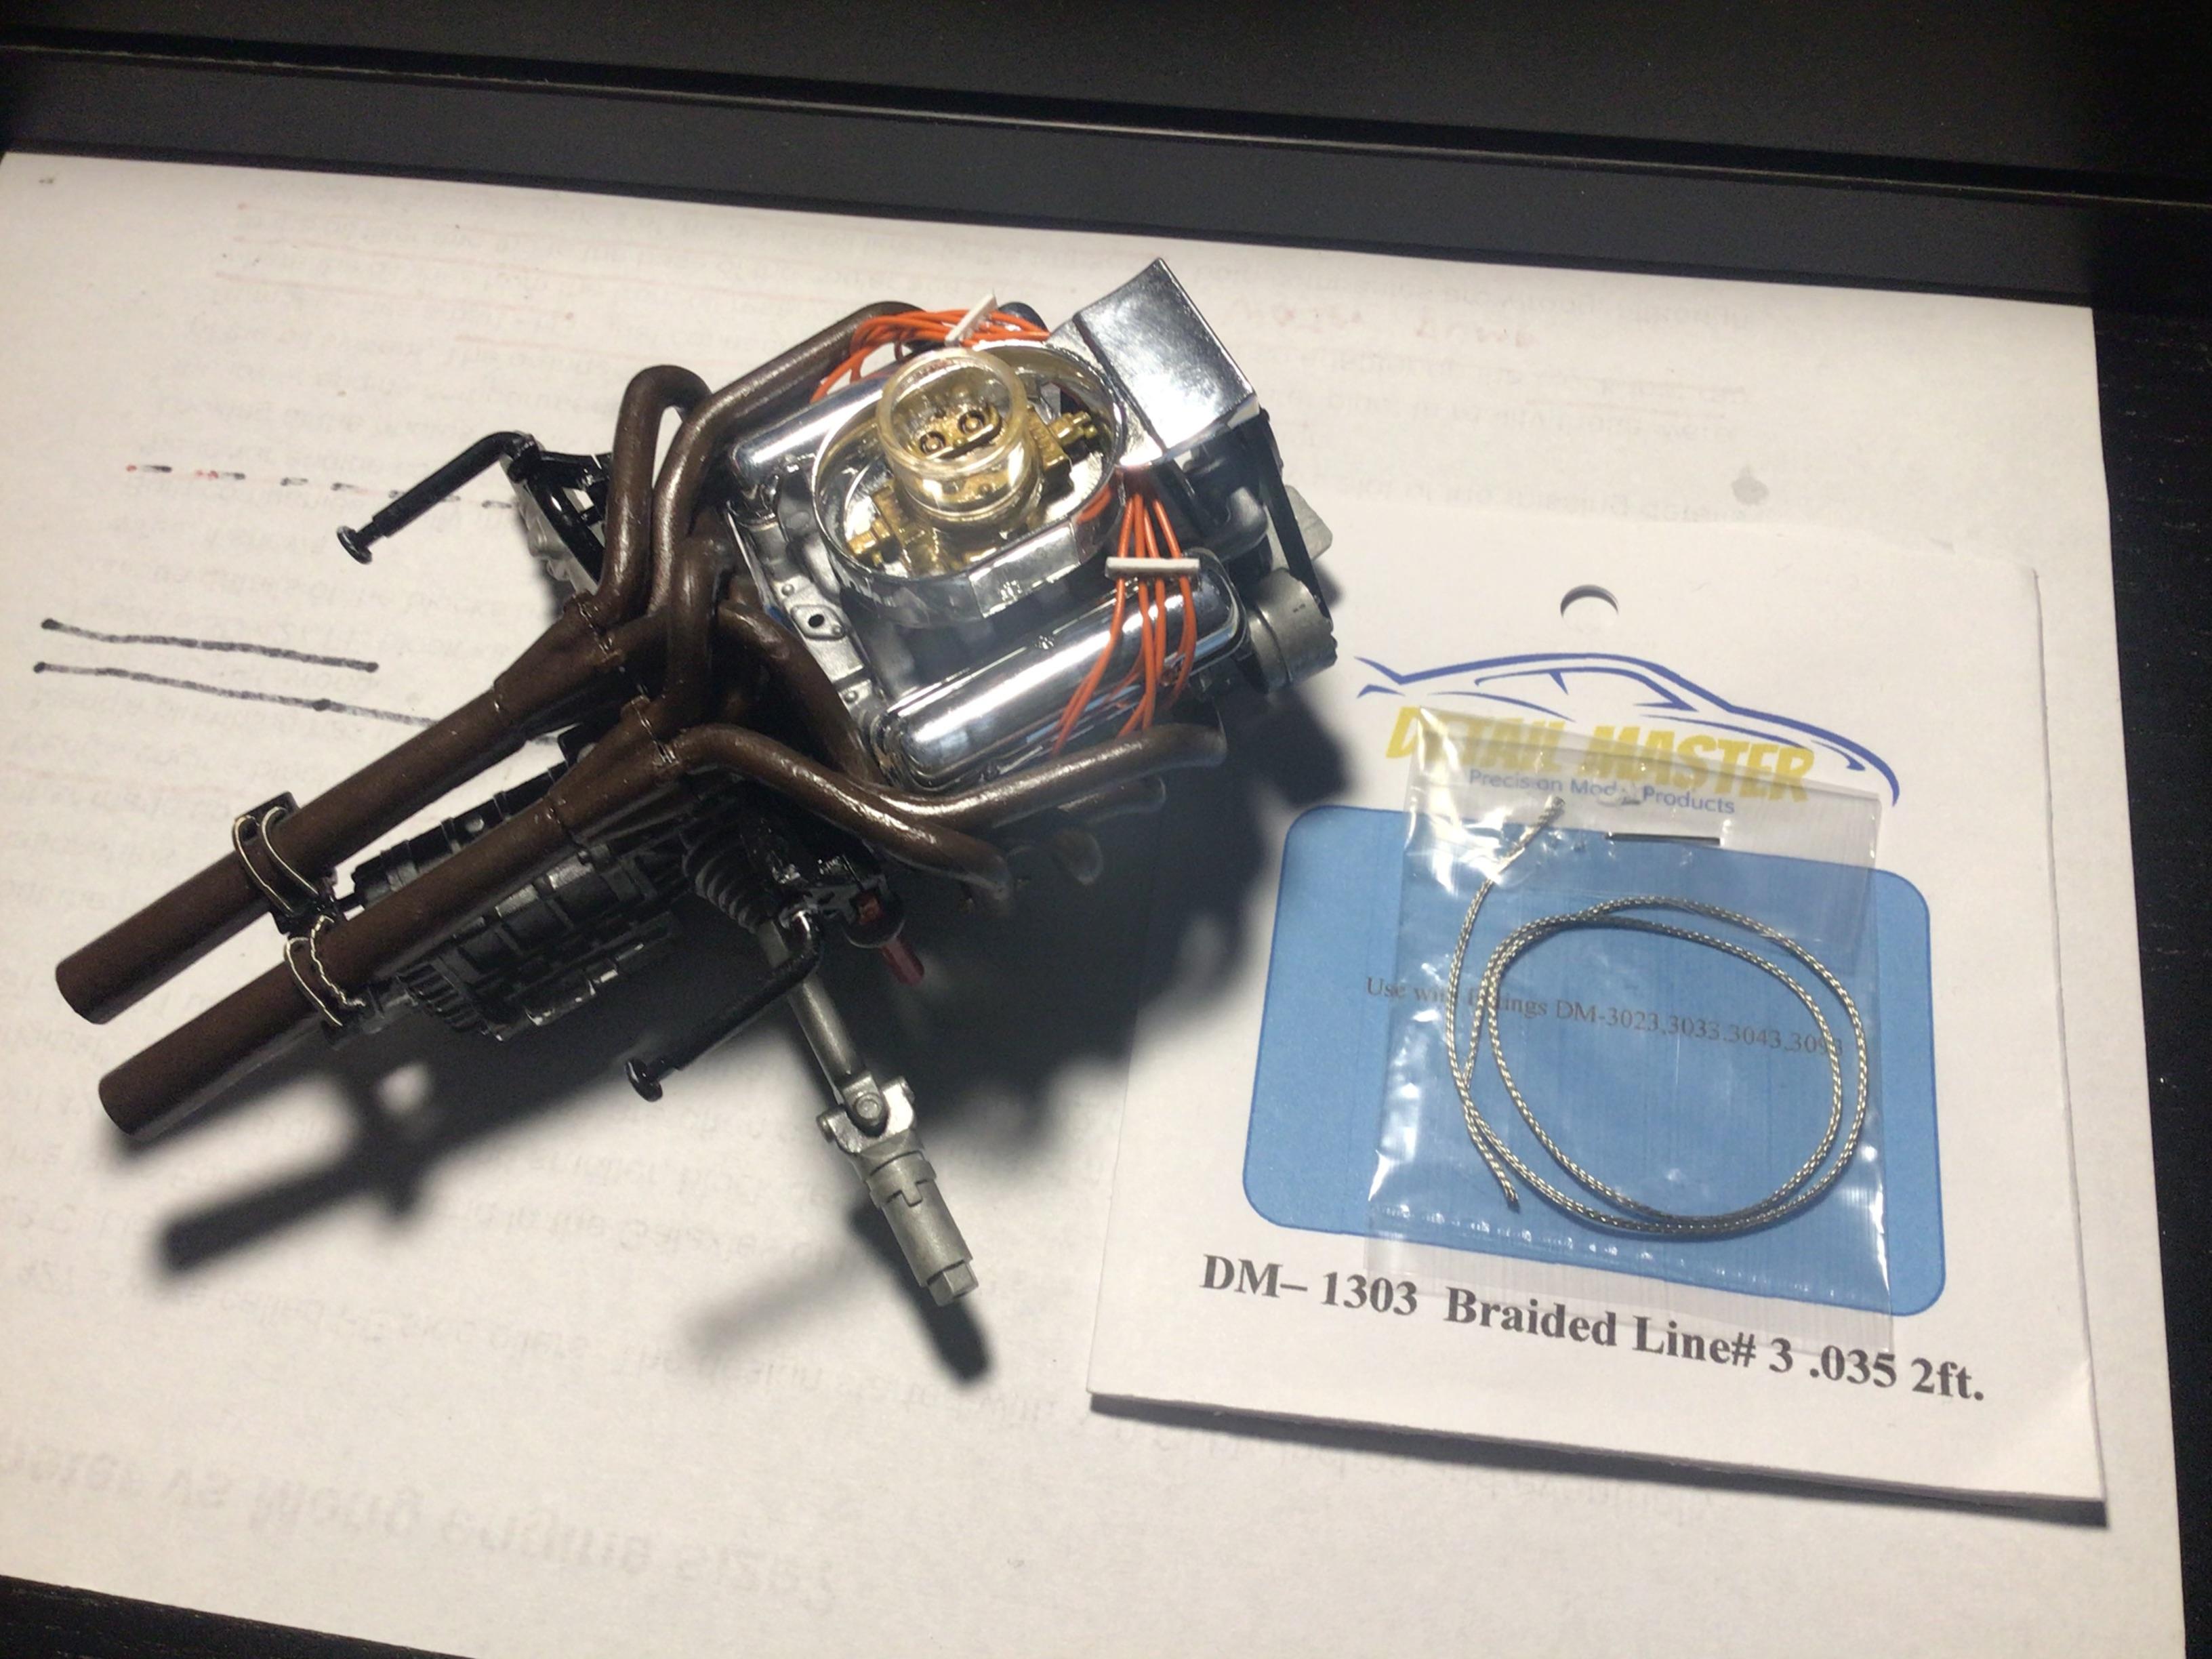
2 hours ago, absmiami said:
Thanks for the tip. I bought some Old stock detail master braided lines in various sizes. It is hard to cut, the frayed pieces will give you splinters and it is not hollow so the kit fittings do not fit inside.
-
1
-
-
Fantastic restoration. I just got to Birmingham AL today for the Mustang 60th anniversary. The show should be great with hundreds of classic Mustangs and a lot of newer ones on the track.
-
1
-
-
Thanks again. The Force is with us. 😉 Here is one more picture but a diagram in this case is worth dozens of pictures. We have the best of both.
-
1
-
-
27 minutes ago, Force said:
Here is a couple of öpictures of the cooling system.
Thanks so much for posting. I was going to search online for a diagram like this so see if one existed. You would think companies that make models would do the same. I had already started modifying the kits to make it appear the radiator hoses will go from the water pump and block up to the front of the car where the radiator is mounted. I do not plan on running them the entire length as a large portion is hidden by the tunnel between the seats.
I found a link (below) to a build of the MENG kit which has some nice diagrams also.
https://www.themodellingnews.com/2021/06/build-review-ptii-mengs-12th-scale-ford.htm
-
Awesome job with combining parts from multiple kits. I also bought one of the GTM kits so I this is no joke.
-
19 hours ago, Bugatti Fan said:
Interesting build to follow. You would have thought that Trumpeter would have gone to great pains to get a prestige kit like this correct. It's not as though there are no prototype cars in existence to do the research.
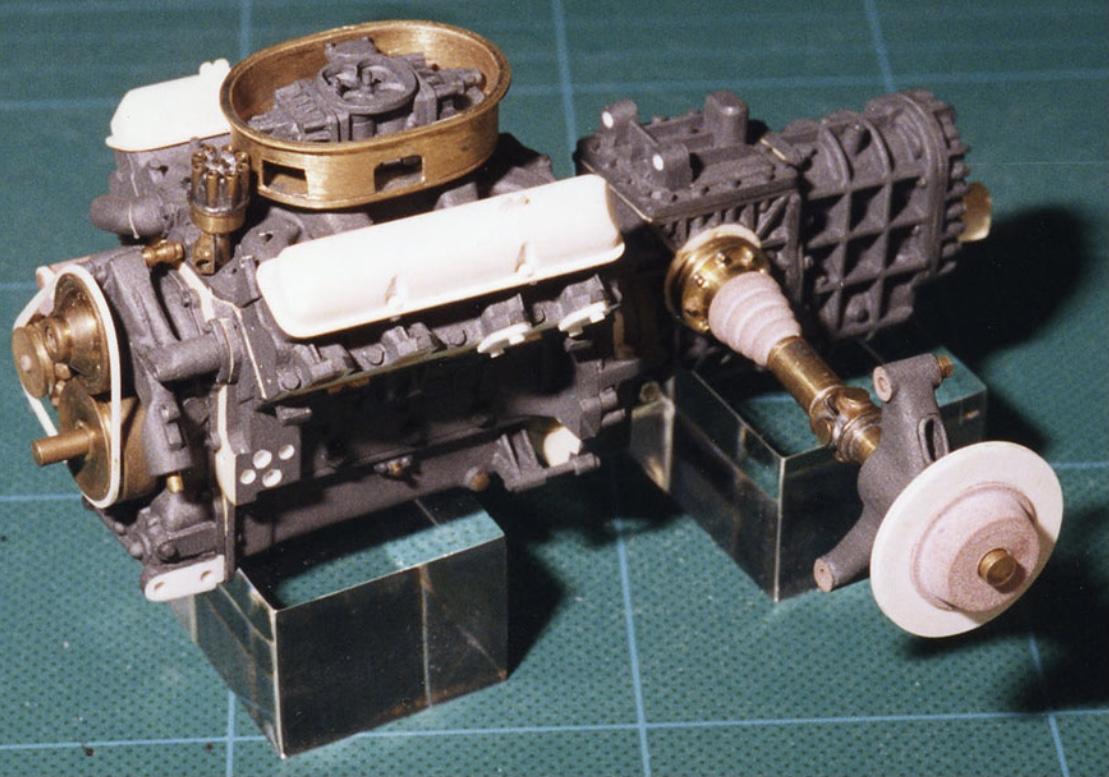
Marshall Buck at CMA (Creative Miniature Associates) has been developing the ultimate GT40 kit that seems to have been going on for ages. CMA's ethic is do it right or not do it at all. Looking on the CMA website the development of their multi medium kit looks absolutely breathtaking. Mind you it will be at a premium price, and I mean premium, I guess when it finally gets released.
The GT40 is such an iconic Le Mans car that actually I am surprised that MFH has not done one in 1/12th scale already.
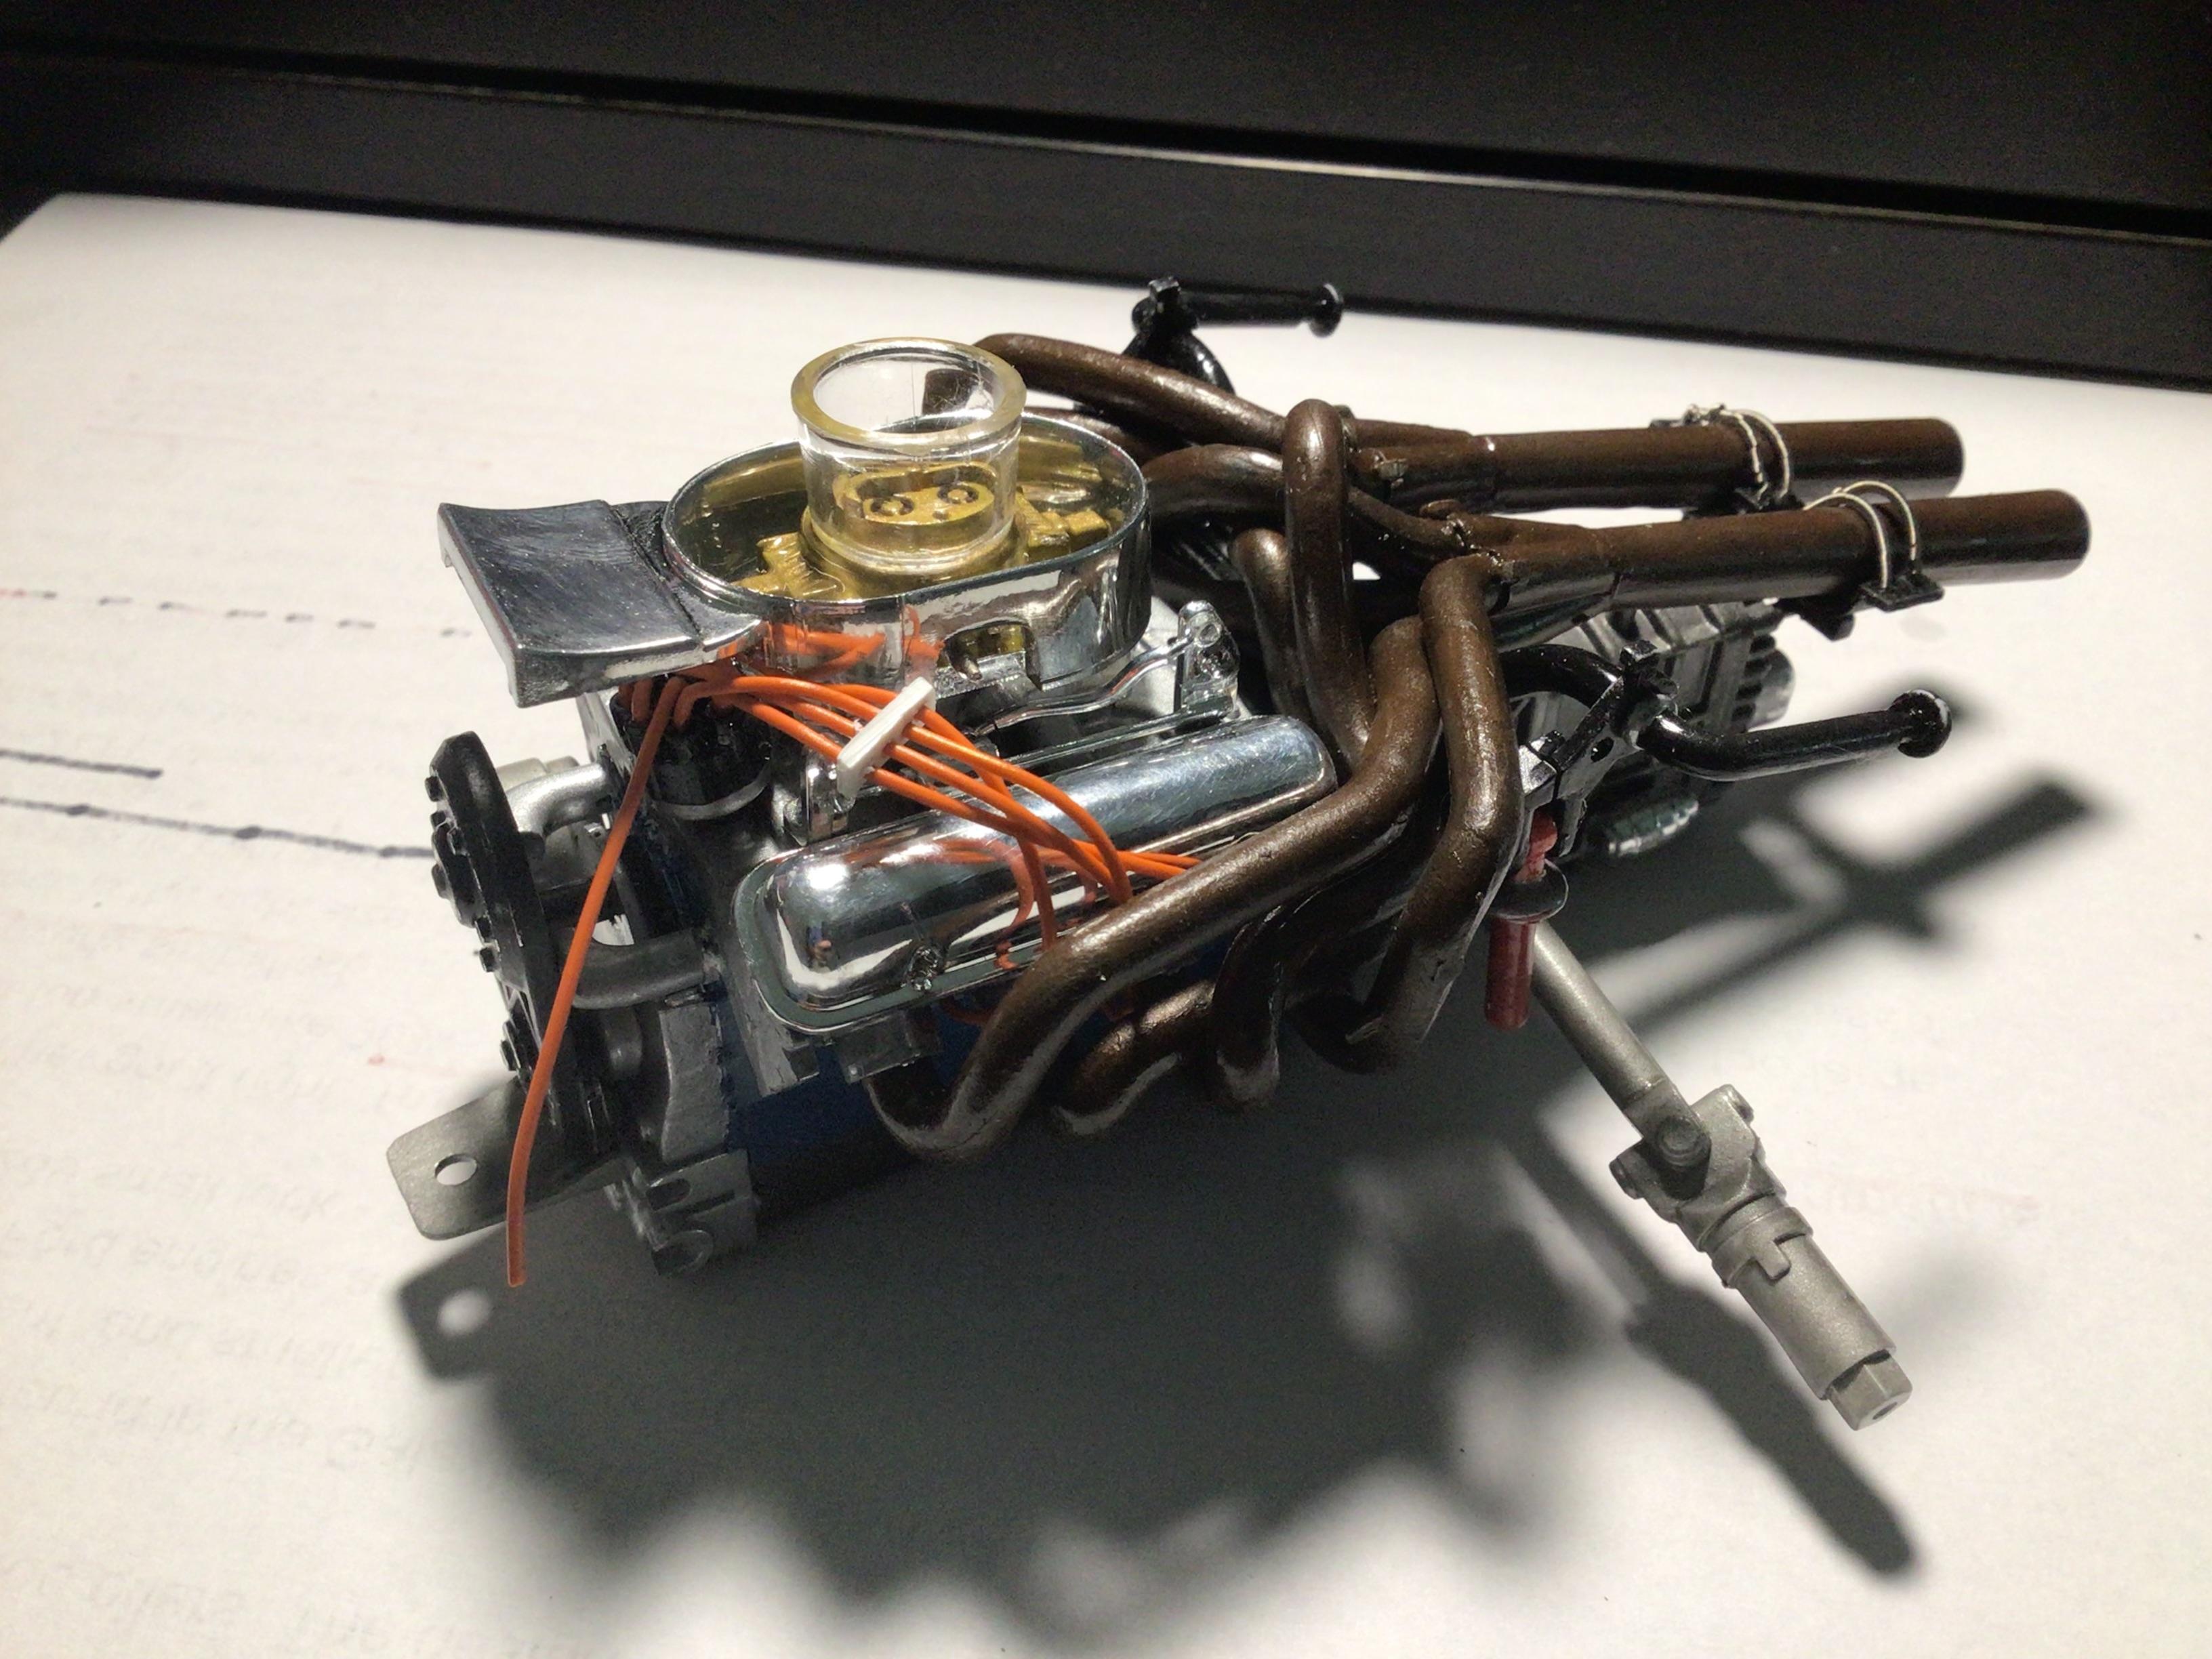
The CMA model looks amazing and of course very expensive and supposedly 98% towards being ready for molds. No mention of a kit version and $10k is out of my price range for a built version. I thinks some of those pictures go back 20 years so we shall see. There are very nice 1/12 diecast MKIIs that have been available from ACME/GMP for about $1k for several years. Perhaps they got the oil and radiator hoses and lines right - let’s hope so for that price.
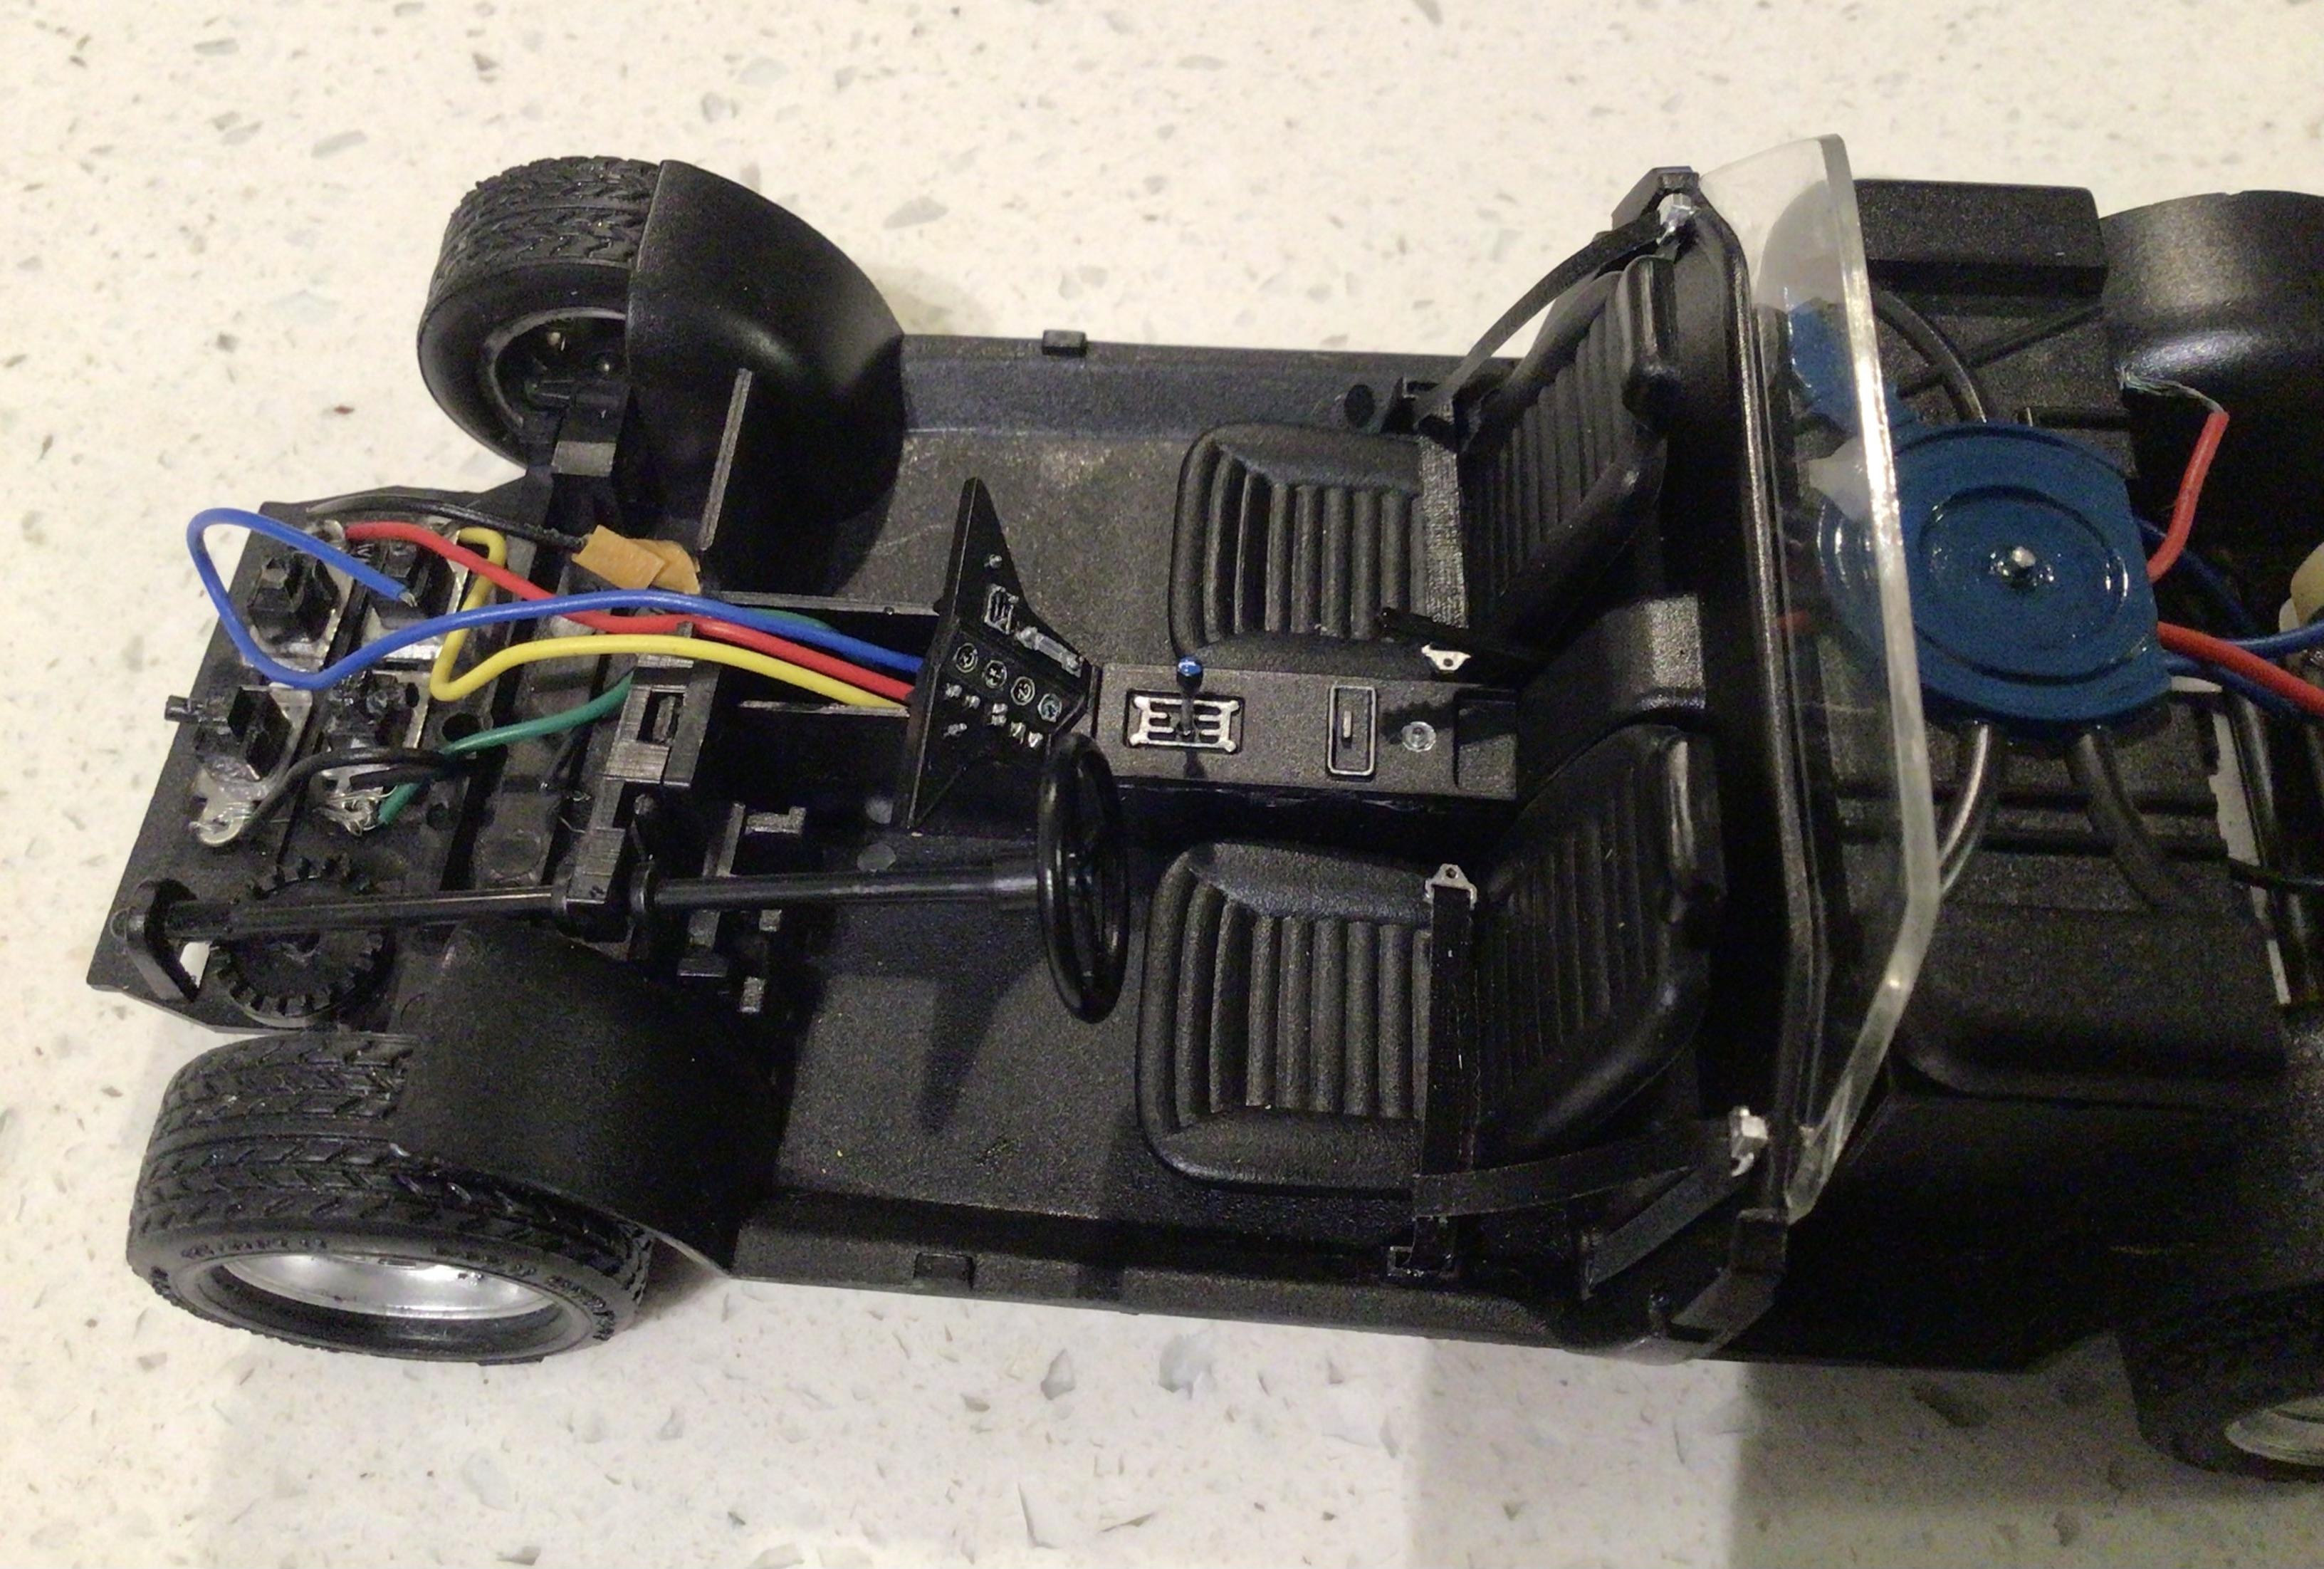
As for the Trumpeter engine - the more I look at this thing the more I become amazed at the errors. The front of the engine does not have a water pump which makes it pretty difficult to connect any hoses or pipes. Instead Trumpeter has large radiator pipes going into the bottom of the oil pan which of course is where the oil lines should be. So at point I am going to attempt to work with the various pictures I have and try to make this as correct as I can within reason for my own sanity and to perhaps encourage others that want to tackle this kit that following the kit directions is not the only option. So far I have scratch built the oil filter line adapter and added the distributor and plug wires. See below for pictures of the interior where you can see the front of the engine as it is being installed.
As other club members in South Florida will be taking turns finishing the build when I pass it on in a week, I will start a new post and hopefully can add their progress pictures from across the country after I move this July to Arizona.
The last two pics are one from the CMA site and a 1/12 diecast.
-
3
-
-
1 hour ago, mk11 said:
Despite the fact that AMT captured most of the body proportions beautifully on these '69/'70 Mustangs, there is one small detail that stands out other than the quarter panel flaw that Tim has pointed out on the '70 body. The lower slot outboard of the headlights needs a tad of finessing...
The front end looks a lot more accurate with just a minor careful lengthening of the lower slot toward the side marker light. On the 1:1, the rear edge of the slots match the marker angle.
m
Thanks for the tip. I have another AMT glue bomb I can make that modification.


Revell 1971 Mustang Mach 1 in stock now at...
in Car Kit News & Reviews
Posted · Edited by vamach1
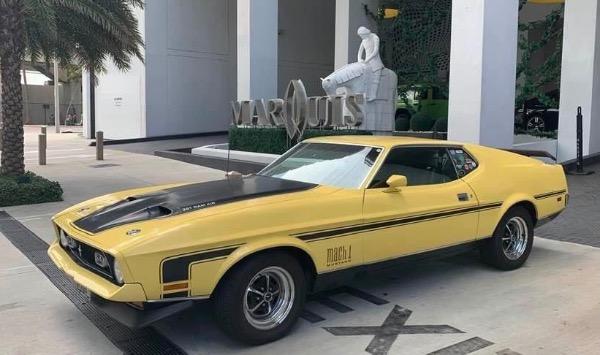
This Mach1 is going to be restored by the Mustang Brothers. I am still not convinced it was the one used as the “hero” Mach1 that Sean Connery drove and was used for closeups. Could it have been used for other scenes perhaps but there are just too many things that are inconsistent with the 429 non ram-air Mach1 as seen in Diamonds are Forever. The current owner claims many parts were changed in the car over the years by previous owners.
Pictures from Facebook.