
Pocherphile
-
Posts
291 -
Joined
-
Last visited
Content Type
Profiles
Forums
Events
Gallery
Posts posted by Pocherphile
-
-
As ole Franky said...........I did it my way! So ole pal, do it your way..........

Its easy to say do this or that, but its your wallet paying f/those over priced do dads..............I agree, the fenders are insane for a set of resin replacements.........
I believe it was once said, a fool and his money are soon parted!
Do not get me wrong, if you just gotta have it, and MMC's does have it, then if the hobby funds can take the hit, knock it out of the ball park........but after many, and I mean many orders off to MMC's, I have learned that every little detail item does not make that much of a deal compaired to a well built and painted OBB.
I paid for this ad and I'm sticking too it!
Rick
-
Looking at that frame- this is incentive for a Locomobile as well in 1/8. I have been collecting for a bigger version
I have looked @ the frame w/the FIAT and also the ITALA, and guess what..........they are almost identical. So I see no reason that a FIAT frame could be used. I would love to see this done w/a Locomobile in 1/8th scale and Frank you tha man to do it. I have as I stated already, got put together the parts for the 1/16th scale build.
Rick
-
Nice, very very nice.....................
Rick
-
U are a brave soul..........bending is allowed, but beware.........they can break if too much is applied all @ once......
.That makes for a costly mis-take....................I know!
Rick
-
Update please!!!
Soon..............working on a few parts to attach to frame that need attention.
Rick
-
You too Frank-update please!!!
Thank Yea............
-
Yes...it's called 'Destructive Testing'.
Destructive testing of your wallet and your head as you stand there pounding it against the wall because you just obliterated a $200.00 kit that is long OOP............does the mfg Protar ring a bell w/anyone!
Rick
-
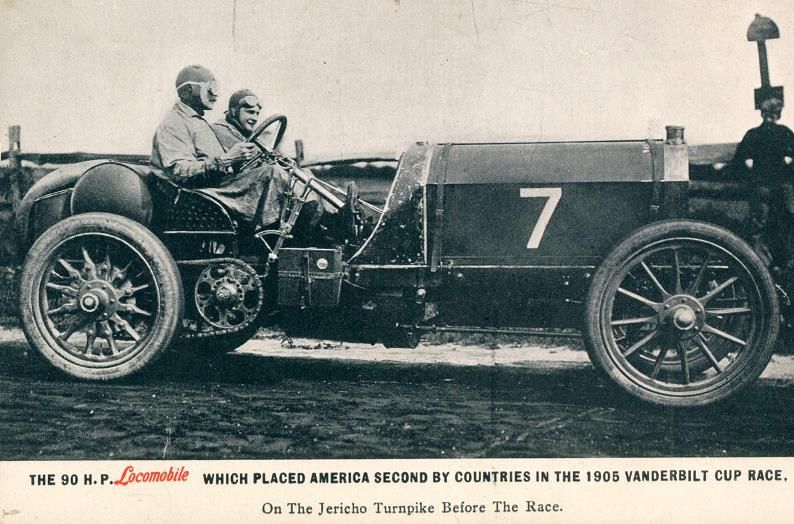
But w/o a doubt this is my favorite photo............you better not scare me again!
-
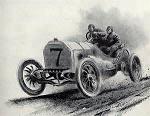
But I believe you might be talking about this here one..........the 90hp version that raced in EU.
-
same here- I want to build another version or maybe the sister car- Locomobile #1-
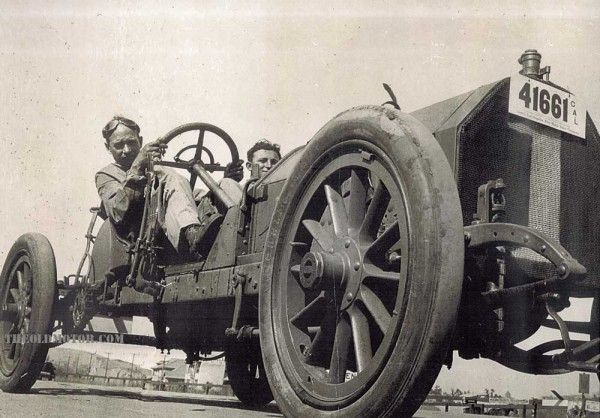
Heres a Locomobile mystery car..............#1
-
"...anvil came that way, and if you build Pocher kits, is a good tool to have..."
So you can drop it on the model in a rage when you're totally fed-up ????
lets hope not........................ not that I have not done something akin to this in the past, you know the plastic slam test against the wall.............! -
that is wise Cato...........think her through.
Rick
-
same here- I want to build another version or maybe the sister car- Locomobile #1-
Please do, I will watch f/that..........
Rick
-
Beautiful Rick. Amazing how similar to my RR frame-which came 25 years later. Means the Rolls was using archaic technology??
How long is the whole frame?
Jeeze-even your anvil is polished...
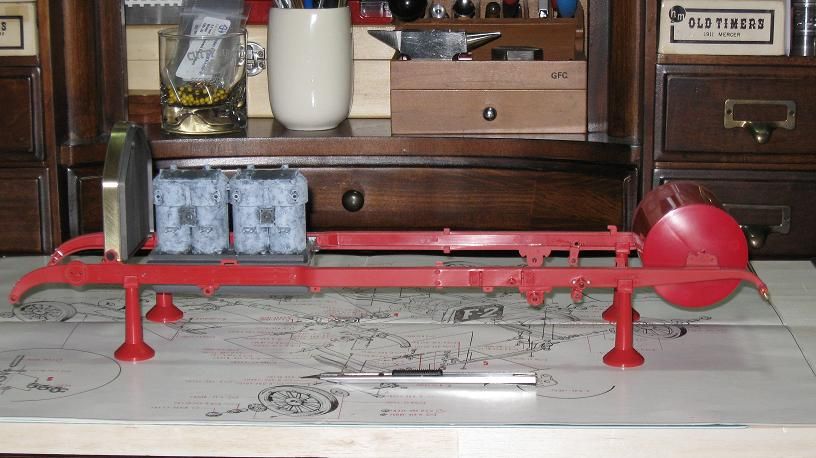
Almost 19 inch's long, 4 1/2 inch's wide @ widest point of frame. anvil came that way, and if you build Pocher kits, is a good tool to have when working metal. I believe this to be the smallest/shortest of the Pocher kits and is the easiest to build. But remember, it is a Pocher, that means you will work the parts for assembly.
-
Frame set up for squareness and to check for proper engine location.............
-
I have a good start and will go pretty fast once I start painting and was thinking this might be the next 1/8th project for me. This is the 4th one of these I have had and have learned much about the construction pitfalls of this kit..........this one will go into the cabnet.
Takes a good year to turn one of these bad boys out.
-
Wasn't this a pretty rare and expensive Mustang kit. There is one on Ebay now.
I will let him answer that, but I will say, many years ago I had one of these 1:1.............sorriest Stang I ever had and almost did me in on them until they did the retro version.
-
Figured it out..........Underglass!
-
Brass strap looks great. Good to see you back on this. You will be done lightyears before I will..
But I'm watchin'..
Well, considering the parts count of your project compared to the Fiat is about 3 times the parts, and your build is way more complex.
And lets not forget to take into account I build @ a snails pace............
. You might beat me to the finish line, one never knows.It is getting about time for me and the boys to hit the fields and smoke some clay pigeons w/12 ga.'s.........
-
Photo of PE Stone Guard from Germany..................
-
WOW................I would not in a million years believe one could transform a Ford into a Chevy........but just goes to show, those with this kind of talent can do anything they set out to do. IMPRESSIVE!
Rick
-
Parts are coming together, a pristine HM Old 16, a Itala, a Mercer and some goodies from Micro-Mark......waited for the Spring Catalog, got free ship code for the chain and gears.
I want to build this famous racer as she looked when 1st raced.
That way, I will be building a some-what different look to this ole gal than your build.
Rick
-
Going out on a limb, but those eyes make me think of Mario Andriette! Just a guess, but the figure is just the bomd dude.
Rick
-
Worked on the radiator some, the radiator was worked over with a file and sand paper to sharpen the shape, bolts installed and the front/rear liquid glued. Then the fun part, one of the areas that always looks bad is the brass strap that goes across the shell of the radiator. This part is about 1/8 too long, and careful file work on each end, then careful shaping of the brass strap and more work w/the file to square and true up the brass part. After several of these under the belt, I have developed a way to get the strap to fit flush and tight all the way across the shell. Careful file work, attach one end of the strap w/a screw used to hold the completed radiator to the frame, then with tiny drops of CA, work the strap across the shell until you get to the other end. Results should be a tight flush fit or at best as tight as you can get. It helps to rough the inside of the brass strap so the CA has a chance for a better bite/hold.
Also look close and you can see where I added square head brass bolts to the part of the frame that is the mount for the radiator. These came from Scale Hardware.com
Will head to the rear and work on the petrol tank and tie the frame together. Remember, all this get painted in a single color and makes for a quick assemble of the frame.
Rick
After I paint the frame, the face of the radiator will be blacked out and the photo-etch stone shield will be attached to the front of the radiator.


 .
.


 lets hope not........................
 . You might beat me to the finish line, one never knows.
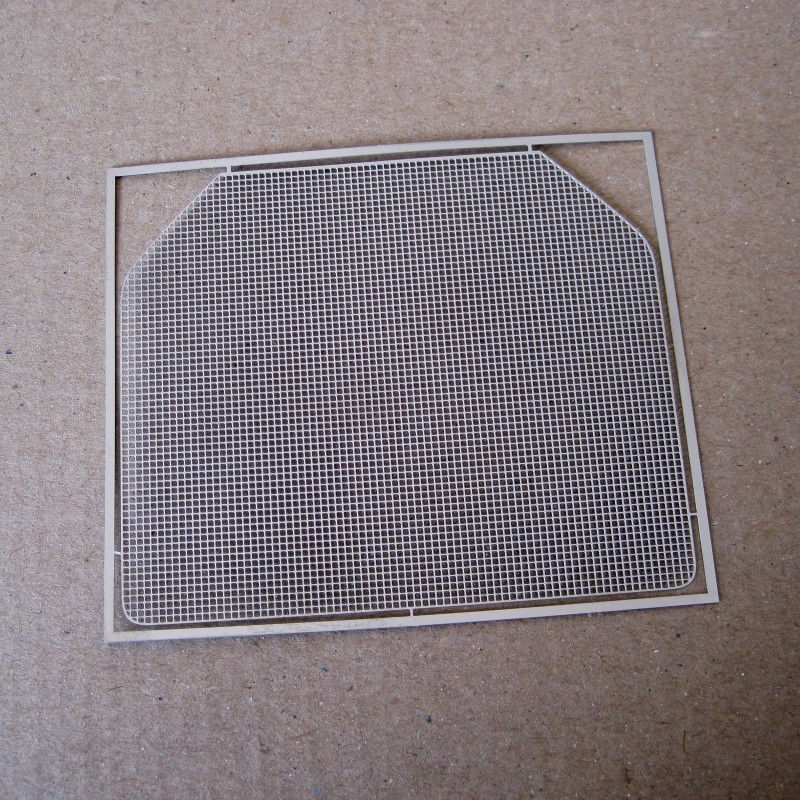


Pocher Rolls Sedanca
in WIP: Model Cars
Posted · Edited by Pocherphile
Yea, but the child will learn once he spends more for the bling than the kit, does this a couple of times f/builds, you began to weed out all those little shinny thing-a-ma-bobs and look @ what will be seen and add that little attention getter that would other wise go un-noticed. Too much makes the subject too busy and you get swept away by it all..........have seen models @ contest that were just detailed down to the last nut and bolt get bested by a clean, just enough detail to hold one's attention, build of the same kit. But as you have pointed out, this is your party and as long as you are having fun, fun away friend. I have alot of room to talk about parts, have spent a bundle this week working on another one of my little projects.........but mine is not a kit, it is a 12 Ga. Tatical/Home Def.........Boys and their toys!
PS: still plucking away on the Fiat, got the stone sheild and hope to finish some of the details this Easter holiday, 3 days off of work, no Grands to pester me, and no honey to do list.............a good week-end to build and paint I hope.
Rick